Removing a bathtub faucet can seem like a daunting task, especially if you’ve never done it before. However, with the right tools and instructions, it’s a manageable DIY project that can save you money on plumbing costs. In this guide, we’ll walk you through the step-by-step process of removing a bathtub faucet, highlight some common challenges, and provide tips to ensure a smooth removal process. Additionally, we’ll suggest some stunning replacement options from our collection to upgrade your bathroom’s aesthetic.
Understanding Bathtub Faucets

What is a Bathtub Faucet?
A bathtub faucet is an essential fixture in your bathroom, providing the water needed for baths and showers. Over time, wear and tear can lead to issues like leaks or reduced water flow, making it necessary to replace or repair the faucet.
Types of Bathtub Faucets
There are several types of bathtub faucets, including single-handle, double-handle, and wall-mounted faucets. Understanding the type you have is crucial for the removal process.
- Single-Handle Faucets: Control both hot and cold water with one lever.
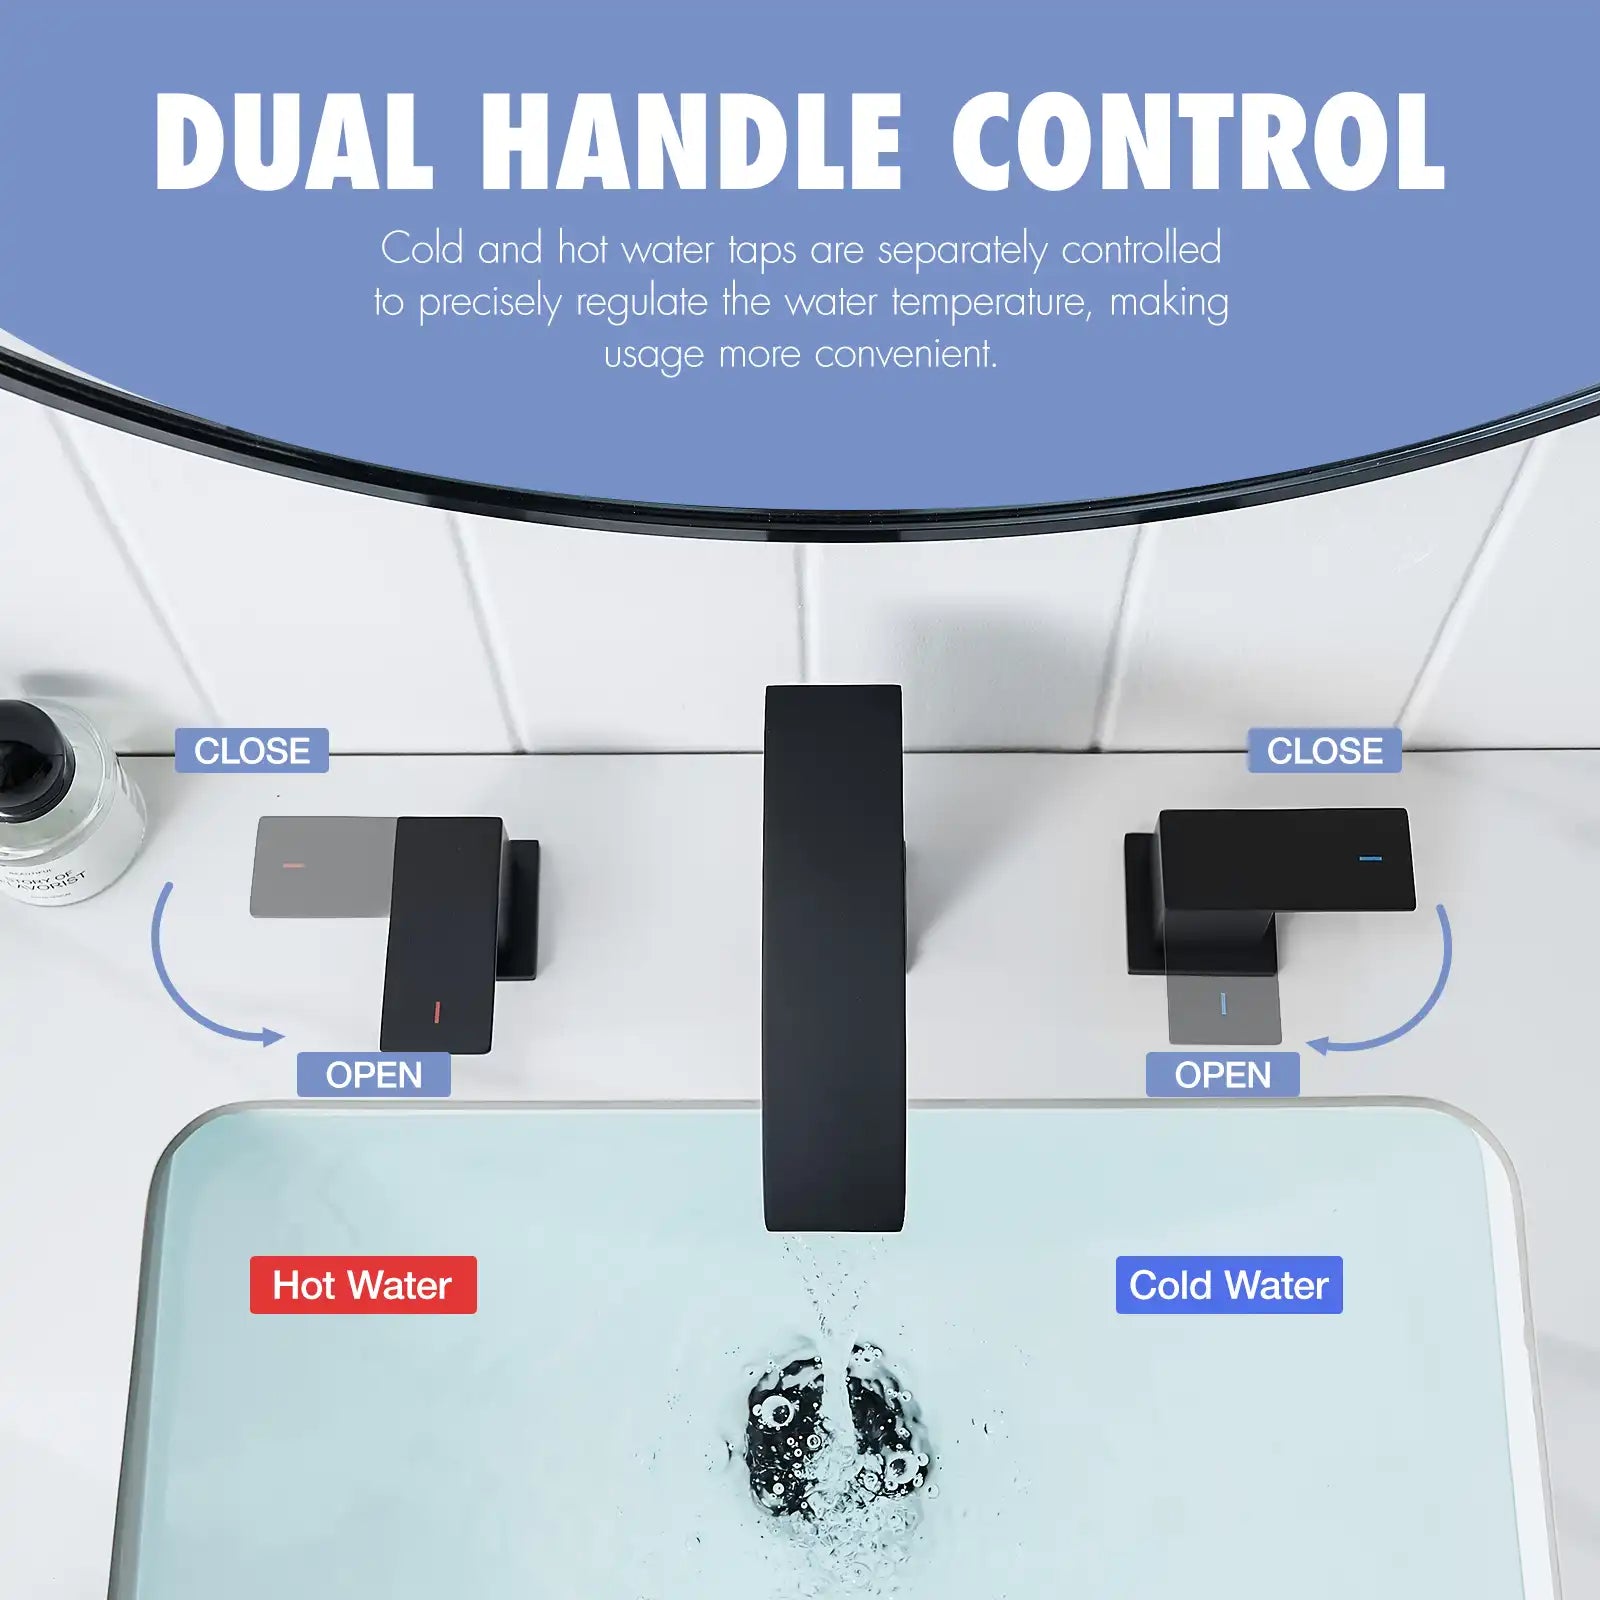
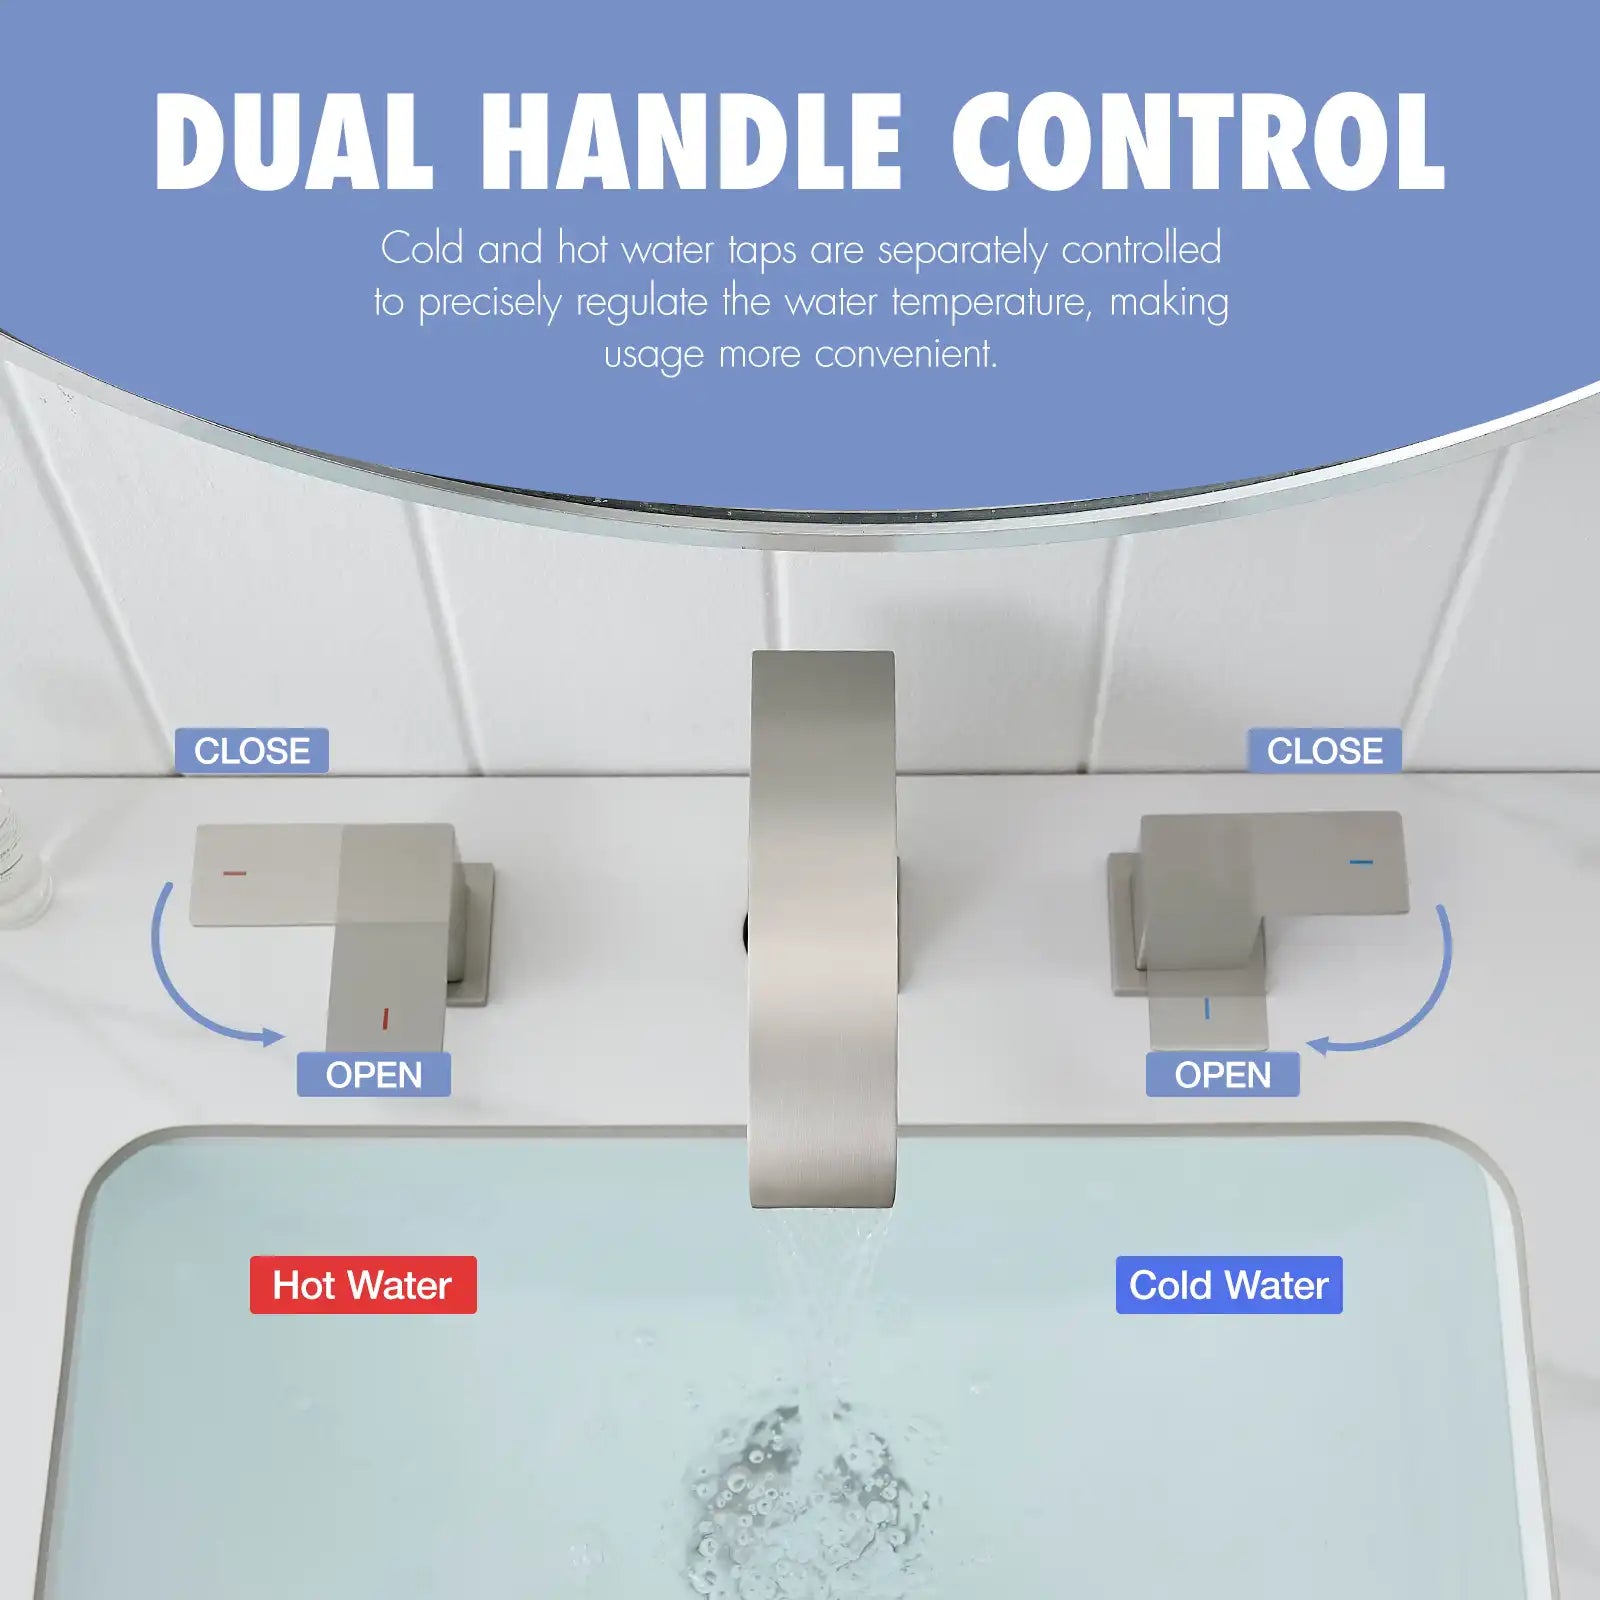
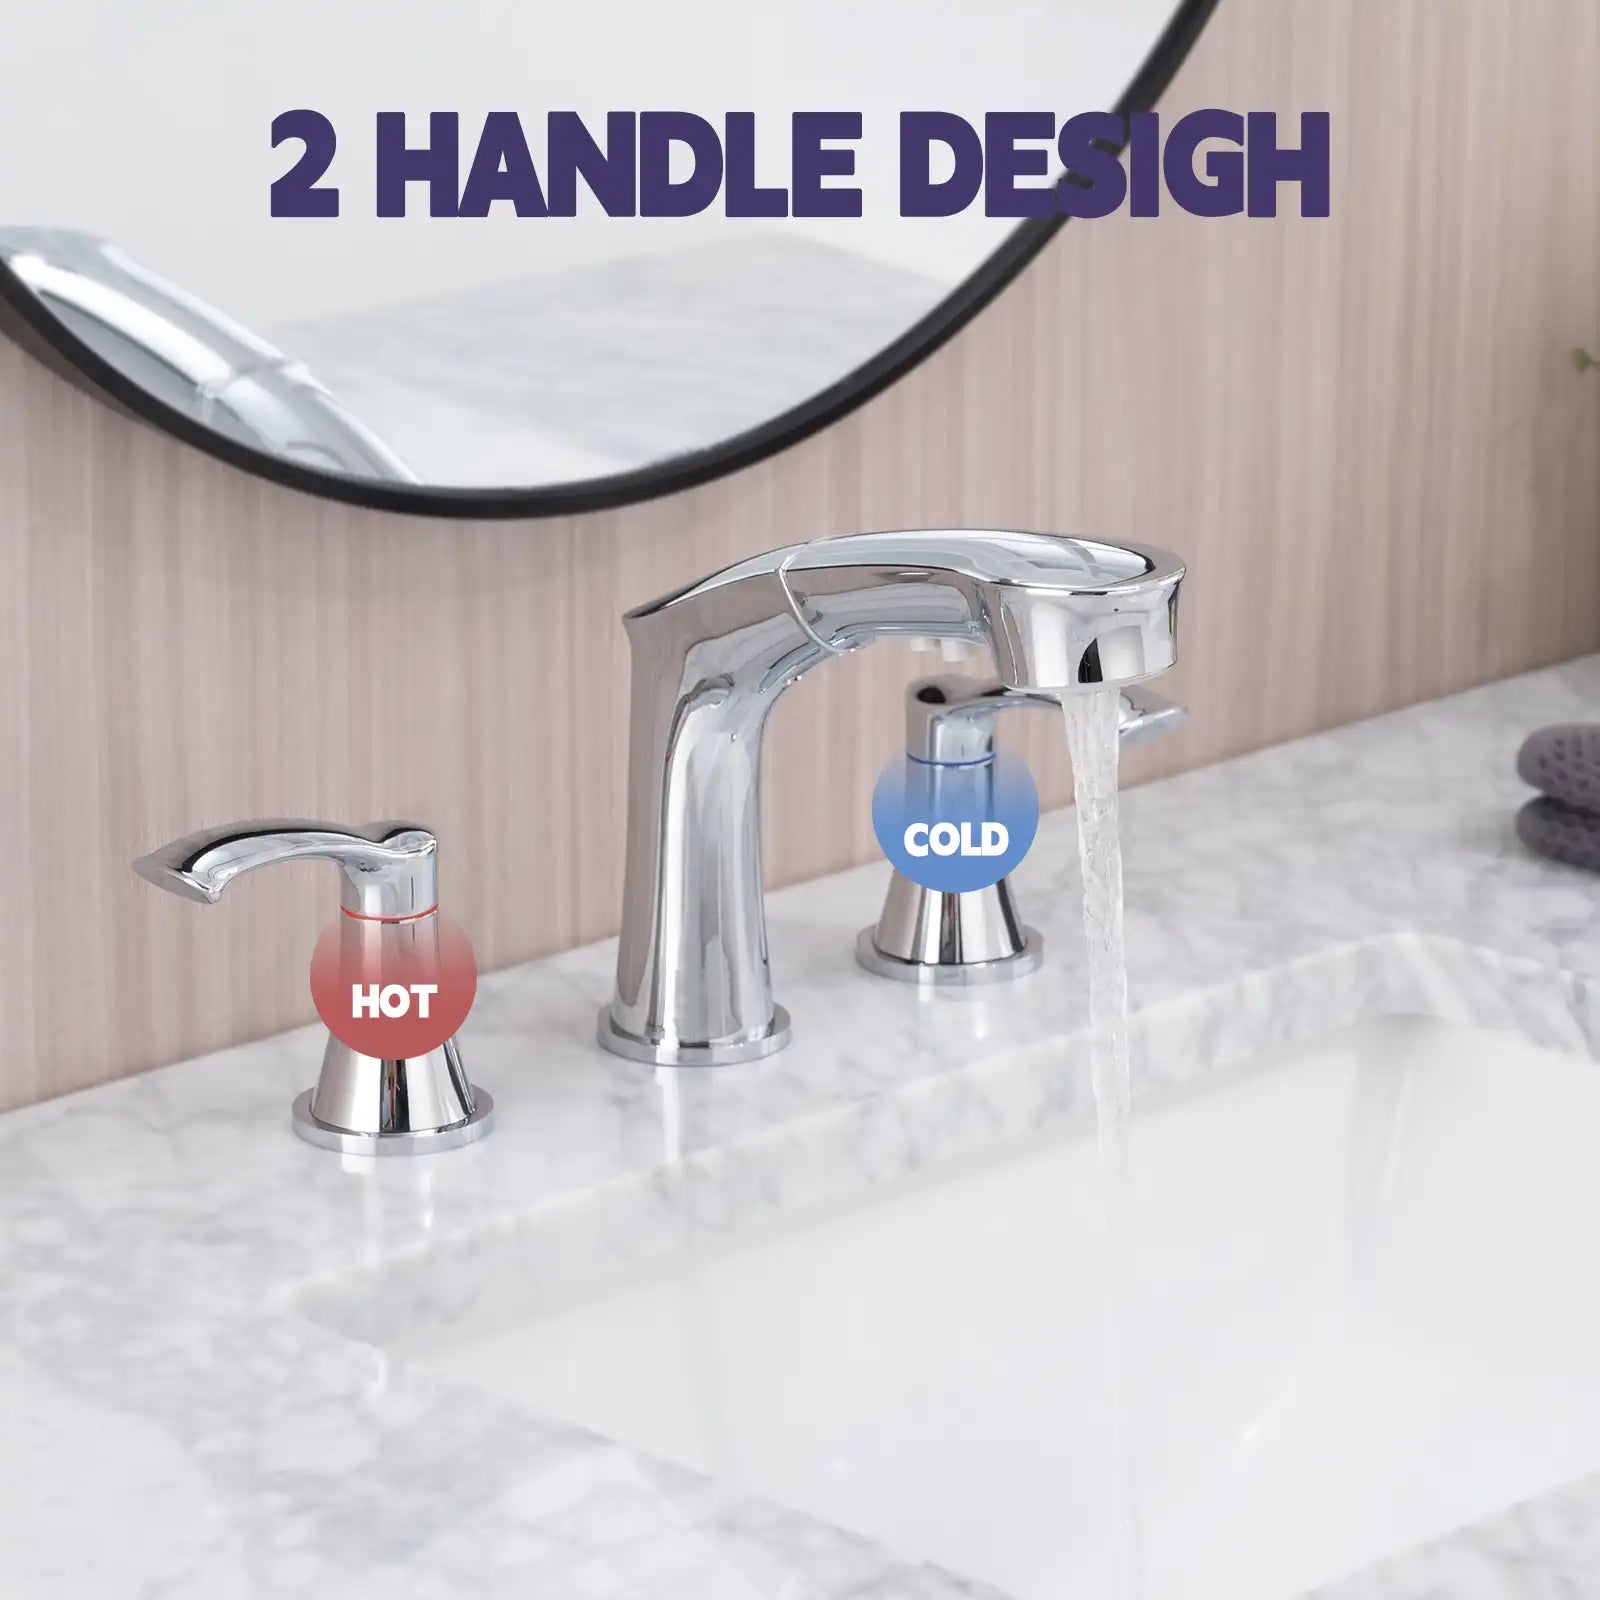
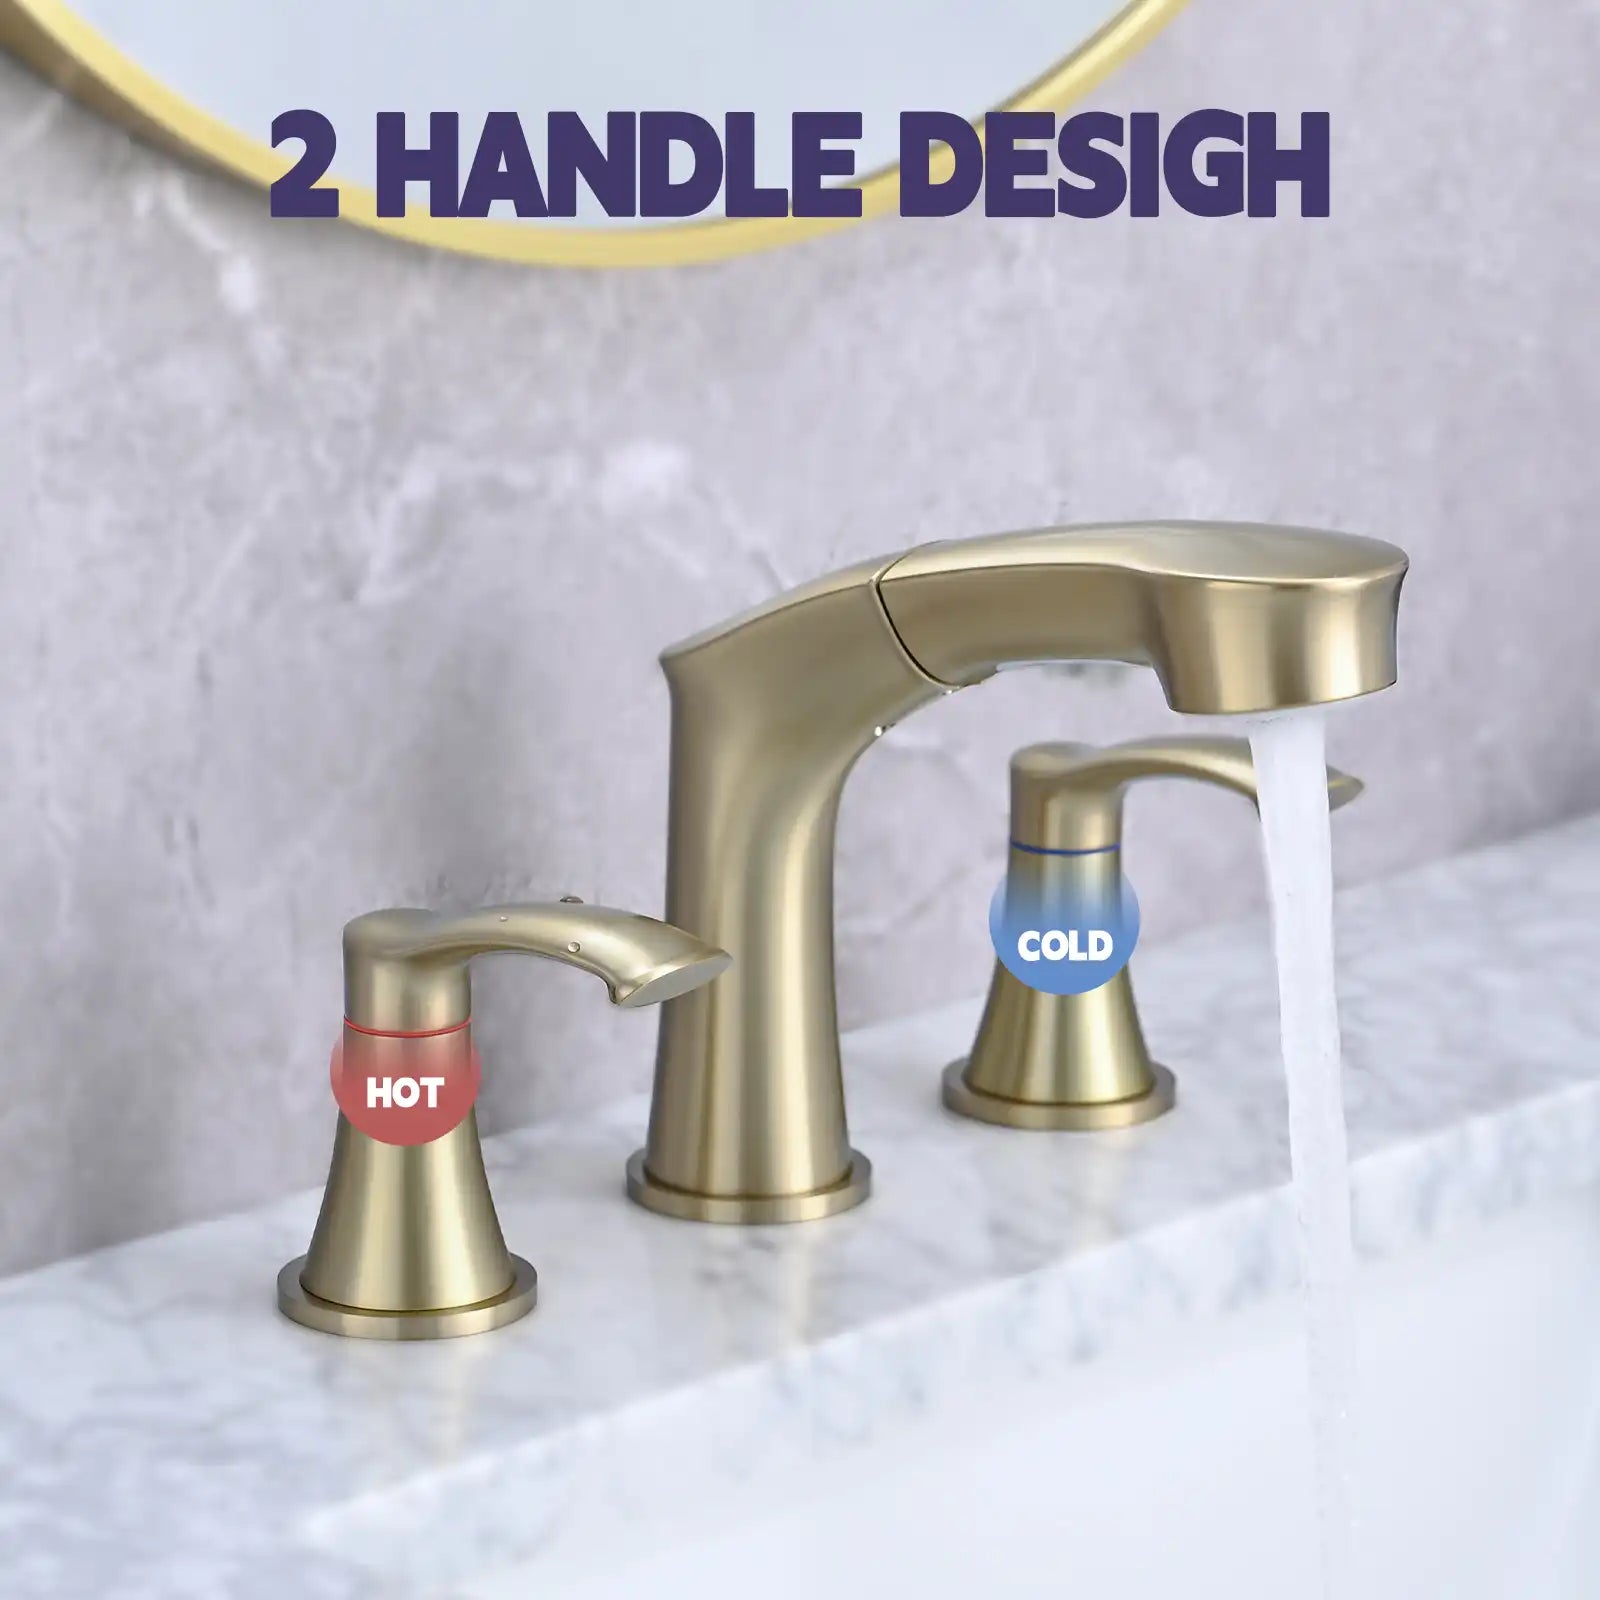
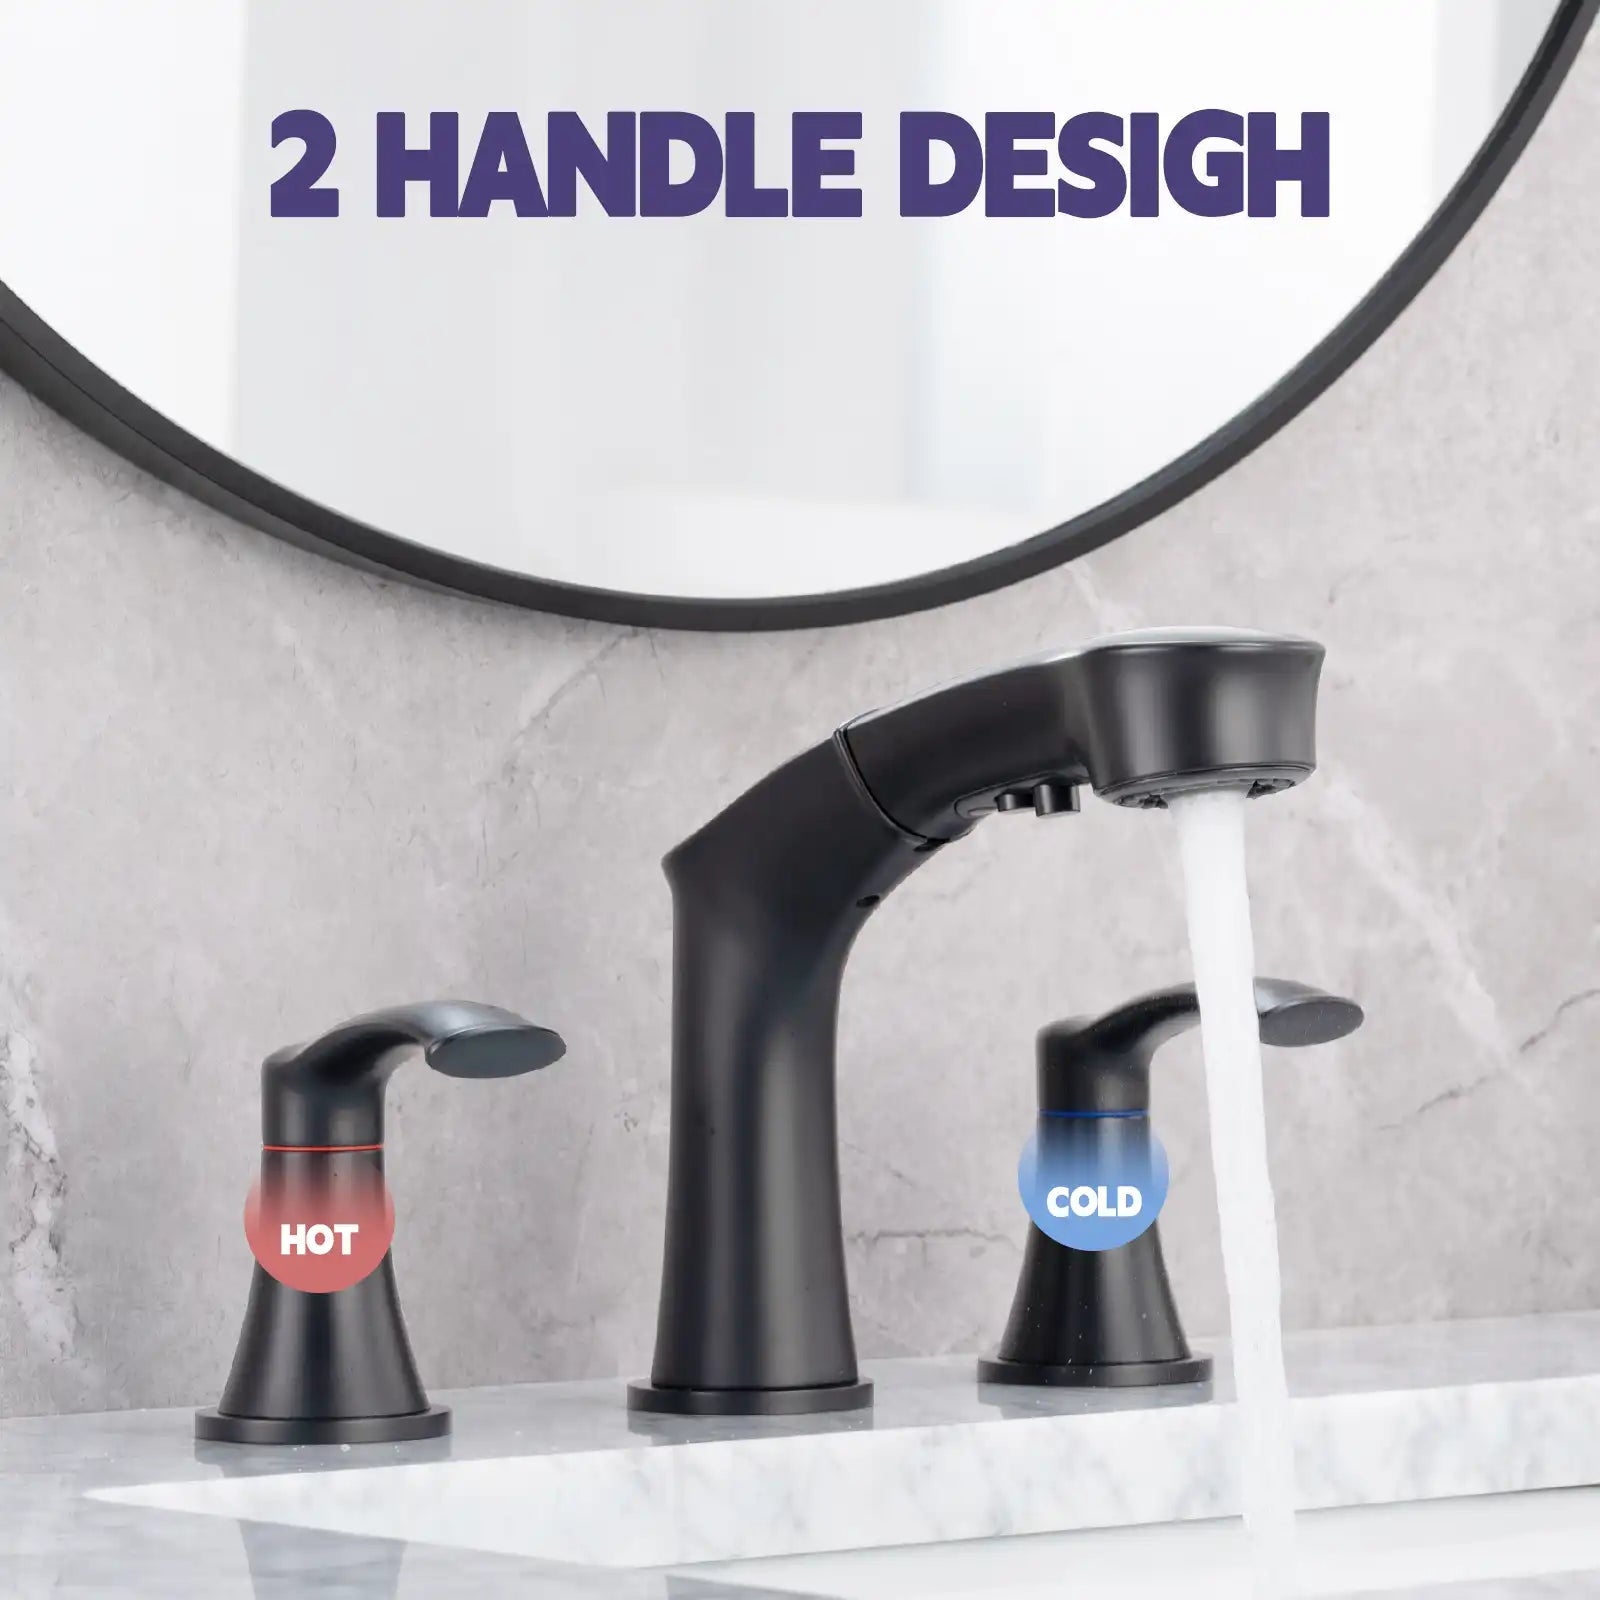
- Double-Handle Faucets: Separate handles for hot and cold water, providing more precise temperature control.
- Wall-Mounted Faucets: Installed on the wall above the bathtub, often found in more modern or minimalist bathroom designs.
Tools You’ll Need for Removing a Bathtub Faucet

Before you begin the removal process, gather the necessary tools to ensure you’re fully prepared. Here’s a list of essential tools:
- Adjustable wrench
- Screwdrivers (flathead and Phillips)
- Hex key or Allen wrench (if needed)
- Pliers
- Utility knife
- Penetrating oil (like WD-40)
- Plumber’s tape
- Bucket or container (to catch any water)
Step-by-Step Guide to Removing a Bathtub Faucet

Step 1: Turn Off the Water Supply
Before starting any plumbing project, always turn off the water supply to prevent any accidental flooding or leaks. Locate the water shutoff valve for your bathroom, typically found under the sink or in the basement, and turn it off.
Imagine it's early in the morning, and you're getting ready for a busy day. The last thing you need is an unexpected water flood in your bathroom. Turning off the water supply is a critical step to avoid such mishaps.
Step 2: Drain the Remaining Water
Open the faucet to drain any remaining water in the pipes. Place a bucket or container under the faucet to catch any water that may drip out during the removal process.
Think about the hassle of dealing with residual water spilling onto your bathroom floor. Draining the remaining water ensures a clean and manageable workspace.
Step 3: Remove the Faucet Handle
Depending on your faucet type, you may need to use a screwdriver or an Allen wrench to remove the handle. Look for a small screw or cap on the handle, remove it, and then gently pull the handle off.
Step 4: Unscrew the Escutcheon Plate
The escutcheon plate is the decorative plate that covers the hole in the wall. Use a screwdriver to remove the screws holding it in place, then gently pry it away from the wall.
Removing the escutcheon plate might reveal some grime or mildew buildup. It’s a good opportunity to clean and sanitize this area to ensure a fresh start with your new faucet.
Step 5: Remove the Faucet Stem or Cartridge
Once the escutcheon plate is removed, you’ll have access to the faucet stem or cartridge. Use an adjustable wrench to loosen and remove it. Be careful not to damage the surrounding pipes.
Step 6: Inspect and Clean the Area
Inspect the exposed plumbing for any signs of damage or wear. Clean the area thoroughly to remove any debris or buildup that may have accumulated over time.
Imagine the satisfaction of knowing your plumbing is in good shape before installing a new faucet. A clean, well-maintained area sets the stage for a successful installation.
Step 7: Install the New Faucet (Optional)
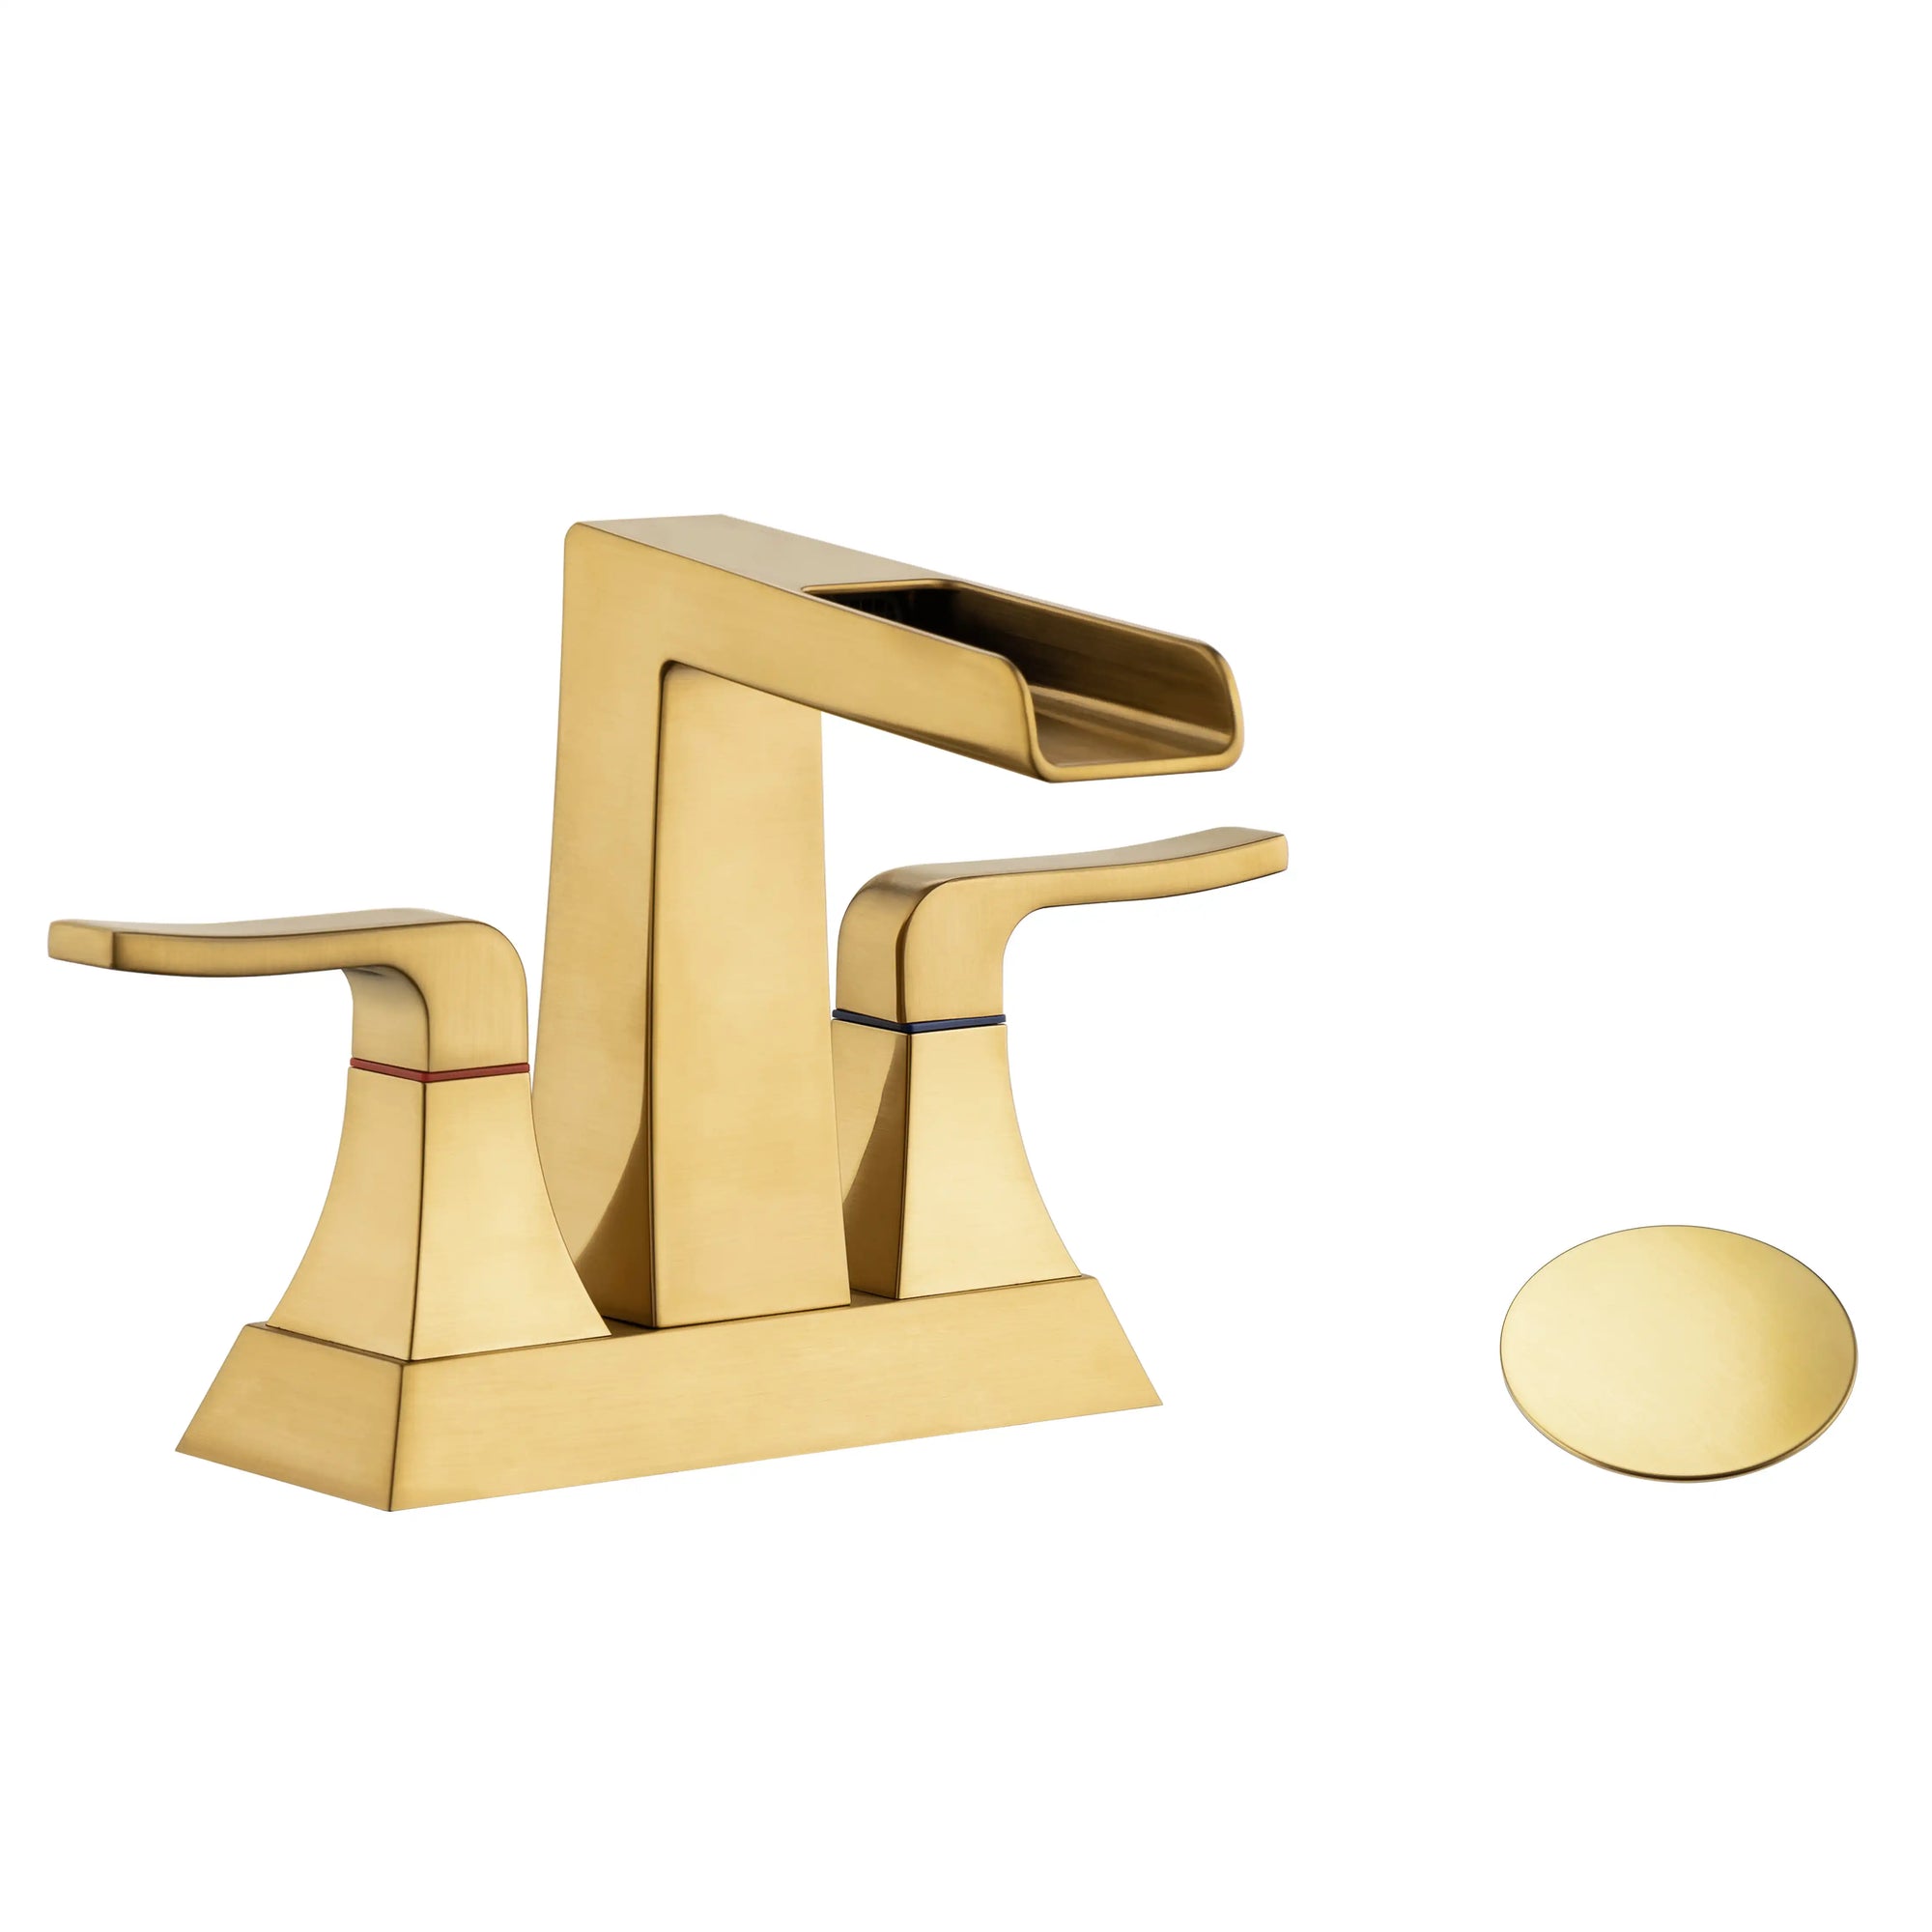
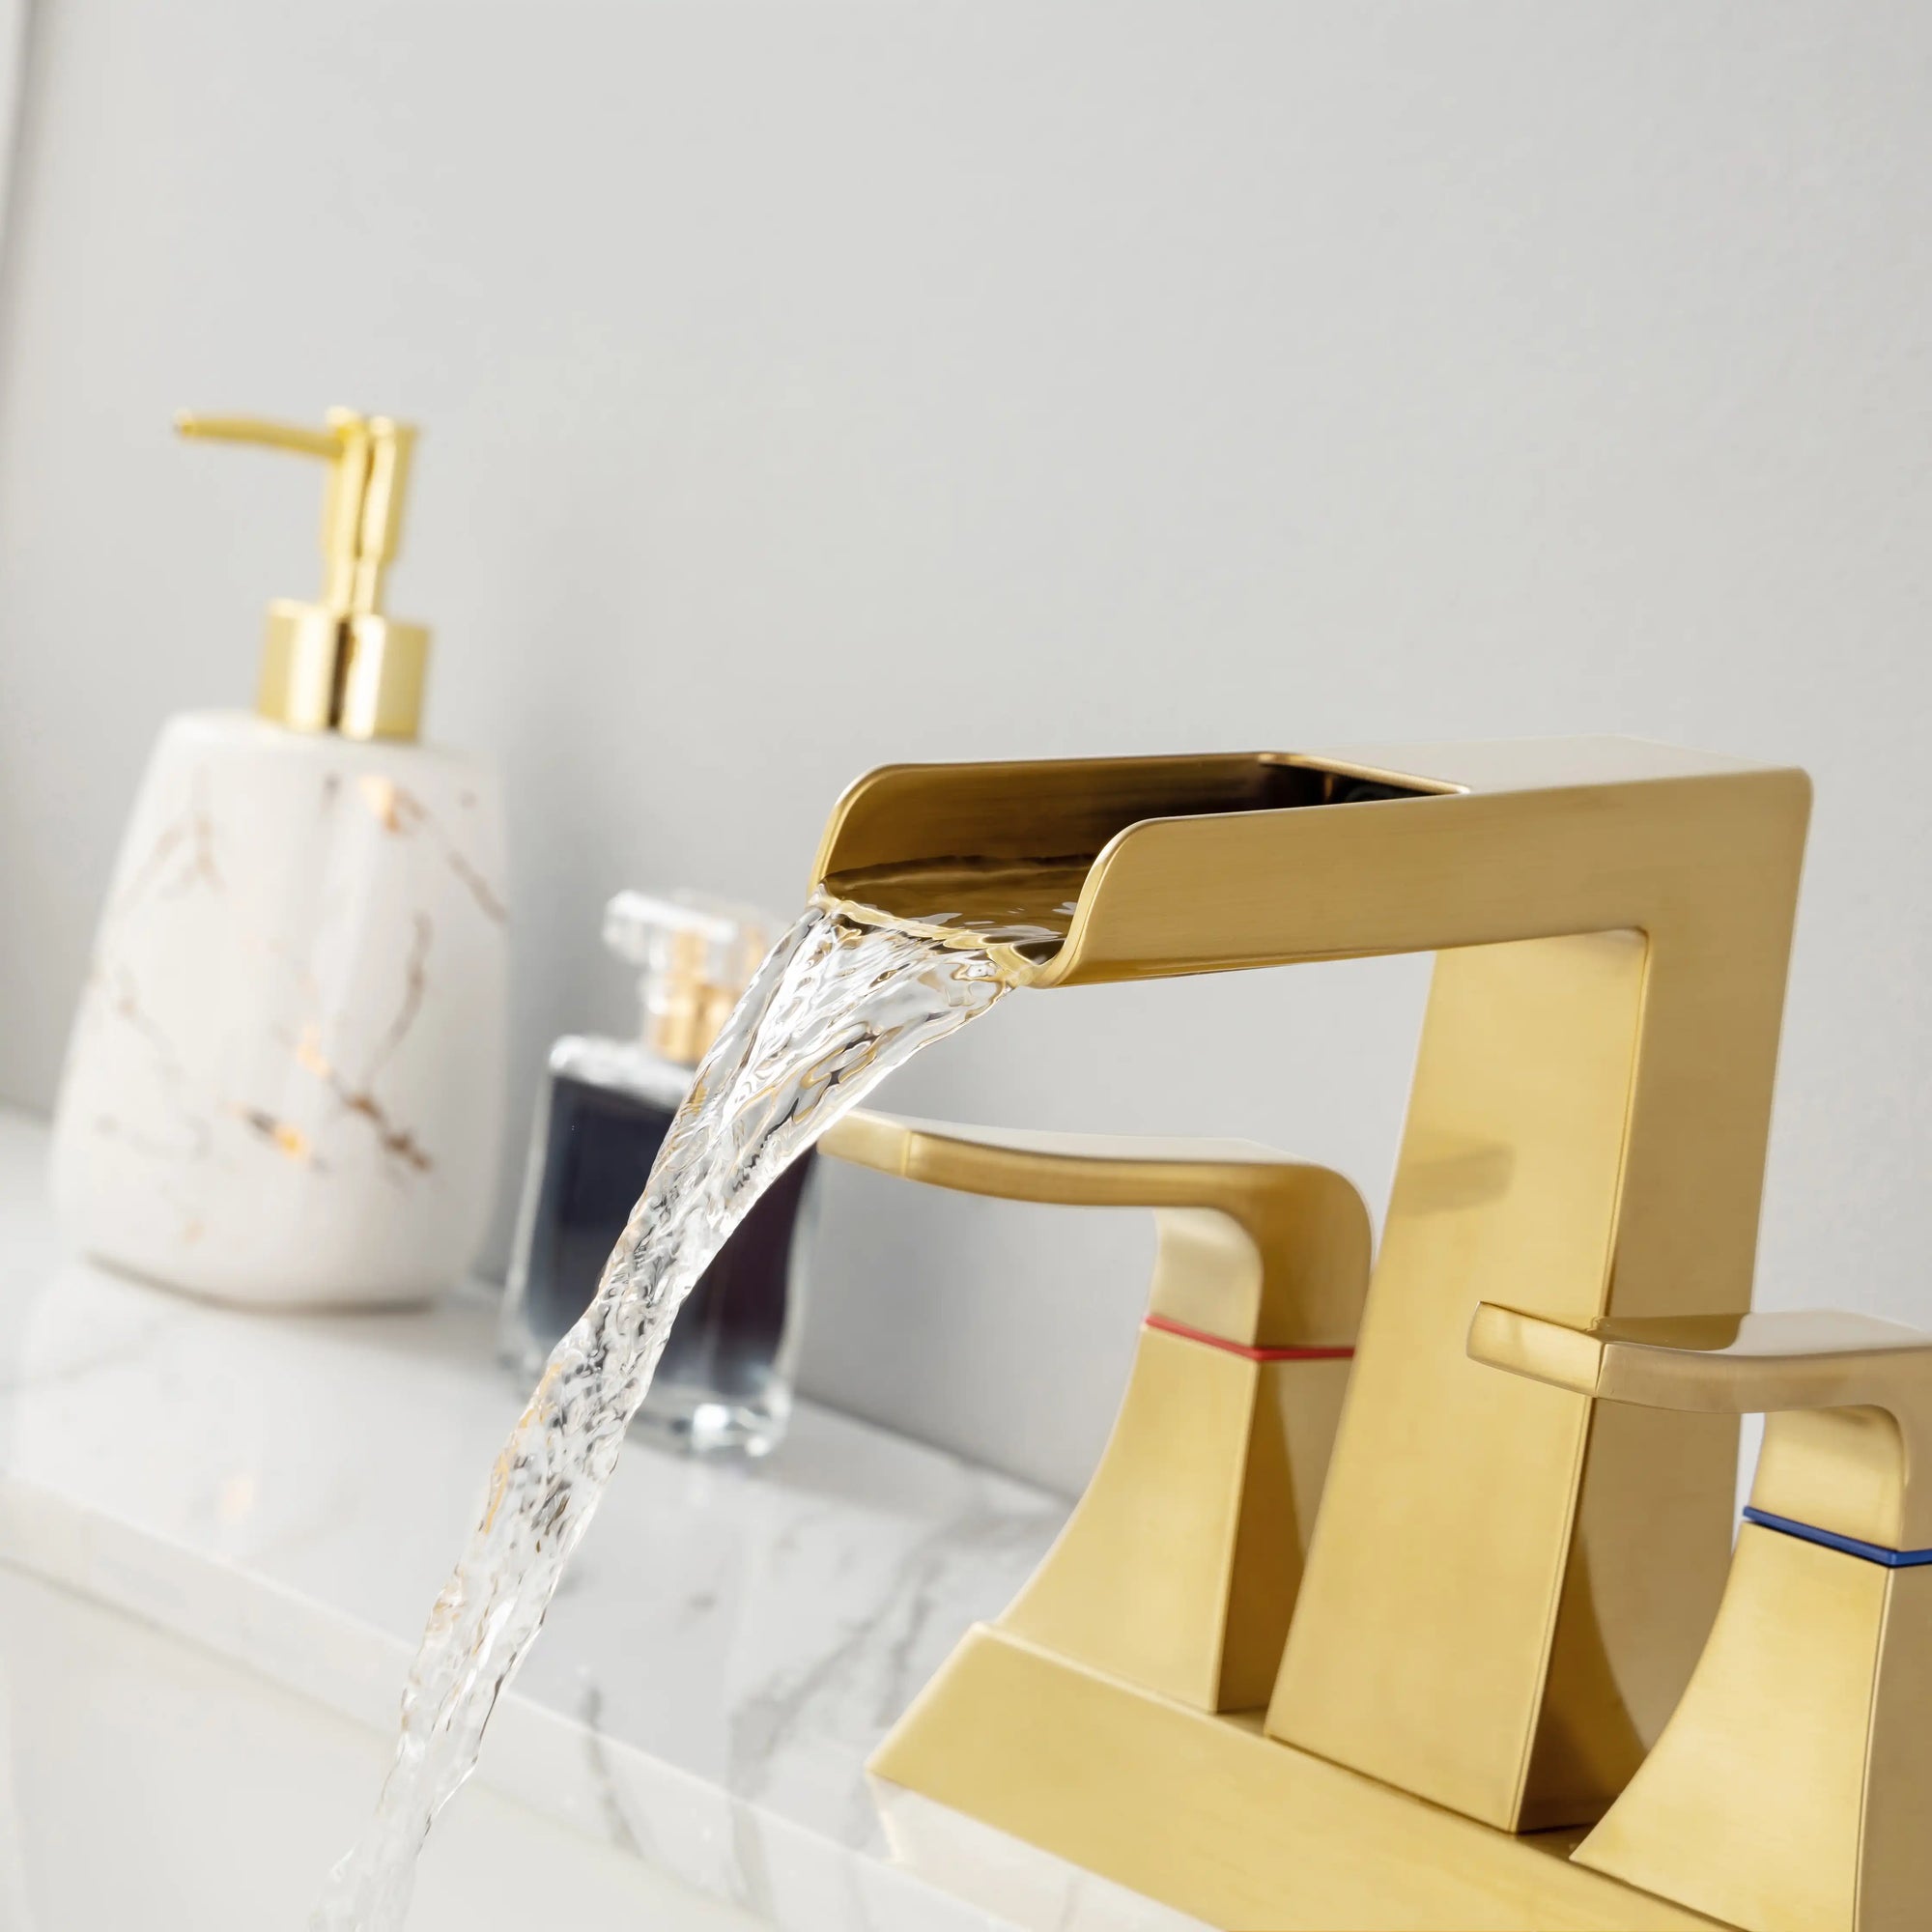
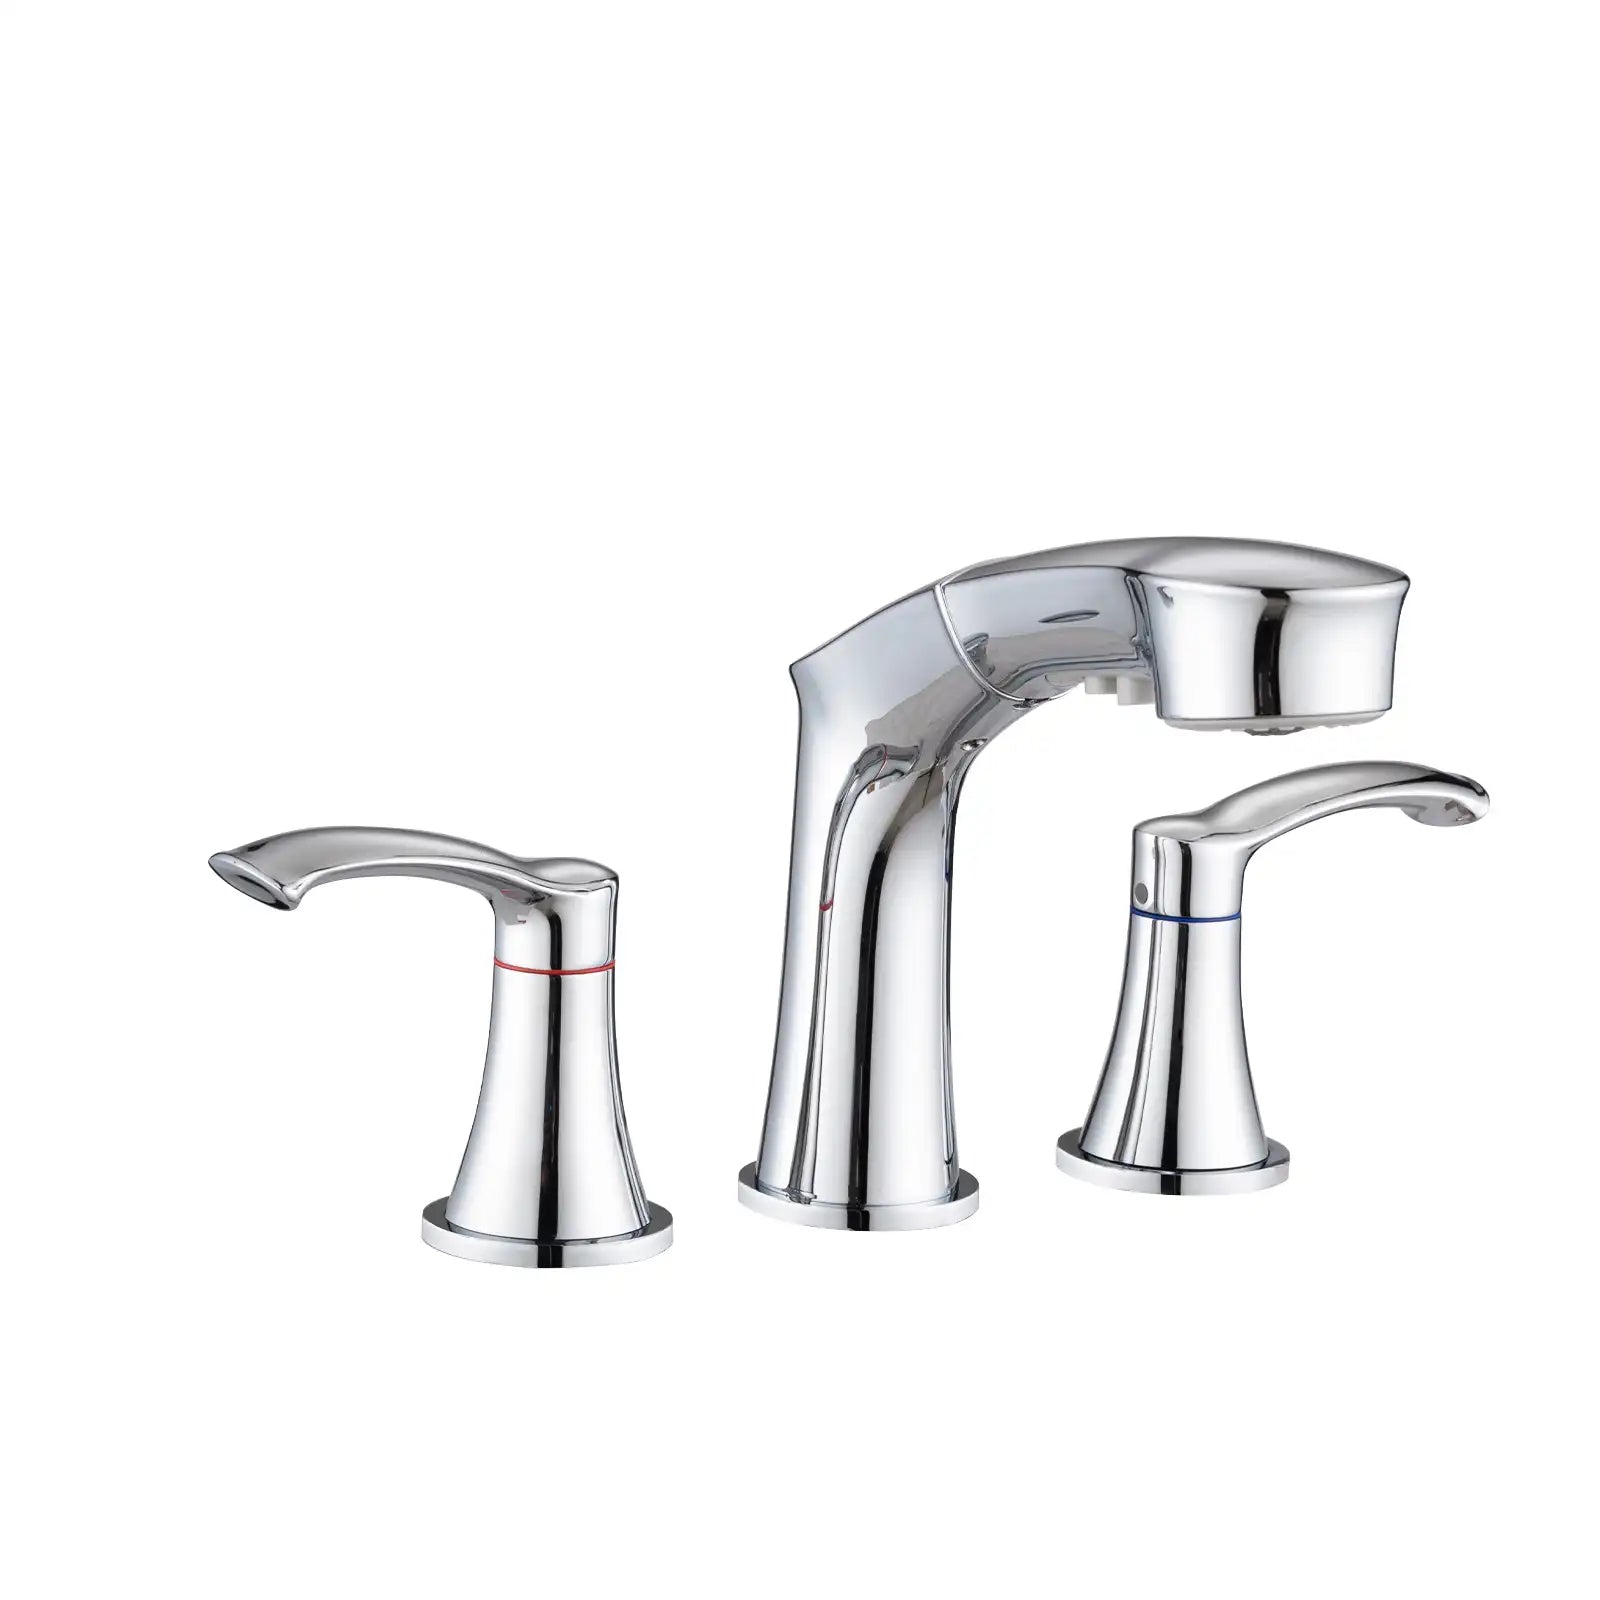
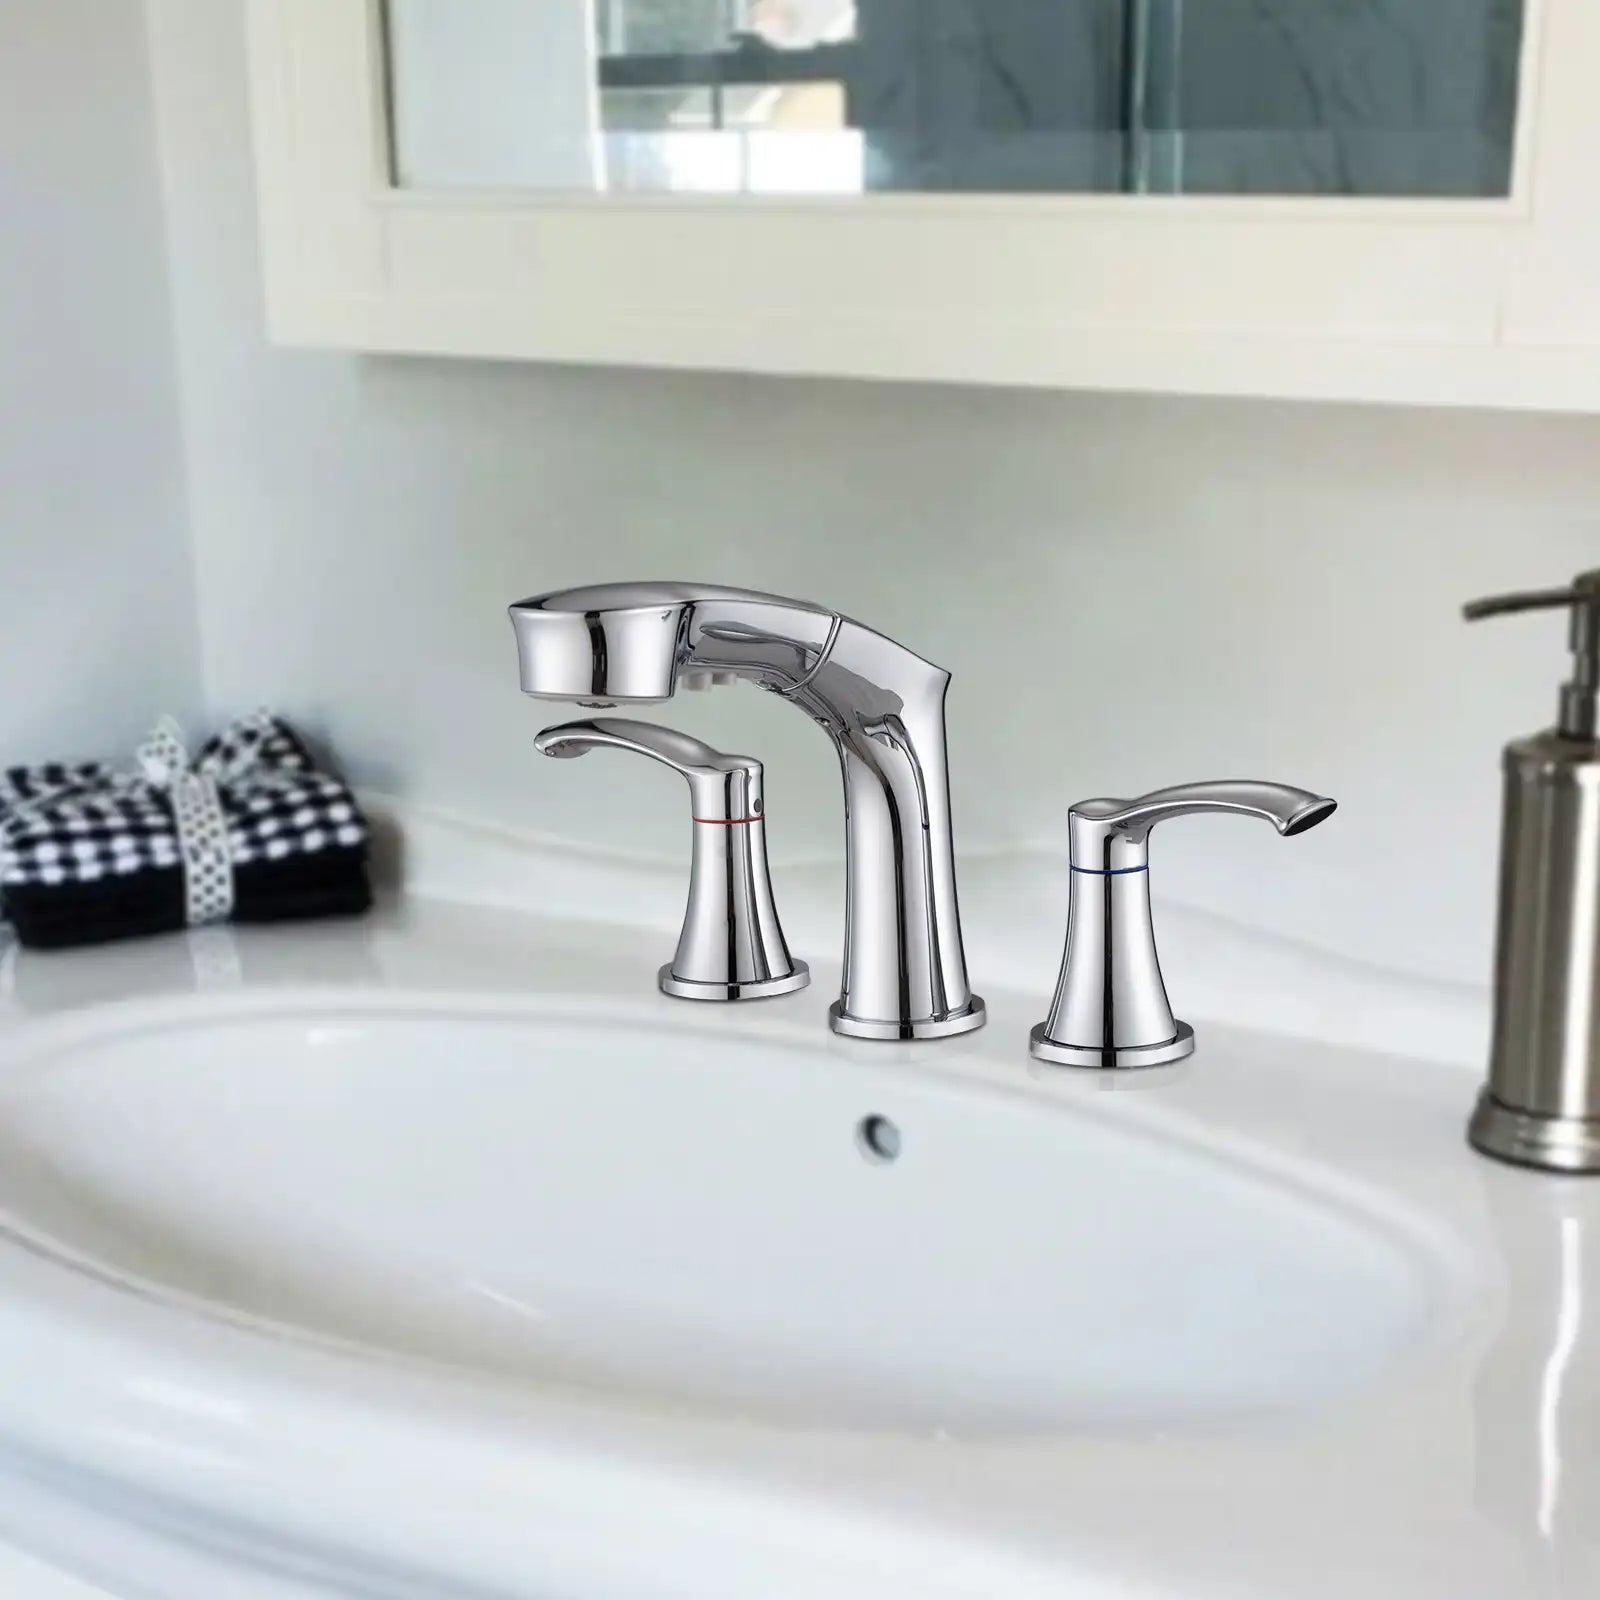
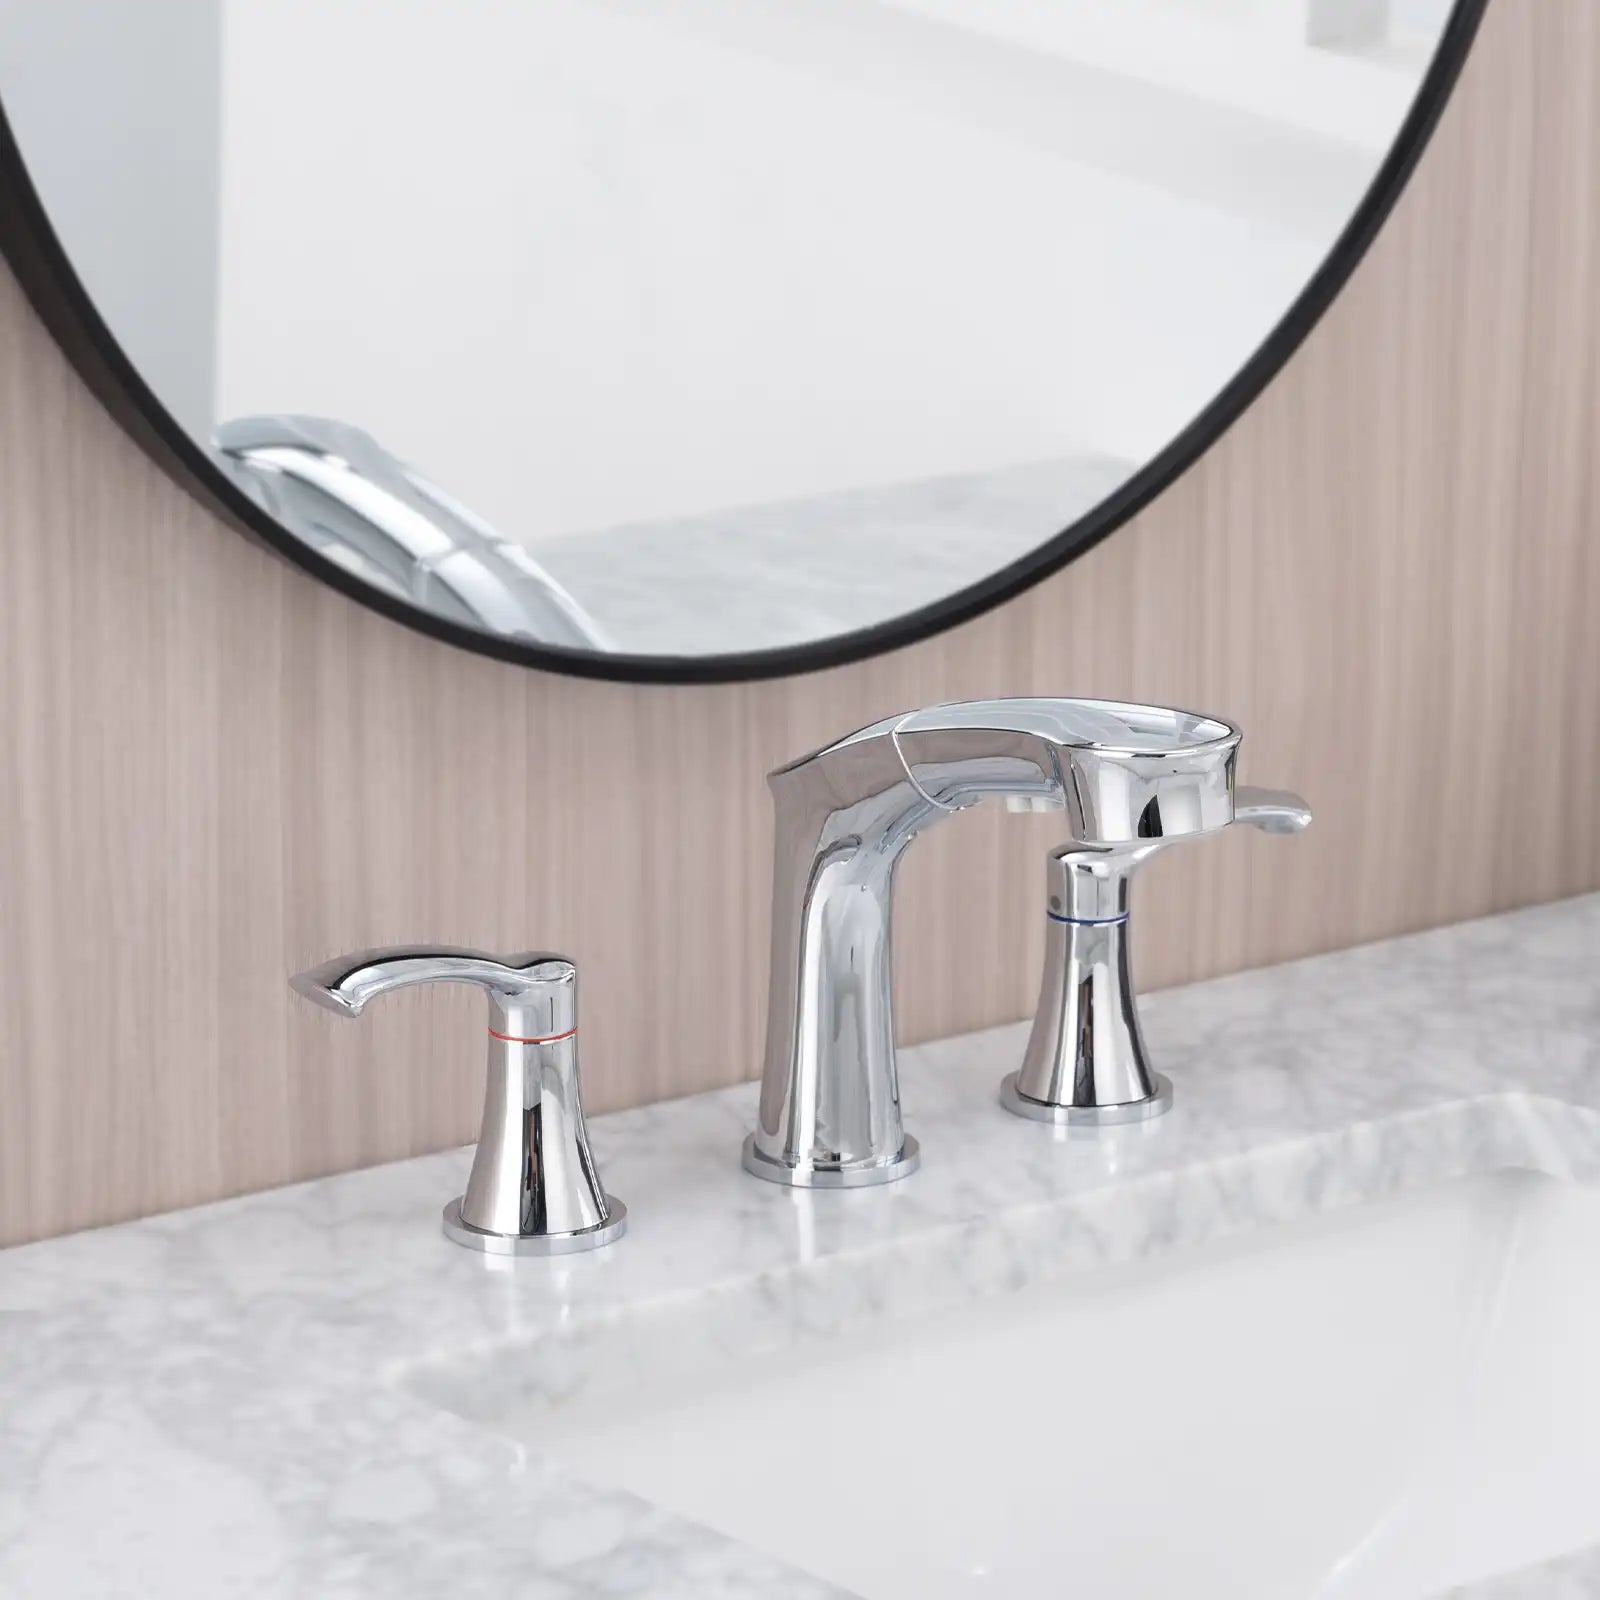
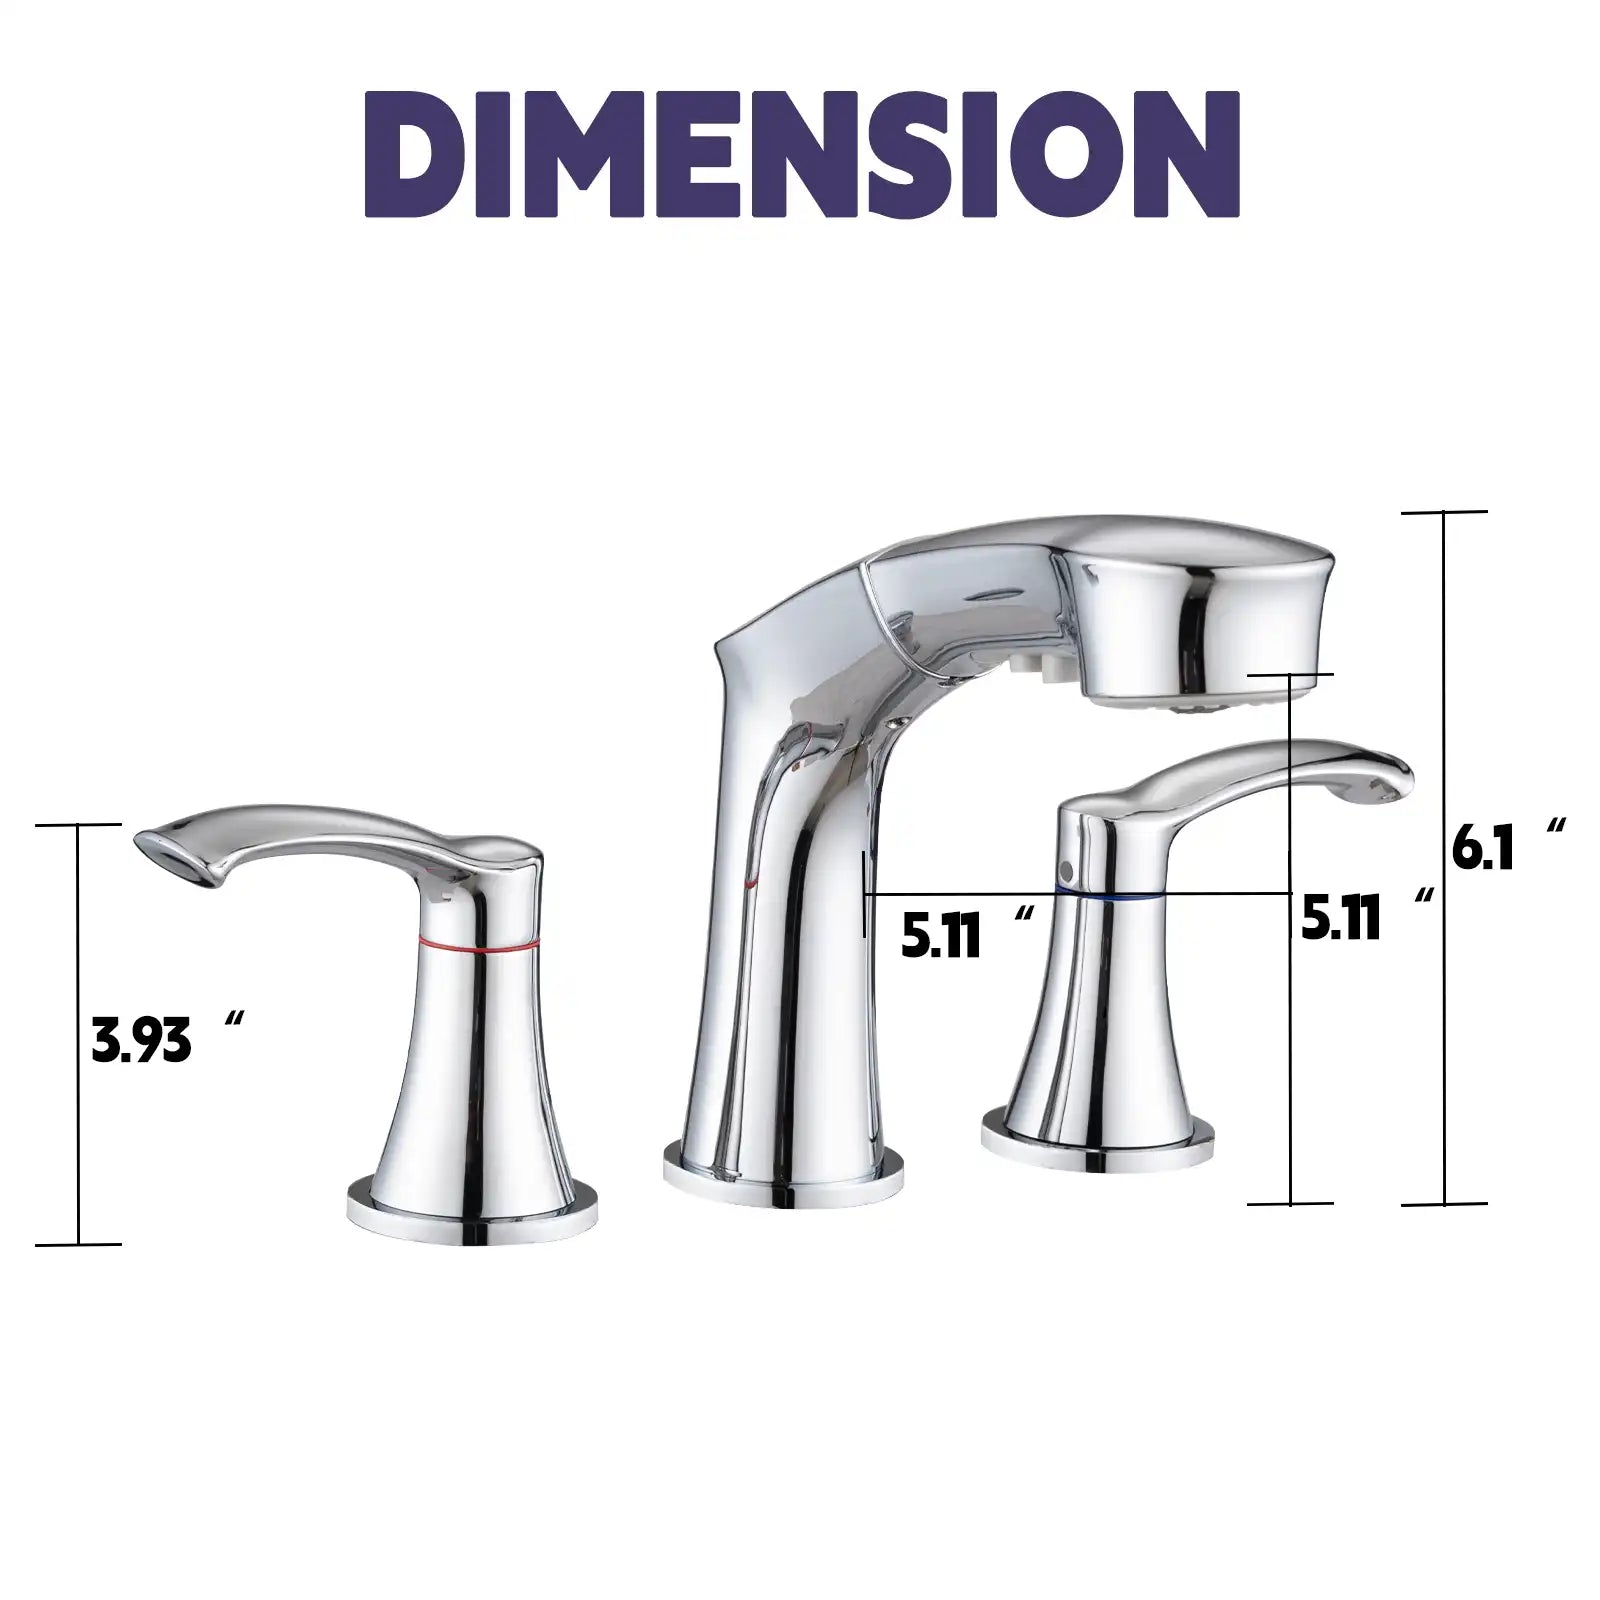
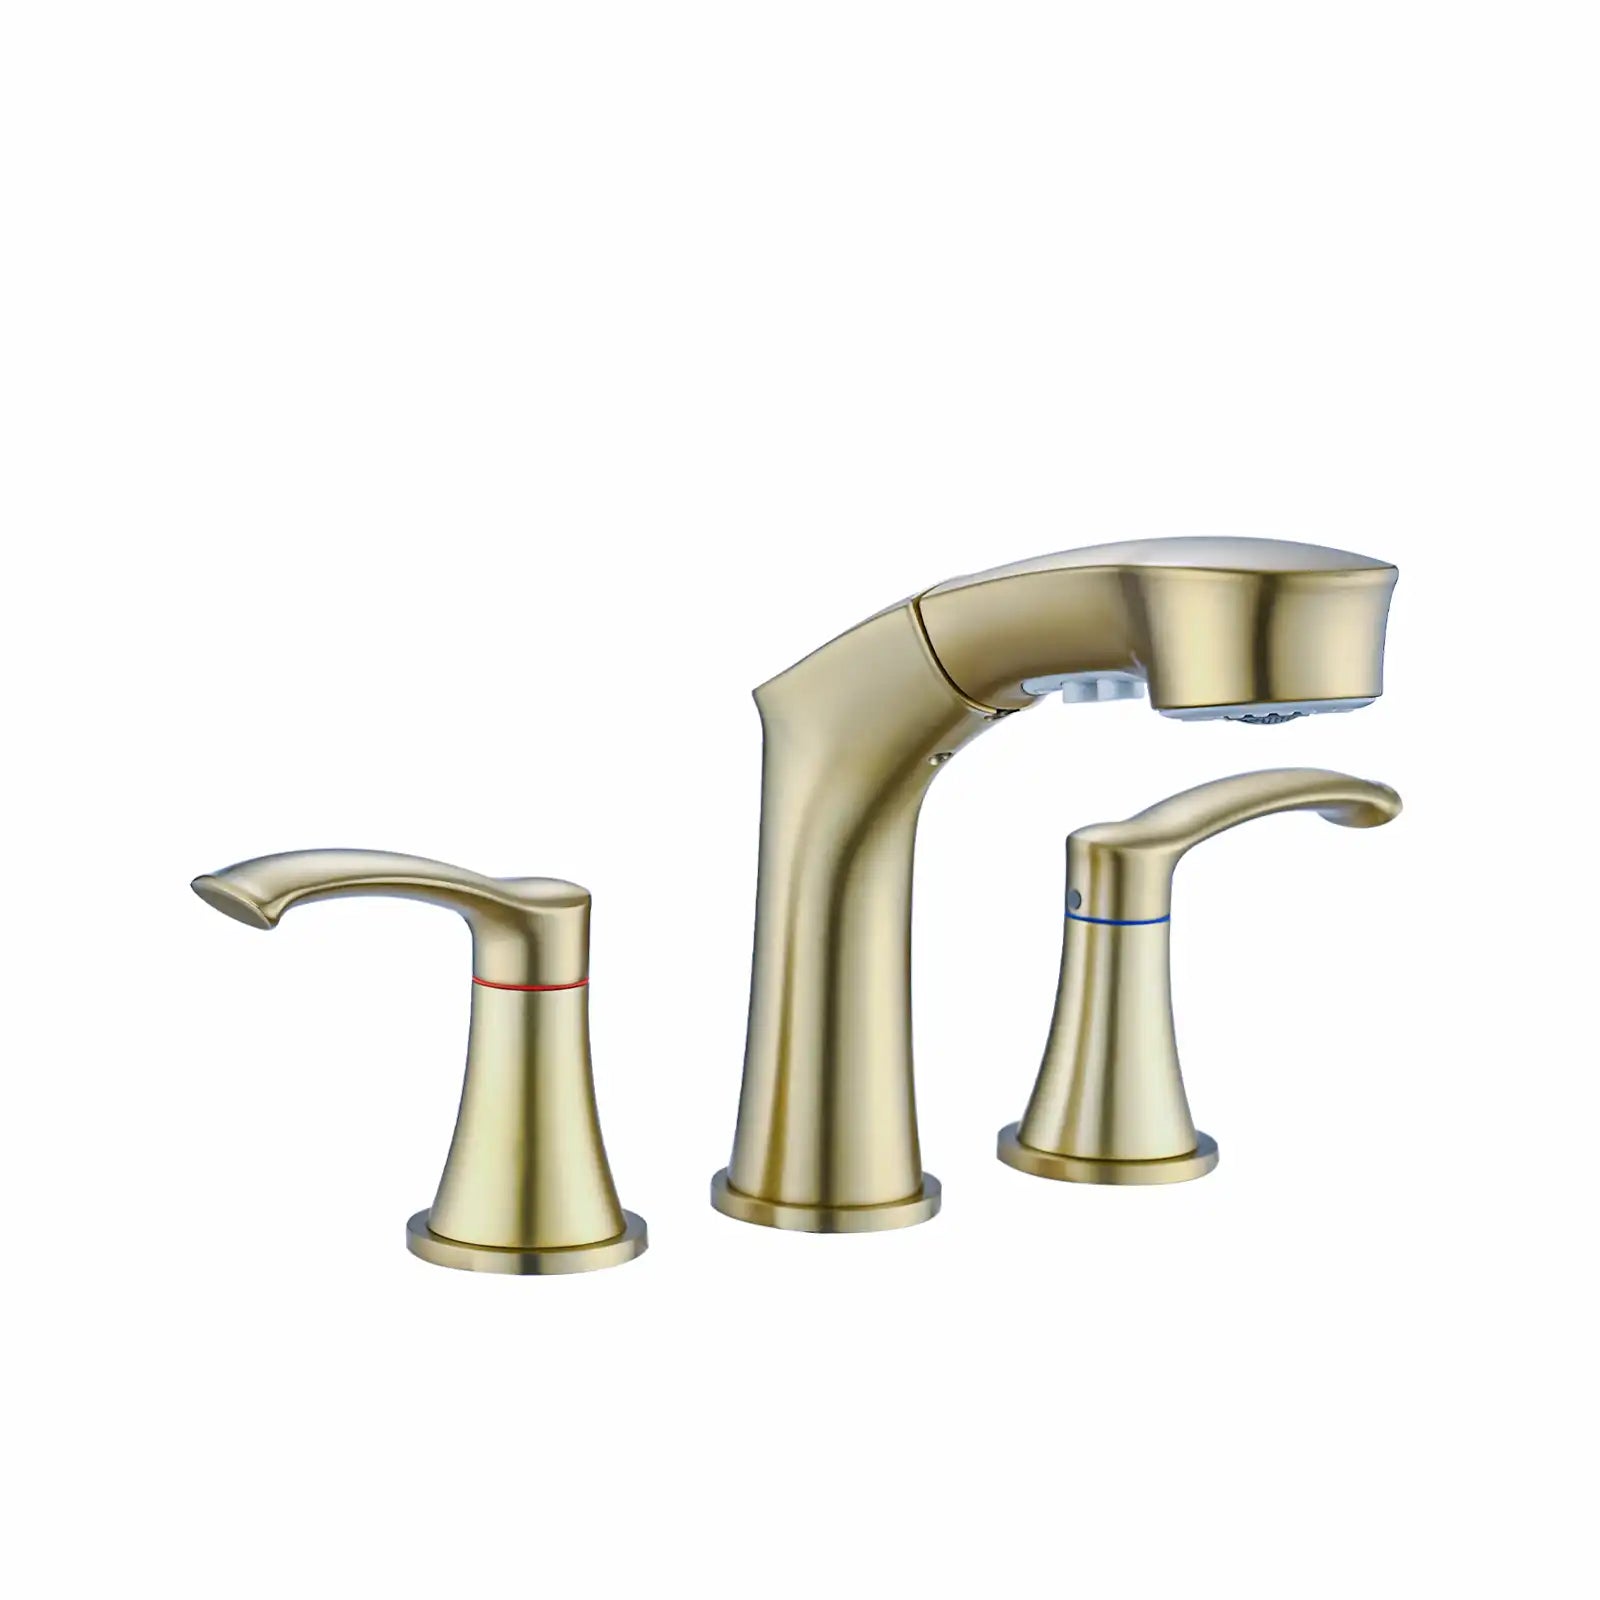
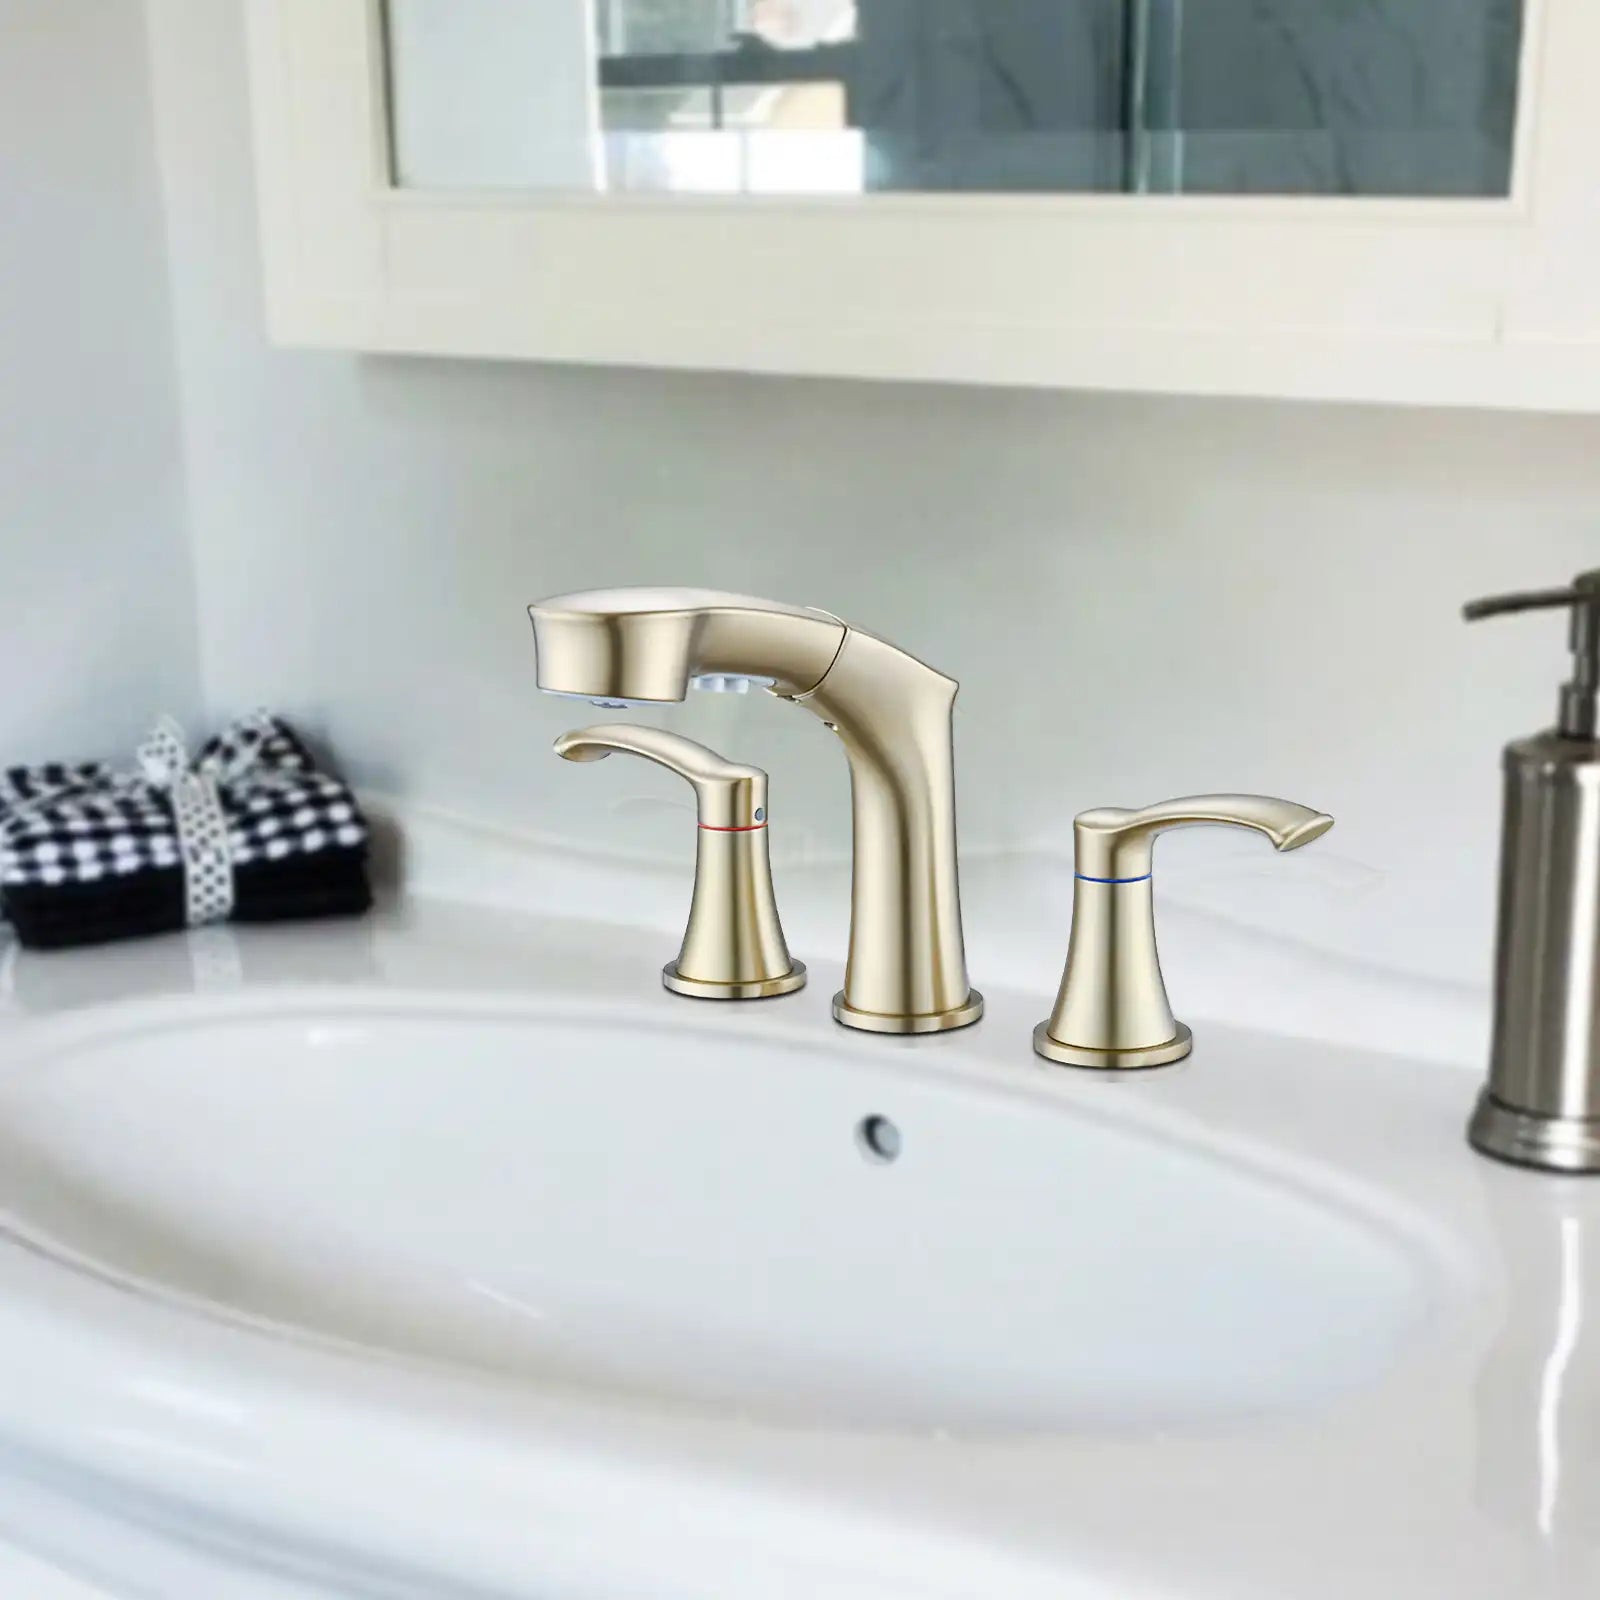
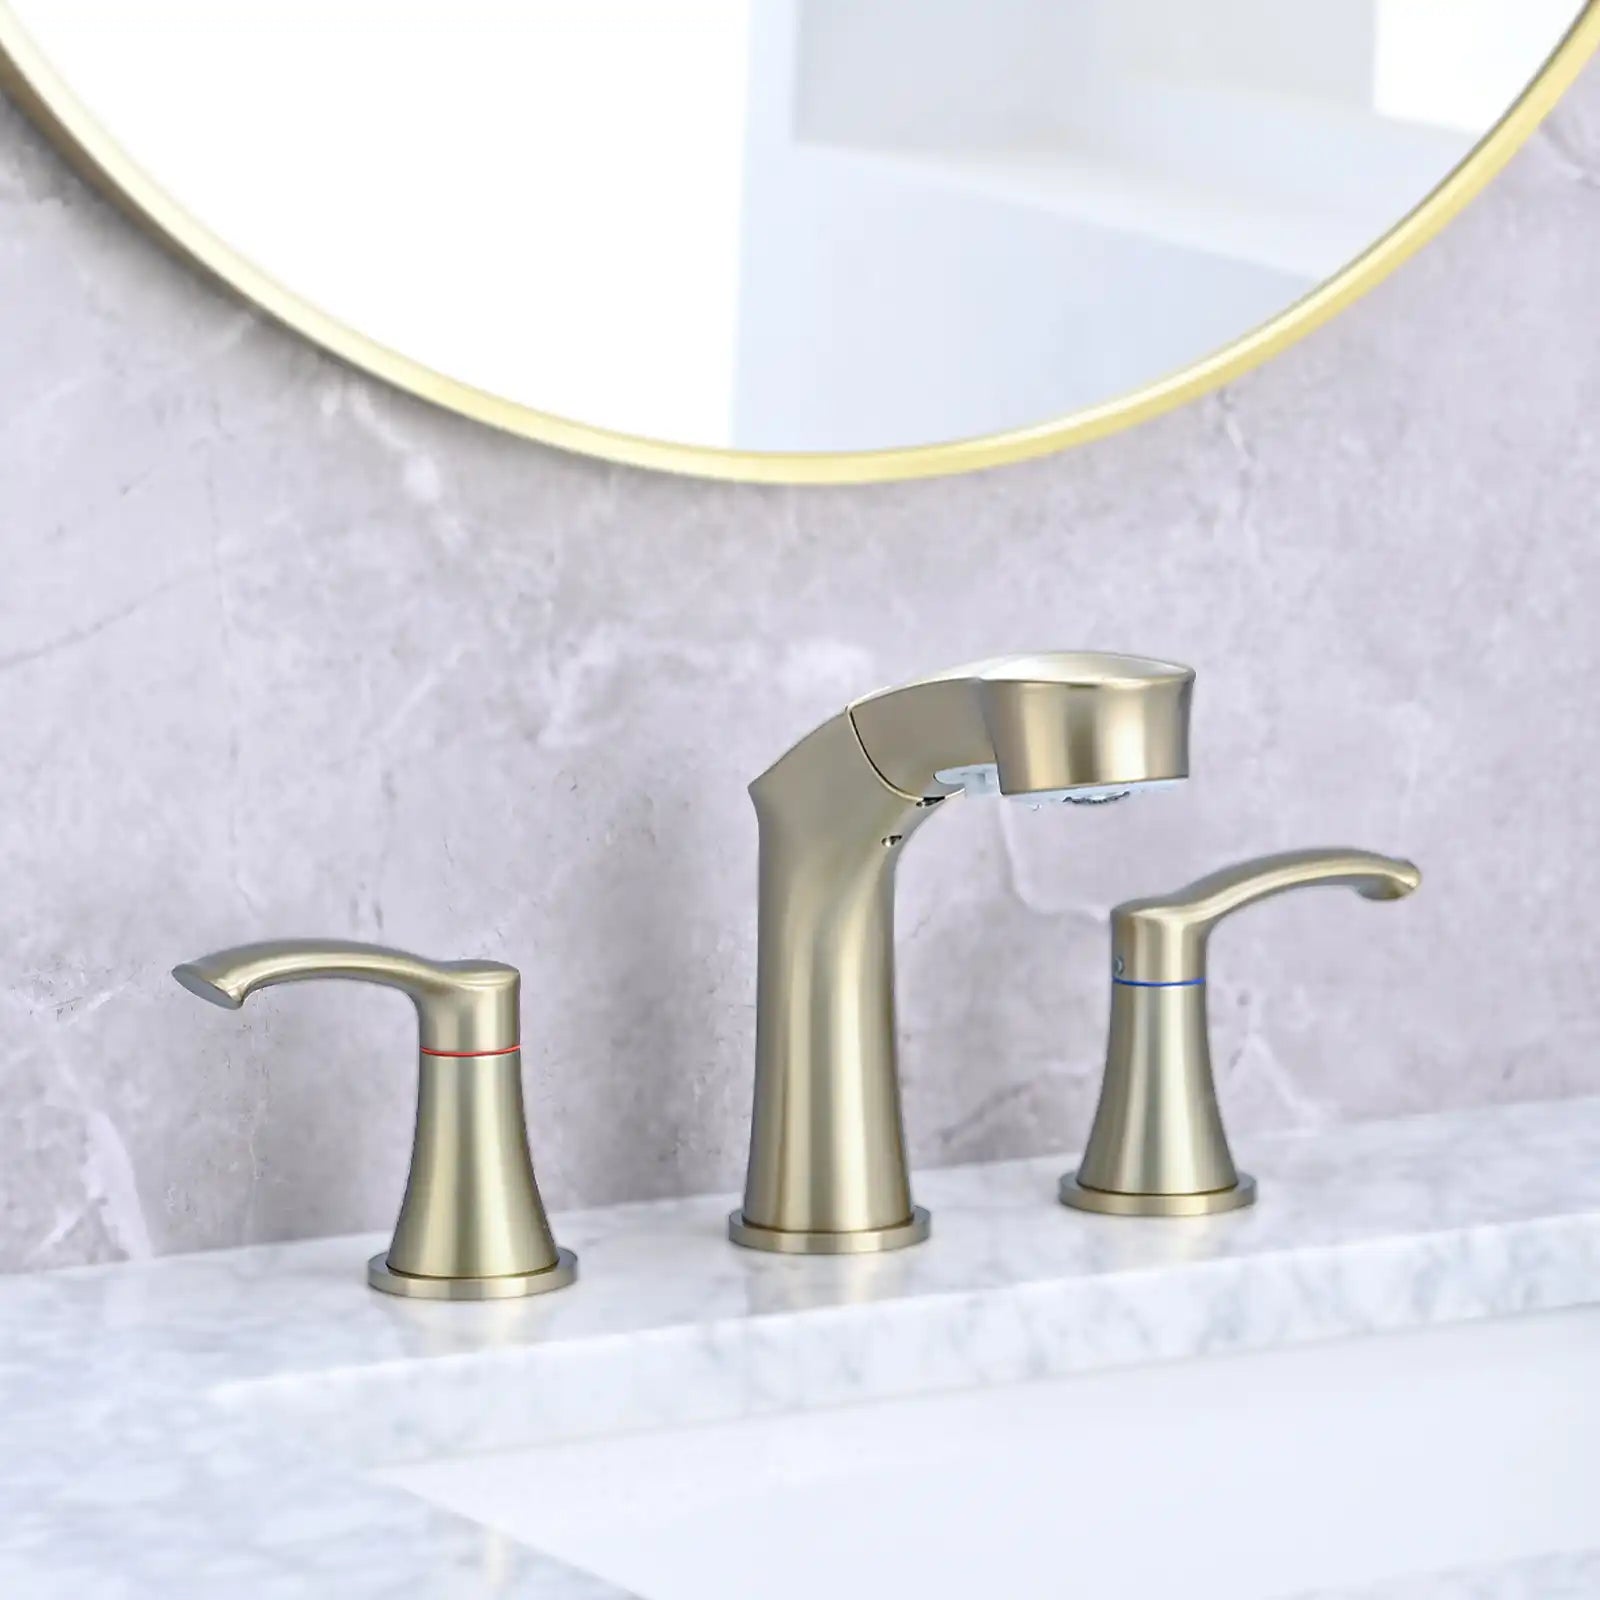
If you’re replacing the old faucet with a new one, follow the manufacturer’s instructions for installation. Consider upgrading to one of our stylish options like the F0178 Tom Faucet or the Brushed Gold Bathroom Faucet with Handheld Shower to enhance your bathroom’s look.
Common Challenges and Solutions

Stuck Screws or Bolts
If you encounter stuck screws or bolts, apply penetrating oil like WD-40 and let it sit for a few minutes. This should loosen the screws, making them easier to remove.
Leaks After Installation
If you notice leaks after installing the new faucet, check the connections to ensure they are tight and properly sealed. Use plumber’s tape on the threads to prevent leaks.
Damaged Pipes
Inspect the pipes for any damage during the removal process. If you notice any cracks or wear, it may be necessary to replace the affected sections of pipe to prevent future issues.
Replacement Options: Enhancing Your Bathroom

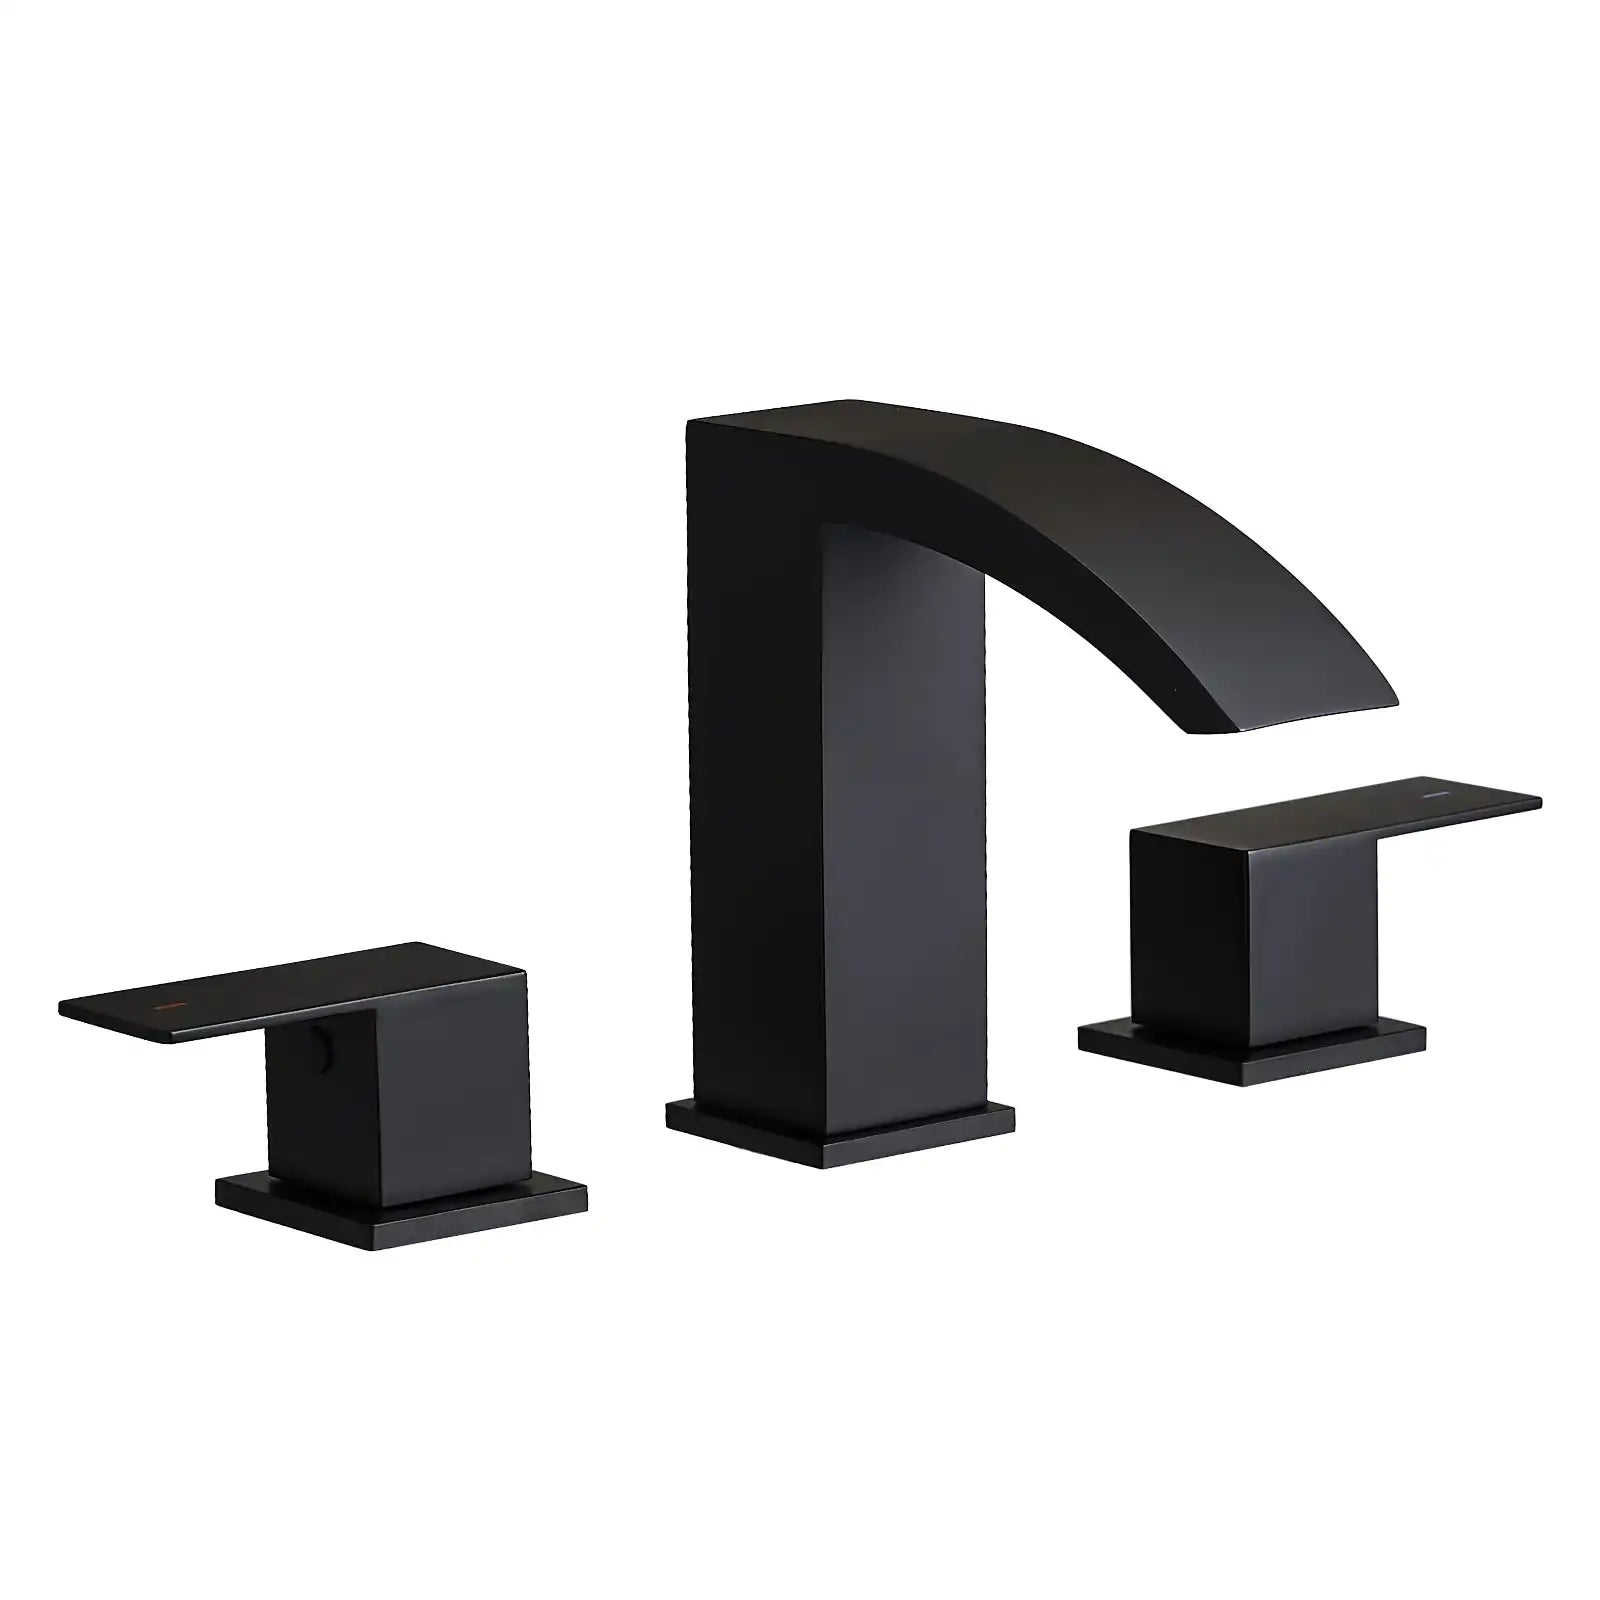
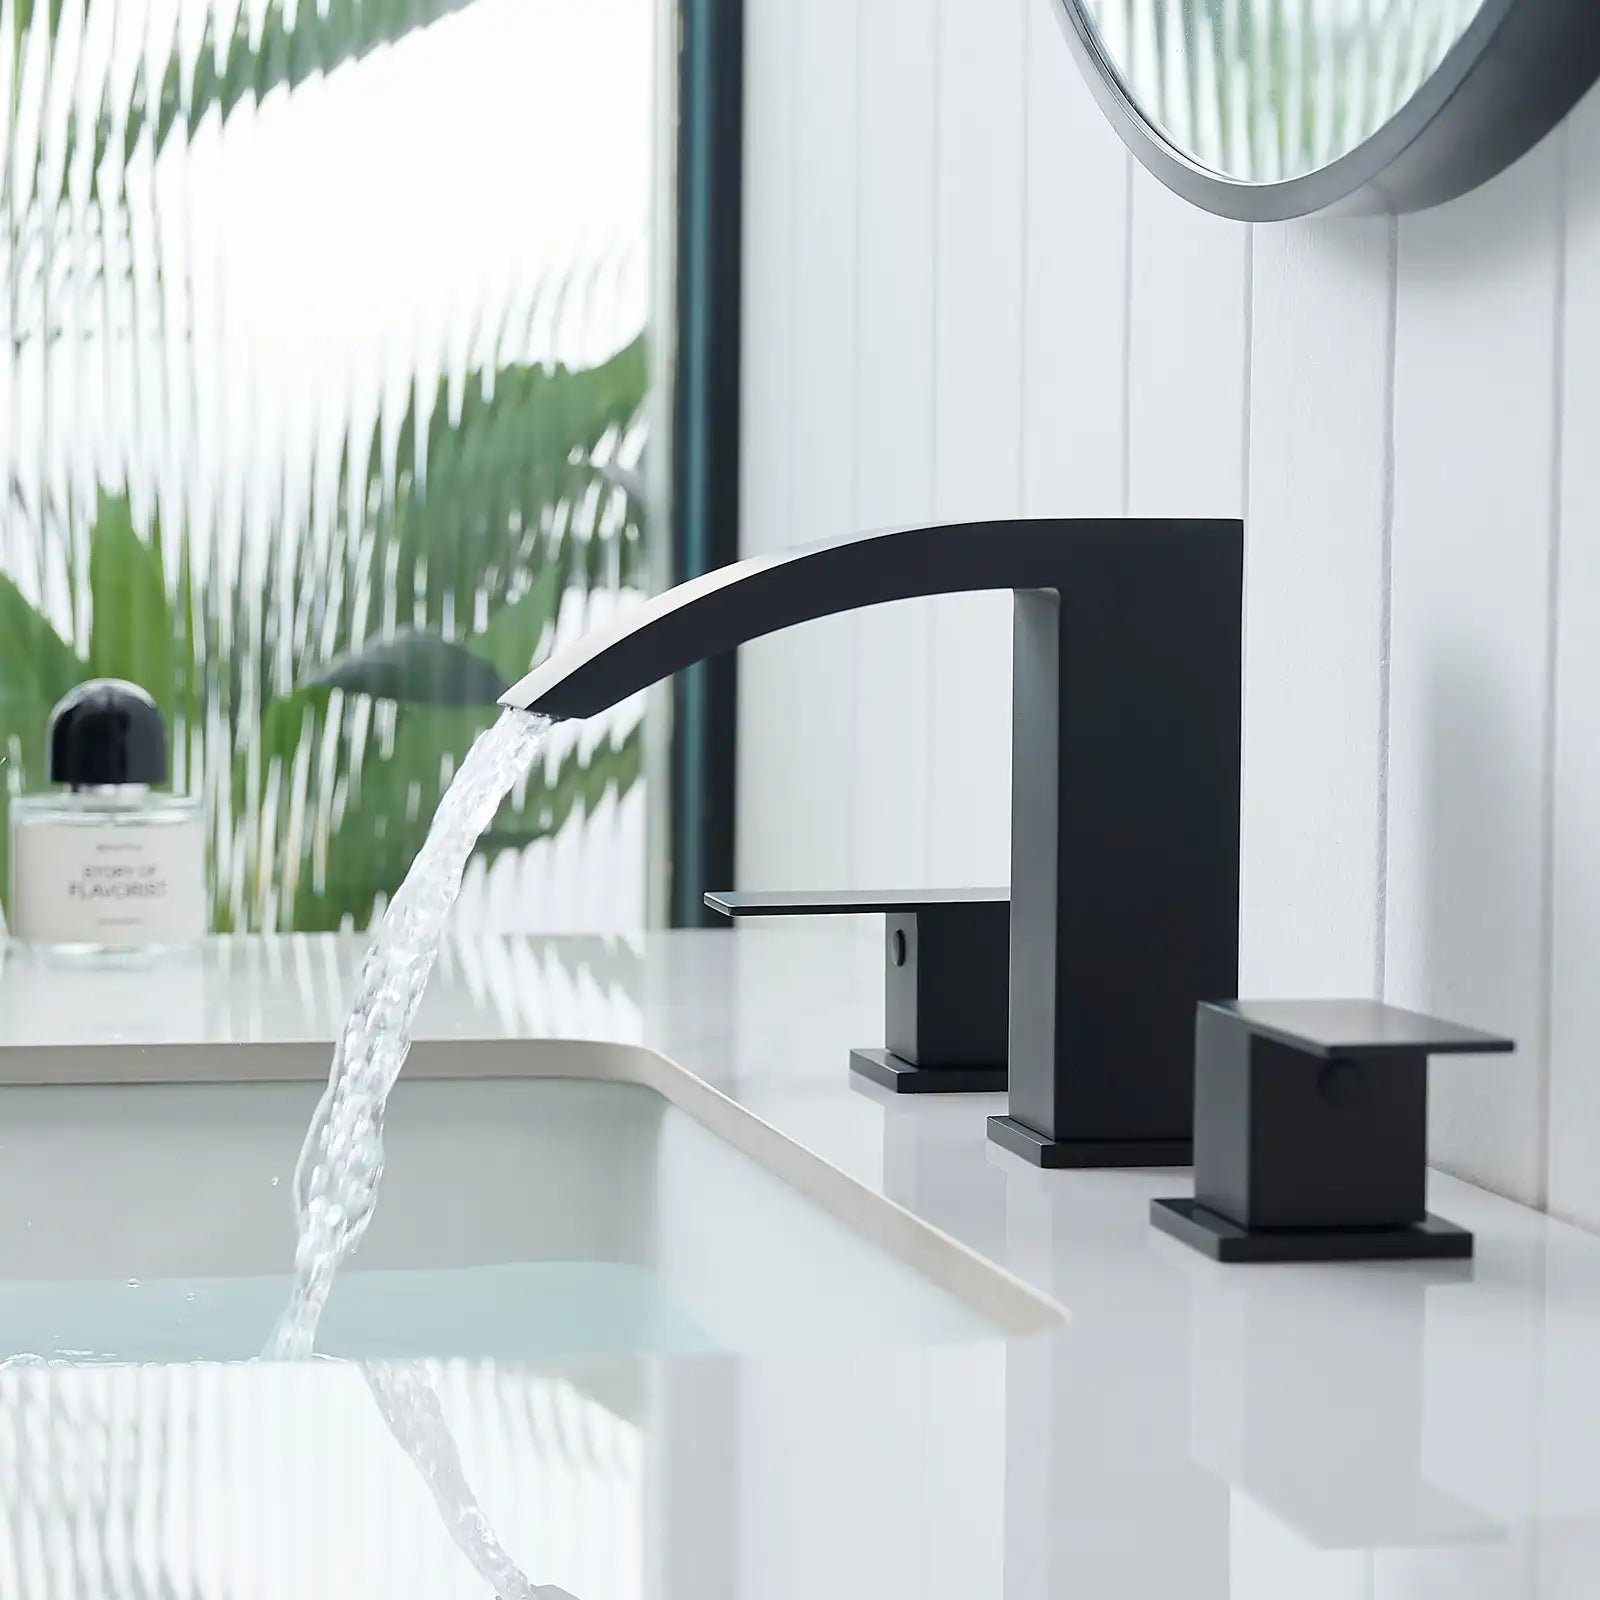
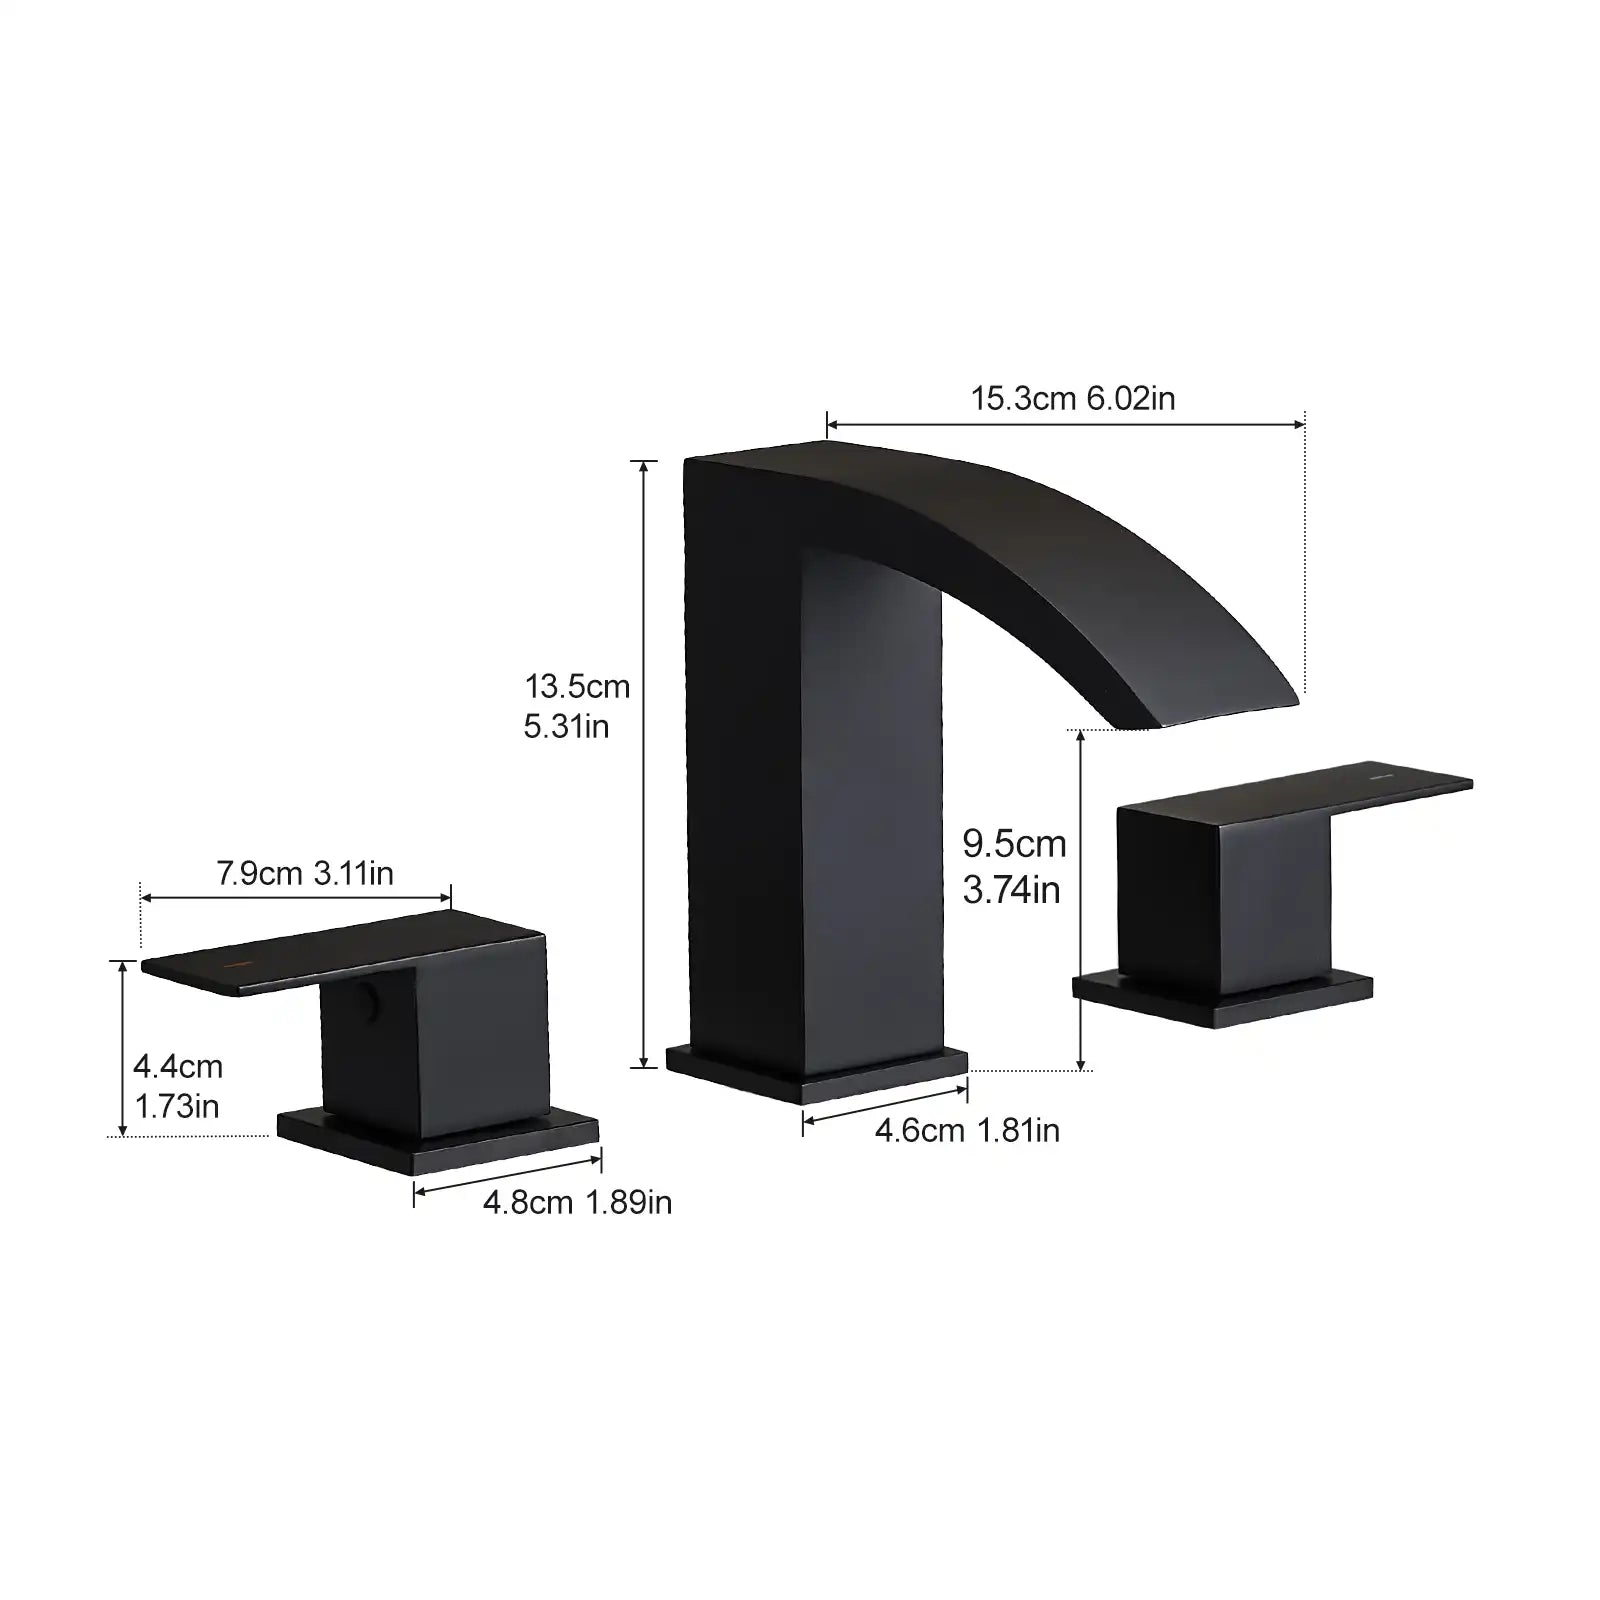
F0178 Tom Faucet
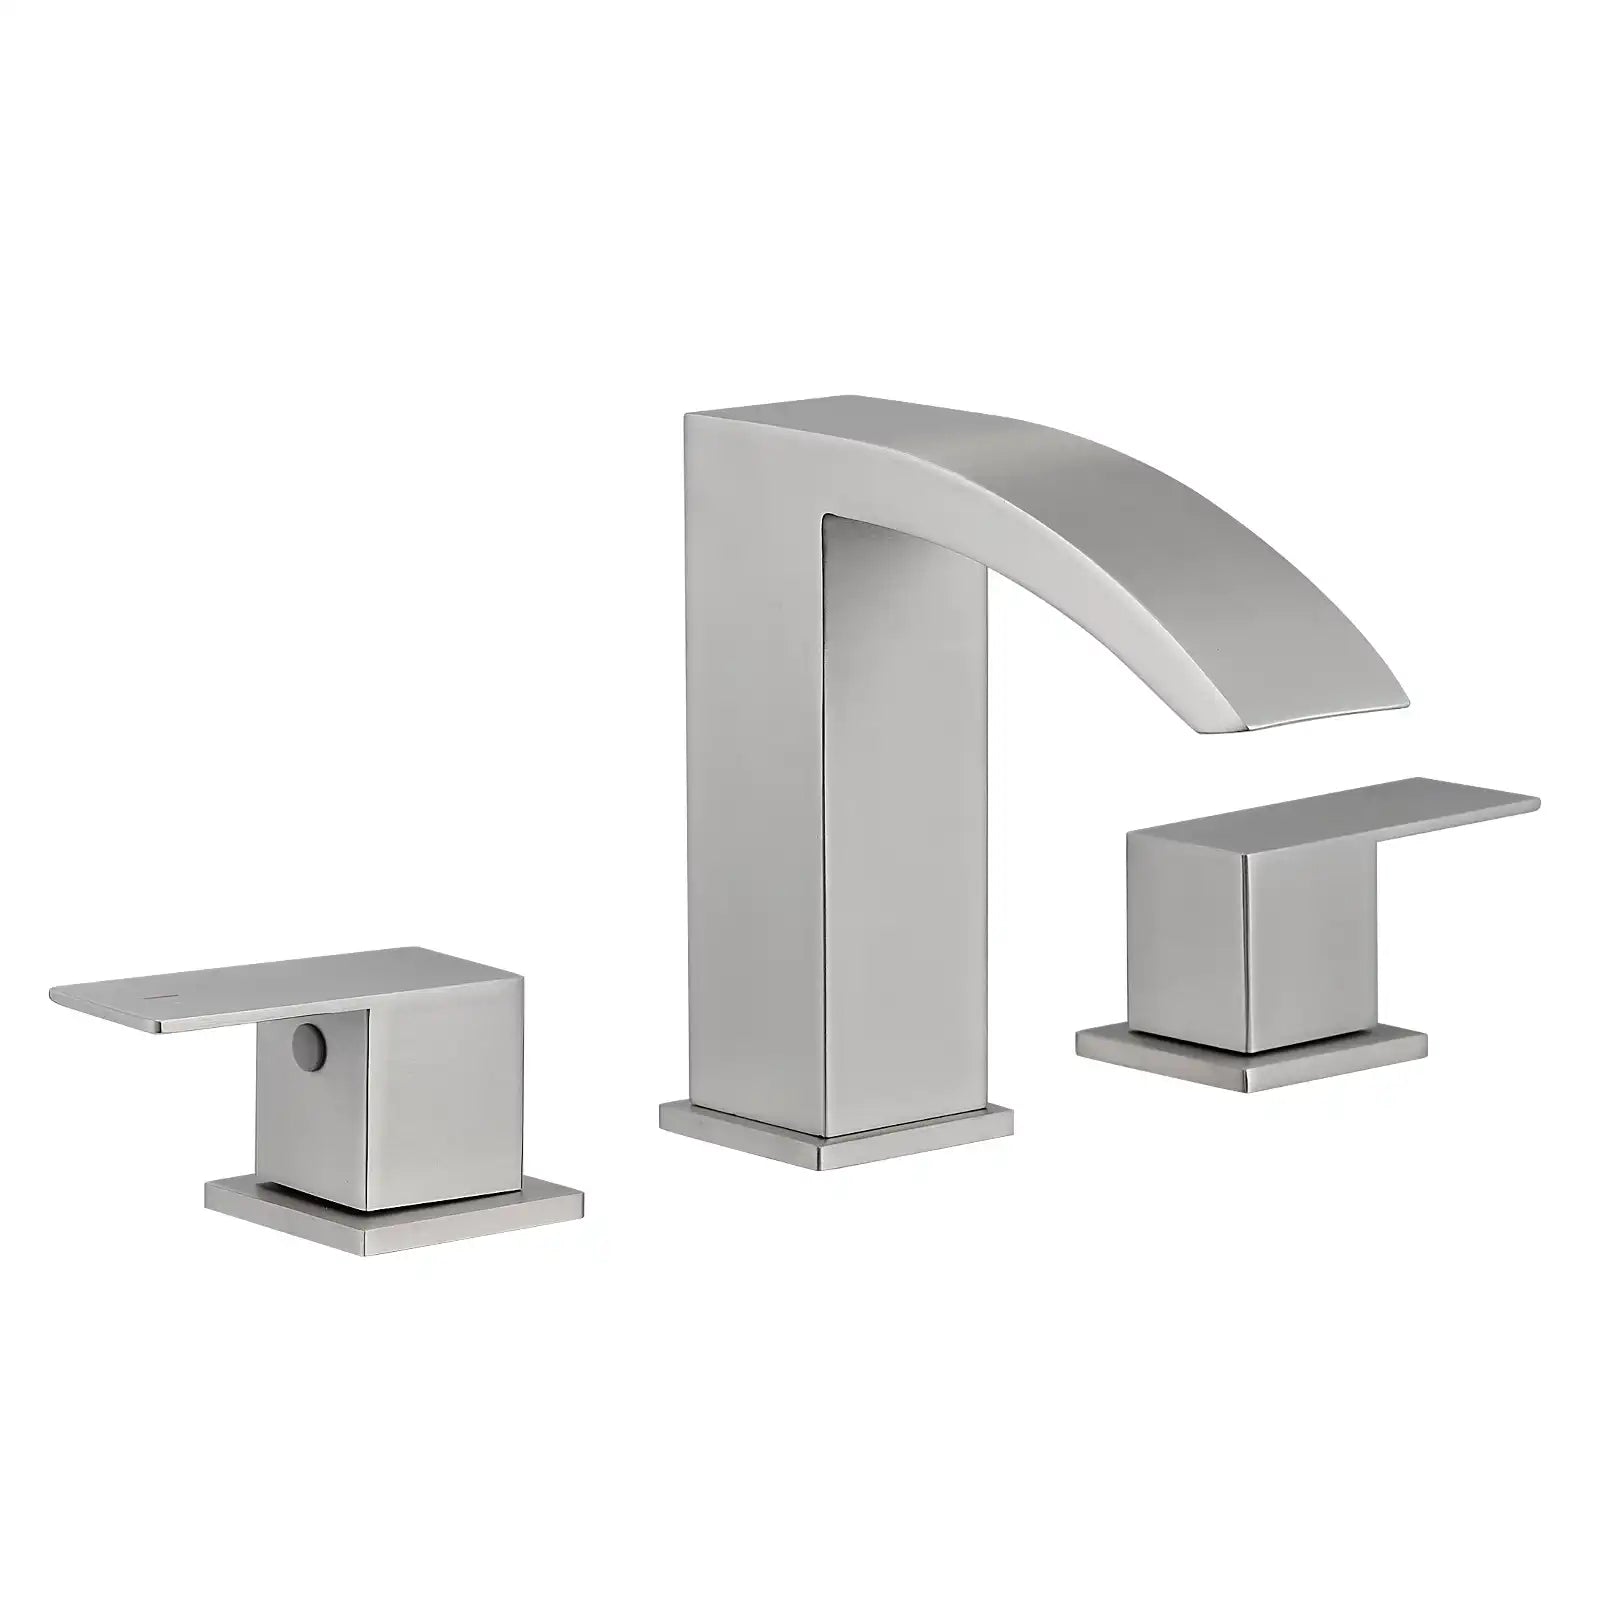
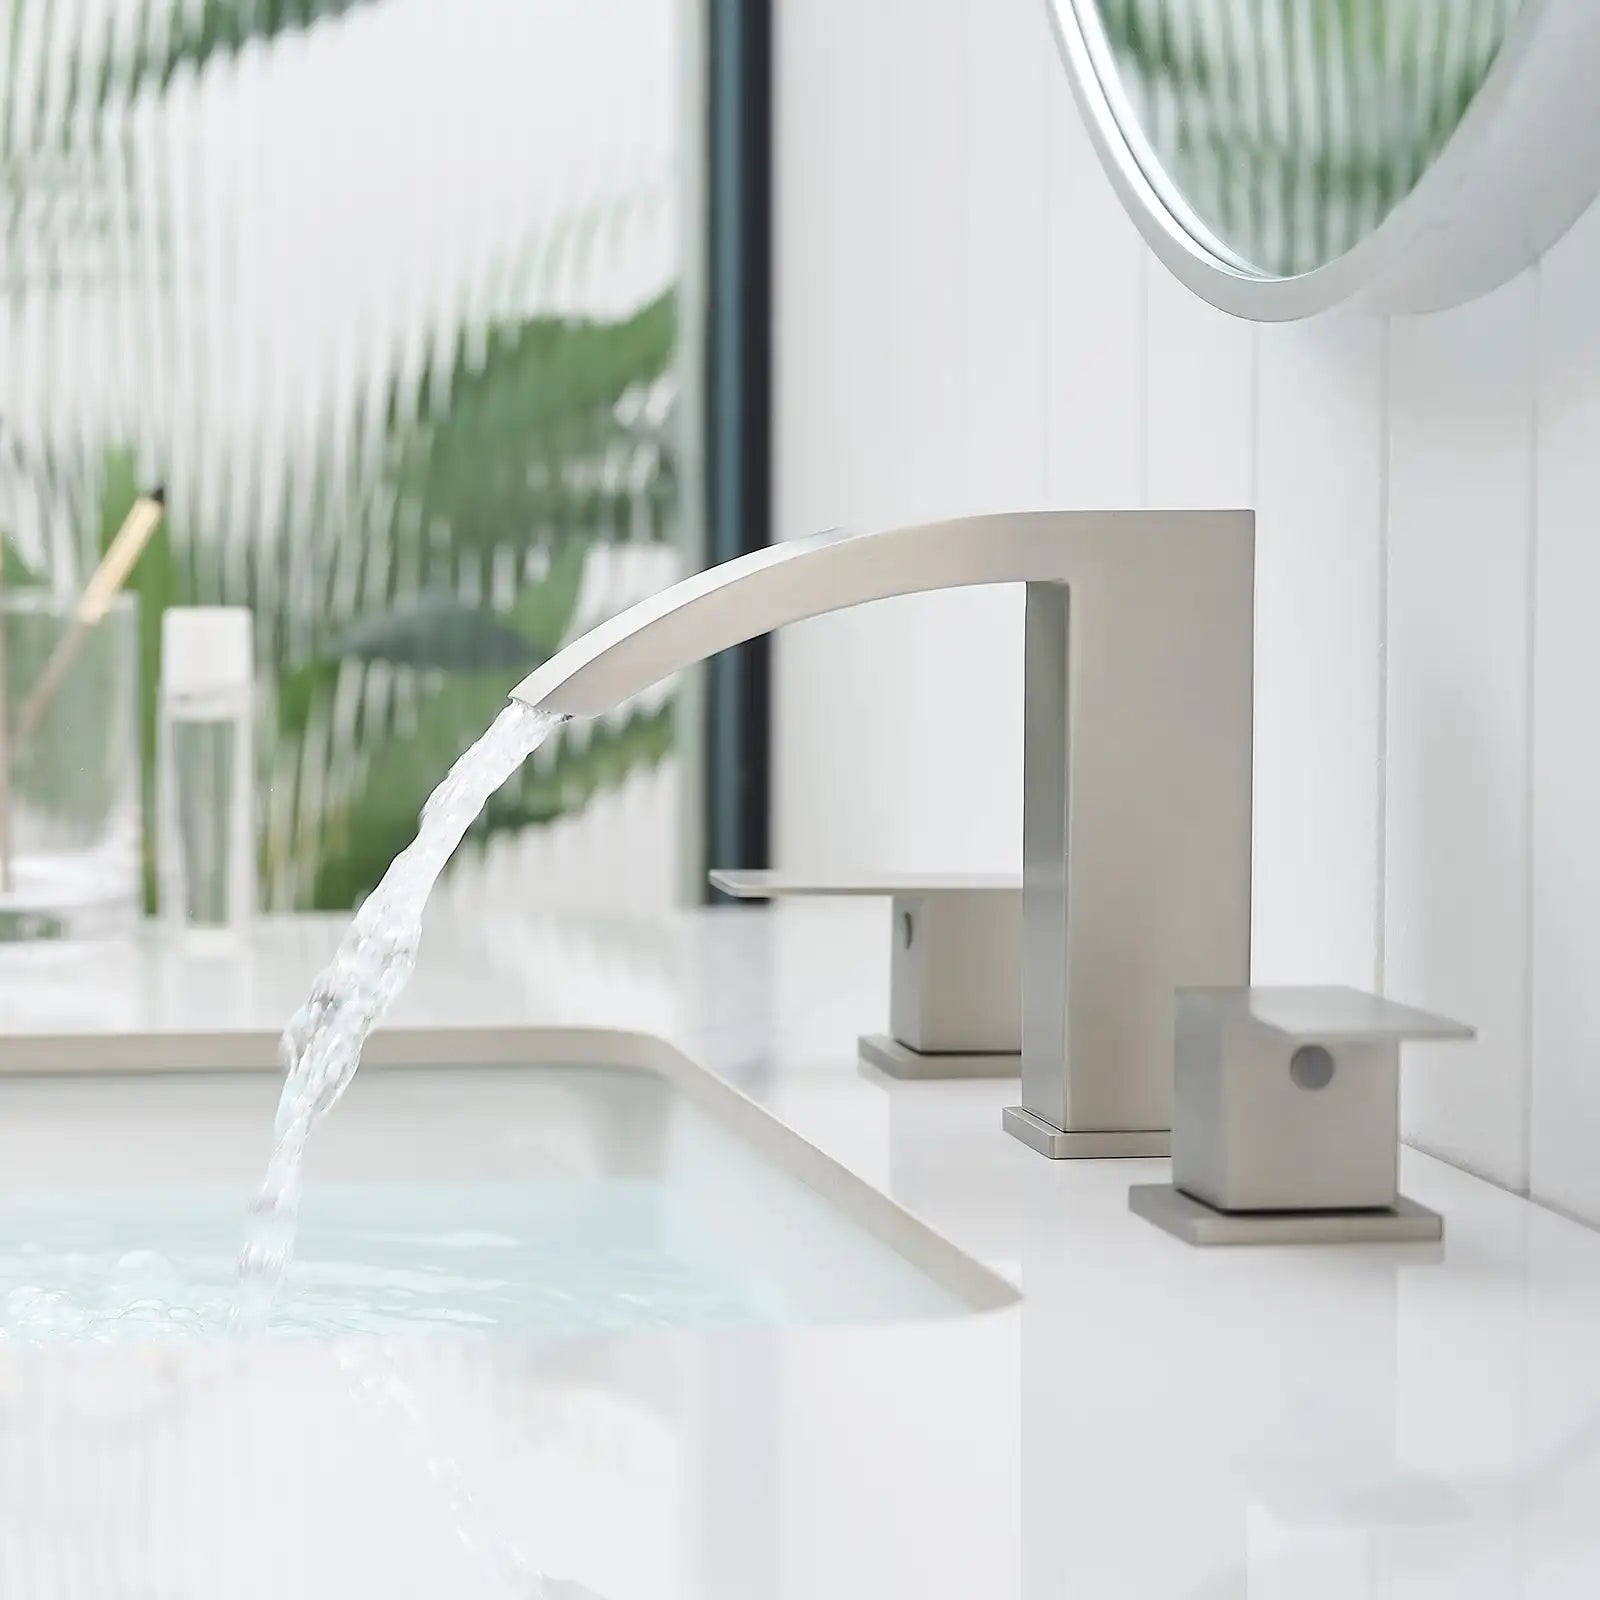
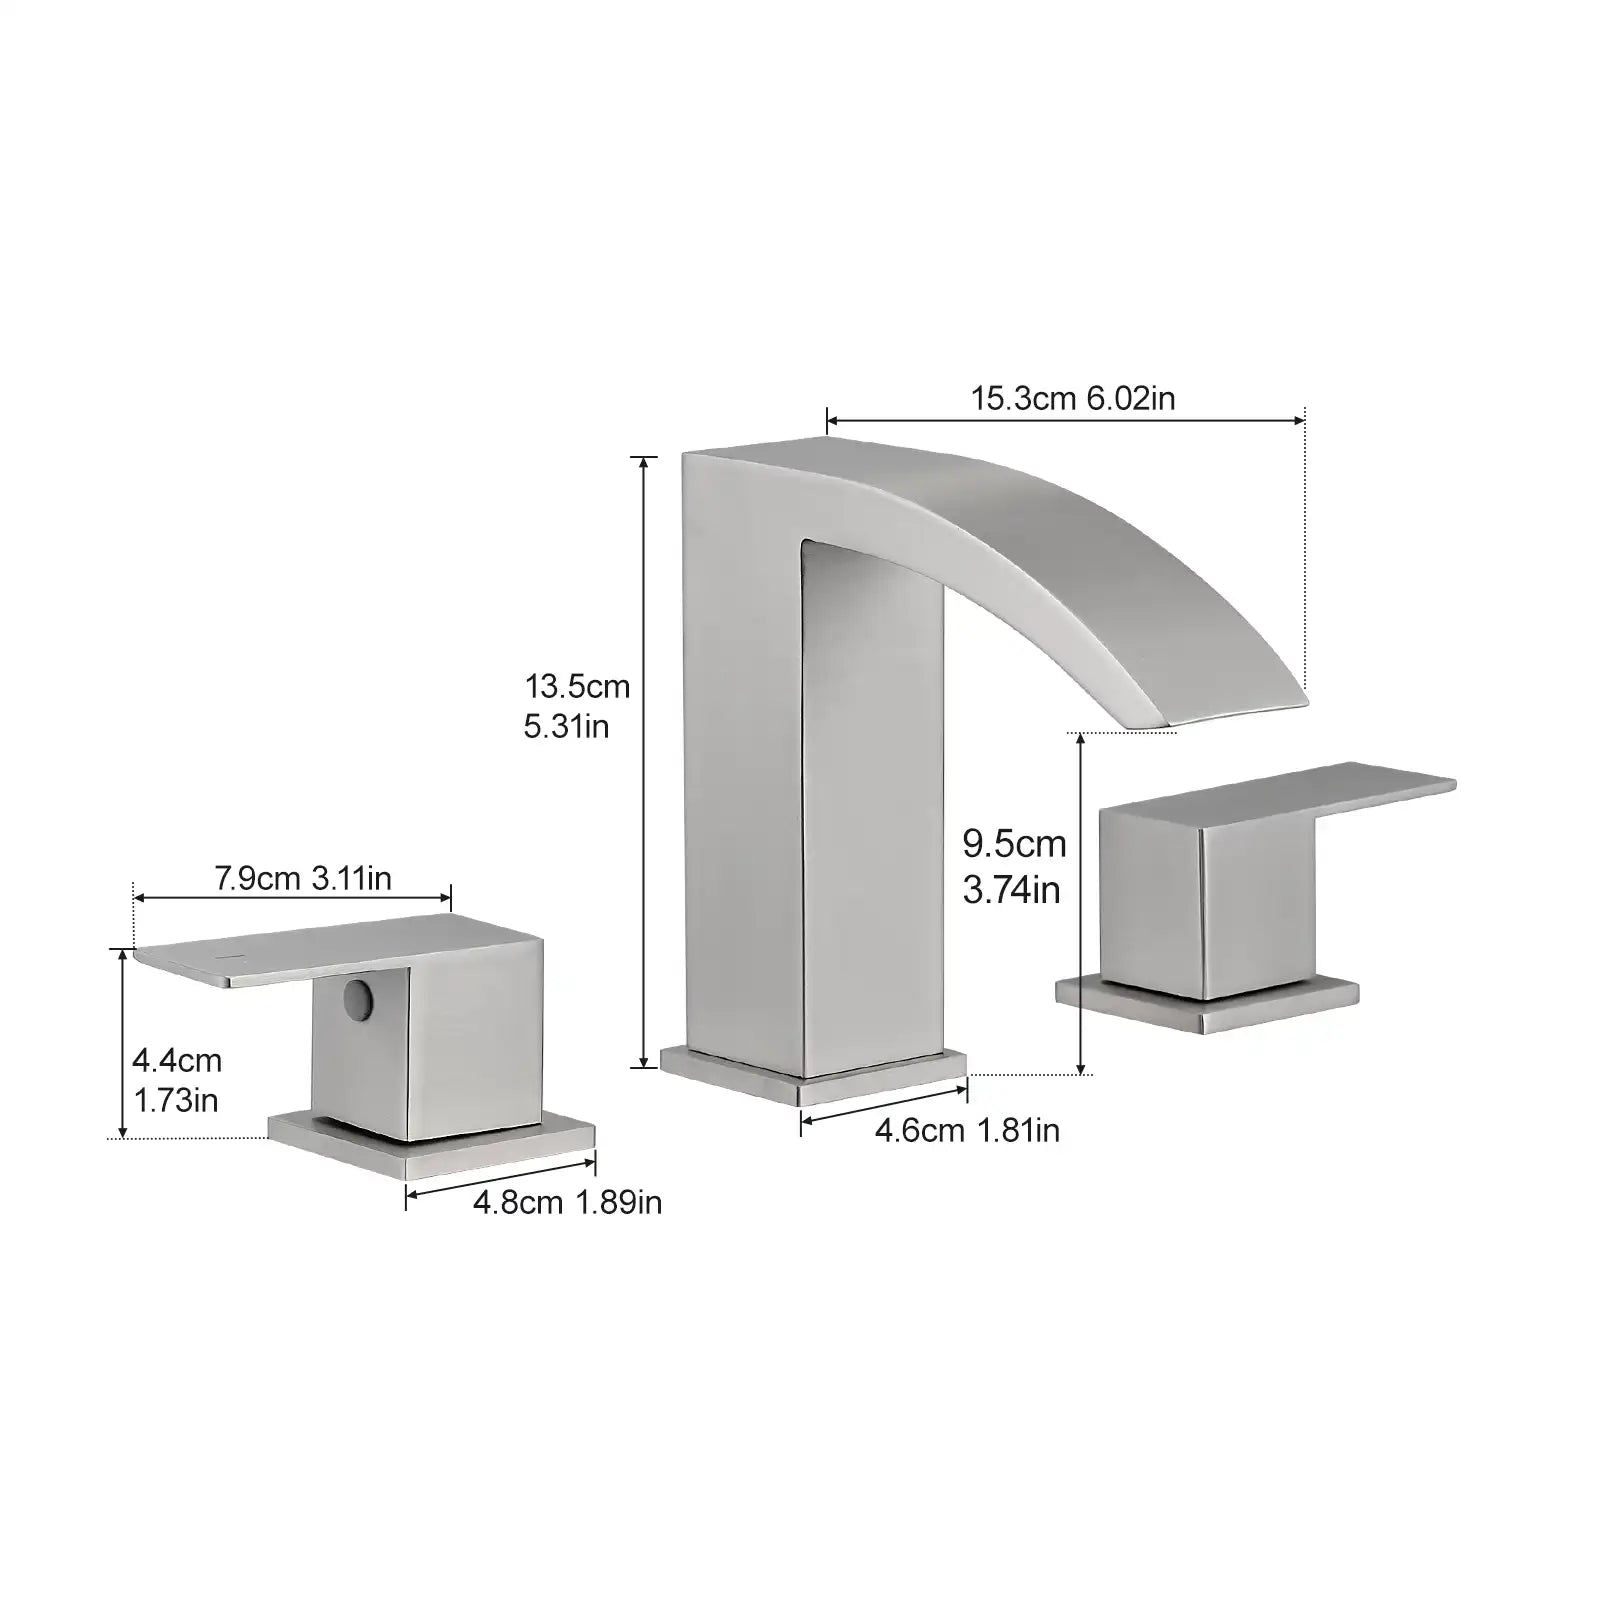
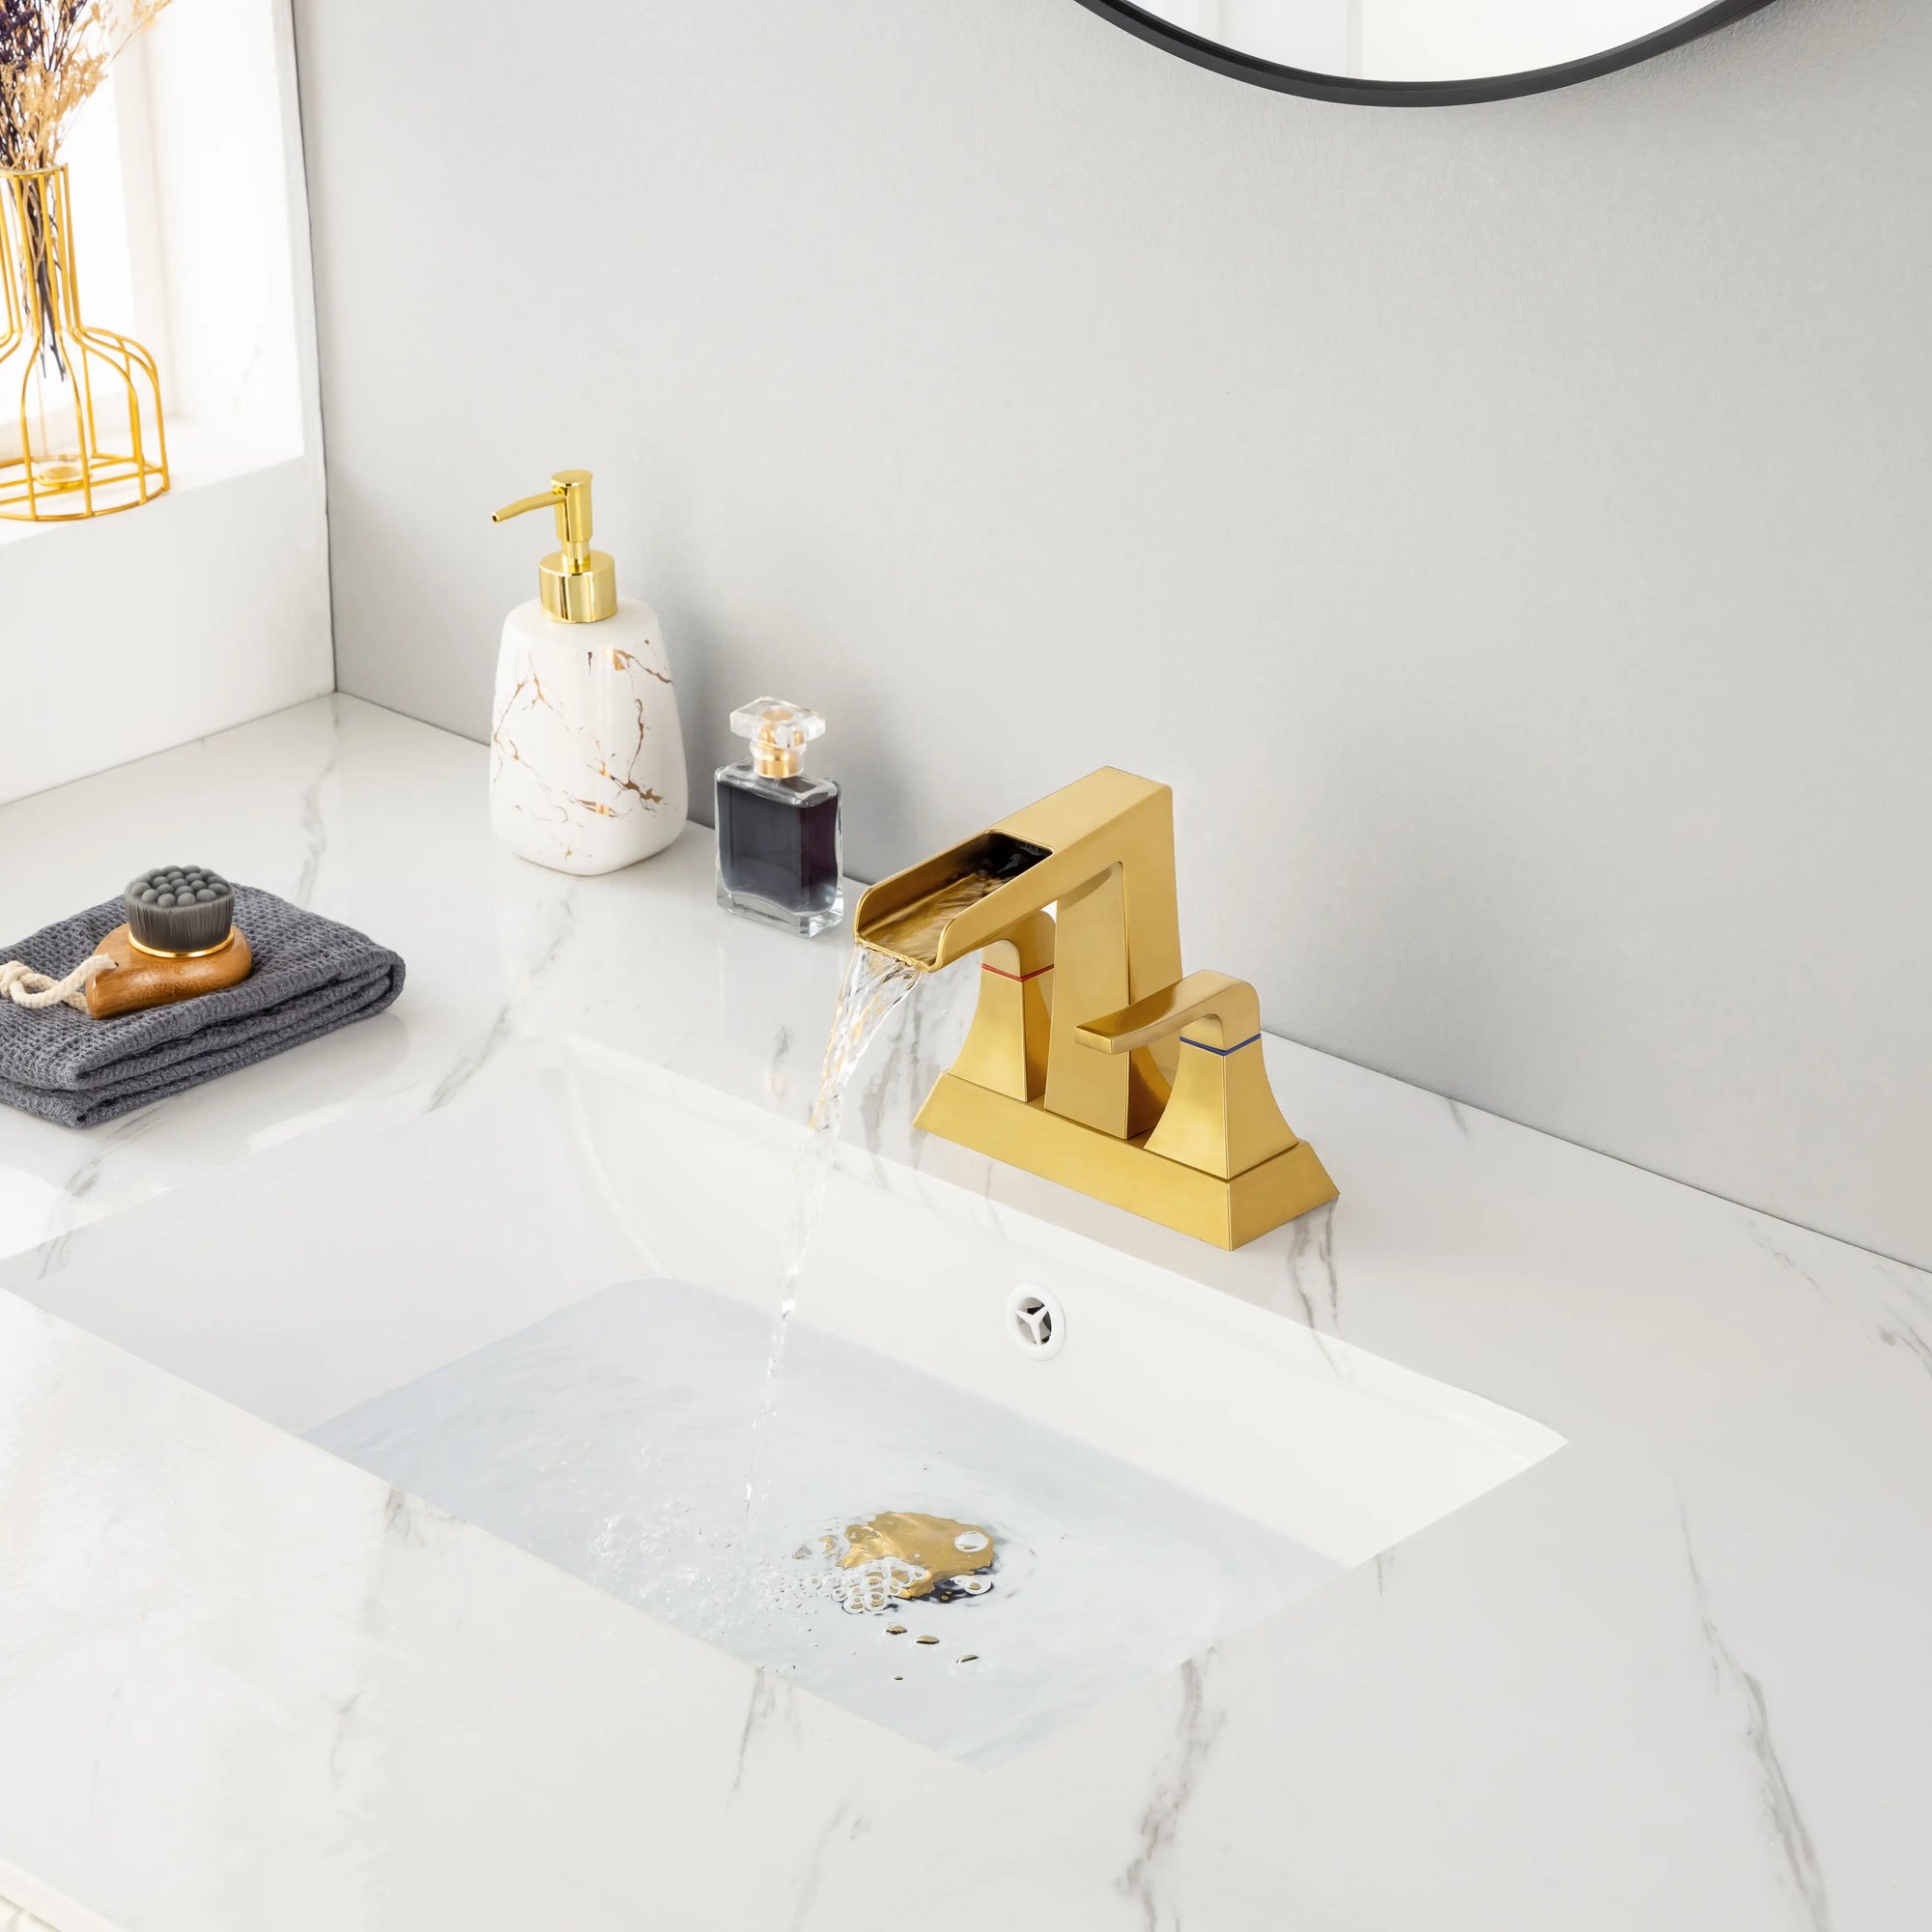
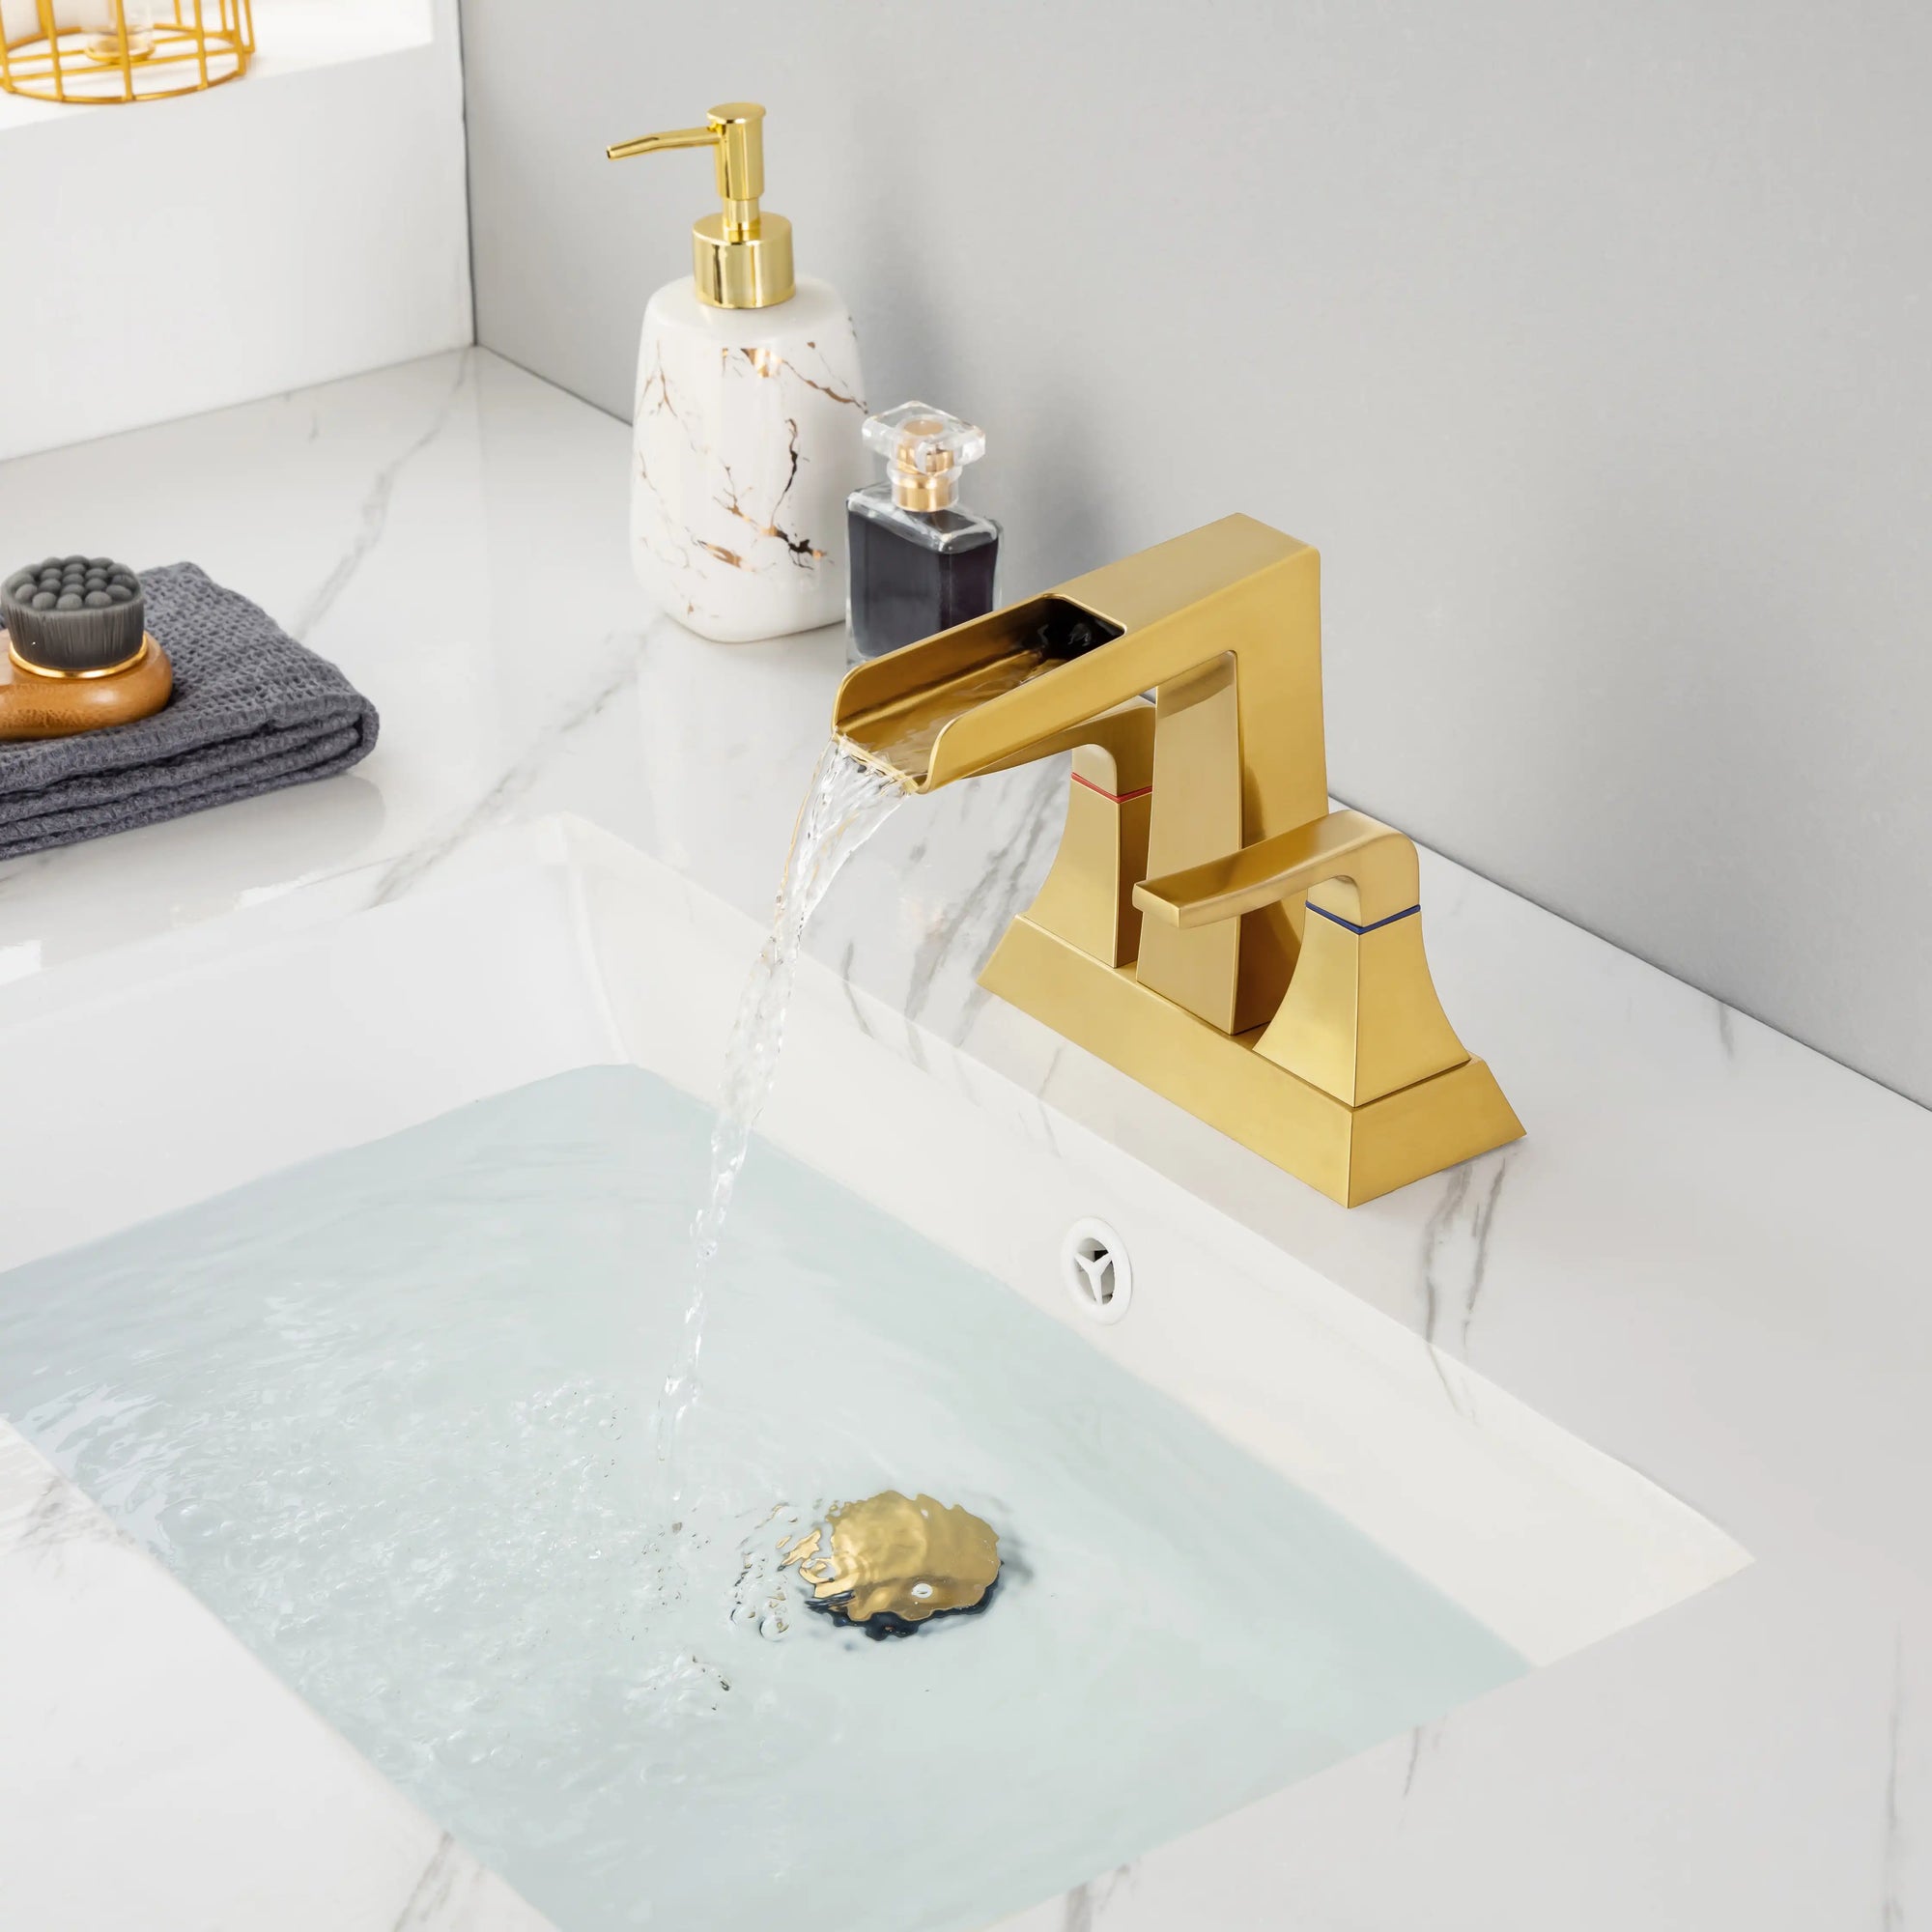
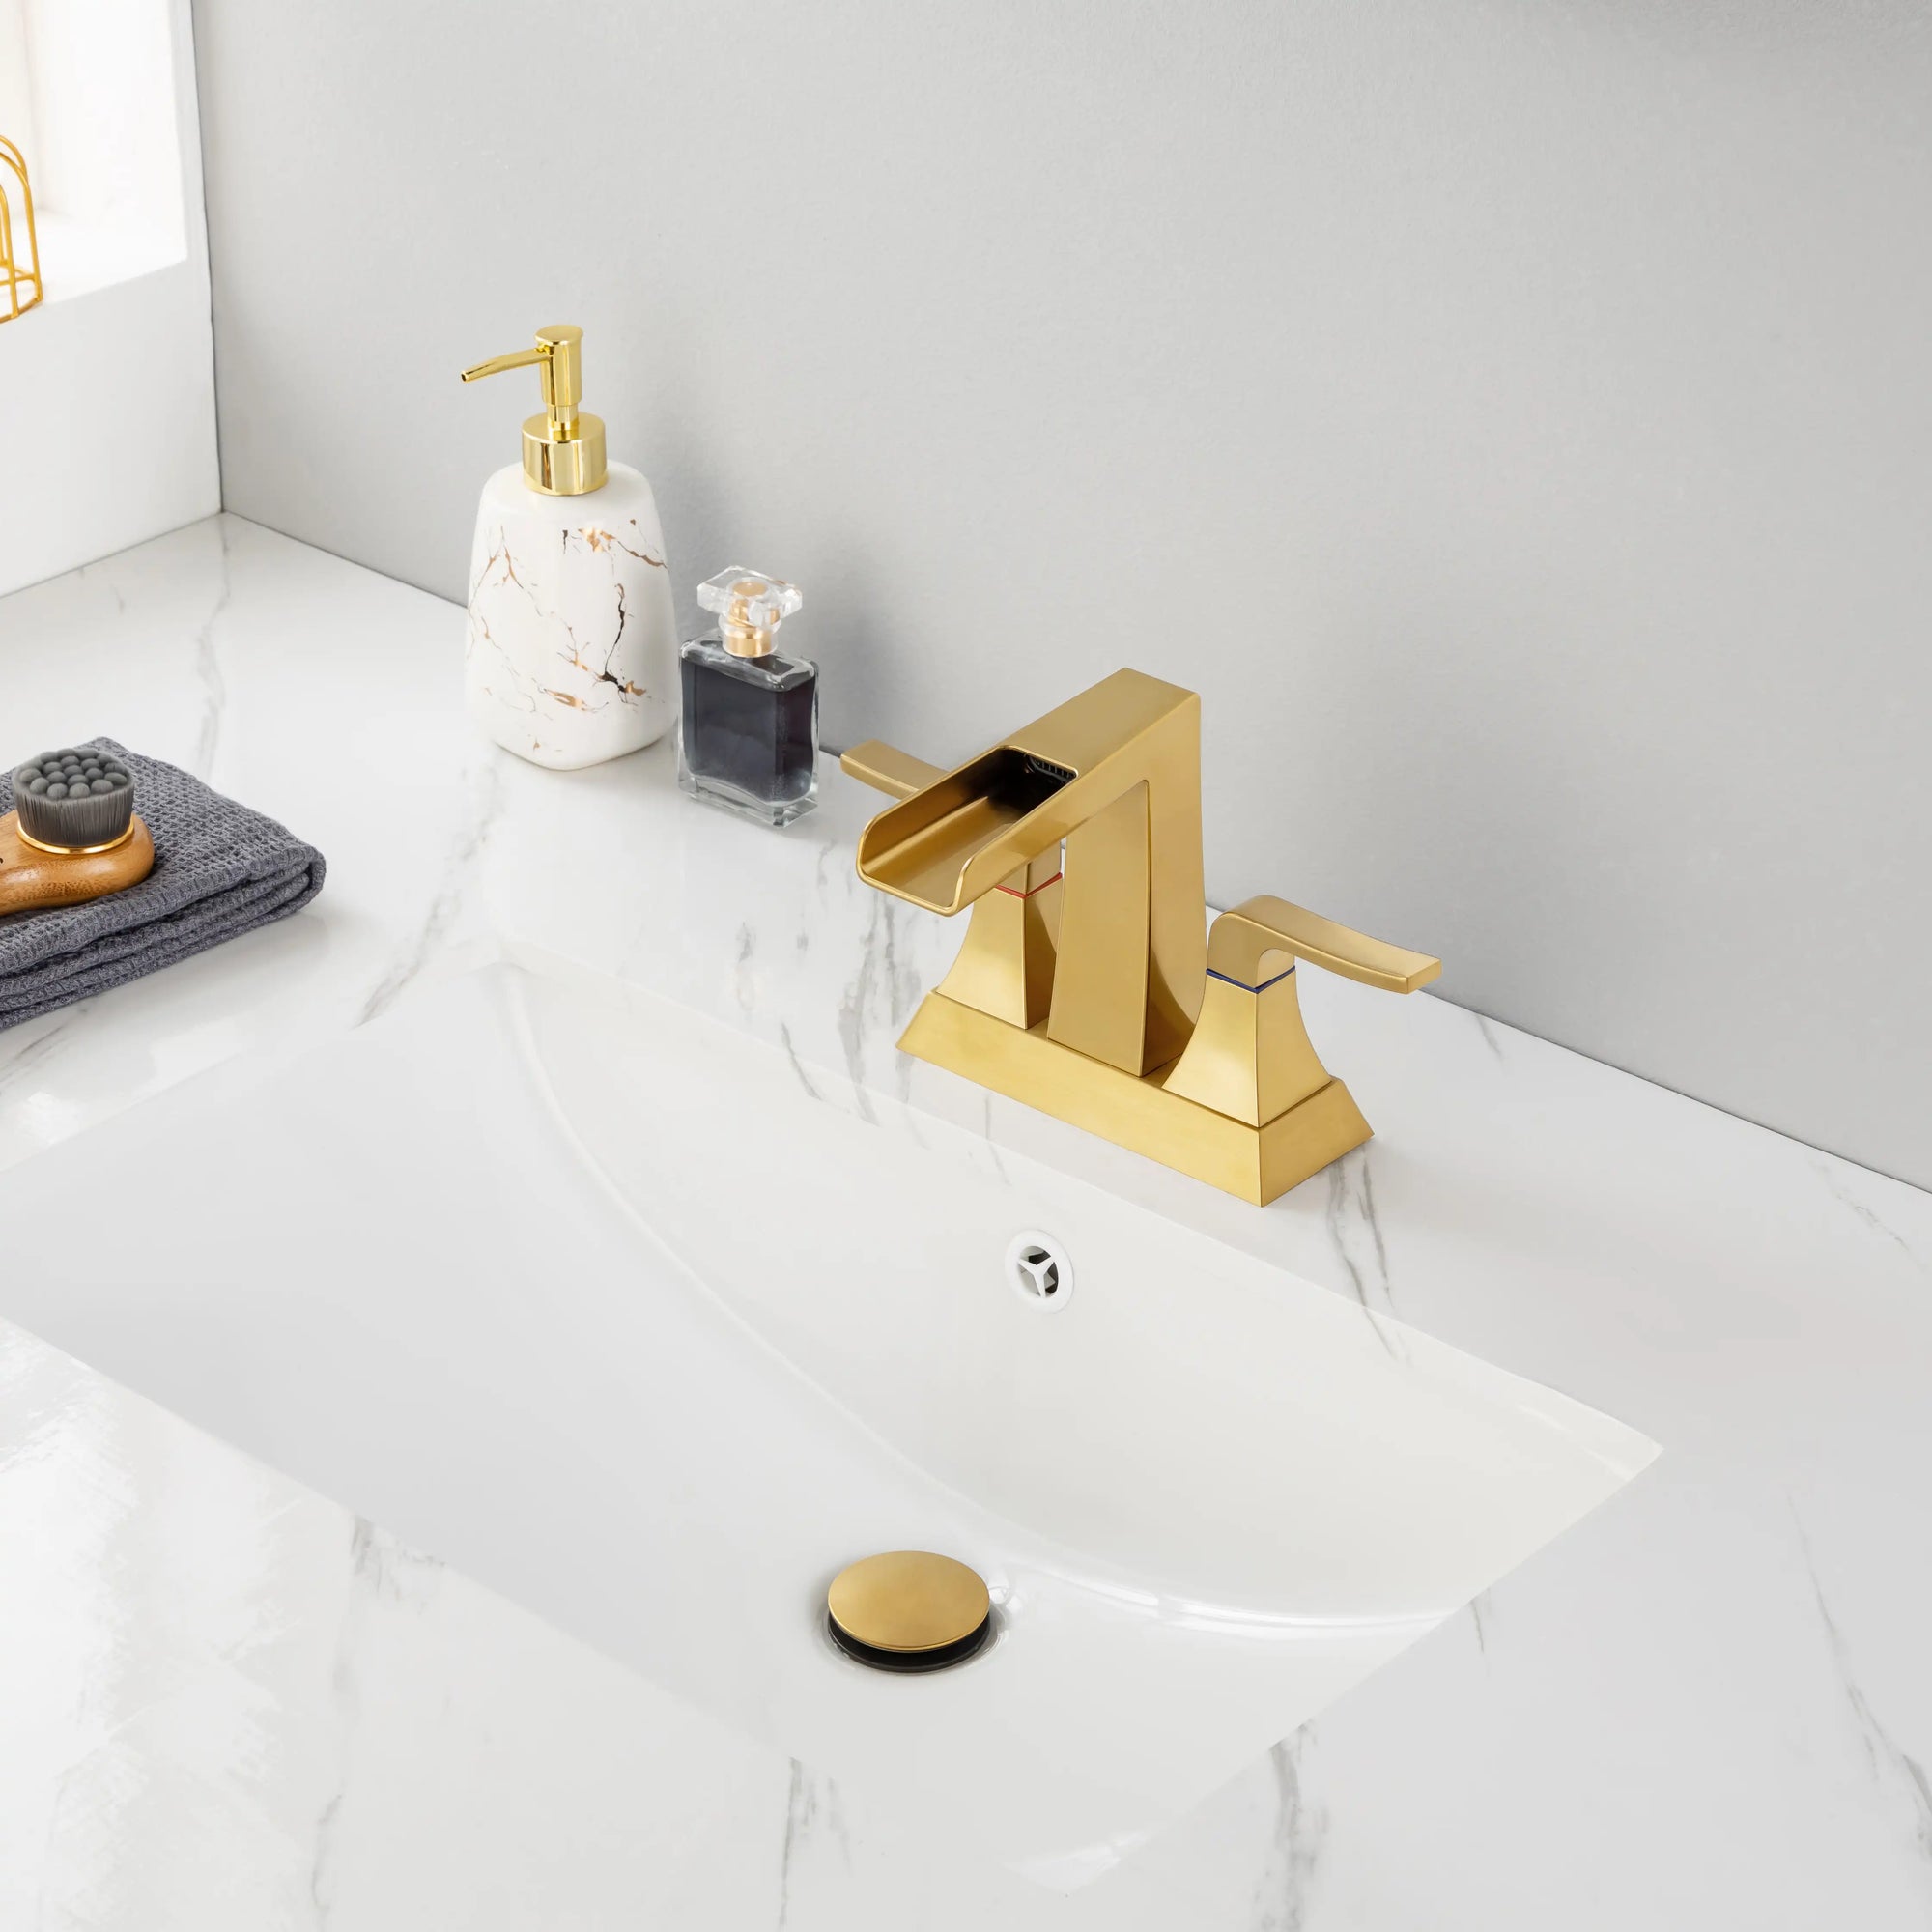
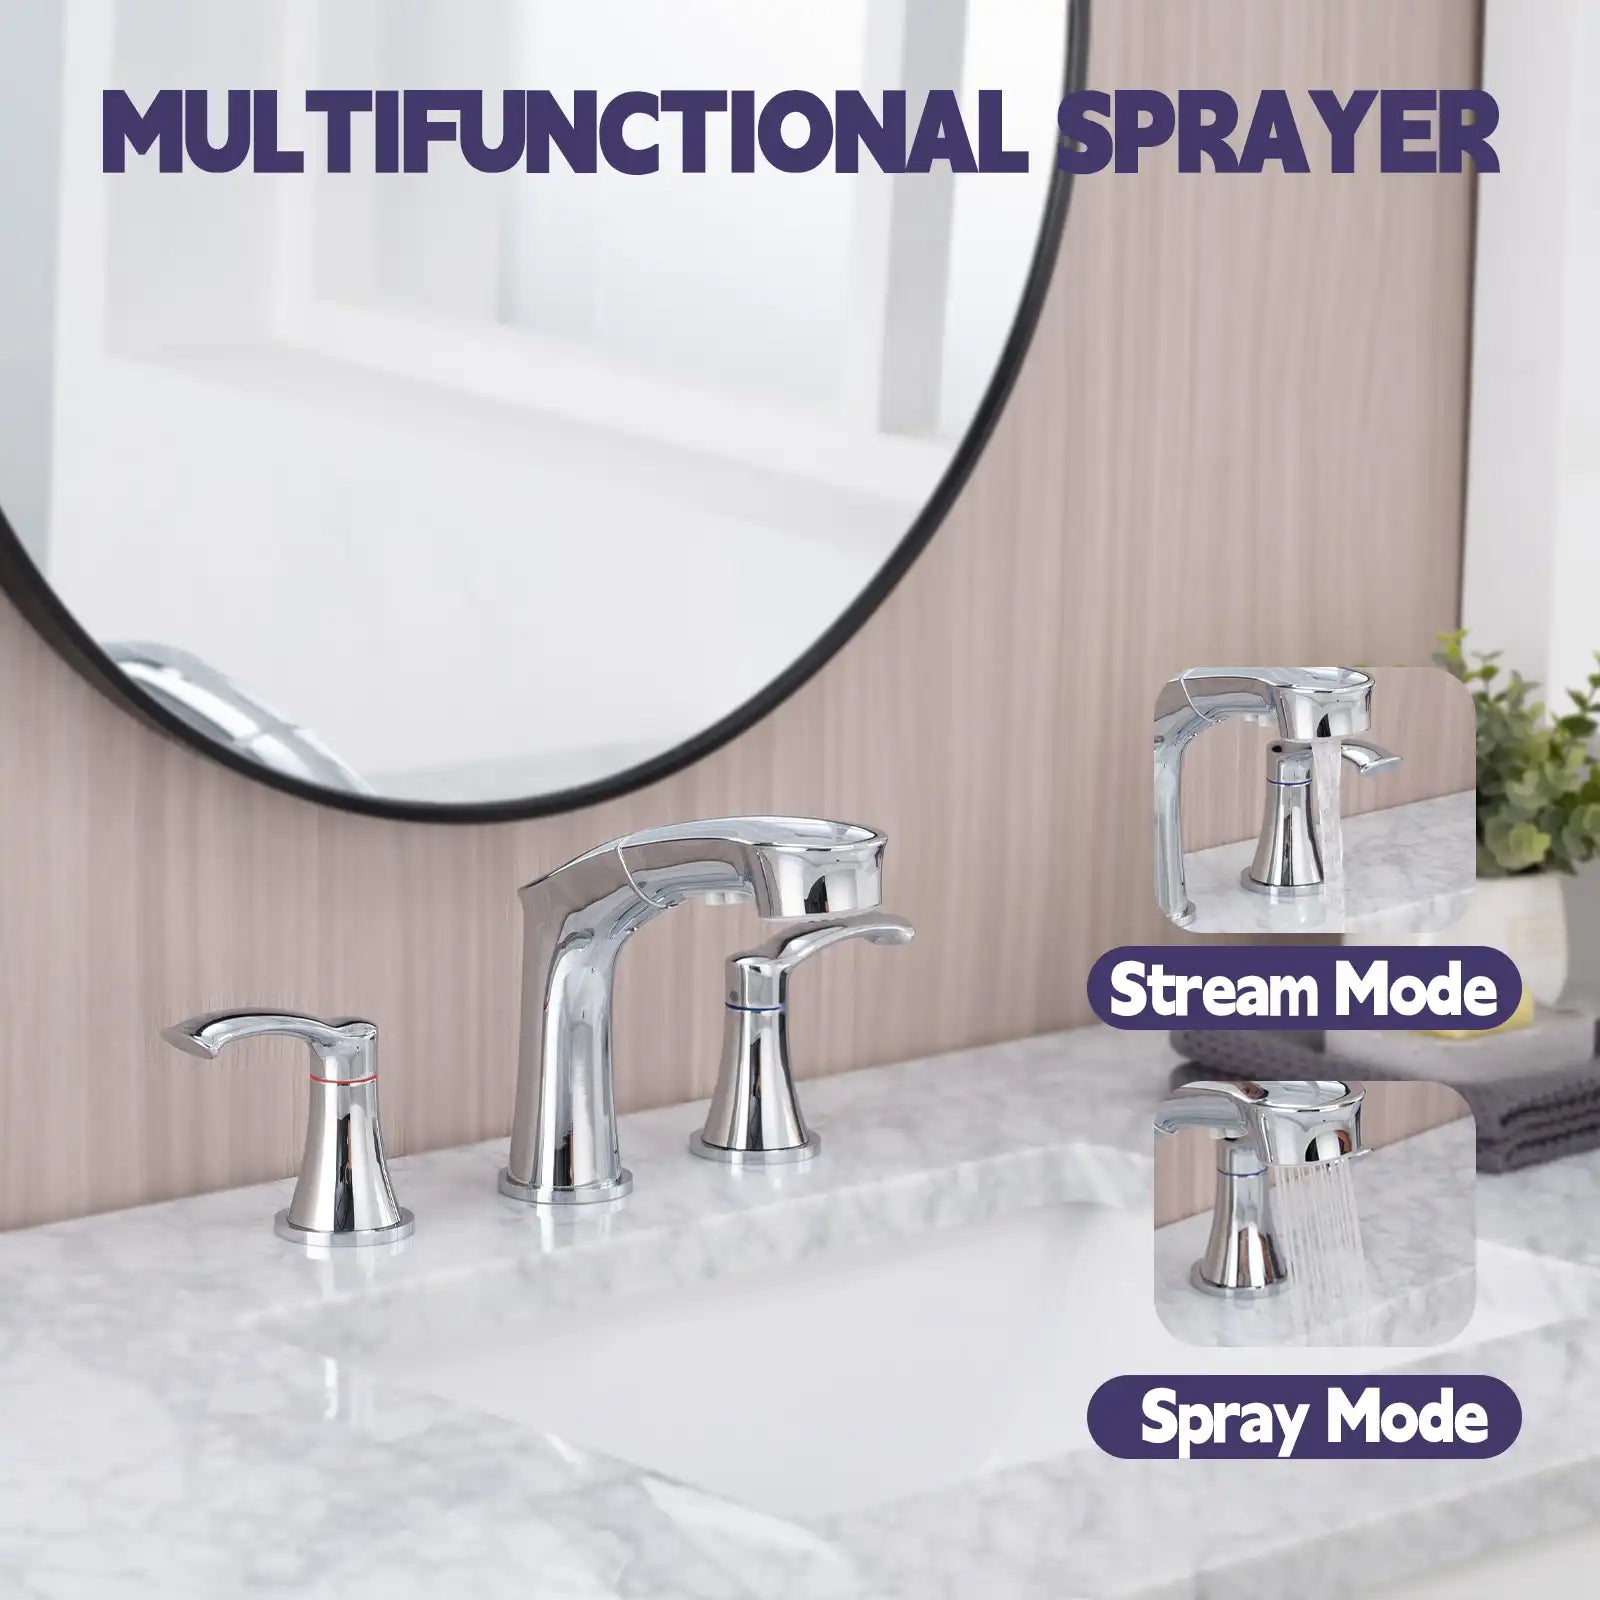
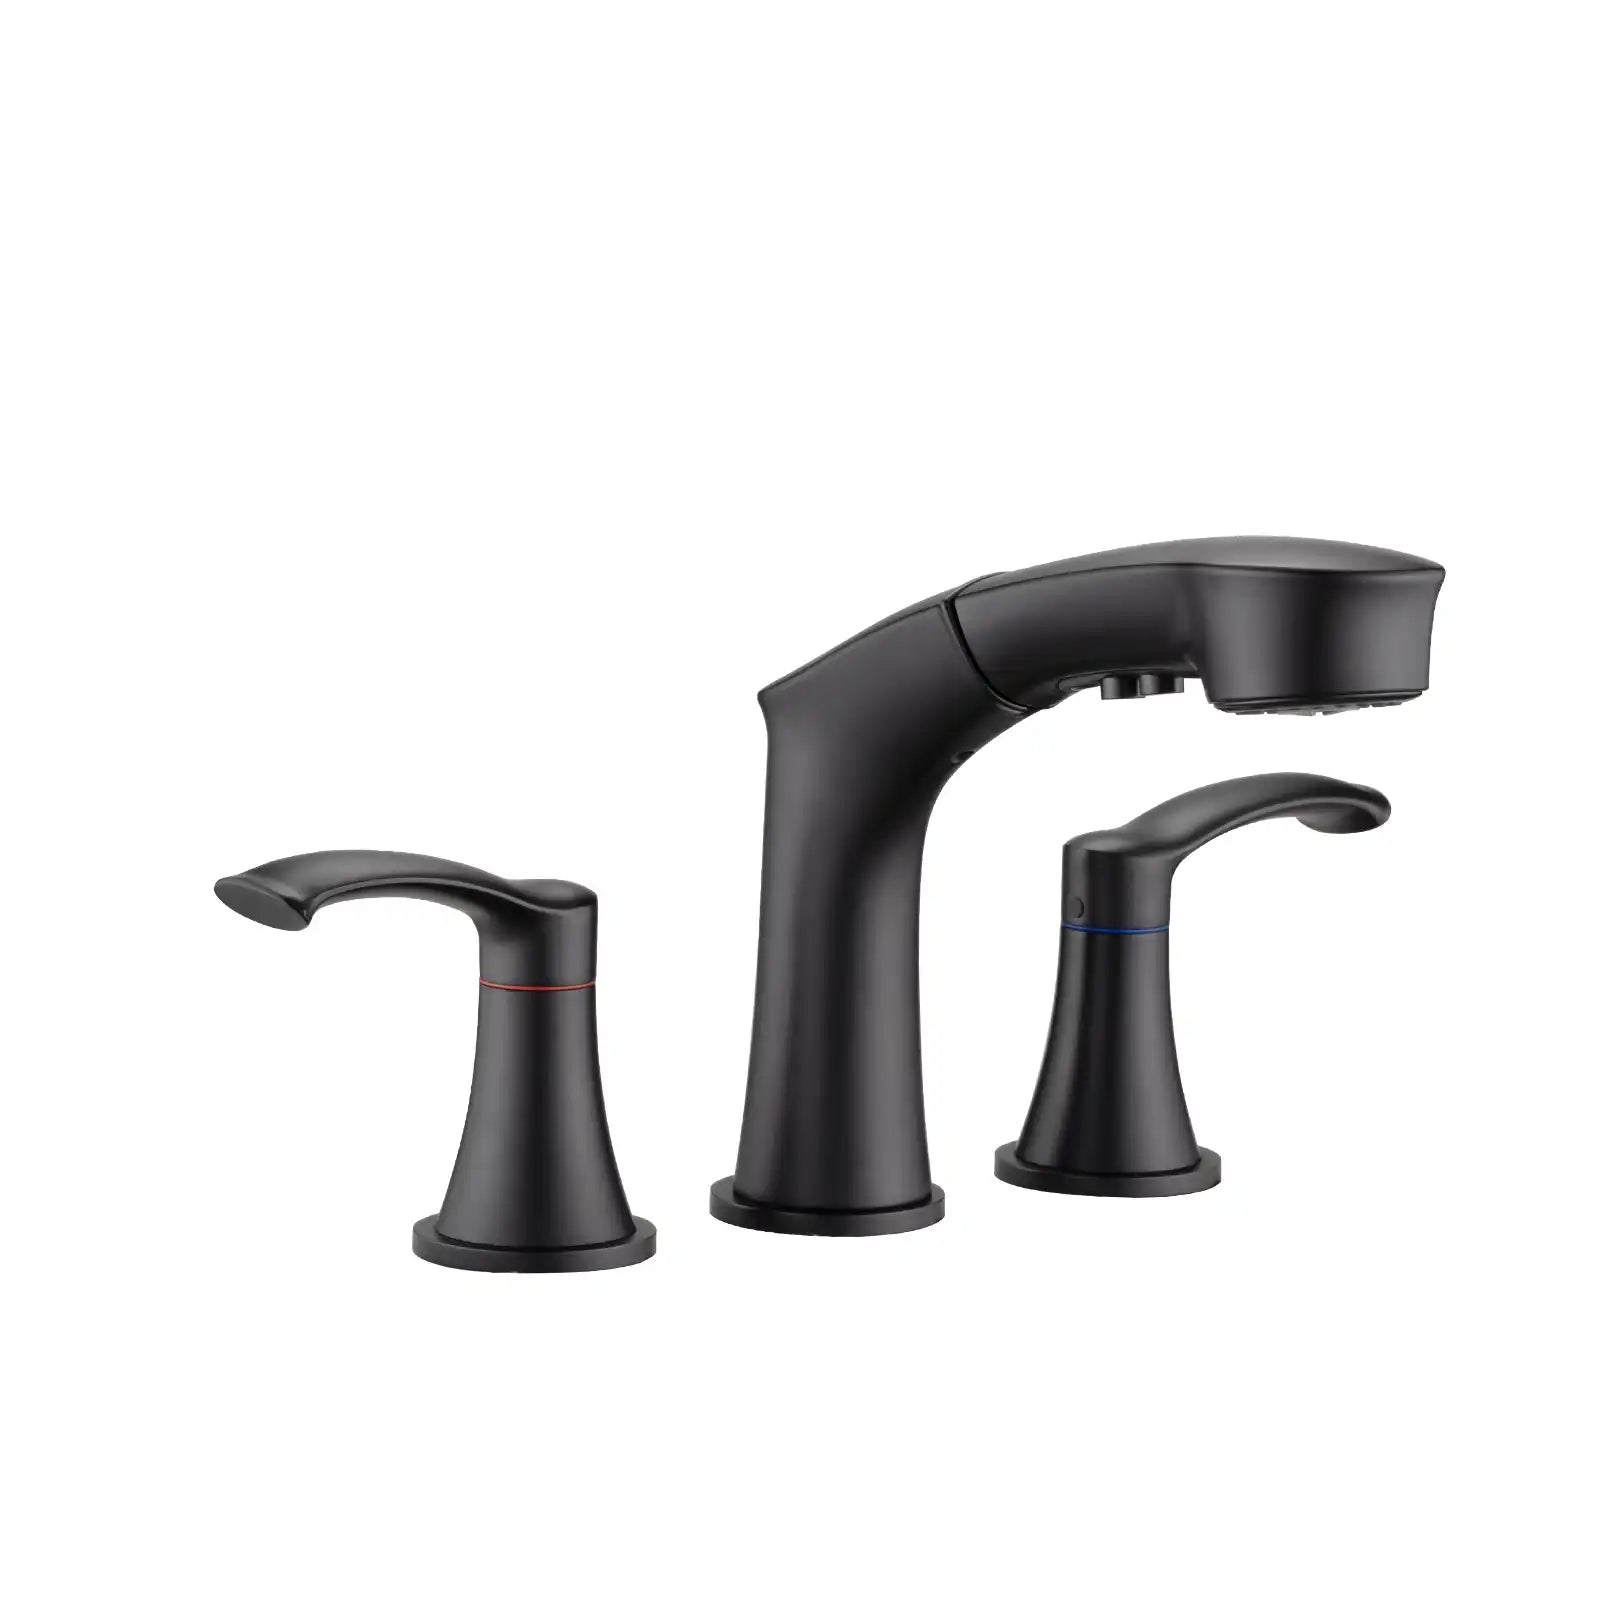
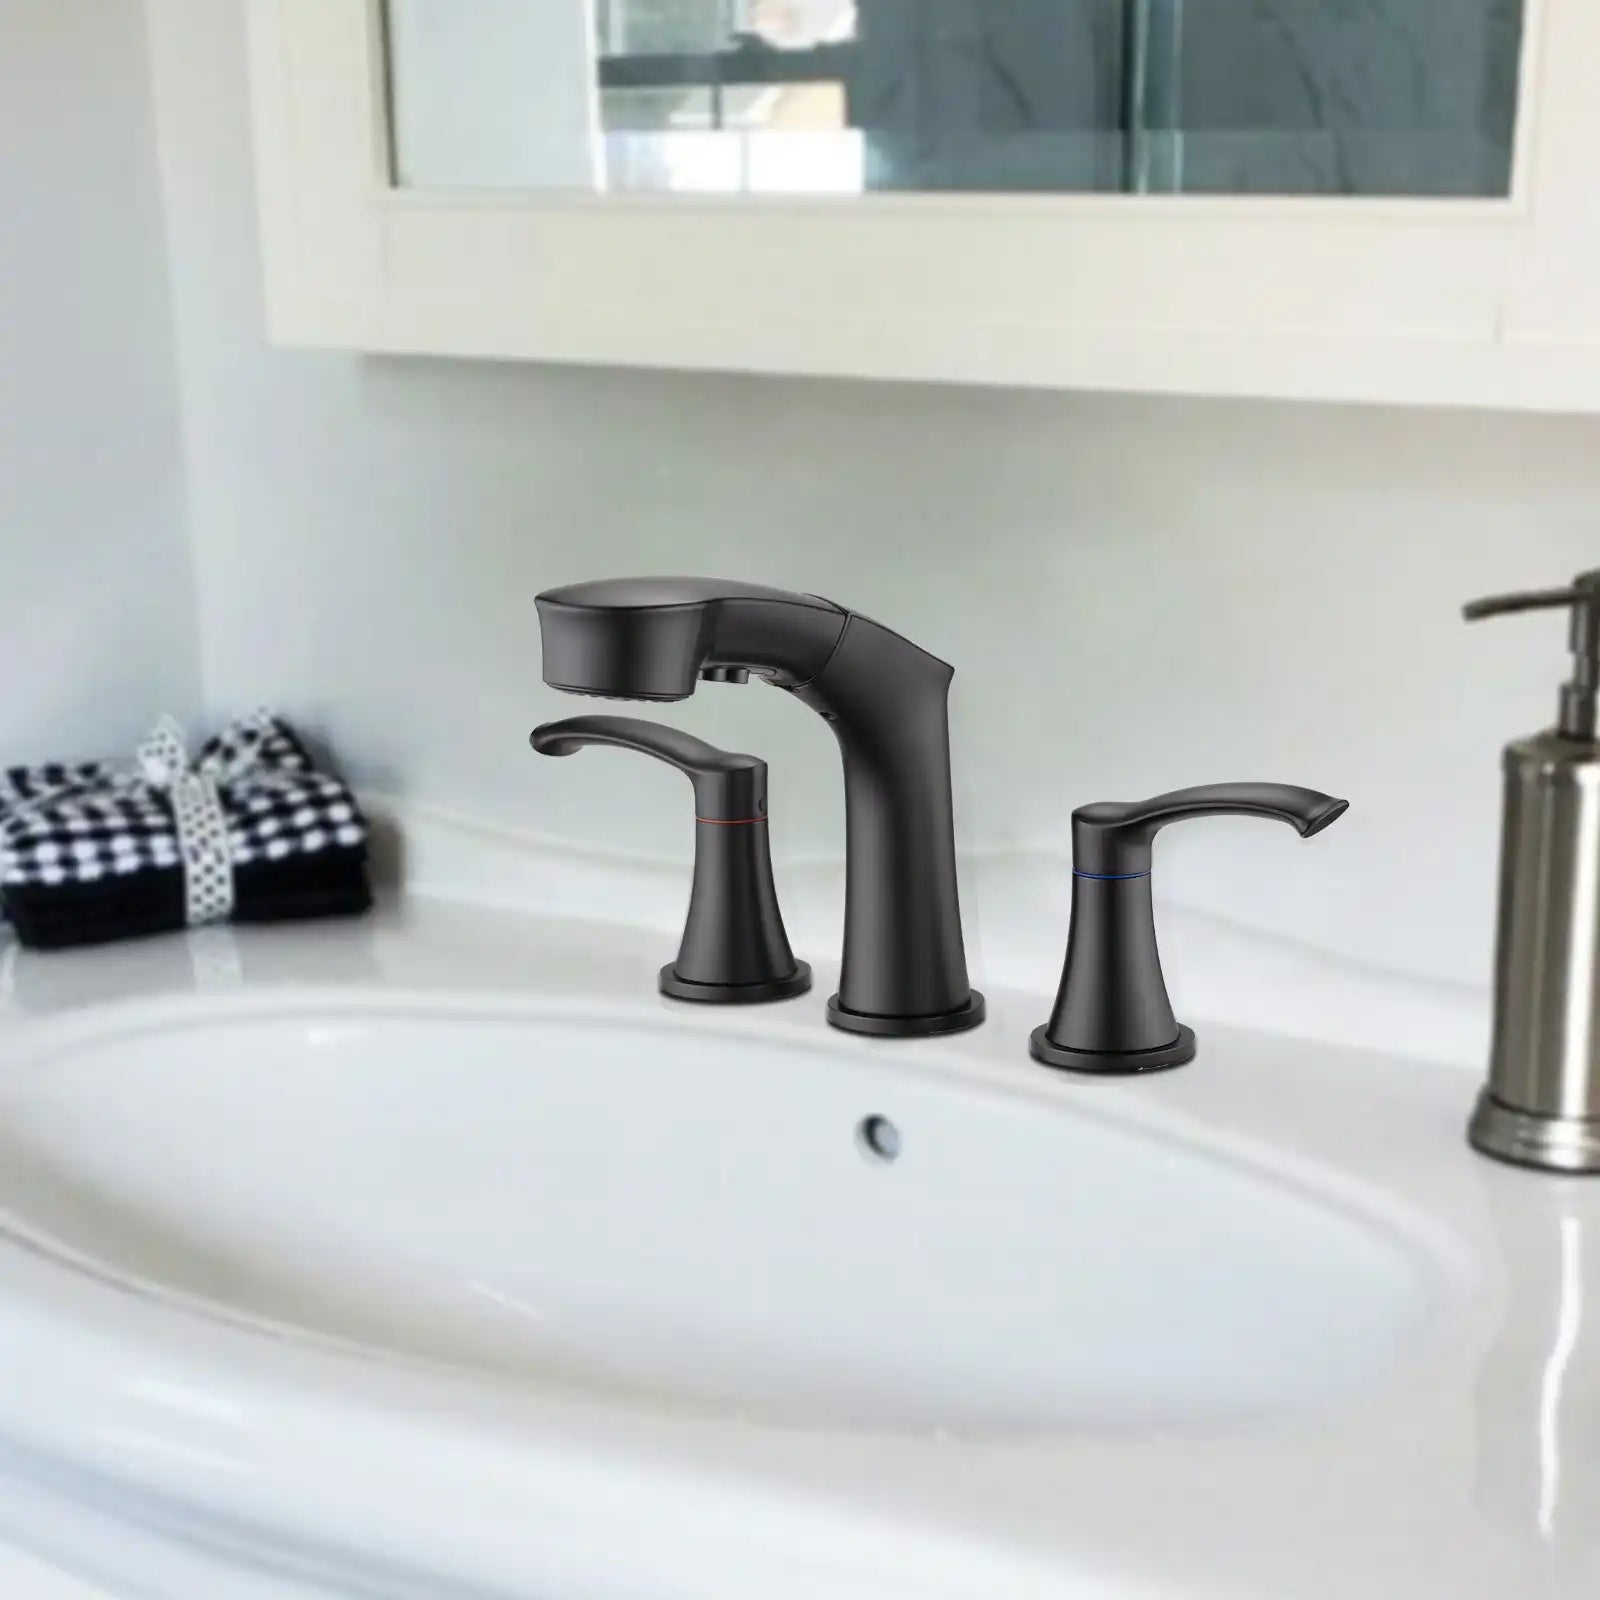
The F0178 Tom Faucet is a stunning example of modern design combined with classic elegance. Its unique shape and polished finish make it a standout piece in any bathroom. This faucet is perfect for those looking to make a bold statement with their bathroom fixtures.
Brushed Gold Bathroom Faucet with Handheld Shower
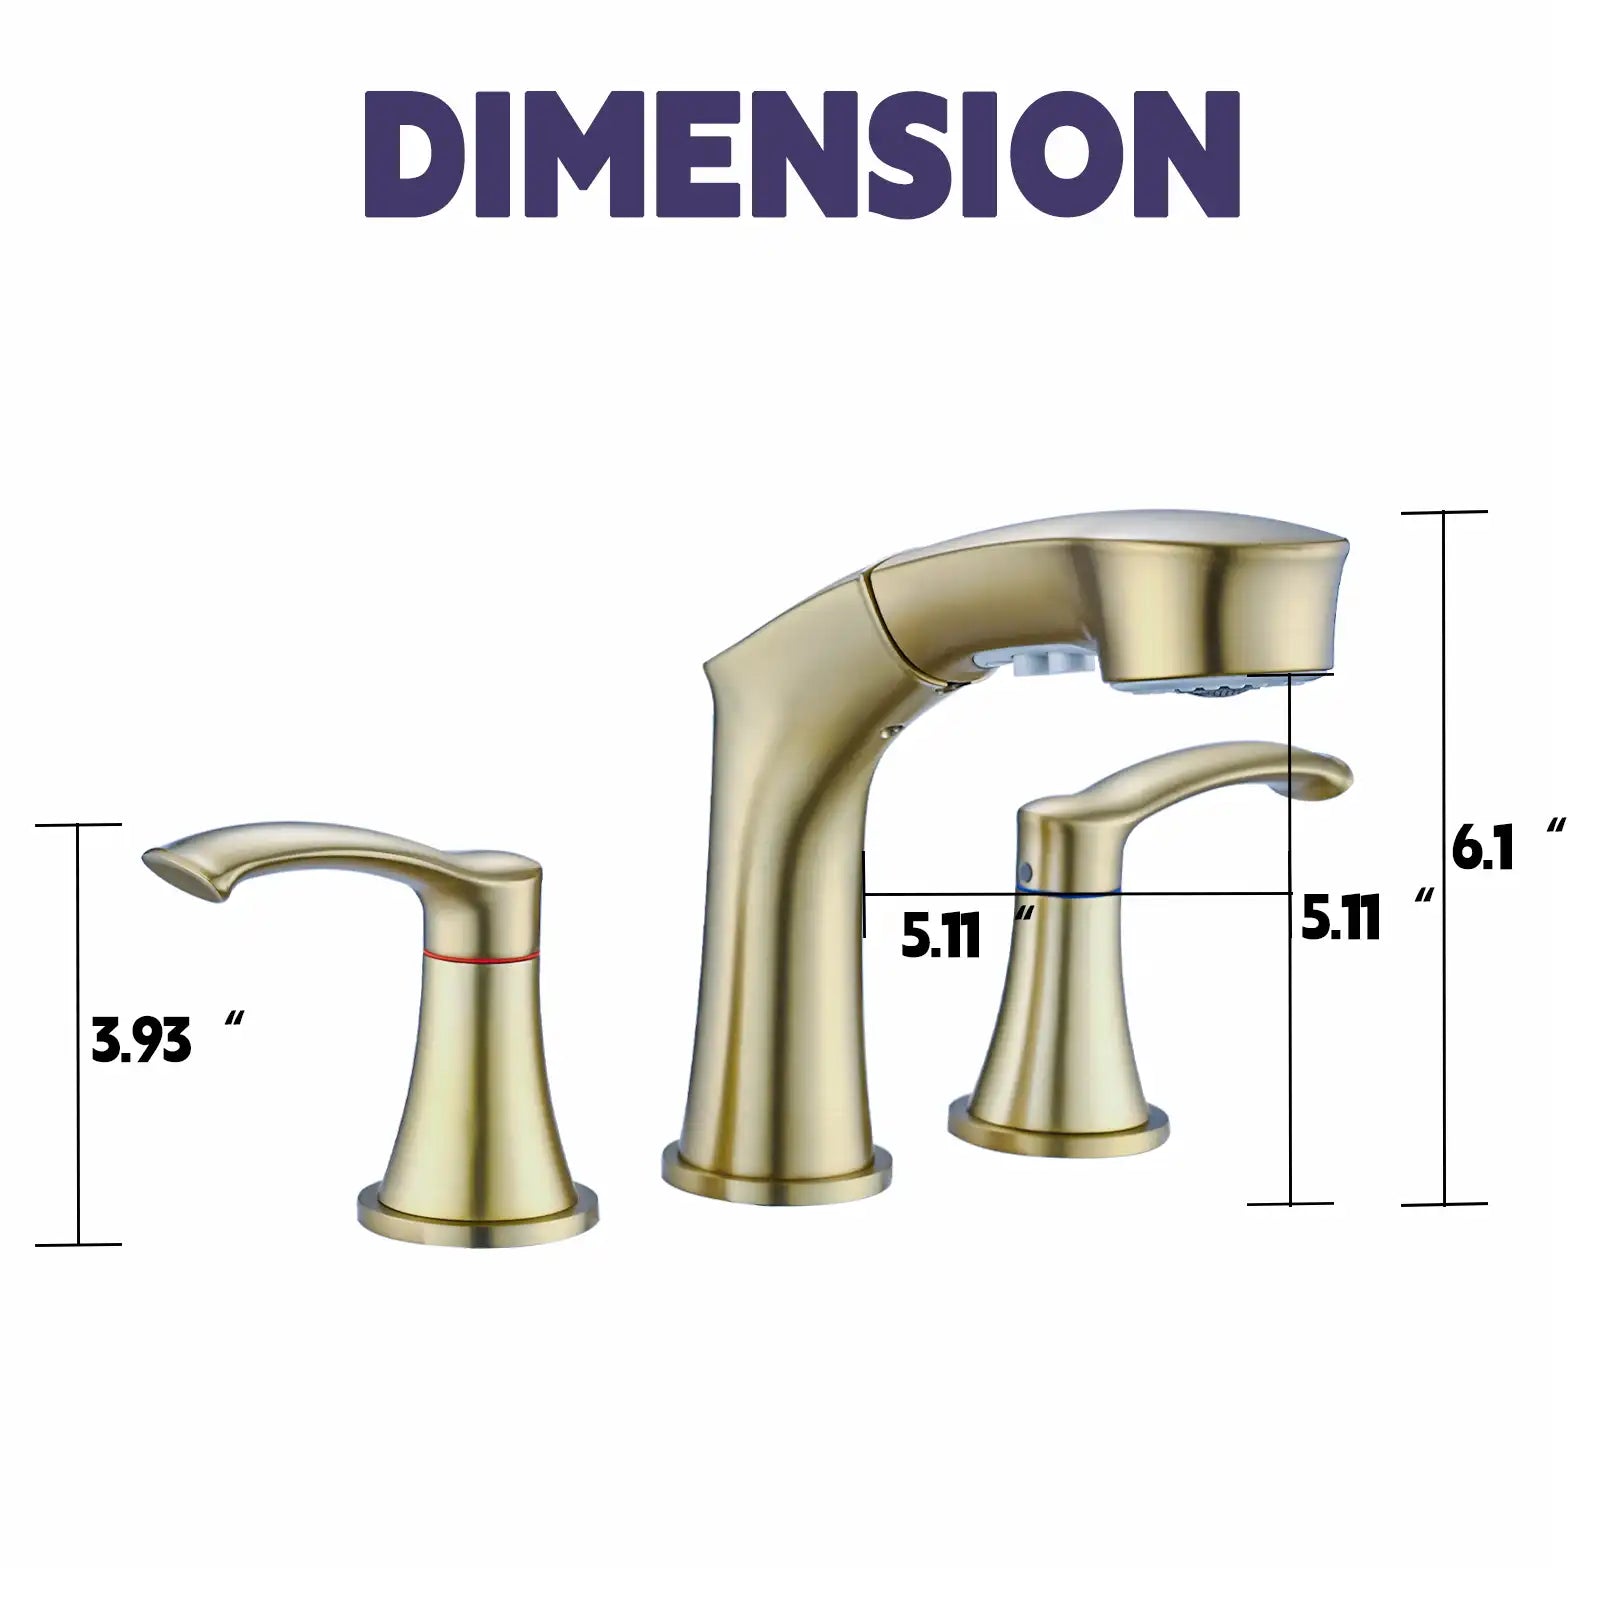
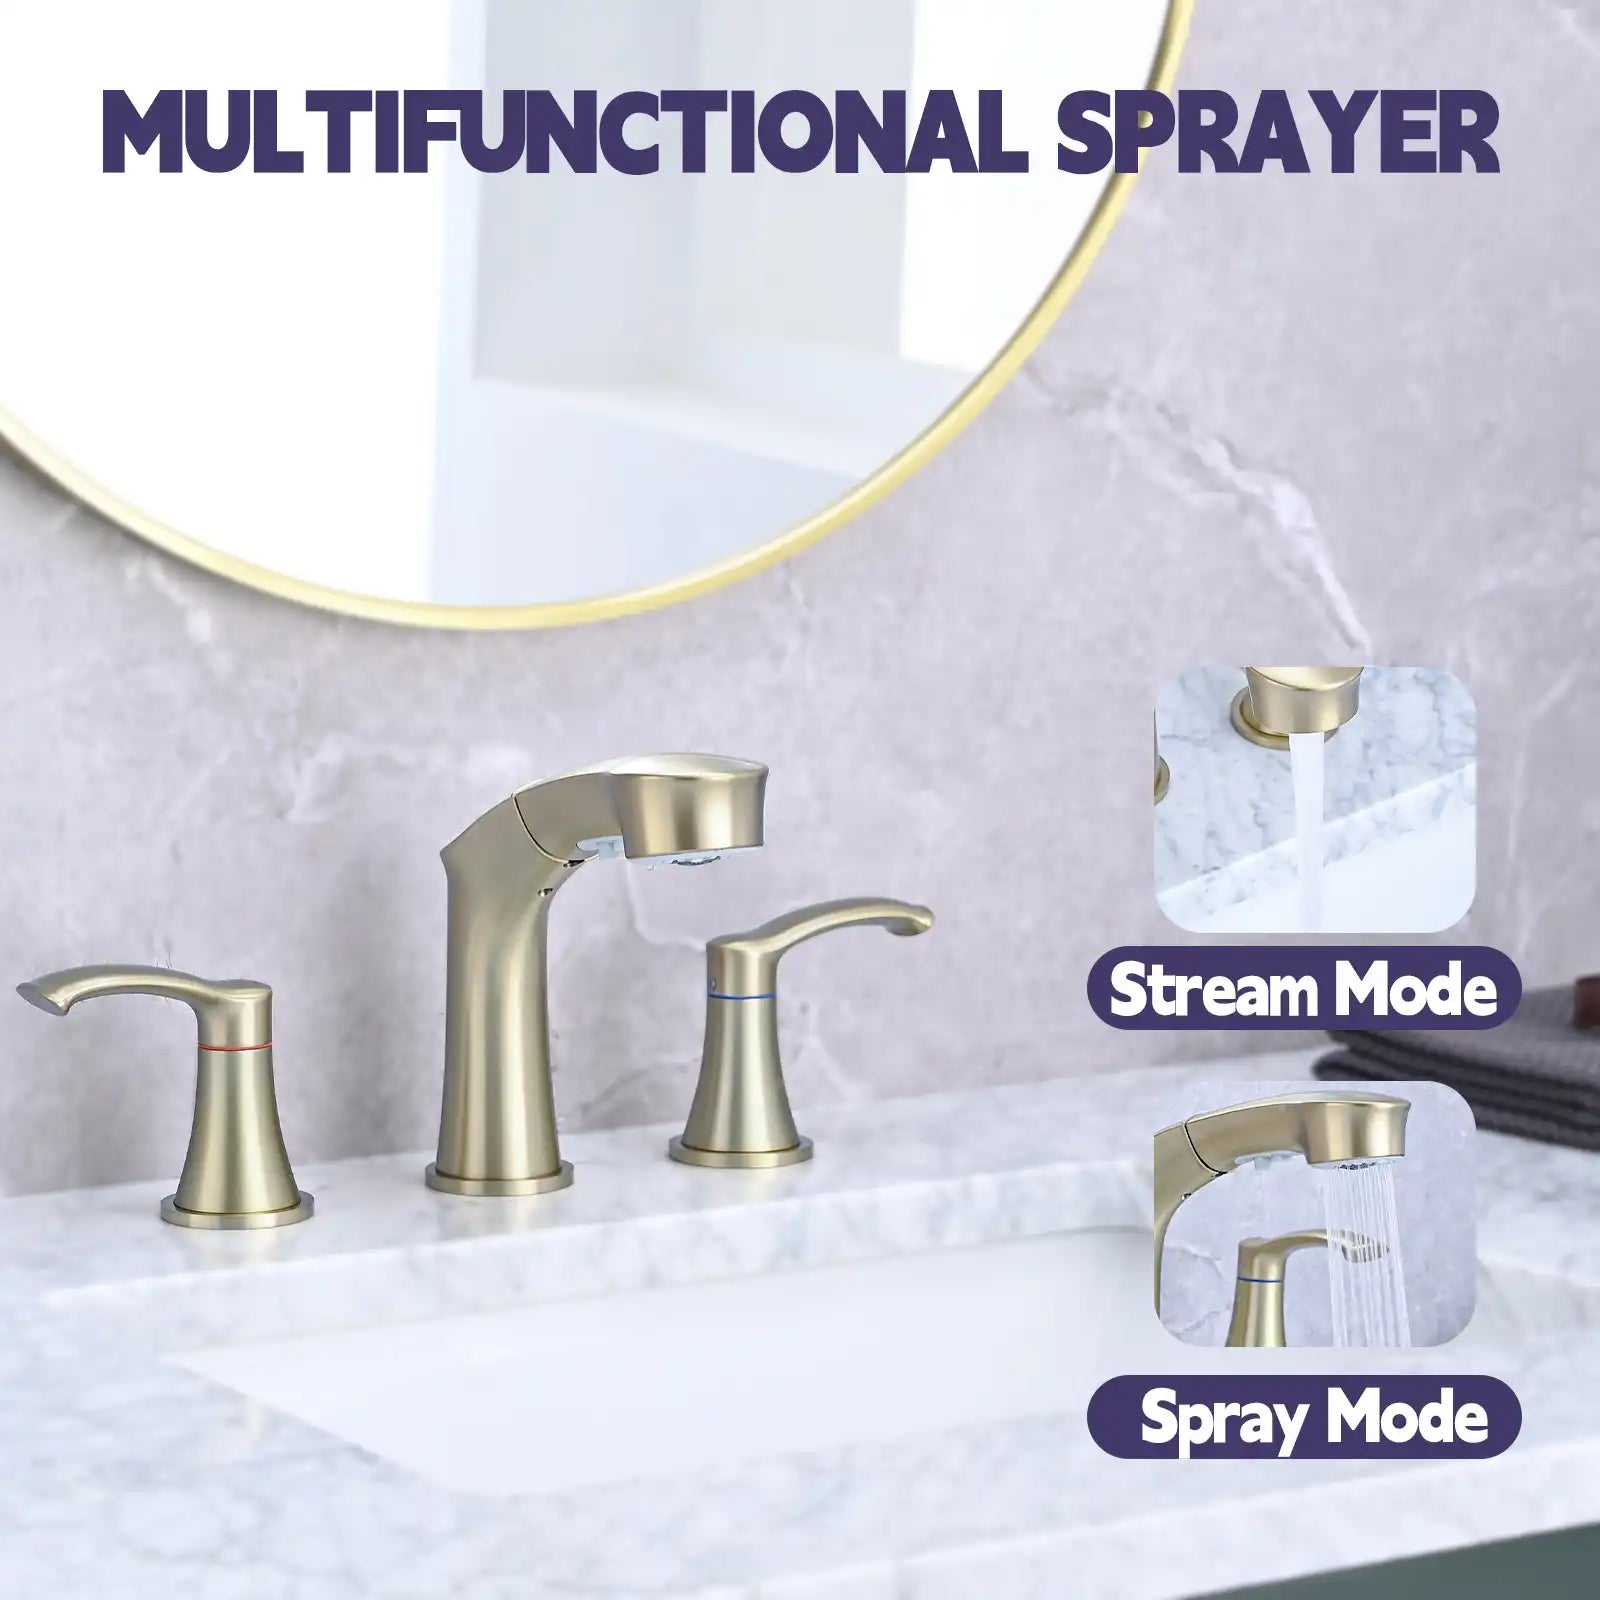
For those seeking versatility and functionality, the Brushed Gold Bathroom Faucet with Handheld Shower is an excellent choice. This faucet offers a stylish brushed gold finish and includes a handheld shower, making it ideal for various bathroom tasks.
Comprehensive Collection
Explore our full collection of bathroom faucets to find the perfect match for your bathroom. Our range includes a variety of styles, finishes, and features to suit every preference and budget.
Maintenance Tips for Bathtub Faucets

Regular Cleaning
To keep your faucet looking its best, clean it regularly with a mild soap and water solution. Avoid using abrasive cleaners or scrubbing pads that can damage the finish. Wipe the faucet dry with a soft cloth to prevent water spots.
Imagine hosting a dinner party and wanting your bathroom to look its absolute best. Regular cleaning ensures that your gold faucet remains a sparkling highlight, impressing your guests.
Preventing Tarnish
Gold finishes can tarnish over time if not properly maintained. Use a gentle brass or gold polish to keep the faucet shining. Follow the manufacturer’s instructions for specific care recommendations.
Tarnish prevention is particularly important in areas with high humidity, like bathrooms. Picture the satisfaction of having a bathroom fixture that remains as gleaming as the day you installed it, thanks to regular maintenance.
Addressing Hard Water Stains
If you live in an area with hard water, you may notice mineral deposits on your faucet. To remove these stains, soak a cloth in a vinegar solution and wrap it around the affected areas. Let it sit for a few hours, then wipe clean.
Hard water stains can be frustrating, especially if they seem to reappear no matter how often you clean. Using natural solutions like vinegar not only removes the stains but also avoids harsh chemicals that could damage the finish.
Real-Life Scenarios and Solutions

Dealing with Common Issues
Soap Scum Build-Up
Soap scum is a common issue in many bathrooms. To prevent it, consider using a liquid soap or a soap-free body wash, as these products are less likely to leave residue. If soap scum does build up, use a vinegar and water solution to break it down, followed by a thorough rinse and wipe.
Imagine noticing a dull film on your beautiful gold faucet after months of using bar soap. Switching to a liquid soap and regularly cleaning with vinegar can restore its shine.
Mold and Mildew Prevention
Mold and mildew thrive in damp environments, making bathrooms a prime location for their growth. To prevent mold and mildew, ensure your bathroom is well-ventilated. Use an exhaust fan or open a window during and after showers to reduce moisture levels. Regularly clean and dry the shower doors and surrounding areas to prevent mold spores from taking hold.
Consider the peace of mind that comes with knowing your bathroom is mold-free, thanks to proper ventilation and regular cleaning. It’s like having a breath of fresh air every time you step into your bathroom.
Maintaining Smooth Operation
If your trackless shower doors are not sliding smoothly, check the rollers and pivots for any obstructions or wear. Clean and lubricate them regularly to ensure they move effortlessly. If you notice any damage or excessive wear, replace the affected parts promptly to prevent further issues.
Think of the annoyance of a stuck shower door in the morning rush. Regular maintenance can prevent such inconveniences and ensure your daily routine runs smoothly.
External Resources for Further Reading

External Resources for Further Reading
For more detailed information on maintaining and selecting bathroom faucets, you can refer to:
- HGTV’s Guide on Bathroom Faucet Styles
- Bob Vila’s Tips on Buying Bathroom Faucets
- The Spruce’s Bathroom Faucet Buying Guide
Conclusion
Removing and replacing a bathtub faucet involves several steps, from turning off the water supply to selecting the perfect replacement. By following the instructions in this guide and using the right tools, you can successfully complete this DIY project and enhance your bathroom’s functionality and aesthetics. Explore our collection of bathroom faucets to find the ideal fixture for your home.
FAQ
How often should I clean my gold bathroom faucet?
It’s best to clean your gold bathroom faucet regularly, ideally once a week, to prevent buildup of dirt and water spots. Use a mild soap and water solution for routine cleaning.
What’s the best way to remove hard water stains from a gold faucet?
Soak a cloth in a vinegar solution and wrap it around the affected areas. Let it sit for a few hours, then wipe clean. This helps dissolve mineral deposits without damaging the finish.
Can I install a gold bathroom faucet myself?
Yes, many gold bathroom faucets are designed for DIY installation. However, if you are not comfortable with plumbing tasks, it’s best to hire a professional plumber to ensure proper installation.
Are gold bathroom faucets durable?
High-quality gold bathroom faucets with proper finishes are durable and resistant to tarnish and corrosion. Regular maintenance and cleaning can extend their lifespan.
What should I consider when choosing a gold bathroom faucet?
Consider factors such as finish, style, functionality, installation compatibility, and budget. Choose a faucet that complements your bathroom’s design and meets your practical needs.
By following these guidelines, you can successfully remove and replace your bathtub faucet, ensuring both the beauty and functionality of your bathroom are maintained.
