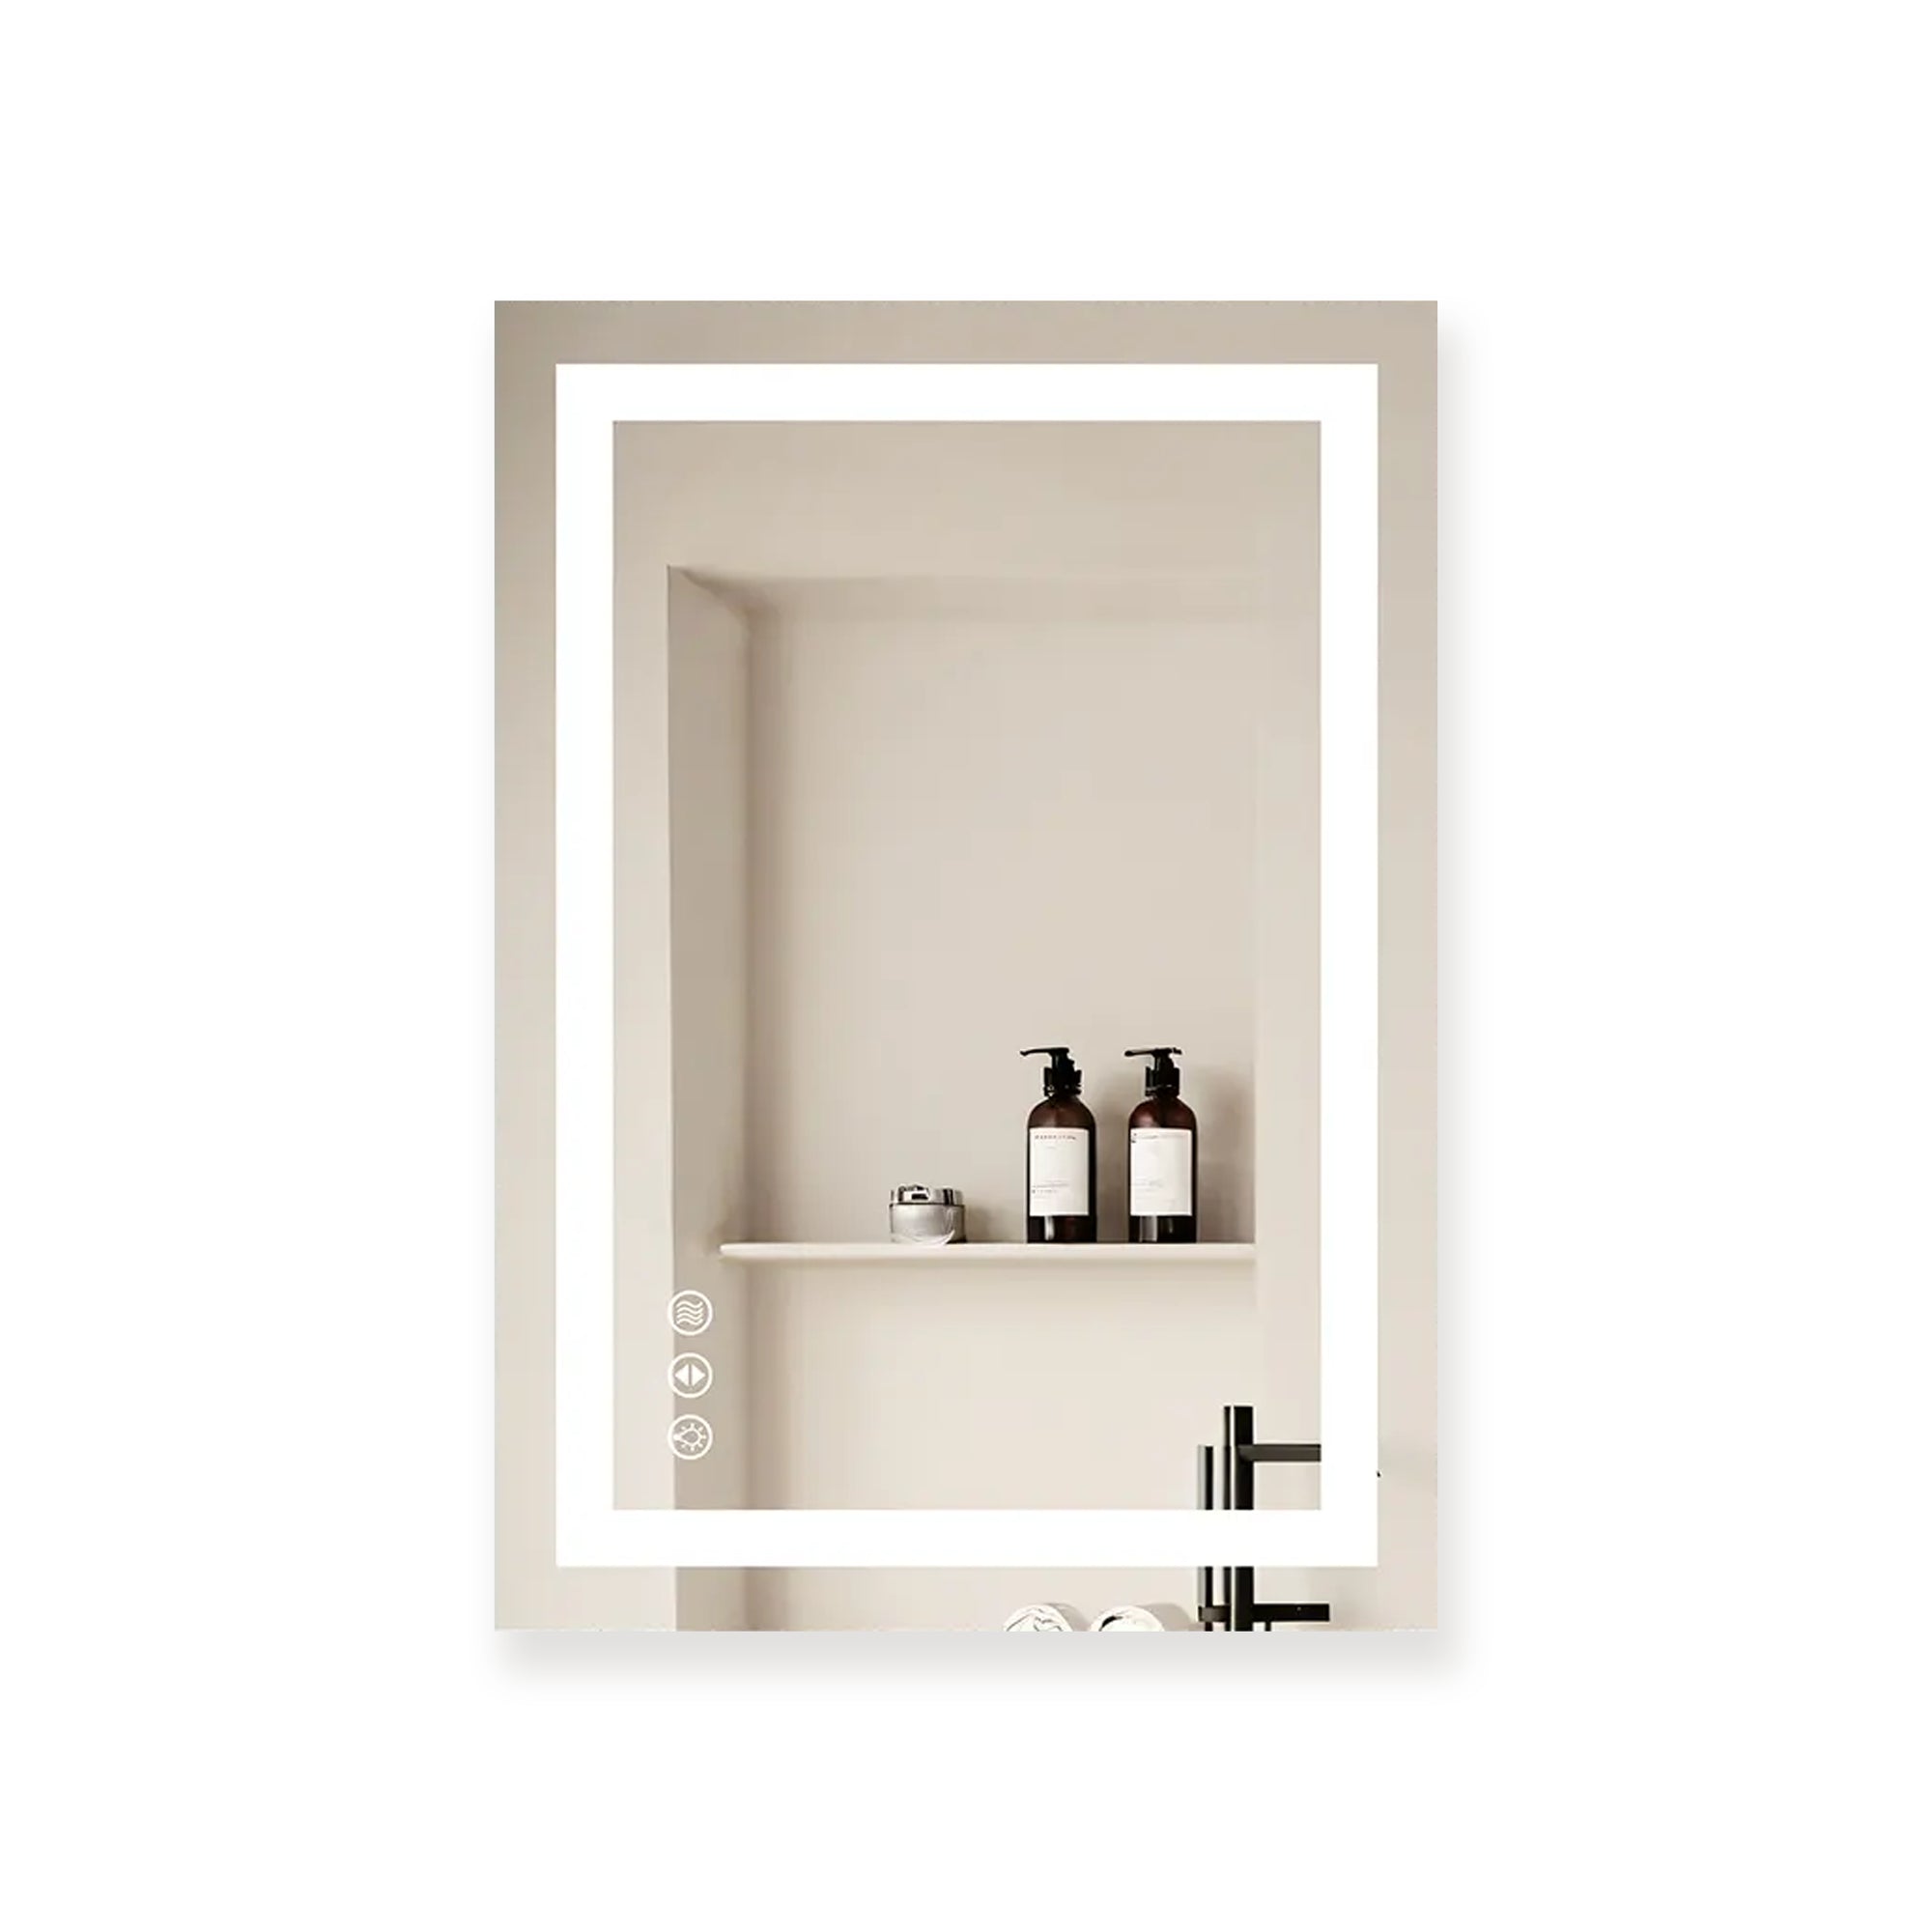
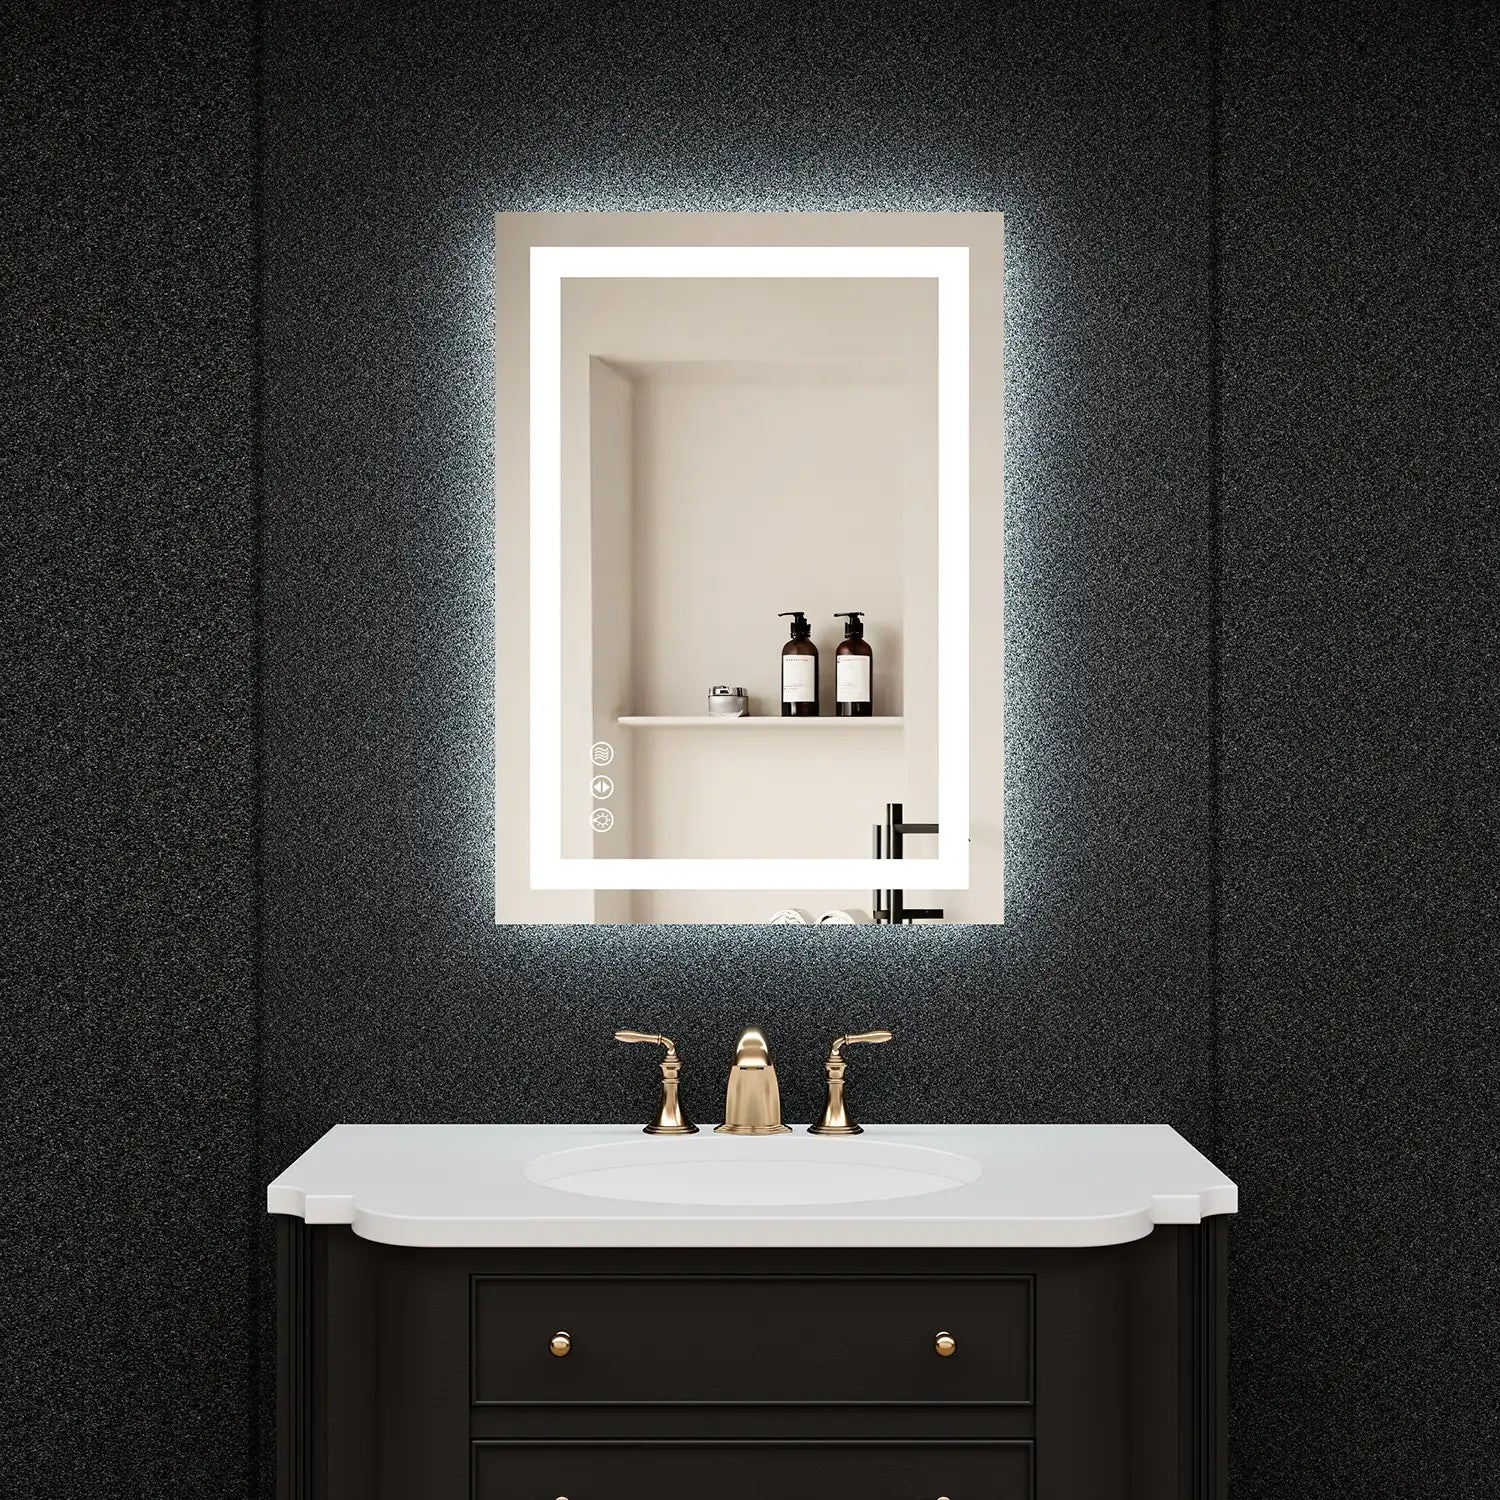
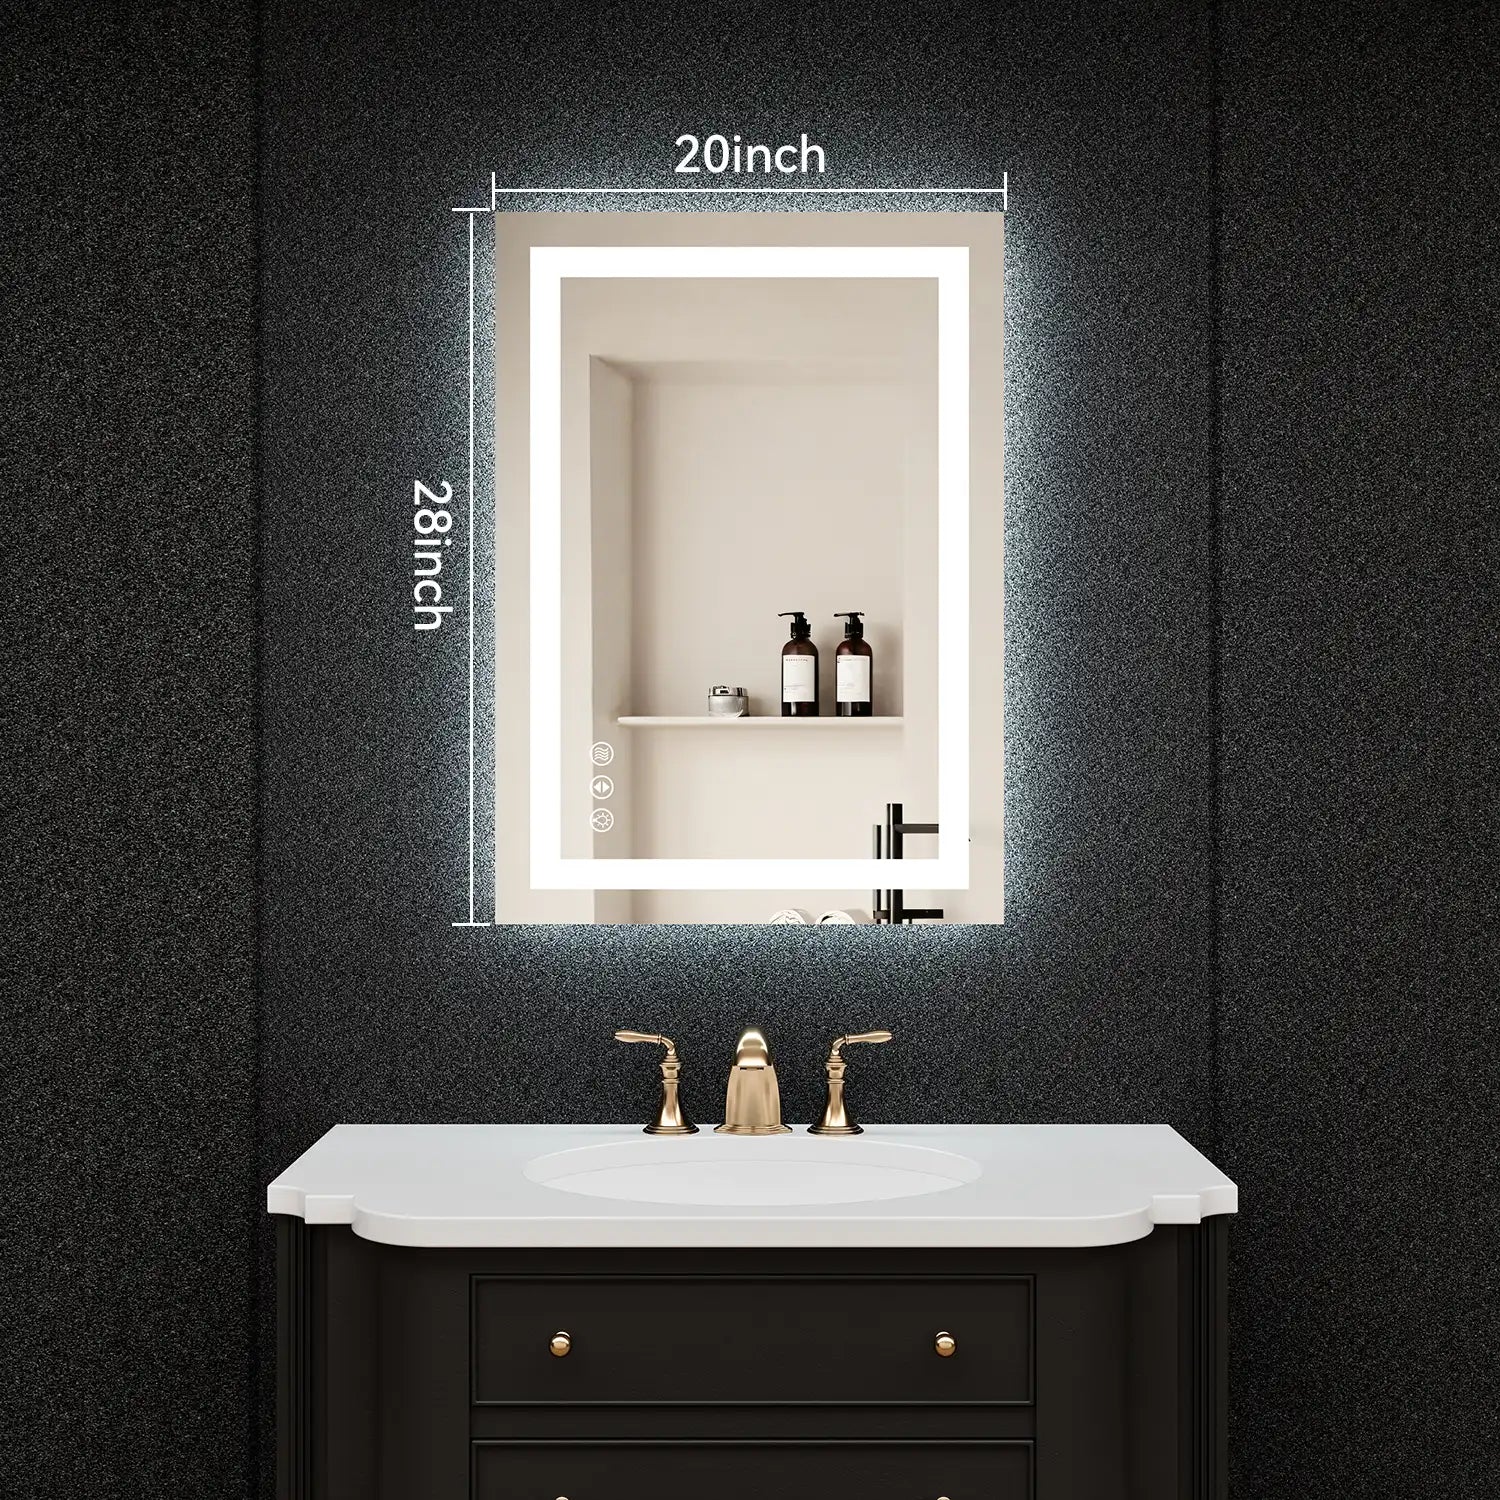
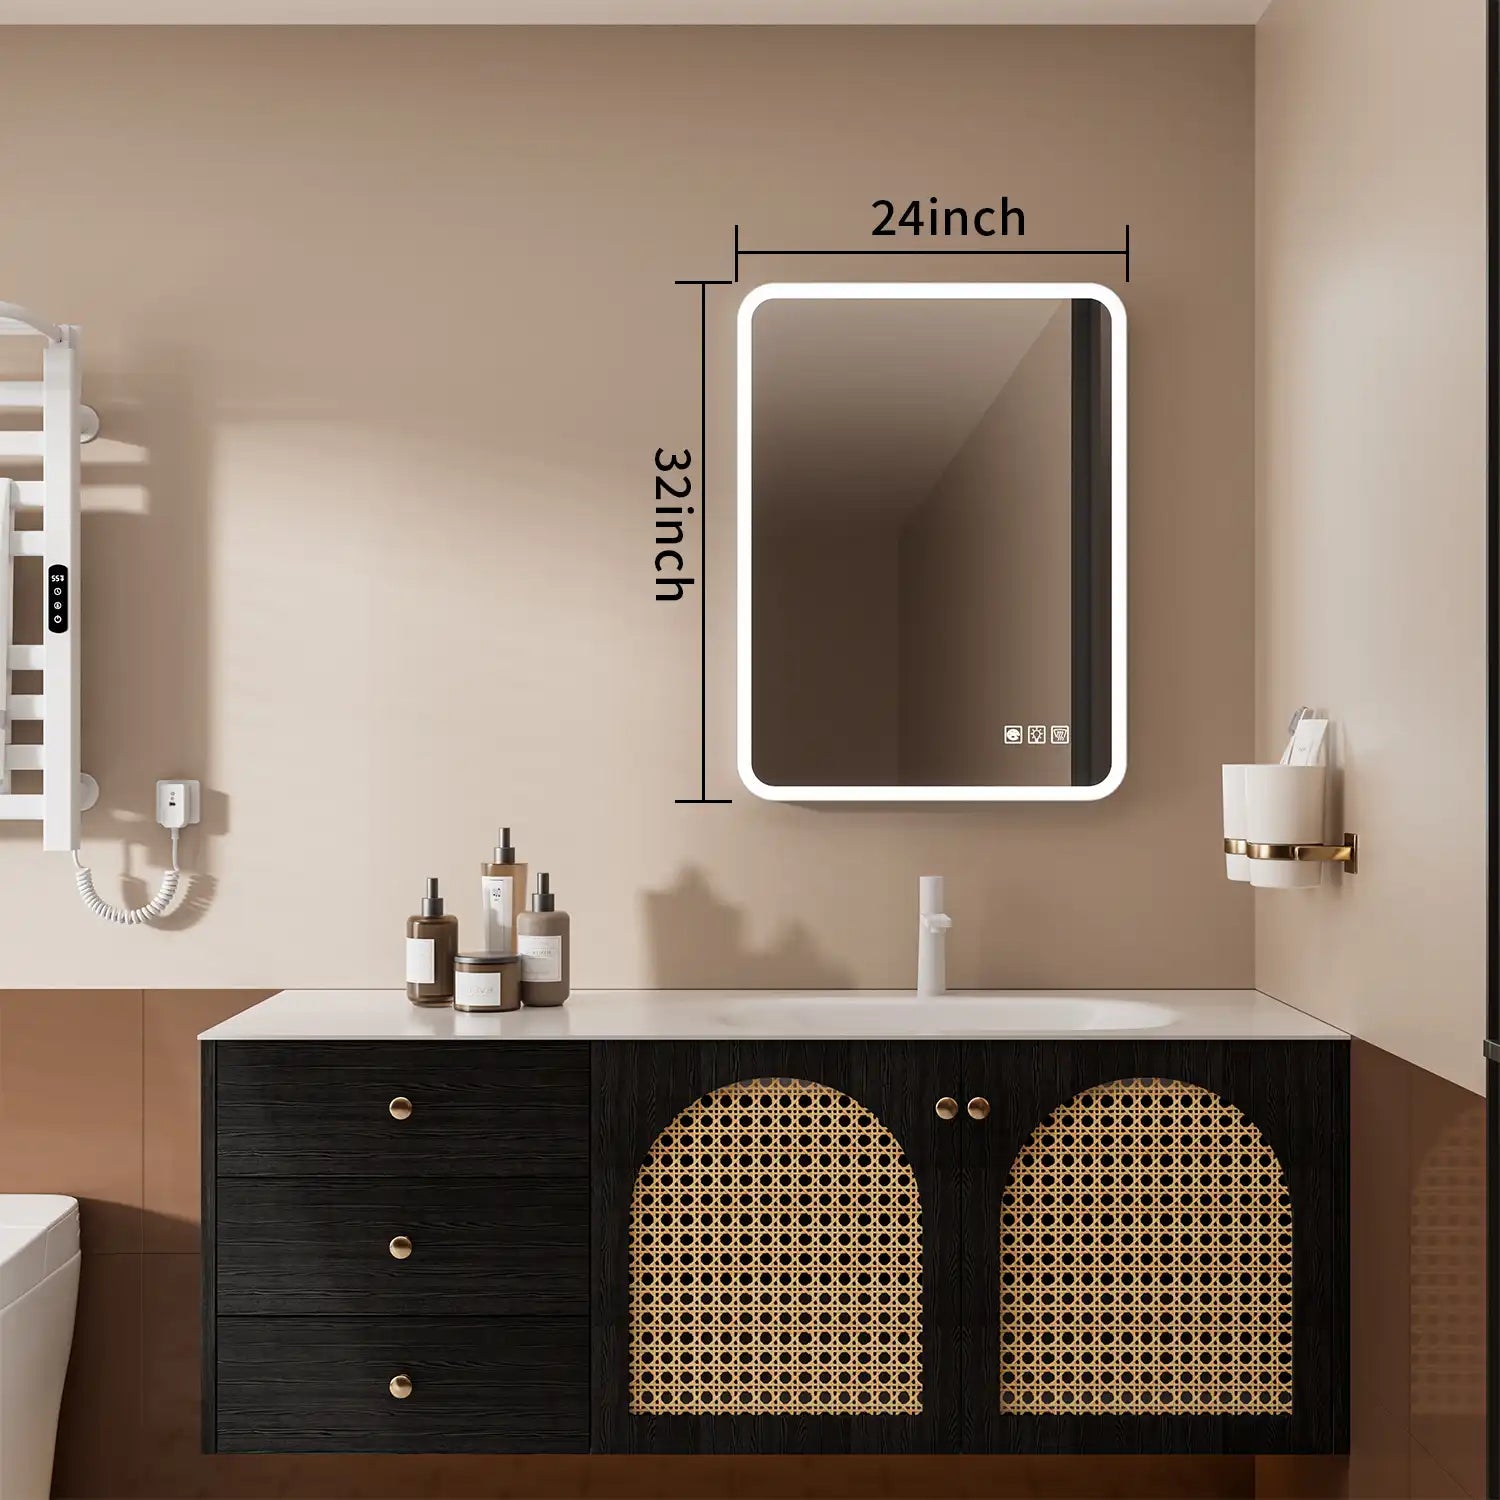
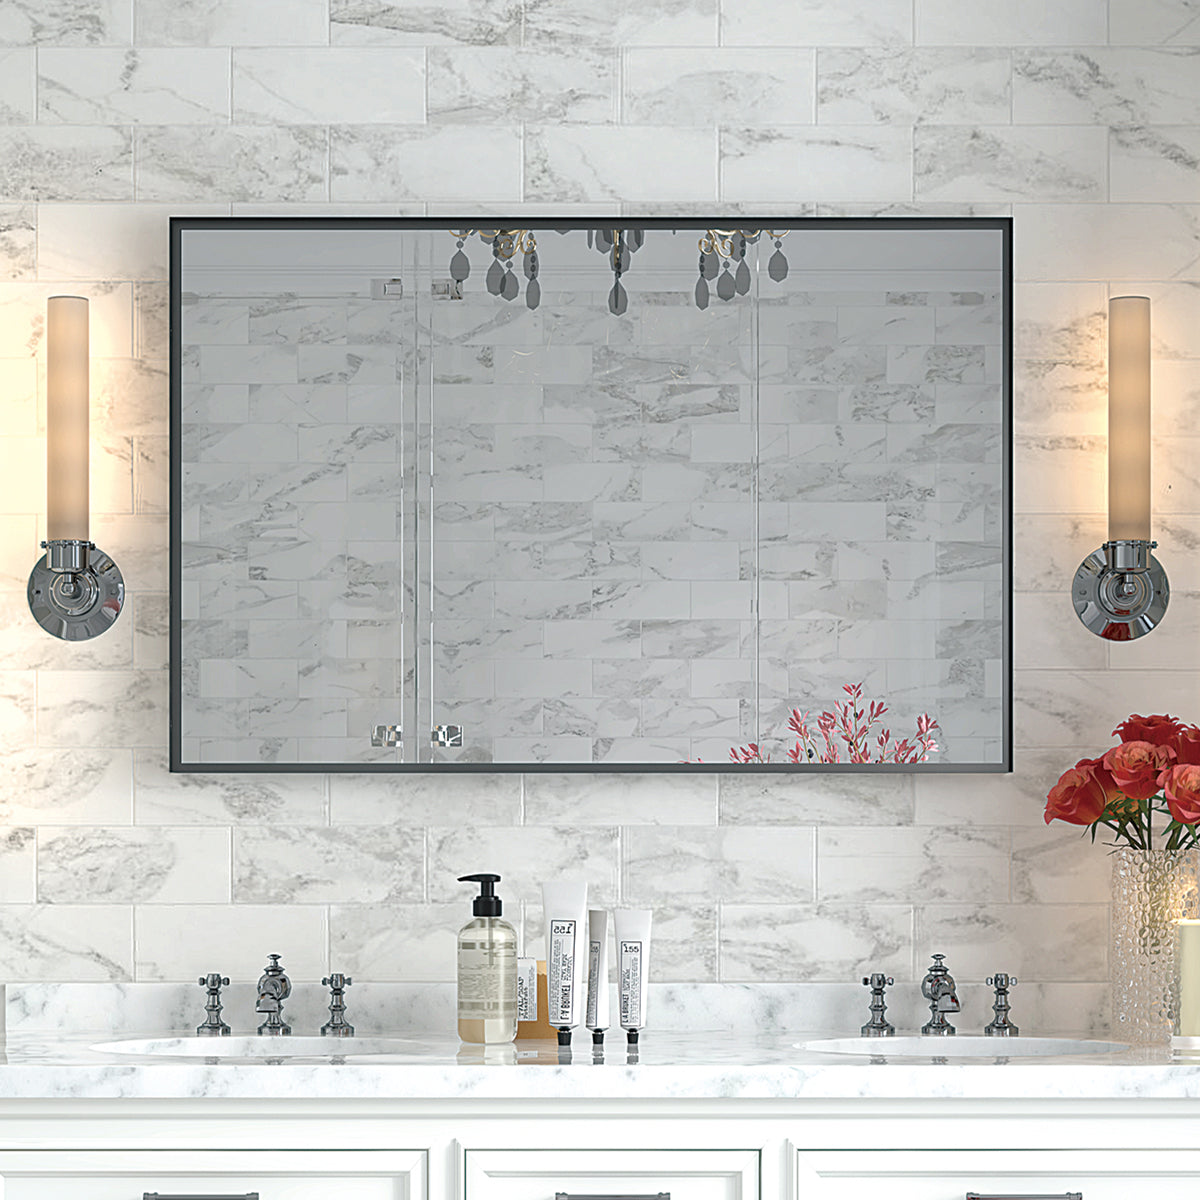
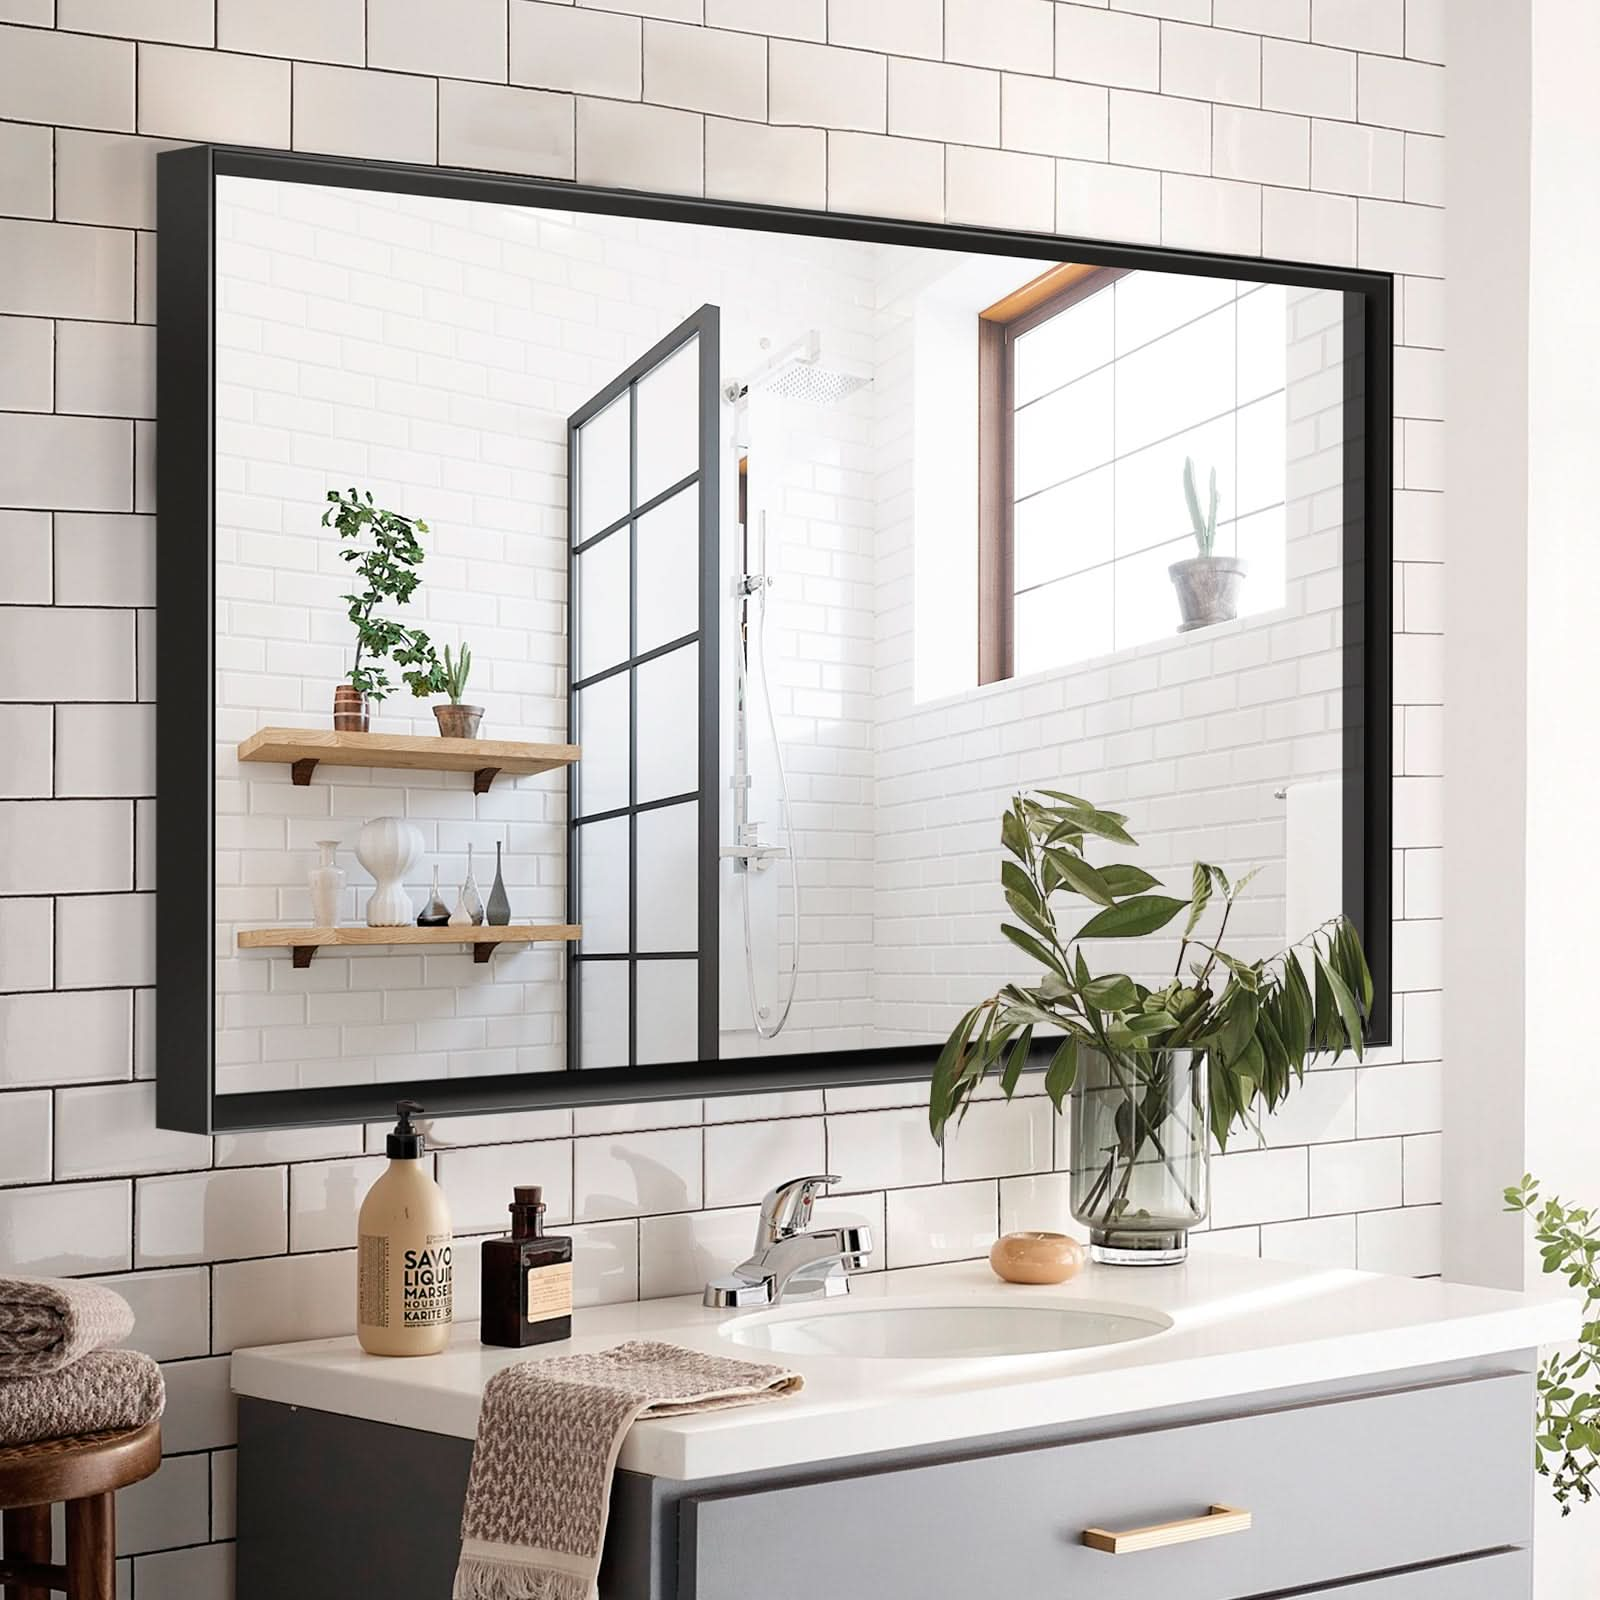
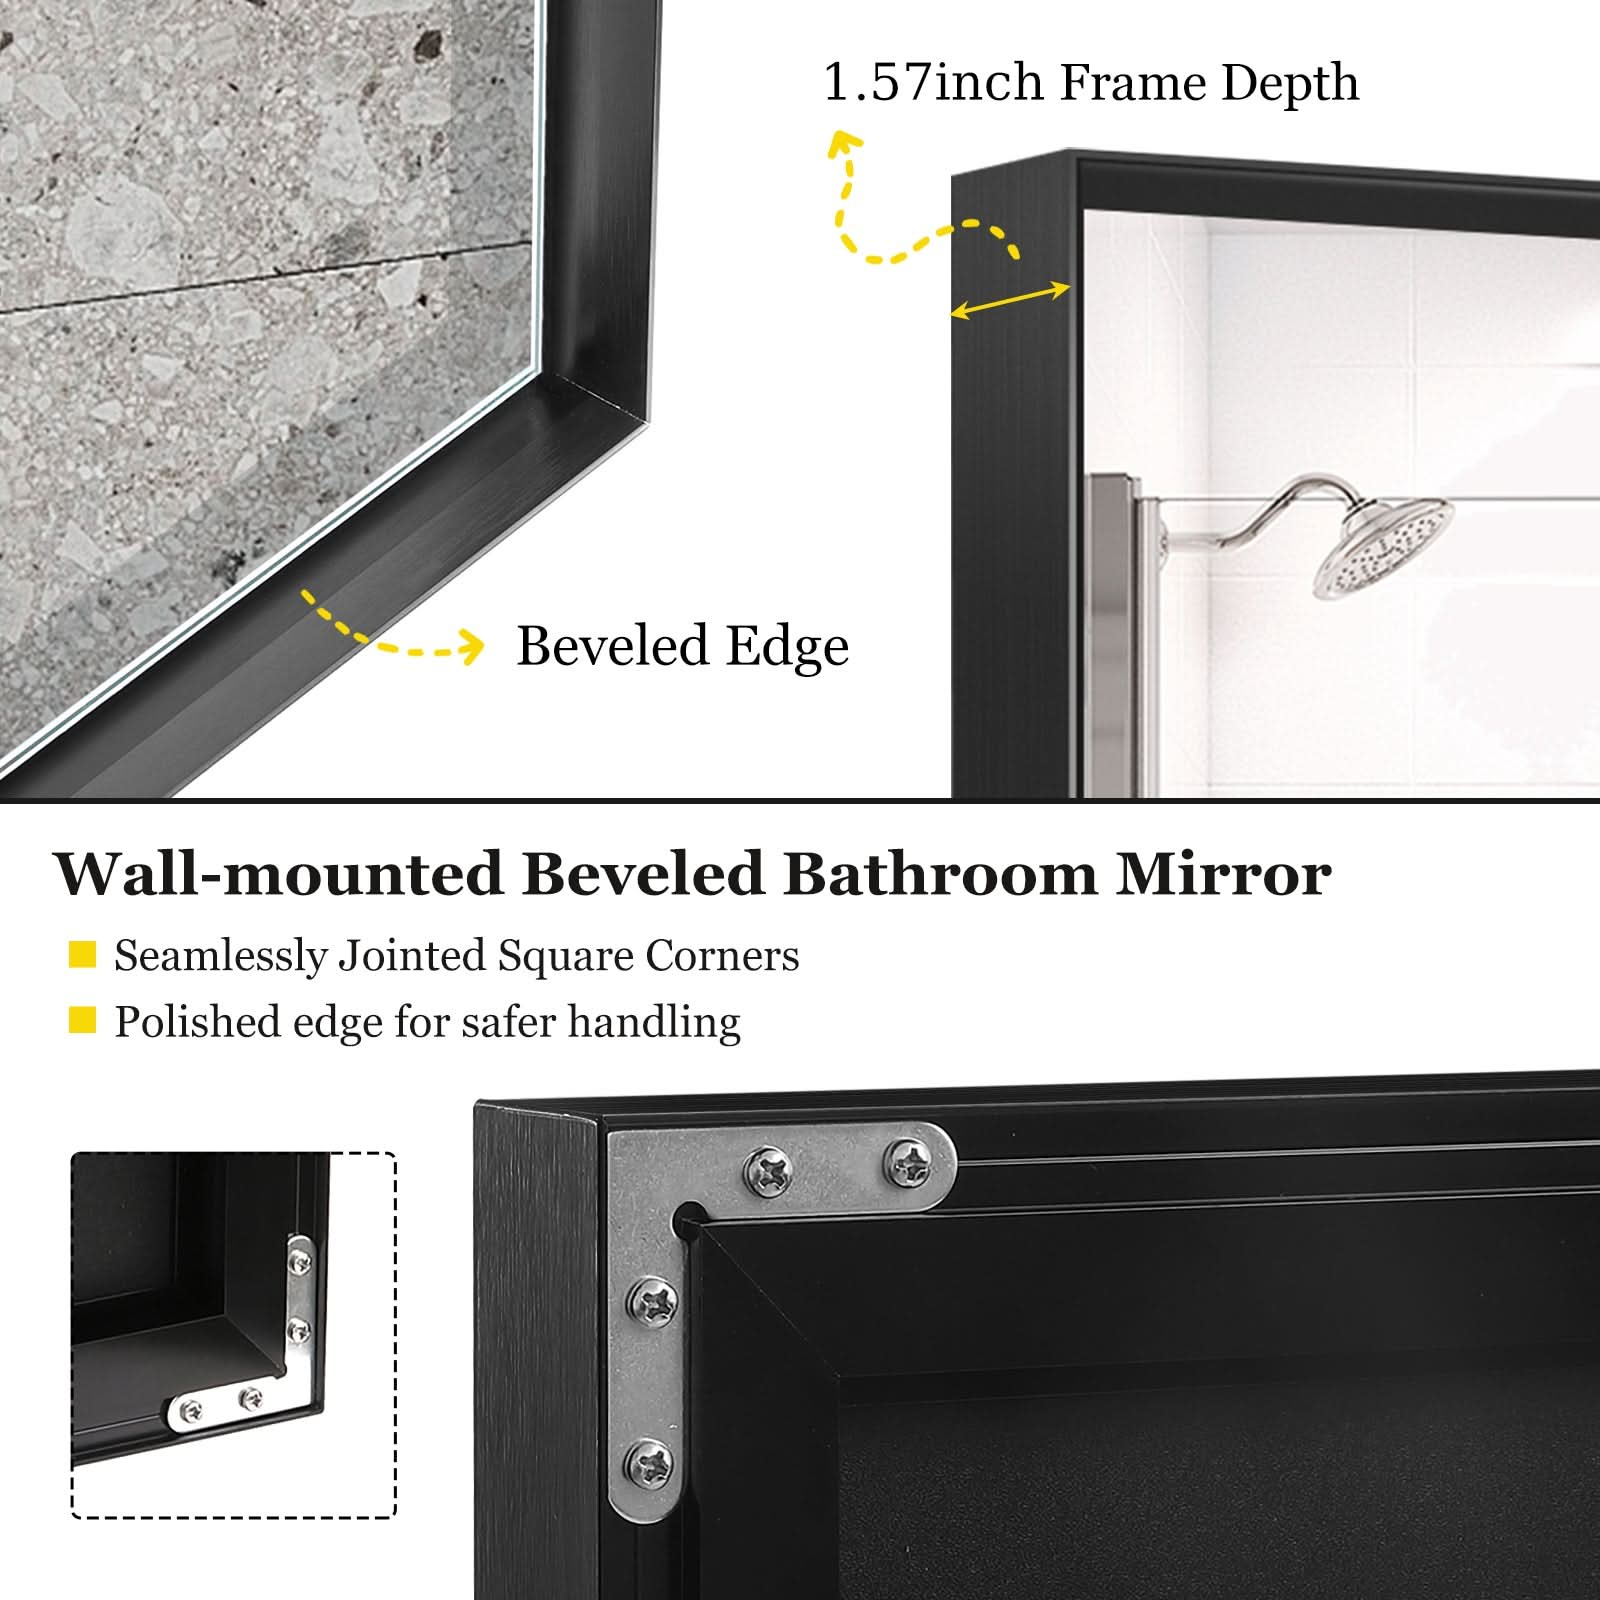
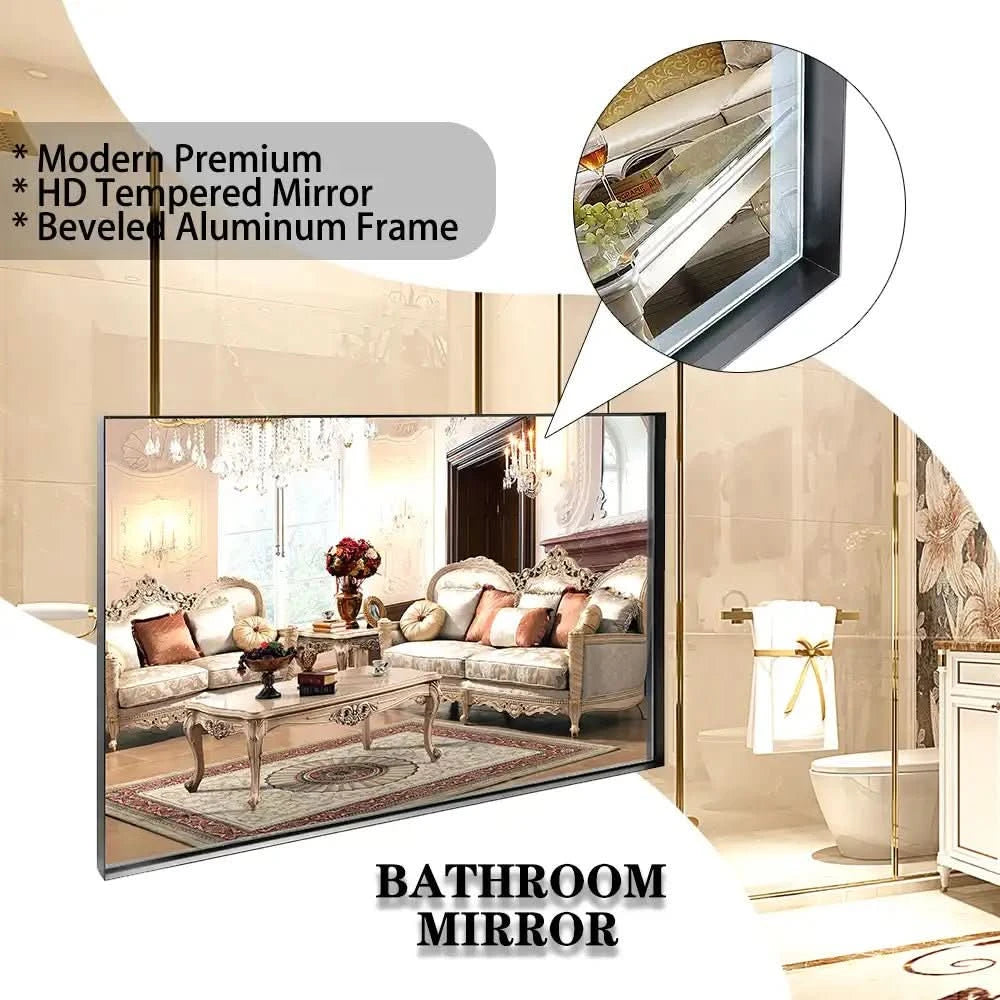
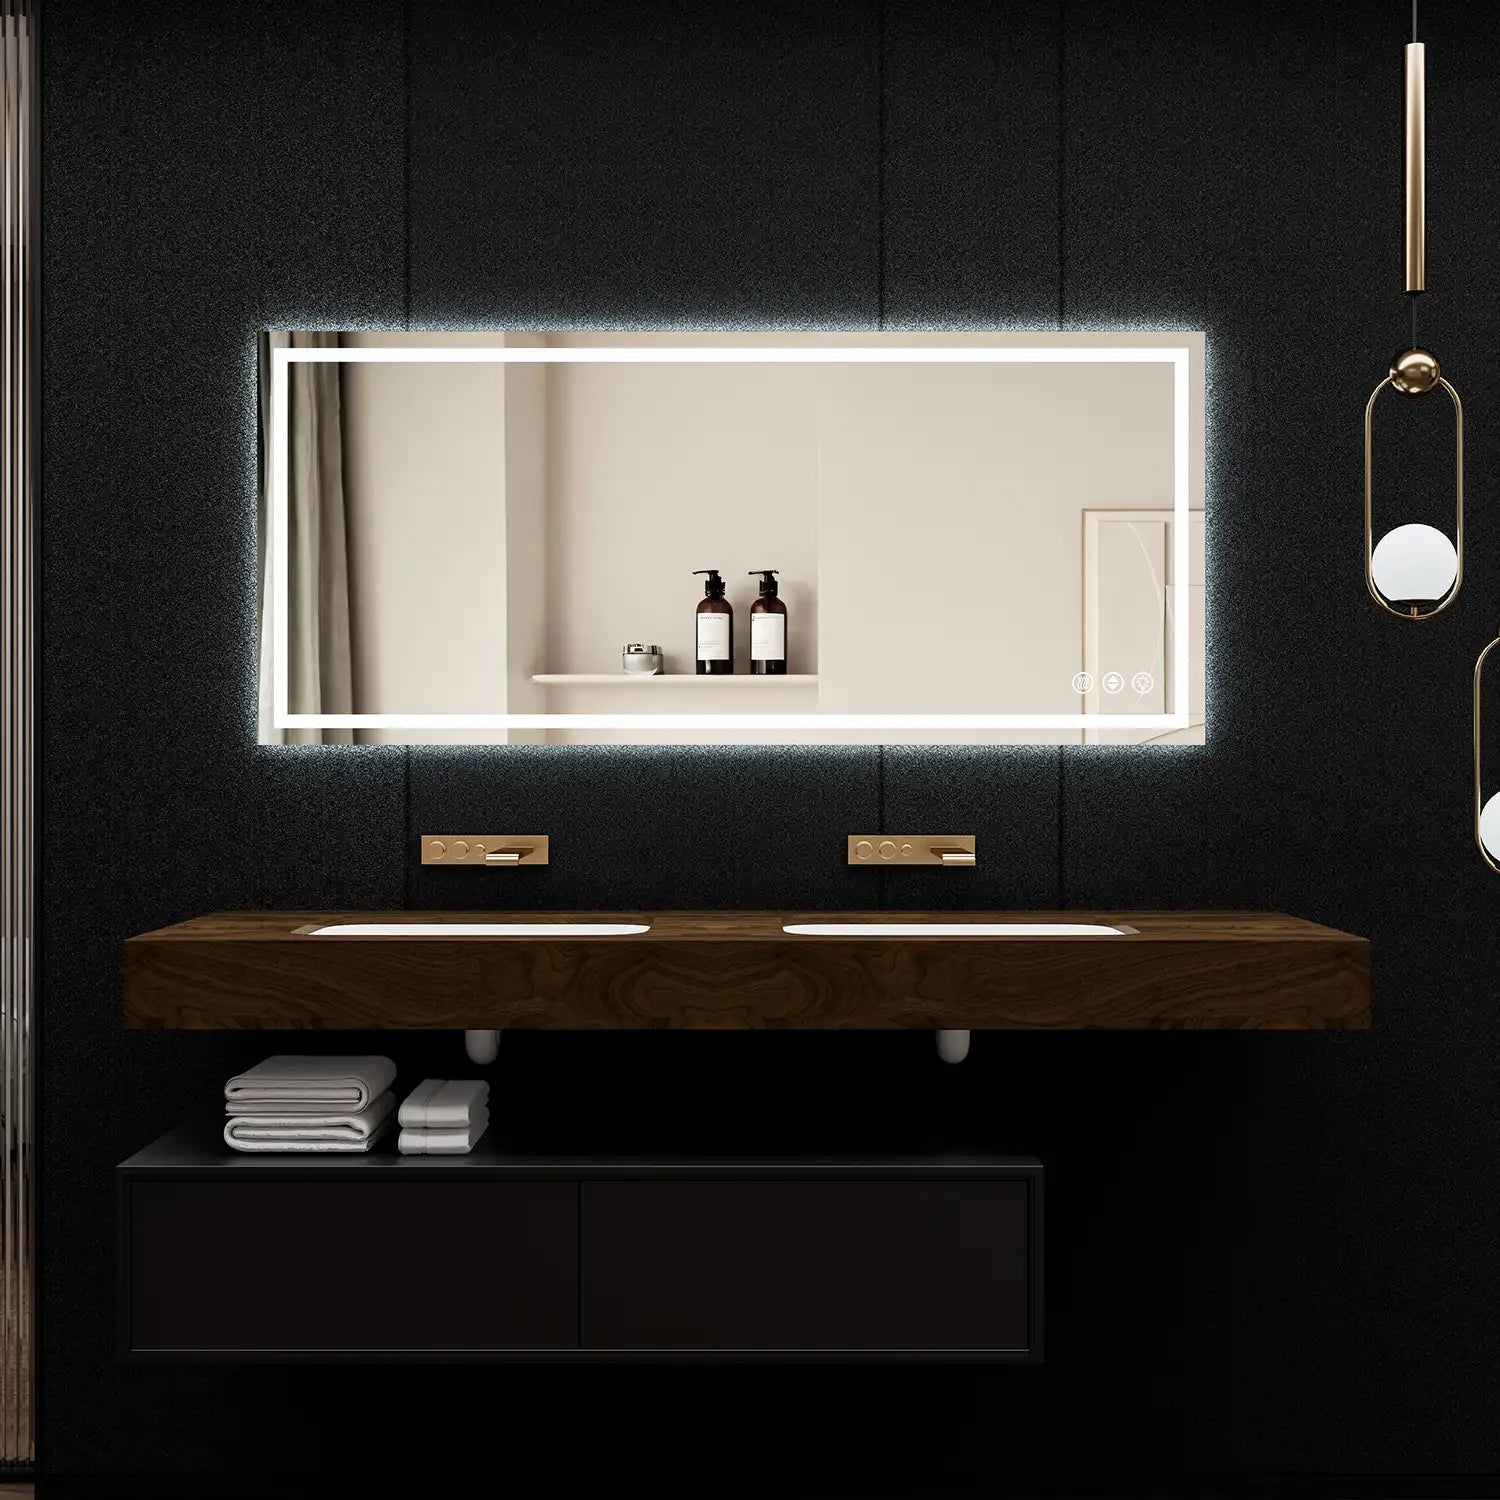
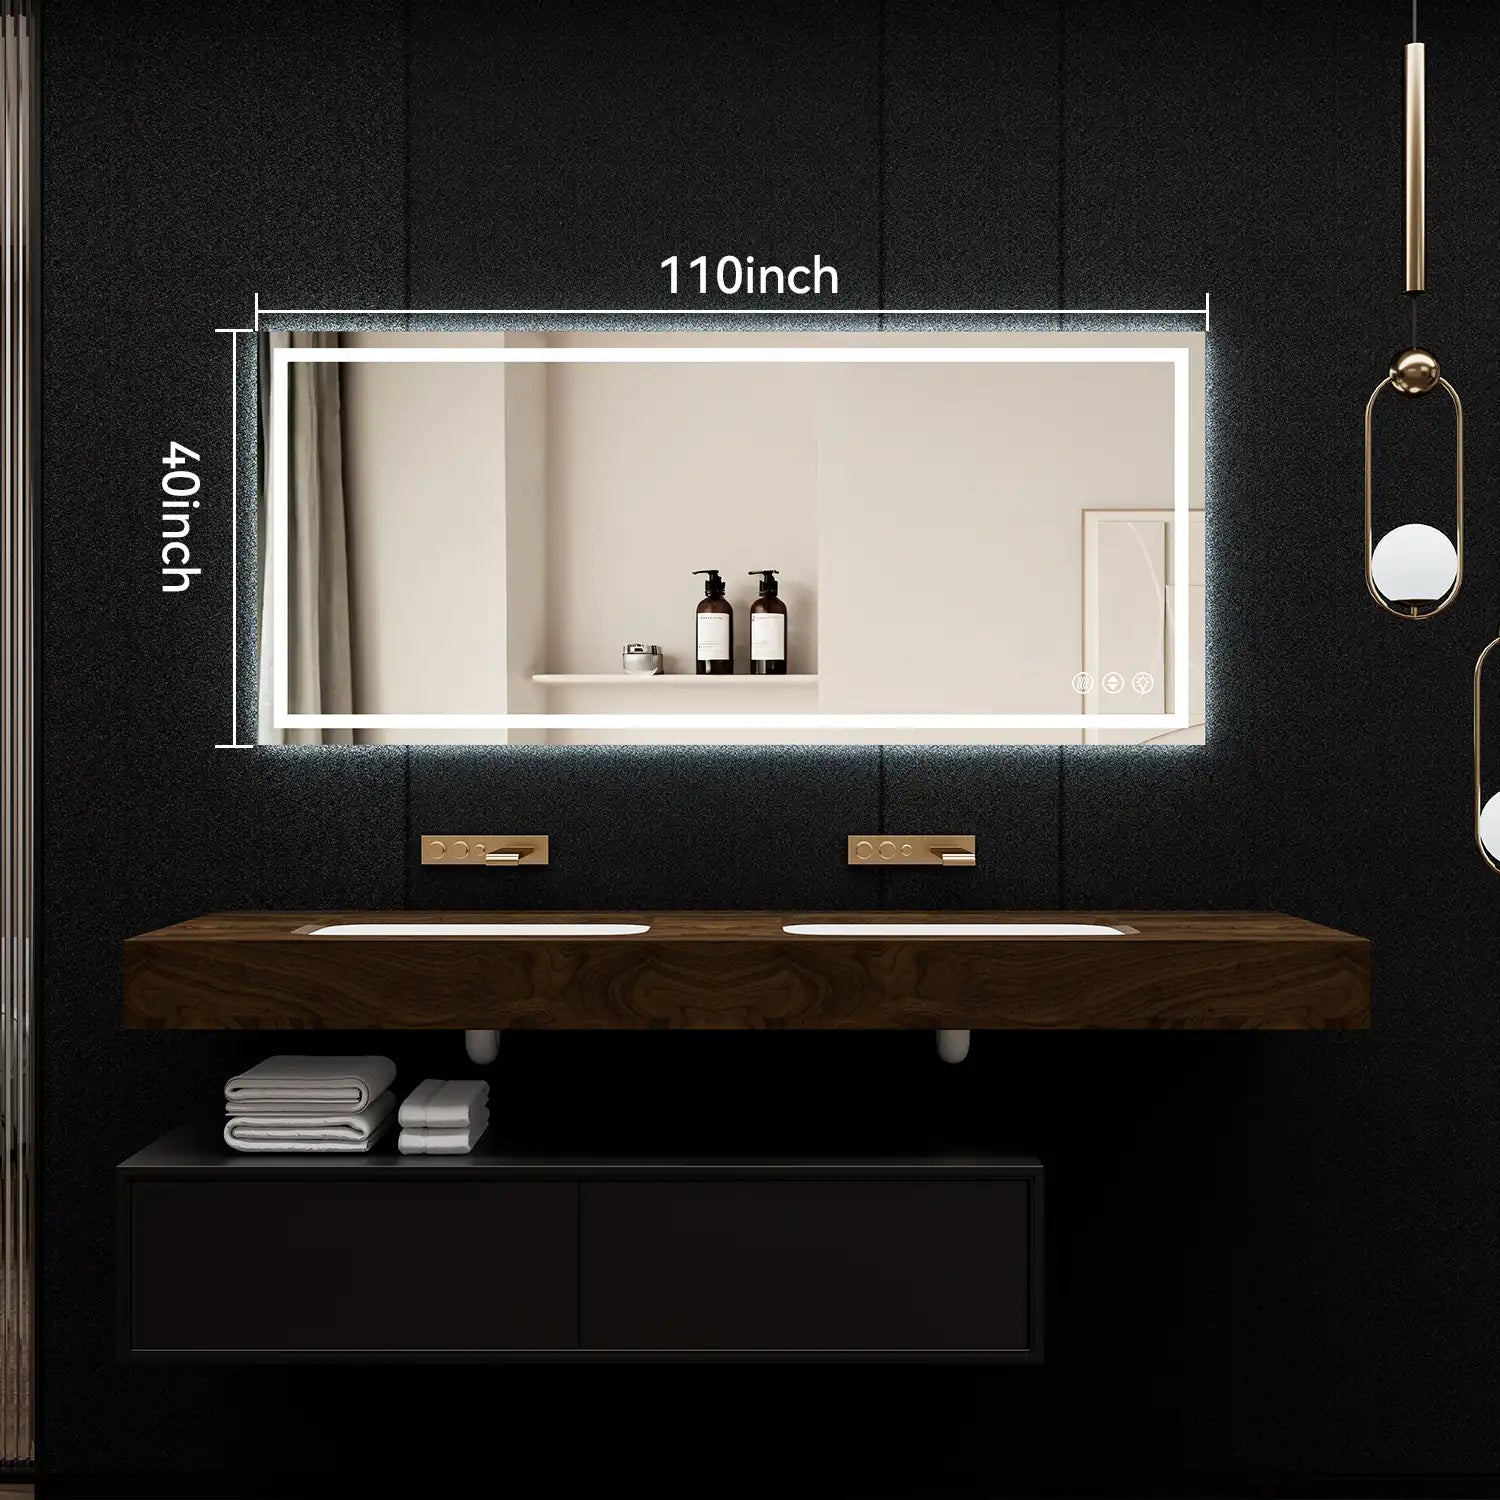
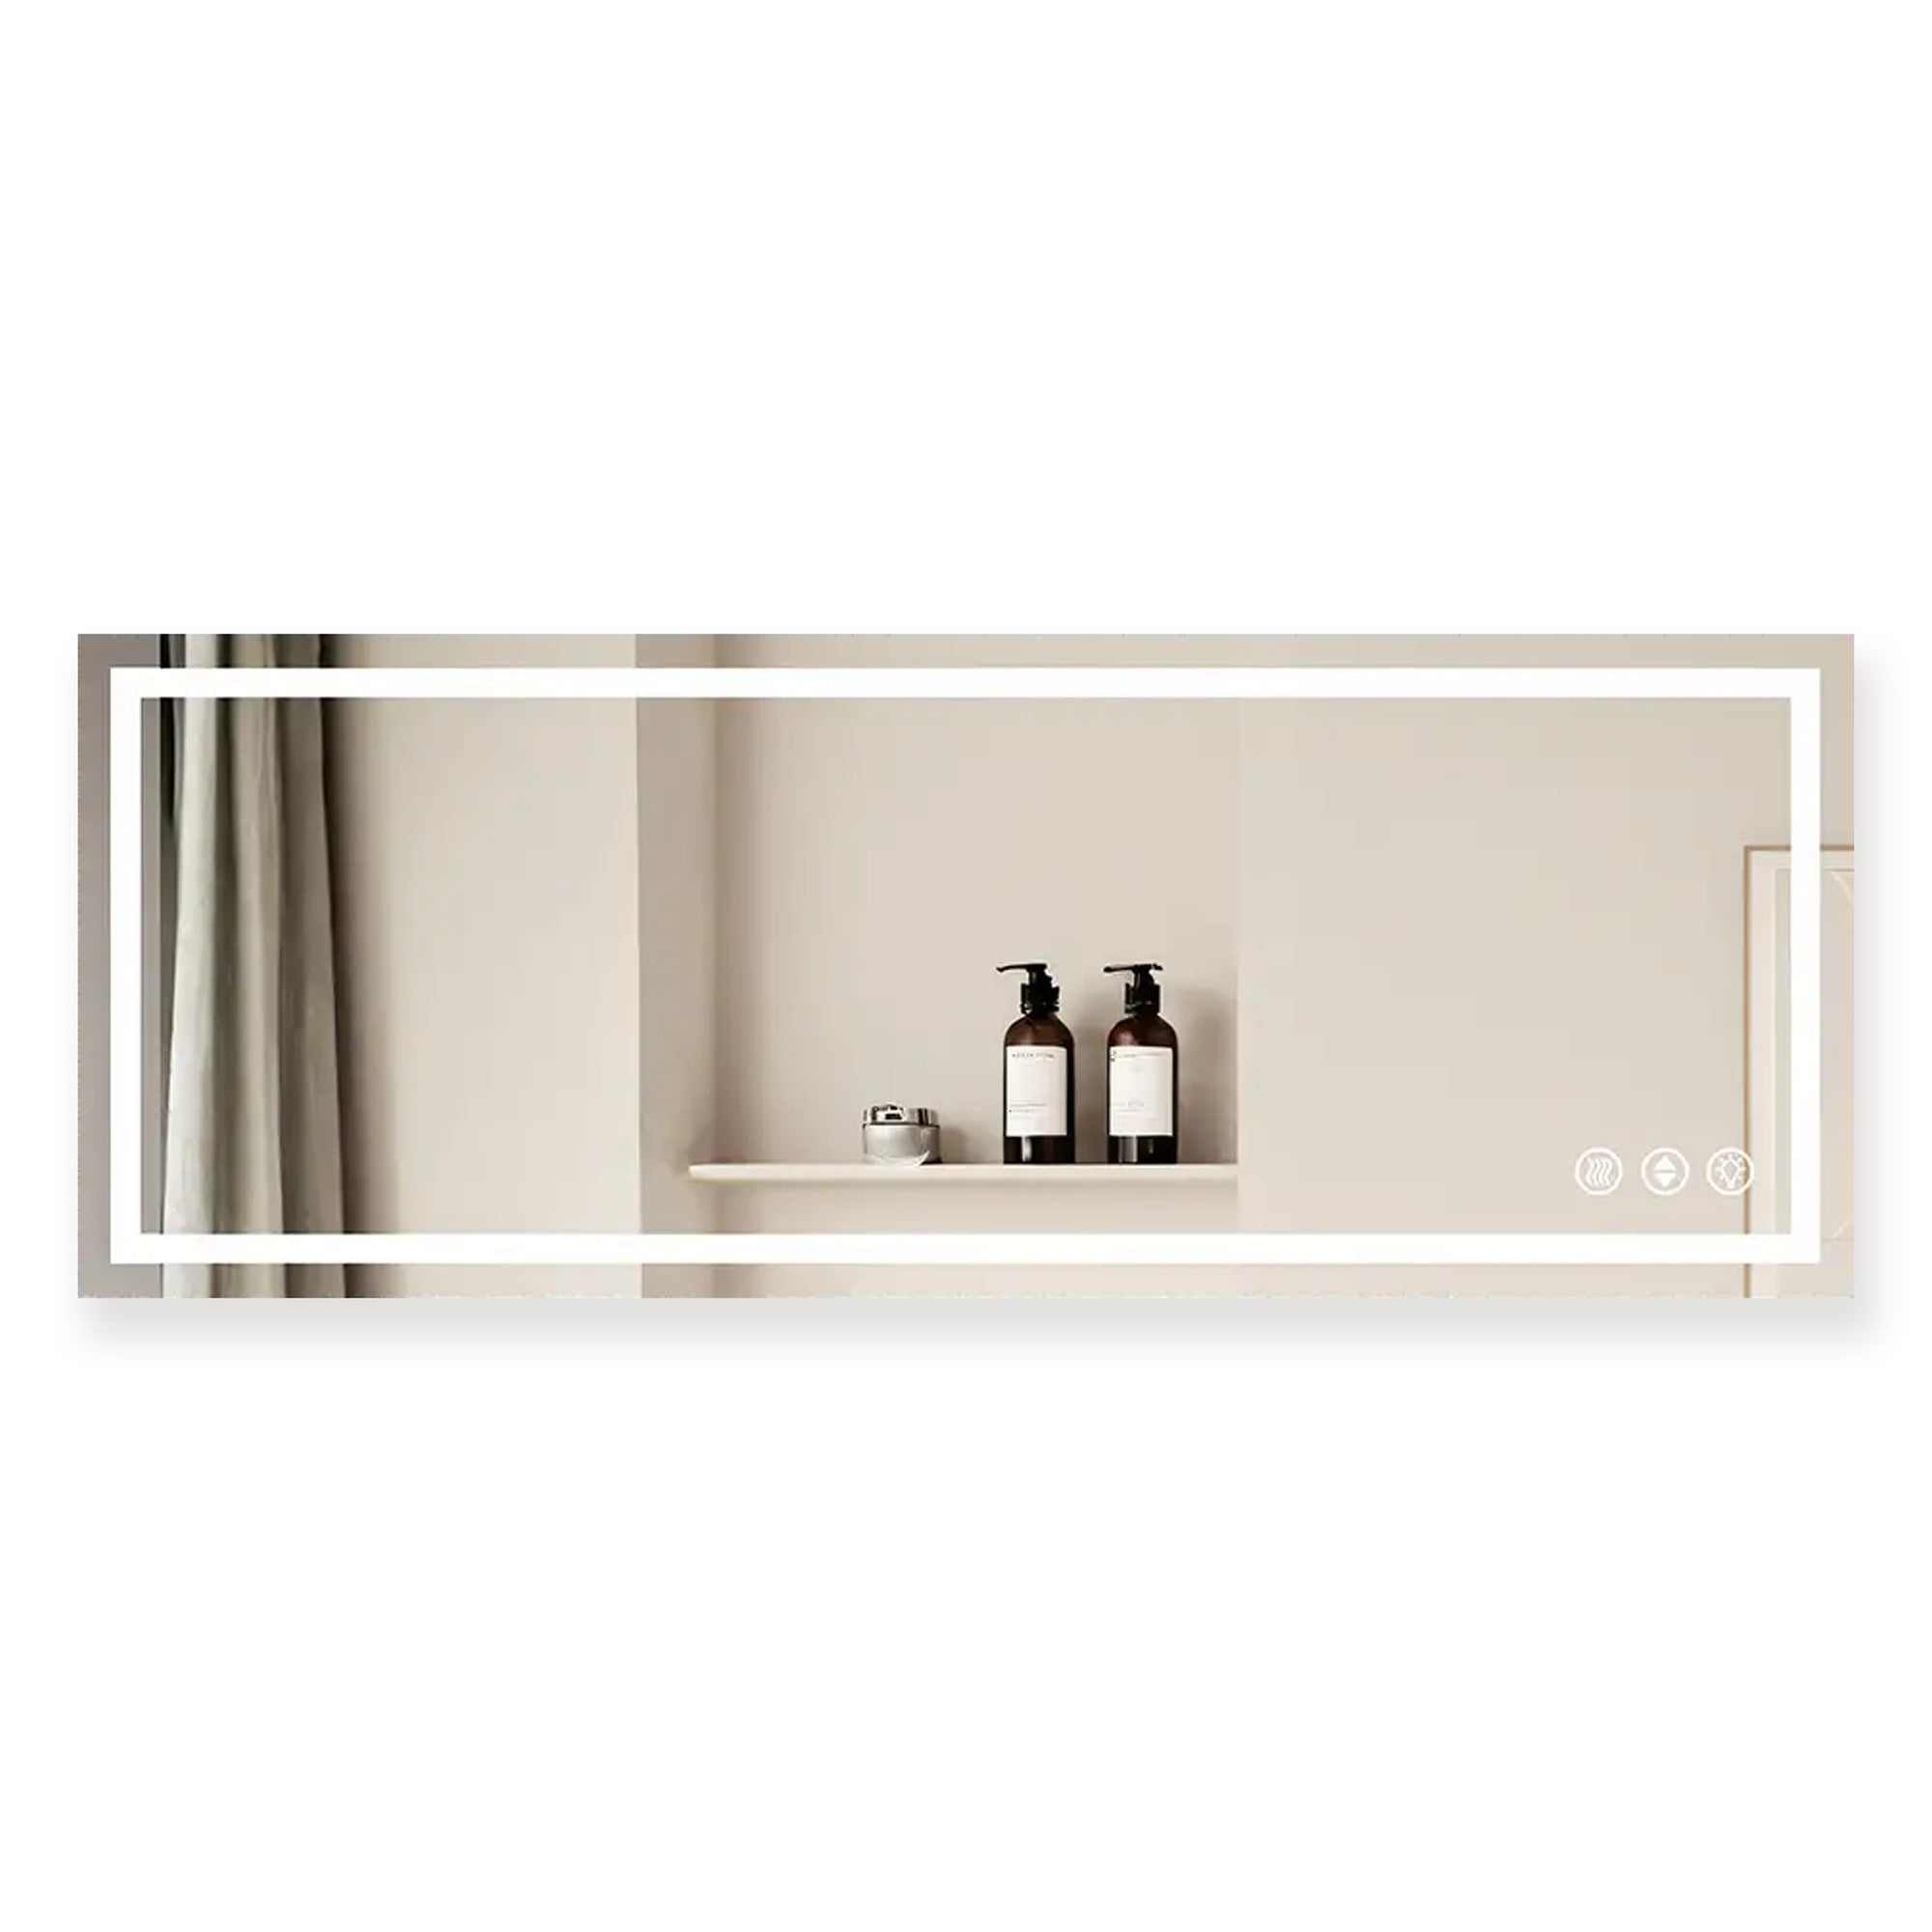
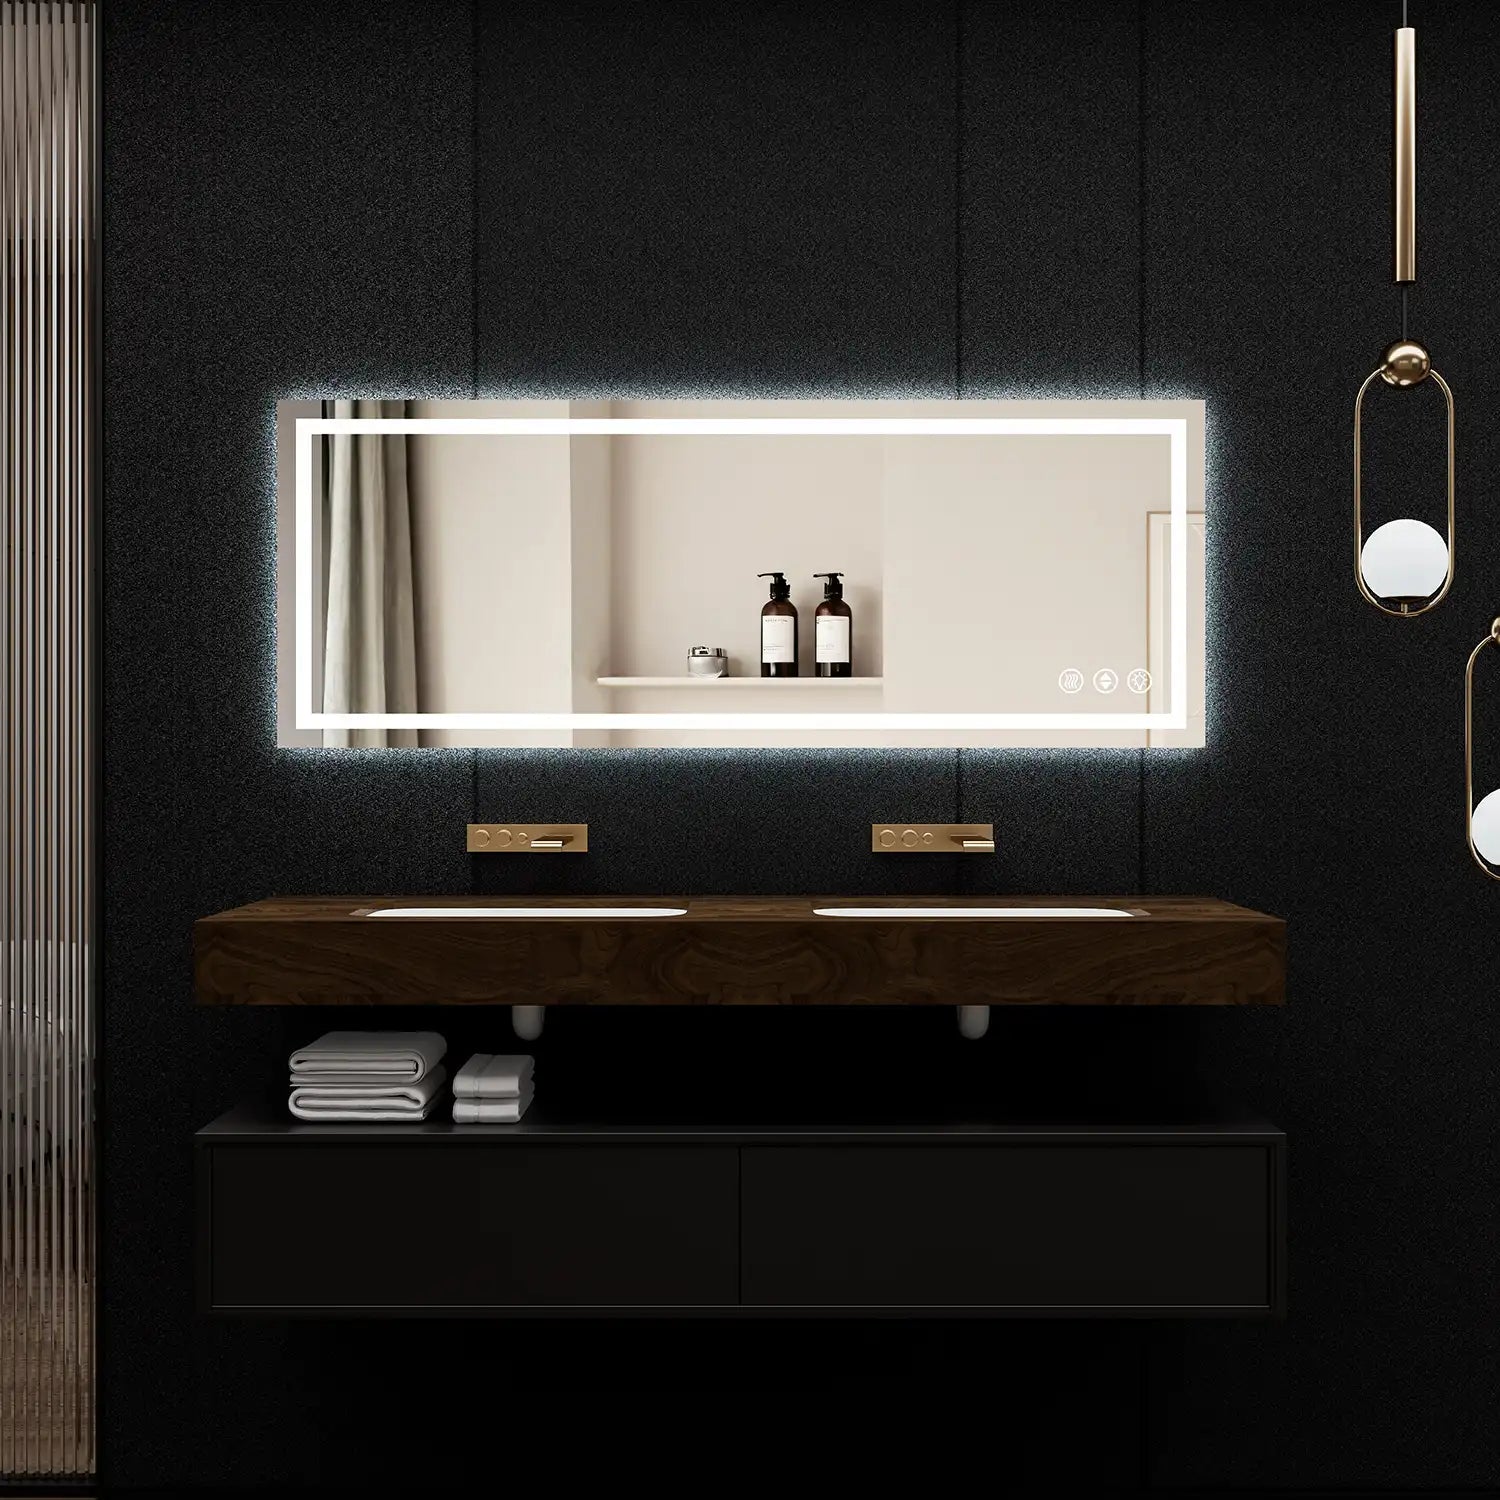
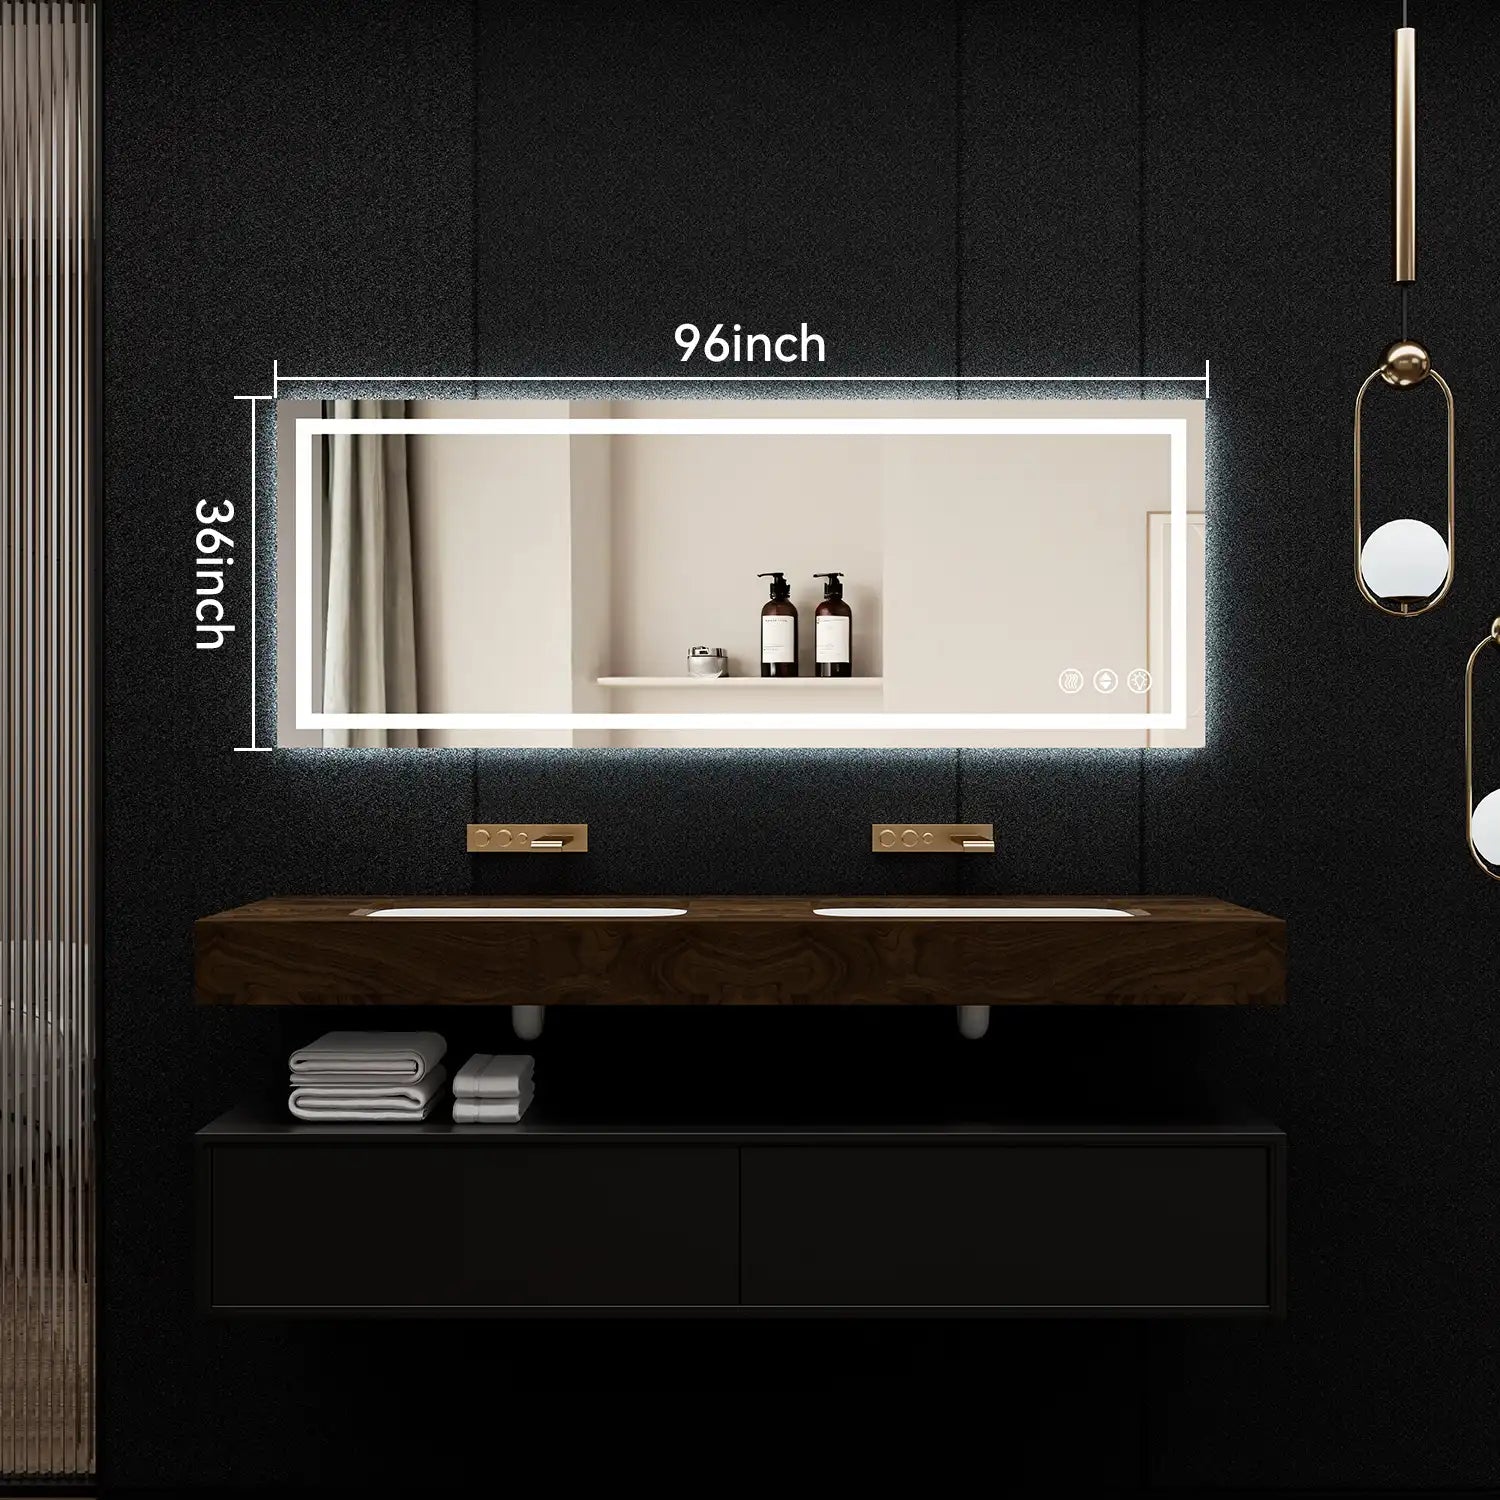
Framing your bathroom mirror is one of the easiest and most effective ways to enhance the aesthetics of your space. A custom mirror frame adds a polished look to your bathroom while allowing you to personalize the design. In this guide, we’ll walk you through how to create your own mirror frame using readily available materials and straightforward techniques.

Why Frame Your Bathroom Mirror?
An unframed bathroom mirror can often look plain and unfinished. Adding a frame not only elevates the overall appearance of the mirror but also provides the opportunity to coordinate it with your bathroom's design elements. It also helps cover any imperfections on the edges of the mirror, offering both aesthetic appeal and functionality.
By framing your mirror, you can choose materials and finishes that suit your style—whether you prefer a rustic, modern, or classic look. Retailers like Wayfair, Home Depot, and Lowe’s offer a wide selection of materials and pre-made frames to match various design styles and budgets.
Materials You’ll Need
Essential Tools and Materials:
- Wood or Composite Molding
- Measuring Tape
- Miter Saw or Miter Box
- Wood Glue or Construction Adhesive
- Clamps
- Sandpaper
- Paint or Stain
- Caulking Gun
These materials can be found at home improvement stores like Home Depot and Lowe’s, ensuring your project is both durable and stylish, even in high-humidity environments like the bathroom.
Step-by-Step Guide to Framing Your Bathroom Mirror

Step 1: Measure Your Mirror
Start by measuring the dimensions of your mirror. This will help you determine the size of the frame you’ll need, taking into account its proximity to the vanity, wall, and any nearby fixtures. Accurate measurements are key to achieving a professional-looking result.
Step 2: Cut the Molding to Size
Using a miter saw, cut the wood or molding to the exact dimensions of your mirror. Be sure to cut the ends at 45-degree angles for clean, mitered corners. If you're not comfortable making the cuts yourself, many home improvement stores offer pre-cut or easy-to-assemble frame kits.
Step 3: Sand and Paint the Frame
Before attaching the frame to the mirror, sand the wood to smooth out any rough edges. Next, paint or stain the frame in a color that complements your bathroom design. Consider using a water-resistant paint or stain, especially for bathrooms, to ensure the frame holds up well in a moisture-prone environment.
Step 4: Attach the Frame
Apply a construction adhesive to the back of each piece of molding and press the frame against the mirror. Use clamps to hold the frame in place while the glue sets. Lowe’s and Home Depot offer adhesive options designed for heavy-duty projects like attaching large mirrors, providing long-lasting security.
Step 5: Finishing Touches
Once the adhesive is dry, check for any gaps between the mirror and the frame. Use caulk to fill these gaps, which will also help prevent moisture from seeping behind the frame. Allow everything to dry completely before using the mirror.
Style Inspiration for Your Custom Frame

- Rustic Farmhouse: Use reclaimed wood or distressed finishes to add a cozy, country-inspired vibe to your bathroom.
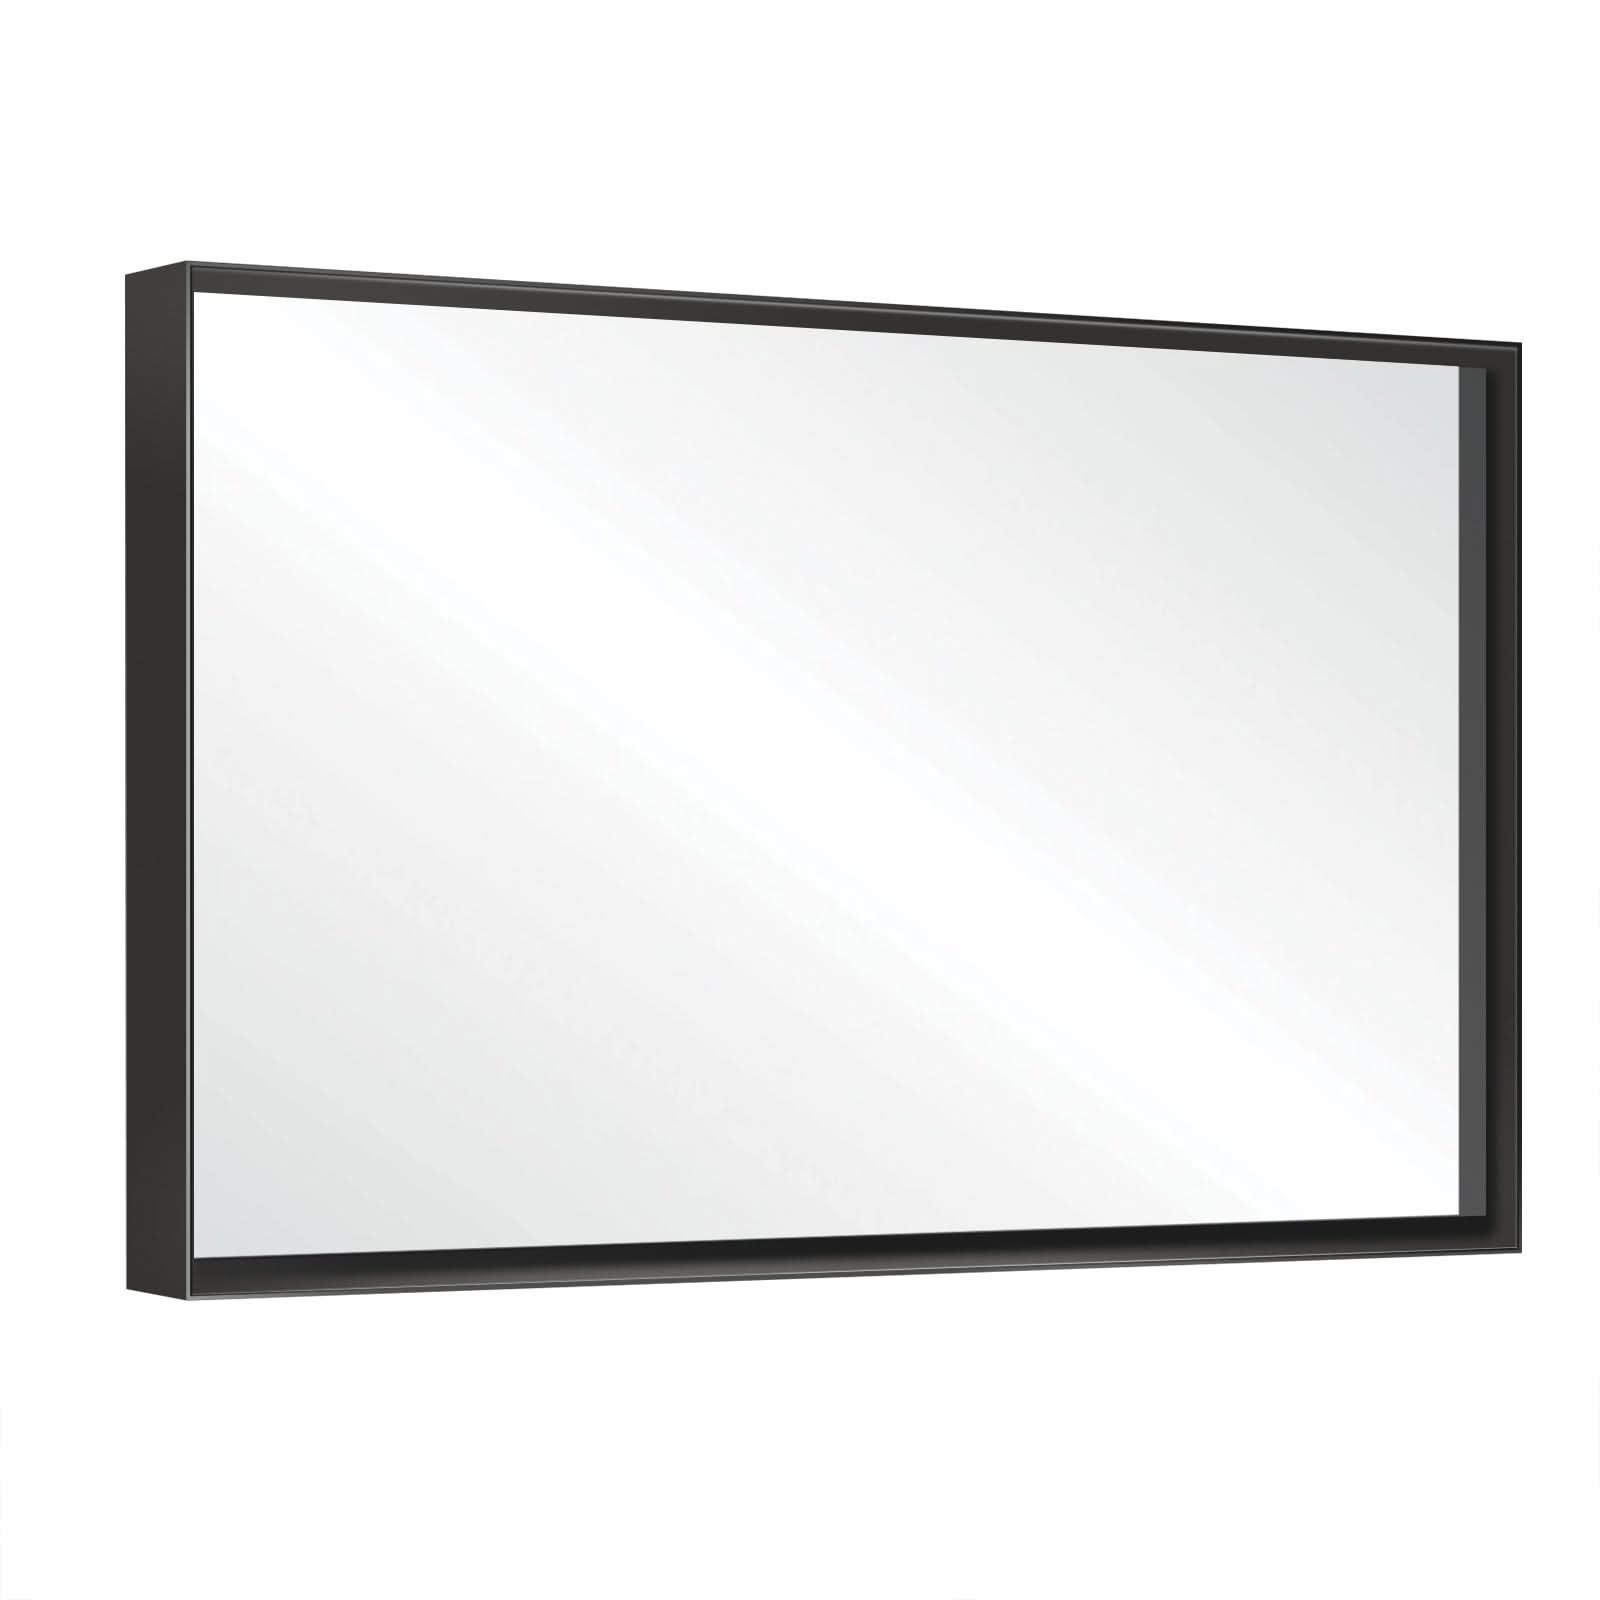
- Modern Minimalist: Opt for a sleek black or metallic frame for a modern, minimalist look.
- Coastal Vibes: Light wood or whitewashed frames create a relaxed, beach-inspired atmosphere.
- Elegant Accents: Choose gold or brass frames for a touch of luxury, perfect for traditional or glamorous bathroom designs.
These styles can easily be achieved with materials from retailers like Wayfair, Home Depot, or IKEA, providing a variety of options to suit your aesthetic vision.
Common Mistakes to Avoid
Mistake 1: Inaccurate Measurements
Incorrect measurements can lead to poorly fitting frames. Double-check your measurements to avoid this common mistake.
Mistake 2: Choosing the Wrong Materials
Ensure that the materials you choose are suited for a high-moisture environment like the bathroom. Wood or composite materials with water-resistant finishes are ideal.
Mistake 3: Rushing the Drying Process
Allow the adhesive to fully dry before using the mirror. Rushing this step can cause the frame to shift or detach over time.
Where to Find Affordable Materials
Creating a custom mirror frame doesn’t have to be expensive. Here are some places to find affordable, high-quality materials:
- Home Depot: Offers a wide variety of moldings and tools for DIY projects.
- Lowe’s: Known for its selection of adhesives and paints designed specifically for bathroom projects.
- Amazon: Great for finding tools, adhesives, and pre-made framing kits, all delivered to your door.
- IKEA: Perfect for budget-friendly home decor solutions, including mirror frames and accessories.

Conclusion
Framing your bathroom mirror is a simple DIY project that yields significant aesthetic rewards. By choosing the right materials and following these easy steps, you can transform an ordinary mirror into a stylish focal point in your bathroom. Whether you opt for a rustic wooden frame or a sleek, modern design, the possibilities are endless. With materials from stores like Home Depot, Wayfair, and Lowe's, you can create a custom mirror frame that perfectly fits your style and budget.
FAQ
Q1: Can I frame an existing bathroom mirror?
A: Yes, framing an existing mirror is a great way to refresh your bathroom without the hassle of removing the mirror.
Q2: What kind of adhesive should I use?
A: A strong construction adhesive designed for glass and wood is recommended. You can find this at most home improvement stores like Home Depot or Lowe’s.
Q3: How can I prevent the frame from warping in a humid bathroom?
A: Use moisture-resistant materials and be sure to caulk any gaps to prevent moisture from seeping behind the frame.
Q4: Can I frame a large bathroom mirror?
A: Absolutely. Just make sure to use heavy-duty adhesives or brackets to ensure the frame stays securely in place.
By following these steps, you’ll give your bathroom a stylish upgrade that looks professional and polished. Whether you’re going for a modern, rustic, or elegant look, framing your bathroom mirror is a cost-effective way to enhance your space.

