Mirrors are more than simple household items, they shape how a room feels, reflect light, and add style. Increasingly, homeowners are choosing to customize mirror projects to match their spaces and express creativity. From cutting glass into unique shapes to building handcrafted mirror frames, customization offers endless possibilities.
This guide walks you through how mirrors are made, DIY methods to personalize them, the tools and safety steps required, and design ideas to inspire your next home project.
Table of Contents:
- How Mirrors Are Made: A Quick Overview
- Turning Plain Glass into a Mirror: A DIY Approach
- Three Options to Customize a Mirror
- Tools and Materials You Will Need
- Step-by-Step Guide: Cutting and Shaping Mirrors Safely
- Framing Your Customized Mirror
- Creative Design Ideas for Customized Mirrors
- Common Mistakes to Avoid
- Conclusion
- FAQ
How Mirrors Are Made: A Quick Overview
Most mirrors start as sheets of glass that are cut, polished, and then coated on the rear with a reflective material — usually silver or aluminum, followed by a protective paint. This process makes the glass reflective while keeping it durable for everyday use.
For anyone starting a customize mirror project, knowing this basic process is helpful: it explains why mirrors are delicate, why the reflective coating must be protected, and why cutting needs to be done carefully.
Turning Plain Glass into a Mirror: A DIY Approach
For homeowners who only have plain glass on hand, there are simple ways to transform it into a reflective surface. One of the easiest ways to do it is to use a special mirror-effect spray paint. These sprays are designed to create a reflective finish when applied to the back side of the glass. The process involves thoroughly cleaning the glass, applying multiple thin coats of spray, and allowing each layer to dry properly. Once dry, the reflective coating can then be sealed with a protective clear coat/paint for durability.
This technique works great for decorative projects (think small accent mirrors, trays or art pieces) but it will never be as vibrant or permanent (and clear) as professional silvering/aluminum coating would be.
For bathrooms or high-use areas, professionally manufactured mirrors are still recommended. However, for DIY enthusiasts looking to customize mirror projects on a budget, mirror-effect spray paint offers an easy and creative solution.
Three Options to Customize a Mirror
There are several ways to create a unique mirror that complements your home décor.

Adding or Changing a Frame
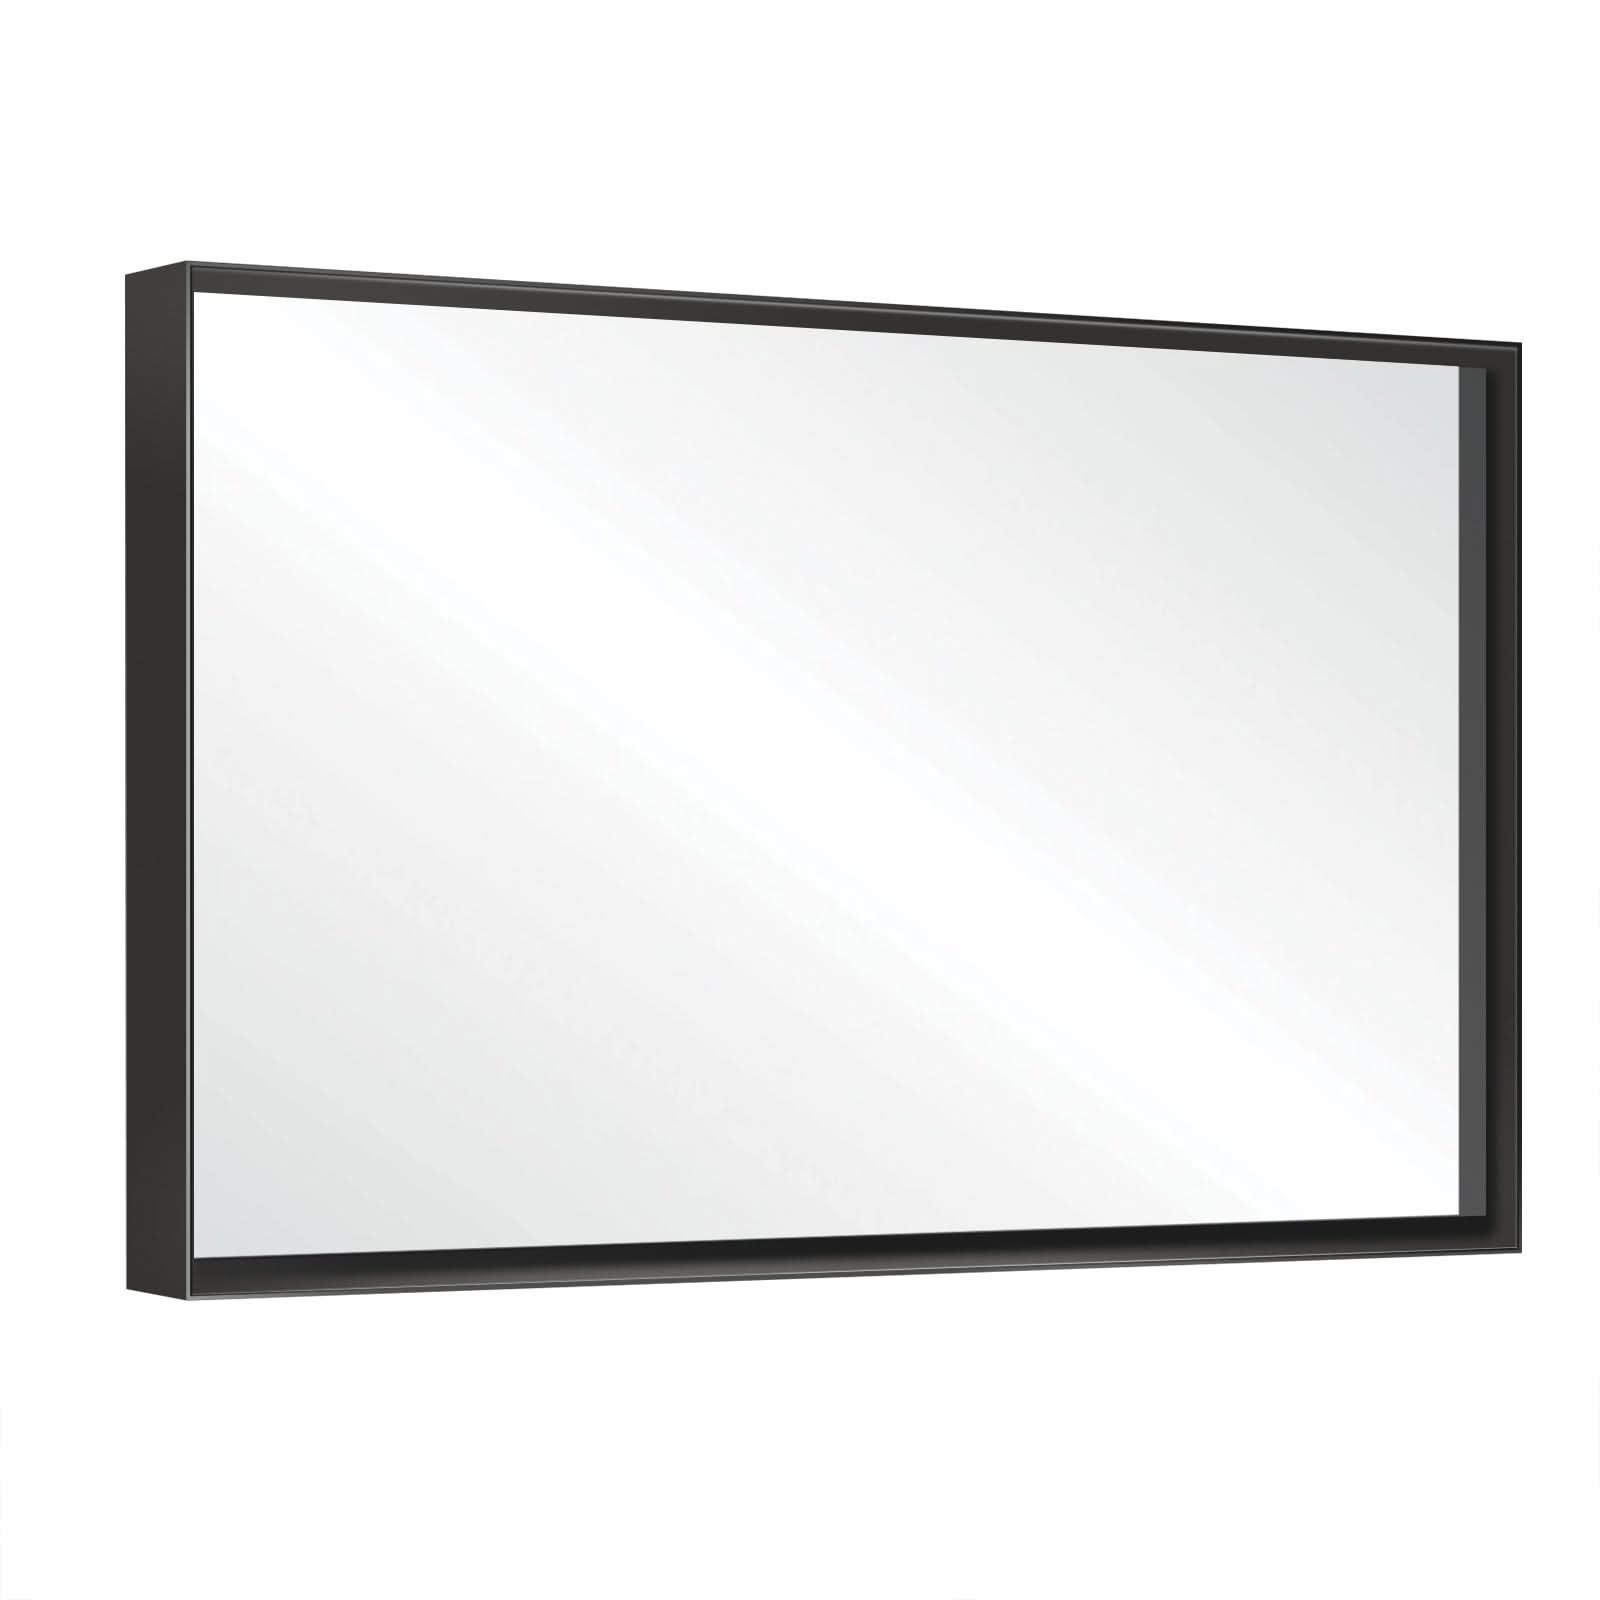
One of the most accessible methods is designing a new frame for an existing mirror. Wood, metal, and PVC are common options. A rustic wooden frame can add warmth, while a sleek aluminum frame creates a modern vibe. Frames also protect the edges of the glass, making the mirror more durable.

Cutting to Size
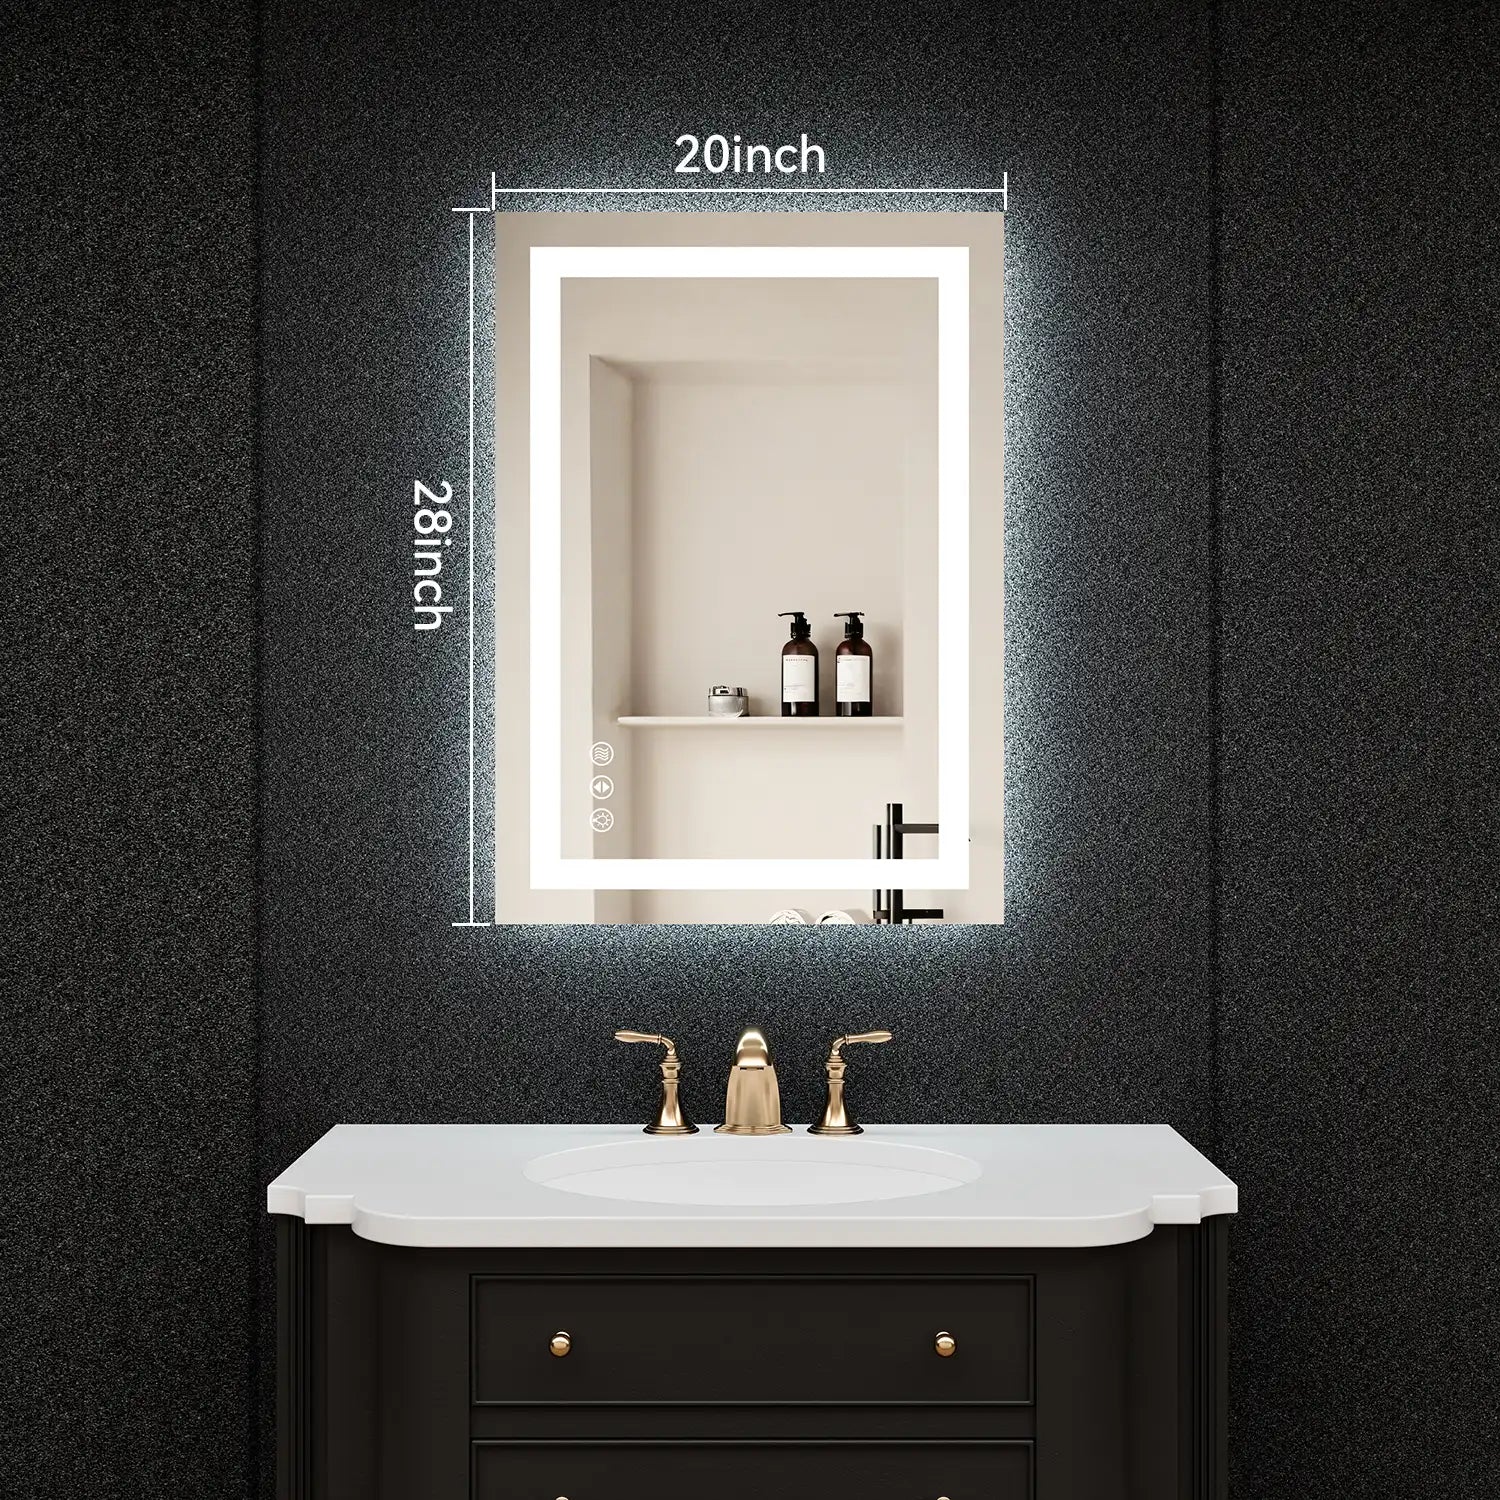
If you need a mirror for a small niche or cabinet, purchasing a large sheet and cutting it to the right dimensions is a practical approach. With the right tools, you can achieve precise results that fit seamlessly into your space.

Unique Shapes
For those who want something truly distinct, shaping mirrors into circles, ovals, or even asymmetrical designs can make a striking visual statement. A customize mirror in an unconventional shape can serve as both a functional object and an art installation.
Tools and Materials You Will Need
The correct tools are needed for safety and quality work.
-
For Cutting and Shaping: A glass cutter, a straight edge or ruler, cutting oil, and clamps.
-
For Safety: Protective gloves, safety goggles, and a dust mask to prevent inhaling fine glass particles.
-
For Framing: A saw (to cut wood or metal), nails or screws, an aggressive adhesive, some sandpaper, and paint or stain if you want a custom finish.
-
For Installation: Heavy-duty wall anchors, mirror clips, or adhesive strips depending on mirror size and placement.
When embarking on a customize mirror project, investing in proper safety gear is non-negotiable. The tools themselves are relatively inexpensive, but overlooking safety can result in serious injuries.
Step-by-Step Guide: Cutting and Shaping Mirrors Safely
Cutting a mirror at home can seem intimidating, but with preparation, it is manageable.
-
Measure Carefully: Double-check your dimensions before making a single cut. Even a half-inch mistake can ruin the fit.
-
Mark the Surface: Use a non-permanent marker or grease pencil to outline the cutting line.
-
Score with a Glass Cutter: Apply cutting oil along the line, then run the cutter in one continuous motion without lifting. Apply steady pressure but avoid forcing it.
-
Break Along the Line: Place the scored line along the edge of a table, press gently, and the glass should snap cleanly.
-
Smooth the Edges: Use sandpaper or a glass file to smooth sharp edges and reduce the risk of cuts.

Framing Your Customized Mirror
Once the glass is cut and shaped, the next step in a customize mirror project is often creating or attaching a frame. A frame not only enhances aesthetics but also protects the edges of the glass from chipping.
-
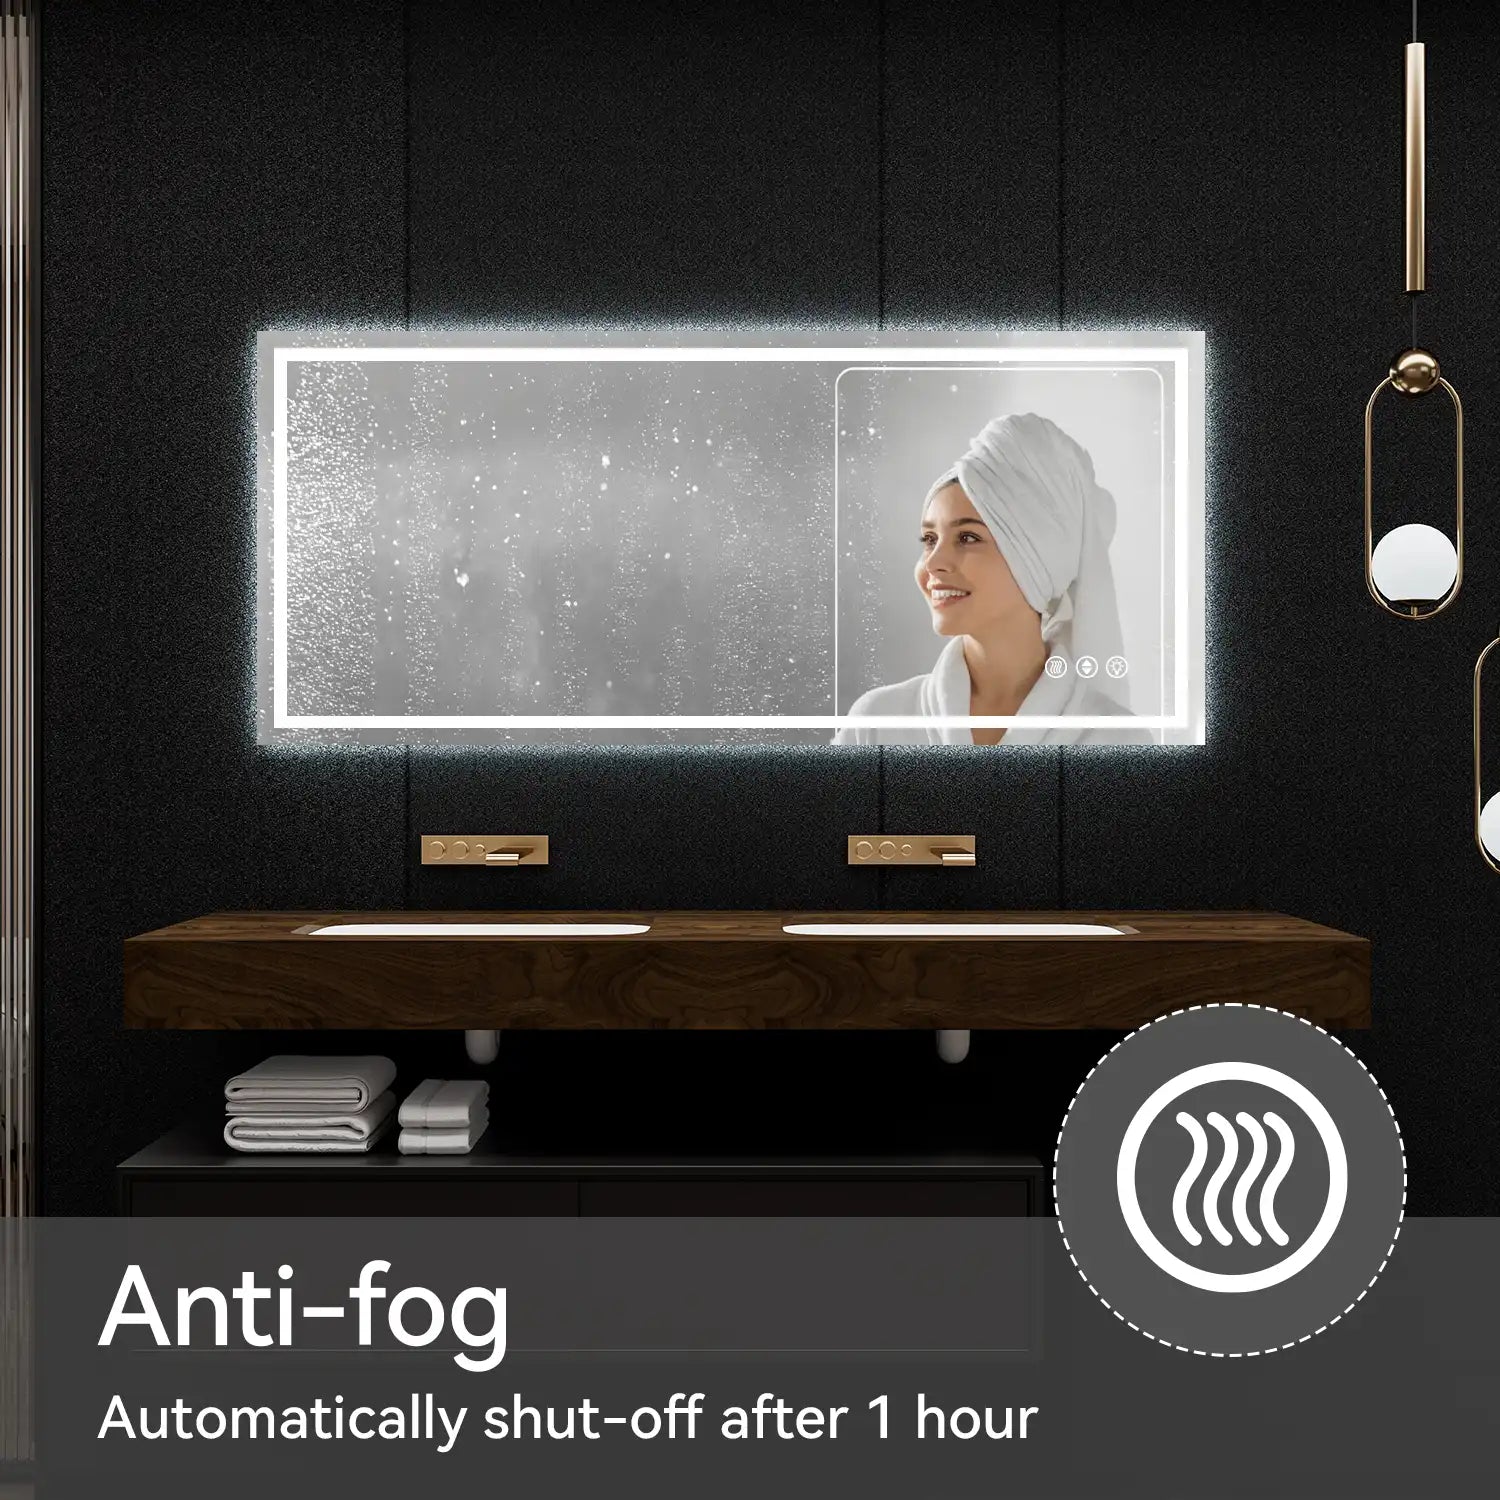
Wood Frames: Easy to cut with a standard saw. Sand edges thoroughly and seal the wood with paint, stain, or waterproof coating if the mirror will be used in humid areas such as bathrooms.
-
Metal Frames: Aluminum or stainless steel frames add a sleek, modern touch. Cutting requires a hacksaw or metal-cutting blade, and it’s important to smooth sharp edges with a file.
-
PVC or Composite Frames: Lightweight and affordable, these can be cut with a fine-tooth saw and glued together. They are moisture-resistant, making them suitable for bathrooms.
When assembling the frame, always measure twice before cutting, ensure joints are aligned, and use clamps or corner brackets for stability while adhesive sets. Adding a frame is one of the most rewarding steps of mirror customization because it combines function and personal style.

Creative Design Ideas for Customized Mirrors
Customized mirrors are not only functional but also artistic. Here are some ideas:
-
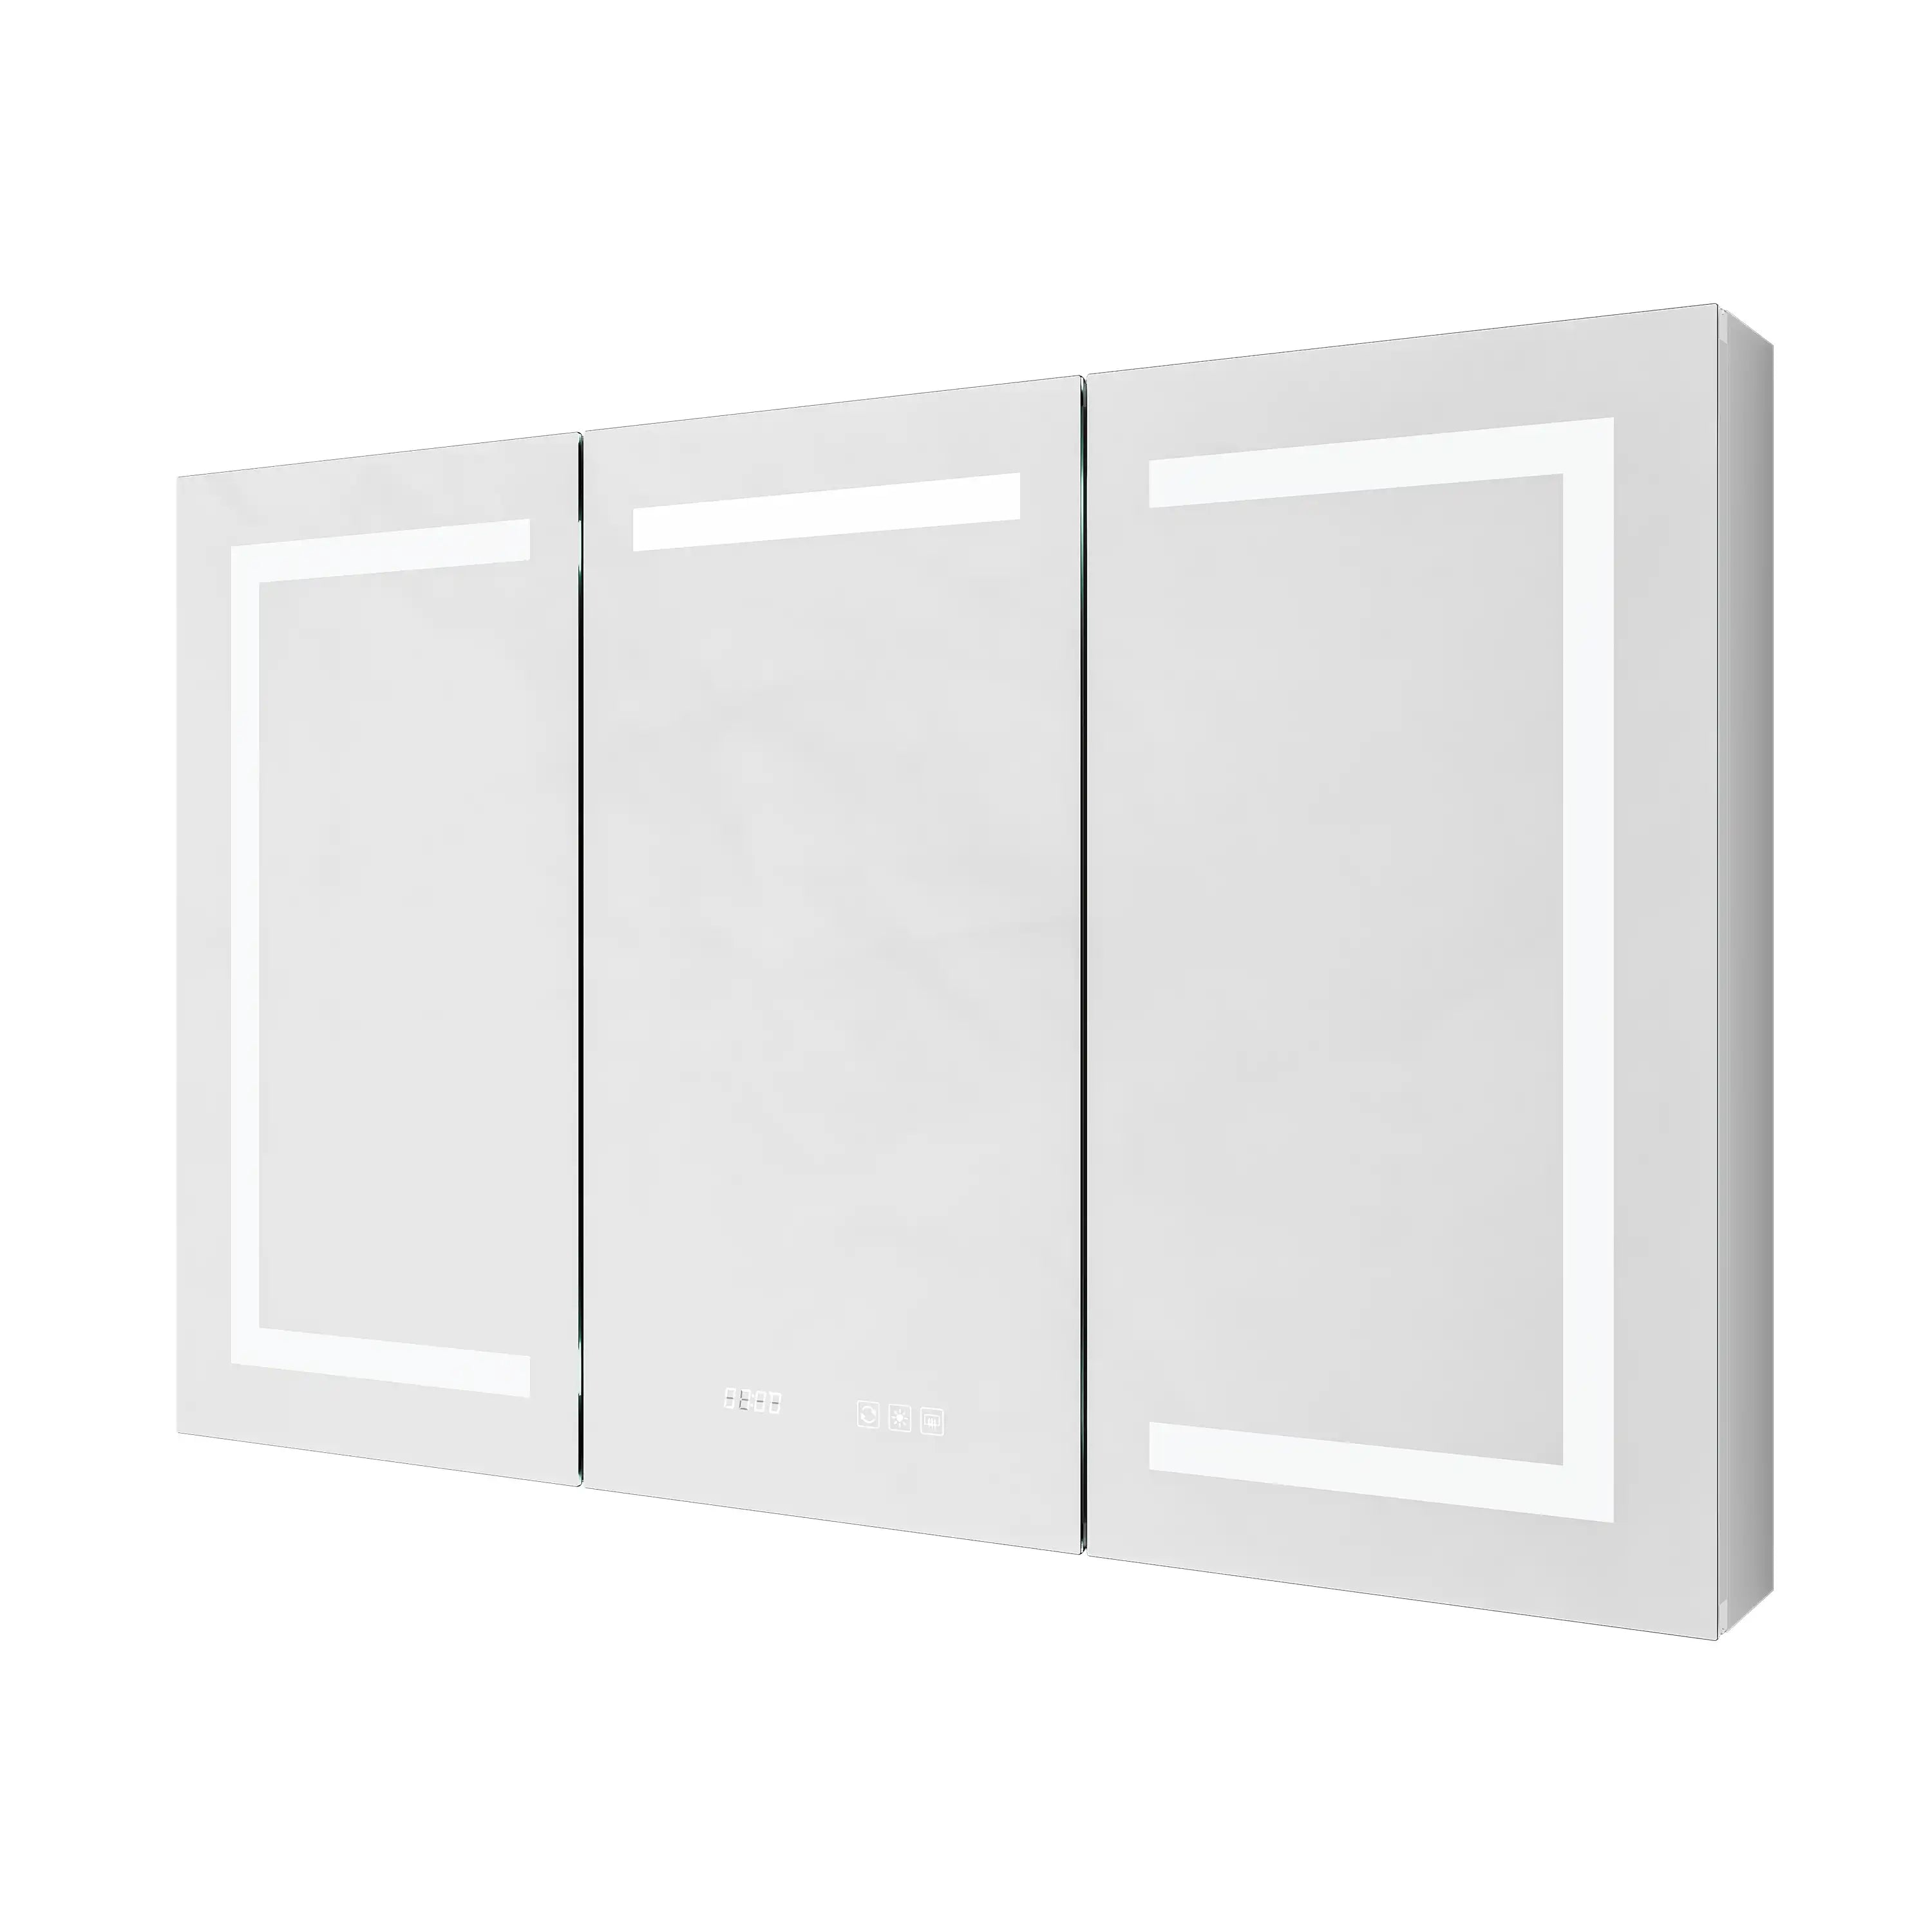
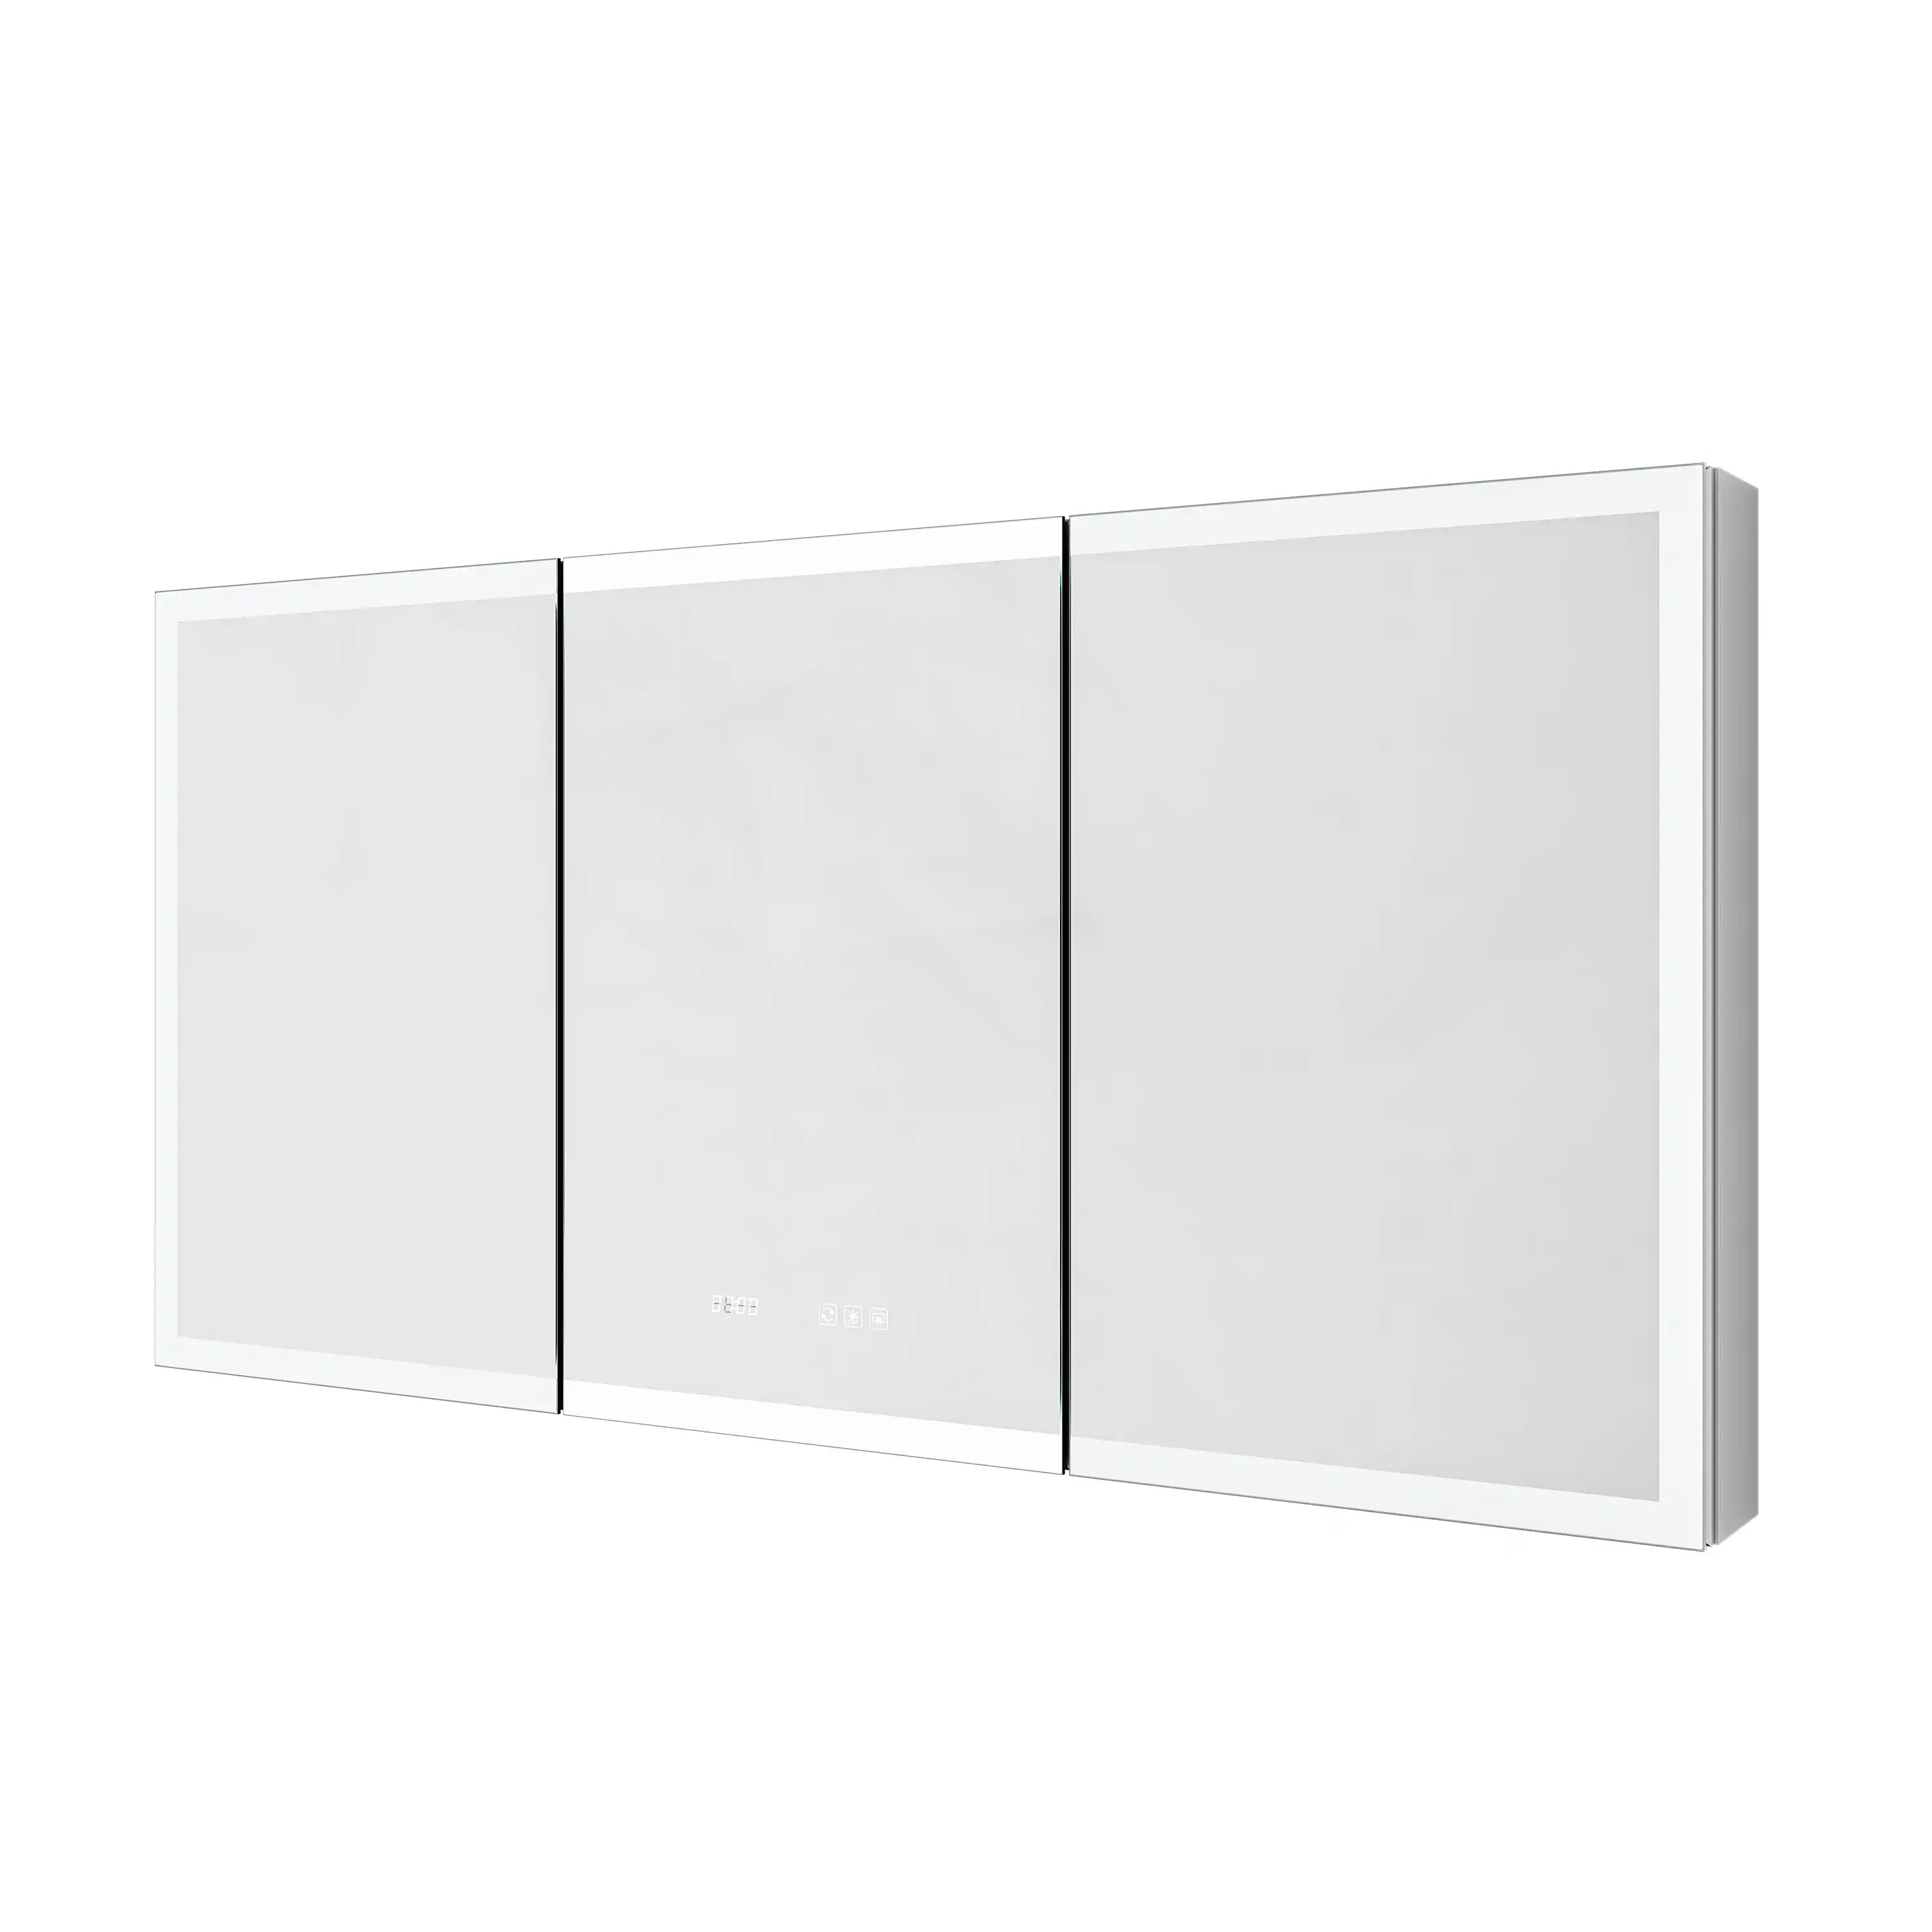
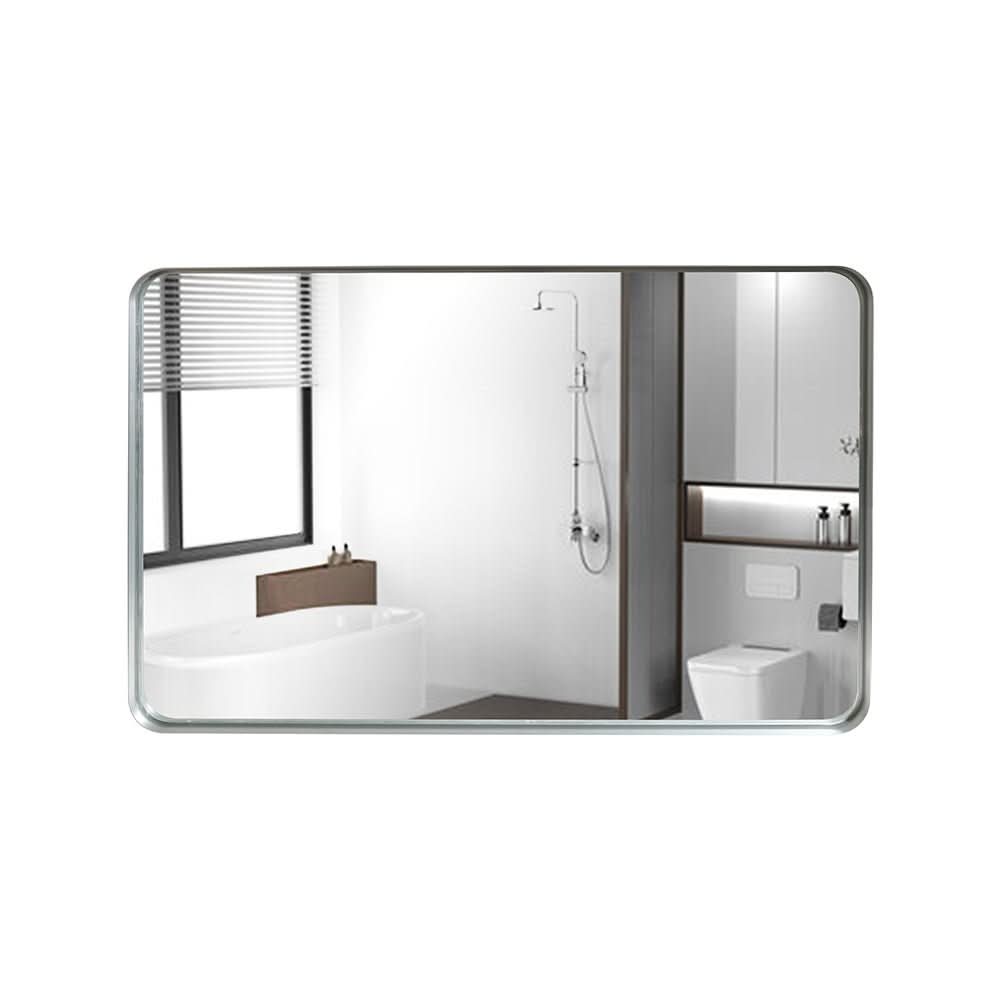
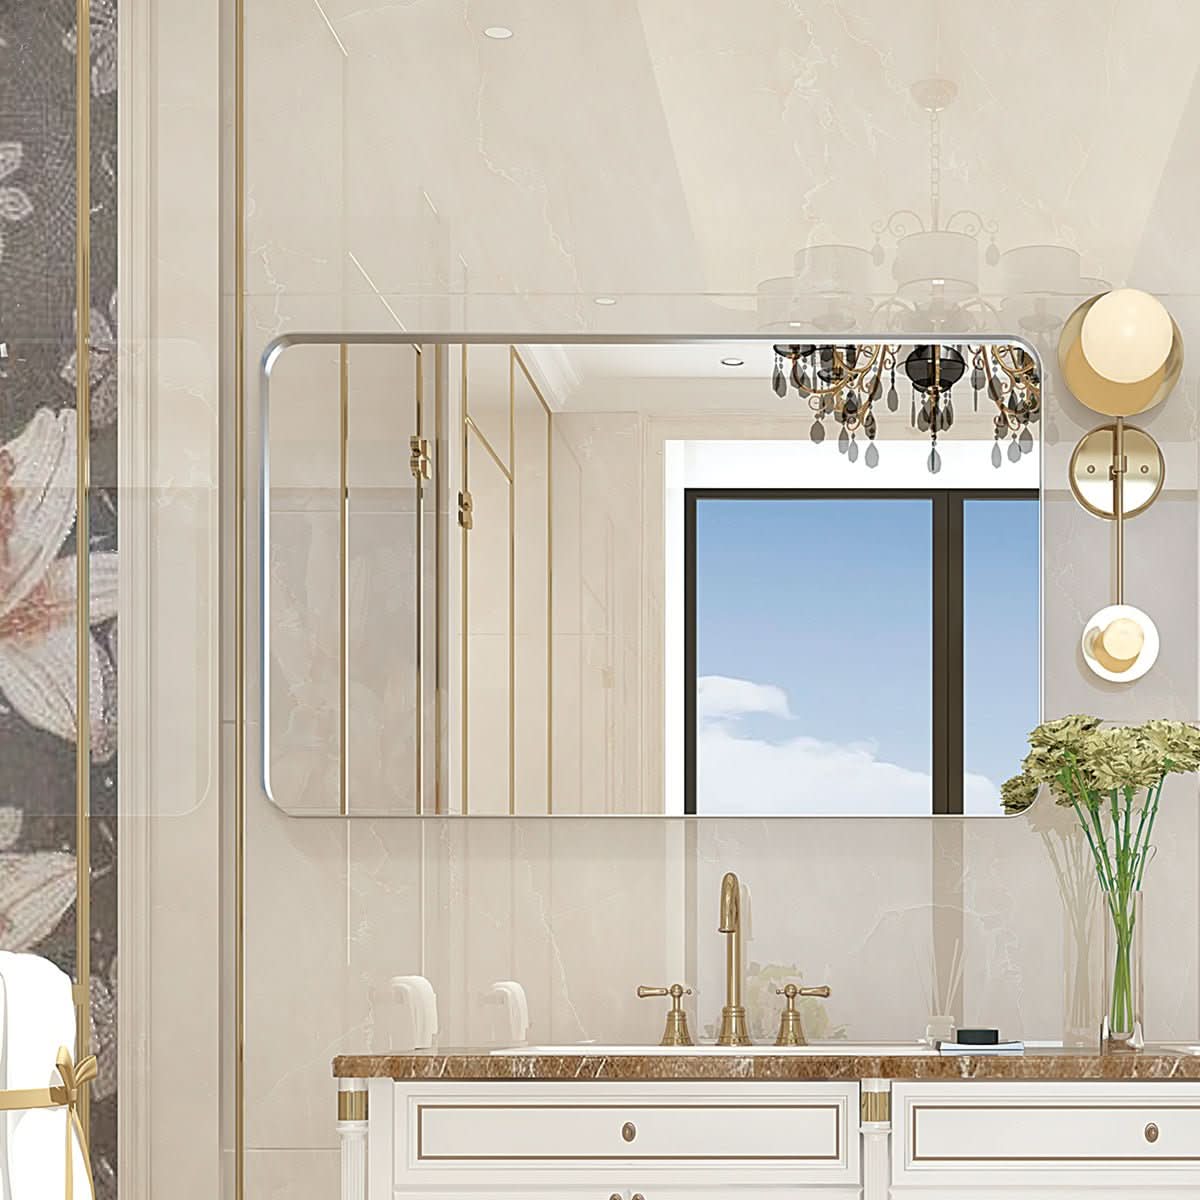
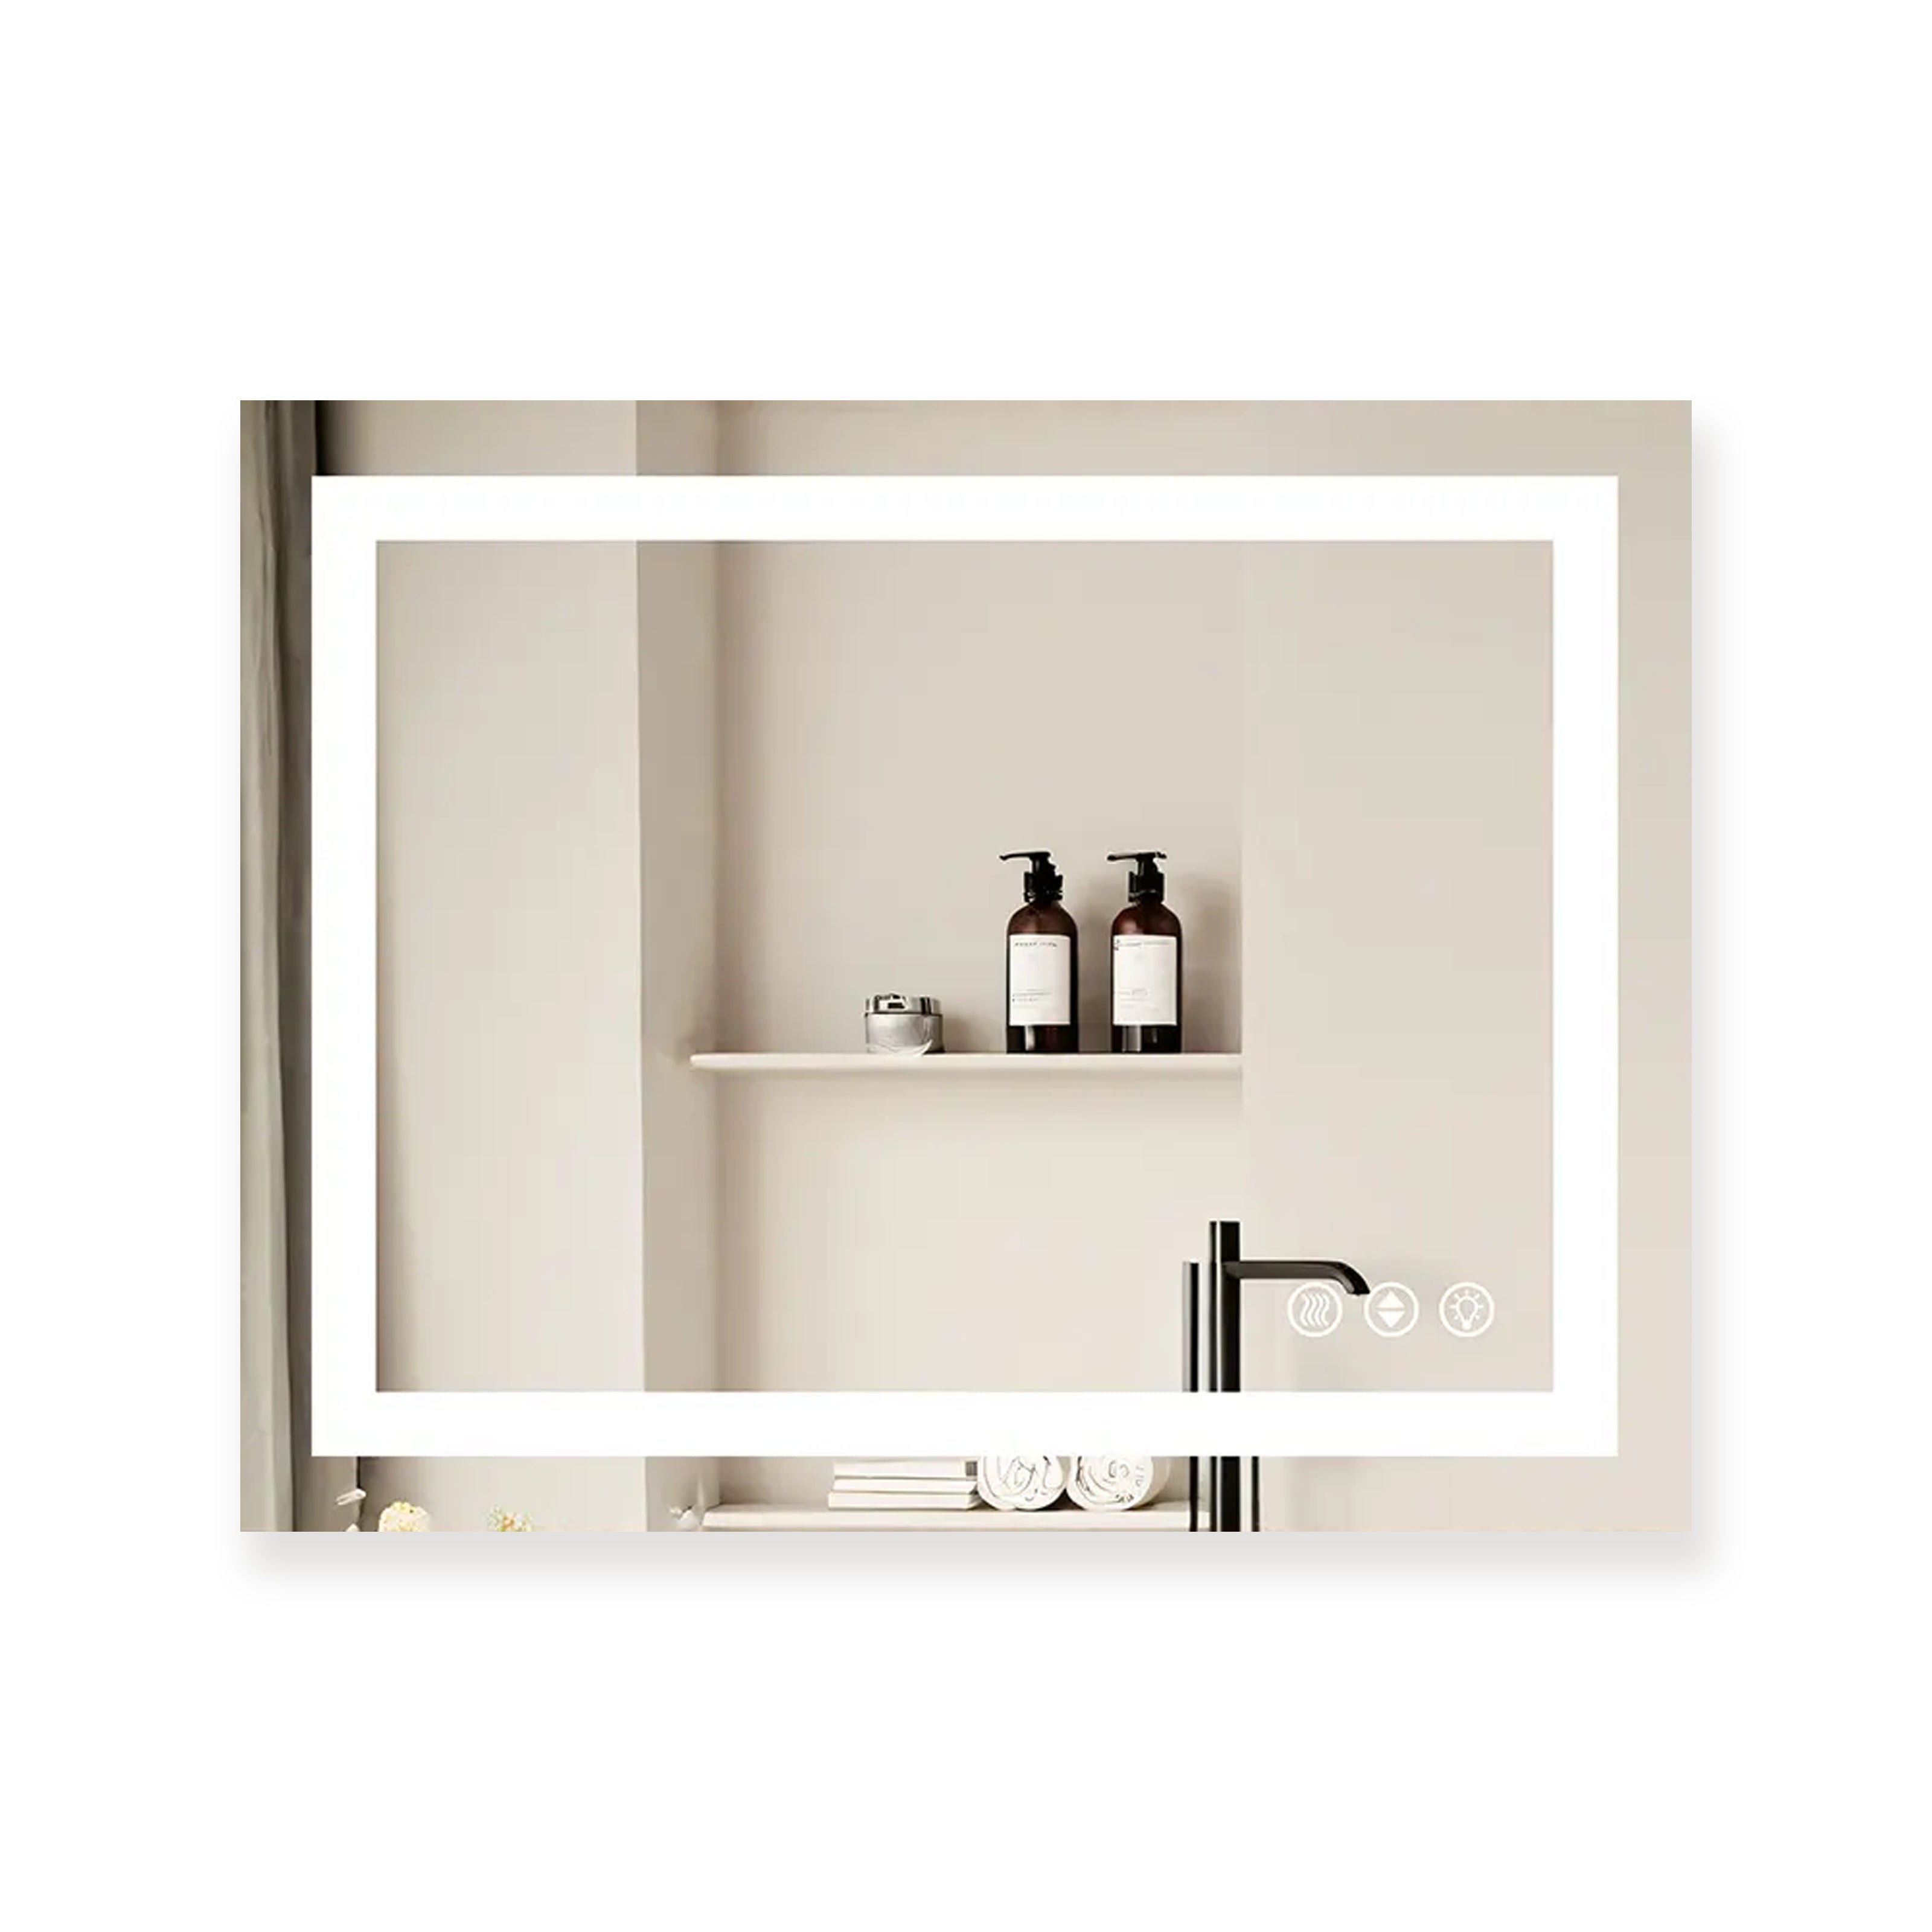
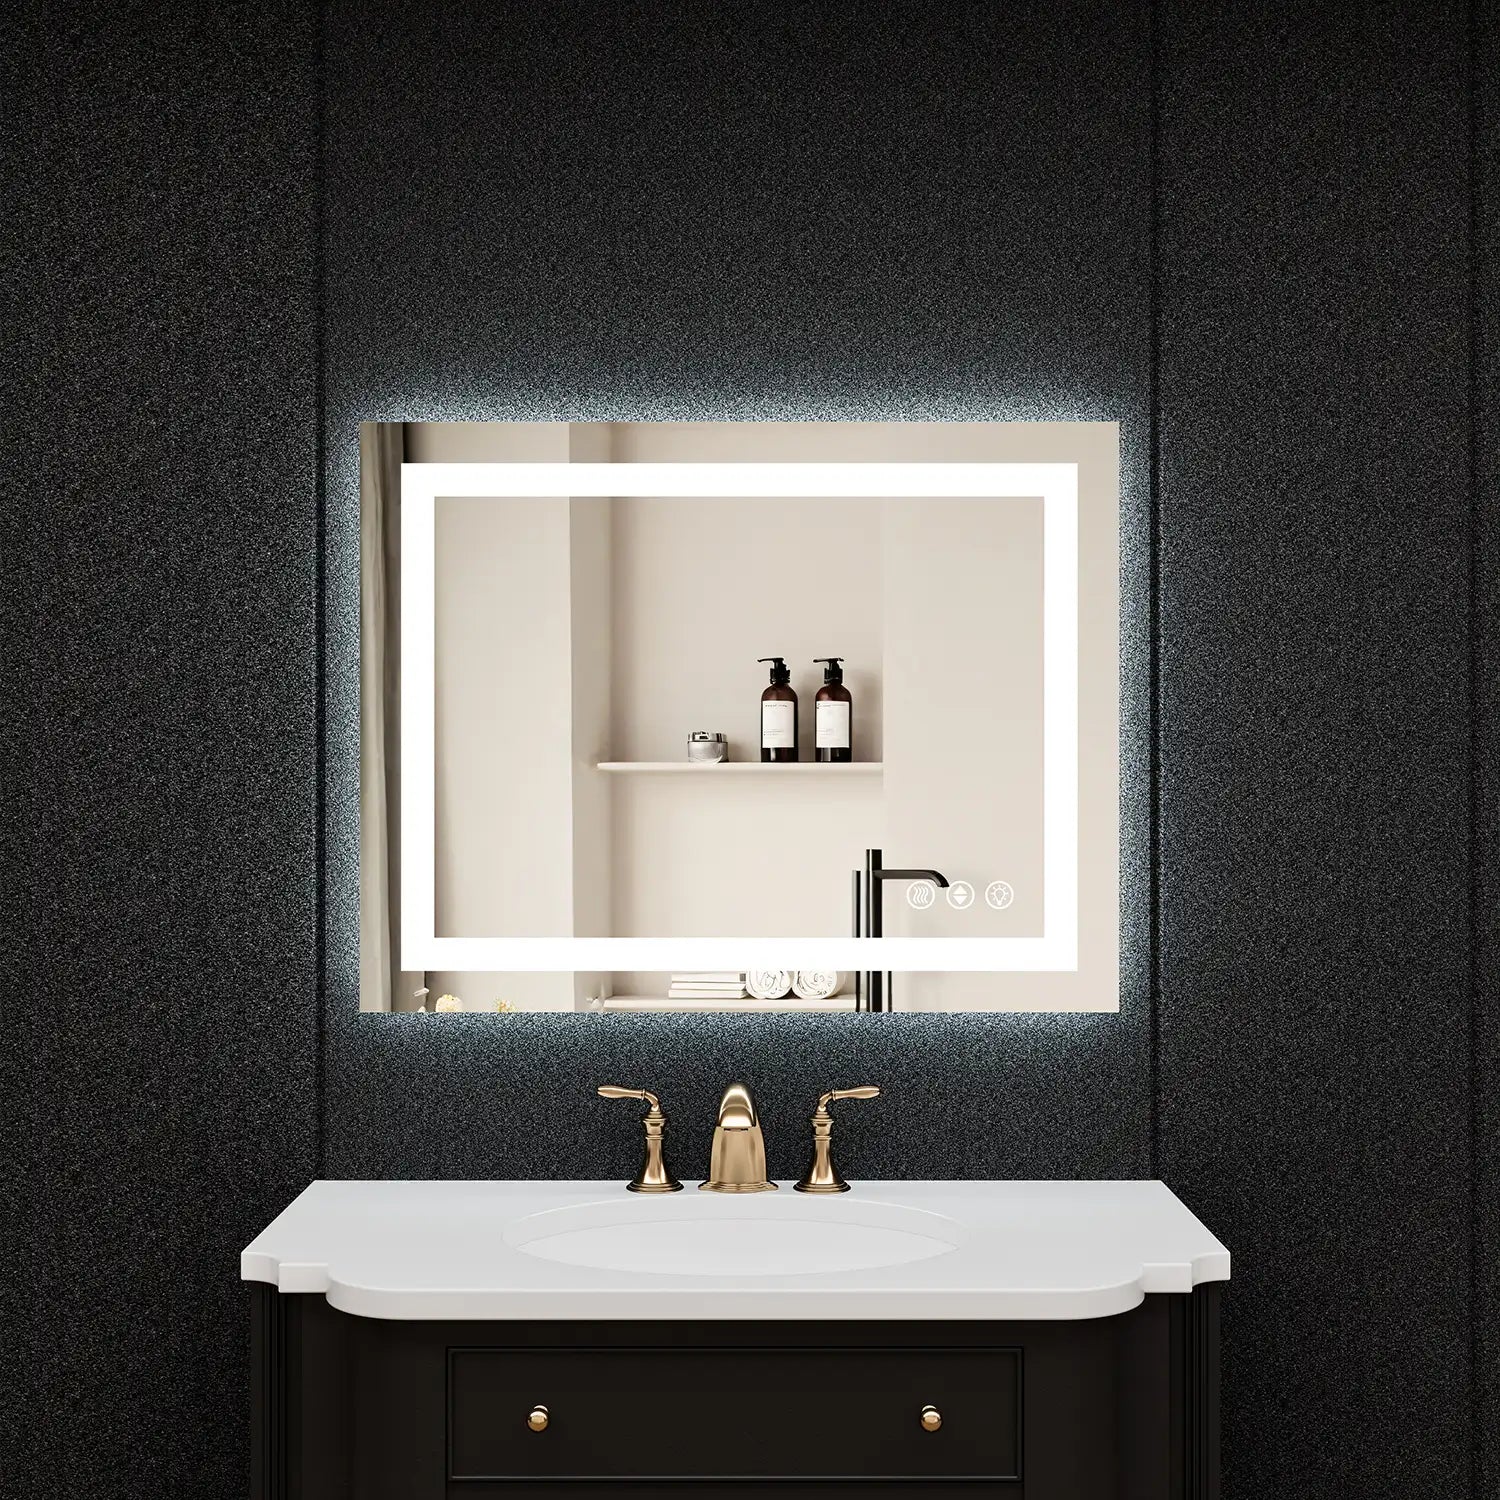
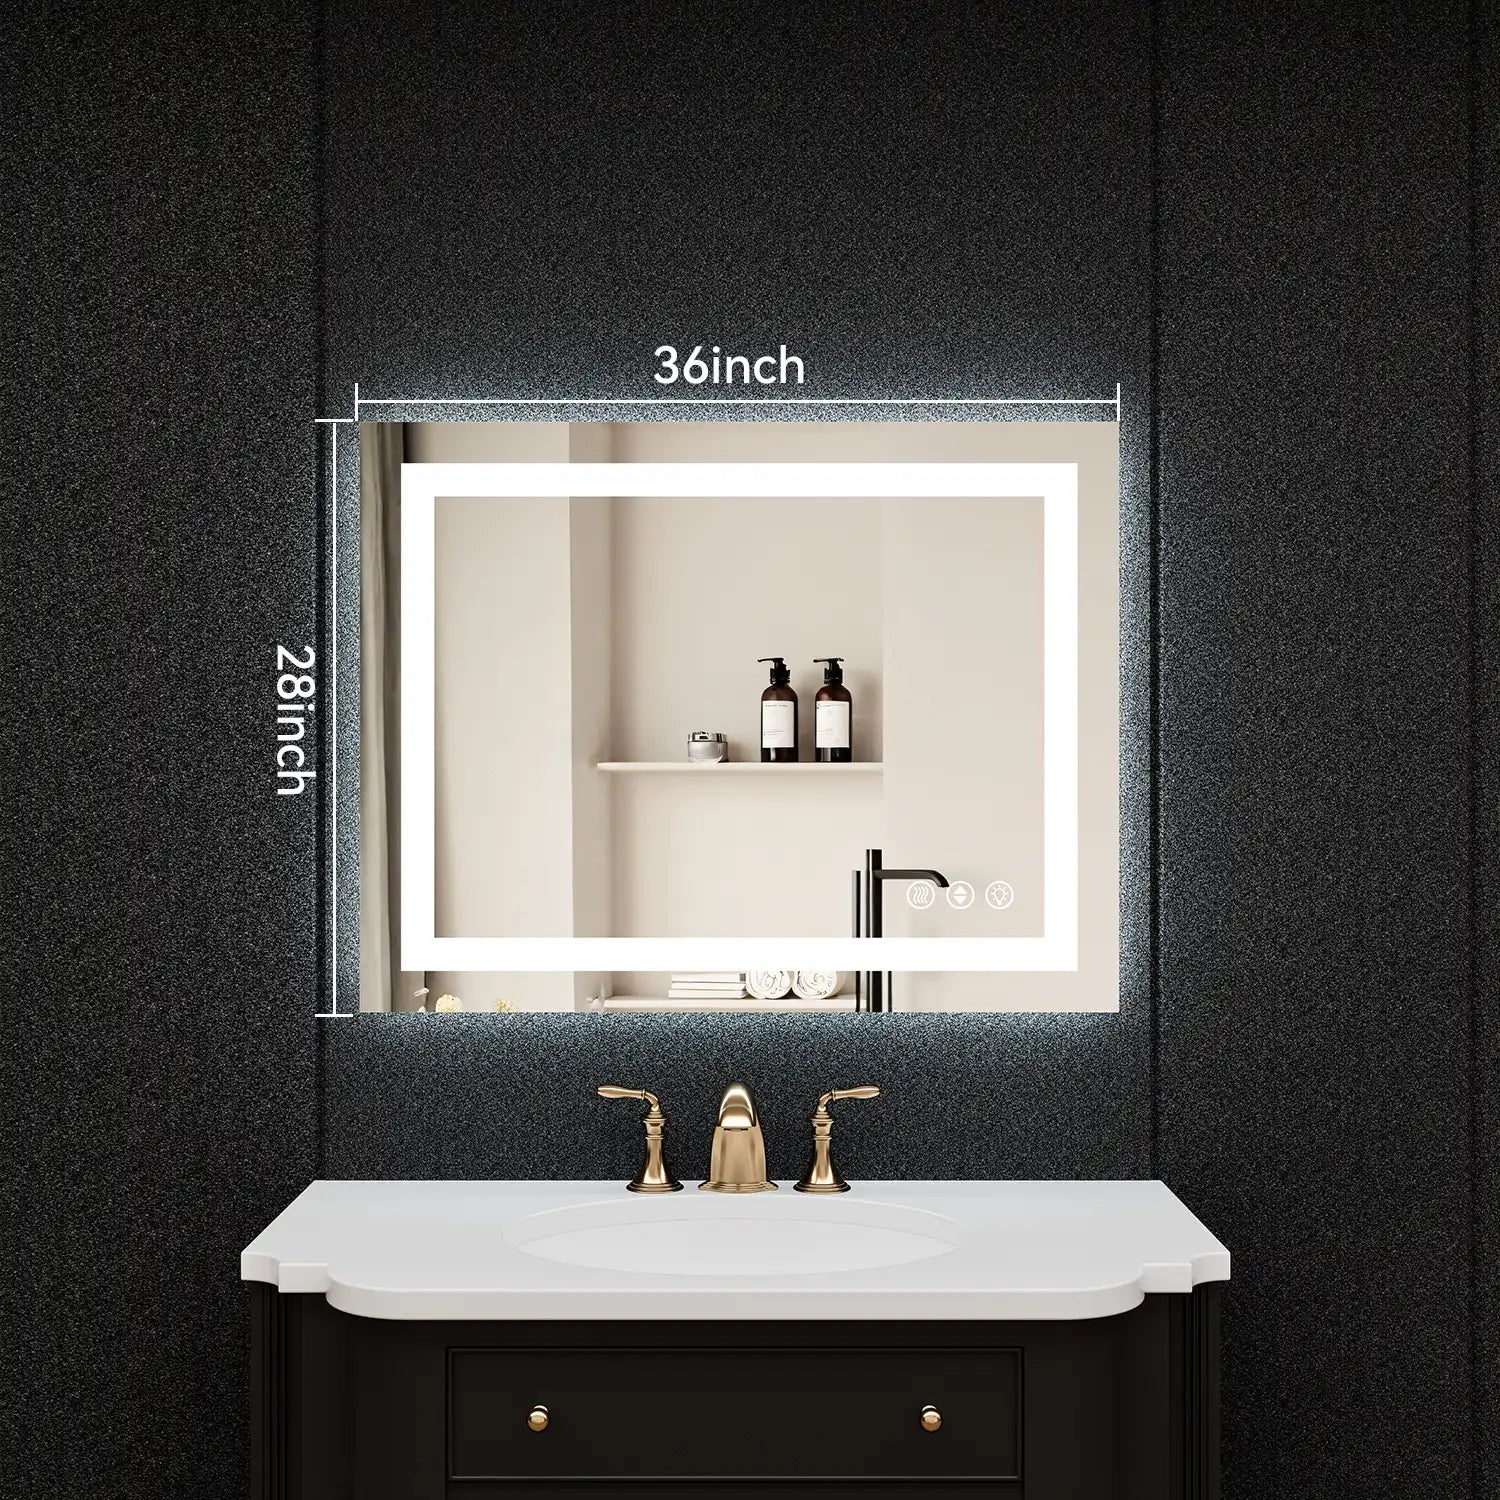
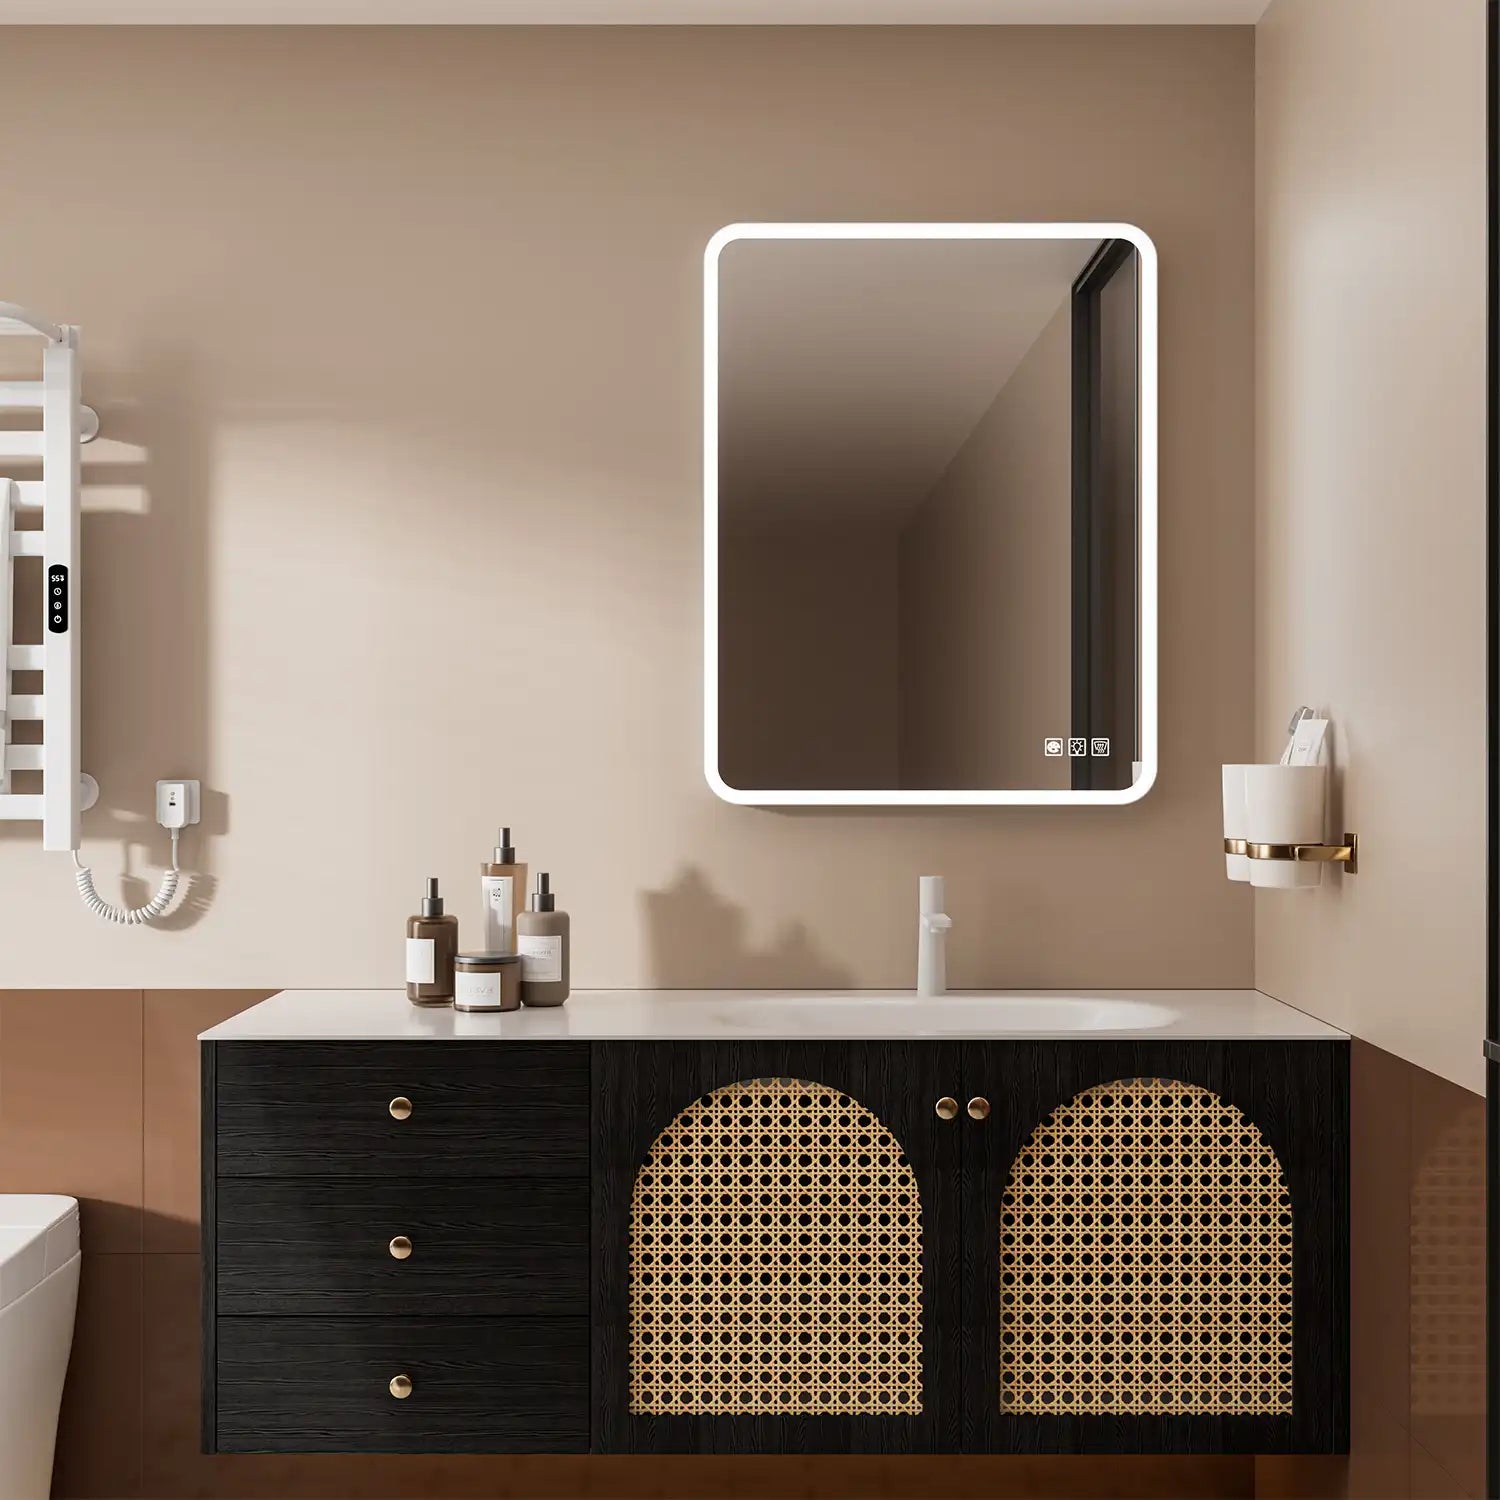
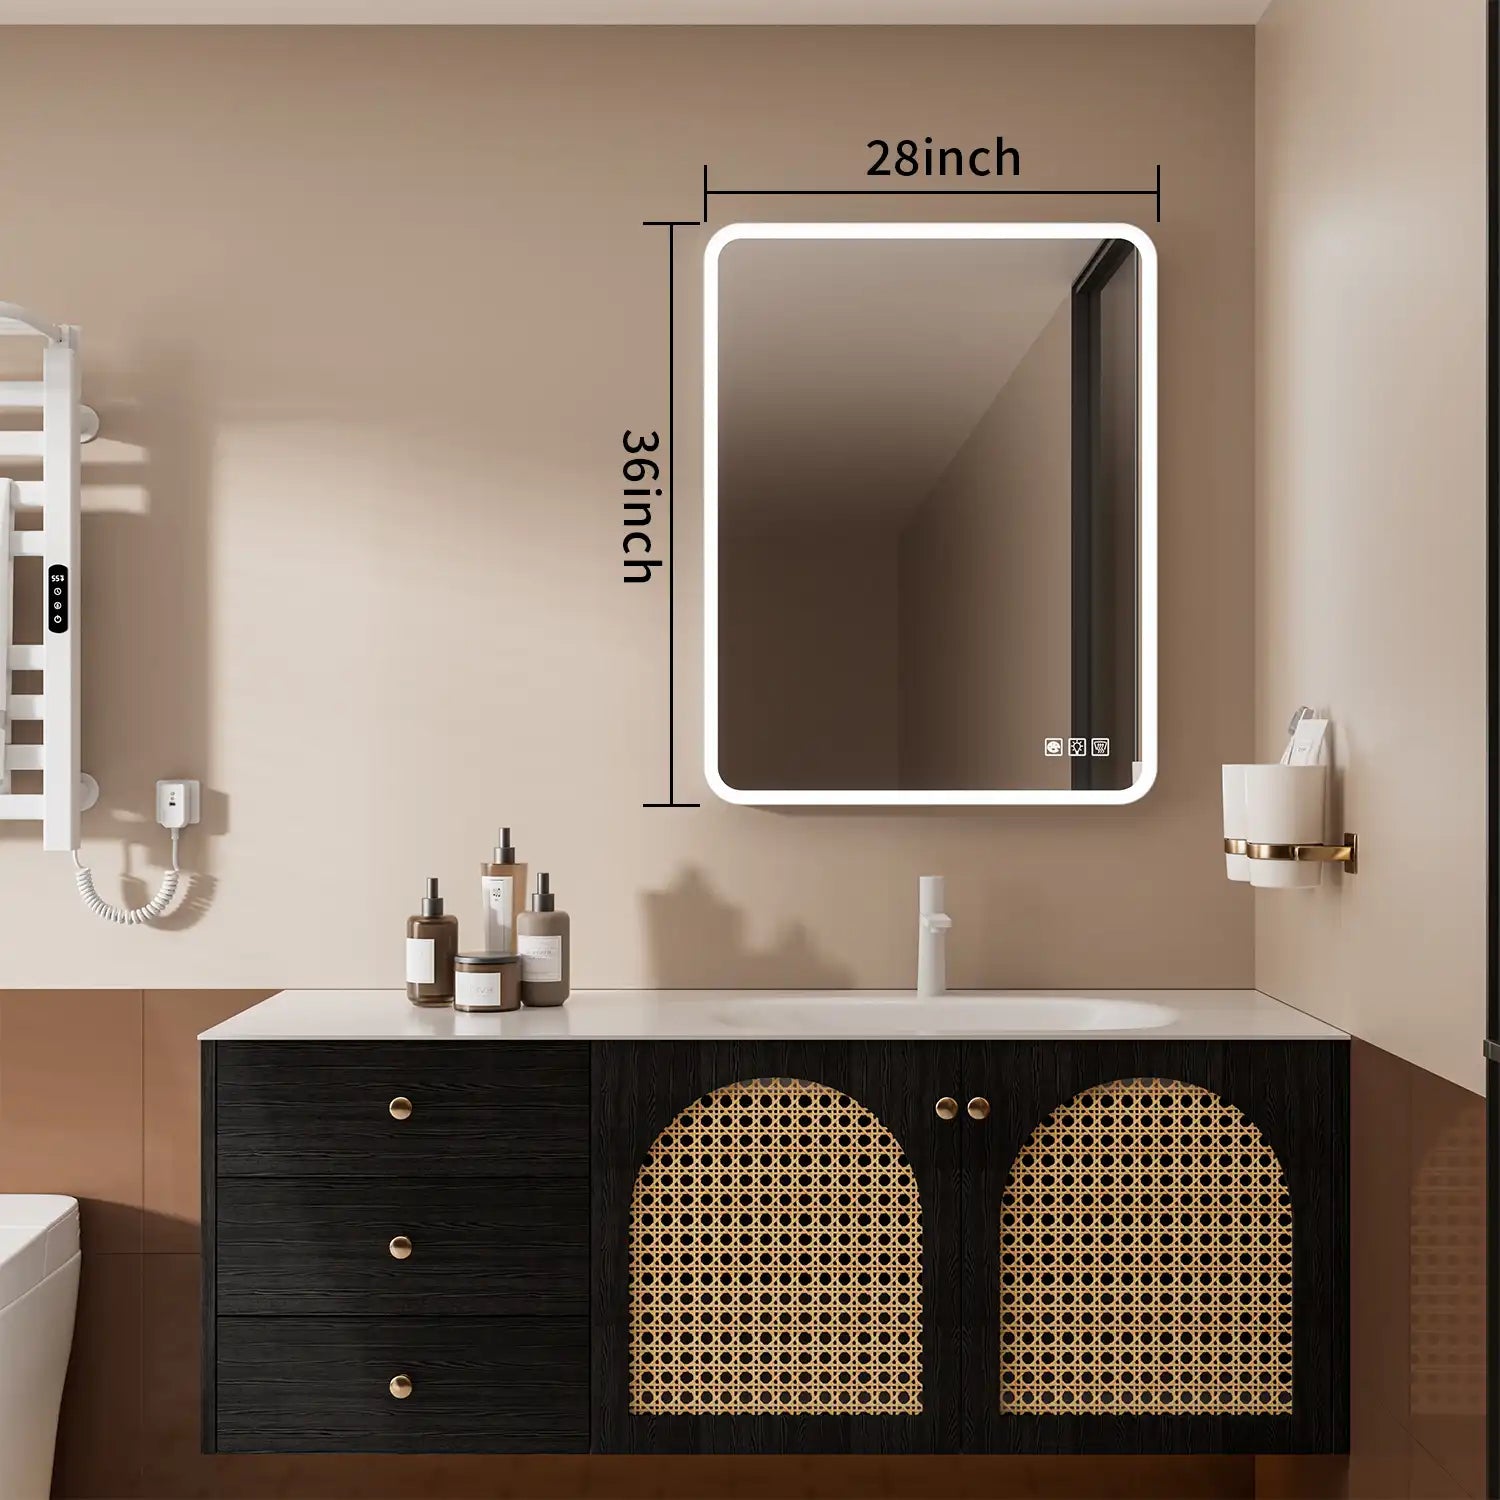
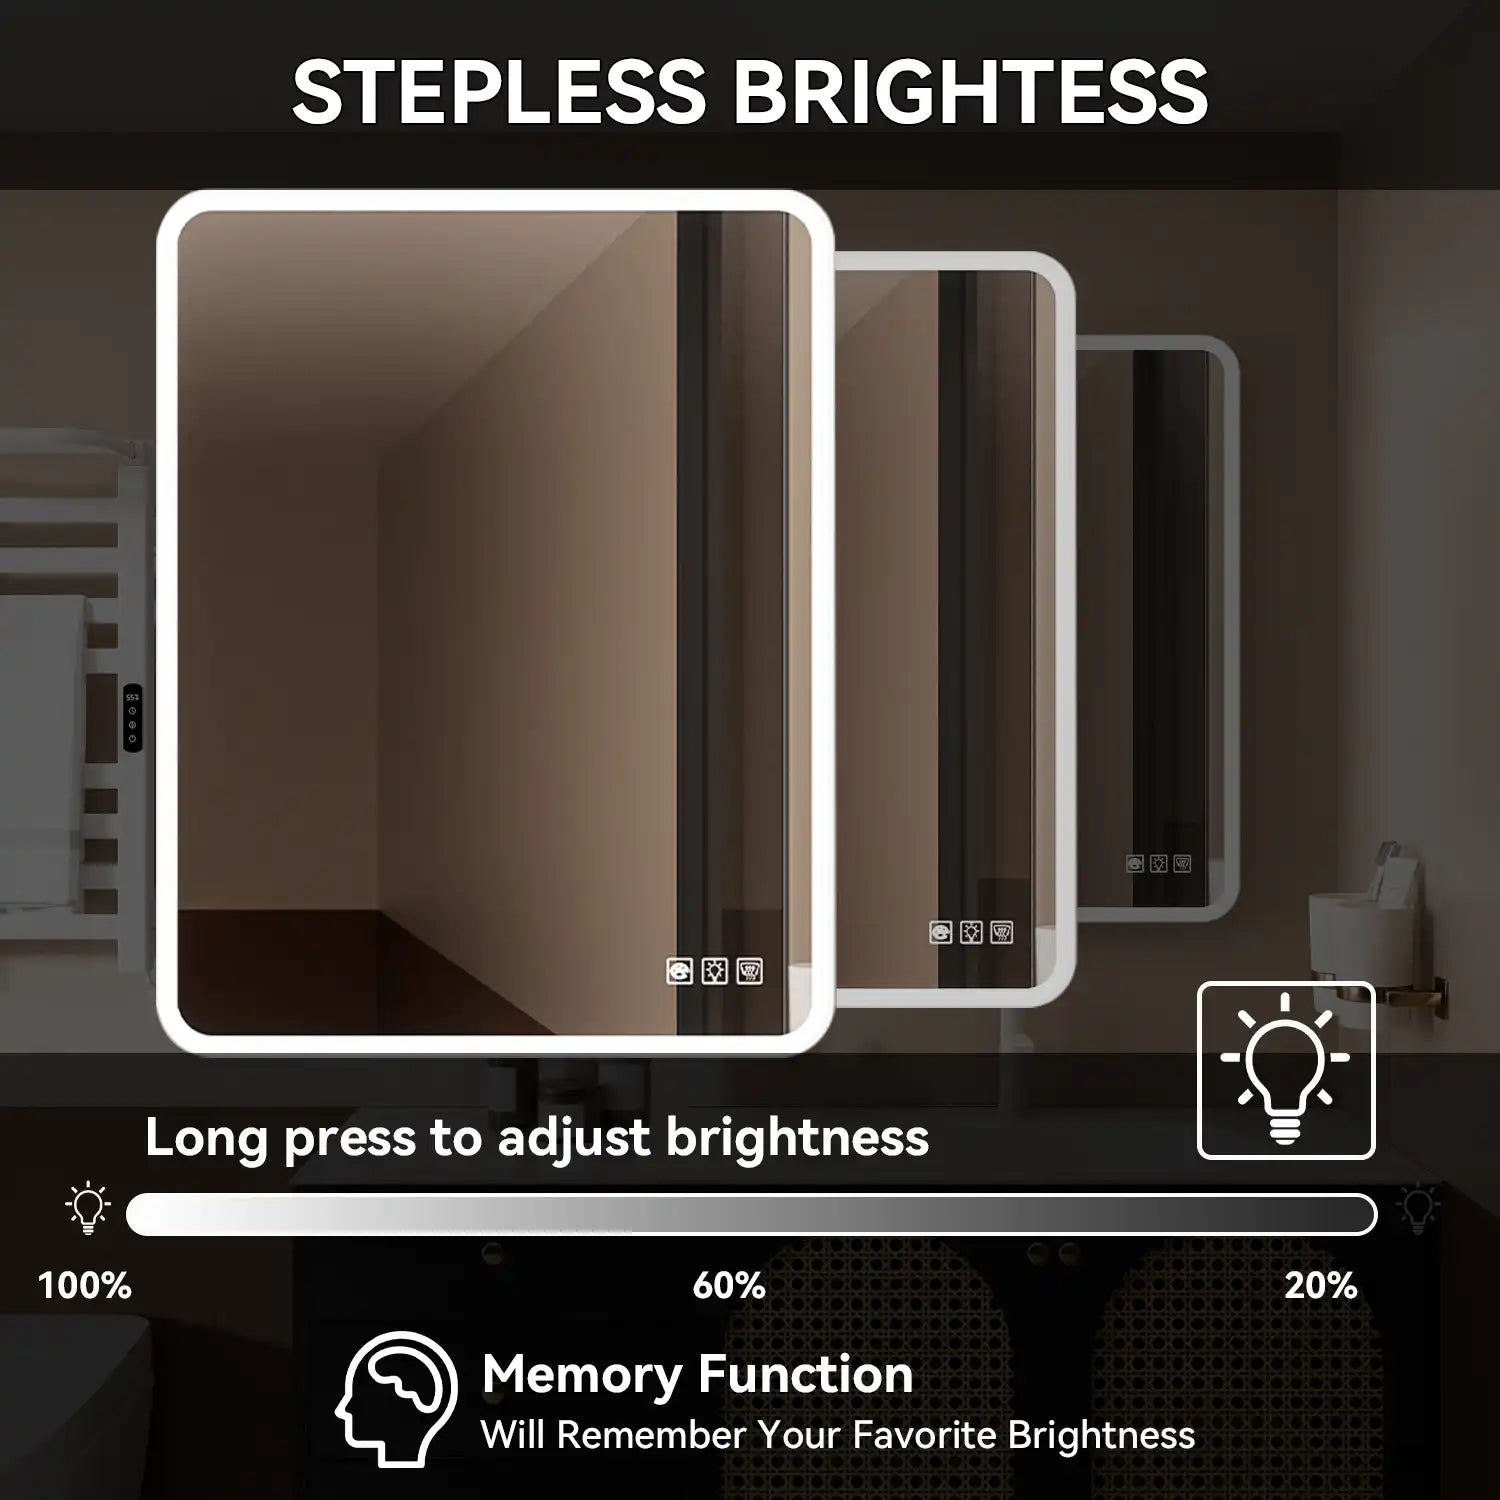
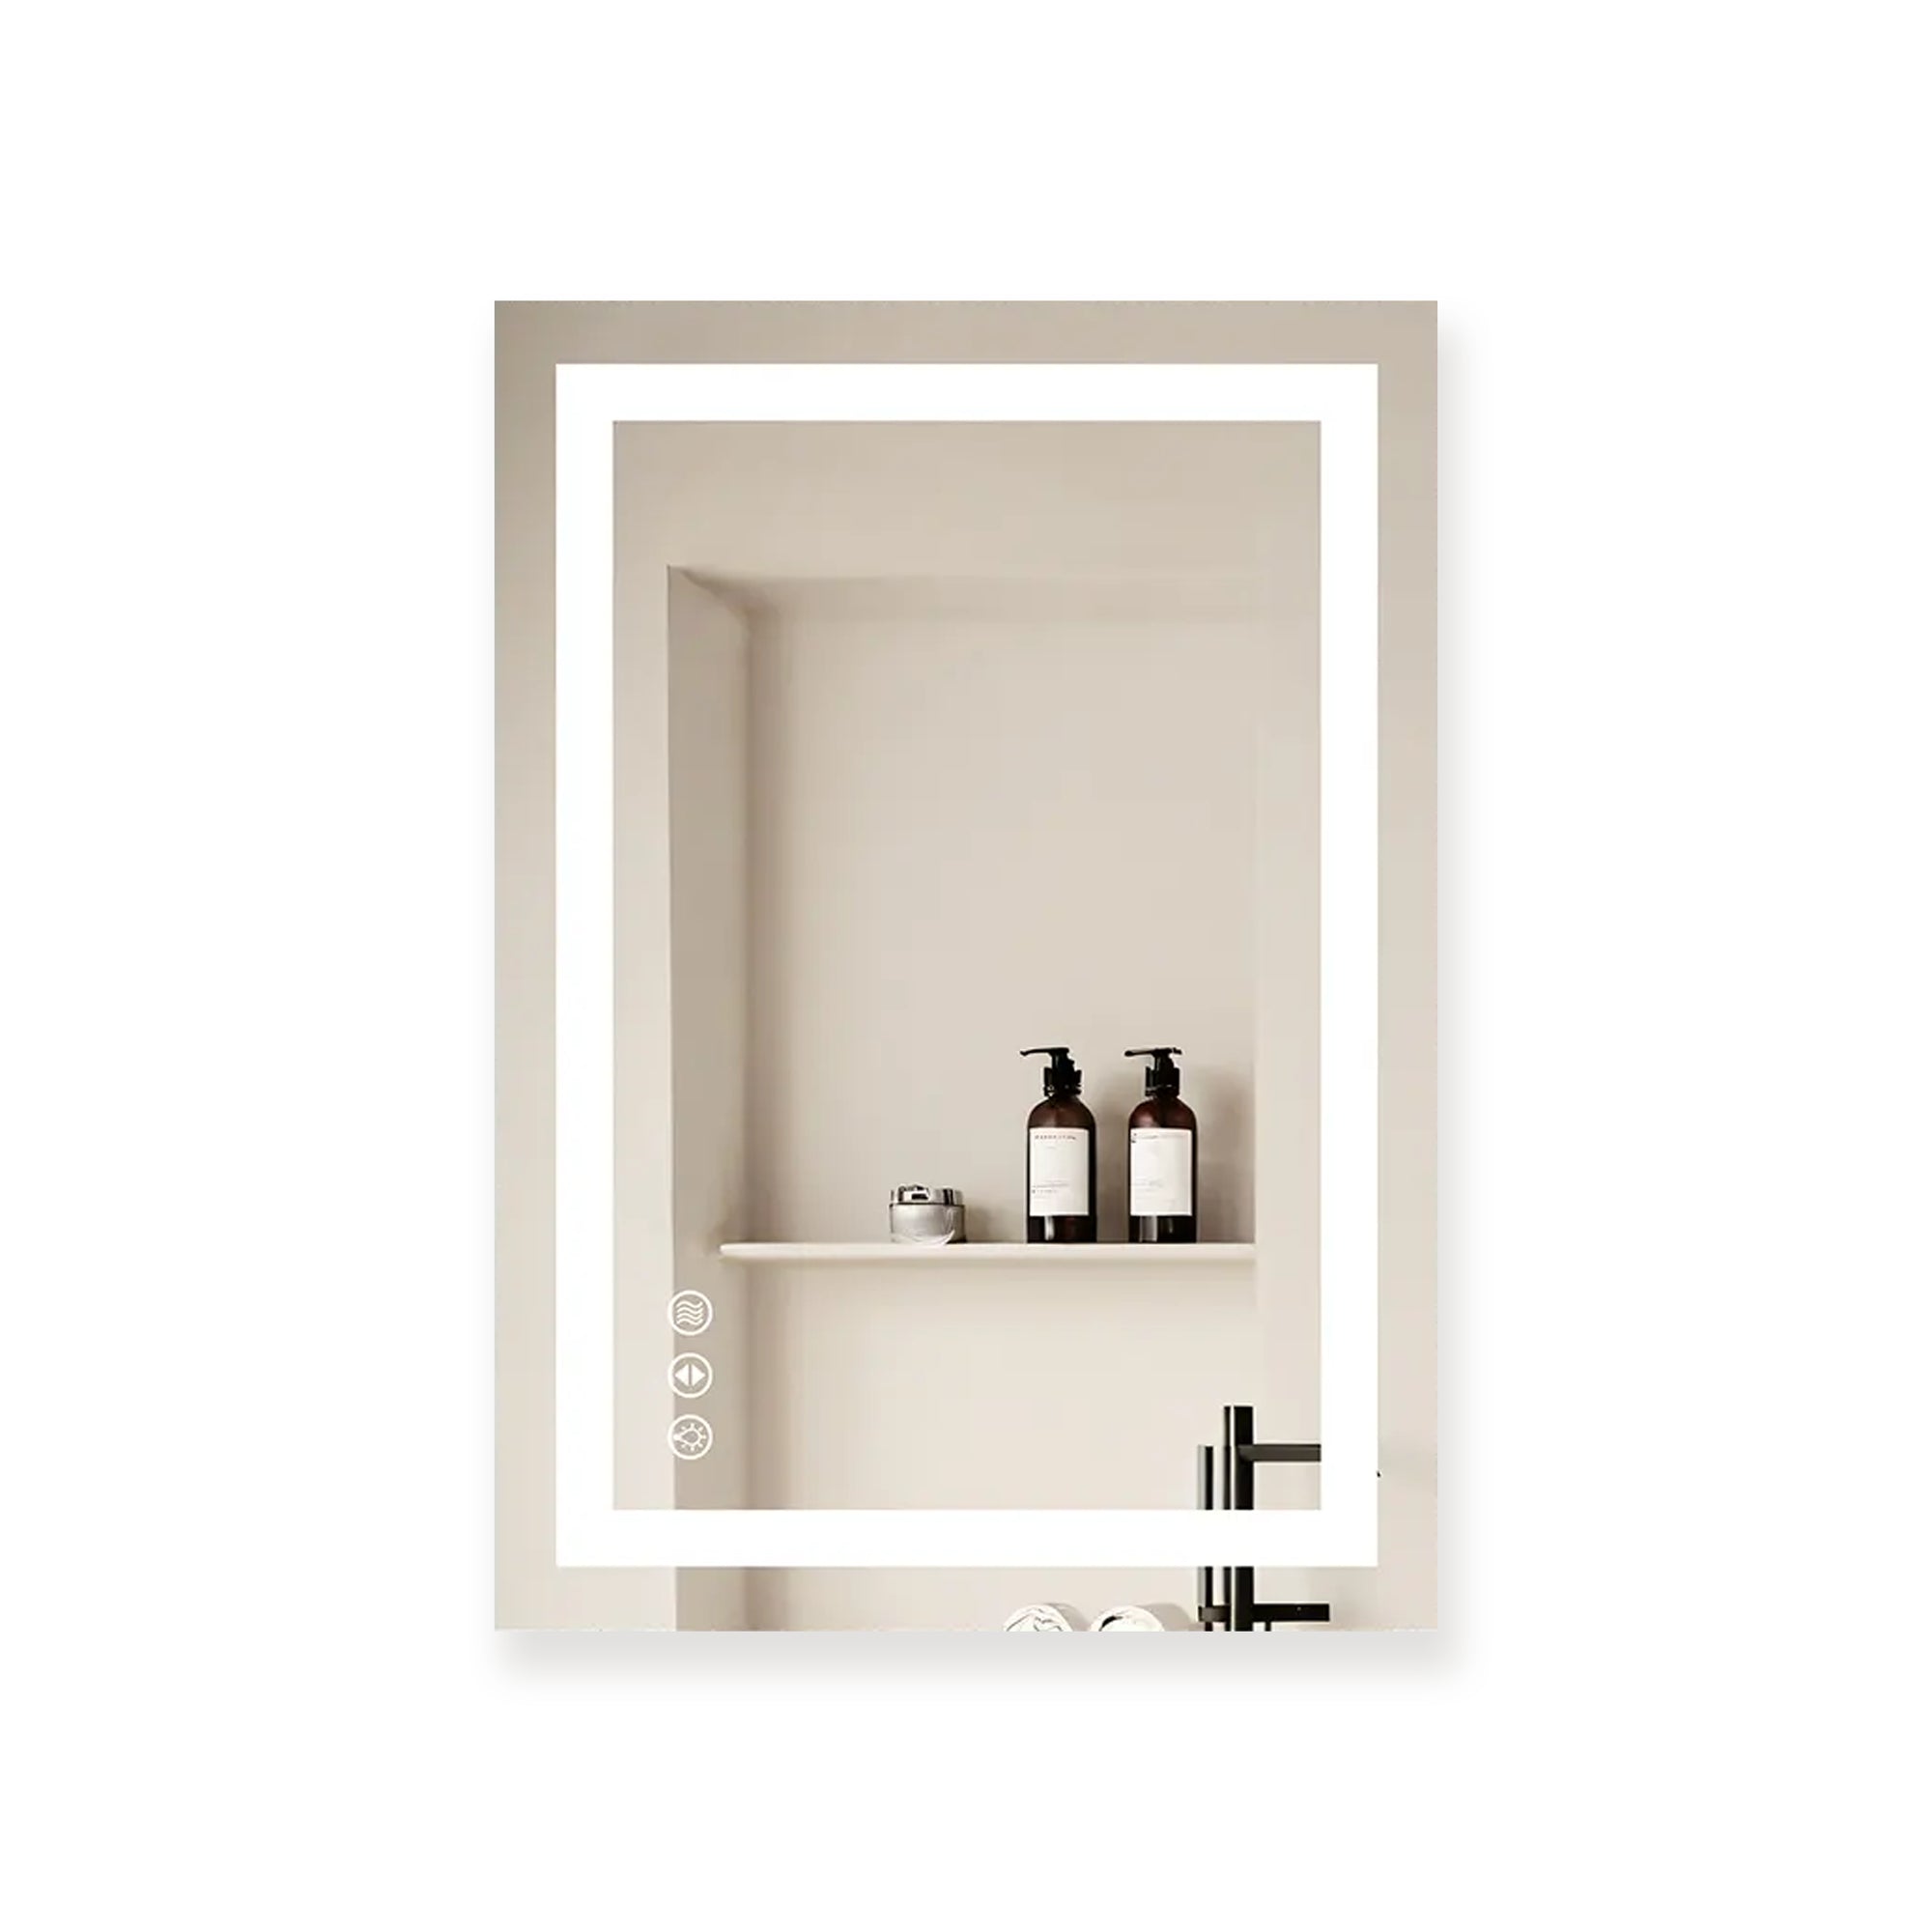
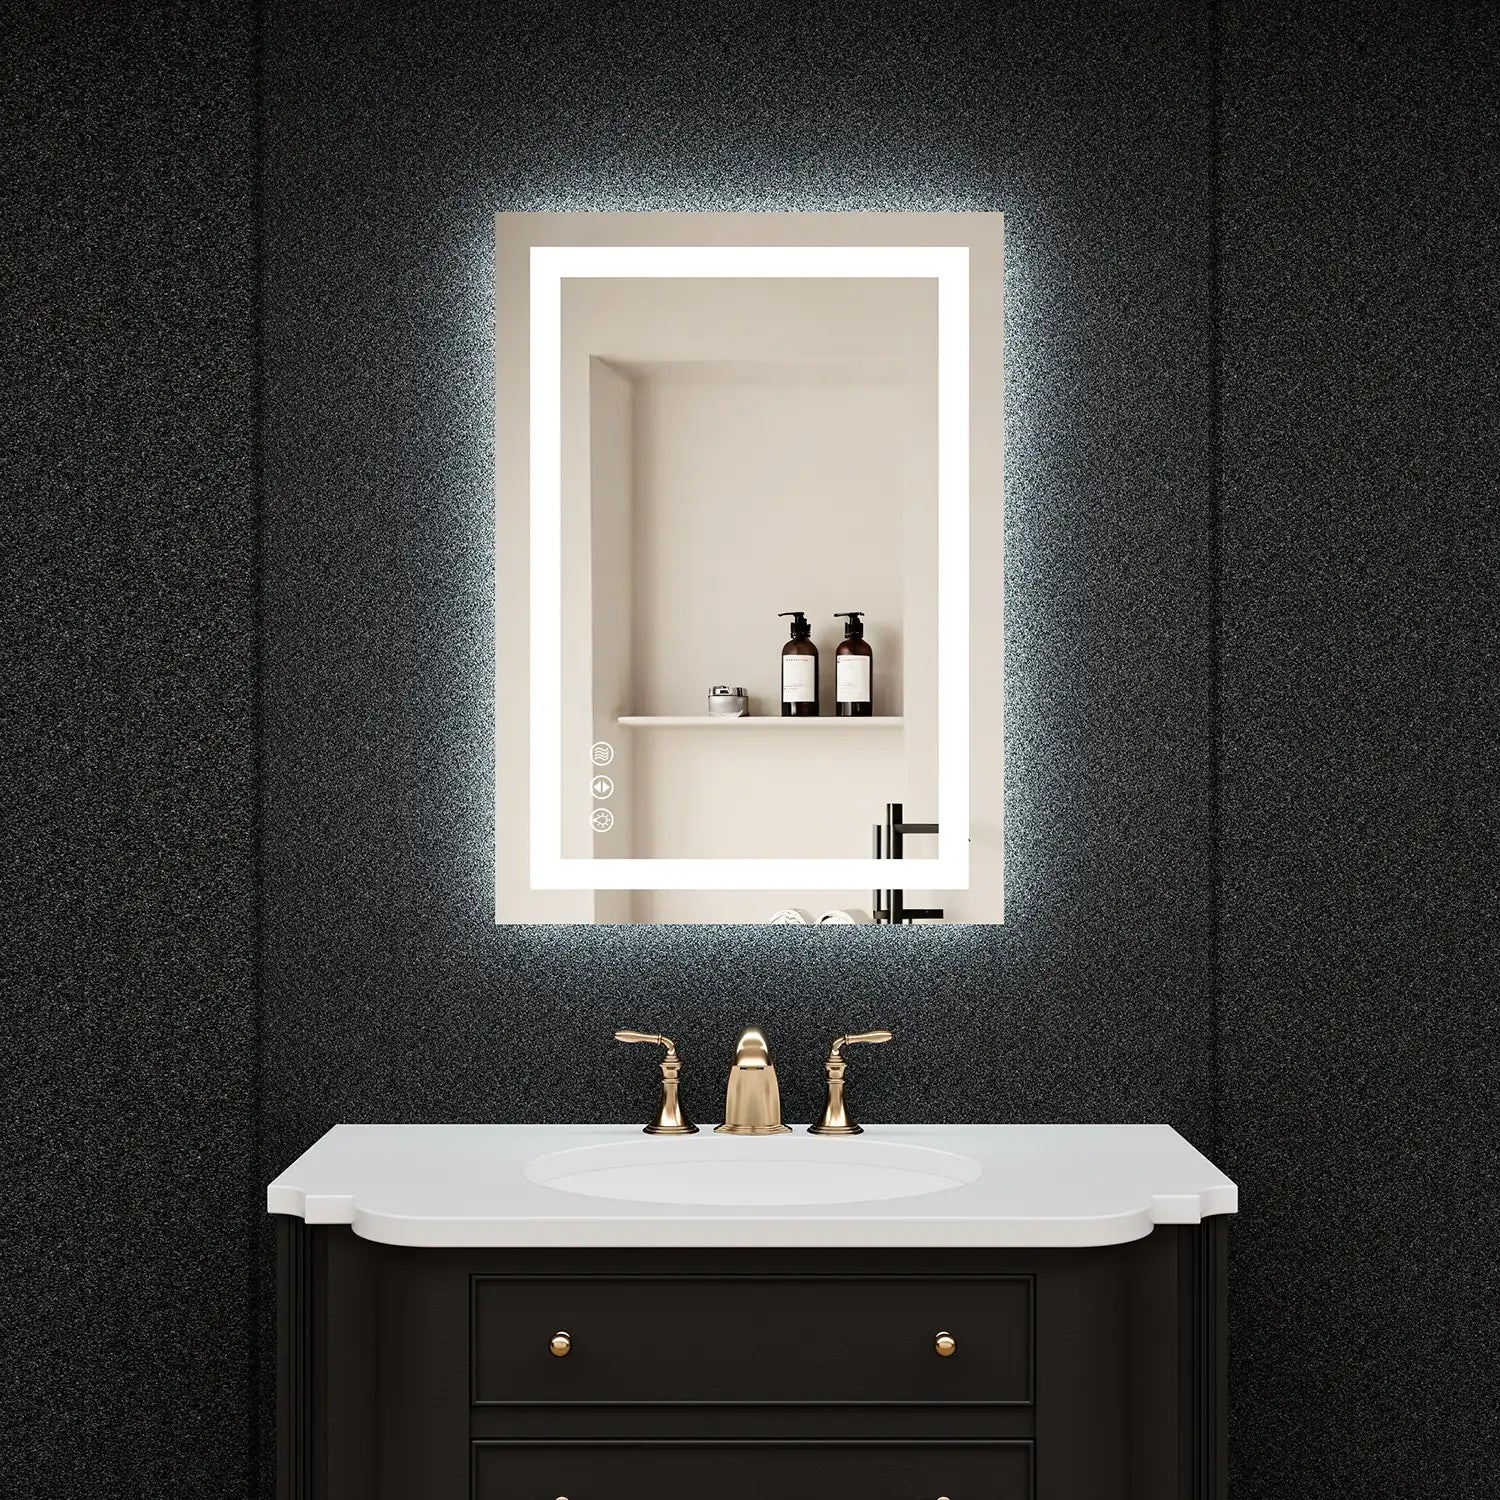
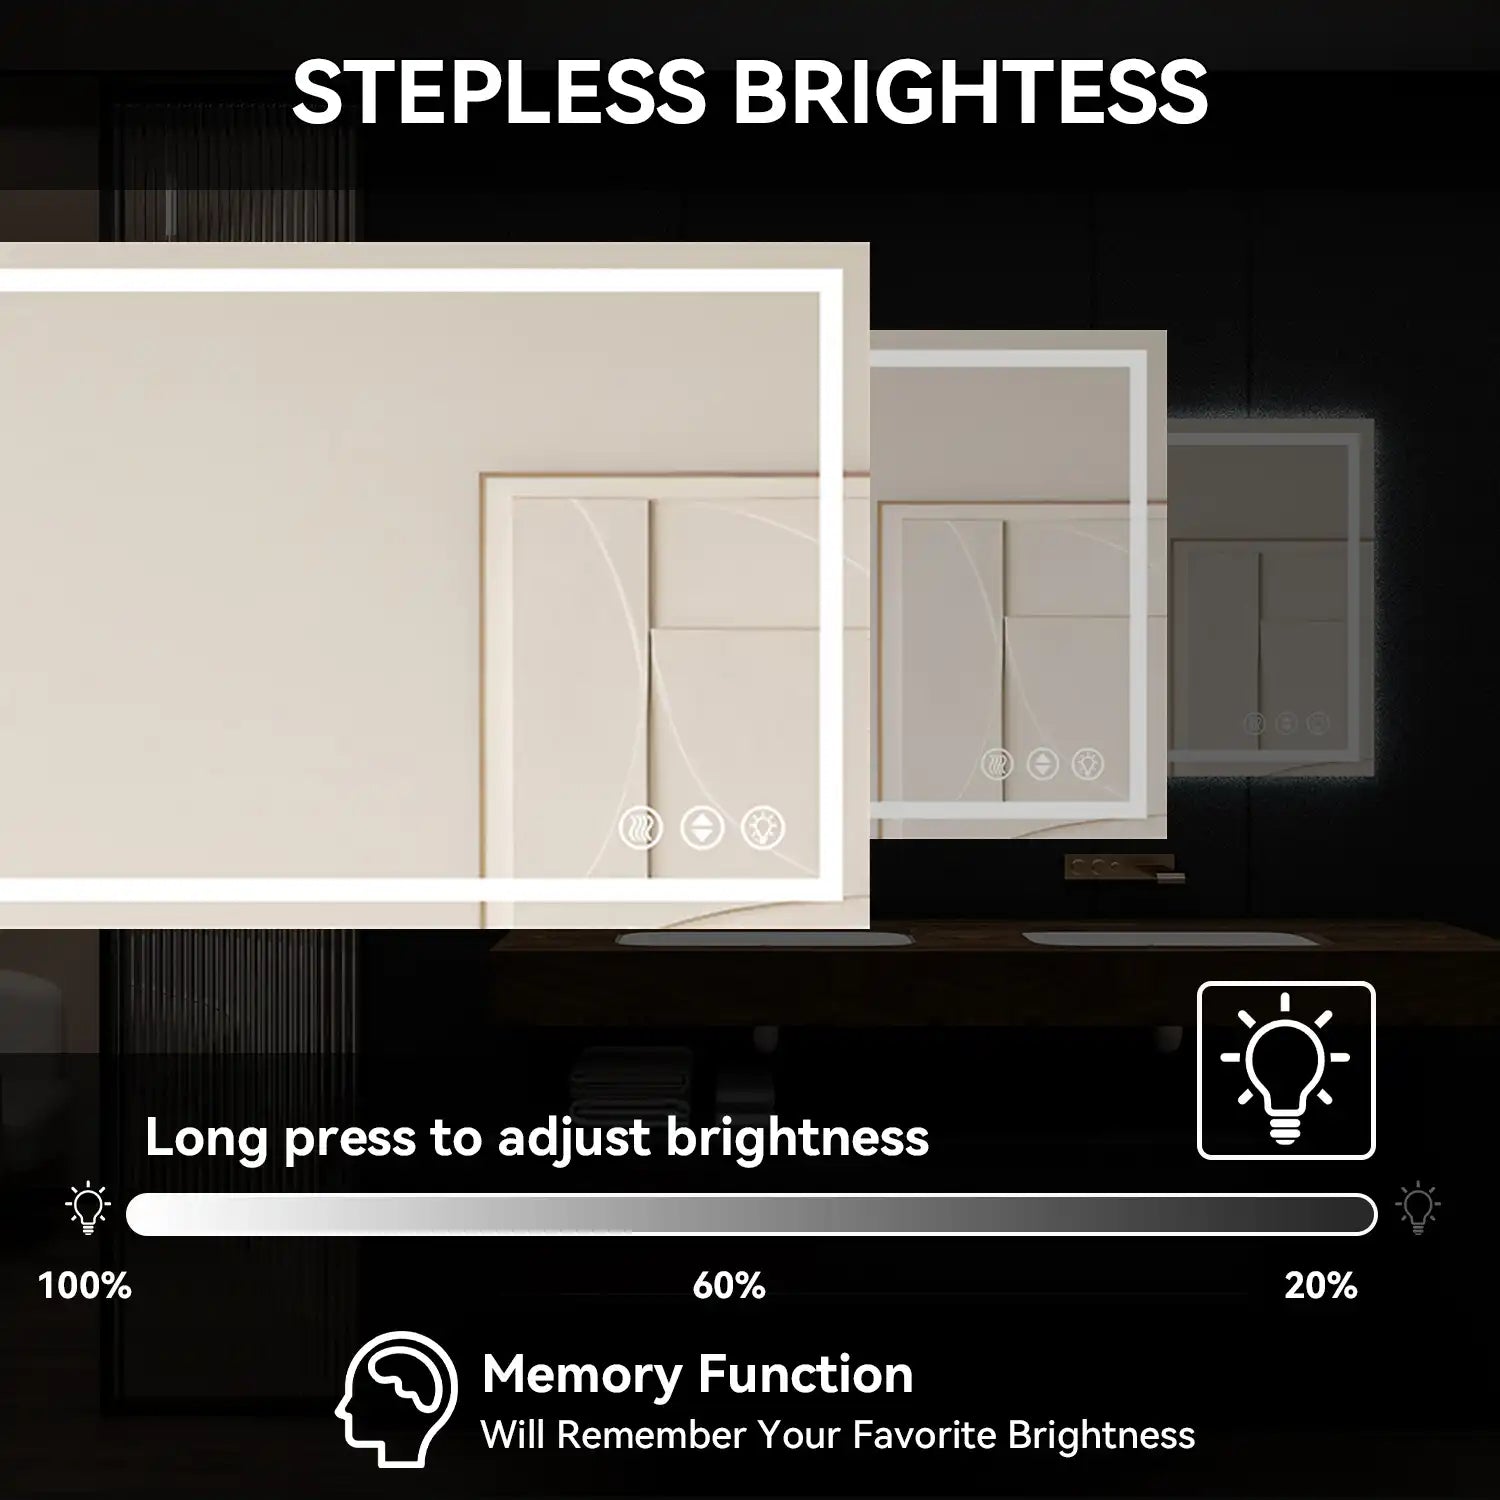
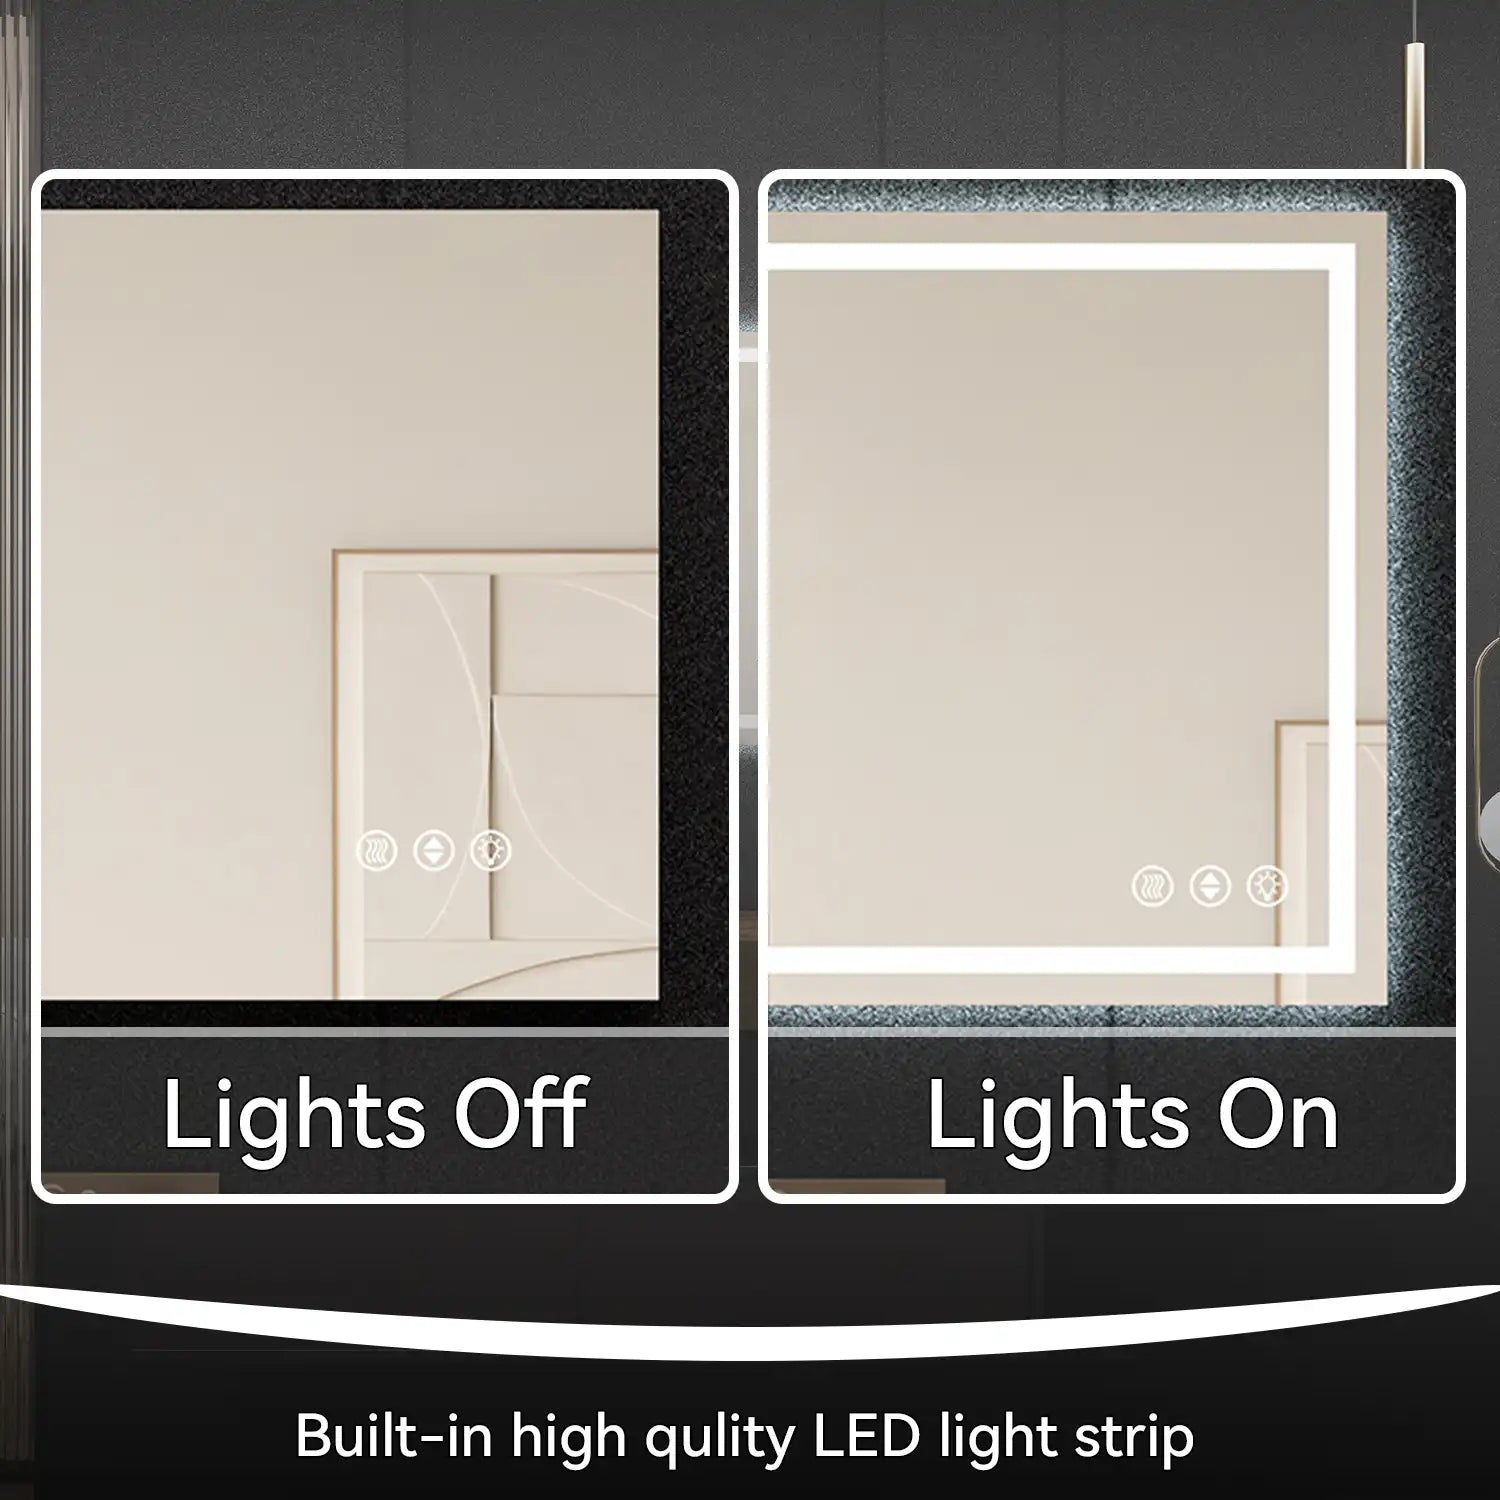
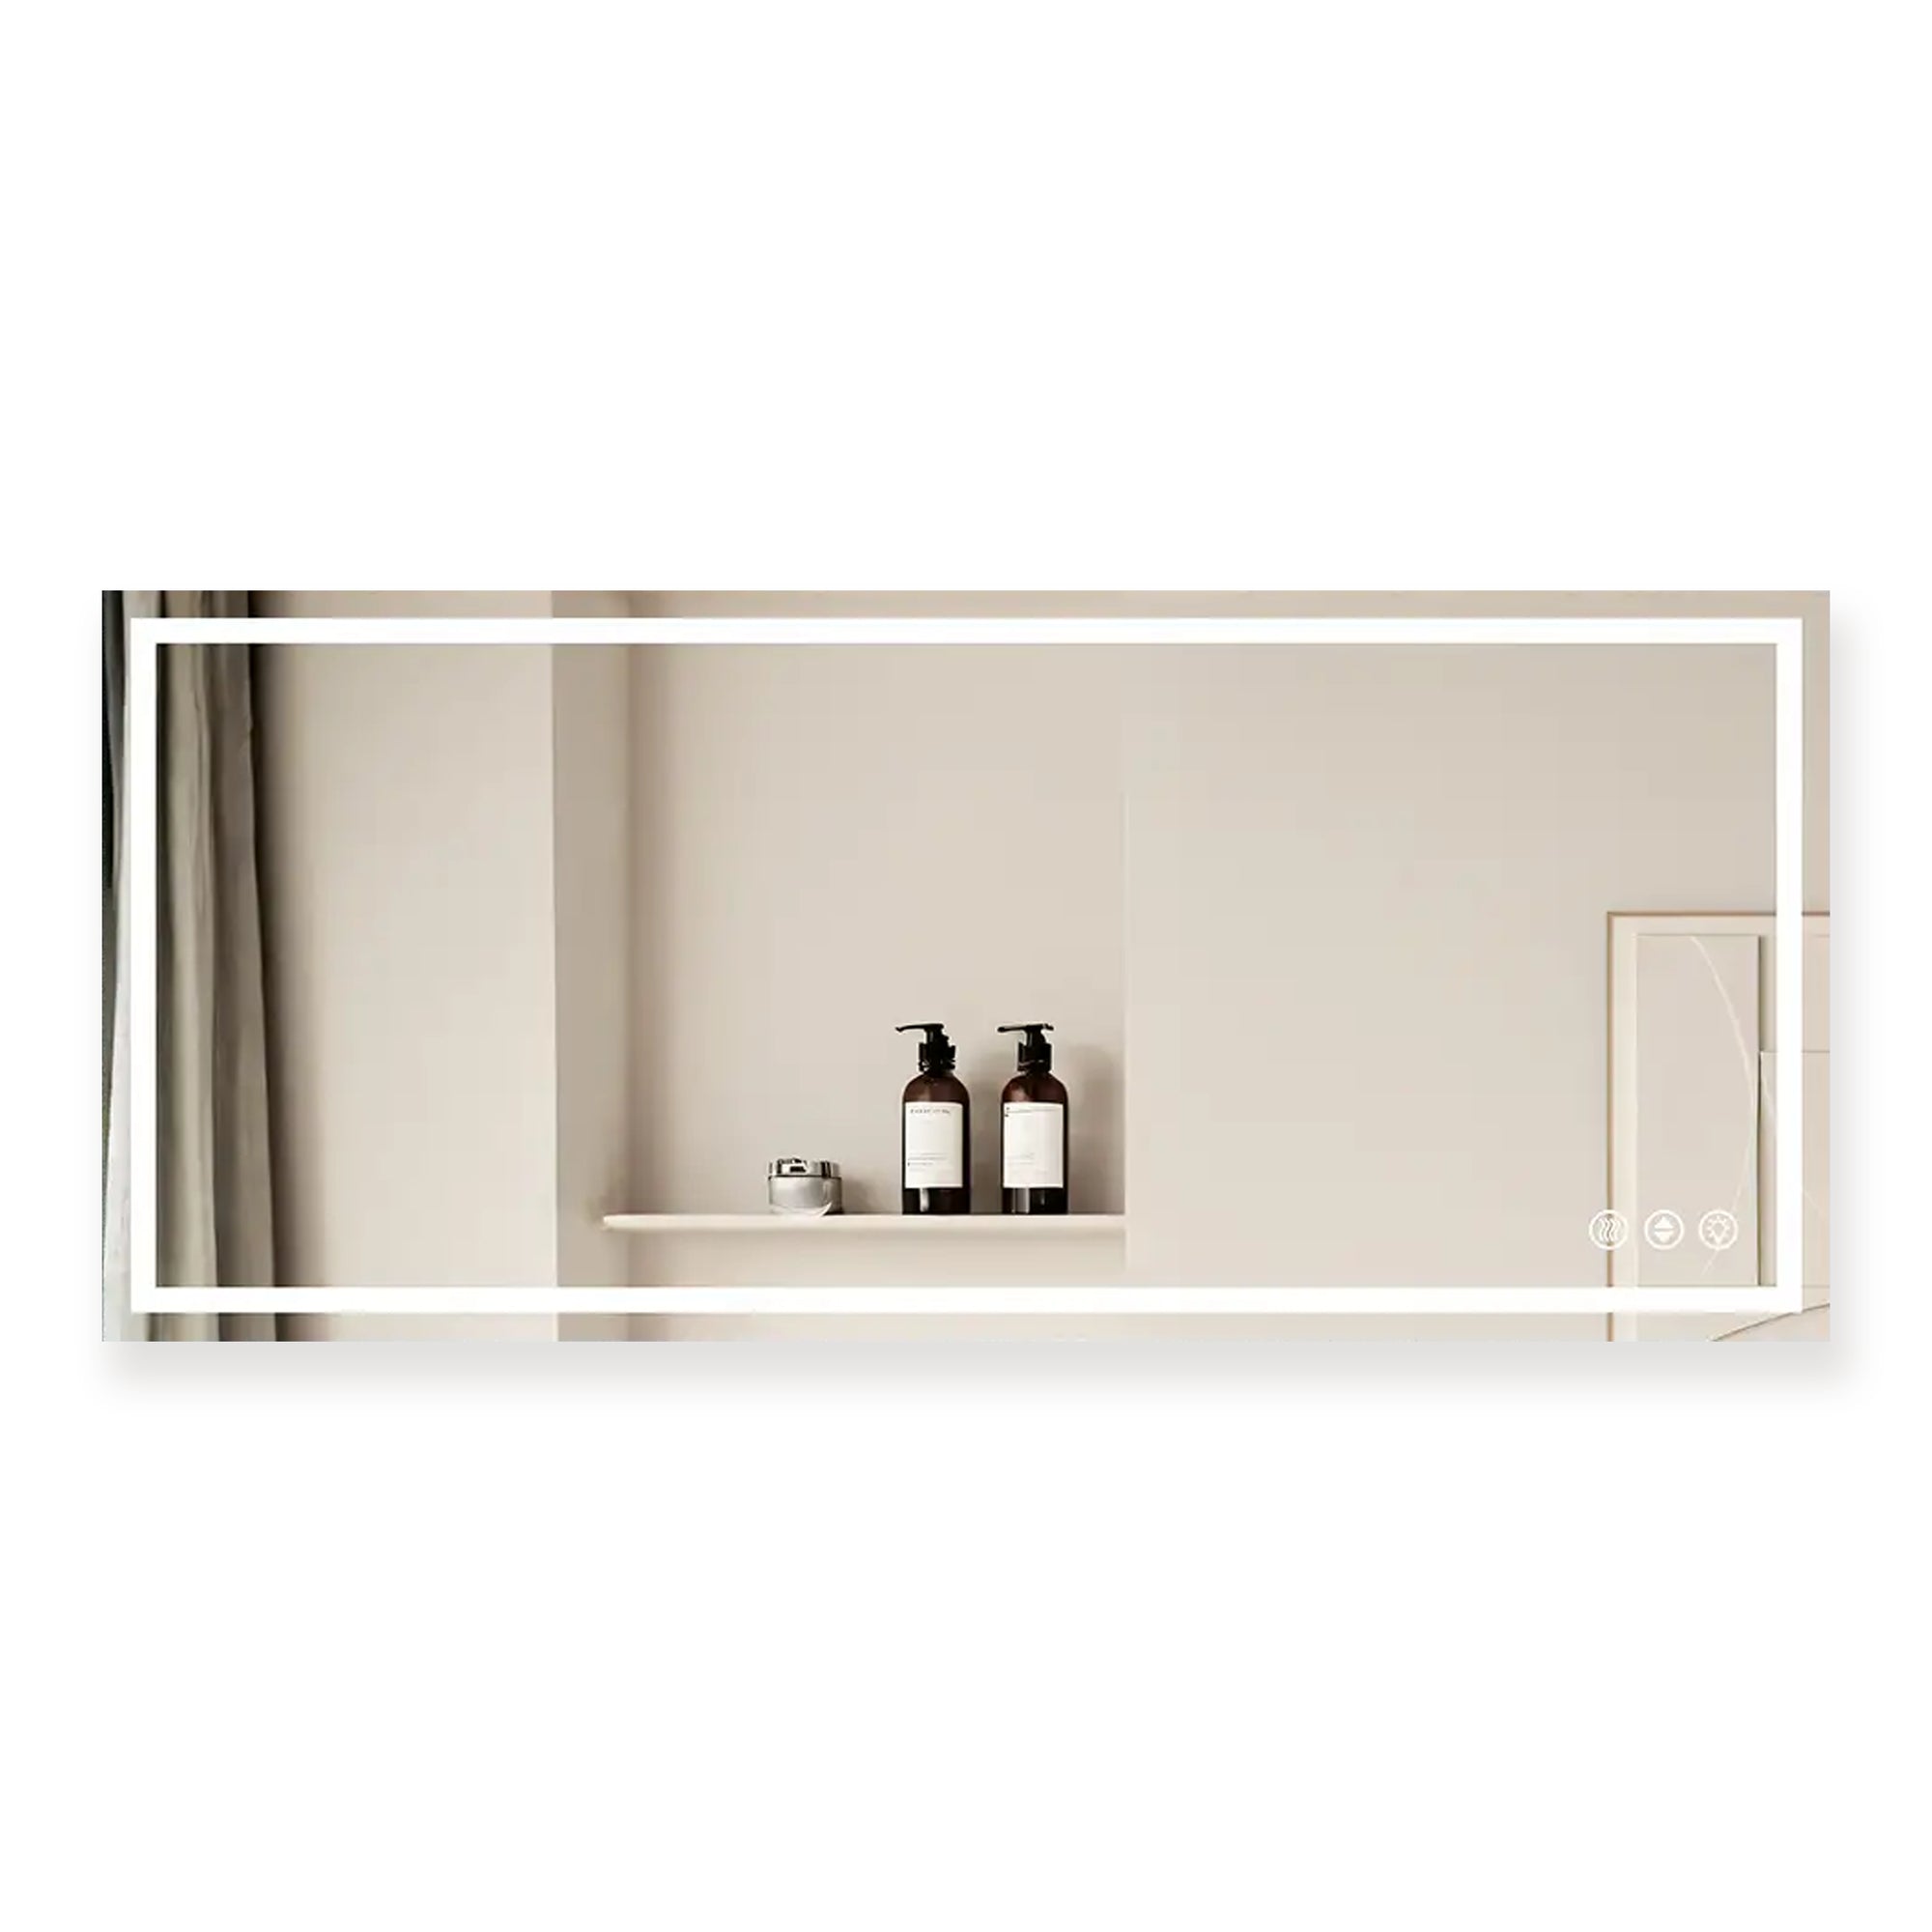
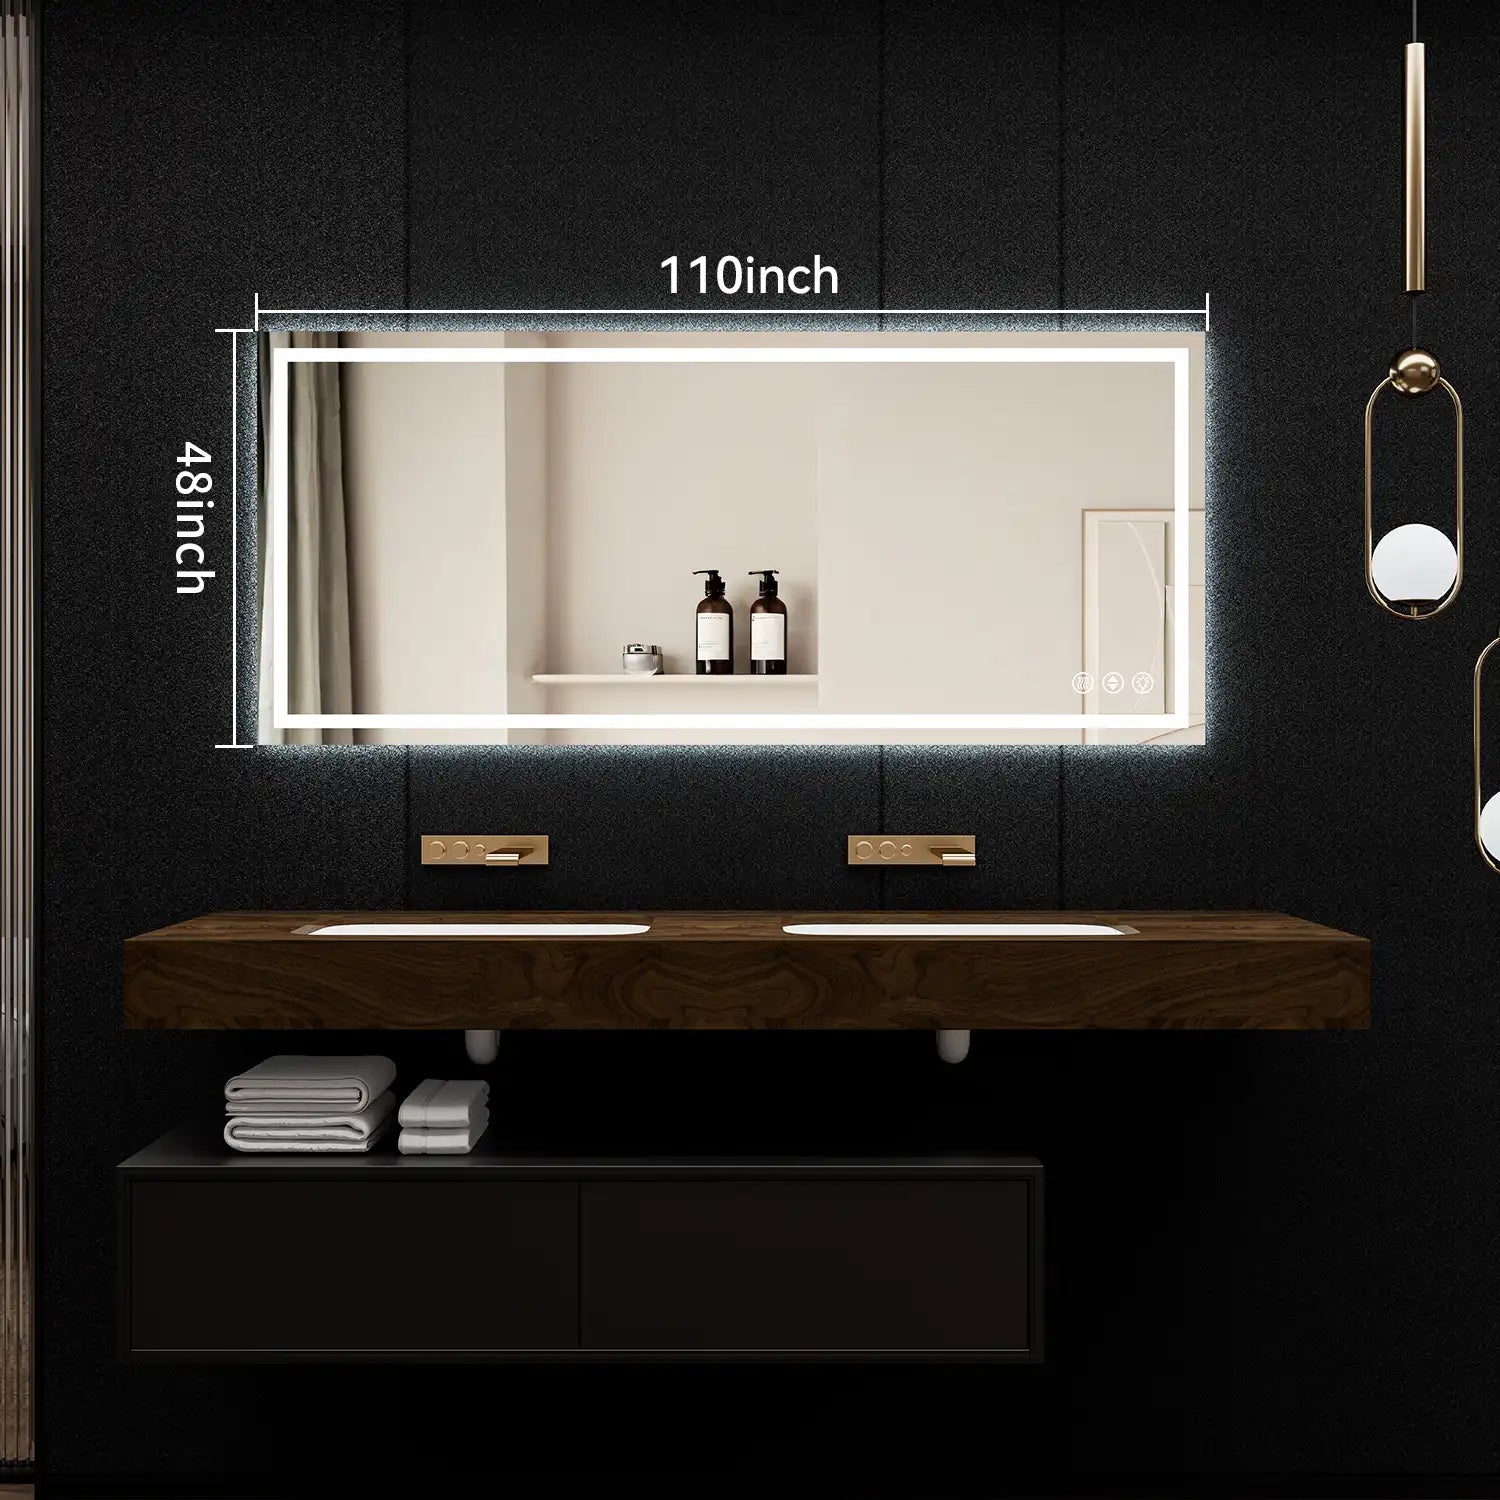
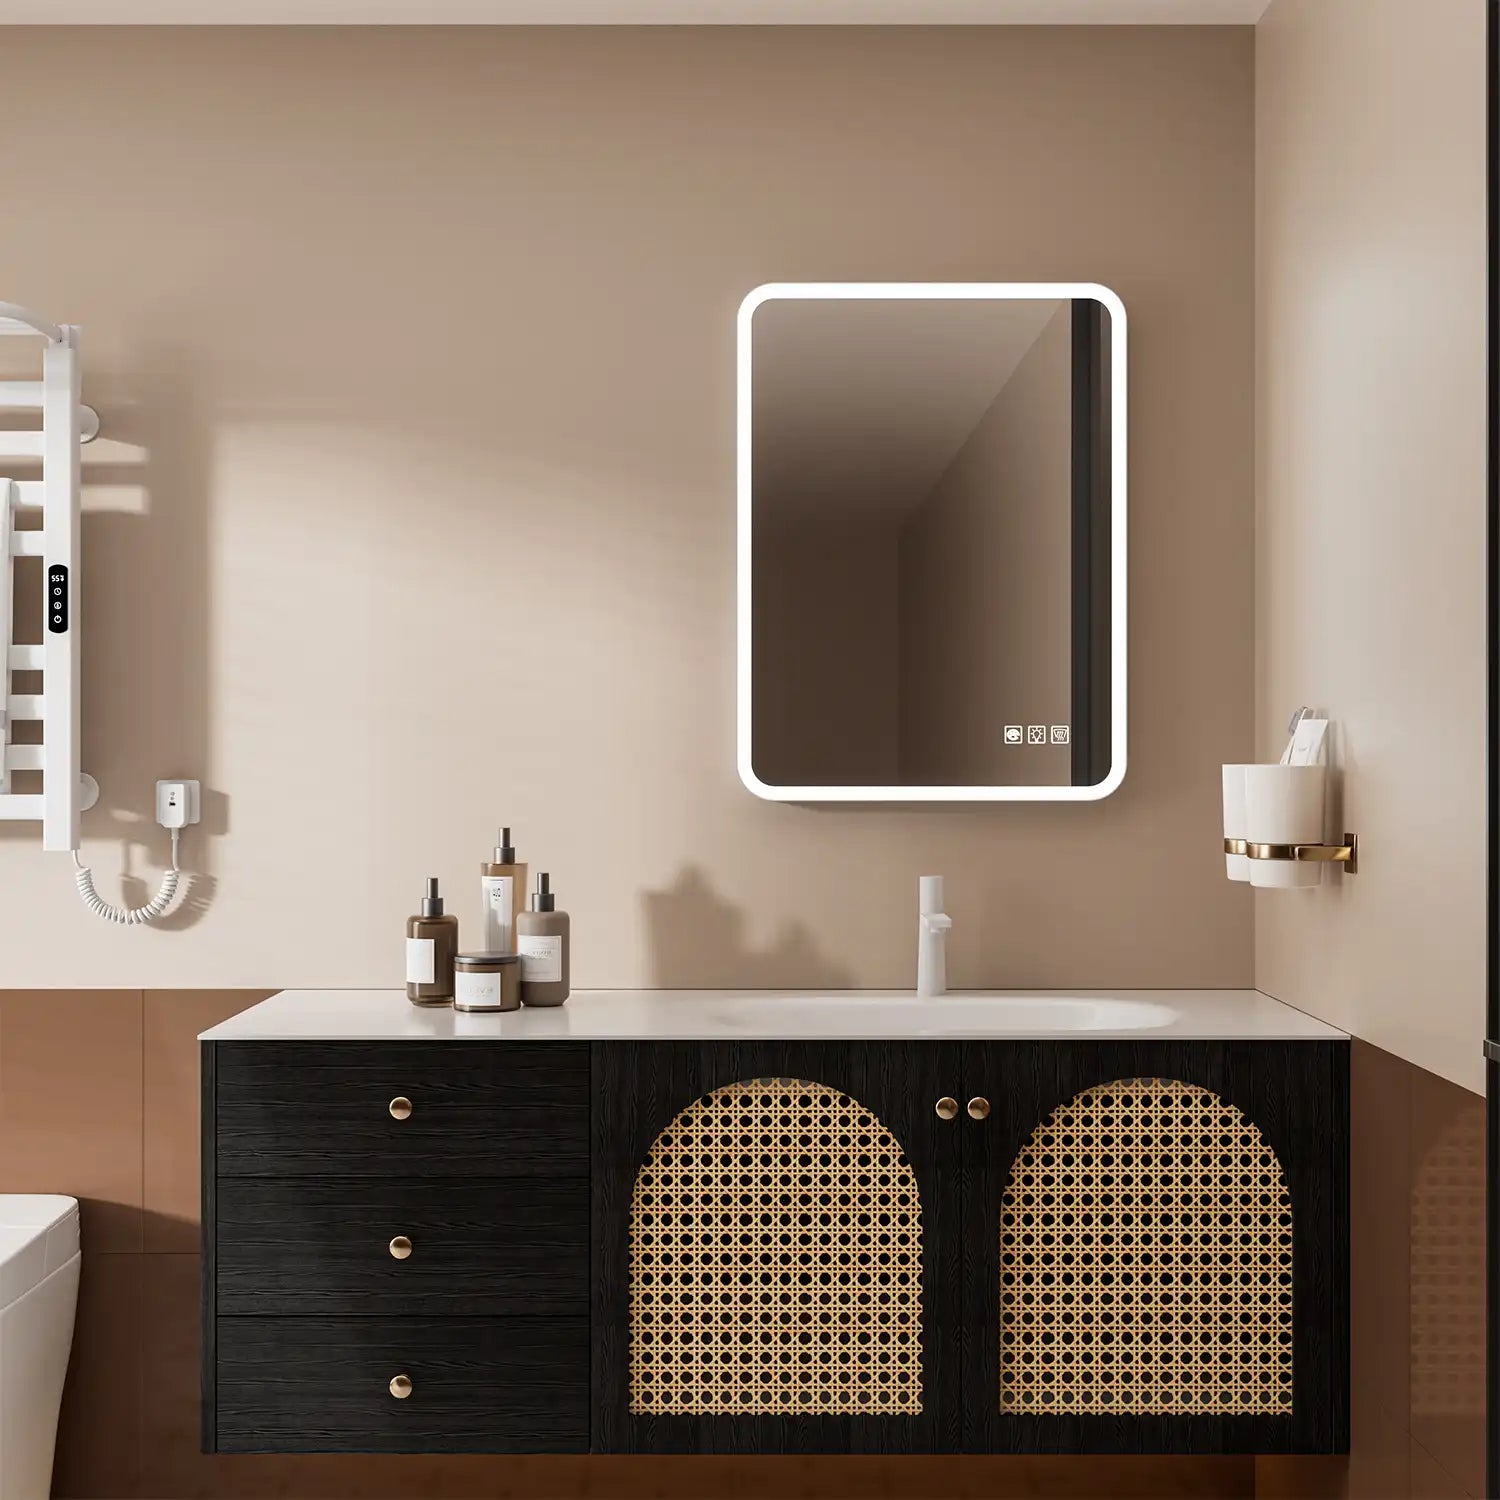
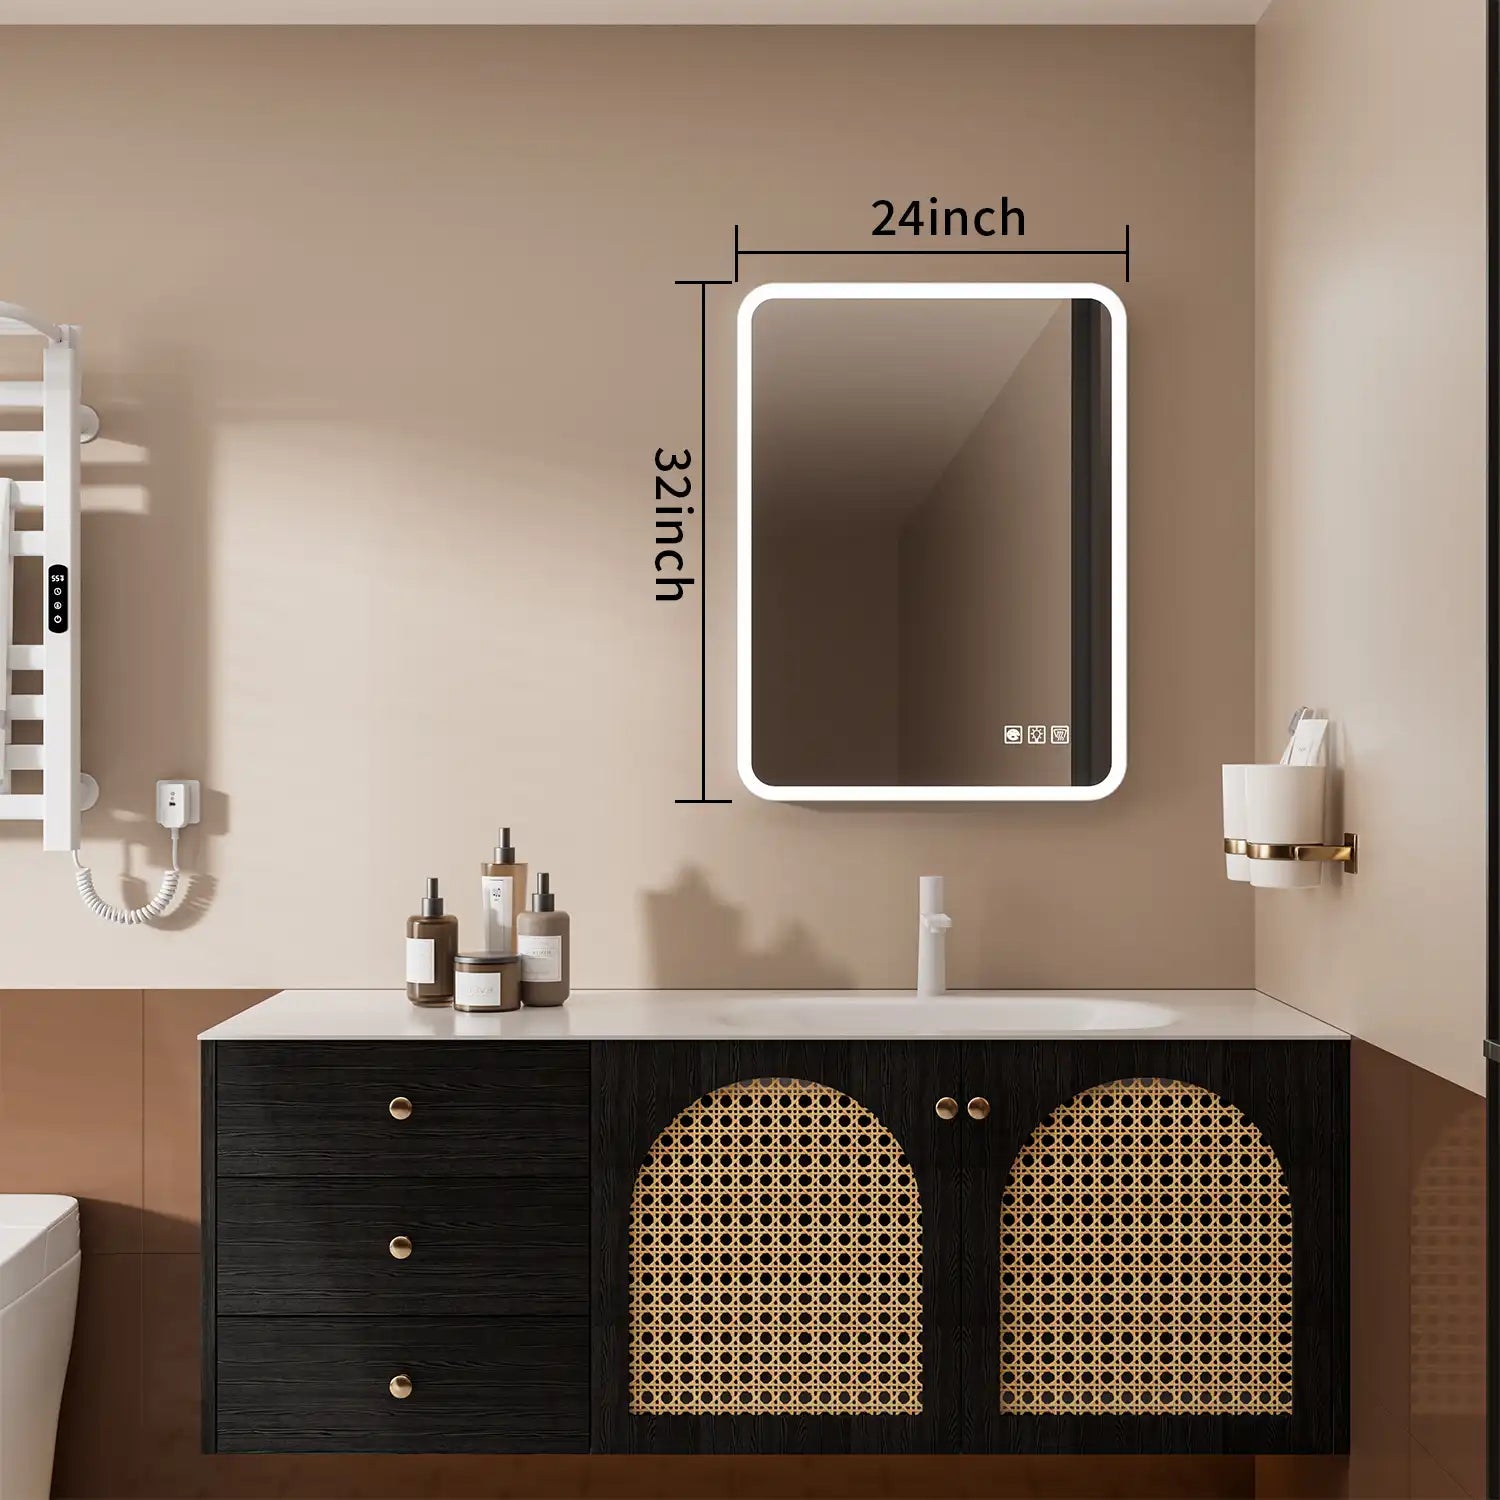
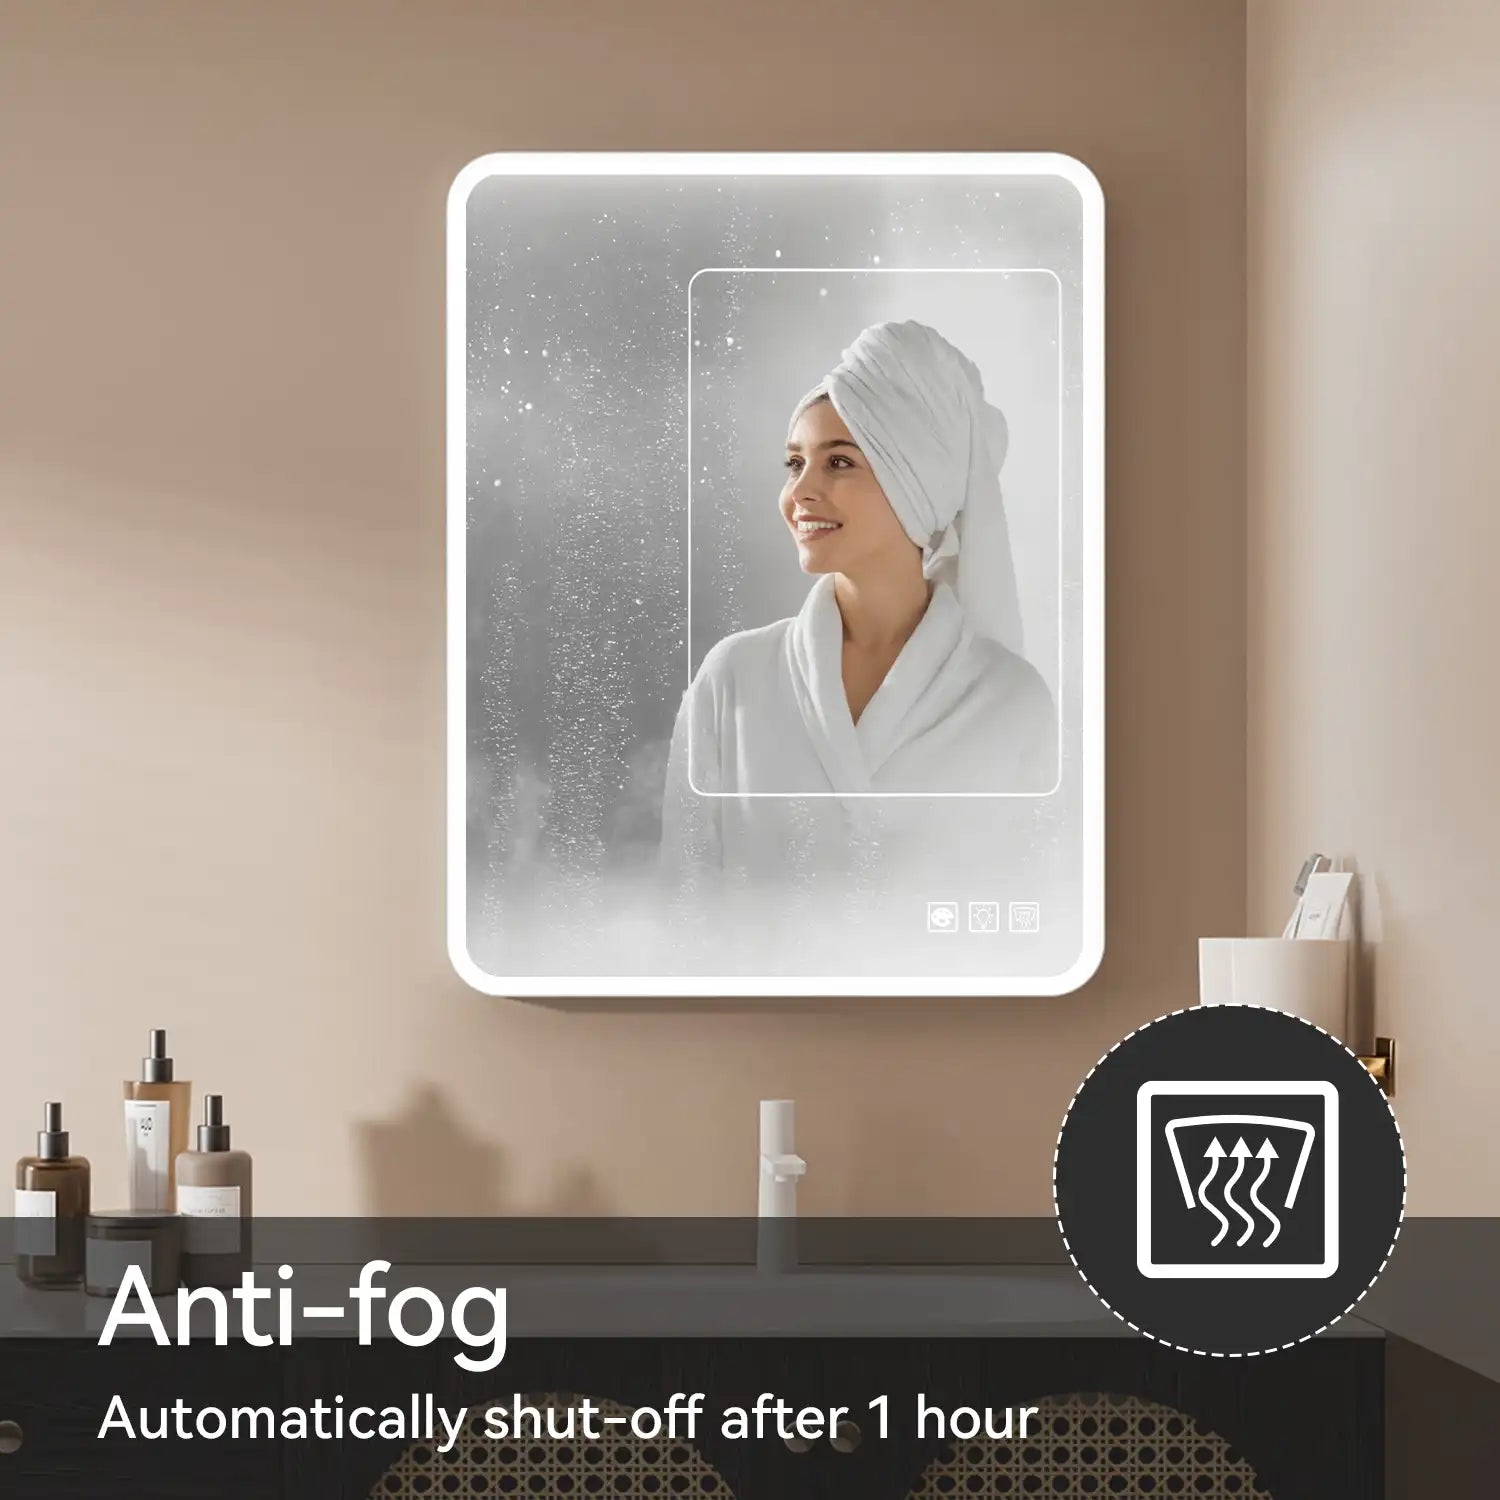
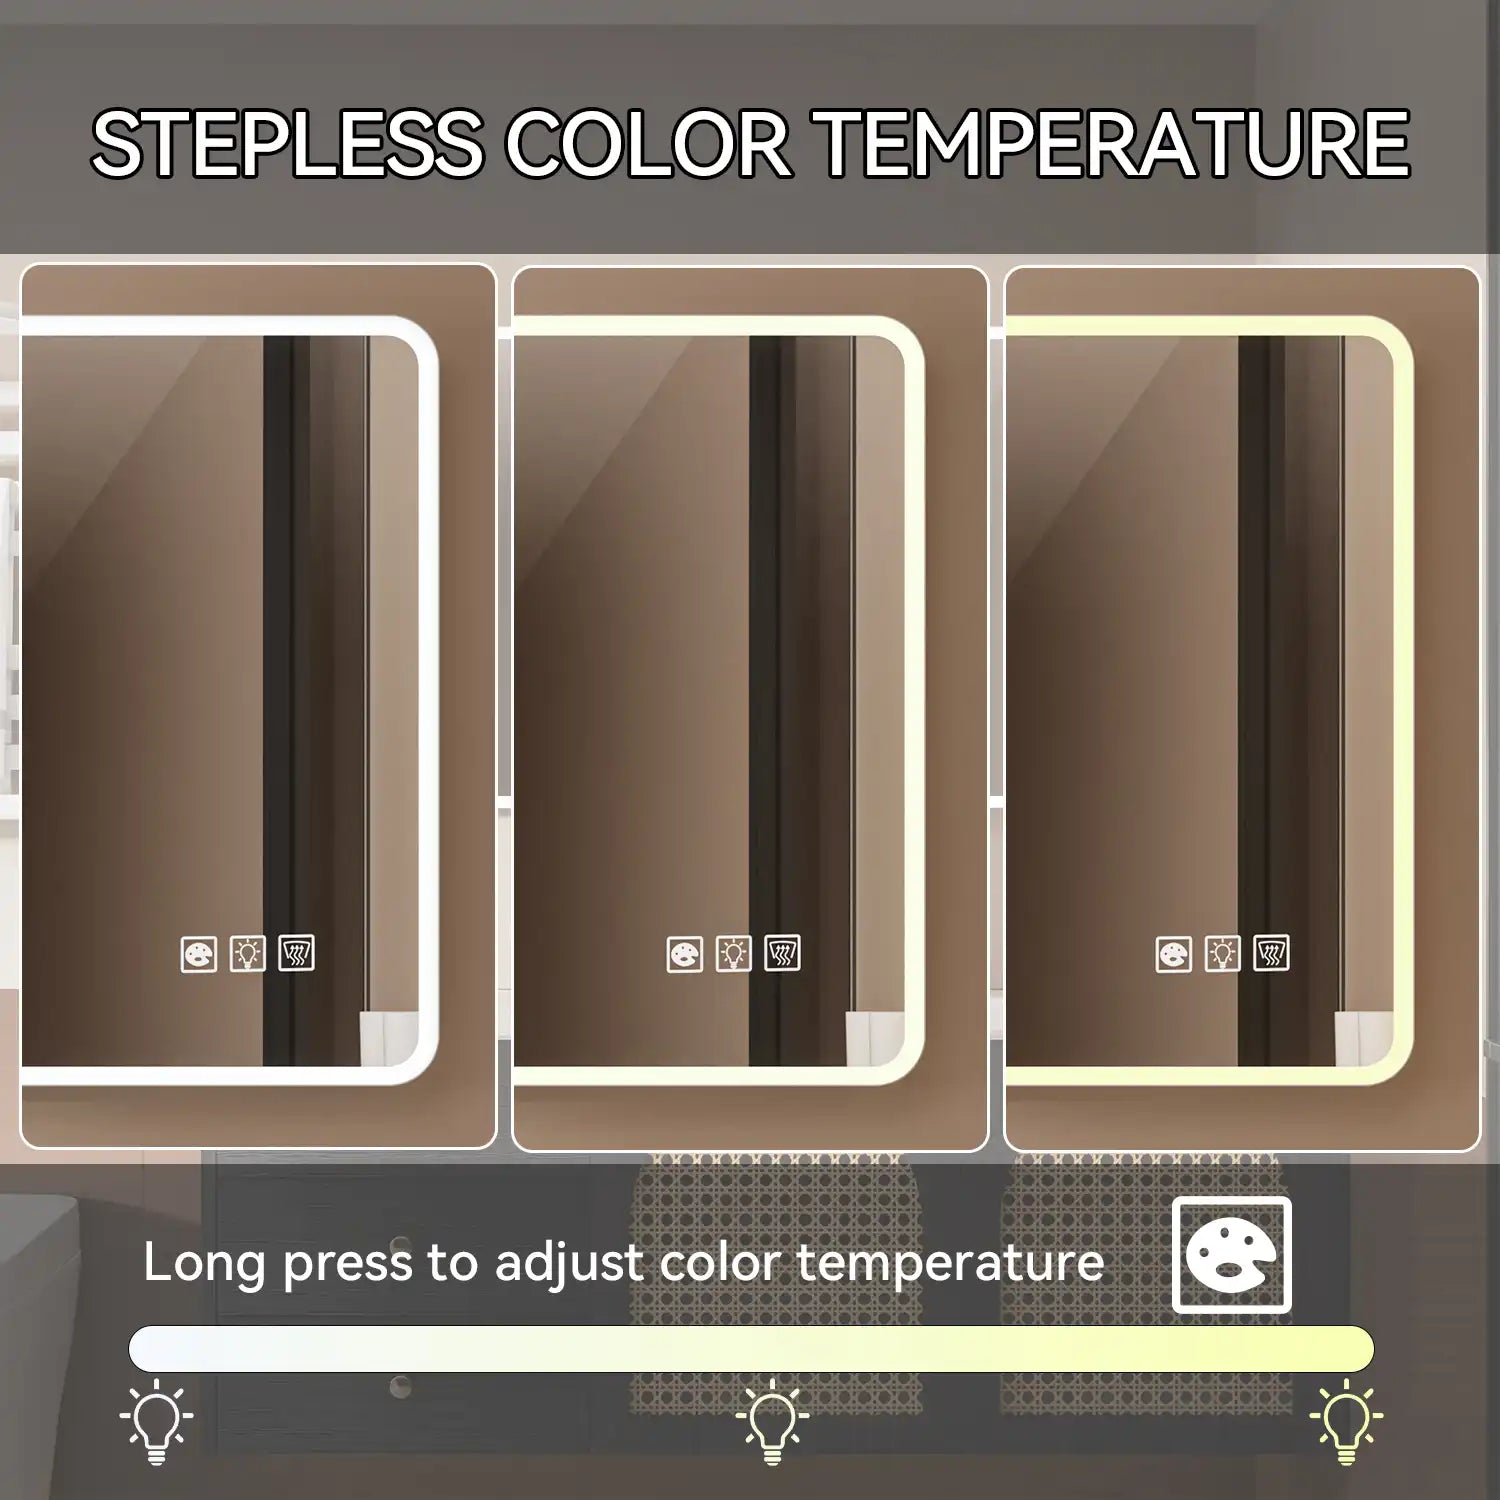
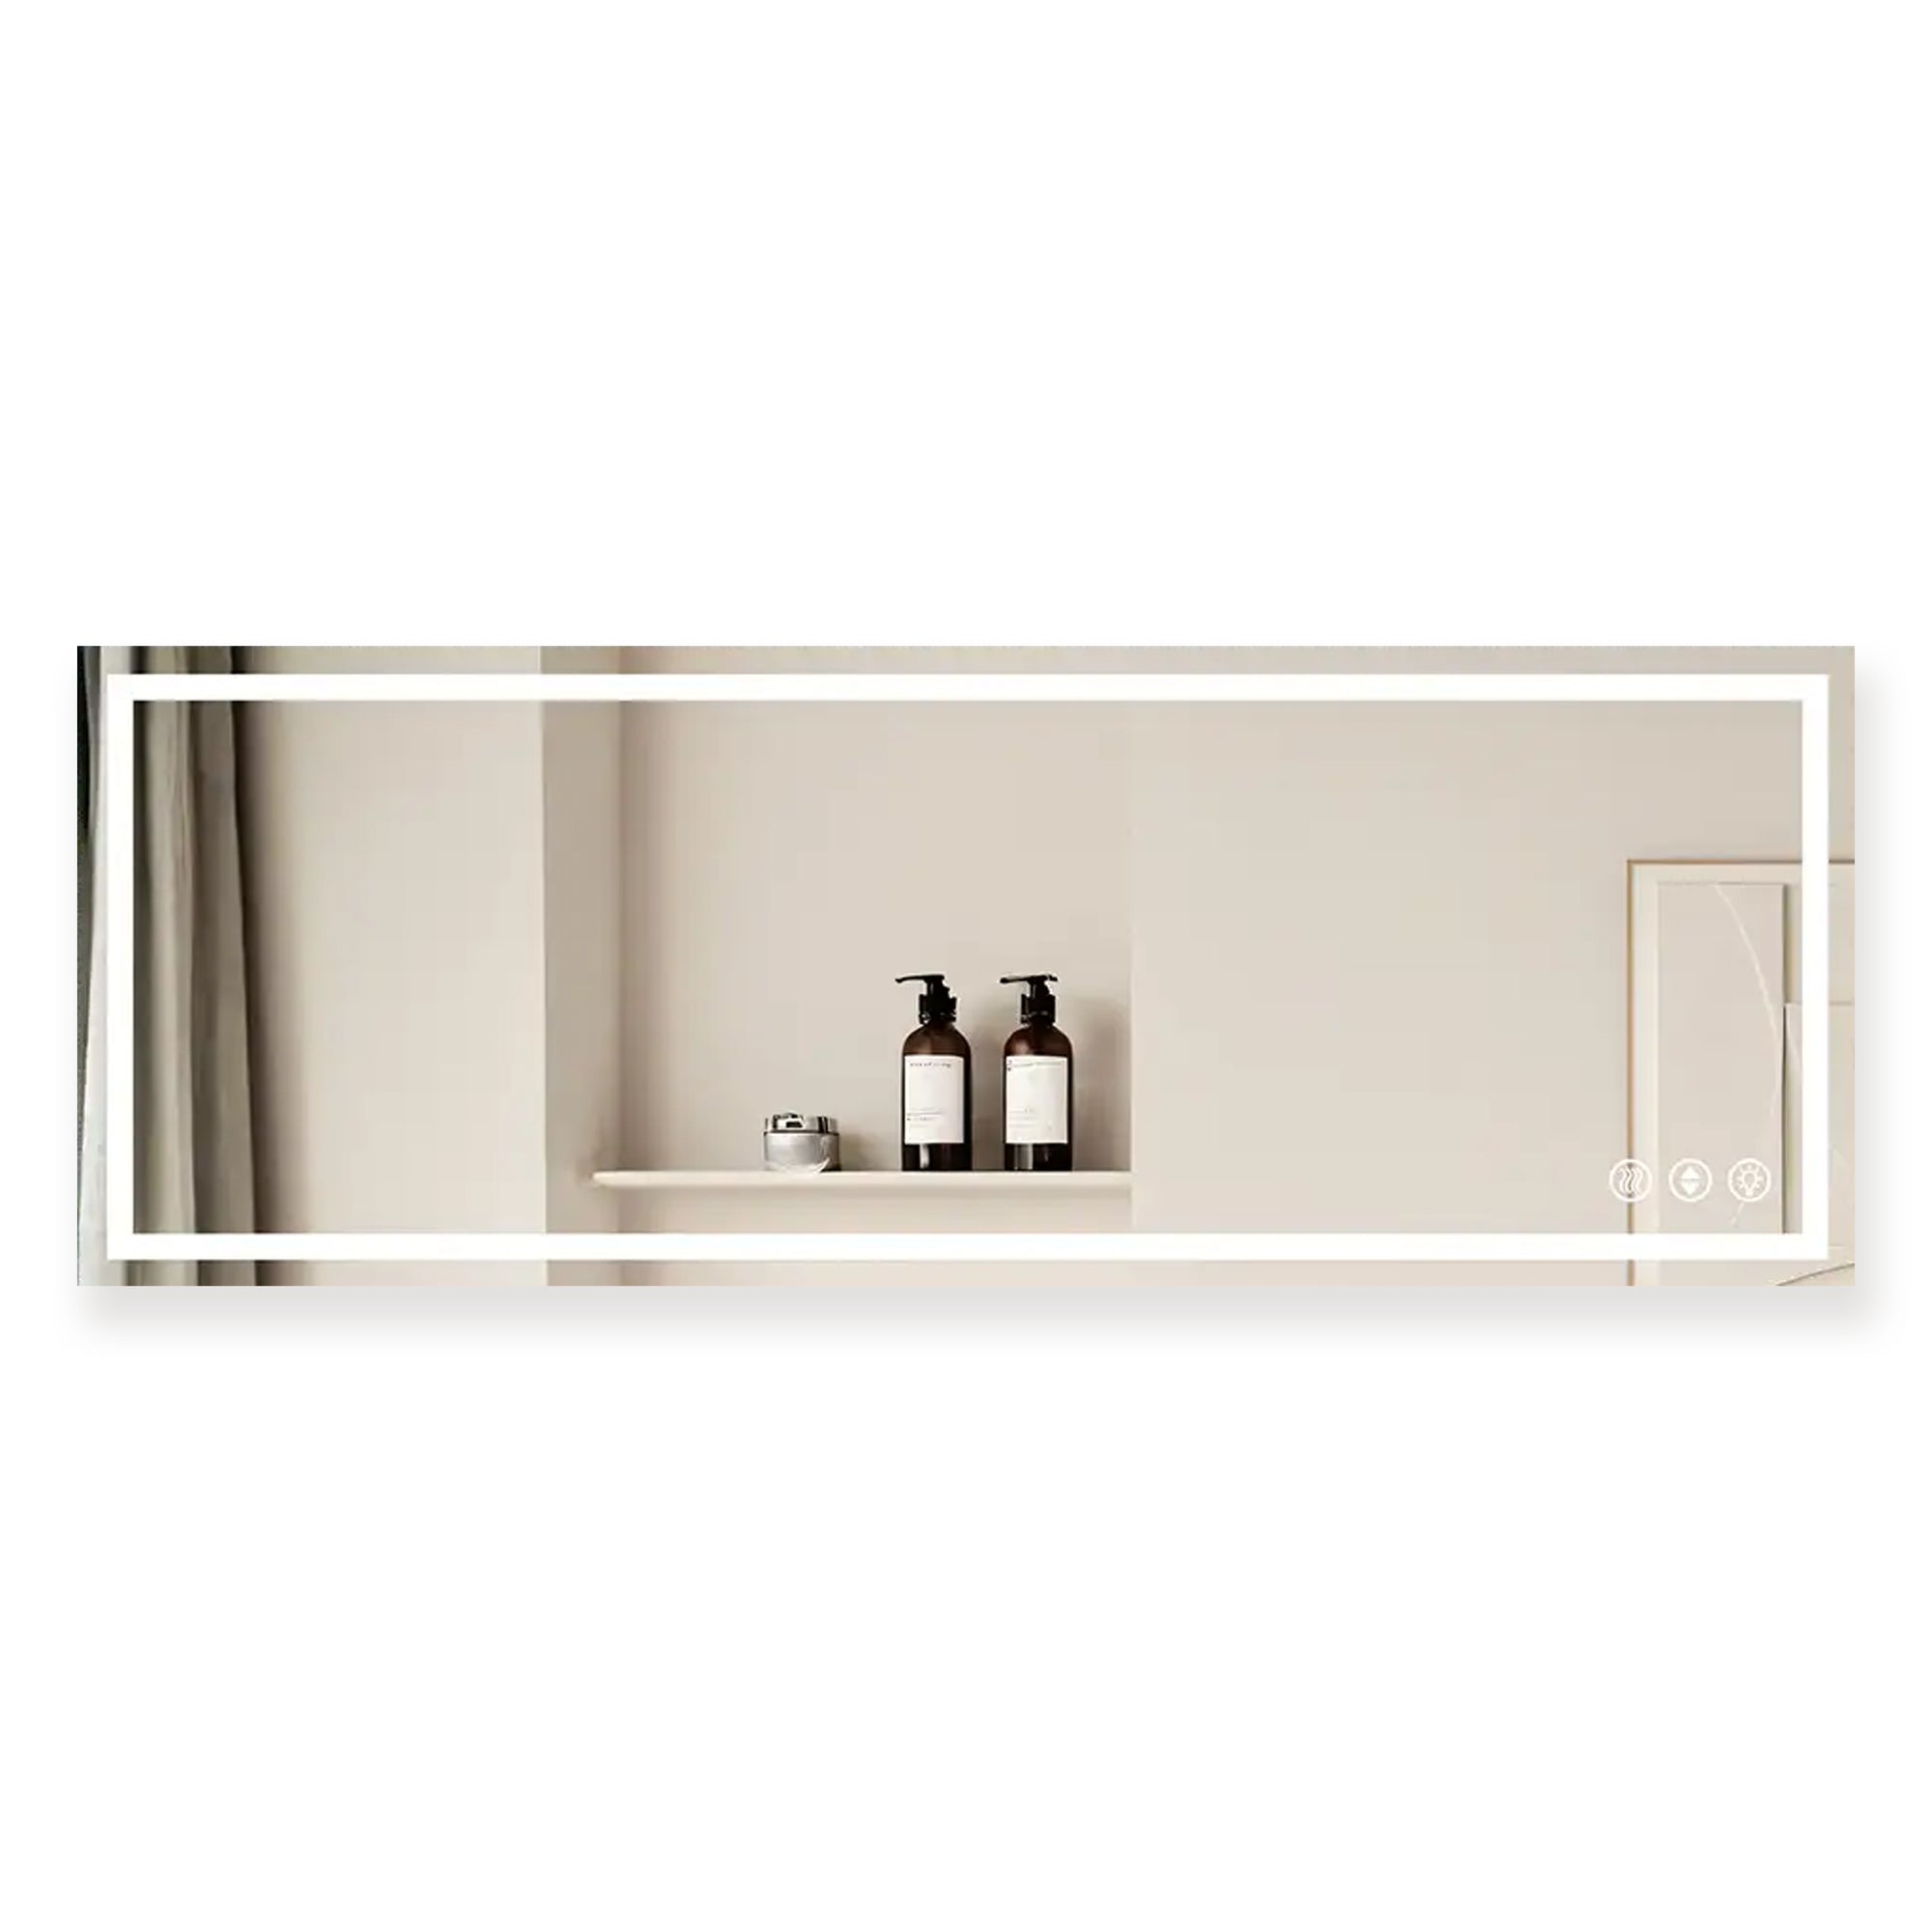
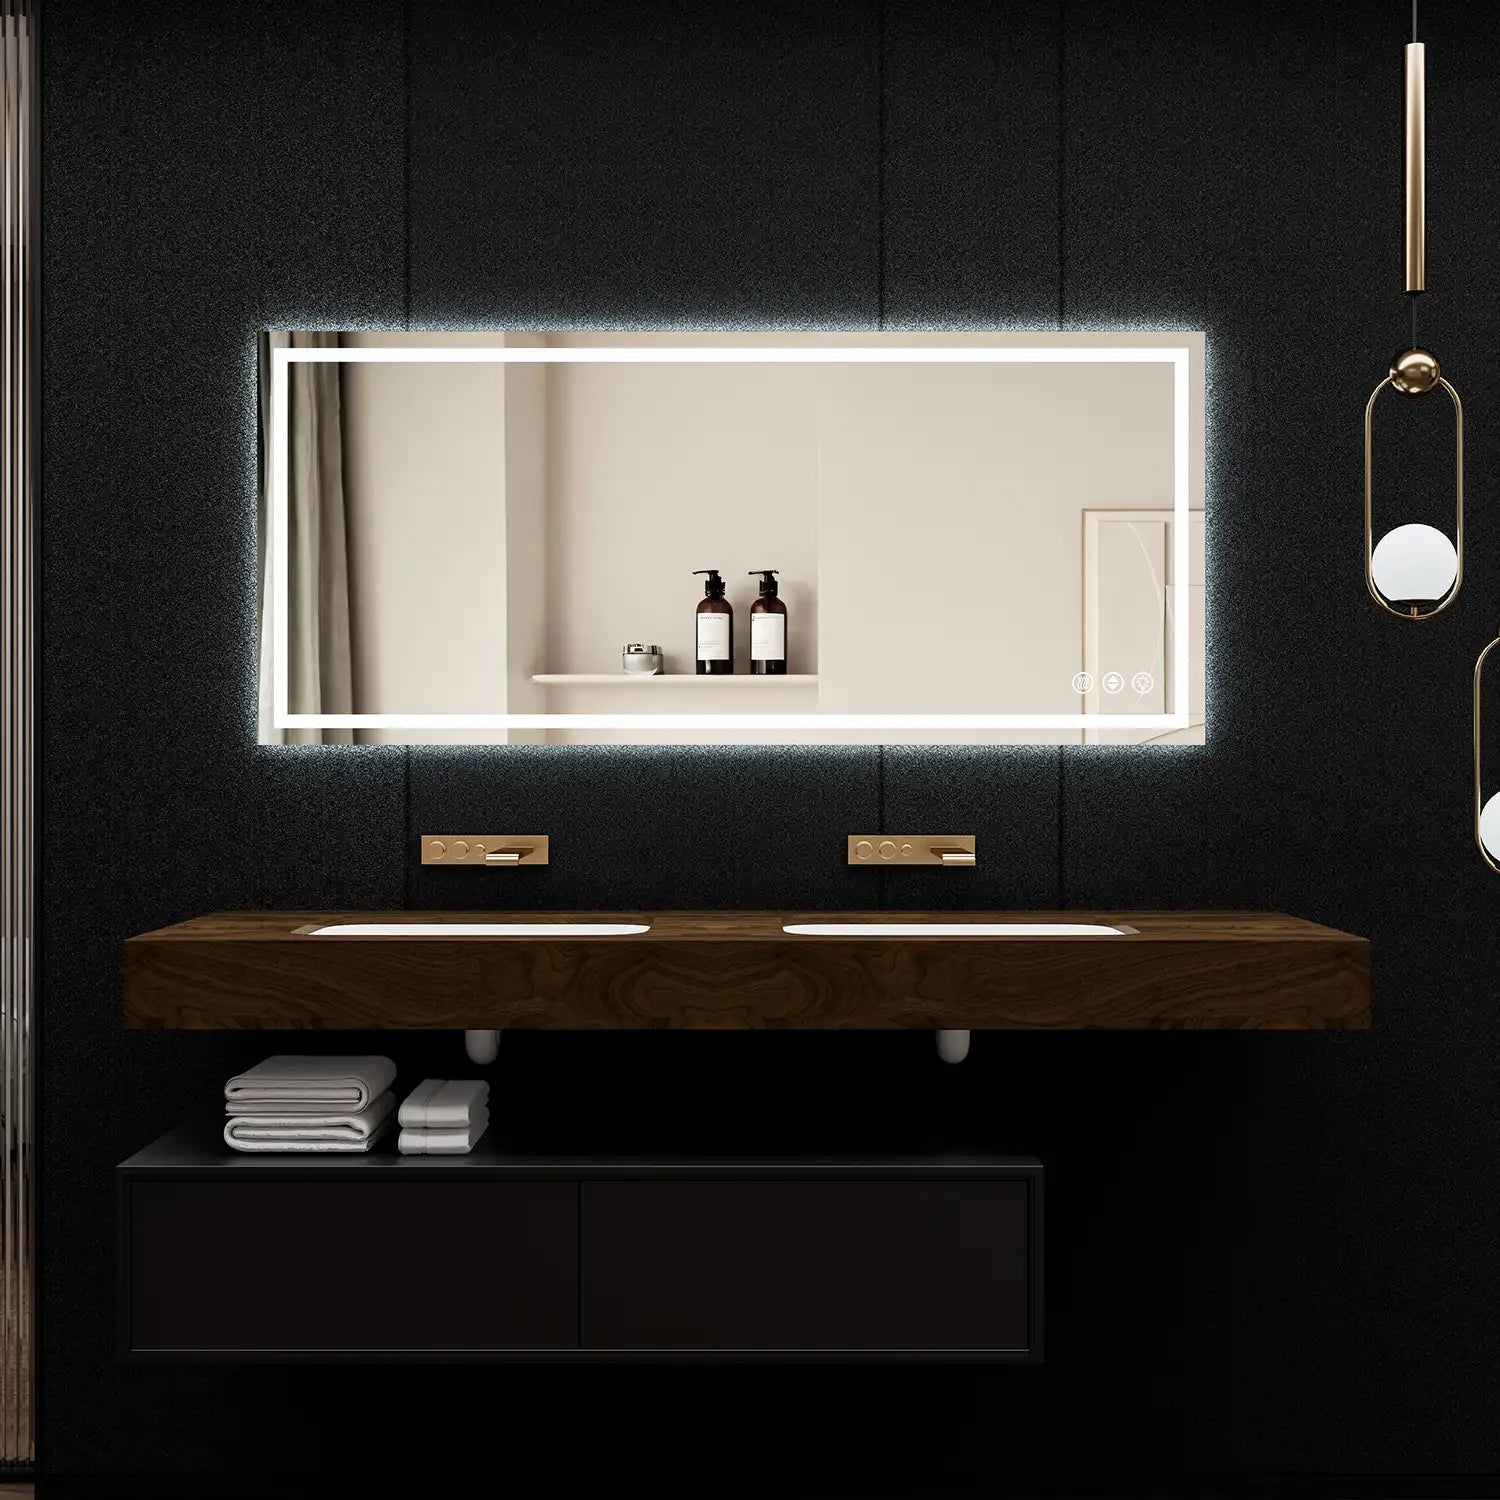
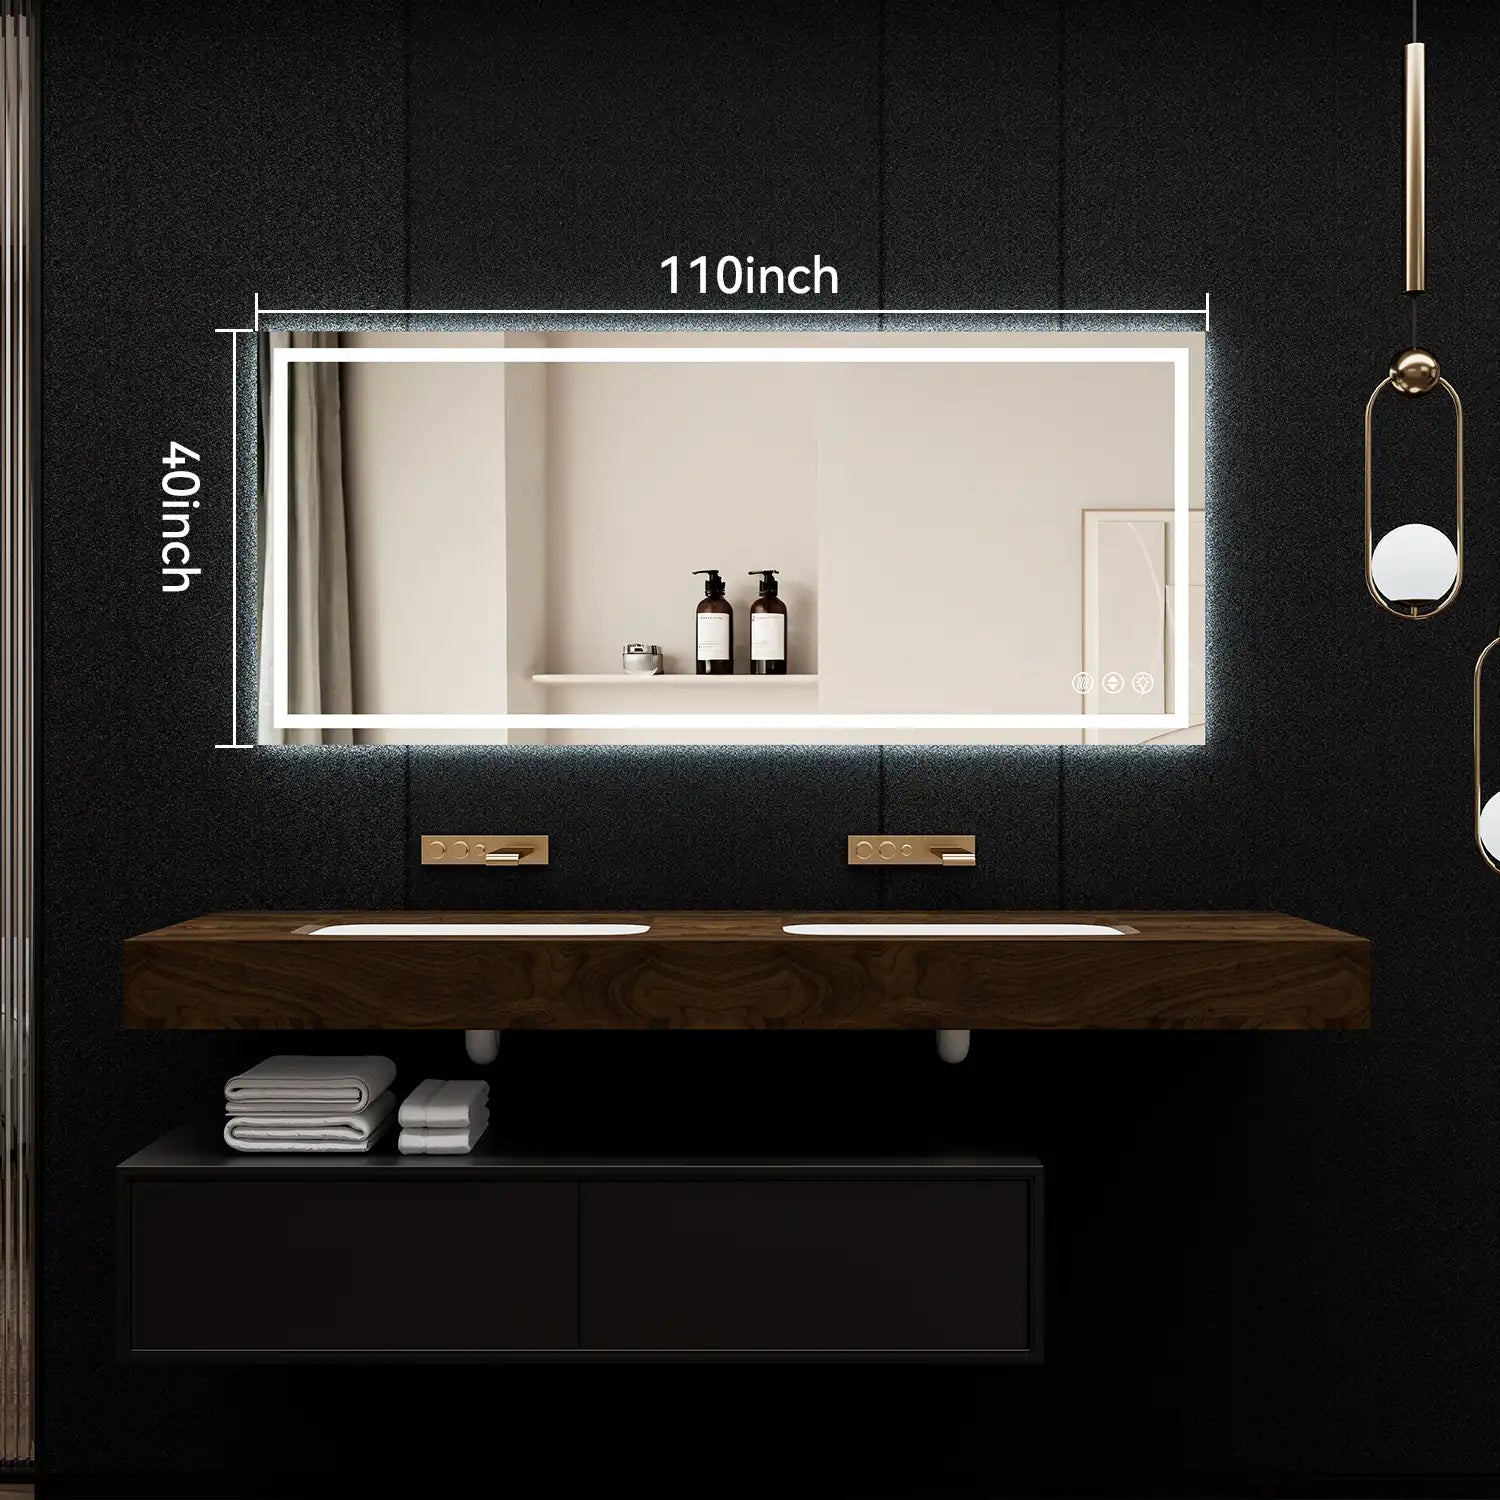
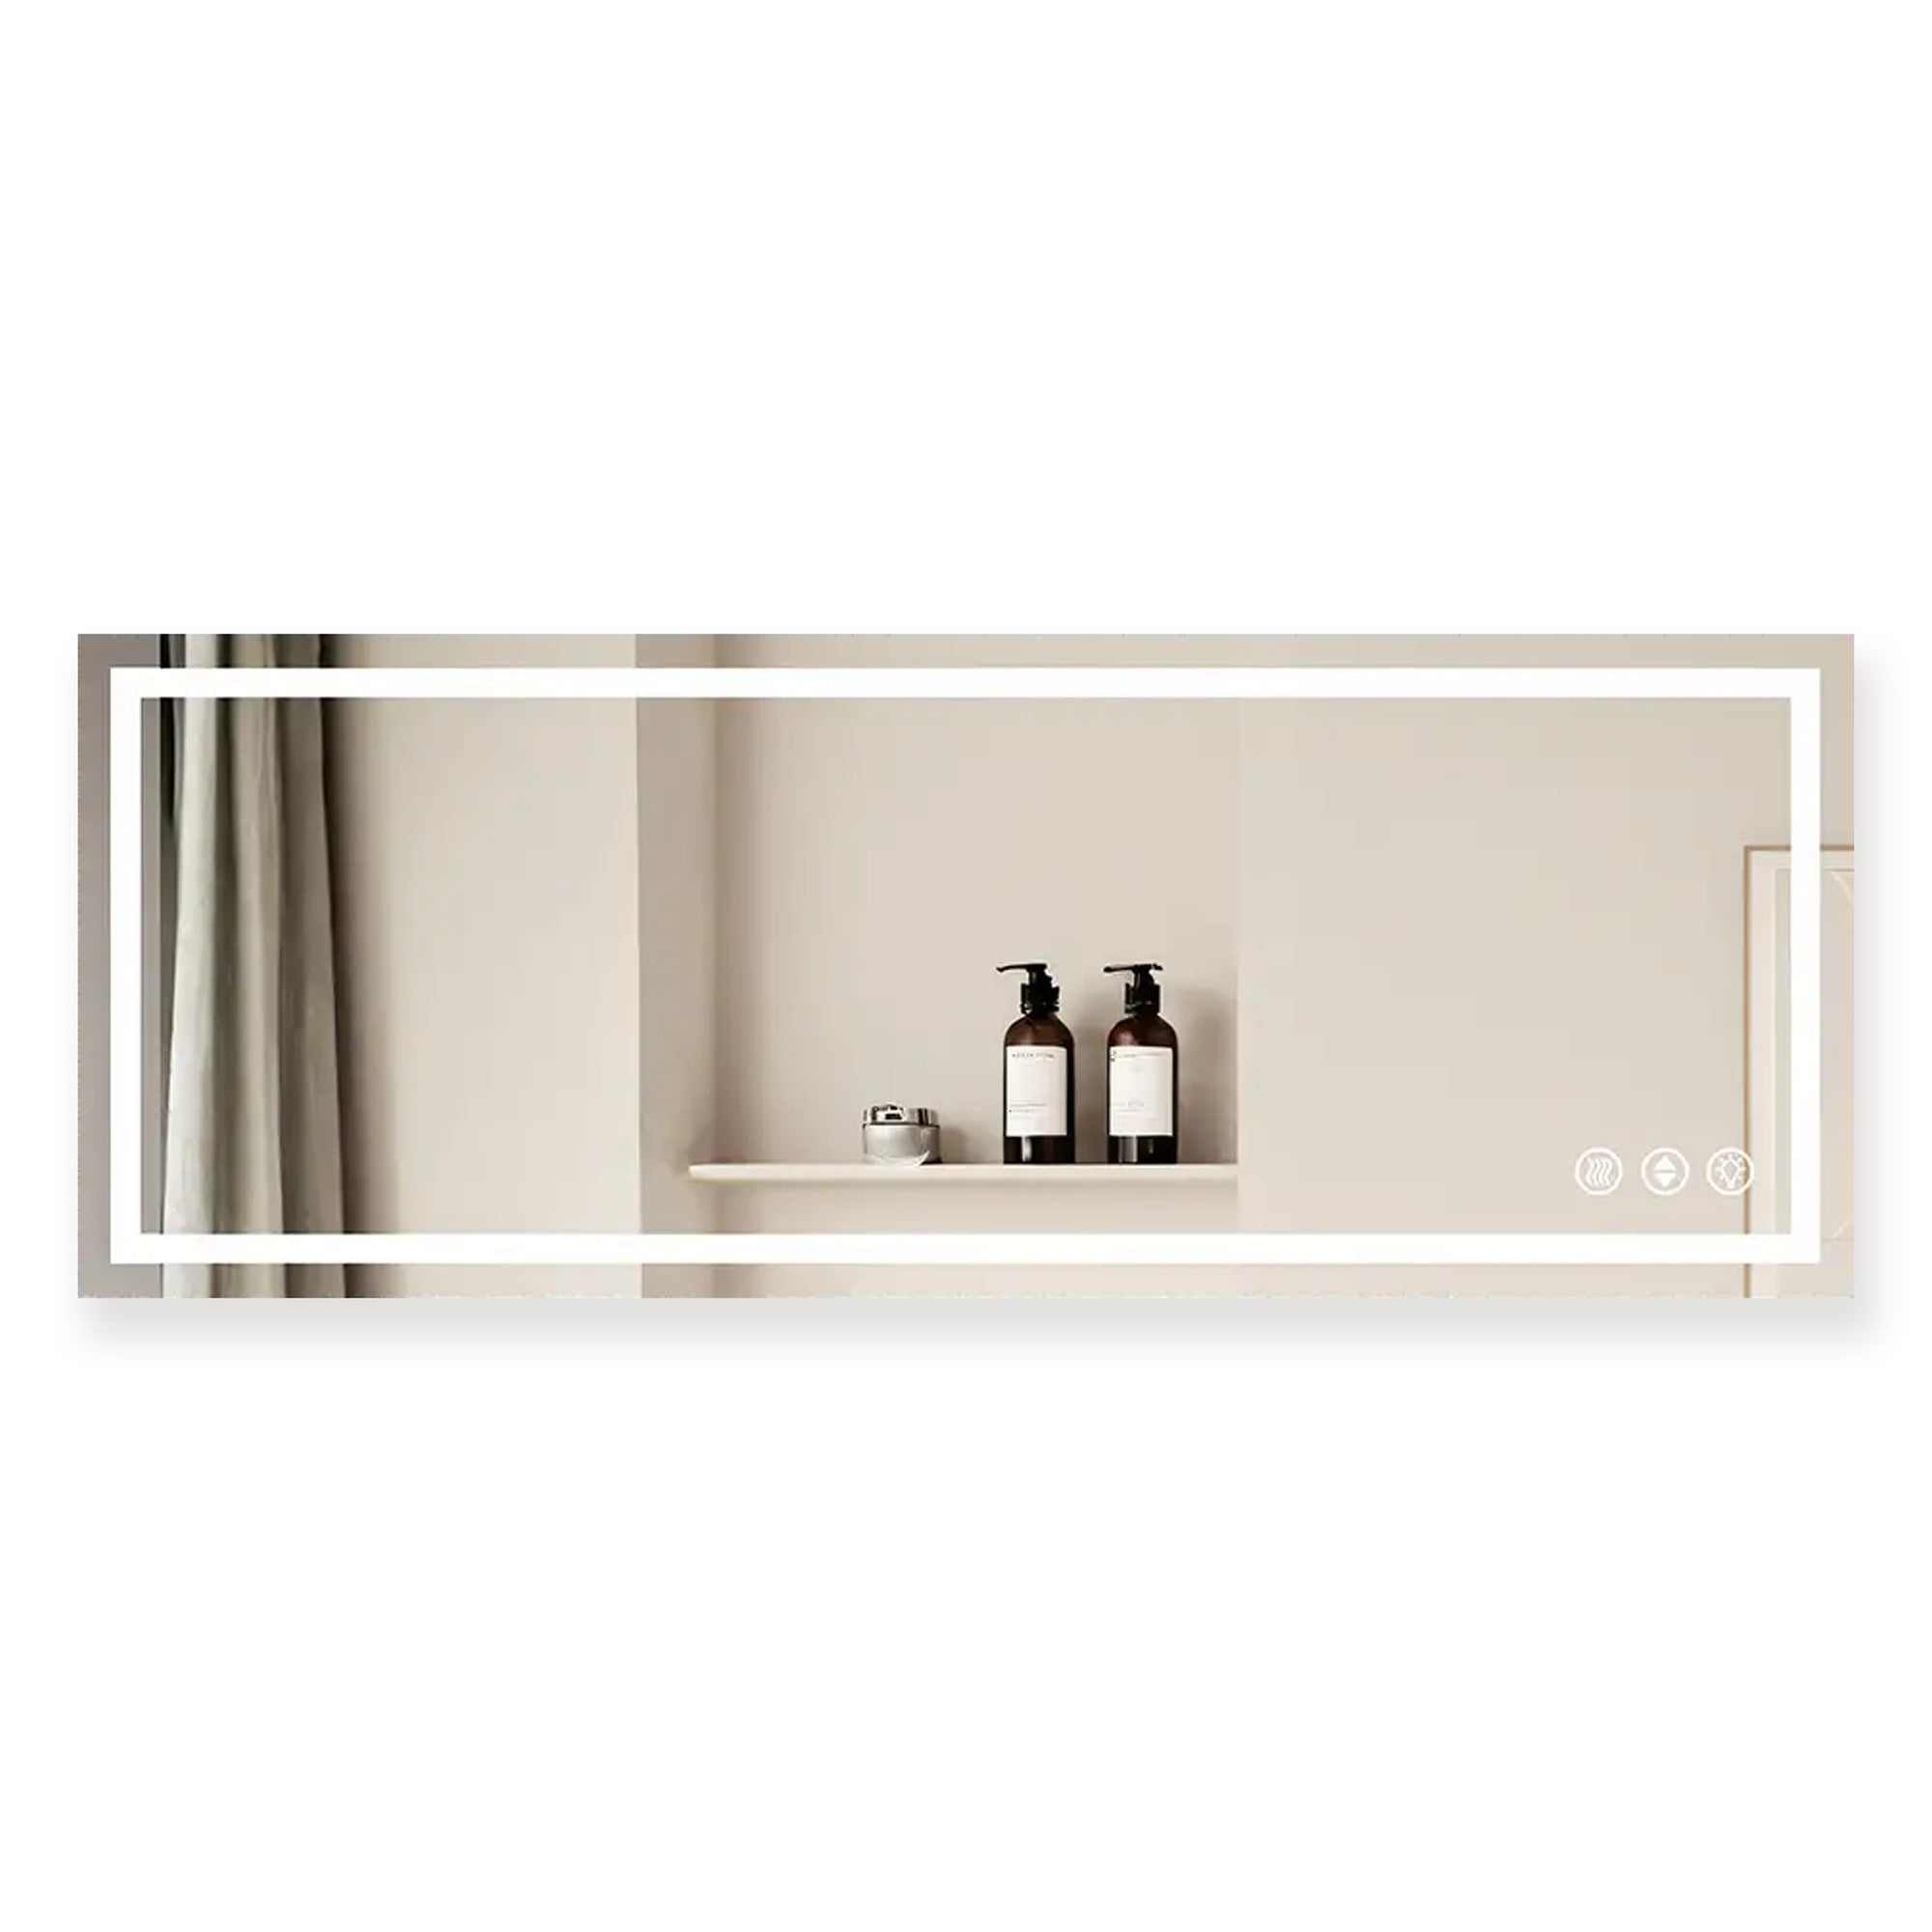
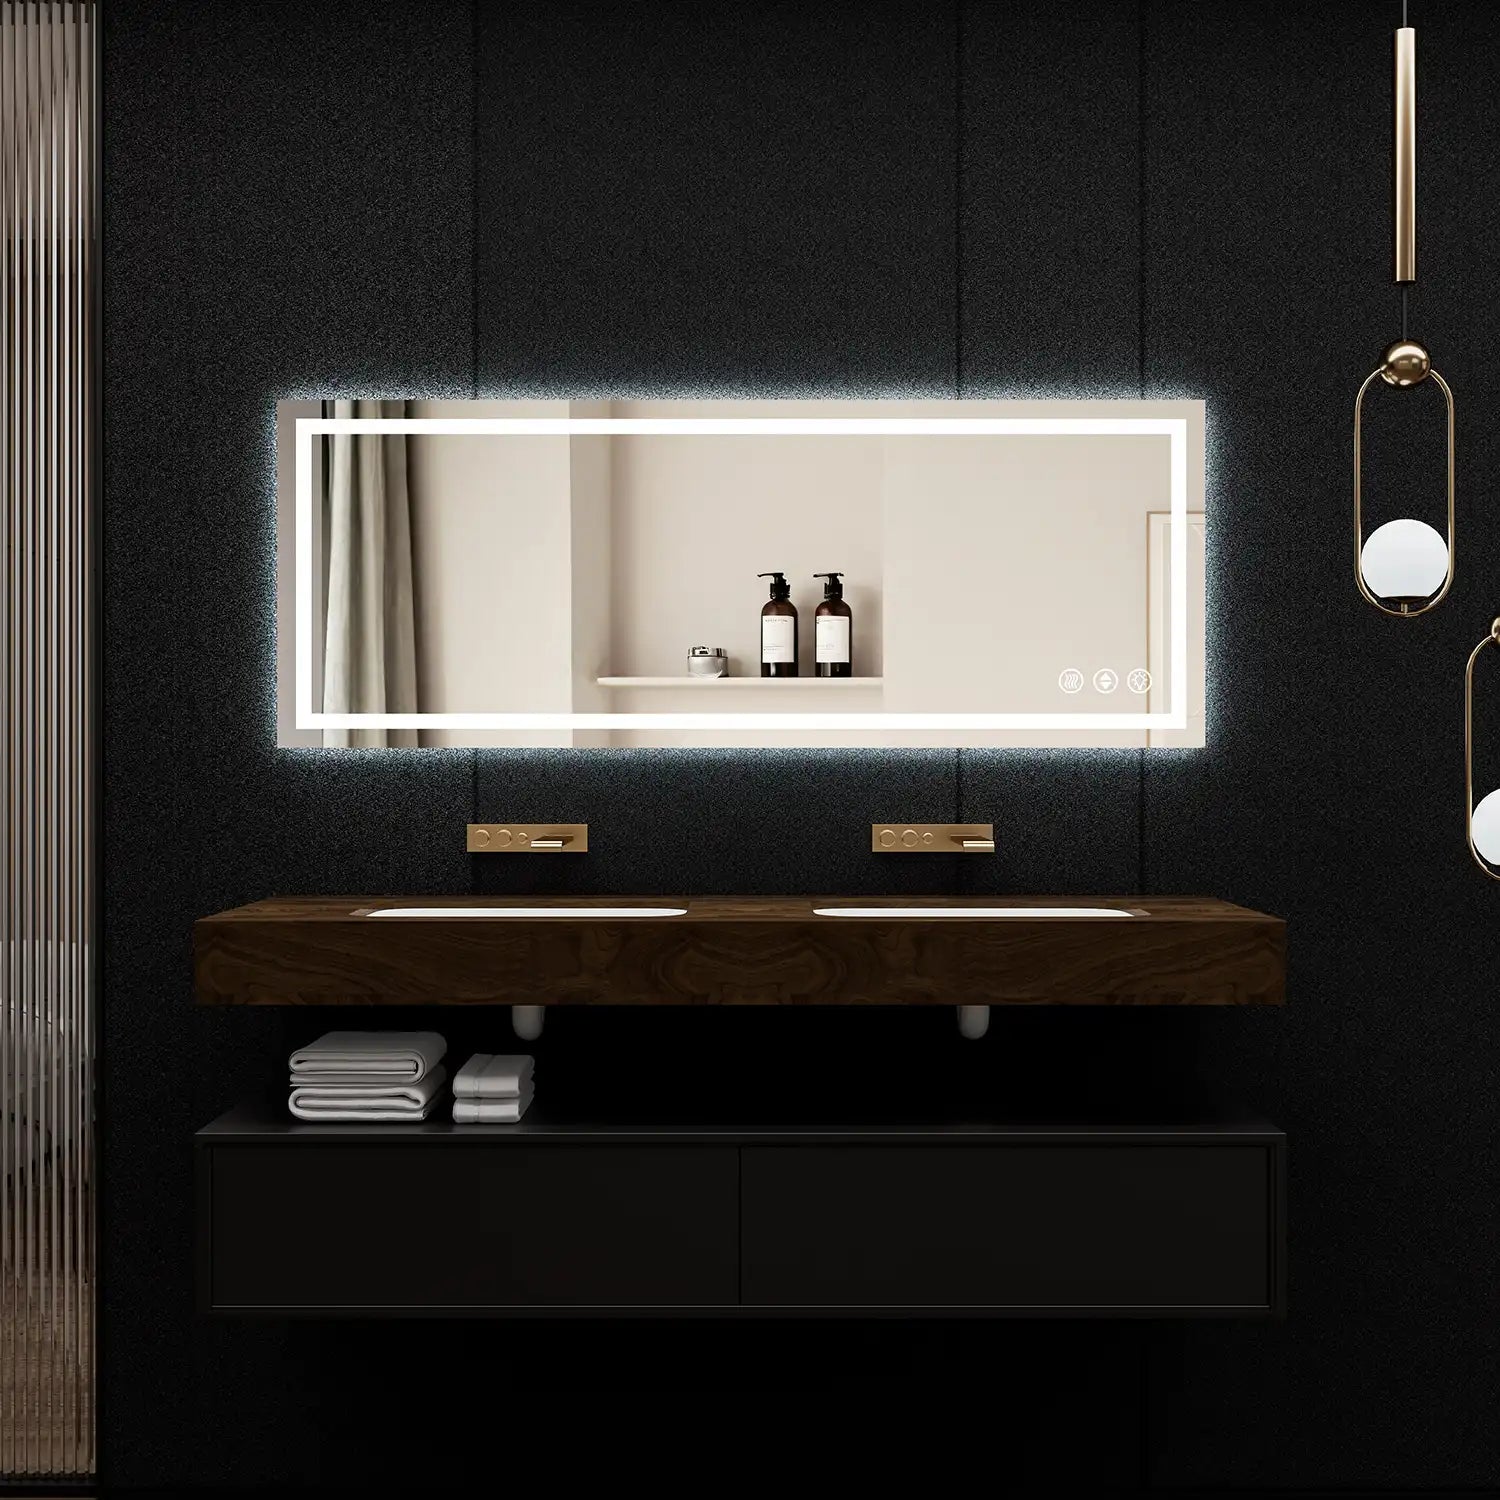
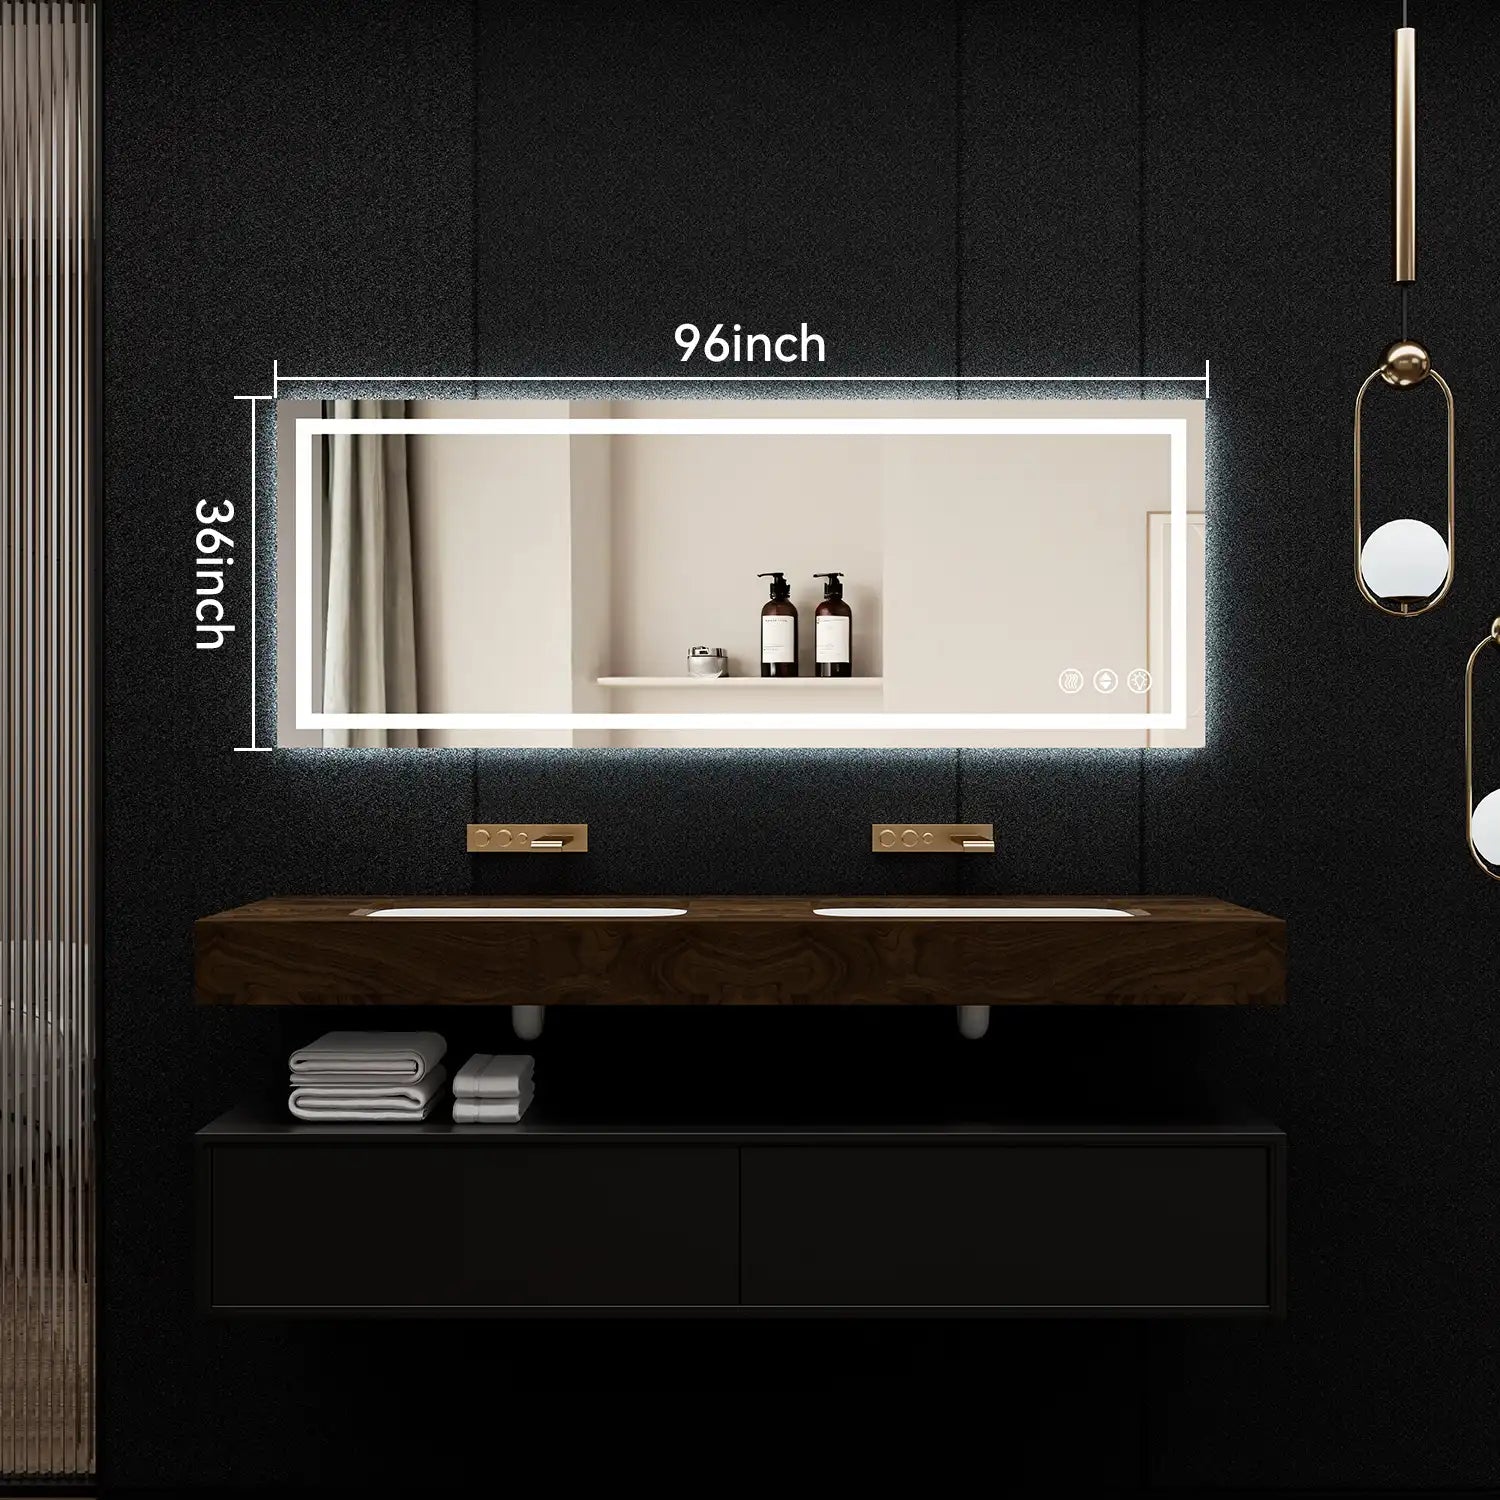
Bathroom Elegance: Place a large rectangular mirror with a narrow frame, or install LED backlighting in the mirror for a hotel-like contemporary spa effect
-
Living Room Accents: Arrange multiple small mirrors of various shapes in a geometric shape to make a gallery wall.
-
Bedroom Sophistication: Try a floor-to-ceiling mirror with a handcrafted frame for a sense of grandeur.
-
Artistic Finishes: Use etching cream or stencils to add frosted patterns or monograms for a personal touch.
-
Statement Shapes: Go beyond circles and rectangles. Consider asymmetrical organic shapes, sunburst outlines, or arch-topped designs for bold visual impact.
-
Mixed Materials: Pair your mirror with frames that combine wood and metal, or add natural textures like rattan or stone for unique contrast.

Common Mistakes to Avoid
DIY mirror projects can be rewarding, but they come with pitfalls:
-
Skipping Safety Precautions: Never do any glass cutting without gloves and goggles.
-
Wrong Tools: Using makeshift tools instead of a proper glass cutter leads to jagged, unsafe edges.
-
Inaccurate Measurements: Failing to measure carefully often results in unusable pieces.
-
Inappropriate Materials: Using untreated wood for a bathroom frame may lead to warping or mold in humid conditions.
-
Attempting to Cut Tempered Glass: Never try to cut a tempered mirror or glass panel. Tempered glass is heat-treated for strength, and attempting to cut it will cause it to shatter into small pieces.
Avoiding these mistakes ensures your customize mirror efforts deliver both beauty and durability.
Conclusion
Mirrors are essential elements in any home, balancing functionality with design. Choosing to customize mirror projects empowers homeowners to create pieces tailored to their spaces, whether through DIY framing, cutting, or shaping. With the right tools, proper safety measures, and a touch of creativity, you can transform a plain mirror into a unique centerpiece.
Ace Decor also offers a wide range of bathroom mirrors in different styles and sizes, explore our collection to find the perfect fit for your home.
FAQ
Q1. Is it safe to cut a mirror at home?
A: Yes, but only with proper tools and safety gear. Gloves, goggles, and careful handling are essential.
Q2. What is the easiest way to customize a mirror without cutting it?
A: Adding a decorative frame is the simplest and safest method for beginners.
Q3. Can customized mirrors be used in bathrooms with high humidity?
A: Absolutely. Just ensure the frame and adhesives are moisture-resistant.
Q4. How do I prevent sharp edges after cutting a mirror?
A: Use sandpaper or a glass file to smooth edges immediately after cutting.
Q5. What shapes are possible when I customize a mirror?
A:
DIY Rustic Bathroom Mirror Projects: Add a Personal Touch
How to Fix a Cracked Mirror: A Complete Guide for DIY and Replacement
Can You Cut Tempered Glass? No — Here’s Why You Shouldn’t Even Try