Introduction
A broken mirror in the bathroom is not only an unattractive sight, but can soon transform into a danger and a daily inconvenience. Whether it’s a small chip caused by an accidental bump or a visible crack spreading across the glass, knowing how to deal with a cracked mirror properly matters more than most homeowners realize.
This guide walks you through everything you need to know: why mirrors crack, how to assess whether the damage is fixable, step-by-step DIY solutions for hairline cracks and chips, typical repair costs, and when replacing the mirror is the safer and smarter option. So if your home is plagued by a crack in the bathroom mirror and you are not sure what to do next, then follow this checklist-style guide to find the best possible next step to take.
Table of Contents:
- Why Mirrors Crack: Common Causes of a Cracked Mirror
- Cracked Mirror Assessment: Is It Fixable?
- DIY Cracked Mirror Fixes (Hairline Cracks & Small Chips)
- Cracked Mirror Repair Cost: DIY vs Professional vs Replacement
- Beyond Repair: When a Cracked Mirror Must Be Replaced
- Conclusion
- FAQ
- Related Articles
Why Mirrors Crack: Common Causes of a Cracked Mirror
Some of the most common reasons a mirror cracks include:
-
Impact Damage: The most frequent cause. Accidental bumps from doors, tools, or falling objects can create chips or short cracks. These types of cracks are often localized and, in many cases, suitable for DIY repair.
-
Improper Installation: Mirrors installed without proper backing, adhesive support, or framing may flex over time. Stress from movement or cleaning can lead to cracks that worsen gradually, especially near mounting points.
-
Temperature Stress: Sudden temperature changes — such as running hot water in a cold bathroom—can cause the glass to expand and contract. Stress cracks caused by temperature shifts often spread unpredictably and are usually difficult to repair effectively.
-
Glass Defects or Spontaneous Breakage: In rare cases, internal flaws or built-in stress within the glass can cause a mirror to crack on its own. These cracks tend to spread without warning and typically indicate that replacement is the safest solution.
Cracked Mirror Assessment: Is It Fixable?

It is important to inspect the cracked mirror before you make any attempt at a repair. Not all cracks pose the same level of risk, and understanding the severity of the damage will help you decide whether a DIY fix is appropriate, professional help is needed, or replacement is the safest choice.
In general, cracked mirrors fall into three categories:
Minor Chips or Hairline Cracks:
Small chips and thin, surface-level cracks are often caused by light impact or stress. These imperfections typically remain stable if addressed early and are the best candidates for DIY repair methods.
Medium-Length Cracks:
Cracks that are visible but haven't reached the edge of the mirror or compromised the backing may still be repairable. However, because these cracks can spread over time, careful evaluation — and sometimes professional input — is recommended before attempting a fix.
Severe Fractures or Shattering:
Mirrors with long spreading cracks, intersecting fracture lines, sharp fragments, or visible splintering present a clear safety hazard. In most cases, these mirrors cannot be safely repaired and should be replaced as soon as possible.
If you’re unsure which category your cracked mirror falls into, it’s best to err on the side of caution. Structural damage often worsens unexpectedly, especially in high-moisture environments like bathrooms.
DIY Cracked Mirror Fixes (Hairline Cracks & Small Chips)
Best for
Use this method only for hairline cracks or small chips that are:
-
Short and stable (a few inches, not actively spreading)
-
Away from edges and corners
-
On a mirror that still feels solid and well-mounted (not loose or flexing)
Goal: reduce visibility and help stabilize the crack, not make it 100% disappear.
What you’ll need
A windshield-style resin repair kit (the type that includes an injection syringe and curing film/strip) plus:
-
Windshield repair resin kit (syringe/applicator + curing film/strip)
-
Isopropyl alcohol (or glass cleaner) + lint-free cloth
-
Painter's tape
-
Razor blade / scraper (for leveling cured resin)
-
Nitrile gloves + eye protection
-
UV light or direct sunlight for curing (per kit directions)
Difficulty: Low
Time: ~30–60 minutes (plus curing)
Typical DIY Cost: depends on kit (usually entry-level)
Step-by-step: Hairline crack resin fill
1) Clean and dry the area
Clean the cracked area thoroughly with isopropyl alcohol (or glass cleaner) and a lint-free cloth. The surface must be dry and oil-free so resin can flow properly.
2) Tape off a working zone
Apply painter's tape around the crack to:
-
keep resin off surrounding glass
-
give you a clear boundary to work inside
3) Position the applicator/film over the crack
Most kits use a stabilizer film or applicator base:
-
center it over the crack/chip
-
ensure good contact (no gaps) so resin doesn’t leak
4) Inject resin slowly
Insert the syringe/applicator as instructed and inject resin slowly. Then wait a few minutes so resin can wick into the crack by capillary action. (Some kits also instruct you to cycle pressure to reduce trapped air—follow your kit’s directions.)
5) Level the Surface (Only If a Shallow Void Remains)
After removing the applicator or stabilizer film, inspect the repaired area closely. If the surface still has a shallow groove or pit, apply a very small drop of resin directly over the crack to fill the remaining surface void. If the surface already feels smooth and level, skip this step to avoid excess resin buildup.
6) Cover with curing film/strip
Place the clear curing film/strip over the resin drop. This helps:
-
flatten the resin
-
reduce oxygen exposure
-
create a smoother surface finish
7) Cure under UV light or sunlight
Cure for the time your kit specifies. Many kits cure with direct sunlight (UV), while a UV lamp can speed it up.
8) Level and clean
Peel off the curing film, then use a razor blade/scraper at a shallow angle to remove any excess cured resin until the surface feels smooth. Finish with a clean cloth.
Important notes (so it doesn't get worse)
-
Don't attempt edge cracks. Edge/corner stress spreads more easily and is harder to stabilize safely.
-
Don't "force" resin into long cracks. If resin won't wick in, the crack is likely too deep/unstable for DIY.
-
Bathroom humidity matters. If the mirror is in a high-moisture area and the crack keeps growing, replacement is usually the safer long-term call.
What results to expect
After curing and leveling:
-
the crack is usually less noticeable
-
the area is more stable than before
-
but it will not become perfectly invisible, especially under bright vanity lighting or at an angle
Prices below reflect typical residential bathroom mirror scenarios in North America. Actual costs may vary based on mirror size, location, and local labor rates.
Cost Comparison: Repair vs Replacement
| Option | Typical Use Case | Estimated Cost Range (USD) | Notes |
|---|---|---|---|
| DIY Repair (Resin / Epoxy Kit) | Hairline cracks, small chips | $10 – $30 | Cosmetic improvement only; does not restore structural strength |
| Professional Repair | Medium cracks away from edges | $100 – $300 | Cost depends on mirror size and labor; results vary |
| Mirror Replacement (Standard) | Severe cracks, edge damage | $150 – $400 | Basic framed or frameless mirror |
| Mirror Replacement (Upgraded) | LED mirrors, medicine cabinets | $250 – $800+ | Added features like lighting, anti-fog, storage |
How to Interpret These Costs
-
DIY repair makes sense only for minor damage and short-term use
-
Professional repair can be practical in limited cases but often approaches replacement cost
-
Replacement provides the best long-term value when it comes to safety, quality and appearance
For many homeowners, once professional labor is involved, upgrading to a new mirror or mirrored medicine cabinet becomes the more cost-effective and reliable solution over time.
Beyond Repair: When a Cracked Mirror Must Be Replaced
In some cases, fixing a cracked mirror simply isn’t safe or cost-effective. When structural integrity is compromised, continuing to repair the glass can increase the risk of injury and lead to higher long-term costs. Here’s when it’s best to stop repairing and start replacing:
-
Spiderweb Cracks or Multiple Fracture Lines: These indicate weakened structural integrity. Even if stabilized temporarily, the mirror can fail without warning.
-
Detached or Loose Glass Pieces: If parts of the mirror are falling out or shifting, it poses an immediate safety hazard and should not be repaired.
-
Black Spots or De-silvering Behind Cracks: Damage to the reflective backing cannot be restored with resin or glue. This type of deterioration will continue to spread over time.
When a mirror reaches this stage, replacement isn't just the safest option—it's often the most practical one.
What to Do With a Broken or Cracked Mirror
Once you decide to replace the mirror, proper disposal is important for safety:
-
Carefully tape over cracked areas to prevent shattering during handling
-
Wrap the mirror in thick cardboard or protective material before transport
-
Check local waste or recycling guidelines — some facilities accept flat glass, while others require special handling
-
Never place broken mirrors loose in household trash
Taking these precautions helps prevent injuries and ensures responsible disposal.
Upgrade Instead of Just Replacing
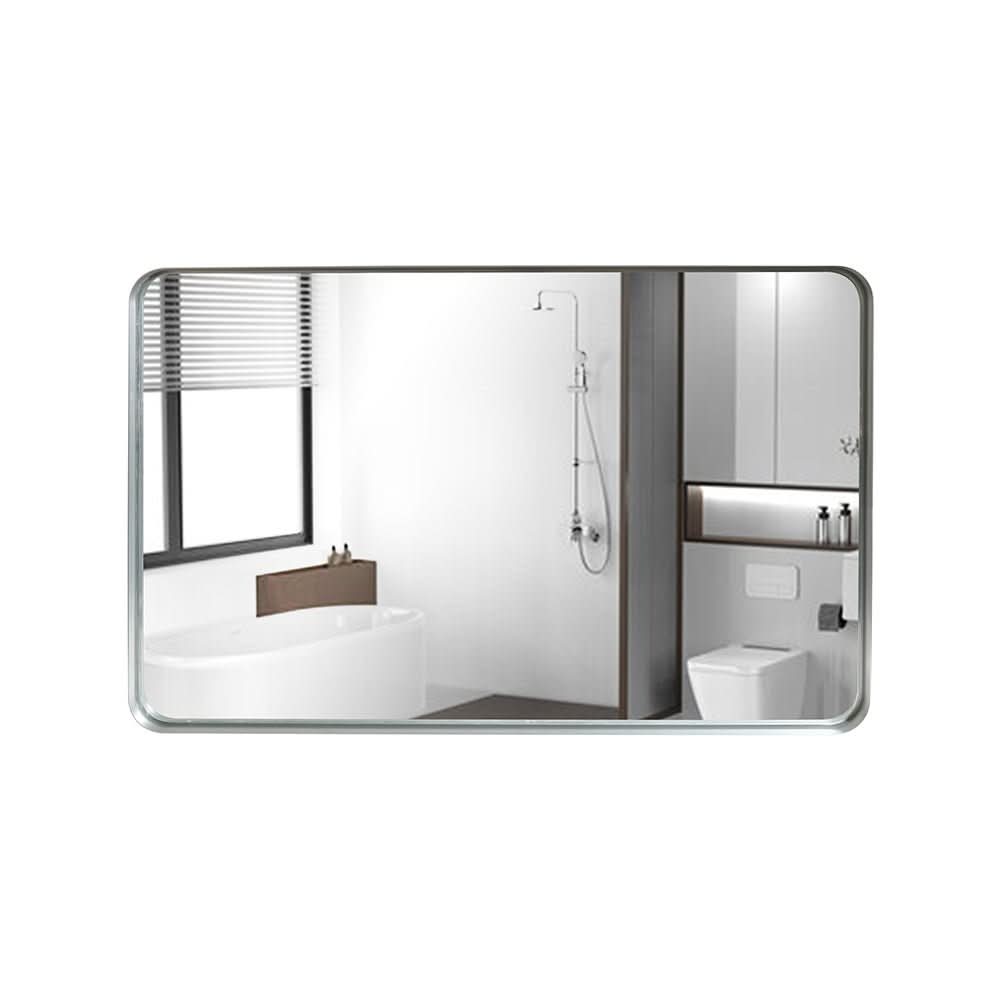
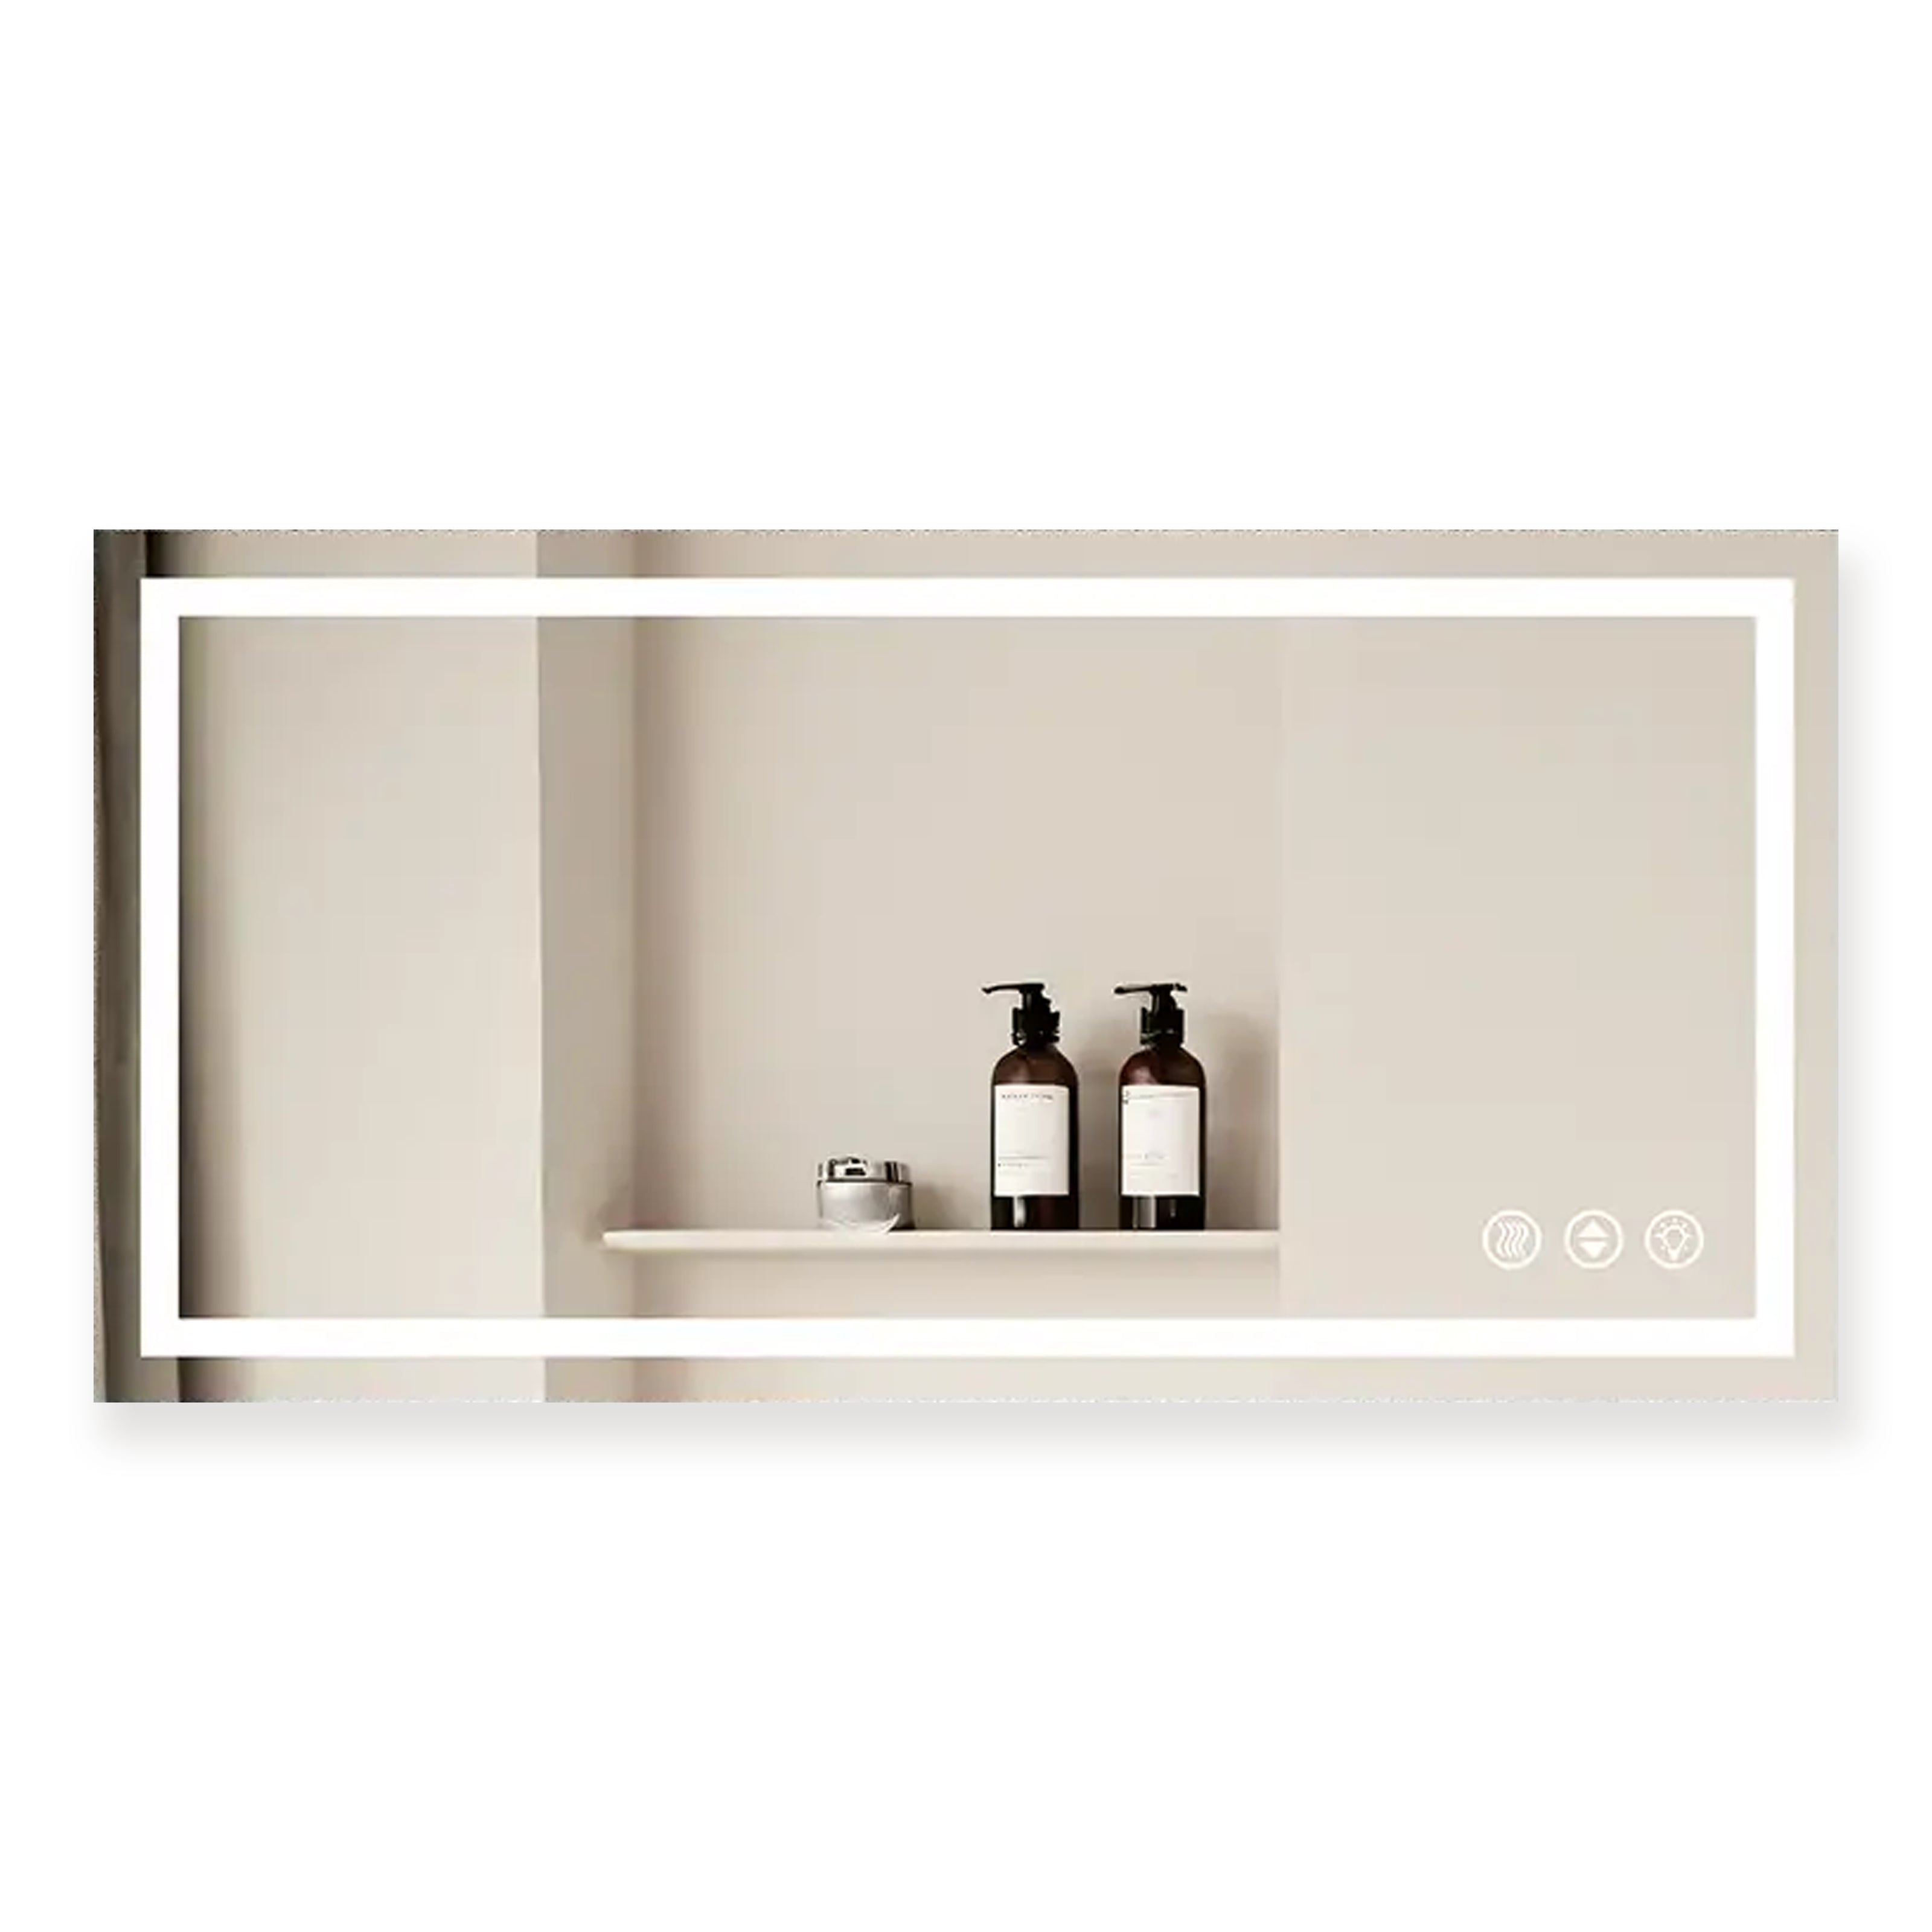
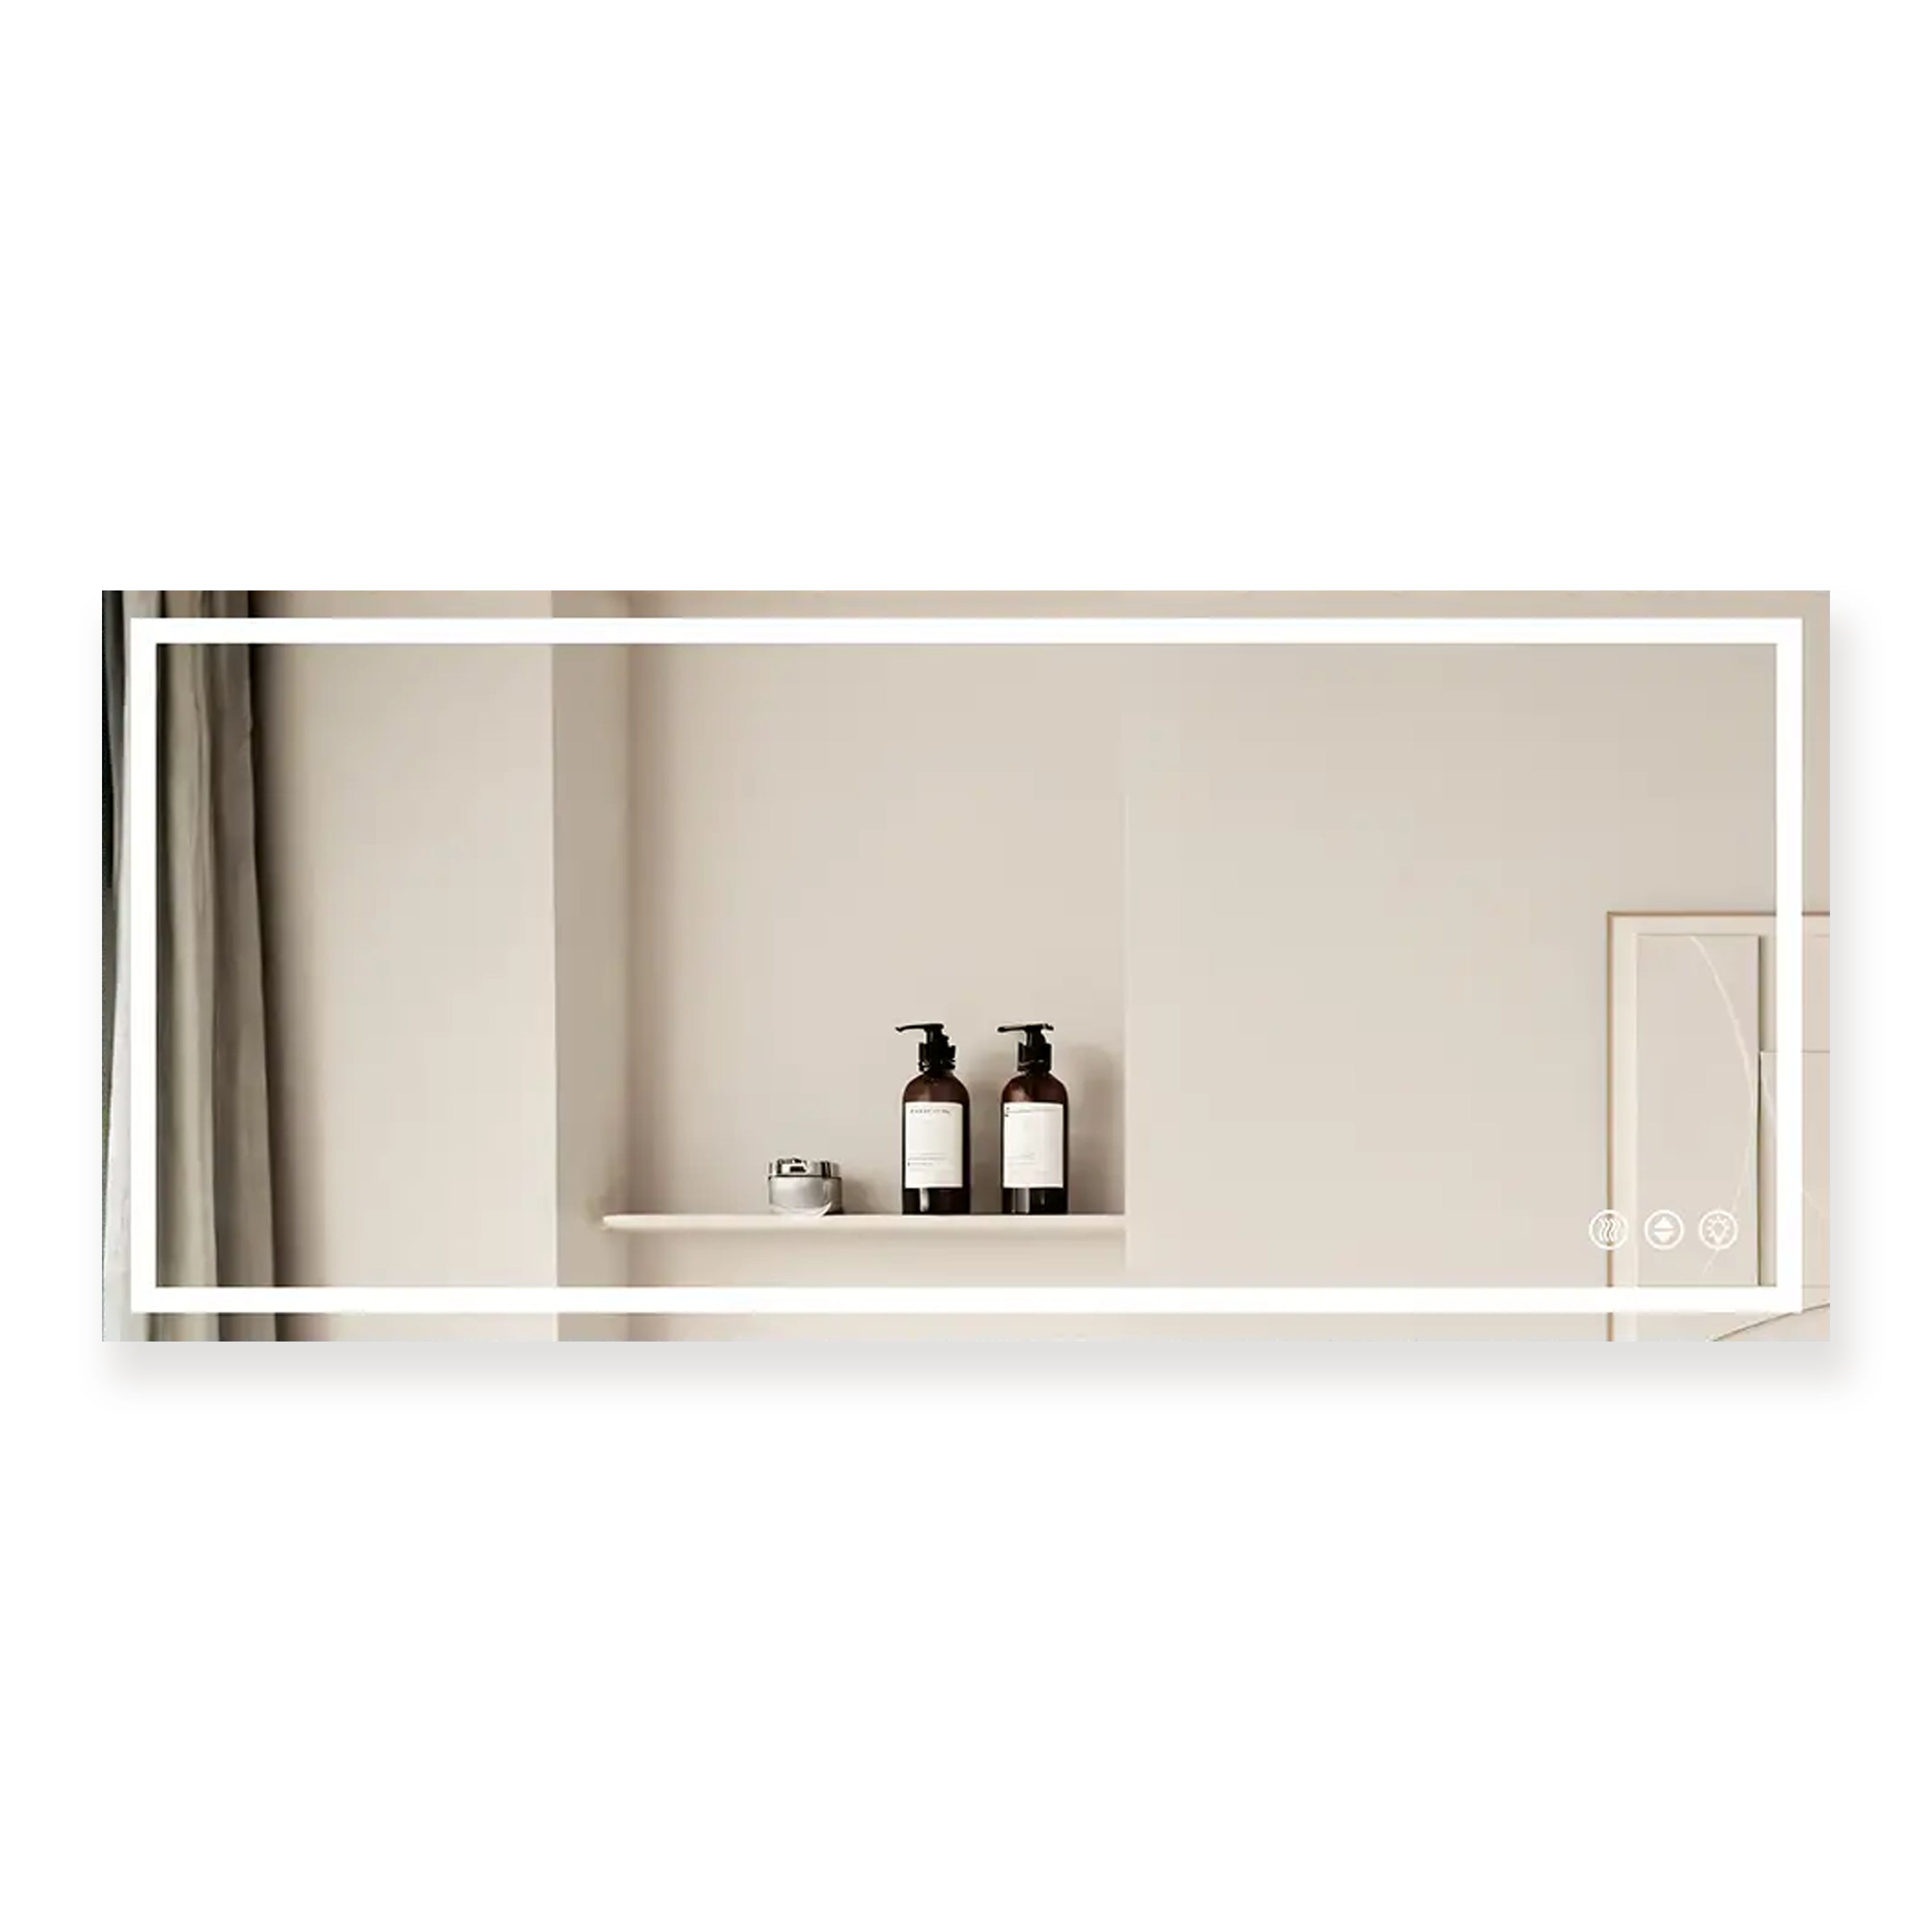
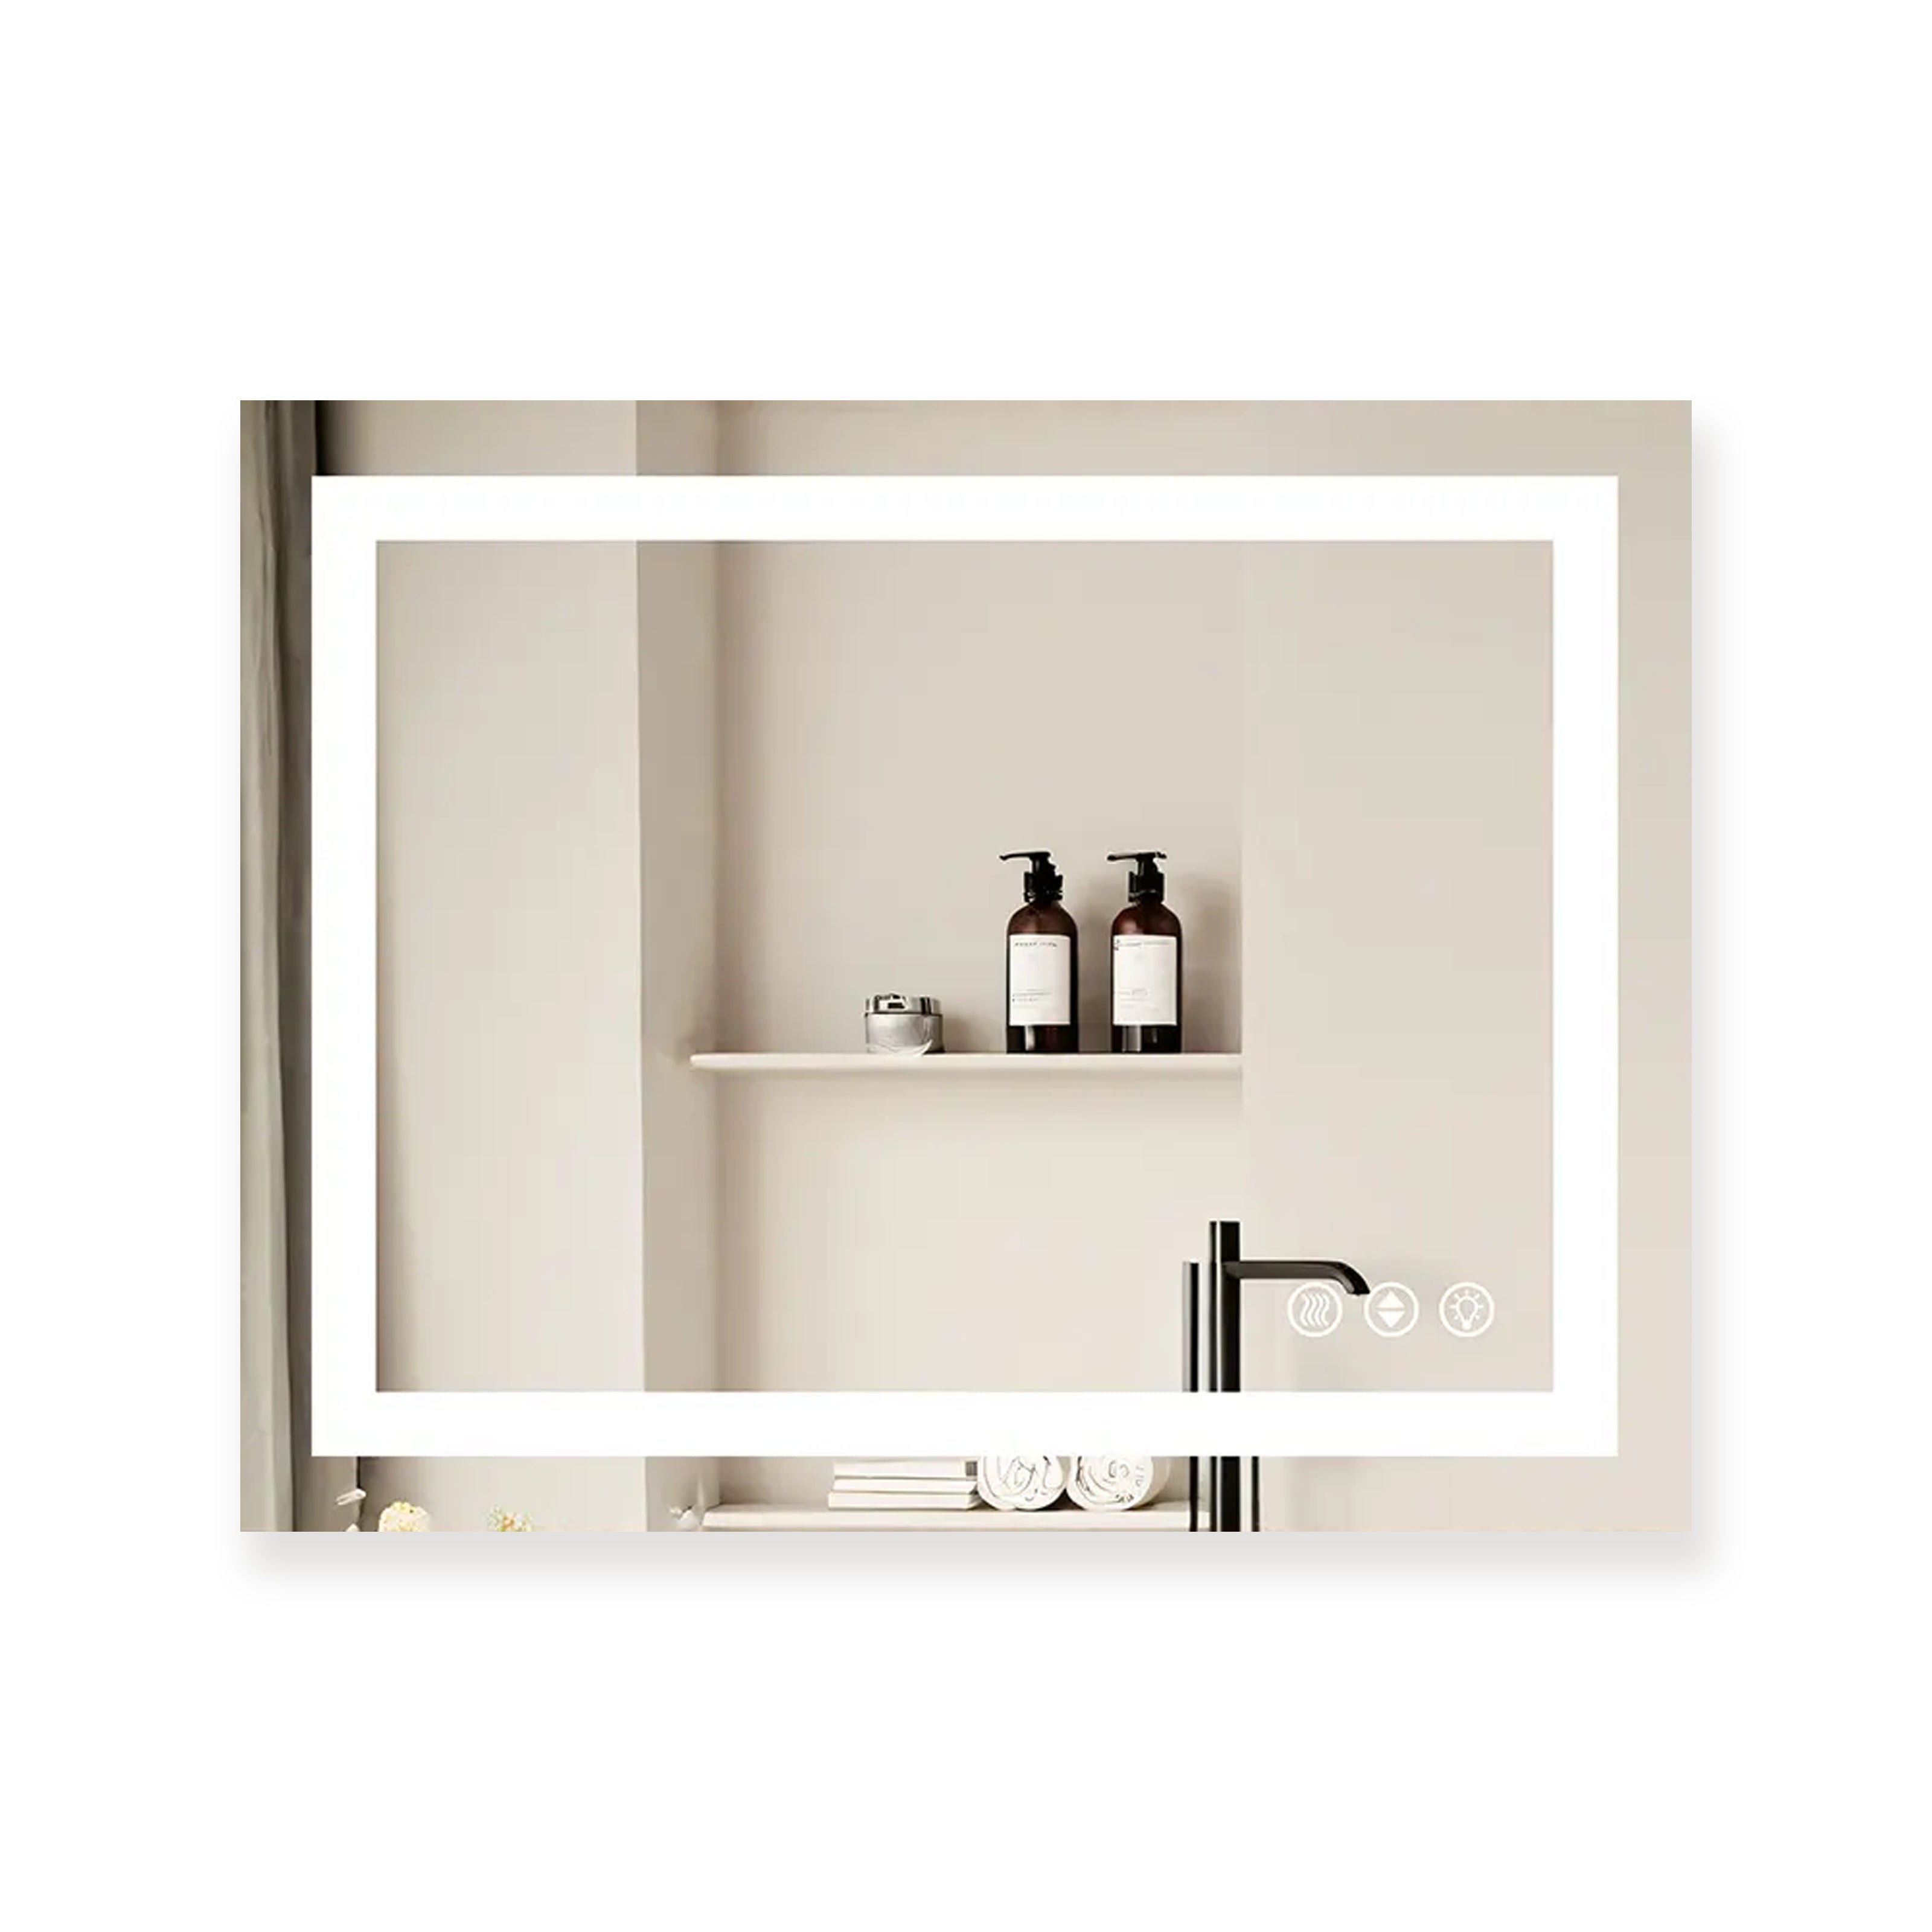
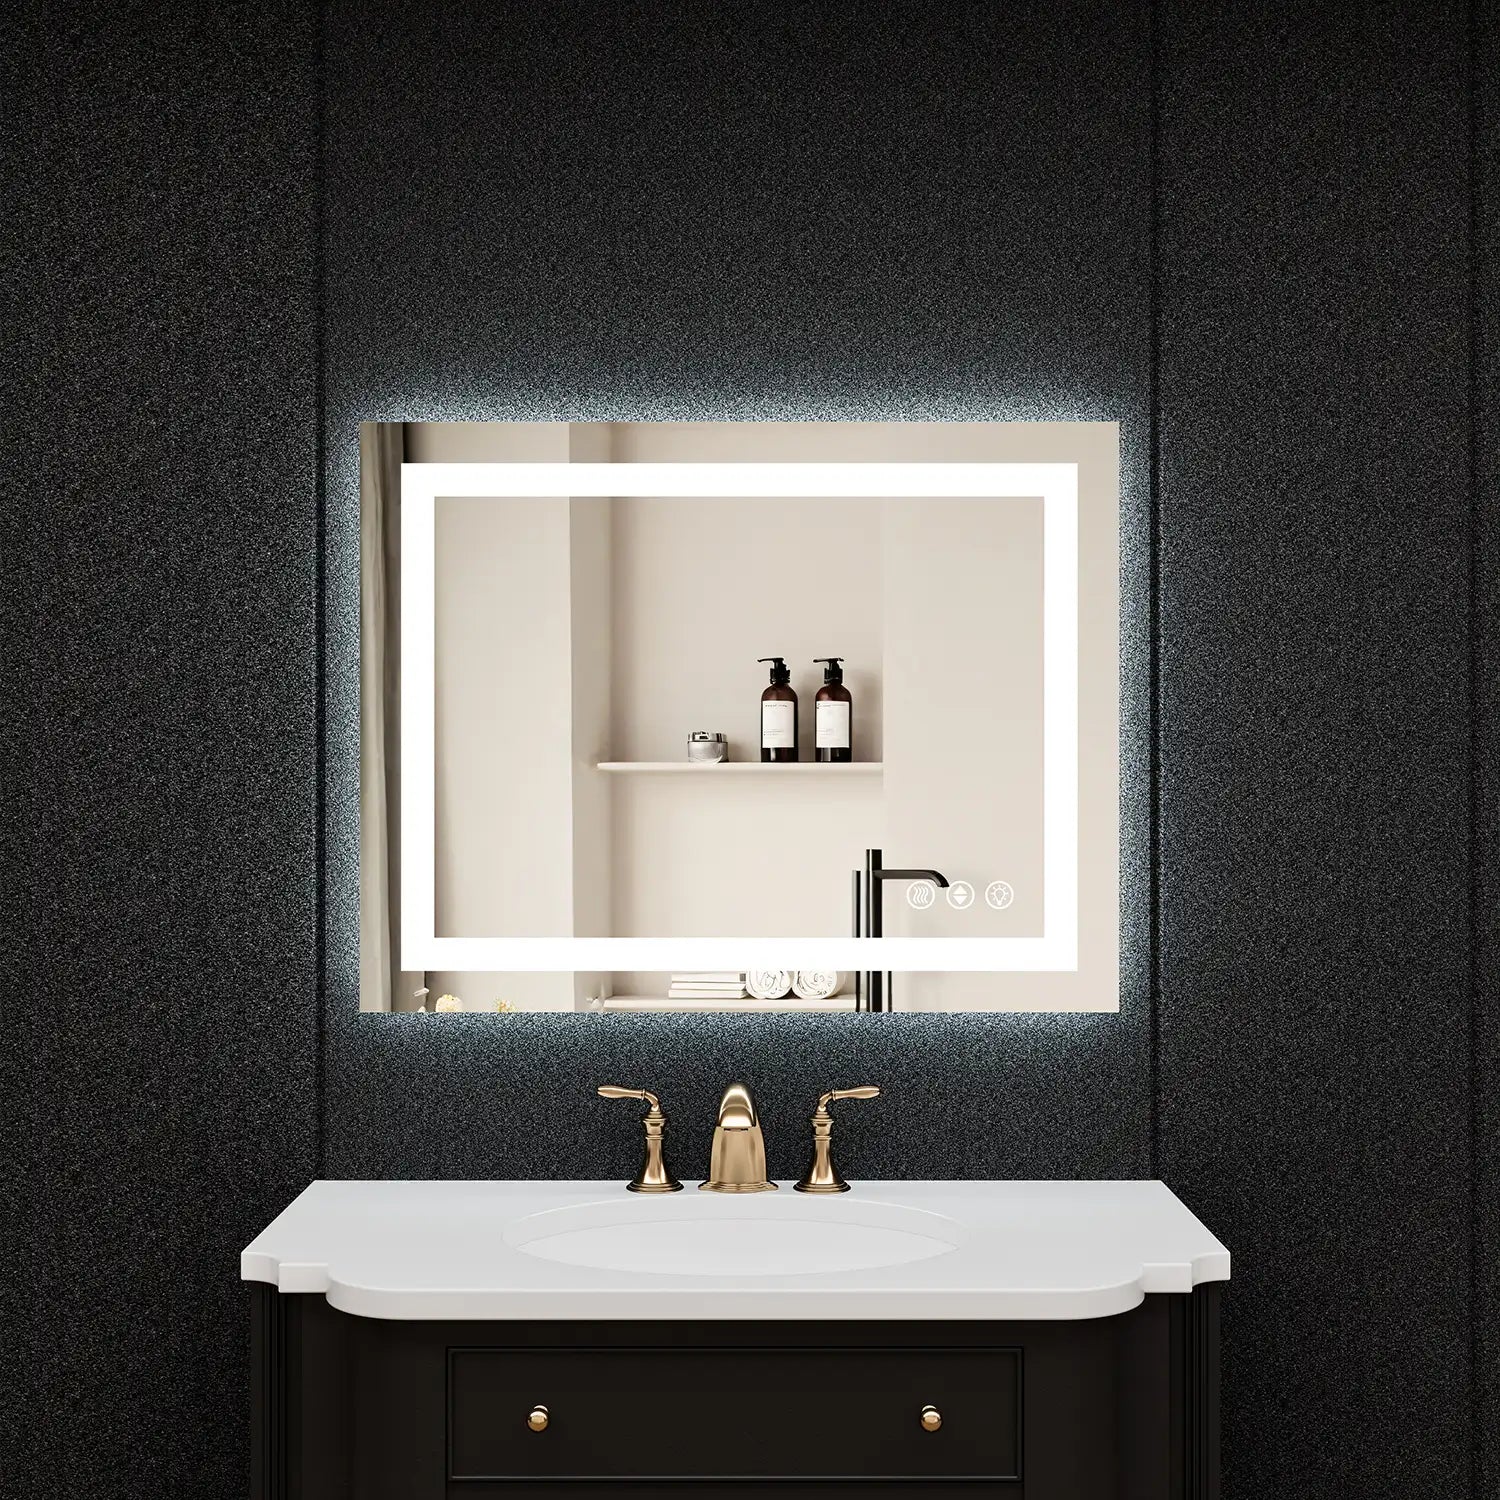
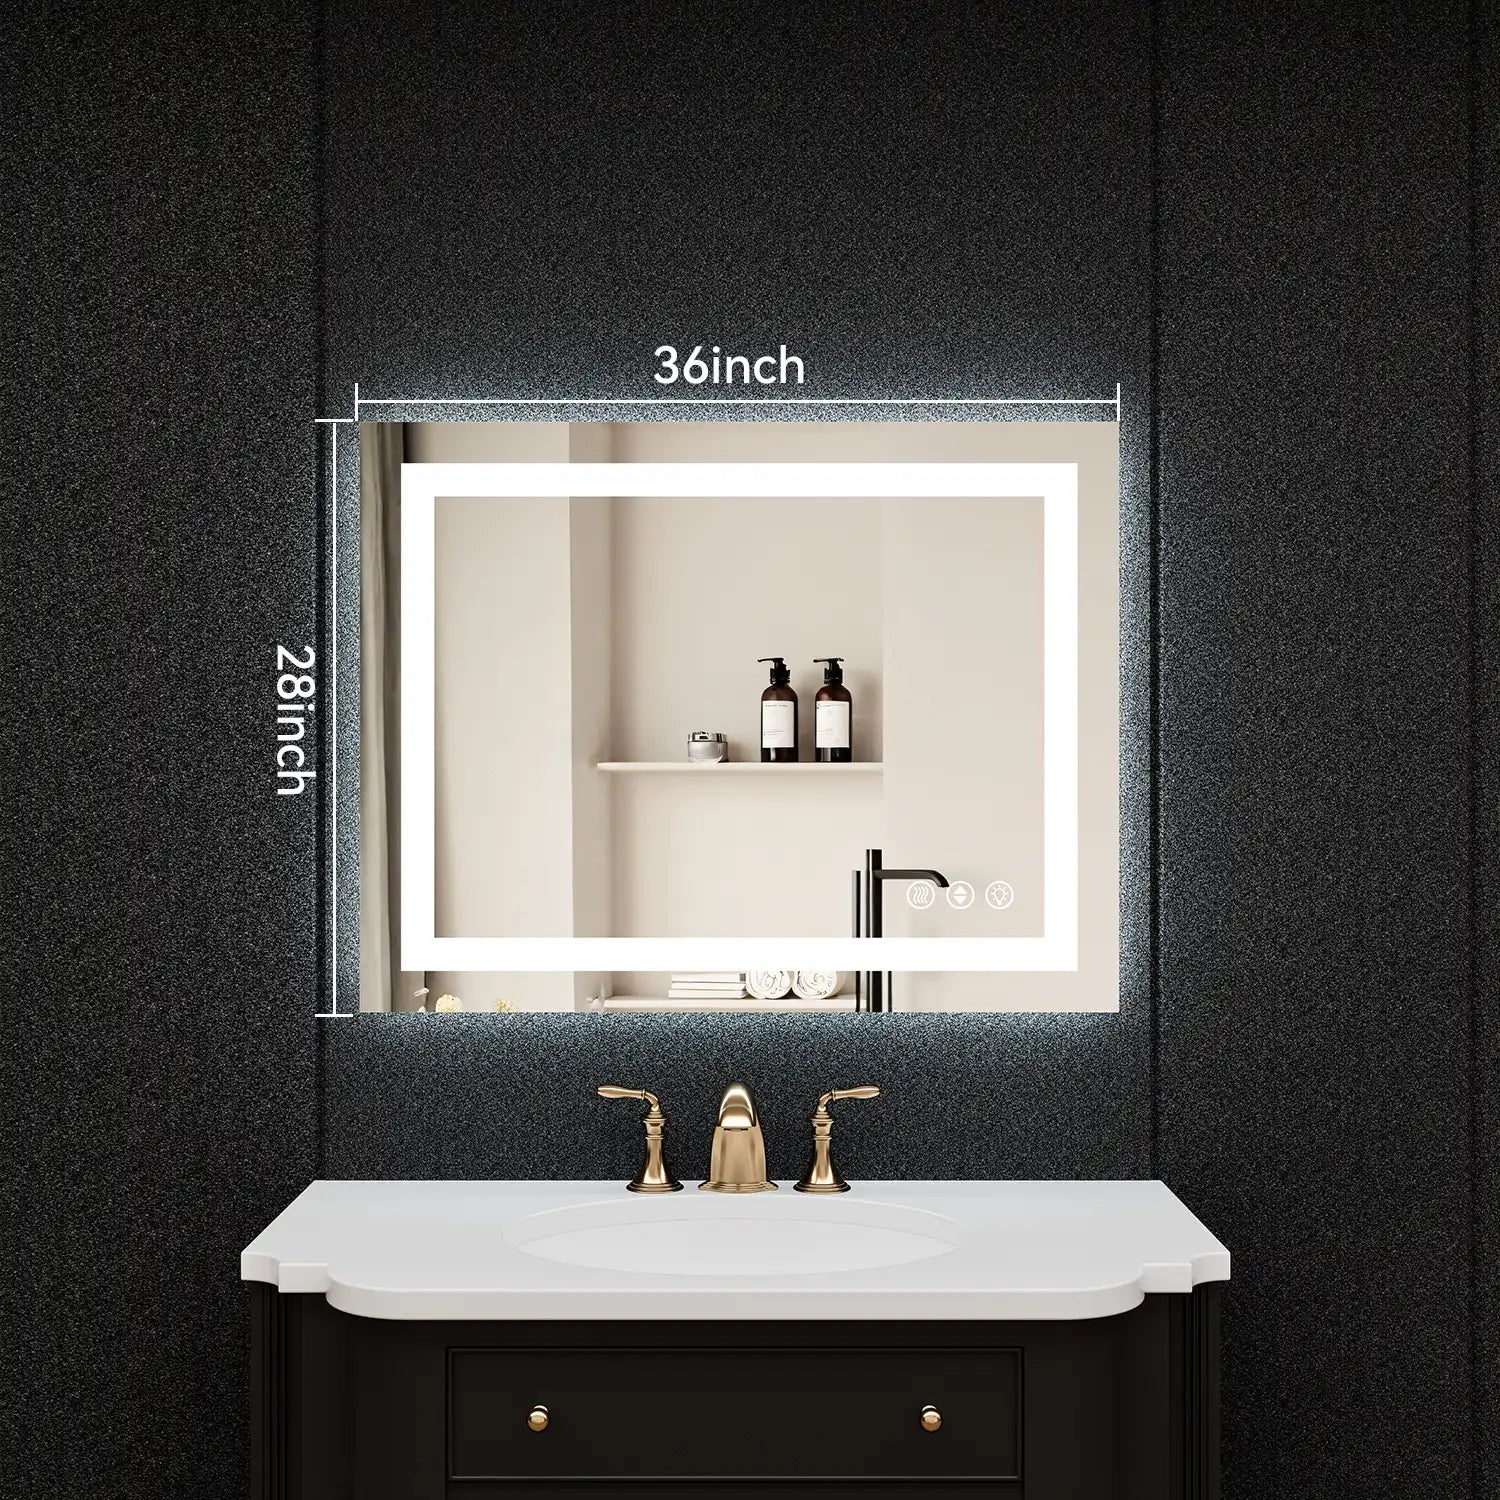
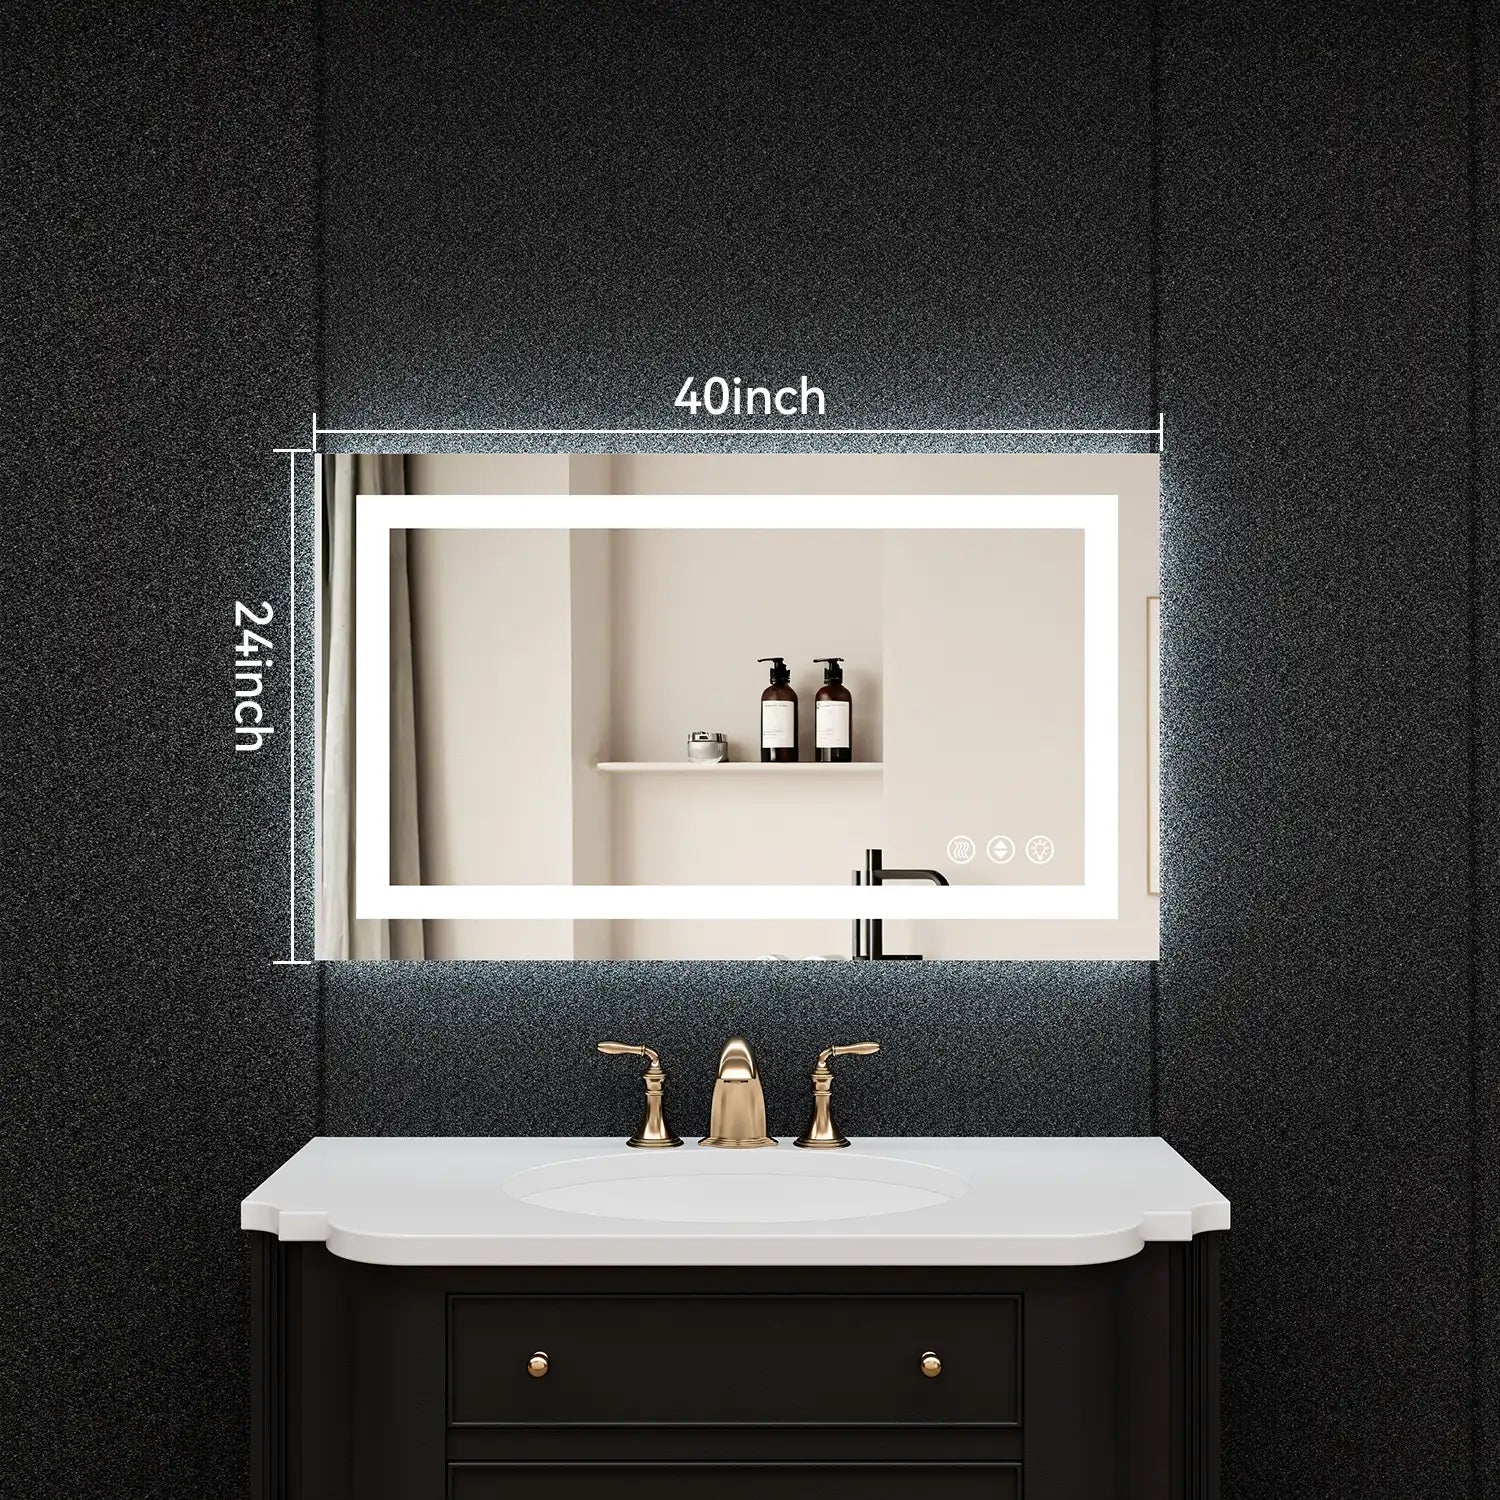
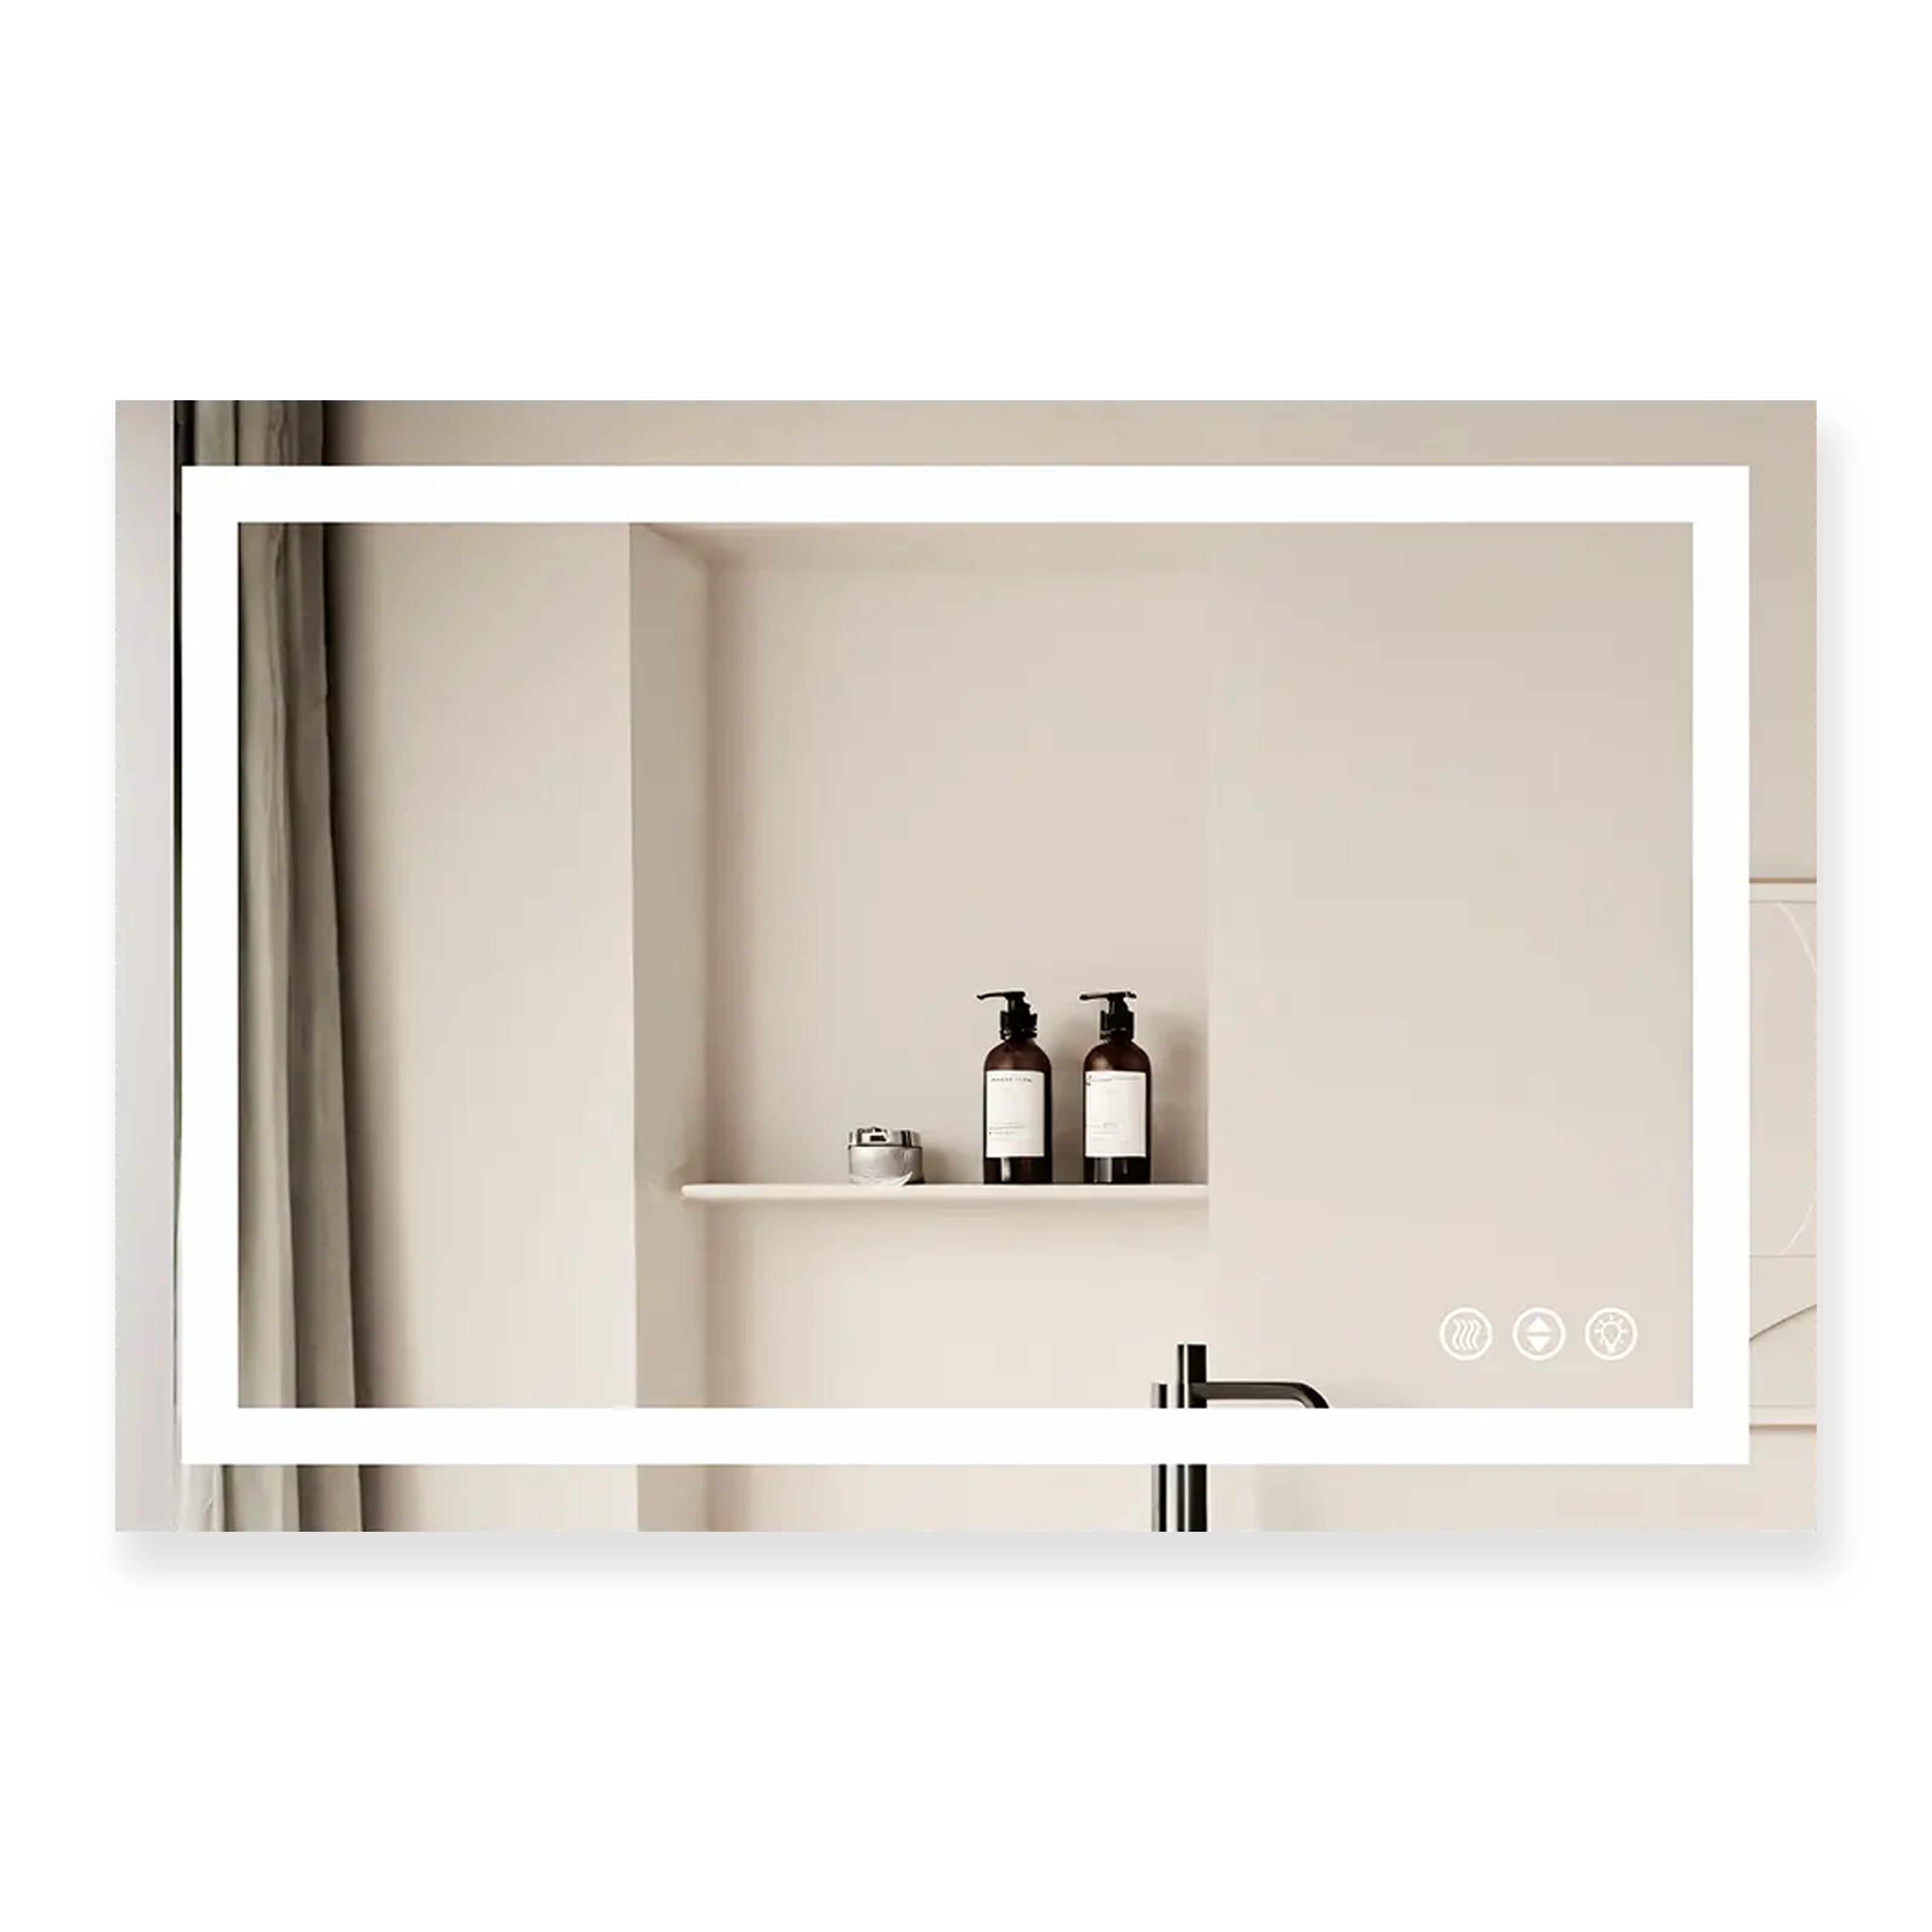
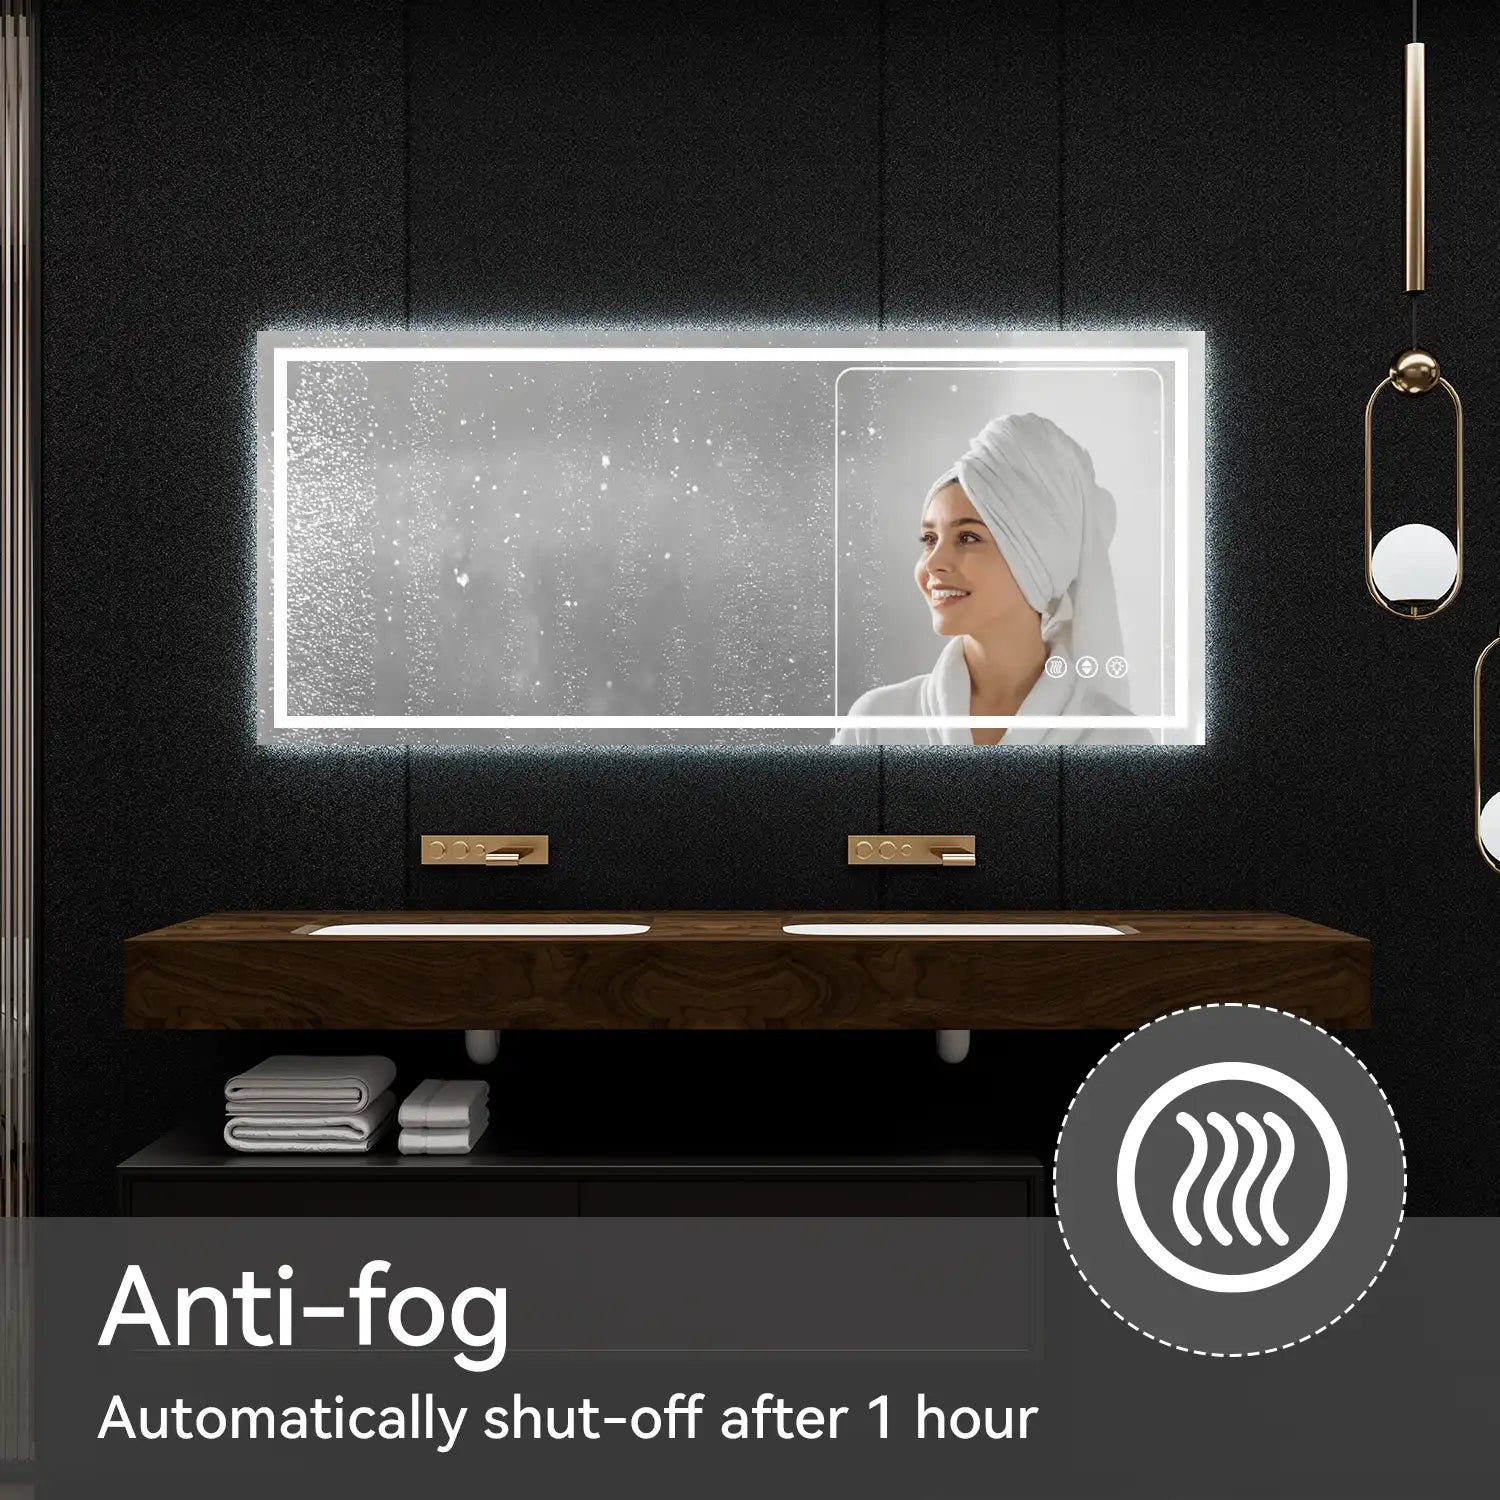
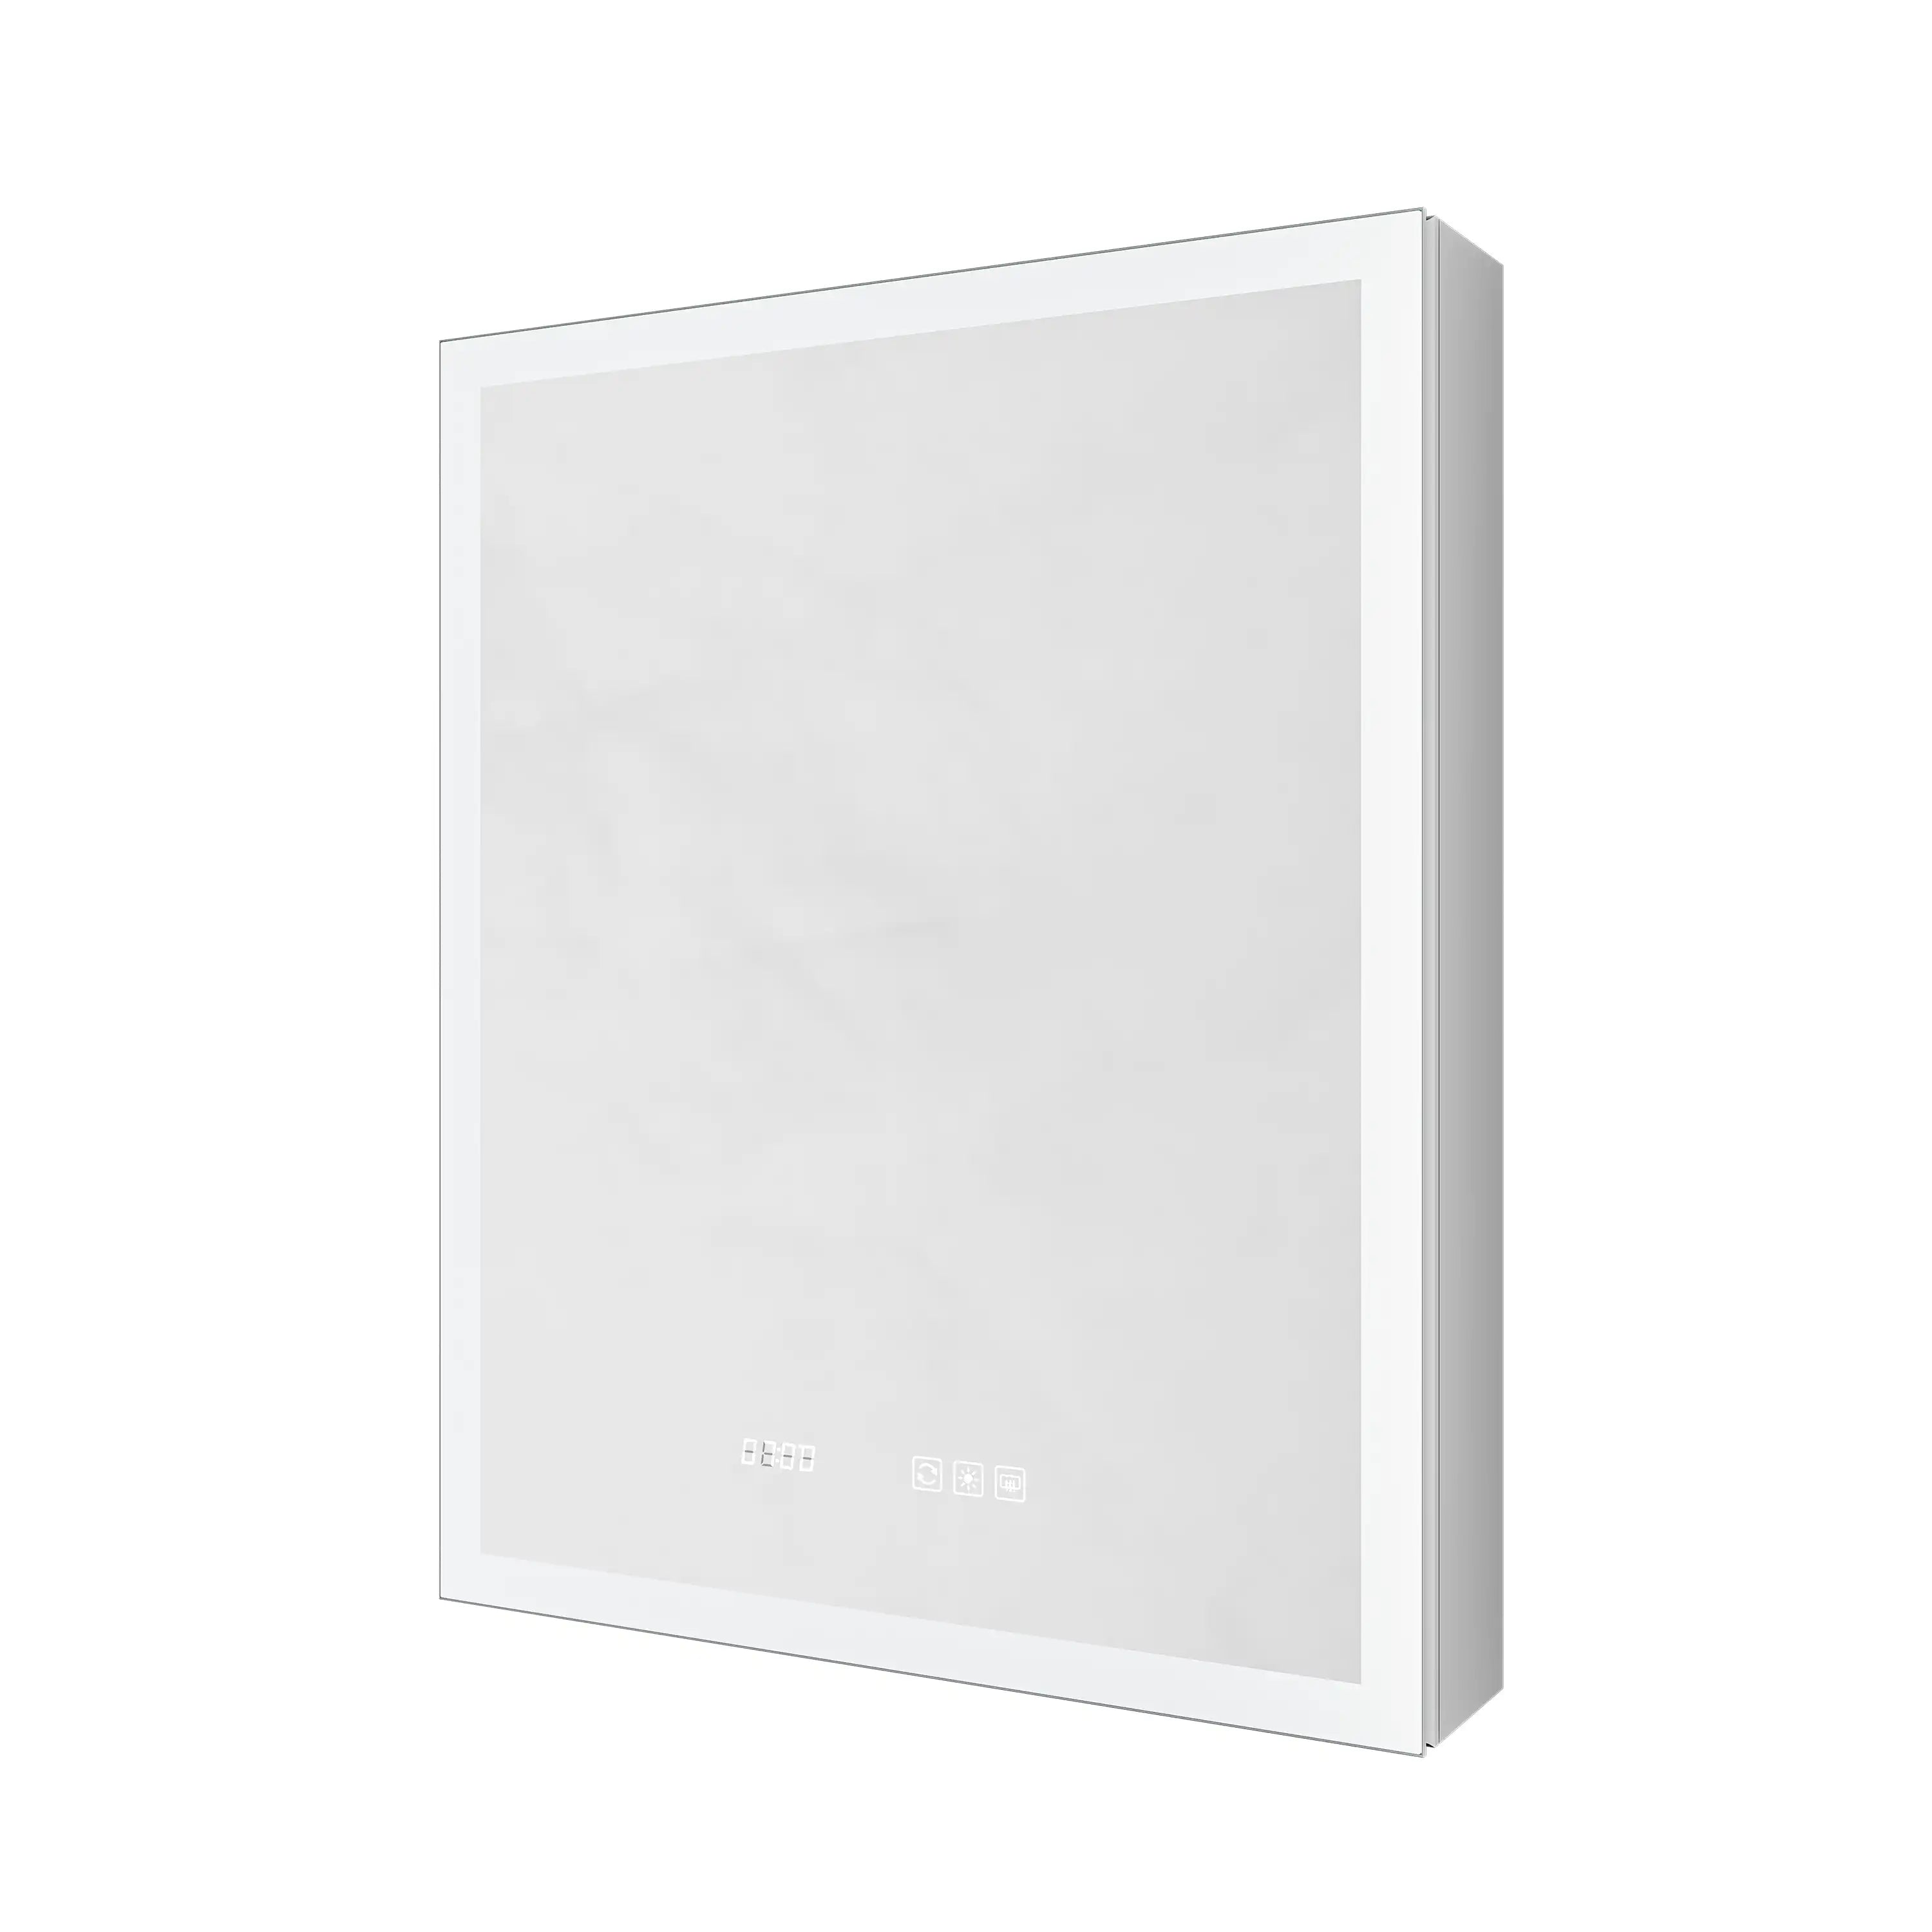
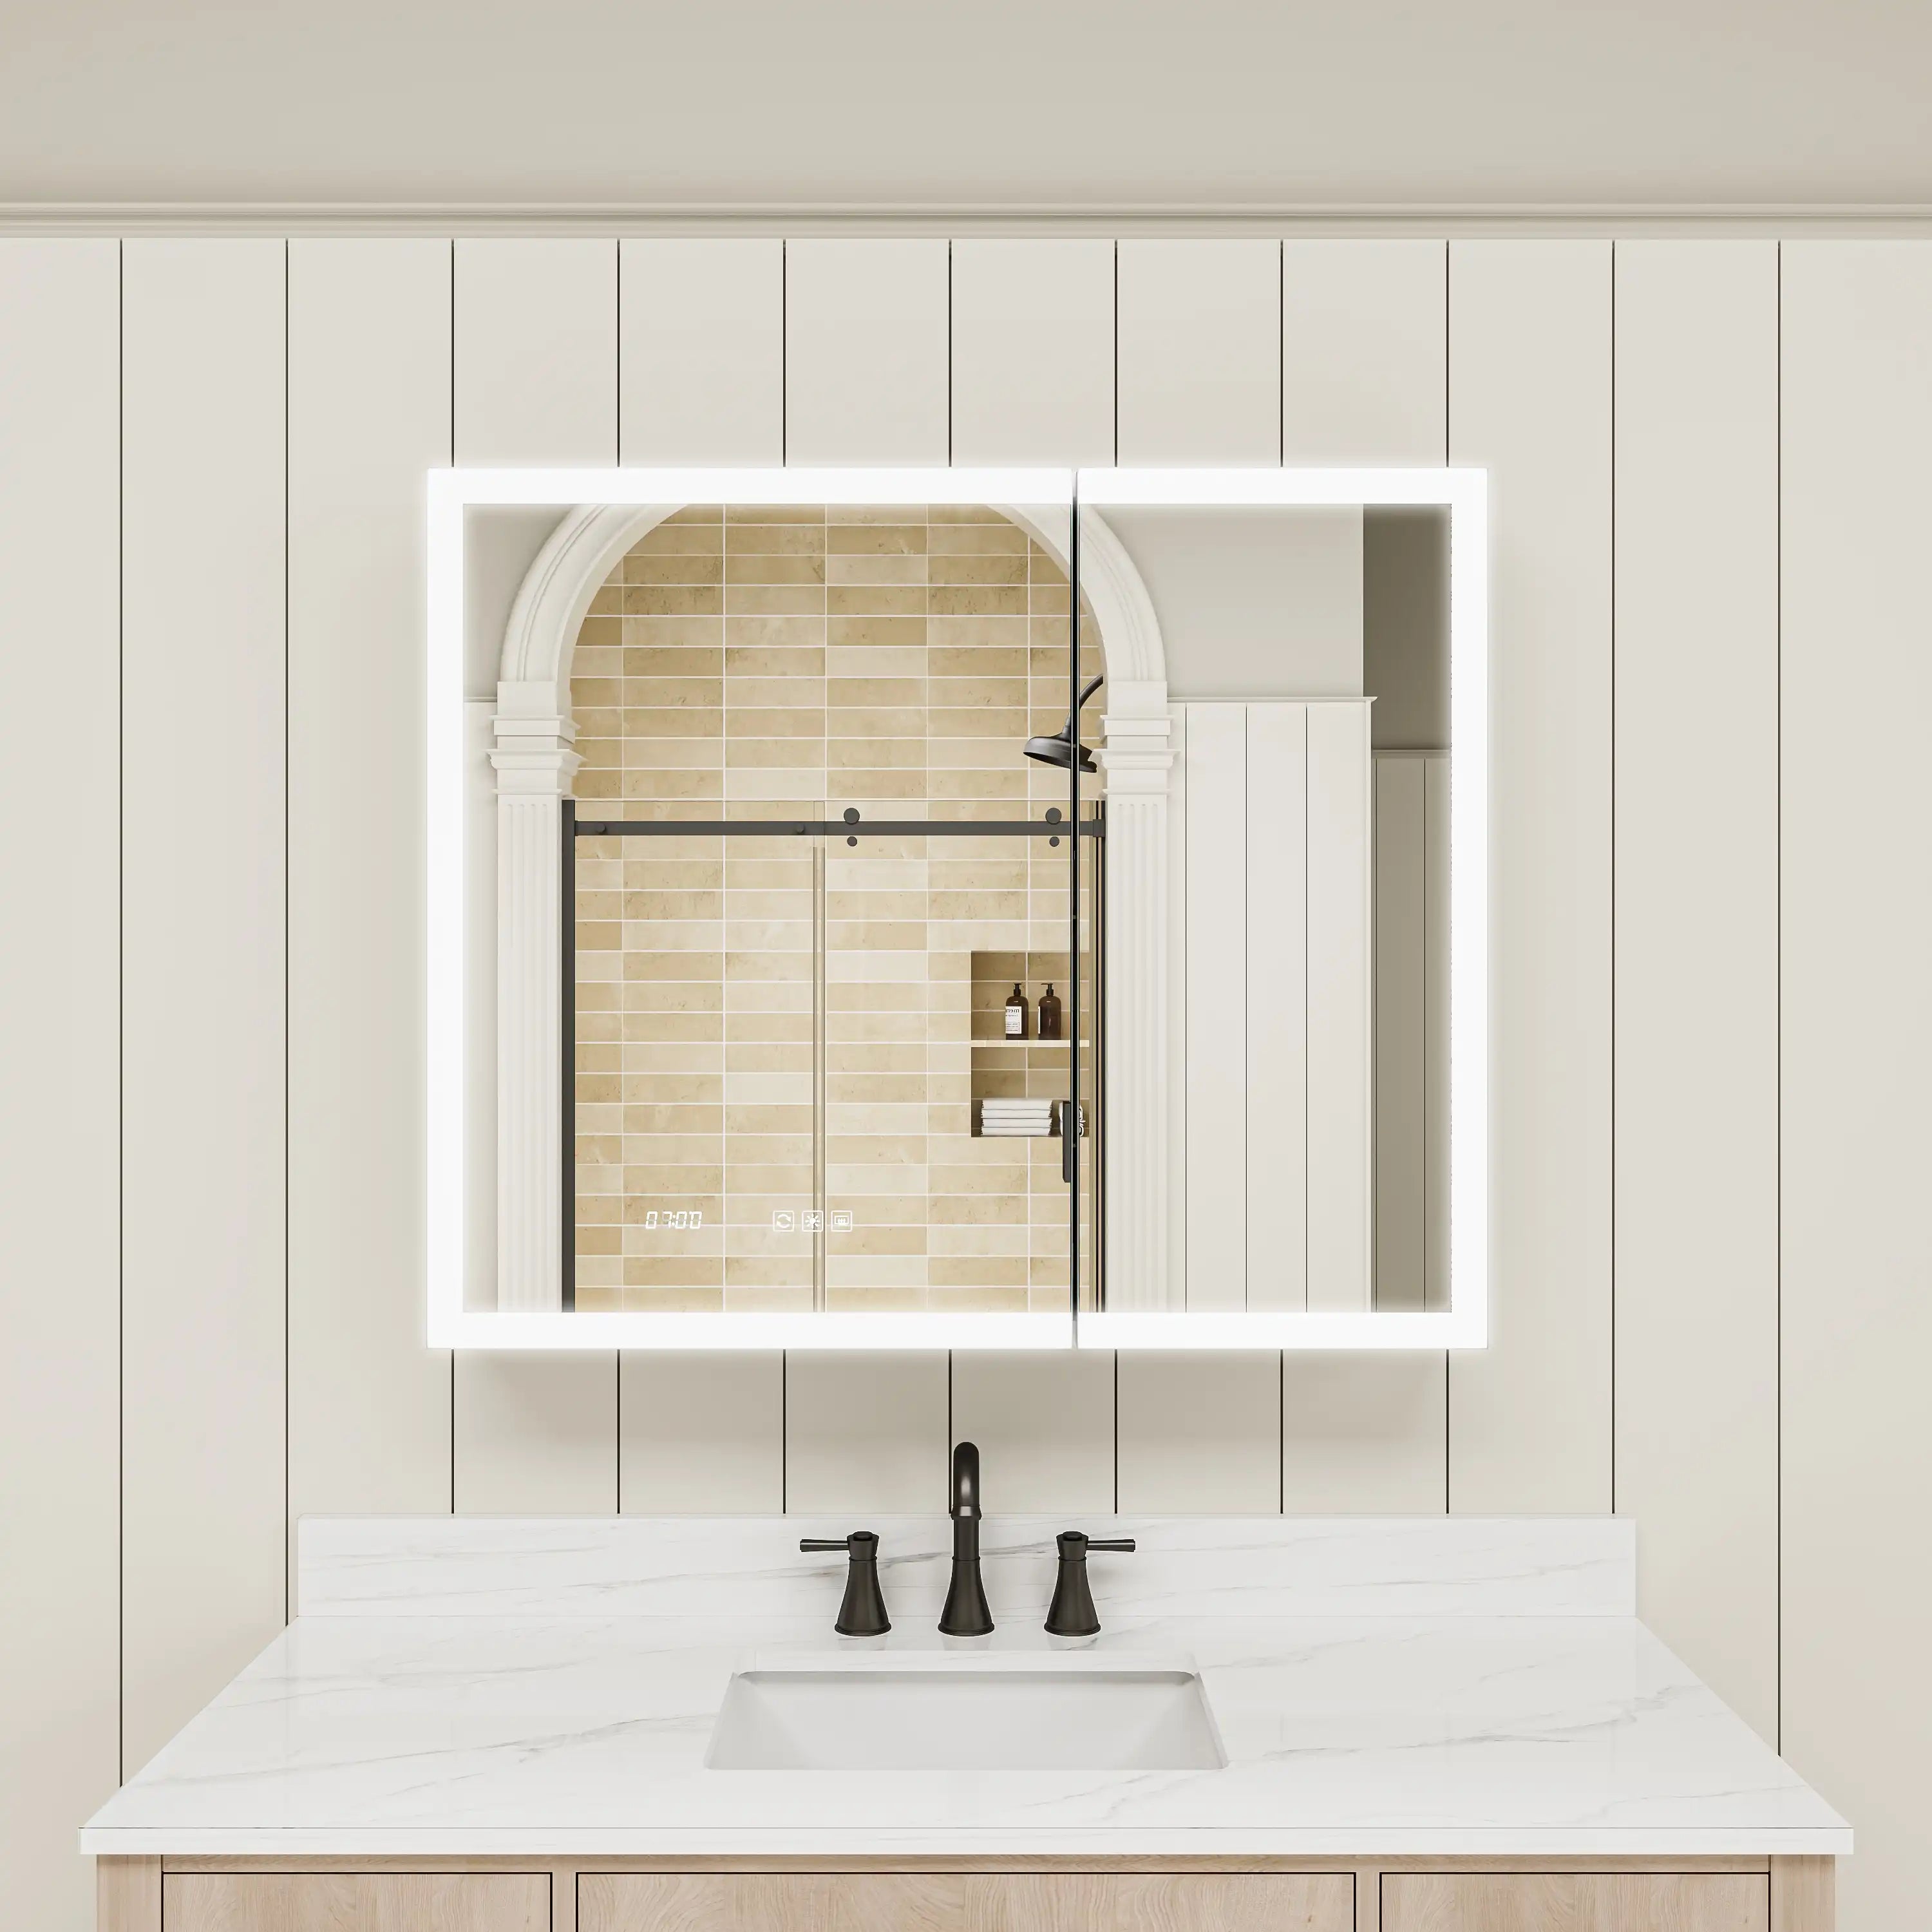
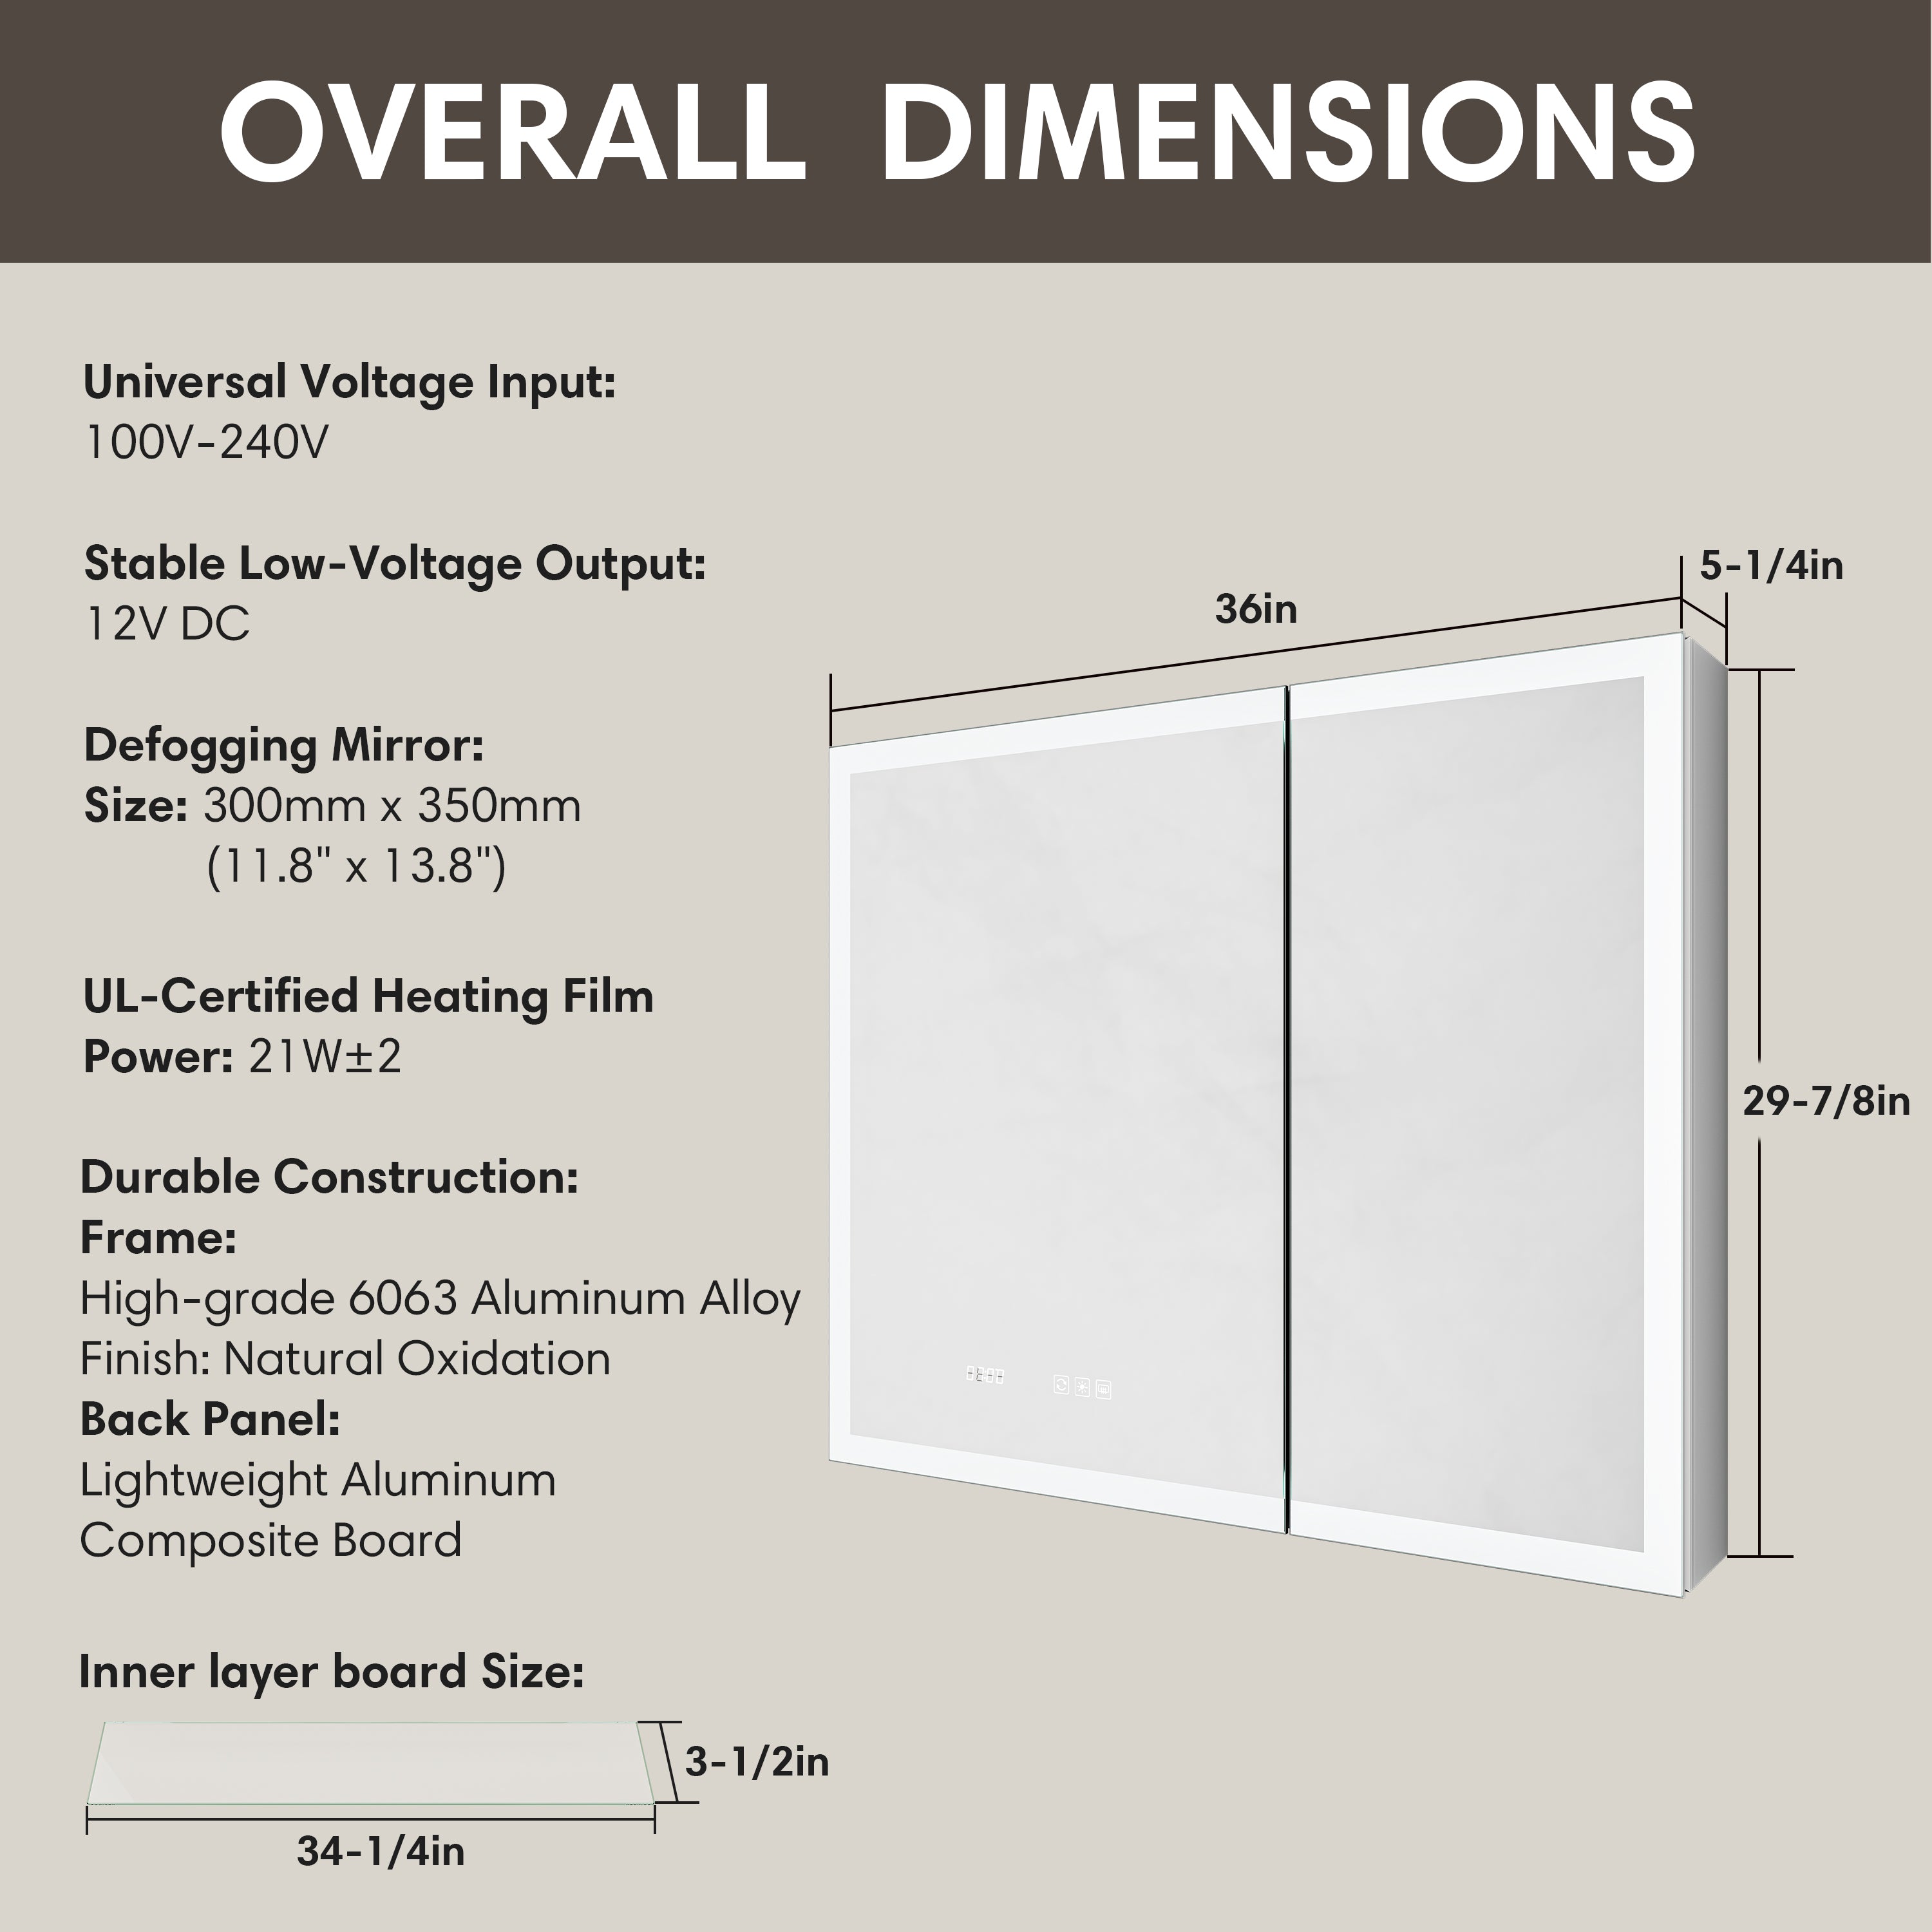
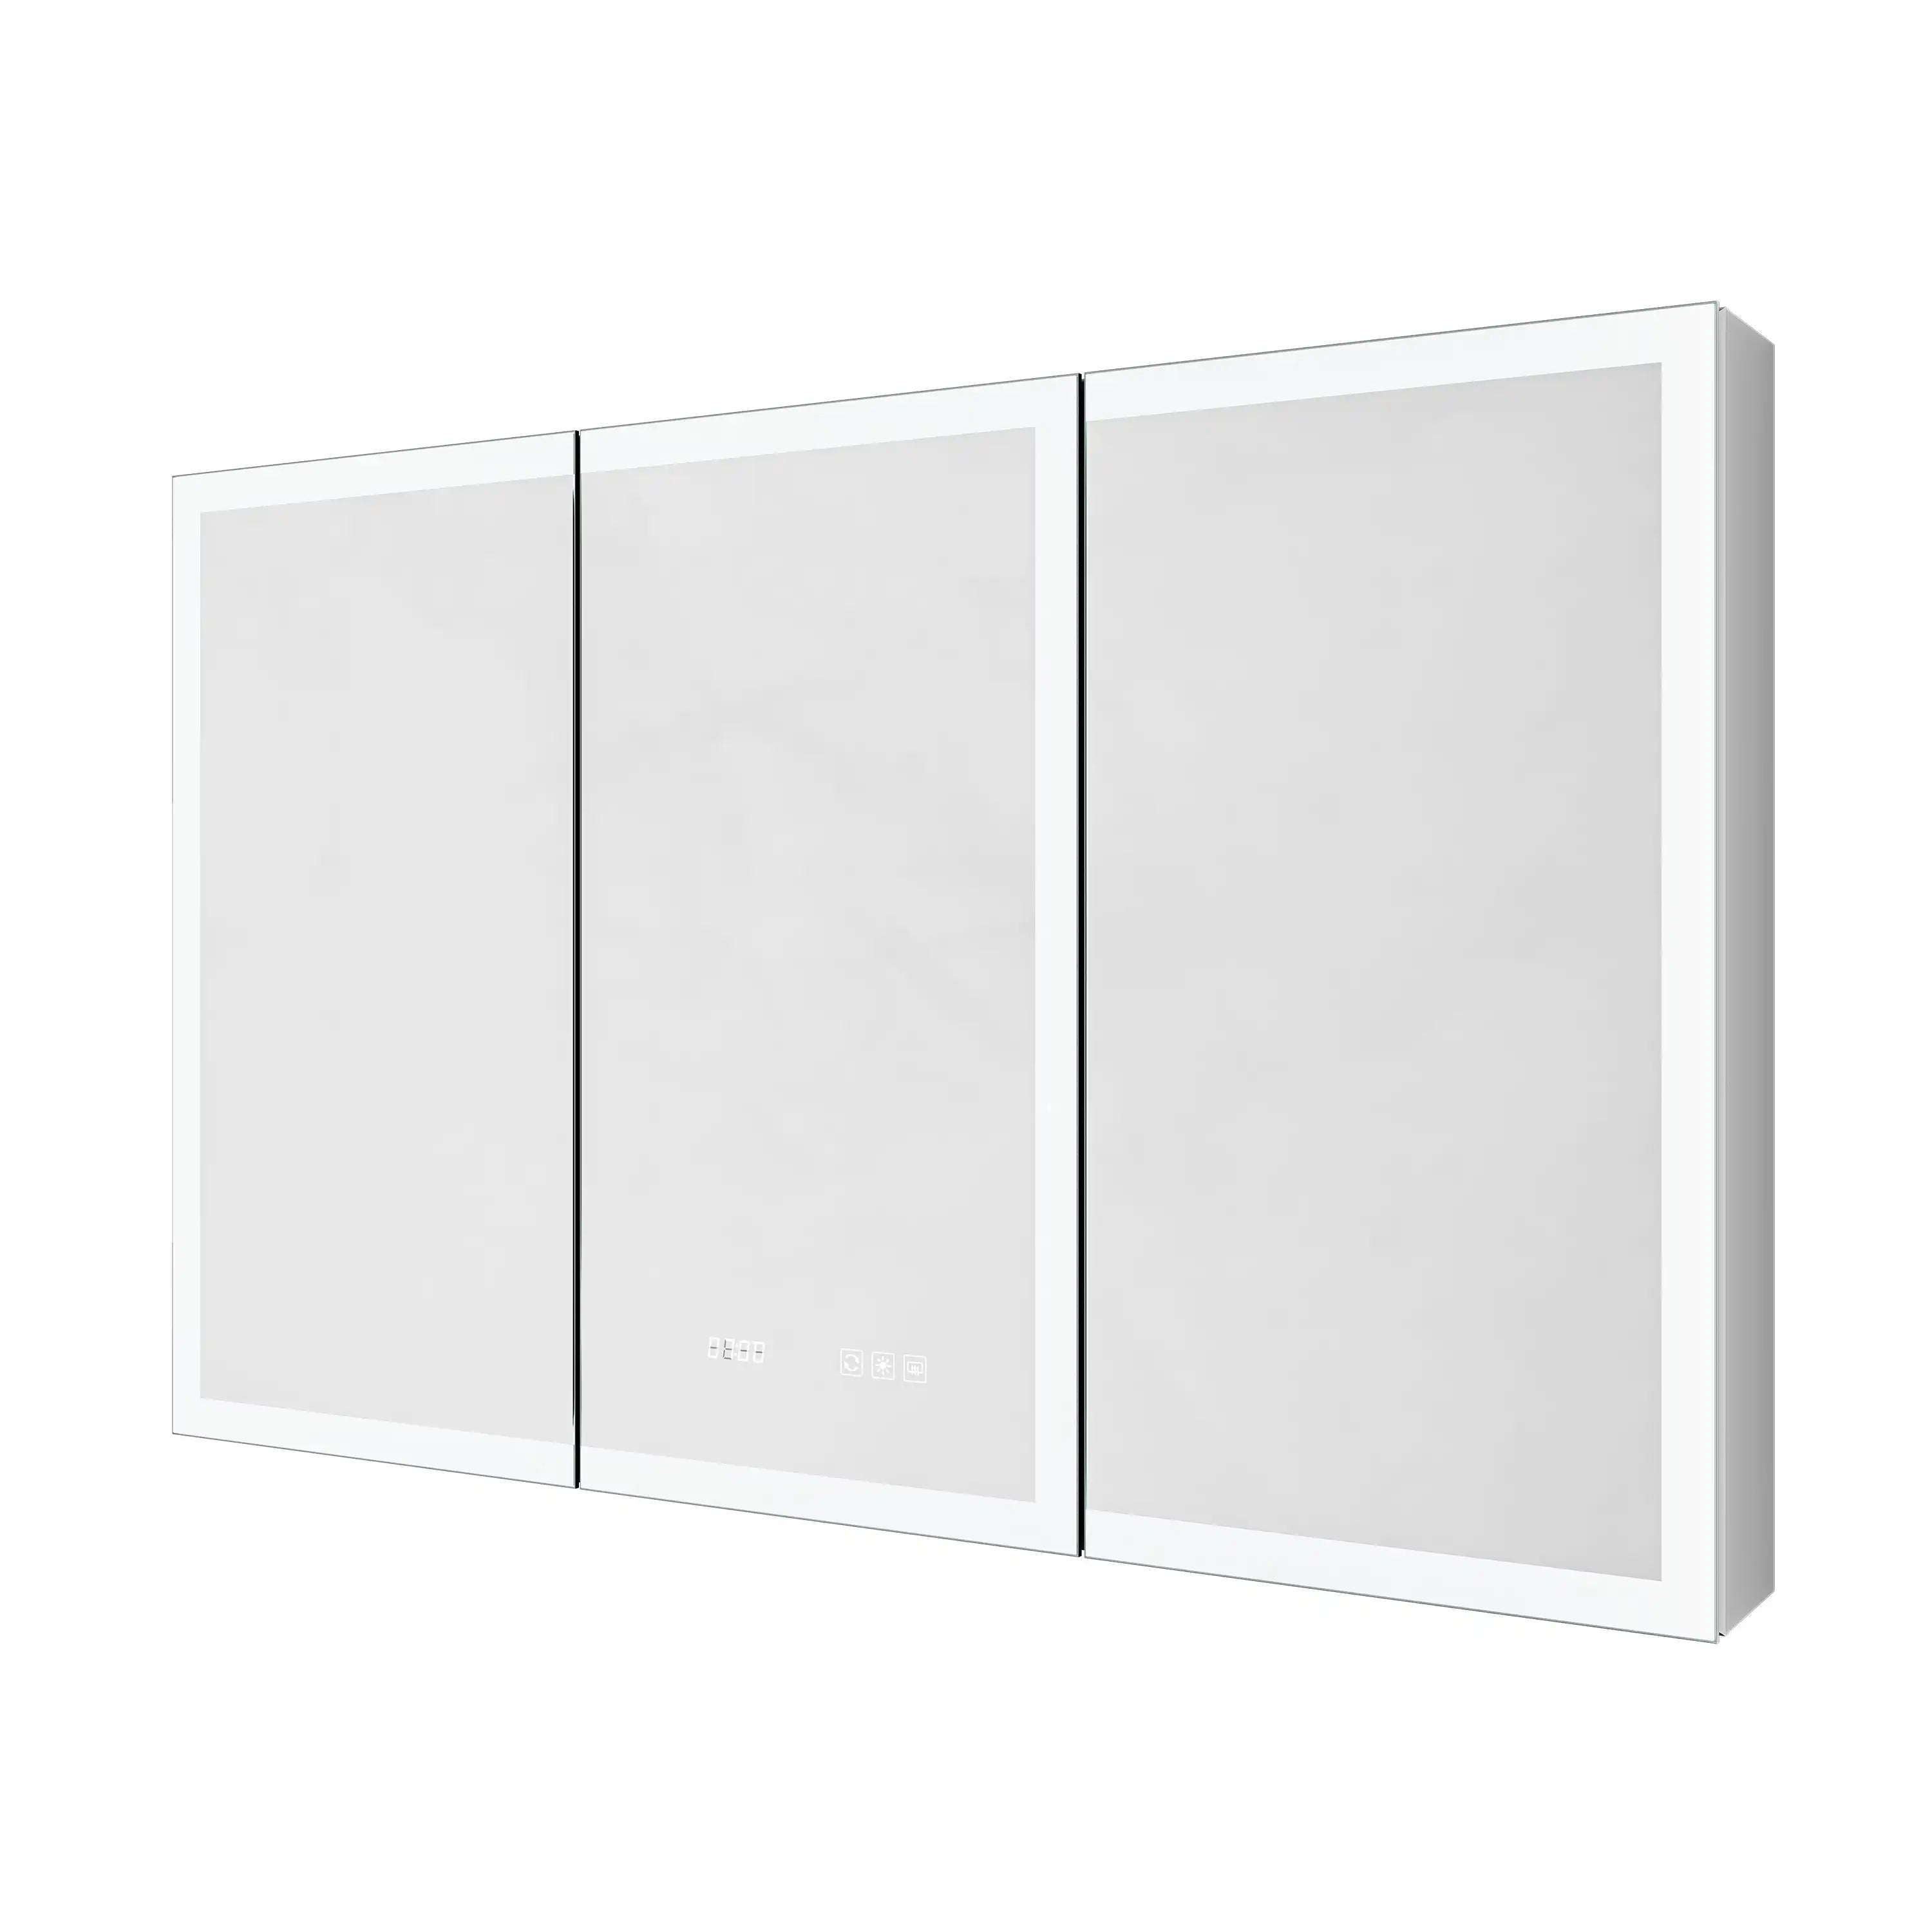
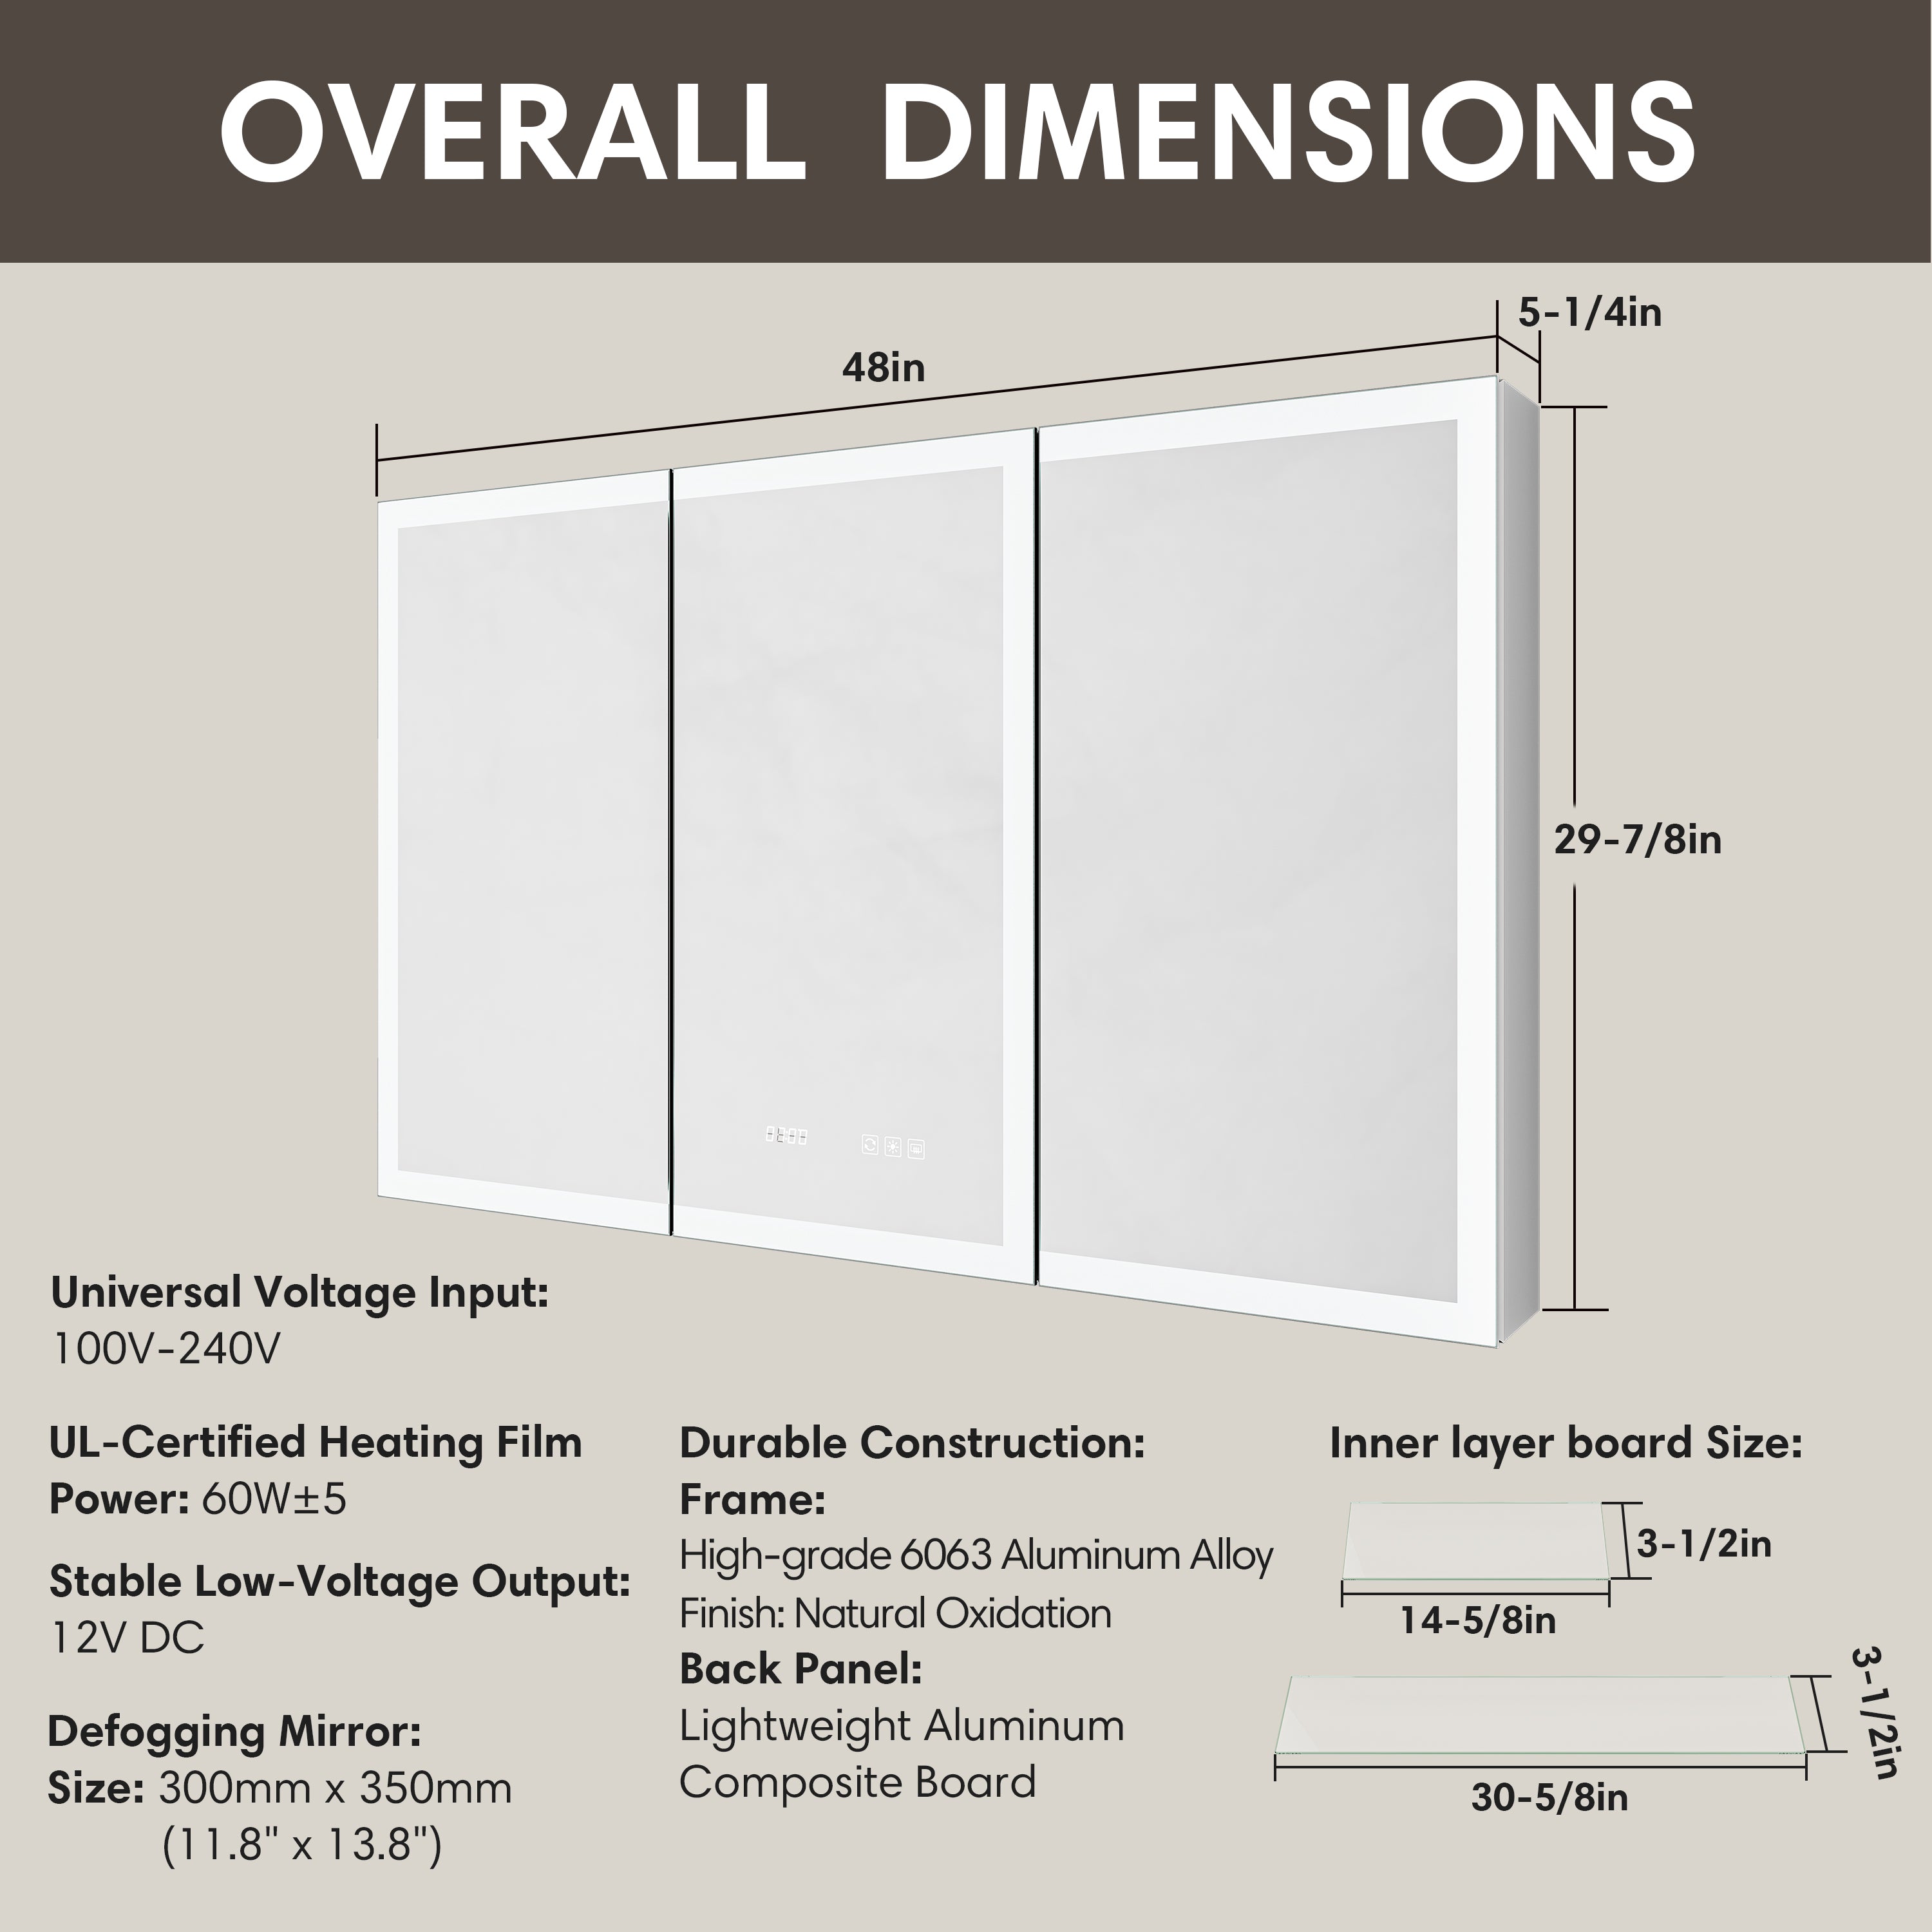
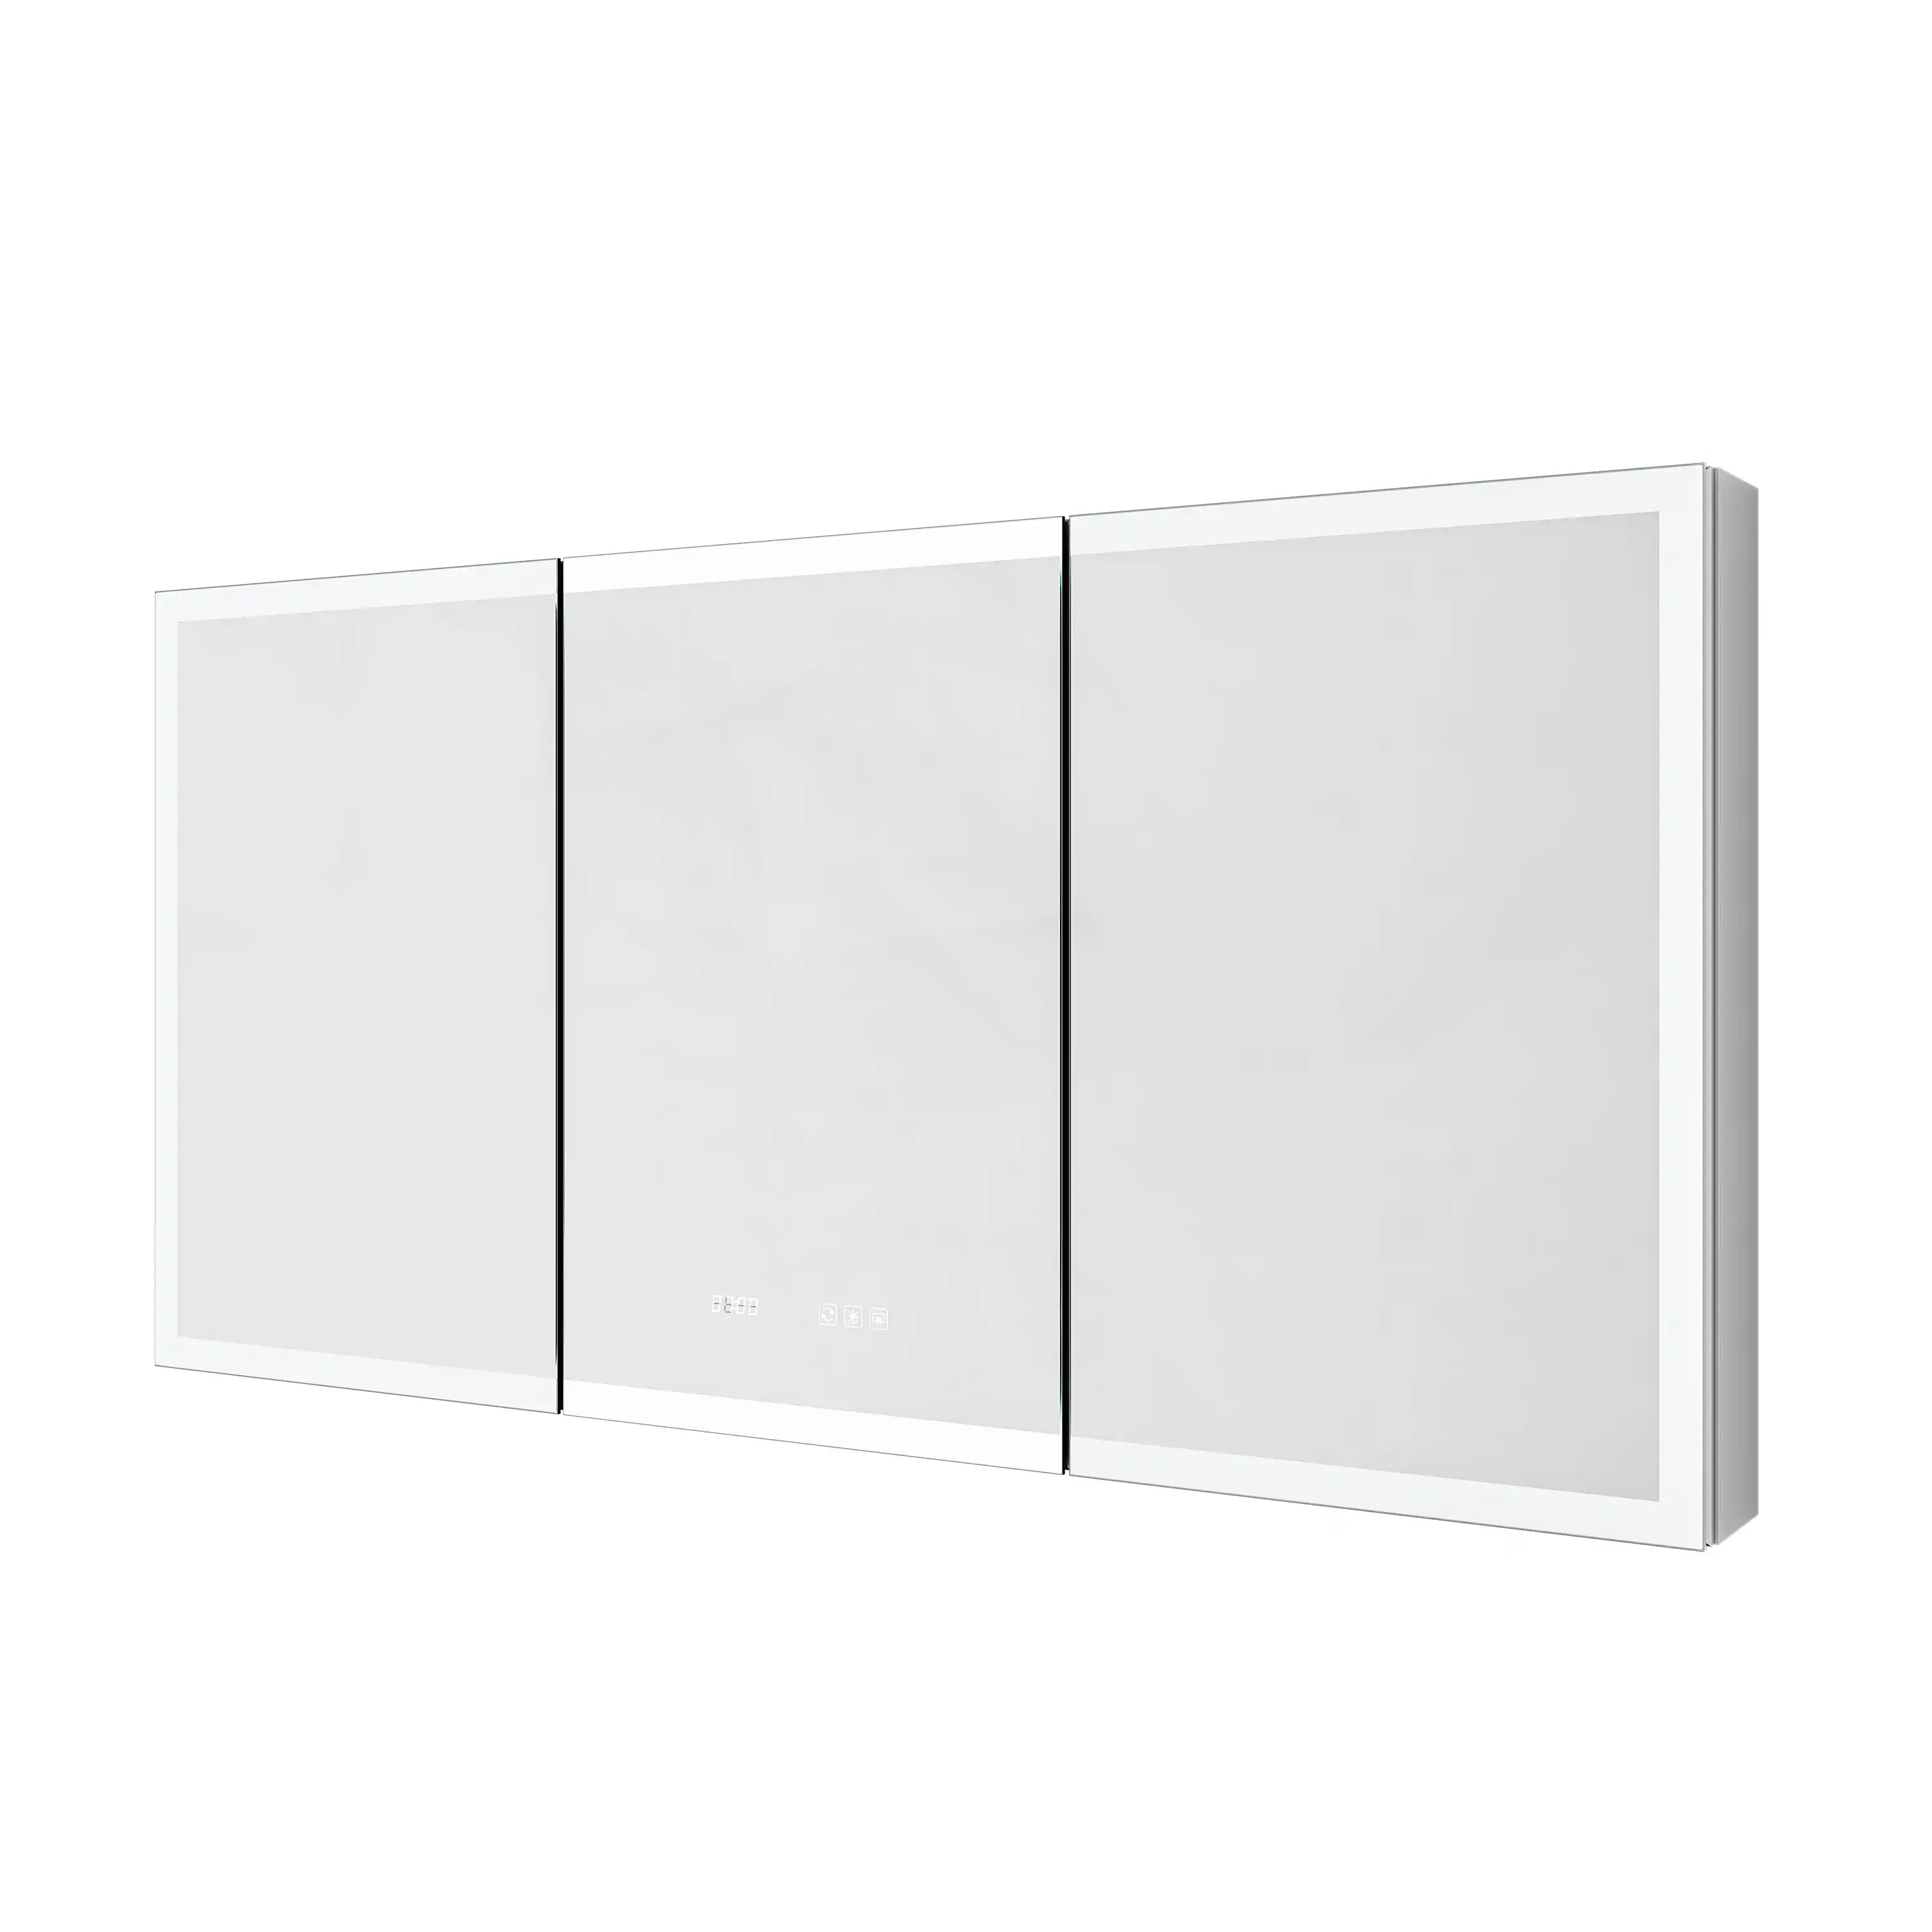
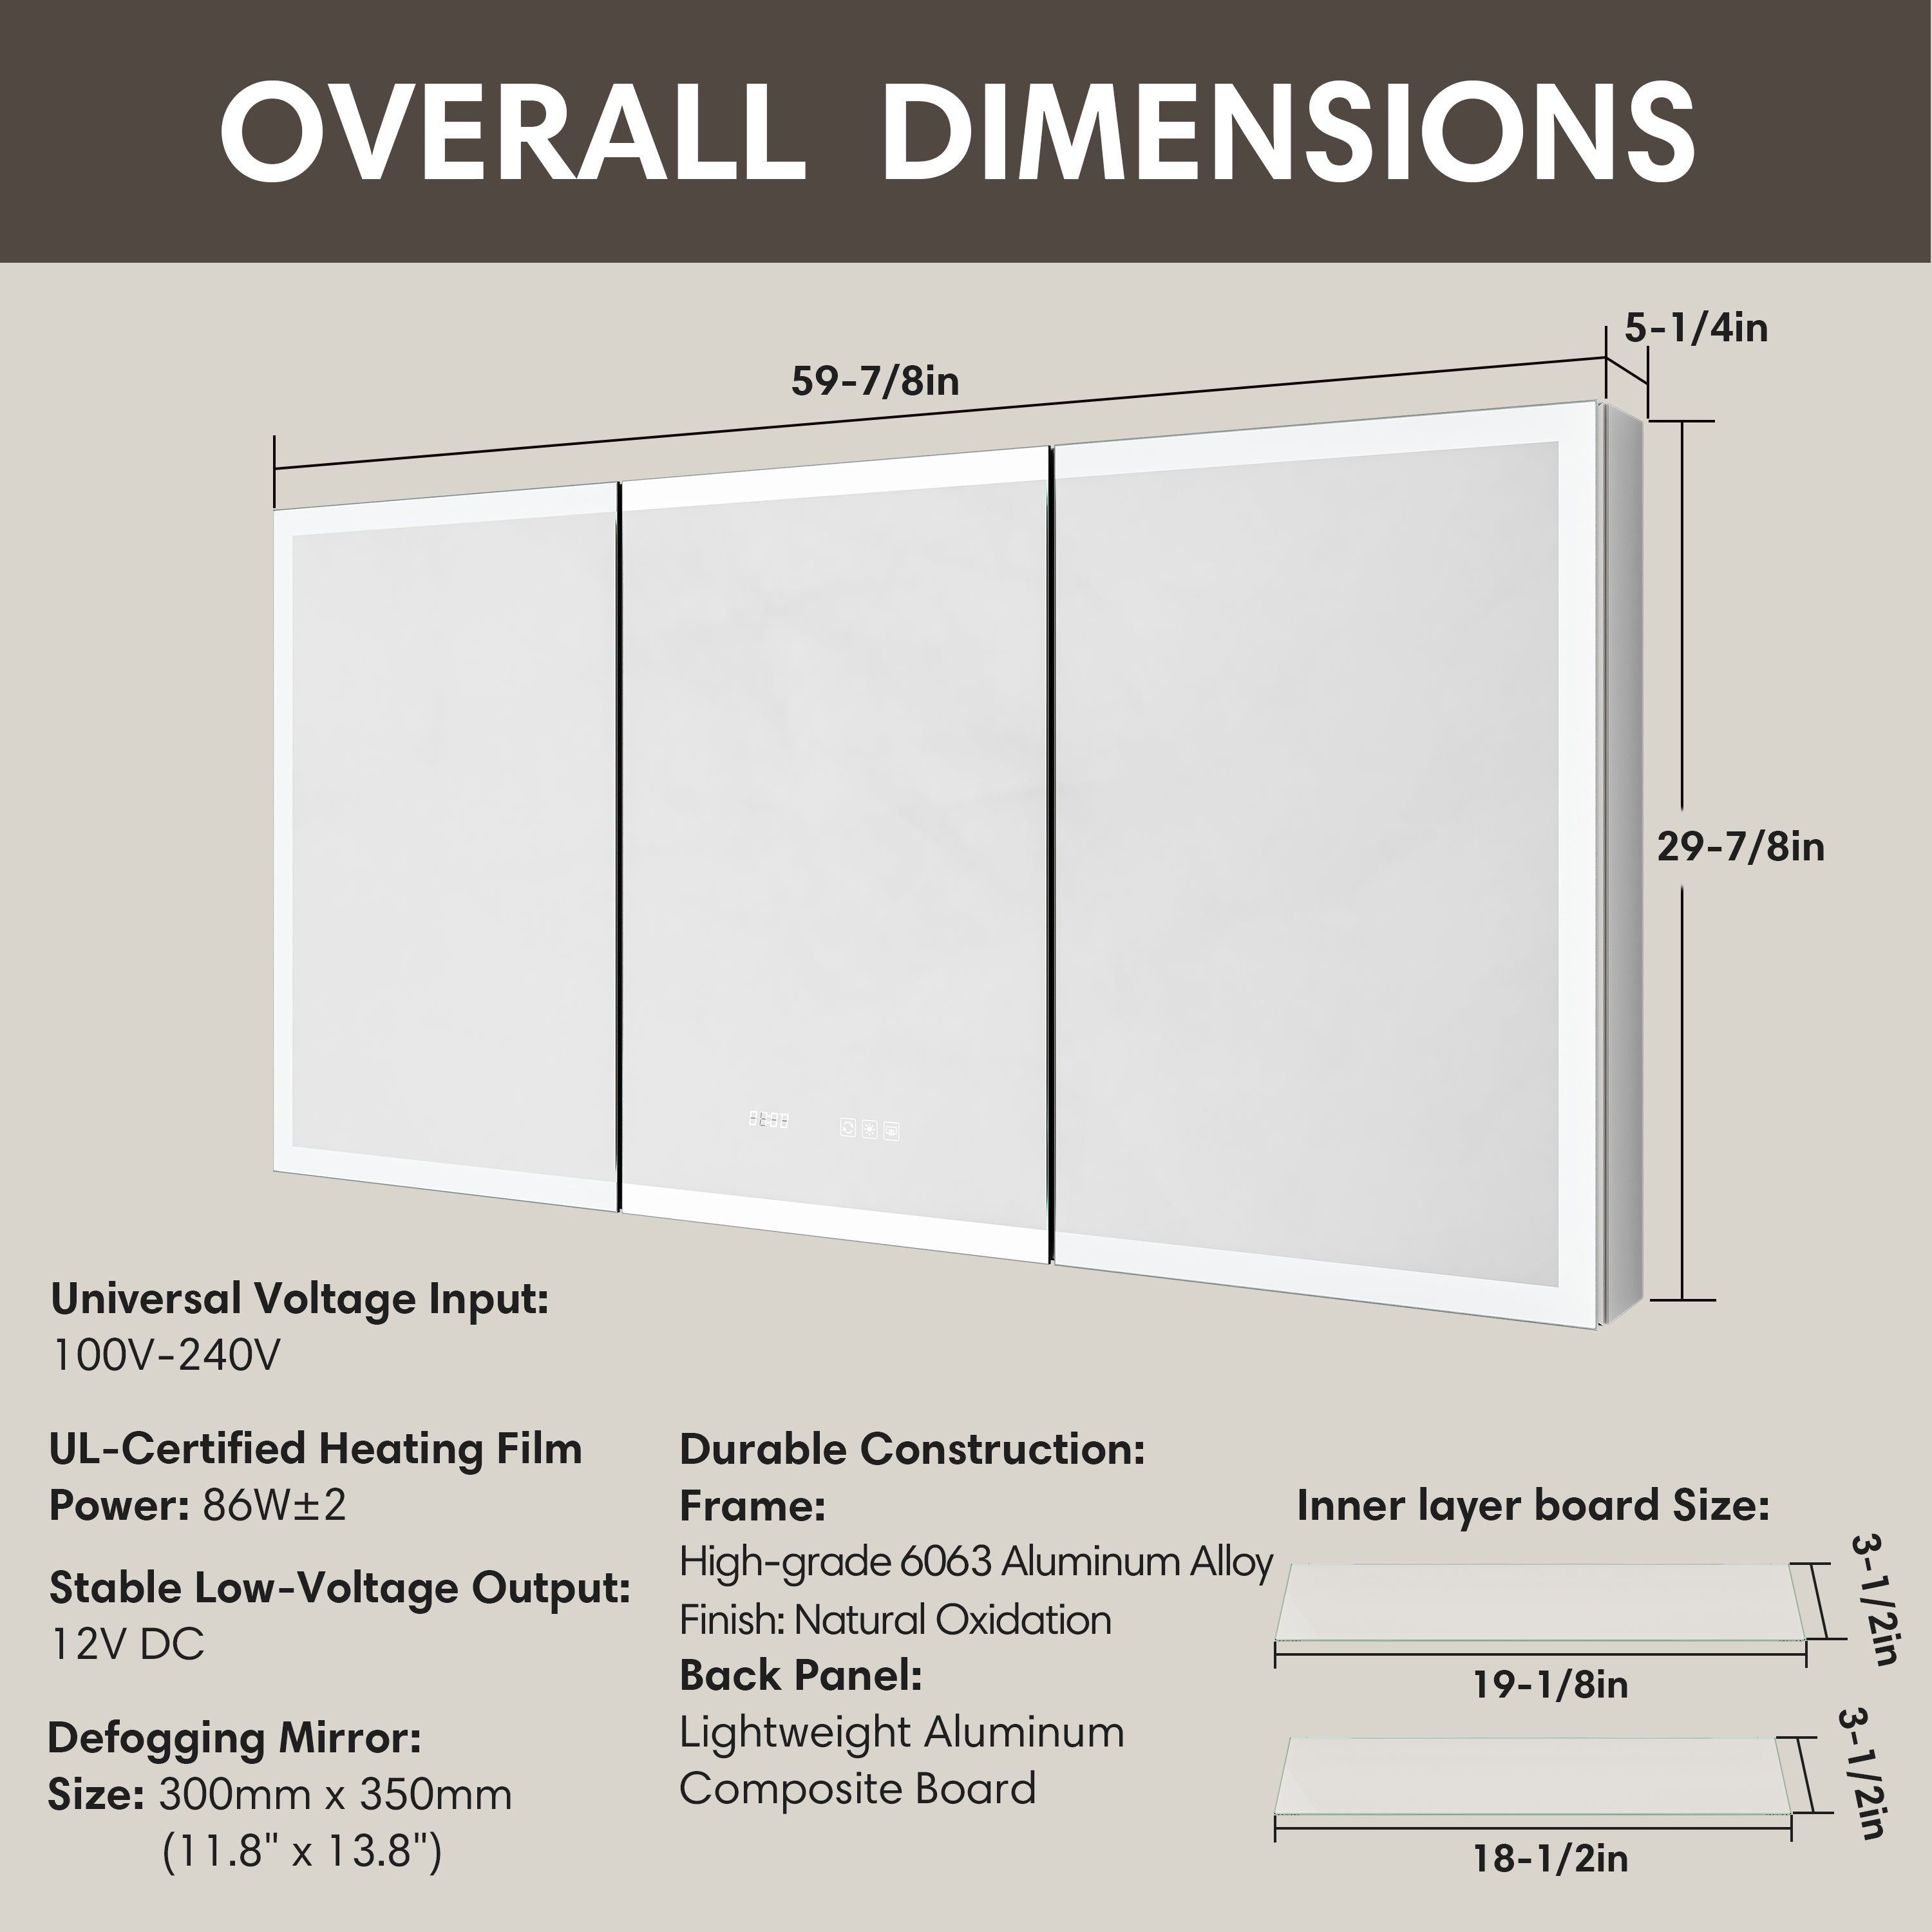
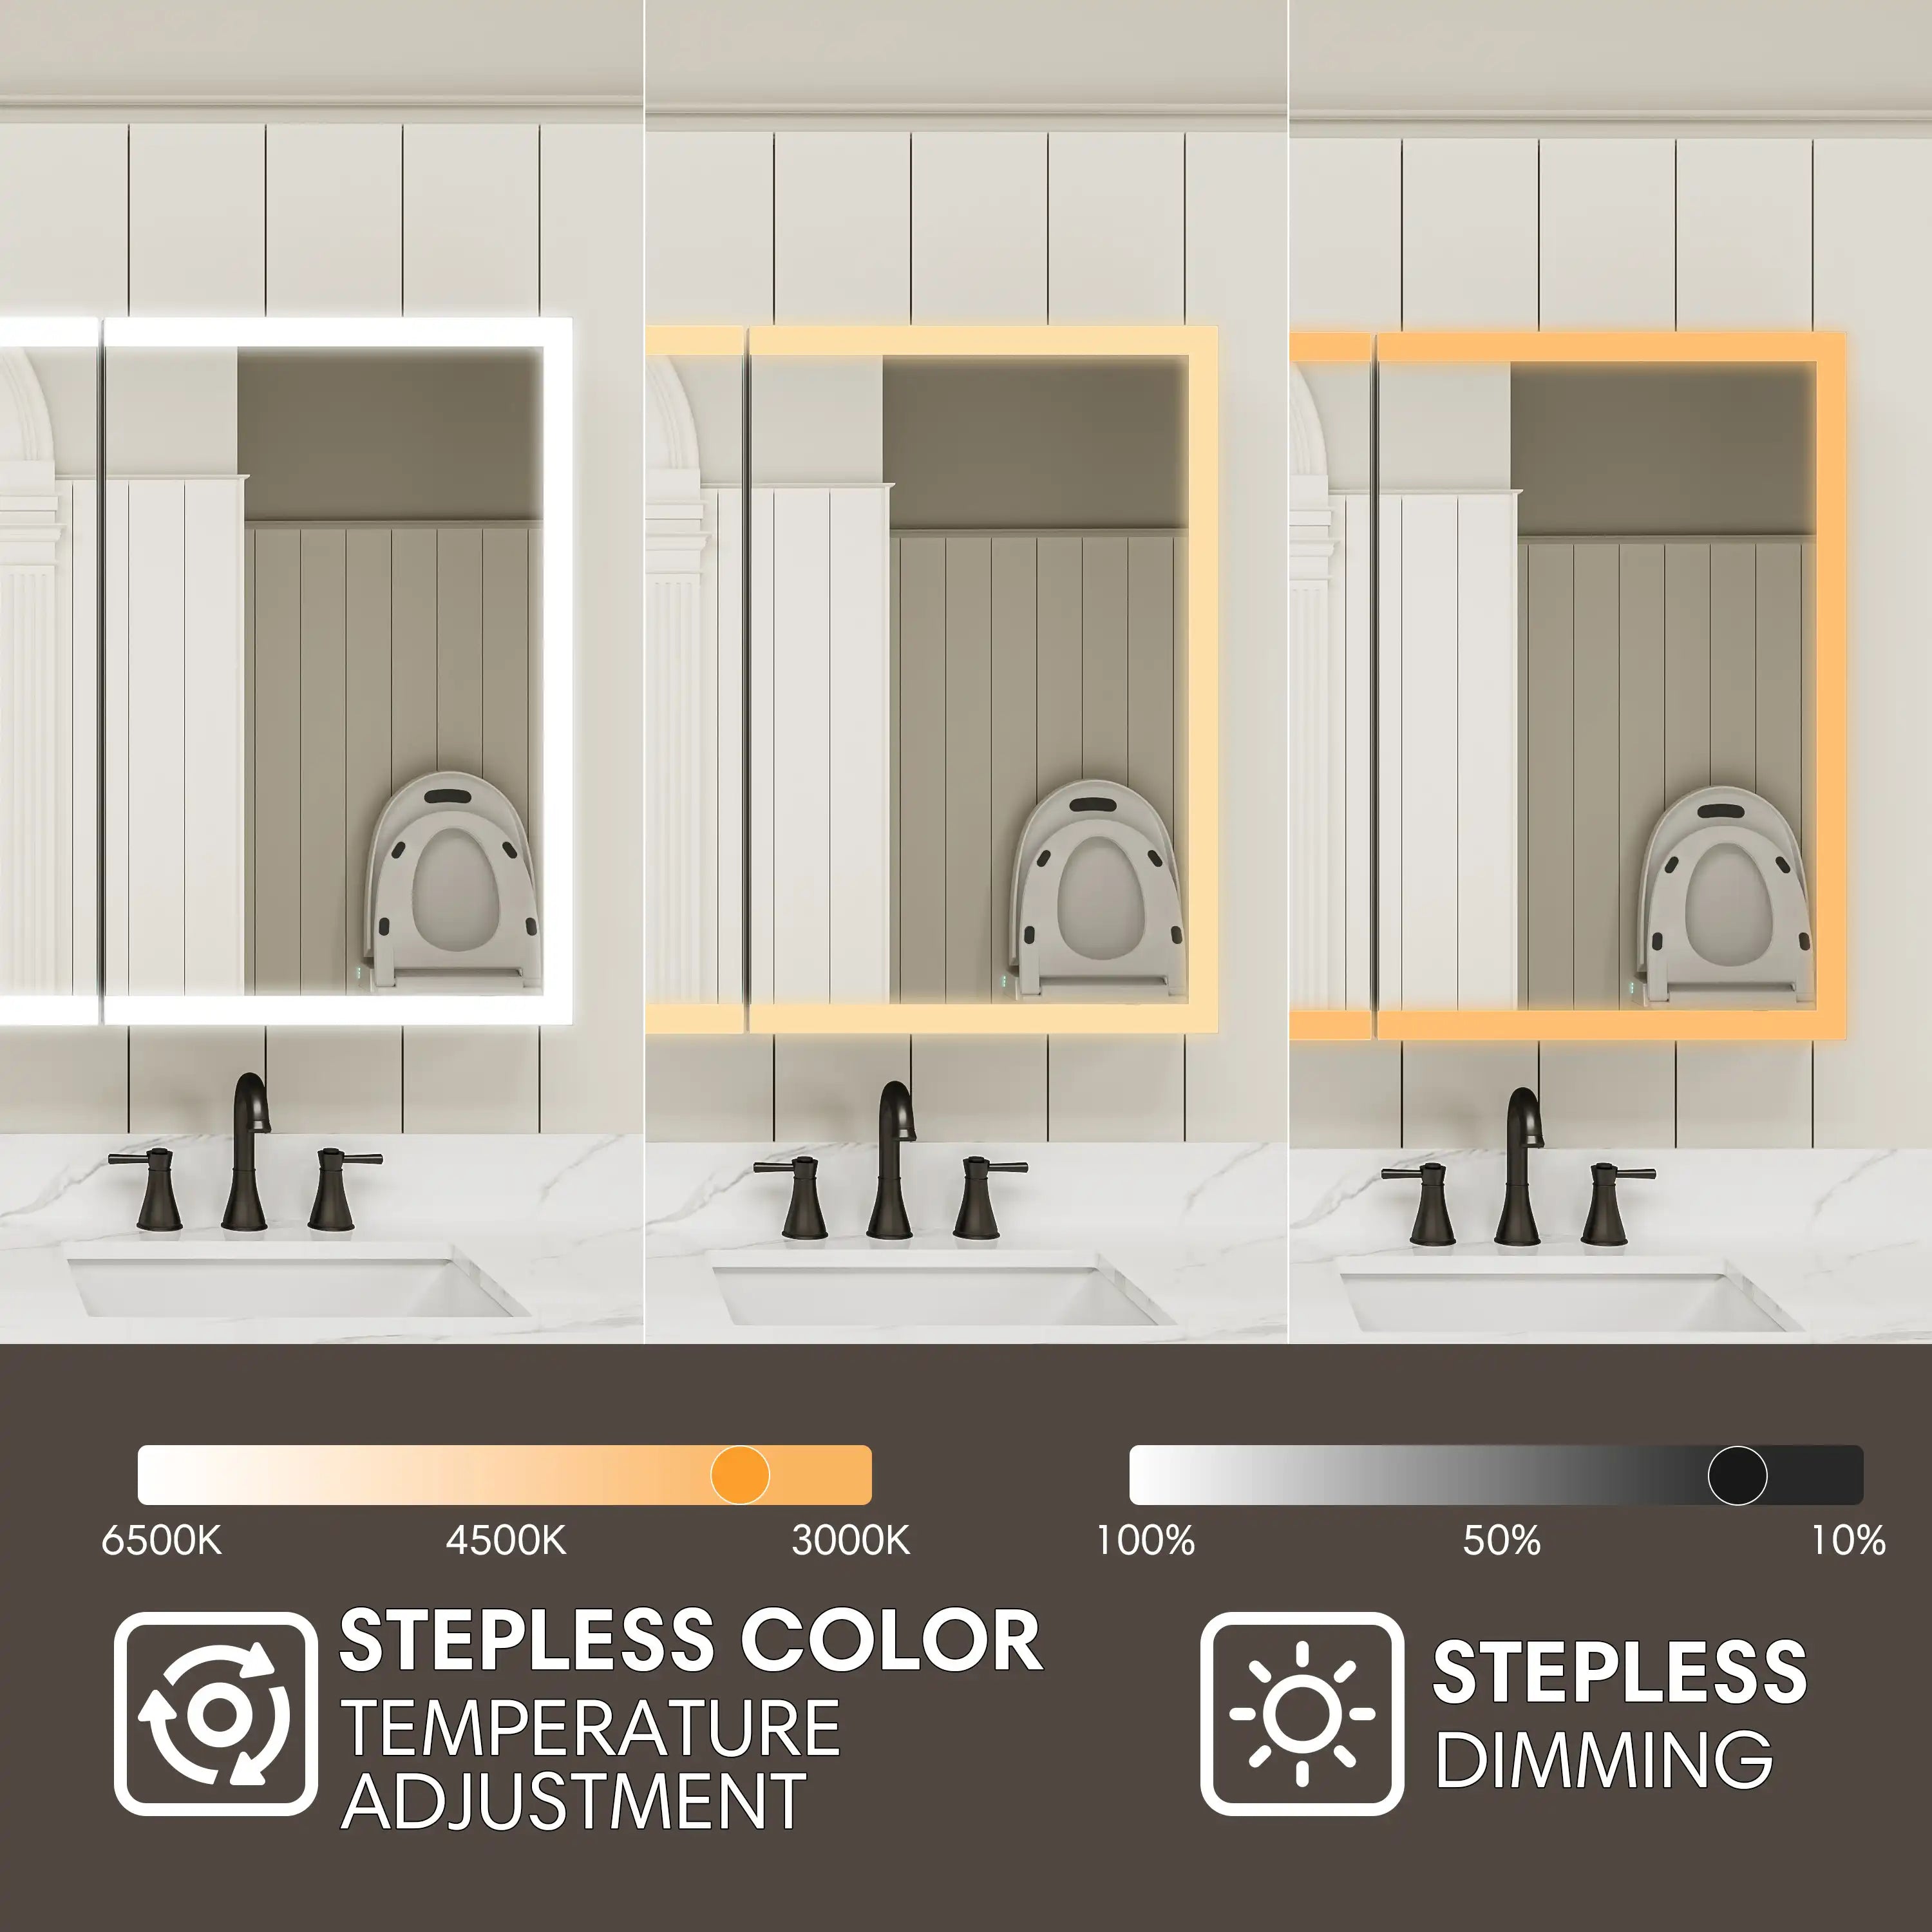
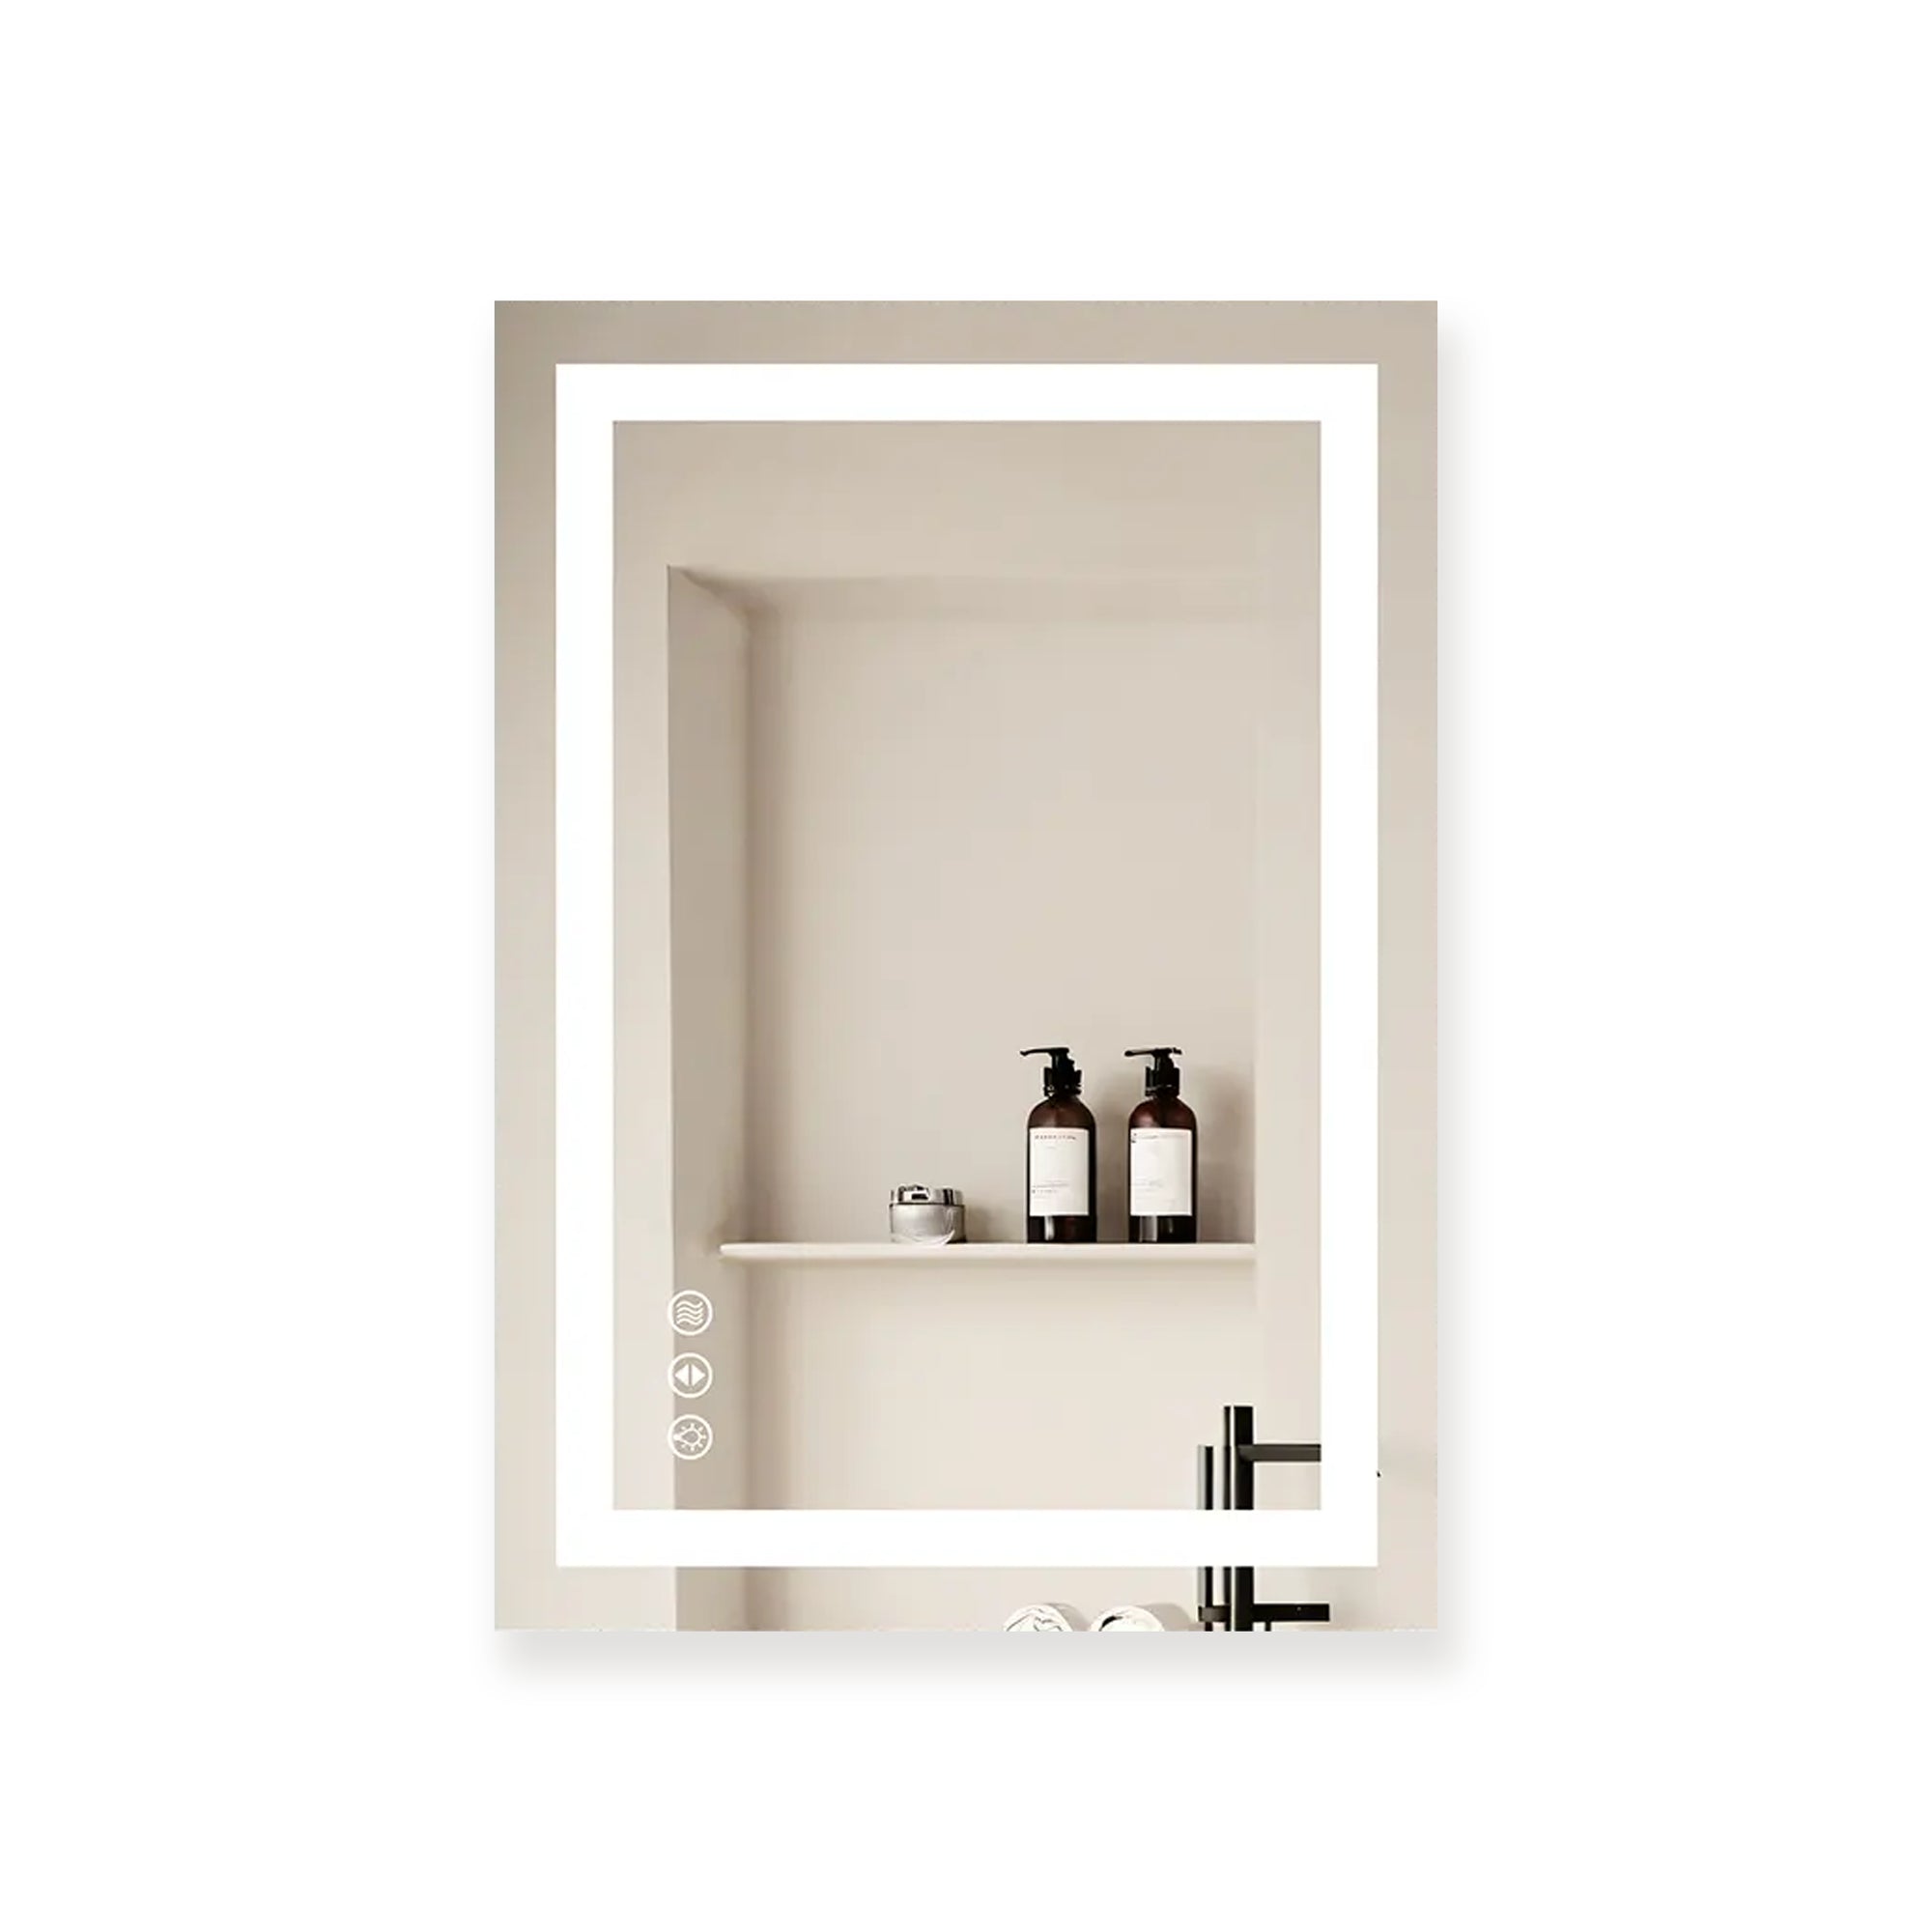
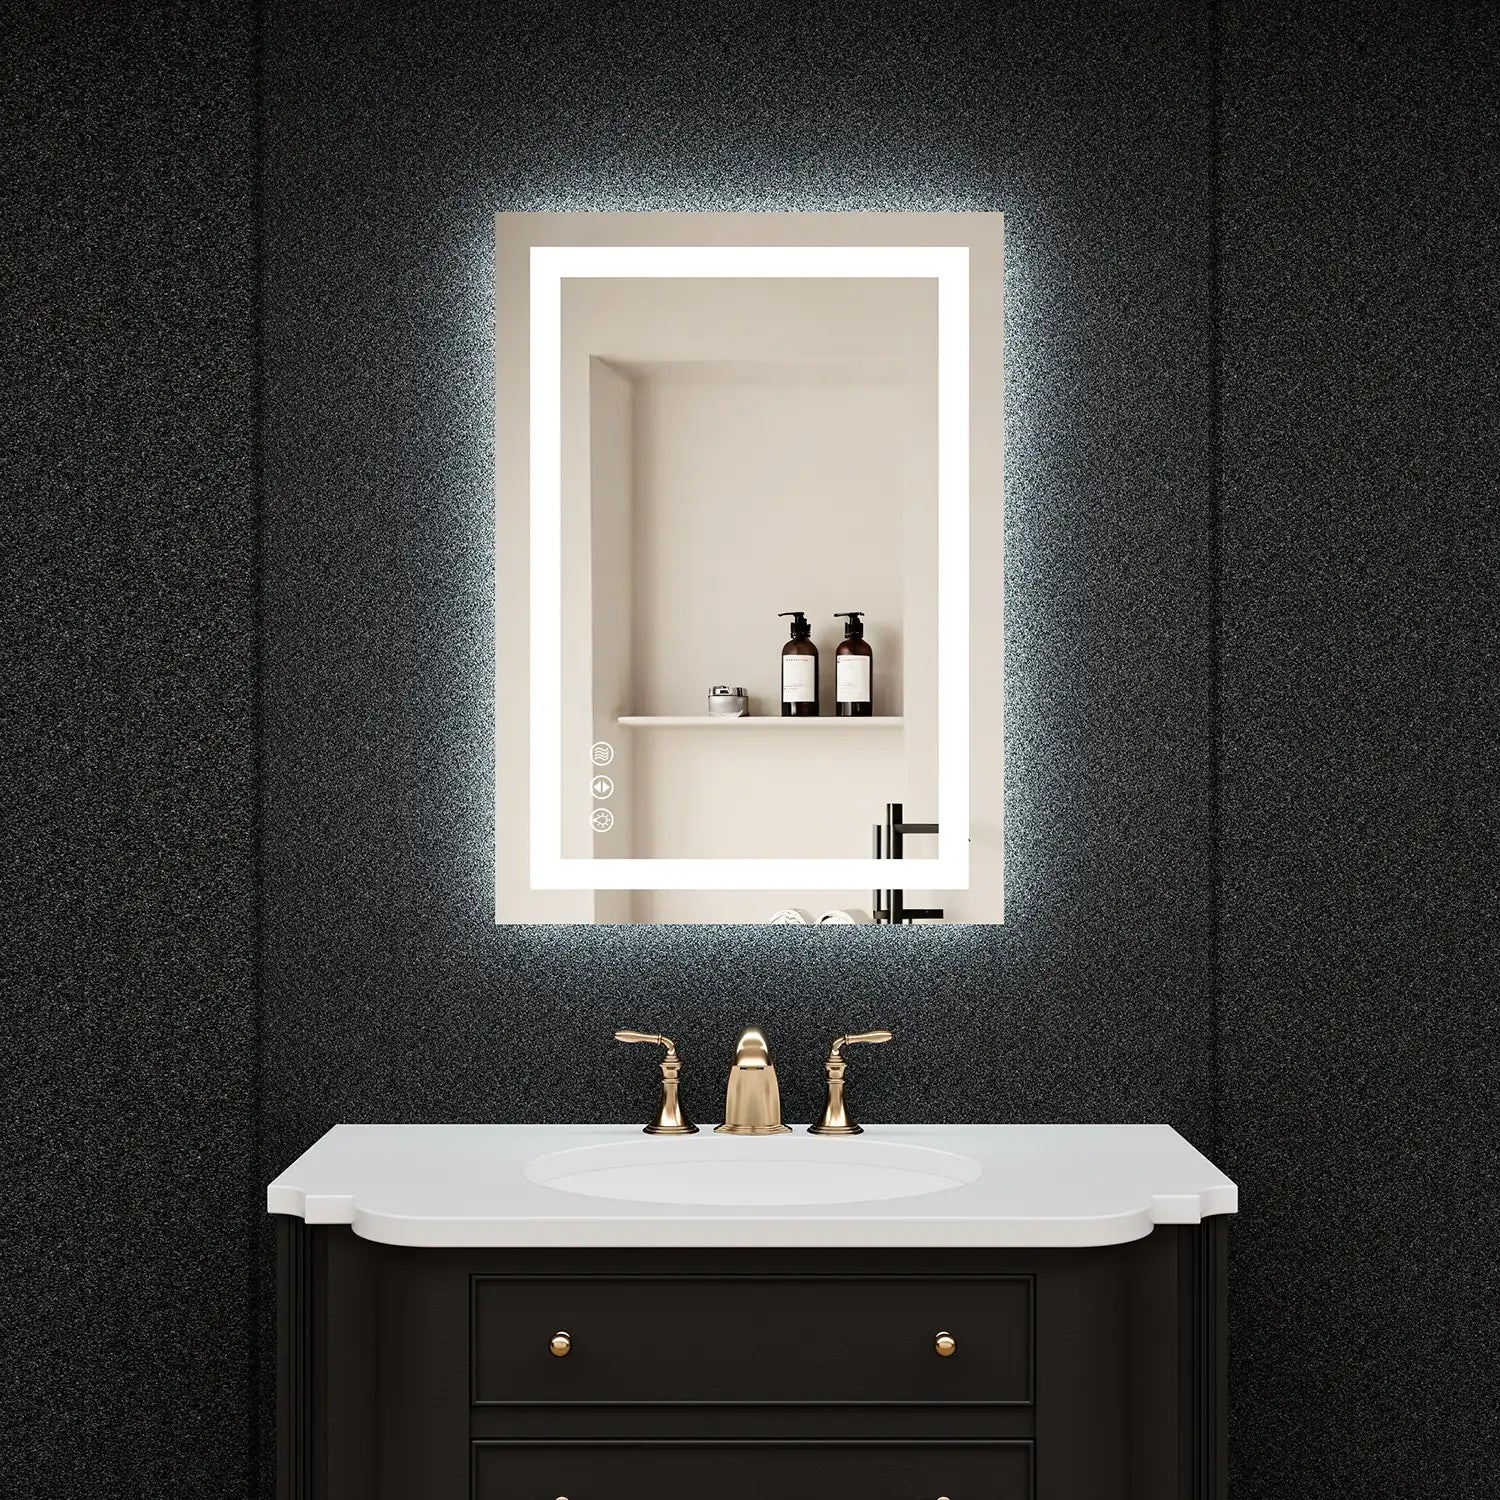
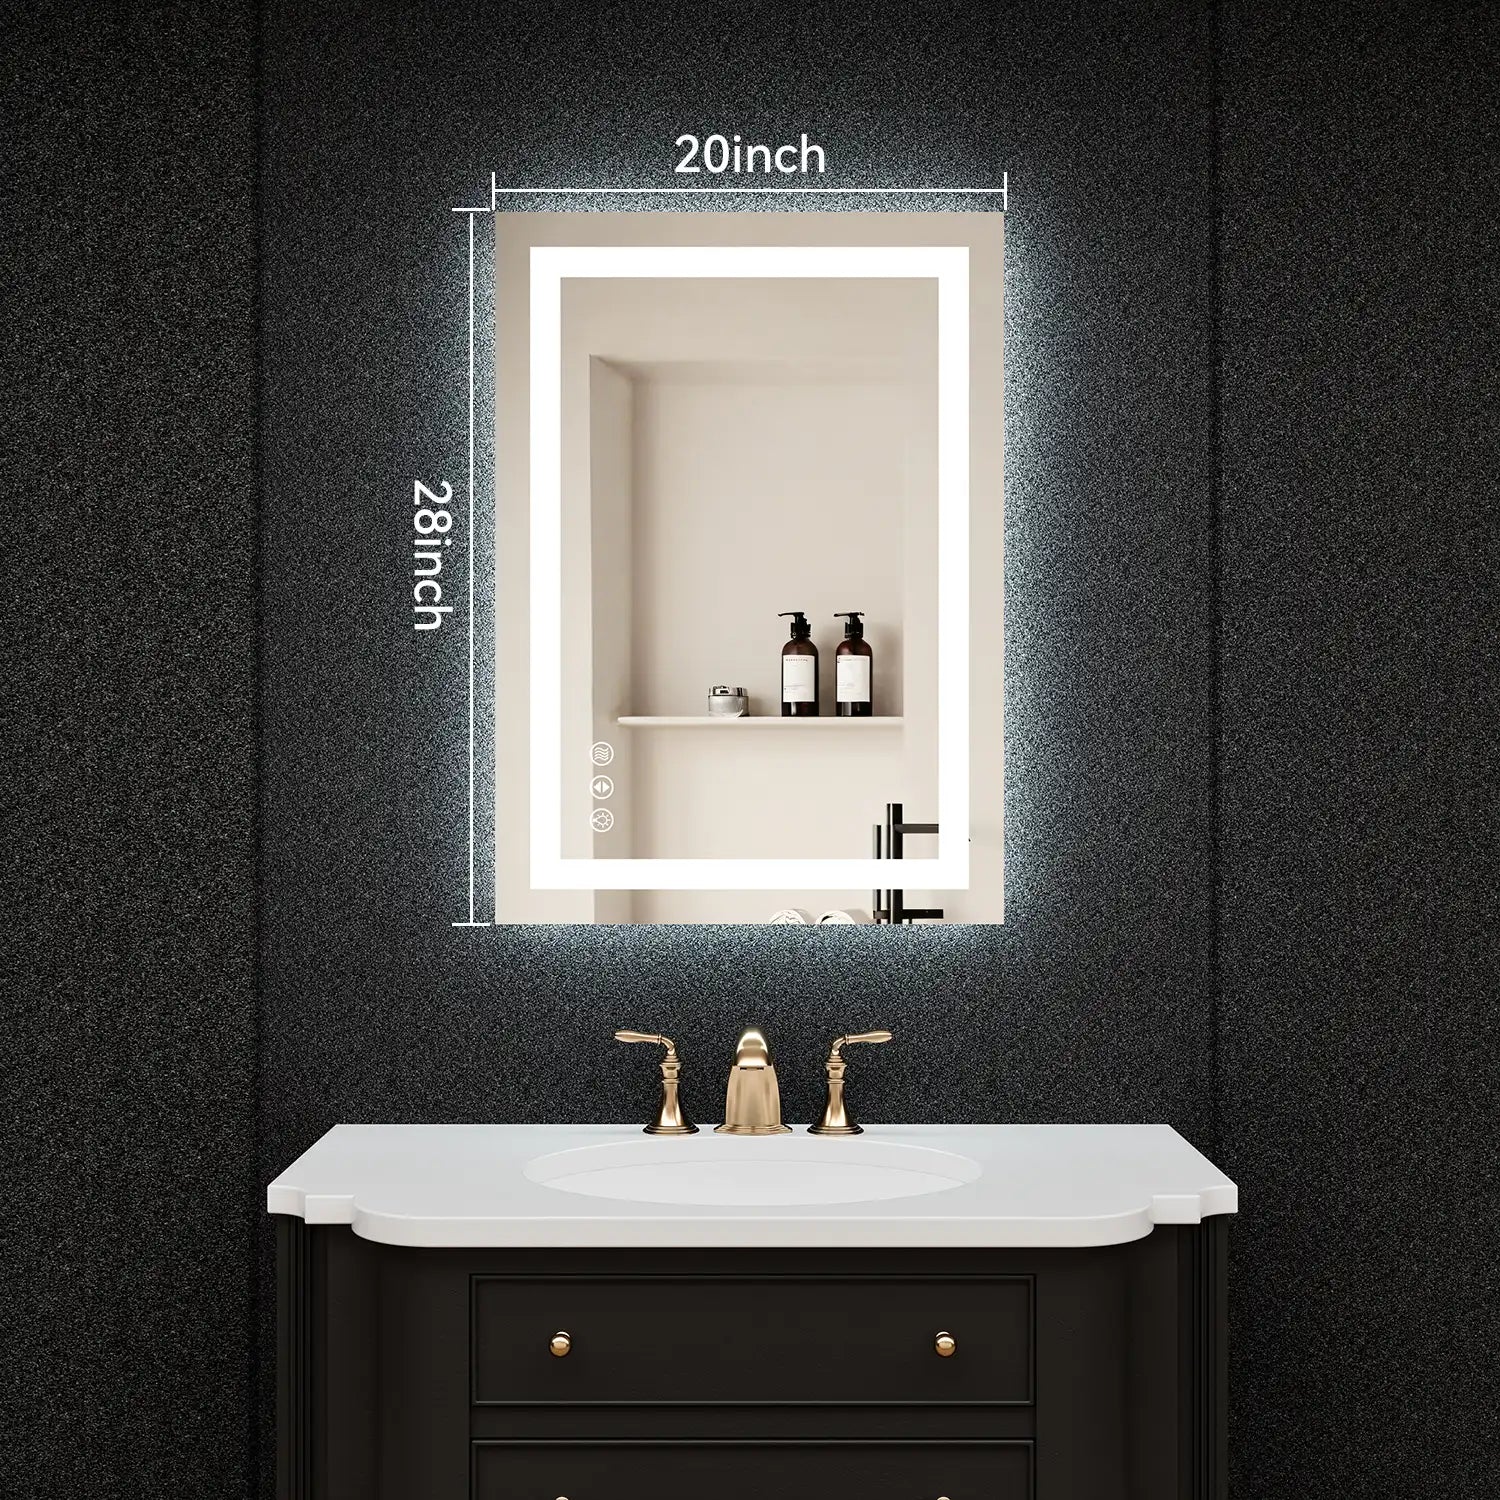
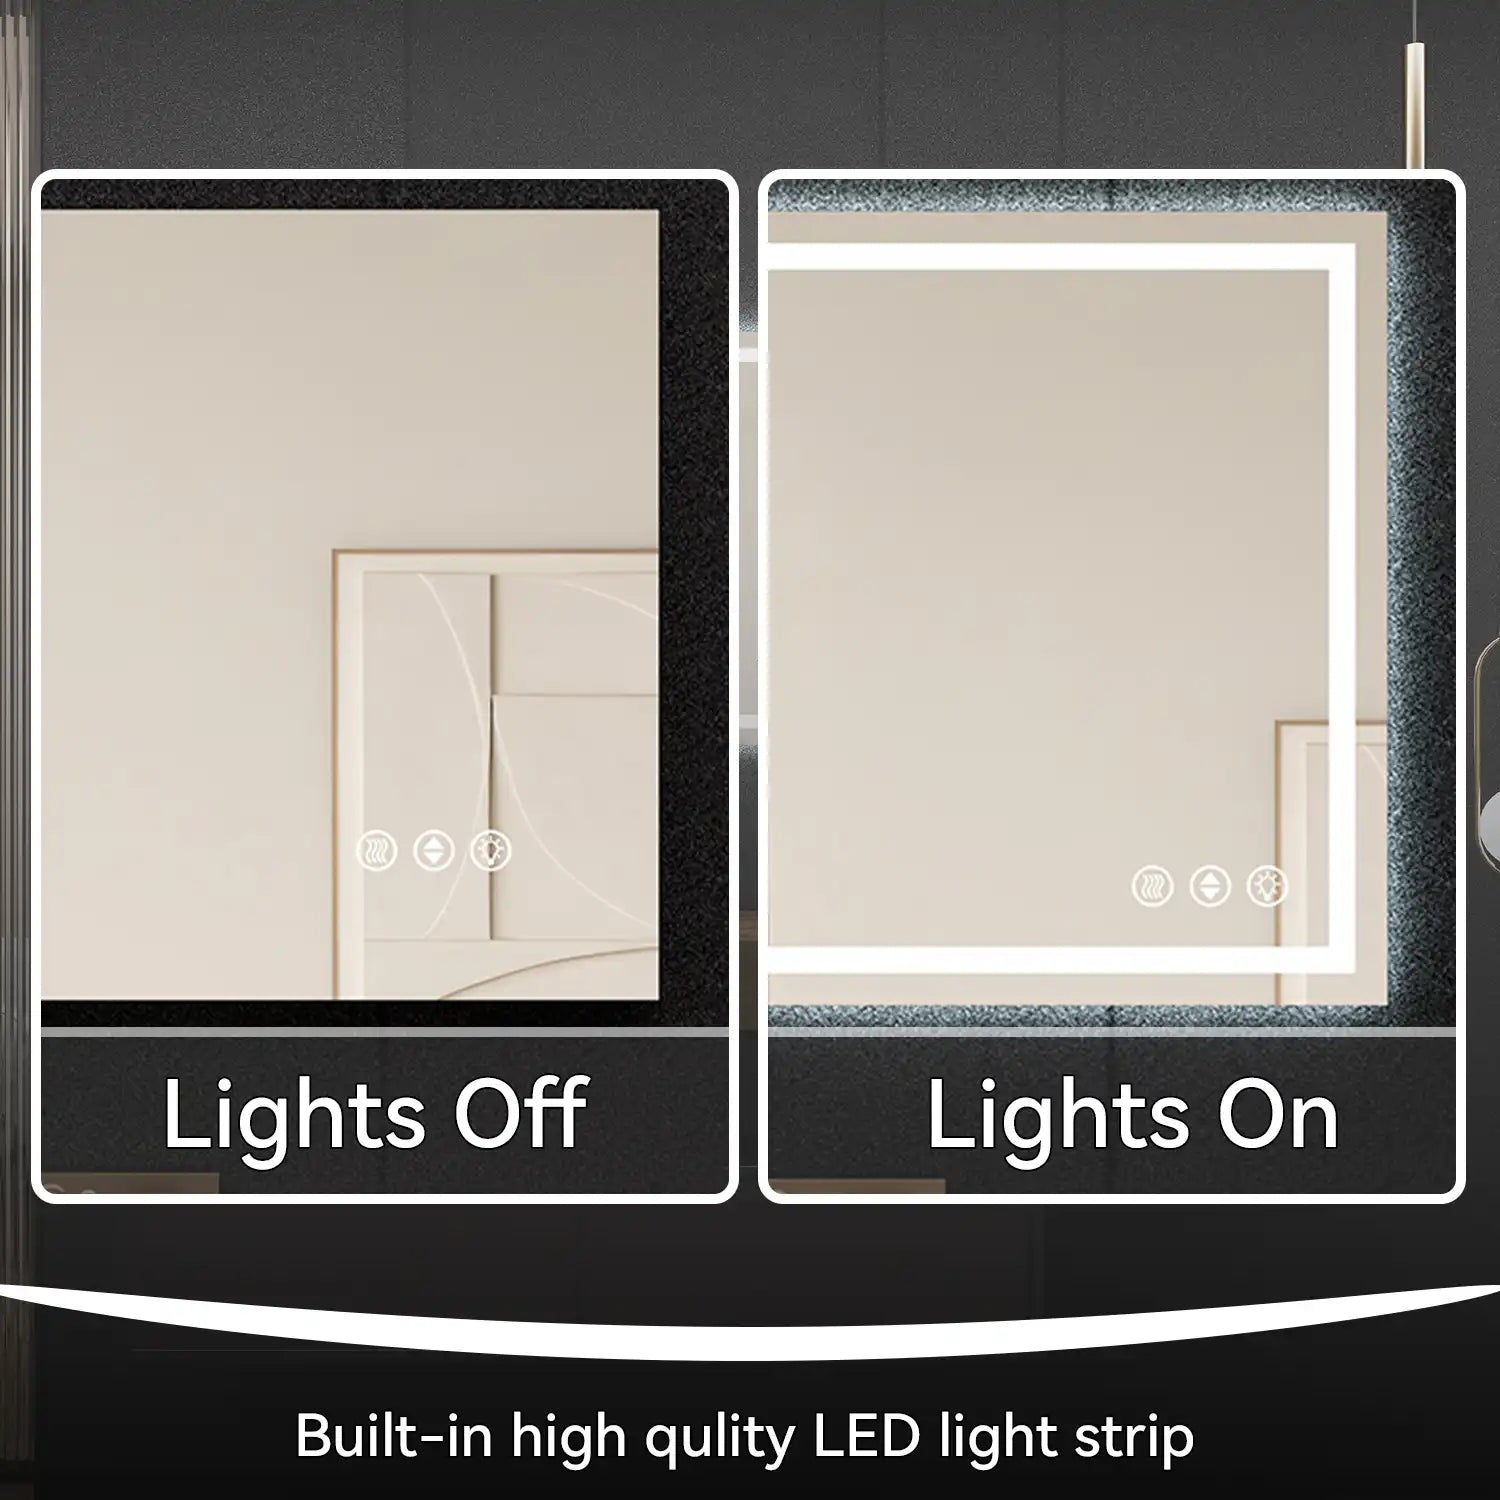
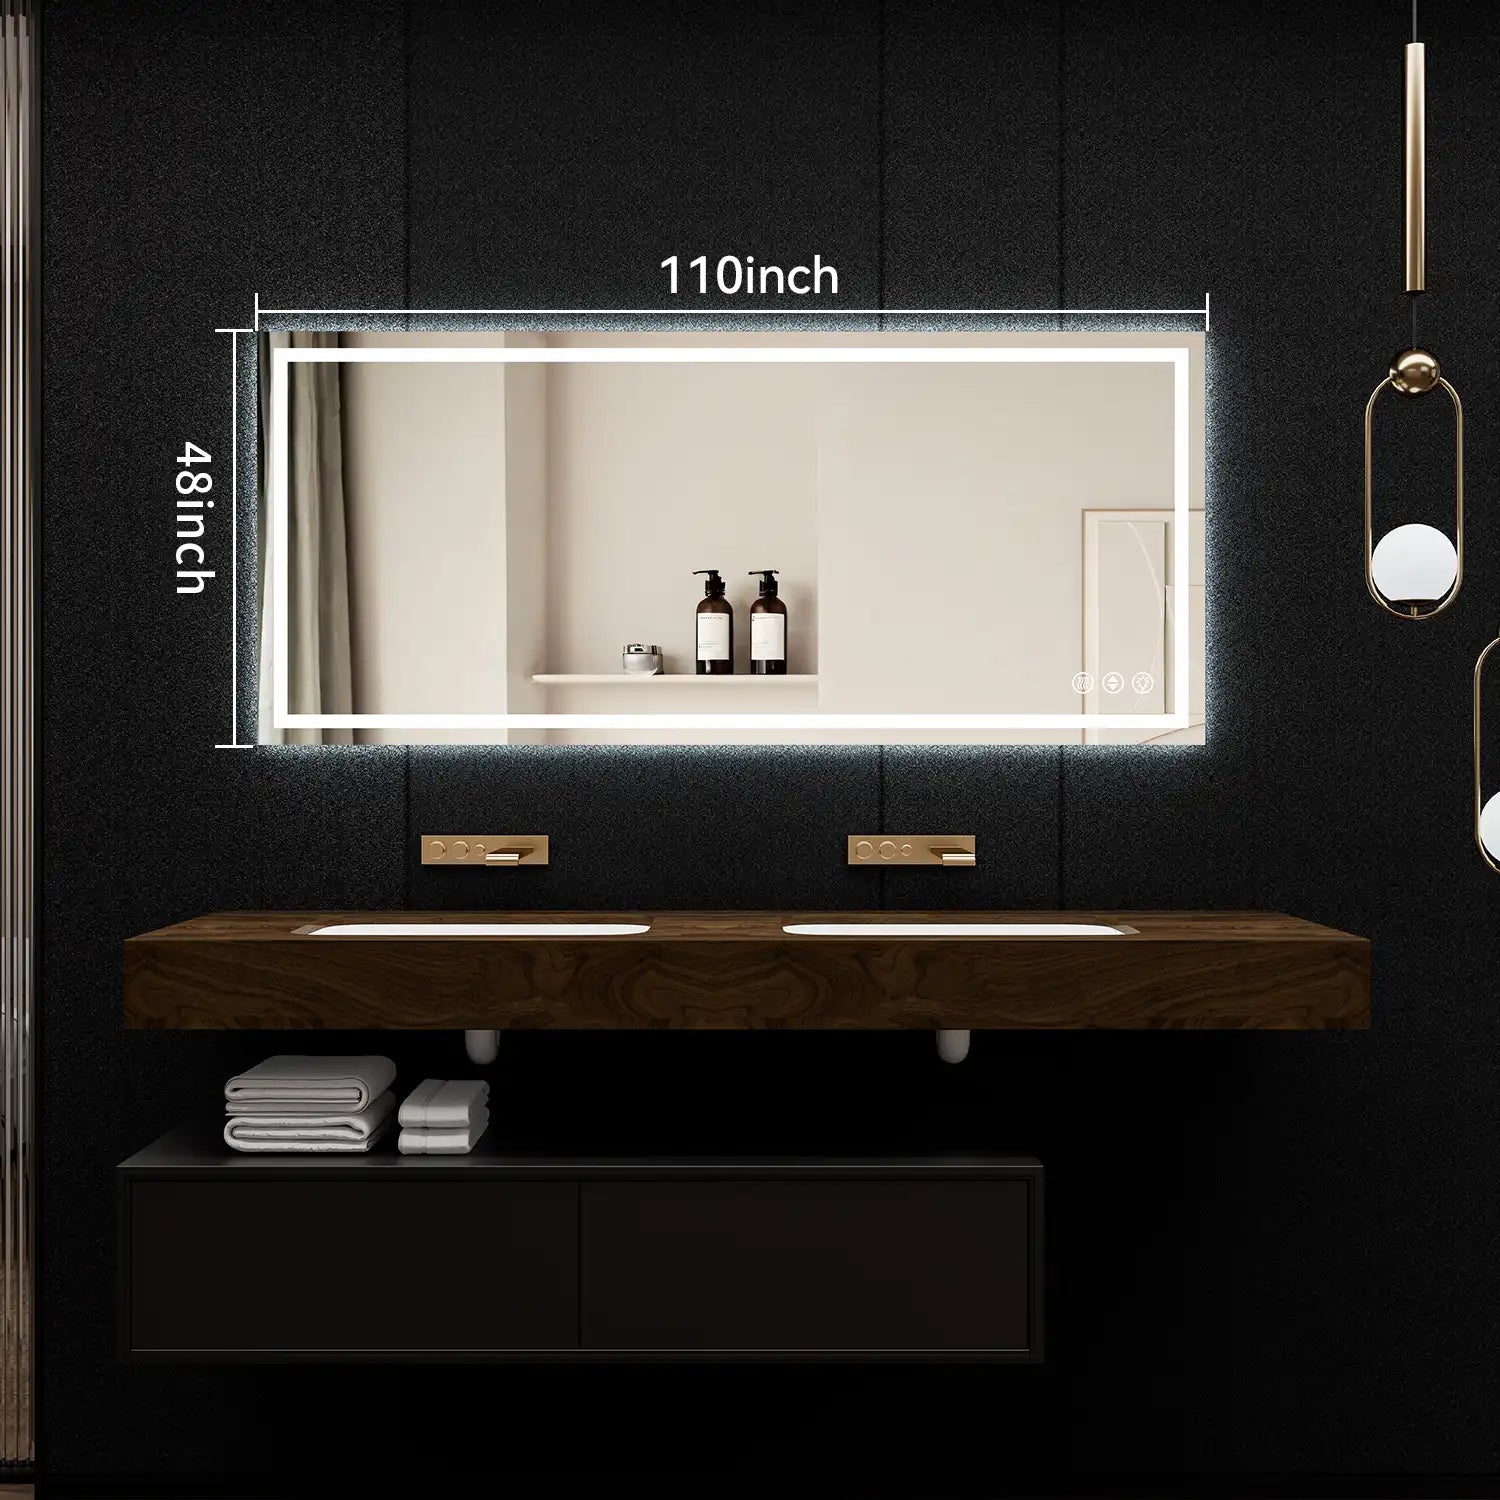
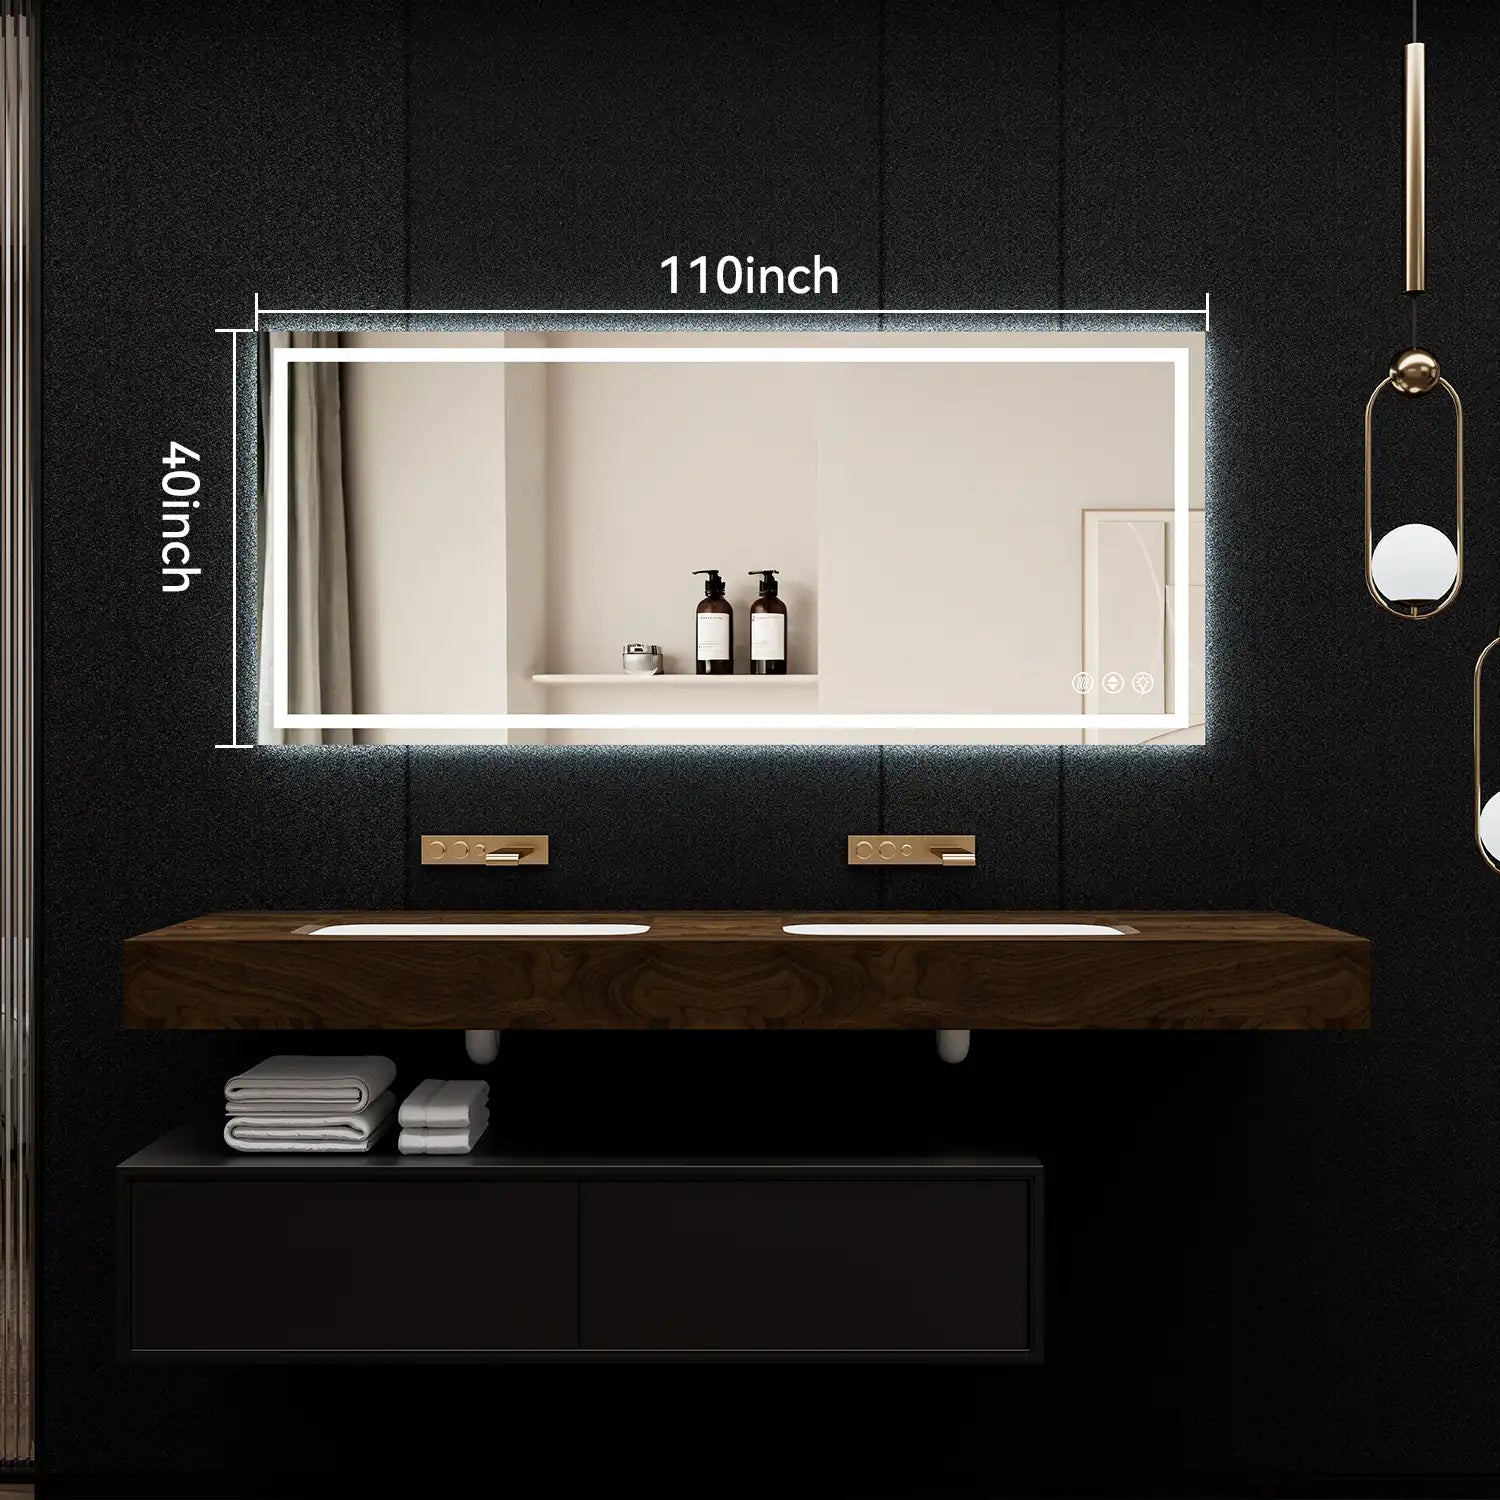
If you're already replacing a damaged mirror, it's an ideal opportunity to upgrade both safety and functionality. Modern bathroom mirrors and medicine cabinets offer features like integrated lighting, anti-fog technology, and durable mounting systems that reduce future stress on the glass.
If you're ready to move on from a cracked mirror, explore premium bathroom mirrors and mirrored medicine cabinets from ACE DECOR—designed to combine clean aesthetics, everyday practicality, and long-term reliability.
Conclusion
While it is sometimes possible to fix a mirror, that only applies when it is a simple and contained issue. Tiny chips and fine cracks can generally be stabilized with resin or epoxy to extend the useful life of the mirror. As cracks grow longer, spread toward the edges, or affect the mirror’s structure, replacement becomes the safer and more practical solution.
FAQ
Q1: Can I use superglue to fix a cracked mirror?
Q2: Is it safe to keep using a cracked mirror?
Q3: How long does a mirror repair last?
Q4: Can I repair a mirror with black edges or spots?
Related Articles
Finding the Best Glue for Glass: A Practical Guide Based on Use Cases and Material Compatibility
How to Clean and Maintain LED Bathroom Mirrors: Keep Your Mirror Clear and Bright for a Long Time
Are Smart Features Worth It in a Bathroom Lighted Mirror?
Understanding Bathroom Mirror Light Placement for Optimal Functionality