A cracked mirror in your bathroom isn’t just an eyesore — it can also be a safety risk and a functional nuisance. Whether it's a small chip from a bump or a larger fracture running across the surface, addressing mirror damage the right way is key to maintaining both aesthetics and usability.
This guide explains what causes a cracked mirror, how to assess the damage, step-by-step DIY fixes for hairline cracks, costs, and when replacement is safer. If you’re dealing with a cracked bathroom mirror, use this checklist to make a confident decision.
Cracked mirror quick fix: Clean the glass, tape the area, inject windshield-style resin, cover with UV film, cure, then scrape flush. This stabilizes hairline cracks under ~4″ away from edges. If the cracked mirror shows spiderweb fractures, sharp shards, or edge damage, replacement is the safer choice.
Table of Contents:
- Why Mirrors Crack: Common Causes of a Cracked Mirror
- Cracked Mirror Assessment: Is It Fixable?
- DIY Cracked Mirror Fixes (Hairline Cracks & Chips)
- Cracked Mirror Cost and Damage Types Explained
- When a Cracked Mirror Needs a Pro
- Beyond Repair: When a Cracked Mirror Must Be Replaced
- Conclusion
- FAQ: Cracked Mirror Repair & Maintenance
Why Mirrors Crack: Common Causes of a Cracked Mirror
Understanding why your mirror cracked in the first place helps prevent future issues. Some of the most common causes include:
-
Impact Damage: One of the most frequent culprits. Accidental bumps from doors, tools, or falling objects can chip or crack mirror surfaces.
-
Improper Installation: Mirrors installed without proper backing or frame support may flex over time, especially during cleaning or when weight shifts.
-
Temperature Stress: Sudden changes in temperature — such as blasting hot water in a cold bathroom — can cause glass expansion and contraction, leading to cracks.
-
Glass Defects or Spontaneous Breakage: The rare fourth culprit is when a natural imperfection in the mirror or embedded stress point leads to spontaneous cracking (in other words: the glass cracks on its own).
A cracked mirror isn't always your fault — sometimes the materials or environment play a bigger role than you’d expect.

Cracked Mirror Assessment: Is It Fixable?
Before you grab glue, assess the cracked mirror carefully—minor chips differ from structural fractures. There are generally three levels of damage:
-
Minor Chips or Hairline Cracks: These small imperfections are often caused by light impact or stress. They rarely spread further if managed properly.
-
Medium-Length Cracks: These are generally isolated but can be quite noticeable. While cracks that haven’t reached the edge or damaged the backing may be suitable for DIY repair, some cases may still require professional evaluation to ensure safety and effectiveness.
-
Severe Fractures or Shattering: If the mirror has sharp fragments, visible splintering, or multiple cracks intersecting, it's a safety hazard. In most cases, these mirrors are not repairable.
Shine a flashlight across the surface. If the light reflects inconsistently or if you see internal fracturing behind the surface, replacement is likely your best option.
DIY Cracked Mirror Fixes (Hairline Cracks & Chips)
Best for cracked mirror hairline damage under ~4 inches and away from edges.
🛠 Tools & Materials for Cracked Mirror Repair:
- Windshield repair resin kit (must include: resin syringe, stabilizer film, UV curing strip)
- Razor blade
- Isopropyl alcohol or glass cleaner
- Painter’s tape
- UV light or direct sunlight
- Protective gloves and goggles
| Difficulty: | Time Required: | Estimated Cost: |
|---|---|---|
| Low | 30–45 minutes | US $10–$25 |
🔰 Safety Tips:
- Always wear gloves and goggles to avoid contact with sharp edges or chemicals
- Lay the mirror flat on a stable surface
🔧 Step-by-Step Repair Process:
Clean the Mirror Surface
Use isopropyl alcohol and a microfiber cloth to clean the cracked area. Ensure it’s dry and free of dust or oils.
Apply Painter’s Tape Around the Crack
This protects nearby areas and creates a visual boundary for working.
Attach the Resin Injection Chamber and Stabilizer Film
Stick the stabilizer film (usually with a circular resin chamber) centered over the crack.
Insert the syringe into the chamber and slowly inject the repair resin.
Let it sit for 5–10 minutes to allow the resin to fill the crack through capillary action.
Remove the Stabilizer Film
After initial filling, peel off the stabilizer film and use a razor blade to gently scrape away any surface resin.
Apply a Small Drop of Resin Over the Crack
This helps fill any remaining surface voids and smoothens the area.
Cover with UV Curing Film
Place the curing film (usually a thin, clear sheet) directly over the drop.
Its purpose is to exclude air, flatten the resin, and assist with UV curing.
Expose to UV Light or Direct Sunlight
Allow 15–30 minutes of curing time depending on light intensity.
The resin will harden fully beneath the curing strip.
Final Cleanup
Remove the UV film, then use a razor blade to gently remove excess cured resin.
Finish by polishing the surface with a clean cloth.
🎯 Final Result:
- The crack becomes significantly less visible and is structurally stabilized.
- While not 100% invisible, it prevents the crack from spreading and improves safety and aesthetics.
Cracked Mirror Cost and Damage Types Explained
Cost to Fix a Cracked Mirror
- DIY resin kit: $10–$25 (30–45 min) — best for hairline cracked mirror repairs.
- Pro sealing & polish: $75–$150 — medium cracks not at the edge.
- Standard replacement: $80–$200 — small wall mirrors.
- Custom/backlit replacement: $150–$300+ — cut-to-size or integrated lighting.
Cracked Mirror vs Chipped Mirror
A cracked mirror shows linear fractures that can spread; a chip is a small pit without spreading lines. Chips near edges can evolve into cracks—treat quickly with resin or replace if in the “risk zone.”
When a Cracked Mirror Needs a Pro
Some cracked mirror scenarios require a pro—especially long cracks near edges, mounting points, or backlit wiring. Longer cracks, in particular, those close to the edges or mounting points come with more risks and should be handled with care to avoid additional damage.
🔍 When Professional Help Really Matters
- Cracks about 4–6 inches, especially near edges or support buttons.
- The mirror is integrated as in a built-in unit, such as a backlit medicine cabinet.
- Prior DIY treatments do not stop crack progression or appearance.
Professionals with diagnostic tools, industrial-grade materials, and the expertise ensure safety, durability, and a cleaner finish.
💸 Cost, Labor, and Time Breakdown
| Service Type | Typical Cost (USD) | Time Required | Includes |
|---|---|---|---|
| On-site Mirror Inspection | $50–$75 | 30–60 min | Evaluation, consultation |
| Medium Crack Repair | $75–$150 | 1–2 hours | Crack sealing, UV cure, polish |
| Full Mirror Replacement (Standard) | $80–$200 | 2–4 hours | Removal, disposal, new install |
| Custom Mirror Replacement | $150–$300+ | 3–5 hours | Custom-cut, wiring, structural mount |
Beyond Repair: When a Cracked Mirror Must Be Replaced
Sometimes fixing a cracked mirror isn’t safe or cost-effective—here’s when replacement is the right call. Here’s when to stop repairing and start replacing:
- Spiderweb Cracks or Multiple Breaks: Structural integrity is compromised.
- Detached Glass Pieces: If parts are falling out, it’s a hazard.
- Black Spots or Desilvering Behind Cracks: This indicates damage to the reflective coating, which can't be fixed with glue or resin.
- Cracks Near Electrical Fixtures: For backlit mirrors or those near medicine cabinets, it's better to avoid risks.
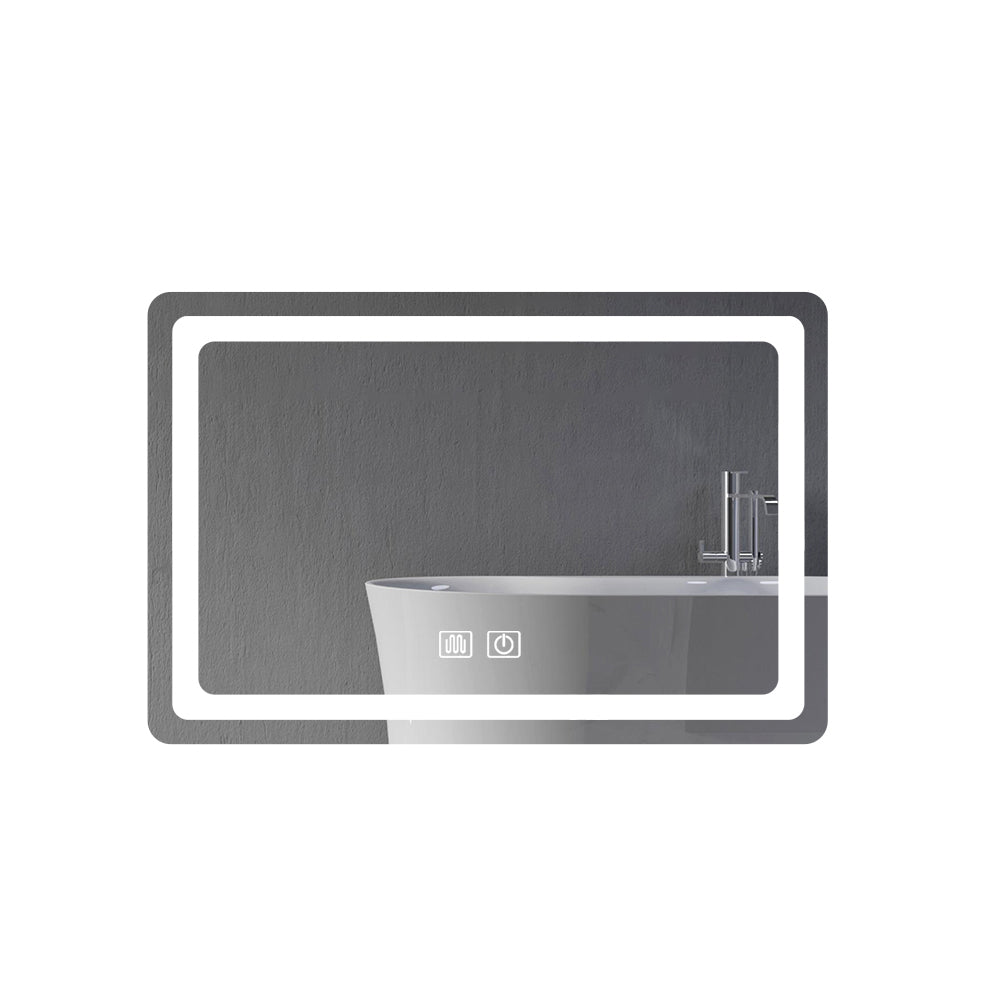
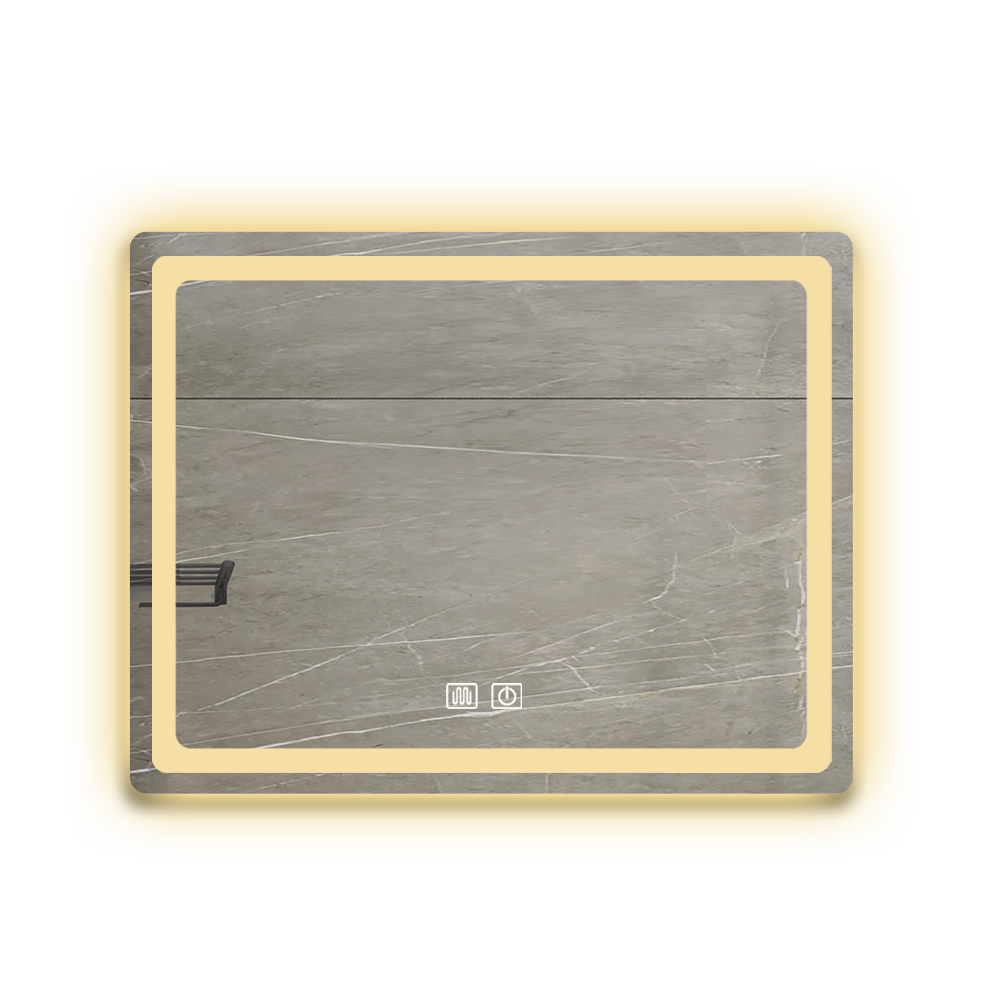
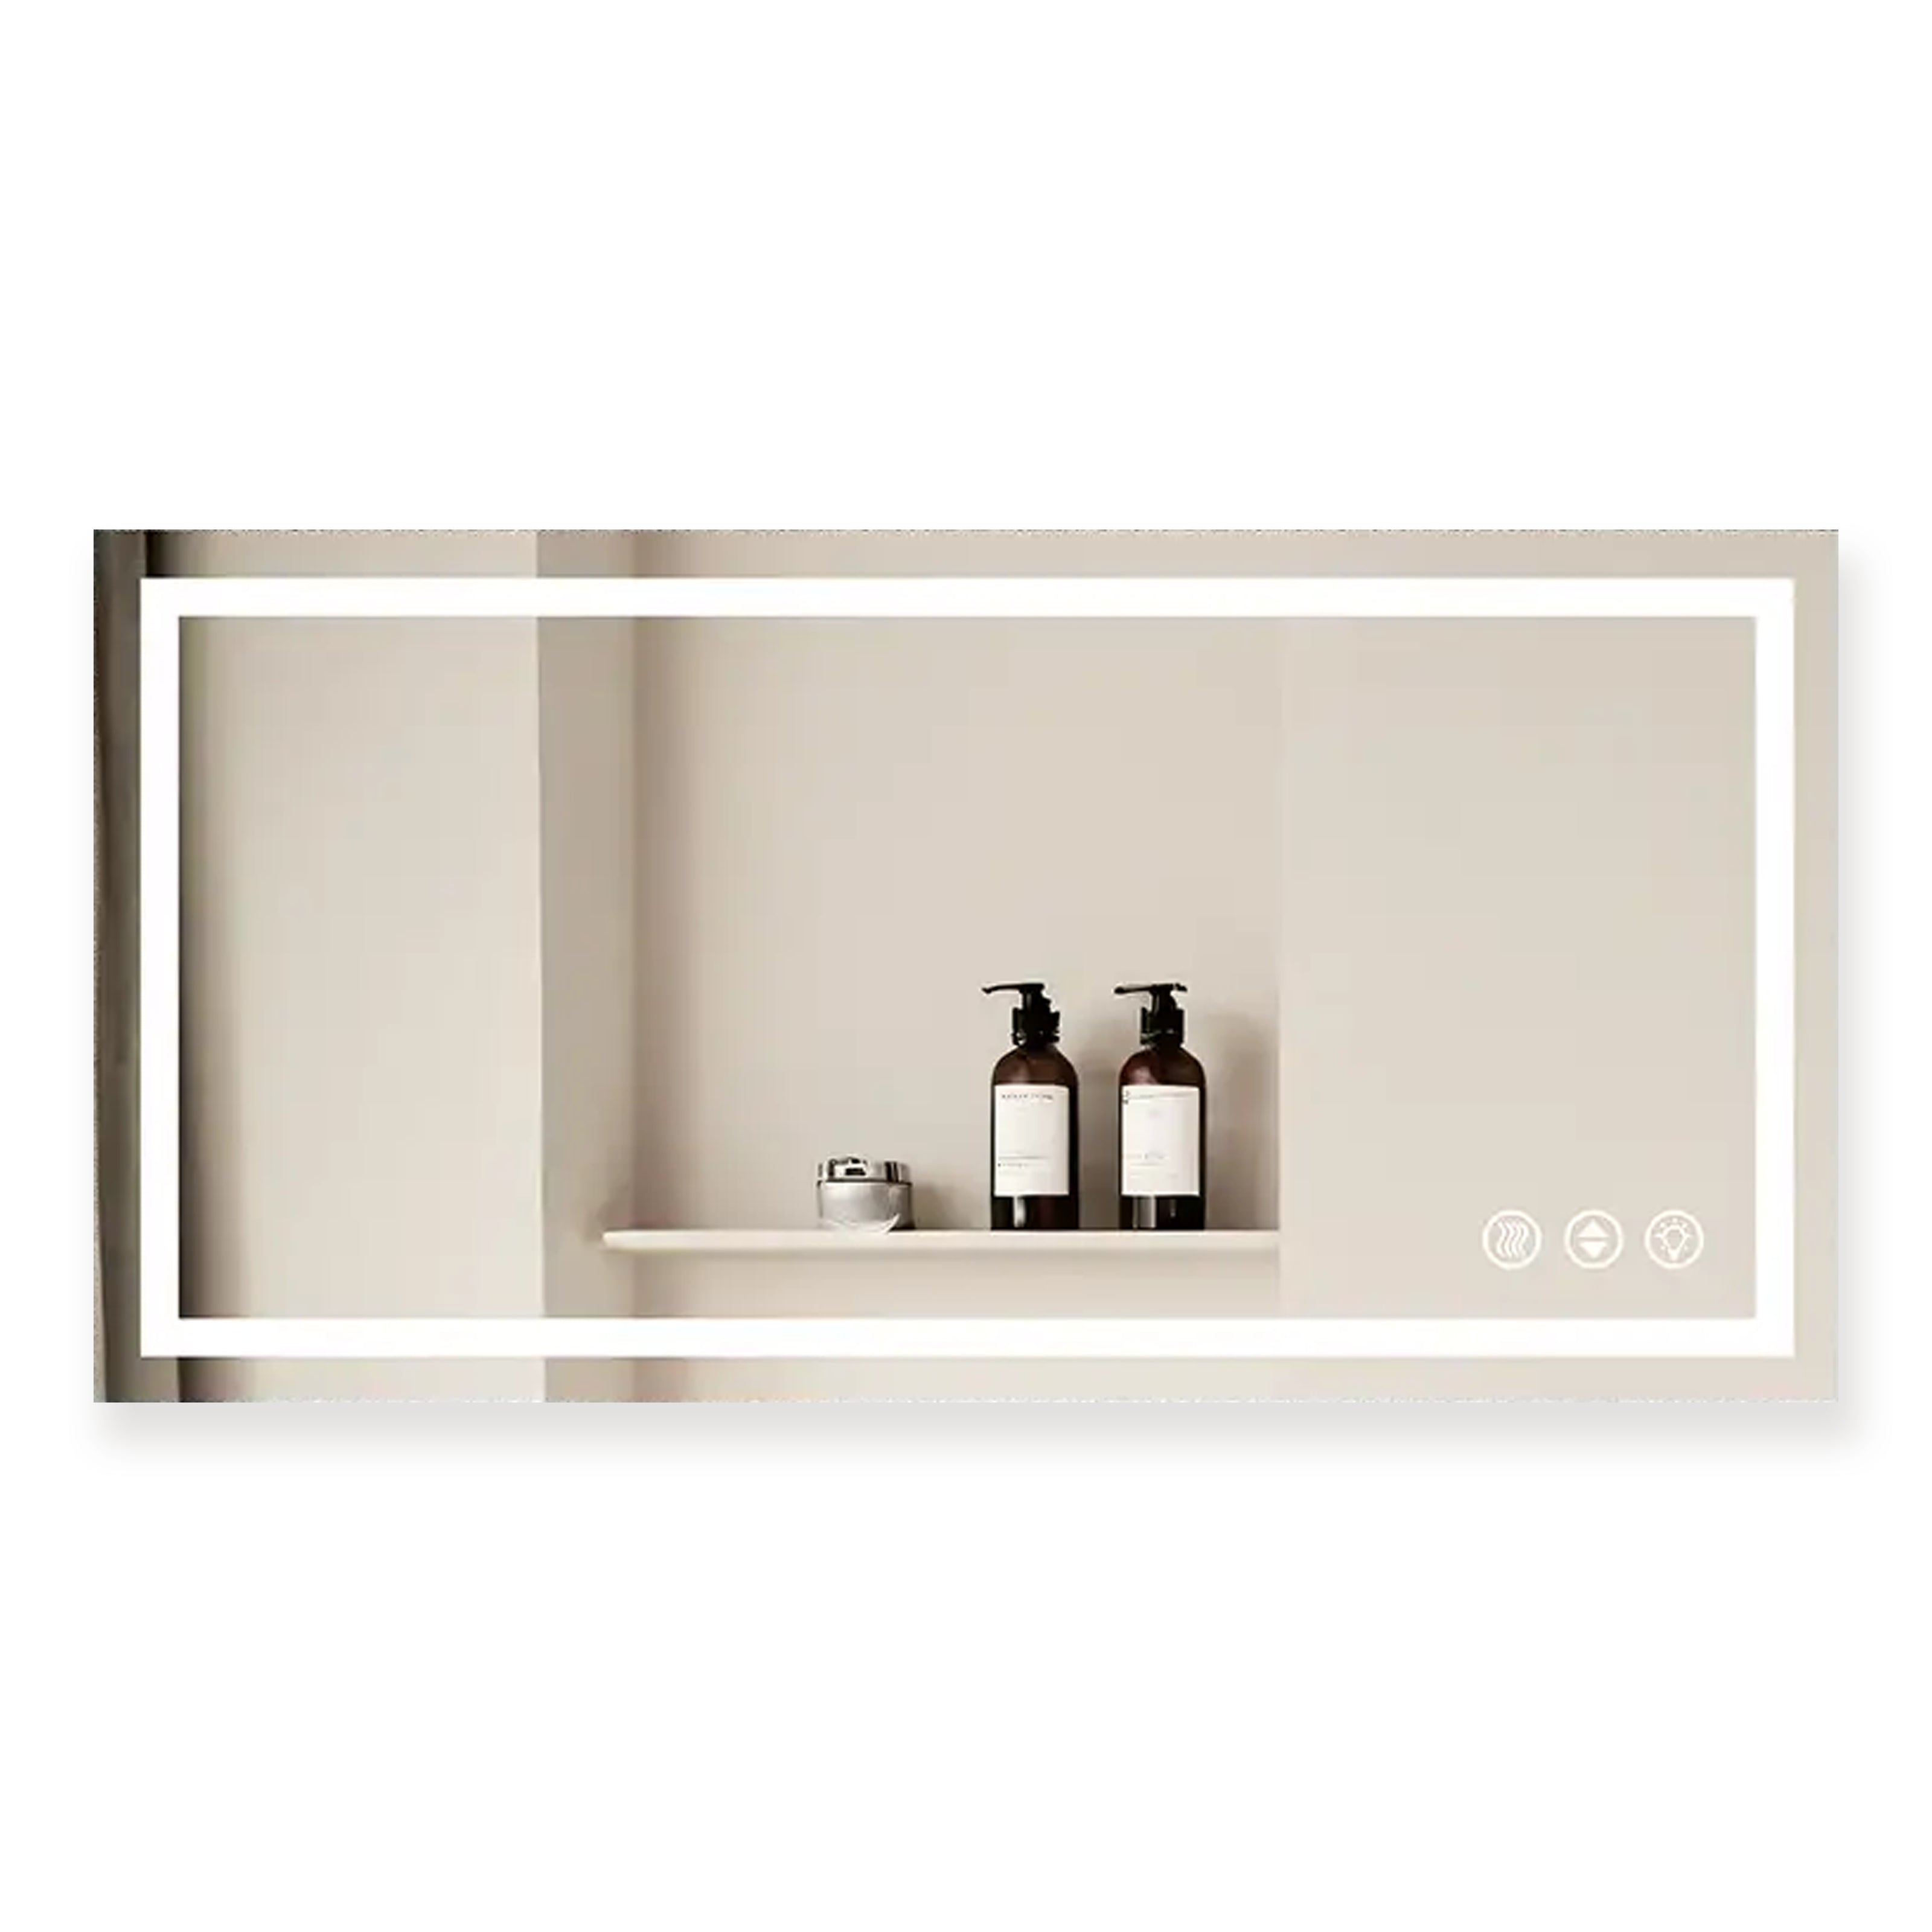
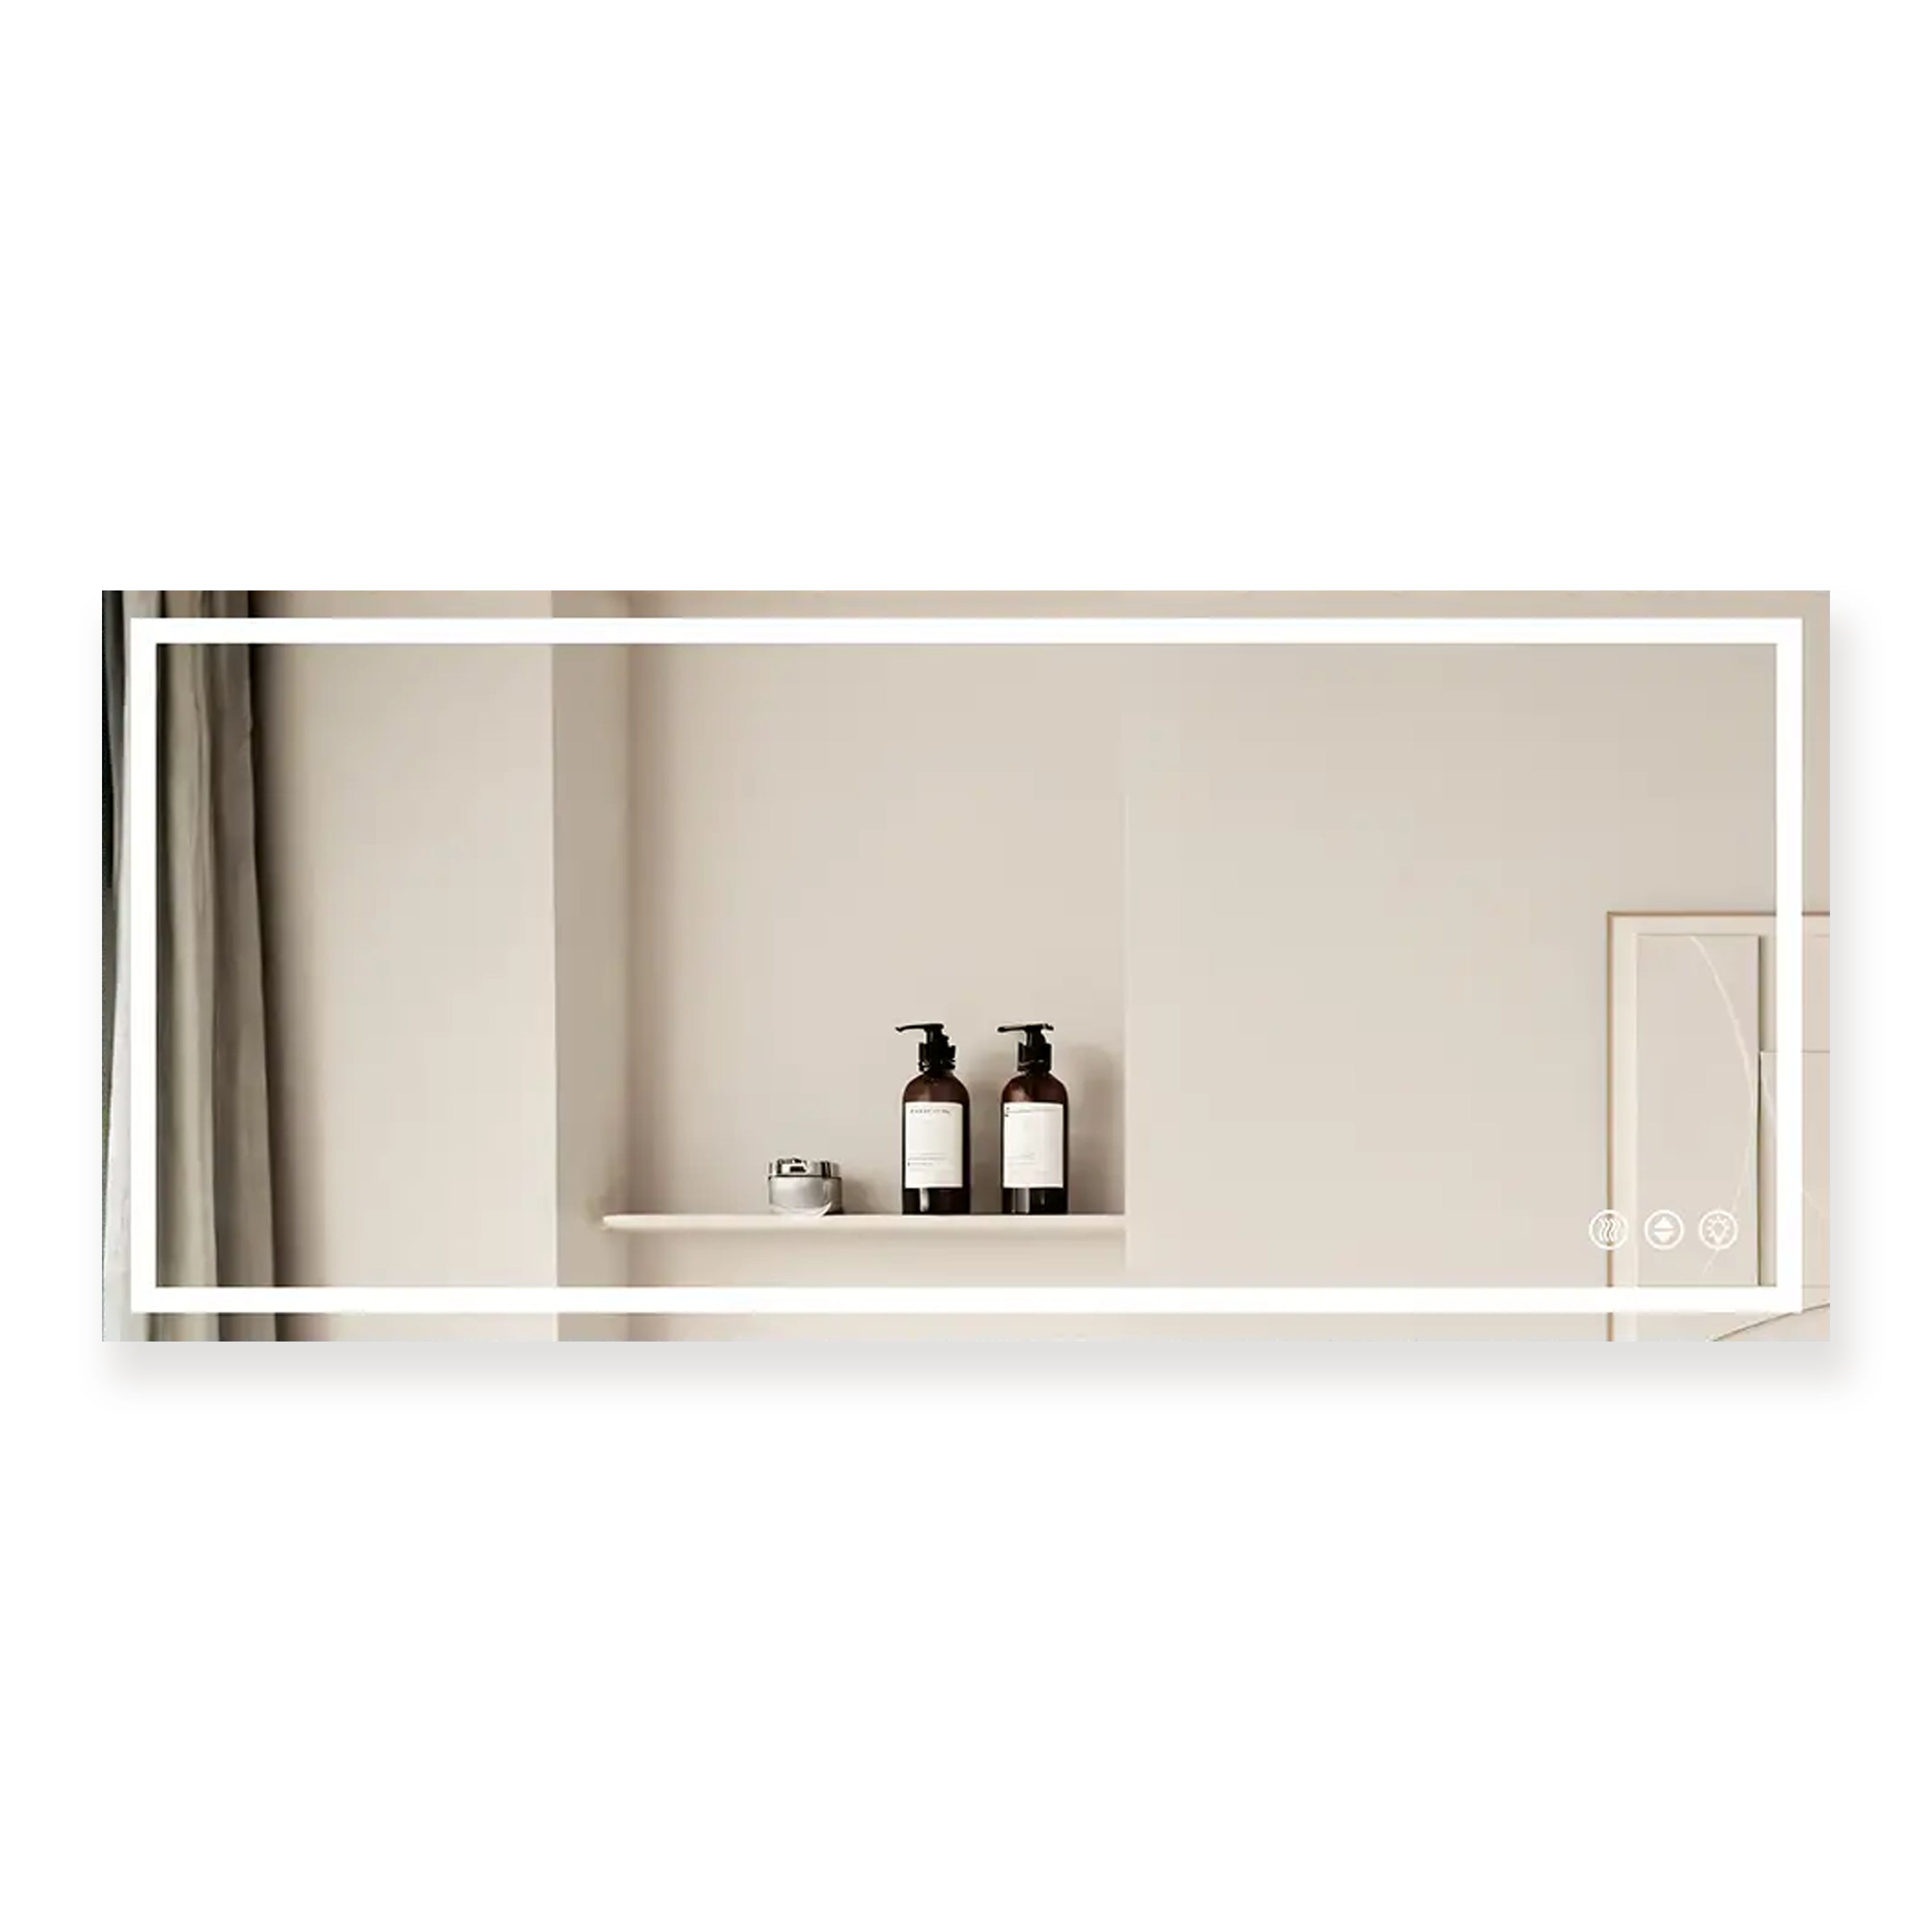
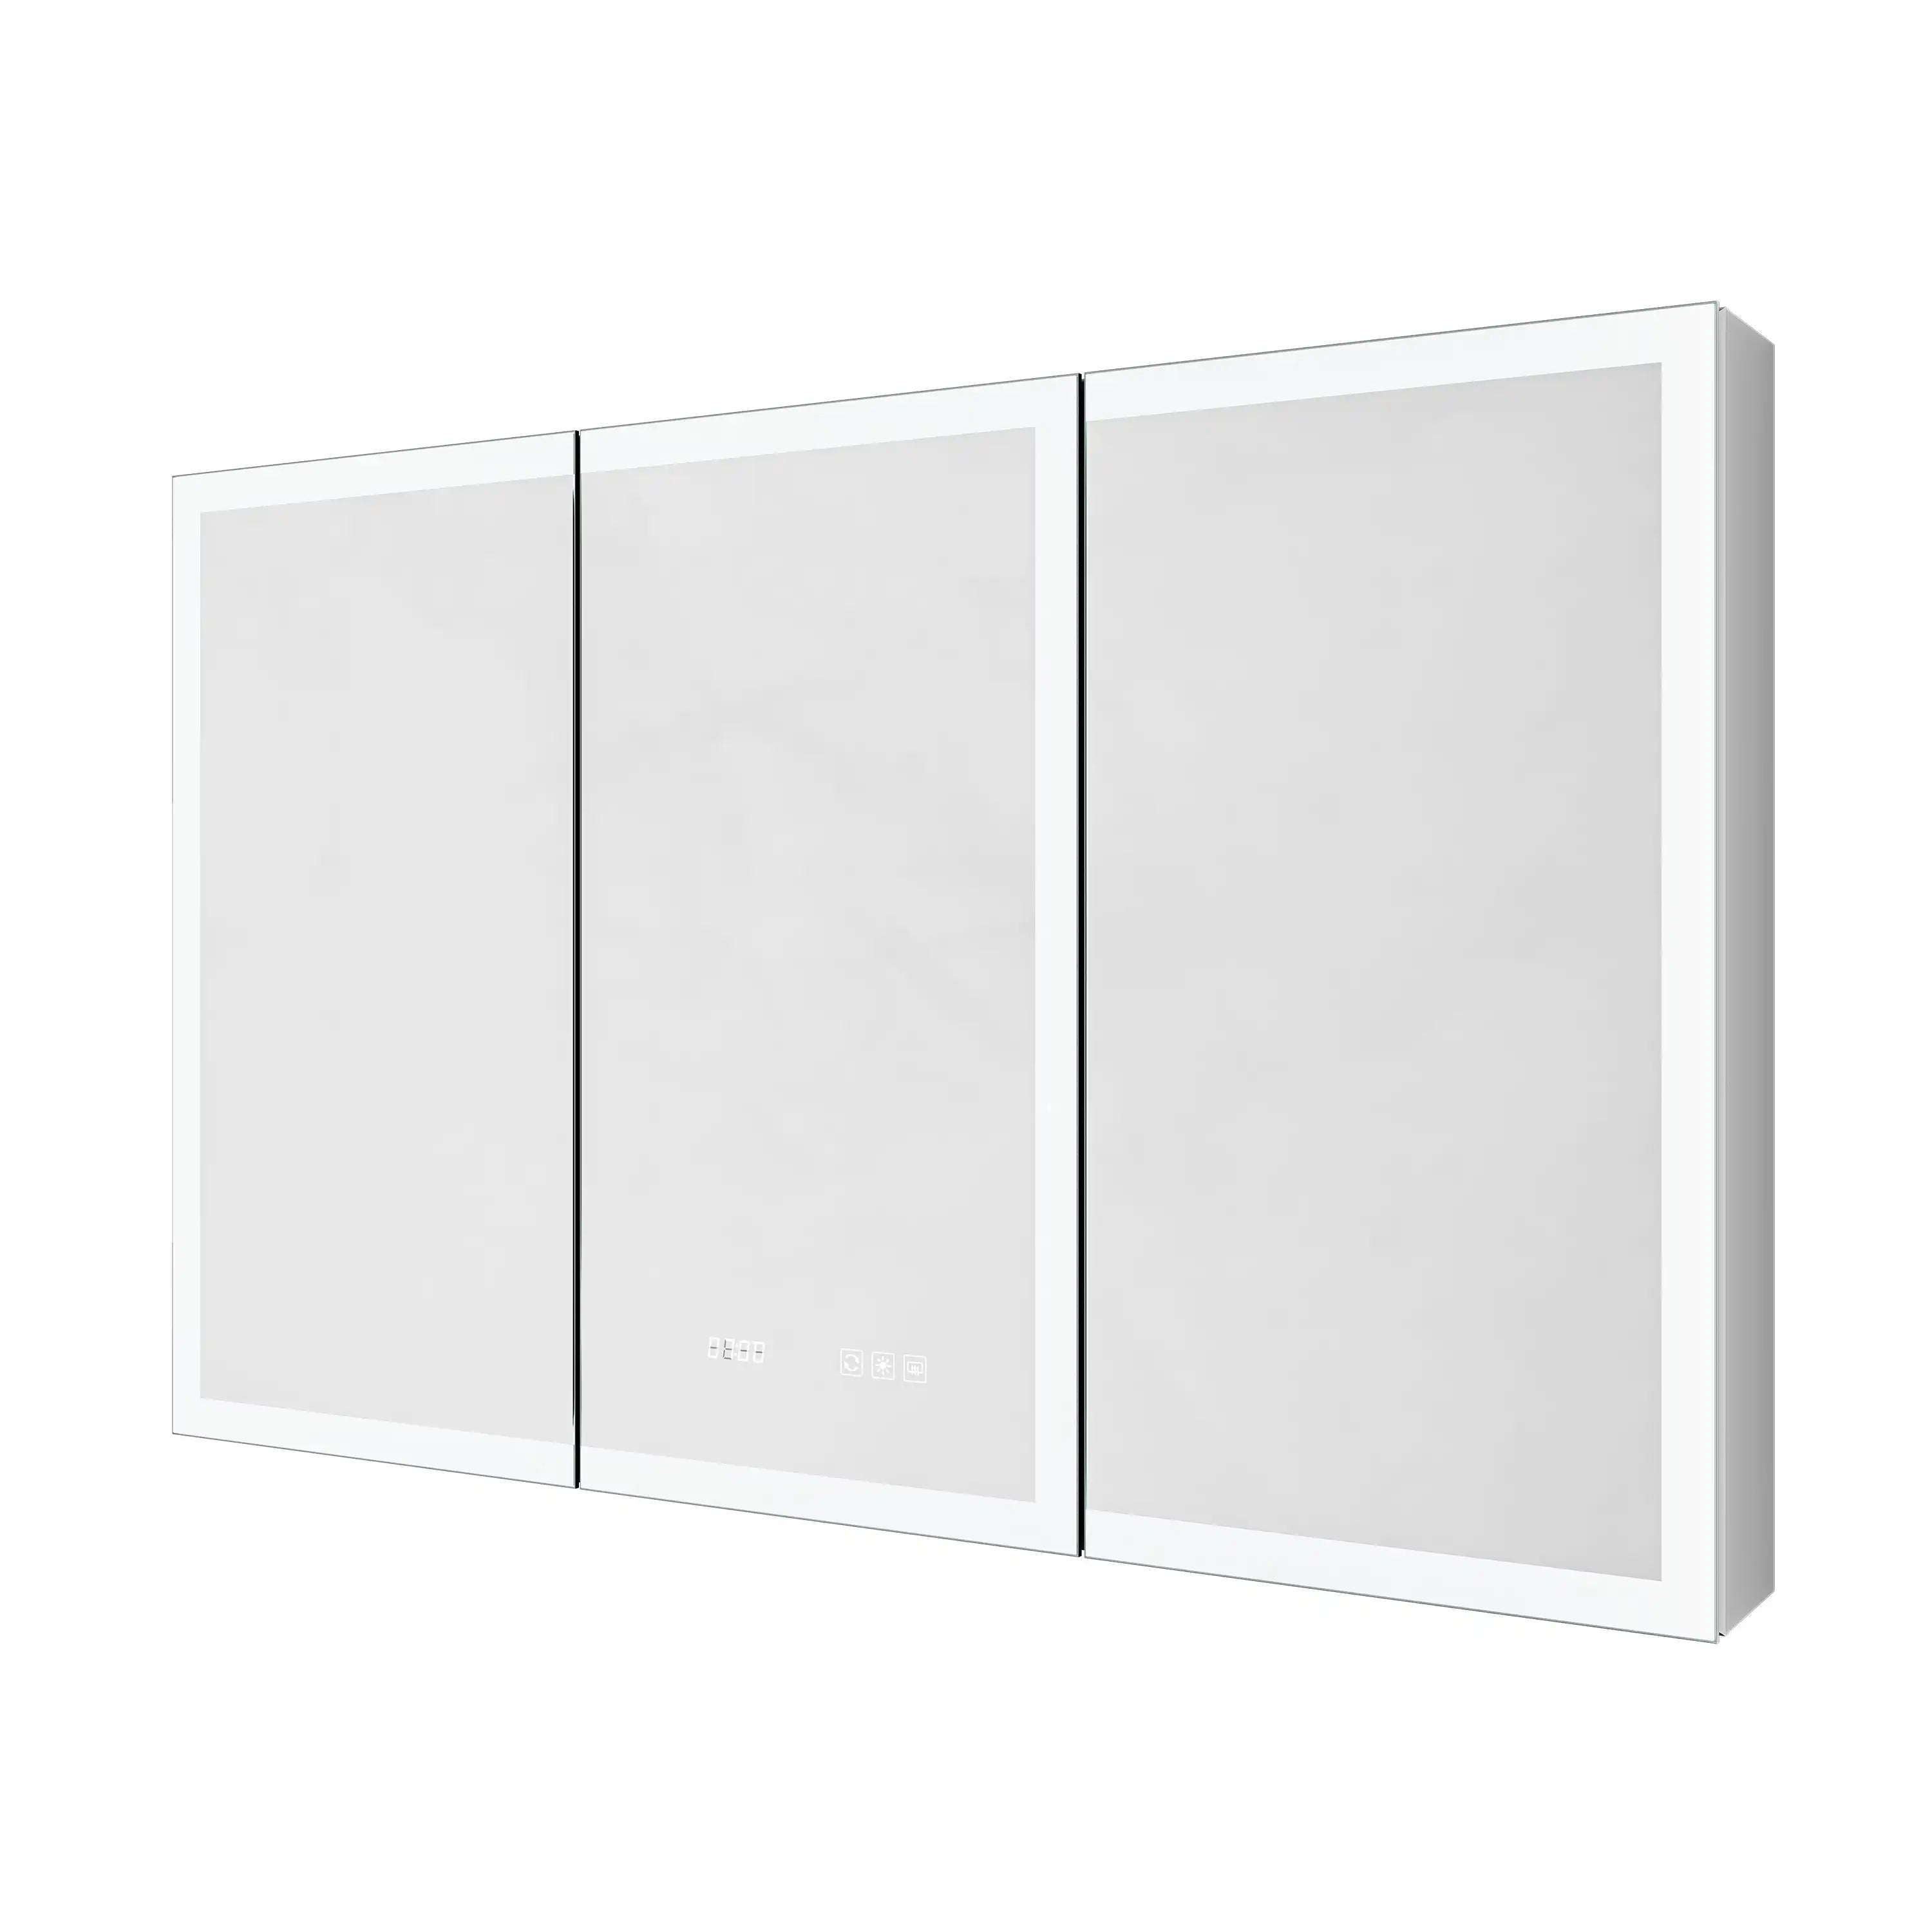
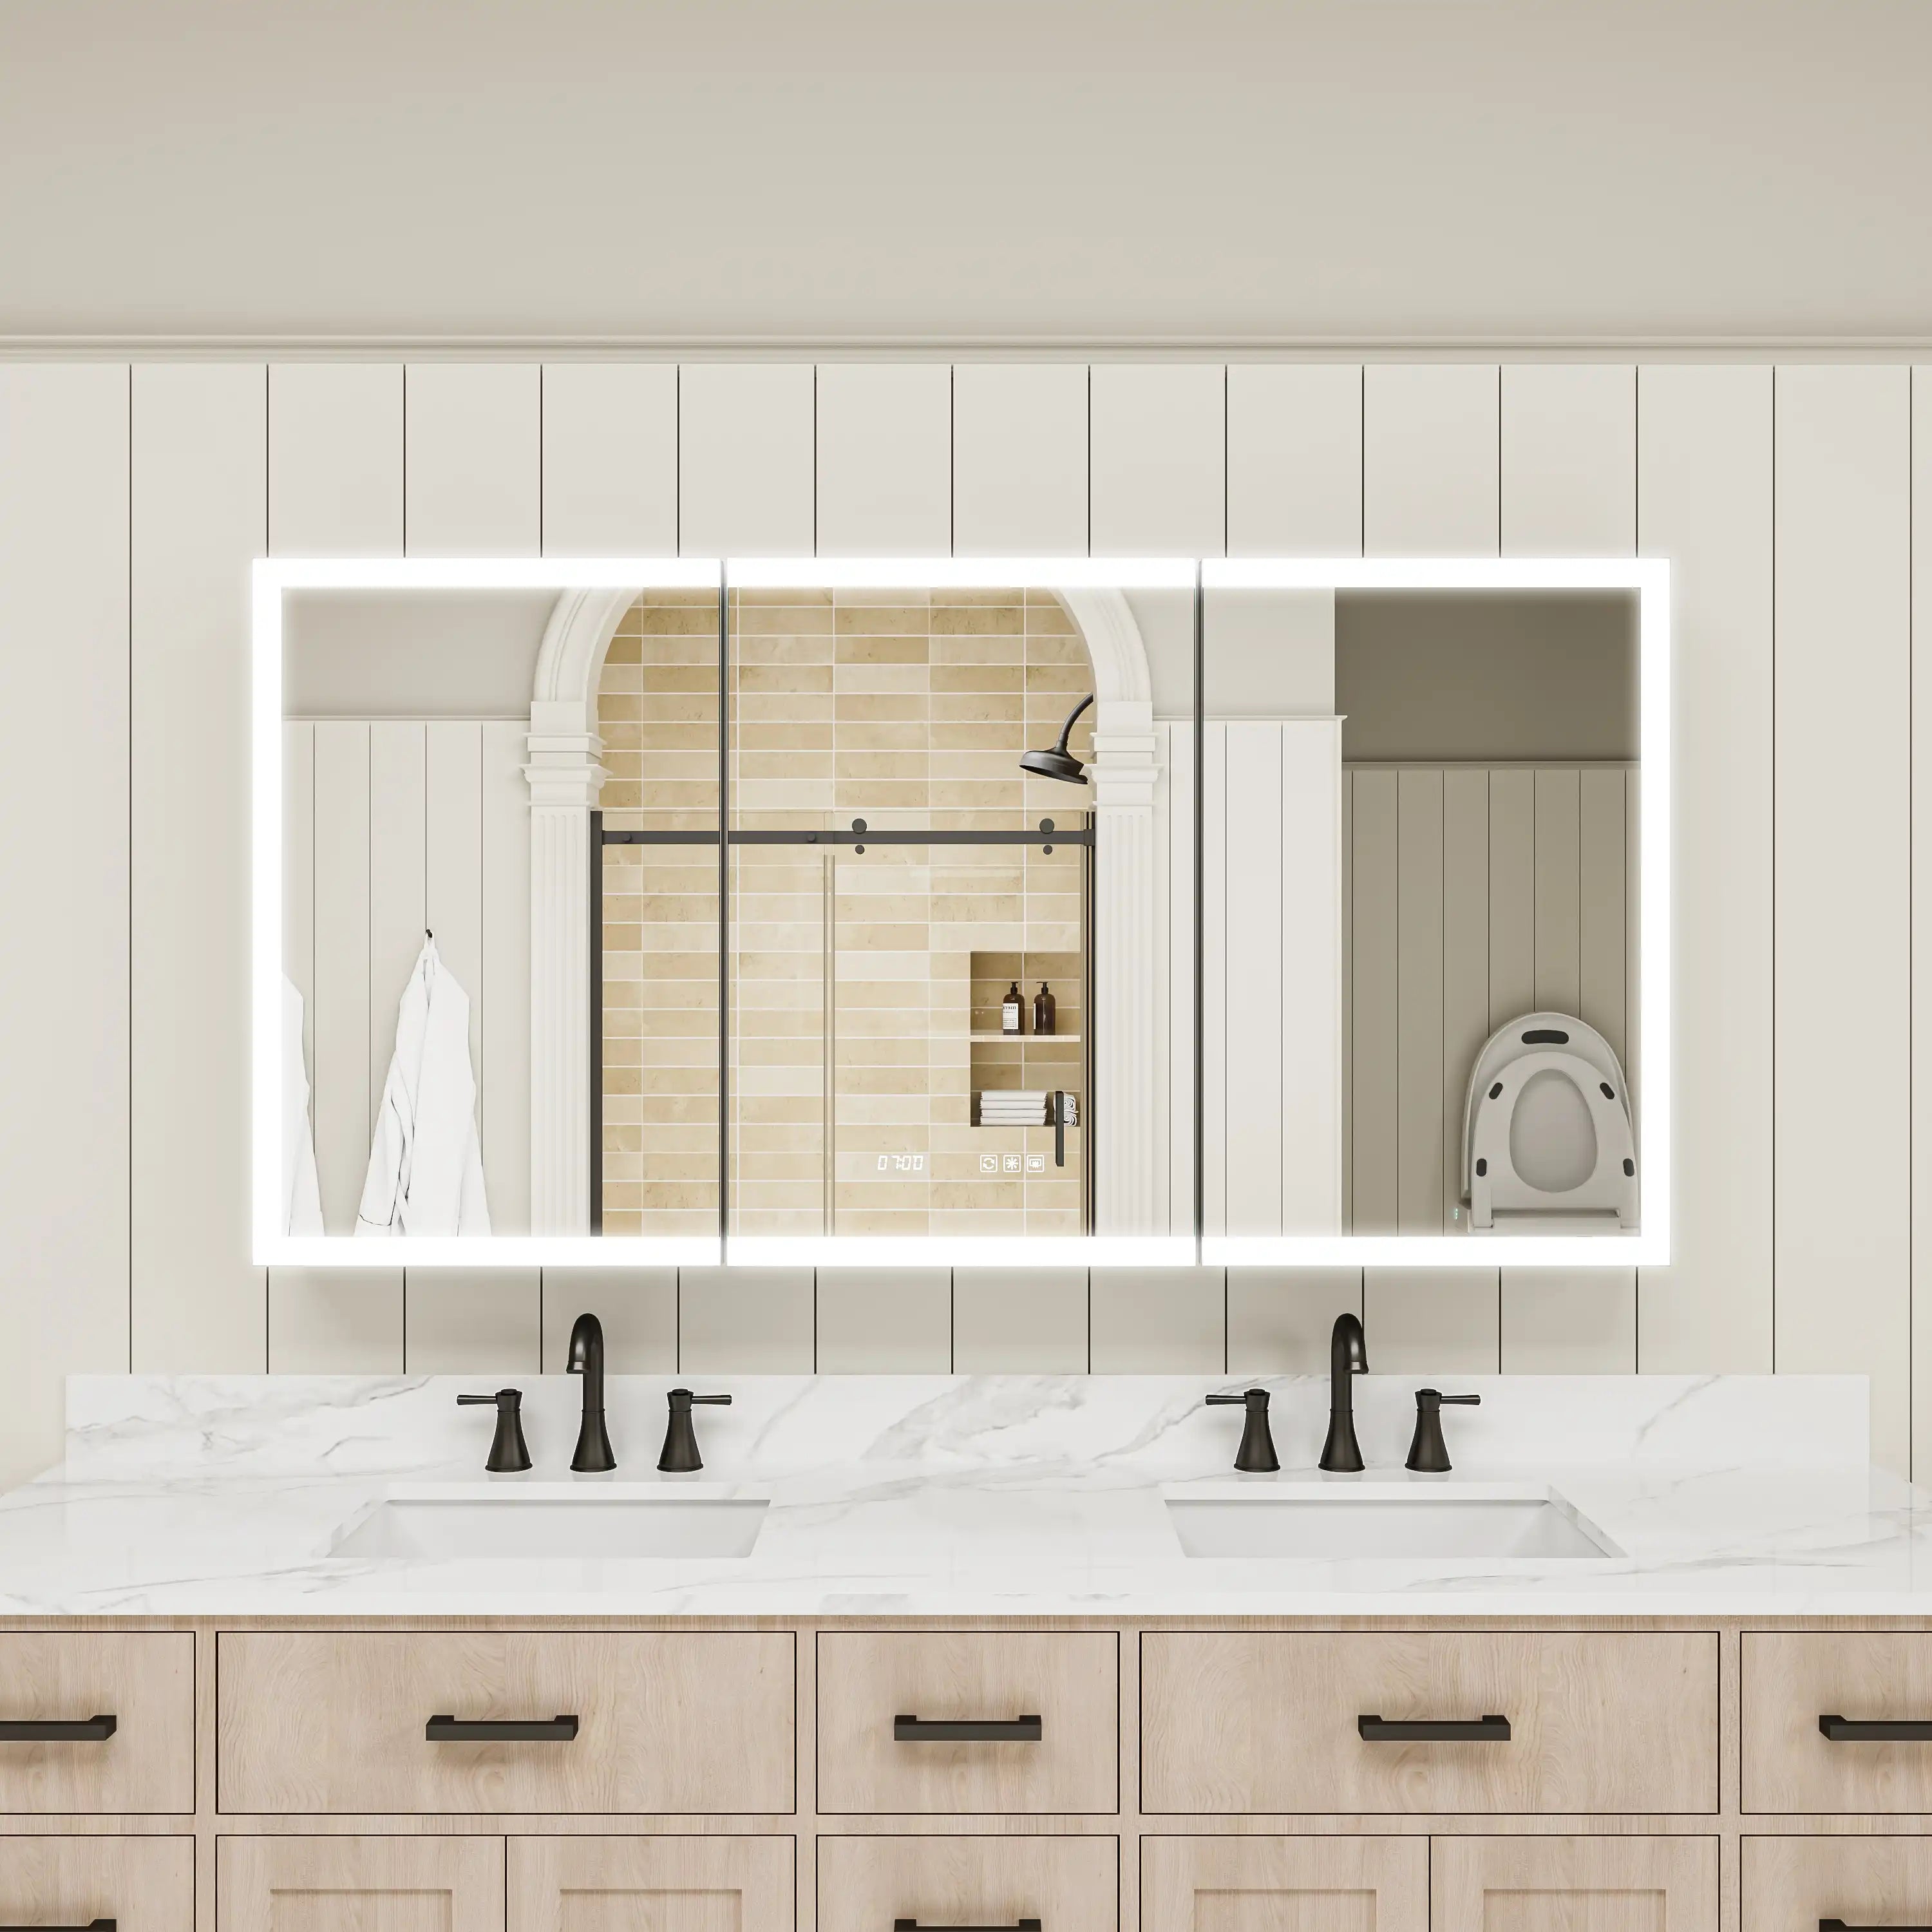
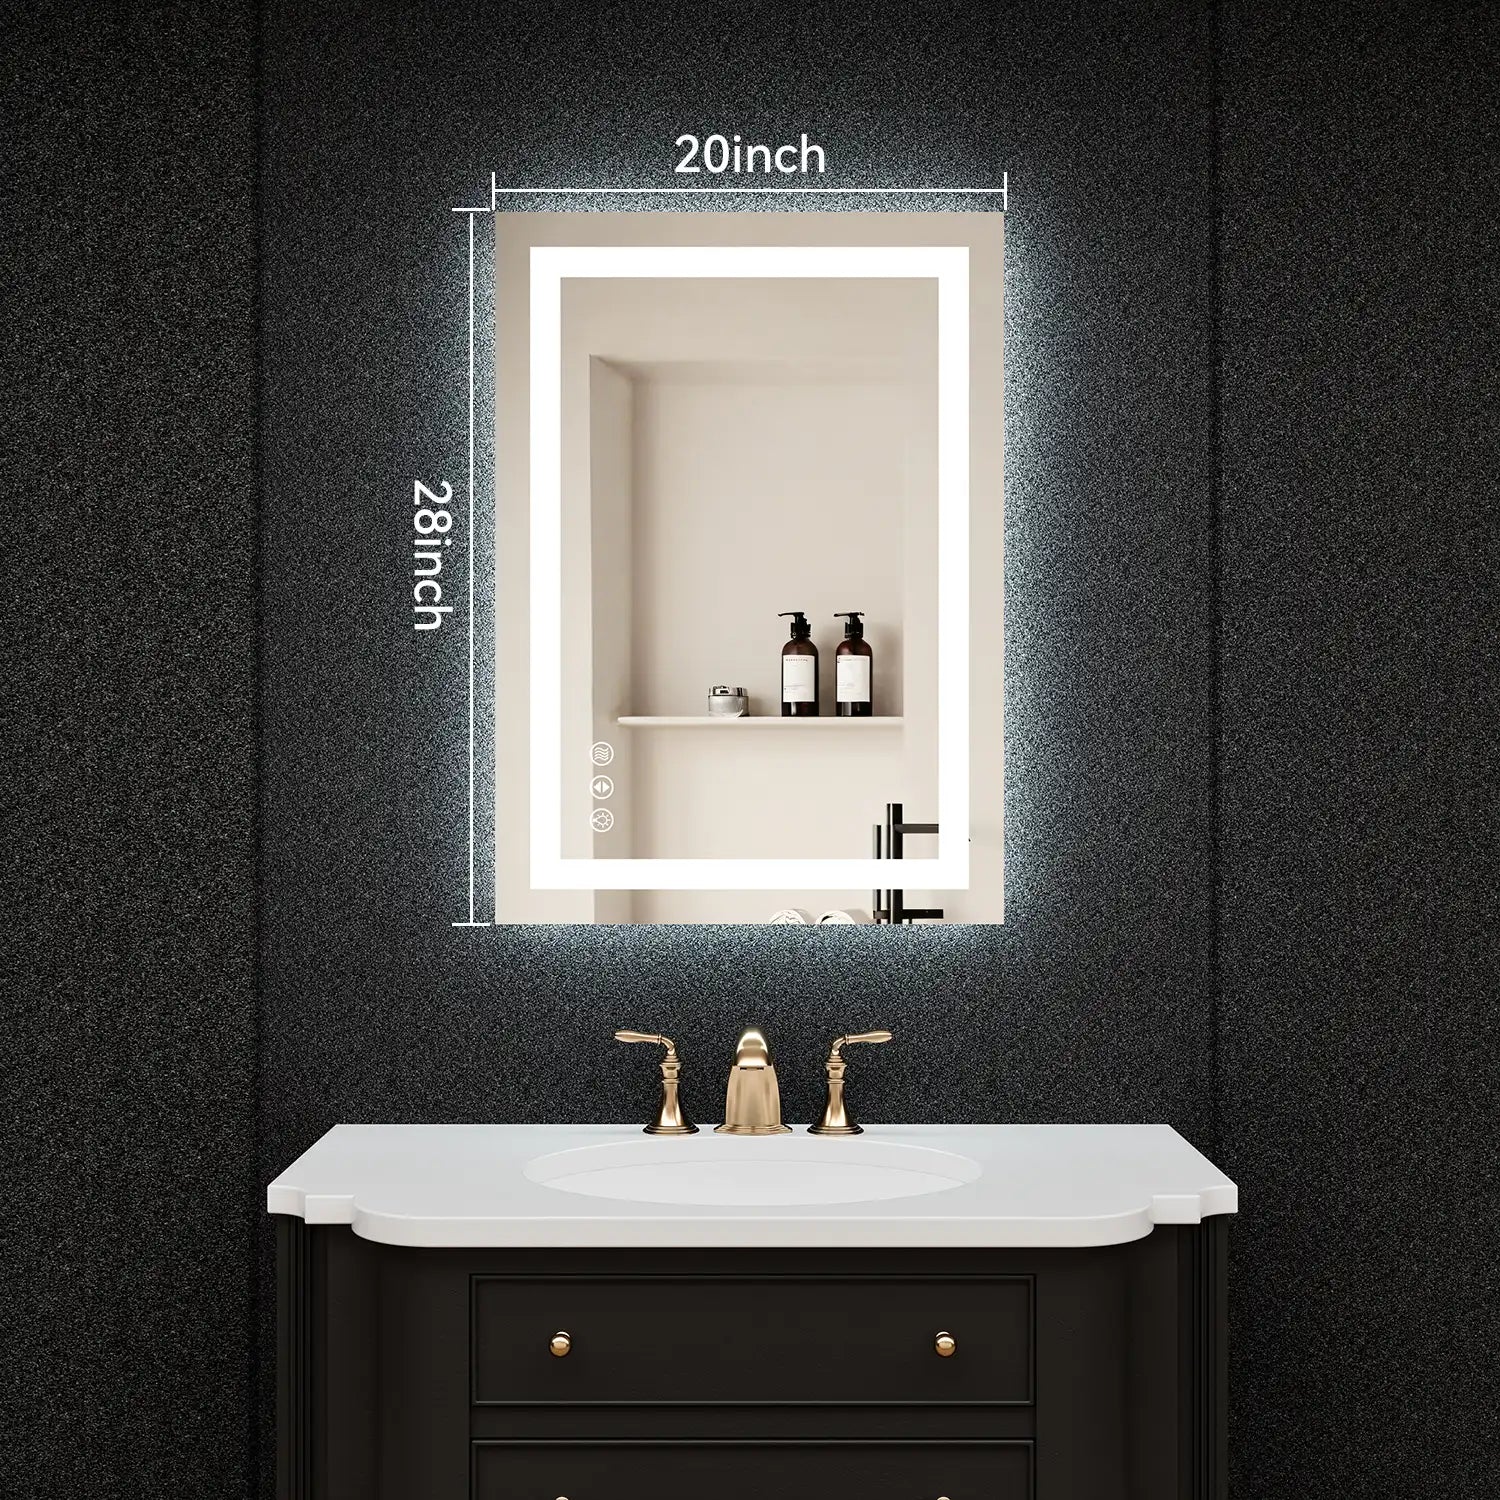
If you're ready to upgrade, consider a premium bathroom mirror or a functional medicine cabinet with integrated mirror from ACE DECOR.
Conclusion
Fixing a cracked mirror is entirely possible — depending on the severity and location of the damage. Small chips and hairline cracks are often manageable with resin or epoxy, but larger fractures usually call for replacement.
Most mirror problems can be resolved with the proper tools and materials. And when a fix just won’t cut it, upgrading to a quality bathroom mirror or medicine cabinet is a smart, lasting investment.
FAQ: Cracked Mirror Repair & Maintenance
Q1: Can I use superglue to fix a cracked mirror?
A1: It’s not recommended. For best results, use a clear UV-activated glass repair resin or a proper glass epoxy designed specifically for mirror or glass repairs.
Q2: Is it safe to keep using a cracked mirror?
A2: It depends on the severity. Small cracks may be safe temporarily, but larger or splintered damage poses safety risks and should be addressed immediately.
Q3: How long does a mirror repair last?
A3: A properly applied resin or epoxy repair can last several years, especially for minor cracks. However, structural cracks may worsen over time, requiring eventual replacement.
Q4: Can I repair a mirror with black edges or spots?
A4: No. These signs of desilvering indicate damage to the reflective coating, which is irreversible. Consider replacing the mirror in such cases.
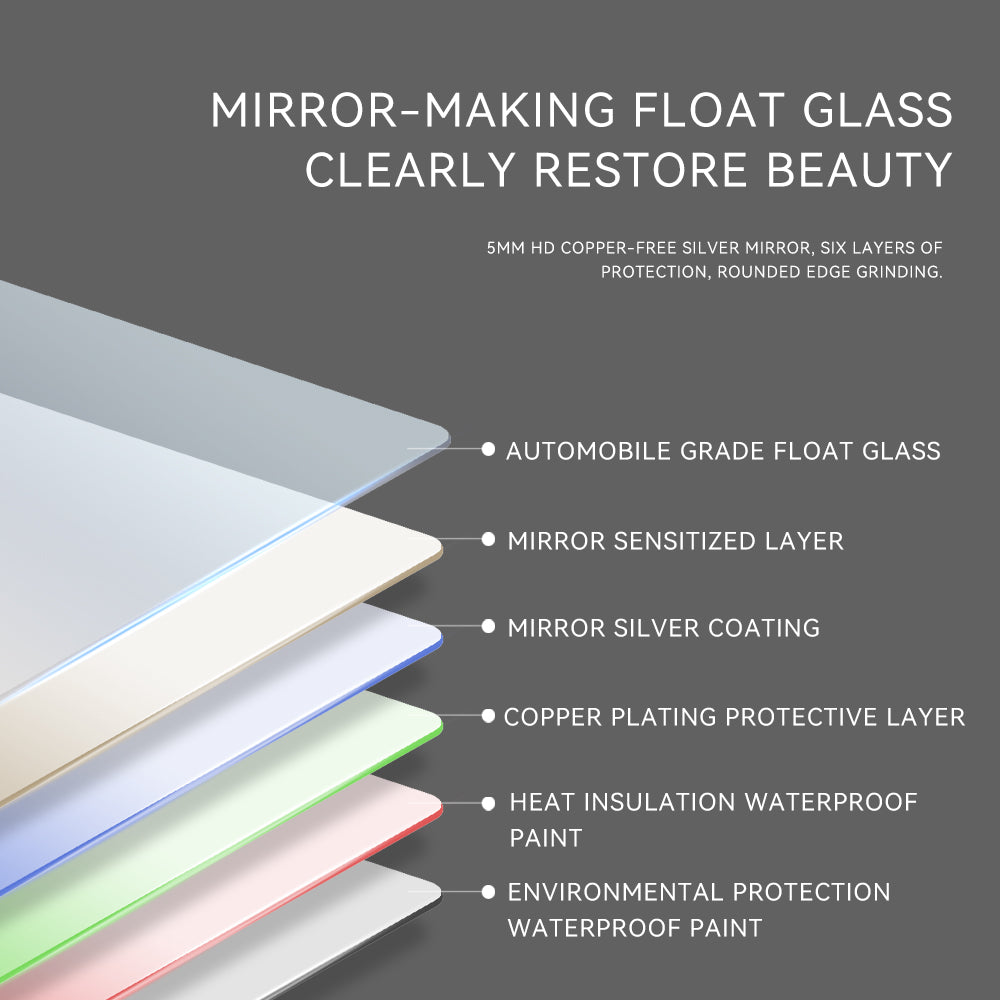
Q5: What type of mirror should I buy to avoid future cracks?
A5:
Relative Articles
Finding the Best Glue for Glass: A Practical Guide Based on Use Cases and Material Compatibility
How to Clean and Maintain LED Bathroom Mirrors: Keep Your Mirror Clear and Bright for a Long Time
Are Smart Features Worth It in a Bathroom Lighted Mirror?
Understanding Bathroom Mirror Light Placement for Optimal Functionality