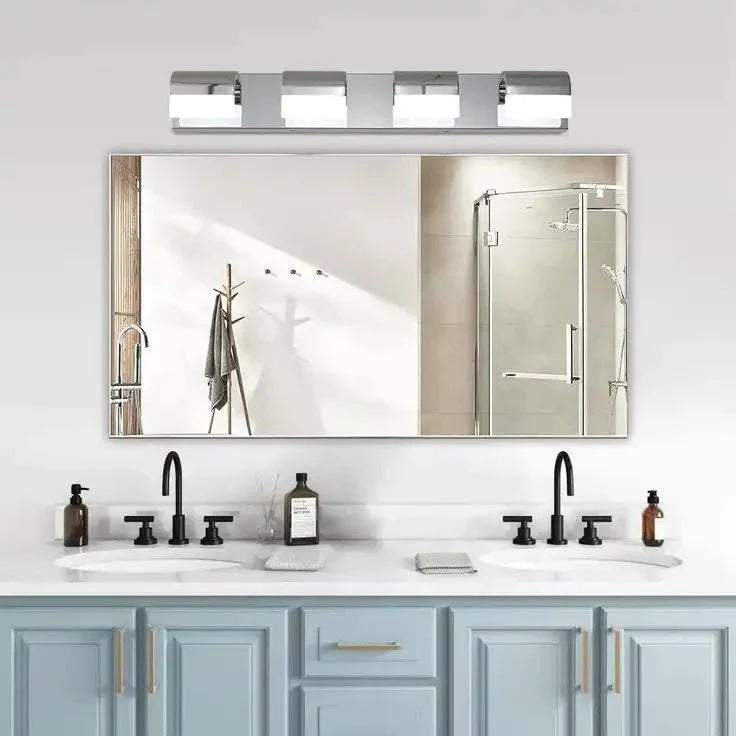
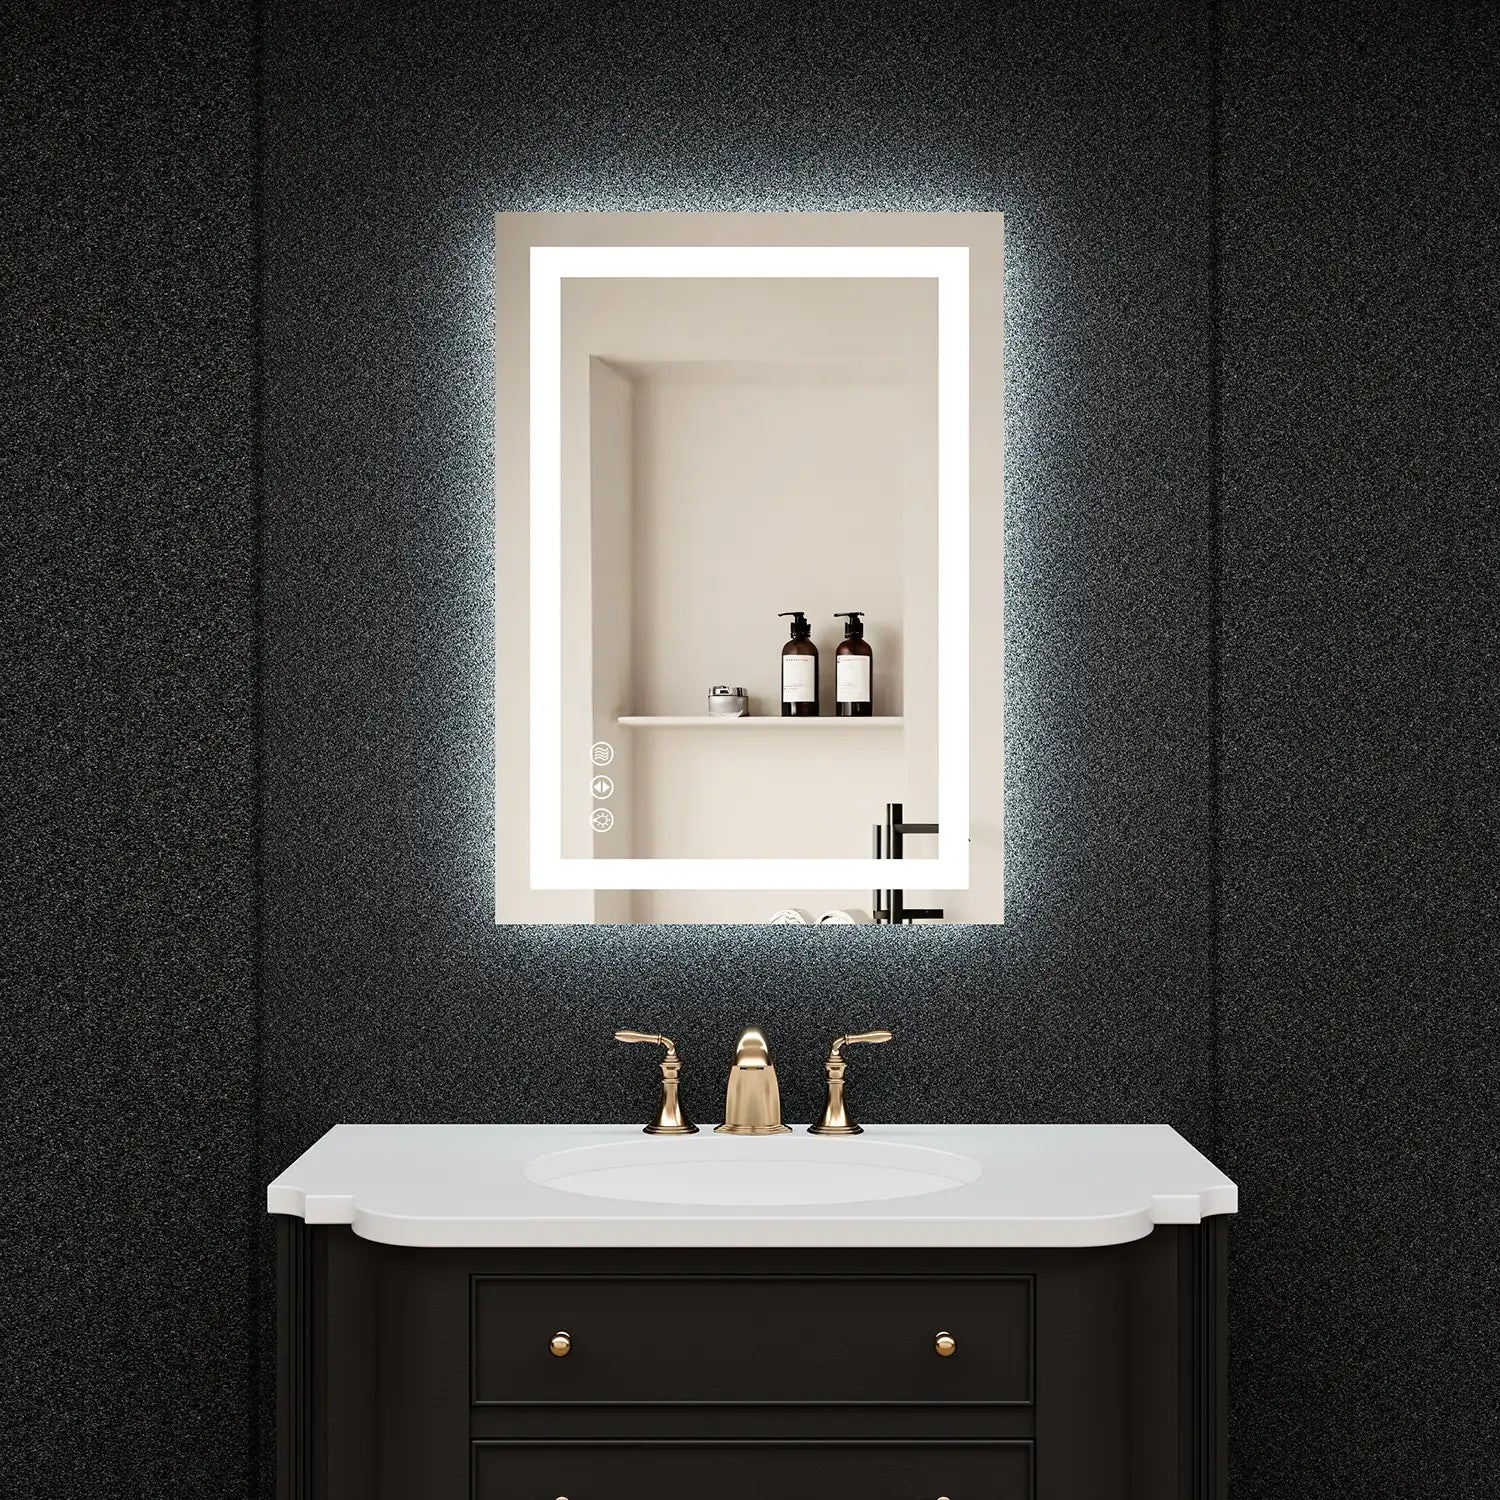
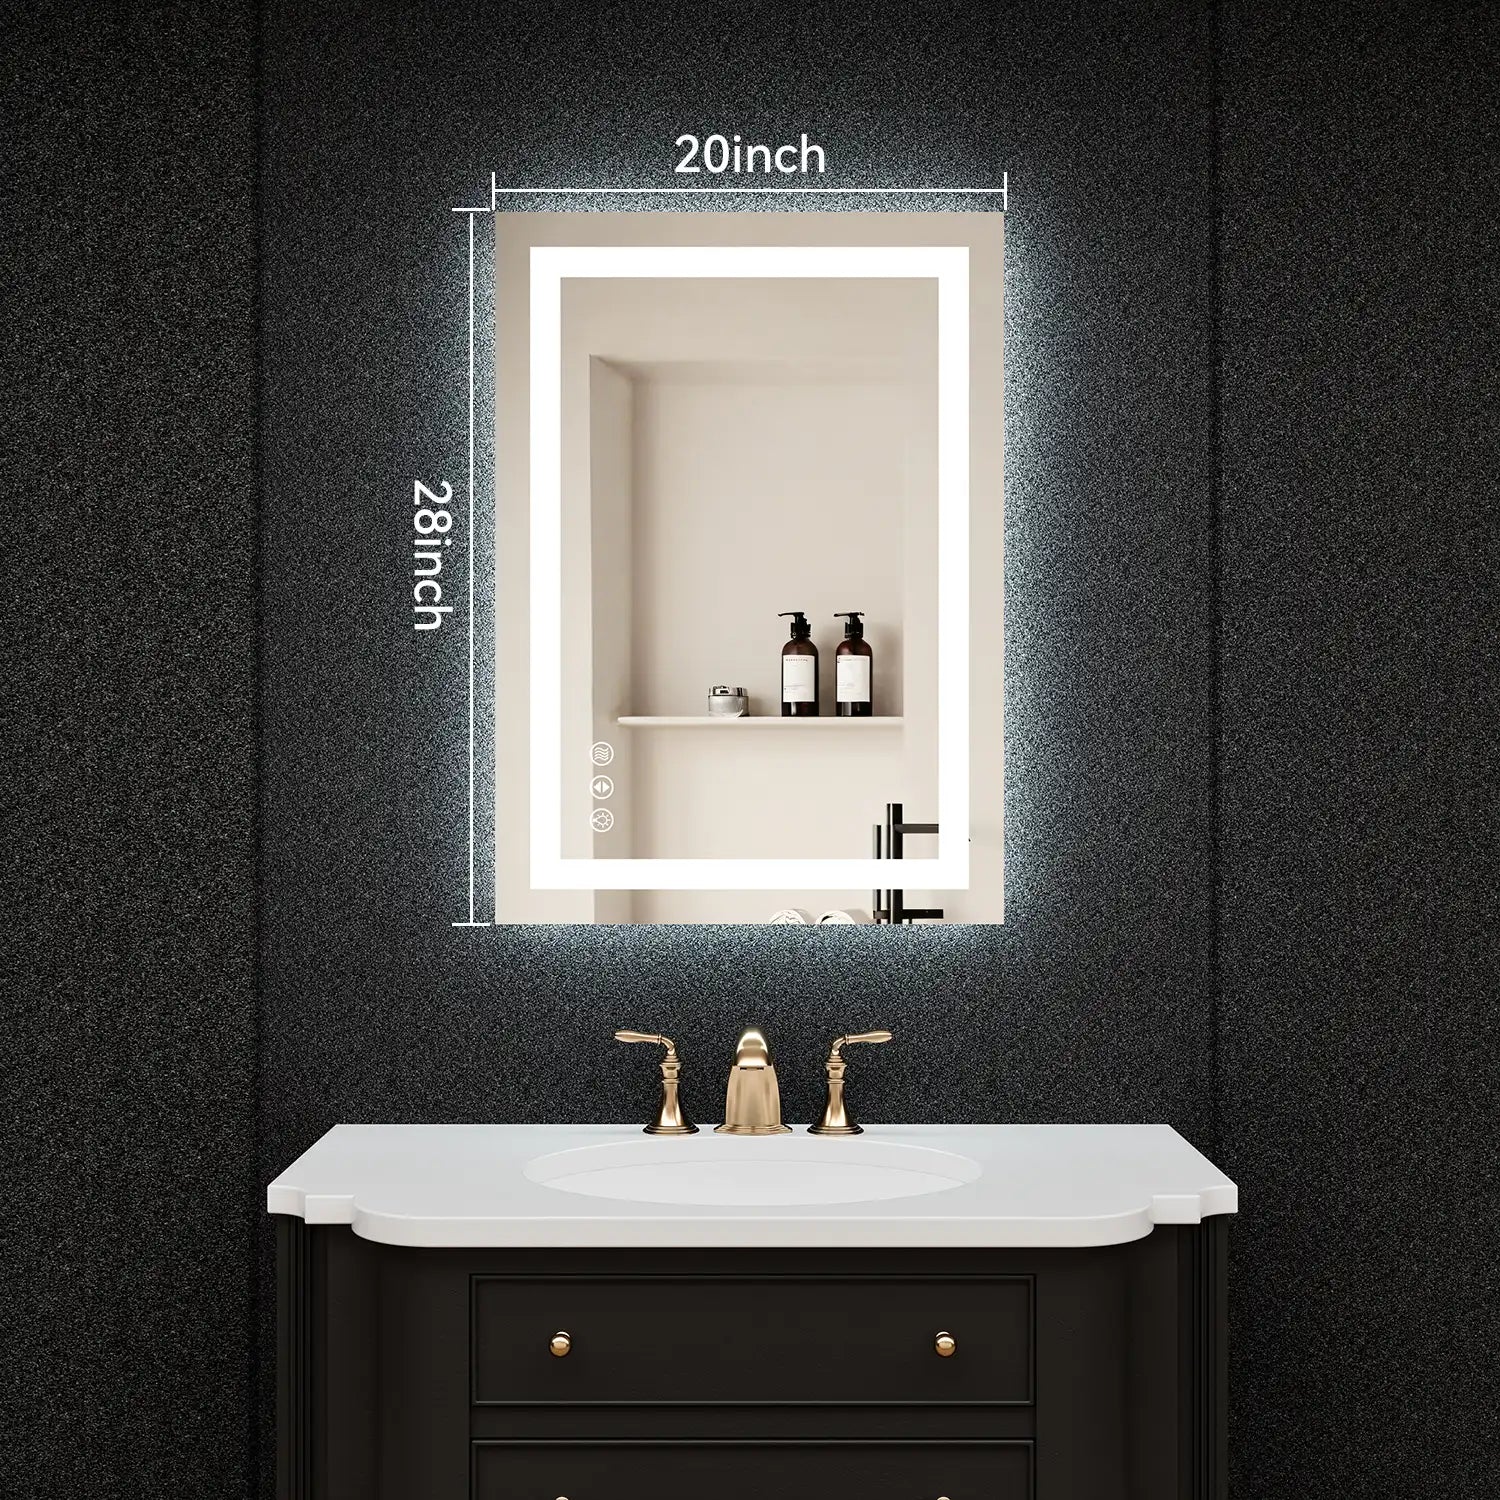
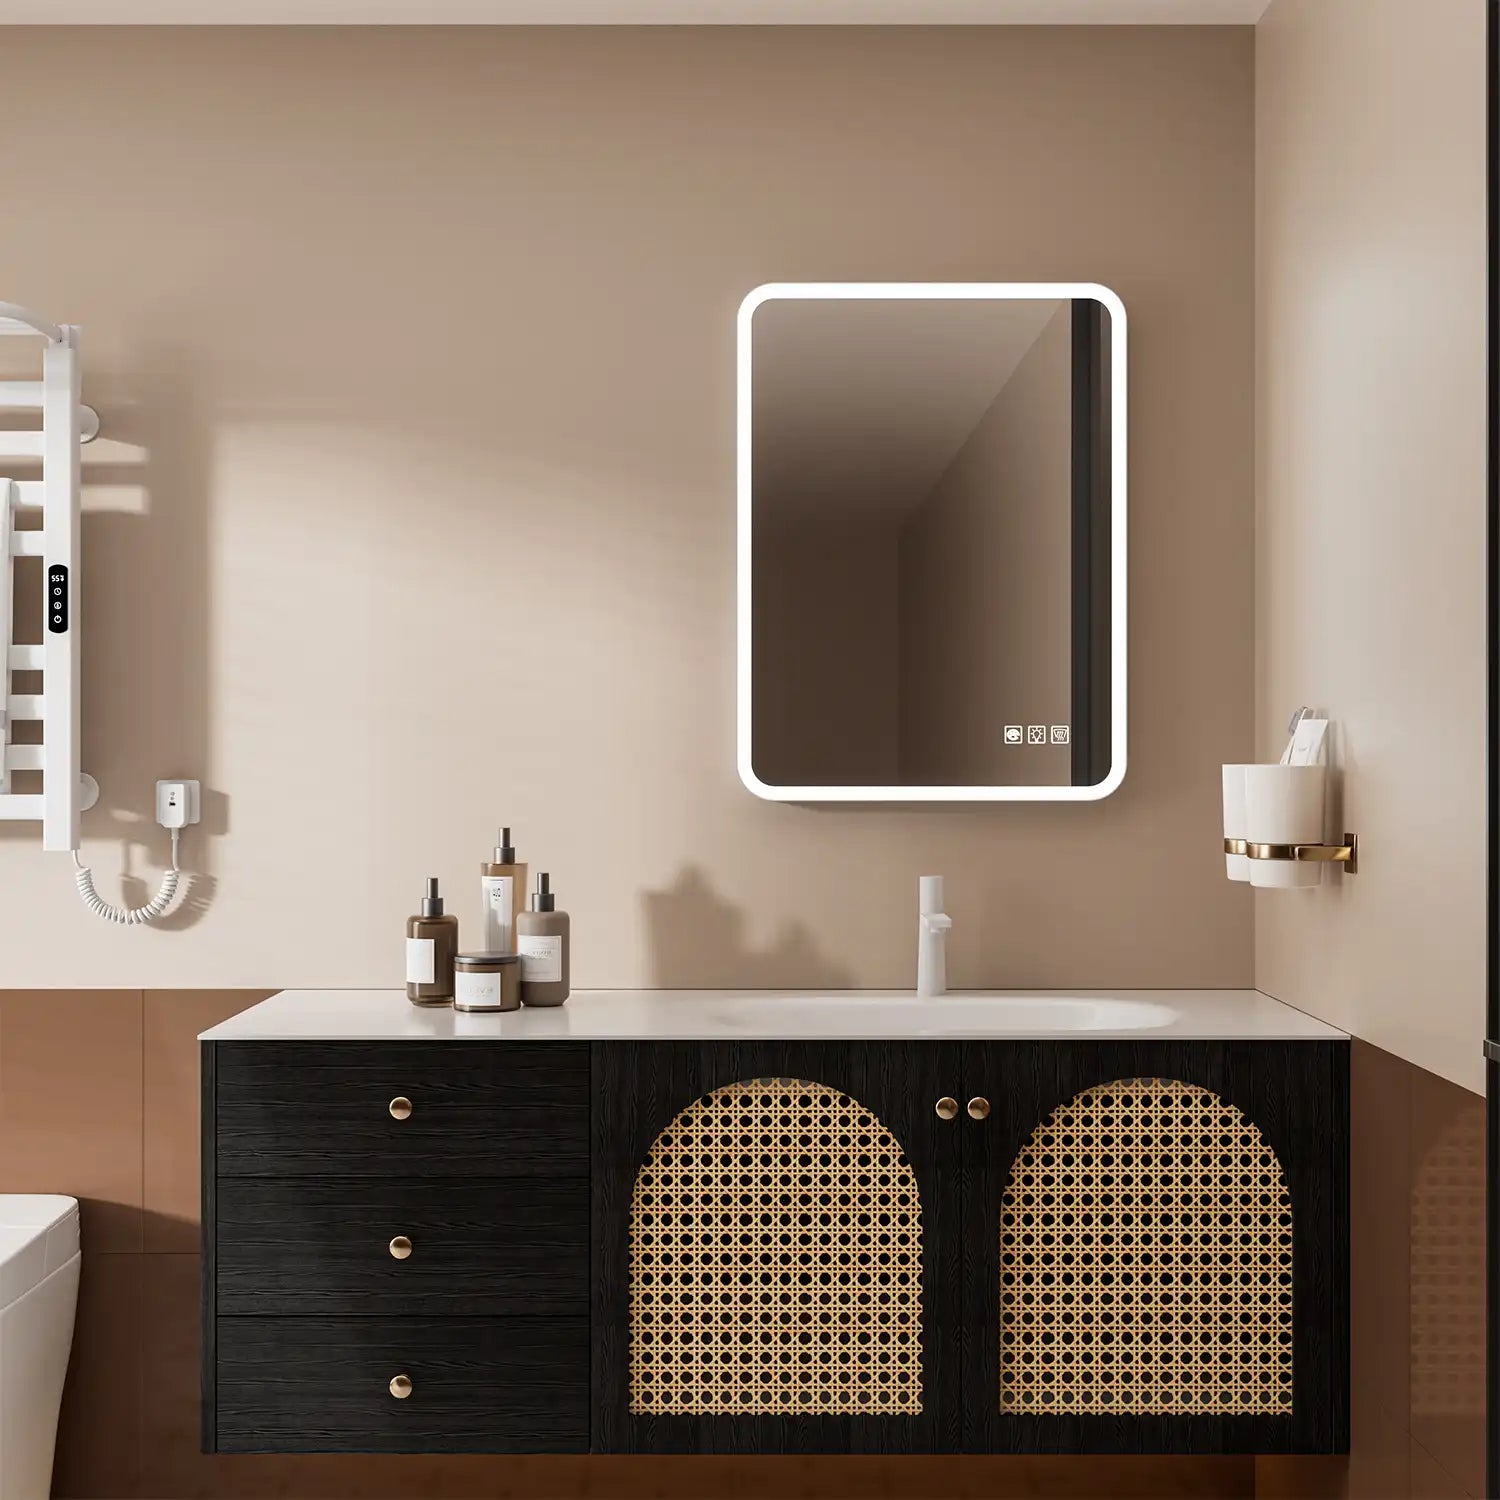
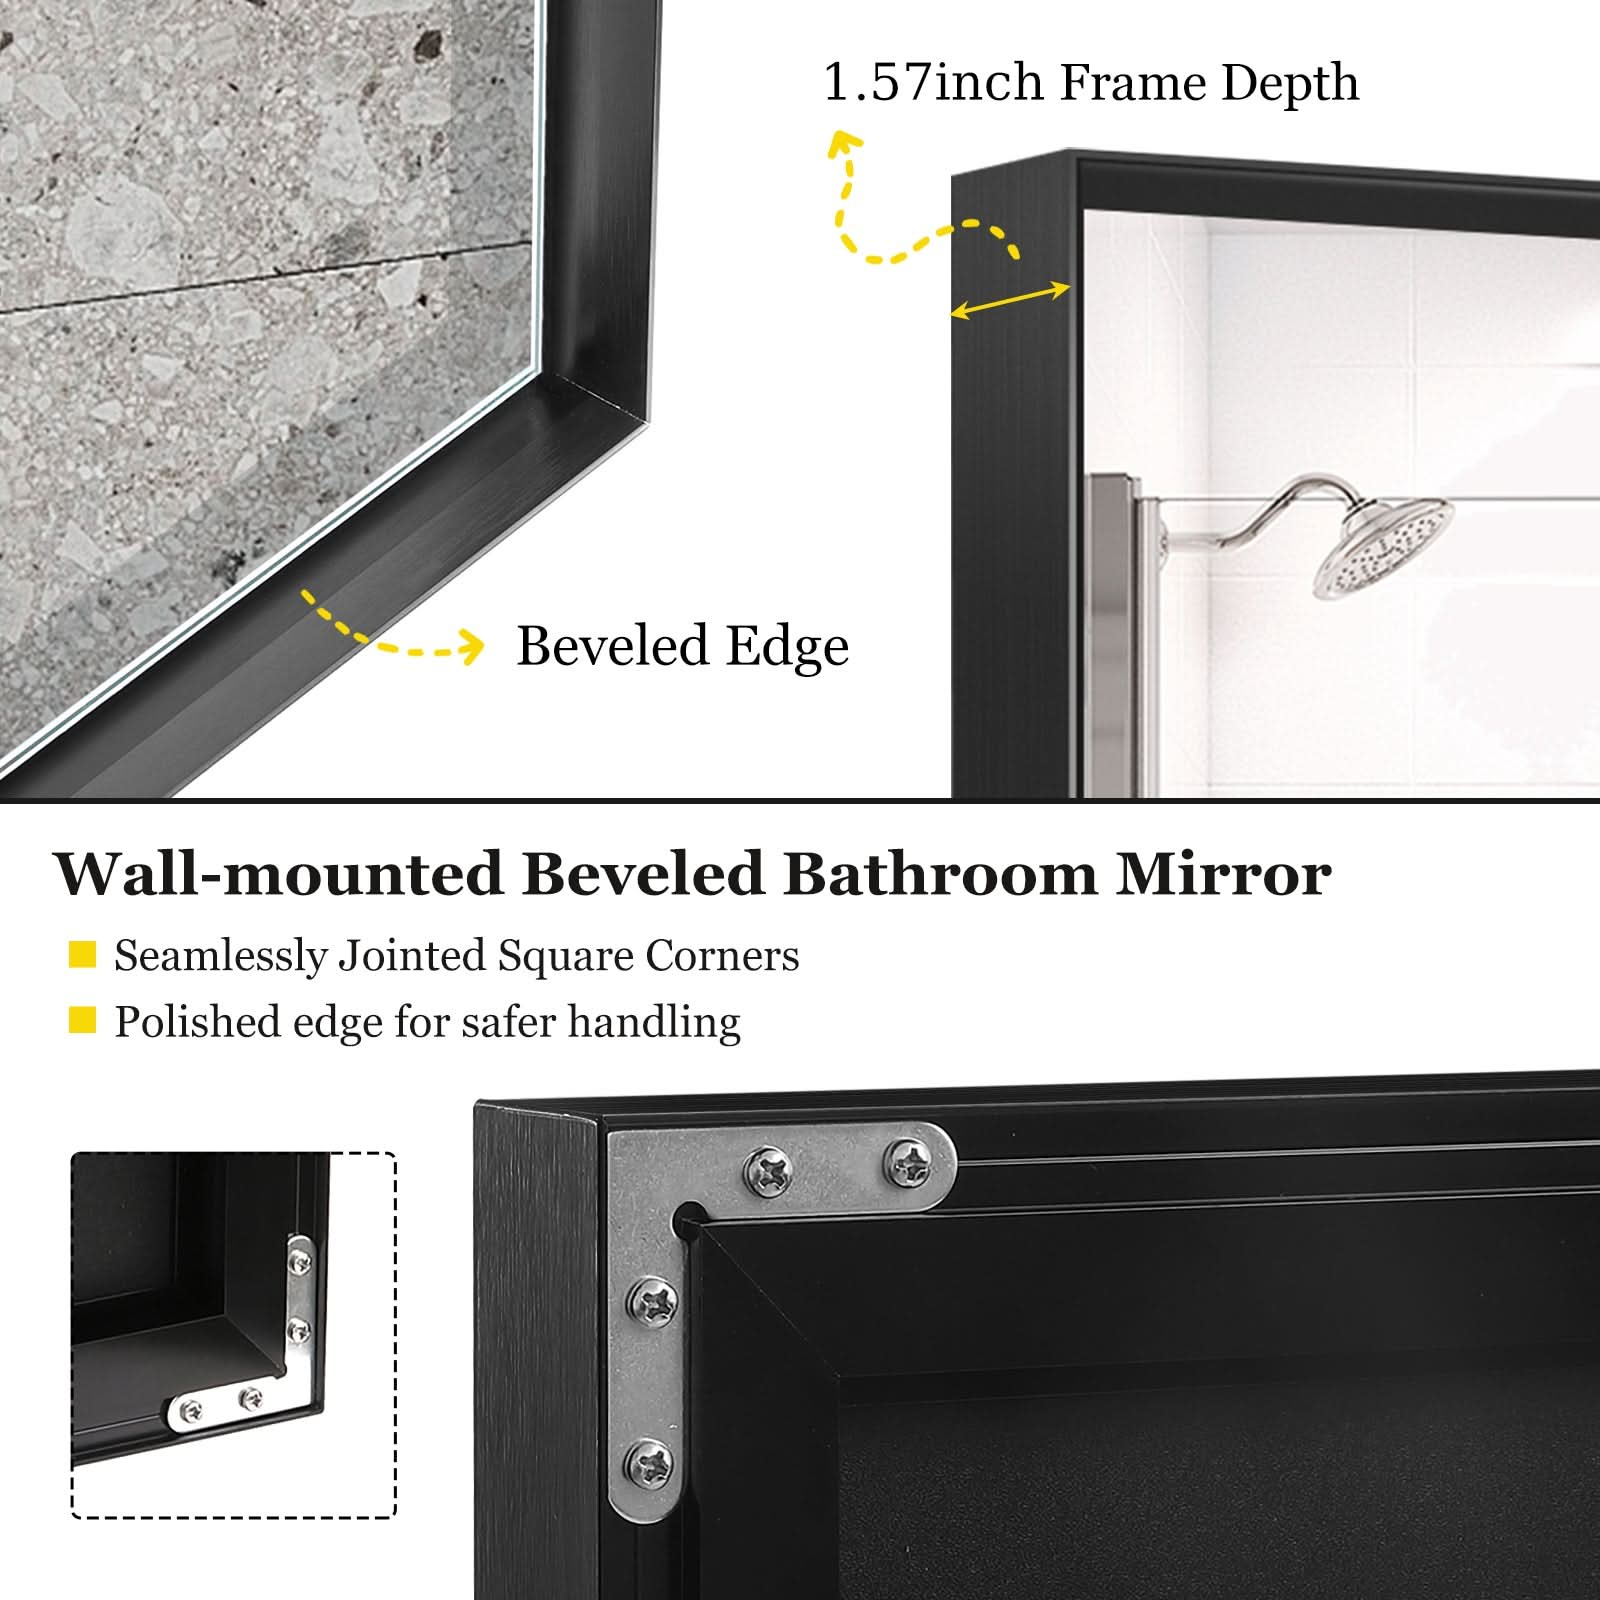
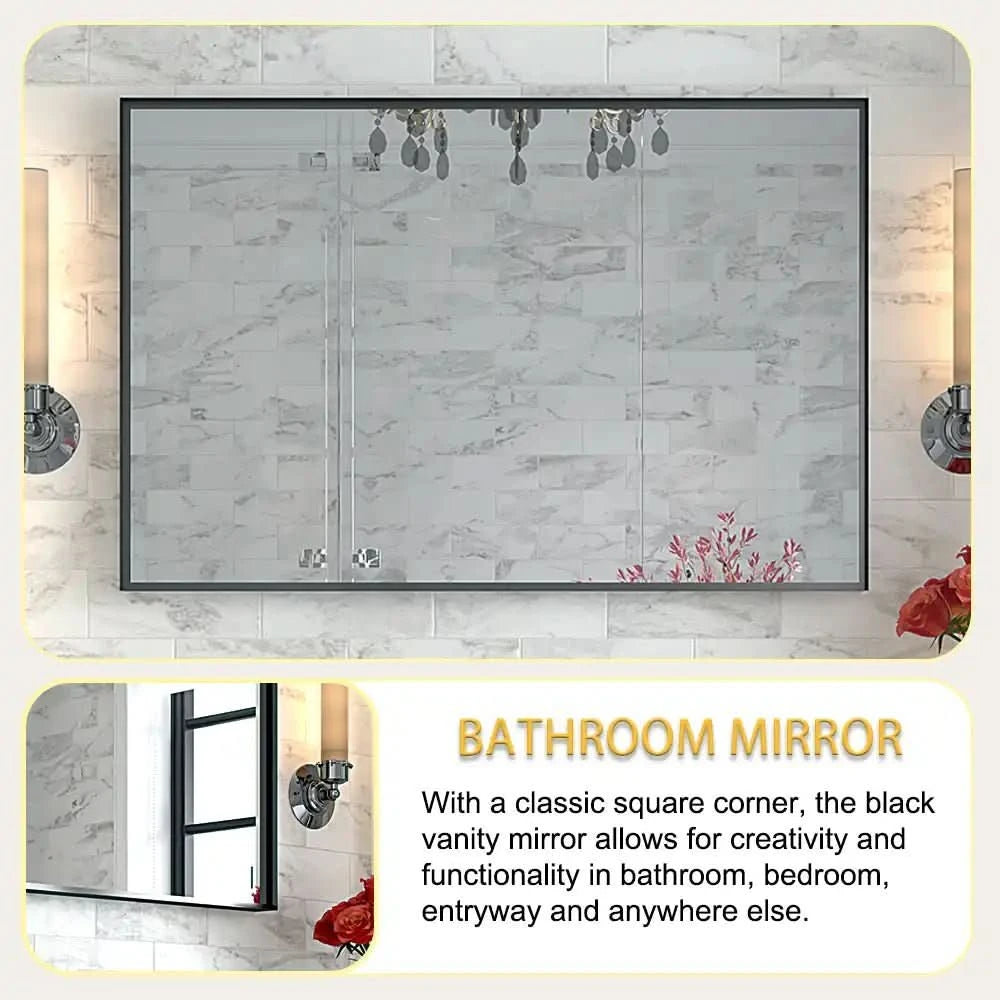
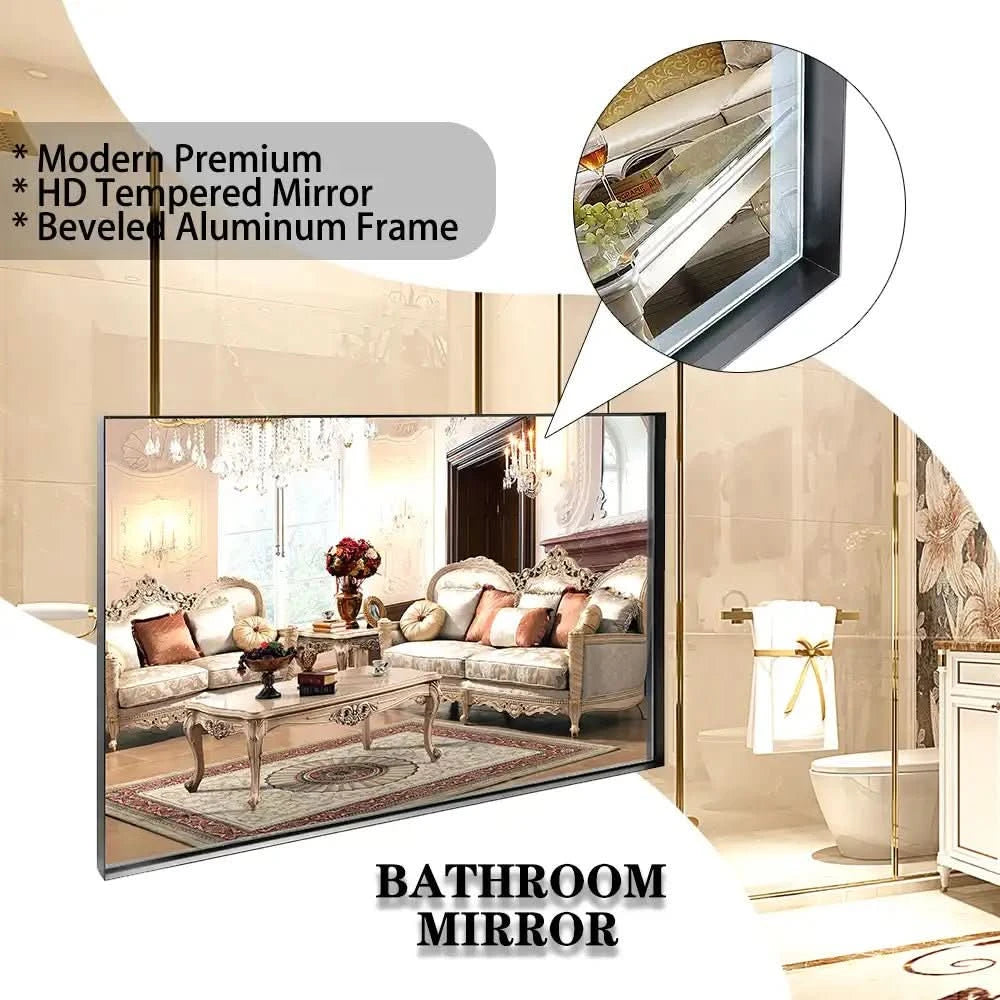
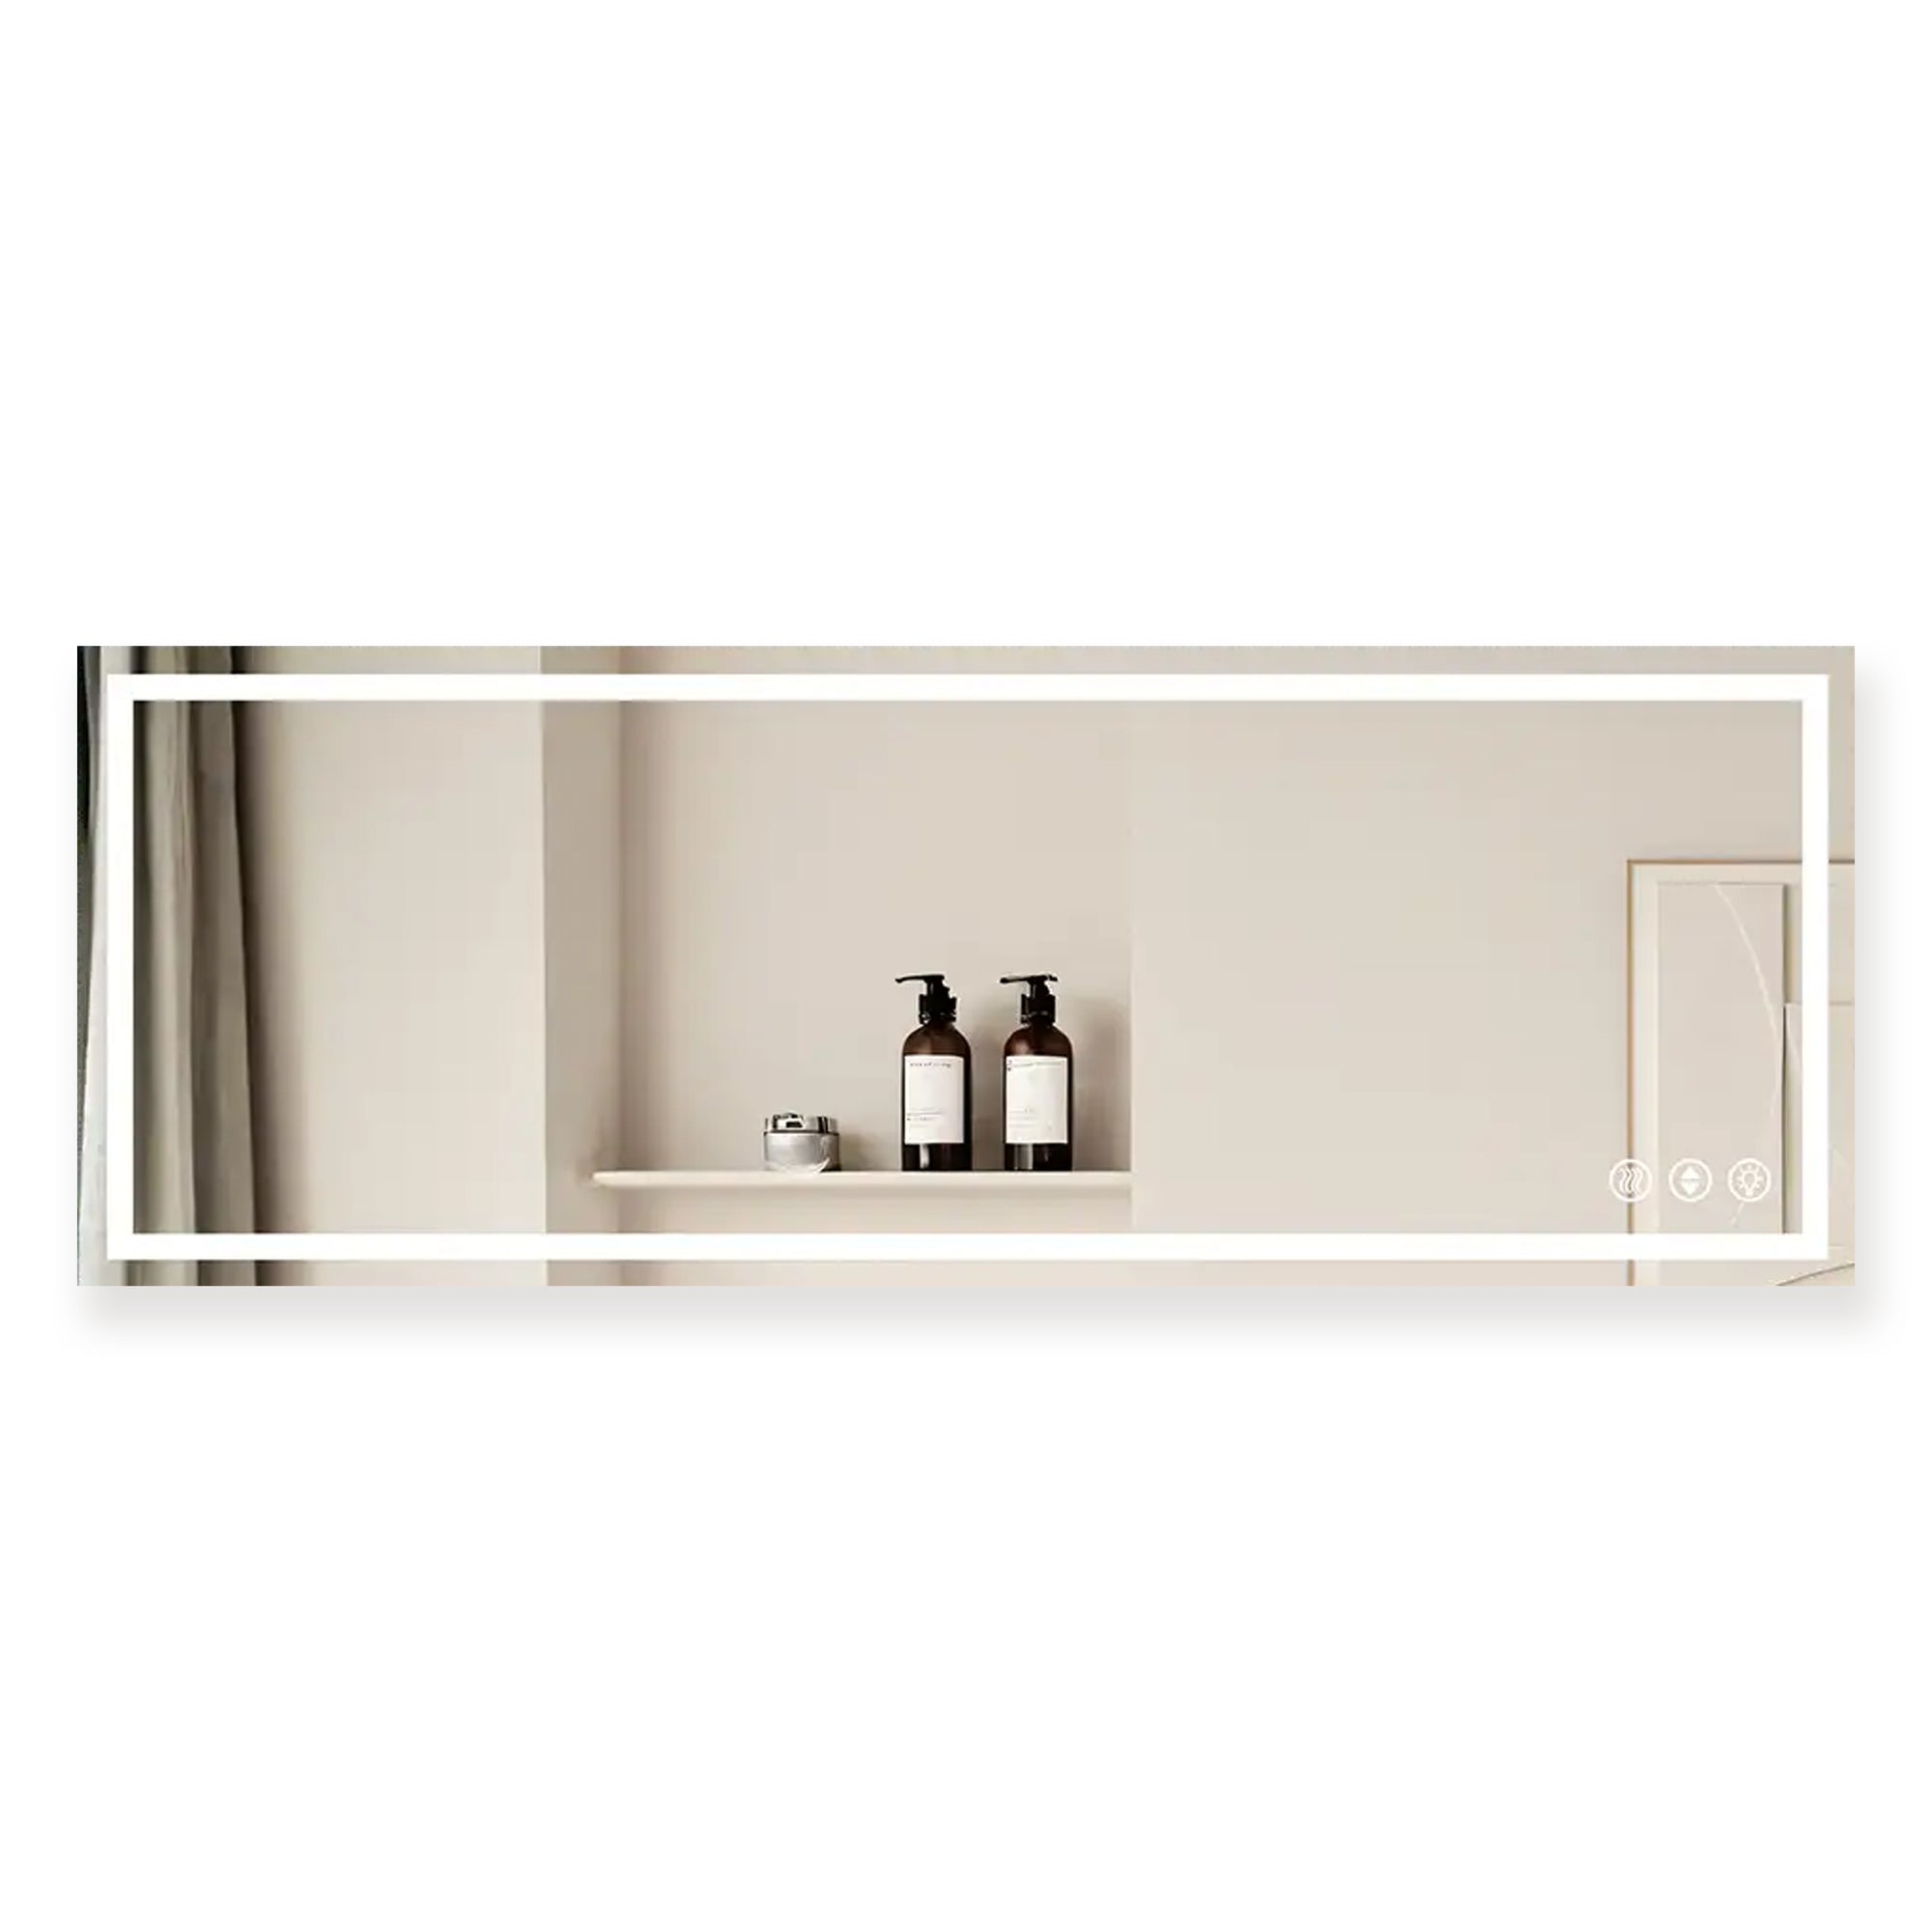
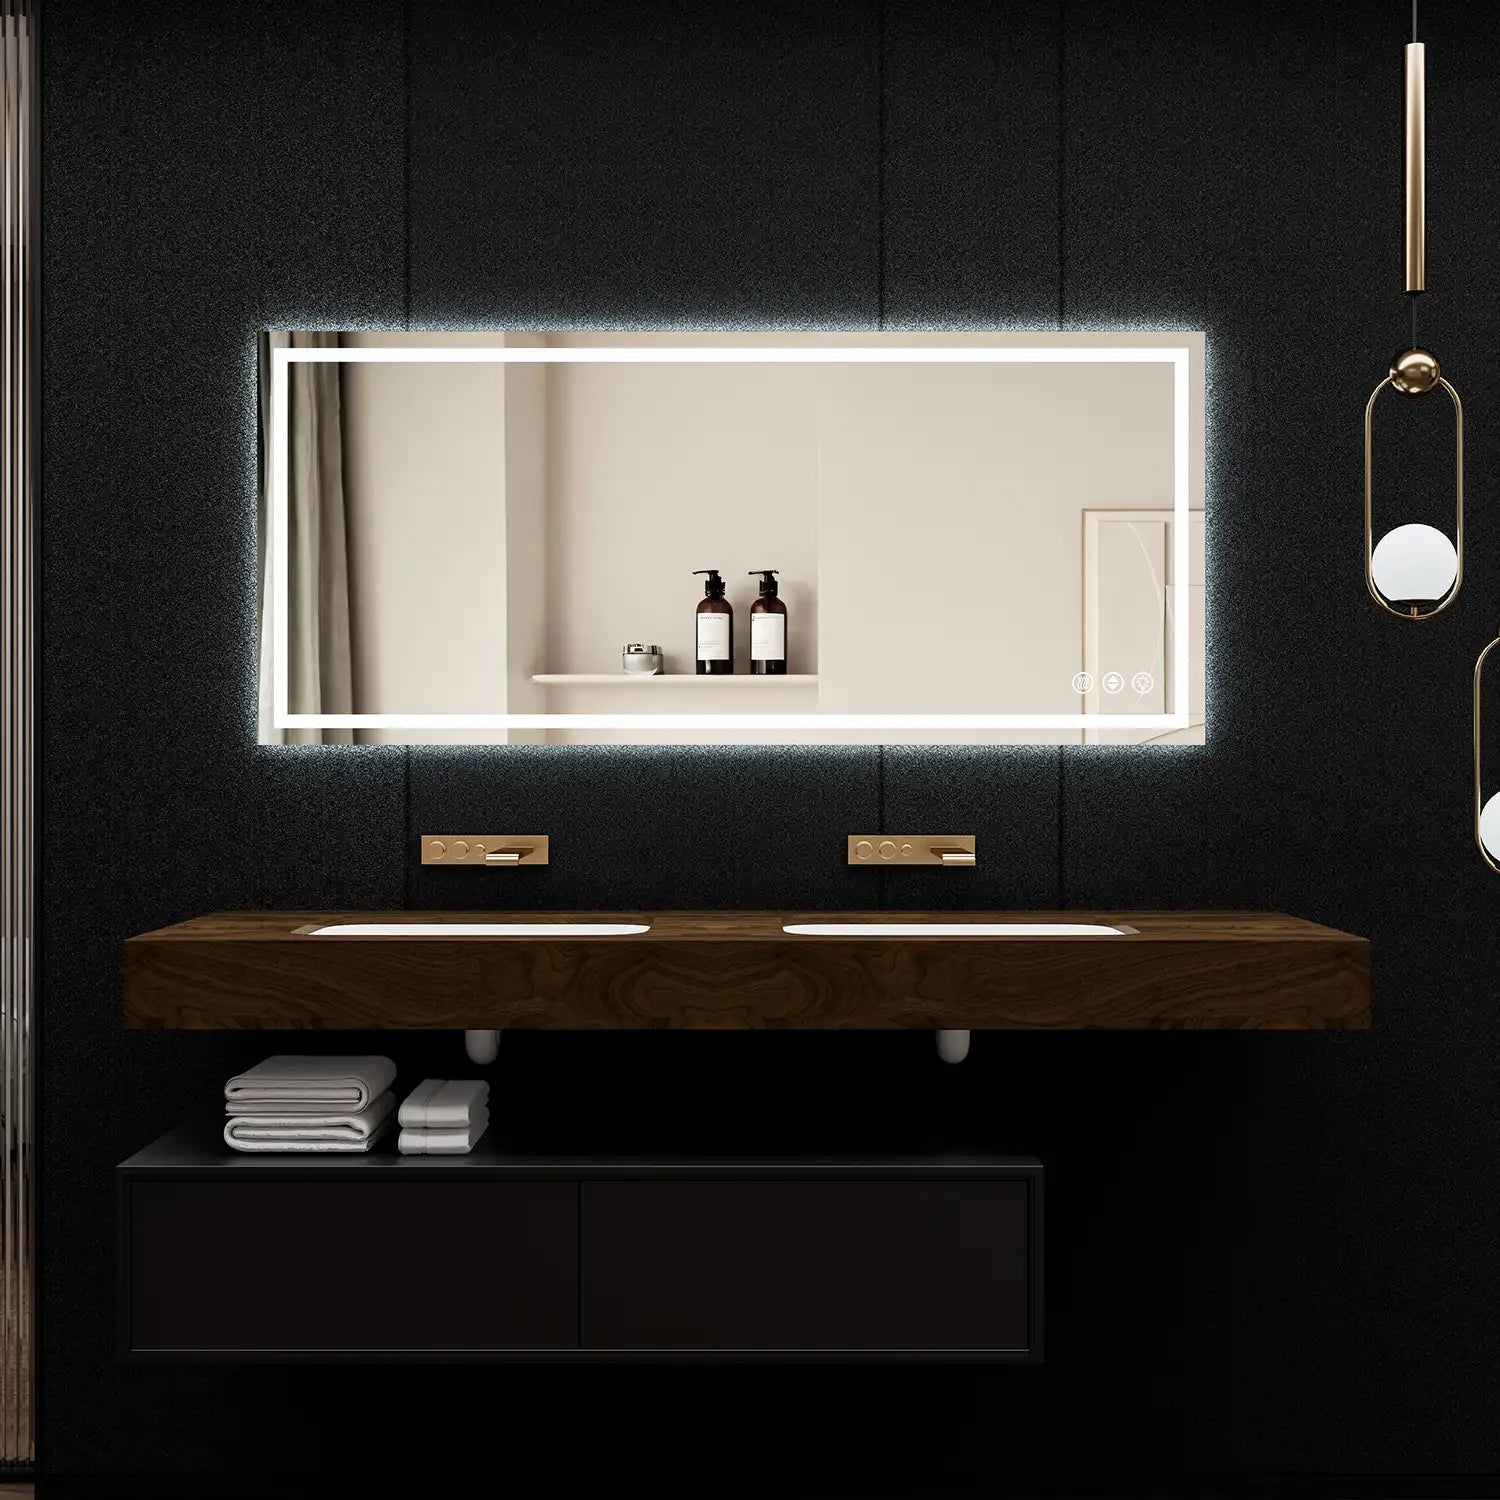
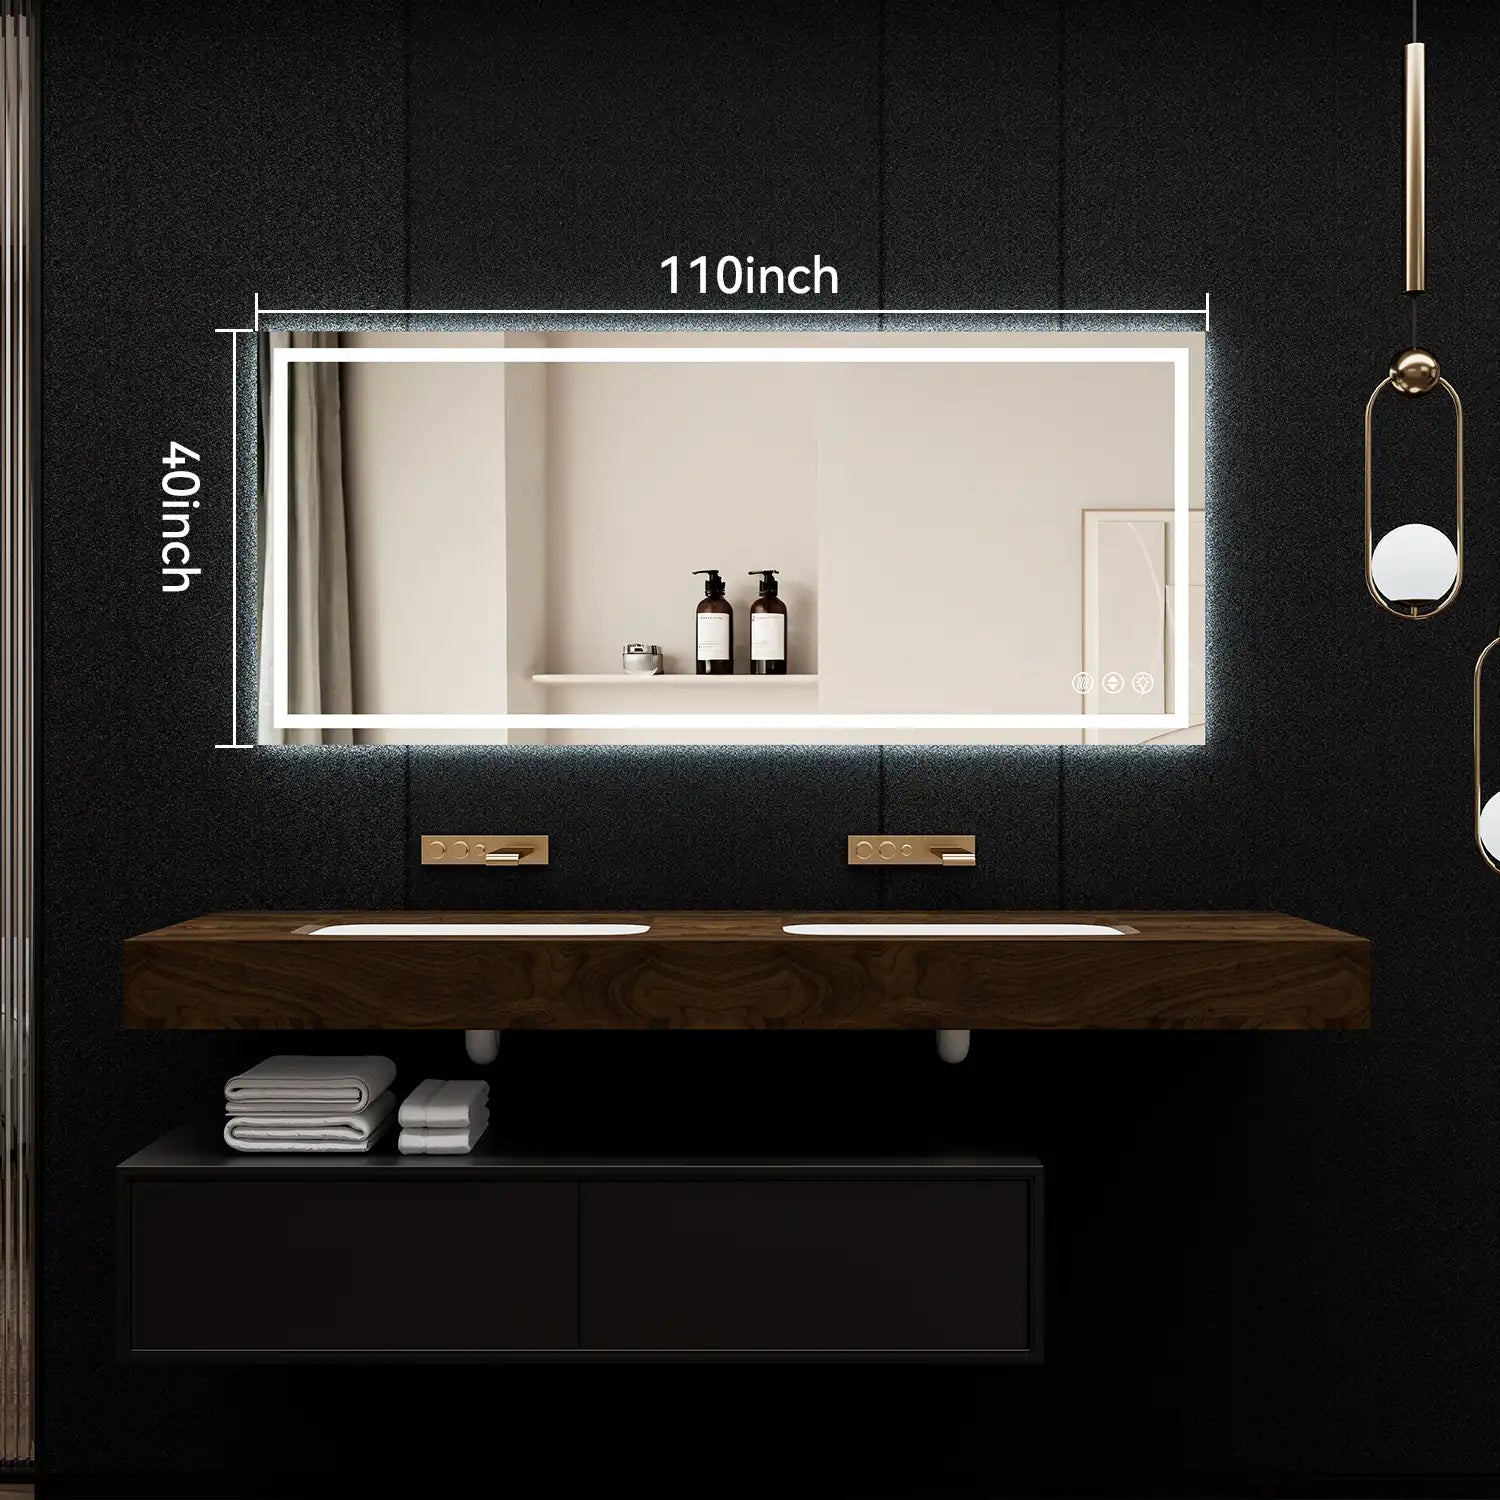
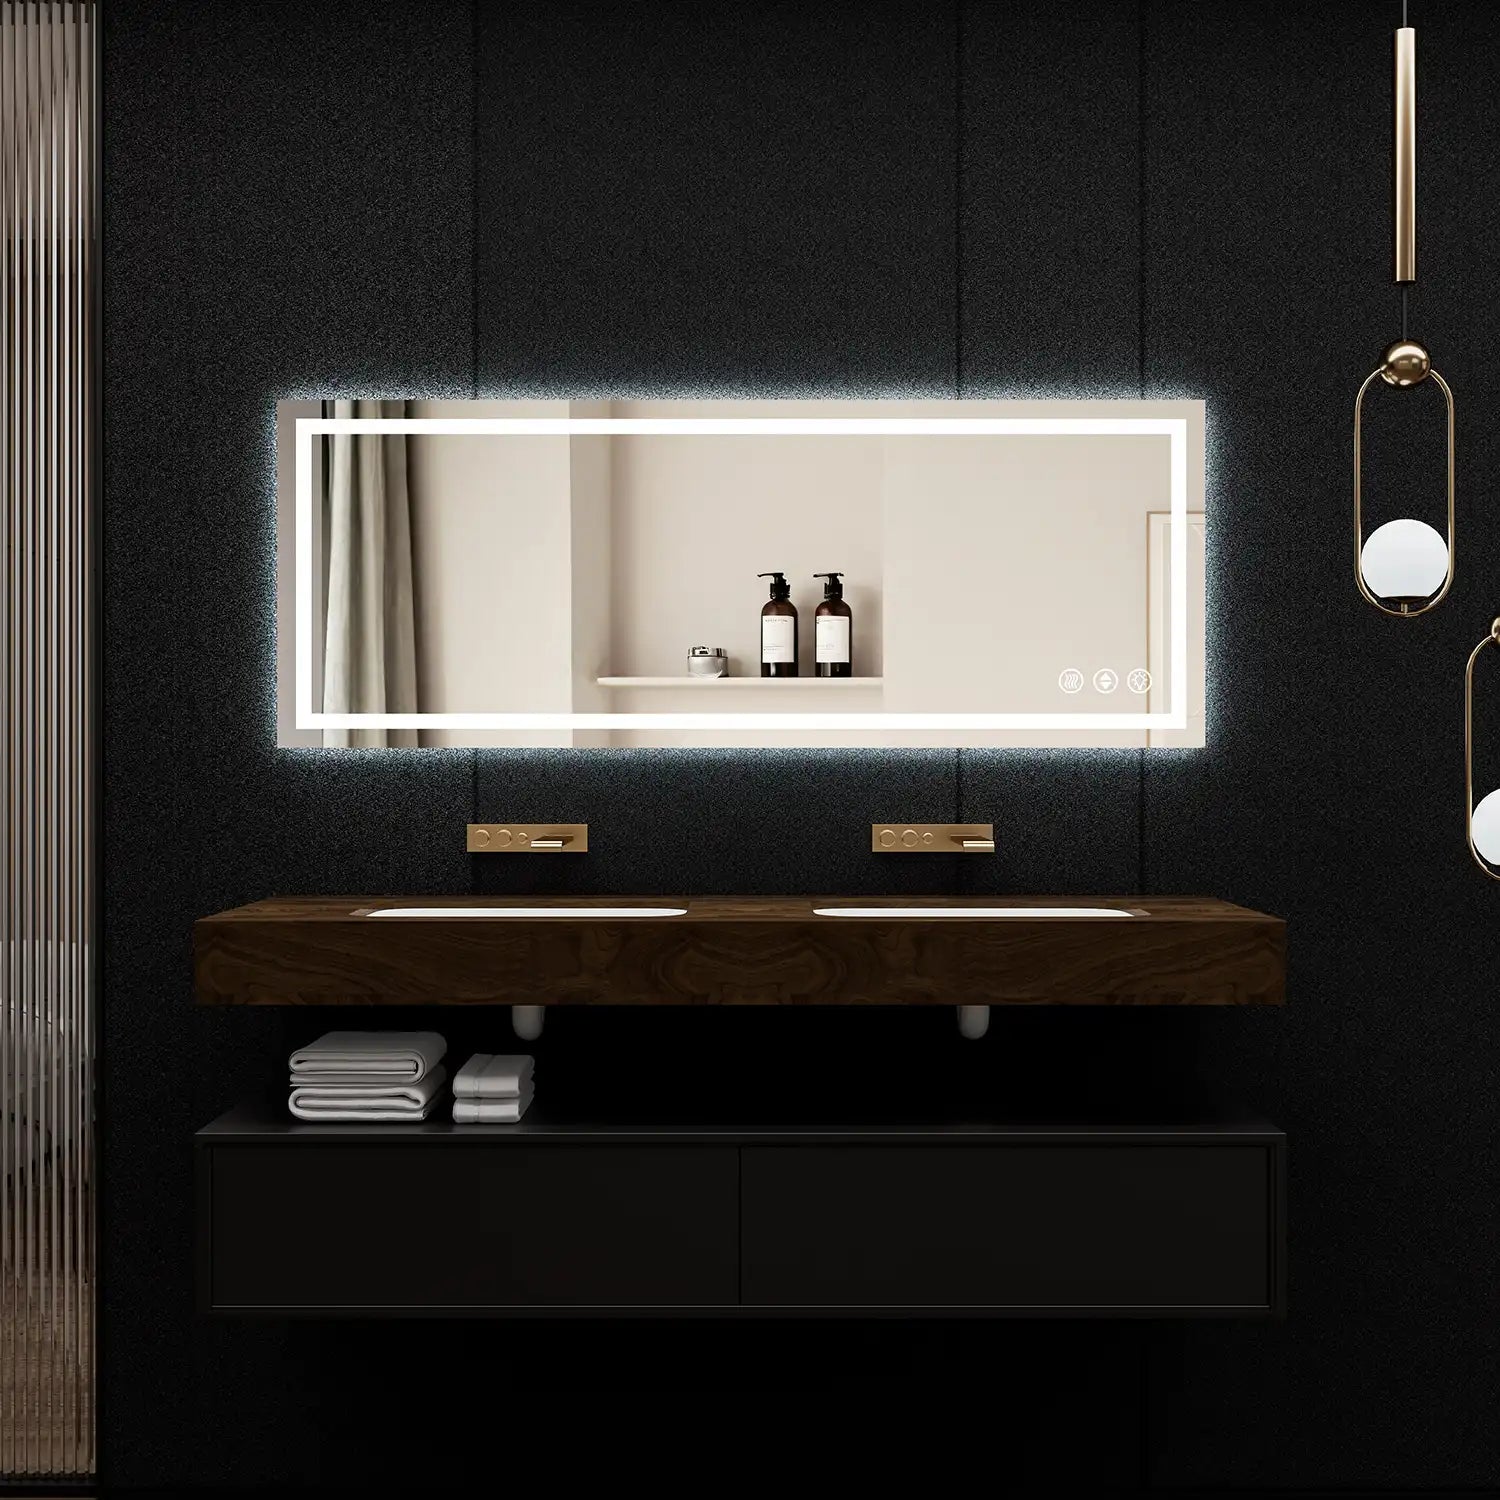
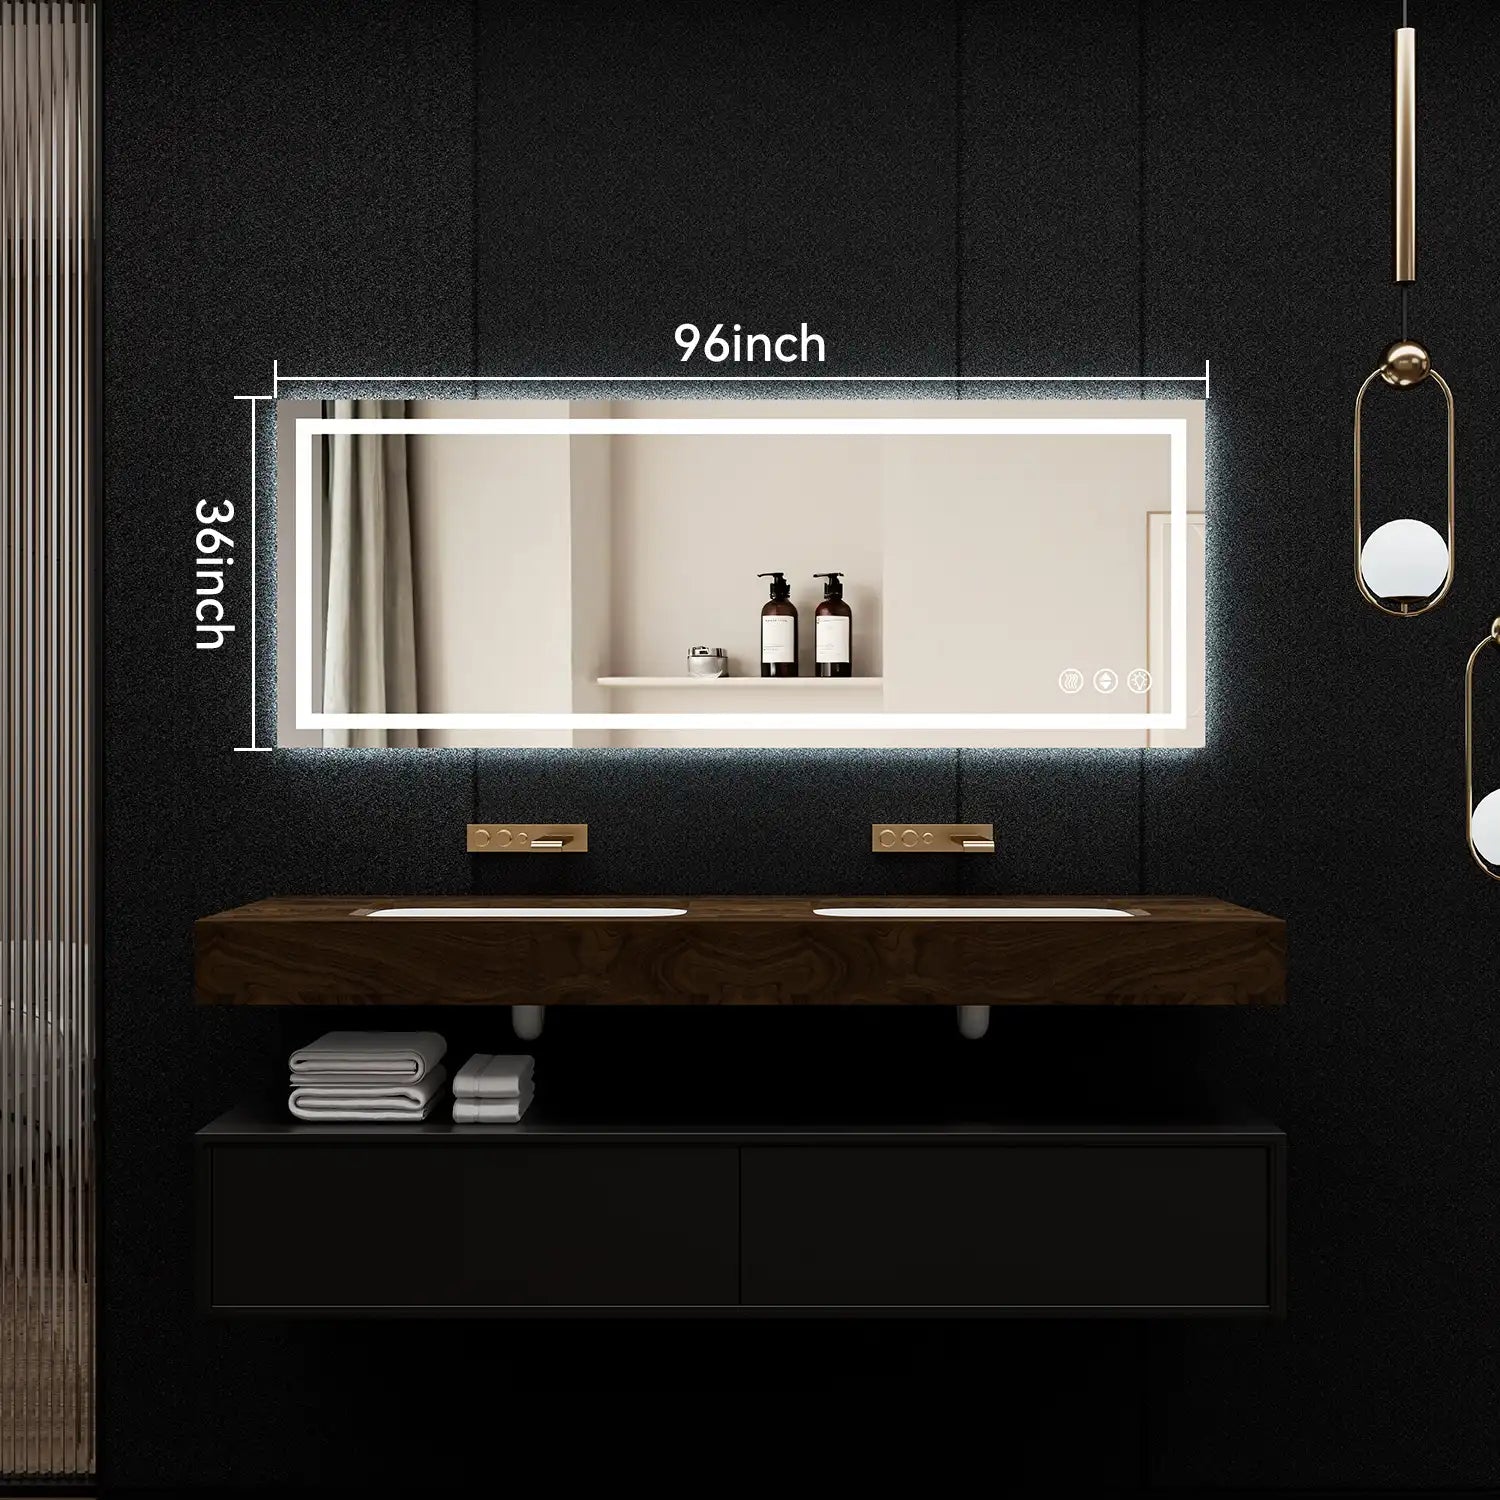
Installing bathroom mirror lights is one of the most effective ways to enhance both the style and functionality of your bathroom. Whether you're updating your space or starting from scratch, well-placed lighting can make a significant difference in your daily routine, from applying makeup to shaving. This step-by-step guide will walk you through the installation process, ensuring a professional finish that looks like it was done by a pro.
Why Proper Lighting is Essential

Before diving into the installation process, it’s important to understand why bathroom mirror lights are crucial. Good lighting is essential in a bathroom because it affects everything from the room's ambiance to the accuracy of the tasks performed there. Poor lighting can lead to uneven shadows, making daily grooming tasks difficult and less effective. On the other hand, well-installed bathroom mirror lights provide even illumination, enhancing your bathroom's overall design and usability.
According to the American Lighting Association (ALA), proper bathroom lighting should provide both ambient and task lighting to ensure that all areas of the bathroom are well-lit without harsh shadows【source】. Bathroom mirror lights are particularly important as they provide focused lighting exactly where you need it most—around your face.
Step 1: Choose the Right Bathroom Mirror Lights

Before you begin installation, selecting the right lights for your bathroom mirror is crucial. Consider the following factors:
1.1. Type of Lighting
There are several types of bathroom mirror lights to choose from, including:
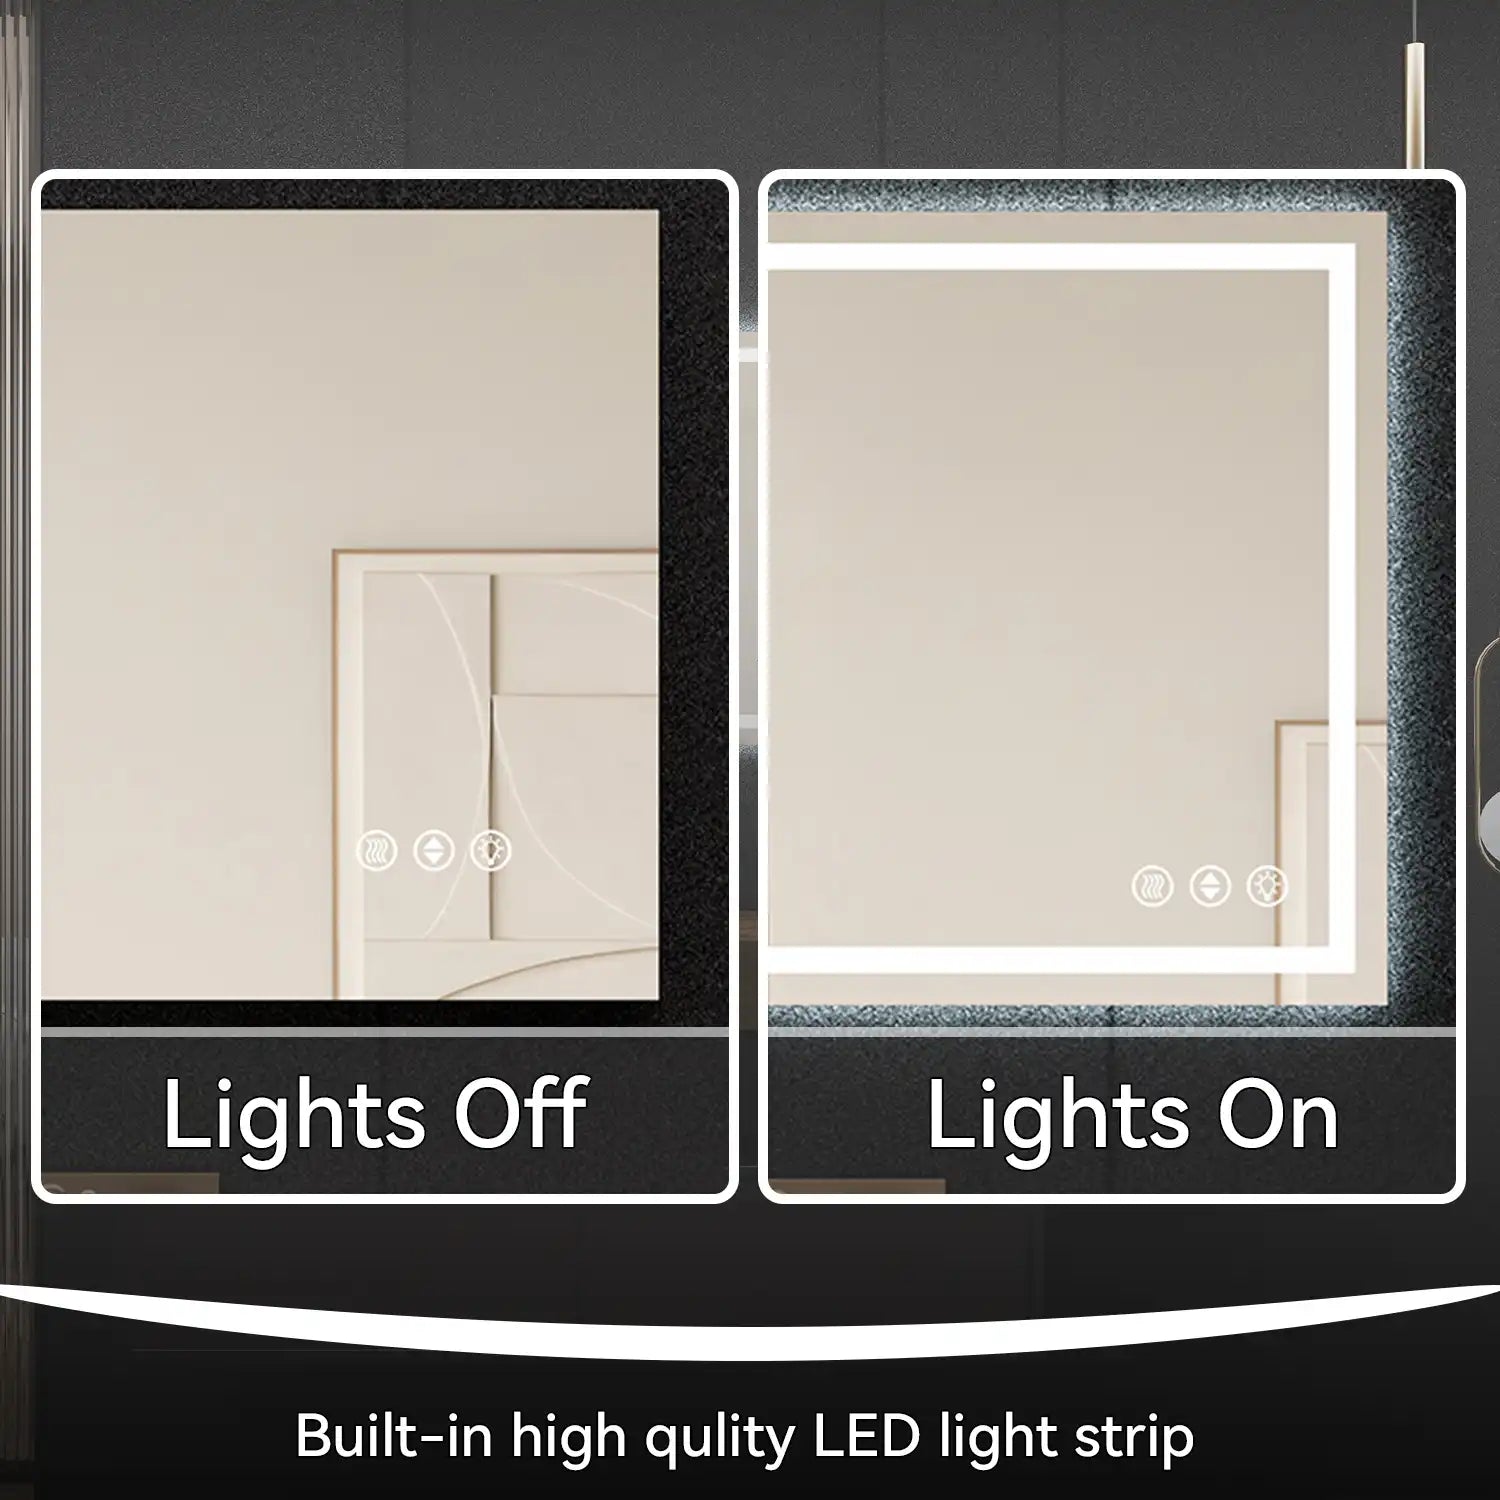
- LED Strip Lights: Known for their energy efficiency and long lifespan, LED strip lights can be installed along the edges of the mirror for a sleek, modern look.
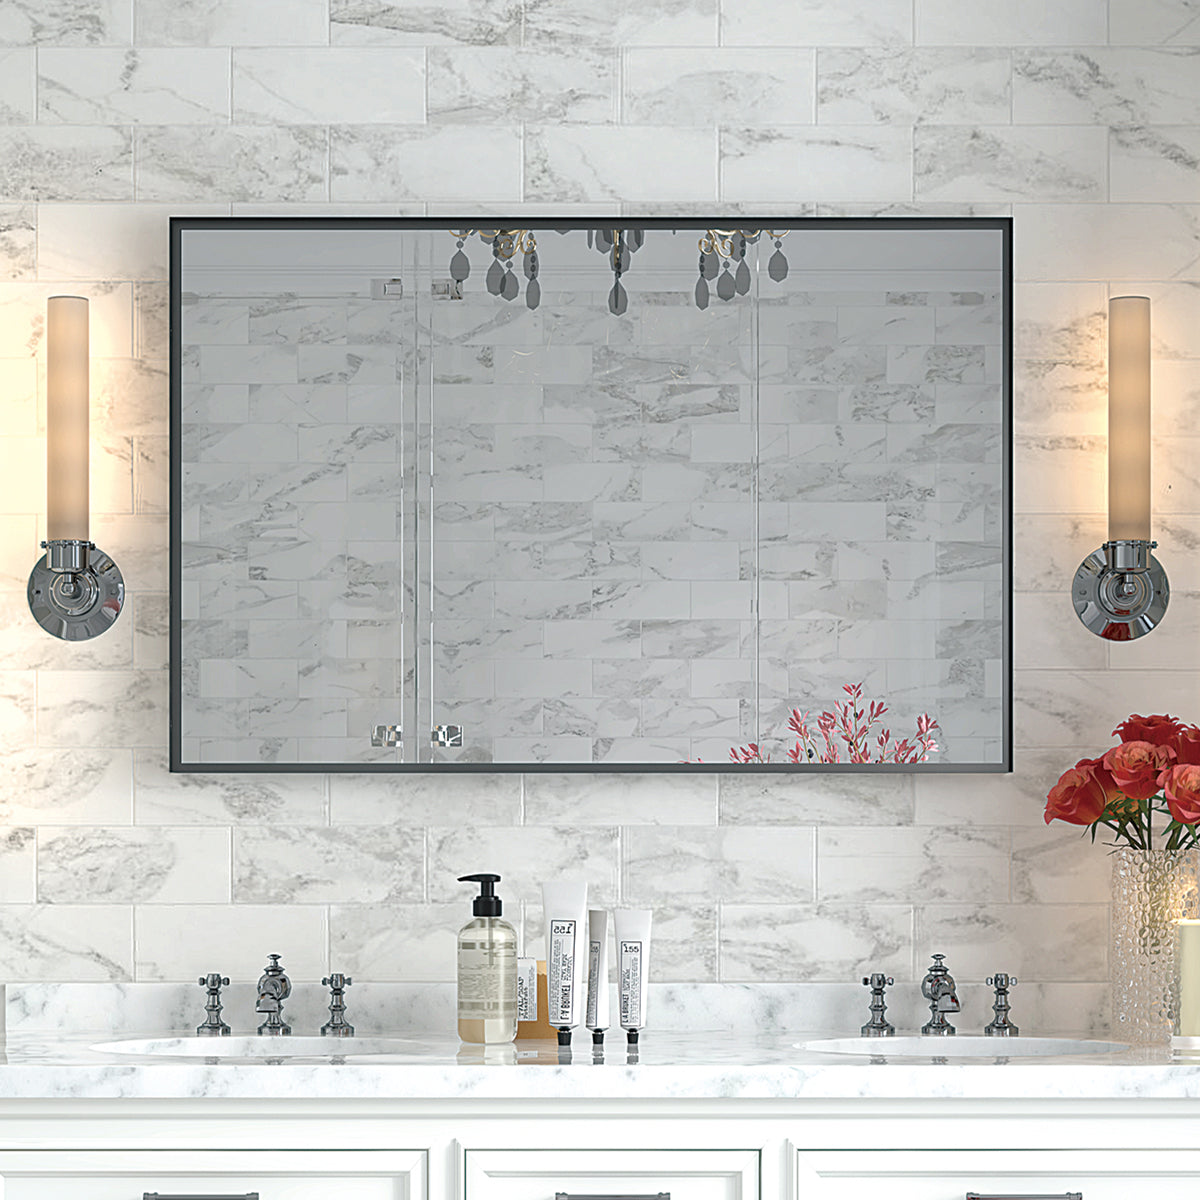
- Sconce Lighting: Wall sconces placed on either side of the mirror provide even, shadow-free lighting, ideal for grooming.
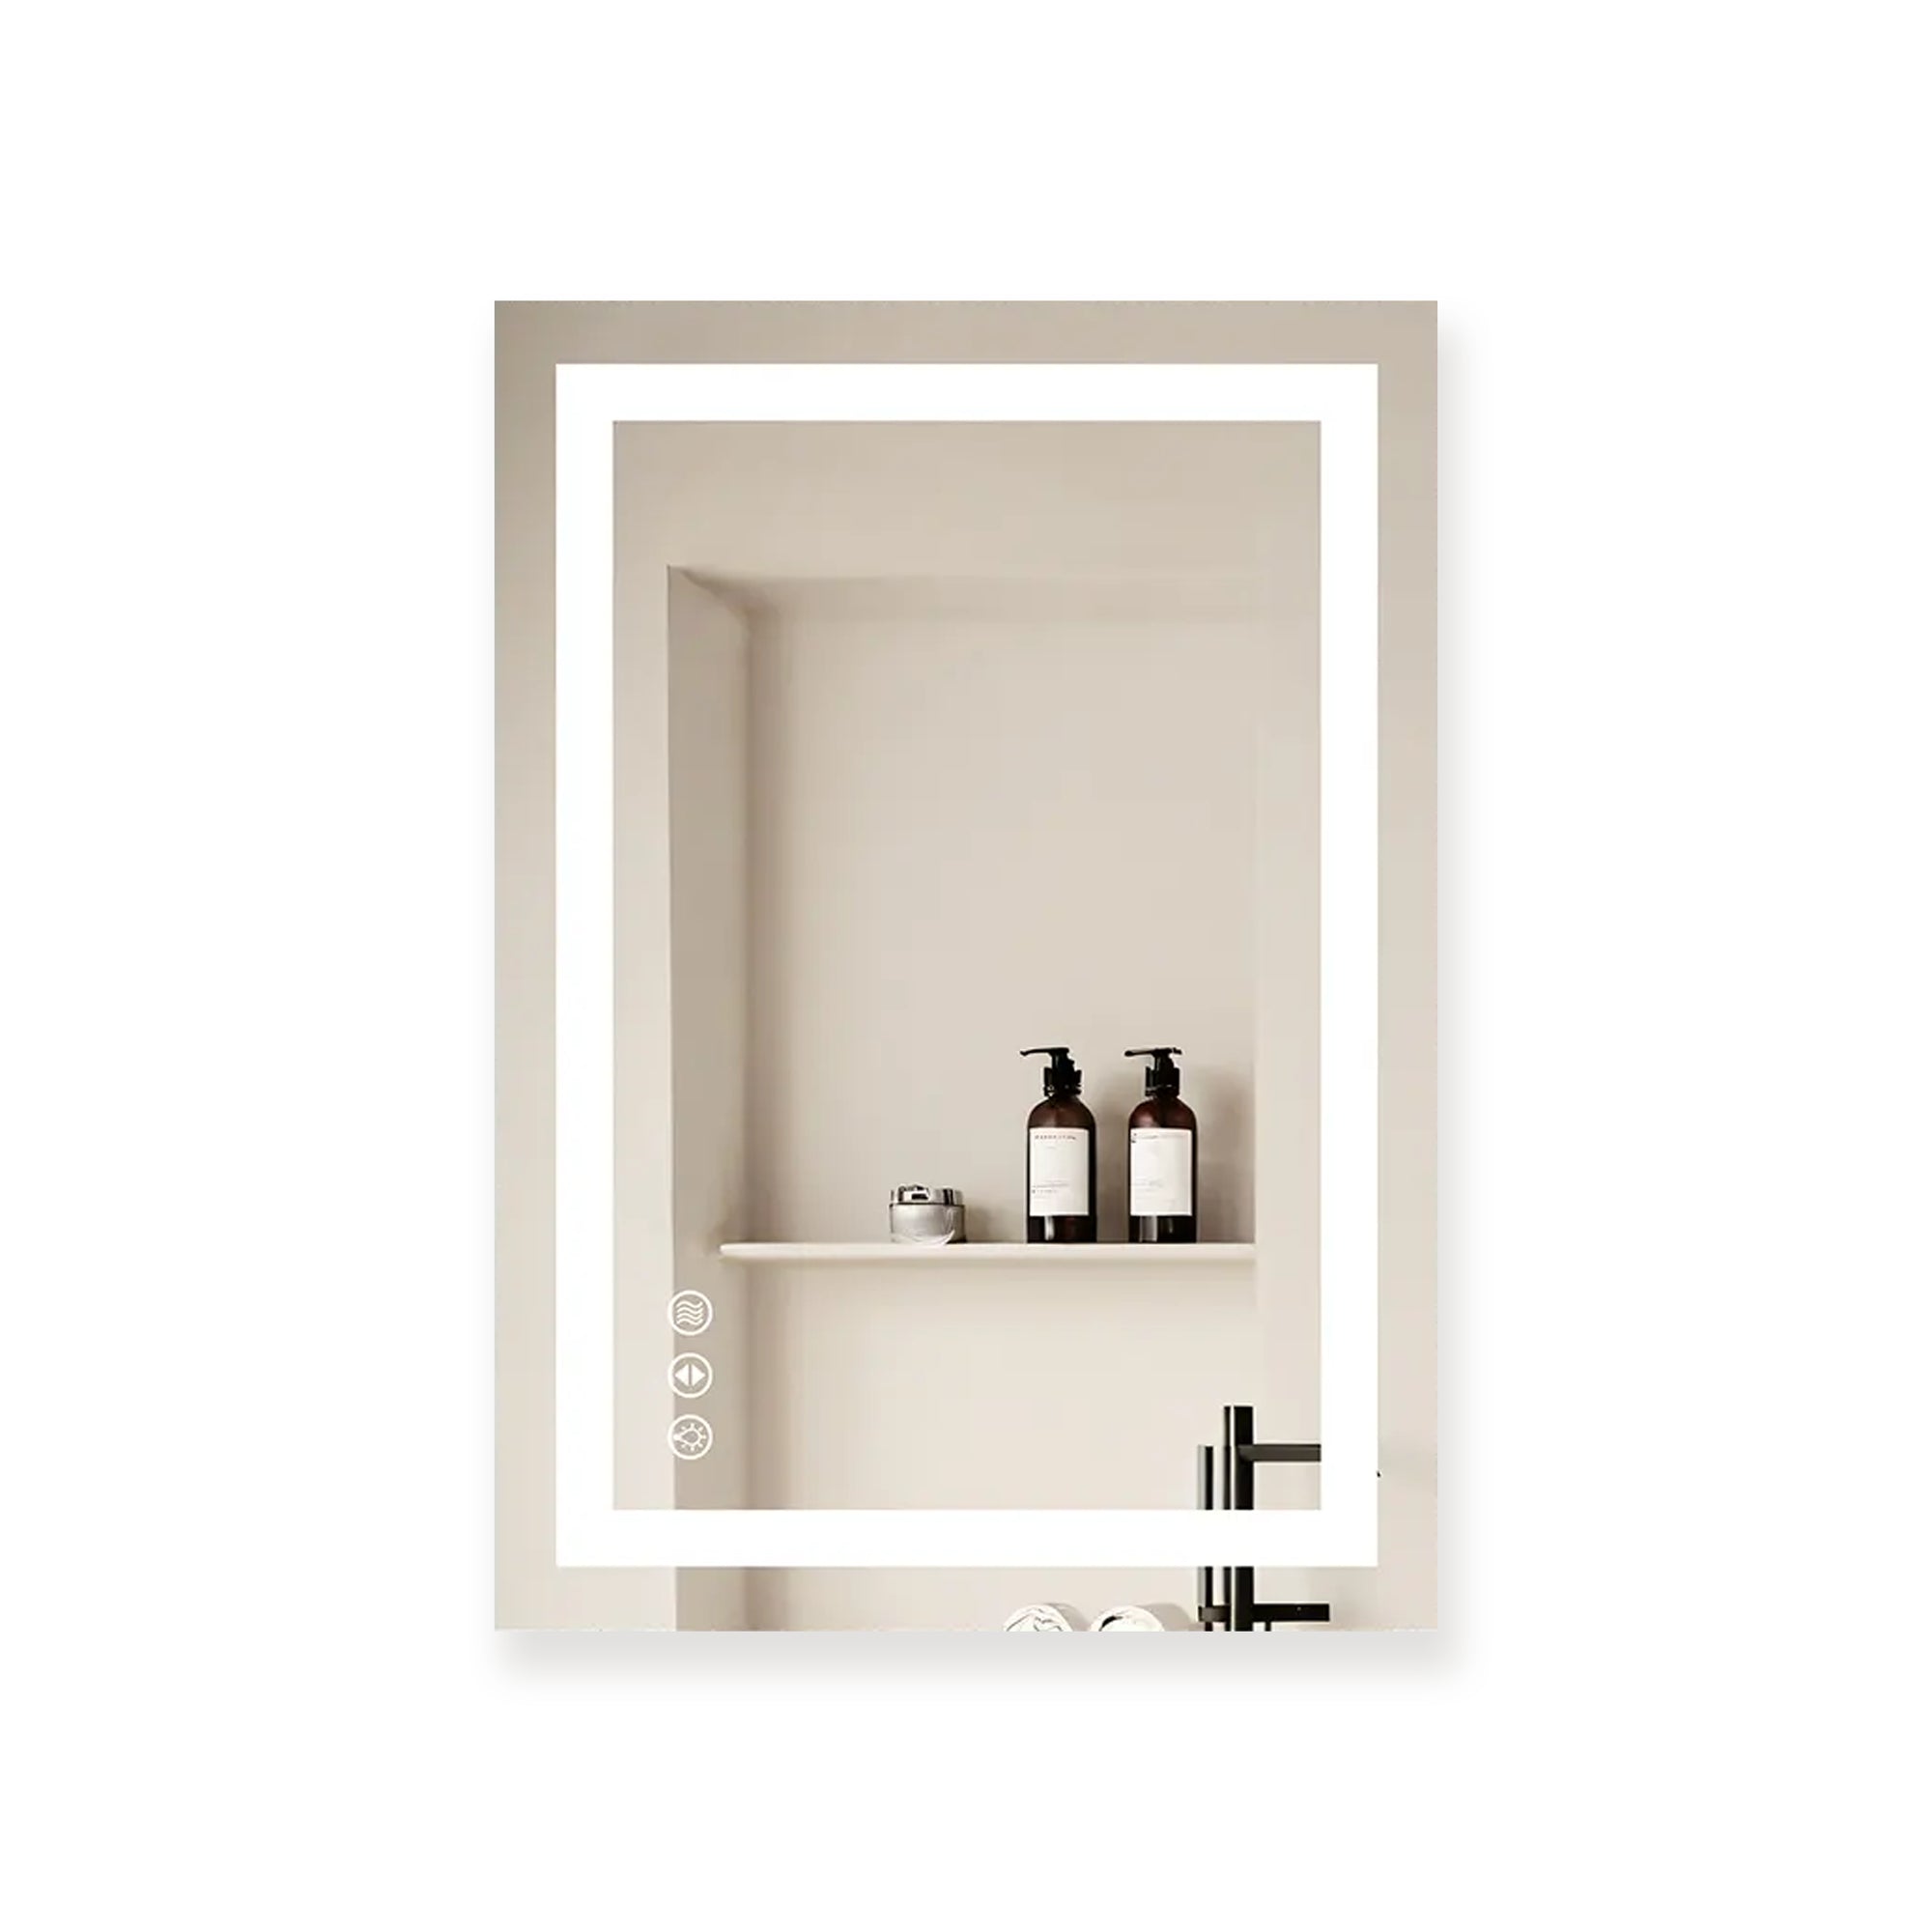
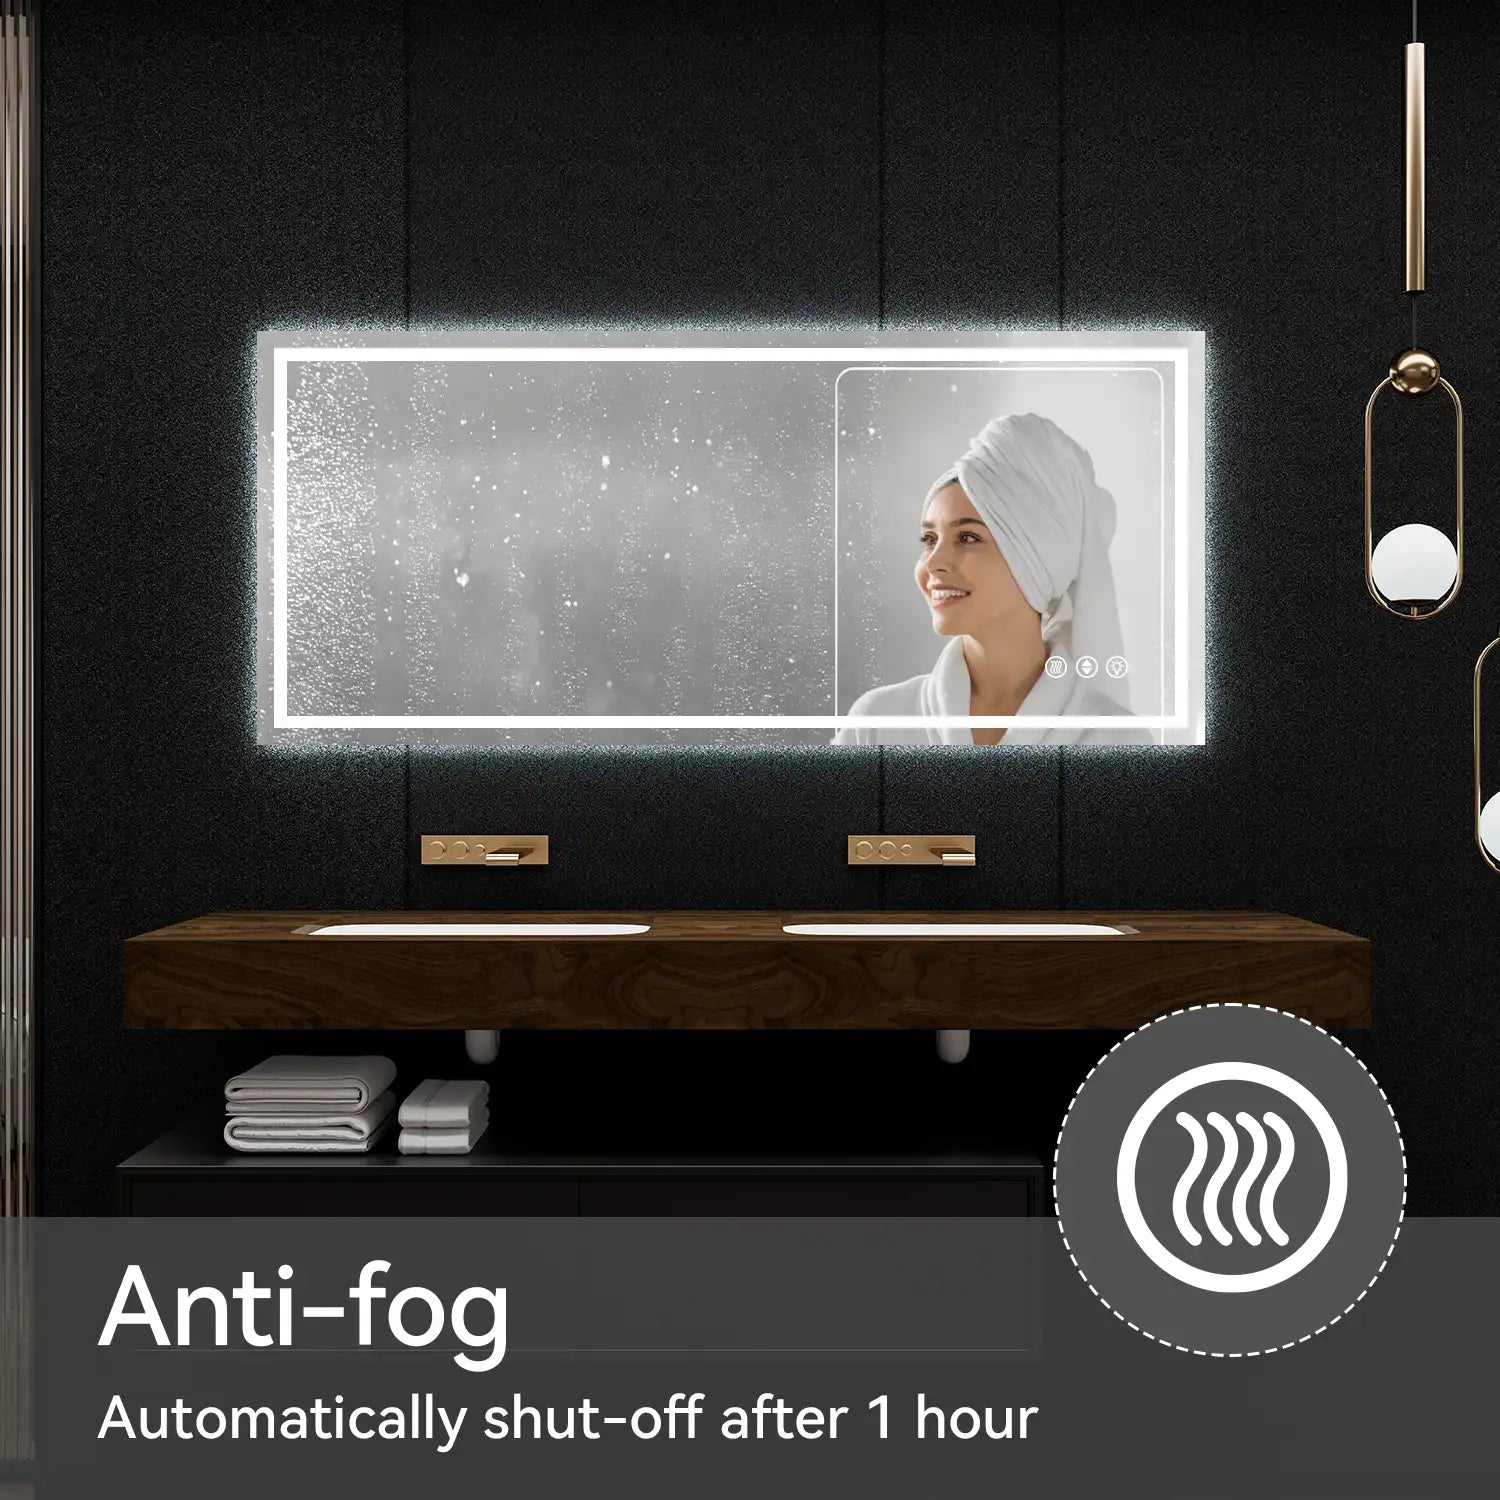
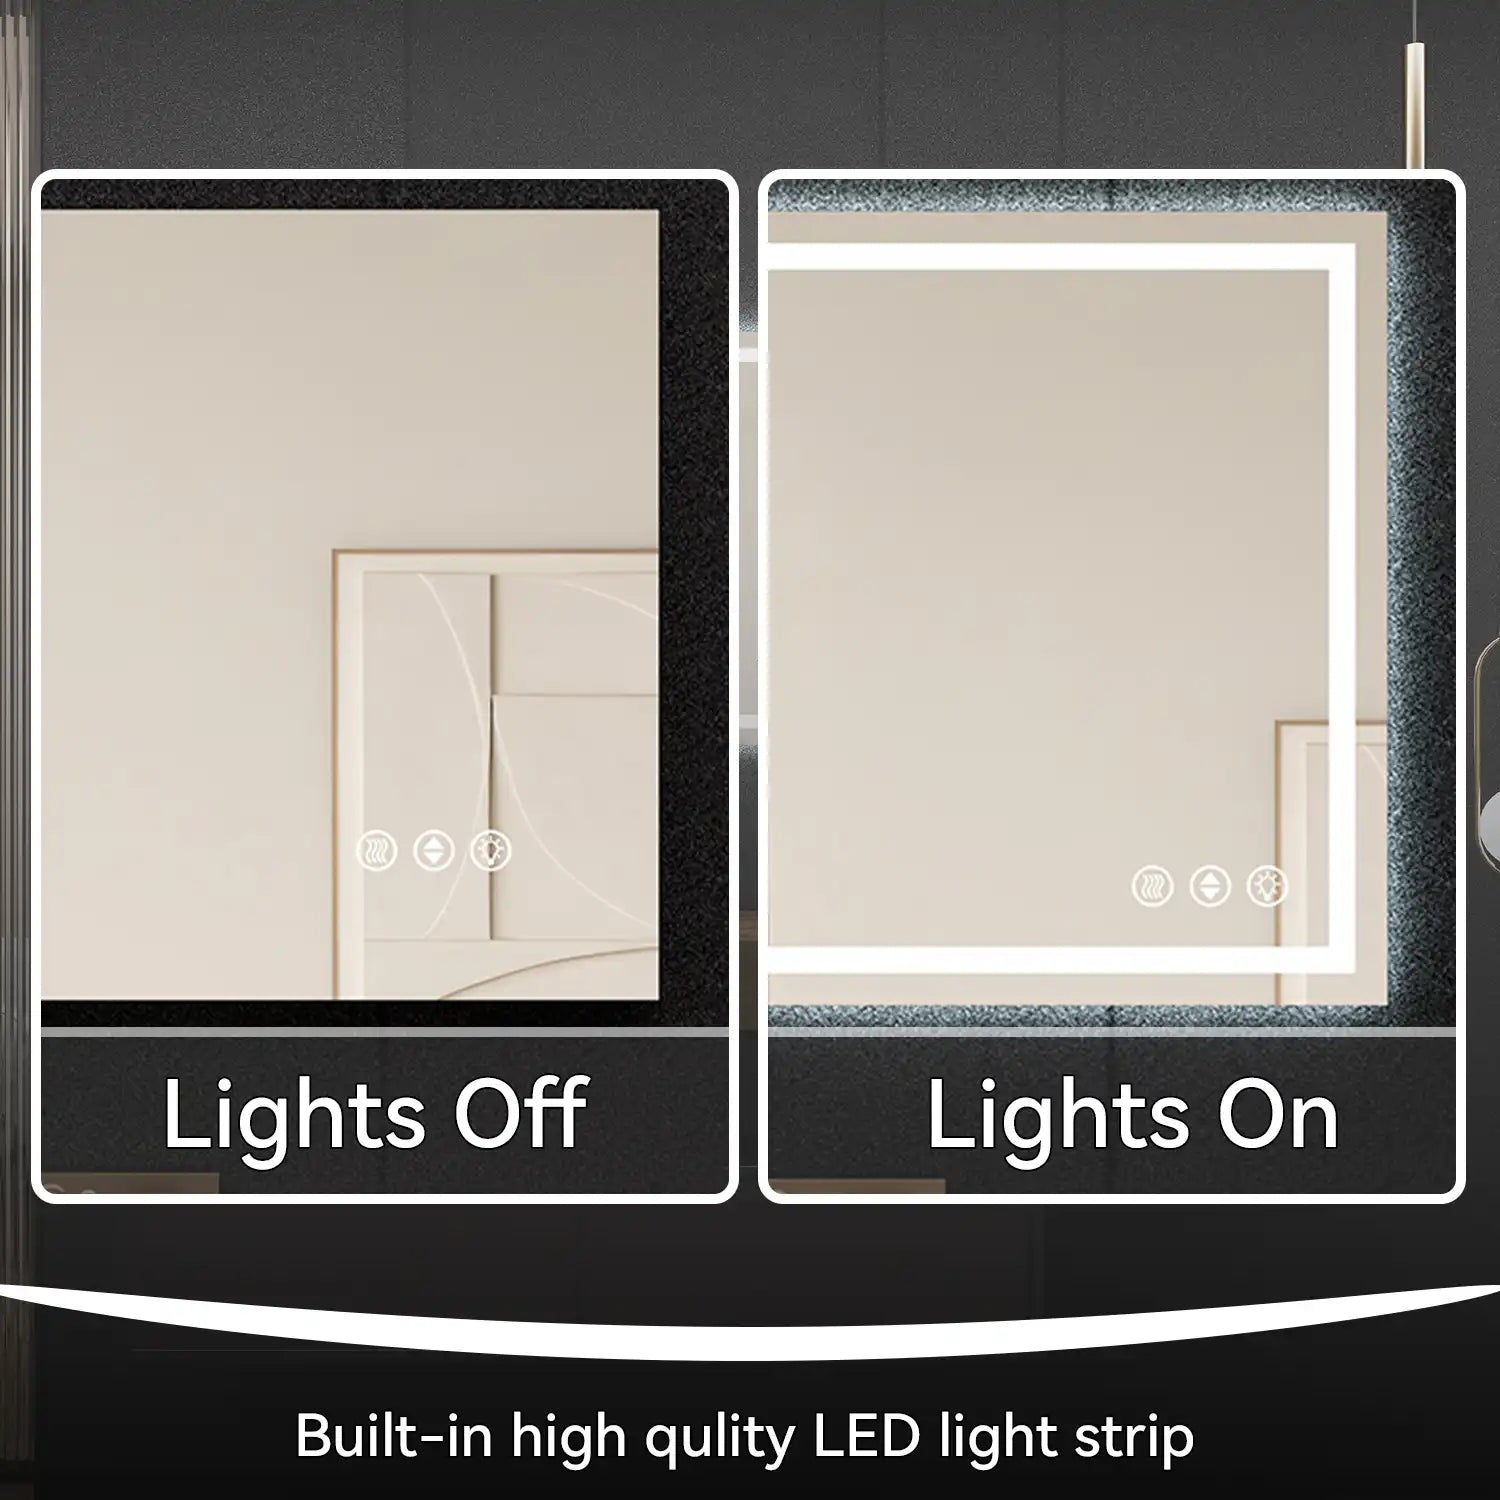
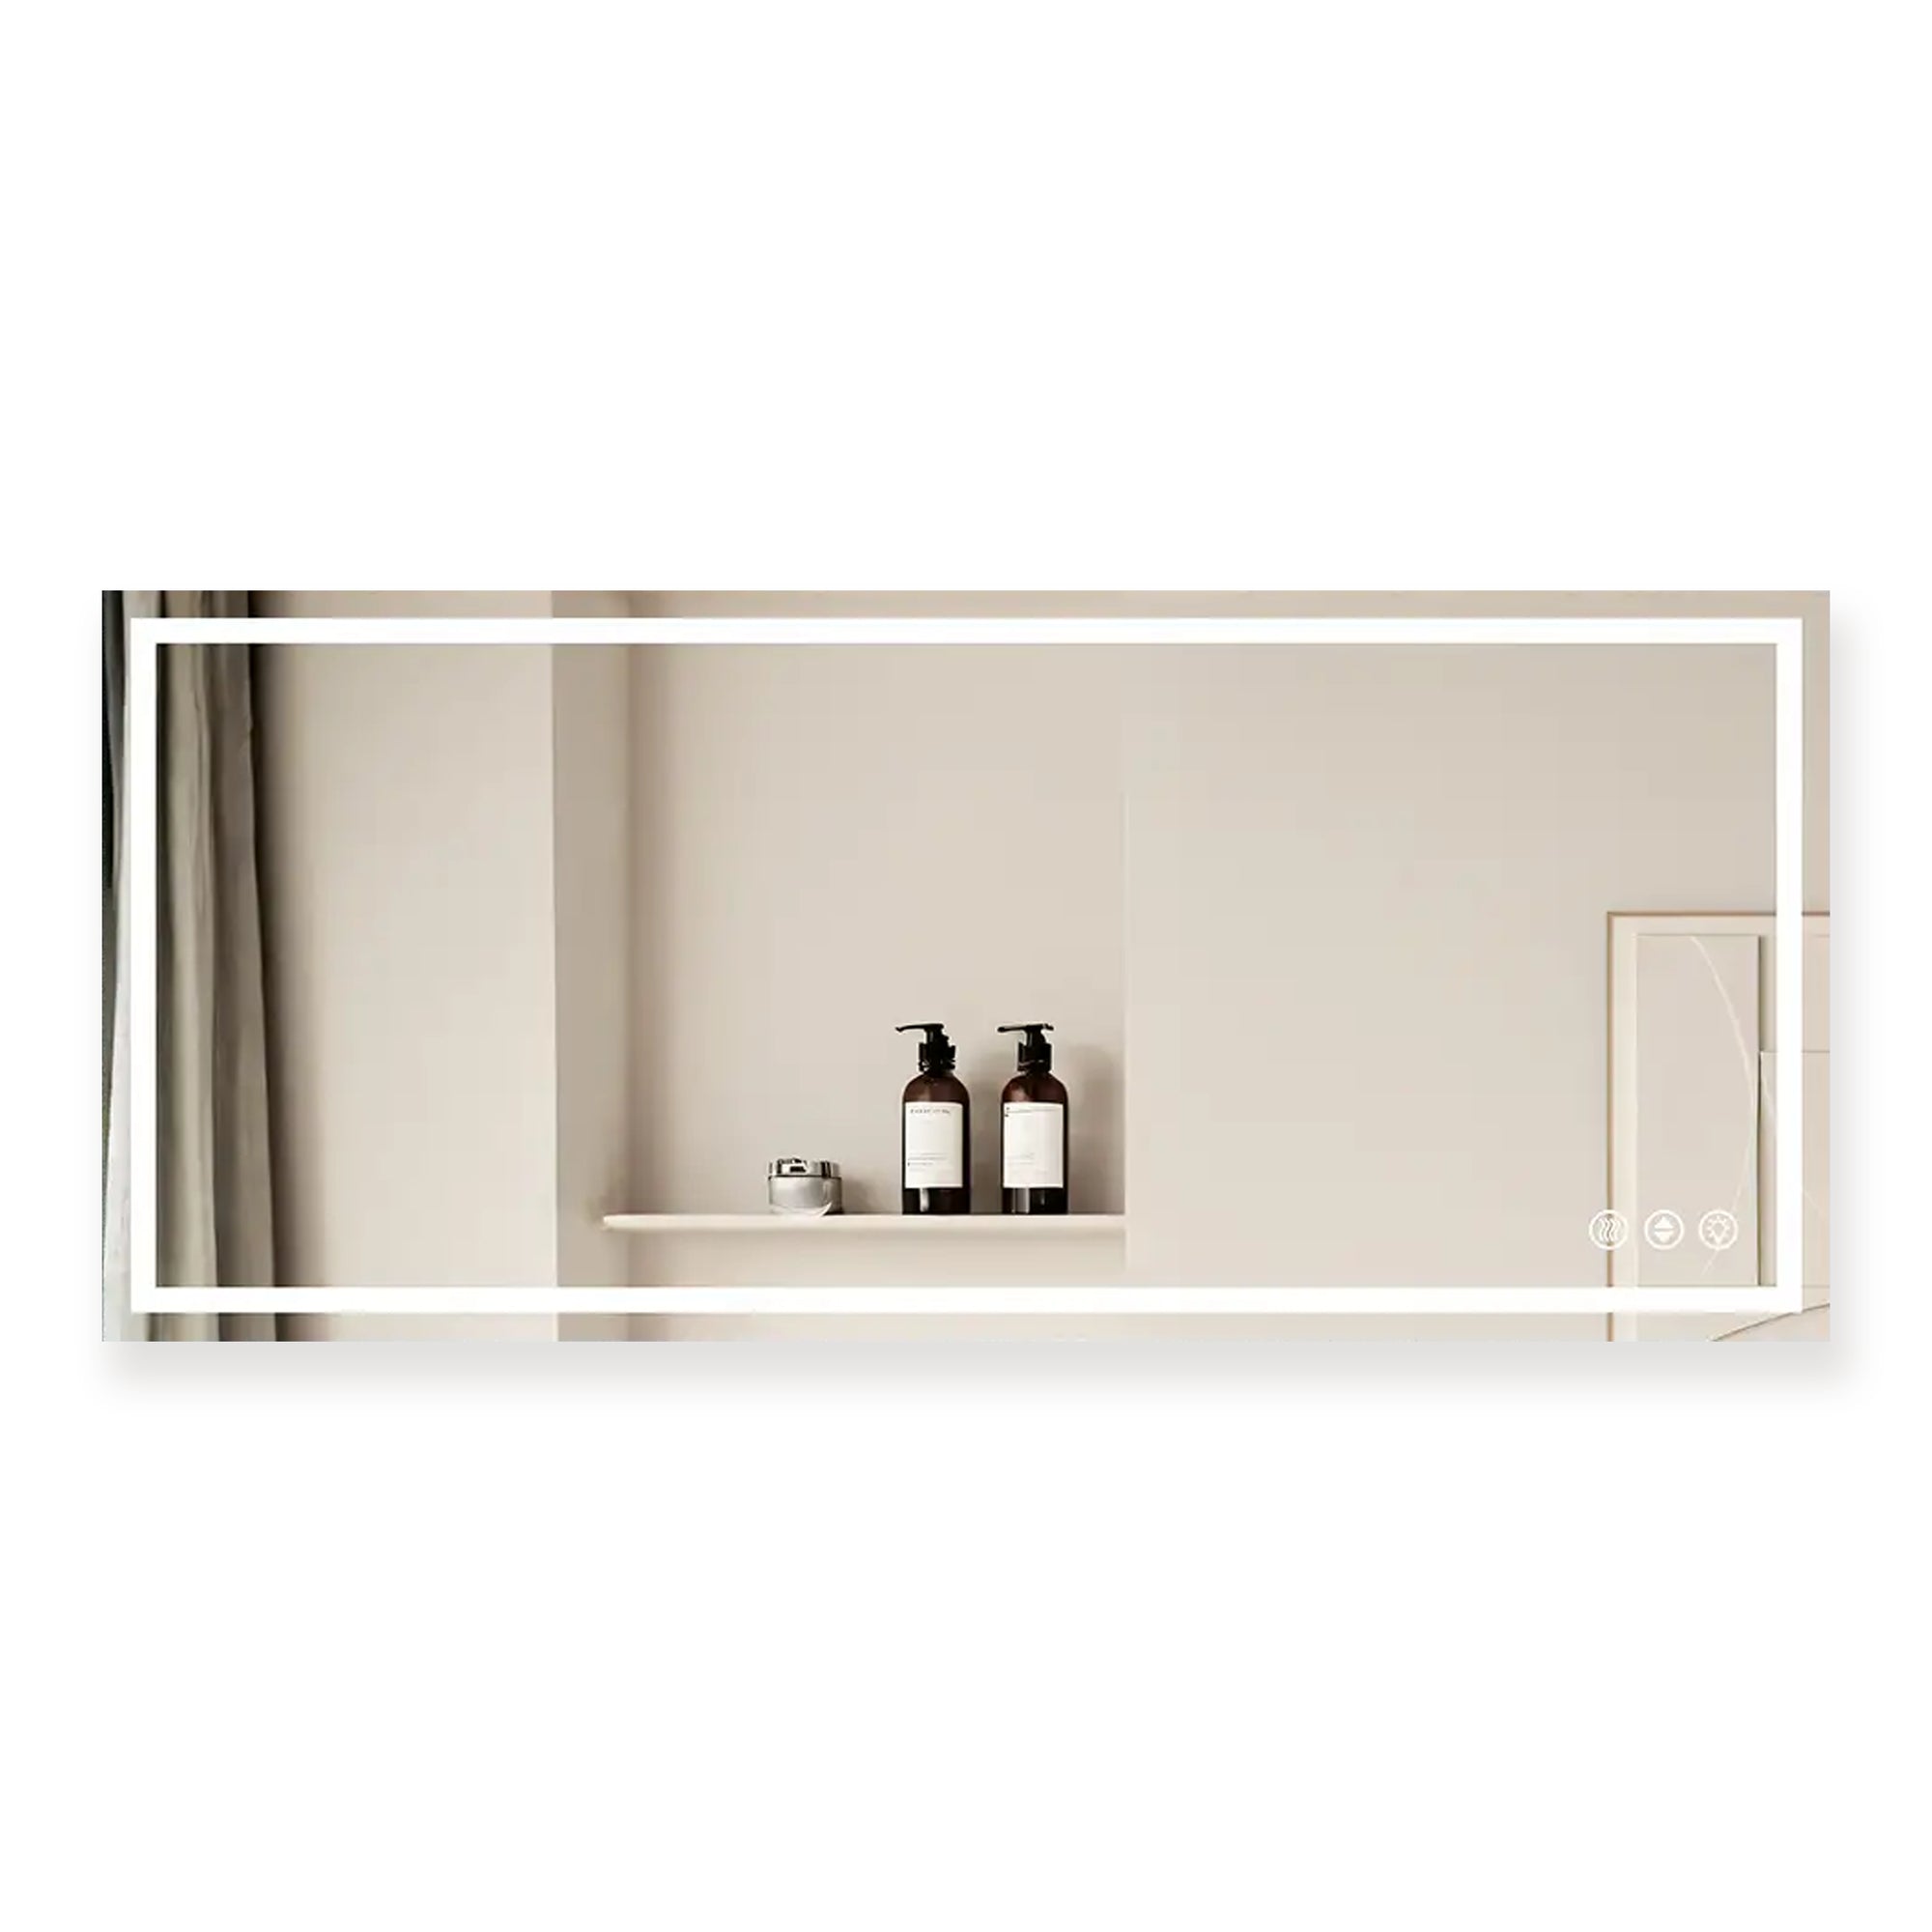
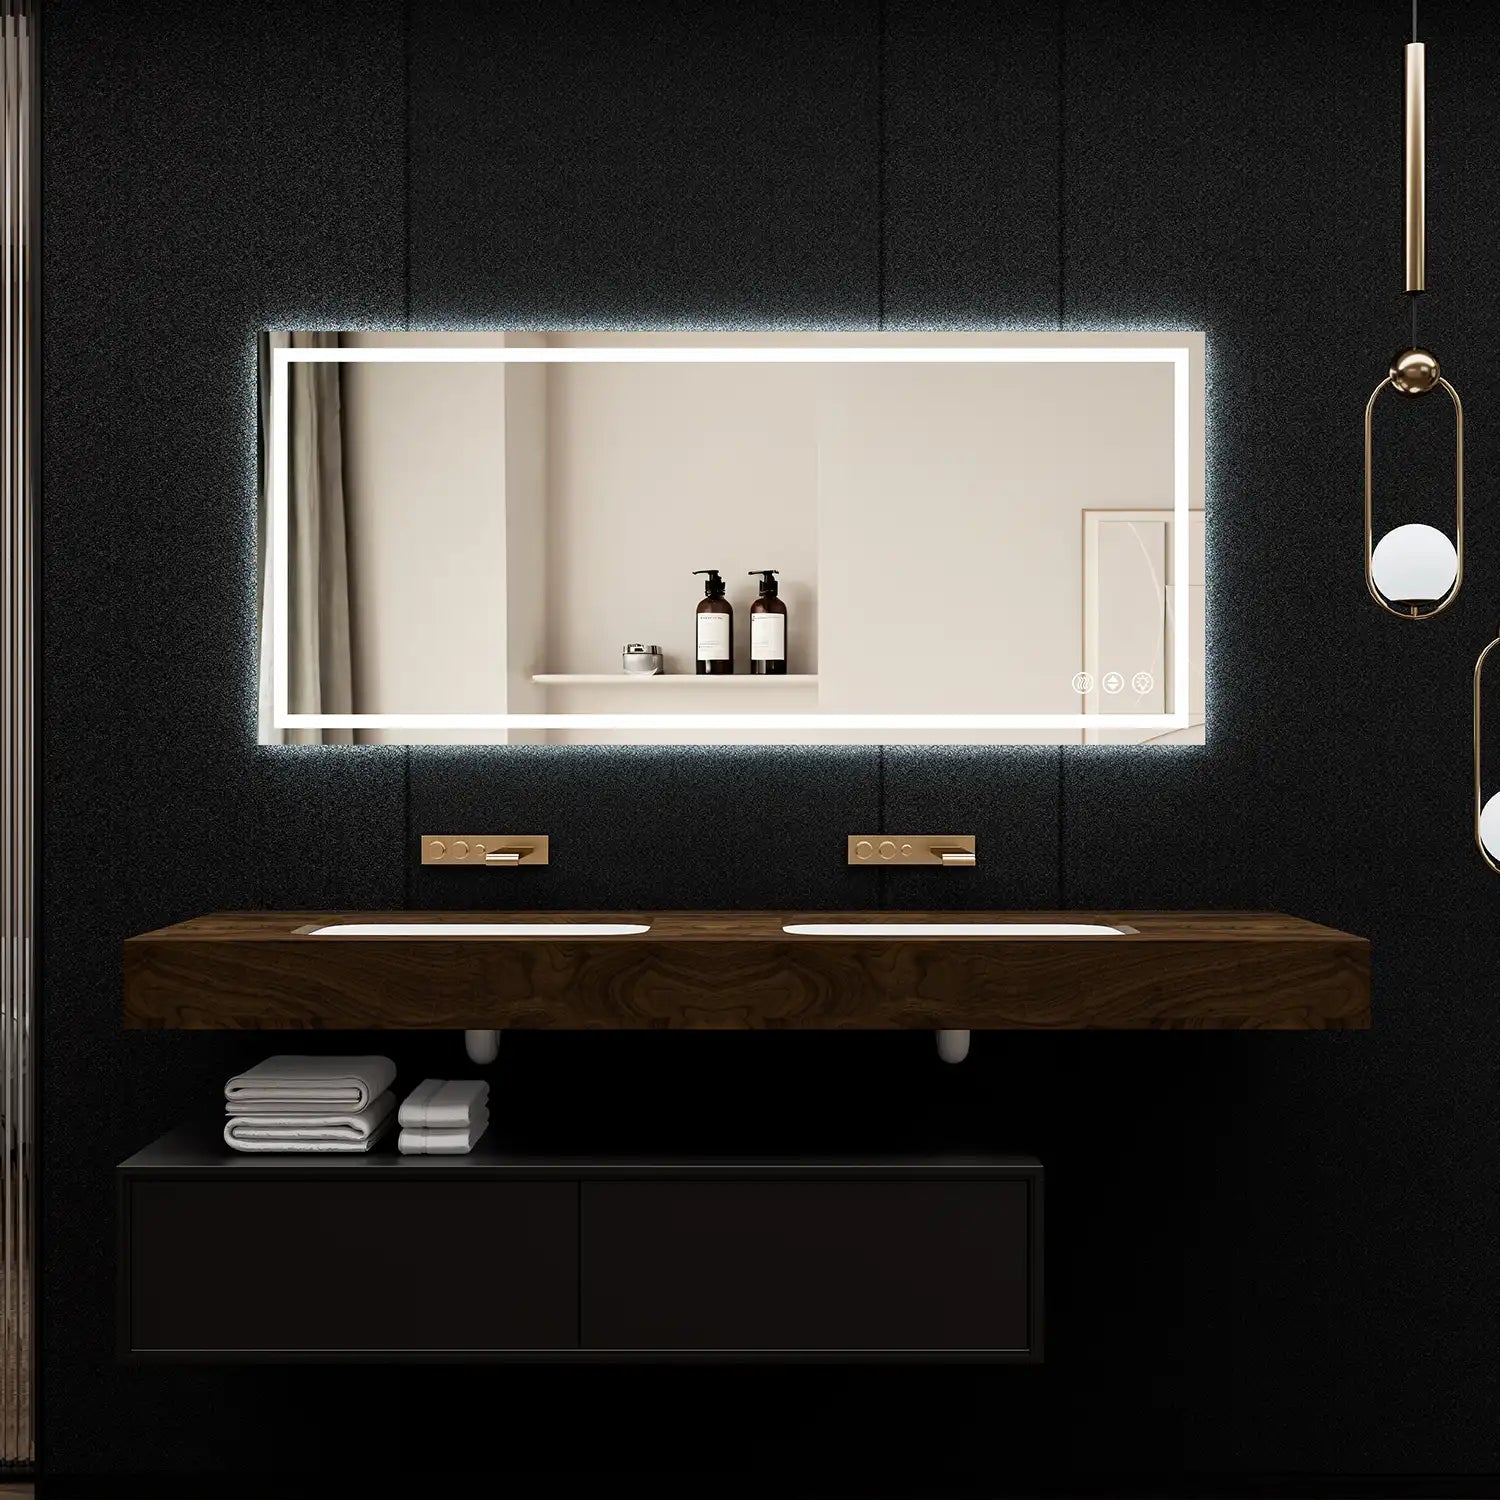
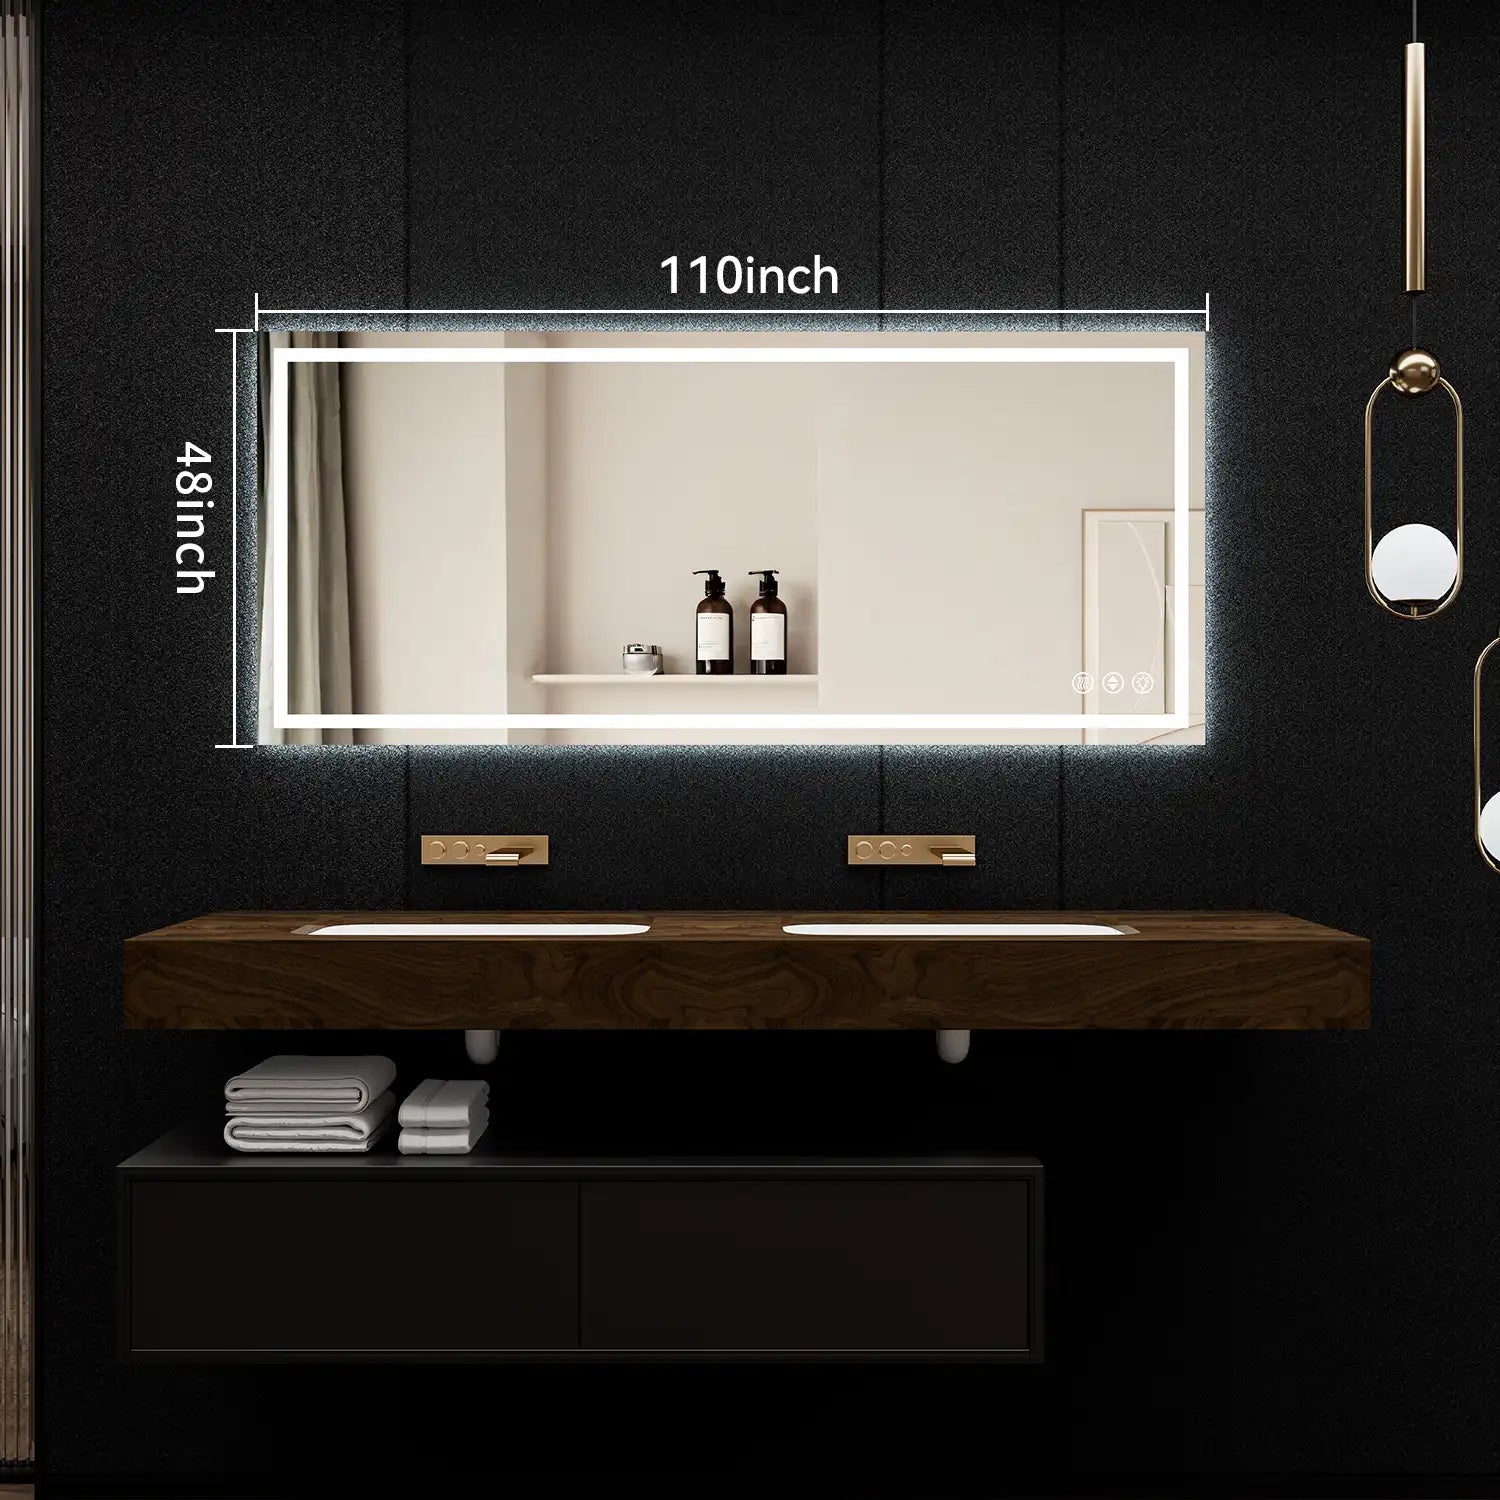
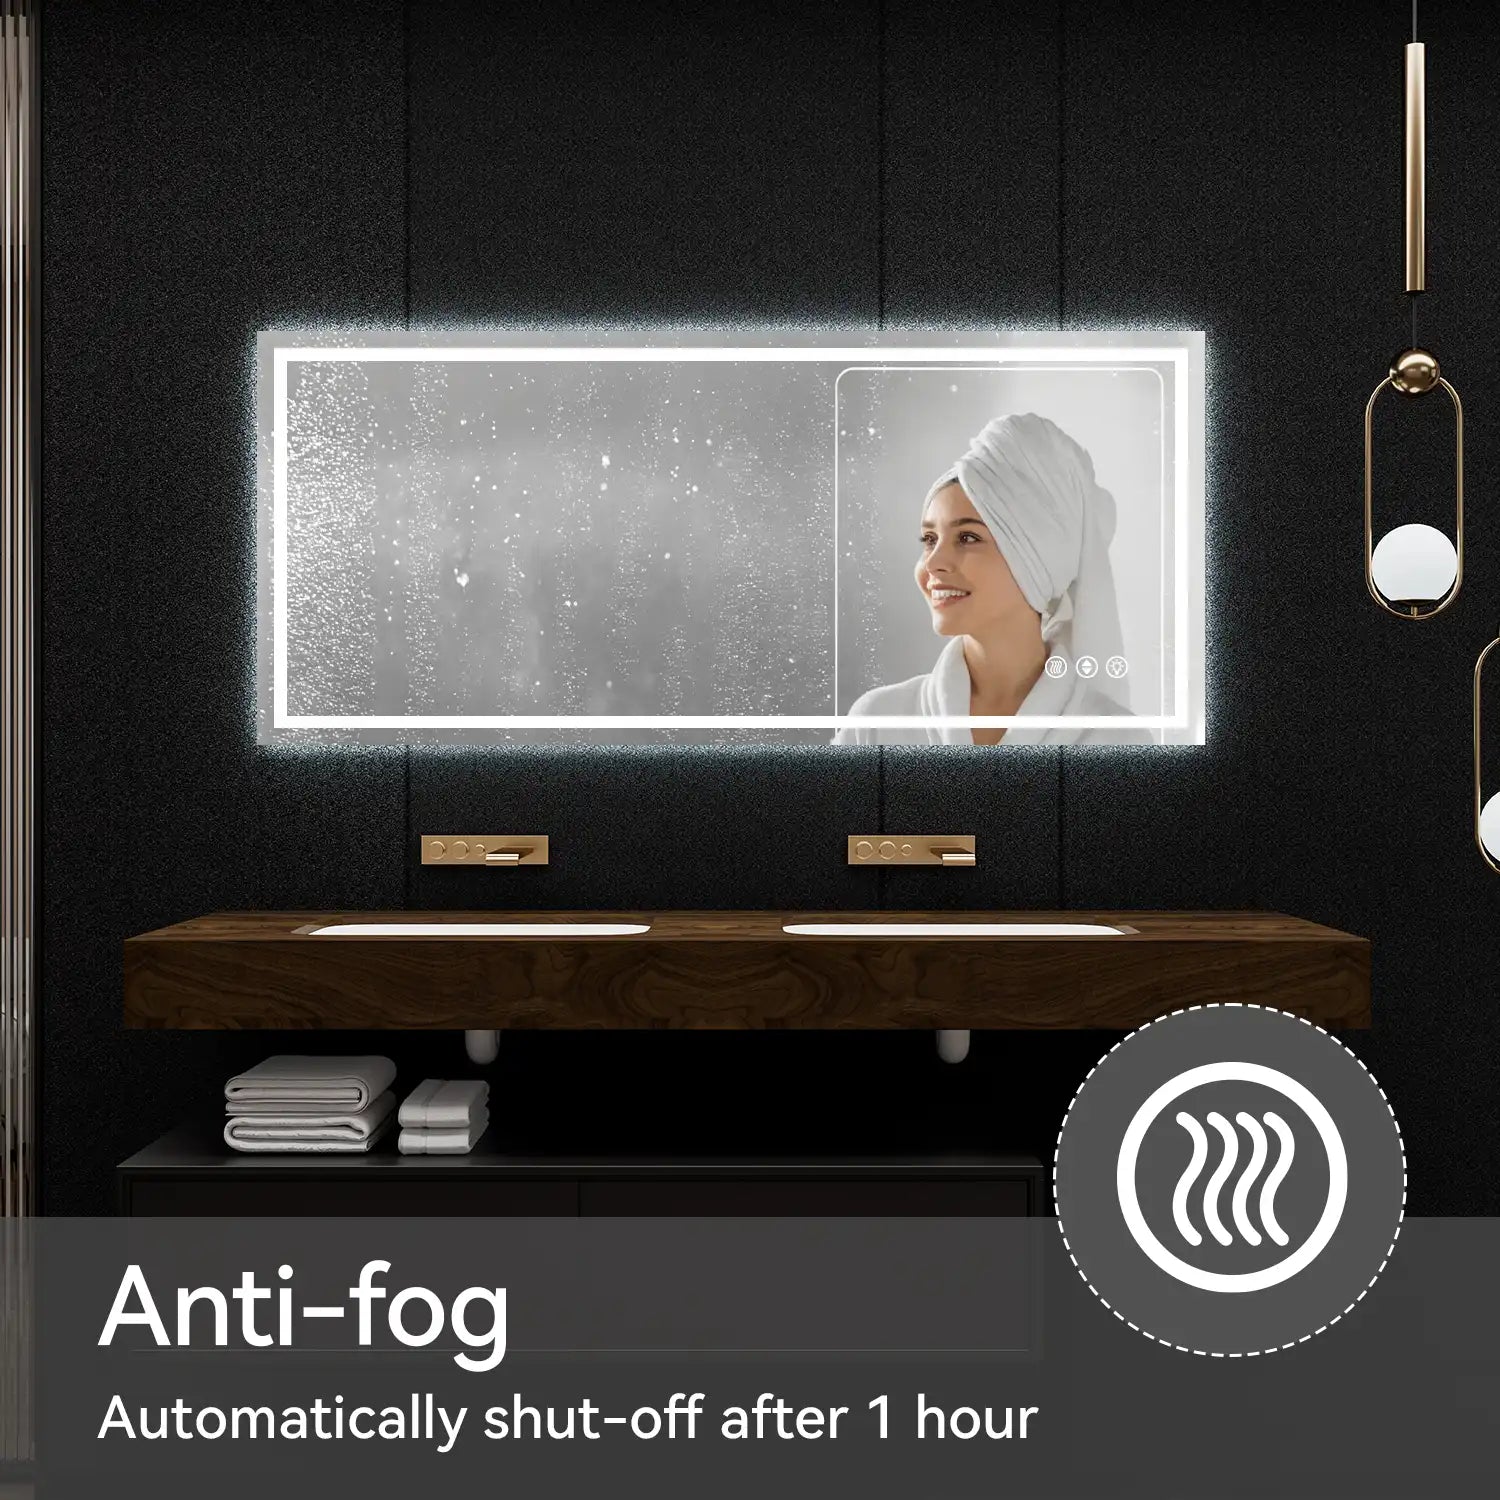
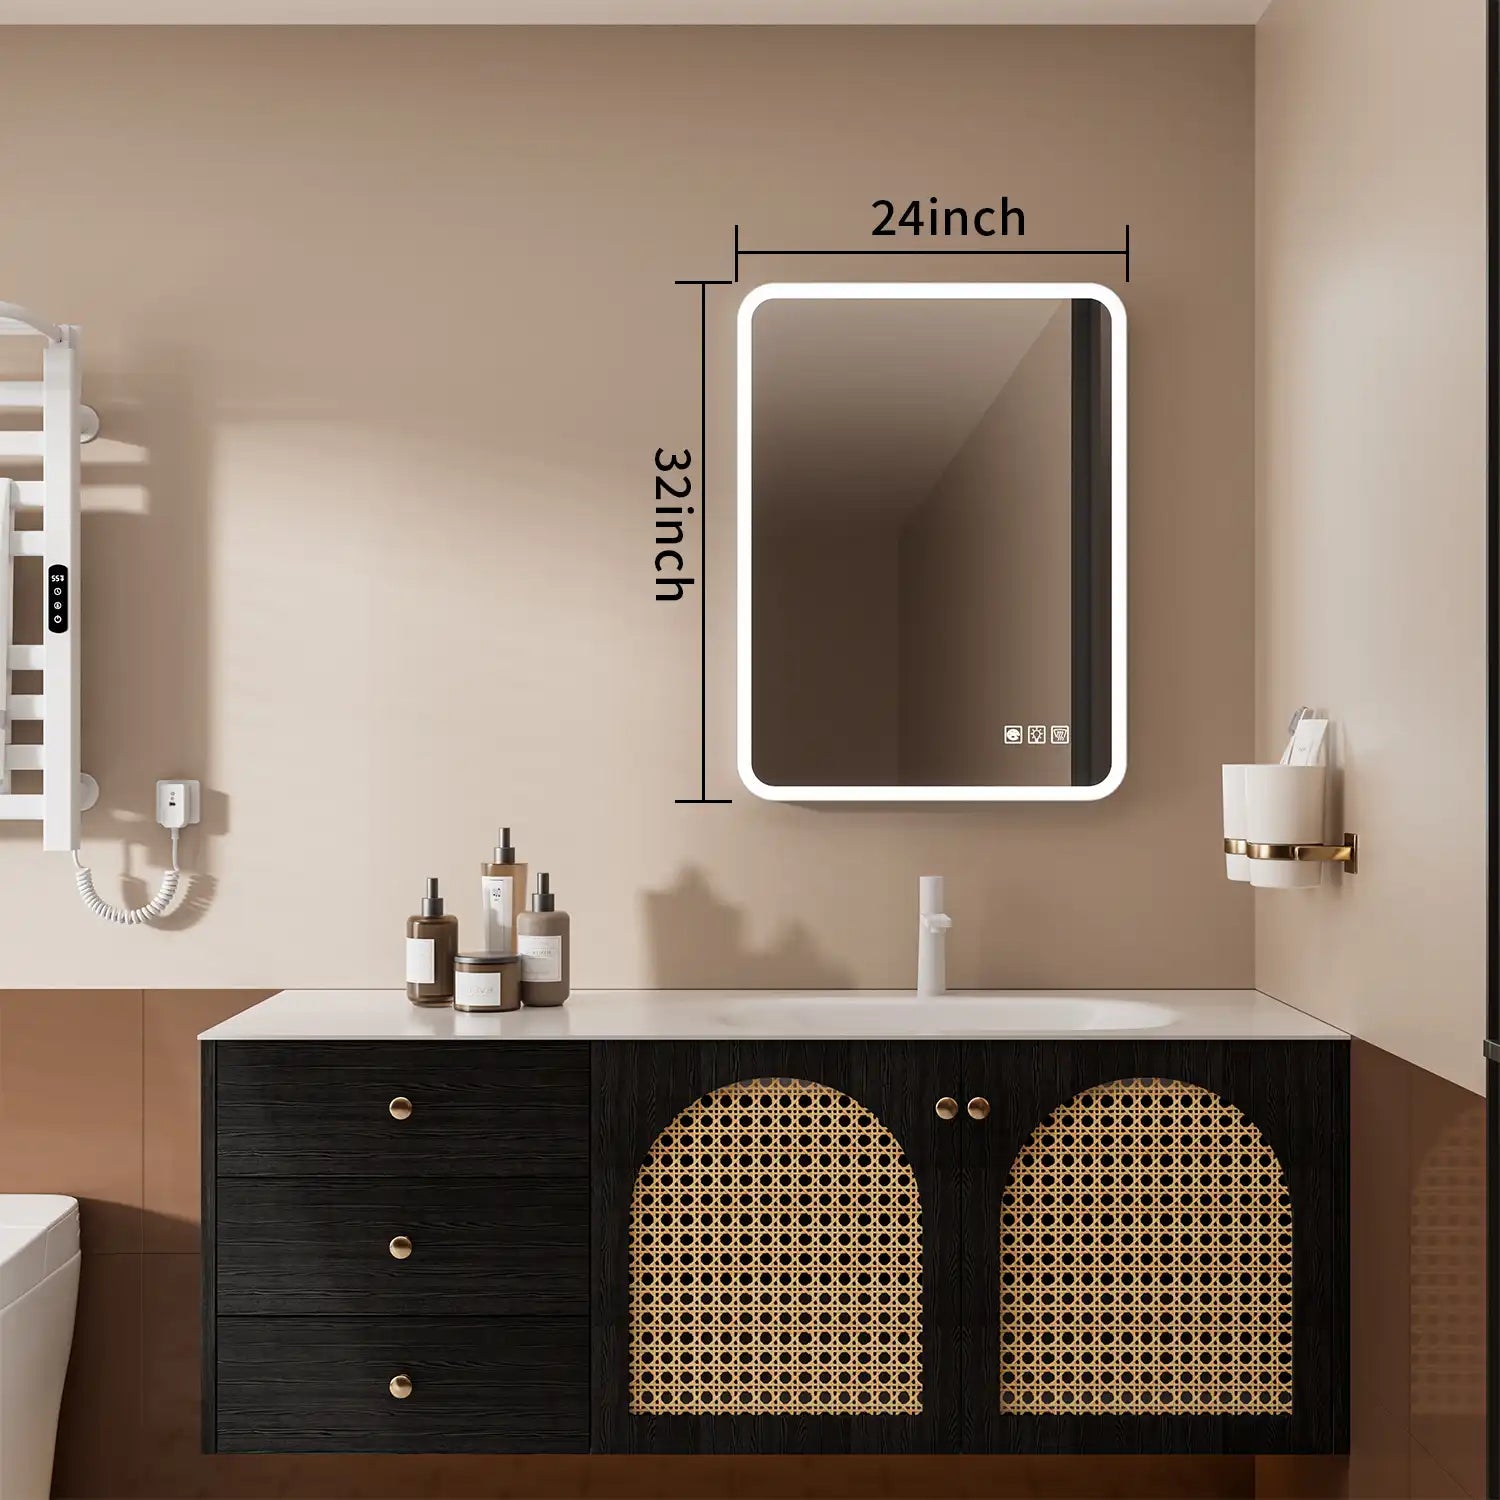
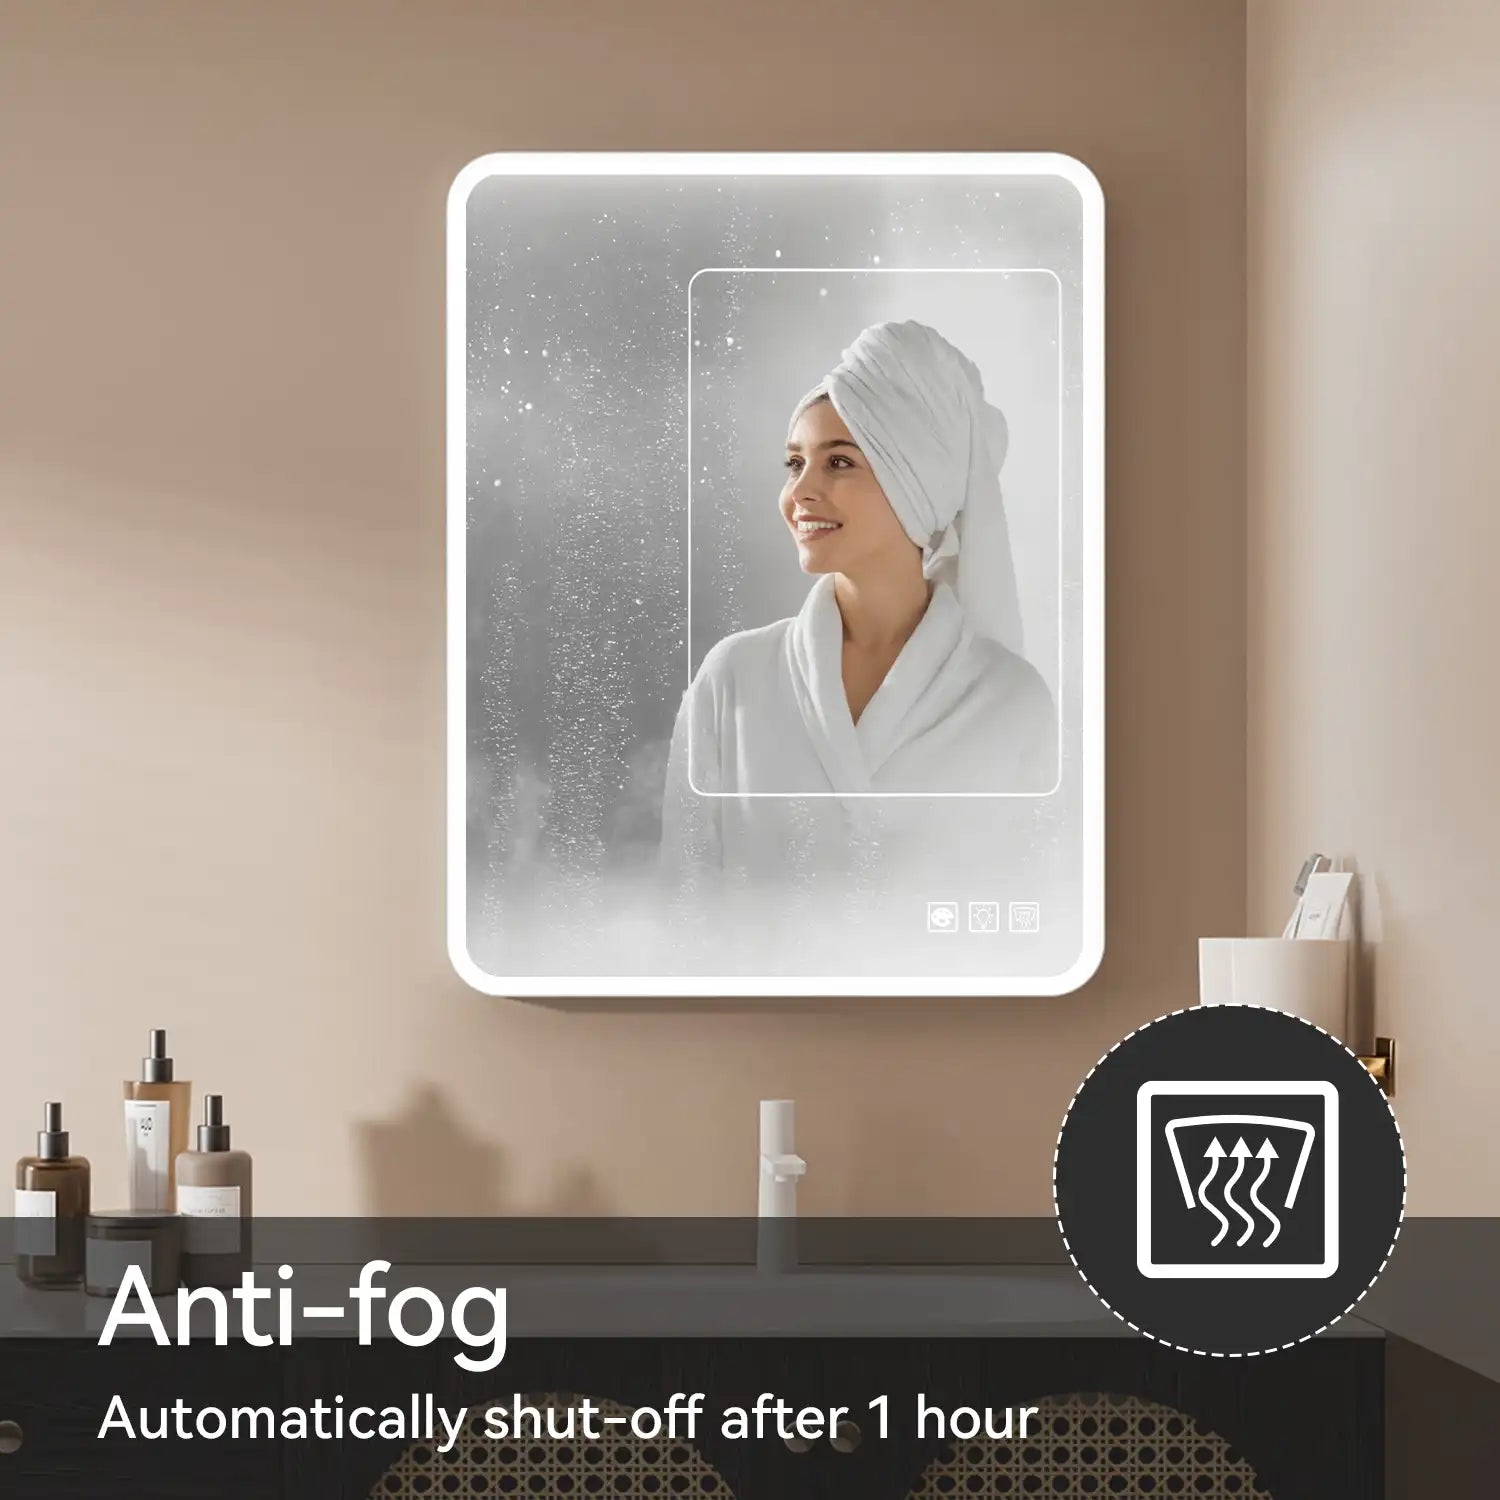
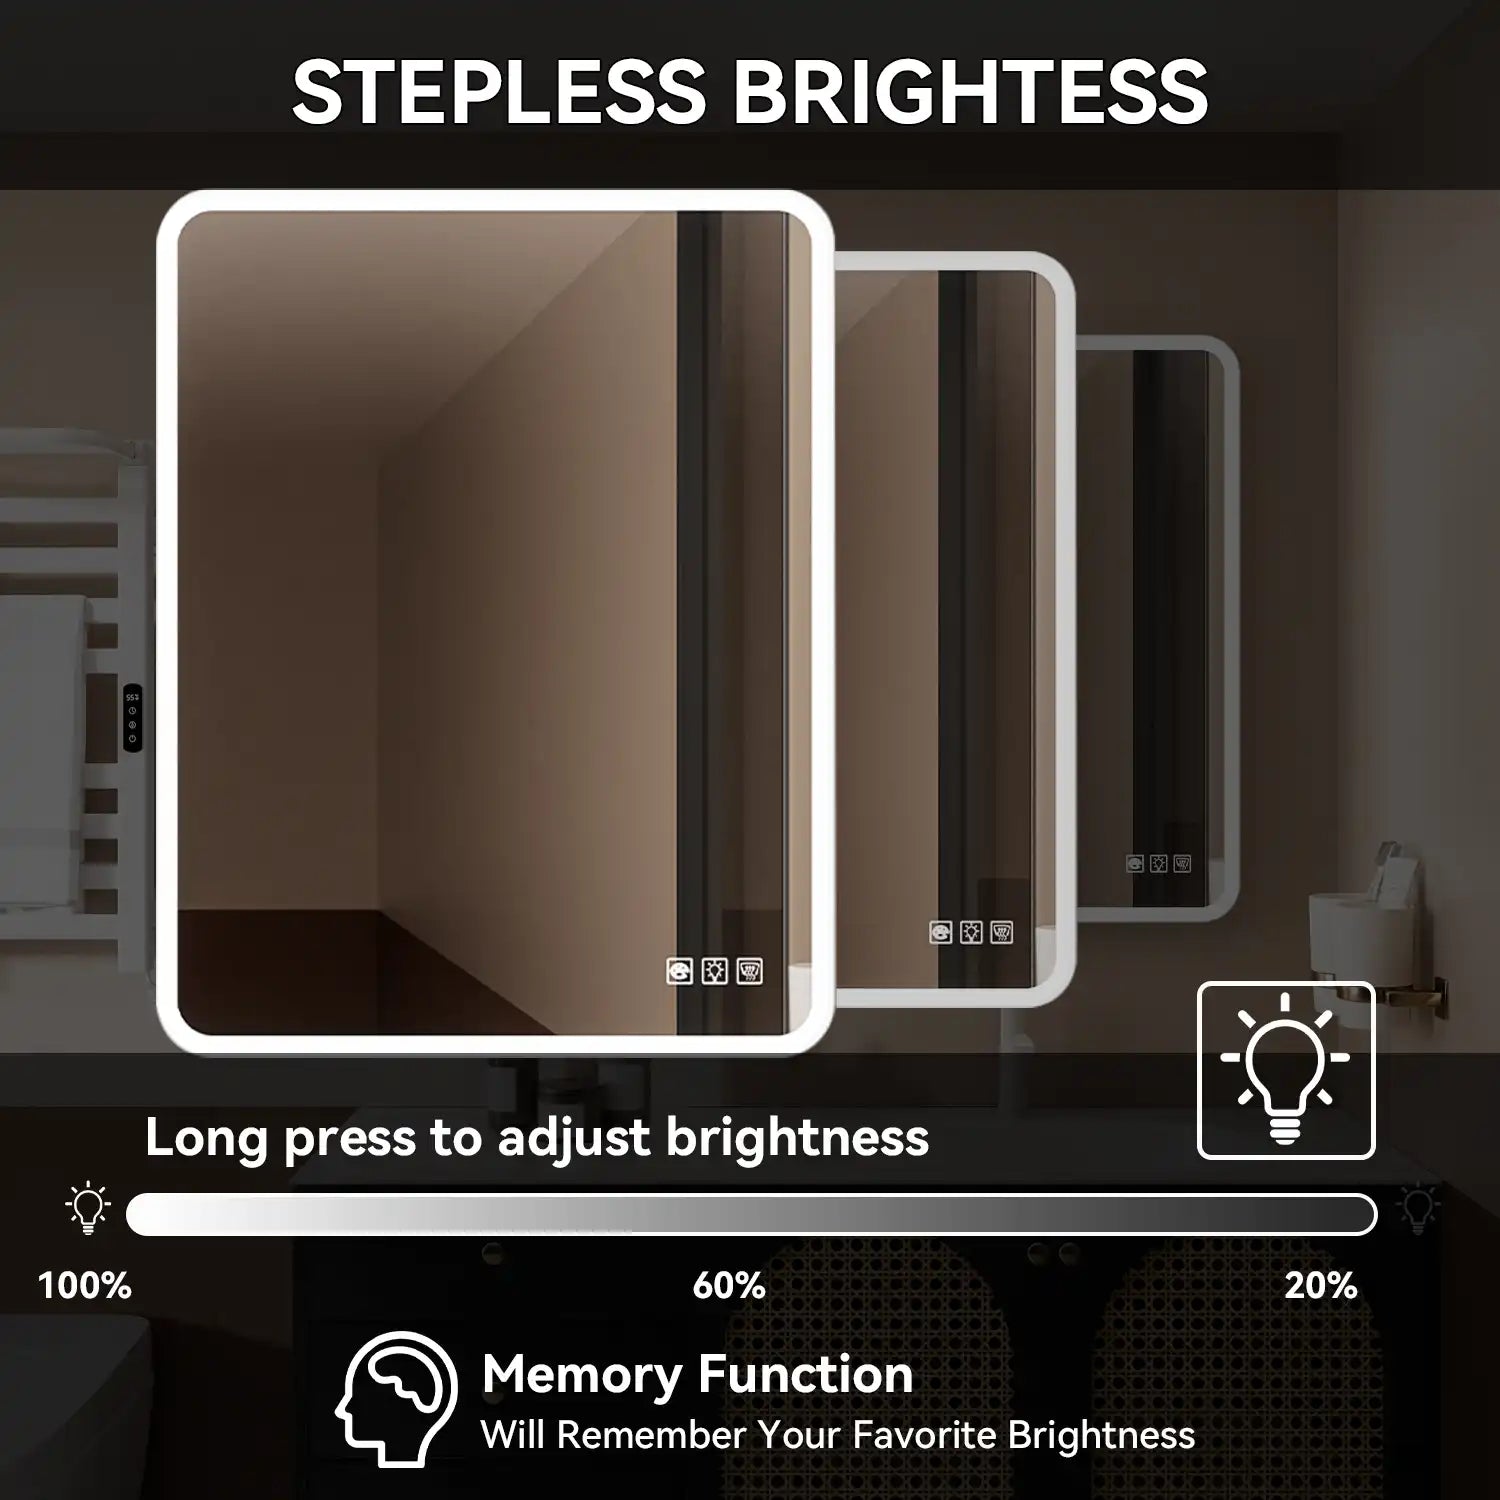
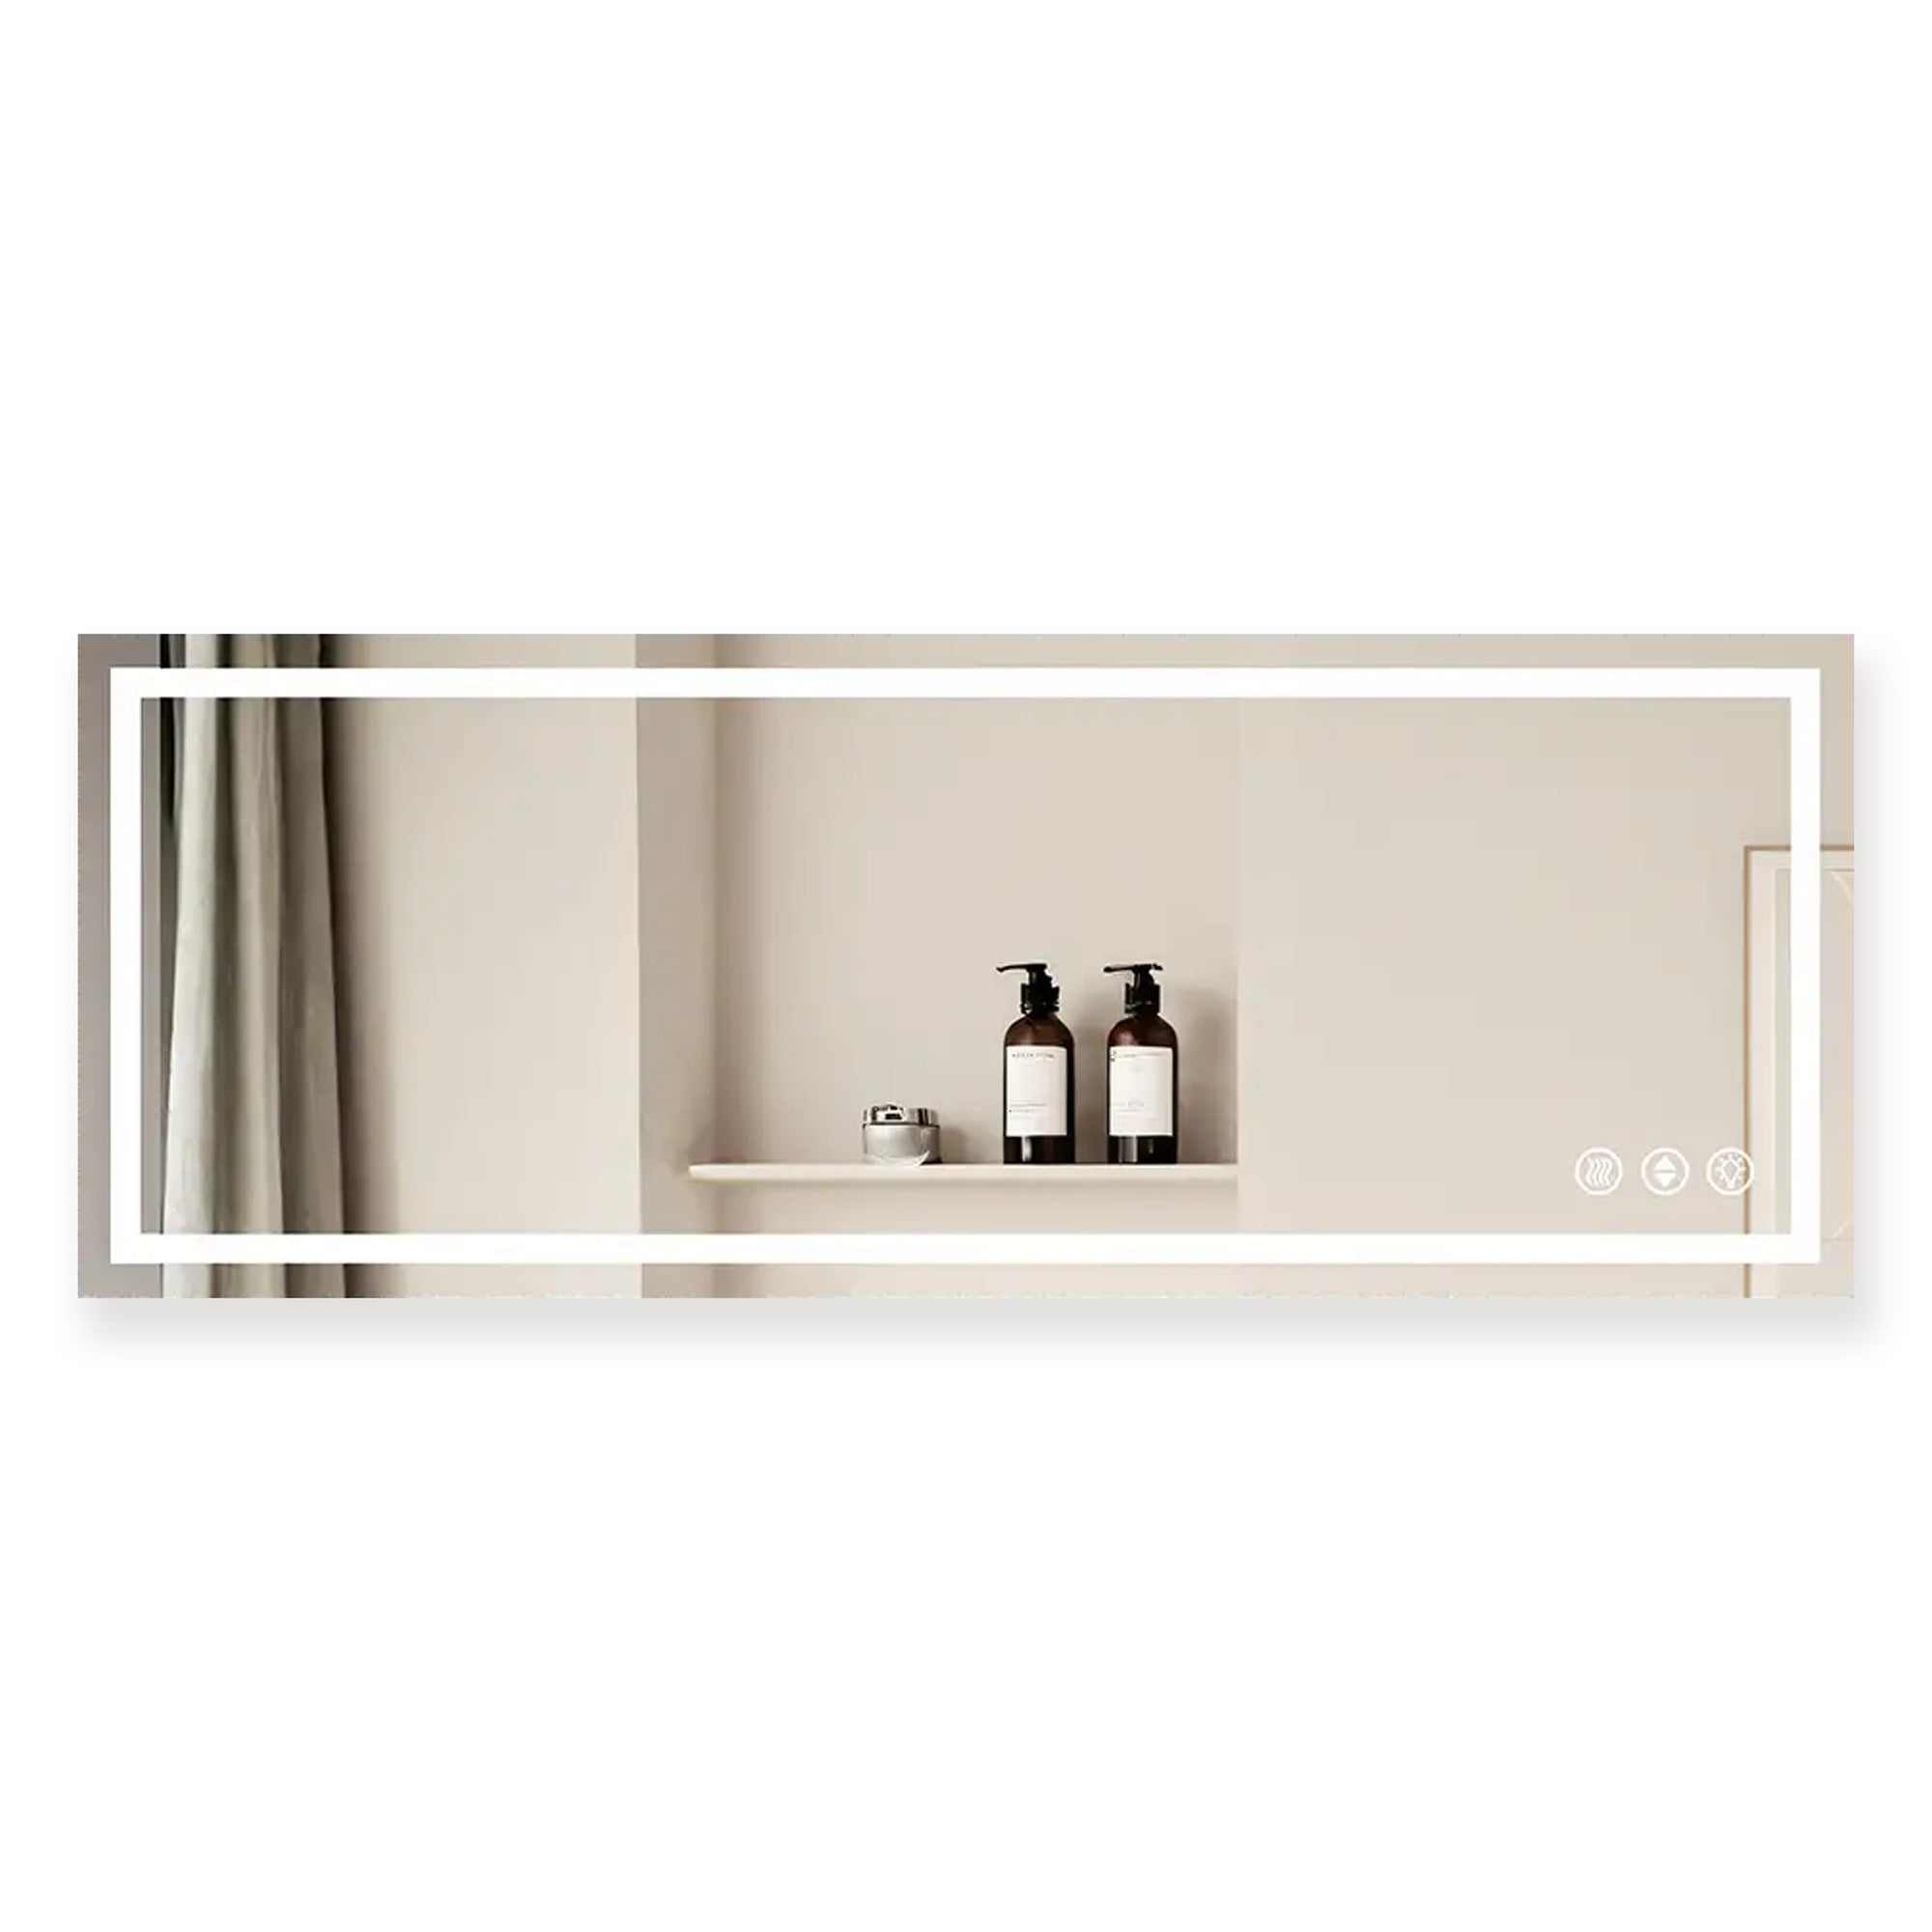
- Backlit Mirrors: Mirrors with built-in lights offer a minimalist design while ensuring proper illumination directly from the mirror itself.
1.2. Color Temperature
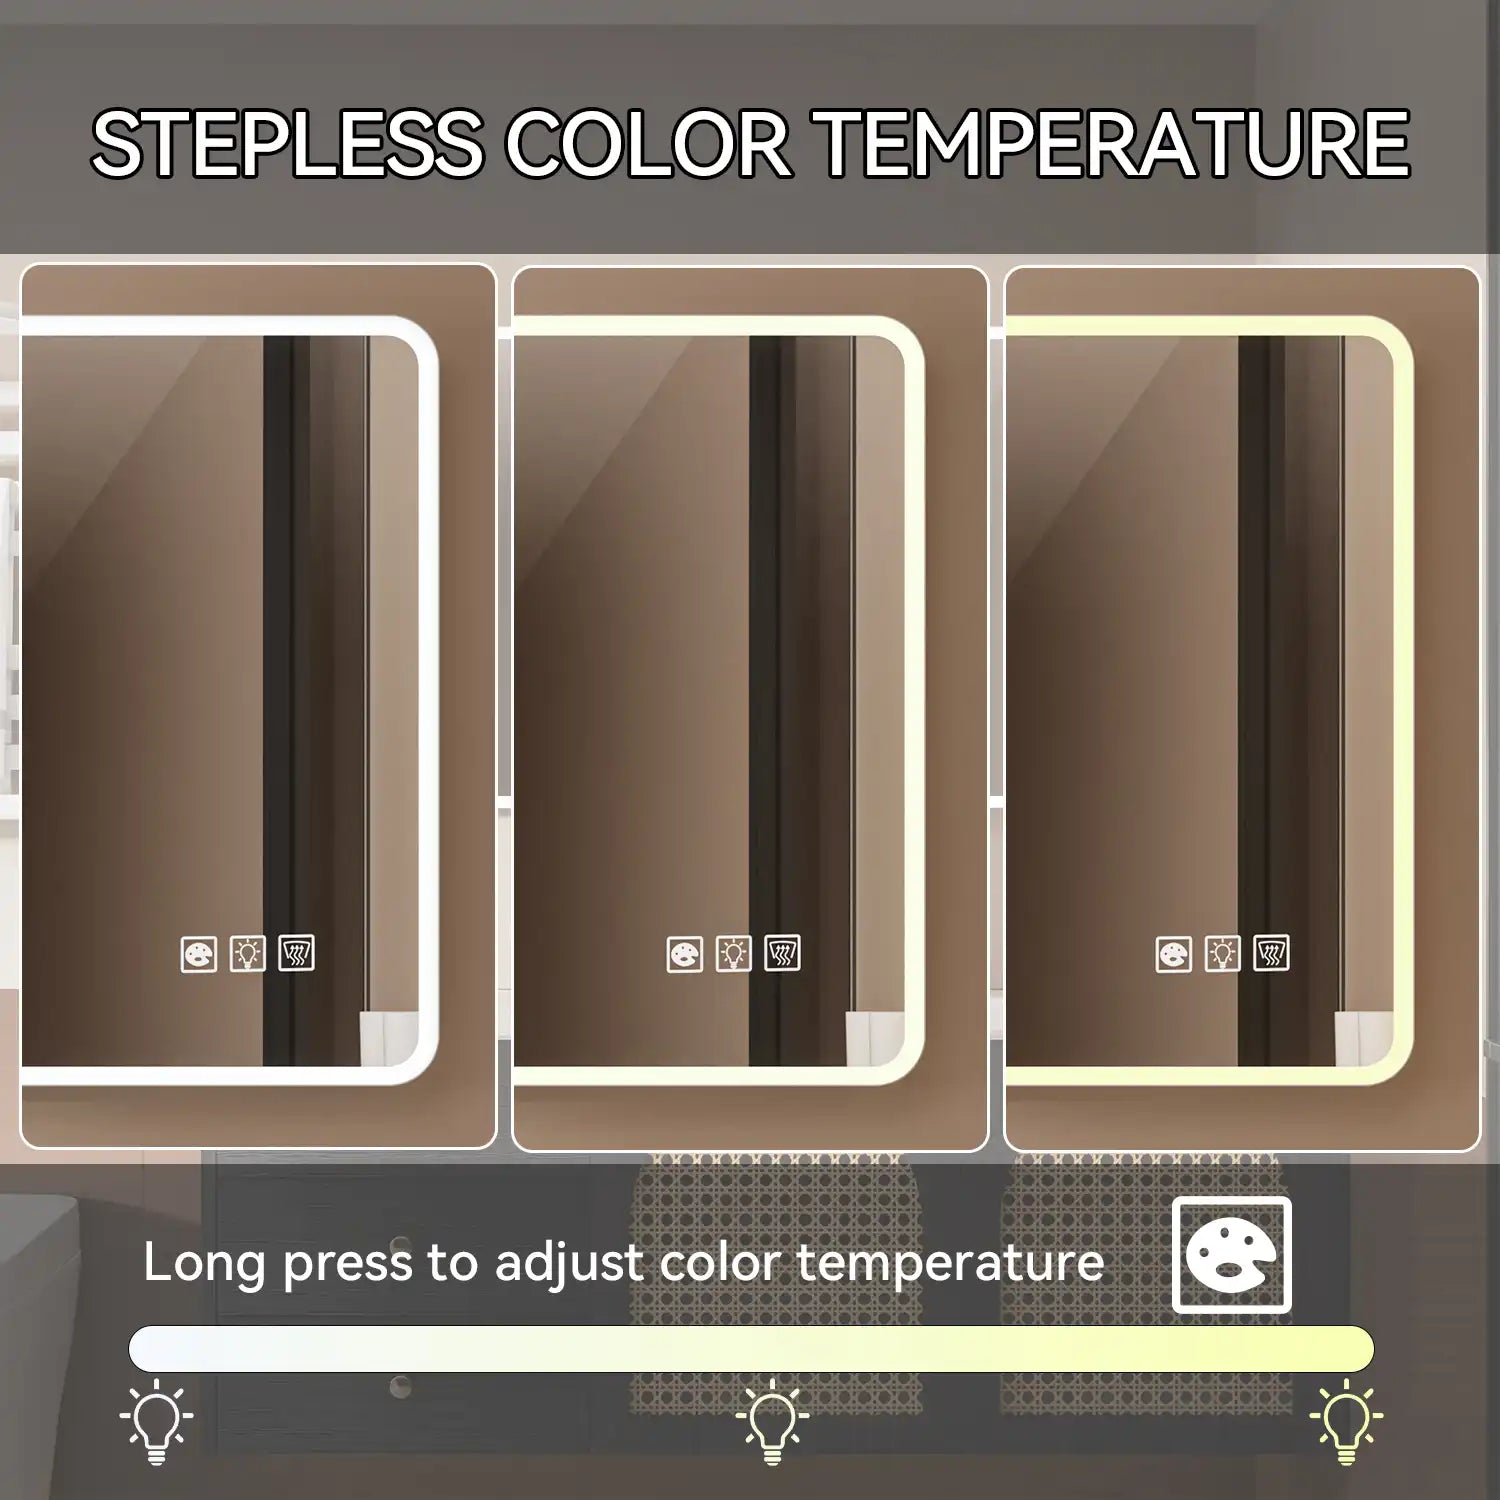
Color temperature is another critical aspect to consider. Light color is measured in Kelvins (K), with lower values indicating warmer tones and higher values indicating cooler, more daylight-like tones. For bathroom tasks like makeup application, a cooler, white light (around 4000K to 5000K) is usually recommended. This range mimics natural daylight and provides accurate color rendering.
1.3. Size and Placement
The size and placement of the lights are equally important. Make sure the lights are proportionate to your mirror and placed in a way that evenly distributes light across your face. For sconces, they should ideally be mounted at eye level on either side of the mirror to eliminate shadows.
Step 2: Gather Your Tools and Materials
Having the right tools and materials on hand will make the installation process smoother. Here's a checklist:
- Screwdriver set (flathead and Phillips)
- Measuring tape
- Level
- Drill and appropriate drill bits
- Wire nuts
- Electrical tape
- Wall anchors (if mounting on drywall)
- Wire stripper
- Voltage tester
Step 3: Turn Off the Power
Safety is paramount when working with electricity. Before you start, turn off the power to the bathroom at the circuit breaker. Use a voltage tester to ensure that there’s no live current in the wires you’ll be working with. This step is crucial to prevent electrical shocks or short circuits.
Step 4: Mark the Placement of the Lights
With the power off, it’s time to mark the placement of your lights. Use a measuring tape and a level to ensure the lights will be installed straight and evenly on both sides of the mirror. If you’re installing a backlit mirror or LED strips, make sure they’re centered and symmetrical around the mirror.
4.1. Marking for Wall Sconces
If you’re installing sconces, they should be placed about 36 to 40 inches apart, on either side of the mirror, and at eye level (approximately 60-66 inches from the floor). This height provides the most even and flattering lighting.
Step 5: Prepare the Wiring

Next, you’ll need to prepare the wiring. This step involves connecting the wires from your bathroom lighting to the electrical system in your home.
5.1. Expose the Wires
Carefully remove the old fixture (if replacing an existing light) or expose the electrical box where the new light will be connected. Strip about half an inch of insulation from the ends of the wires using a wire stripper.
5.2. Match the Wires
Most bathroom mirror lights will have three wires: a black (hot) wire, a white (neutral) wire, and a green or copper (ground) wire. Match these wires to the corresponding wires in your electrical box.
- Black to black (hot)
- White to white (neutral)
- Green/copper to green/copper (ground)
5.3. Secure the Connections
Twist the wires together with wire nuts, ensuring that the connections are secure. Wrap the connections with electrical tape for added safety.
Step 6: Mount the Lights
Once the wiring is complete, it’s time to mount the lights to the wall or mirror.
6.1. Attach the Mounting Bracket
Most lights will come with a mounting bracket. Attach this bracket to the wall using screws and wall anchors (if needed). Ensure the bracket is level before tightening the screws completely.
6.2. Install the Light Fixture
Carefully attach the light fixture to the mounting bracket. This step might require an extra set of hands to hold the light in place while you secure it. Once it’s attached, double-check that the fixture is level and securely fastened.
Step 7: Test the Lights

After everything is in place, it’s time to test the lights. Turn the power back on at the circuit breaker and flip the switch to ensure the lights work properly. If they don’t turn on, turn off the power and double-check your wiring connections.
Step 8: Final Touches
With the lights installed and functioning, the final step is to clean up and make any necessary adjustments. Tidy up any loose wires, ensure the light fixtures are straight, and wipe down the mirror and lights to remove fingerprints or dust.
Tips for a Professional Finish

To ensure your bathroom mirror lights look professionally installed, consider the following tips:
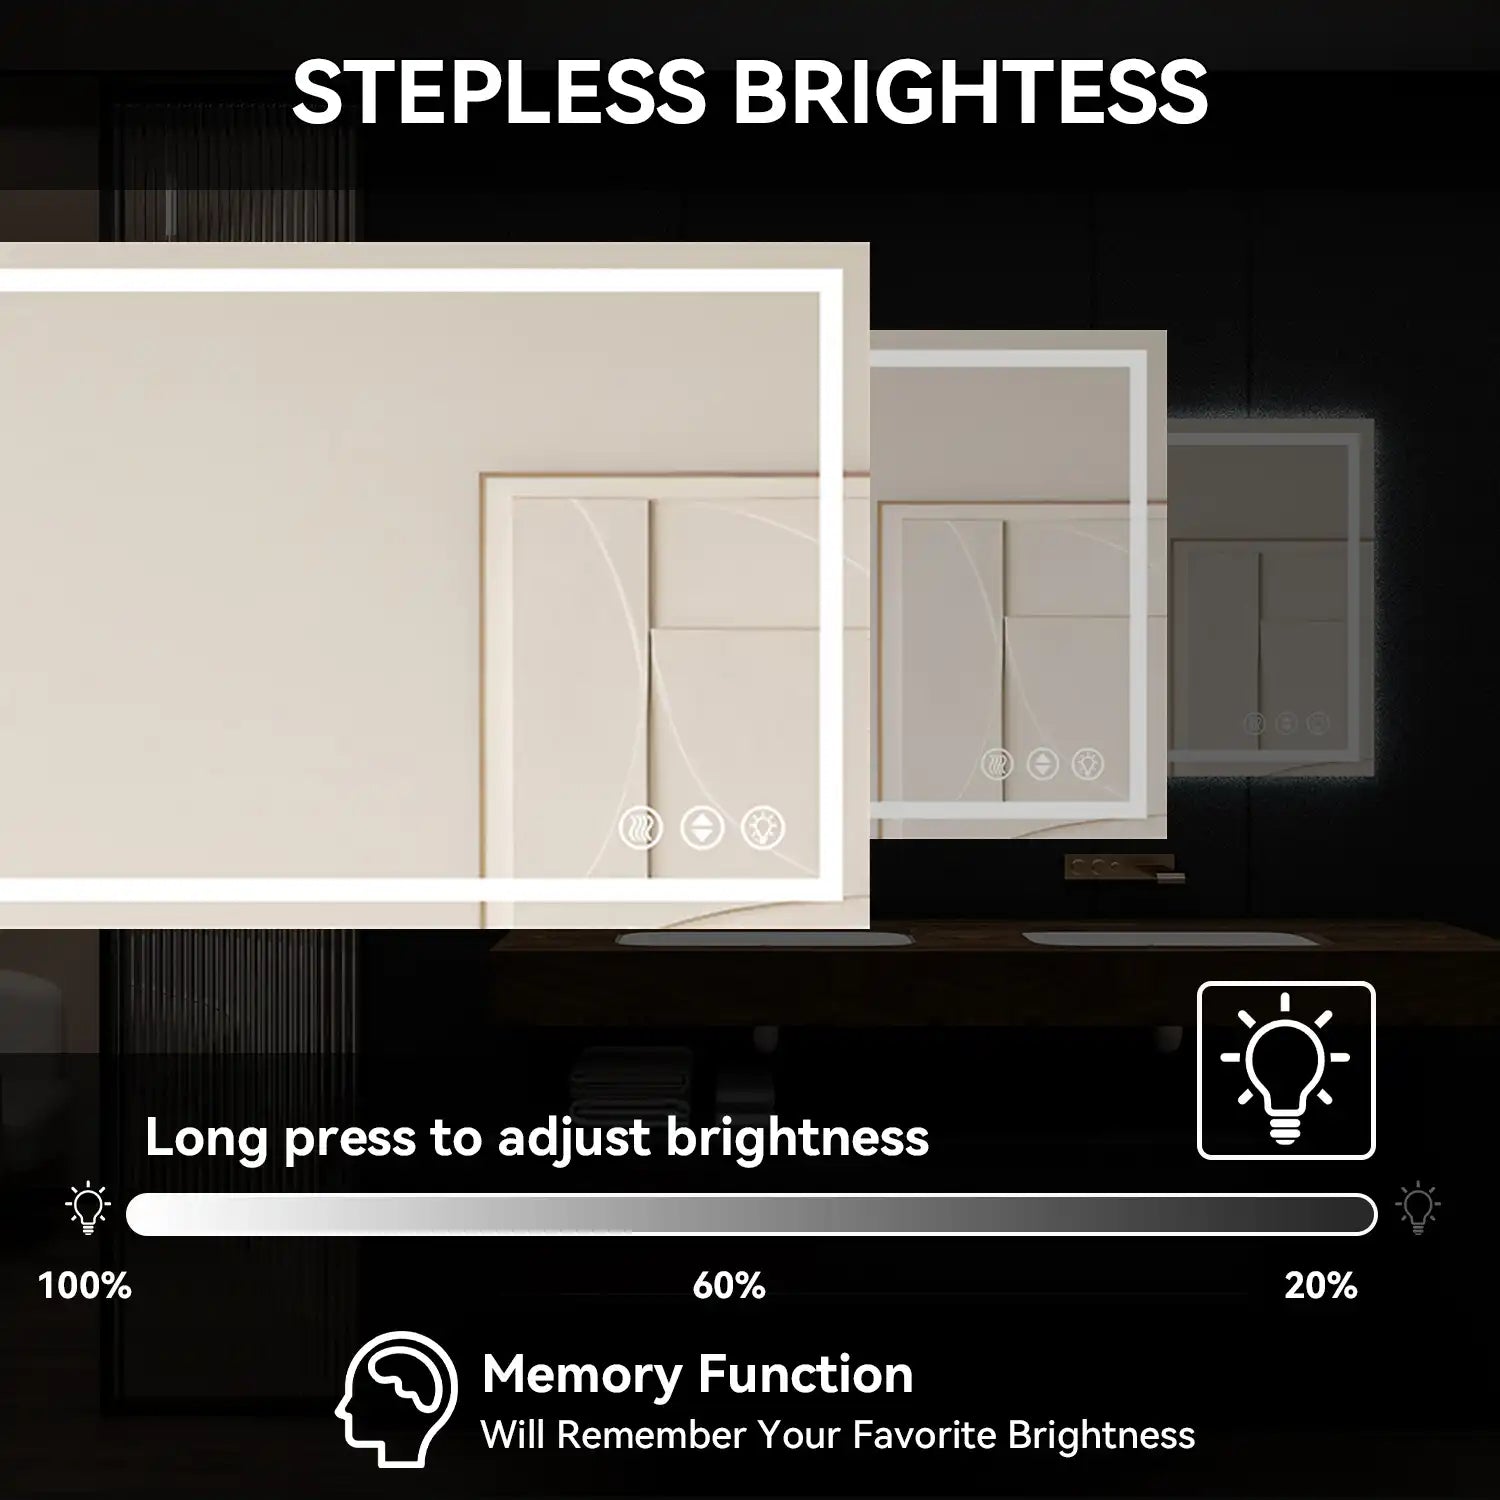
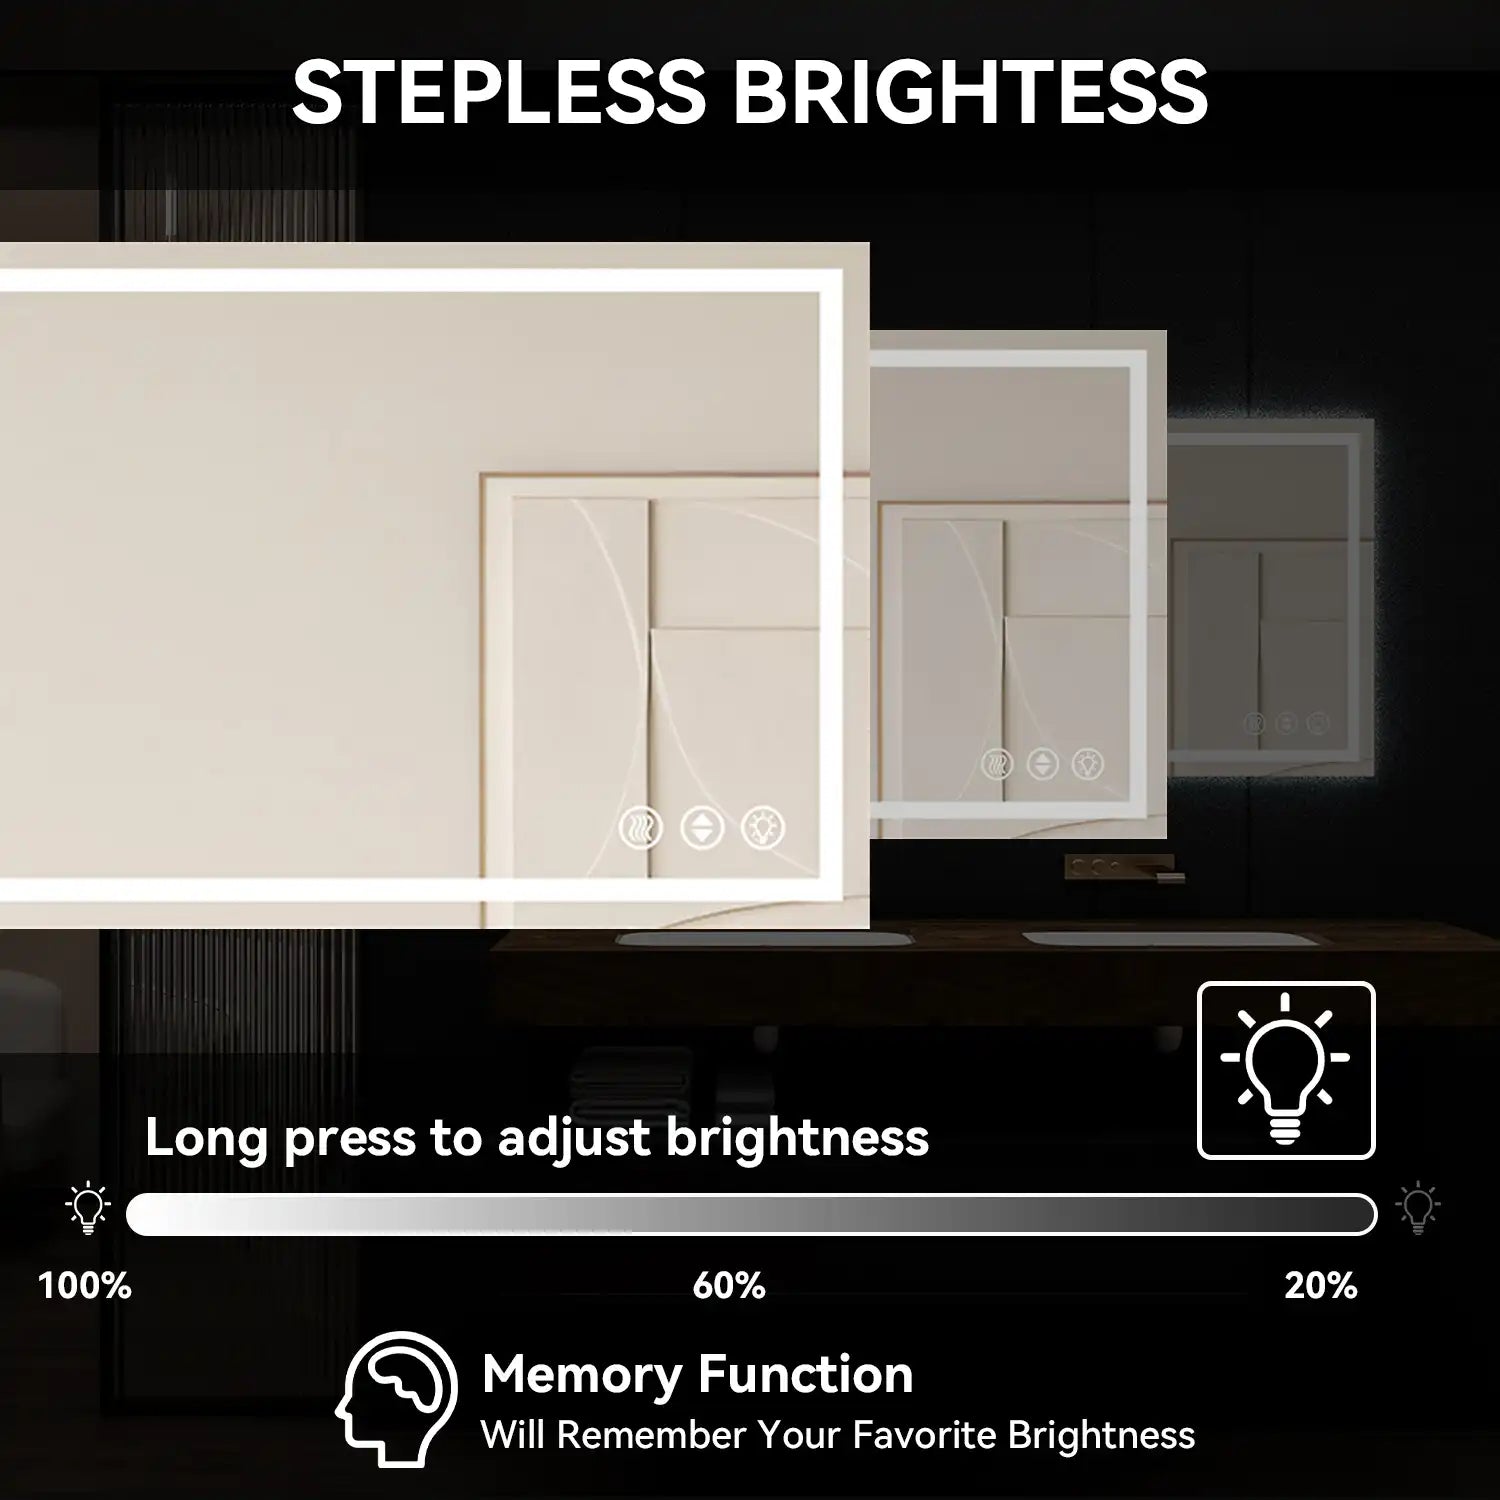
- Use a dimmer switch: Installing a dimmer switch allows you to adjust the brightness of your bathroom mirror lights, making them more versatile for different times of day and tasks.
- Consider symmetry: When installing lights, make sure they’re evenly spaced and aligned to avoid a lopsided appearance.
- Choose the right bulb: If your lights don’t come with bulbs, select high-quality LED bulbs that provide the correct color temperature and brightness.
Common Mistakes to Avoid
Even with careful planning, it’s easy to make mistakes during installation. Here are some common pitfalls and how to avoid them:
- Incorrect Placement: Lights that are too high or too low can cast shadows, making them ineffective. Always measure and mark carefully before drilling.
- Skipping the Ground Wire: Never skip connecting the ground wire. It’s a crucial safety feature that protects against electrical shock.
- Using the Wrong Tools: Make sure you’re using the right tools for the job. Using the wrong size drill bit or screwdriver can damage your fixtures or walls.
Conclusion
Installing bathroom mirror lights is a relatively straightforward project that can dramatically improve the functionality and aesthetics of your bathroom. By following these step-by-step instructions, you can achieve a professional-looking installation that enhances your daily routine. Whether you choose modern LED strip lights, classic sconces, or a sleek backlit mirror, brands like ACE DECOR, Kohler, and Philips offer a wide range of options to suit any style.
FAQ
1. What is the best height to install bathroom mirror lights?
For sconces, install them at eye level, around 60-66 inches from the floor. This height minimizes shadows and provides even lighting.
2. Can I install bathroom mirror lights myself, or should I hire a professional?
If you’re comfortable working with electricity and have the right tools, you can install the lights yourself. However, for complex setups or if you’re unsure, hiring a professional is recommended.
3. What type of lighting is best for bathroom mirrors?
LED lights are the best option due to their energy efficiency, longevity, and the wide range of color temperatures available.
4. How can I avoid shadows when installing bathroom mirror lights?
Ensure the lights are placed at the correct height and evenly spaced on either side of the mirror to eliminate shadows.
5. What brands are recommended for bathroom mirror lights?
Brands like ACE DECOR, Kohler, and Philips are well-regarded for their high-quality bathroom lighting solutions.
