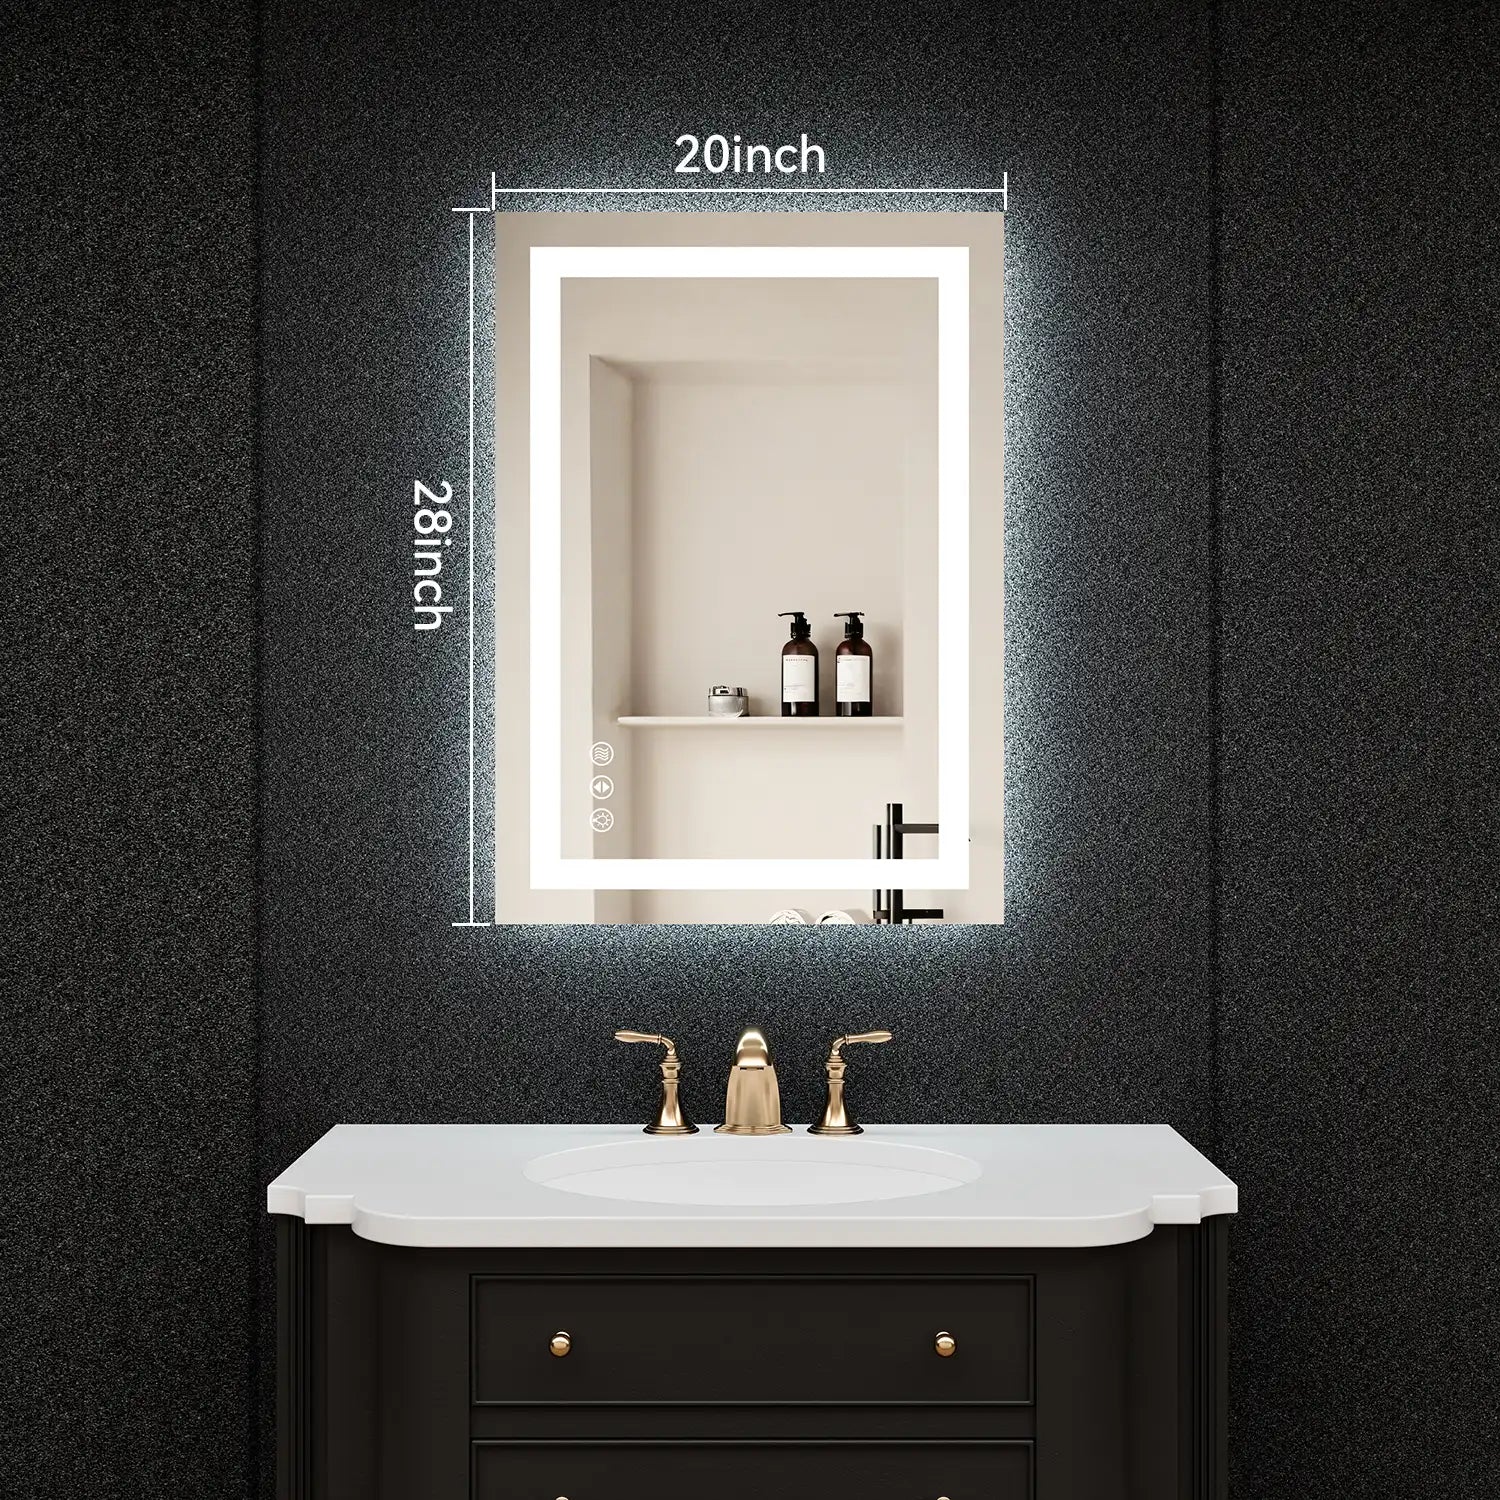
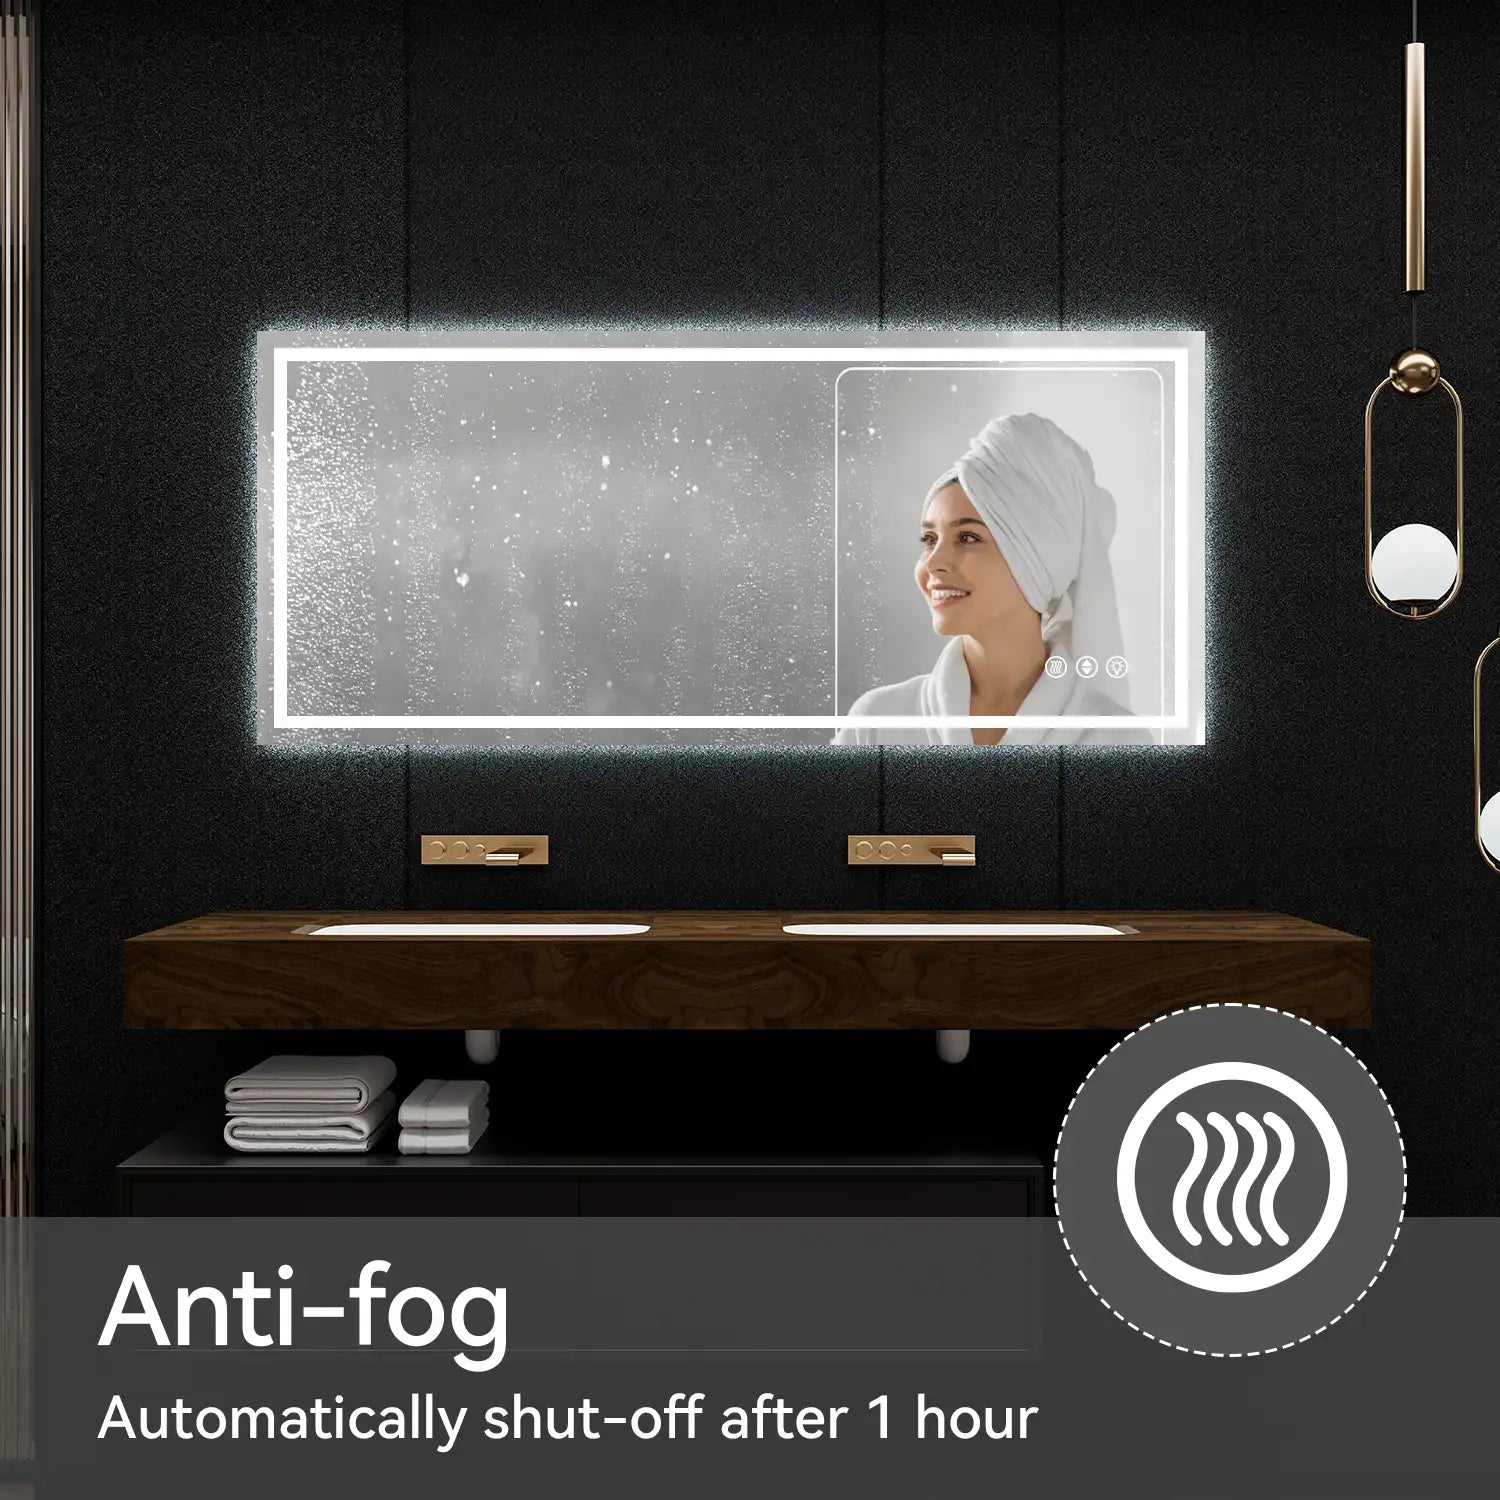
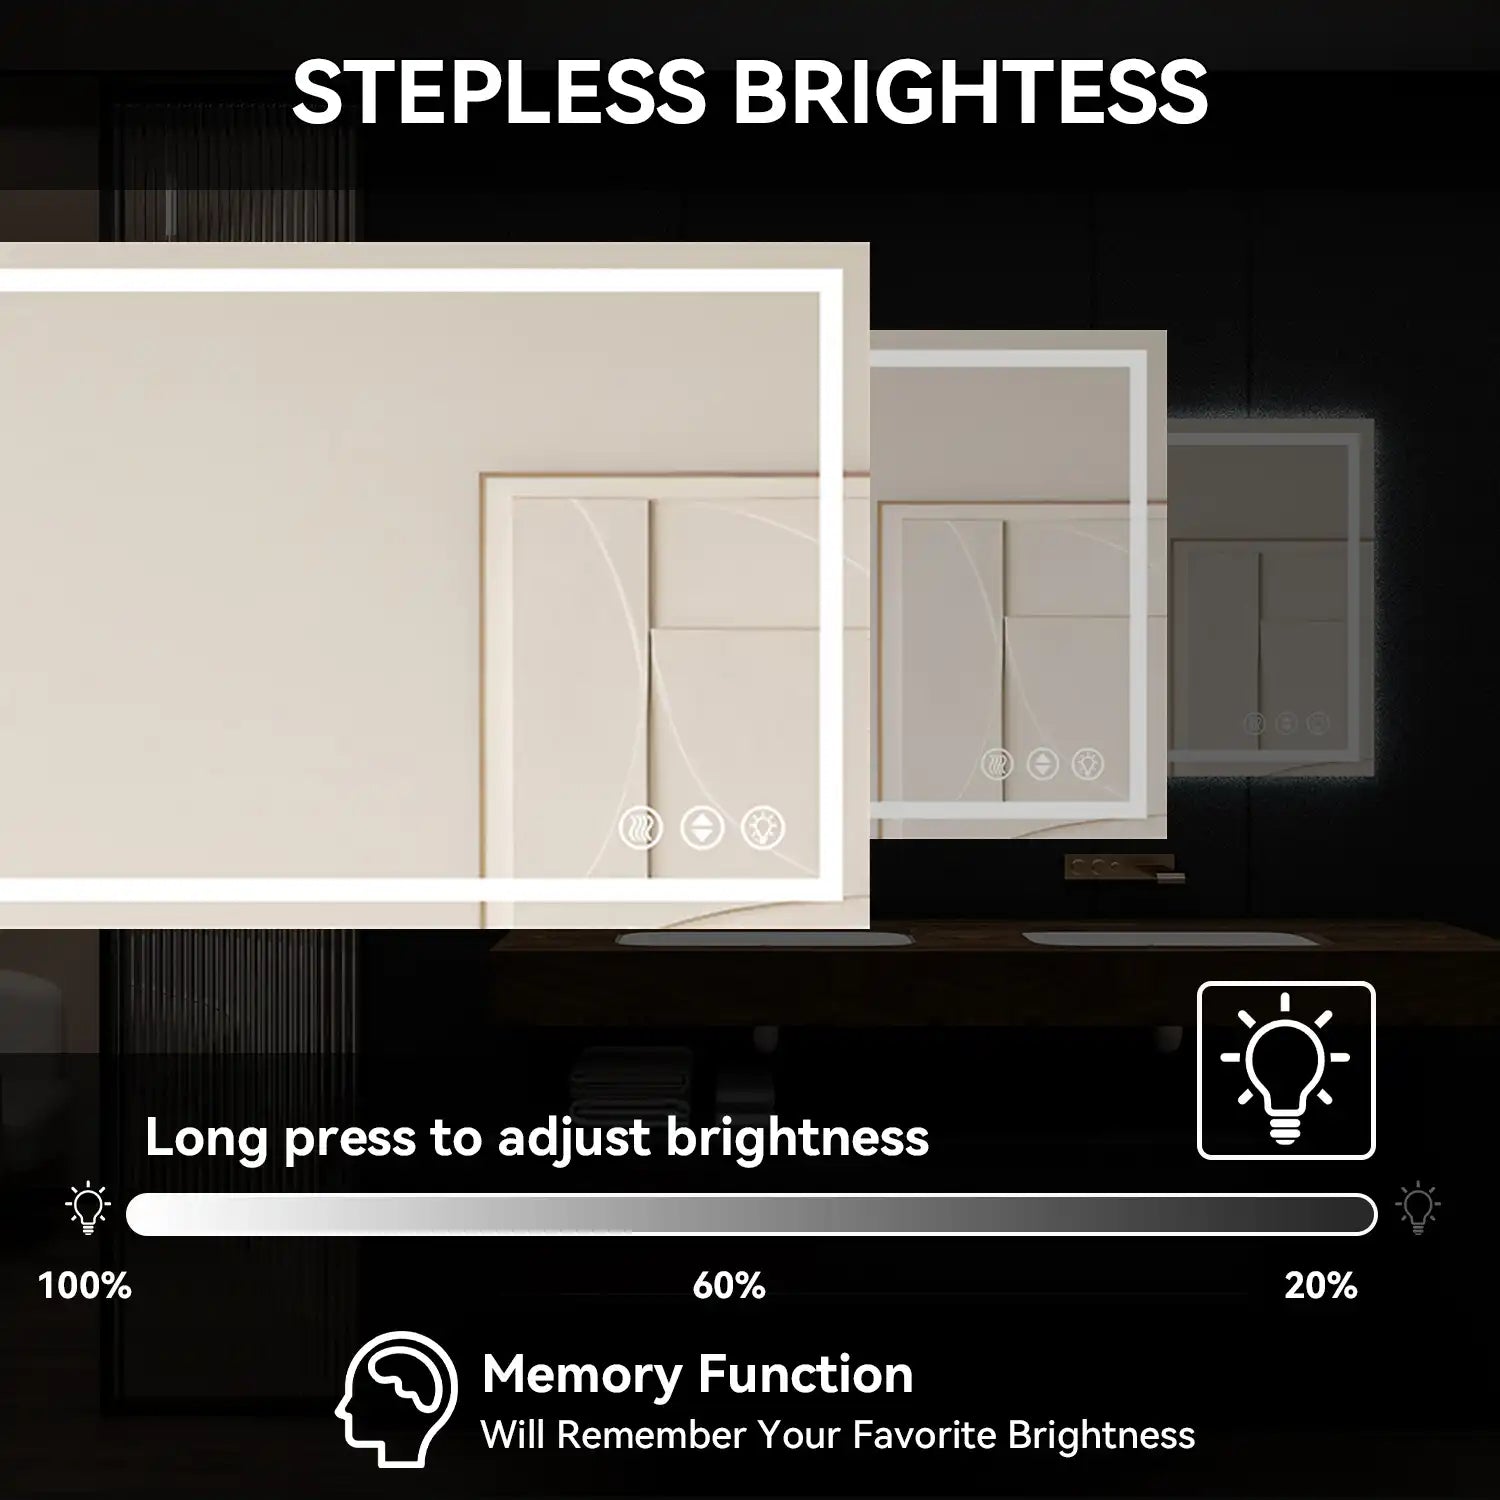
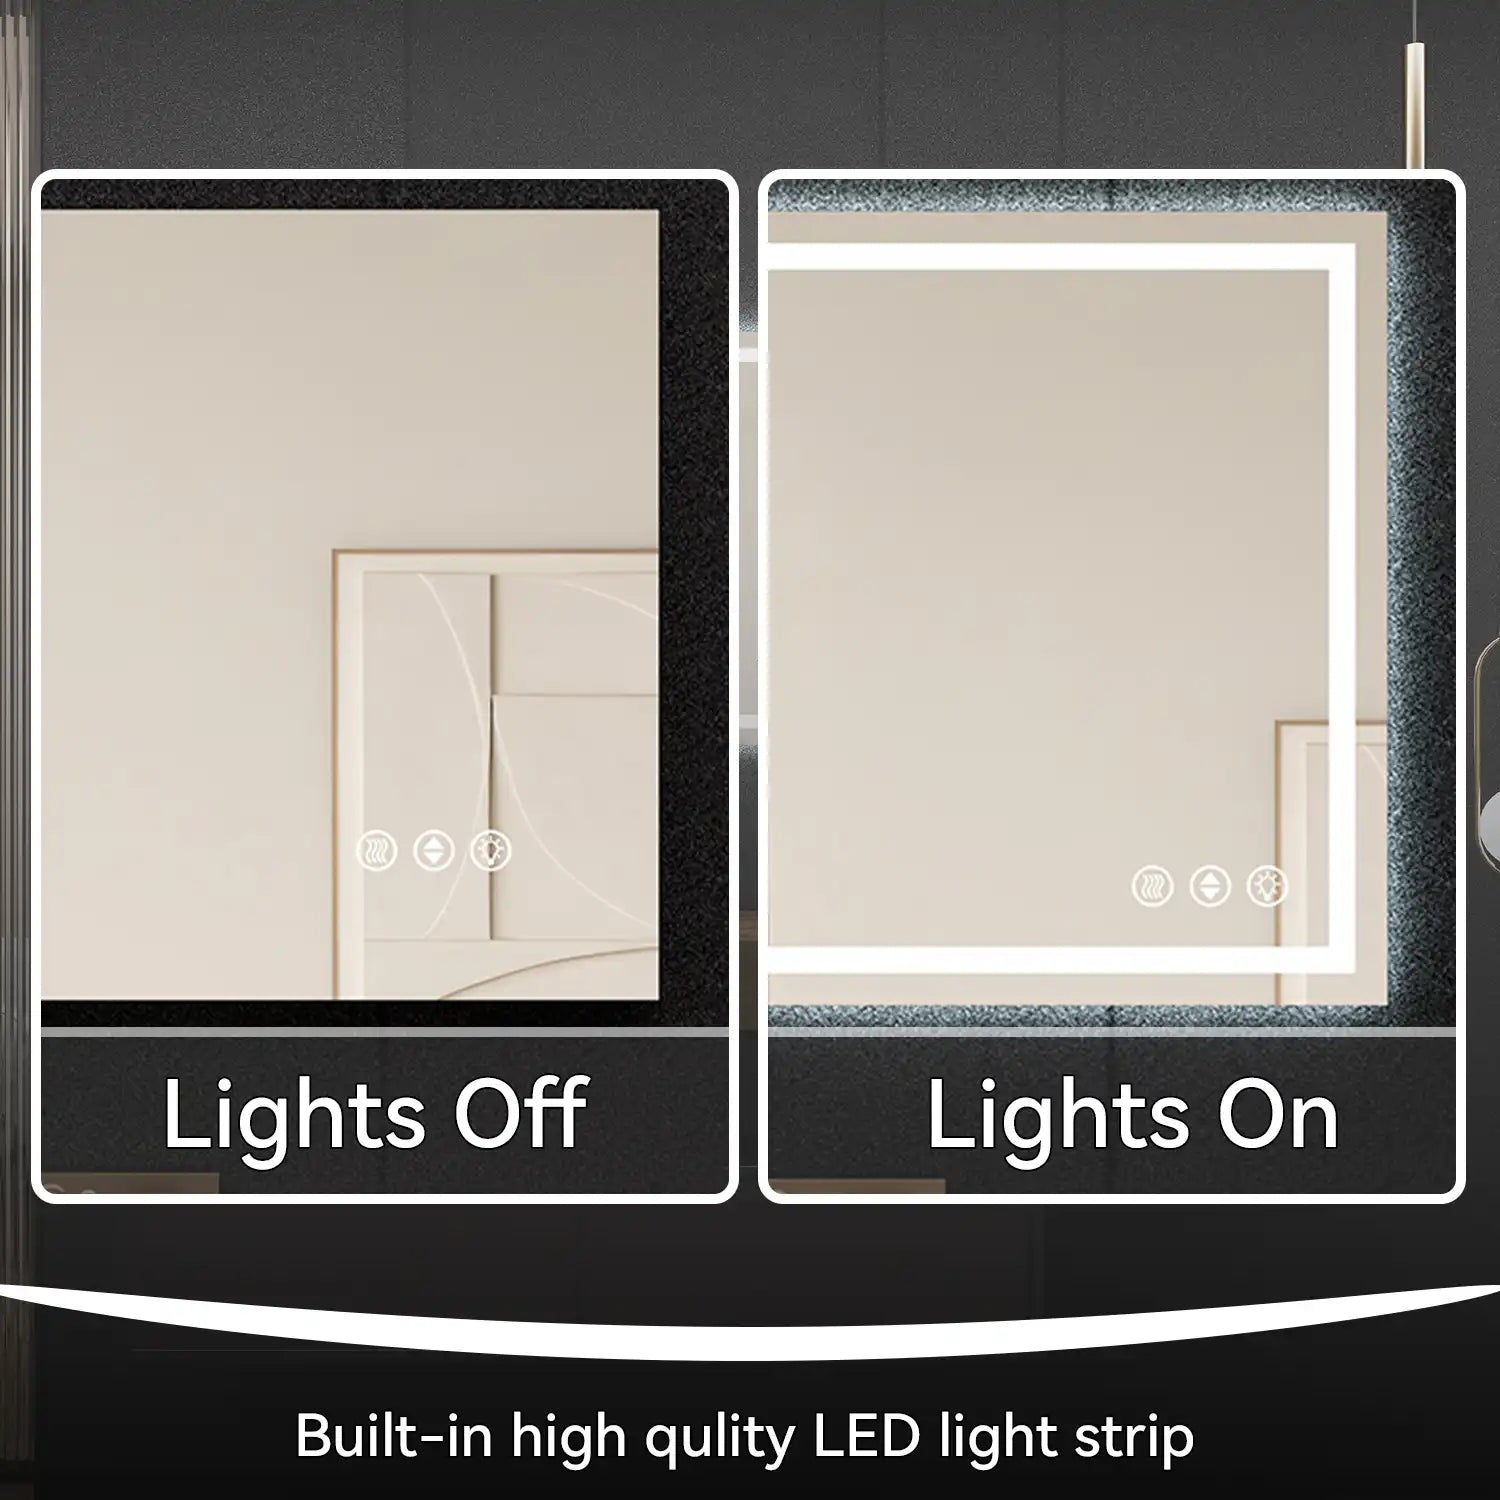
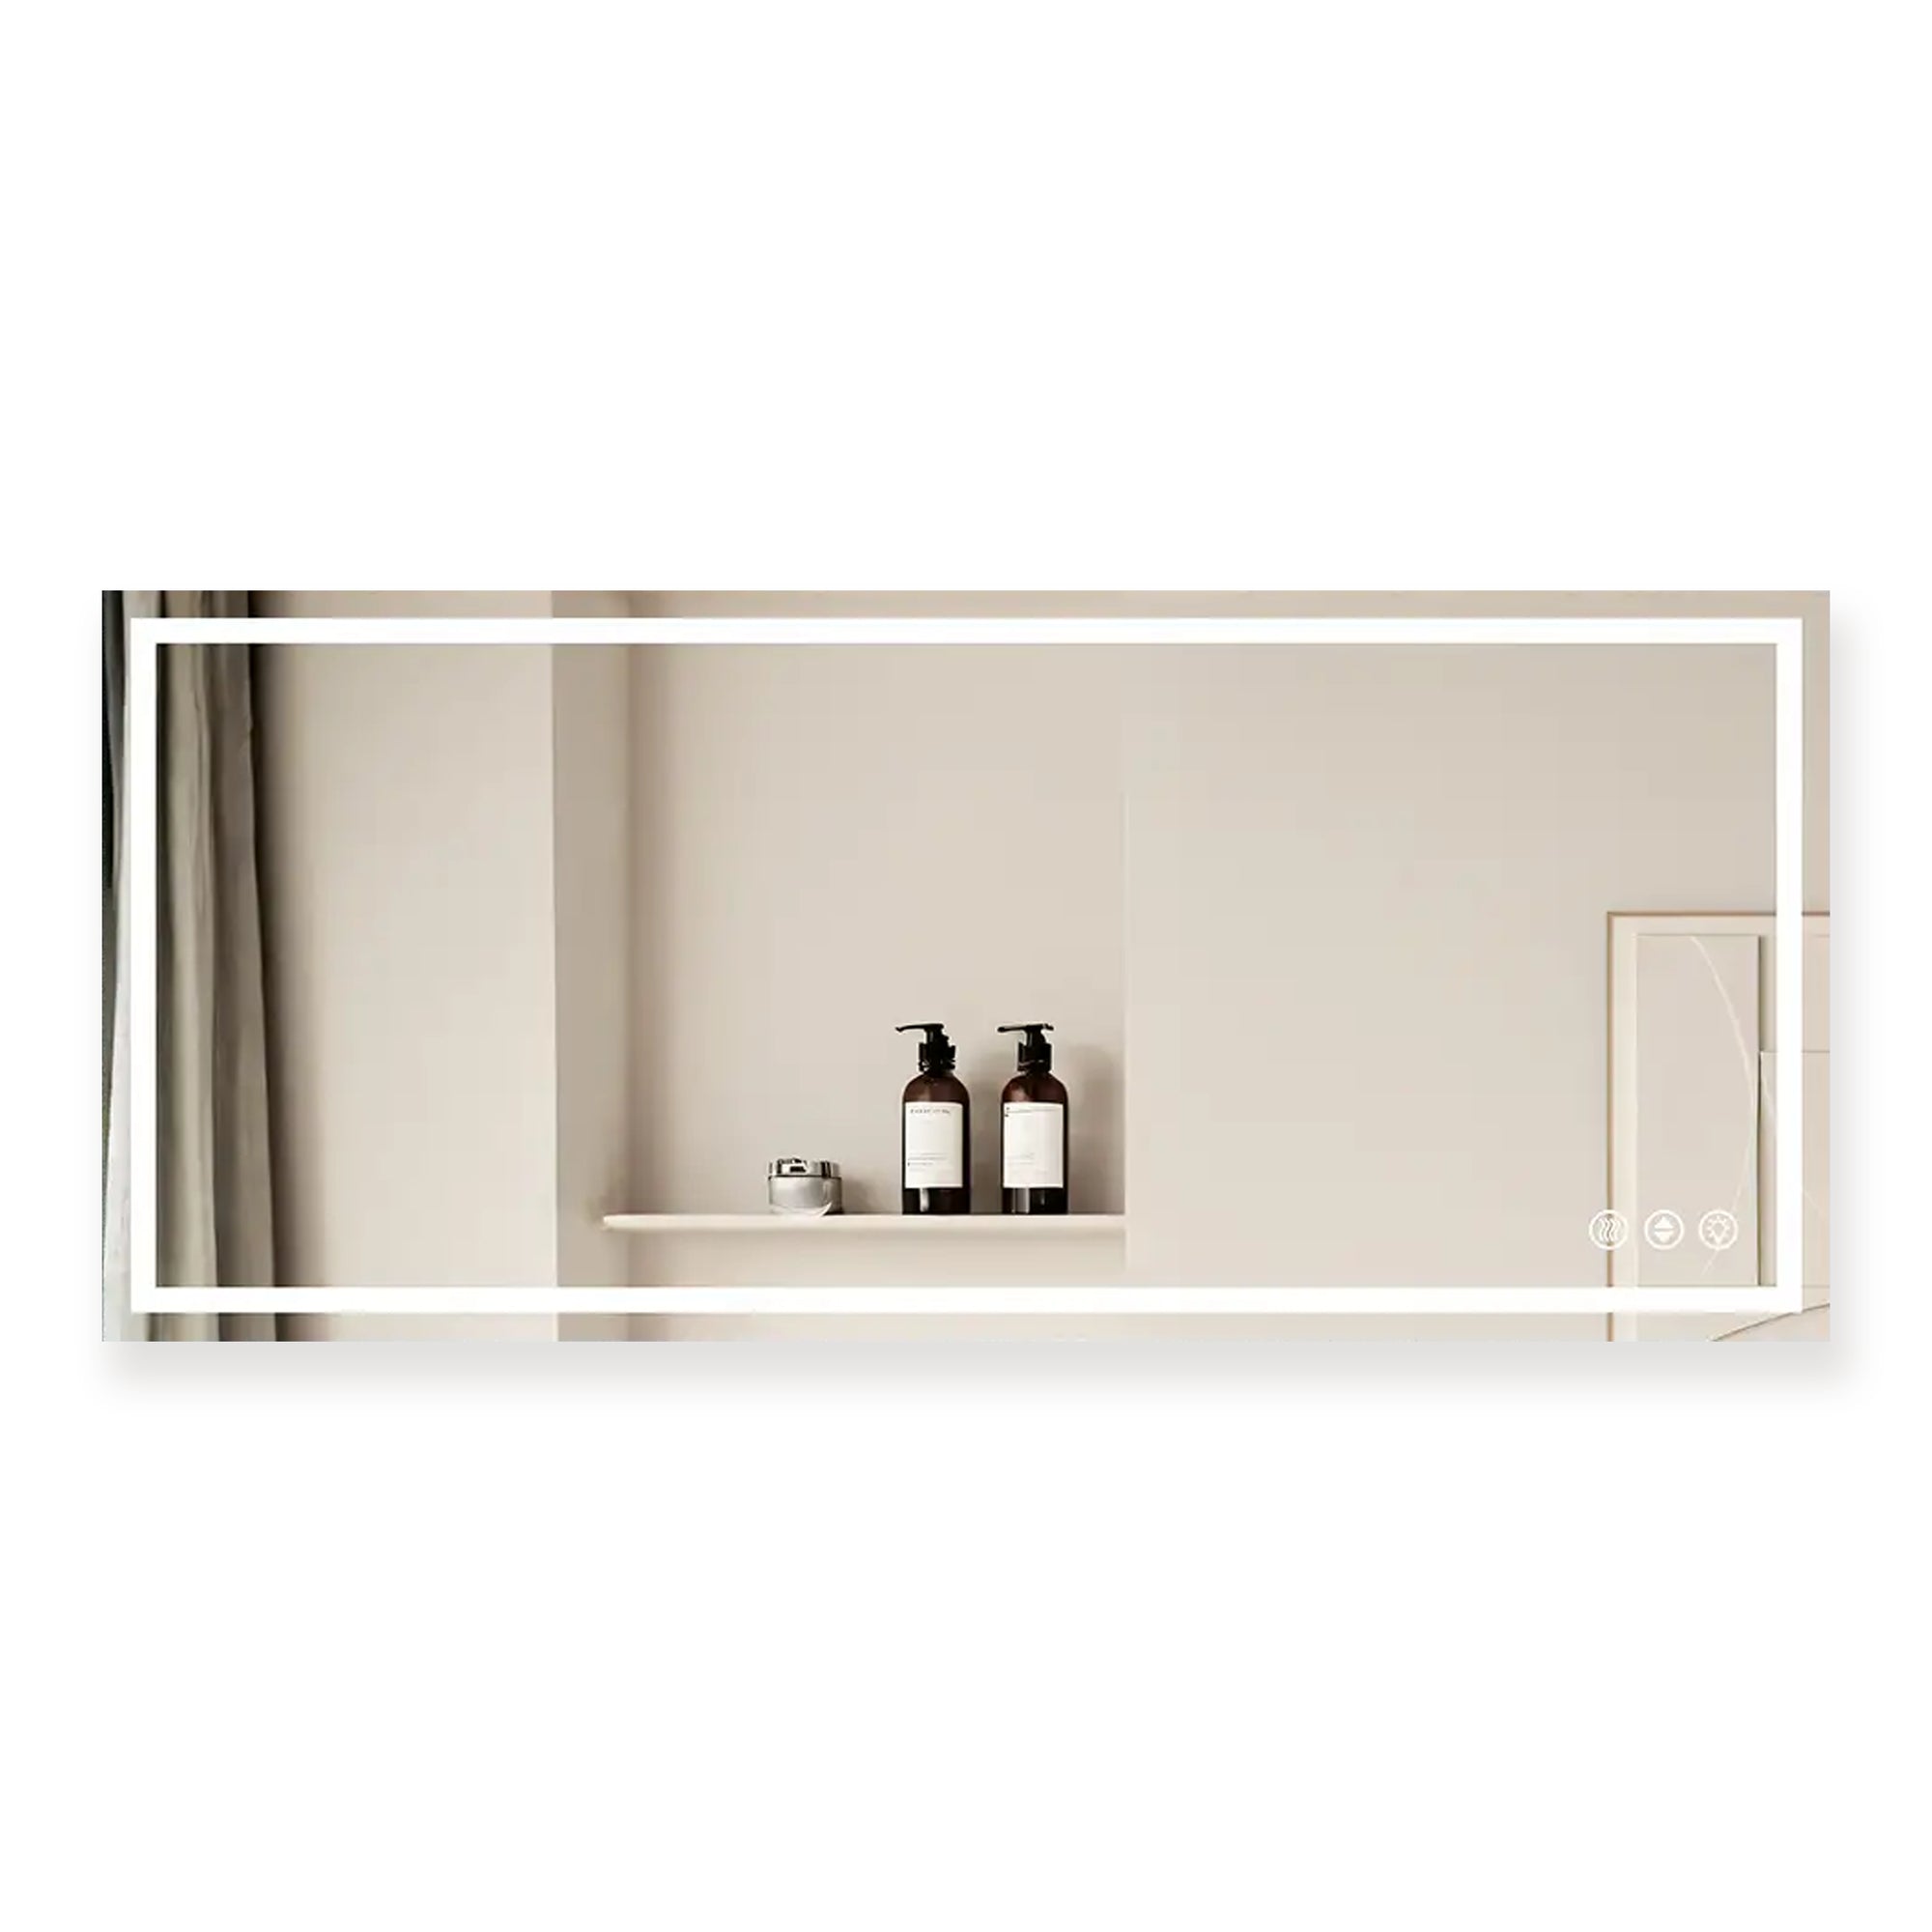
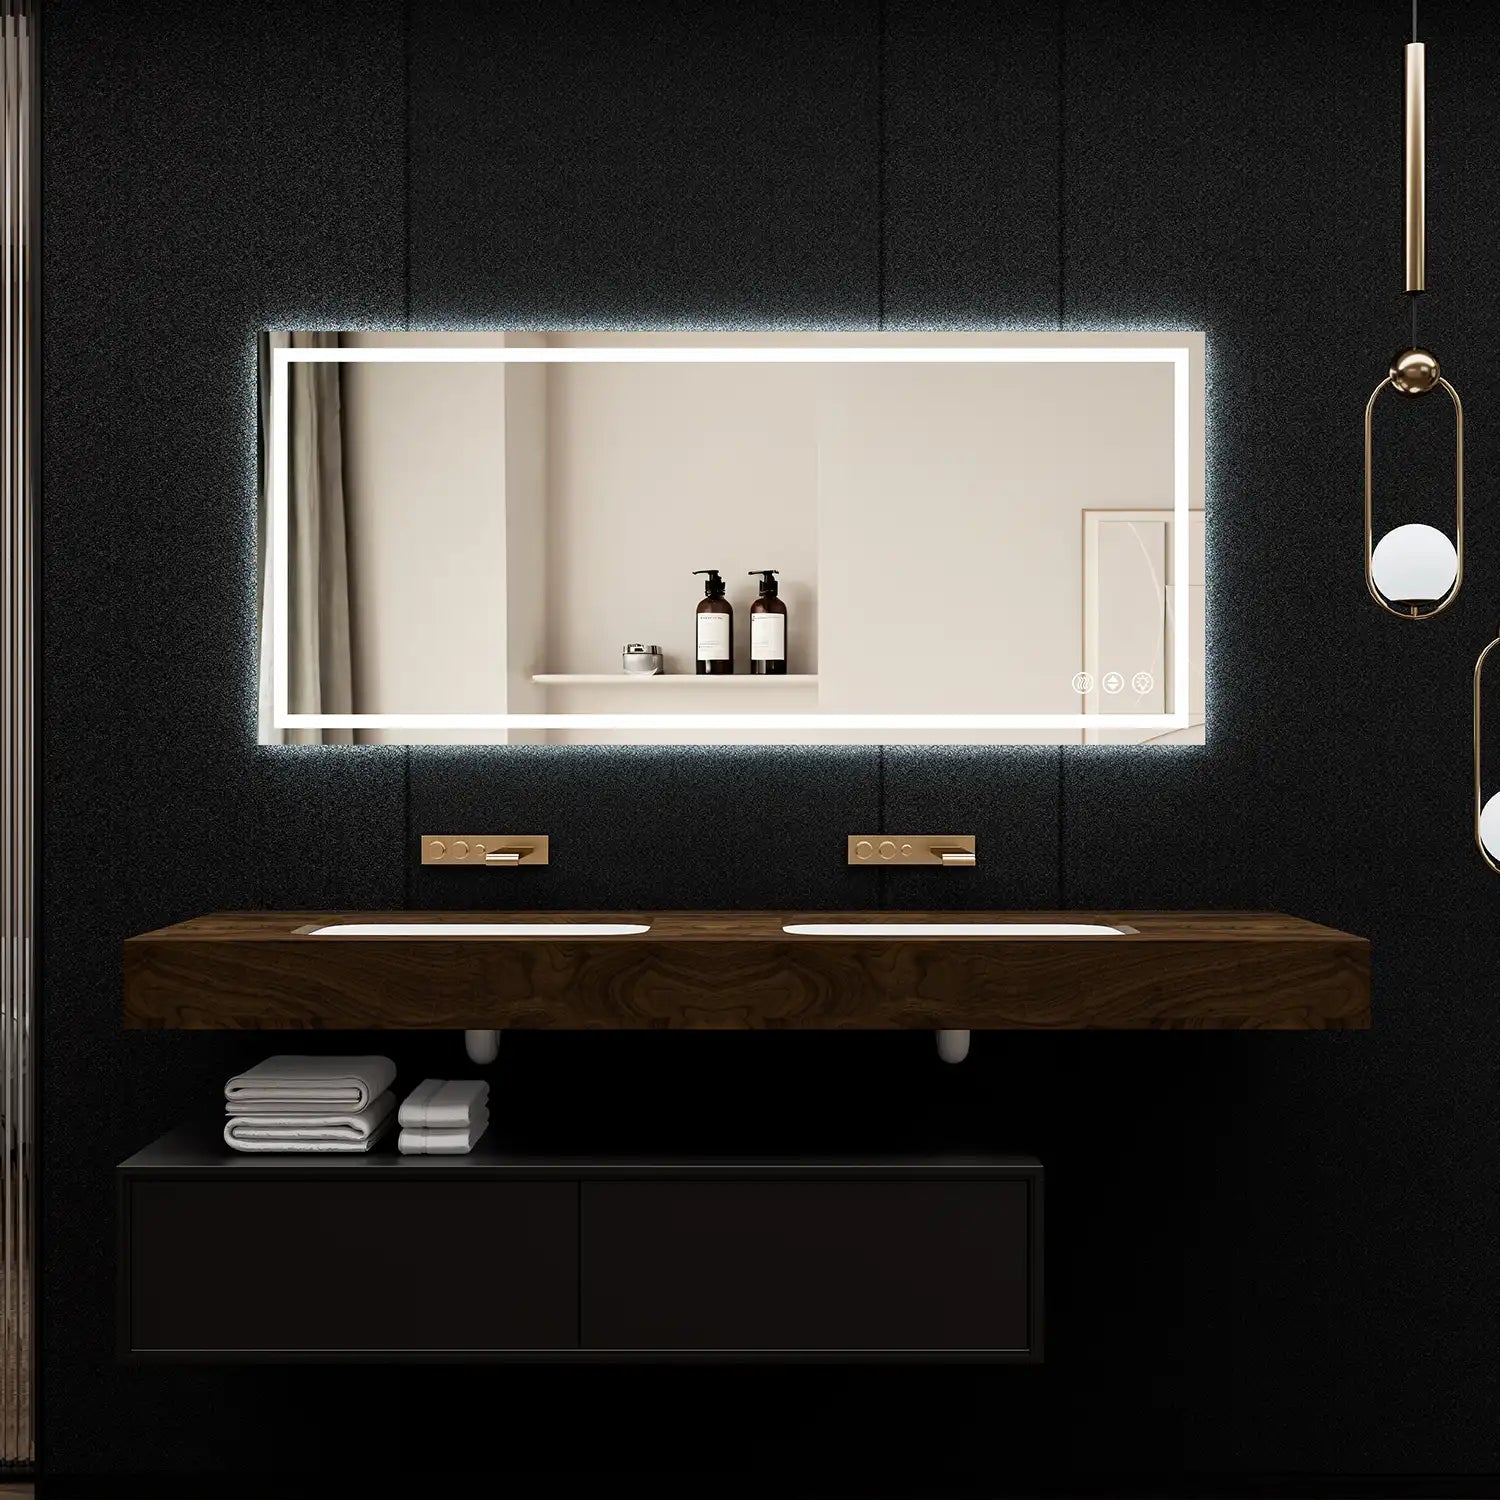
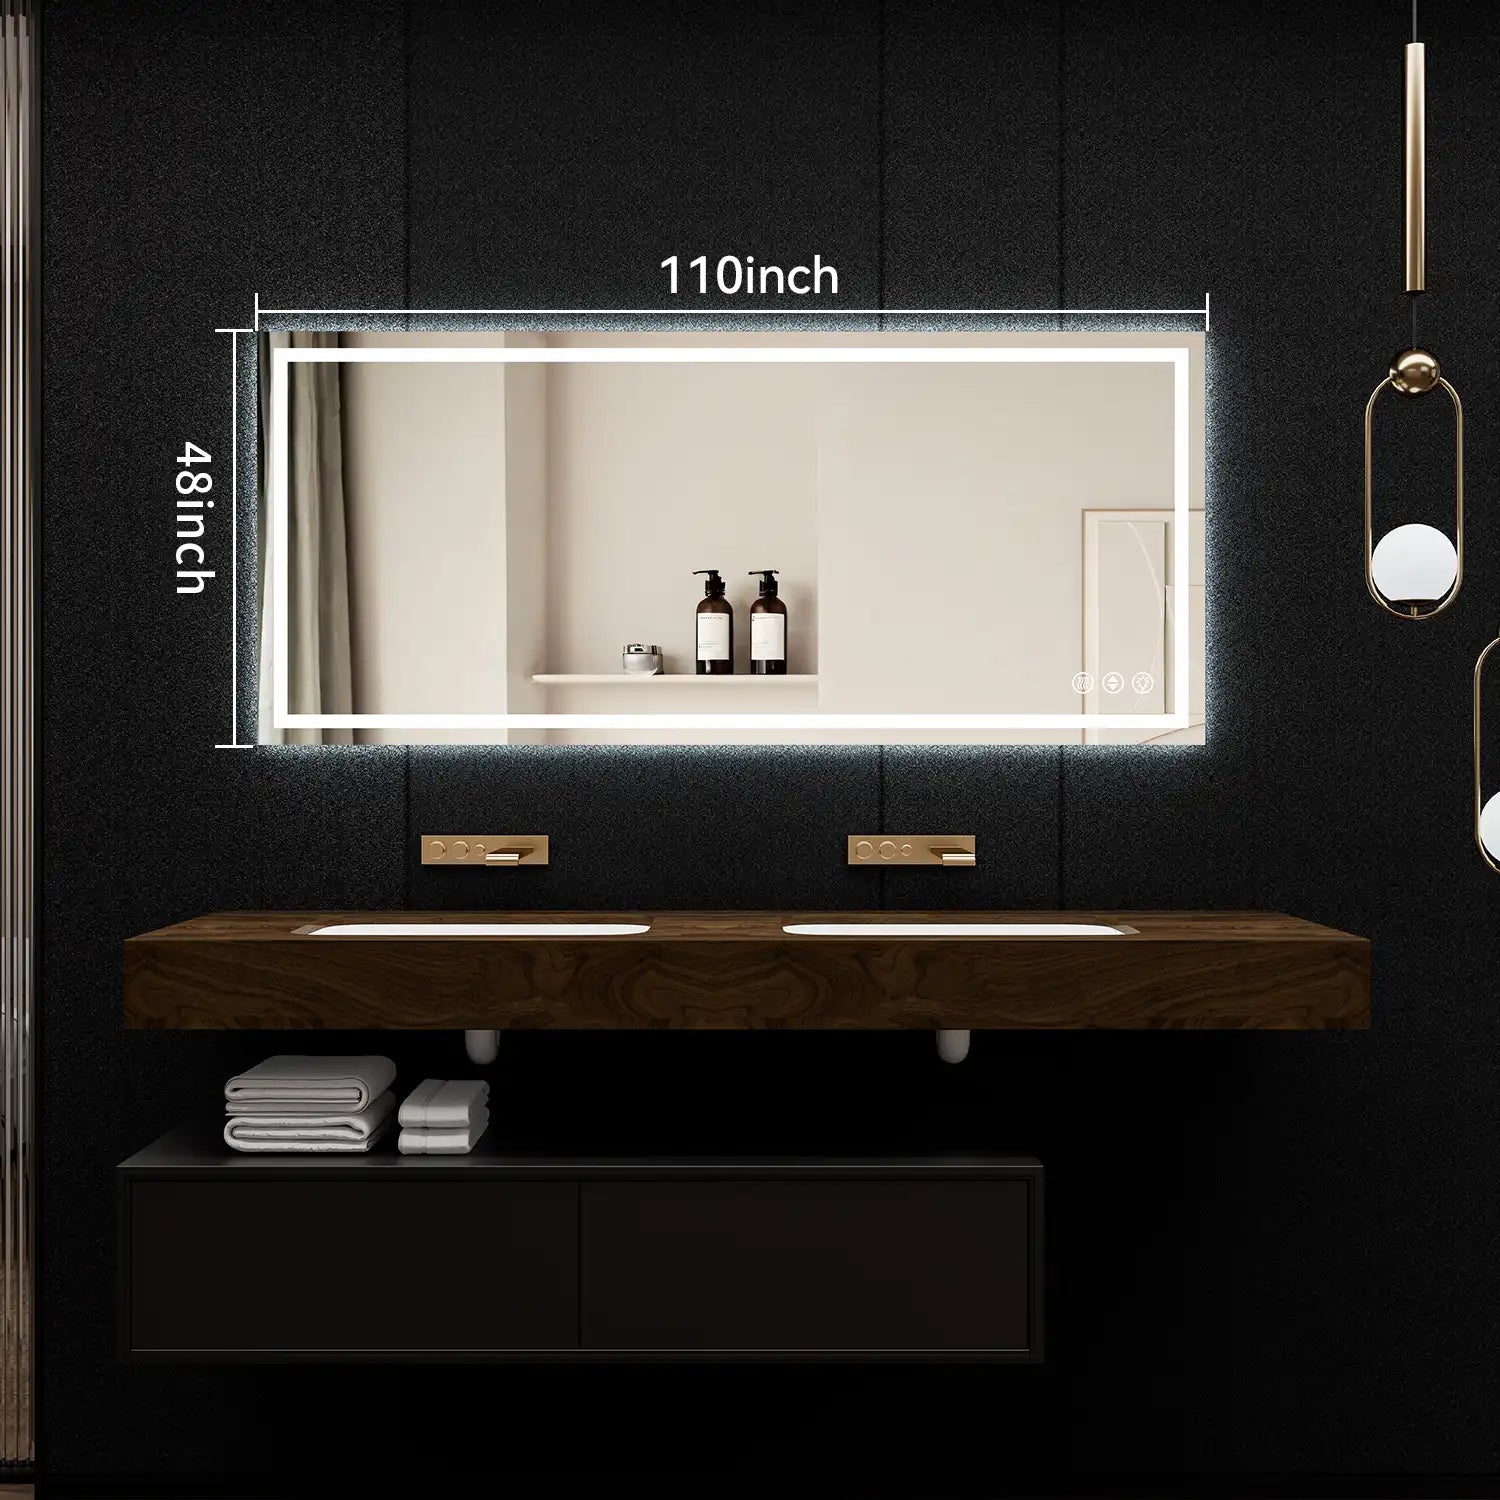
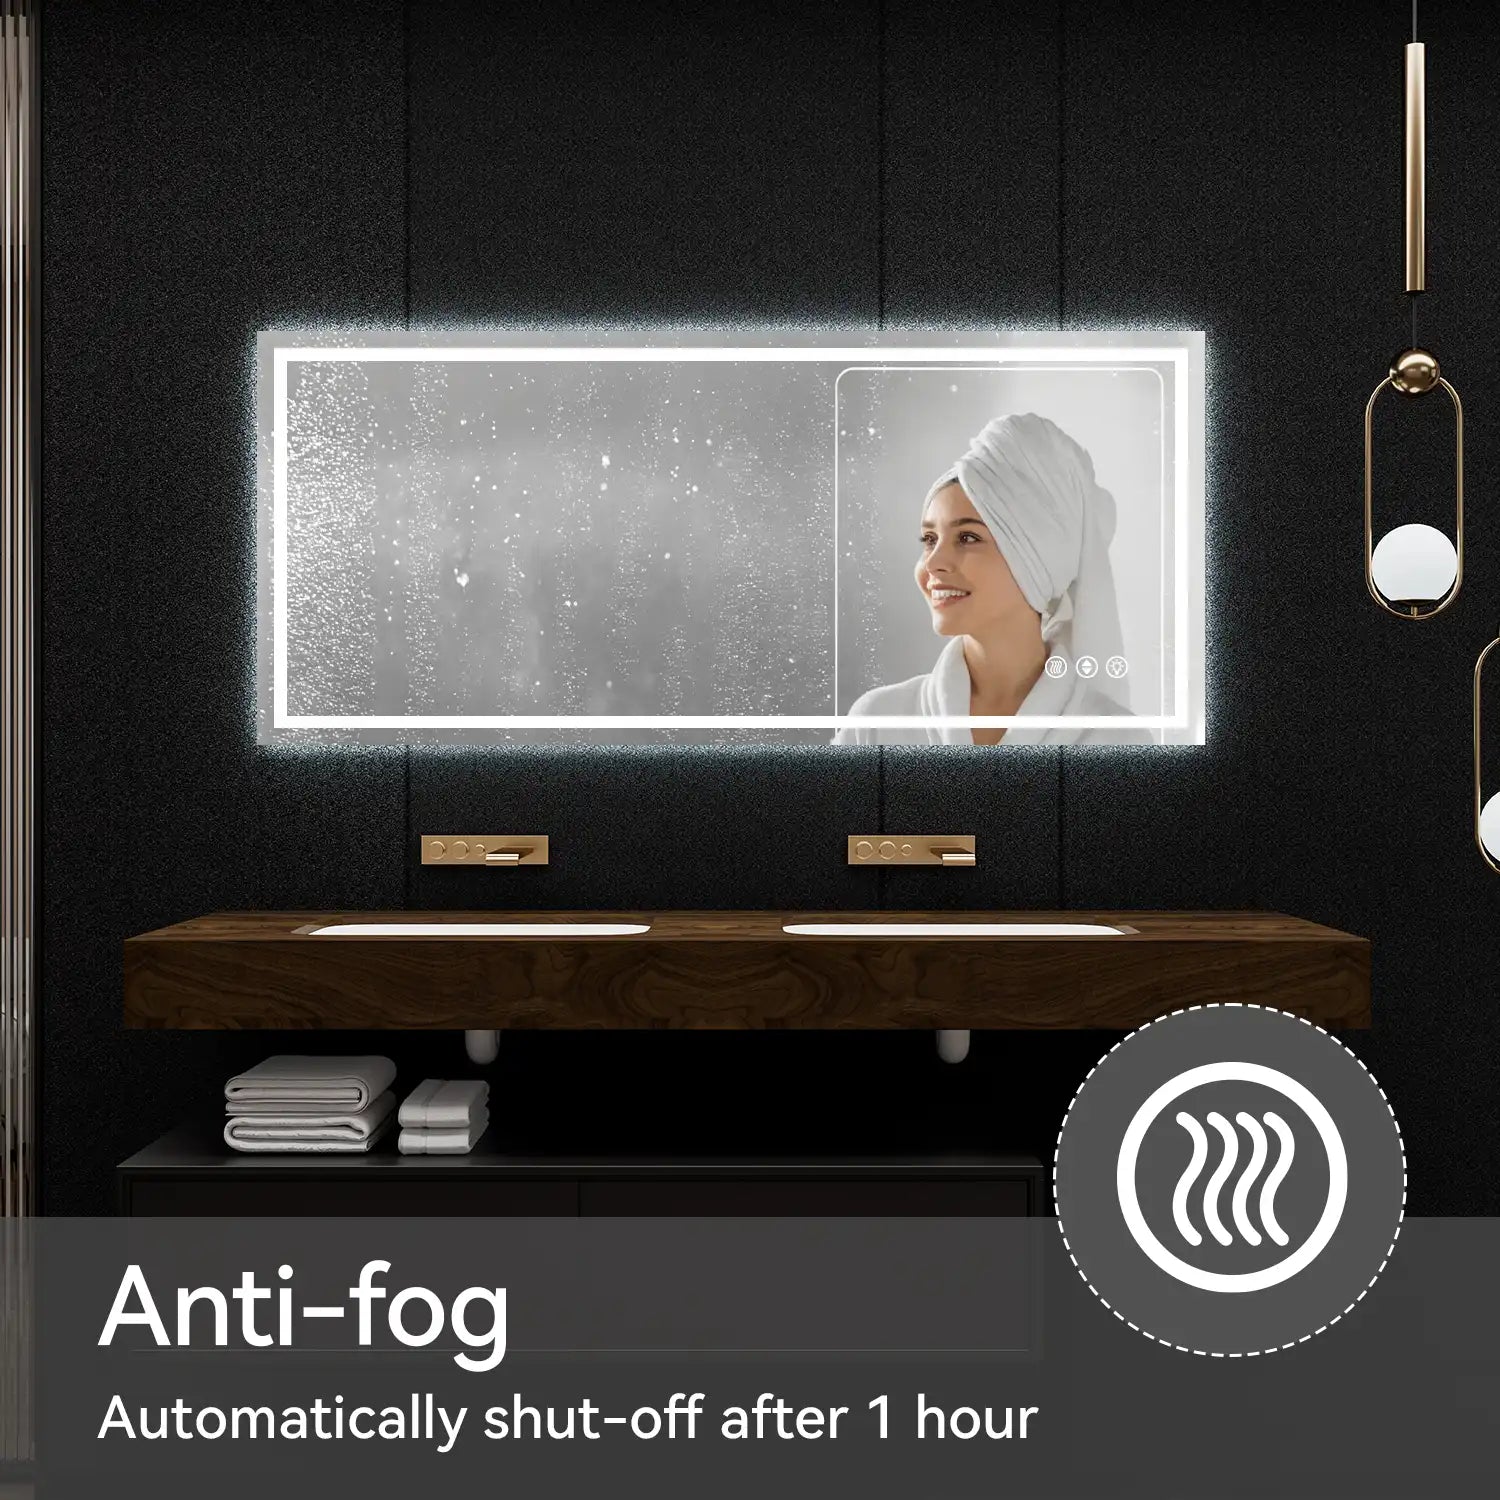
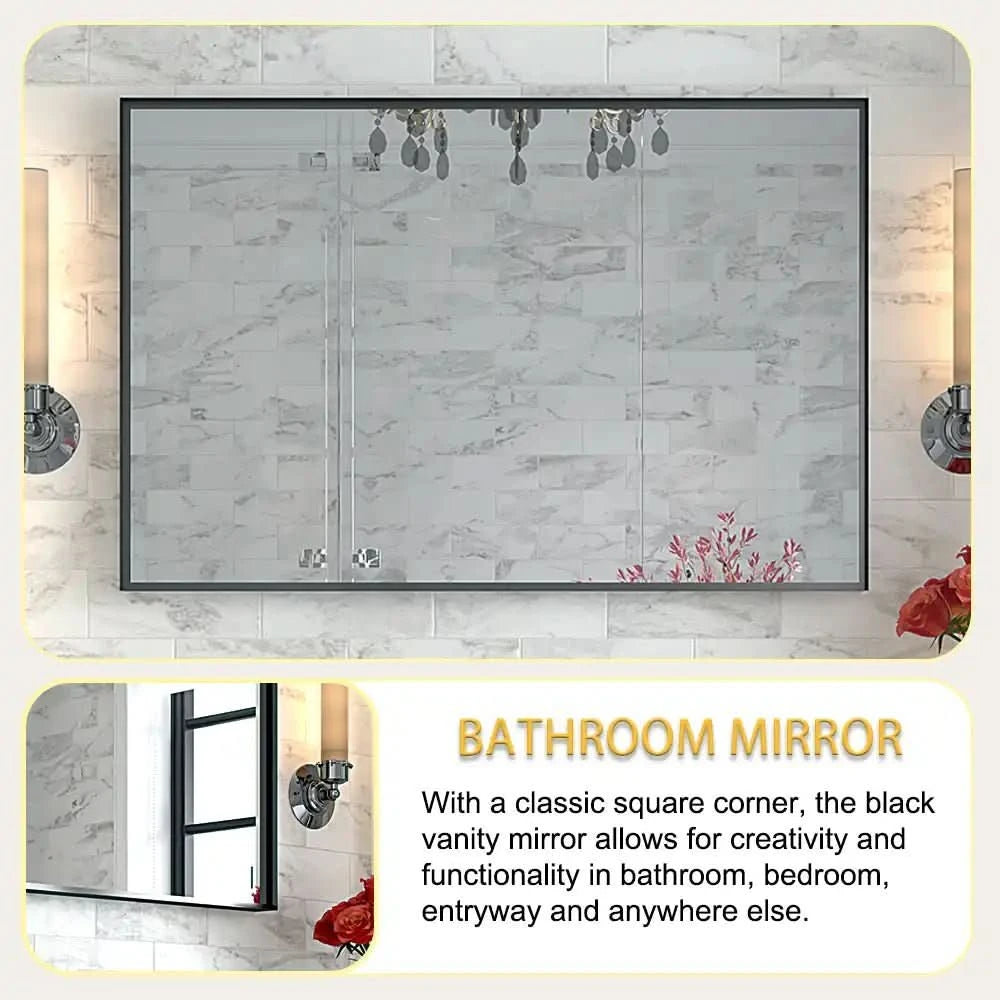
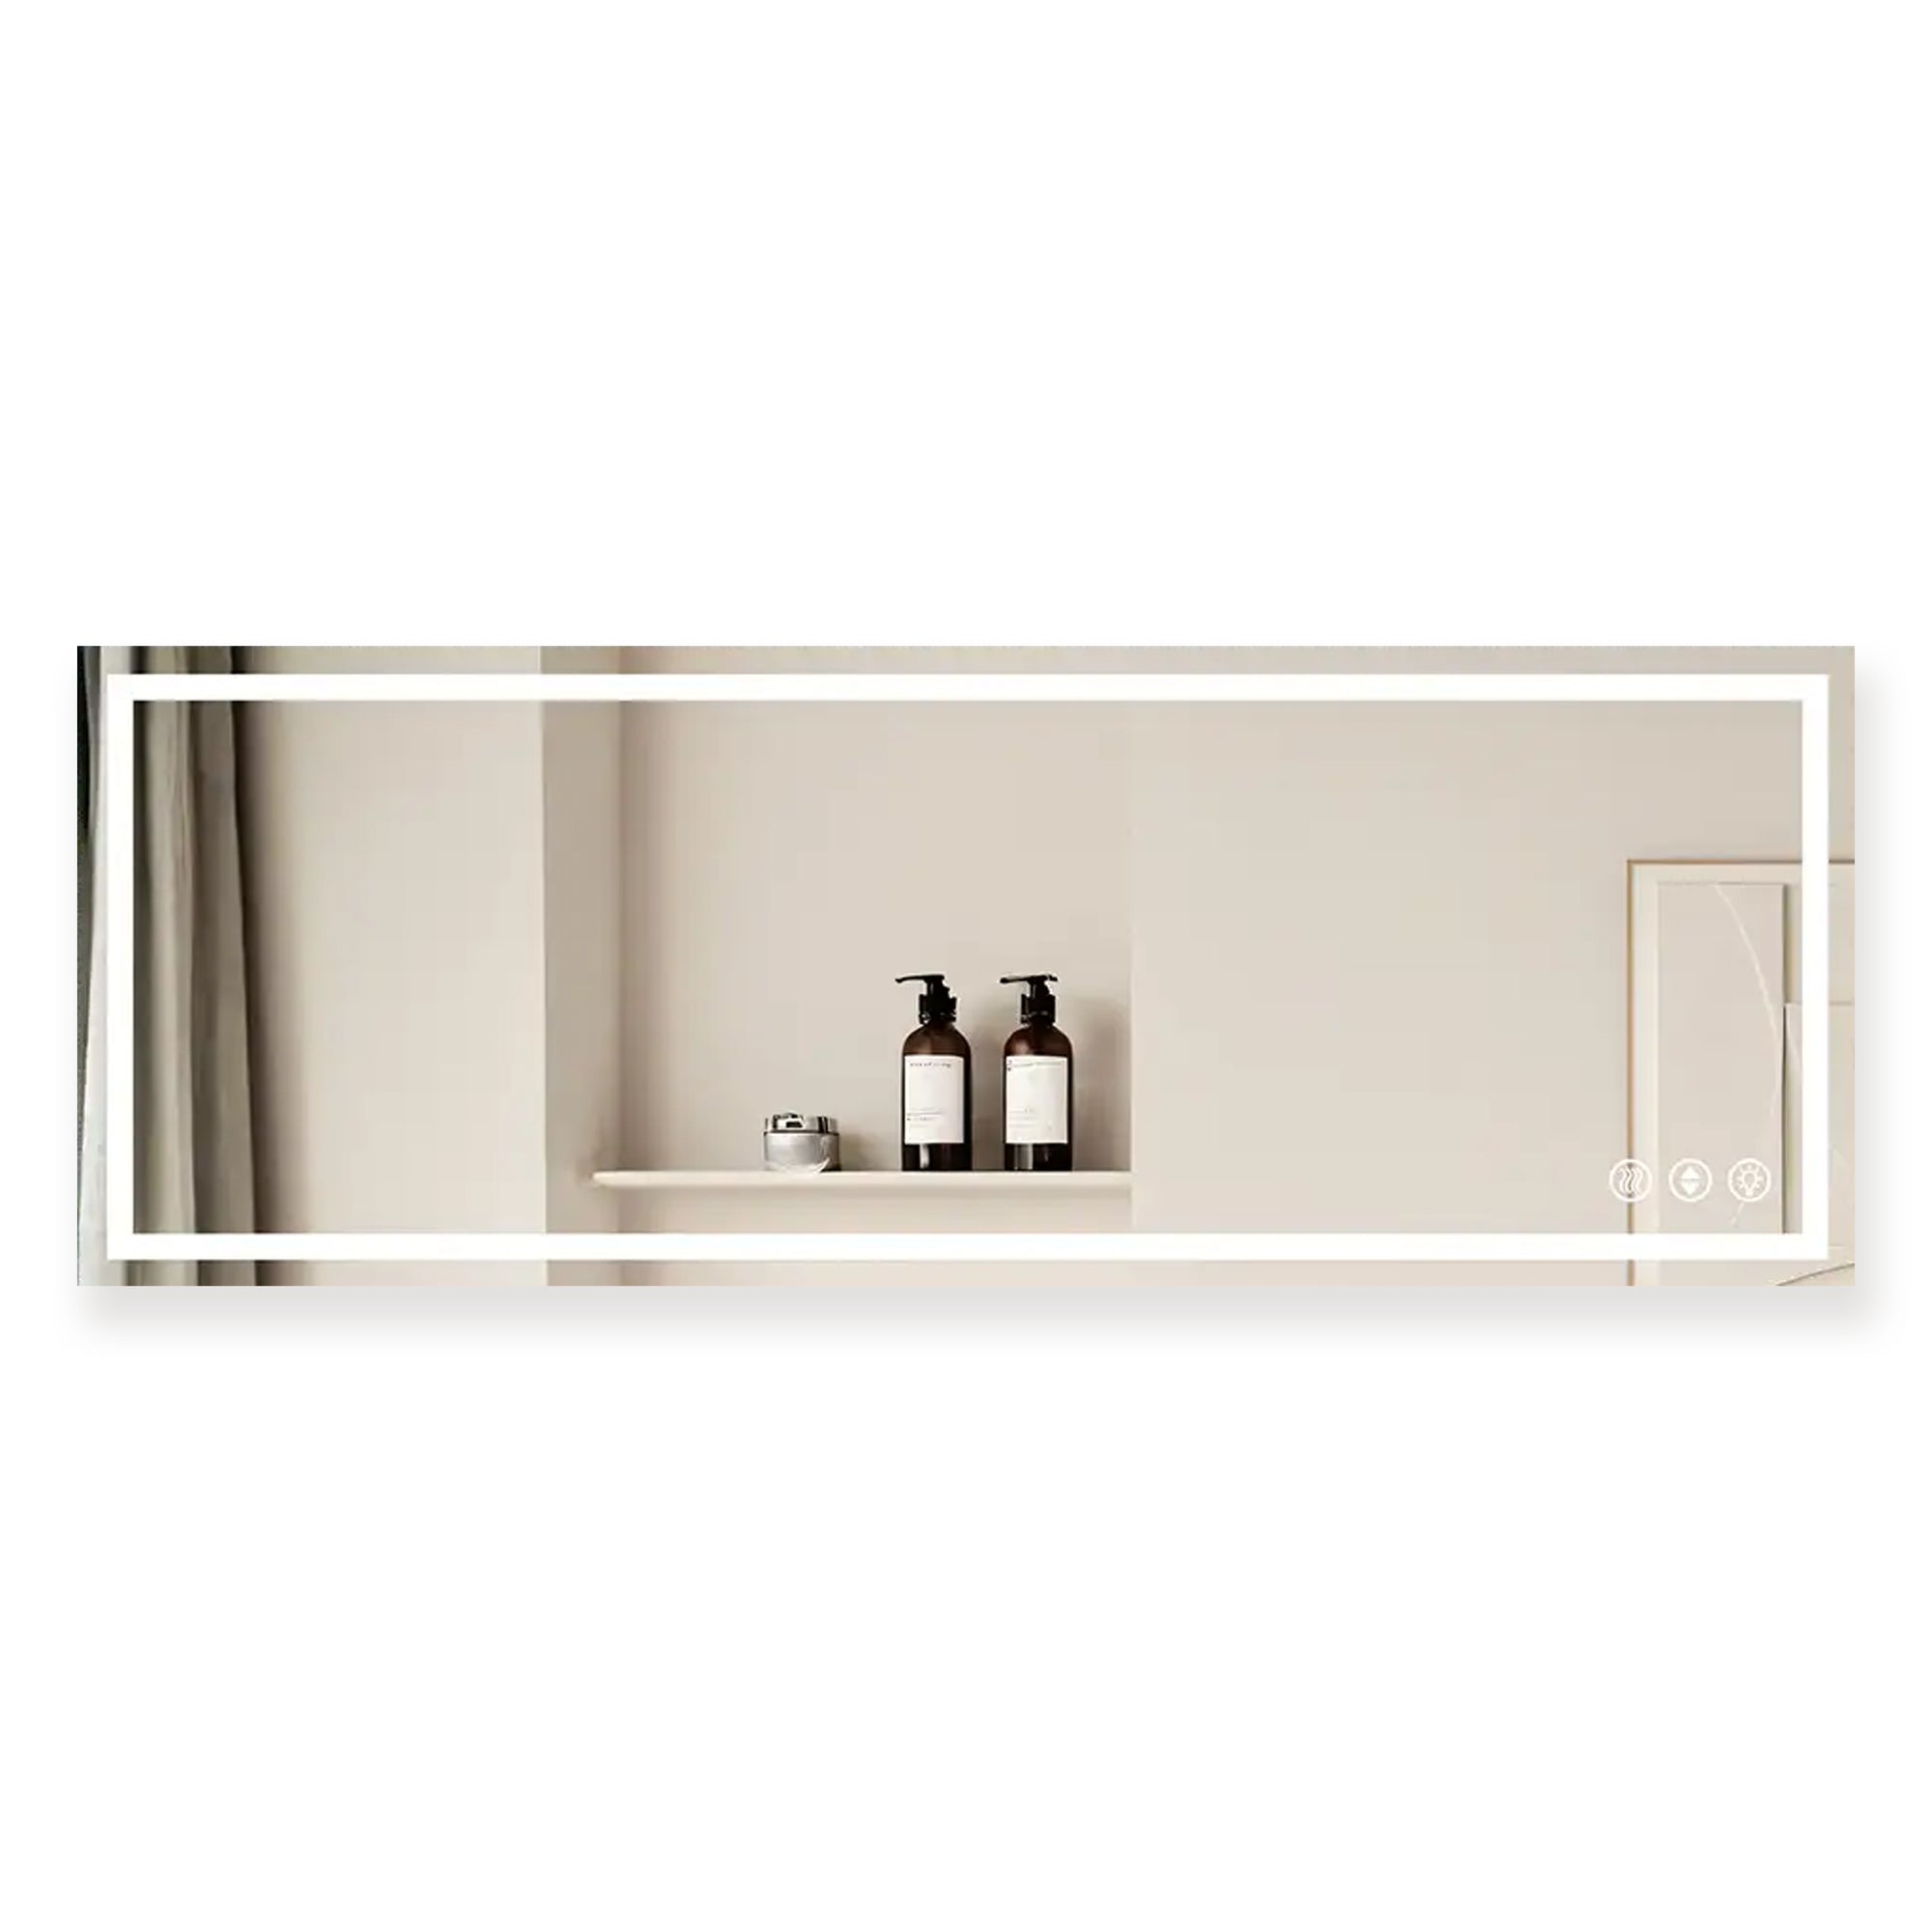
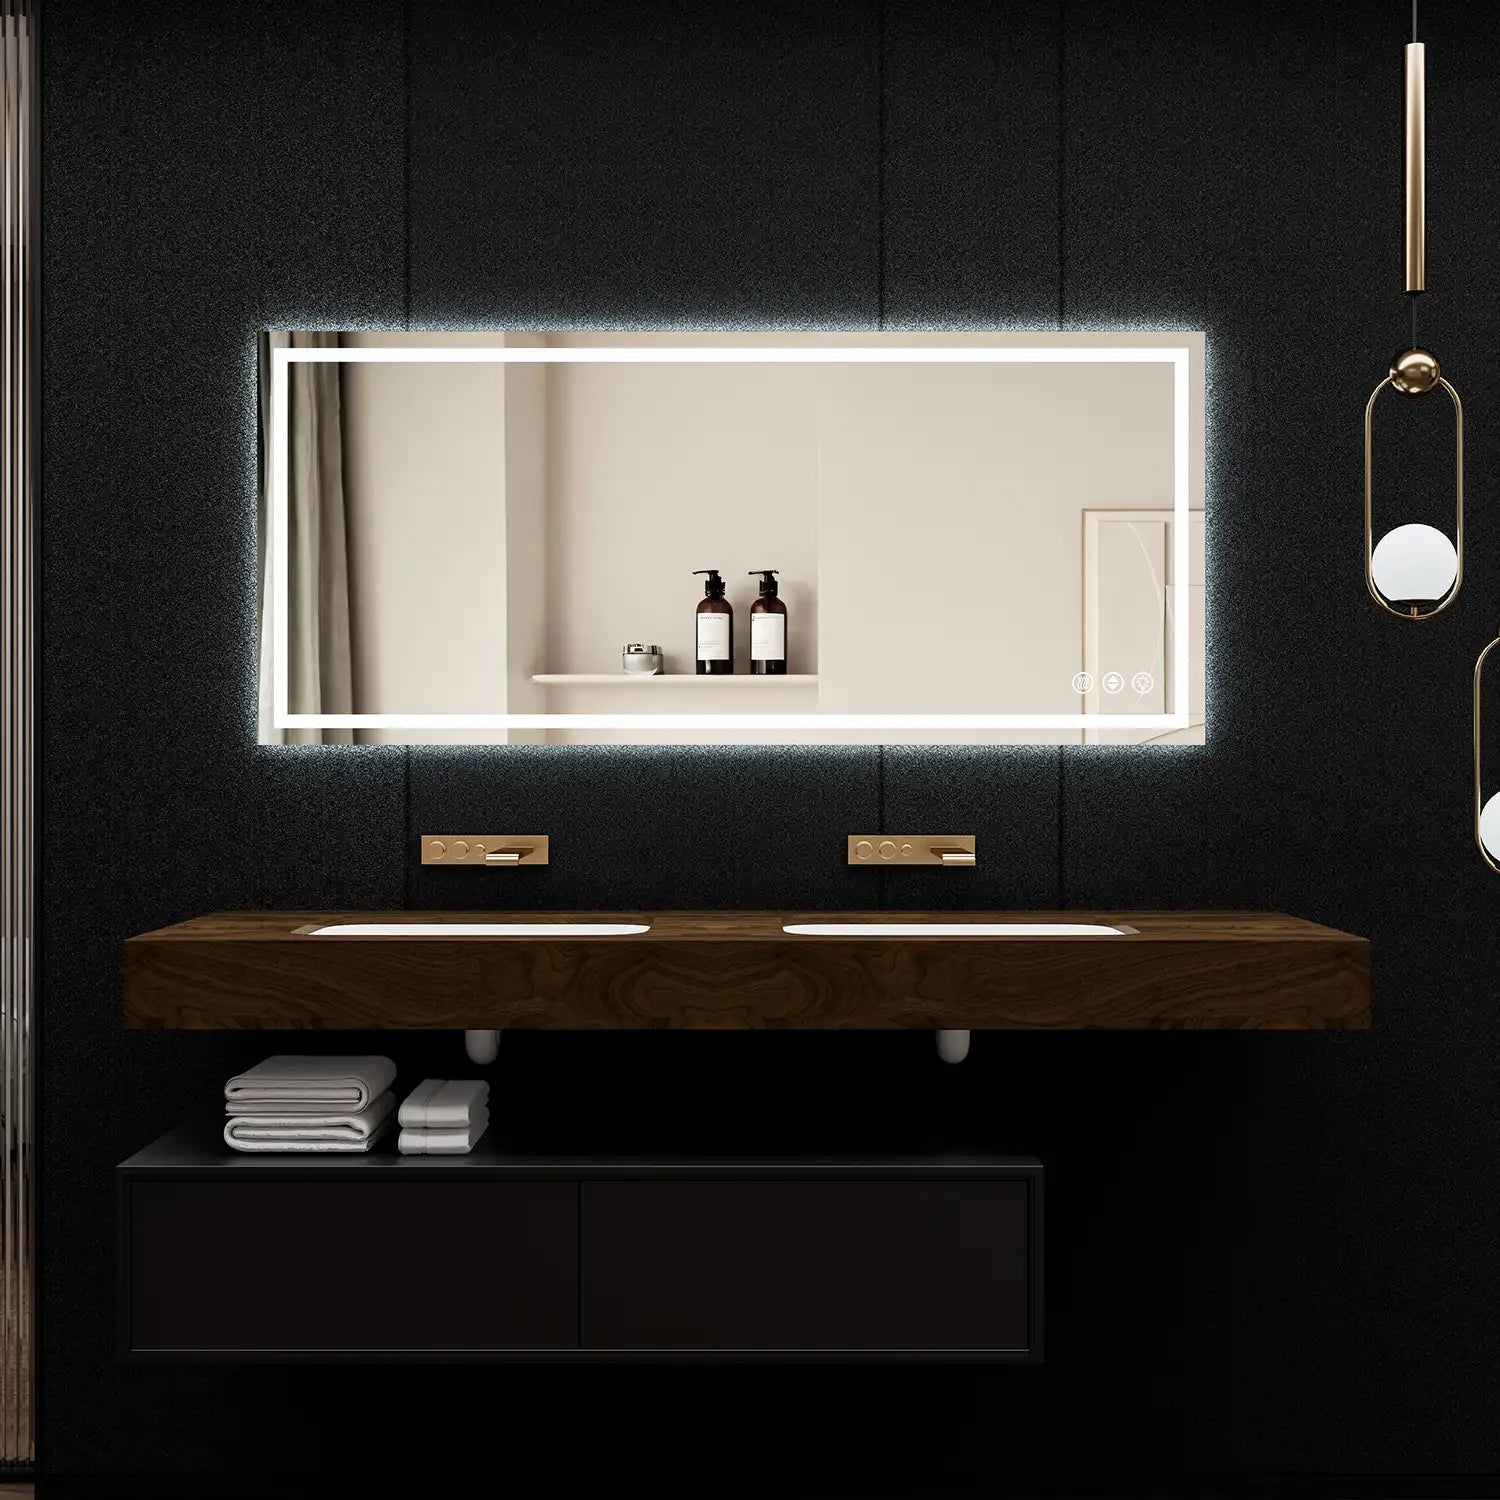
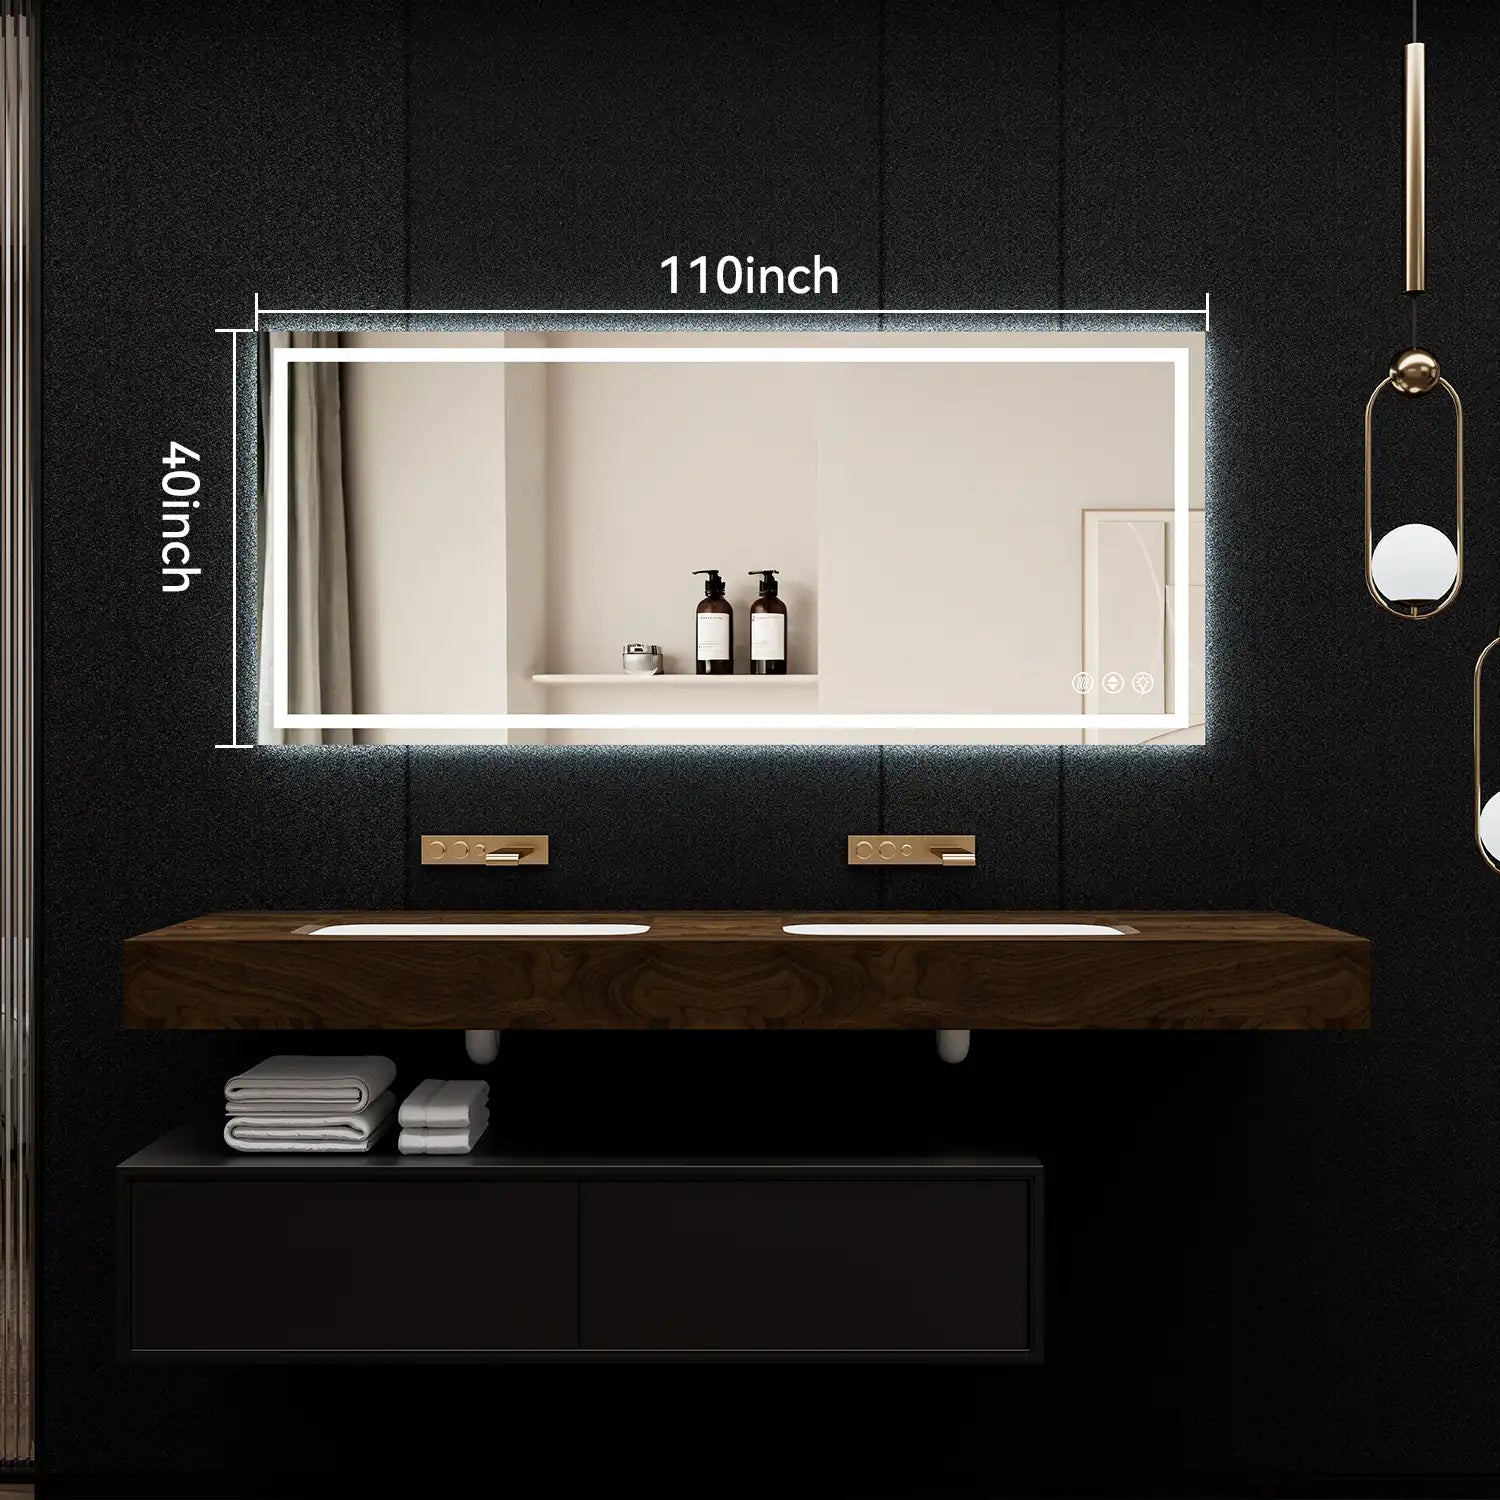
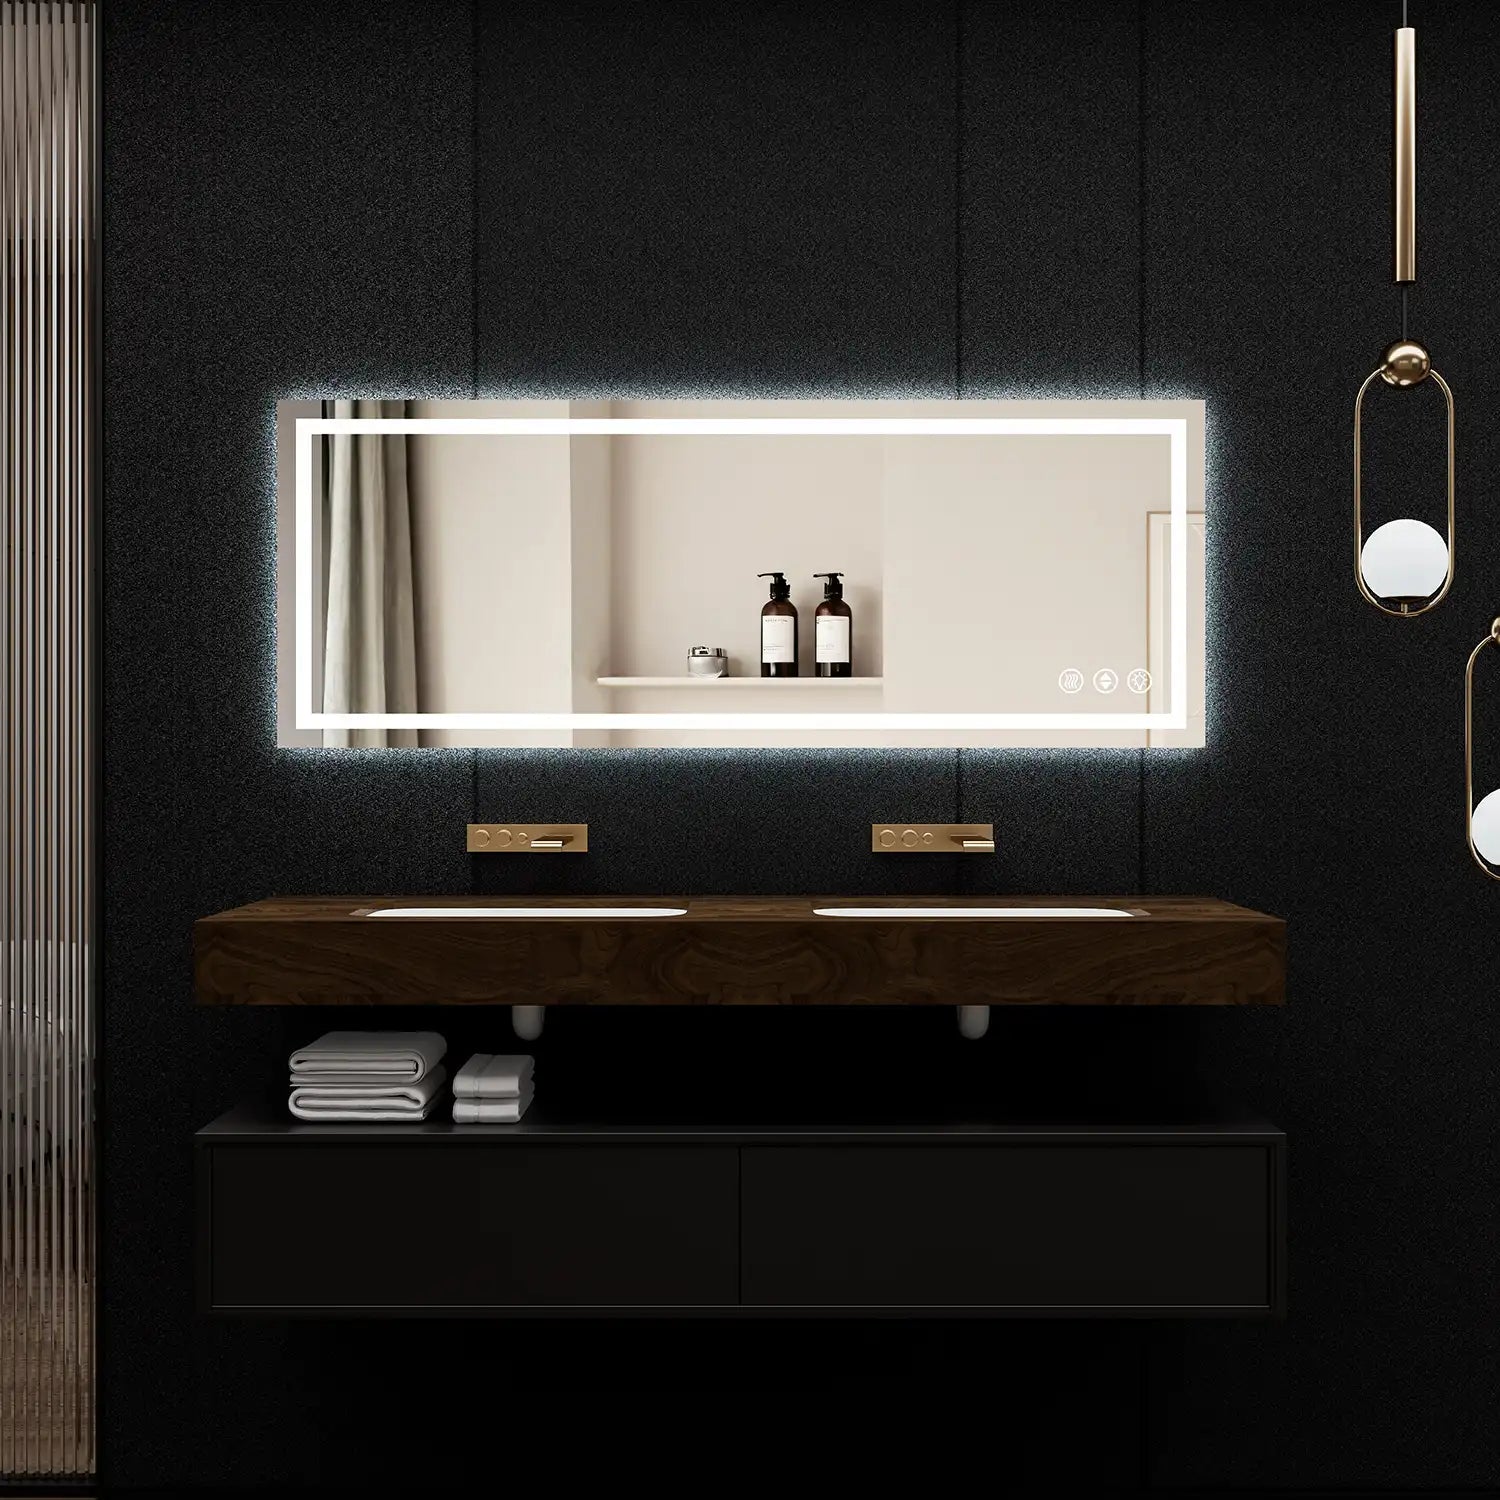
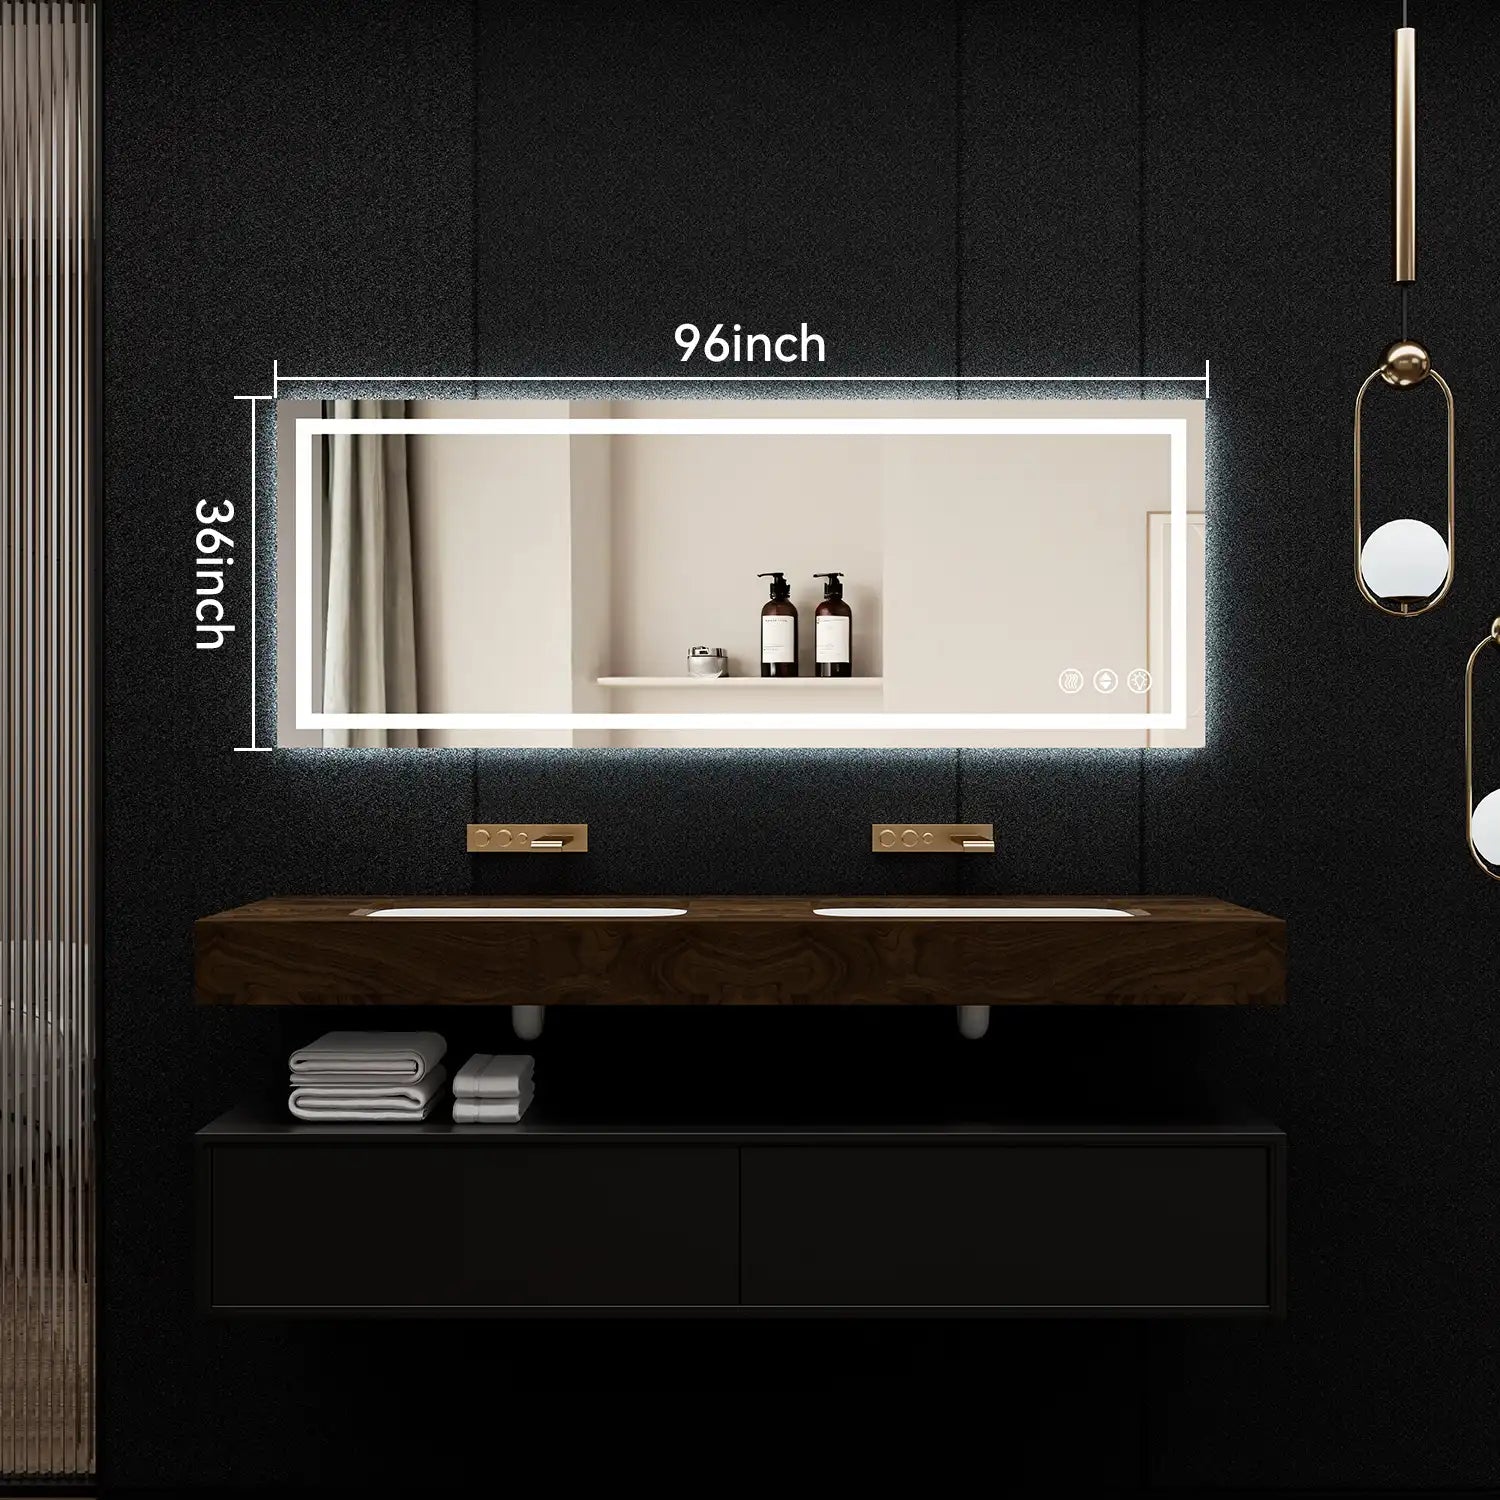
Introduction: Why Tiled Walls Are Ideal for LED Bathroom Mirrors
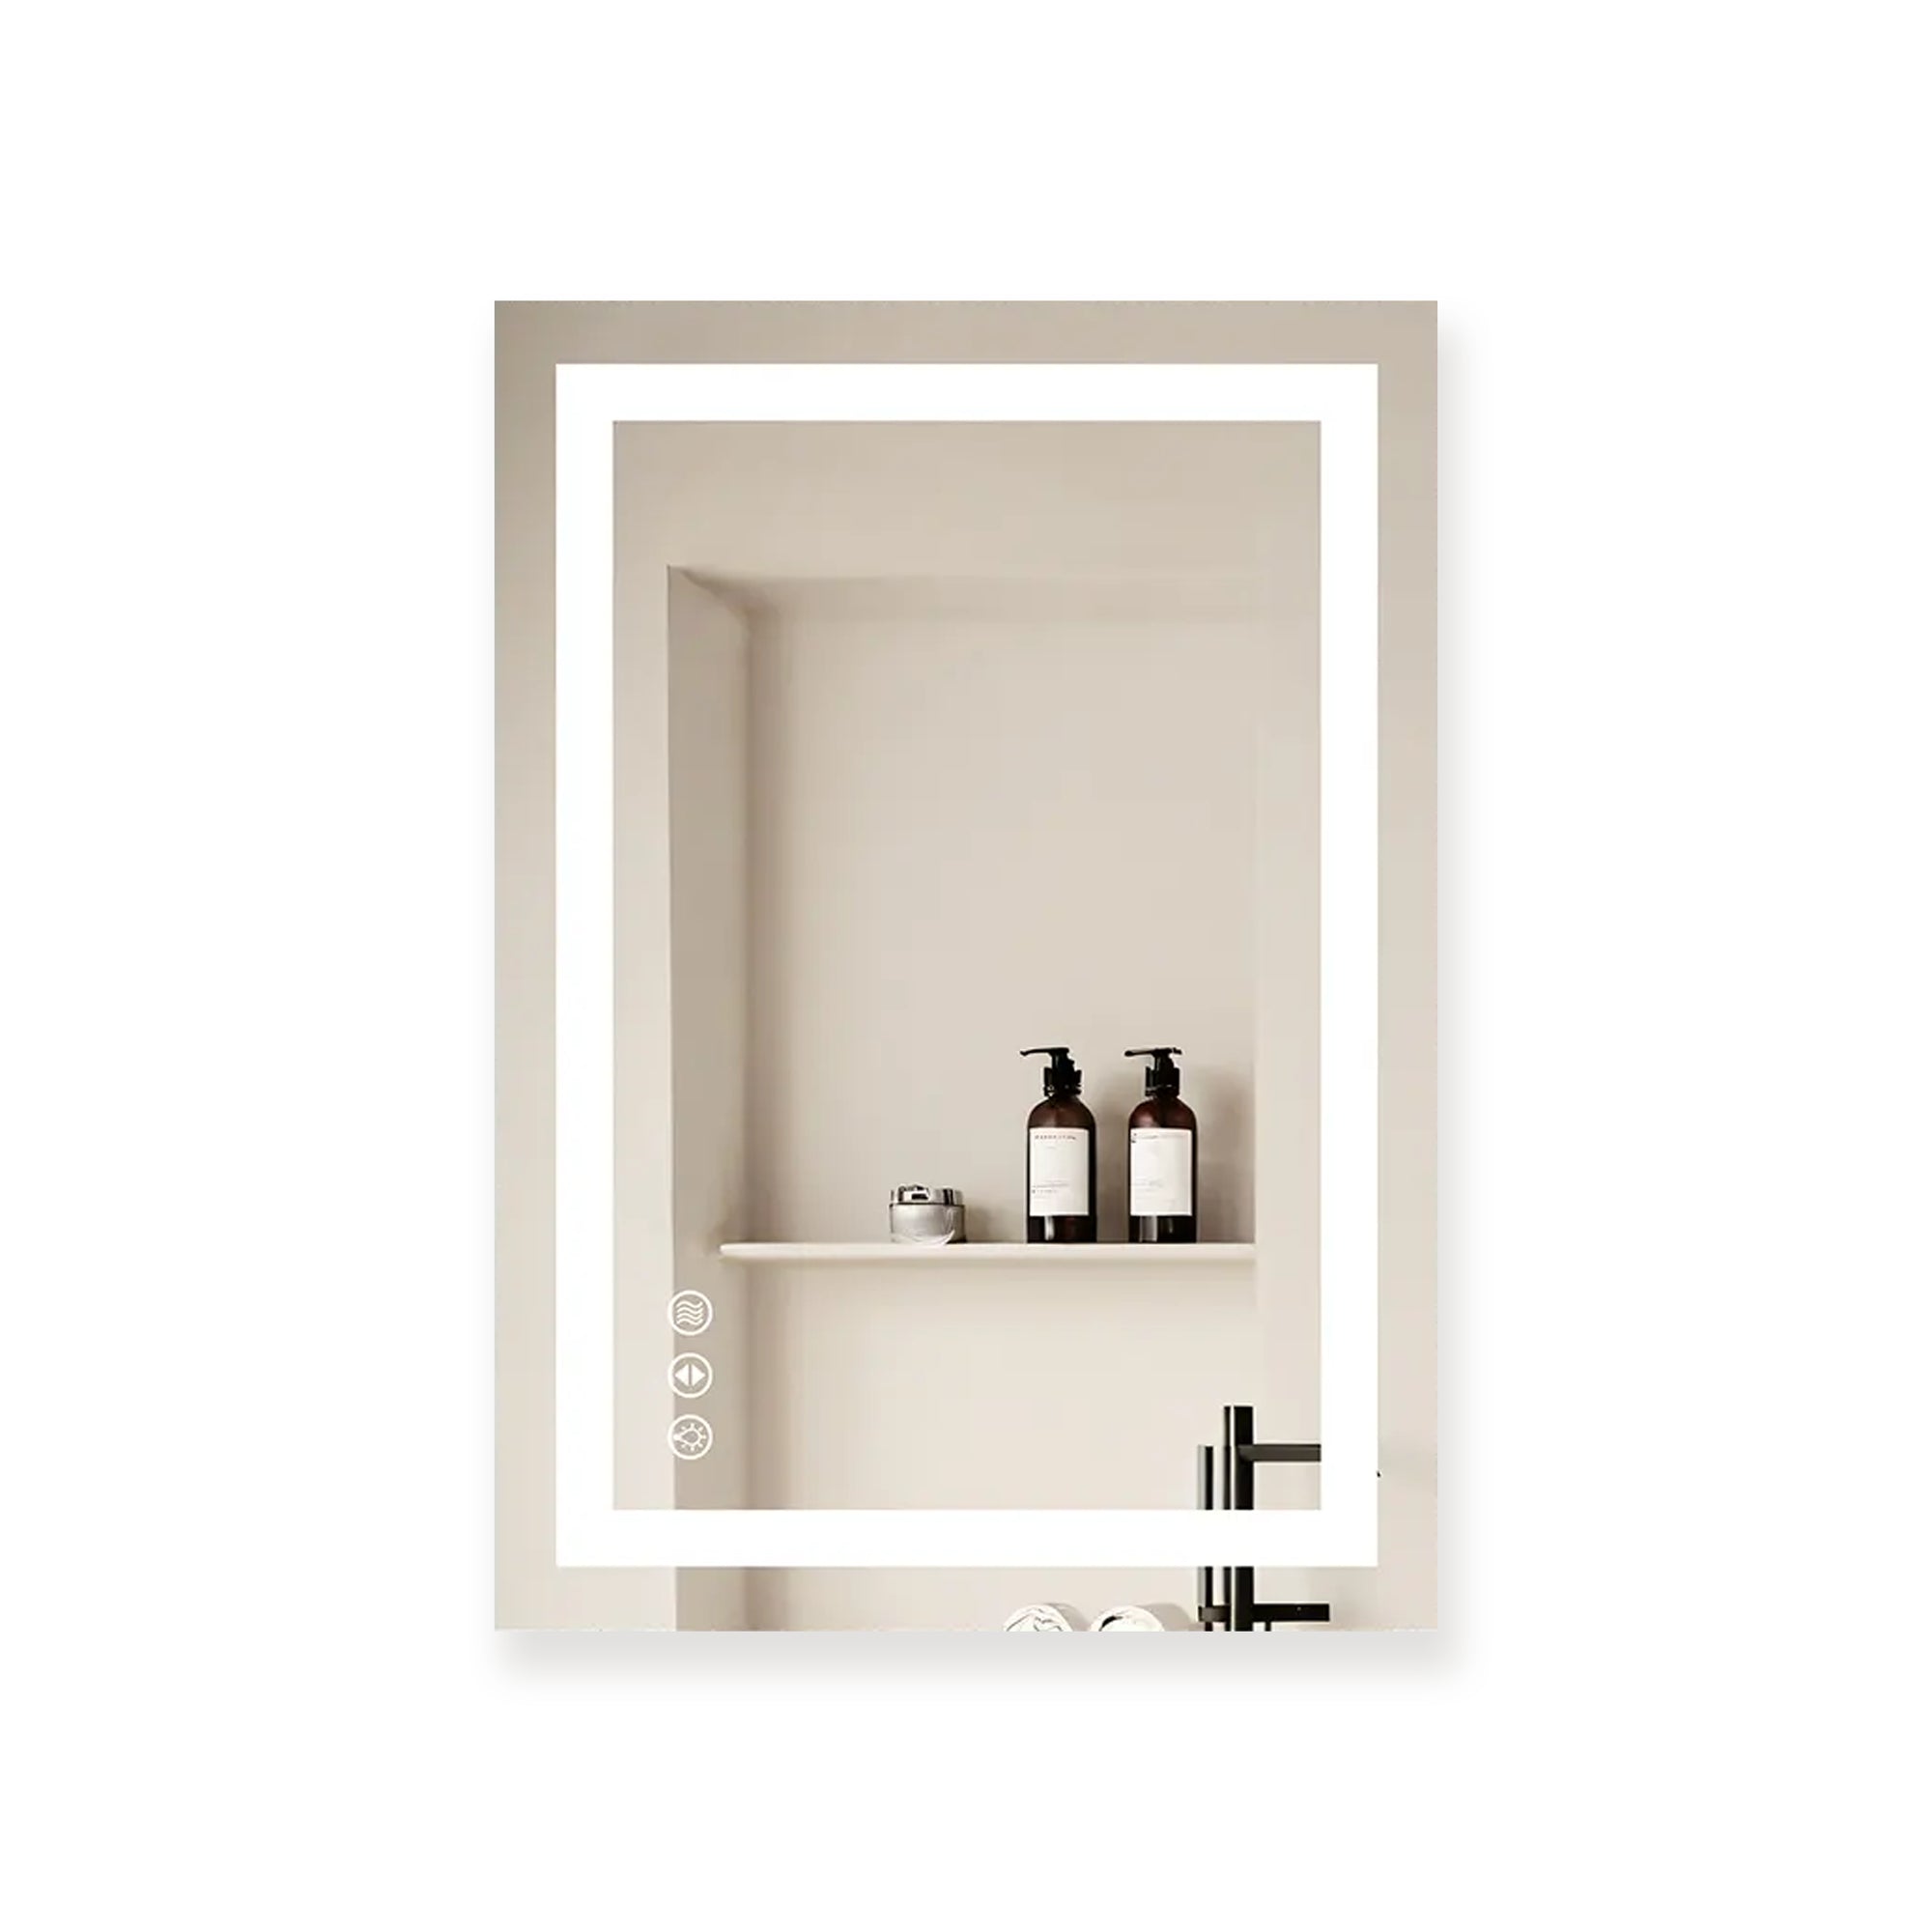
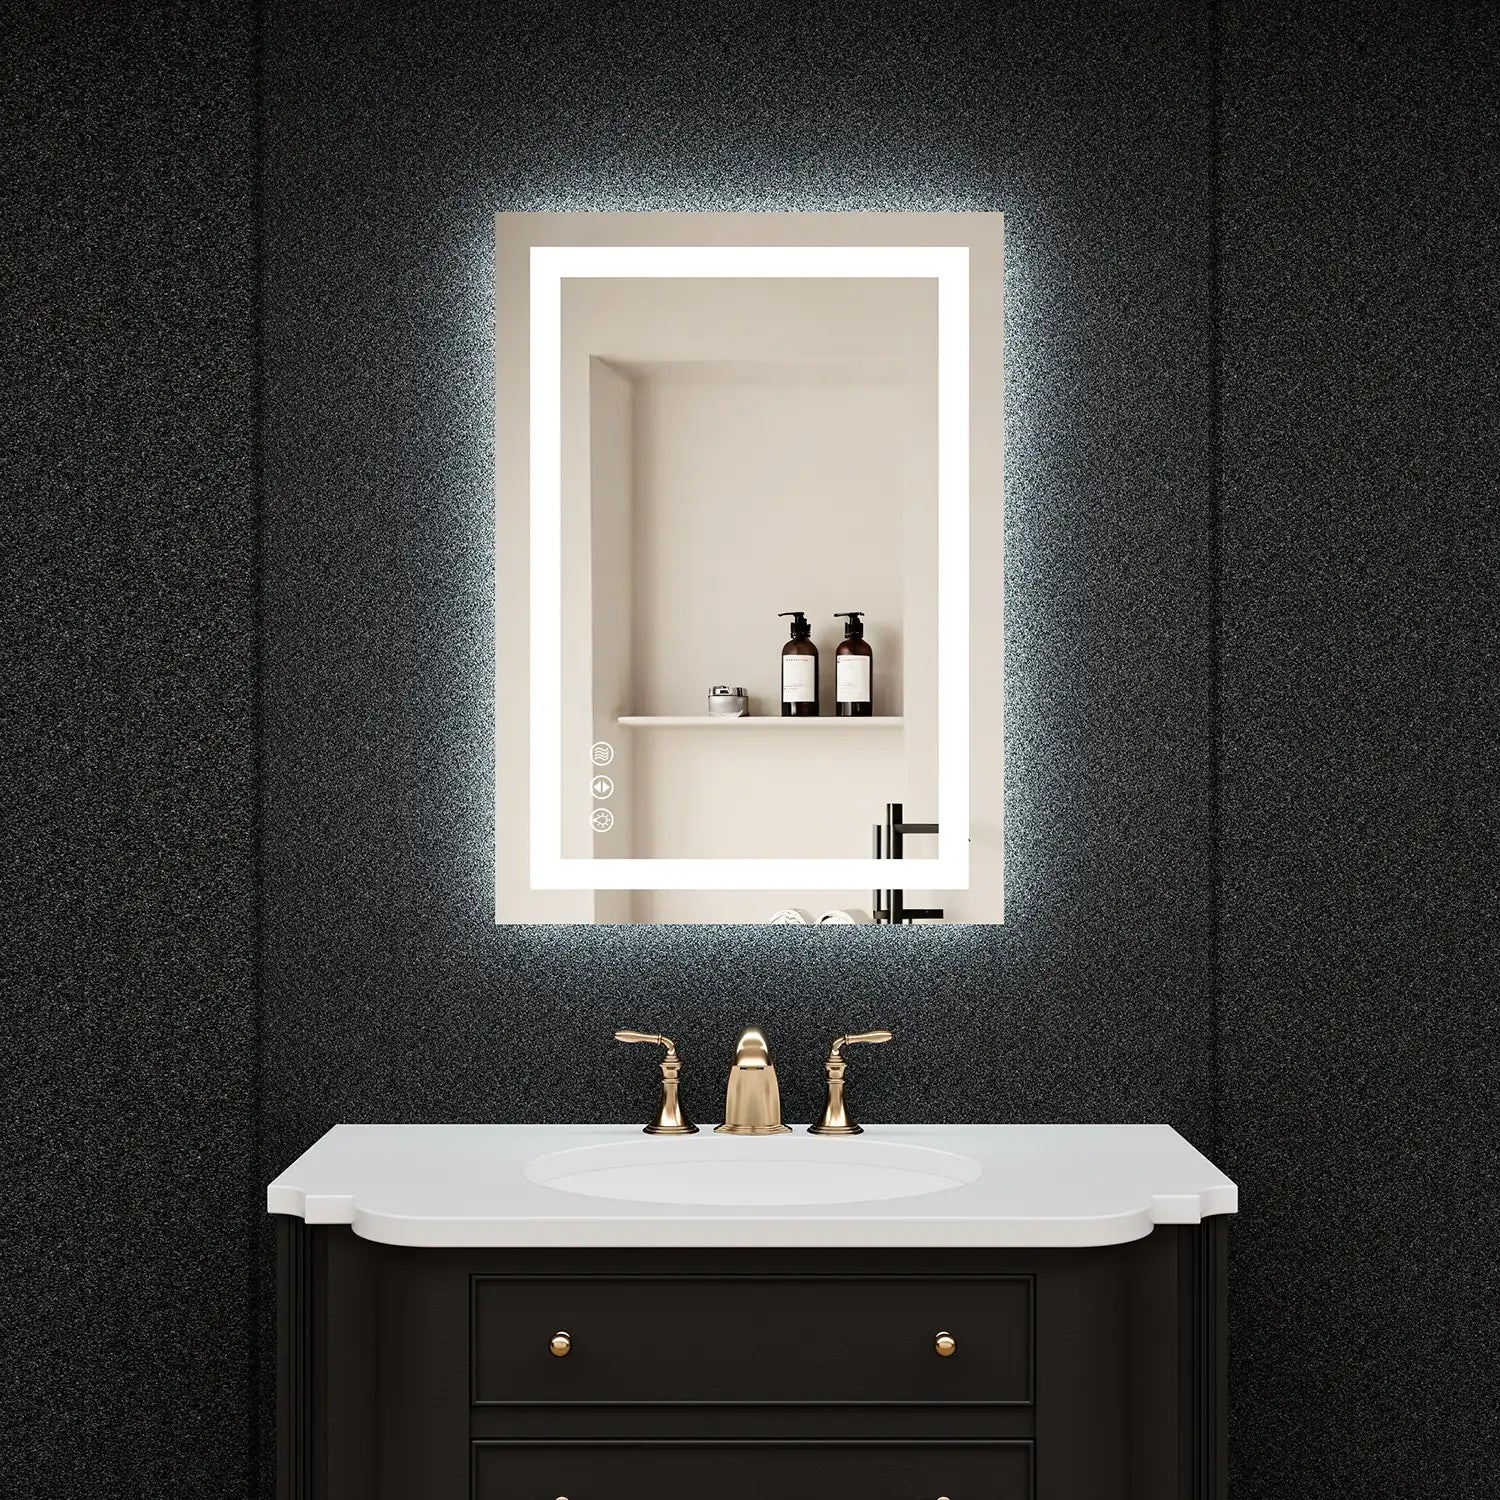
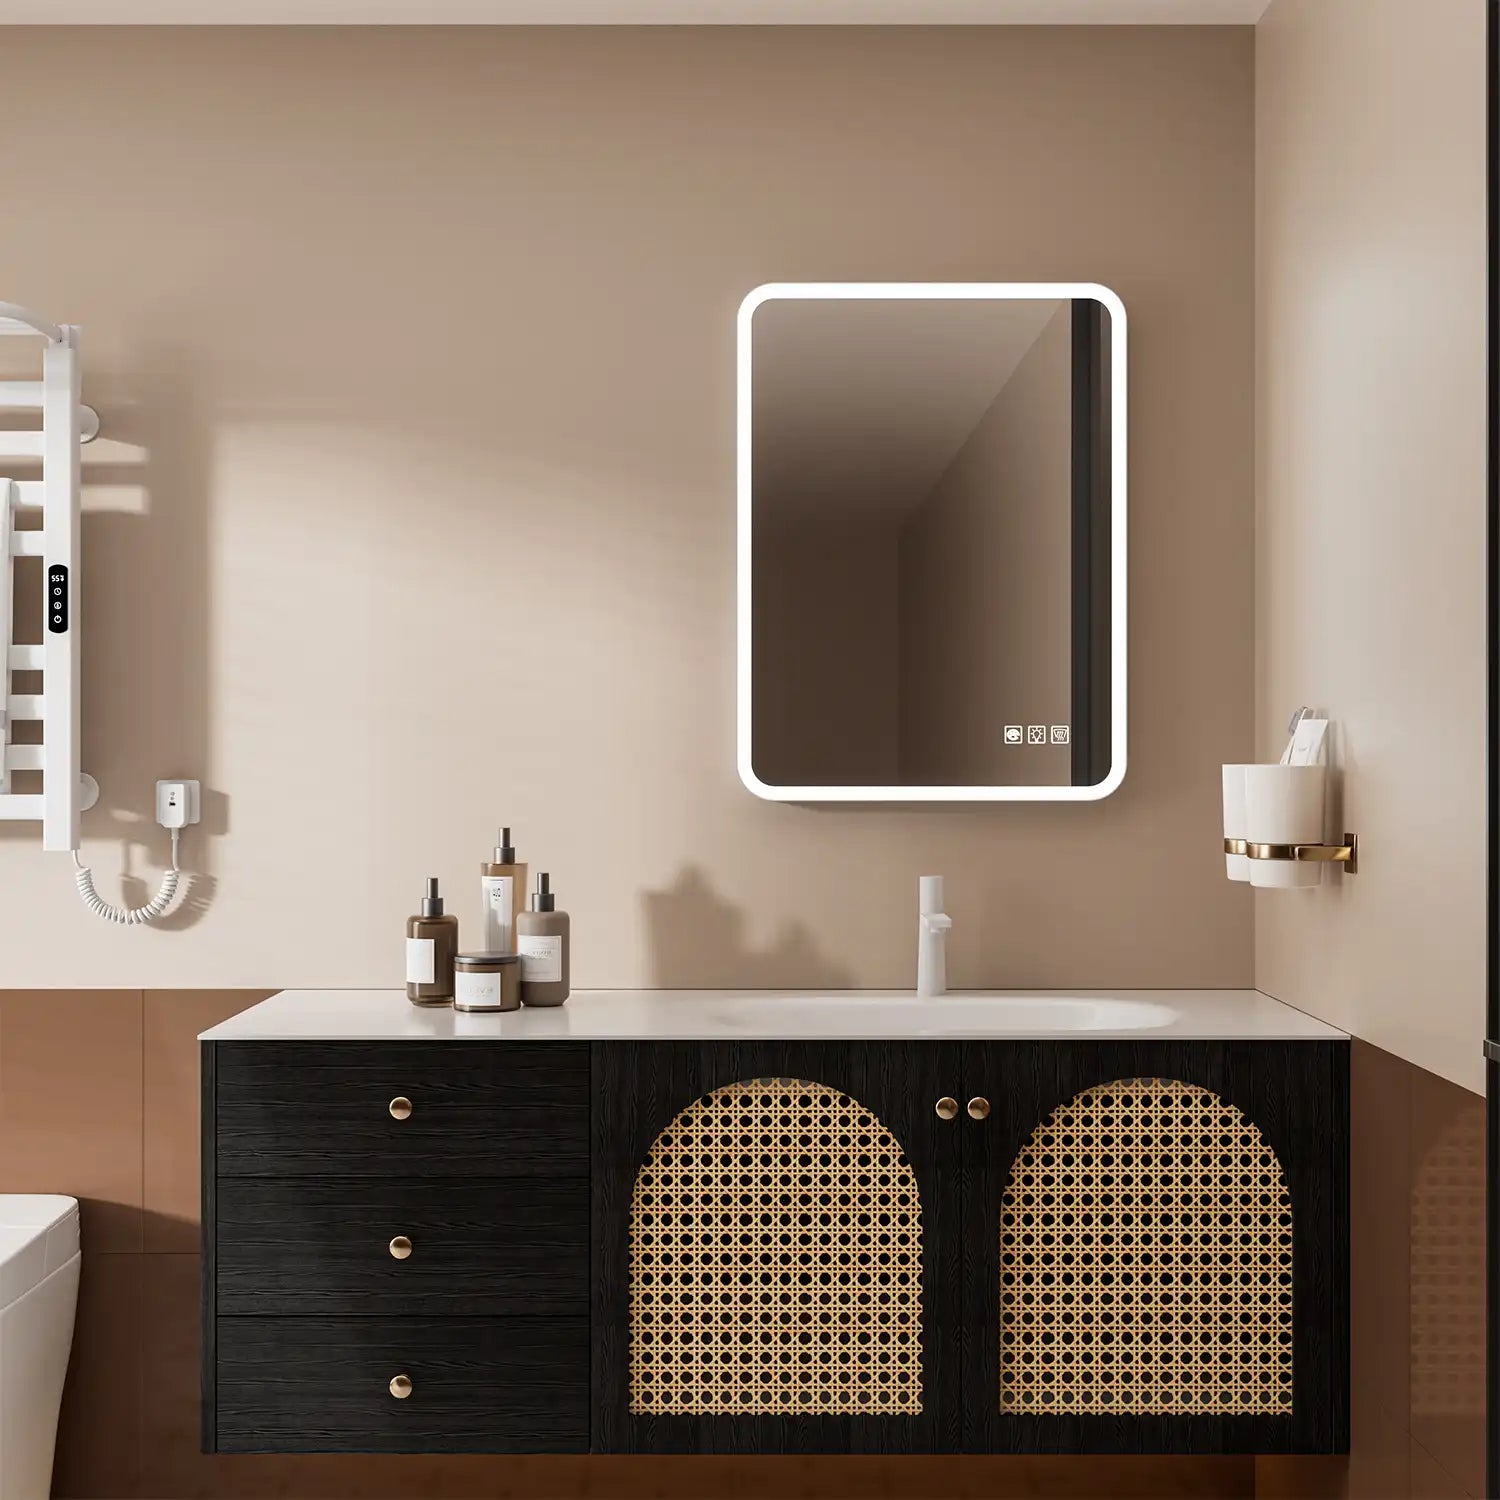
LED bathroom mirrors are an excellent choice for enhancing both the functionality and aesthetic of your bathroom. These mirrors provide not only a reflective surface but also integrated lighting, which can elevate the bathroom's ambiance. However, installing an LED bathroom mirror on a tiled wall requires careful planning and execution to avoid damage to both the tiles and the electrical components. This guide will walk you through the installation process step by step, providing you with the knowledge to ensure a secure, functional, and aesthetically pleasing setup.

Understanding Your LED Bathroom Mirror and Installation Requirements
Before you begin the installation, it's essential to understand the requirements of your LED bathroom mirror. Most LED mirrors come with integrated lighting, which may require an electrical connection. Depending on the model, these mirrors may either be hard-wired into your home's electrical system or plugged into a wall outlet. It's crucial to know the electrical configuration your mirror requires before starting the installation.
Key Considerations:
- Size and Weight: Ensure your wall can support the weight of the mirror. LED mirrors are typically heavier than traditional mirrors due to the built-in lighting system.
- Power Source: Determine whether the mirror requires hardwiring to the electrical system or can be powered via a plug.
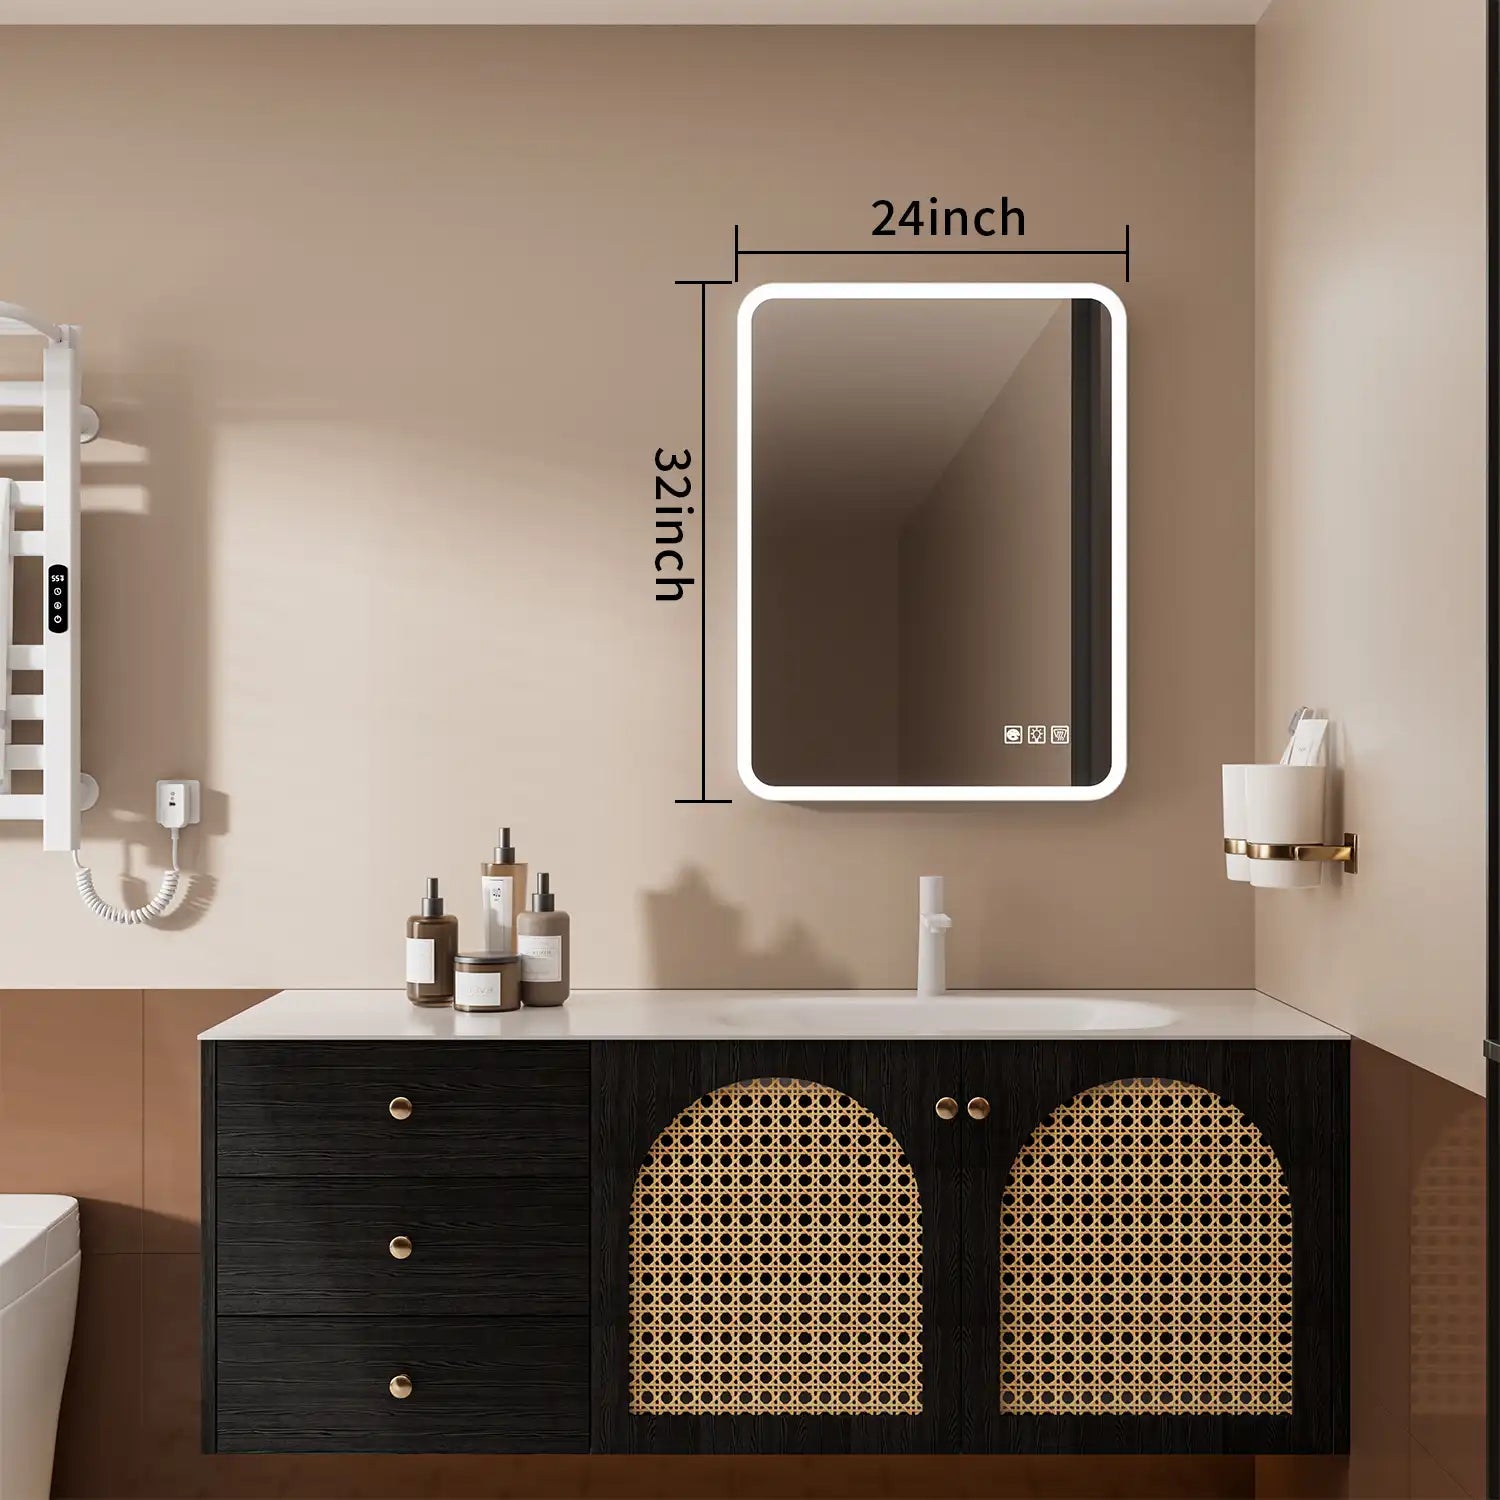
- Wall Space: Make sure there is enough space on the wall to accommodate the mirror and consider the optimal height for the best user experience.
Installation Steps for LED Bathroom Mirrors

Installing an LED bathroom mirror on a tiled wall requires precision, proper tools, and careful planning. Here’s a step-by-step breakdown of the installation process.
1. Gather Necessary Tools and Materials
To install your LED bathroom mirror, you will need the following tools and materials:
- Power drill and tile drill bits
- Screwdriver
- Measuring tape
- Pencil
- Level
- Wall anchors (if needed)
- Screws (typically provided with the mirror)
- Wire strippers and electrical tape (for hardwiring)
- Electrical box and switch (if hardwiring)
Review the product manual and ensure you have all the required tools and materials specific to your model.
2. Measure and Mark the Installation Height
Using your measuring tape and pencil, mark the center point of where you want to place the mirror. A typical height for the center of the mirror is about 5 feet from the floor, which suits most individuals' eye levels. Use the level to ensure your marks are aligned properly to avoid installing a crooked mirror.
3. Drill Holes for Mounting Brackets
Once you’ve marked the spot for your mirror, it’s time to drill the holes for the mounting brackets. Tiled walls require special care since drilling directly into tiles can cause cracks or chips. Use a tile drill bit to create pilot holes, ensuring that the bit doesn't slip off the tile surface and cause damage.
Pro Tip: Start drilling at a low speed and apply light pressure. To prevent tile damage, avoid drilling directly into the glazed surface of the tile. Drill in the grout lines, which are typically more forgiving.
4. Install Wall Anchors
If your installation requires wall anchors, insert them into the drilled holes. These anchors will ensure that the mirror is securely mounted on the wall, especially if you're working with tiled walls. It’s important to use the appropriate anchors that match the weight of your mirror.
5. Mount the Mirror
Carefully lift the mirror and align it with the mounting brackets. For mirrors that need to be fixed to the wall using mounting screws, tighten the screws into place once the mirror is positioned properly.
Pro Tip: If your mirror is large or heavy, it’s advisable to have someone assist you in holding the mirror steady while you secure it to the wall.
6. Connect the Electrical Wiring
If your LED mirror requires hardwiring, this step involves connecting the mirror to your home's electrical system. If you're uncomfortable working with electricity, it’s best to consult a professional electrician. However, if you're proceeding with the installation yourself, ensure that you:
- Turn off the power at the breaker panel to avoid any risk of electrical shock.
- Use wire strippers to expose the wire ends.
- Connect the wires according to the manufacturer’s instructions (usually color-coded for safety).
- Secure the connections with electrical tape, ensuring no exposed wires.
- If the mirror has a switch, install it according to the instructions and connect the wiring to the switch.
For plug-in mirrors, simply plug the mirror into an electrical outlet.
Common Installation Errors and How to Avoid Them

While installing an LED bathroom mirror, several common mistakes can lead to issues during or after installation. Let’s go over these mistakes and how you can avoid them.
1. Drilling Too Deep
One of the most common errors when drilling into tiled walls is going too deep with the drill bit. Drilling too deep can cause the tile to crack or even chip. To avoid this:
- Use the correct drill bit: Always use a diamond or carbide drill bit designed for tiles.
- Start with a small pilot hole: Drill a small hole first to guide your larger drill bit.
- Keep the drill speed low: This reduces the risk of damaging the tile.
If the tile does crack, you may need to replace it, so it’s always a good idea to have extra tiles on hand just in case.
2. Not Using the Right Wall Anchors
If your mirror is heavy, using the wrong wall anchors can result in the mirror falling off the wall. Be sure to use wall anchors that are rated for the weight of your mirror. For example, if the mirror weighs more than 10 pounds, make sure the anchors you use can support that weight.
Pro Tip: If you're unsure about which anchors to use, consult with a home improvement professional to ensure you're selecting the correct type.
3. Incorrect Electrical Wiring
Incorrectly wiring your LED bathroom mirror can lead to electrical hazards or malfunctioning lights. This is especially true when hardwiring the mirror to your electrical system. To prevent wiring issues:
- Always turn off the power: Double-check that the circuit is off at the breaker before working on any electrical components.
- Follow the wiring diagram: The manufacturer's wiring diagram is your best guide. Never guess or assume the wiring configuration.
- Use a voltage tester: After wiring, use a voltage tester to make sure everything is connected properly before turning the power back on.
If you're unsure about the wiring process, it’s advisable to call in a licensed electrician for assistance.
4. Neglecting to Check for Level Installation
One of the simplest mistakes that can happen during installation is neglecting to check that the mirror is level. A crooked mirror not only looks unappealing, but it can also affect the lighting distribution.
- Use a Level: Before securing the mirror to the wall, always check with a level to ensure it’s perfectly straight.
- Check twice: It’s a good idea to check the level before tightening the screws to ensure your mirror stays in place.
Electrical Safety Considerations for Installing LED Bathroom Mirrors

When dealing with electrical components, safety is always the top priority. Here are some essential electrical safety tips to keep in mind:
1. Always Turn Off the Power
Before working with any electrical components, ensure that the power is completely turned off at the circuit breaker. This is the most important step to avoid electrical shock.
2. Use Proper Electrical Tools
For wiring, always use insulated tools, such as wire strippers, pliers, and electrical tape, to minimize the risk of electric shock.
3. If in Doubt, Call an Electrician
Electrical work can be complicated, and improper connections can result in short circuits or even fires. If you are unsure about the wiring process or feel uncomfortable, don't hesitate to call a professional electrician.
For more information on electrical safety, refer to resources like the Electrical Safety Foundation International.
Conclusion: Installing LED Bathroom Mirrors
Installing an LED bathroom mirror on a tiled wall can significantly enhance the functionality and aesthetic of your bathroom. By following these steps carefully, using the right tools, and adhering to safety guidelines, you can achieve a seamless installation. However, always take your time to prevent mistakes, especially when dealing with electrical connections. And if you're ever unsure, seeking professional assistance is always a smart decision.
Leading brands such as ACE DECOR, Kohler, and Moen offer high-quality LED bathroom mirrors that come with detailed installation instructions, making the process easier and ensuring the long-term durability of your investment.
Frequently Asked Questions (FAQ)
Q: Can I install an LED bathroom mirror myself?
A: Yes, as long as you have the right tools and knowledge. However, if you are uncomfortable with electrical work, it’s advisable to hire a professional.
Q: How can I avoid damaging my tiles while drilling?
A: Always use a diamond or carbide drill bit and start with a small pilot hole. Drill at a slow speed to prevent the tile from cracking.
Q: Do I need an electrician to wire my LED mirror?
A: If you are hardwiring the mirror to your electrical system, it’s recommended to hire a licensed electrician to ensure the installation is safe and compliant with local electrical codes.

