Introduction
After years of use of the bathroom wood cabinets, the paint is often peeled, moldy or scratched due to the wet environment, making the entire bathroom look old. However, the cost of replacing a new cabinet directly is higher, and DIY renovations can not only save 50% to 70%, but also customize according to your personal style and give the bathroom a new look.
Whether it's a simple paint job, upgrading hardware, or completely reinventing the look, a refurbished wooden cabinet can not only enhance the beauty of your home, but also extend its lifespan. This article will provide you with a step-by-step guide to make it easy for you to complete a DIY makeover to create a bathroom space that is both functional and beautiful.

Part 1: DIY renovation of the bathroom wooden cabinet before the preparation
1. Assess the condition of the wooden bathroom cabinet
Before deciding to renovate, check the overall condition of the wooden cabinet to choose the appropriate renovation method:
- Only slight scratches or fading: suitable for simple sanding and repainting.
- There are small cracks, loose: need to fill repair and strengthen the structure.
- Severe mold, wood rot: Parts of the wood may need to be replaced or a total replacement may be considered.
Make sure the wooden cabinet is structurally sound, otherwise renovation may only be a short-term solution.
2. Choose the right reconditioning tools and materials
Basic tool
- Sandpaper (# 120 and # 220)
- Electric sander (to speed up the processing of old paint)
- Paint brush, roller brush
- Screwdriver, woodworking glue
Refurbished material
- Environmental protection wood paint (low VOC, water resistance and moisture resistance)
- Wood filling paste (to fill cracks and holes)
- Transparent waterproof sealant (improves moisture resistance)
- New hardware accessories (handles, door hinges, etc.)
Optional decorative materials
- Self-adhesive Wood grain sticker (Quick renovation)
- Glass inlay (enhances visual effect)
- Decorative decals (vintage or personalized)
3. Clean and disassemble to ensure smooth construction
- Remove cabinet doors, drawers and hardware accessories to avoid uniform painting during construction.
- Clean the surface with a mild cleaner to remove dust, dirt and ensure paint adhesion.

Part 2: The specific steps of DIY renovation
1. Sand and remove the old paint layer
- First rough sand with No. 120 sandpaper to remove old paint and stains.
- Then use No. 220 sandpaper for fine grinding to make the surface smoother and ensure that the new paint can be firmly attached.
2. Repair the defects of the wooden cabinet
- Cracks or holes: Fill with wood filling paste and then sand after drying.
- Slight warping: Secure with woodworking glue, clamp and let stand for 24 hours.
3. Choose the right paint for a new style
Wood paint for bathroom environment:
- Water-based eco-friendly paint (low VOC, low odor, high safety)
- Waterproof and moisture resistant paint (suitable for high humidity environments)
- Semi-matte or glossy paint (stain resistant, easy to clean)
Steps:
- Apply primer, strengthen adhesion, and let dry.
- Apply 2-3 coats of paint at least 4 hours between each coat.
4. Replace hardware accessories to improve visual effect
Handles & Door Hinges: Select hardware that matches the bathroom style
- Modern: Black, silver matte
- Vintage: Brass, bronze
- Nordic style: Wooden or ceramic handles
5. Add moisture protection to improve durability
- Use a clear waterproof sealant to prevent water vapor from eroding the wood.
- Choose waterproof wood grain stickers, suitable for users who do not want to re-paint, construction is faster.

Part 3: How to make the renovated bathroom wooden cabinet more practical?
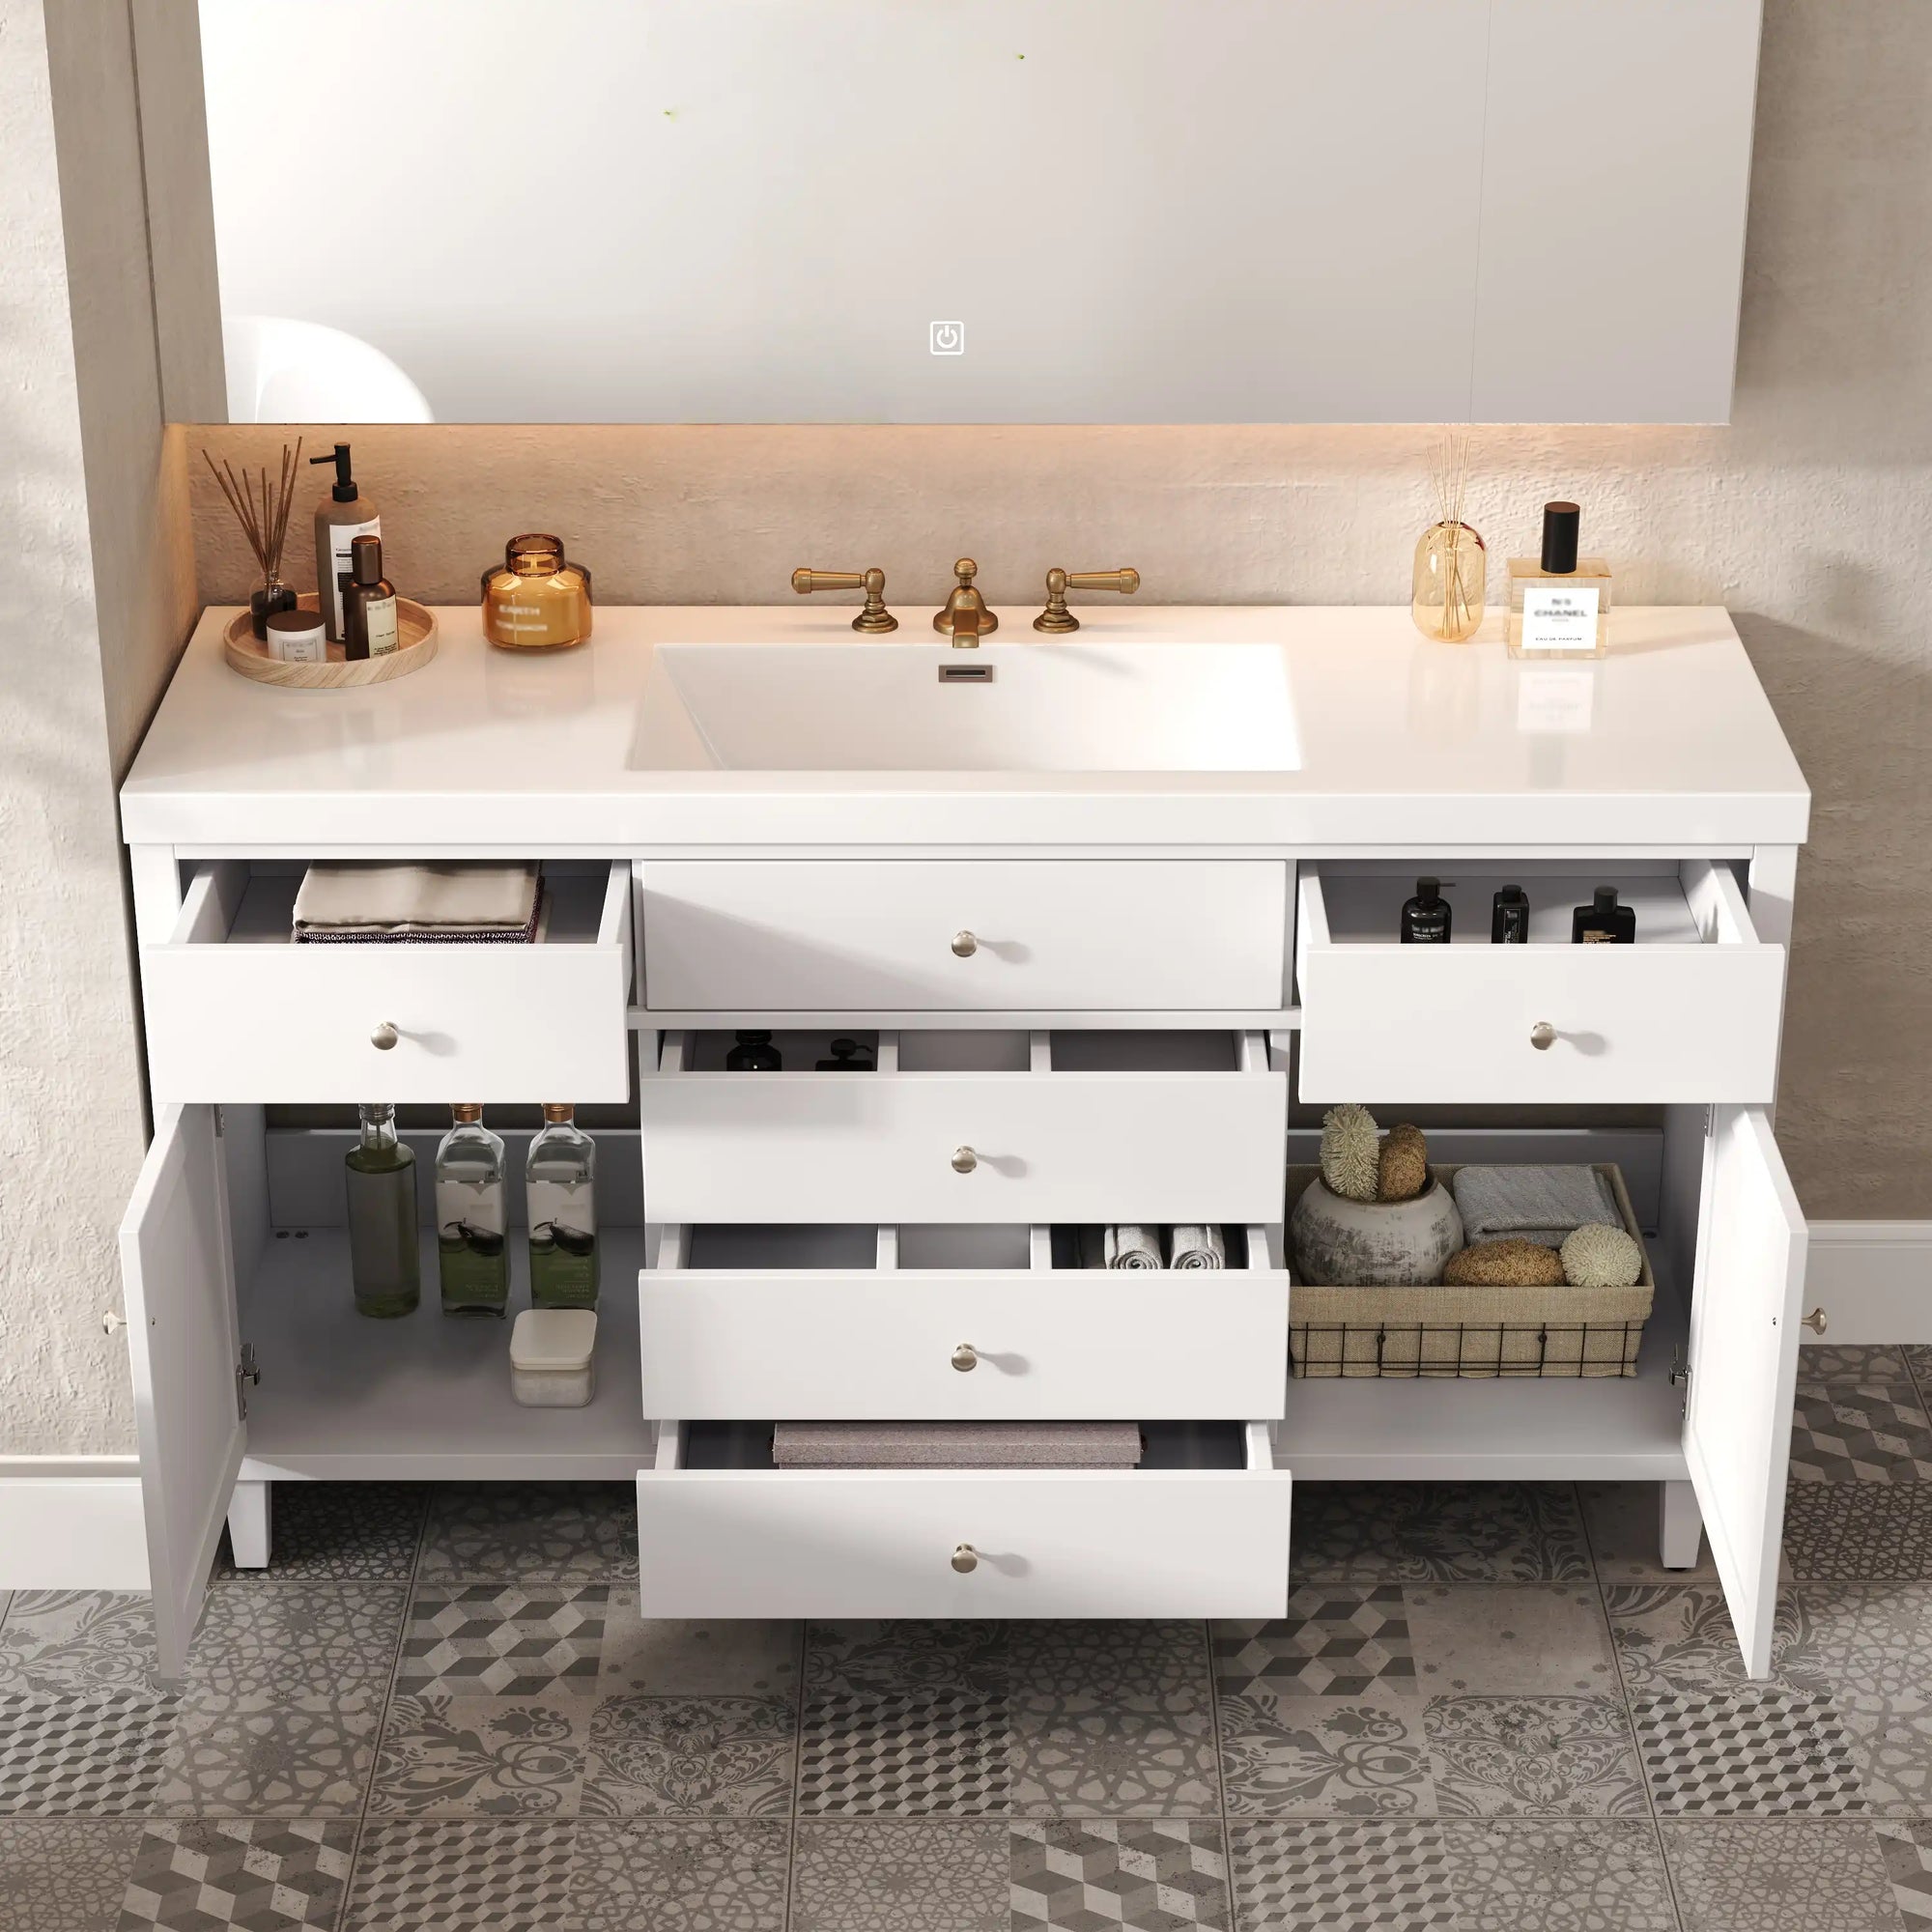
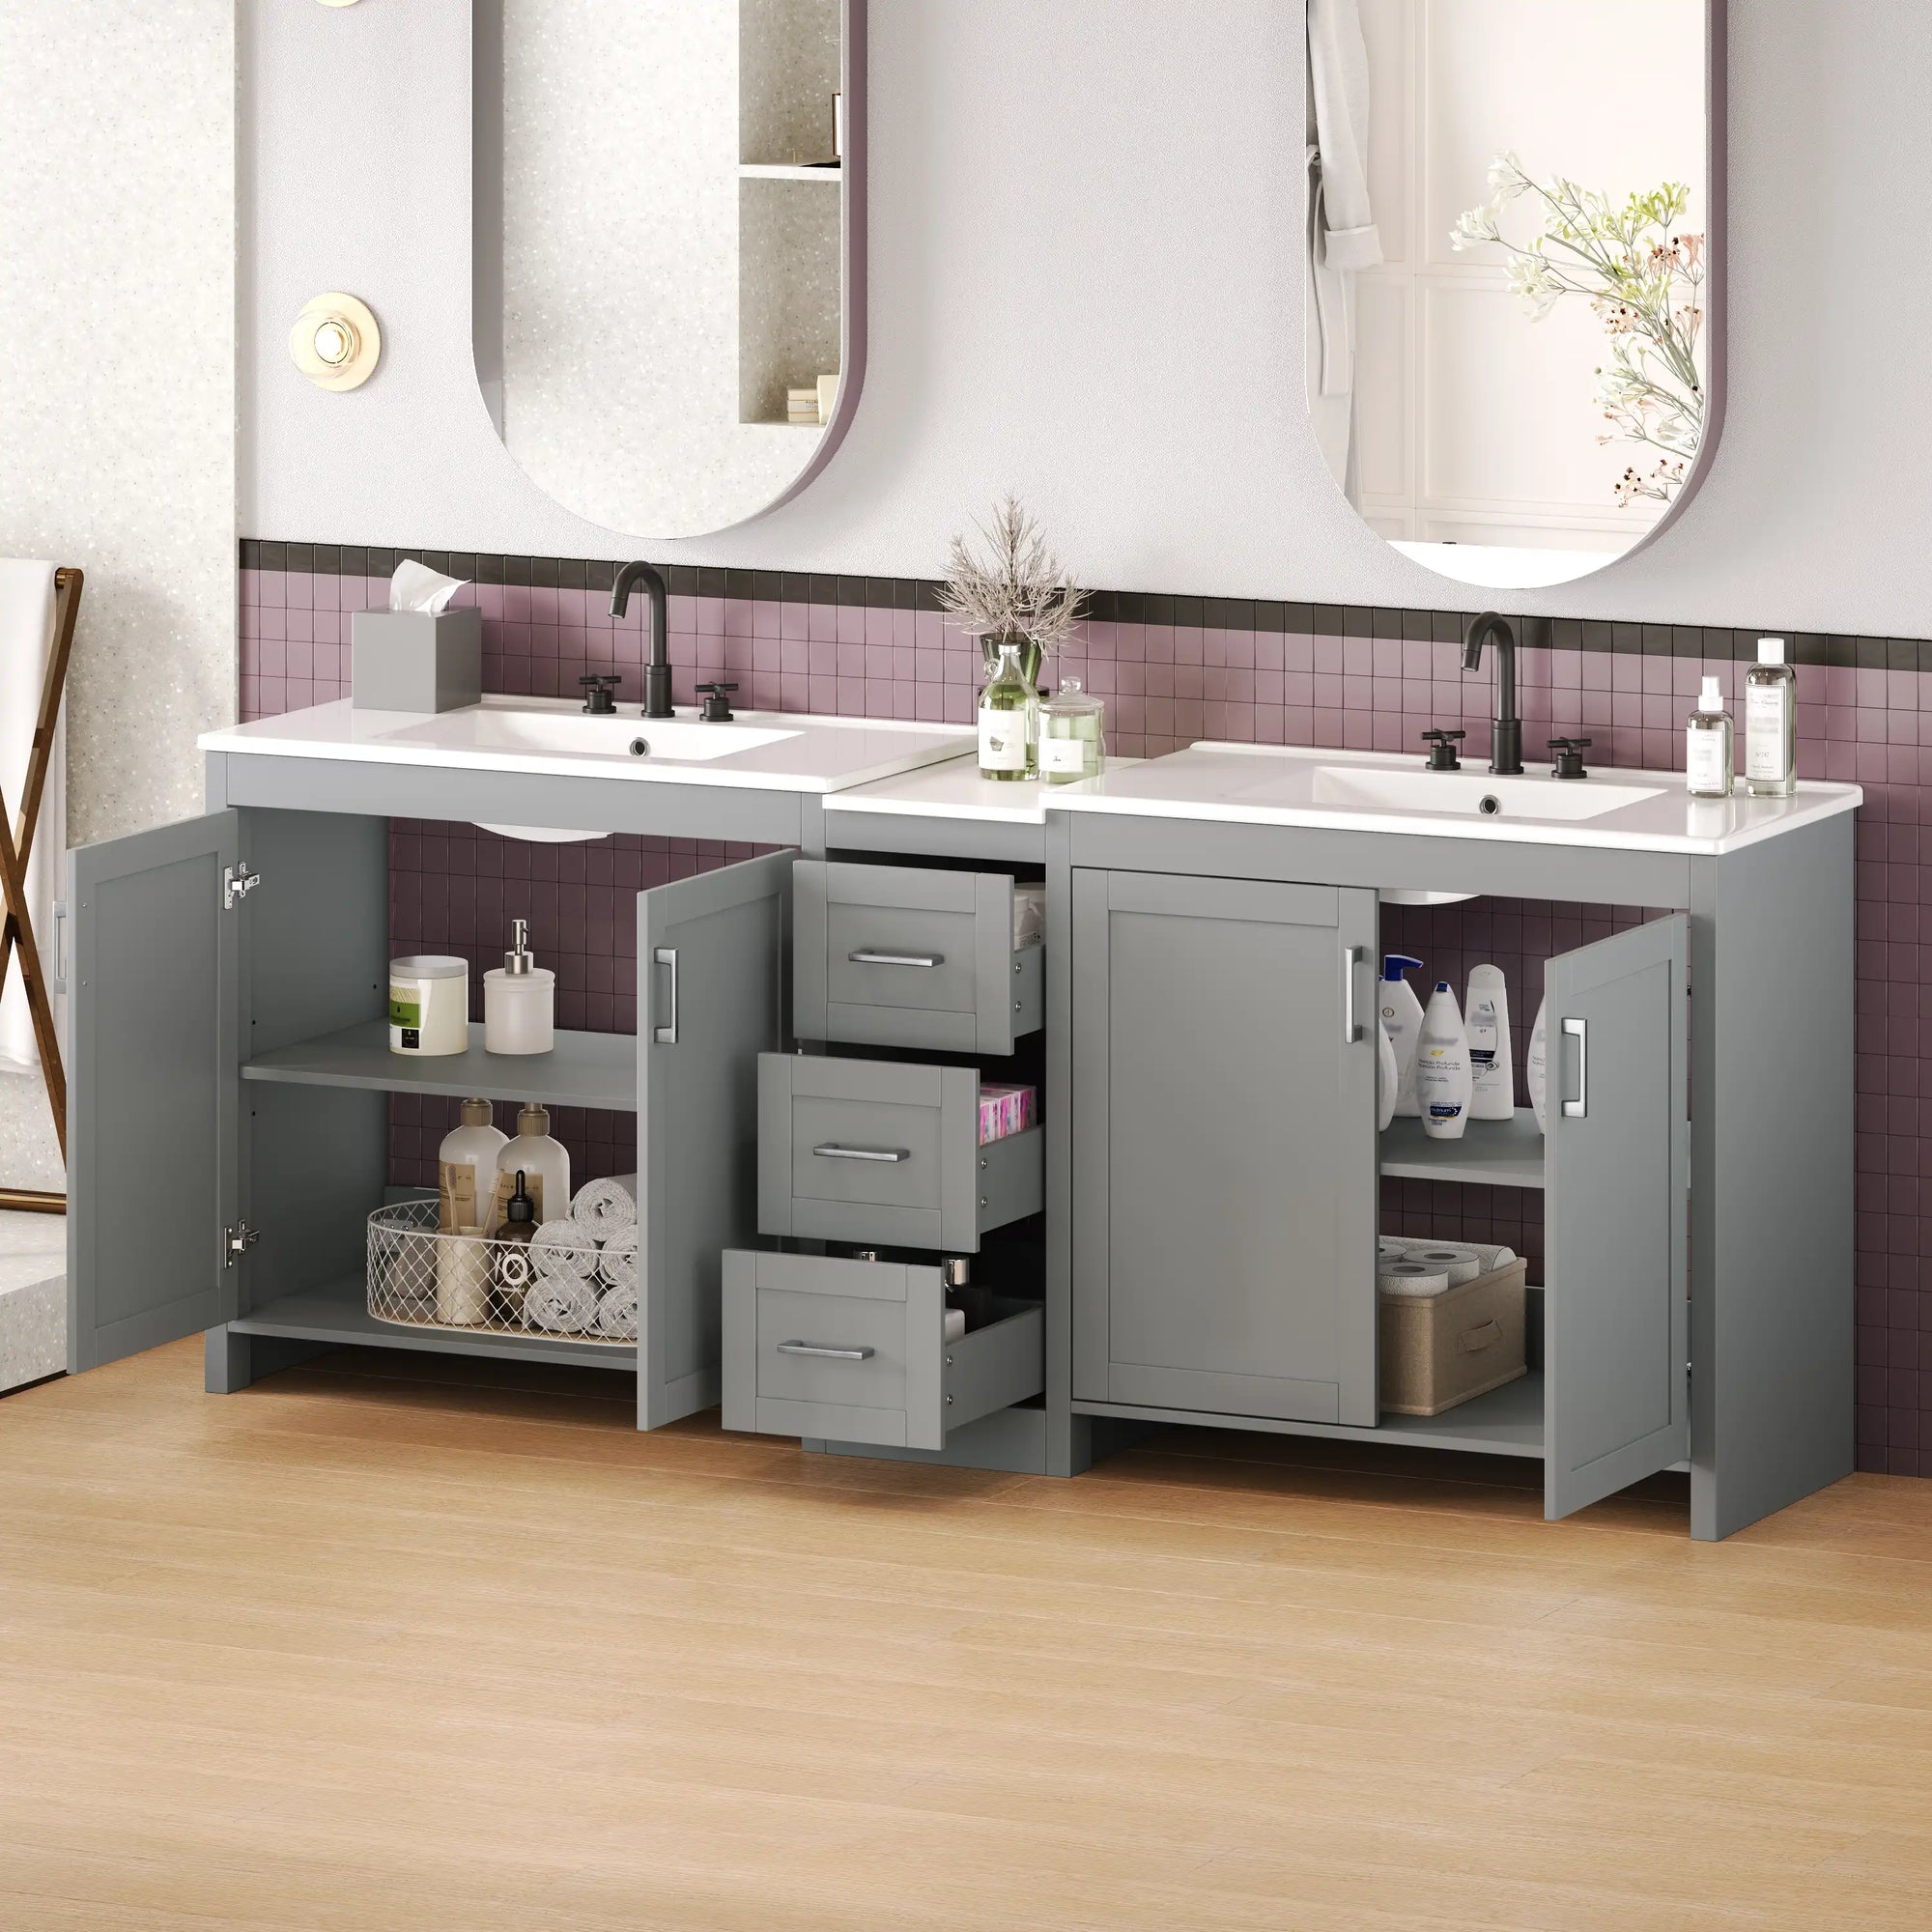
1. Increase internal storage space
- Install adjustable laminates to adjust the storage height according to the size of the item.
- Use storage boxes, hooks and telescopic rods to improve space utilization.
2. DIY cabinet door glass or mirror decoration
- Inlaid glass: Enhance the quality of the cabinet door, suitable for modern bathroom.
- Install mirror: enhance the bathroom lighting, make the space more spacious.
3. Make your bathroom more coordinated
- Modern: Pair with white, grey or black wood cabinets.
- Vintage: Choose walnut, dark coffee and brass hardware.

Conclusion
- Economical: Save 50%-70% cost than buying new cabinets.
- Environmentally sustainable: reduce waste of resources and extend the life of wooden cabinets.
- Personalization: Create a bathroom space that fits your personal style.
- Boost home values: Quality renovations can increase the attractiveness of a property.
If your bathroom wooden cabinet is still sturdy and durable, a DIY refurbishment will not only give you a new look, but a more comfortable experience to use!
FAQ
1. How long will the refurbished wooden cabinet last?
If the process is proper, and do a good job of moisture-proof treatment, usually can extend the service life of 5-10 years.
2. Is DIY renovation worth more than buying a new cabinet?
Yes, we do! The renovation cost is about $50-$200, and the new cabinet usually needs more than $500, and the quality is not necessarily better.
3. How to keep moisture out of wooden bathroom cabinets after renovation?
- Use a waterproof sealant to reduce moisture.
- Install bathroom ventilation to reduce humidity.
4. Can rental users DIY renovate bathroom wooden cabinets?
It's alright to me! It is recommended to use removable wood grain stickers and nail-free hardware to avoid permanent changes.
5. There are cracks on the surface of the old wooden cabinet, can you save it?
If the crack is small, it can be repaired with wood filling paste; If the structure has been seriously damaged, it is recommended to replace part of the wood or consider a new cabinet.
Popular Articles:
Linen Tower Cabinets for Home Bathrooms: Solutions for Children, the Elderly and Large Volume Needs
Love Eco-Chic Design? These Biophilic Bathroom Sink Vanities Are a Must-See!
Ideal for Small Bathrooms: How Can L Vanities Improve Space Efficiency?

