Table of Contents
- 1. Why Staining Beats Painting?
- 2. Preparation Before You Start
- 3. Choose the Right Stain Color
- 4. How to Stain a Bathroom Cabinet: Step-by-Step Process?
- 5. Small Details That Elevate the Look
- 6. Will Stain Last in Humid Bathrooms?
- 7. How Staining Affects Resale or Future Remodeling
- 8. Conclusion
- 9. FAQ
- 10. Related Articles
Introduction
Many people have misconceptions about bathroom renovations: either spend a lot of money replacing the entire cabinet, or just paint it to get by. But there's actually a third option — staining — which doesn't require a major overhaul and doesn't sacrifice style.
Mastering how to stain a bathroom cabinet not only saves your budget, but also infuses the bathroom with natural textures and personal aesthetics. Rather than calling it a simple DIY project, it’s more like a deliberate act of spatial transformation.
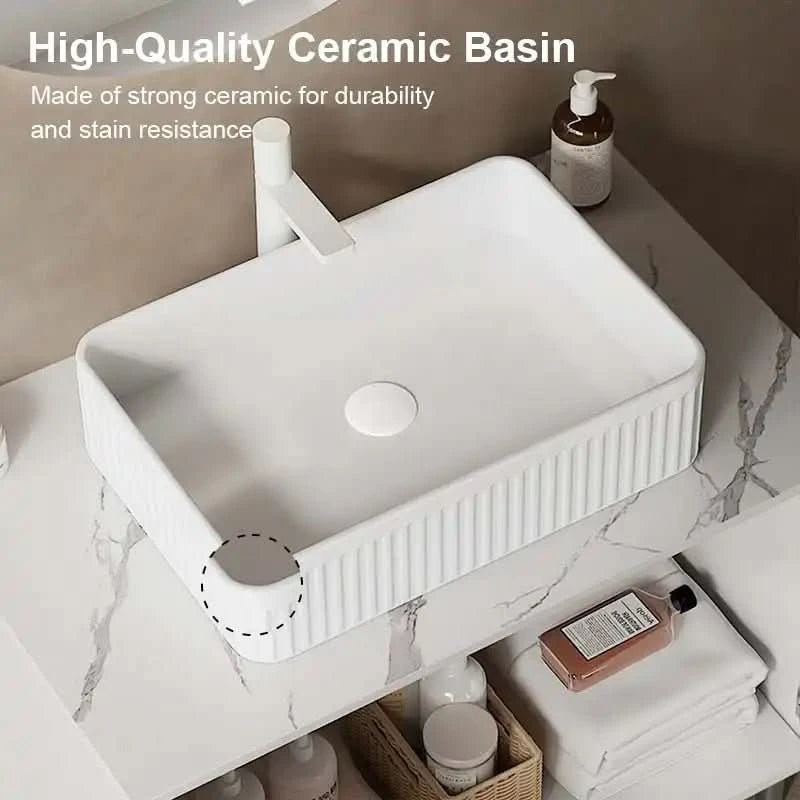
The staining process retains the authentic look of wood grain, unlike painting, which covers it and often demands cabinet removal. For homeowners who value both design and functionality, learning how to stain a bathroom cabinet offers a cost-effective, high-end solution.

1. Why Staining Beats Painting?
What do you prefer—natural wood texture or a flat, plastic-like surface? This is where painting and staining diverge dramatically.
Painting may seem easier, but it covers up wood texture completely. Staining, by contrast, penetrates into the fibers of the wood, preserving the organic grain, resisting peeling, and maintaining durability in humid spaces. For many searching how to stain a bathroom cabinet, this difference is the deciding factor.
Especially in bathrooms where humidity is constant, knowing how to stain a bathroom cabinet correctly will provide better long-term stability than any paint could.
2. Preparation Before You Start
Preparation is often underestimated but directly determines how professional your results look. Many people eager to try how to stain a bathroom cabinet overlook this critical step and regret it later.
To begin, gather the following: a gel-based stain (like General Finishes Java Gel), a water-based polyurethane topcoat, foam brushes, microfiber cloths, a degreasing cleaner, gloves, and protective cloth for surfaces.
Make sure your workspace is well-ventilated. Even if you're operating directly in the bathroom, open windows and use fans to keep air moving. Protect your floors and countertops from drips — staining is clean only if you're careful.
Skipping this stage could ruin your entire effort, even if you follow every other step of how to stain a bathroom cabinet perfectly.
3. Choose the Right Stain Color
Stain color isn’t just a matter of personal taste — it sets the tone of your bathroom's aesthetic. One common mistake when people search how to stain a bathroom cabinet is to blindly pick a trendy dark tone like Java or Espresso.
While these colors do bring modern sophistication, they can make smaller bathrooms feel tight or poorly lit. If your space is compact or lacks natural light, lighter tones like walnut or gray oak can make the area appear more open and airy.
As you explore how to stain a bathroom cabinet, be sure to test your stain on an inconspicuous area first. Stains tend to dry half a shade darker than they appear in the can, so testing avoids unwanted surprises.
4. How to Stain a Bathroom Cabinet: Step-by-Step Process?
This is the heart of the project. Follow these steps carefully to achieve lasting, high-end results.
Step 1: Disassembly and cleaning
Start by removing cabinet doors, drawer fronts, and all hardware with a screwdriver. Then, use a degreasing cleaner to scrub all wood surfaces thoroughly. Residual oils will prevent the stain from absorbing properly. Let everything air dry for at least 30 minutes.
If you’re committed to learning how to stain a bathroom cabinet the right way, do not skip this step — it lays the foundation for smooth application.
Step 2: Staining the surface
Put on gloves and use a foam brush to apply the gel stain in the direction of the wood grain. Work slowly and evenly, without overloading the brush. After application, gently wipe away excess stain with a microfiber cloth.
Once the first coat dries (usually 6 to 8 hours), assess the color depth. Add a second coat if needed. This is the most visual step of how to stain a bathroom cabinet, so take your time and ensure even coverage.
Step 3: Sealing and protecting
When the stain has fully dried, apply a water-based polyurethane topcoat. Matte or semi-matte finishes are ideal to keep the wood’s natural appearance intact. Apply two thin coats, letting each one dry for 12 hours.
After 48 hours, your cabinet will be ready for full use. By understanding how to stain a bathroom cabinet and following these steps, you’ll have completed a transformation that rivals a full renovation—for a fraction of the cost.
5. Small Details That Elevate the Look
Dyeing is only the beginning. Once you’ve figured out how to stain a bathroom cabinet, don’t forget the small details that complete the upgrade.
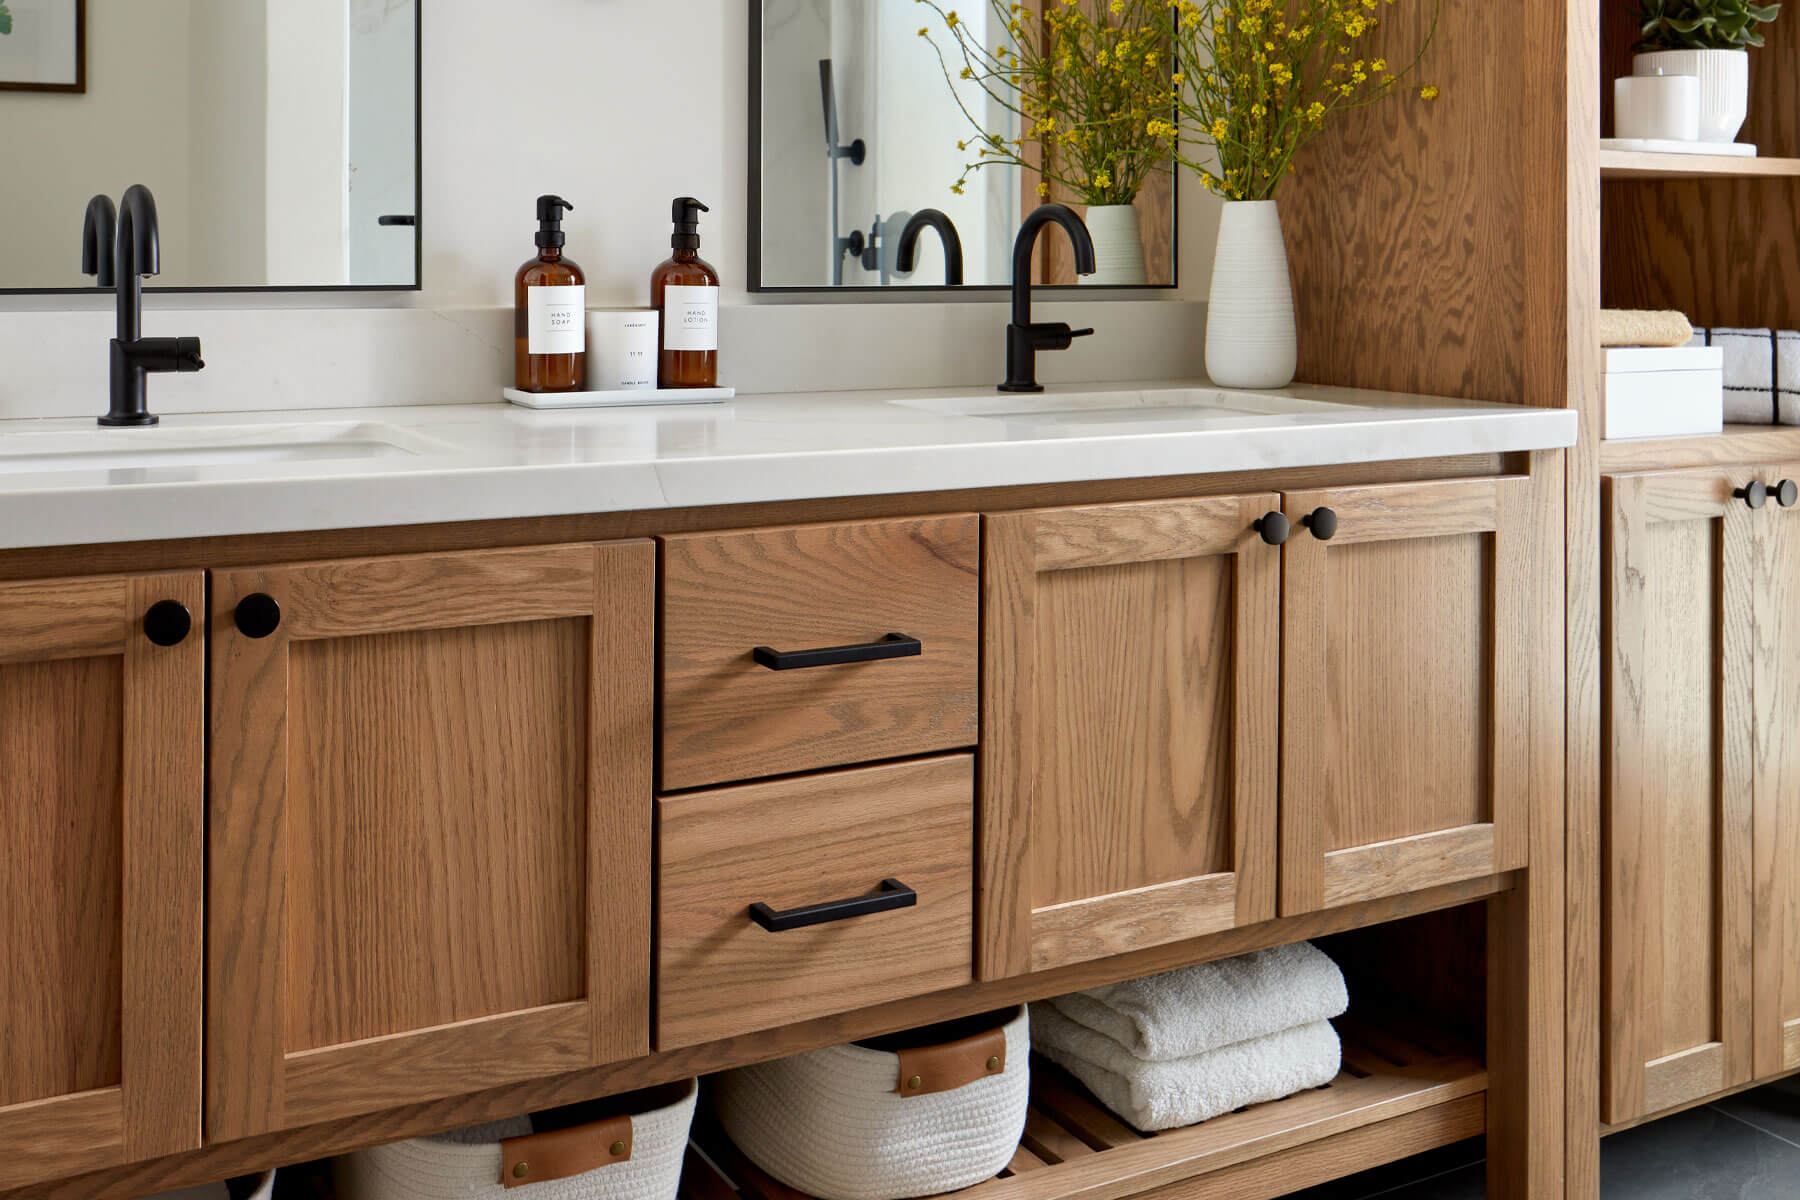
Replace outdated hardware with brushed gold, matte black, or champagne copper handles. These instantly lift the overall style of the cabinet and create cohesion with other bathroom elements.
Also, consider harmonizing the finishes on your mirror frames, faucets, and light fixtures. Unified metal tones create a polished, designer-level finish. If you’ve put in the effort to master how to stain a bathroom cabinet, a small investment in finishing touches will pay off visually.
6. Will Stain Last in Humid Bathrooms?
One of the top concerns for anyone exploring how to stain a bathroom cabinet is moisture. Bathrooms are damp — so will staining hold up?
The answer is yes, as long as the process is done properly. According to Better Homes & Gardens (2023), bathroom cabinets sealed with water-based polyurethane retained more than 90% of their color and texture after five years of daily use.
To maintain this performance, avoid harsh cleaners like bleach or alcohol. Instead, wipe down surfaces with a damp cloth and apply mineral oil every 6 to 12 months to keep the finish healthy.
If you’ve wondered how to stain a bathroom cabinet and whether it’s durable, this should give you peace of mind.
7. How Staining Affects Resale or Future Remodeling
Some homeowners hesitate, thinking how to stain a bathroom cabinet might limit future remodeling or hurt resale value.
In reality, the opposite is true. Stained wood grain looks authentic and warm — a quality that appeals to buyers far more than artificial white paint. Zillow market research shows that homes with naturally finished cabinets often sell for more than those with flat-painted units.
Even better, staining is not permanent. If you ever want to repaint or change colors, simply sand off the surface and start fresh.
So learning how to stain a bathroom cabinet doesn’t just give you control now — it keeps future options open, too.
Conclusion
Learning how to stain a bathroom cabinet unlocks a new level of design flexibility. You don’t need a contractor, and you don’t need to spend thousands.
Just two days, a few simple tools, and a bit of focus can completely elevate your bathroom. The result? A cabinet that looks like it came out of a design showroom — and the satisfaction that you did it yourself.
The only question left is: Will you keep tolerating that dated orange oak finish, or are you finally ready to pick up that stain and take control?
FAQ
1.Does staining have a strong odor? Can I do it indoors?
Most gel-type stains used in how to stain a bathroom cabinet projects are low-VOC and safe for indoor use. Ventilation is key.
2.Can I stain only the doors, not the frame?
Yes, many people using how to stain a bathroom cabinet techniques choose to only stain doors and drawer fronts. Just make sure the visible areas match.
3.Can I redo the color if I don't like the result?
Absolutely. One advantage of how to stain a bathroom cabinet is reversibility. Sand down the stain and reapply or repaint as needed.
4.Is this method suitable for kitchen cabinets too?
Yes, the process of how to stain a bathroom cabinet works just as well for kitchen cabinets—just make sure to use a stronger topcoat for higher wear.
5.Can I do this project in winter?
Yes, but make sure your working space stays above 65°F (18°C), and give each coat extra drying time.
Related Articles:
How to Choose the Perfect Black Bathroom Cabinet Paint to Create a Modern Luxury Bathroom?
How to Match a Bathroom Sink Cabinet with Mirror: Style, Lighting, Storage Tips
How to Raise Bathroom Cabinets: A Practical Guide for Comfort and Style