Introduction
Hey there! I’m Mike Lawson, a home improvement expert with over 15 years of experience in plumbing and renovation. If you're diving into a DIY project involving your bathtub, you might find yourself needing to remove the drain. This task can feel a bit overwhelming, especially if you're not familiar with the ins and outs of plumbing. However, it’s essential for maintaining a clean and functional tub.
Many DIY enthusiasts make common mistakes during this process that lead to frustration and, in some cases, costly repairs. In this article, I’ll walk you through these frequent errors and provide effective solutions, ensuring that your drain removal experience goes as smoothly as possible.
Mistake #1: Not Having the Right Tools
One of the biggest blunders people make is diving into the project without having the necessary tools. Imagine gearing up to remove that pesky drain, only to realize you don’t have the right screwdriver or wrench. It’s a recipe for frustration!
Solution: Before you start, gather the essential tools. Typically, you’ll need:
- Flathead and Phillips screwdrivers: These are essential for loosening screws that may hold the drain in place.
- Basin wrench or adjustable wrench: A basin wrench can reach tight spots that a regular wrench cannot.
- Pliers: Handy for gripping and twisting stubborn pieces.
- Bucket: To catch any water that spills when you remove the drain.
- Towel or sponge: To clean up any mess afterward.
Having these tools on hand will streamline the process and save you time. And trust me, nothing feels better than being fully prepared before starting a project.
Personal Experience: A few years ago, I was helping a friend remove their bathtub drain. We started without a basin wrench and quickly realized we needed one to get to those hard-to-reach areas. We ended up making an extra trip to the hardware store, which could have been avoided. So take my advice—gather everything before you start!
Mistake #2: Not Cleaning the Area Around the Drain
Many people overlook the importance of cleaning the area around the drain before getting started. It’s easy to let a bit of grime slide, but neglecting this can lead to dirt and debris entering the pipes or creating a mess.
Solution: Take a moment to clear the area around the drain. Wipe down the surface to remove any soap scum or buildup. Not only does this help you see what you’re working with, but it also makes the job less messy. Think of it as setting the stage for your DIY masterpiece!
Real-Life Scenario: I once worked with a client who decided to skip this step. As she removed the drain, dirt and grime fell into the pipes, leading to a clog later on. She ended up having to call a plumber anyway, which negated the whole purpose of her DIY project.
Mistake #3: Forcing the Drain Out
One of the most frustrating sights is someone trying to force the drain out when it won’t budge. It might seem tempting, but this can easily damage the drain or the surrounding plumbing.
Solution: Instead of using brute force, gently wiggle and twist the drain while applying steady pressure. If it’s stubborn, a little patience goes a long way. You might consider using a penetrating oil to loosen any rust or debris that might be holding it in place. This method will help you avoid damaging the drain or the plumbing, saving you from a potentially costly repair.
Personal Tip: When I encounter a stubborn drain, I like to use a bit of heat. A hairdryer can help expand the metal slightly, making it easier to remove without force.
Mistake #4: Ignoring the Seal and Gasket
Many DIYers overlook the importance of the seal or gasket that holds the drain in place. Ignoring these components can lead to leaks once the new drain is installed, which is the last thing you want.
Solution: Before removing the drain, take a close look at the gasket for any signs of wear and tear. If it looks damaged, be sure to replace it with a new one before reinstalling the drain. This simple step can prevent future leaks and save you from expensive repairs down the line. Remember, a small detail can make a big difference!
Anecdote: I had a friend who replaced his bathtub drain but forgot to check the gasket. Within weeks, he noticed water pooling underneath his tub. After calling me in a panic, we discovered the old gasket was the culprit. A quick replacement saved him from a much bigger headache.
Mistake #5: Not Documenting the Disassembly Steps
When removing a drain, it’s easy to forget the order of the pieces or how they fit together. This can lead to confusion during reassembly, which is far from ideal when you’re trying to wrap up your project.
Solution: Take pictures or make notes as you disassemble the drain. Documenting each step ensures you can easily put everything back together without guessing. This simple practice will save you a lot of headaches later on, allowing you to focus on enjoying your newly maintained bathtub.
Engagement Tip: While you're at it, why not set up a little DIY journal? Document your projects, tools used, and any tips you learn along the way. It can be a valuable resource for future projects!
Mistake #6: Failing to Consult a Professional
Sometimes, the task can be more complicated than you anticipated. Many people hesitate to seek professional help, which can lead to further complications down the road. I’ve seen this time and time again, where a minor issue turns into a major repair job because someone was too proud to ask for help.
Solution: If you find yourself stuck or uncertain, don’t hesitate to consult a professional plumber. They can provide valuable insights and assistance, ensuring the job is done right the first time. Remember, it’s always better to ask for help than to risk damaging your plumbing. A quick call could save you a lot of time and money in the long run.
Real-Life Insight: I once had a client who thought they could handle a plumbing issue alone. After a week of frustration, they finally called me in. It turned out they had missed a crucial step that would have been simple with just a little guidance.
Mistake #7: Neglecting Safety Precautions
In the midst of all the excitement, it’s easy to overlook safety precautions. Whether it’s slipping on a wet surface or cutting yourself while handling tools, safety should always be a priority.
Solution: Always wear appropriate safety gear, such as gloves and goggles, to protect yourself from potential hazards. Make sure the area is dry and free of any clutter that could cause you to trip. Remember, taking a few extra seconds to ensure your safety is worth it.
Engagement Tip: Consider creating a "safety checklist" for all your DIY projects. This simple practice can help you remember essential precautions every time.
Mistake #8: Rushing the Process
Many DIYers get caught up in the excitement and rush through the project. While it’s great to have enthusiasm, rushing can lead to mistakes and oversights.
Solution: Take your time. Allow yourself ample opportunity to assess the situation, understand what needs to be done, and execute it carefully. If you find yourself getting frustrated or overwhelmed, take a break. Sometimes stepping away for a few minutes can provide the clarity you need.
Personal Reflection: I once rushed through a project, eager to finish before the weekend. I ended up misplacing several pieces, which delayed the project even longer. Now, I remind myself that patience is a virtue, especially in home improvement!
Mistake #9: Not Knowing When to Replace
It’s essential to recognize when a drain has reached the end of its life. Many people assume that any drain can be repaired or reused, which isn’t always the case.
Solution: If you see signs of significant corrosion, rust, or damage, it may be time to replace the drain entirely. Look for deep cracks or signs of wear that could lead to future problems. Consult with a professional if you’re unsure.
Real-Life Scenario: A neighbor of mine thought he could get a few more years out of an old drain. After replacing it, he discovered just how much water was leaking from it—costing him more in water bills than a new drain would have!
Mistake #10: Underestimating the Time Required
Many DIYers fail to account for the time it takes to remove and replace a bathtub drain. They think they can complete the task in an hour or two, only to find themselves knee-deep in frustration hours later.
Solution: Before you start, estimate how long you think it will take and then double that time. It’s better to be pleasantly surprised than stressed out. Plan for the unexpected, such as needing to make additional trips to the hardware store or dealing with stubborn pipes.
Engagement Tip: Consider setting aside a weekend for such projects. This way, you won’t feel rushed, and you can approach the task with a clear mind.
Conclusion
Removing a bathtub drain doesn’t have to be a nightmare. By avoiding these common mistakes and following the provided solutions, you’ll make the process much smoother and less stressful. Regular maintenance and proper care of your bathtub’s drainage system are essential for a clean and functional bathroom.
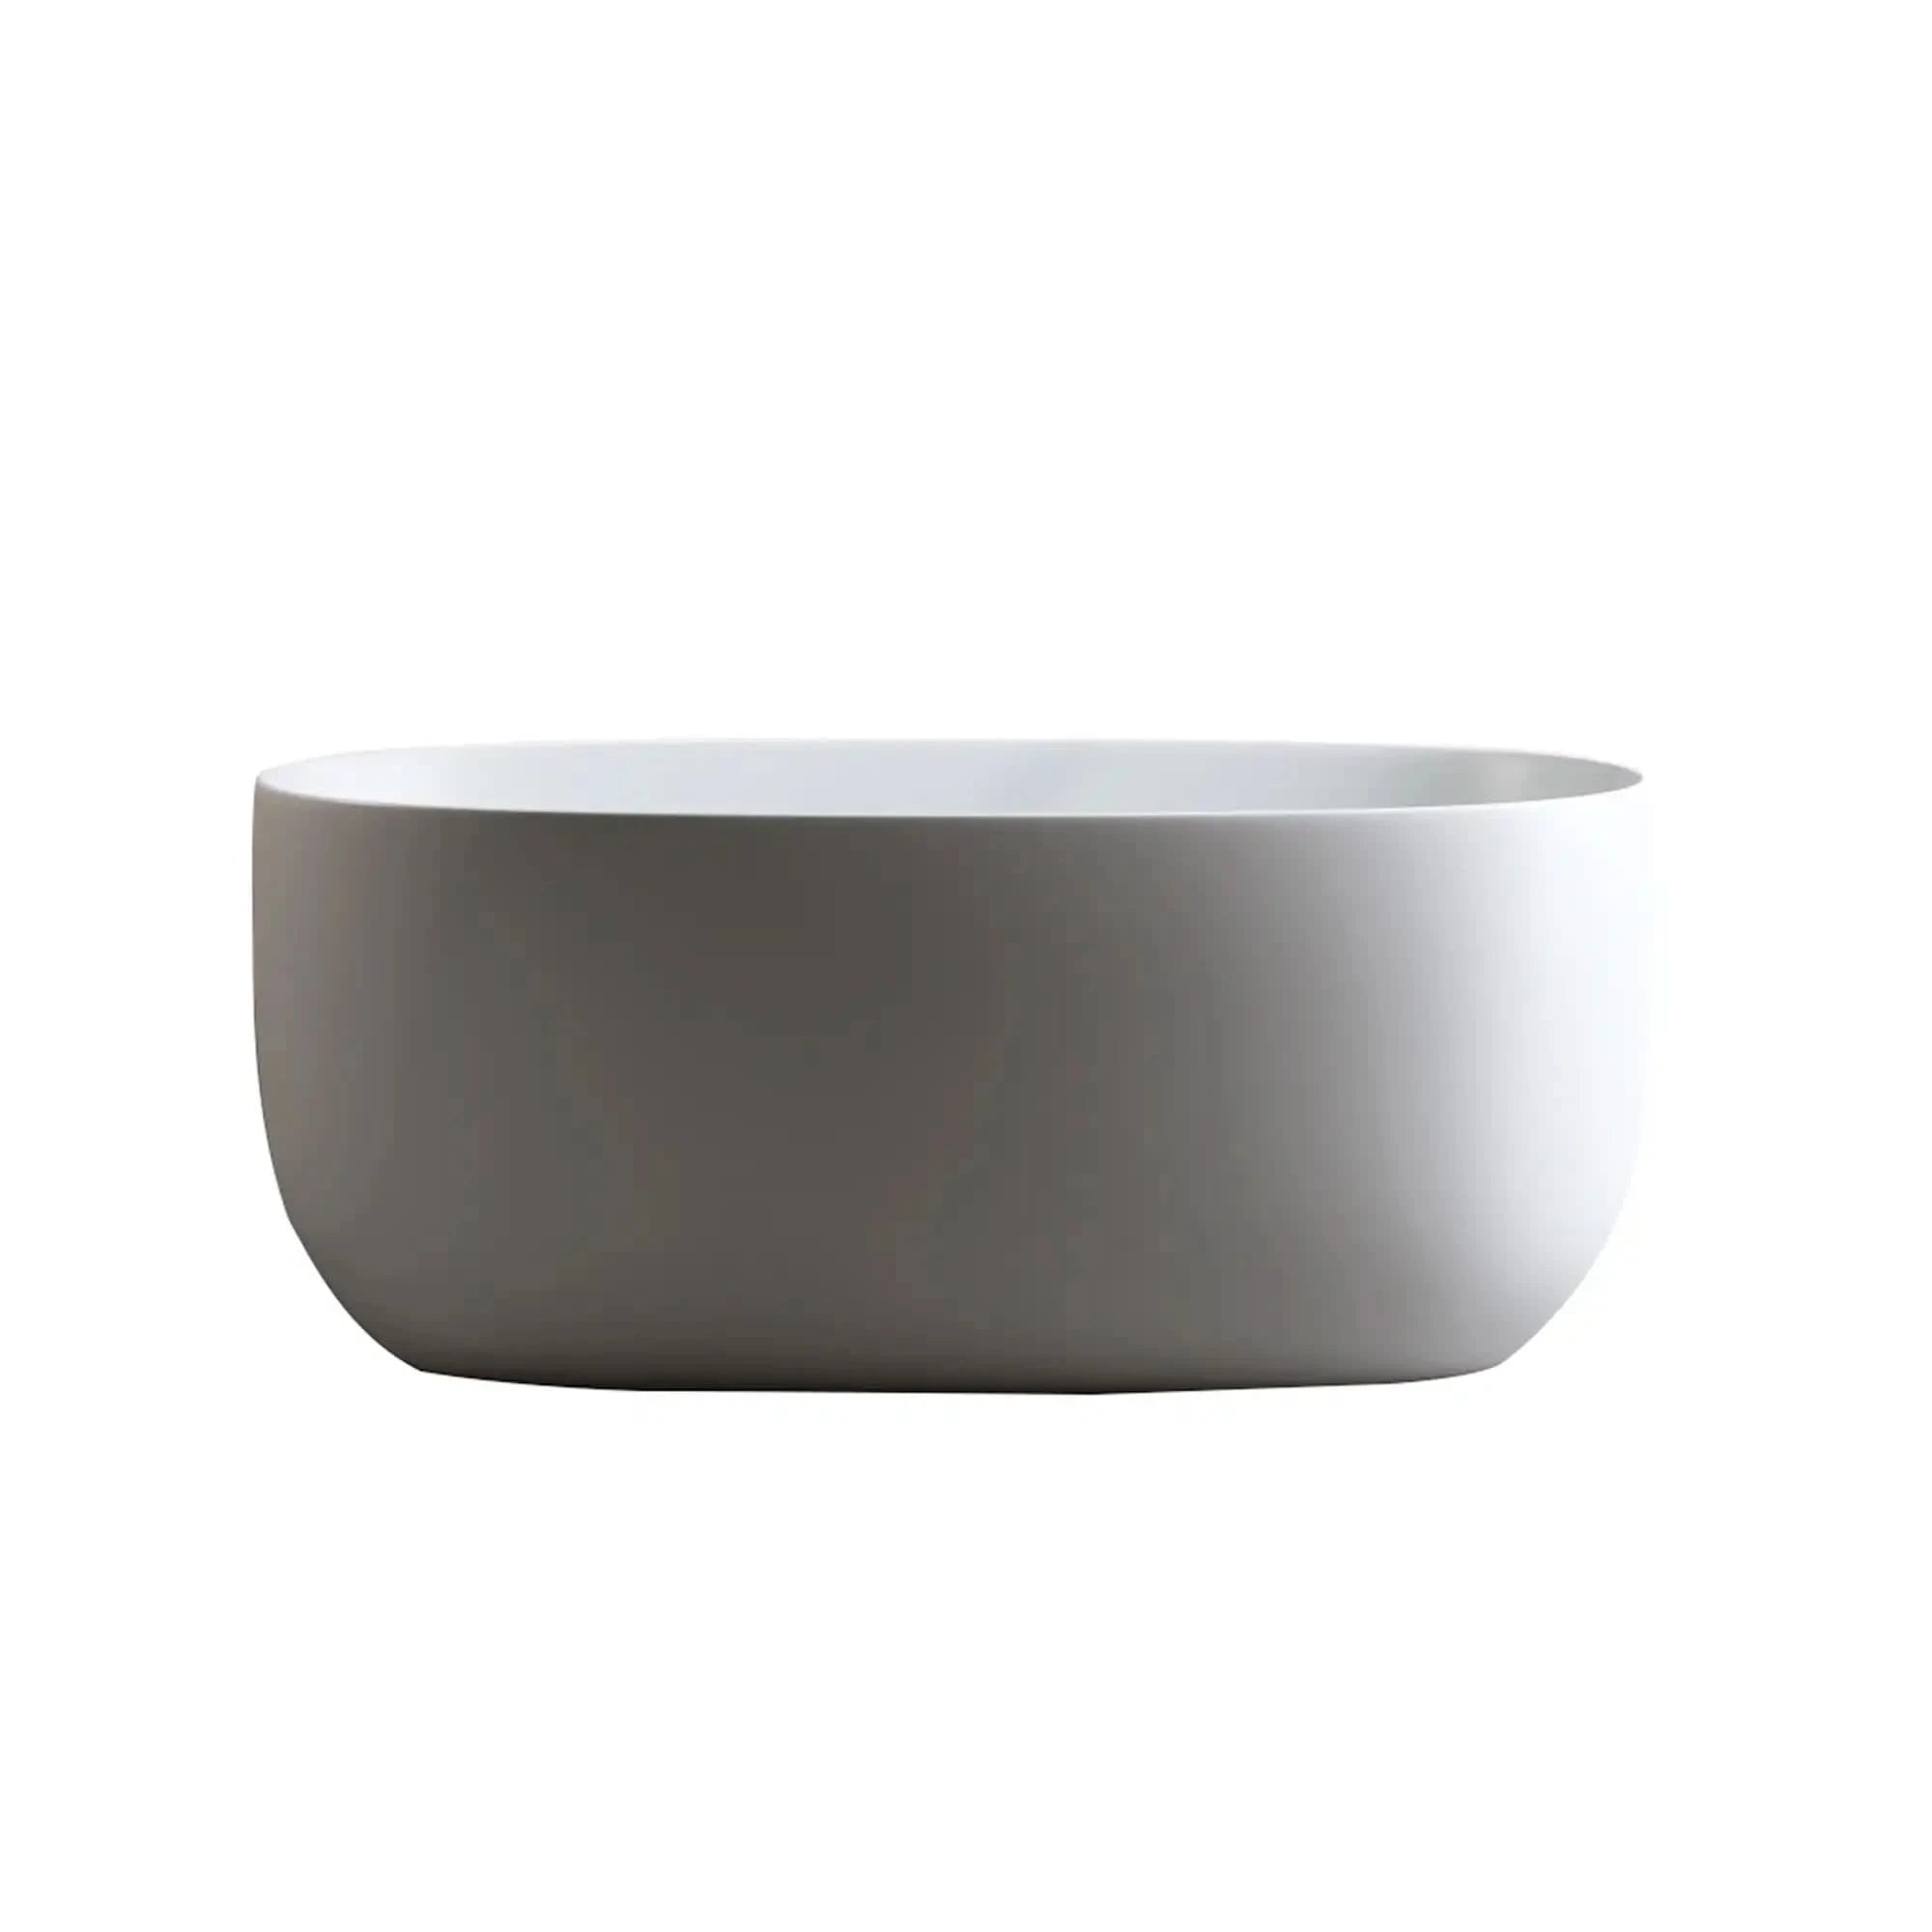
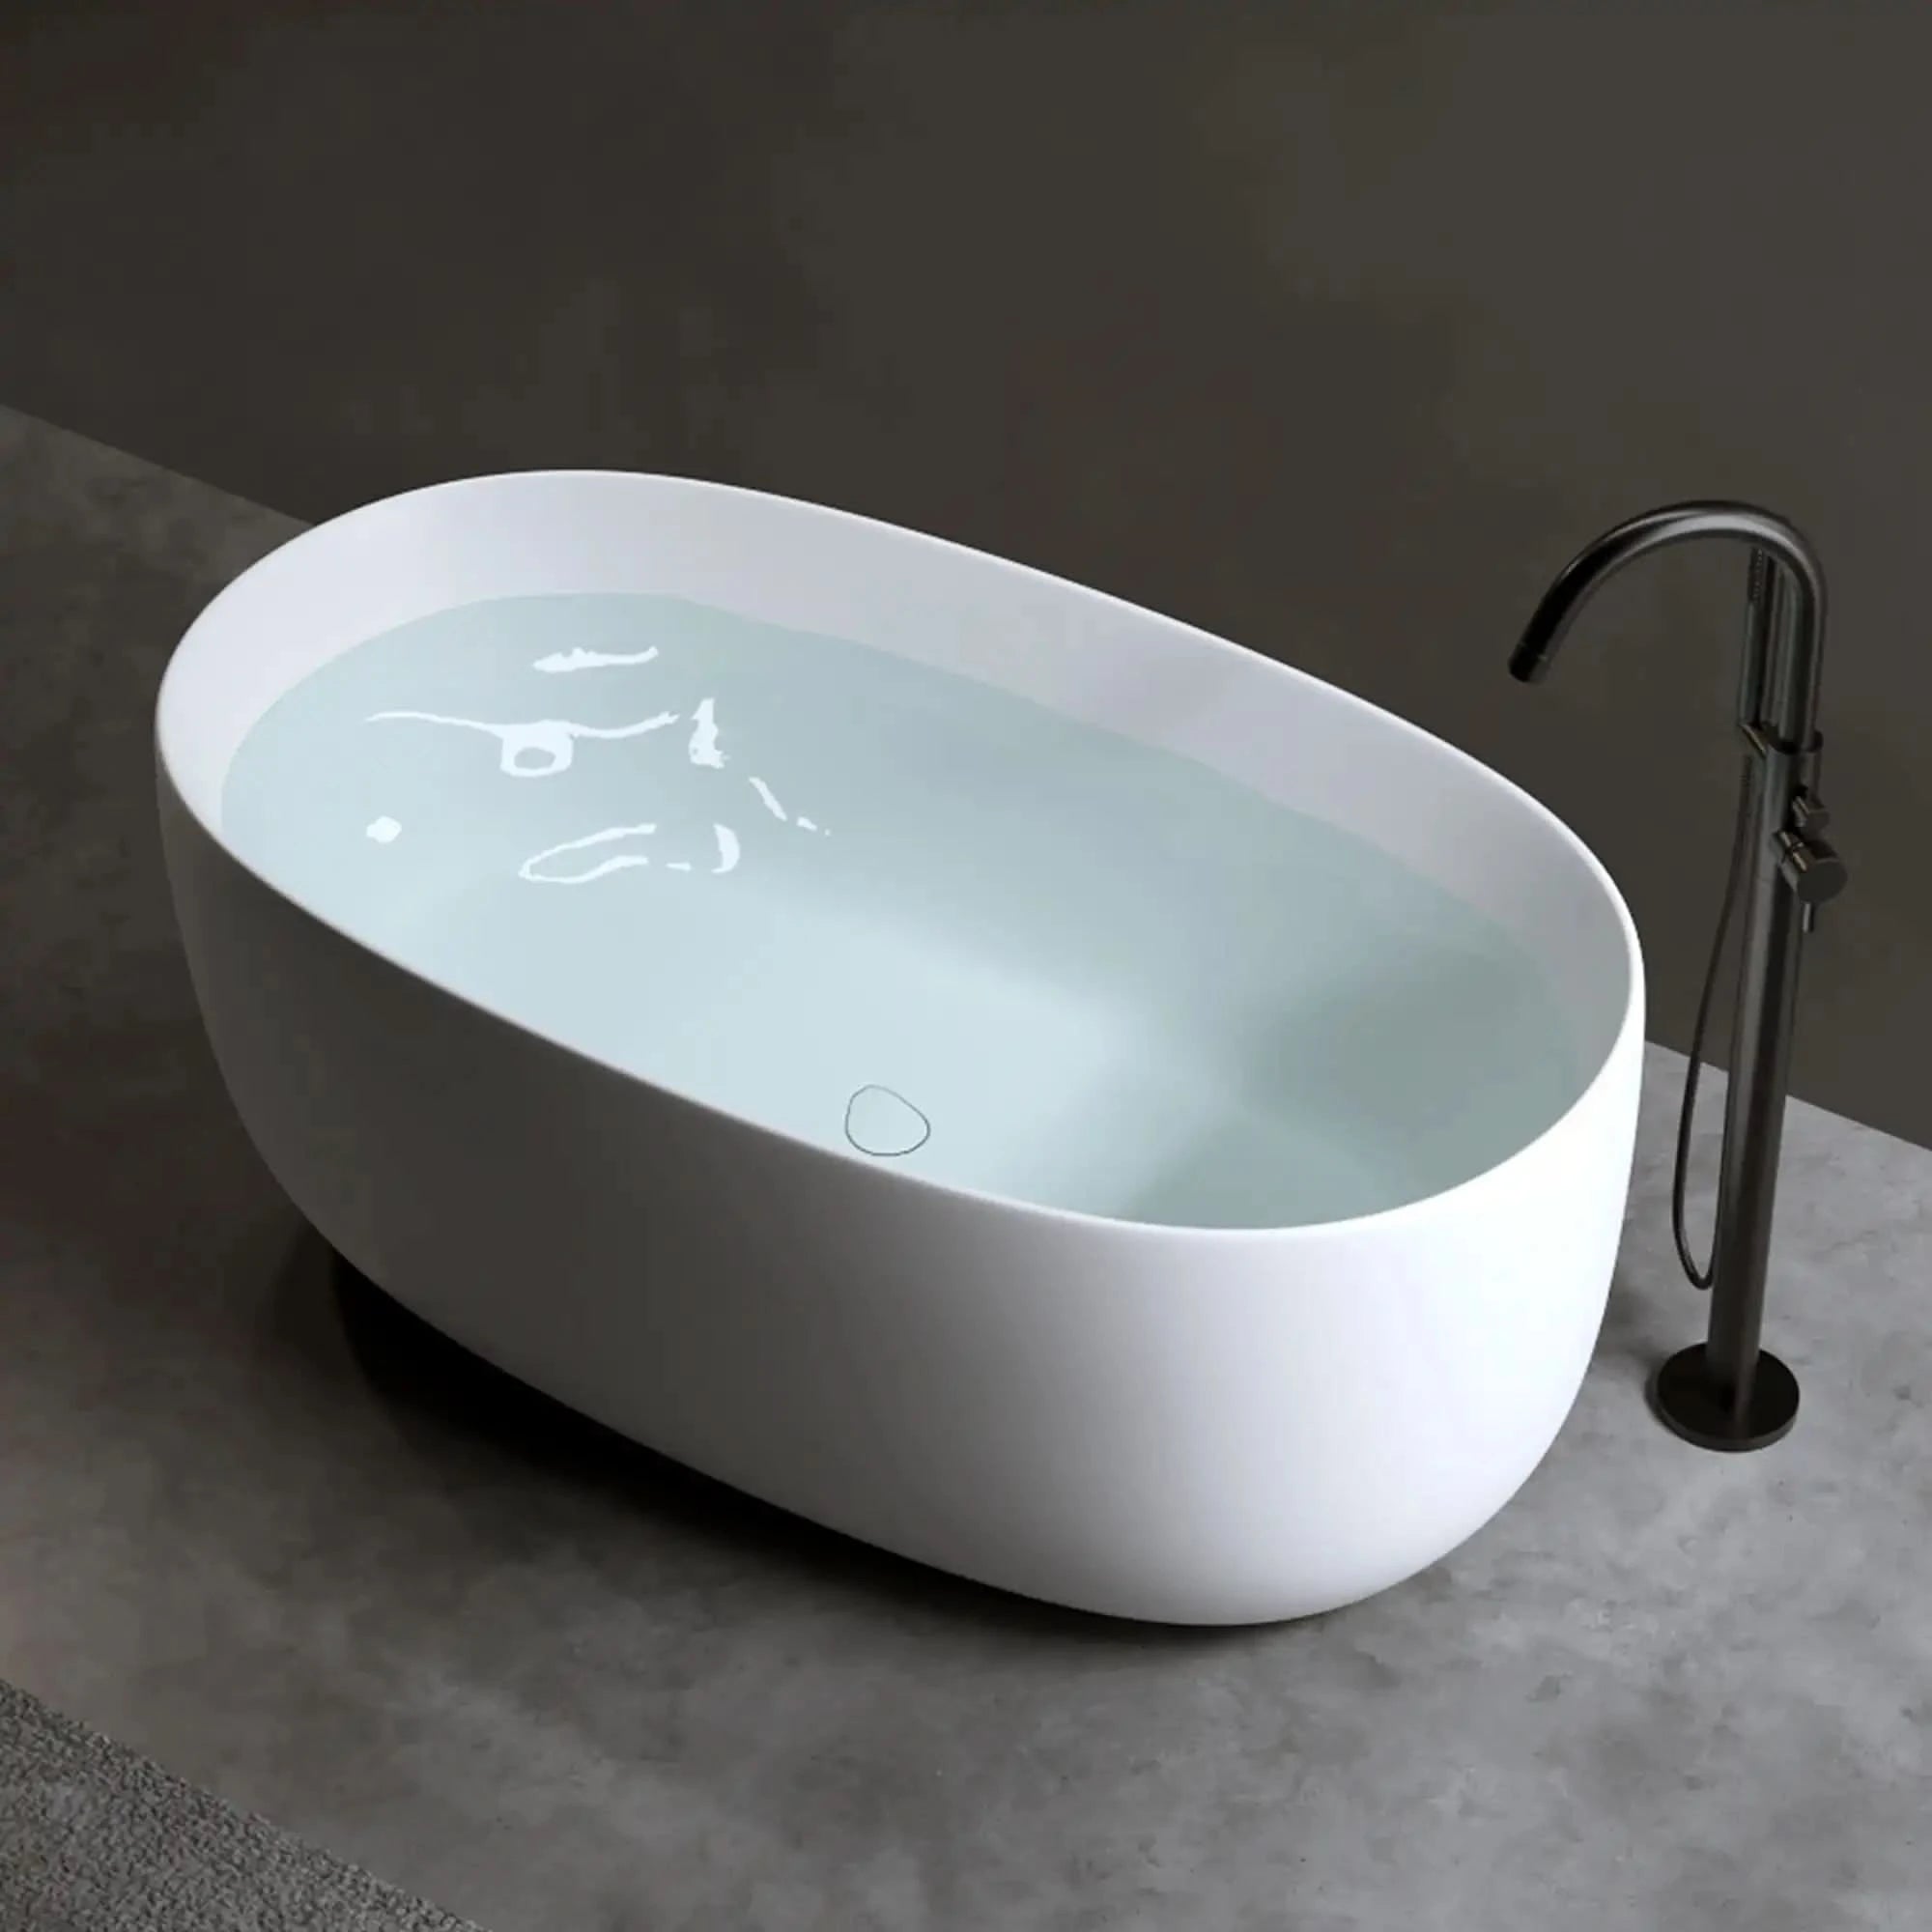
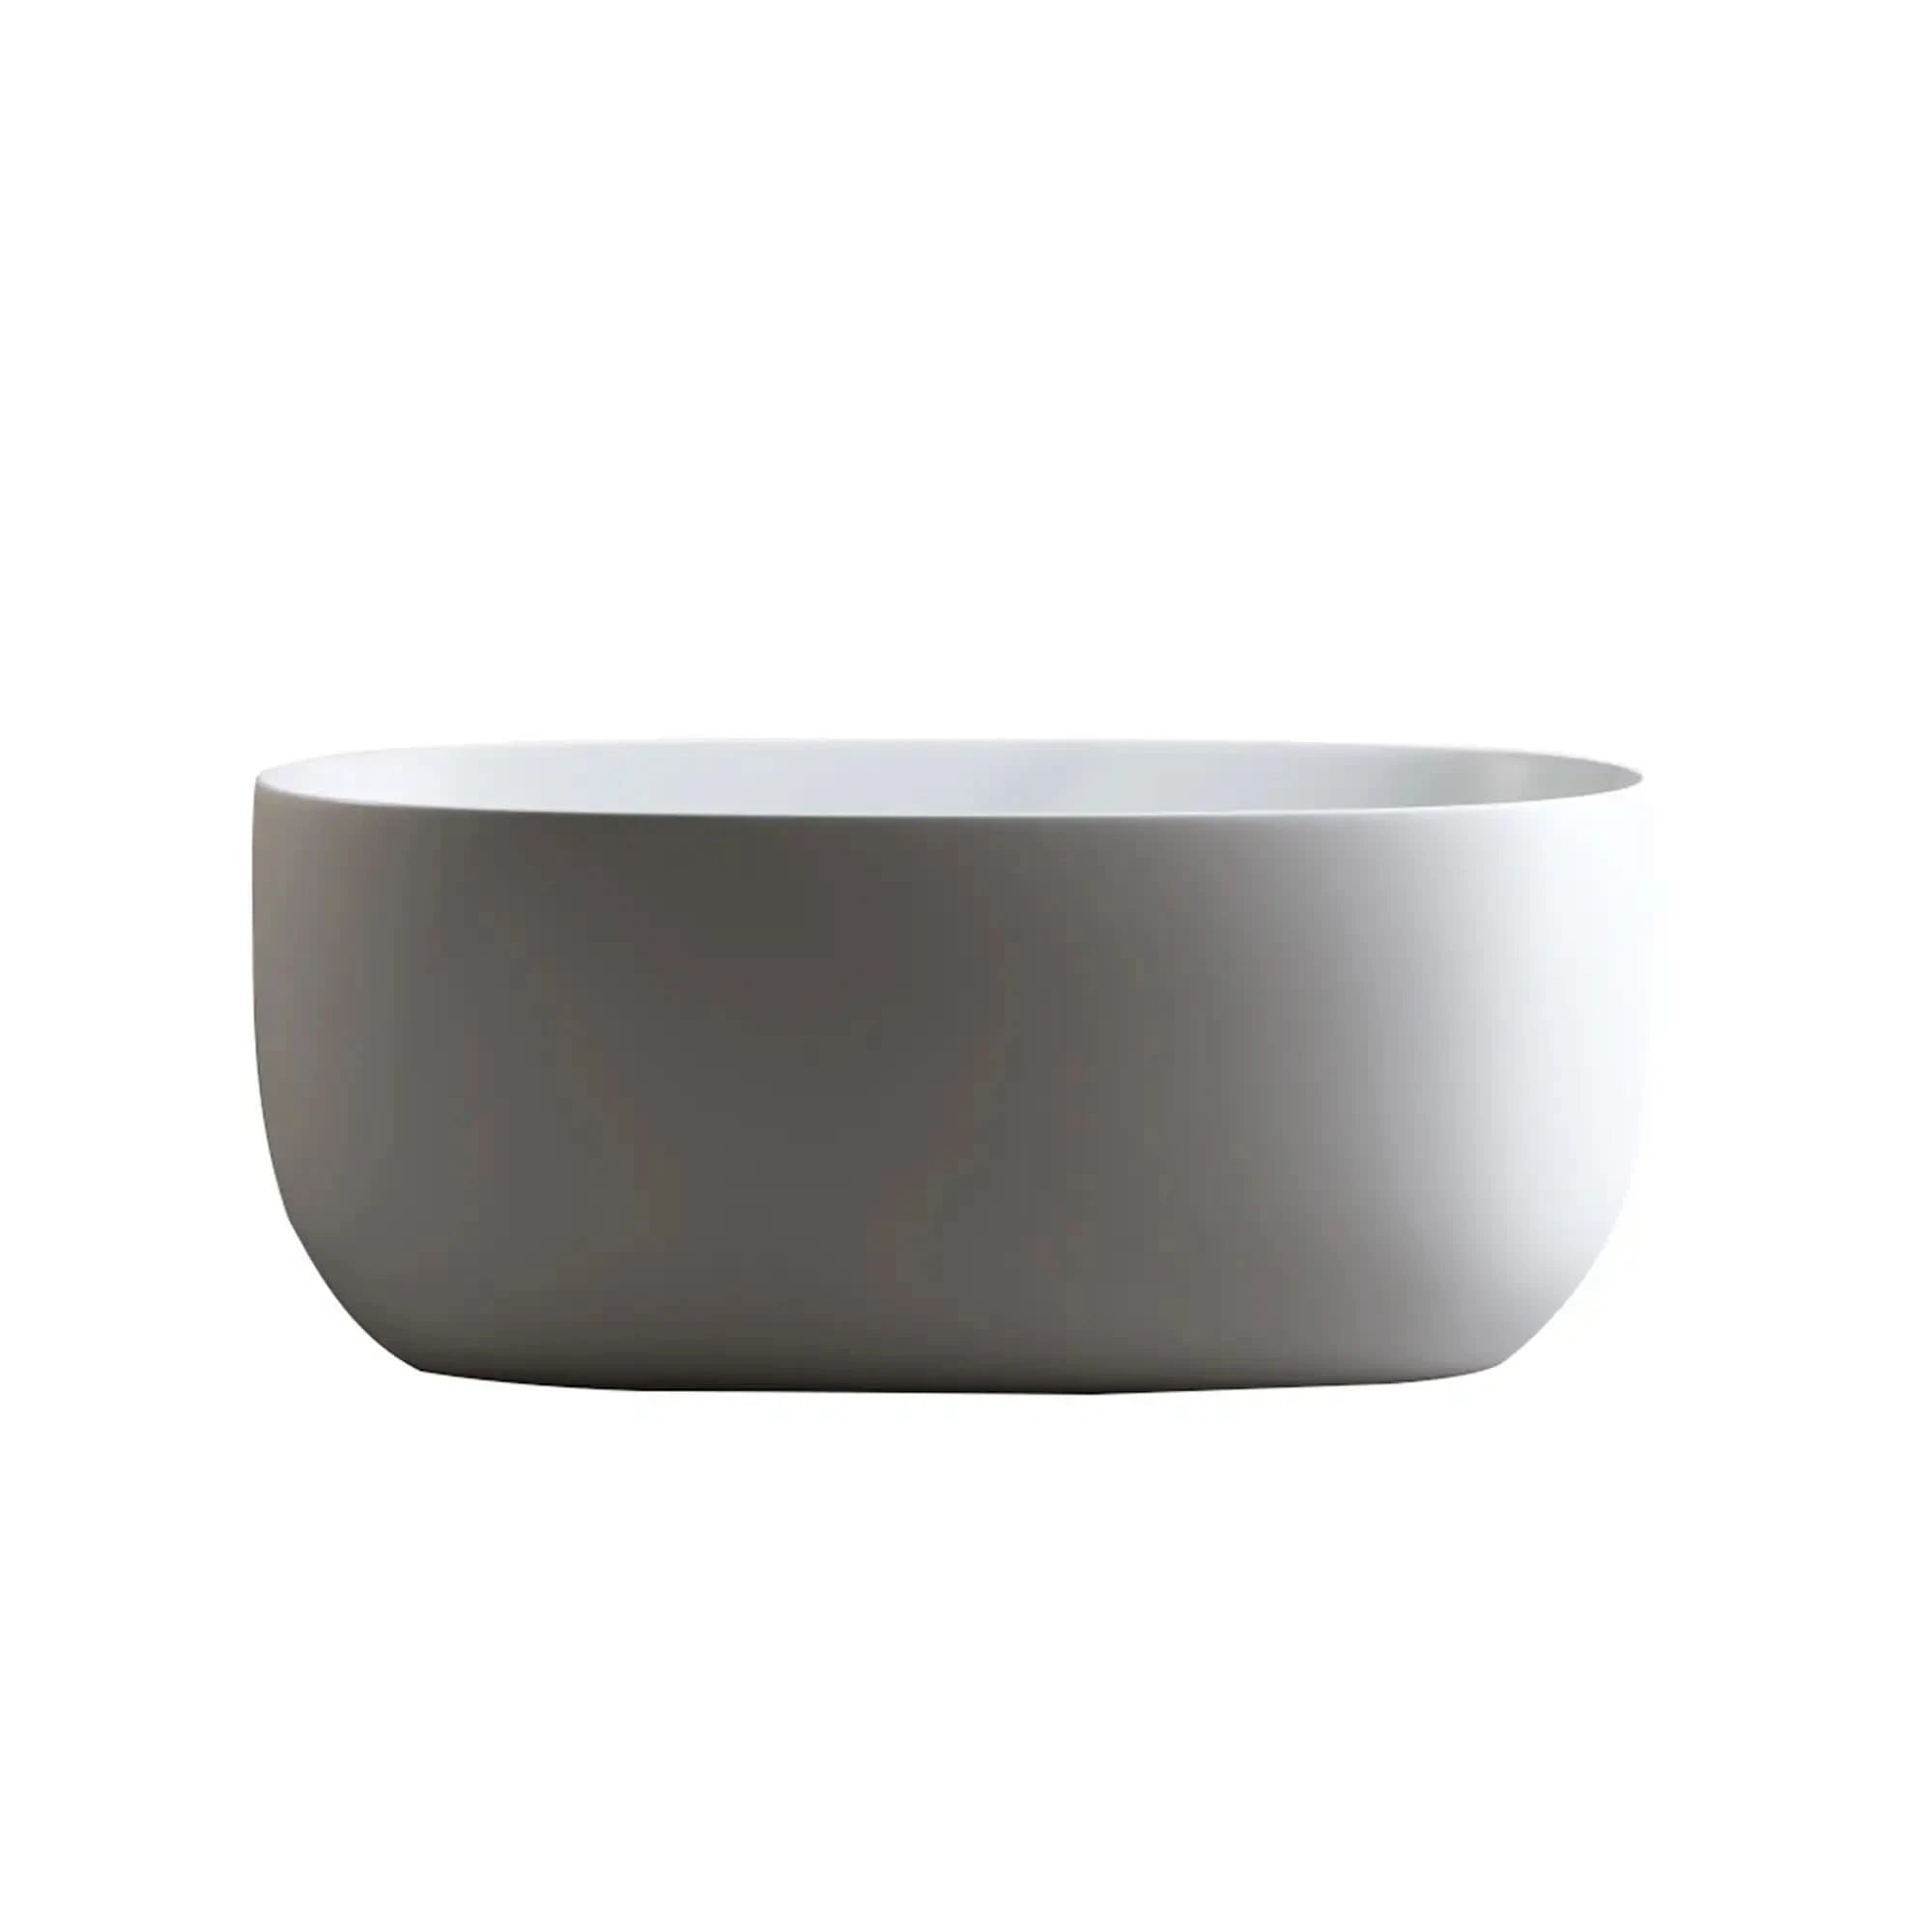
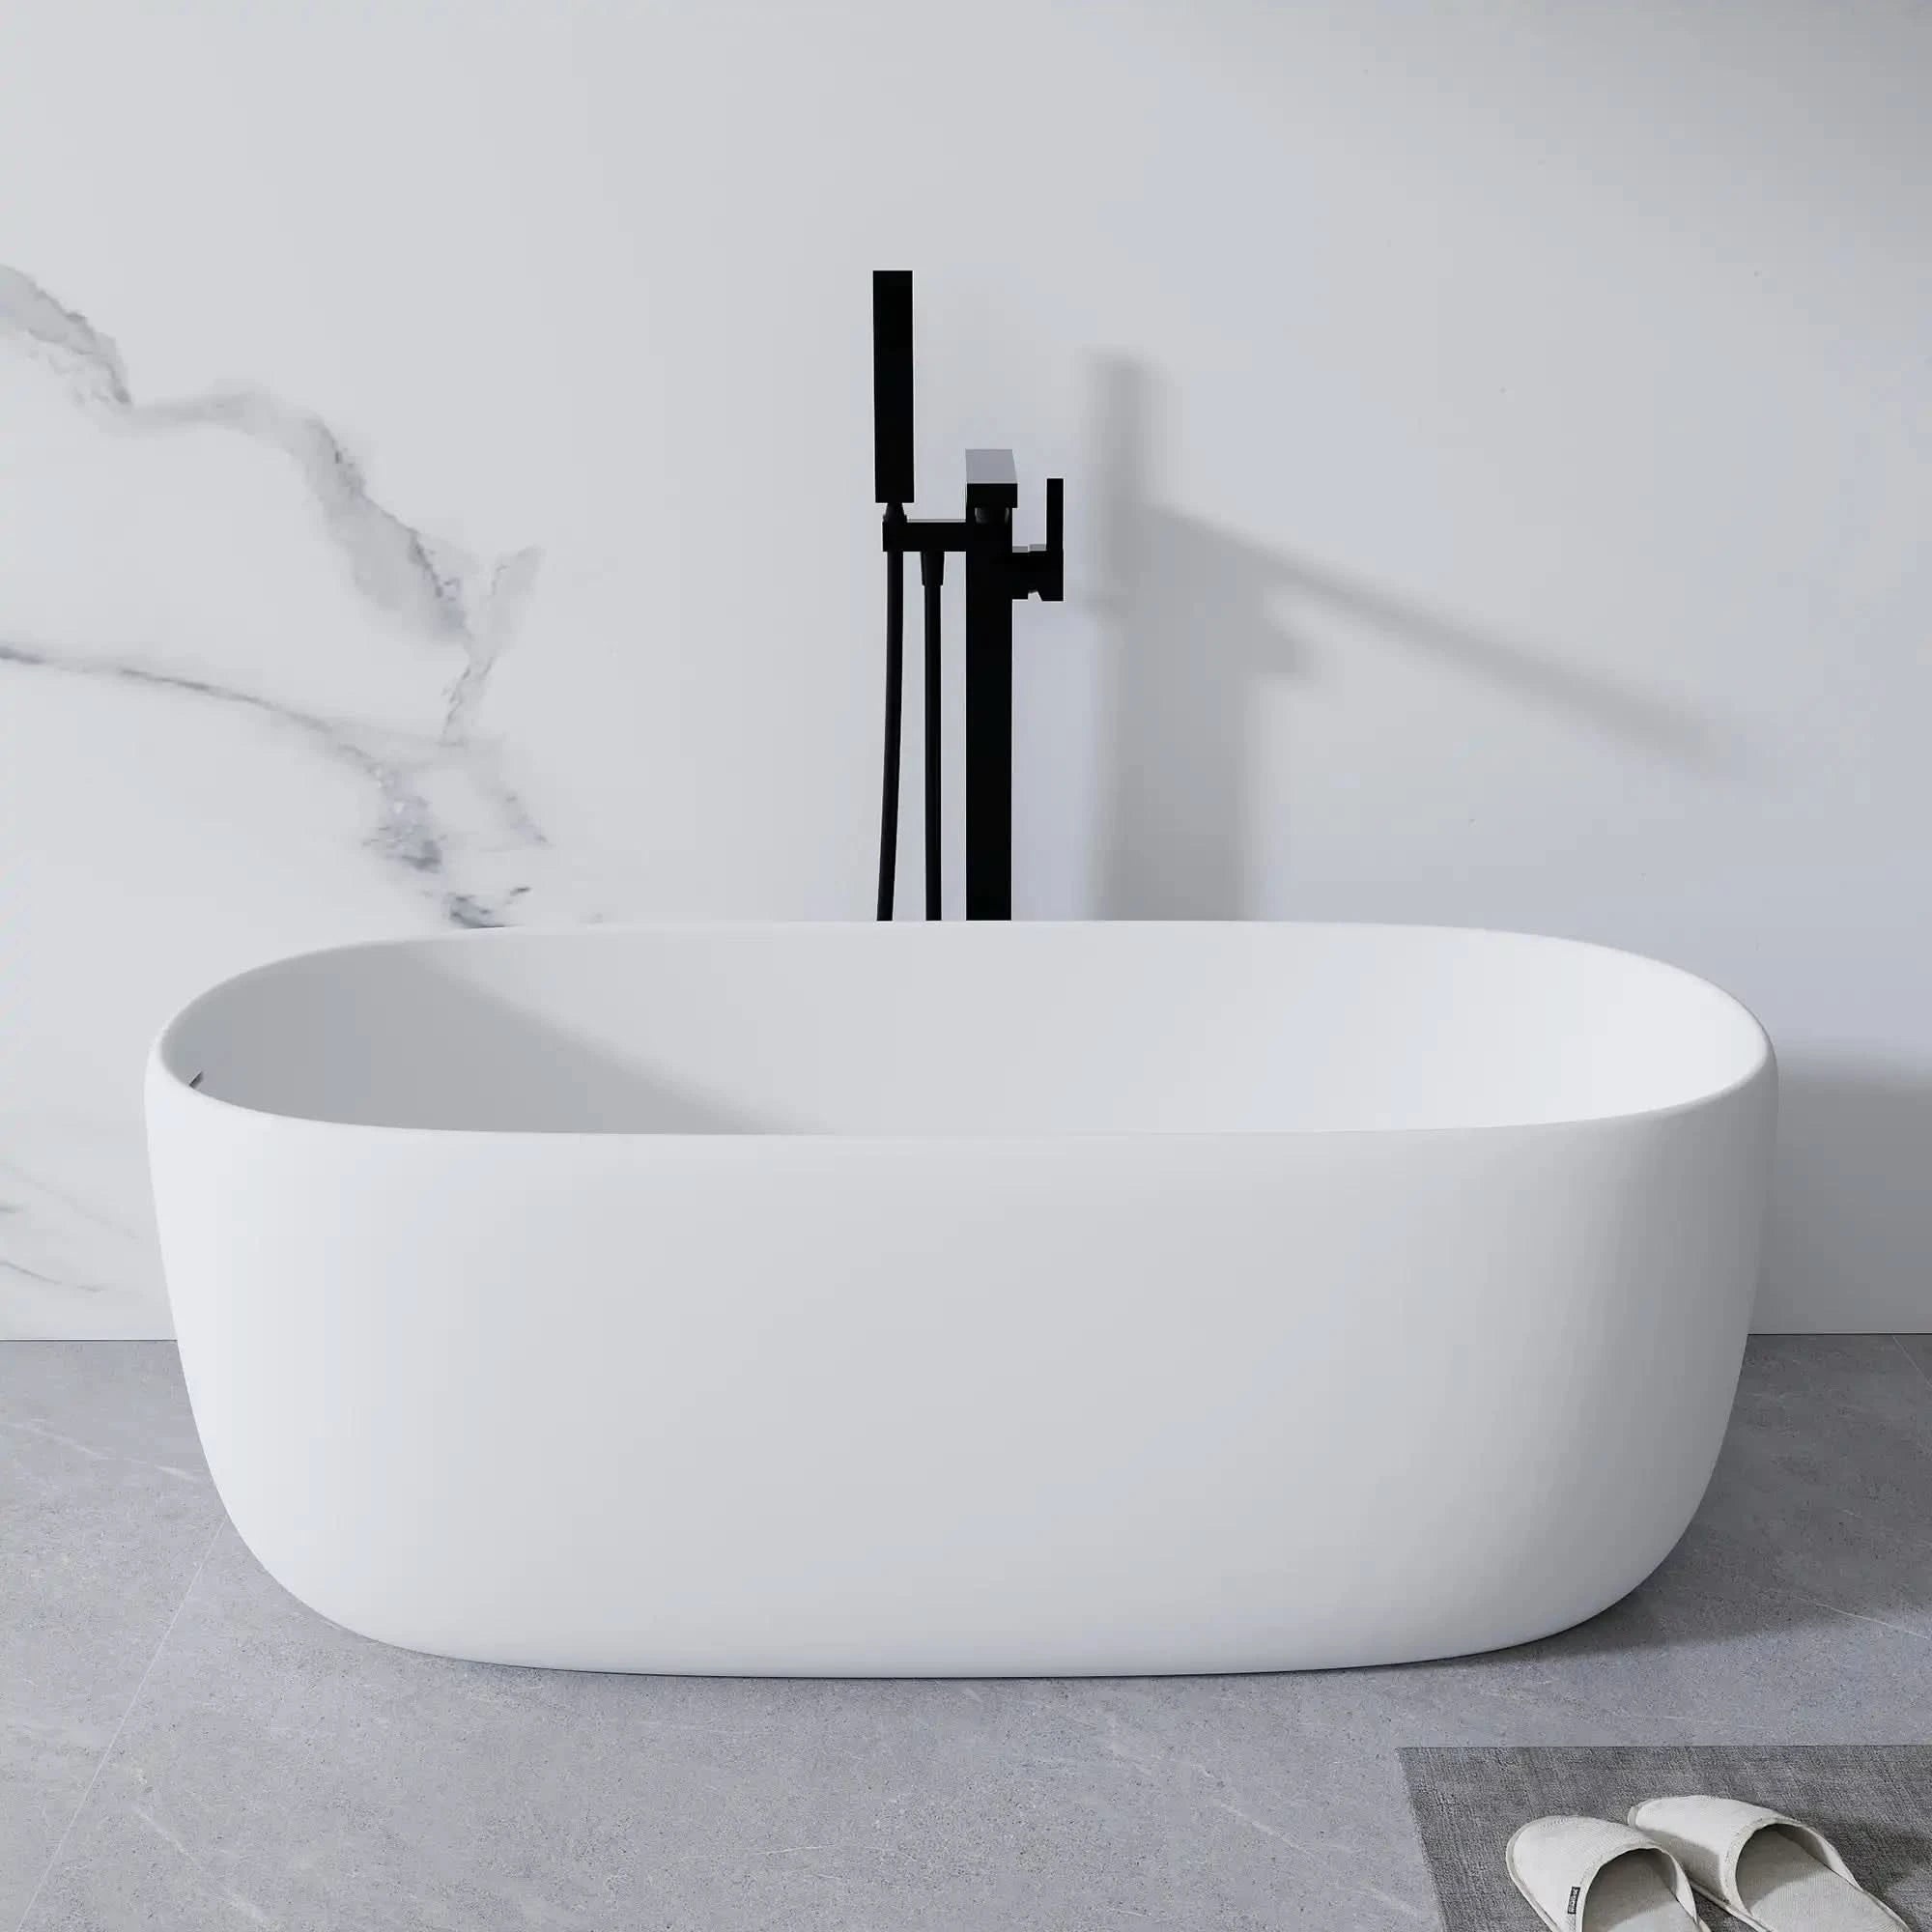
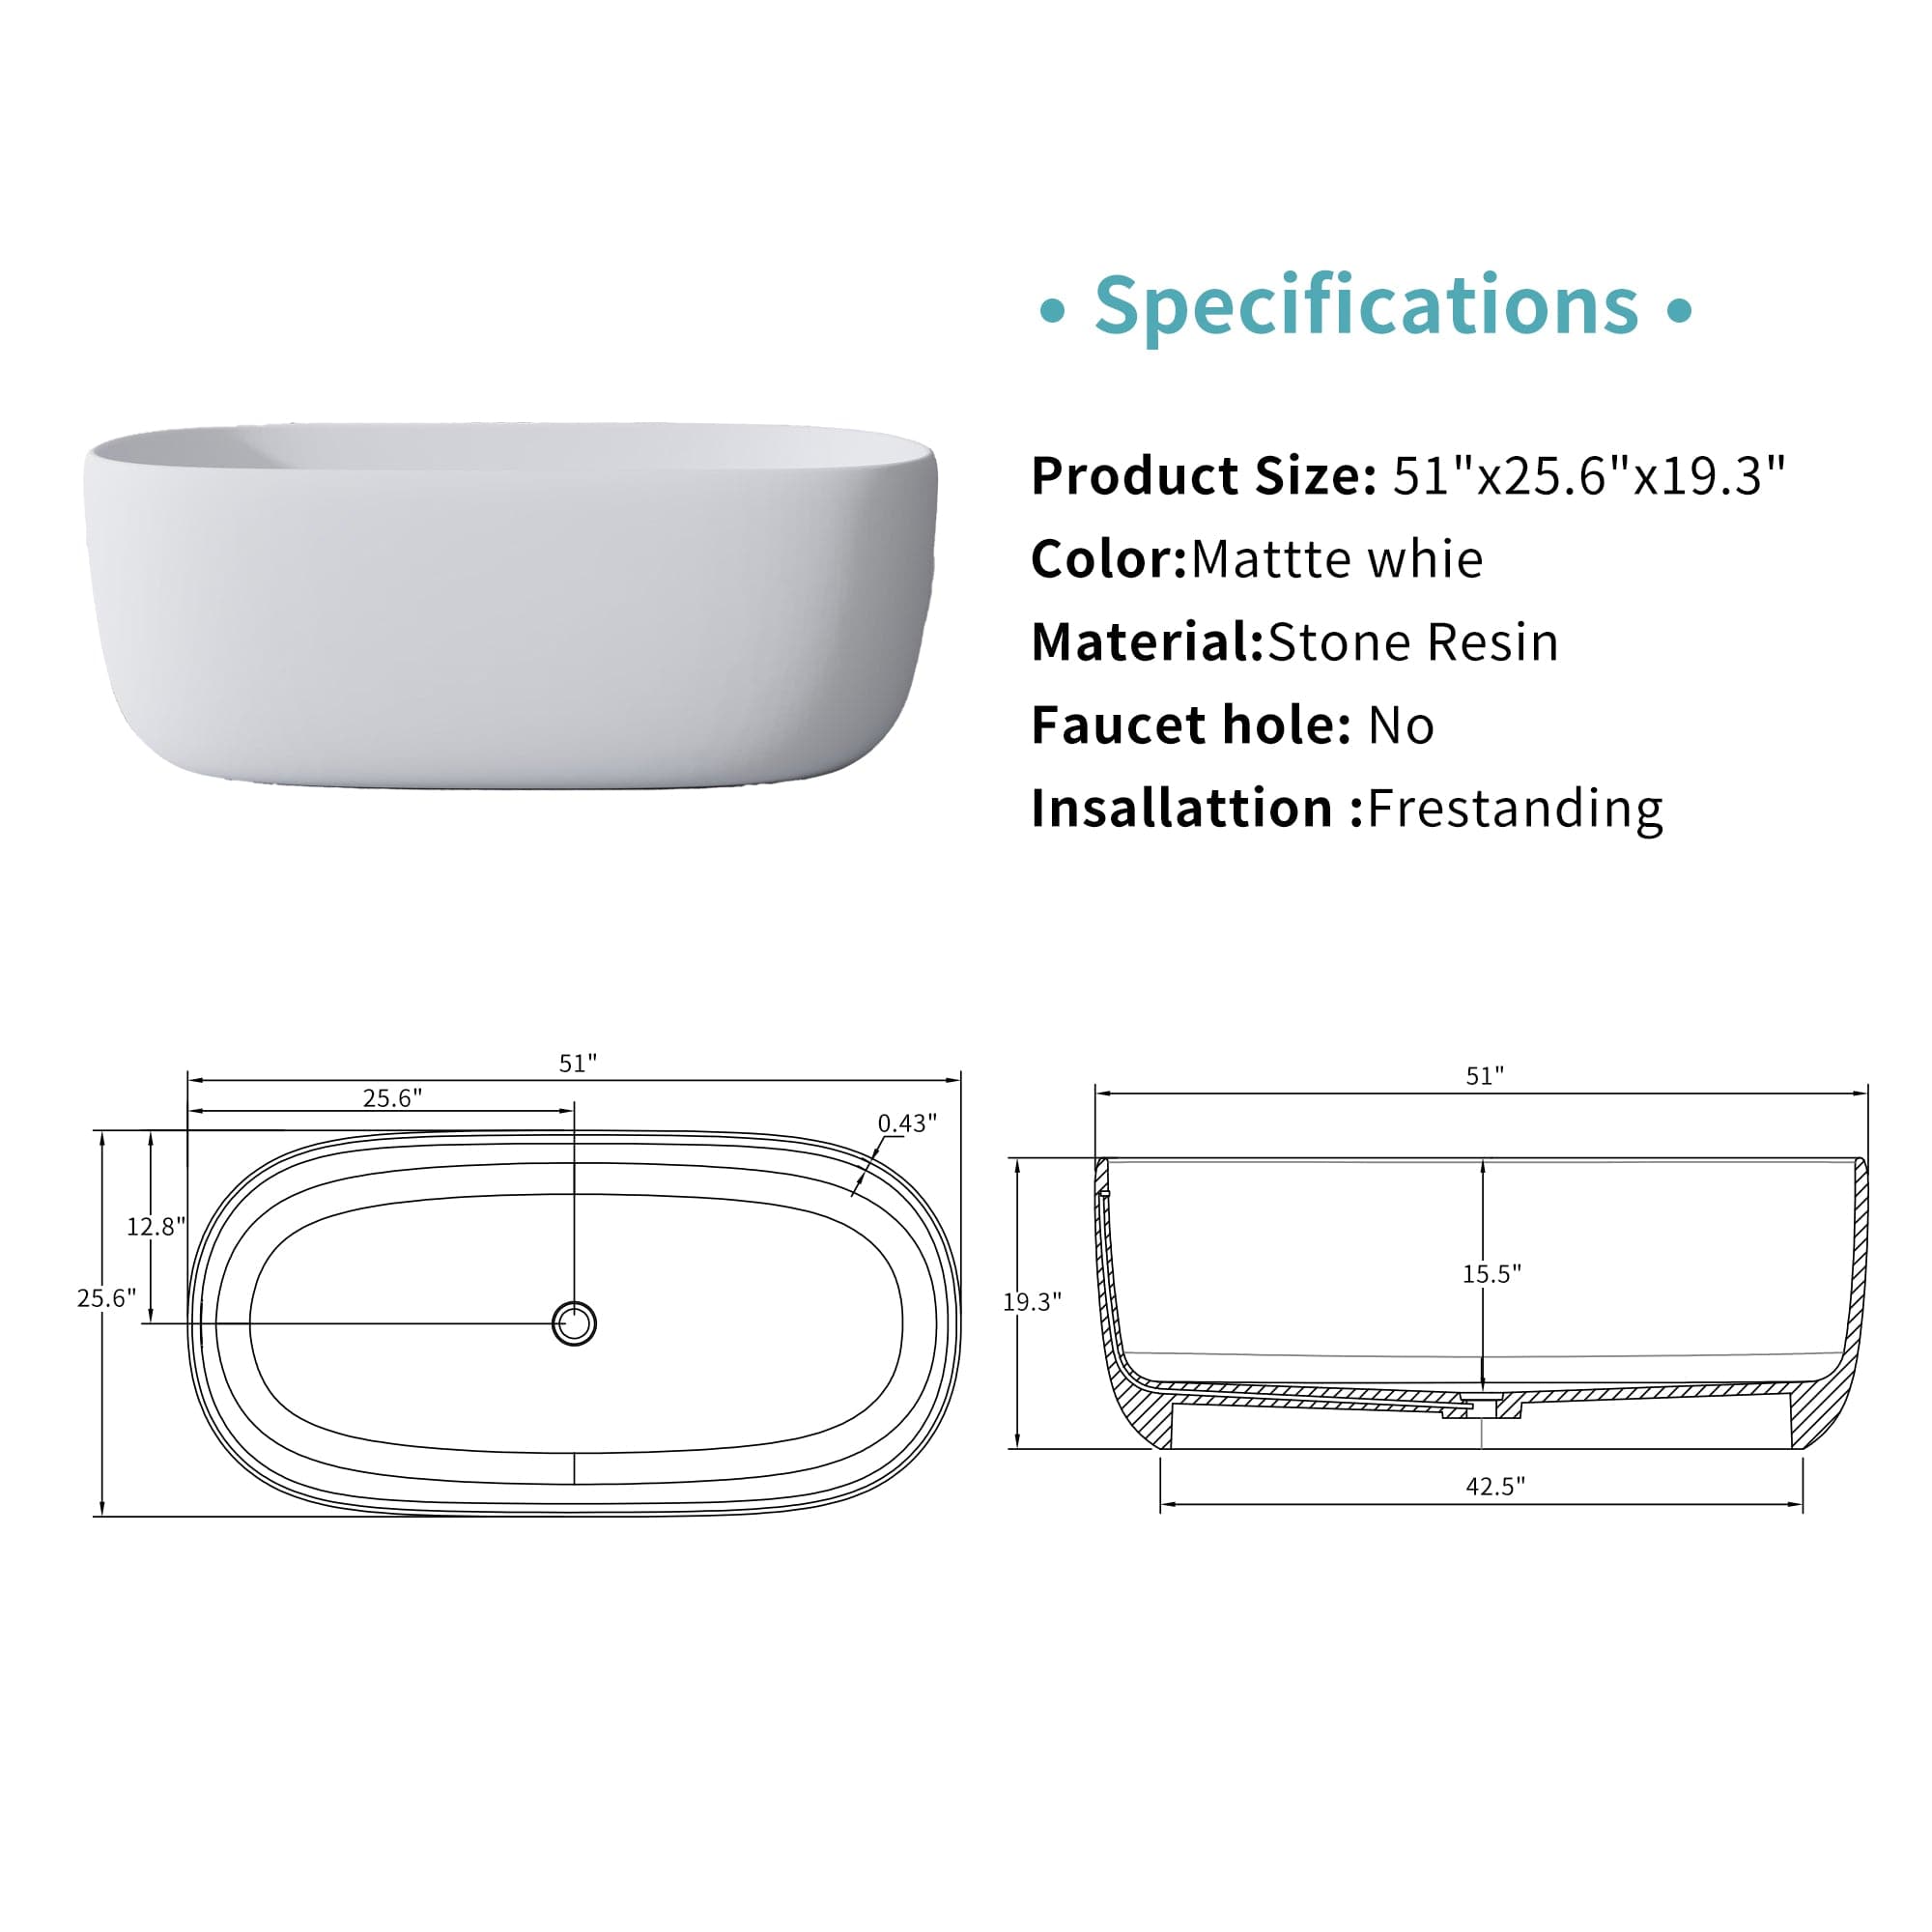
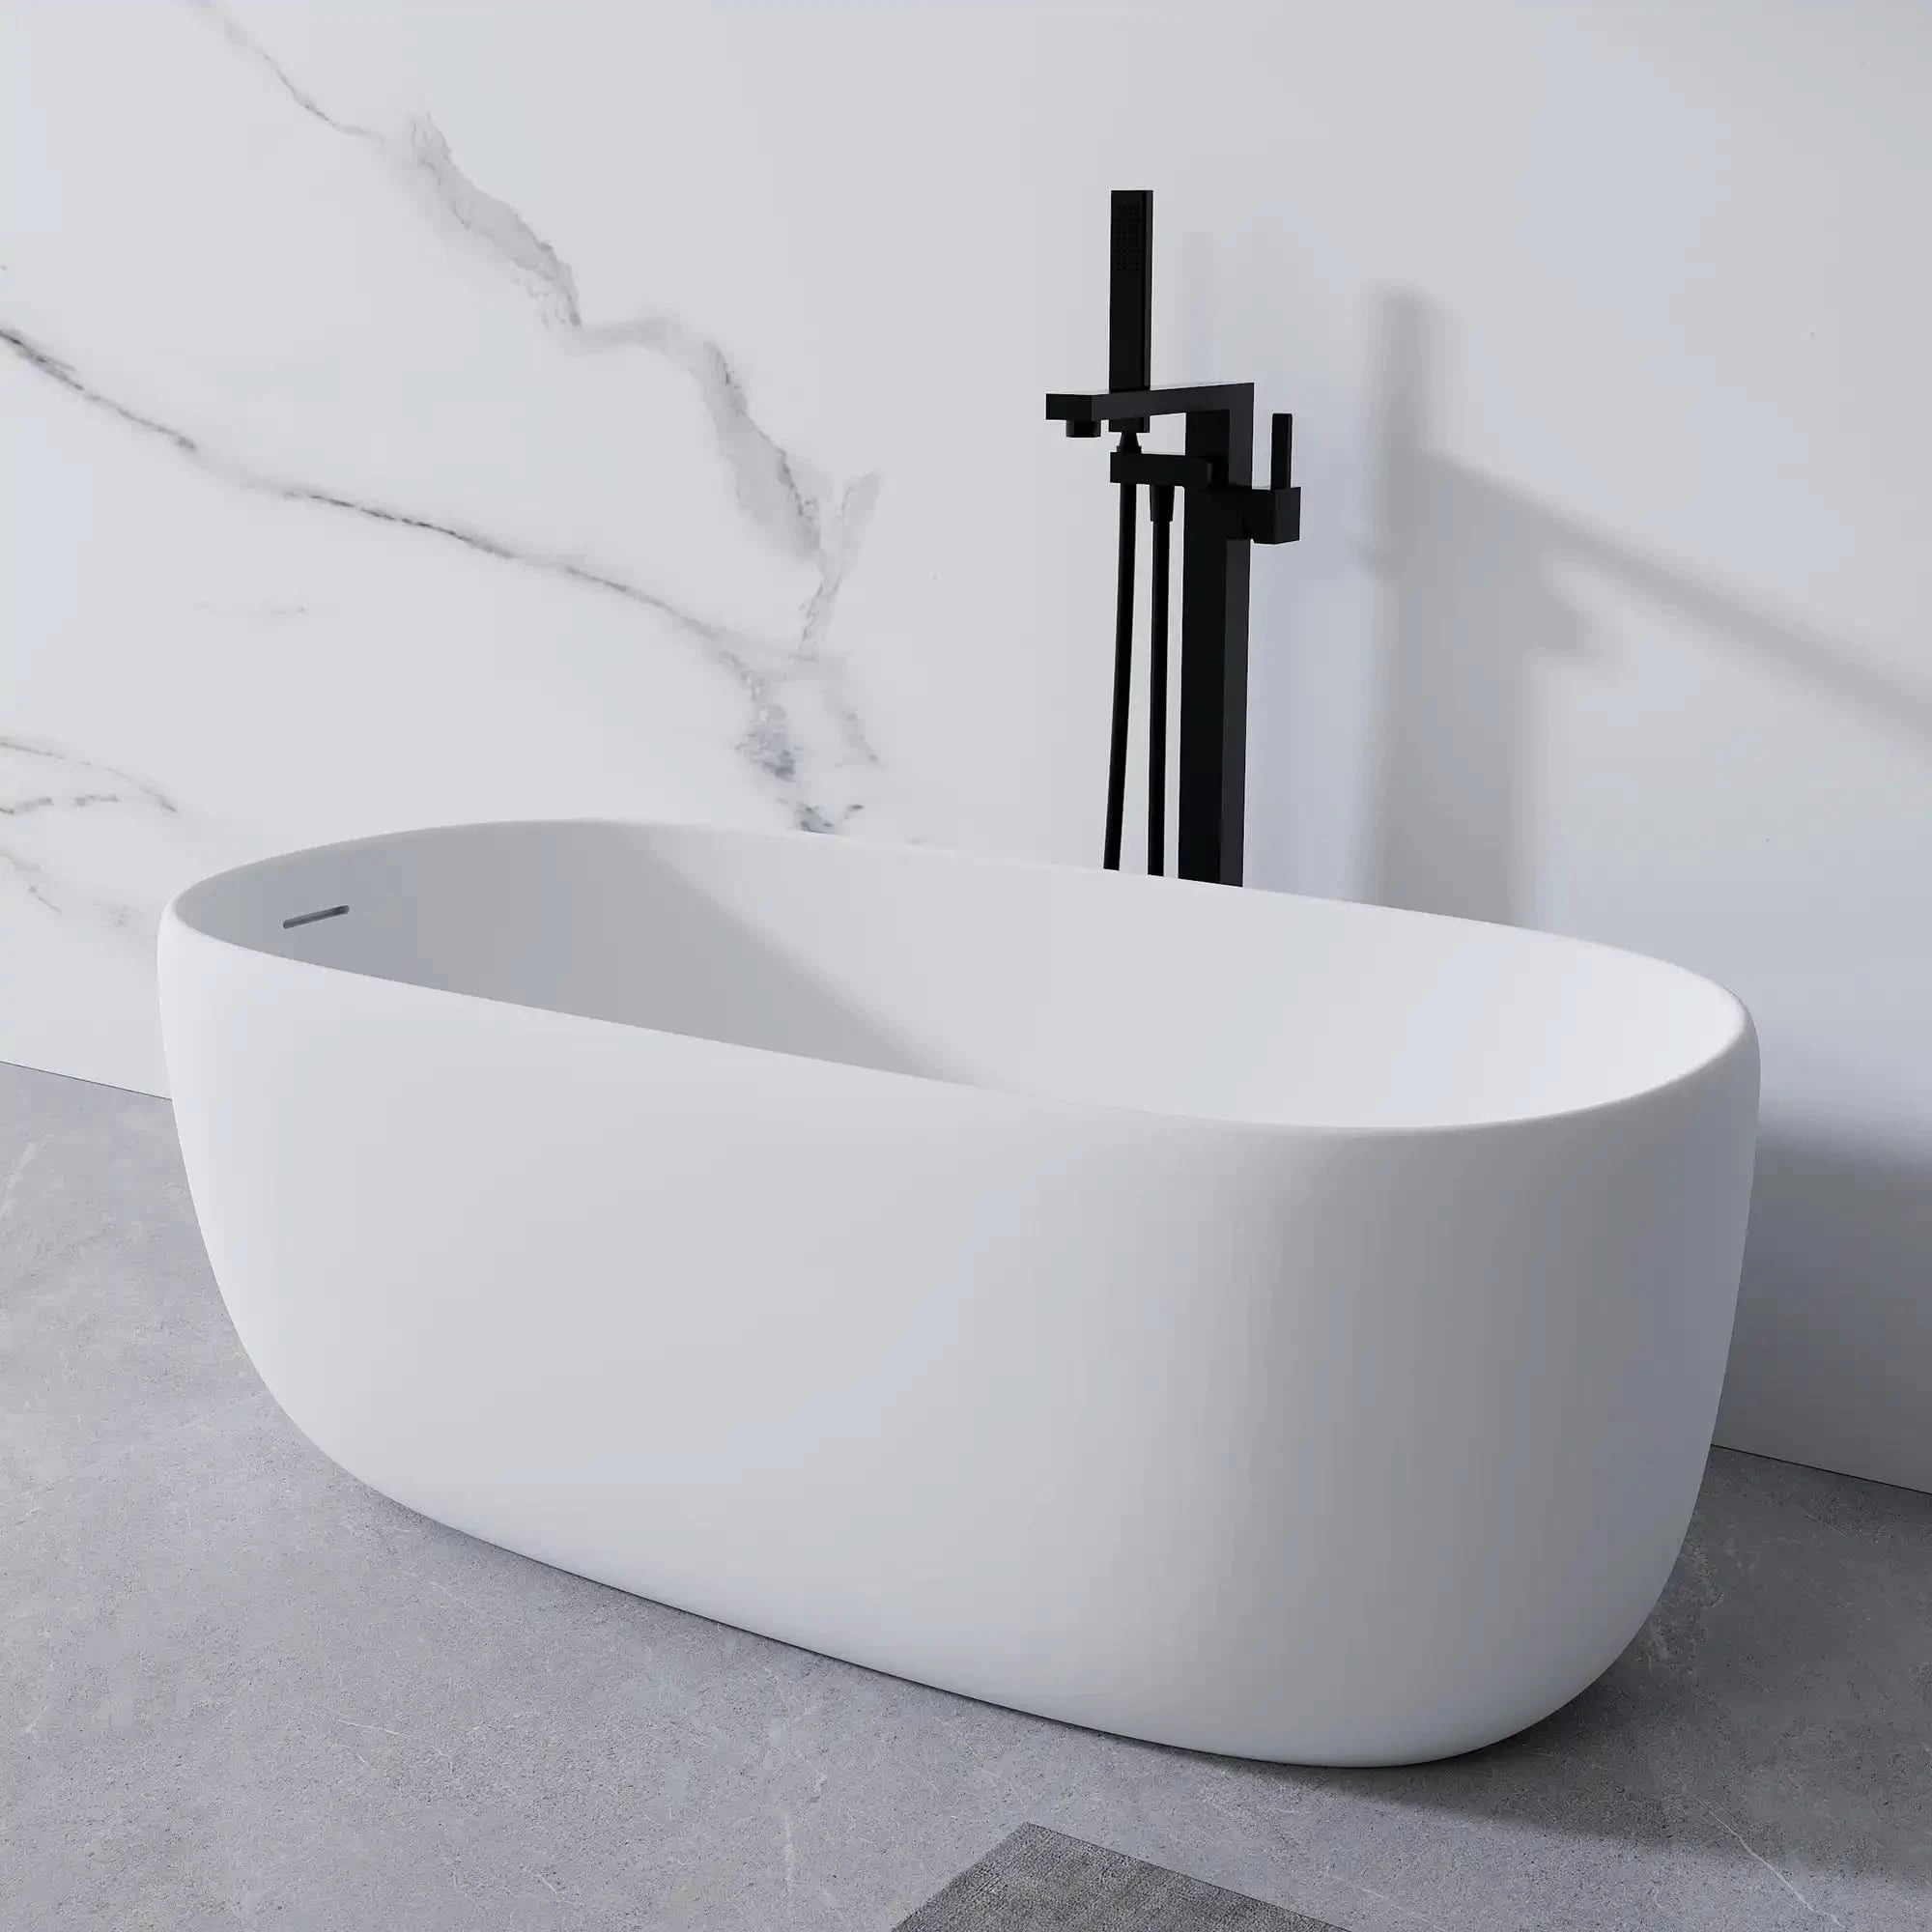
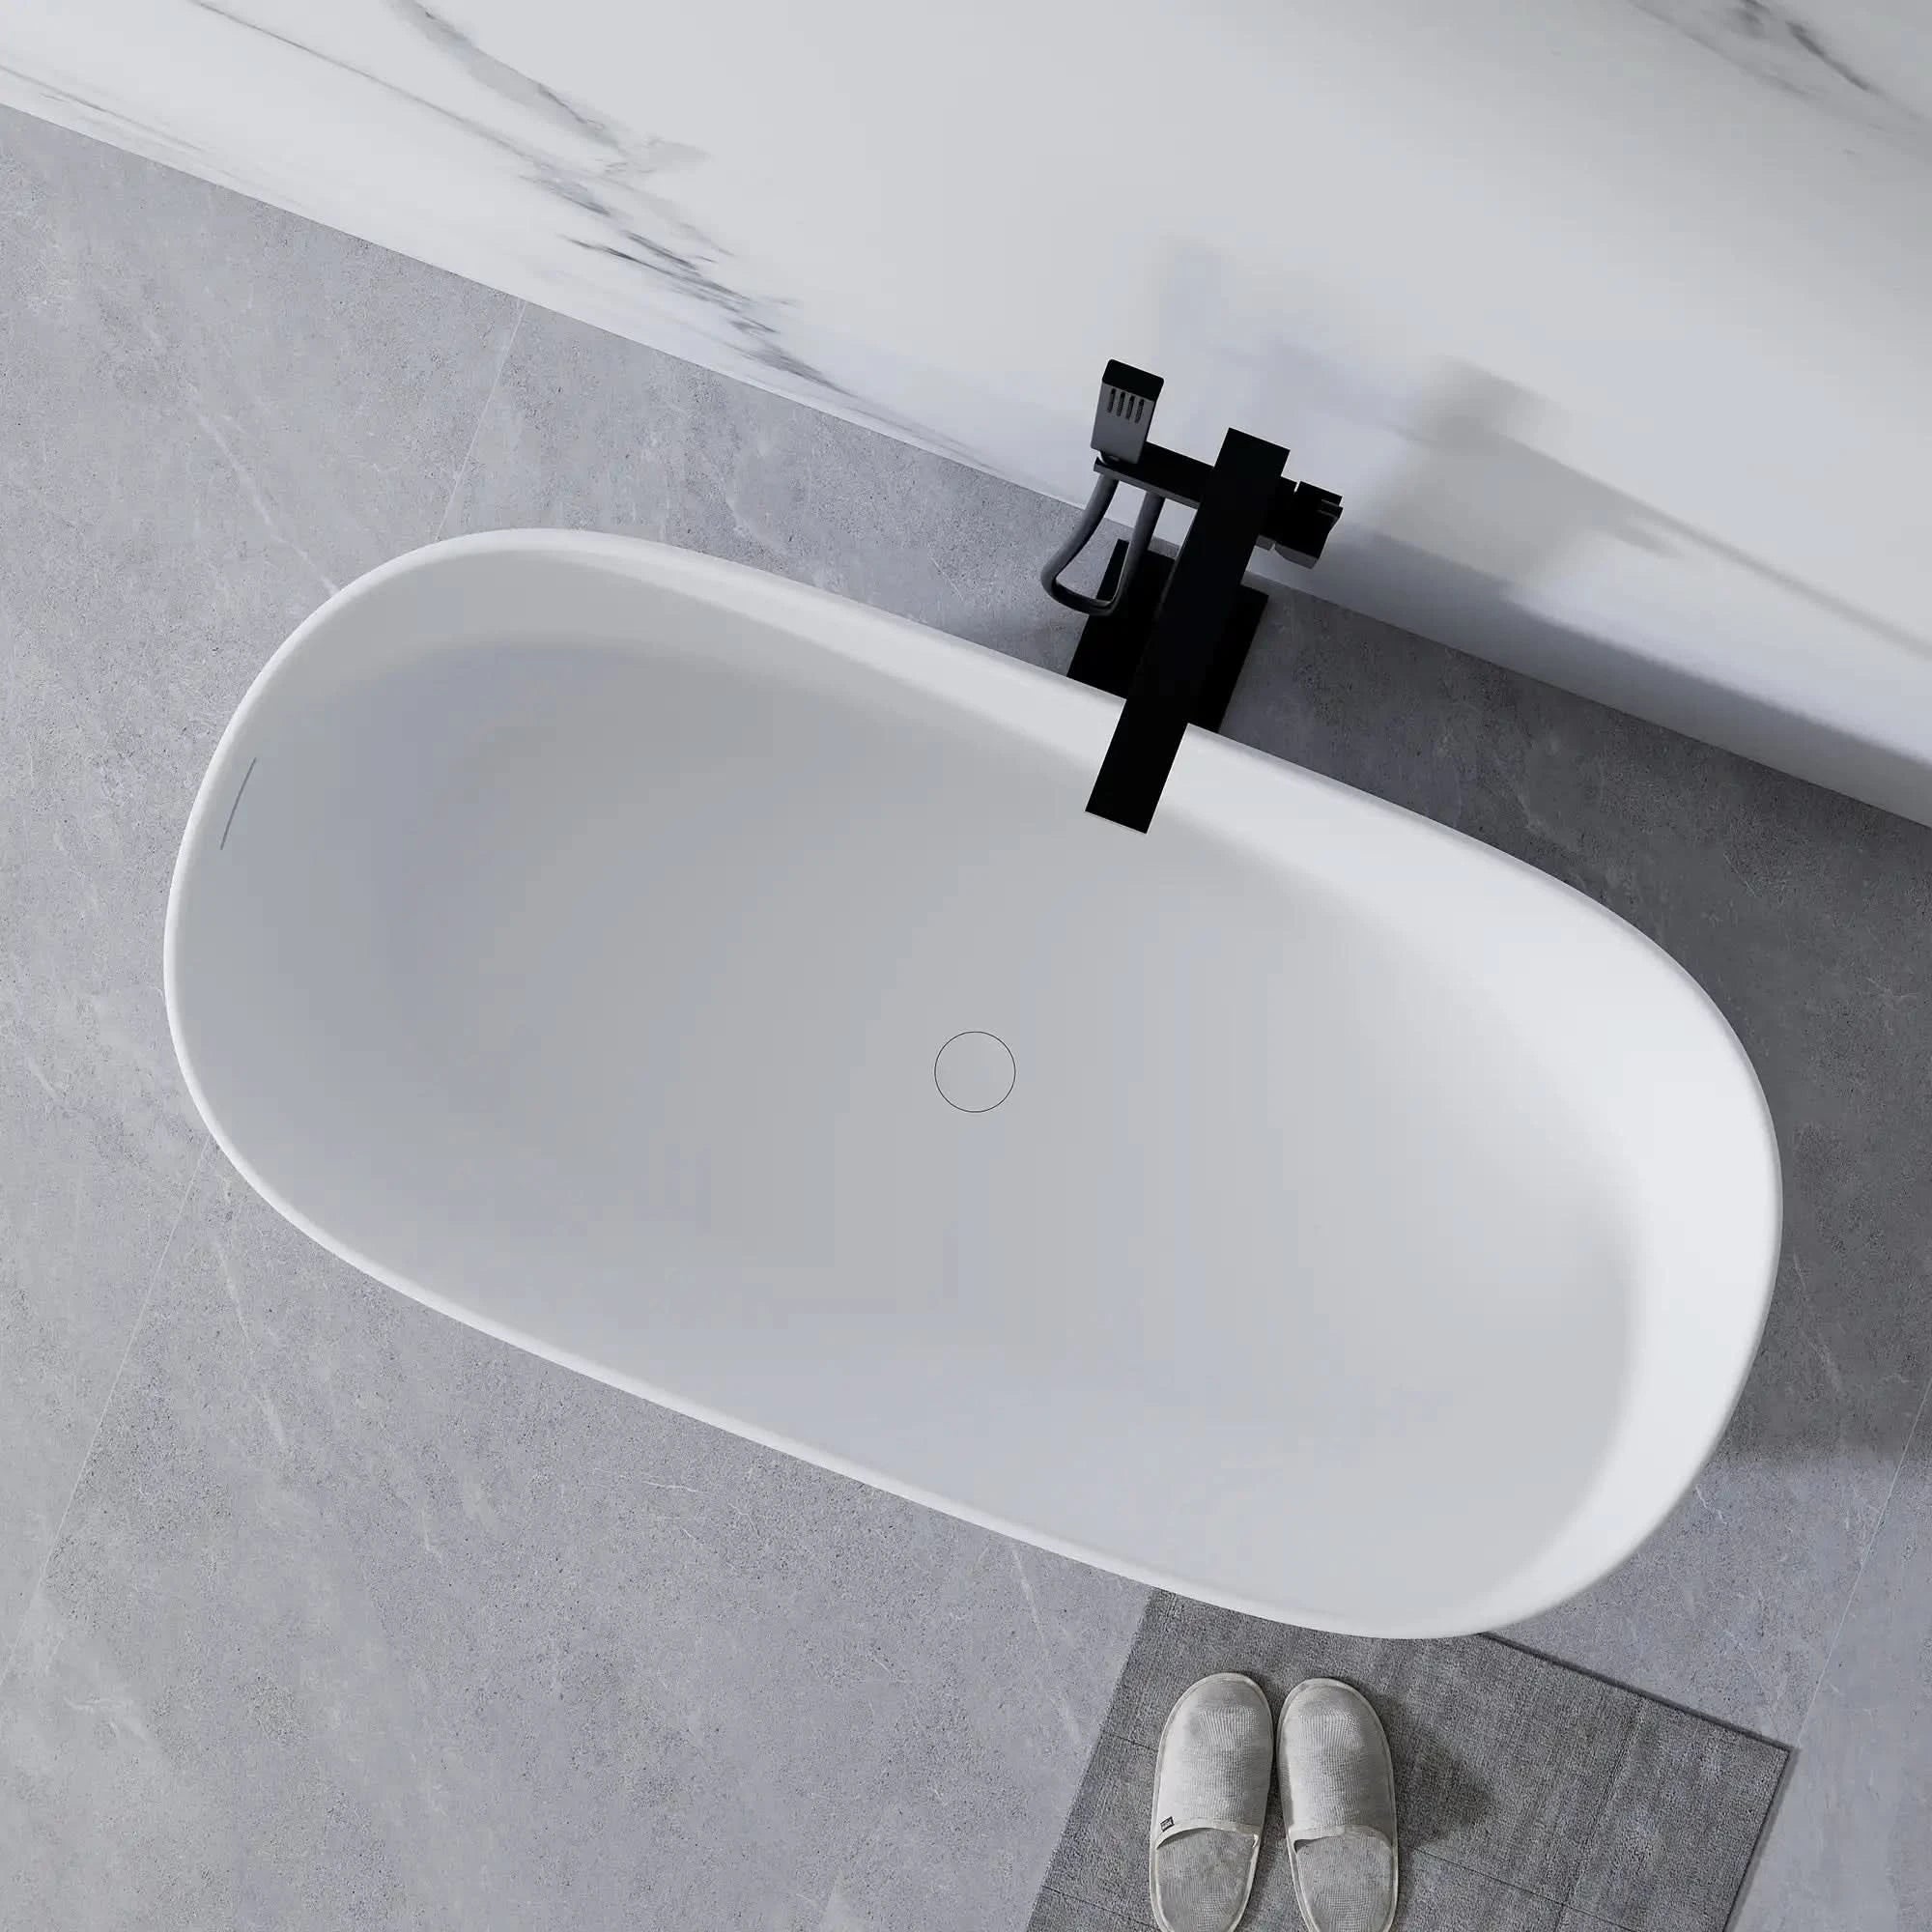
If you're considering upgrading your bathtub while you're at it, check out our stunning LY Curved Freestanding Soaking Tub or the elegant LY Egg-Shaped Freestanding Soaking Tub. Both options combine beauty and function, making your bathing experience even more enjoyable!
With the right preparation, tools, and knowledge, you’ll tackle that drain removal like a pro! Happy plumbing!
FAQ
Q: What tools do I need to remove a bathtub drain?
A: Essential tools include screwdrivers, a basin wrench, pliers, a bucket, and towels.
Q: How do I know if my drain needs to be replaced?
A: Look for signs of corrosion, rust, or significant damage.
Q: Is it necessary to consult a professional?
A: If you’re unsure or face challenges, it’s wise to get professional assistance.
Q: How can I prevent leaks after reinstalling the drain?
A: Always check and replace the gasket or seal to ensure a watertight fit.
Q: What should I do if the drain won’t budge?
A: Avoid force. Instead, gently wiggle it and consider using penetrating oil for stuck components.

