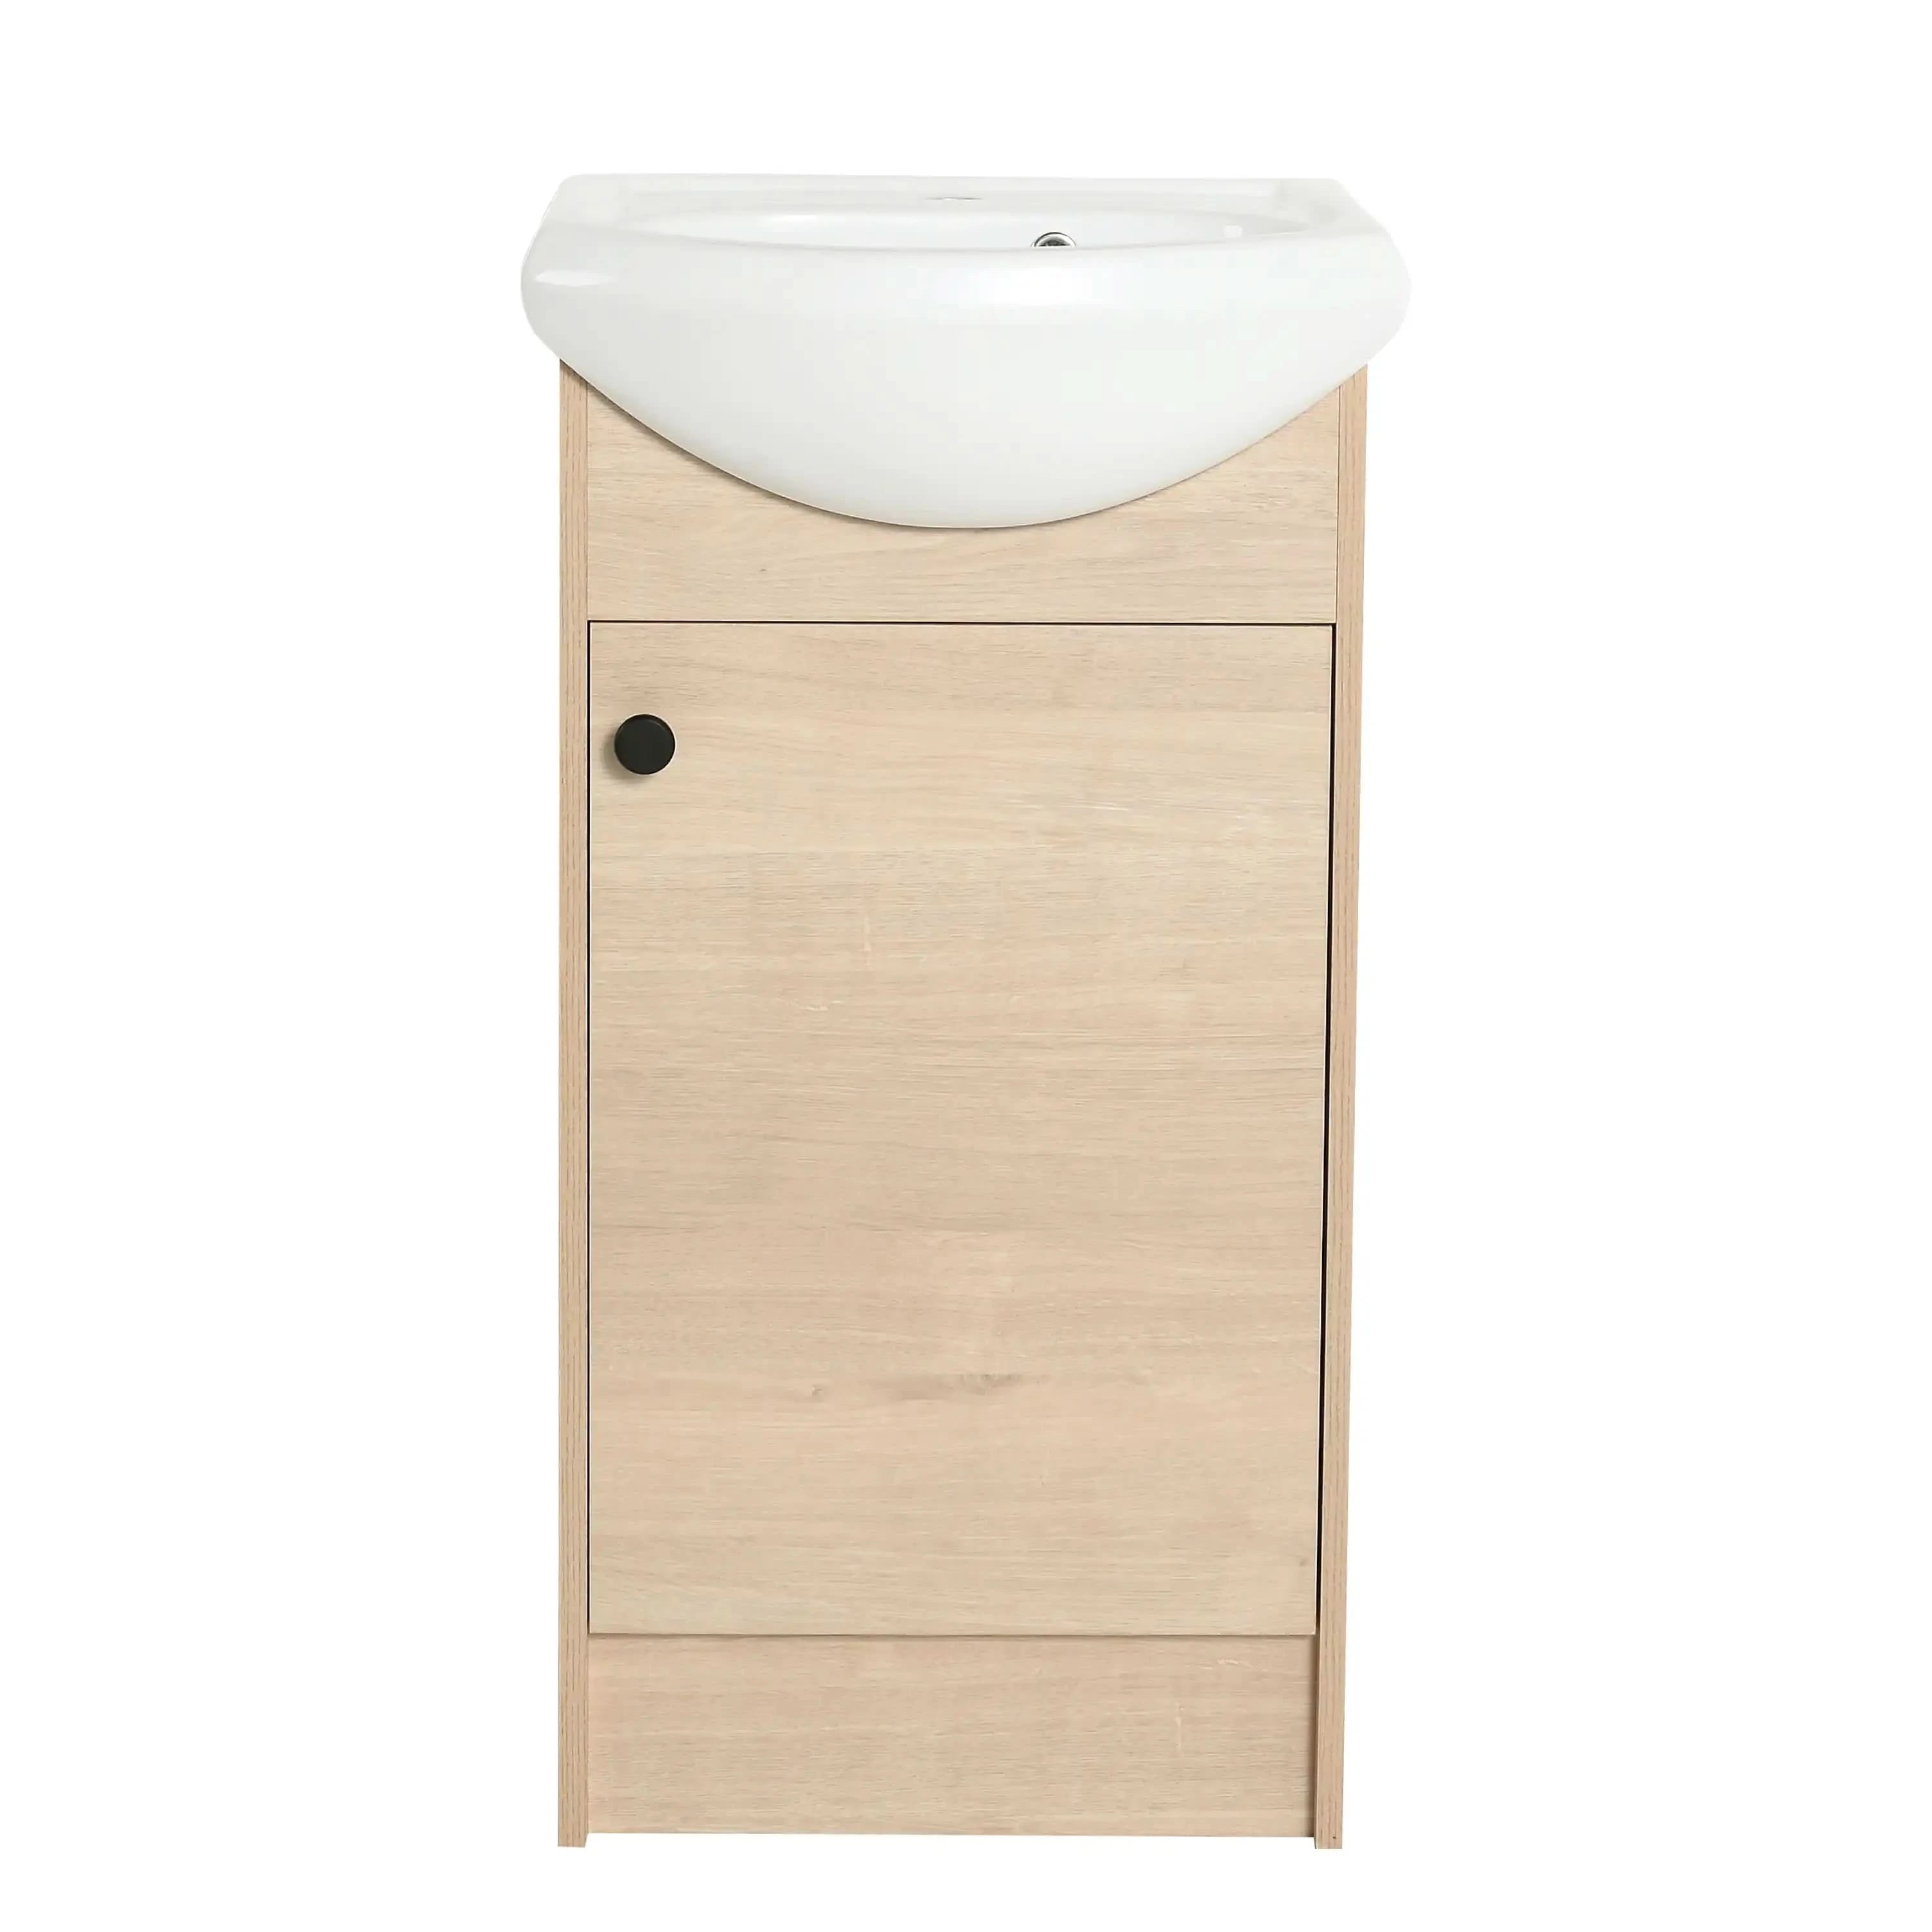
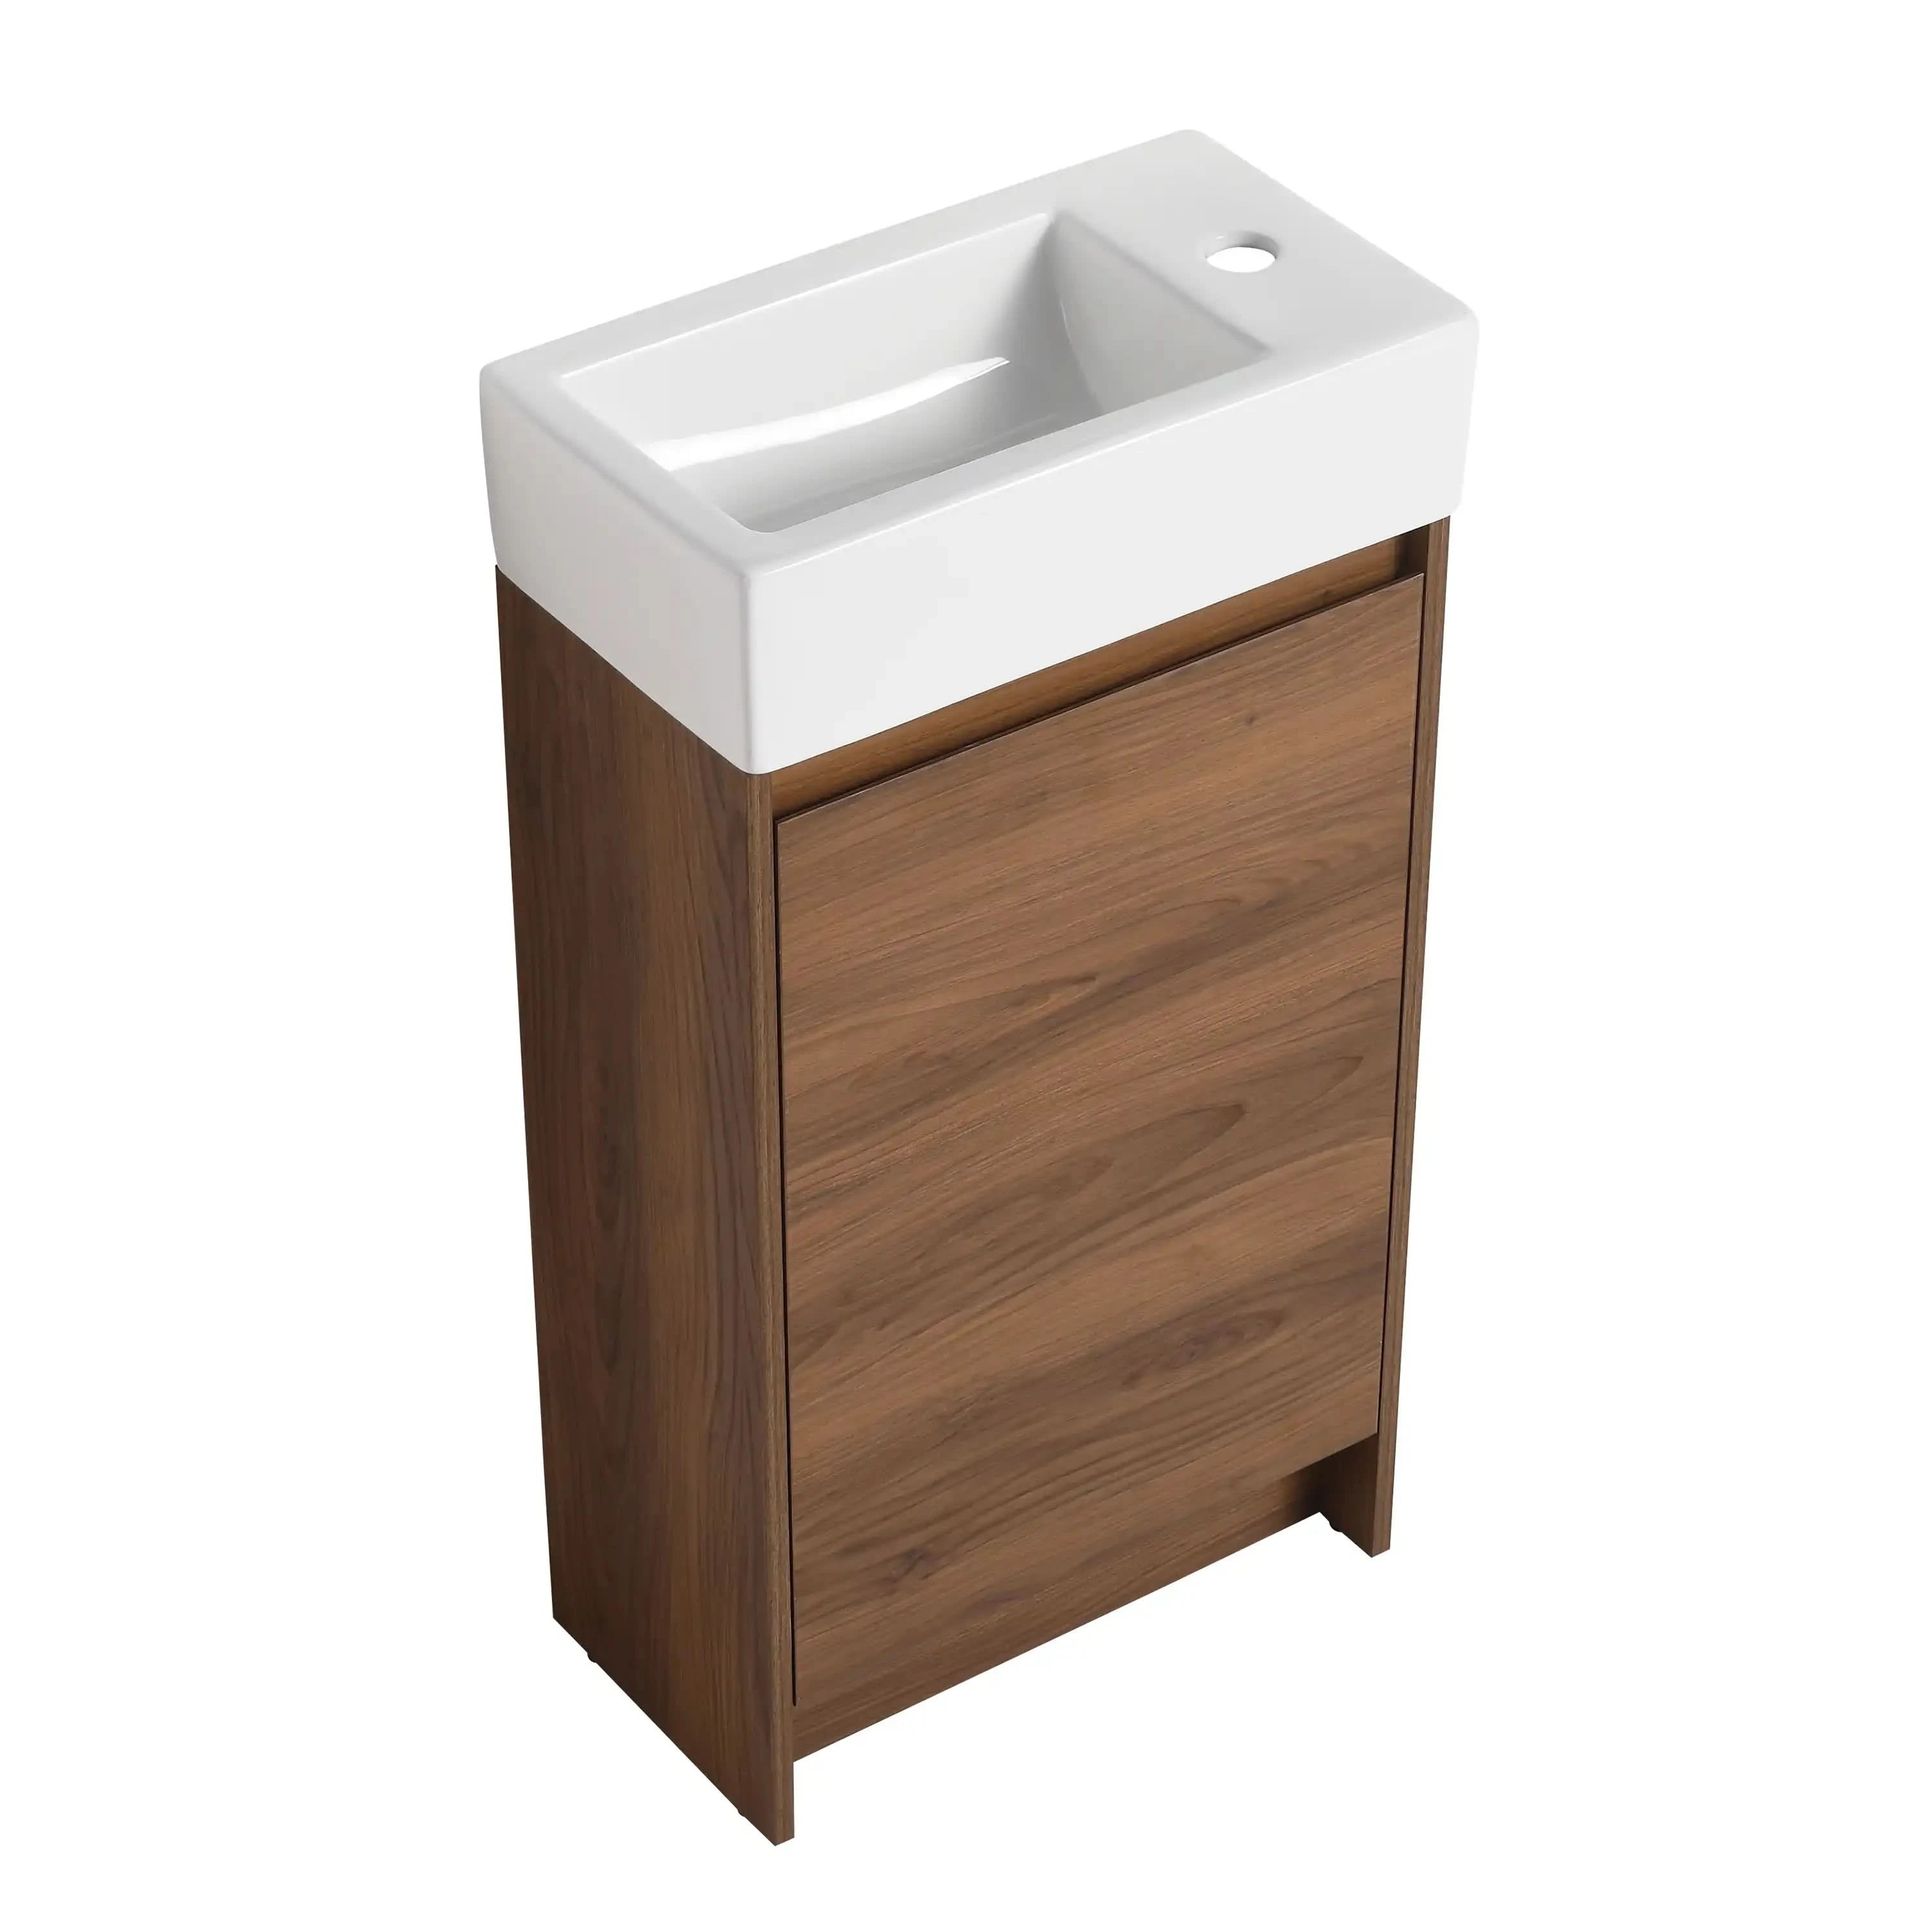
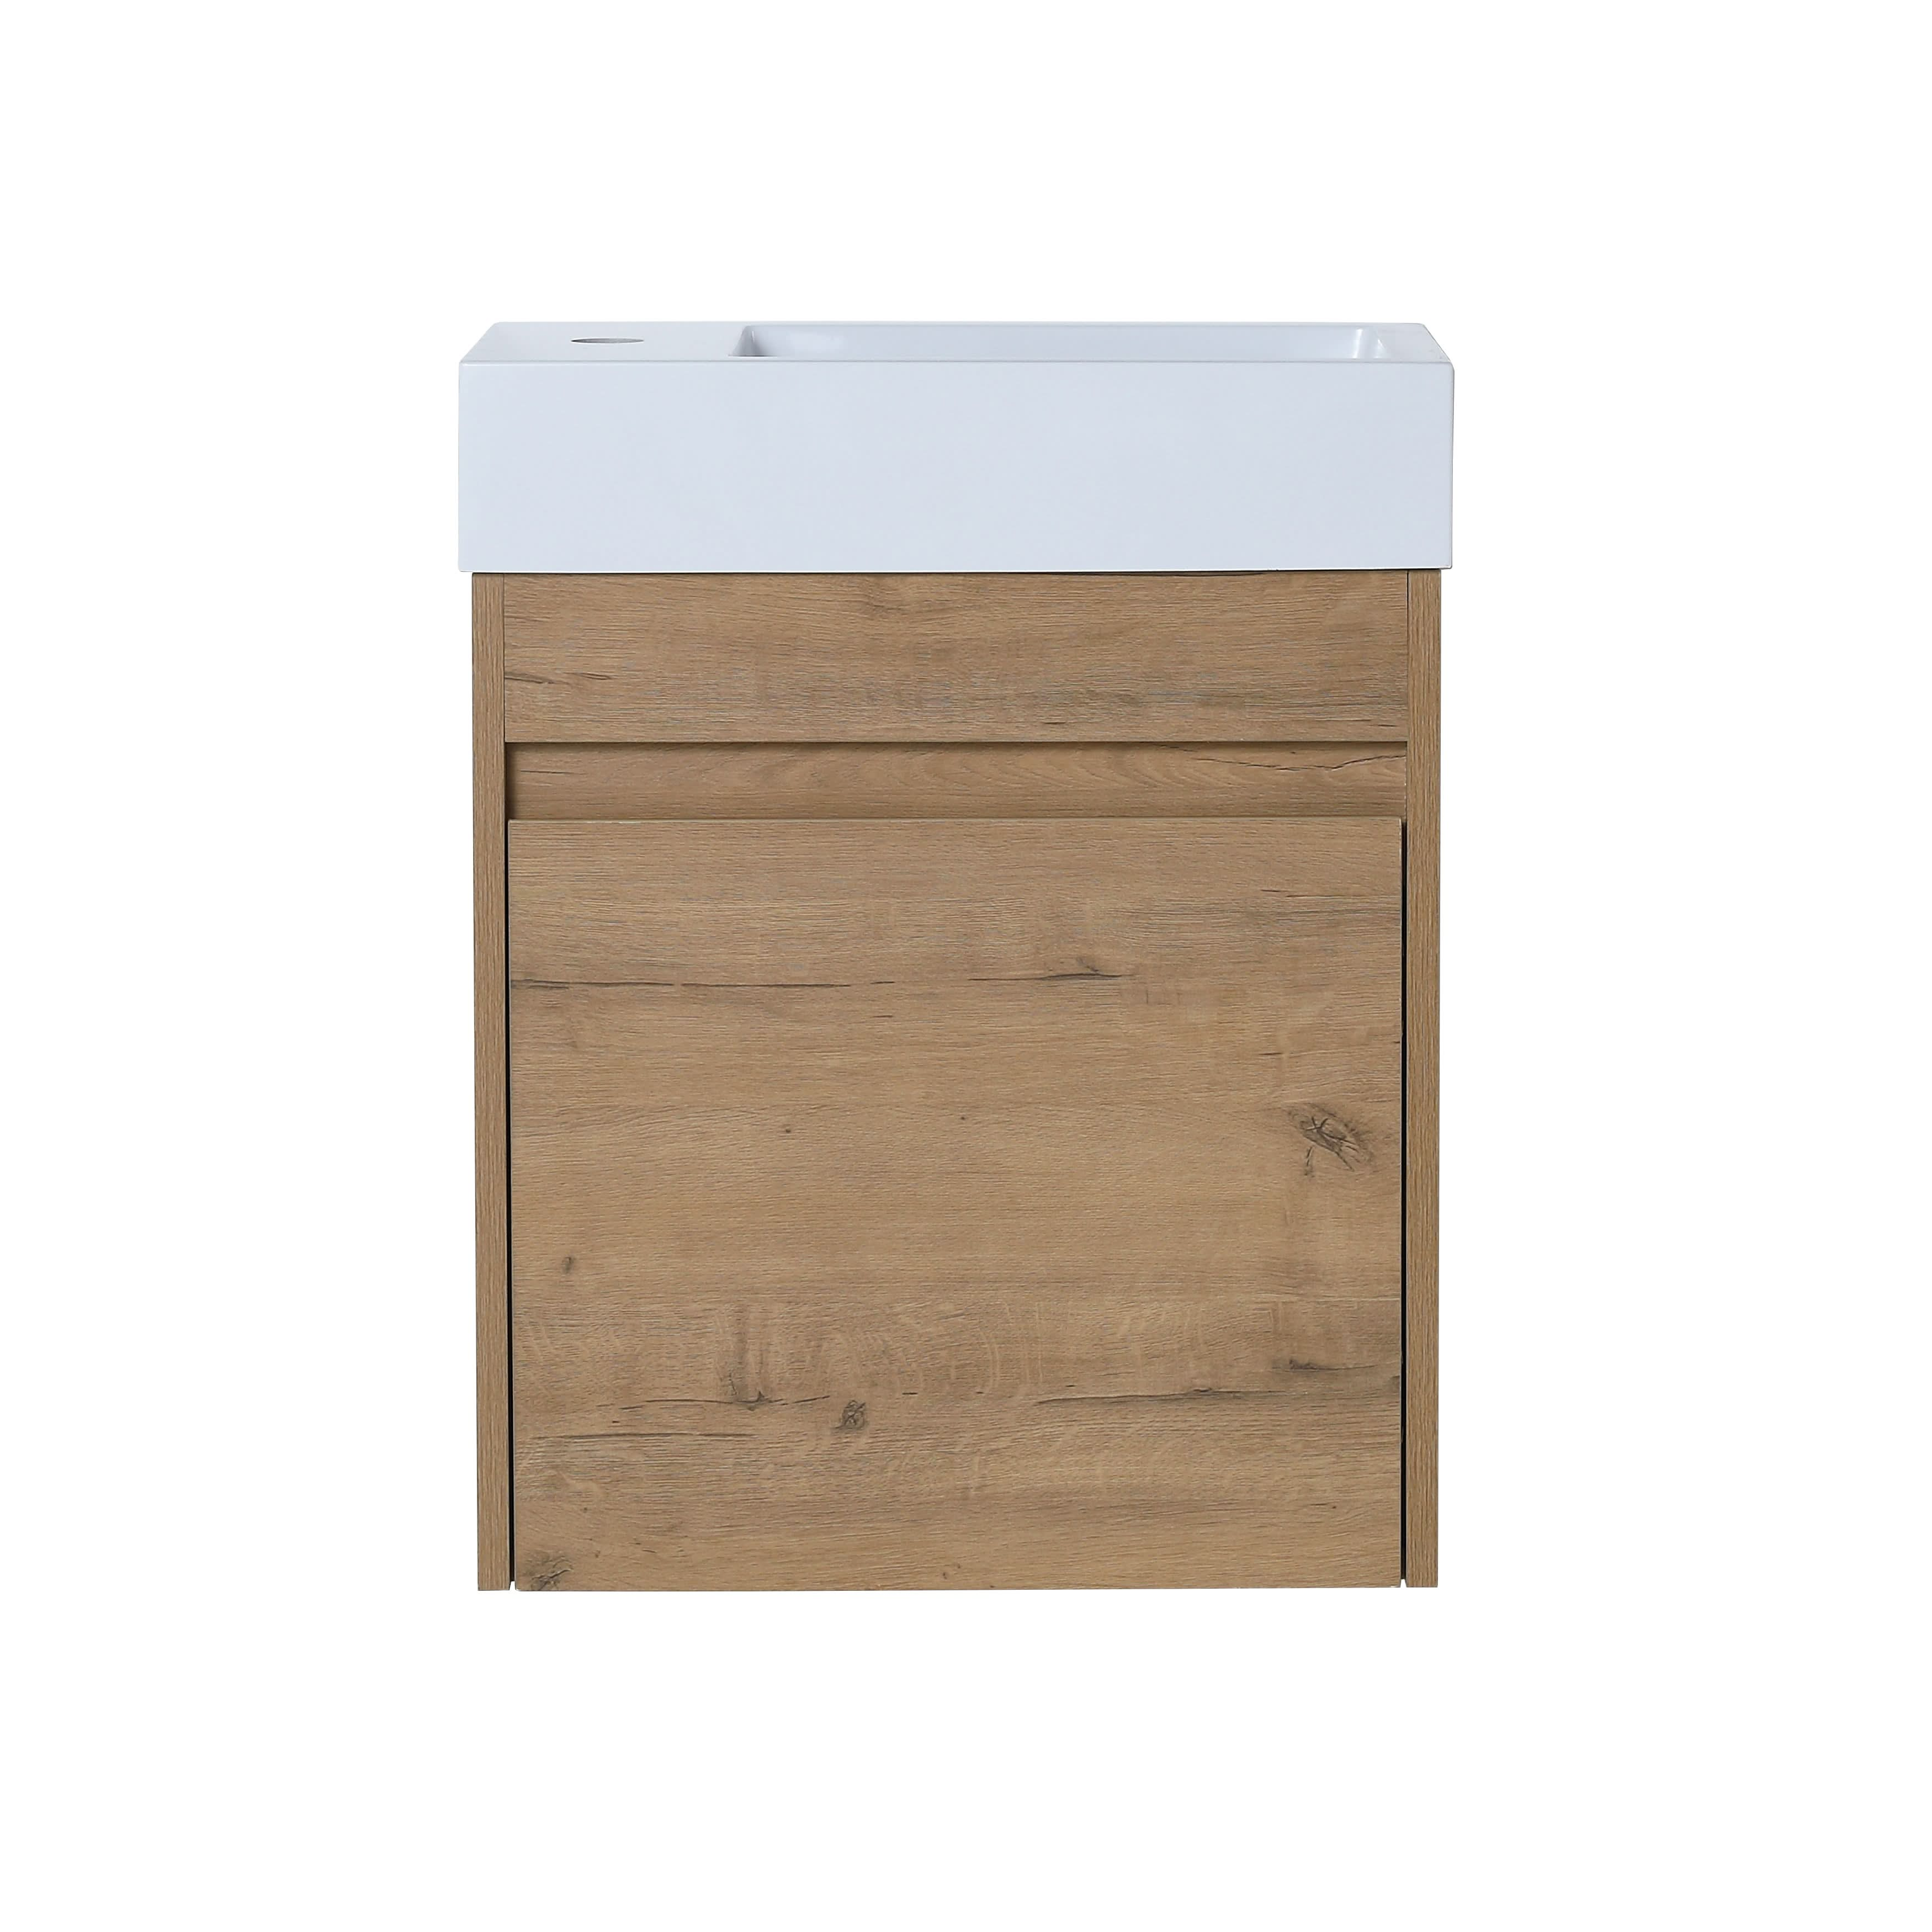
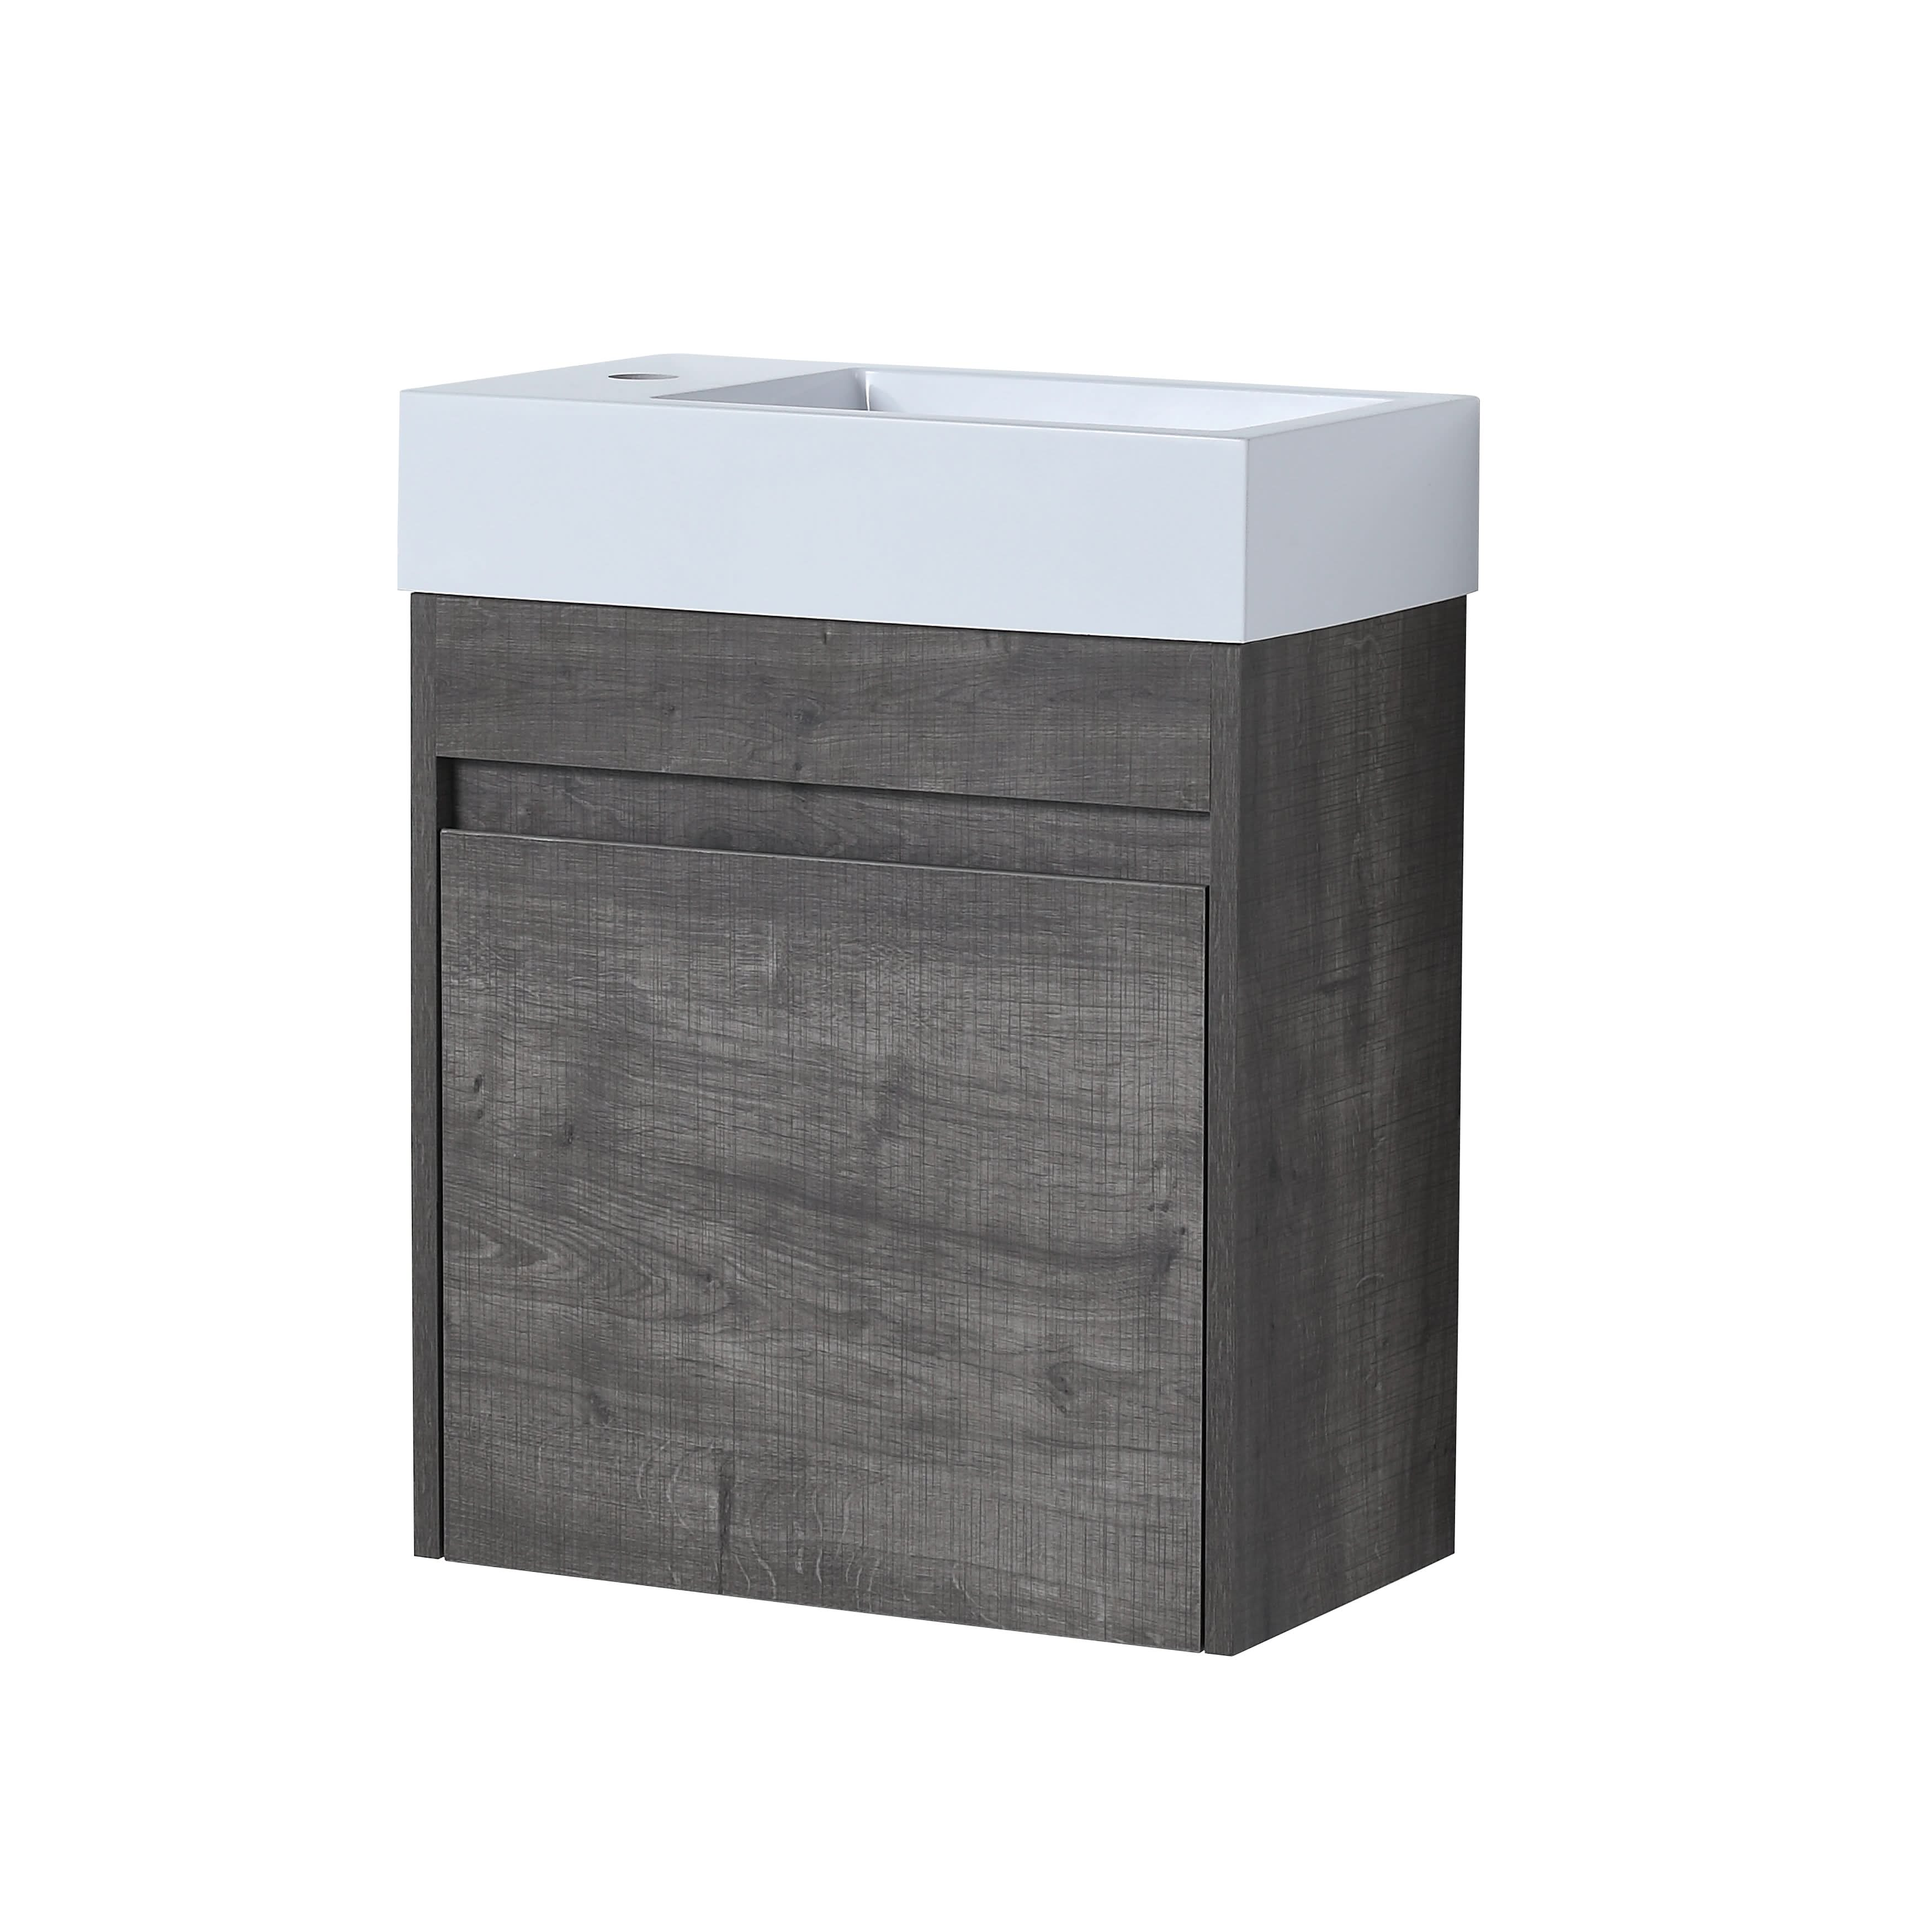
Imagine stepping into your bathroom after a long day, the warm glow of candlelight flickering softly against the walls, and the inviting scent of lavender filling the air. You walk over to your beautiful new small bathtub, a sanctuary designed just for you. With a soothing soak, you can wash away the stress of the day, transforming your bathroom into a personal spa. Installing a small bathtub can elevate your space, providing both comfort and style, especially in smaller homes where every square foot matters.
This DIY installation guide will take you step-by-step through the process of adding a small bathtub to your home. We’ll cover everything from selecting the right tub to preparing your space and executing the installation with confidence. So grab your tools and let’s get started on this rewarding journey!
The Allure of Small Bathtubs
Small bathtubs are not just practical; they’re also a design statement. They fit seamlessly into compact bathrooms, making them ideal for apartments, bungalows, or homes with limited space. A well-chosen small tub can serve as the centerpiece of your bathroom, creating a cozy, inviting atmosphere.
Consider the elegant curves of a freestanding tub, which can transform an ordinary bathroom into a chic retreat. Alternatively, an alcove tub can fit snugly against the wall, maximizing your floor space while providing the comfort of a deep soak. These tubs come in a variety of materials, finishes, and styles, allowing you to express your personal taste while enhancing your home’s overall aesthetic.
Beyond their visual appeal, small bathtubs are often more economical. They require less water than larger models, making them an environmentally friendly choice. Many homeowners find that a small tub is perfectly adequate for their bathing needs, combining luxury with practicality.
Tools and Materials Needed
Before embarking on your installation adventure, it’s essential to gather all the necessary tools and materials. Being prepared will make the process smoother and more efficient. Here’s a comprehensive checklist:
Tools:
- Adjustable Wrench: Perfect for tightening plumbing connections without causing damage.
- Screwdrivers (Flathead and Phillips): Essential for various fittings and fixtures.
- Level: Ensures that your tub is perfectly aligned, which is critical for proper drainage.
- Tape Measure: Precision is key; measure your space to avoid costly mistakes.
- Caulking Gun: For applying sealant around the edges of your tub.
- Utility Knife: Useful for cutting materials or trimming excess.
Materials:
- Small Bathtub: Choose one that fits your style and space. Consider options like freestanding or alcove models.
- Plumbing Supplies: This includes PVC pipes, fittings, and a bathtub drain assembly.
- Waterproof Mat: Protects your flooring during installation.
- Silicone Sealant: Creates a watertight seal around your tub.
Having all your tools and materials ready not only streamlines the installation but also builds your confidence as you tackle this home improvement project.
Preparing Your Bathroom
Preparation is the cornerstone of a successful bathtub installation. Begin by assessing your bathroom space. Measure the area where your new tub will go, paying attention to the surrounding walls, doors, and existing plumbing. This step is crucial; you don’t want to discover too late that your new tub doesn’t fit!
Once you’ve confirmed that the tub will fit, clear the installation area of any old fixtures or debris. If you’re replacing an existing bathtub, carefully remove it to avoid damaging the surrounding tiles or walls. Take a moment to inspect the plumbing for any signs of leaks, rust, or corrosion. This is your opportunity to address any plumbing issues before your new tub is in place.
A Personal Touch: As you prepare your bathroom, consider how you want the space to feel. Are you aiming for a modern, minimalist look or a cozy, rustic vibe? This vision will guide your choices as you select your bathtub and plan your installation.
Step-by-Step Installation Process
With your space prepared and your tools in hand, it’s time to dive into the installation process. Here’s a detailed guide to help you every step of the way:
Step 1: Positioning the Tub
Start by positioning your new bathtub in the designated area. This step may require some maneuvering, especially in a compact bathroom. Once the tub is in place, use your level to check both sides and the front. It’s crucial for the tub to be perfectly level to ensure proper drainage.
Engaging Tip: Envision how the tub will look once installed. Consider placing decorative items nearby—perhaps a small plant or a candle holder—to enhance the overall aesthetic during the installation process.
If the tub isn’t level, you may need to adjust the floor or use shims to elevate one side. This might involve a bit of trial and error, but ensuring the tub is level now will save you headaches later.
Step 2: Connecting the Drain and Water Supply
Once the tub is positioned correctly, it’s time to connect the drain and water supply. Begin by installing the drain assembly according to the manufacturer’s instructions. This usually involves attaching the drain to the bottom of the tub and connecting it to the existing plumbing.
Common Mistake to Avoid: Many DIYers forget to align the drain properly. Before securing everything, double-check that the drain aligns with your plumbing. A misalignment can lead to future leaks and costly repairs.
When making these connections, ensure everything is snug but avoid overtightening. Using plumber’s tape on threaded connections can help create a watertight seal, reducing the risk of leaks.
Step 3: Securing the Tub
With the plumbing connected, it’s time to secure the tub in place. Depending on your model, you may need to use mounting brackets or adhesive. Refer to the manufacturer’s guidelines for securing your specific tub model.
Make sure the tub is stable and doesn’t wobble. An unstable tub can lead to serious issues, including leaks and damage to surrounding areas. Take a moment to admire the sleek lines and craftsmanship of your new tub—it’s an exciting step!
Step 4: Sealing and Finishing Touches
After securing the tub, the next step is to seal it. Use silicone sealant around the edges where the tub meets the wall and floor. This sealant prevents water from seeping into unwanted areas, which can lead to mold growth.
Applying the sealant evenly creates a polished finish. A good technique is to use your finger or a caulking tool to smooth the line. After sealing, allow it to cure according to the manufacturer’s instructions—typically, this takes at least 24 hours.
Personal Reflection: As you work, think about how this small change will impact your daily routine. Visualize yourself relaxing in the tub, enjoying the fruits of your labor.
Tips for a Successful Installation
To ensure your DIY installation goes smoothly, keep these expert tips in mind:
- Double-Check Measurements: Always measure twice before cutting or making adjustments. Small mistakes can lead to significant issues down the line.
- Take Your Time: Rushing through the installation can result in costly mistakes. Patience is key to achieving the best results.
- Consult Resources: If you run into challenges, refer to online tutorials or the manufacturer’s resources. Many companies offer videos and guides that can provide visual assistance.
Troubleshooting Common Issues
Even seasoned DIYers can encounter hiccups during installation. Here are some common issues and their solutions:
- Leak at the Drain: If water pools around the drain after installation, double-check the tightness of your connections. You may need to apply additional plumber’s tape or reseal the joint.
- Tub Not Level: If your tub is not level, consider adding shims or adjusting the subfloor. An uneven tub can cause long-term problems, including leaks.
- Drainage Issues: If water doesn’t drain properly, check for clogs in the drain line and ensure all connections are secure.
Maintaining Your New Small Bathtub
Once your bathtub is installed, regular maintenance will help keep it looking and functioning at its best. Here are some maintenance tips:
- Regular Cleaning: Use gentle, non-abrasive cleaners to maintain the finish of your tub. Harsh chemicals can damage the surface over time.
- Inspect Seals: Periodically check the seals around your tub. If you notice any wear or damage, reapply sealant to prevent leaks.
- Avoid Harsh Chemicals: Keep abrasive cleaners and tools away from your tub to prevent scratches and discoloration.
Creating a Spa-Like Atmosphere
Now that your bathtub is installed, consider ways to enhance your bathing experience. The right accessories can transform your small bathroom into a luxurious spa retreat.
Soft Lighting: Consider adding dimmable lighting or candles around the tub for a calming ambiance. Soft, warm light can make a bath feel more inviting and relaxing.
Scented Candles or Oils: The power of scent can significantly enhance your bathing experience. Use lavender for relaxation or eucalyptus for an invigorating atmosphere.
Cozy Towels and Bathrobes: Invest in plush, high-quality towels and a cozy bathrobe. The tactile experience adds an extra layer of comfort and indulgence to your bath routine.
Aromatherapy Diffuser: An essential oil diffuser can fill your bathroom with calming scents, making your bathing experience even more soothing.
Conclusion
Installing a small bathtub can be a gratifying DIY project that elevates both the style and functionality of your bathroom. With the right tools, thorough preparation, and careful execution, you can achieve stunning results that transform your space.
As you relax in your new tub, let the warmth envelop you and the cares of the day melt away. Explore Ace Decor's collection of small bathtubs for sale—each designed to enhance your bathroom experience. Your dream soaking tub is just a DIY project away!
FAQ
Q: Can I install a small bathtub by myself?
A: Absolutely! With the right tools and a bit of time, most homeowners can manage a DIY installation.
Q: What if I encounter plumbing issues during installation?
A: If you’re uncertain about any plumbing aspect, it’s wise to consult a licensed plumber to avoid costly mistakes.
Q: How long should I wait after sealing before using my tub?
A: It’s recommended to wait at least 24 hours after applying silicone sealant to ensure proper curing.
Q: What are the benefits of a small bathtub?
A: Small bathtubs save space, are often more affordable, and still provide a luxurious bathing experience.
Q: How do I maintain my new bathtub?
A: Regular cleaning with gentle, non-abrasive cleaners will keep your tub looking its best. Check seals periodically for wear and reapply sealant as necessary.
Feel free to reach out if you have any questions or need assistance with your bathtub installation project. Happy renovating!
