


Nothing spoils a nice, relaxing soak in your tub like the stains and marks of damage at the bottom of your otherwise perfect acrylic tub. The good news? You don’t need to contact a pro or tear it out completely. With some direction (and perhaps a little elbow grease), repair of an acrylic bathtub is entirely possible. In this post, we are going to cover everything from identifying the damage to making those repairs like a professional DIY champ. Whether you’ve got minor scuffs or deeper cracks, this is your no-fluff, one-stop guide to saving your tub — and your wallet.
Table of Contents:
- 1. Understanding the Enemy: Common Acrylic Bathtub Damage
- 2. Tools of the Trade: What You Need Before You Start
- 3. The Step-by-Step: How to Fix a Crack or Chip Like a Pro
- 4. When Things Get Ugly: Fixing Larger Cracks and Structural Issues
- 5. Keeping It Pretty: How to Prevent Future Damage
- 6. The Satisfaction Factor: Why DIY Is Totally Worth It
- Conclusion
- FAQ
1. Understanding the Enemy: Common Acrylic Bathtub Damage
Before we get into fixing an acrylic bathtub yourself, let’s take a look at the types of wear and tear such tubs often face. Acrylic is beloved for being lightweight, shiny and relatively durable — but it's actually not very indestructible.
You might notice:
-
Hairline cracks, typically from heavy items dropped into the tub.
-
Surface Scratches, usually caused by using rough cloth, abrasive cleaners or pets.
-
Chips, primarily around the edges or drain region.
-
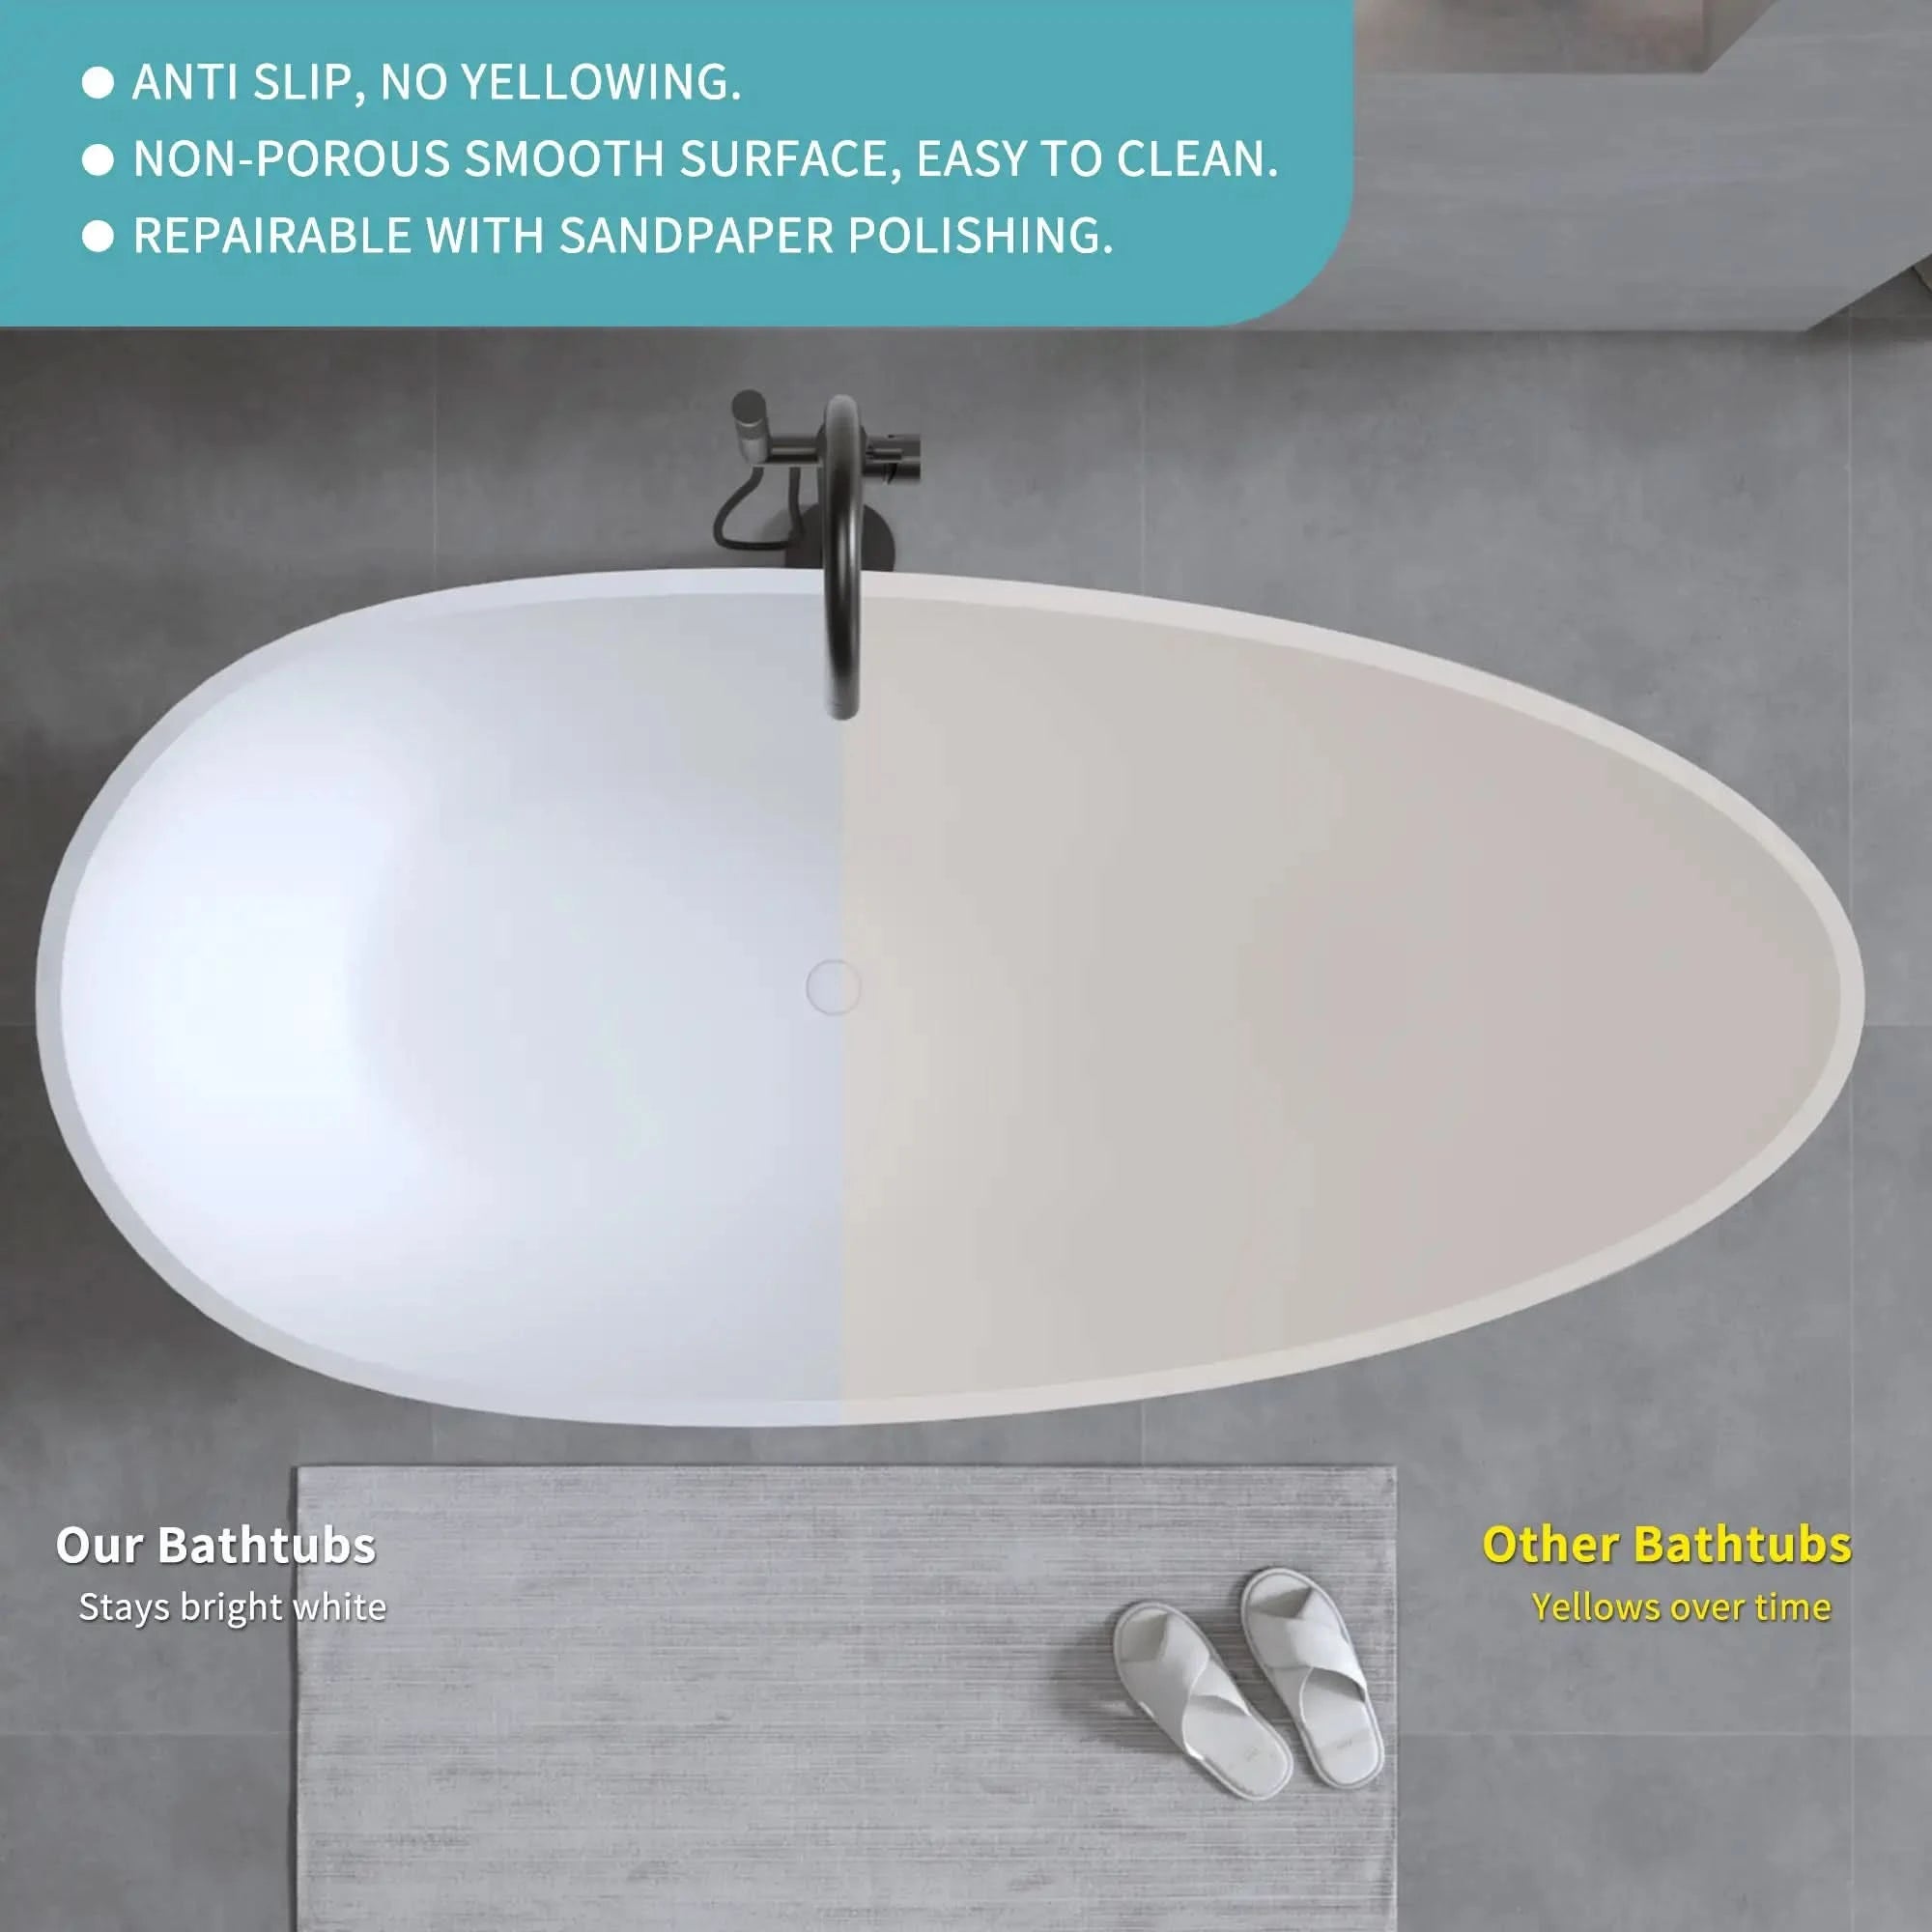
Discoloration, from harsh chemicals or time.
While some of them are only cosmetic, others — such as deep cracks, can cause water leaks or problems with the structure. The trick is knowing when a quick fix is all you need, and when it’s time to pull out the big guns (or just call a plumber — there’s no shame in that!).

2. Tools of the Trade: What You Need Before You Start
No hero steps into battle without a sword, and no DIYer tries to repair an acrylic bathtub without the proper tools. Fortunately, you don’t need an armory — just the basics things:
-
Very fine sandpaper (400-600 grit)
-
Acrylic tub repair kit (may also have filler, hardener, and finishing compounds)
-
Putty knife or plastic knife
-
Polishing compound
-
Rag or microfiber cloth
-
A good cleaning solution
Pro tip: Read the instructions on your repair kit. There are those that are air-dry, and those that require UV light or a longer curing time. Believe me — I learned that the hard way and had to sit in a tub that smelled like a terrible chemical experiment.

3. The Step-by-Step: How to Fix a Crack or Chip Like a Pro
This is where the magic occurs. Time to roll up the sleeves, already?” You’ve seen a tiny crack, say, a hairline fracture.
Step 1: Clean Thoroughly
Clean soap scum, oils, and residue away from the damaged area using a non-abrasive cleaner. Dry it completely. If anything is left in dirt, it will disrupt the repair.
Step 2: Sand the Area
Gently sand the area around the crack or chip to level the surface and aid adhesion of the filler. Think of it as priming the canvas for your masterpiece.
Step 3: Apply the Filler
Combine the filler and the hardener (it normally comes in the repair kit), and then fill the crack or chip with a putty knife. Don’t worry if it seems messy — it’s better to overfill them a little than to underfill.
Step 4: Let It Cure
This is when you walk. Get a coffee, catch an episode of your favorite show — just let it dry.
Step 5: Sand Again and Polish
After the filler dries, sand smooth with a fine grit paper. Seal the polished blob off with a polishing compound, and smooth it until it’s indistinguishable from the rest of the tub.
Even with these lengthier steps, your acrylic bathtub repair isn’t just functional — it’s nearly invisible. Yes, the process may sound very detailed, but it’s actually easier than replacing your tub (and, let’s face it, way more fun too). Whether it’s your first time or your fifth time, following word for word will make you feel like a pro.

4. When Things Get Ugly: Fixing Larger Cracks and Structural Issues
So what if you had something more serious — like a crack you could slip a coin into? Bigger damage isn’t a death sentence, but you do need to be a tad more mindful.
First, reinforce the underside of the tub if accessible. This is the sort of thing you’re in for with the fiberglass mesh and epoxy resin, which provides some real stability before you actually get to the cosmetic stuff.
Then repeat the process as above, this time also applying a repair kit designed for more serious damage. You might need a second layer of filler or sanding to get it just right.
Keep in mind, large cracks can indicate tub flex or foundation problems, so if your patch doesn’t hold after a few weeks — call in the pros.
5. Keeping It Pretty: How to Prevent Future Damage
You’ve taken down the crack, but how to keep your tub looking good from here on out?
Here are some quick tips:
-
Add a rubber mat or cushion for pet baths or weighty washing.
-
Avoid cleaners that contain ammonia or bleach — they break down the glossy acrylic surface.
-
Never stand in your acrylic tub with shoes on. (some of us have made that mistake)
-
Rinse after use to avoid clogging from soap scum and hair products.
-
If your tub flexes when you step in, you may want to reinforce the base to help avoid stress cracks in the future.
With regular TLC, you’ll prevent most common problems — and keep your skills in how to fix an acrylic bathtub in top form.
6. The Satisfaction Factor: Why DIY Is Totally Worth It
Okay, let’s talk feelings. Is there anything more satisfying than fixing something yourself, let alone something as central as your bathtub? You can save money and even learn a new skill.
And also: Once you’ve fixed one acrylic tub, you’re basically the local expert. And don’t be surprised when your friends text you a blurry photo of a bathtub and ask, “Hey, is this bad?”
Spoiler alert: it’s usually not. And now you’ll know exactly what to do.
Conclusion
Repairing your acrylic bath doesn’t have to be intimidating and expensive. When you have the proper tools, a little patience, and some help (hey, that’s me!) you can address cracks, chips and scratches like a pro DIYer. You’ve learned why damage occurs, what you can do to fix it and how you can stop it from happening again. Not only have you saved yourself the possibility of having a plumbing bill — you have earned the crow of accomplishment the next time someone says, “I think I need a new tub.
So the next time you get that irritating crack, just grin and bear, “I got this.”
FAQ: Acrylic Bathtub Repair – Expert Answers
Q1: Can I use a fiberglass repair kit on my acrylic tub?
A: Technically yes, but it’s not ideal. Acrylic and fiberglass have different textures and flexibility. Use a kit specifically labeled for acrylic bathtub repair for best results.
Q2: What if the crack keeps coming back after repair?
A: That usually means there’s movement or flex under the tub — possibly a support issue. Consider reinforcing the base or consulting a contractor for long-term solutions.
Q3: How long does an acrylic repair typically last?
A: If done properly, a good repair can last several years. Just make sure you avoid harsh chemicals and don’t put excess stress on the area.
Q4: Can I repaint or refinish the entire tub?
A: Yes, but be cautious. Tub refinishing requires ventilation, careful prep, and sometimes professional-grade materials. It’s doable, but it’s a bigger job than just spot repair.
Q5: Is it worth repairing an old tub, or should I replace it?
A:
Acrylic vs. Resin Bathtubs – Cost, Maintenance & Longevity Compared
Jetted Bathtub Repair: Common Issues, Expert Solutions, and When to Replace
How Do I Repair a Leaky Bathtub Faucet? Expert Tips for Fixing the Drip

