A leaky bathtub faucet can be more than just an annoying drip; it can lead to wasted water, increased utility bills, and potentially long-term damage to your bathroom fixtures if not addressed promptly. The sound of a constant drip can be frustrating, but the good news is that fixing a leaky bathtub faucet is often a simple DIY project. With the right tools and know-how, you can tackle this problem quickly, restoring your bathroom to full functionality.
In this in-depth guide, we’ll walk you through the common causes of a leaky bathtub faucet, how to identify the problem, and, most importantly, how to fix it. Whether you have a classic bathroom setup or a modern, luxurious space like one with the LY Curved Freestanding Soaking Tub from ACE DECOR, knowing how to repair your faucet can save you money and headaches down the line.
Why It’s Important to Repair a Leaky Bathtub Faucet
Before we dive into the details of fixing the leak, it's crucial to understand why addressing this issue promptly is essential. A leaky bathtub faucet isn’t just a minor inconvenience; it can lead to several problems if left untreated:
- Water Waste: A dripping faucet might seem like a small issue, but it can waste hundreds, if not thousands, of gallons of water per year. This waste not only affects your utility bills but also has a significant environmental impact.
- Increased Water Bills: With water rates rising in many areas, a leaky faucet can lead to noticeable increases in your monthly water bill. Fixing the leak can help you save money over time.
- Damage to Fixtures: Leaks can lead to corrosion and wear on your faucet’s internal components. Over time, this can cause more significant damage, requiring the entire faucet to be replaced.
- Bathroom Aesthetics: Constant drips can lead to unsightly water stains on your bathtub or surrounding tiles. This can affect the overall appearance of your bathroom and lead to more intensive cleaning or repairs.
Now that we understand why fixing a leaky faucet is crucial, let's explore how to identify the root cause and address the problem.
Understanding the Anatomy of a Bathtub Faucet
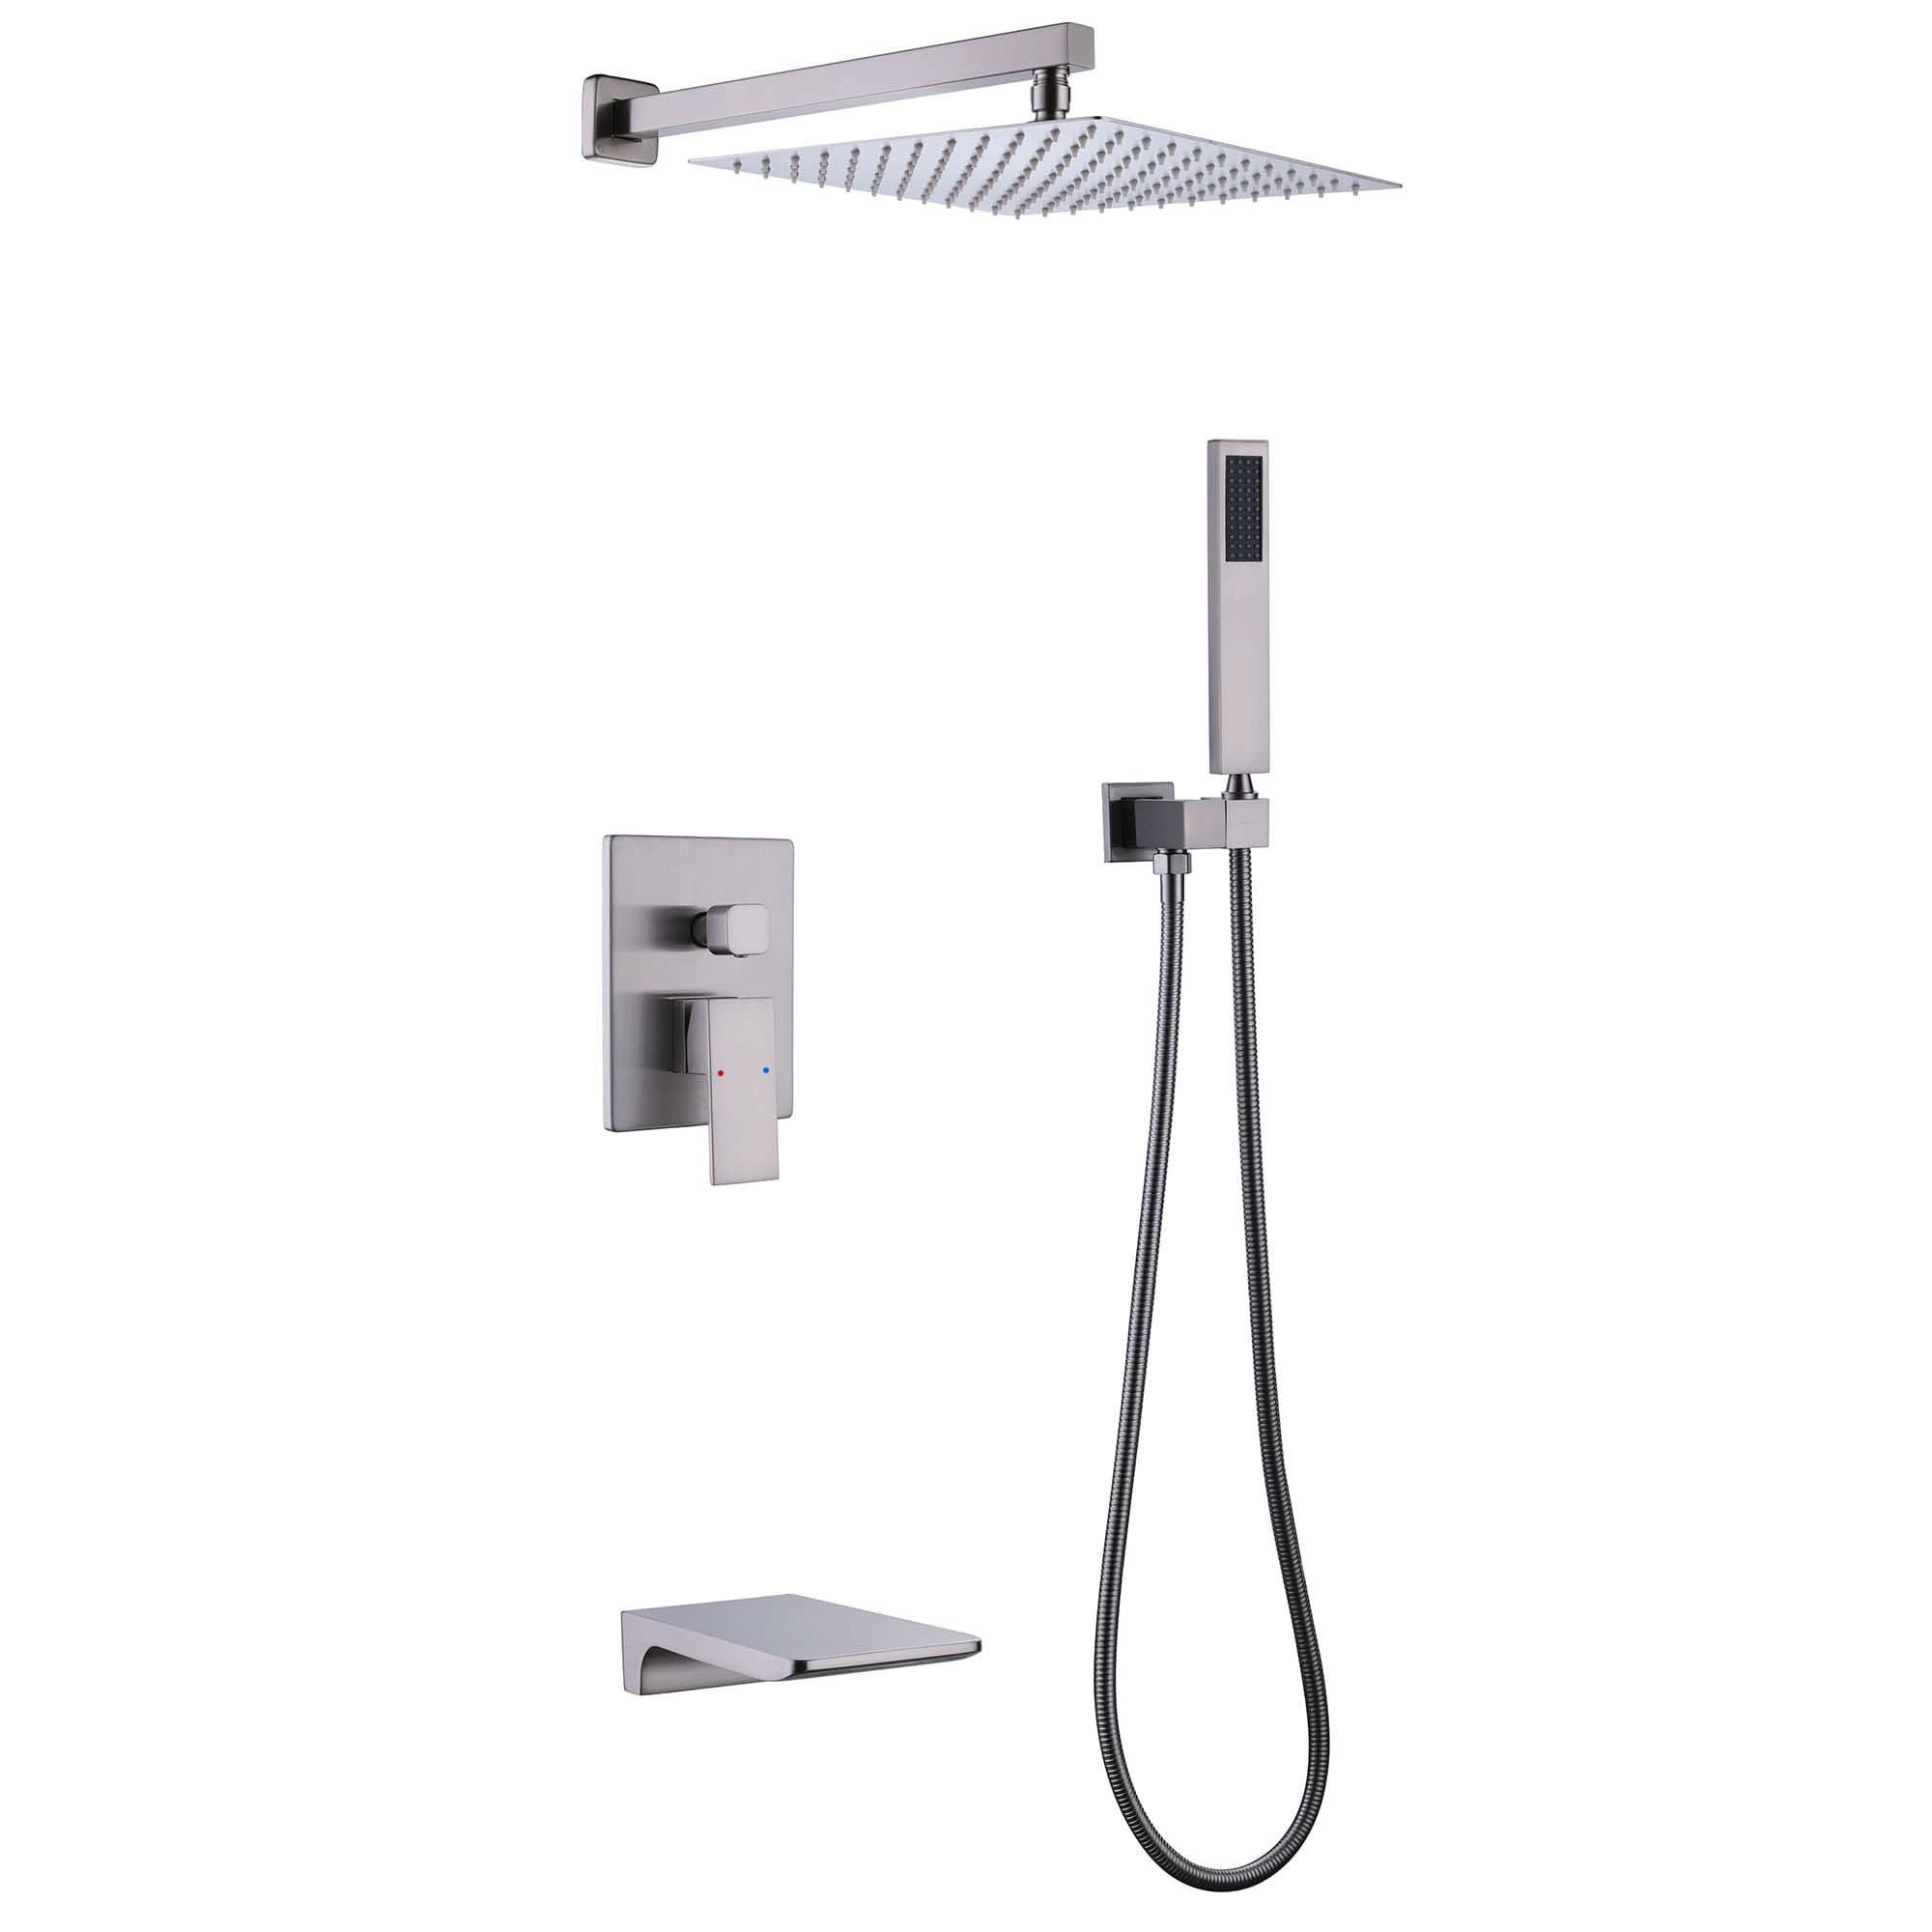
To effectively repair your leaky bathtub faucet, it's important to understand the basic anatomy of the faucet itself. While there are various types of bathtub faucets, most fall into one of the following categories:
- Compression Faucets: These faucets are the most common type and feature two handles—one for hot water and one for cold. Inside each handle, there is a rubber washer that controls the flow of water. Over time, these washers can wear out, leading to leaks.
- Cartridge Faucets: These faucets use a cartridge to control the water flow. They may have one or two handles, and the cartridge can wear out, leading to leaks around the faucet.
- Ball Faucets: These are single-handle faucets that use a ball mechanism to control water flow. Ball faucets are known for being prone to leaks due to the numerous parts inside that can wear out over time.
- Ceramic Disk Faucets: These are newer, more durable faucets that use ceramic disks to control water flow. They are less prone to leaks but can still experience problems with the seals over time.
Identifying which type of faucet you have is the first step toward determining how to repair the leak.
Step-by-Step Guide to Fixing a Leaky Bathtub Faucet
Fixing a leaky faucet doesn’t require a plumbing expert. With the right tools and a little patience, you can restore your faucet to full functionality. Below is a detailed guide to help you through the process, no matter what type of faucet you have.
Tools You’ll Need:
- Flathead and Phillips screwdrivers
- Adjustable wrench or pliers
- Faucet handle puller (optional but useful for stuck handles)
- Replacement washers, O-rings, or cartridges (depending on your faucet type)
- Plumber’s grease
- Plumber’s tape
- Towels or rags to soak up water
Step 1: Turn Off the Water Supply
Before you begin, make sure to turn off the water supply to the bathtub. You can usually find shut-off valves located under the sink or near the water heater. If you cannot locate individual valves for the bathtub, you may need to turn off the main water supply to your home.
Once the water is off, turn on the faucet to drain any remaining water from the pipes.
Step 2: Remove the Faucet Handle
Now, it’s time to remove the faucet handle. Look for a small cap or cover on the faucet handle, usually located under the handle or on the front. Use a flathead screwdriver to gently pry off this cover, revealing the screw underneath.
Use a Phillips screwdriver to remove the screw and set it aside. If the handle is stuck, you can use a handle puller tool to remove it without damaging the fixture.
Step 3: Remove the Faucet Assembly
Once the handle is removed, you’ll need to access the faucet's internal components. Depending on your faucet type, you’ll either be dealing with a compression valve, a cartridge, or a ball mechanism.
For compression faucets, you’ll see a stem inside the fixture. Use an adjustable wrench to unscrew the packing nut that holds the stem in place, and then remove the stem by turning it counterclockwise.
For cartridge faucets, you’ll need to pull out the cartridge after removing any retaining clips or screws. These cartridges can wear down over time, leading to leaks.
For ball faucets, you’ll need to remove the cap and collar using an adjustable wrench. Once these parts are removed, you’ll see the ball mechanism, which controls the water flow. If the ball is damaged, it may need to be replaced.
Step 4: Inspect and Replace Worn Parts
Now that you have access to the internal components, it’s time to inspect them for wear and tear. The most common causes of faucet leaks include:
- Worn-out washers: In compression faucets, the rubber washers located at the end of the stem often wear out over time, causing leaks. If the washer is damaged, replace it with a new one.
- Damaged O-rings: O-rings help create a watertight seal within the faucet. If these rings are cracked or worn, they need to be replaced.
- Faulty cartridges: In cartridge faucets, the cartridge itself may wear down or crack, leading to a leak. Replace the cartridge with a new one that matches your faucet model.
- Springs and seats: In ball faucets, the small springs and seats inside the mechanism can wear out, causing leaks. These are inexpensive parts that are easy to replace.
As you replace these components, apply a small amount of plumber’s grease to the new washers, O-rings, or cartridges. This will help ensure a smooth fit and prevent future leaks.
Step 5: Reassemble the Faucet
Once you’ve replaced the worn parts, it’s time to reassemble the faucet. Follow the reverse order of the steps you took to disassemble the faucet:
- Insert the stem or cartridge back into the faucet body.
- Tighten the packing nut or retaining ring with an adjustable wrench.
- Reattach the faucet handle by tightening the screw and replacing the decorative cap.
Use plumber’s tape on any threaded parts to create a watertight seal. This will help prevent future leaks and ensure that the faucet operates smoothly.
Step 6: Turn the Water Back On
With the faucet reassembled, you can now turn the water supply back on. Open the faucet to check for any leaks and ensure that water flows smoothly.
If the faucet continues to leak, it’s possible that one of the internal components wasn’t seated properly, or there may be another issue that requires professional attention.
Preventing Future Faucet Leaks
Now that you’ve successfully repaired your leaky faucet, it’s essential to take steps to prevent future leaks. Regular maintenance and care will ensure that your faucet operates smoothly for years to come. Here are some tips for preventing future leaks:
- Inspect the Faucet Regularly: Regularly check your faucet for any signs of wear or leaks. Catching small issues early can prevent major problems down the line.
- Use Plumber’s Grease: When replacing washers, O-rings, or cartridges, always apply a small amount of plumber’s grease. This helps keep the faucet components lubricated and prevents premature wear.
- Clean the Faucet: Hard water and mineral deposits can build up on your faucet, leading to wear on the internal components. Clean your faucet regularly with a non-abrasive cleaner to prevent buildup.
Choosing a Stylish, High-Quality Bathtub
If you're dealing with an older, outdated bathtub faucet, it may be worth considering an upgrade to a more modern fixture. Additionally, upgrading your bathtub can dramatically improve the aesthetic and functionality of your bathroom.
At ACE DECOR, we offer a variety of luxurious freestanding bathtubs that are designed to complement any bathroom style. Here are some standout options:
-
LY Curved Freestanding Soaking Tub: Featuring smooth, elegant curves, this soaking tub offers both comfort and style. Its modern design makes it the perfect centerpiece for any bathroom.
-
LY Egg-Shaped Freestanding Soaking Tub: This tub offers a unique, ergonomic design that provides a deep soaking experience. The egg shape adds a bold, contemporary look to any space.
-
LY Seamless Freestanding Soaking Tub: A sleek, minimalist design makes this seamless soaking tub a perfect choice for homeowners seeking a clean, modern aesthetic. Its smooth finish ensures easy maintenance and long-lasting beauty.
Frequently Asked Questions (FAQ)
Q1: What causes a bathtub faucet to leak?
A: The most common causes of a leaky faucet are worn-out washers, damaged O-rings, faulty cartridges, or corroded valve seats. Over time, these parts wear down, leading to leaks.
Q2: How often should I replace my faucet’s internal components?
A: The lifespan of faucet components can vary, but washers and O-rings typically need to be replaced every 5 to 10 years. Cartridges may last longer, but regular inspections can help you catch any issues early.
Q3: Is it difficult to repair a leaky bathtub faucet?
A: Repairing a leaky faucet is generally a straightforward task that can be completed by most homeowners with basic tools. However, more complex issues, such as corrosion or valve seat damage, may require professional help.
Q4: Can I prevent my faucet from leaking in the future?
A: Yes, regular maintenance, cleaning, and using quality replacement parts can help prevent future leaks. Be sure to inspect your faucet periodically for signs of wear.
Q5: Should I replace my bathtub when upgrading the faucet?
A: If your bathtub is outdated or worn, upgrading to a modern, freestanding bathtub like the LY Egg-Shaped Freestanding Soaking Tub can enhance the look and feel of your entire bathroom.
Conclusion
Repairing a leaky bathtub faucet is a task that can often be completed with minimal tools and effort, saving you money on costly plumbing services. By following the steps outlined in this guide, you can stop the annoying drip, conserve water, and restore your bathroom’s functionality. Plus, with regular maintenance, you can prevent future leaks and extend the life of your faucet.
And if you’re considering a full bathroom upgrade, don’t forget to explore ACE DECOR’s range of luxurious freestanding tubs, such as the LY Curved Freestanding Soaking Tub, for a truly transformative bathroom experience.


