Table of Contents
- Why the "How to Cut Tempered Glass" Question Comes Up So Often
- Why You Can't Cut Tempered Glass After It's Made
- What Happens If You Try to Cut Tempered Glass Anyway
- The Right Way to Cut Tempered Glass (Before Tempering)
- Can Special Tools Really Cut Tempered Glass?
- What to Do If You Already Have a Tempered Glass Panel That Doesn't Fit
- Safety Tips for Handling or Disposing of Tempered Glass
- FAQs About How to Cut Tempered Glass
- Final Thoughts — Do It Right the First Time
- Related Articles
When you're planning a bathroom remodel — maybe updating a shower door, replacing a vanity mirror, or adding sleek glass shelving — you might find yourself searching "how to cut tempered glass.”
It's a question many homeowners ask when trying to get that perfect fit without spending extra on a custom order. The reality, though, is that tempered glass behaves very differently from regular glass — and knowing how it's made, what you can safely do, and what your best alternatives are will save you both money and frustration.
As someone who's worked with countless homeowners on bathroom projects, I'll walk you through everything you need to know about how to cut tempered glass, when not to try it, and the right way to get custom results that are safe, durable, and worth the investment.
Why the "How to Cut Tempered Glass" Question Comes Up So Often

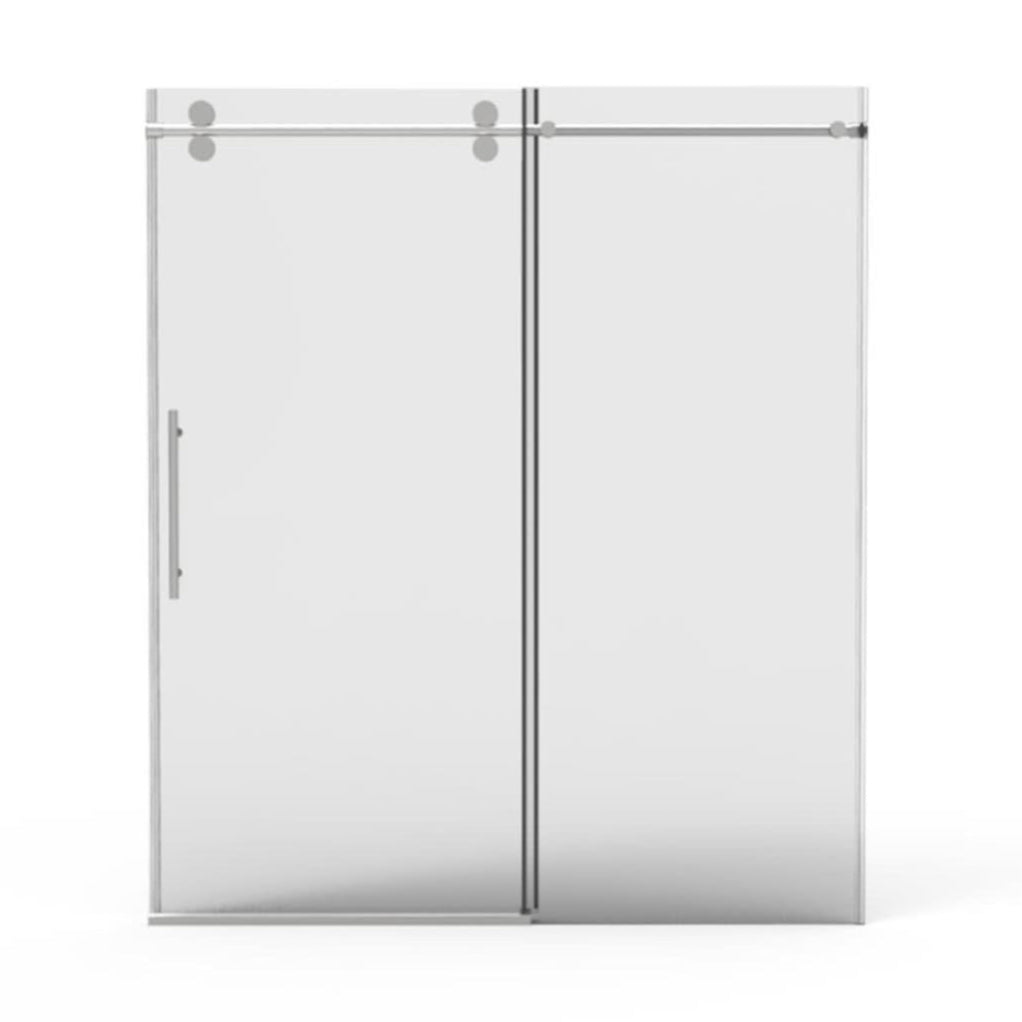
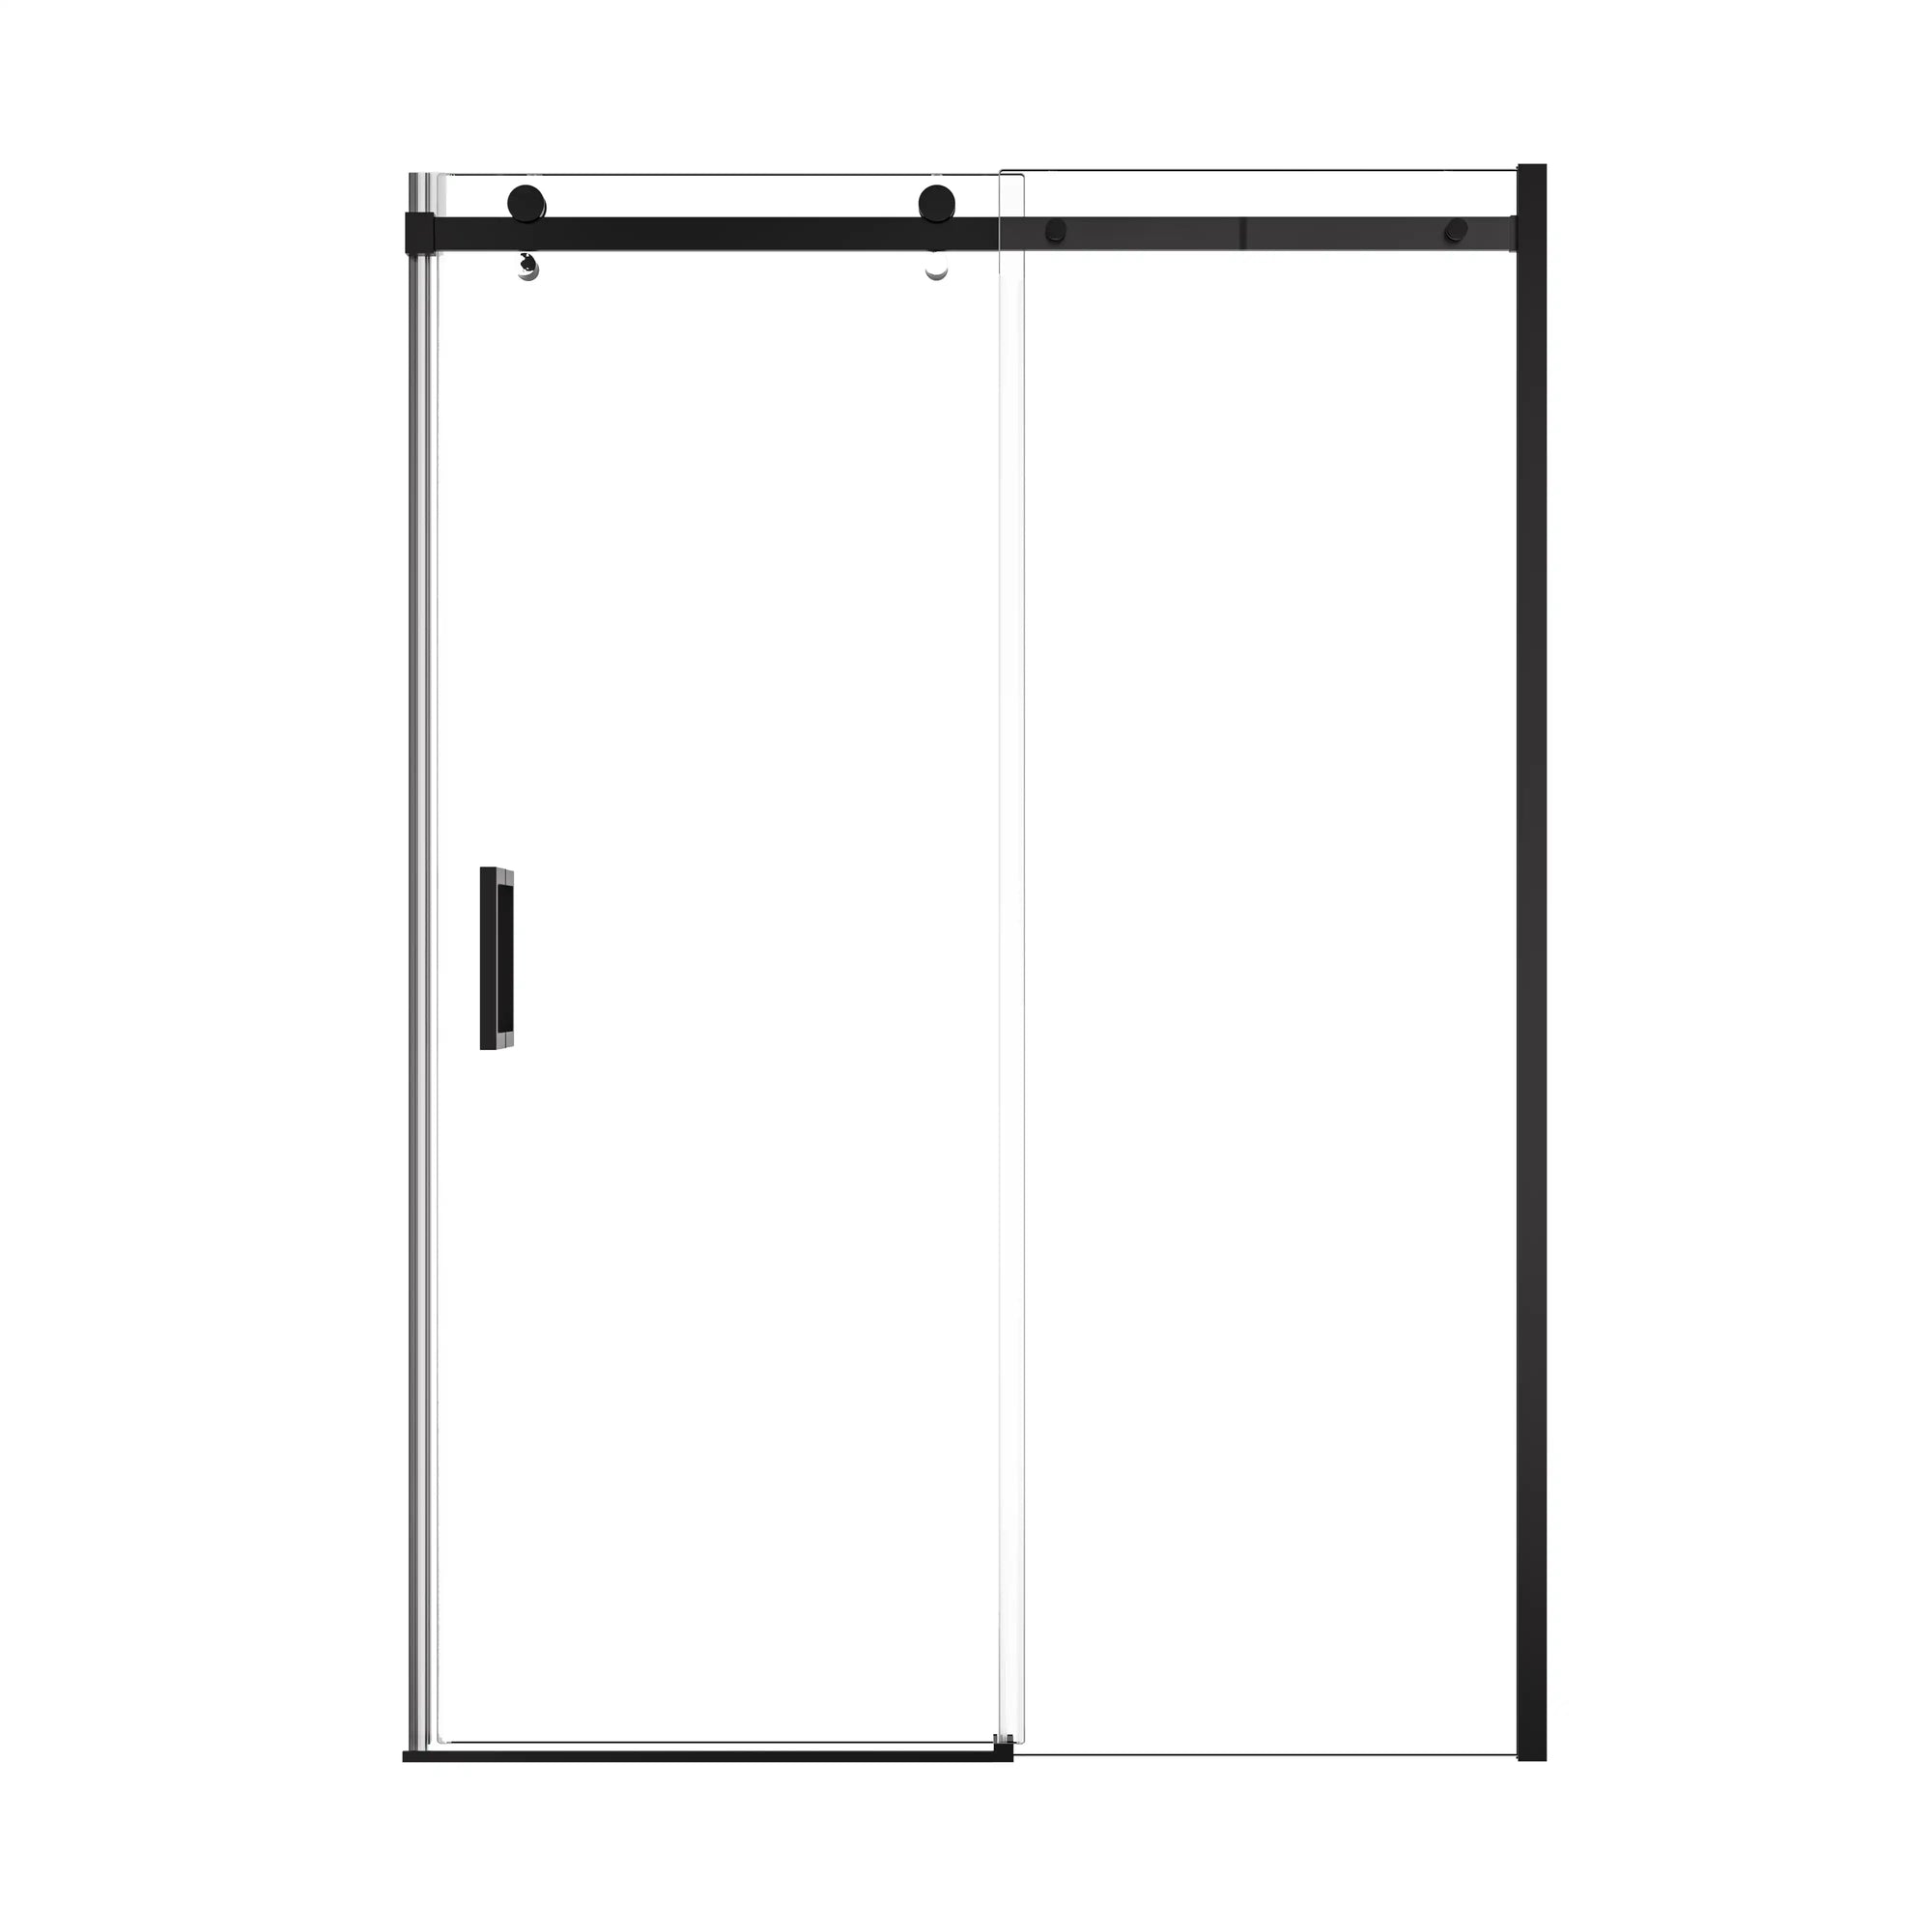
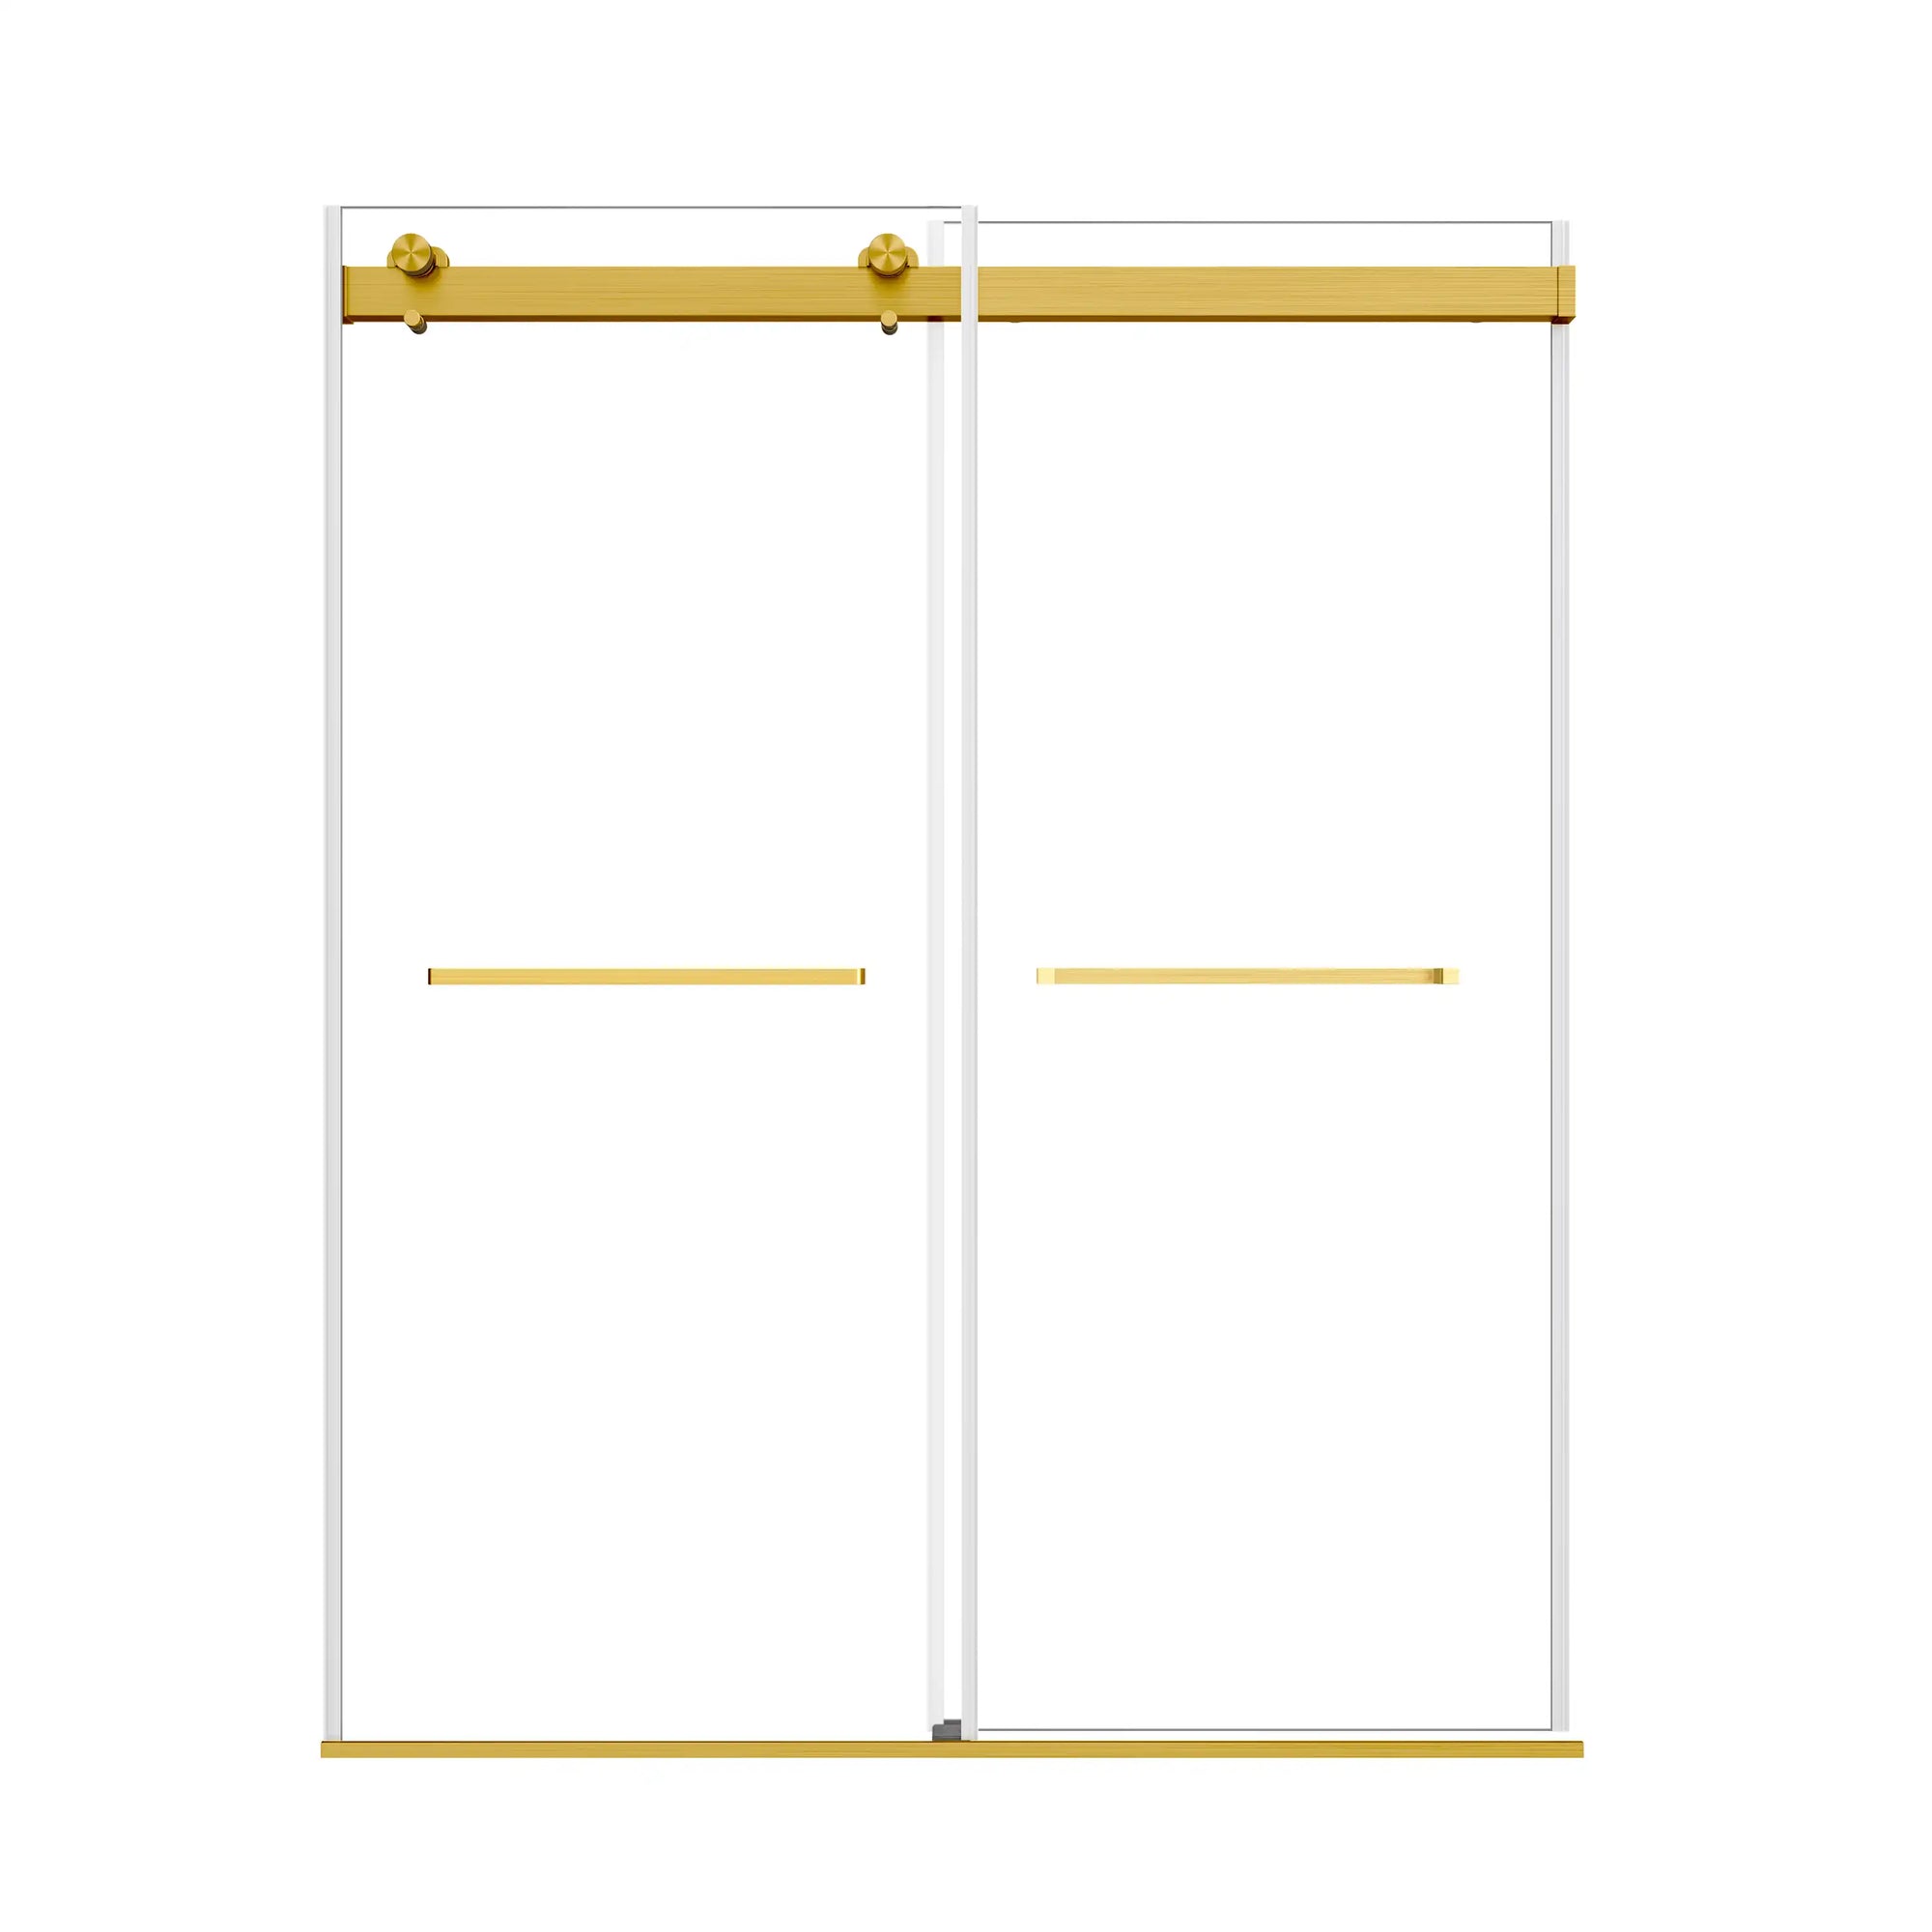
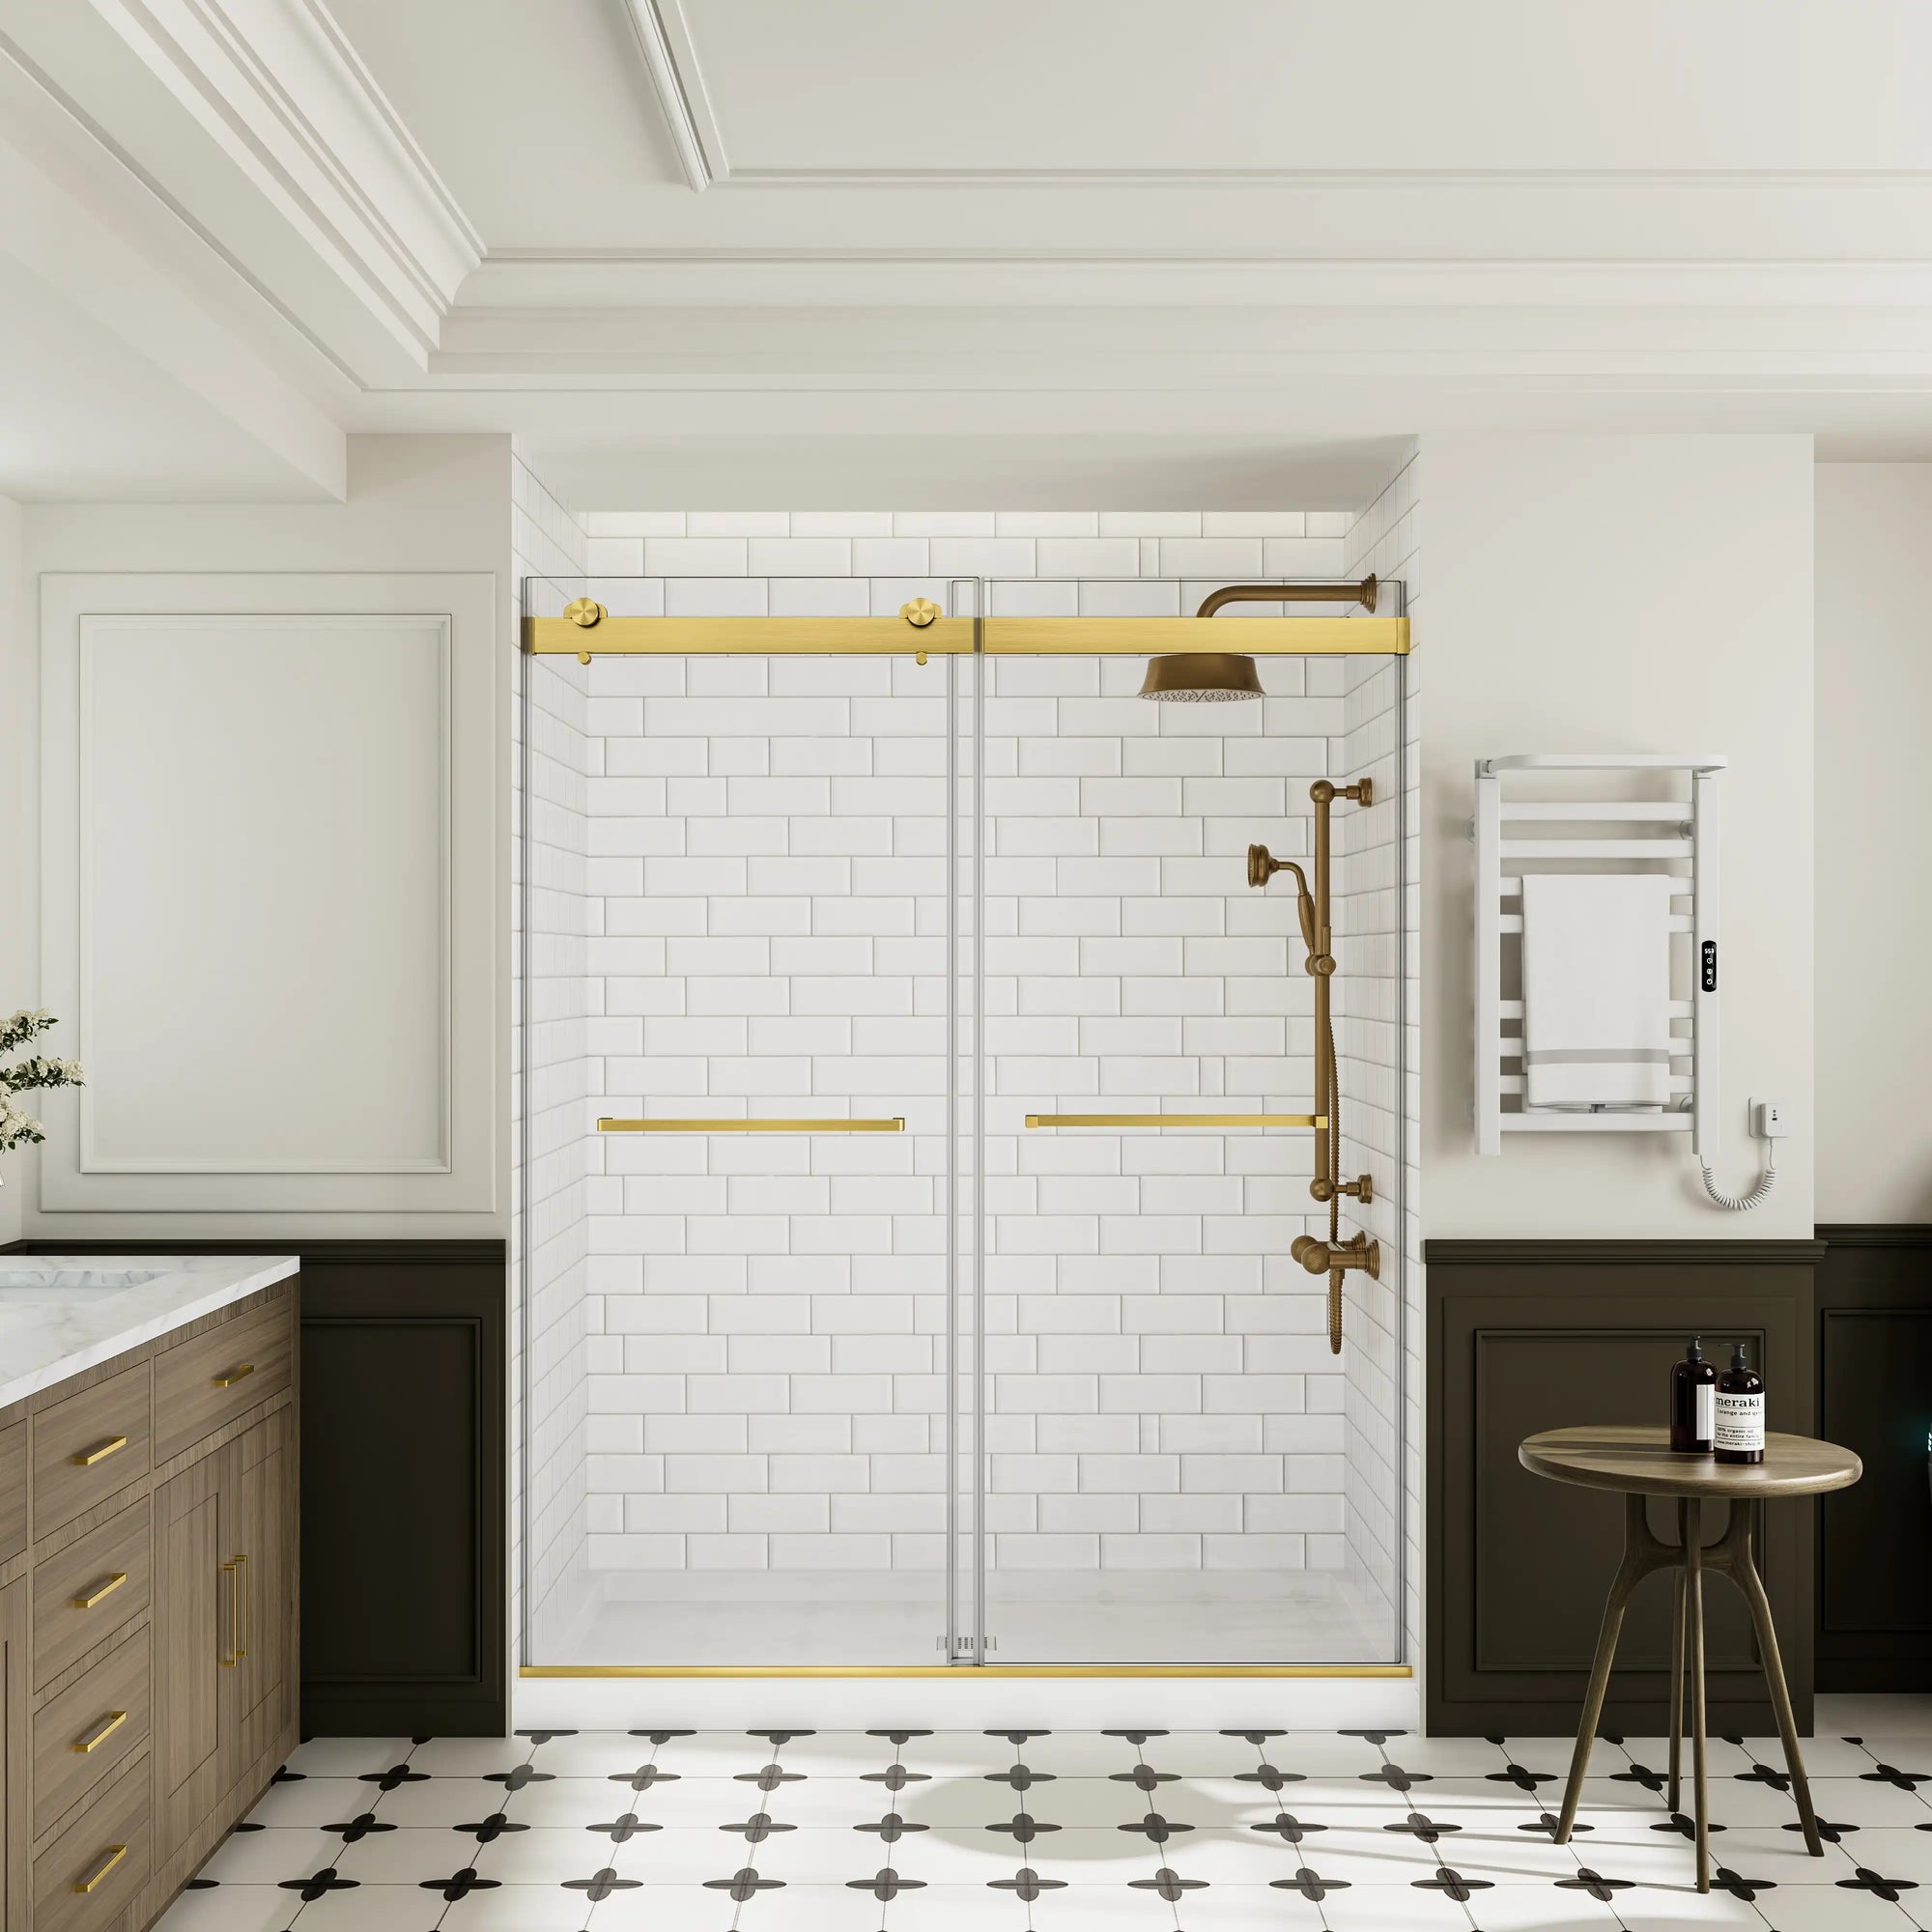
In home remodels, tempered glass is everywhere — shower doors, partitions, cabinet fronts, mirrors, and even tabletops. It's one of those quiet materials that defines the modern bathroom look: clean lines, open light, and a sense of spaciousness that standard framed designs just can't match.
Tempered glass is up to five times stronger than regular glass and far more heat-resistant. It can withstand sudden temperature changes from hot showers or steam, and if it ever breaks, it crumbles into small, rounded cubes instead of sharp shards — a safety feature that makes it ideal for family homes. That's why you'll find it not only in shower enclosures, but also in windows, sliding doors, and even balcony panels.
However, that strength and safety come at a cost. Once tempered, glass becomes impossible to cut or reshape without shattering. The moment you try to modify its size — whether by scoring, grinding, or drilling — the internal stress that gives it its strength releases all at once. The result? A thousand tiny fragments where a beautiful panel used to be.
So, before you grab a glass cutter or start searching online for "DIY ways to cut tempered glass,” it's worth understanding how to cut tempered glass properly — meaning when and how the cutting should be done, and why it must happen before the tempering process.
If you're working on a bathroom renovation and hoping to reuse or resize a glass panel, knowing this distinction can save you both time and money. It's the difference between a smooth, professional finish and a costly setback that sends you back to square one.
Why You Can't Cut Tempered Glass After It's Made

Tempered glass — also known as toughened glass — starts out as ordinary annealed glass that's carefully shaped and cut before it ever enters the tempering furnace. Once all the edges are polished and any holes or cutouts are made, the sheet is heated to around 620 °C (1,148 °F) and then rapidly cooled with high-pressure air.
This heating-and-cooling cycle is what gives tempered glass its signature strength and safety. During the process, the outer layers cool and contract faster than the inner core, creating a permanent tension pattern inside the glass.
- The outer surfaces are locked in compressive stress, pressing inward like invisible armor.
- The inner core is held in tensile stress, stretching slightly to balance that compression.
Together, these opposing forces make the panel roughly four to five times stronger than regular glass and far more resistant to impact or heat shock — which is why it’s the standard choice for shower doors, bathroom partitions, sliding enclosures, and balcony panels.
However, that same internal tension is exactly what makes tempered glass impossible to cut after tempering.
When you attempt to cut, drill, or grind the surface, you're not just scratching it — you're disrupting a tightly controlled equilibrium that's holding thousands of pounds of internal pressure. The moment that balance breaks, all the stored energy releases at once, and the glass explodes into hundreds of tiny granules.
It's not a gradual crack or a clean break; it's an instant, total failure. That's why every professional fabricator emphasizes this point: you can't safely cut tempered glass once it's already been tempered.
If you think of tempered glass as a tightly wound spring, cutting it is like slicing through the middle of that spring while it's under load — all that stored force has to go somewhere, and it releases violently.
This is also why even a tiny surface chip or corner defect can cause spontaneous breakage later on. The glass may look flawless, but the built-in stress system means any disturbance, even a small one, can trigger a chain reaction. That's why during production, every cut, polish, and hole must be completed before the heat-treatment phase.
So when people ask "how to cut tempered glass", the honest answer is: you don't. You plan, measure, and cut before the glass is tempered — that's the only safe and effective way to get the result you want.
What Happens If You Try to Cut Tempered Glass Anyway
Many homeowners assume that using a stronger blade or specialized tool will do the trick. Unfortunately, even the best glasscutter or diamond wheel can't overcome the laws of physics.
Tempered glass simply doesn't behave like ordinary glass — its internal stress pattern turns every small cut or vibration into a chain reaction. That's why every "how to cut tempered glass" tutorial that promises a quick fix usually ends the same way: with a shattered panel and a lot of regret.
Here's what really happens when you try to cut tempered glass at home:
-
The outer layer resists the cutter’s wheel.
Unlike standard annealed glass, the surface of tempered glass is hardened and pressurized. The cutter’s wheel can’t make a clean score, it just scratches the compression layer.
-
Microscopic cracks begin to form.
Even a light scoring motion introduces tiny surface fractures. These cracks are almost invisible but they disrupt the balance of tension inside the glass.
-
The internal stress amplifies those cracks instantly.
The glass’s inner layer is constantly “pulling” against the outer shell. Once a small crack appears, that stress magnifies it at lightning speed — like a zipper tearing open.
-
The entire sheet explodes outward in a split second.
The stored energy releases all at once. You don’t just get a single crack — the whole panel breaks into hundreds of small, blunt cubes, flying several feet in every direction.
This is why attempting to cut tempered glass is not just ineffective — it’s dangerous.
Some homeowners try to "cheat" the process by heating the glass to reduce stress before cutting, but that only weakens the safety properties and often results in uneven breakage. Once tempered glass has gone through the heat-treatment process, there's no reliable way to "undo" it or make a controlled cut.
If you absolutely must resize a piece, the only correct way is to start over with non-tempered glass, perform all your cuts and holes in that state, and then send it to be tempered afterward. That's the method used by professional glass fabricators — and the only safe, predictable way to achieve a custom size without risking injury or wasted material.
So when you see DIY guides claiming to show how to cut tempered glass safely, take it with caution. In reality, the cutting isn't happening after tempering — it's done before, during the fabrication stage.
The Right Way to Cut Tempered Glass (Before Tempering)
So how do professionals actually do it?
The truth is, how to cut tempered glass safely isn't about using the right tool — it's about doing it at the right time. Every single modification has to happen before the glass enters the tempering furnace. That's the key difference between a flawless custom panel and a disaster waiting to happen.
Here's how the process really works in a professional setting — the same workflow used for shower doors, glass partitions, vanity mirrors, and other custom bathroom applications:
1. Precise Measurement & Layout
It all starts with precision. The glass begins as regular annealed glass — soft enough to be shaped, yet strong enough for careful handling.
Technicians measure and mark the sheet to exact dimensions, accounting for every cutout, hardware hole, or curve that might be needed later.
In a bathroom remodel, this step ensures that your glass fits perfectly against tile walls, fixtures, or the edges of a shower base. Even a difference of 1/8 inch can mean the door won't close properly or hardware won't align.
2. Scoring and Breaking
Once measurements are verified, a diamond or carbide wheel is used to lightly score the surface — not slice through it, but create a clean, controlled fracture line.
Then, with steady pressure, the glass is snapped along that score. For straight cuts, this is done by hand. For curves or complex shapes — like rounded shower corners or notched vanity backsplashes — CNC machines or precision waterjets are used.
Remember, this stage is the only time cutting is possible. Once the glass is tempered, that option disappears entirely.
3. Edge Finishing
After the main cuts are made, every exposed edge is ground and polished to remove micro-cracks. Even a small chip left unpolished could cause failure later during tempering or installation.
Finishing gives the glass a smooth, safe edge — the kind you can run your fingers along without worry. It also adds a subtle gleam that looks beautiful once installed in a bright, modern bathroom.
3. Drilling or Slotting (Optional)
If the design includes holes or slots for hardware — for example, handles, hinges, or towel bar mounts — these are drilled before the glass is tempered.
Drilling into tempered glass afterward would immediately shatter it, so fabricators plan all hardware placements ahead of time. This is why, when you order a custom shower door or partition, the manufacturer will always ask for exact measurements and hinge positions. It's not just for aesthetics — it's for survival.
4. Cleaning & Inspection
Before entering the furnace, the glass is thoroughly washed and inspected. Any speck of dust, oil, or residue can create a weak spot during tempering.
Trained technicians examine each piece under bright light to catch imperfections invisible to the eye. In high-end production lines, sensors even scan for micro-stress or thickness variations. Only flawless sheets proceed.
5. Tempering
Now comes the critical step that defines how tempered glass is made.
The cleaned glass is heated evenly to around 620 °C (1,148 °F), then cooled rapidly by powerful air jets. This sudden temperature change locks compressive strength on the outside and tensile stress inside — the same mechanism that makes tempered glass so resilient.
Once this process is complete, the panel's size, edges, and holes are permanently fixed. From this point on, it cannot be cut, reshaped, or resized safely.
The finished glass emerges stronger, more resistant to impact and temperature swings, and ready for installation in bathrooms, doors, and enclosures that demand both beauty and safety.
So if you've ever wondered how to cut tempered glass, this is the answer: you don't cut it after it's made — you shape it perfectly before the heat treatment. That's how professionals ensure the clean, precise fit that modern bathroom designs require, without compromising safety or durability.
Can Special Tools Really Cut Tempered Glass?
If you've searched online for how to cut tempered glass, you've probably come across dozens of videos or forum posts claiming that certain "professional" tools — like lasers, diamond blades, or high-pressure waterjets — can do the job.
It's an understandable hope: these machines can slice through metal, stone, and even bulletproof glass, so why not tempered glass?
The truth is a bit more complicated. While these technologies look impressive, they can't overcome the basic physics behind tempered glass. Once the glass has been heat-strengthened, it contains enormous internal tension. Any local heat, vibration, or mechanical pressure applied to the surface immediately disrupts that balance, causing the sheet to shatter into countless fragments.
Here's what really happens with each of the popular "methods" often discussed online:
| Method | Can It Work? | Why or Why Not |
|---|---|---|
| Diamond or Carbide Wheel | No | The hardened outer layer resists scoring. Even a light scratch releases surface tension and triggers full breakage. |
| Laser Cutter | Partially (rare lab conditions) | A laser can heat a narrow strip and weaken a very small section, but local heating introduces new stress points. Result is unpredictable cracking — not a clean cut; not viable for resizing. |
| Waterjet Cutter | No (for tempered glass) | Ultra-high-pressure waterjets cut raw, untempered glass cleanly, but once tempered, vibration and pressure disrupt the stress balance and the panel shatters. |
| Sandblasting / Etching | For surface decoration only | Abrades the outer surface to create frosting or patterns; does not penetrate full thickness and cannot resize or structurally modify tempered glass. |
Even the most advanced machines can’t truly “cut” tempered glass in the traditional sense. Every successful example you see online is actually performed on non-tempered glass, often mislabeled for clicks or tutorials.
To truly change the size or shape of a tempered glass panel, professionals follow a precise process: they start with annealed glass, perform all required cuts, drill holes, and polish the edges, and only then send the glass for heat-tempering. Once the furnace treatment is complete, the panel's geometry becomes permanent.
Some experimental labs have tried combining laser heating with rapid cooling to "re-soften" tempered glass temporarily, but even those tests result in microfractures that compromise safety. It's technically interesting — but not something you'd ever want to attempt at home or use for a bathroom door, where integrity and safety are everything.
So when it comes to how to cut tempered glass, remember: there's no magic tool that can bypass the physics of its stress structure. Cutting must always be done before tempering — that's why experienced glass fabricators focus on precision layout and shaping first, then apply heat treatment to lock everything in.
This is also what separates professional fabrication from risky DIY shortcuts: the process isn't about having better tools, but about understanding when to use them.
What to Do If You Already Have a Tempered Glass Panel That Doesn't Fit
Sometimes the problem isn't about learning how to cut tempered glass, but dealing with a piece that's already the wrong size. Maybe you measured the shower opening before the tile went in, or ordered a vanity top that turned out slightly off. Whatever the reason, you're not alone — this happens more often than you'd think, even to professionals.
The good news: while you can't physically resize a tempered panel, there are still smart, safe, and cost-effective solutions.
1. Order a New Pre-Cut Piece
This is by far the safest and most practical option. Every professional glass supplier works from annealed (non-tempered) sheets that can be cut, drilled, and polished precisely before tempering.
When you reorder, take this opportunity to double-check every measurement — width, height, hinge spacing, hole diameter, and any gasket or seal clearance. It's best to measure again after wall tiles, trim, and flooring are fully installed, since even a few millimeters of difference can change the fit.
A reputable vendor (like those Ace Decor partners with) will confirm your specs before production and provide accurate tolerances. That way, your new piece arrives ready to install — no risky attempts at "how to cut tempered glass" required.
2. Edge Grinding (Minor Adjustments Only)
Some professional fabricators offer a process called edge grinding, which can remove 1–3 mm from the perimeter of a tempered panel using industrial diamond belts submerged in coolant.
However, it's extremely slow, costly, and unpredictable. Because the process disturbs the outer compression layer, the glass could still shatter mid-grind. It's only used in rare situations where replacing the panel would be even more expensive — and it should never be attempted as a DIY project.
If you ever come across an online guide claiming that you can "sand down" tempered glass edges at home, skip it. Even light friction or heat can compromise the safety layer, making the glass more likely to fail later.
3. Repurpose or Recycle
If resizing isn't an option, think creatively. Tempered glass is strong, attractive, and versatile — it doesn't have to go to waste.
- Repurpose it indoors: Turn it into a tabletop, shelving panel, sideboard cover, or even a framed wall mirror. Its clarity and polished edges make it a great accent material.
- Use it outdoors: With proper edging or weather-resistant framing, it can become part of a patio tabletop or garden divider.
- Recycle responsibly: Most construction recycling centers accept tempered glass, but it must be separated from regular glass. Label it clearly (“tempered glass”) and transport it safely in cardboard or bubble wrap.
Reusing or recycling a tempered panel is often more eco-friendly than forcing a risky modification. You’ll save yourself time, cleanup, and frustration — and still get value from the material.
Ultimately, if you're facing this situation, remember: the challenge isn't figuring out how to cut tempered glass, but how to plan better for your next order. Measure twice, verify clearances, and communicate clearly with your supplier before tempering begins. Doing so ensures that your next custom piece will fit perfectly — no cutting required.
Safety Tips for Handling or Disposing of Tempered Glass

Even though tempered glass breaks into small, rounded cubes rather than sharp shards, it still deserves careful handling. Those little fragments may look harmless, but they can cut skin, damage flooring, or scratch nearby surfaces if handled carelessly.
Whether you're moving a large unbroken panel or cleaning up after an accidental break, these safety practices will help keep you and your workspace protected.
When Moving or Installing Tempered Glass
- Wear the right protective gear. Always use safety goggles or a face shield and cut-resistant gloves. Long sleeves and sturdy pants prevent small edge nicks from becoming real injuries.
- Keep your grip steady. Tempered glass is heavier than you think; a 3/8" panel can weigh over 6 lb per square foot. Lift it with both hands or with help from another person, especially during bathroom remodels where floors may be wet or uneven.
- Protect edges and corners. The edges are the most vulnerable part. Even a small chip can trigger breakage because that’s where internal tension is concentrated. Wrap edges with foam corner guards or painter’s tape while moving the panel.
- Avoid leaning glass directly on tile or concrete. Instead, rest it on a soft, padded surface or rubber blocks to reduce vibration. Sudden shock from contact with a hard floor can cause cracking.
When Cleaning Up Broken Tempered Glass
If you ever attempt to cut, drill, or adjust a tempered panel and it shatters (which is often what happens when people try how to cut tempered glass at home), follow these cleanup steps carefully:
- Do not touch the fragments with bare hands. Use a broom, dustpan, or shop-vac with a hose attachment. Tiny cubes can embed in skin like grit.
- Sweep in one direction and check corners. Fragments tend to bounce or roll, especially on tile or hardwood floors. A damp paper towel can help pick up remaining specks.
- Double-bag and label waste. Place shards in a thick plastic or cardboard box labeled “Broken Tempered Glass.” This alerts recycling staff to handle it separately.
- Recycle properly. Most local recycling centers or construction waste facilities have a bin for safety glass. Don’t mix tempered glass with standard window glass — their melting points and processing methods are different.
Extra Safety Reminders
- Keep children and pets away from the area until cleanup is fully done — even one tiny fragment can injure paws or bare feet.
- Avoid vacuuming with a household vacuum unless it’s a shop-vac rated for construction debris; regular vacuums can have hoses punctured or filters damaged by glass pieces.
- Inspect surrounding surfaces. Tempered glass pieces can scatter several feet away. Check under cabinets, behind toilets, and near floor vents.
- Dispose responsibly. Never dump tempered glass in general trash bins. Recycling it ensures that the material can be melted down and reused for insulation or fiberglass manufacturing — an environmentally responsible end to its lifecycle.
Handling tempered glass with the same respect you would give any heavy or high-pressure material isn’t just about safety — it’s about protecting your project investment. By following these steps, you’ll avoid unnecessary damage, personal injury, and keep your work area ready for the next phase of your remodel.
So while learning how to cut tempered glass might not be practical, learning how to handle and dispose of it properly is essential knowledge for any homeowner upgrading a bathroom or working with glass around the home.
FAQs About How to Cut Tempered Glass
Can tempered glass be cut at home with the right tools?
Why is tempered glass different from regular glass when cutting?
Can I use a diamond blade, laser, or waterjet to cut tempered glass?
What should I do if my tempered glass panel is the wrong size?
If your glass arrives in the wrong size or is damaged during shipping or installation, contact Ace Decor right away — our after-sales team offers free replacement or return of the entire shower door set so you can complete your project without delay.
Can tempered glass be re-tempered after cutting?
How can I tell if my glass is tempered?
What happens if tempered glass breaks while I’m handling it?
Is it possible to smooth or sand the edges of tempered glass?
What’s the best way to plan for a custom glass panel to avoid cutting later?
Can I recycle tempered glass if it’s broken or unusable?
Why do professionals recommend tempered glass for bathrooms if it’s so hard to cut?
Final Thoughts — Do It Right the First Time
If you're still wondering how to cut tempered glass, here's the truth every homeowner should remember:
You can't — at least not safely or effectively after tempering.
Tempered glass is a precision-made safety material, not something that can be trimmed or reshaped once it's complete. The secret isn't about finding the right blade or DIY trick — it's about planning early and working with professionals who cut and drill the glass before the tempering process. Once the heat treatment is done, the size, shape, and hardware holes are permanently locked in.
So whether you're upgrading your frameless shower door, replacing a vanity mirror, or adding a glass divider to your bathroom, the smartest move is to measure carefully, confirm every detail, and order a pre-cut tempered glass panel that's already customized for your space. You'll end up with a product that fits perfectly, looks stunning, and performs safely for years.
At Ace Decor, we believe great design should come with peace of mind. Every tempered glass door and panel we offer is cut, polished, and drilled before tempering — ensuring flawless fit and long-term safety. Our team helps you verify measurements, select the right hardware, and deliver a professional result that elevates your bathroom's style without unnecessary risk or cost.
And if something unexpected happens — like a wrong size or a broken panel during shipping or installation — just contact our support team. Ace Decor provides free replacement or full exchange of your shower door set, so you can continue your project without delay or extra expense.
With the right planning and a trusted partner, you'll never have to worry about how to cut tempered glass again — because you'll already have the perfect piece, ready to install and made to last.
Related Articles
Curious to learn more about glass, shower design, and bathroom remodeling? Explore these related guides to make your next project safer, smarter, and easier to complete.
- "What is a Semi-Frameless Shower Door? Benefits, Types & Buying Guide"
- "15+ Types of Shower Doors Explained: Pros, Cons & Best Fit for Your Bathroom"
- "Frameless Vanity Mirror vs. Framed: Which Is Right for Your Bathroom?"
- "Heavy, Glossy, Timeless: The Secret Life of Porcelain Freestanding Tubs"
- "10 Stunning Bathroom Vanity Cabinet Hardware Ideas to Show Your Space"
- "Frameless Sliding Shower Door is The Key to Minimalism!"
- "5 Tips And Ideas For Selecting A Stylish And Functional Glass Shower Enclosure"
- "Are Dark Bathroom Cabinets the Missing Piece in Your Vintage Bathroom?"
- "Small Bathroom? Why Fixed Panel Shower Doors Might Be the Best Solution"
- "How to Remove Bathtub Drain Like a Pro Without Calling a Plumber?"