At first glance, installing a bathtub faucet seems simple, however, there are multiple technical choices that go into tub faucet installation, all of which have significant ramifications for performance, durability, and long-term serviceability. Each mount style will involve different plumbing layouts, installation clearances, and prep work. Knowing these differences upfront can help you avoid expensive errors and redoing the job unnecessarily.
This guide shares how to install a tub faucet through the three most common installation types—floor mount, wall mount, and deck mount—while explaining the common prep steps, tools, and planning details for each. Whether you are upgrading an existing bathroom or planning a new installation, this article is designed to help you make informed, confident decisions.
Table of Contents:
- What to Know Before Starting Tub Faucet Installation
- Tools and Materials Required for Tub Faucet Installation
- Choosing the Right Tub Faucet Installation Type
- How to Install a Floor Mounted Tub Faucet
- How to Install a Wall Mounted Tub Faucet
- How to Install a Deck Mounted Tub Faucet
- Final Checks After Tub Faucet Installation
- Choosing the Best Tub Faucet Installation for Your Bathroom
- Tub Faucet Installation FAQs
- Related Articles
What to Know Before Starting Tub Faucet Installation

Before focusing on installation steps, it is important to understand what determines the complexity of a tub faucet installation.
A bathtub faucet is not just a visible fixture. It is the final connection point of a plumbing system that includes supply lines, valves, and structural supports. Errors made during planning—such as incorrect rough-in height or insufficient access clearance—often cause leaks, pressure imbalance, or installation failure.
Three factors define the installation process:
-
Mounting location (floor, wall, or tub deck)
-
Plumbing rough-in position
-
Structural support and access
Taking time to evaluate these factors early significantly reduces installation risk.
Tools and Materials Required for Tub Faucet Installation
Most tub faucet installations share a common set of tools and materials, regardless of mounting style. Preparing these in advance improves efficiency and helps avoid rushed decisions mid-installation.
Common Tools
-
Adjustable wrench
-
Pipe wrench
-
Level
-
Measuring tape
-
Screwdrivers (flat and Phillips)
-
Allen keys (varies by model)
Plumbing Materials
-
Plumber’s tape (PTFE tape)
-
Silicone sealant (waterproof grade)
-
Supply line connectors
-
Mounting hardware (as specified by faucet design)
Optional but Recommended
-
Access panel (for future maintenance)
-
Flashlight or inspection light
-
Protective gloves
Using proper tools ensures secure connections and minimizes the risk of overtightening or misalignment.
Choosing the Right Tub Faucet Installation Type
Selecting the appropriate installation type is not only a design decision—it directly affects plumbing complexity and long-term usability.
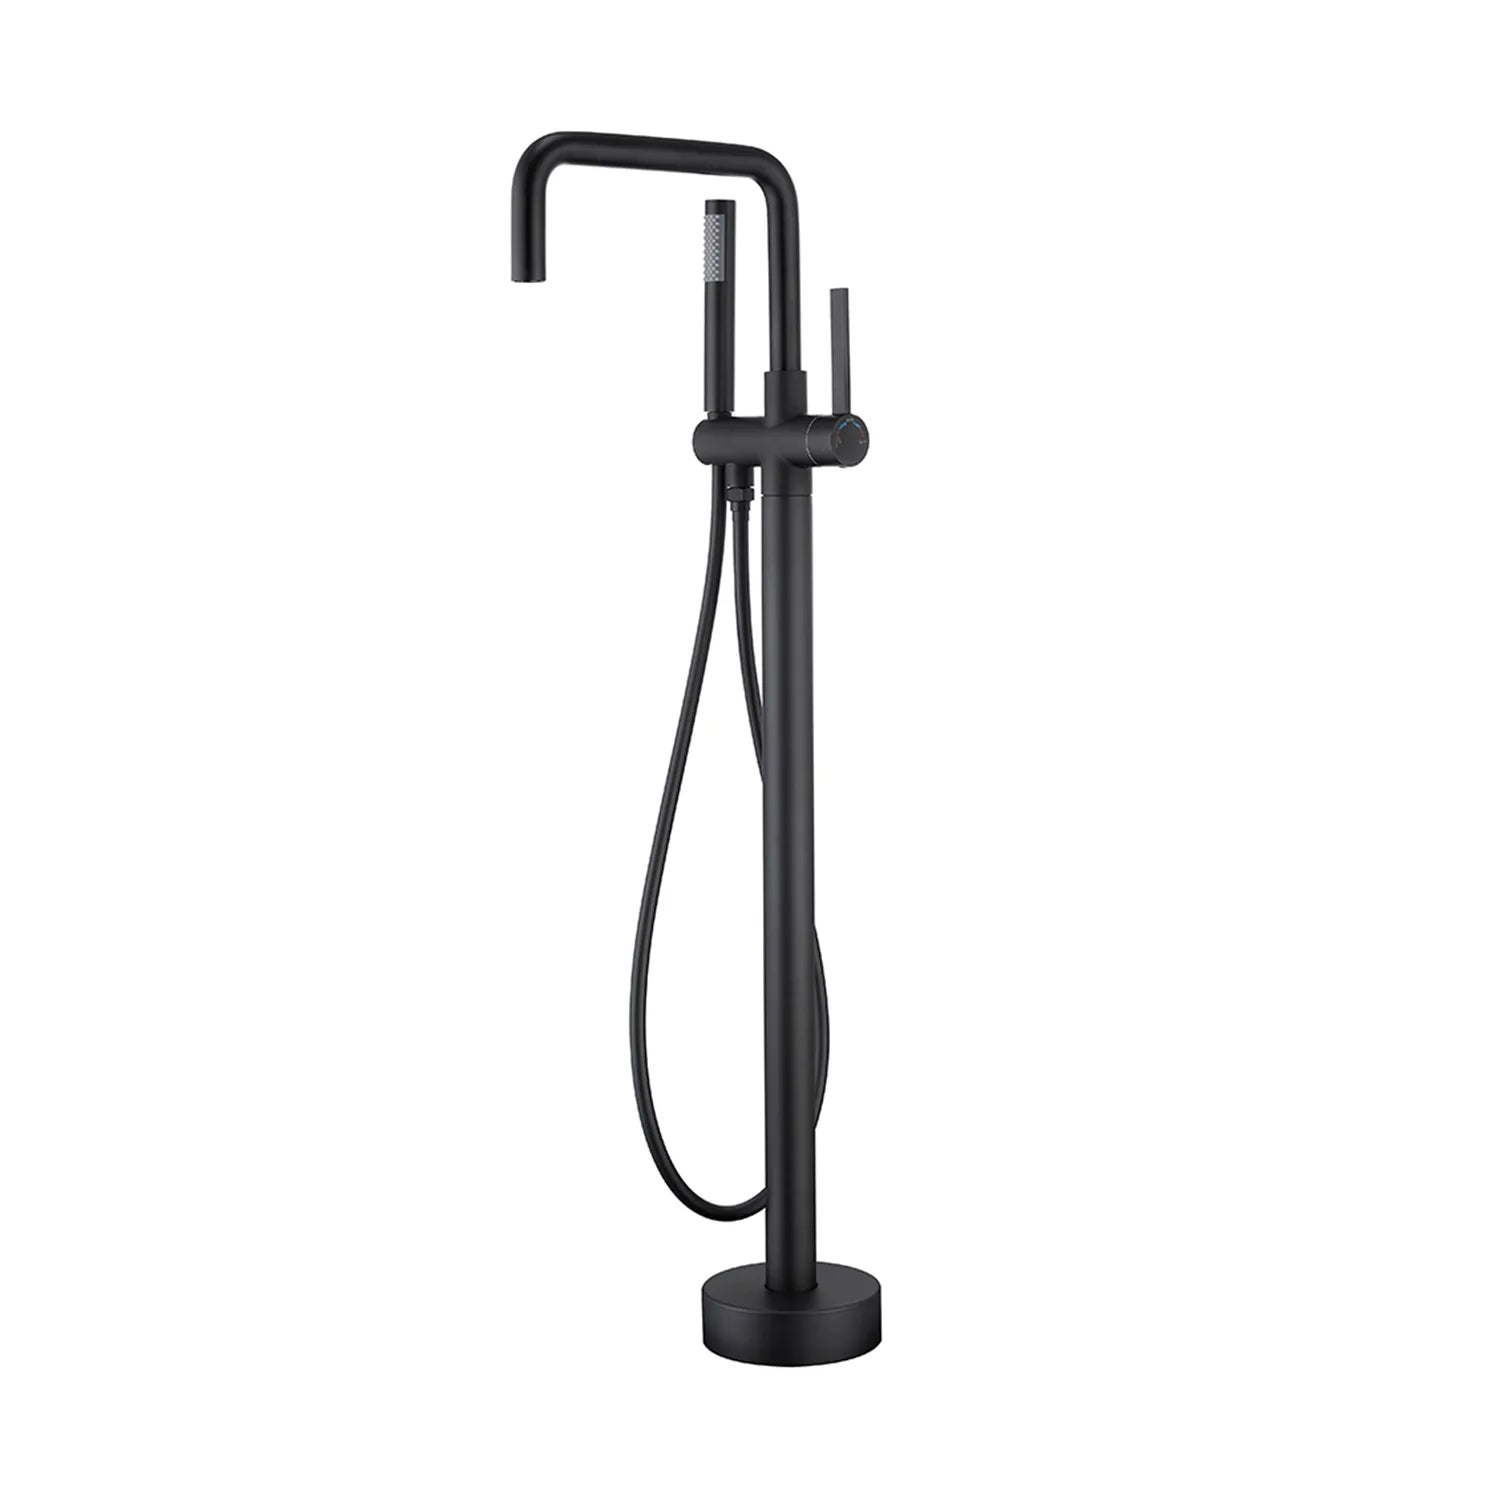
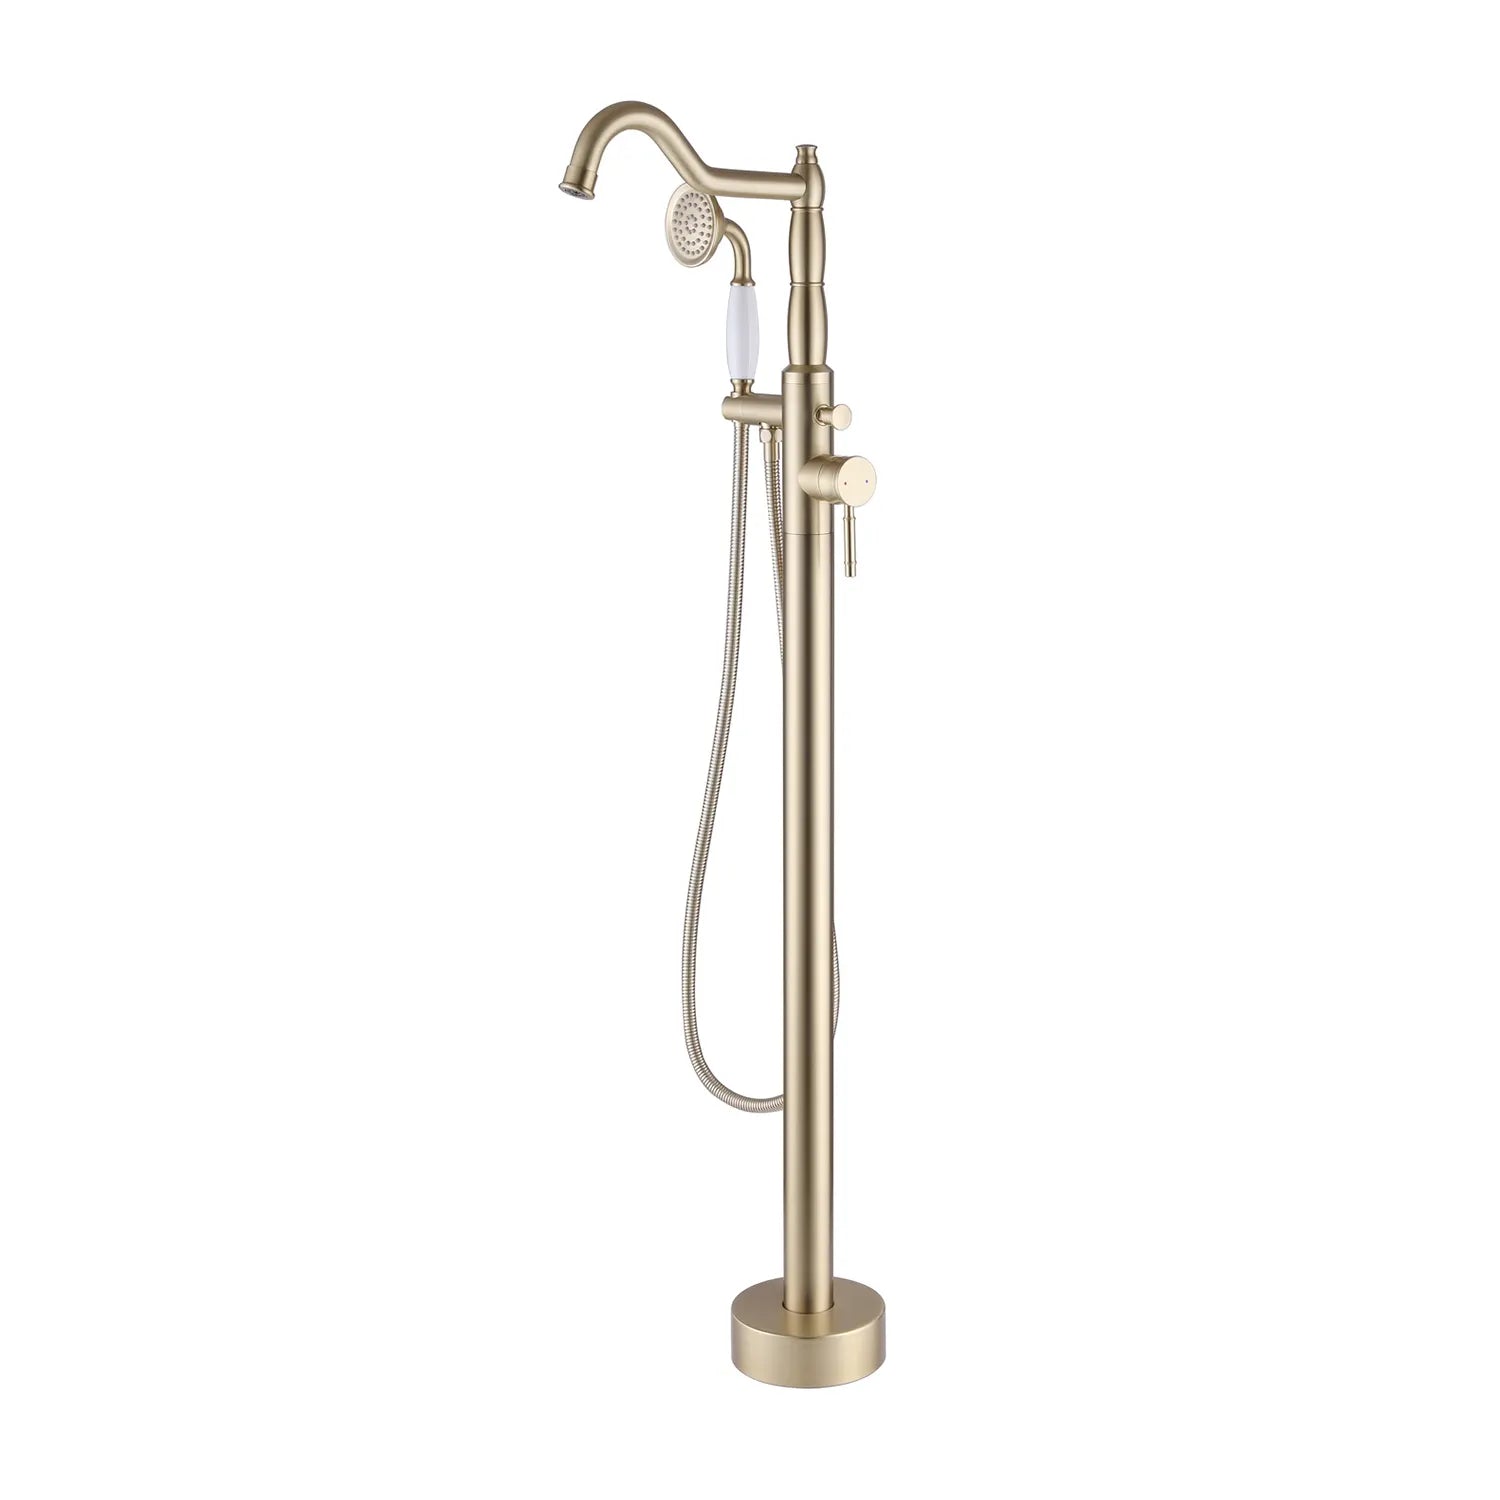
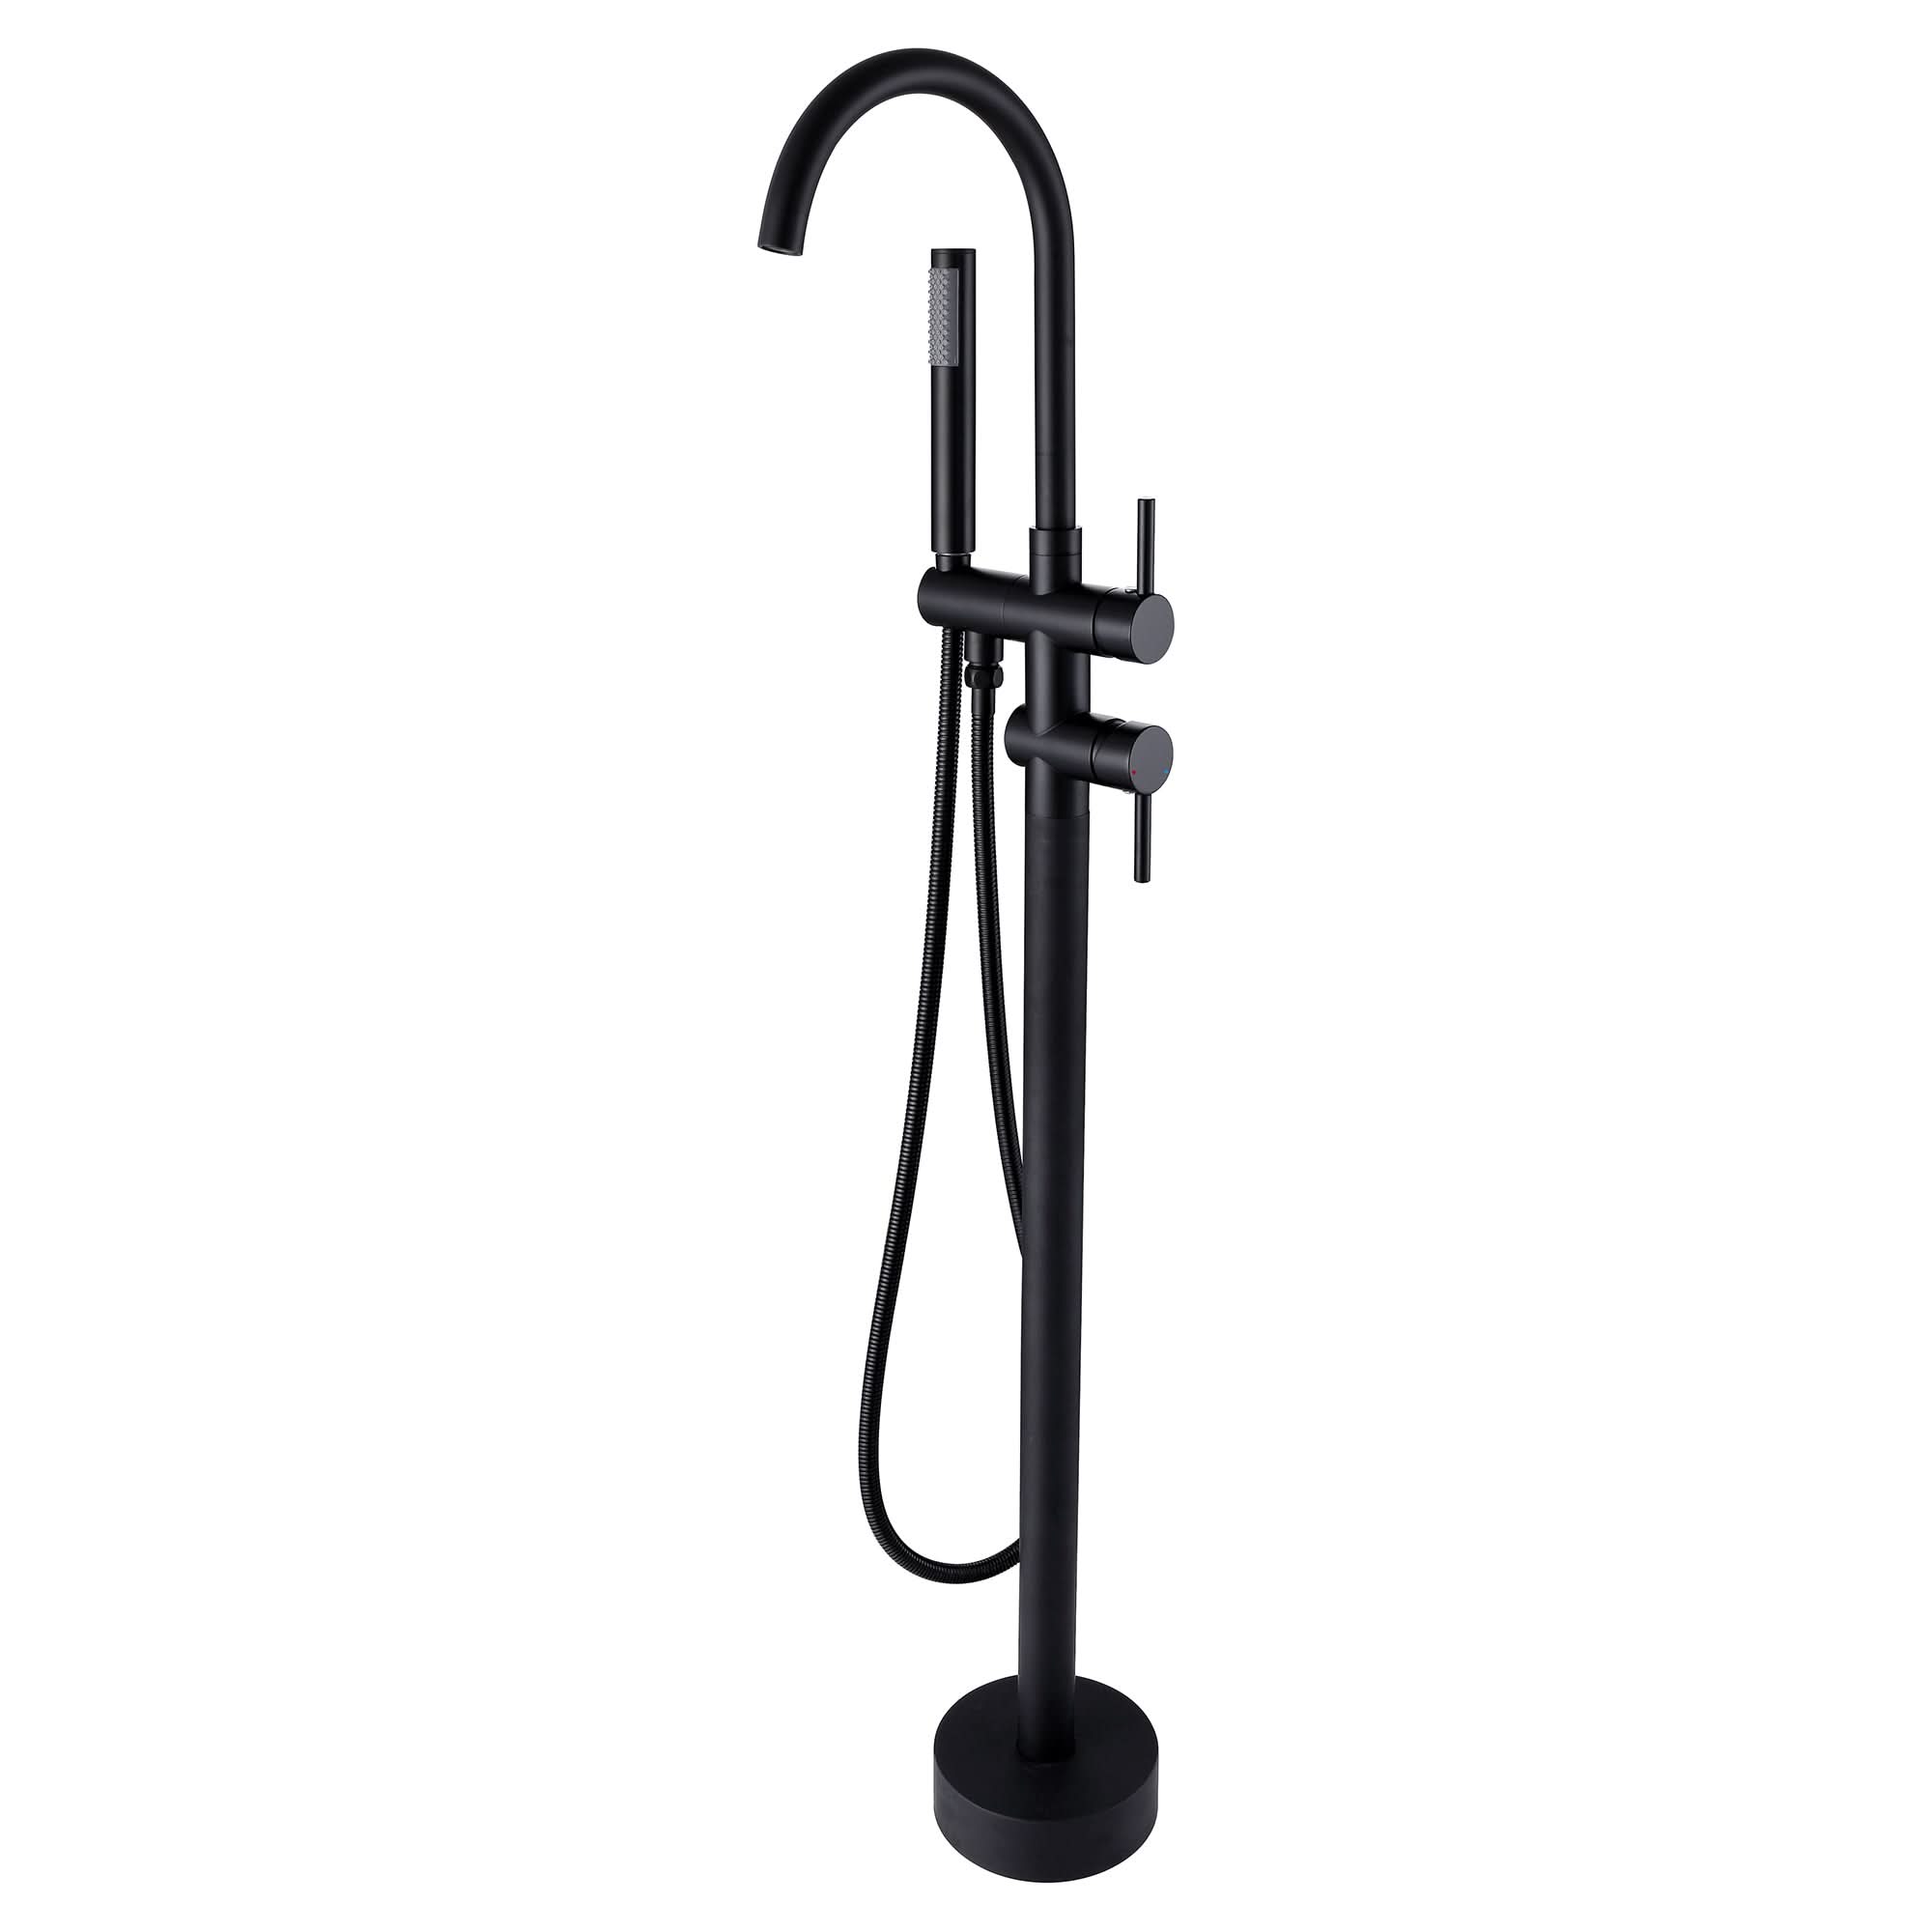
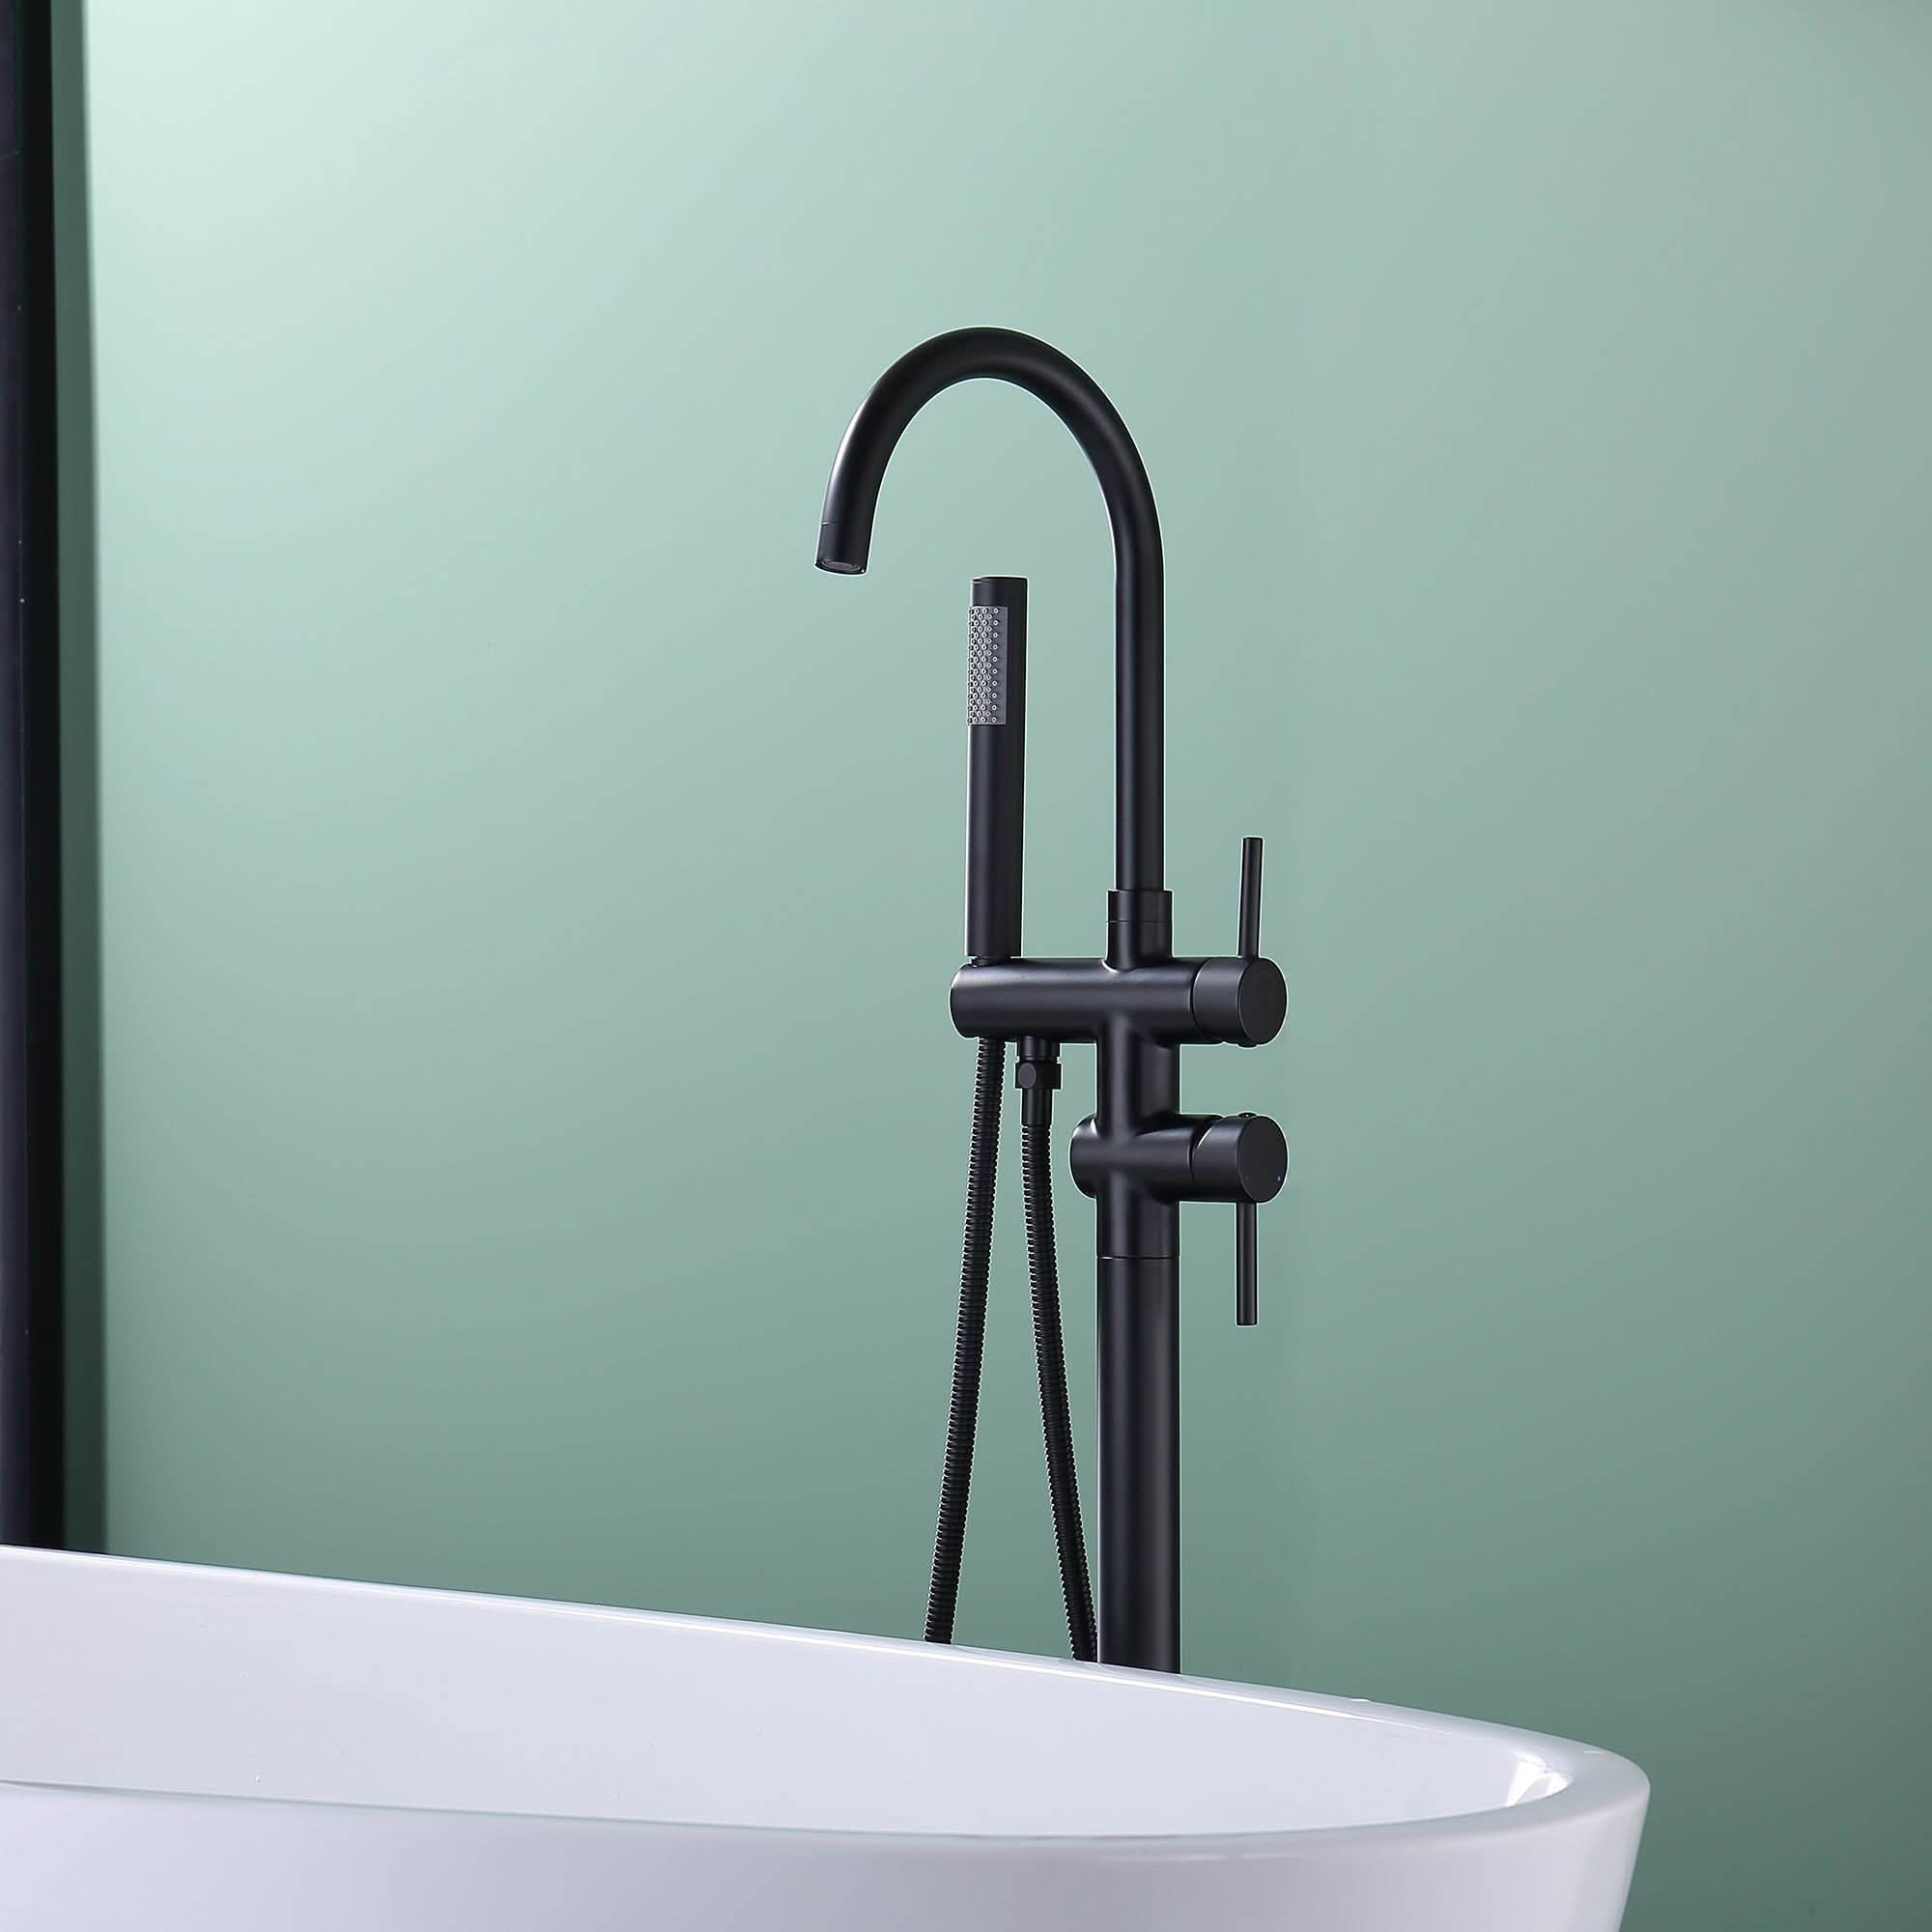
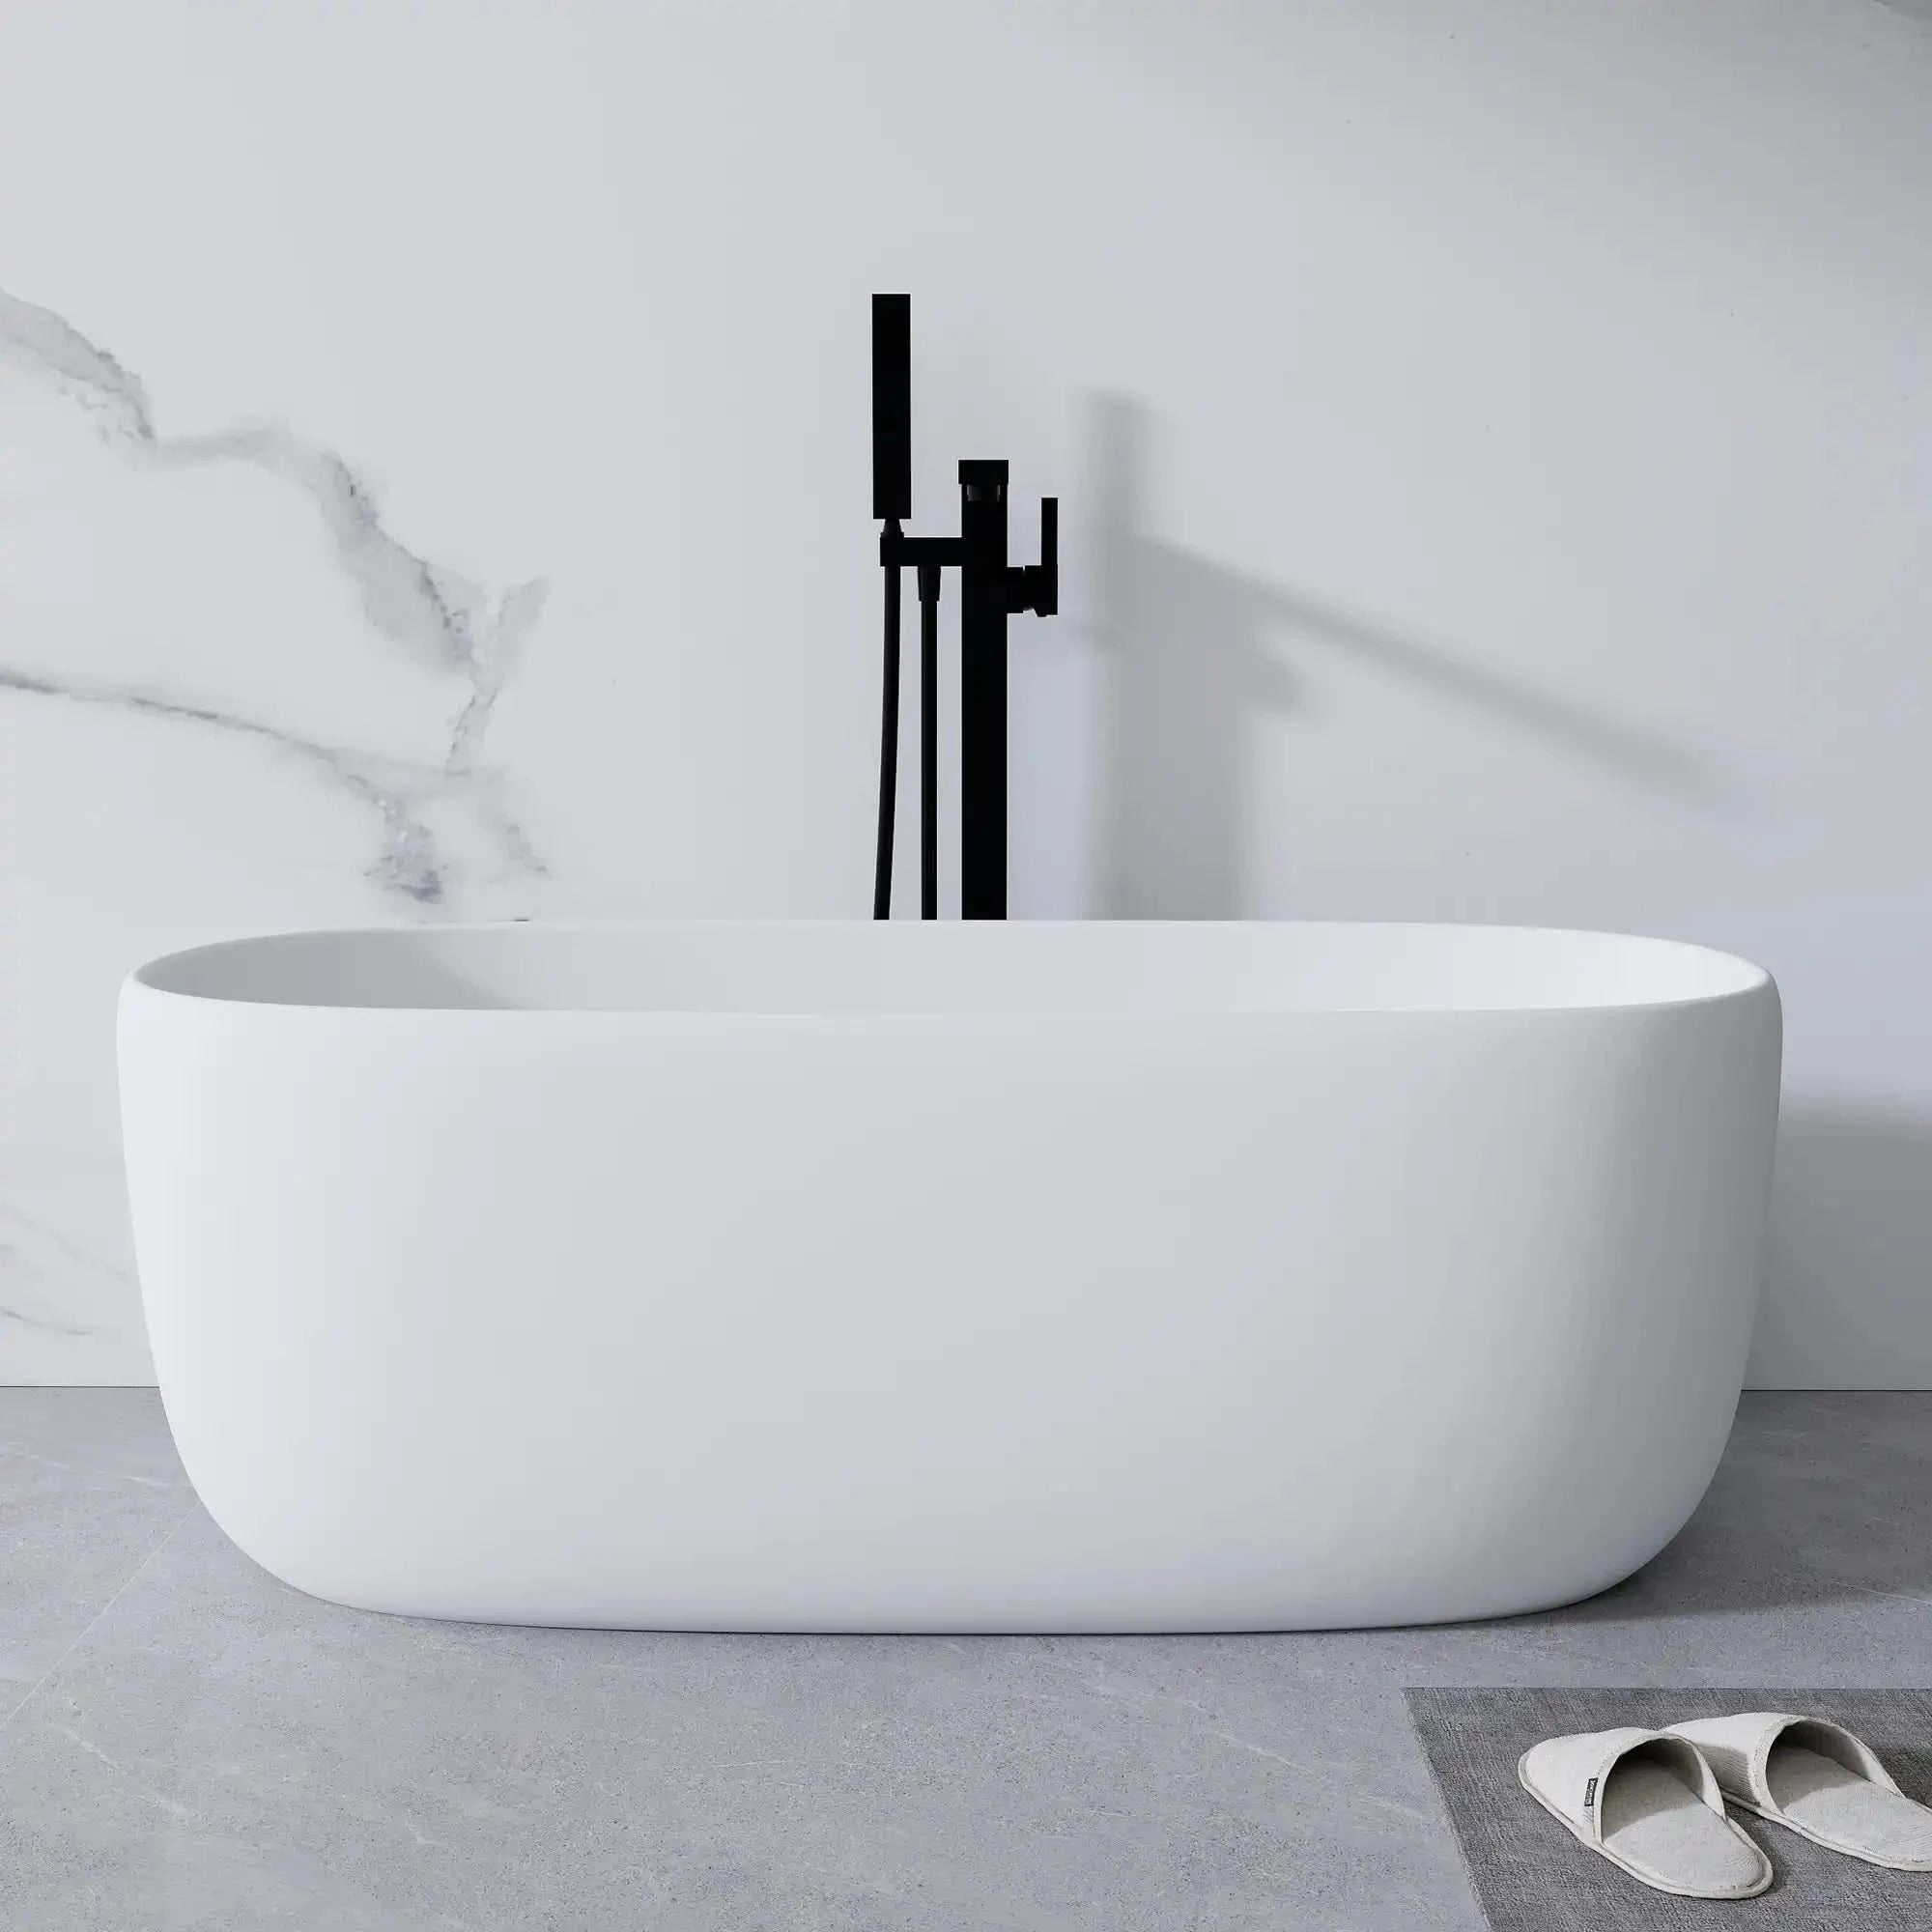
Floor Mounted Tub Faucets
-
Best suited for freestanding bathtubs
-
Requires plumbing routed through the floor
-
Often planned during new construction or major renovation
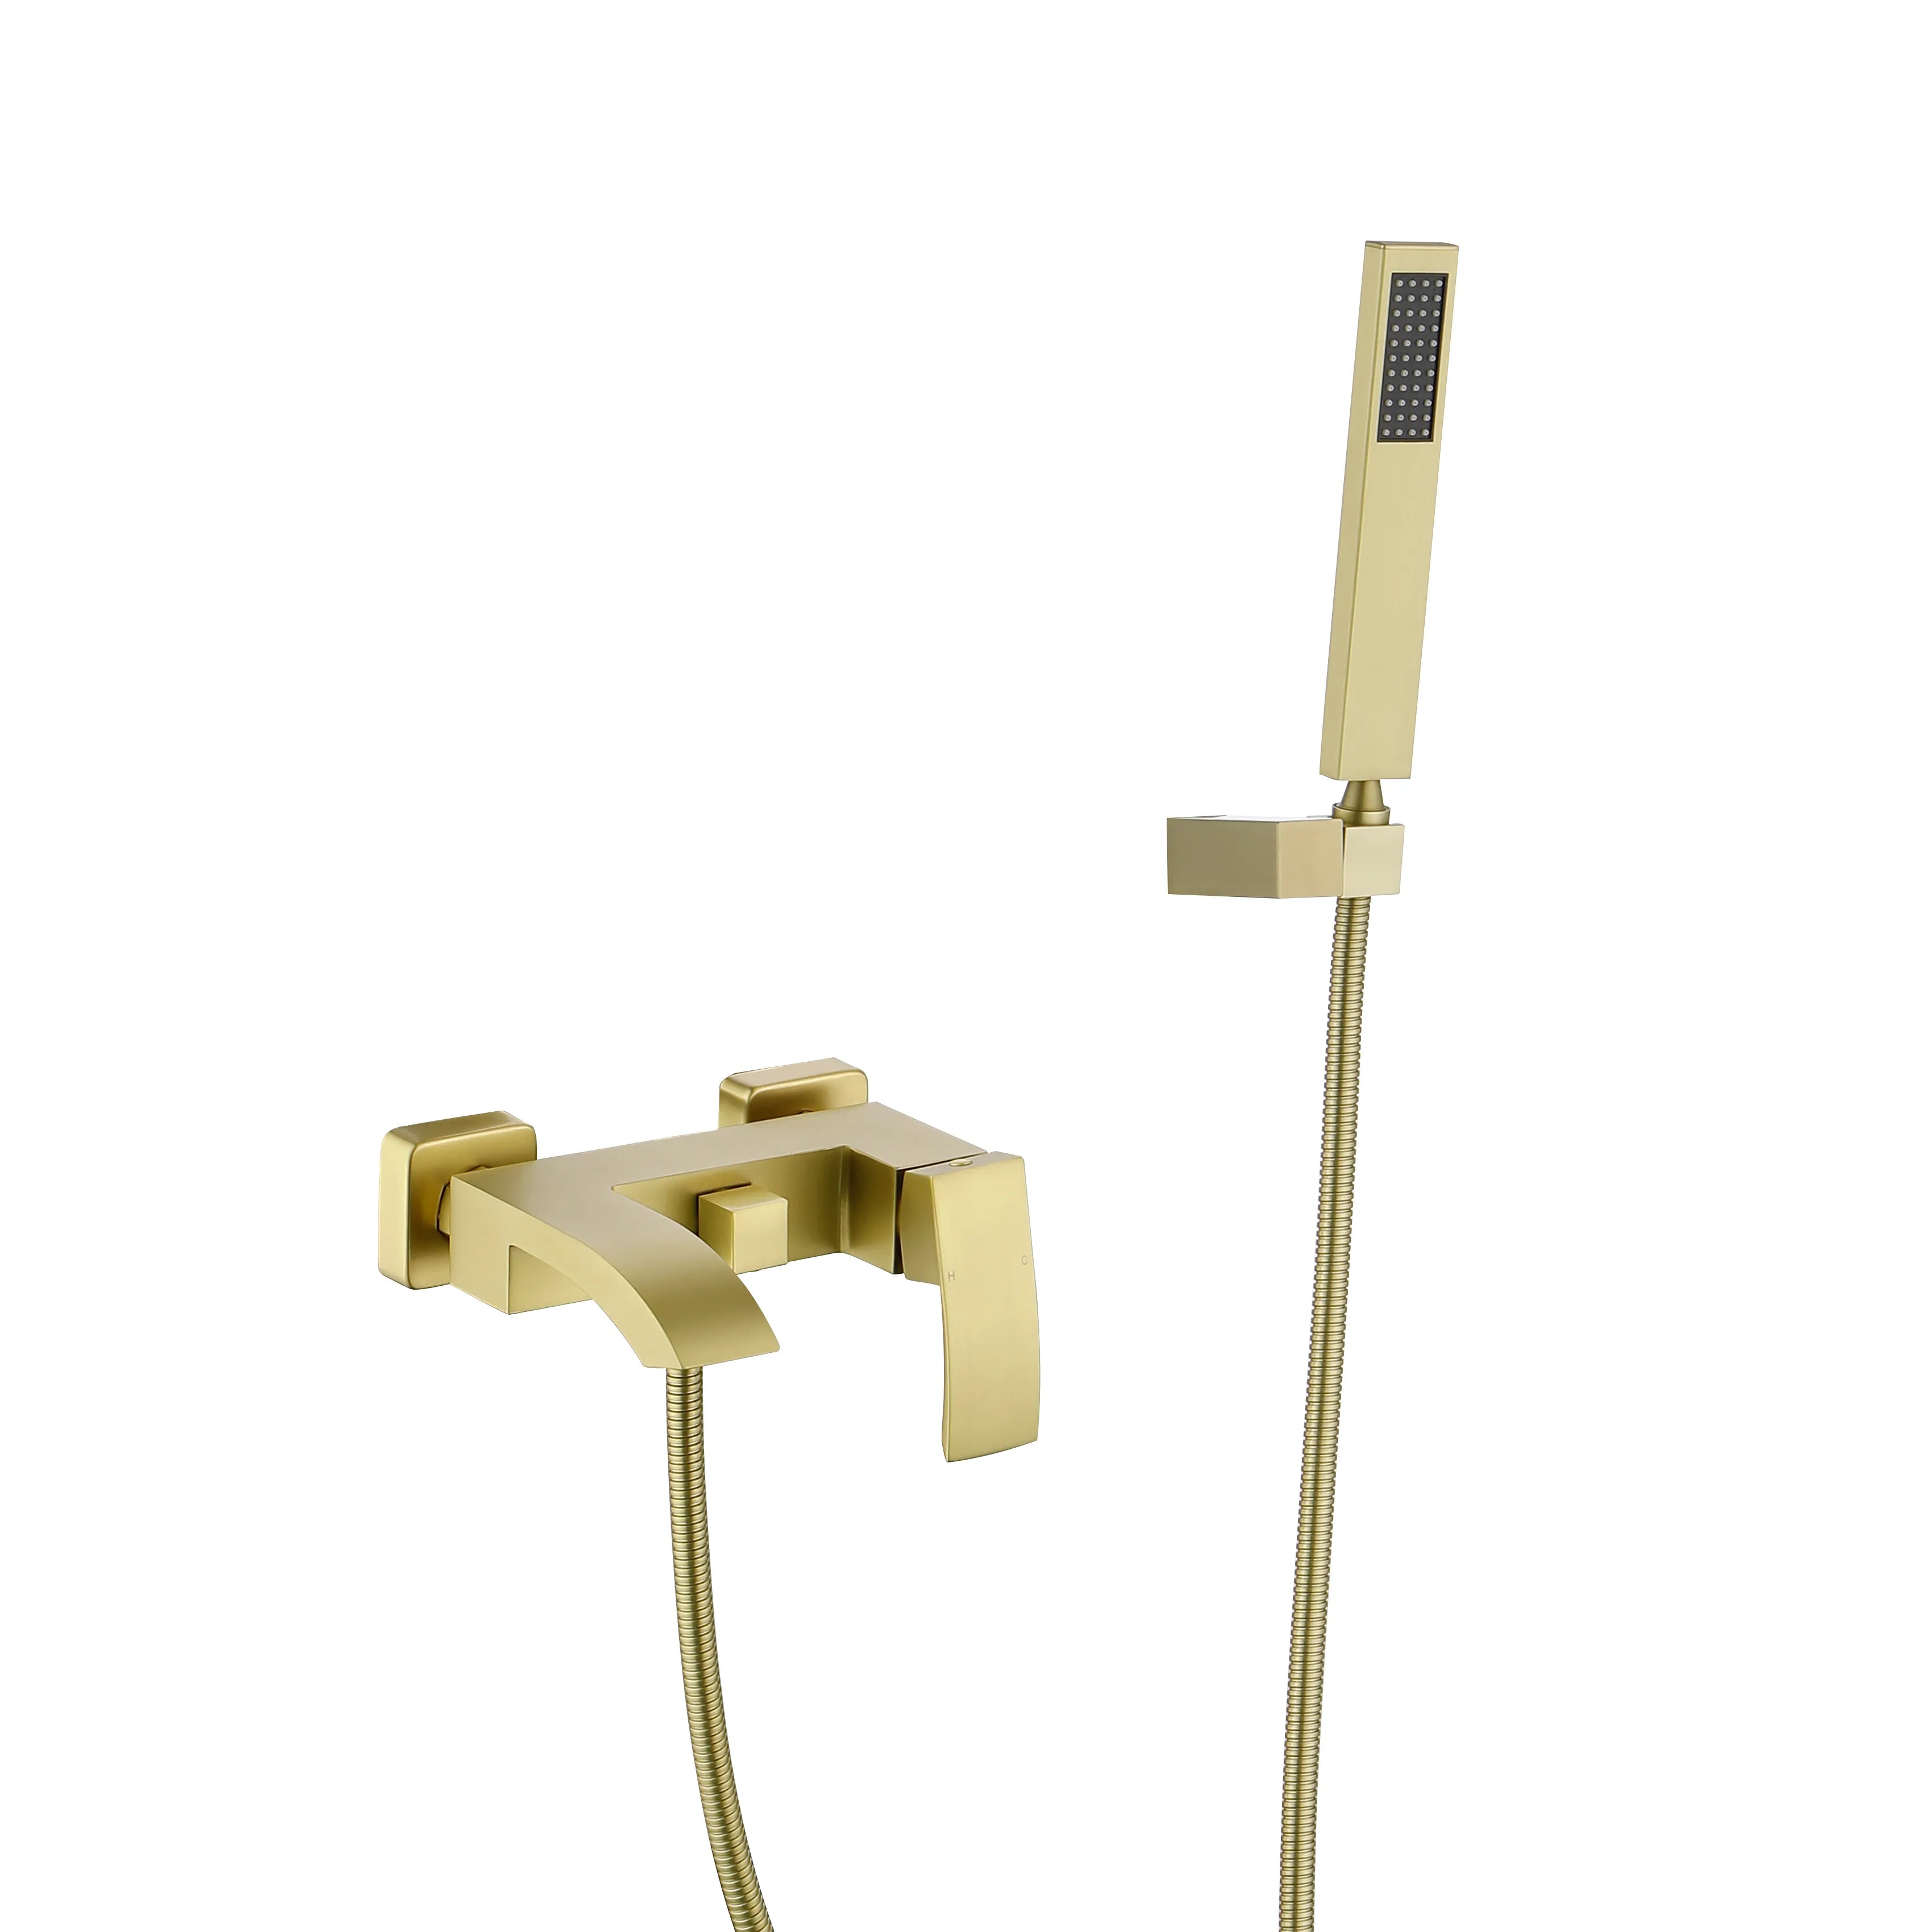
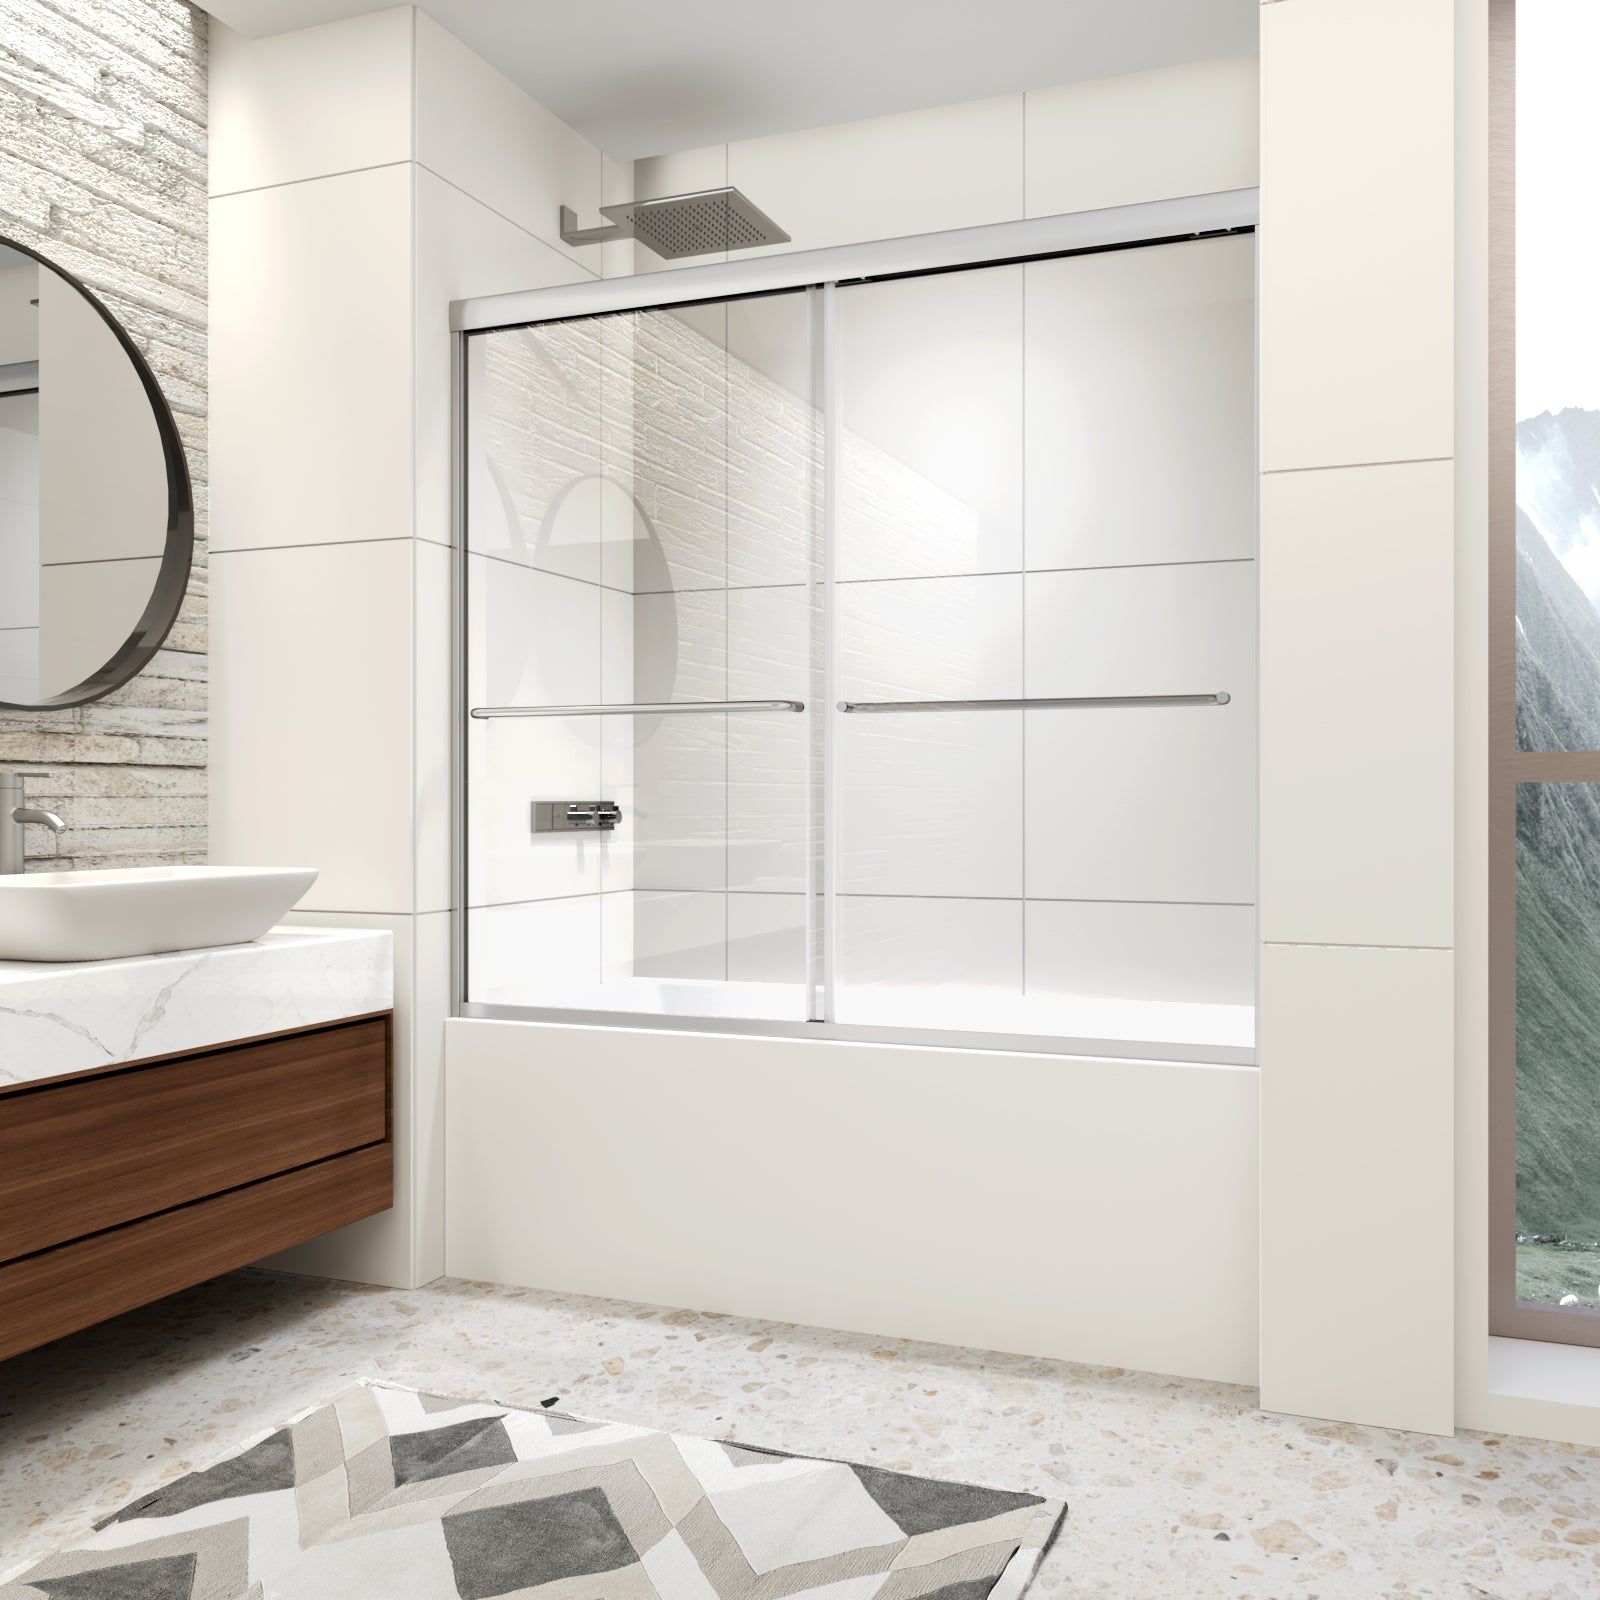
Wall Mounted Tub Faucets
-
Ideal for space-efficient bathroom layouts
-
Requires precise wall rough-in depth and height
-
Common in modern and minimalist designs
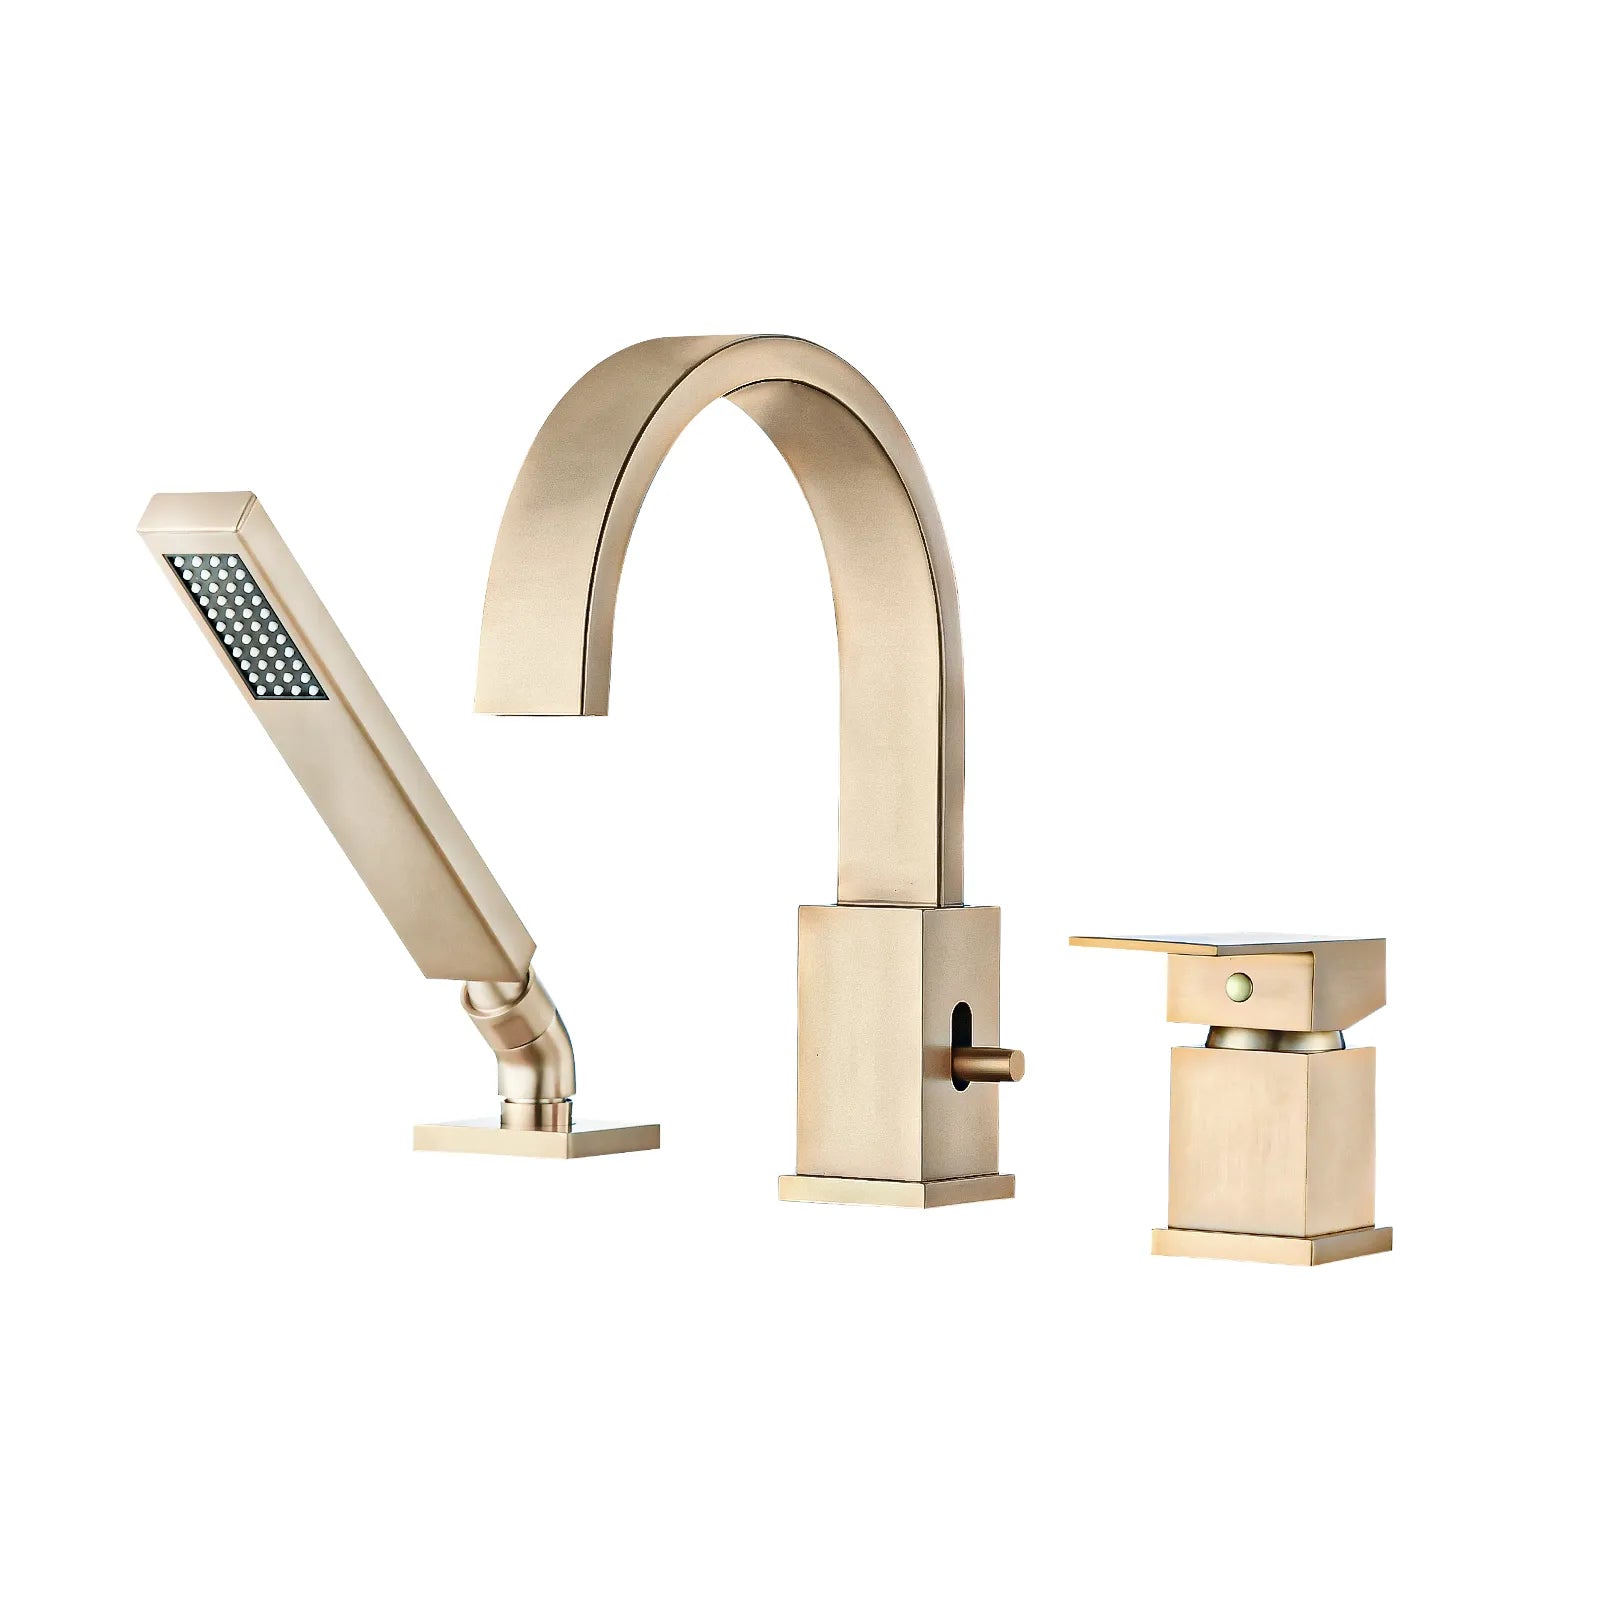
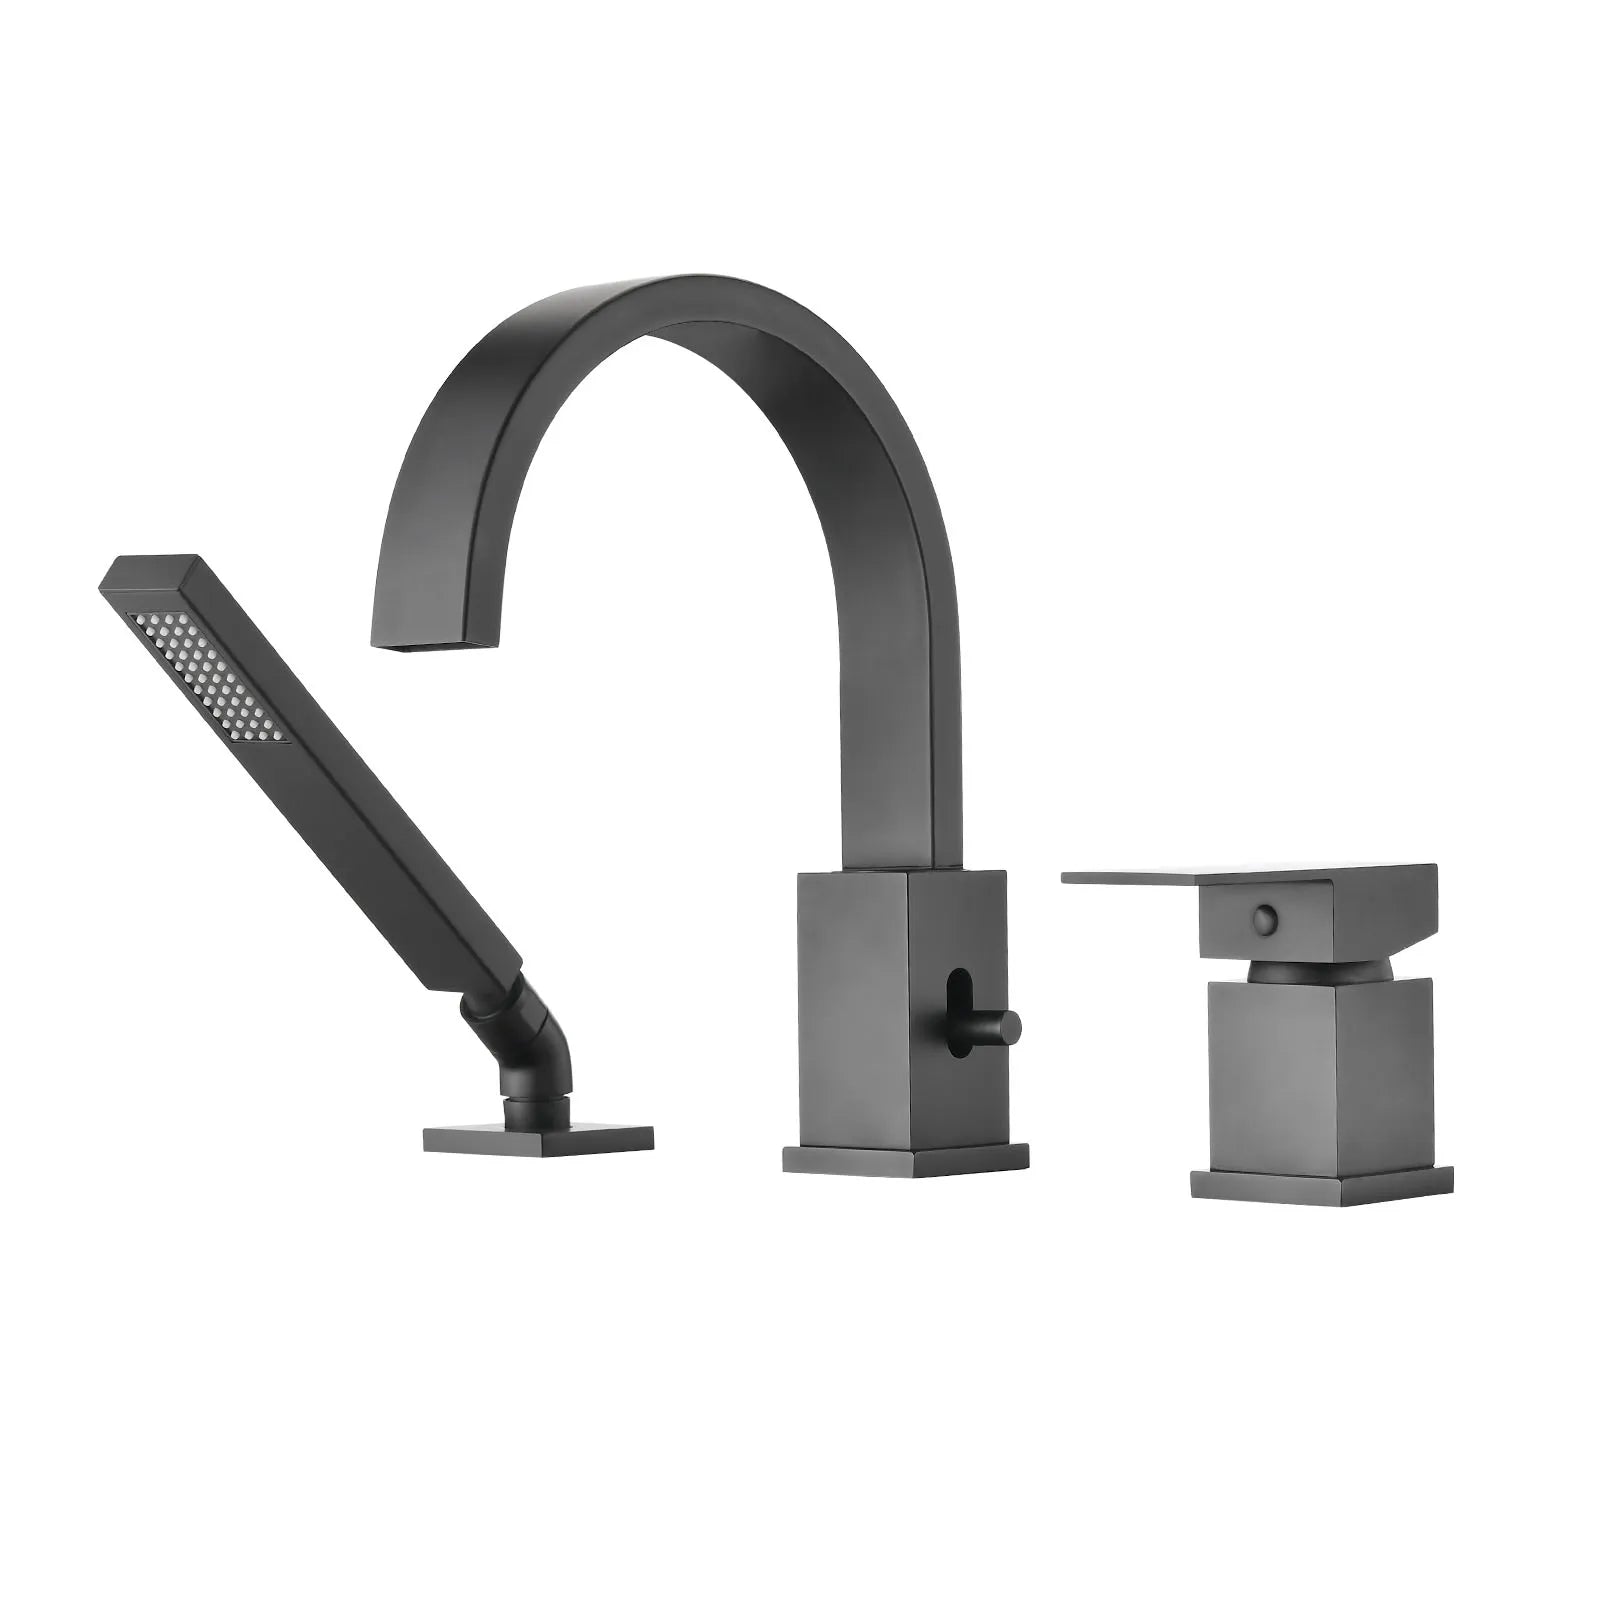
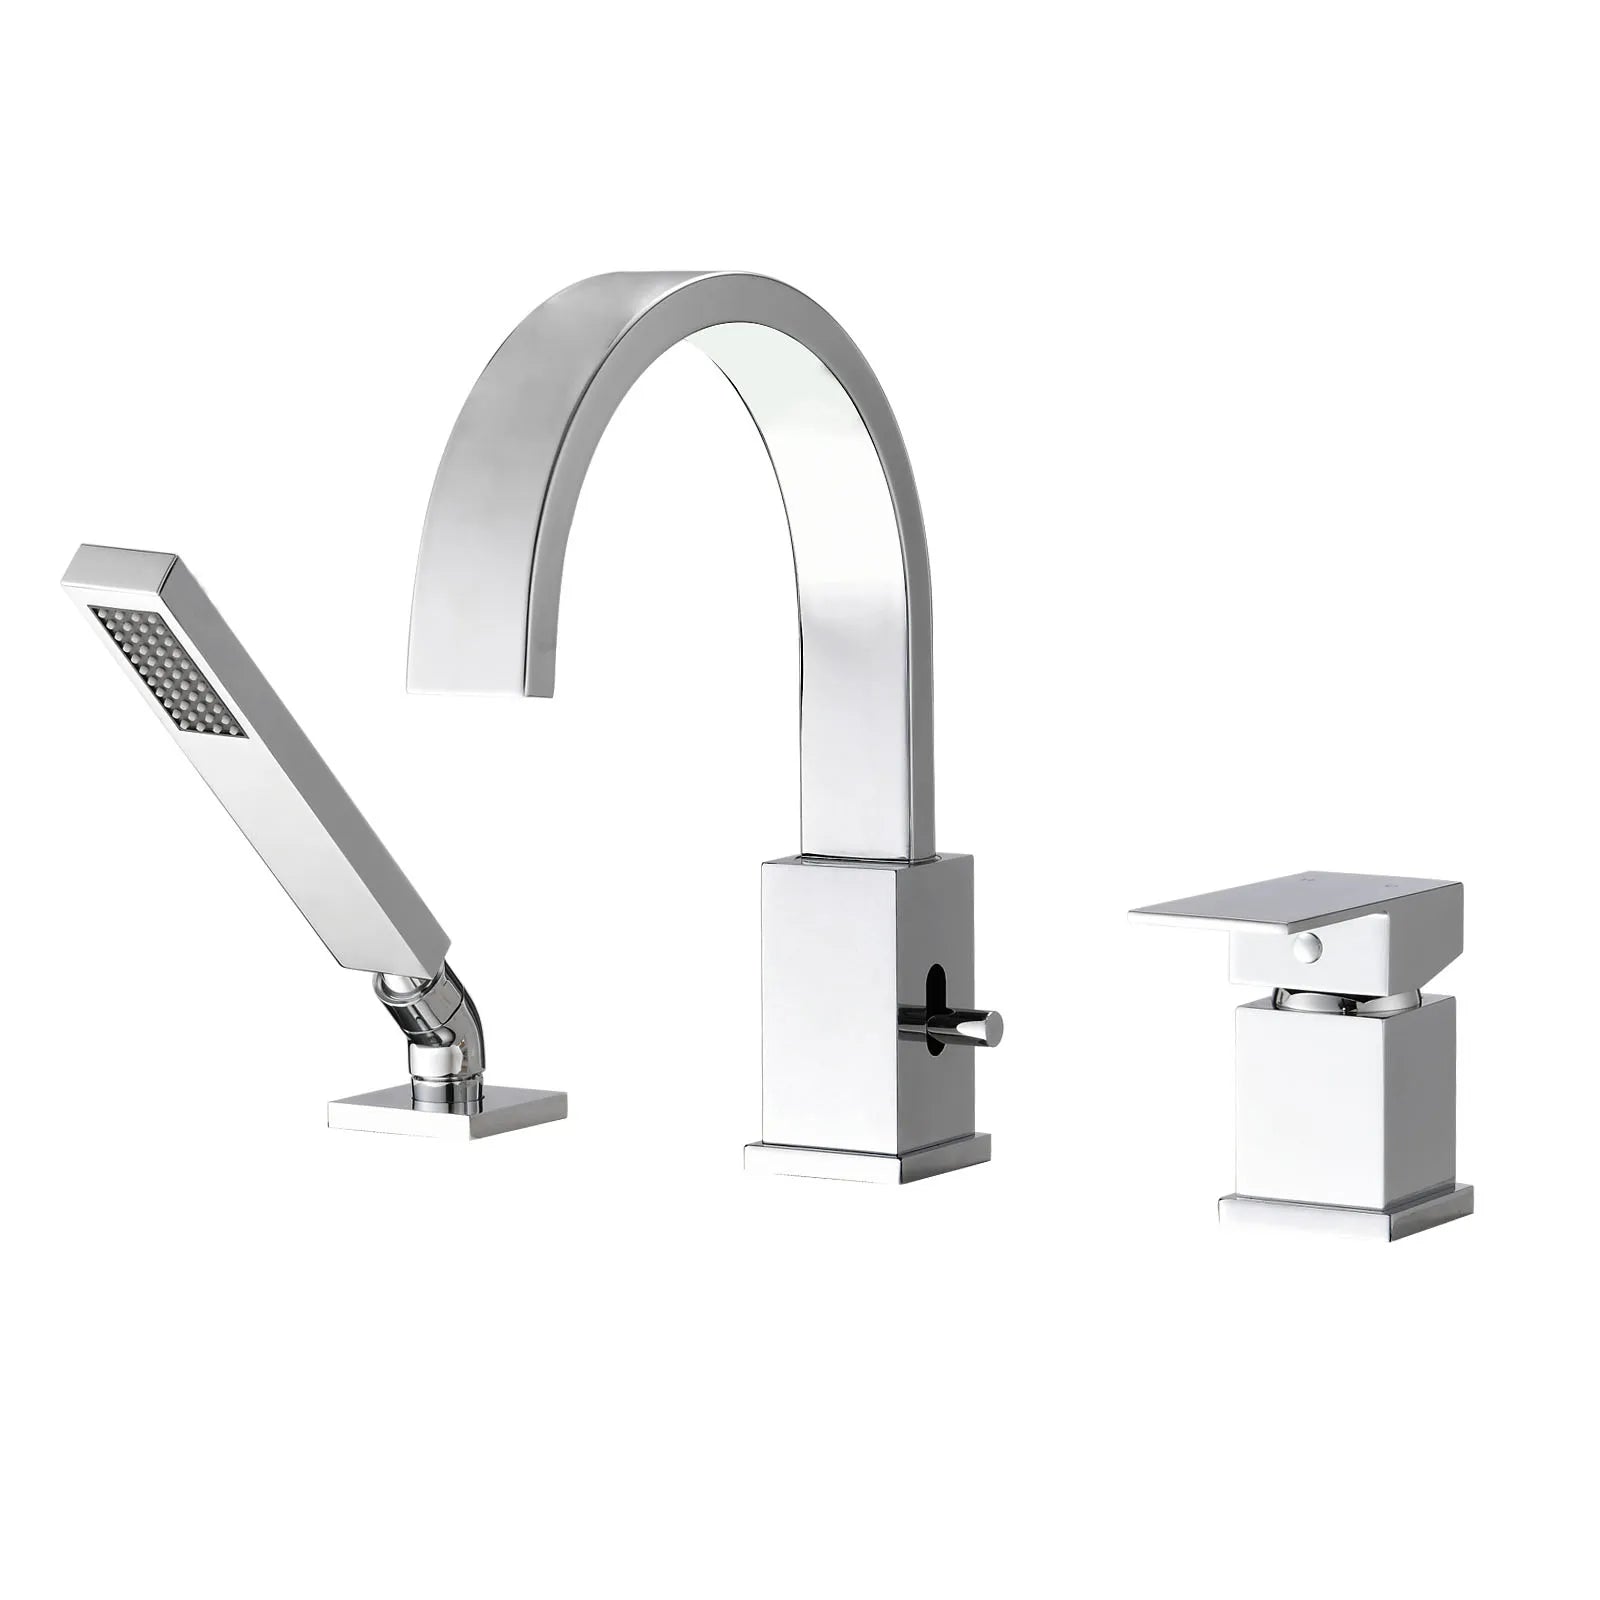
Deck Mounted Tub Faucets
-
Installed directly on the tub rim or surrounding platform
-
Works well with drop-in or alcove tubs
-
Easiest to service when access panels are included
Understanding these differences allows homeowners to match aesthetic goals with realistic installation requirements.
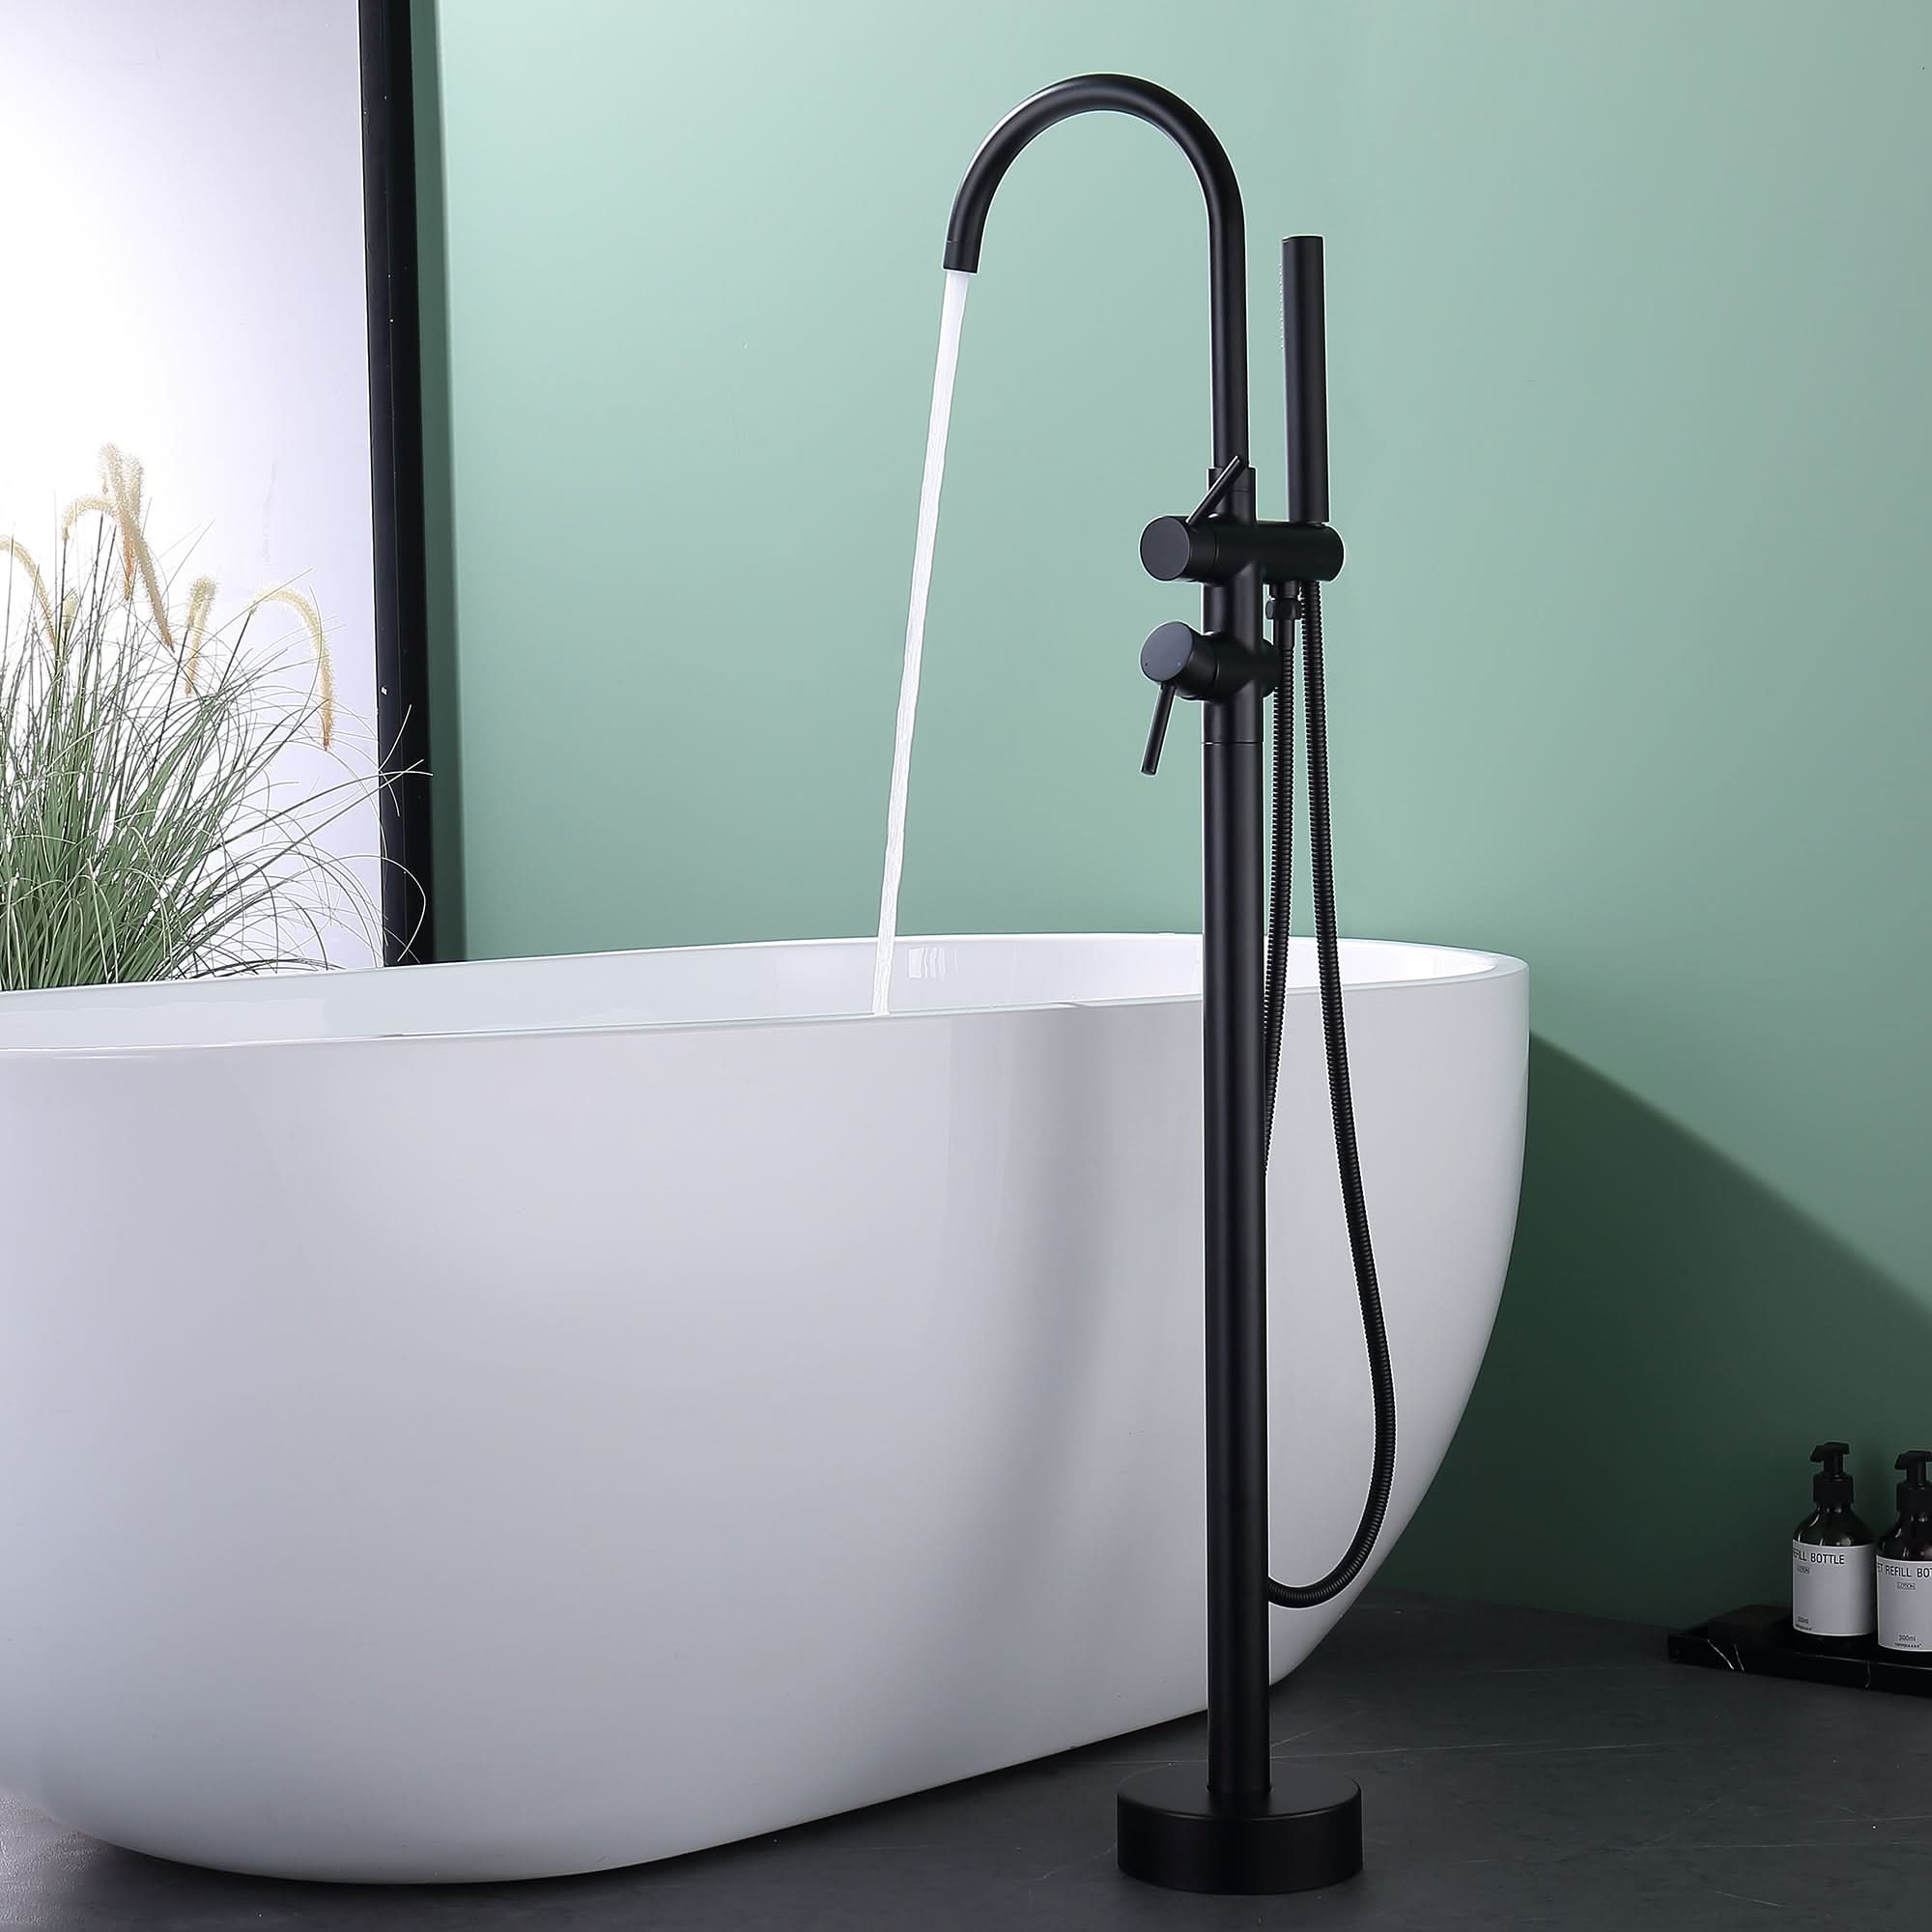
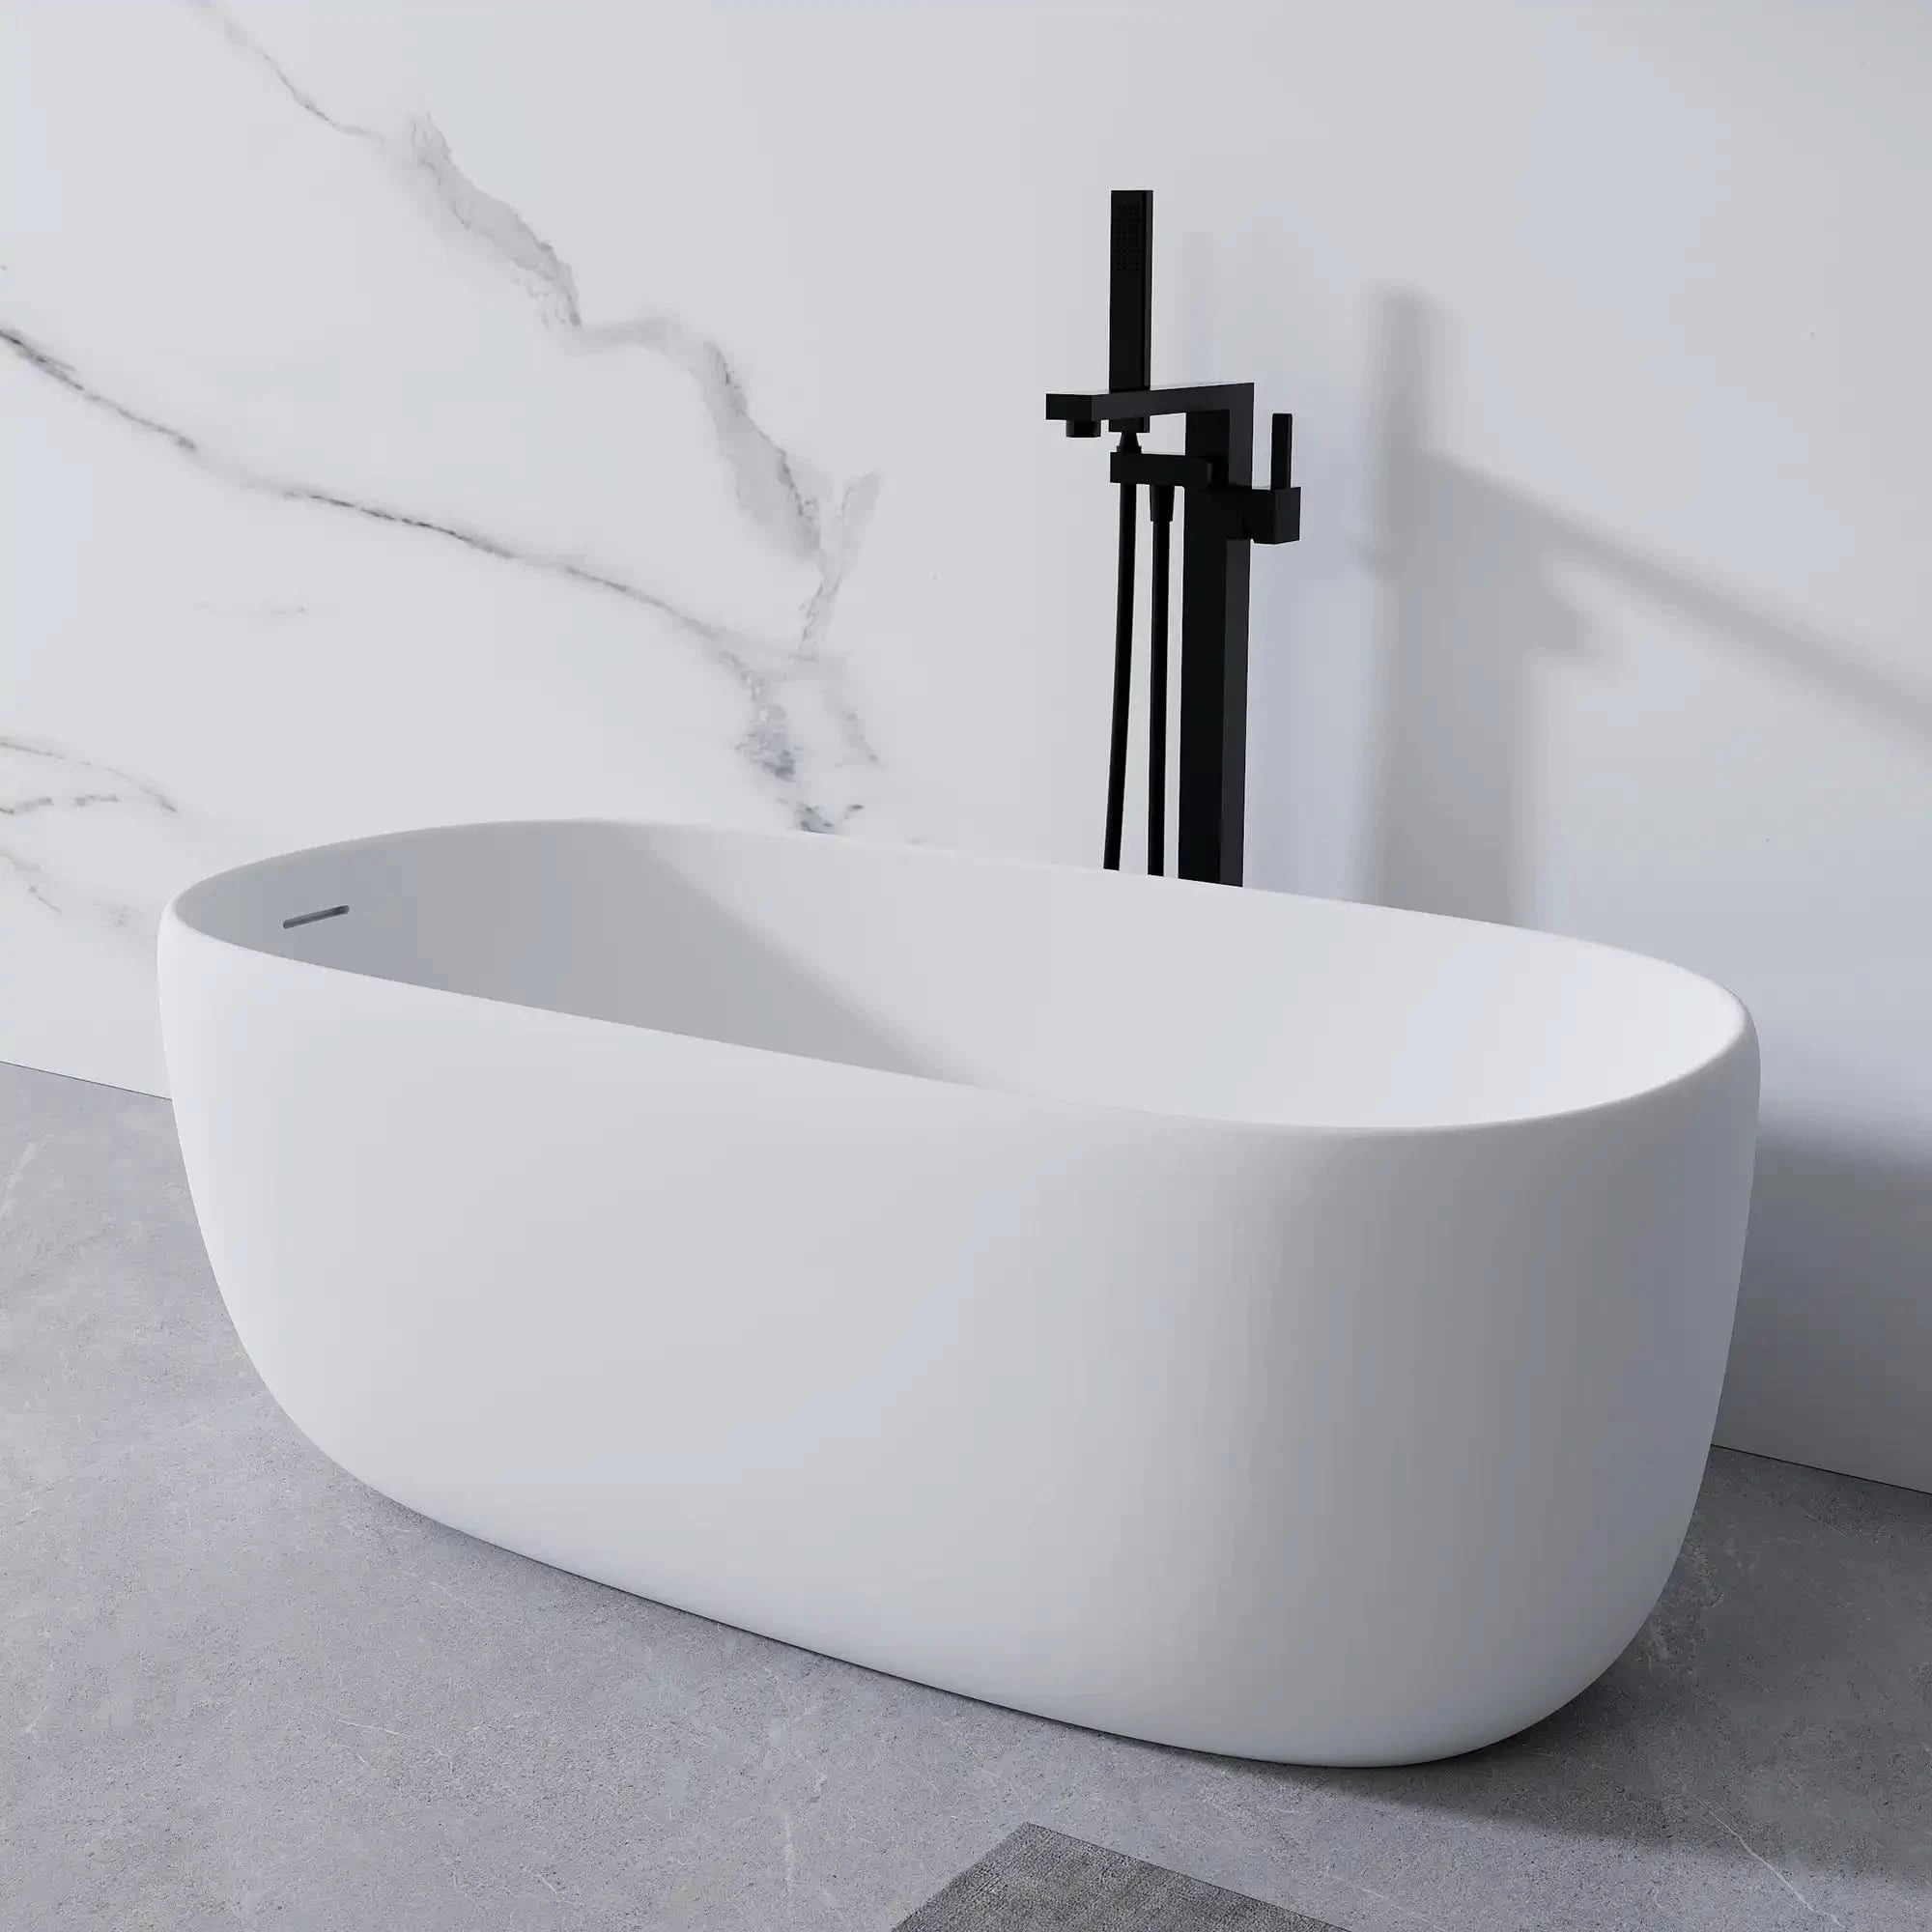
How to Install a Floor Mounted Tub Faucet

Installing a freestanding tub faucet is best approached as a planned installation, not a last-minute fixture upgrade. Because the faucet connects directly to floor plumbing and stands independently, accuracy and preparation are essential for both performance and stability.
Step 1: Confirm Floor Rough-In and Positioning
Before any installation begins, verify that floor plumbing rough-in has been completed. This includes properly spaced hot and cold supply lines, secure anchoring to the structural floor, and correct alignment with the bathtub. Even small positioning errors can affect spout reach and visual balance.
At this stage, confirm:
-
The faucet centerline aligns with the tub
-
The rough-in height matches installation requirements
-
The floor structure provides sufficient support
Step 2: Dry Fit the Faucet Body
Place the faucet over the floor outlet without securing it. This dry fit allows you to confirm vertical alignment, spout orientation, and clearance around the tub. Because freestanding faucets offer minimal adjustment after installation, this step prevents irreversible mistakes.
Step 3: Connect Hot and Cold Water Lines
With the faucet positioned but not yet fixed, connect the internal hot and cold water channels to the floor rough-in connections. All connections should be tightened carefully and sealed properly to prevent leaks under pressure.
Step 4: Secure the Faucet to the Floor
Once connections are verified, the faucet base will be permanently anchored to the structural floor. Stability is critical at this stage, as freestanding faucets experience lateral force during use. After anchoring, the faucet should stand rigidly without movement.
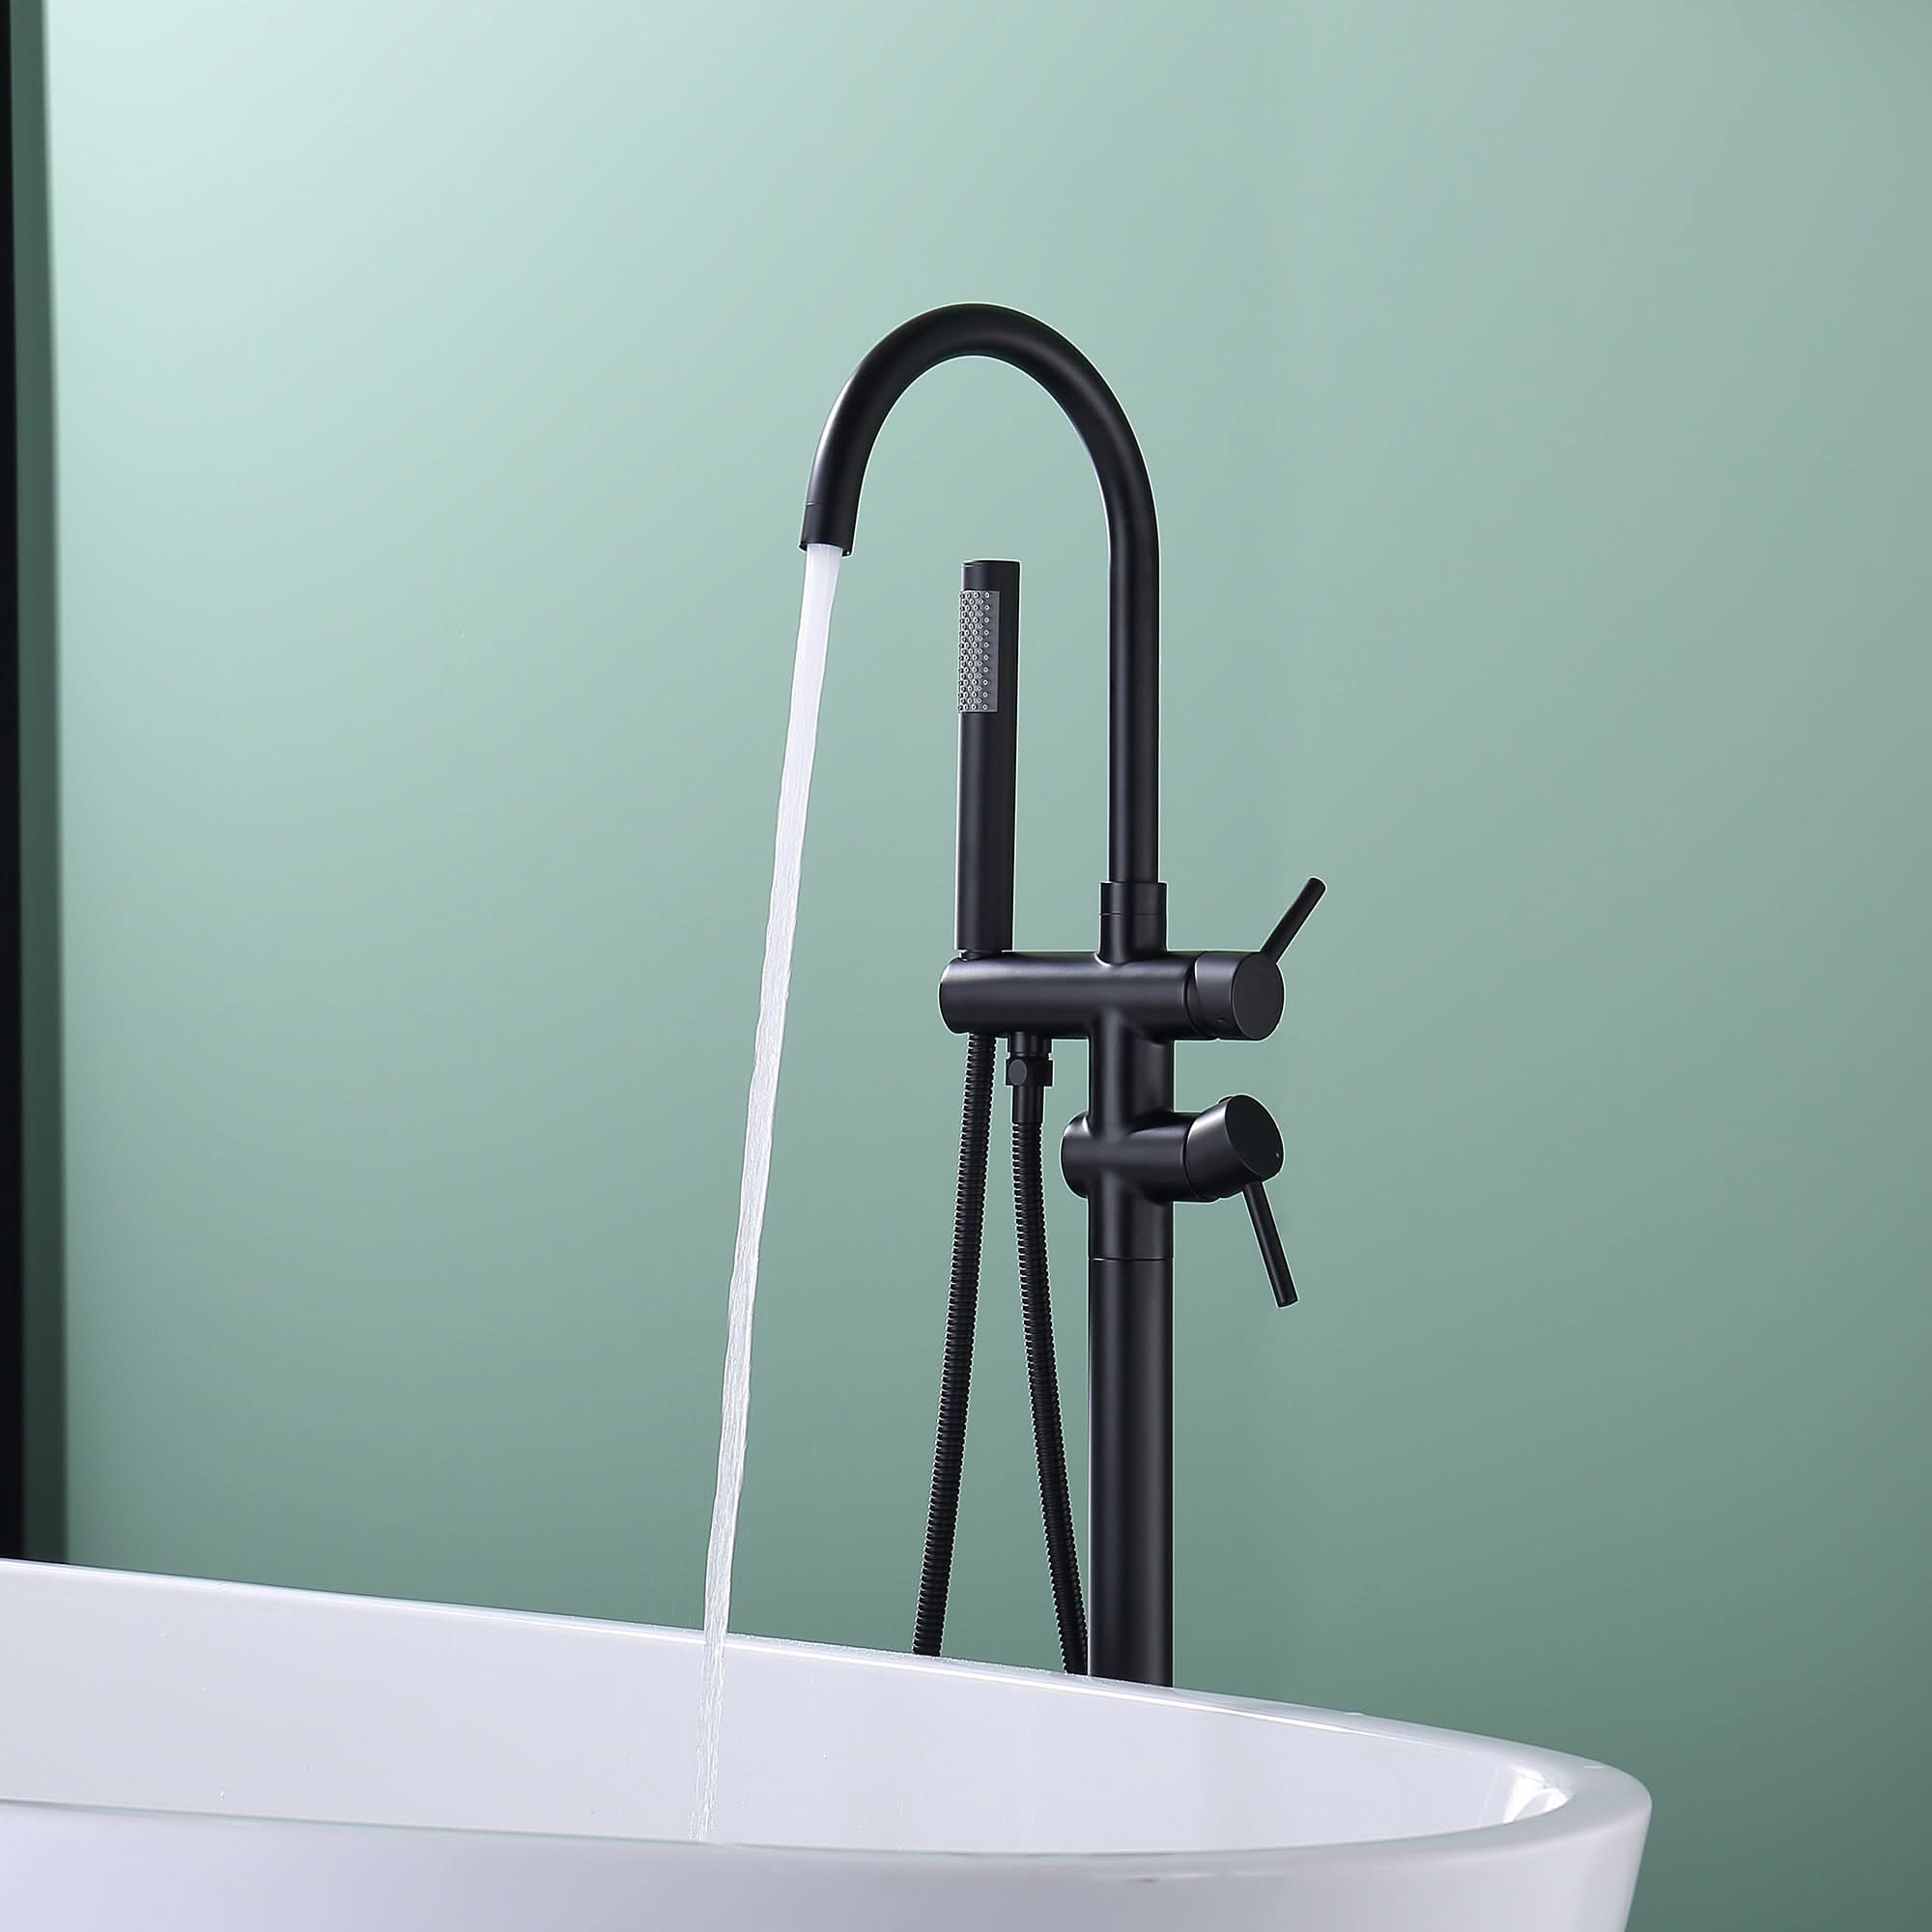
Step 5: Seal and Test
Apply waterproof sealant around the base to protect the floor opening from moisture. Restore the water supply, test flow and temperature balance, and inspect for leaks.
Include misaligned rough-in positioning, insufficient floor reinforcement, and improper installation order. These issues are difficult to correct after the faucet is secured, which is why careful sequencing matters.
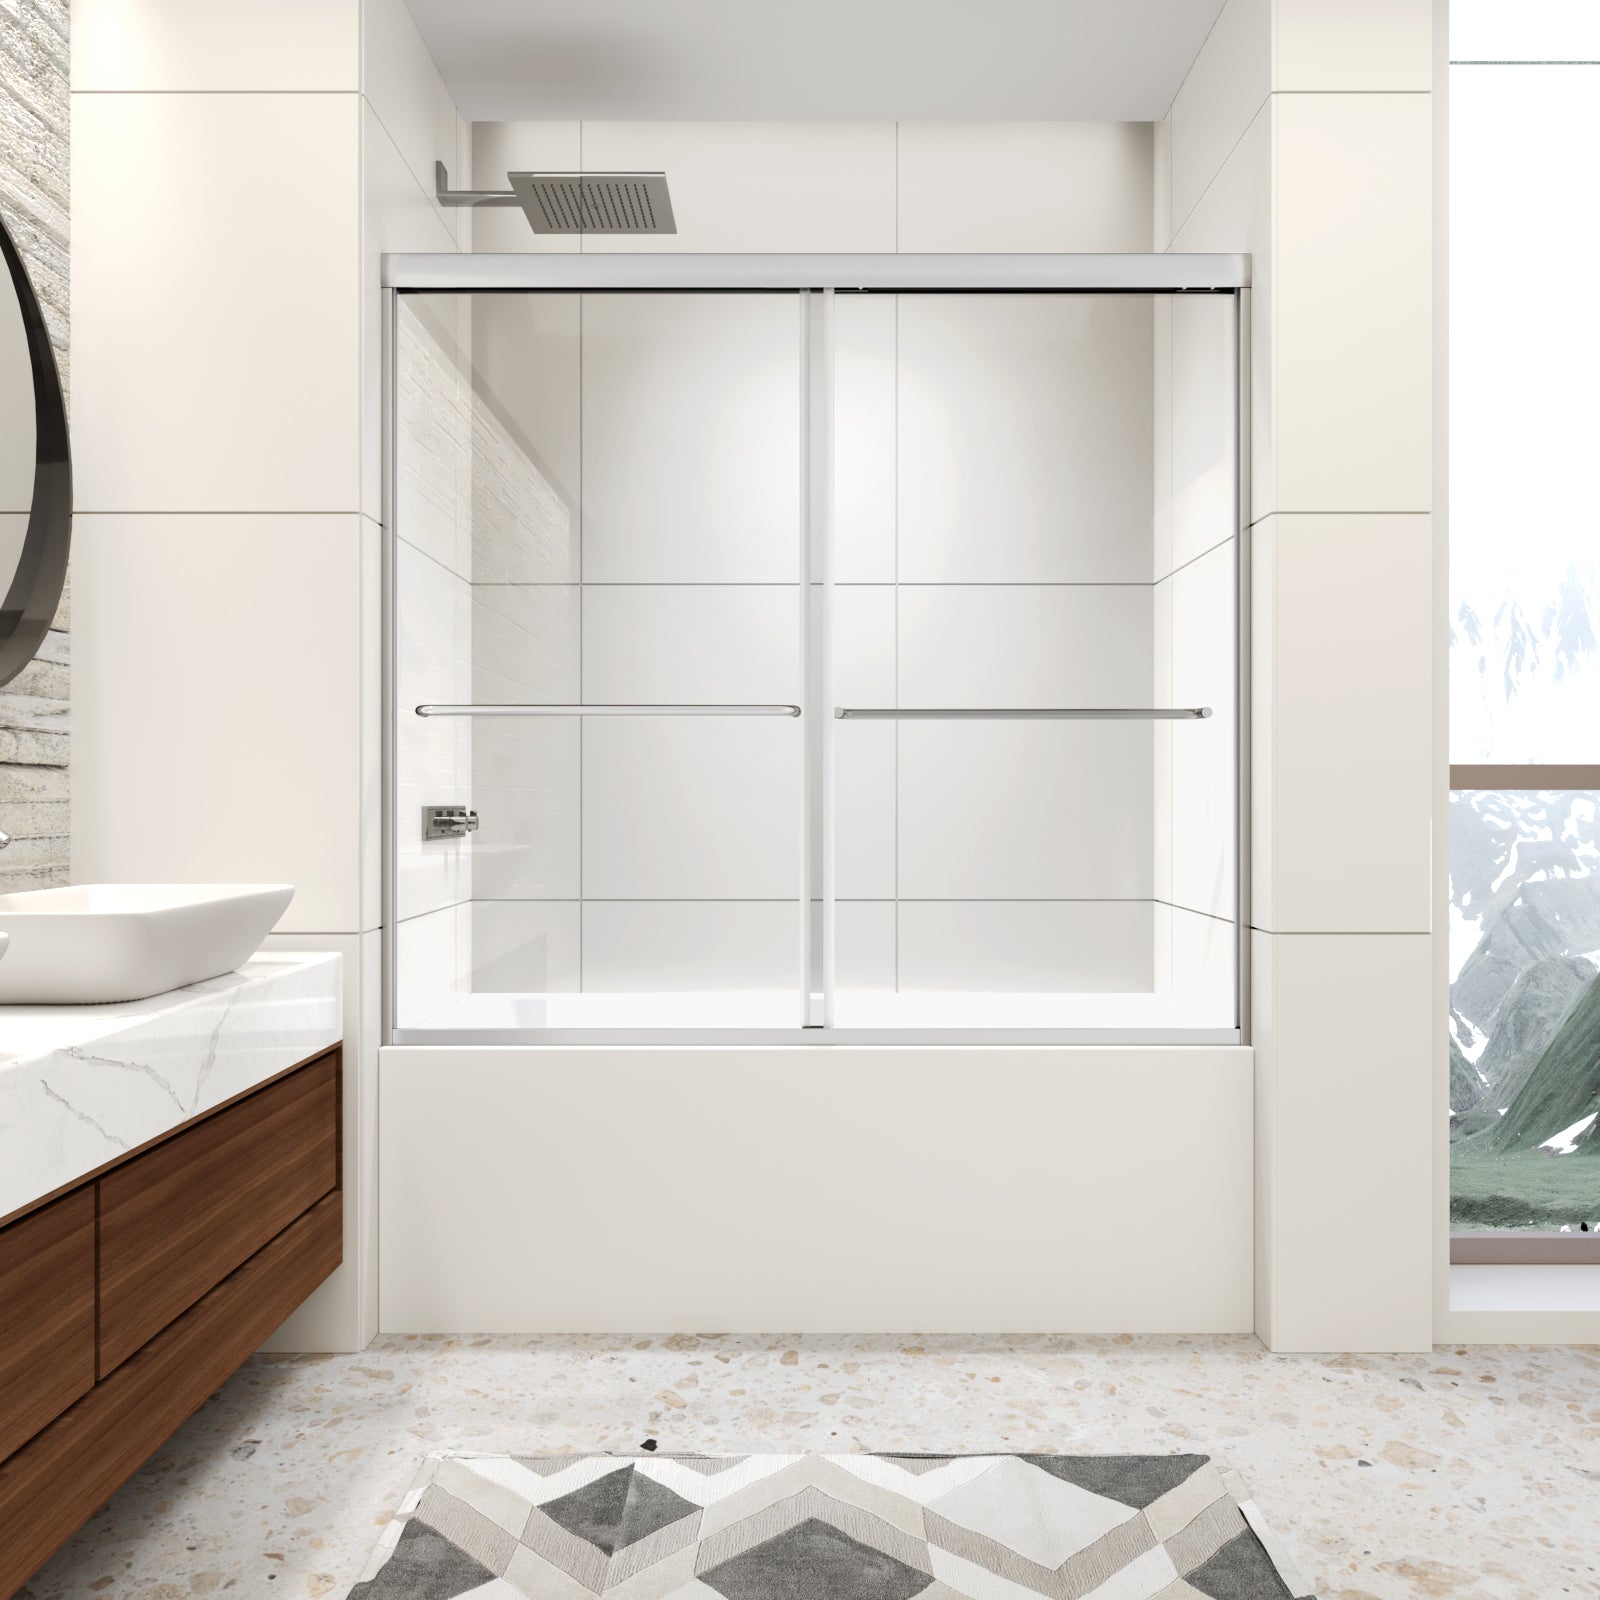
How to Install a Wall Mounted Tub Faucet

Wall-mounted tub faucets rely on precision inside the wall rather than flexibility during installation. Almost every important decision is made before the finished wall is up unlike for surface-mounted fixtures.
Step 1: Plan Valve Rough-In Location
The valve body must be installed at the correct height and depth within the wall. Height affects splash control and user comfort, while depth must account for finished wall thickness to ensure trim components sit flush.
Planning should consider:
-
Distance from tub rim
-
Wall material thickness
-
Clearance for trim and handles
Step 2: Install and Secure the Valve Body
The valve is mounted securely between wall studs and connected to hot and cold supply lines. This stage typically occurs before wall finishes are applied. Connections should be pressure-tested to confirm reliability before proceeding.
Step 3: Waterproof the Wall Assembly
Because plumbing components penetrate the wall, waterproofing is critical. Proper sealing around the valve and outlet prevents moisture from migrating into the wall cavity, which can cause long-term damage.
Step 4: Finish the Wall and Install Trim
After waterproofing and wall finishing, the spout, handles, and trim components are installed. Alignment is checked to ensure smooth operation and proper flow direction.
Step 5: Final Testing
Restore water supply and test for leaks, flow consistency, and temperature control.
Include incorrect rough-in depth, misaligned spout height, and inadequate waterproofing. Once the wall is closed, correcting these issues becomes significantly more complex.
How to Install a Deck Mounted Tub Faucet

Deck-mounted faucets are often considered the most versatile installation type, but there is still some planning that needs to occur beneath the surface.
Step 1: Verify Deck Compatibility
Before installation, confirm that the tub deck or surrounding platform supports the required hole spacing and thickness. Proper clearance below the deck is necessary for connecting supply lines and future servicing.
Step 2: Prepare Mounting Holes
Mark and drill holes according to the faucet layout. Accuracy ensures proper alignment and prevents stress on connections.
Step 3: Install the Faucet Body
Insert the faucet components through the deck openings and secure them from below. Mounting hardware should be tightened evenly to maintain stability without damaging the deck material.
Step 4: Connect Water Supply Lines
Hot and cold water lines are run through the space underneath or behind the tub and connect with supply hoses.
Step 5: Seal and Test
Seal around faucet base with waterproof sealant. Reconnect your water supply, look for leaks and confirm that everything is functioning properly.
Include limited access beneath the tub, insufficient service clearance, and improperly sealed deck penetrations. Planning for access panels significantly improves long-term maintenance.
Final Checks After Tub Faucet Installation
Regardless of installation type, final inspection is essential.
-
Slowly restore water supply
-
Check for leaks under pressure
-
Verify temperature balance and flow direction
-
Inspect seals after first use
A careful final check ensures long-term reliability and prevents hidden damage.
Choosing the Best Tub Faucet Installation for Your Bathroom

Each installation style offers different advantages:
-
Choose floor mounted options for freestanding tubs and open layouts.
-
Choose wall mounted options for clean aesthetics and space efficiency.
-
Choose deck mounted options for flexibility and easier access.
The best choice balances visual preference with plumbing feasibility. A successful tub faucet installation depends on more than following basic steps. It requires careful planning, accurate measurements, and an understanding of how different mounting styles affect plumbing systems.
Q1. Can I handle tub faucet installation myself?
Q2. What is plumbing rough-in?
Q3. Do floor mounted tub faucets require special plumbing?
Q4. How long does tub faucet installation take?
Related Articles
Discover related articles covering bathtub styles, faucet configurations, and bathroom design considerations for a complete planning perspective.
-
15 Inspiring Bathroom with Tub Ideas for Every Style and Space
- Bathtub Materials Guide 2025: The Ultimate, No-Regrets Comparison
- 10 Types of Bathtubs – Pros, Cons, and How to Choose the Right One
- Exposed vs Concealed Shower System 2025 – Which One Fits Your Bathroom Better?
- Modern Shower Ideas: 13 Inspiring Ways to Elevate Your Daily Routine