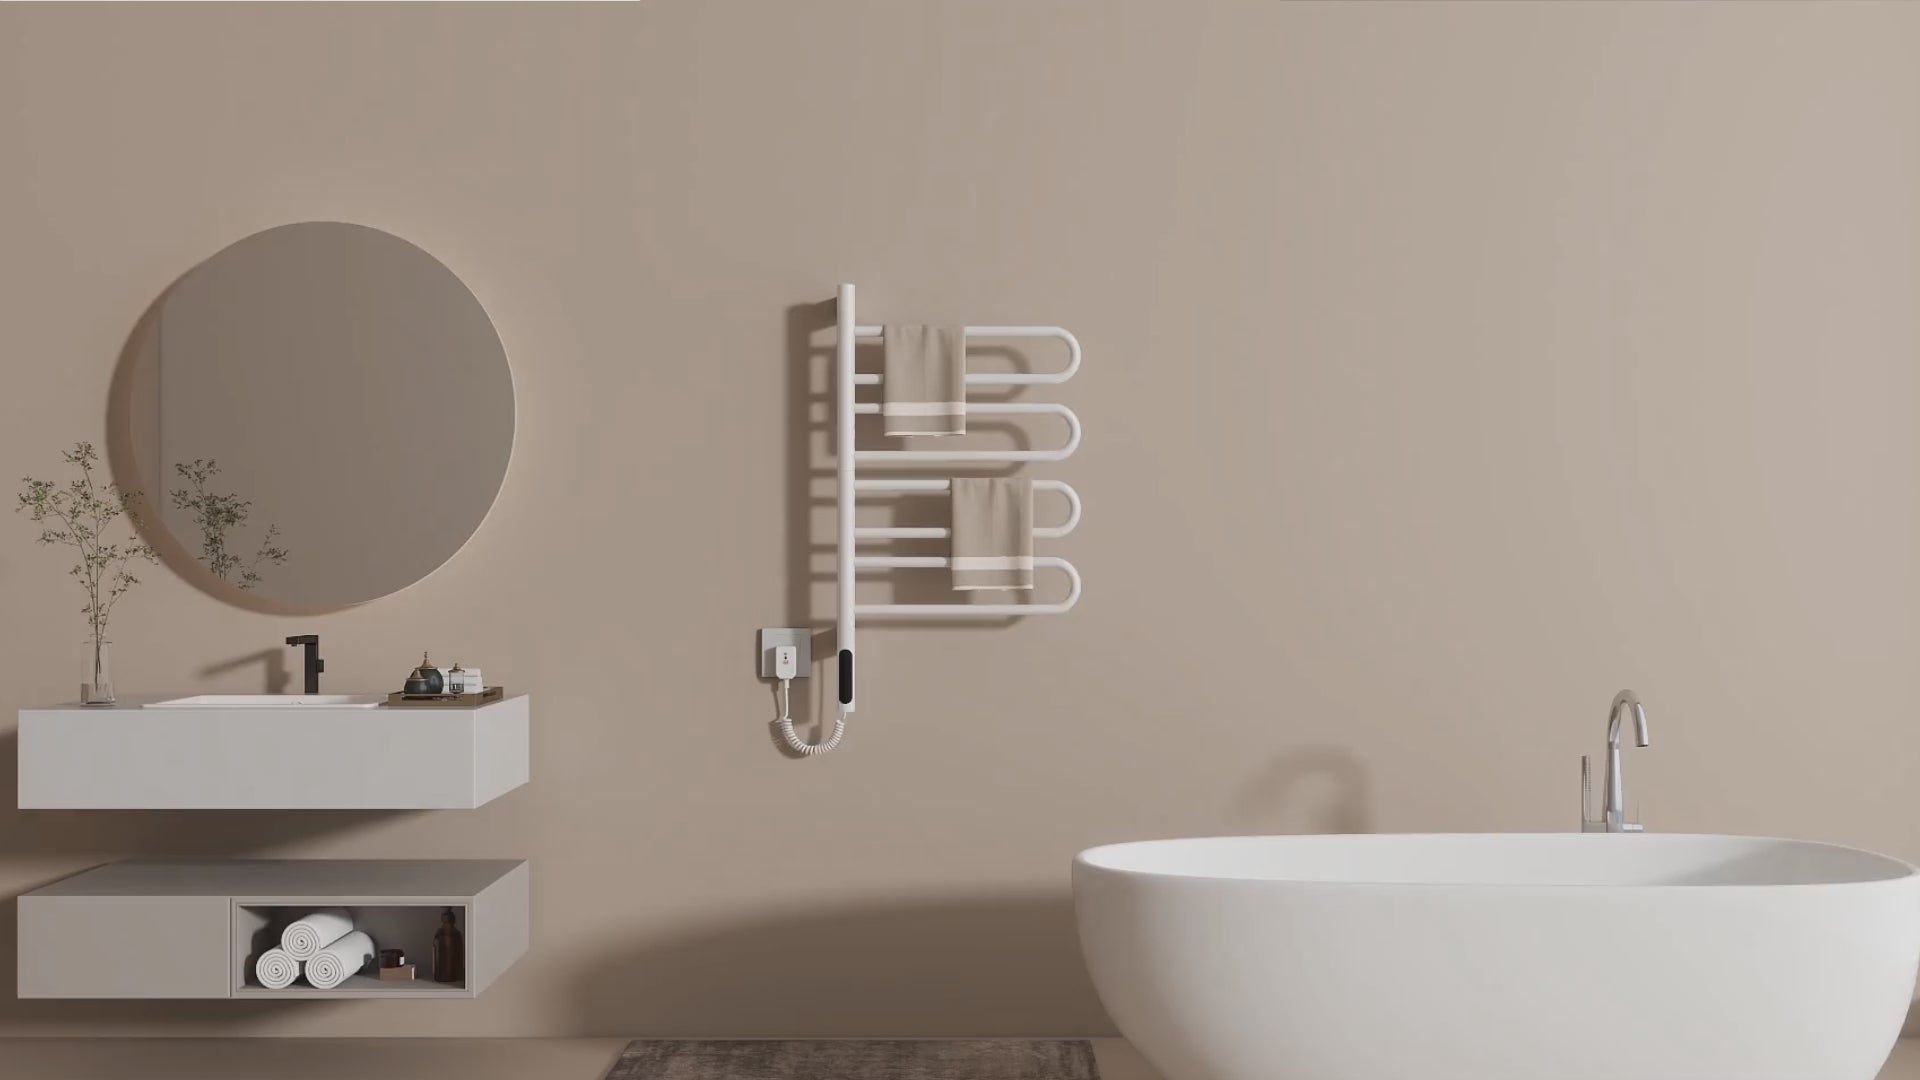
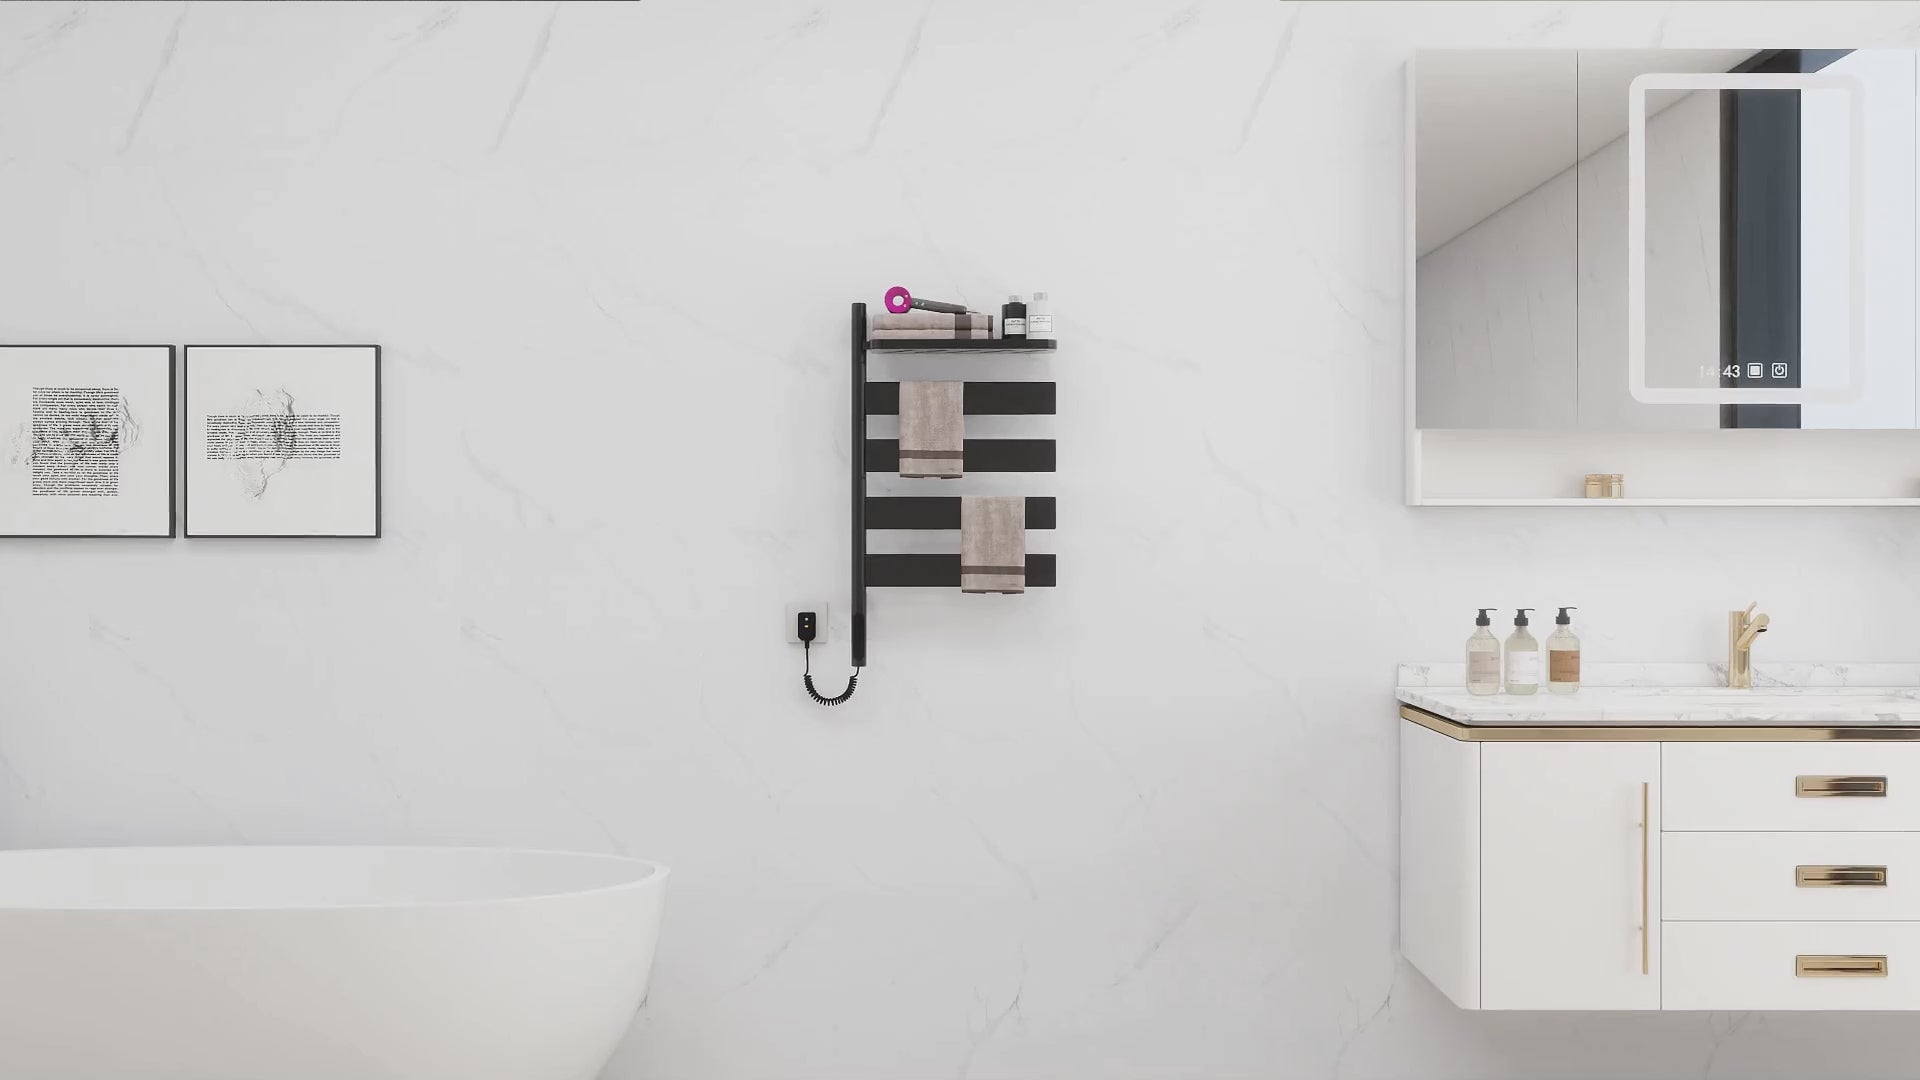
Adding a wall mounted heated towel rack to your bathroom is one of those small upgrades that can make a world of difference. Imagine stepping out of a warm shower, and instead of grabbing a damp, cold towel, you wrap yourself in one that's perfectly warm and dry. Not only does it offer comfort, but heated towel racks also help keep your bathroom more hygienic by drying towels faster, which prevents mildew buildup.
Installing a wall mounted heated towel rack may sound daunting, especially if you’re not a seasoned DIYer. However, with the right tools, a bit of patience, and this step-by-step guide, you’ll see that it’s a relatively straightforward project. Whether you’re upgrading your master bathroom or adding a touch of luxury to a guest bath, this guide will help you install a heated towel rack like a pro.
Tools and Materials Needed
Before diving into the installation, it’s crucial to have all your tools and materials ready. Having the right tools not only makes the process faster but also ensures that the installation is secure and professional-looking.
List of Essential Tools
- Screwdriver: Both flathead and Phillips, depending on the screws that come with your towel rack.
- Level: Ensures your rack is installed straight, a crucial step for both aesthetics and functionality.
- Measuring Tape: Helps ensure precision in placement, height, and spacing.
- Power Drill: Necessary for drilling holes into the wall, especially if you're working with tougher surfaces like tile or concrete.
- Anchors/Wall Plugs: Vital for securing the towel rack into drywall or other hollow surfaces to prevent it from pulling out.
- Screws: Usually provided with your heated towel rack, but double-check that they’re the right length for your wall type.
- Towel Rack: Your heated towel rack of choice—ideally from a high-quality collection like ACE DECOR’s Heated Towel Rack Collection.
Safety Gear
- Safety Glasses: A must when drilling into surfaces like tile or concrete, as dust and debris can pose a hazard.
- Gloves: Helpful for grip and protection when handling power tools and screws.
The preparation phase is essential—make sure you’ve checked everything off this list before proceeding with the installation.
Preparing the Installation Area
Once your tools are in order, the next step is preparing the installation area. Planning ahead ensures that your towel rack will not only look good but also function properly.
Choosing the Right Location
Deciding where to install your heated towel rack is critical for both convenience and safety. The most functional placement is usually close to your shower or bathtub, allowing easy access to a warm towel as soon as you’re done bathing.
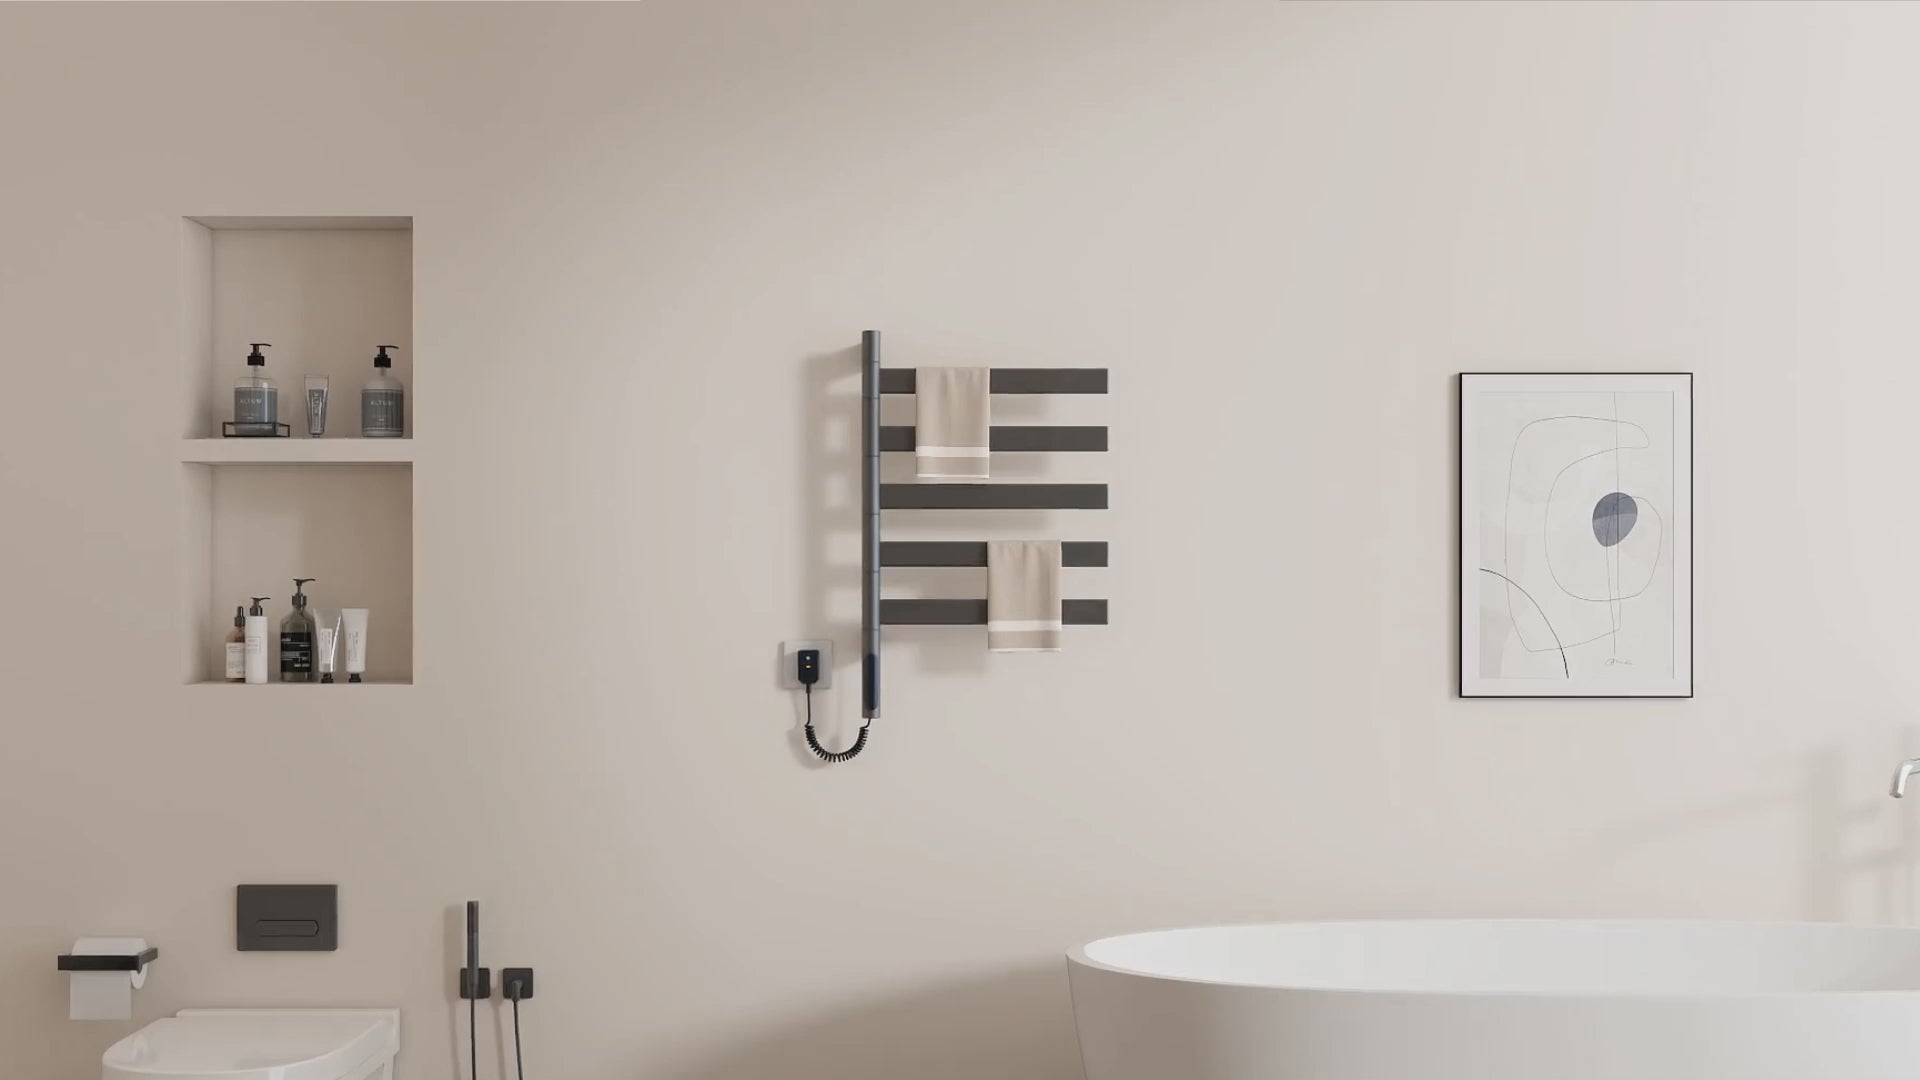
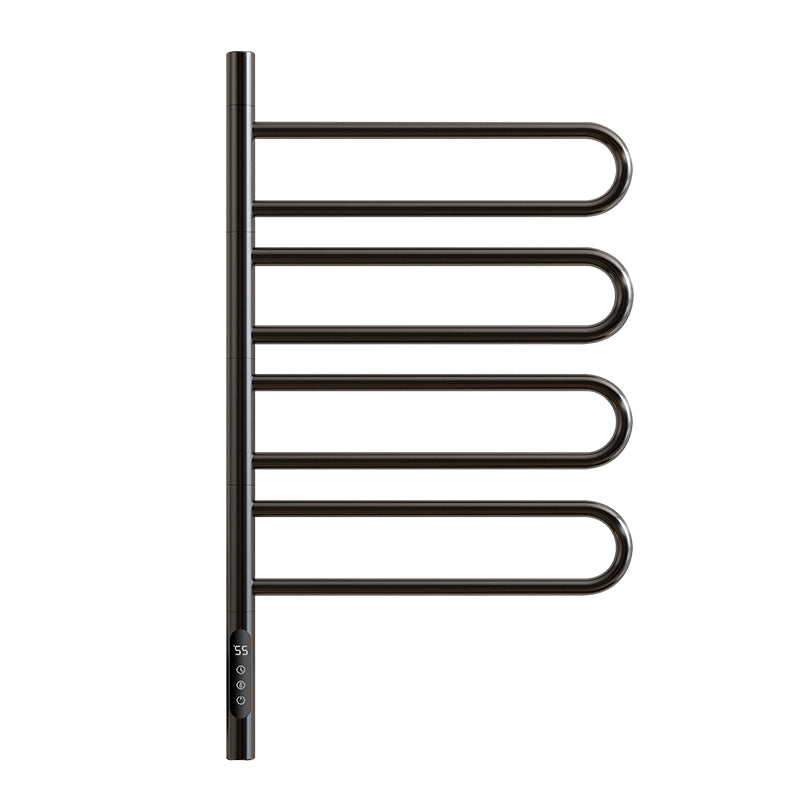
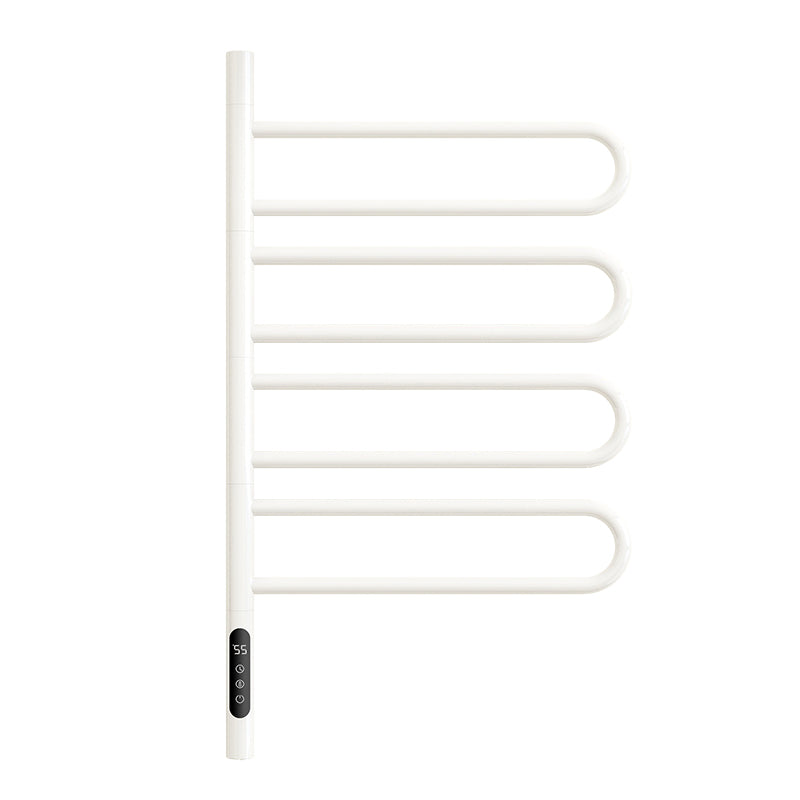
For electric models like the SY-G65 Smart Control Towel Rack, make sure the location is close to a power outlet. This should be a grounded outlet, which is important for safety, especially in bathrooms where moisture is prevalent.
Consider the flow of your bathroom as well. The towel rack should be in a spot where it won’t be obstructed by other fixtures, like a door swinging open or a nearby cabinet. Additionally, make sure there’s enough space for towels to hang freely without touching the floor.
Measuring and Marking the Wall
Once you’ve chosen the perfect spot, it’s time to get precise with measurements. Use a measuring tape to determine the correct height for your towel rack. A standard height is around 48 inches from the floor, though you can adjust depending on the size of your towels or the height of the people who will be using it.
Mark the wall where the screws will go using a pencil. Most heated towel racks come with mounting instructions and a template for marking the screw placement. Be sure to align the markings with a level, as even a slight tilt can be noticeable once the rack is mounted.
Double-check all your measurements to ensure everything is aligned properly before drilling. If you’re installing a larger rack, like the SY-G63 Rotatable Towel Rack, make sure you’ve accounted for the extra space needed for the rotating arms to move freely.
Drilling Holes and Mounting Brackets
Now that your installation area is prepped, it’s time to start drilling and mounting. This is where the towel rack begins to take shape on your wall.
Drilling Guide
Drilling into the wall can be a bit intimidating, especially if you’re working with tiles or concrete. However, with the right approach and tools, it’s manageable.
- Tile Walls: If you’re drilling into tile, be sure to use a masonry bit designed for hard surfaces. Start slowly and apply light pressure to avoid cracking the tile. It’s helpful to place a piece of masking tape over the spot where you plan to drill, which can prevent the drill bit from slipping.
- Drywall: For drywall, a standard drill bit will do, but it’s important to use wall anchors, especially if the towel rack will be holding heavy, wet towels. Without anchors, the screws can easily pull out of the drywall over time.
- Concrete Walls: When drilling into concrete, you’ll need a hammer drill with a masonry bit. Concrete requires more force than drywall, so don’t rush—take your time to avoid damaging the wall or your drill bit.
Once the holes are drilled, insert the wall plugs or anchors. These provide extra support and ensure the towel rack stays securely attached to the wall. Gently tap them into place with a hammer until they’re flush with the wall.
Attaching Mounting Brackets
Next, it’s time to attach the mounting brackets that will hold the towel rack in place. Using the screws provided, fasten the brackets into the wall plugs or anchors. Be sure to use your level again to confirm the brackets are perfectly horizontal.
Secure the brackets tightly, but avoid over-tightening, which can damage the wall or strip the screws. Once the brackets are firmly in place, give them a gentle tug to ensure they’re securely fastened.
Attaching the Heated Towel Rack
With the brackets mounted, you’re ready to attach the heated towel rack itself. This is the exciting part where your vision starts coming together.
Placing the Rack on the Brackets
Most heated towel racks are designed to easily slot onto the brackets. Lift the towel rack carefully and place it on the mounted brackets, ensuring it’s aligned properly and sits securely.
Check that the towel rack is level once more before securing it fully. Some models may have additional screws or fasteners to lock the rack onto the brackets—be sure to tighten these as needed for extra stability.
Connecting the Power Source (for Electric Models)
If your towel rack is an electric model, like the SY-G65 Smart Control Towel Rack, the final step is to connect it to the power source. Make sure the cord is neatly arranged and safely positioned away from any water sources. For safety, the outlet should be grounded, and it’s best to use a GFCI (Ground Fault Circuit Interrupter) outlet, which is designed for wet environments like bathrooms.
Once connected, follow the manufacturer’s instructions to complete the setup. If you’re unsure about the electrical work, it’s always a good idea to consult or hire a licensed electrician.
Testing and Final Adjustments
Now that your wall mounted heated towel rack is installed, it’s time to test it and make any necessary final adjustments.
Testing the Rack
Turn on the heated towel rack to ensure it’s functioning correctly. Give it a few minutes to warm up and check that the heat is evenly distributed across all the bars. If everything is working as expected, you should feel a consistent warmth across the rack.
During this test, also check that the towel rack is securely attached to the wall and doesn’t wobble when you hang towels on it. If you notice any issues, tighten the screws or make small adjustments as needed.
Final Checks and Adjustments
Finally, take a step back and look at your new heated towel rack from different angles. Is it level? Are the cords tucked neatly away? Make any final adjustments to ensure everything looks neat and functions as intended.
If your towel rack includes smart features, like the ability to set timers or control the temperature remotely (as with the SY-G65), take a moment to familiarize yourself with the controls. Set a timer for when you typically shower so that your towels are always warm and ready when you need them.
Conclusion
Installing a wall mounted heated towel rack is a simple yet transformative upgrade for your bathroom. Not only do you gain the luxury of warm towels, but you also benefit from faster drying times and improved bathroom hygiene. With the right tools and this step-by-step guide, you can complete the installation yourself and enjoy the satisfaction of a job well done.
For those looking to enhance their bathroom with a stylish and functional heated towel rack, ACE DECOR’s Heated Towel Rack Collection offers high-quality options that combine sleek design with practical features. From models like the SY-G63 Rotatable Towel Rack, which offers flexibility in smaller spaces, to the SY-G65 Smart Control Towel Rack with customizable heat settings, there’s a towel rack for every bathroom and lifestyle.
FAQ Section
1. Do I need an electrician to install a wall mounted heated towel rack?
For plug-in models, most homeowners can handle the installation themselves as long as the outlet is grounded. However, for hardwired models, or if you’re unsure about the electrical connections, hiring an electrician is recommended to ensure safety.
2. What height should I install my heated towel rack?
A typical installation height is about 48 inches from the floor, but this can vary depending on your bathroom layout and personal preference. Just make sure there’s enough space for towels to hang without touching the floor.
3. Can I install a wall mounted heated towel rack on tile?
Yes, you can install on tile, but it’s important to use a masonry drill bit and proceed carefully to avoid cracking the tile. Applying gentle pressure and using masking tape to prevent the drill from slipping are key tips for success.
4. How do I clean and maintain my heated towel rack?
Heated towel racks are easy to maintain. Simply wipe down the rack with a soft cloth and mild soap. Avoid abrasive cleaners that could damage the finish. Regularly check the screws and brackets to ensure they remain secure over time.
5. Are wall mounted heated towel racks energy efficient?
Yes, most wall mounted heated towel racks are energy efficient, especially models with timers or smart controls that allow you to manage their usage. They consume far less energy than traditional space heaters and help reduce dampness in your bathroom, leading to fewer towel washes.

