### Quick Steps to Paint Bathroom Vanity Cabinets:
1. Remove cabinet doors and hardware.
2. Clean and sand the surfaces.
3. Apply primer and let it dry.
4. Paint in thin, even coats.
5. Seal the surface for durability.
Painting bathroom vanity cabinets is a cost-effective and satisfying way to breathe new life into your bathroom. A well-painted cabinet can instantly upgrade the aesthetics of the space, transforming it from outdated to sleek and modern. Whether you're aiming for a simple refresh or a bold design change, painting your cabinets can achieve dramatic results without the need for a full renovation.
In this guide, I’ll walk you through everything you need to know about painting bathroom vanity cabinets—from preparation to the final steps. You’ll not only get the knowledge to handle this project like a pro, but I’ll also point you to some excellent product suggestions from ACE DECOR, helping you make smart choices along the way.
Table of Contents
- Why Painting Your Bathroom Vanity Cabinets is Worth It
- Materials You’ll Need for Painting Bathroom Cabinets
- Step-by-Step Guide to Painting Bathroom Cabinets
-
- Prepping Your Space
-
- Removing Cabinet Doors and Hardware
-
- Cleaning the Cabinets
-
- Sanding for a Smooth Finish
-
- Priming the Surface for Paint
-
- Choosing the Right Paint
-
- Applying the Paint: Techniques for a Flawless Finish
-
- Sealing and Protecting Your Cabinets
-
- Reinstalling the Hardware and Final Touches
-
- Tips for Choosing the Right Color for Your Vanity
- Mistakes to Avoid When Painting Bathroom Cabinets
- Why Choose ACE DECOR for Your Bathroom Remodel?
- FAQs: All Your Painting Questions Answered
Why Painting Your Bathroom Vanity Cabinets is Worth It
Bathroom remodels can be expensive, with the cost of new vanity cabinets often being a major portion of the budget. If your cabinets are still in good condition but looking a bit dated, a fresh coat of paint can do wonders. By painting the cabinets, you avoid the hassle of cabinet replacement while achieving the same visual impact at a fraction of the cost.
Not only does painting breathe new life into old cabinetry, but it also allows you to customize the color to fit your evolving style. This makes it one of the best DIY projects for homeowners looking to enhance their bathroom without a full renovation.
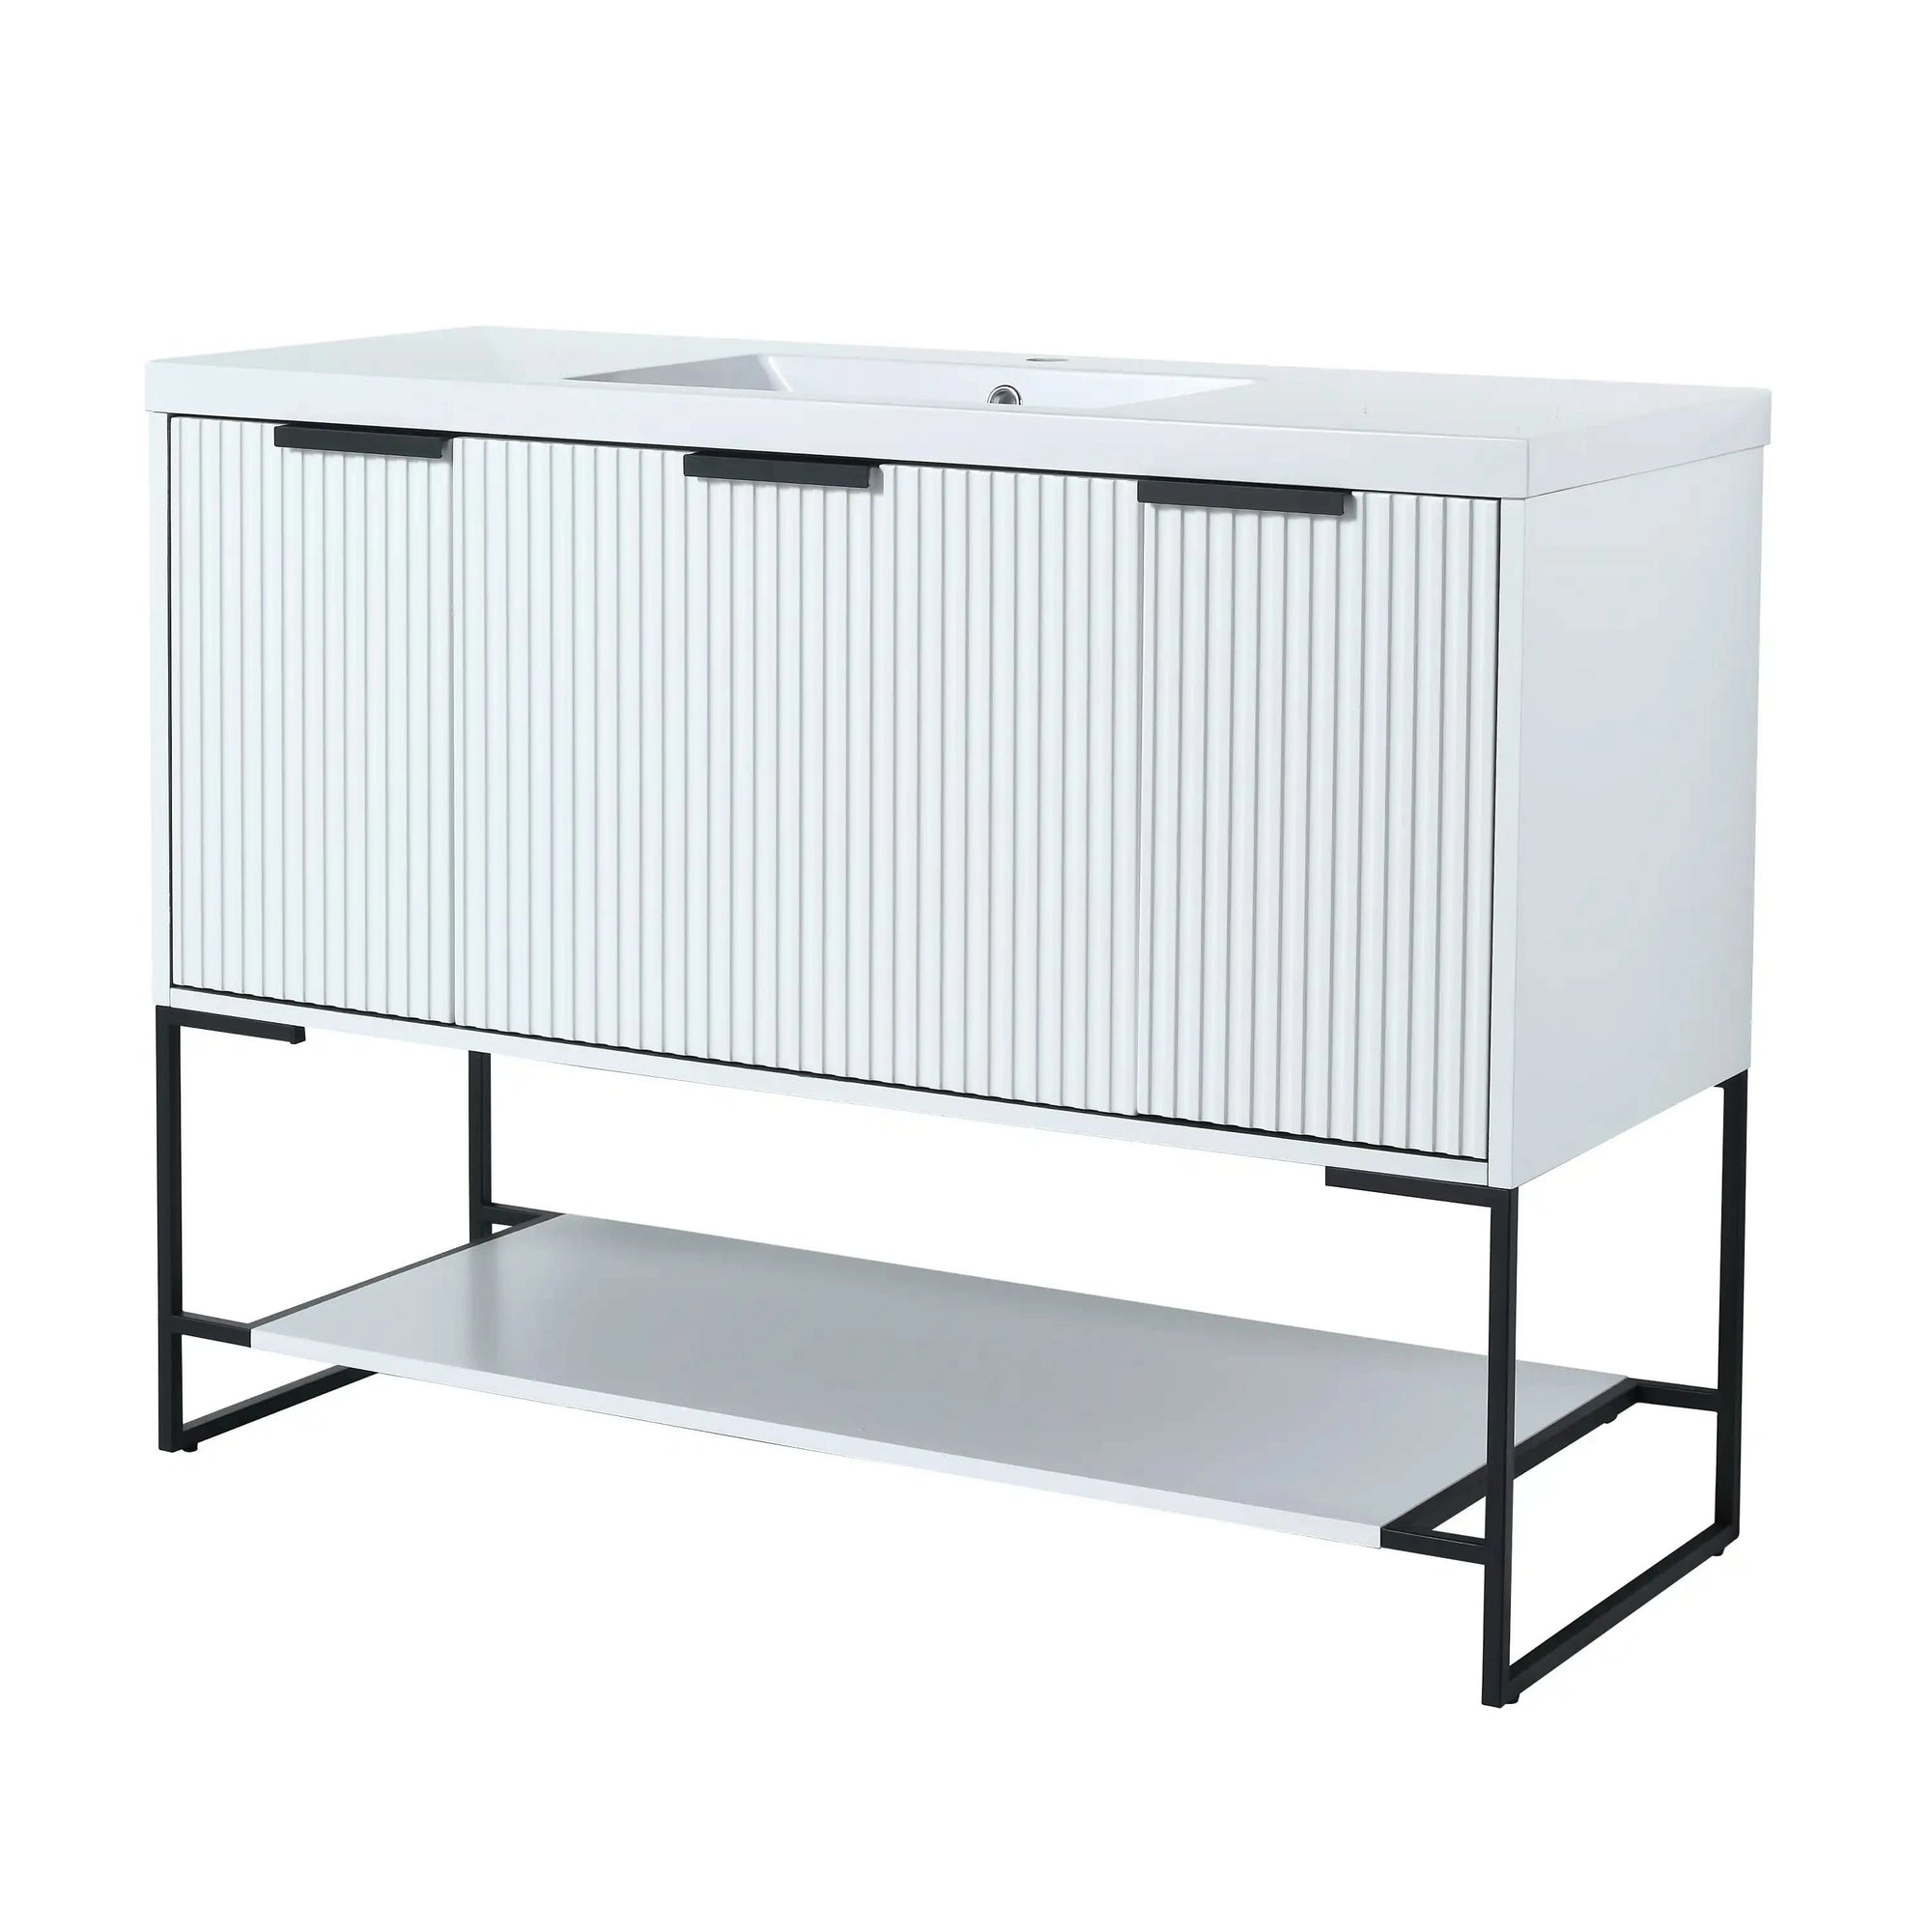
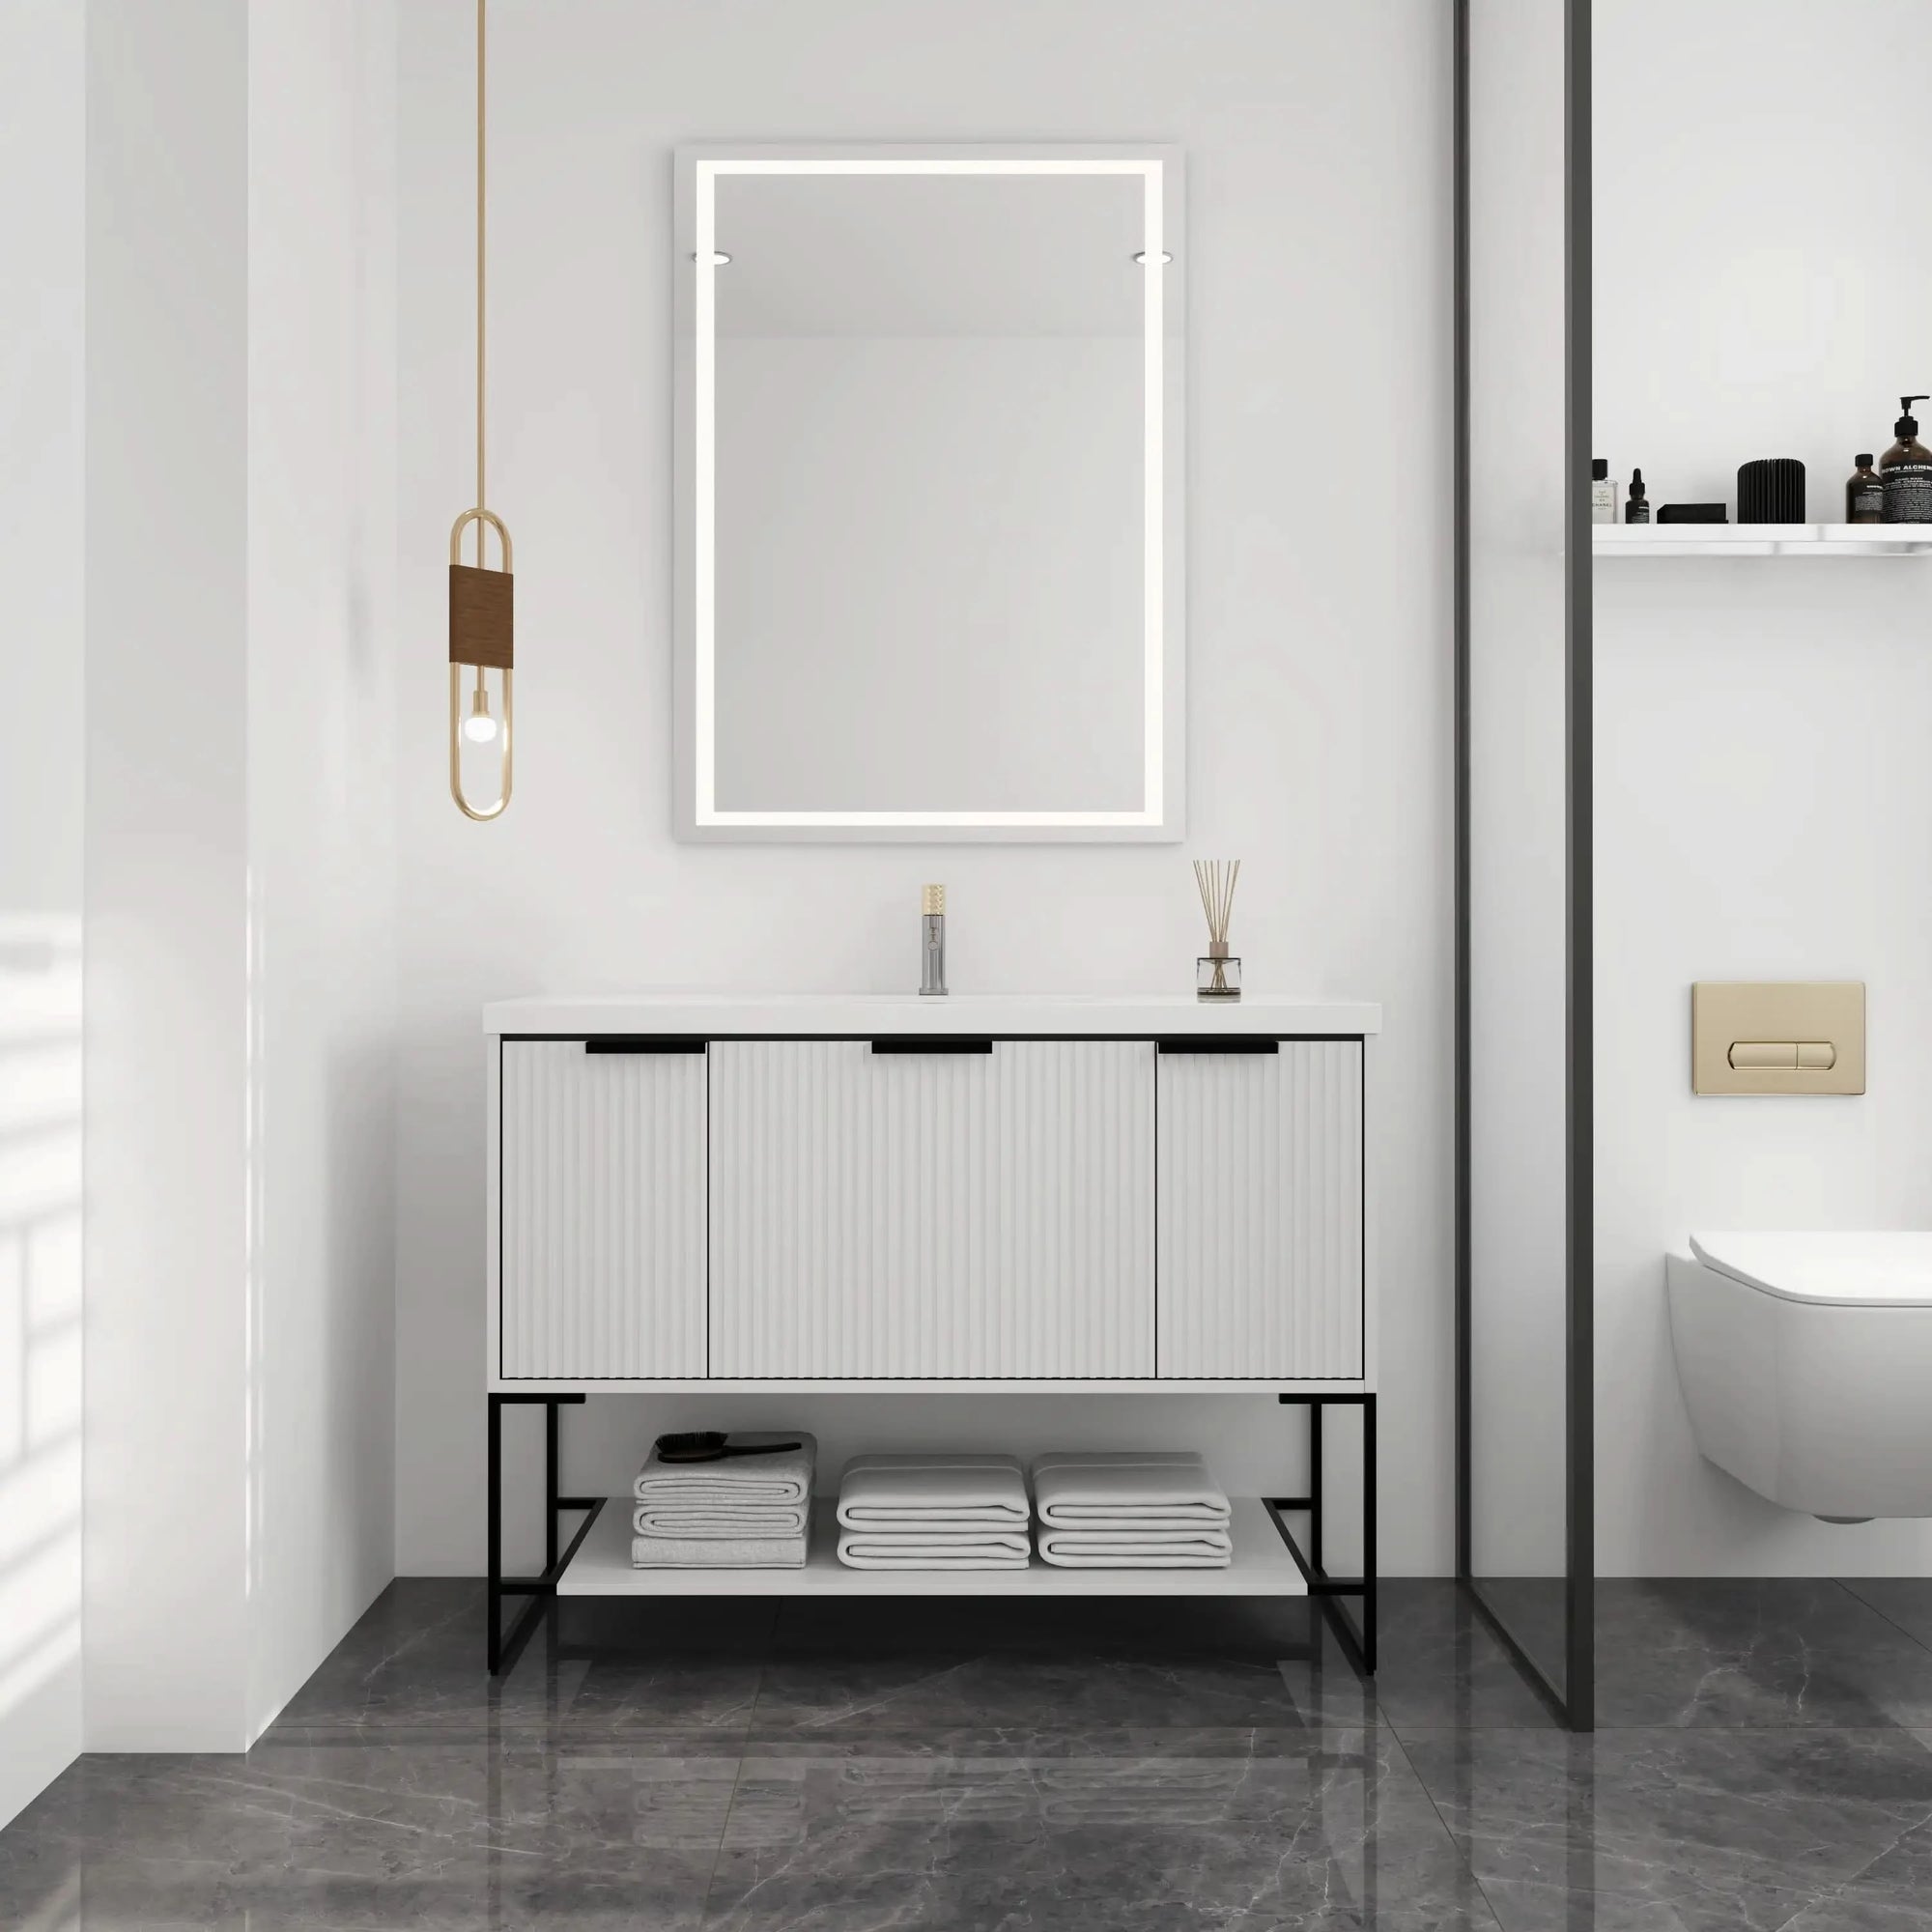
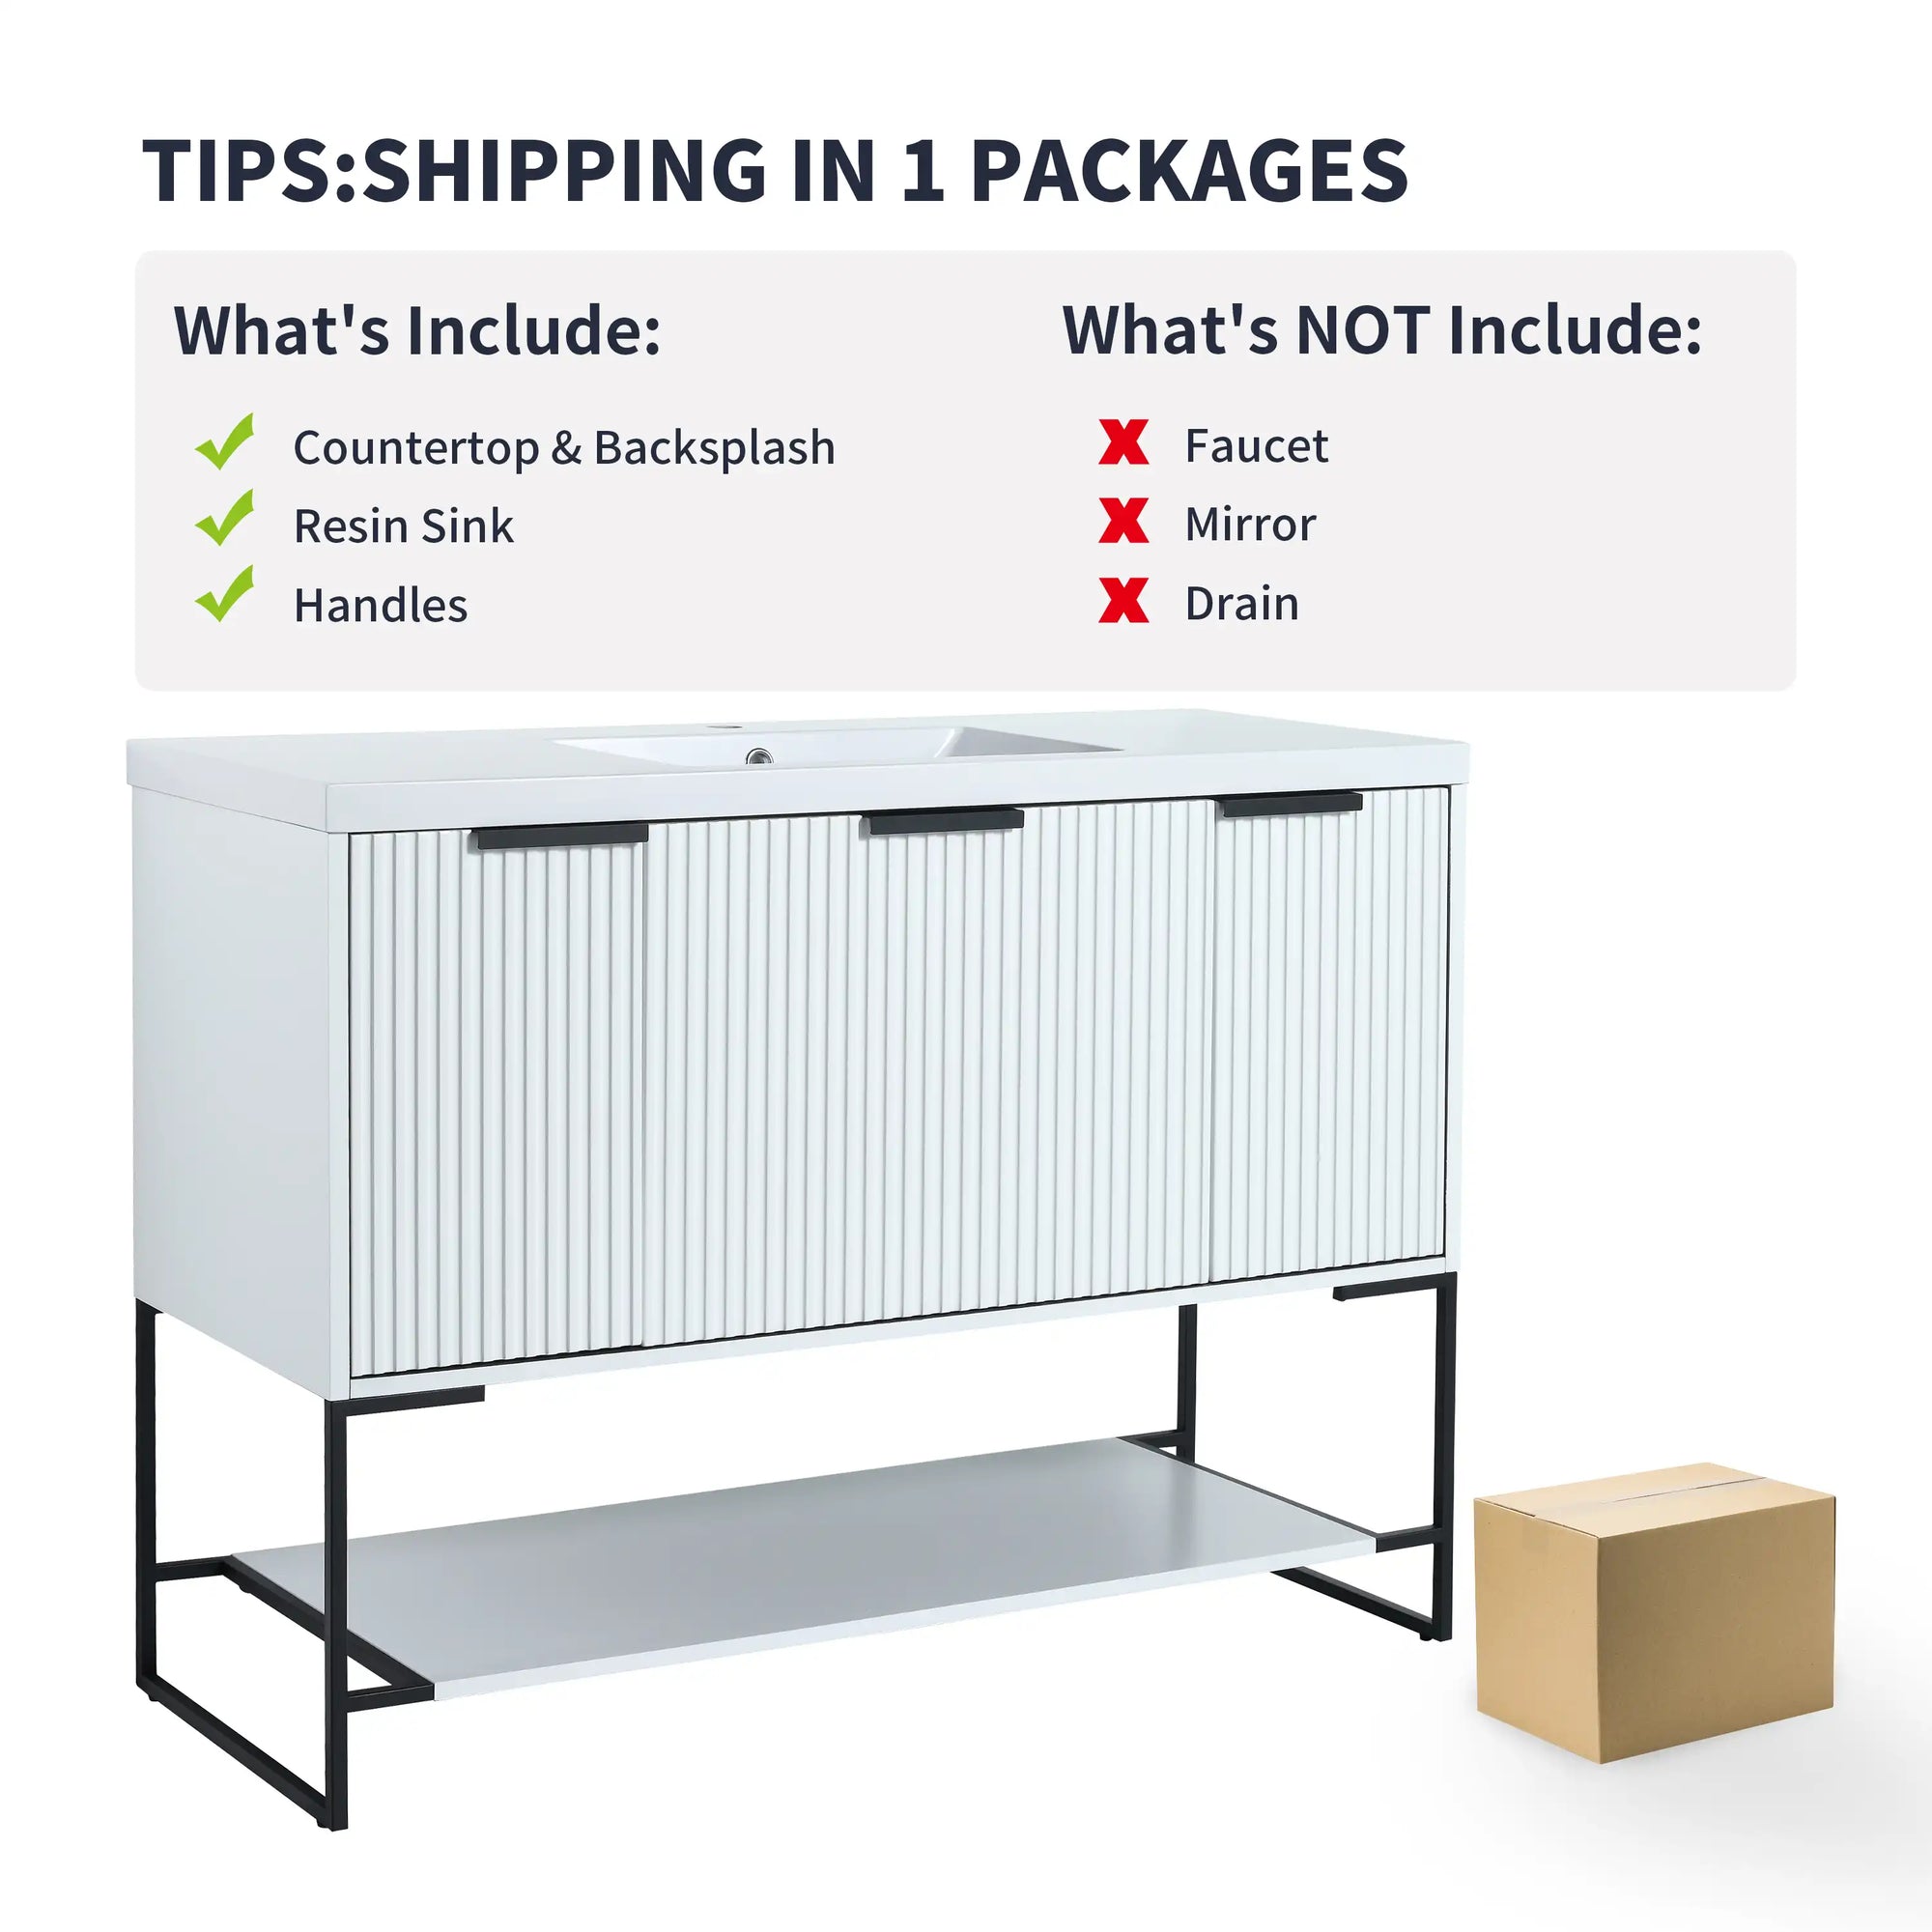
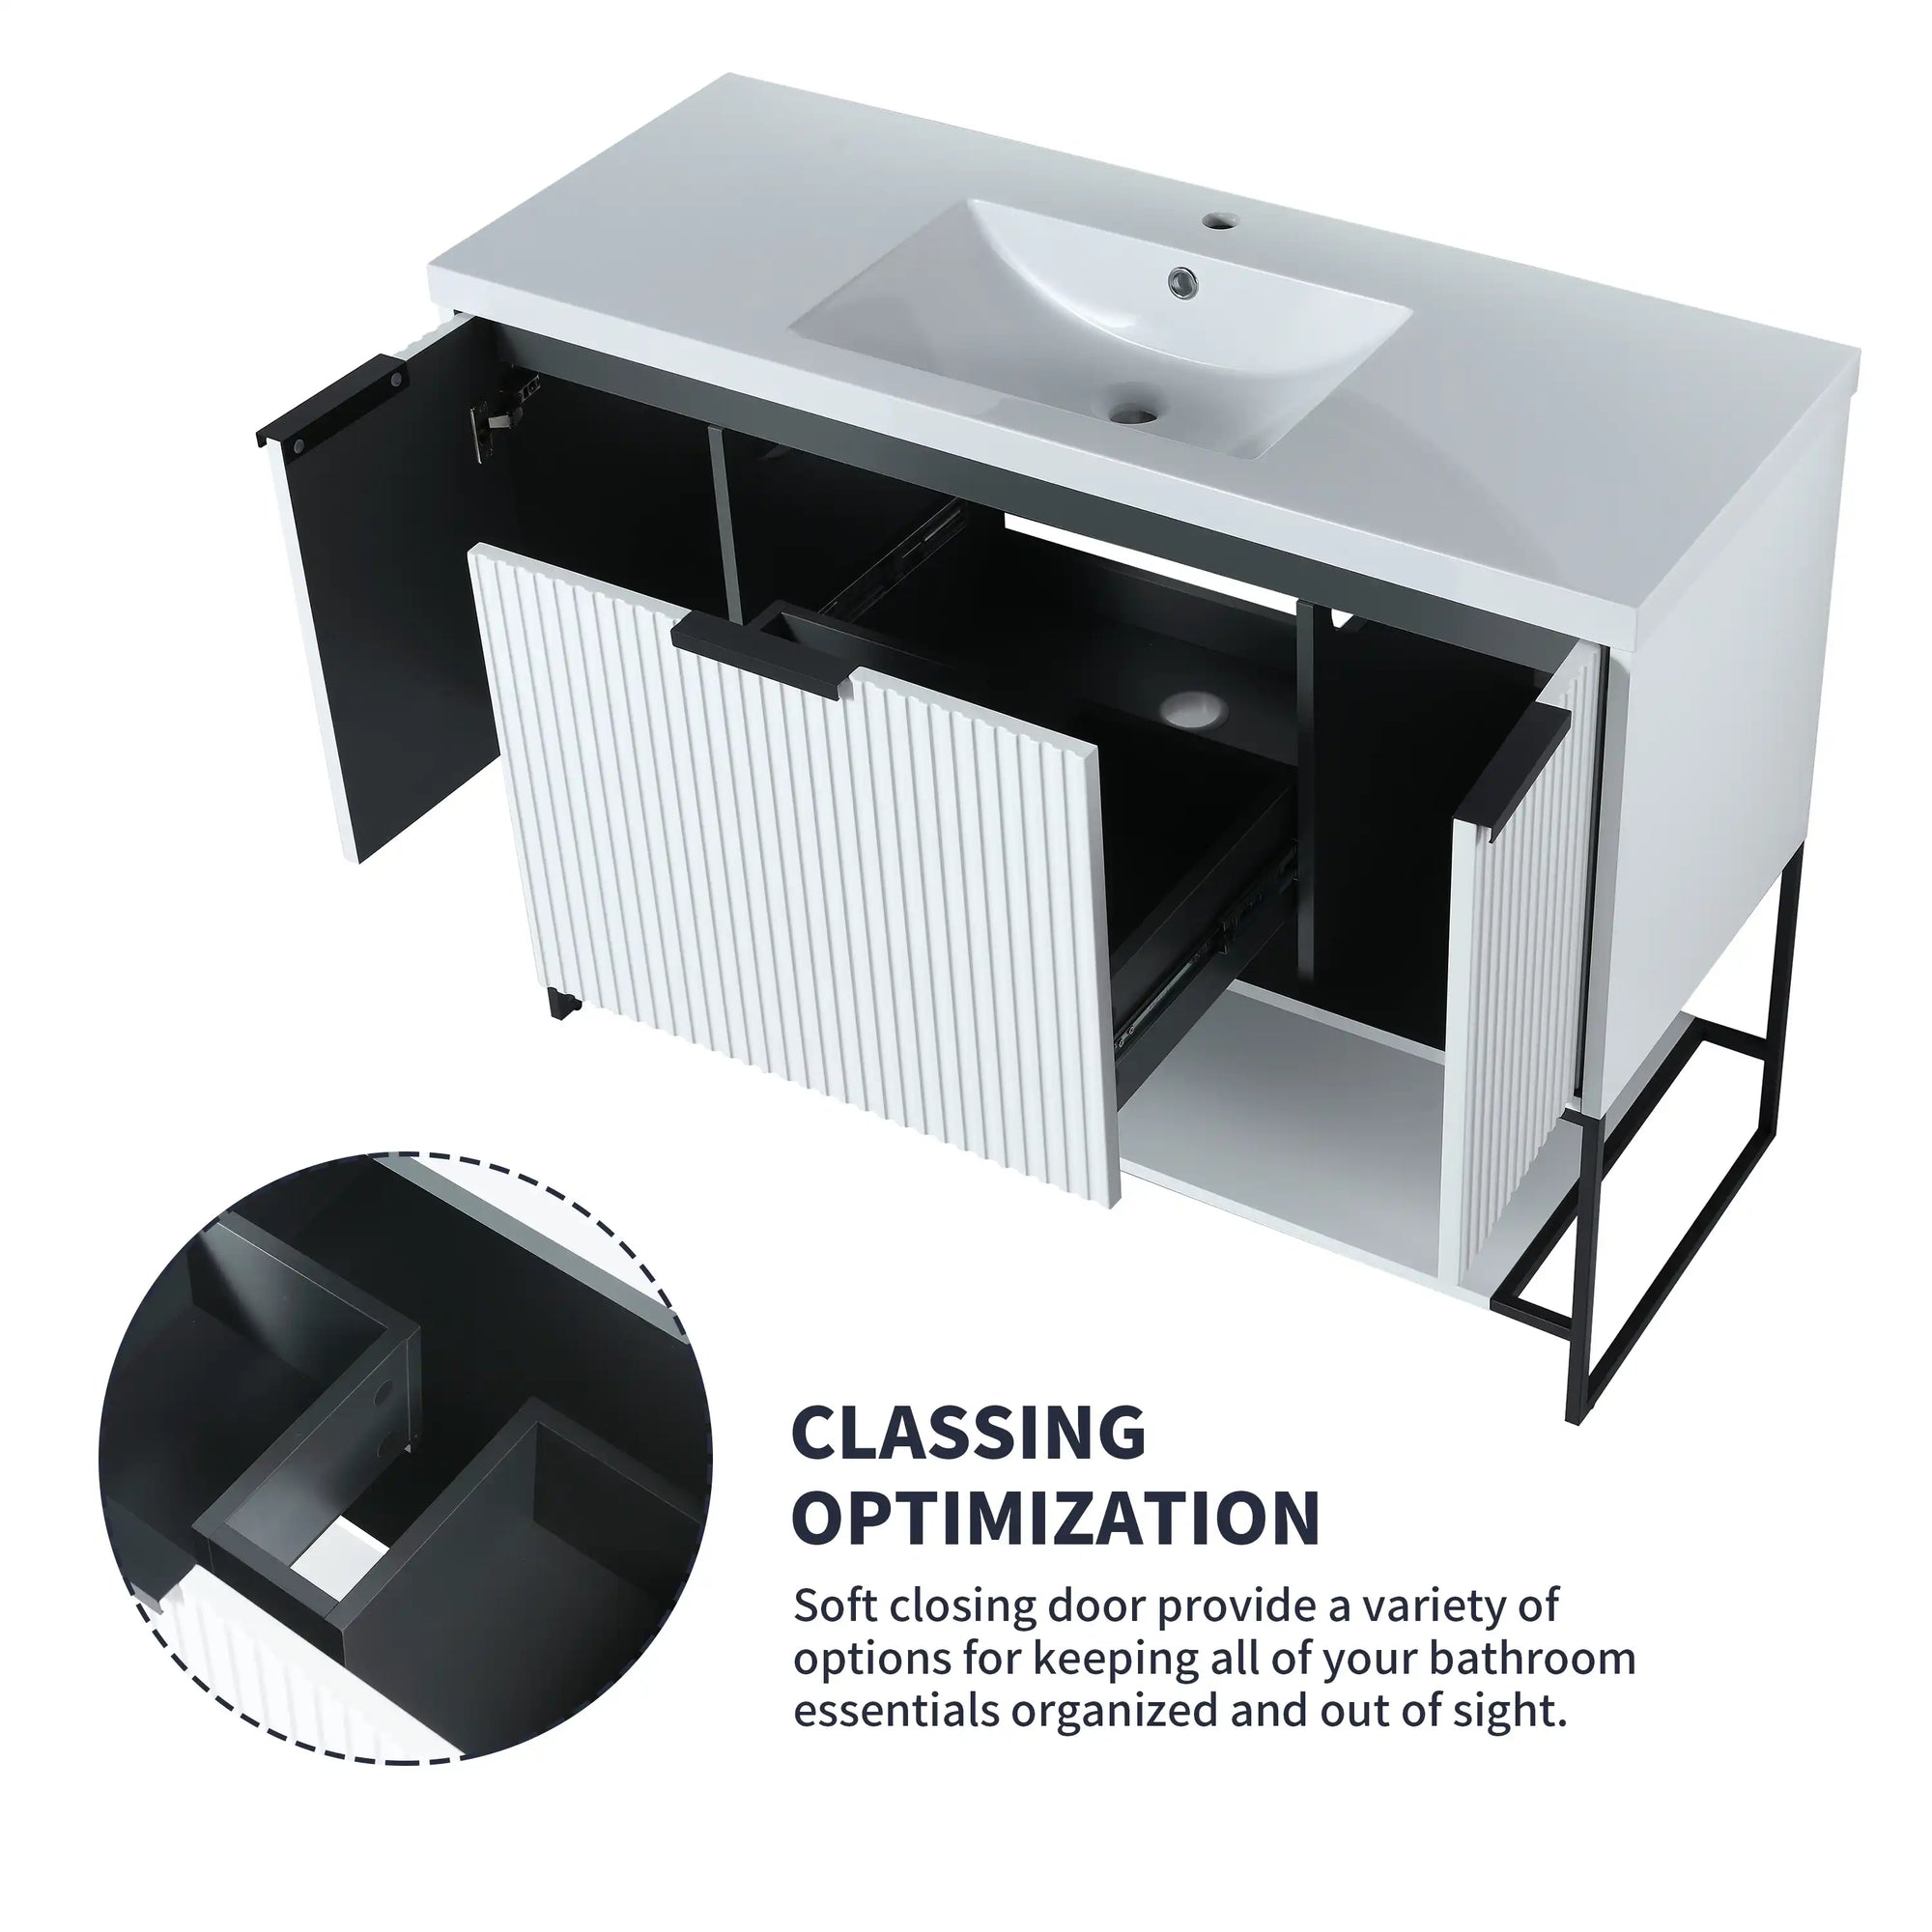
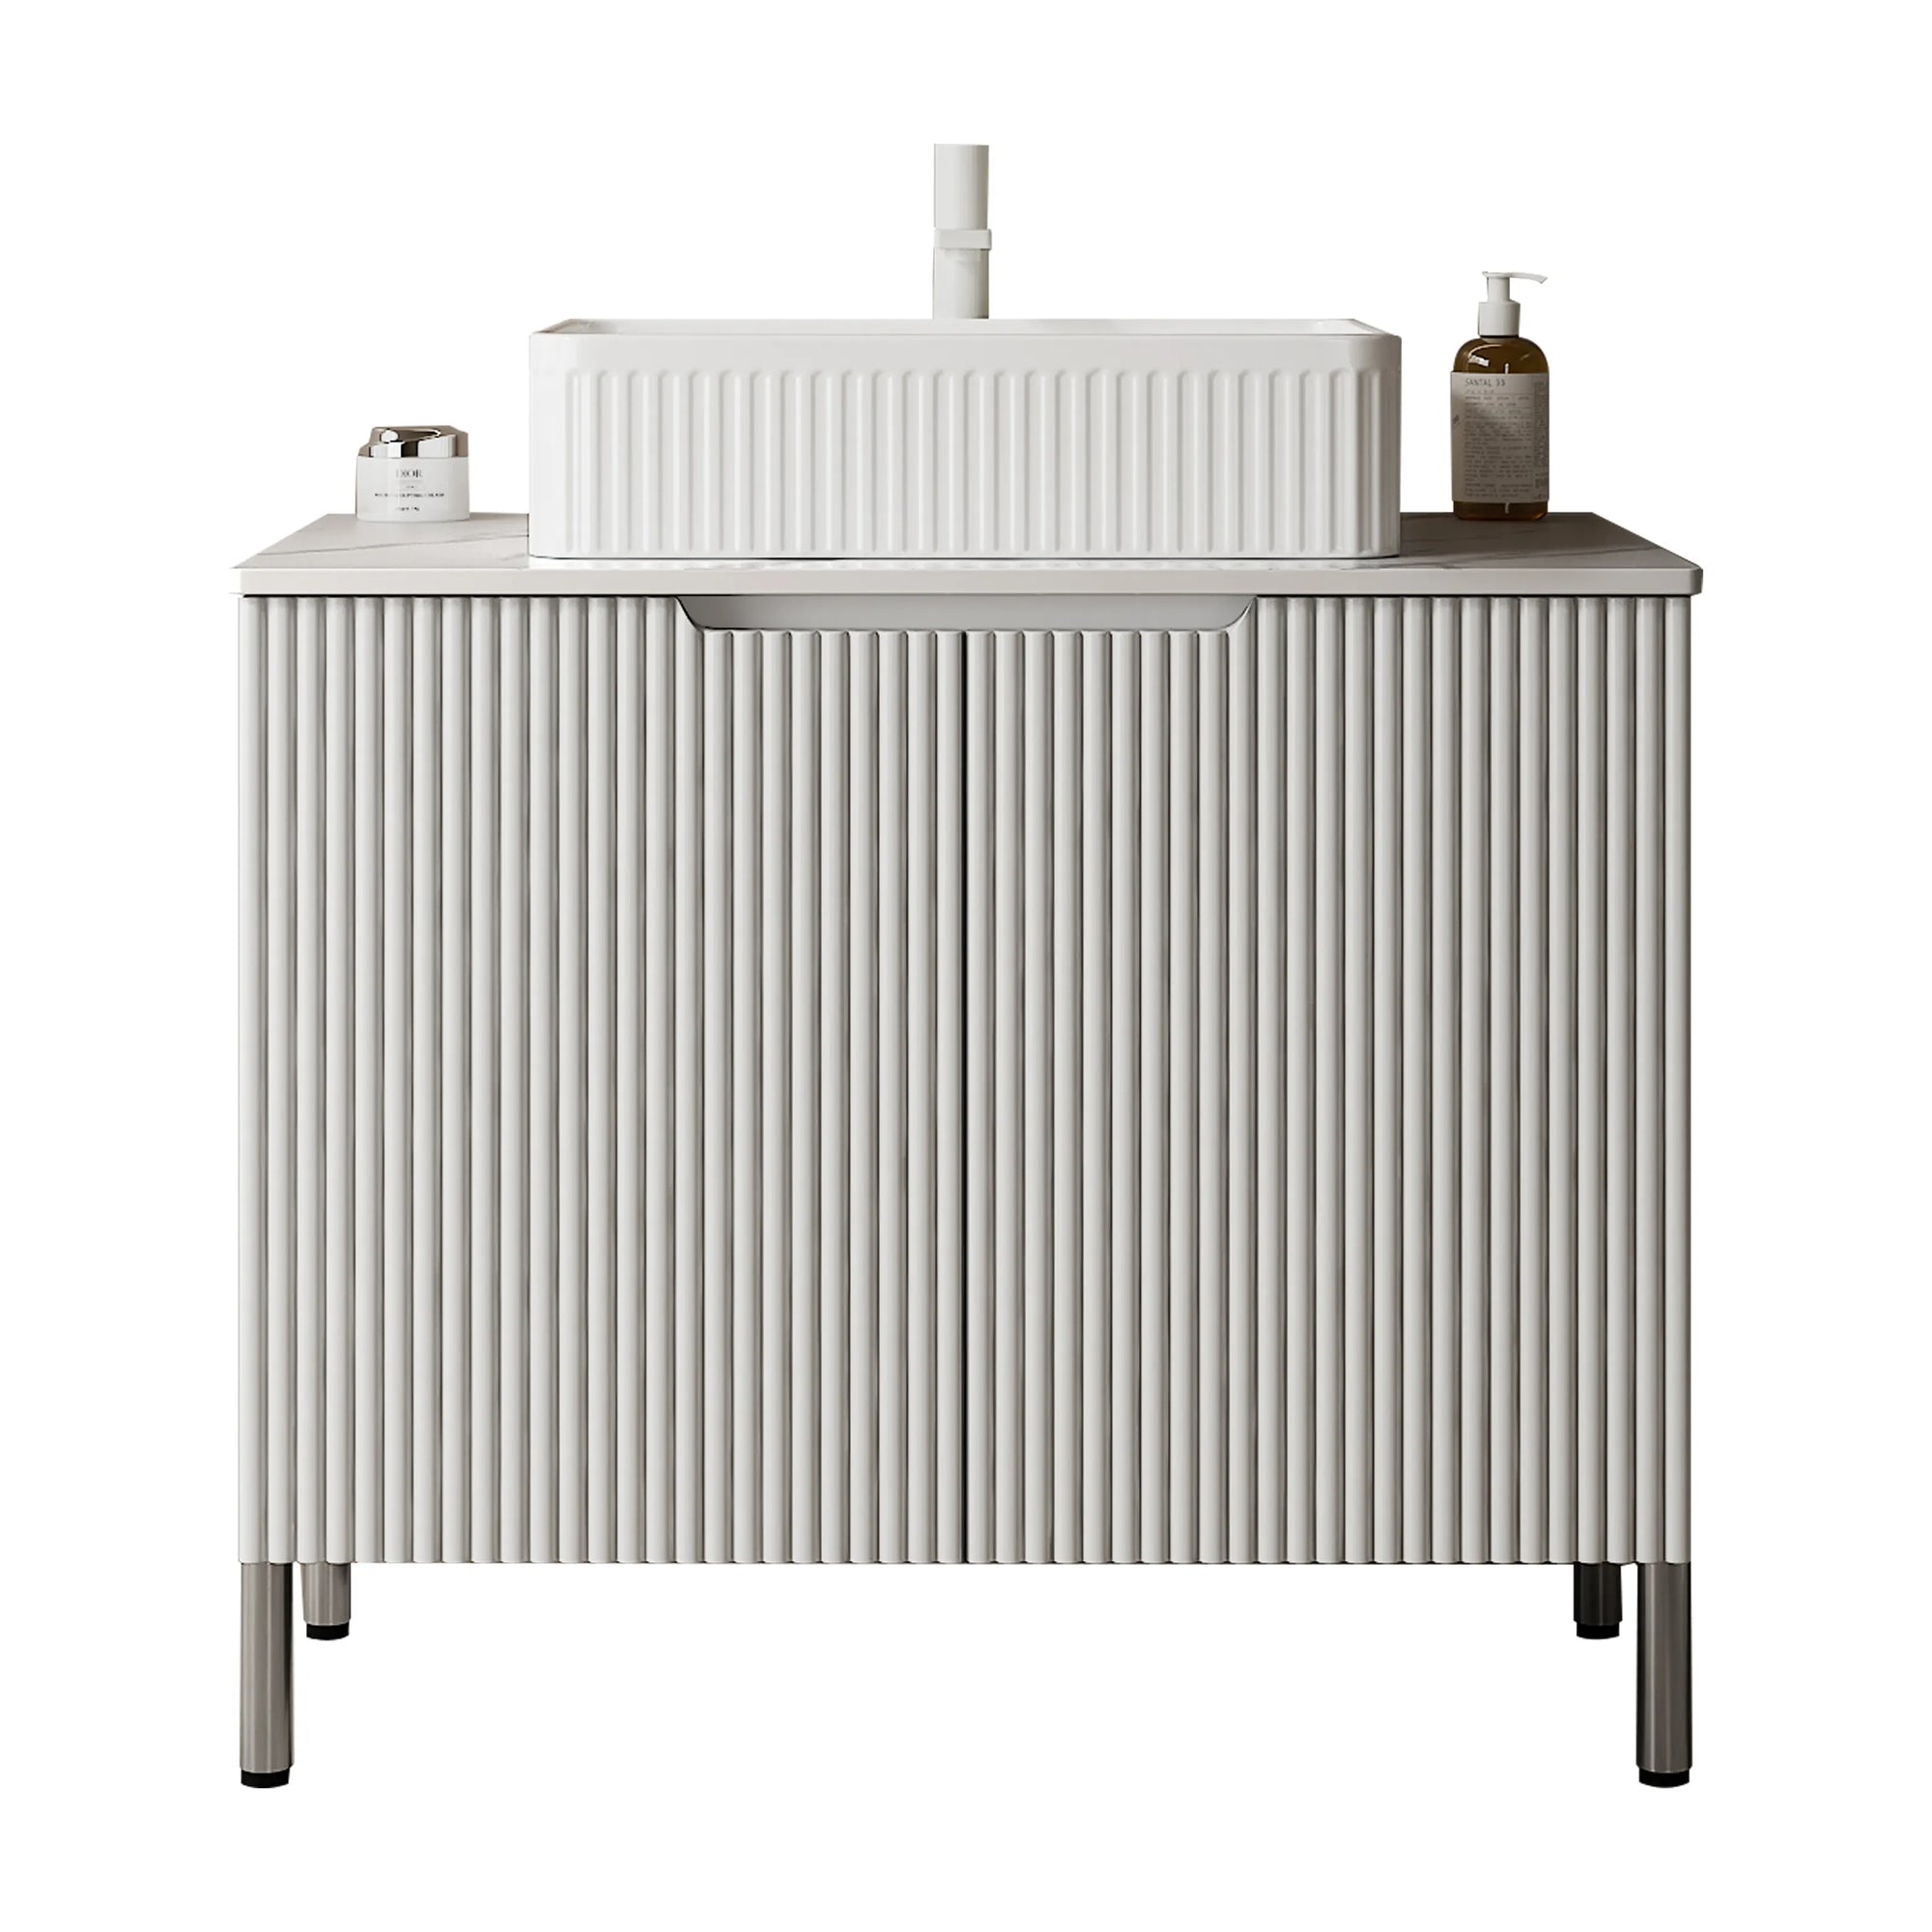
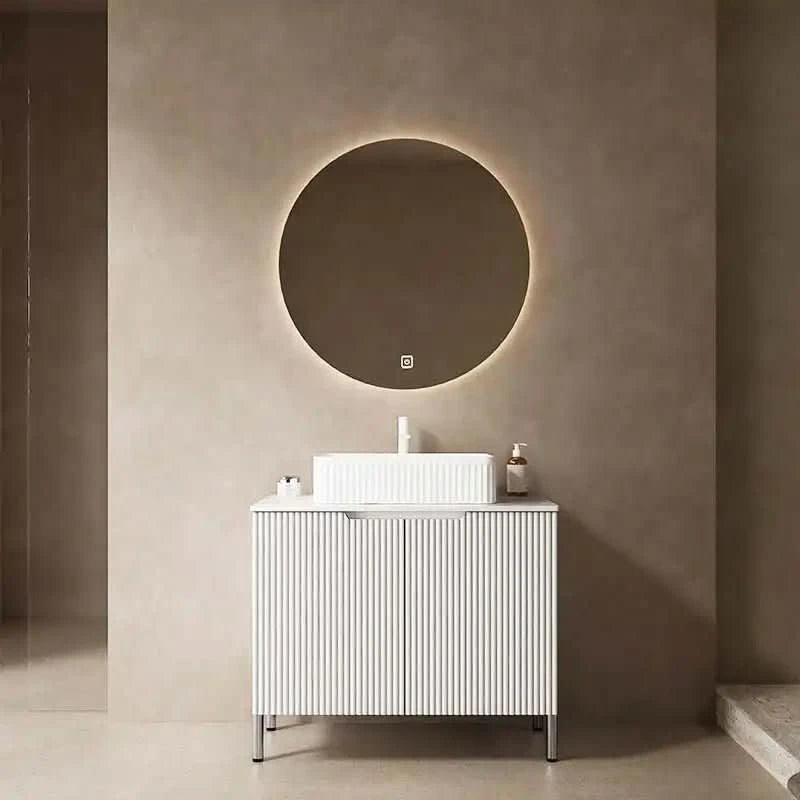
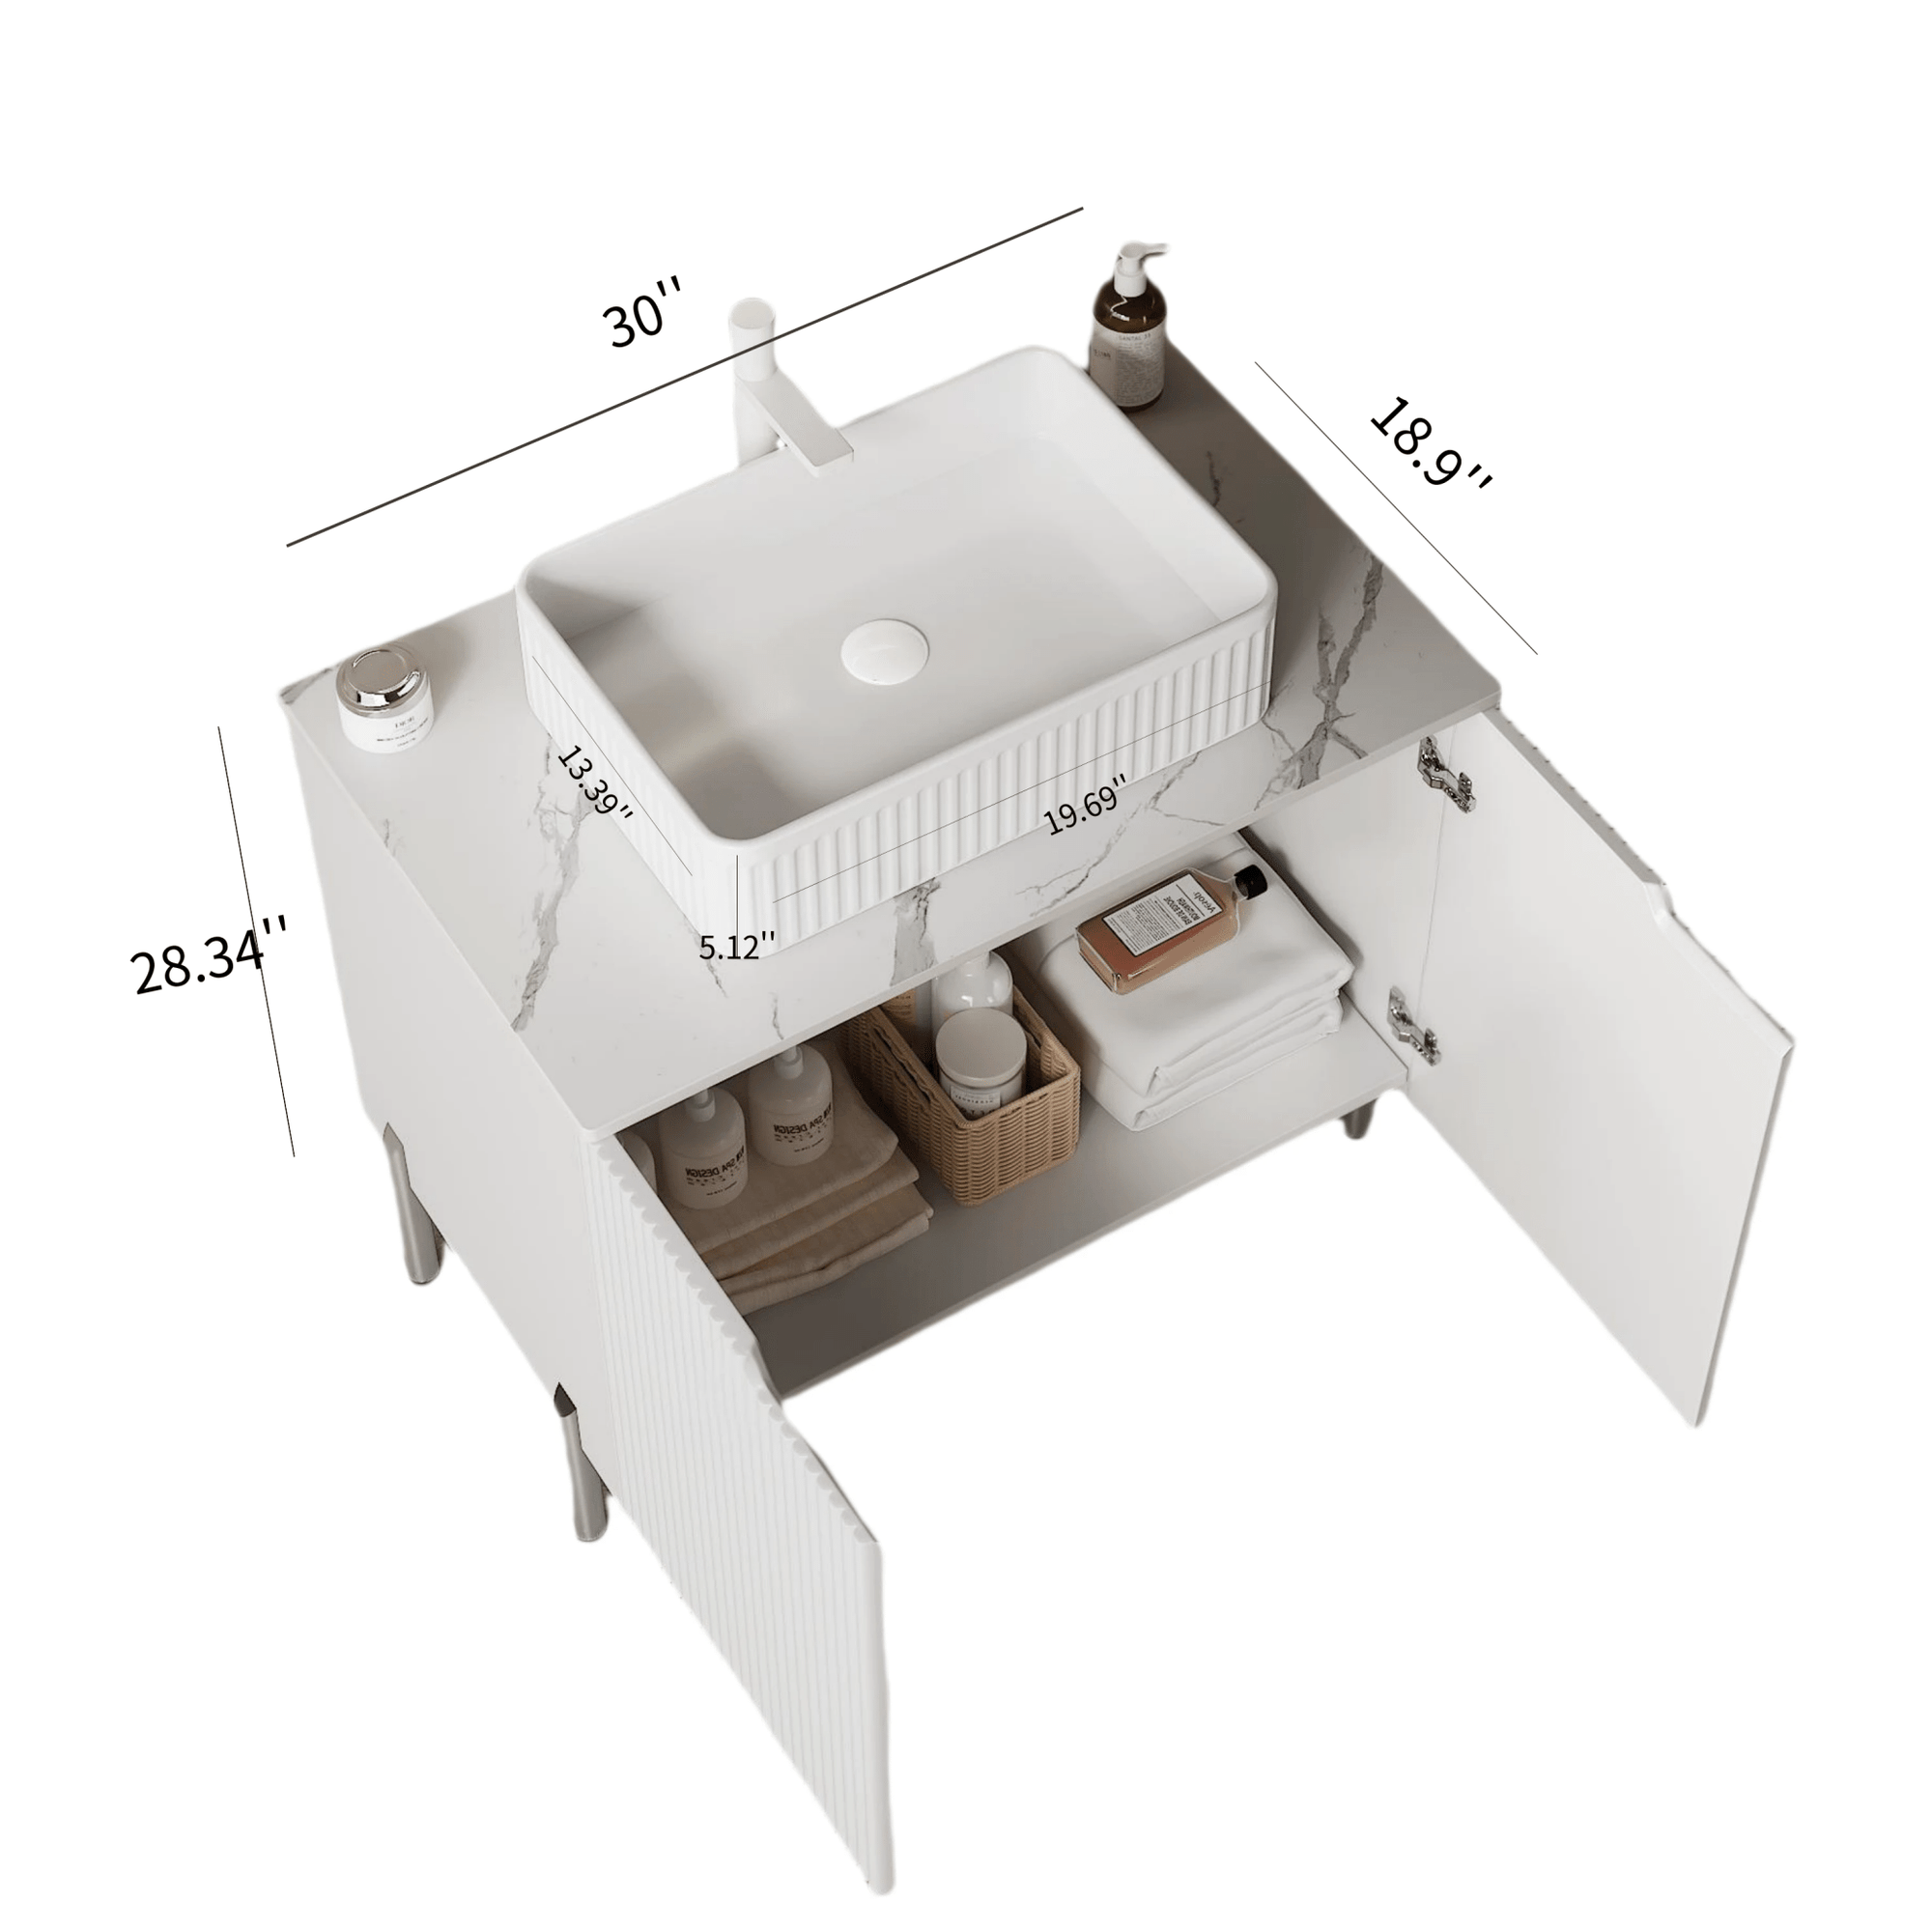
For example, imagine transforming an old oak vanity with peeling varnish into a sleek, modern focal point in your bathroom. Picture a neutral gray finish that perfectly complements a new white freestanding tub or AL White Freestanding Mounted Cabinet from ACE DECOR. The possibilities are endless when you control the look.
Materials You’ll Need for Painting Bathroom Cabinets
Before jumping into your painting project, gathering all the necessary materials will save time and help ensure a smooth process. Here's a list of essentials:
- Sandpaper (120- and 220-grit)
- Tack cloth (for removing dust)
- Screwdriver (to remove hardware)
- Painter’s tape (to mask areas)
- Drop cloth or plastic sheeting (to protect floors and countertops)
- Degreaser or a gentle cleaner
- Primer (stain-blocking primer is recommended)
- Paint (either latex or oil-based in a semi-gloss or satin finish)
- Paintbrush (angled for corners)
- Roller (foam rollers provide a smoother finish)
- Sealer (optional but recommended for extra durability)
Internal Link: AL Matte White Wall Mounted Cabinet
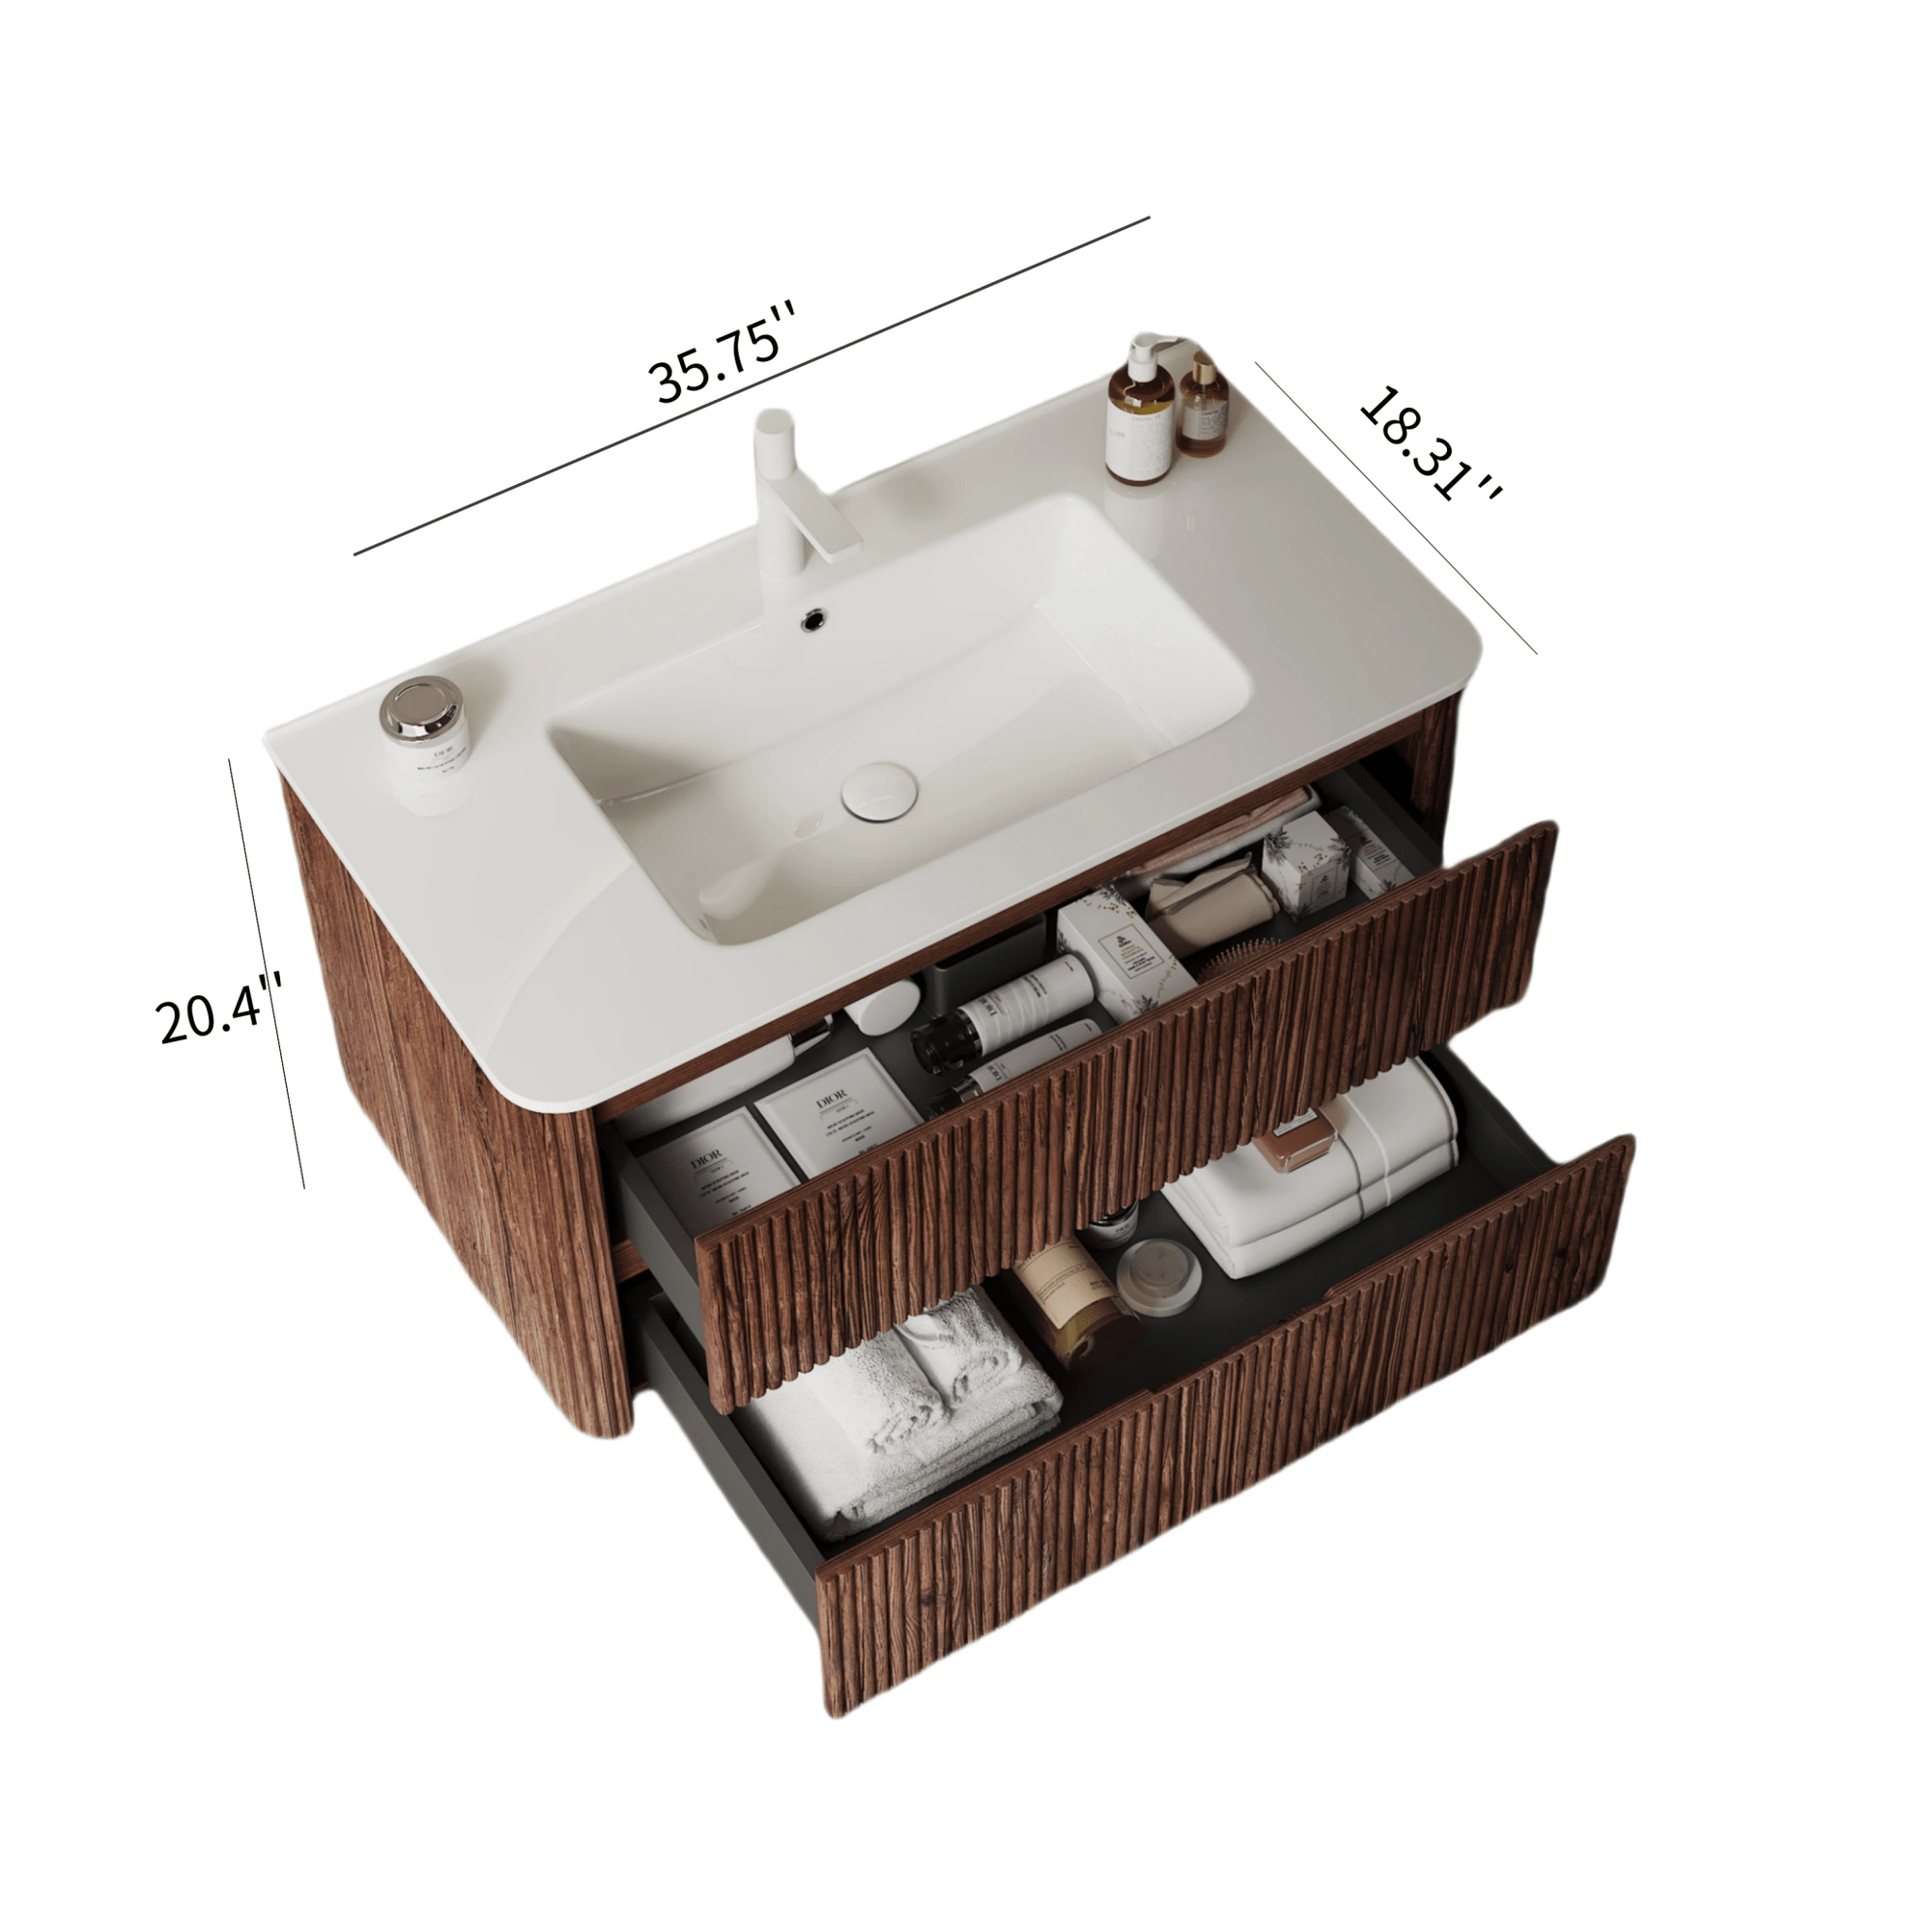
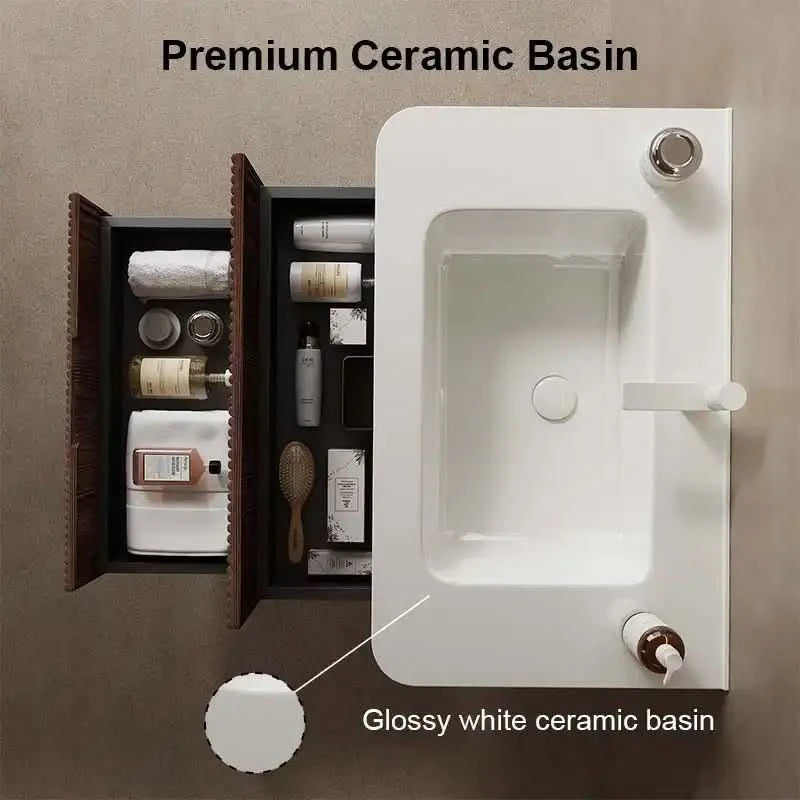
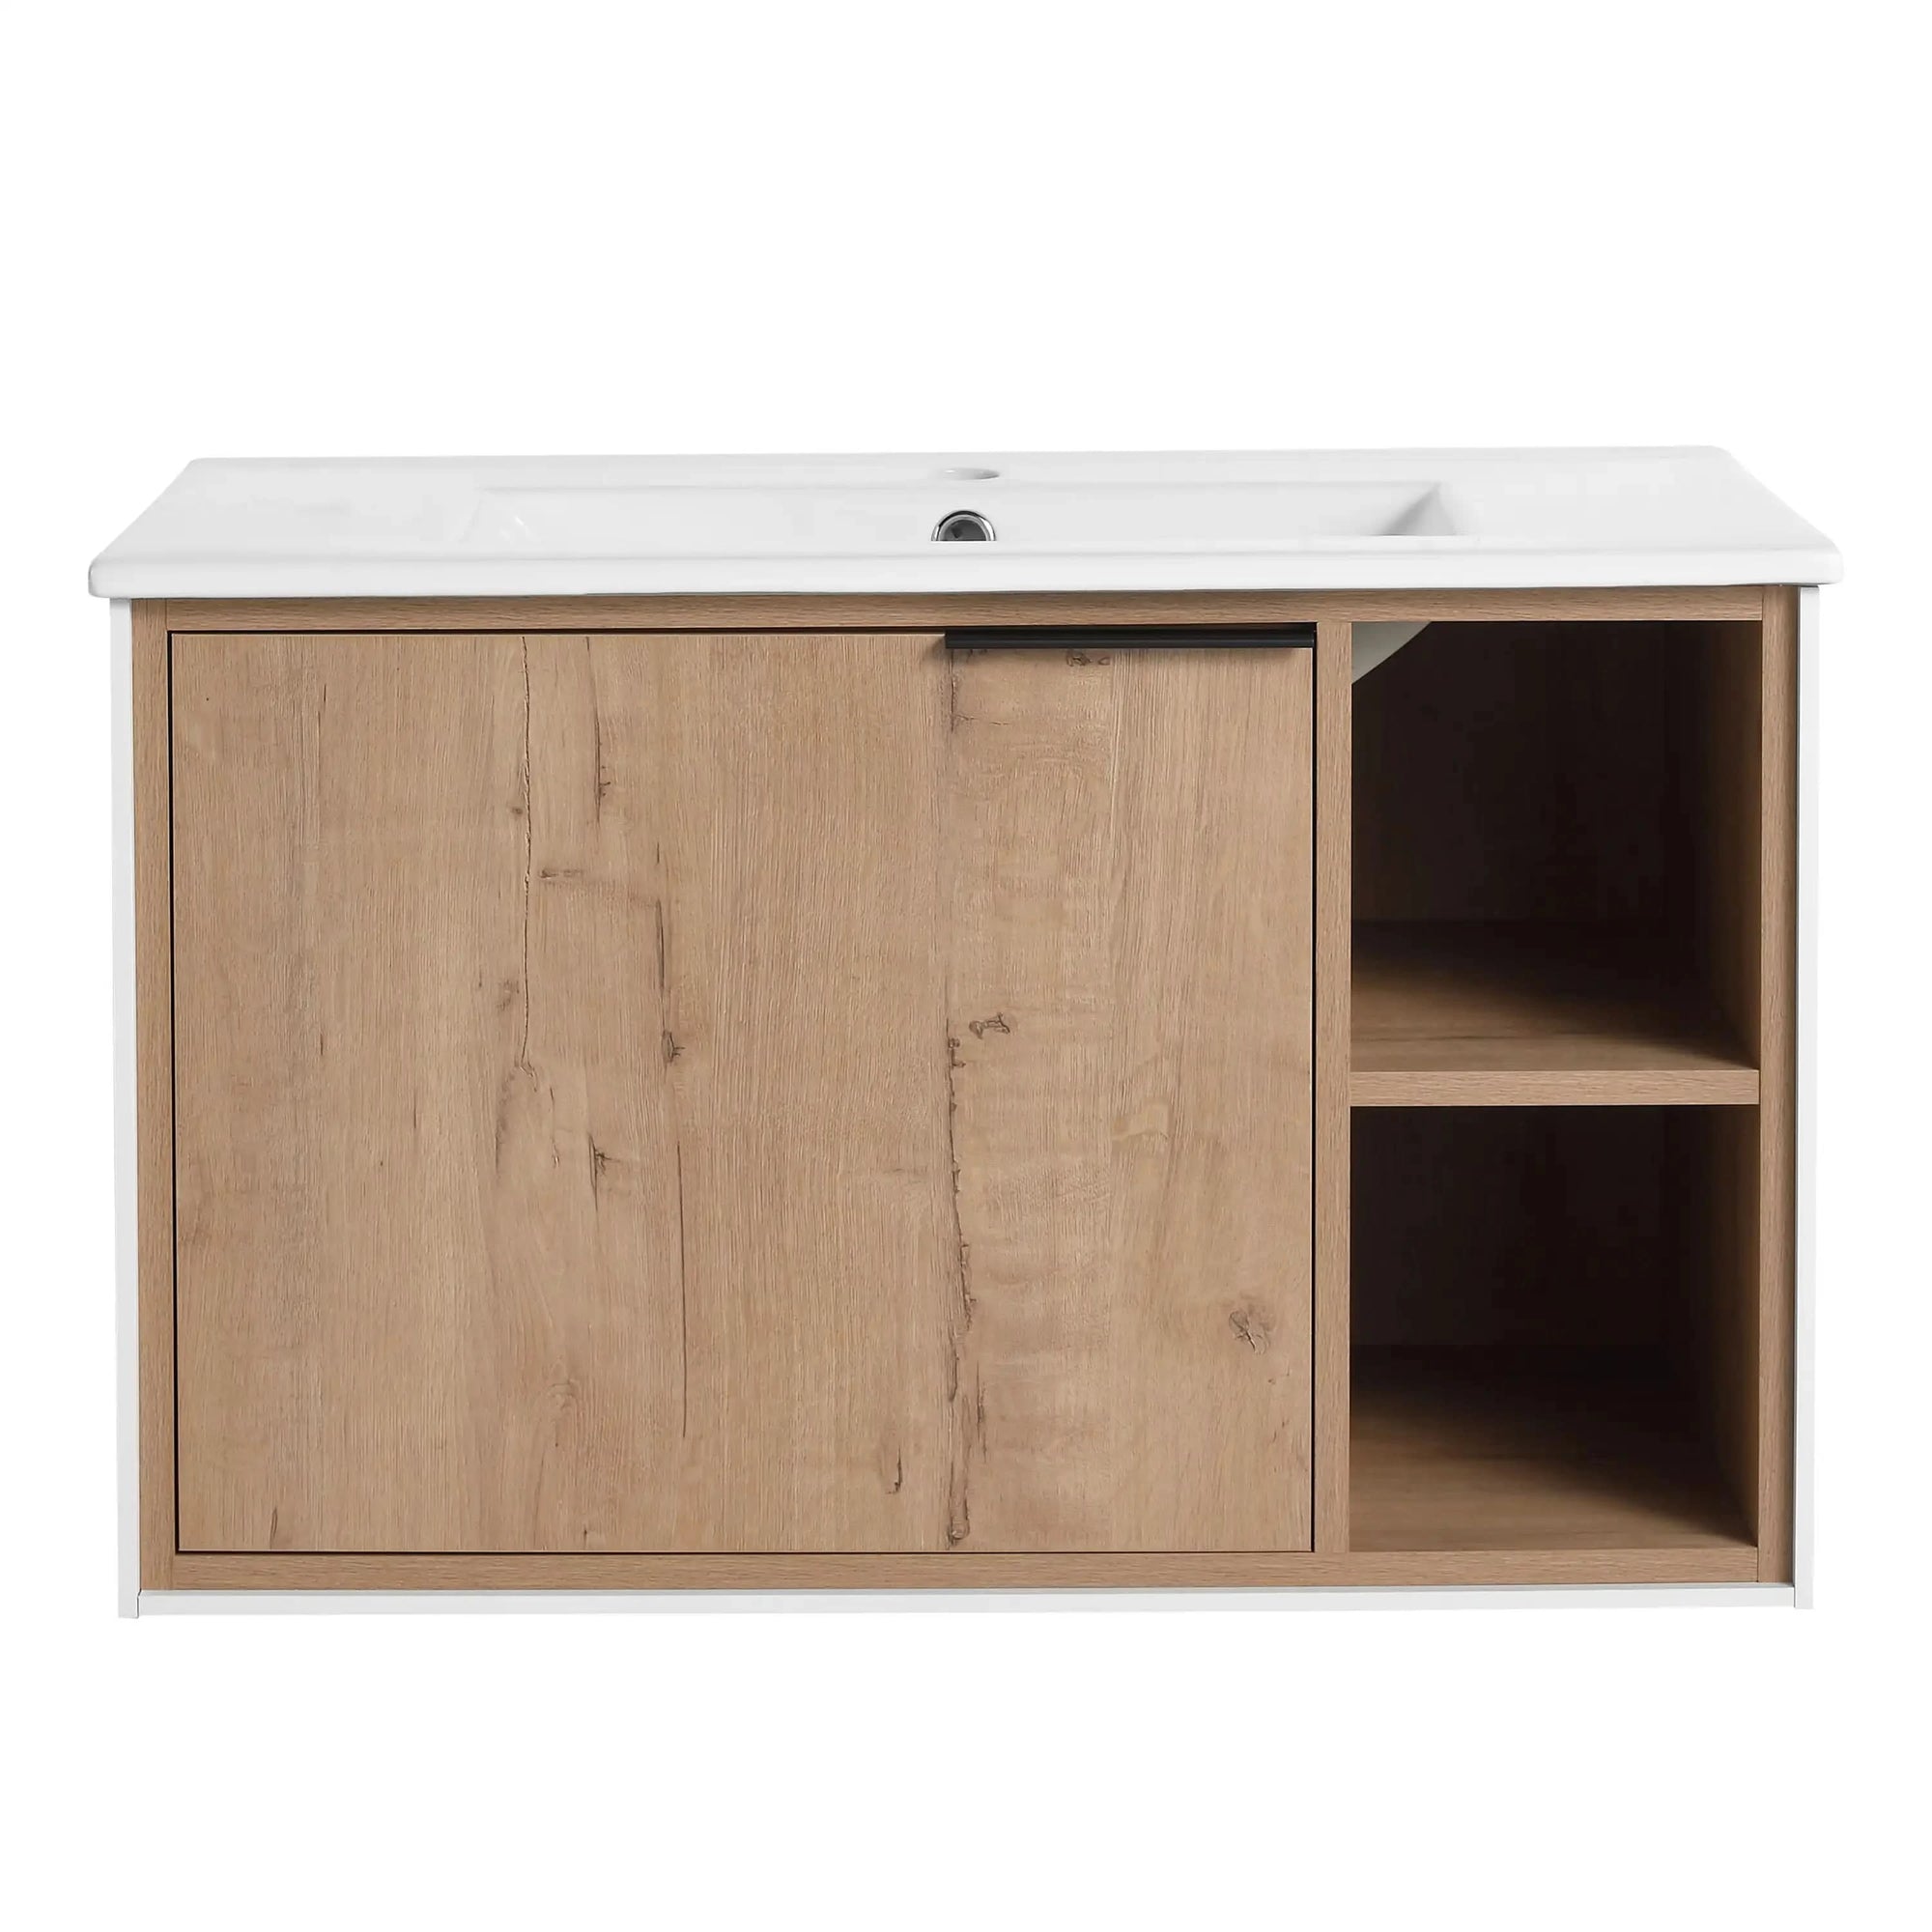
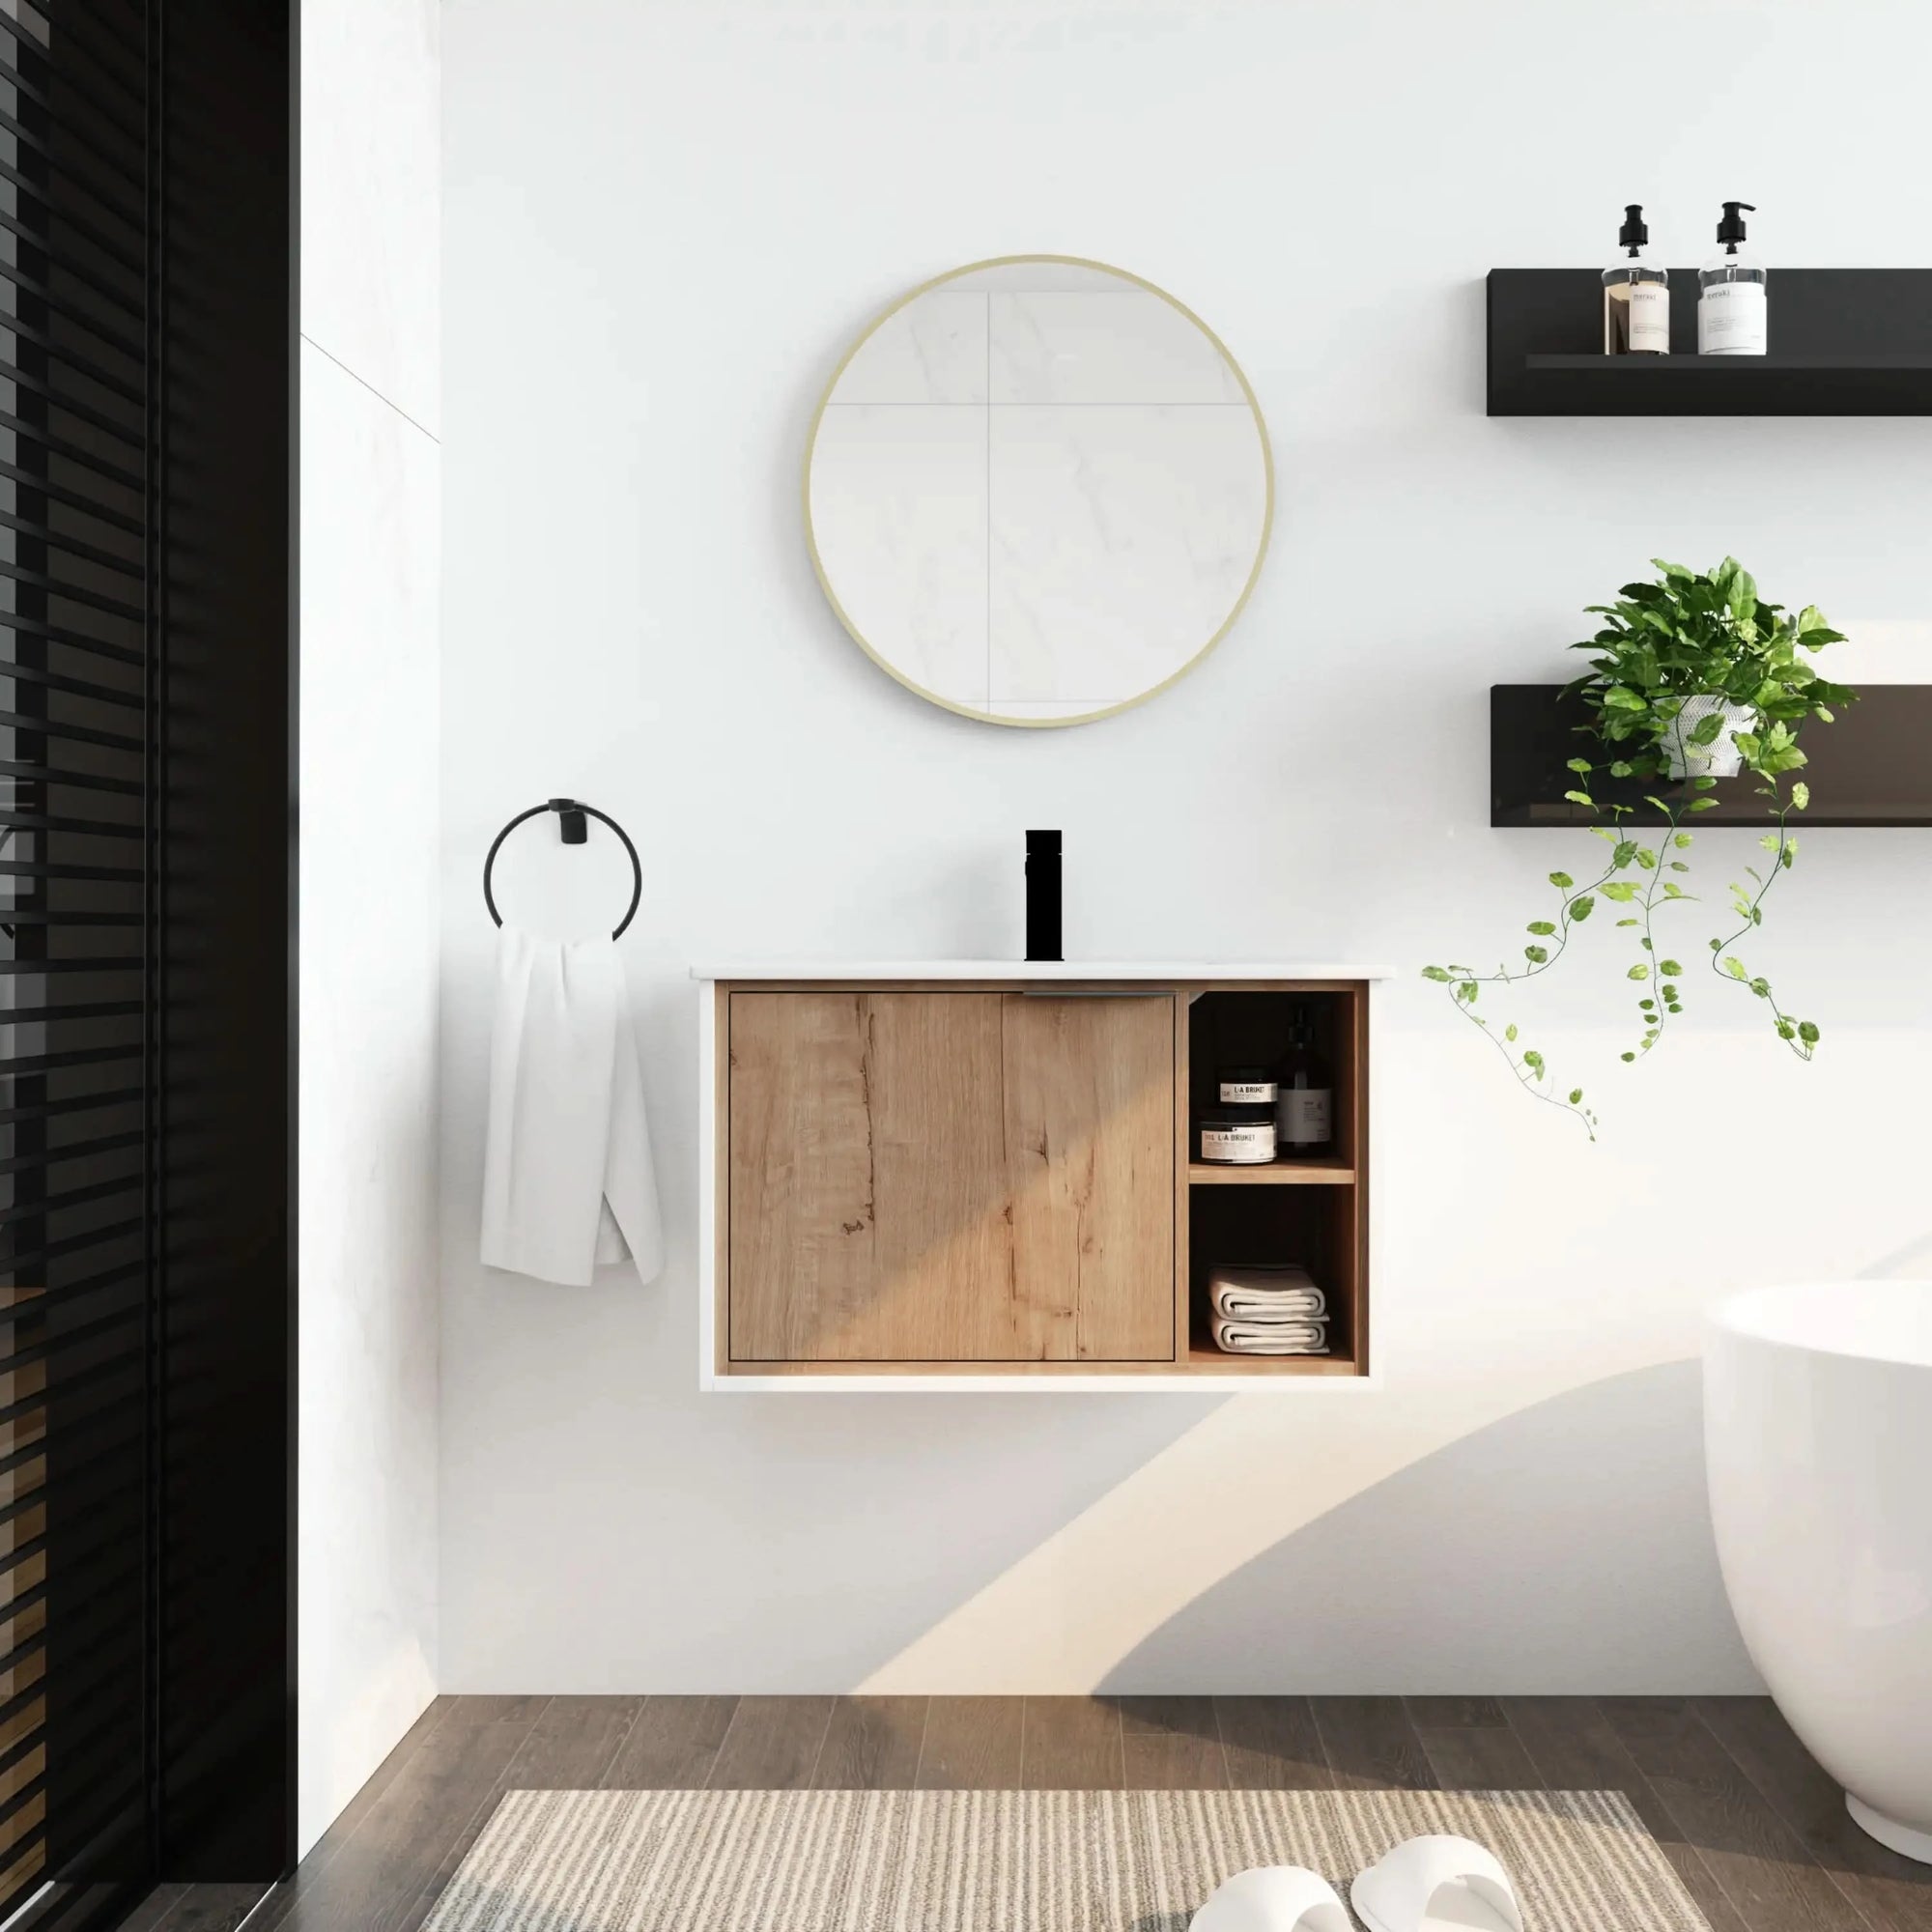
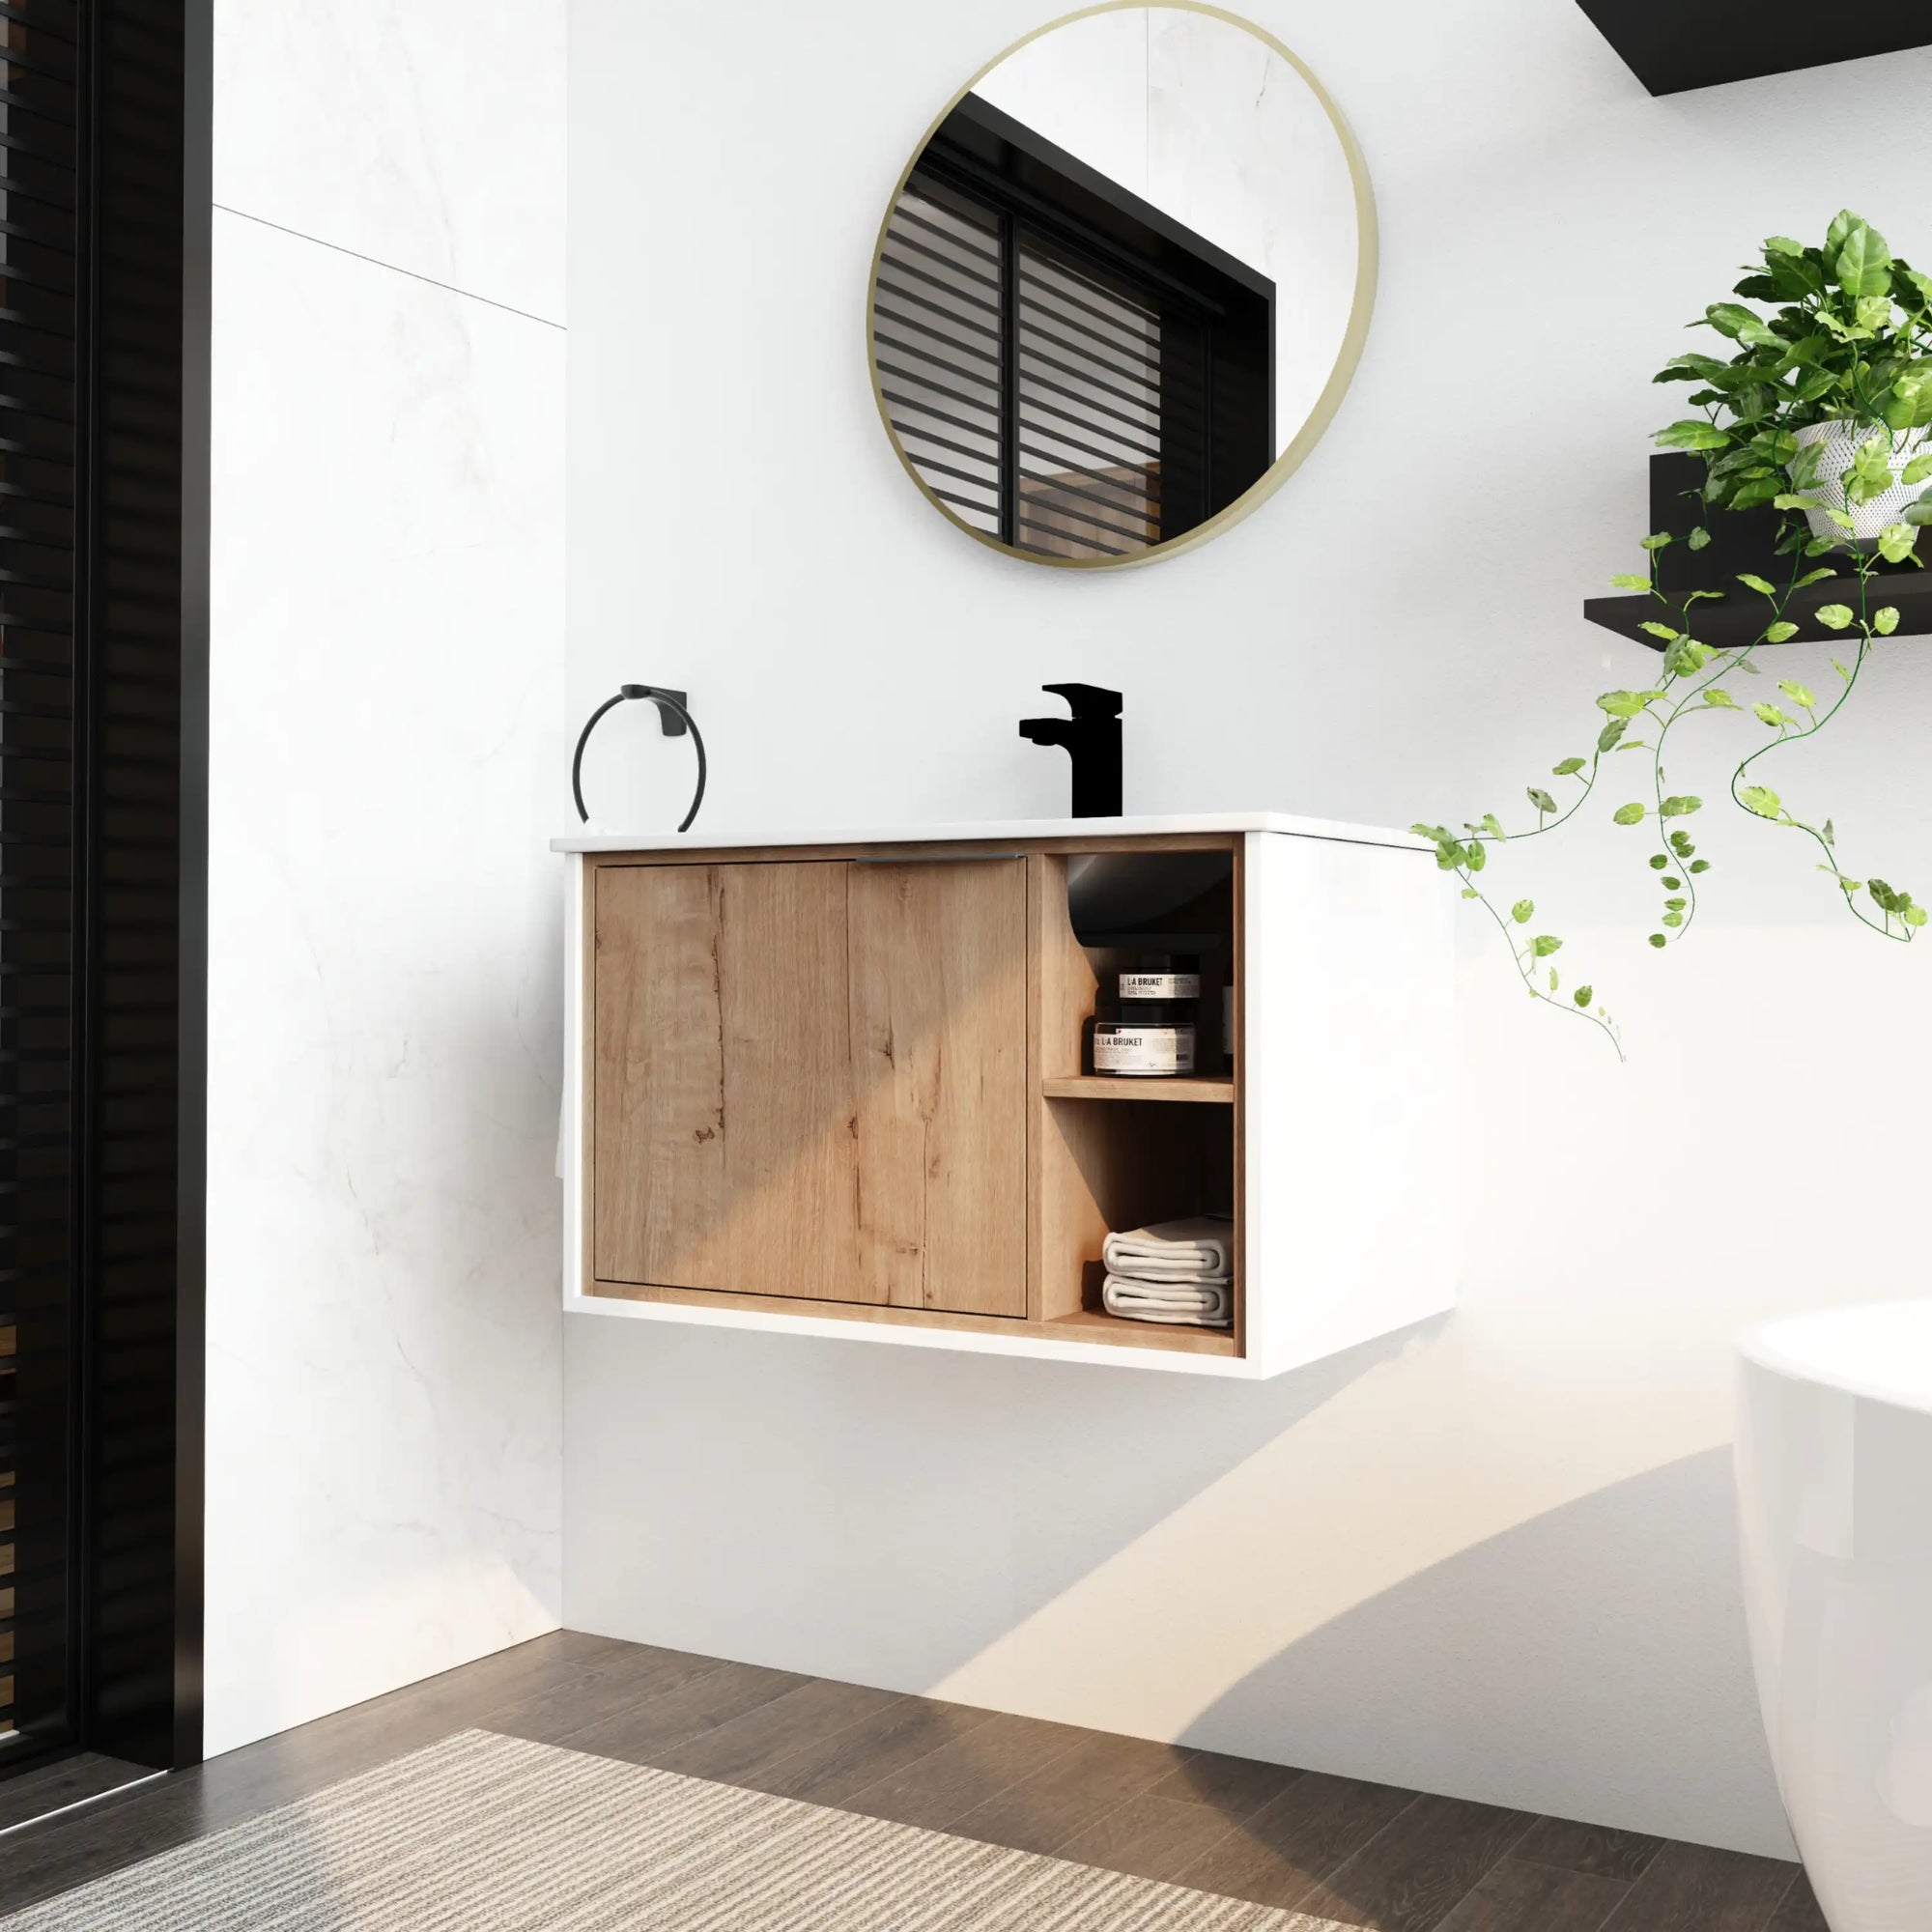
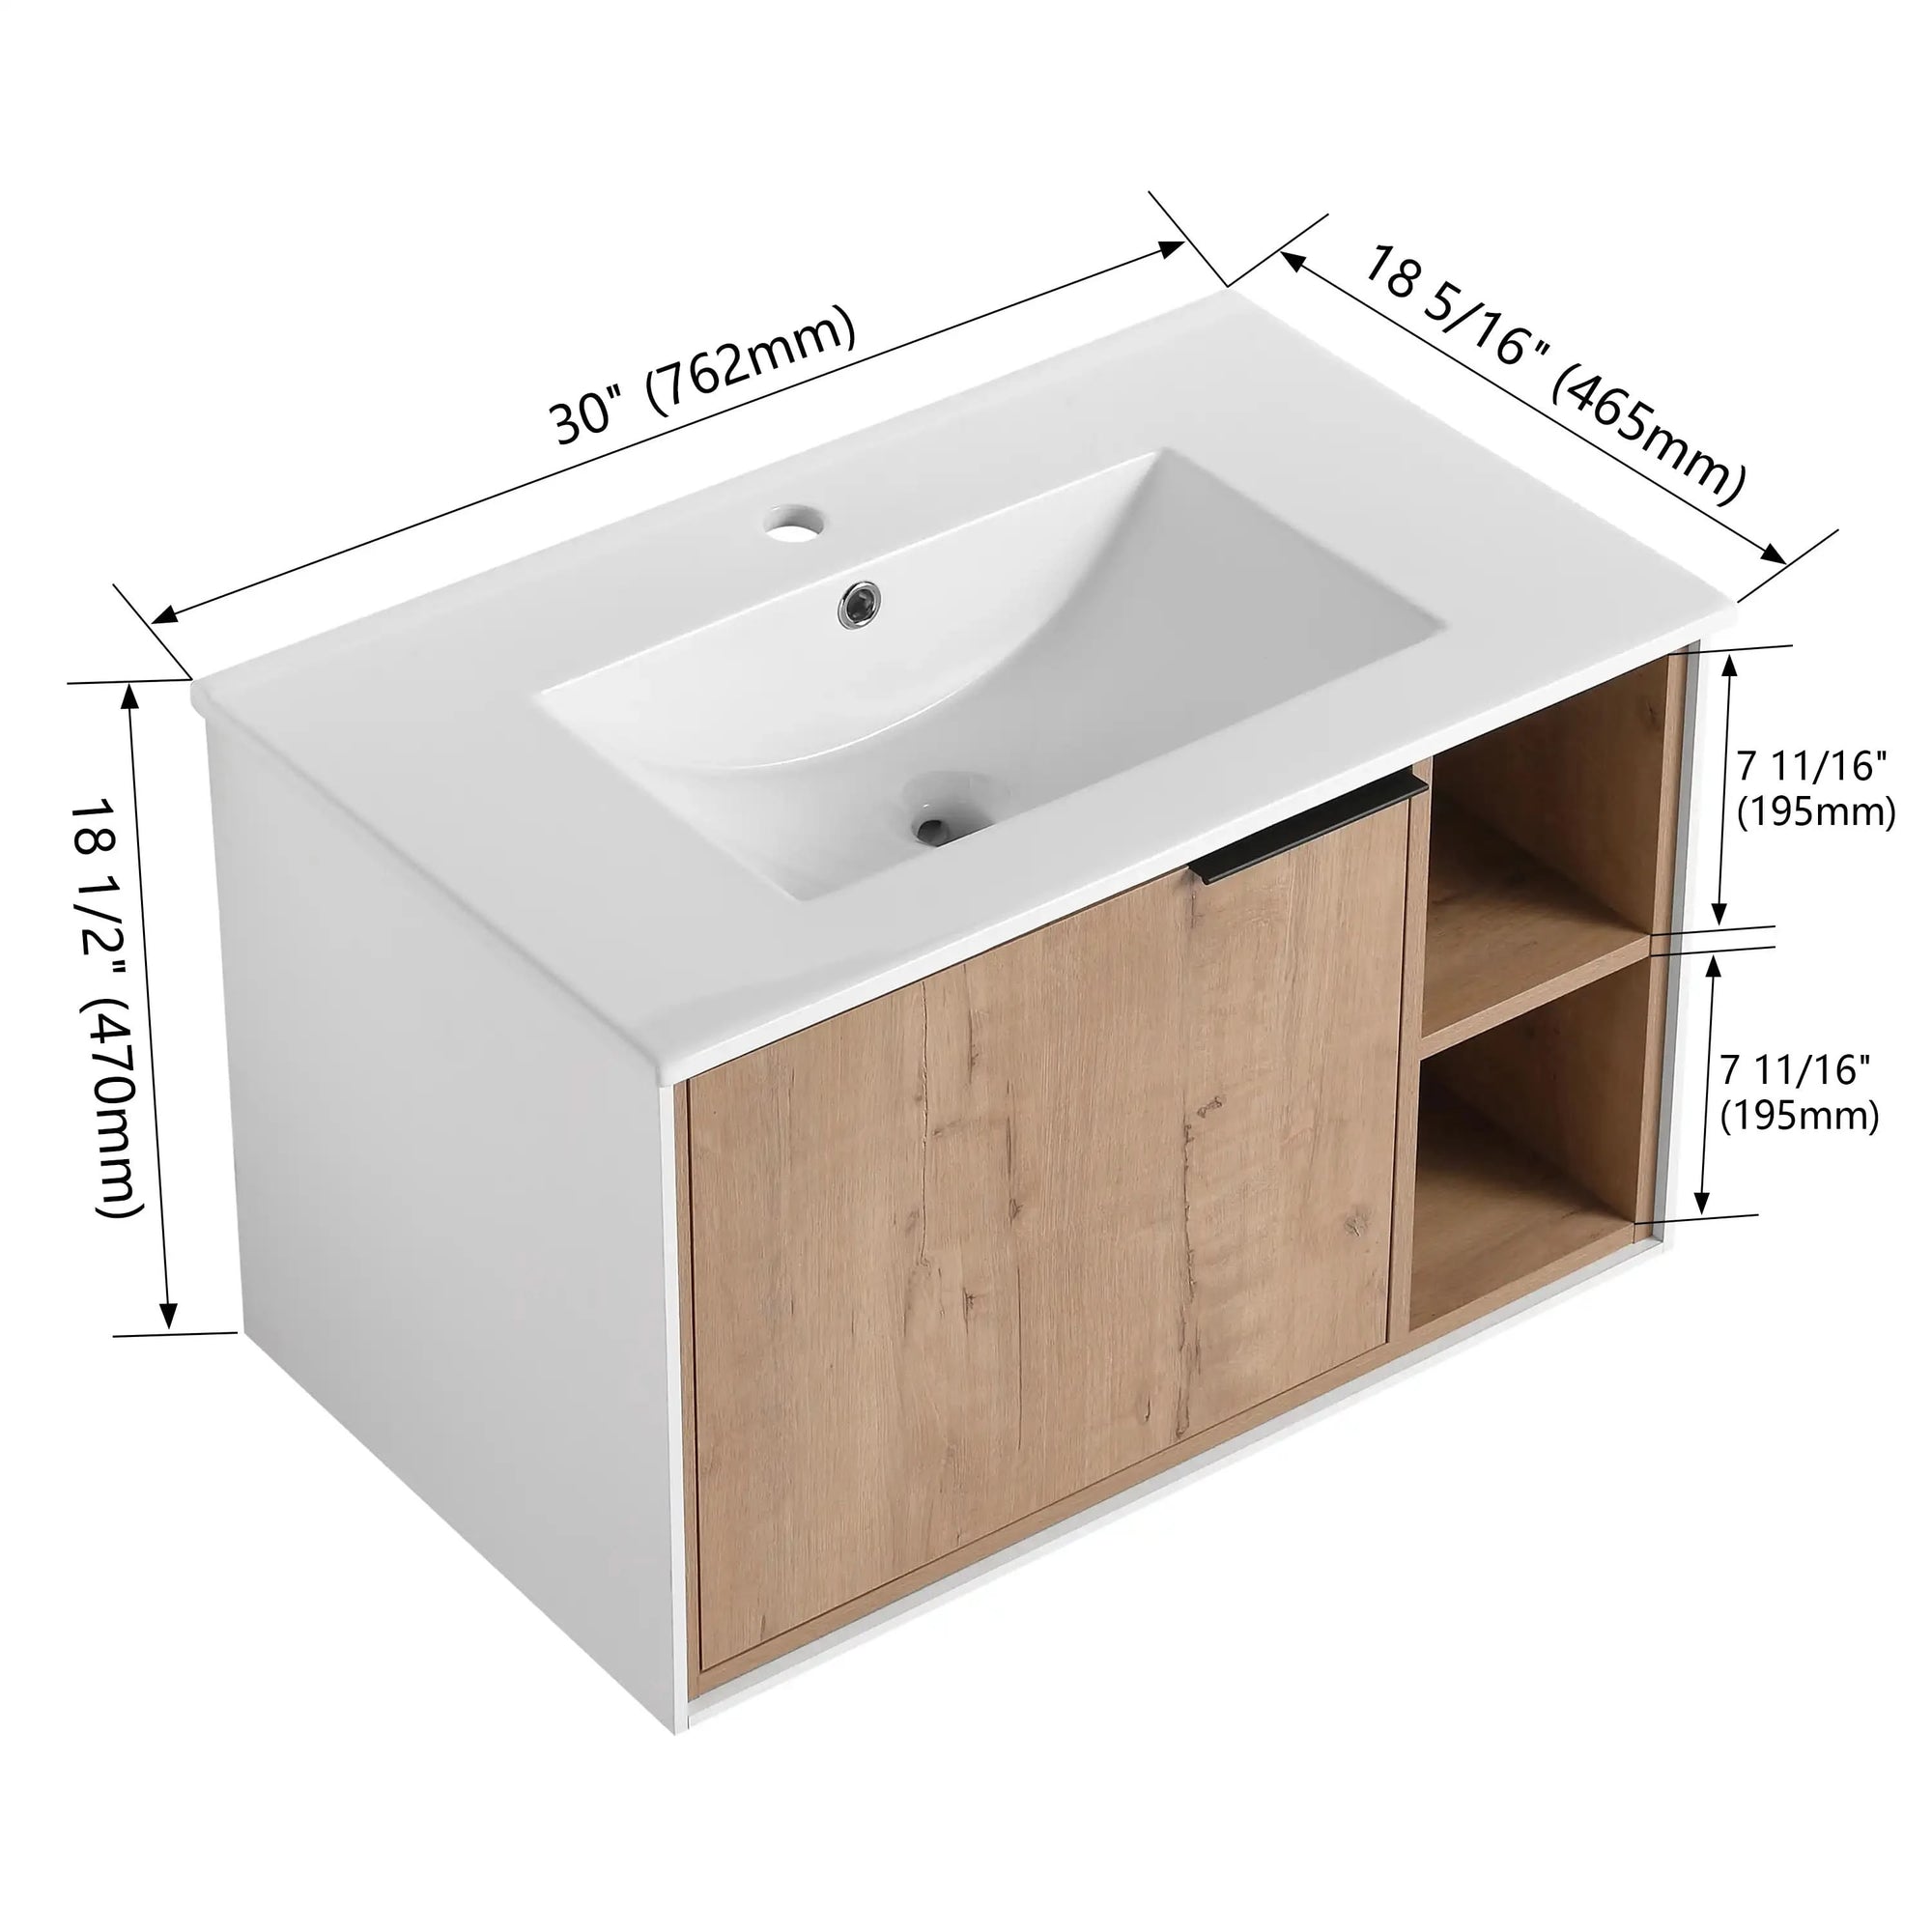
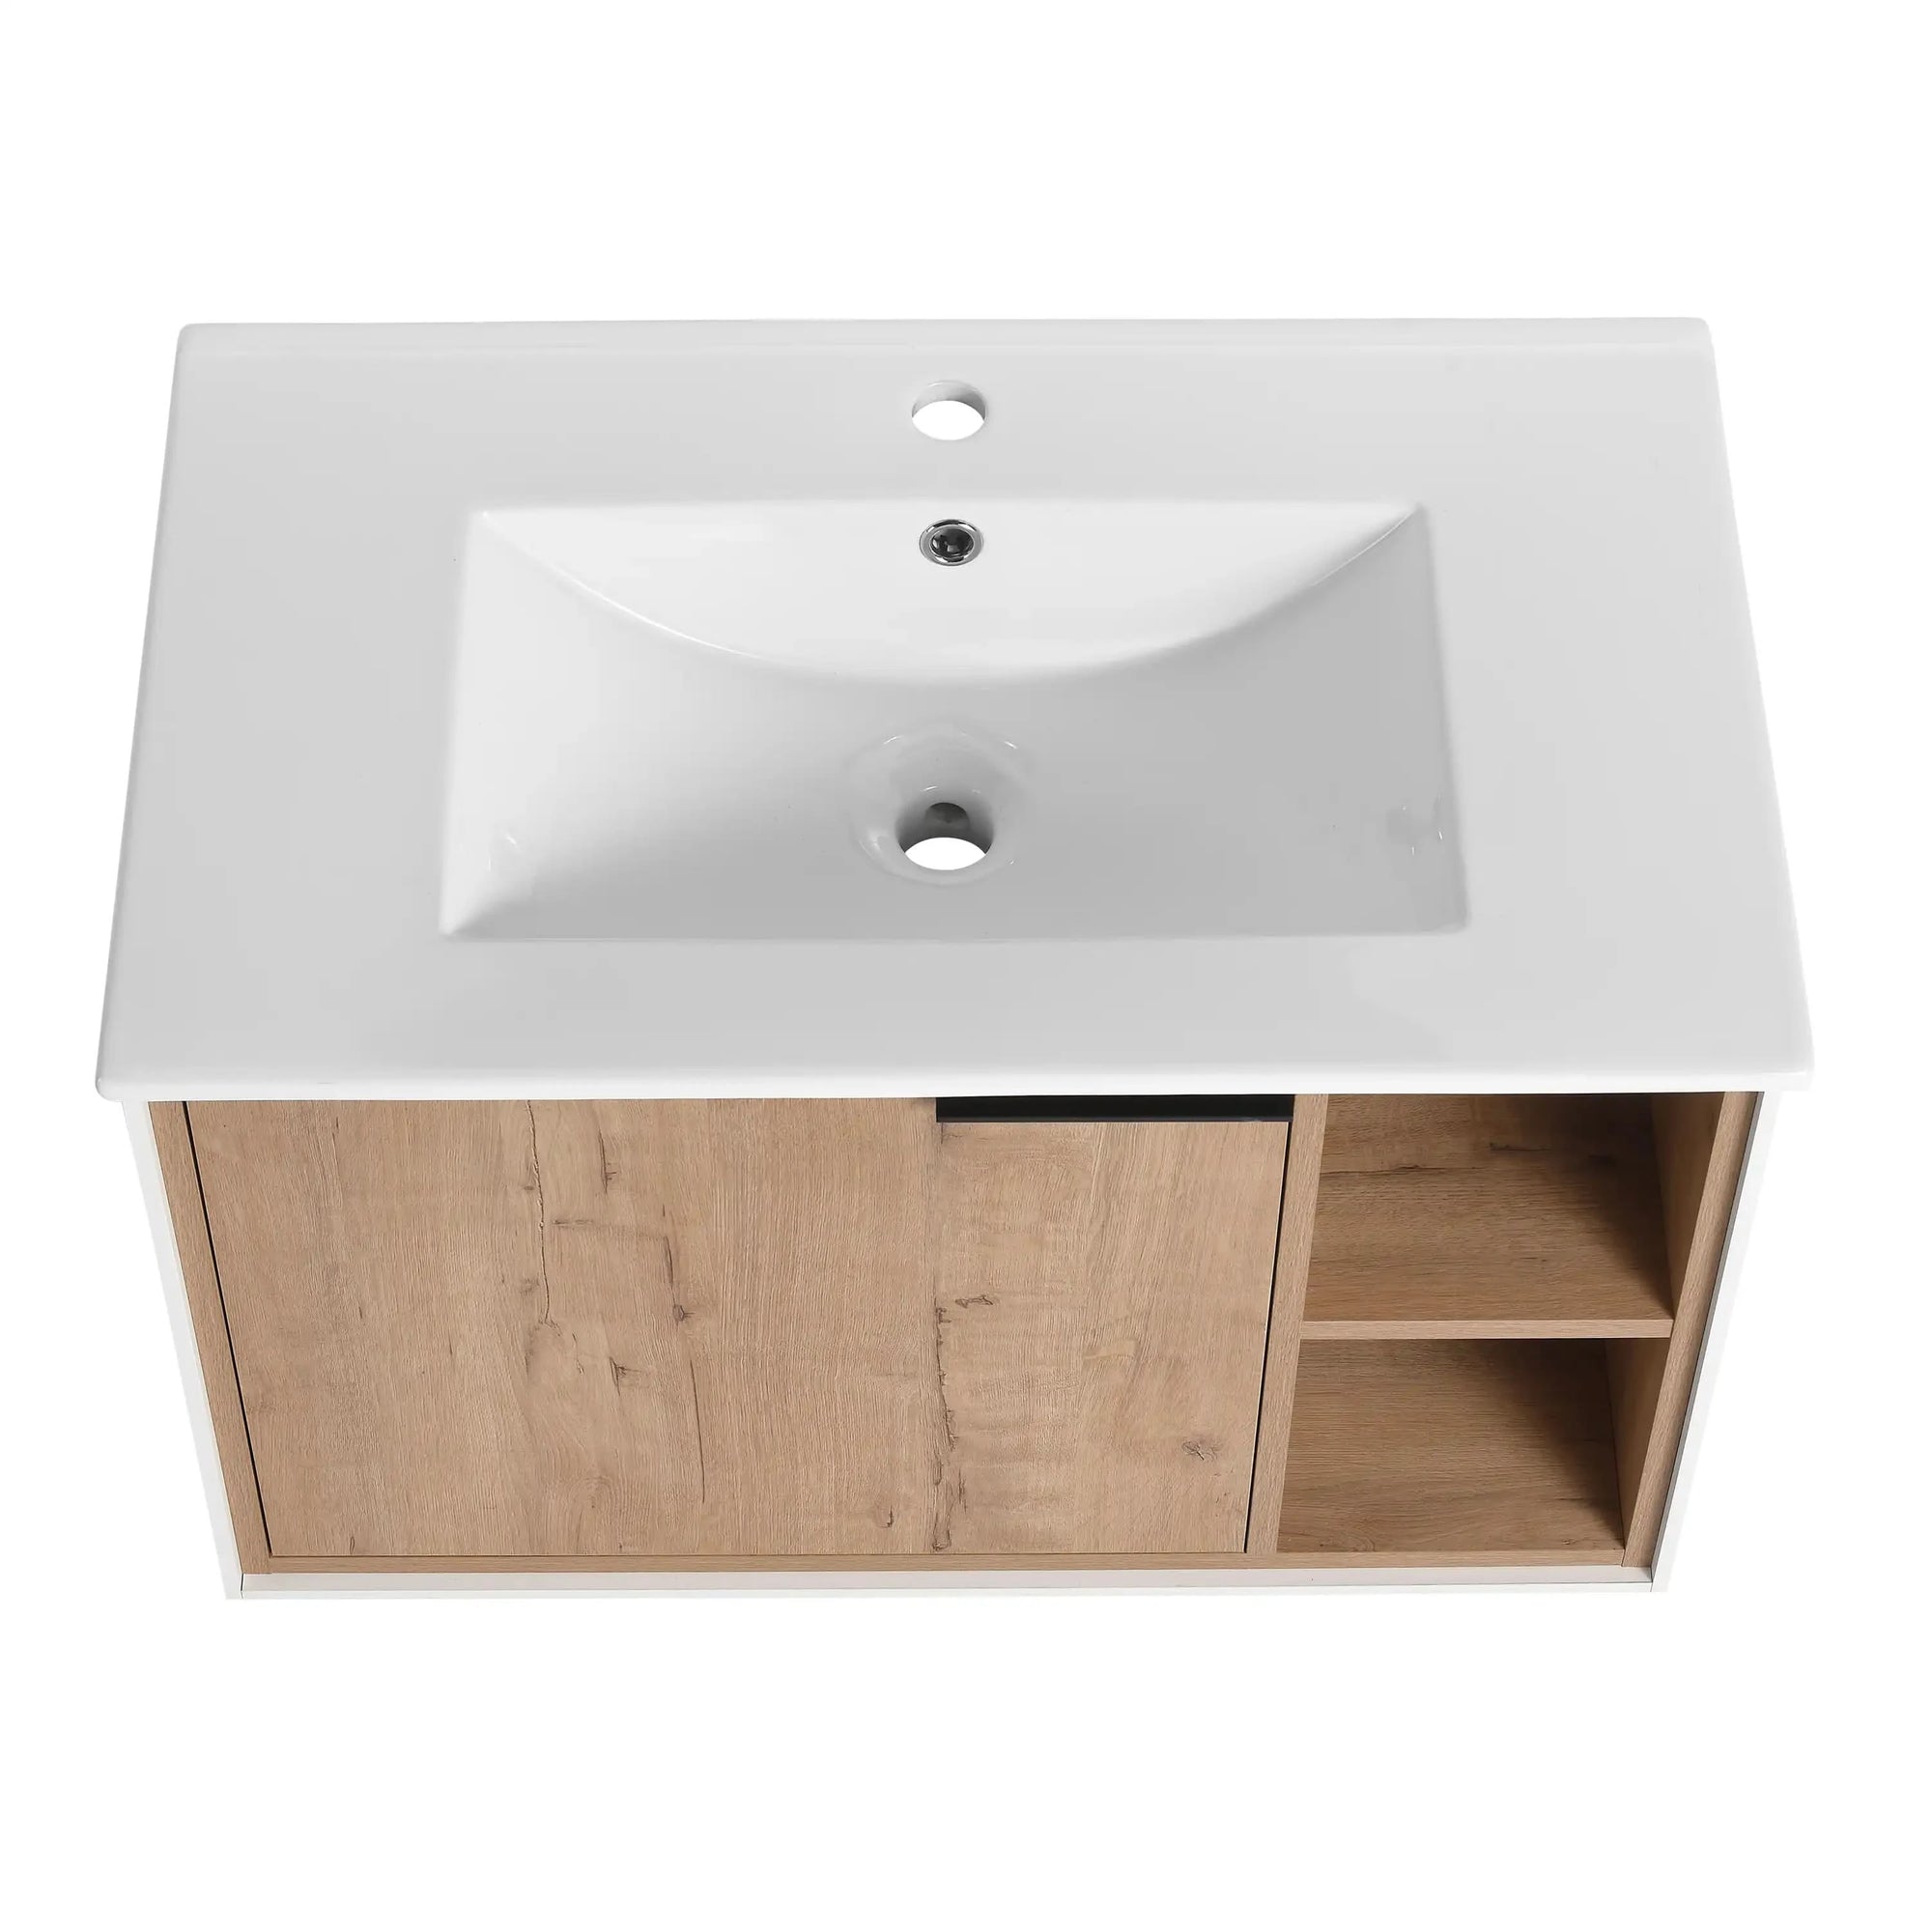
If you’re thinking about more than just a paint job, consider replacing your vanity cabinet with the modern and sleek AL Matte White Wall Mounted Cabinet from ACE DECOR. It’s a perfect example of a minimalist, space-saving solution that adds both style and function to any bathroom.
| Paint Type | Pros | Cons |
|---|---|---|
| Latex Paint | - Easy cleanup with soap and water | - Less durable than oil-based paint |
| - Fast drying | - May require multiple coats | |
| Oil-Based Paint | - Extremely durable and long-lasting | - Longer drying time |
| - Provides a smooth, professional finish | - Strong odor and requires mineral spirits for cleanup | |
| Chalk Paint | - Matte, trendy finish | - Requires sealing to withstand moisture |
| - Great for distressed or vintage looks | - Less durable without topcoat | |
| Acrylic Paint | - Affordable and versatile | - Less moisture-resistant than other options |
| - Wide range of colors available | - May not hold up in humid environments |
Step-by-Step Guide to Painting Bathroom Cabinets
1. Prepping Your Space
Preparation is often the most overlooked step, but it’s crucial for achieving professional results. Start by clearing the area around the vanity. Remove personal items, and cover floors, countertops, and any nearby surfaces with drop cloths or plastic sheeting to prevent paint splatters.
Pro Tip: Bathrooms can be humid environments, so if possible, plan to work on a dry day. Adequate ventilation is key for both comfort and faster drying.
2. Removing Cabinet Doors and Hardware
Using a screwdriver, carefully remove the doors, drawers, and hardware (hinges, knobs, pulls). Place all screws and hardware in a labeled container so they don’t get lost. This step allows you to work more efficiently and ensures that paint doesn’t get on the hardware.
Expert Insight: Now is a good time to upgrade your cabinet hardware if it looks dated. New knobs or pulls can make a massive difference in the final look of your painted cabinets.
3. Cleaning the Cabinets
Before sanding or priming, you need to clean the cabinet surfaces thoroughly. Over time, cabinets collect grime, oils, and soap residue, all of which can prevent paint from adhering properly. Use a gentle cleaner or a degreaser for tougher spots.
Remember: Even if the cabinets look clean, it’s always best to err on the side of caution and clean them to ensure optimal paint adhesion.
4. Sanding for a Smooth Finish
Sanding helps create a surface that the primer and paint can adhere to. Use 120-grit sandpaper to scuff the surface of the cabinets, doors, and drawer fronts, especially if they’re glossy. After sanding, wipe down the surfaces with a tack cloth to remove all dust.
Pro Tip: For intricate details and moldings, use a sanding sponge to get into tight corners.
5. Priming the Surface for Paint
Priming is essential for ensuring the longevity and durability of your paint job. It prevents stains from bleeding through and helps the paint adhere to the surface. Use a stain-blocking primer, especially in bathrooms where moisture is a concern. Apply an even coat and let it dry completely before moving on to painting.
6. Choosing the Right Paint
Choosing the right paint is crucial for bathroom projects, where moisture and humidity are a constant challenge. Semi-gloss or satin finishes are your best bet as they repel moisture better and are easier to clean. Both latex and oil-based paints can work, but latex is usually preferred due to its quick drying time and easier cleanup.
Color Tip: White, gray, and neutral tones are popular choices for a modern, clean look. For a more dramatic makeover, consider dark hues like navy or charcoal to create contrast against light walls or tiles.
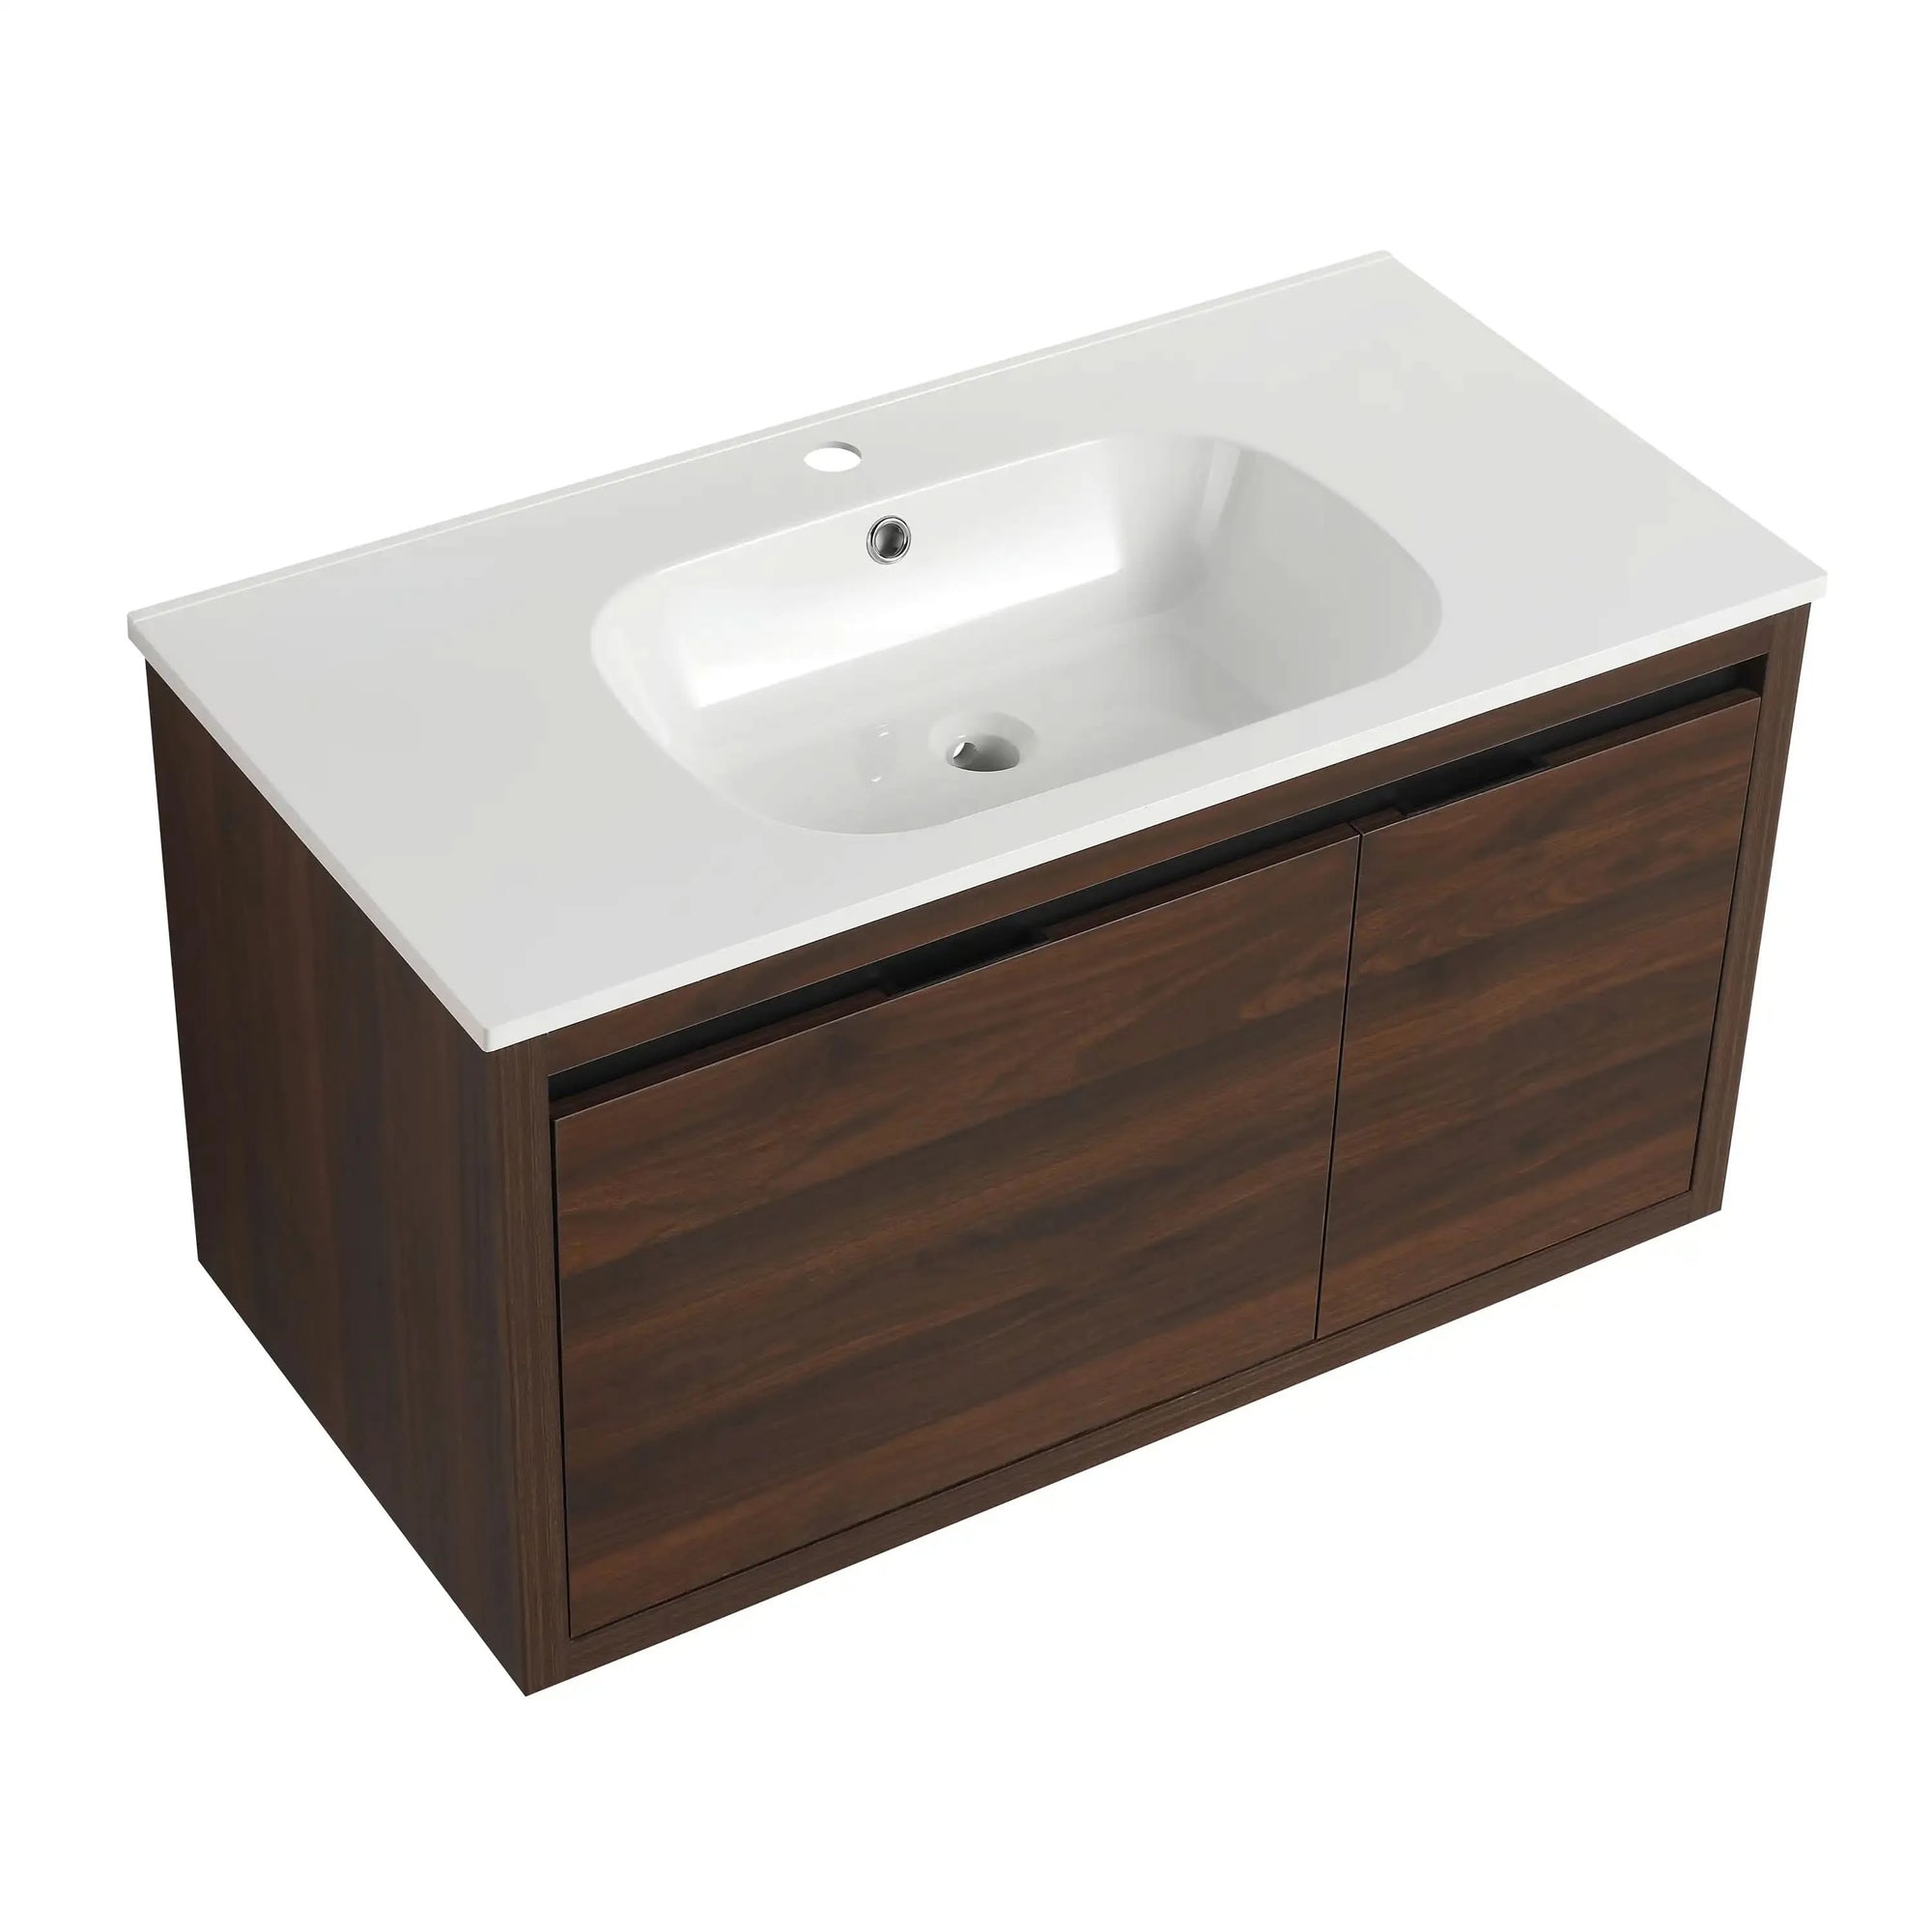
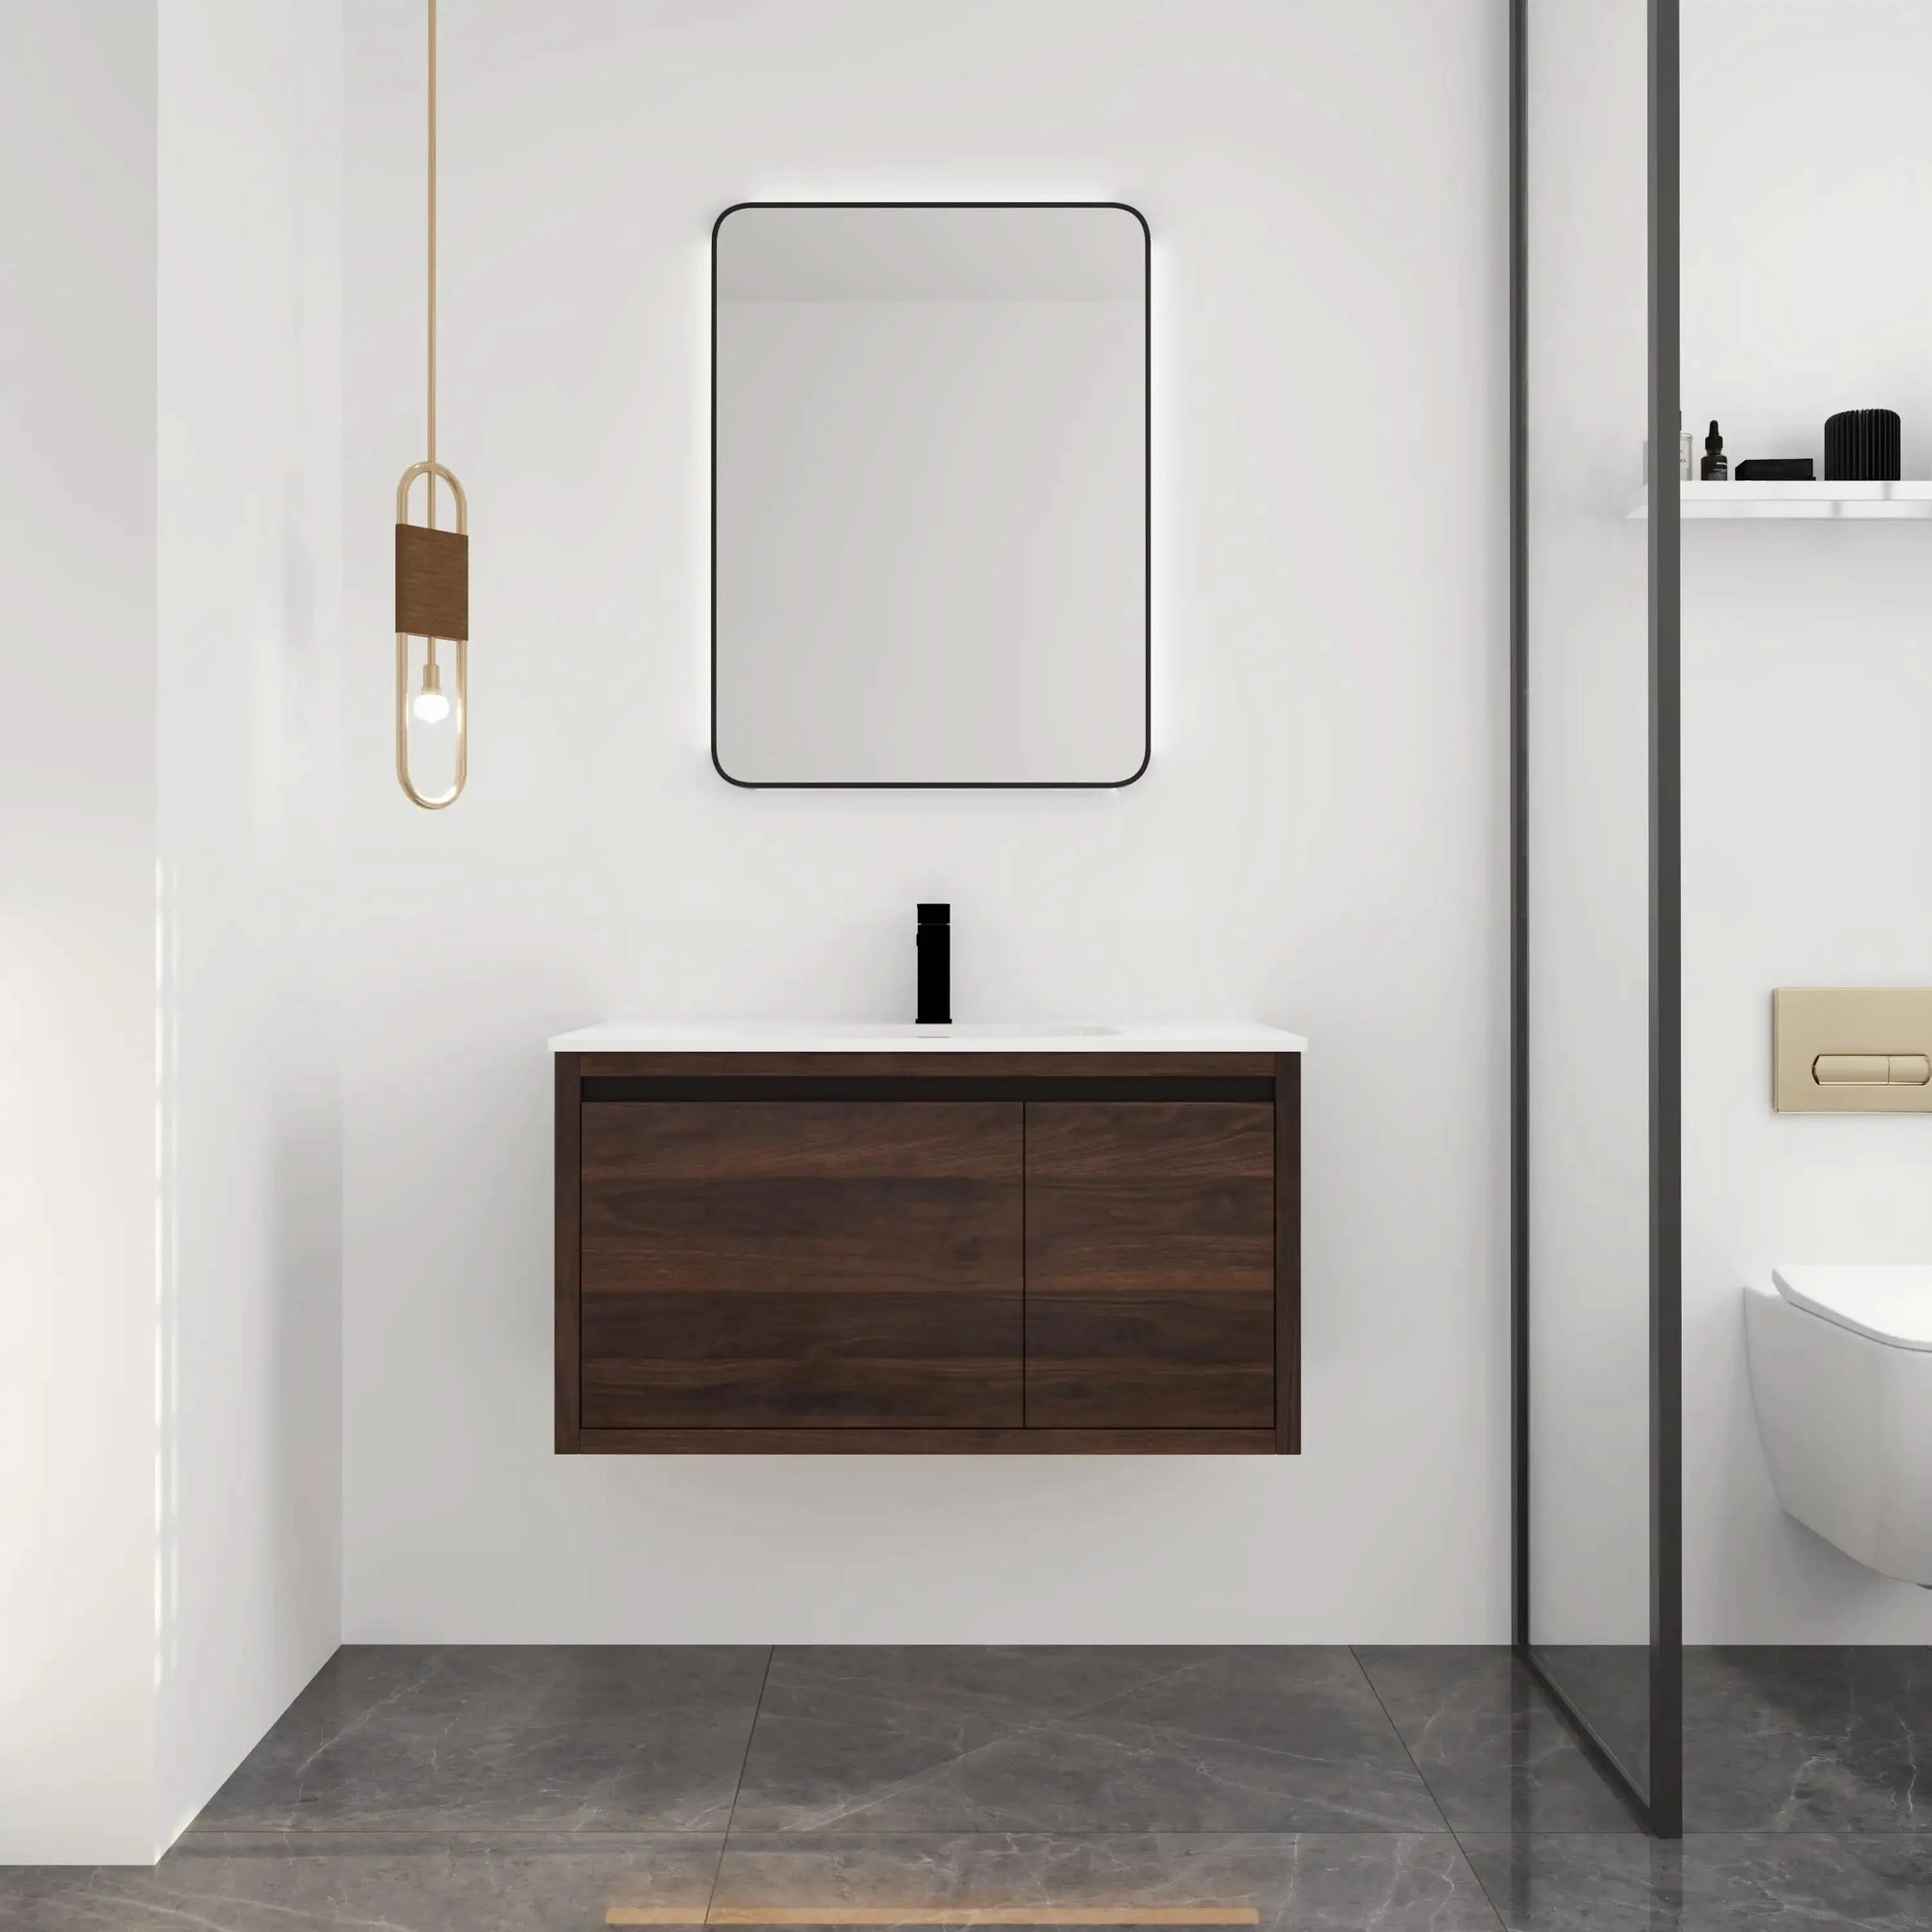
For example, pairing a freshly painted charcoal vanity with a White Walnut Wall Mounted Cabinet from ACE DECOR can create a striking modern bathroom aesthetic.
7. Applying the Paint: Techniques for a Flawless Finish
Now that the cabinets are primed and dry, it’s time to paint! Use a high-quality brush for corners and details, and a foam roller for flat surfaces to ensure a smooth finish. Always apply the paint in thin, even layers, letting each coat dry completely before applying the next.
Pro Tip: Lightly sand between coats with 220-grit sandpaper to ensure a glass-like finish.
8. Sealing and Protecting Your Cabinets
Sealing your painted cabinets with a clear, water-based polyurethane adds an extra layer of protection, especially in a high-traffic, high-moisture environment like the bathroom. Satin or semi-gloss sealers work best to maintain the sleek look of your paint job.
9. Reinstalling the Hardware and Final Touches
Once the cabinets are completely dry and sealed, it’s time to reinstall the hardware and cabinet doors. If you’ve opted for new hardware, now’s the time to install it. Make sure everything is aligned properly and enjoy the fresh look of your transformed bathroom!
Tips for Choosing the Right Color for Your Vanity
Choosing the perfect color can be daunting. When in doubt, neutrals like white, beige, or light gray are safe bets that complement most bathroom designs. However, if you’re looking to make a statement, consider a bold color like deep blue or black. These shades add sophistication and pair well with light countertops and white ceramic fixtures.
Example:
Imagine pairing a deep navy vanity with gleaming white walls and a luxurious AL Matte White Wall Mounted Cabinet. This would give your bathroom a fresh, contemporary feel, while also maintaining a timeless elegance.
Mistakes to Avoid When Painting Bathroom Cabinets
While painting bathroom cabinets is a manageable DIY project, there are common mistakes that can easily derail your efforts:
- Skipping the Primer: Always use a primer to ensure a long-lasting paint job.
- Painting Over Dirty Cabinets: Cleaning the cabinets thoroughly before painting is a must.
- Using the Wrong Paint: Opt for moisture-resistant paints like semi-gloss or satin finishes.
- Rushing the Process: Allowing each coat to dry thoroughly before moving to the next step is essential.
- Not Sealing the Paint: Skipping the sealer can lead to premature wear, especially in a bathroom environment.
Why Choose ACE DECOR for Your Bathroom Remodel?
ACE DECOR offers an exceptional range of bathroom vanities, cabinets, and accessories that can complement any design style. Whether you're looking for sleek, modern options like the AL Matte White Wall Mounted Cabinet or a versatile freestanding solution like the AL White Freestanding Mounted Cabinet, ACE DECOR has you covered.
By pairing high-quality products with professional DIY tips like painting your cabinets, you can create a bathroom space that’s both functional and beautiful.
FAQs: All Your Painting Questions Answered
1. How long does it take to paint bathroom vanity cabinets?
Painting bathroom cabinets typically takes 2-3 days, depending on drying times between coats and whether you choose to seal the cabinets.
2. Do I really need to sand the cabinets before painting?
Yes, sanding is crucial to create a smooth surface that the primer and paint can adhere to.
3. Can I use regular wall paint on my bathroom cabinets?
It’s better to use latex or oil-based paints specifically designed for trim and cabinetry, as they are more durable and moisture-resistant.
4. How can I avoid brush marks in my painted cabinets?
Use a high-quality angled brush for corners and a foam roller for flat surfaces. Thin, even coats, and light sanding between layers will help achieve a smooth finish.
5. Can I paint over stained wood cabinets without sanding?
While it’s possible to skip sanding by using a bonding primer, for the best results, light sanding is recommended.
6. What’s the best way to clean painted cabinets?
Once painted, clean your cabinets with a damp cloth and mild soap. Avoid abrasive cleaners that can damage the finish.
7: Can I skip sanding before painting?
A: Sanding ensures better paint adhesion and a smooth finish. Skipping this step may result in peeling paint.
8: What is the best paint finish for bathroom cabinets?
A: Semi-gloss or satin finishes are ideal as they repel moisture and are easy to clean.
By following this comprehensive guide, you’ll not only update your bathroom vanity cabinets with a professional-quality paint job, but you’ll also increase the longevity and functionality of your space. Plus, with the right products from ACE DECOR, your bathroom transformation will be complete!
