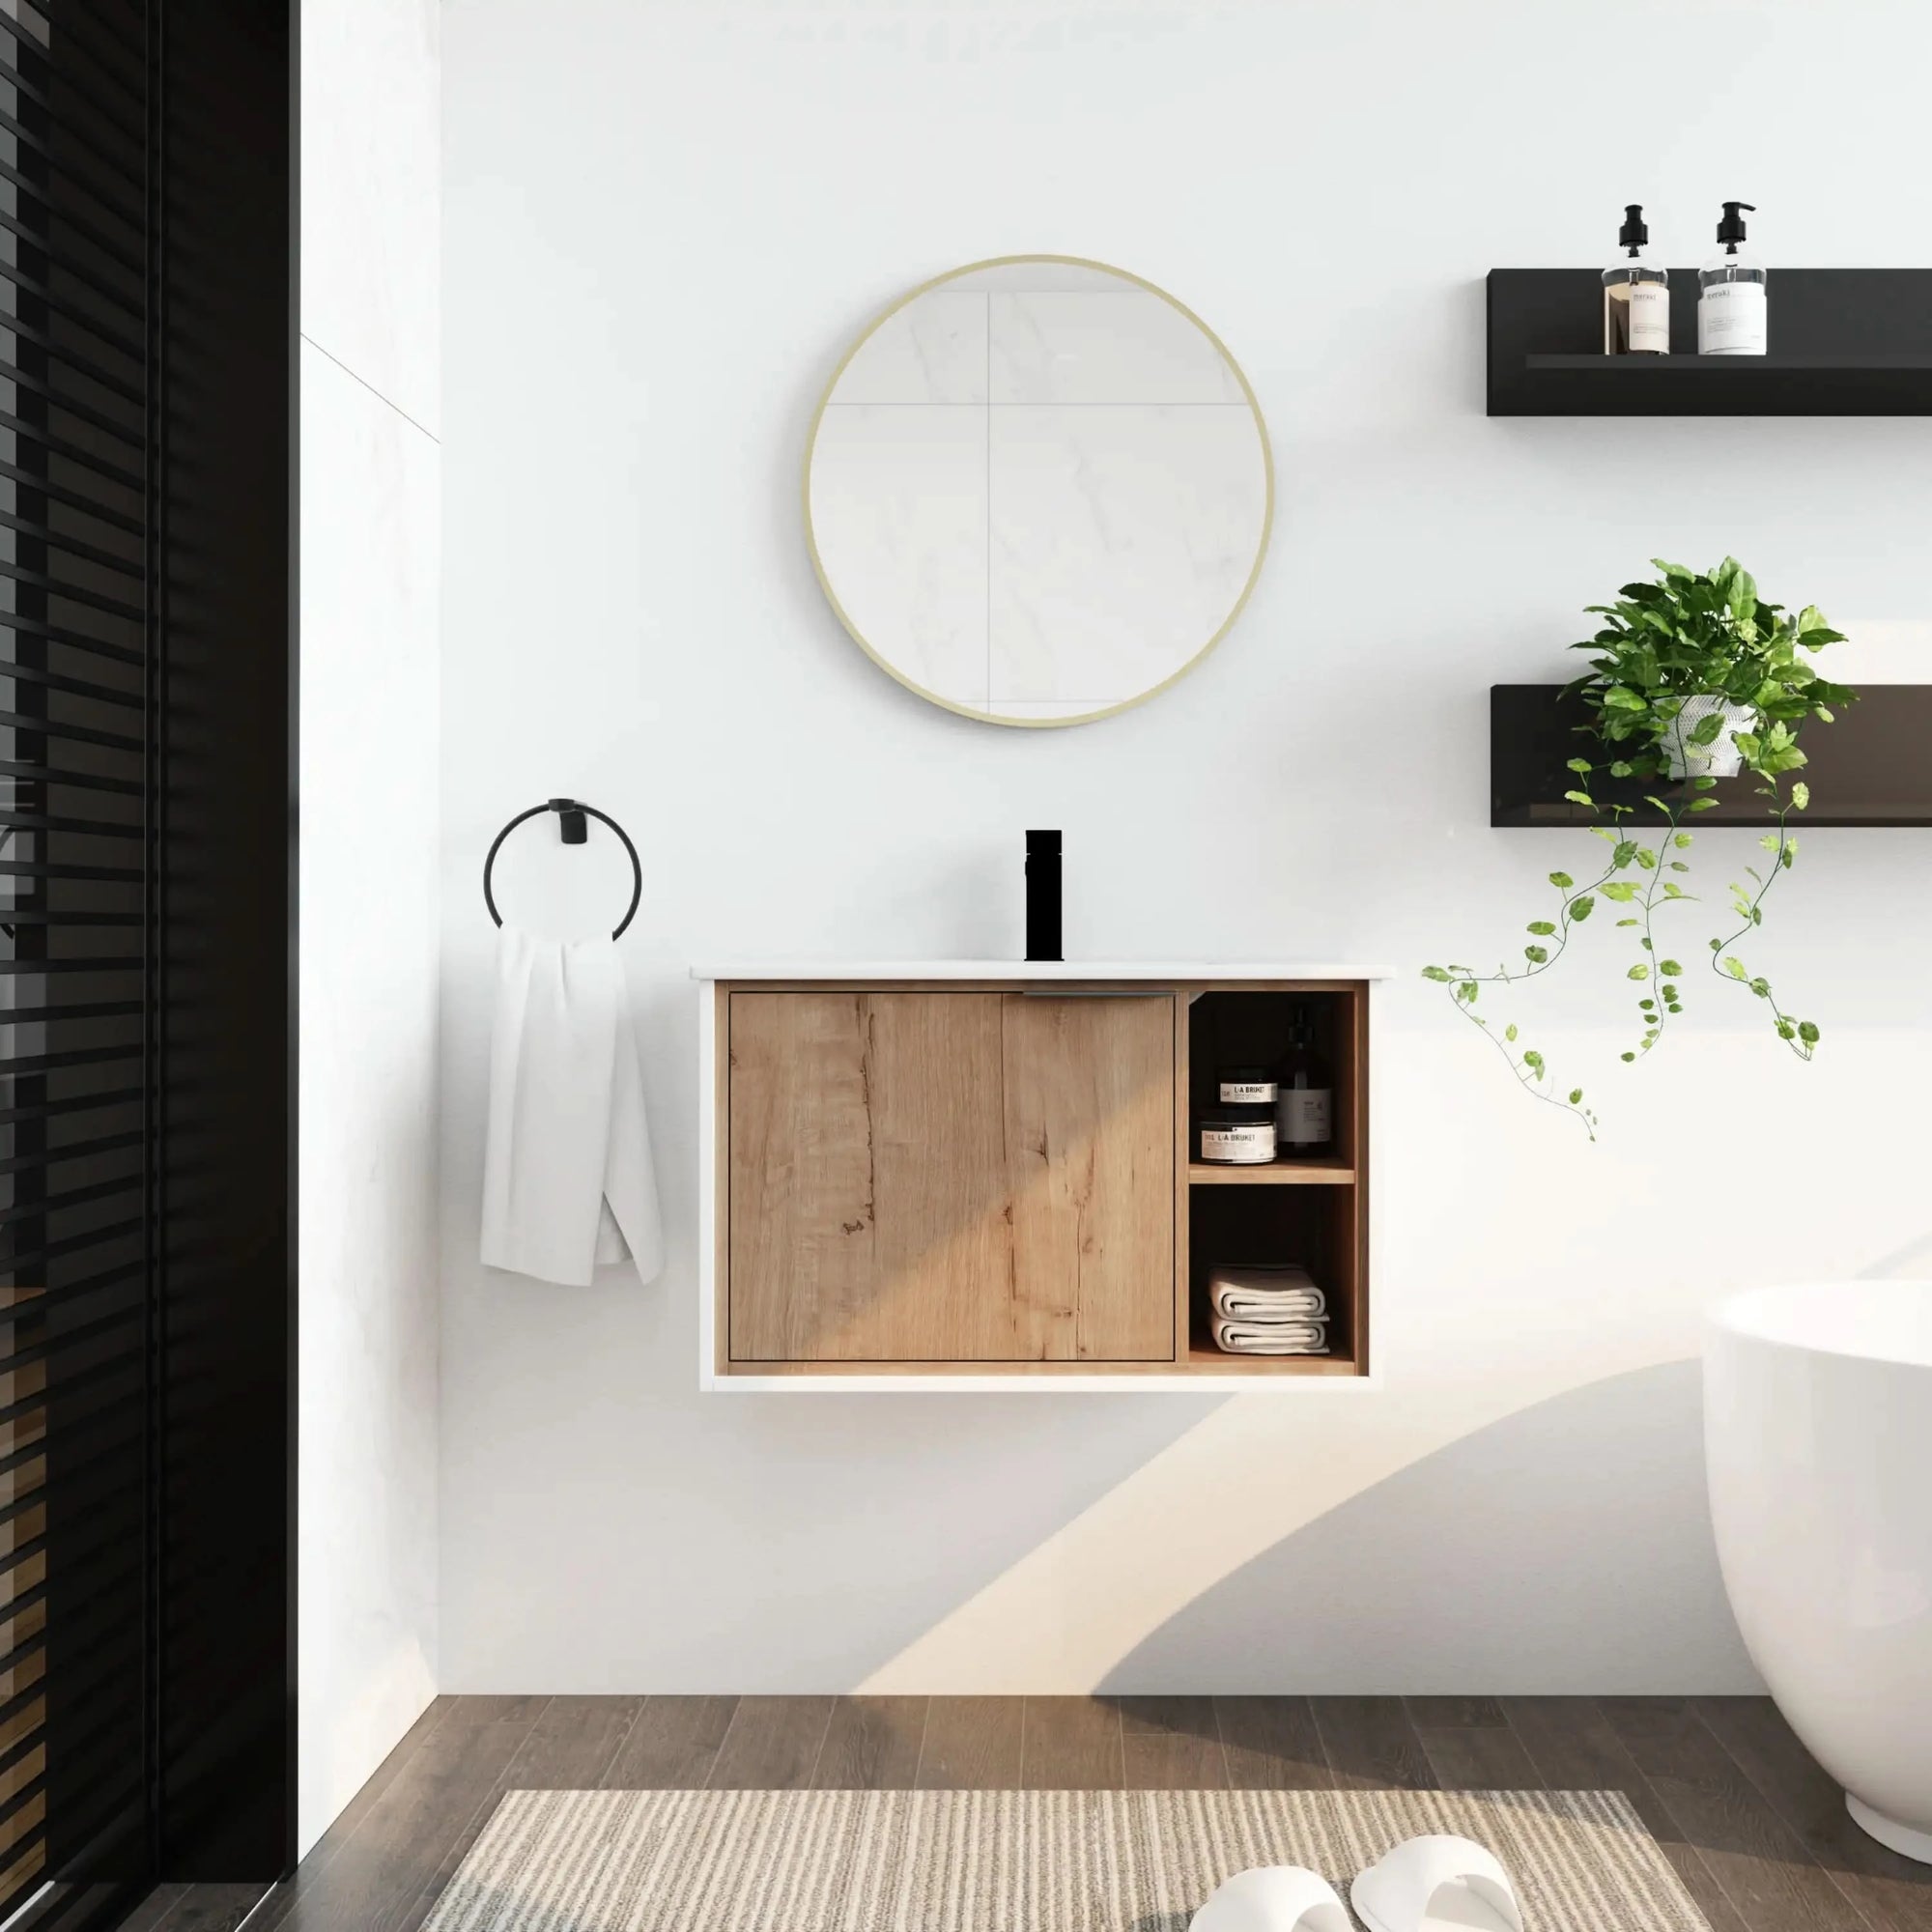
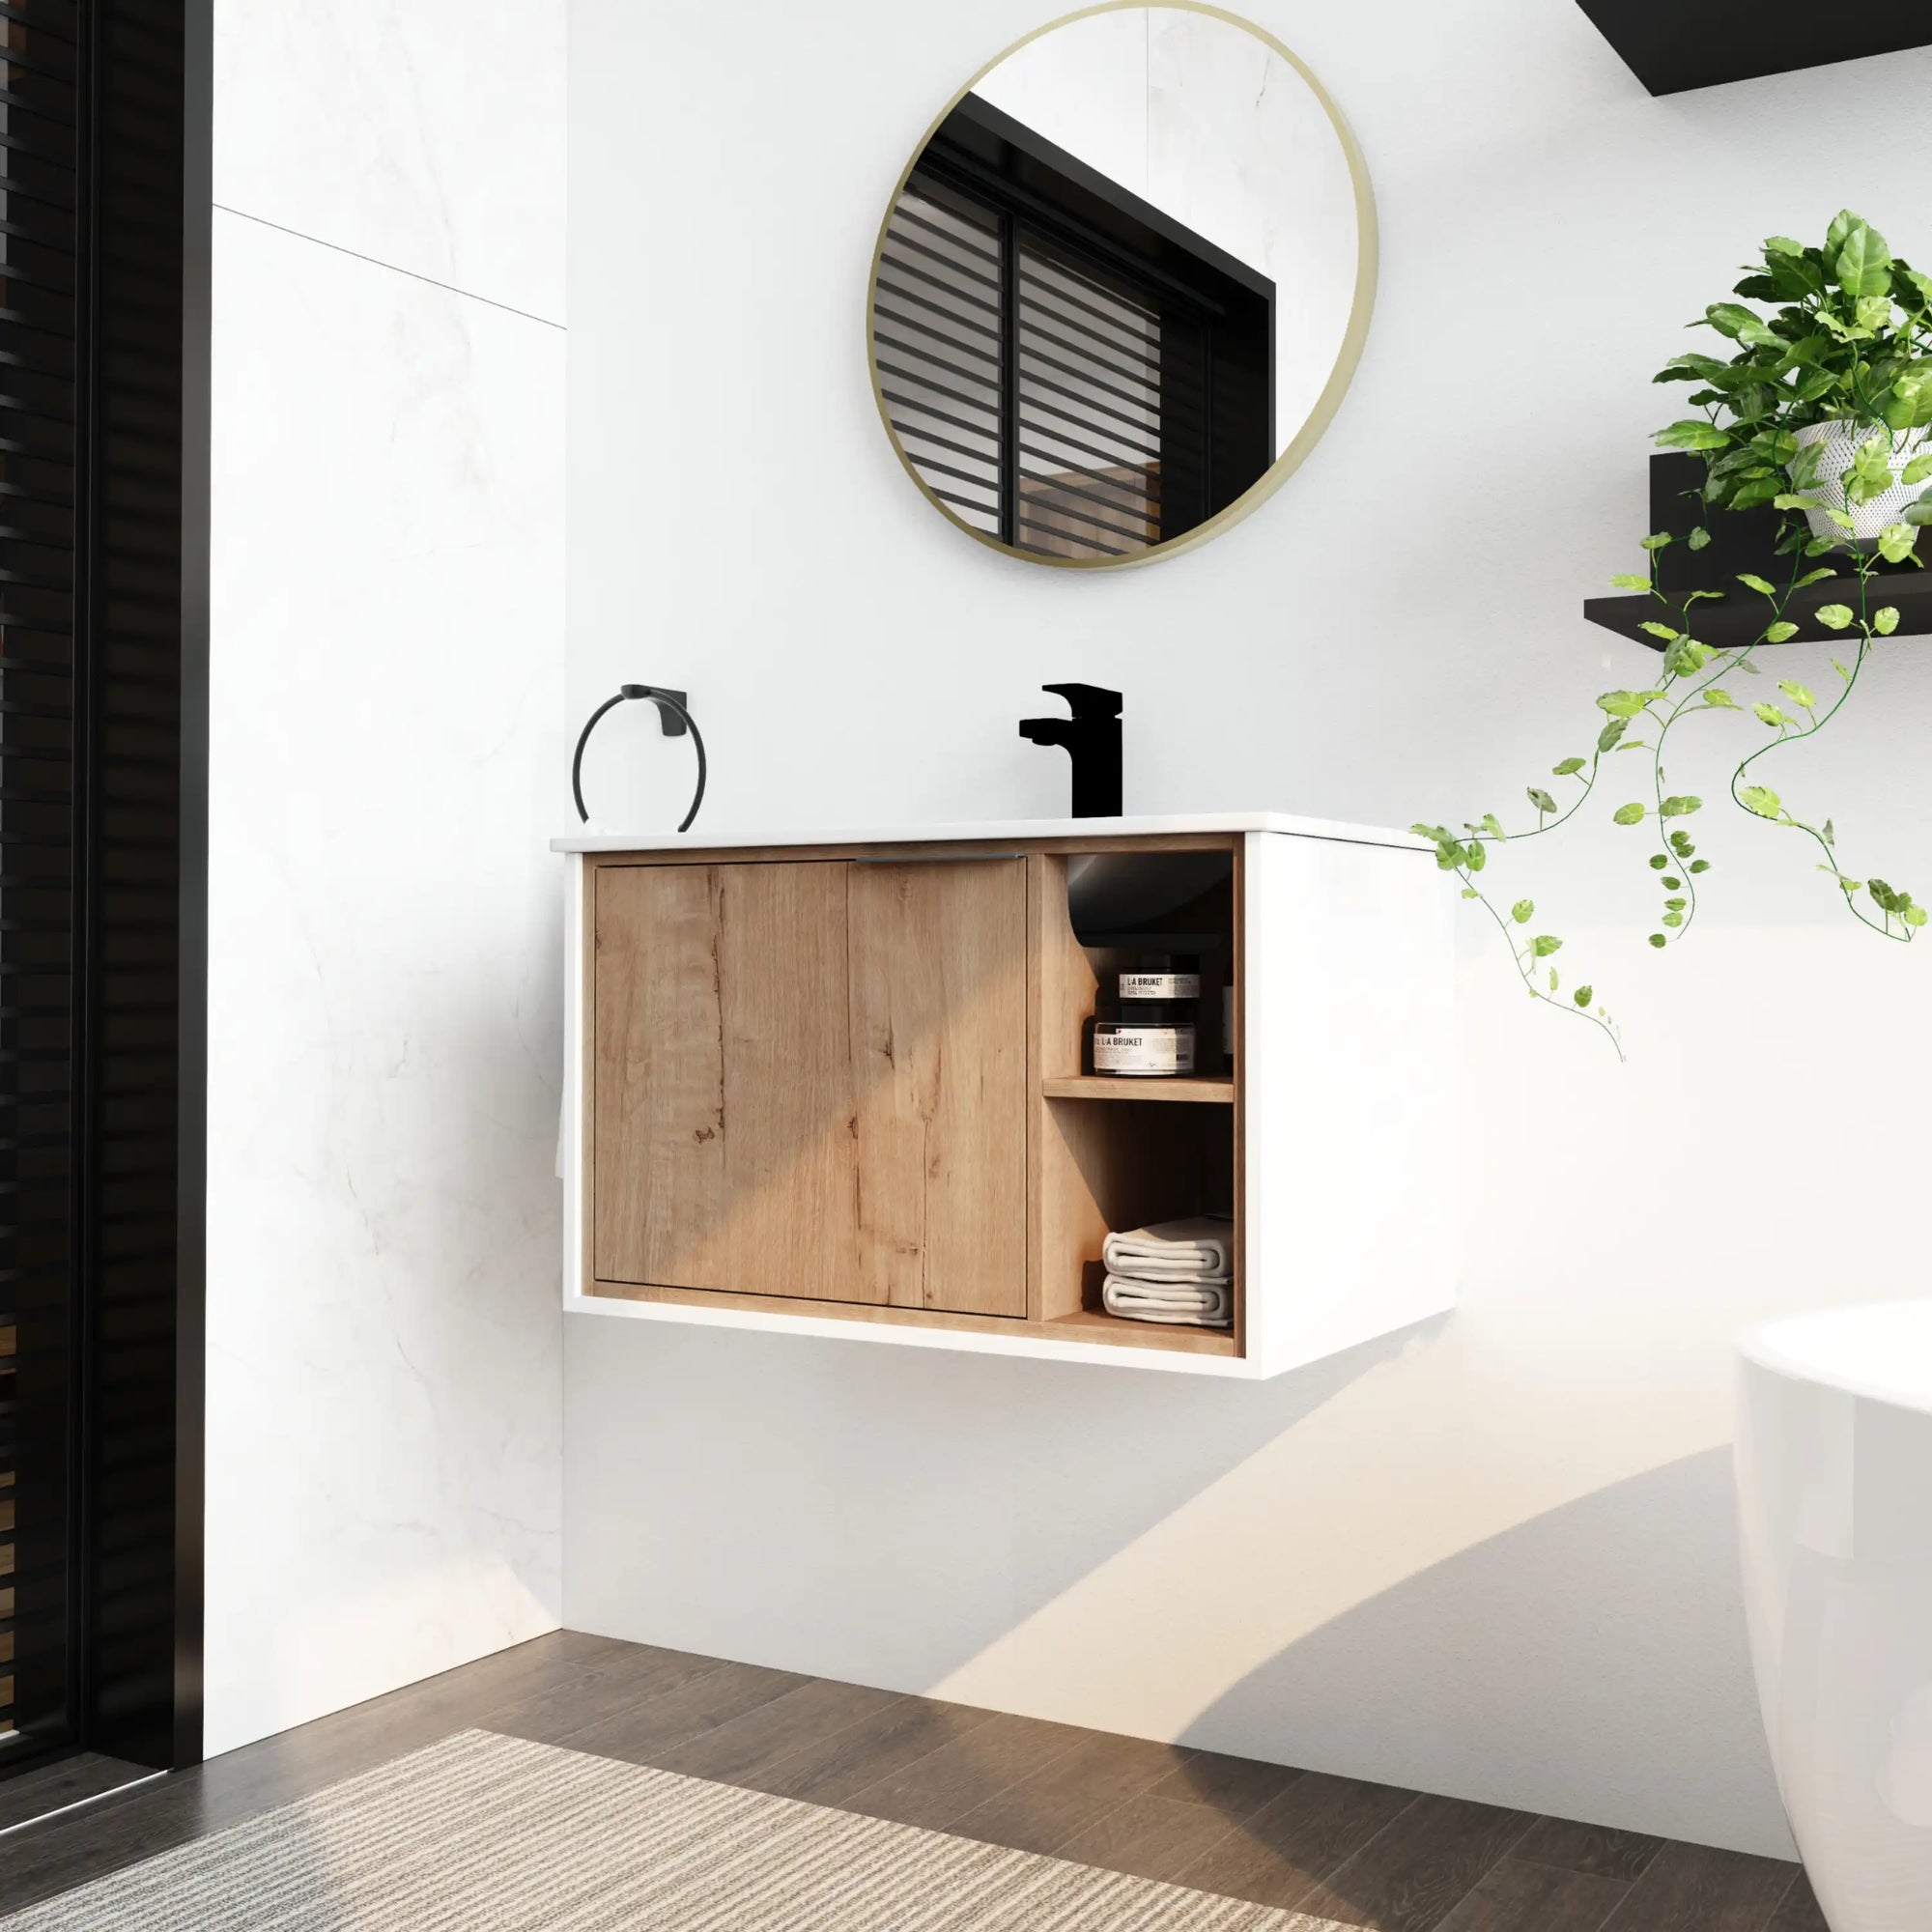
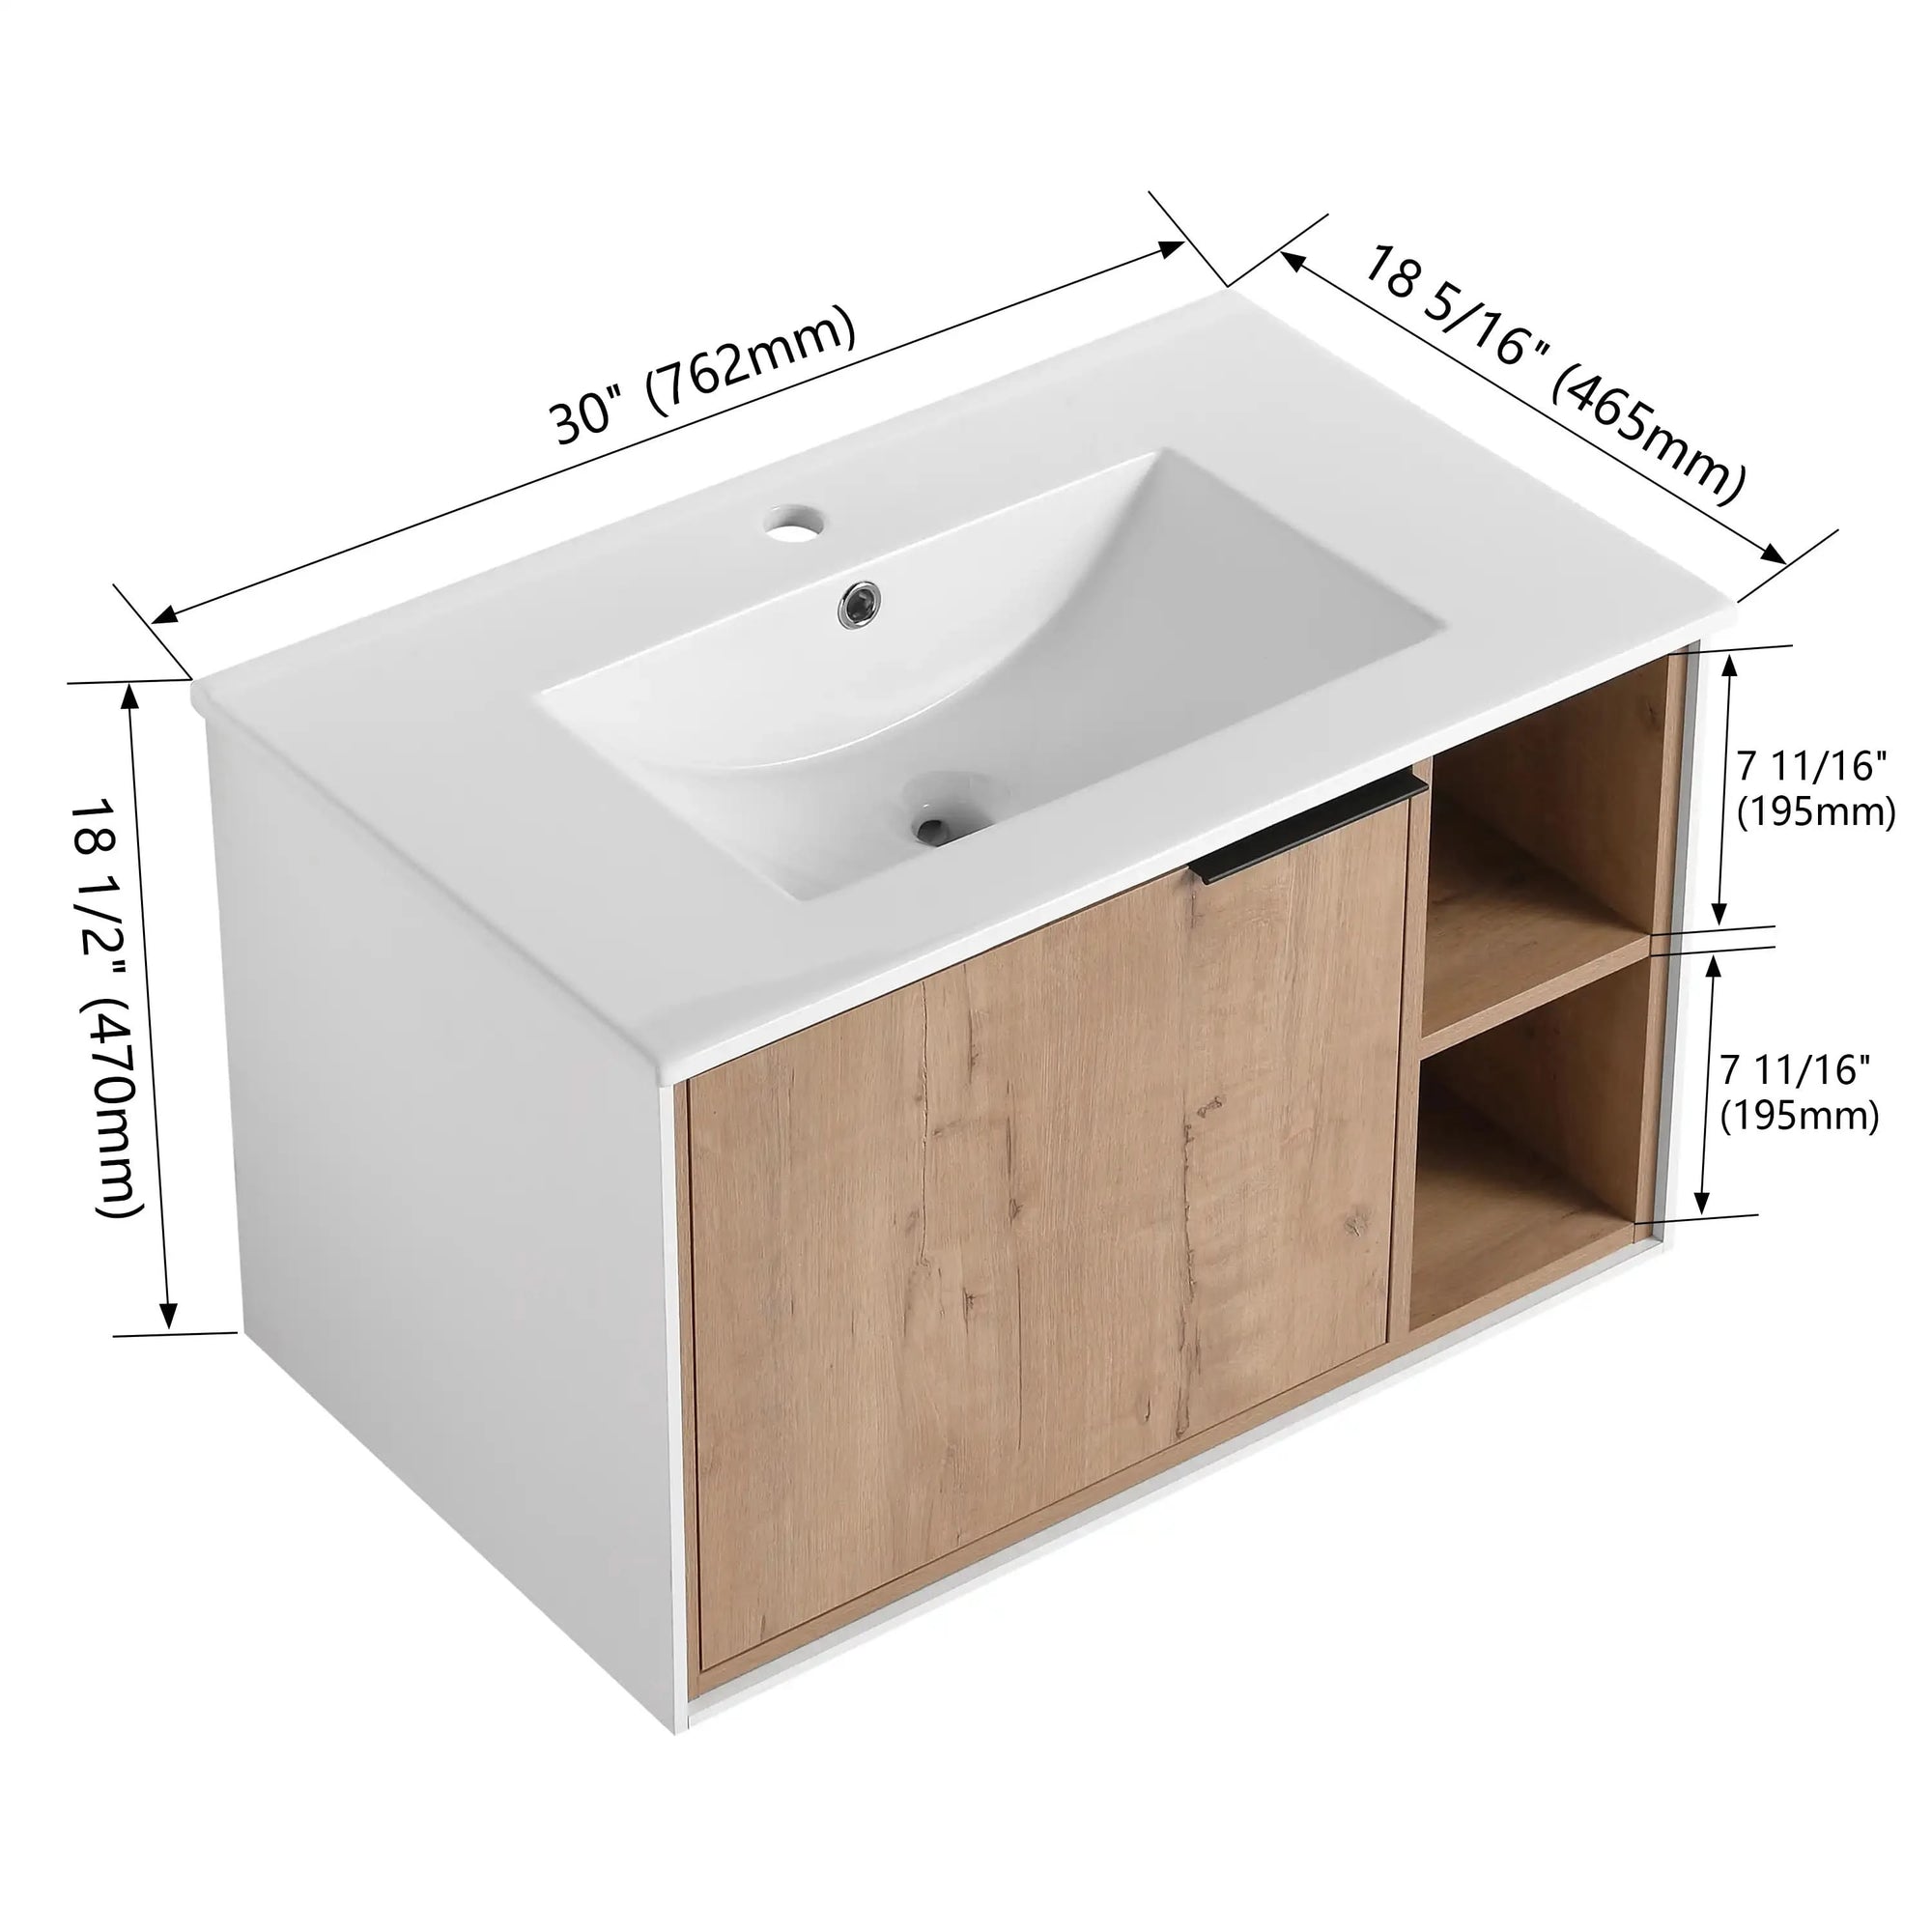
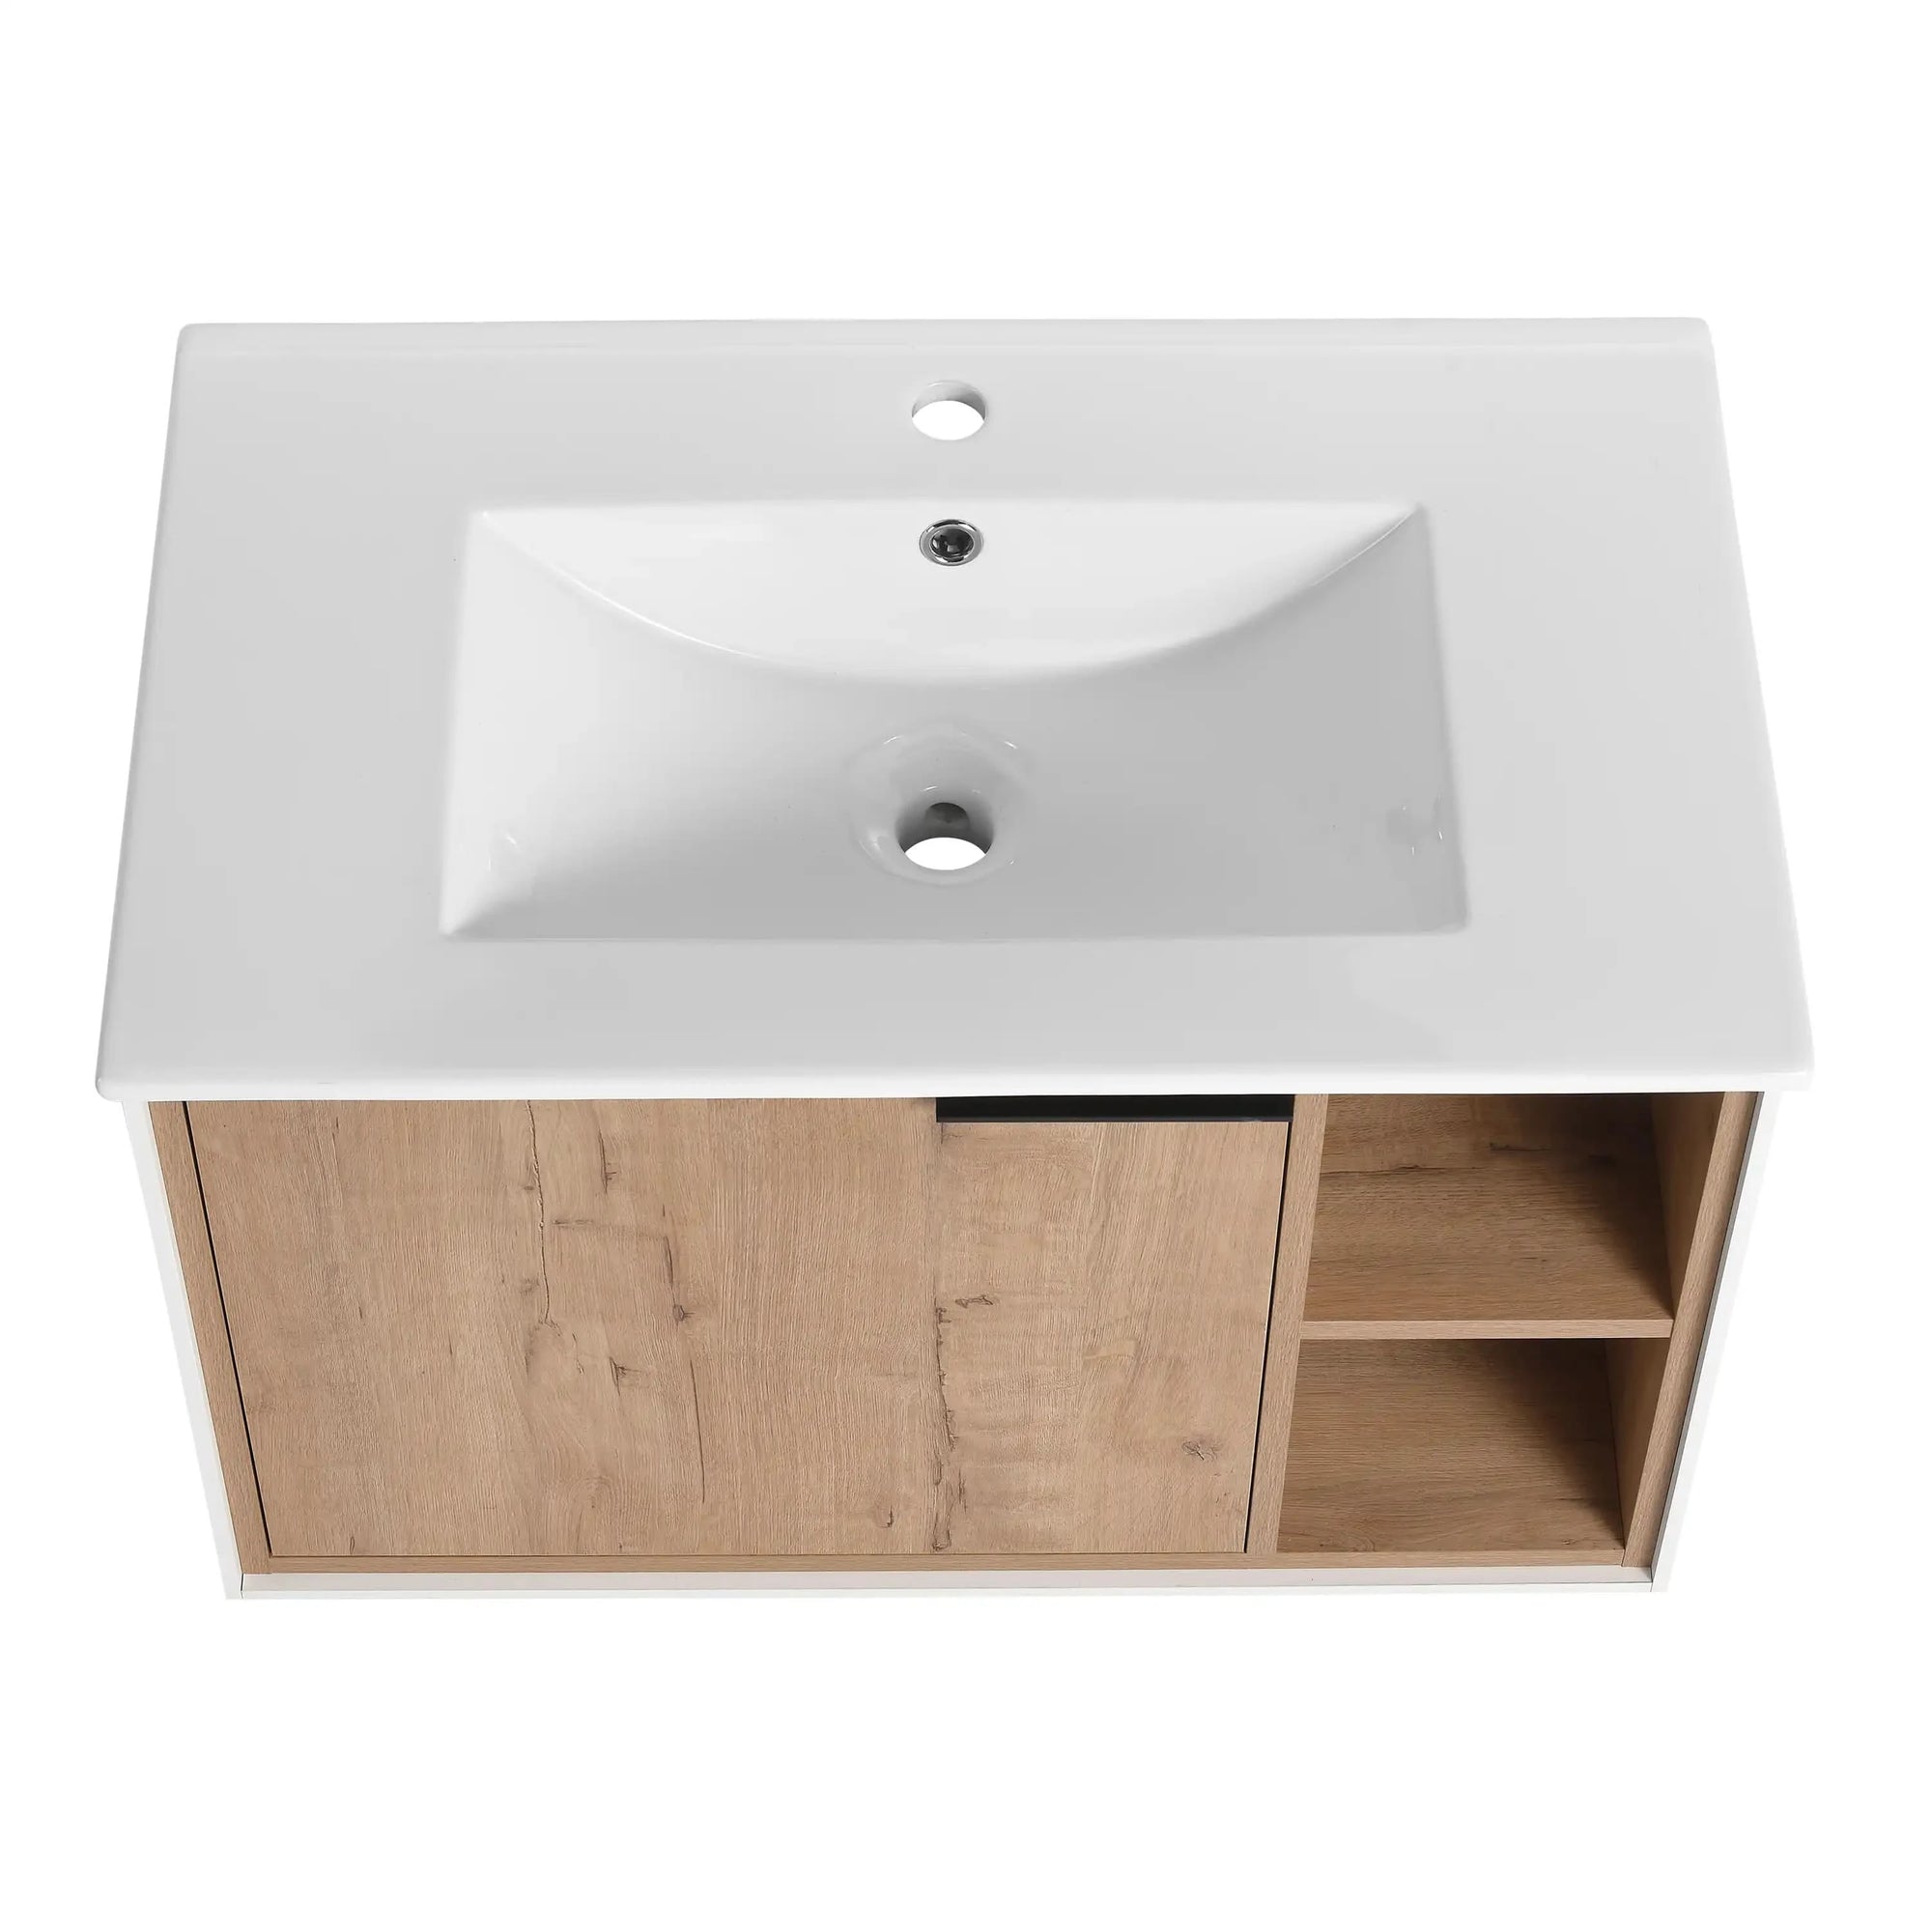
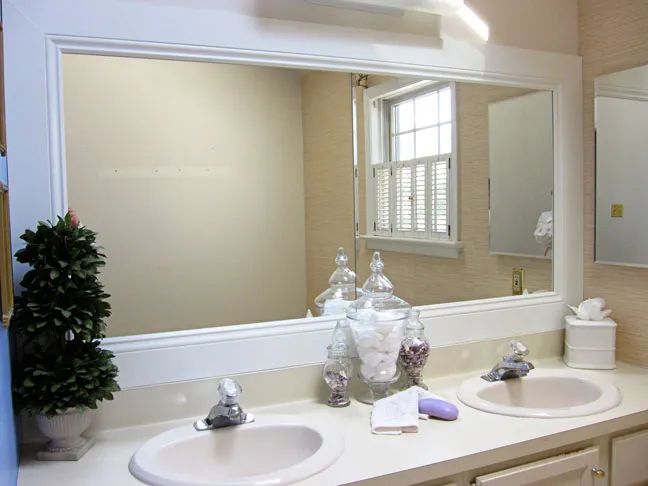
Renovating your bathroom can feel like a daunting task, but transforming your old, tired bathroom vanity with a fresh coat of paint is one of the simplest and most affordable ways to make a big impact. Whether you’re updating an older wooden vanity, refreshing a laminate unit, or simply changing the color scheme to match your modern aesthetic, painting a bathroom vanity can breathe new life into your space. This guide will walk you through every step, ensuring you achieve a professional, long-lasting finish that enhances your bathroom’s style and functionality.
Painting your bathroom vanity is not only a cost-effective way to modernize your bathroom, but it also allows you to express your personal style. With proper preparation, the right materials, and some patience, this DIY project can be completed over a weekend, leaving you with a refreshed and stylish space.
Materials and Tools for Painting a Bathroom Vanity
Before you begin, it’s essential to gather the necessary tools and materials. Proper preparation ensures you’ll have everything on hand when needed, preventing delays and ensuring the best possible result. Here’s what you’ll need:
Tools
- High-quality Paint Brushes and Rollers: Use a small angled brush for detailed work and a foam roller for smooth, even coverage.
- Sandpaper (120 and 220 Grit): A medium grit for initial sanding and fine grit for smoothing between coats.
- Painter’s Tape: Protects areas such as countertops, walls, and around the sink from stray paint.
- Screwdriver: For removing cabinet doors, drawers, and hardware.
- Drop Cloth or Plastic Sheeting: To cover your floor and other areas from drips or spills.
- Tack Cloth: Helps remove fine dust after sanding for a smooth finish.
Materials
- Primer: A bonding primer is ideal, especially if your vanity has a laminate or glossy surface.
- Paint: Choose high-quality latex or oil-based paint. Semi-gloss or satin finishes are ideal for bathroom vanities because they resist moisture and are easy to clean.
- Clear Polyurethane or Sealer: Optional but recommended for sealing and protecting the vanity from moisture, especially in high-humidity bathrooms.
- Cleaning Supplies: Mild soap, water, and a soft cloth for cleaning the vanity before painting.
Preparing the Bathroom Vanity for Painting
A smooth and long-lasting paint job starts with proper preparation. Skipping this step or rushing through it can result in a finish that chips or peels over time, particularly in a moisture-prone environment like a bathroom.
Step 1: Clean the Vanity Thoroughly
Removing Dirt, Grease, and Old Residue
Begin by wiping down the entire vanity with warm soapy water to remove any dust, dirt, or grime that has accumulated over time. Bathroom vanities, especially those near the sink, tend to collect soap scum, toothpaste splatter, and moisture marks. Cleaning ensures that your paint adheres properly to the surface.
For stubborn grease or oily residue, particularly around handles and hardware, use a degreaser or a mixture of water and vinegar. Let the vanity dry completely before moving on to the next step.
Step 2: Remove Doors, Drawers, and Hardware
Hardware Removal for a Cleaner Finish
Using a screwdriver, carefully remove the doors, drawers, and any attached hardware, such as handles or knobs. It’s easier to paint the surfaces separately, and you’ll avoid unsightly drips or missed spots around the hardware. Label your doors and drawers if necessary, so you know where everything goes when it’s time to reassemble.
If your vanity has decorative trim or moldings, take extra care to remove or tape around them to avoid paint getting into unwanted areas.
Step 3: Sanding the Surface
Why Sanding is Crucial
Sanding is essential because it creates a rough surface for the primer and paint to adhere to. Even if your vanity looks smooth, any gloss or sheen can prevent the paint from sticking properly.
Start by using 120-grit sandpaper to lightly sand the entire surface of the vanity. If your vanity has a laminate or shiny finish, spend extra time sanding these areas to remove the sheen. After sanding, wipe down the entire vanity with a tack cloth to remove dust. For a smoother finish between coats, use 220-grit sandpaper.
Priming the Vanity for a Lasting Paint Job
Applying primer is a critical step that ensures your paint adheres well and remains durable over time. Primer also helps to cover any existing stains or dark wood that might bleed through the paint.
Step 1: Choosing the Right Primer
Oil-Based vs. Latex Primer
For bathroom vanities, a high-bonding primer is crucial, especially if your vanity is made of laminate, veneer, or another non-porous material. Oil-based primers work well for surfaces prone to moisture, but water-based latex primers are quicker to dry and easier to clean up. Choose a primer based on the surface material and the environment in your bathroom.
Step 2: Apply the Primer Evenly
Ensuring Even Coverage
Using a small foam roller for the large surfaces and an angled brush for detailed areas, apply a thin, even layer of primer. Be sure to cover the entire vanity, including the edges and corners. If your vanity has intricate detailing, use a smaller brush to reach crevices and decorative trim. Allow the primer to dry thoroughly according to the manufacturer’s instructions.
Once the primer is dry, inspect the surface for any imperfections. Lightly sand the surface with 220-grit sandpaper to remove any bumps or uneven spots, and wipe the surface clean before applying your paint.
Painting the Bathroom Vanity
Now that your vanity is primed and ready, it’s time to paint. Choosing the right type of paint and applying it with care will give your vanity a beautiful, durable finish that stands up to the moisture and humidity of the bathroom environment.
Step 1: Choosing the Right Paint
Latex vs. Oil-Based Paint for Durability
When selecting paint, keep in mind that bathroom vanities are exposed to a lot of moisture, cleaning products, and general wear and tear. For durability, choose a high-quality paint designed for cabinets and trim. Latex paints are easy to work with, quick to dry, and have low odor. Oil-based paints, while more durable and moisture-resistant, take longer to dry and require paint thinner for clean-up.
For a bathroom vanity, a semi-gloss or satin finish is ideal. These finishes resist moisture, are easy to clean, and offer a nice sheen without being overly shiny.
Step 2: Painting the Vanity
First Coat Application
Using a small foam roller, apply the first coat of paint in thin, even layers. Avoid thick coats, as they can cause drips and uneven drying. Start by painting the larger, flat surfaces of the vanity, then move on to the more detailed areas with a brush. Be sure to paint in the direction of the wood grain (if applicable) for a smoother, more professional look.
Allow the first coat to dry completely, typically 4-6 hours, depending on the paint.
Applying Additional Coats
After the first coat has dried, lightly sand the surface with 220-grit sandpaper to remove any small imperfections or dust particles. Wipe down the surface with a tack cloth, and apply a second coat. In most cases, two coats of paint are sufficient, but if you are painting a dark vanity with a light color, a third coat may be necessary for full coverage.
Finishing Touches and Reassembly
After the final coat of paint has dried, it's time to focus on the finishing touches that will enhance the overall look and durability of your vanity.
Step 1: Applying a Protective Topcoat
Adding a Clear Polyurethane Finish
For added protection, especially in a bathroom setting where moisture is present, consider applying a clear polyurethane or polycrylic topcoat. This will seal the paint, making it more resistant to moisture, chips, and scratches. A water-based polyurethane is ideal because it won’t yellow over time.
Apply the topcoat in thin, even layers, using a clean brush or foam roller. Allow it to dry fully between coats, and apply two to three coats for optimal durability.
Step 2: Reinstalling Hardware and Doors
Putting Everything Back Together
Once the paint and topcoat have fully cured, it's time to reinstall the hardware, doors, and drawers. If you want to elevate the look of your vanity even further, consider replacing the old knobs and pulls with new, modern hardware.
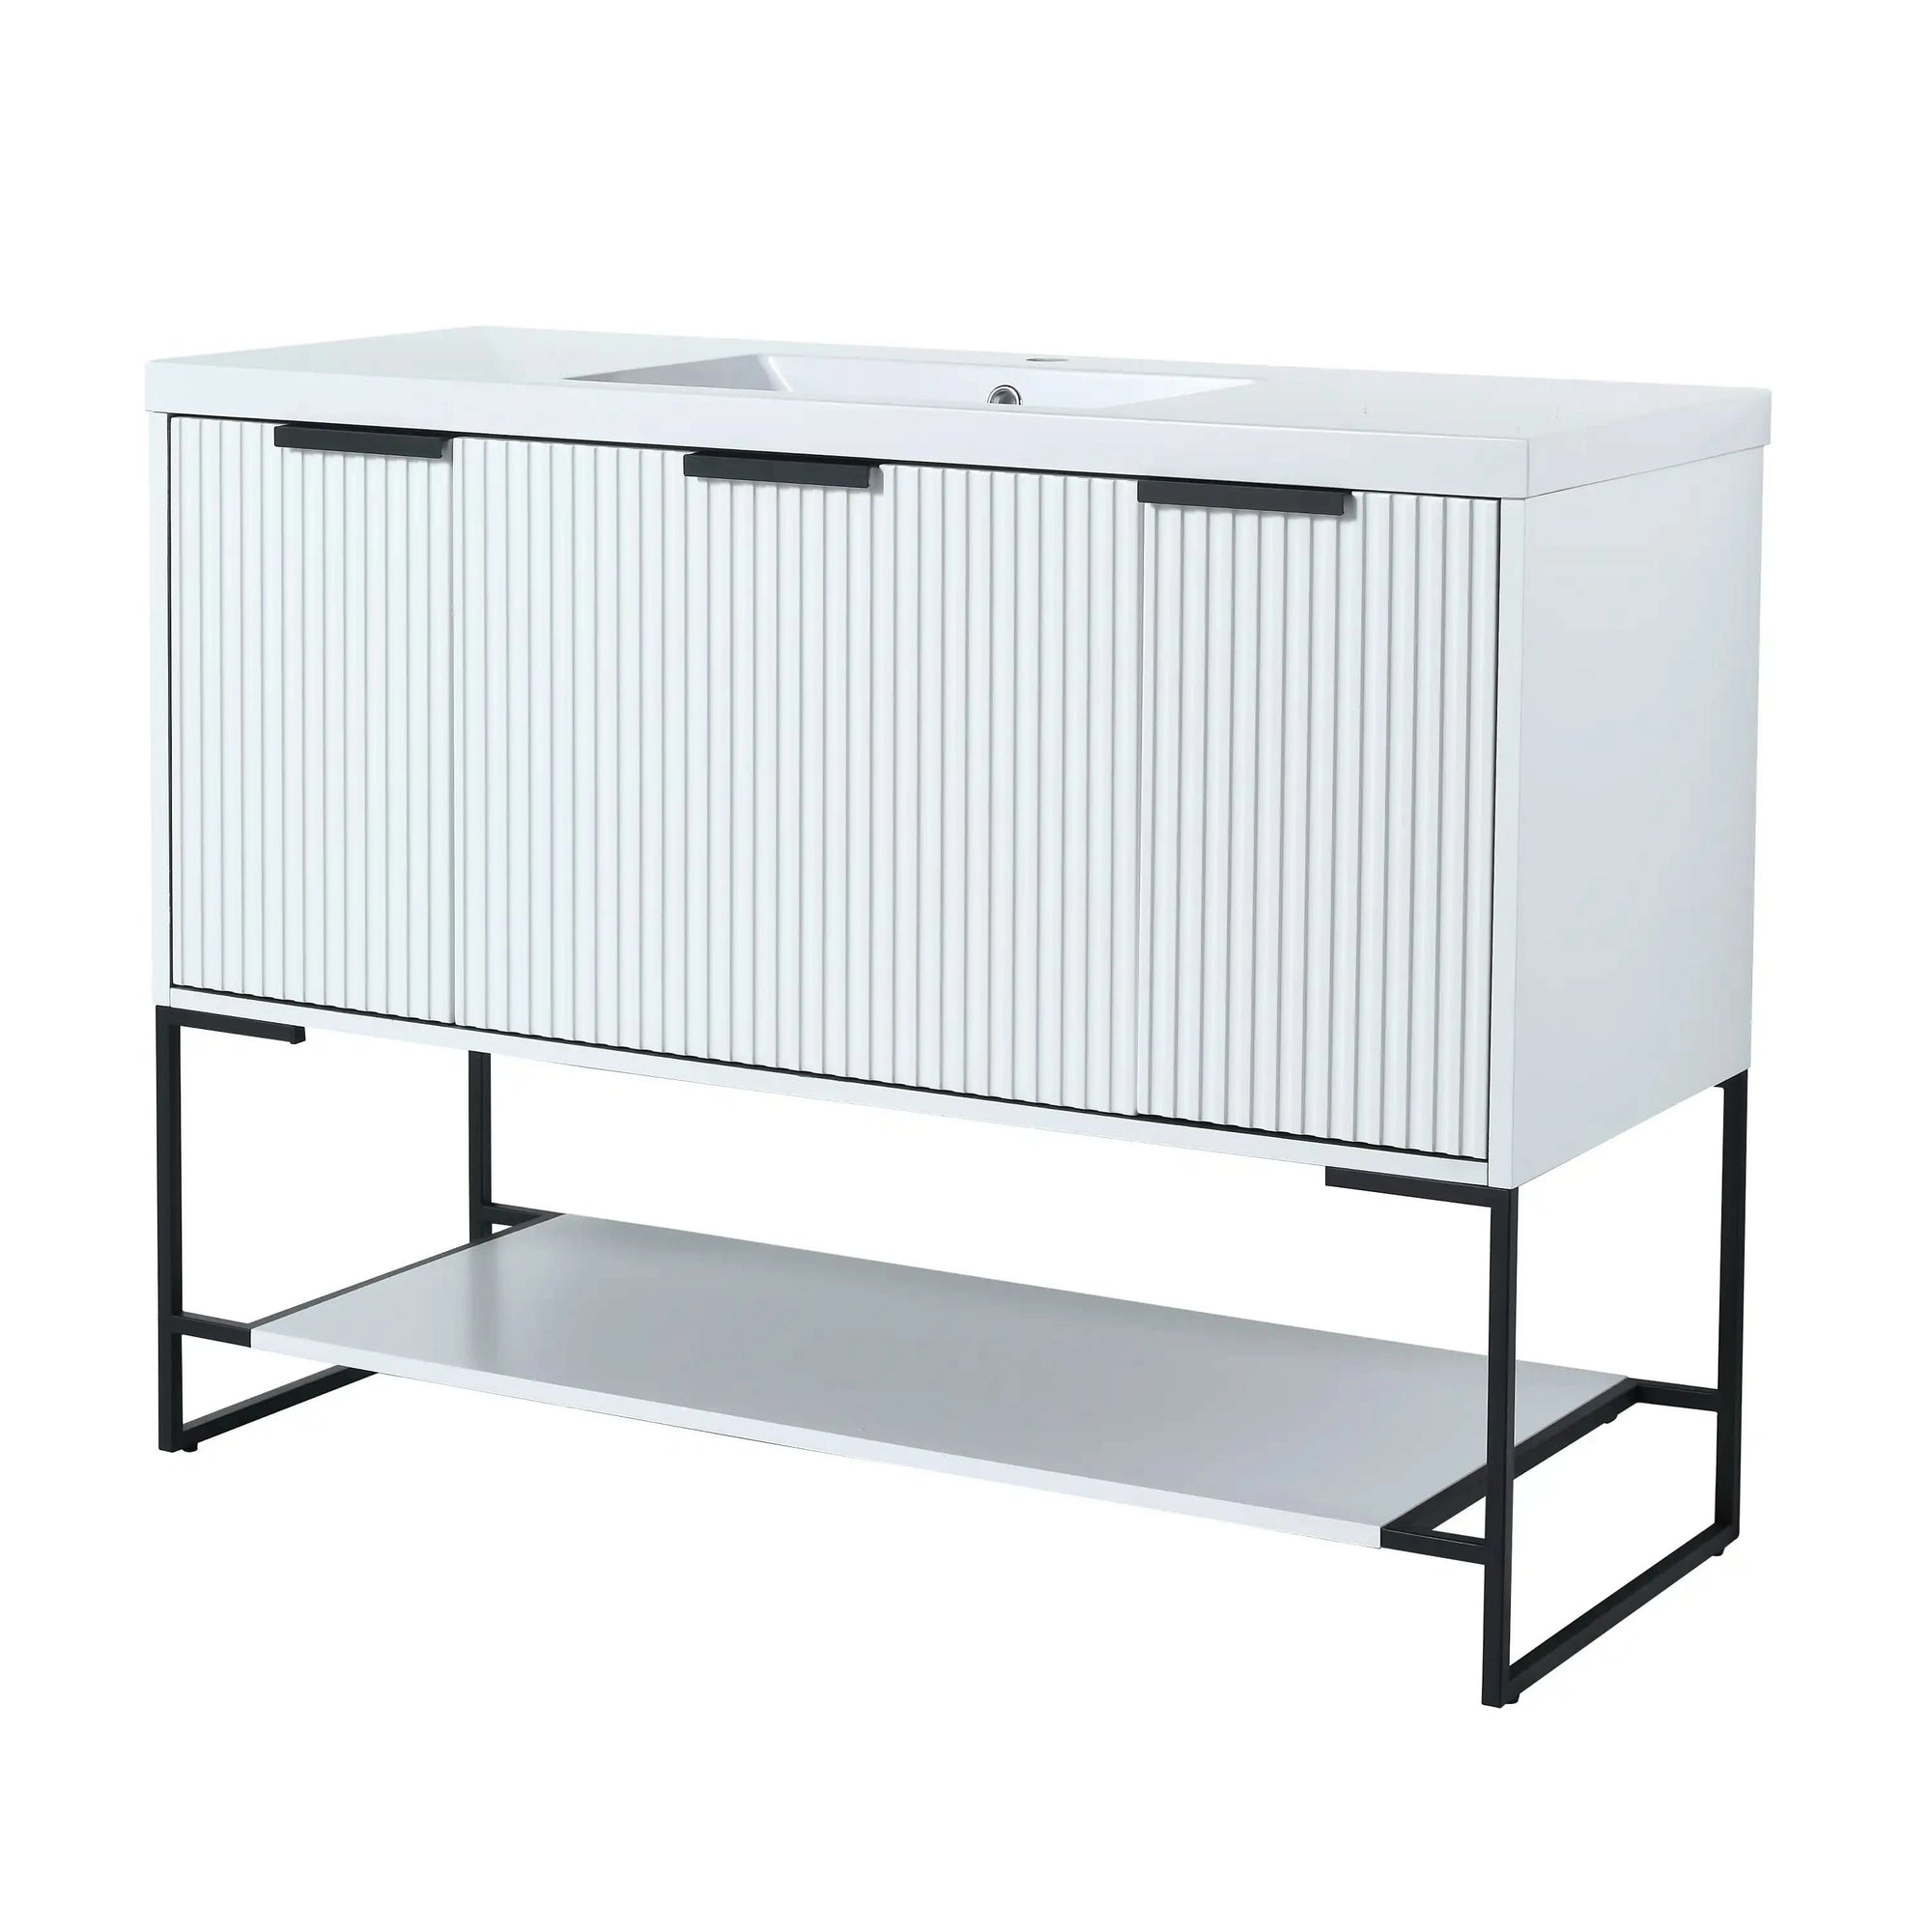
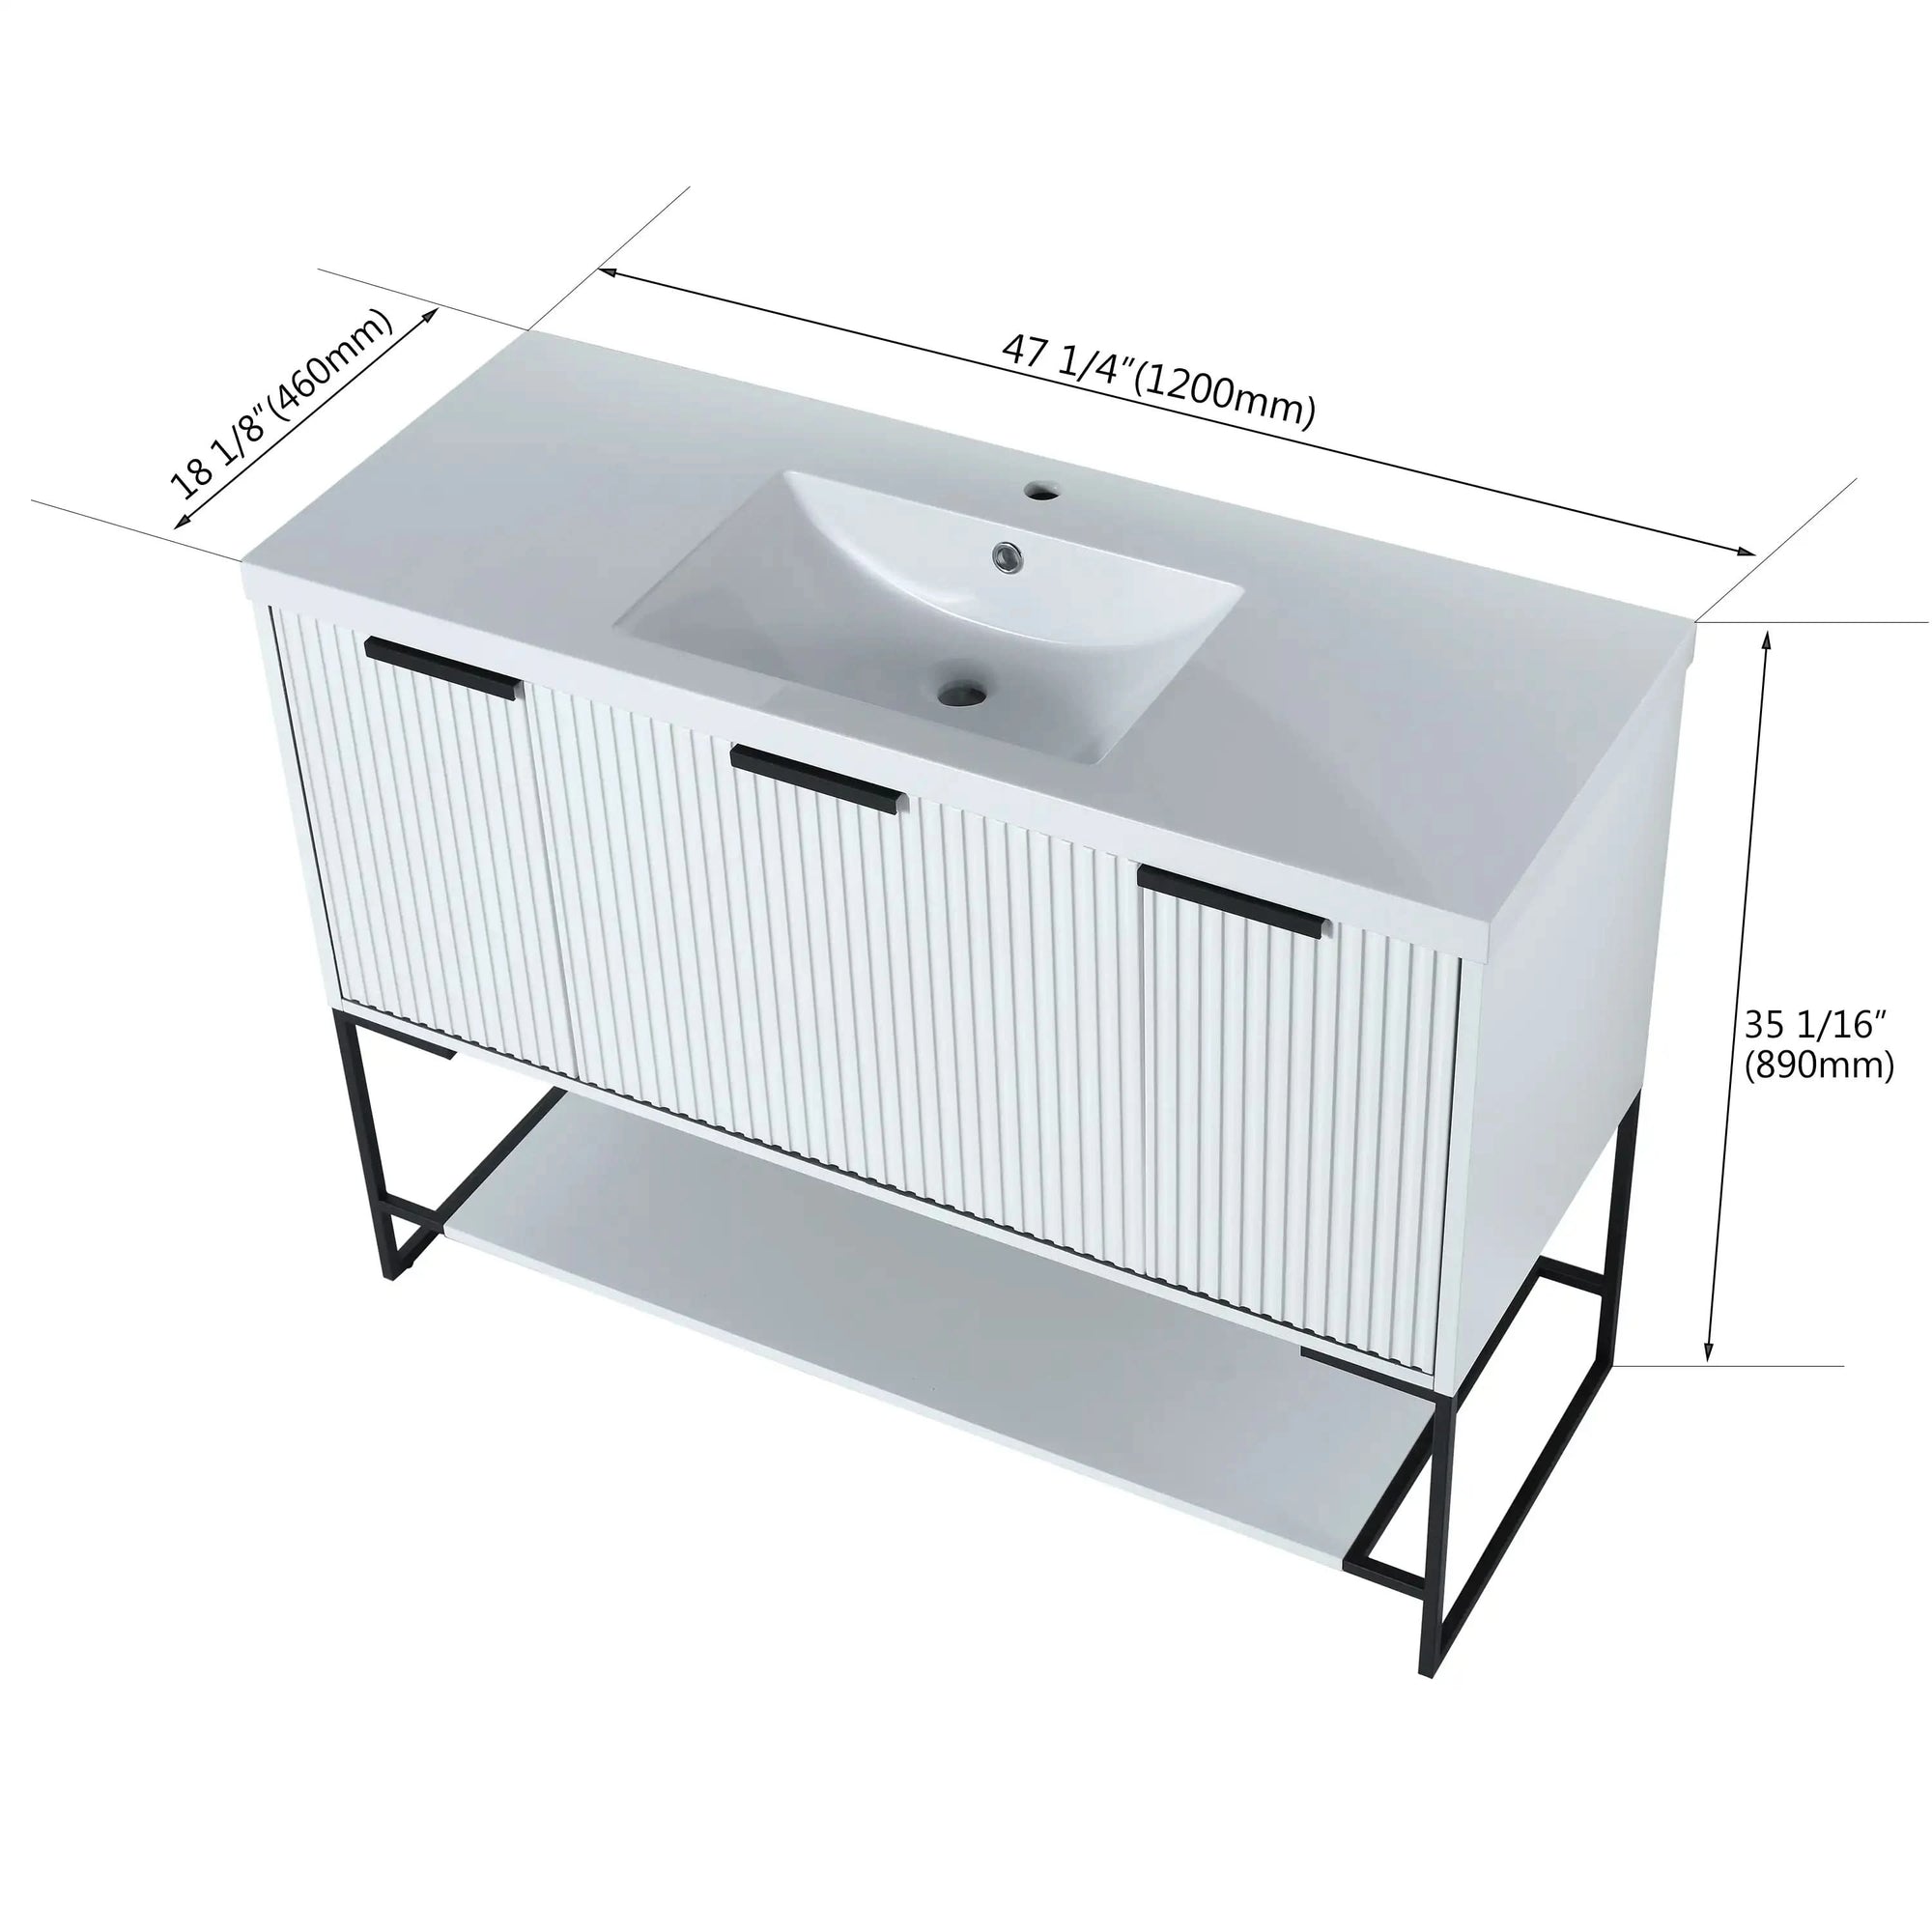
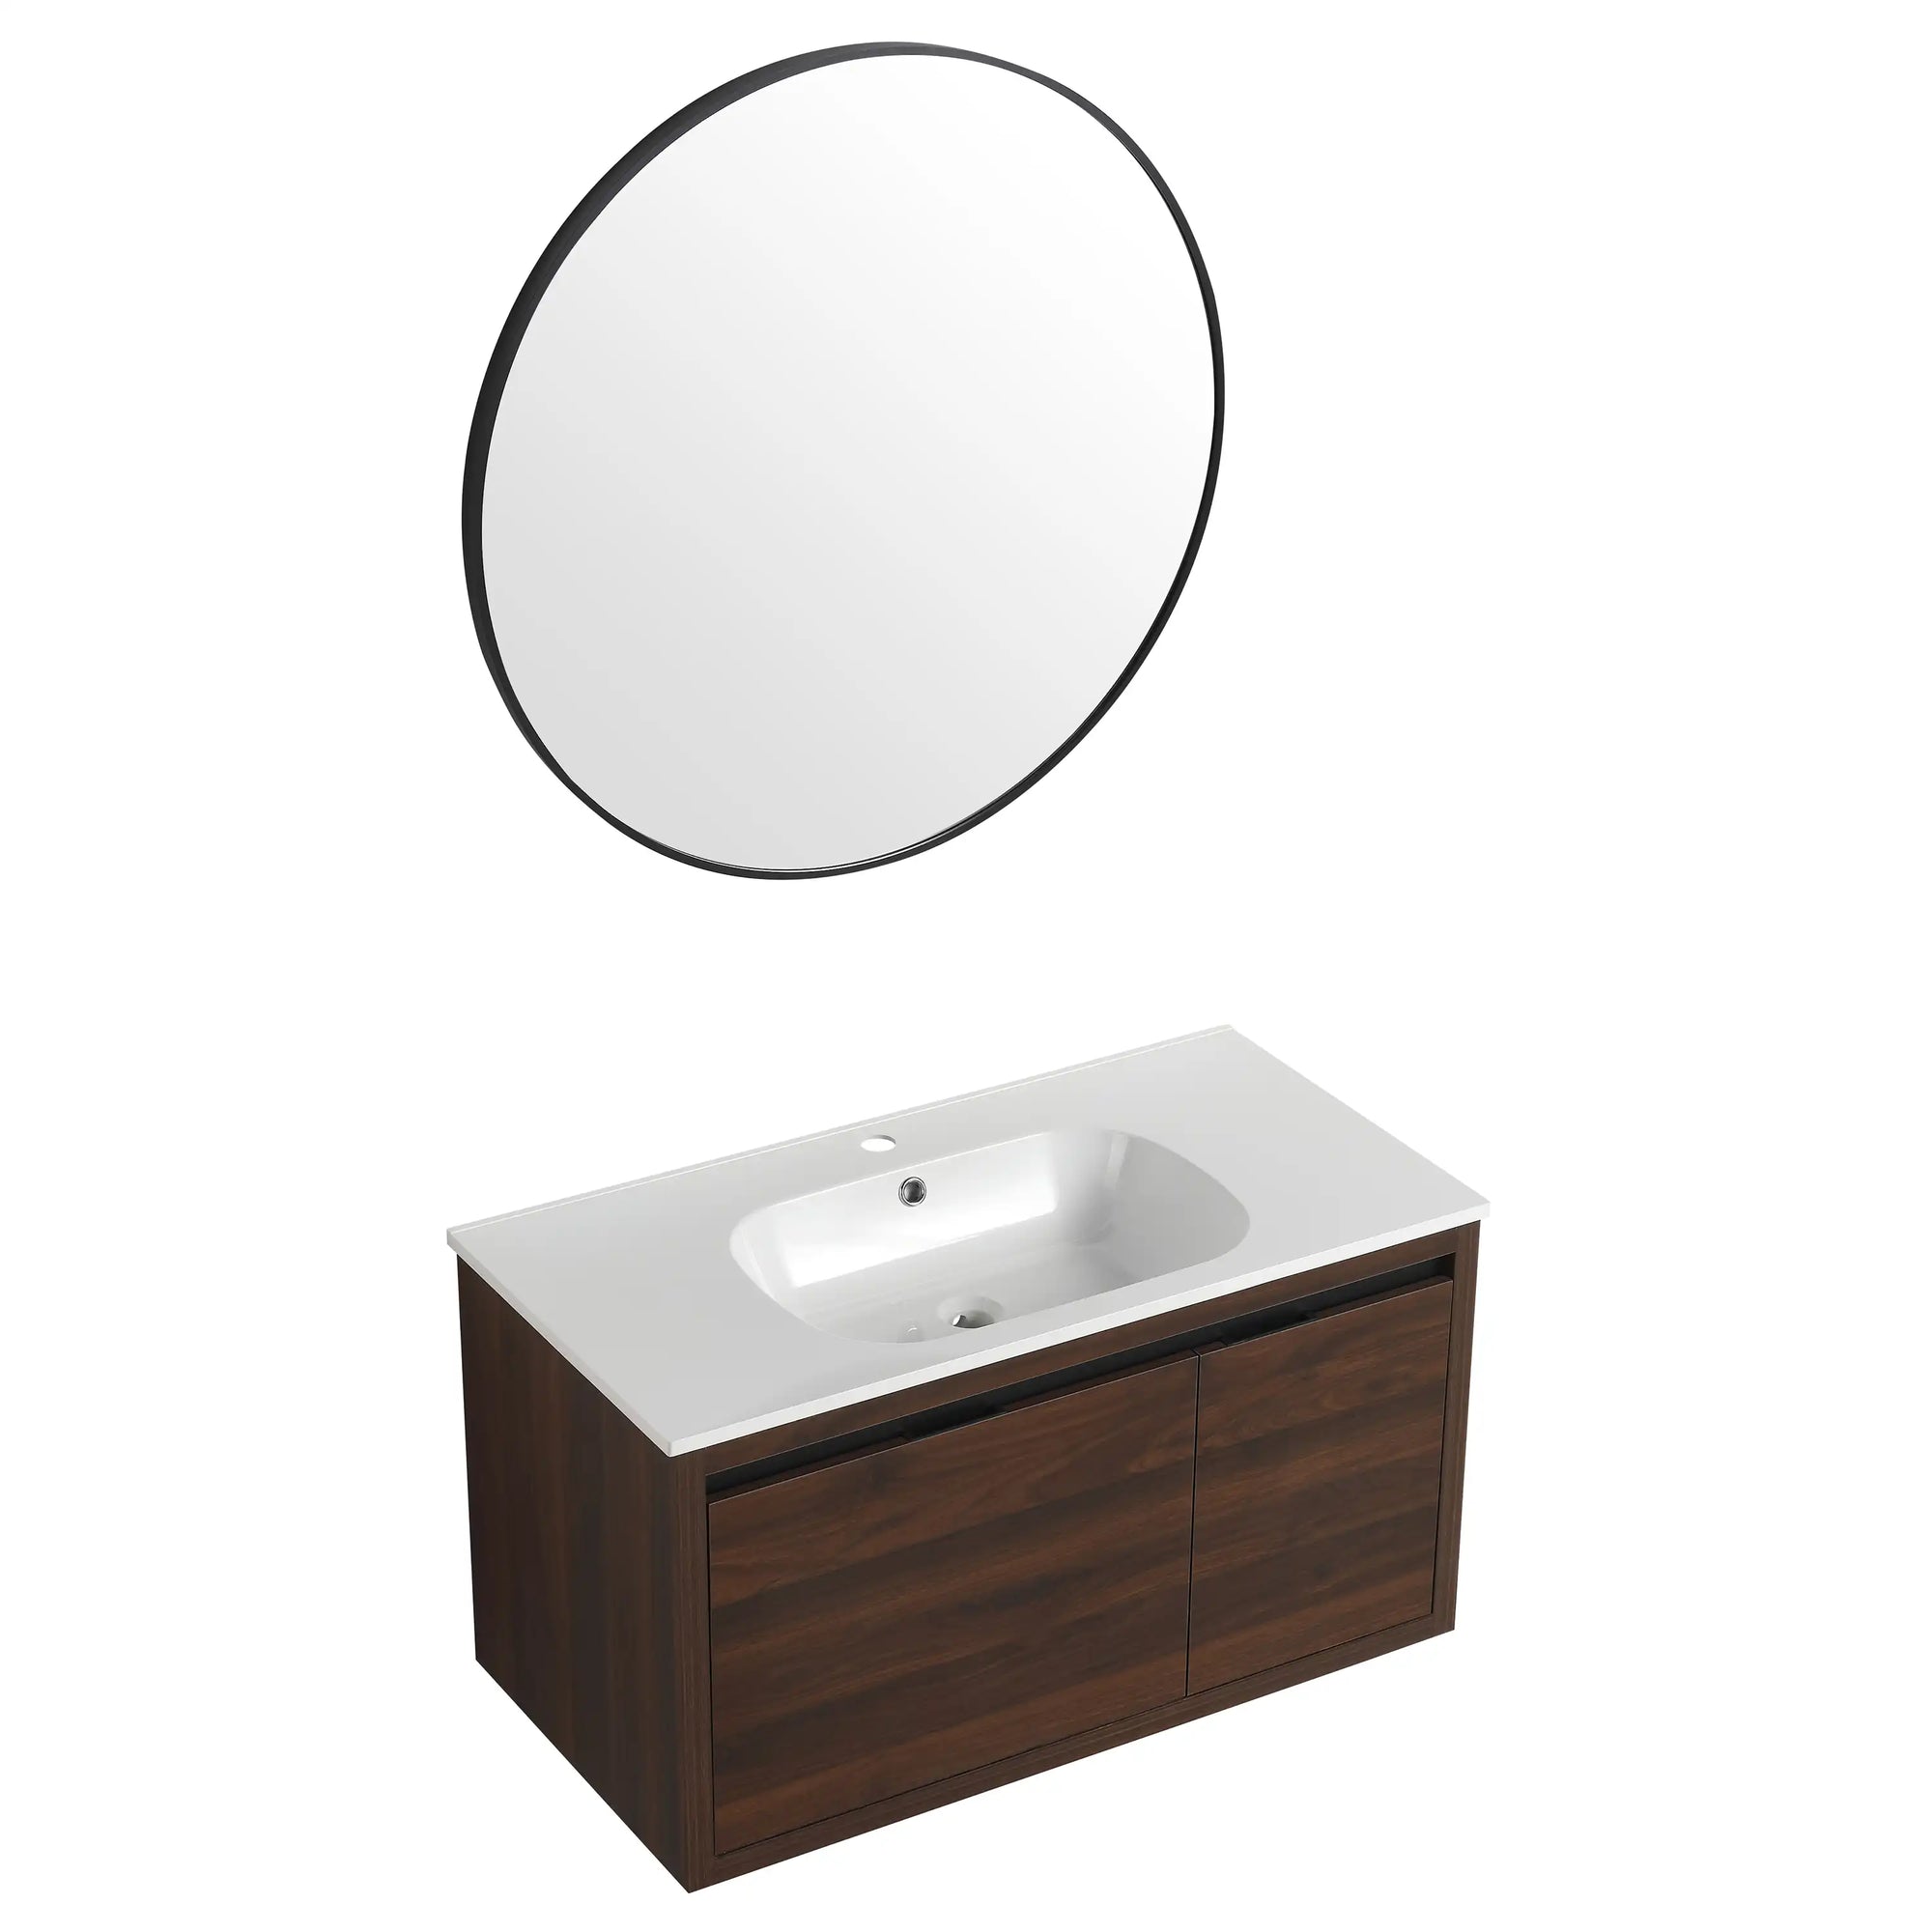
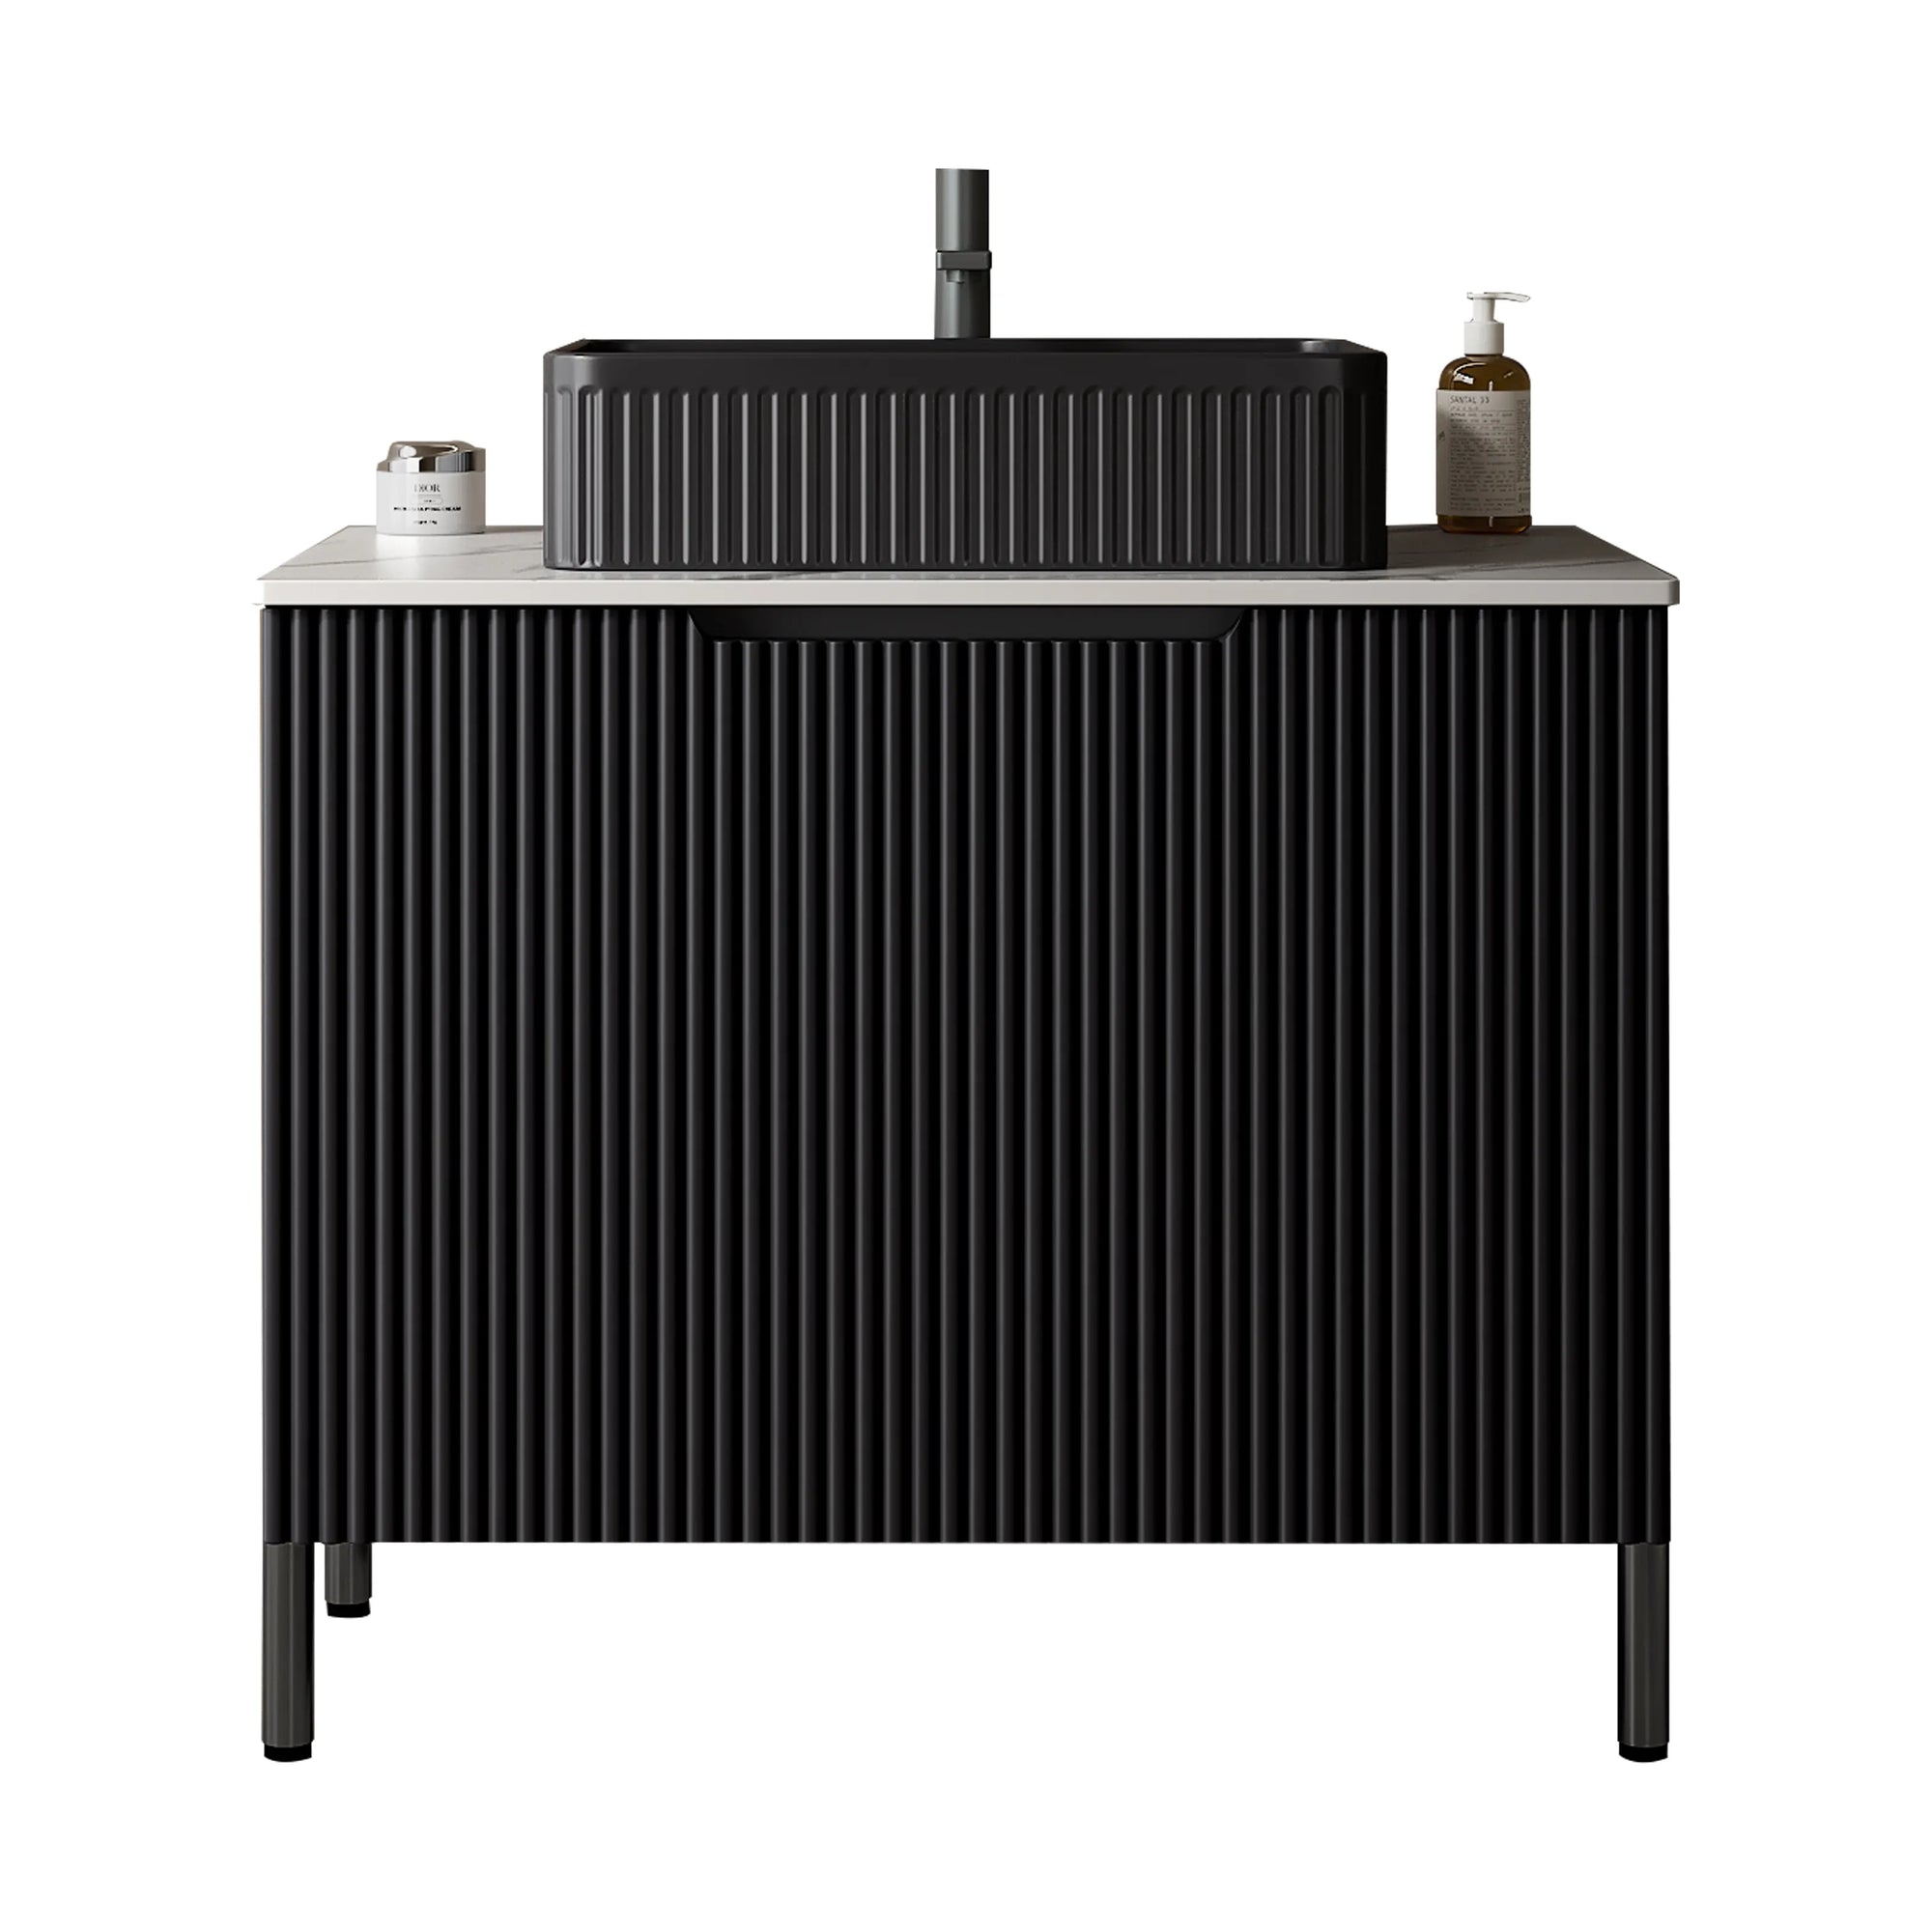
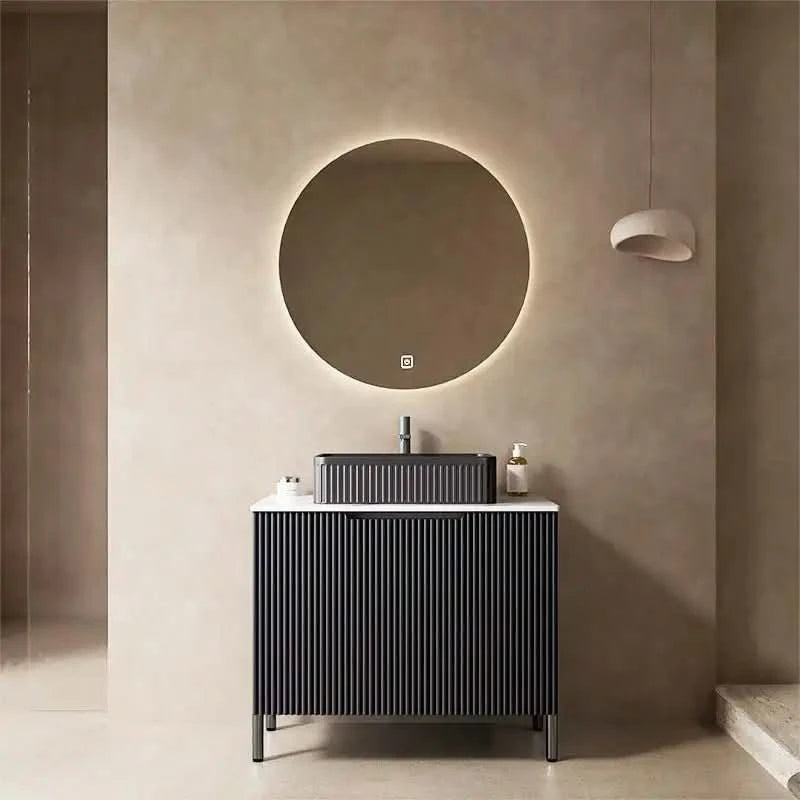
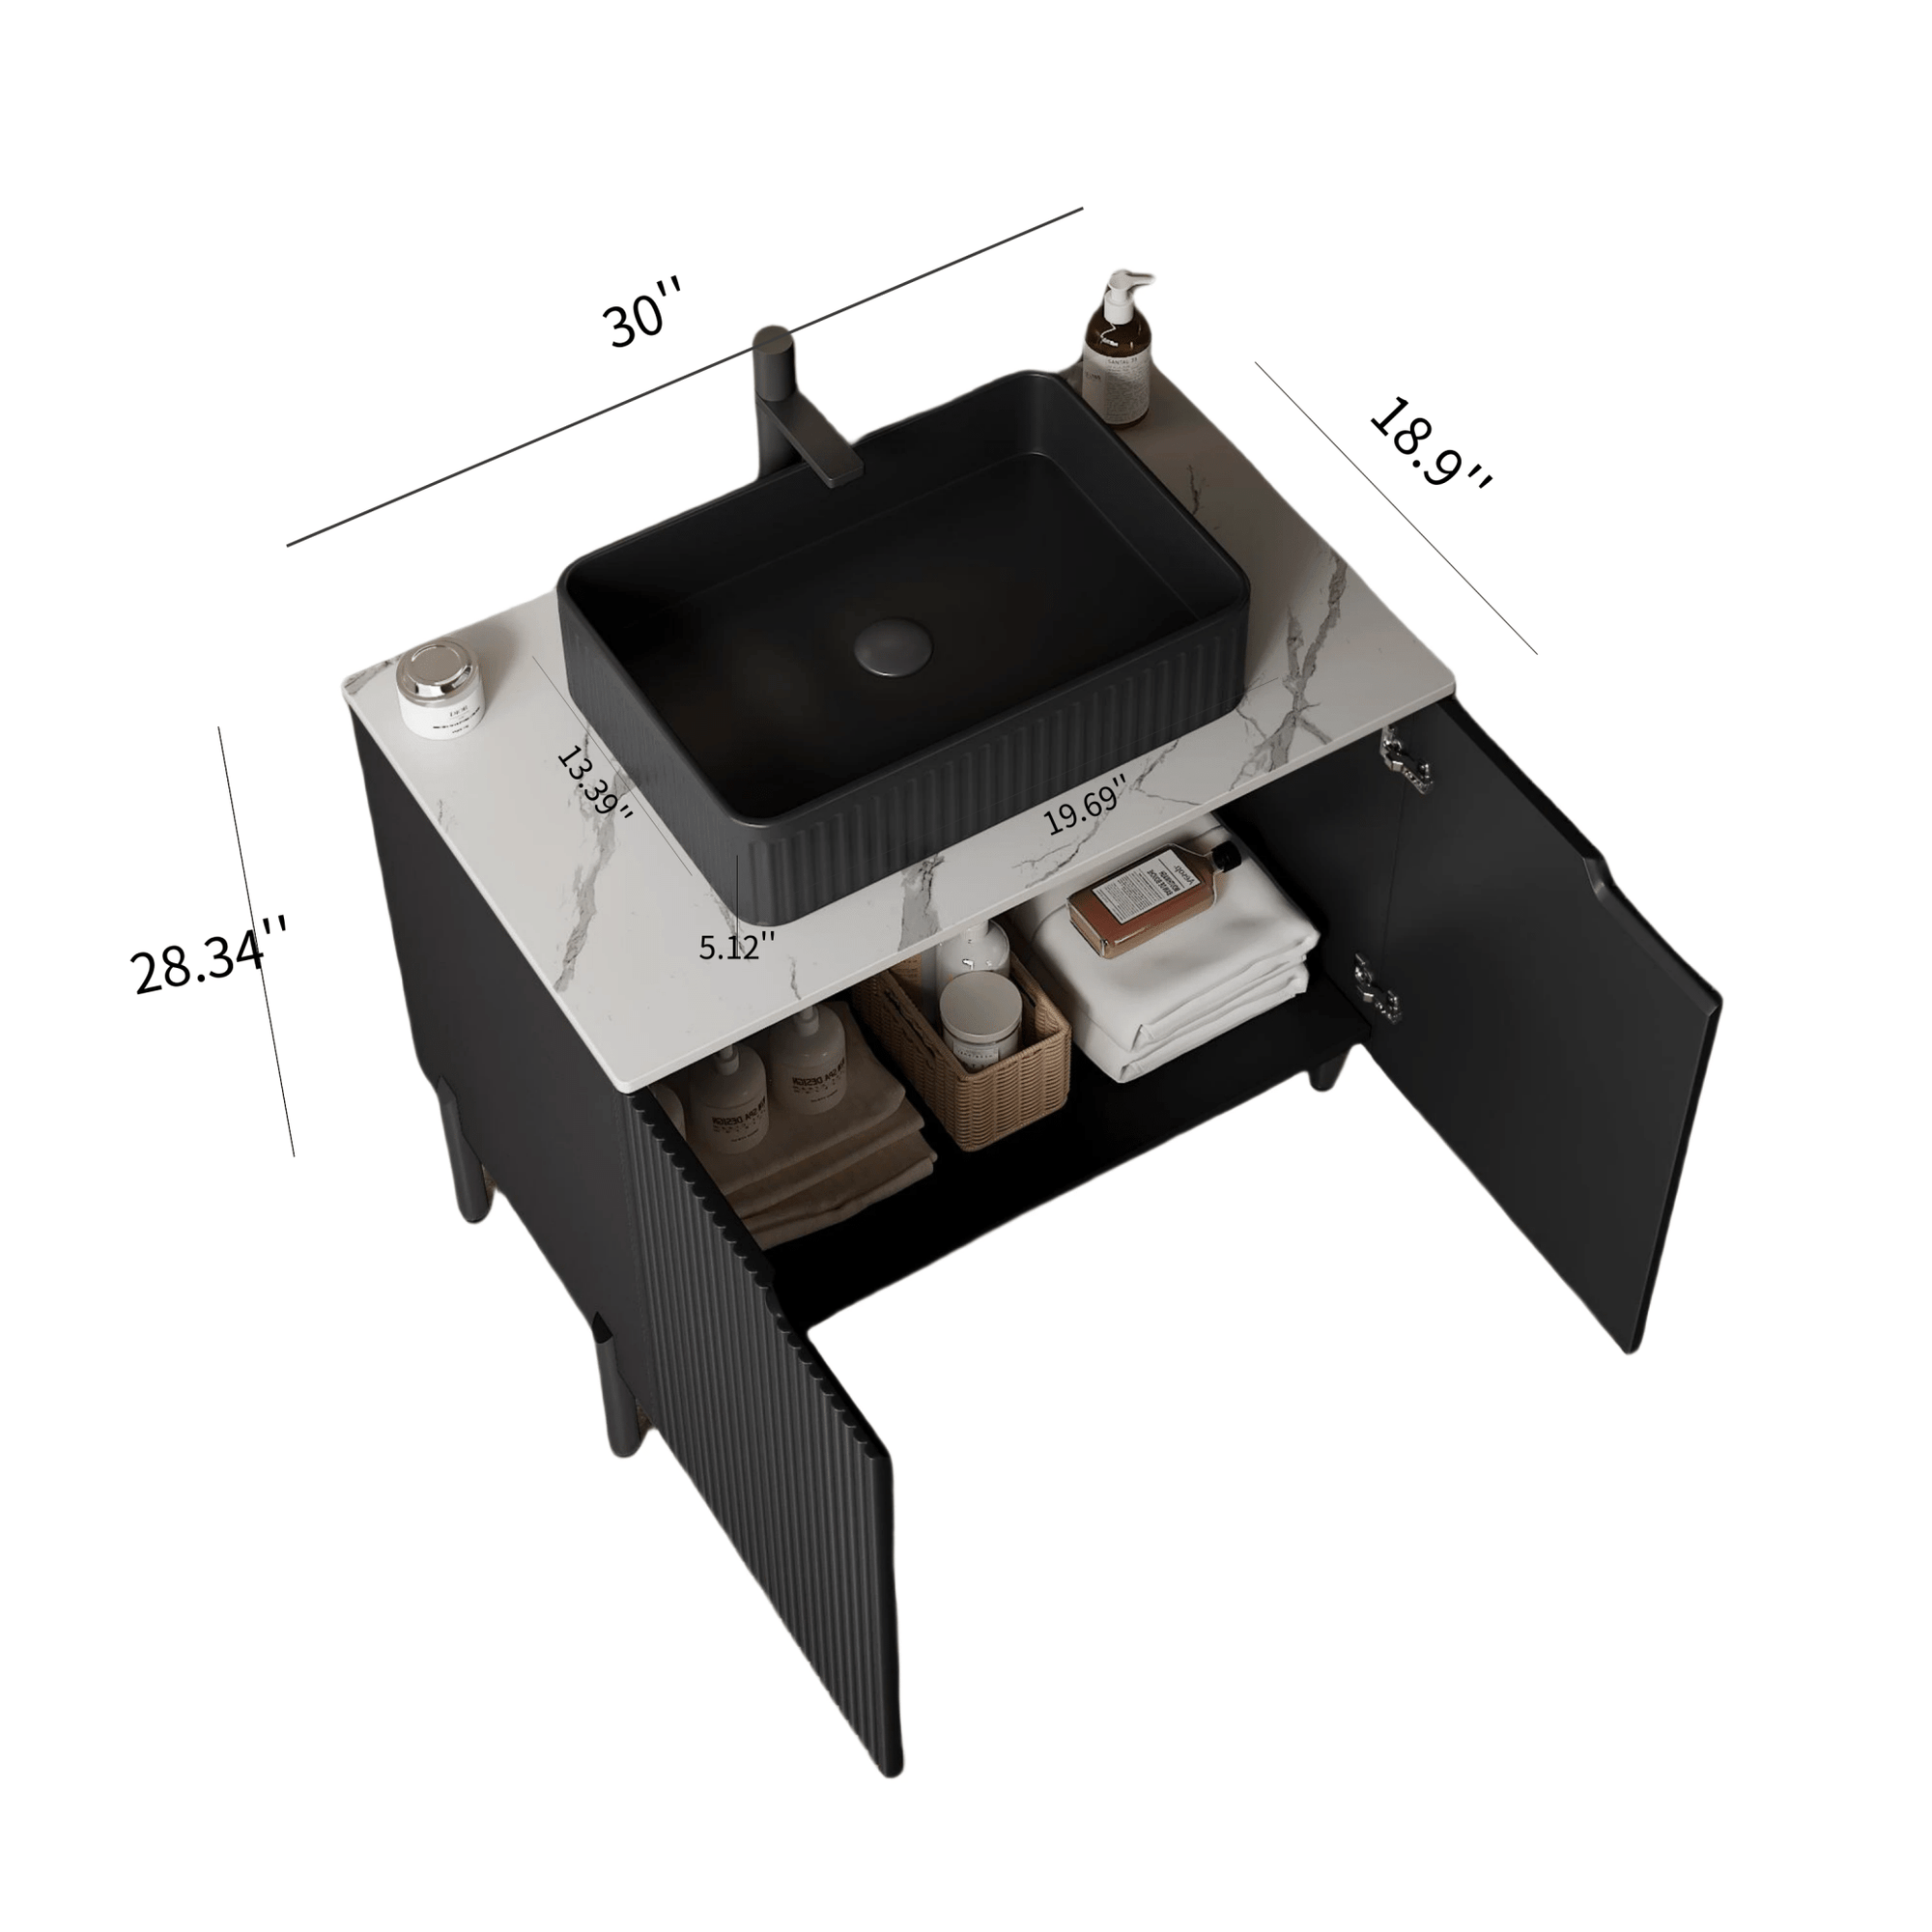
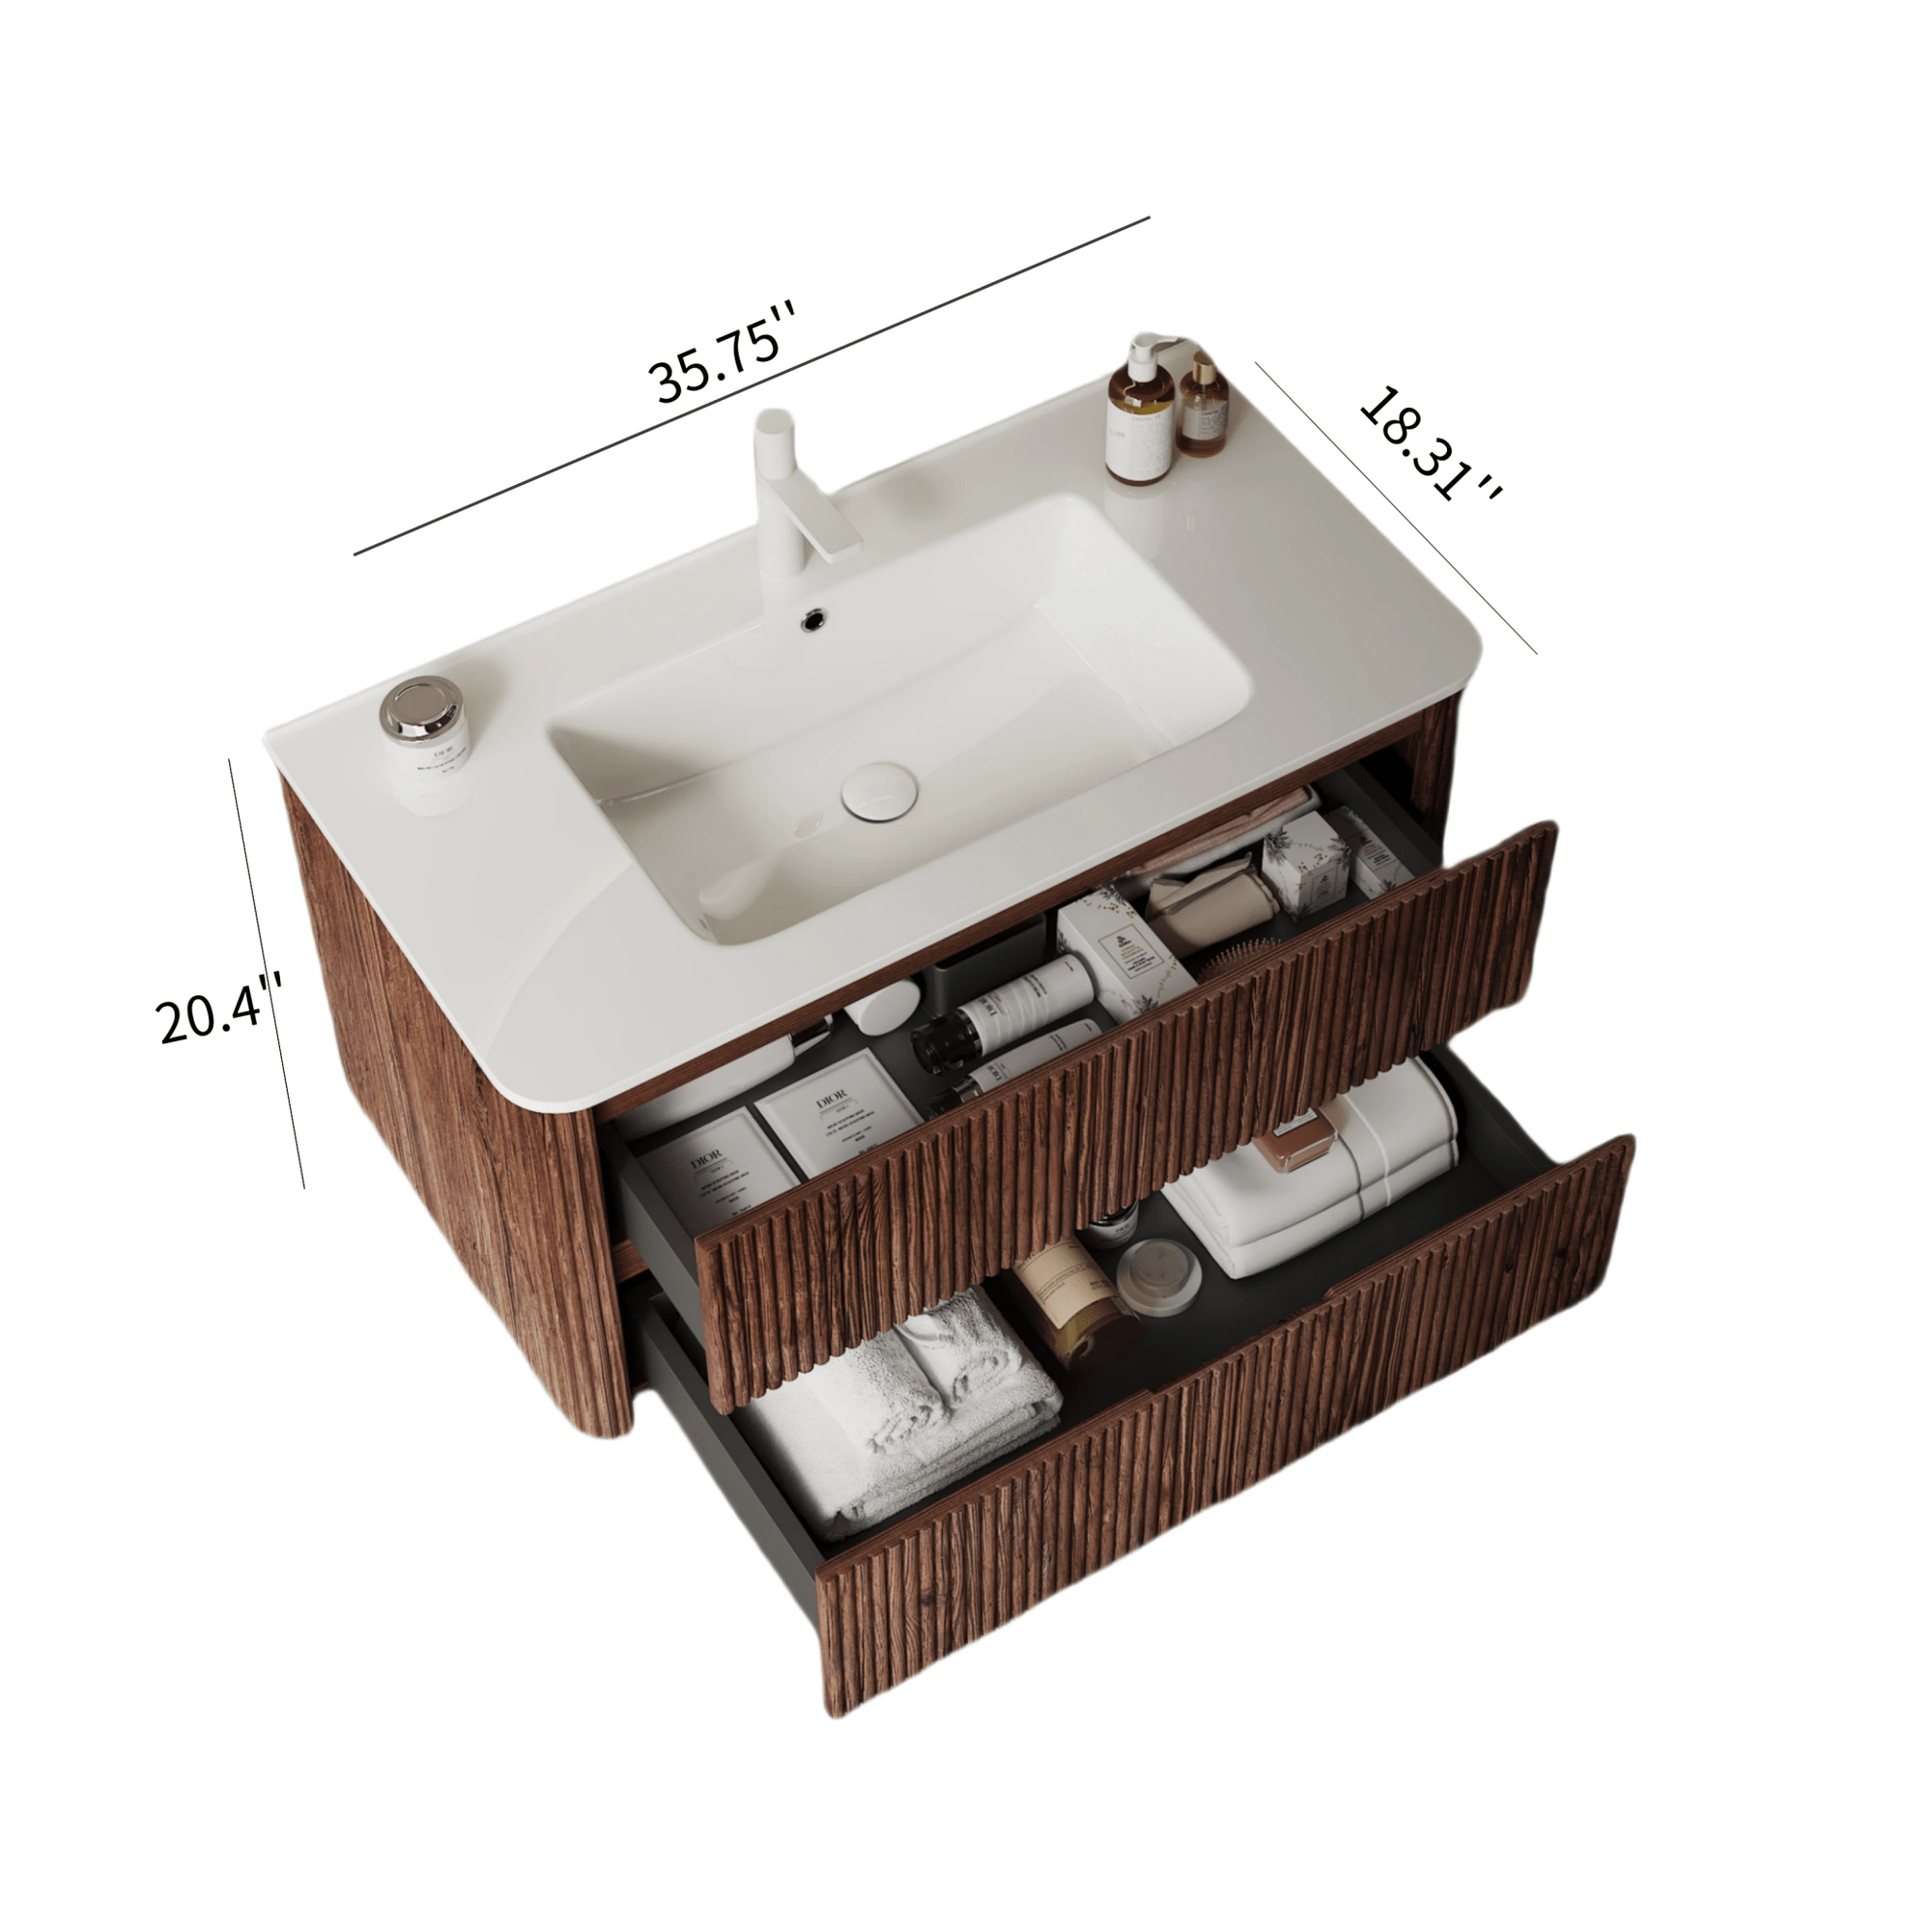
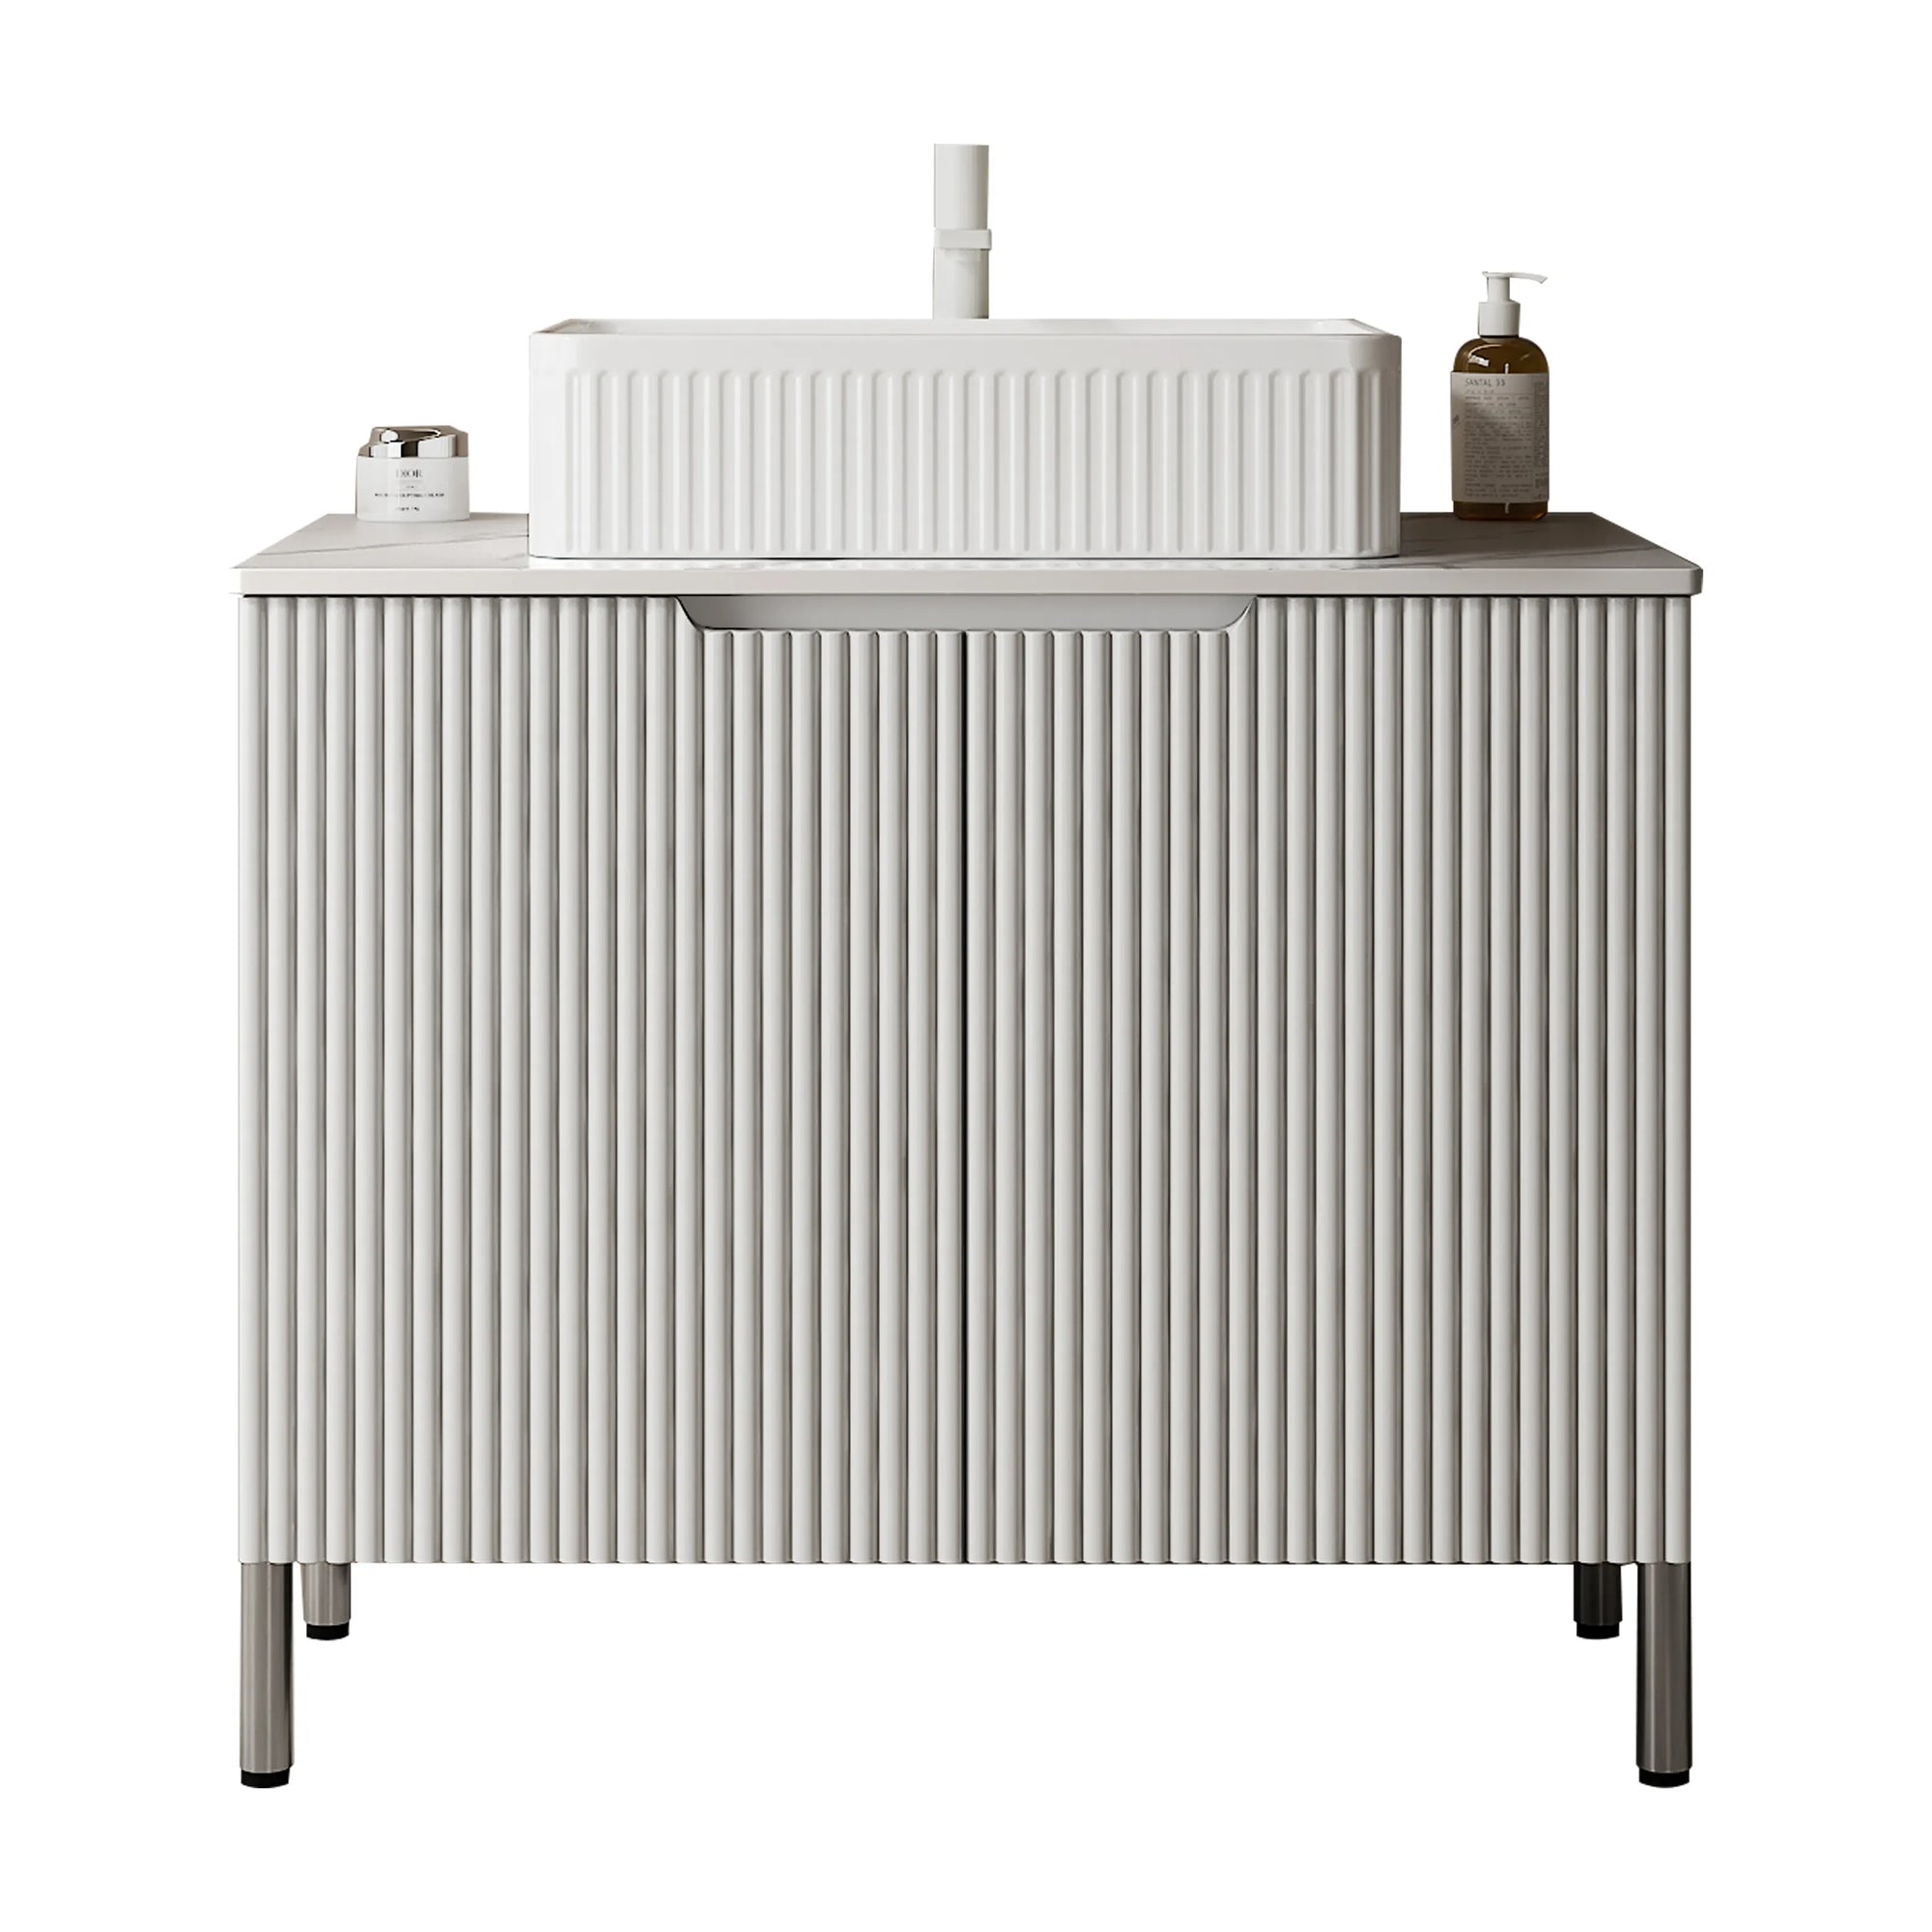
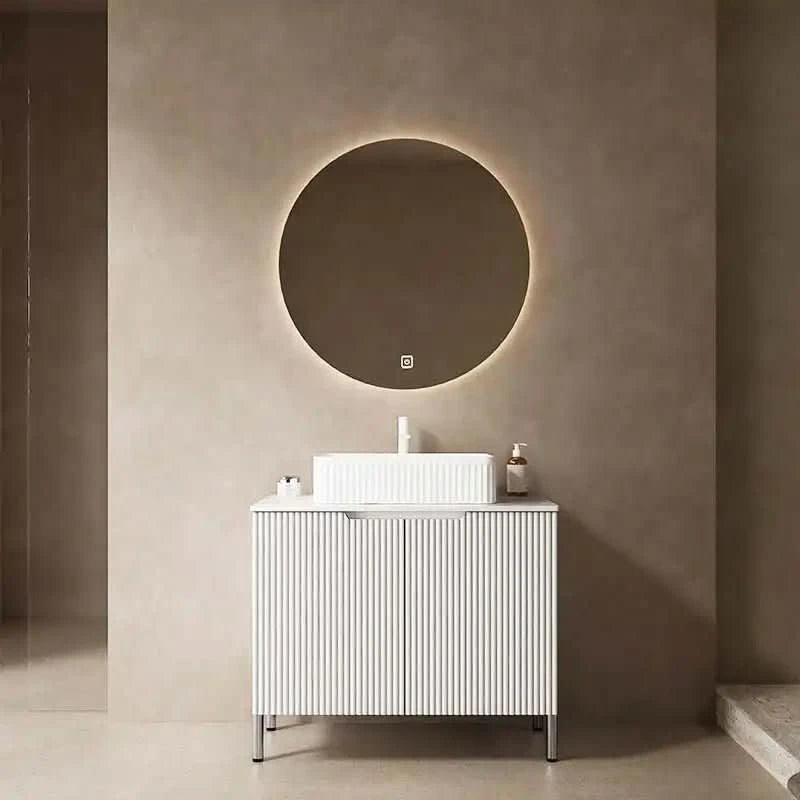
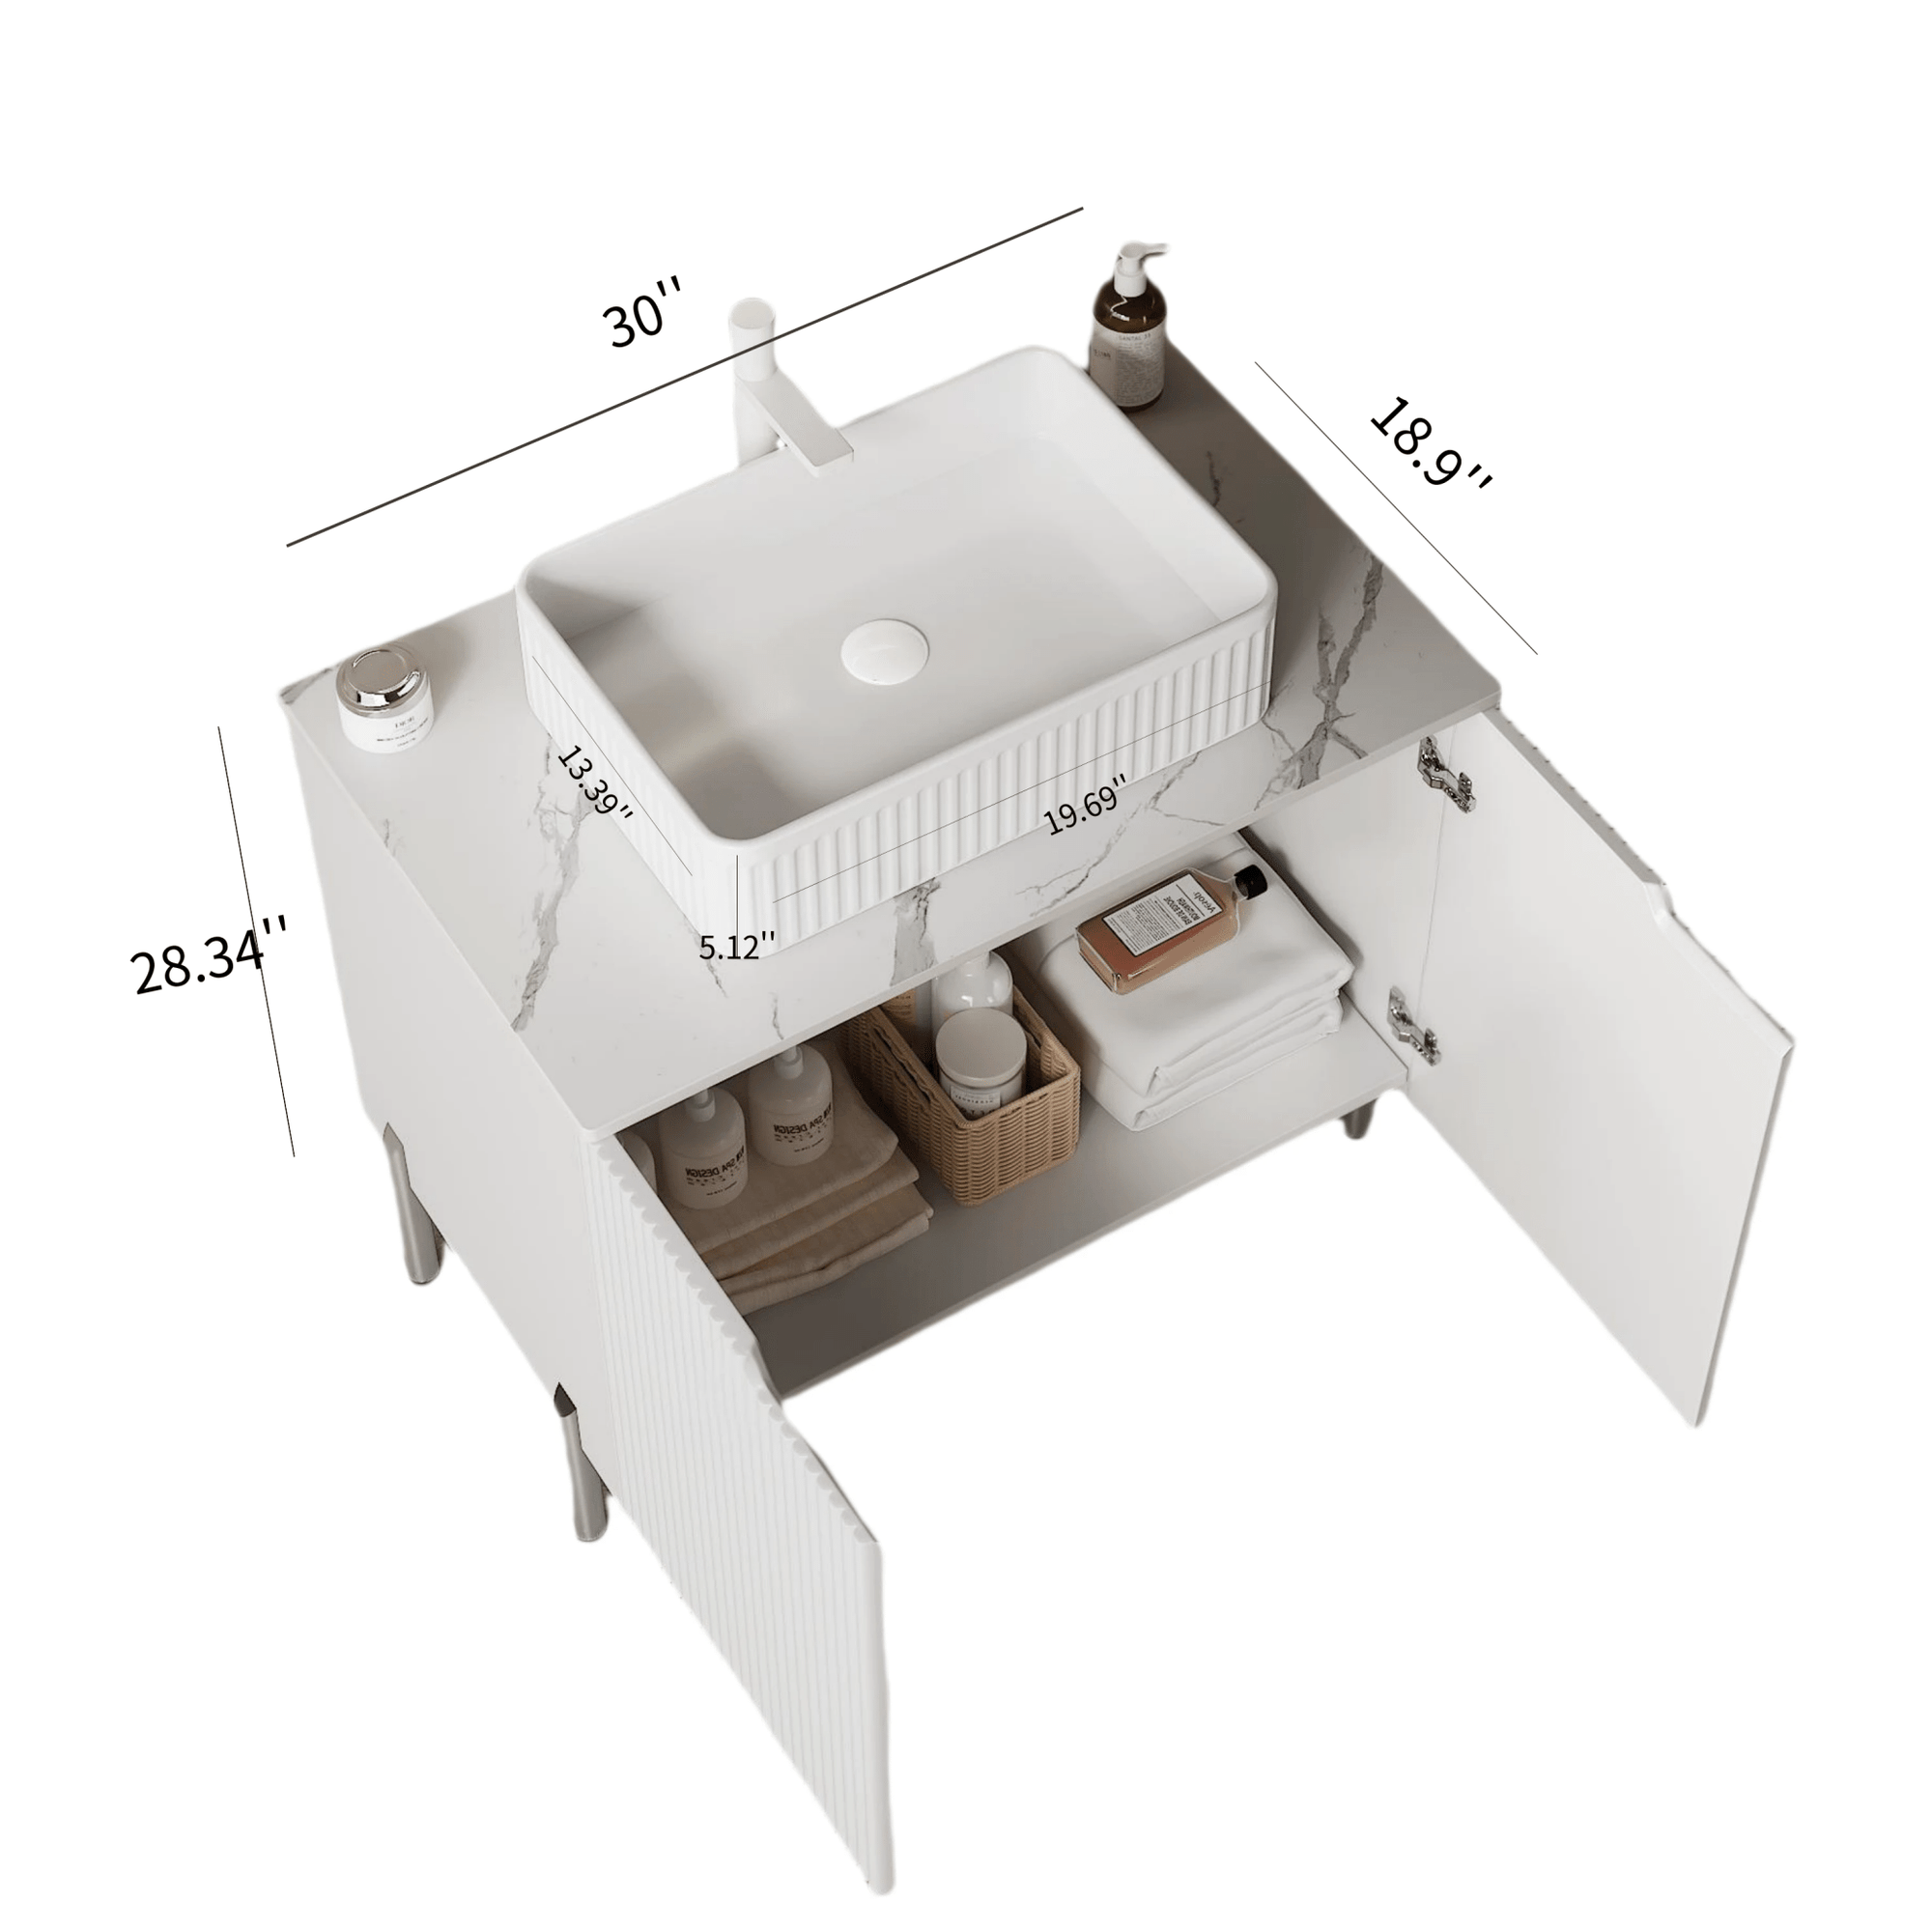
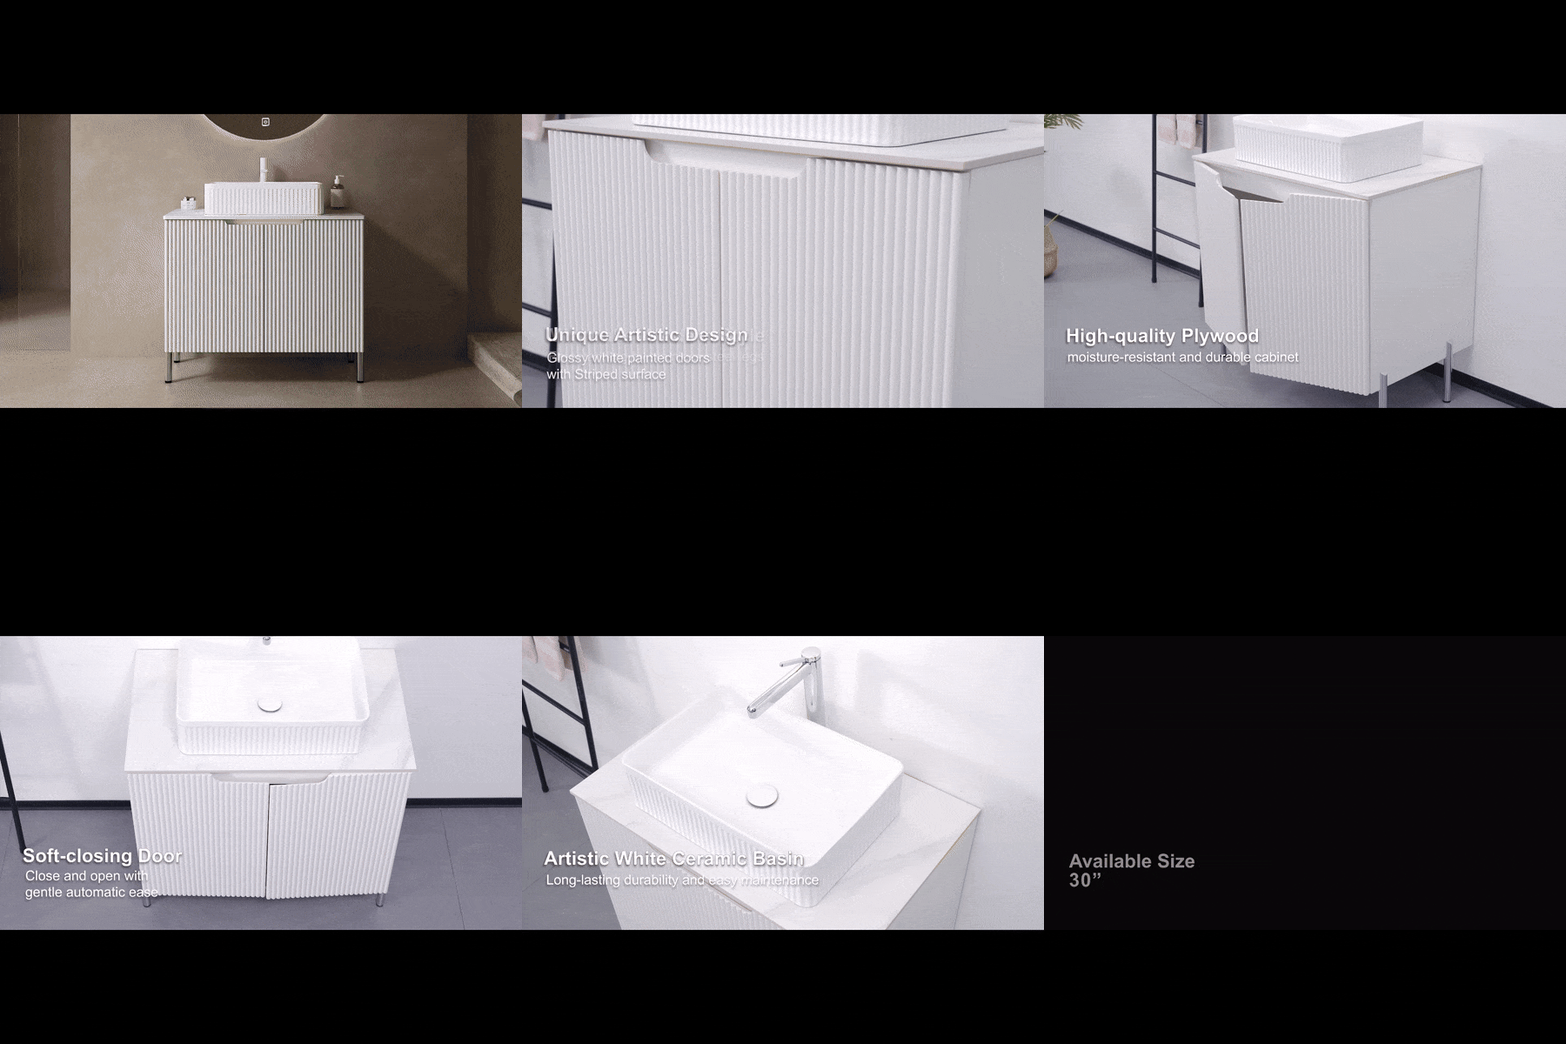
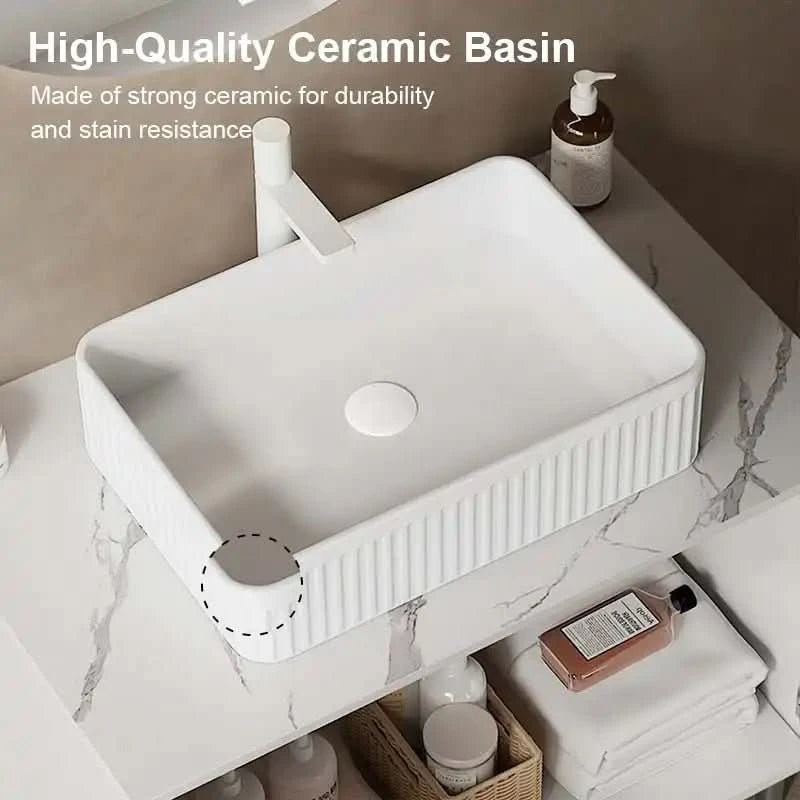
For example, the AL White Freestanding Mounted Cabinet from ACE DECOR combines sleek design with functionality, making it a perfect complement to a newly painted vanity.
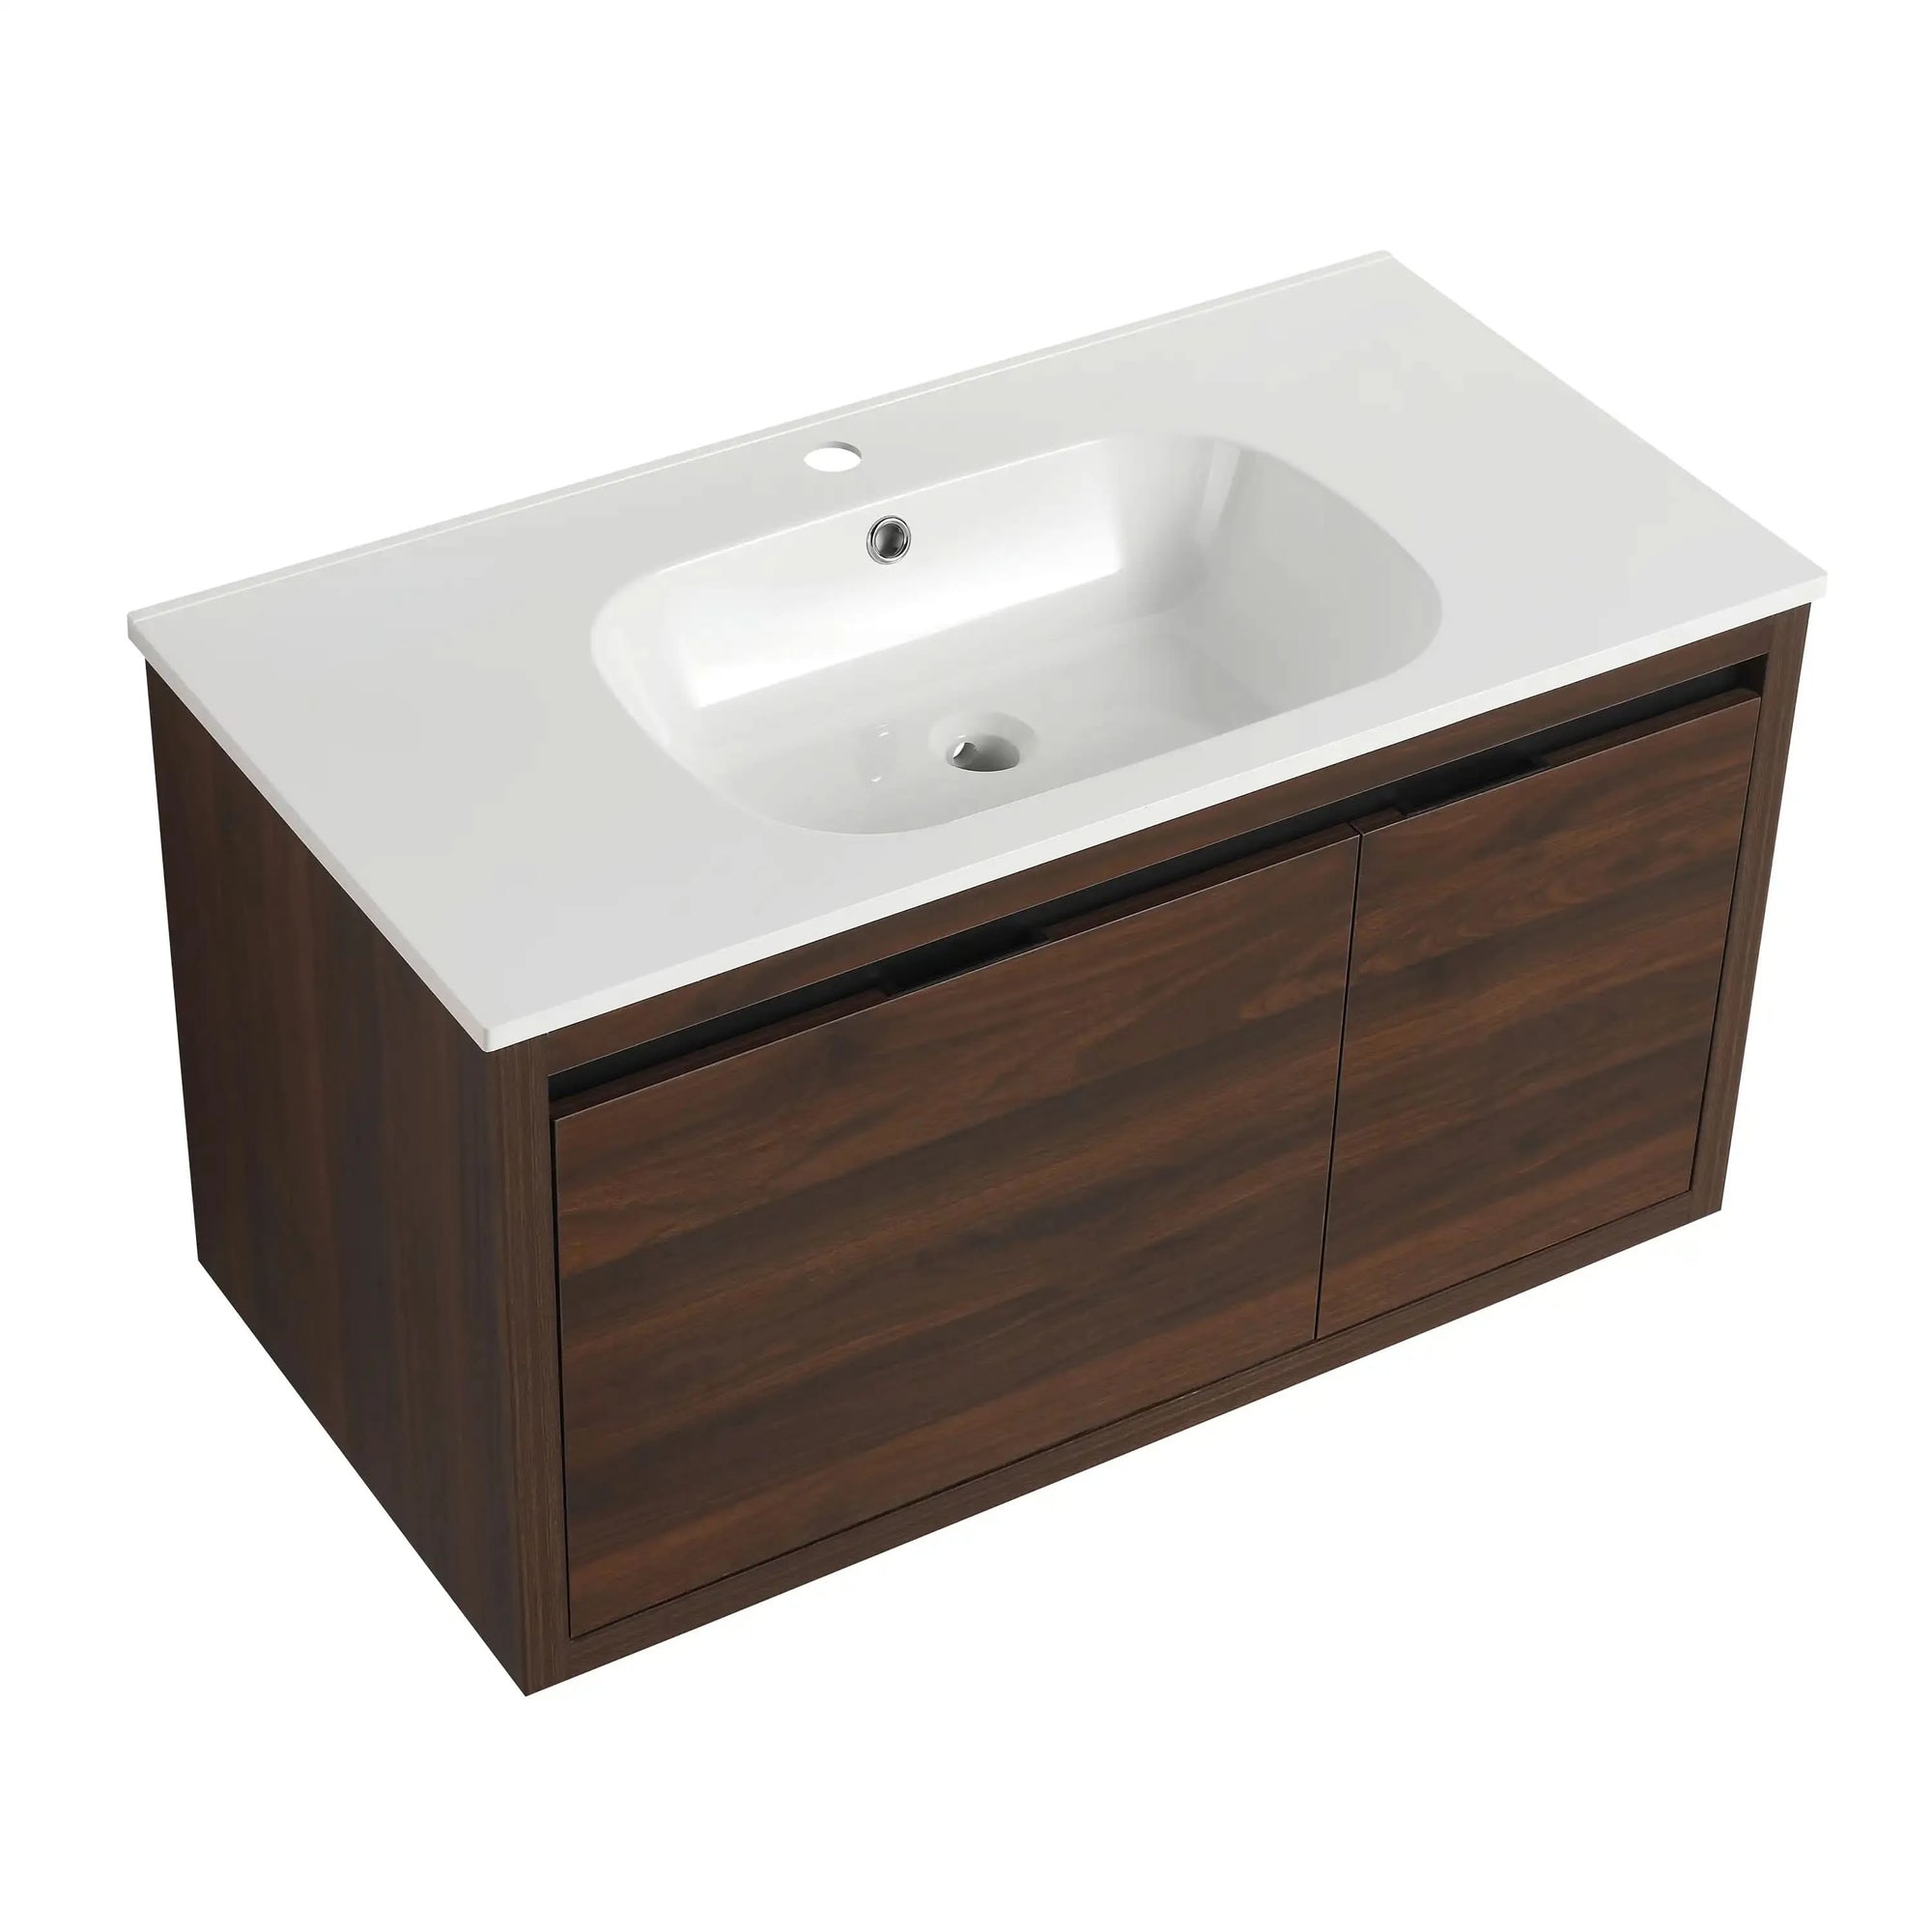
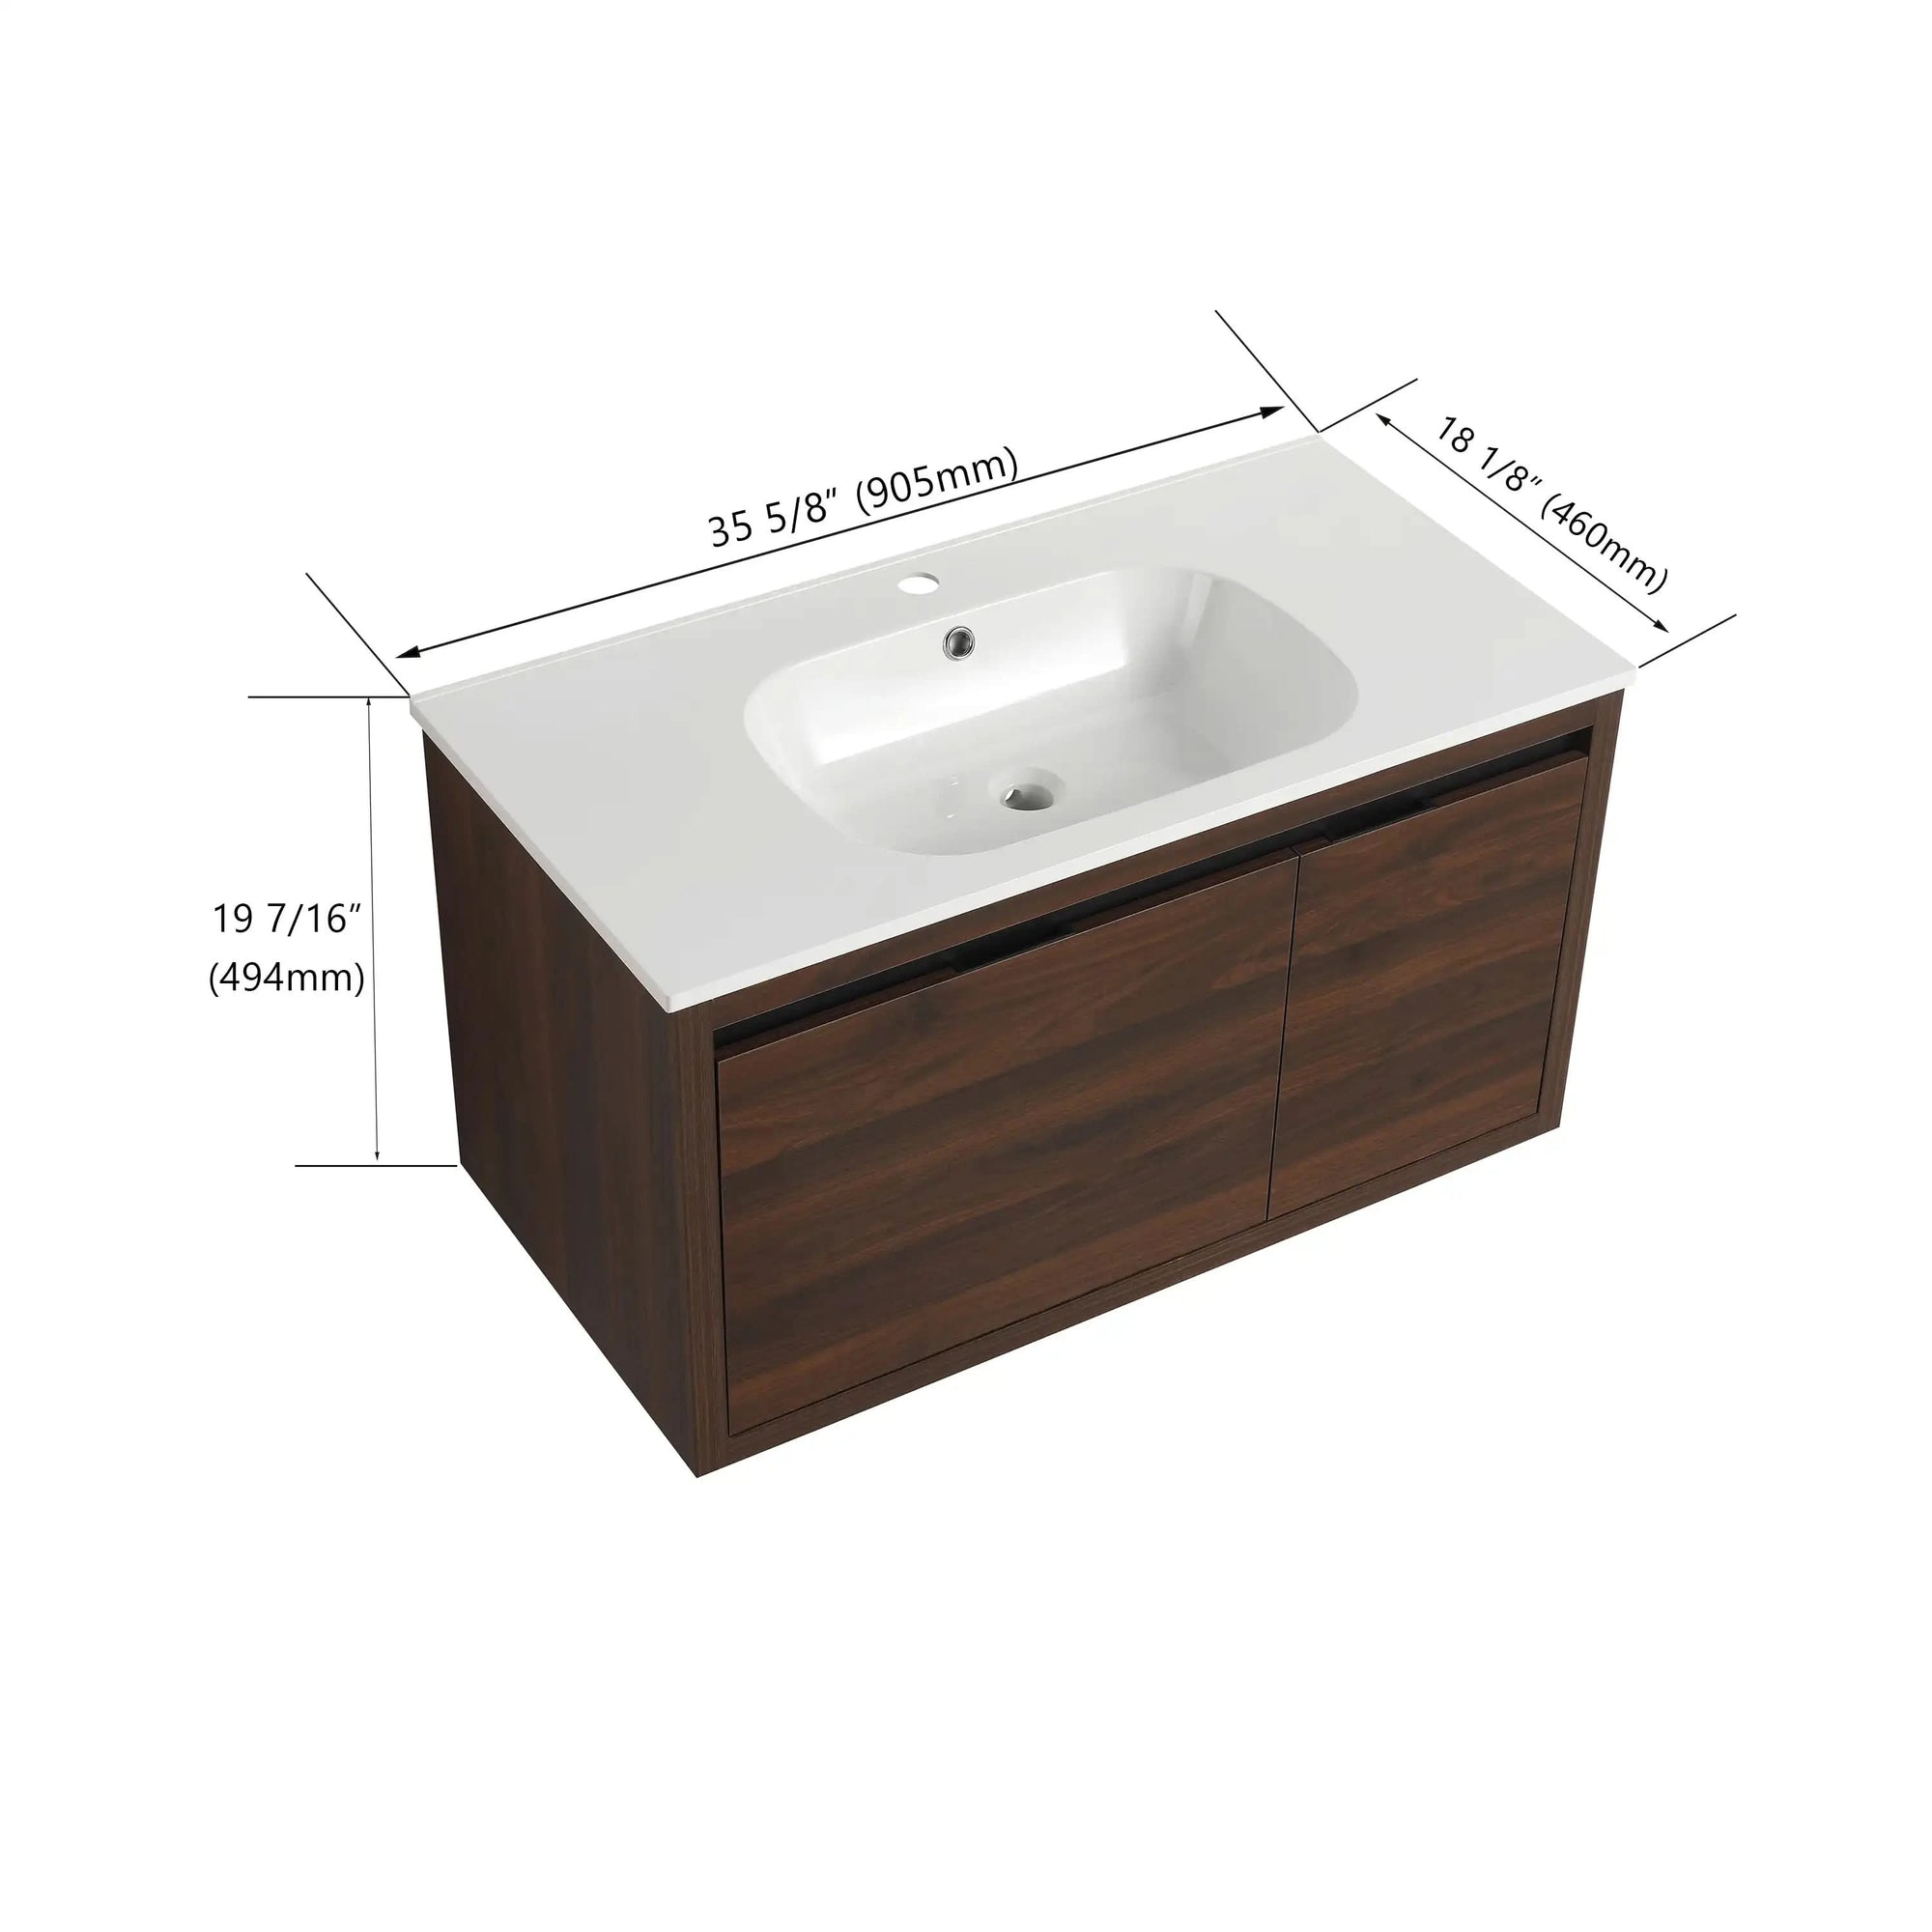
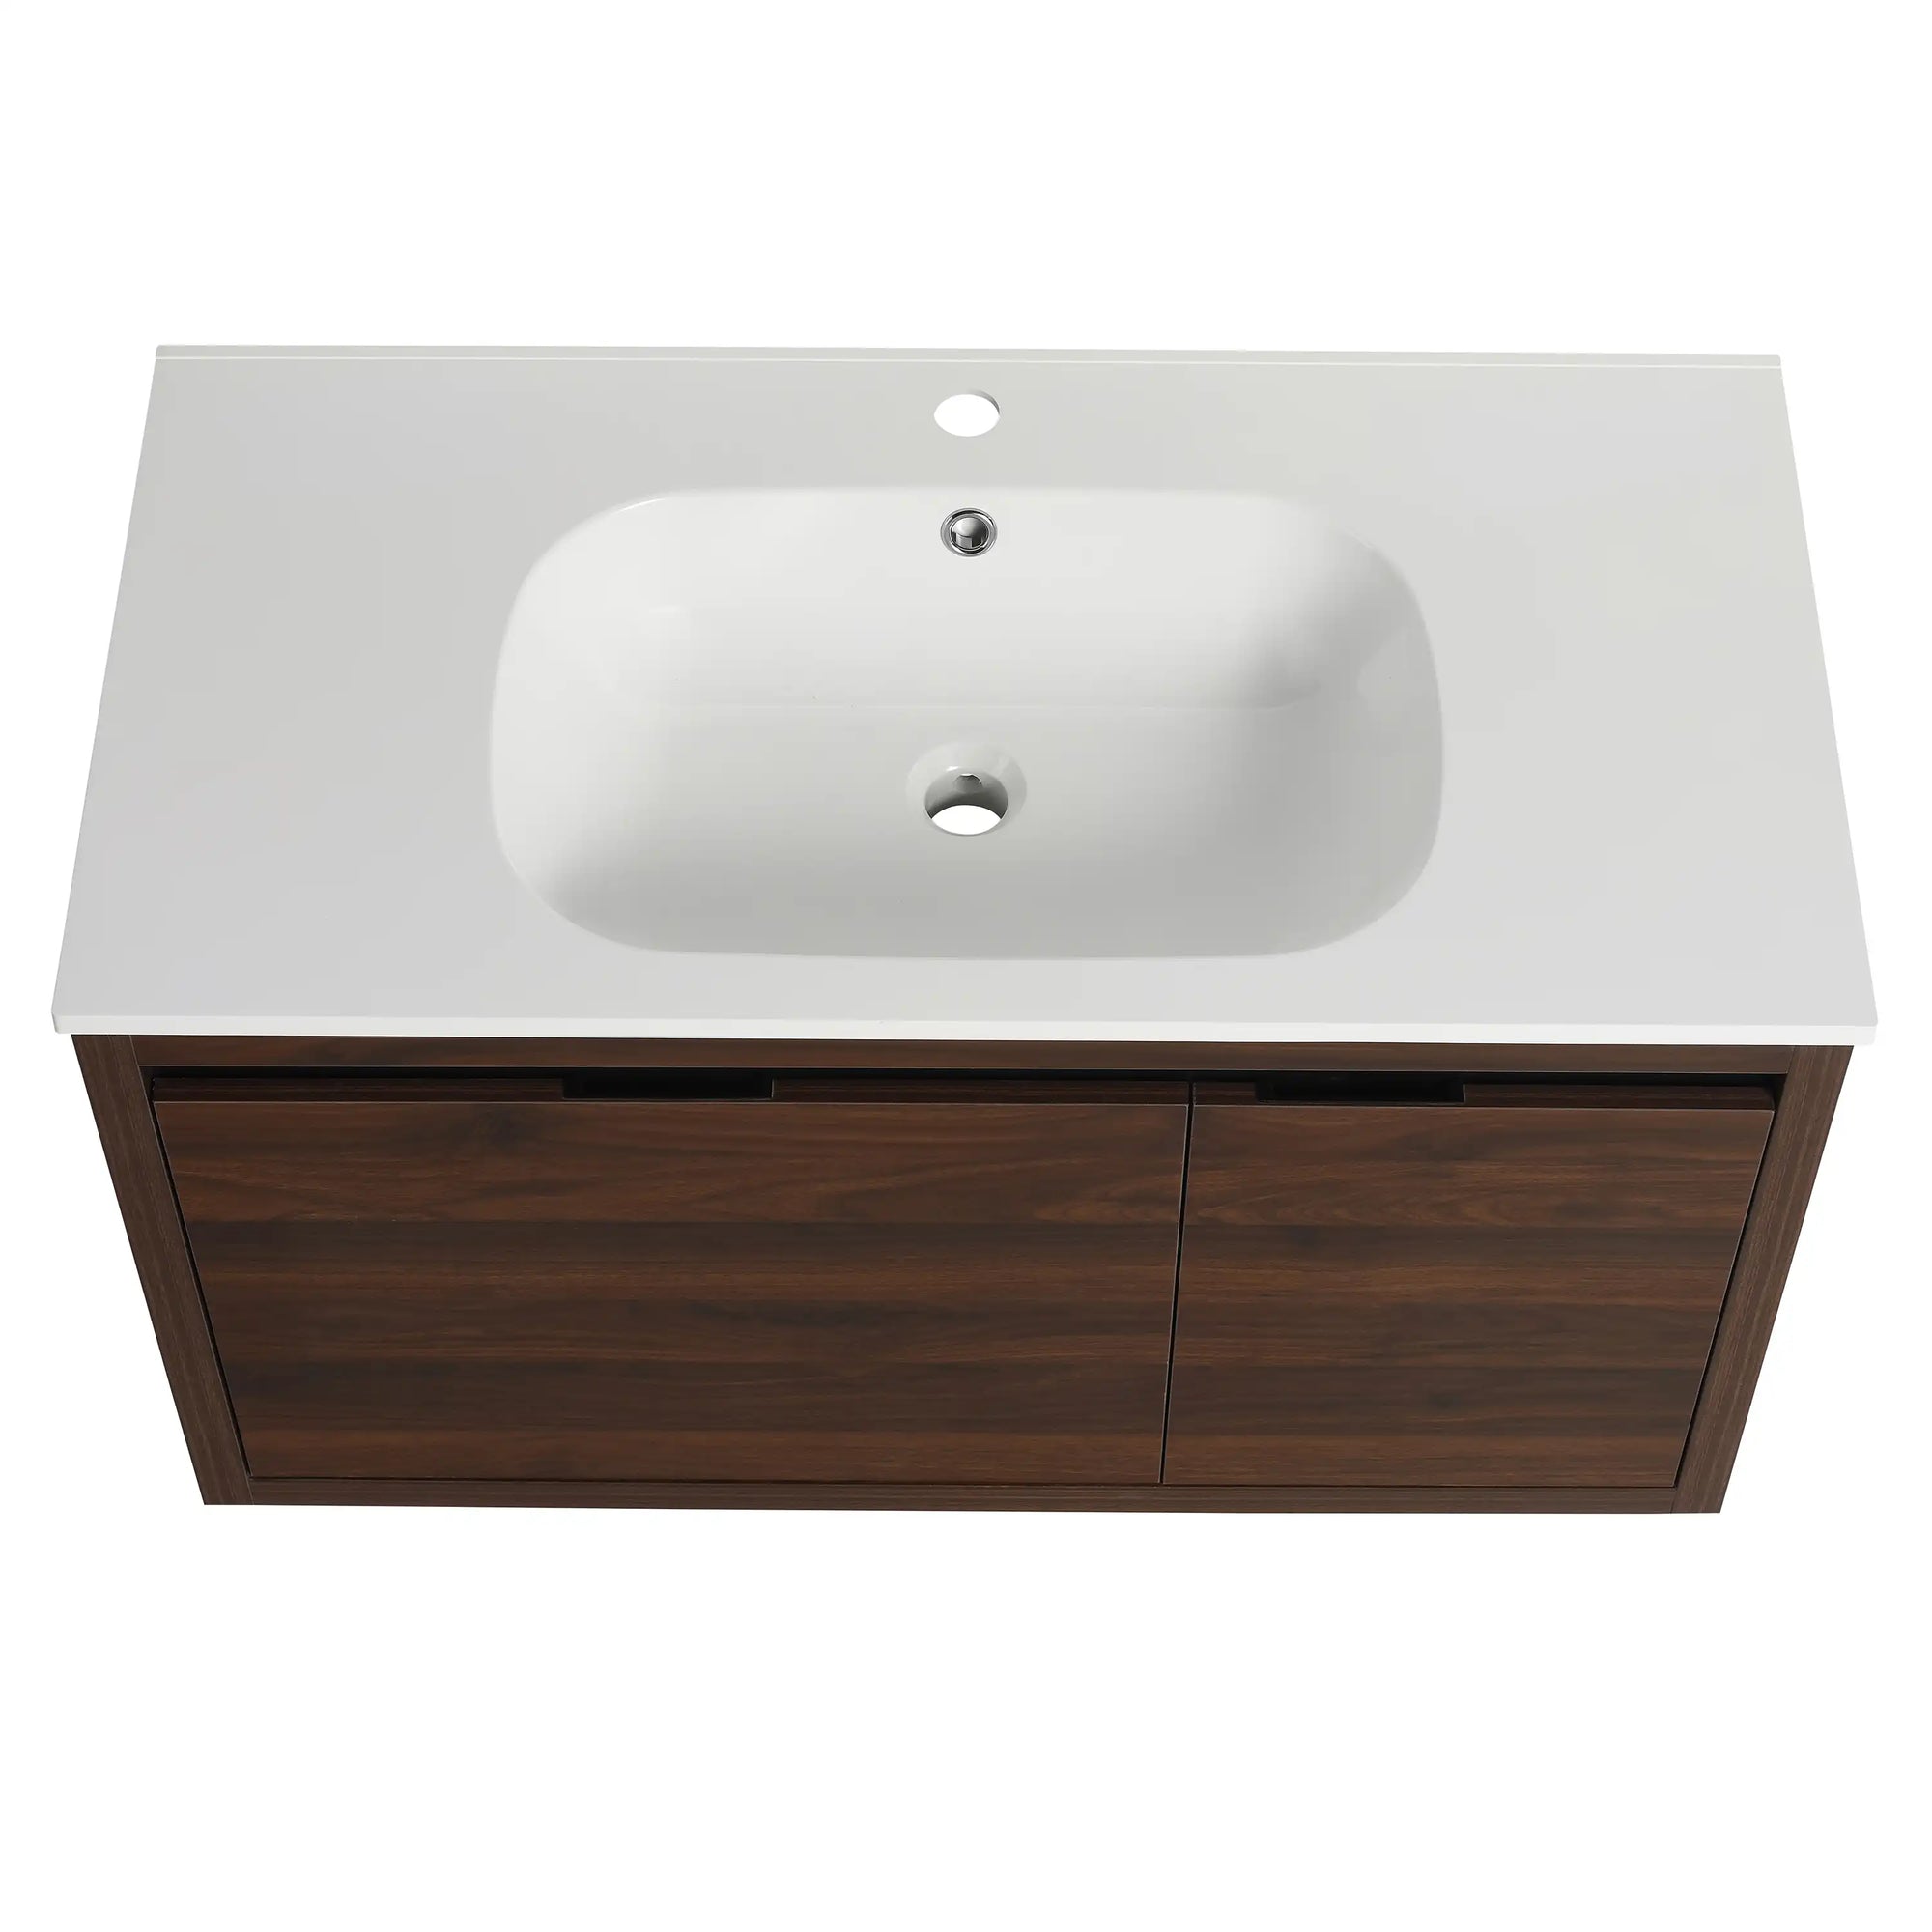
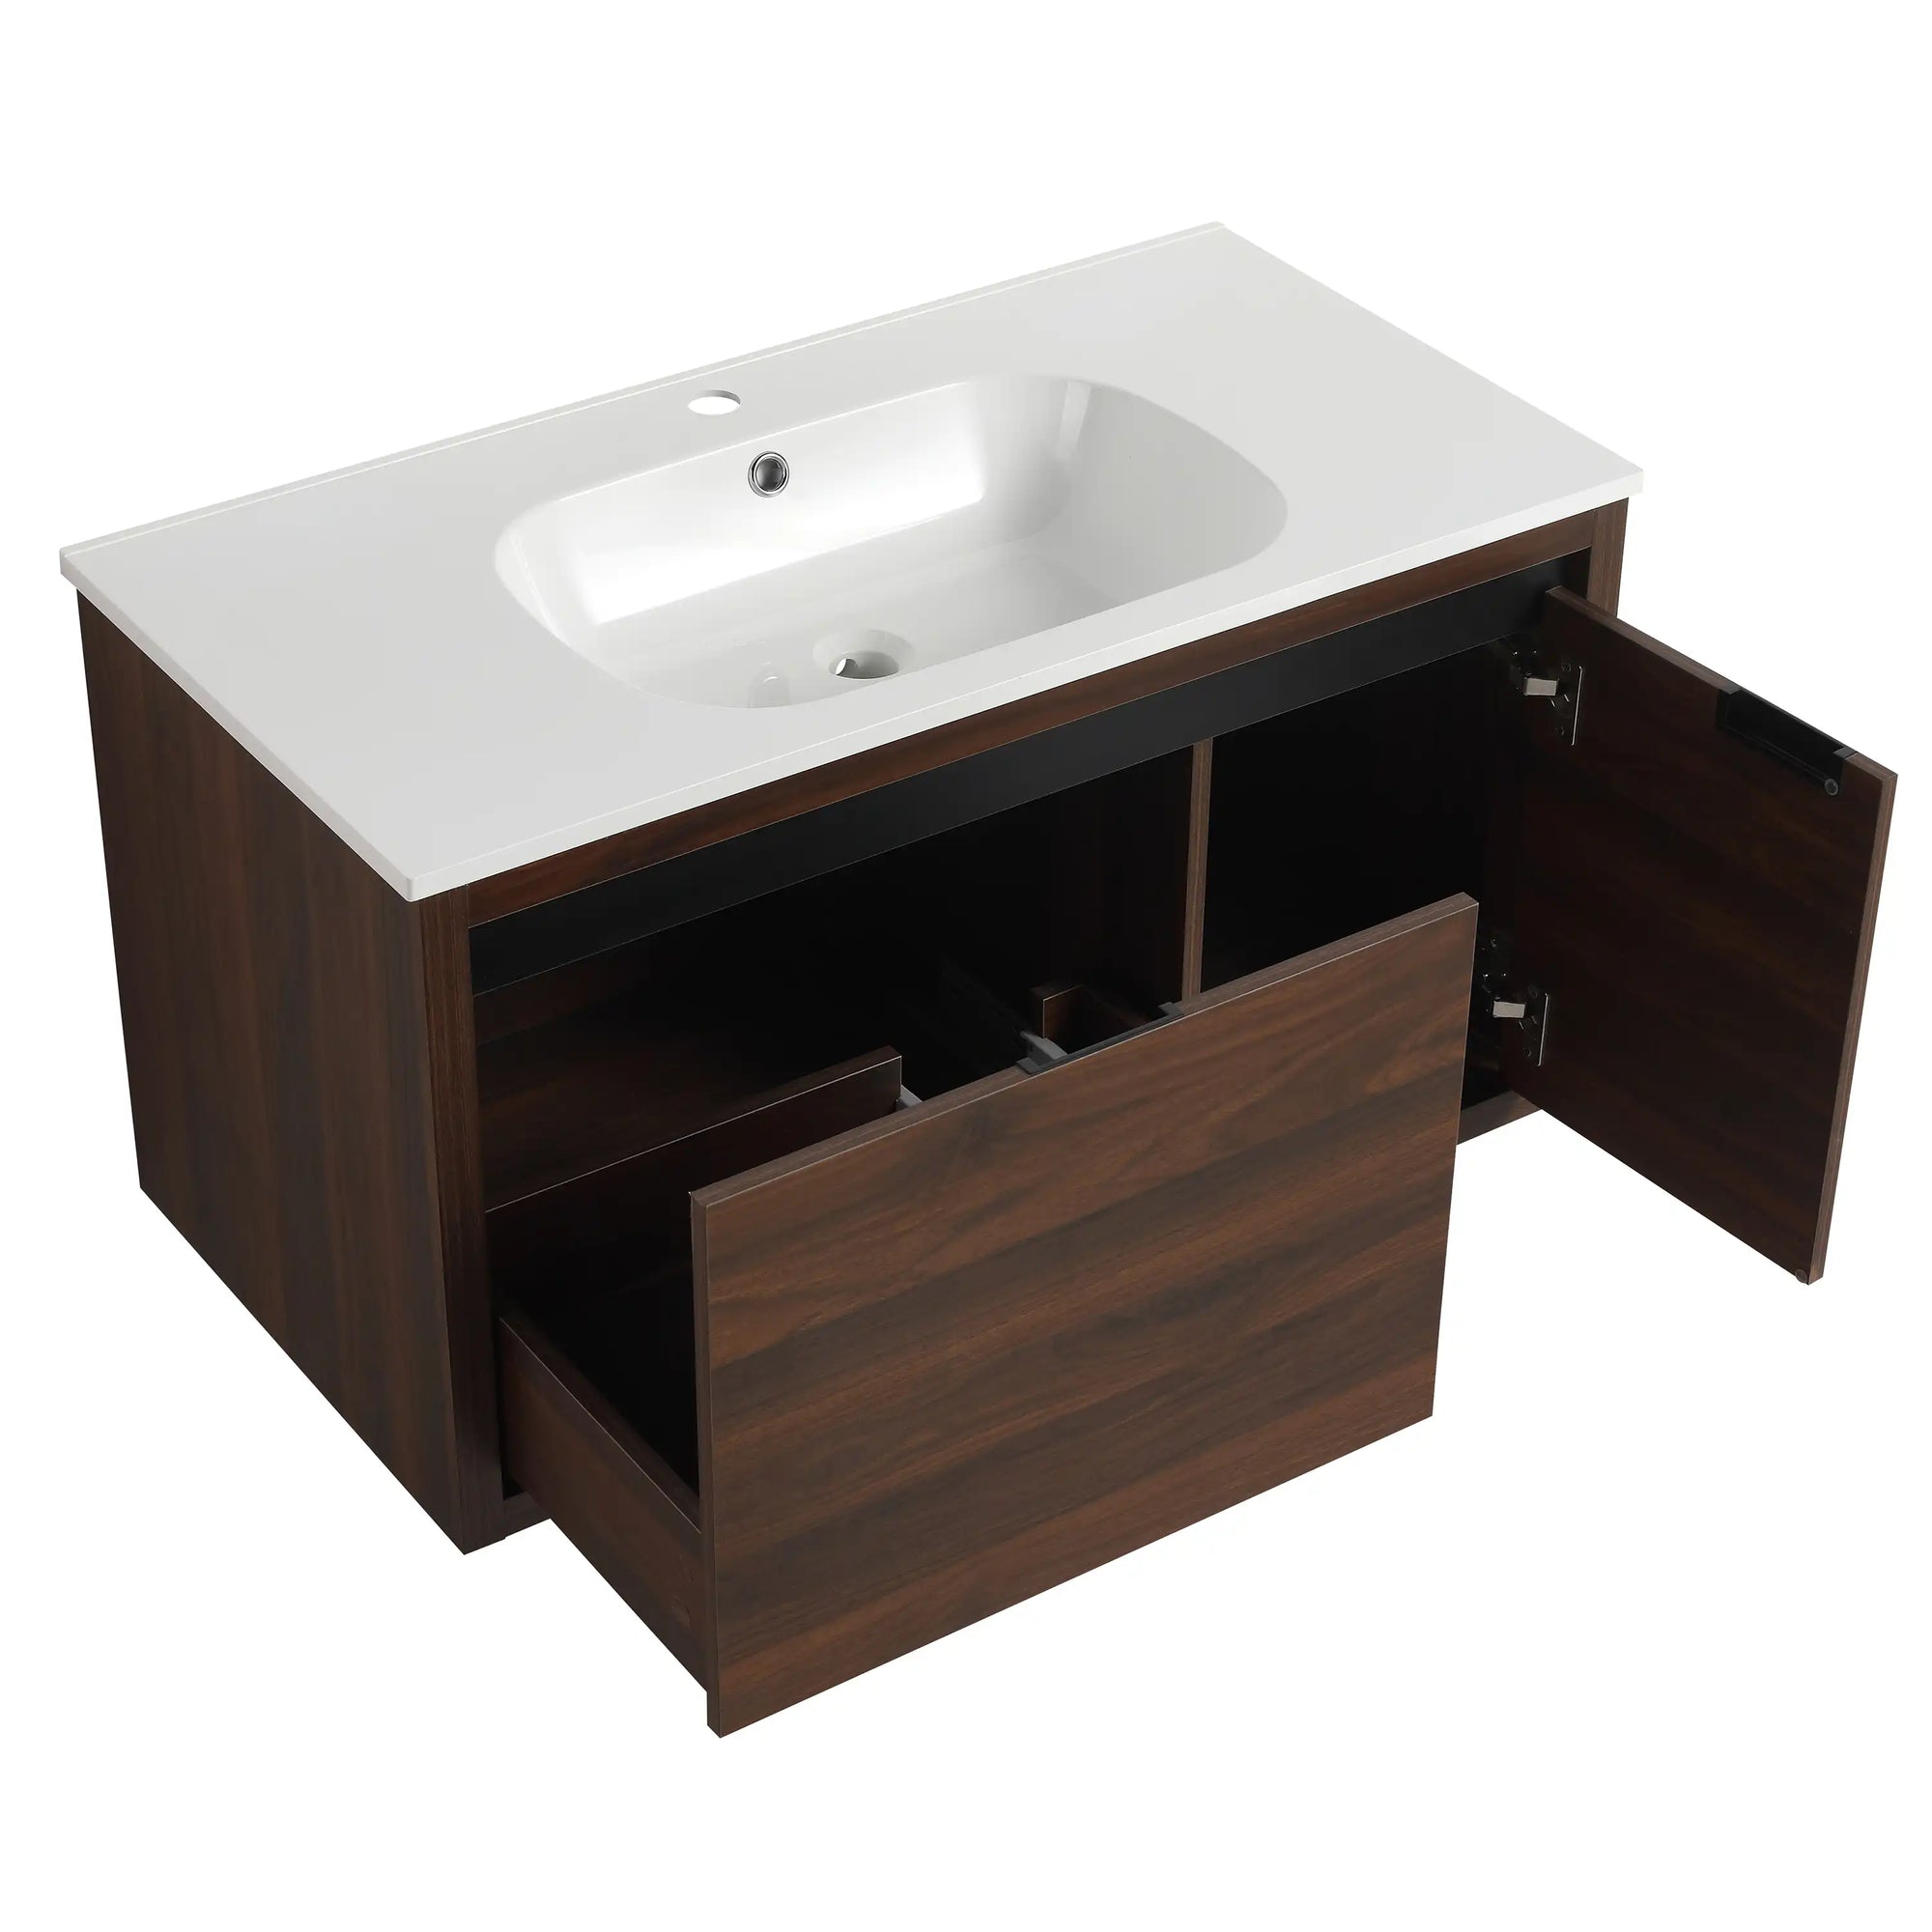
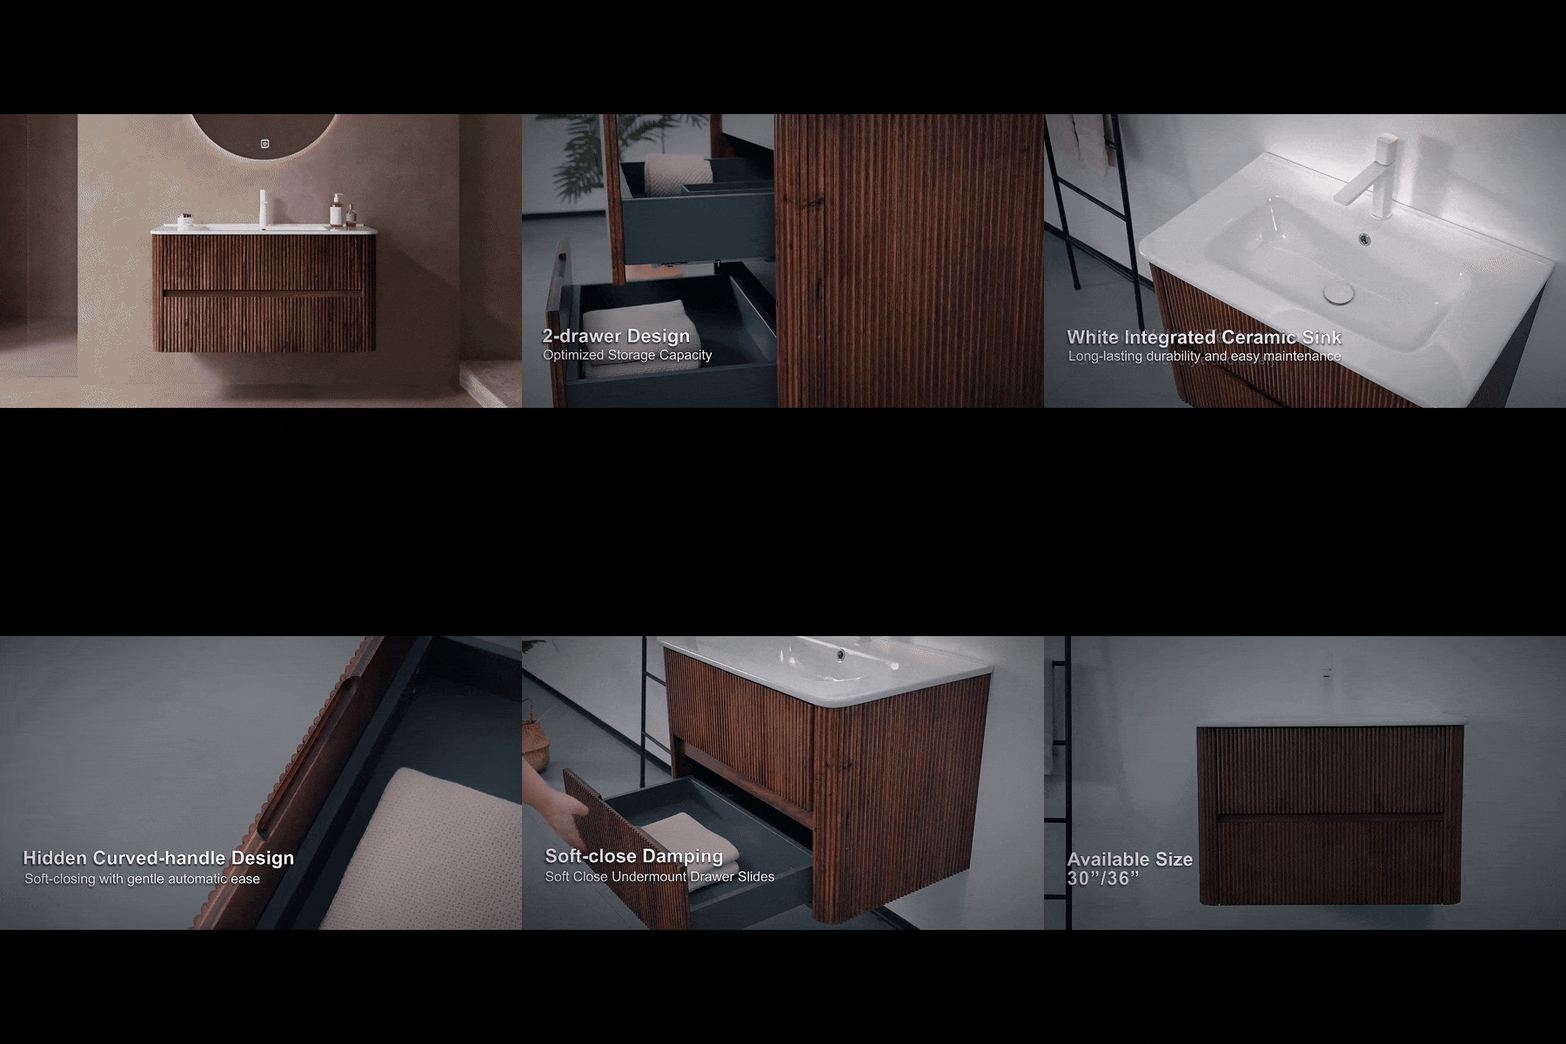
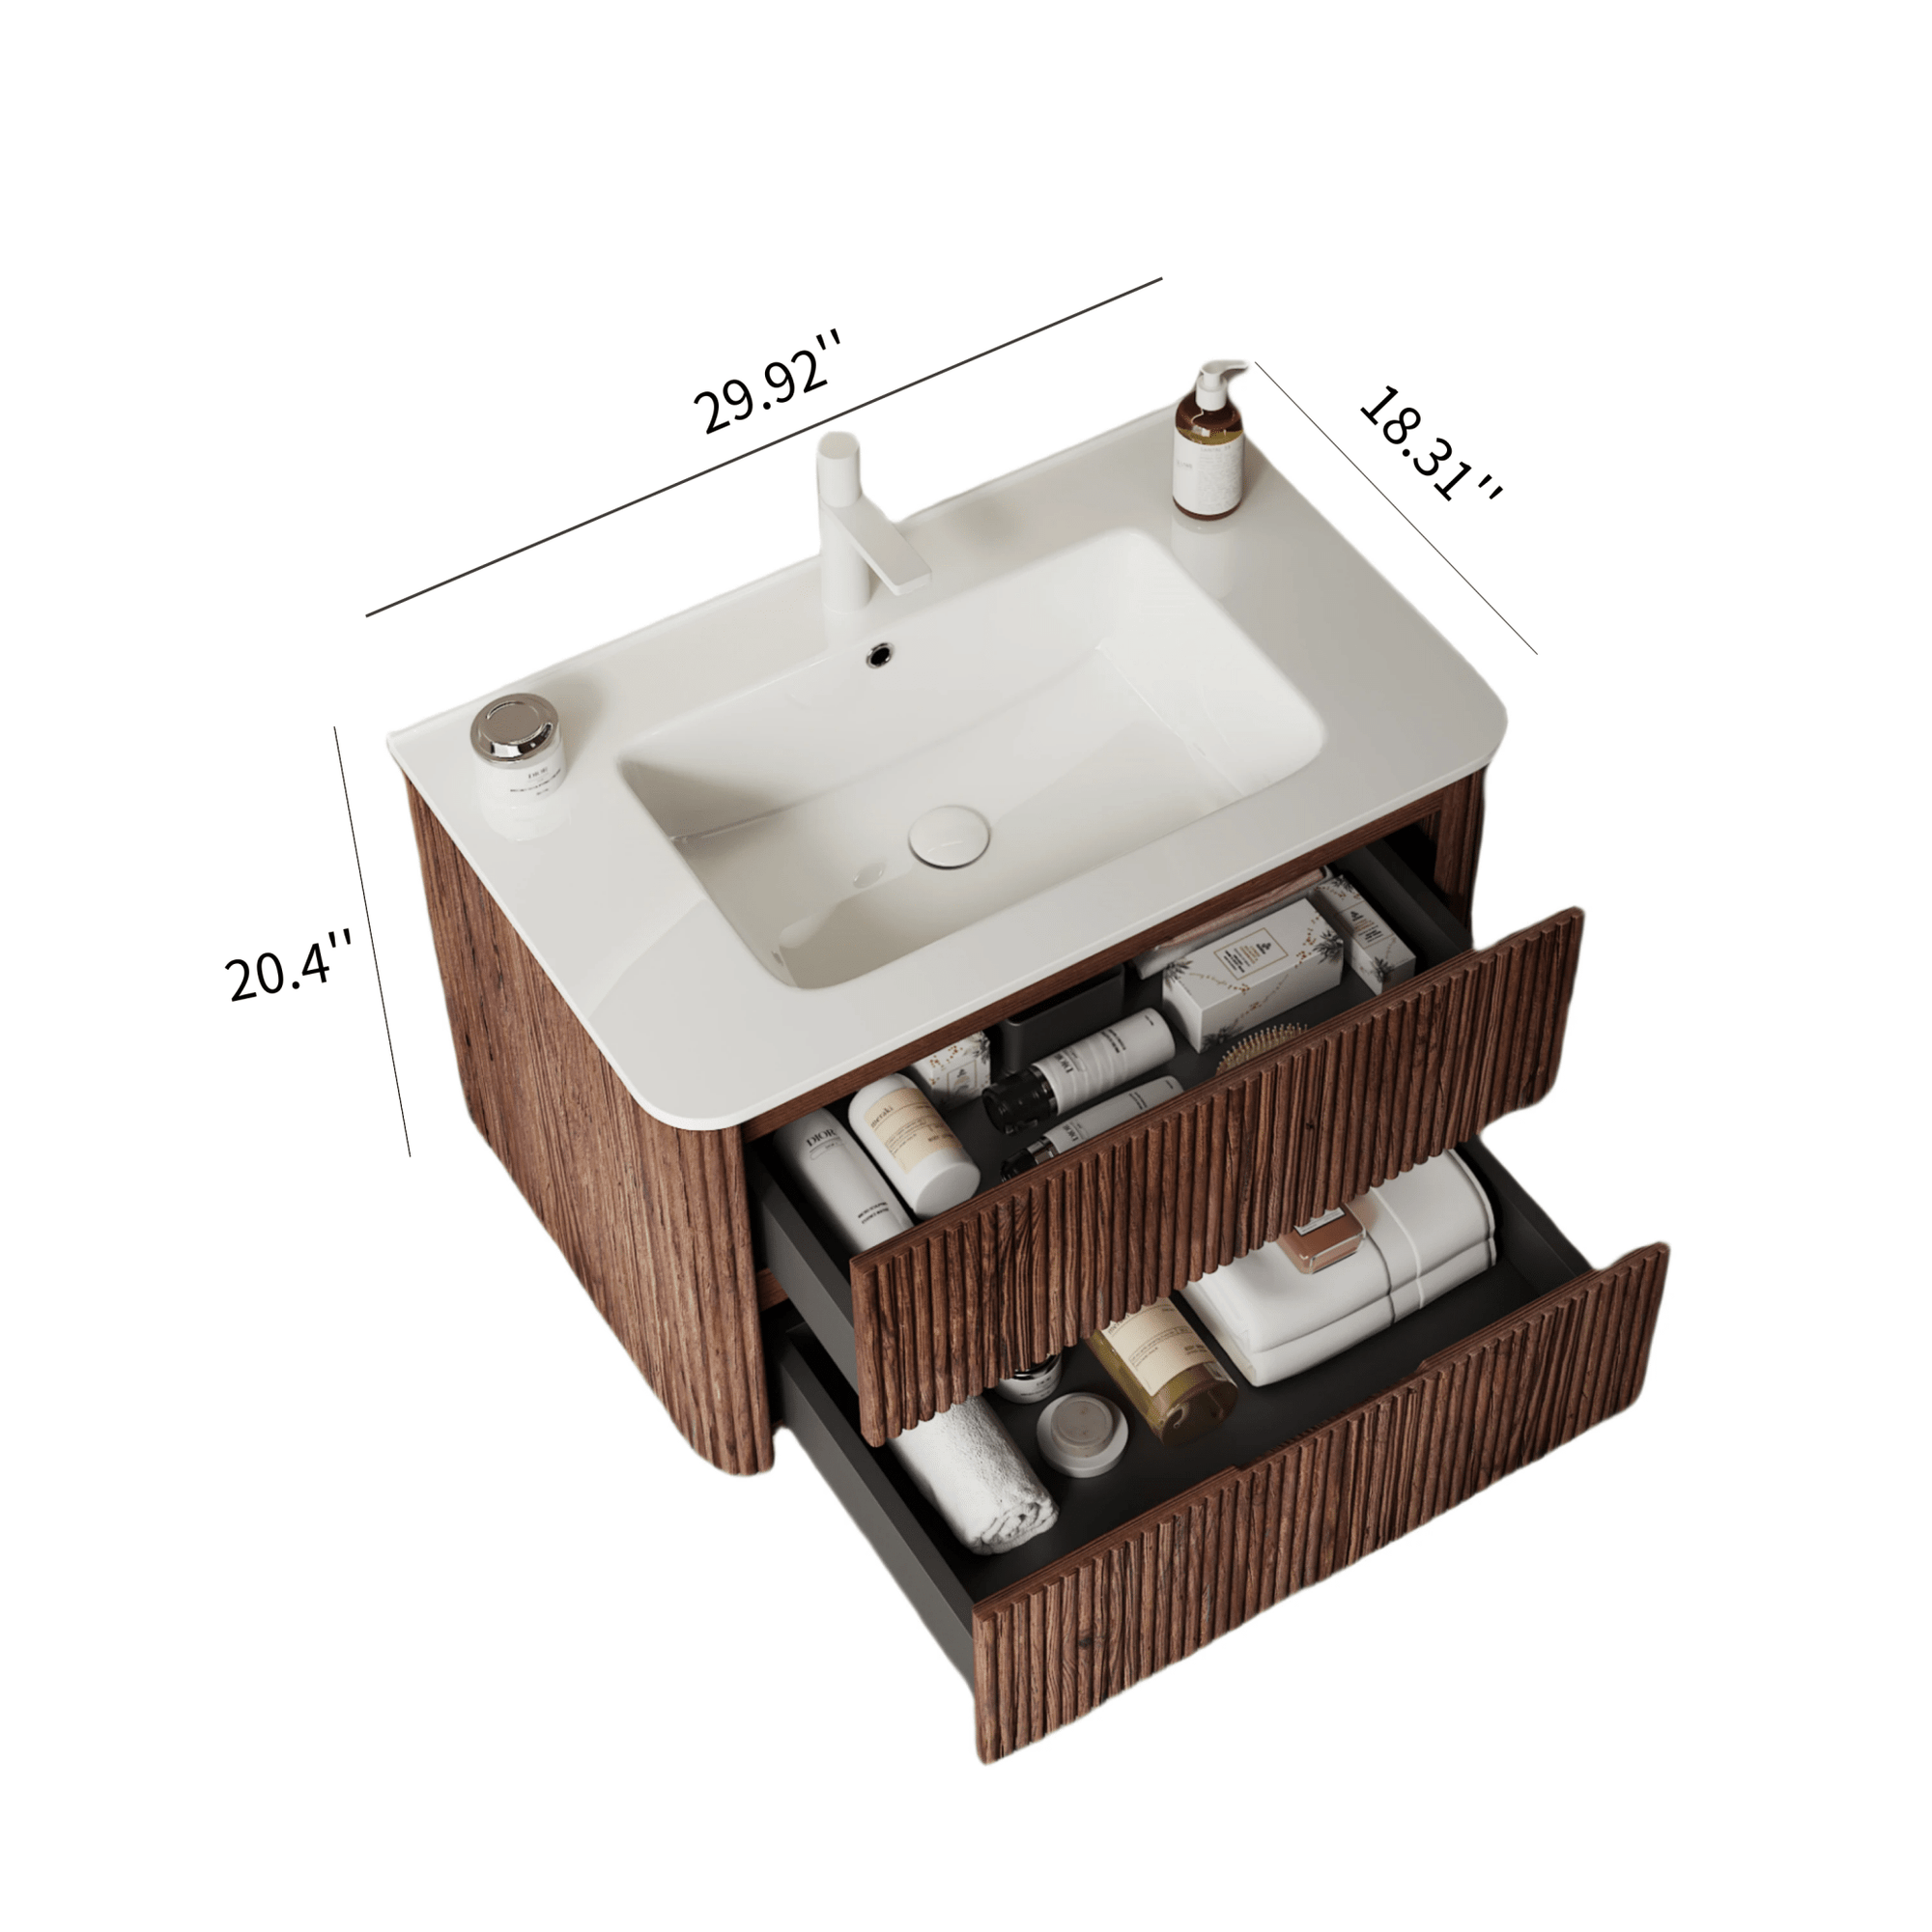
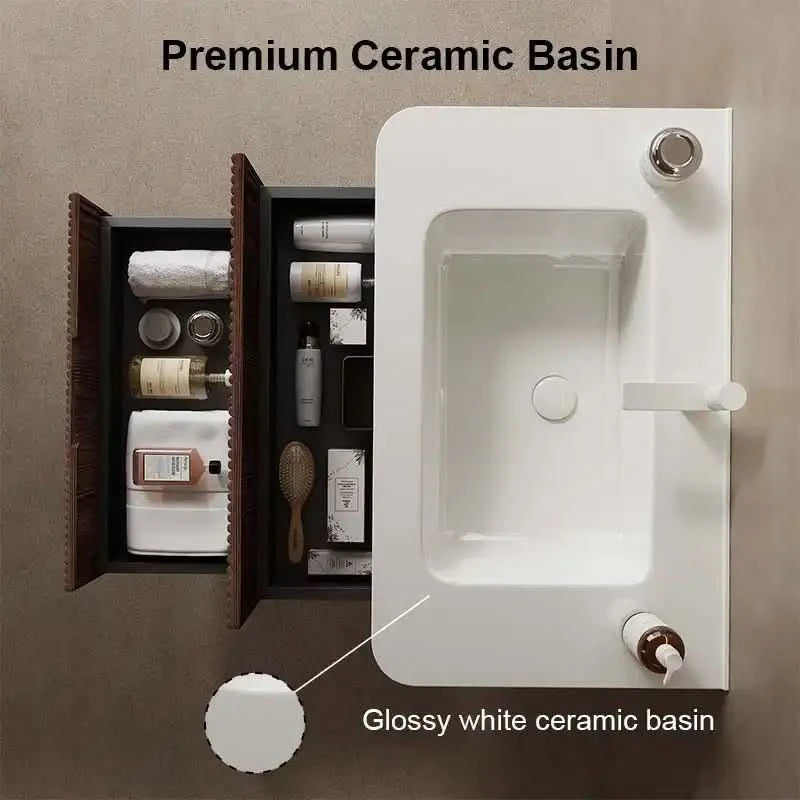
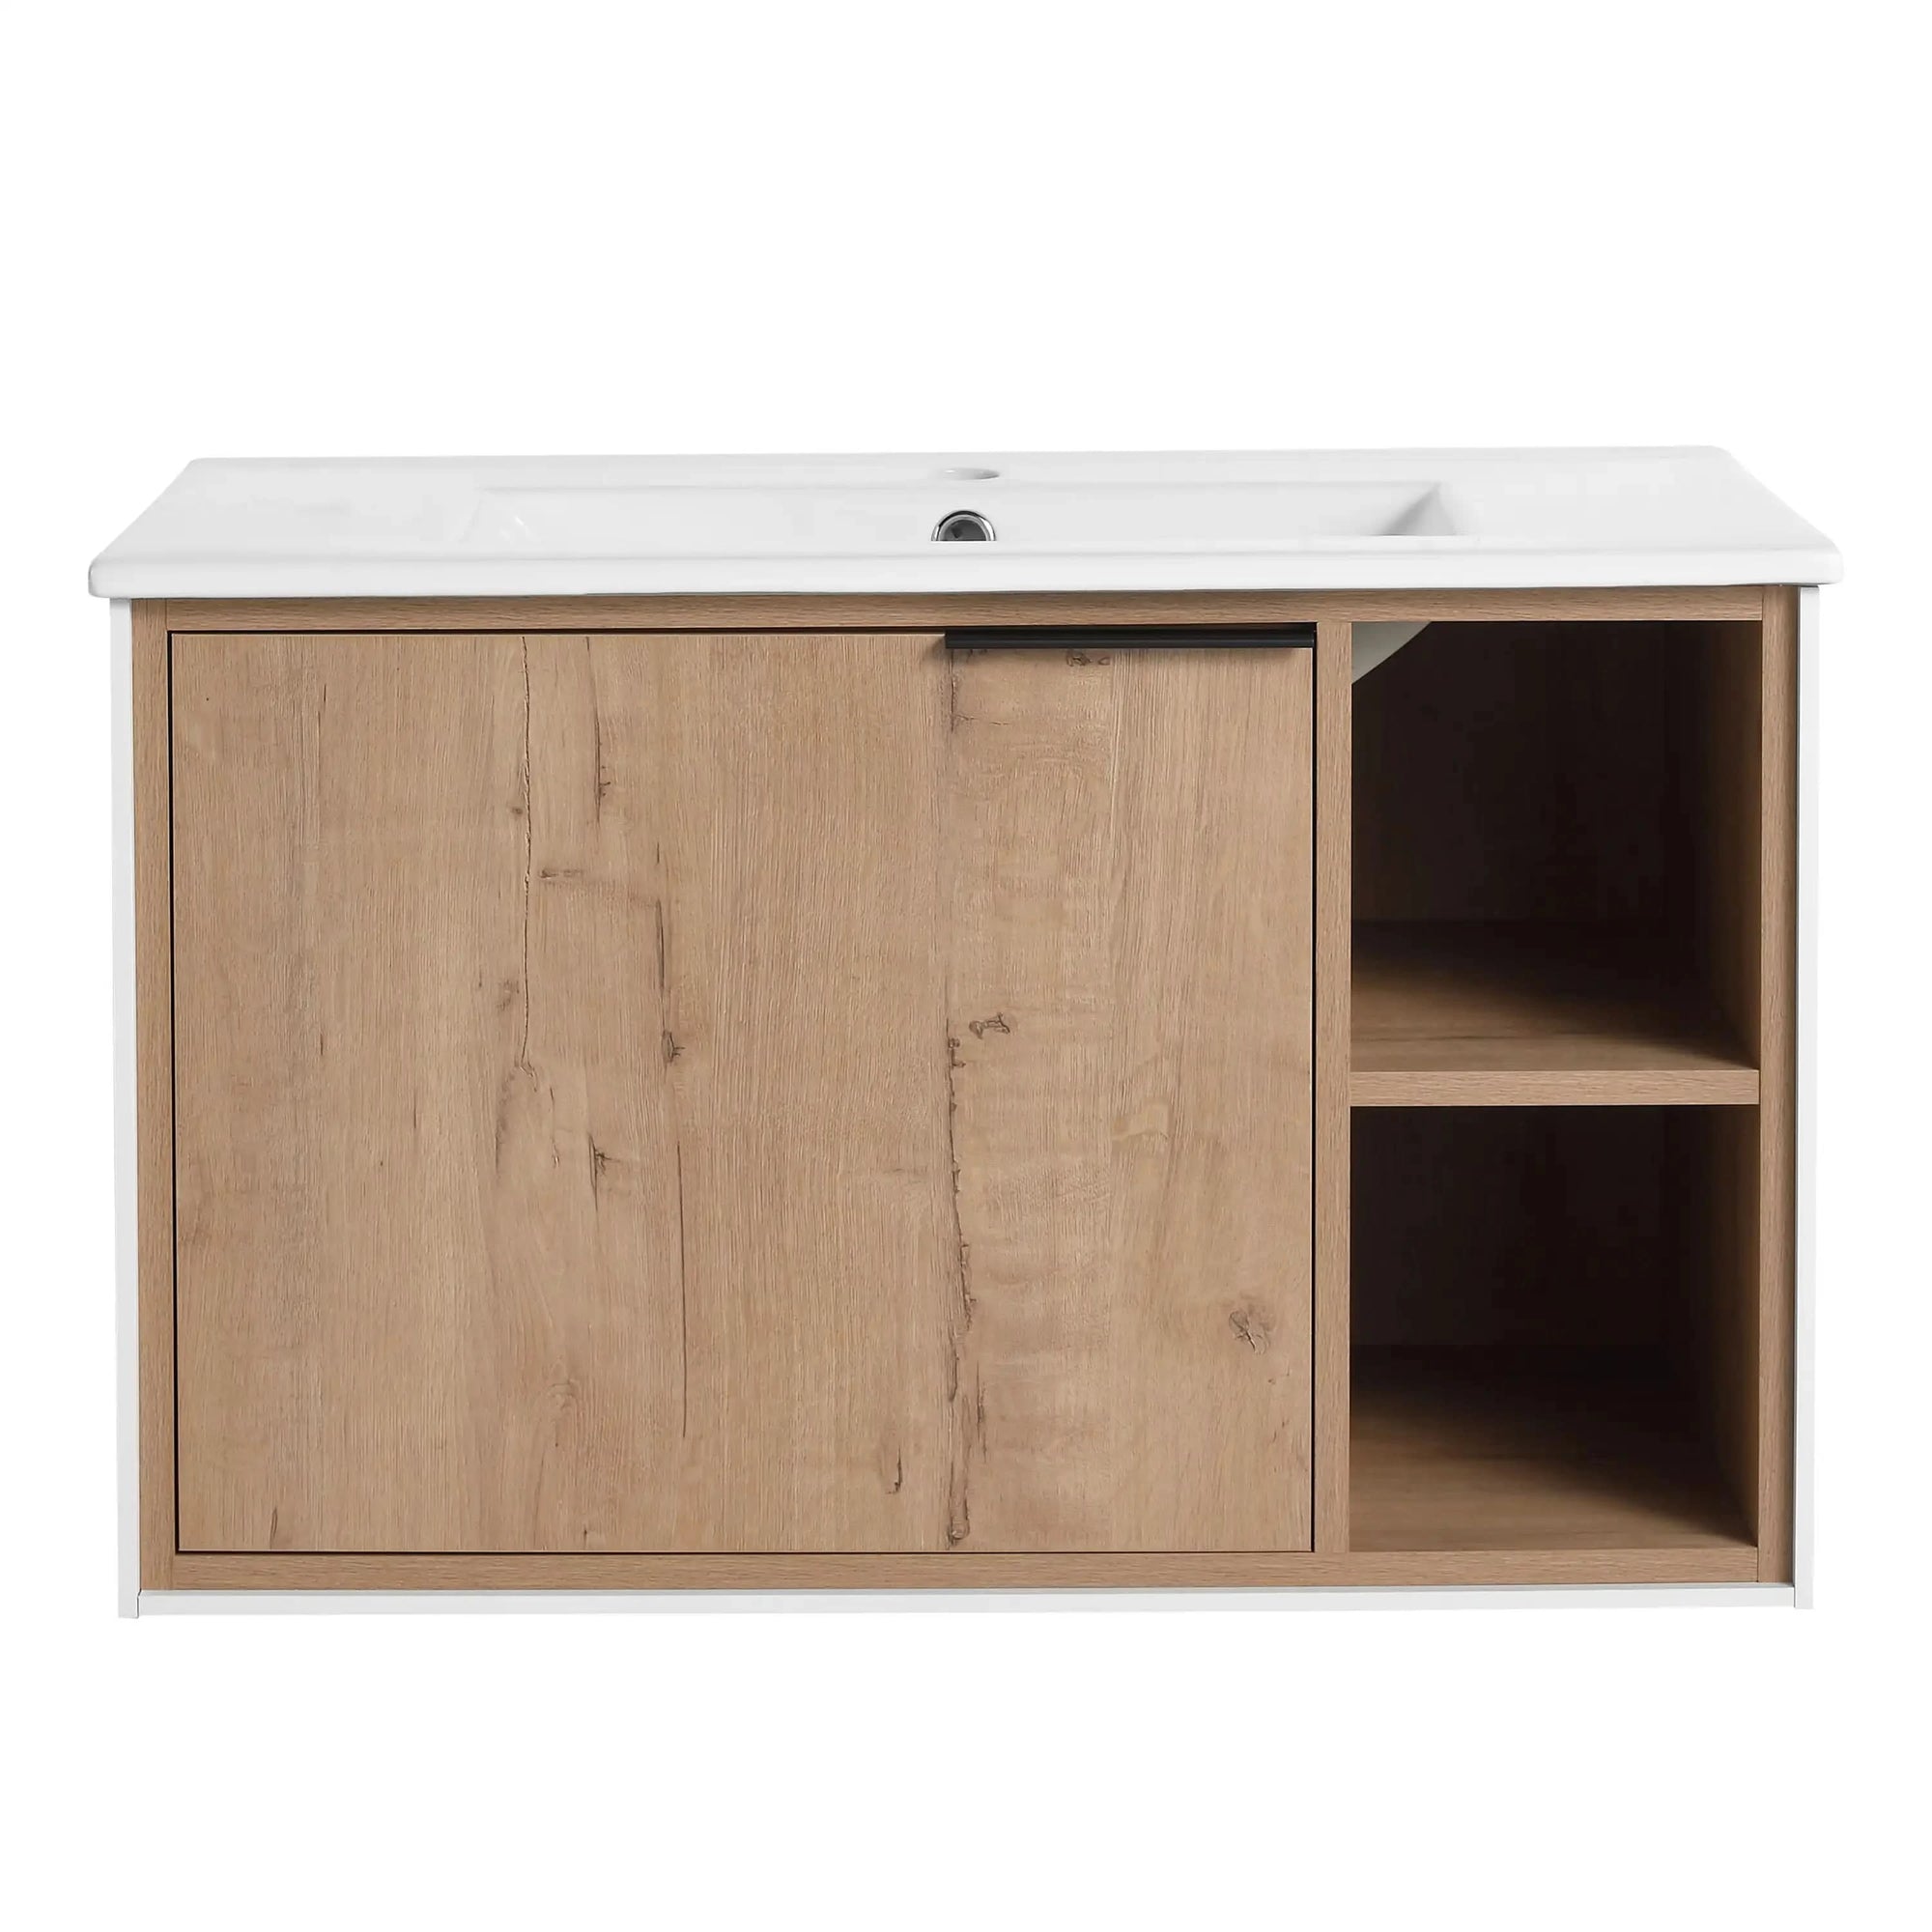
If you prefer a more minimalist look, the AL Matte White Wall-Mounted Cabinet offers a clean, contemporary style that can enhance a fresh coat of paint in neutral or bold tones.
Choosing the Right Vanity Style for Your Bathroom
If painting your vanity has inspired you to explore other bathroom upgrades, you might consider replacing your vanity altogether. ACE DECOR offers a variety of stylish options to suit any bathroom design.
Wall-Mounted Vanities
Space-Saving and Modern
Wall-mounted vanities are perfect for modern bathrooms with limited space. They create an airy, open feel by keeping the floor visible, making the room appear larger. For instance, the AL Matte White Wall-Mounted Cabinet offers a sleek, contemporary look with ample storage, making it both functional and stylish.
Freestanding Vanities
Classic and Versatile
For those who prefer a more traditional look, freestanding vanities provide both aesthetic appeal and practical storage. The AL White Freestanding Mounted Cabinet is a perfect example, offering both style and ample storage space while grounding the overall design of the bathroom.
FAQ
Q: Can I paint over a laminate vanity?
A: Yes, you can paint over a laminate vanity, but it requires proper preparation, such as sanding and using a high-quality primer to ensure the paint adheres well to the surface.
Q: What type of paint should I use on a bathroom vanity?
A: High-quality latex or oil-based paints with a semi-gloss or satin finish work best for bathroom vanities as they resist moisture and are easy to clean.
Q: Do I need to apply a topcoat after painting my vanity?
A: Applying a protective topcoat, such as a water-based polyurethane, helps seal the paint and protect it from moisture, chips, and scratches, making it more durable over time.
