Replacing a bathroom vanity is a rewarding DIY project that can instantly upgrade the look and functionality of your bathroom. Whether you want a sleek, modern design or a more spacious and functional setup, following the correct steps is key to achieving the perfect outcome. This guide will walk you through the entire process of replacing a bathroom vanity, from removing the old unit to installing a new one.
Replacing a vanity not only involves aesthetics but also technical skills like plumbing, leveling, and securing the vanity. Here’s everything you need to know to ensure a smooth and successful project.
Tools and Materials You’ll Need for Replacing a Bathroom Vanity
To replace your bathroom vanity efficiently, you’ll need the right tools and materials. Preparation will save you time and reduce the likelihood of errors. Below is a list of what you’ll need.
Essential Tools for Vanity Replacement
Hand Tools
- Adjustable Wrench: Use it to remove and reattach water supply lines.
- Utility Knife: Ideal for cutting caulk or sealant around the old vanity.
- Screwdriver or Drill: For removing the screws and securing the new vanity to the wall.
- Level: Ensures that the vanity is installed perfectly straight.
Specialty Tools
- Stud Finder: Helps locate studs in the wall when mounting a wall-hung vanity.
- Caulking Gun: Necessary for applying caulk around the edges of the vanity to prevent water leakage.
Materials Required
Plumbing Materials
- Plumber’s Tape: Use this to seal pipe connections and prevent leaks.
- Flexible Supply Lines: If the existing ones are old or worn out, replace them during the installation.
Adhesives and Sealants
- Silicone Caulk: For sealing around the vanity to keep water from leaking behind it.
- Shims: Useful for leveling the vanity if your bathroom floor is uneven.
How to Remove Your Old Bathroom Vanity
Before installing your new vanity, you must carefully remove the old one. It’s a manageable task if done step by step. Below are detailed instructions on how to remove your current bathroom vanity.
Turning Off the Water Supply
Finding the Shut-Off Valve
Before you start, turn off the water supply to avoid water spilling during the removal process. Locate the shut-off valves under the sink. Turn them clockwise to shut off the water. If there are no local shut-off valves, you may need to turn off the water supply for the entire house.
Relieving Pressure
Open the faucet to drain any remaining water in the lines. This step ensures that there will be minimal water left in the pipes when you disconnect them.
Disconnecting the Plumbing
Removing Water Supply Lines
Using an adjustable wrench, carefully disconnect the water supply lines connected to the faucet. Keep a small bucket or towel nearby to catch any remaining water in the pipes.
Detaching the Drain
Unscrew the P-trap under the sink to disconnect the drainpipe. The P-trap may contain standing water, so be ready to catch it with your bucket.
Removing the Vanity Top
Cutting Through Caulk
Most vanities are sealed to the wall with caulk. Use a utility knife to cut through the caulk along the edges of the vanity top. This will loosen it and make it easier to lift.
Lifting the Vanity Top
Carefully lift the vanity top off the base. Some tops, especially if made from materials like marble or granite, may be heavy and require assistance.
Detaching the Vanity from the Wall
Locating the Mounting Screws
Look for screws or nails that secure the vanity to the wall, typically along the back panel. Use a drill or screwdriver to remove these screws.
Pulling the Vanity Away from the Wall
Once all screws are removed, gently pull the vanity away from the wall. Check for any remaining adhesive or caulk that might be holding it in place, and cut through it if necessary.
Installing Your New Bathroom Vanity
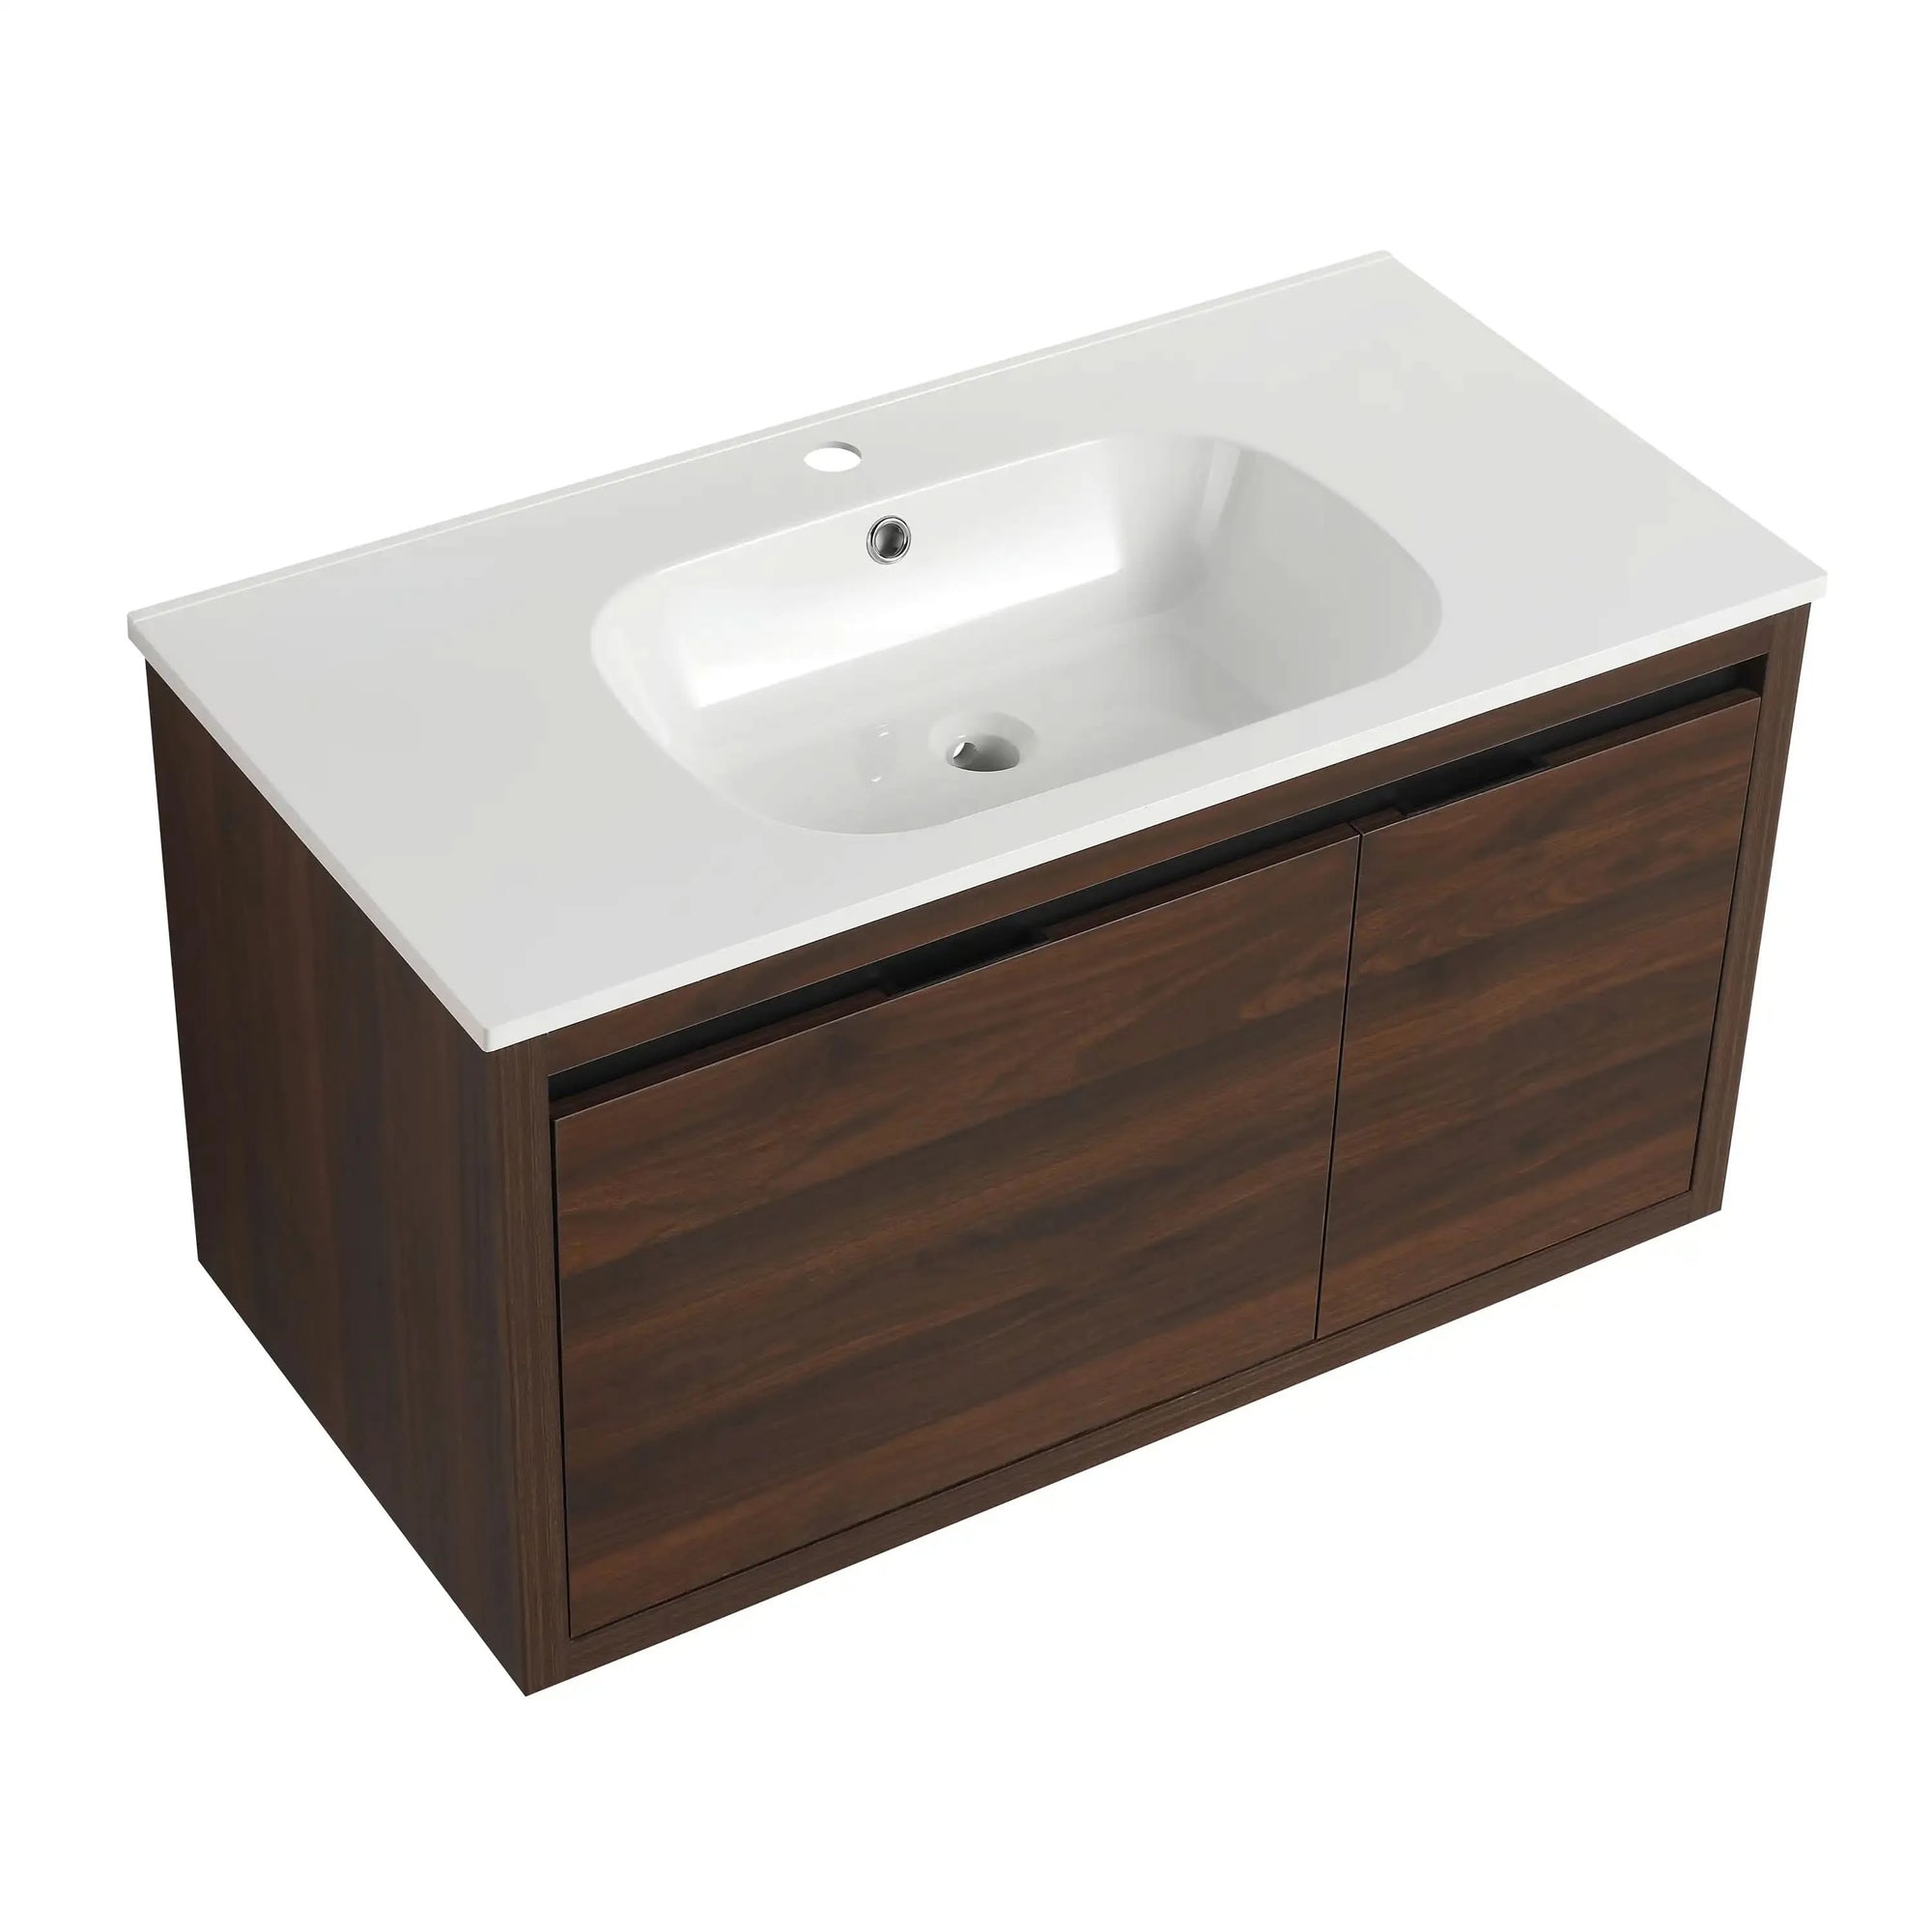
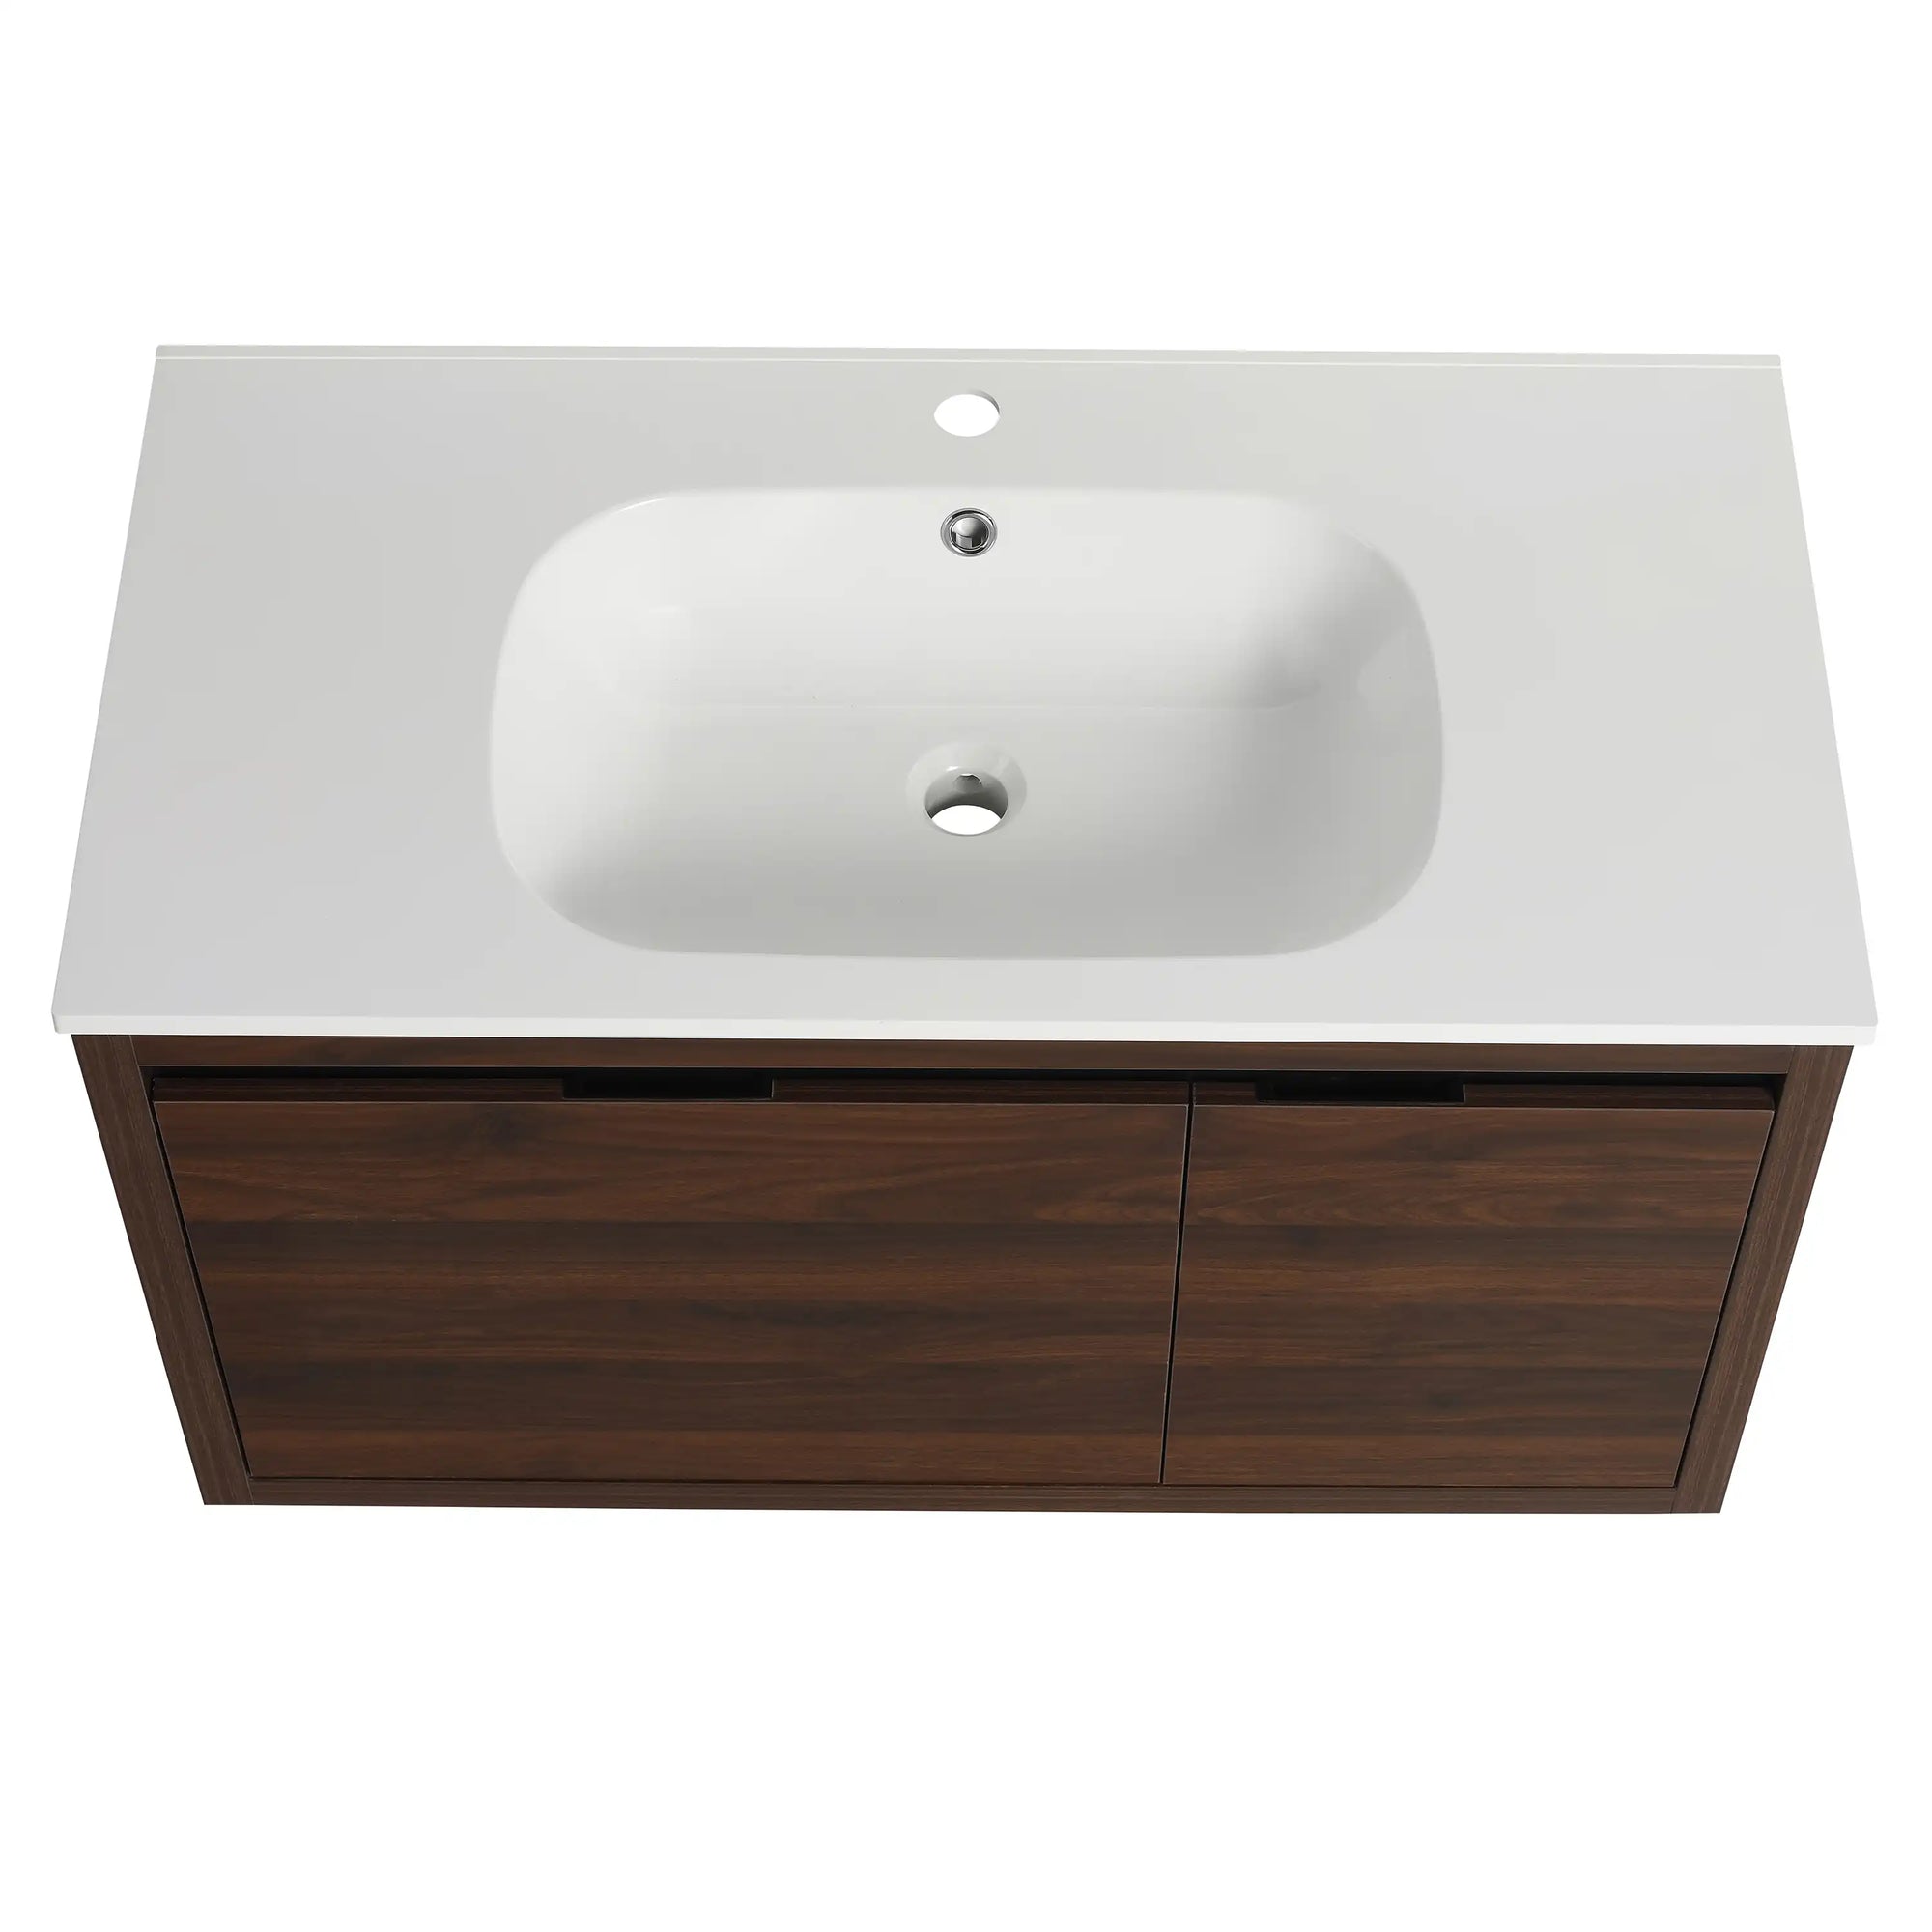
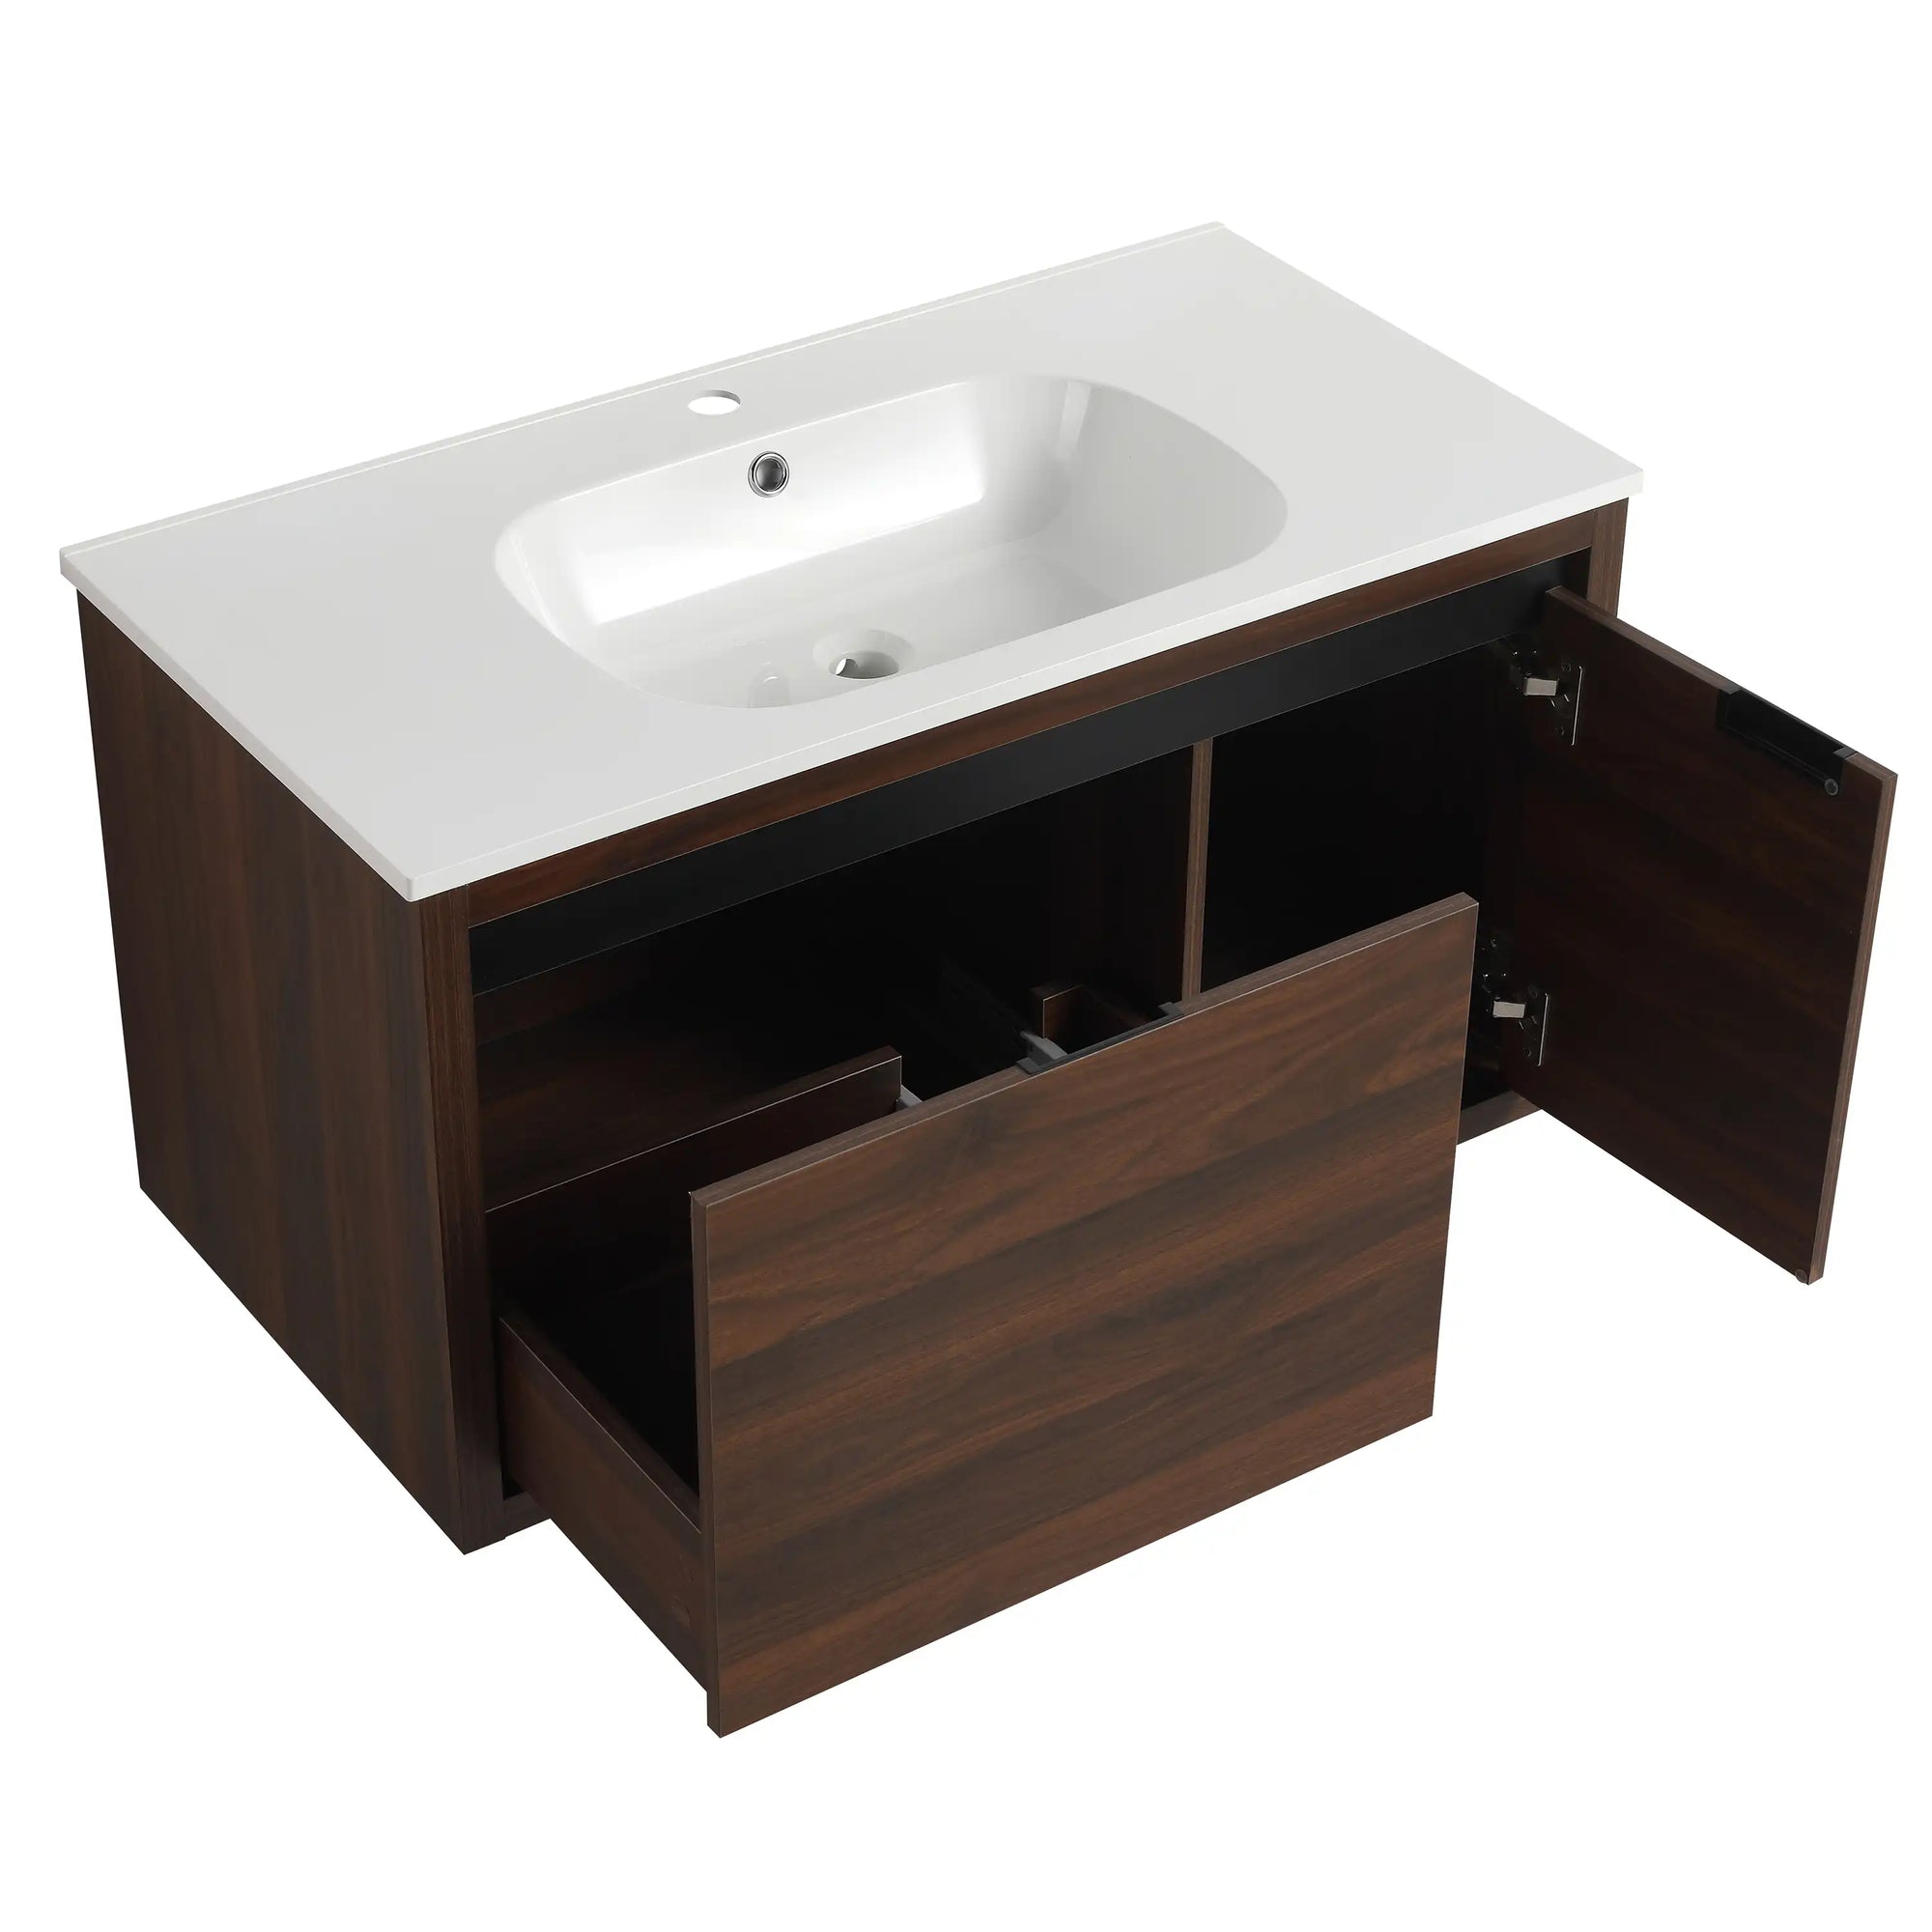
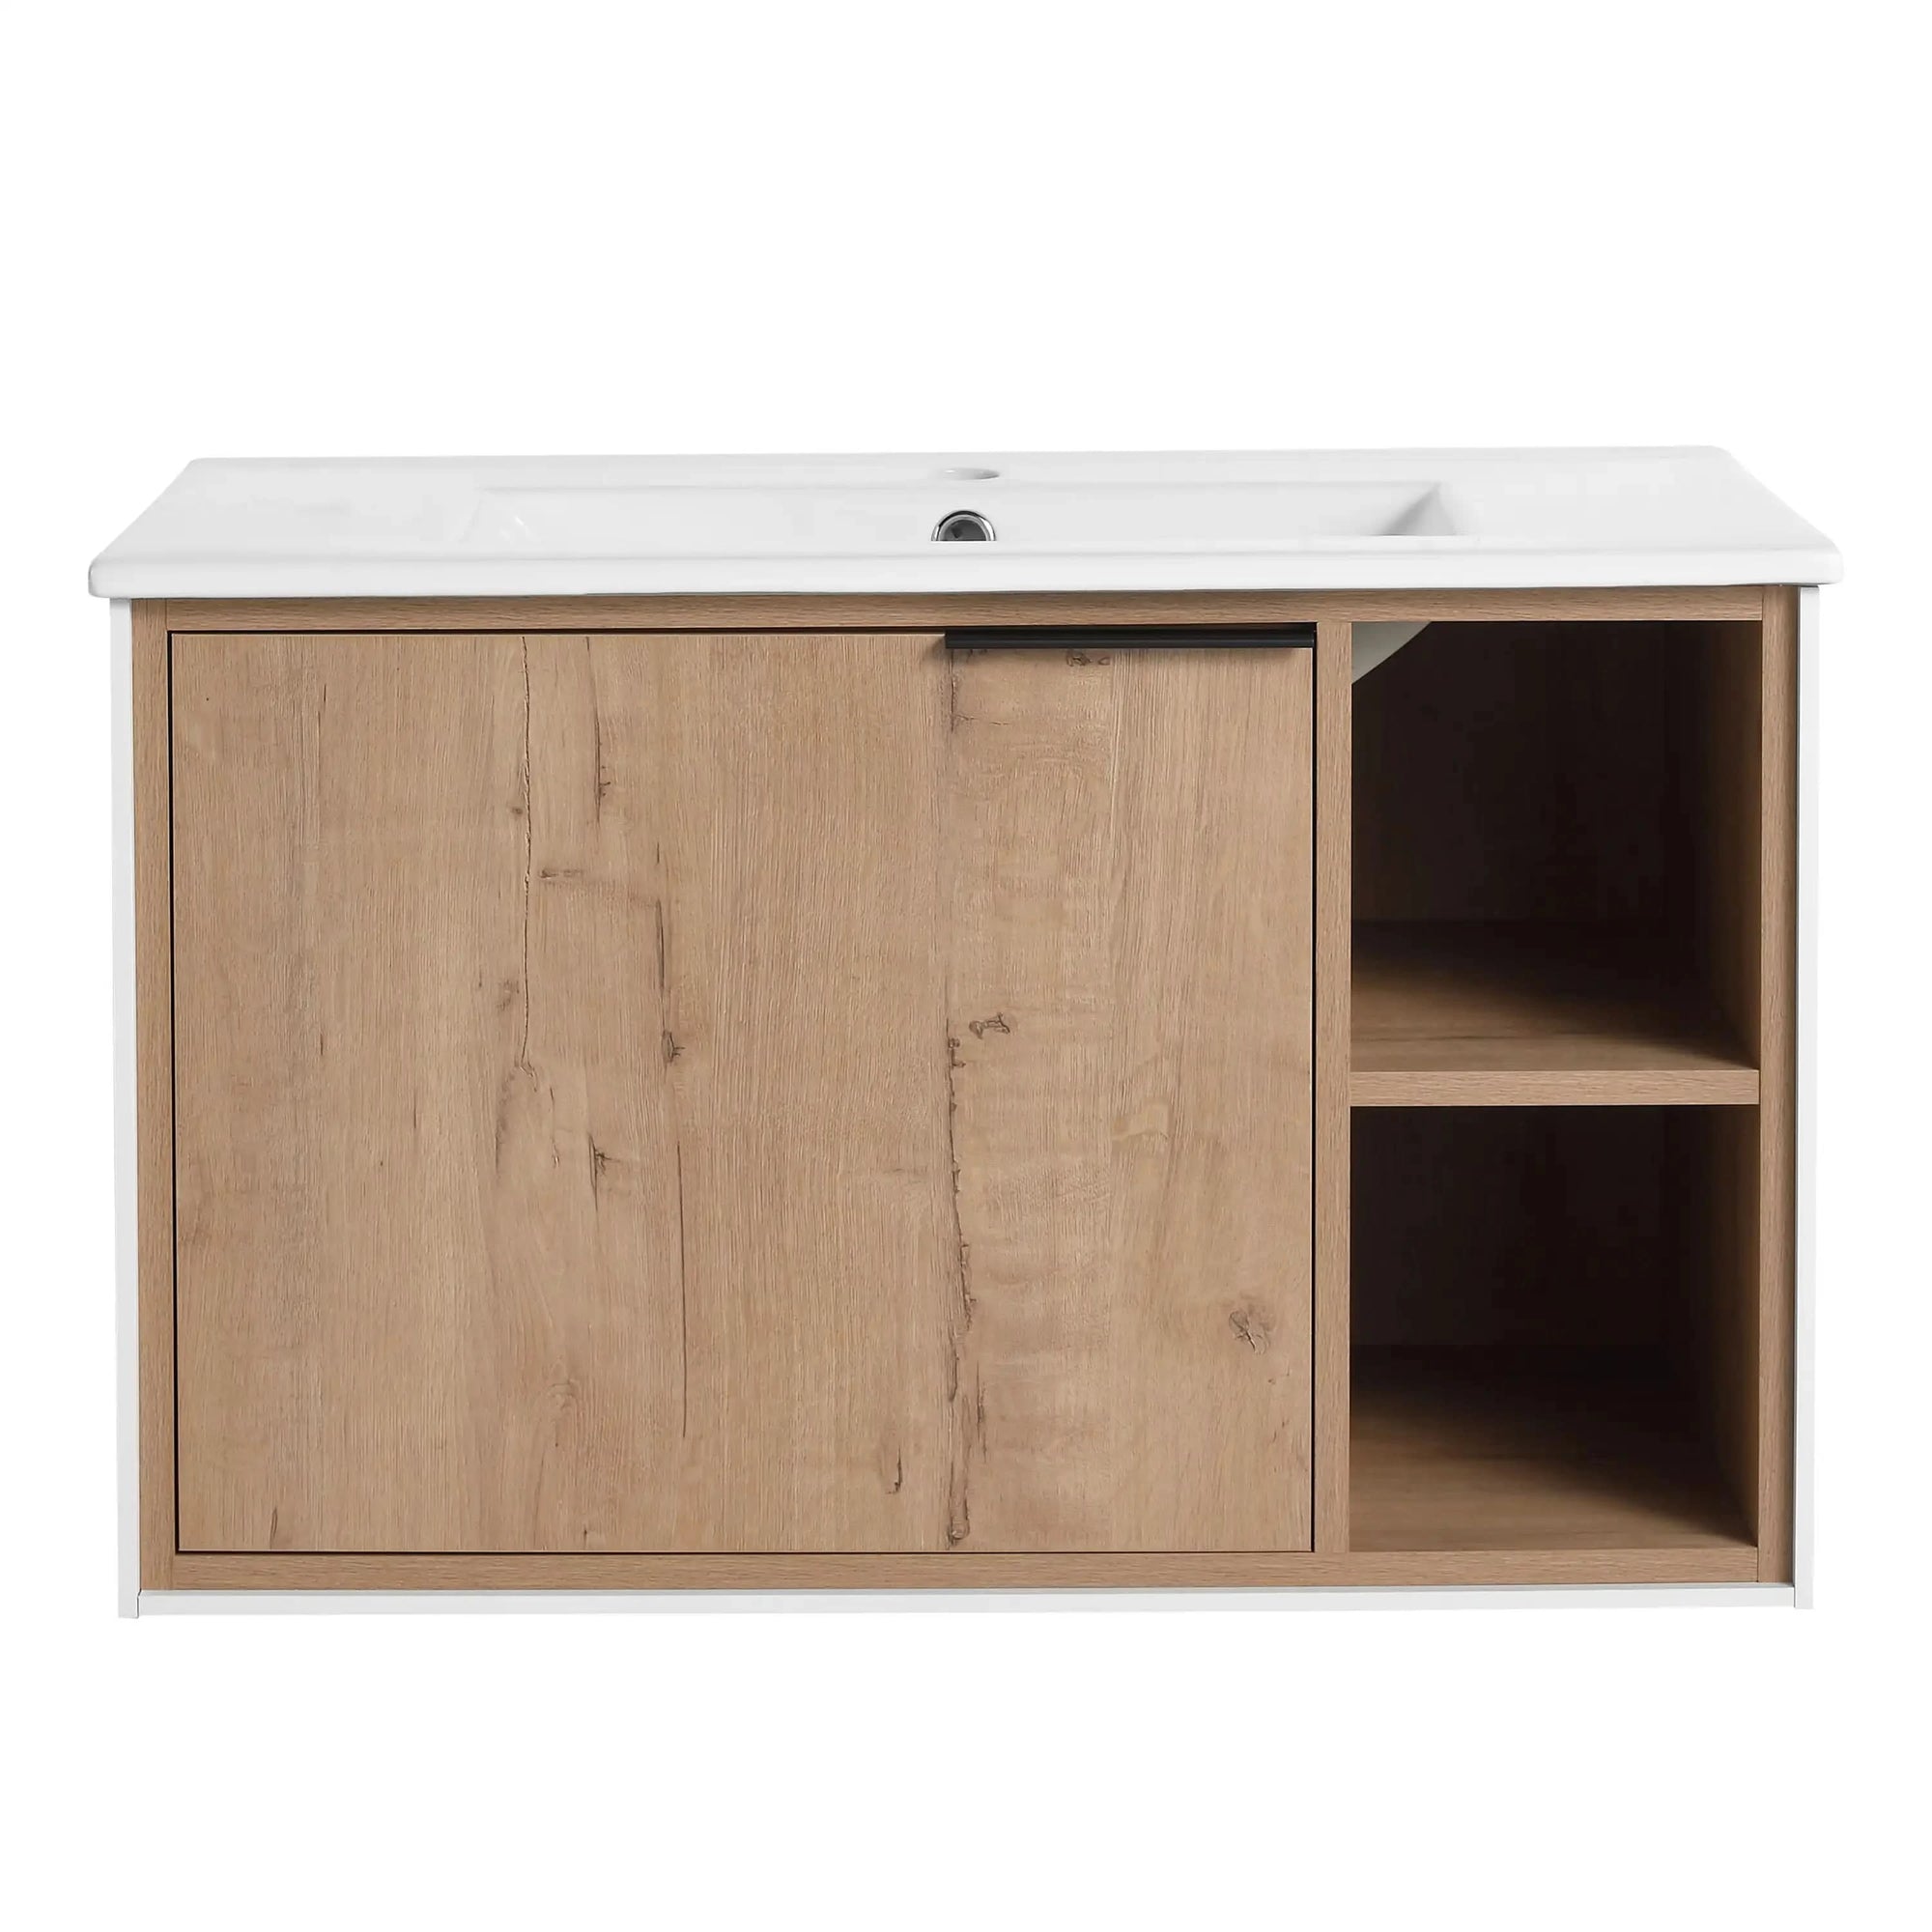
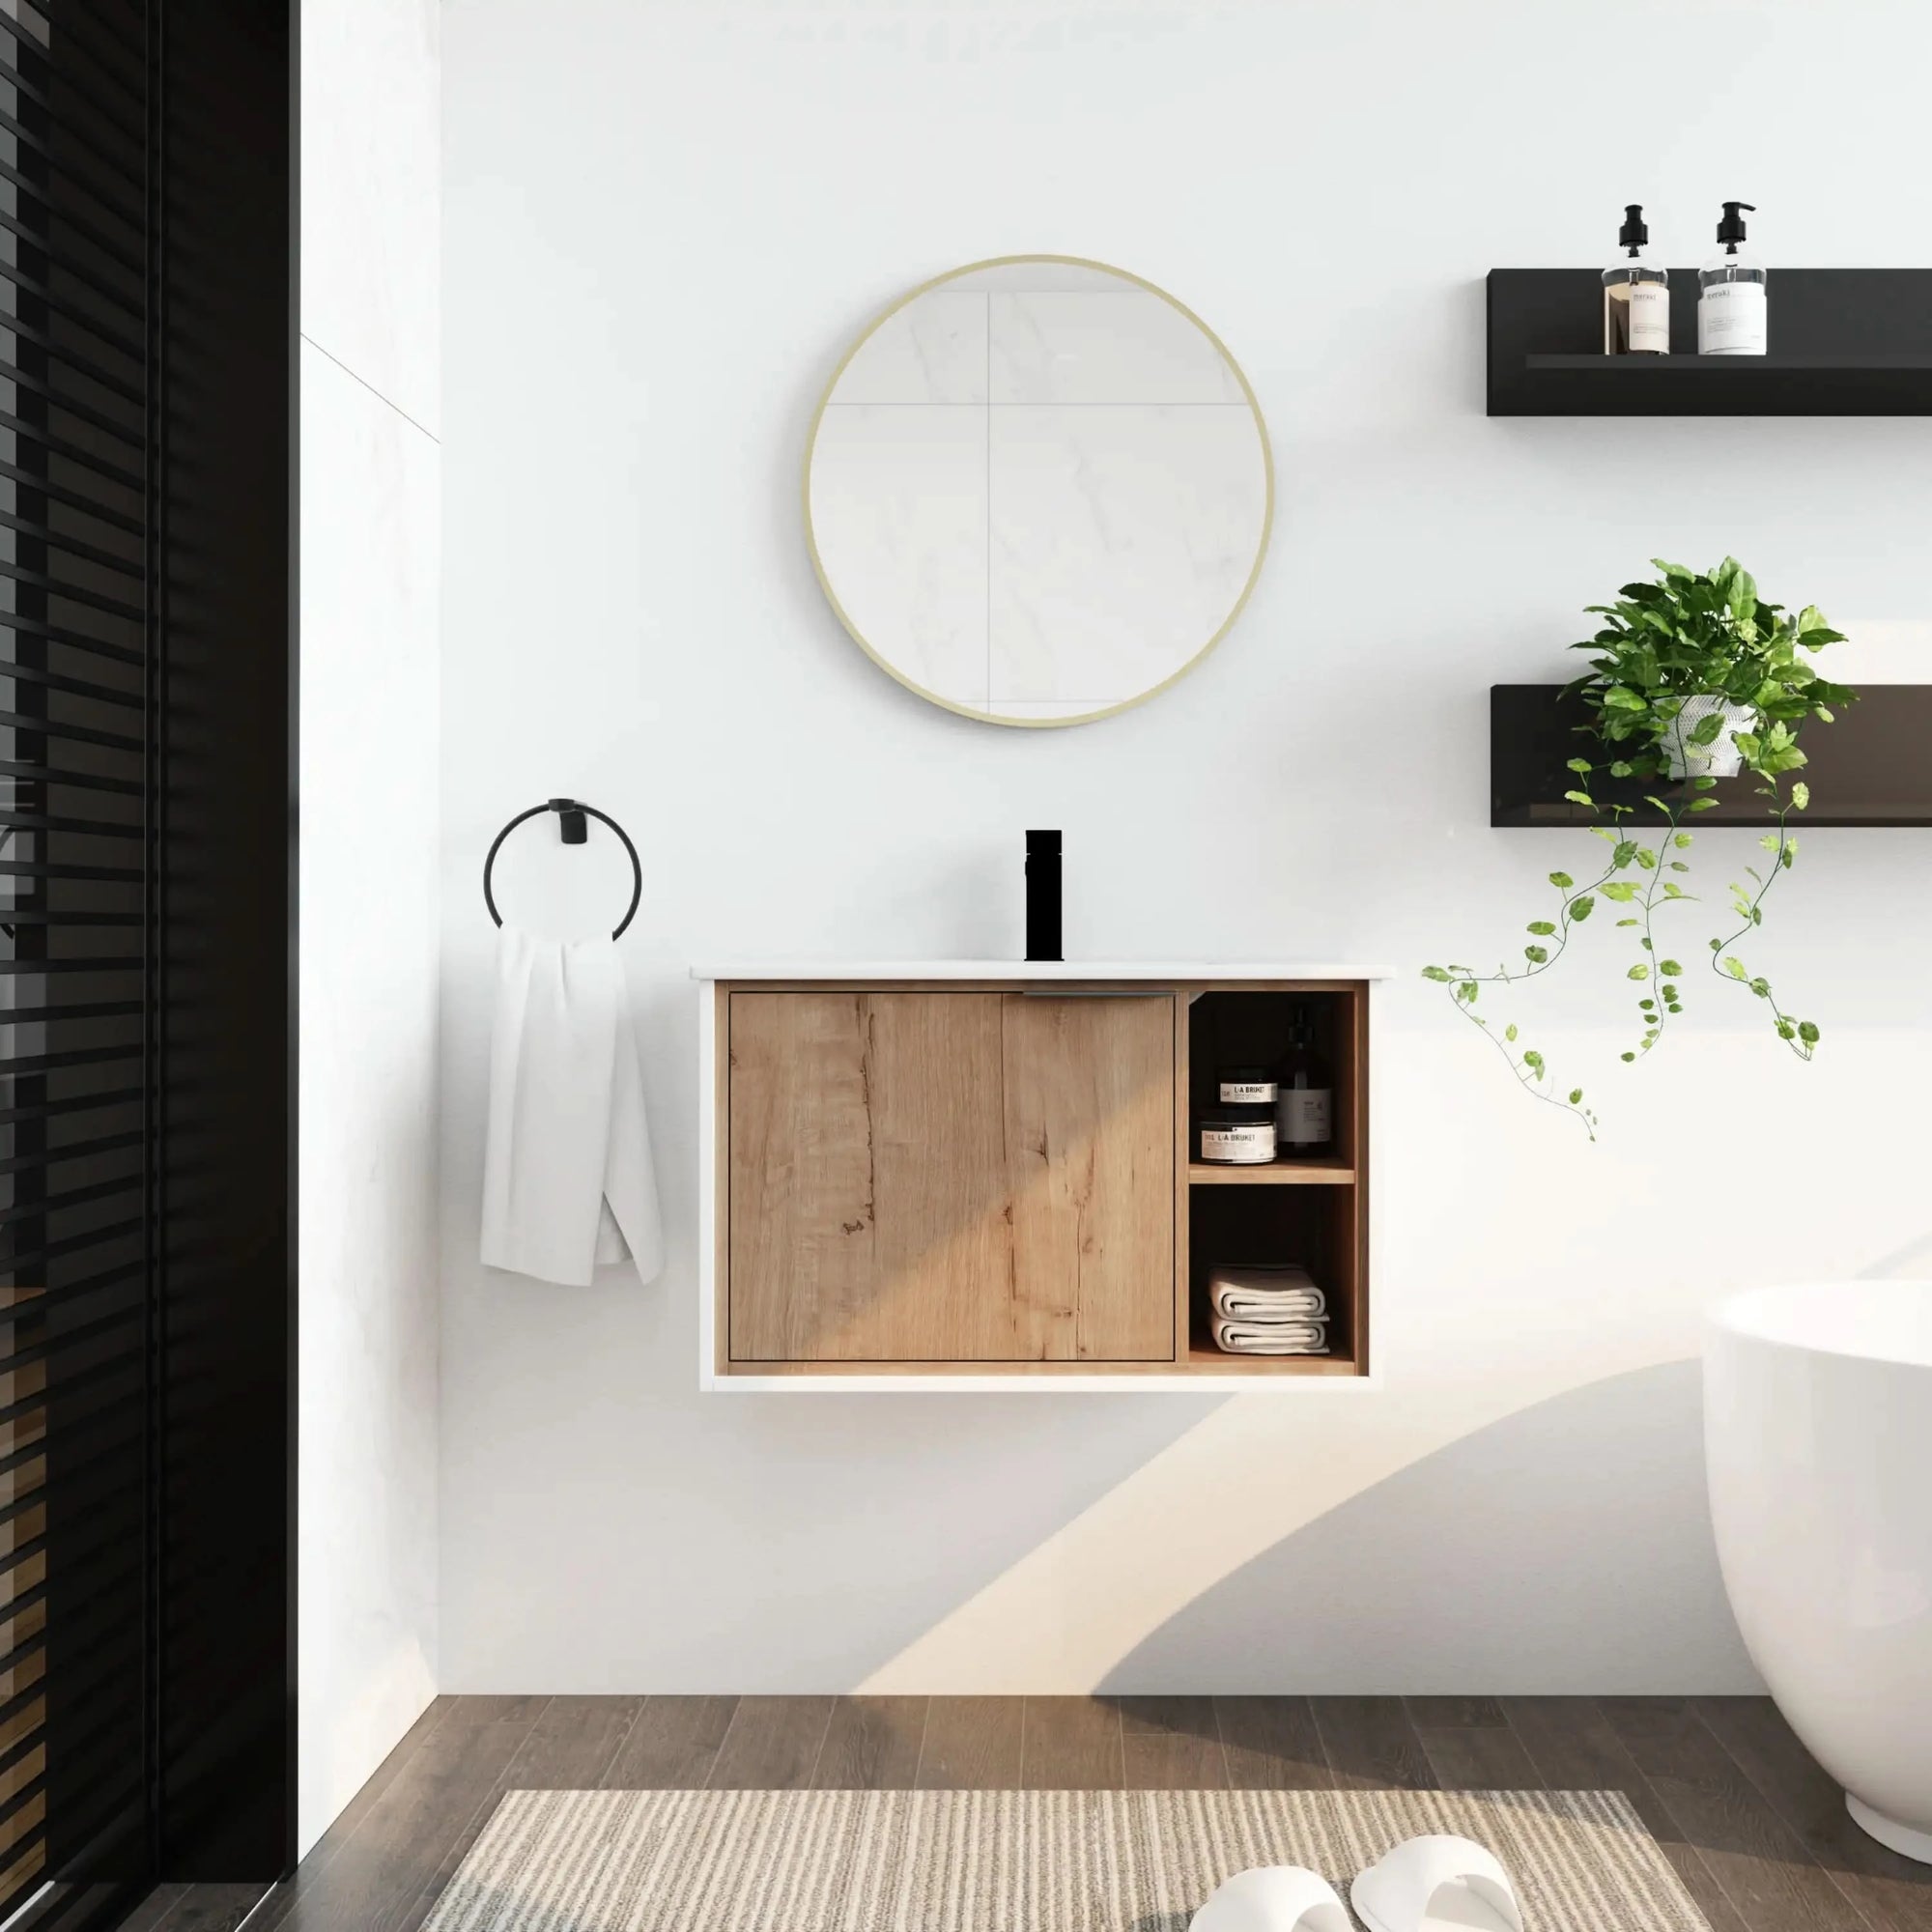
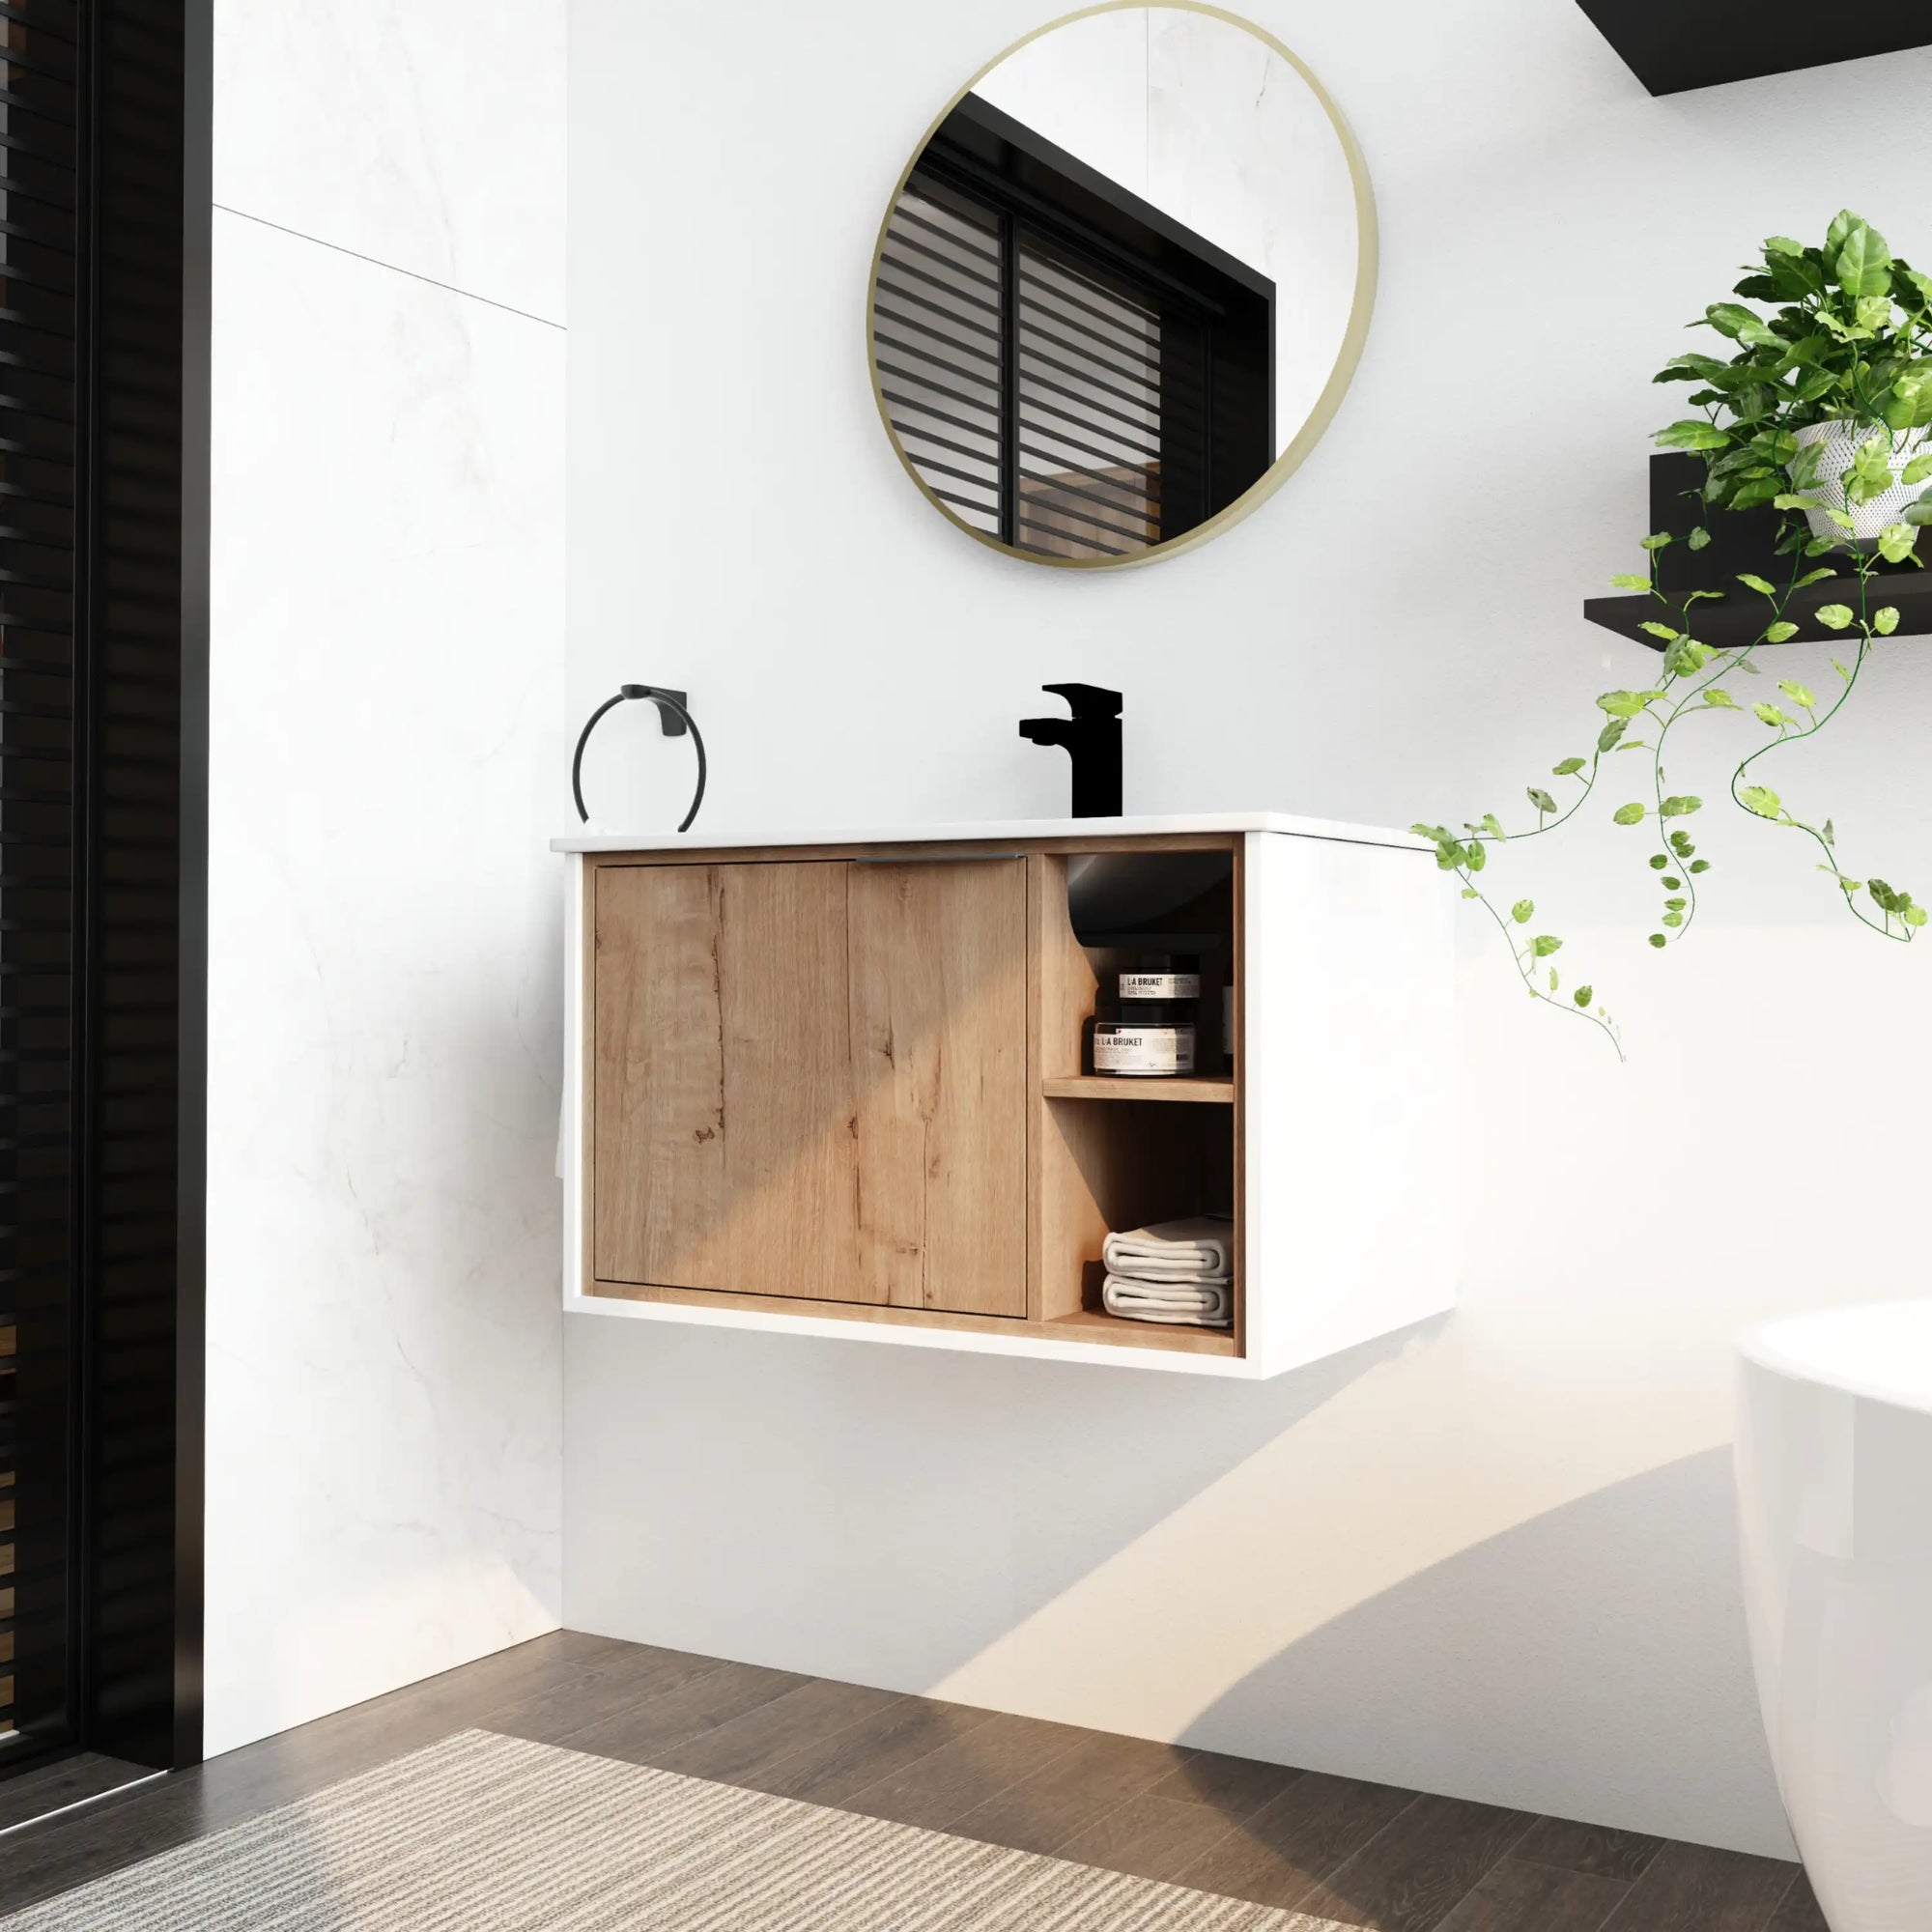
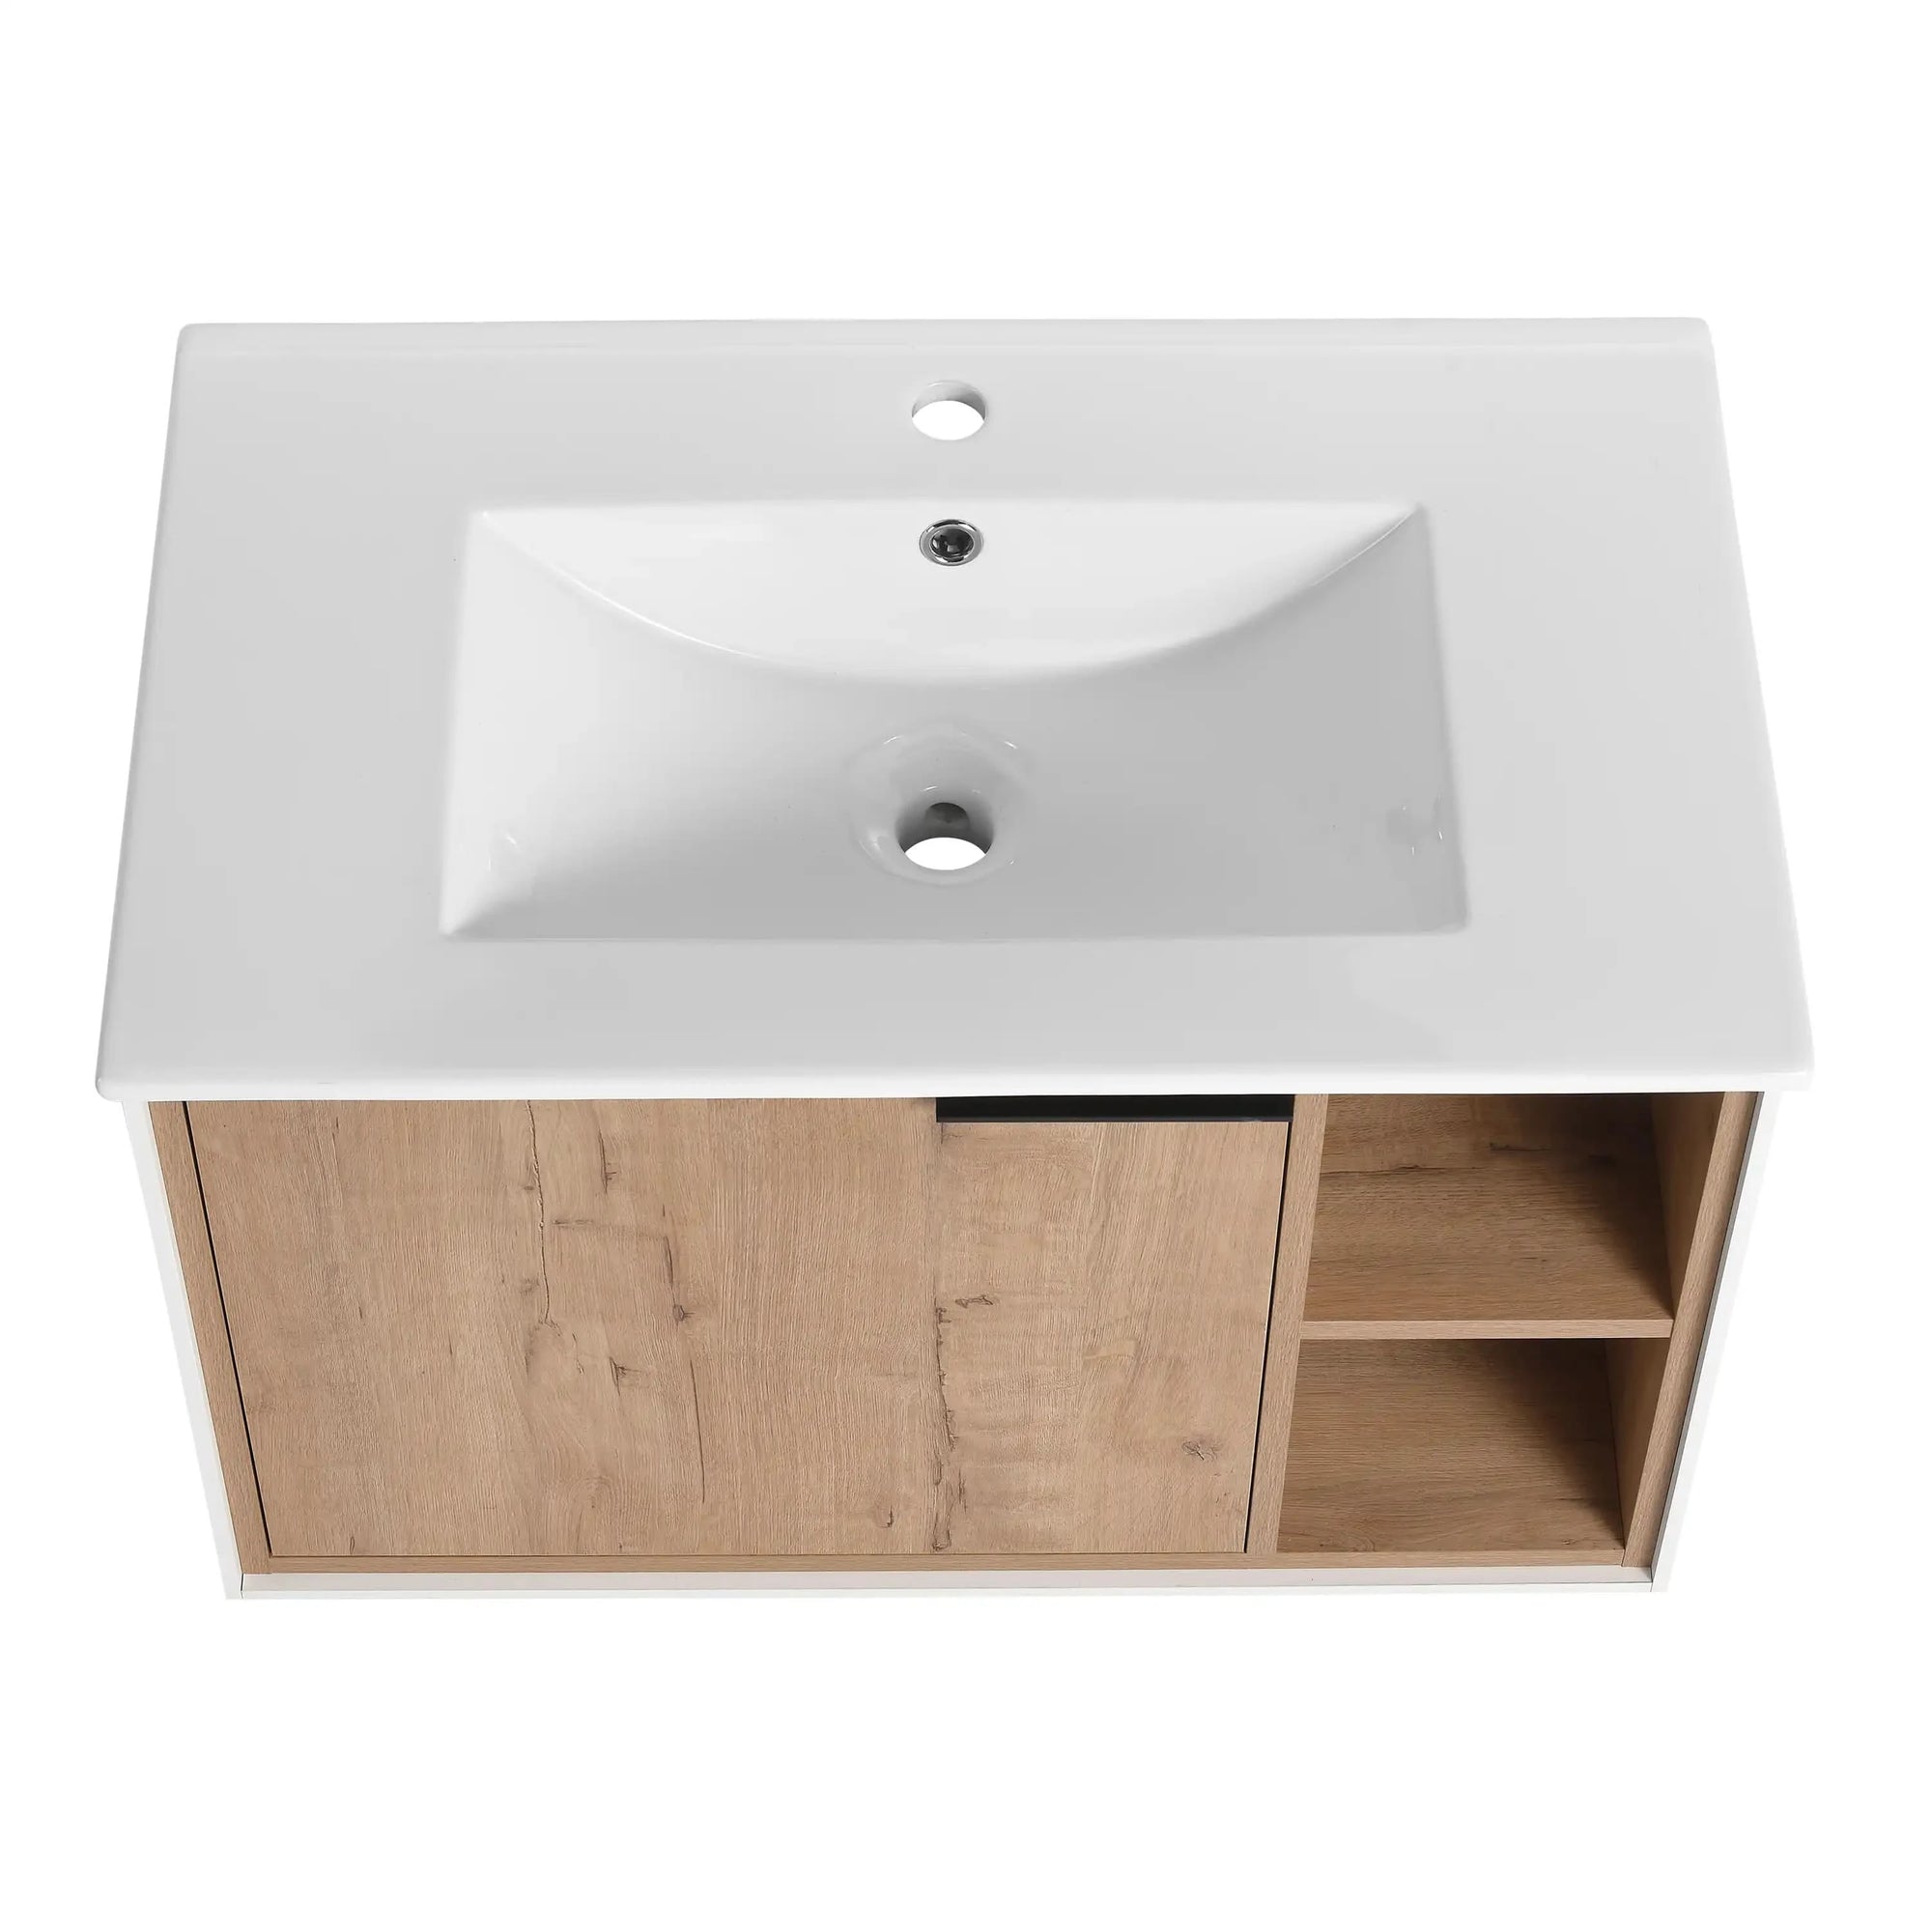
Now that you’ve successfully removed the old vanity, it’s time to install your new one. Whether you’re going for a freestanding model or a wall-mounted vanity like the AL Matte White Wall-Mounted Cabinet, following these steps will ensure a smooth installation process.
Preparing the Installation Area
Cleaning the Walls and Floor
Before placing the new vanity, clean the area where the old vanity stood. Remove any leftover caulk, adhesive, or debris to ensure a clean surface for installation.
Repairing Wall or Floor Damage
Check for any damages to the wall or floor and repair them as necessary. If the wall has cracks or holes, patch them up with drywall filler. For uneven floors, use shims to level the vanity.
Positioning the New Vanity
Wall-Mounted vs. Freestanding Vanities
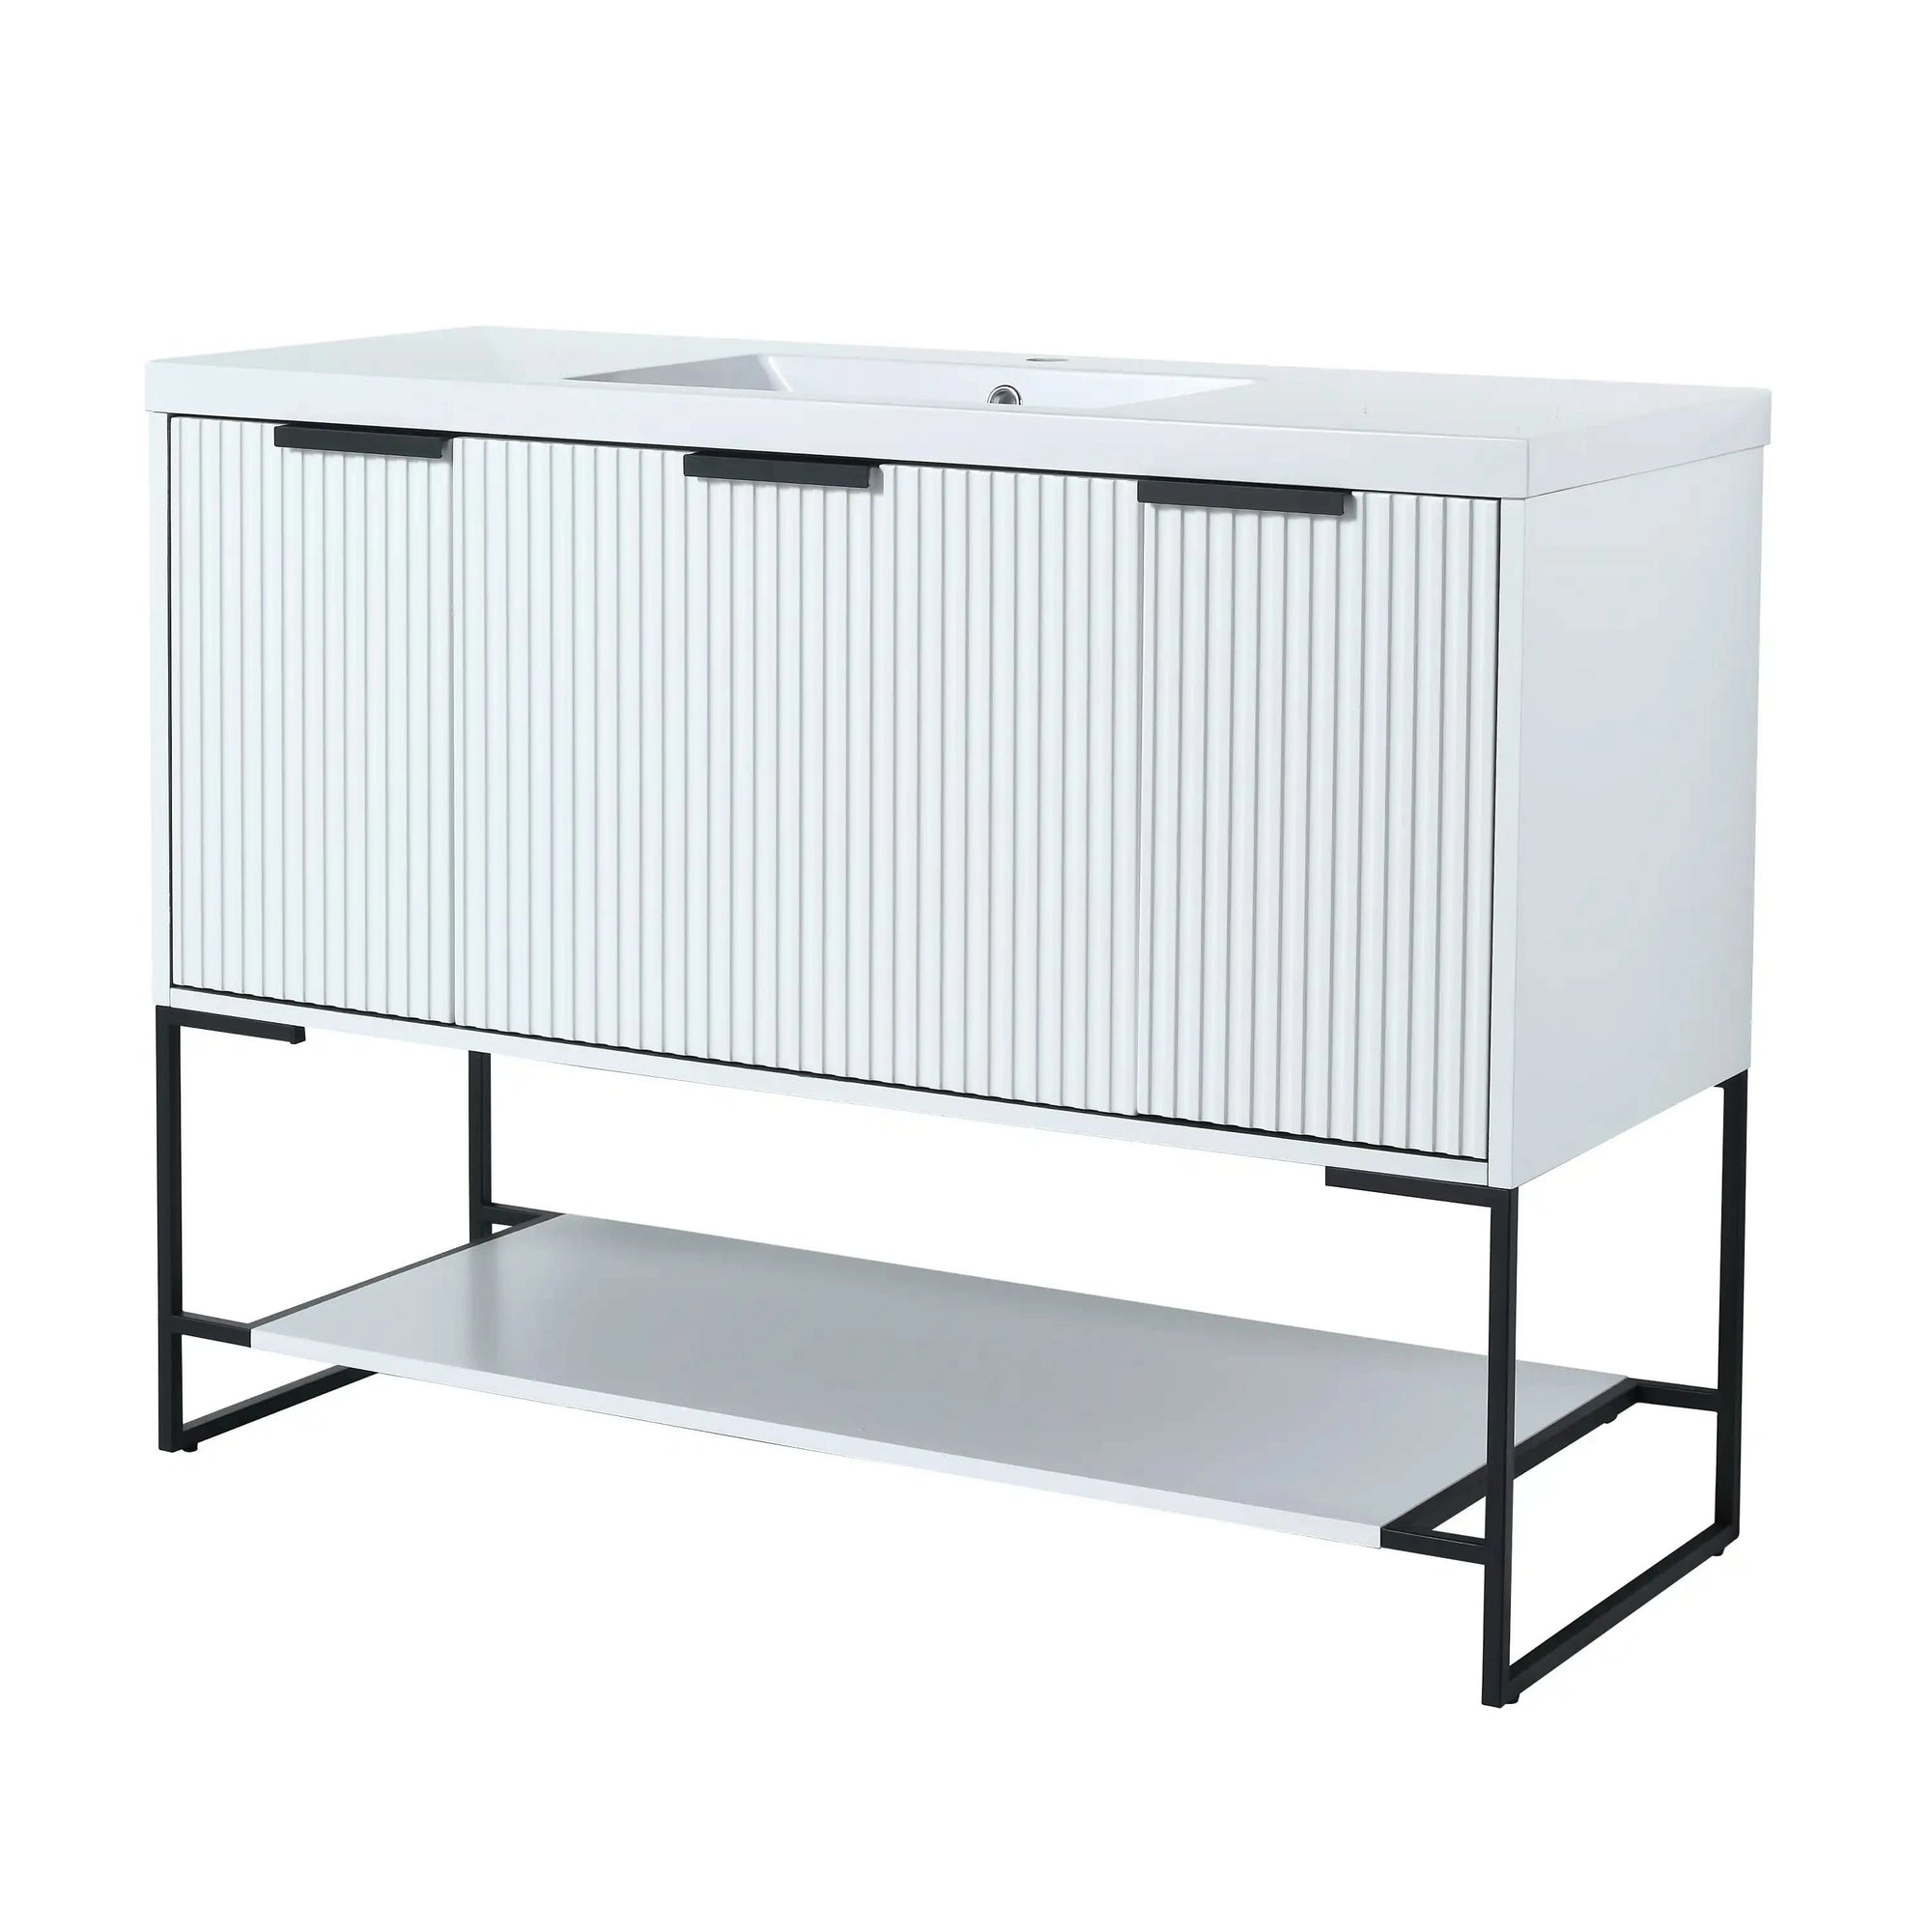
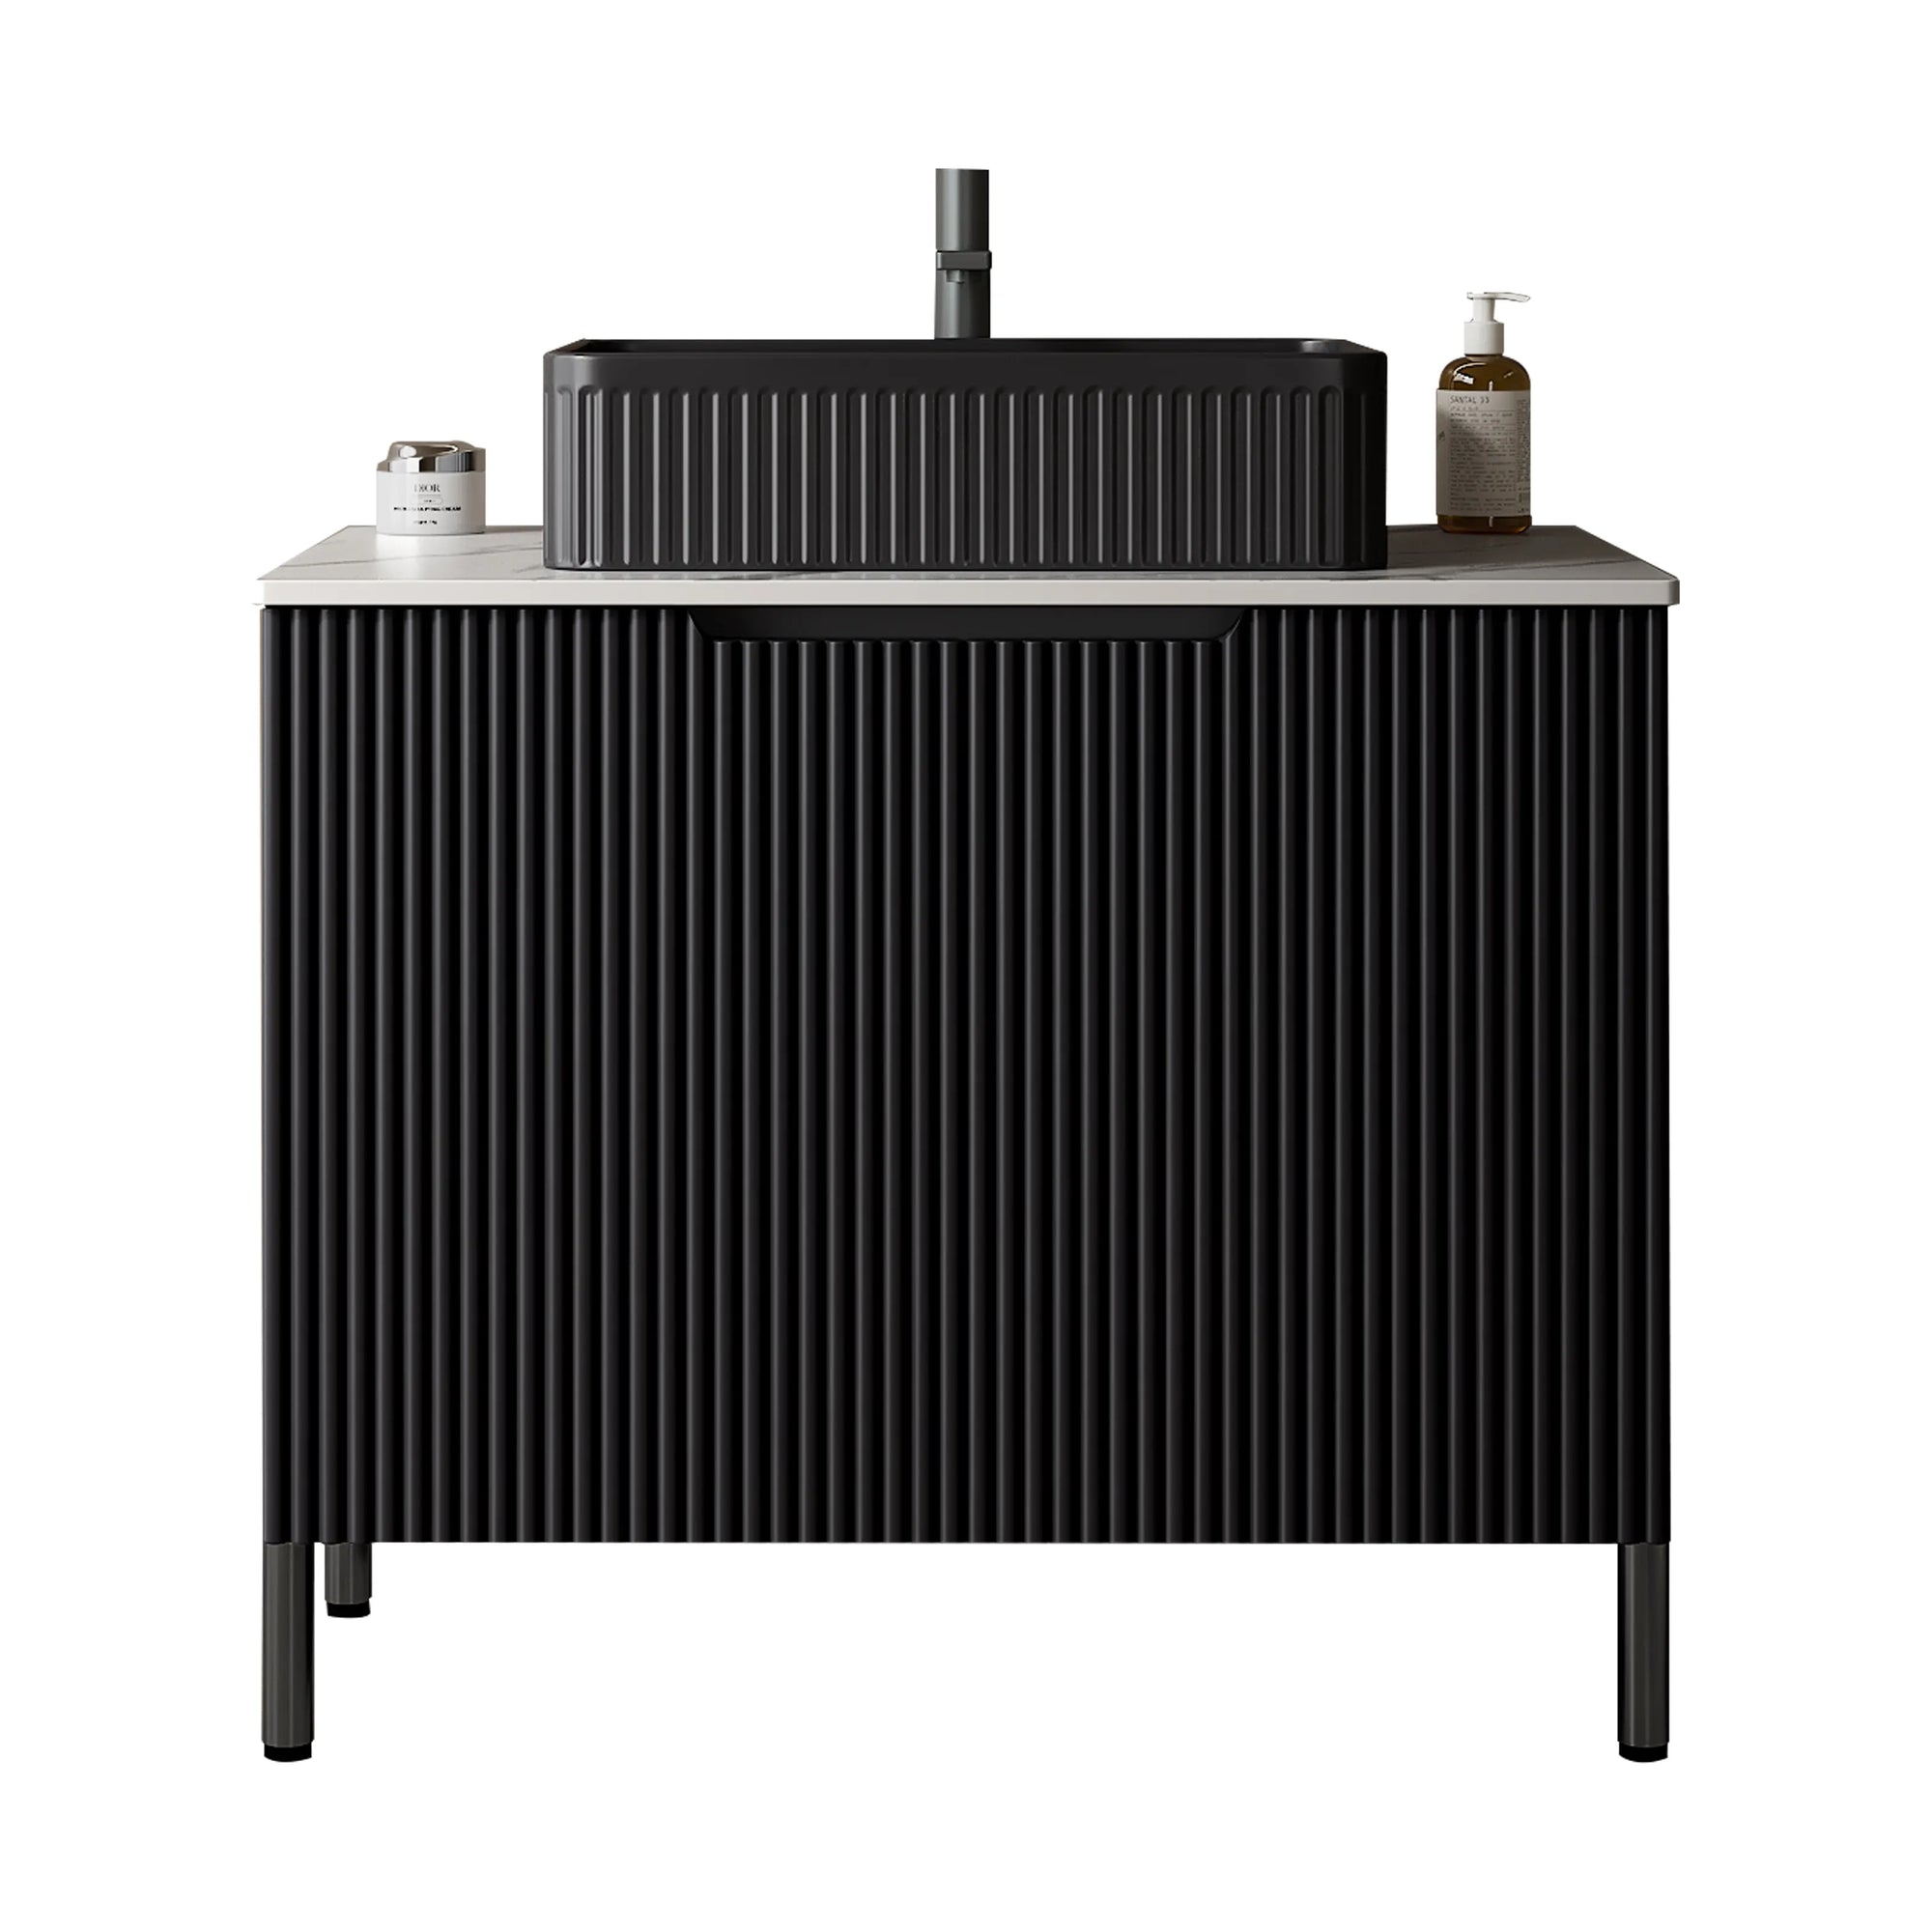
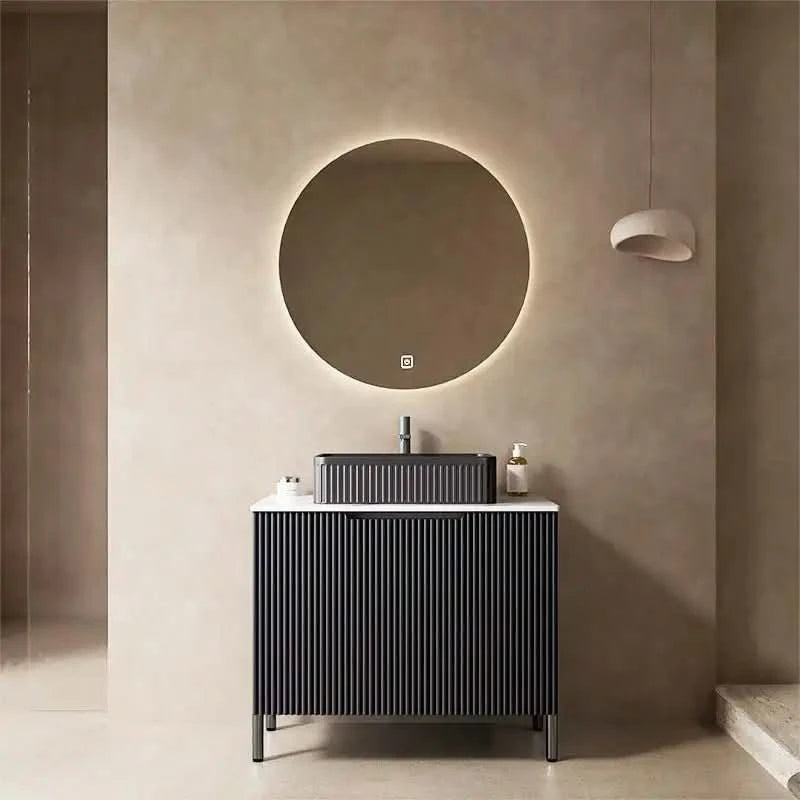
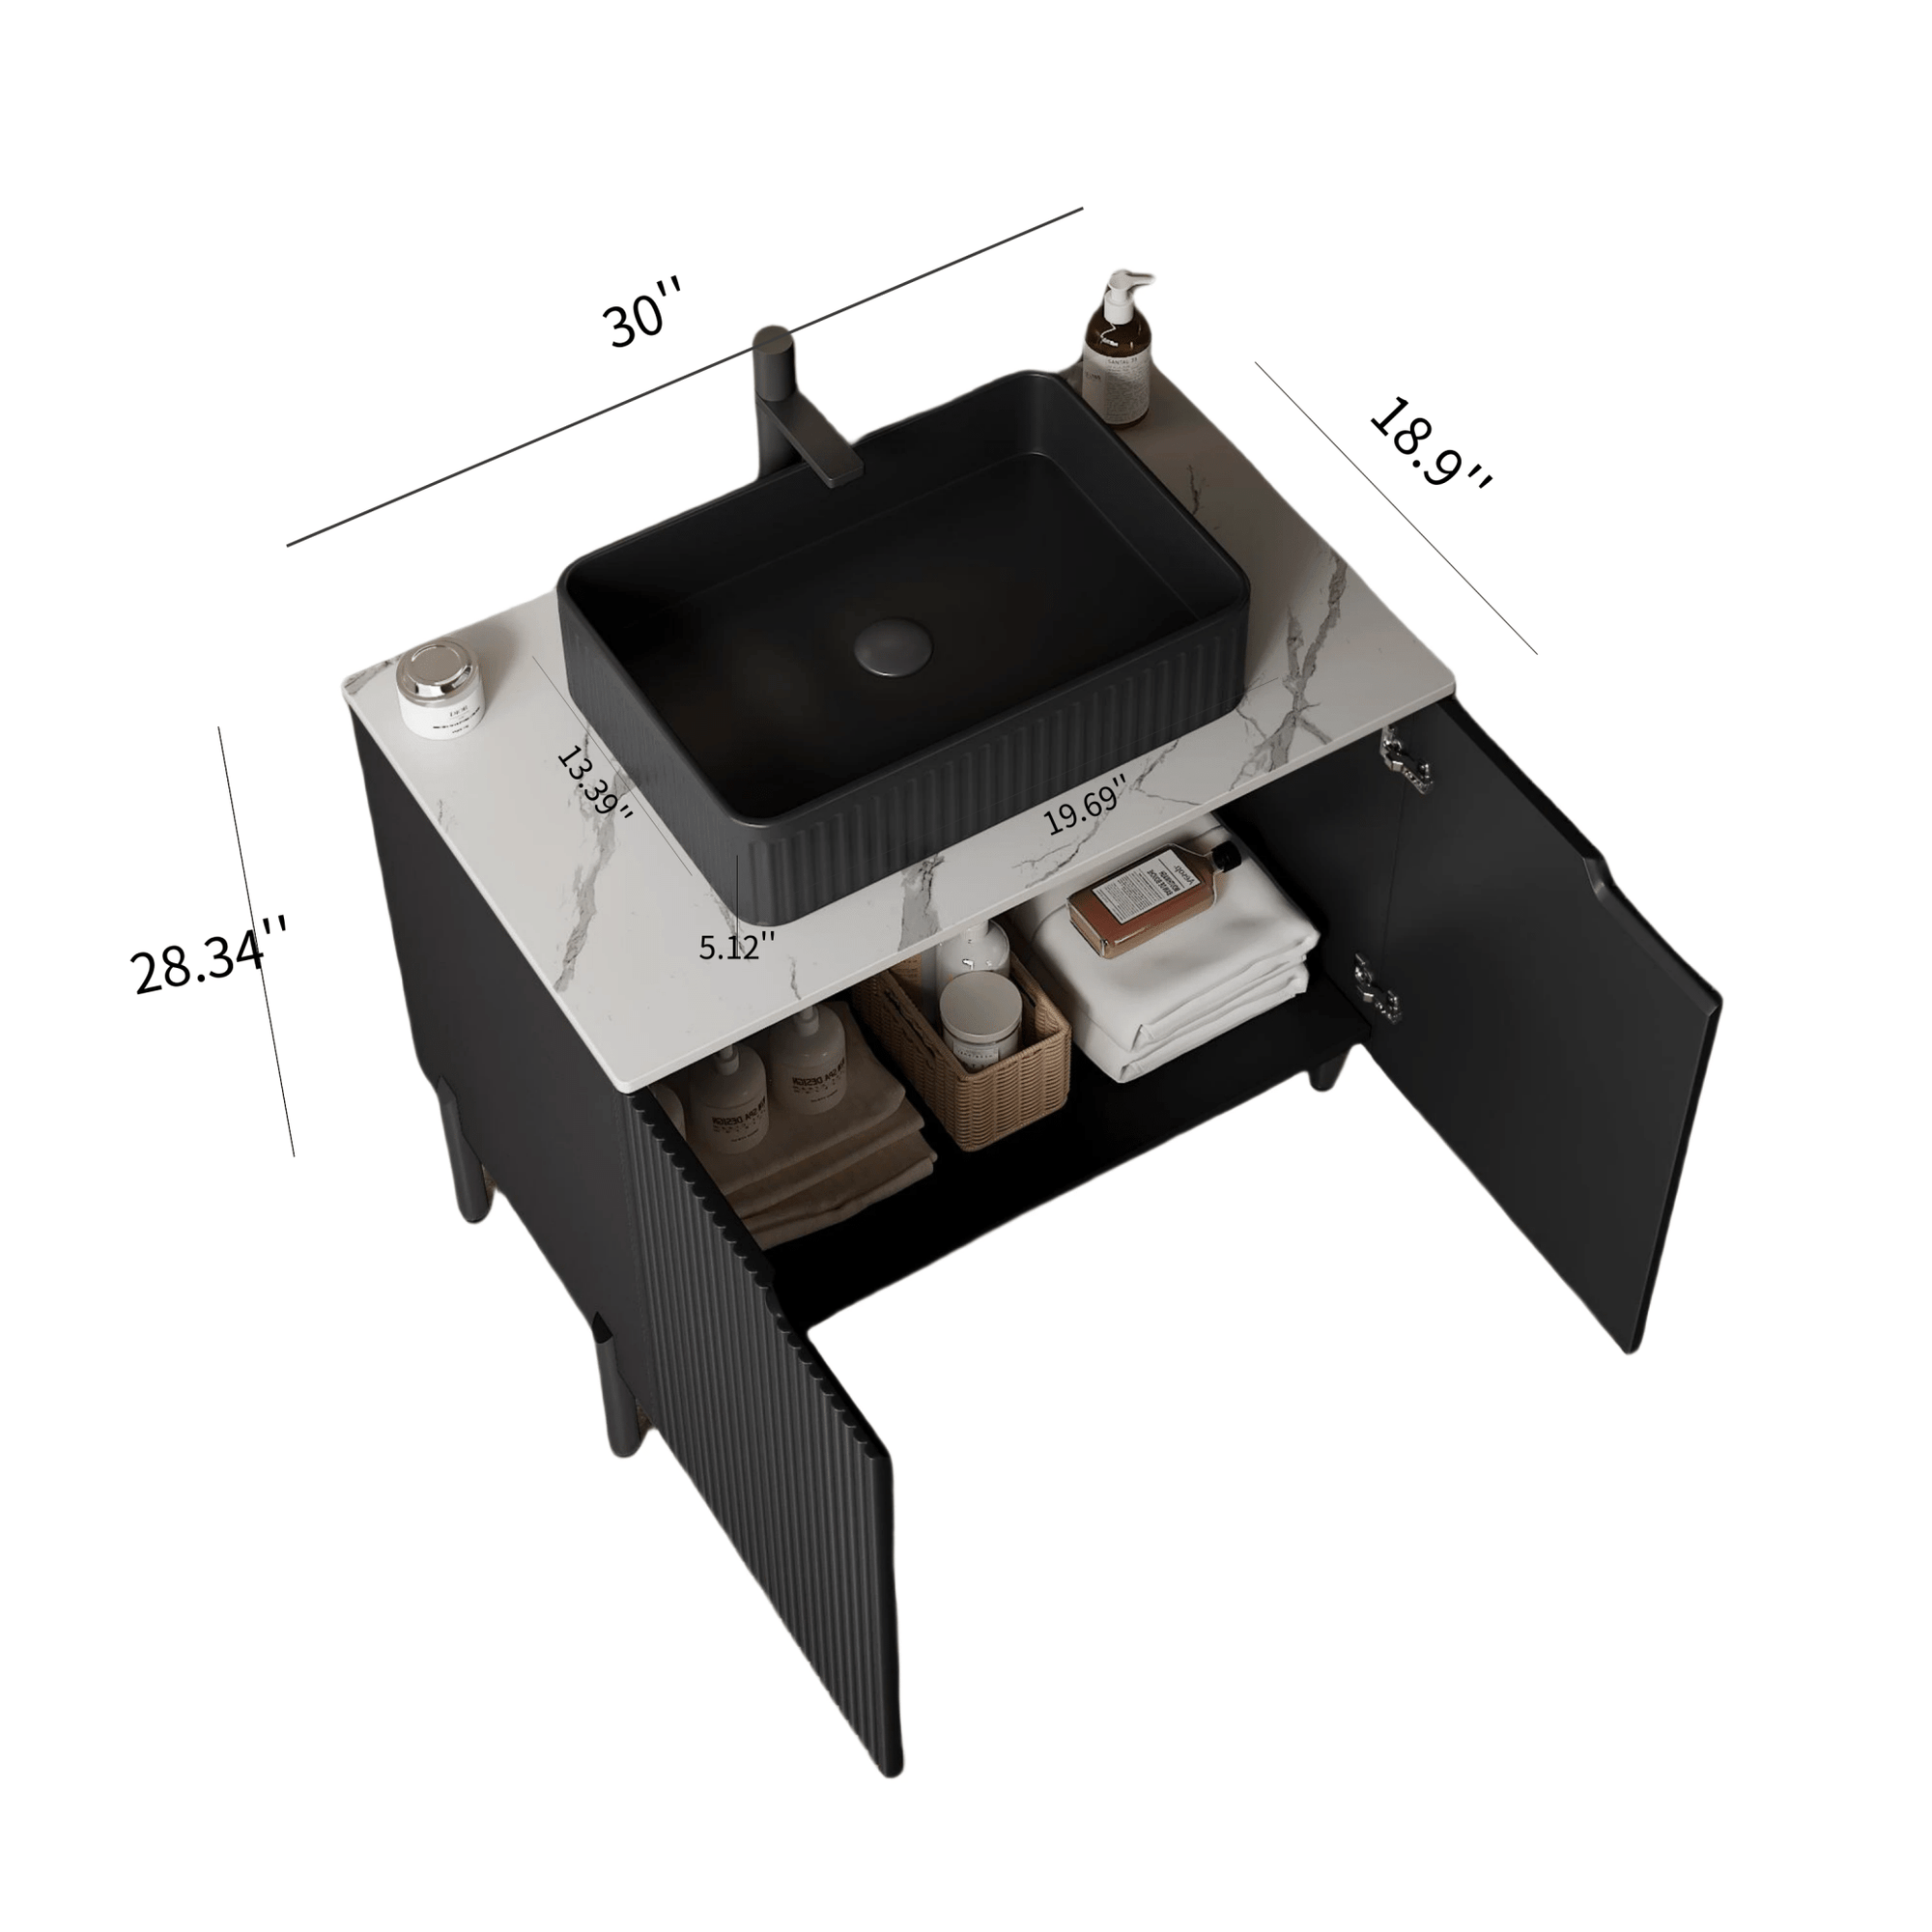
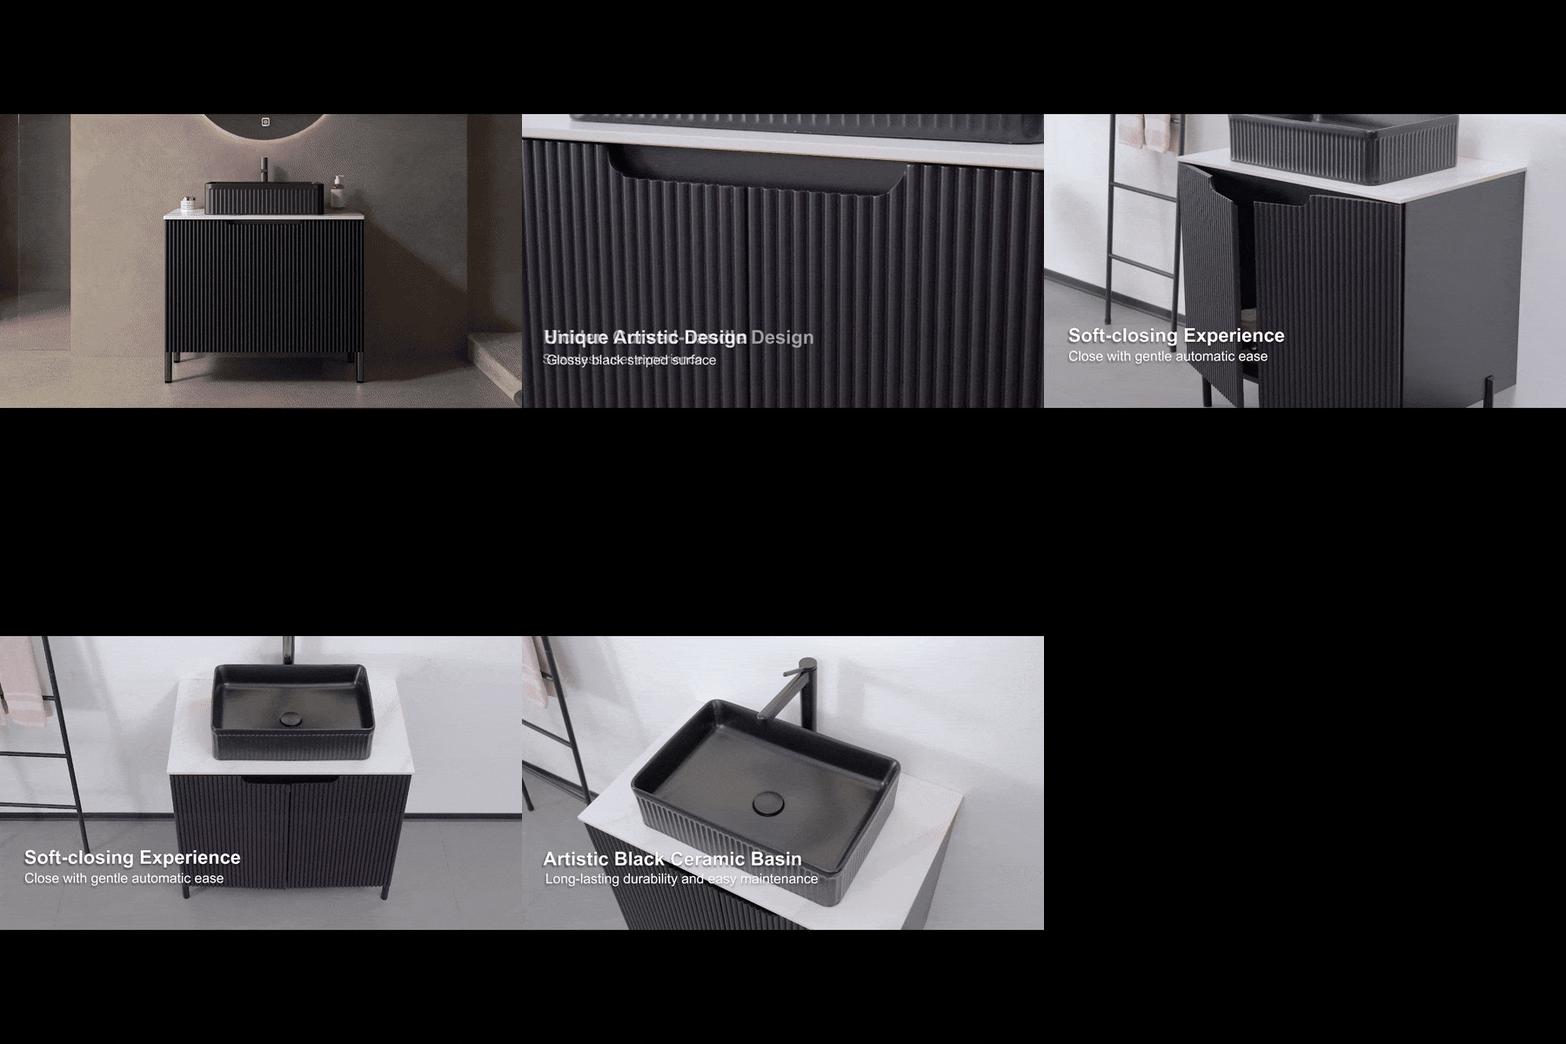
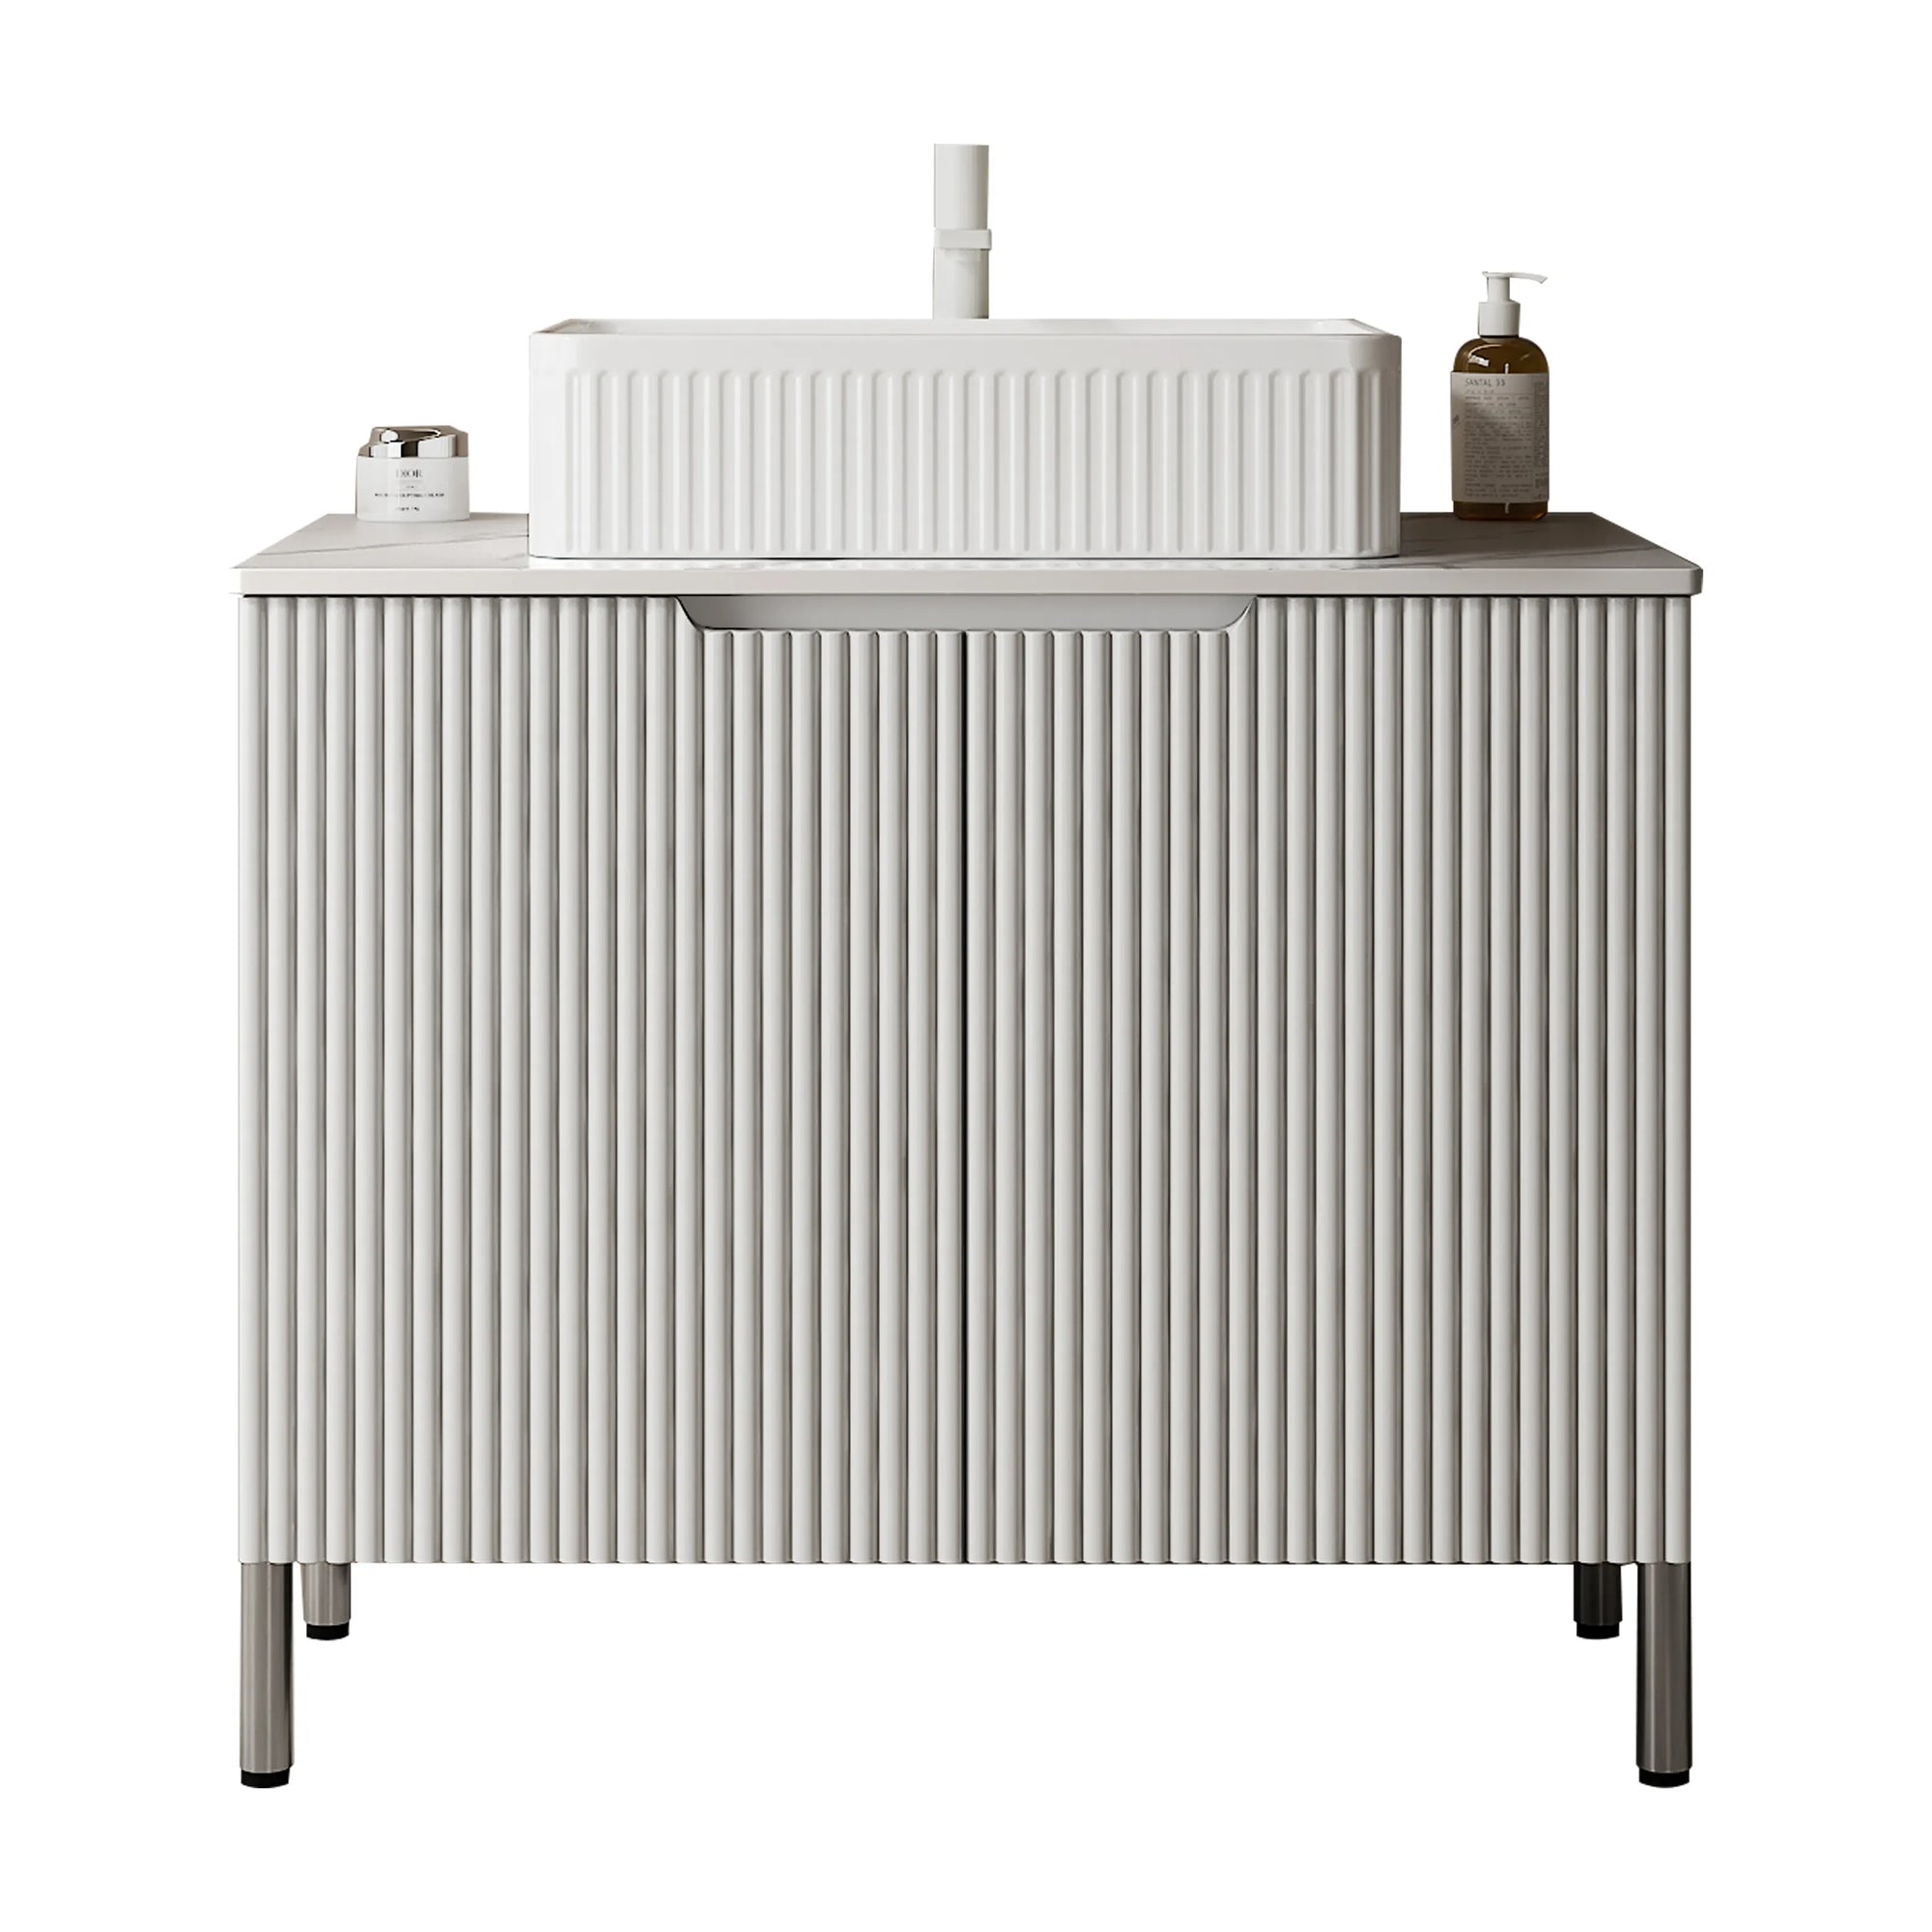
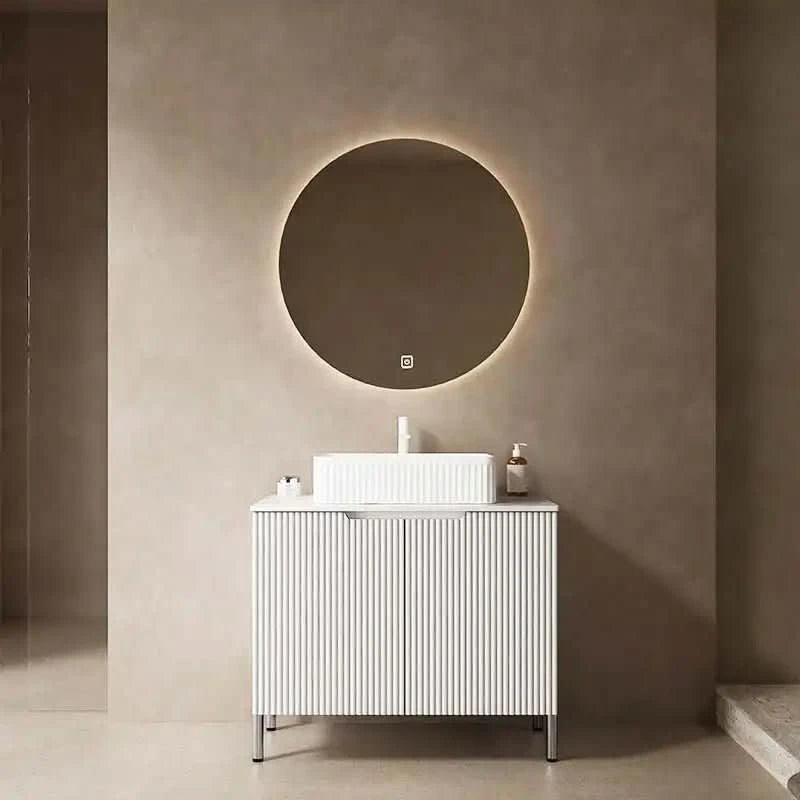
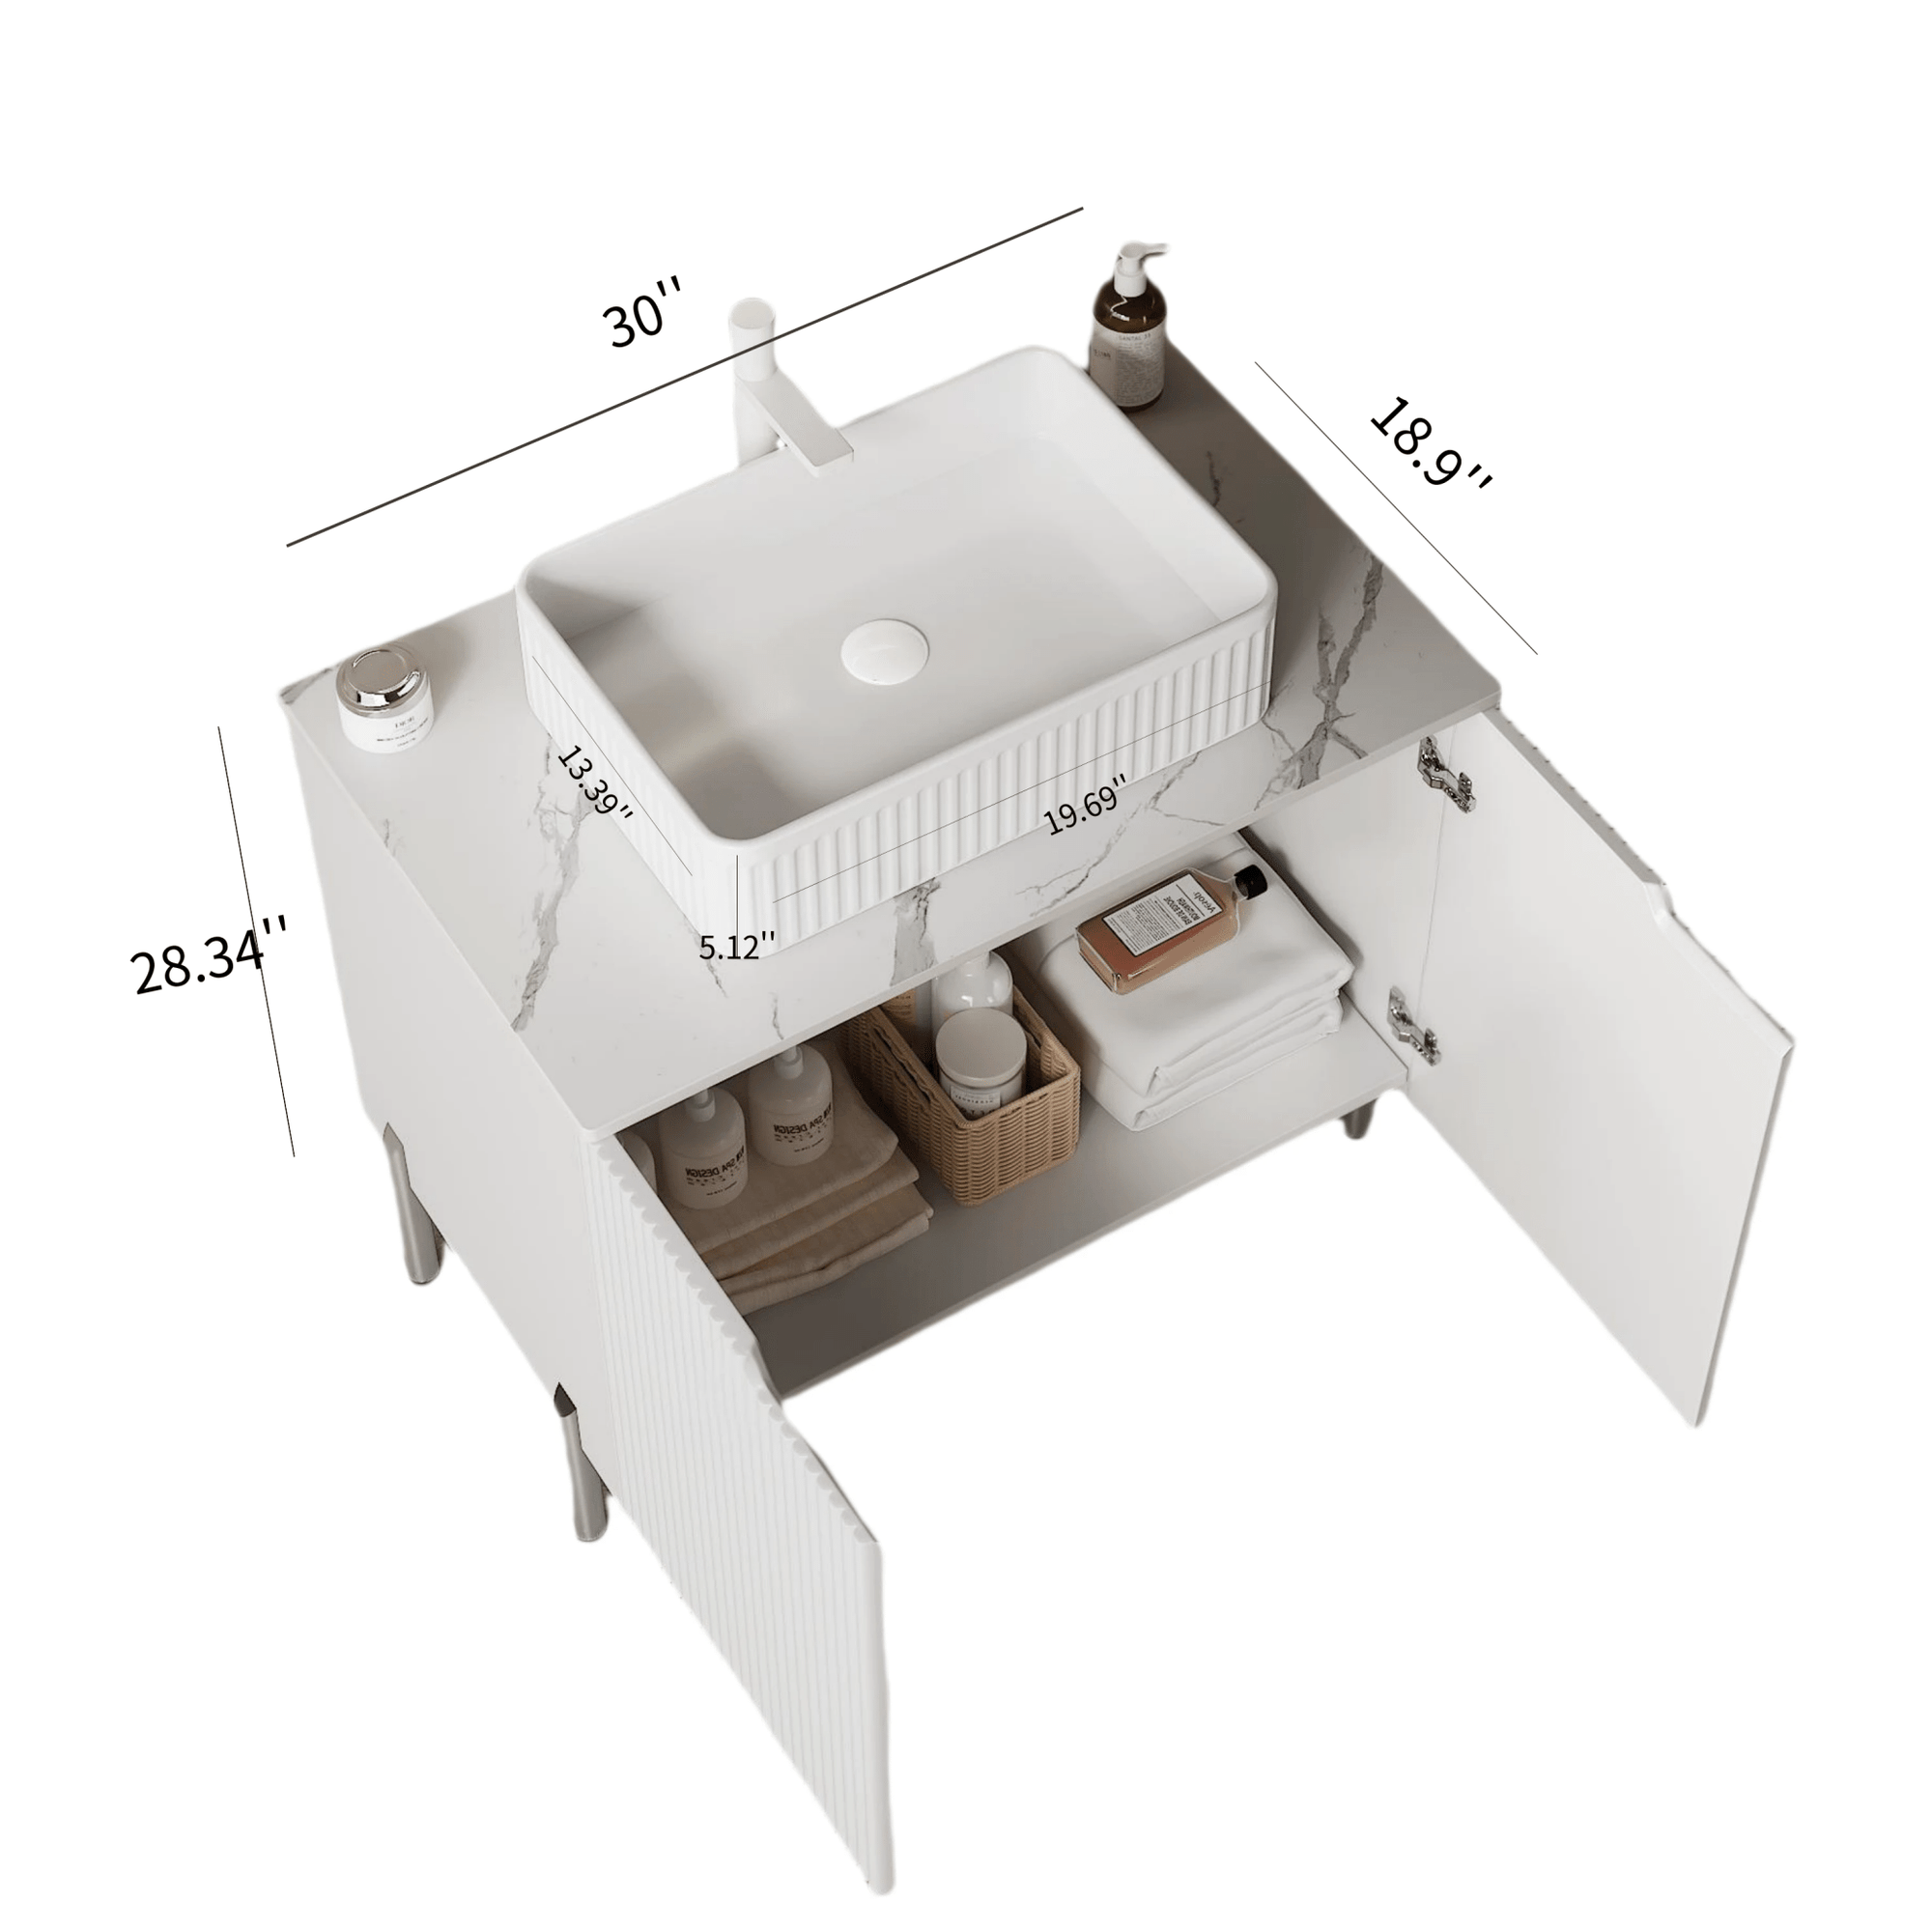
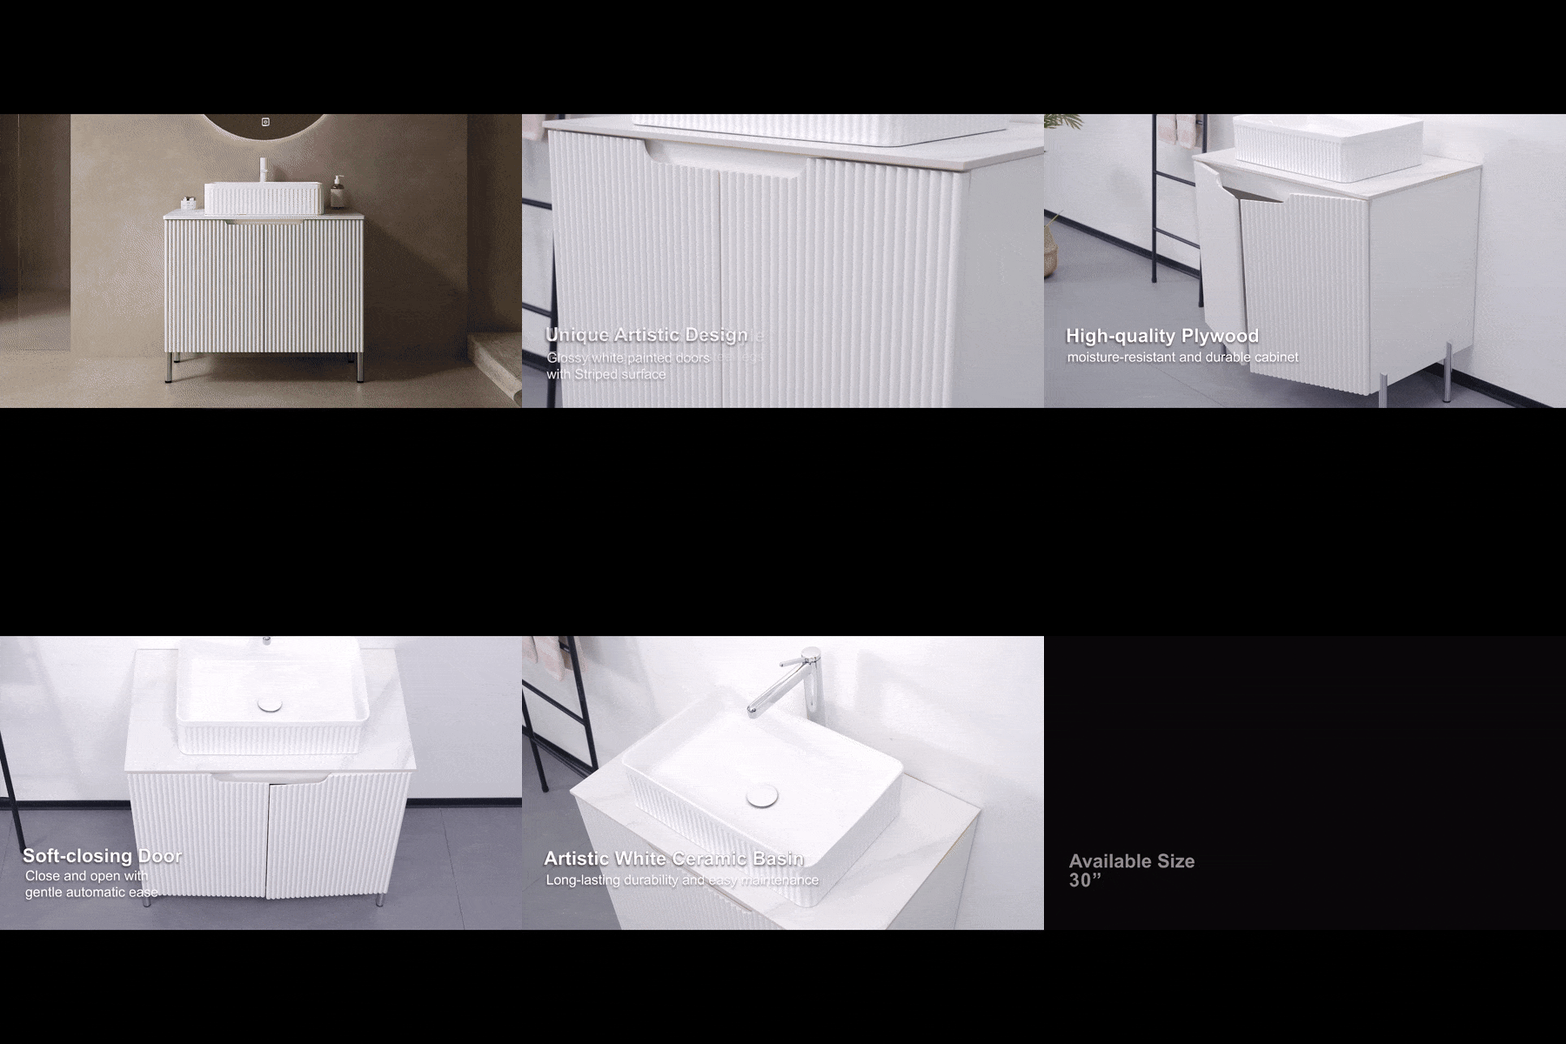
Depending on your choice, the installation process will differ slightly. A freestanding vanity like the AL White Freestanding Mounted Cabinet is simpler to install and offers additional storage space, while a wall-mounted vanity saves floor space and gives a modern, sleek look.
Checking for Levelness
Place the vanity in position and use a level to ensure it sits straight. If necessary, adjust with shims under the base to level the unit.
Attaching the Vanity to the Wall
Finding and Marking Studs
For wall-mounted vanities, use a stud finder to locate the wall studs. Mark their locations on the wall to ensure the vanity is securely mounted.
Securing the Vanity
Screw the vanity into the studs using long screws, ensuring it's firmly attached. If you’re installing a heavier vanity, consider using additional support brackets for extra stability.
Reconnecting the Plumbing and Sealing
With the vanity securely in place, it’s time to reconnect the plumbing and apply final seals to complete the installation.
Reconnecting the Water Supply and Drain
Attaching Water Supply Lines
Reconnect the water supply lines to the faucet. Apply plumber’s tape to the threads to ensure a tight seal and prevent leaks.
Testing for Leaks
Turn the water supply back on and test the faucet and drain connections for leaks. If any leaks appear, tighten the connections or apply additional plumber’s tape as needed.
Sealing the Vanity
Applying Silicone Caulk
Apply a bead of silicone caulk around the edges of the vanity where it meets the wall. This creates a watertight seal and prevents water from seeping behind the unit, protecting your walls and floors.
Final Touches: Installing Mirror and Fixtures
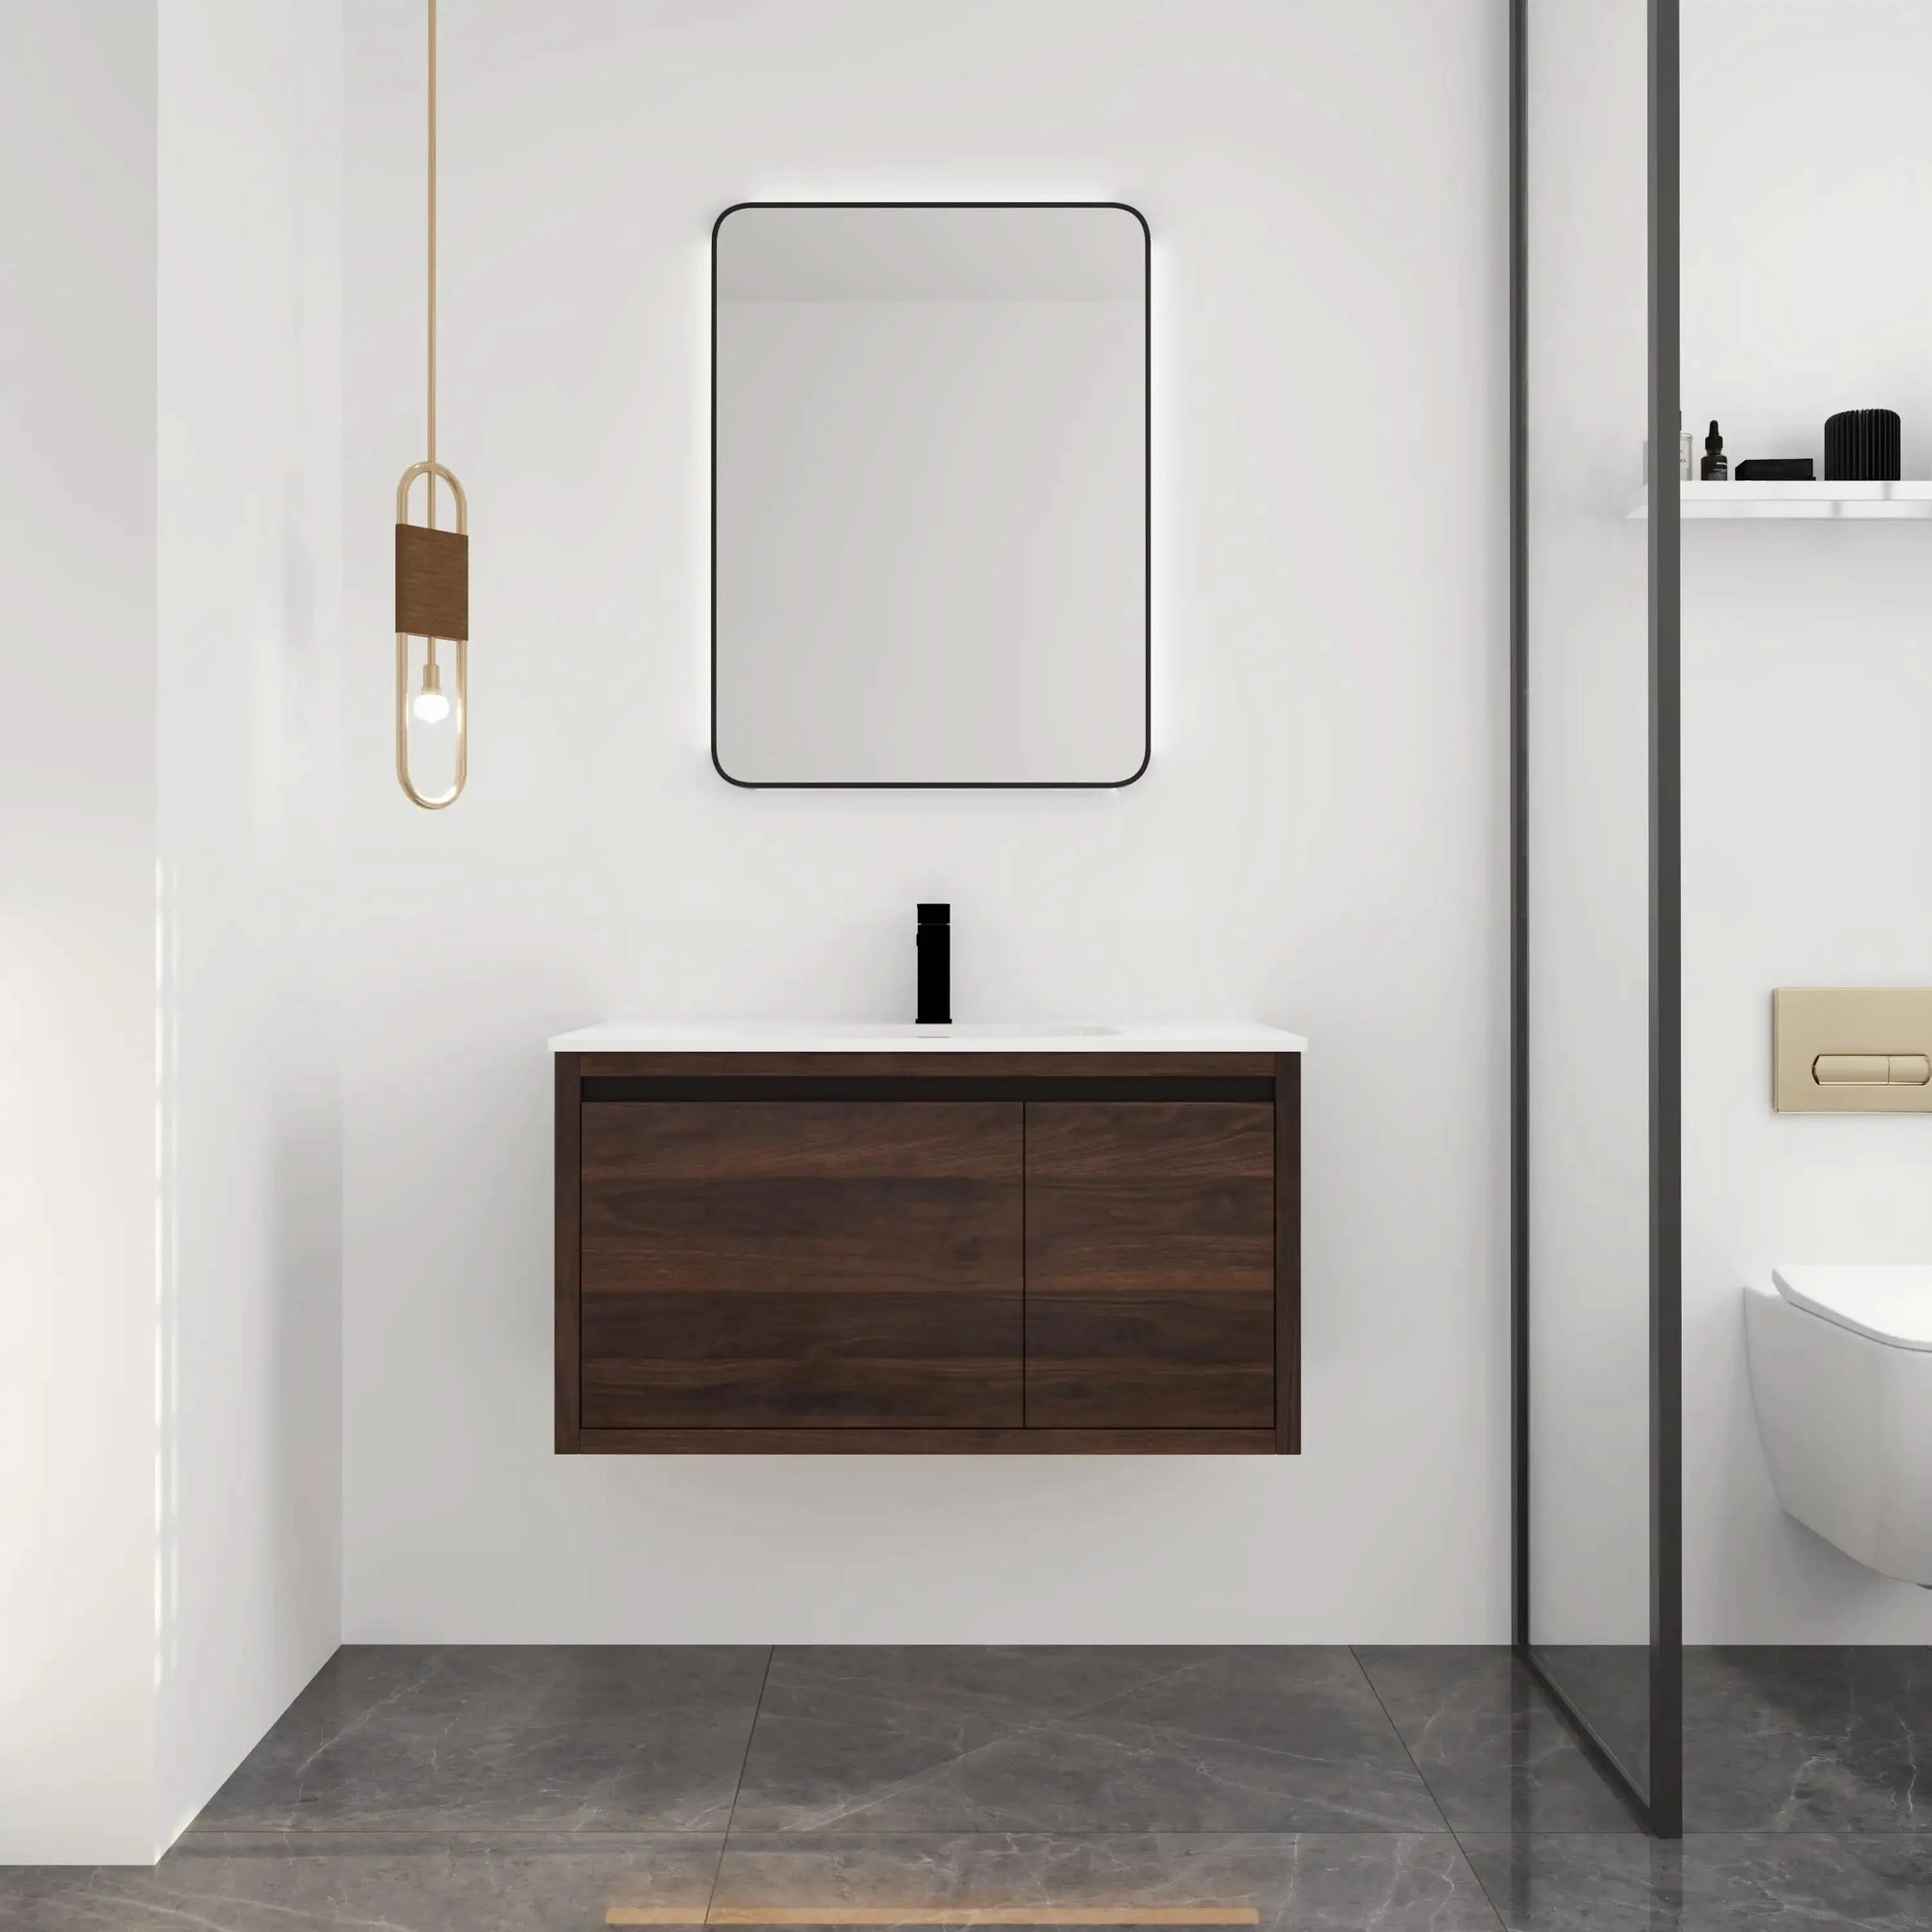
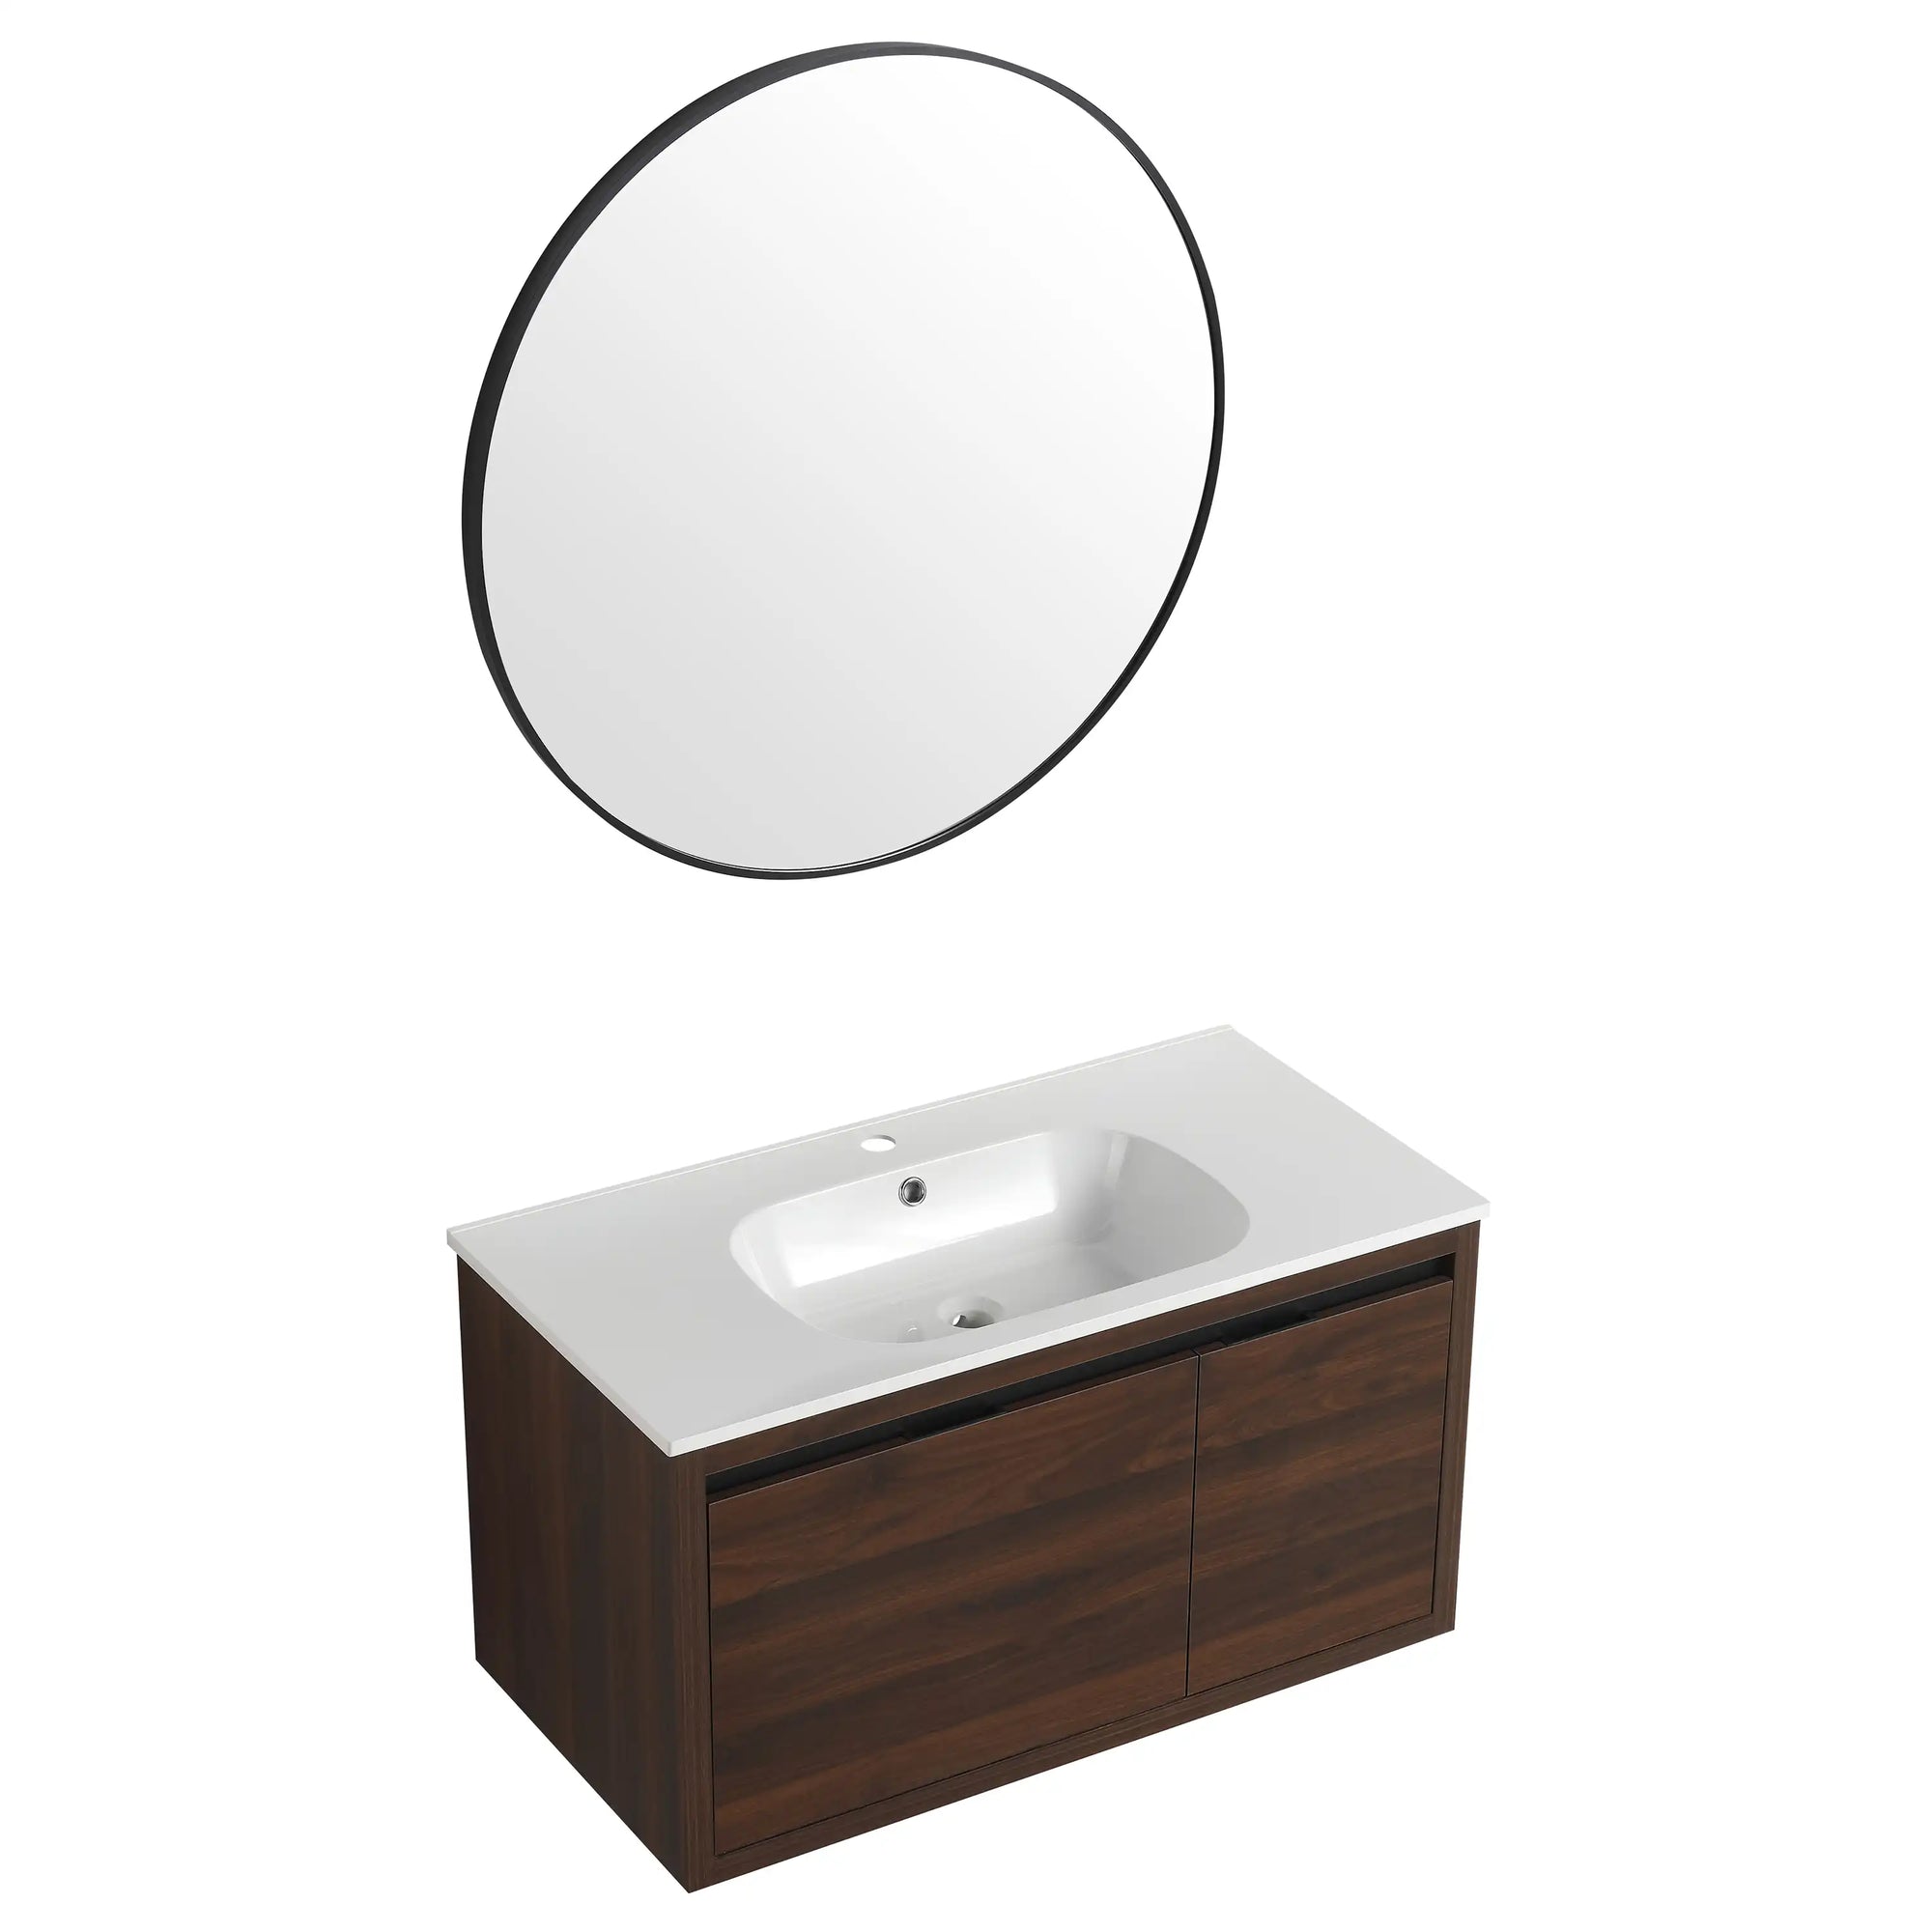
Now that the vanity is installed, consider adding a new mirror or light fixtures above the vanity to complete the transformation. A stylish mirror can enhance the overall aesthetic of your bathroom and make the space feel more open.
Choosing the Right Vanity for Your Bathroom
Selecting the right vanity for your bathroom is just as important as the installation. Here’s what to consider when choosing a new vanity.
Size and Dimensions
Measuring Your Bathroom
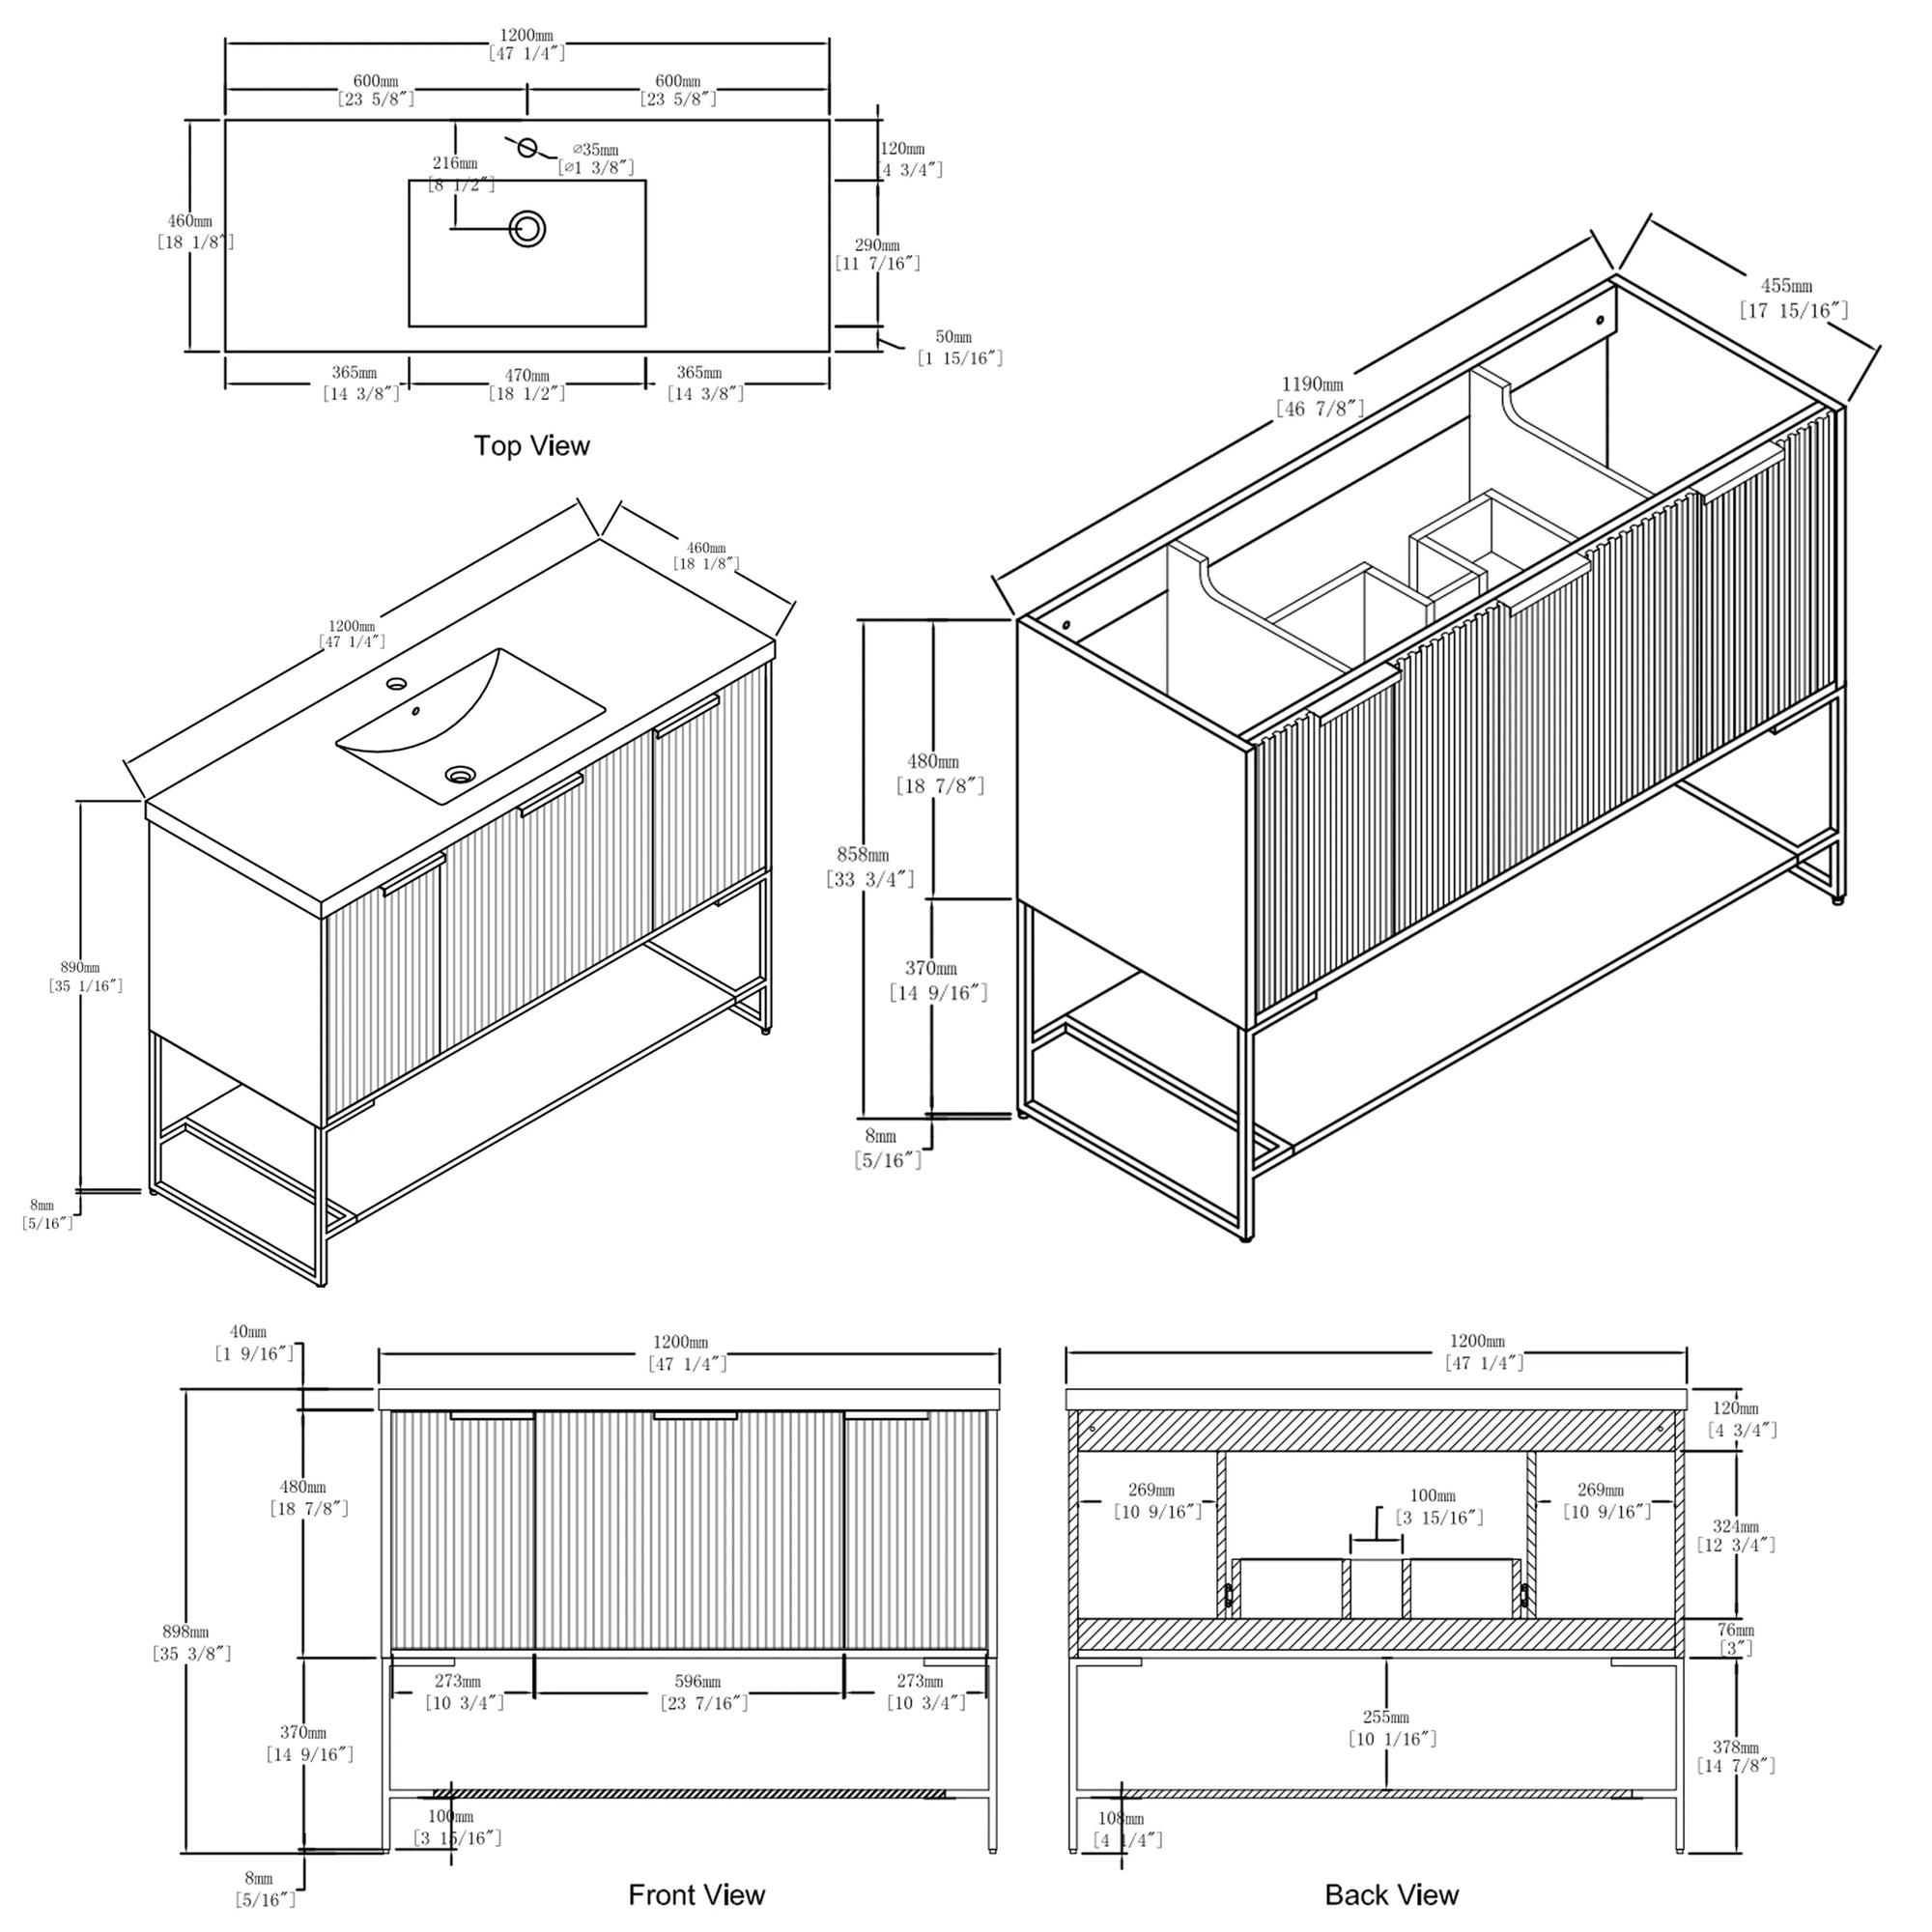
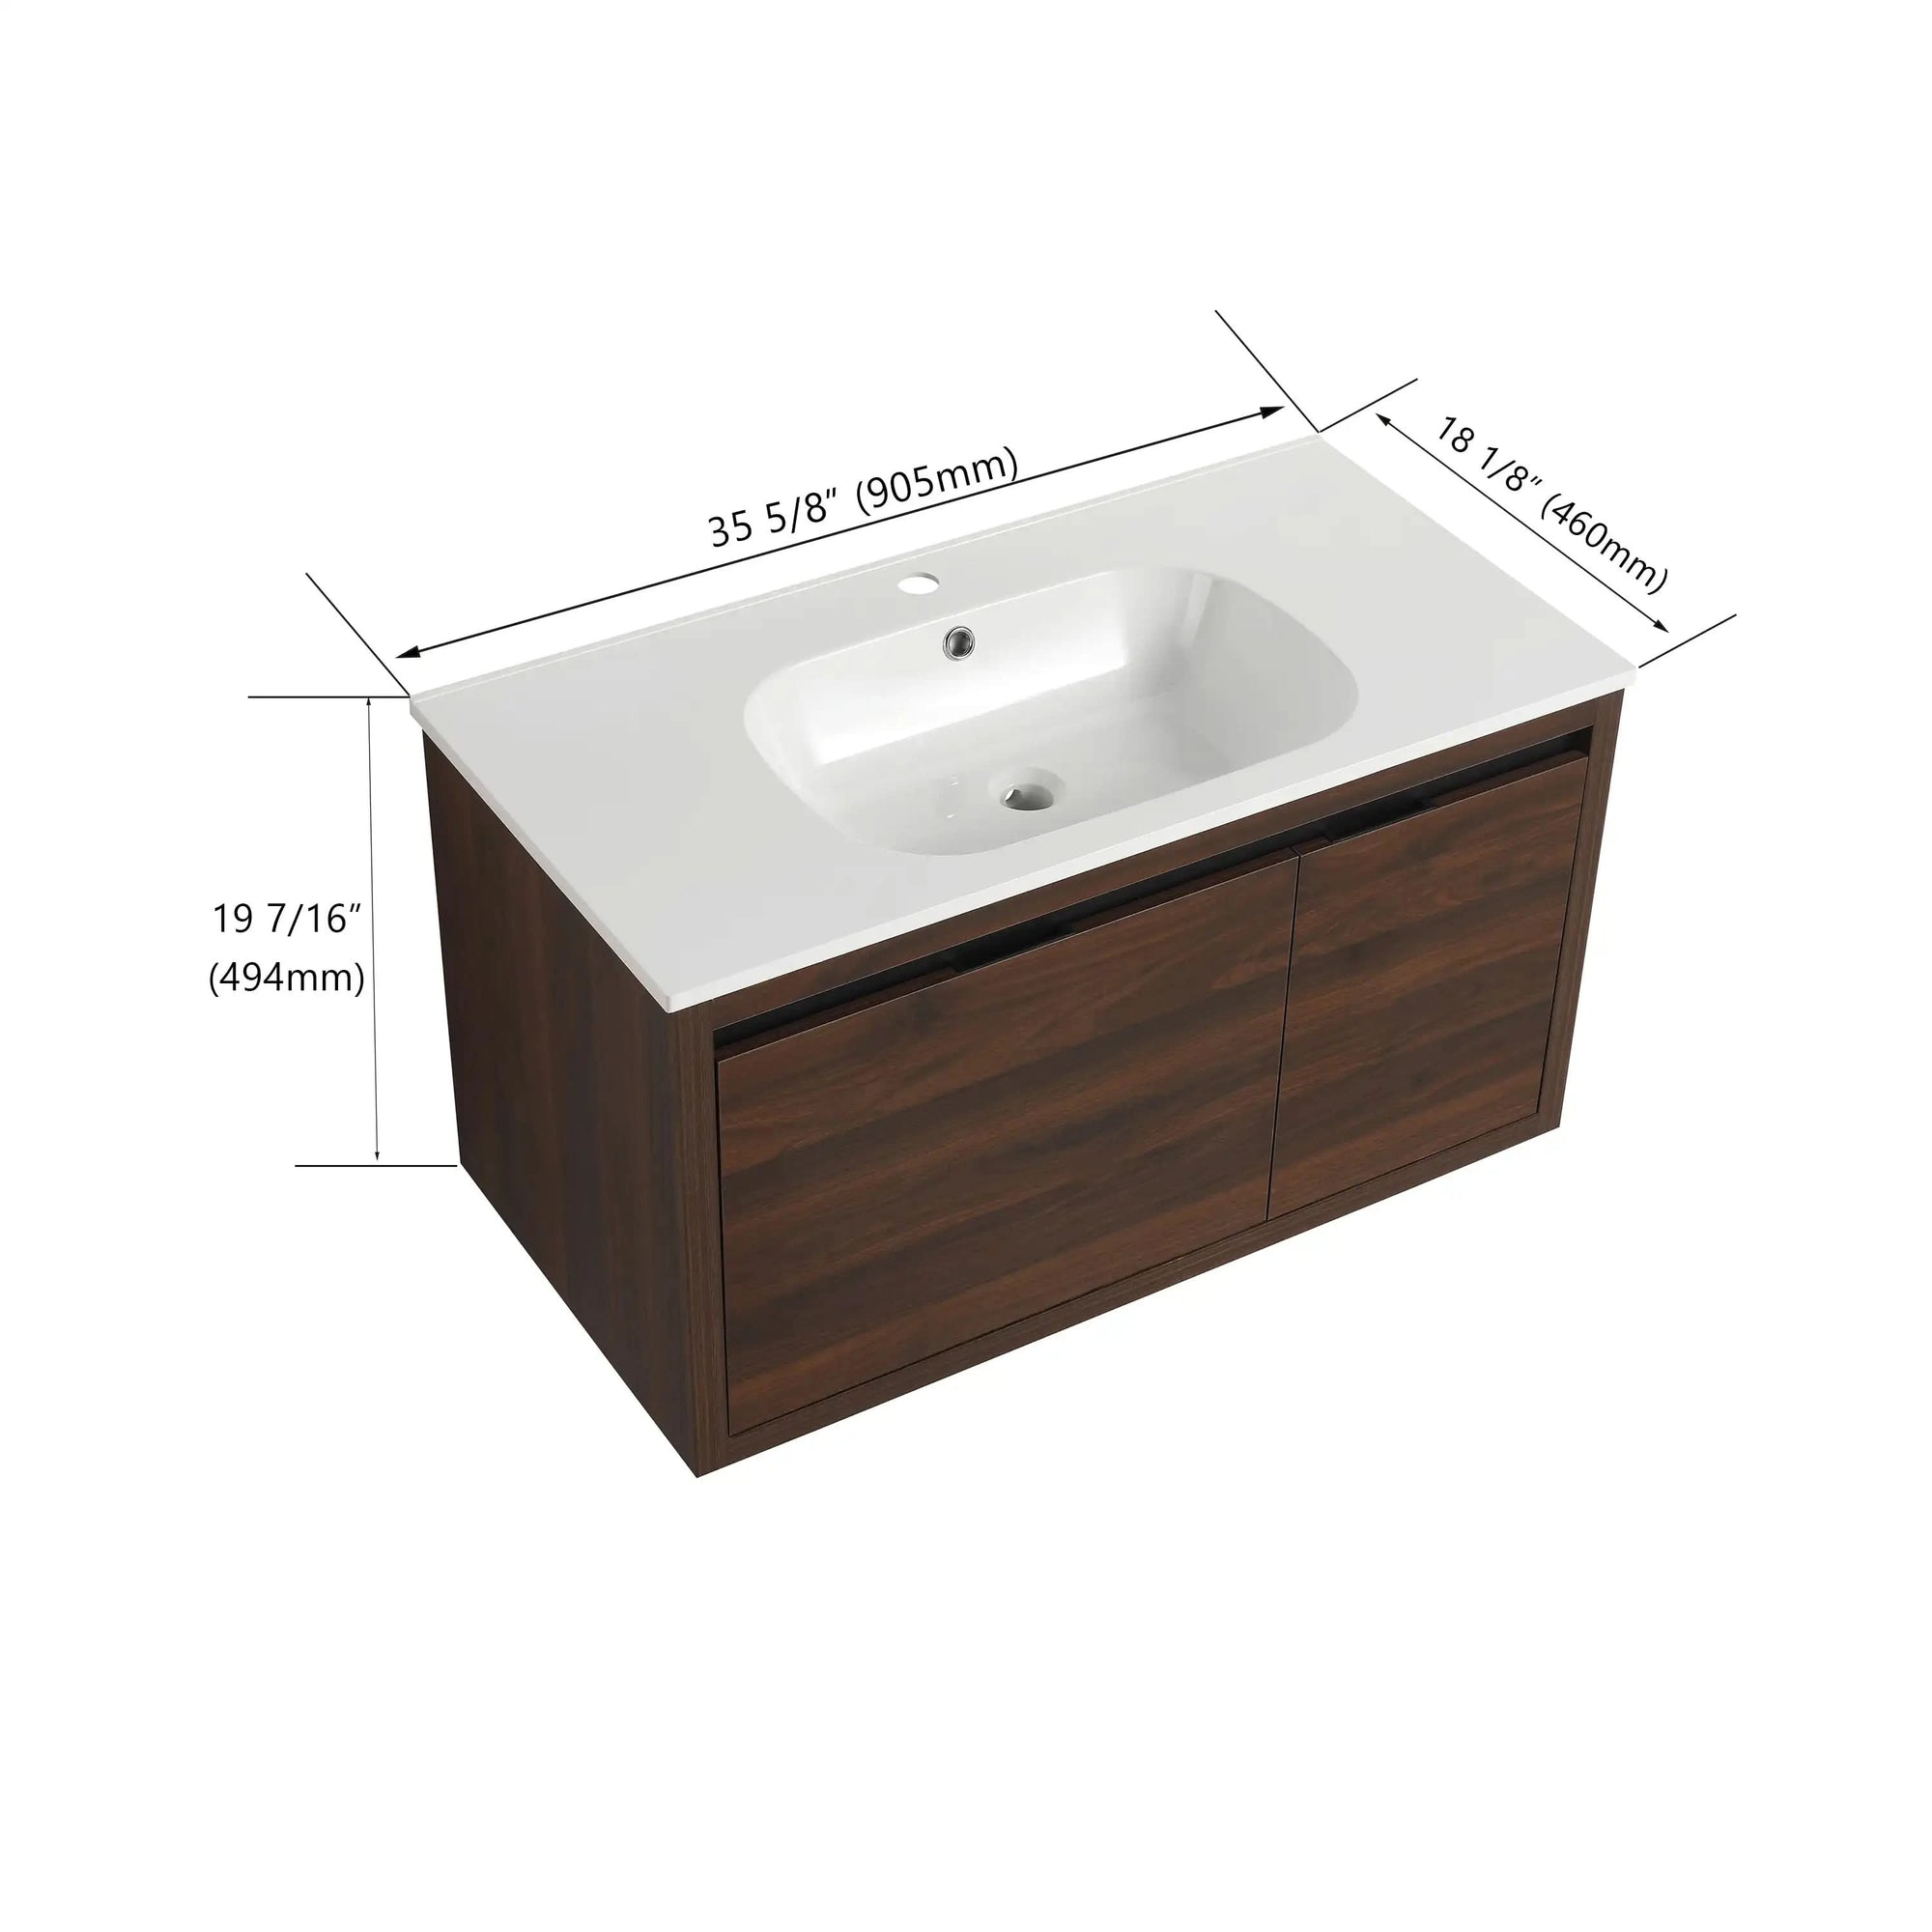
Before purchasing a new vanity, accurately measure the space in your bathroom. Keep in mind how much clearance you’ll need for opening drawers or cabinet doors.
Standard Vanity Sizes
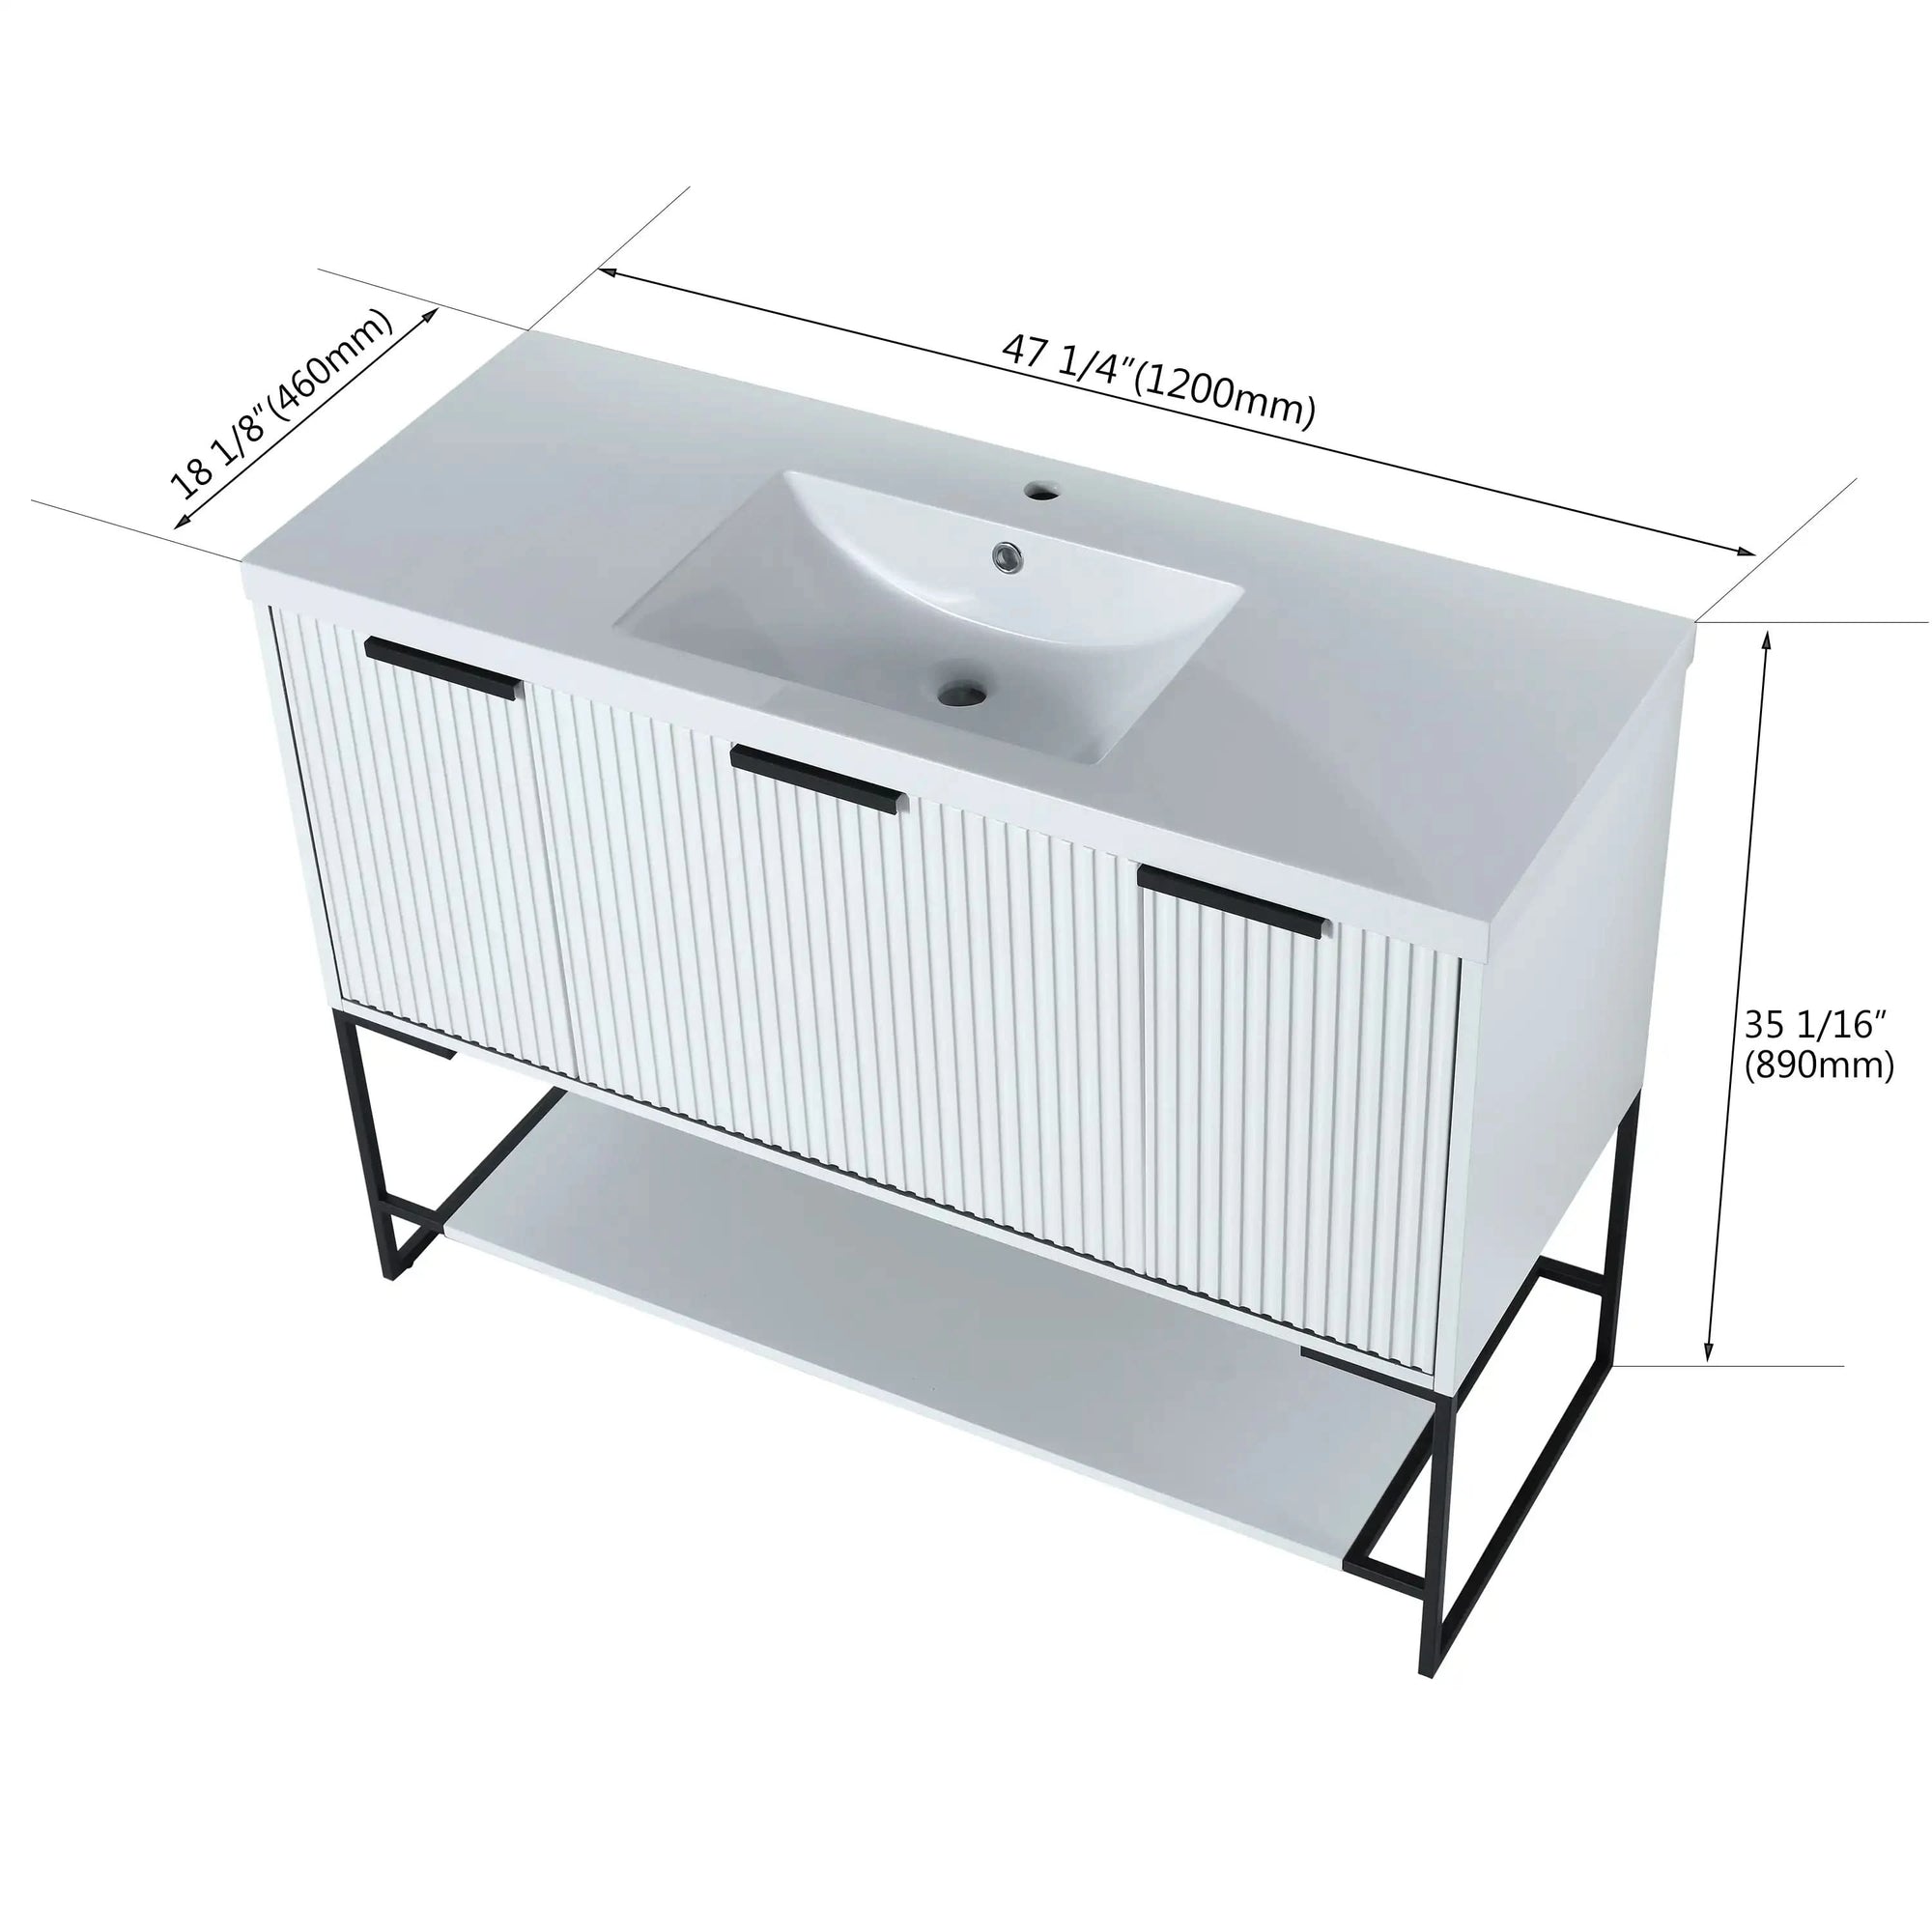
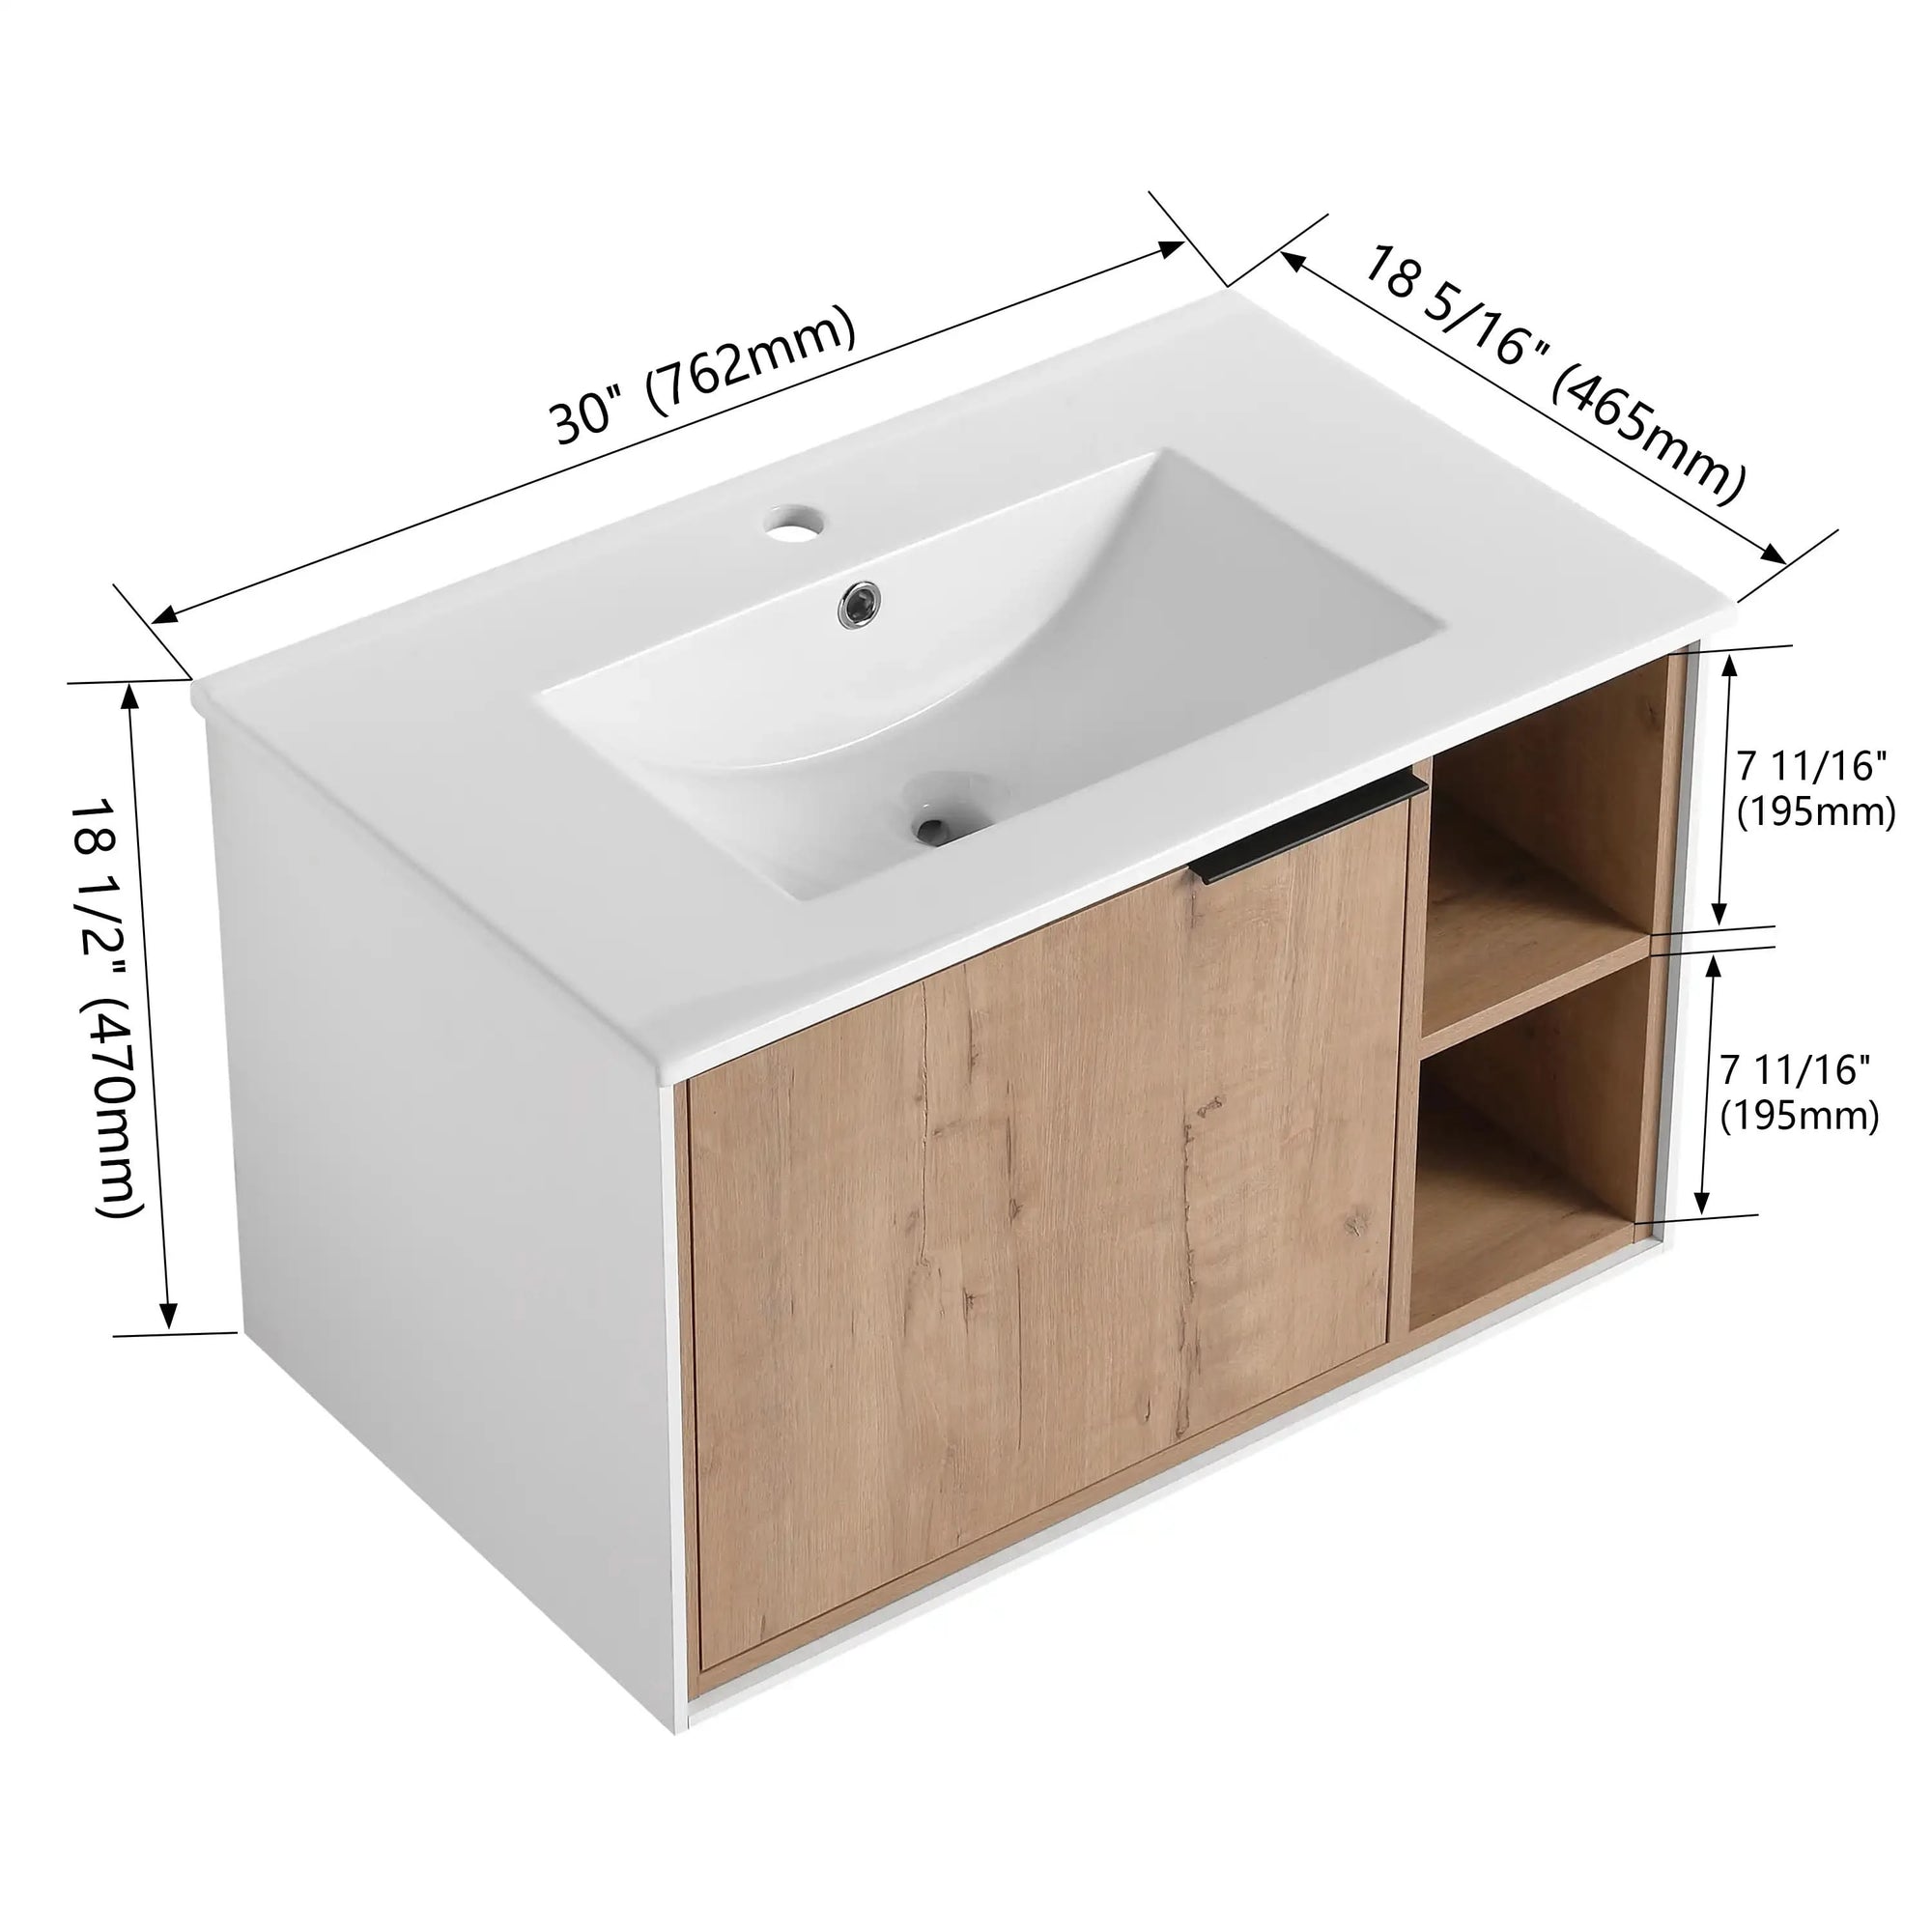
Most vanities come in standard widths, typically 24, 30, 36, and 48 inches. If you have a larger bathroom, a double vanity may be a good option for added storage and countertop space.
Storage Options
Freestanding vs. Wall-Mounted
If storage is a priority, a freestanding vanity like the AL White Freestanding Mounted Cabinet is a great option. For smaller bathrooms or those looking for a minimalist design, wall-mounted vanities like the AL Matte White Wall-Mounted Cabinet offer a clean look without taking up floor space.
Drawers and Shelving
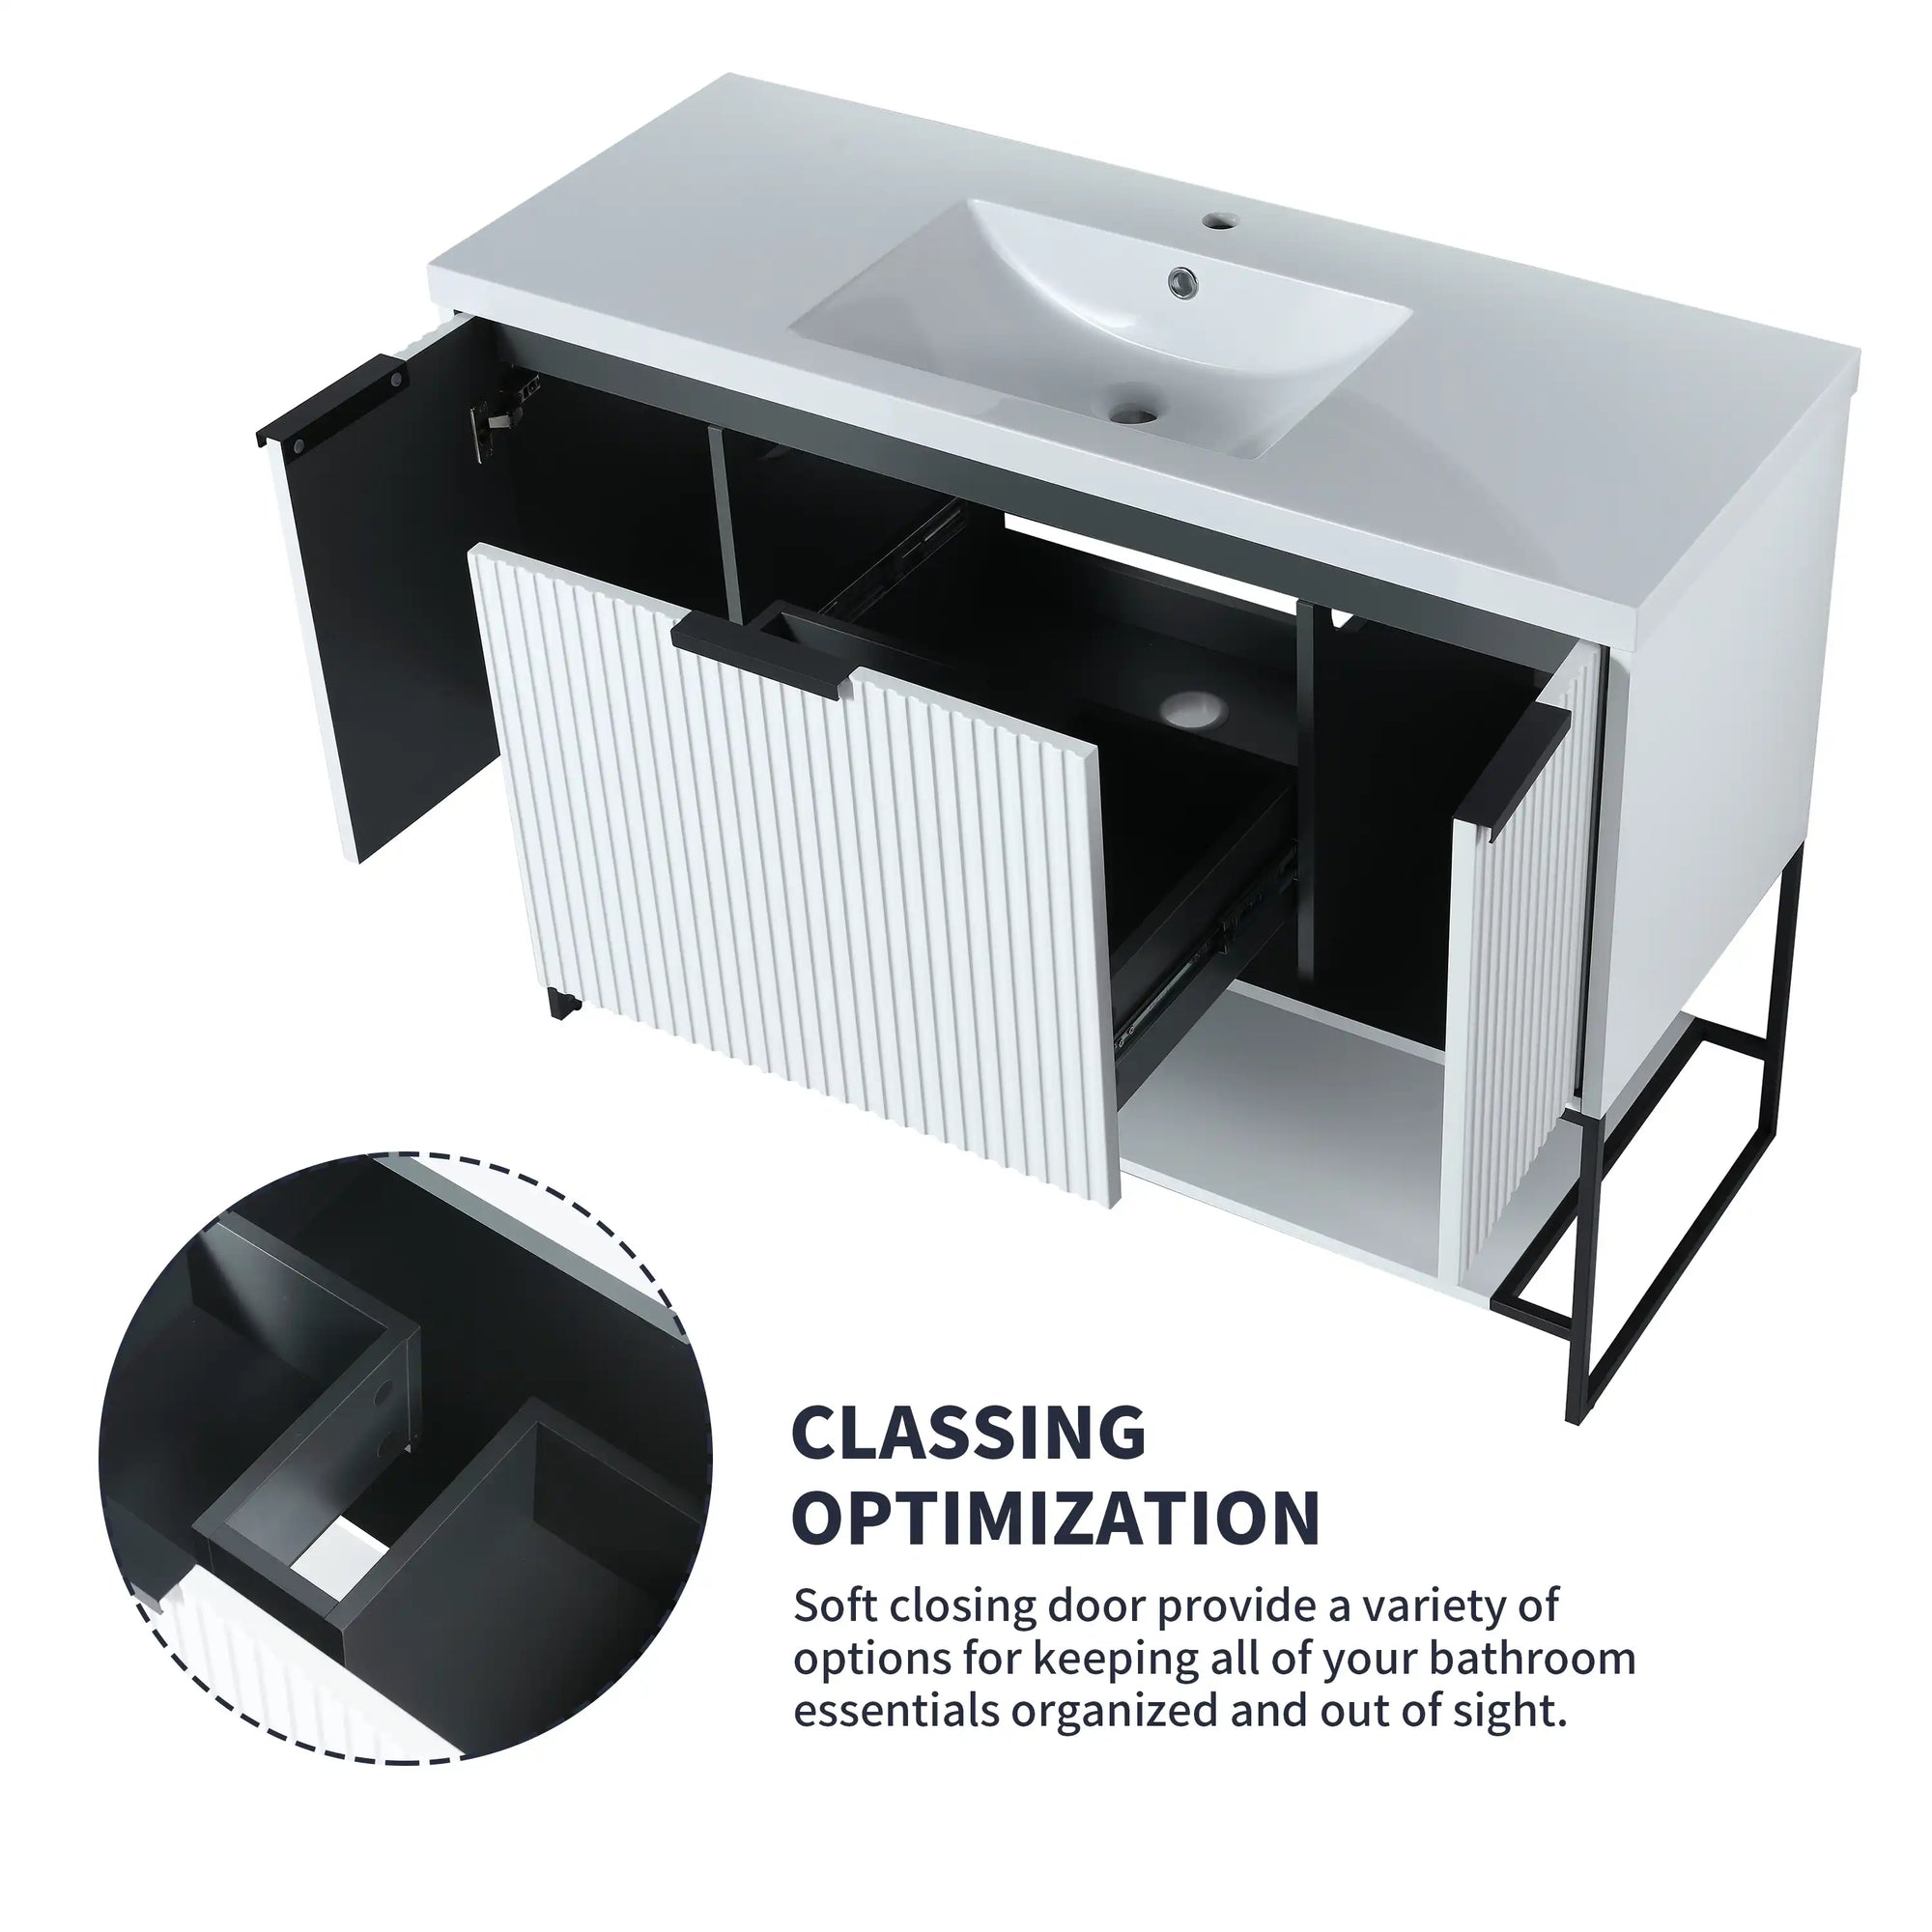
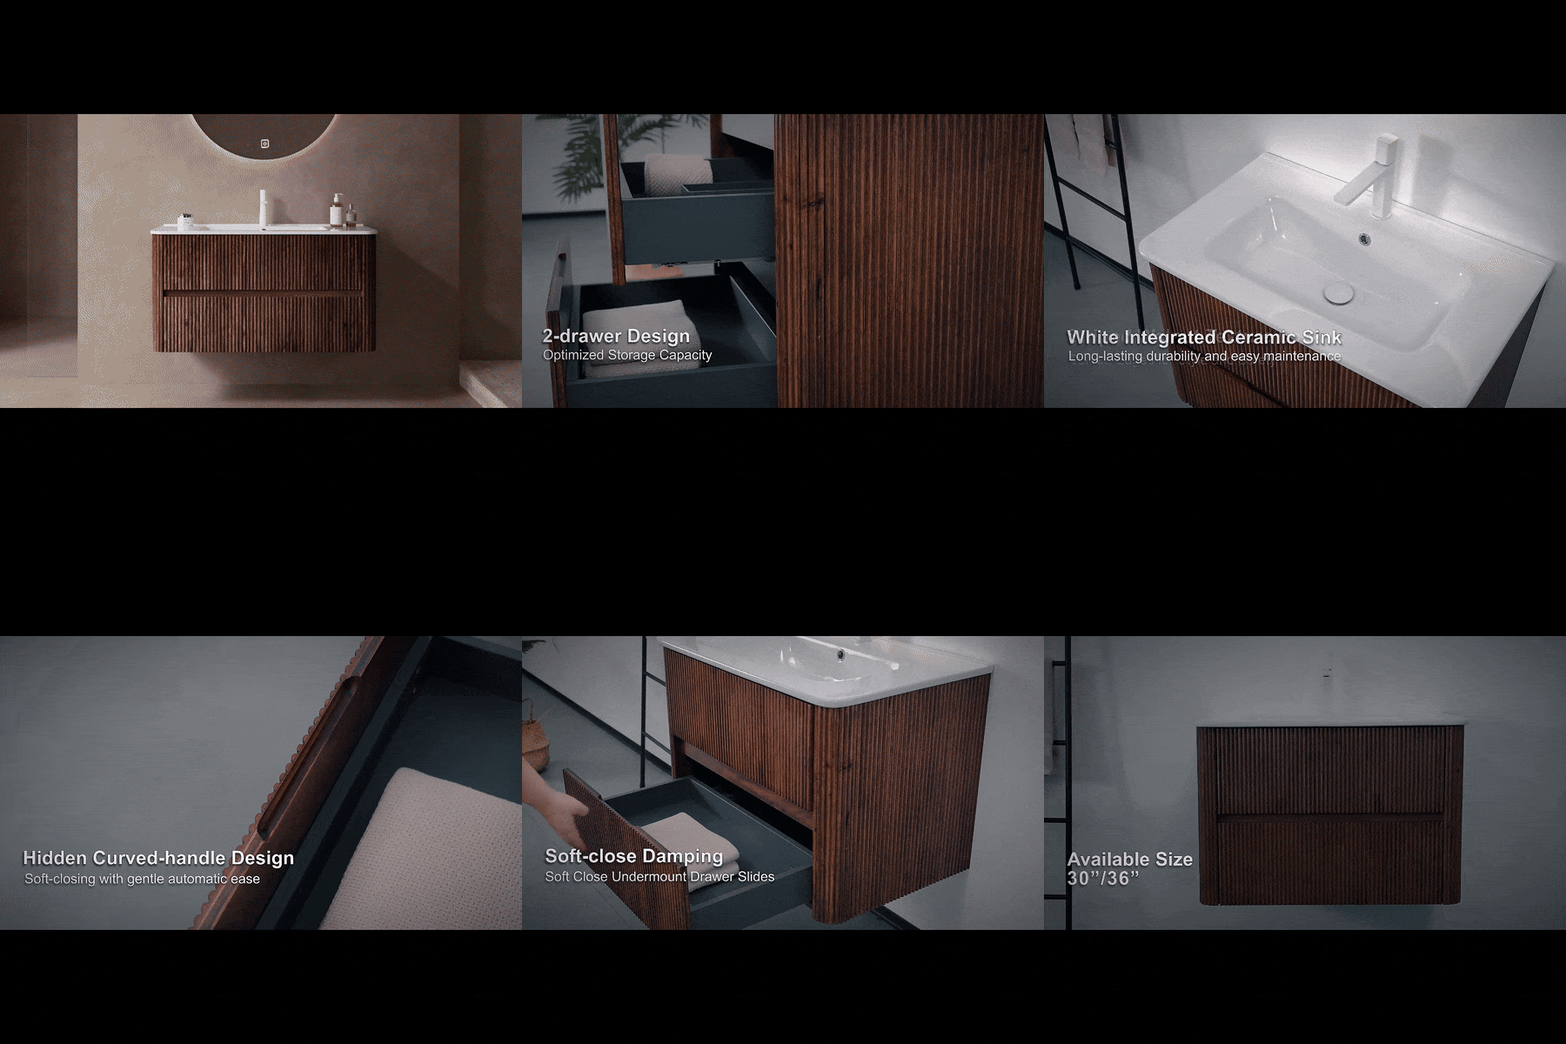
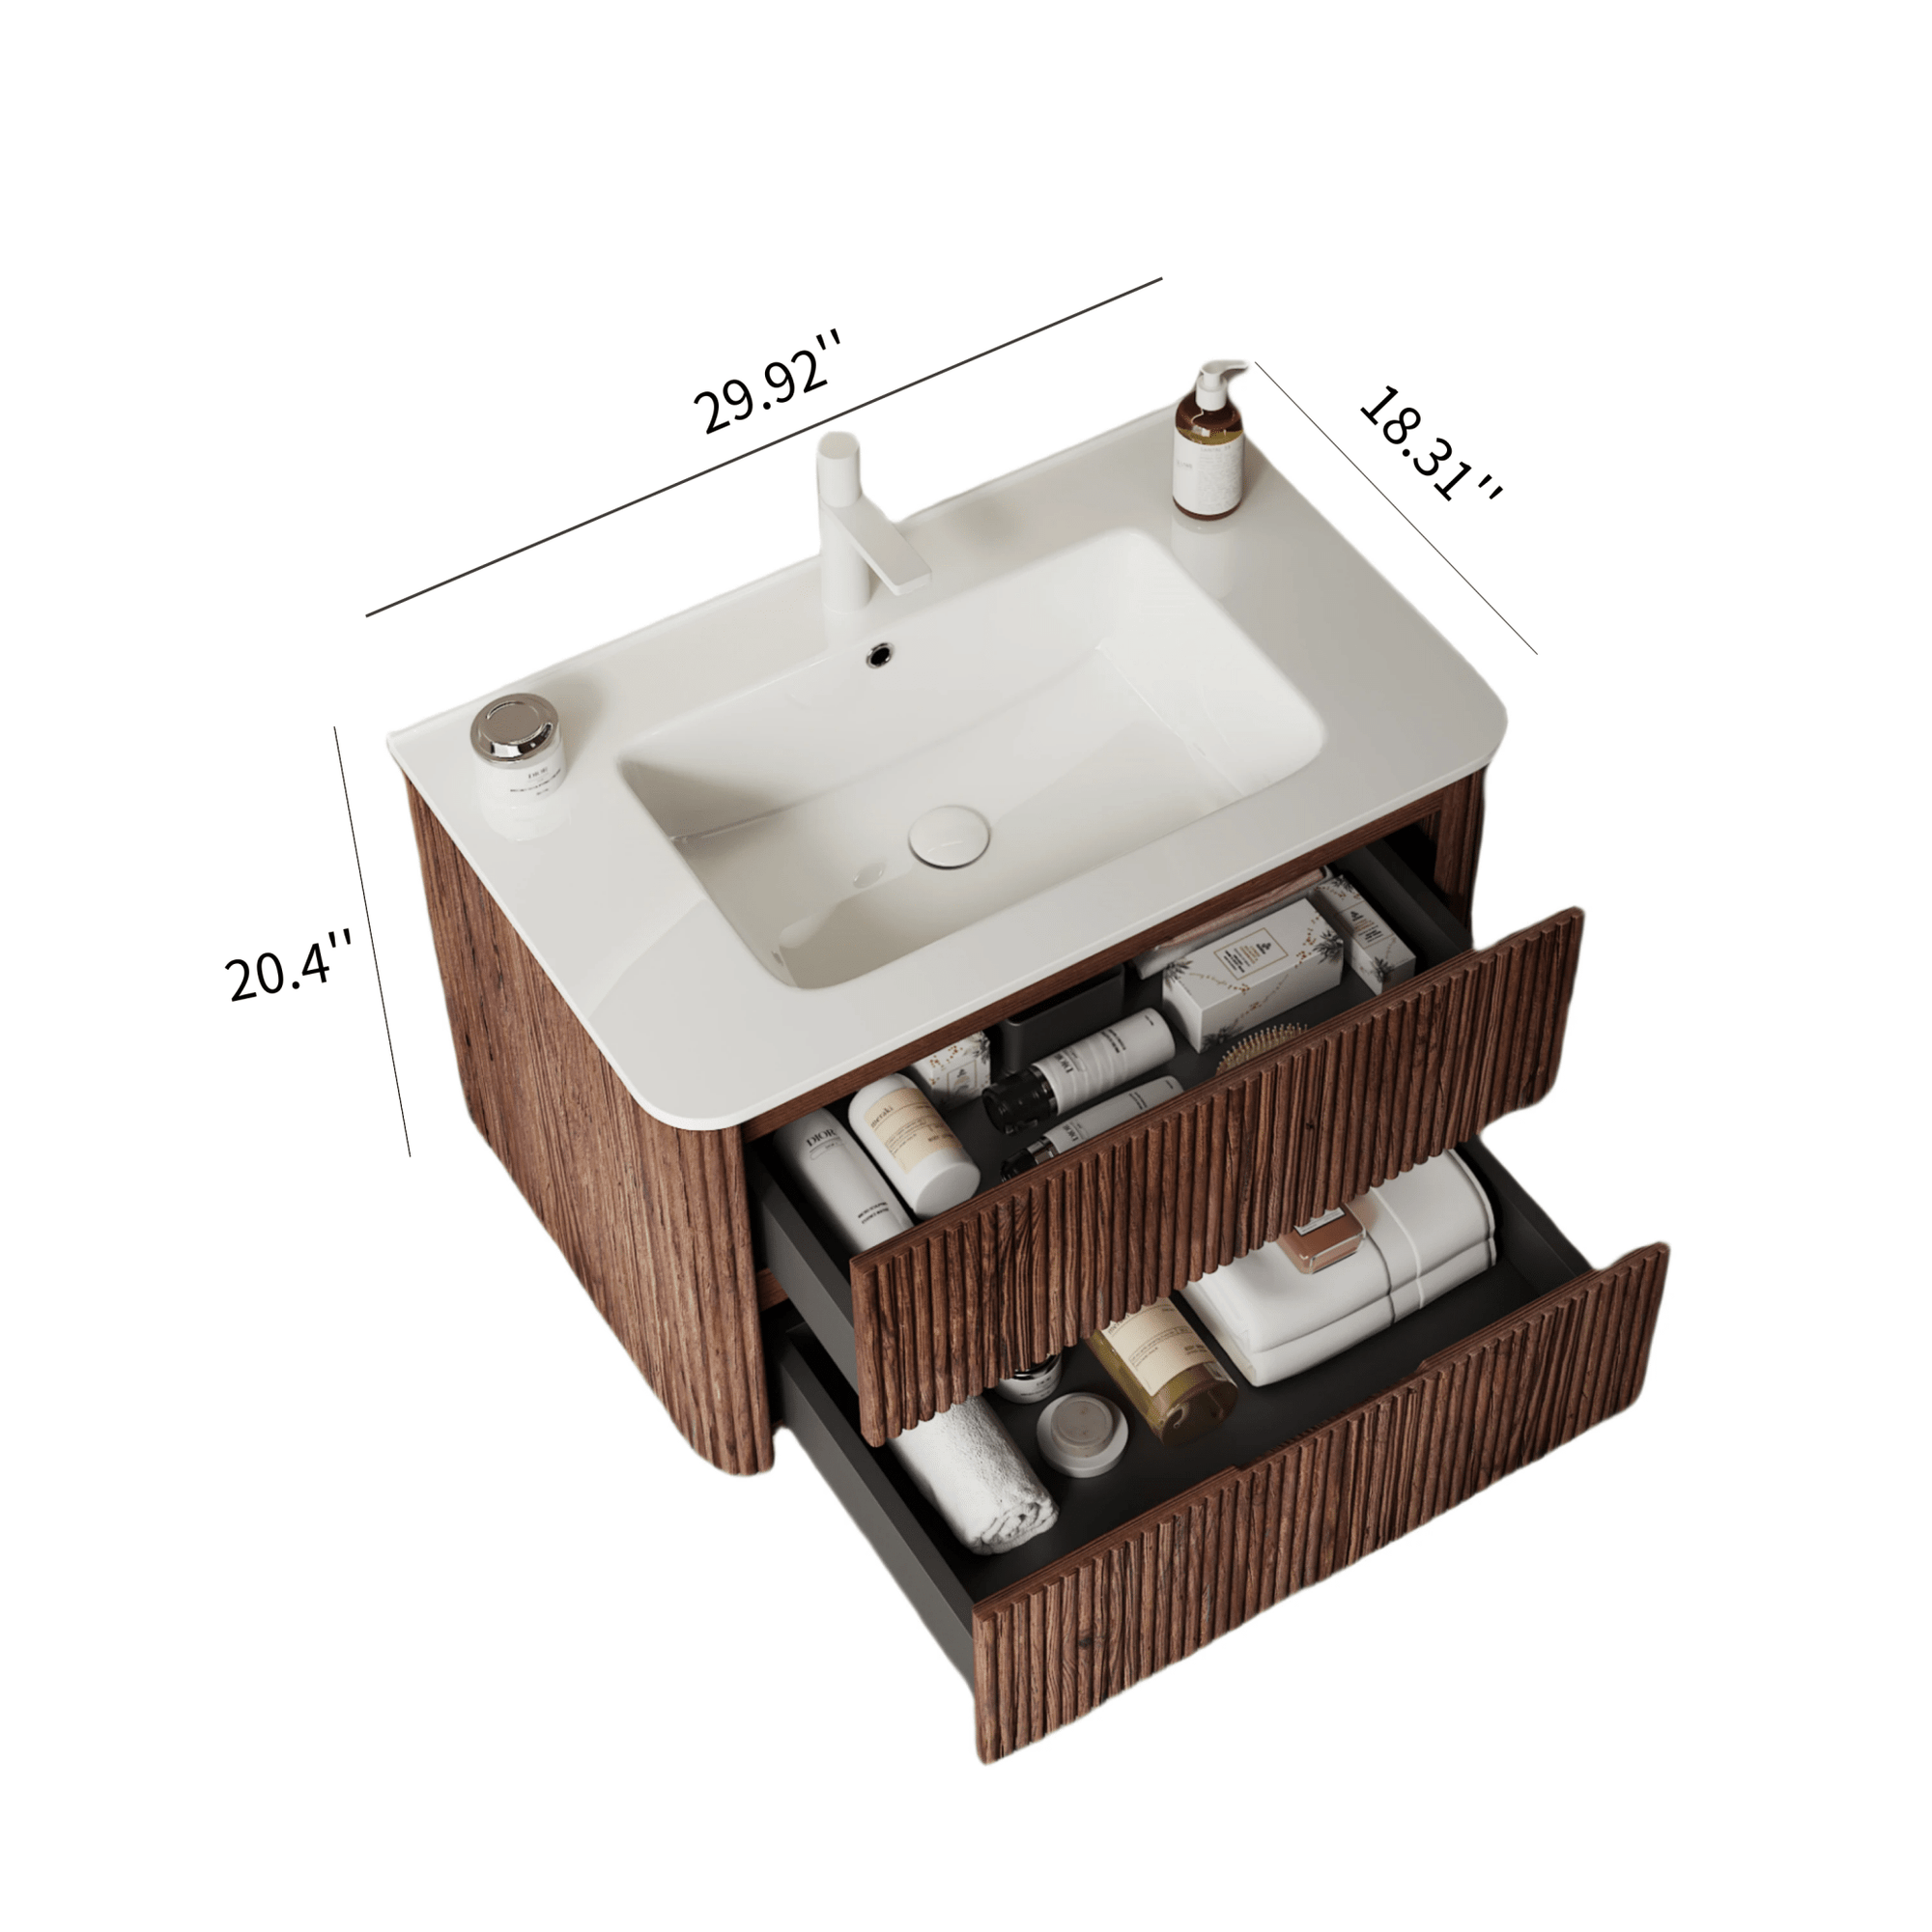
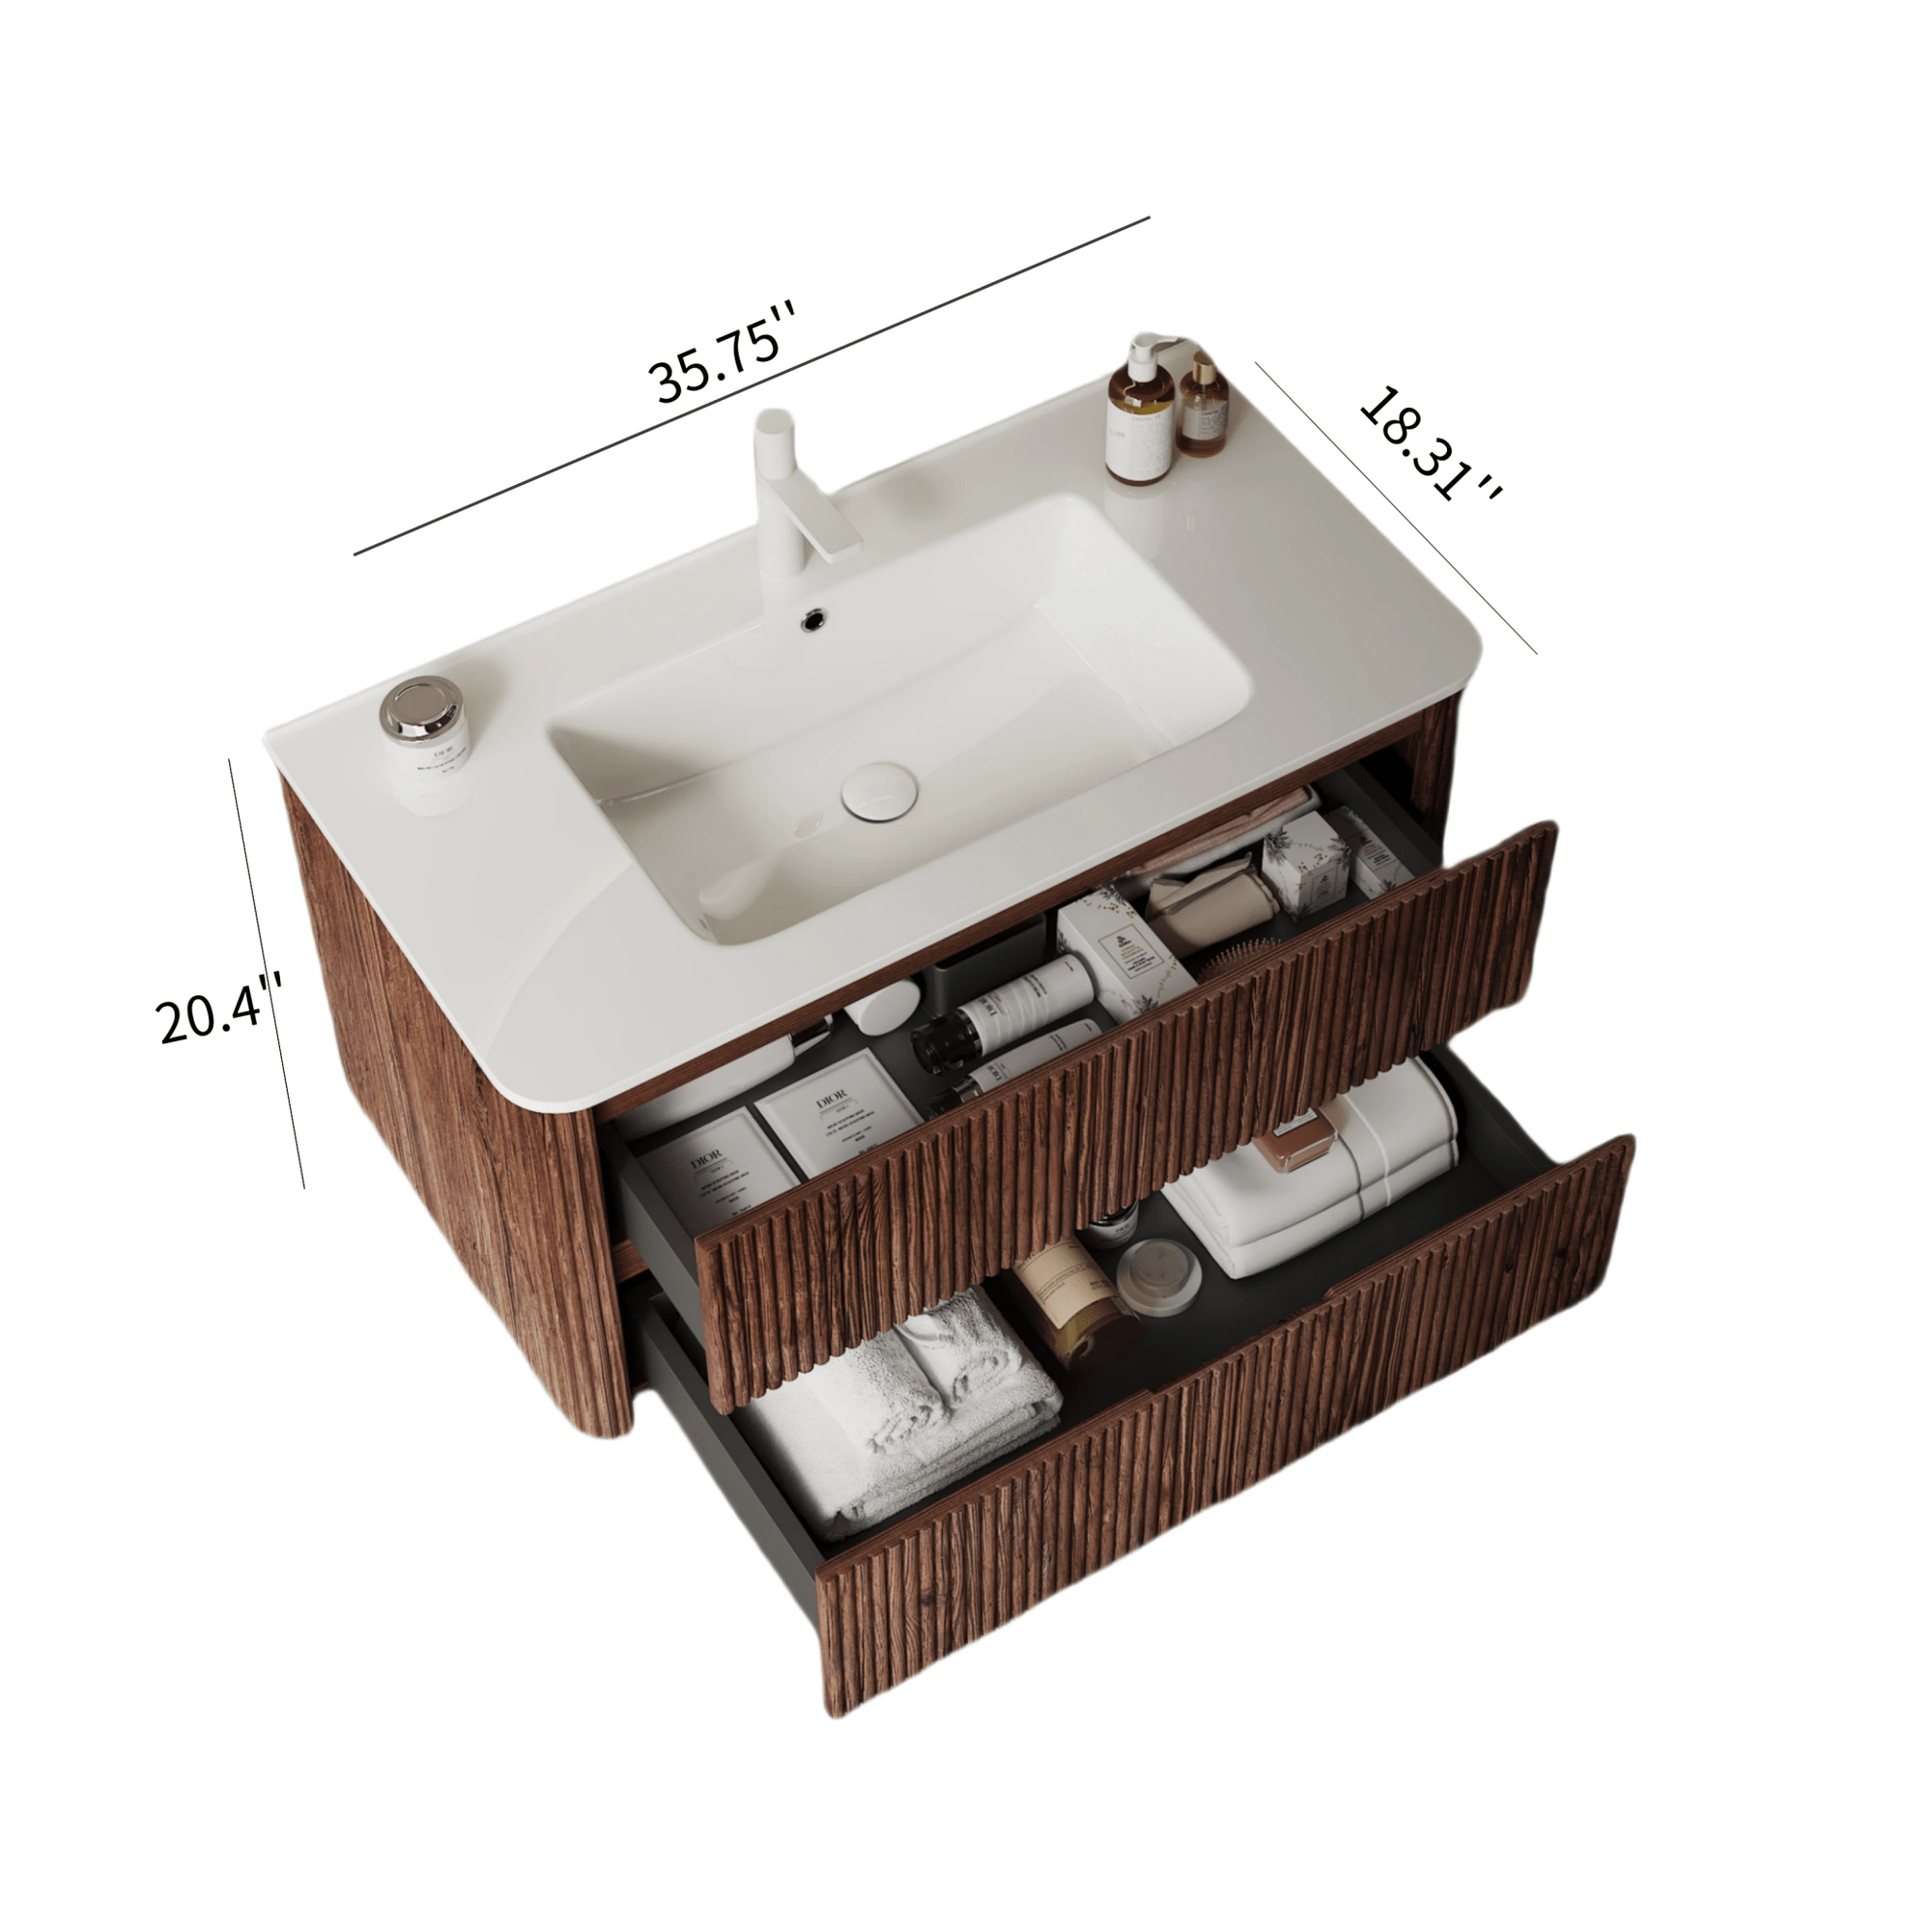
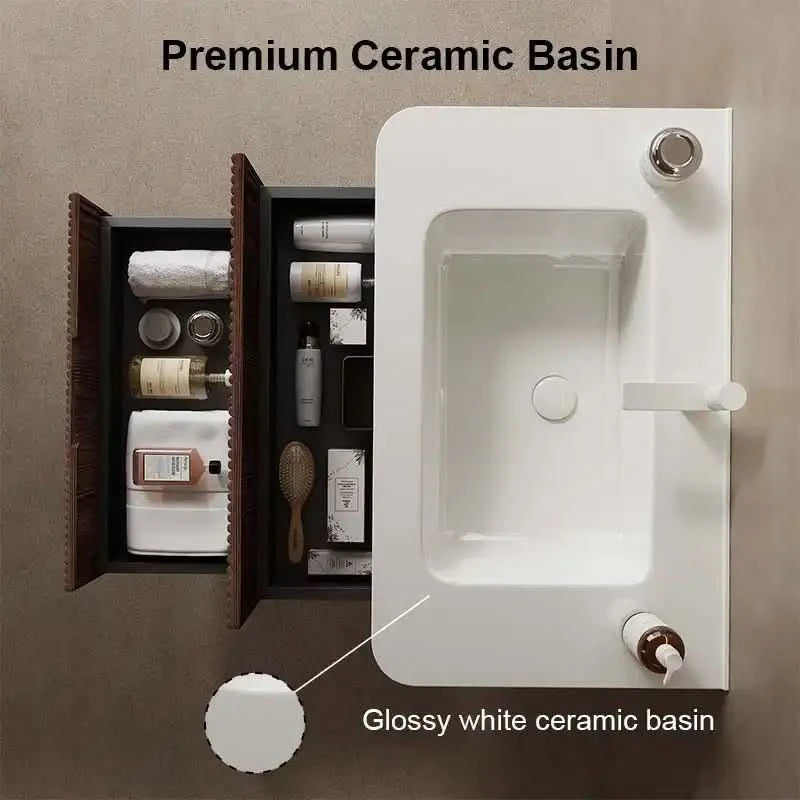
Consider the number of drawers or shelves you’ll need. If you store a lot of toiletries, cleaning supplies, or towels in your bathroom, look for a vanity with ample storage space. The AL White Walnut Wall-Mounted Cabinet combines style and practicality with multiple compartments for organized storage.
Material and Durability
Choosing the Right Material
Vanities are made from various materials, including solid wood, MDF, and particleboard. Solid wood is the most durable option, while MDF offers a budget-friendly alternative that still holds up well in humid environments.
Water-Resistant Finishes
Ensure your vanity has a water-resistant finish to protect it from moisture. This is particularly important in bathrooms where humidity is constantly present. Look for finishes like polyurethane or laminated coatings that add durability and resistance to warping or swelling.
Common Mistakes to Avoid During Vanity Replacement
Mistakes during vanity installation can lead to costly repairs down the road. Avoid these common pitfalls.
Incorrect Measurements
Overlooking Space for Opening Doors
Be sure to account for the space required to open cabinet doors and drawers. Measure the surrounding area to ensure nothing will obstruct the vanity’s functionality.
Vanity Placement
Placing a vanity too close to a wall or another fixture can make it difficult to use. Always double-check the vanity’s placement before securing it to the wall.
Skipping the Level Check
A vanity that isn’t level will not only look off but may cause issues with the plumbing connections. Always use a level and make adjustments with shims if necessary.
Ignoring Proper Plumbing
Reconnecting the plumbing improperly can lead to leaks, which can damage your floors and vanity. Make sure all connections are secure, and test for leaks before sealing everything up.
FAQ: Common Questions About Replacing Bathroom Vanities
Q: How long does it take to replace a bathroom vanity?
A: The entire process can take anywhere from 4 to 8 hours, depending on your level of experience. This includes removing the old vanity, preparing the space, and installing the new unit.
Q: Can I replace a bathroom vanity on my own?
A: Yes, most homeowners can replace a bathroom vanity themselves, especially if the plumbing layout doesn’t require major adjustments. If you’re unsure, consult a professional plumber for assistance.
Q: What is the best vanity style for a small bathroom?
A: A wall-mounted vanity, like the AL Matte White Wall-Mounted Cabinet, is perfect for small bathrooms as it creates an illusion of more space by freeing up the floor area.
Q: Do I need to replace the plumbing when installing a new vanity?
A: You generally do not need to replace the plumbing unless it’s outdated or in poor condition. However, you may need to adjust the height or placement of the pipes to fit the new vanity.
Q: How can I ensure my vanity is securely mounted?
A: Ensure you attach the vanity to wall studs using long screws. If studs are not in the right place, use wall anchors rated for heavy loads.
