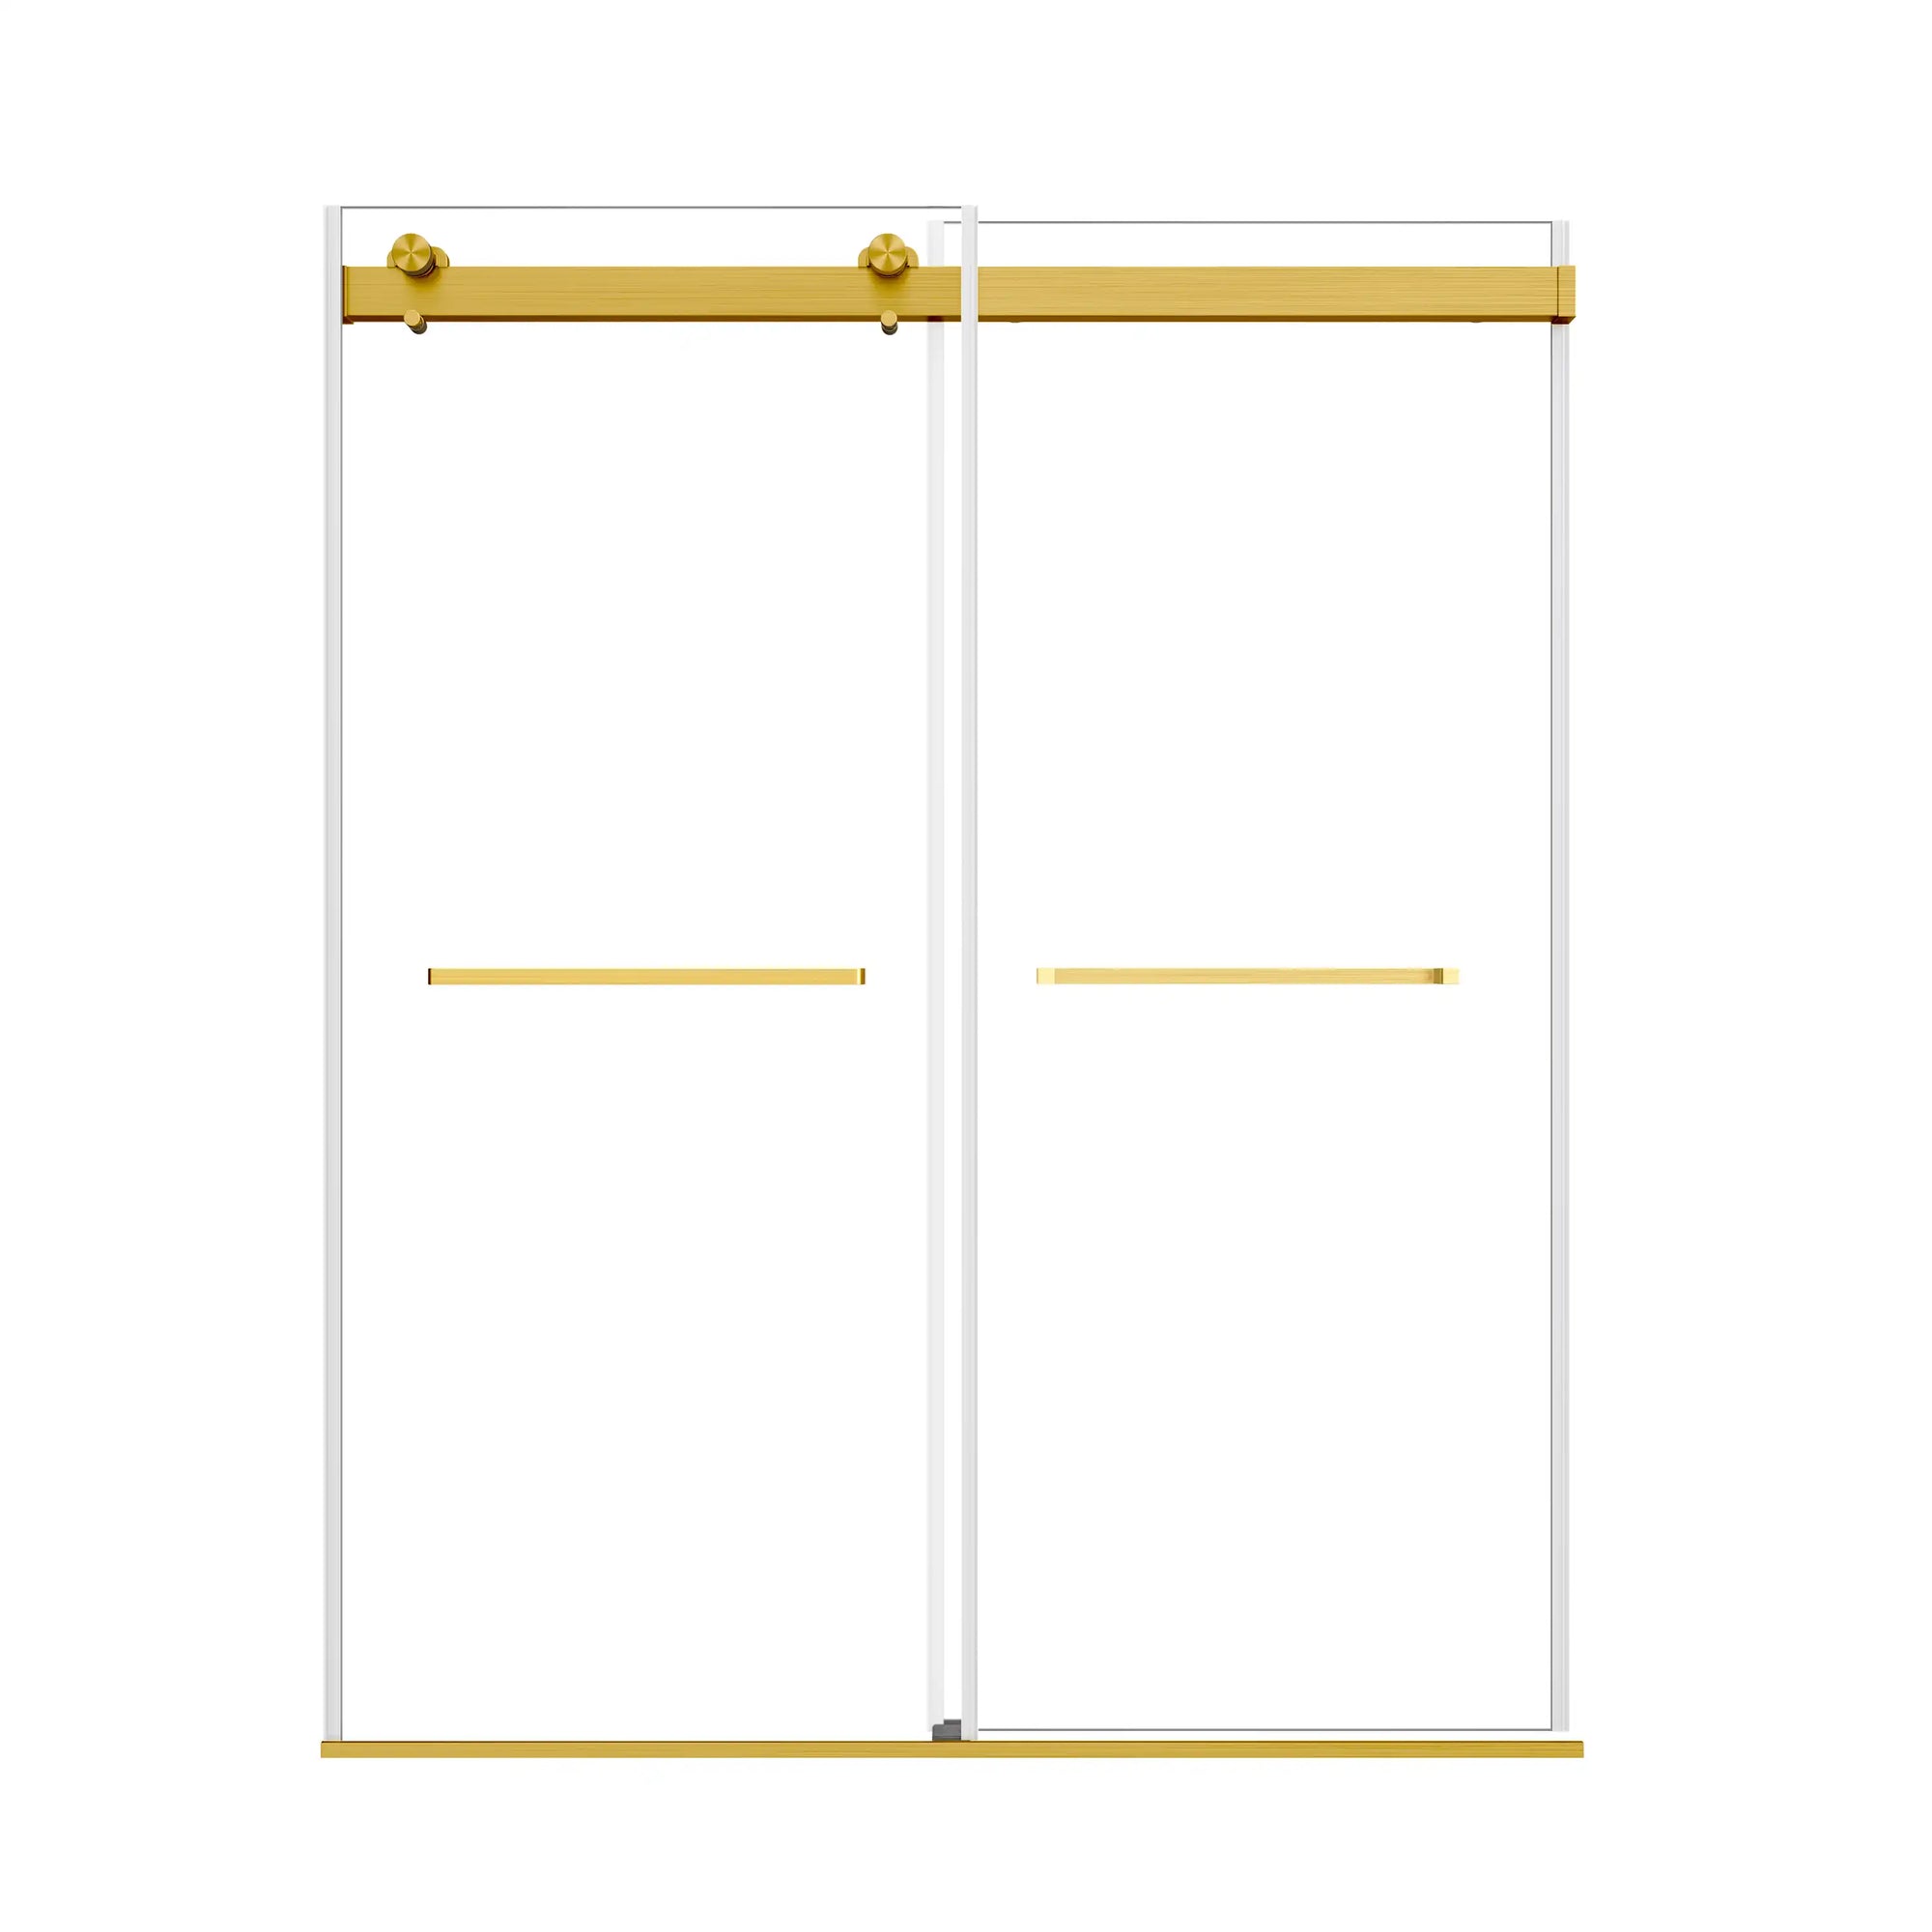
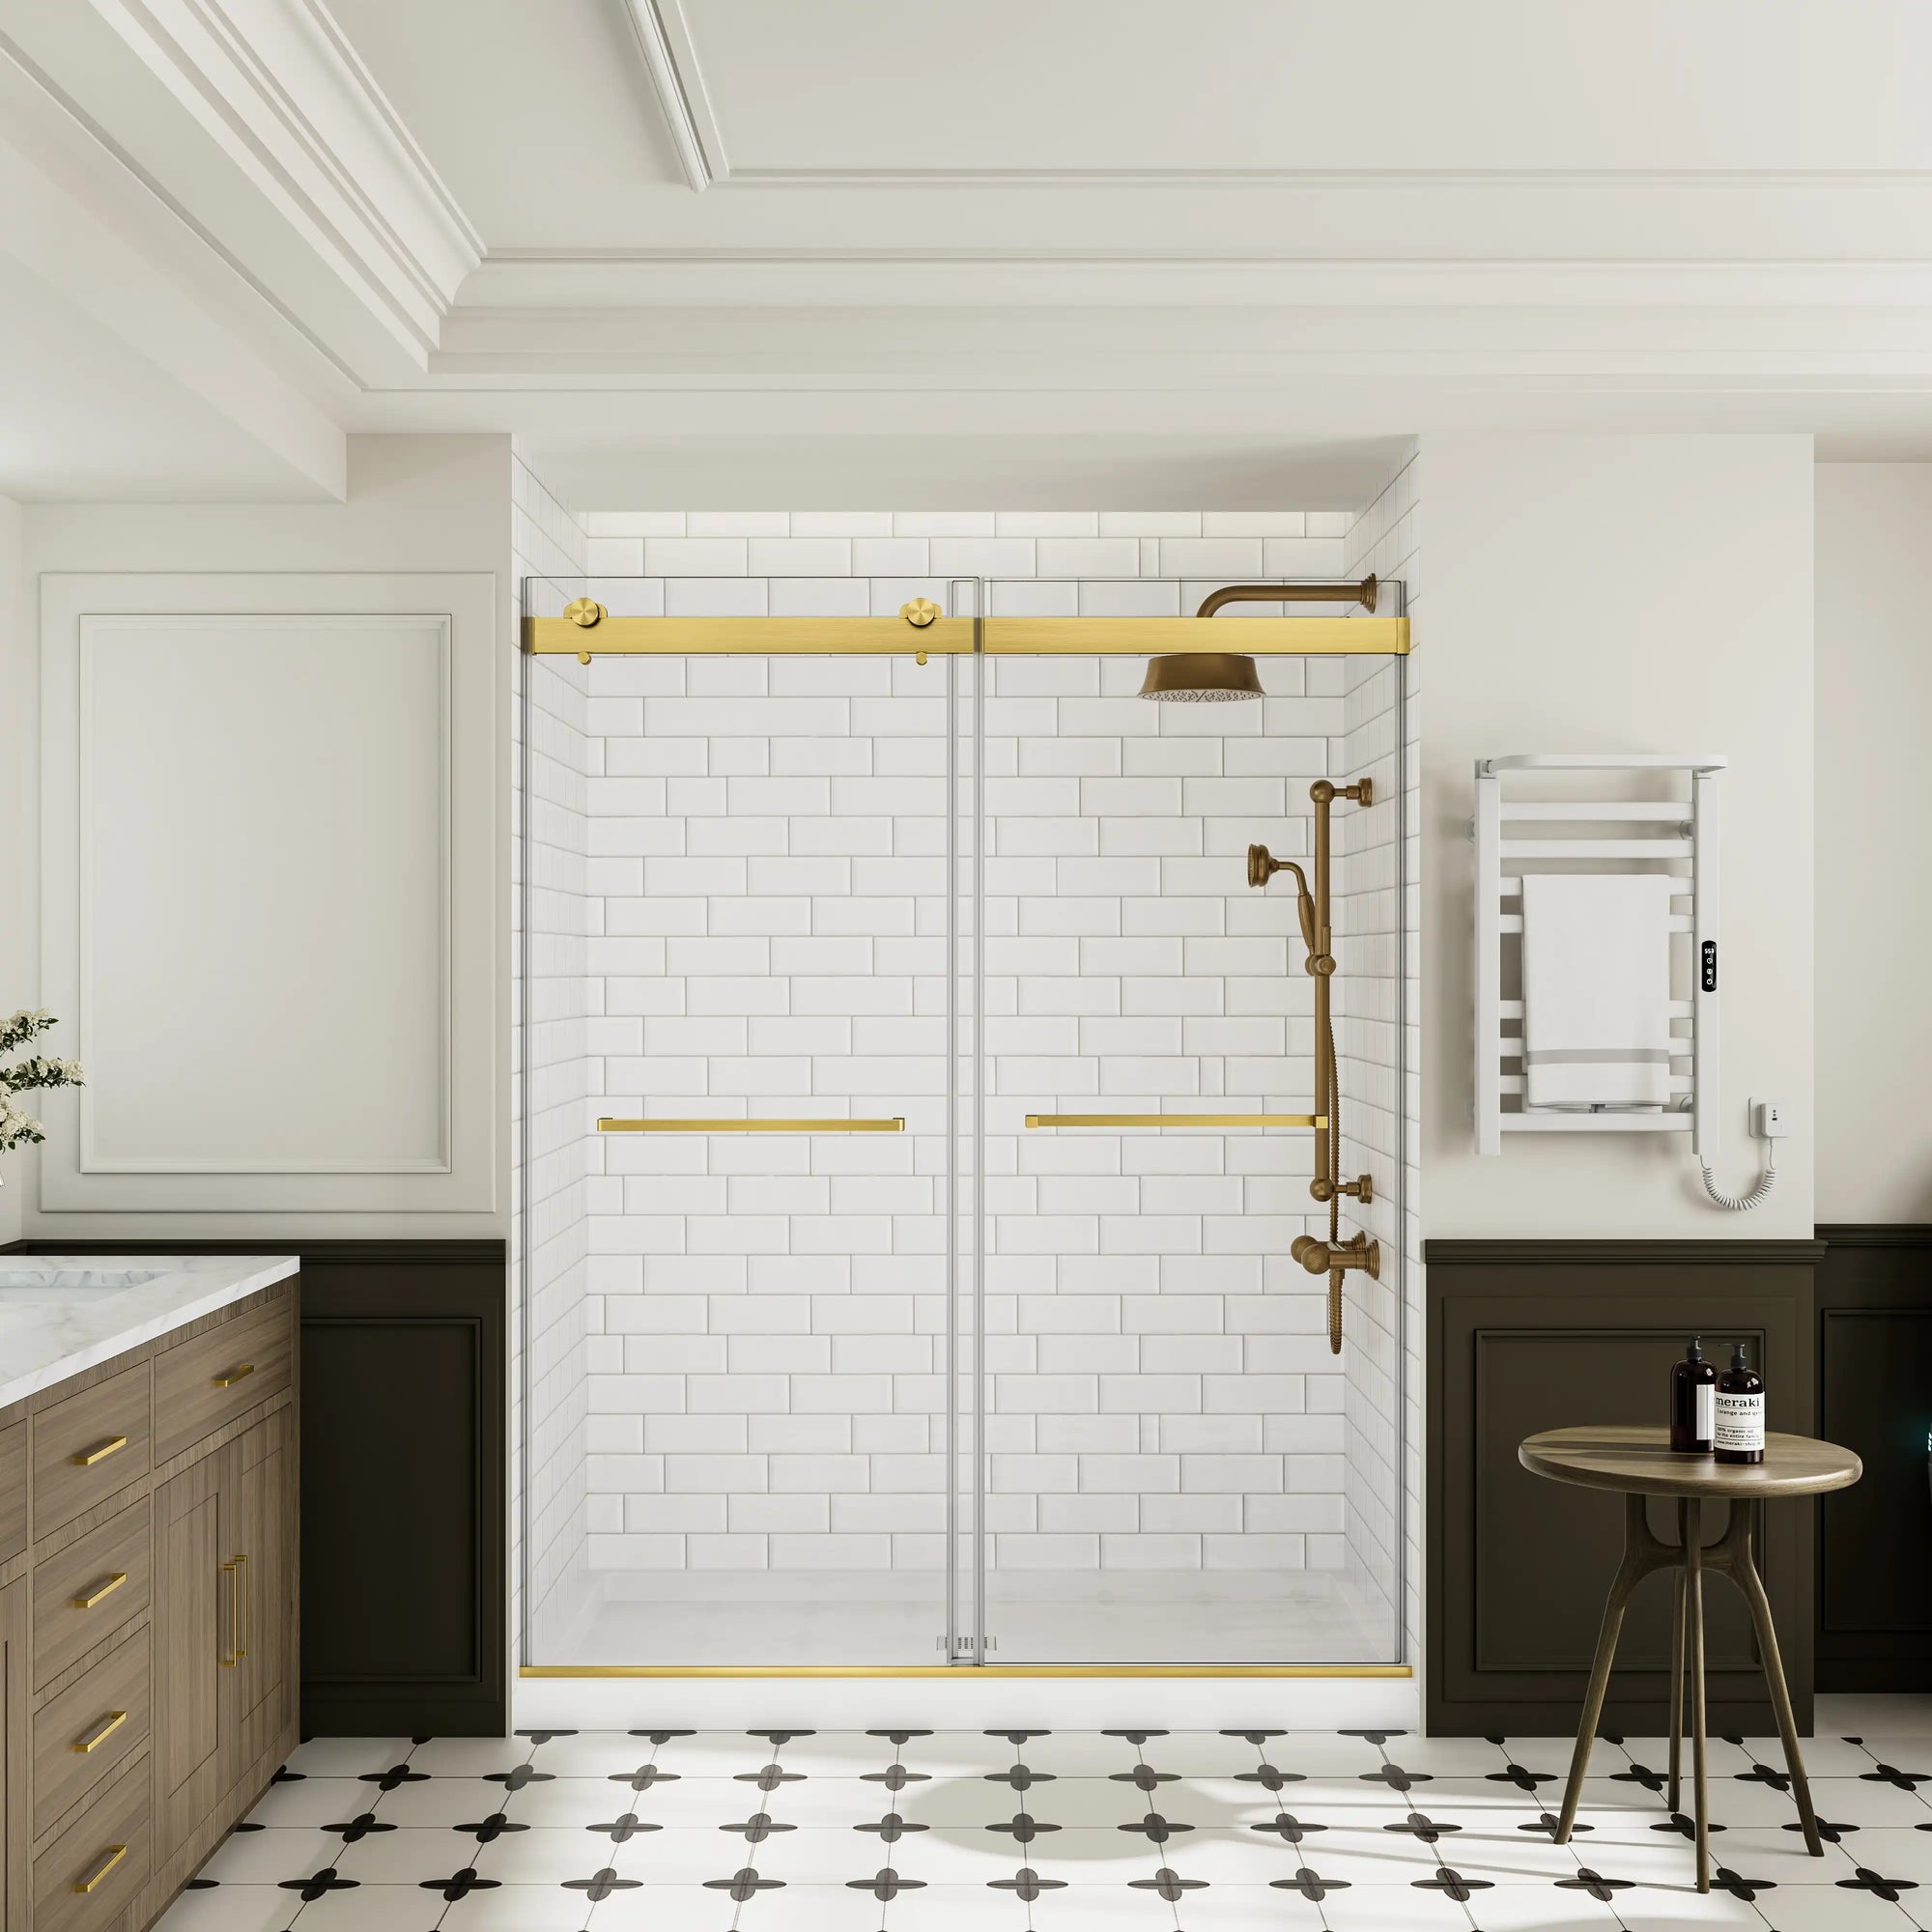
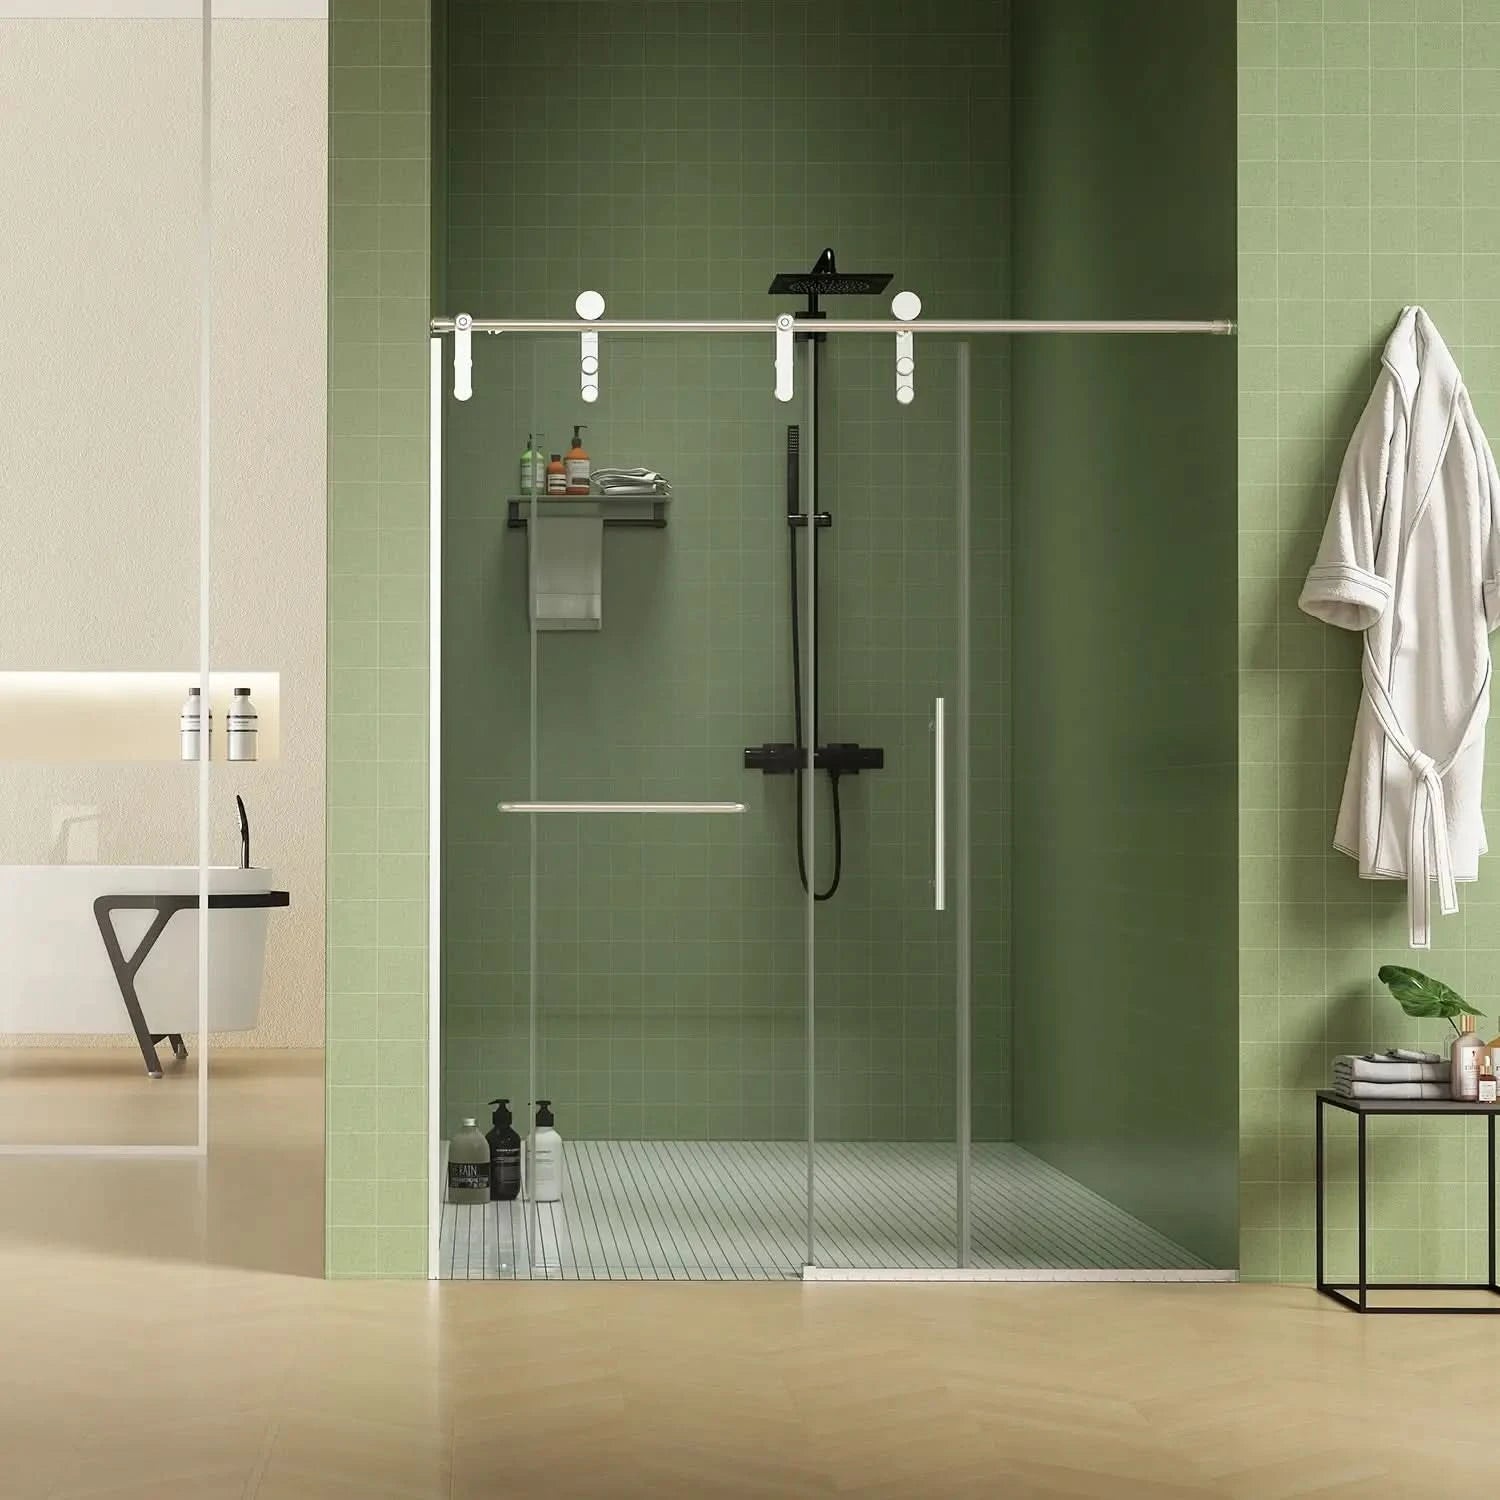
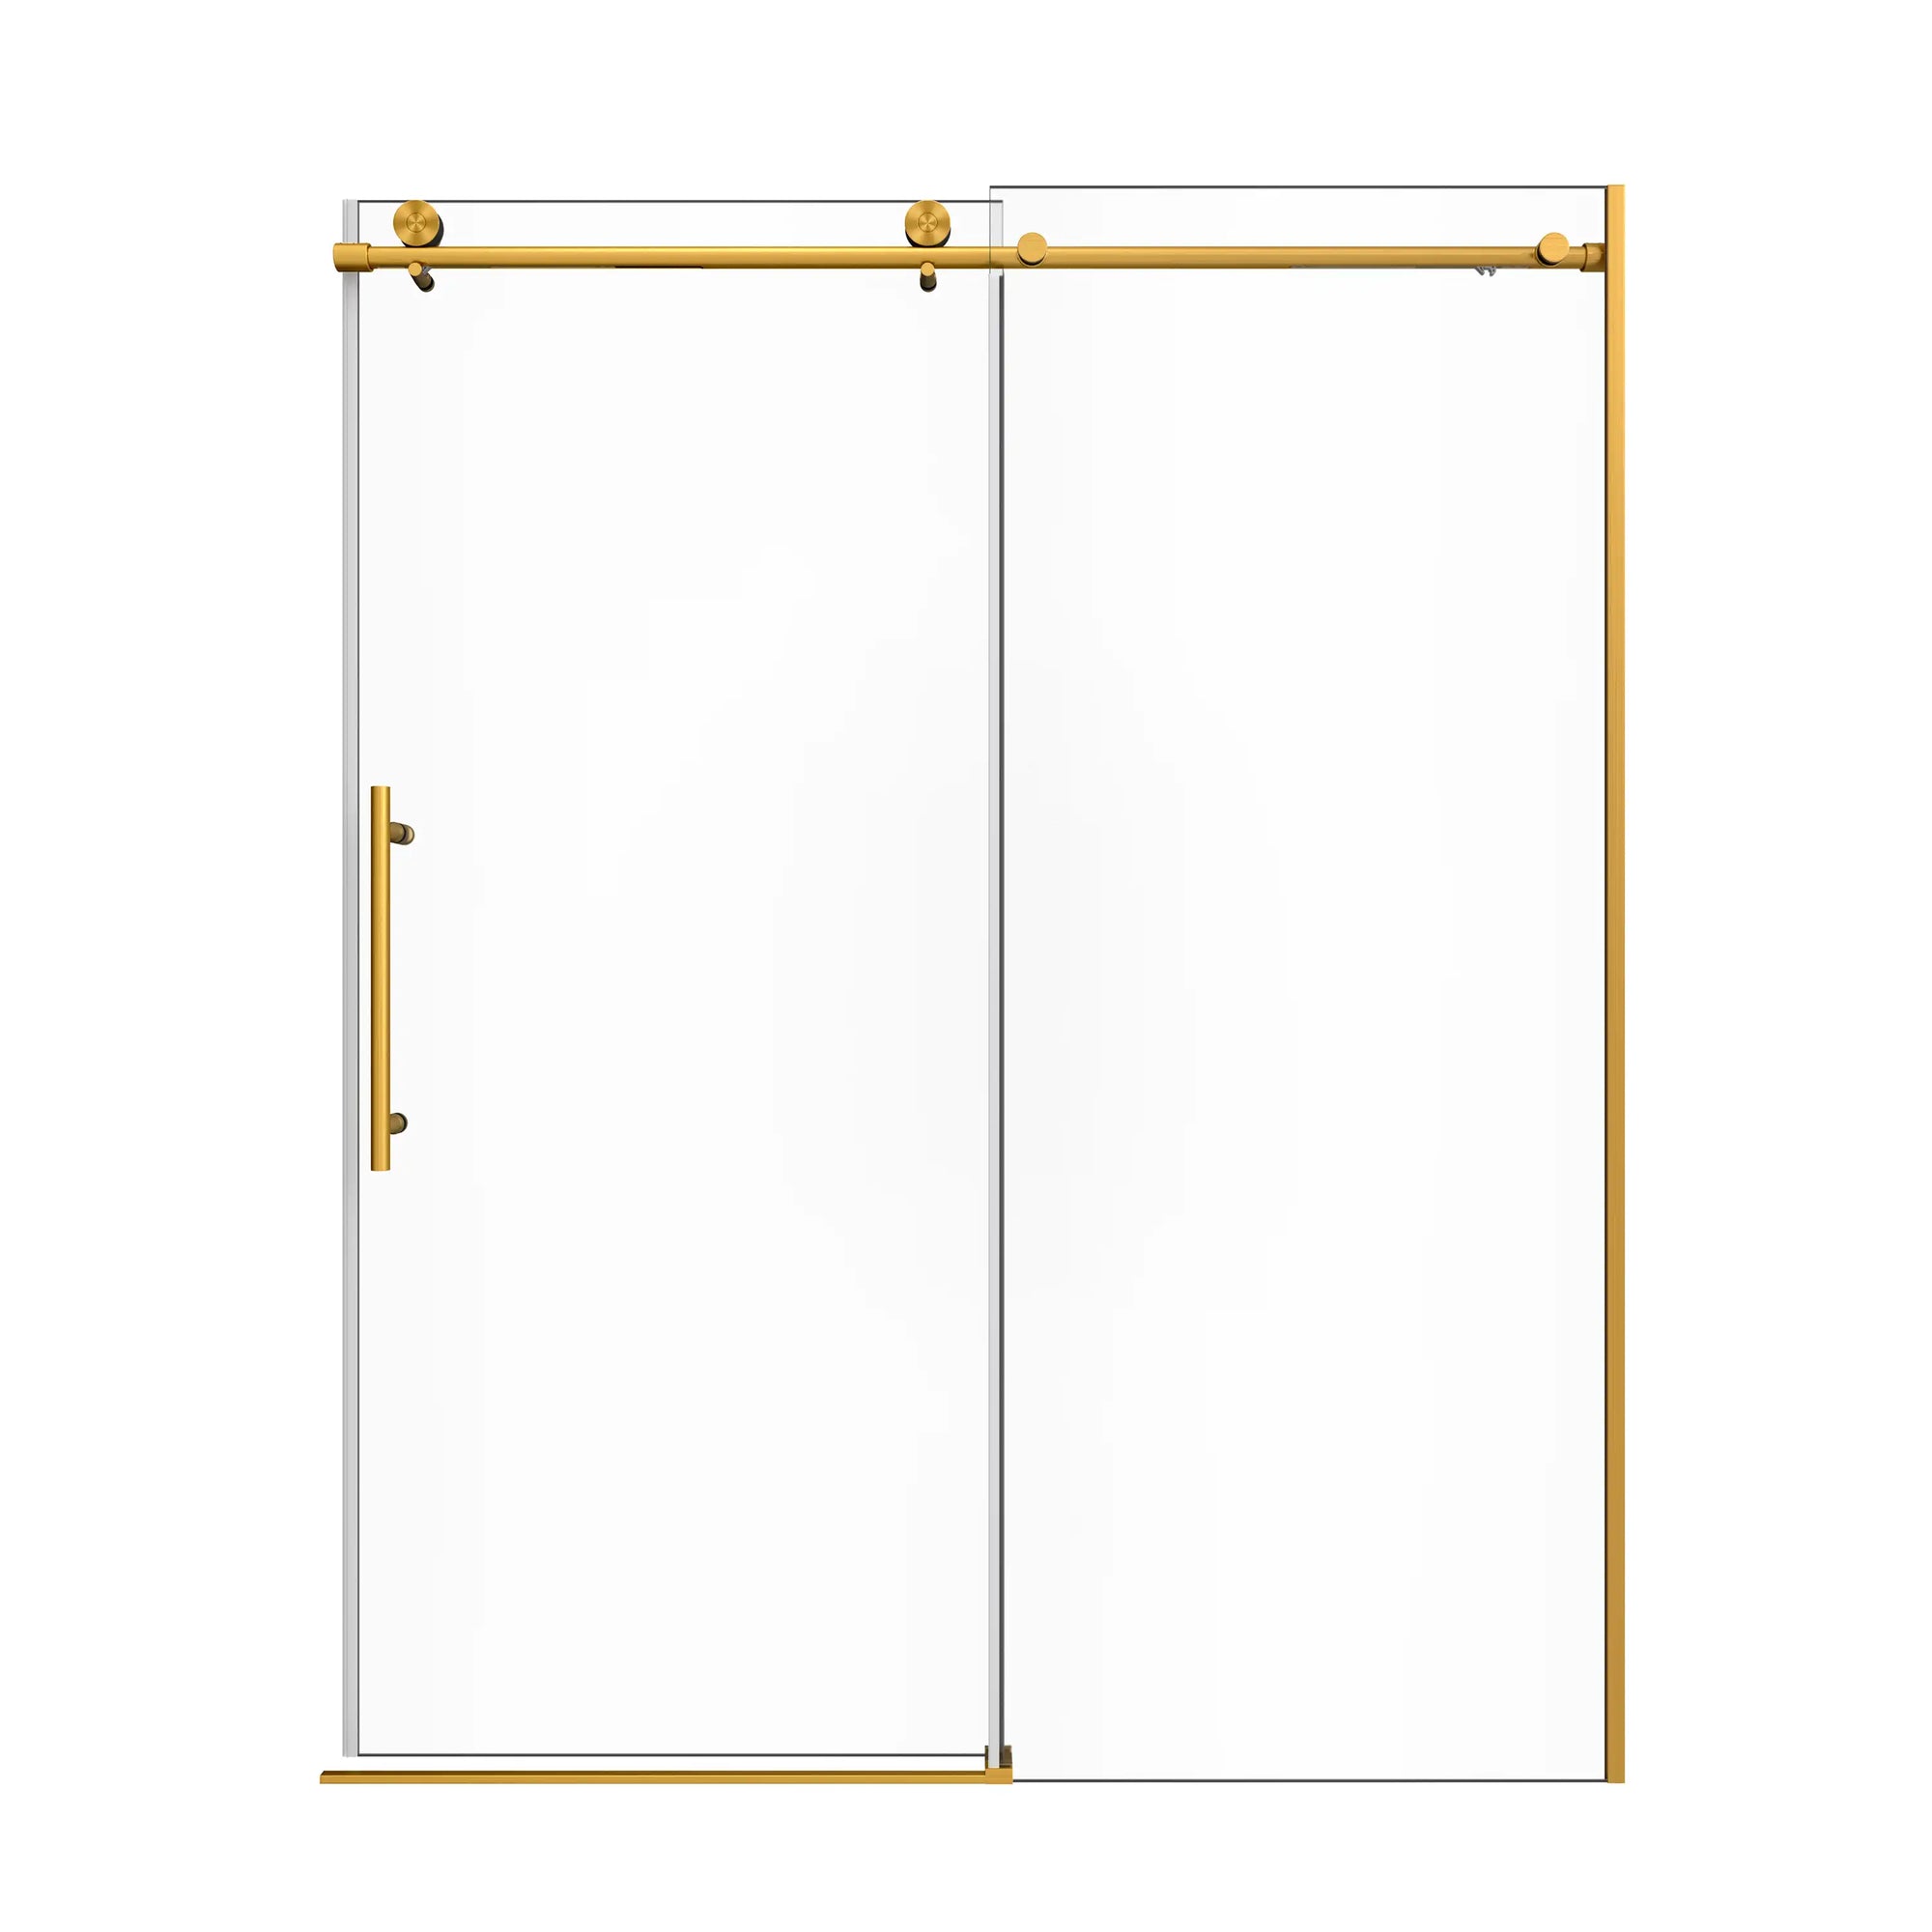
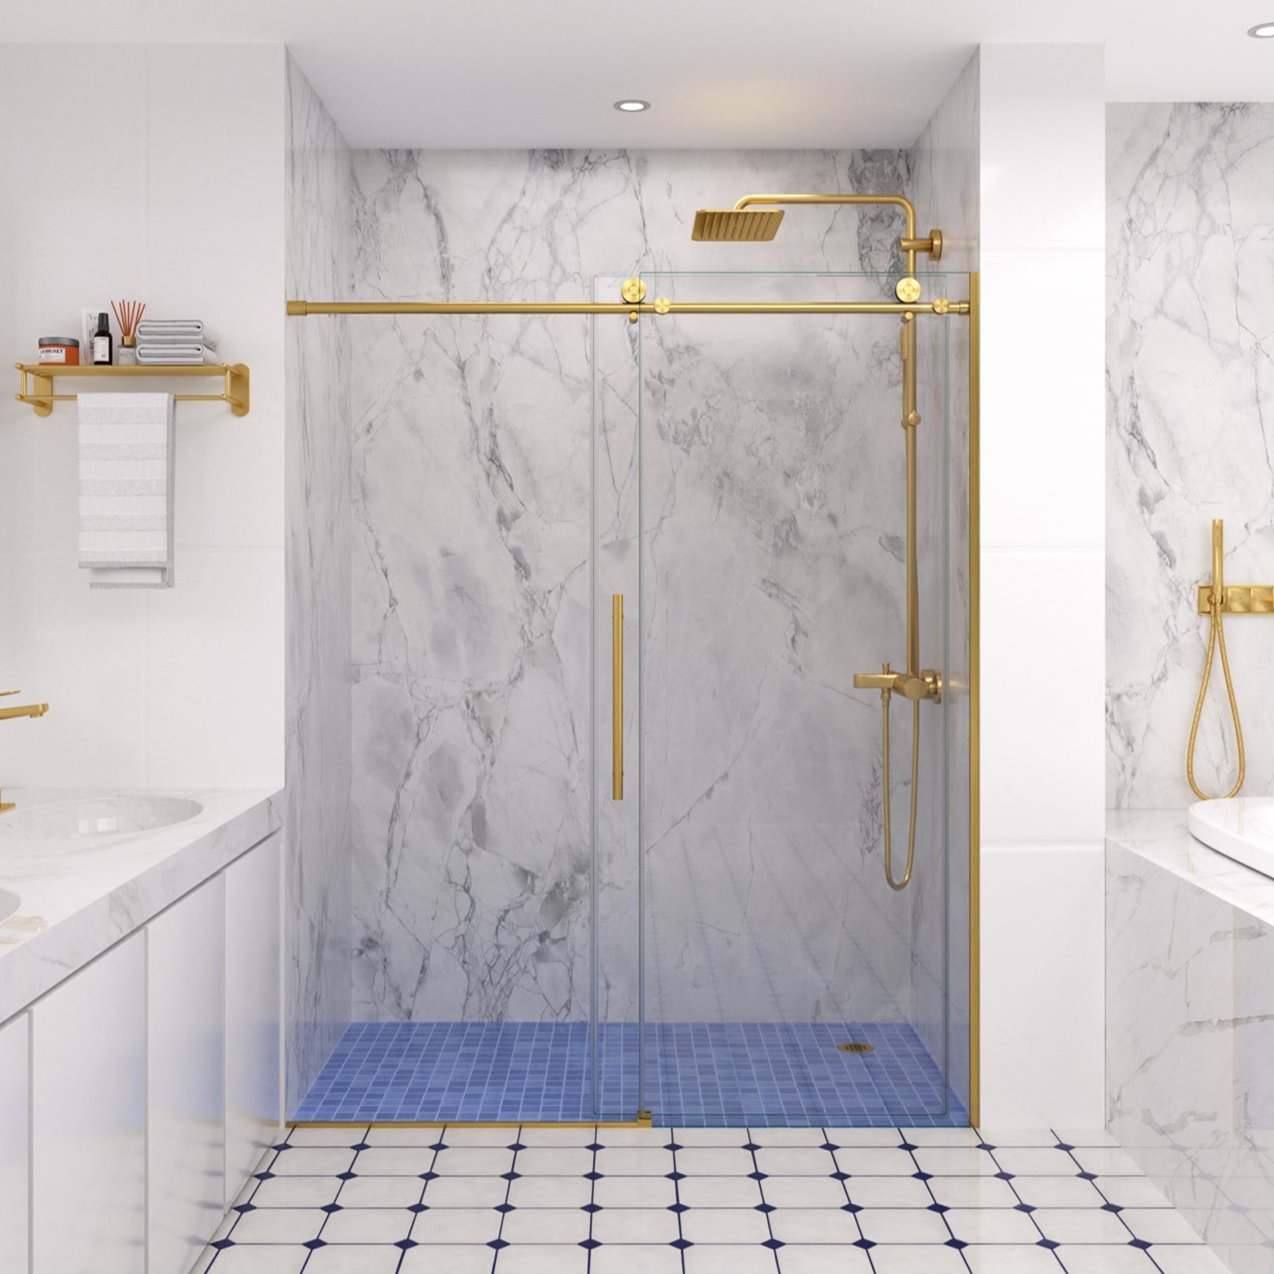
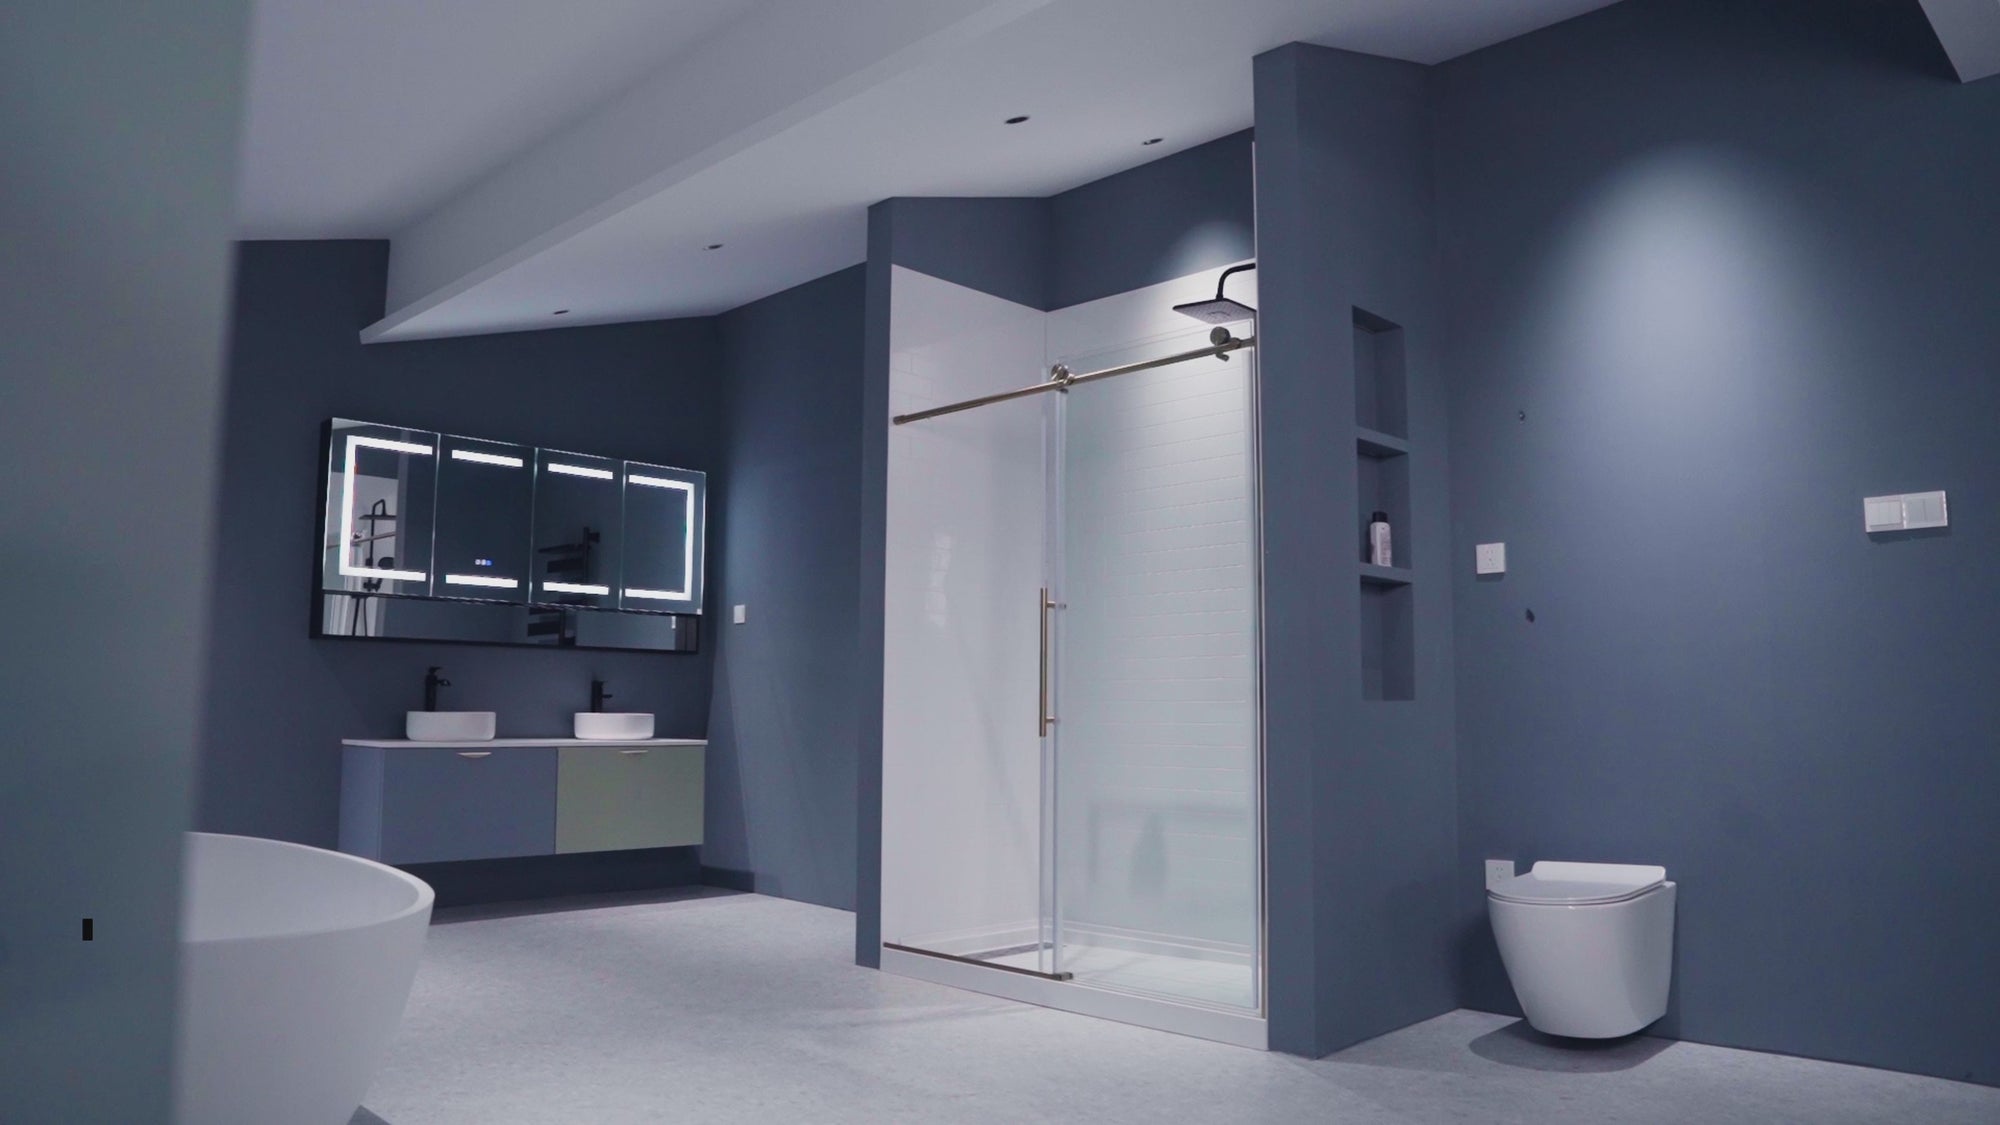
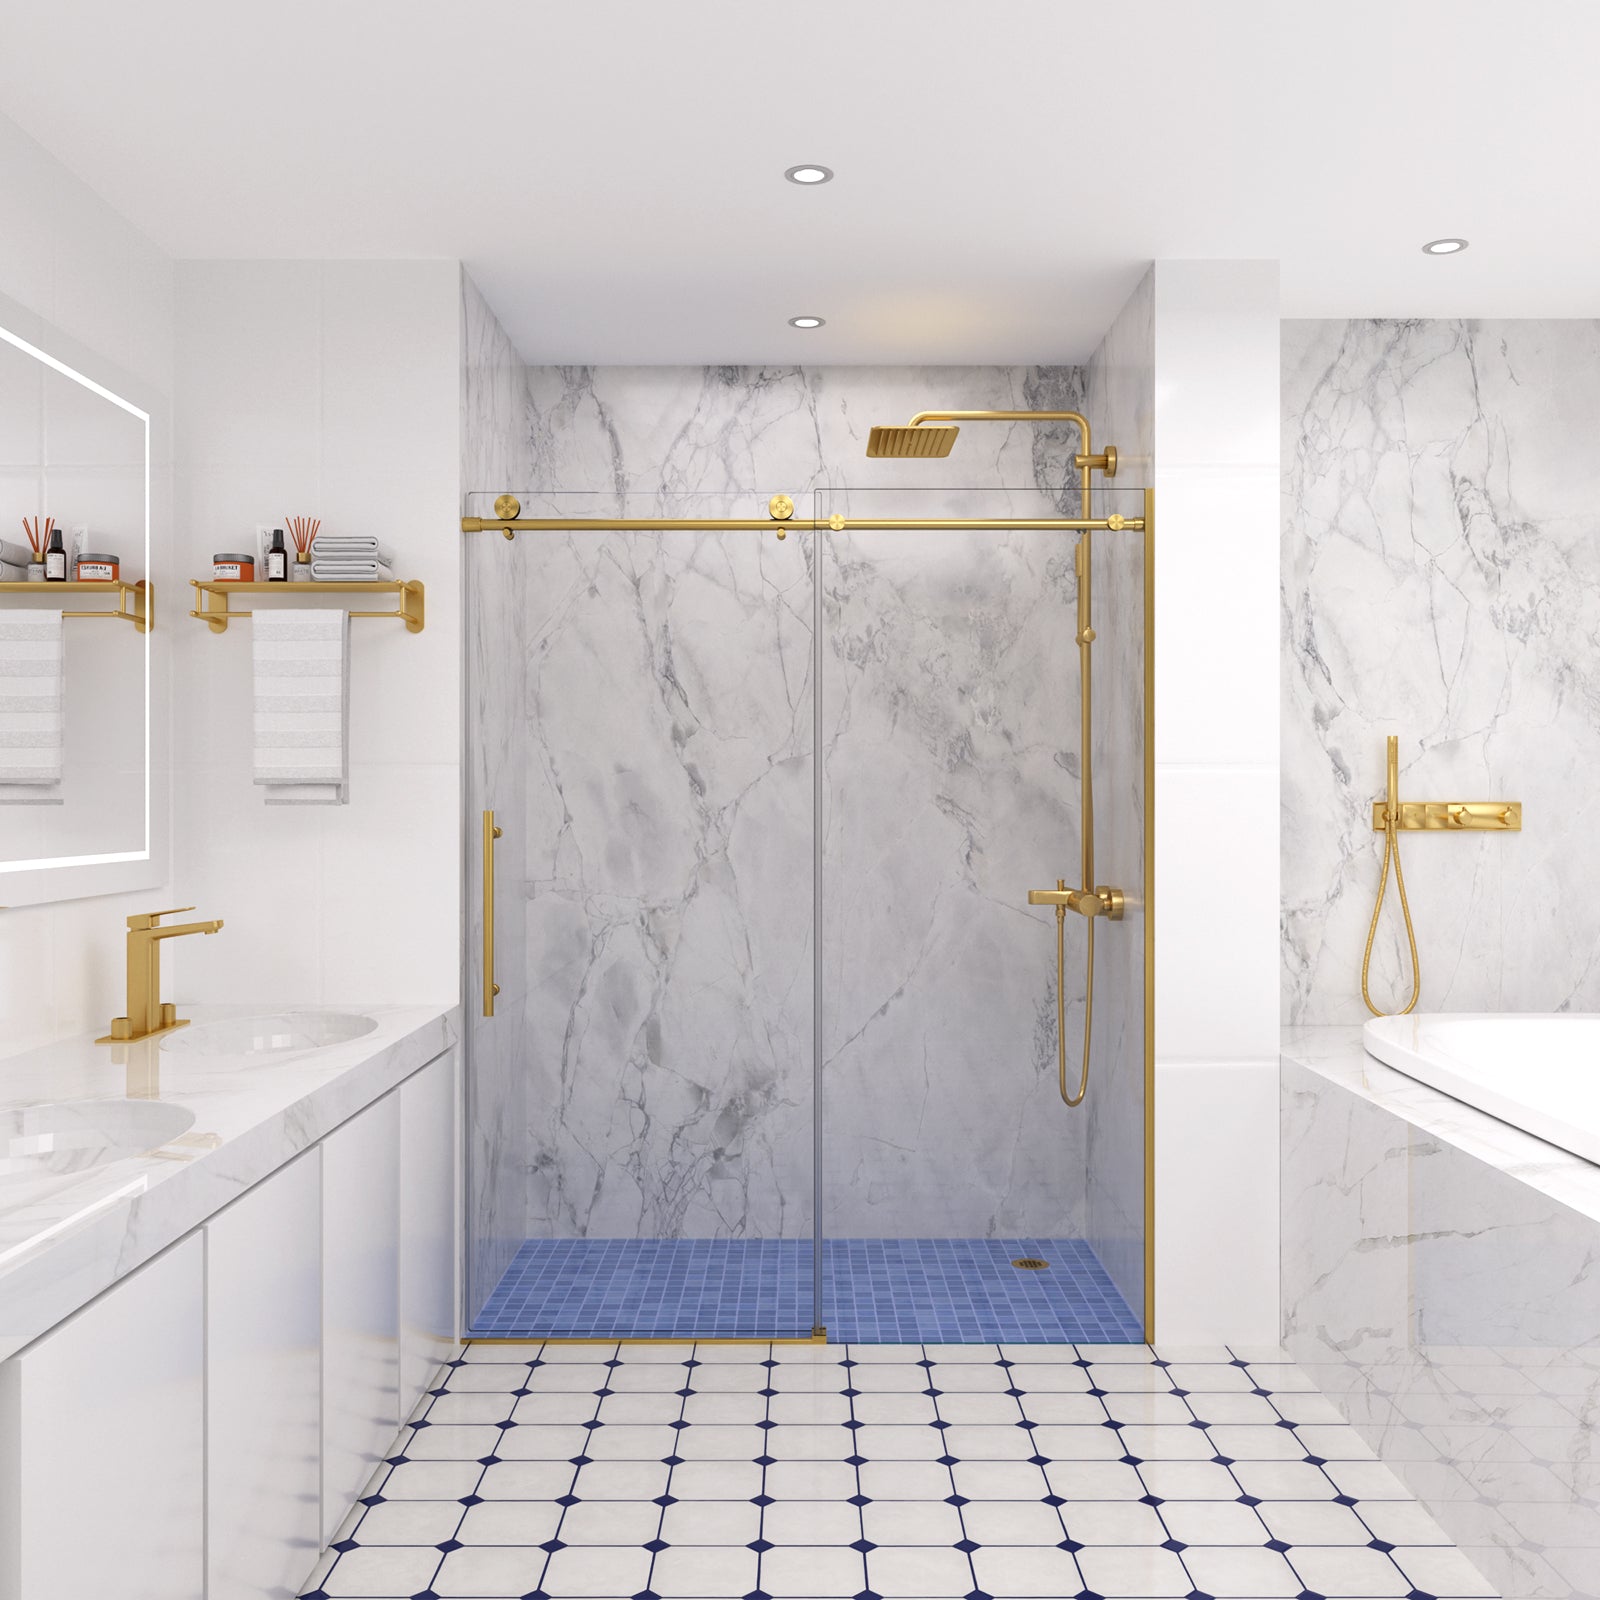
Renovating your bathroom can be both exciting and intimidating, especially when it comes to installing key features like a shower door. One of the best ways to enhance both the functionality and style of your bathroom is by installing a framed bypass shower door. These doors are practical, especially for smaller spaces, and their sleek design can elevate the look of your bathroom.
In this comprehensive guide, I’ll walk you through every step of installing a framed bypass shower door—from the tools you’ll need to the nitty-gritty details of getting everything perfectly aligned. As a bonus, I'll share real-life examples and expert tips that will not only make the process easier but ensure your shower door looks and functions flawlessly for years to come.
Why Choose a Framed Bypass Shower Door?
Before we get into the installation process, let’s take a moment to talk about why framed bypass shower doors are a fantastic choice for modern bathrooms.
-
Space-saving design: Unlike traditional swing doors, bypass shower doors slide along a track, which means they don’t need additional clearance. This makes them ideal for small or compact bathrooms where space is at a premium.
-
Durability: The metal frame provides structural support, ensuring the door remains sturdy and long-lasting. It also helps to keep the glass secure, which is crucial for families with young children or homes where the bathroom sees heavy use.
-
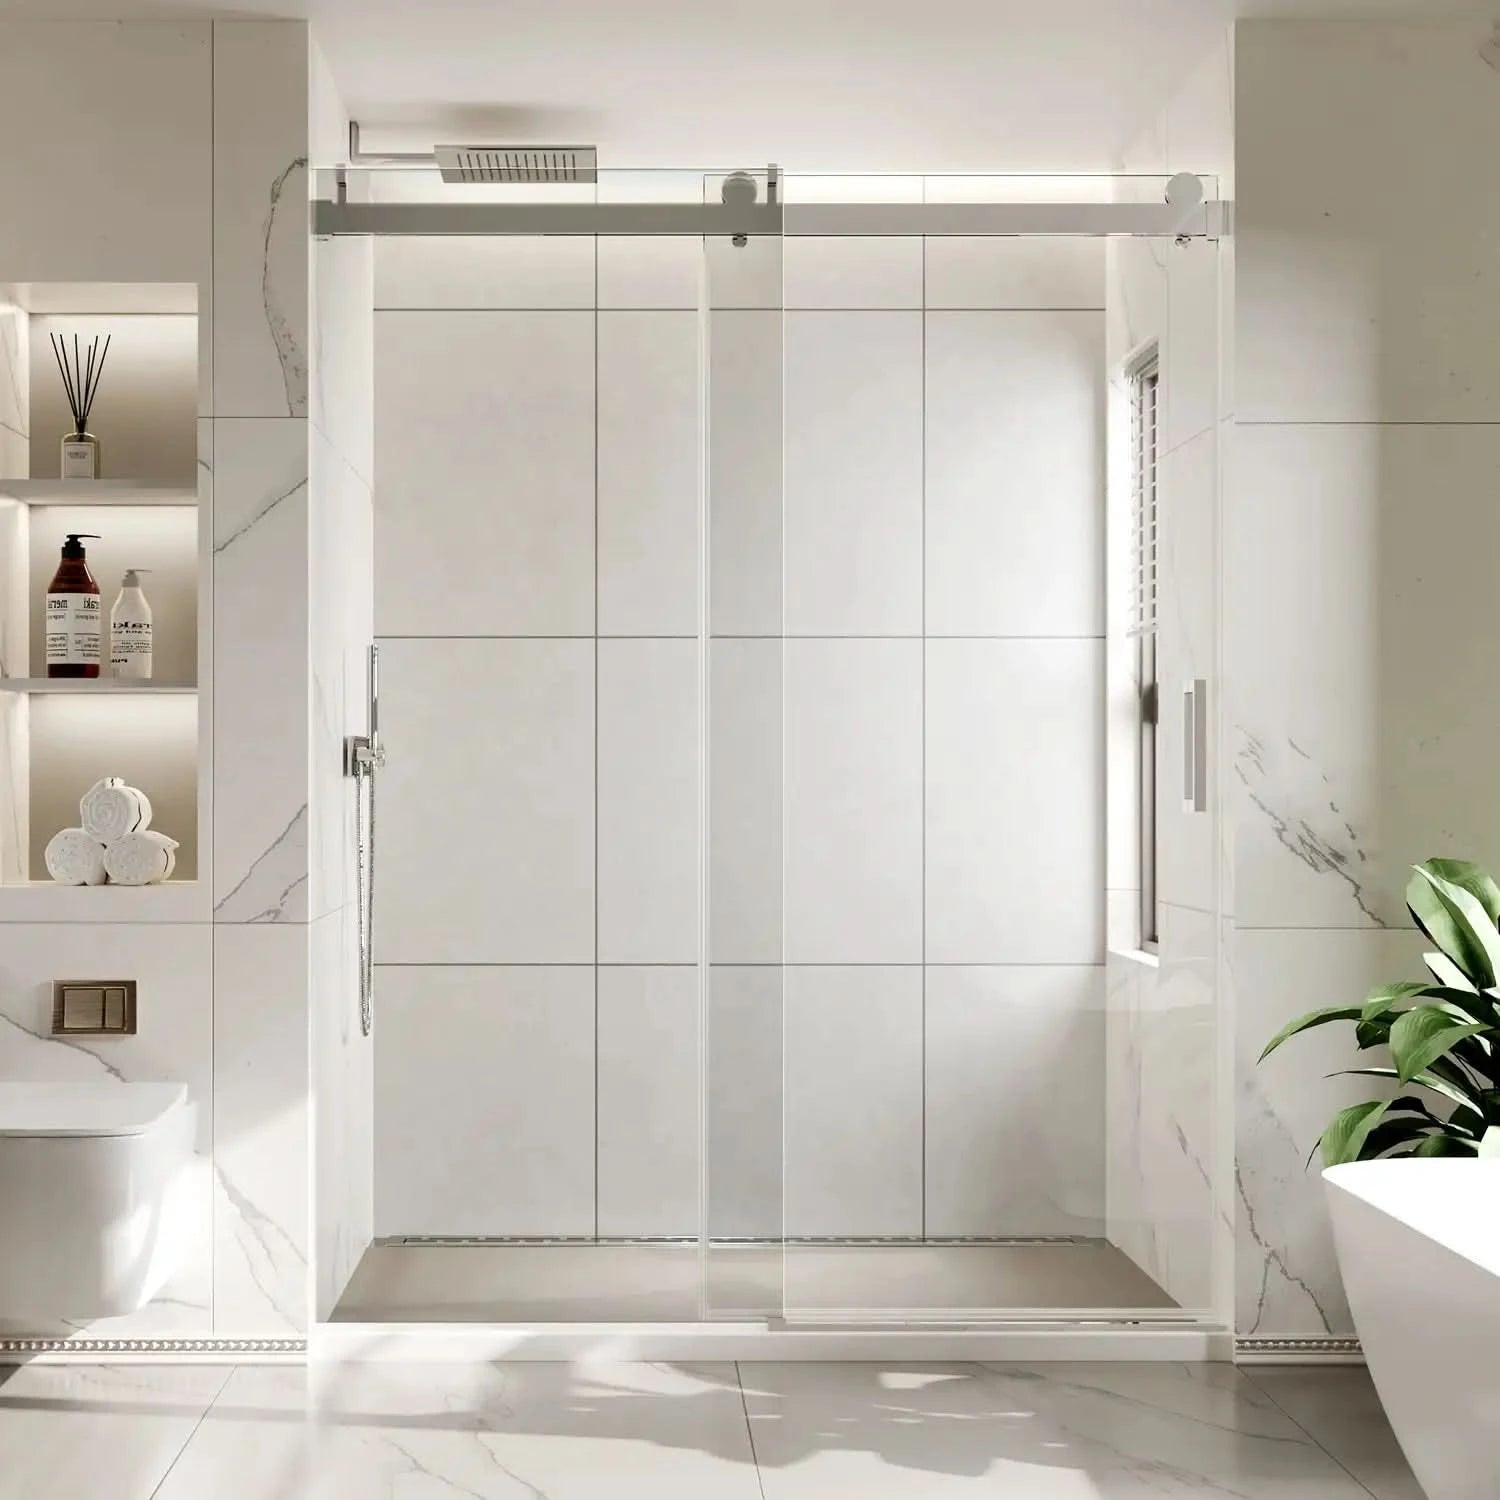
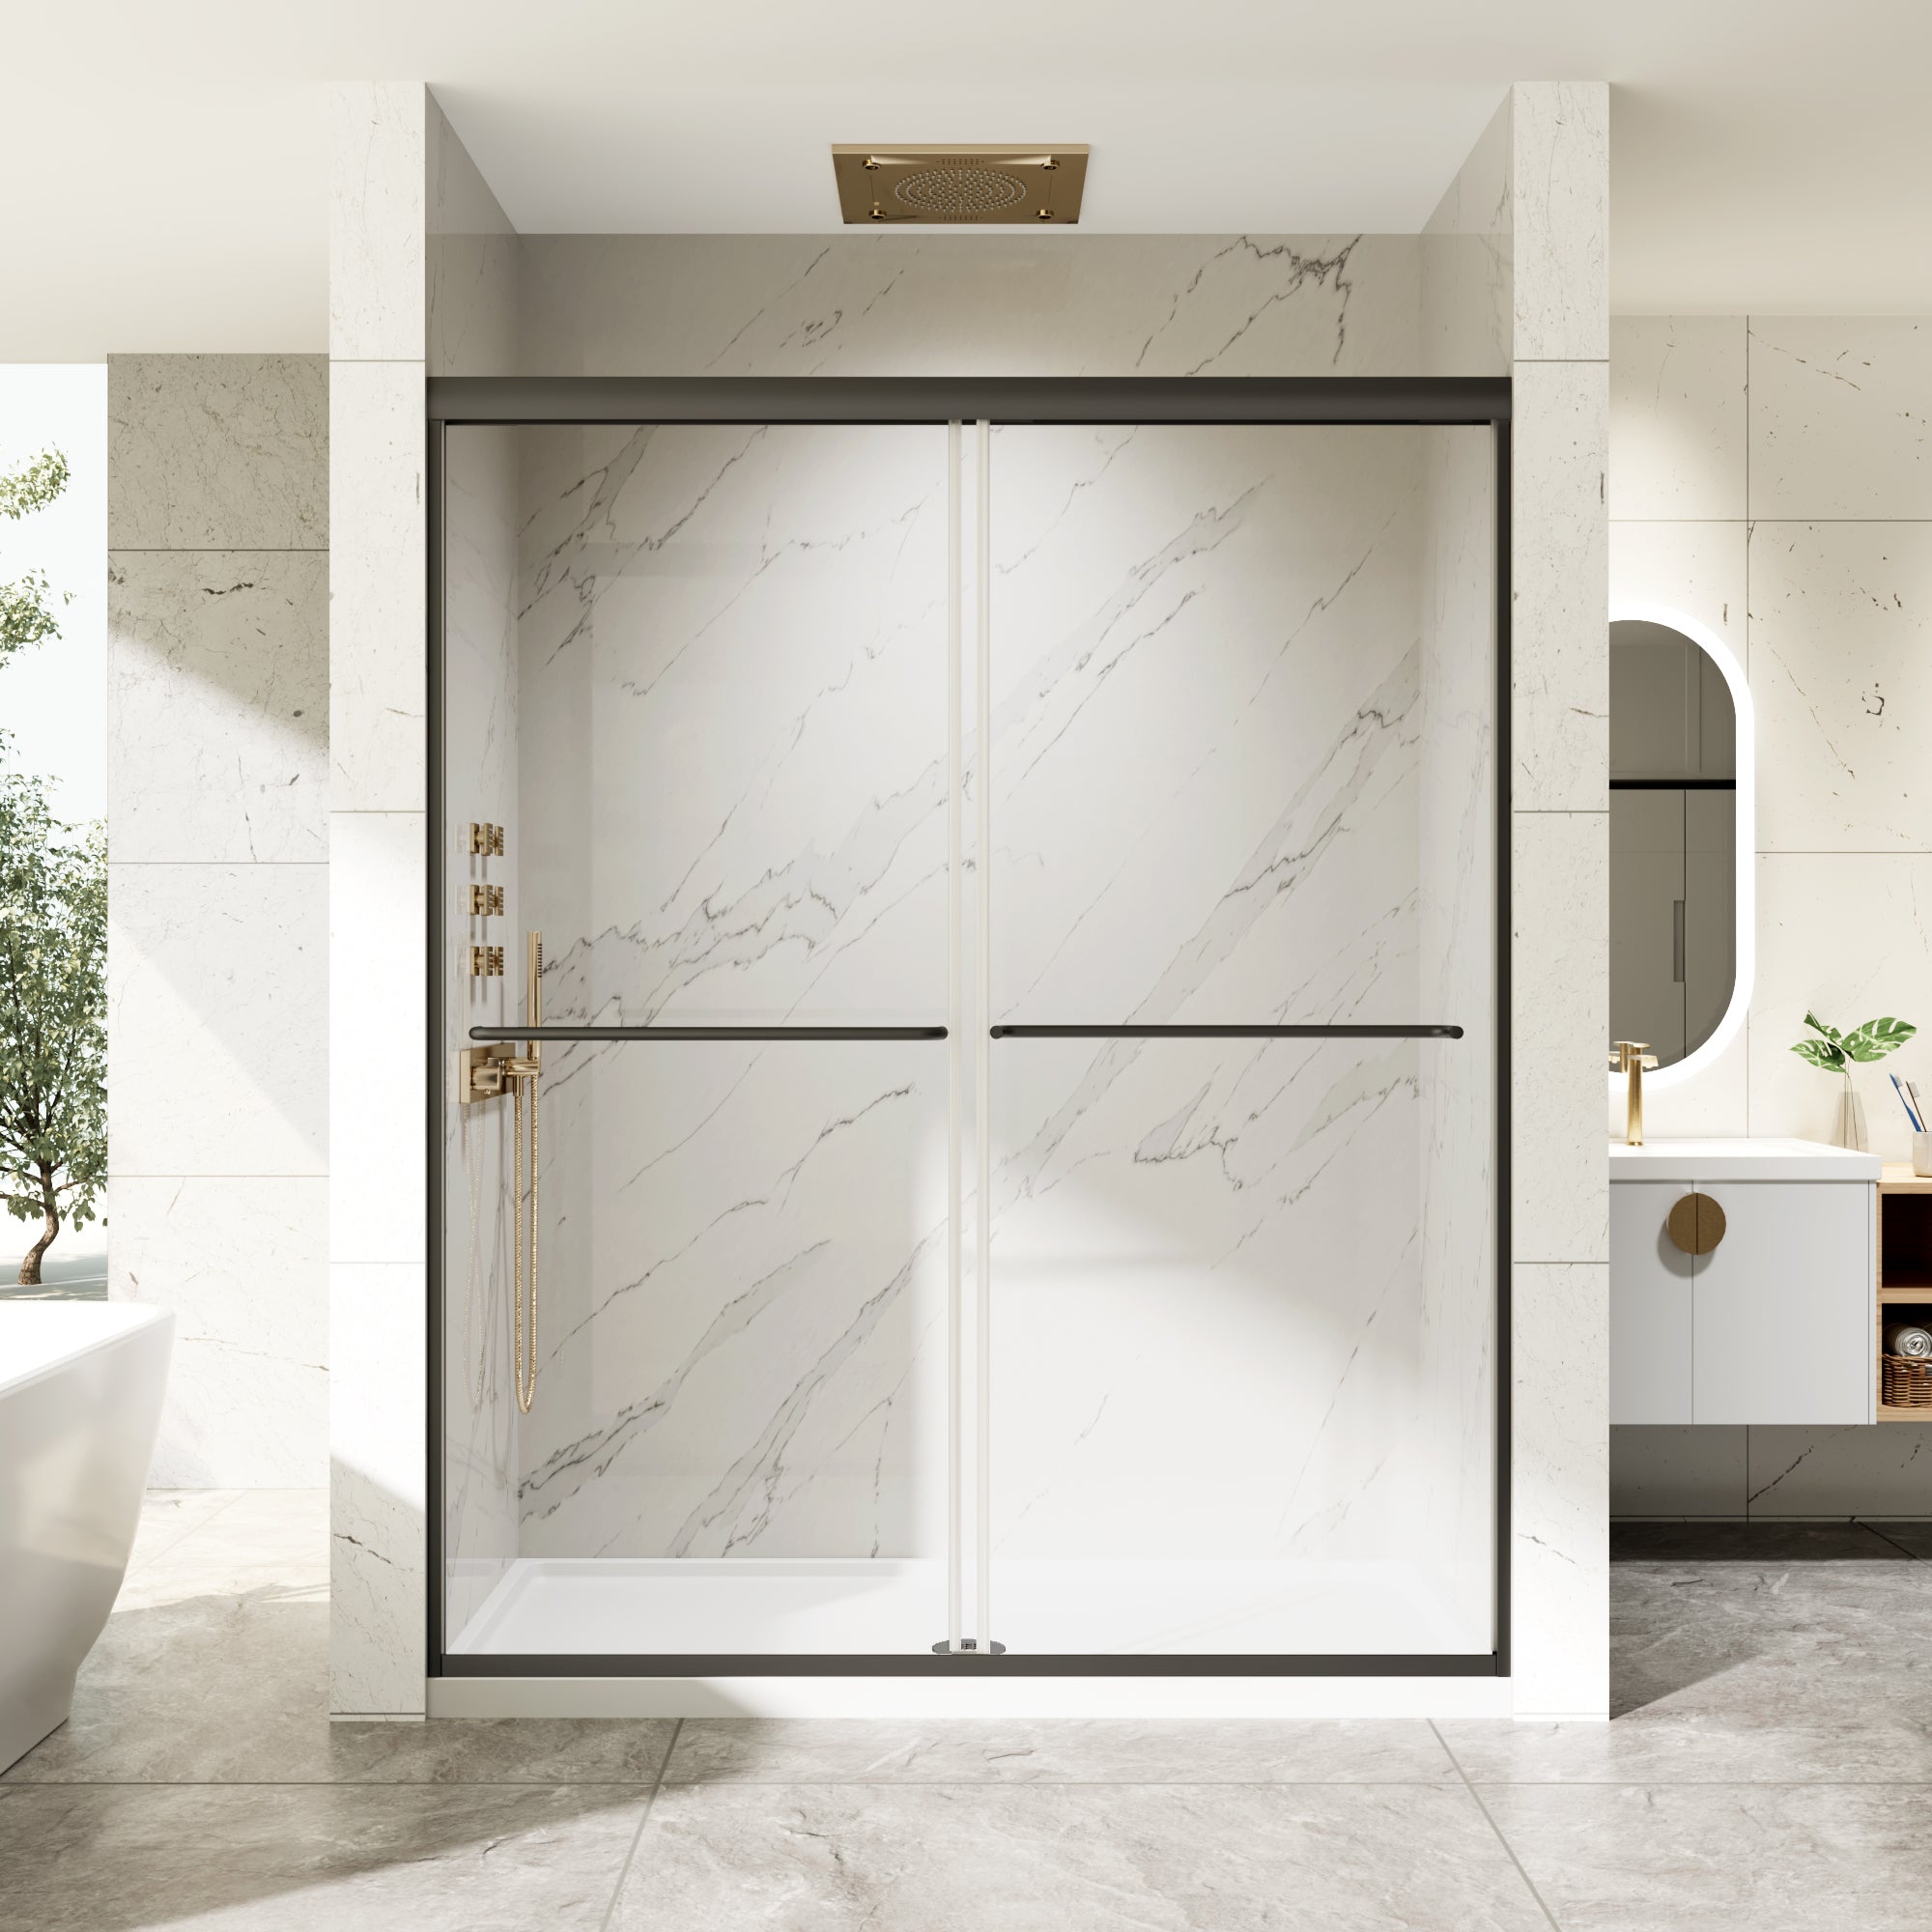
Sleek and modern appearance: Available in finishes like matte black and chrome, framed bypass doors can add a polished, contemporary look to your bathroom. If you're aiming for a minimalist or industrial aesthetic, these doors are the perfect fit.
-
Easy maintenance: Thanks to their design, framed bypass doors are easier to clean and maintain. The frame keeps water from splashing out, reducing the risk of water damage to your bathroom floors.
Now that we understand why framed bypass shower doors are such a popular option, let’s dive into the step-by-step installation process.
Tools and Materials You’ll Need
Before you begin, it’s essential to have all the right tools and materials on hand. Preparation is key to a smooth installation process.
Here’s a list of tools and materials you’ll need:
- Measuring tape
- Pencil
- Level
- Drill and drill bits
- Screwdriver
- Rubber mallet
- Hacksaw (for cutting tracks to size)
- Silicone sealant
- Caulking gun
- Safety glasses
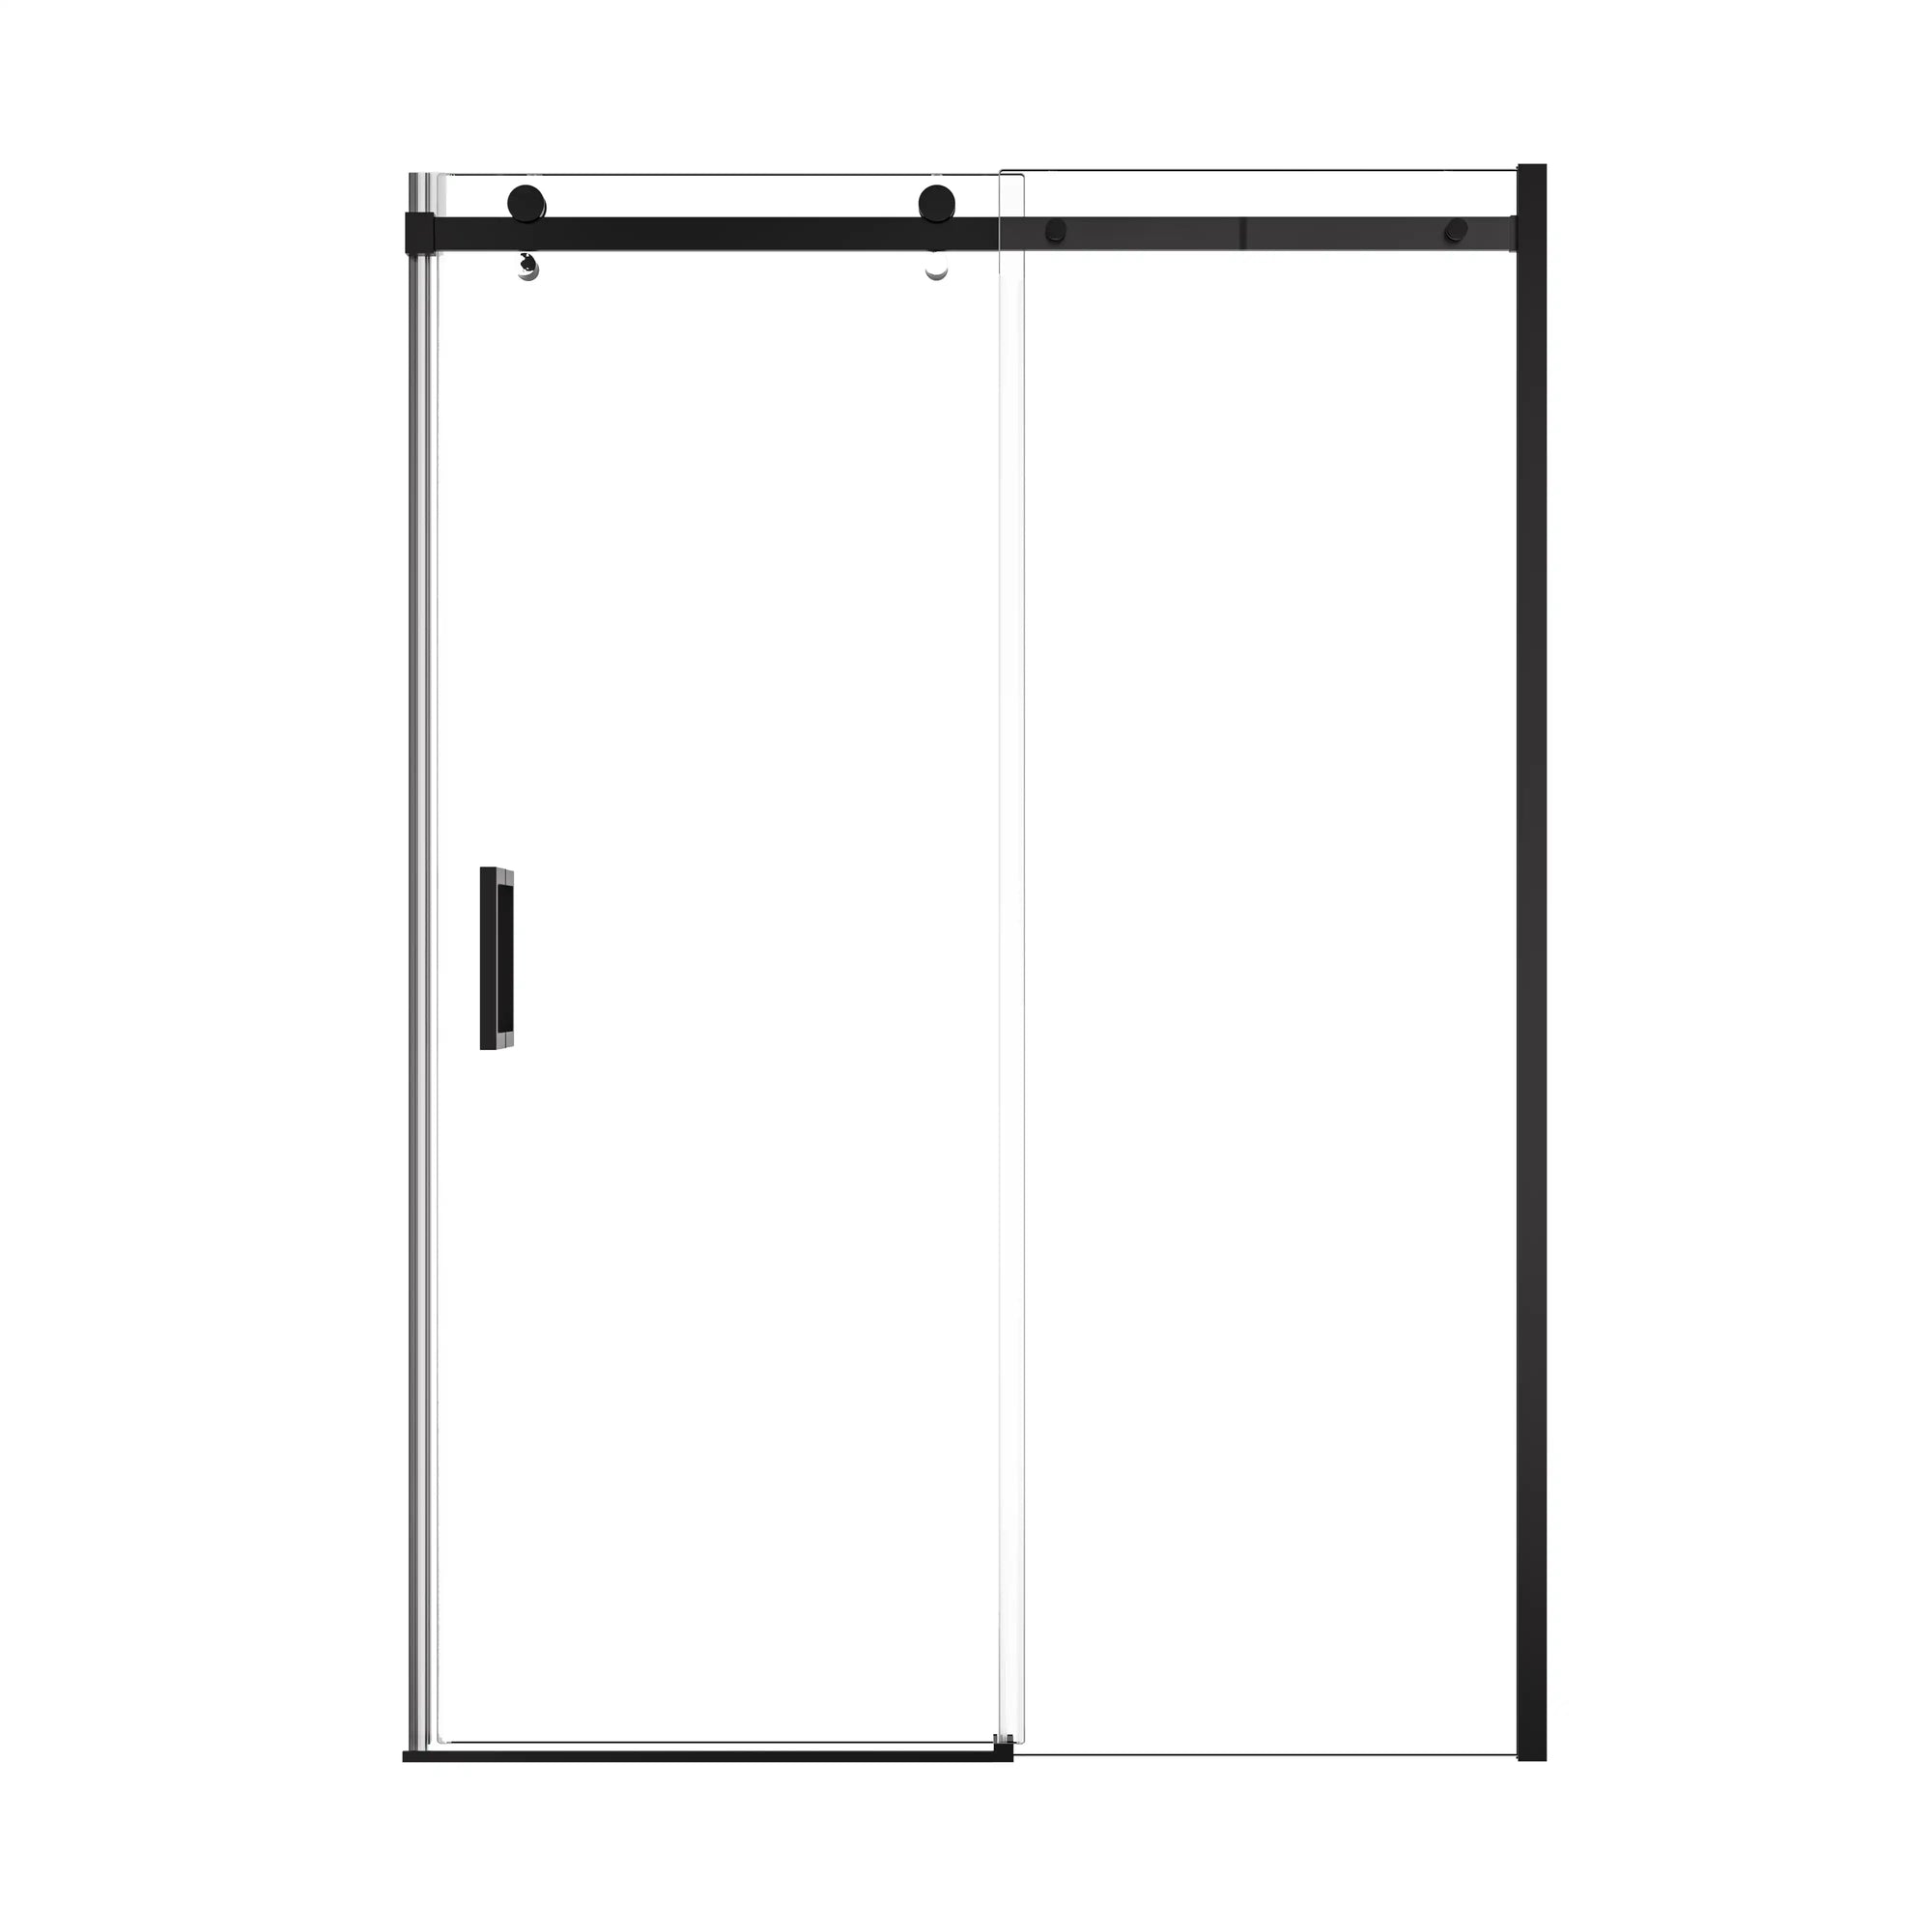
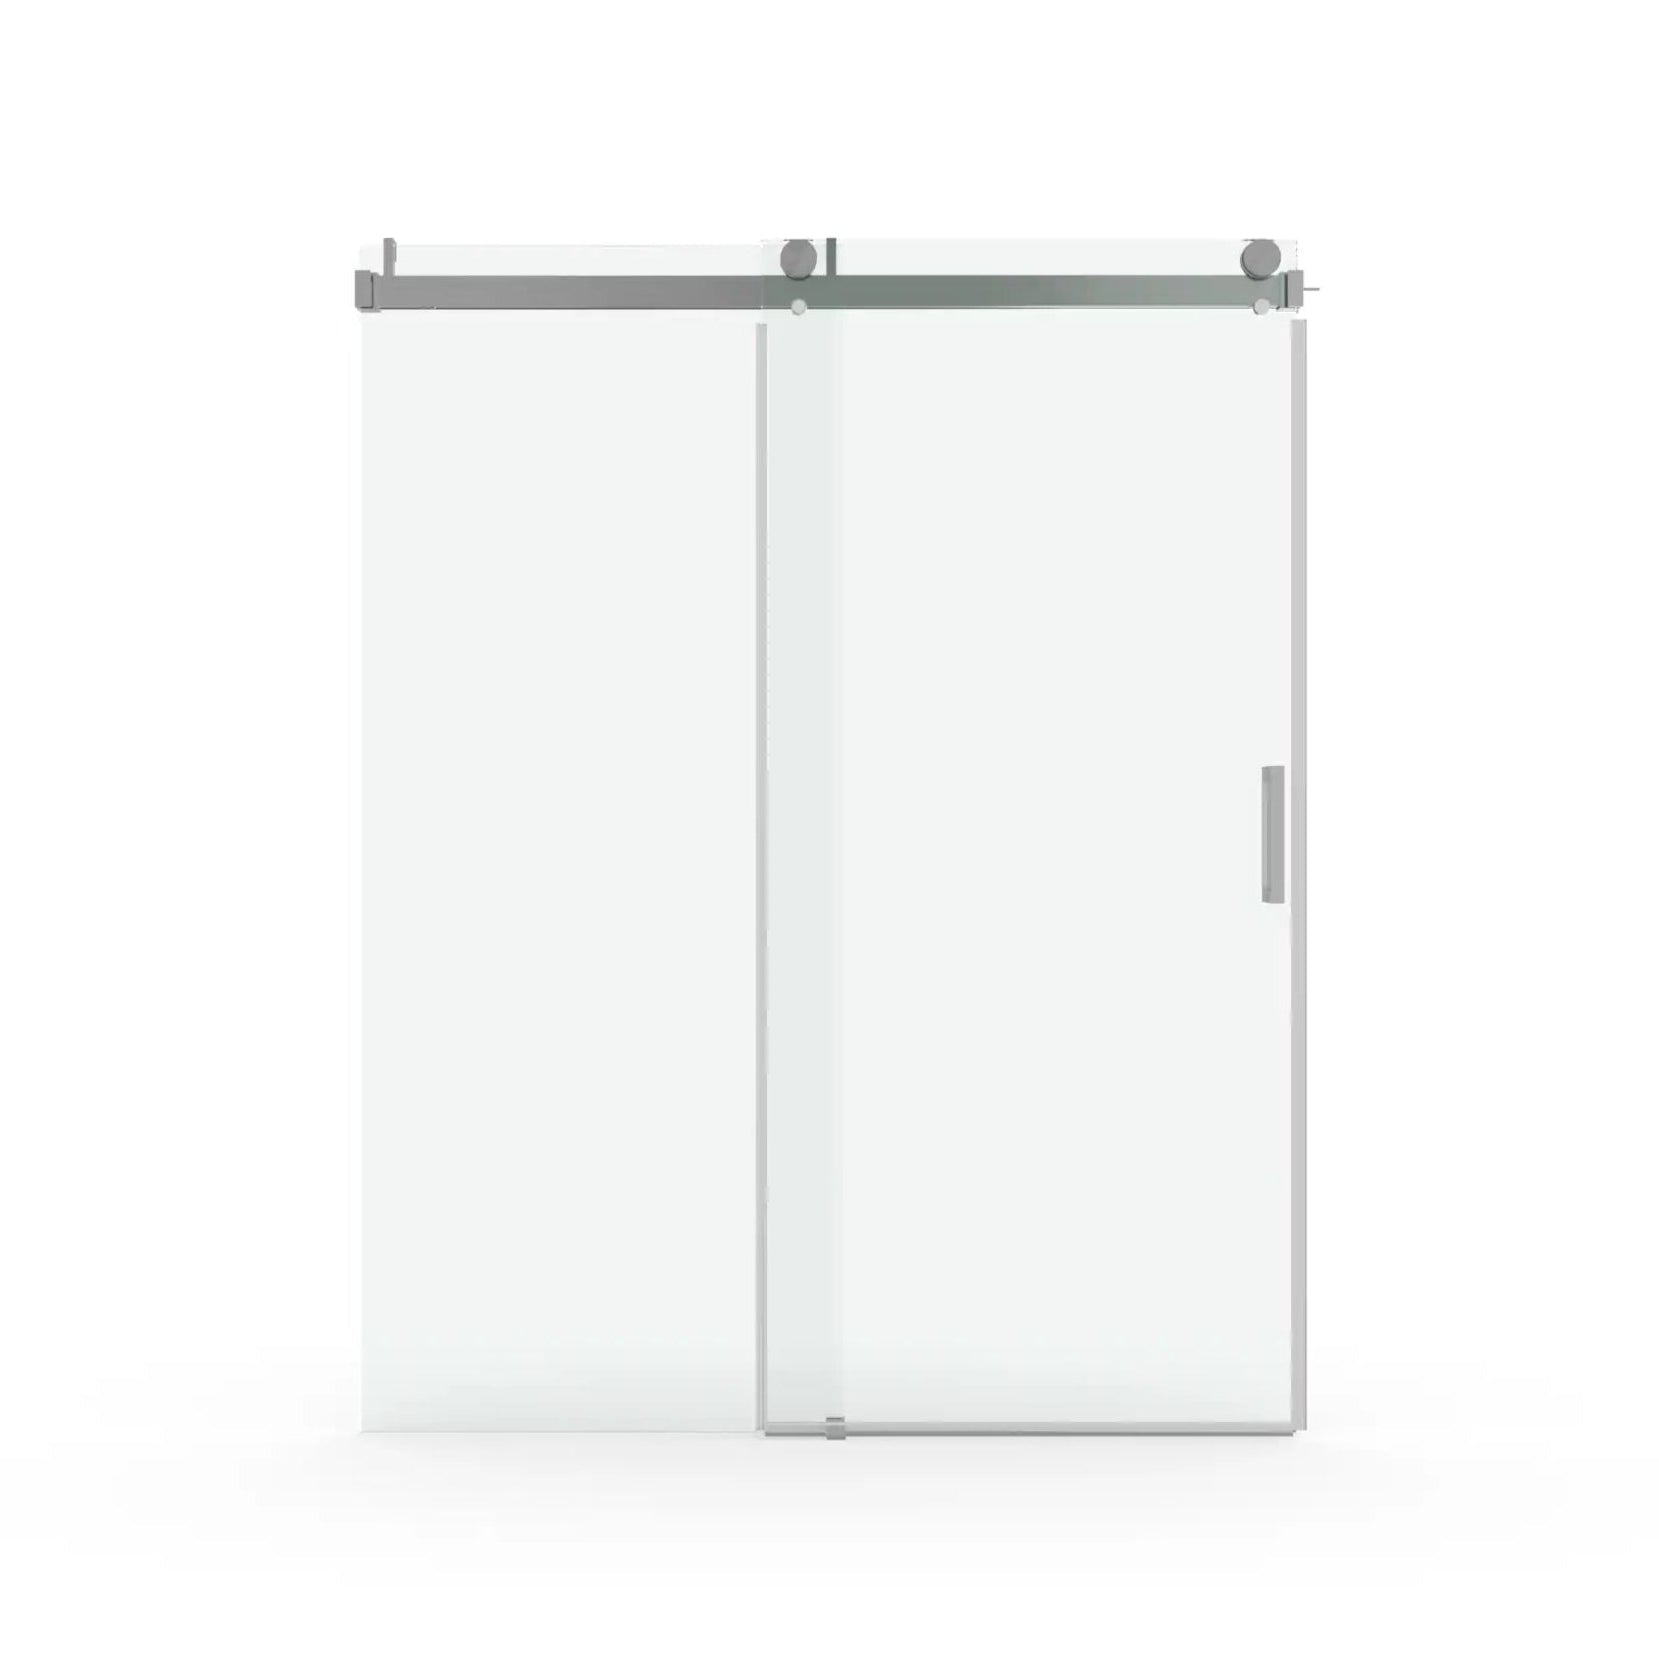
- Framed bypass shower door kit (such as the Matte Black and Chrome Framed Bypass Shower Door from ACE DECOR)
Step 1: Measure Your Shower Opening
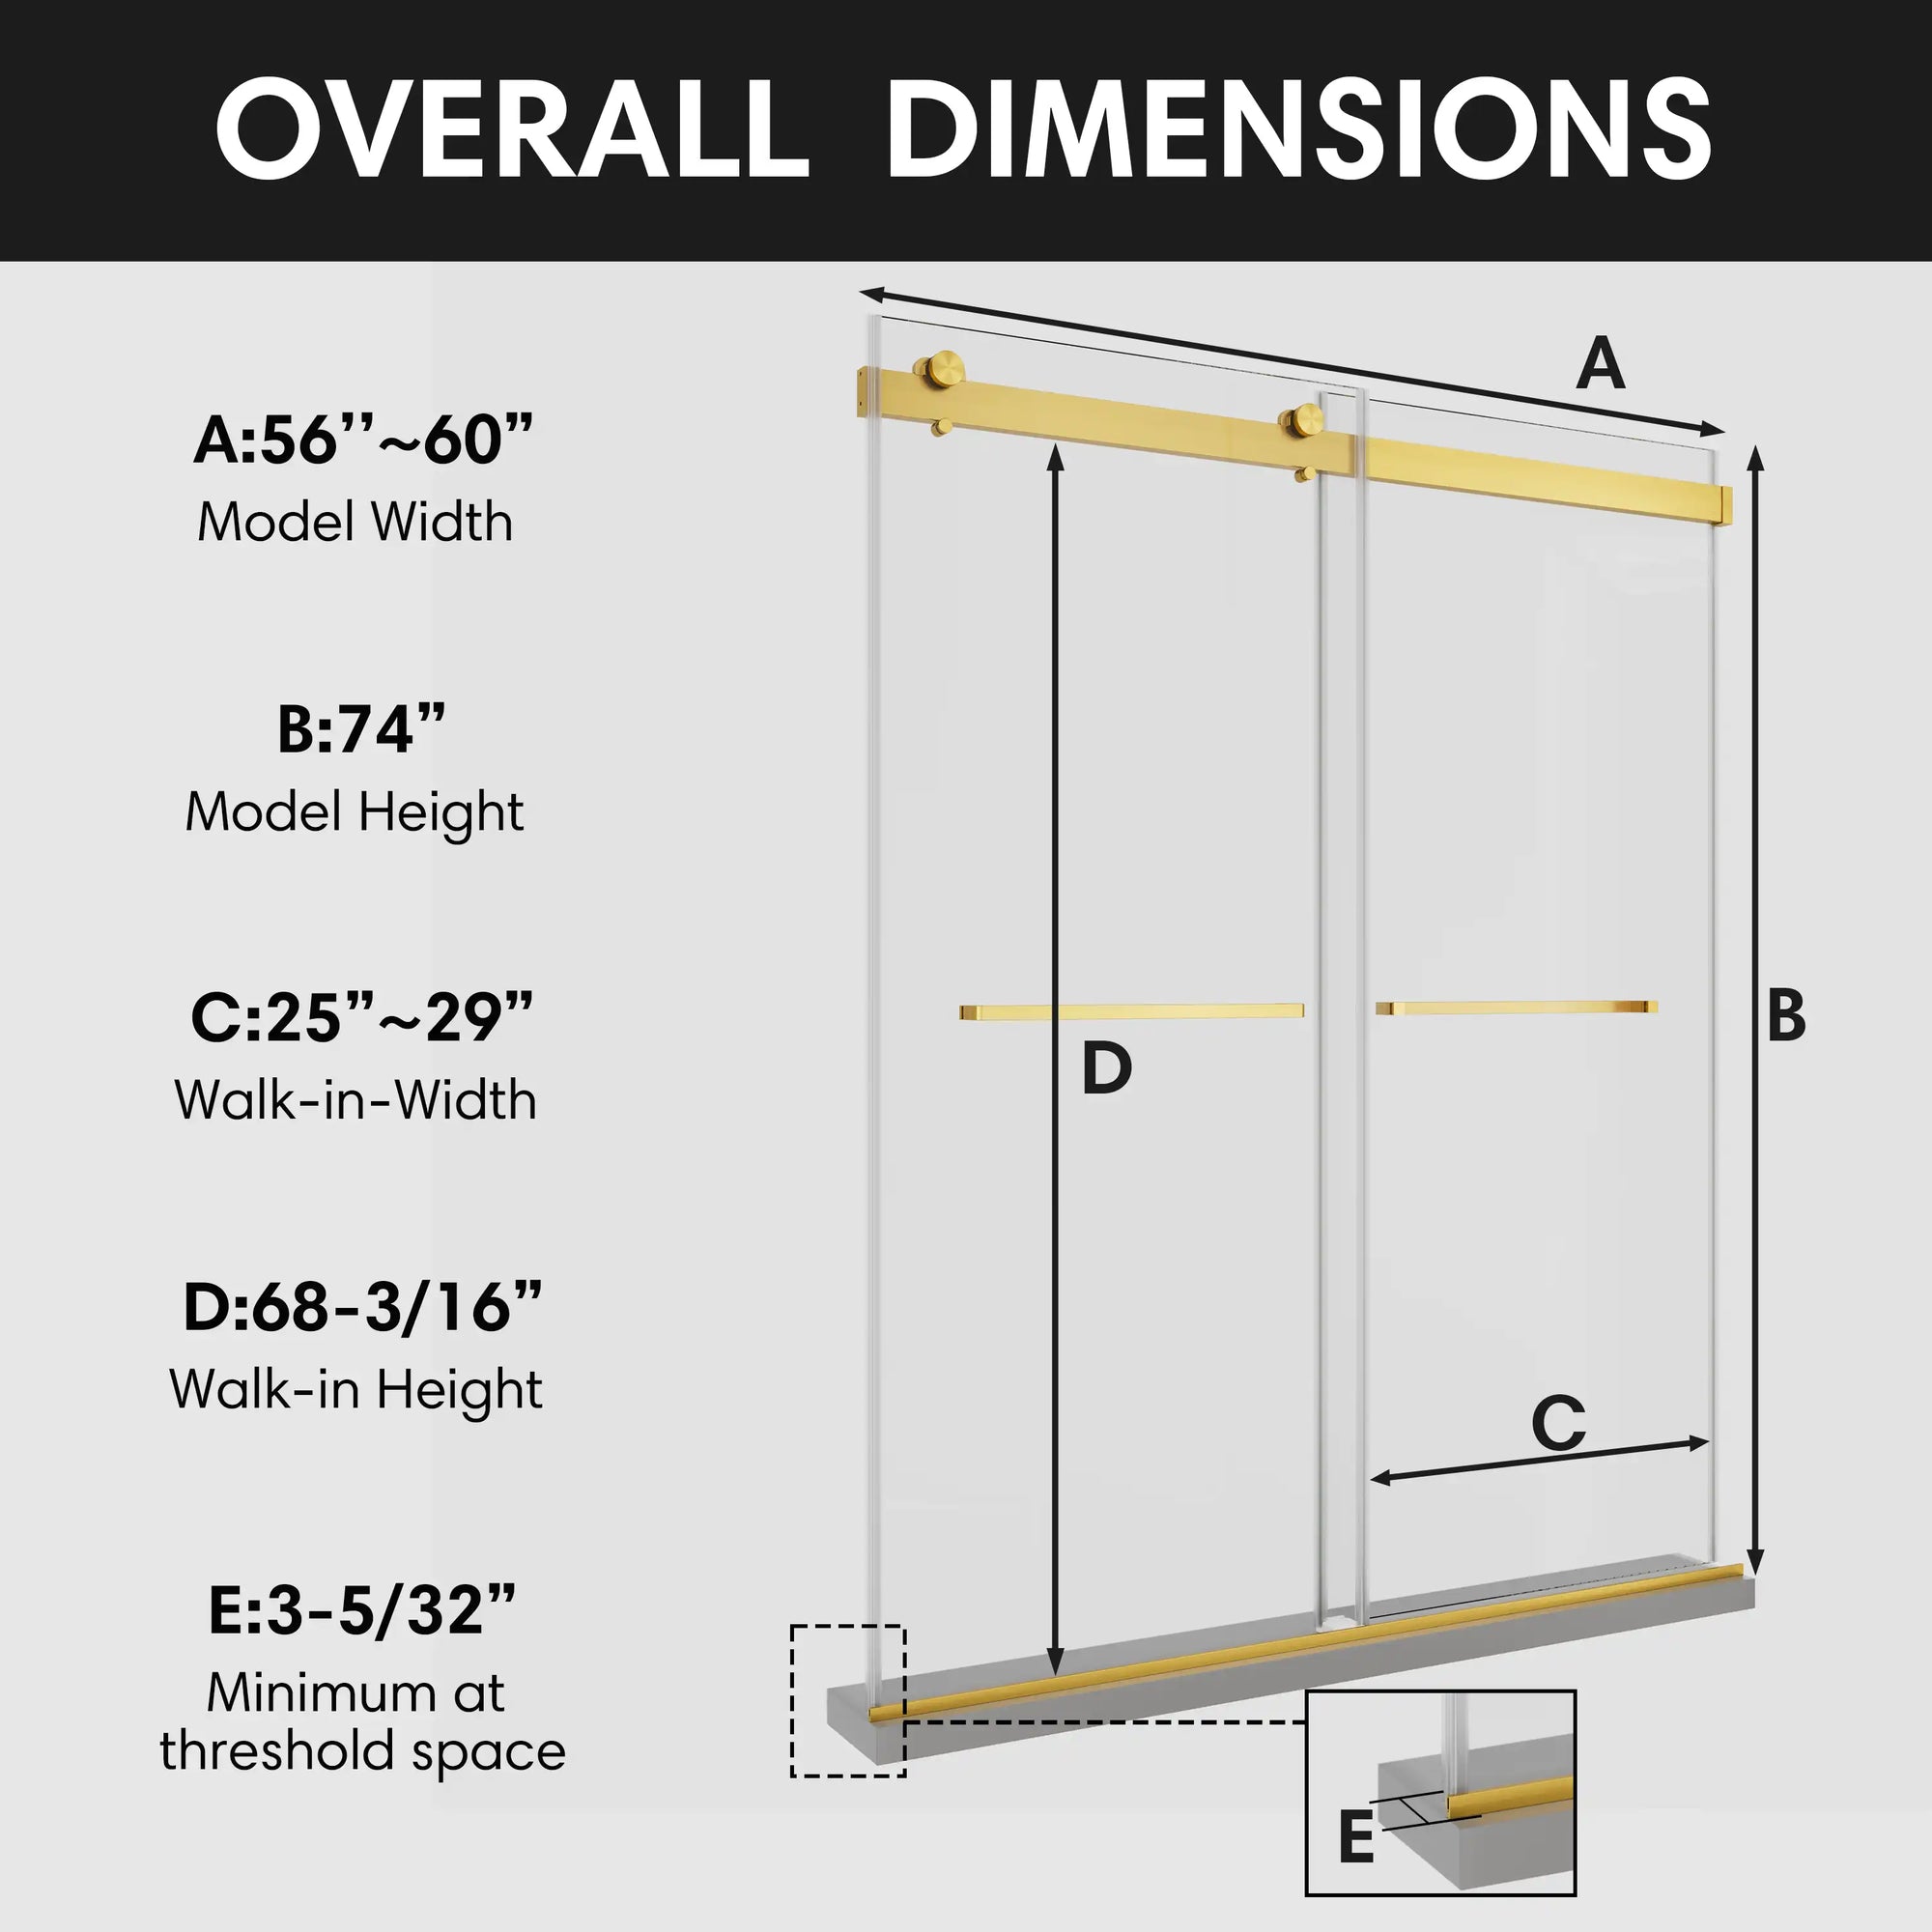
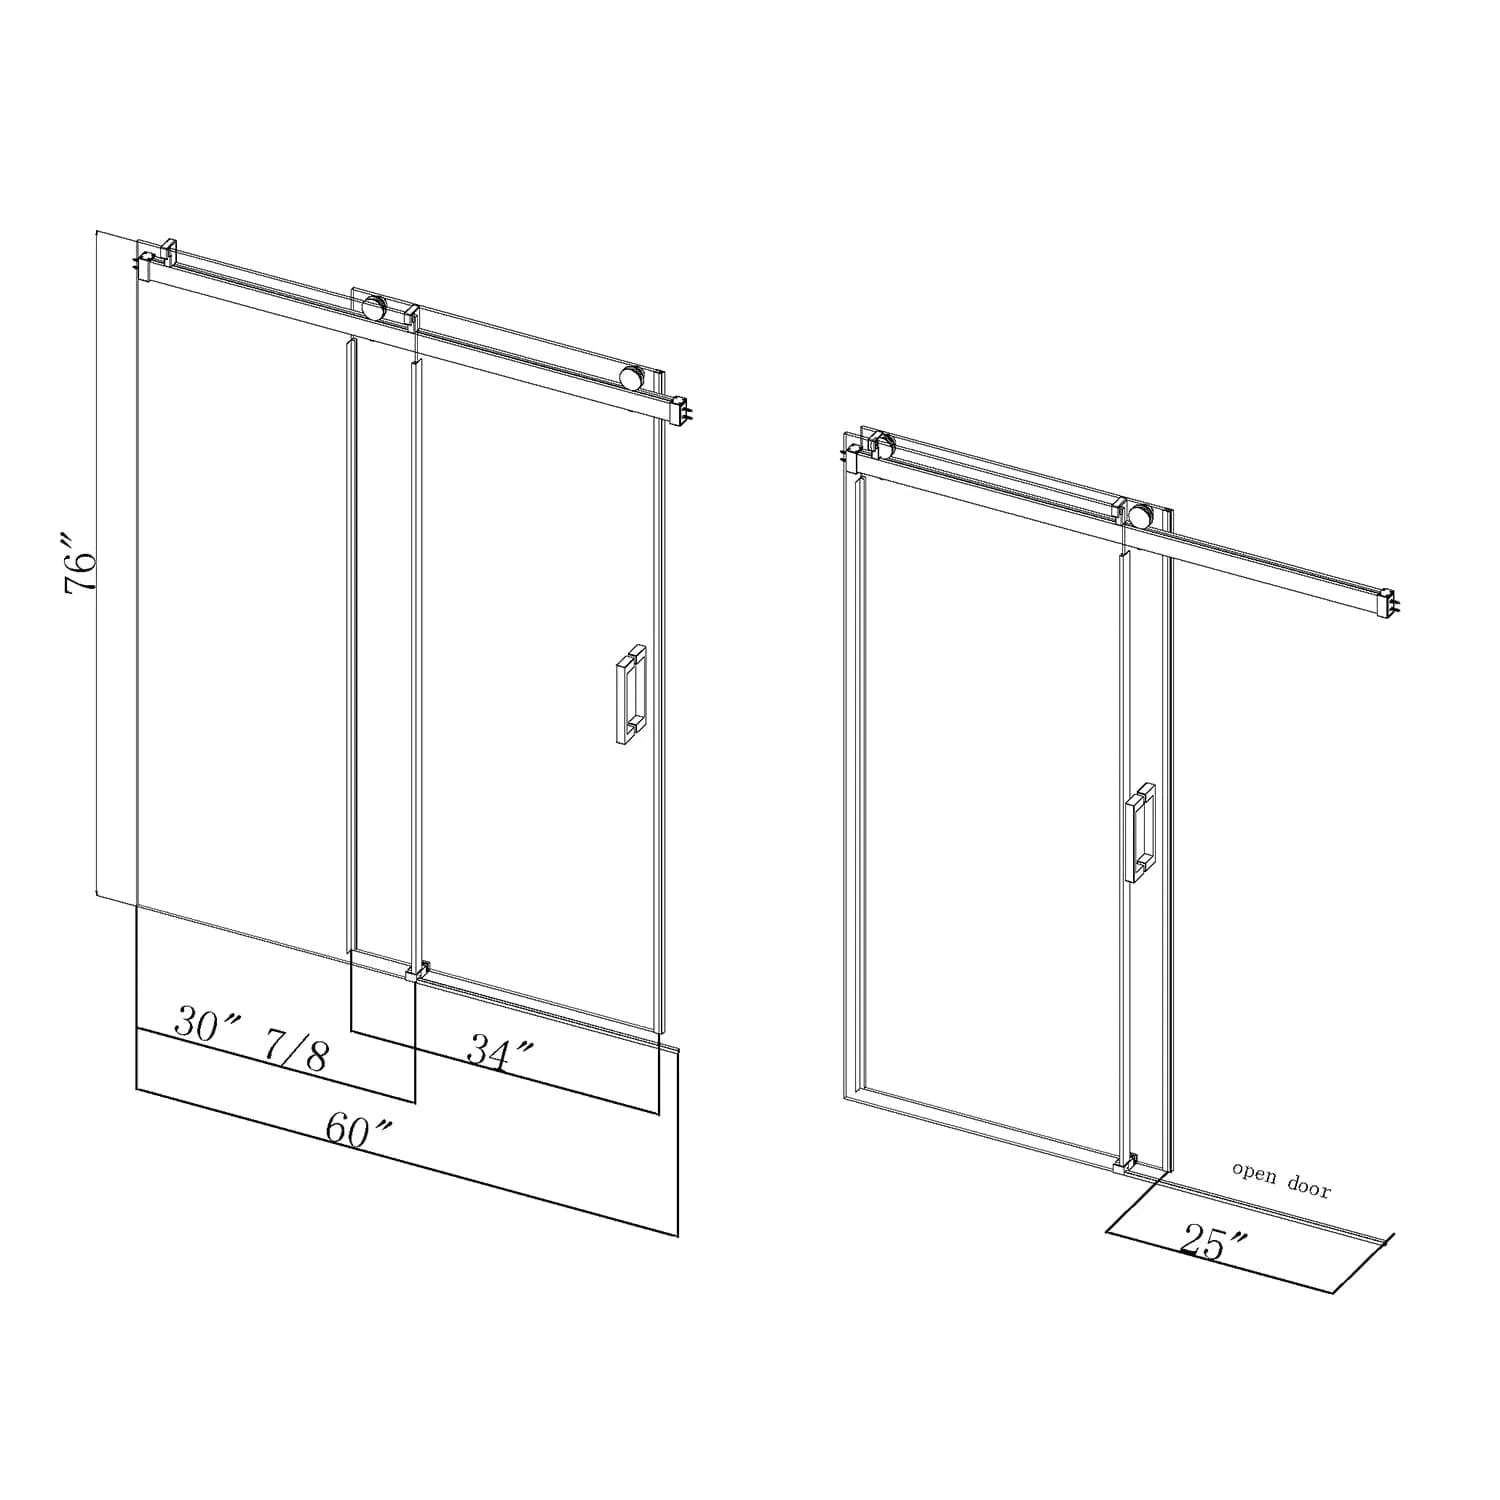
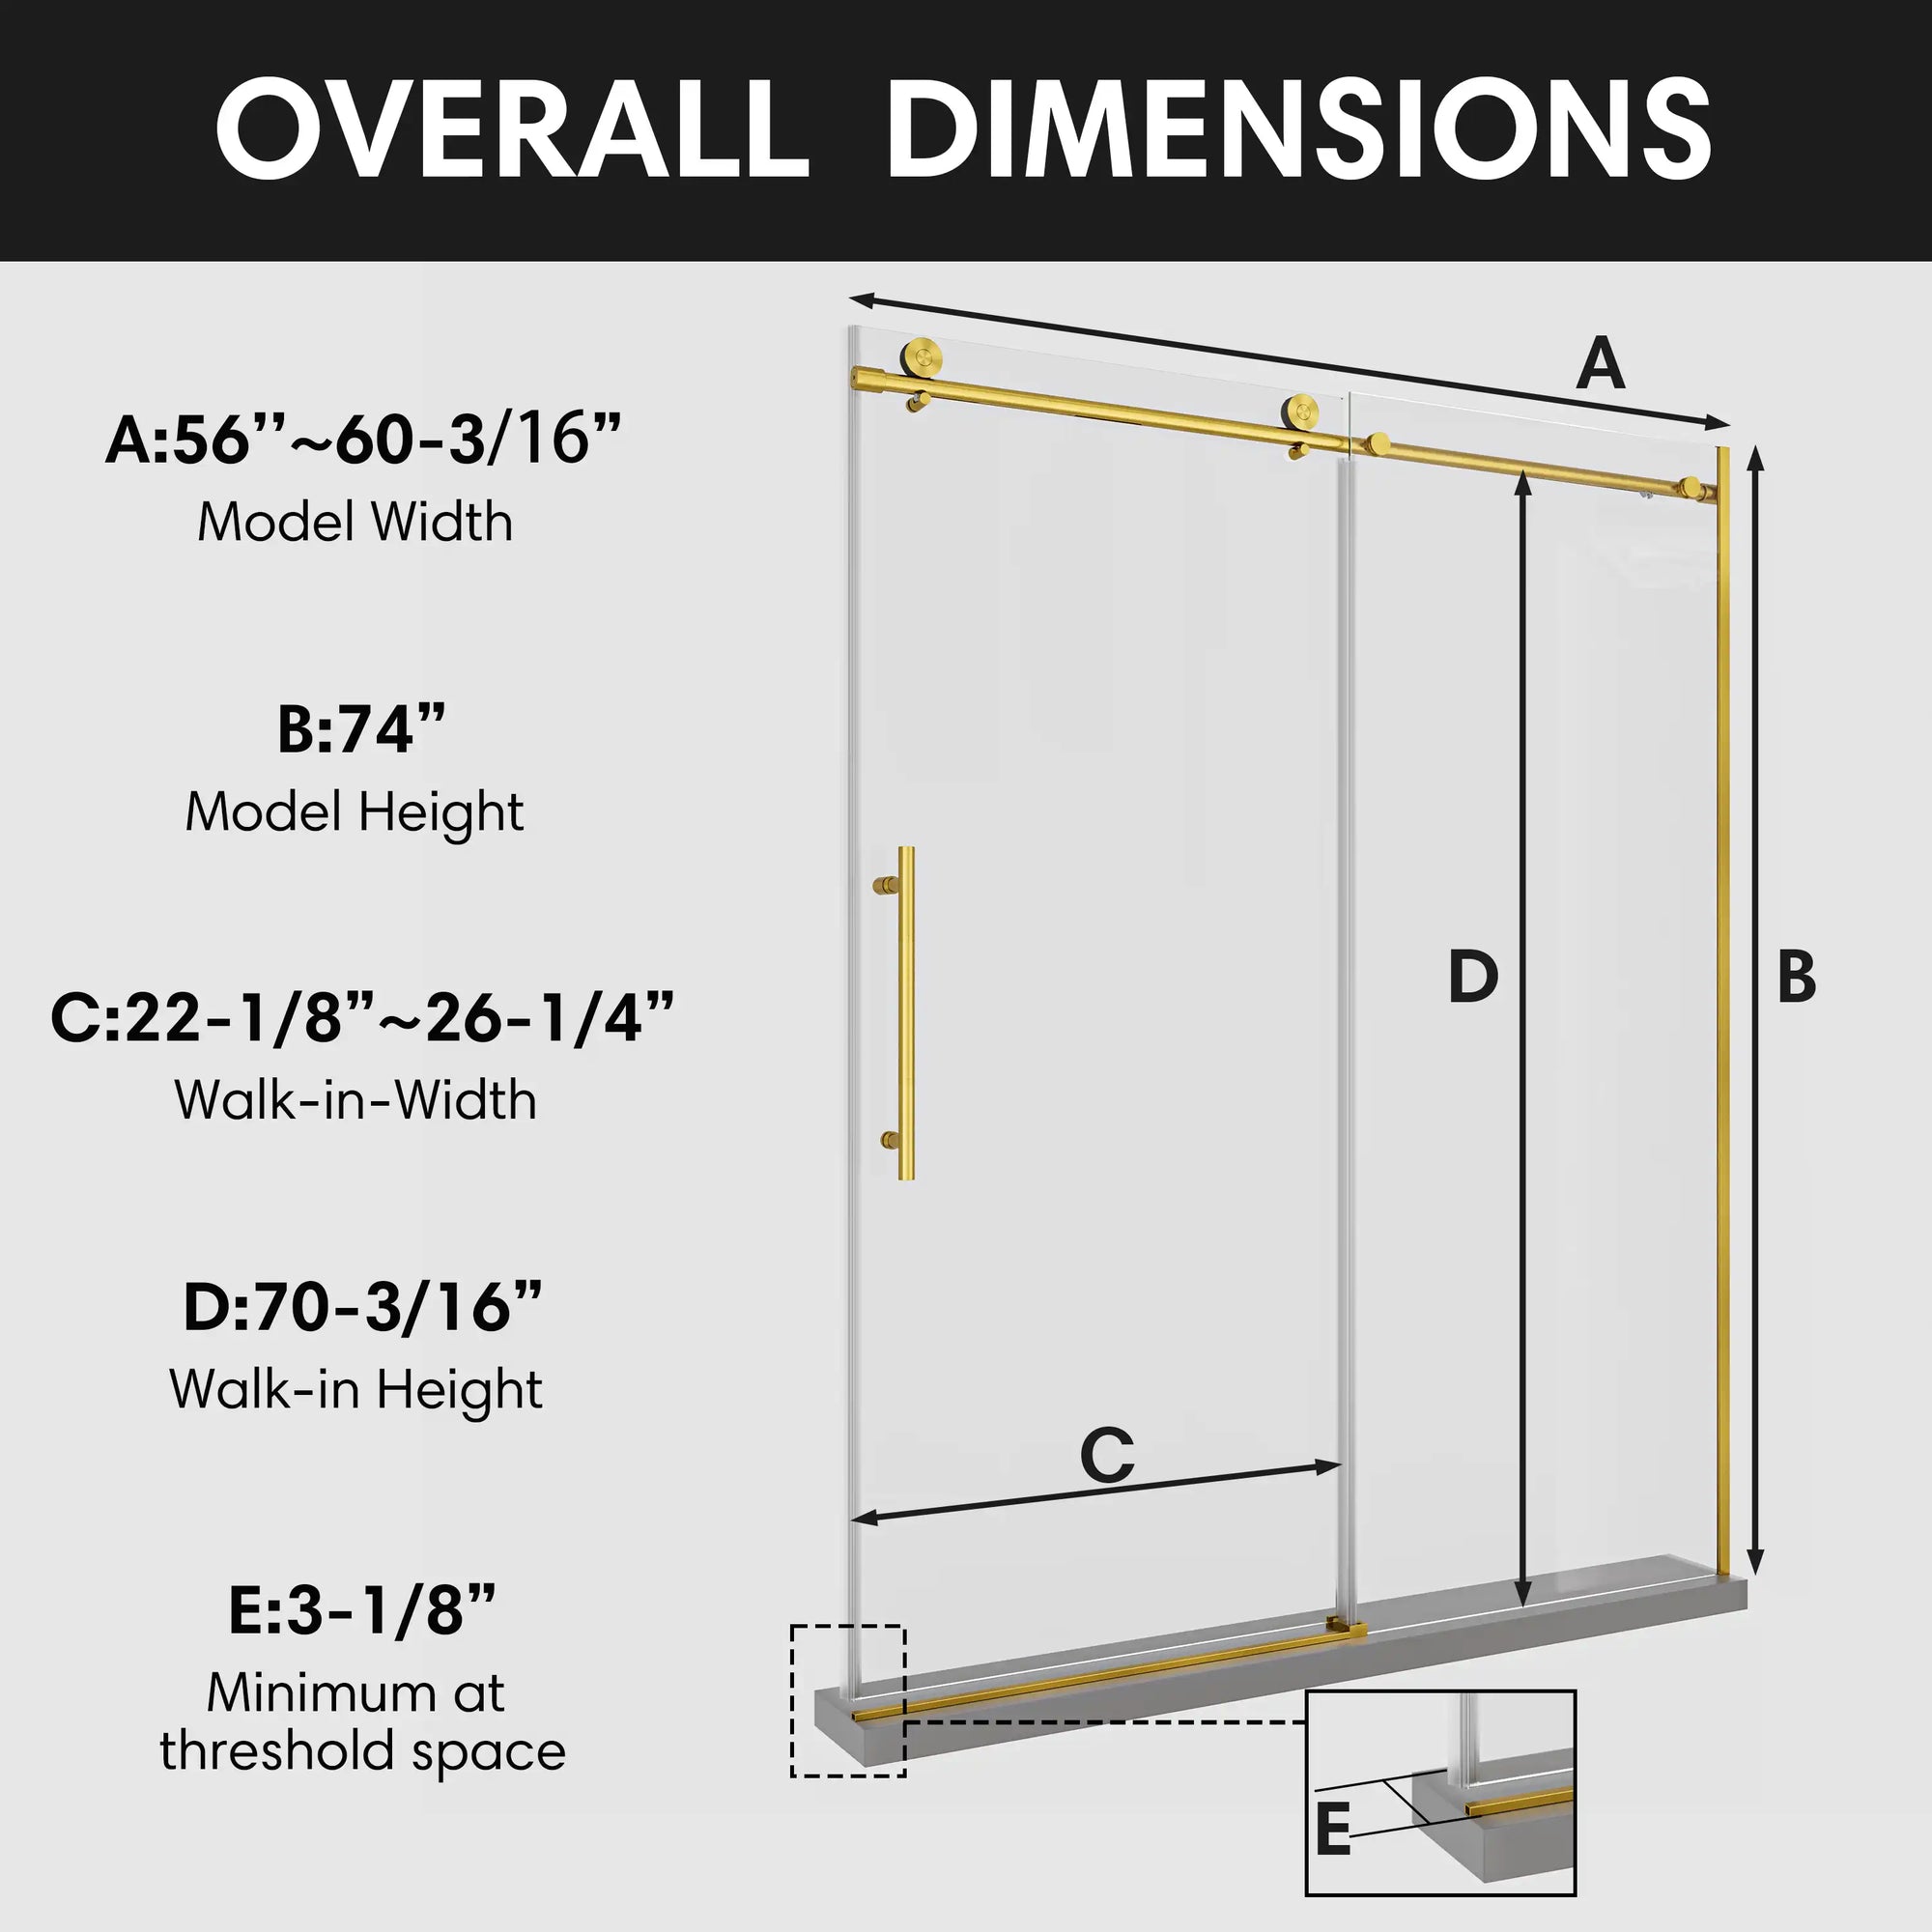
Measuring your shower opening correctly is the most critical part of the installation process. You want to ensure your shower door will fit perfectly within the space, without gaps or awkward fitting. If your measurements are off, you could end up with a door that doesn’t slide properly or leaks water onto your bathroom floor.
-
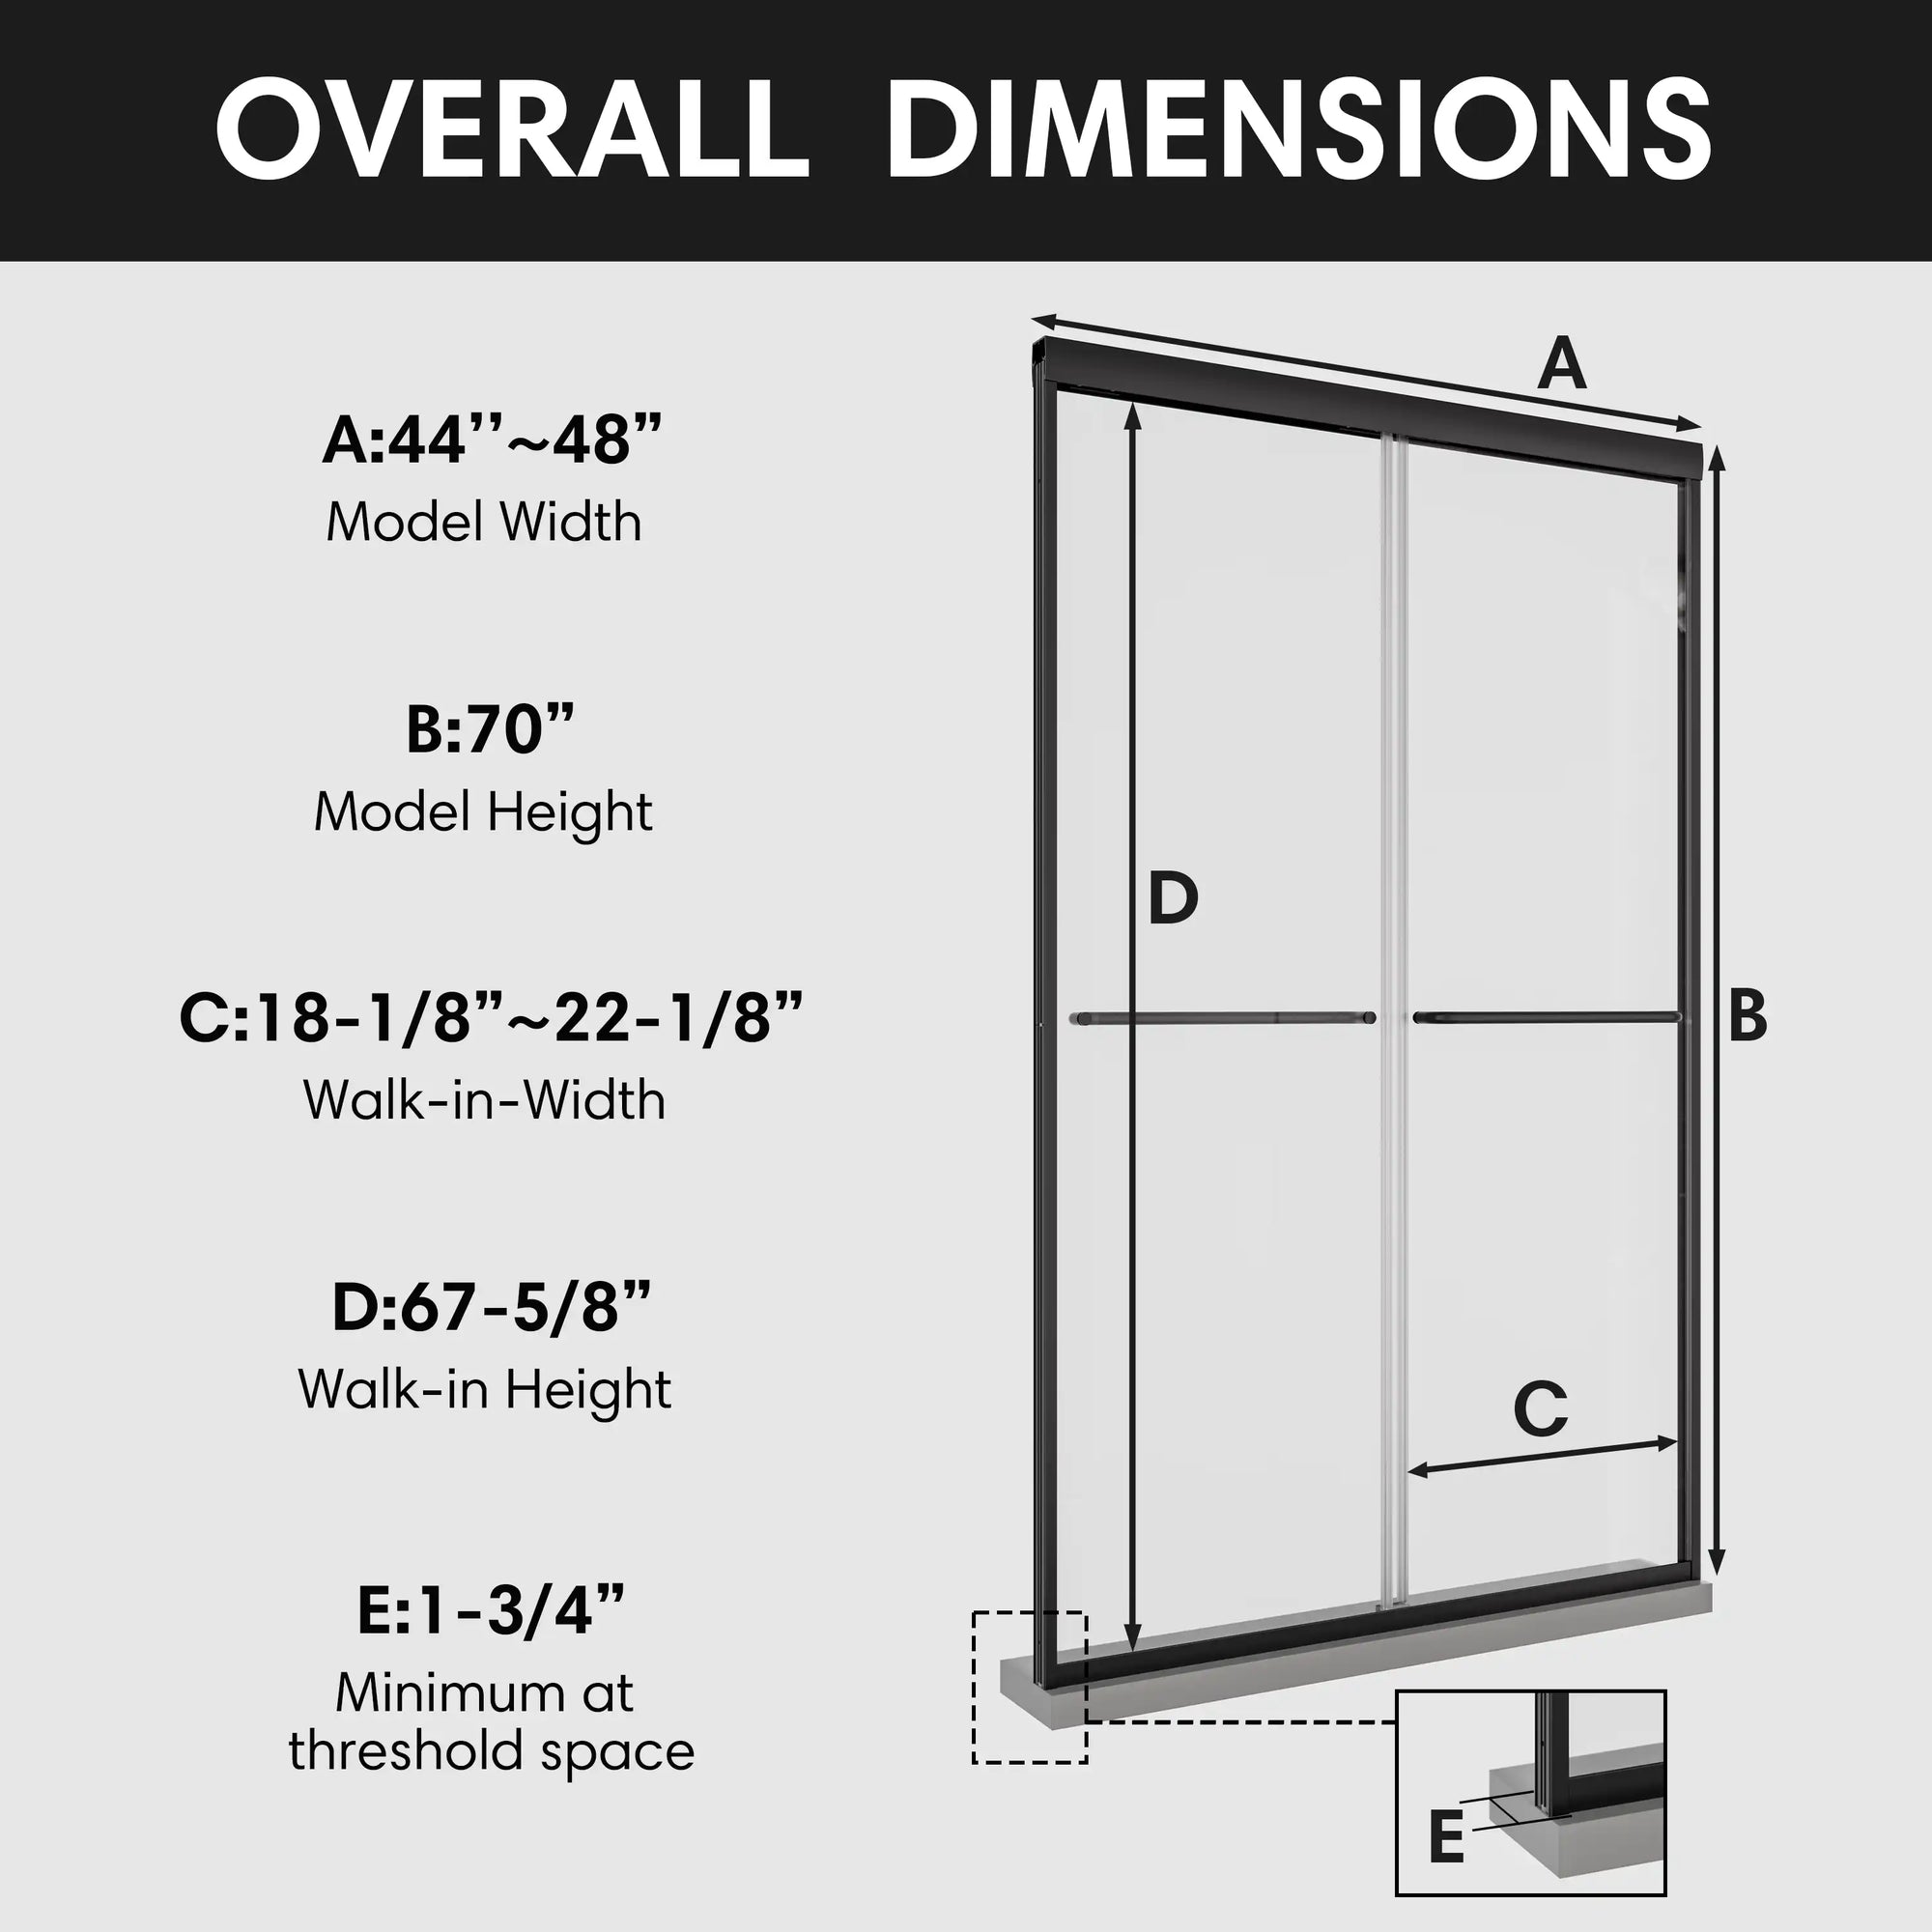
Measure the Width: Start by measuring the width of your shower opening at the top, middle, and bottom. If you find that the measurements differ slightly (which is common), use the smallest measurement for the door frame. This ensures the door fits snugly within the space.
-
Measure the Height: Next, measure the height from the threshold (the base of the shower) to the top where the door will be installed. This will help you determine if the standard-sized door will fit or if you need to adjust the door height.
Example Scenario: Imagine you’ve just finished remodeling your bathroom. You’ve chosen sleek, dark gray tiles with a subtle texture for the walls. By measuring carefully, you ensure that your matte black framed bypass shower door will fit perfectly against those tiles, adding a clean, seamless look to your shower space.
Step 2: Prepare the Bottom Track
The bottom track is the foundation of your bypass shower door, and it’s essential to install it correctly to avoid water leaks and ensure smooth sliding.
-
Cut the Track (if necessary): Depending on the width of your shower opening, you may need to trim the bottom track to size. Use a hacksaw to cut the track to the correct length, making sure the edges are smooth and even.
-
Apply Silicone Sealant: Apply a thin bead of silicone sealant along the bottom of the track. This step is crucial because it ensures that no water will seep underneath the track, which could cause mold or mildew over time.
-
Install the Bottom Track: Position the bottom track along the shower threshold and press it firmly into place. Make sure it is centered and perfectly straight. Use a level to double-check that the track is even. An uneven track can cause the doors to slide poorly or get stuck.
Tip: Take your time during this step. Ensuring the bottom track is level and properly sealed will save you a lot of headaches down the road. A poorly aligned track can lead to issues with the door not sliding smoothly or even worse, water leaking out onto your bathroom floor.
Step 3: Install the Side Jambs
Now that the bottom track is securely in place, it’s time to install the side jambs. These vertical pieces of the frame are essential for holding the door panels securely and ensuring a smooth sliding experience.
-
Position the Jambs: Place the side jambs along the walls, aligning them with the bottom track. Make sure they are straight and flush against the wall.
-
Mark Drill Holes: Use a pencil to mark where the screws will go. You’ll be drilling into the wall to secure the jambs, so make sure you mark these spots carefully.
-
Drill Pilot Holes: Use a drill with the appropriate bit for your wall type. If you’re drilling into tile, be sure to use a ceramic tile drill bit to avoid cracking the tiles. Once the pilot holes are drilled, insert wall anchors if necessary.
-
Secure the Jambs: Attach the jambs to the wall using the screws provided in your shower door kit. Make sure the jambs are level and aligned with the bottom track.
Tip: When drilling into tiles, place a piece of masking tape over the spot you plan to drill. This prevents the drill bit from slipping and reduces the risk of cracking the tile.
Step 4: Install the Top Track
The top track is just as important as the bottom one, as it holds the weight of the doors and guides them as they slide. Here’s how to install it:
-
Cut the Top Track (if necessary): Similar to the bottom track, you may need to cut the top track to size. Use a hacksaw to trim it down to the correct length.
-
Position the Top Track: Place the top track on top of the side jambs, ensuring it’s perfectly aligned with the bottom track.
-
Secure the Top Track: Attach the top track to the side jambs with screws. Double-check that everything is level before tightening the screws fully.
Tip: Make sure both the top and bottom tracks are perfectly parallel. If they are not, the doors will not slide smoothly and could even become misaligned over time.
Step 5: Install the Shower Doors
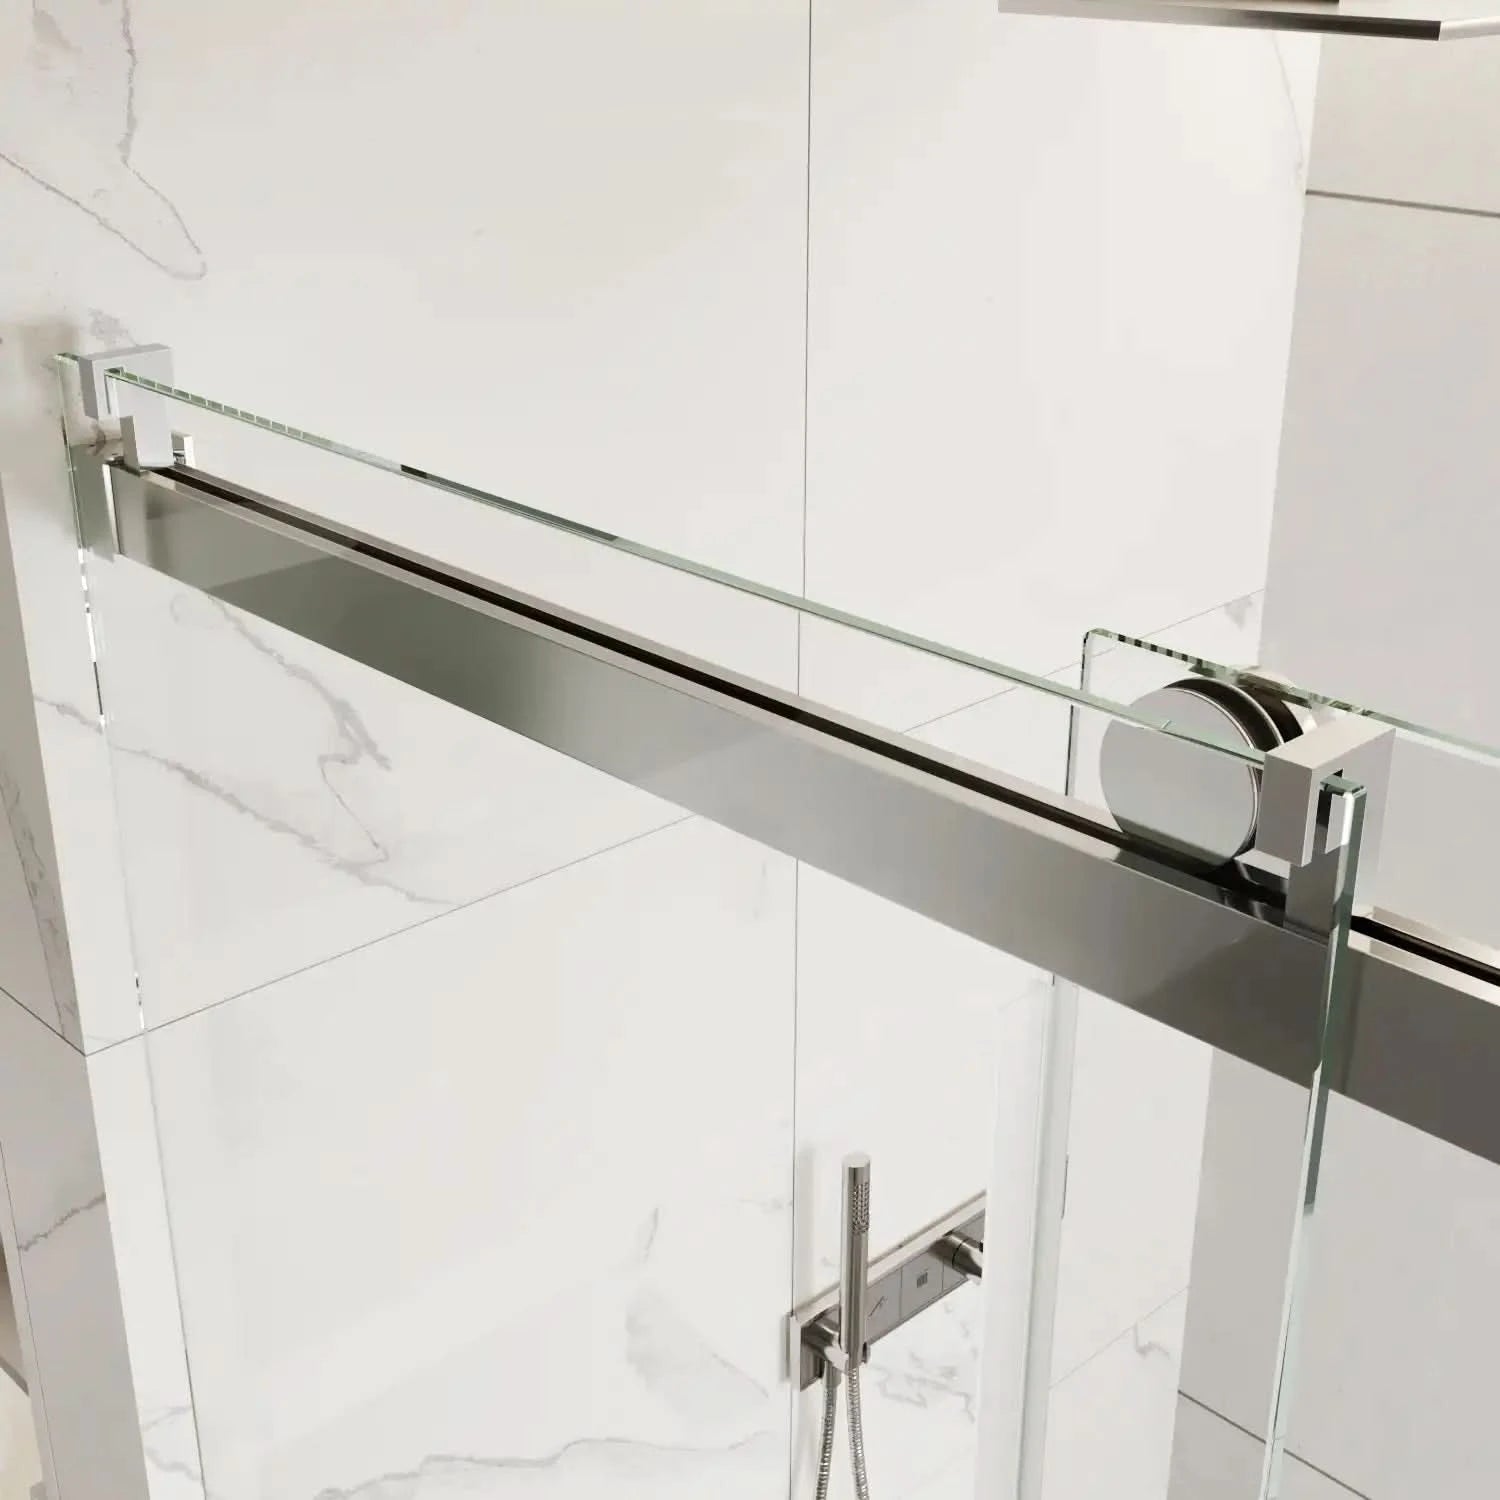
Now for the exciting part—installing the actual shower doors! Most shower door kits come with rollers that you’ll need to attach to the doors before hanging them.
-
Attach the Rollers: Follow the manufacturer’s instructions to attach the rollers to the top of the doors. Make sure they are securely fastened.
-
Hang the First Door: Lift the first door panel and angle it so that the rollers fit into the top track. Once the rollers are in place, gently lower the door into the bottom track.
-
Hang the Second Door: Repeat the process for the second door, making sure that the doors bypass each other properly—one door should sit in the inner track and the other in the outer track.
Tip: If your doors don’t slide smoothly, double-check the alignment of the tracks and ensure the rollers are securely attached. You can adjust the rollers slightly to improve sliding action.
Example Scenario: You’ve just installed the second door on your sleek matte black framed bypass shower door. You slide it back and forth a few times, testing its smooth motion. The rollers glide effortlessly, and you’re thrilled with how the black frame pops against your crisp white subway tiles, giving the bathroom a modern, polished look.
Step 6: Install the Bottom Guide
The bottom guide is a small but essential piece that keeps the doors aligned as they slide along the track. Without it, the doors may wobble or come off track.
-
Position the Guide: Place the bottom guide in the center of the bottom track, between the two doors.
-
Secure the Guide: Use screws to secure the guide in place. Make sure the doors slide smoothly within the guide.
Step 7: Seal the Edges
To prevent leaks and ensure your new shower door stays watertight, it’s important to seal all the edges where the frame meets the walls and the bottom track meets the shower base.
-
Apply Silicone Sealant: Using a caulking gun, apply a thin bead of silicone sealant along the edges of the side jambs and the bottom track.
-
Smooth the Sealant: Use a damp finger or a caulking tool to smooth the sealant and ensure it adheres properly.
-
Allow the Sealant to Dry: Let the sealant dry for at least 24 hours before using the shower to ensure it has fully cured and will prevent water from seeping through.
Final Testing and Adjustments
Once the installation is complete, it’s time to test your new bypass shower door. Slide the doors back and forth to ensure they move smoothly and stay aligned within the tracks. If the doors feel stiff or don’t slide correctly, adjust the rollers or check for obstructions in the track.
Allow the silicone sealant to dry for at least 24 hours before using the shower to ensure it has properly sealed.
Maintenance Tips for Long-Lasting Performance
To keep your framed bypass shower door looking and functioning like new, regular maintenance is essential. Here are some tips:
-
Clean Regularly: Use a squeegee after each shower to wipe down the glass and prevent water spots. For the metal frame, a gentle cleaner will keep it looking shiny and new.
-
Check the Tracks: Periodically check the tracks for any debris or buildup that could hinder the doors from sliding smoothly. Clean the tracks with a soft brush or cloth.
-
Tighten Hardware: Over time, the screws and rollers may loosen with regular use. Check the hardware periodically and tighten any loose screws or bolts.
Example Scenario: A few months after installation, you notice the doors are starting to feel a bit stiff. A quick check reveals that some soap scum has built up in the bottom track. After a thorough cleaning and a slight adjustment to the rollers, the doors are sliding as smoothly as they did on day one.
Why Choose ACE DECOR for Your Framed Bypass Shower Door?
When it comes to high-quality, stylish shower doors, ACE DECOR offers a wide range of options that blend modern design with long-lasting functionality. Our Matte Black and Chrome Framed Bypass Shower Door is a perfect choice for anyone looking to upgrade their bathroom with a sleek, contemporary look. With durable tempered glass and rust-resistant hardware, it’s built to last while adding a touch of elegance to your space.
Browse our full collection of shower doors to find the perfect addition to your bathroom remodel.
Frequently Asked Questions (FAQ)
Q: Can I install a framed bypass shower door on my own?
A: Yes, installing a framed bypass shower door is a manageable DIY project for most homeowners. Just make sure to follow the manufacturer’s instructions carefully and use the right tools for the job.
Q: How do I clean my shower door to prevent water spots?
A: The easiest way to prevent water spots is to use a squeegee after every shower to remove excess water from the glass. For tougher stains, use a gentle glass cleaner or a mixture of vinegar and water.
Q: How do I maintain the smooth sliding of the doors?
A: Regularly clean the tracks and check the rollers for debris. You can also apply a silicone-based lubricant to the tracks for smoother sliding.
Q: Is a framed bypass shower door safe for families with children?
A: Yes, framed bypass shower doors are safe and durable. The tempered glass used in most doors is designed to shatter into small, blunt pieces rather than sharp shards, reducing the risk of injury.
Conclusion: Upgrade Your Bathroom with a Framed Bypass Shower Door
Installing a framed bypass shower door is a practical and stylish way to enhance your bathroom. Not only do these doors offer a sleek, modern look, but they also save space and add functionality to any bathroom. With the right tools and careful attention to detail, you can successfully complete the installation yourself.
Explore ACE DECOR’s collection of high-quality, elegant shower doors to find the perfect fit for your home. Whether you’re looking for a bold matte black frame or a sleek chrome finish, we have the perfect option to suit your style and needs.

