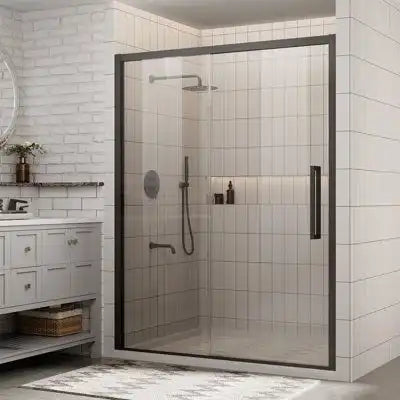
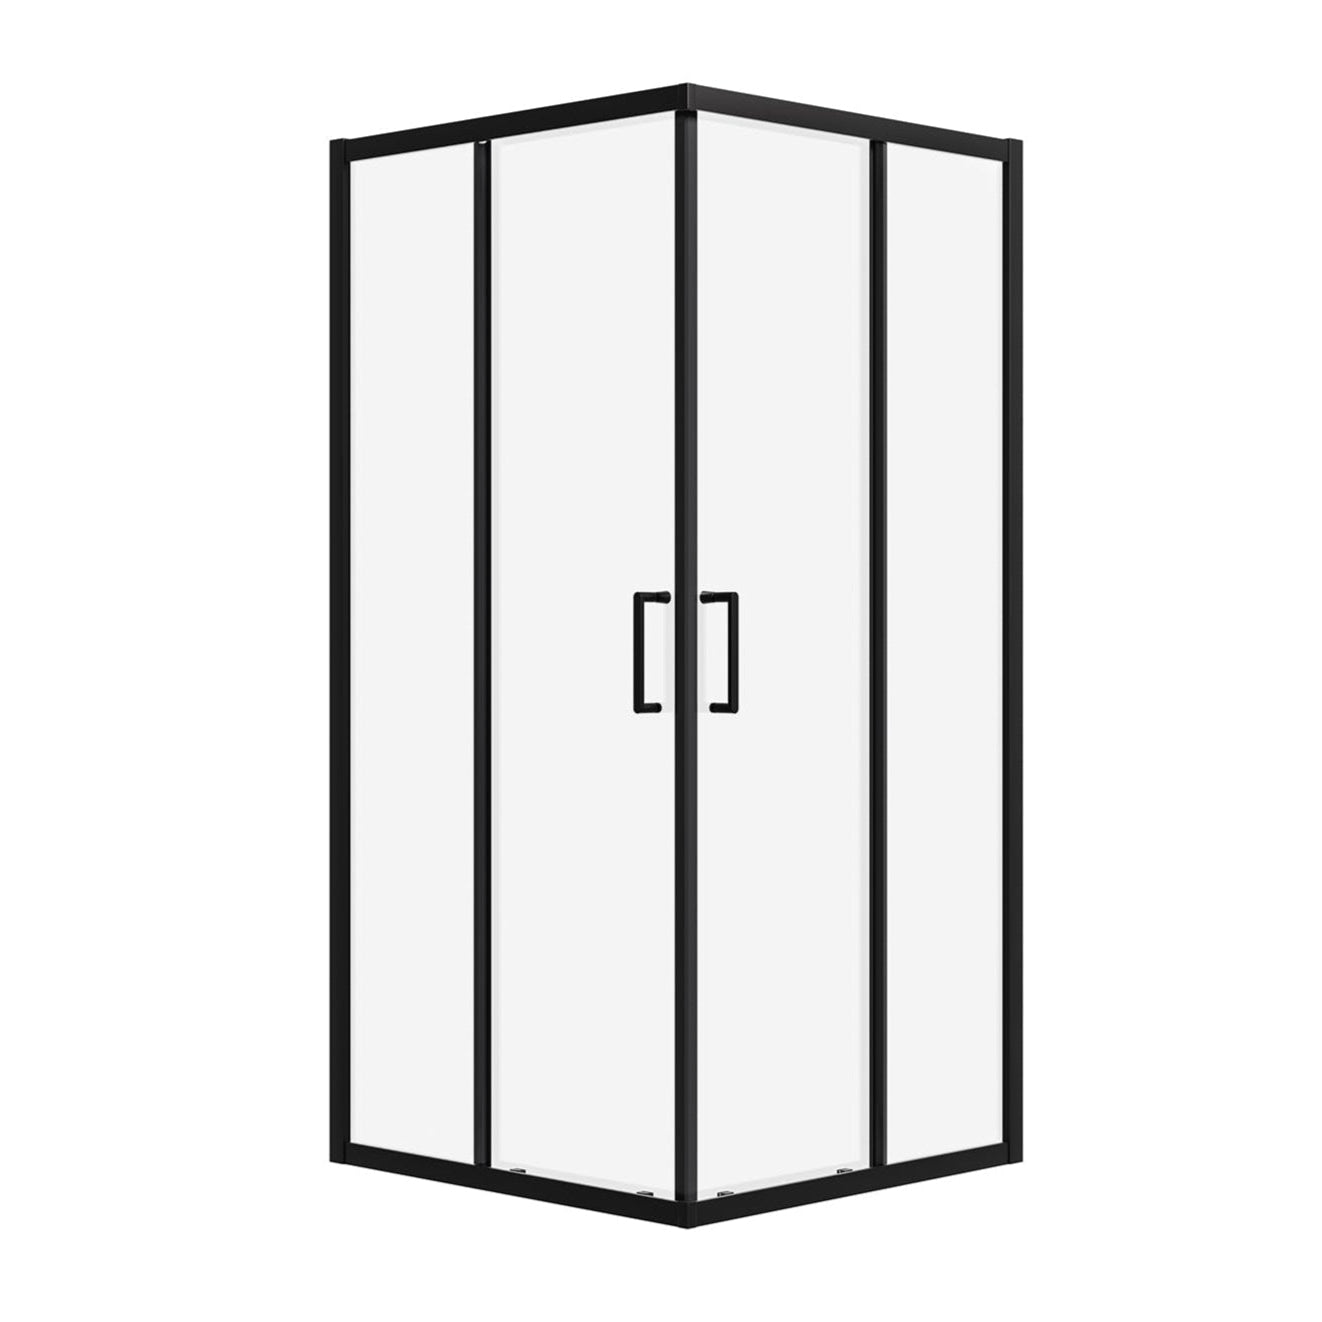
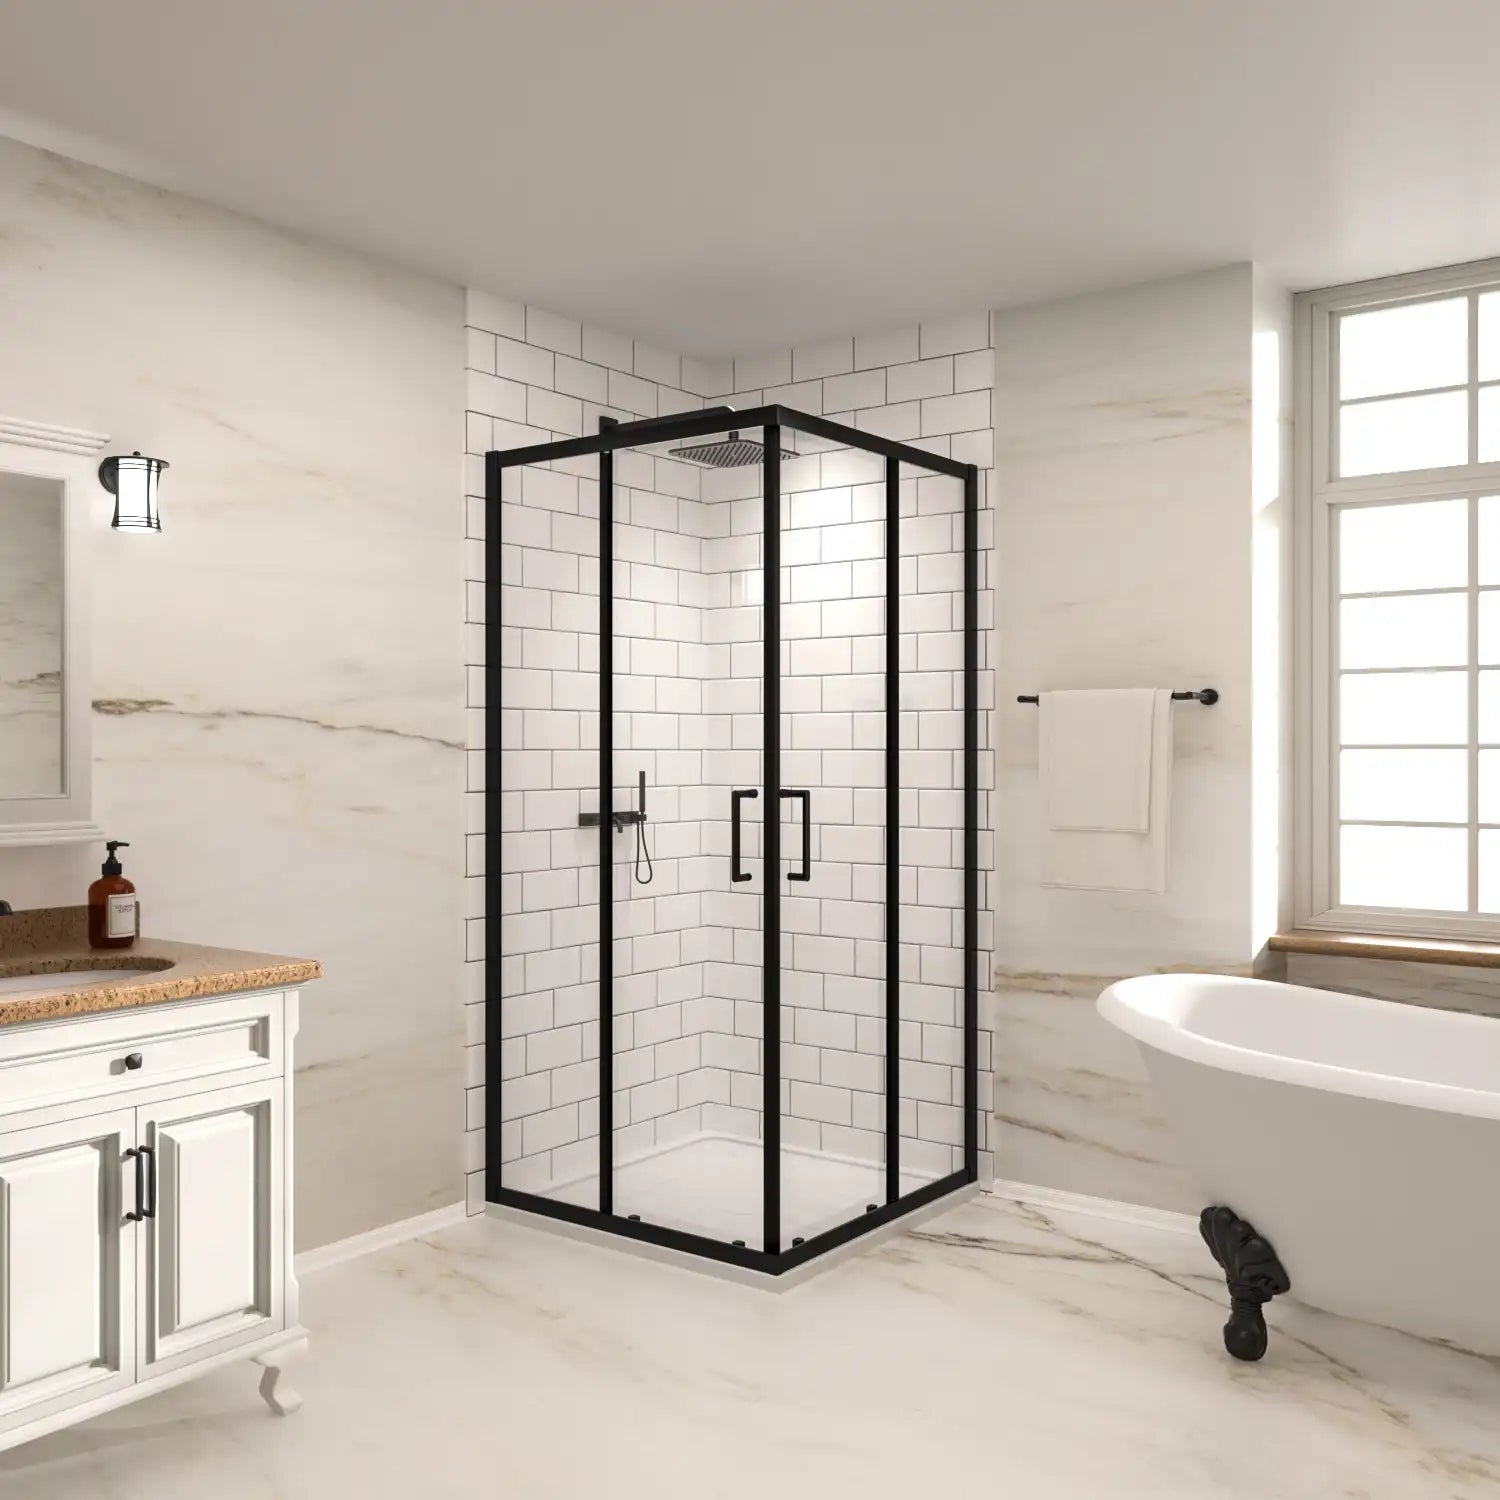
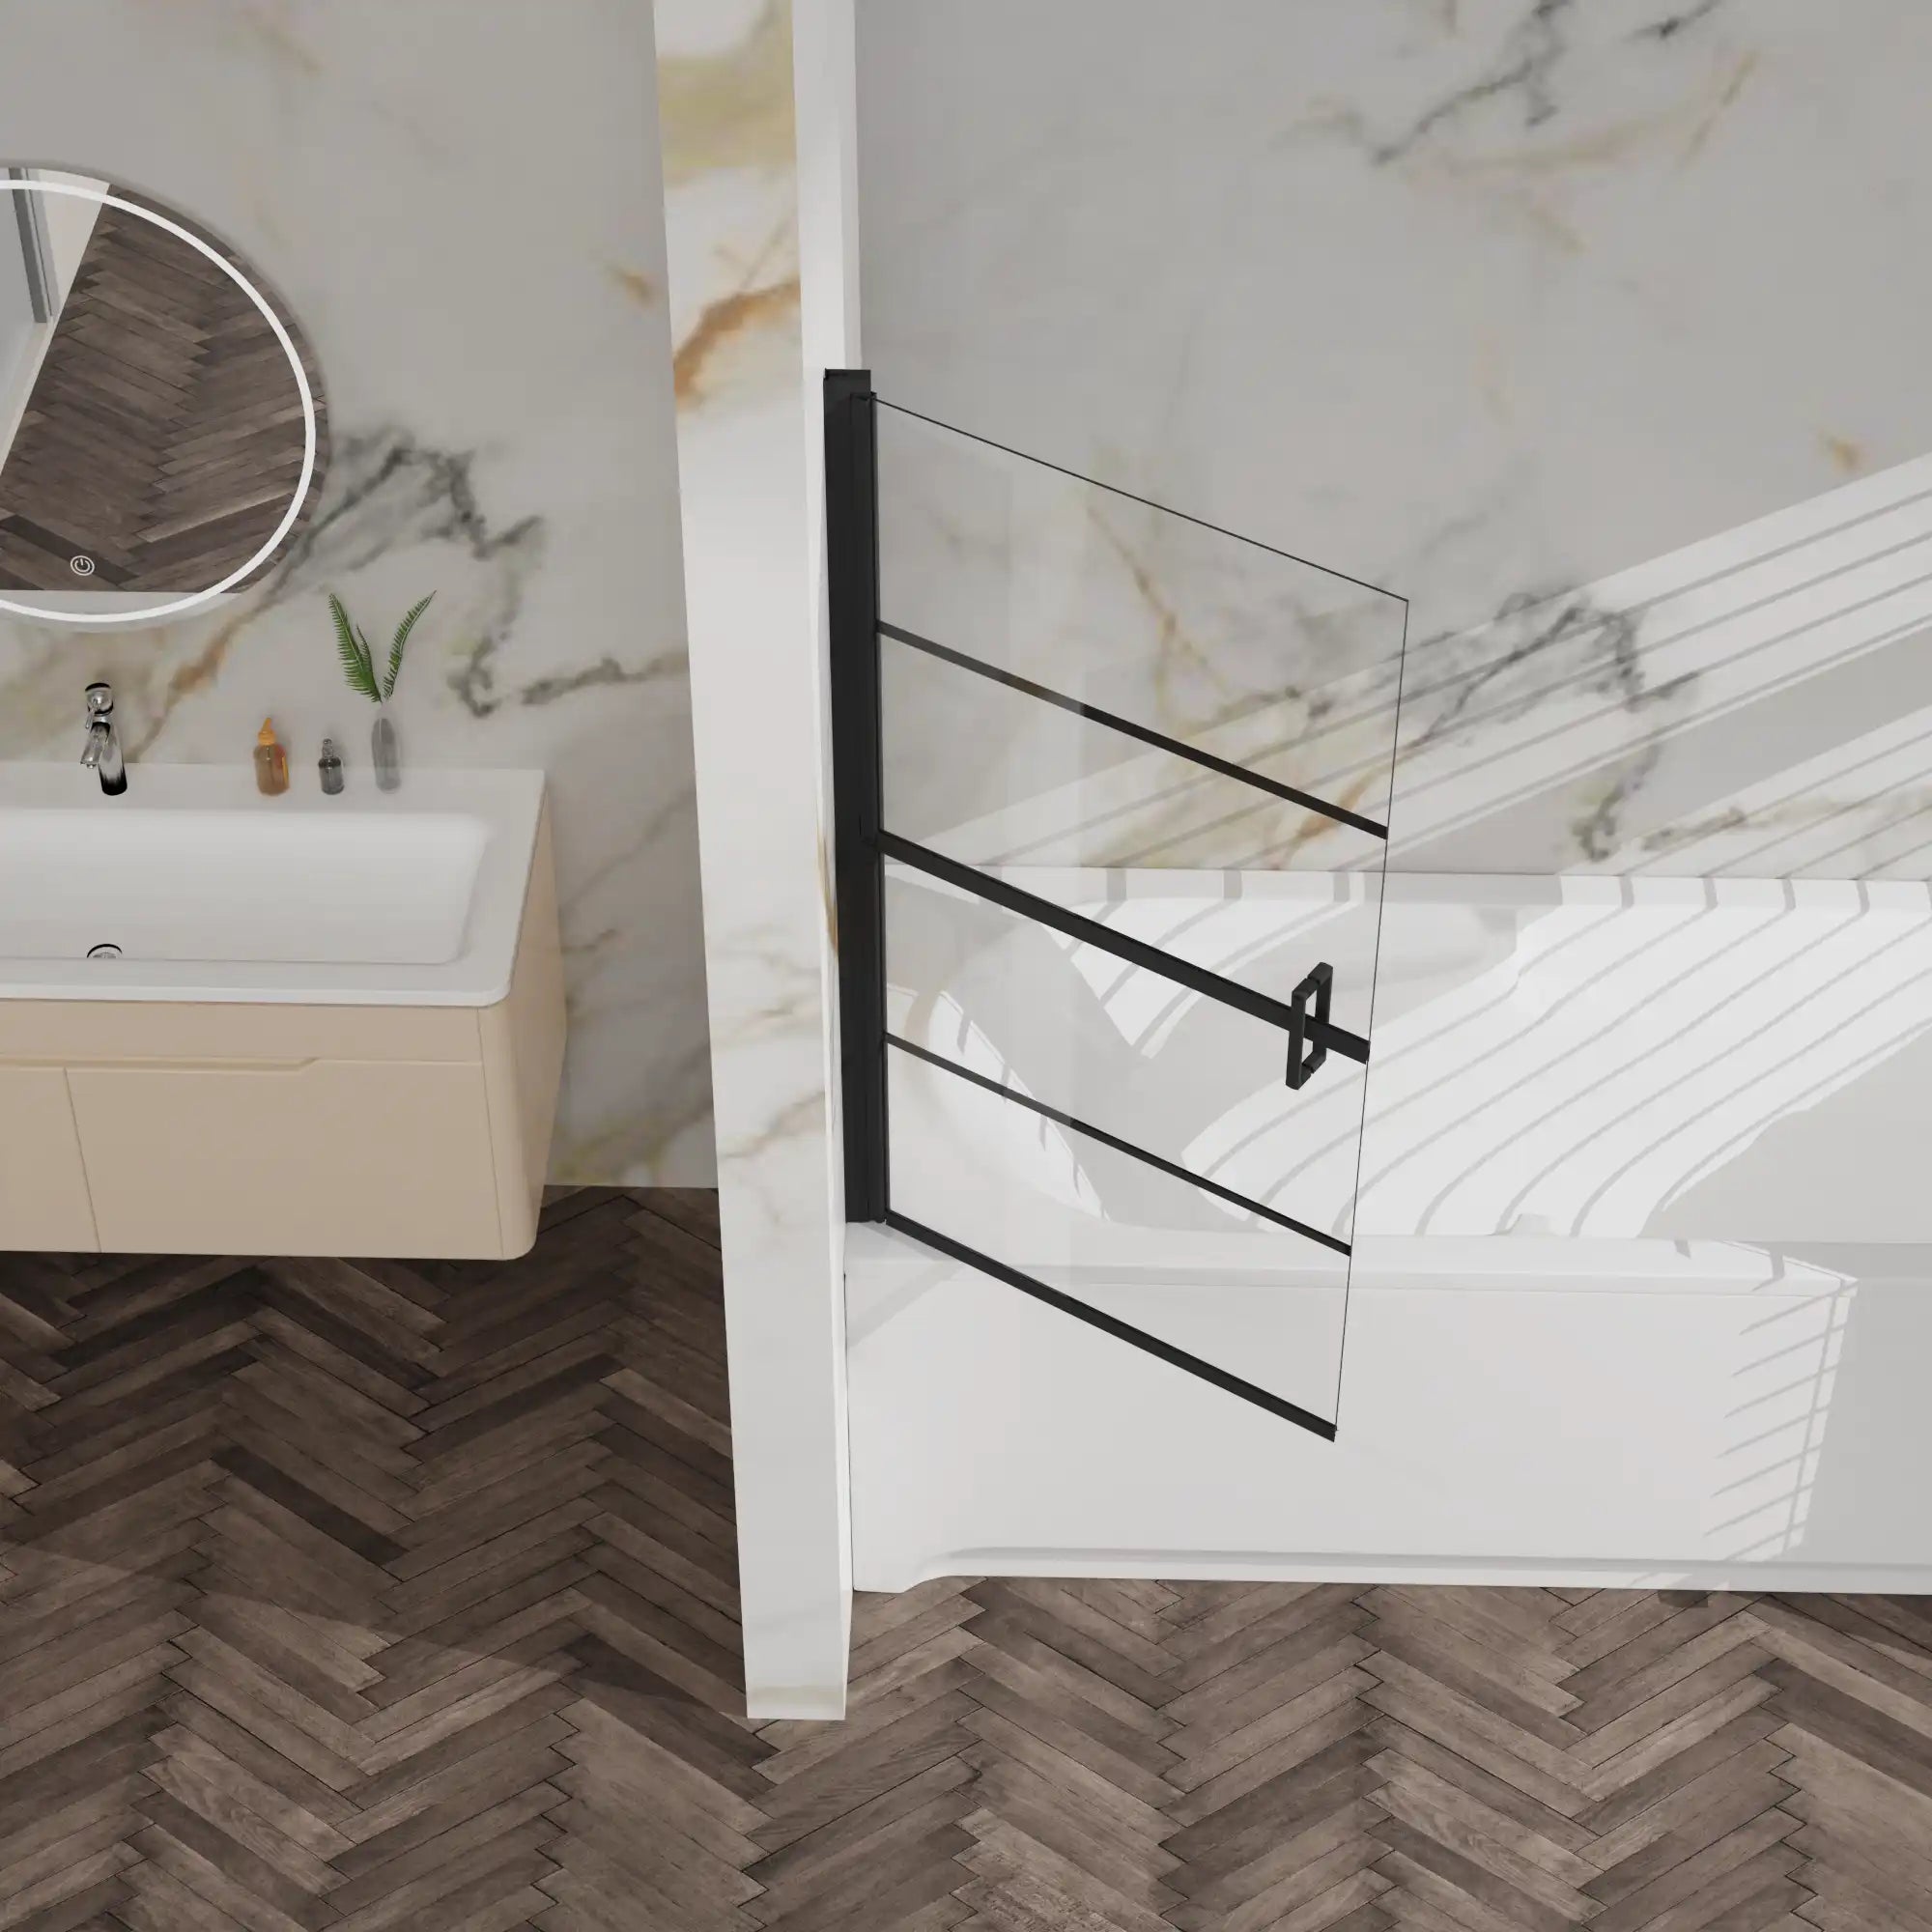
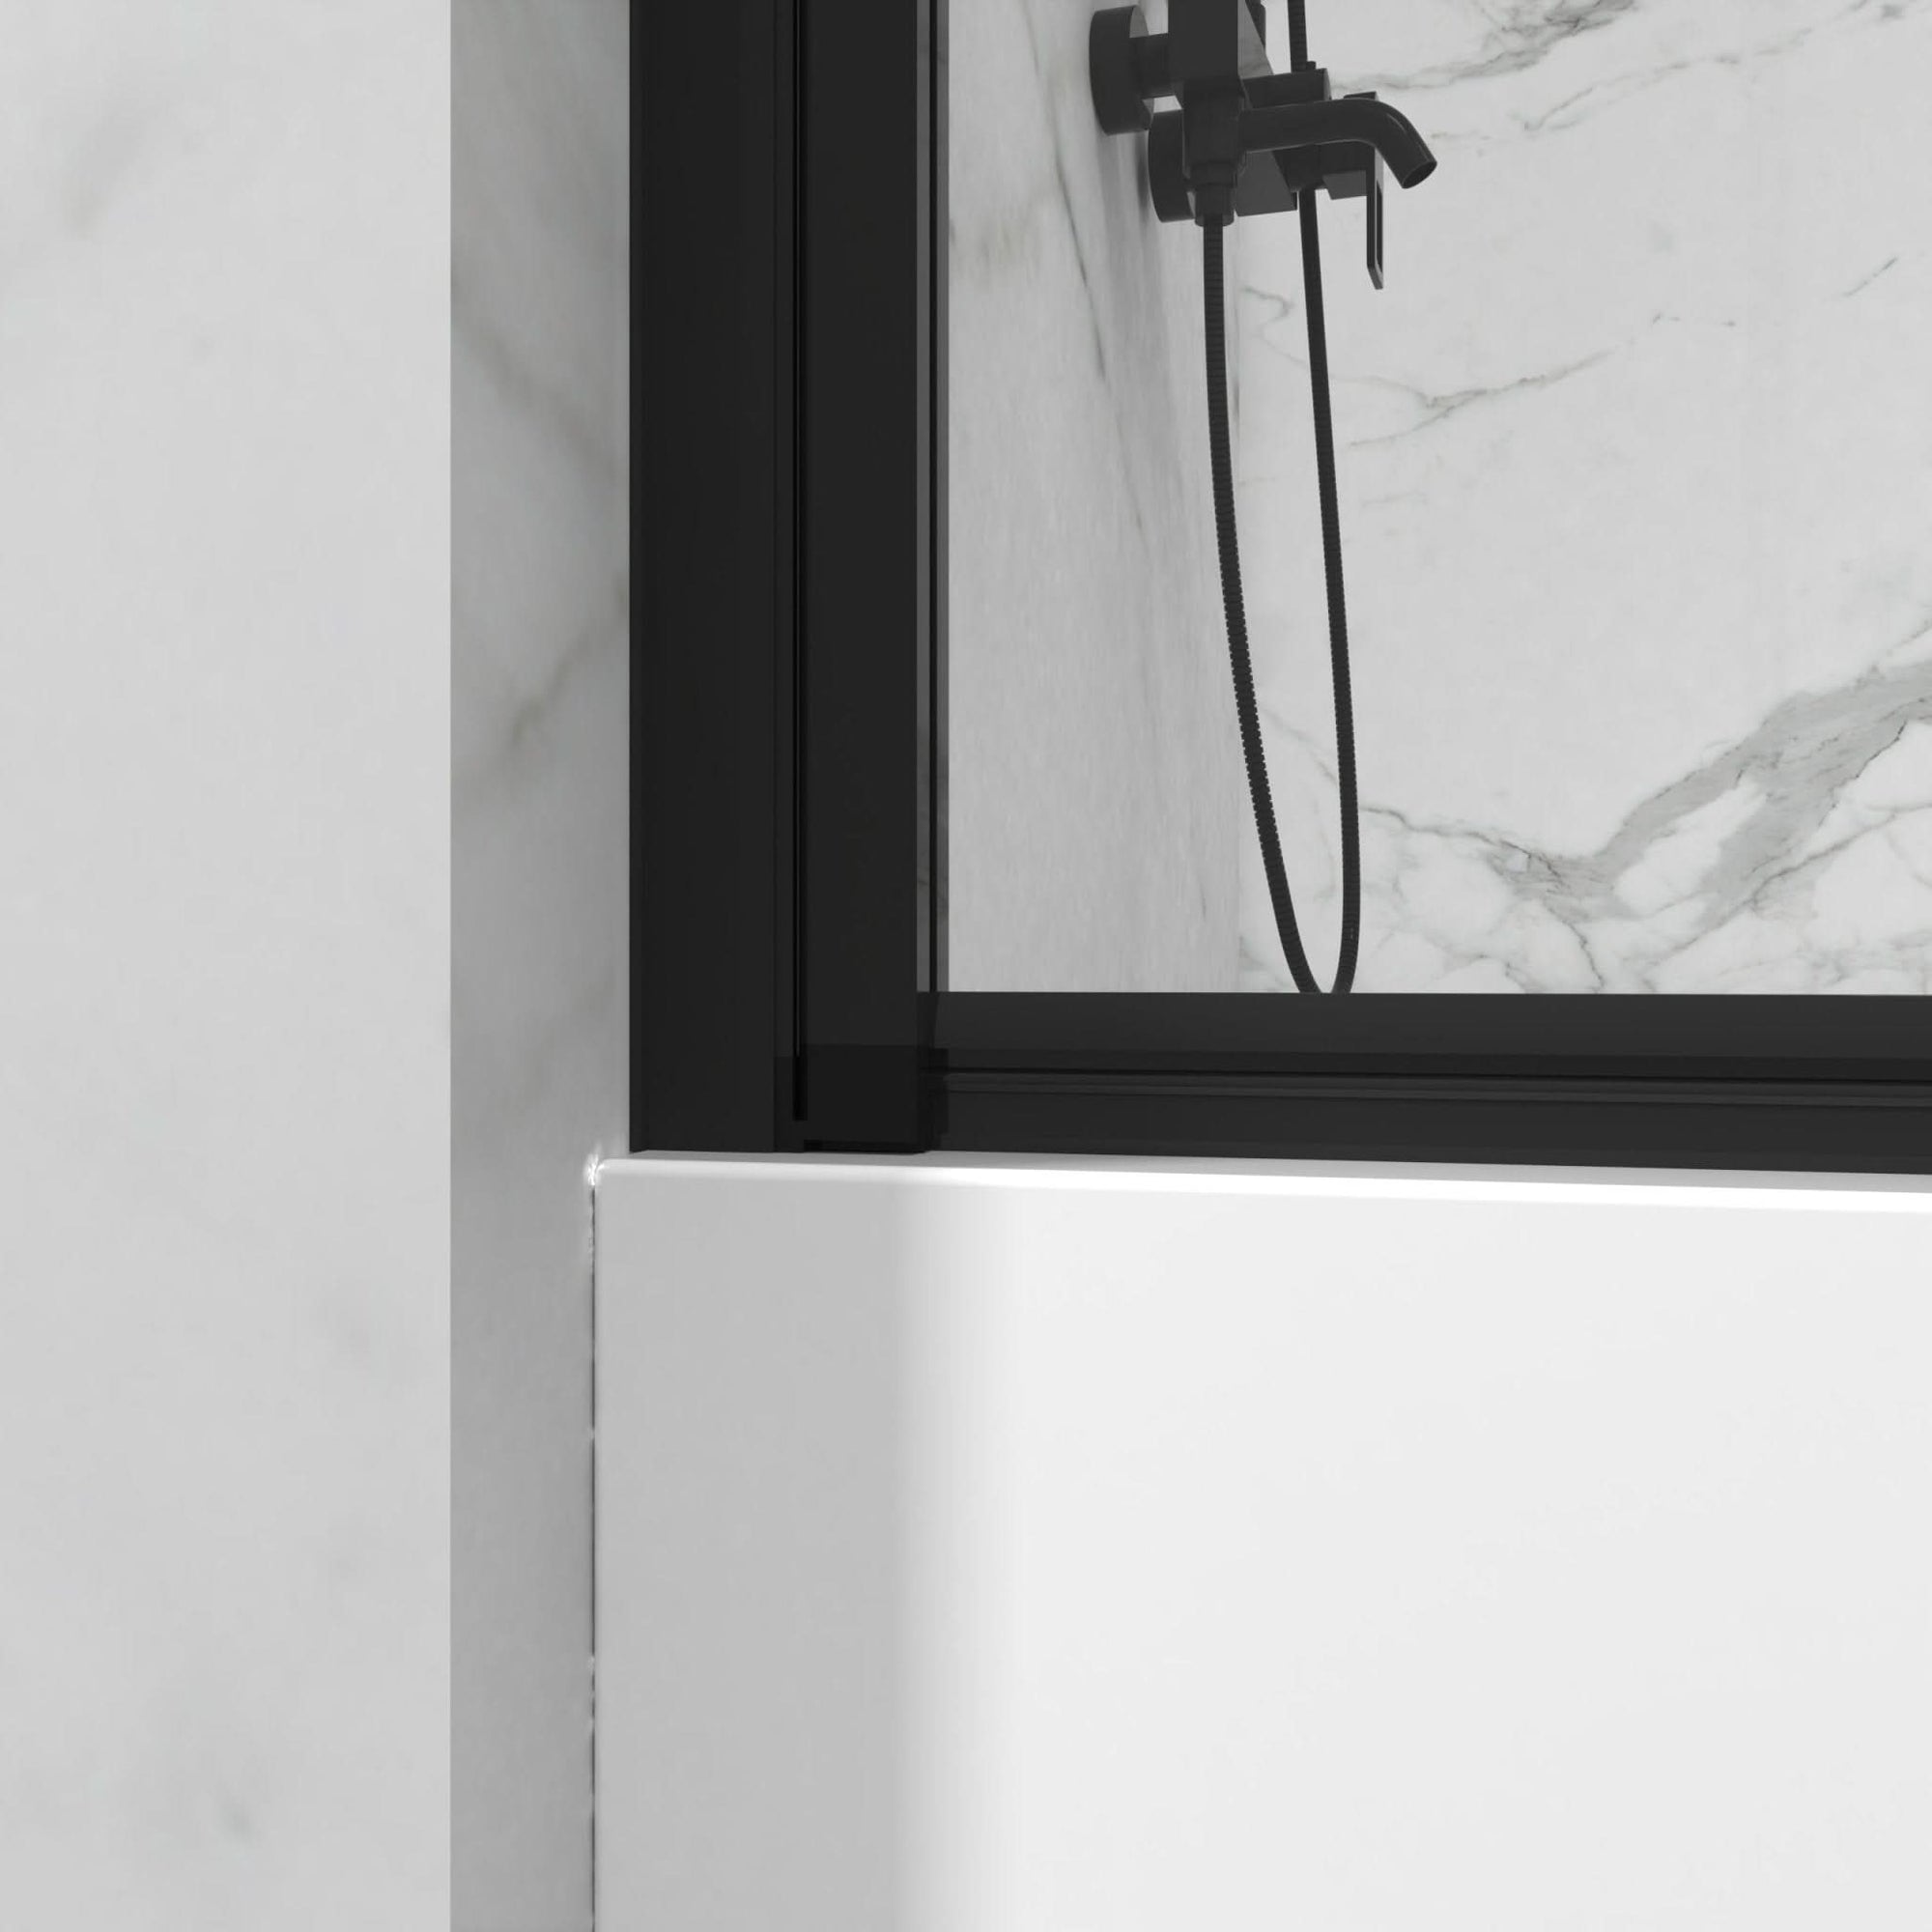
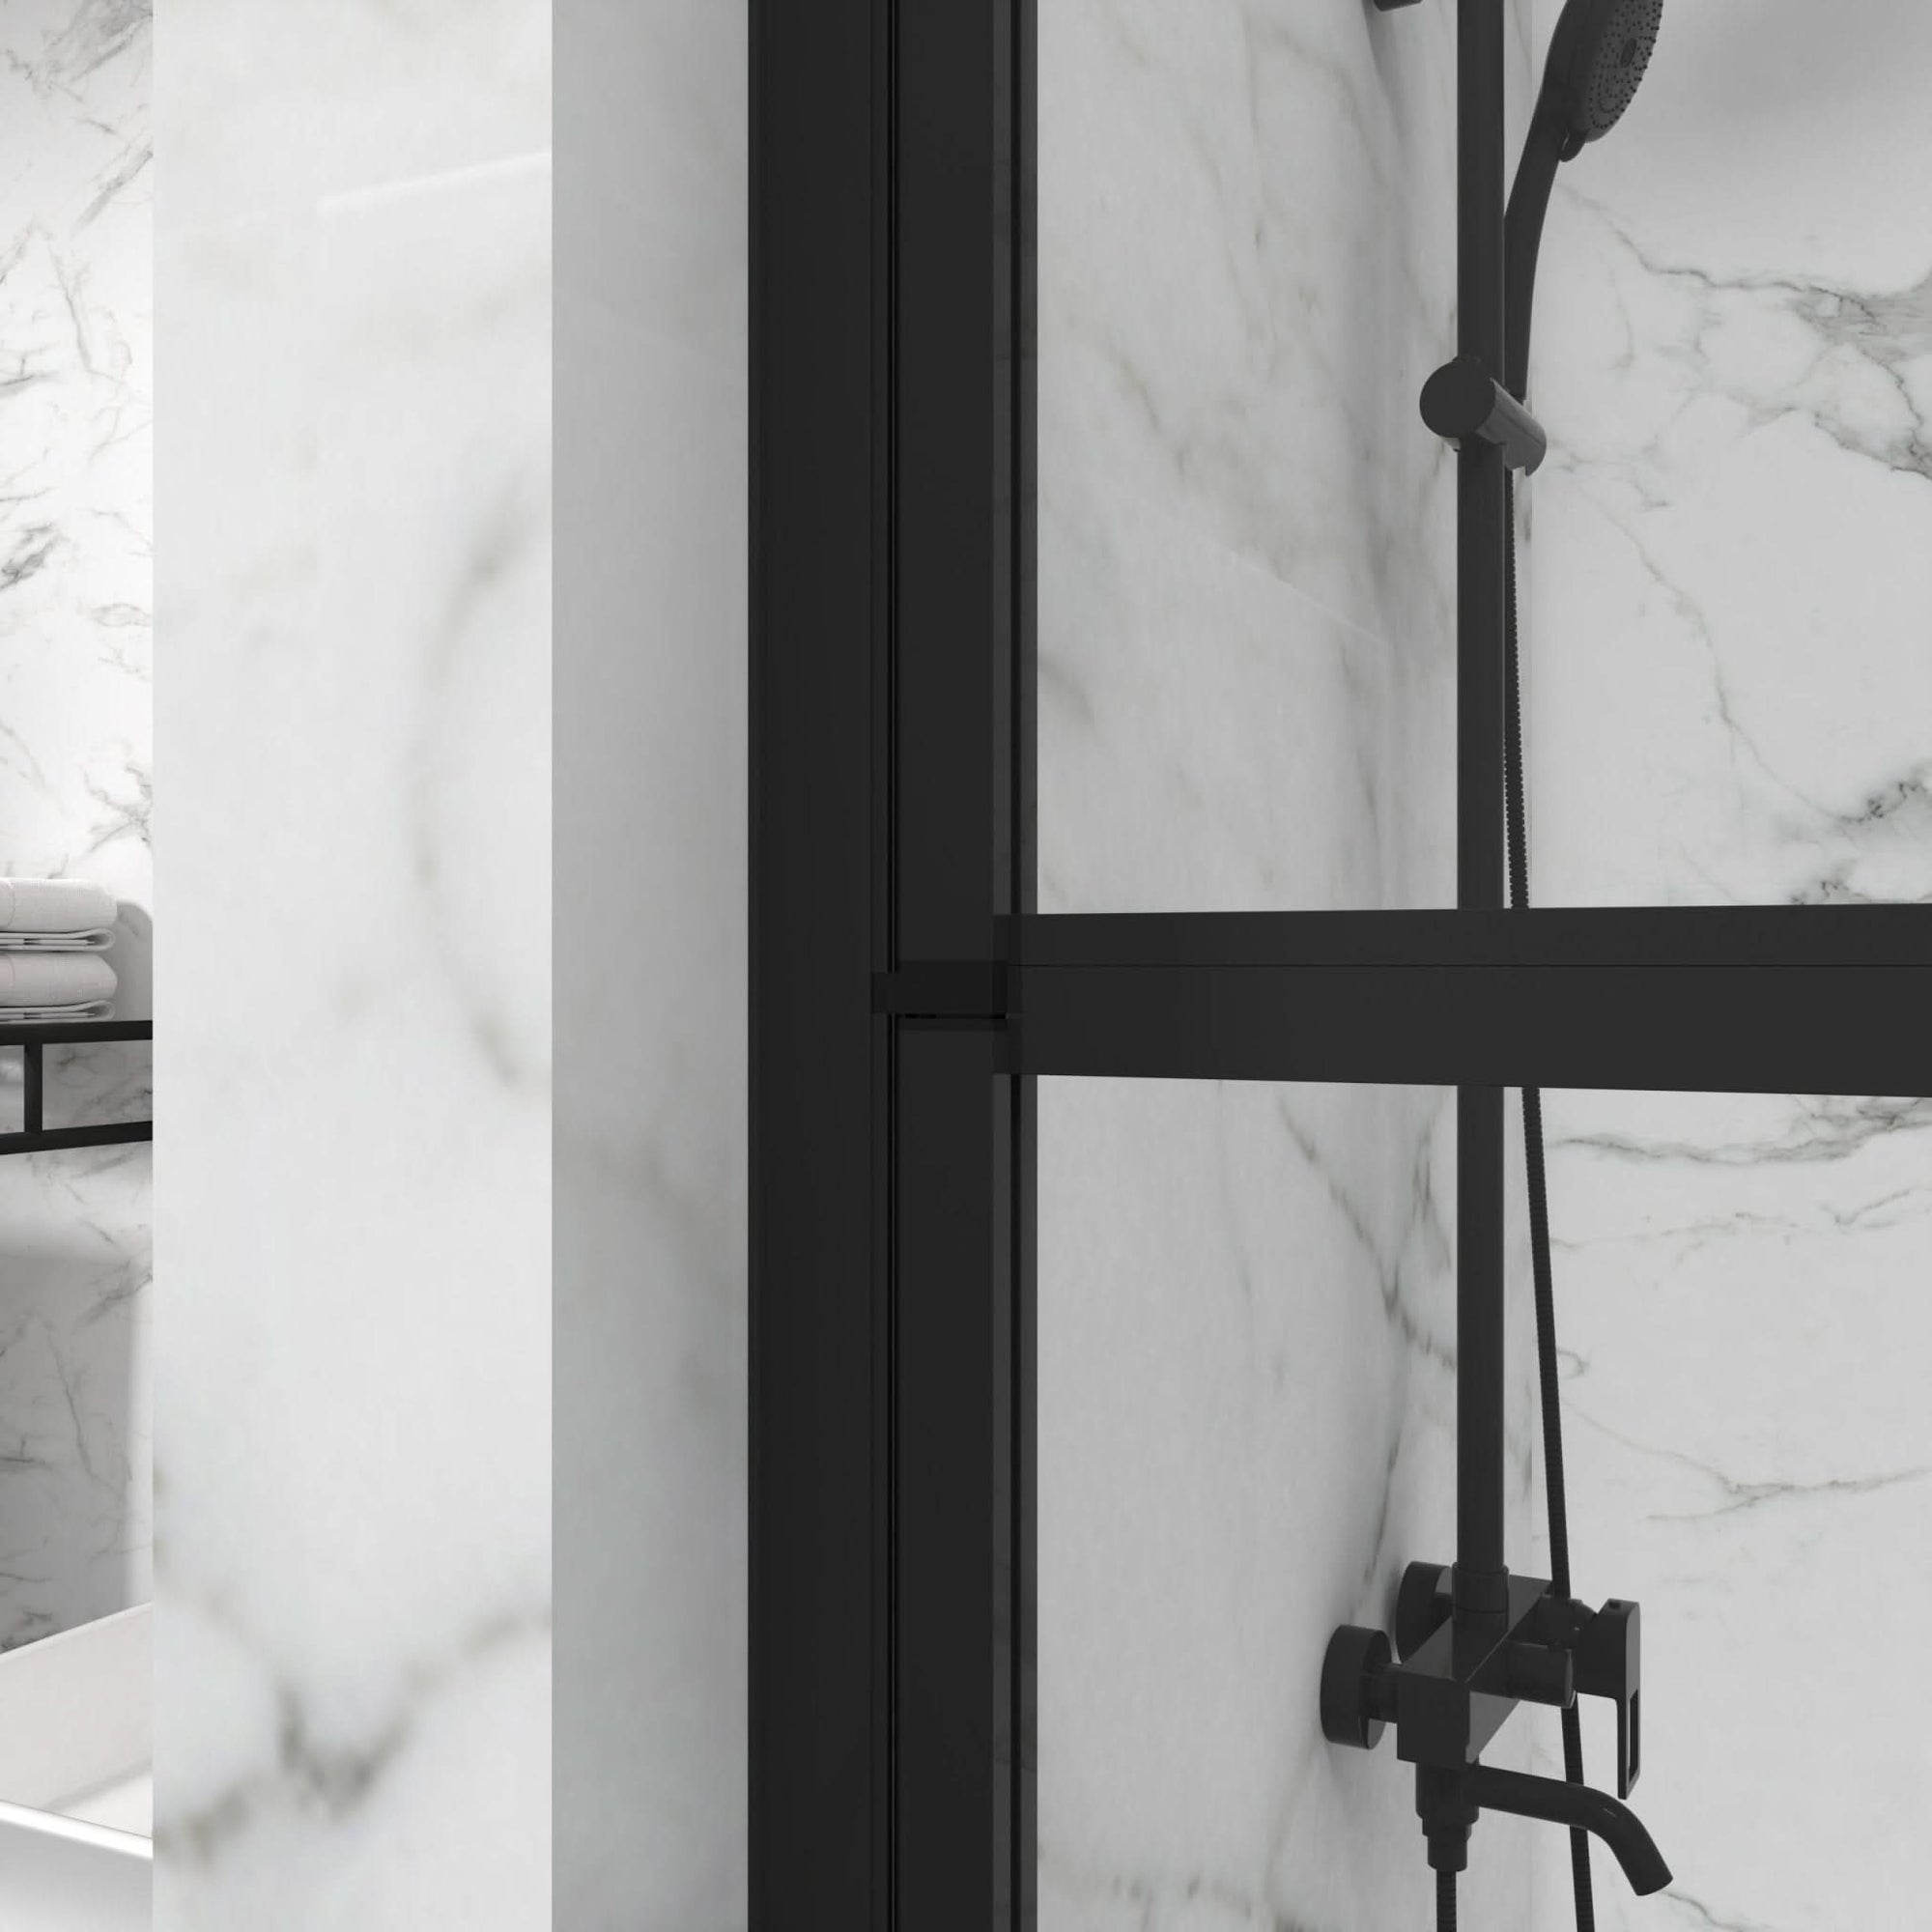
Undertaking a bathroom remodel is both exciting and challenging, and one of the key components to upgrade is your shower door. For homeowners looking to install a durable, sleek, and functional option, a framed bypass shower door is an excellent choice. It not only provides a modern touch but is also practical, offering a space-saving solution for smaller bathrooms or busy households.
In this comprehensive guide, we’ll break down every step of installing a framed bypass shower door, explain the tools you’ll need, and give you tips to ensure everything goes smoothly. With the right preparation and knowledge, installing this type of shower door can be a manageable DIY project, and the results will leave your bathroom looking brand-new.
Why Choose a Framed Bypass Shower Door?
Before we dive into the details of installation, let’s first explore why framed bypass shower doors are so popular among homeowners. If you’re still deciding whether this is the right type of door for your bathroom, here are a few reasons why they’re worth considering:
-
Space Efficiency: Sliding bypass doors don’t require any clearance to swing open, making them ideal for smaller bathrooms where space is tight. If you’ve ever had to maneuver around a door that swings into a tiny room, you’ll appreciate the way bypass doors glide smoothly along tracks, saving valuable space.
-
Style Flexibility: Whether you’re going for a modern, industrial look or something more traditional, a framed bypass door can fit into any design scheme. The matte black and chrome finishes that are common with these doors provide a bold yet timeless aesthetic that complements any bathroom.
-
Affordability and Durability: Compared to frameless doors, framed options are generally more affordable while still offering plenty of style. Plus, the frame adds structural support to the glass, making the door more resistant to wear and tear over time—especially important in busy family bathrooms.
Now that we’ve established why these doors are such a good investment, let’s jump into the installation process.
Tools and Materials You’ll Need
Preparation is key to a smooth installation. Having the right tools and materials at your disposal will make a world of difference. Here’s what you’ll need to install your framed bypass shower door:
- Measuring tape – Ensures you get precise measurements for proper alignment.
- Level – Helps confirm that your tracks and frames are perfectly straight.
- Drill and drill bits – You’ll need these to make holes for mounting the door.
- Screwdriver – Essential for securing the frame to the walls.
- Hacksaw – For trimming metal tracks if necessary.
- Silicone sealant – To ensure everything is waterproof.
- Caulking gun – For applying the sealant evenly.
- Rubber mallet – Helps adjust parts without damaging them.
- Safety glasses and gloves – Always wear these when cutting materials or handling glass.
Step 1: Measure the Shower Opening
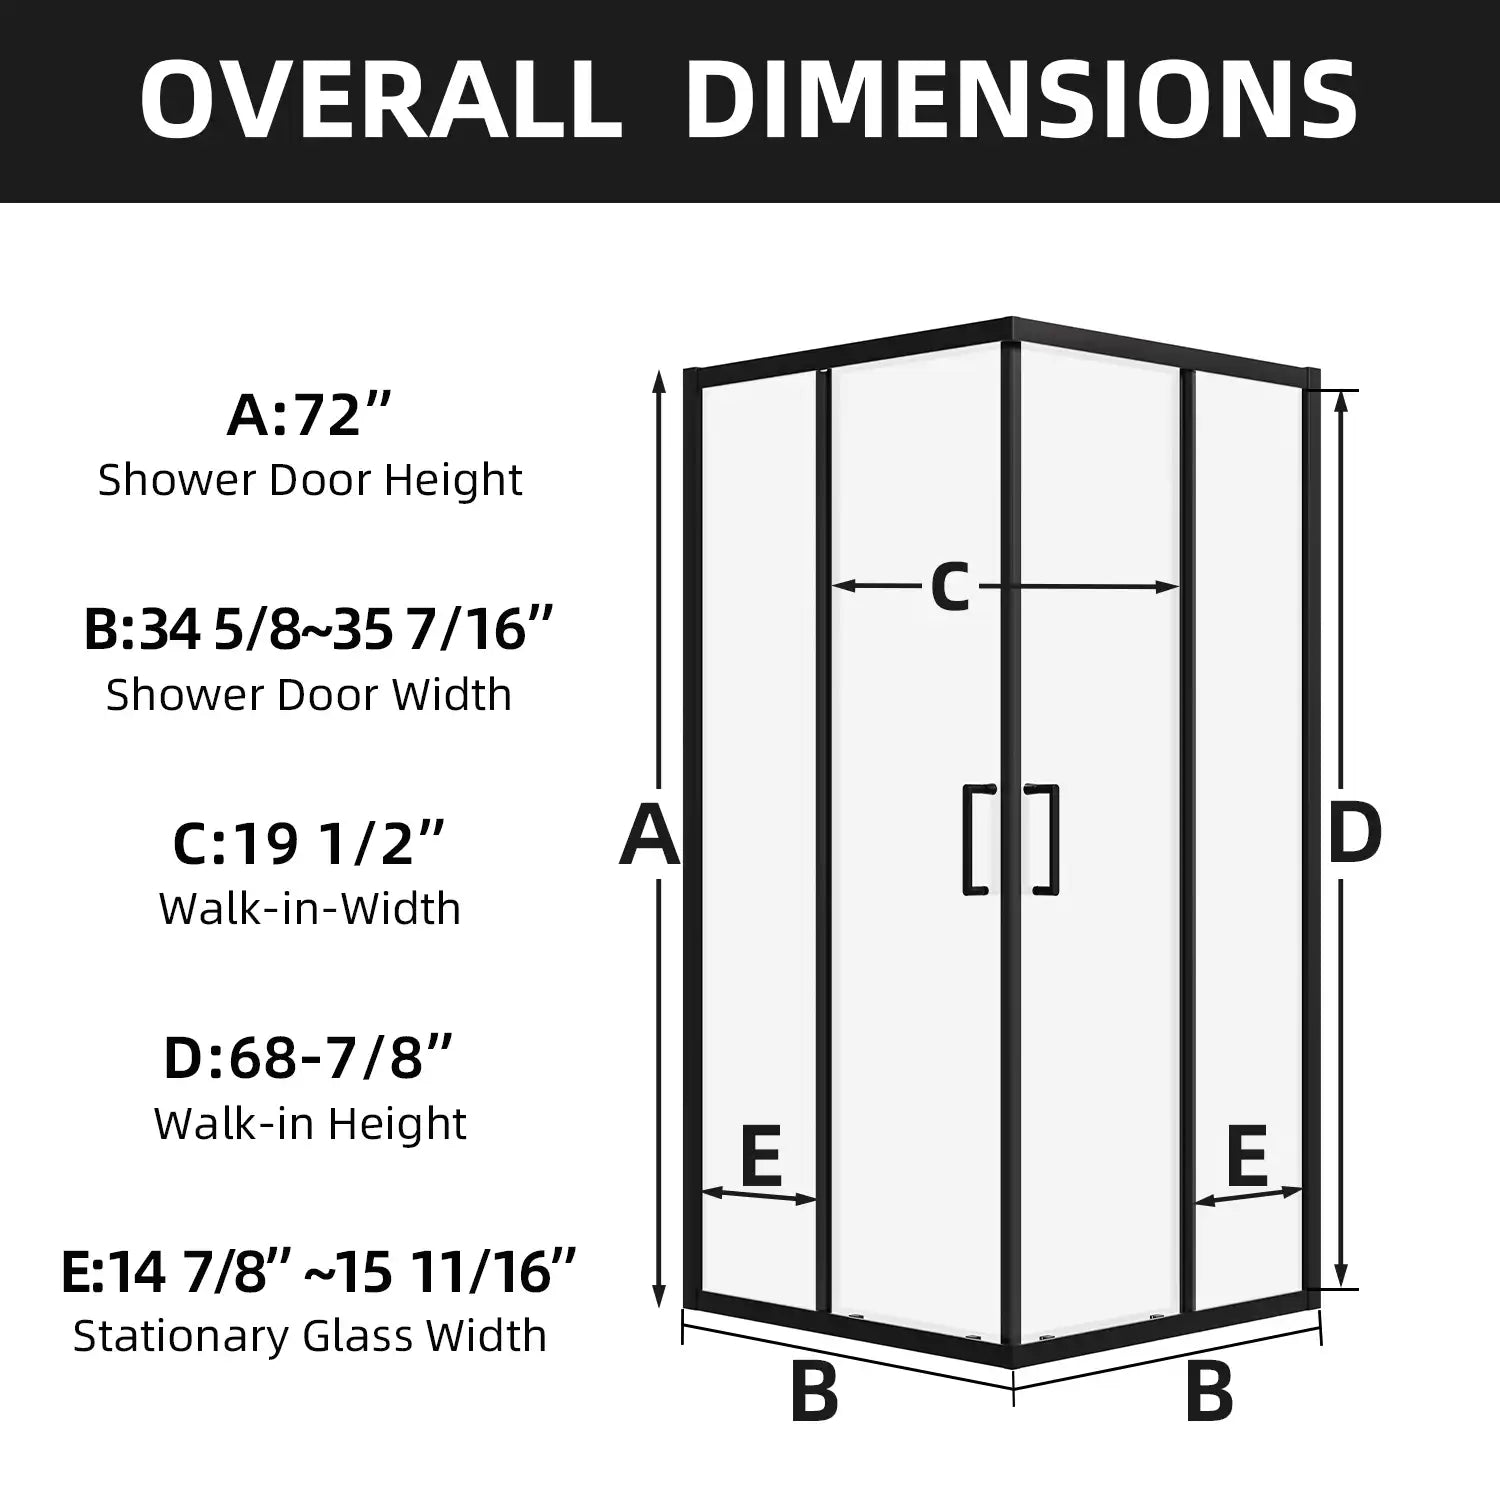
Accurate measurements are the foundation of a successful installation. Before doing anything else, carefully measure the width of your shower opening at both the top and bottom of the shower. Sometimes, walls can be slightly uneven, so taking measurements at multiple points ensures you select or adjust the right track length.
- Tip: If your measurements vary slightly between the top and bottom, use the smaller measurement to avoid installing a track that’s too long.
In addition to width, measure the height of the opening. Most bypass shower doors, like the Matte Black and Chrome Framed Bypass Shower Door from ACE DECOR, come in adjustable heights, but having the correct dimensions ensures an easier installation process.
Step 2: Prepare the Bottom Track
The bottom track serves as the foundation for your shower doors, so it’s crucial to install it correctly. Here’s how to do it:
-
Place the bottom track along the shower threshold, ensuring it’s centered. Double-check the alignment by using your level to make sure it’s straight.
-
Mark the positions where the track will be secured. If the track is too long for the space, you’ll need to cut it to size using a hacksaw.
Example Scenario: You’re halfway through a bathroom remodel, and you’ve picked out beautiful ceramic tiles for the shower floor. The bottom track for your framed bypass door is just a bit too long, so you carefully trim it down with a hacksaw to make it fit perfectly without compromising the sleek look of the tiles.
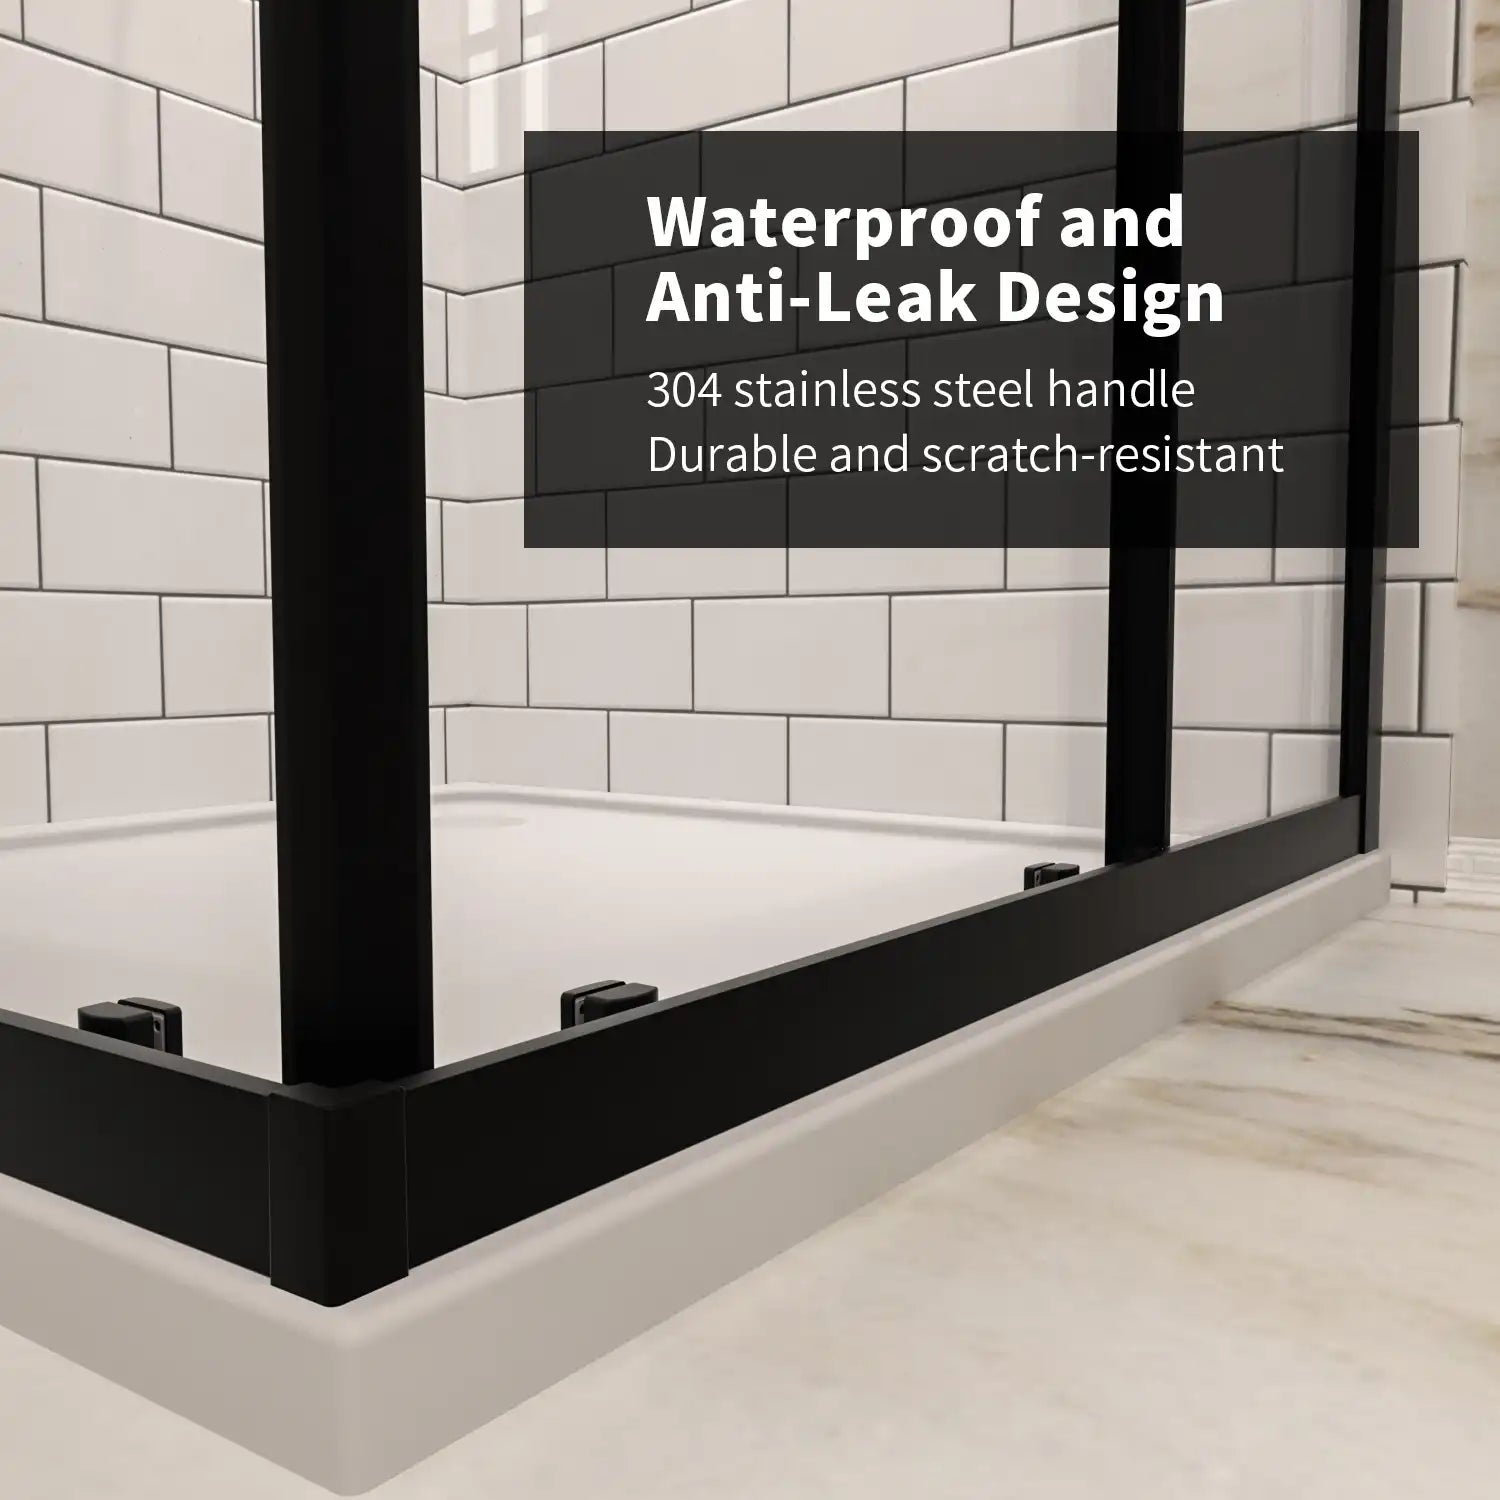
Once you’ve adjusted the track to the right length, apply a thin bead of silicone sealant along the bottom to ensure the track is watertight. Press it firmly into place and let the sealant set according to the manufacturer’s instructions.
Tip: It’s worth taking the time to ensure the track is perfectly level. If the track is uneven, the doors won’t slide smoothly, and you could experience leaks over time.
Step 3: Install the Side Jambs
Side jambs are the vertical metal frames that sit on either side of the shower opening. Installing these requires precise alignment, so make sure you have your level and measuring tape handy.
-
Align the side jambs with the bottom track, making sure they’re flush with the walls.
-
Mark where you’ll need to drill holes to secure the jambs to the walls. Depending on your wall material, you may need special drill bits (e.g., ceramic tile drill bits if you’re drilling through tile).
-
Drill the holes and insert wall anchors to provide extra support for the screws. Then, secure the side jambs to the wall using the screws provided in your shower door kit.
Tip: When drilling into tiles, use painter's tape to mark your drill spots. This prevents the drill bit from slipping and potentially damaging the tile. Slow, steady drilling is key to avoiding cracks in the tile.
Step 4: Install the Top Track
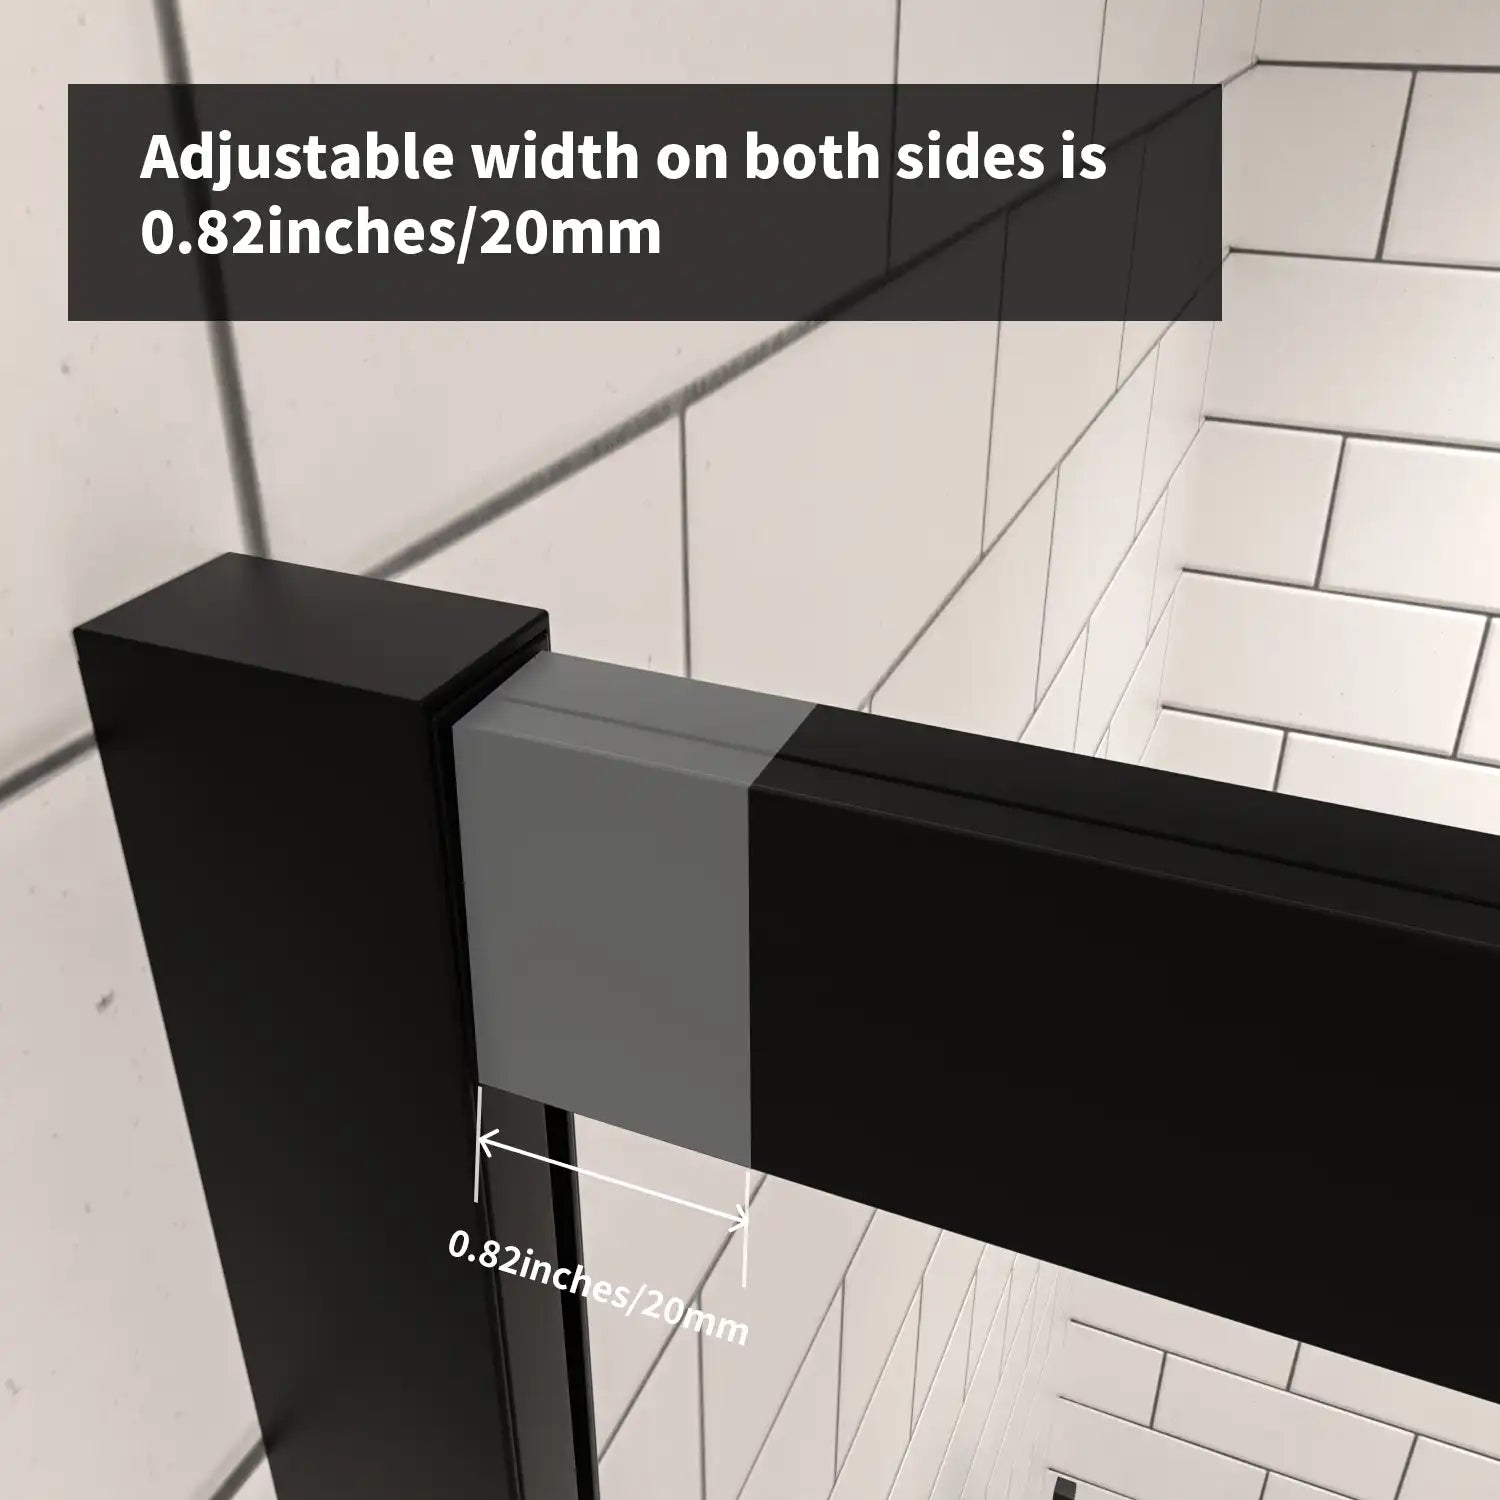
Next up is the top track, which will hold the doors in place. Measure the top of the shower opening and cut the track to size if necessary.
Place the top track on top of the side jambs and secure it using screws. Make sure it’s aligned perfectly with the bottom track to ensure the doors will slide smoothly without any issues.
Step 5: Install the Shower Doors
Now that the framework is in place, it’s time to install the actual doors. Most framed bypass shower door kits come with rollers pre-installed on the doors. If not, you’ll need to attach them using the provided hardware.
-
Carefully lift the first shower door and angle it so the rollers fit into the top track. Once the rollers are in place, gently lower the door into the bottom track.
-
Repeat this process with the second door, ensuring one door is placed in the inner track and the other in the outer track, so they can bypass each other.
Example Scenario: After carefully fitting the second door, you notice that it doesn’t slide as smoothly as the first. A quick adjustment to the roller screws tightens everything up, and the door glides effortlessly along the track. Ensuring everything is aligned before you finish will save you time later.
Step 6: Secure the Bottom Guide
The bottom guide is a small but essential part that keeps the doors aligned and ensures smooth operation. Without it, the doors may slide off track or become wobbly.
-
Place the bottom guide in the center of the bottom track, between the two doors.
-
Secure it with the screws provided in your kit.
The bottom guide ensures that your doors won’t come off track when opened and closed. It’s a simple but important step in achieving a polished, functional finish.
Step 7: Apply Silicone Sealant
To prevent leaks and maintain the integrity of your shower, apply silicone sealant around the edges of the side jambs where they meet the wall, as well as along the bottom track. This creates a waterproof barrier that protects your bathroom from potential water damage.
Tip: To achieve clean lines, apply painter’s tape on either side of where the sealant will go. This keeps the silicone neat and ensures you don’t spread it beyond the intended area.
Step 8: Final Adjustments and Testing
After all components are in place, it’s time to test your installation. Open and close the doors several times to ensure they move smoothly. Check the alignment one last time to confirm everything is secure.
Allow the silicone sealant to cure for 24-48 hours before using the shower to ensure the waterproofing is fully set.
Maintenance Tips for Long-Lasting Performance
Now that your framed bypass shower door is installed, regular maintenance will ensure it continues to look and function its best for years to come.
-
Daily Maintenance: Use a squeegee after each shower to wipe down the glass. This helps prevent water spots and soap scum buildup, which can dull the shine of your shower door over time.
-
Monthly Cleaning: At least once a month, clean the metal frame and tracks to remove any dirt or debris that could interfere with the doors’ smooth sliding. Use a non-abrasive cleaner to avoid damaging the finish.
-
Inspect the Hardware: Over time, the screws and rollers may loosen due to regular use. Check these components periodically and tighten any that have become loose to ensure the doors remain secure.
Why Choose ACE DECOR for Your Framed Bypass Shower Door?
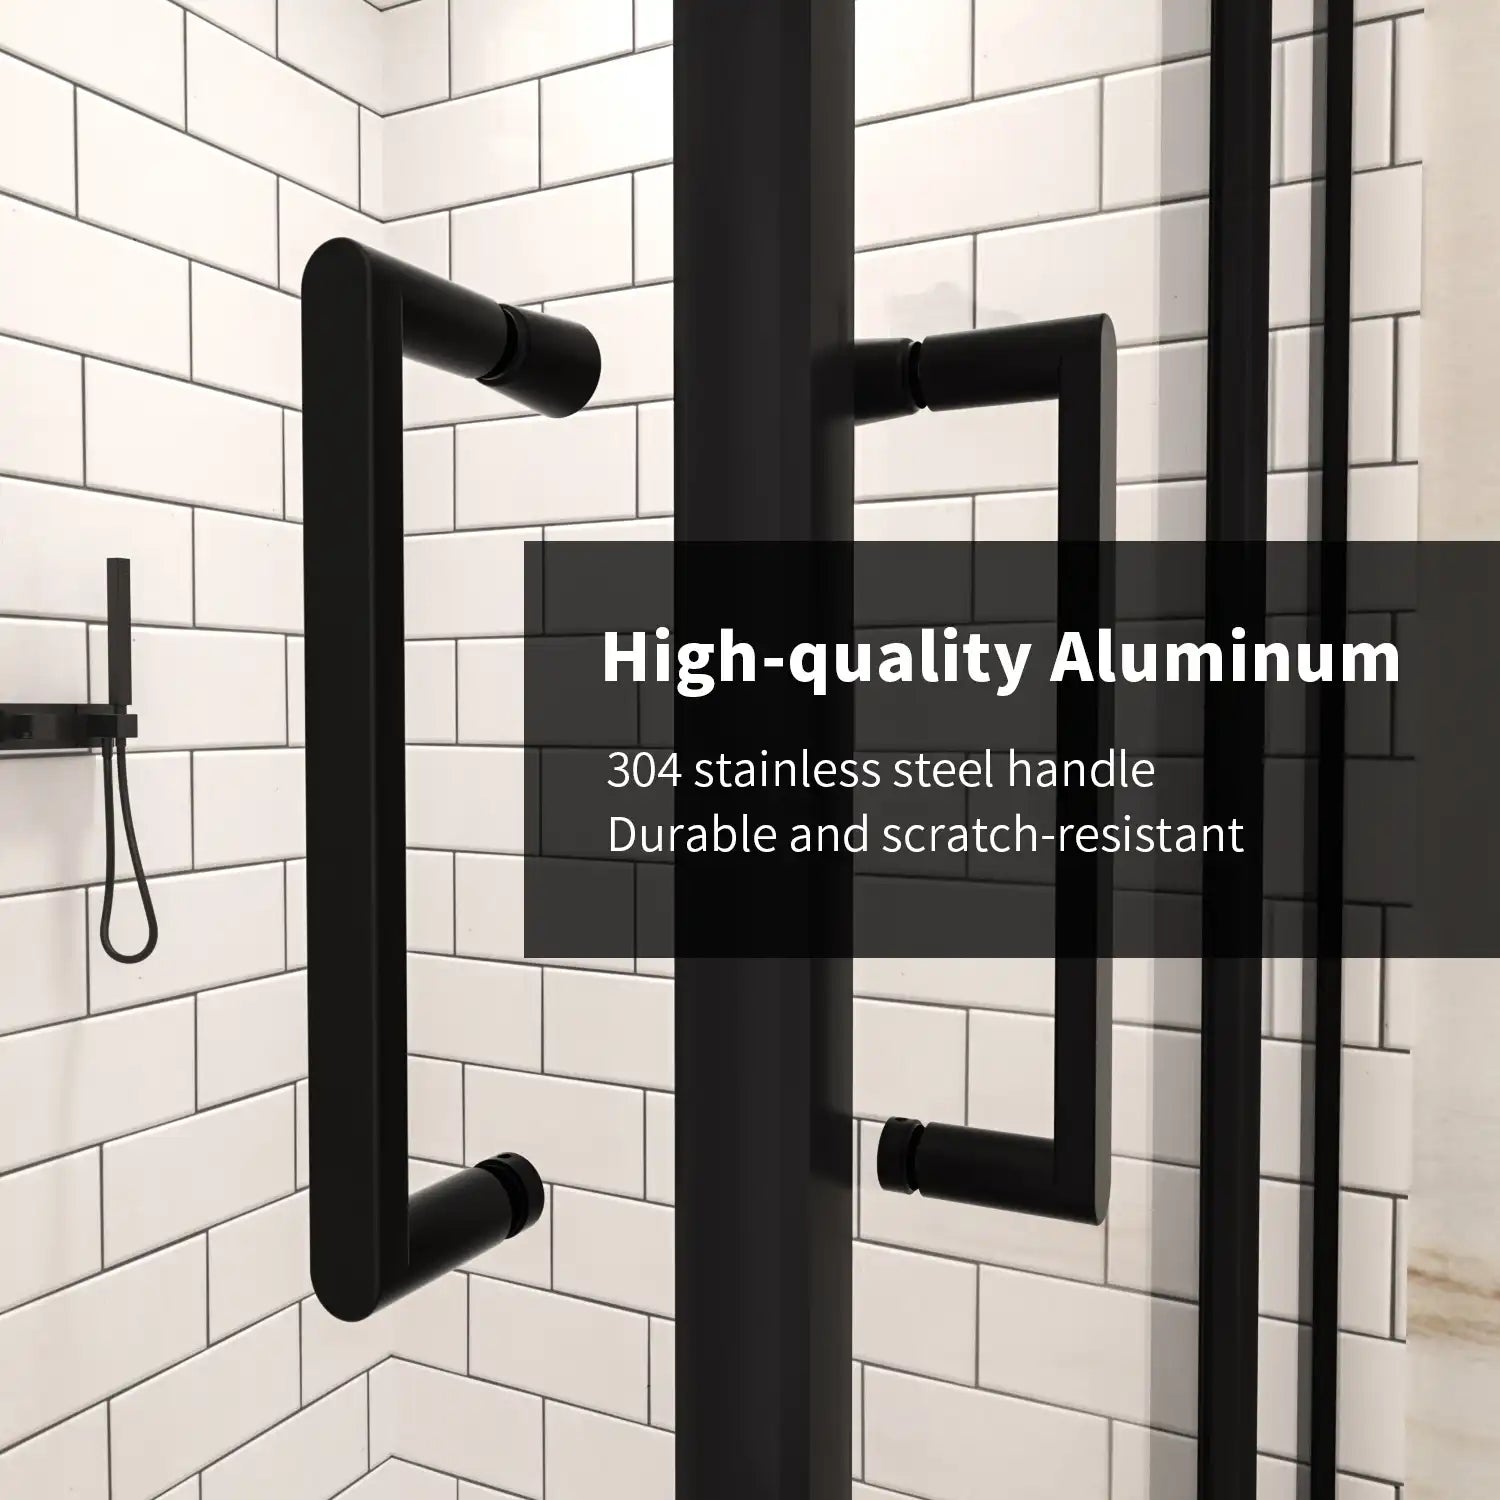
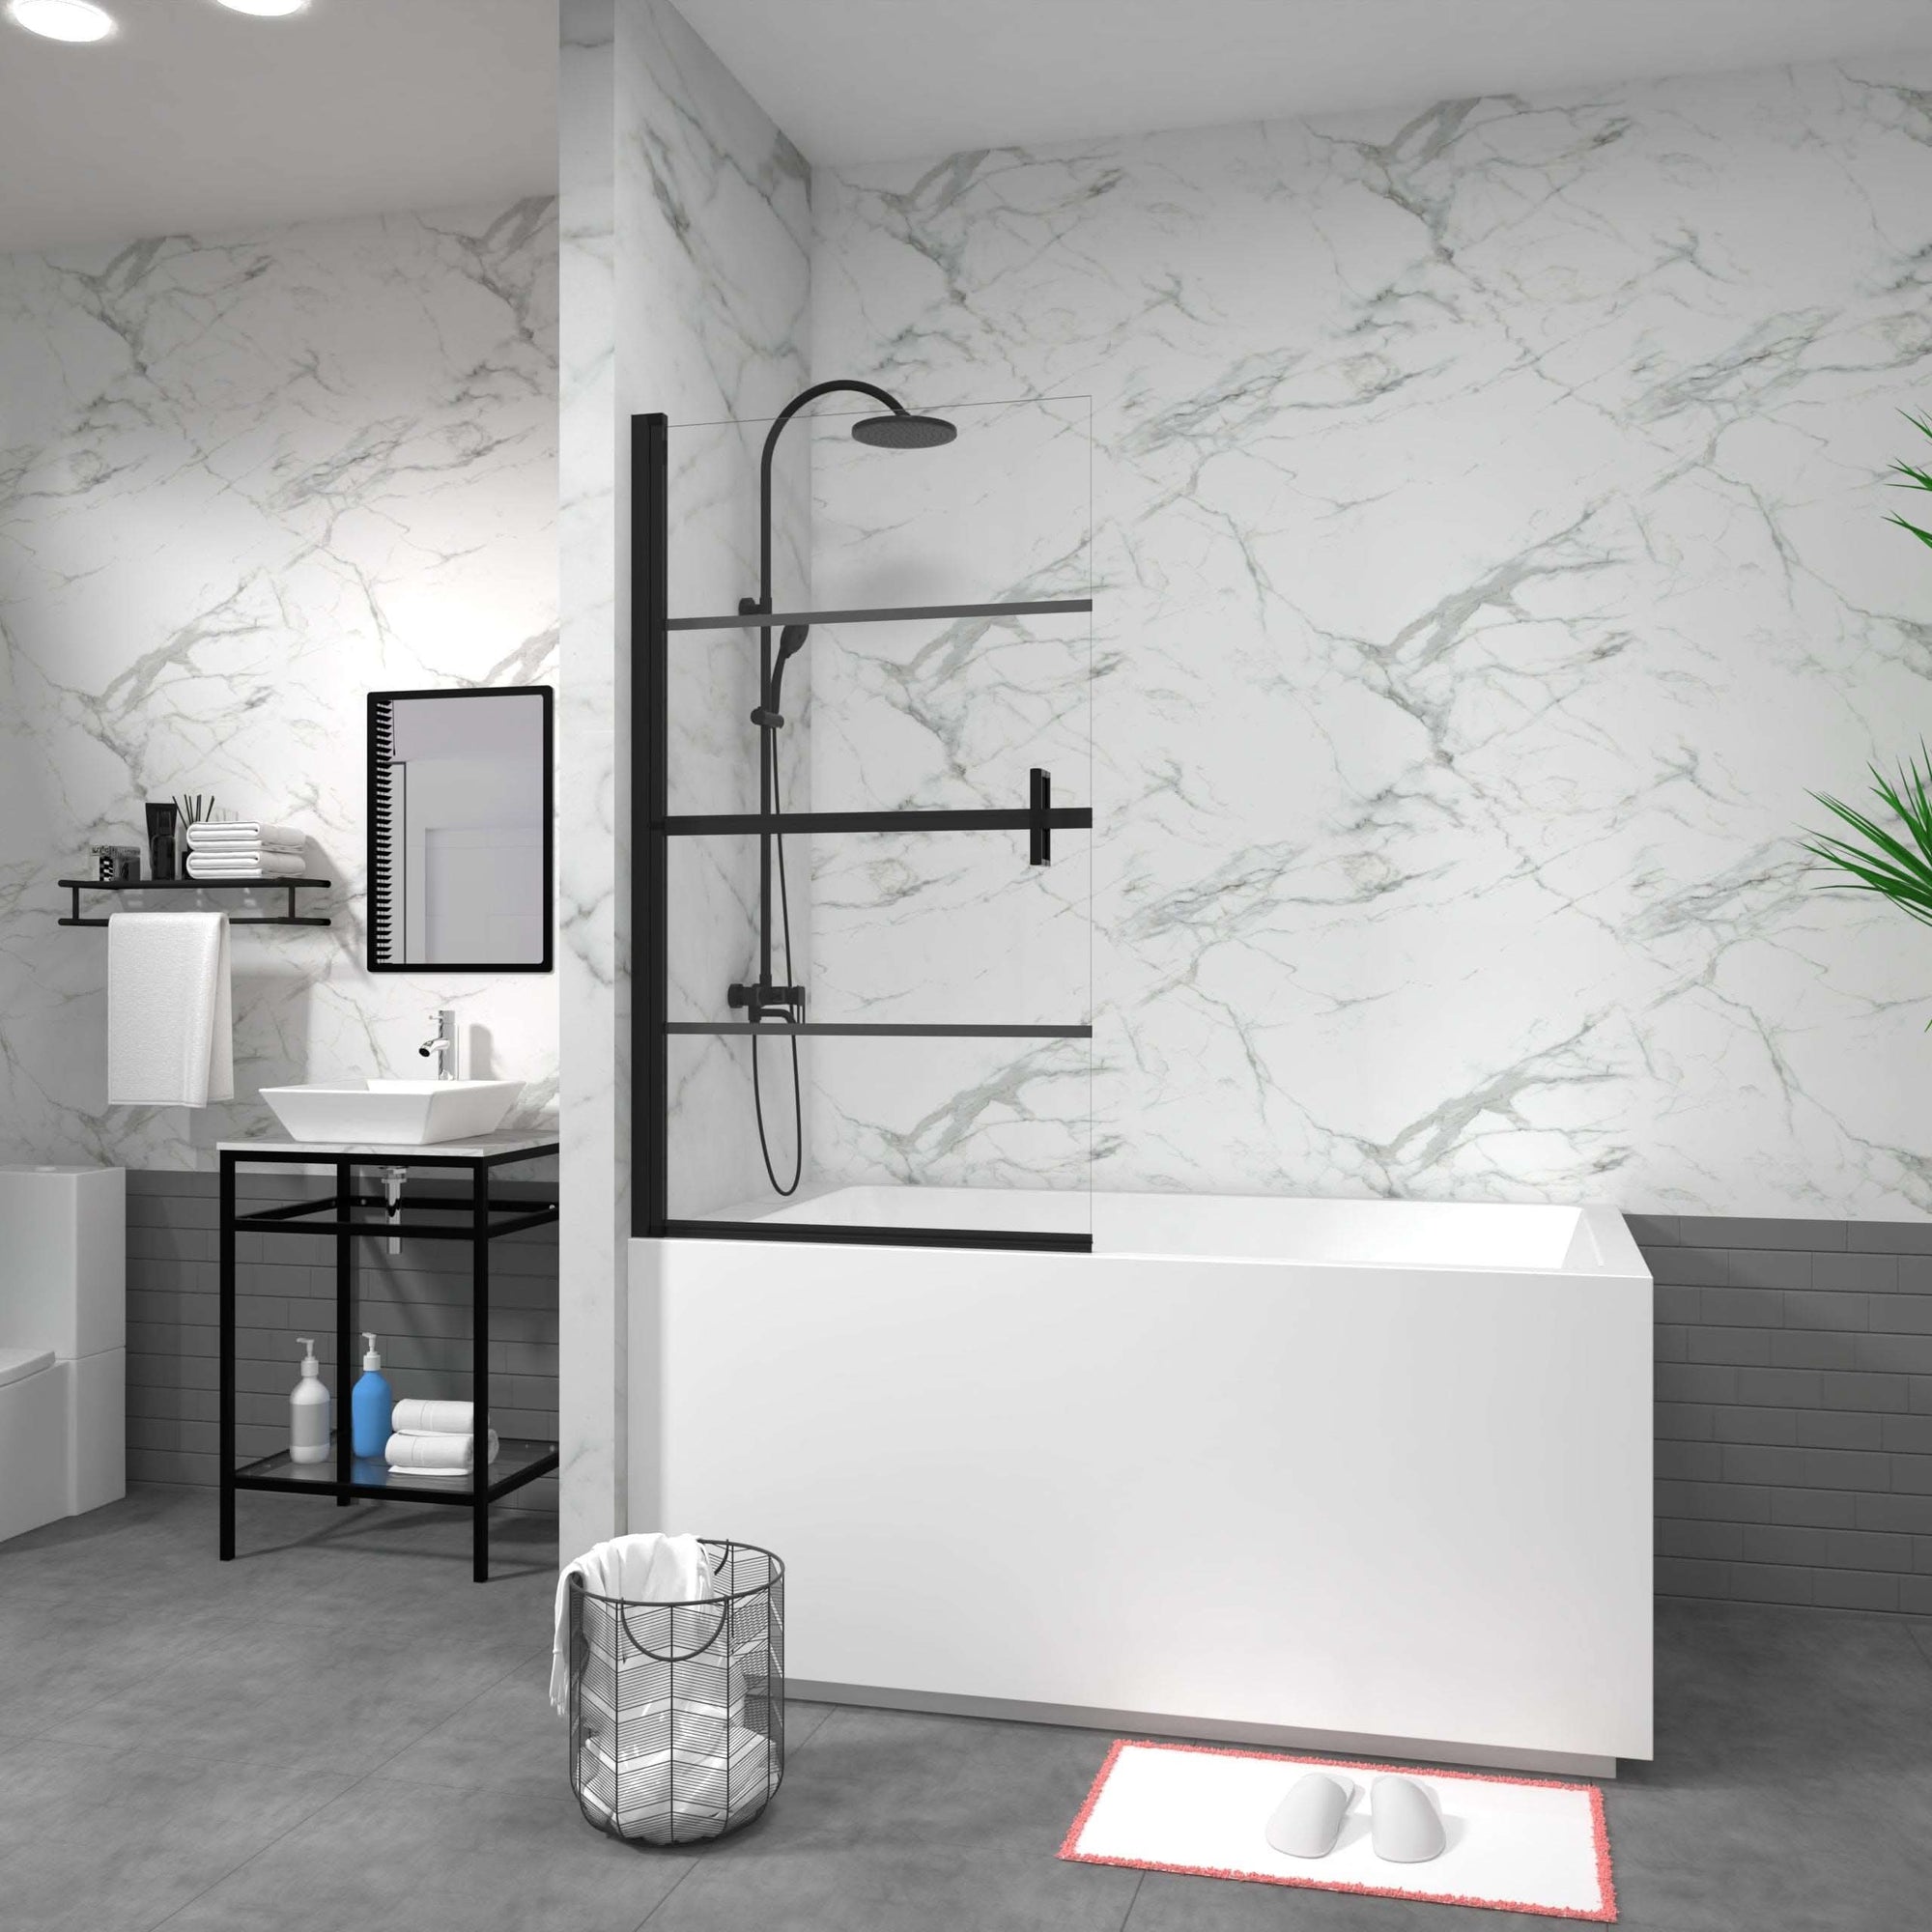
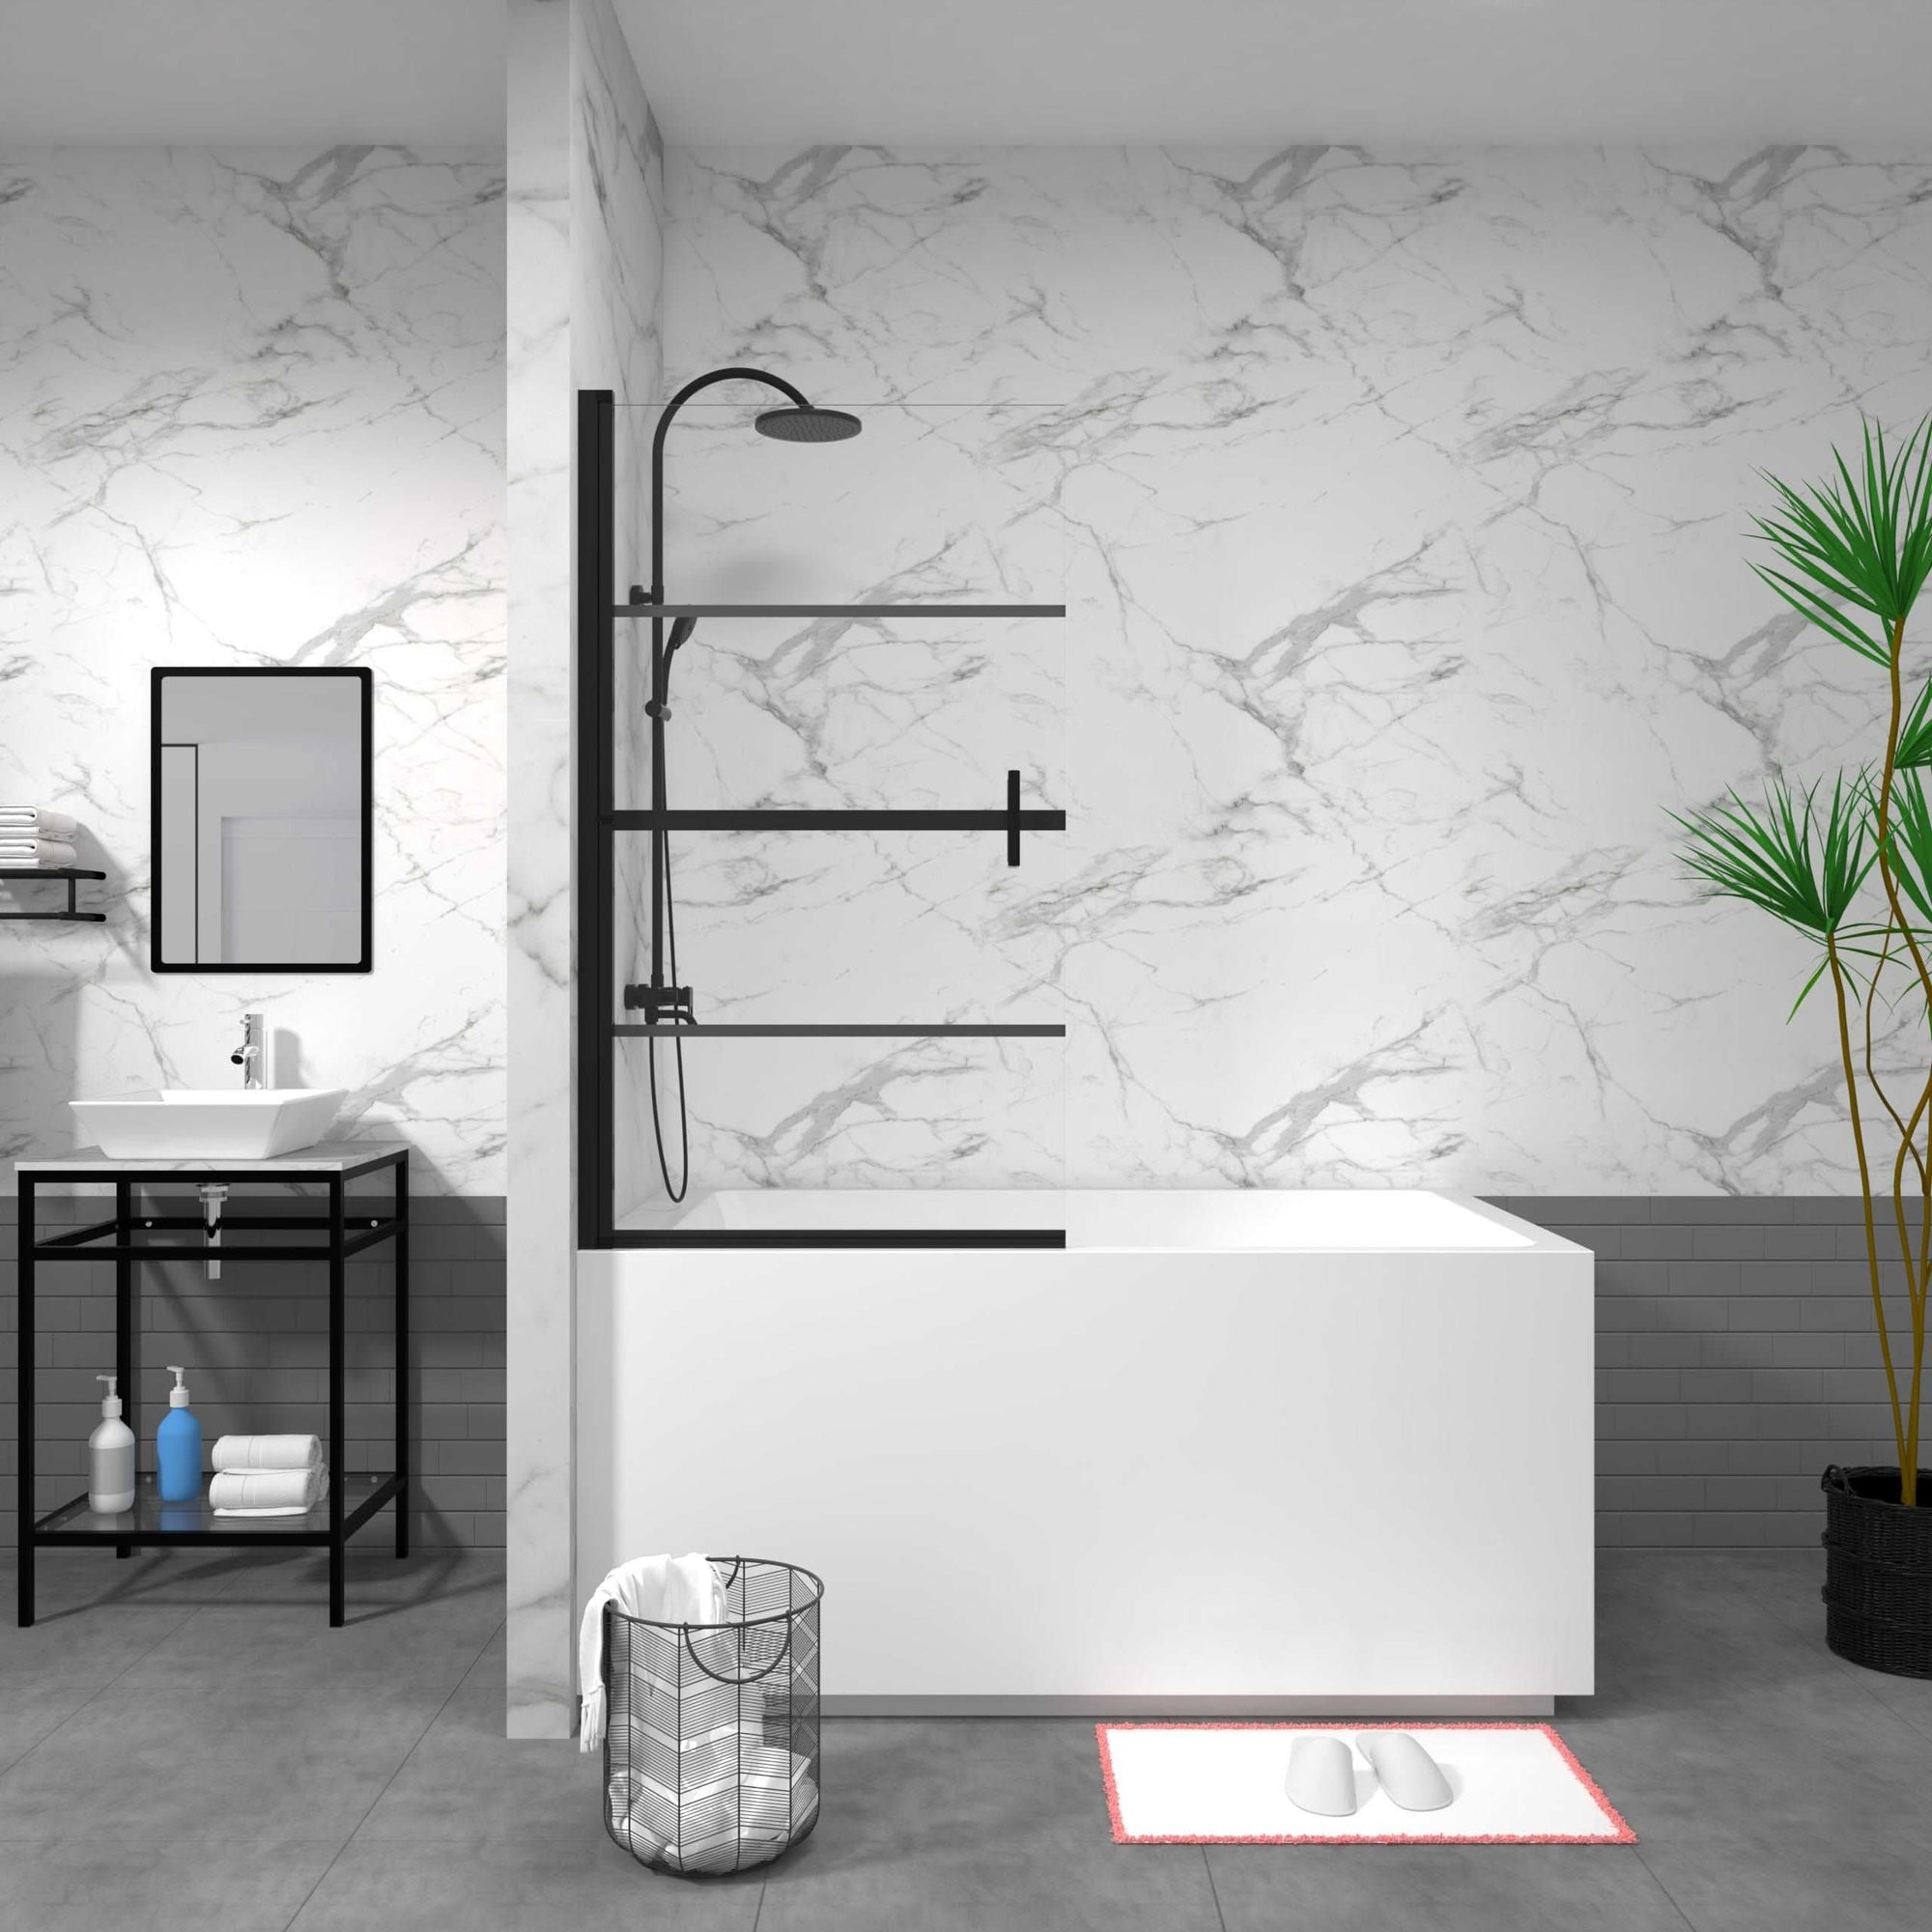
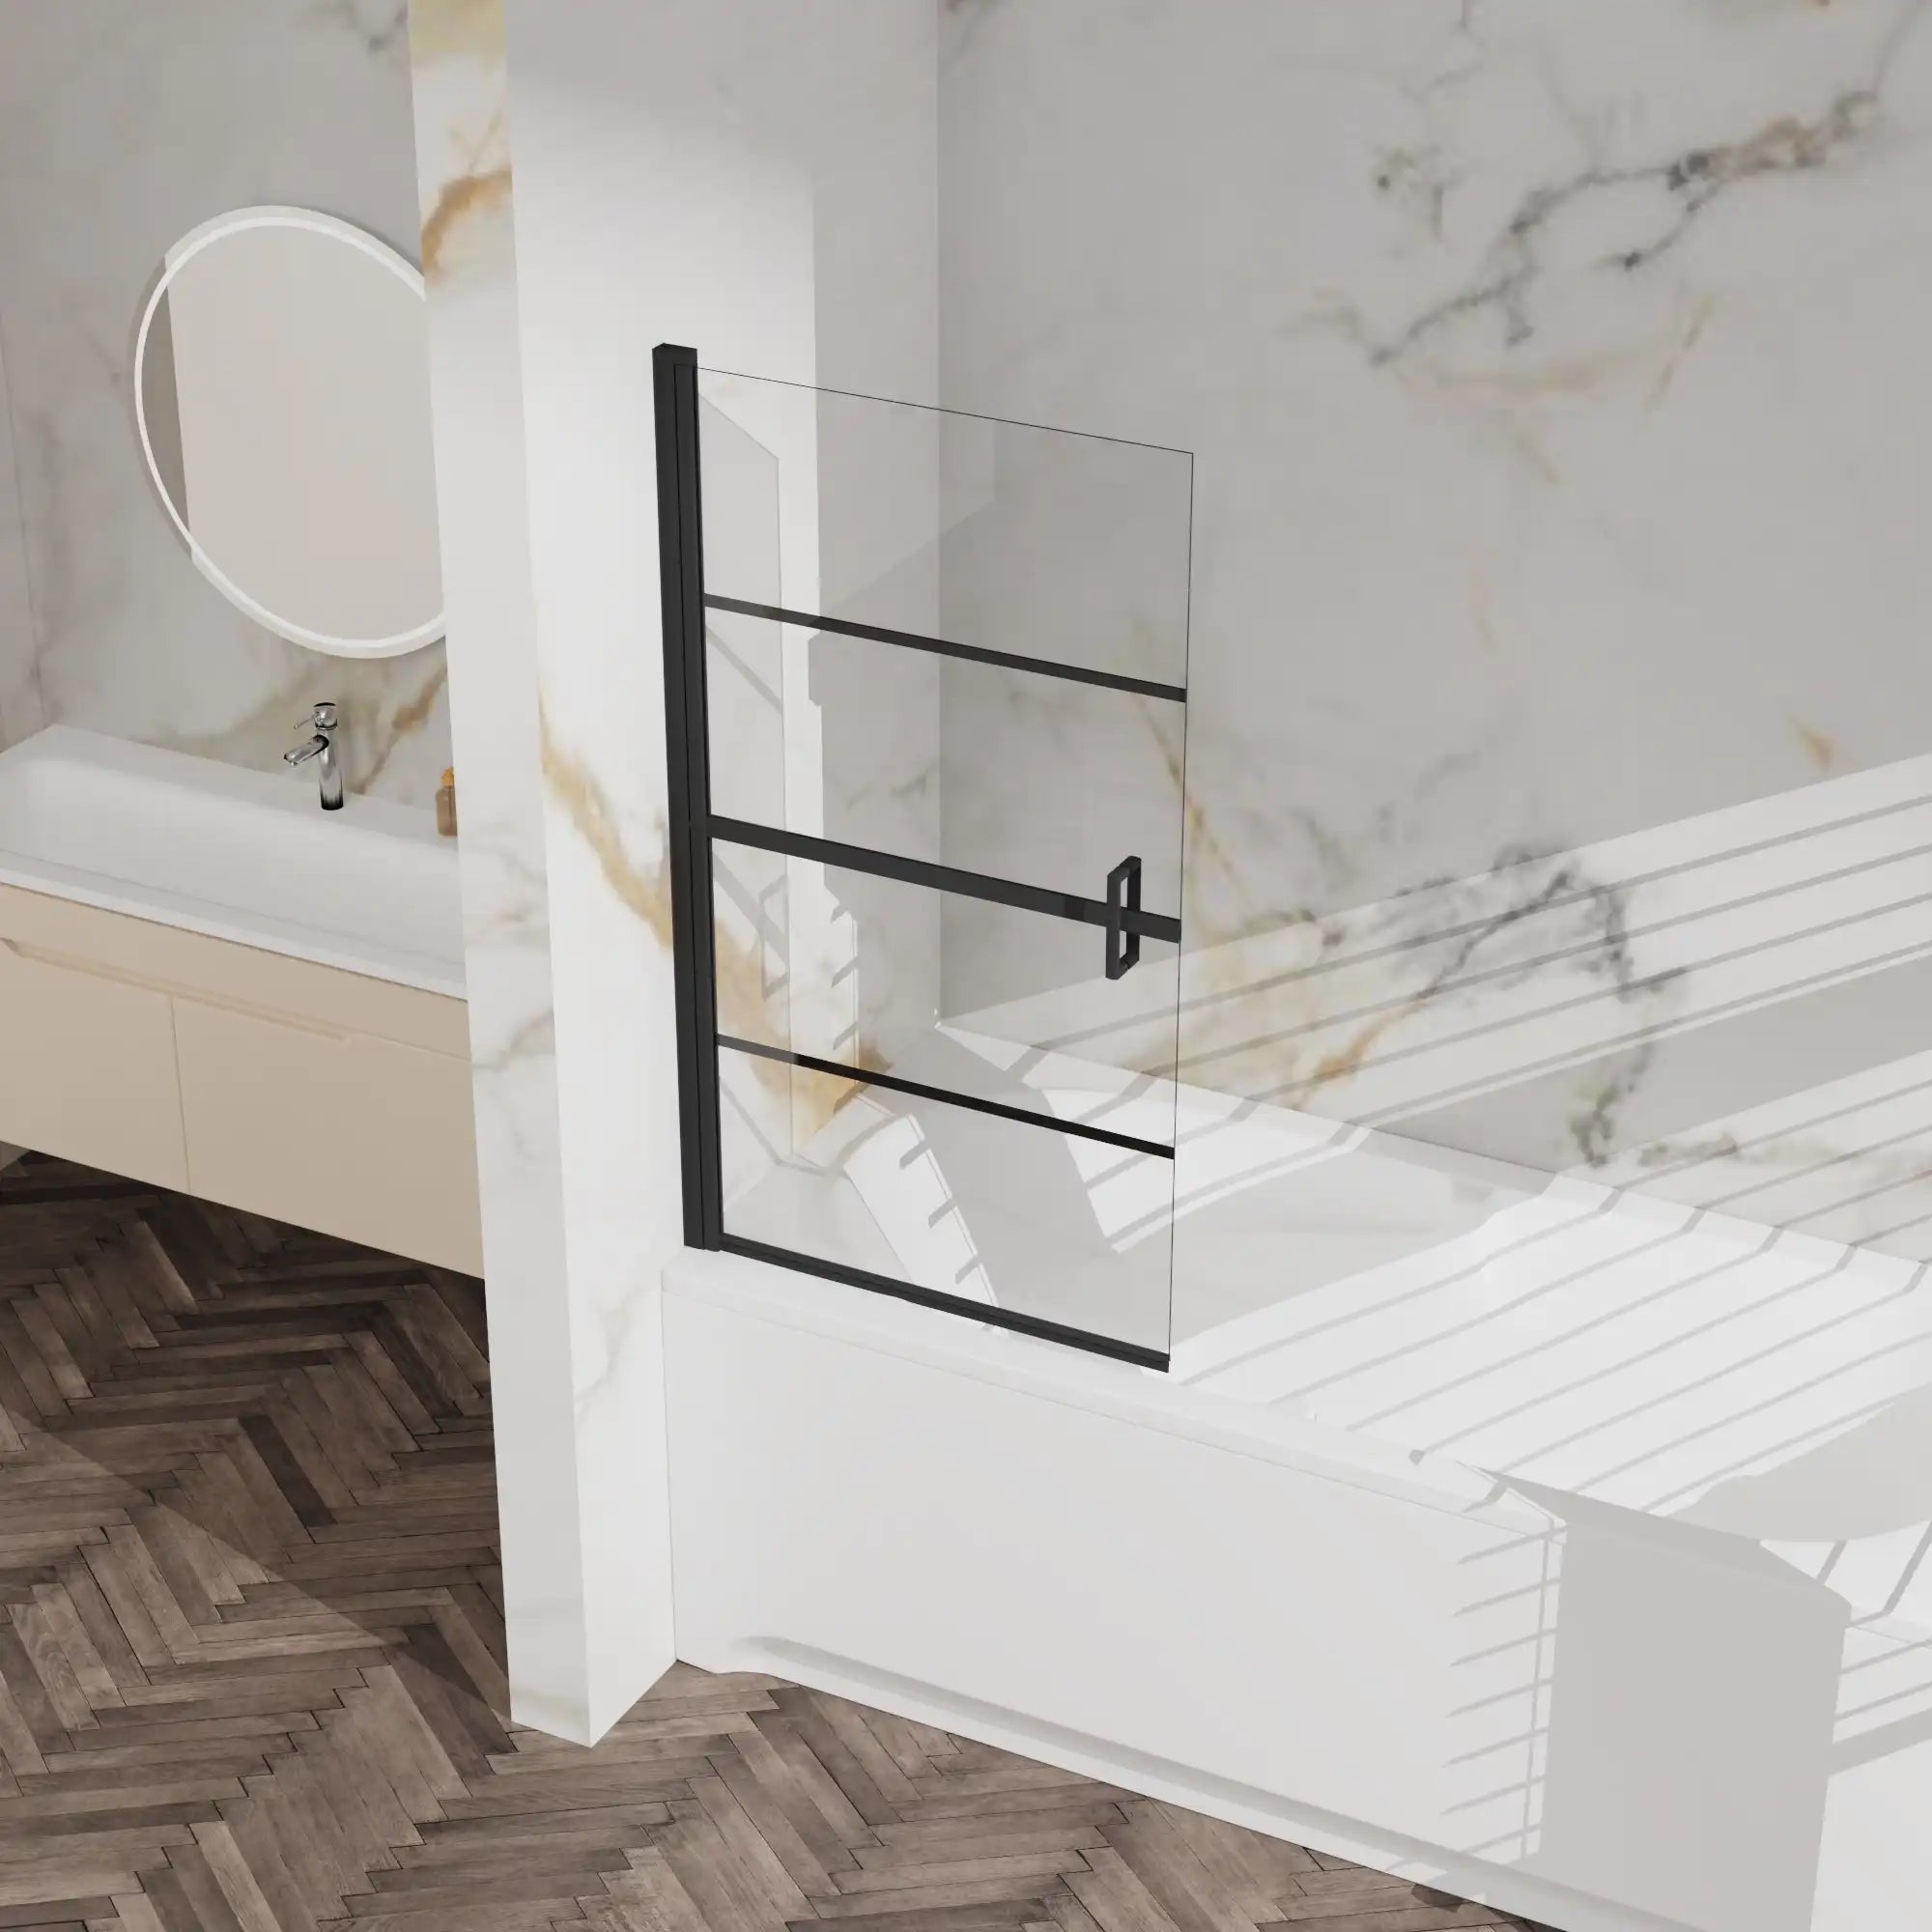
When it comes to finding a high-quality framed bypass shower door, ACE DECOR offers an exceptional range of styles and finishes. Our Matte Black and Chrome Framed Bypass Shower Door is designed with both durability and style in mind. Featuring tempered glass for enhanced safety and rust-resistant hardware, it’s the perfect addition to any bathroom renovation project.
Looking for more options? Explore our full collection of shower doors to find the ideal solution for your home.
Frequently Asked Questions (FAQ)
Q: Can I install a framed bypass shower door by myself?
A: Yes, with the right tools and preparation, installing a framed bypass shower door can be a manageable DIY project for most homeowners. However, if you’re not comfortable handling glass or using power tools, it’s always best to hire a professional.
Q: How do I keep my shower door tracks clean?
A: To prevent dirt and soap buildup in the tracks, clean them regularly with a mild cleaner and a soft brush. Wipe down the tracks with a cloth afterward to keep them dry and free of debris.
Q: What’s the difference between framed and frameless shower doors?
A: Framed shower doors have a metal frame surrounding the glass, which provides extra support and makes them more affordable. Frameless doors use thicker glass for structural integrity and offer a sleeker, more modern look.
Q: Can I install a bypass shower door in a small bathroom?
A: Absolutely! Bypass doors are ideal for small bathrooms because they don’t require any extra clearance space to swing open. This makes them a great space-saving solution.
Conclusion: A Stylish and Practical Upgrade for Your Bathroom
Installing a framed bypass shower door is an excellent way to enhance both the functionality and appearance of your bathroom. With the right tools, careful measurements, and attention to detail, you can successfully complete the installation as a DIY project. The result will be a durable, stylish door that adds value to your home and elevates your daily routine.
At ACE DECOR, we offer a wide range of high-quality shower doors that blend modern design with practical features. Explore our selection and find the perfect match for your bathroom upgrade today.
