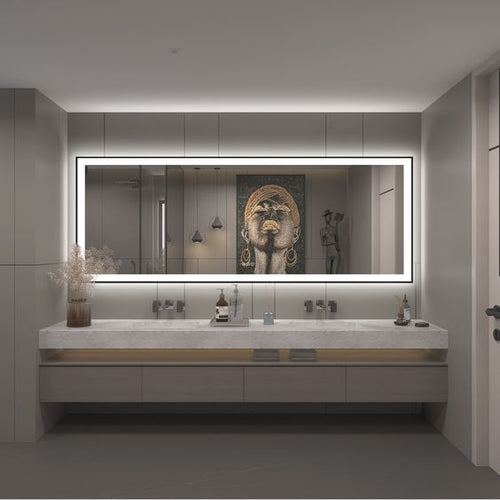
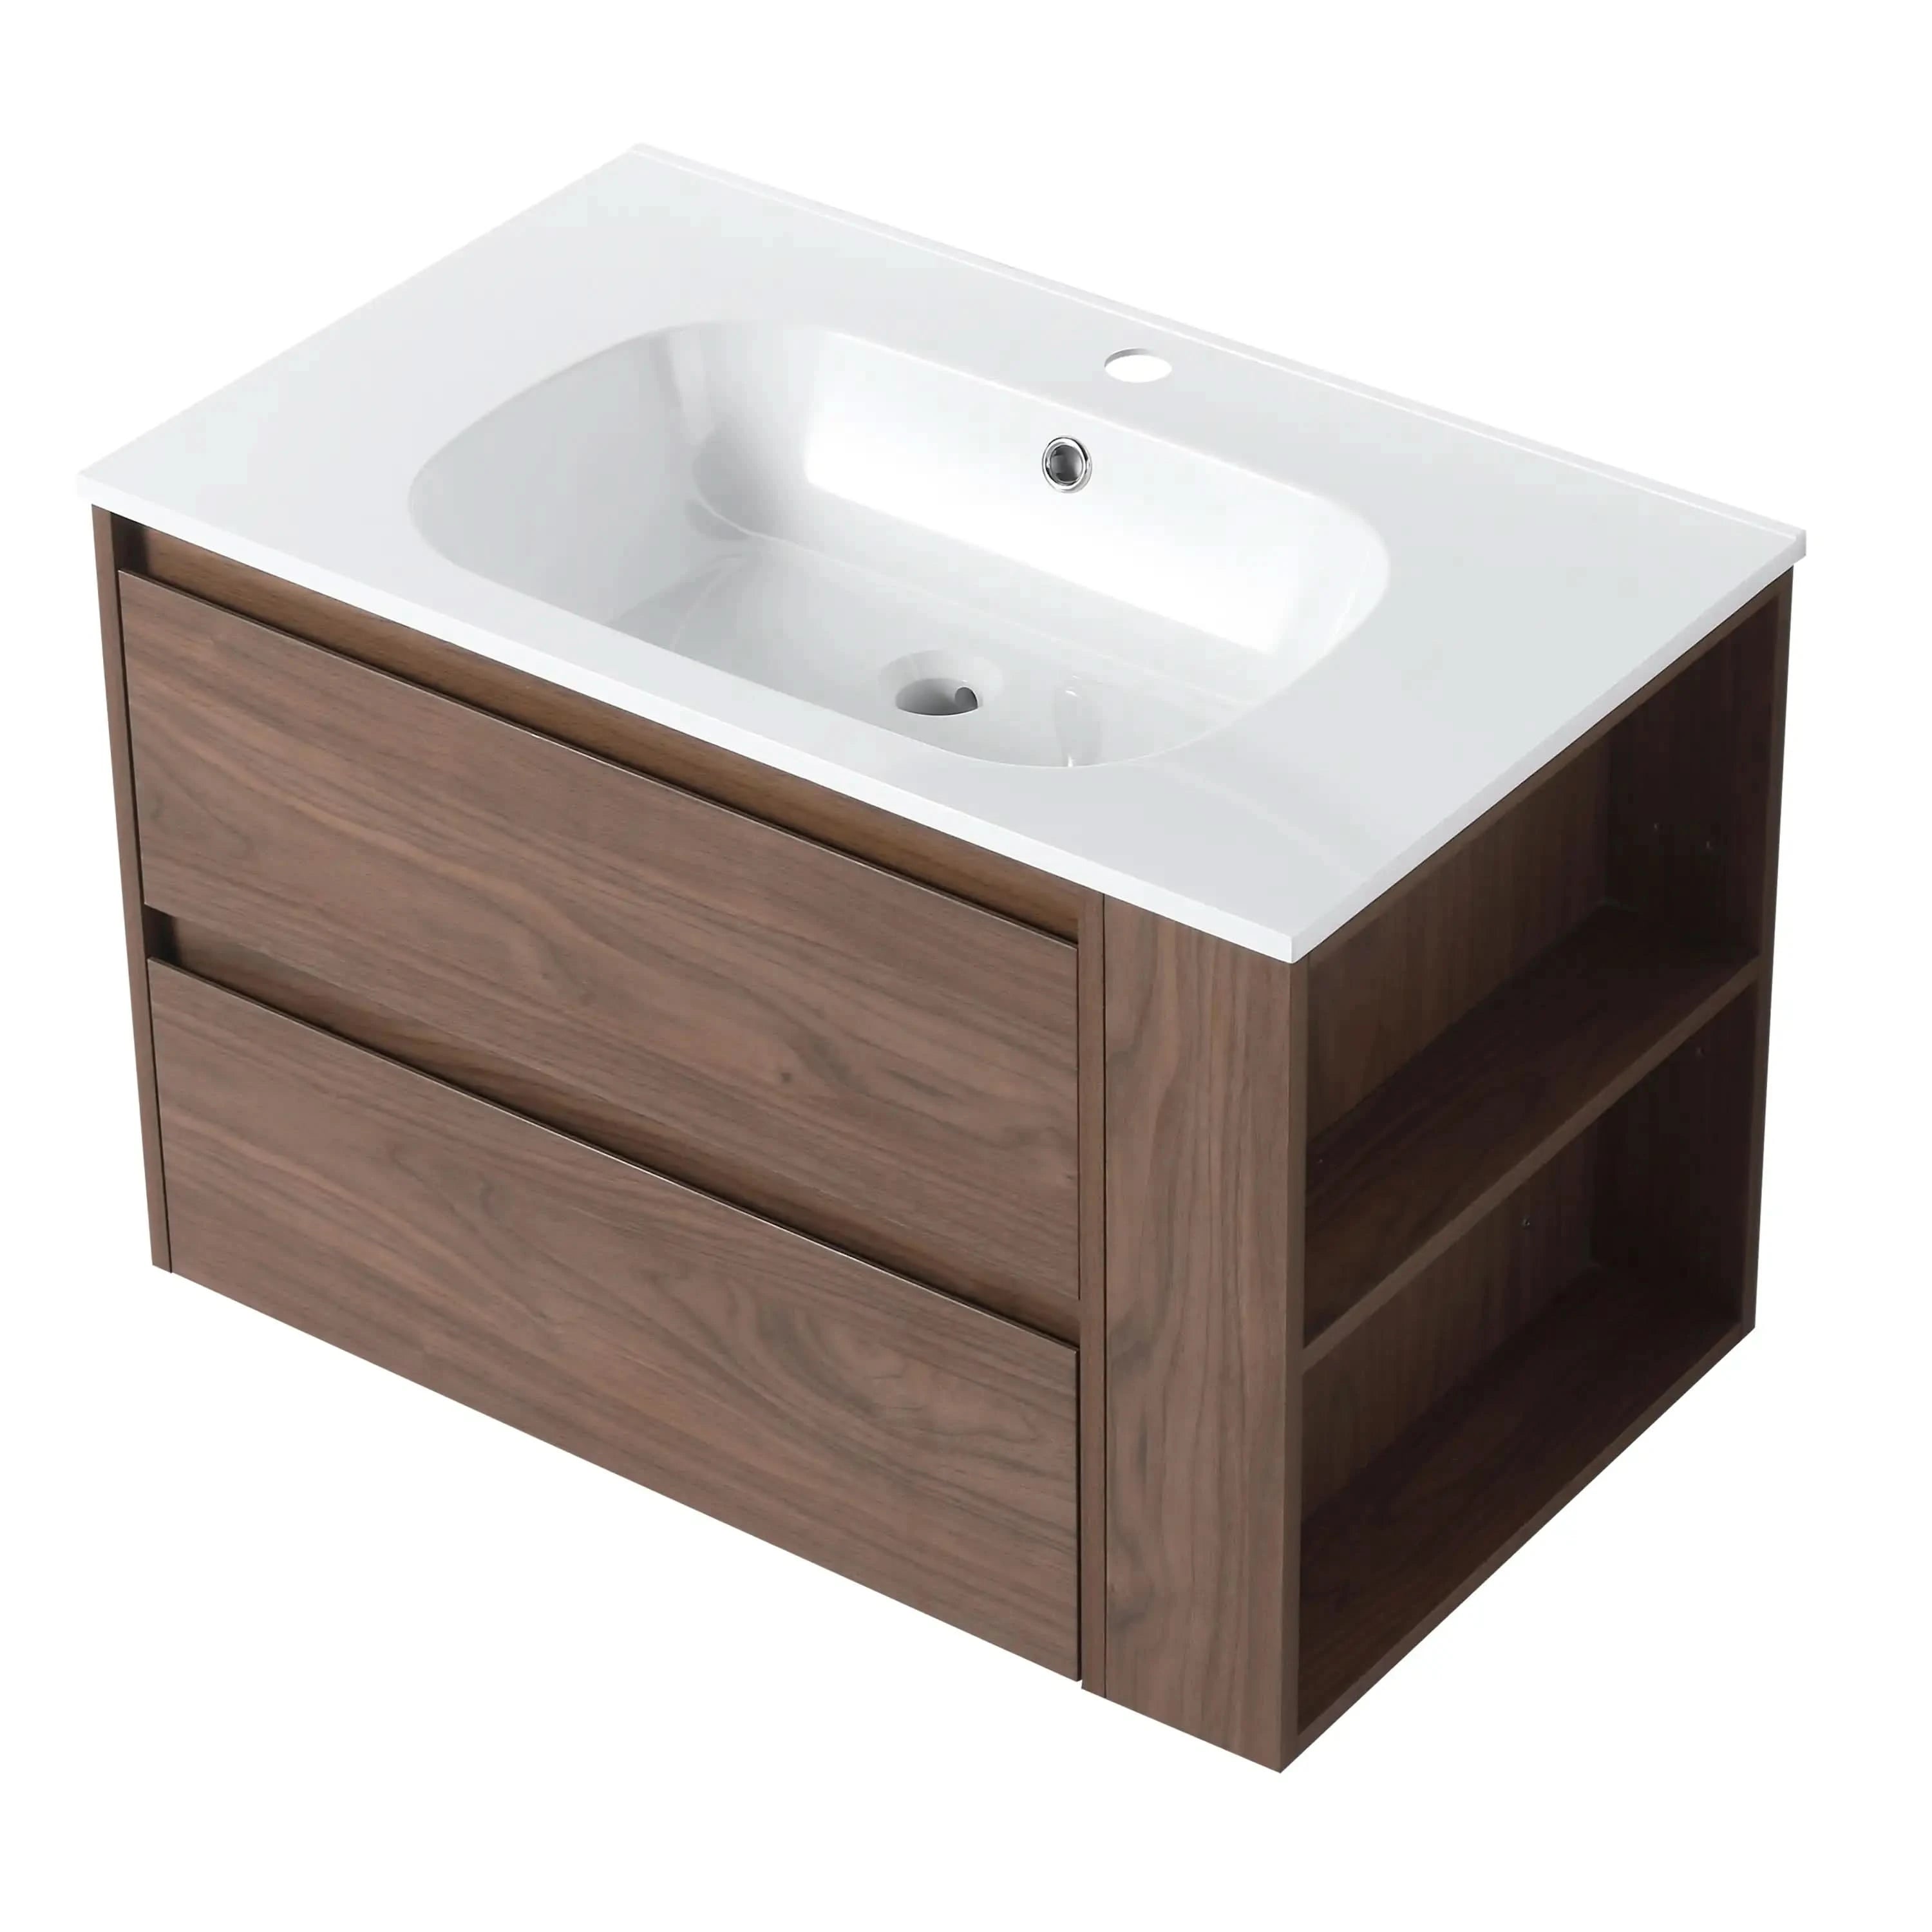
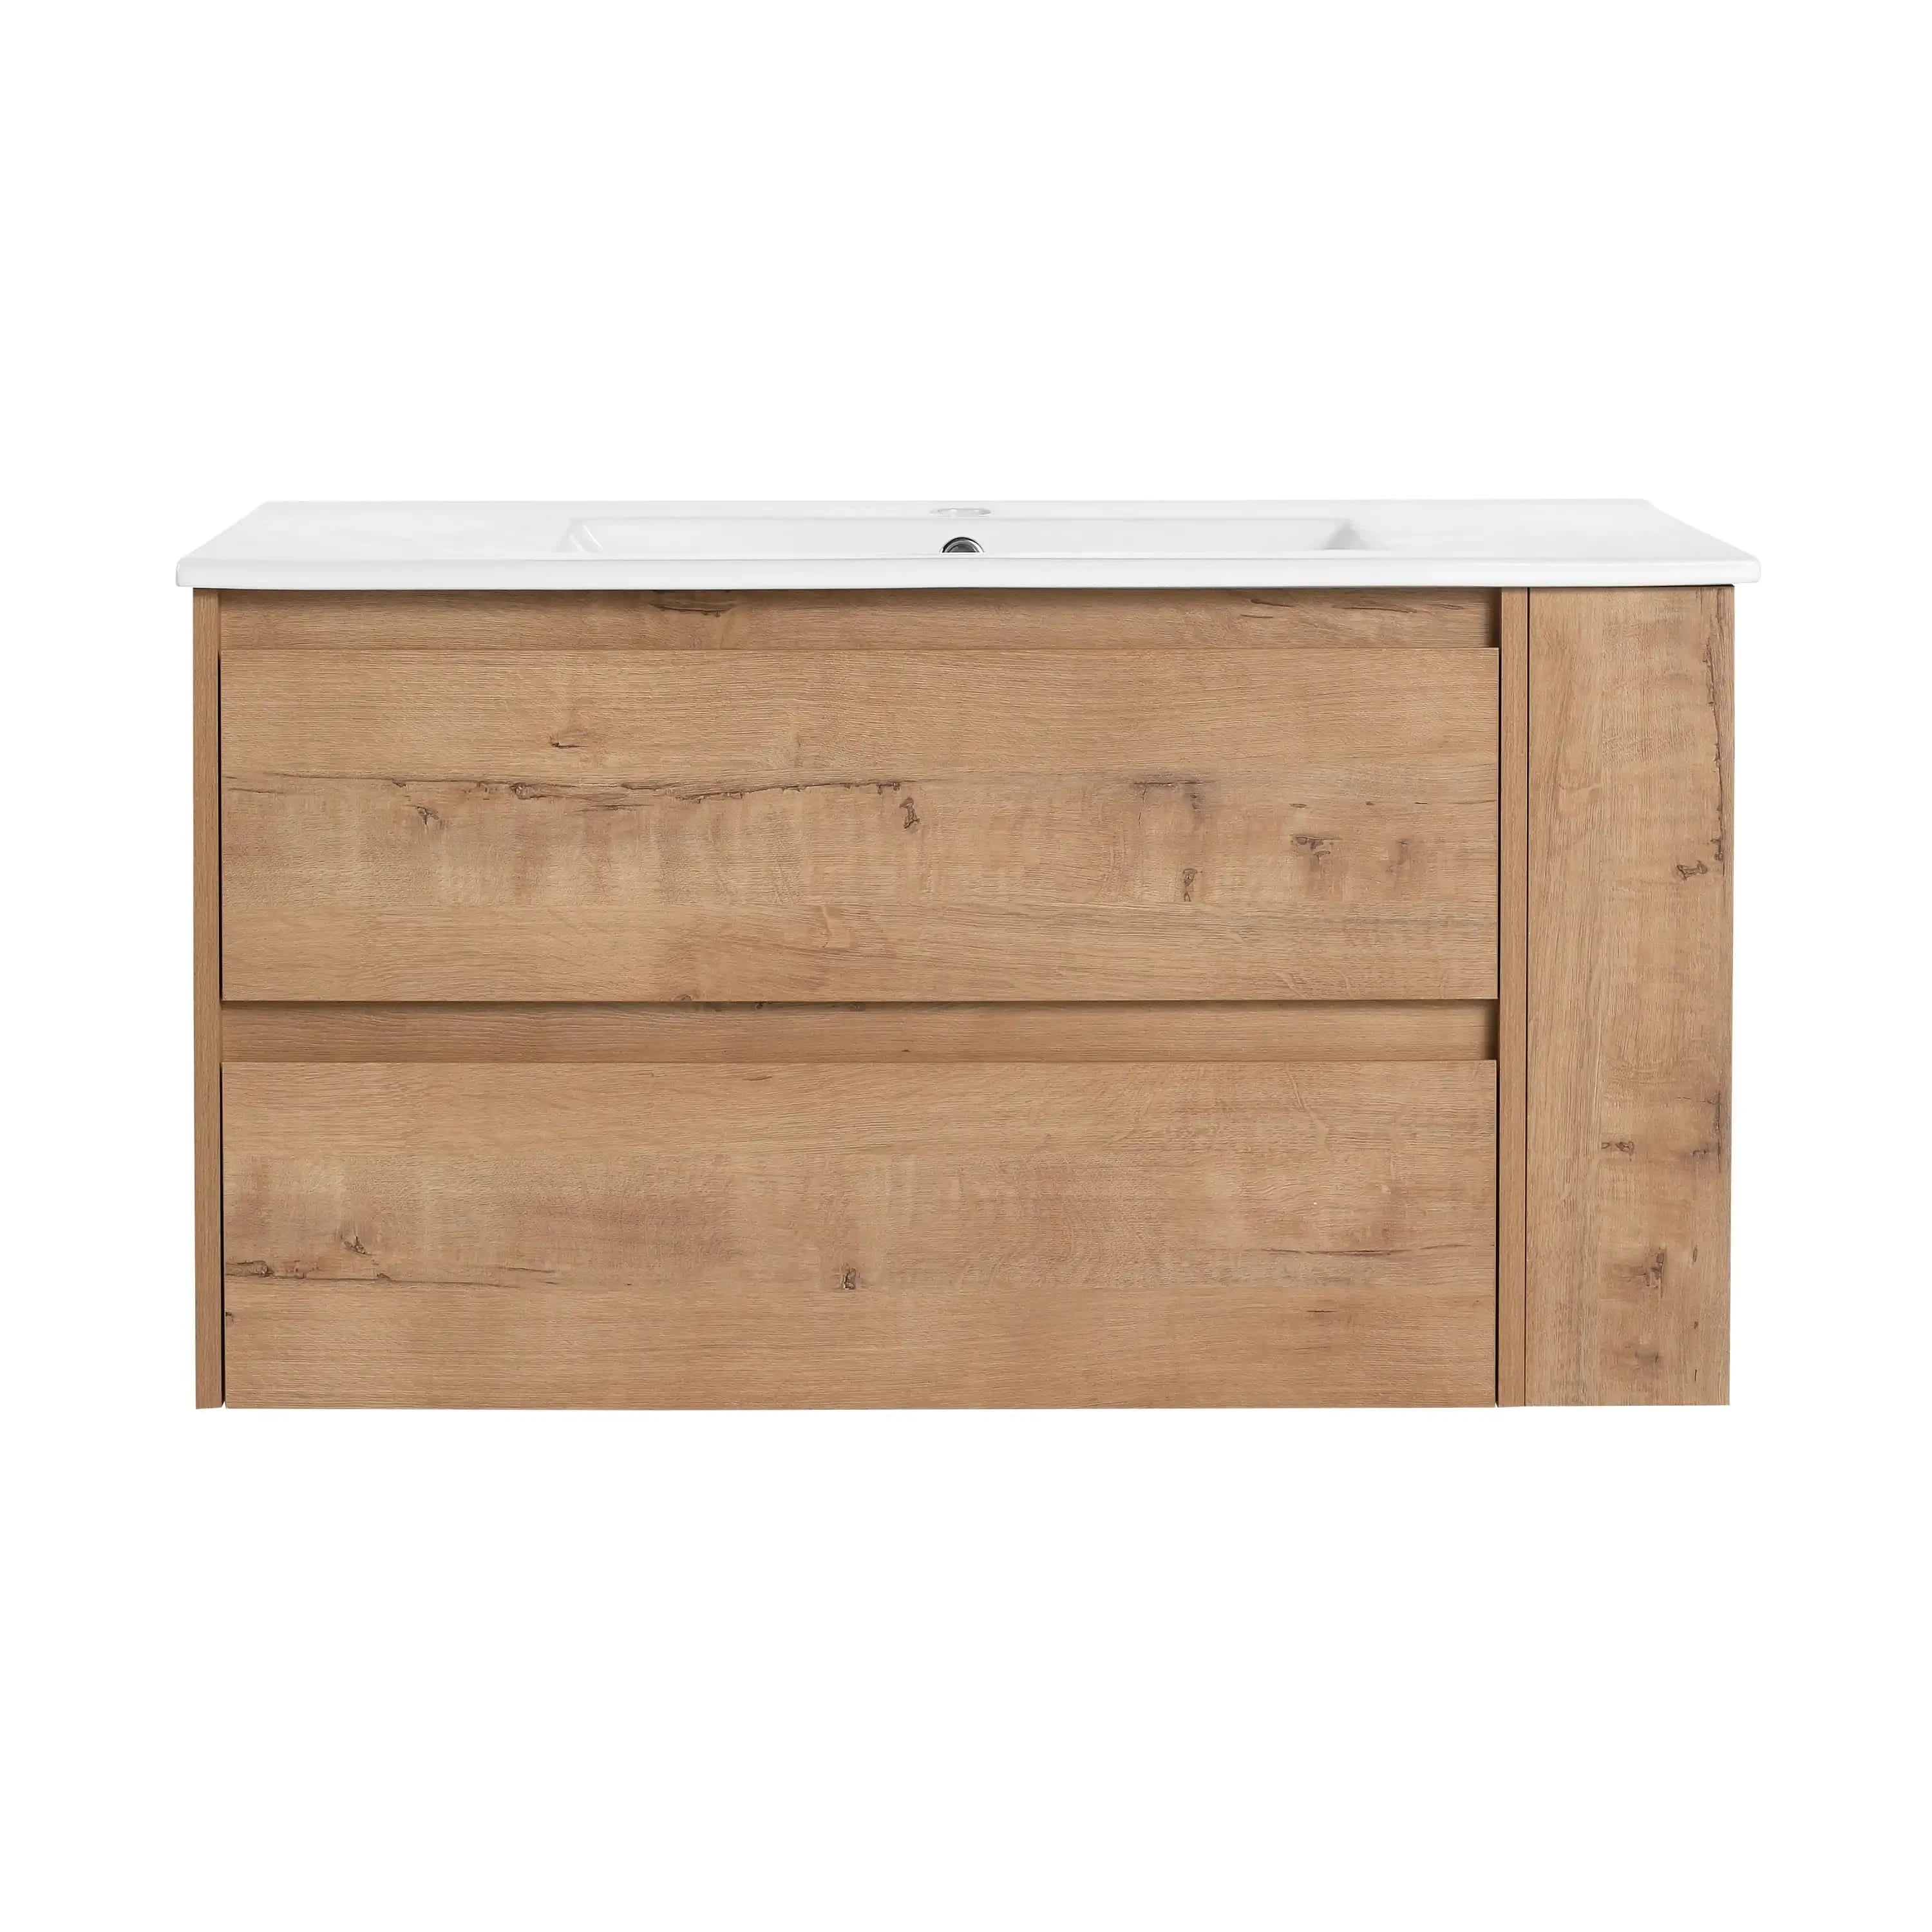
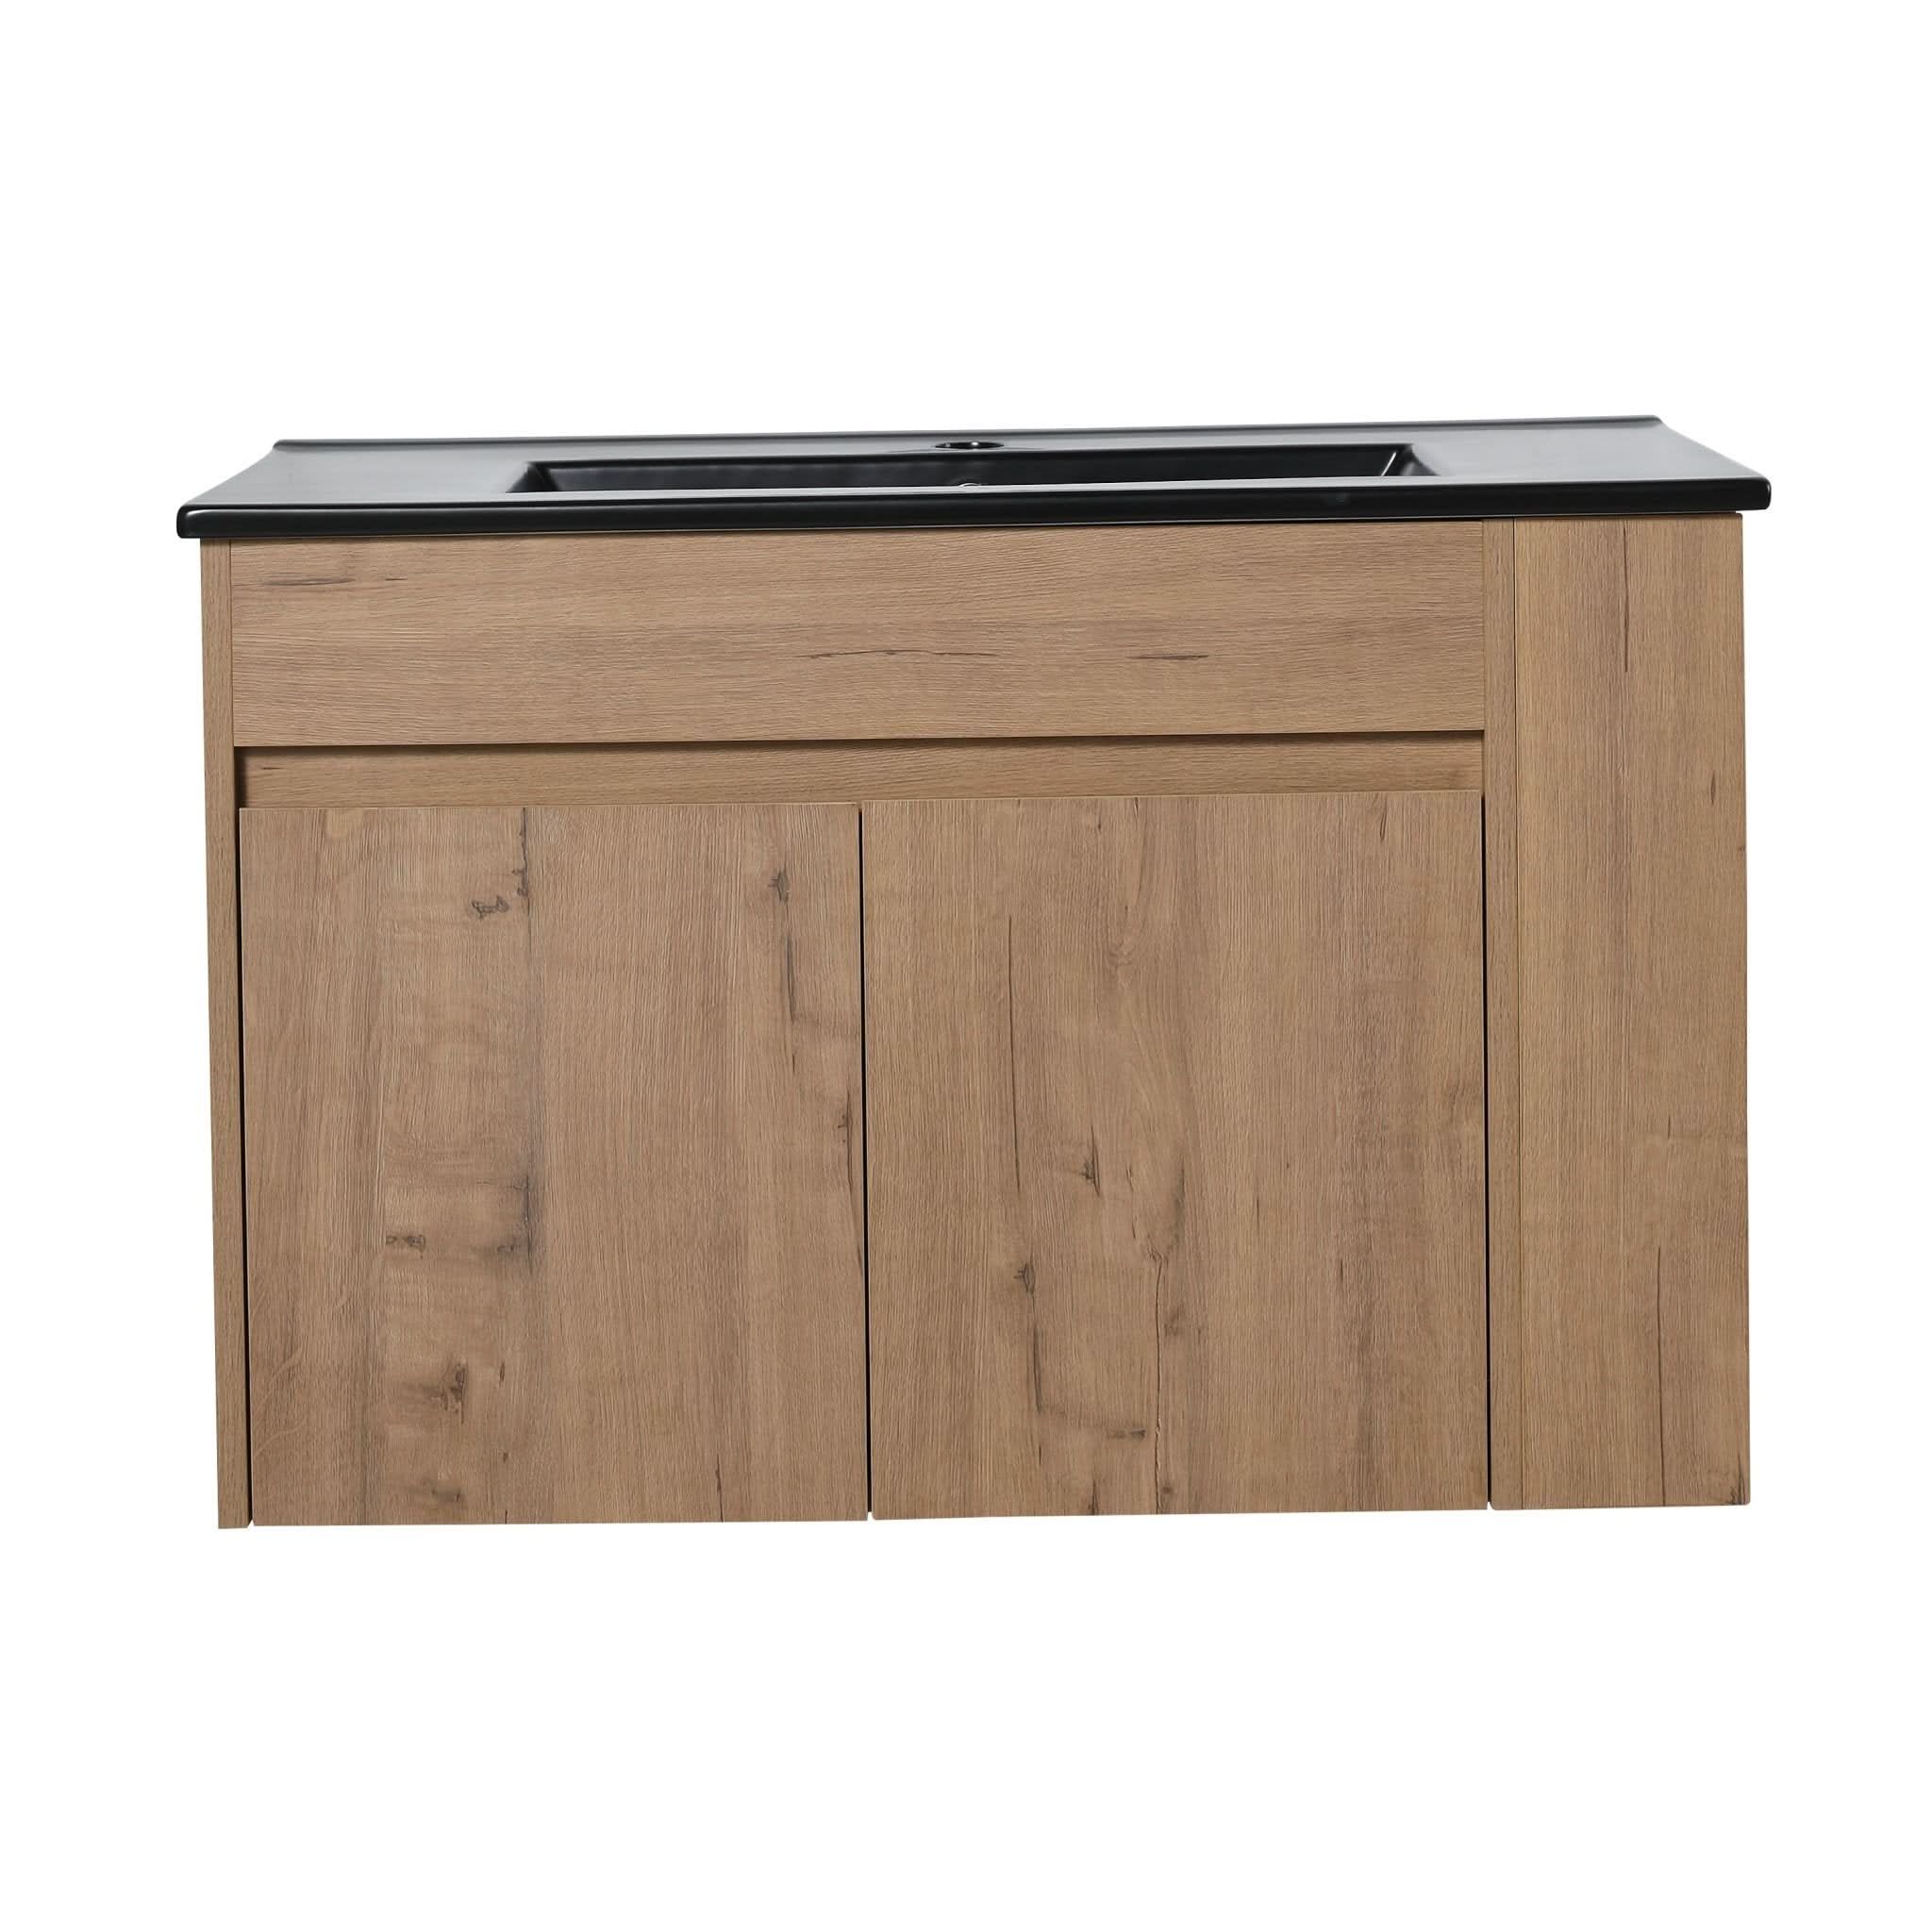
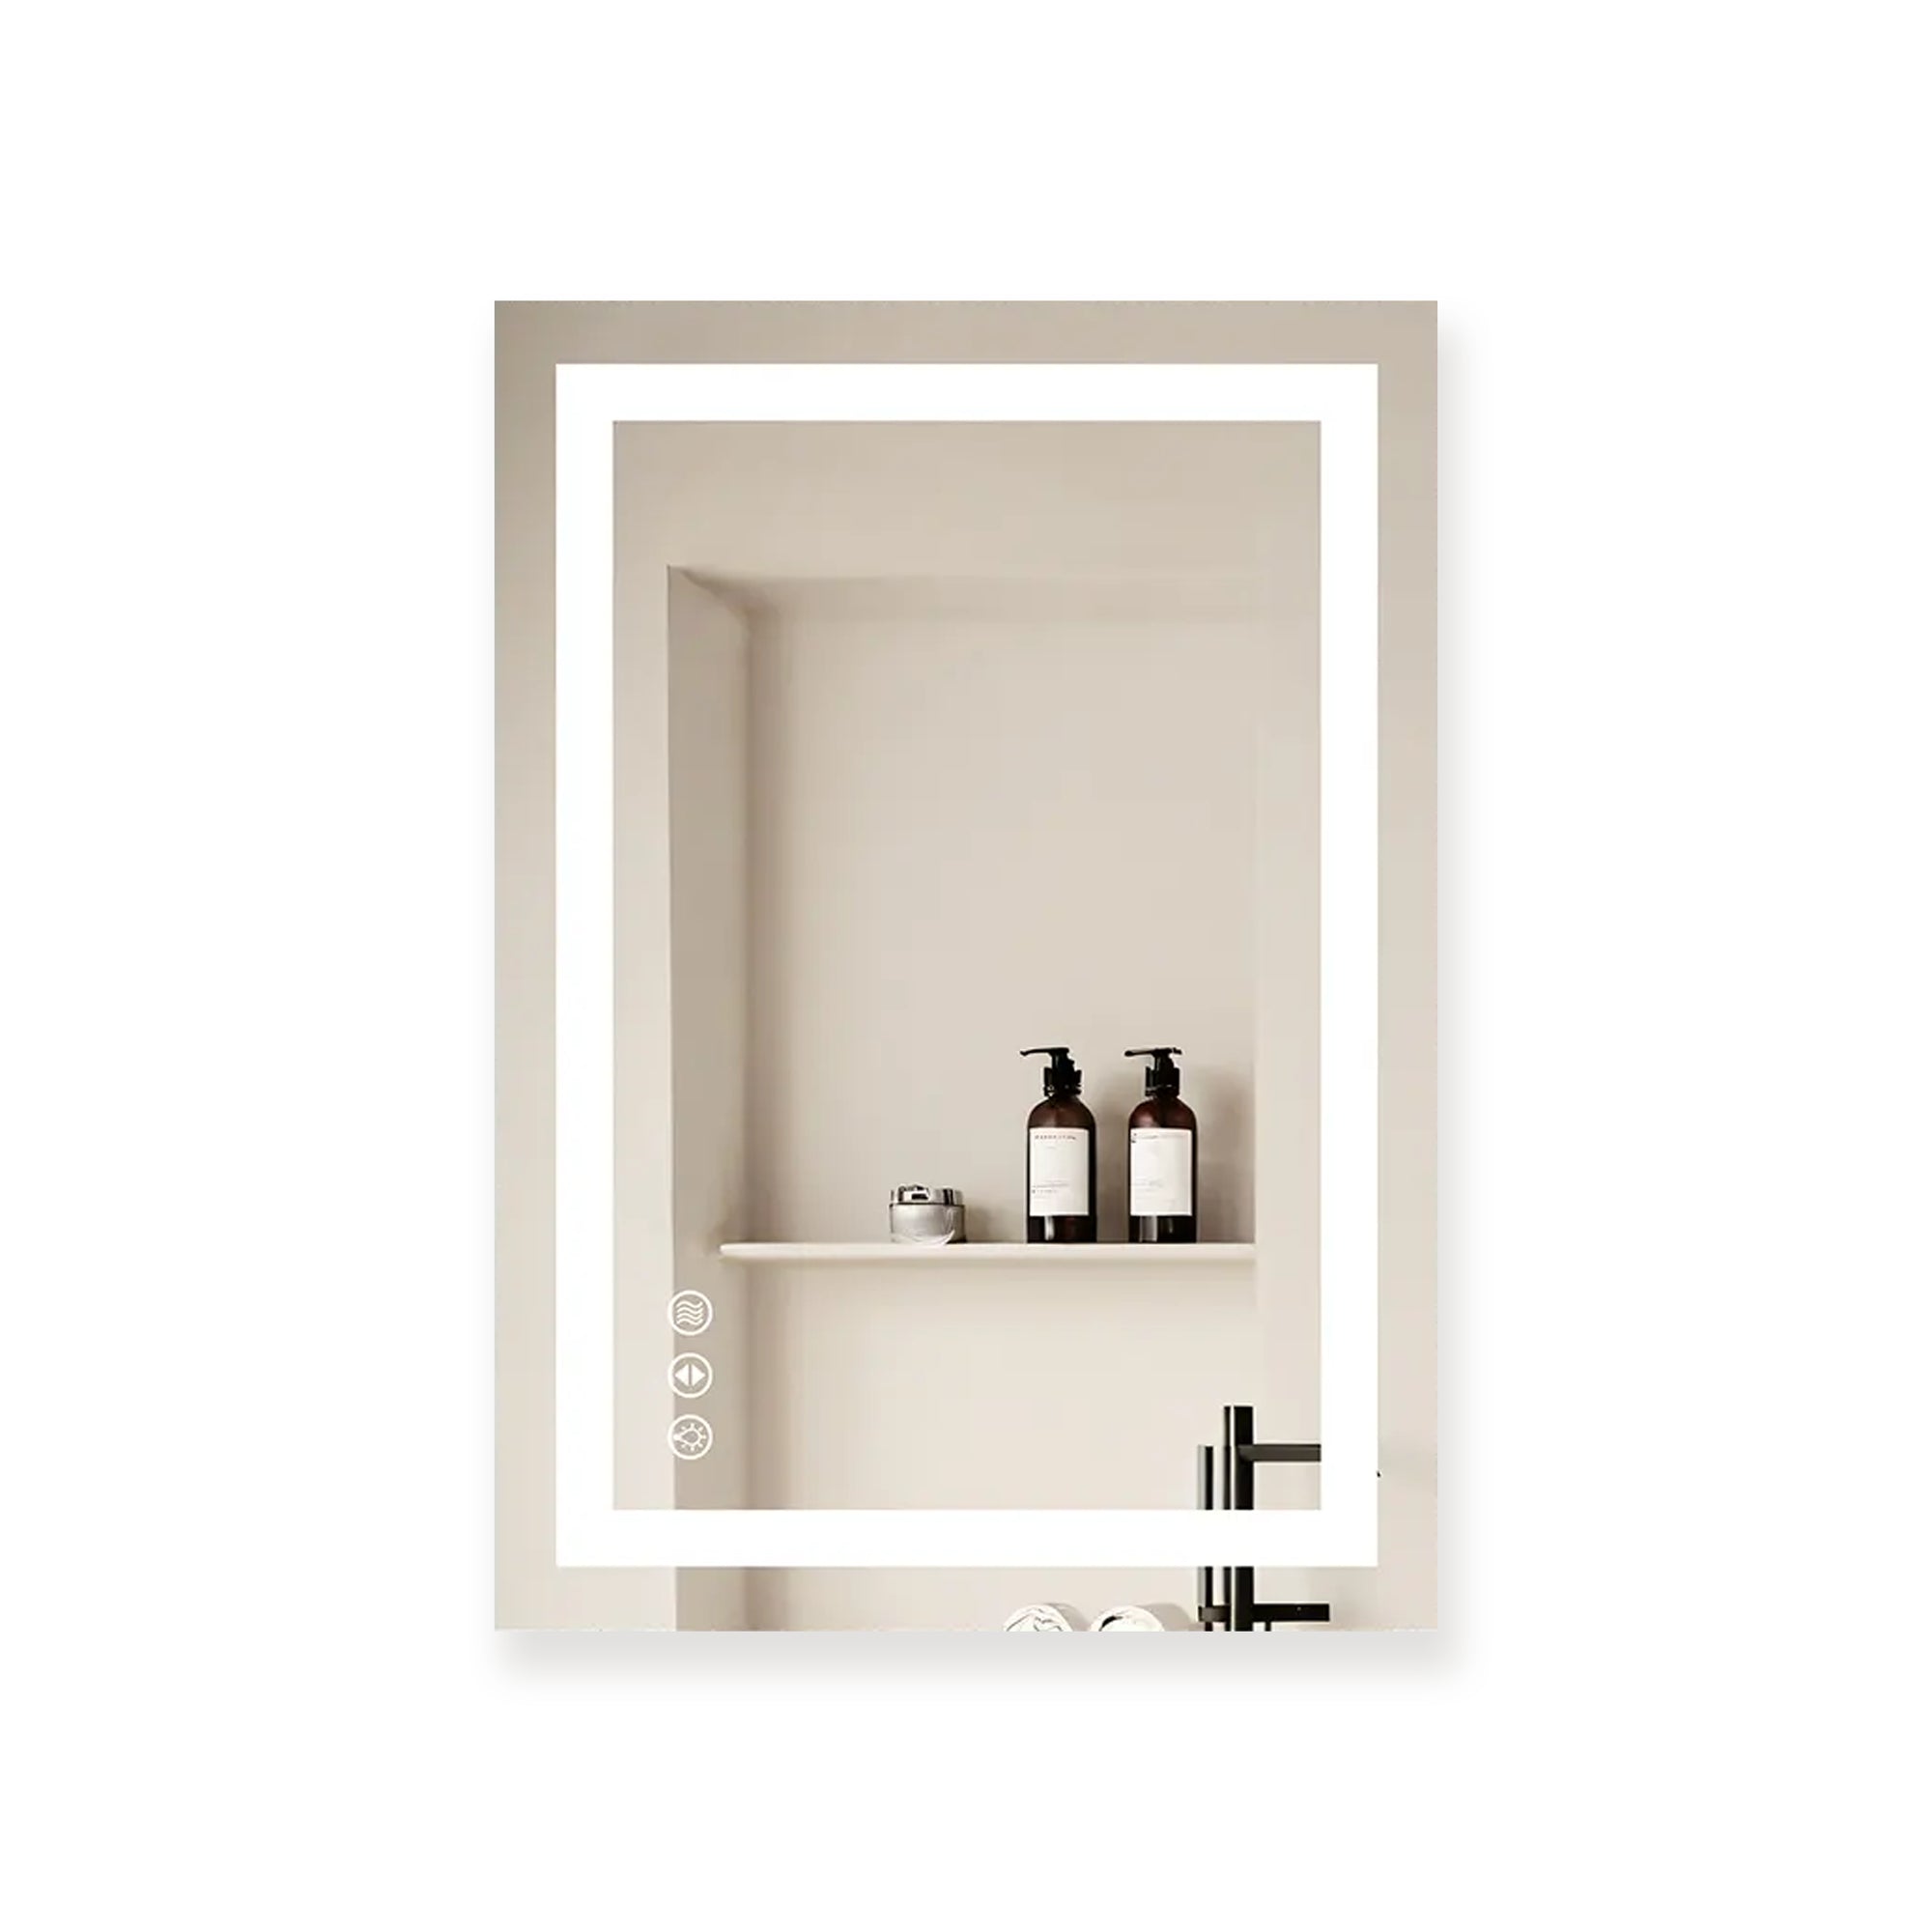
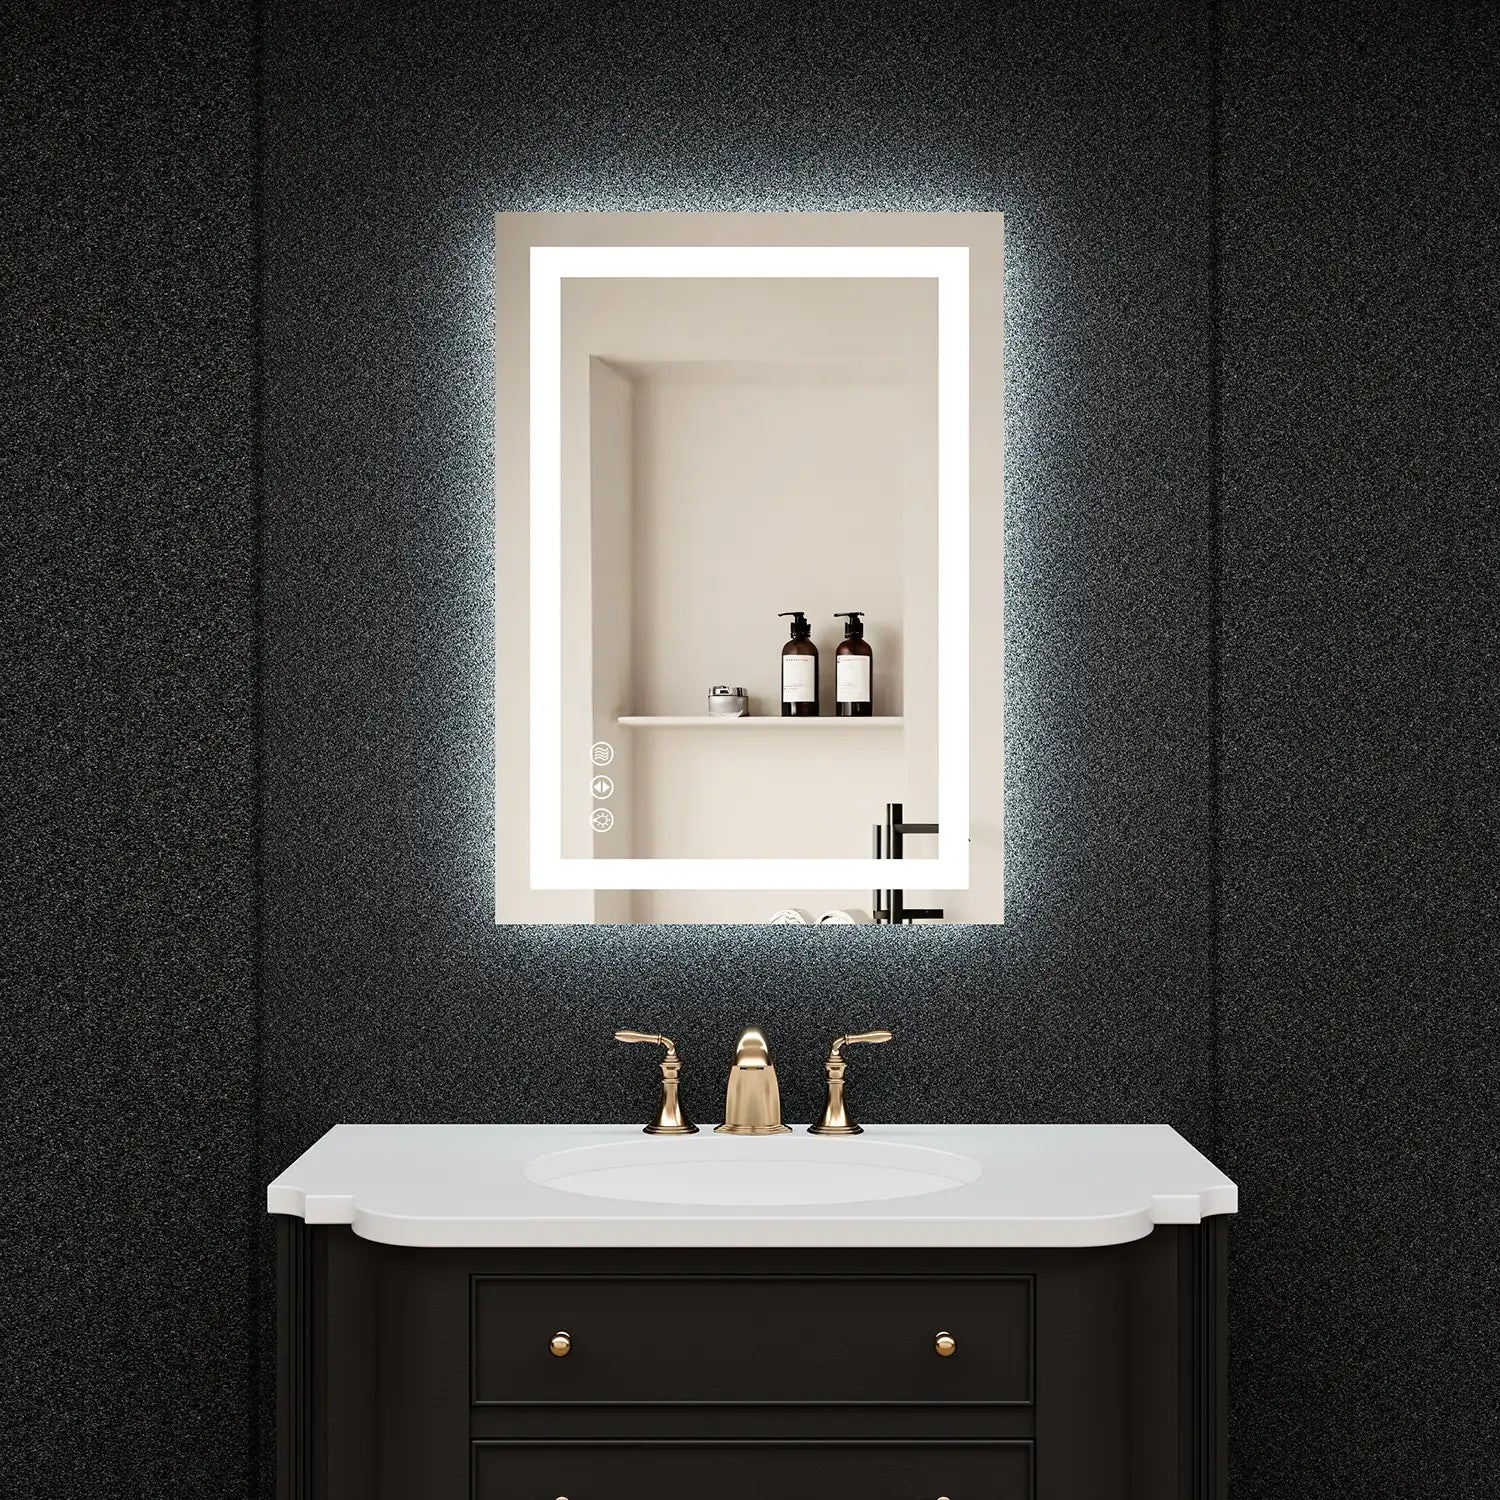
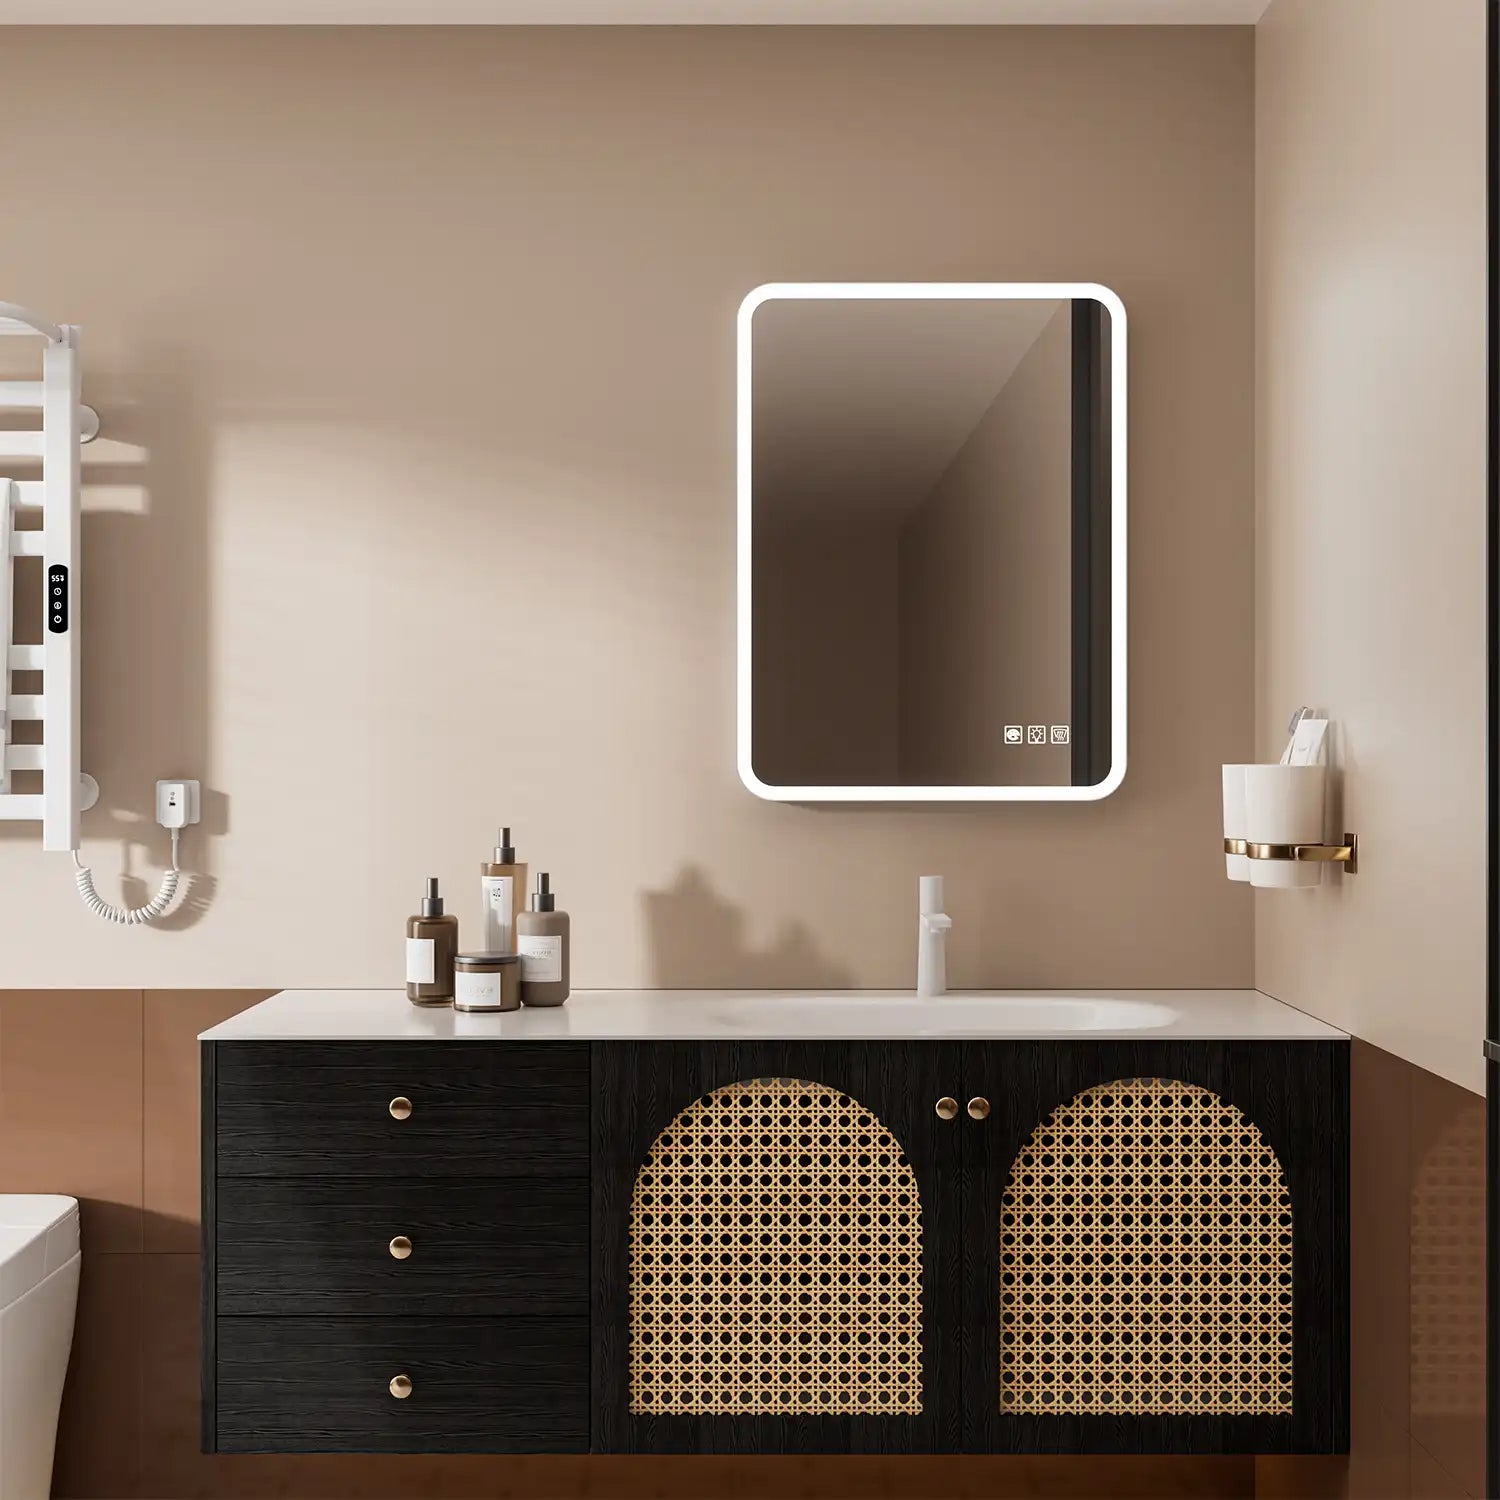
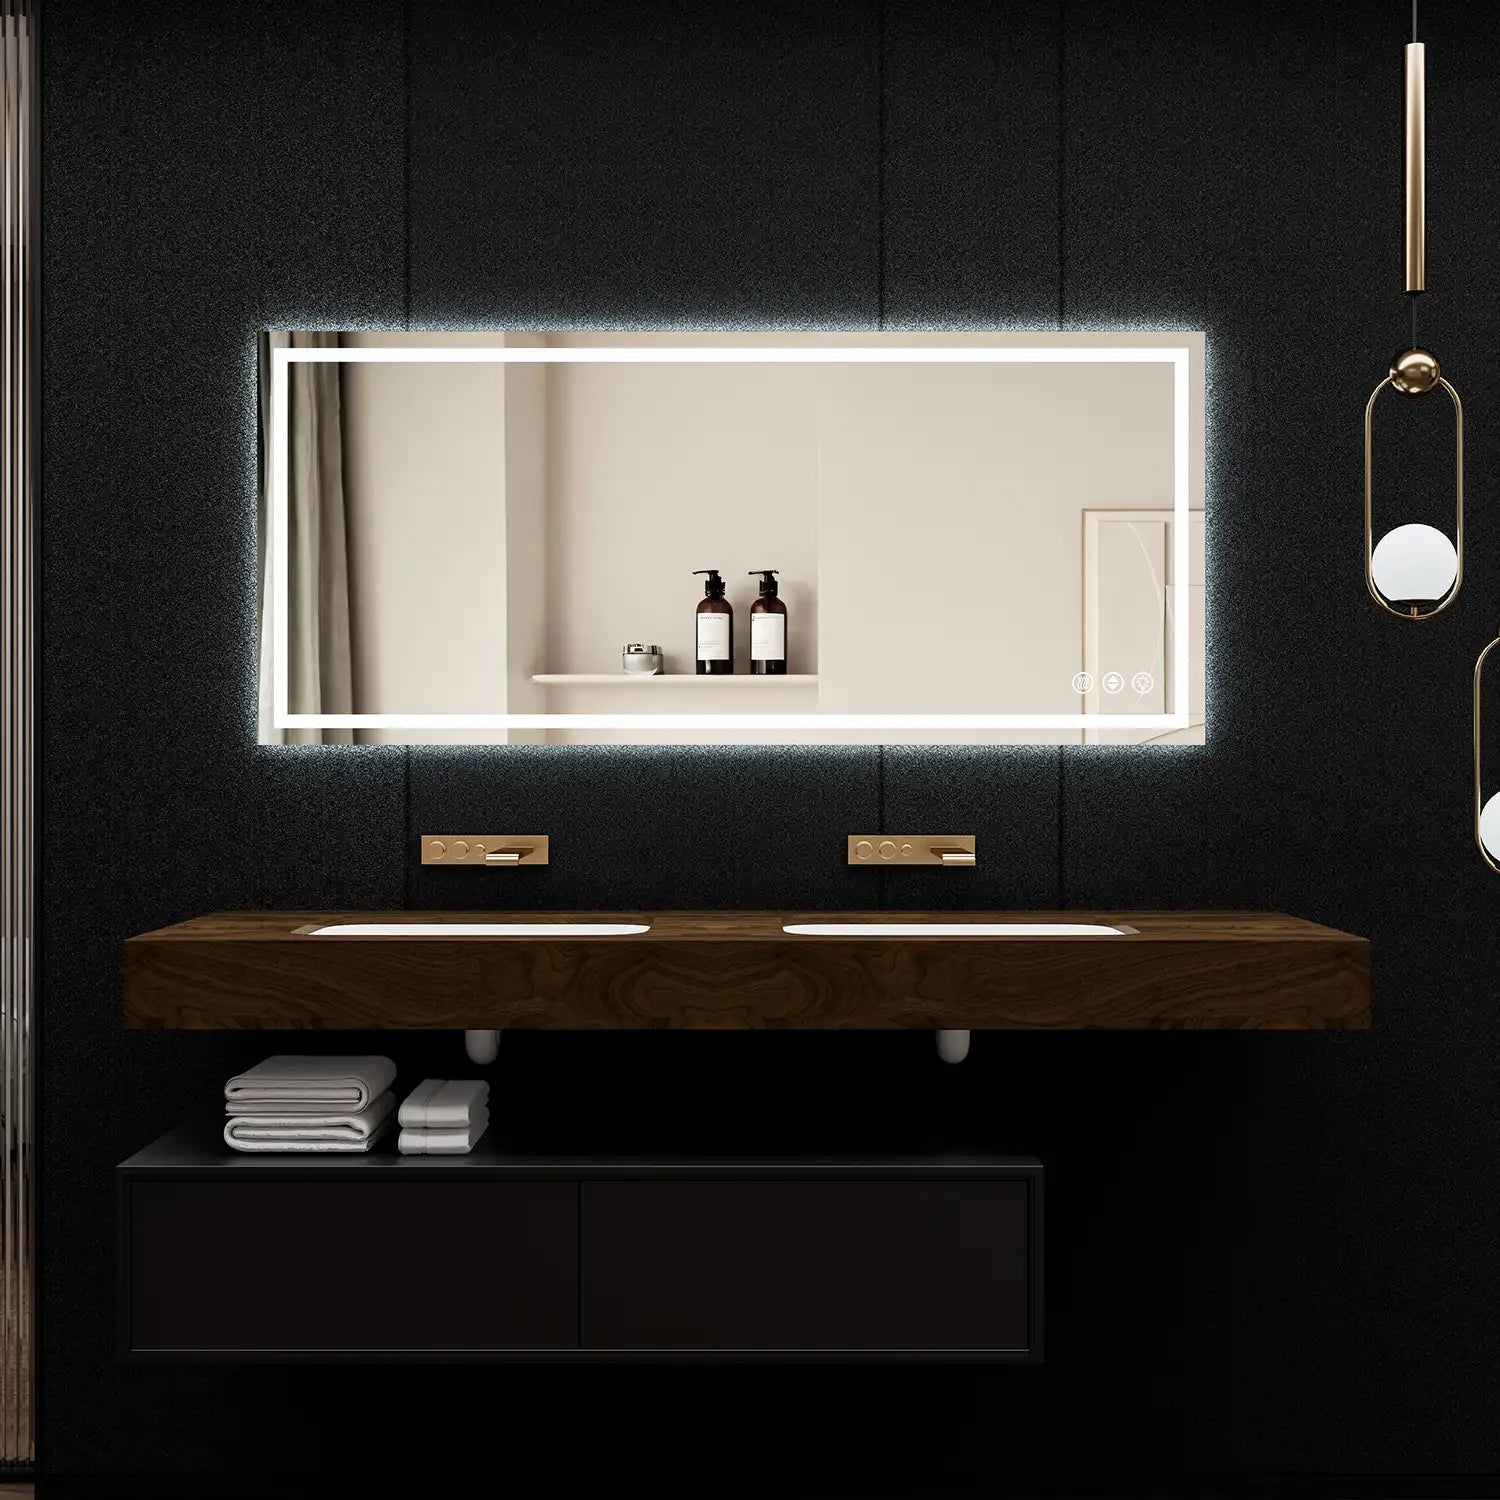
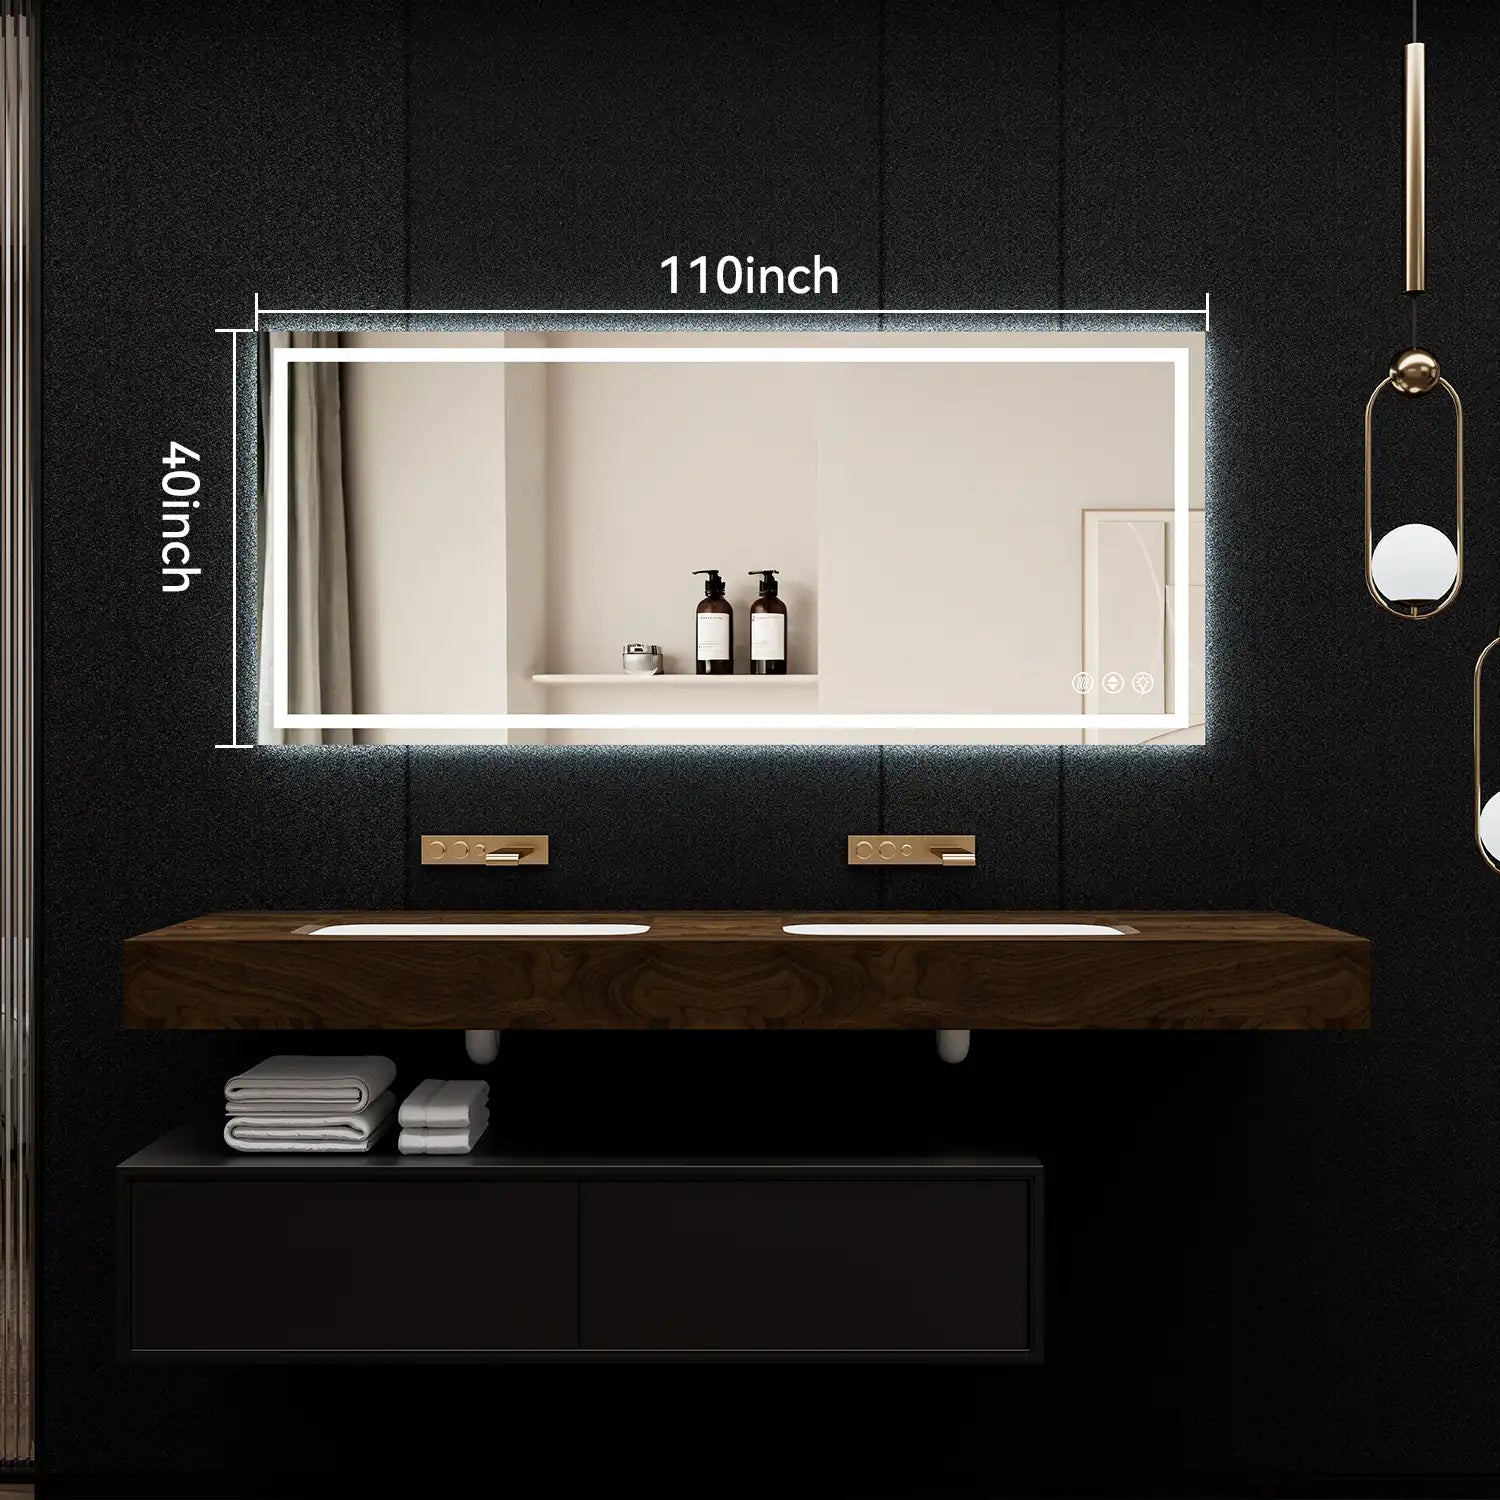
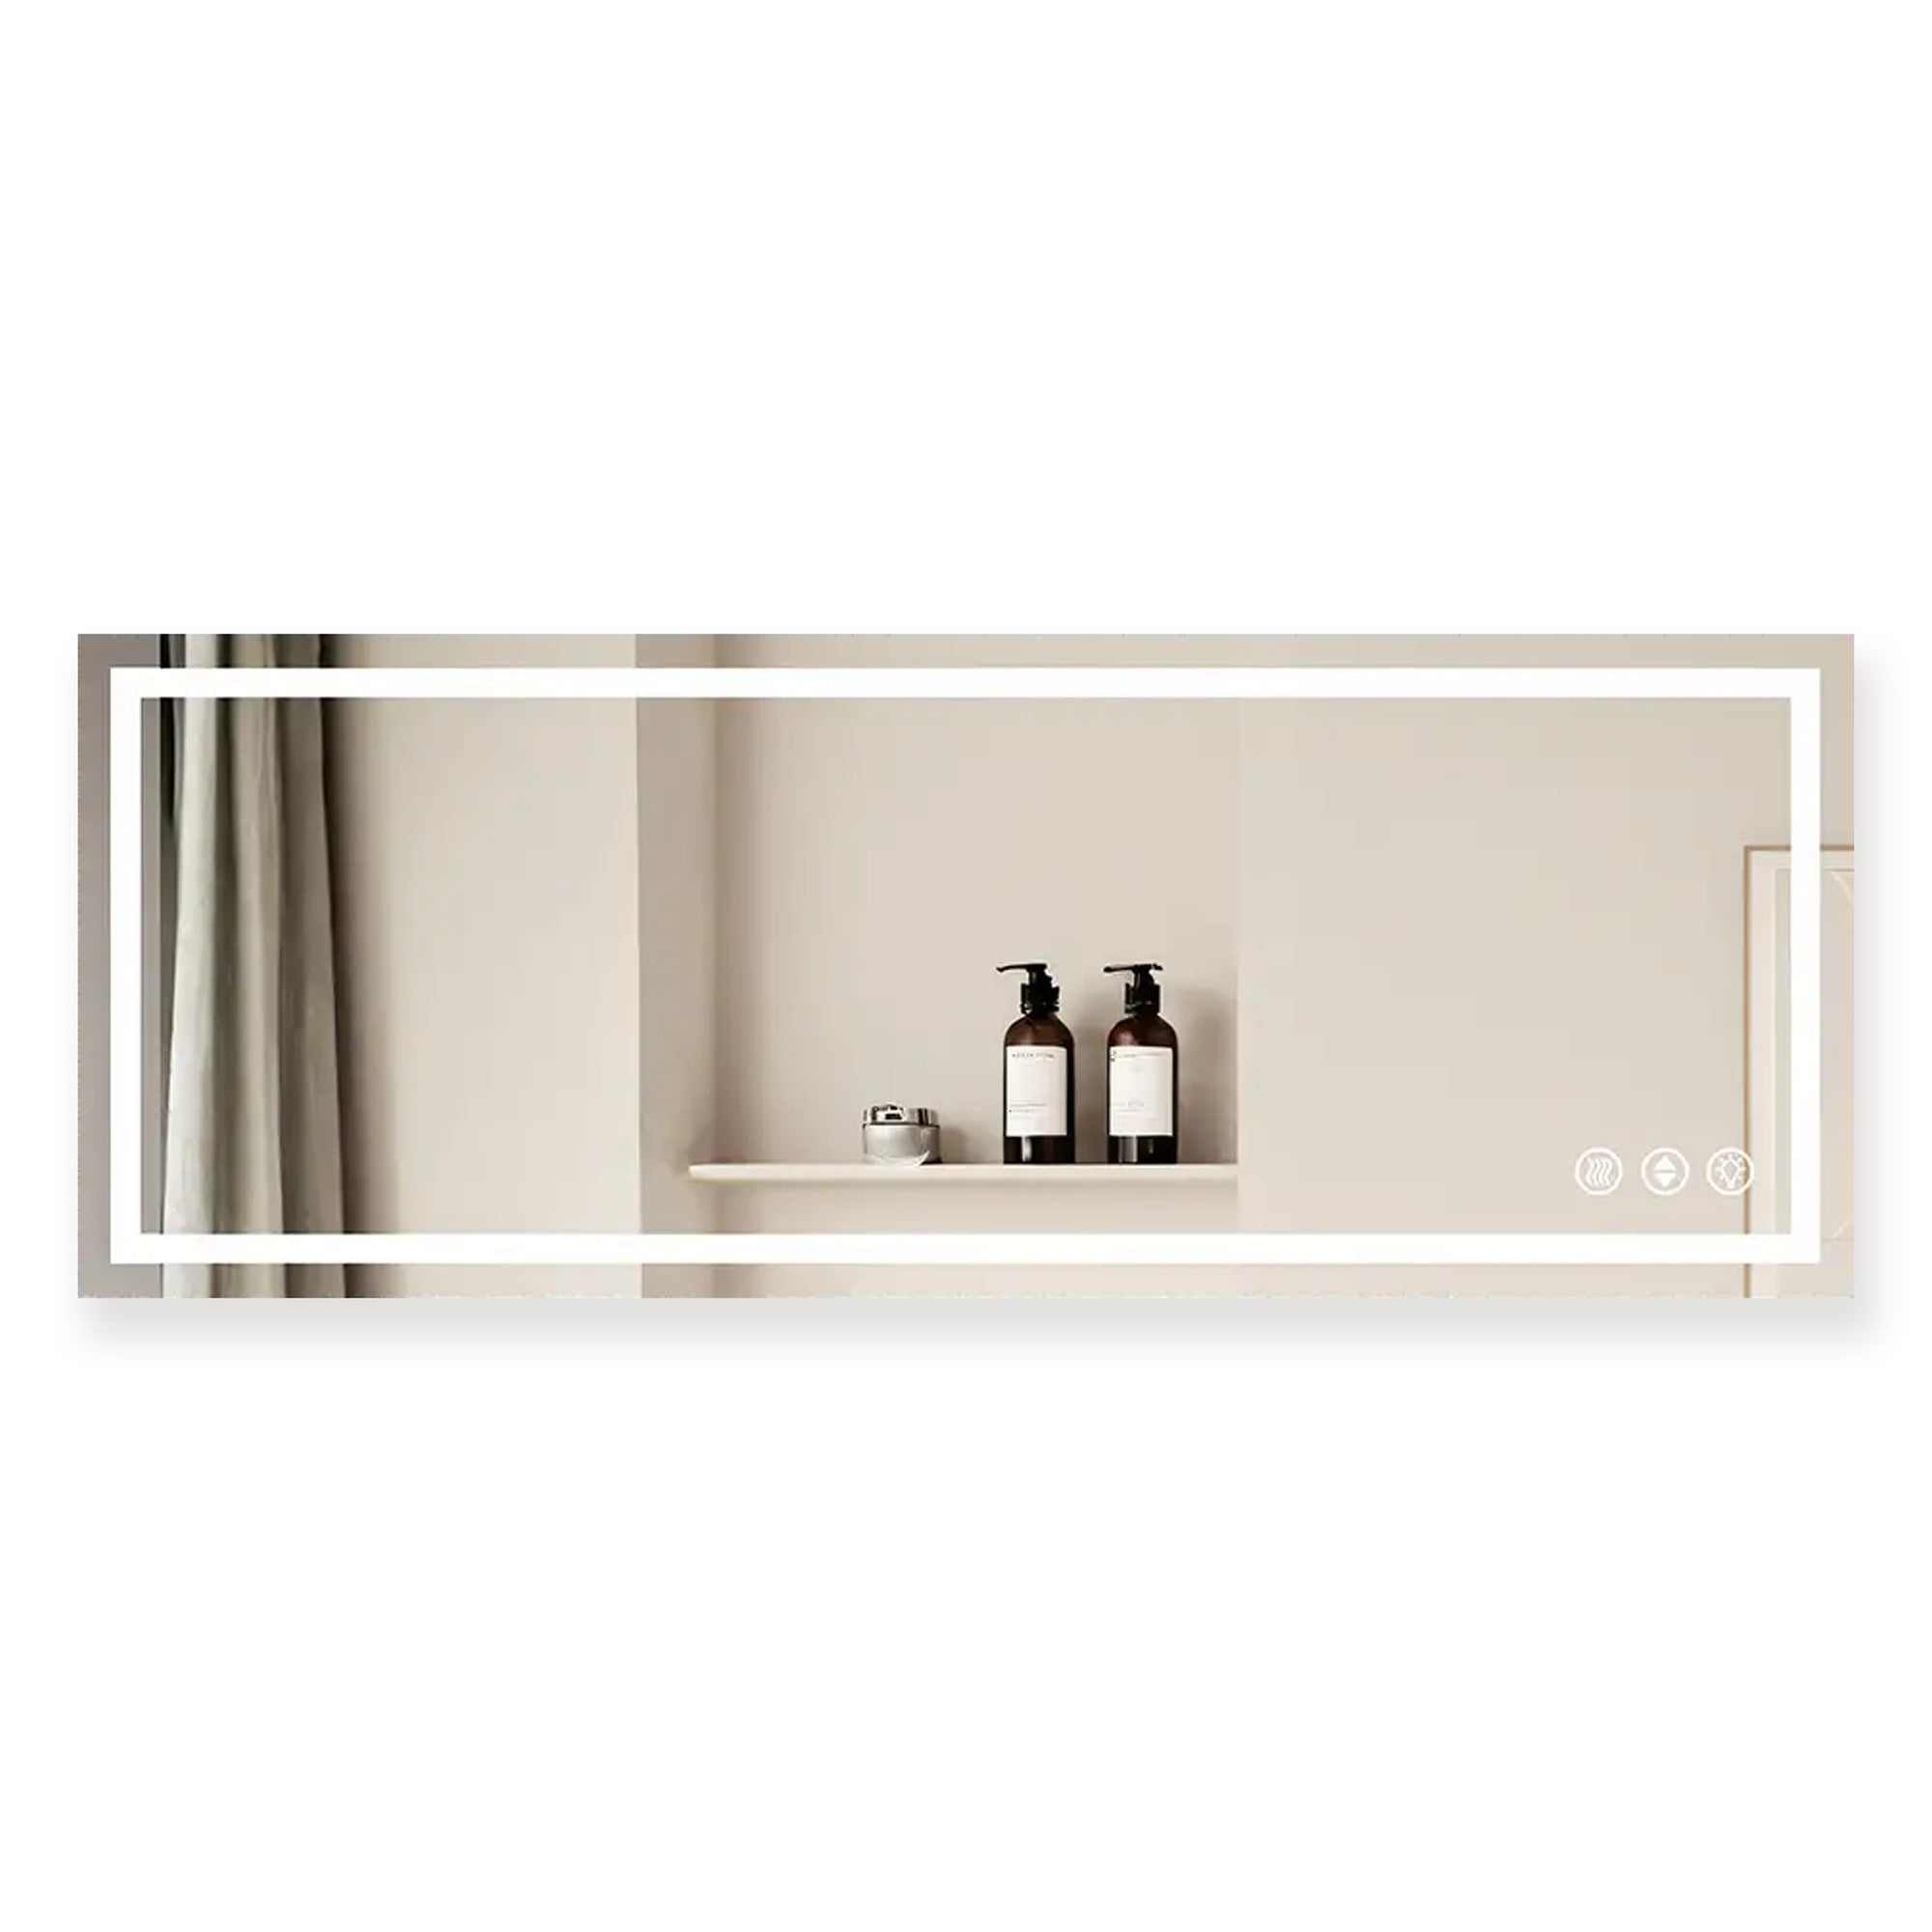
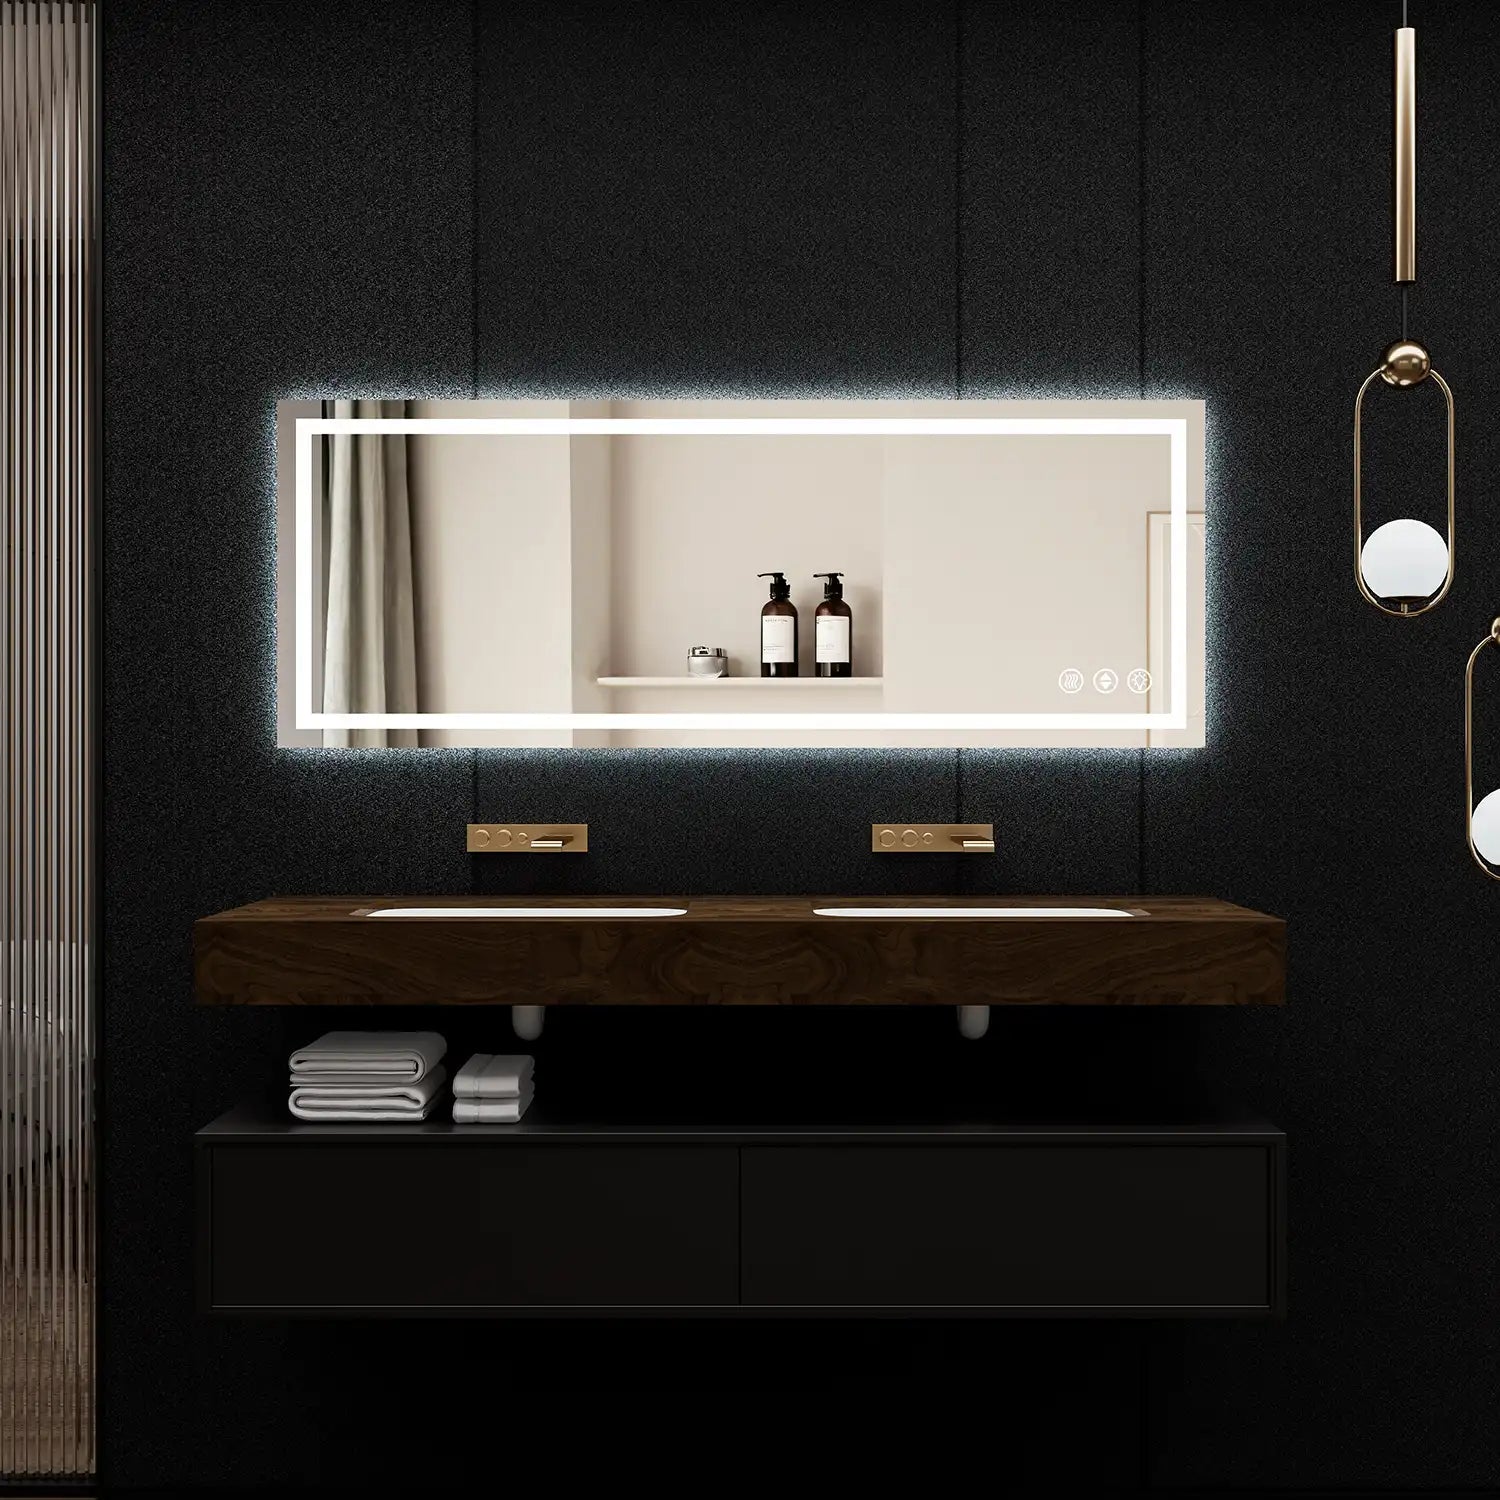
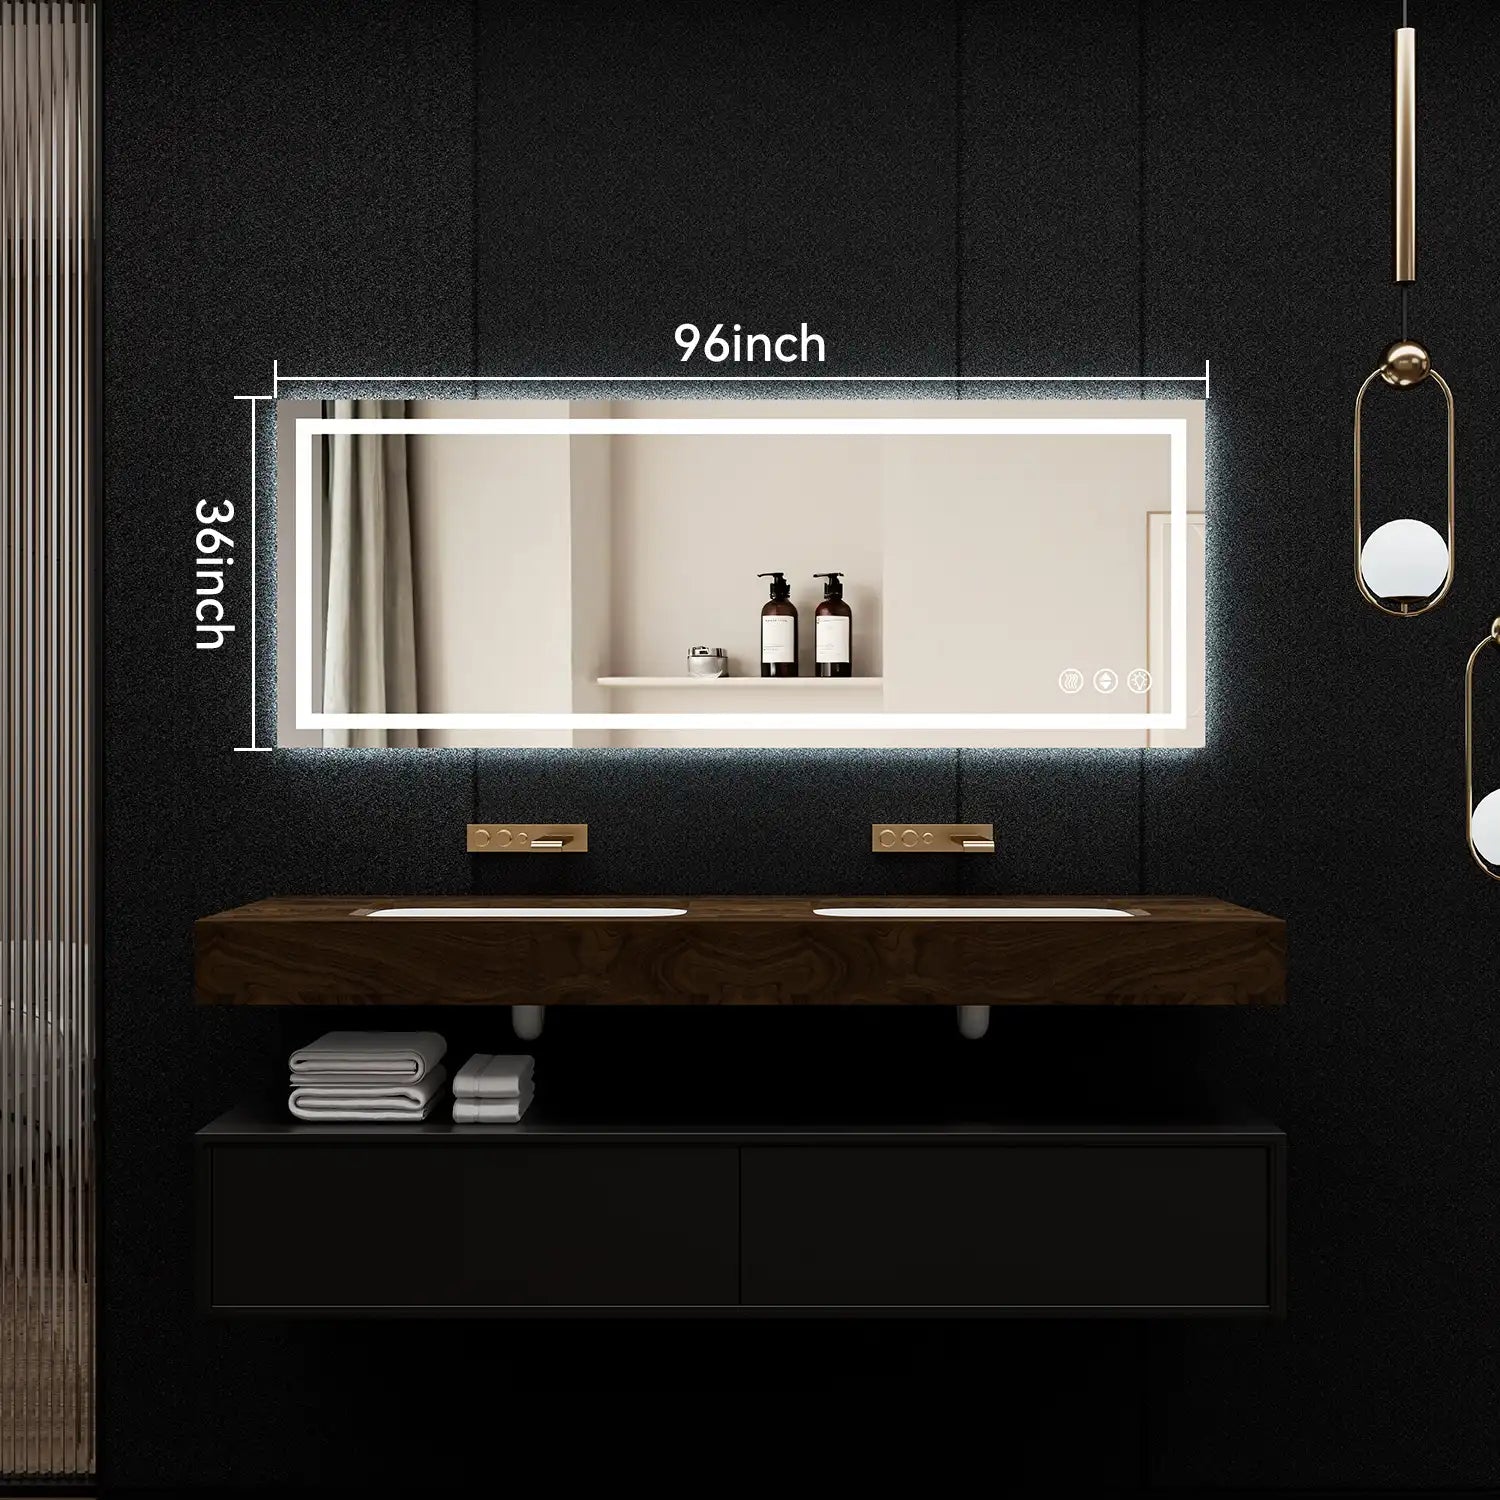
Installing a bathroom mirror with lights can significantly elevate your bathroom's functionality and aesthetic appeal. Not only does it improve visibility, but it also adds a modern, stylish touch to your space. However, the installation process can be intimidating, especially if you're not familiar with electrical work. This comprehensive guide will walk you through every step of the installation, from selecting the right tools to safely connecting the wiring, ensuring that your new mirror is securely mounted and fully operational.
Whether you’re a seasoned DIYer or tackling your first home improvement project, this guide will help you achieve a professional-looking result while avoiding common pitfalls. By the end, you'll have the confidence and know-how to install your bathroom mirror with lights, transforming your bathroom into a well-lit, elegant space.

Preparing for Installation
Before diving into the installation process, proper preparation is crucial. This includes choosing the right mirror, gathering the necessary tools, and taking the appropriate safety precautions.
Choosing the Right Bathroom Mirror with Lights

The first step is selecting the right bathroom mirror with lights for your space. Here are the key factors to consider:
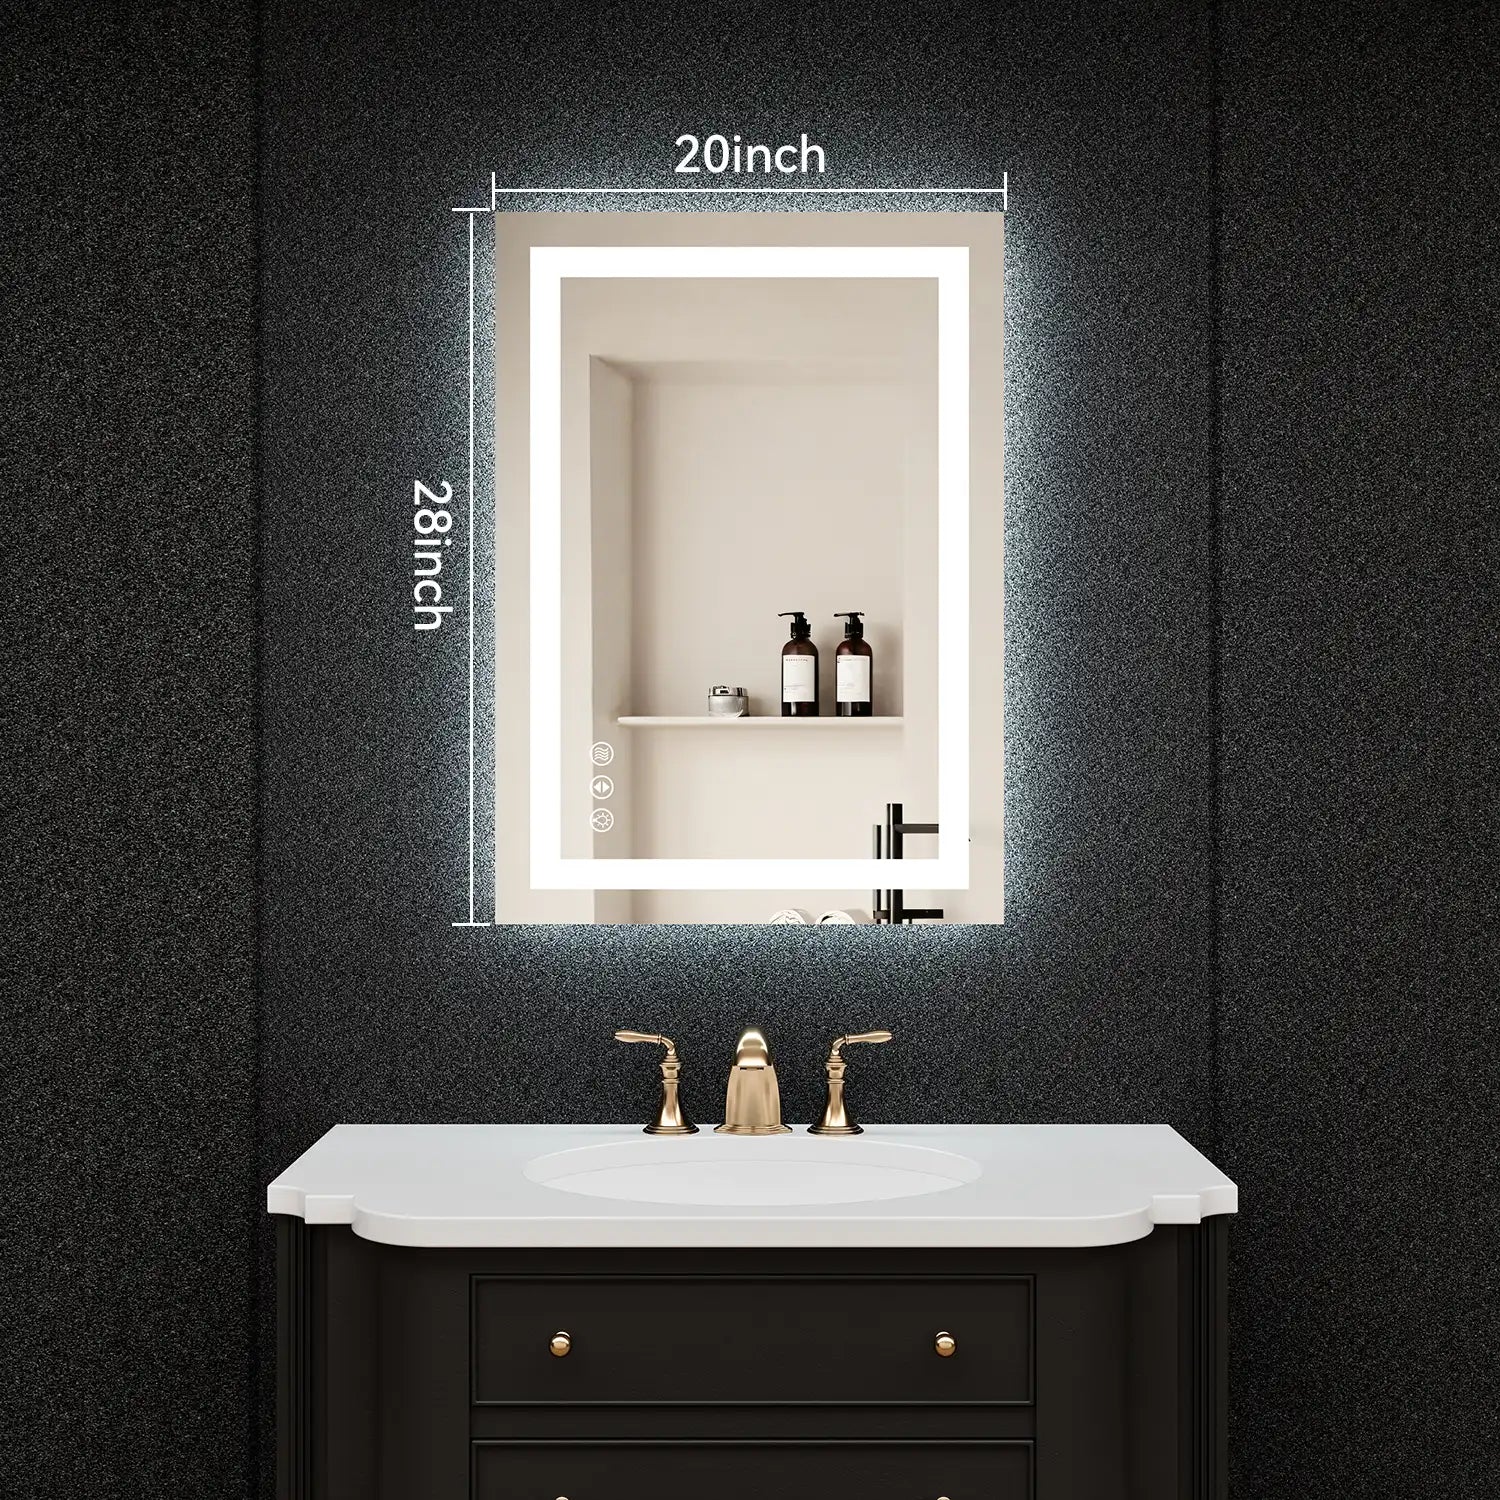
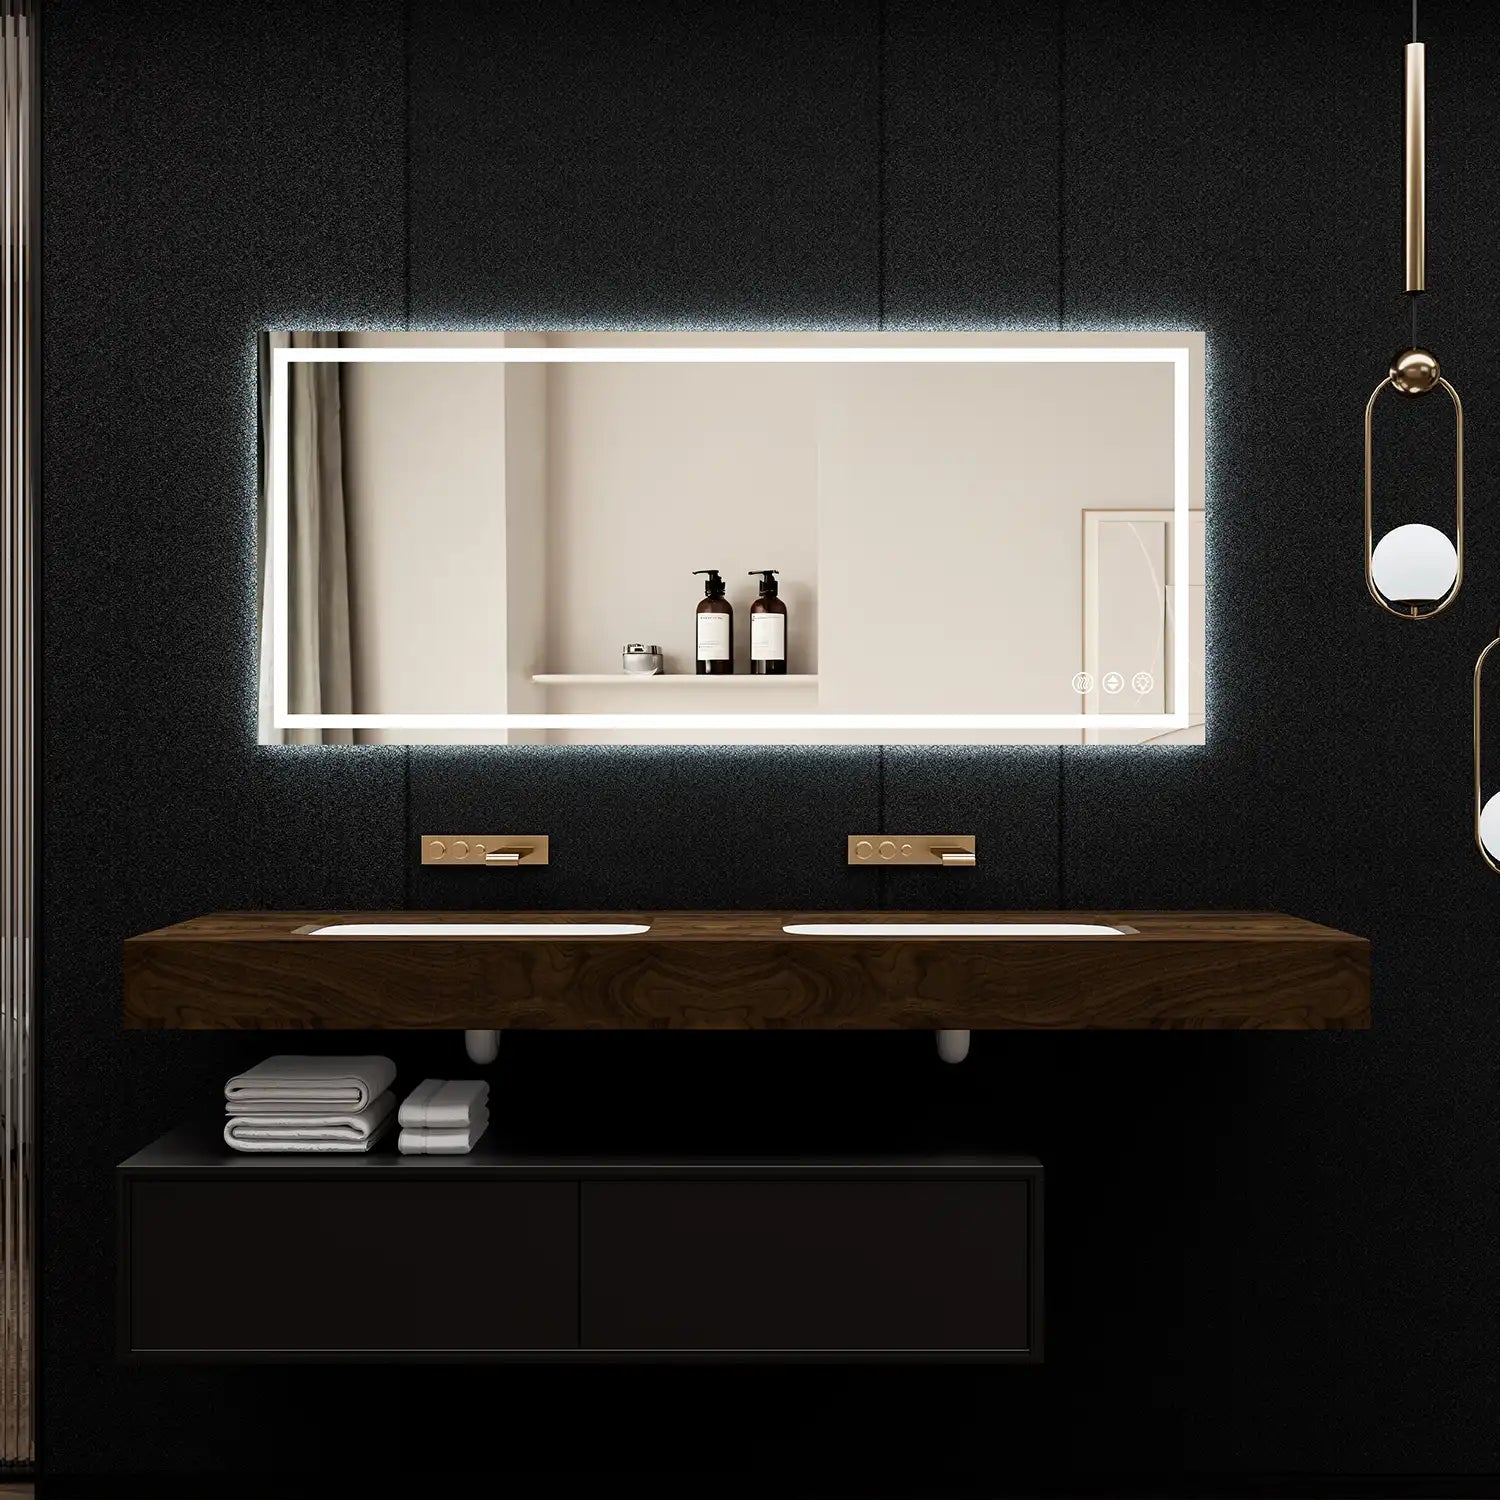
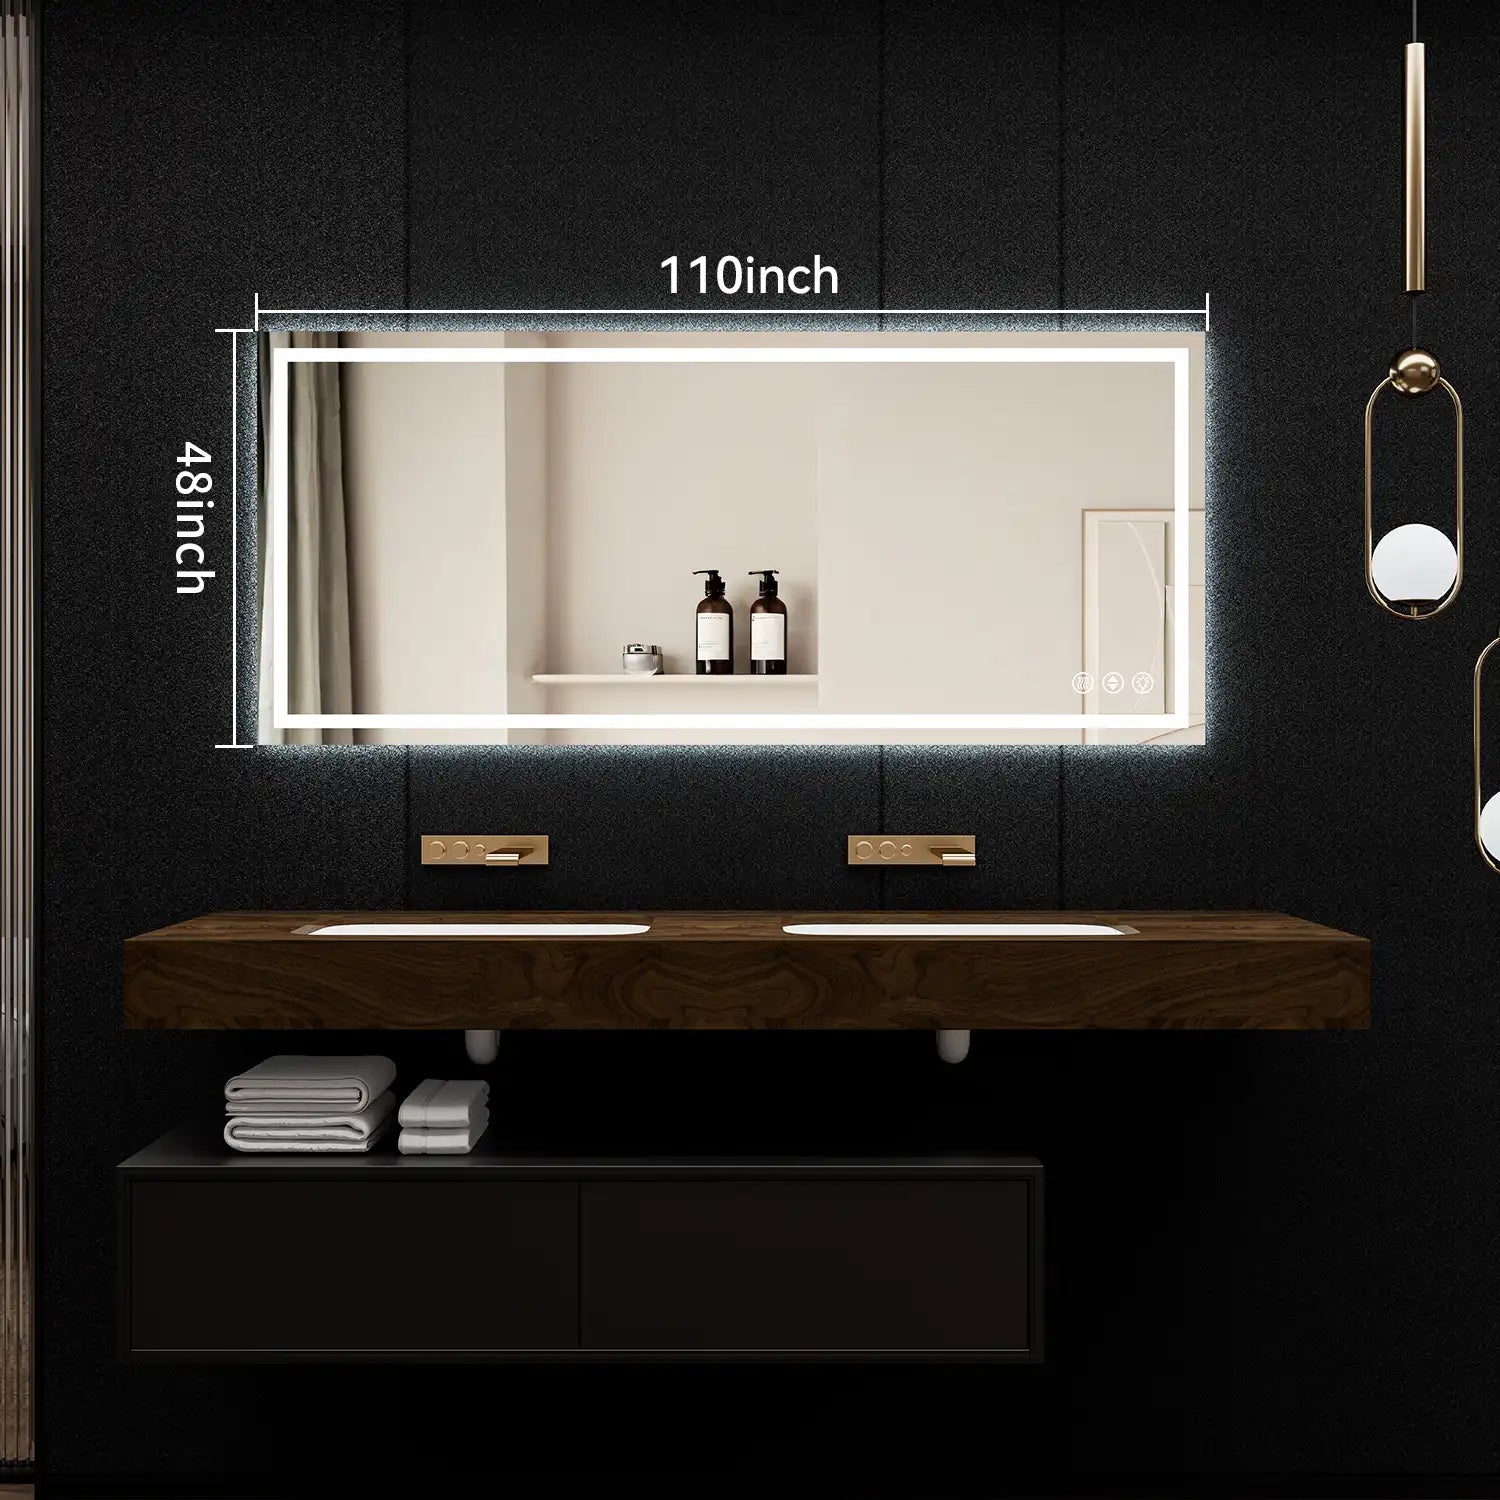
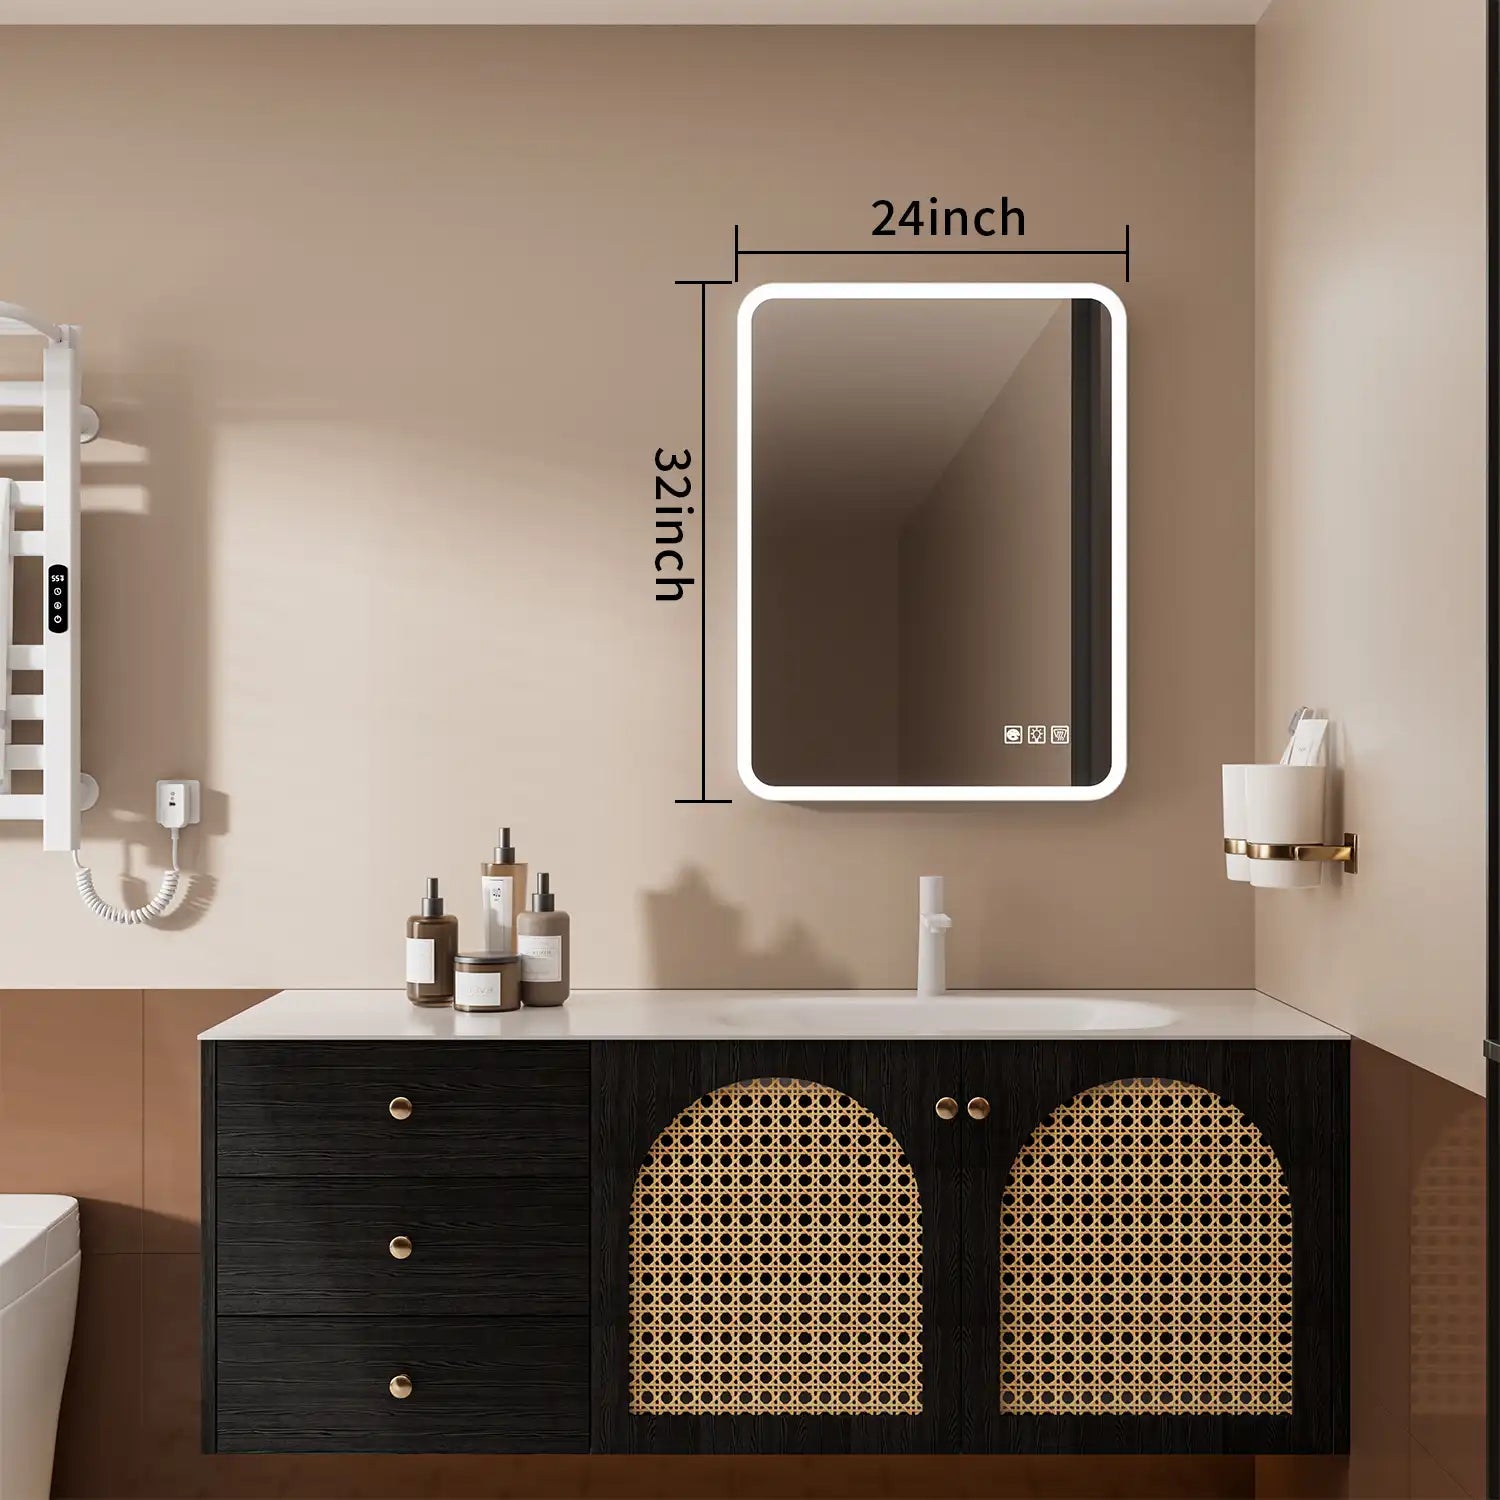
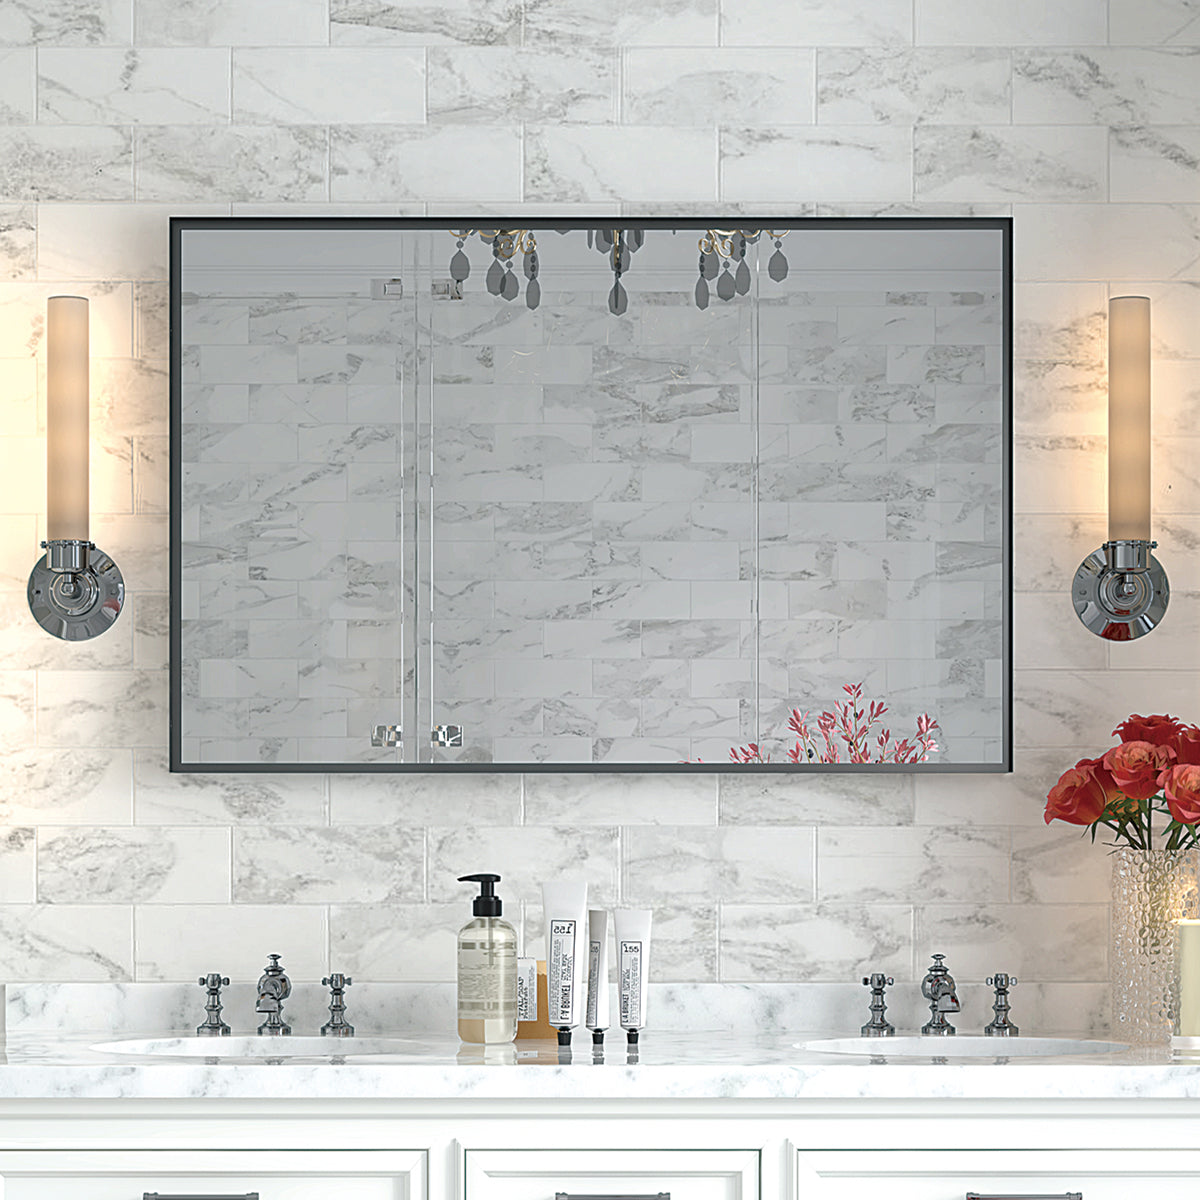
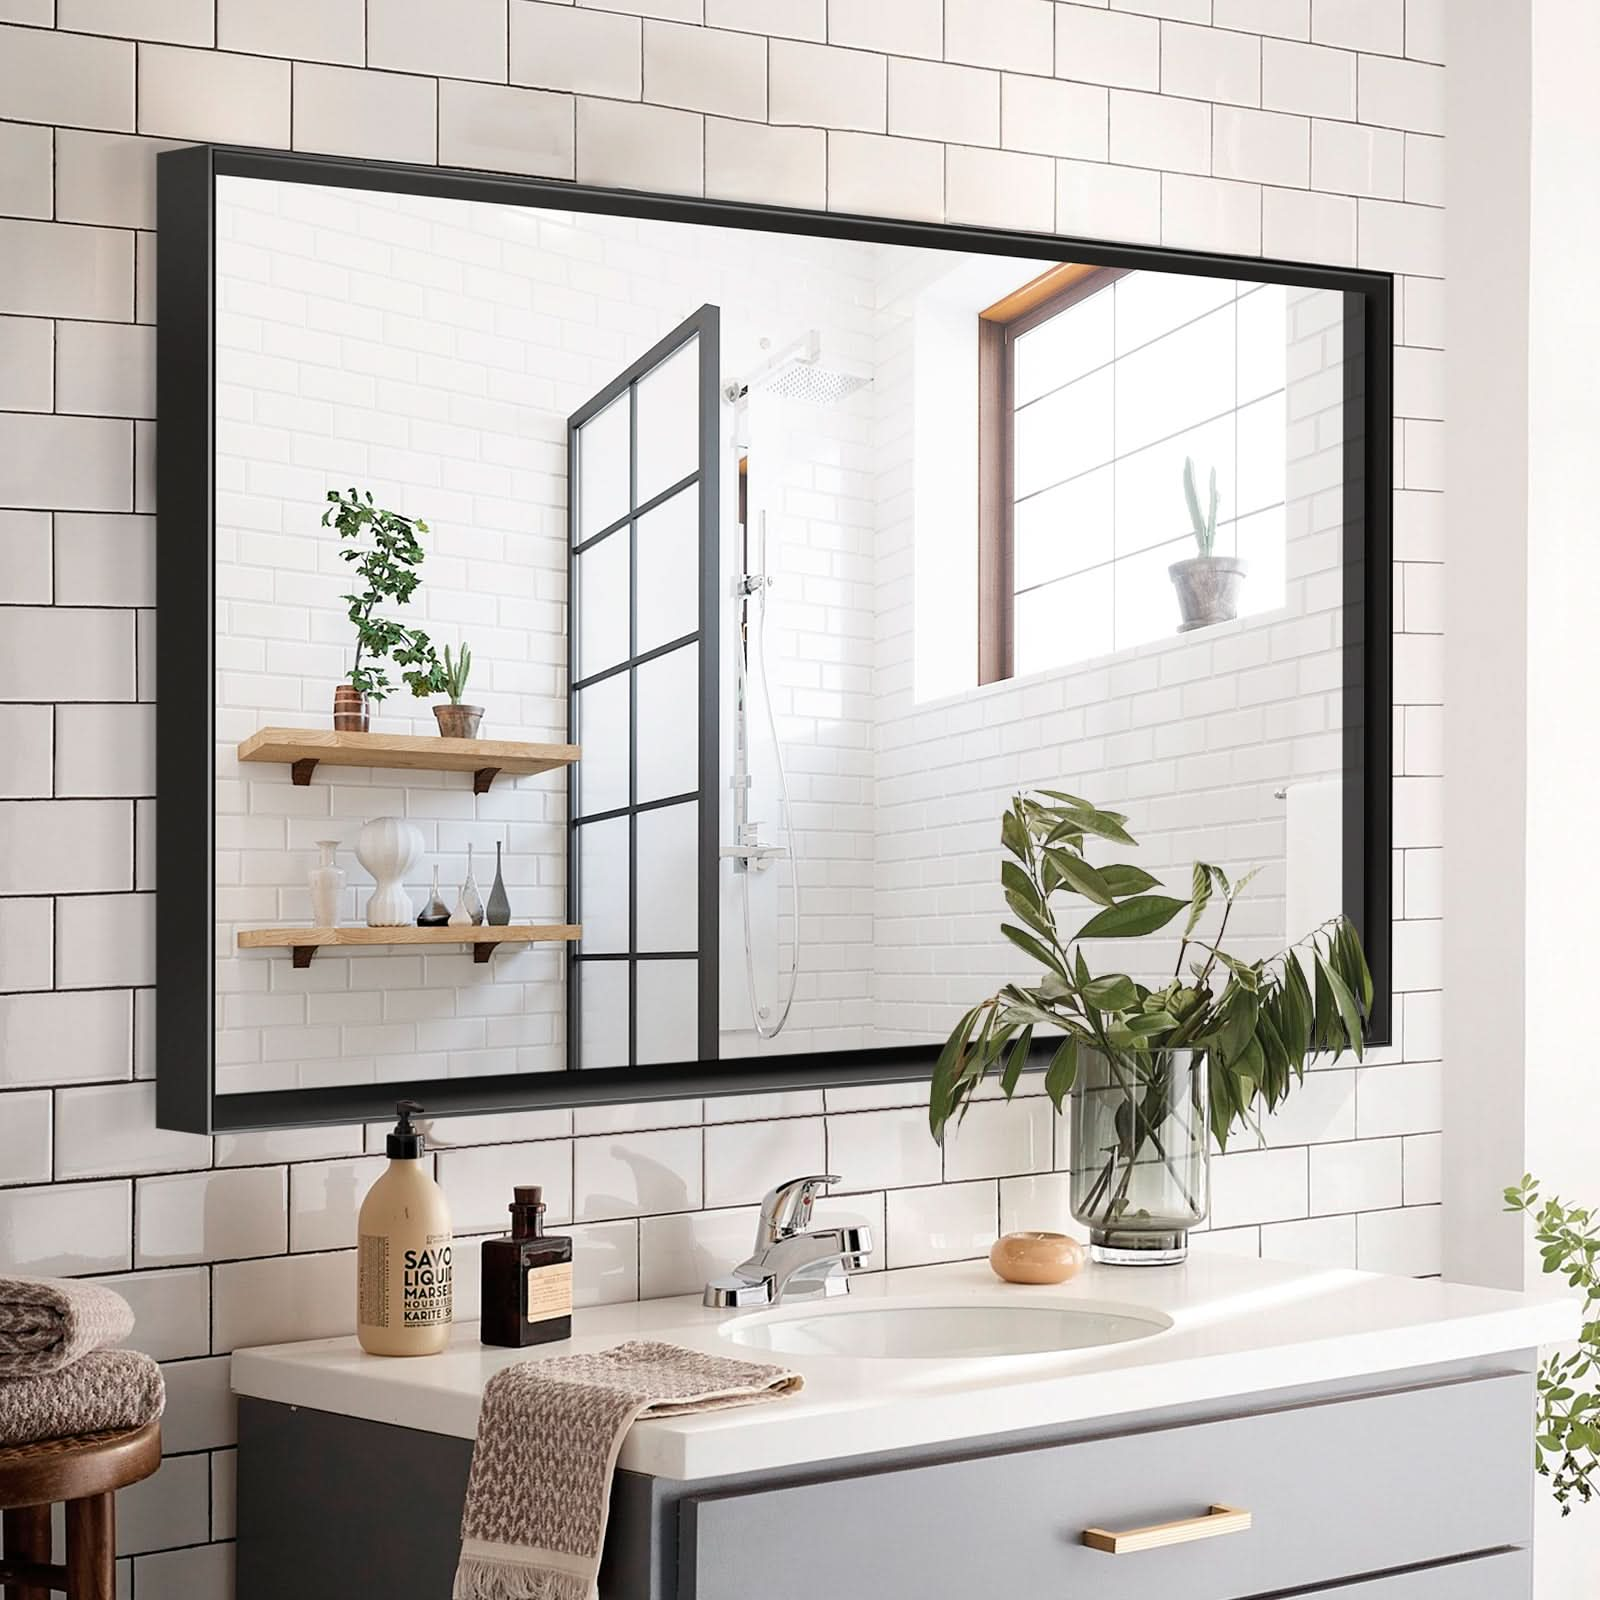
- Size and Proportion: Choose a mirror that’s proportionate to your vanity and bathroom size. A mirror that’s too large can overwhelm the space, while one that’s too small might not provide adequate reflection or lighting. The American Society of Interior Designers (ASID) recommends that the mirror’s width should not exceed the width of the vanity and should ideally be centered above it for a balanced look.
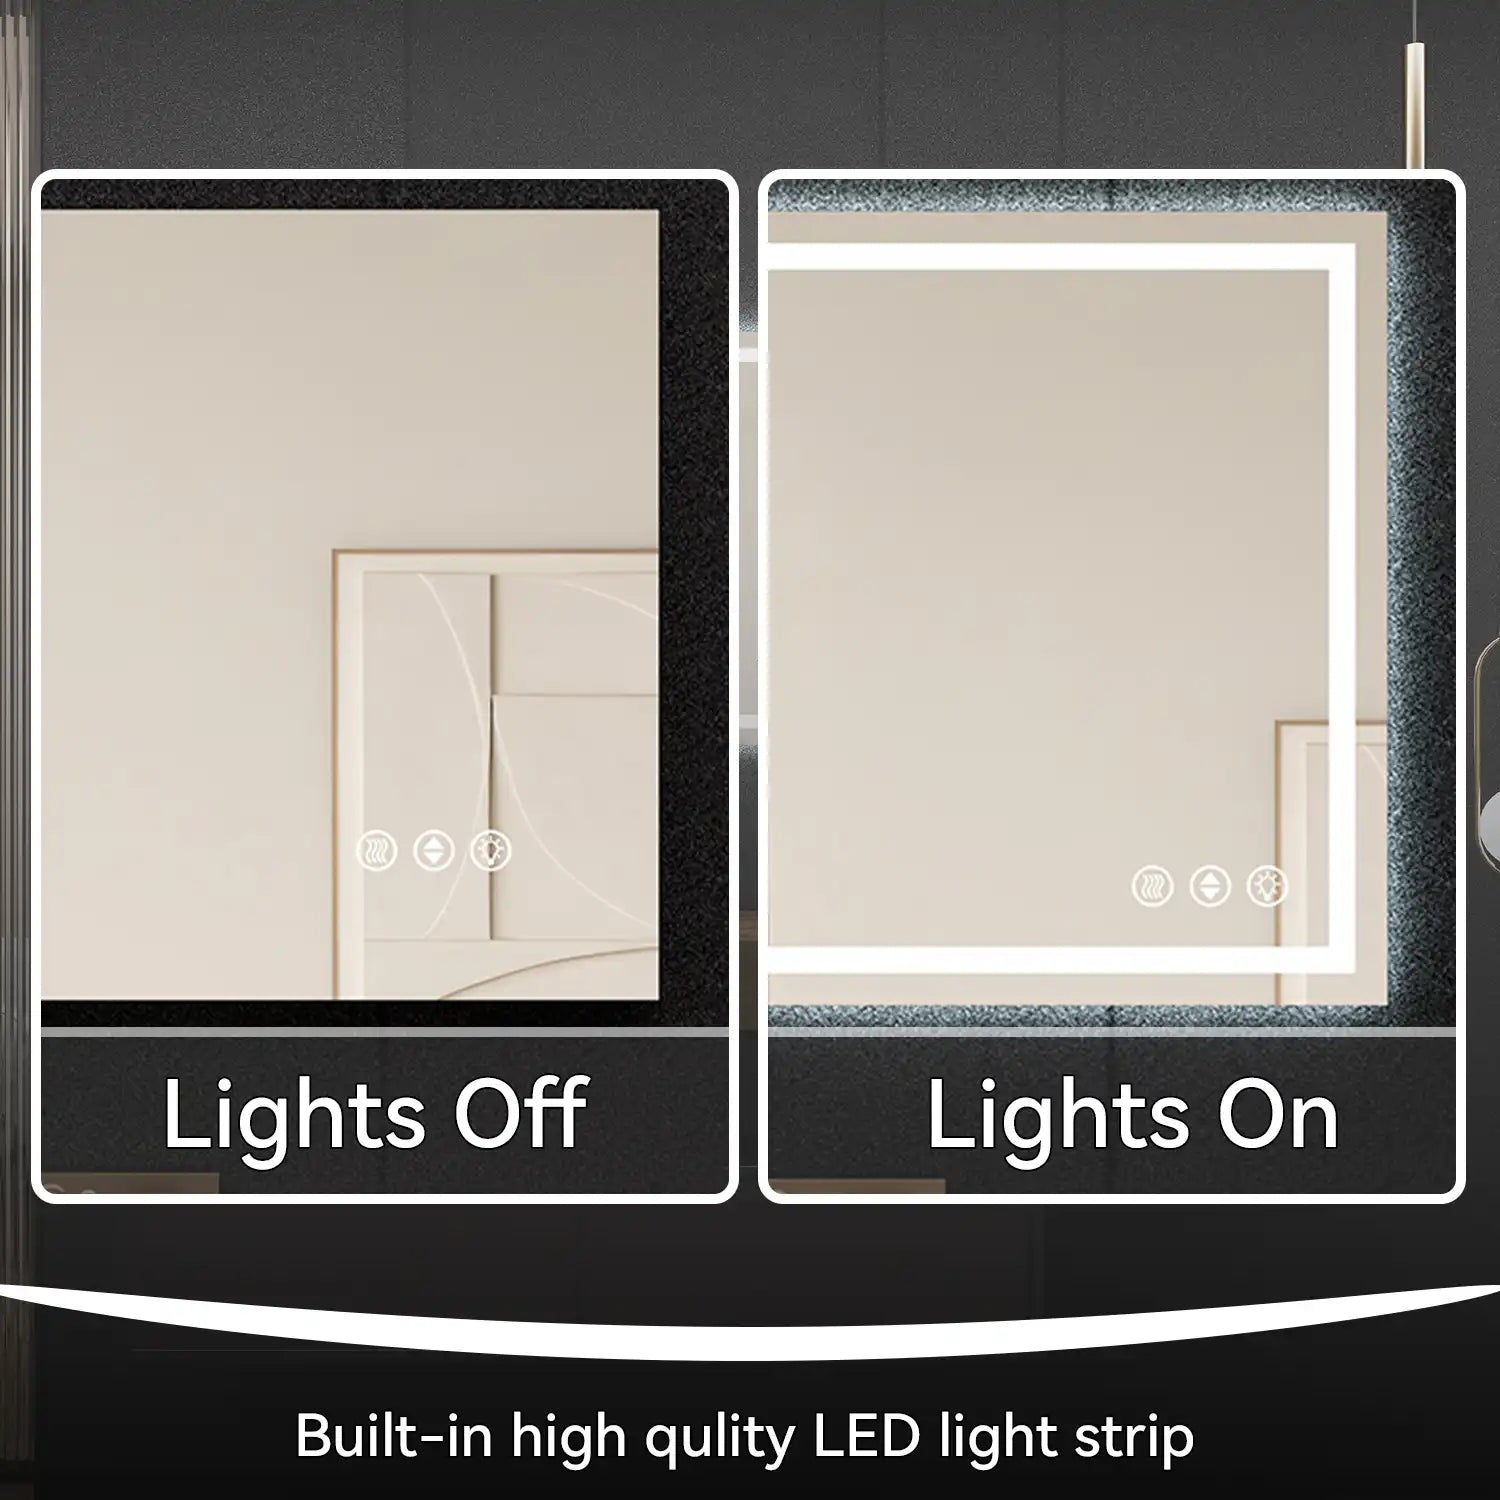
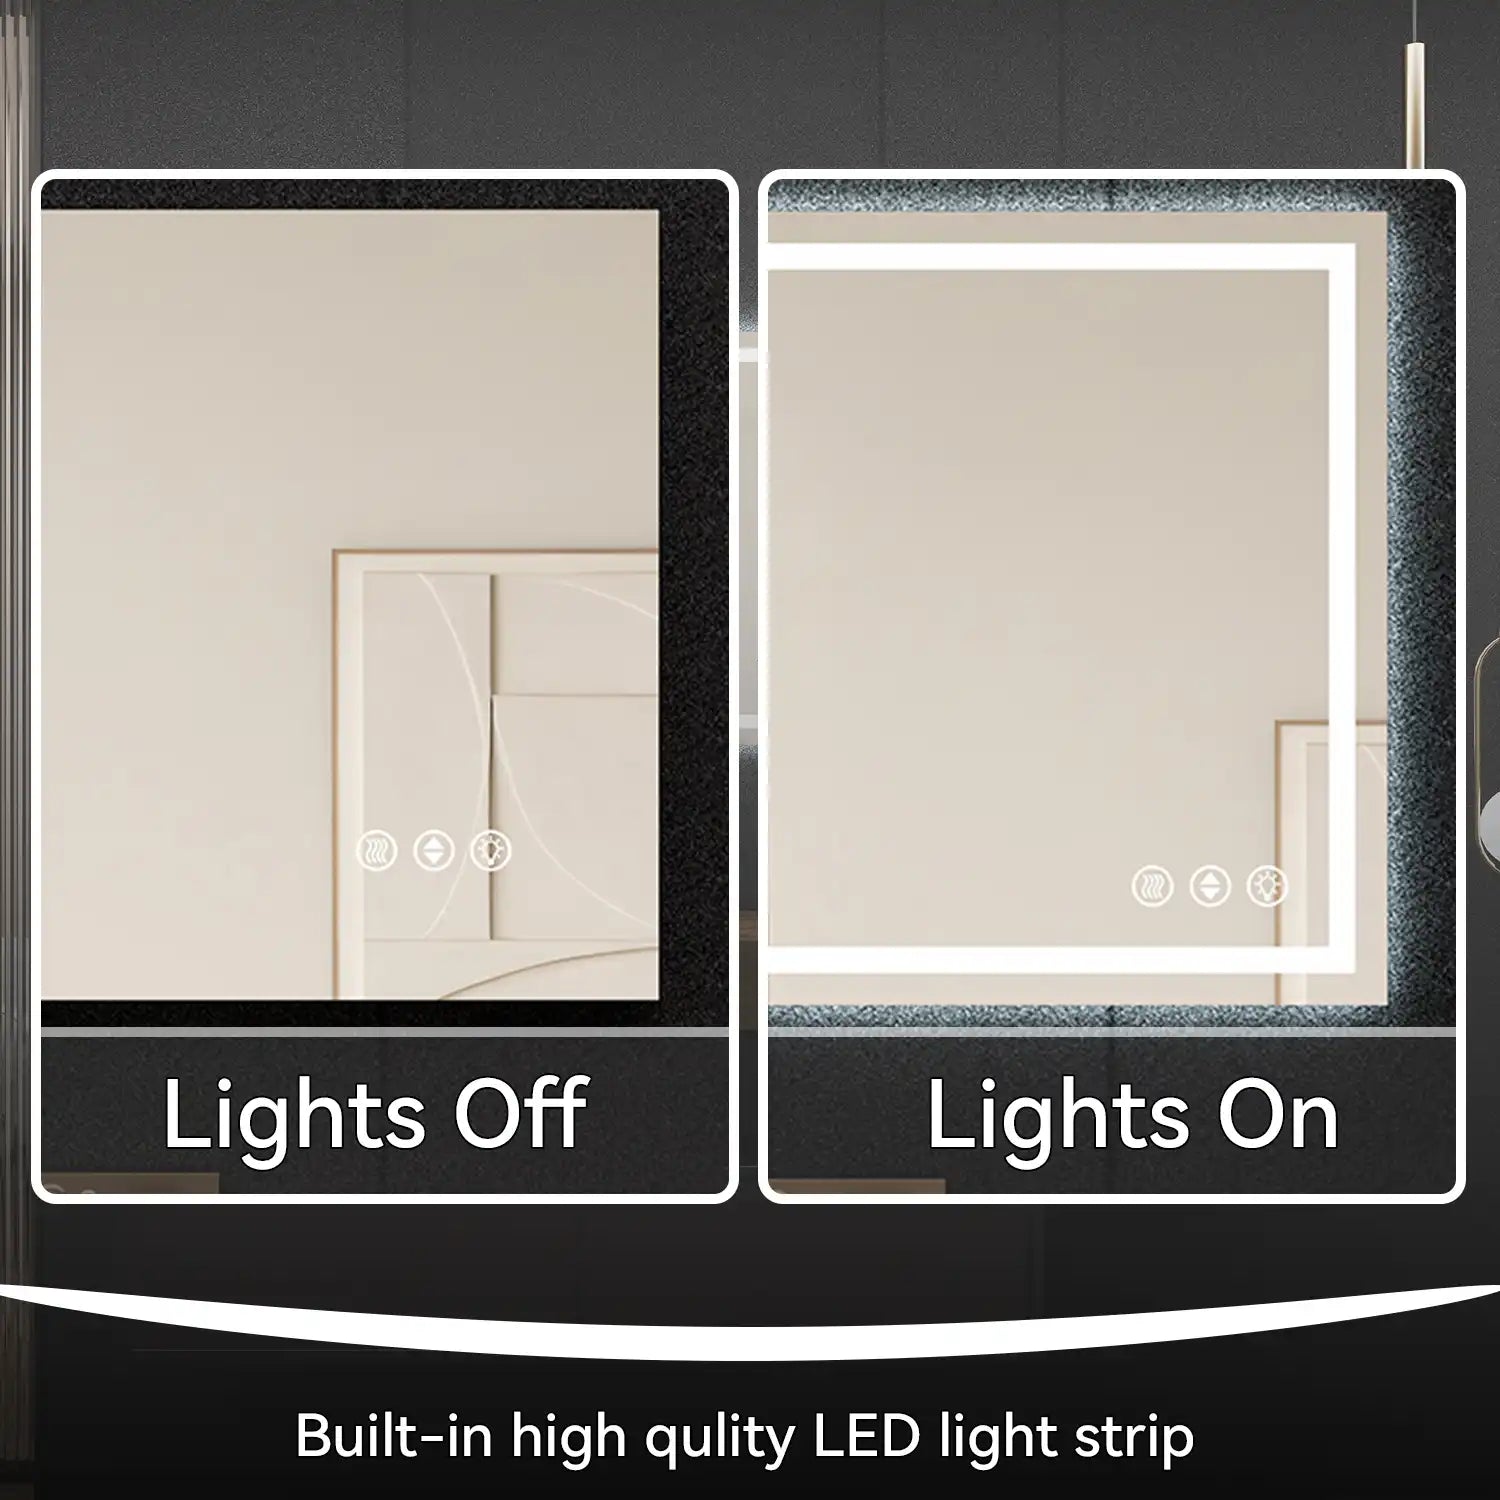
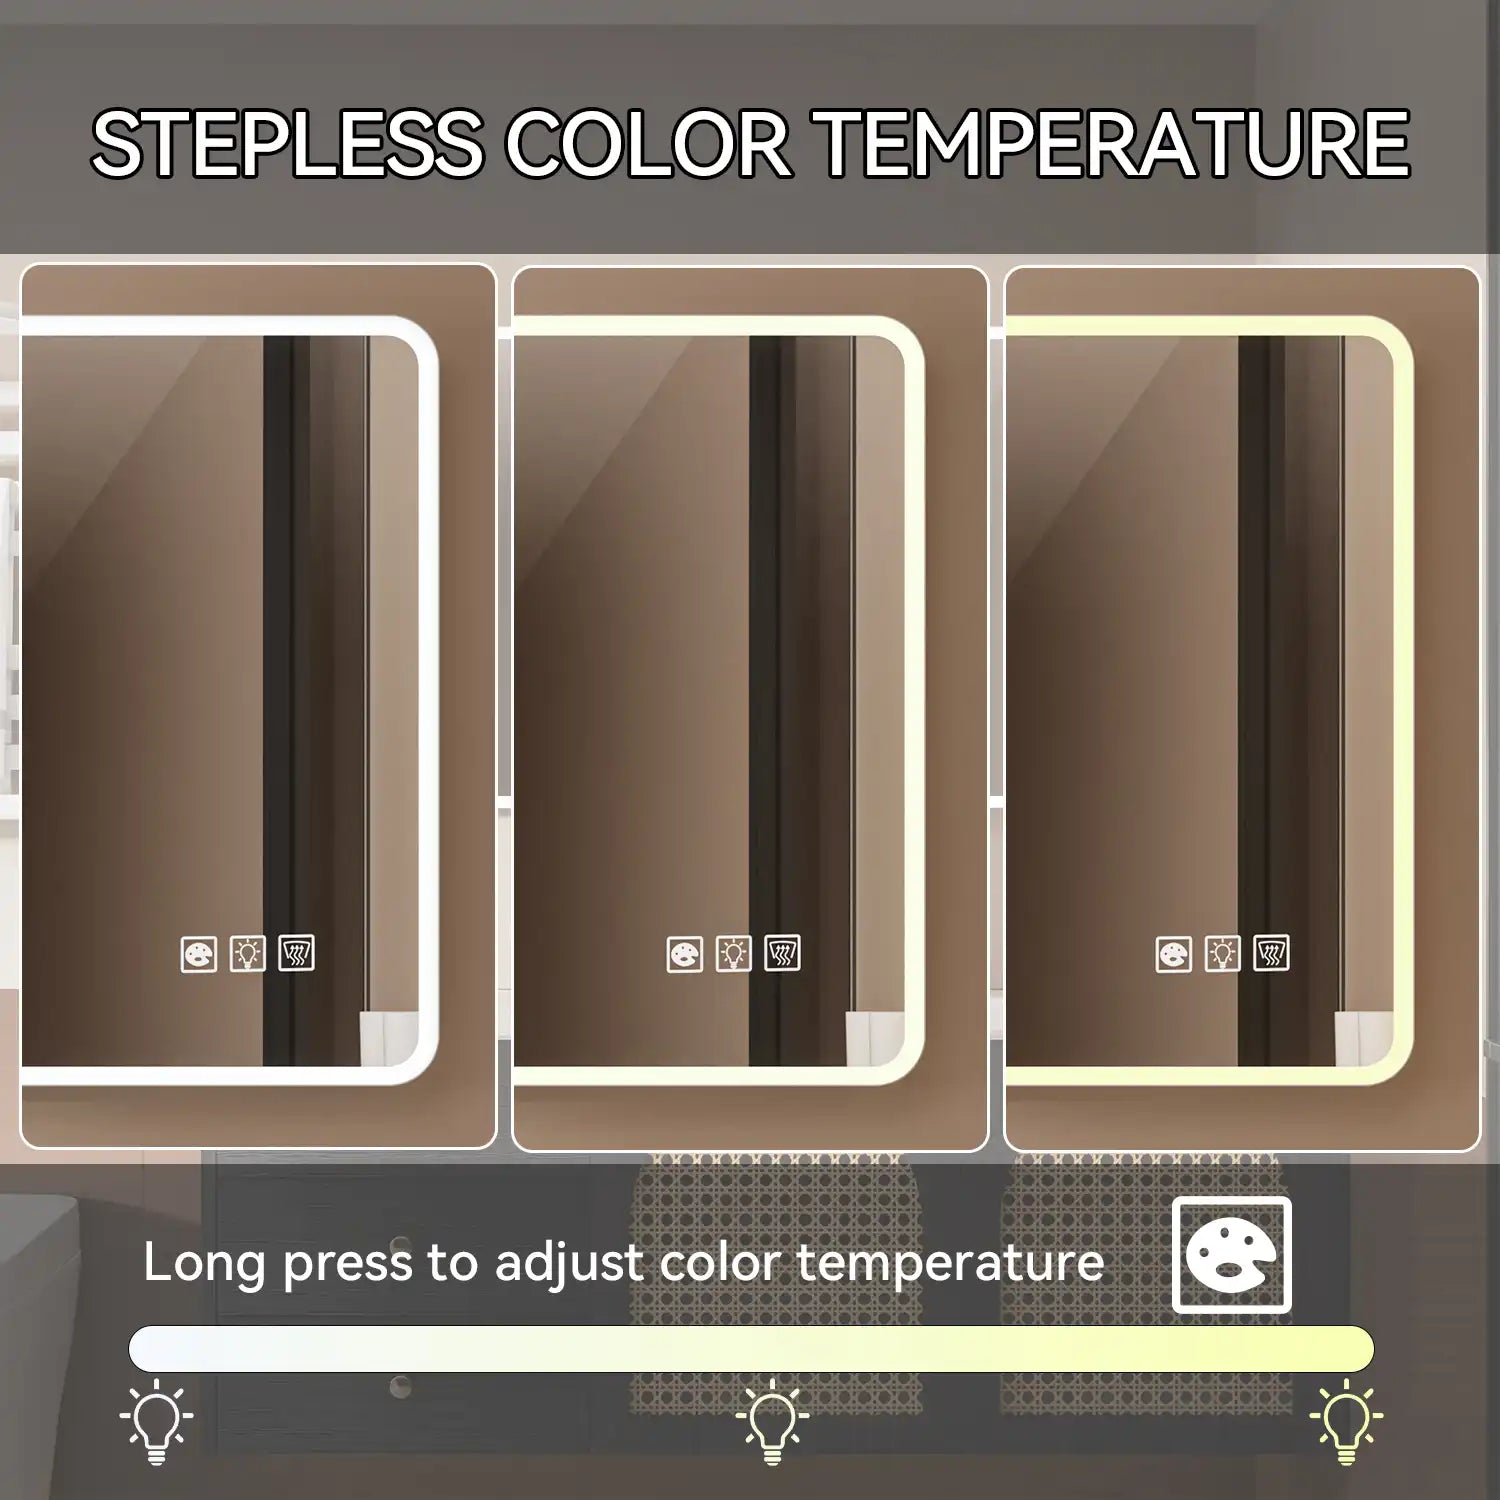
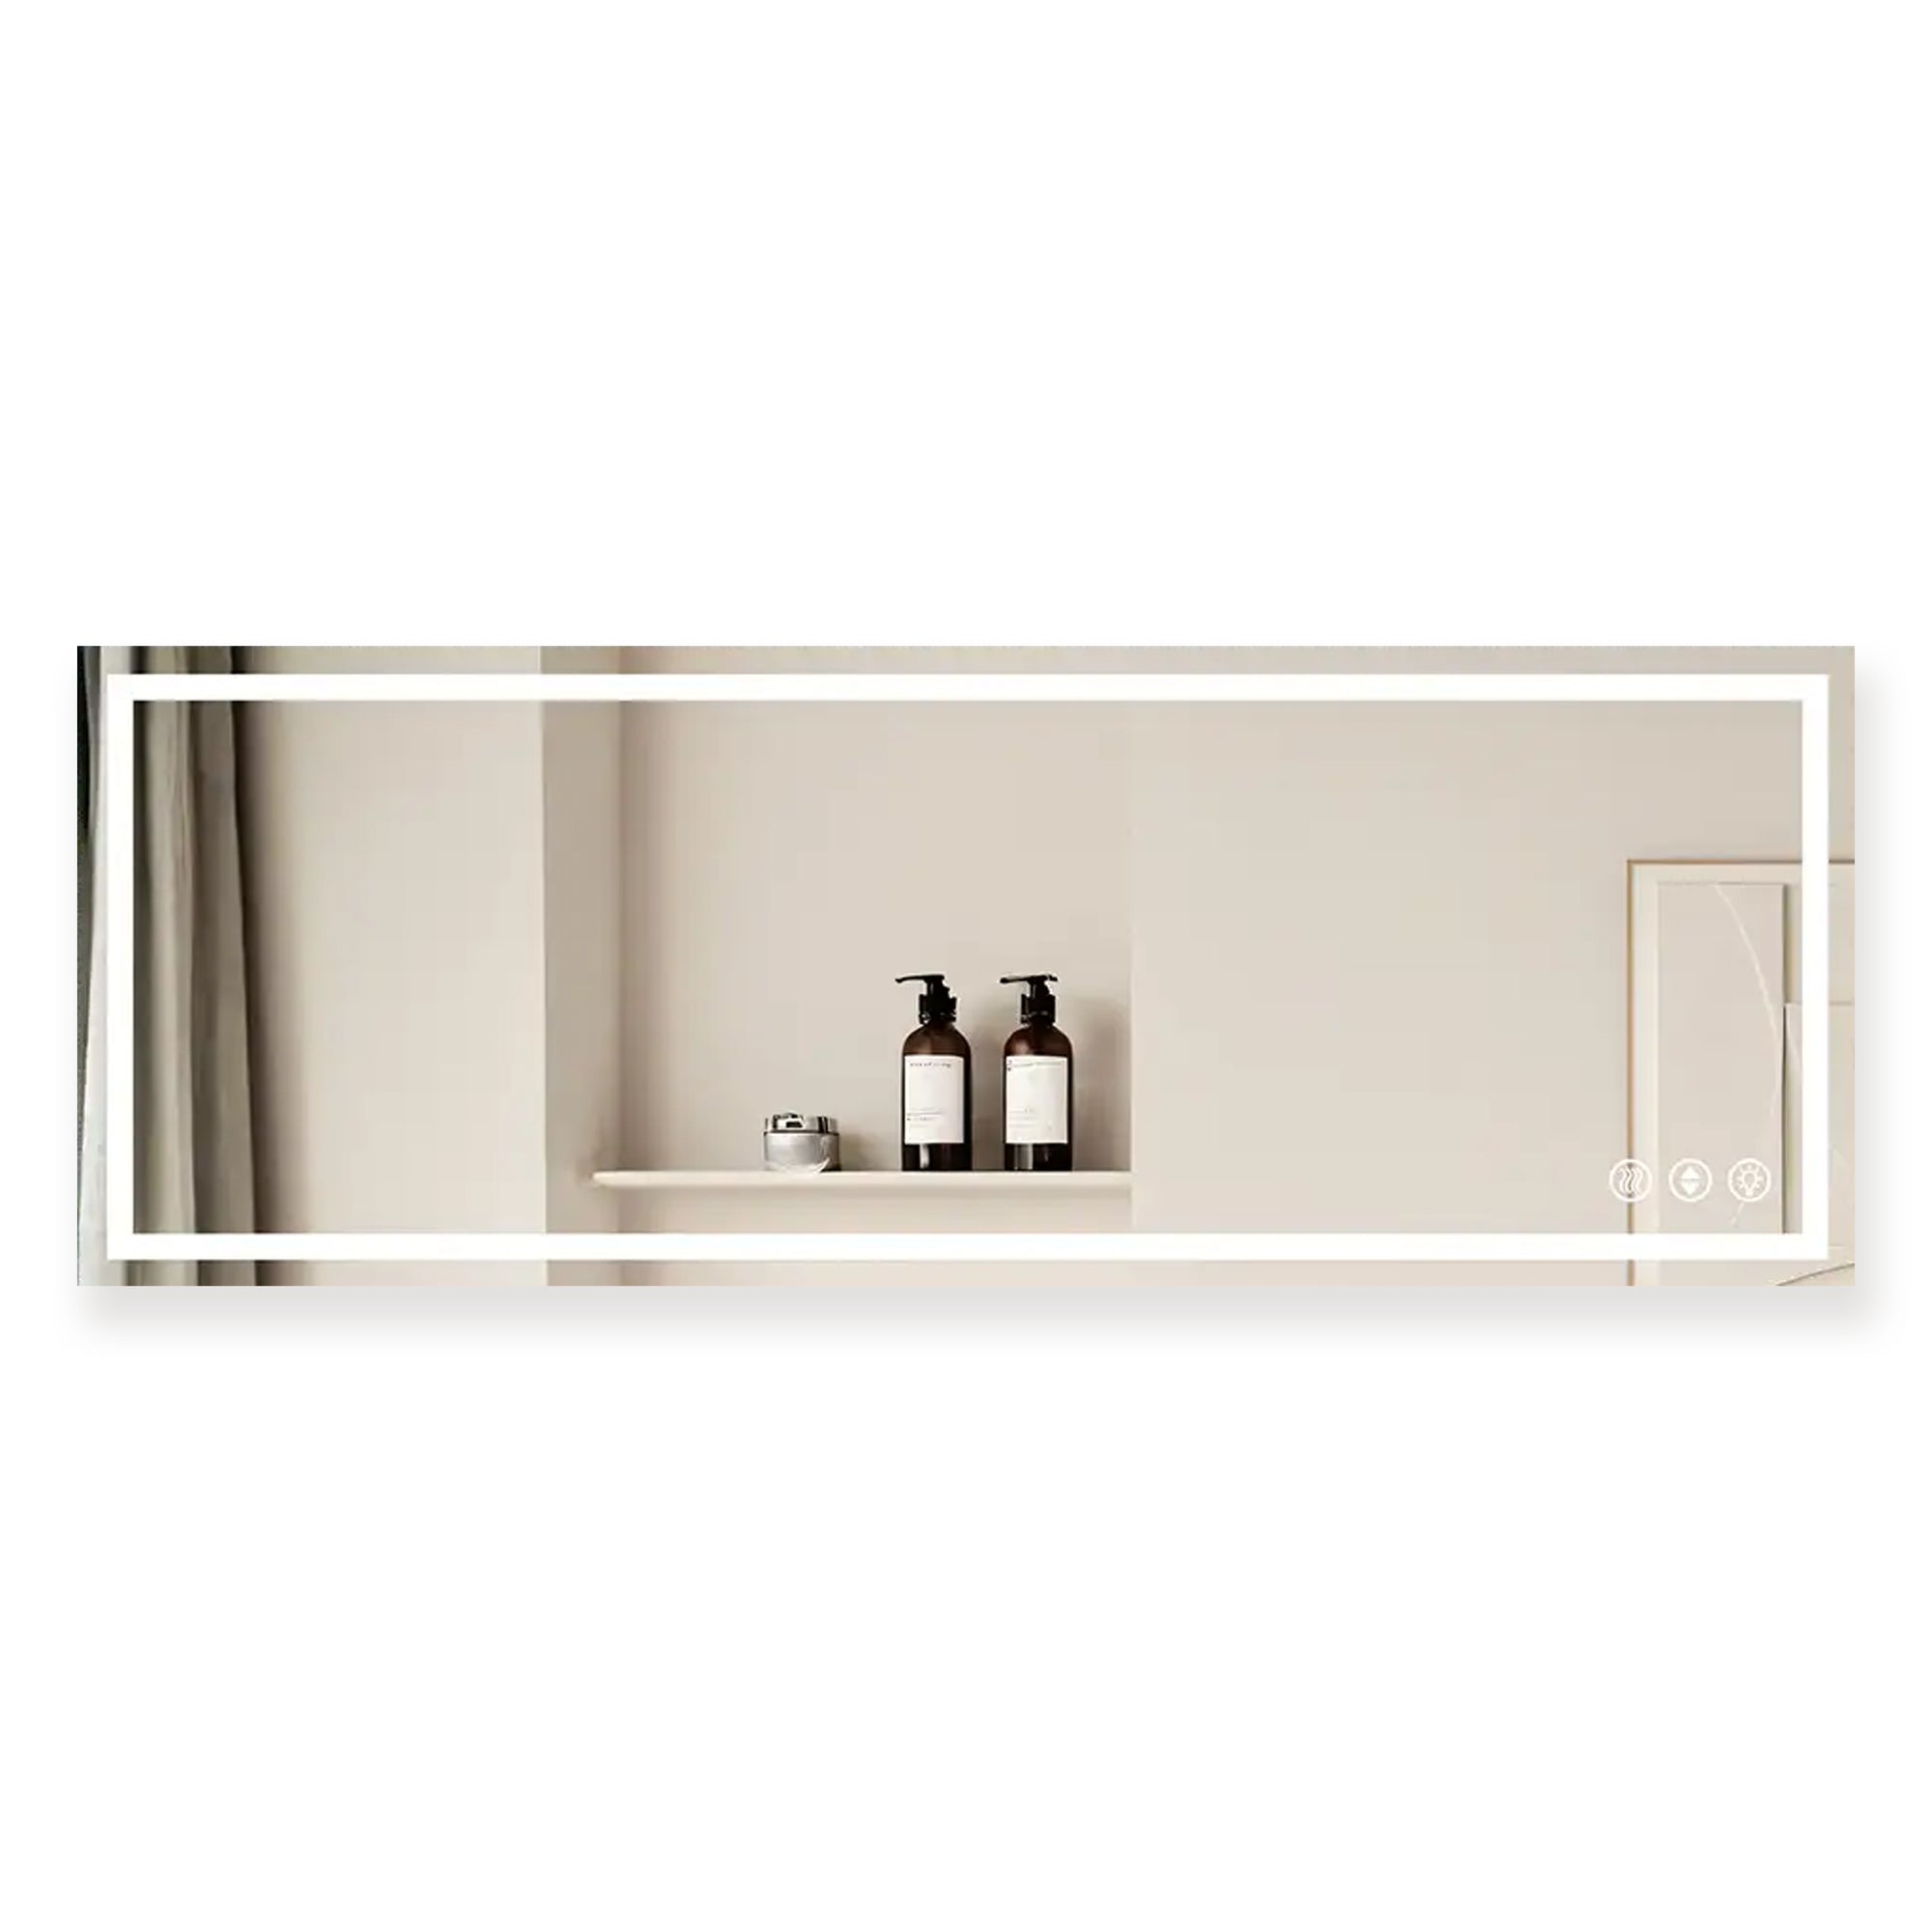
- Lighting Type: LED lighting is the top choice for bathroom mirrors due to its energy efficiency and long lifespan. According to the U.S. Department of Energy, LEDs use at least 75% less energy and last 25 times longer than traditional incandescent bulbs. This not only reduces energy costs but also provides consistent, high-quality strip lighting for your bathroom.
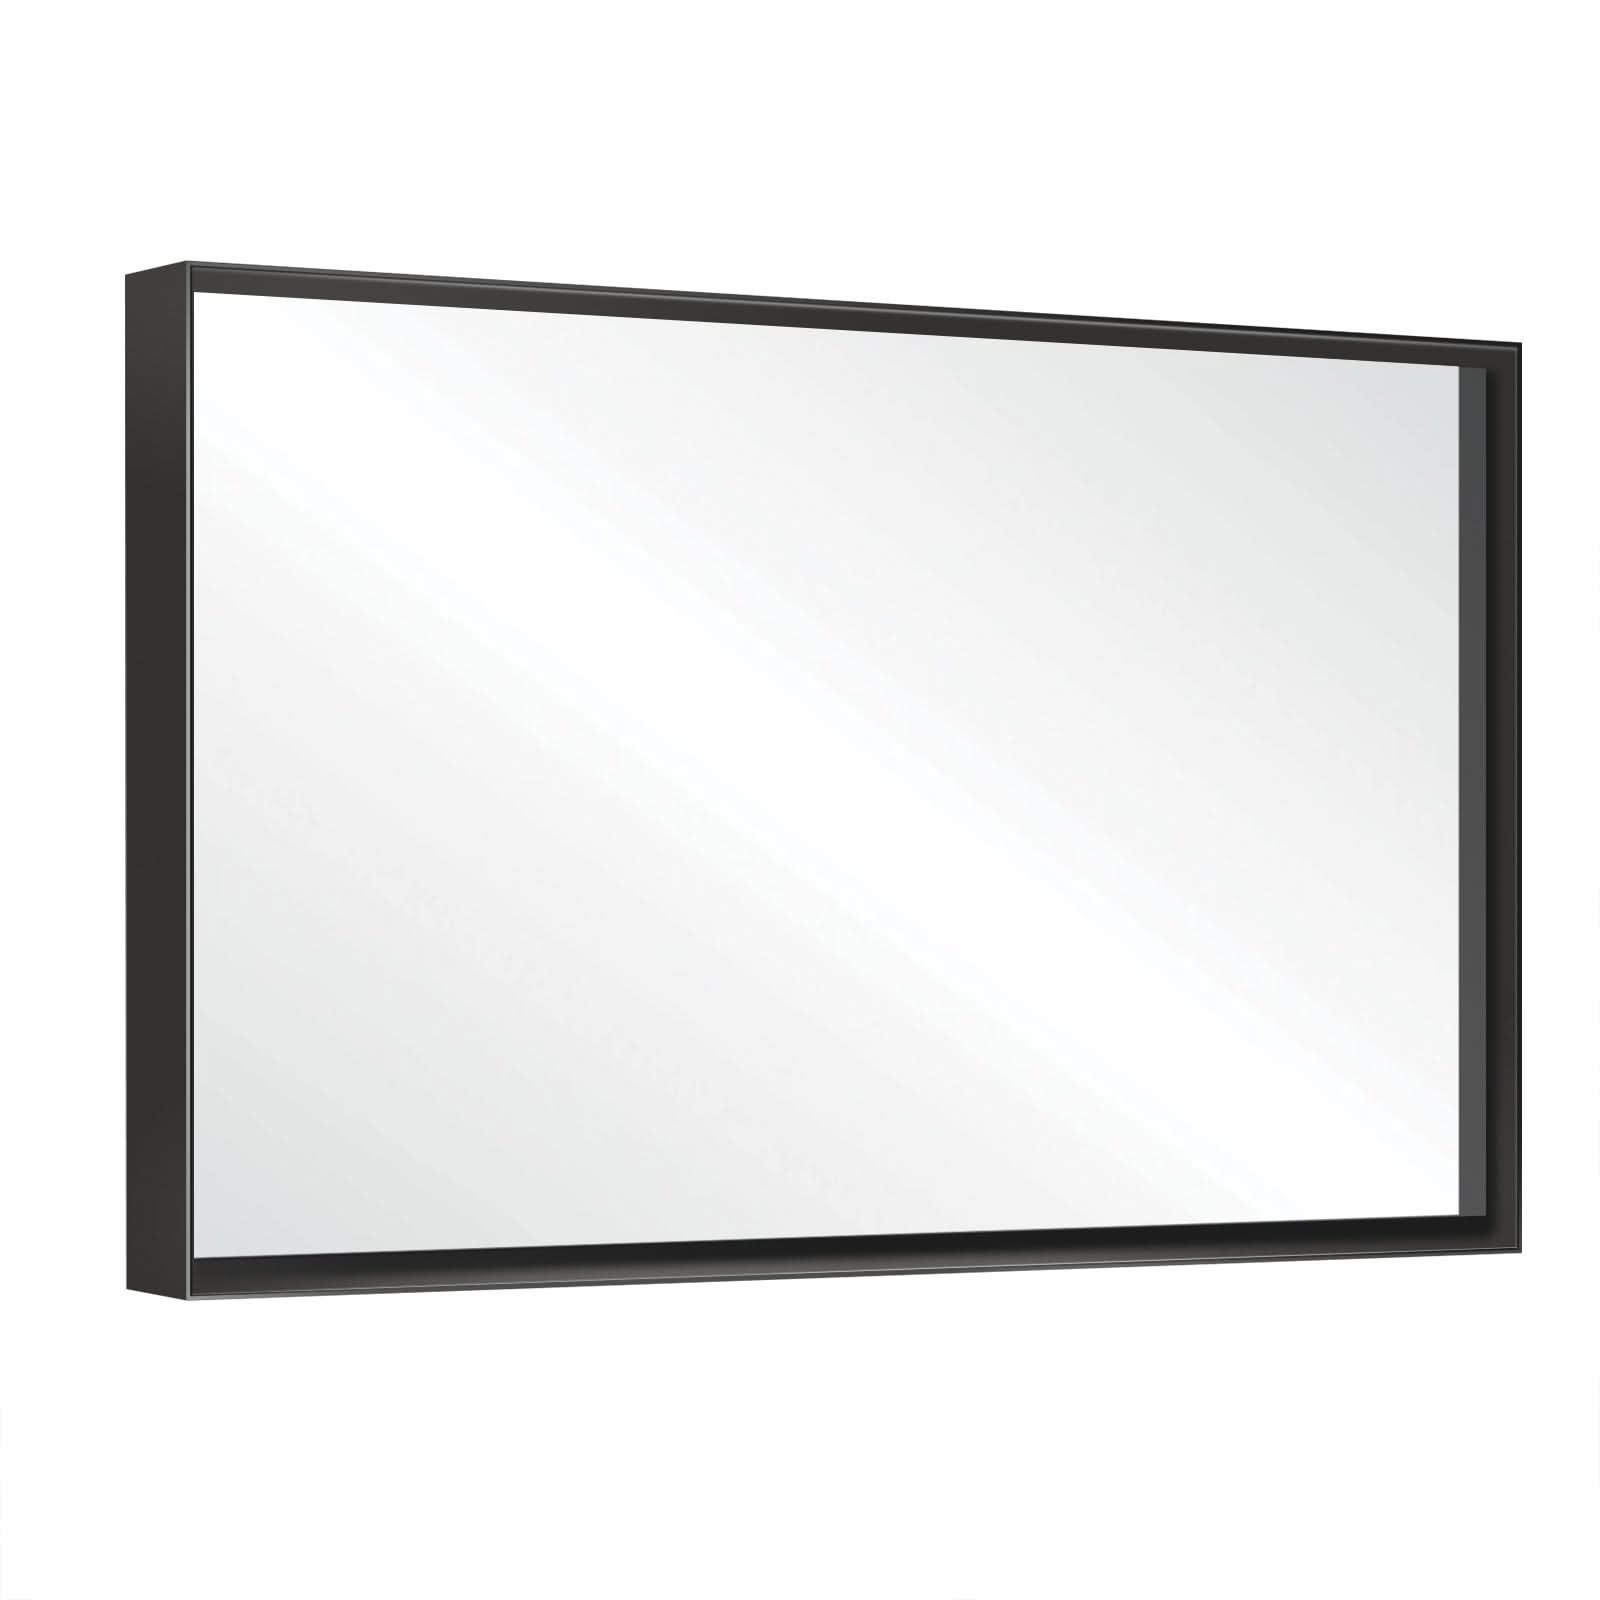
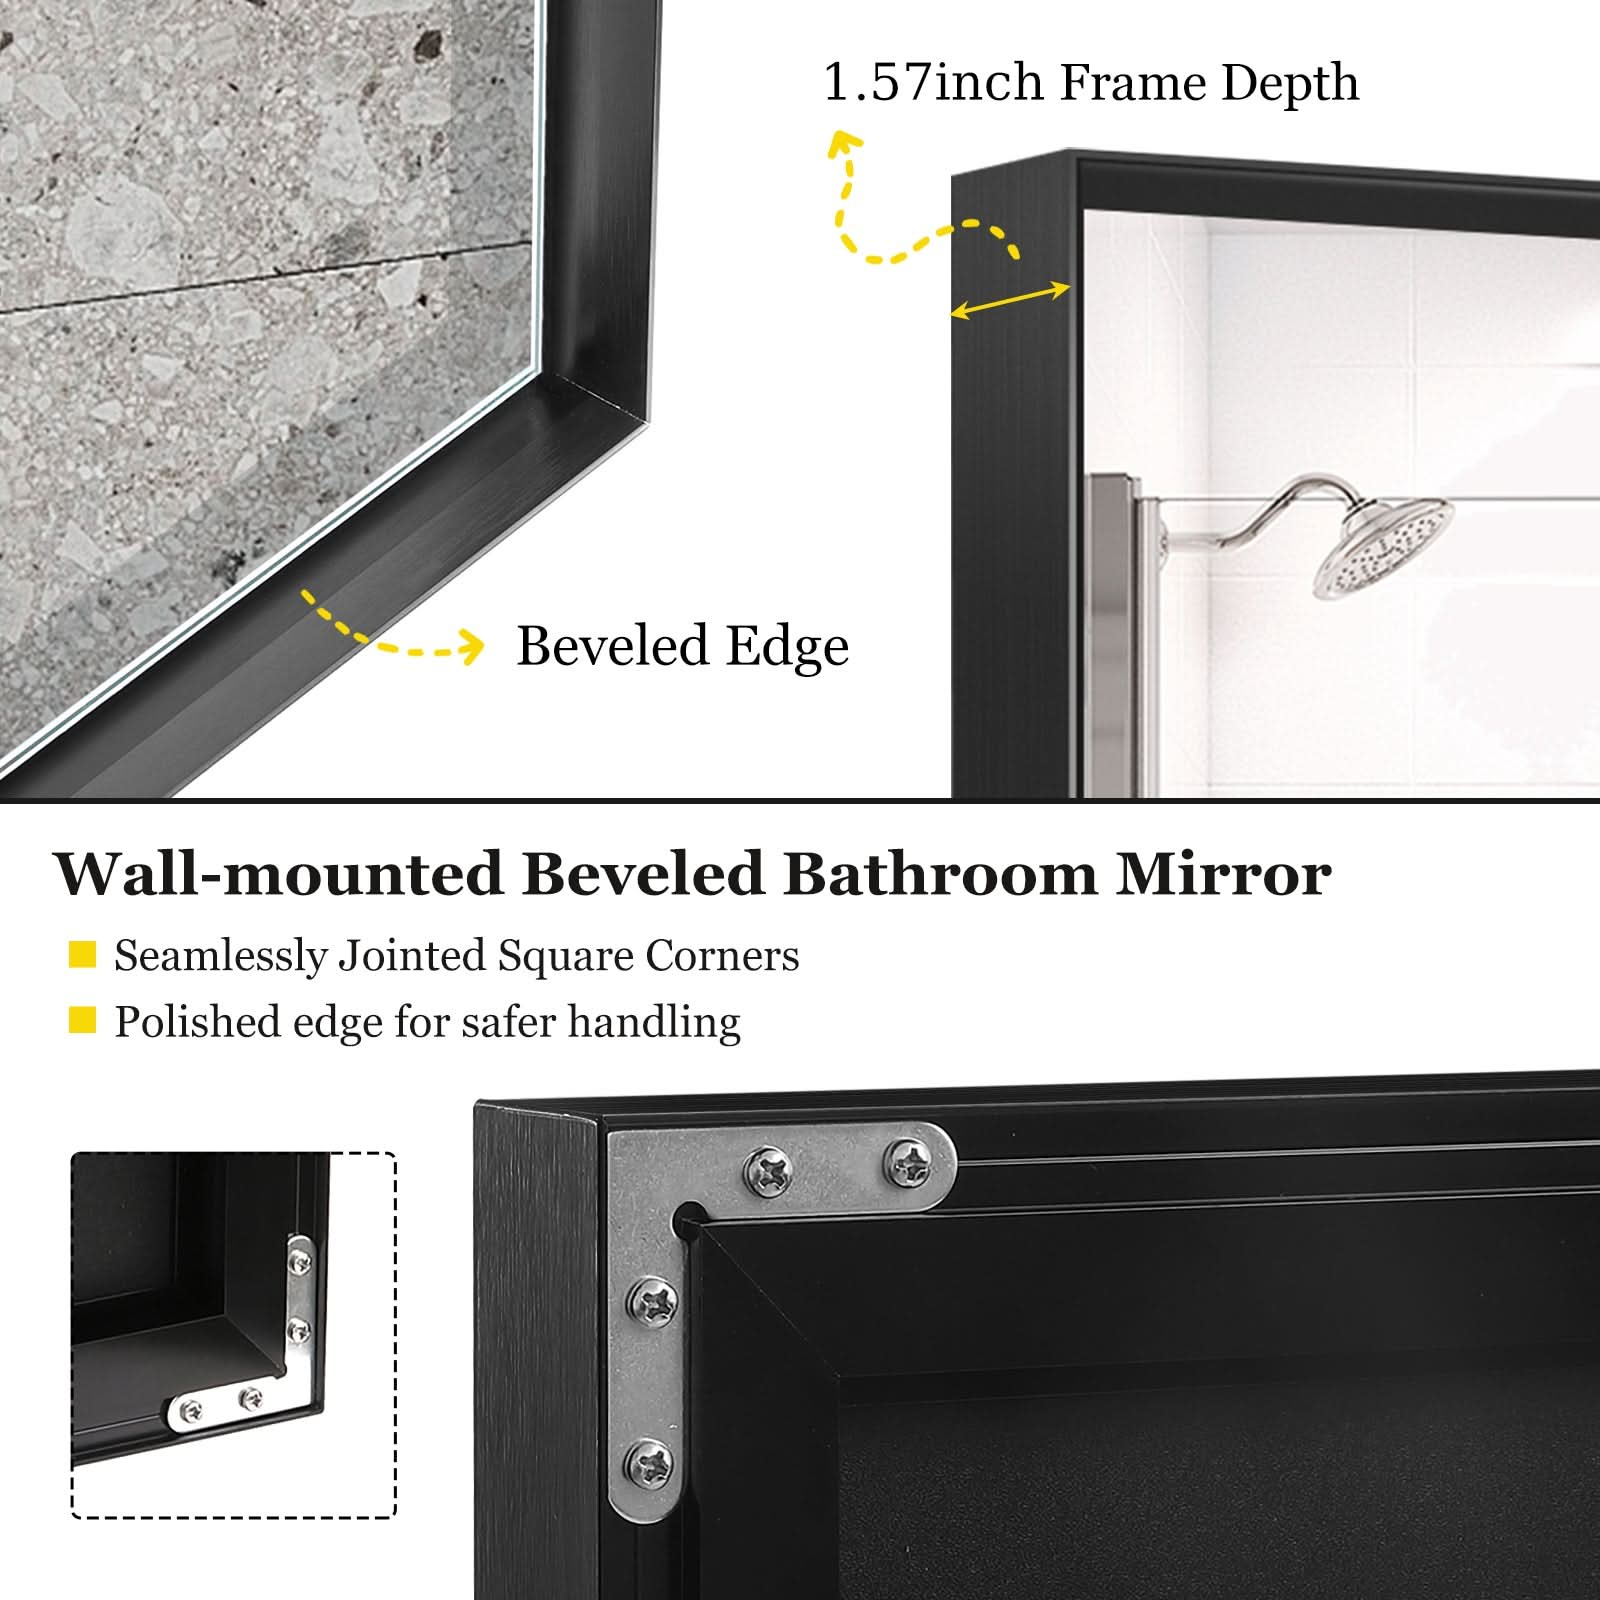
- Style and Finish: Consider how the mirror’s design complements your bathroom’s overall decor. Frameless mirrors offer a sleek, contemporary look, while framed mirrors can add a decorative touch. Ensure the finish of the mirror frame matches or complements other fixtures in your bathroom, like faucets, showerheads, and lighting.
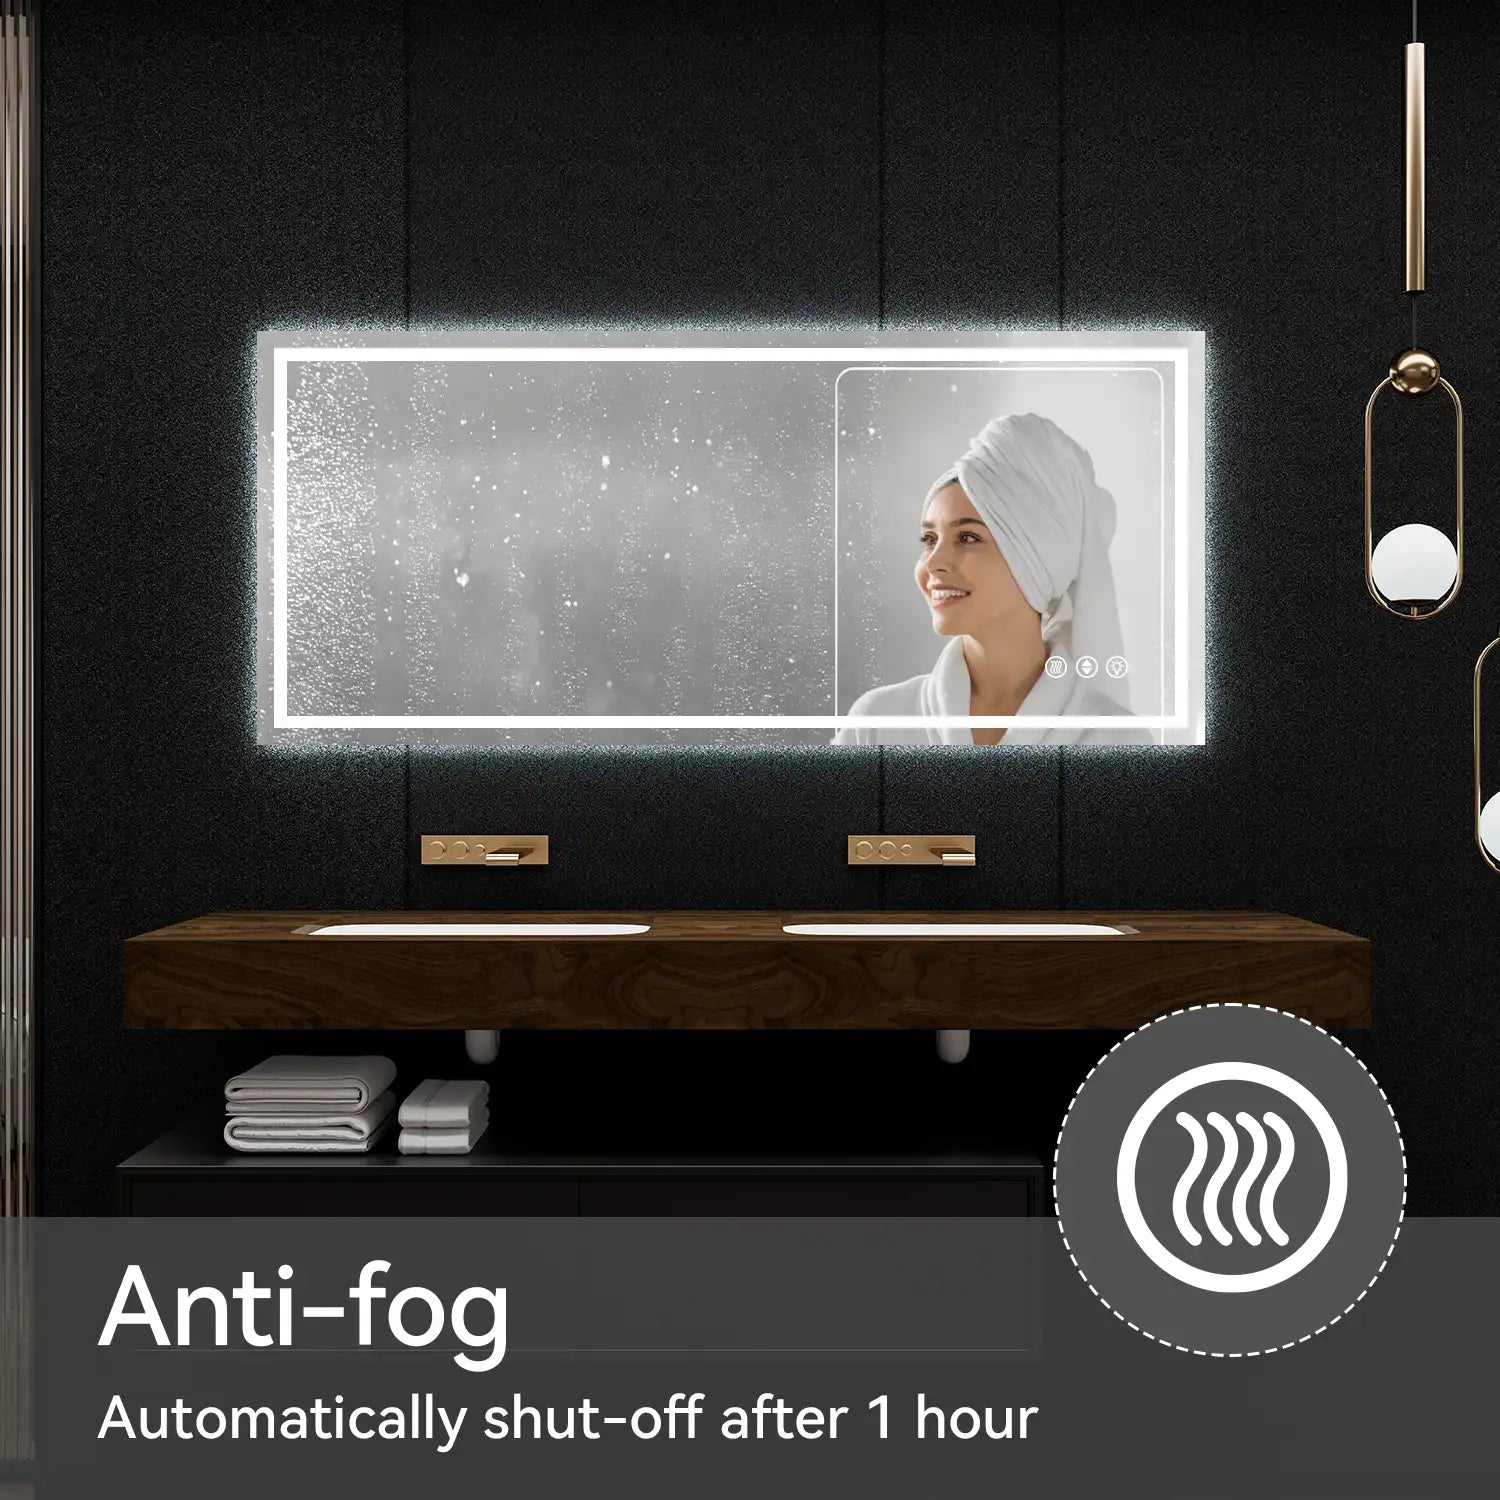
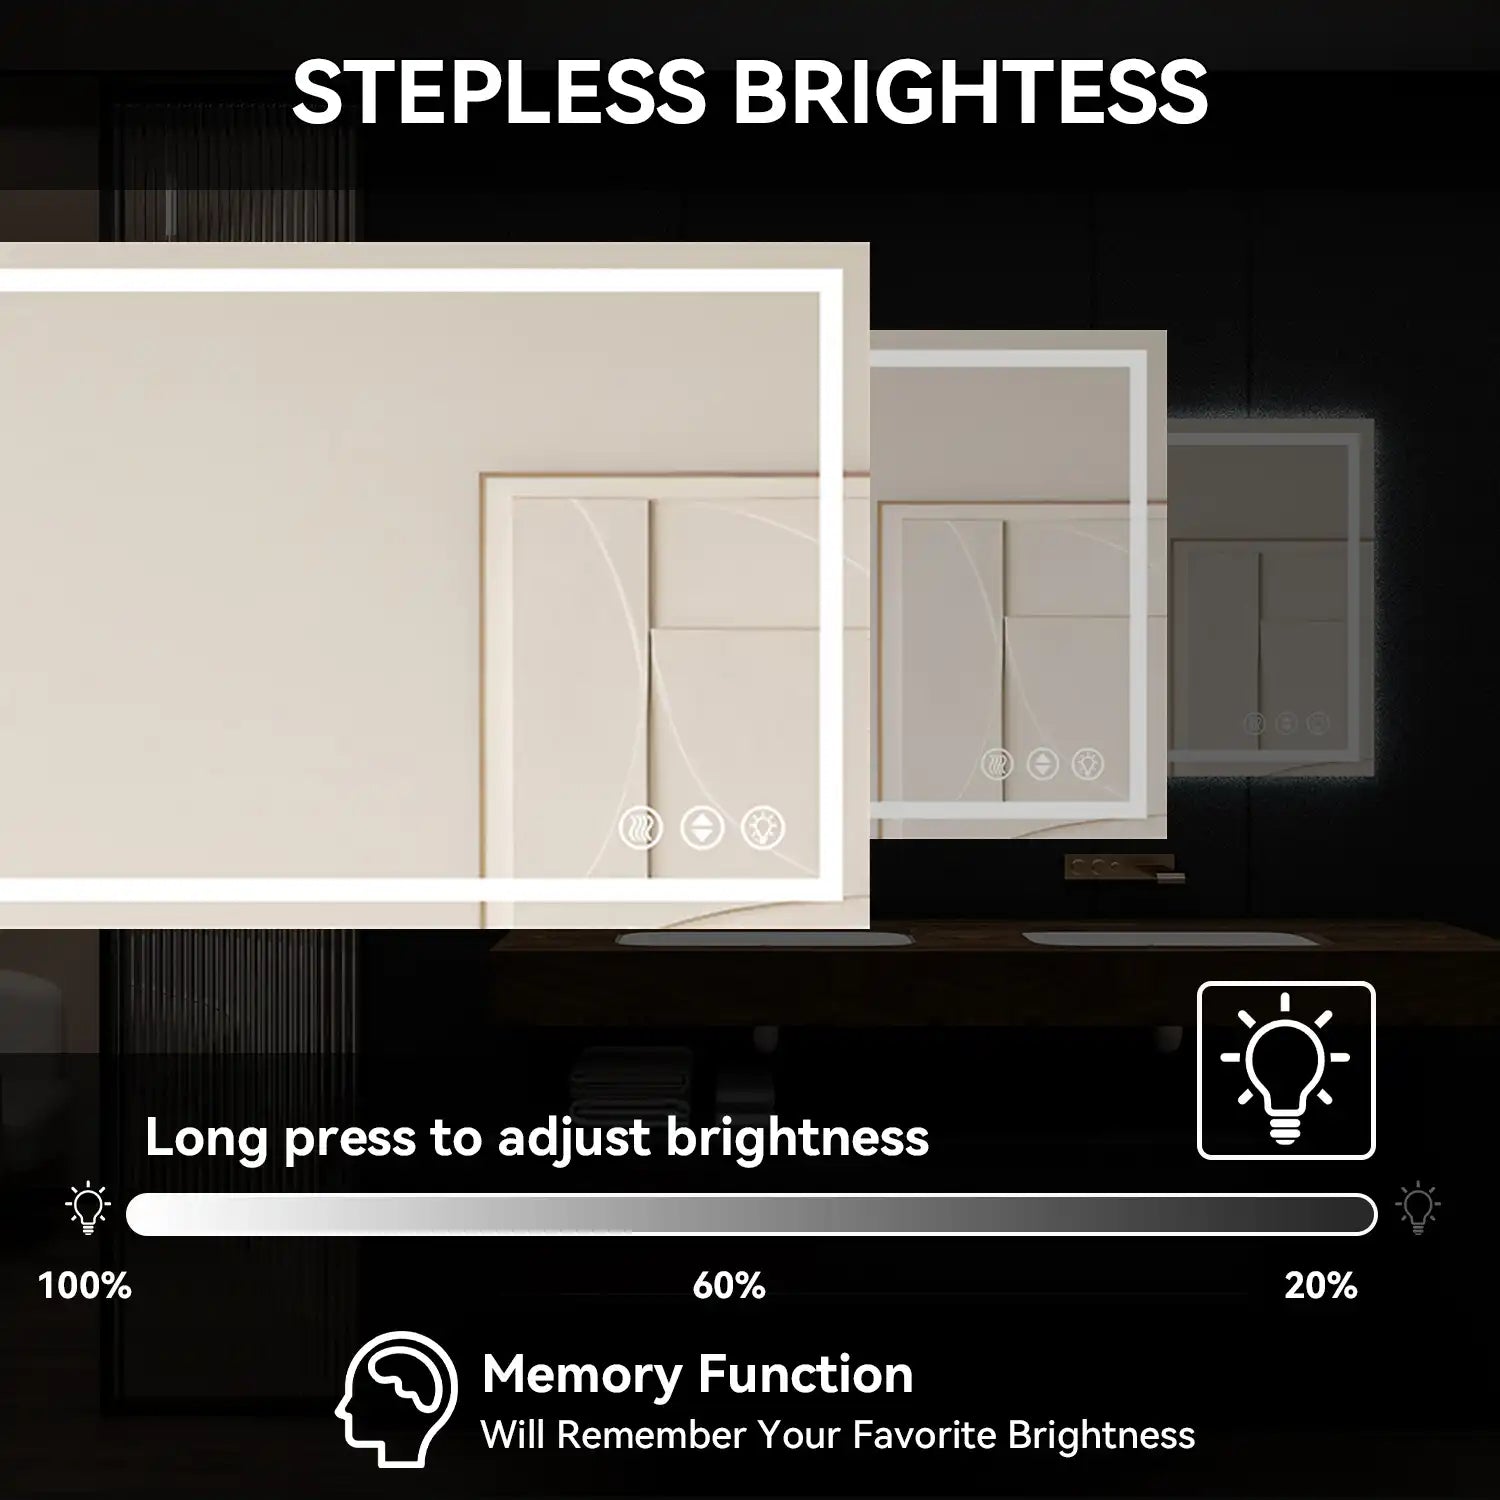
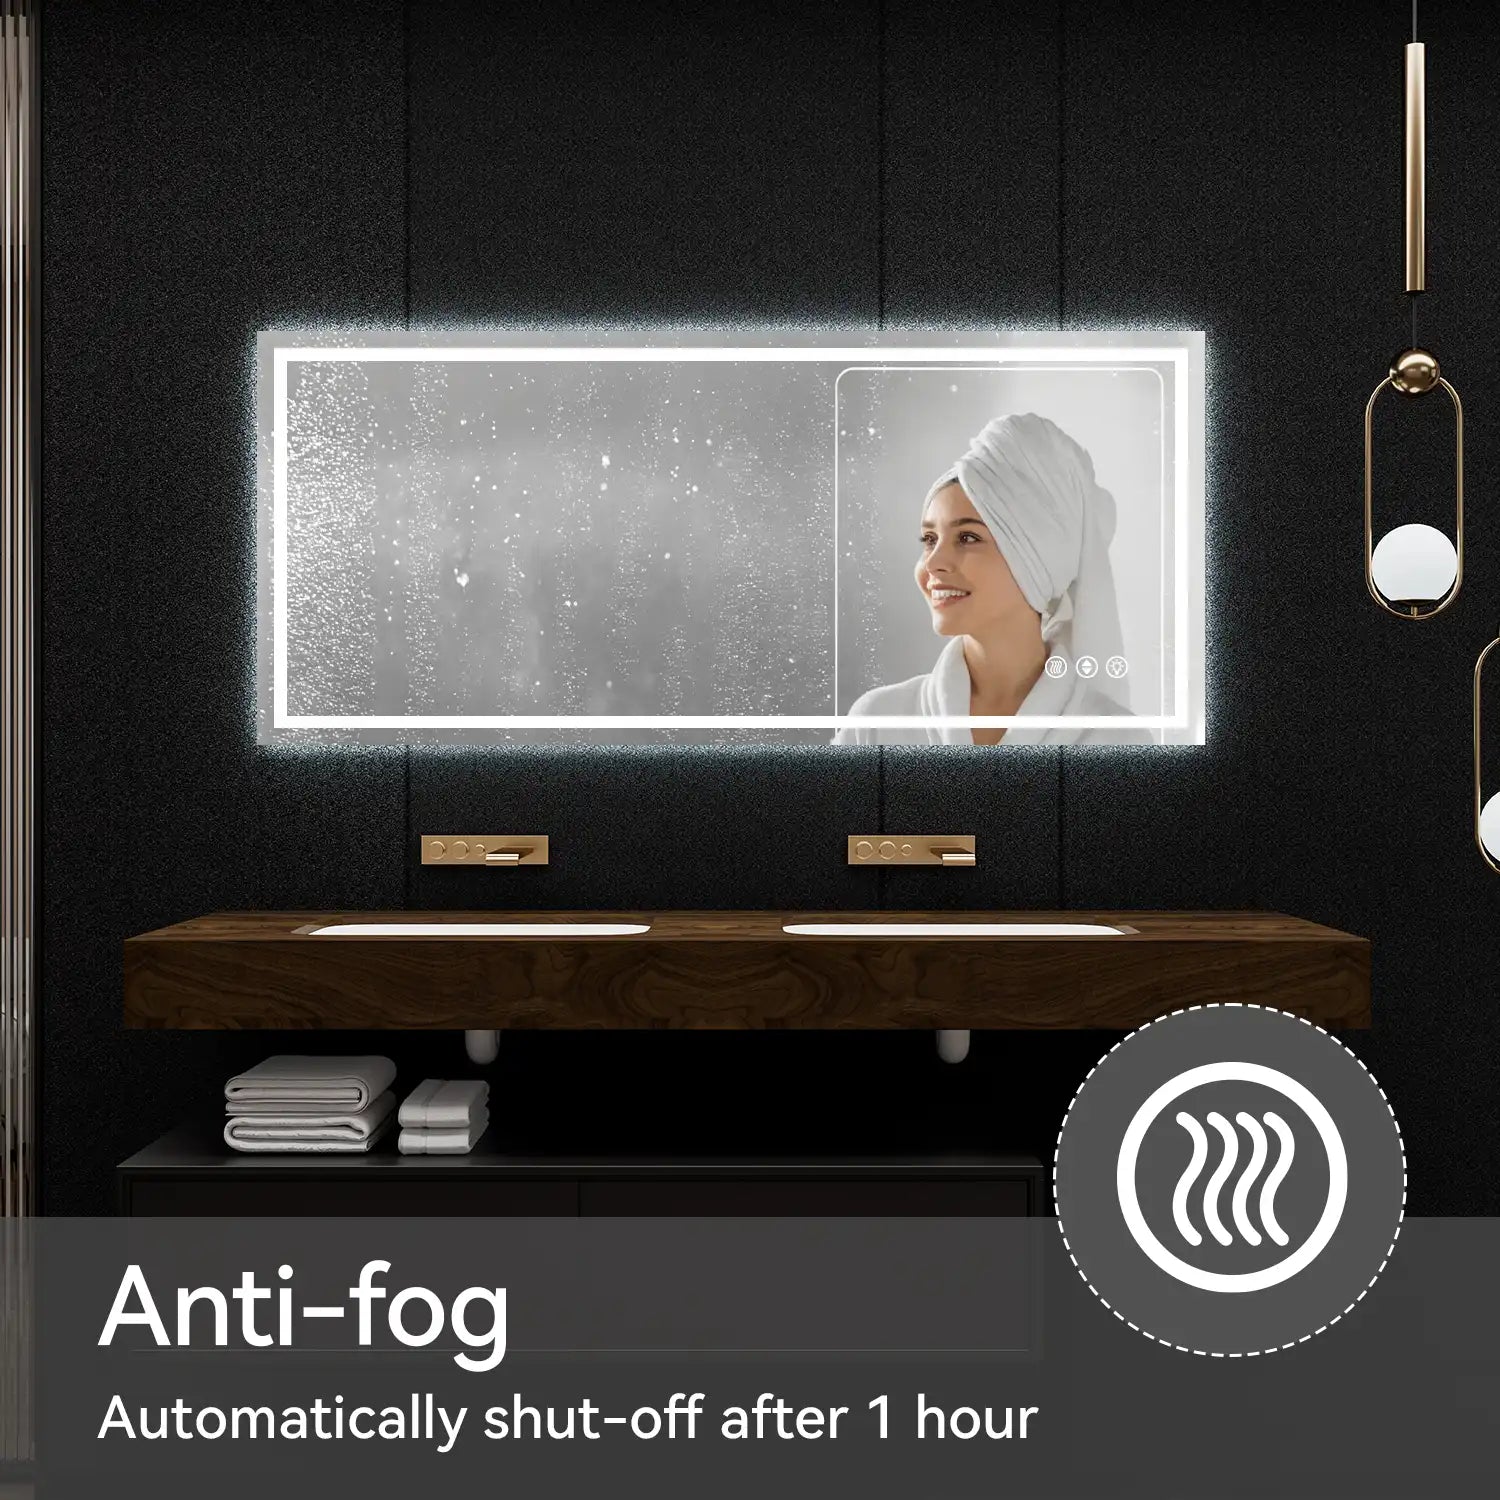
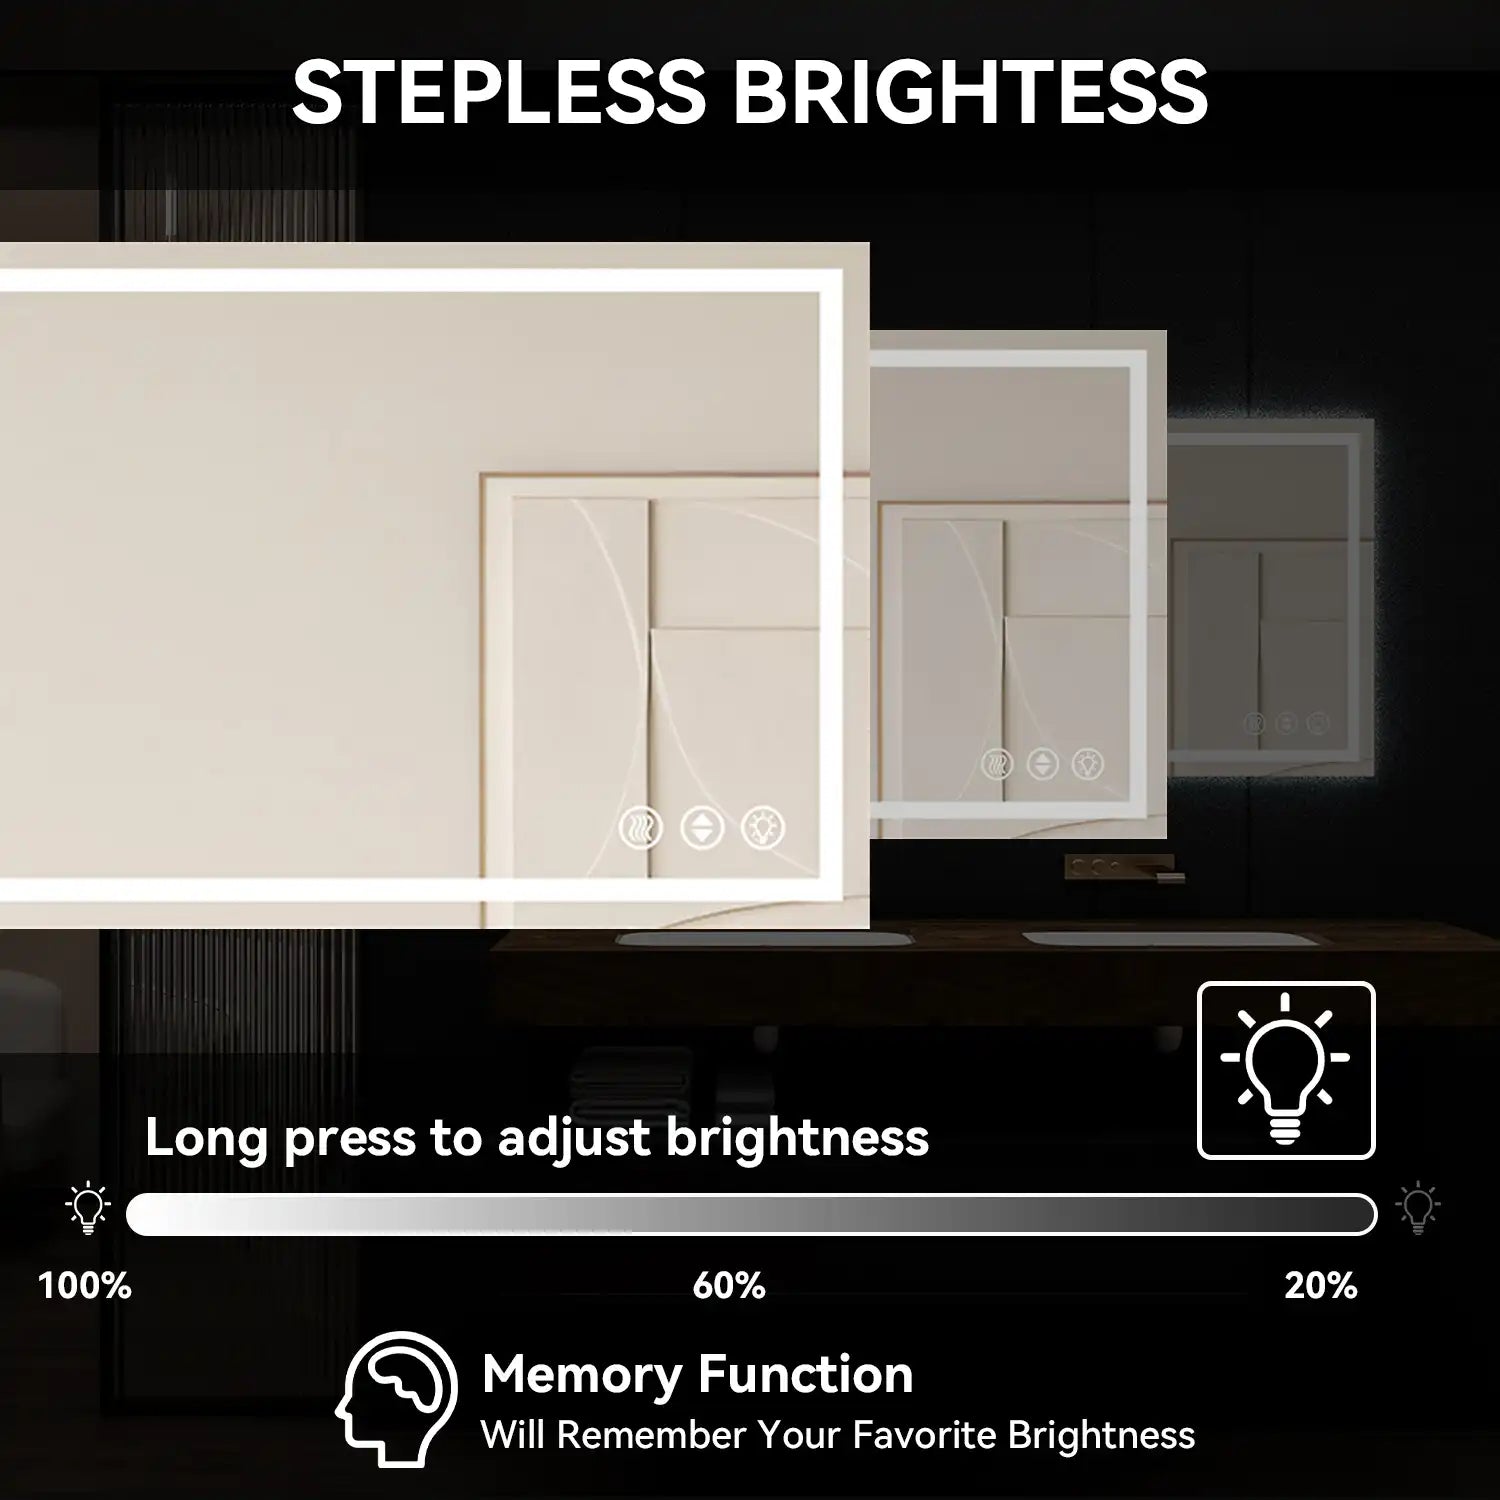
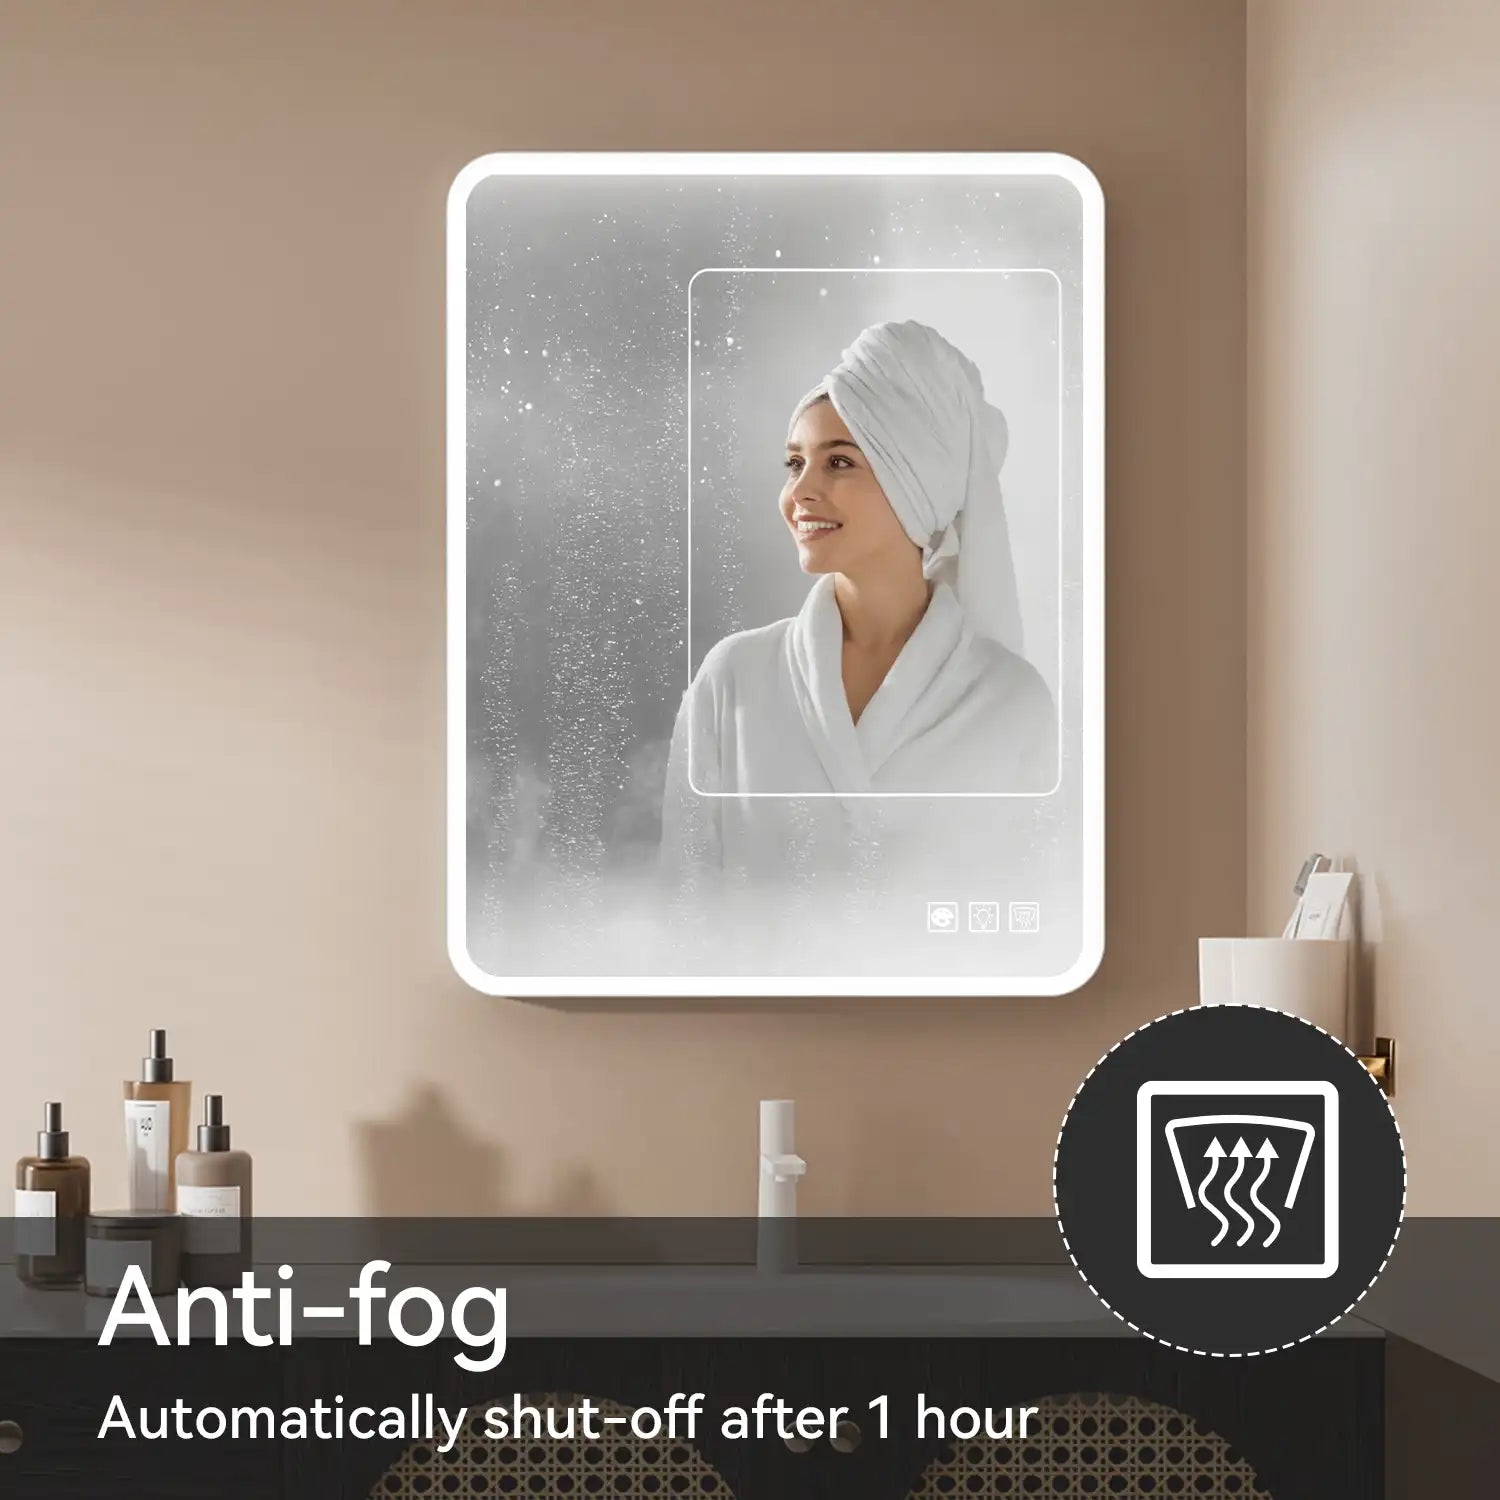
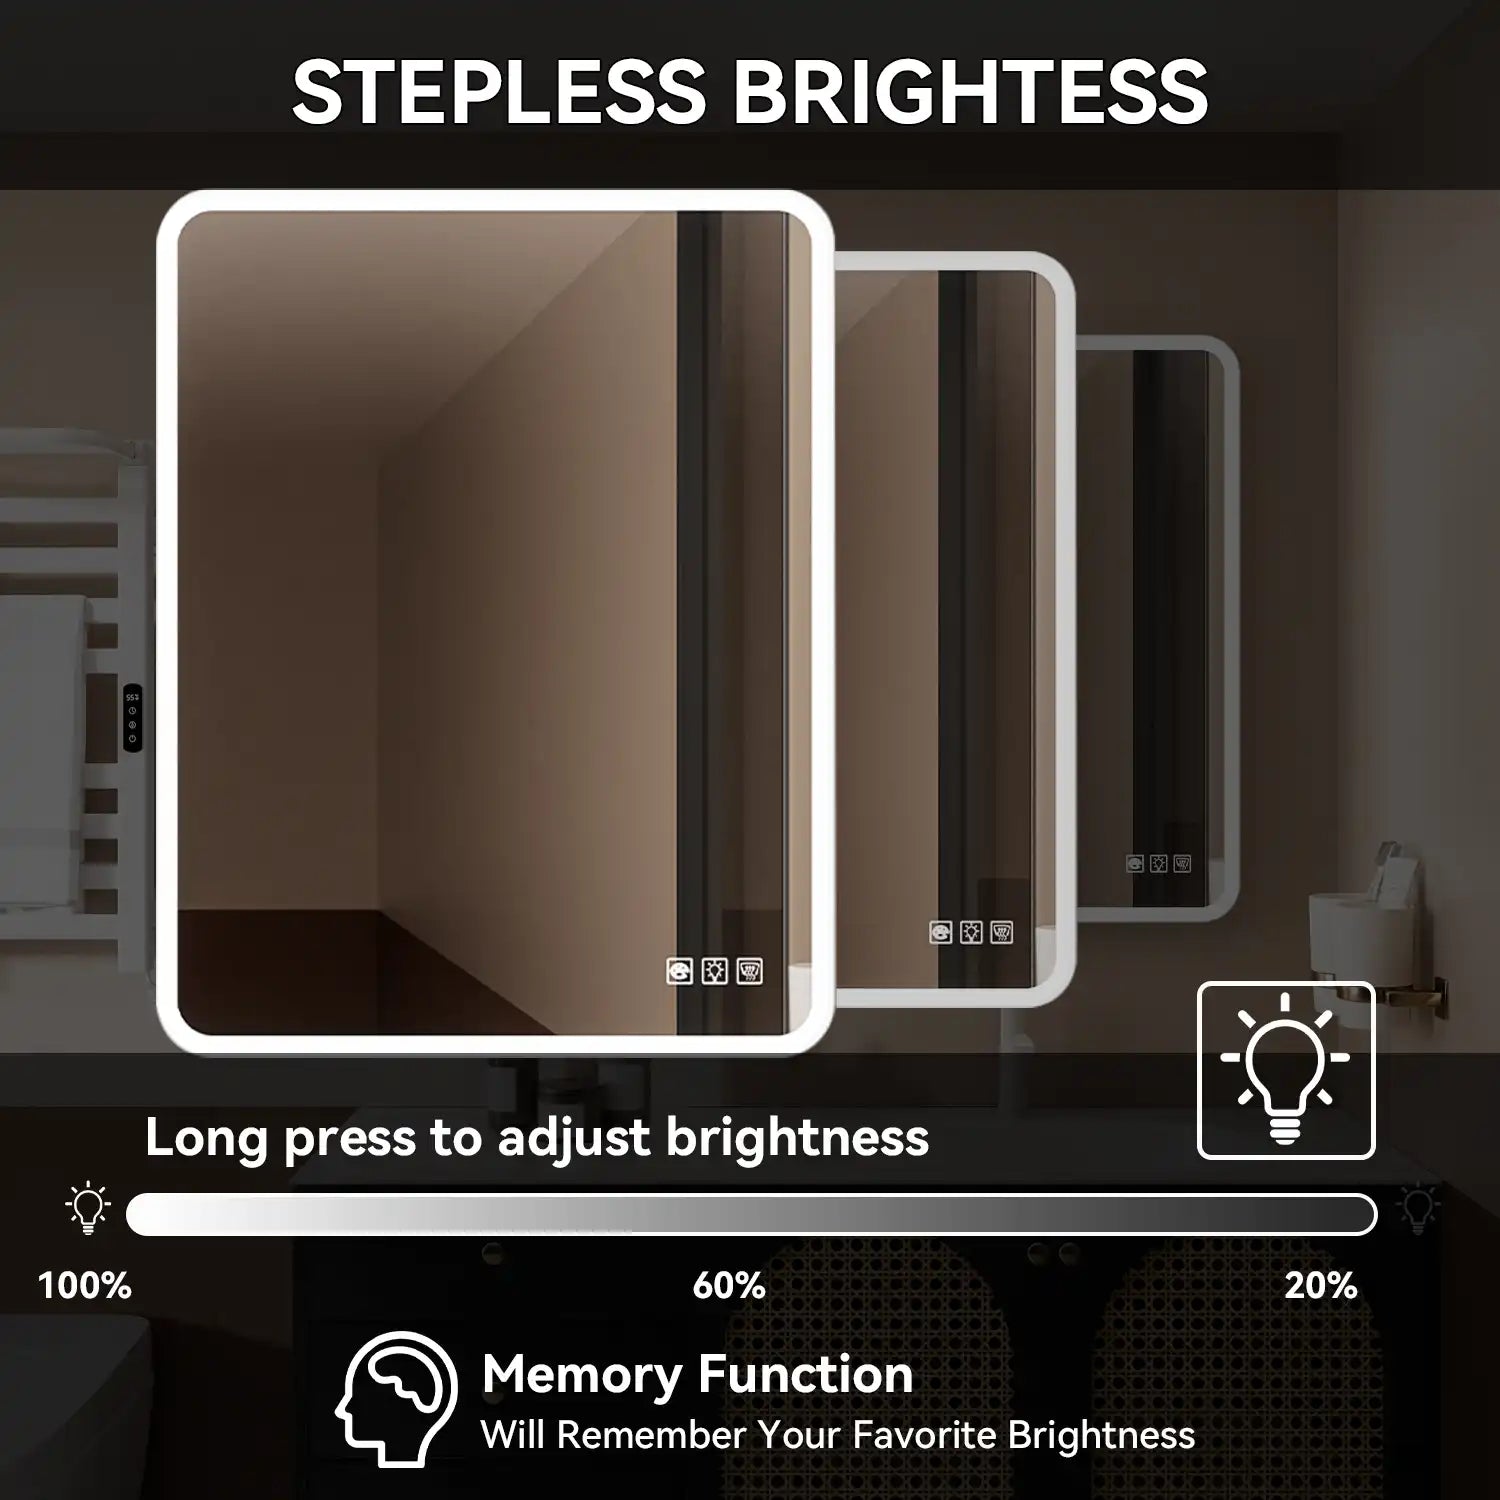
- Integrated Features: Some bathroom mirrors come with additional features like anti-fog systems, dimmable lights, or even built-in Bluetooth speakers. These features can enhance the functionality of your mirror and provide a more luxurious bathroom experience. For example, anti-fog mirrors use heating elements to keep the surface clear even in steamy conditions, which is particularly useful in busy households.
Gathering the Necessary Tools and Materials
To ensure a smooth installation process, gather the following tools and materials before you begin:
- Power drill and bits: For drilling holes in the wall.
- Level: To ensure your mirror is hung straight.
- Measuring tape: To measure and mark precise points for installation.
- Stud finder: To locate wall studs for secure mounting.
- Screwdriver: For securing screws.
- Wire stripper/cutter: For preparing electrical wires.
- Electrical tape: For insulating wire connections.
- Wall anchors and screws: If you’re not mounting directly into studs.
- Safety gear: Gloves and safety glasses to protect yourself during installation.
Ensuring Safety Precautions
Working with electrical components requires caution. Follow these safety steps to ensure a safe installation:
- Turn Off Power: Always shut off the power to the bathroom at the circuit breaker before starting any electrical work. According to the National Electrical Code (NEC), ensuring the power is off before handling wiring is essential to prevent electrical shock.
- Check Local Building Codes: Make sure your installation complies with local building codes, especially concerning electrical work. Different areas have varying regulations, so it's important to be informed before starting your project.
- Use a Voltage Tester: After turning off the power, use a voltage tester to confirm that the wires you’ll be working with are not live. This step is crucial, as it provides an extra layer of safety before you start connecting wires.
Step-by-Step Installation Guide
With your preparation complete, you’re ready to start the installation. Follow these steps carefully to ensure a secure and professional installation.
Marking the Position for Your Mirror

Begin by determining the exact position where you want to install the mirror:
- Measure and Mark: Use your measuring tape to find the center of the wall above your vanity. Lightly mark this point with a pencil.
- Consider Height: Typically, the center of the mirror should be about 60-65 inches from the floor, which is a comfortable height for most users. Adjust this height based on the height of those who will be using the mirror most often.
- Check Alignment: Use a level to ensure your marks are straight, both horizontally and vertically. Proper alignment is key to avoiding a crooked installation.
Preparing the Wall for Mounting
Next, prepare the wall to securely hold your bathroom mirror:
- Locate Studs: Use a stud finder to locate the wall studs behind the drywall. Mark these locations as they will provide the most secure mounting points.
- Drill Pilot Holes: If your mirror comes with a mounting bracket, hold it up to the marked position and drill pilot holes where the screws will go. If there are no studs at your mounting points, use wall anchors to ensure a secure hold.
- Install Anchors or Screws: Insert wall anchors into the pilot holes if necessary, then screw in the screws, leaving them protruding slightly to hold the mirror’s mounting bracket.
Wiring the Mirror’s Lights

Connecting the wiring is the most critical part of the installation. Here’s how to do it safely:
- Identify the Wires: Your bathroom mirror will typically have three wires: live (black or red), neutral (white), and ground (green or bare). The wires in your wall should correspond to these colors.
- Connect the Wires: Strip about half an inch of insulation from the ends of each wire. Connect the corresponding wires from the mirror to the wires in your wall—live to live, neutral to neutral, and ground to ground. Secure these connections with wire nuts and wrap them with electrical tape for added safety.
- Test the Connection: Before fully securing the mirror, turn the power back on at the circuit breaker and test the lights to ensure they work. If everything functions correctly, turn the power off again to complete the installation.
Mounting the Mirror
With the wiring complete, it’s time to mount your mirror:
- Attach the Mounting Bracket: If your mirror has a separate mounting bracket, secure it to the screws or anchors installed earlier. Ensure it’s level and securely fastened.
- Hang the Mirror: Carefully lift the mirror and hang it onto the mounting bracket. Some mirrors may require additional screws to be secured at the top or bottom.
- Final Adjustments: Make any final adjustments to ensure the mirror is straight and securely attached. If the mirror includes an anti-fog feature, ensure it is properly connected to the electrical supply.
Finishing Touches
Once your mirror is mounted, finish up the installation with these final steps:
- Seal the Edges: If your mirror is near a water source, consider sealing the edges with silicone to prevent moisture from seeping behind the mirror. This helps protect both the mirror and the wall from water damage.
- Clean the Surface: Wipe down the mirror and surrounding area to remove fingerprints, dust, and any debris from the installation process.
- Final Power On: Turn the power back on at the circuit breaker and check that the lights and any additional features (such as anti-fog) are working as expected.
Troubleshooting Common Installation Issues
Even with careful preparation, you might encounter some issues during installation. Here’s how to address common problems:
Problem 1: Mirror Lights Not Turning On
If your mirror’s lights don’t turn on after installation:
- Double-Check Wiring: Ensure all wire connections are secure and correctly matched.
- Check the Circuit Breaker: Make sure the circuit breaker hasn’t tripped.
- Test the Voltage: Use a voltage tester to confirm that power is reaching the mirror.
Problem 2: Mirror Is Crooked
If the mirror isn’t hanging straight:
- Adjust the Bracket: Loosen the screws slightly and adjust the mounting bracket to correct the alignment.
- Use Shims: Place small shims behind the bracket or mirror to level it out.
Problem 3: Flickering Lights
If the lights flicker:
- Check the Connections: Flickering often results from loose or incorrect wiring connections. Double-check all wire nuts and ensure they’re tightly secured.
- Replace the Bulbs: If the mirror uses replaceable bulbs, try replacing them to see if that resolves the issue. If the flickering persists, you may need to replace the LED driver or consult a professional electrician.
Conclusion: Enhancing Your Bathroom with a Lighted Mirror

Installing a bathroom mirror with lights can significantly enhance both the functionality and aesthetics of your bathroom. By following this step-by-step guide, you can confidently install your new mirror, creating a well-lit and stylish space that elevates your daily routine.
Whether you're upgrading for better lighting, a modern look, or the convenience of integrated features like anti-fog or Bluetooth, a well-installed bathroom mirror with lights is an investment in both style and utility. Brands like ACE DECOR, Kohler, and Keonjinn offer a variety of options to suit different styles and budgets, ensuring that you can find the perfect mirror for your space.
Take your time with the installation process, ensuring that every step is done correctly for a secure and lasting result. With the right preparation and tools, your bathroom will soon feature a beautifully installed mirror that provides the perfect blend of function and form.
Frequently Asked Questions (FAQ)
How do I choose the right size bathroom mirror with lights?
Select a mirror that is proportionate to your vanity and bathroom size. The mirror’s width should not exceed the width of the vanity, and it should ideally be centered above it for a balanced look.
Is it difficult to wire a bathroom mirror with lights?
While wiring can be complex, following safety guidelines and ensuring correct wire connections can make the process manageable. Always ensure the power is off before starting.
Can I install a bathroom mirror with lights without professional help?
Yes, with the right tools and careful attention to instructions, many homeowners can install a bathroom mirror with lights themselves. However, if you’re unsure about electrical work, it’s best to consult a professional.
What if my bathroom mirror with lights doesn’t work after installation?
If the mirror doesn’t work, double-check the wiring connections, ensure the power is on, and that the circuit breaker hasn’t tripped. If problems persist, consult a professional electrician.
