Table of Contents
- What are pivot hinges?
- Tools you’ll need first
- Step 1: Identify the issue
- Step 2: Inspect both hinges
- Step 3: Adjust and test again
- Step 4: Tighten everything up
- Step 5 (Optional): Use lubrication
- Common troubleshooting questions
- Why adjust instead of replace?
- Final thoughts
- More articles to explore
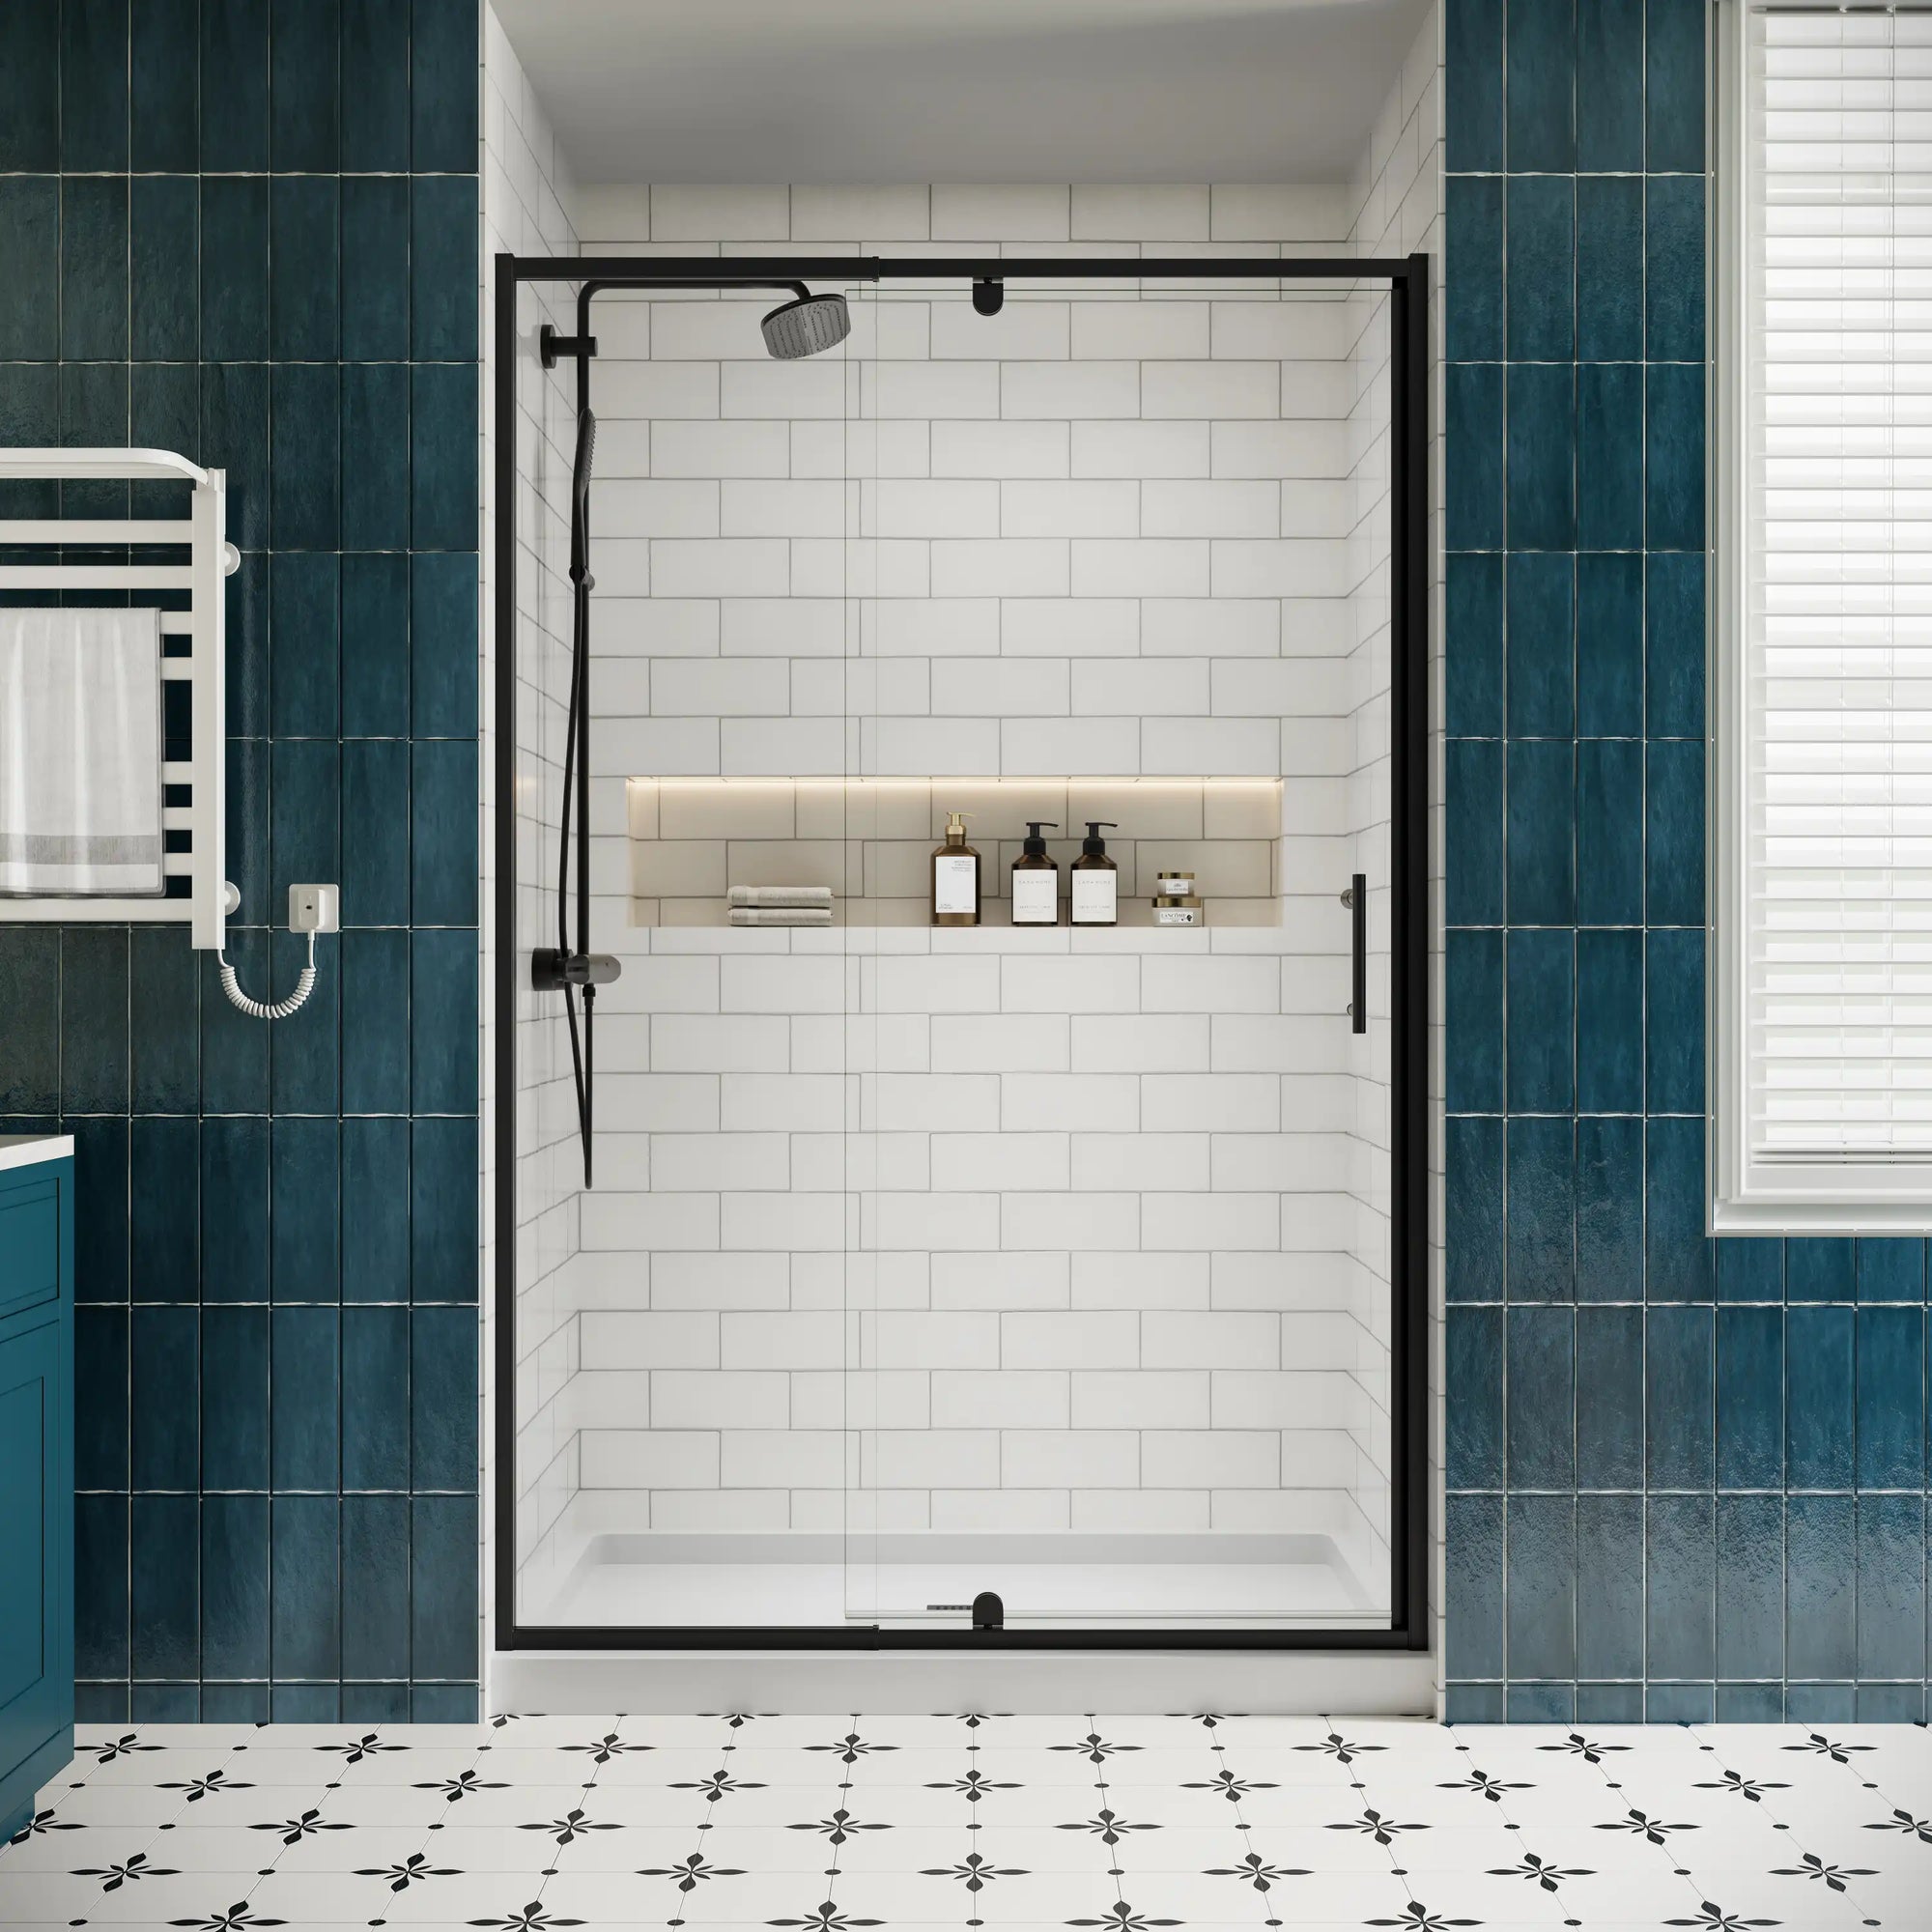
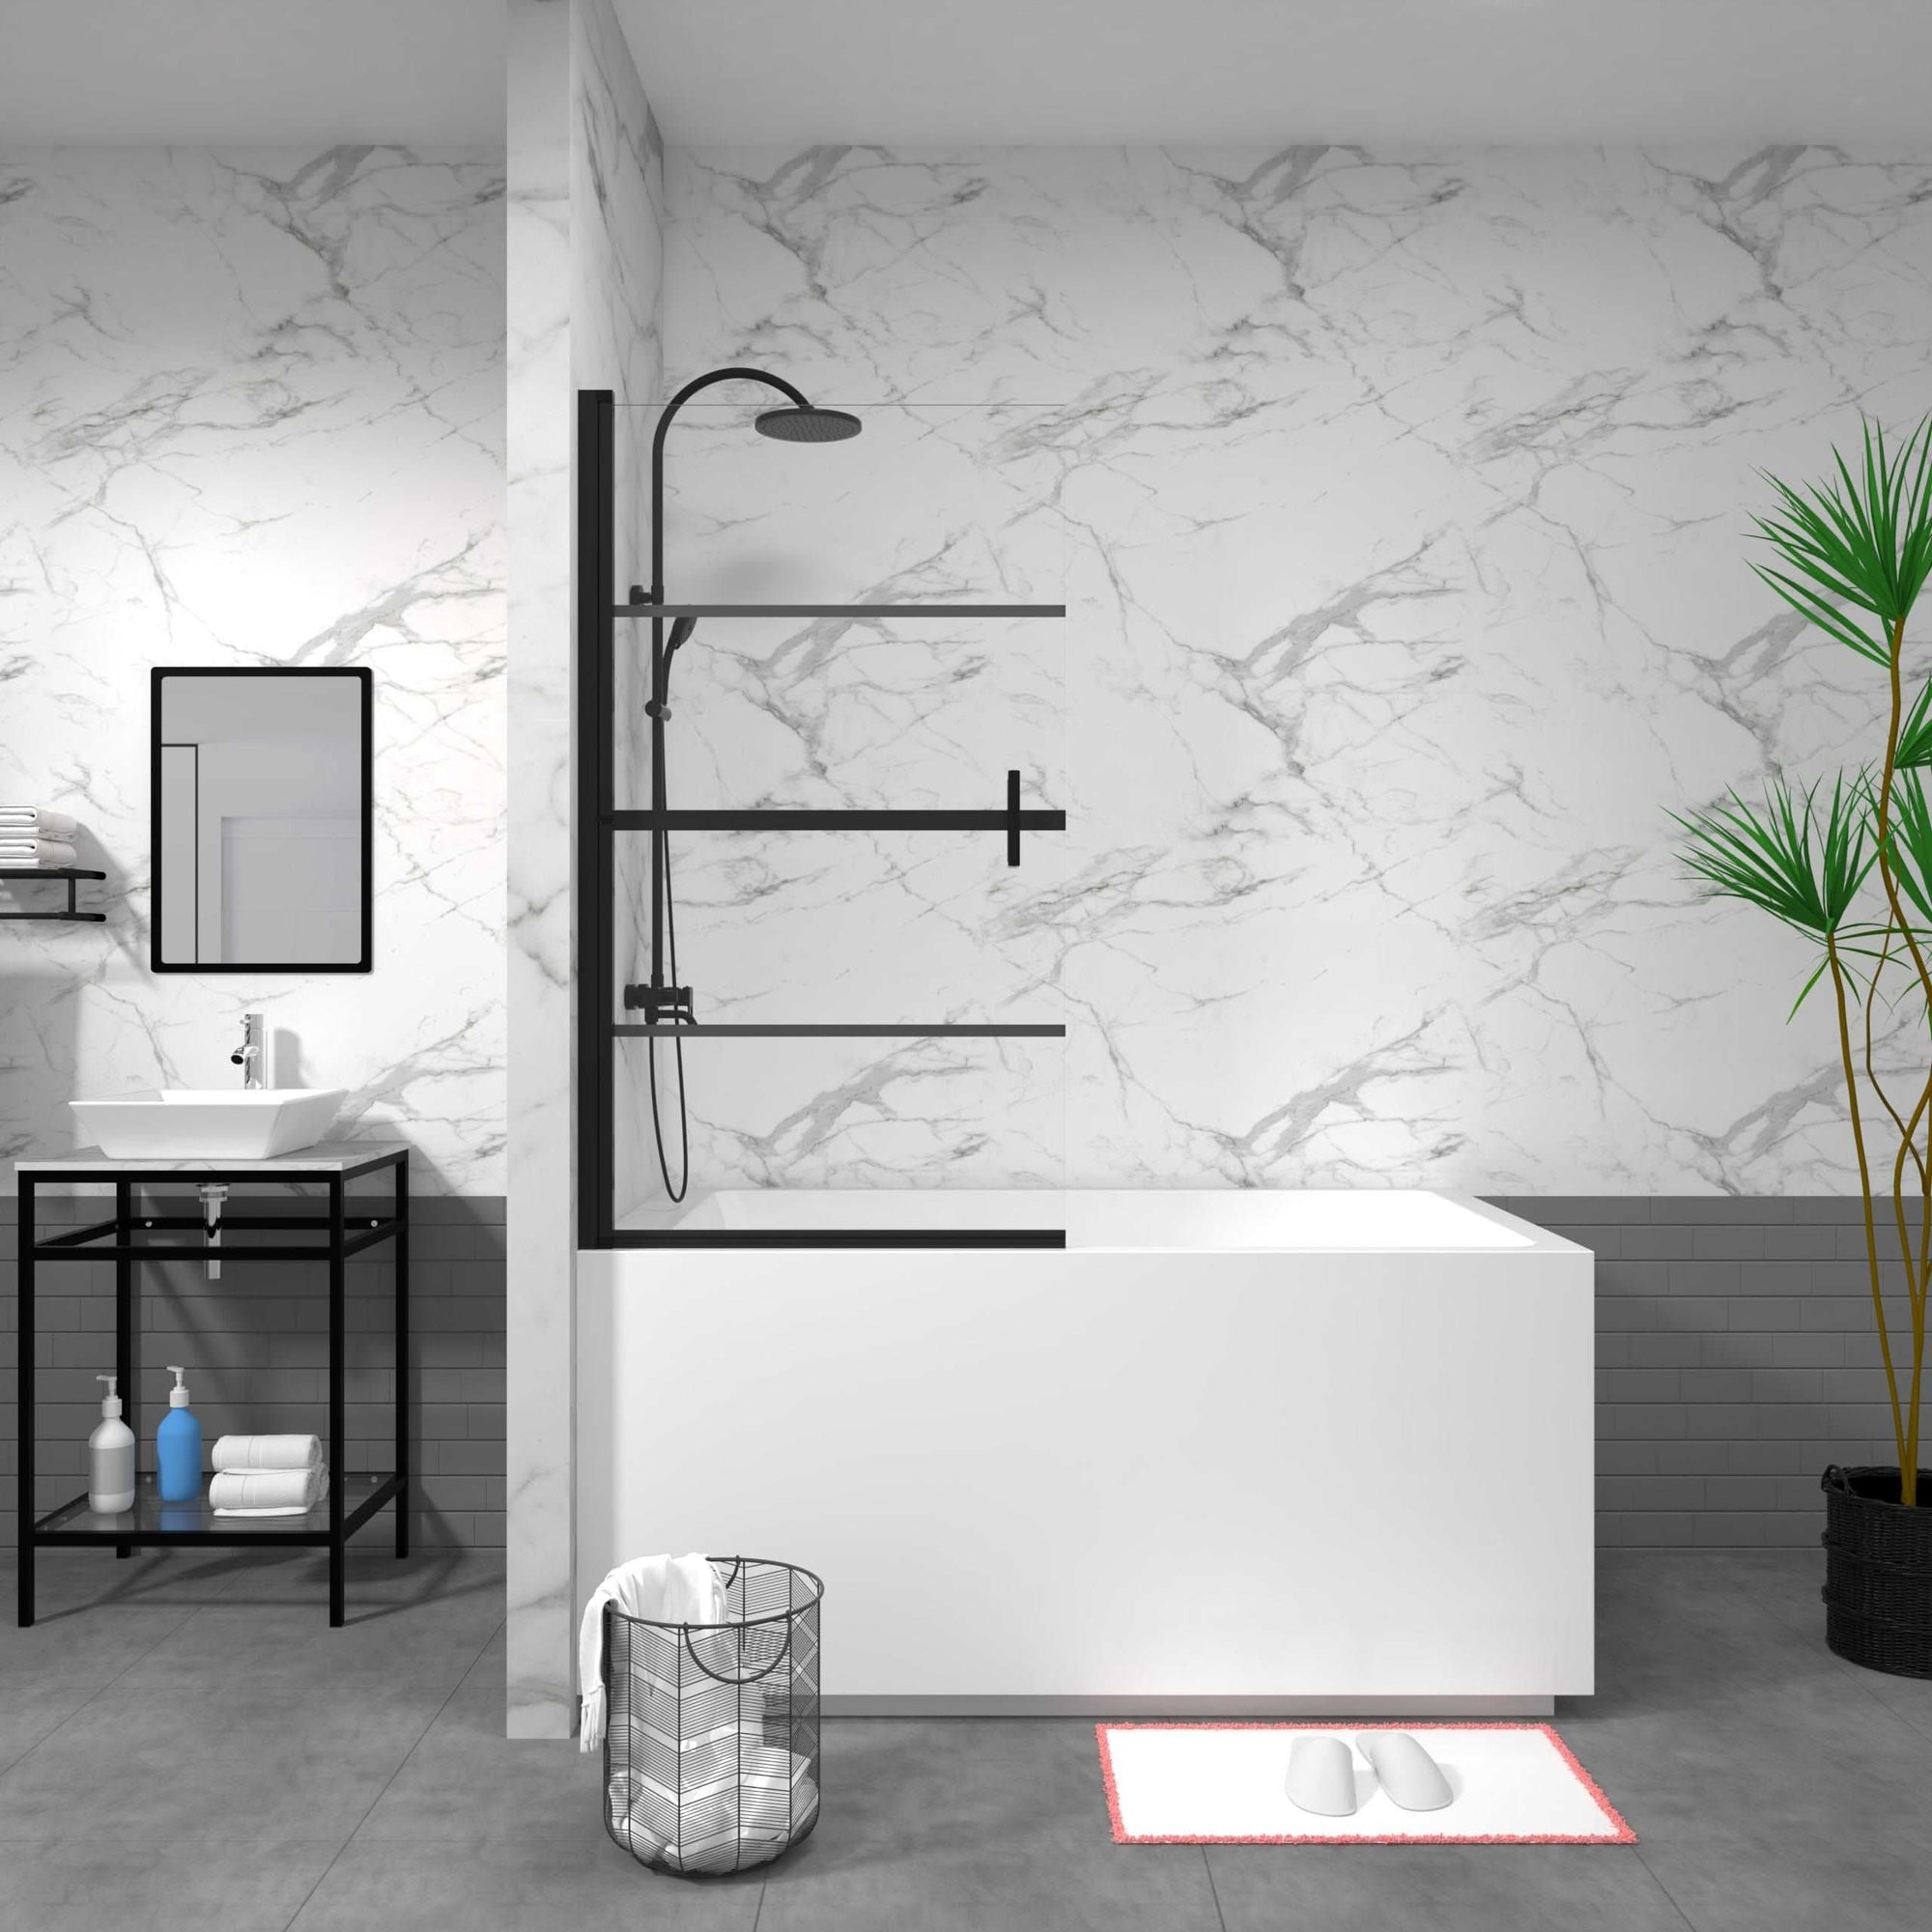
Glass shower doors have this amazing way of making any bathroom feel sleek, modern, and just a little bit luxurious… until they stop working properly. If your door is sagging, refusing to close snugly, or worse, scraping against the floor, you might think the only solution is replacing it. But hold up! Before you spend hundreds (or thousands!) of dollars, let me show you how to adjust the pivot hinges on your glass shower door. Trust me, it’s easier than you think!
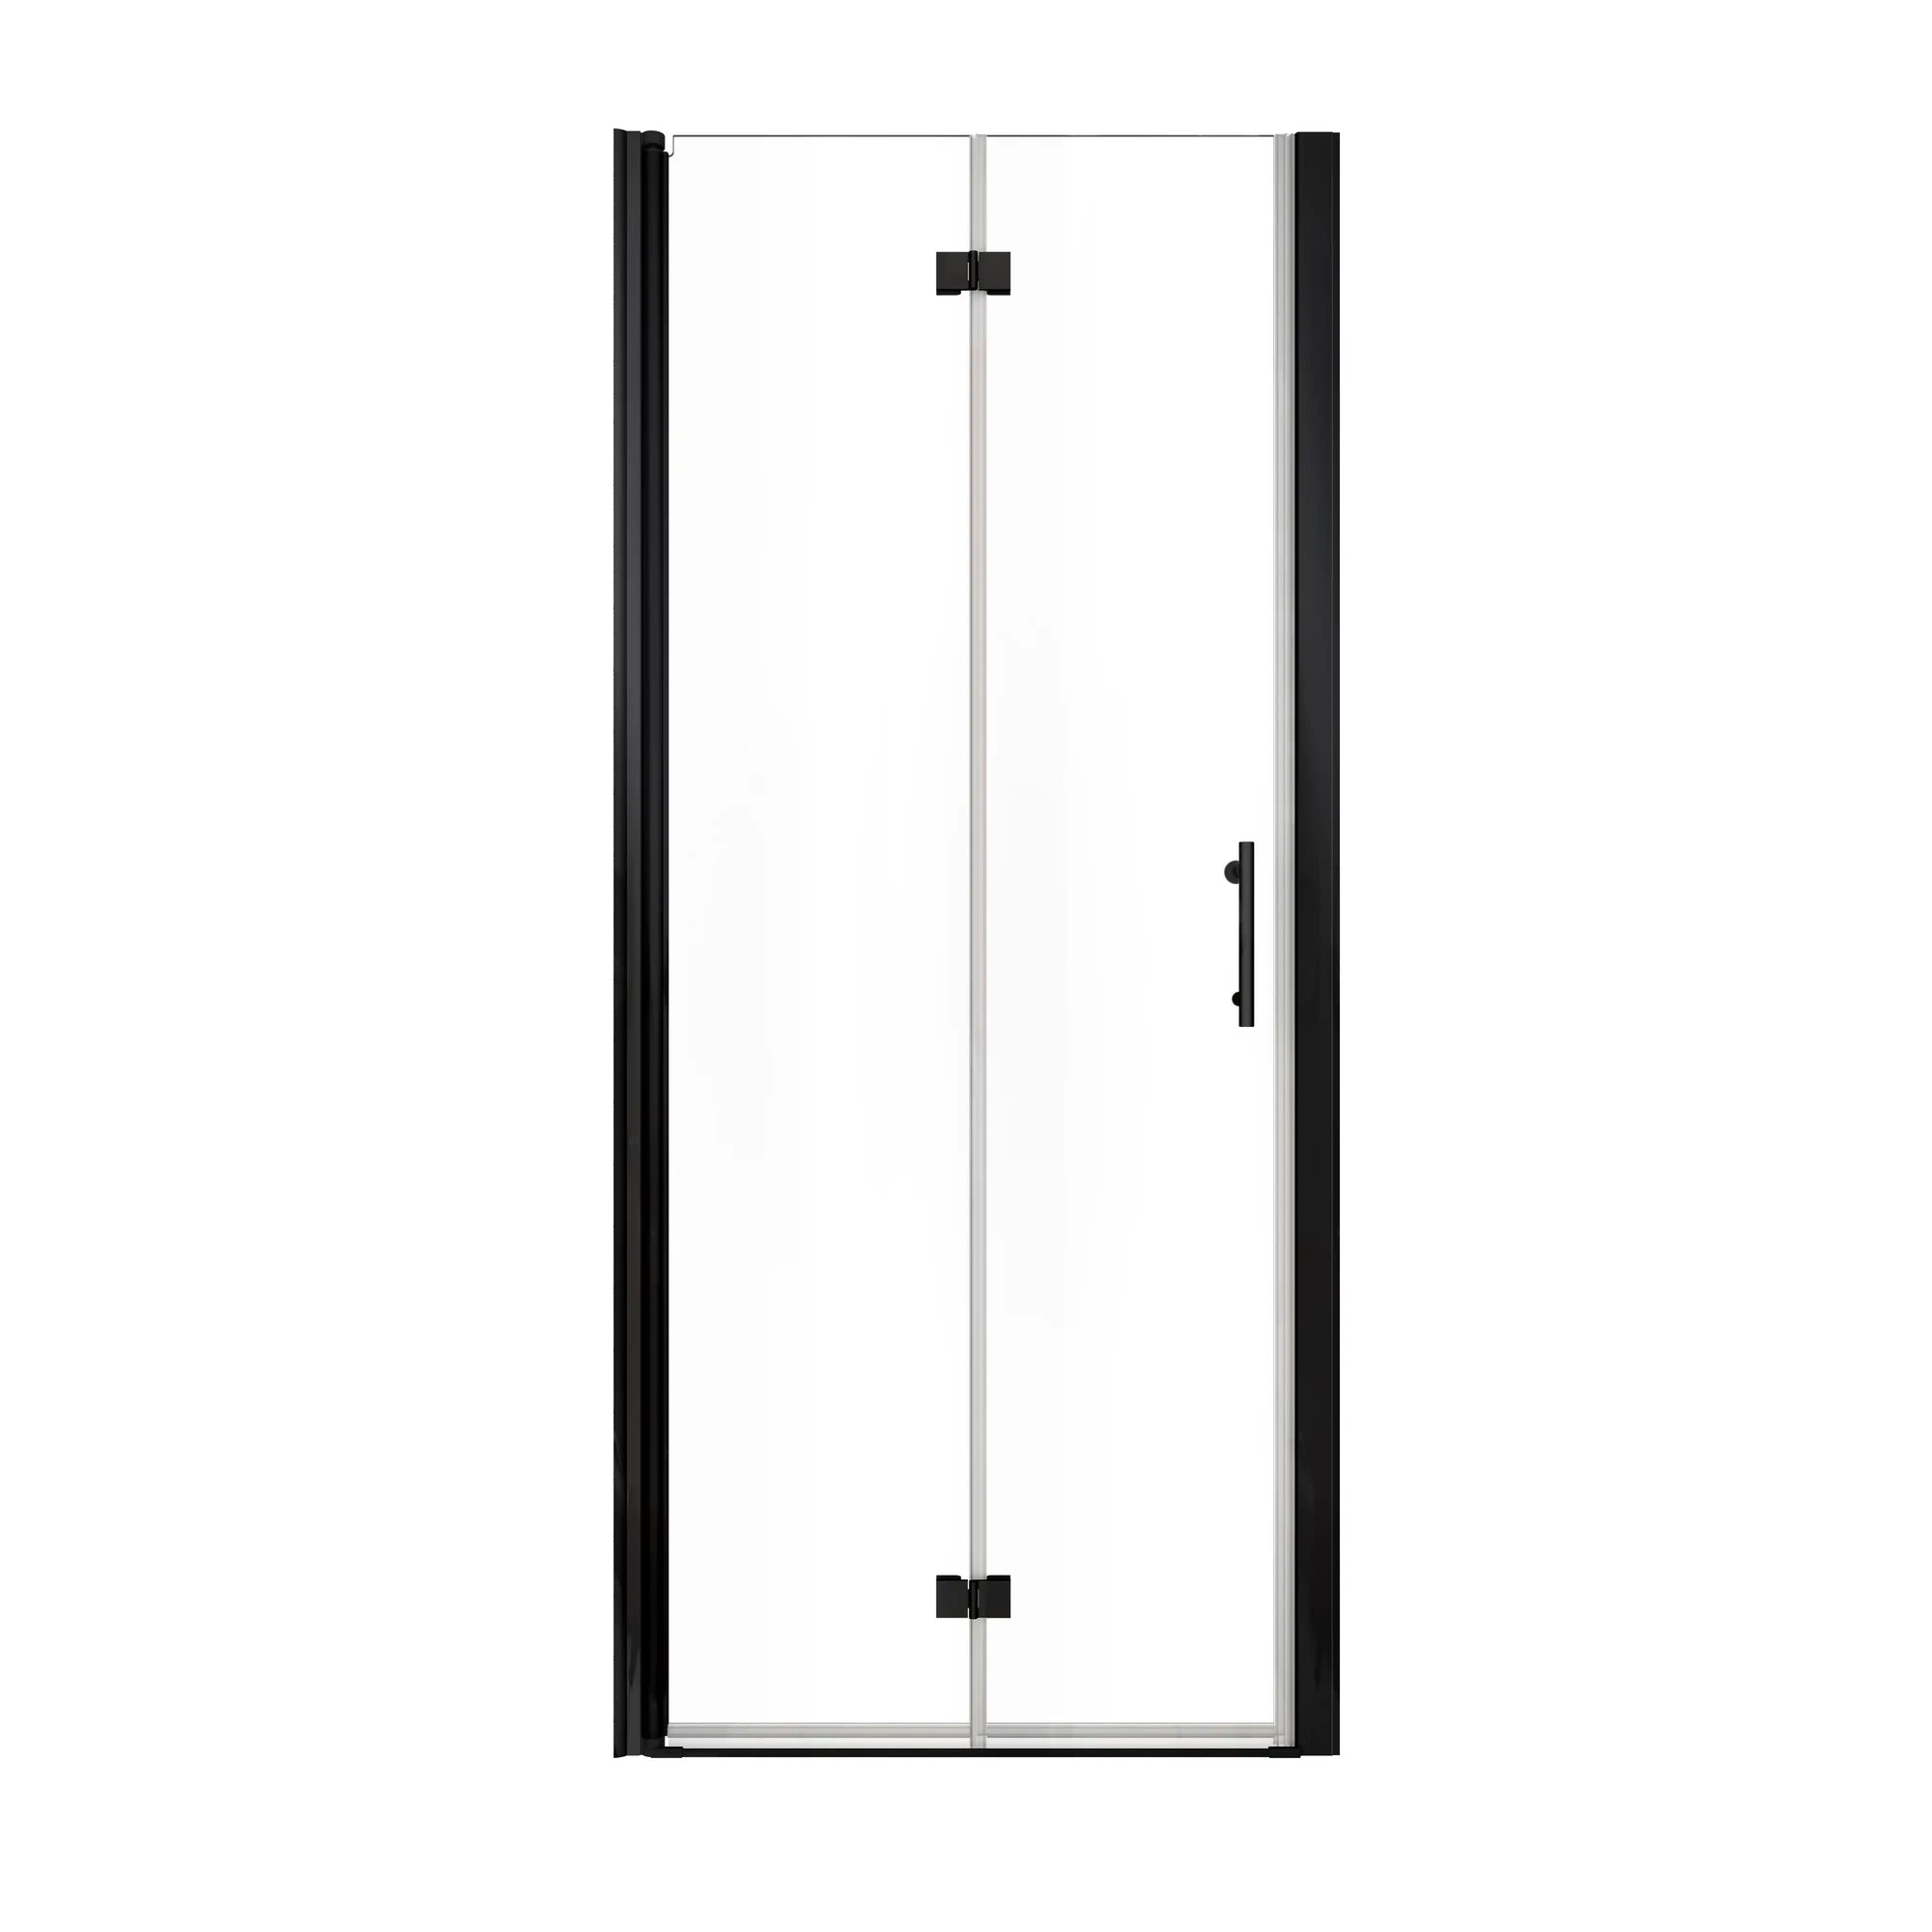
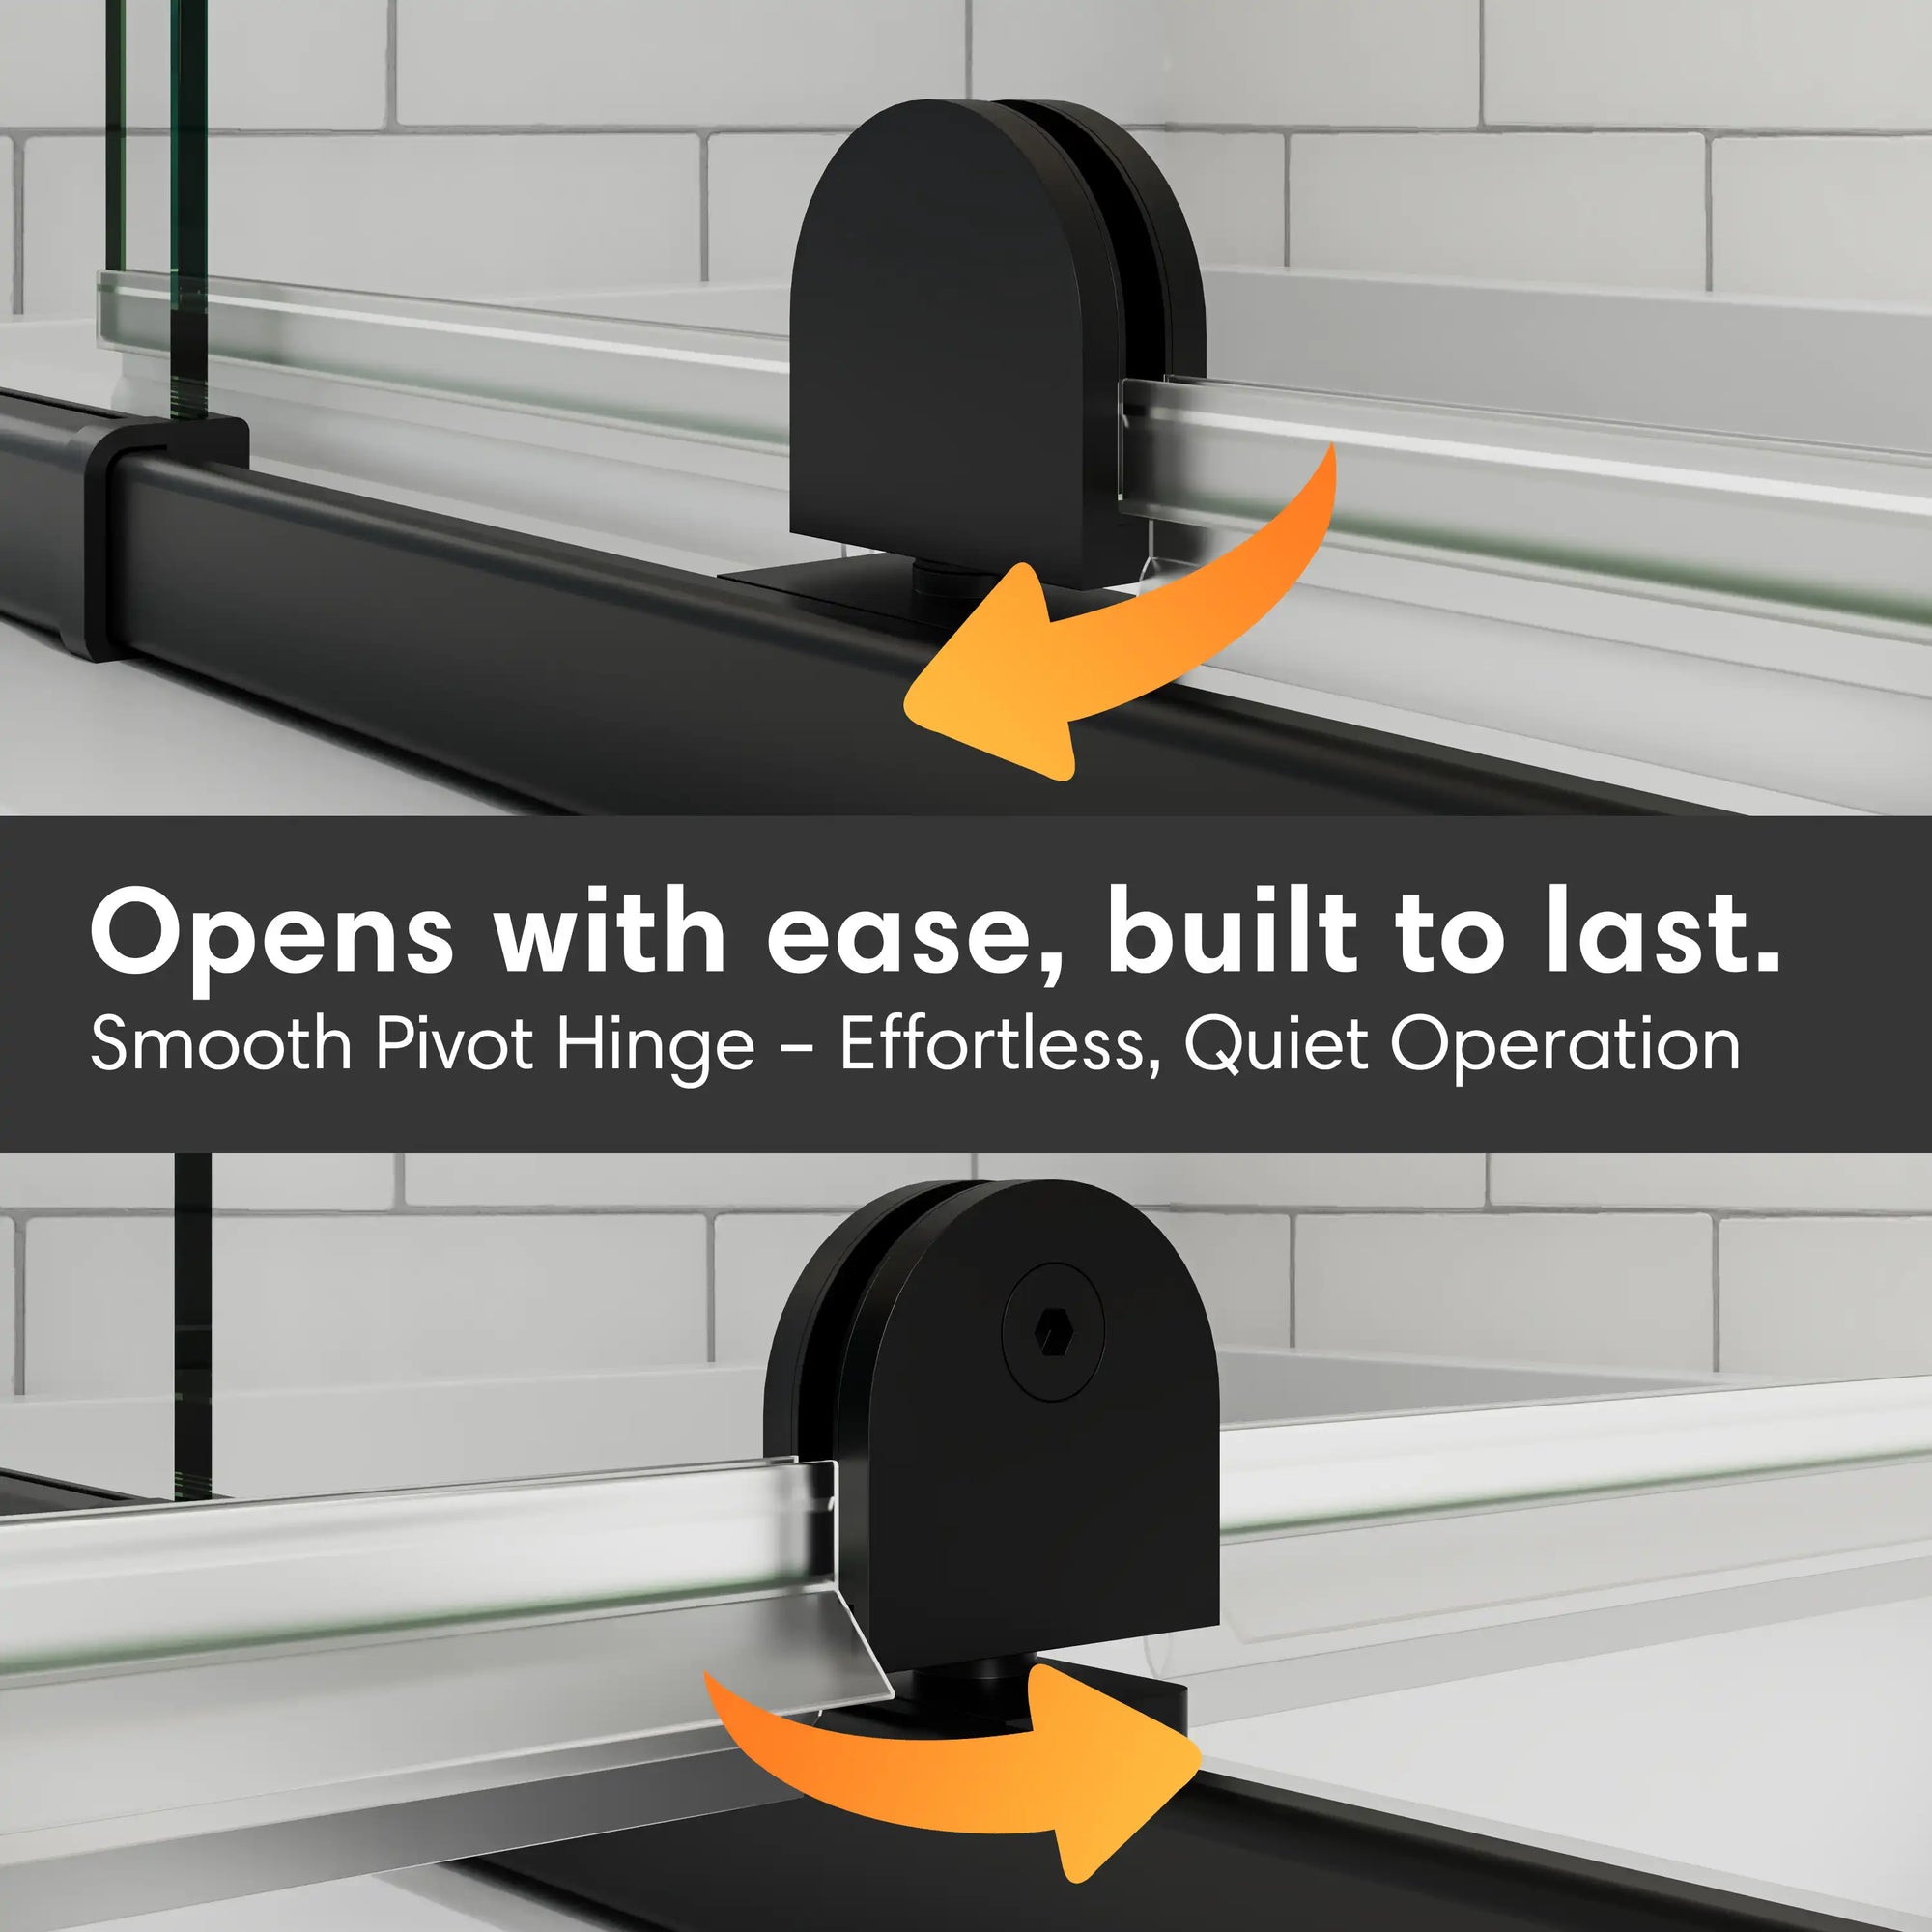
What Are Pivot Hinges, Anyway?

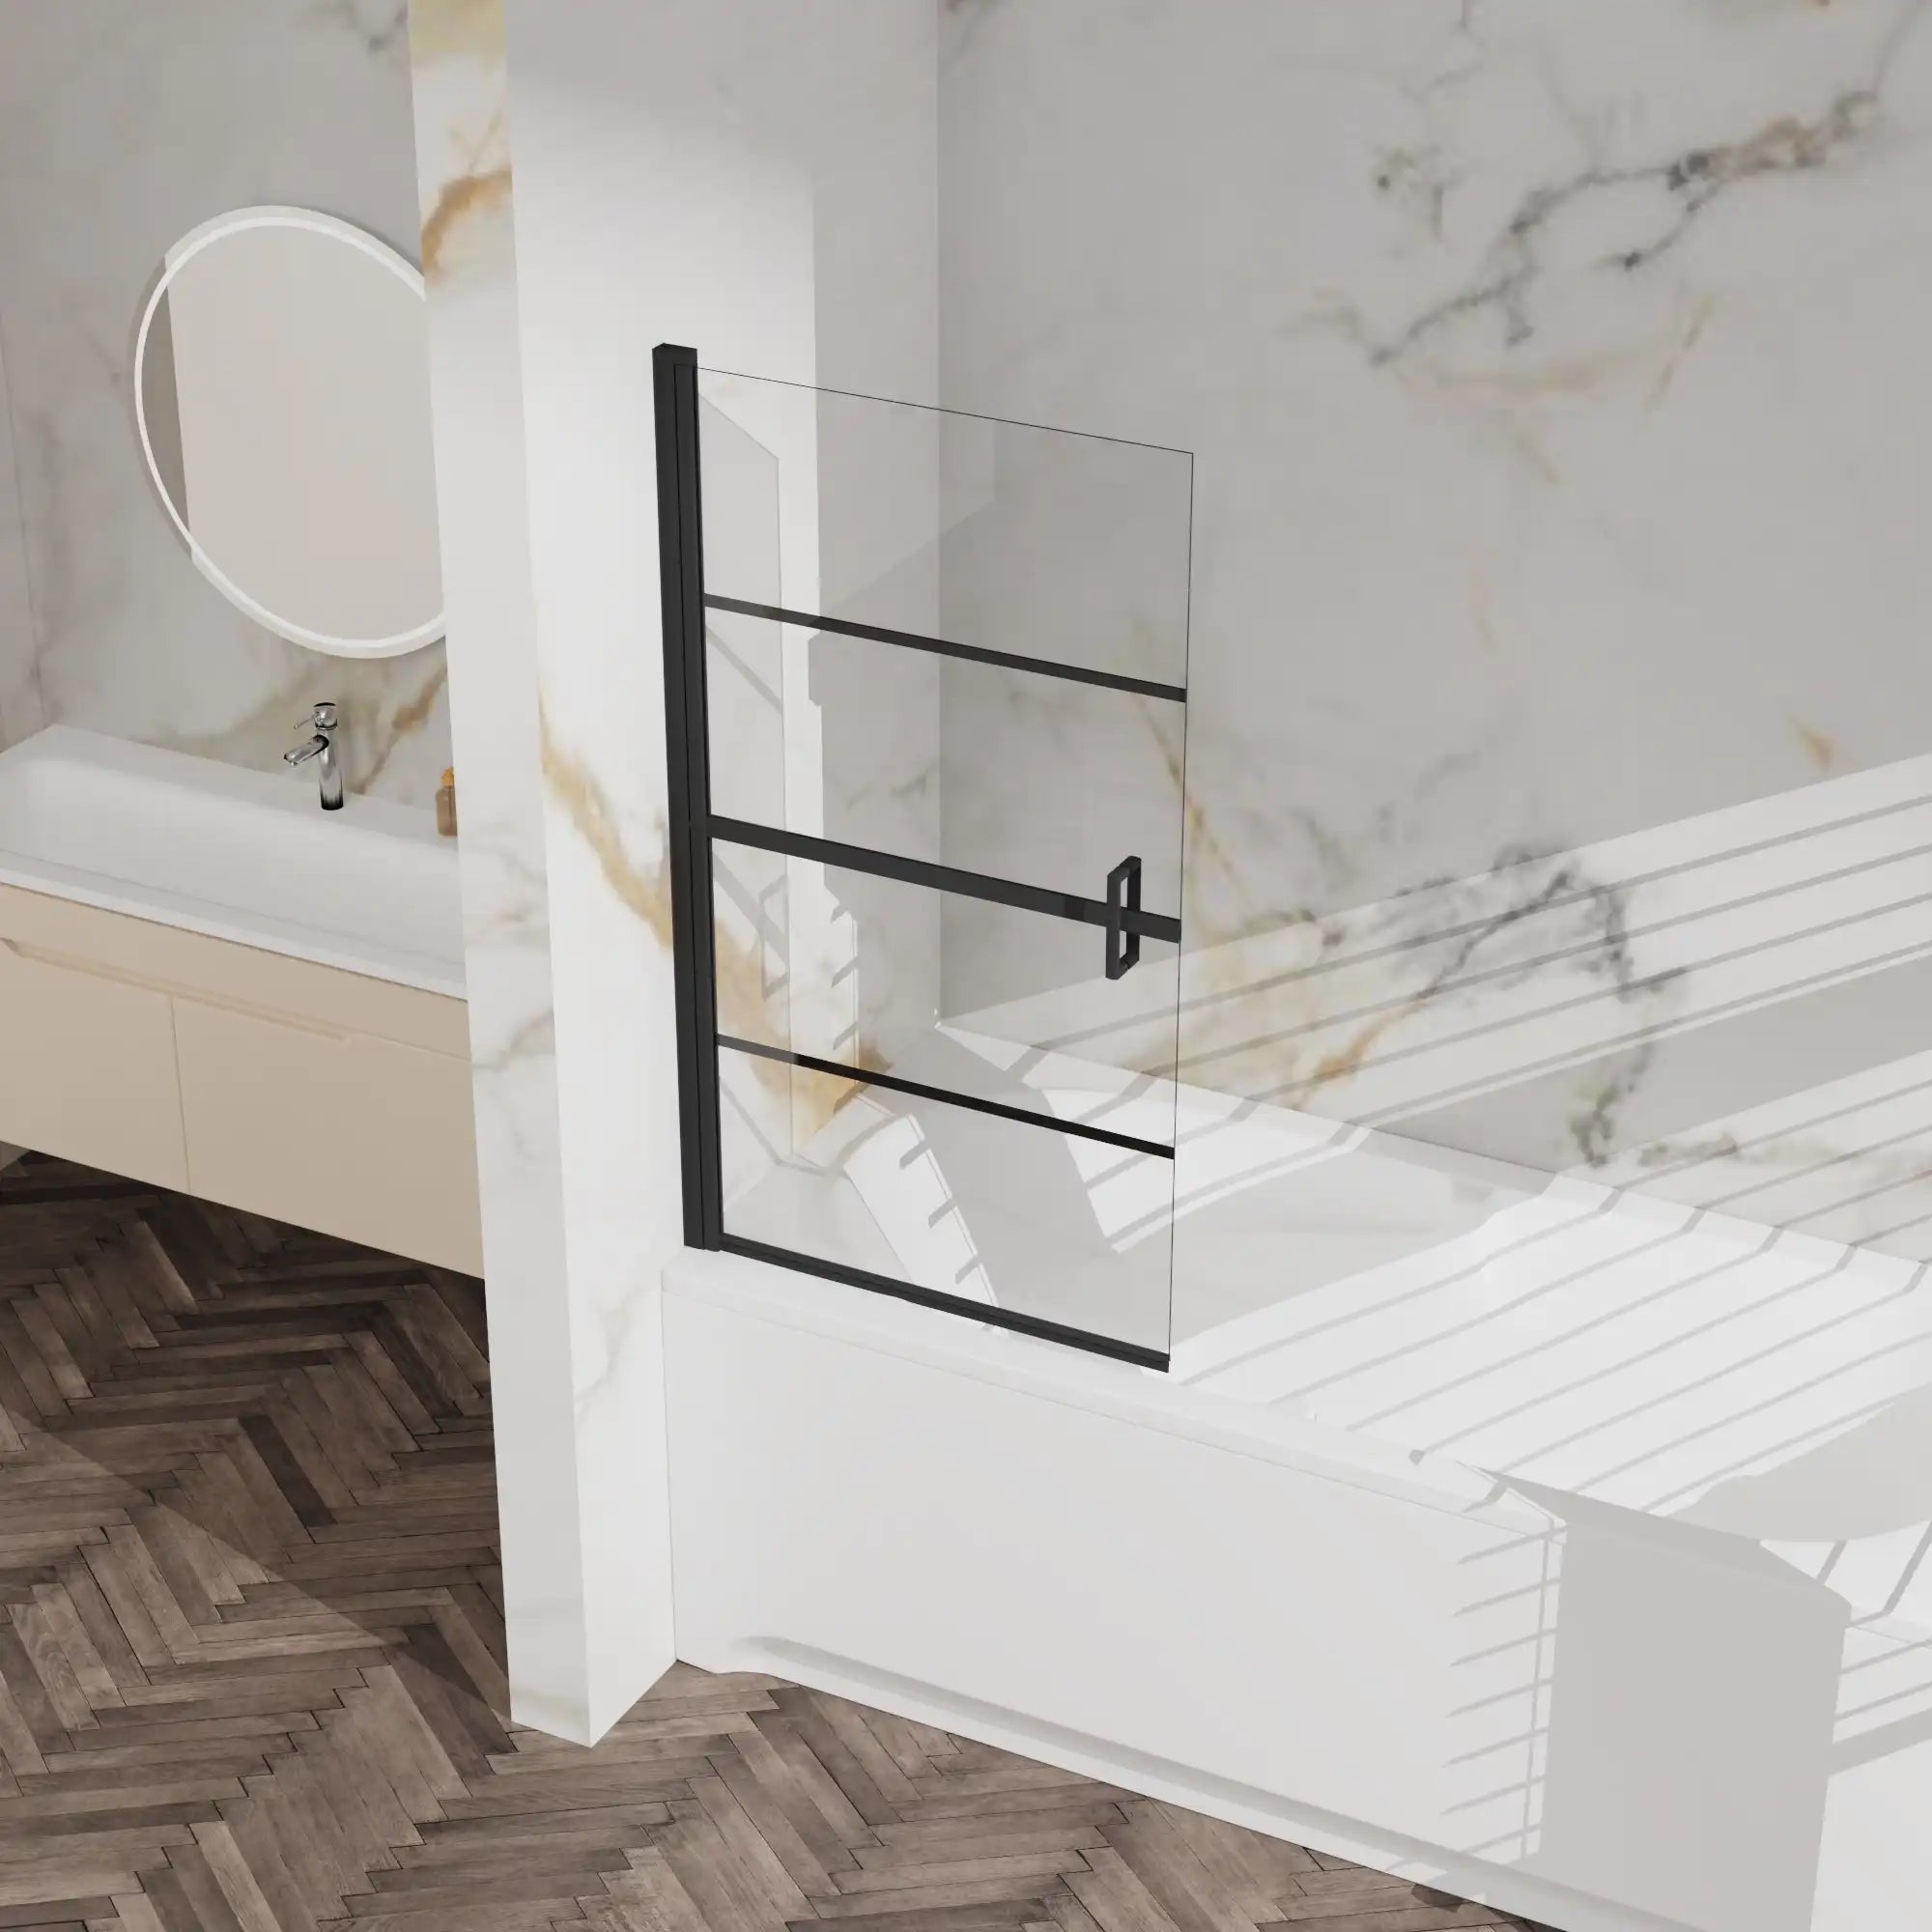
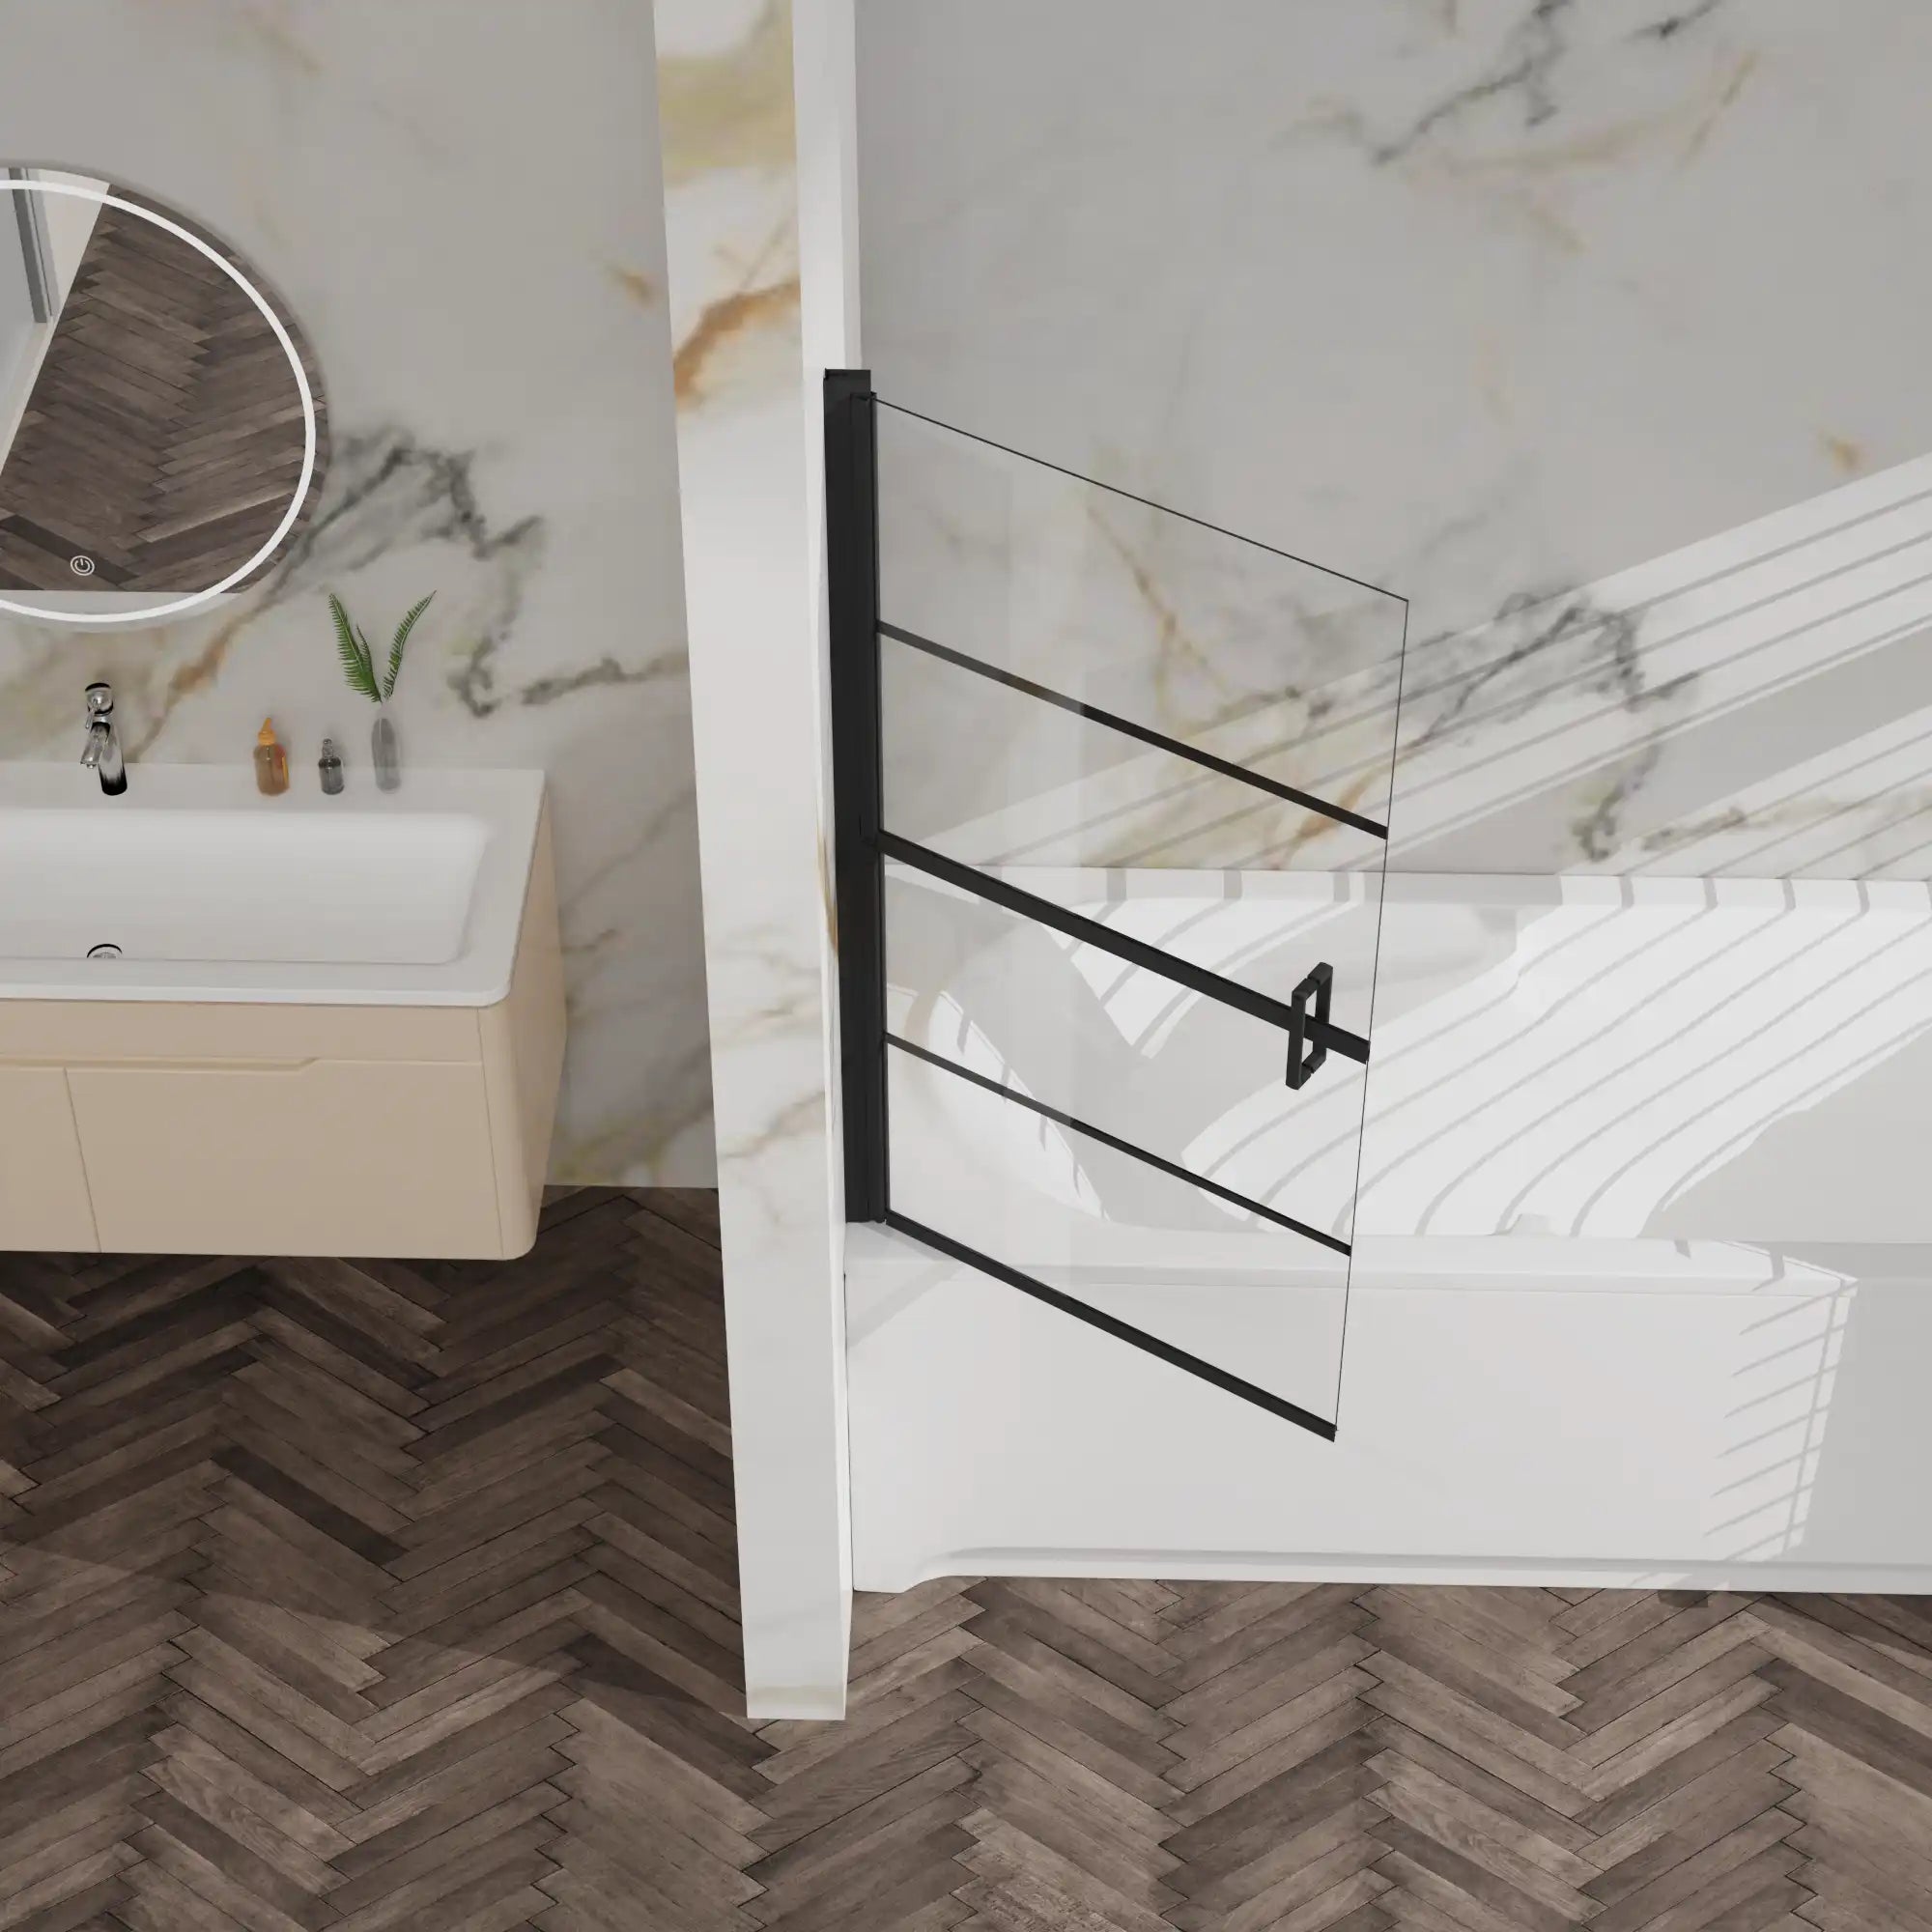
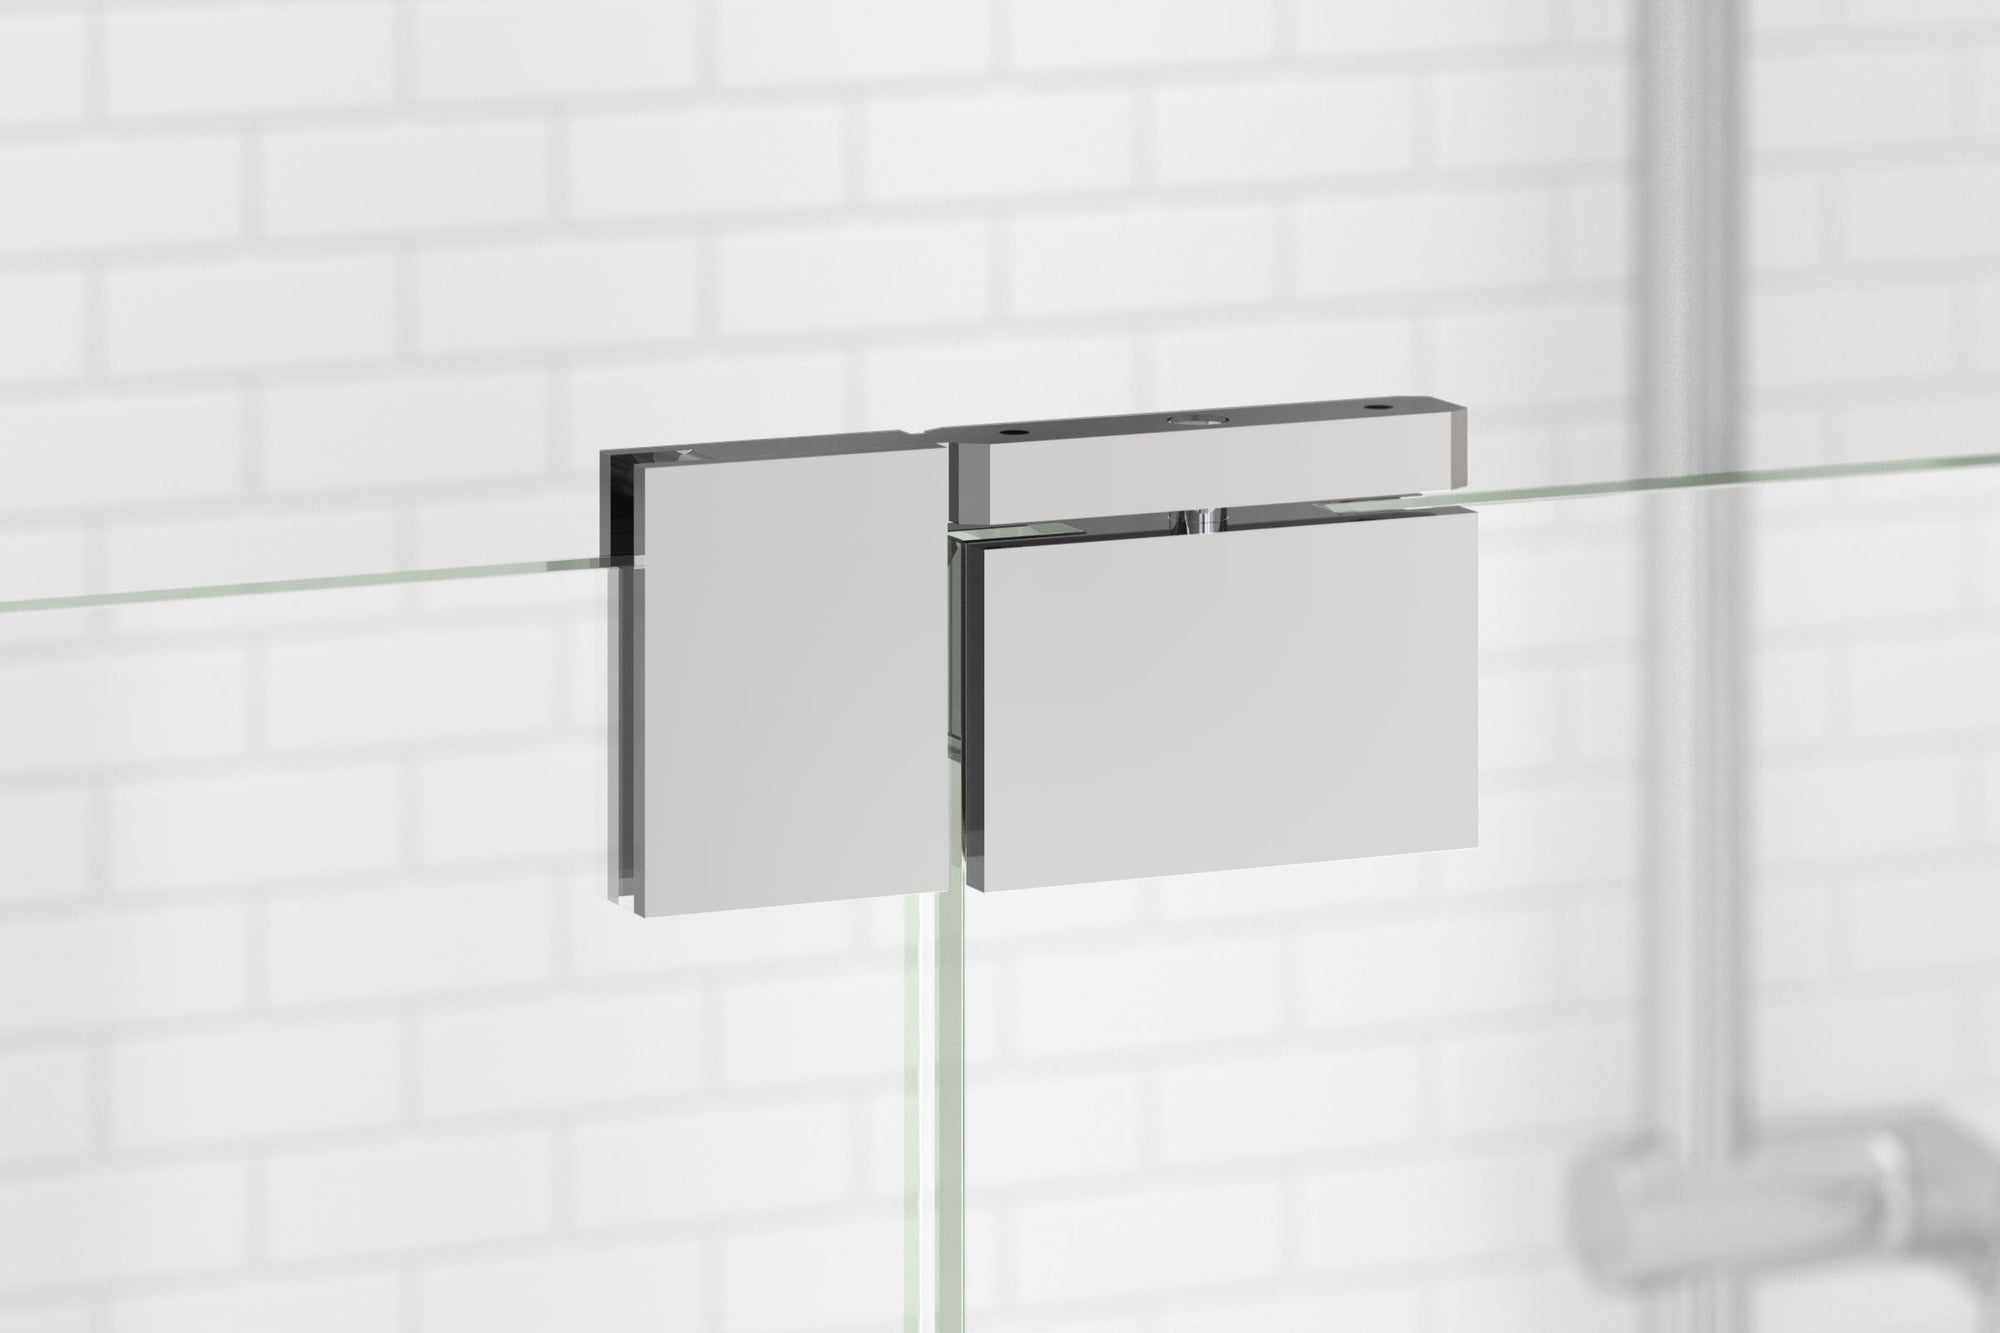
Pivot hinges are the unsung heroes of your frameless shower door. They’re the small, discreet mechanisms that allow the door to swing open and shut smoothly. Unlike traditional side hinges, pivot hinges are mounted at the top and bottom of the door, providing stability and a clean, minimalistic look.
But here’s the thing: over time, they can loosen, misalign, or wear out a bit—leading to that frustrating sag or wobble. Thankfully, a quick adjustment can bring your door back to its former glory.
Before You Start: Gather Your Tools

Here’s what you’ll need:
- Allen wrench (most pivot hinges use one for adjustments)
- Screwdriver (flathead or Phillips, depending on the screws)
- Level (to make sure your door is straight—trust me, you’ll want this)
- Optional: a helper (glass doors can be heavy, so having an extra set of hands is always a good idea!)
Quick tip: If you don’t have the exact Allen wrench size on hand, check the hinge itself—sometimes the manufacturer prints the size directly on the hinge or in the manual.
Step 1: Diagnose the Problem

Let’s start with a little detective work. Is your door:
- Sagging (dragging on the floor or hitting the curb)?
- Loose (wobbling when you open or close it)?
- Not closing properly (leaving gaps or failing to latch)?
Pinpointing the issue will help you determine what part of the hinge needs adjustment. Spoiler: Most of the time, it’s just a matter of tightening a screw.
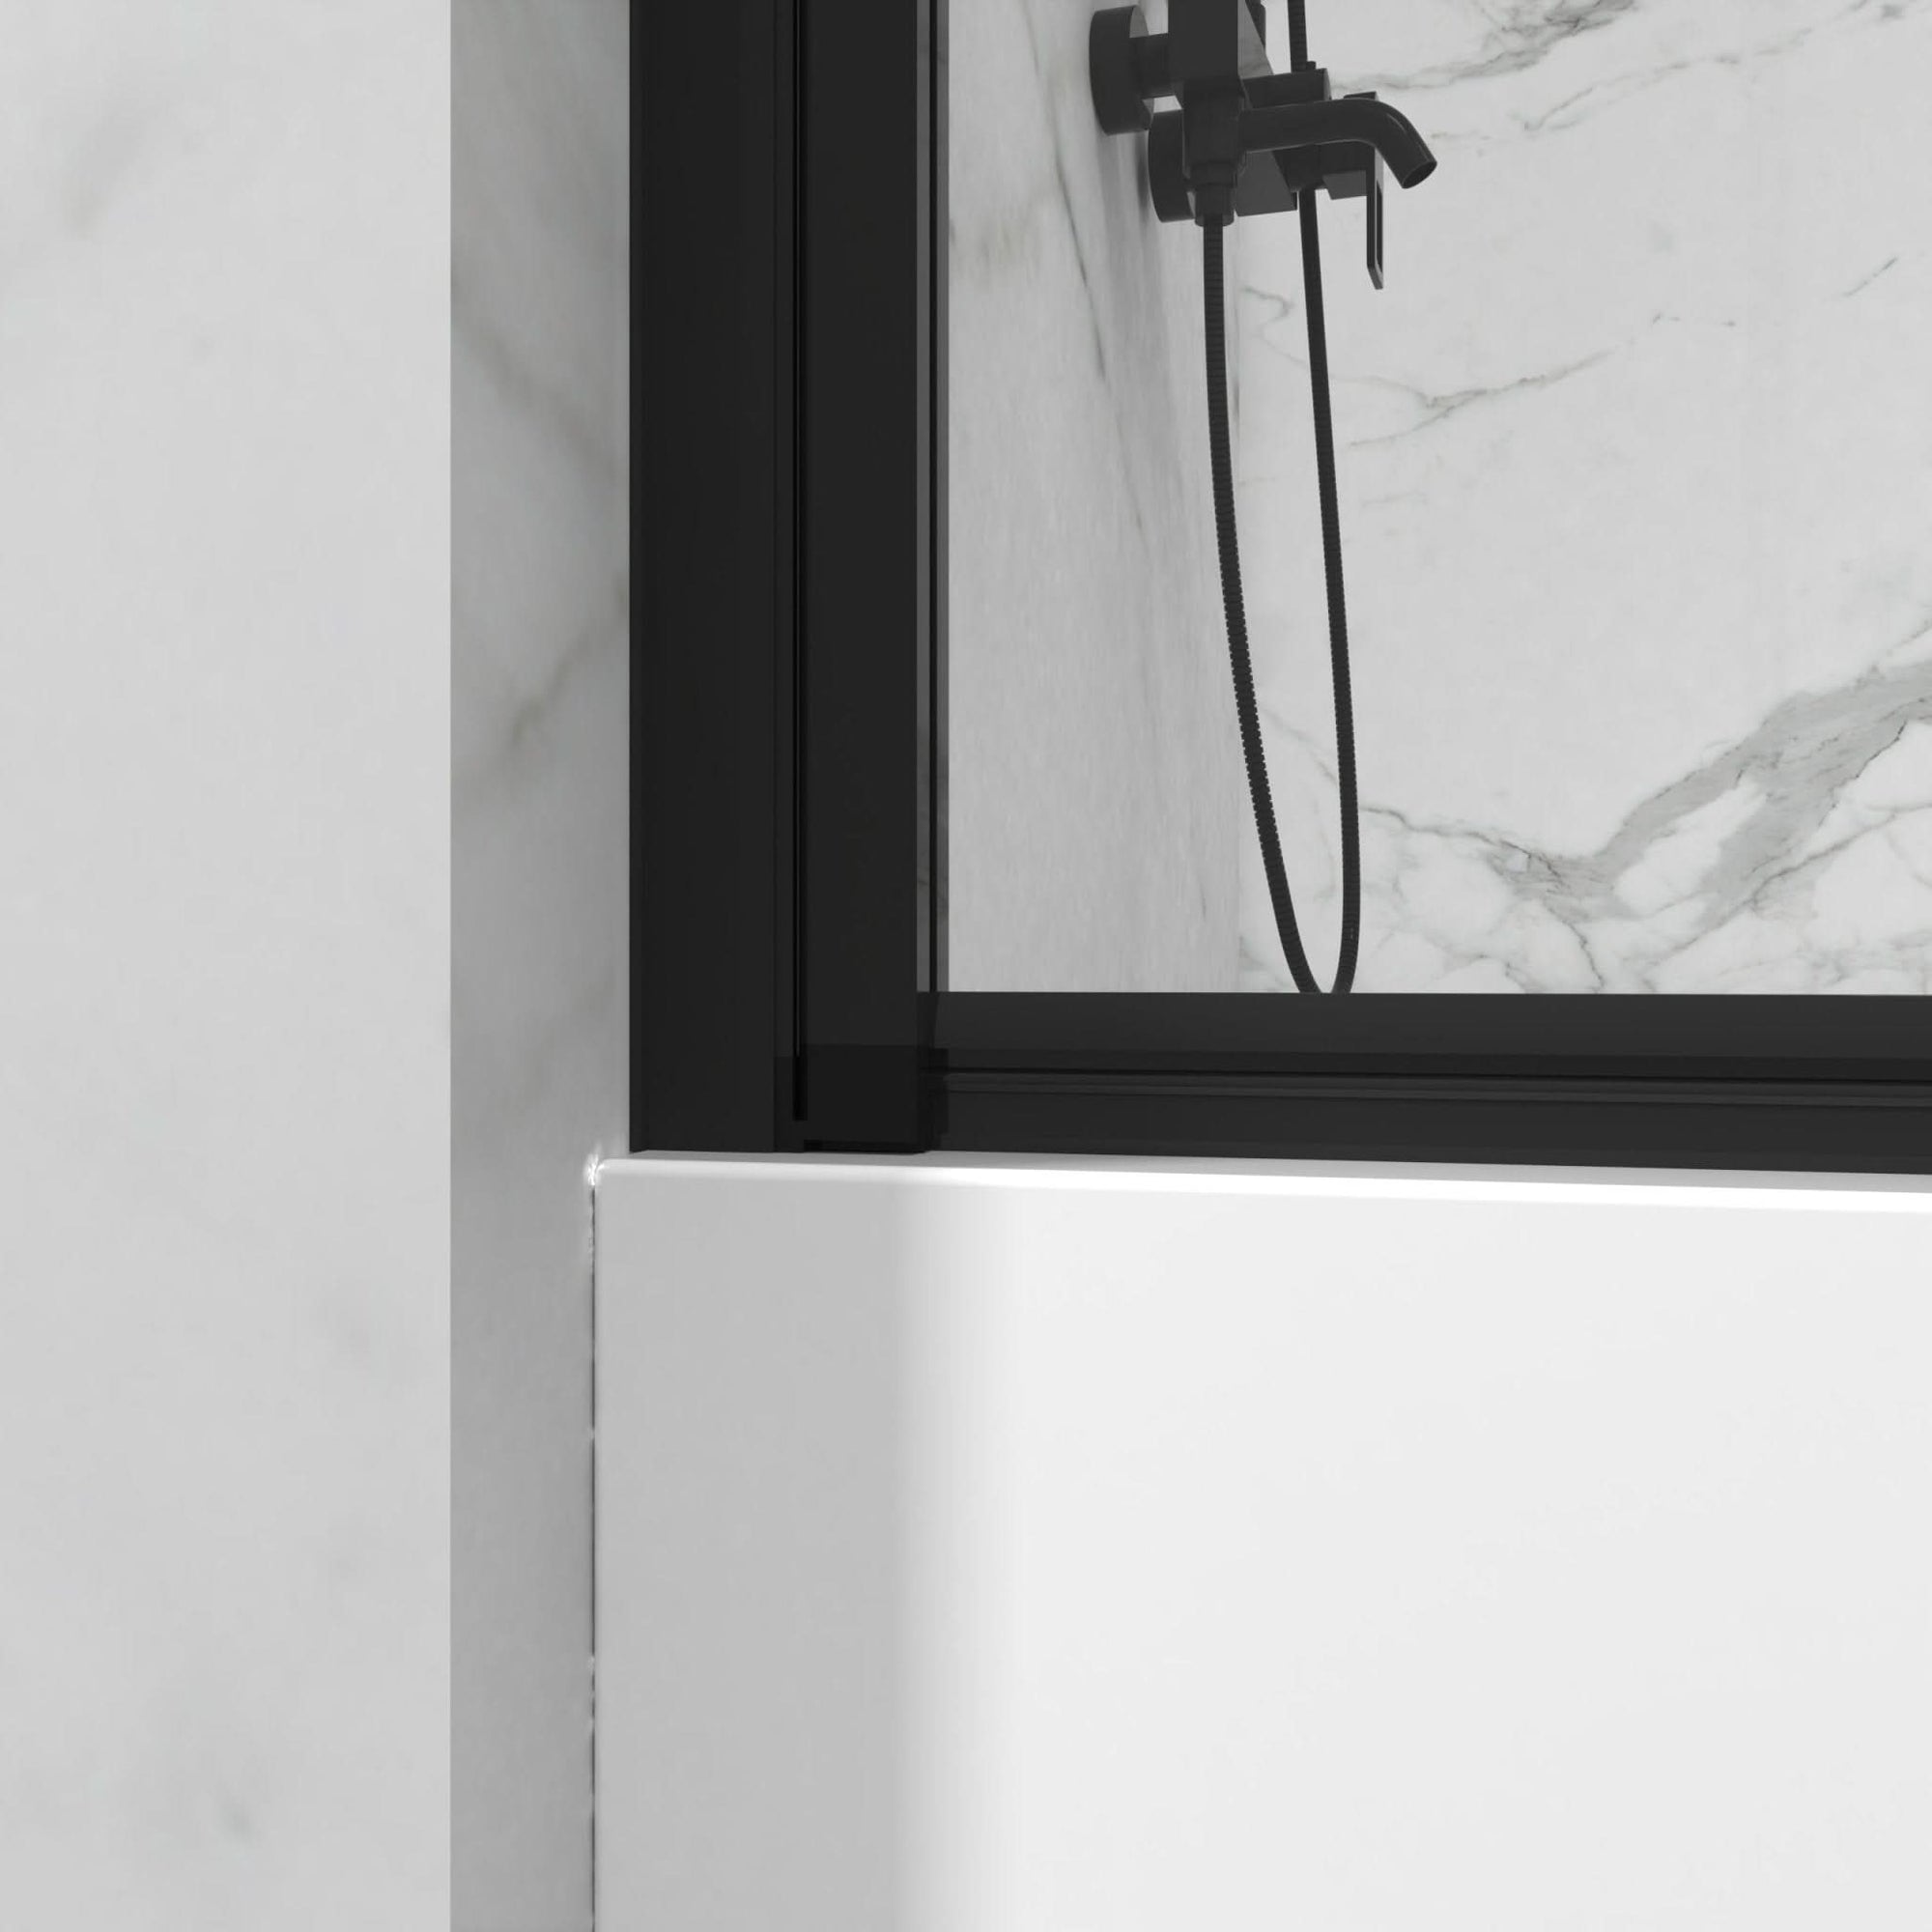
Step 2: Check the Top and Bottom Hinges

Most pivot hinges have adjustment screws located at both the top and bottom brackets. These screws control the alignment and tension of the door.
1. Start with the bottom hinge.
- Look for a small screw on the hinge mechanism.
- Use your Allen wrench to tighten or loosen it slightly. A small turn goes a long way here!
- Pro tip: If the door is sagging, you’ll want to tighten the screw to lift the door back into place.
2. Move to the top hinge.
- The top hinge typically supports the door’s alignment. Adjusting it ensures the door stays level.
- Use your level to check if the door is straight, then tweak the screw as needed.
Step 3: Test and Repeat
After each adjustment, swing the door open and closed a few times. Does it feel smooth? Is it aligned properly? If not, go back and tweak the screws a little more. Don’t rush this part—patience is key!
Step 4: Tighten All Screws
Once your door is aligned and swinging like new, double-check all the screws on both hinges. This includes the ones securing the hinge to the glass and the ones anchoring it to the wall or curb. A loose screw can undo all your hard work.
Step 5: (Optional) Add Lubrication

If your door still feels stiff after adjustment, it might need a little TLC. Apply a small amount of silicone-based lubricant to the hinge mechanism to keep things moving smoothly. Avoid oil-based lubricants—they can attract dust and grime over time.
Common Questions
1. My door is still sagging after adjustment. What should I do?
If tightening the screws doesn’t fix the sagging, the hinge itself might be worn out. In that case, you might need to replace the hinge—but don’t worry, replacement hinges are much cheaper than replacing the entire door.
2. How often should I adjust my pivot hinges?
Ideally, you shouldn’t need to adjust them frequently. However, it’s a good idea to check the screws every six months or so—especially if your door gets heavy use.
3. Can I do this alone, or do I really need a helper?
It depends on the size and weight of your door. If it’s a smaller door, you might be fine solo. But for larger, heavier doors, having a helper hold the door steady while you work can make the process a lot easier (and safer).
Why Adjust Instead of Replace?
Replacing a glass shower door is no small expense. Between the cost of the new door, labor, and potential customizations, you’re looking at several hundred dollars—or more. Adjusting the hinges, on the other hand, is virtually free if you already have the tools.
Plus, it’s satisfying. There’s something deeply rewarding about fixing something yourself. It’s one of those small wins that makes your home feel a little more yours.
Final Thoughts

Adjusting glass shower door pivot hinges might sound intimidating at first, but once you get the hang of it, it’s a breeze. And let’s be real—saving money while keeping your bathroom looking pristine? That’s a win-win.
So next time your shower door starts misbehaving, don’t panic. Grab your tools, follow these steps, and give those hinges a little love. Your bathroom (and your budget) will thank you.
Ready to tackle your own shower door adjustment? Share your success stories (or questions) in the comments below—I’d love to hear how it goes!
Related Articles:
If you're tackling issues with your pivot shower door, I've got you covered with more tips and guides! Here are a few related blog posts you might find helpful:
Sarah’s Bathroom Transformation: How a Pivot Shower Door Changed Everything
Maintenance and Cleaning Tips for Bathtub Trackless Shower Doors
Avoid These 8 Common Shower Door Installation Mistakes for a Perfect Fit