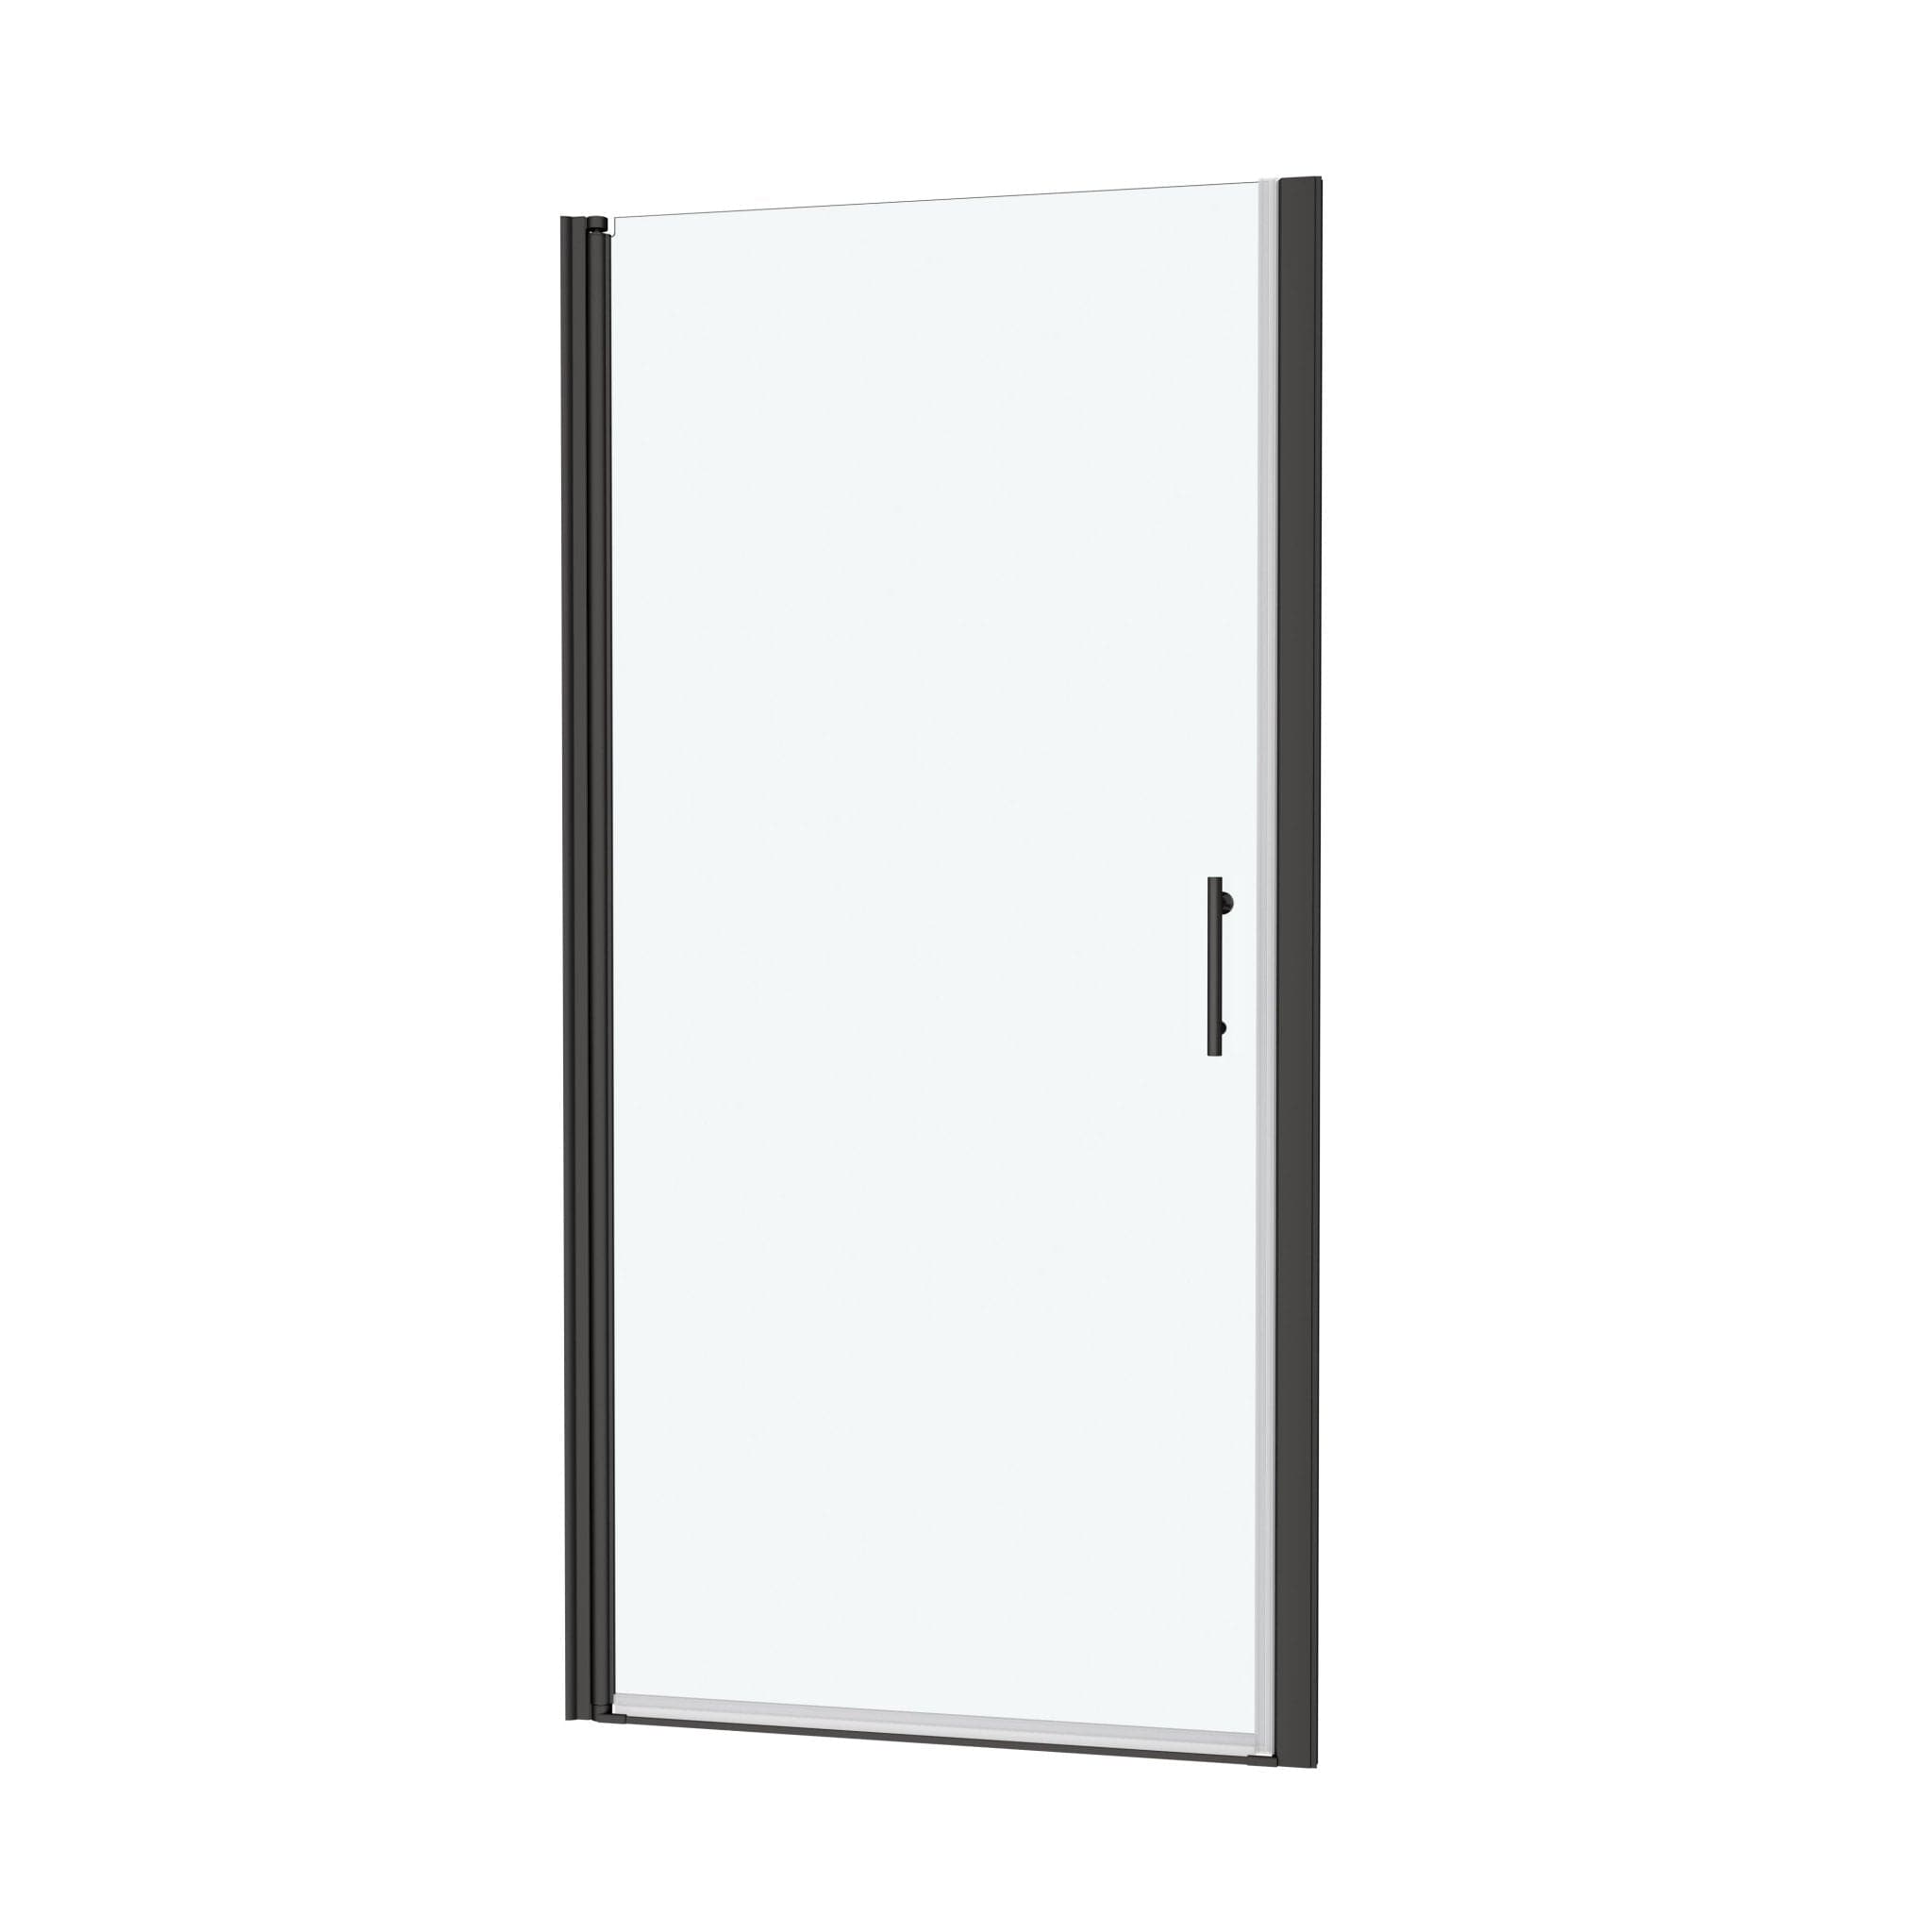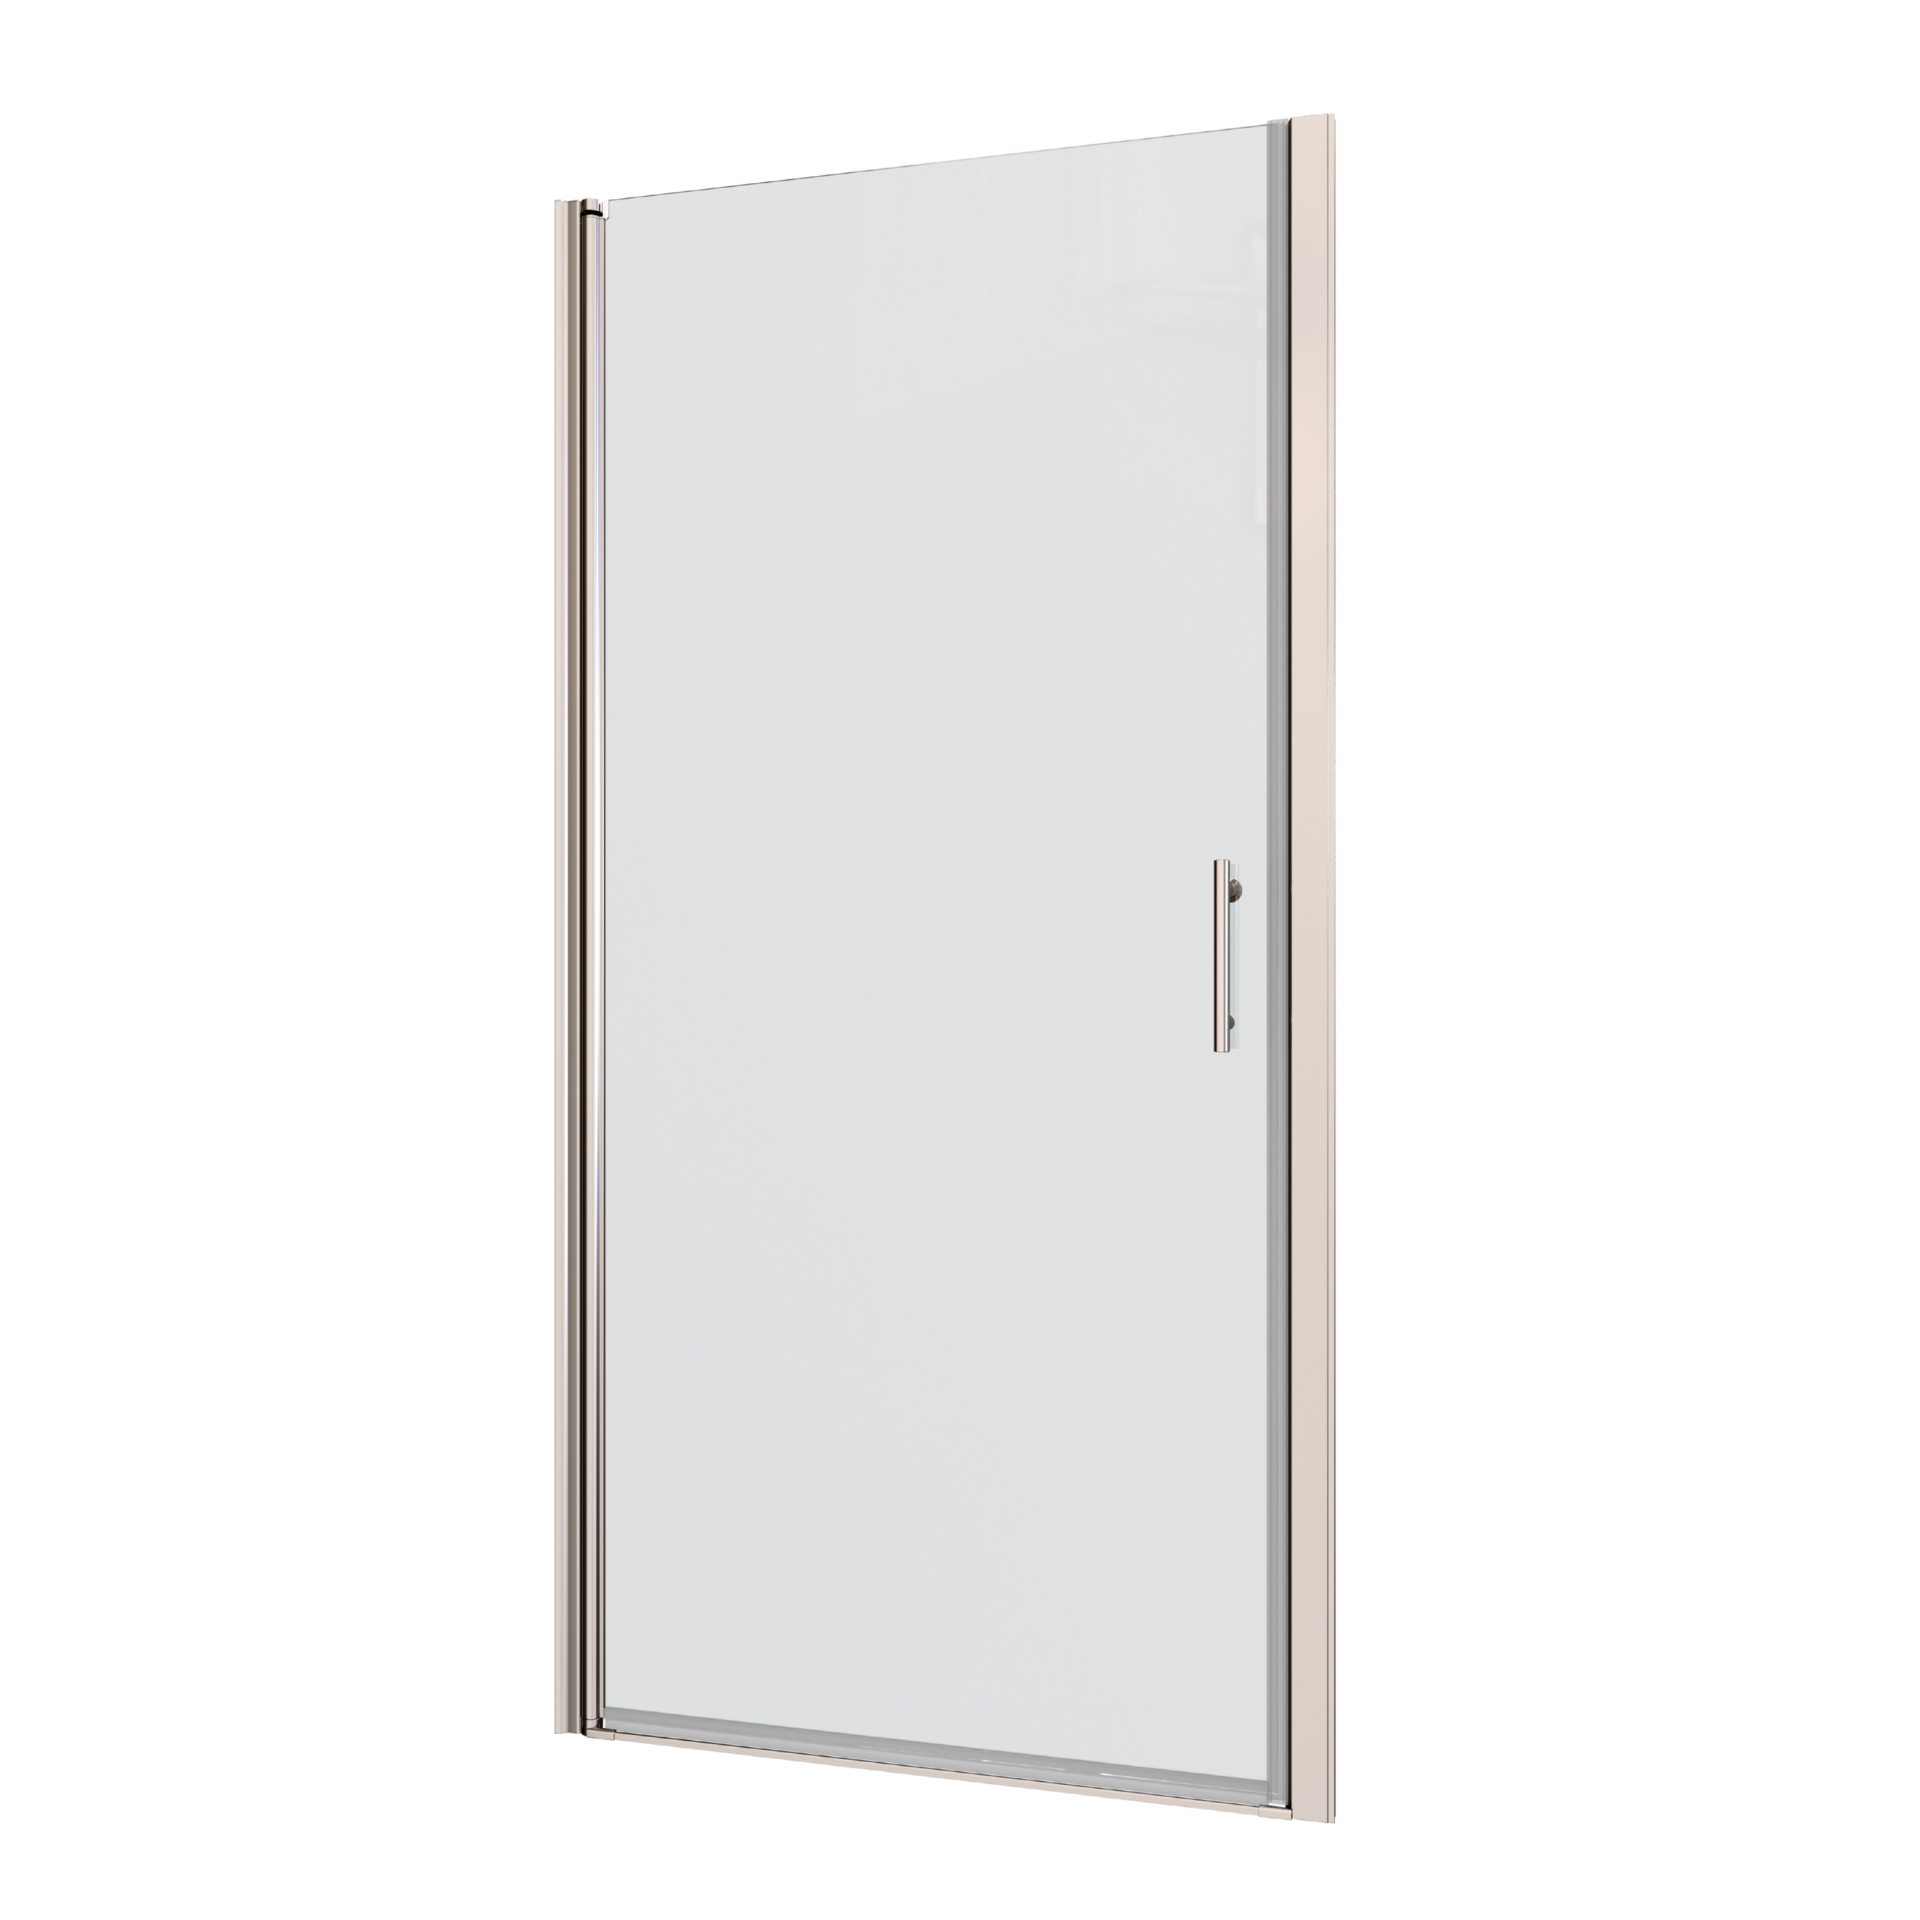
There are two primary styles of swinging shower doors, hinge-mounted doors that mount to the side wall, and pivot doors that rotate on a top and bottom pivot. They both provide a clean, airy aesthetic to the bathroom and are key elements in contemporary remodels. Over time, though, the hardware can loosen, the glass may shift, or you might simply want to refresh your shower space with a new design.
The good news is that removing a swinging shower door is easier than many homeowners expect. This step-by-step guide will walk you through the process so you can take it down safely and prepare for whatever comes next.
Table of Contents:
- What You Need to Remove the Swinging Shower Door
- Step 1: Prepare Your Work Zone
- Step 2: Remove the Door from Hinges or Pivots
- Step 3: Detach the Door Frame (If Applicable)
- Step 4: Clean and Repair Surrounding Area
- Step 5: Choose Your Replacement Shower Door
- Step 6: Install the New Shower Door
- Conclusion
- FAQ
What You Need to Remove the Swinging Shower Door
Before you begin, gather the right tools. Having everything on hand will make the job quicker, safer, and less messy. Here’s what you’ll need:
For removing the door and frame:
-
Screwdrivers (both Phillips and flathead)
-
Adjustable wrench
-
Drill (helpful if screws are stuck or rusty)
For cutting and scraping sealant:
-
Utility knife
-
Putty knife or scraper
-
Silicone sealant remover
For protection:
-
Safety glasses
-
Work gloves
-
Painter’s tape (to hold parts in place or mark edges)
For cleanup:
-
Sponge or soft cloth
Using the right tools not only speeds up the process but also helps prevent damage to your shower walls and fixtures.
Step 1: Prepare Your Work Zone
Removing a swinging shower door can create some mess so take a few minutes to set up.
Lay down drop cloths, old towels, or a plastic sheet to catch debris and protect your bathroom floor. If your shower door includes glass panels, apply painter’s tape across the surface to reduce the risk of shattering. Clear the area around the shower so you have enough room to move freely, and keep a small container handy for screws and hardware.
Always wear gloves, safety glasses, and closed-toe shoes — and if the door is large or heavy, ask someone to assist. A bit of prep now will make the rest of the job smoother and safer.
Step 2: Remove the Door from Hinges or Pivots
Swinging shower doors are typically secured with hinges that are fastened in place with screws. Have someone hold the door steady before loosening them — glass panels can be heavier than they feel, and you don want the door to suddenly shift. Using the right screwdriver, carefully loosen each screw while keeping the door supported. Once the hinges are free, gently lift the door away from the frame and set it down on a padded surface, such as a folded towel or blanket, to avoid scratches or damage.
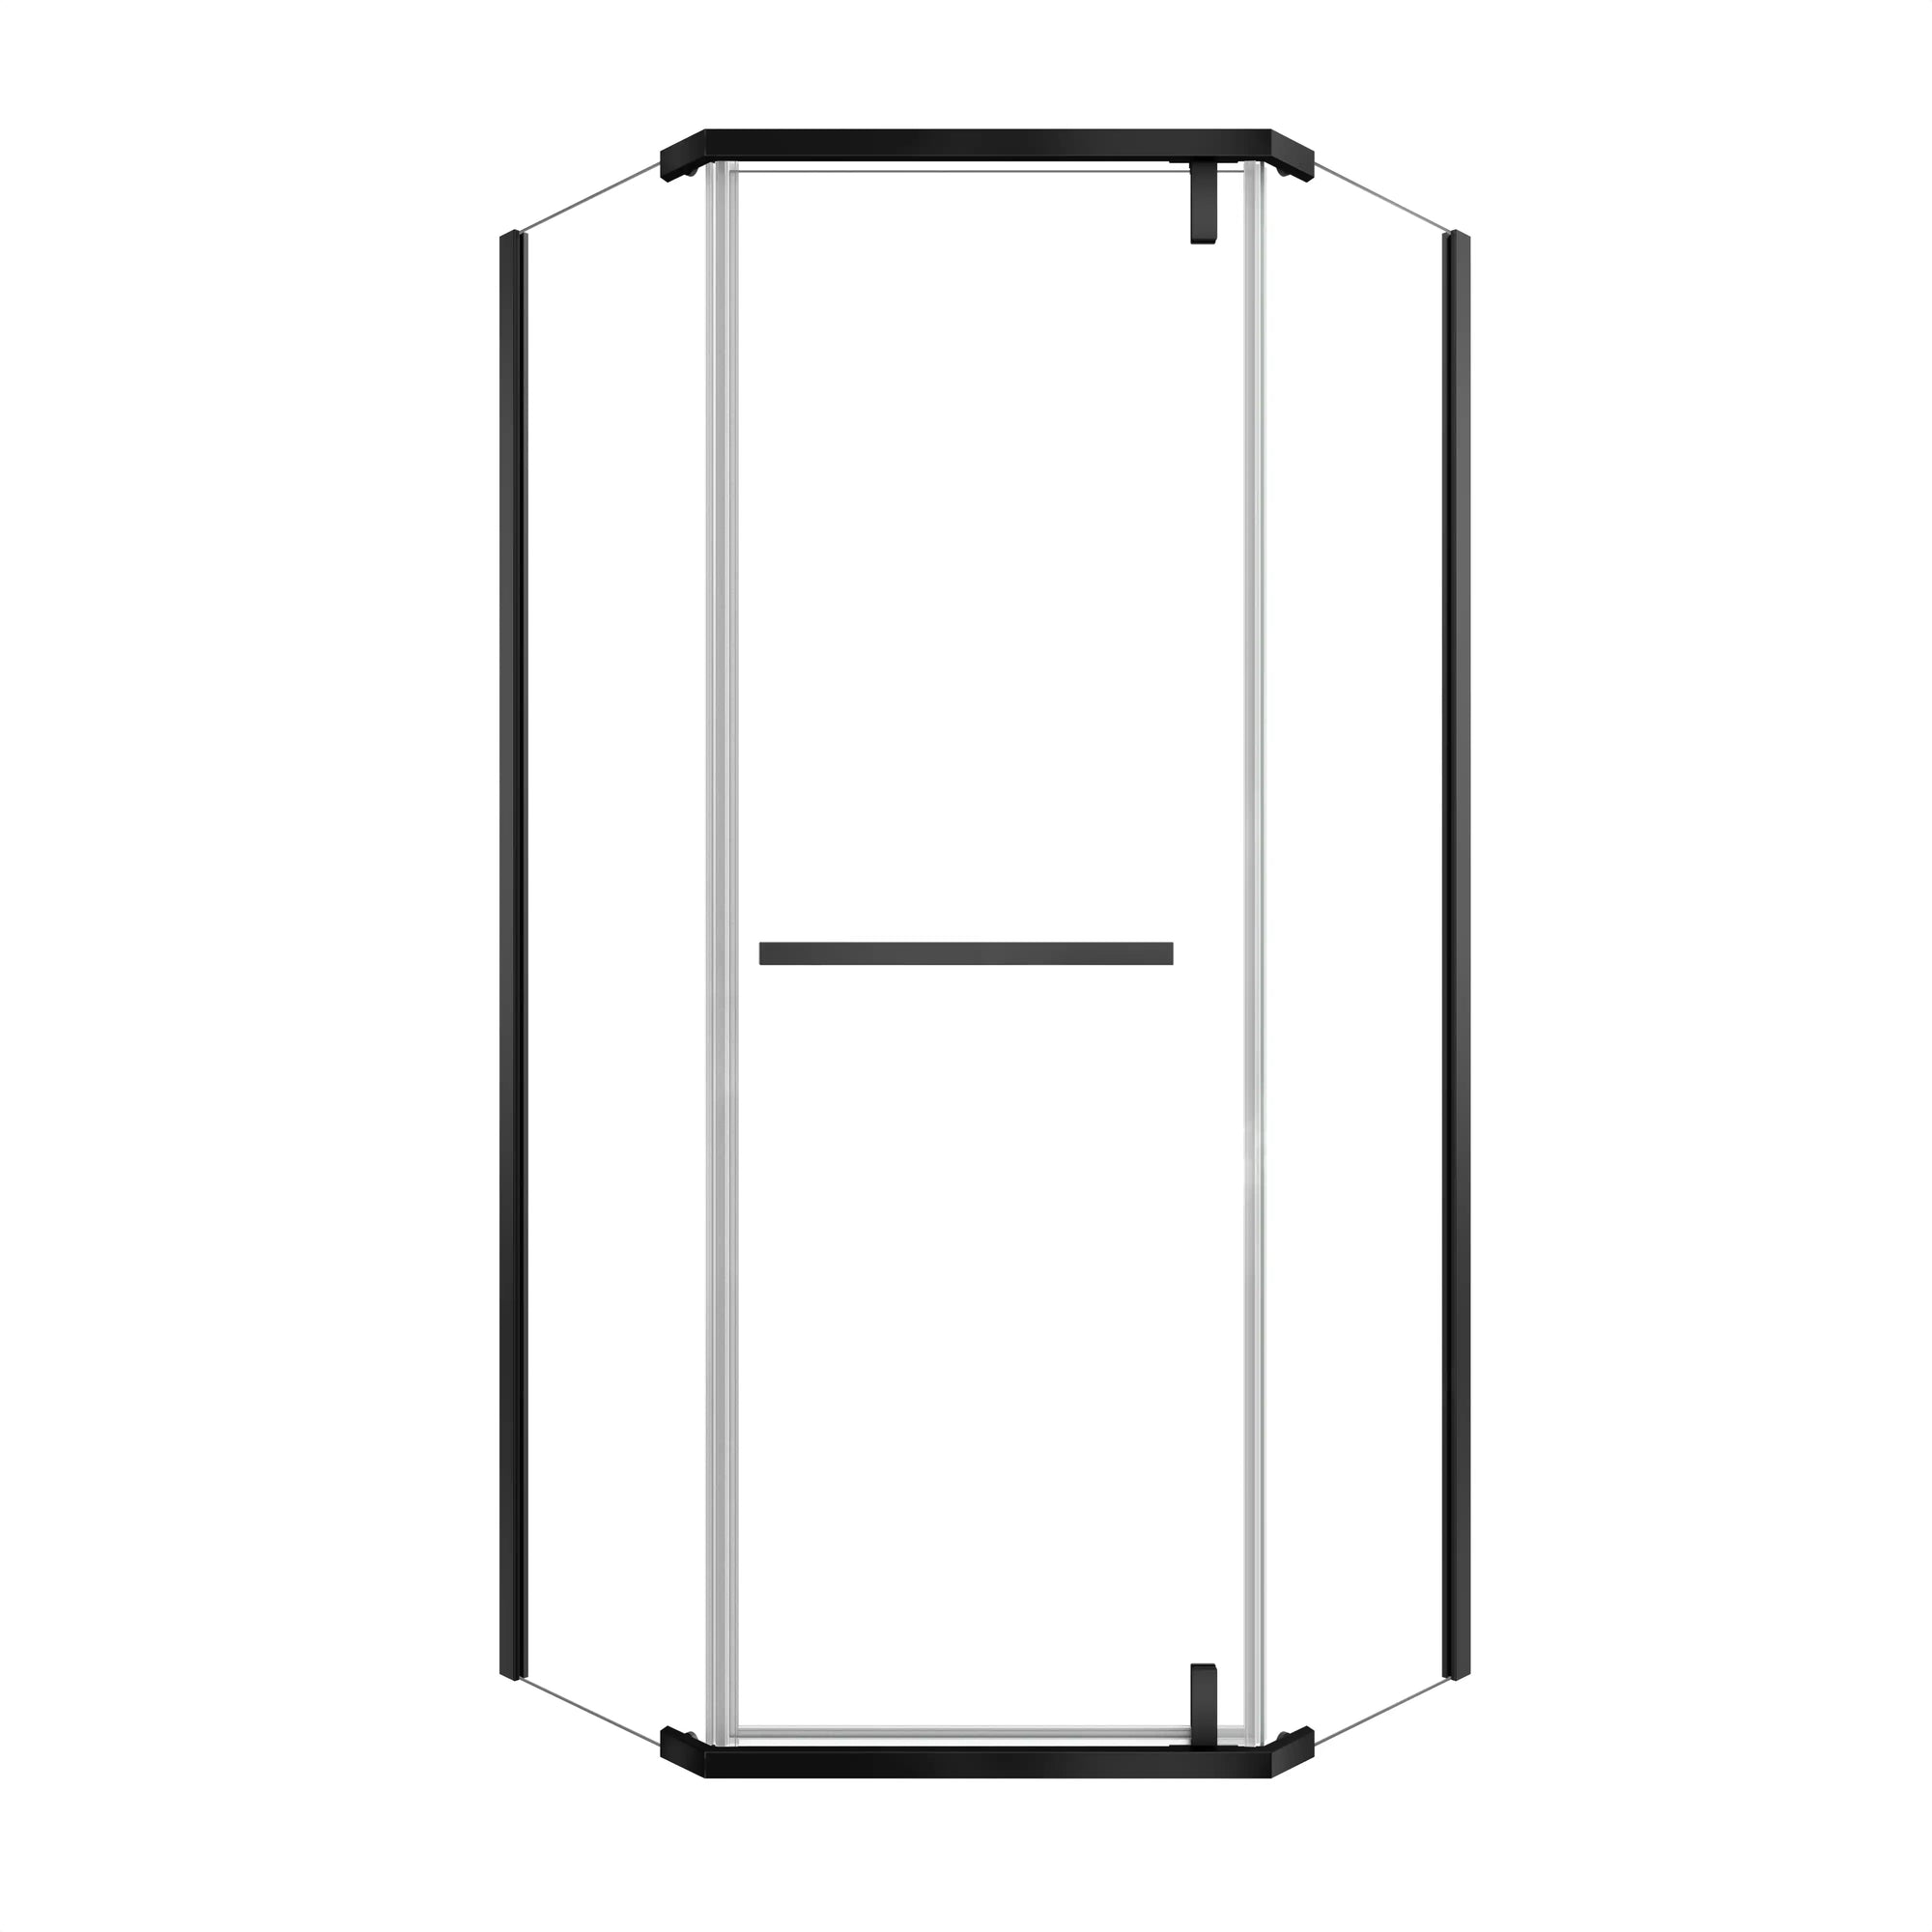
If your shower door uses a pivot mechanism instead of side hinges, locate the pivot pins or screws at both the top and bottom. These must be released before you can lift the door off its track. After unlocking the pivots, tilt the door slightly and lift it clear of the base. Again, having a second person help can make this step much safer and easier.

Step 3: Detach the Door Frame (If Applicable)
Some swinging shower doors are secured with a metal frame or border along the shower wall. Begin by locating and removing all visible screws with a screwdriver or drill. Once the frame is no longer mechanically fastened, use a sharp utility knife to carefully cut through the silicone sealant where the frame meets the wall. Take your time here — press lightly with the blade to avoid scratching tiles or damaging acrylic or fiberglass surrounds.
If the sealant bond is especially strong, apply a silicone sealant remover to soften it before prying the frame loose. Wear gloves, as the metal edges of the frame can be sharp. After the frame has been removed, scrape away any remaining adhesive with a plastic scraper and wipe the surface clean using warm soapy water. For stubborn residue, rubbing alcohol or a mild solvent can help. Preparing a smooth, residue-free surface will make any new installation easier and more secure.

Step 4: Clean and Repair Surrounding Area
After removing the shower door and frame, carefully examine the walls and shower threshold. Inspect for excess sealant, adhesive remnants, or any minor chipping from the tile or wall surface. Then use a plastic scraper or putty knife to scrape away any excess caulking. Only using a utility knife in the toughest spots; overuse of the utility knife can scratch a tile or acrylic if not done gently.
After scraping, wipe down the area with warm soapy water or a mild household cleaner to remove dust and residue. For stubborn silicone, a specialized sealant remover or rubbing alcohol can help. Allow the surface to dry fully before continuing.
If you notice minor damage such as cracked grout lines or small gaps, repair them with waterproof grout or caulk before installing a new shower door. A clean, dry, and even surface is essential for a watertight fit and long-lasting installation.
Step 5: Choose Your Replacement Shower Door
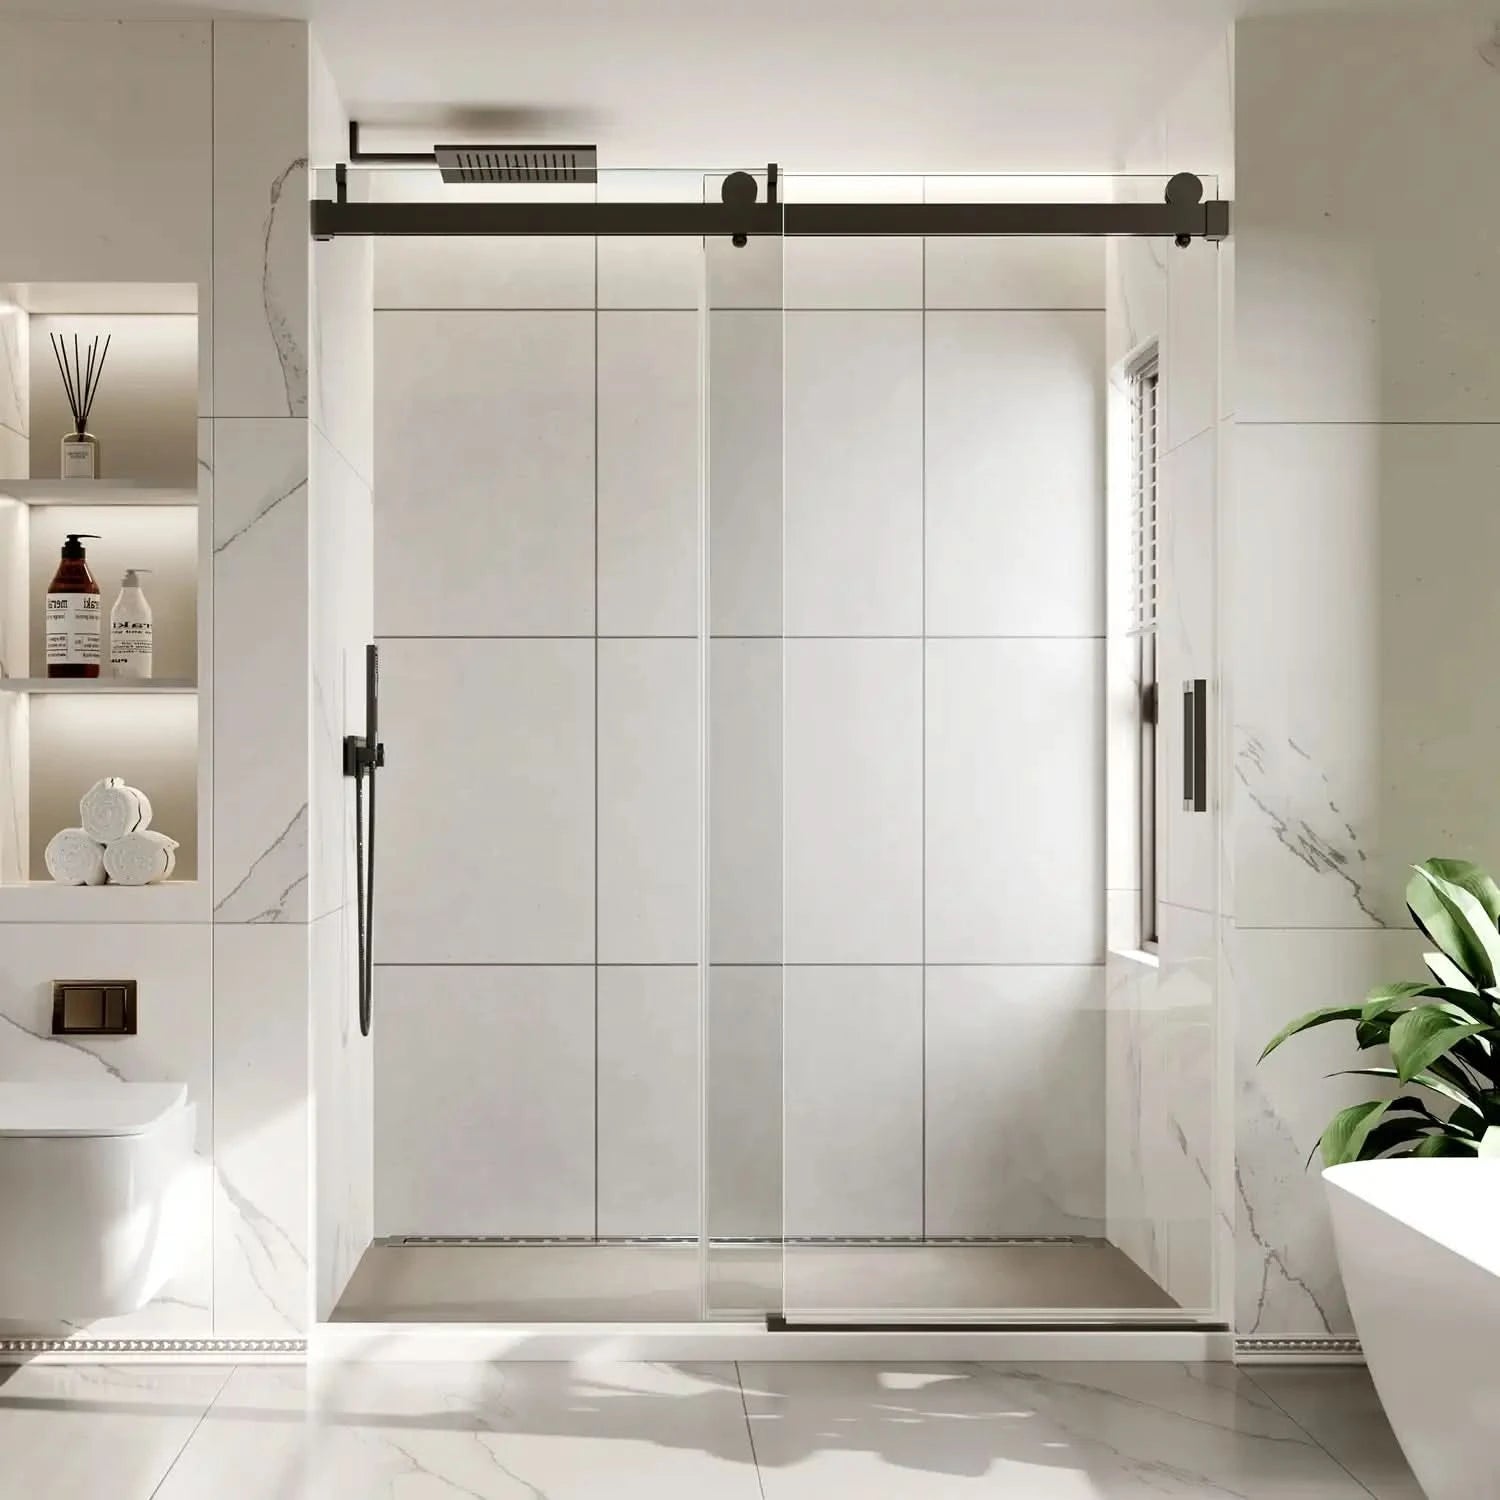
With the old door out of the way, it’s time to think about what comes next. Choosing a new shower door isn’t just about looks — it affects the function, comfort, and feel of your entire bathroom.
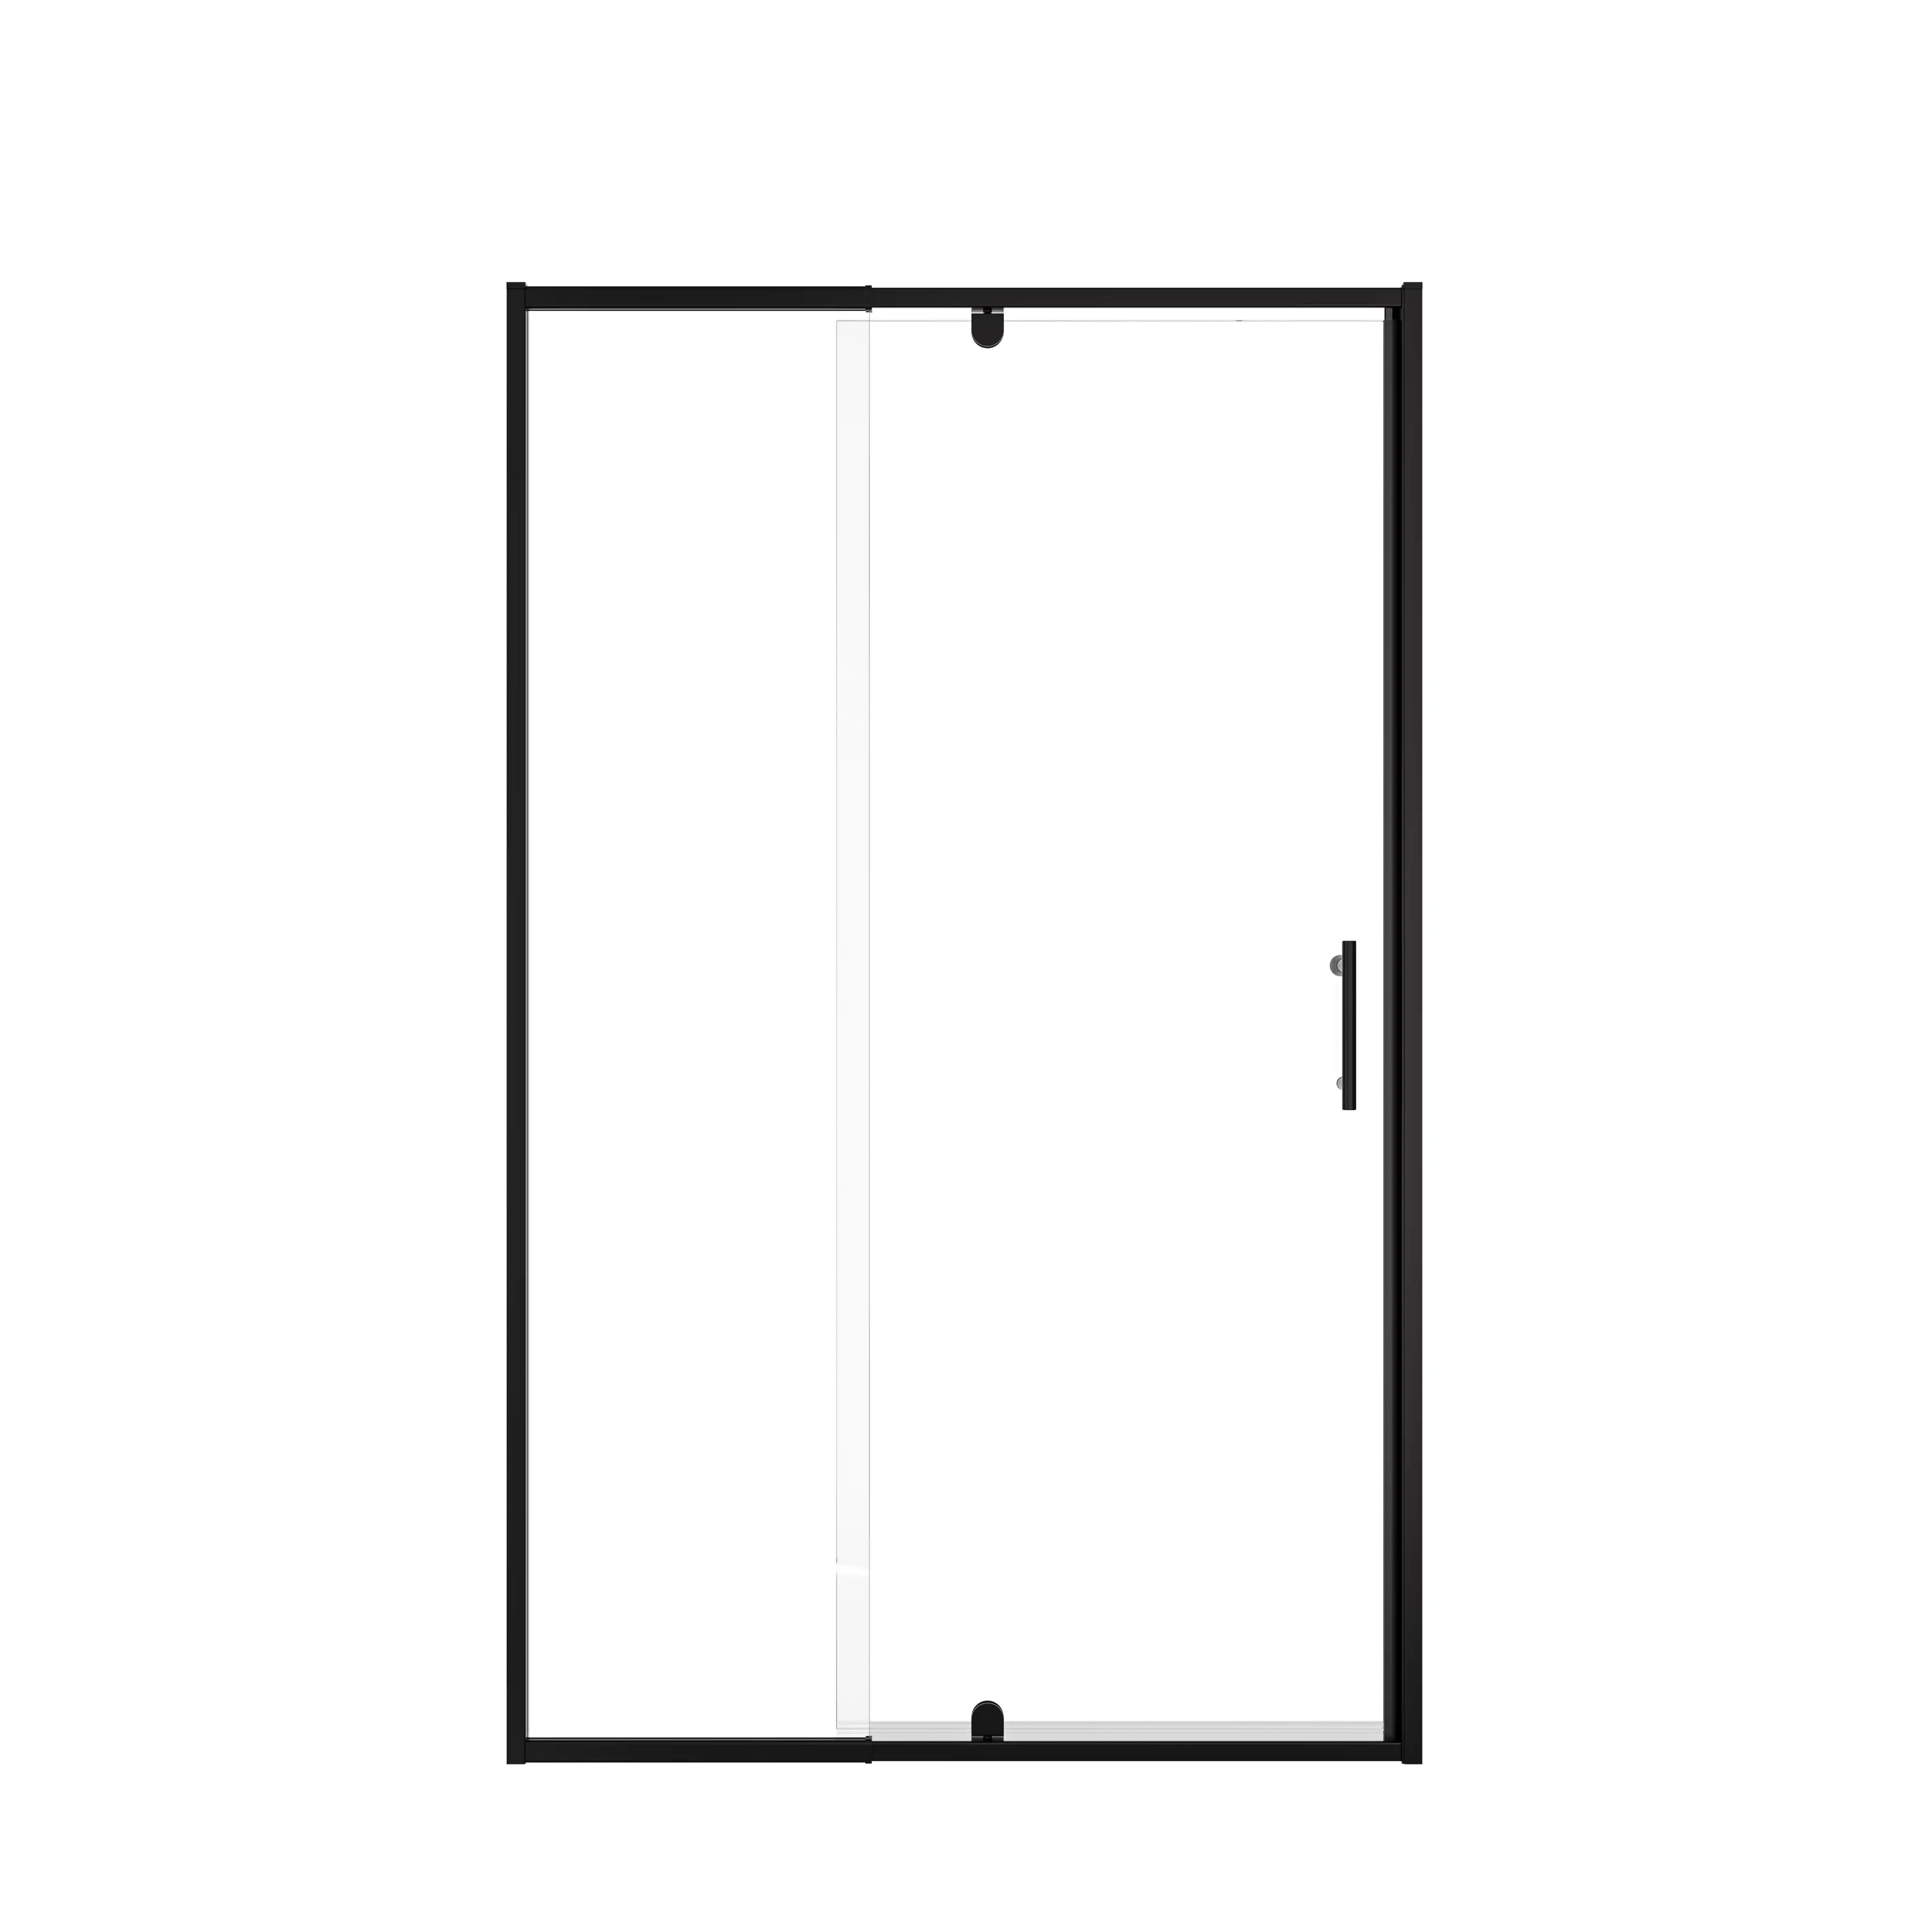
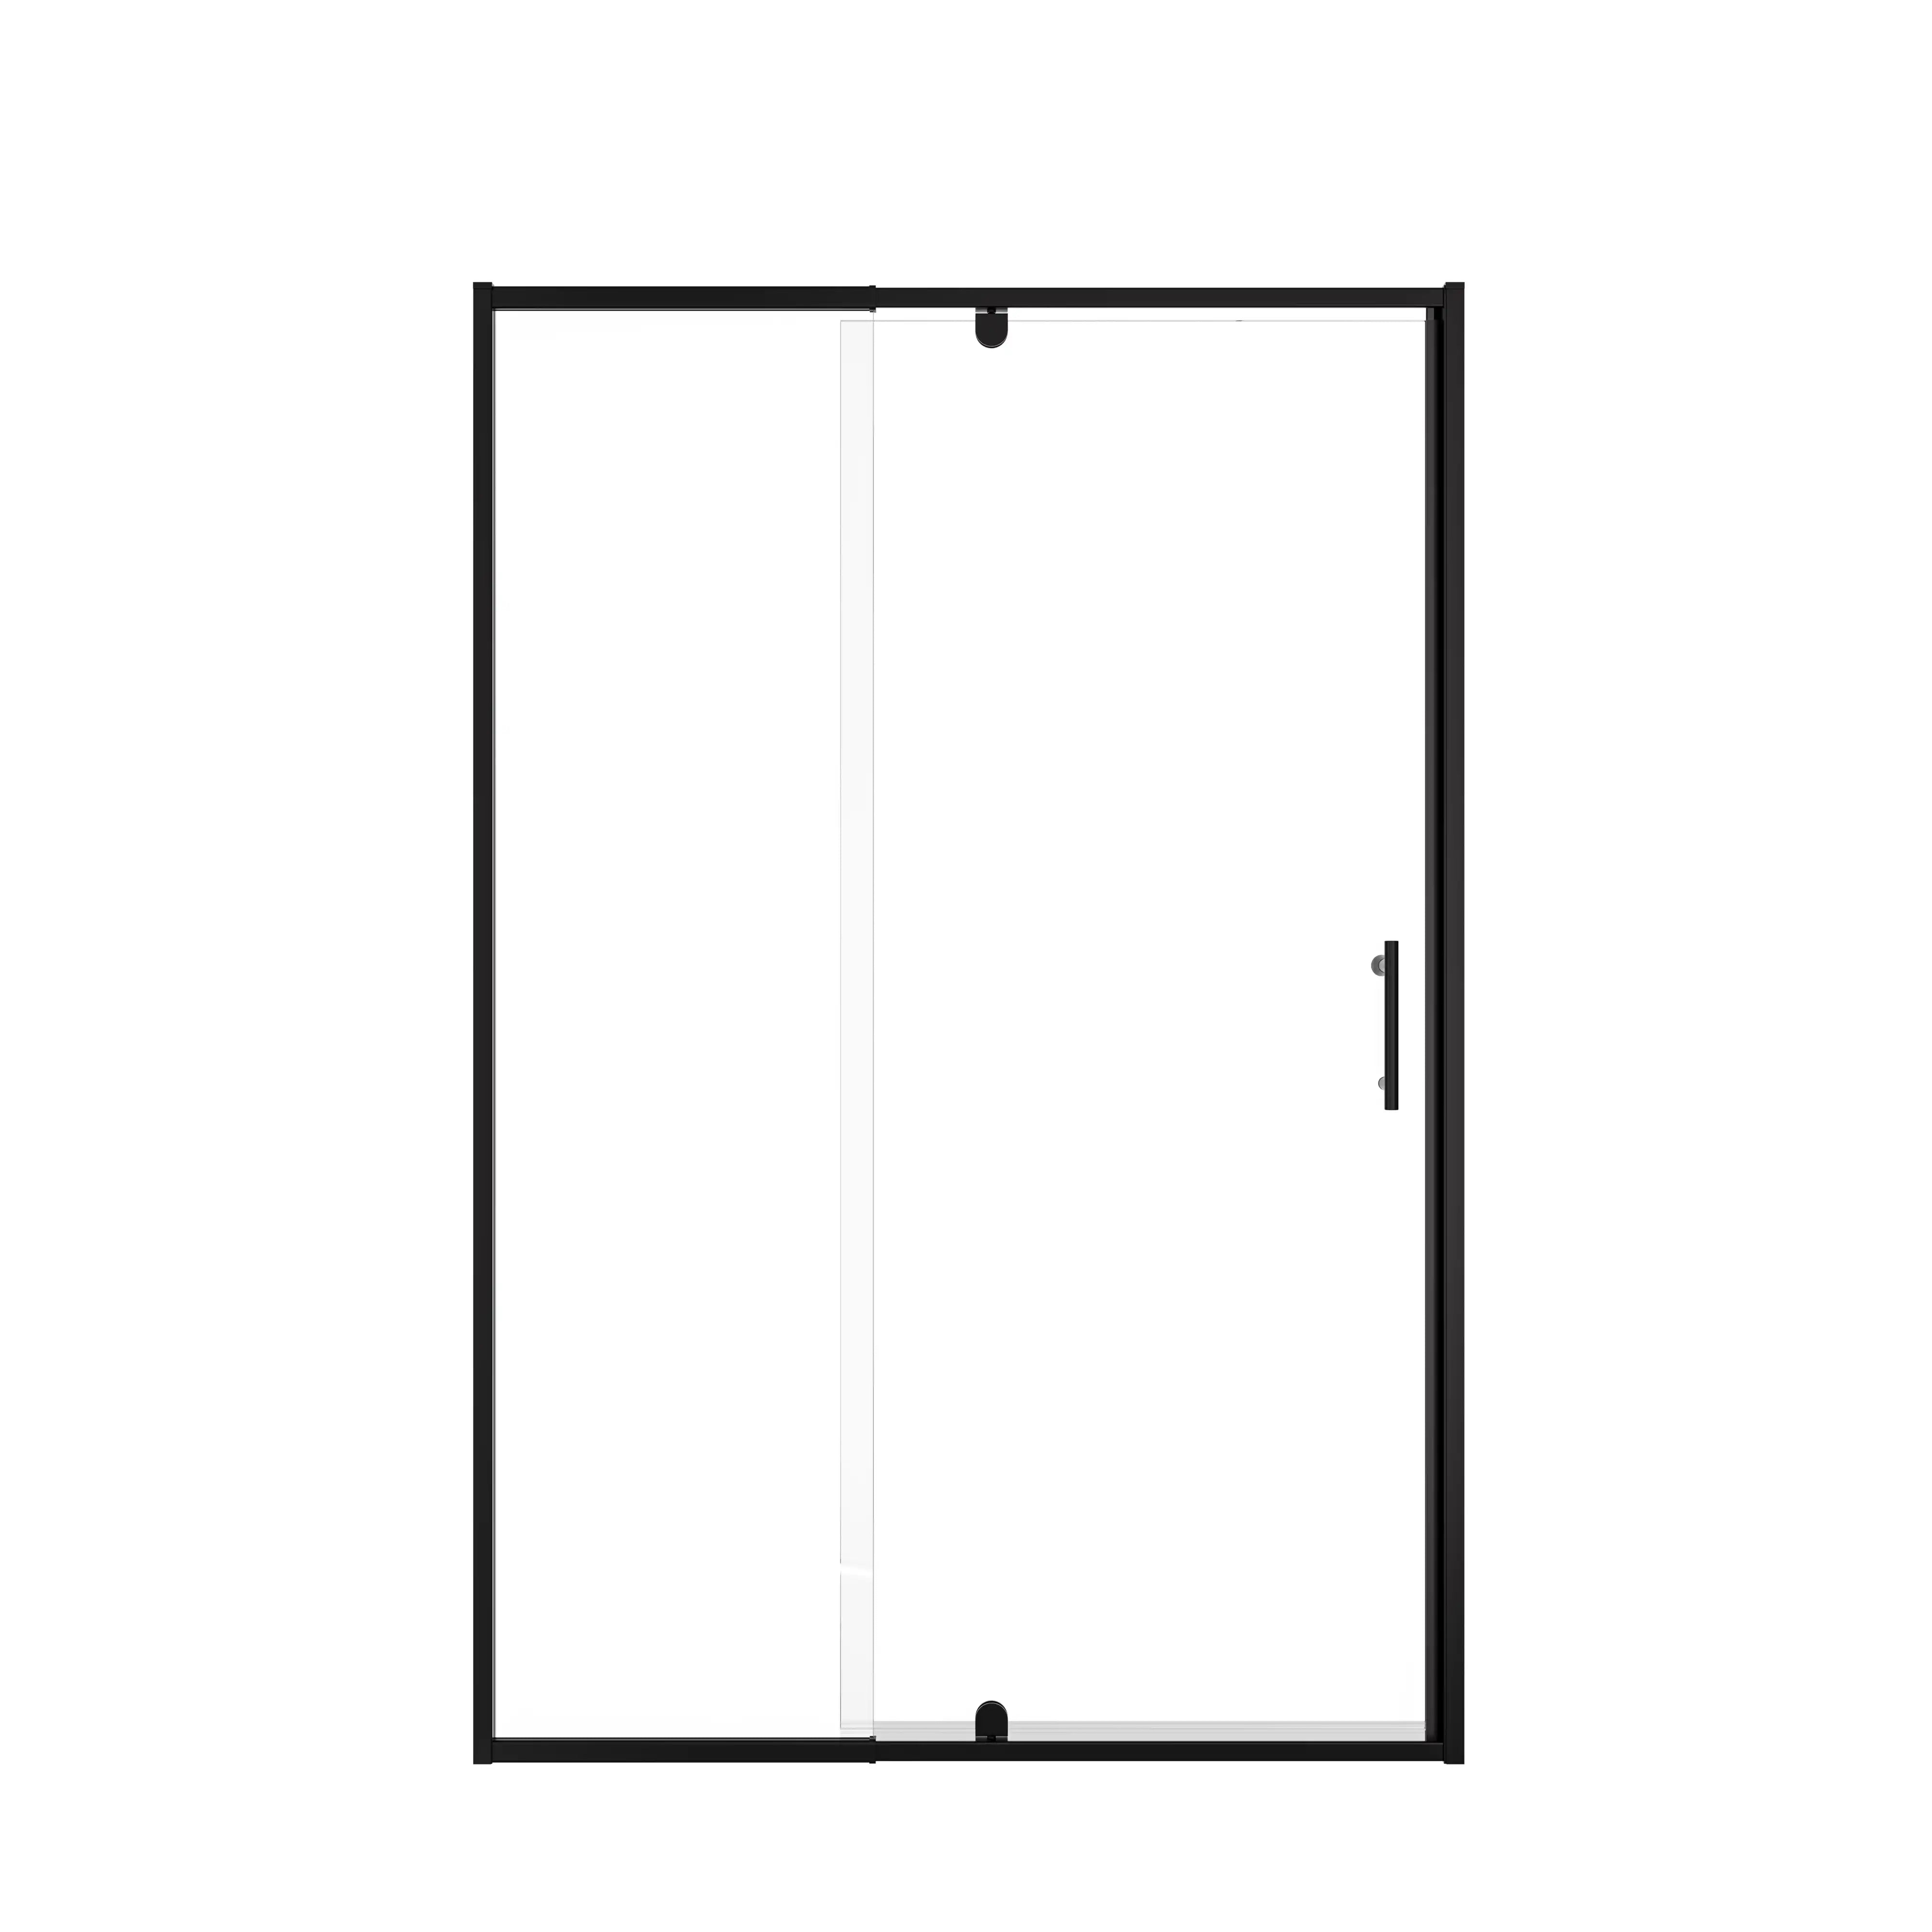
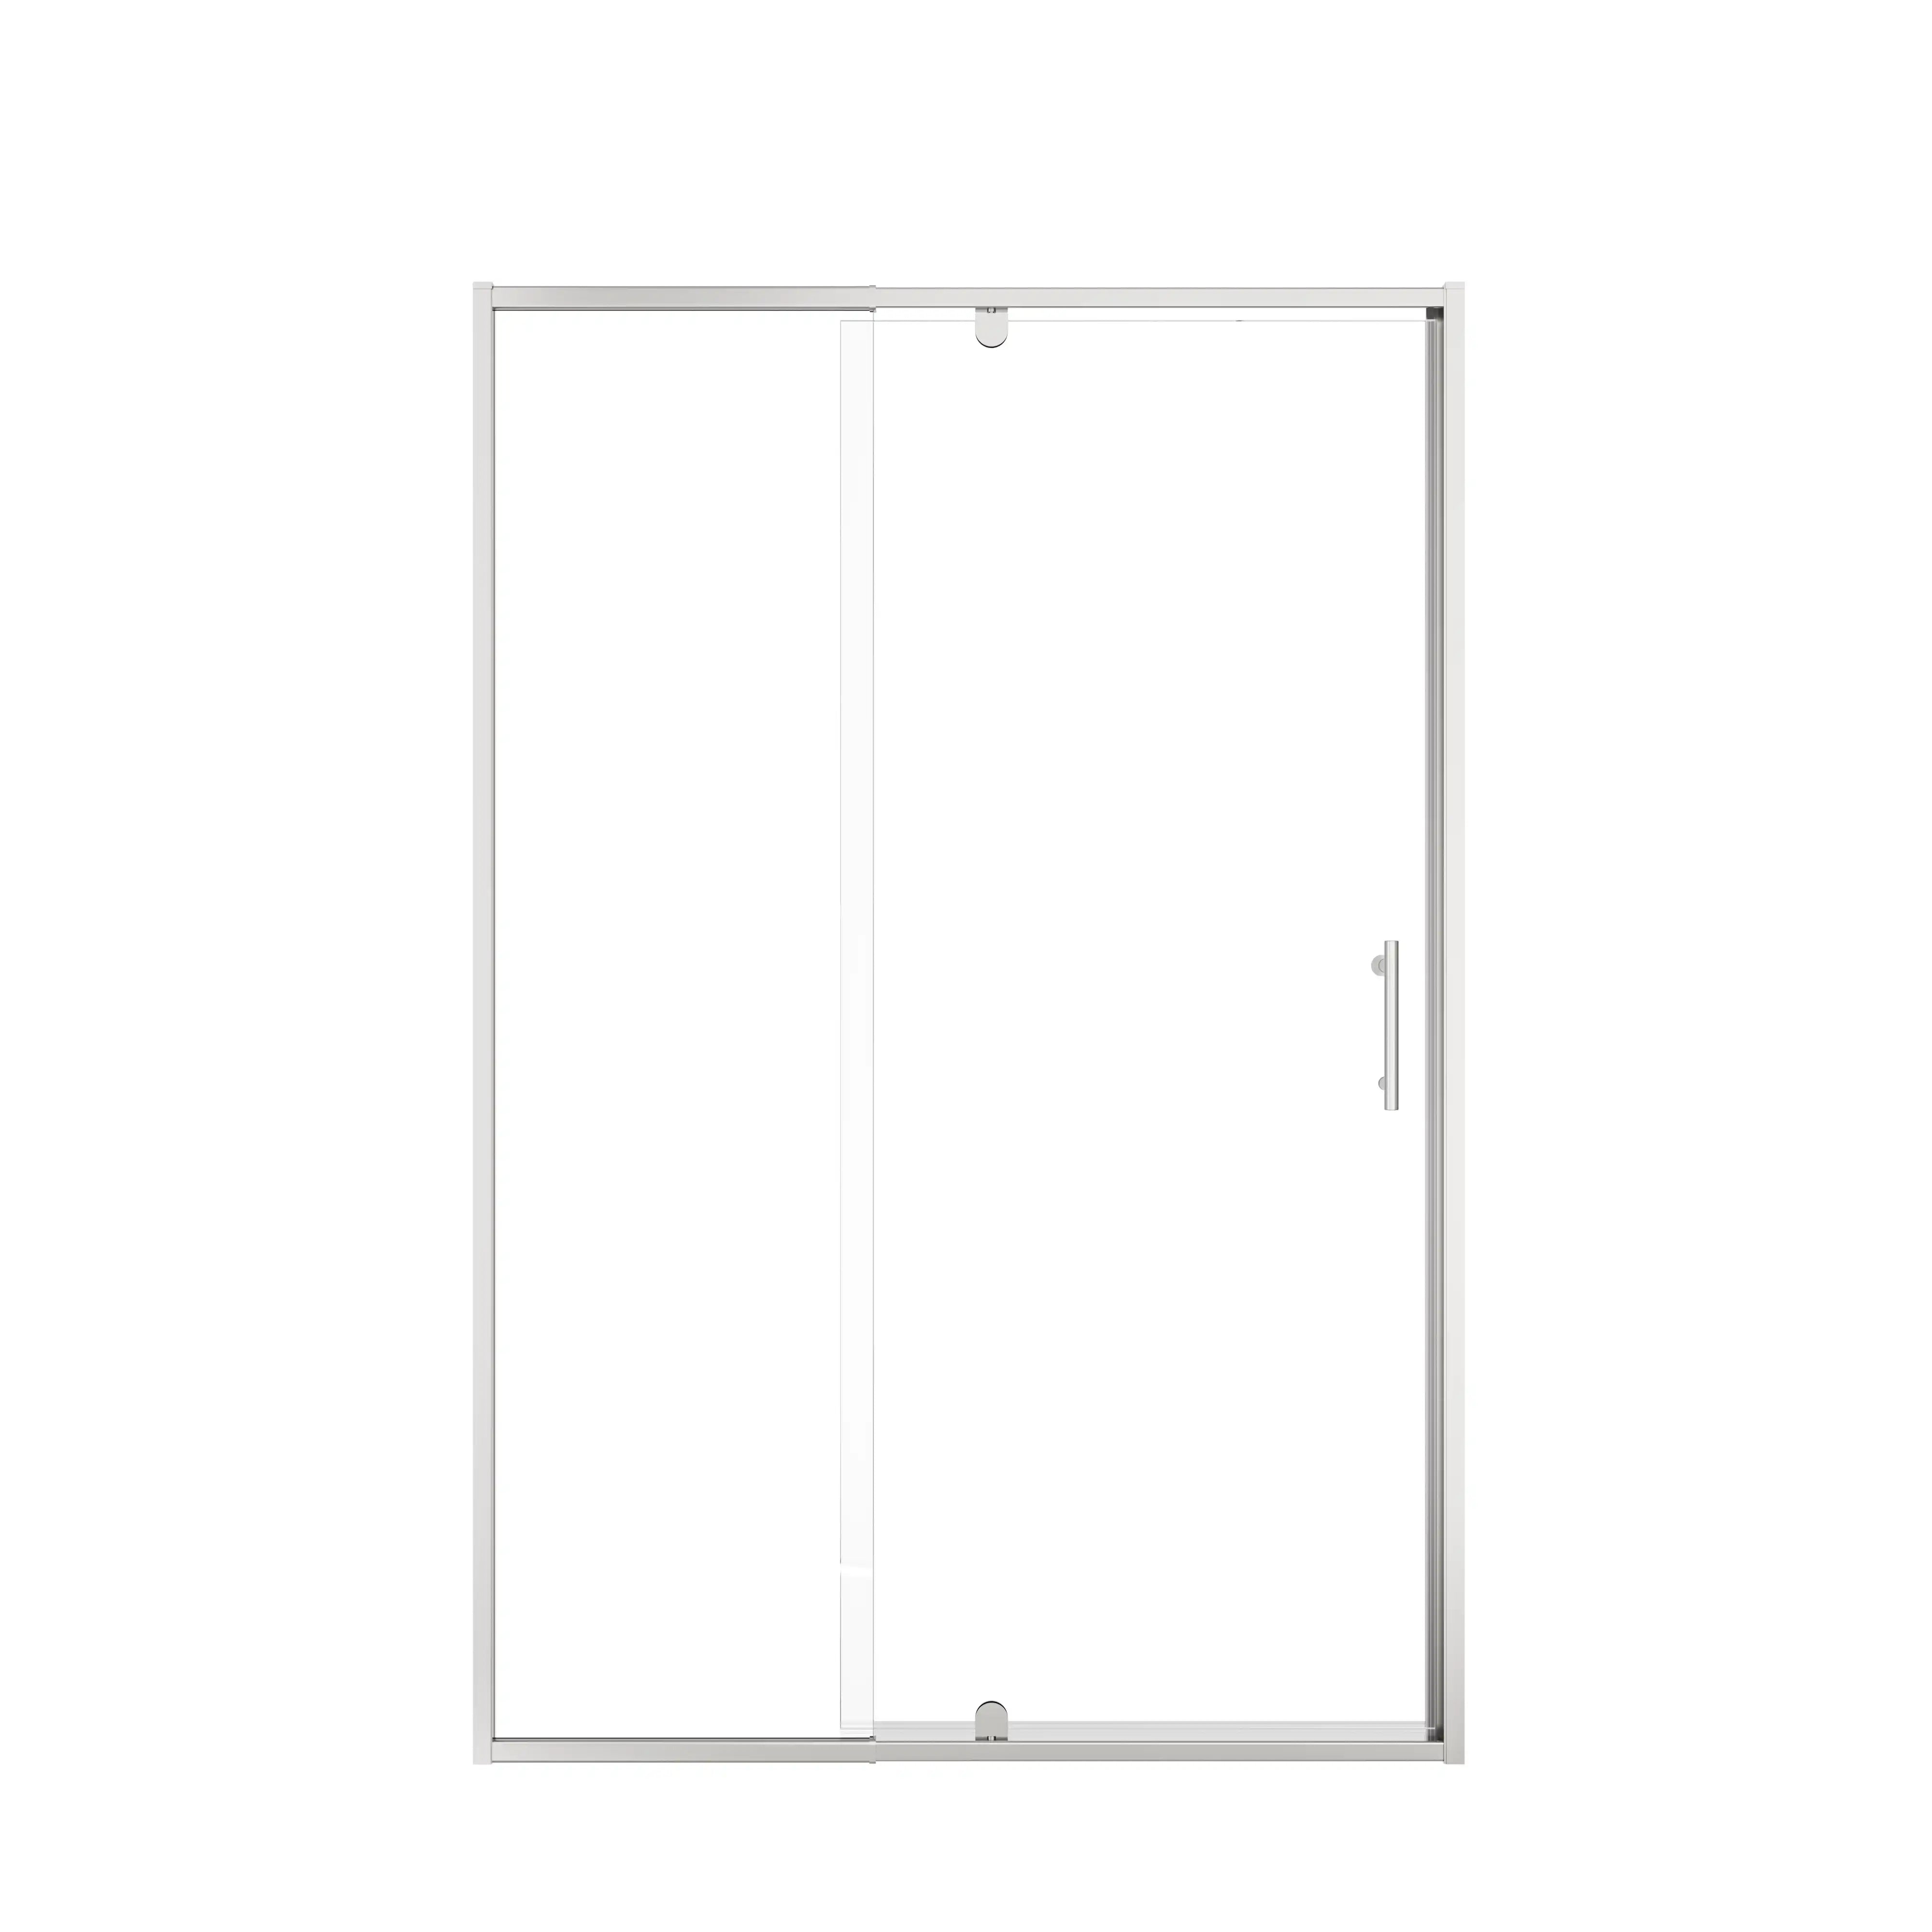
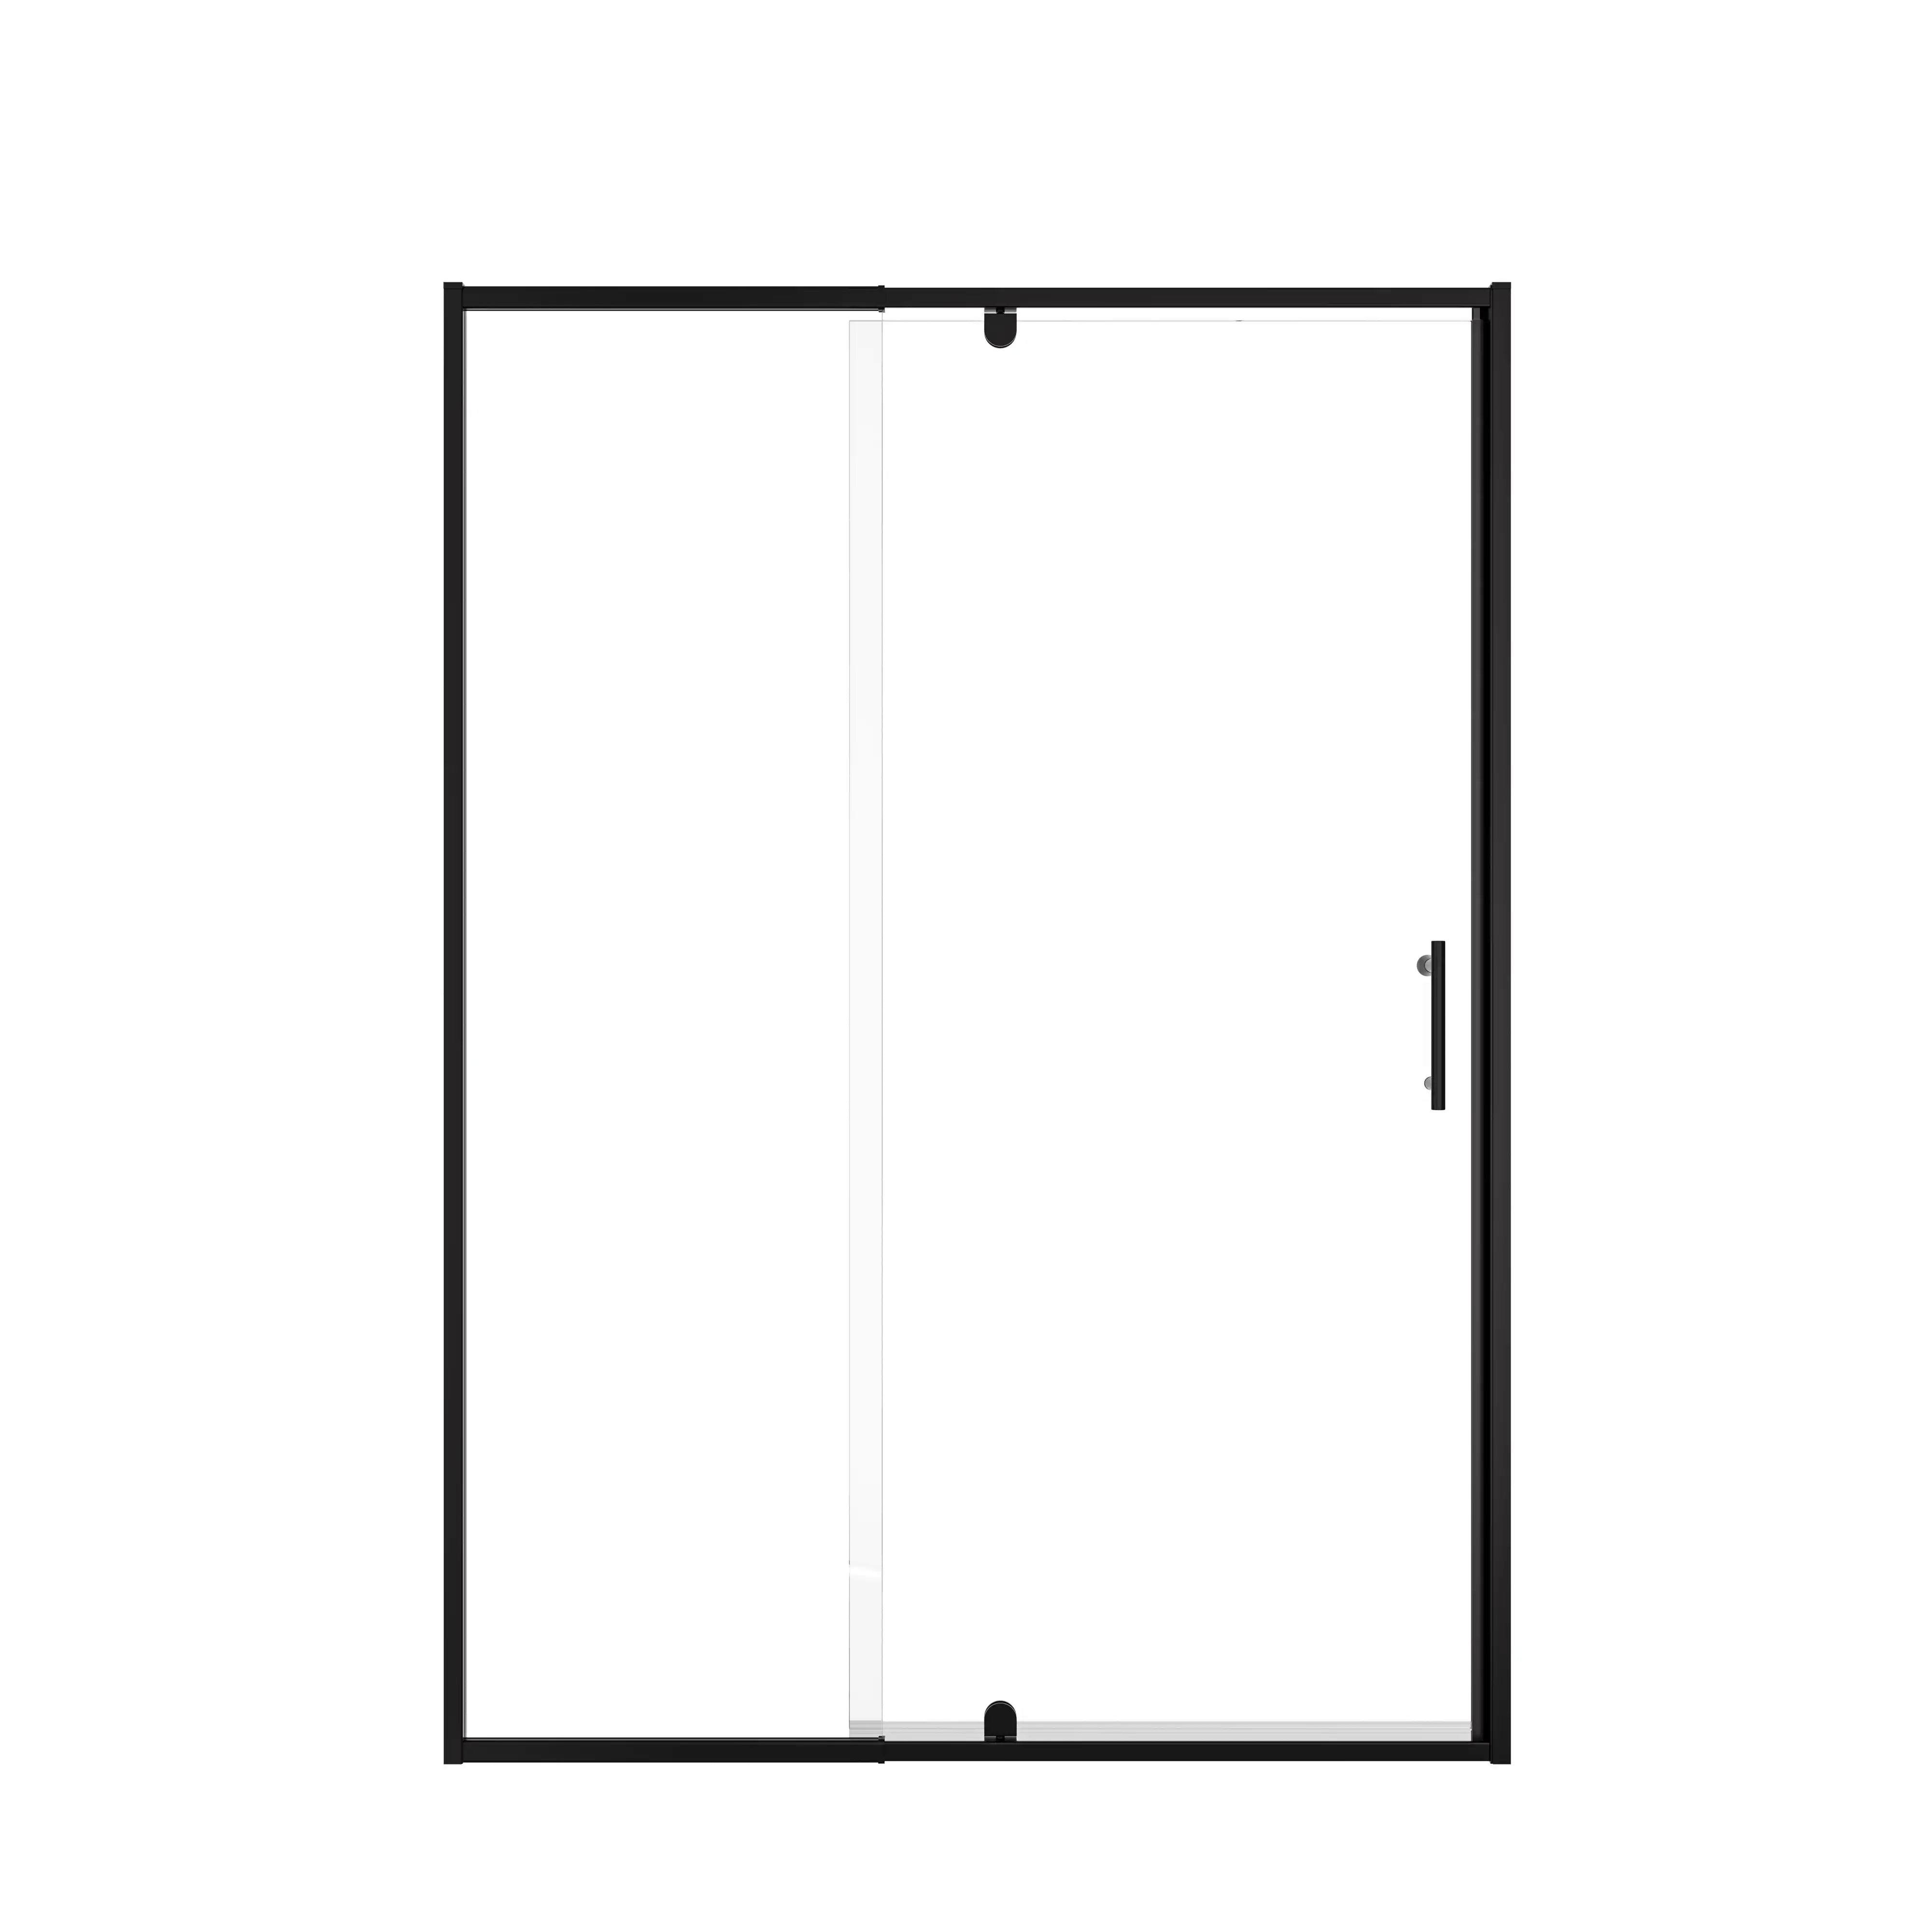
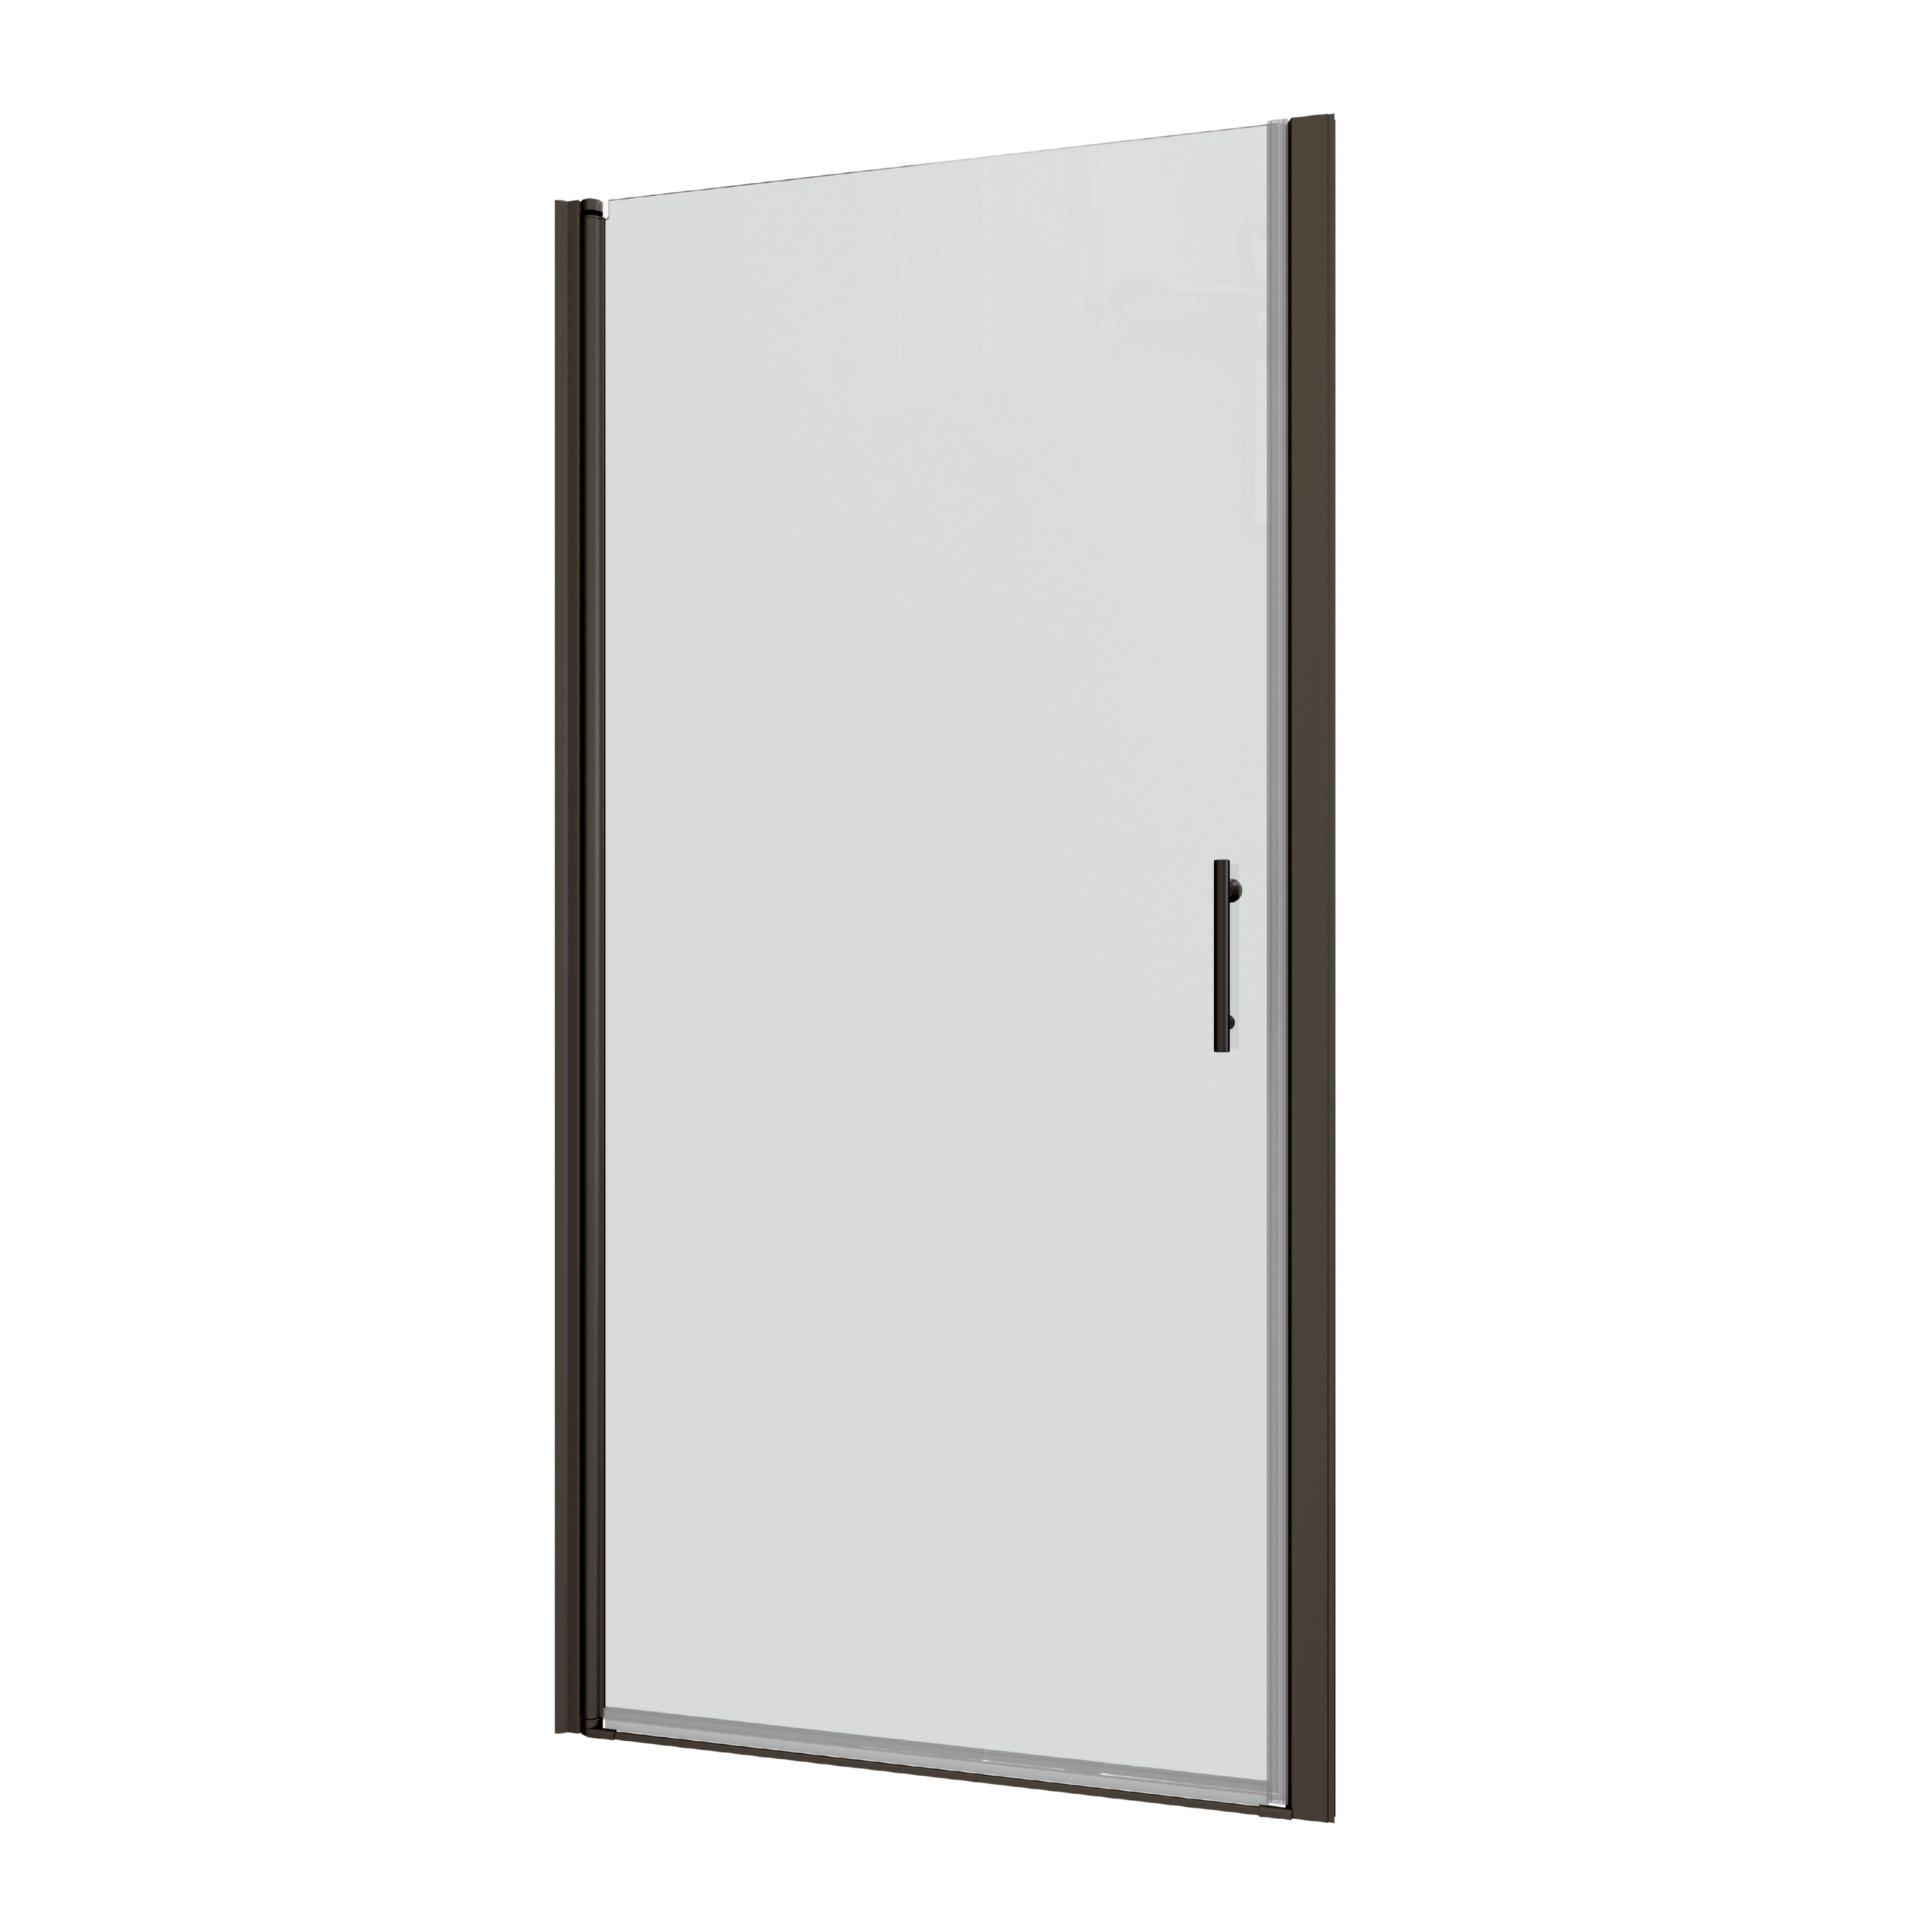
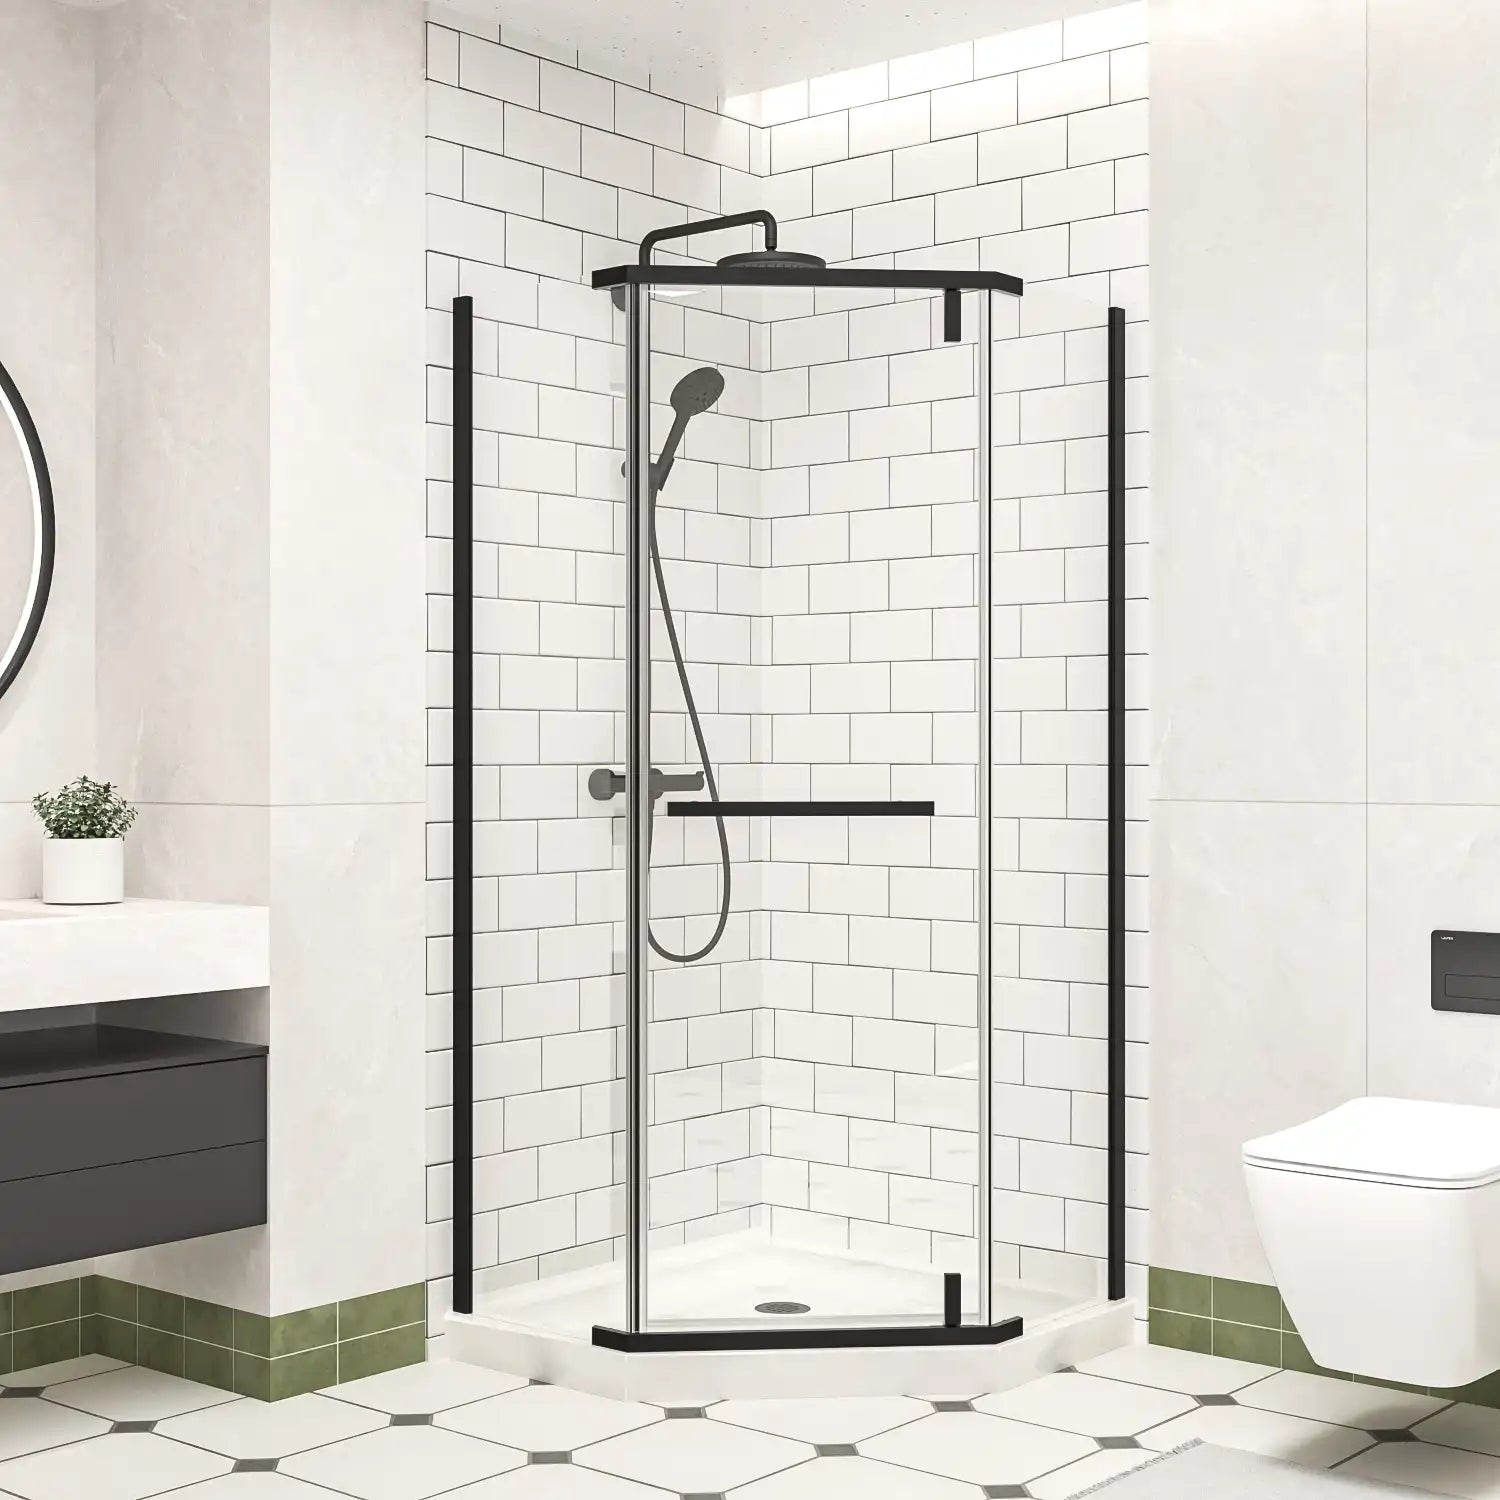
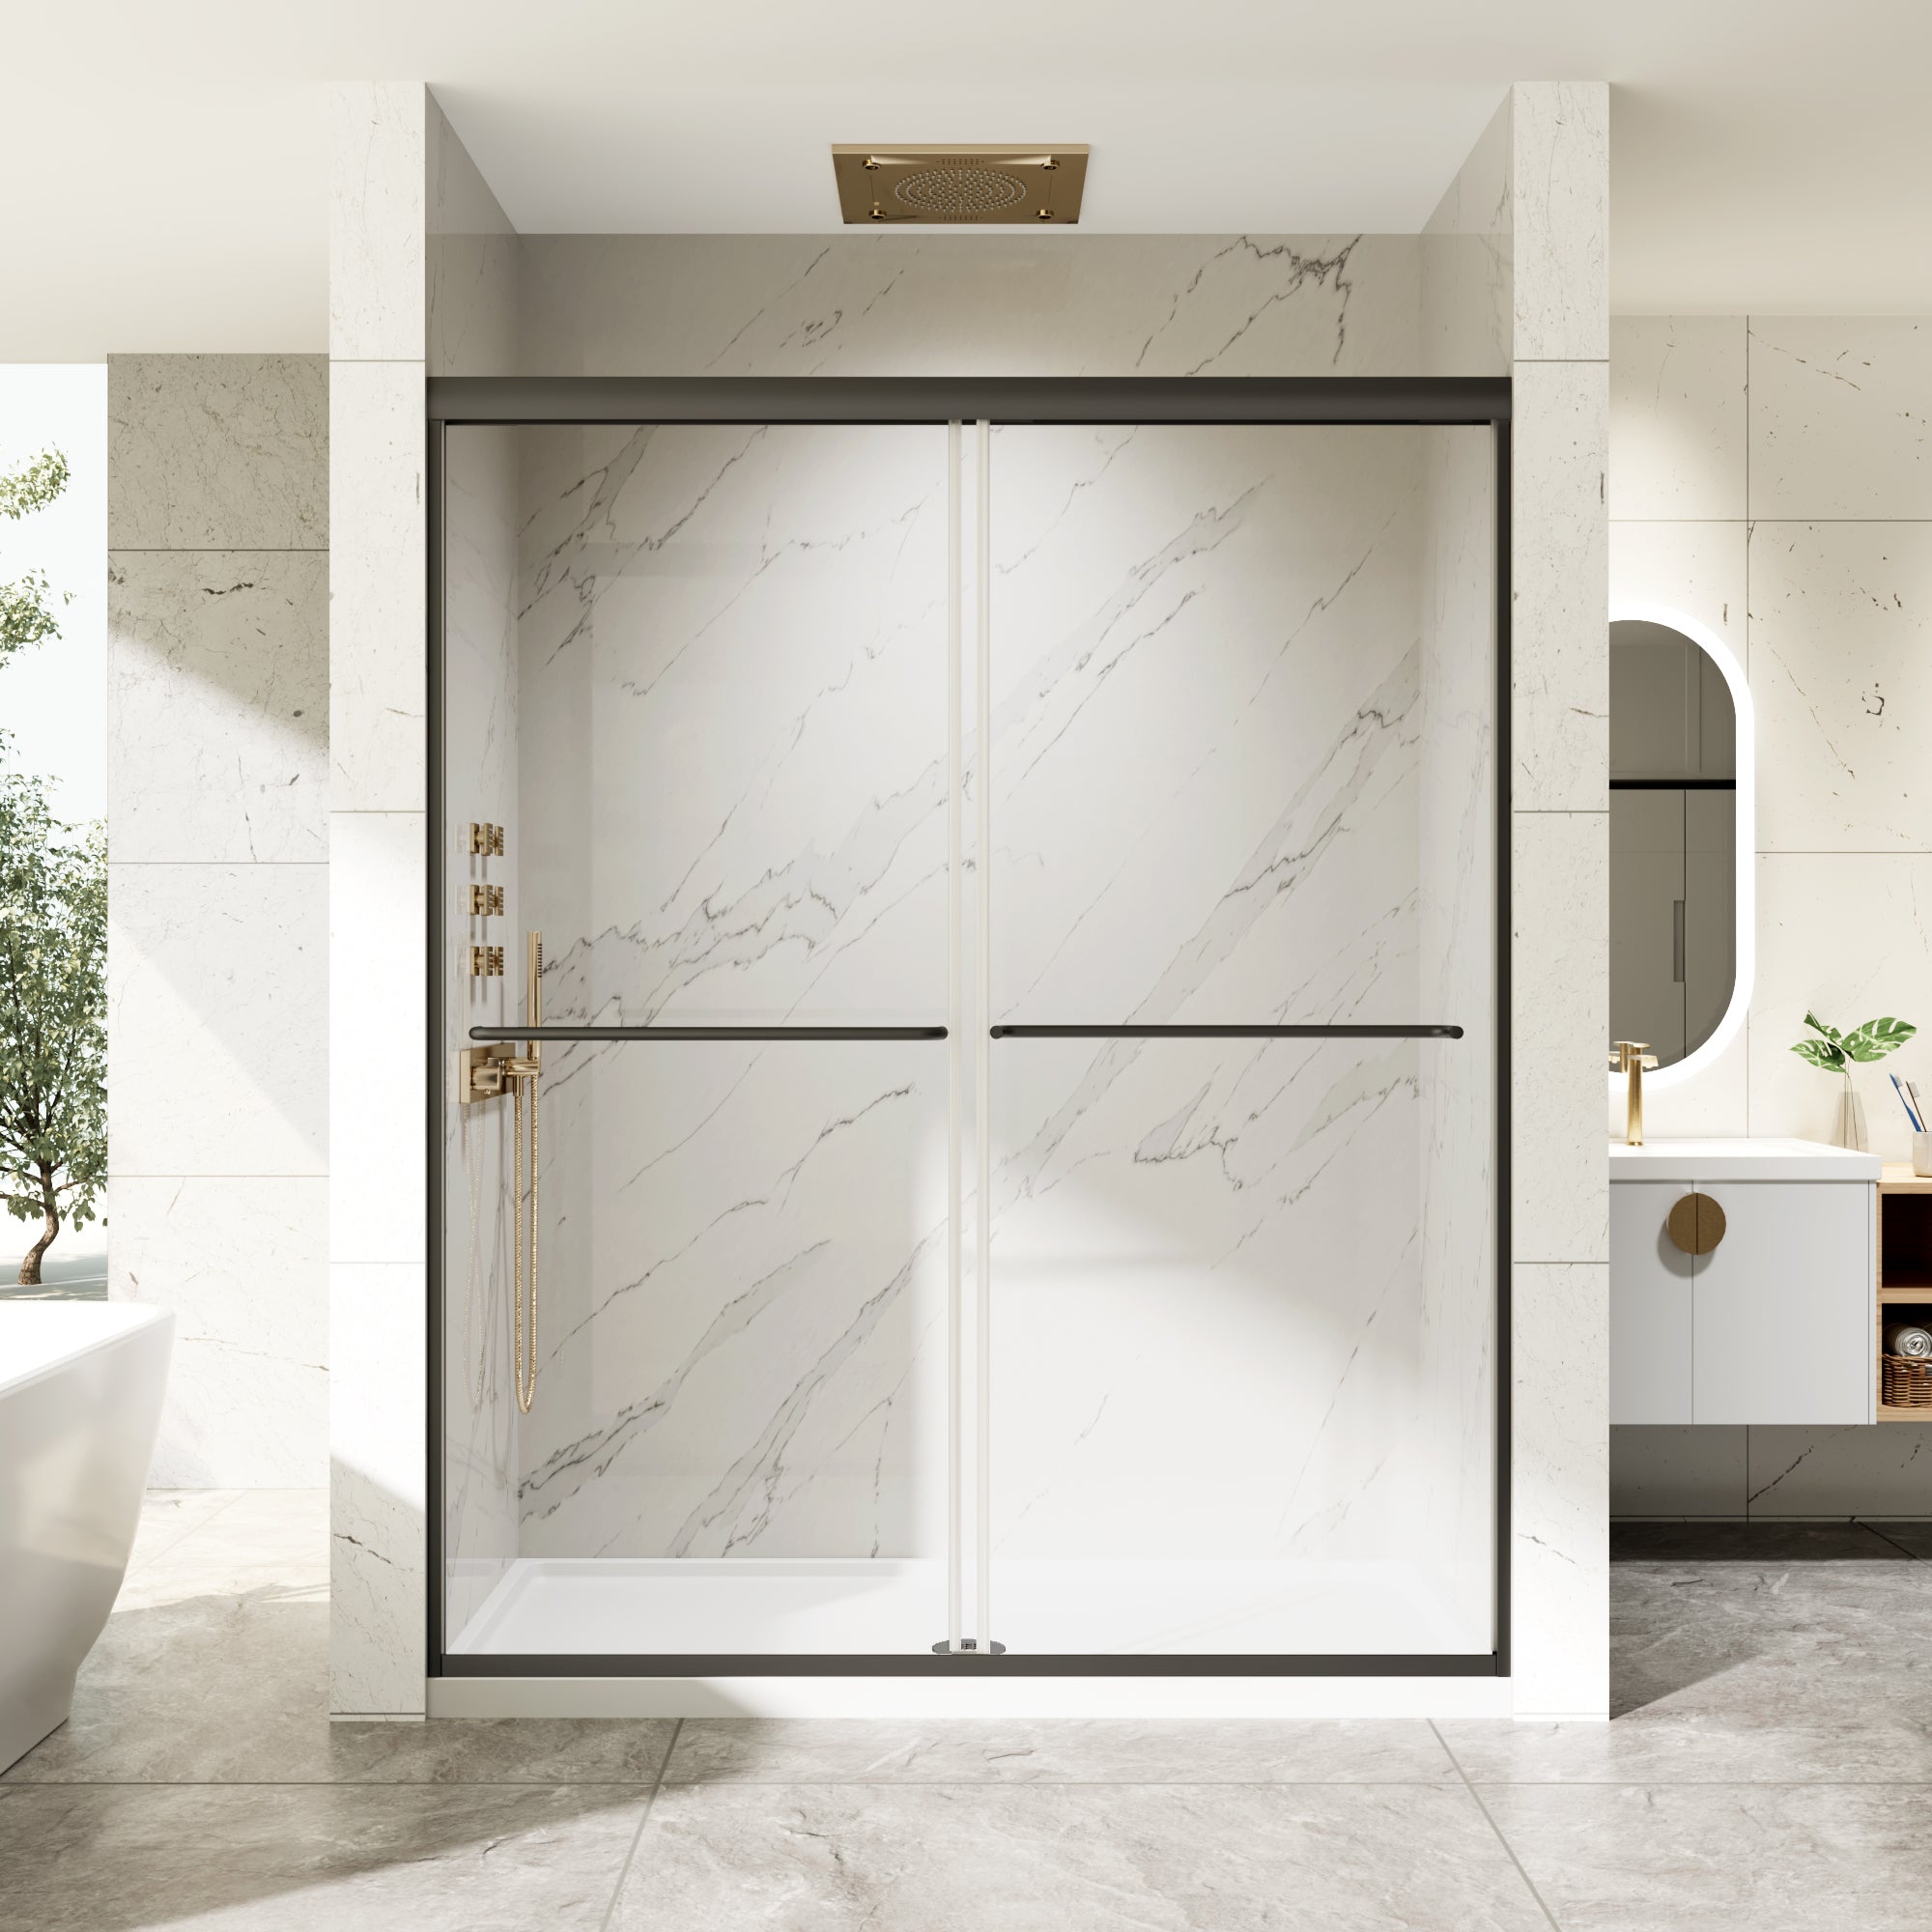
If you prefer to stay with a swinging design, a pivot shower door is an excellent option. Modern pivot doors combine sturdy construction with sleek lines, giving you the same wide opening space but with improved durability and style. They’re also more affordable than many homeowners expect, making them a practical yet stylish upgrade.
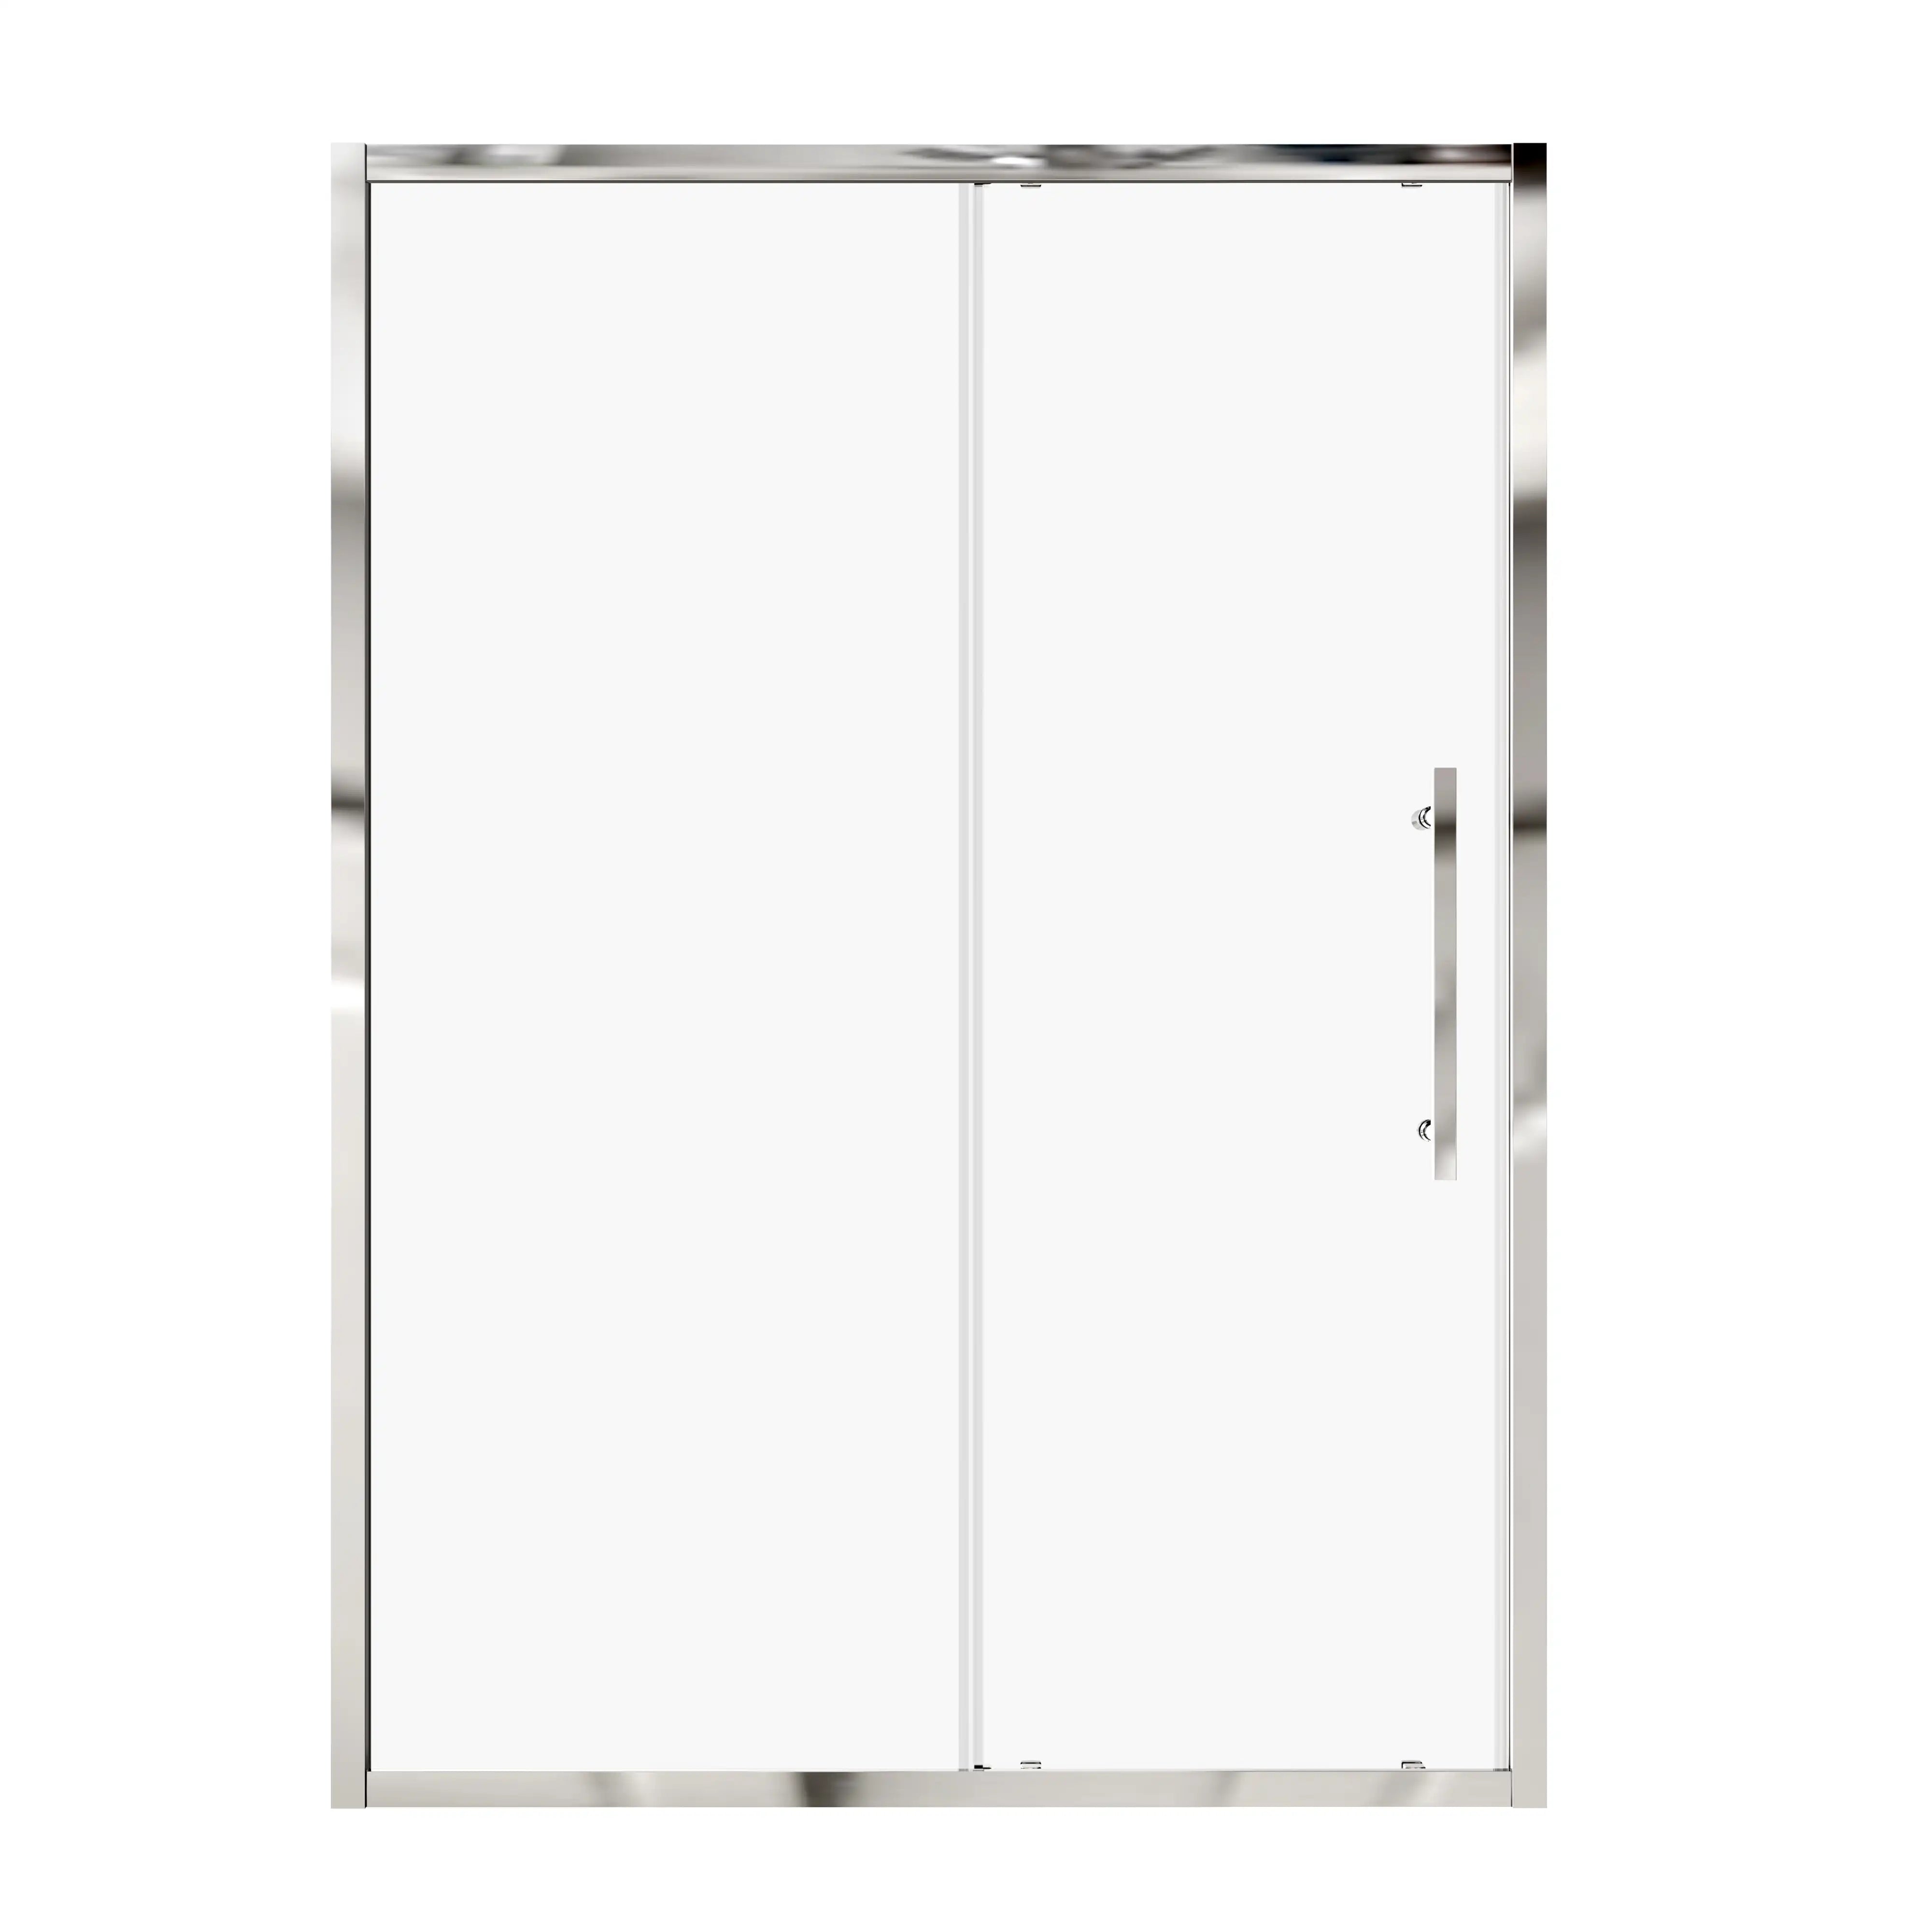
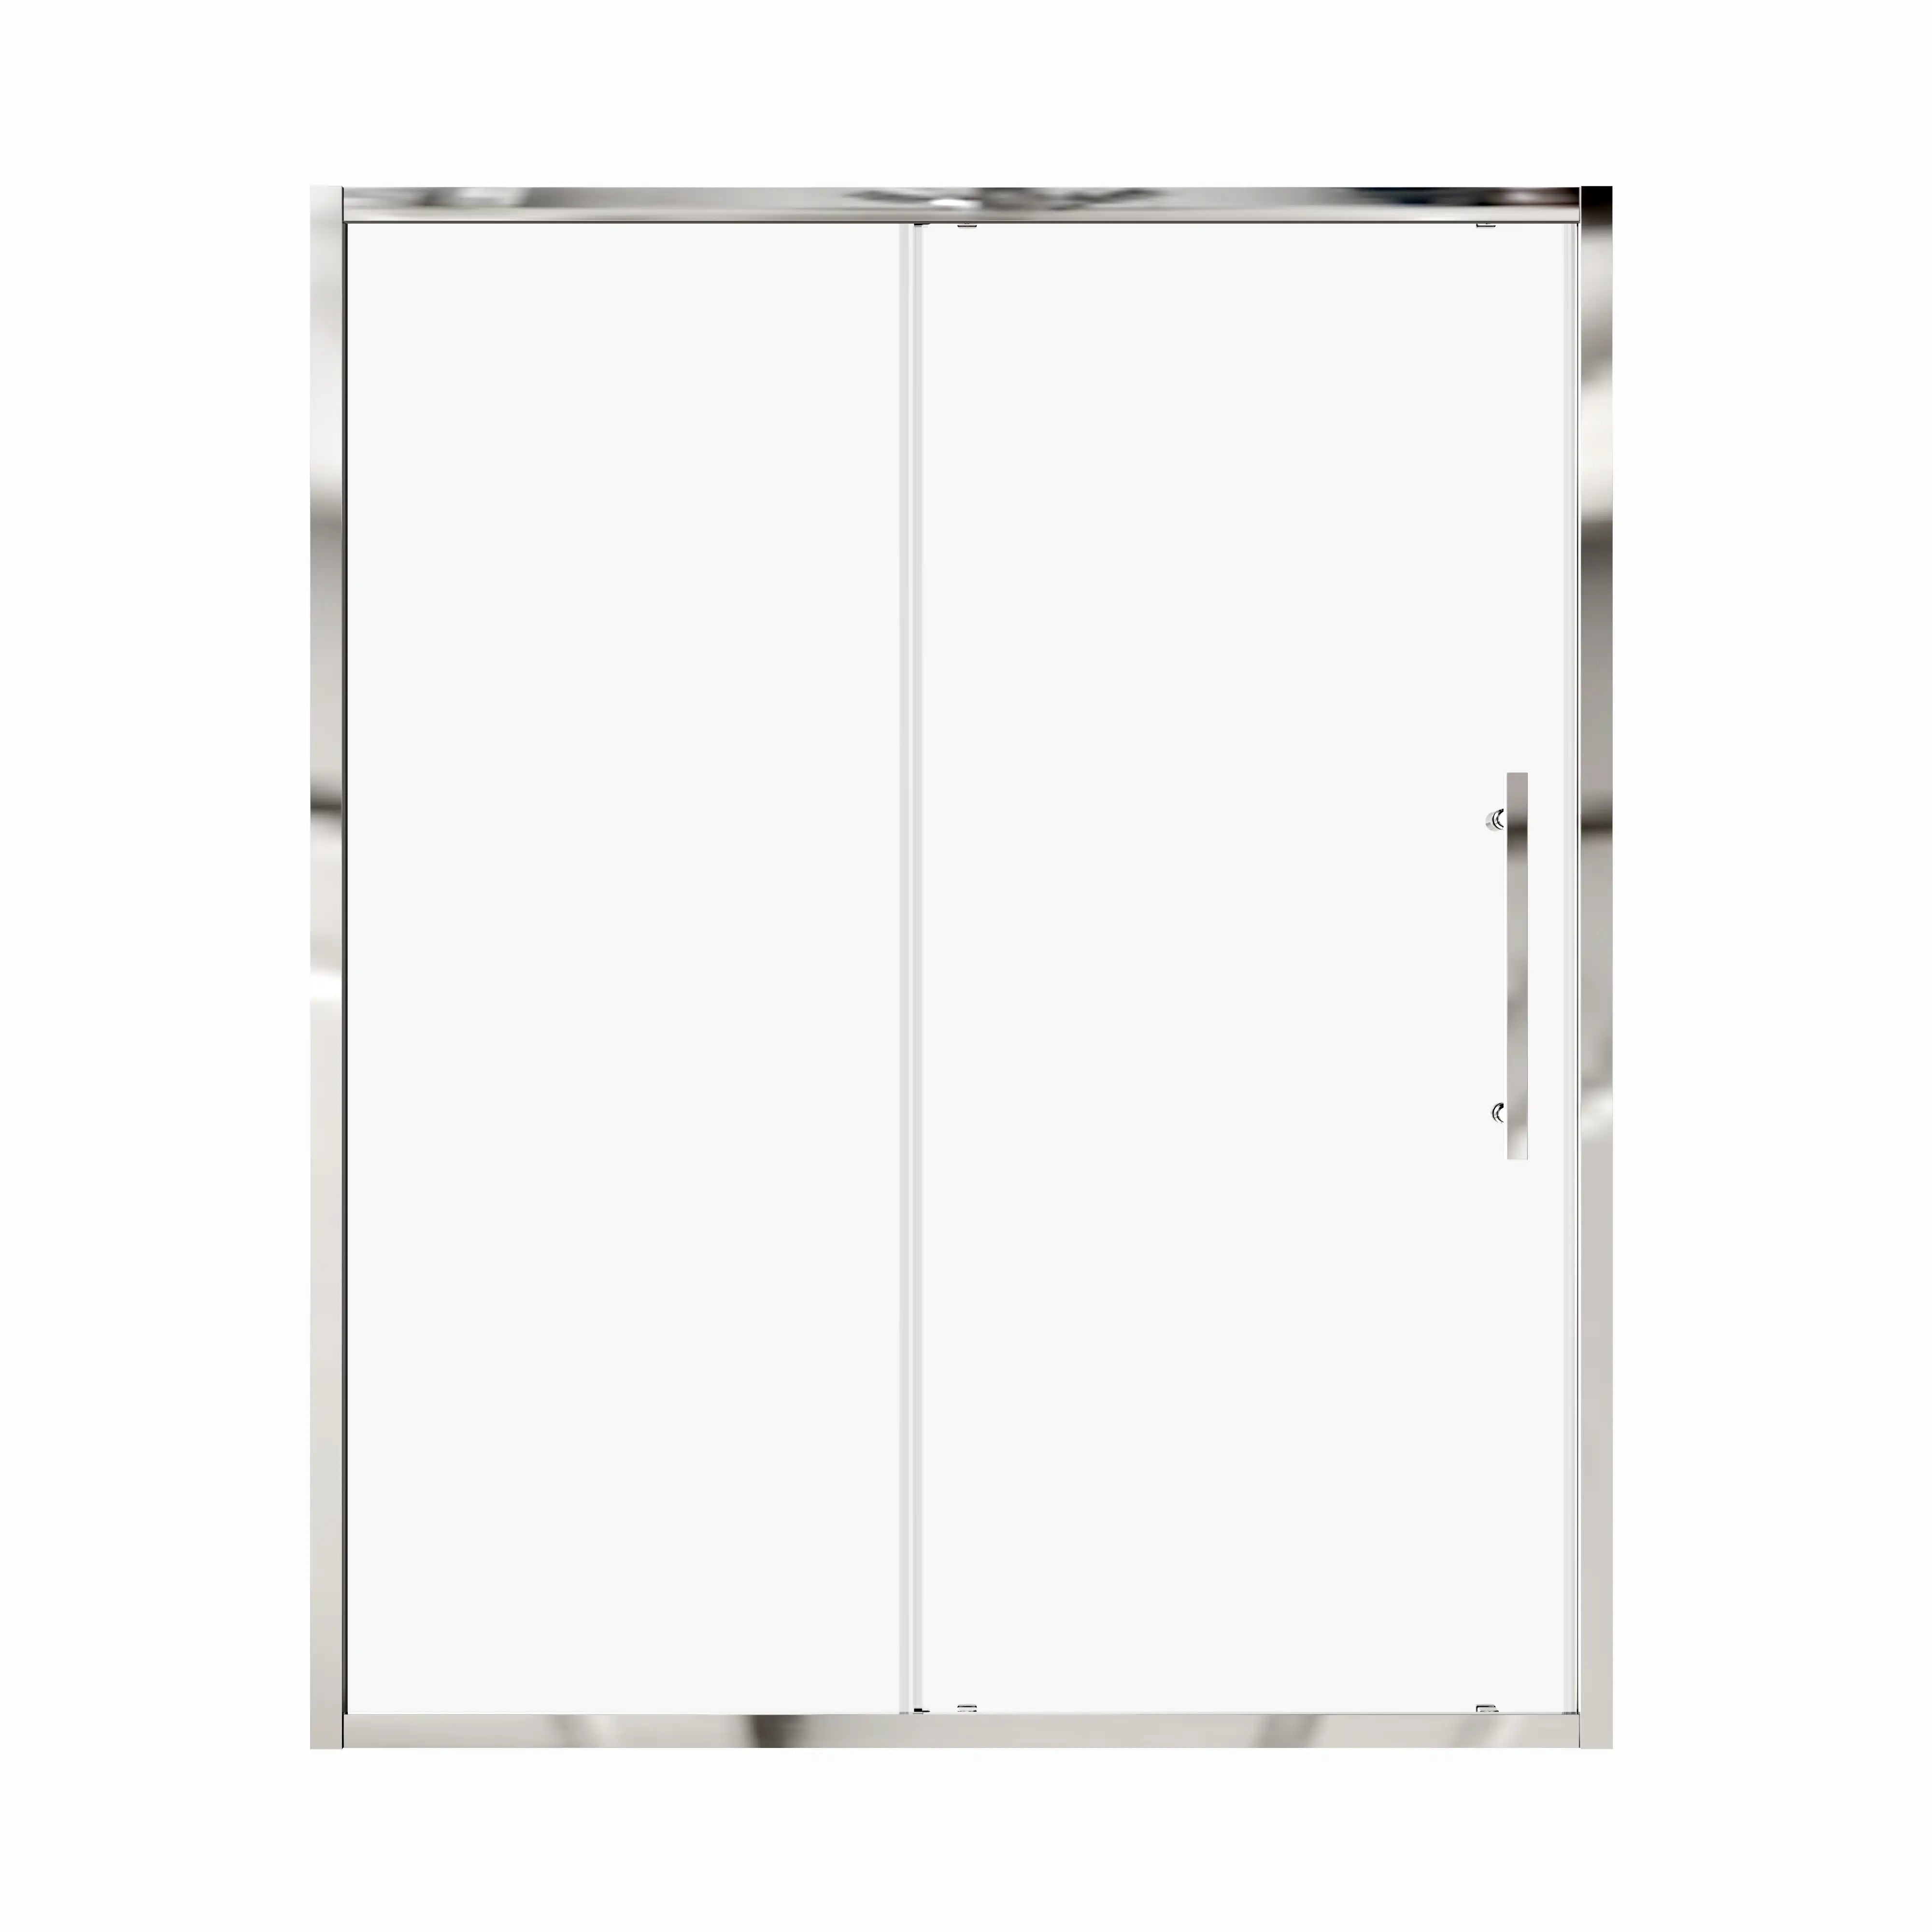
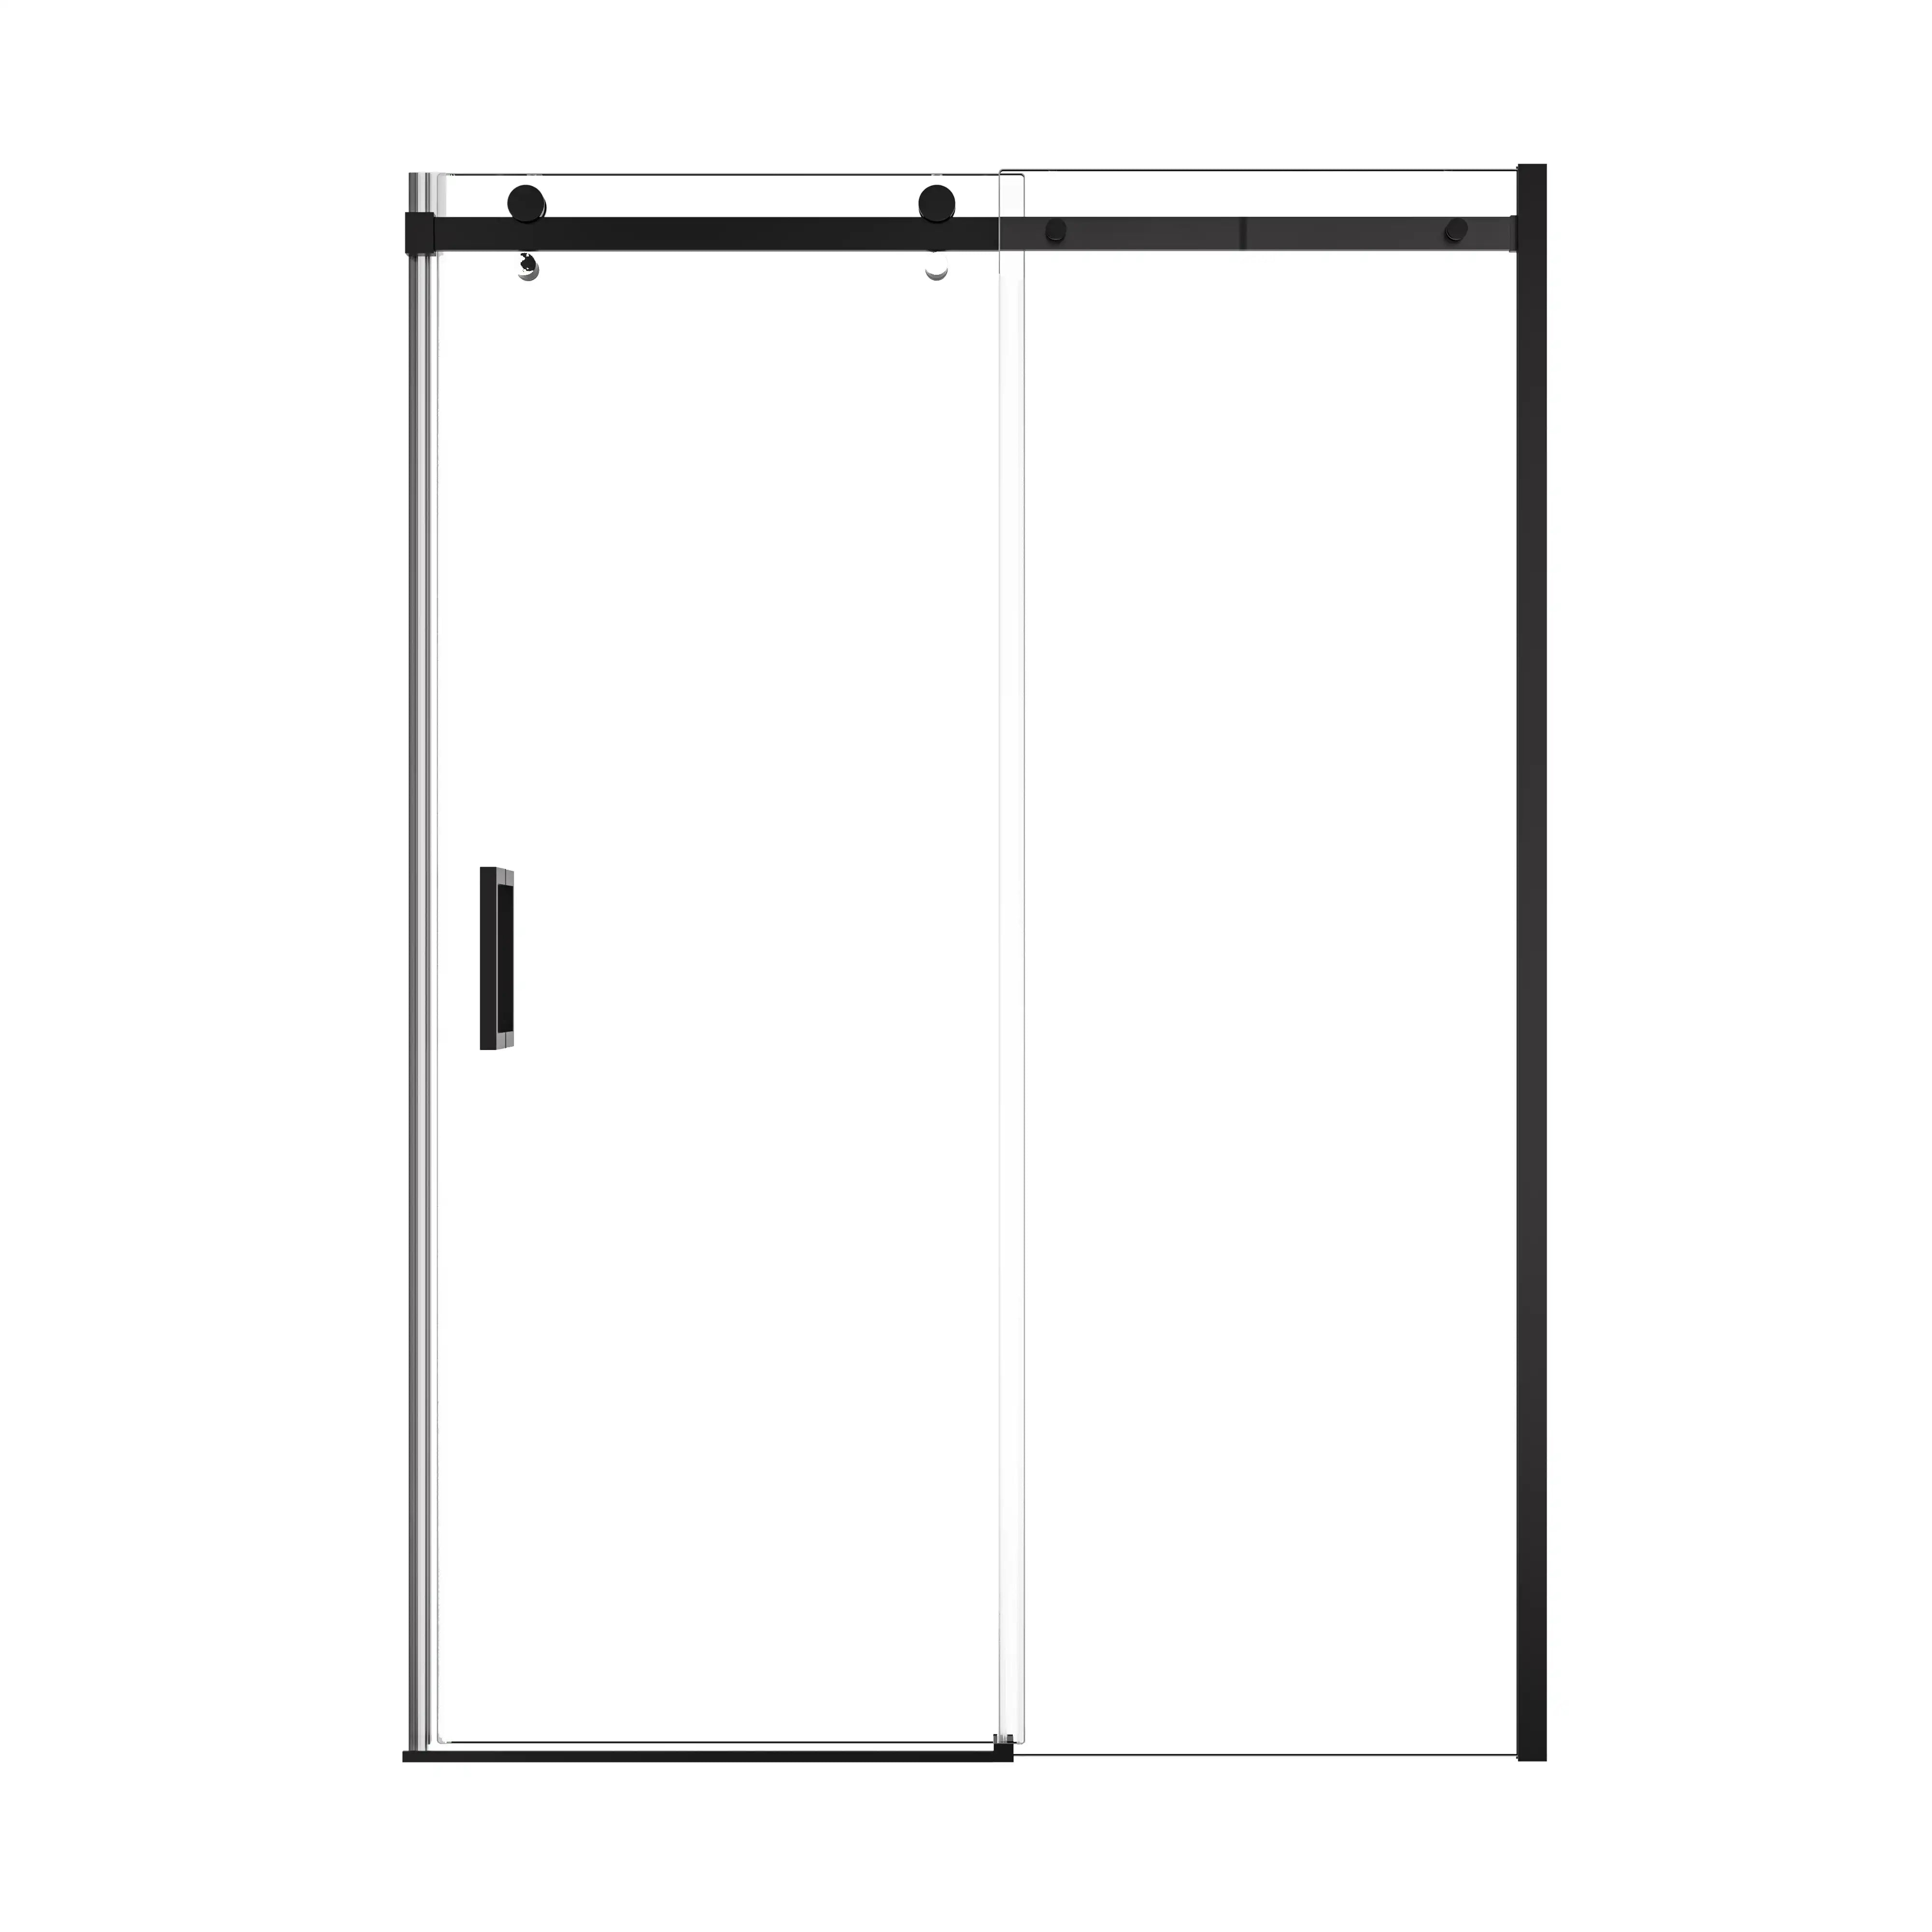
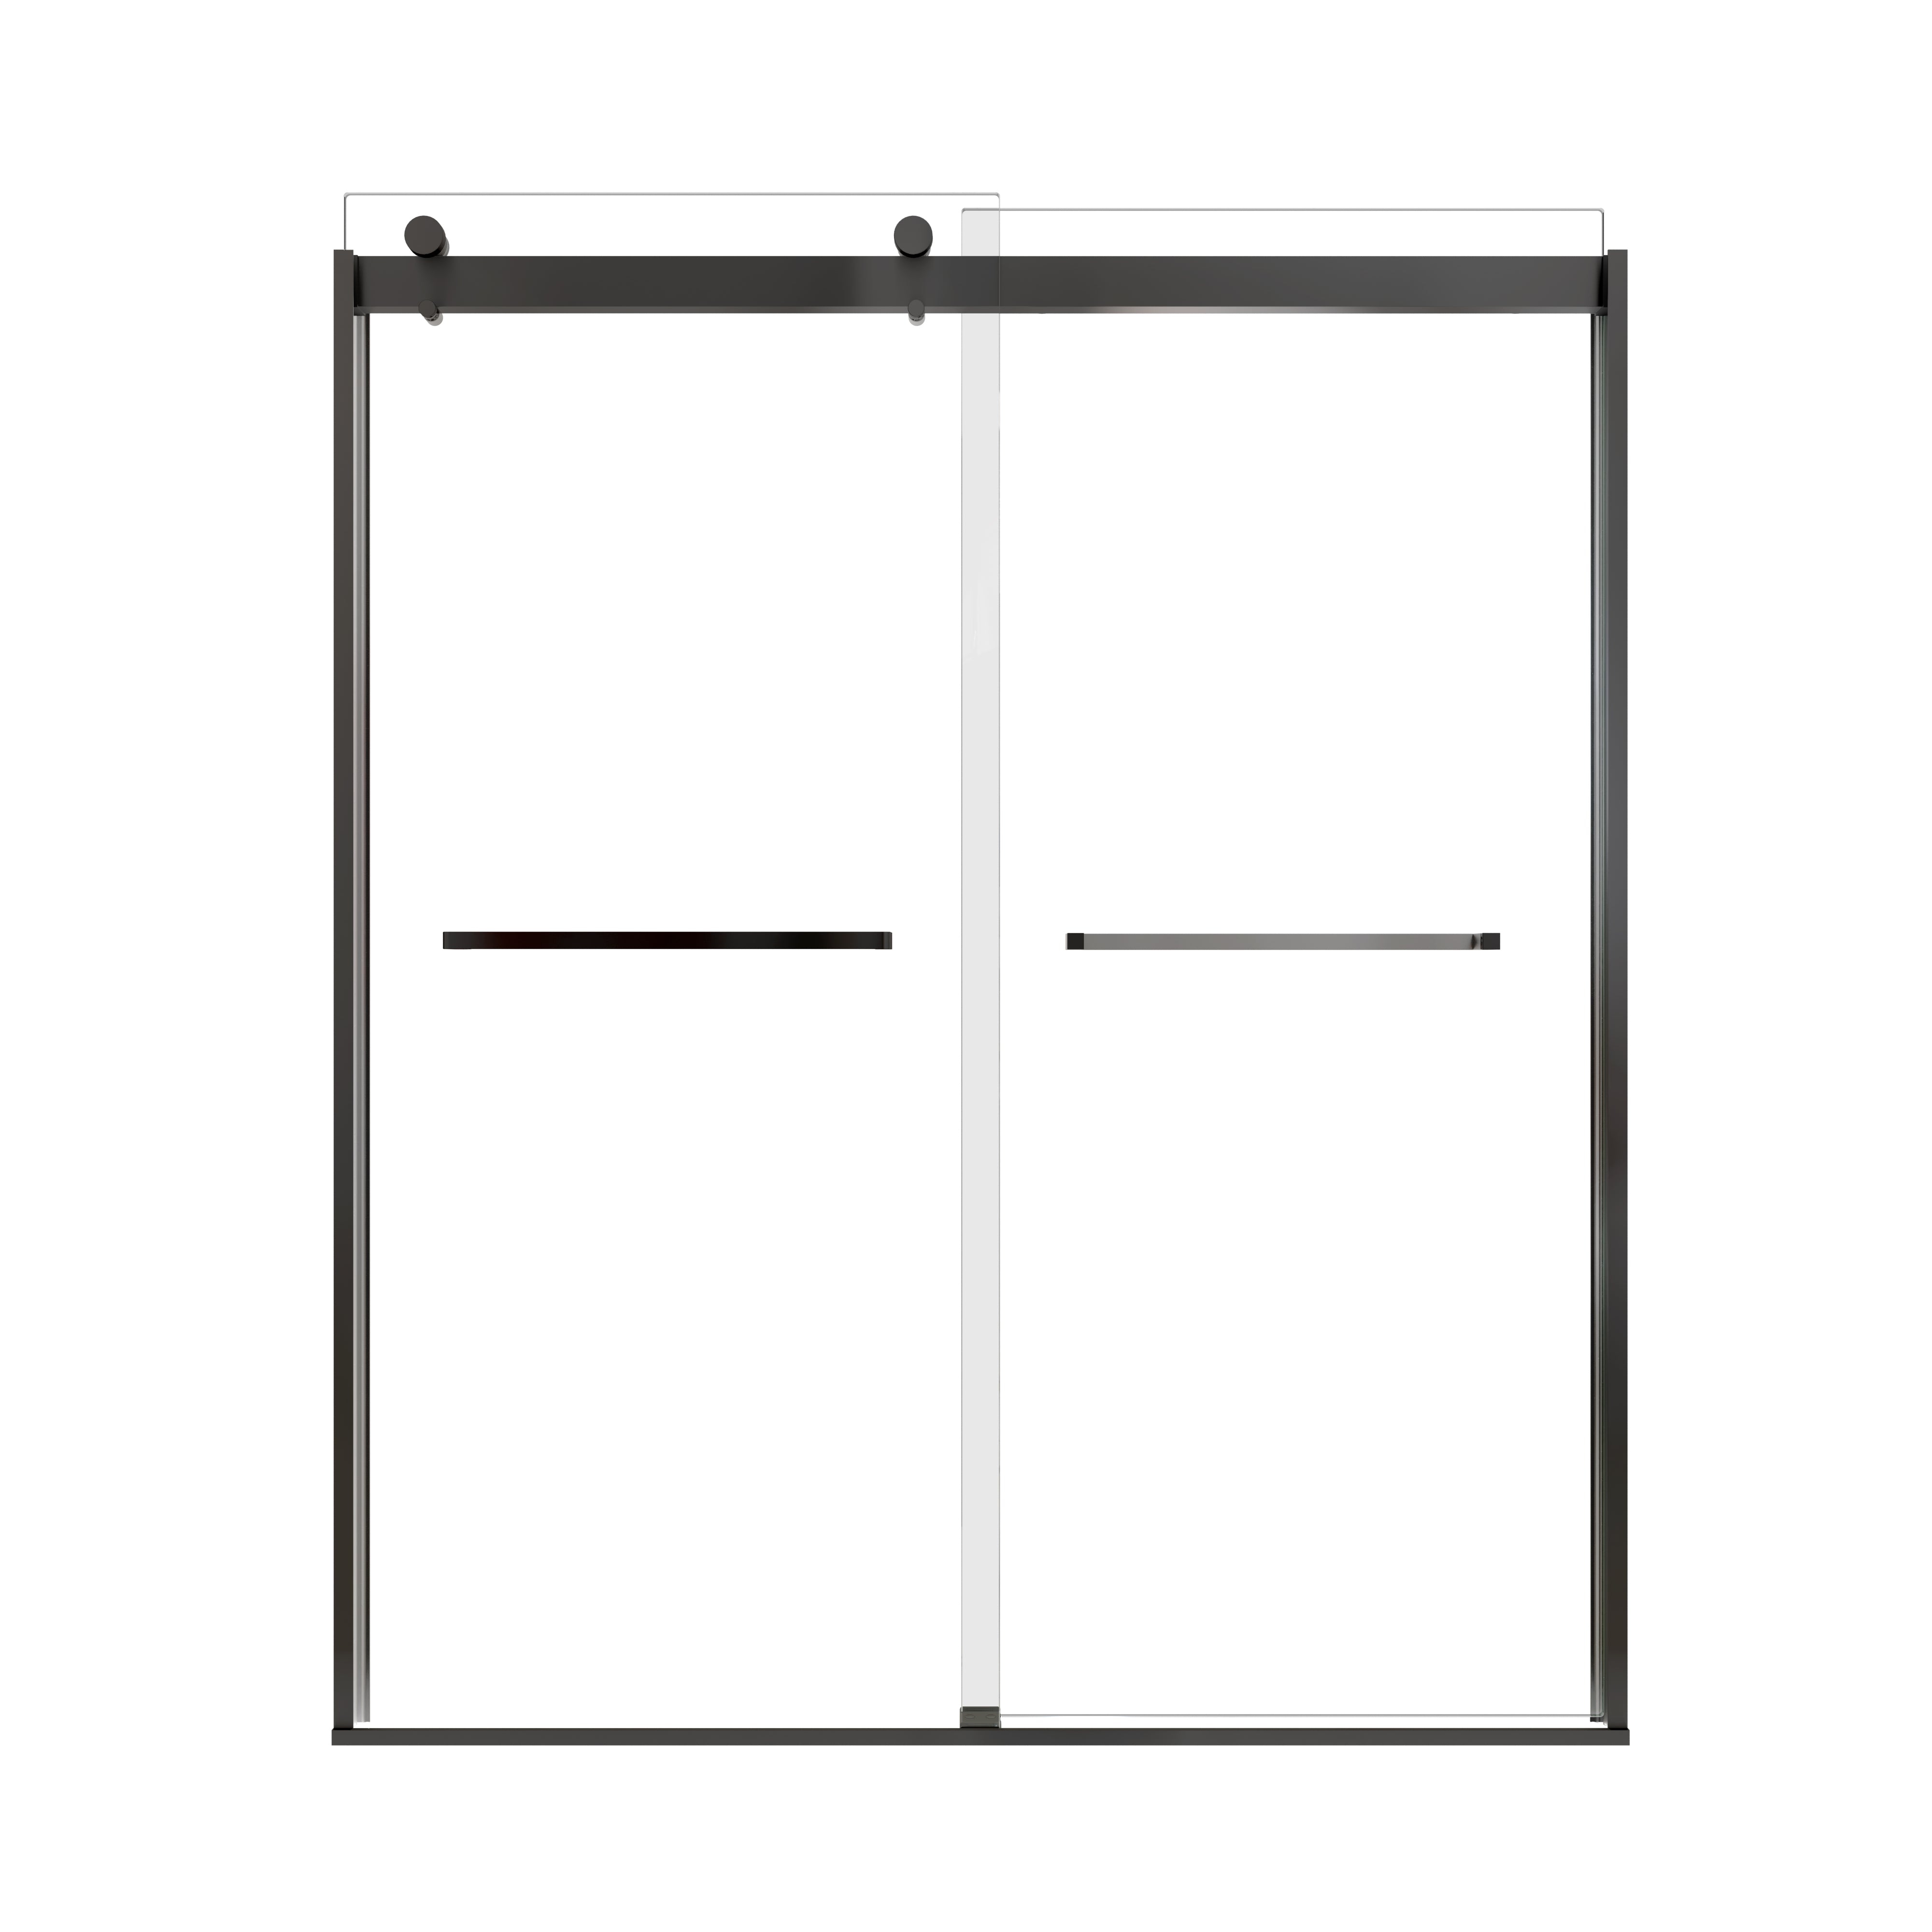
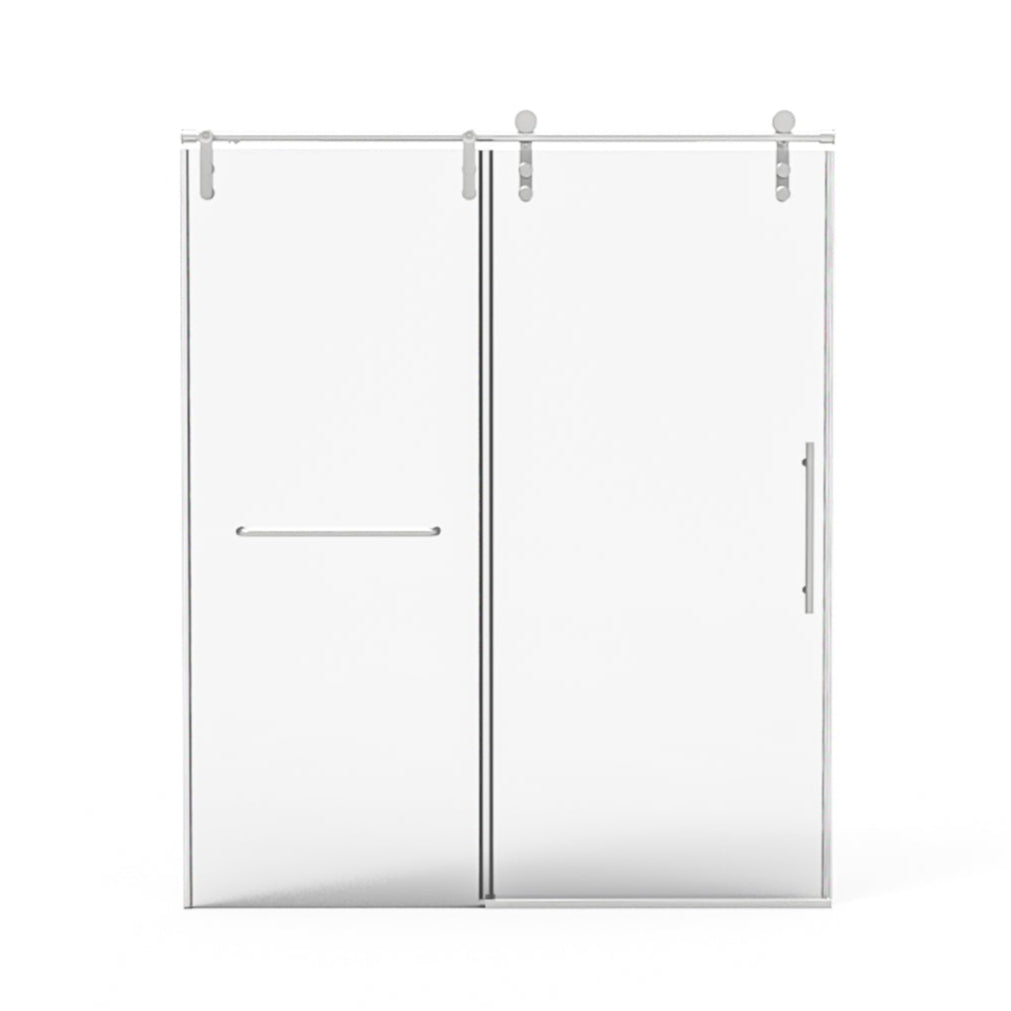
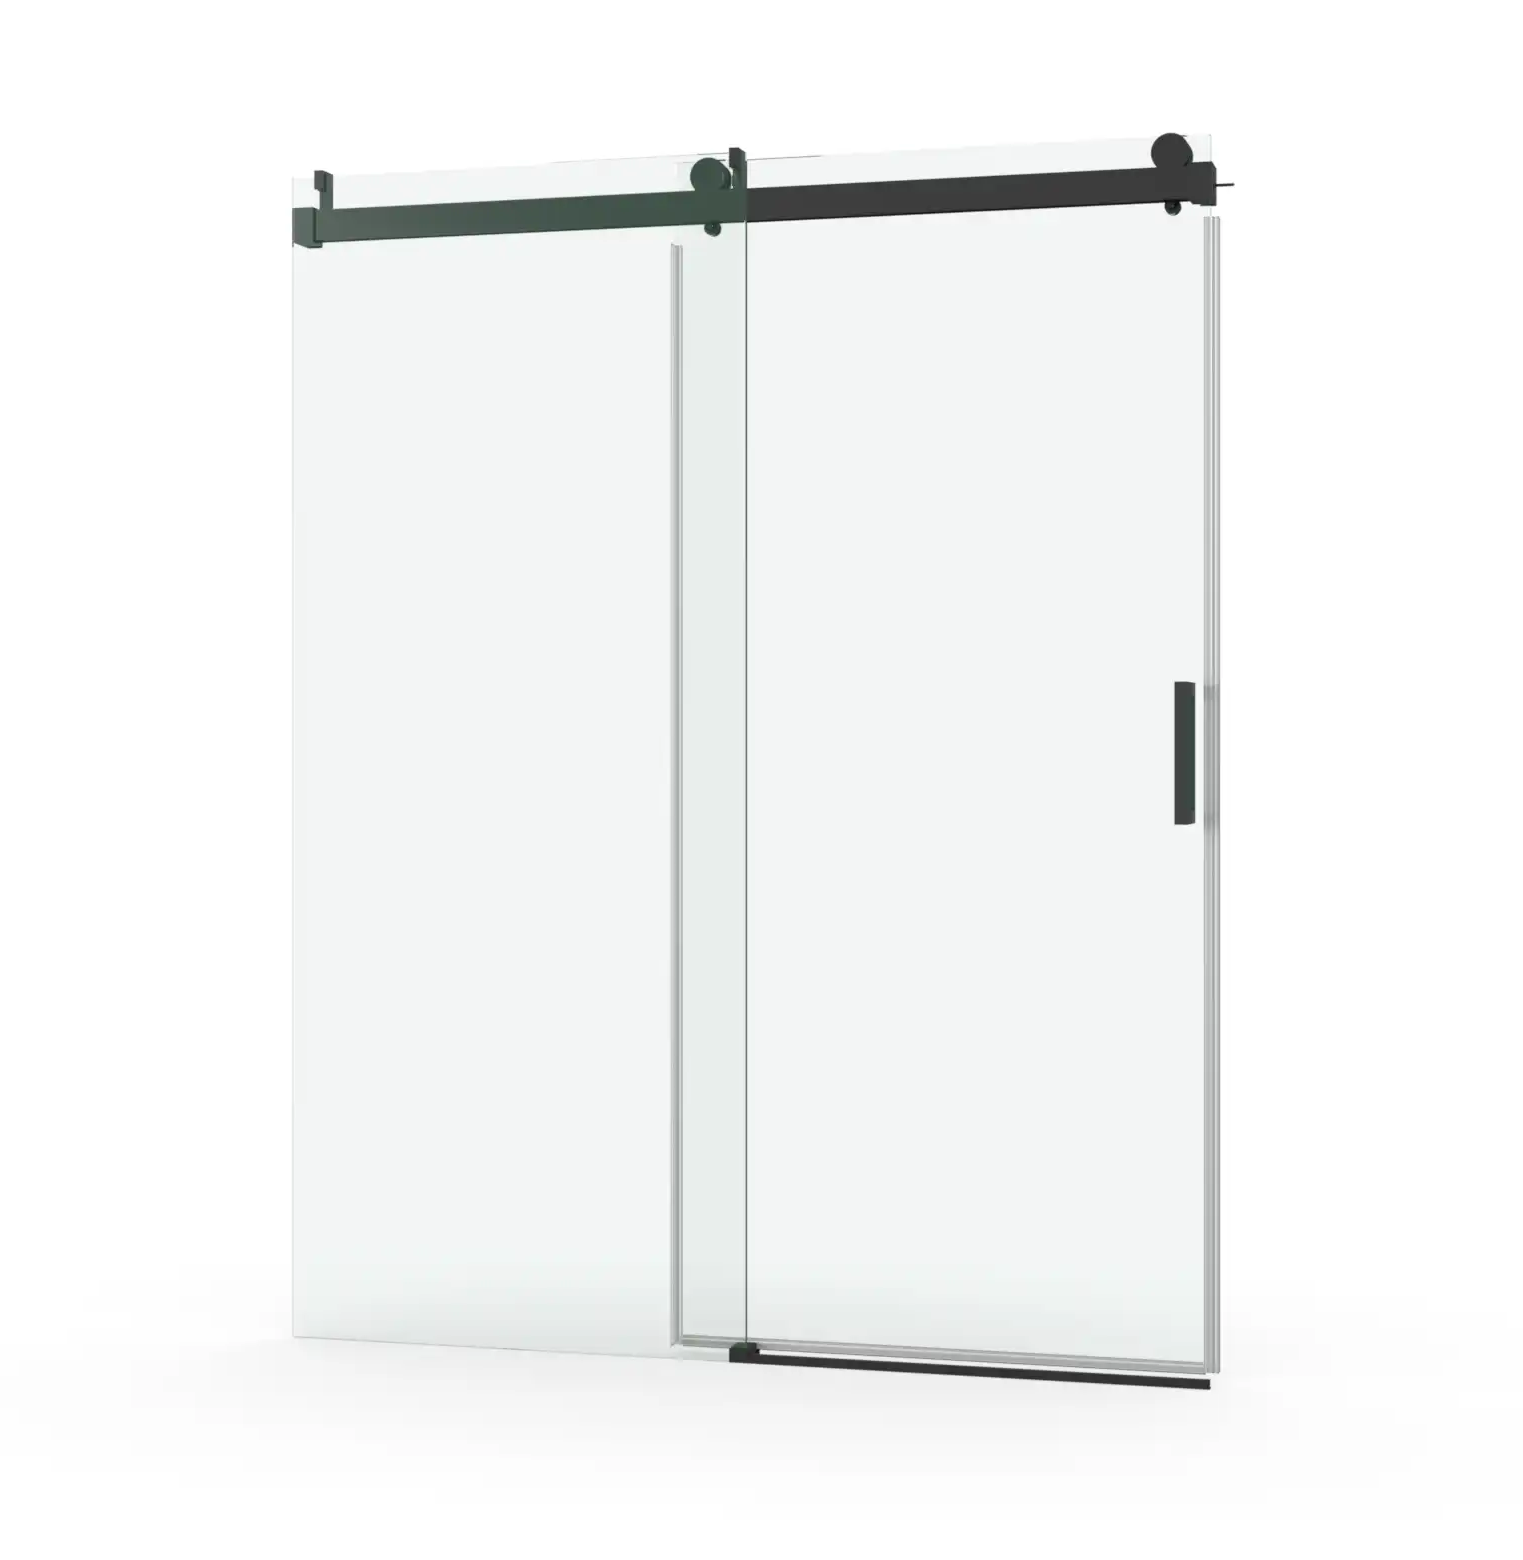
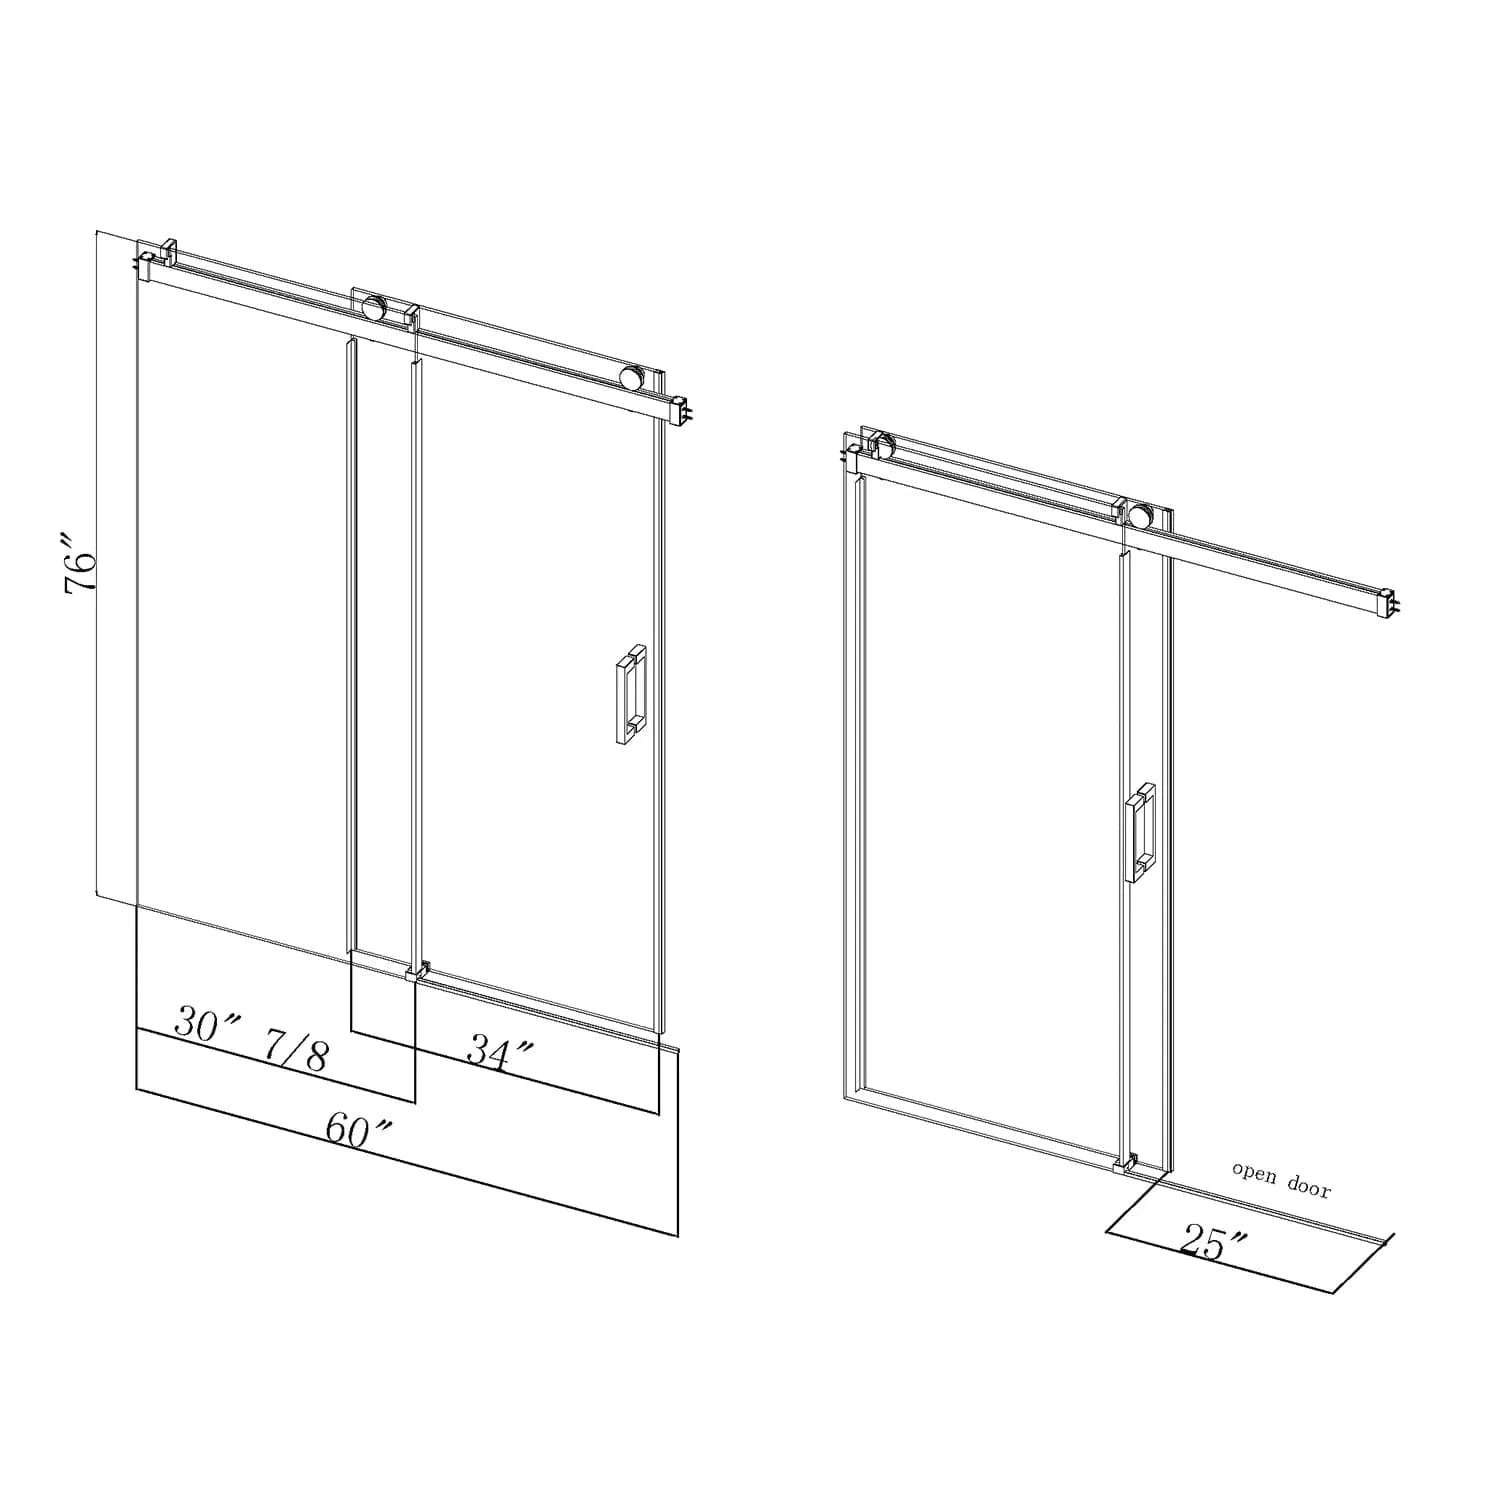
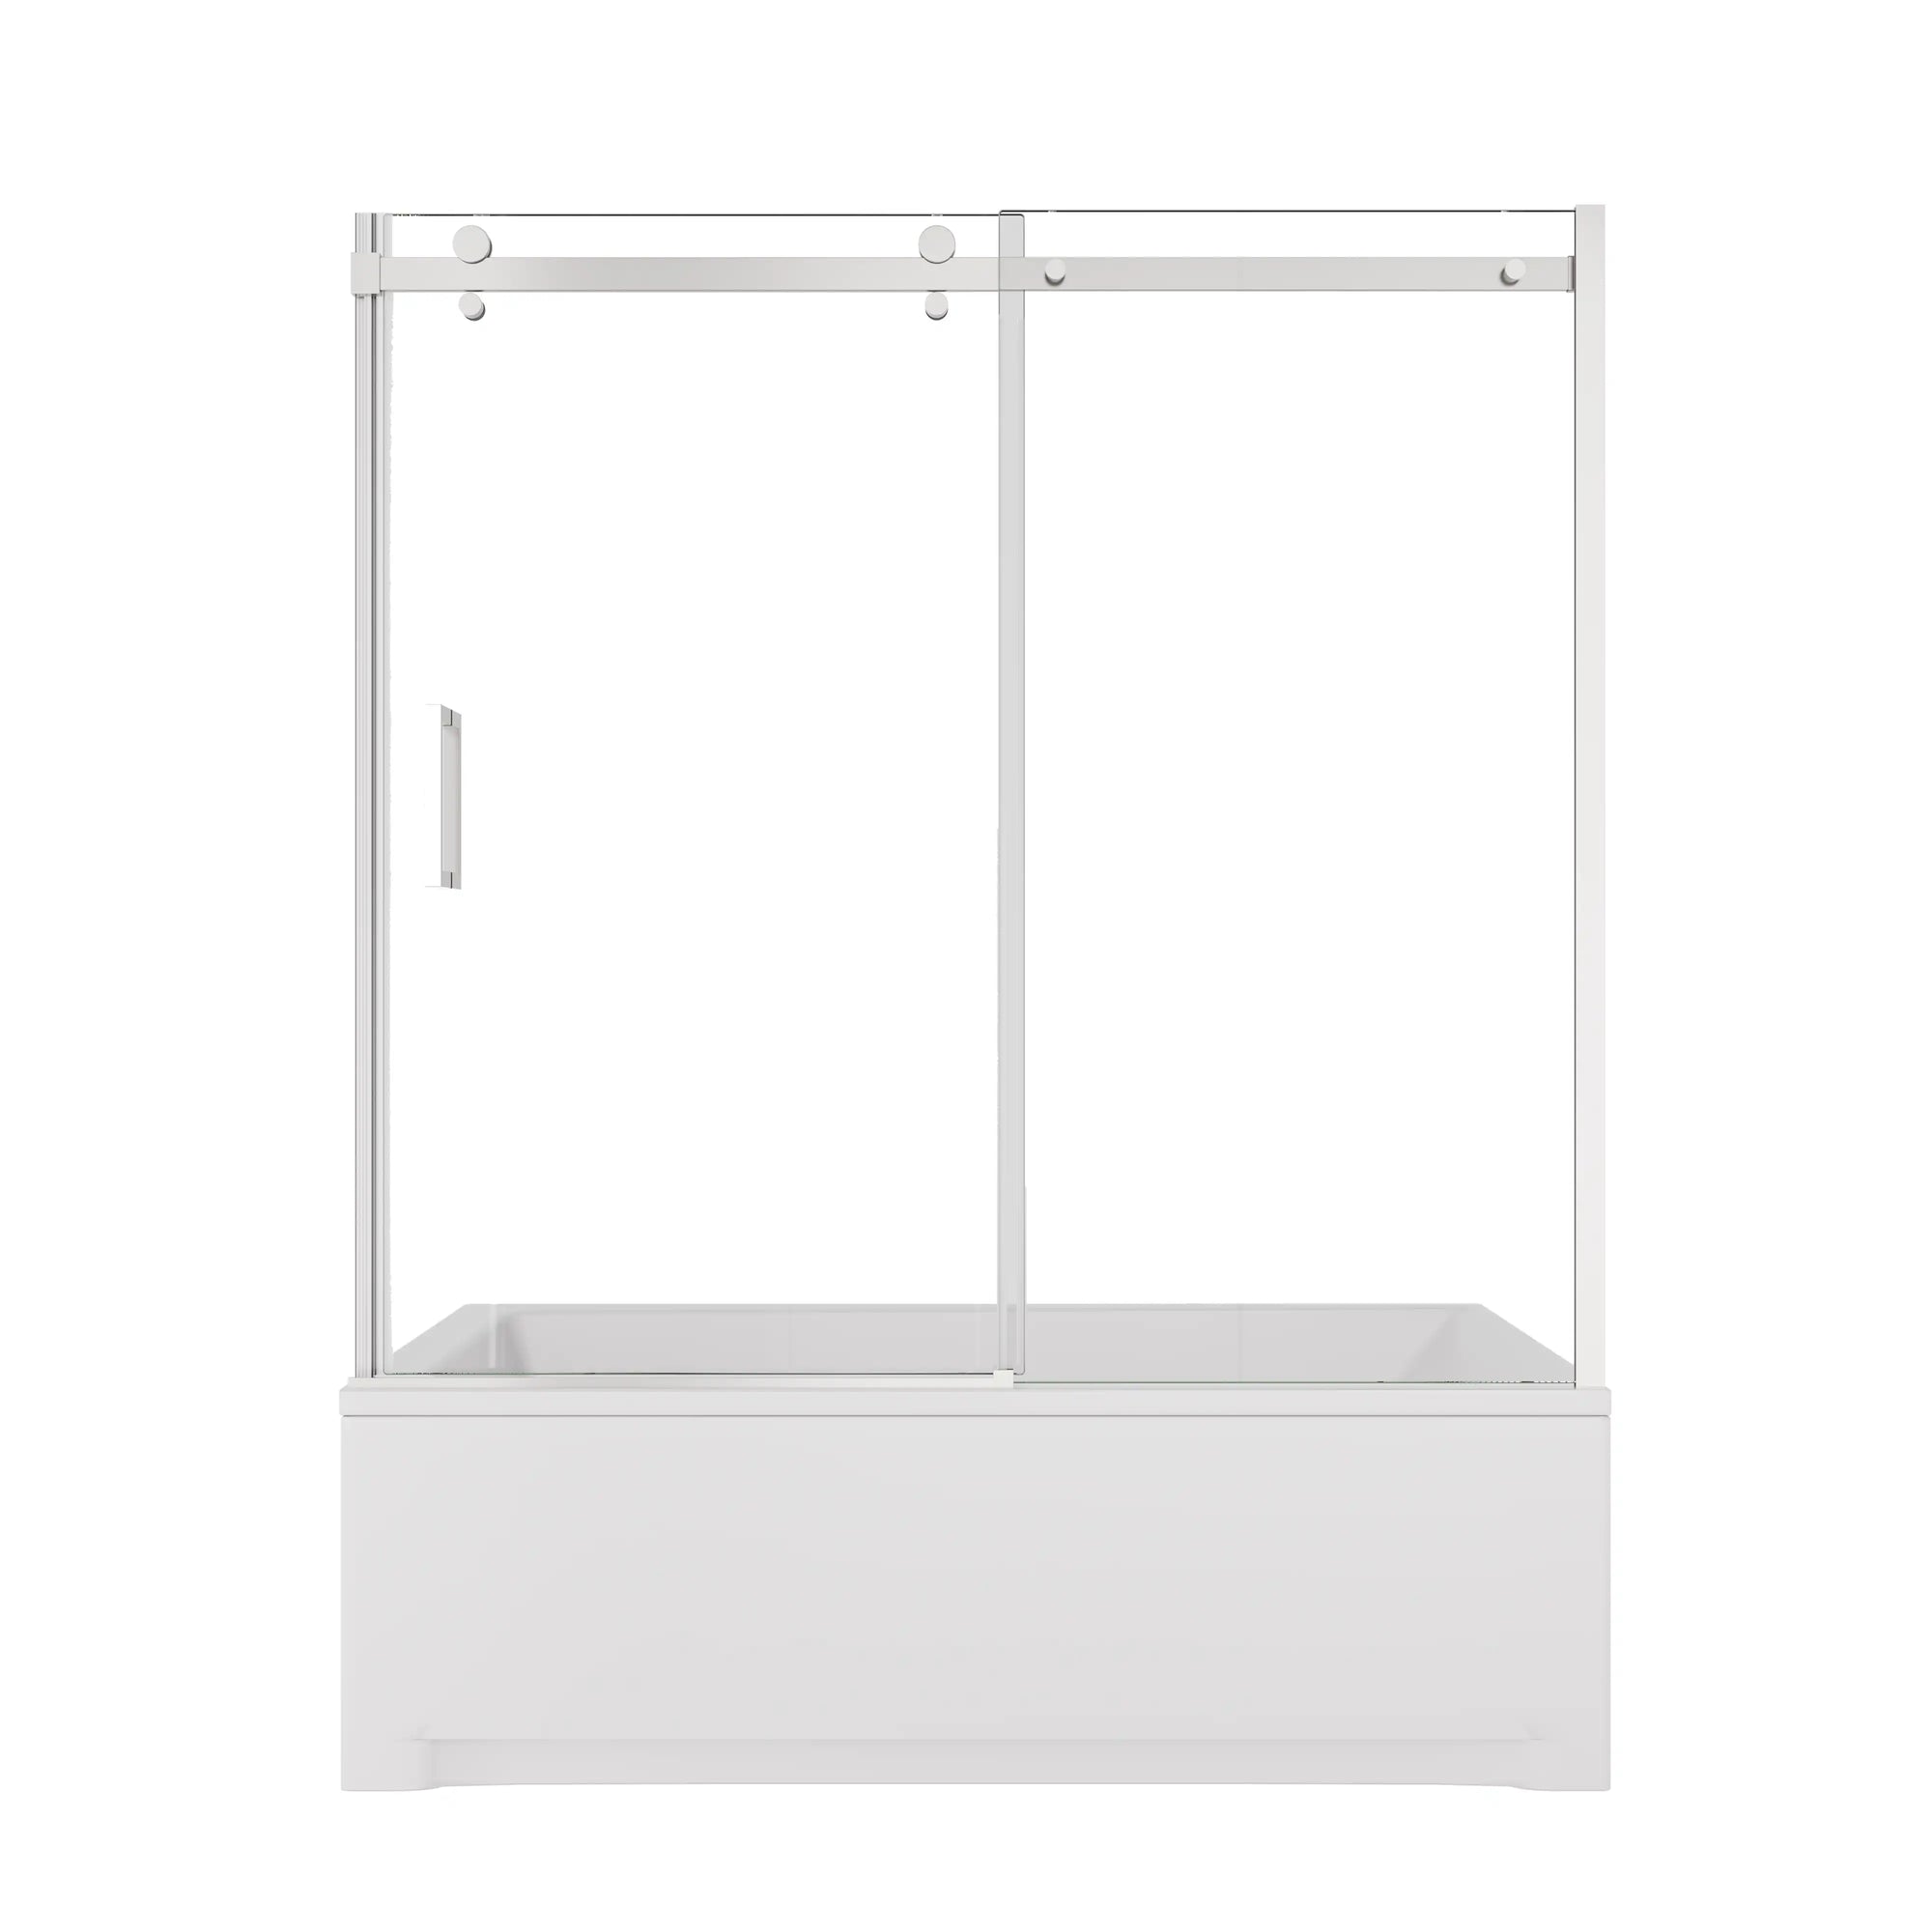
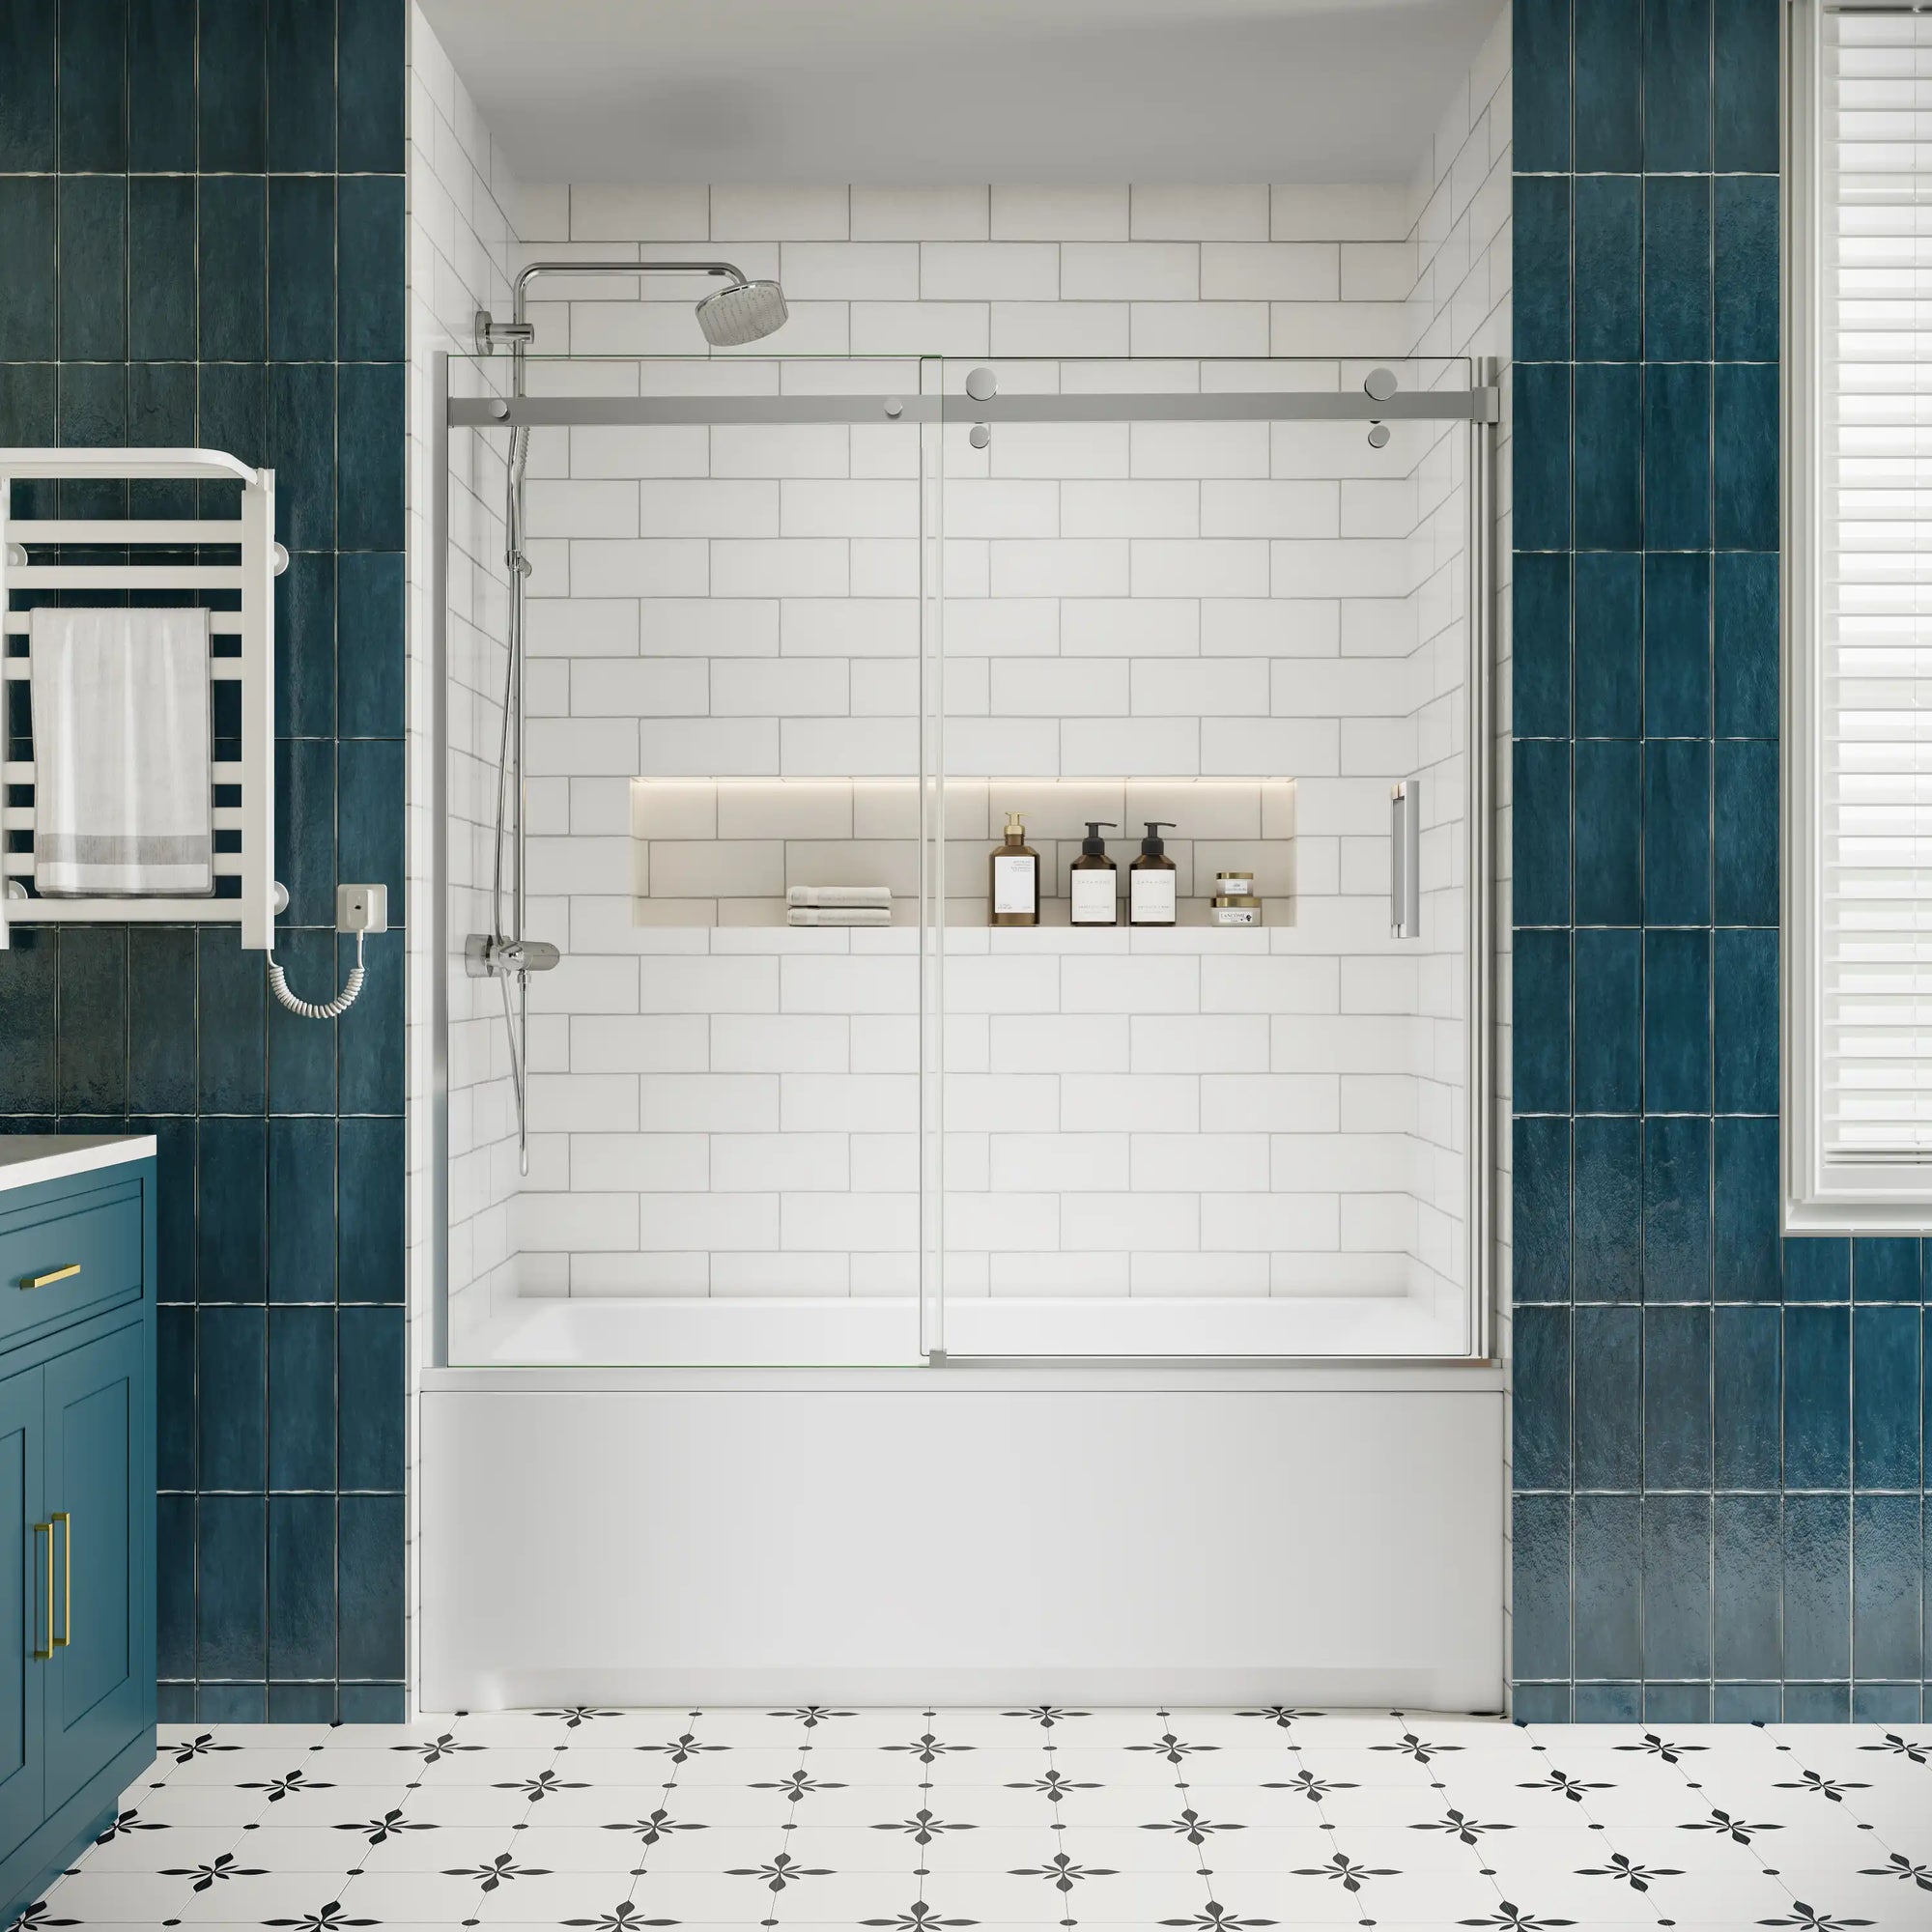
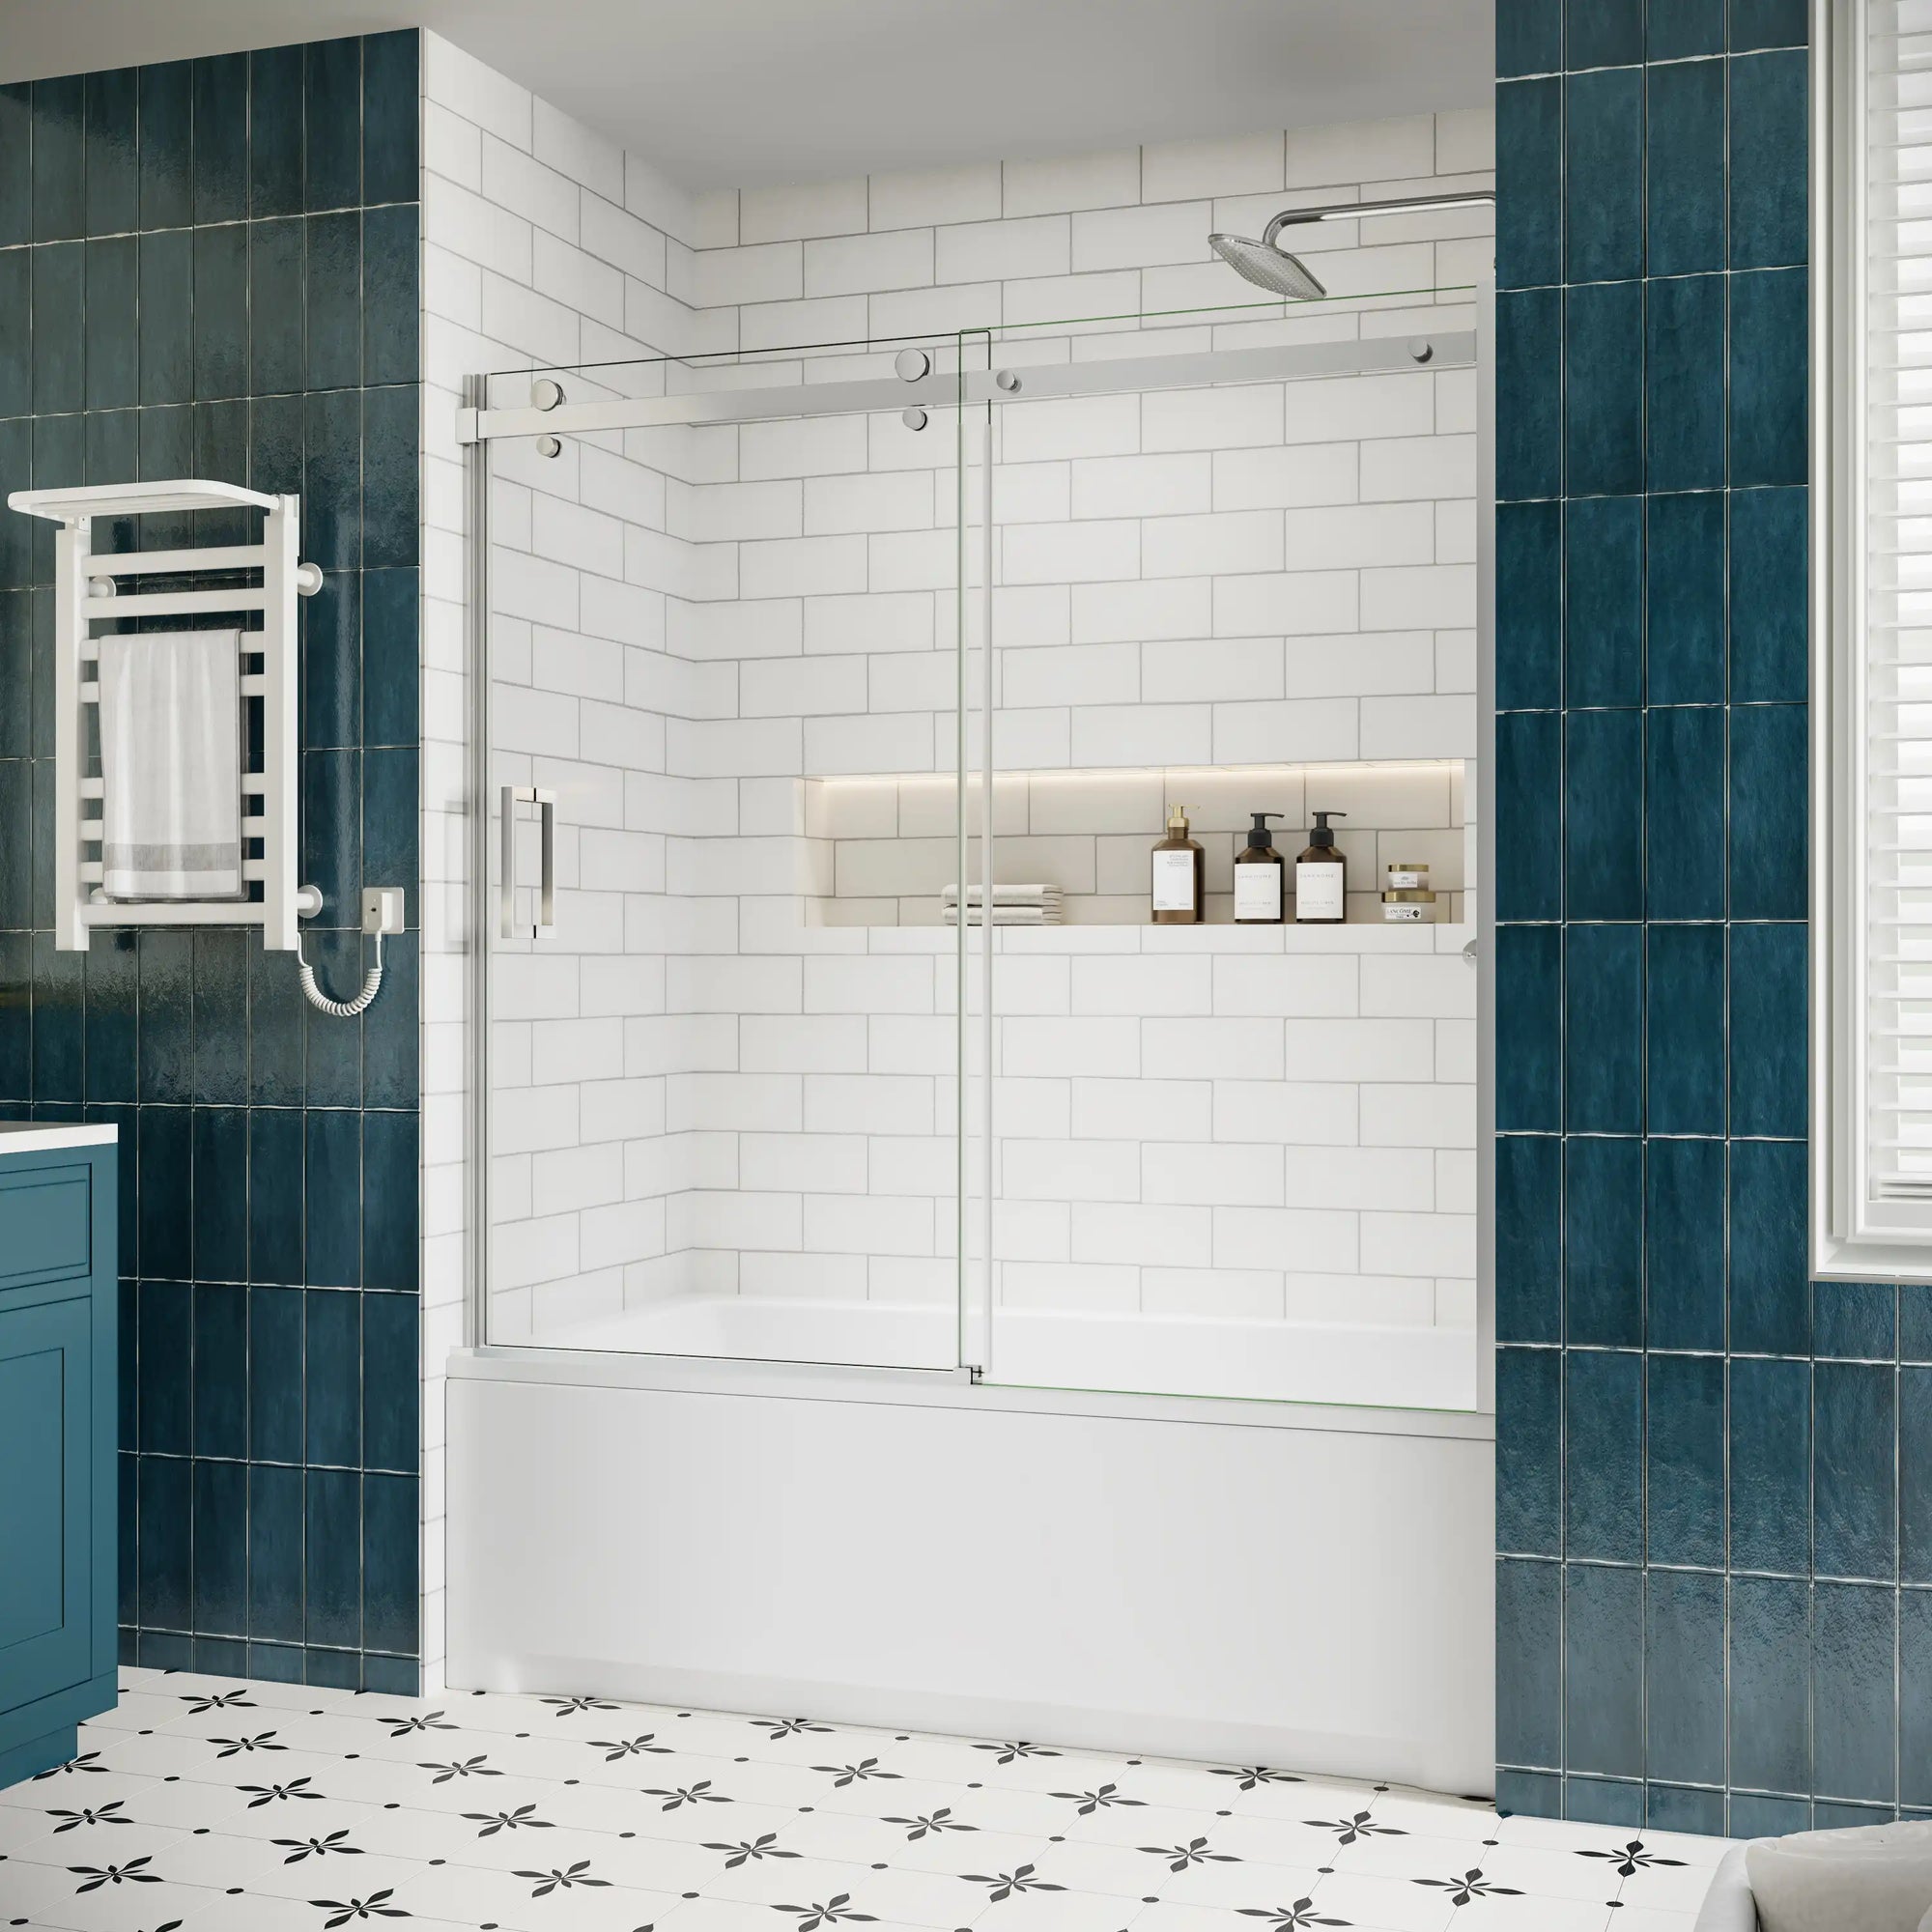
On the other hand, if you’d rather not have a door that swings outward, consider a sliding shower door. Sliding models are space-saving, smooth to operate, and a smart choice for smaller bathrooms where clearance is limited.
Think about your bathroom size, layout, and daily routine when making the decision. The right shower door should balance design, durability, and convenience — transforming your shower into a space you’ll enjoy every day.
Step 6: Install the New Shower Door
If you’ve decided to put in a new shower door, the basic installation process usually follows a few key steps:
-
Position the frame along the shower opening and mark any drill holes.
-
Secure the frame or pivot brackets with screws, making sure they are level.
-
Mount the door panel onto the hinges or pivots, checking that it opens and closes smoothly.
-
Seal the edges with silicone caulk to keep water from leaking out.
-
Allow the sealant to cure before using the shower.
While every swing shower door setup is slightly different, these steps give you a general idea of what’s involved.
At Ace Decor, our shower doors are specifically designed with DIY-friendly features, so most homeowners can complete the job with basic tools and a little help from a family member or friend. Each product comes with a detailed instruction manual to guide you through the process, and if you ever run into questions, our professional engineering support team is available to provide clear answers and expert advice.

Conclusion
Taking out a swinging shower door might seem intimidating at first glance, but with the appropriate tools, preparation and safety precautions, it is a job most homeowners can take on. From carefully detaching the hinges or pivots to cleaning and repairing the walls, each step sets the stage for a smooth upgrade. Whether you decide to install a new pivot door for a fresh look or switch to a sliding design to save space, the effort will pay off in both function and style.
FAQ
Q1. Can I remove a swinging shower door by myself?
A: Yes, it’s possible to do it alone if the door is lightweight, but many swinging doors are made of heavy tempered glass. Having a second person to help makes the process much safer.
Q2. Do I need special tools to take off a shower door?
A: No specialty tools are required. A screwdriver, utility knife, scraper, and basic protective gear like gloves and safety glasses are usually enough.
Q3. How long does it usually take to remove a shower door?
A: For most standard hinge or pivot doors, removal takes about 30–60 minutes, depending on how much sealant or adhesive needs to be cleaned up afterward.
Q4. Can I reuse the old frame when installing a new shower door?
A: It’s generally not recommended. Old frames often have worn finishes, bent sections, or leftover adhesive that prevent a secure fit. A new frame ensures better alignment and a watertight seal.
Q5. Should I install the new shower door myself or hire a professional?
A:
How to Install Shower Doors on a Walk-In Shower: A Step-by-Step Guide for a Seamless Upgrade
Understanding Shower Door Width: A Complete Guide to Choosing the Right Fit for Your Bathroom
10 Unique Glass Shower Door Ideas That Won’t Break Your Bank