


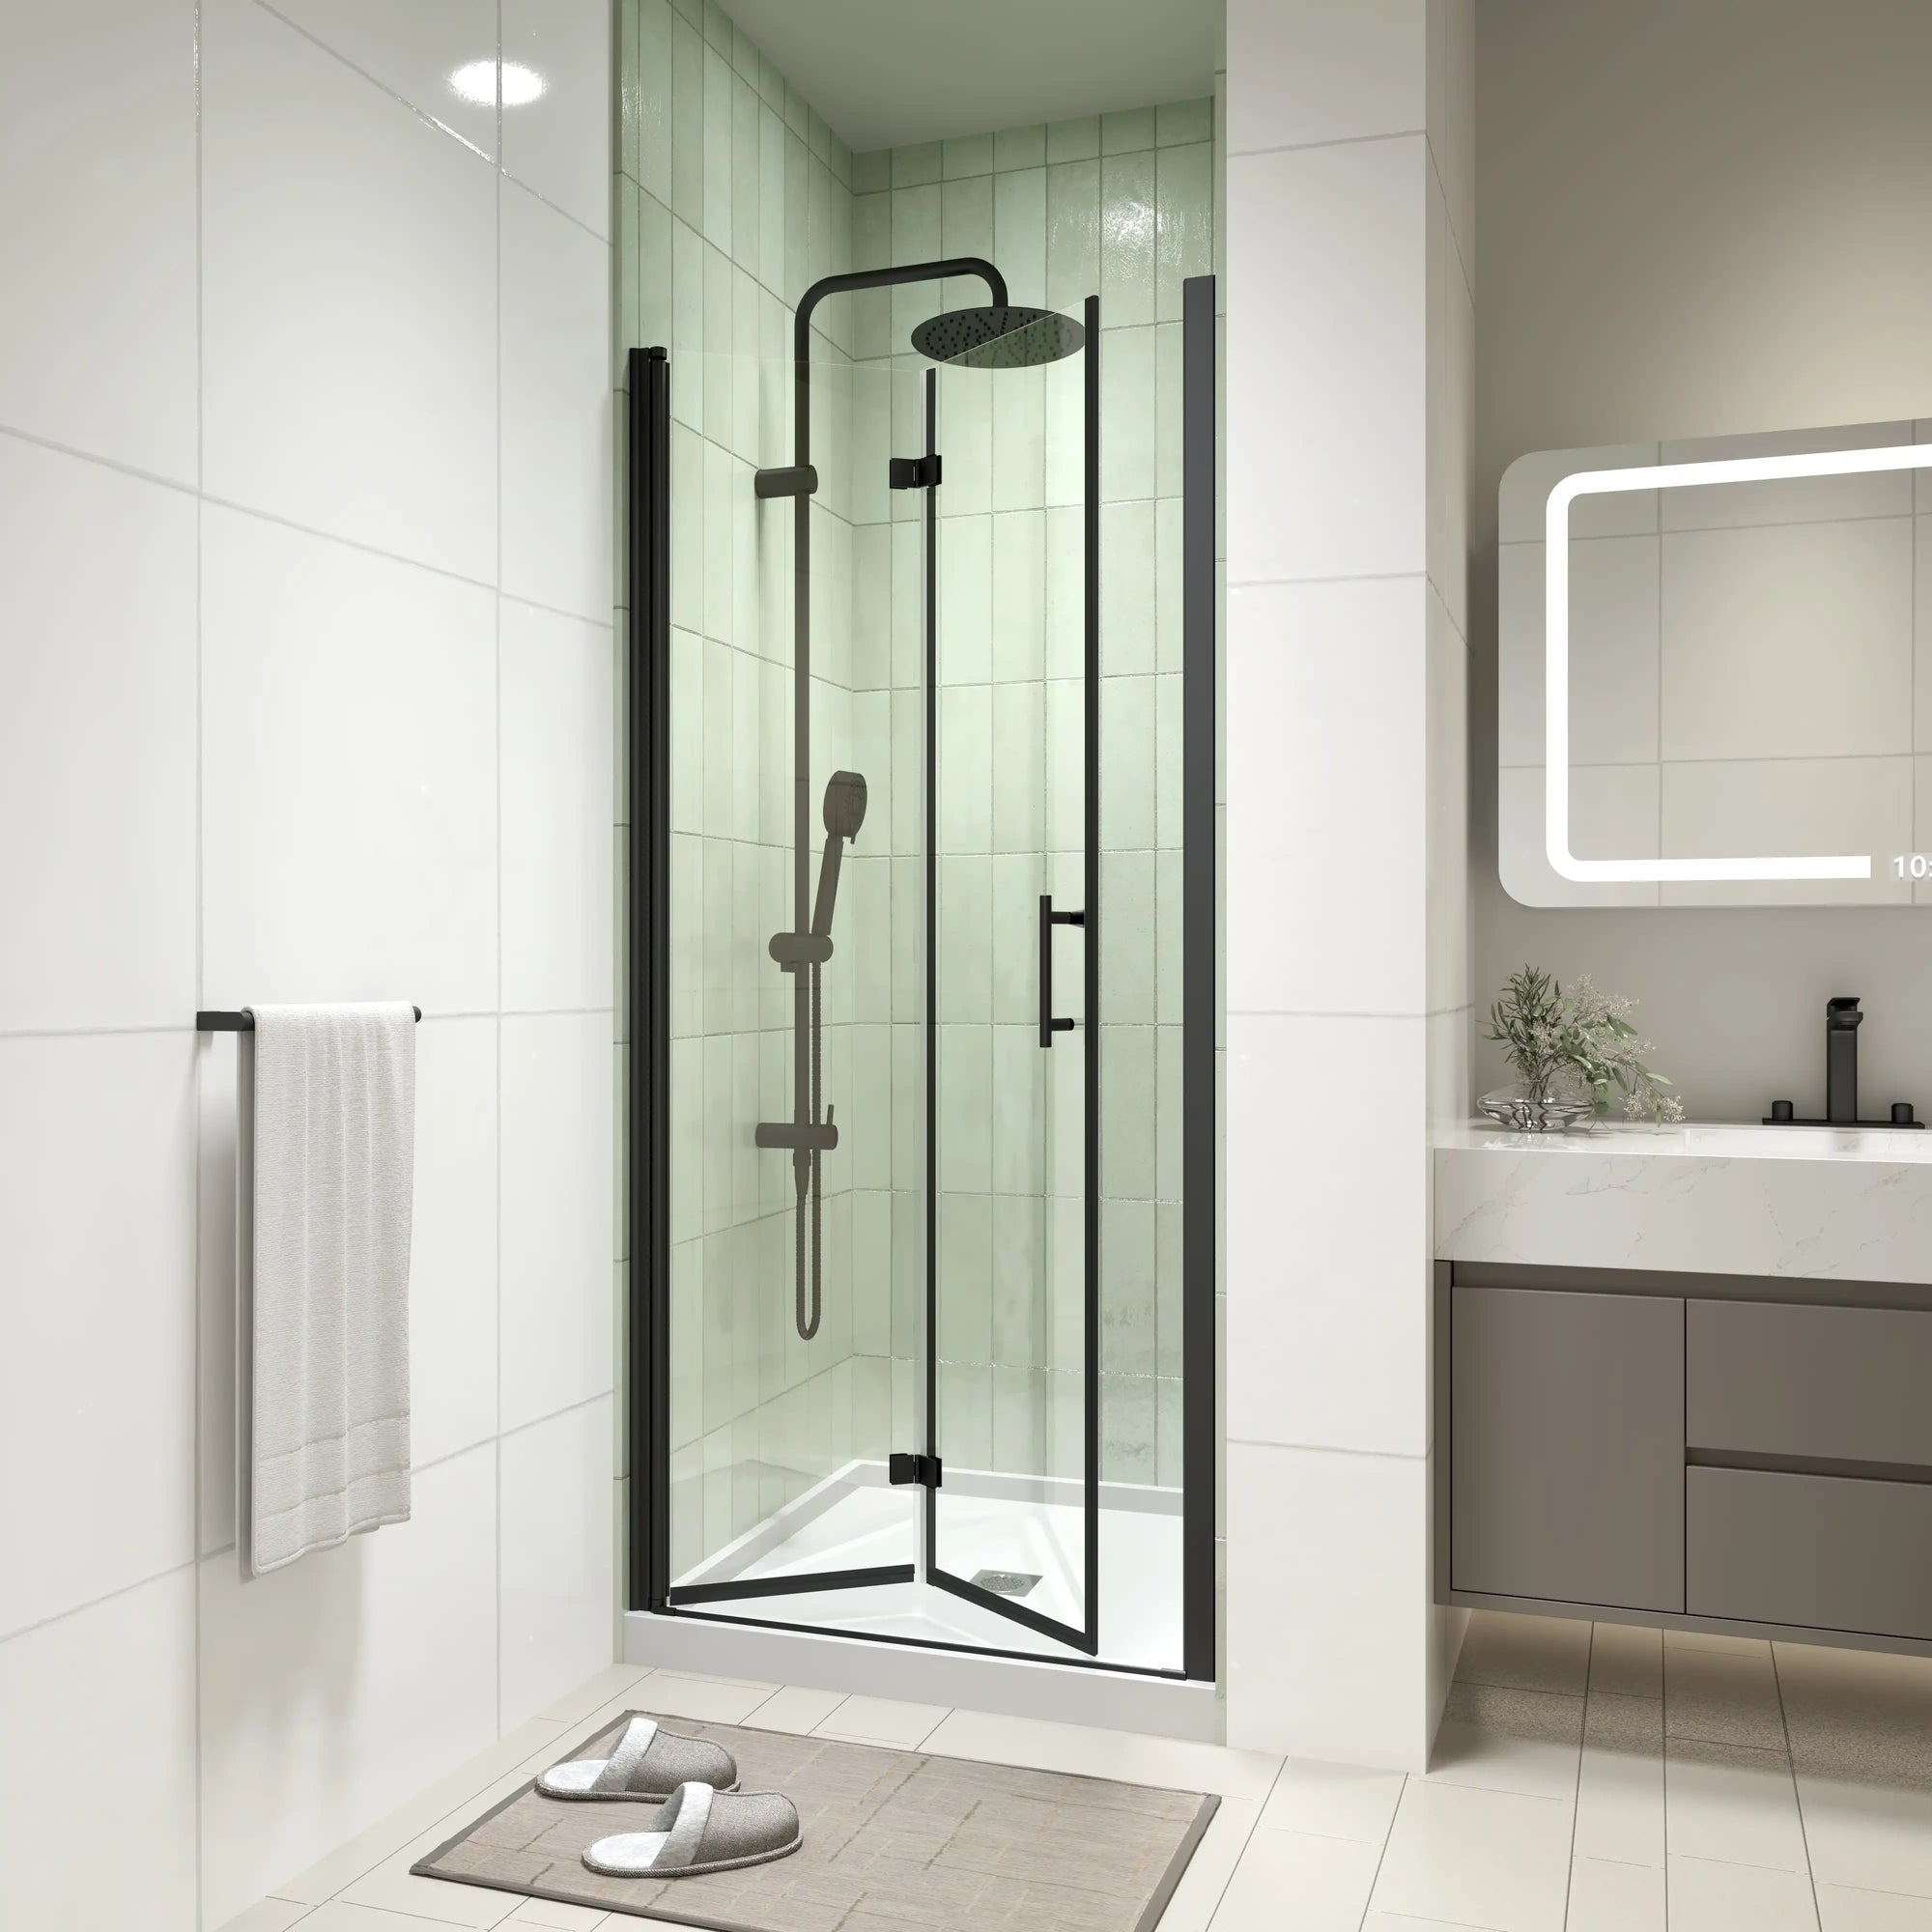


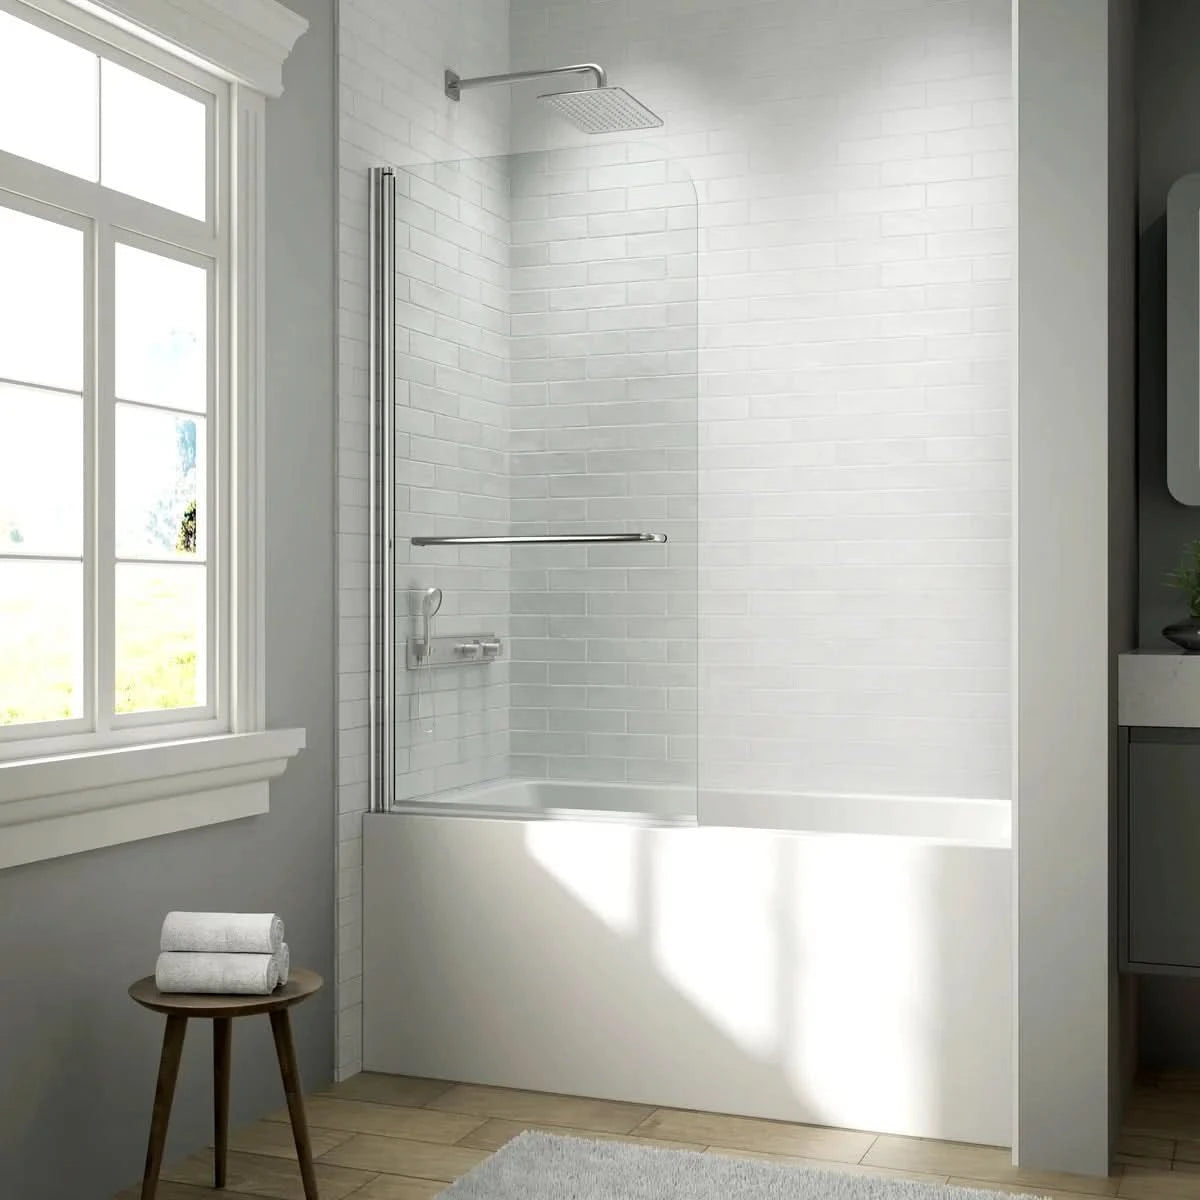
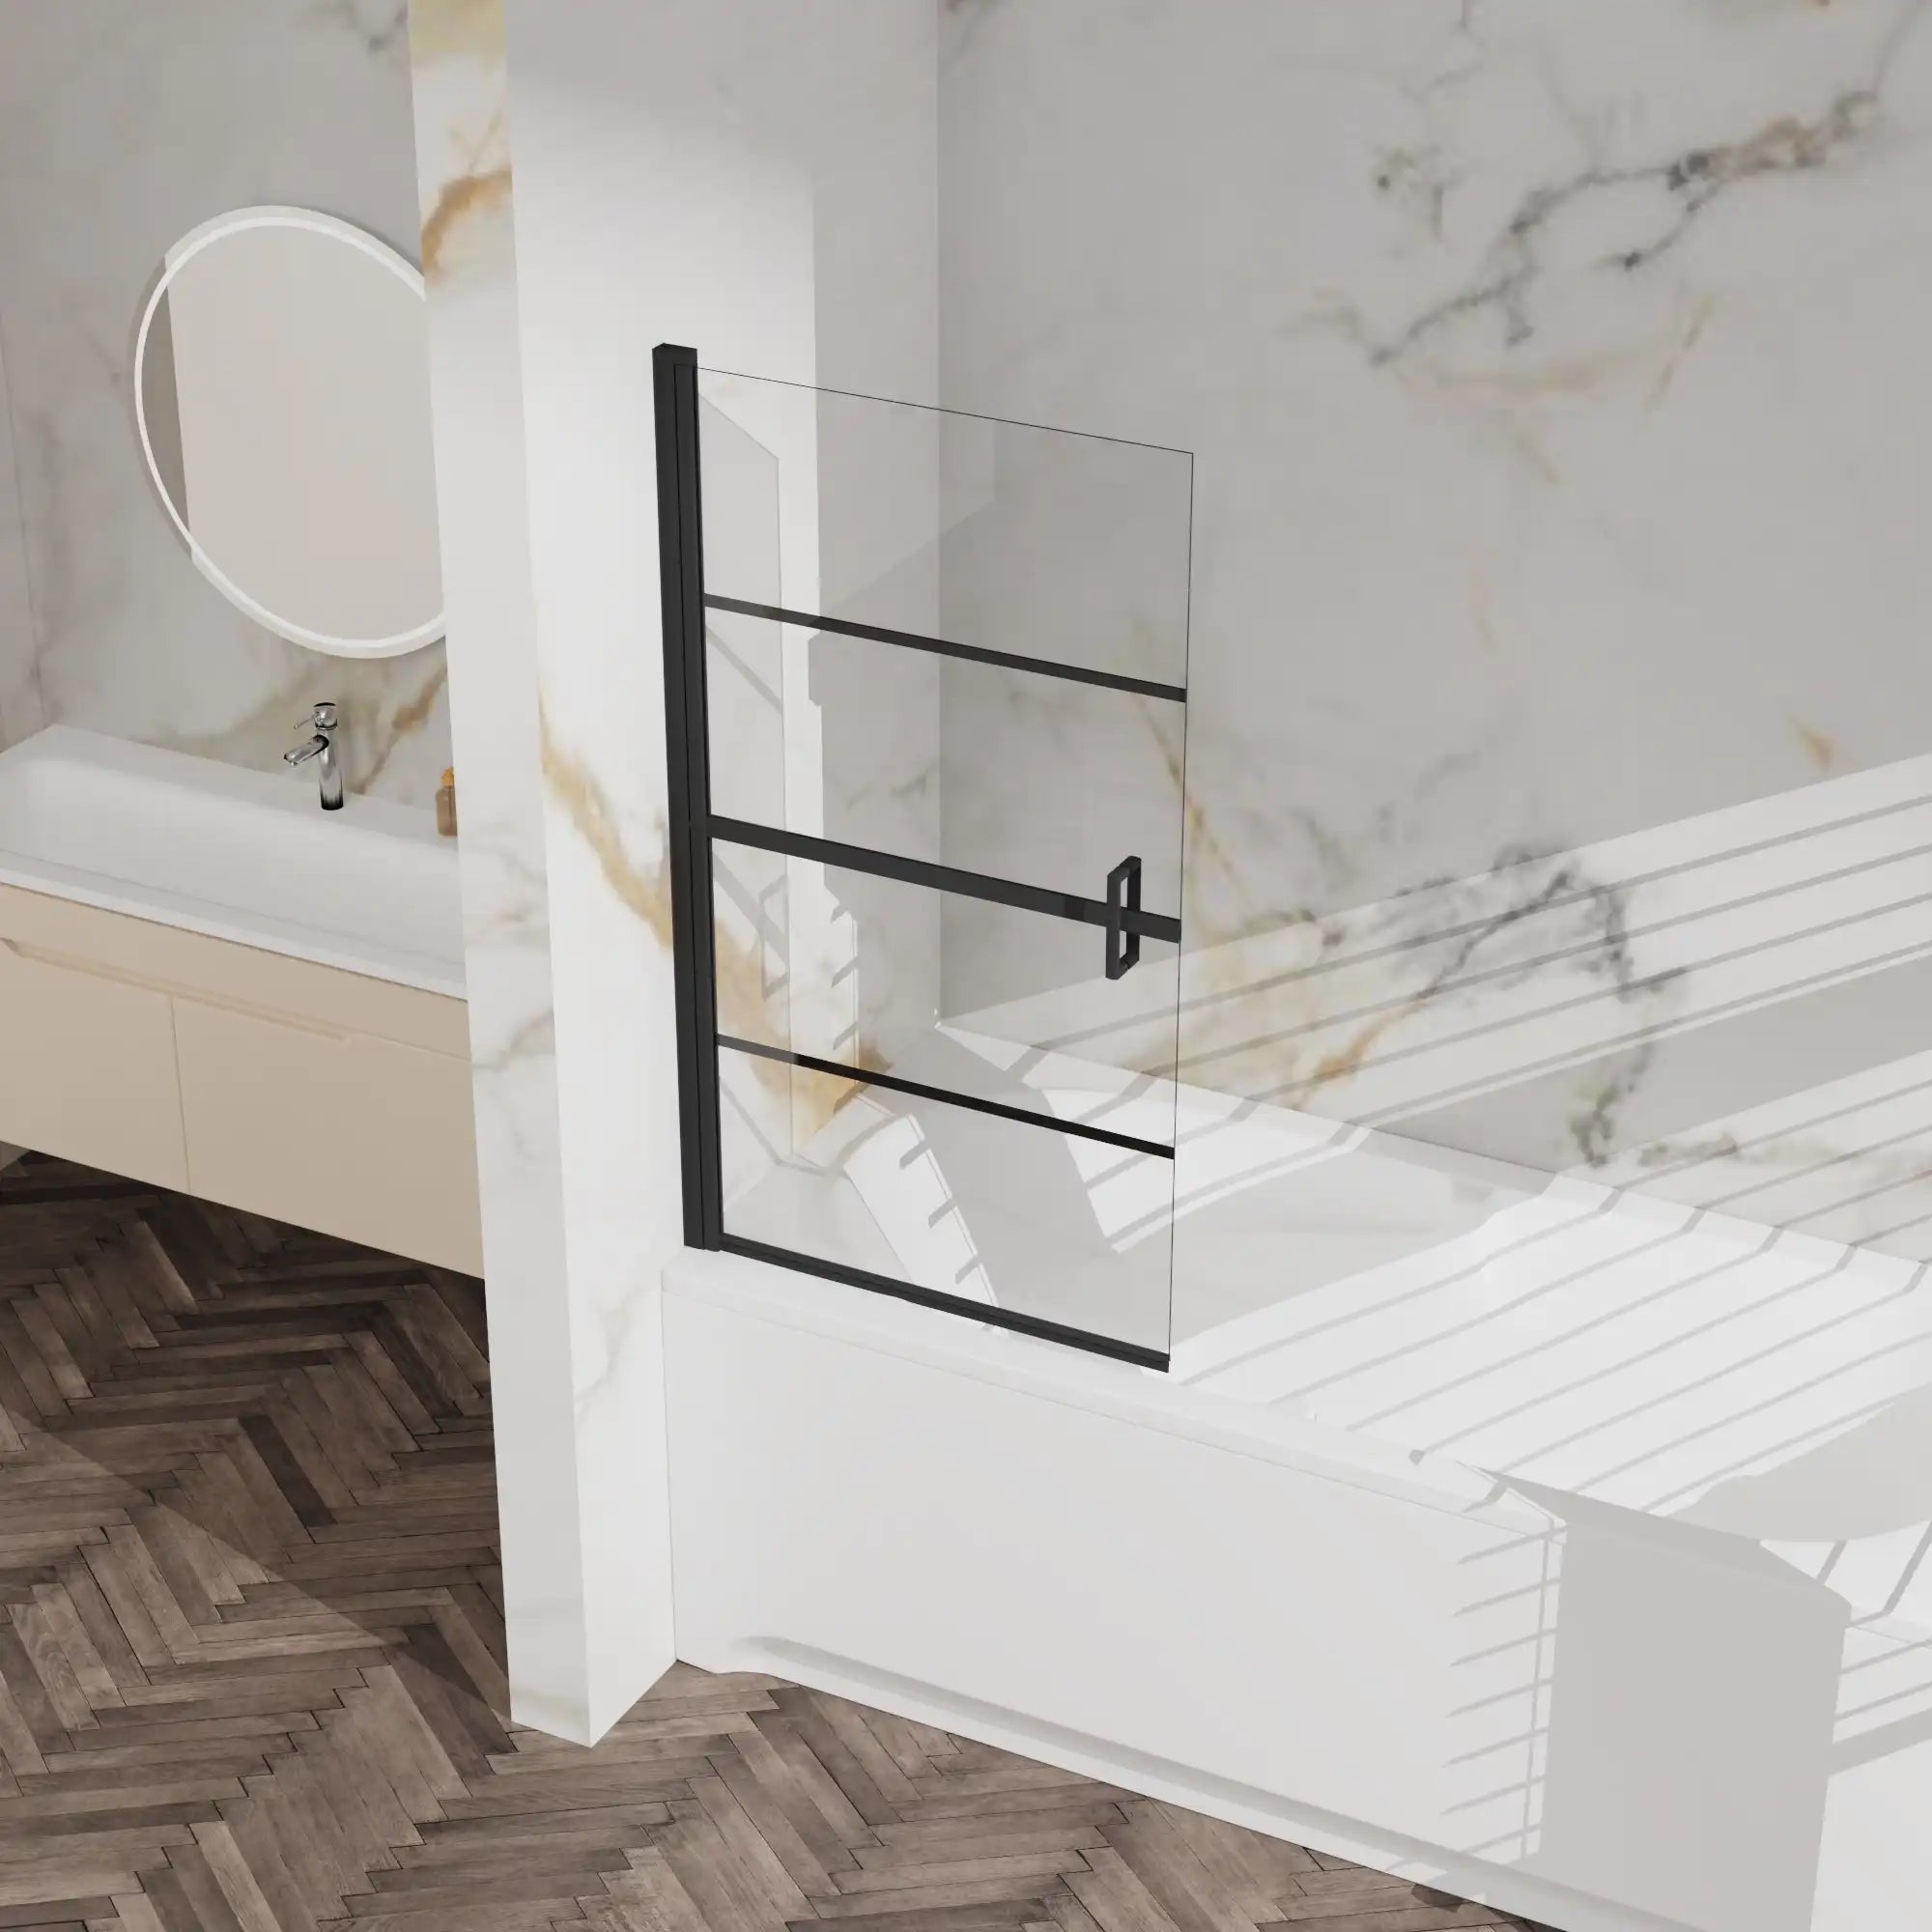
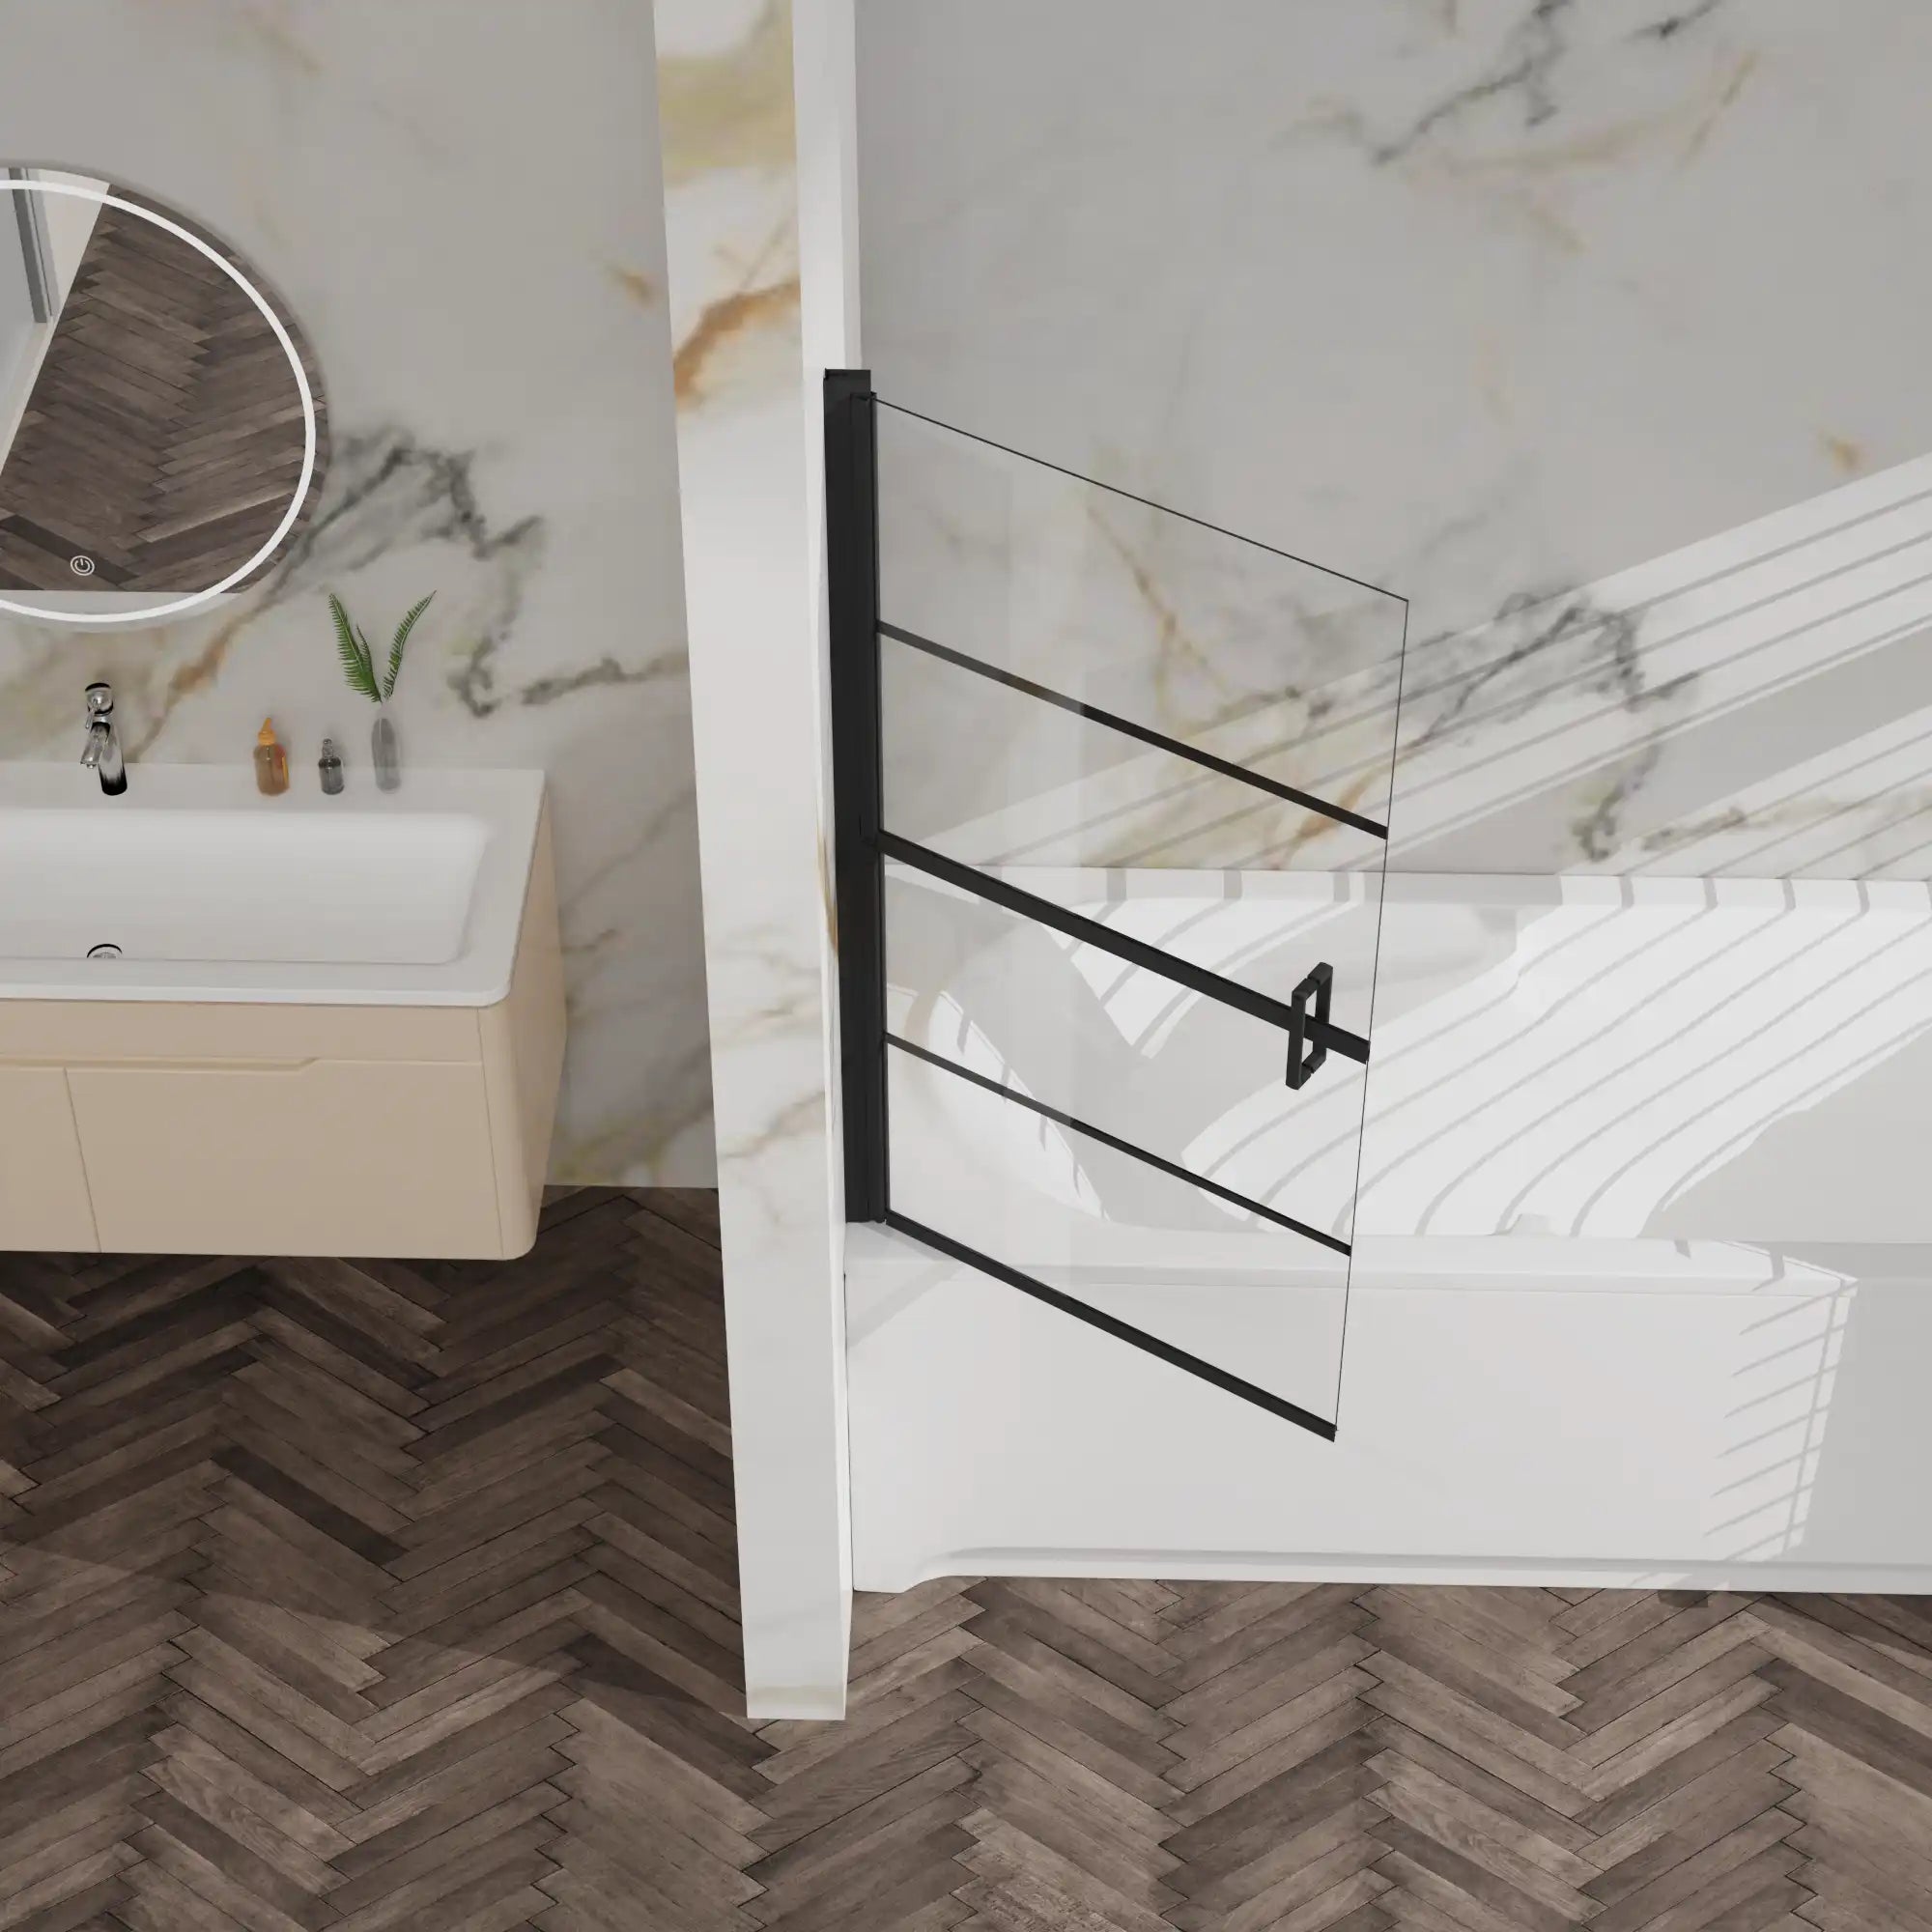


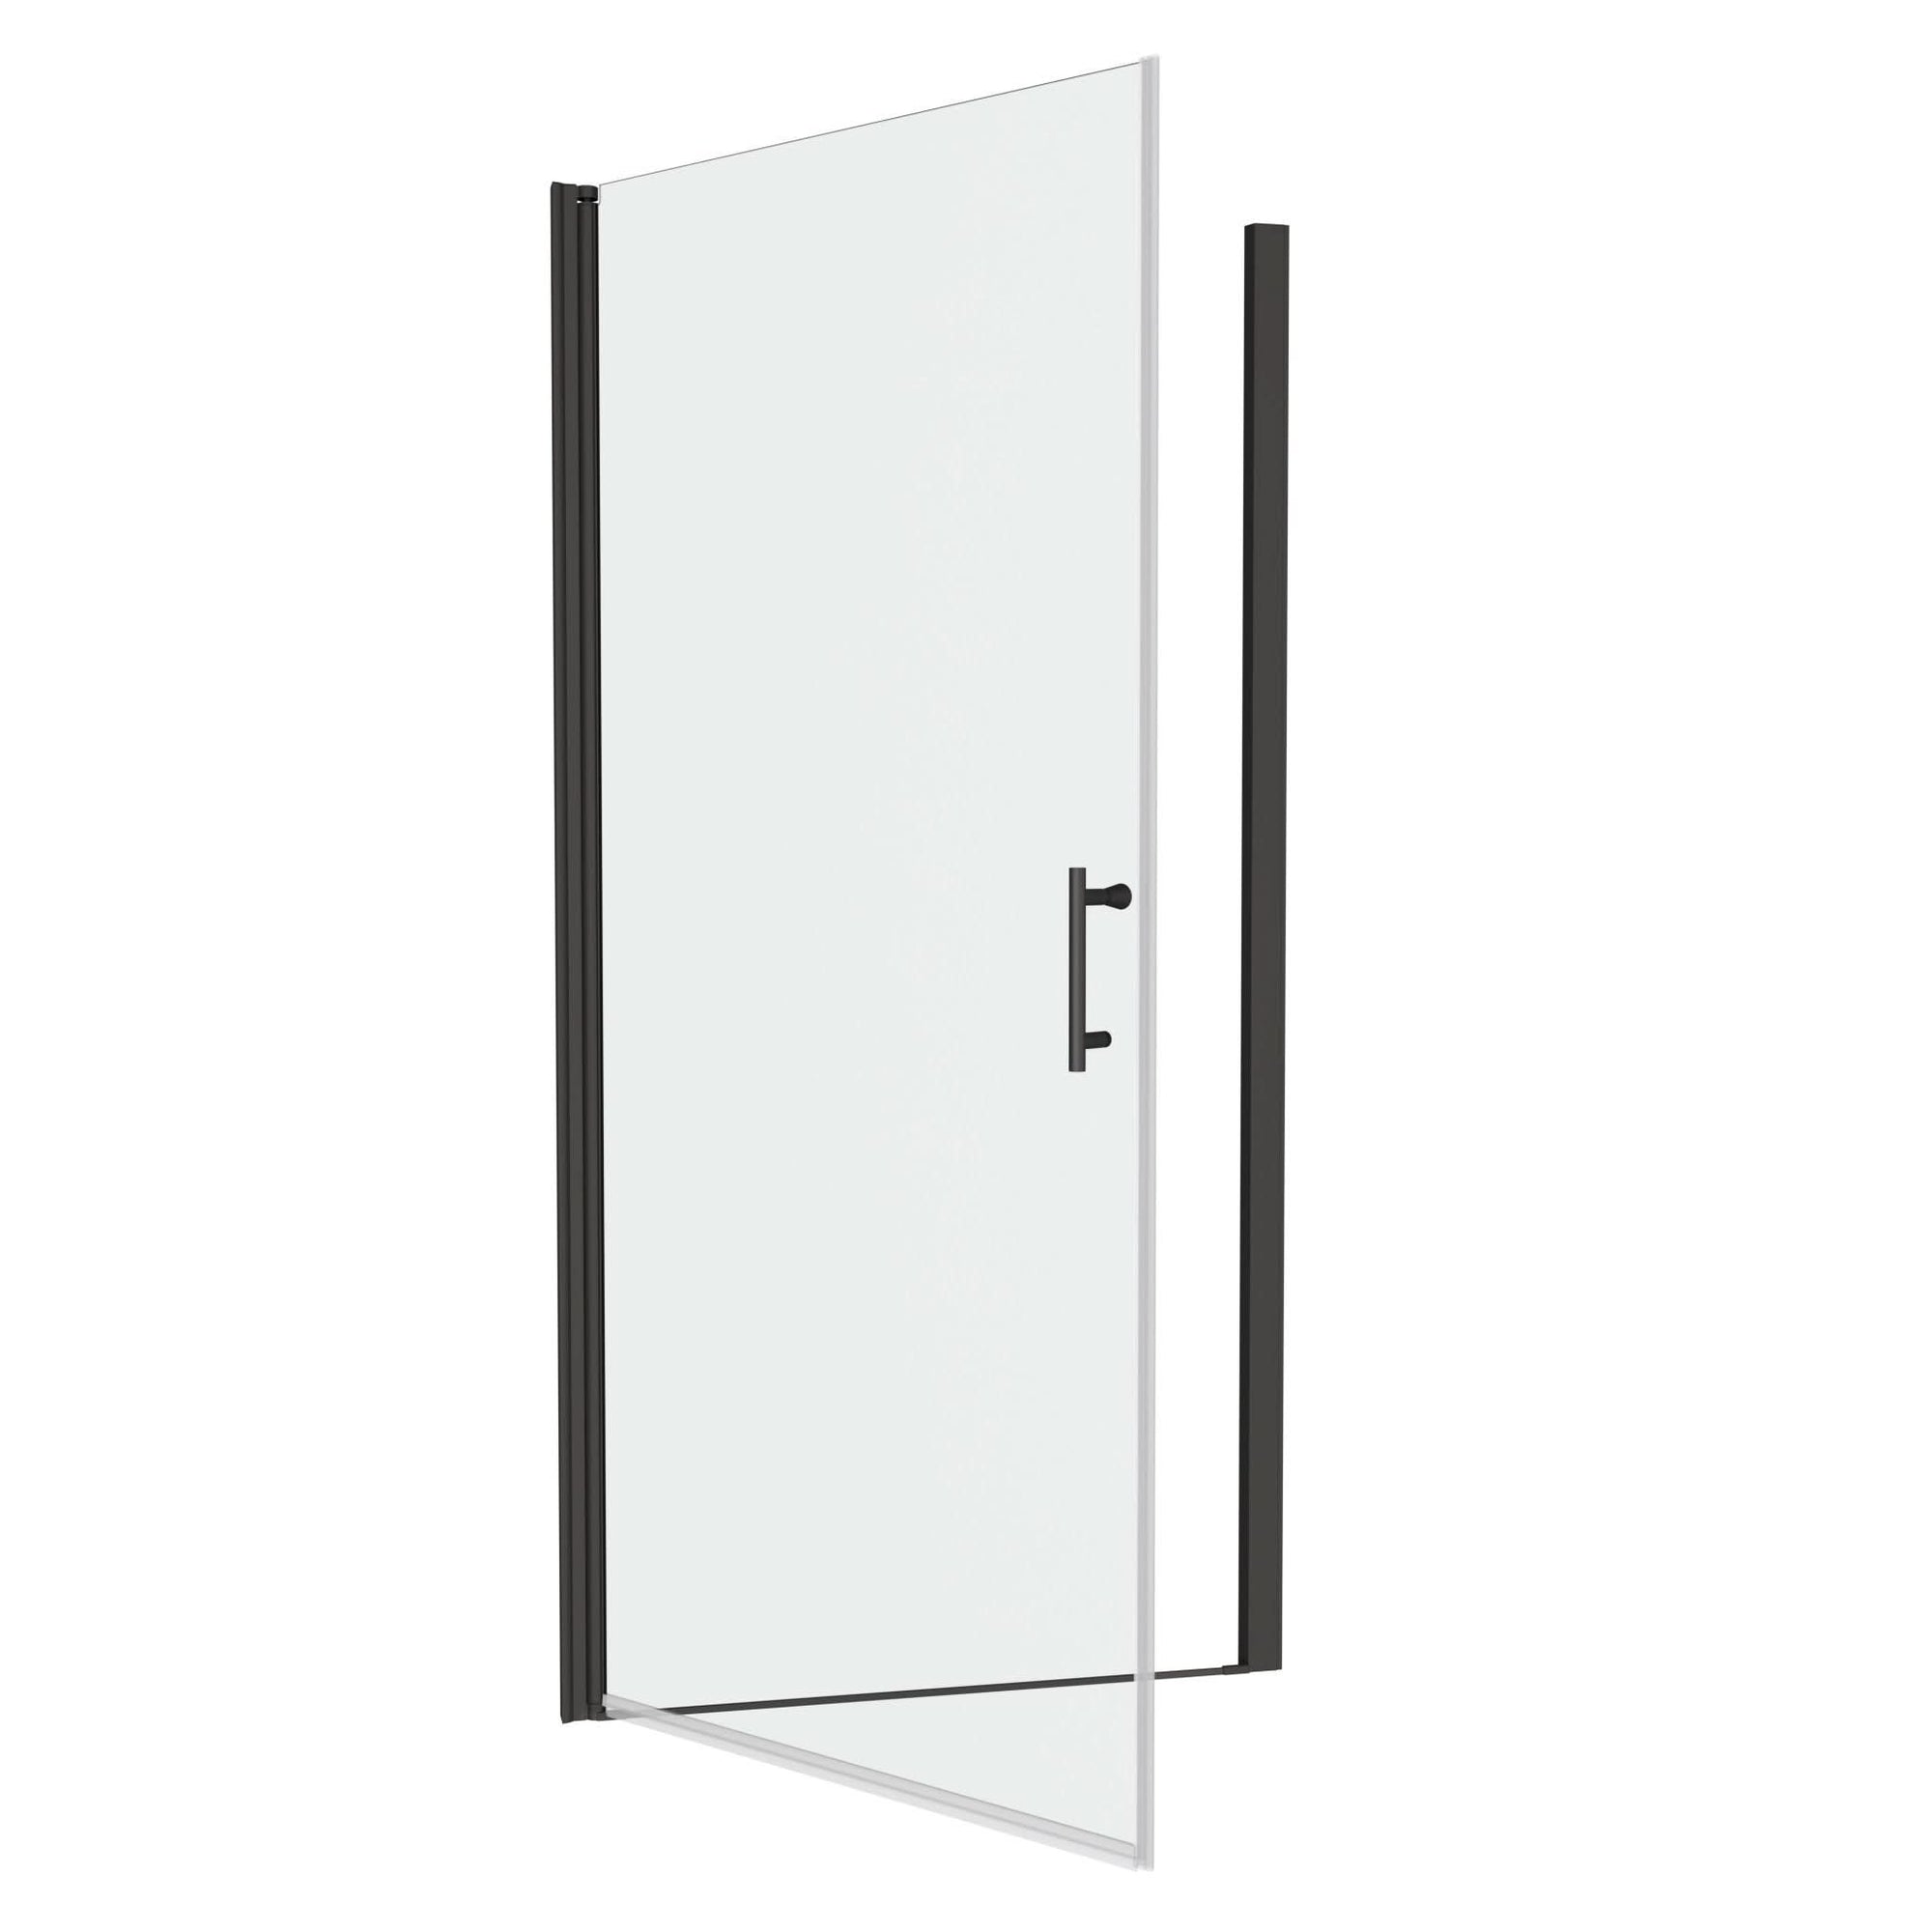


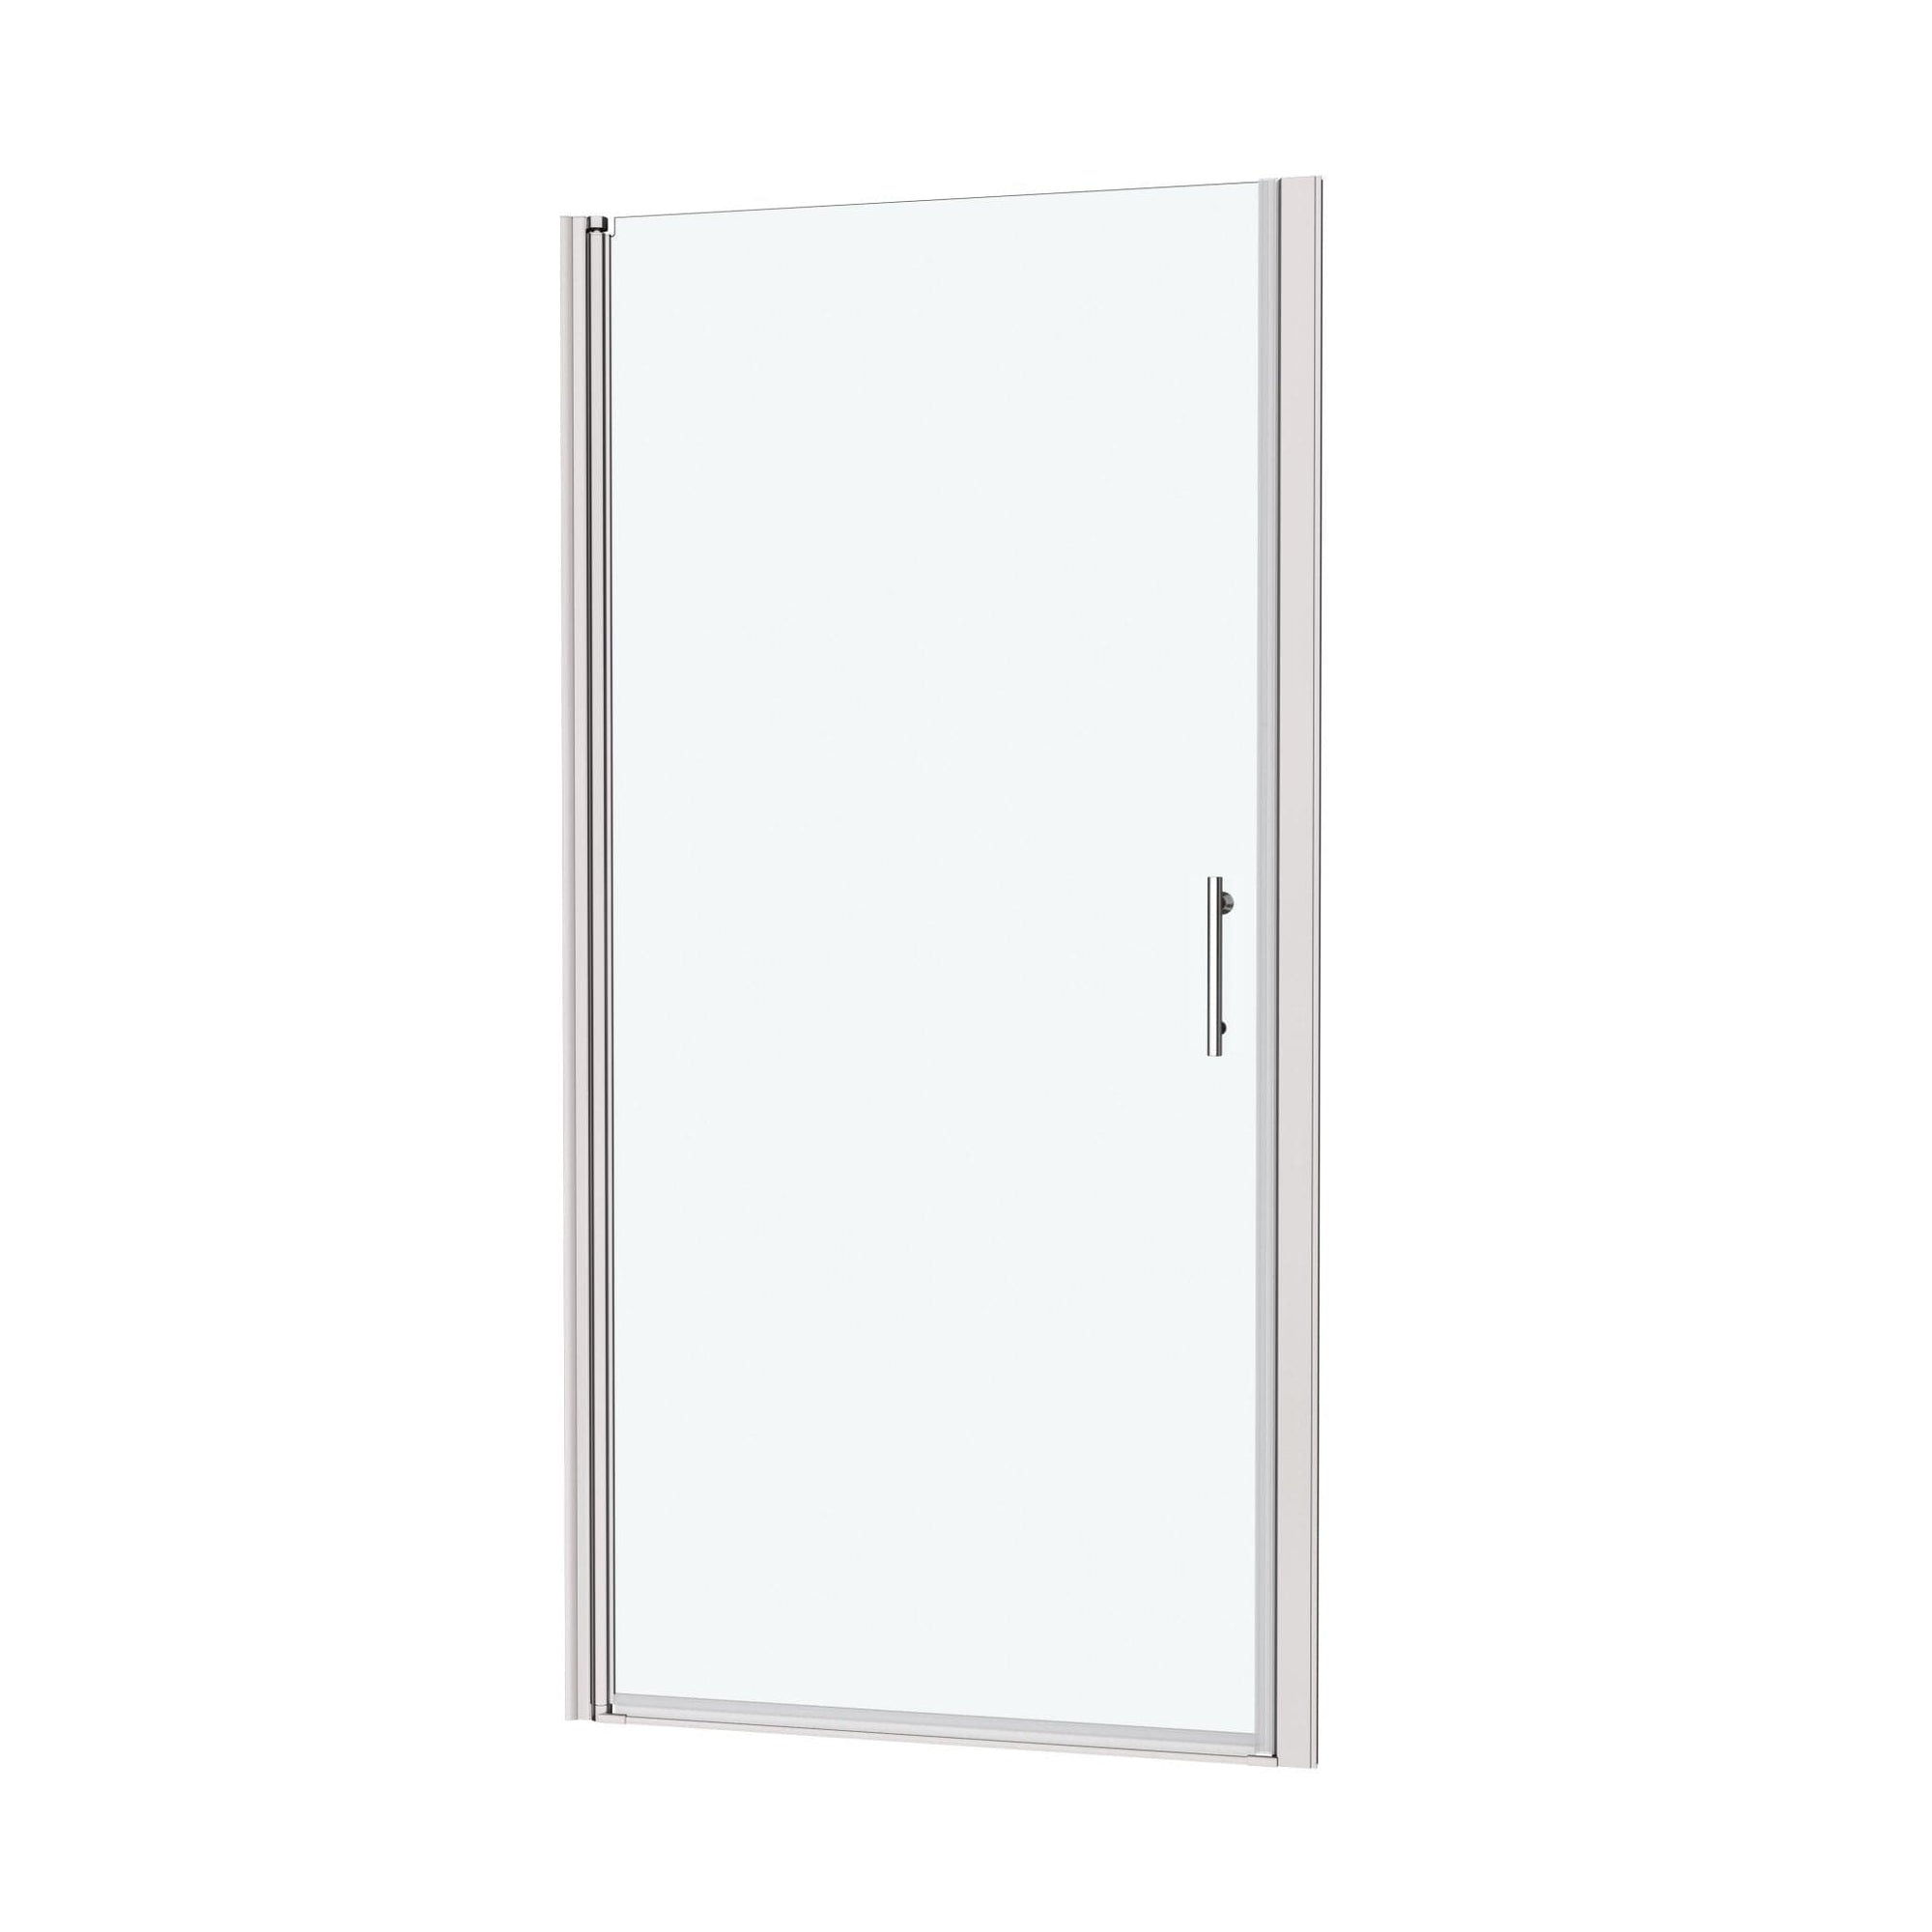


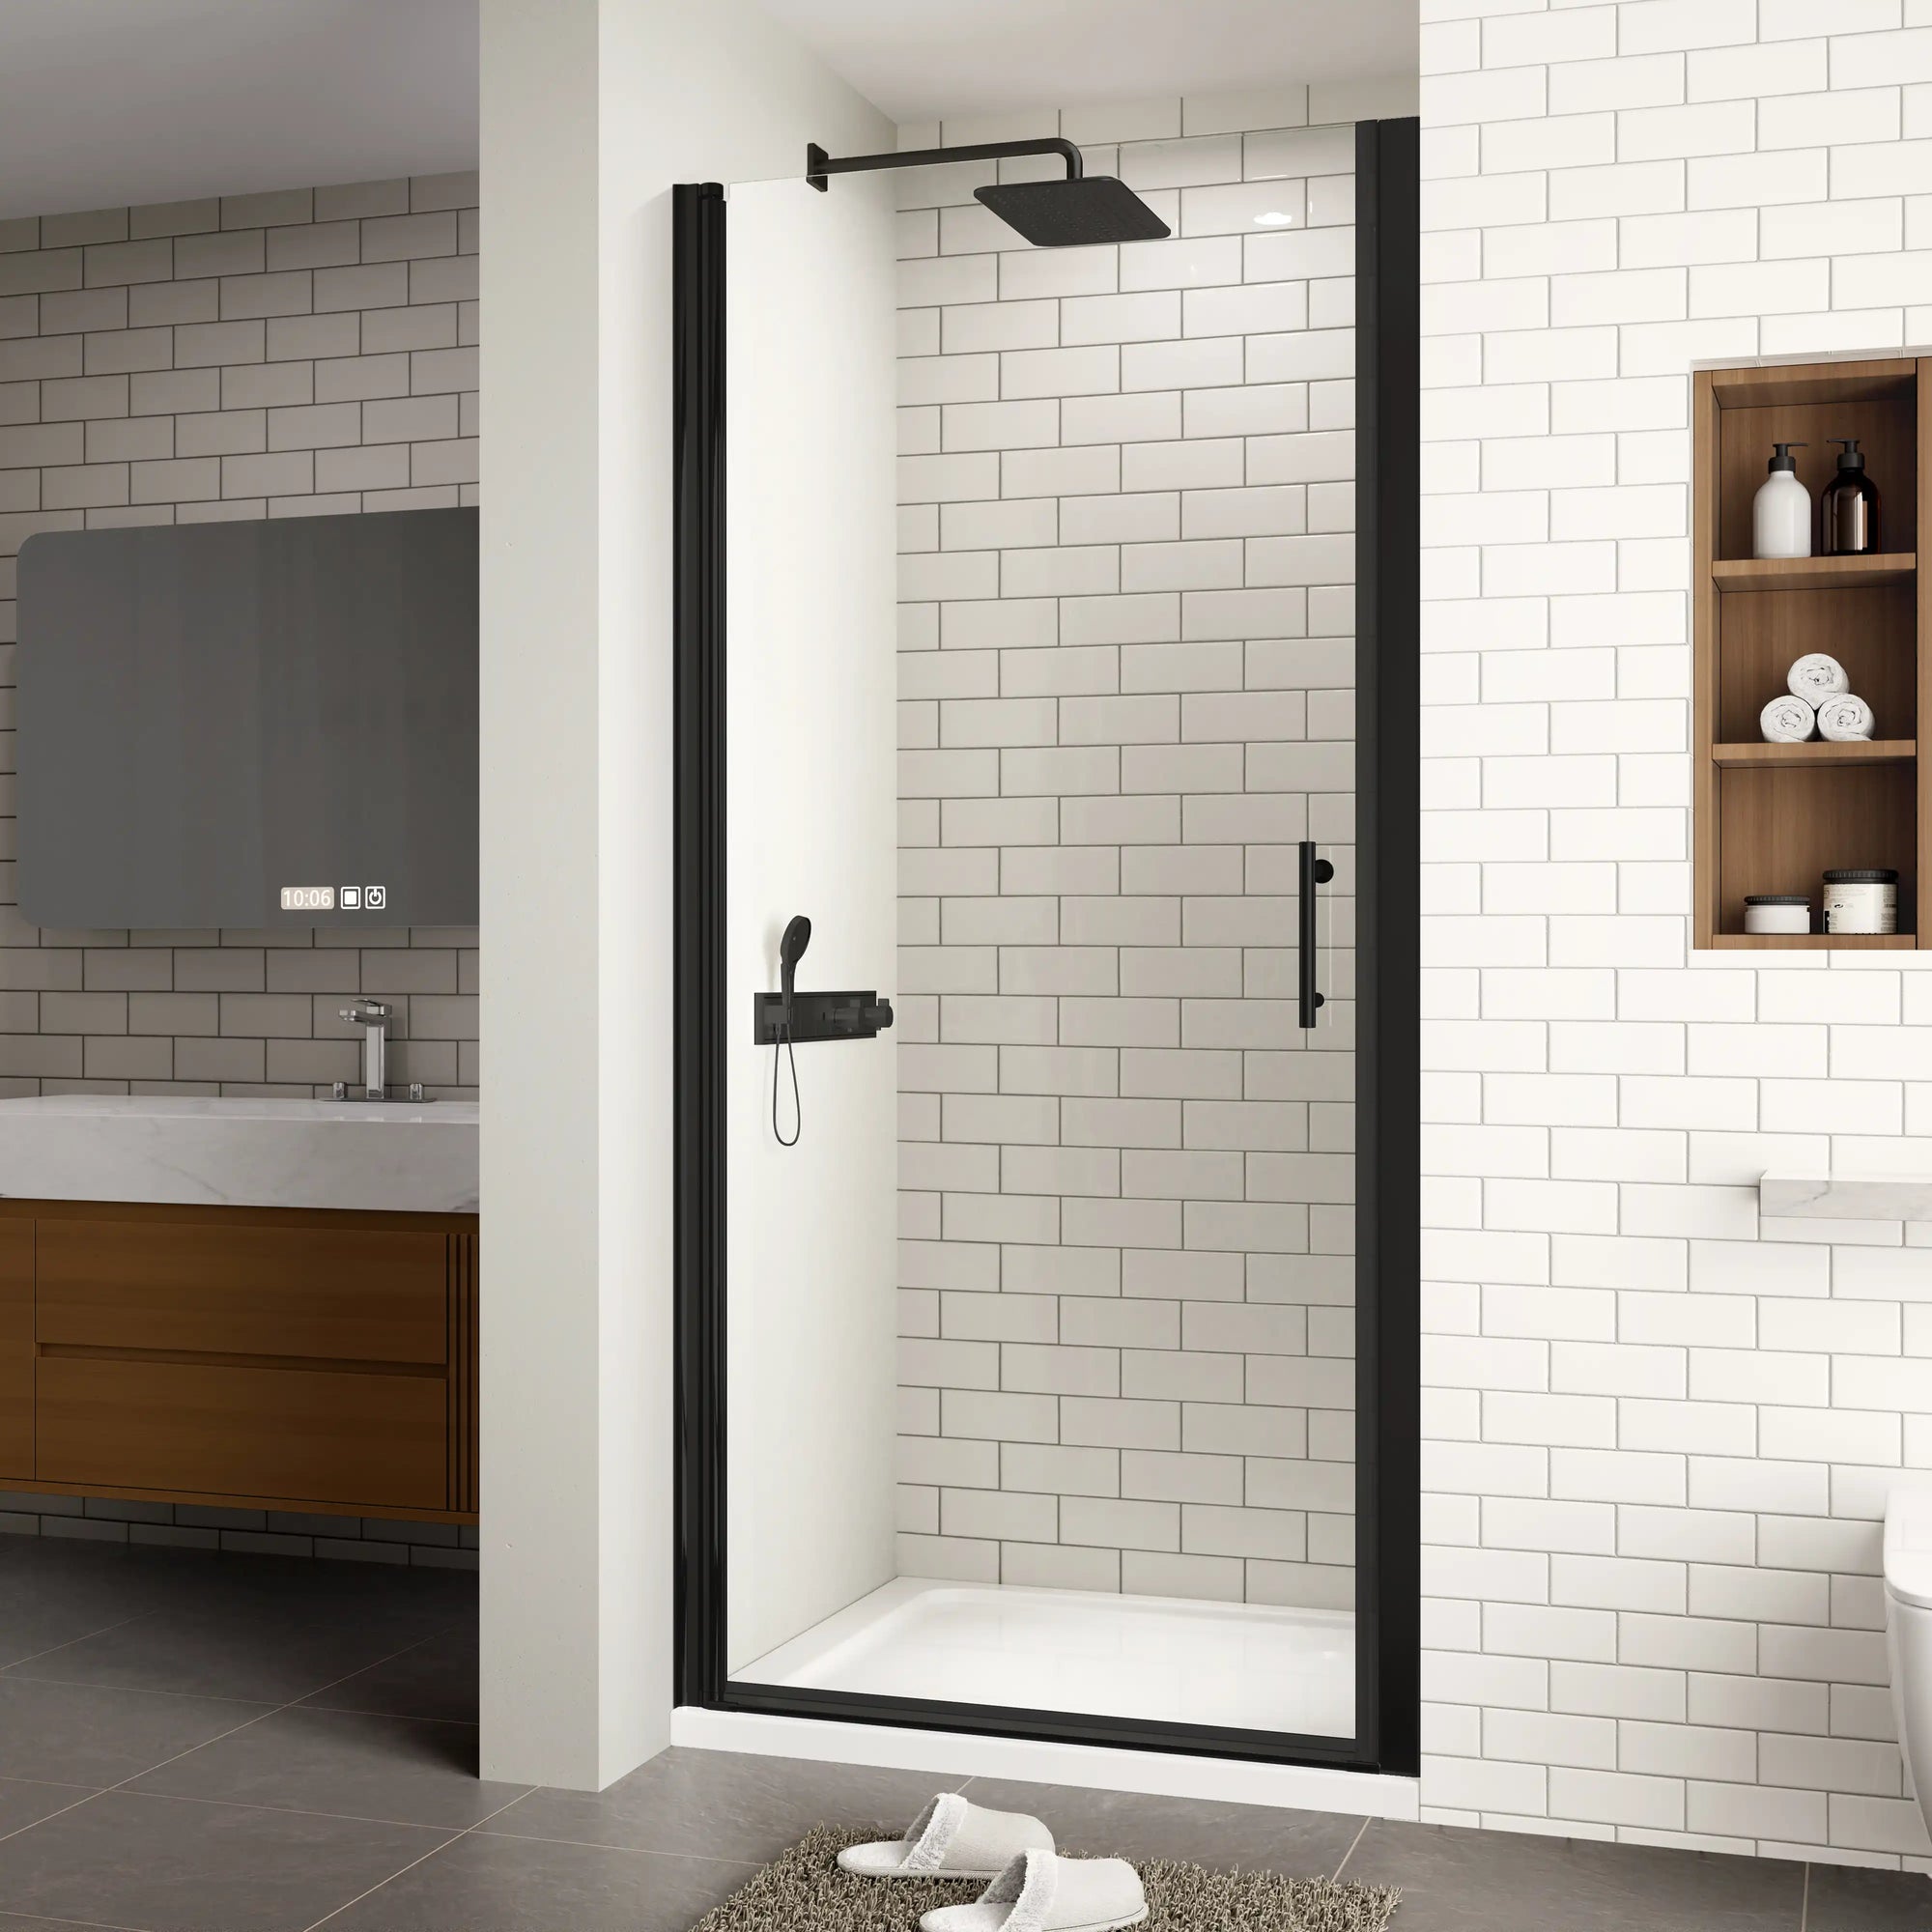


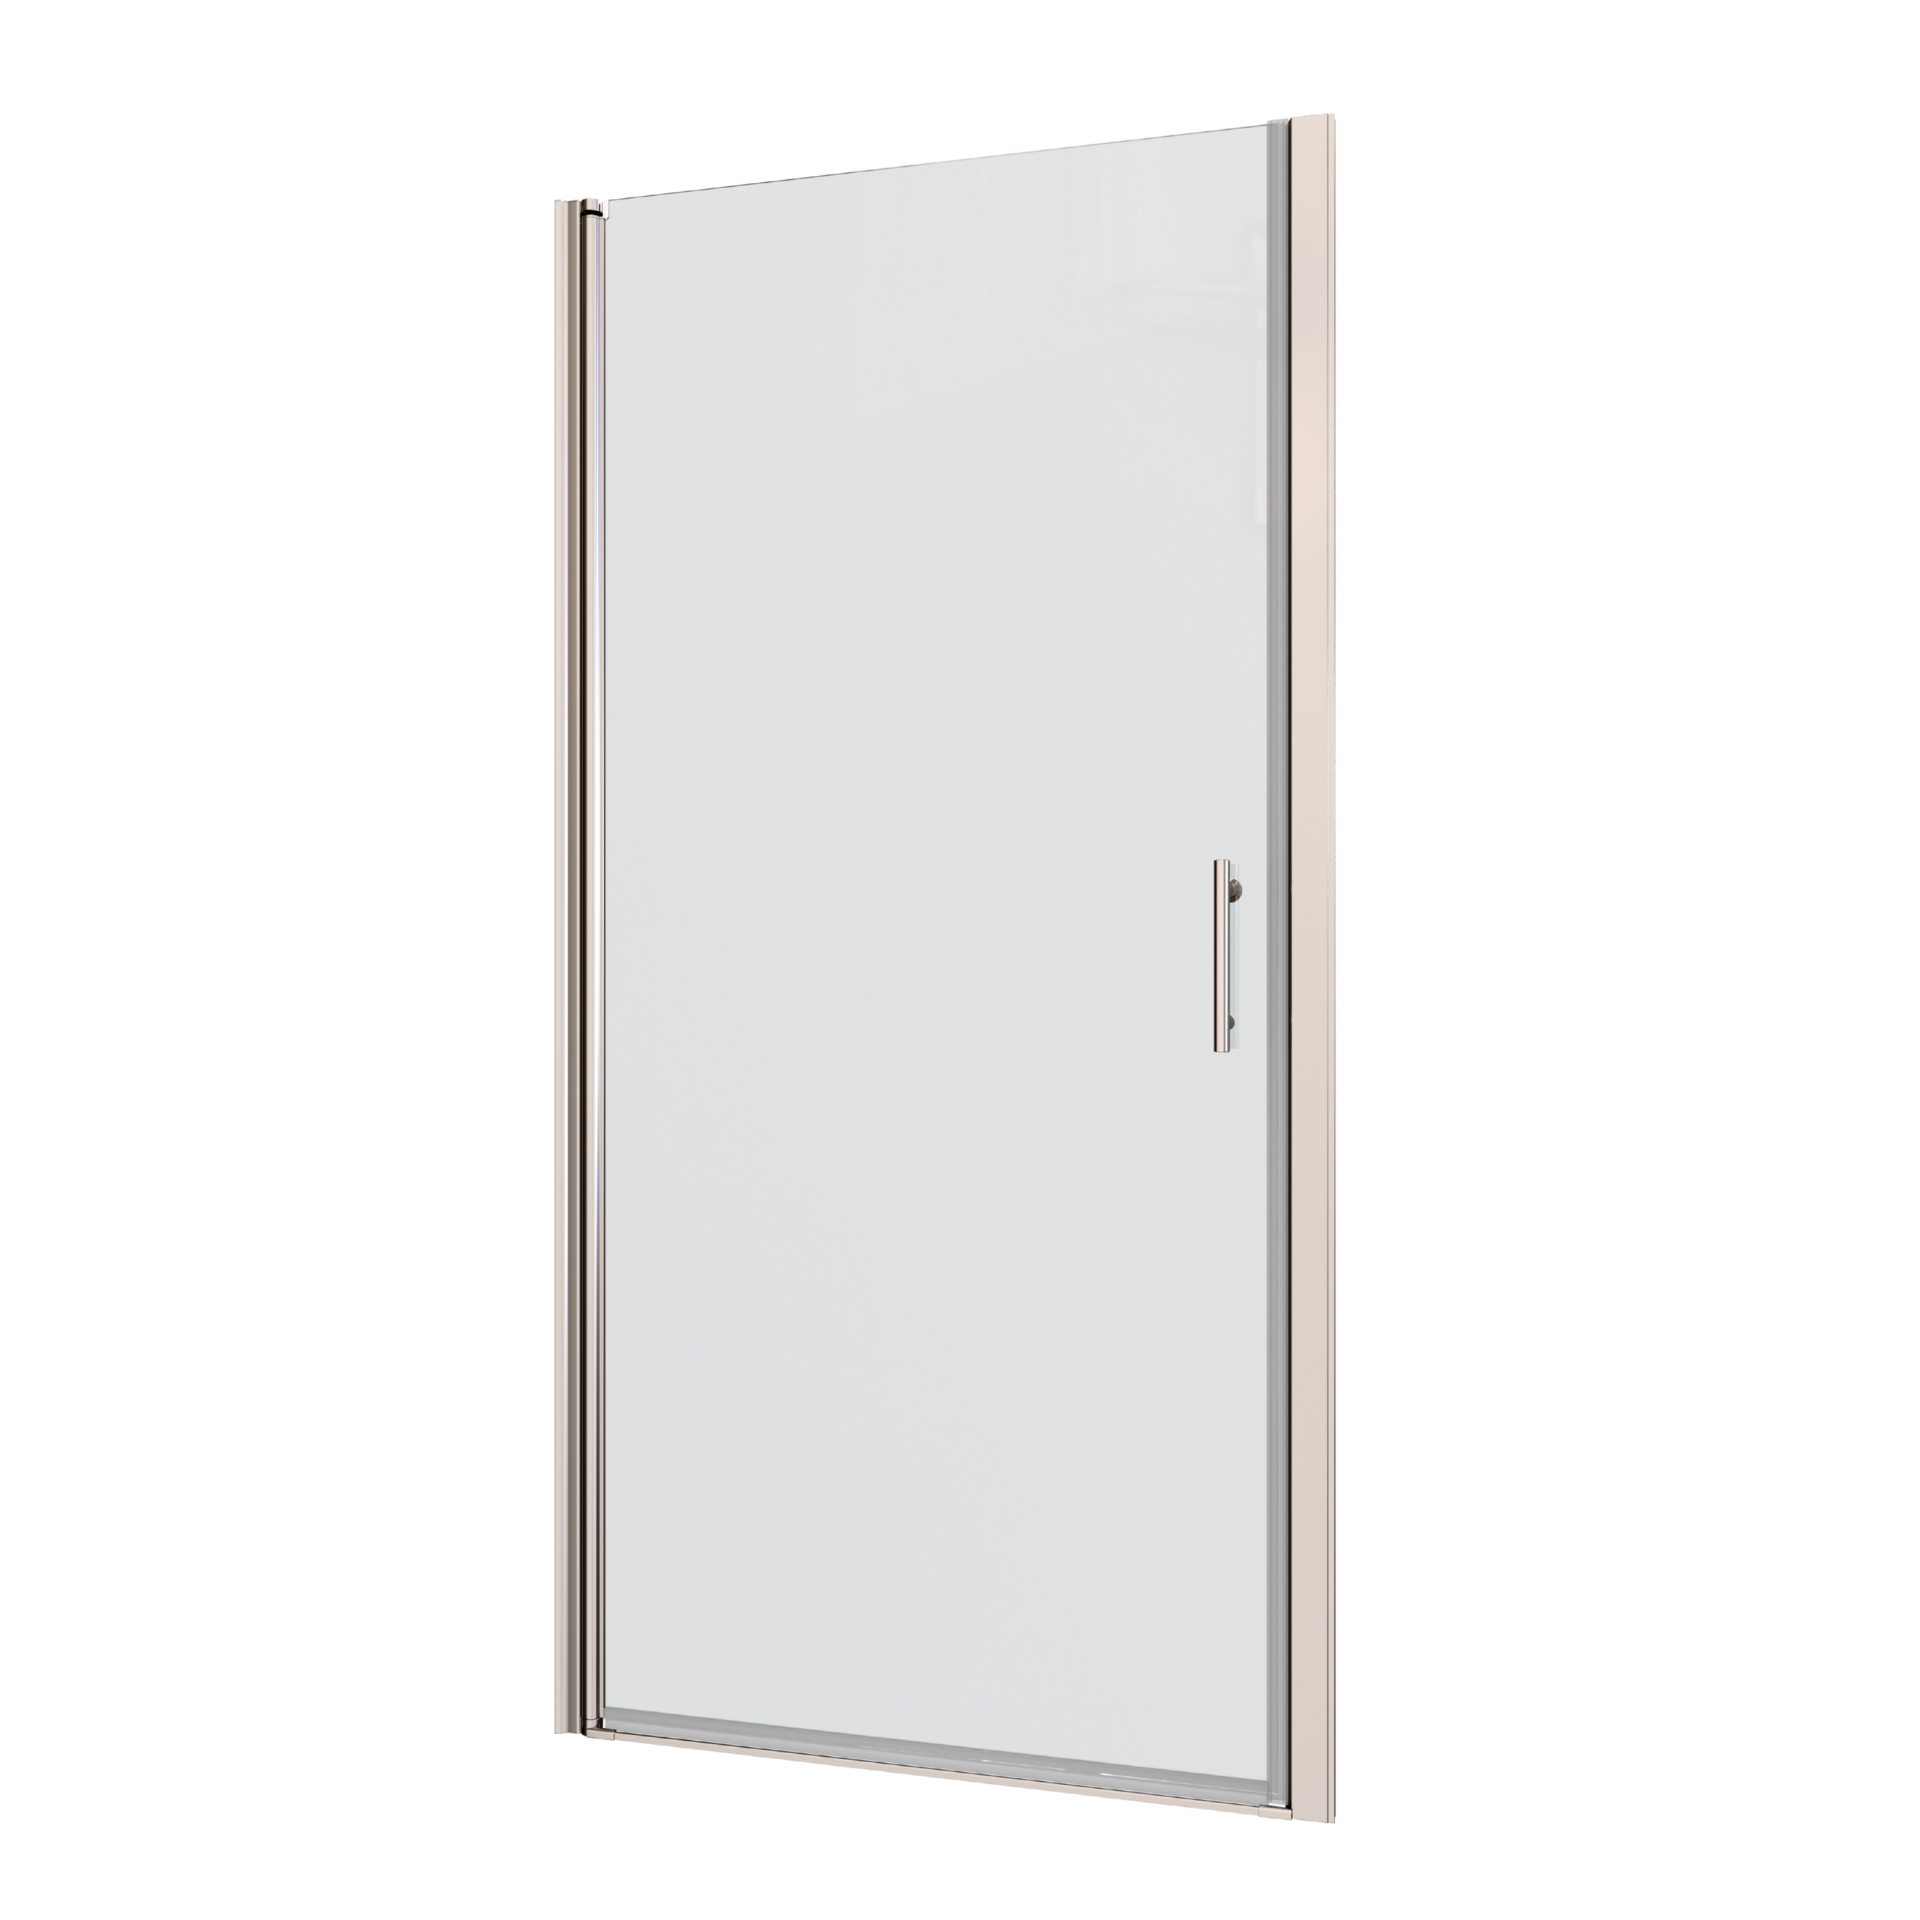

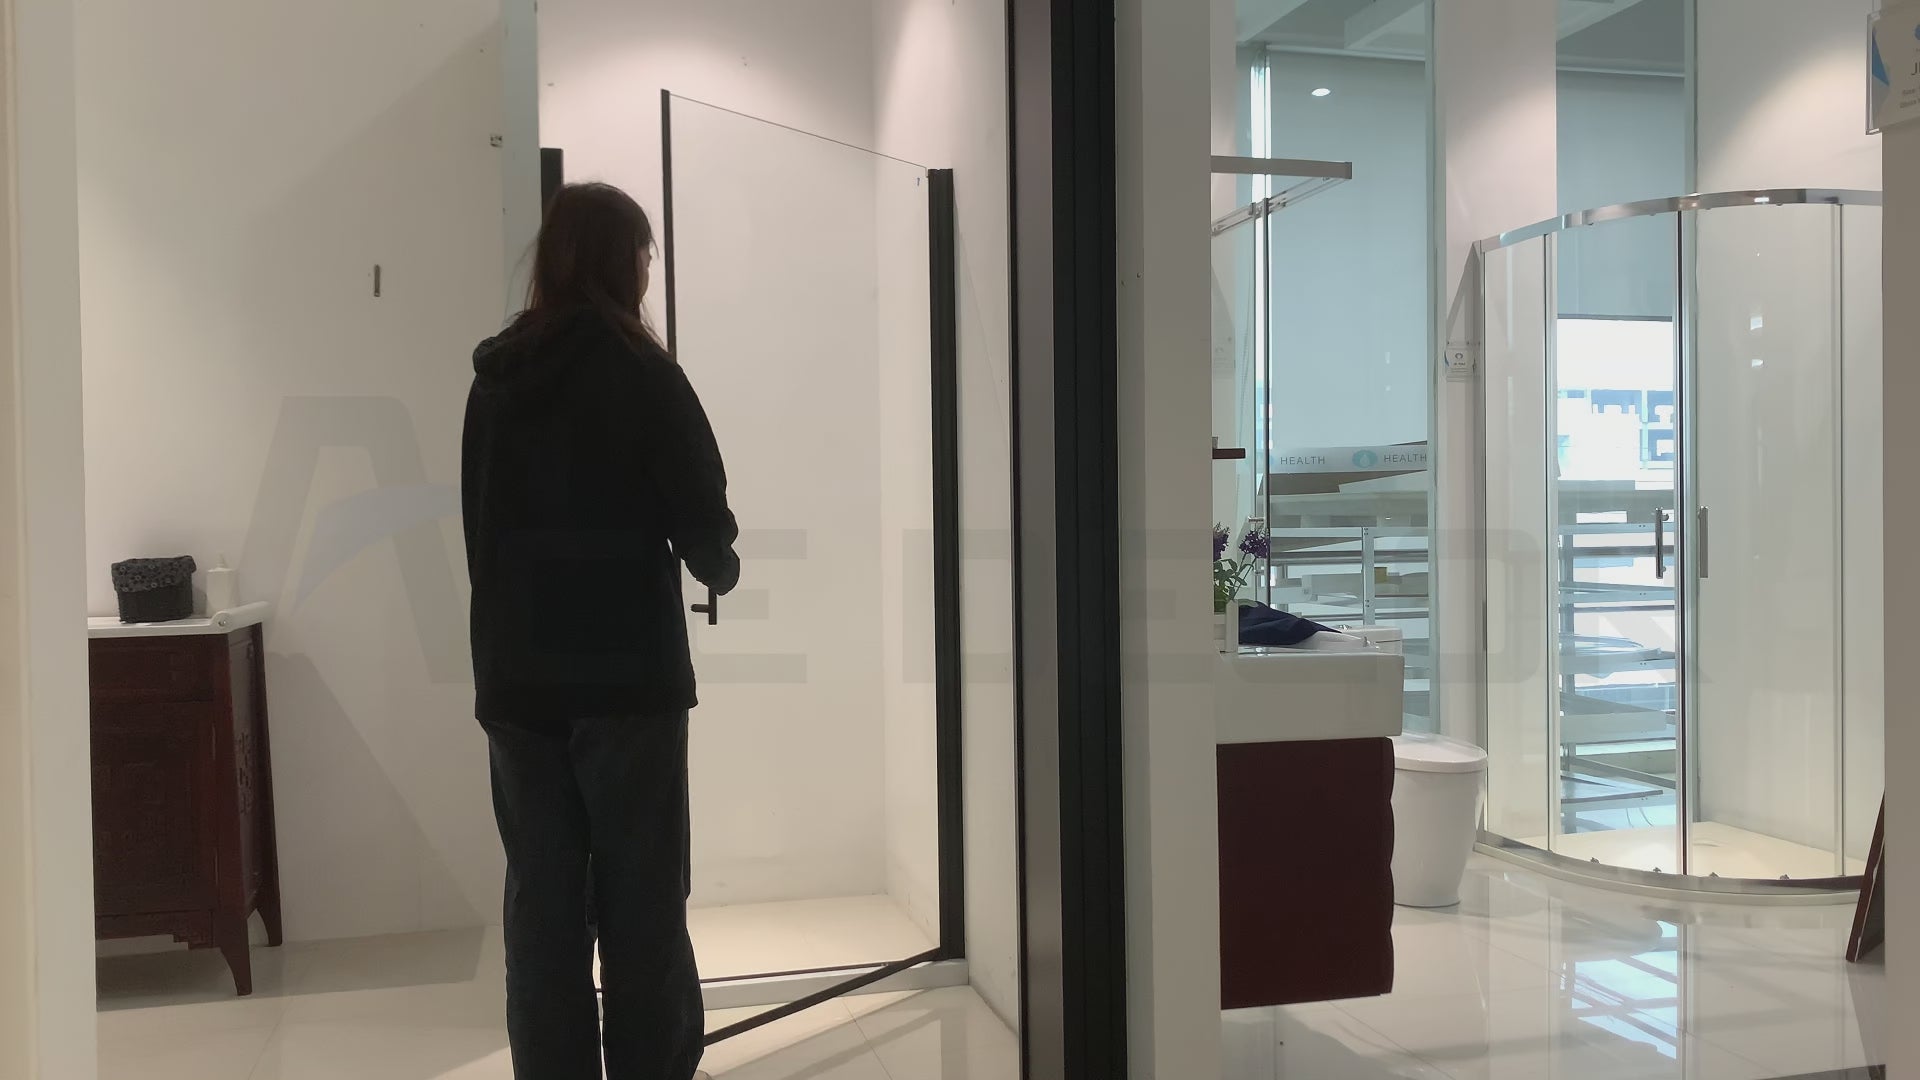

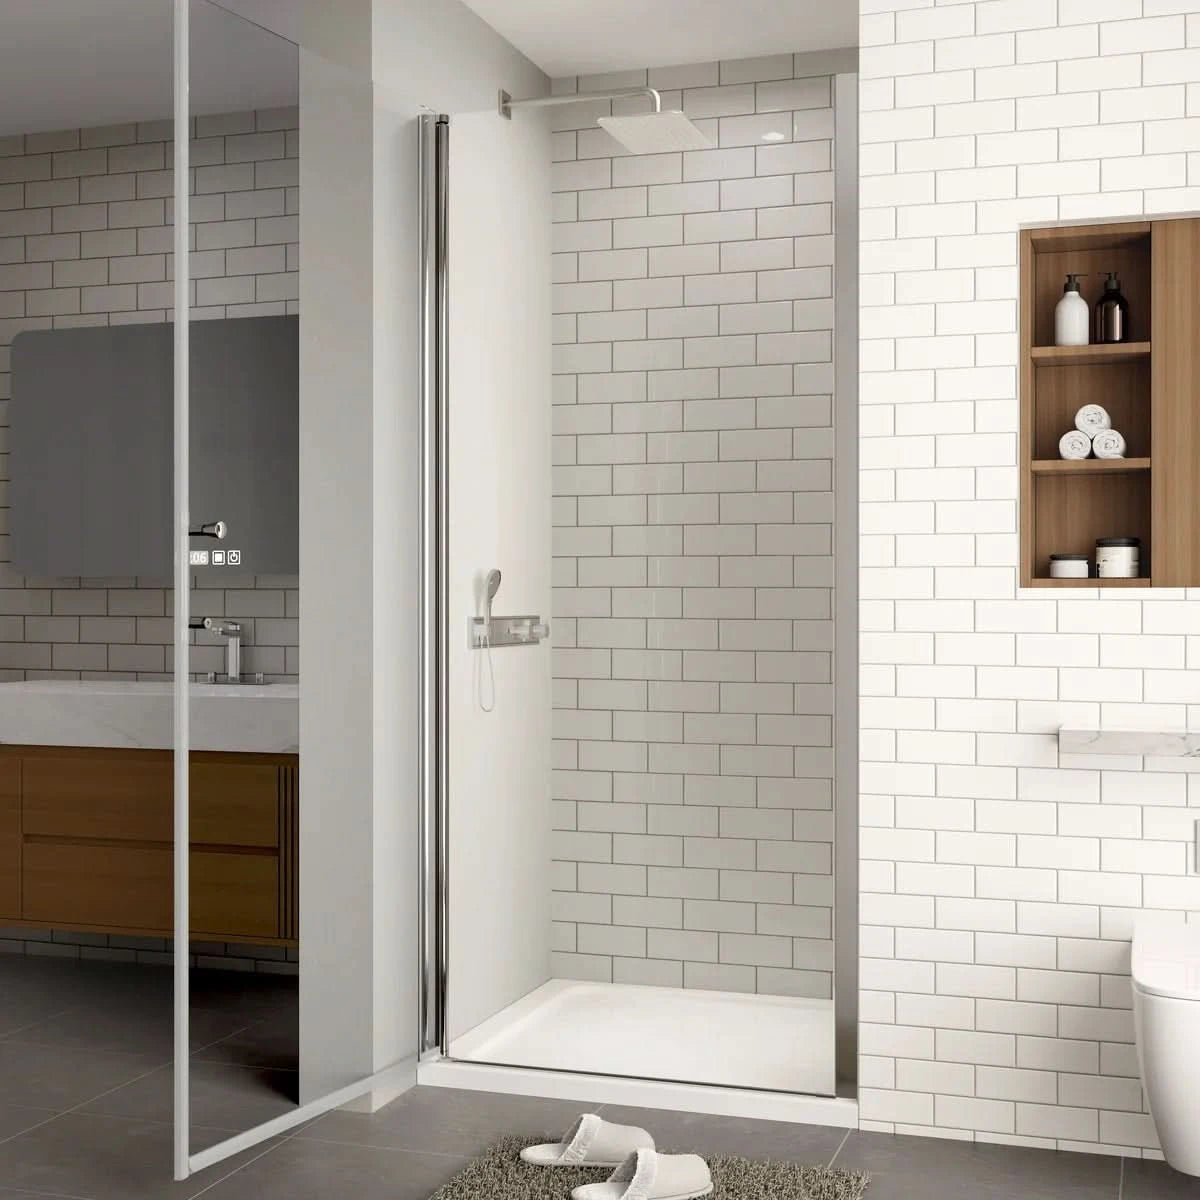

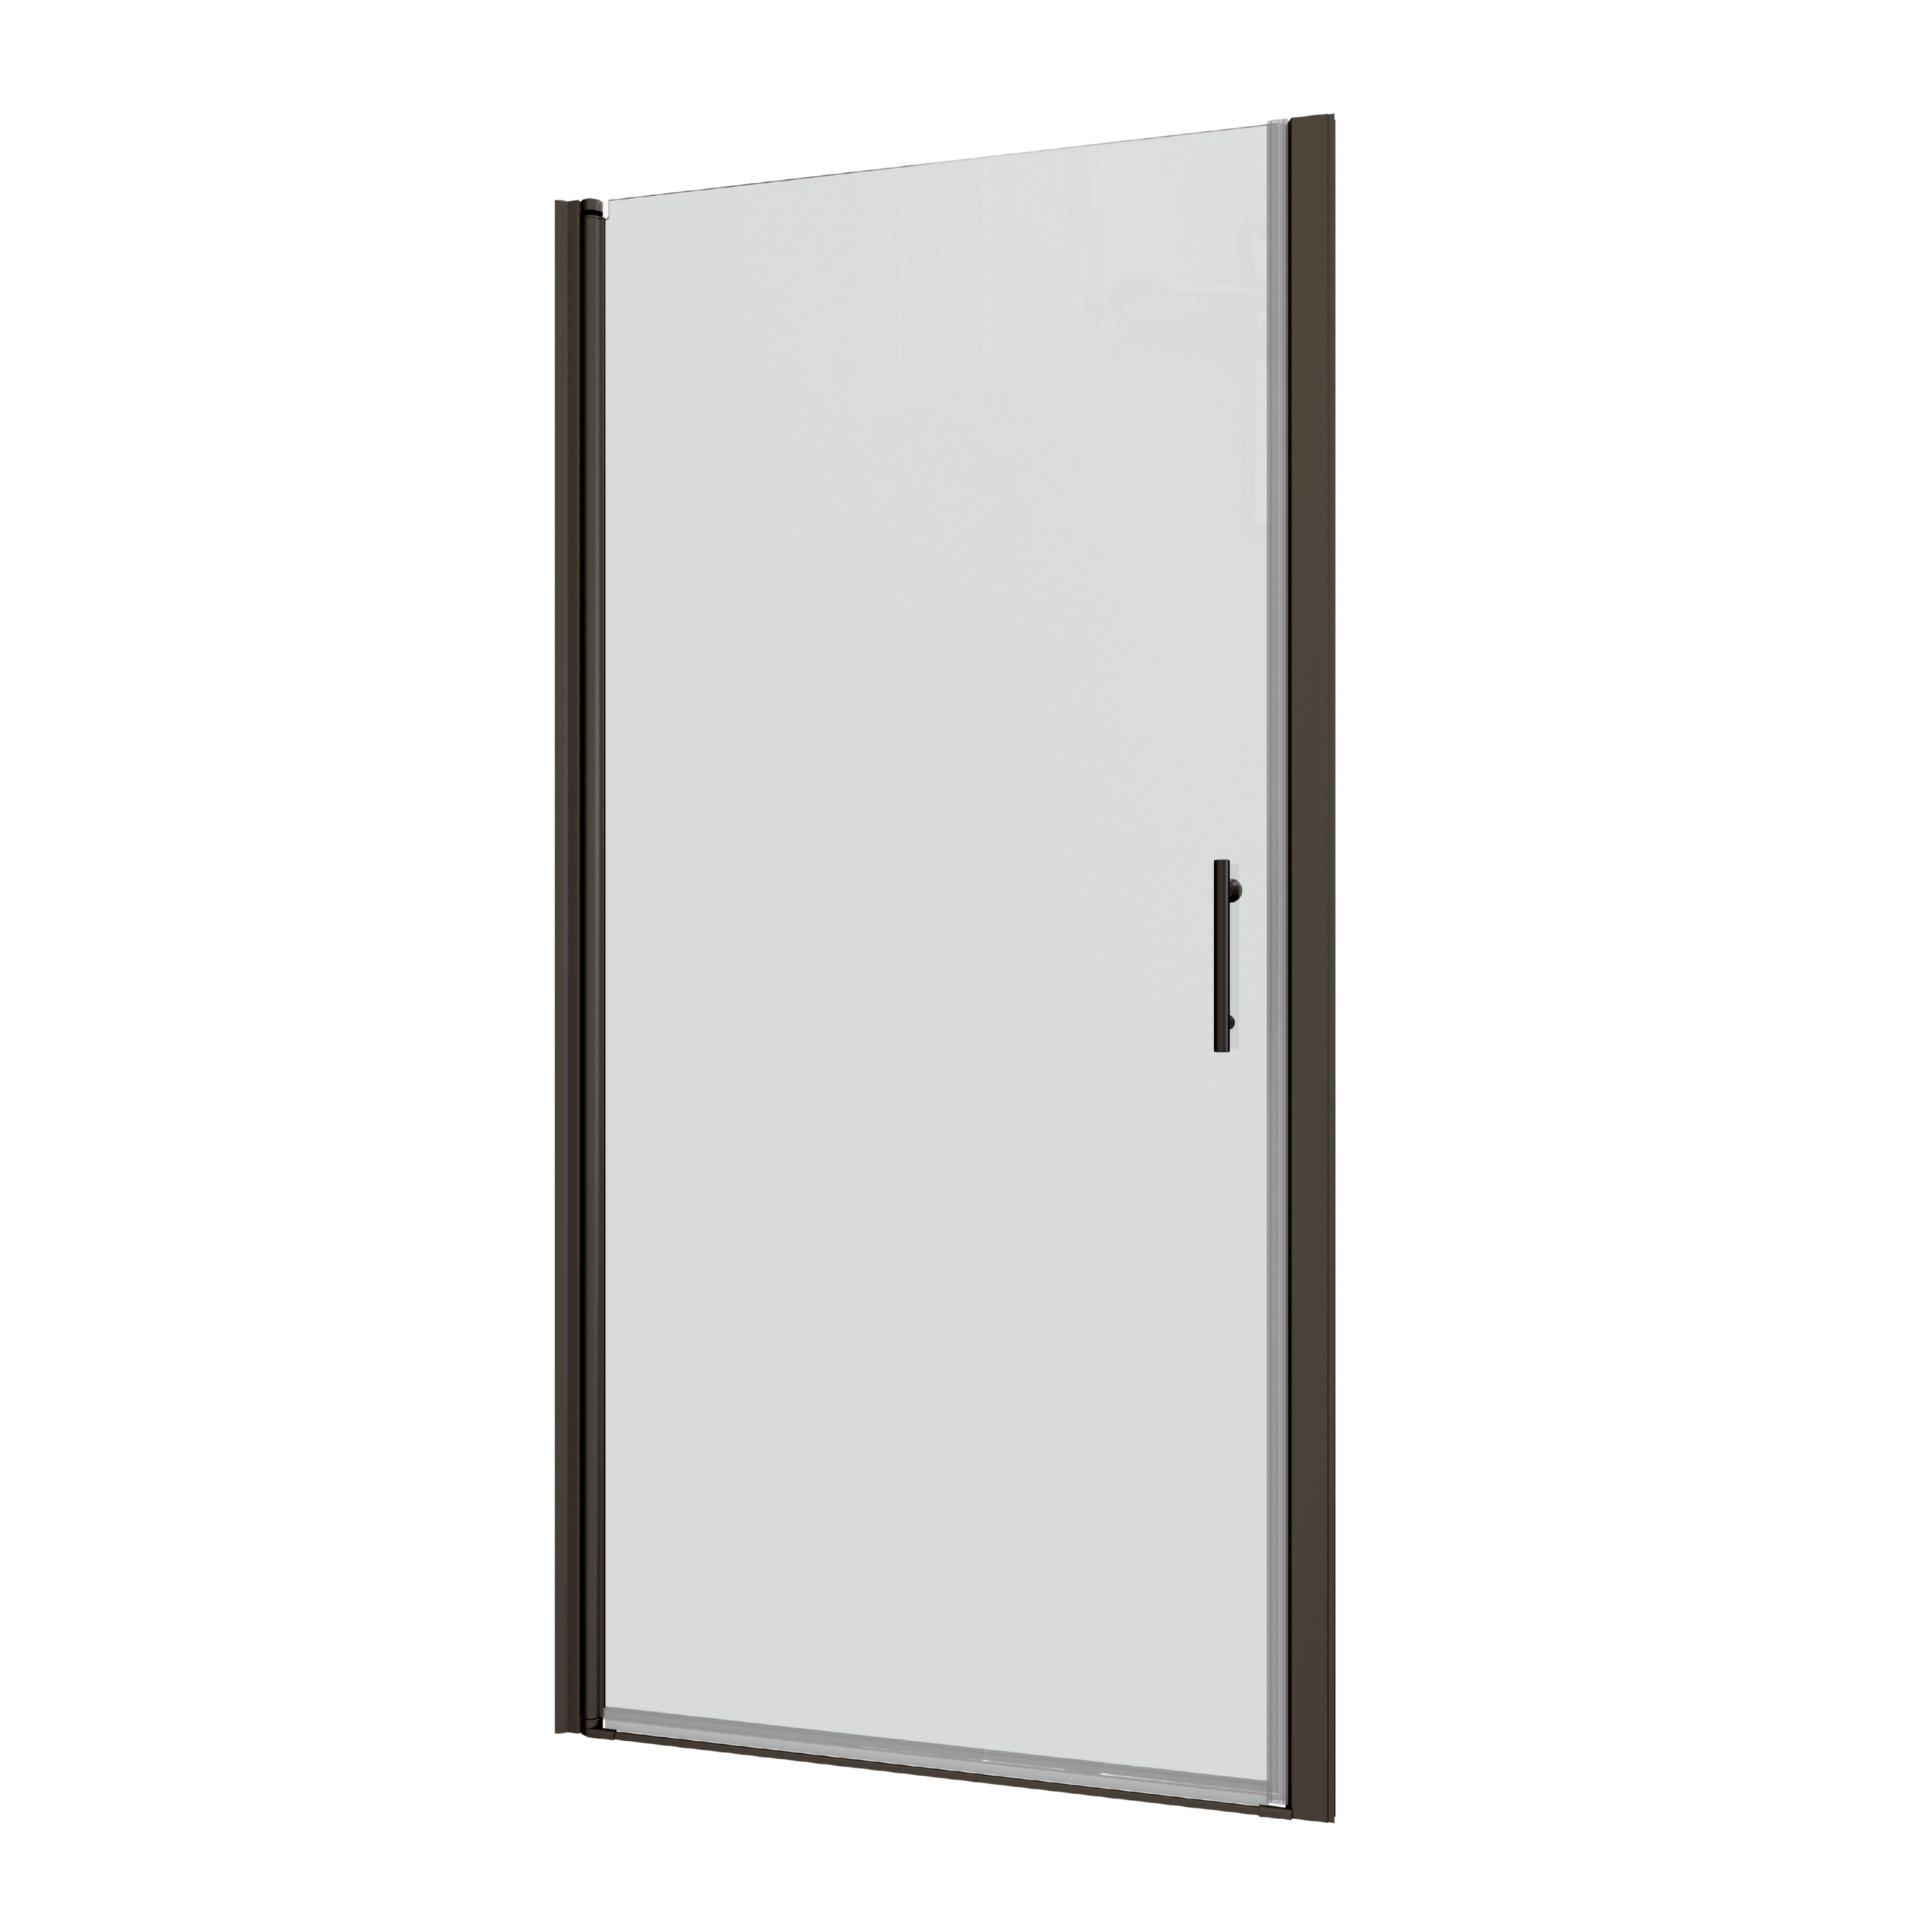


You're ready to install a frameless pivot swing shower door in your home — that's awesome because it adds a super-clean, modern, amazing look to your bathroom.
But the question we often get from customers is what do we do to fit the threshold?
"Exactly how do I secure the threshold to my shower base to avoid leaks and movement?”
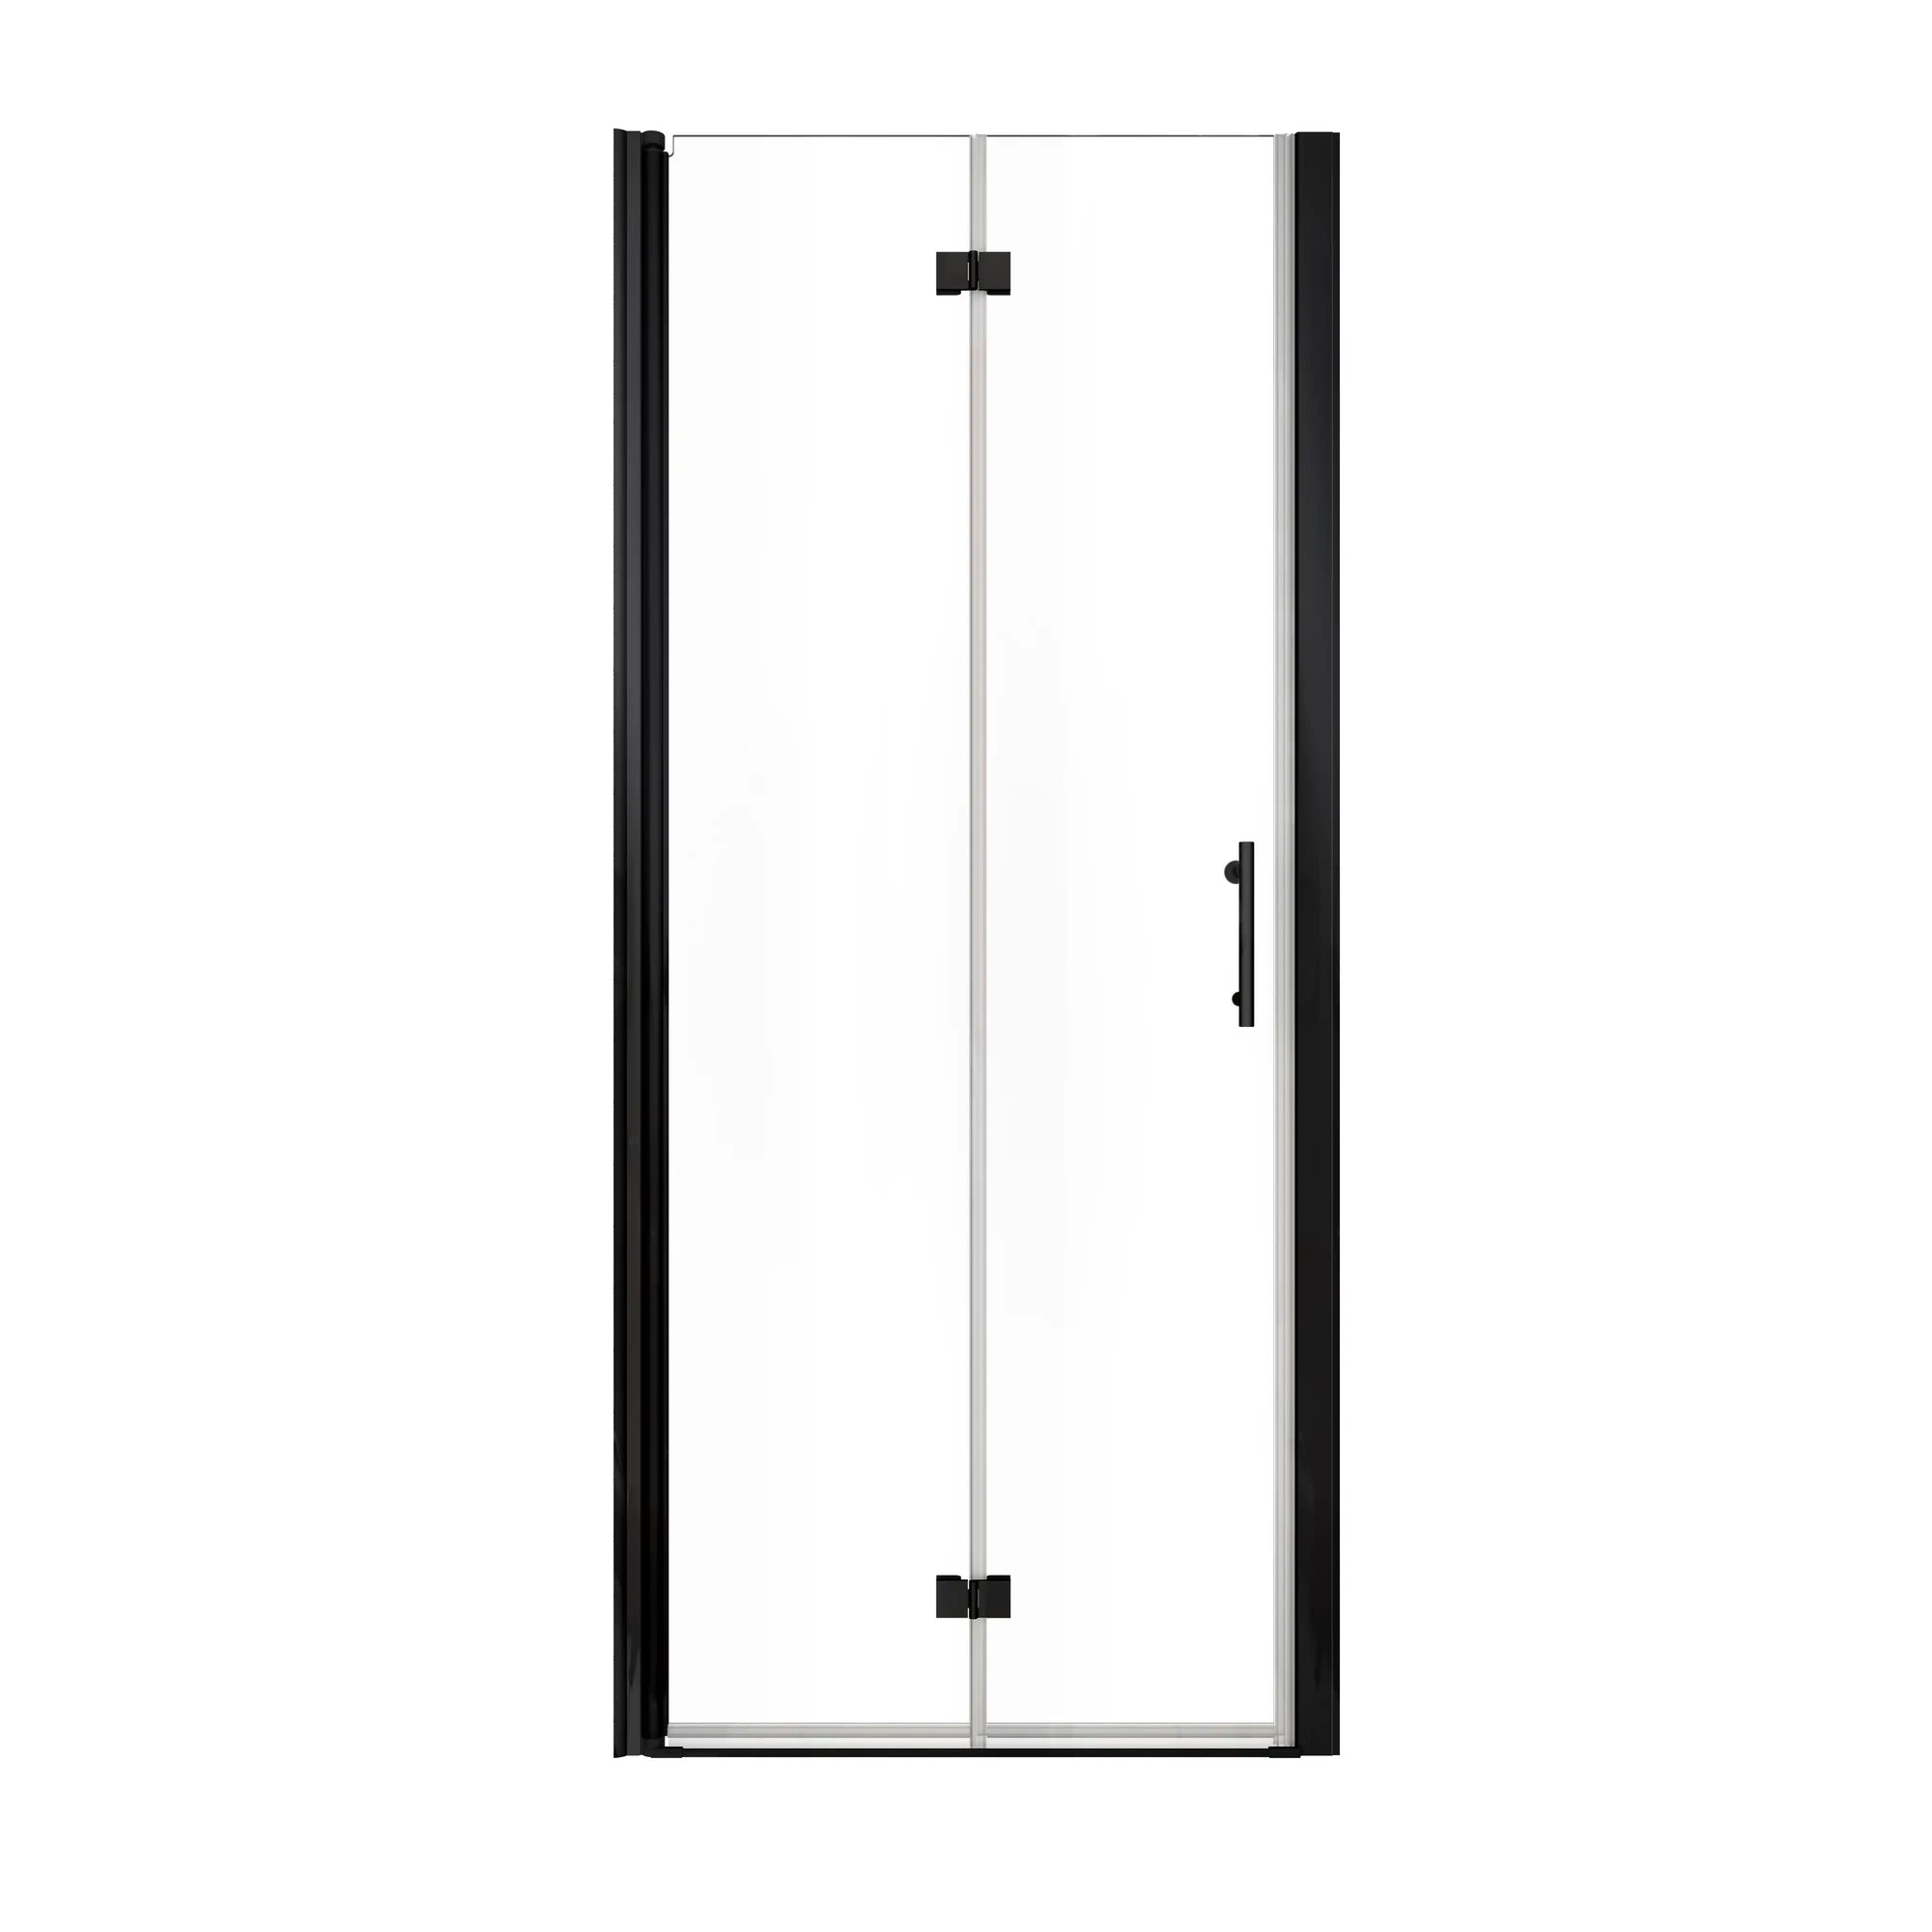
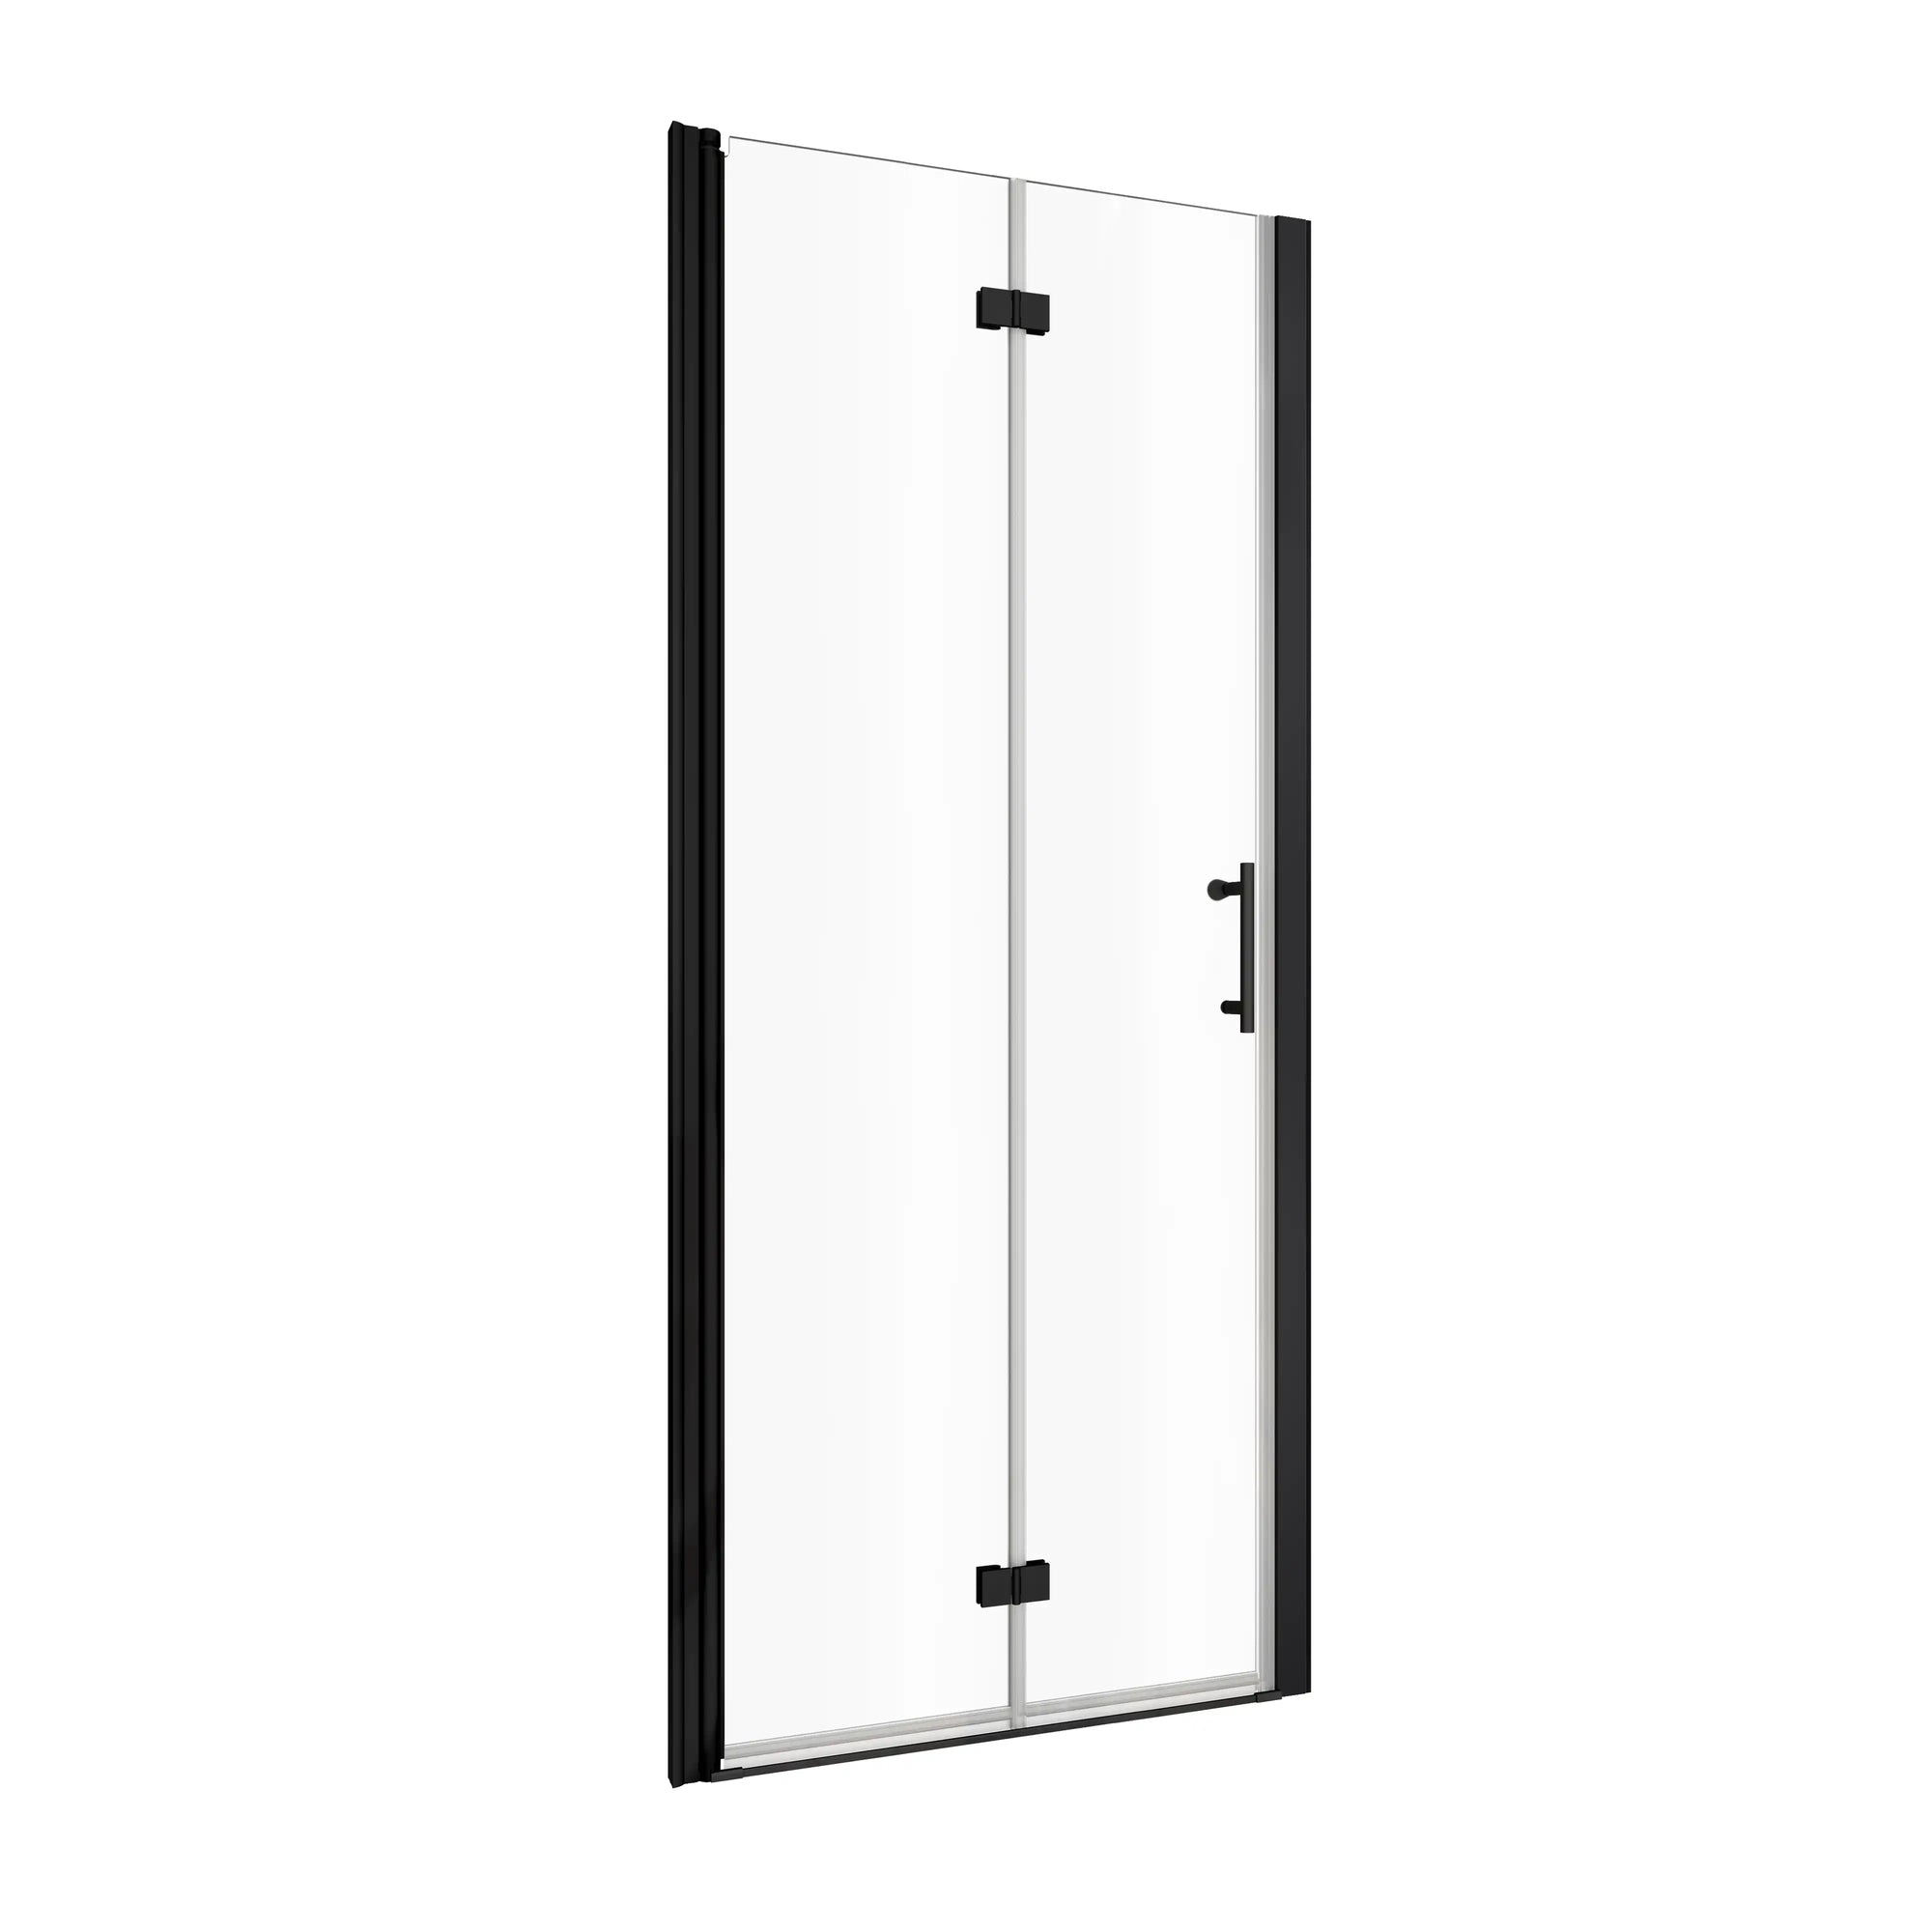
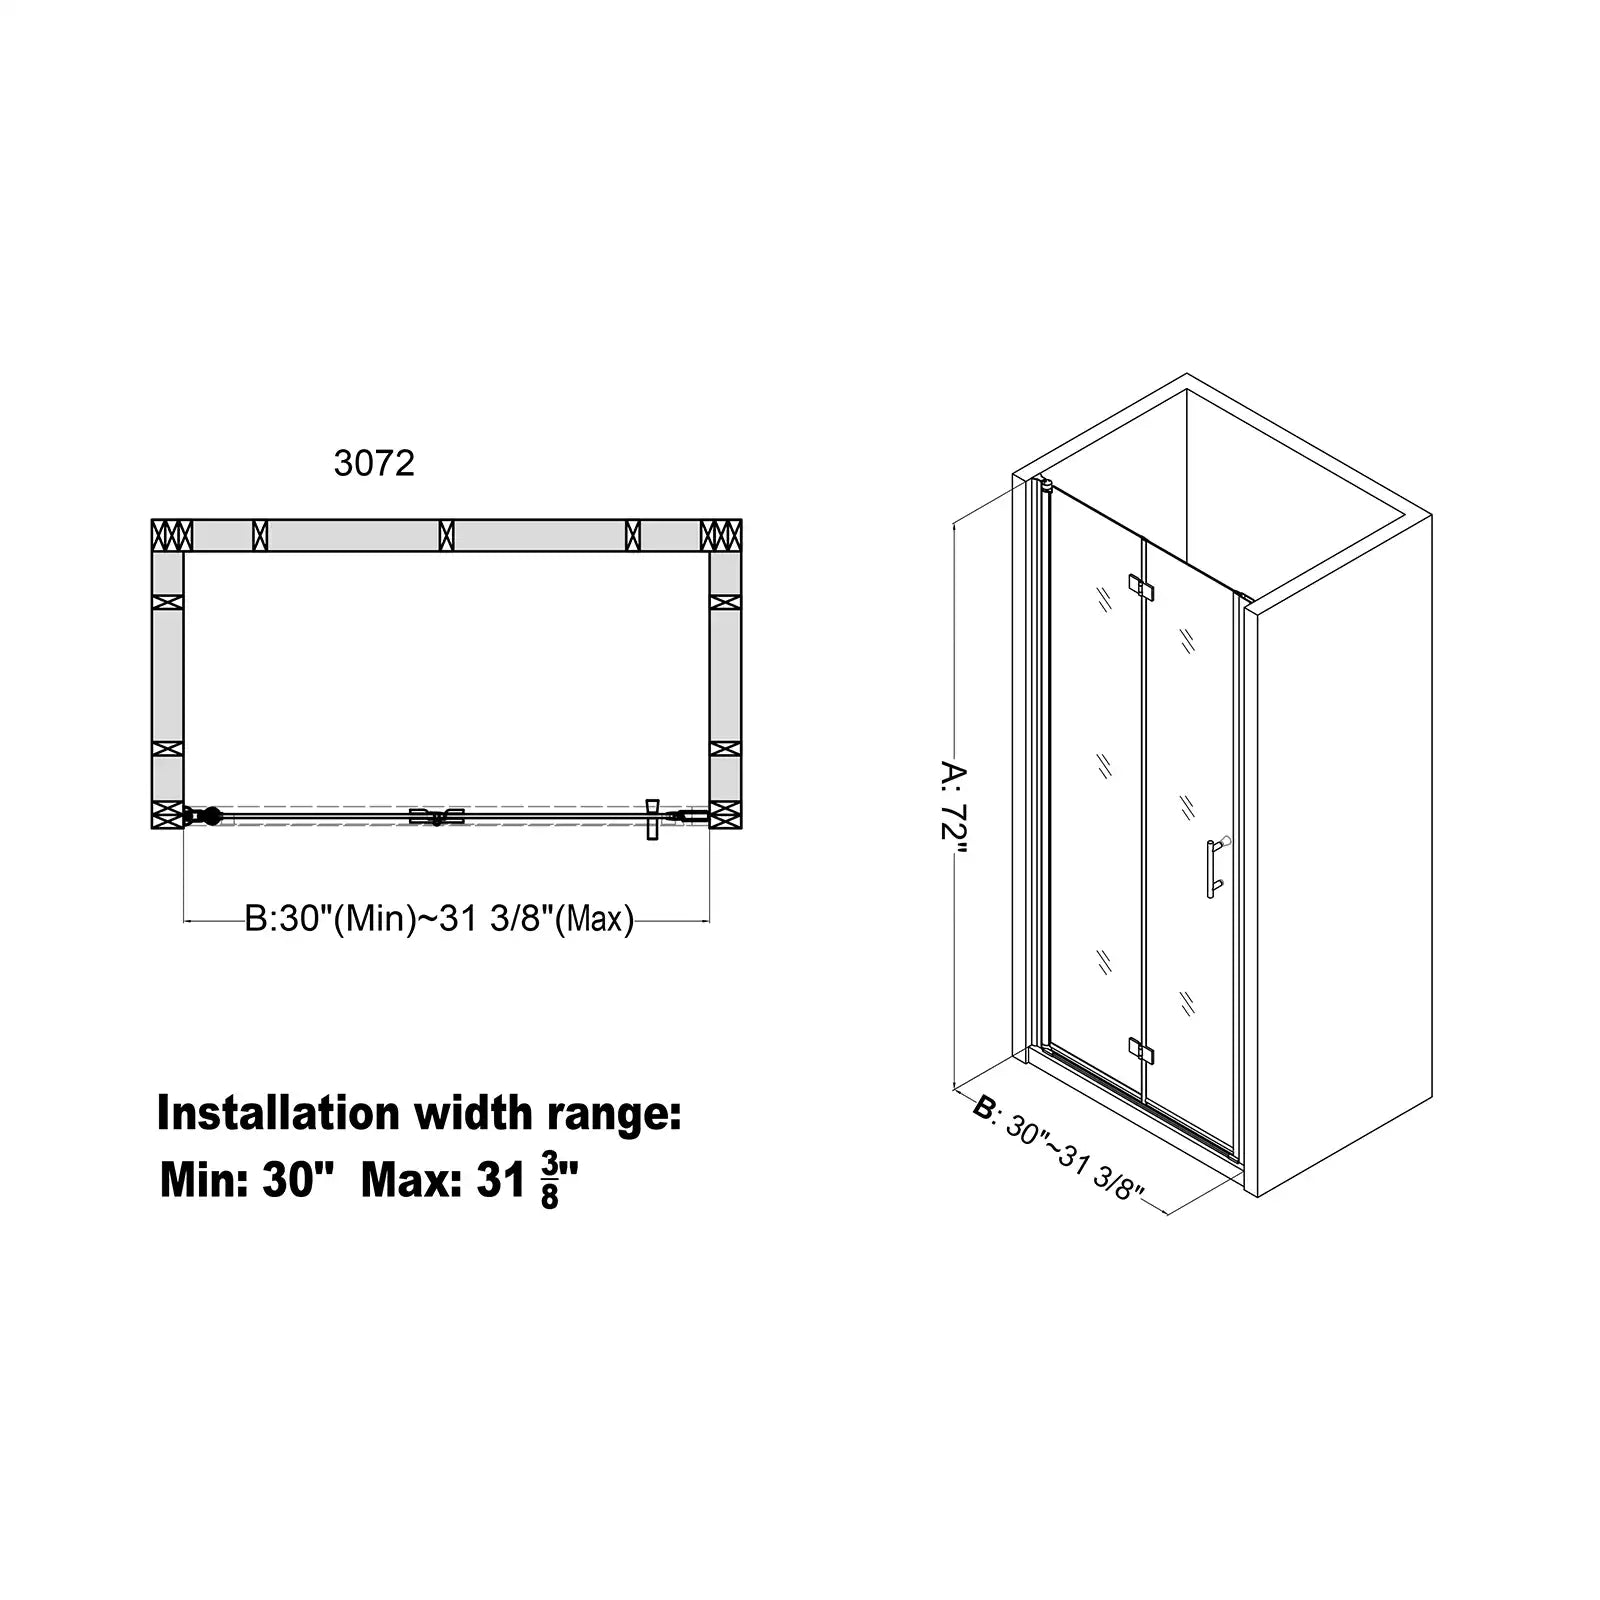
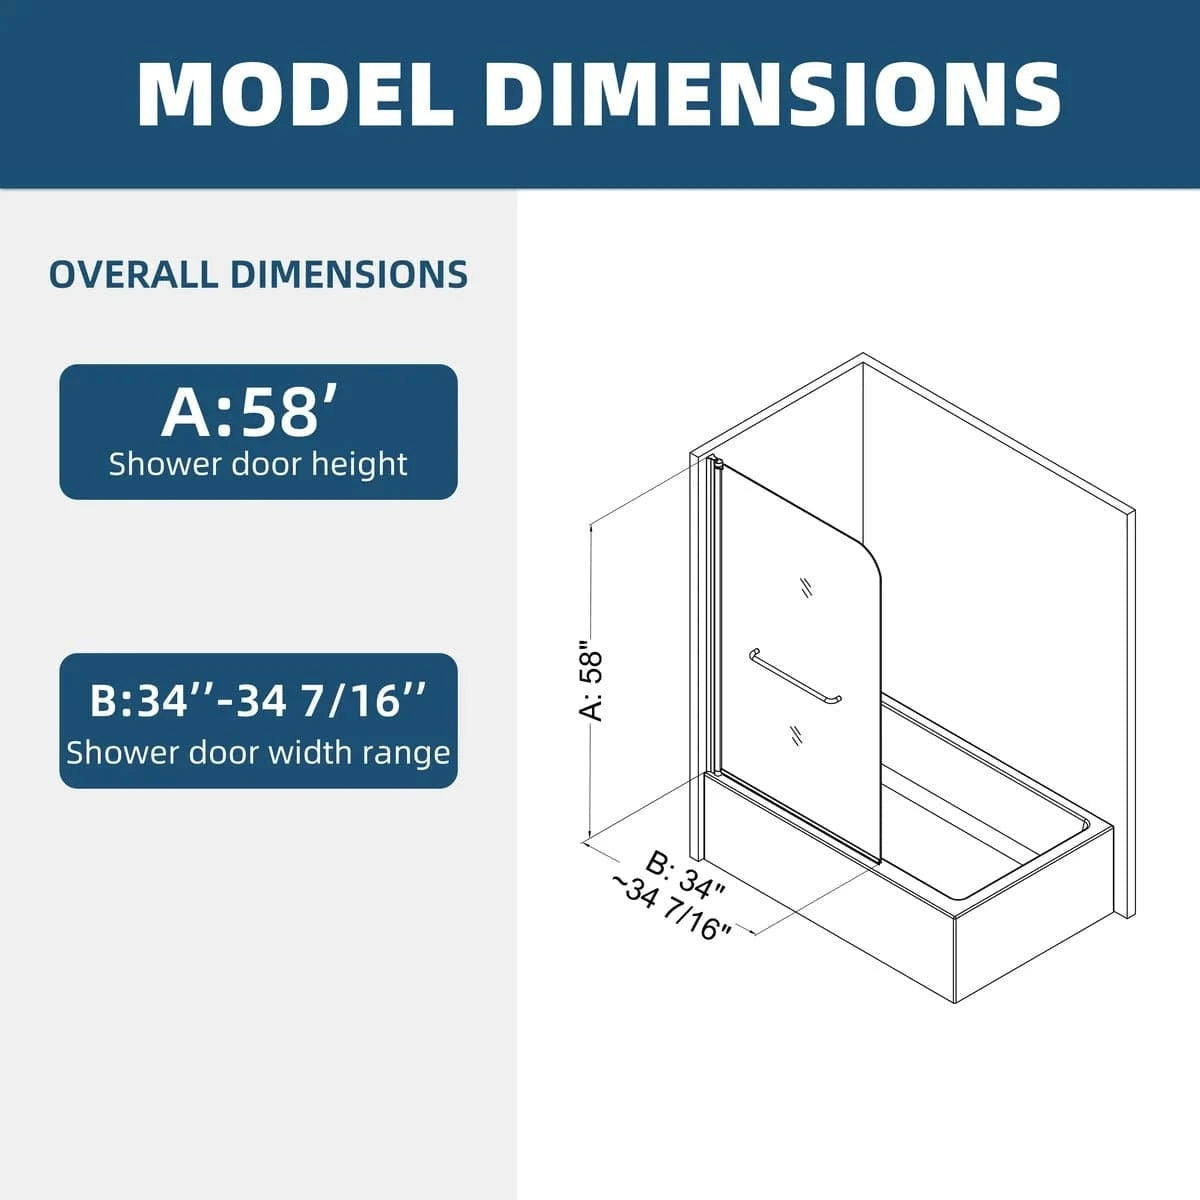
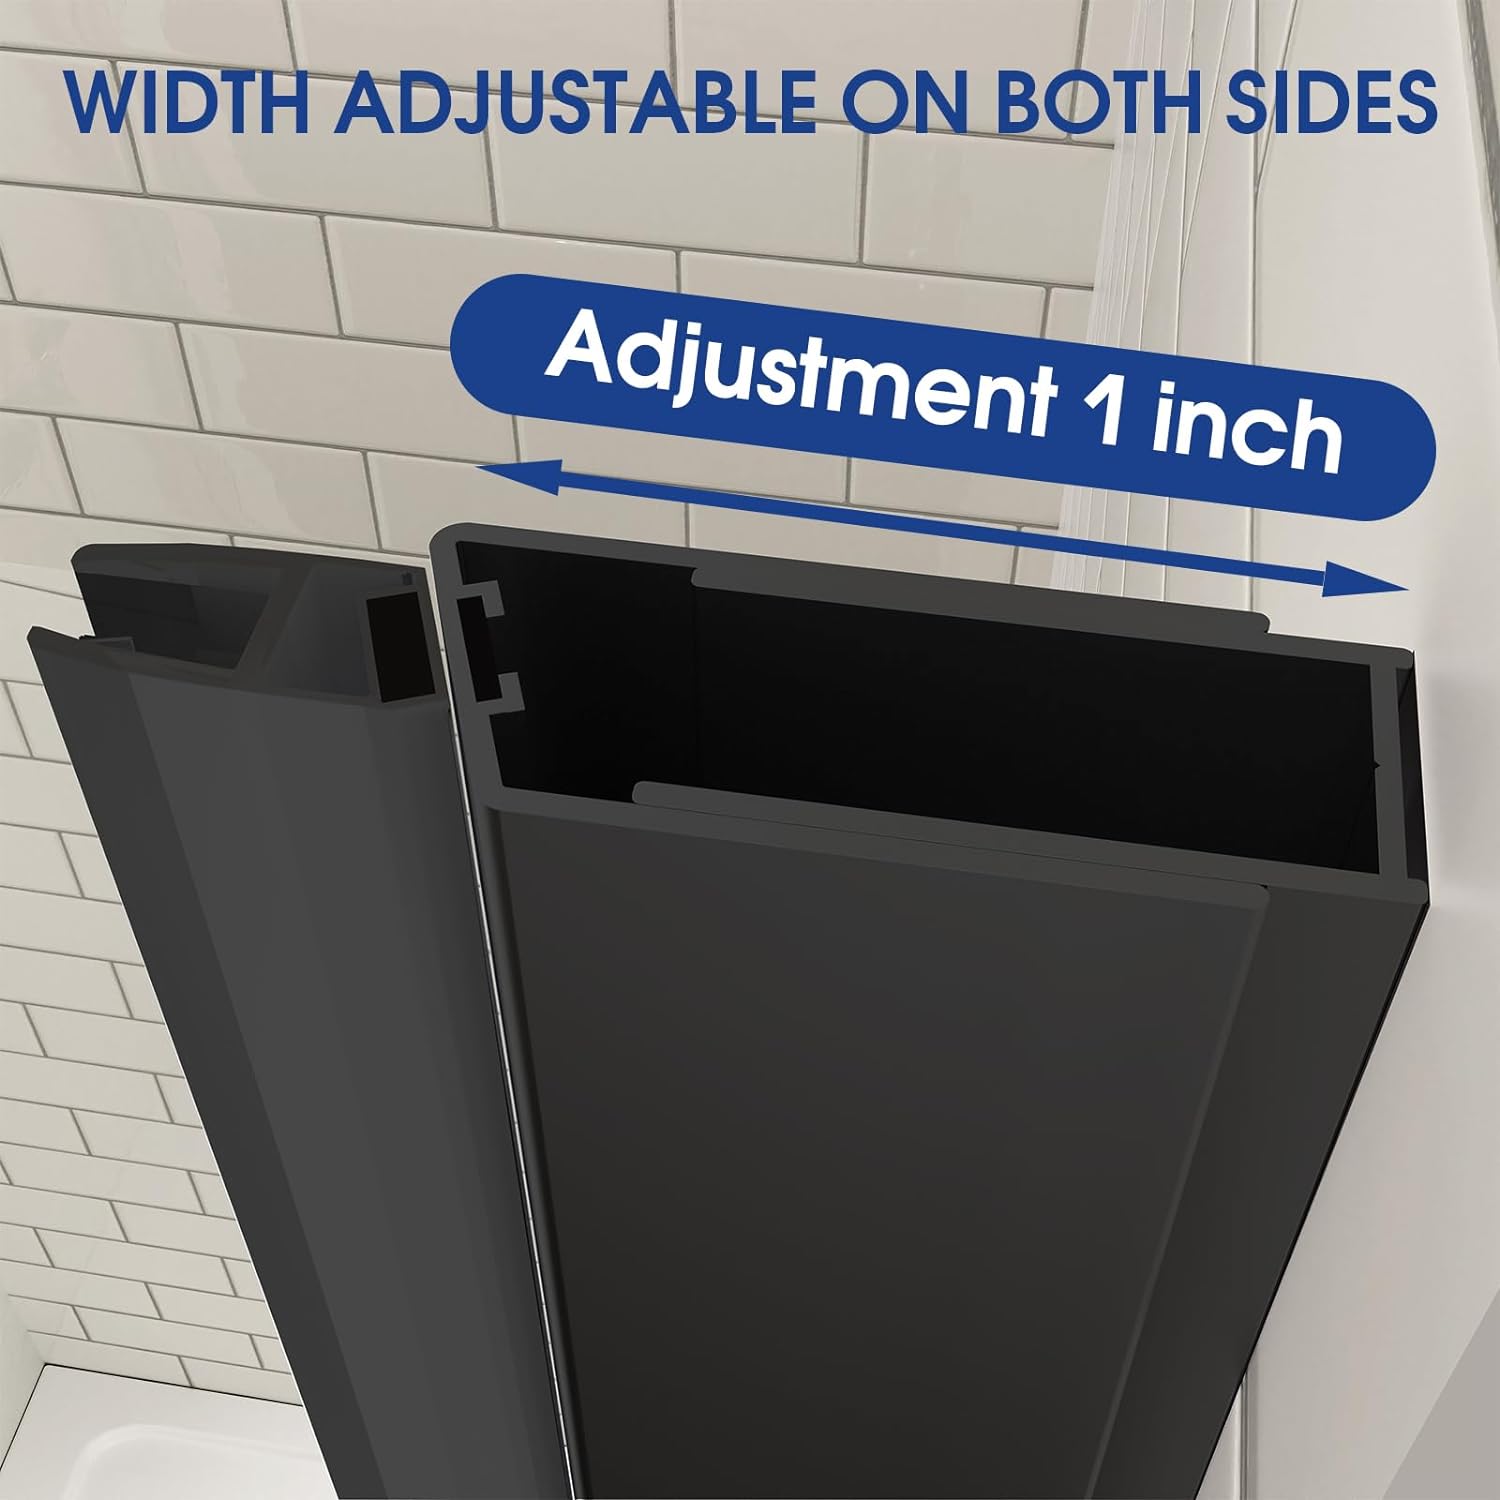
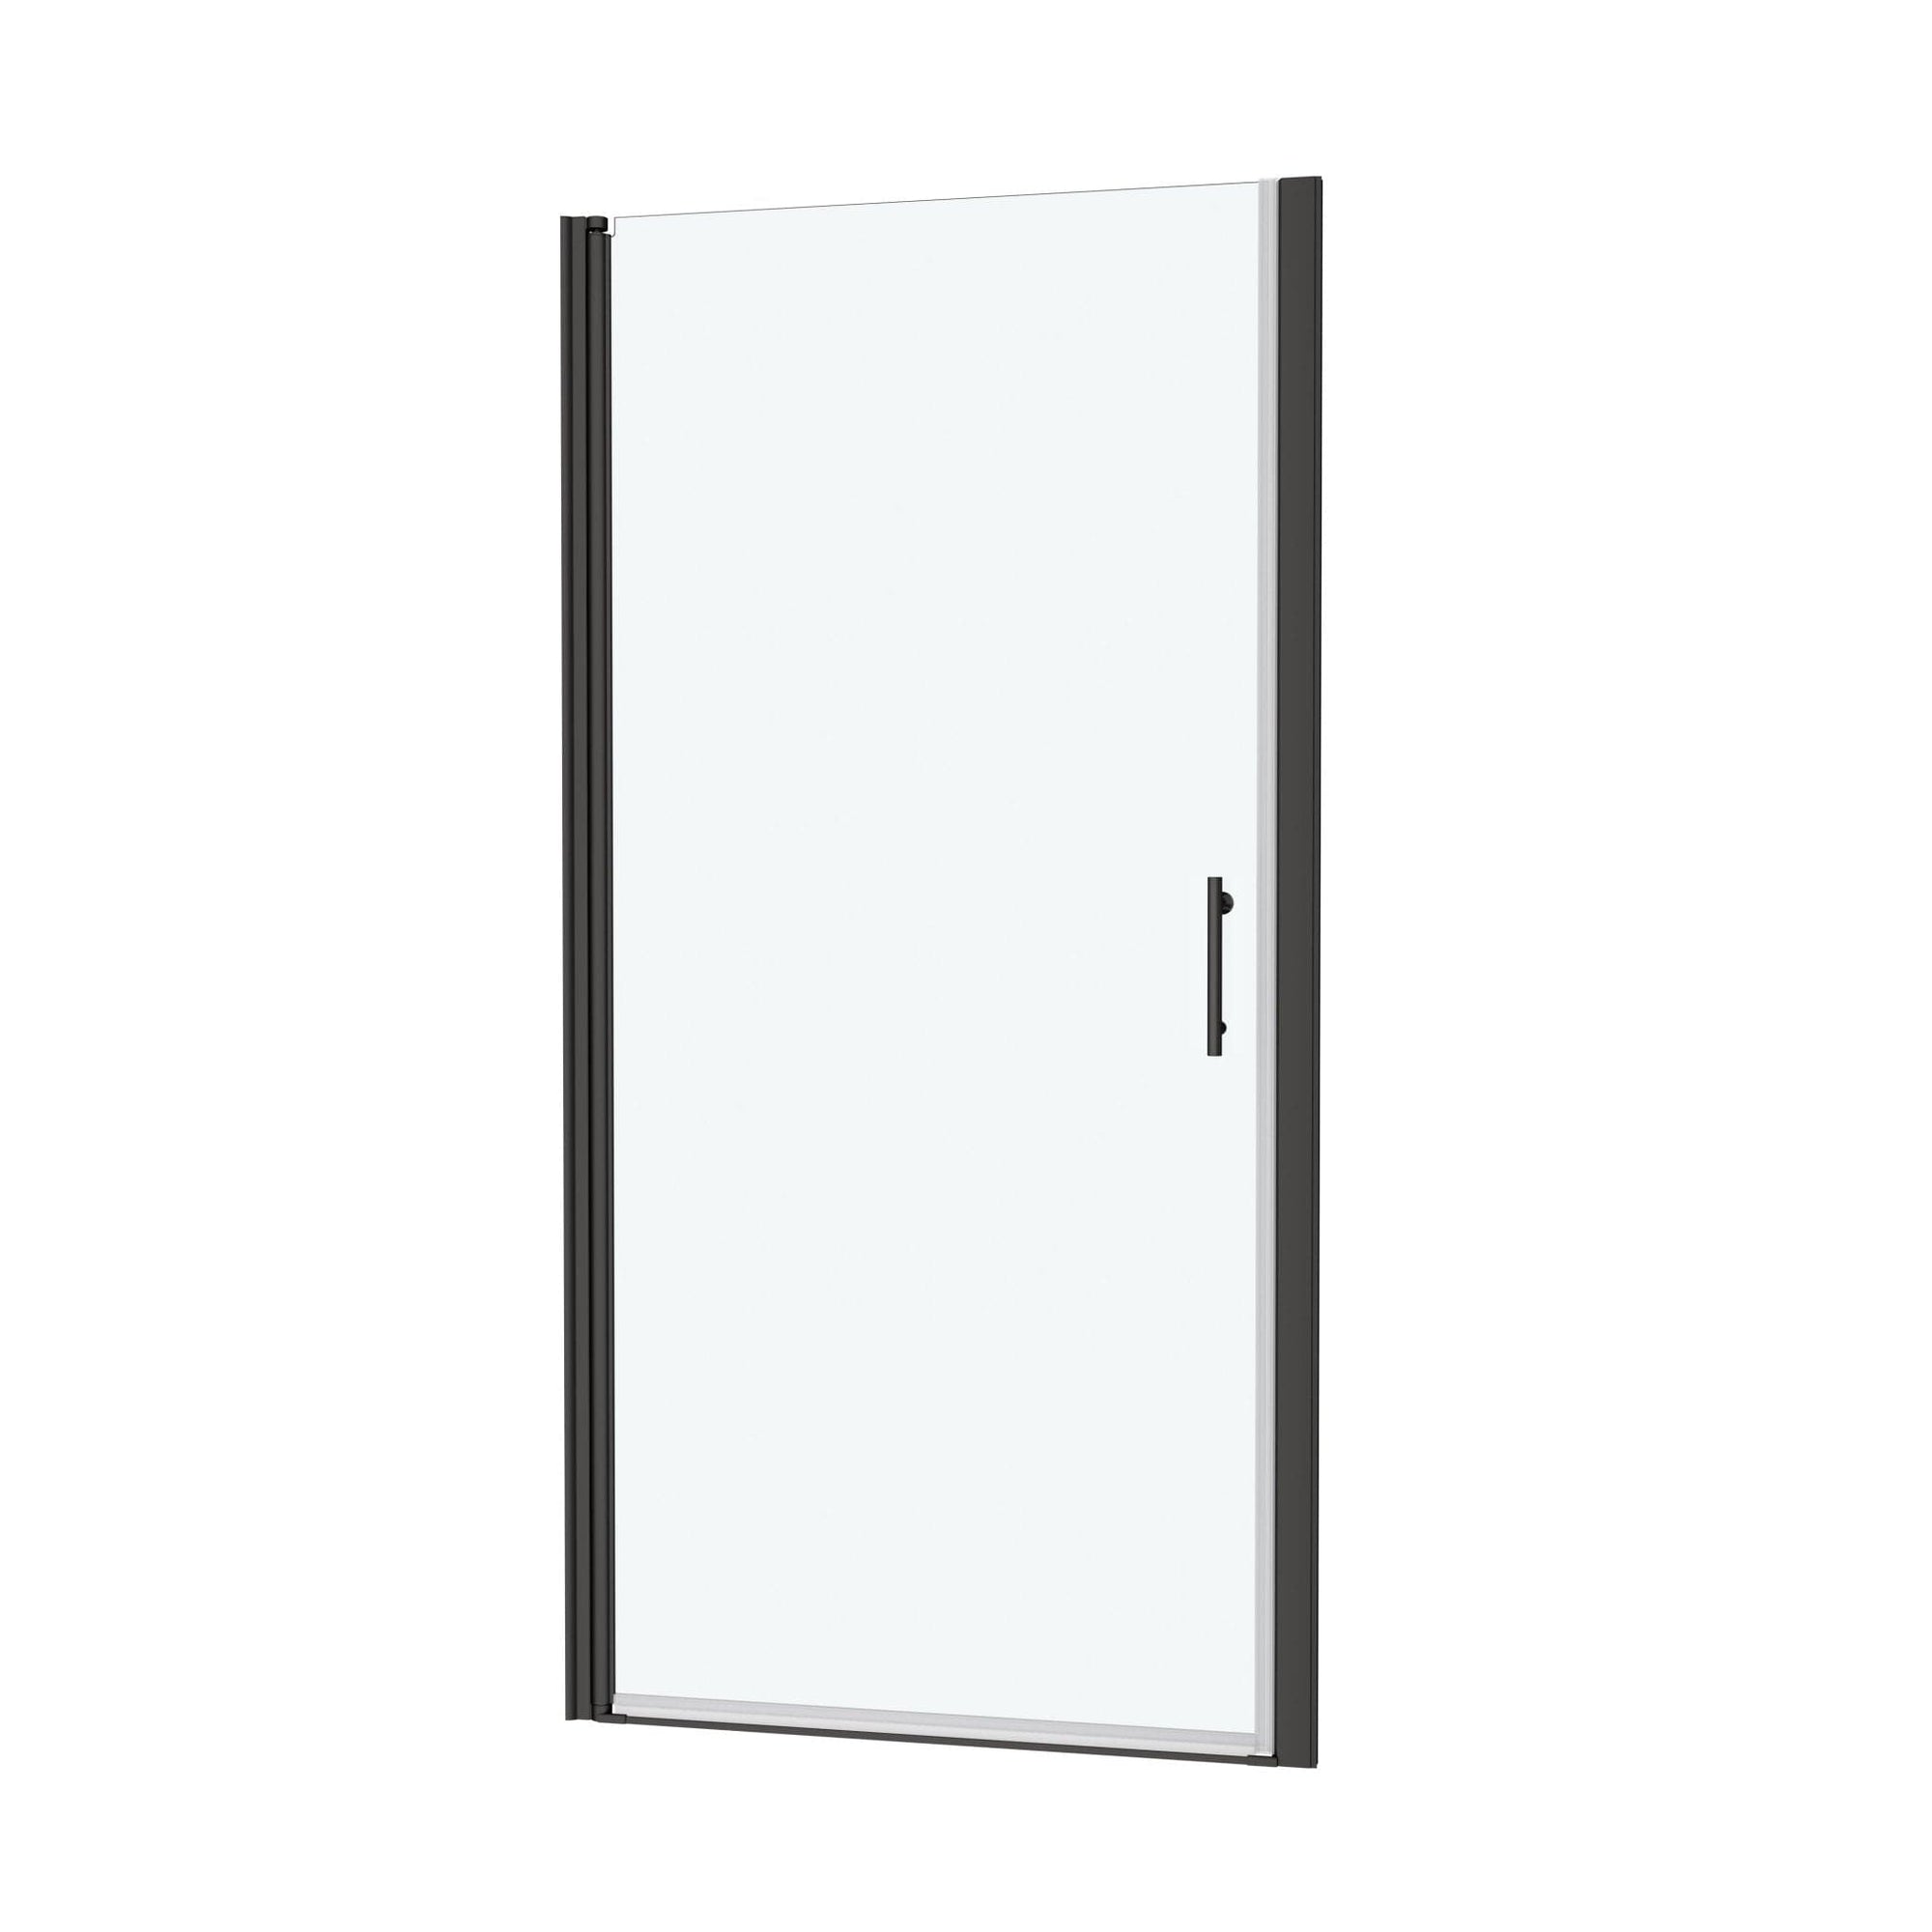
In this guide, we'll walk you through, in real-world detail, how to install the threshold specifically for the 30–31.4 inch wide x 72 inch tall, thick glass frameless pivot swing door you purchased from Ace Decor.
Understanding Your Threshold

First, let's ensure we are all on the same page quickly.
| Item | Specification |
|---|---|
| Door Width | 30–31.4 inch adjustable |
| Door Height | 72 inch |
| Glass Thickness | 14mm (approx 9/16") |
| Door Type | Frameless Pivot Swing (Reversible) |
| Threshold | Clear or metallic strip included in packaging |
| Installation Type | Frameless, requires precise alignment |
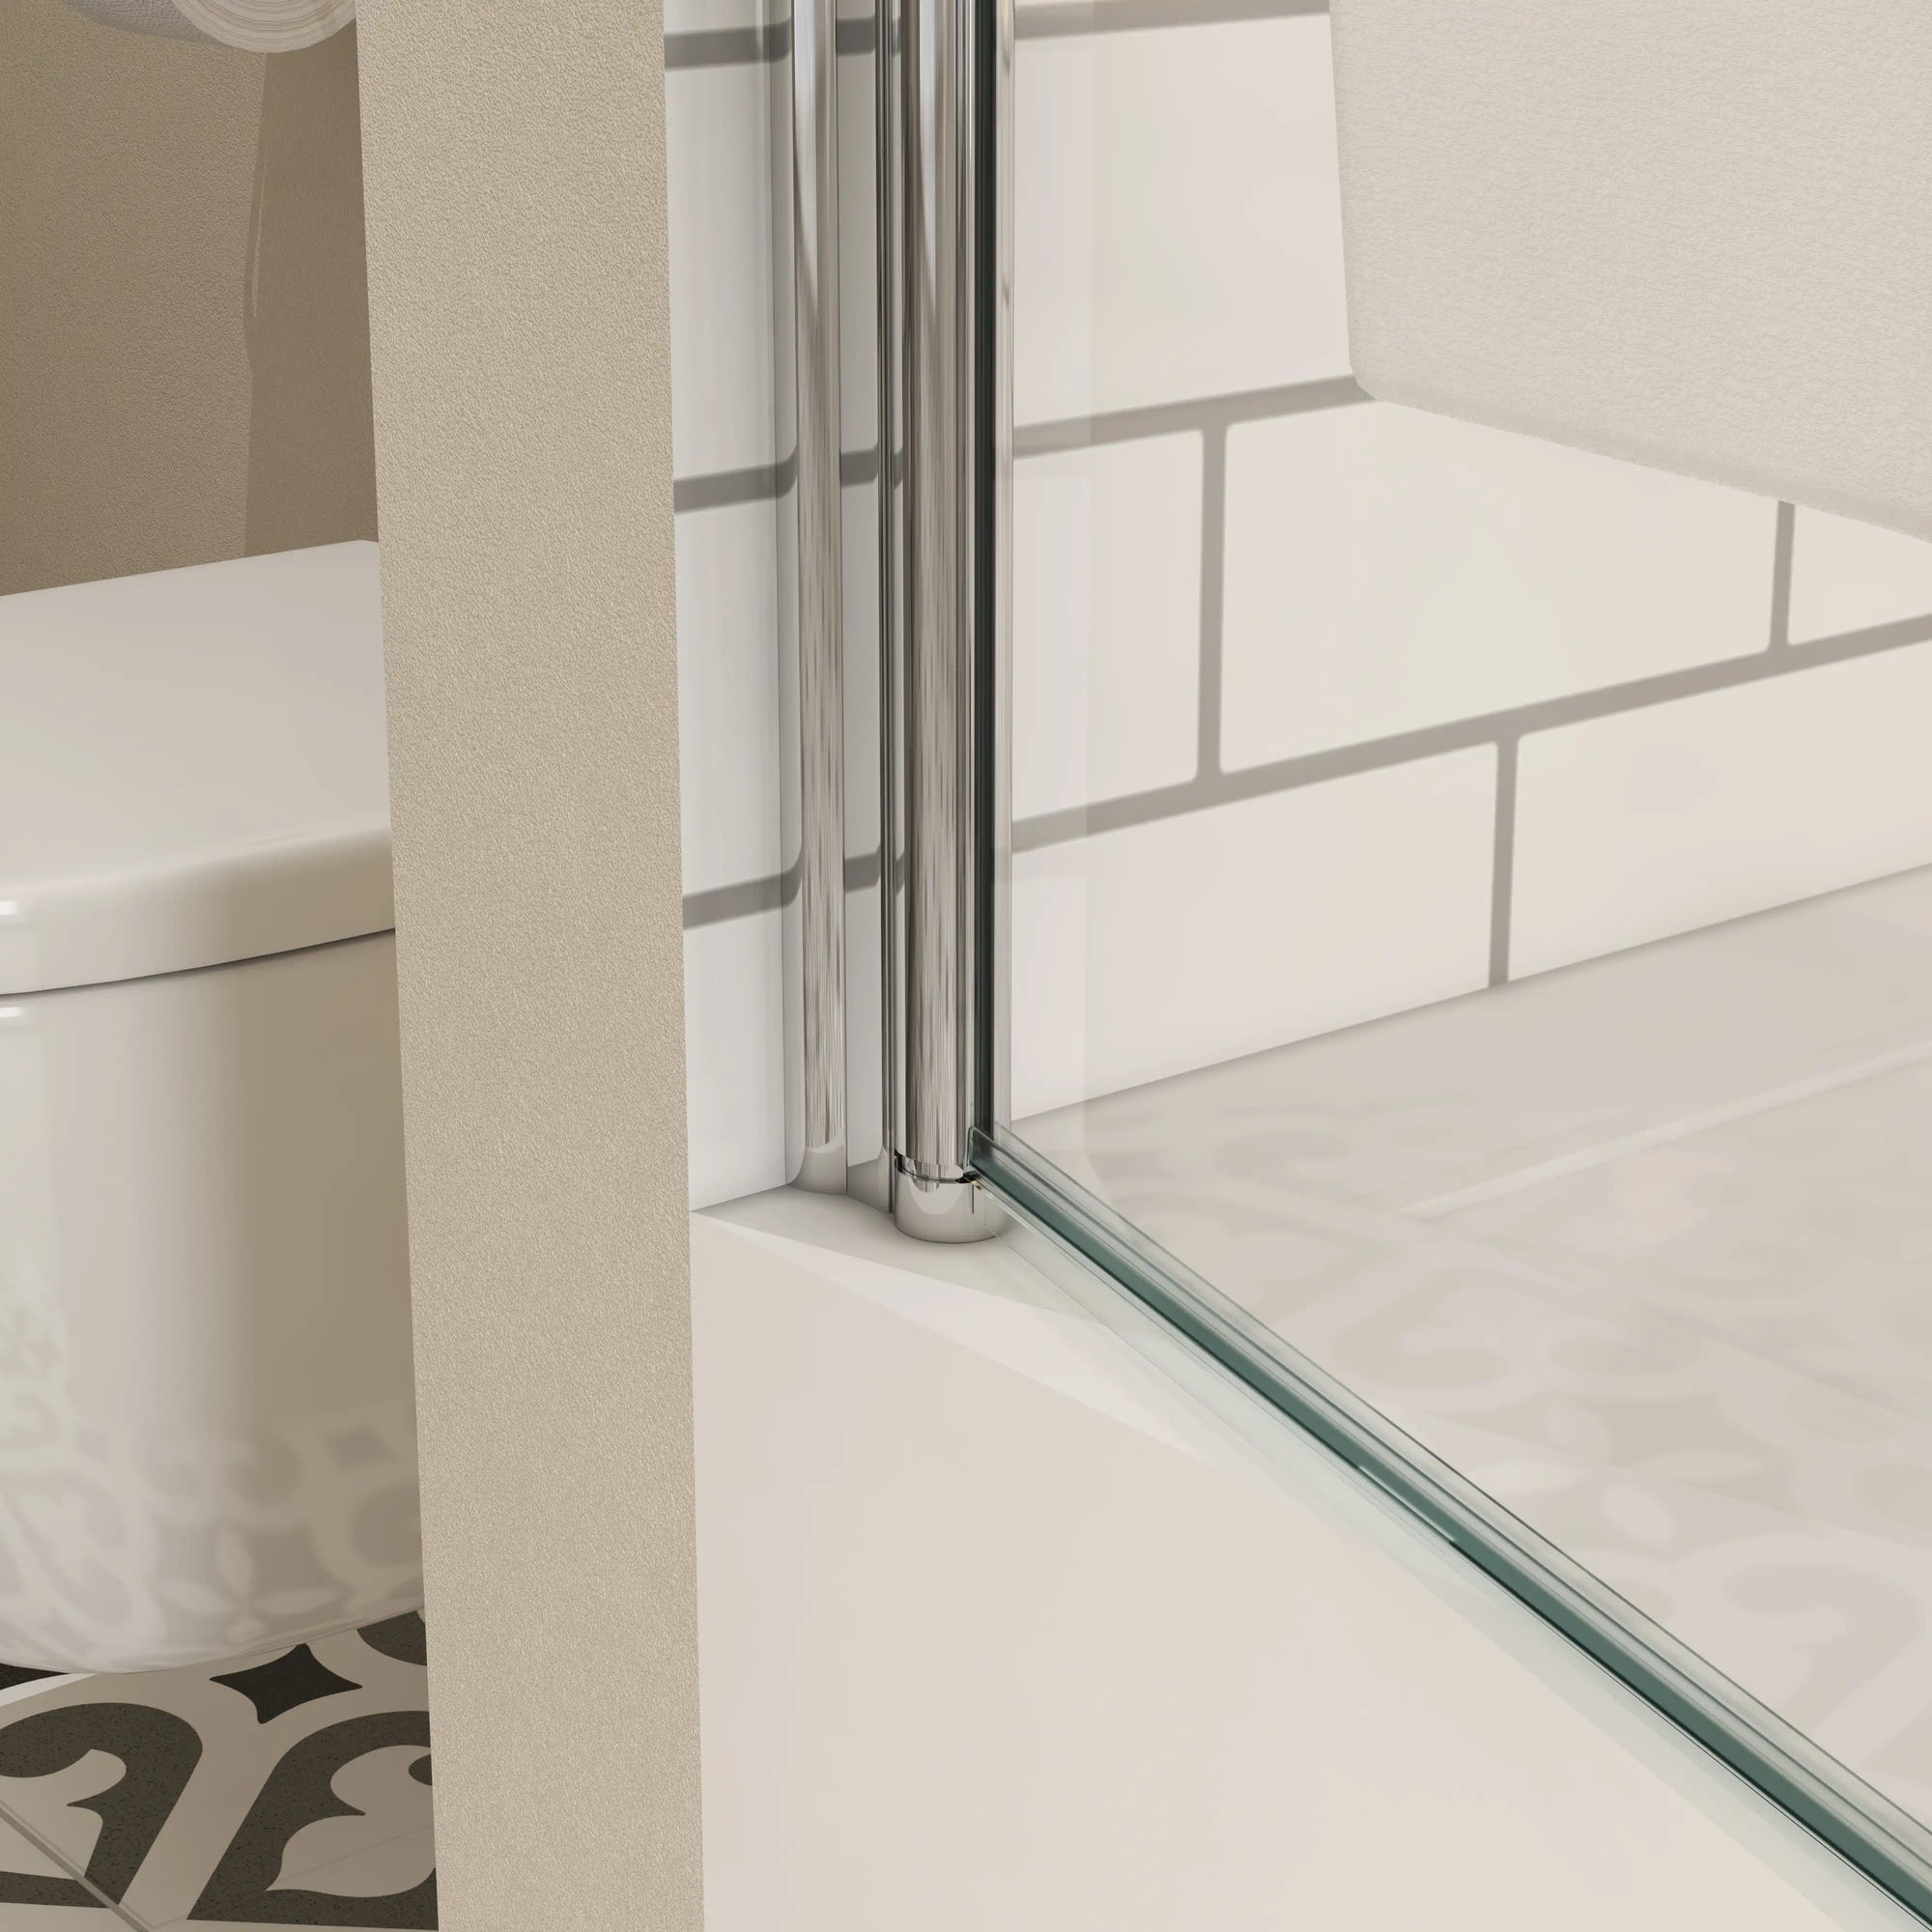
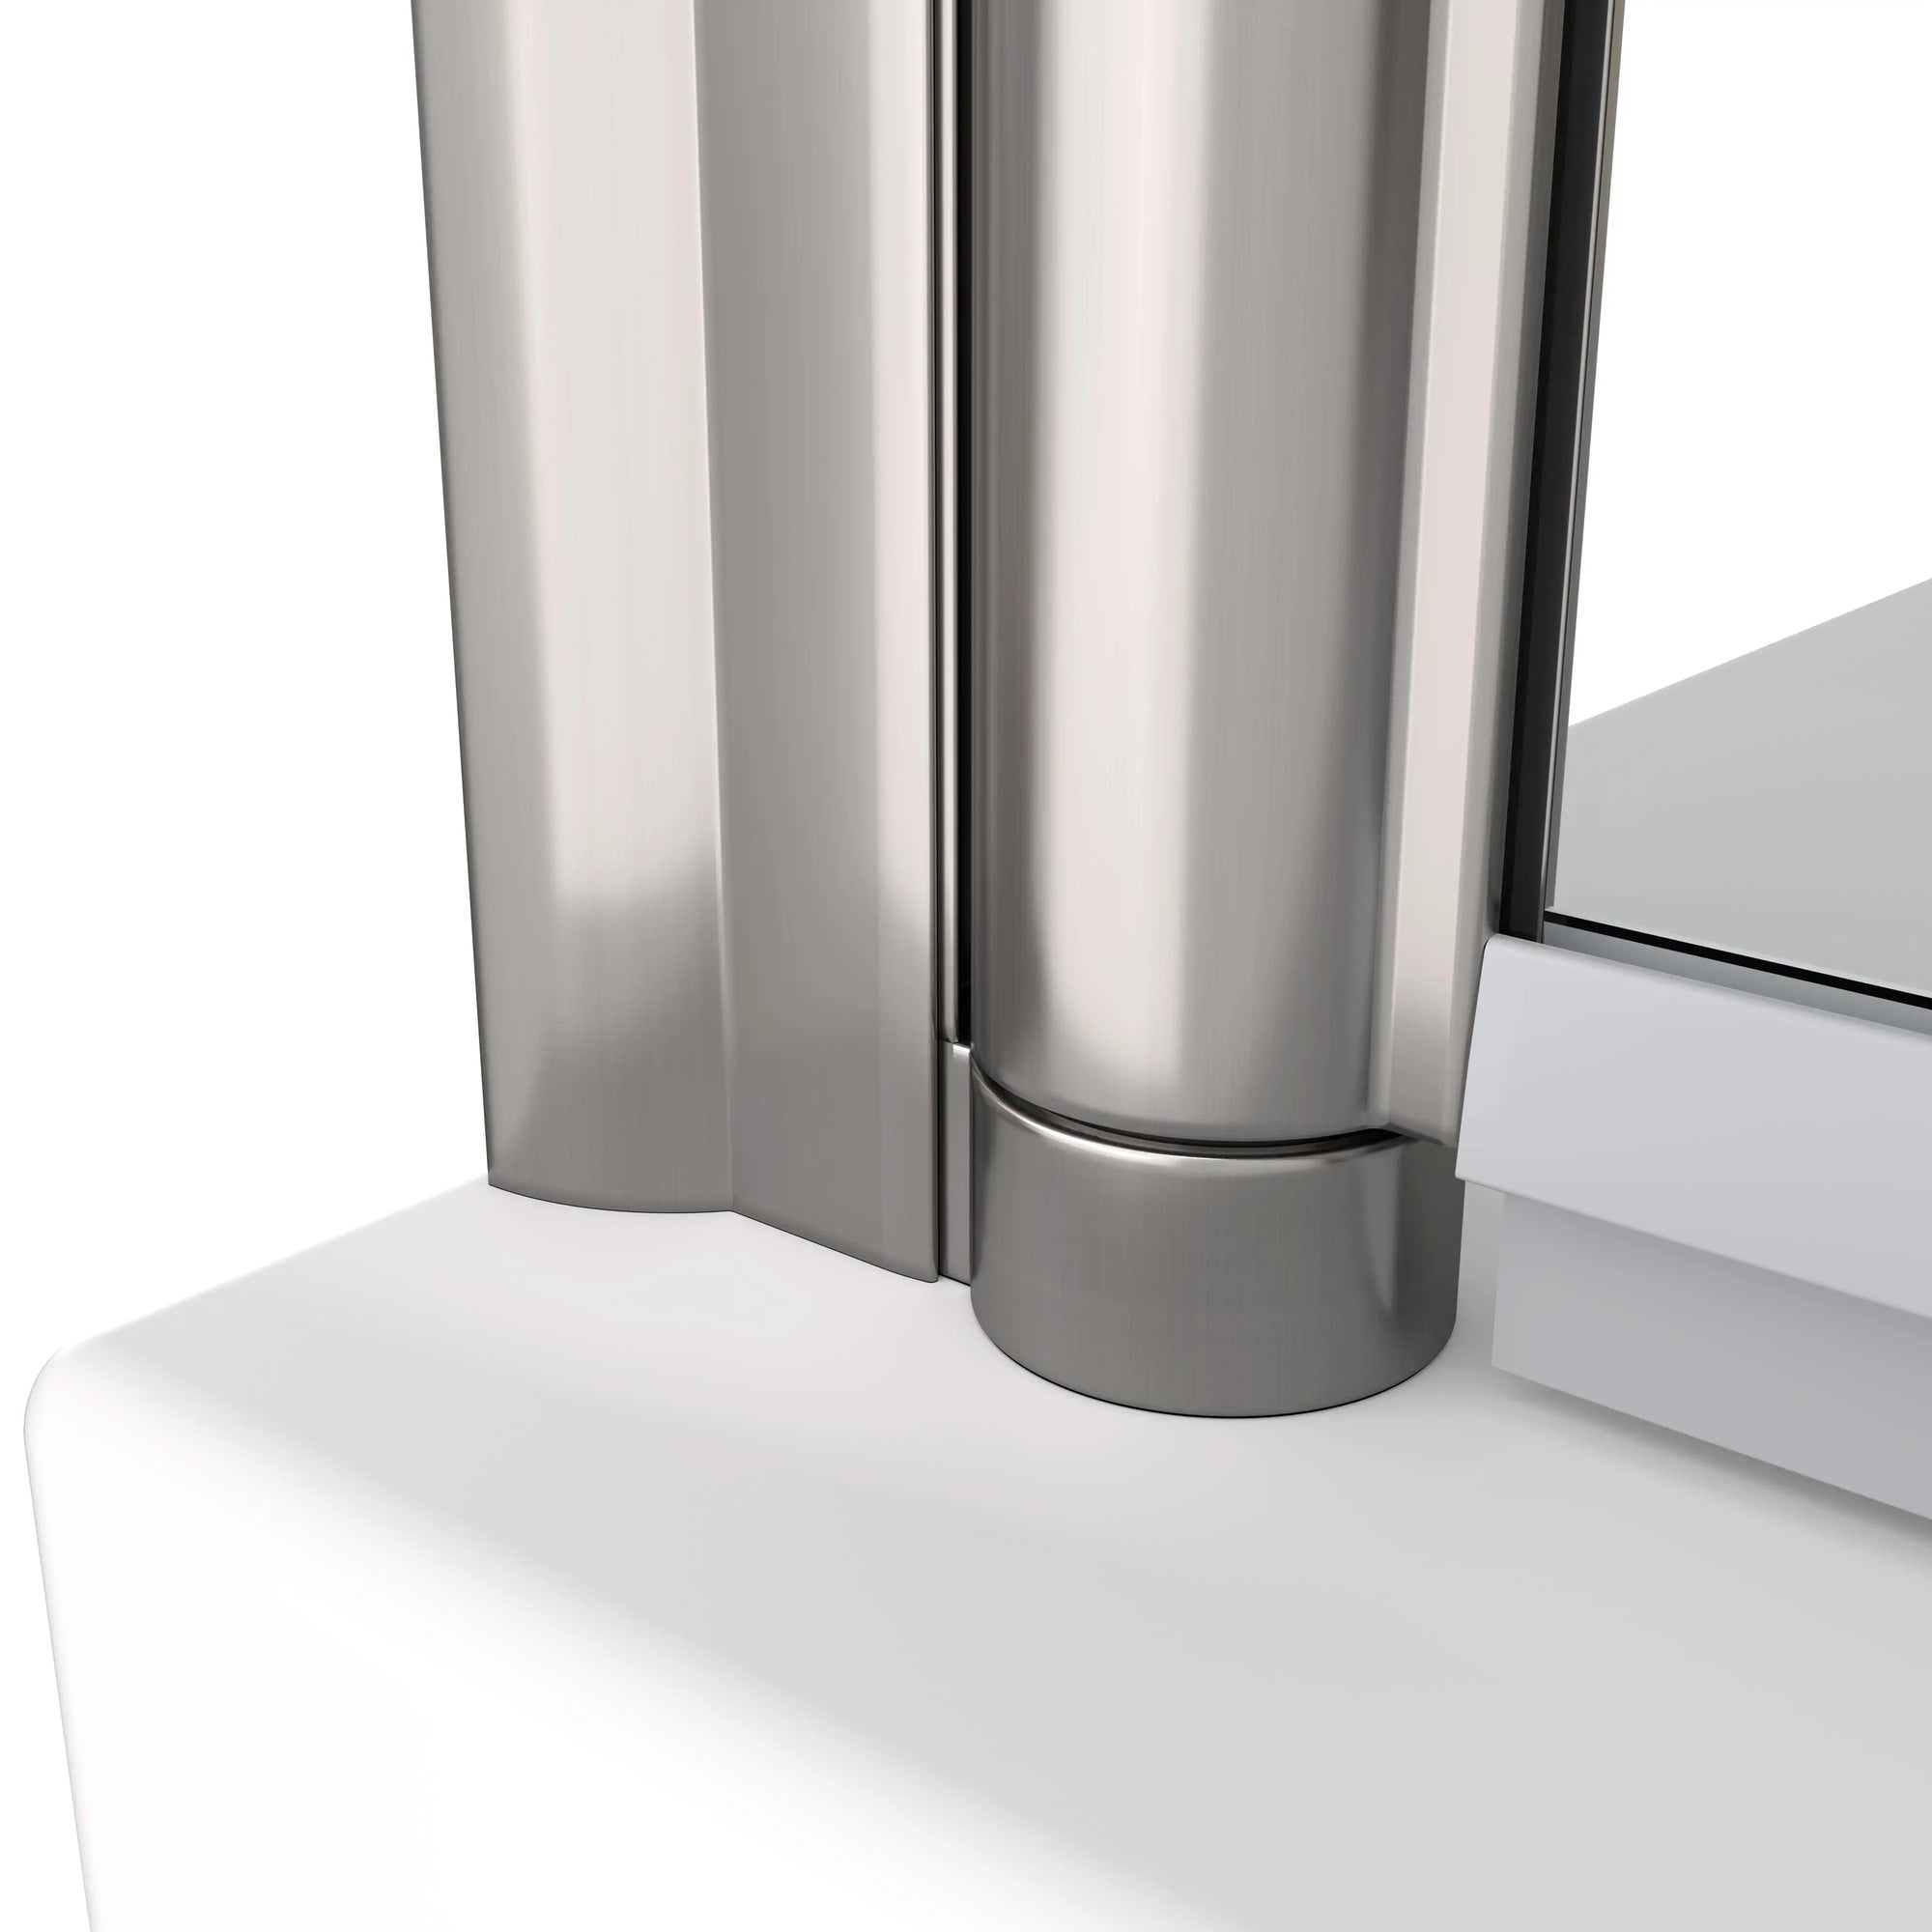
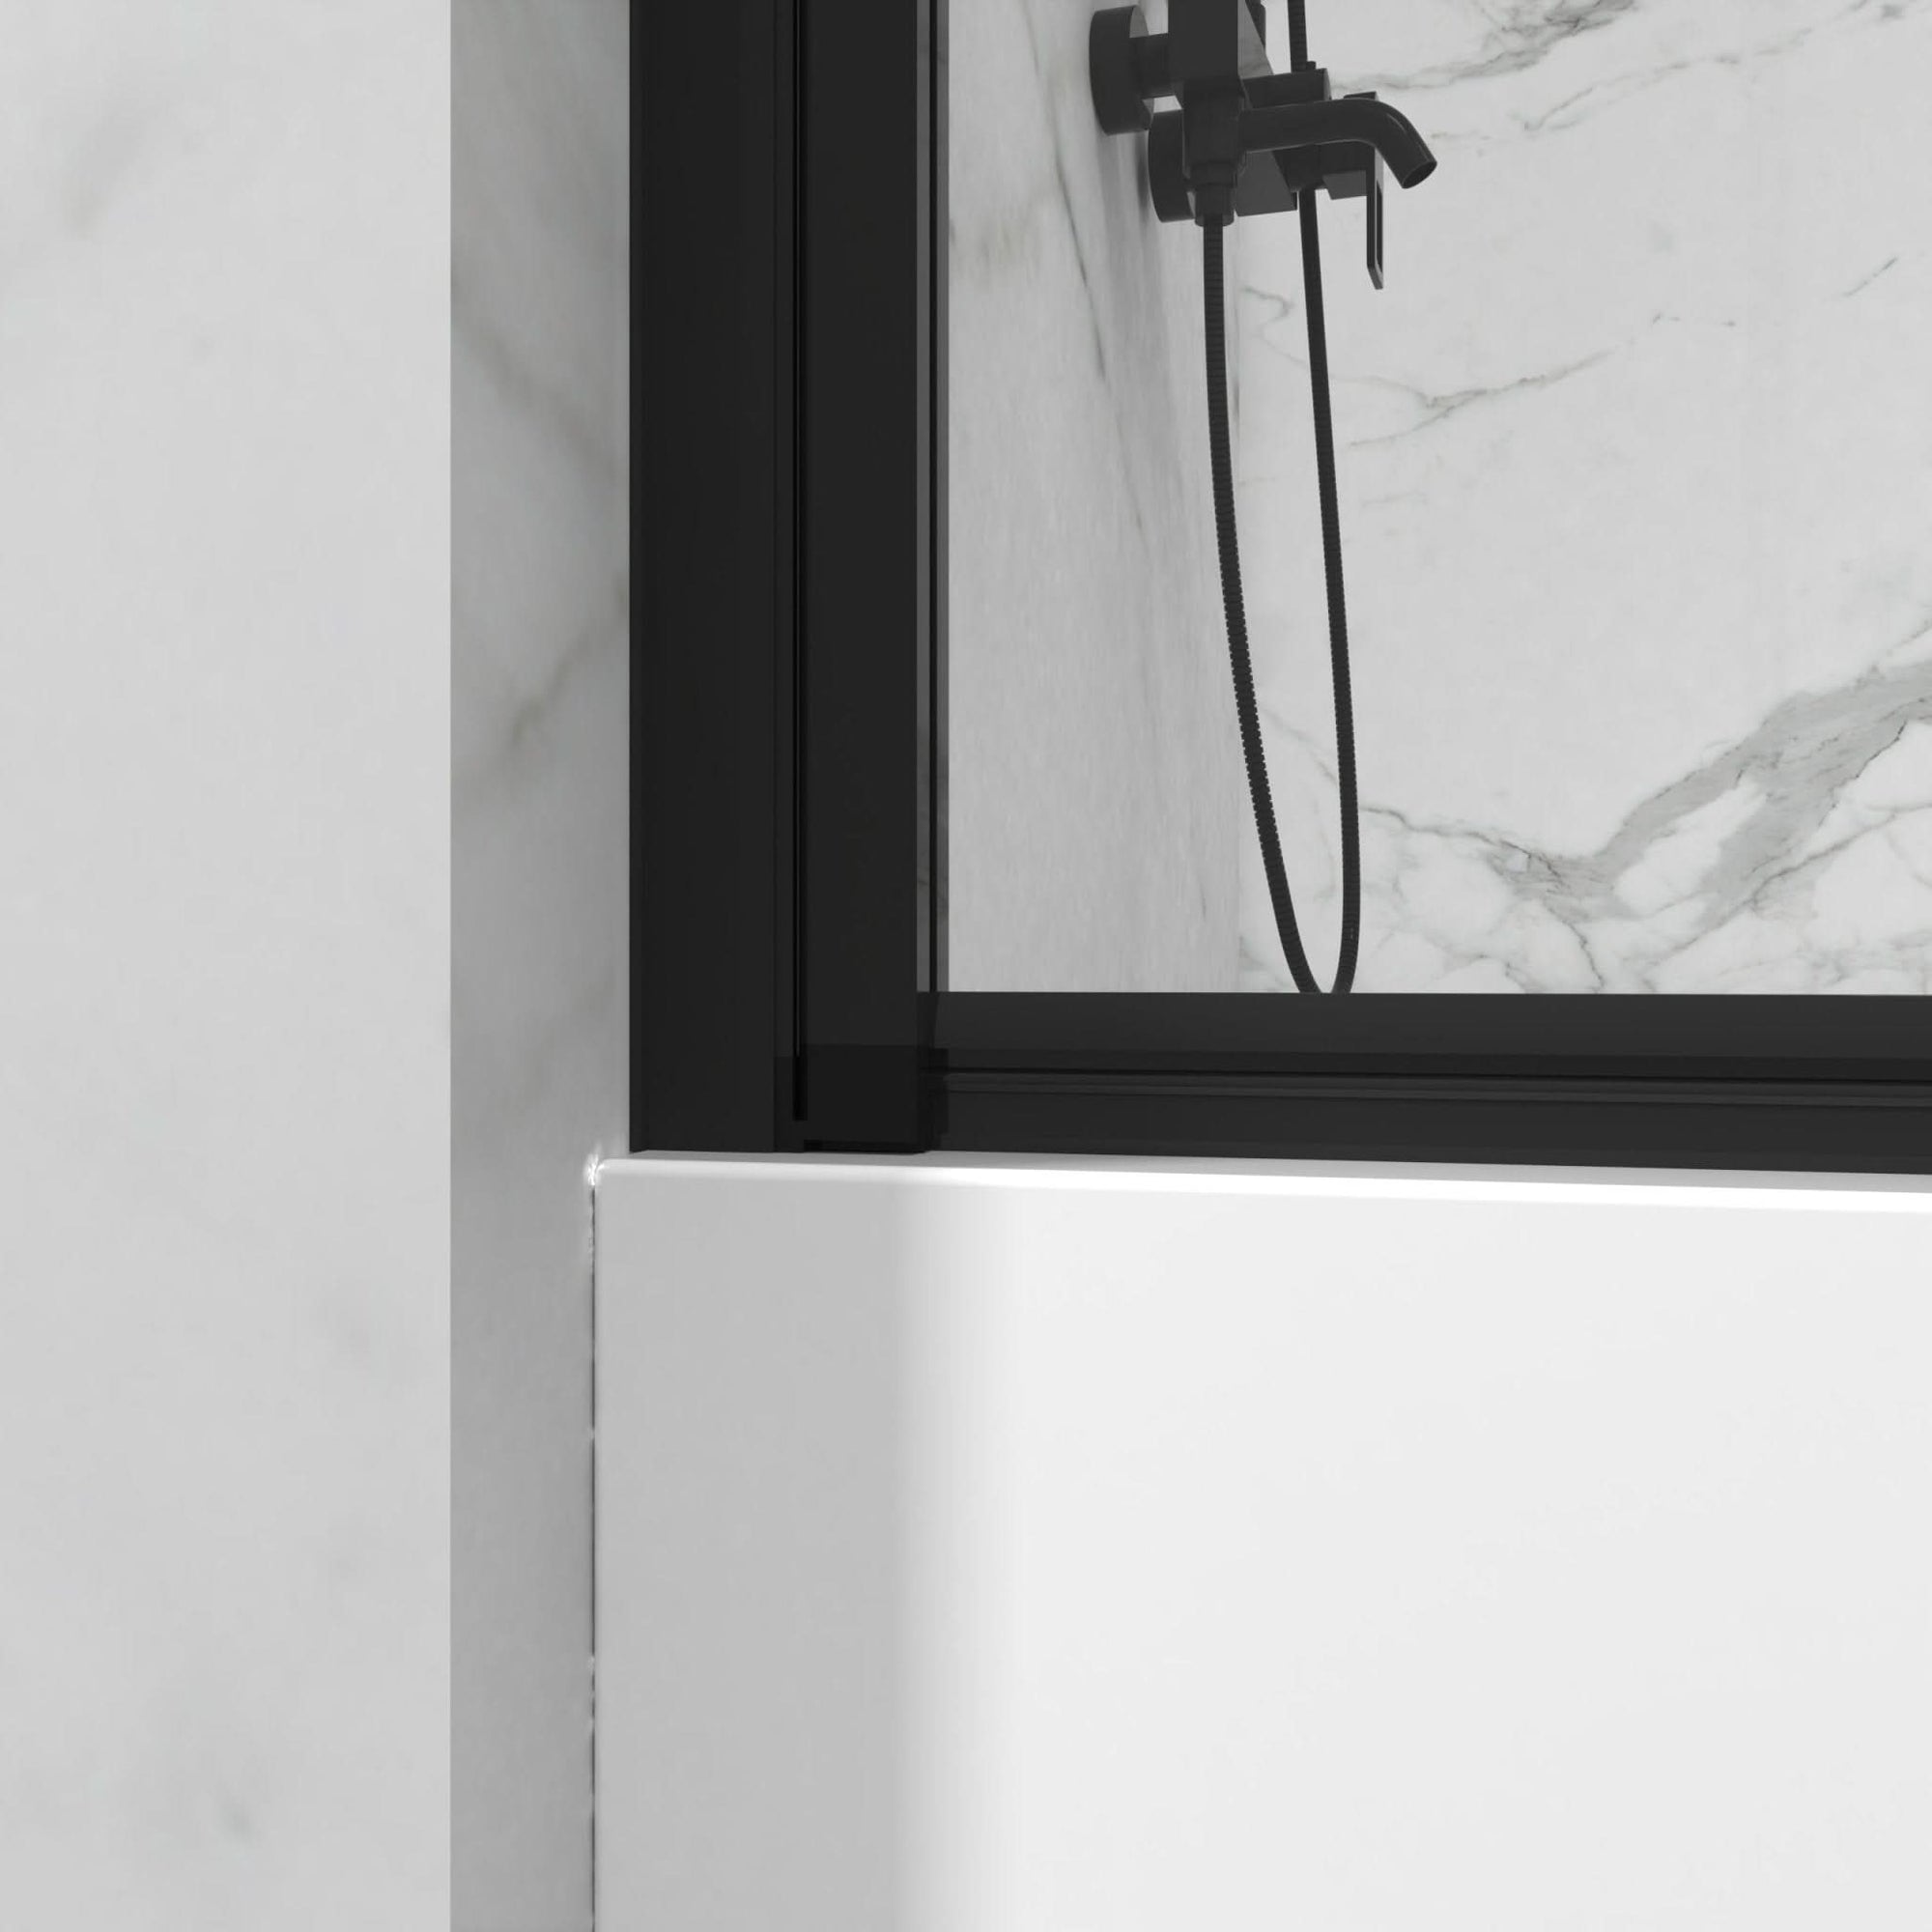
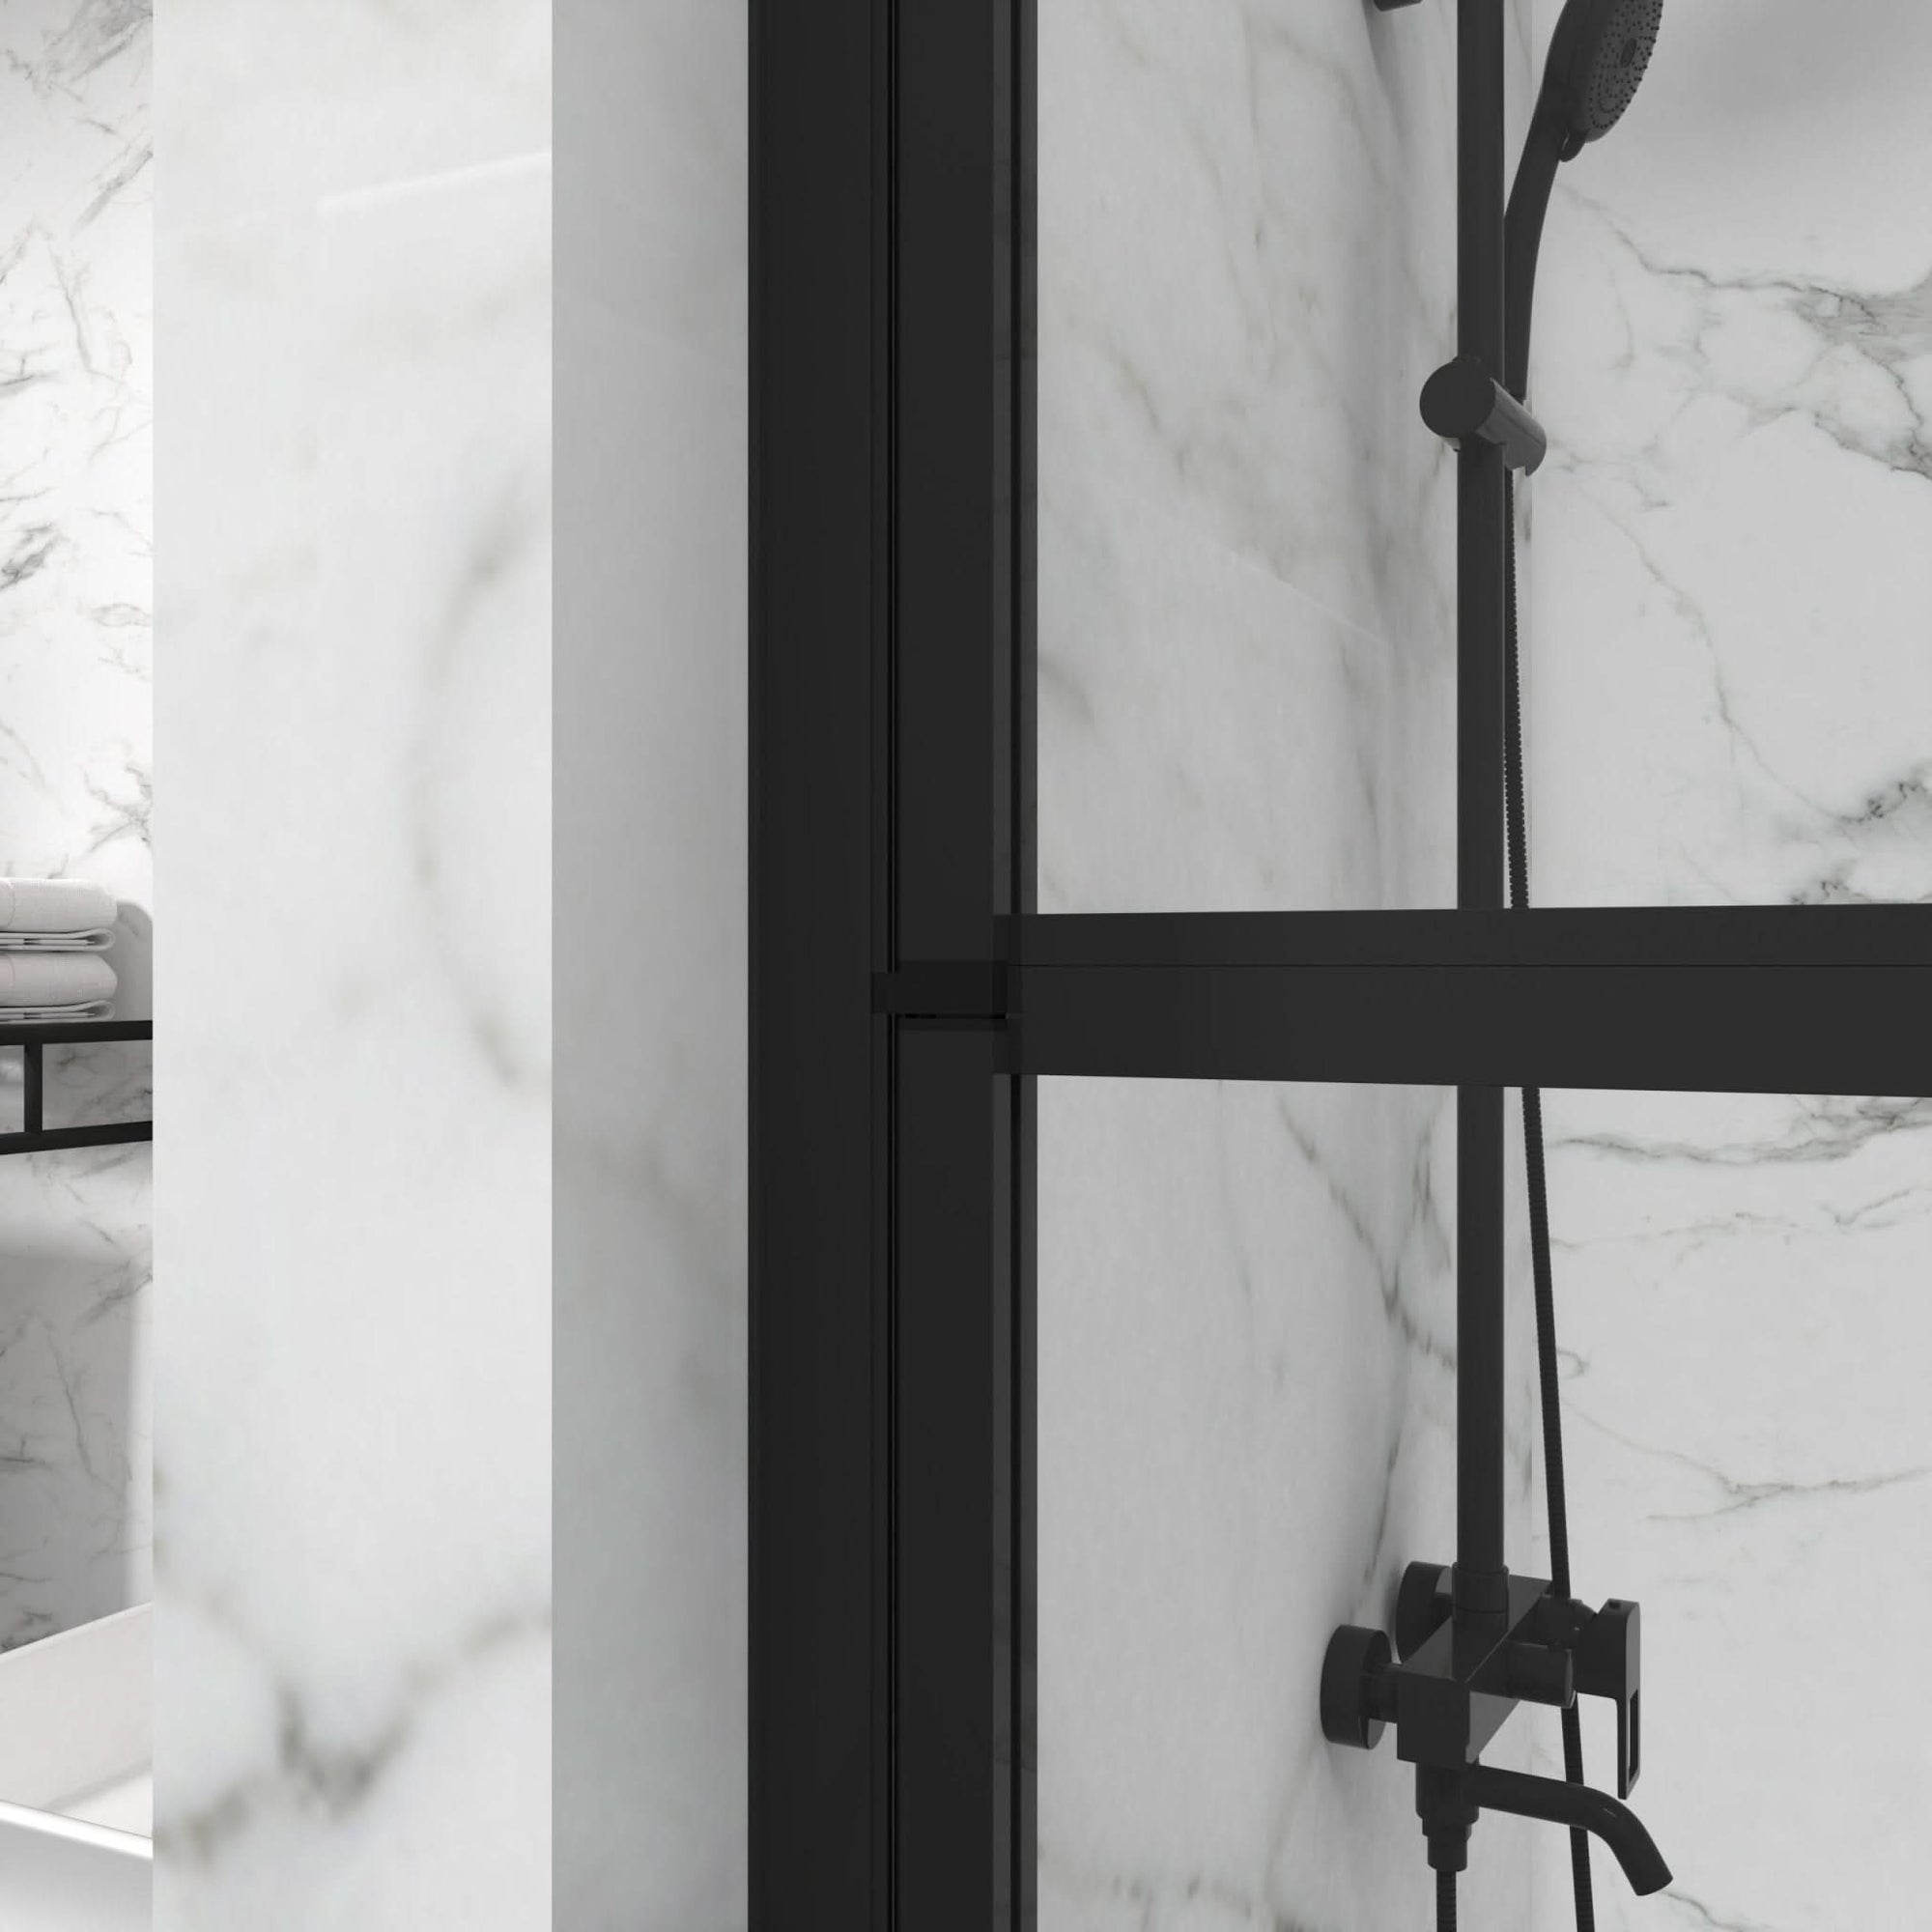
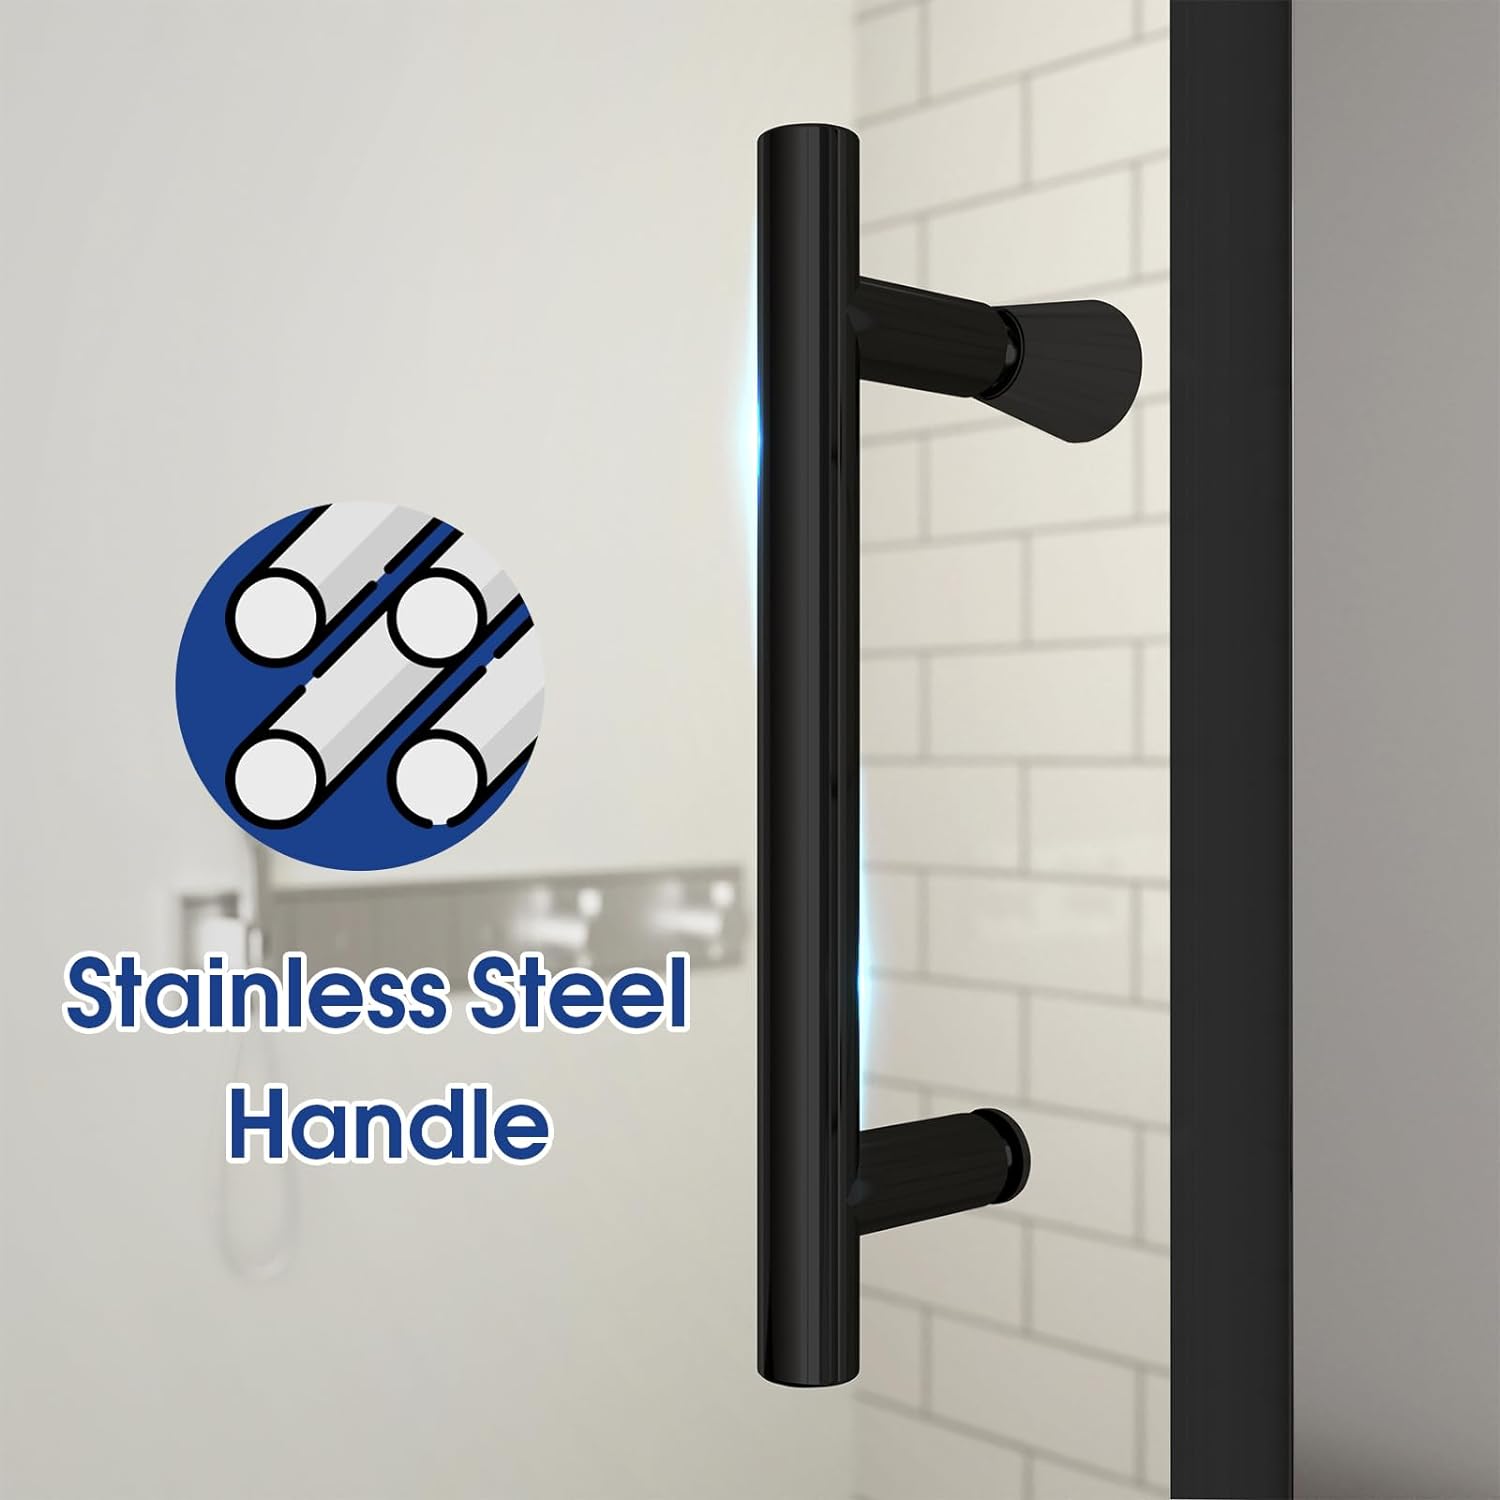
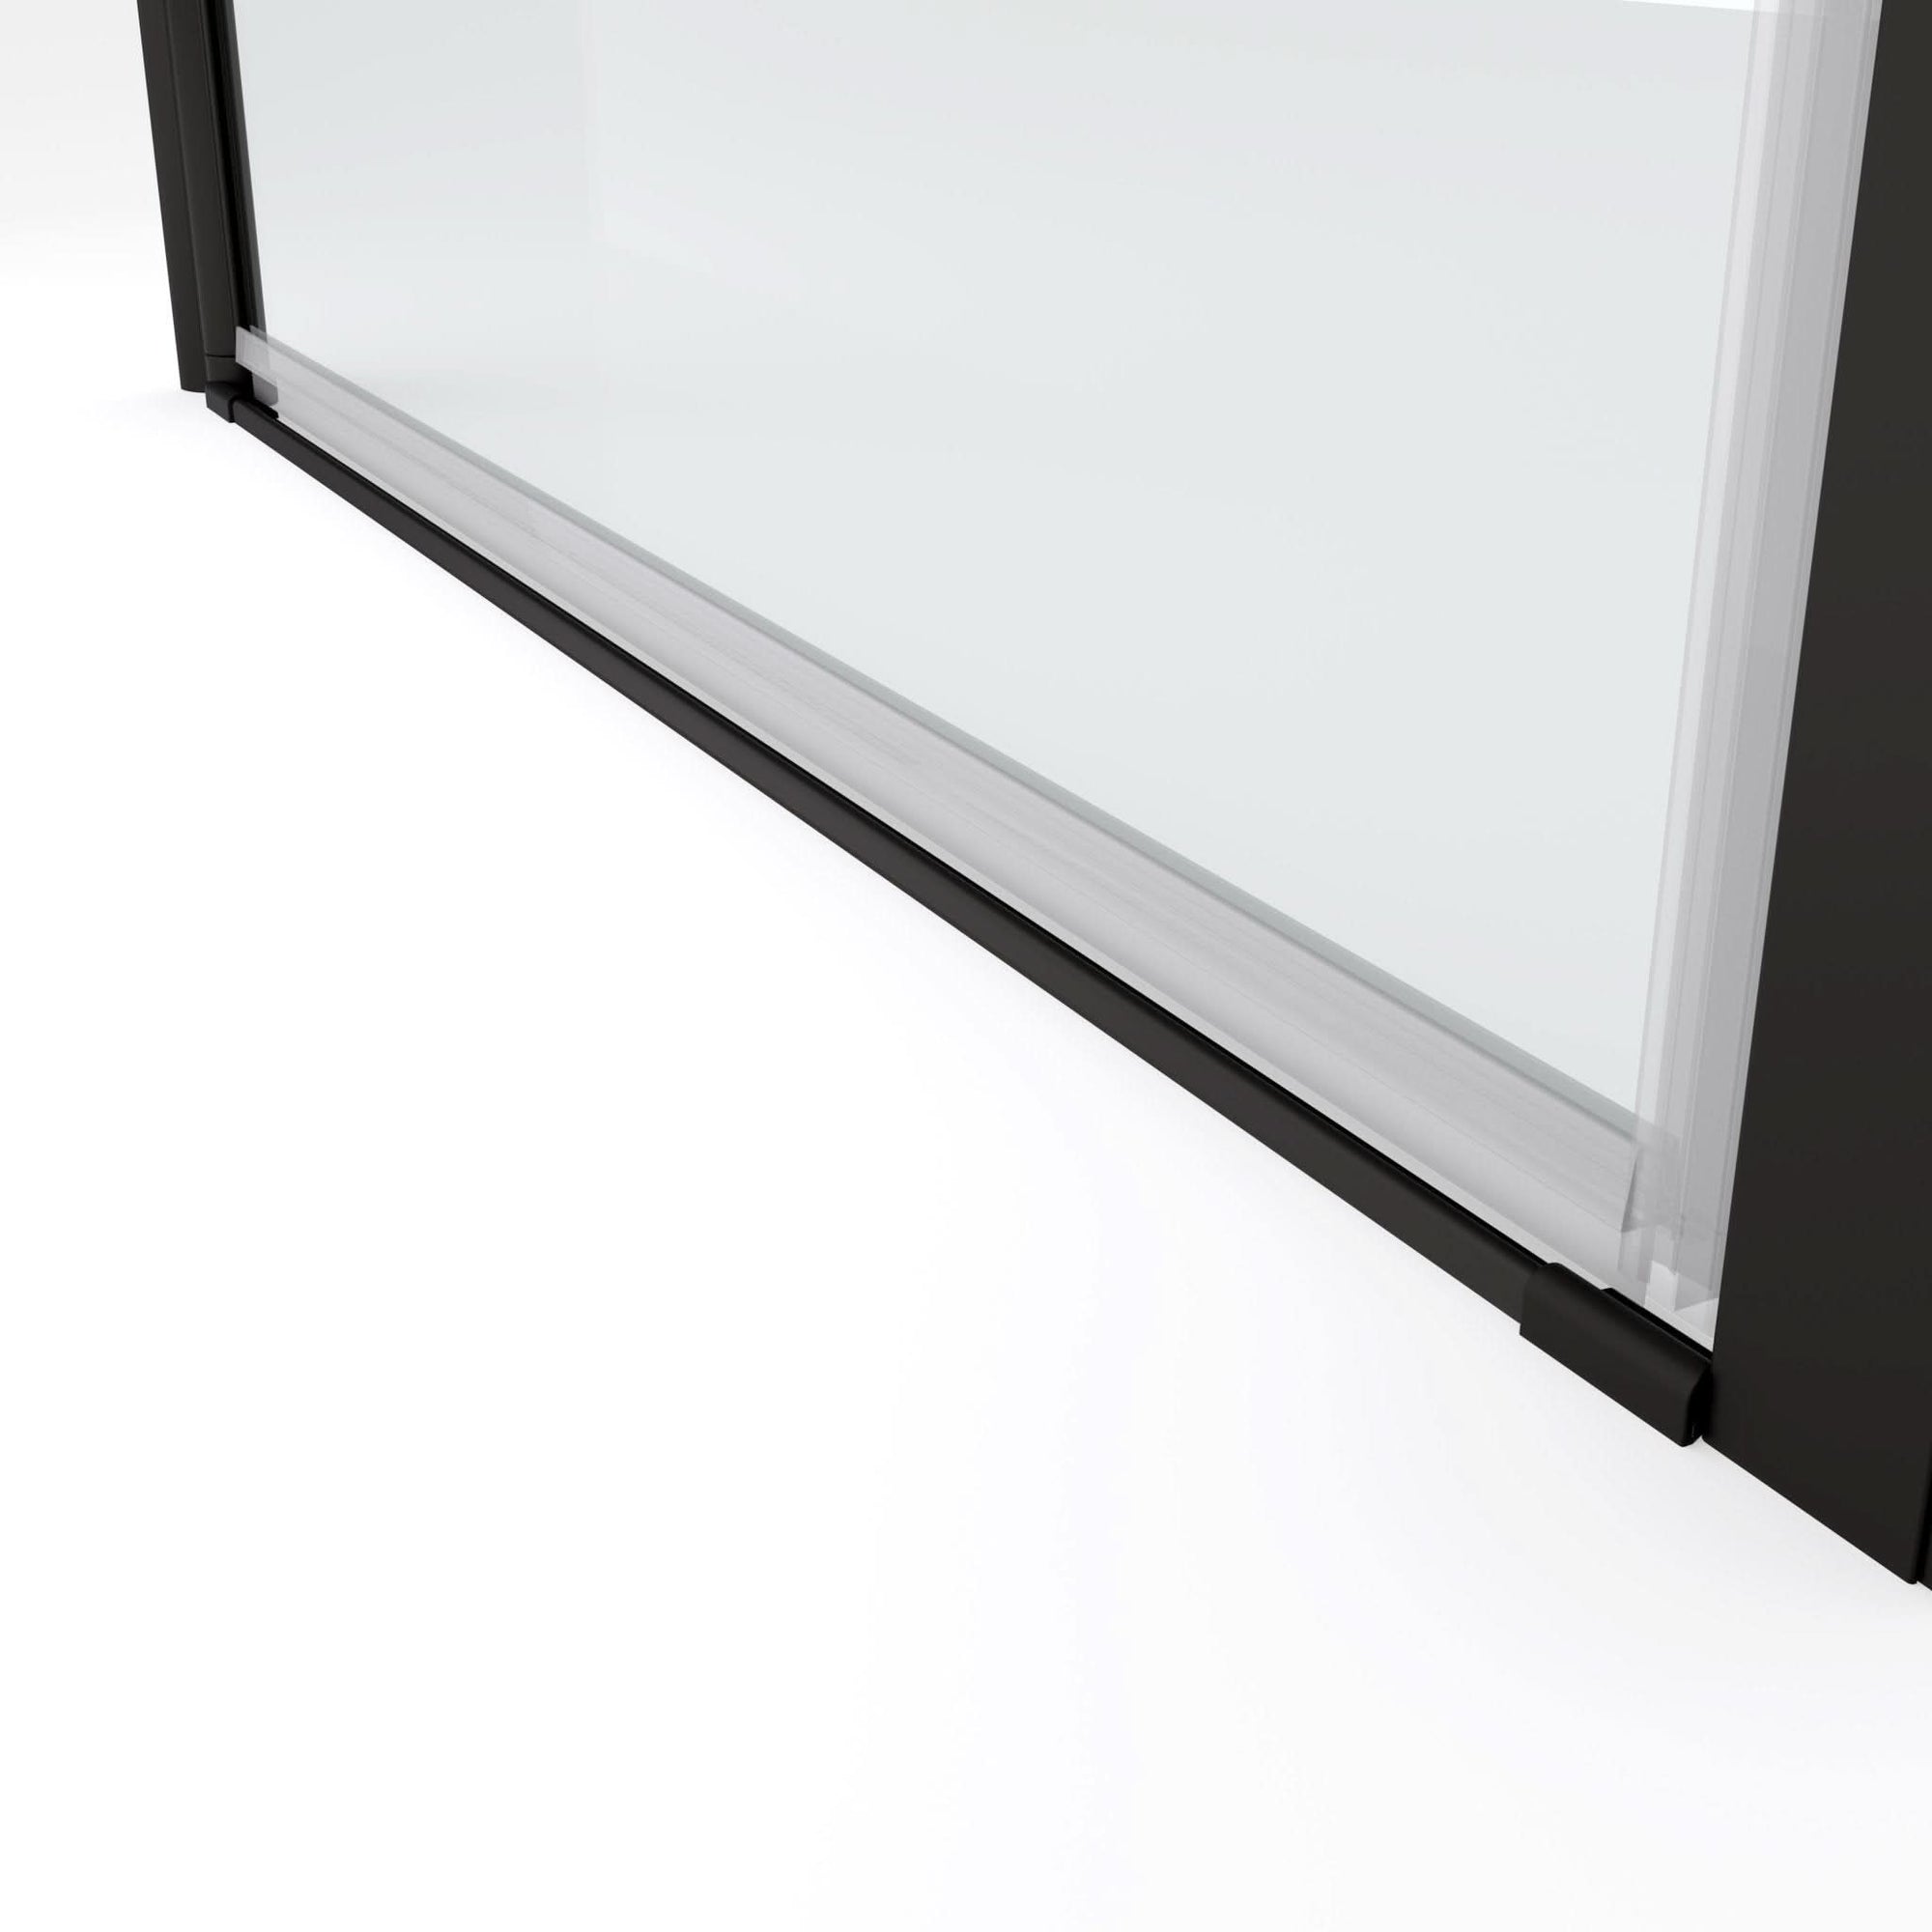
Your threshold is the narrow strip (plastic, stainless steel or anodized aluminum) attached to keep the shower door frame in line with the shower base and under the door panel swing area.
Its two jobs:
- Deflection from the inside to avoid leaking.
- Give a base for door sweep to seal against.
Are Any Of Ace Decor Door Thresholds Pre-Drilled?
No, for most frameless pivot models, including yours, the threshold is designed to be adhered (glued) down, not mechanically fastened. Screws into the shower base can cause cracking, void warranties, and compromise waterproofing.
- Backed by professional grade 100% silicone adhesive.
- Optional (do not standard recommend unless your shower base isn't level, you can go with small pilot holes and stainless screws)
Materials You'll Need
Here's what you need to cook:
| Material | Notes |
|---|---|
| 100% Clear Silicone Sealant | Must be mold-resistant and waterproof (GE, Dow, etc.) |
| Painter's Tape | For temporary positioning |
| Alcohol Wipes | To clean the bonding area |
| Caulk Gun | For applying silicone |
| Level Tool | To check flatness |
| Utility Knife | For trimming any squeeze-out silicone |
Walkthrough: How to Correctly Fasten the Threshold

1. Inspect and Clean the Surface
- Dry-fit the threshold initially (no adhesive yet).
- Ensure the shower base is clean, dry and free from soap scum, dust or oils.
- Clean with alcohol wipes.
- Air dry thoroughly — silicone will not adhere to a soiled or damp surface.
Real Tip:
Most complaints for shifting thresholds are due to skipping this surface prep!
2. Mark Your Placement
- Line up the threshold where the door sweep will rest.
- In general, the middle of the threshold bisects the pivot point directly with the door in a closed position.
- Use the forces of painter's tape or pencil to lightly mark those ends.
3. Apply Silicone Generously
- Flip the threshold over.
- Squeeze out two thick continuous beads of clear silicone, approximately ¼ inch (6mm) thick:
- One bead near the front edge.
- One bead near the back edge.
| Bead Location | Why It Matters |
|---|---|
| Front Bead | Blocks outward water leaks |
| Back Bead | Secures the threshold down solidly |
Important: Do NOT just dot the silicone; full beads are the key to a watertight seal.
4. Press and Adjust Carefully
- Press the threshold down onto the positon you have marked.
- Rock ever so slightly side-to-side to help the adhesive to spread under the stocking.
- Check with a level: it should be flat OR slightly tilting inward toward the shower (1–2 degrees).
5. Tape and Cure
- Make sure you use some painter's tape to secure it.
- Do not use foot or metatarsal for stepping, moving, or stressing the threshold.
- Cure Time: Minimum 24 hours before any use.
| Environment | Recommended Curing Time |
|---|---|
| Normal room temp (~70°F/21°C) | 24 hours |
| High humidity (>80%) | 36 hours |
| Cool/dry areas (<60°F/15°C) | Up to 48 hours |
6. Seal the Sides (Not Necessary But Good to Do)
- Once the base is fully cured, apply a small, thin bead of silicone to each side of the threshold base.
- Smooth with a damp finger.
- That way water can't sneak under the threshold as time goes on.
How to Handle Common Problems
| Problem | Likely Cause | How to Fix |
|---|---|---|
| Threshold shifts or comes loose | Poor cleaning or insufficient silicone | Remove, clean thoroughly, reapply thicker silicone beads |
| Threshold tilts outward | Uneven base or misaligned pressure | Use shims temporarily or re-set with careful pressure |
| Water leaking past threshold | Silicone gaps along sides | Apply additional side sealing with waterproof silicone |
AceDecor Thresholds Common FAQs
1. Can I drill out the threshold and screw it down?
Necessarily only when is needful. Adhesive-only is recommended to prevent from damaging your shower pan. If drilling, drill tiny pilot holes and use stainless steel screws.
2. My base is slightly curved – can I still install?
You should be able to shim the low spot and install the threshold. However, you will need a slightly wider bead of silicone to "fill in" where the threshold meets the sill and keep it level.
3. Does the threshold need to be in tension?
No — it ought to lie down naturally flat without distorting, or crushing.
Final Thought
Closing out the threshold is one of the most critical steps in the installation of your frameless swing door. It's a small detail, perhaps, but a well-sealed threshold spares you from myriad leaks, damage, and aggravation later.
We've designed each and every piece at Ace Decor — even the threshold — with your install in mind, clean, and easy. If you follow these steps and take your time, you'll have a leak-free and beautiful frameless shower that will last for years to come!
Related Articles
Check out more useful installation guides and tips for your Ace Decor shower door that looks and works great!