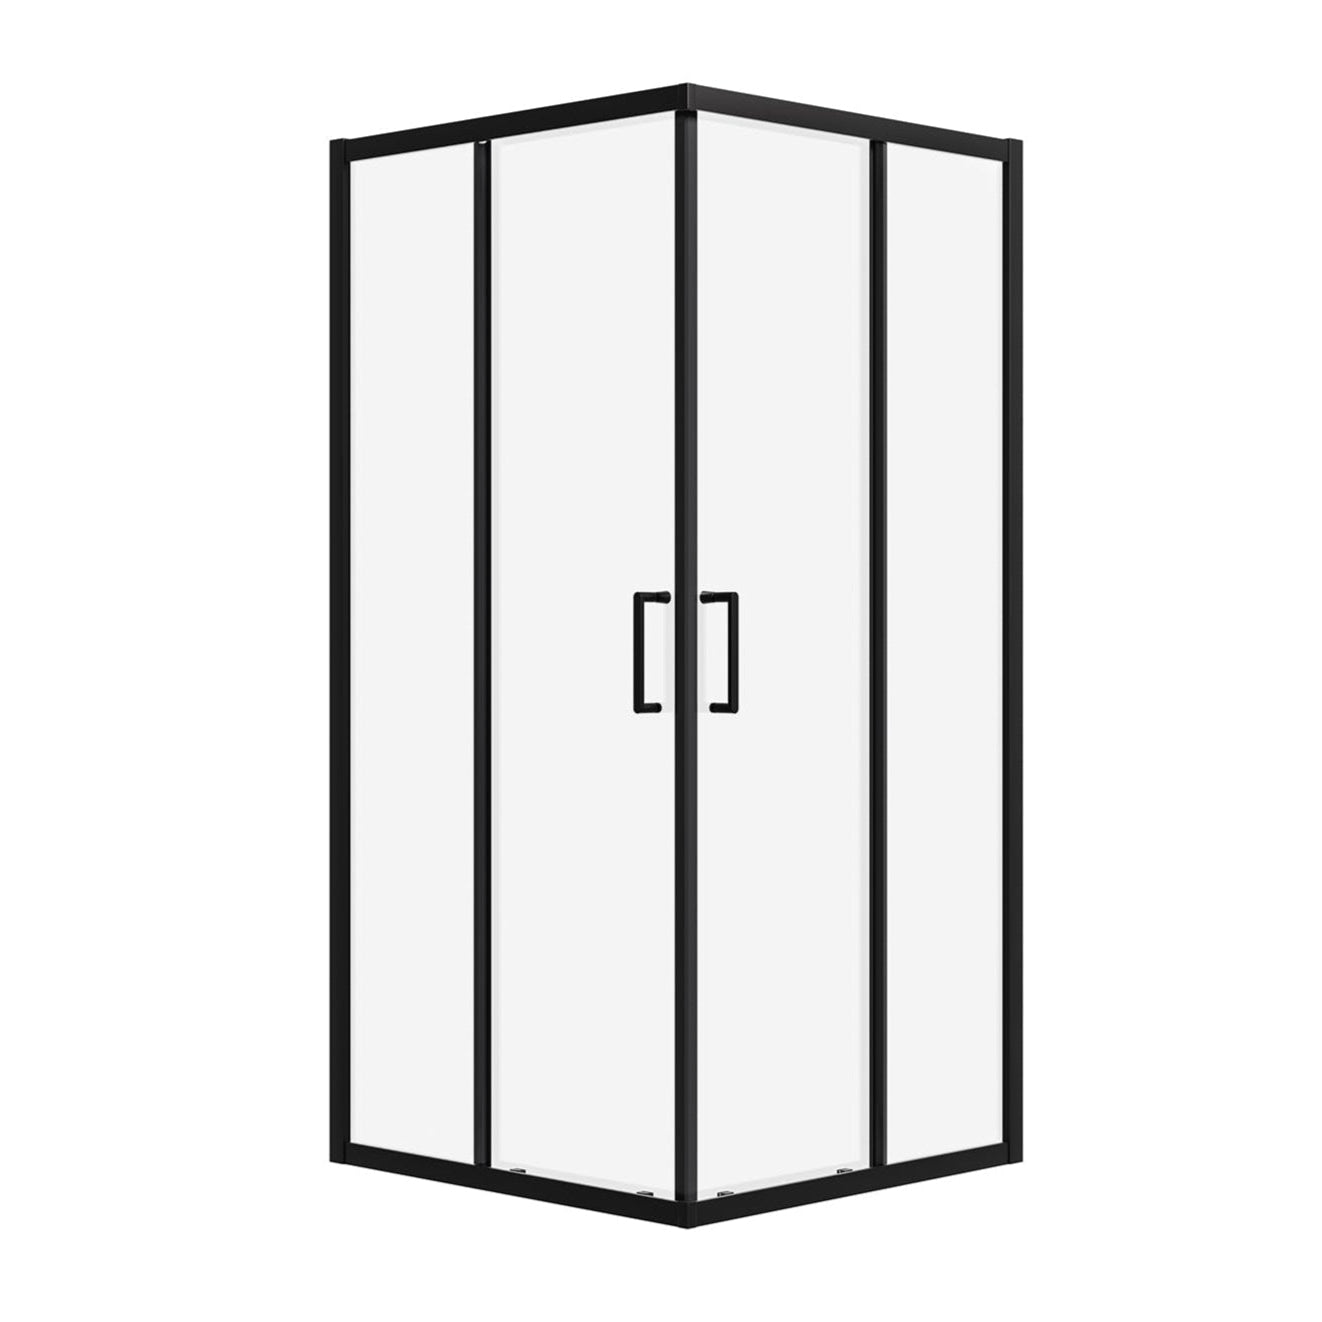
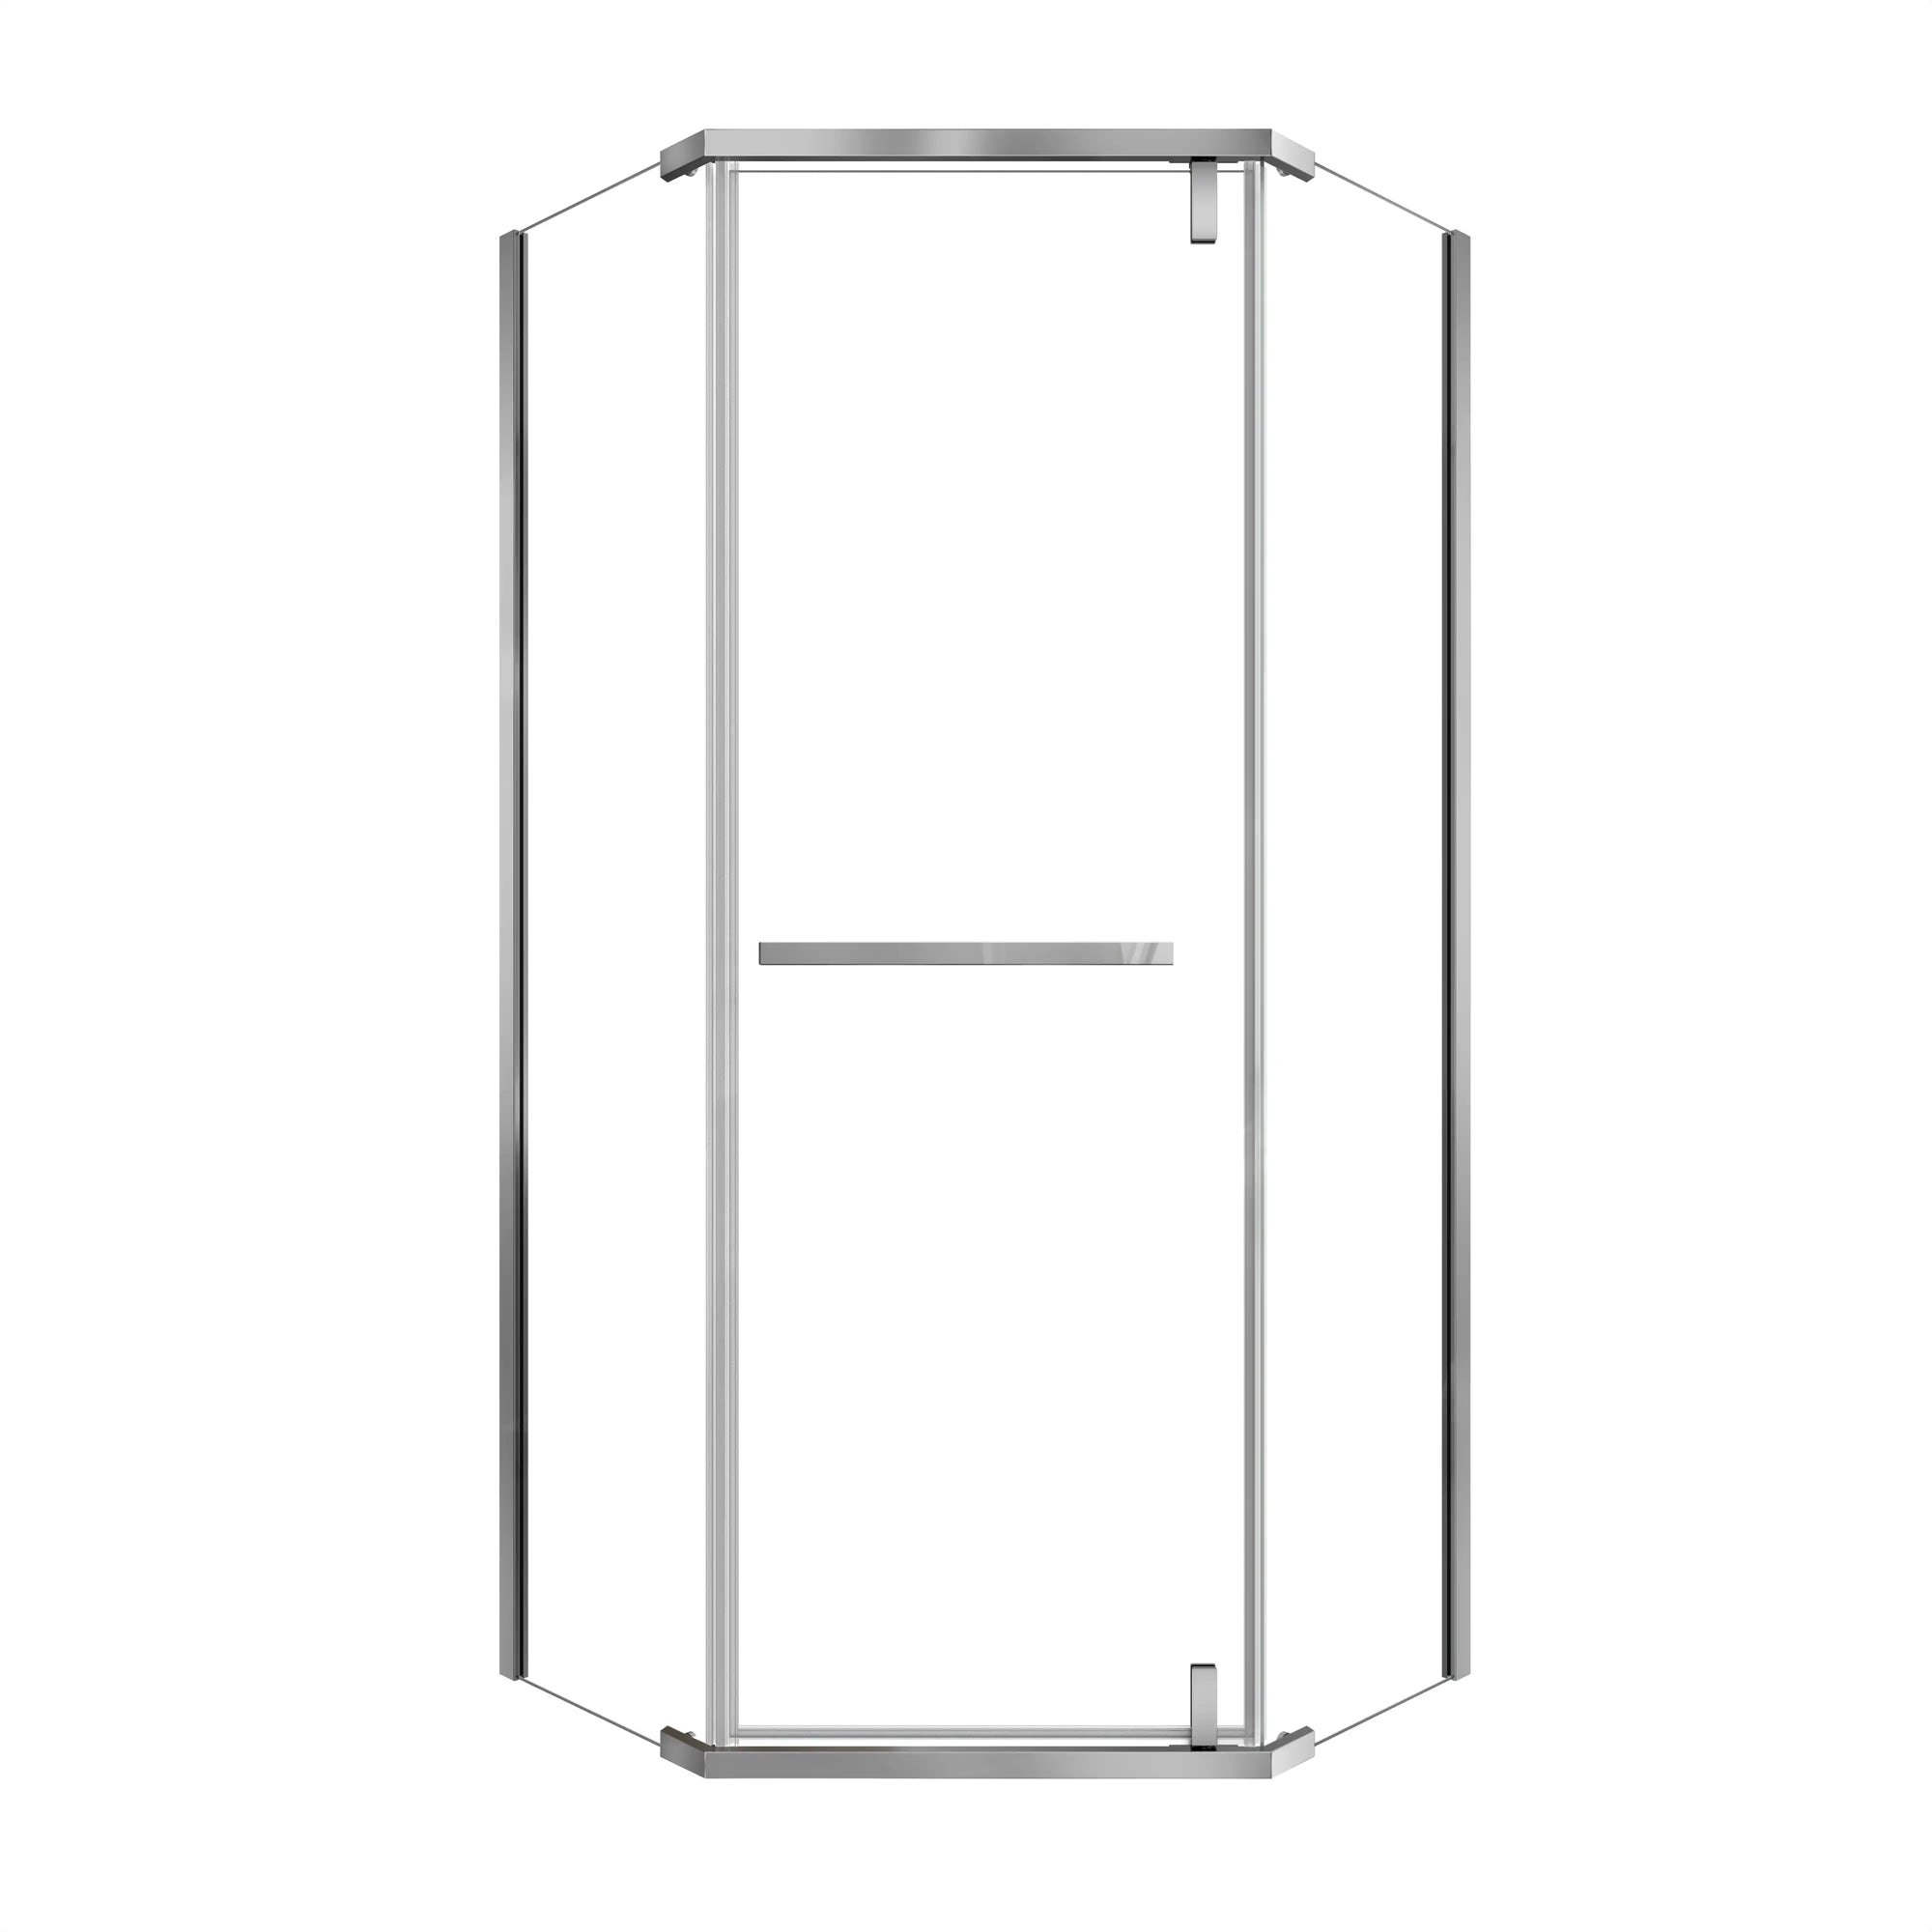
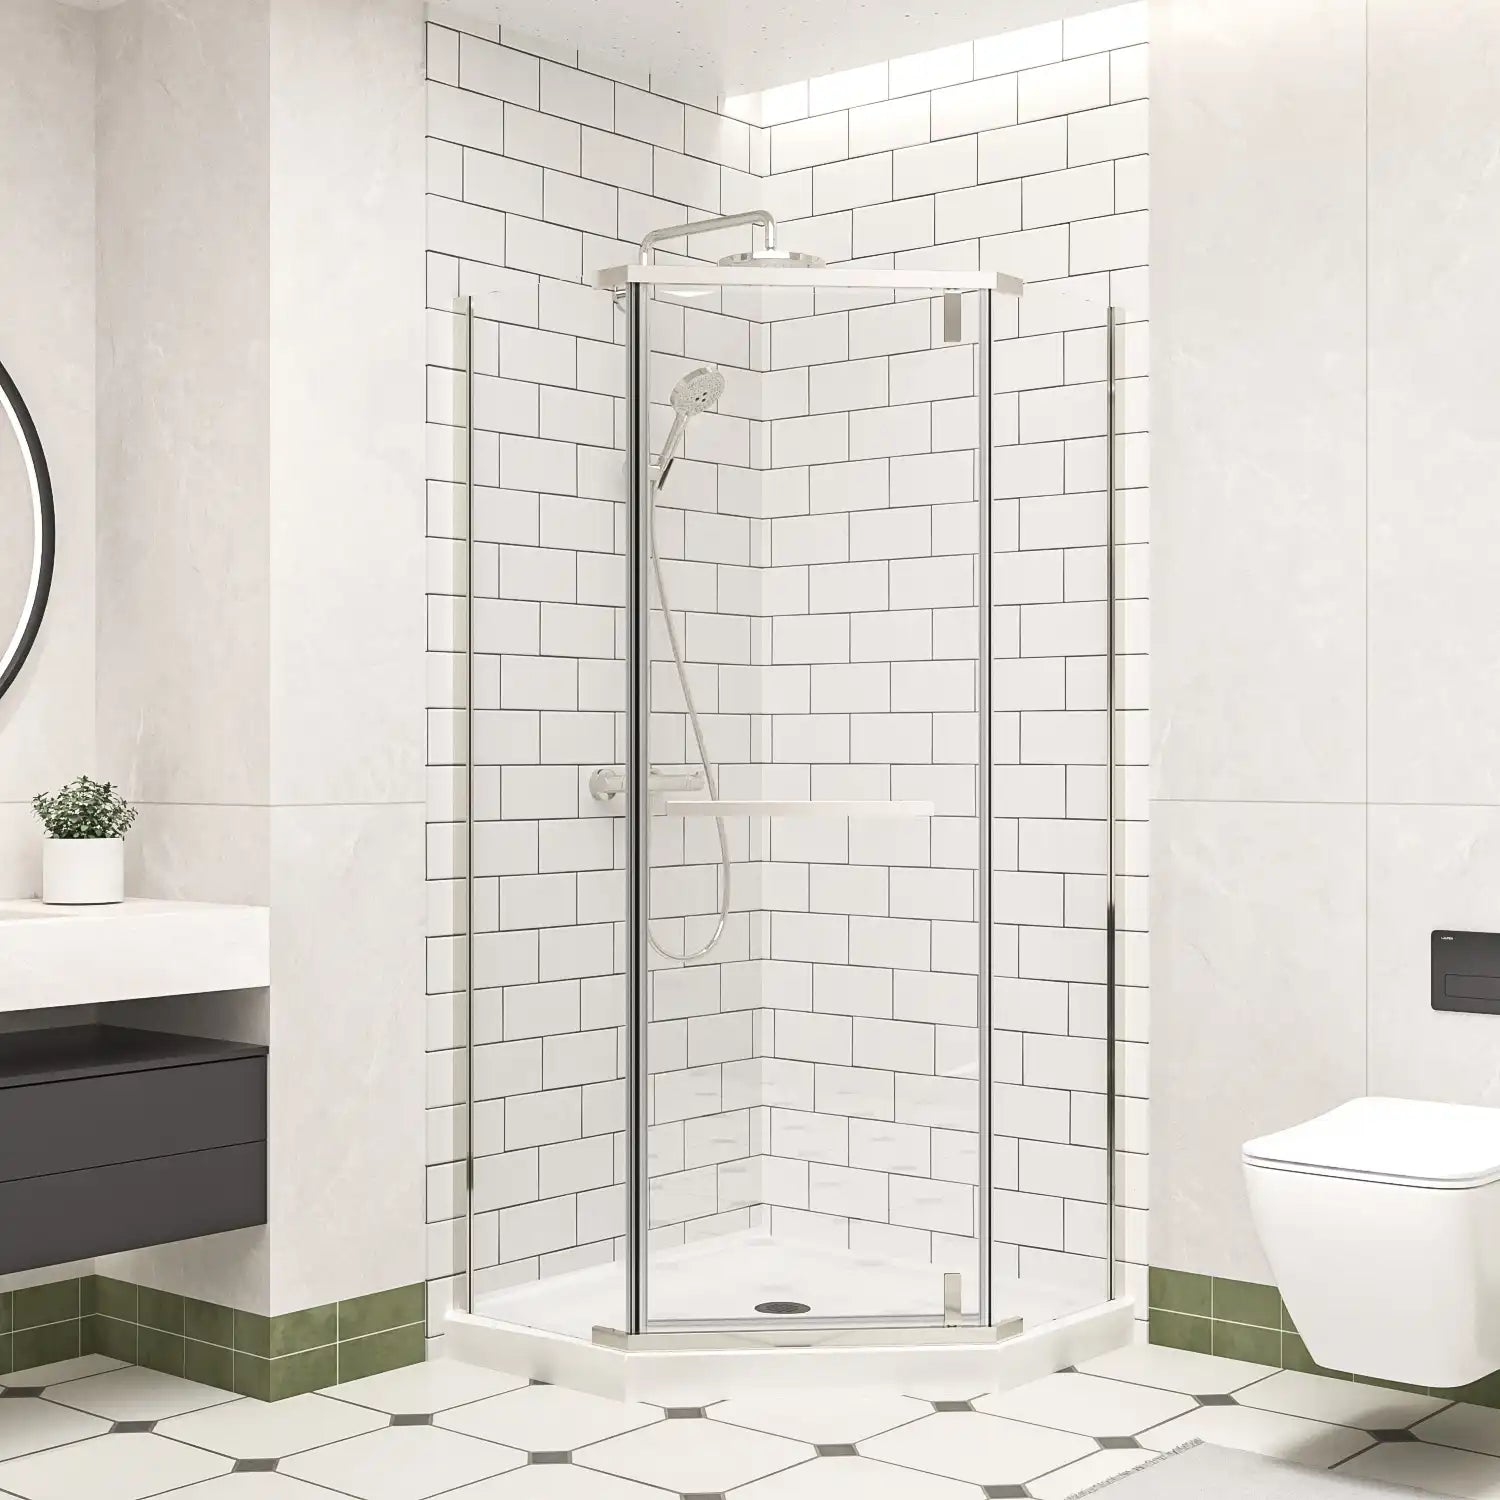
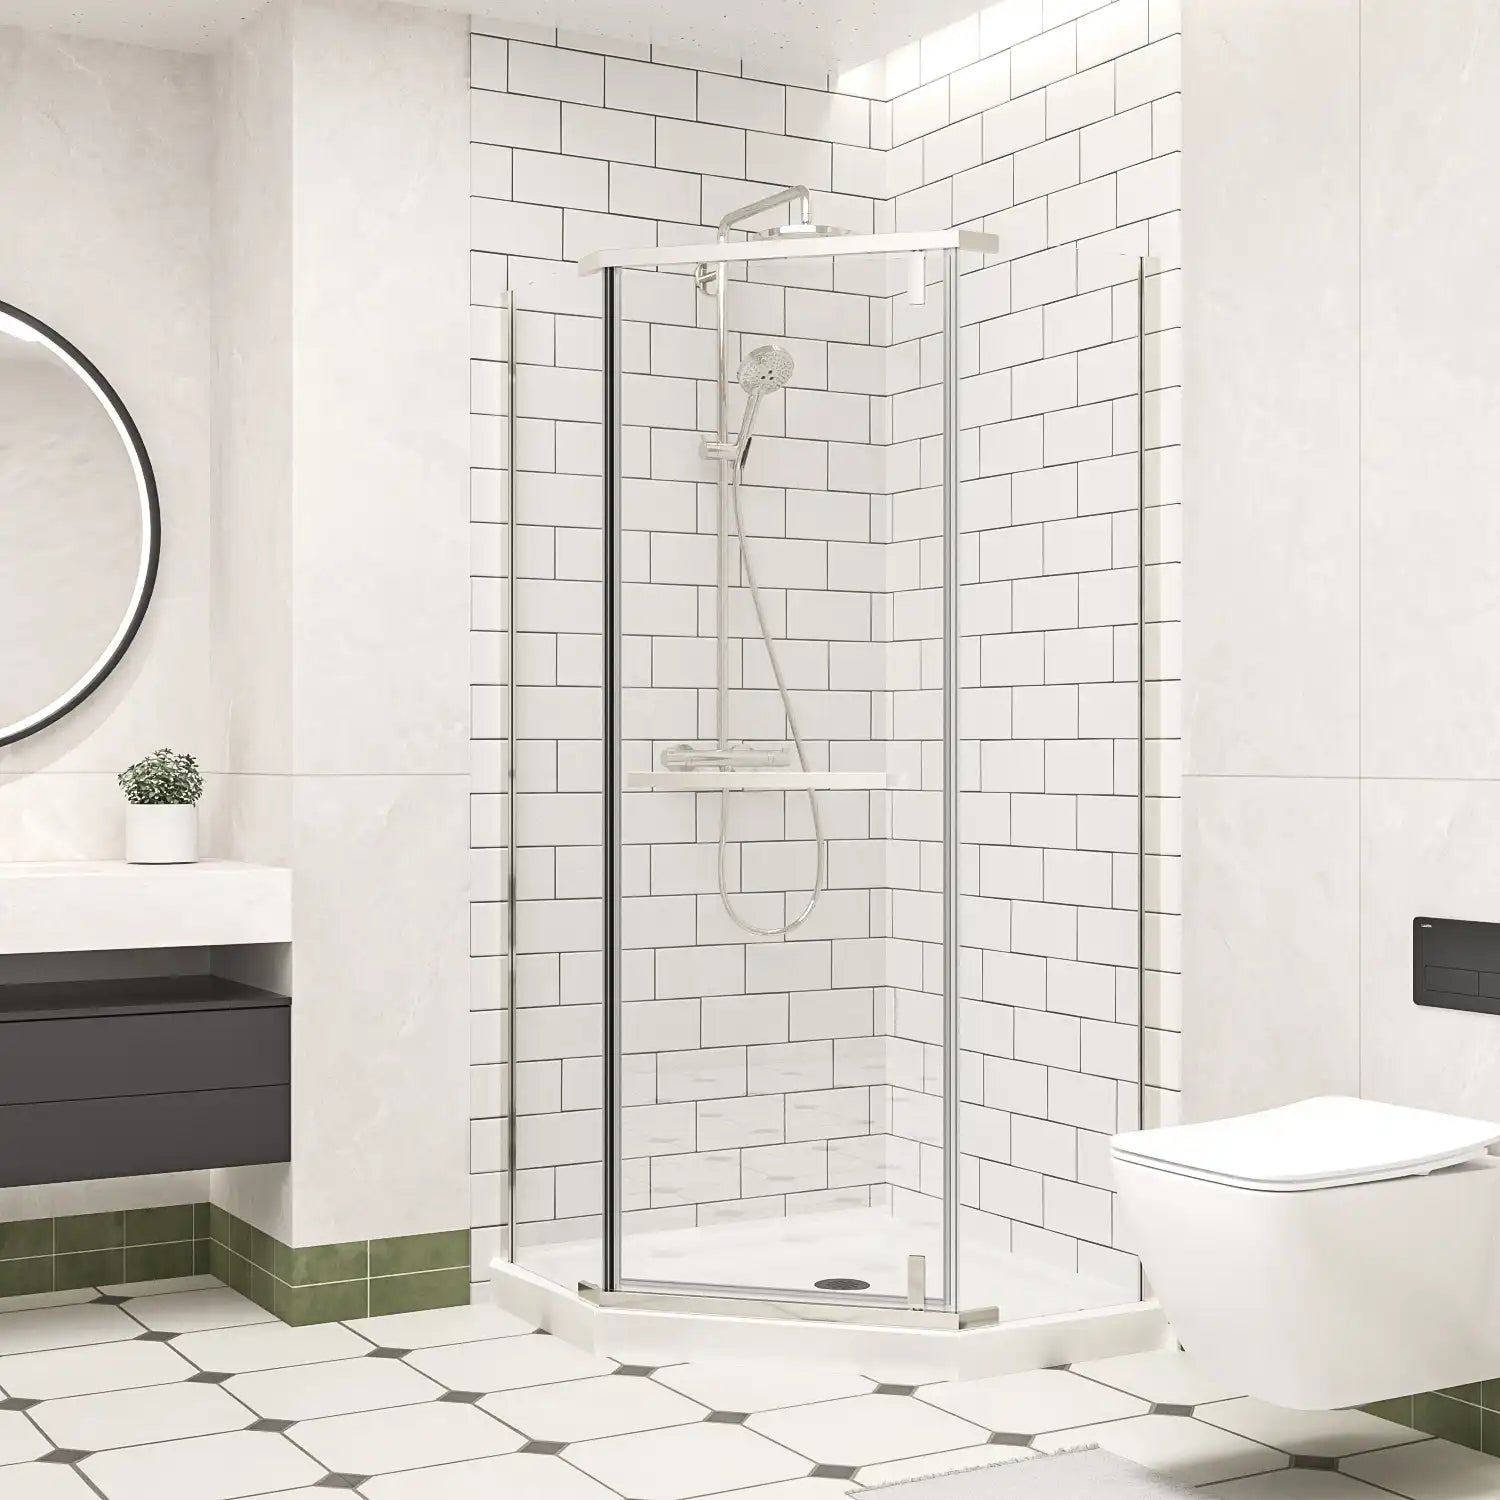
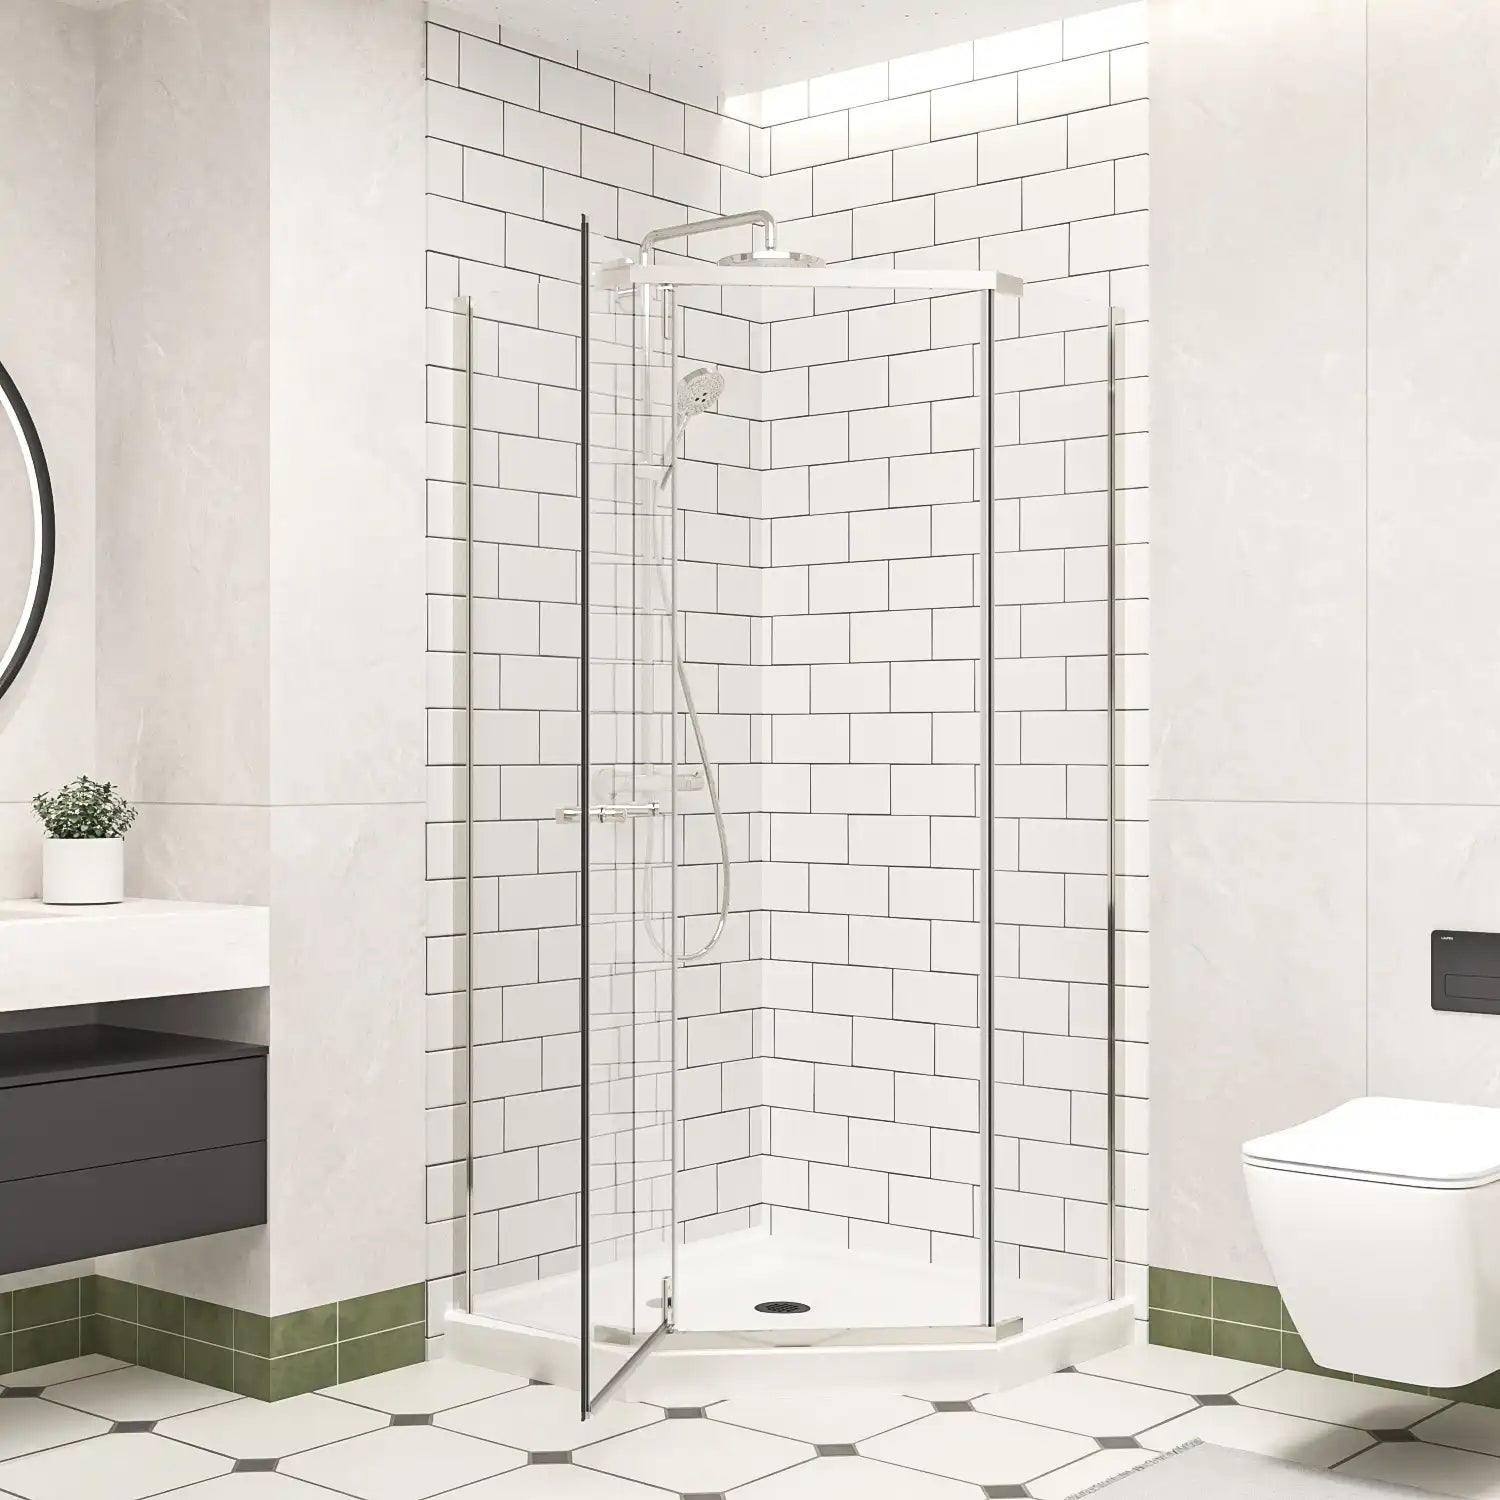
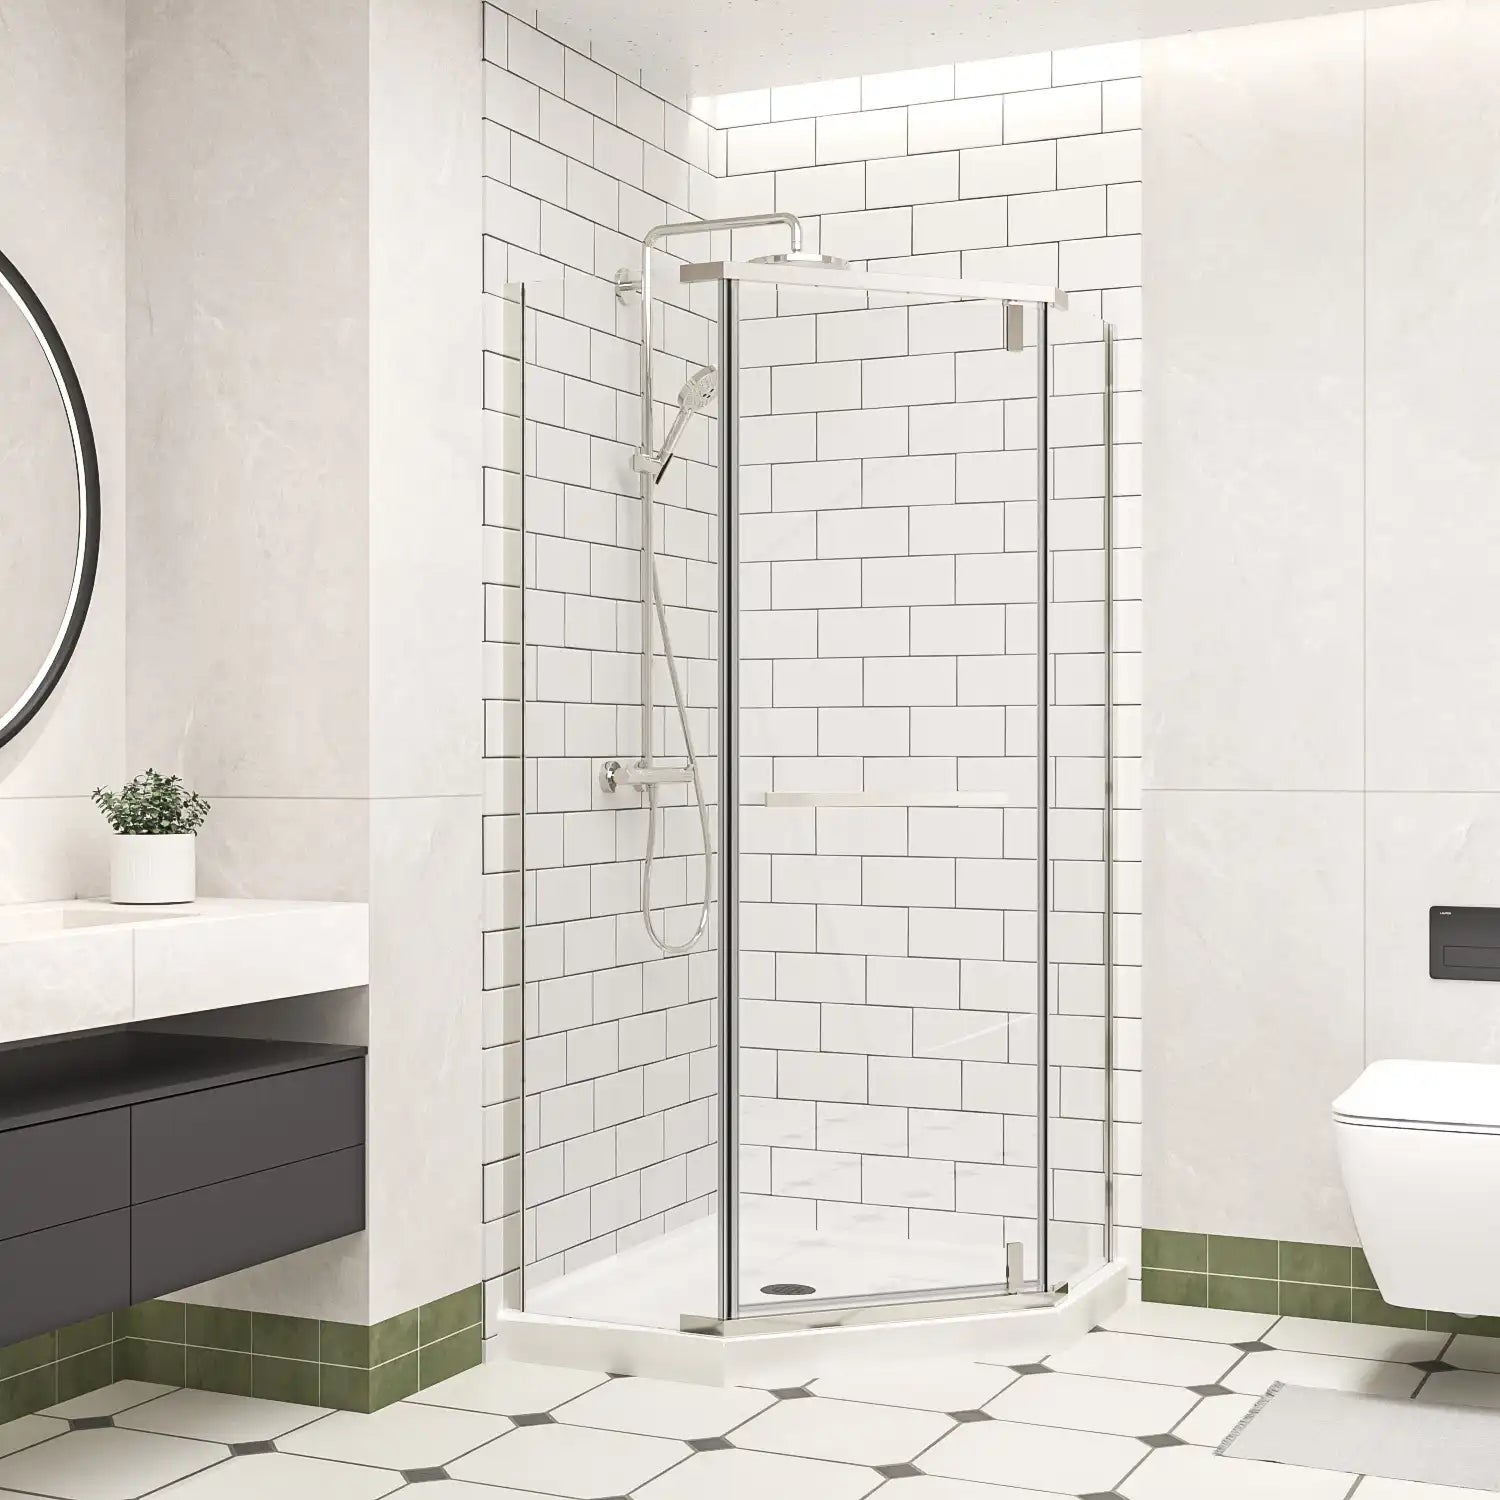
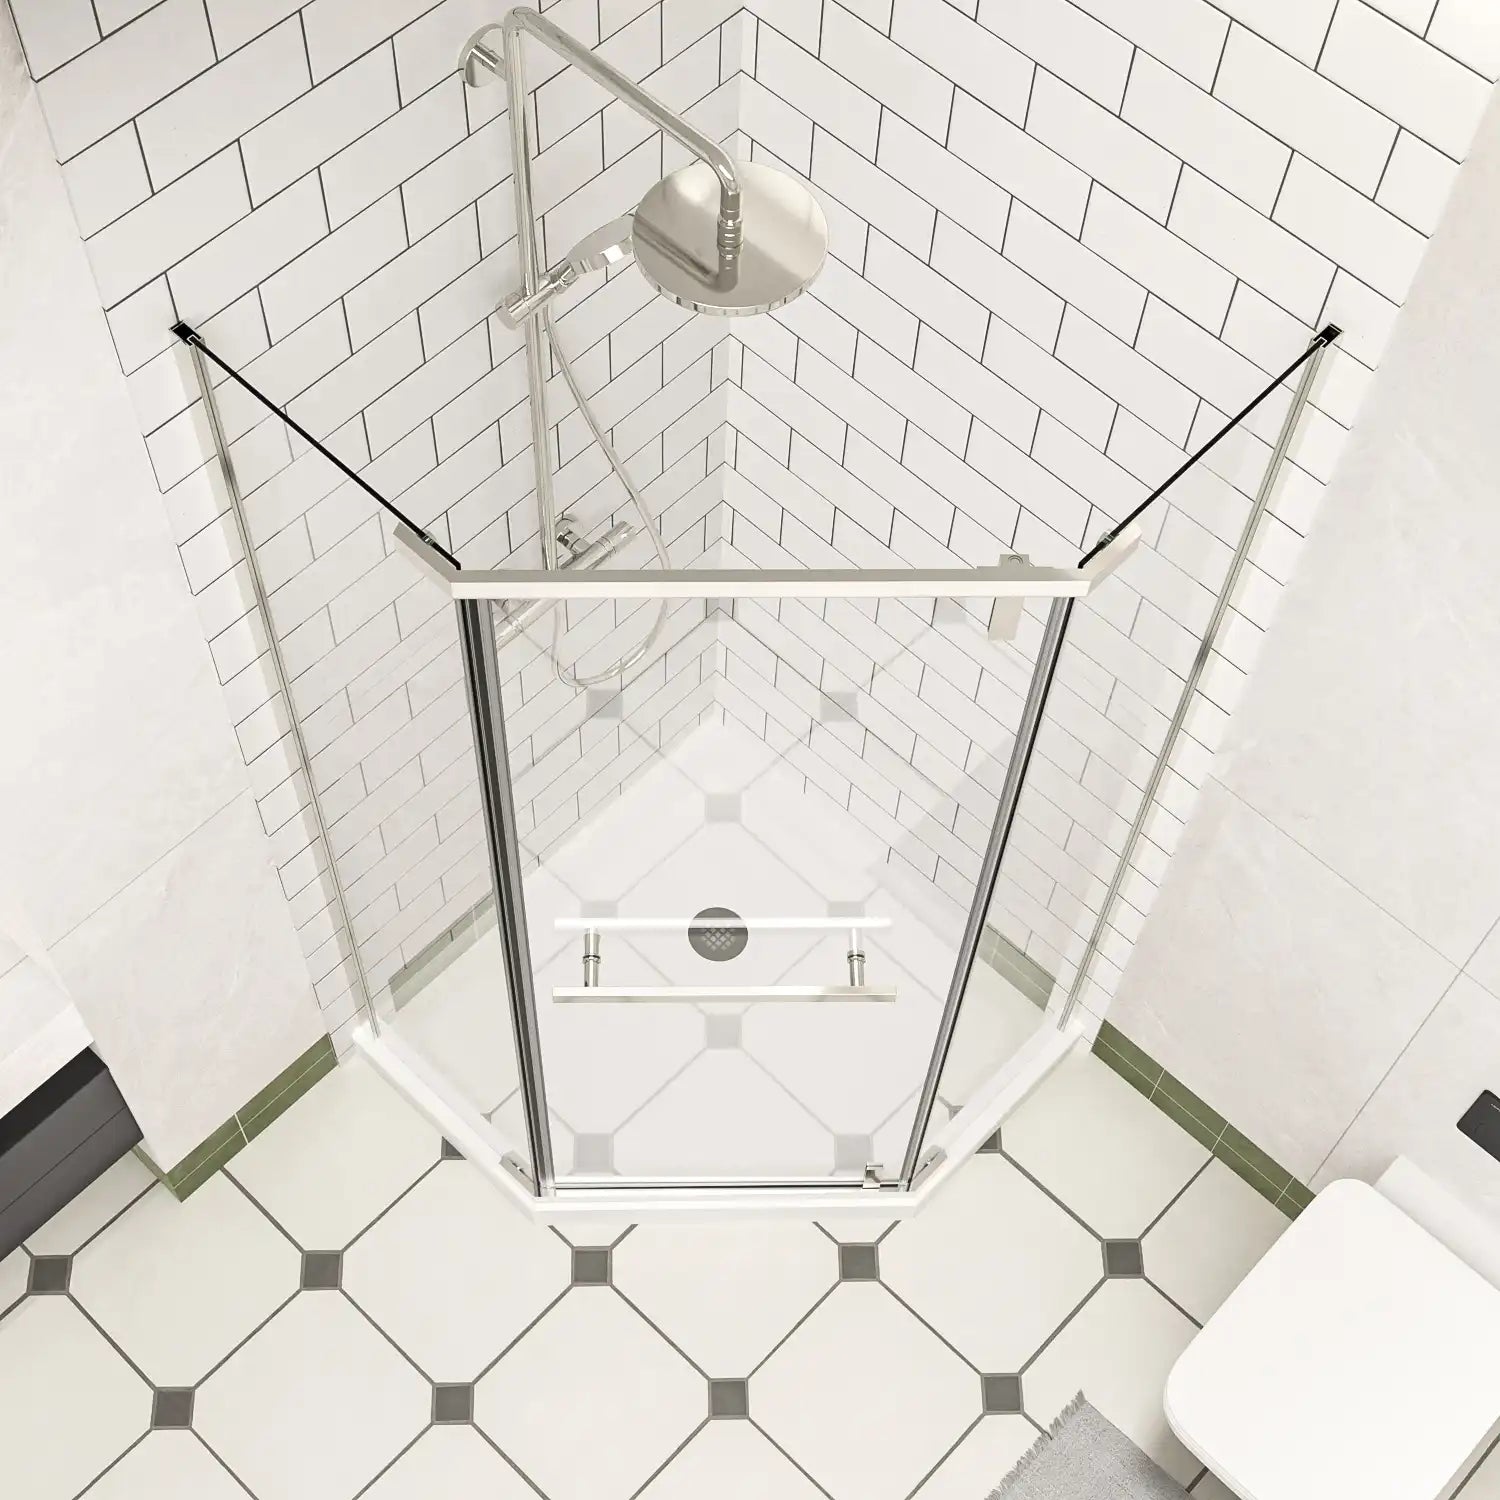
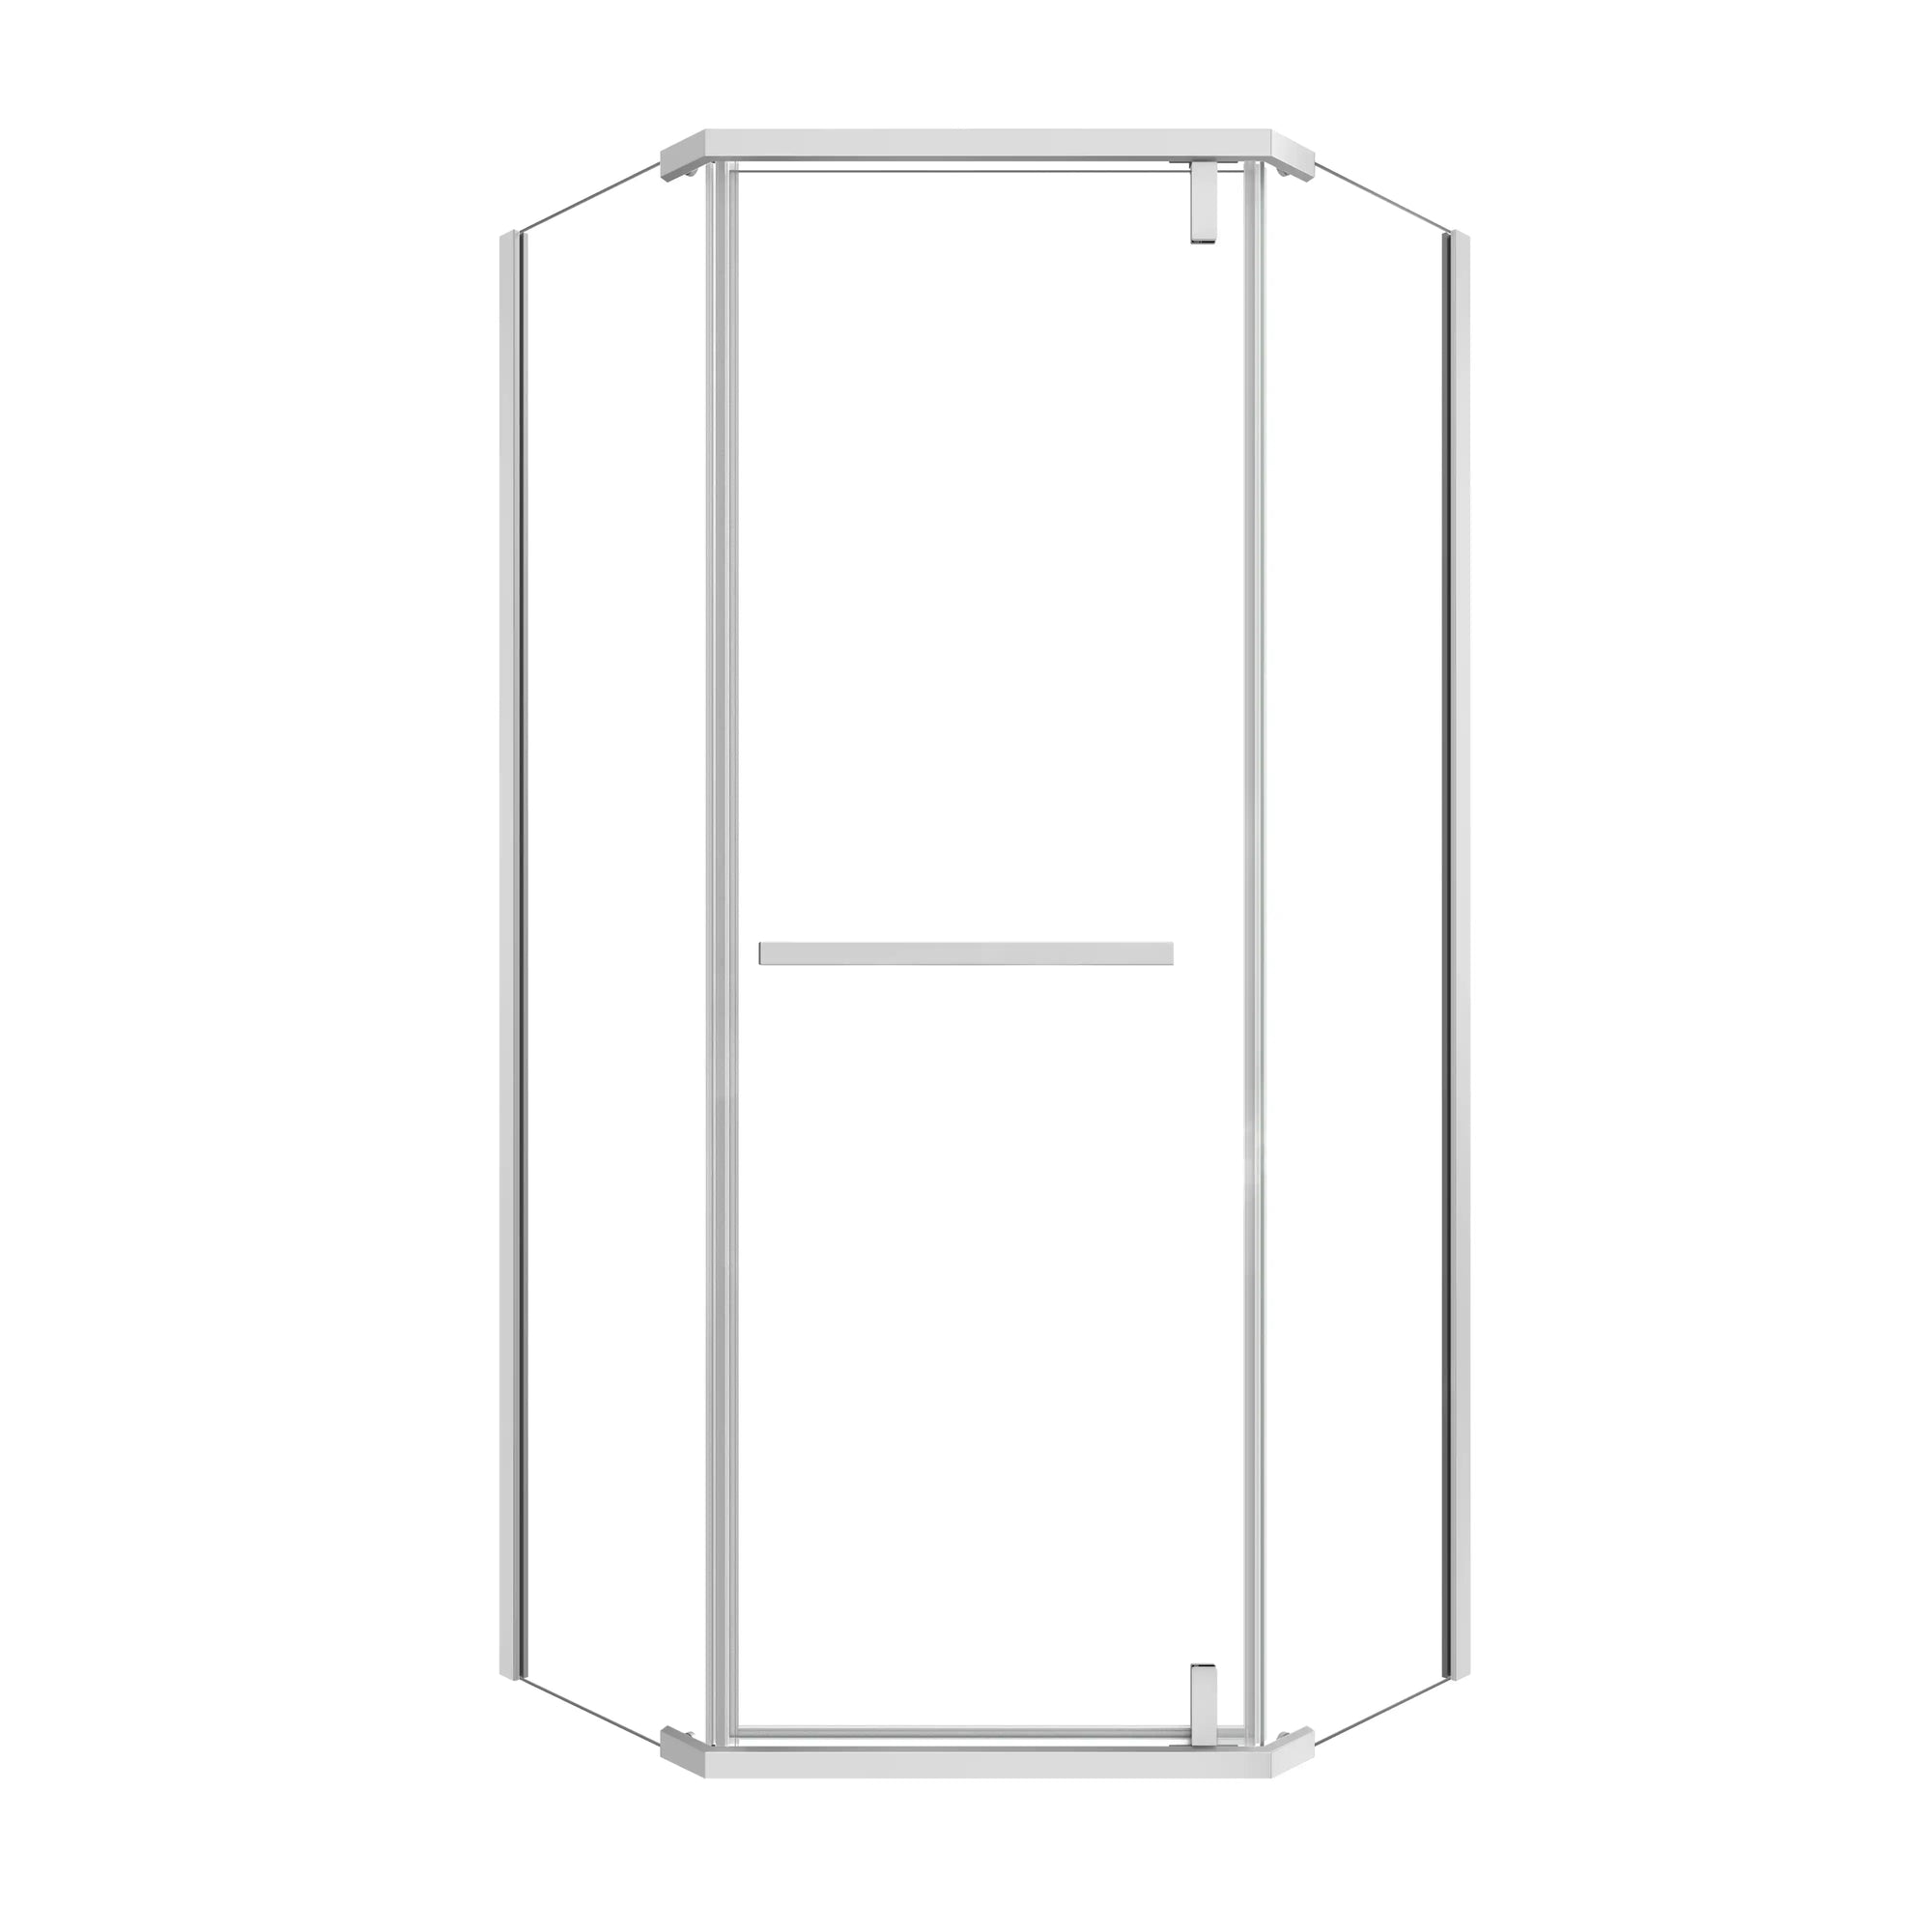
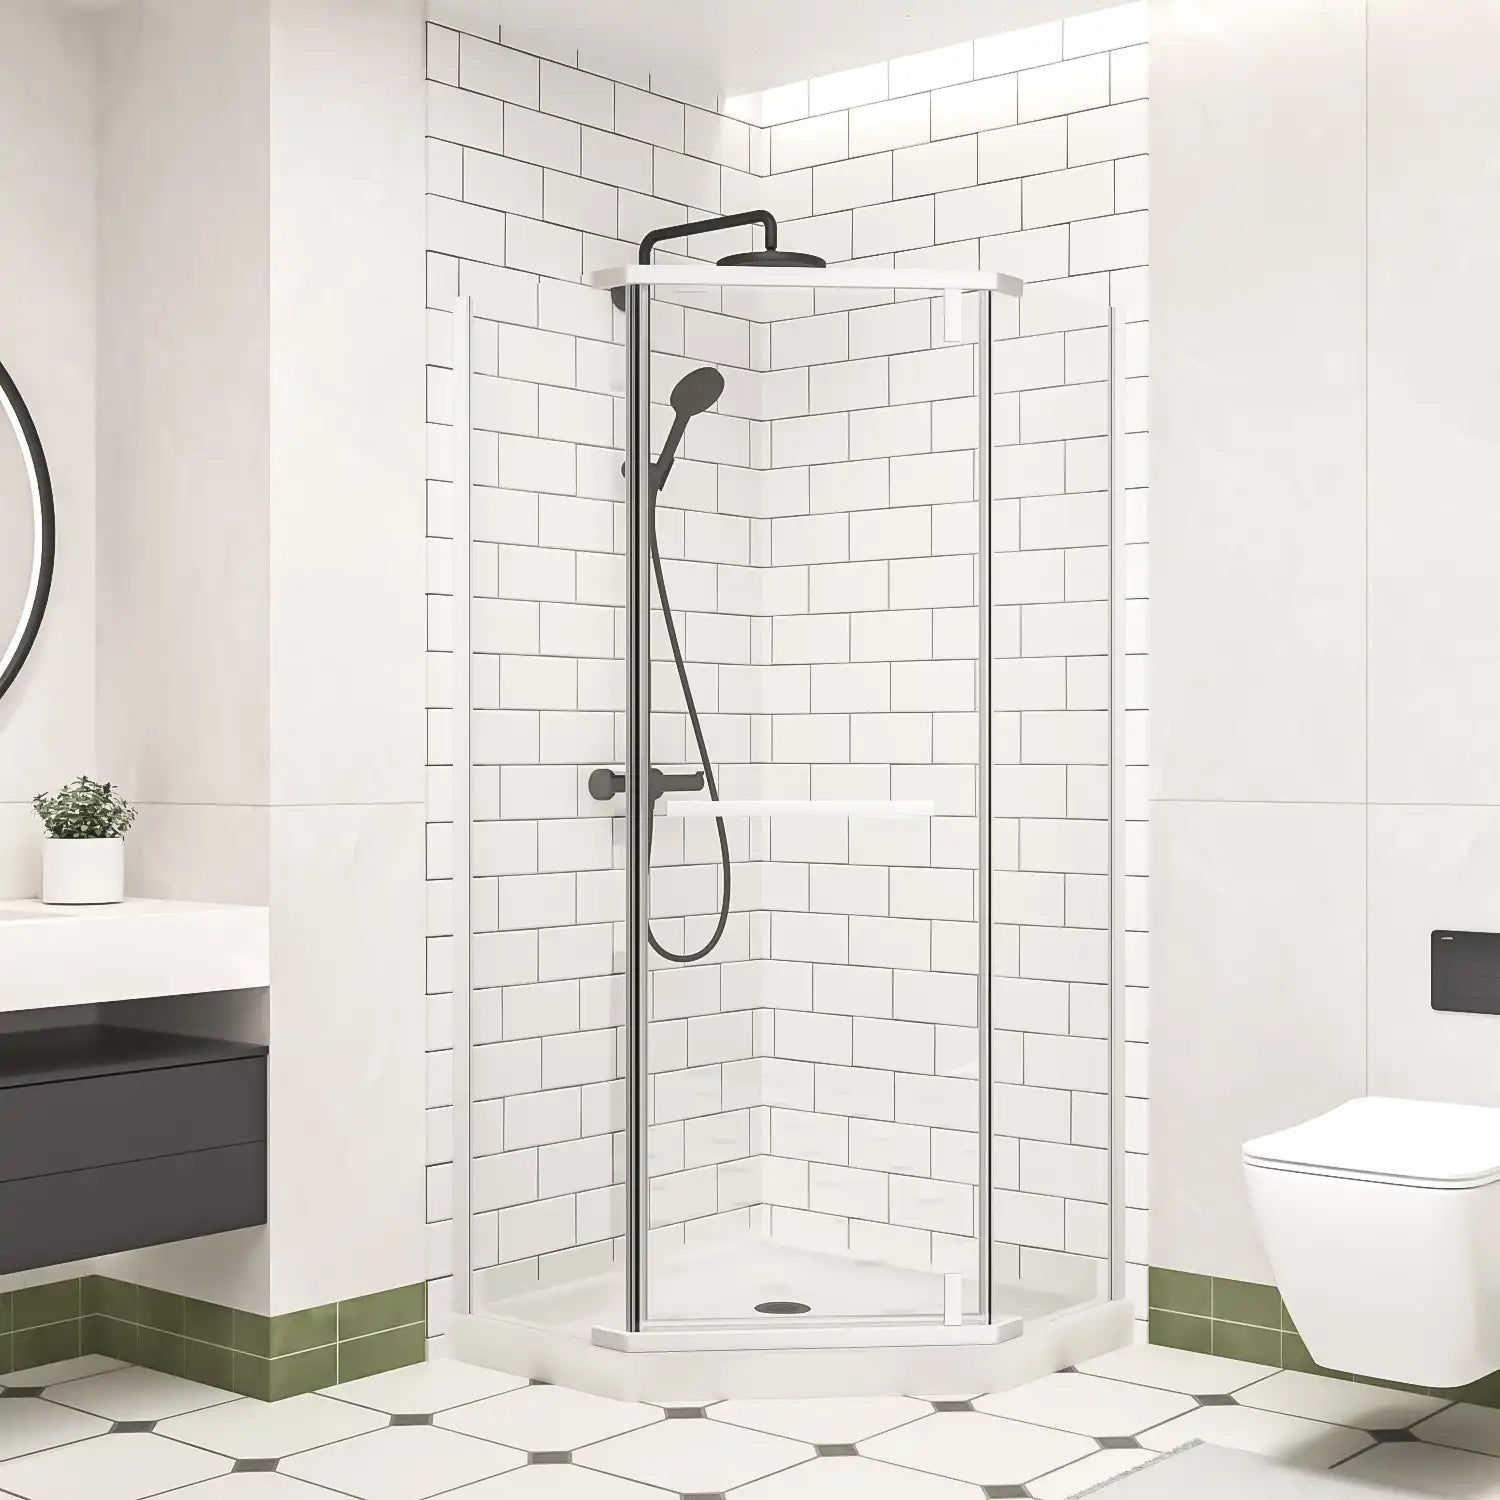
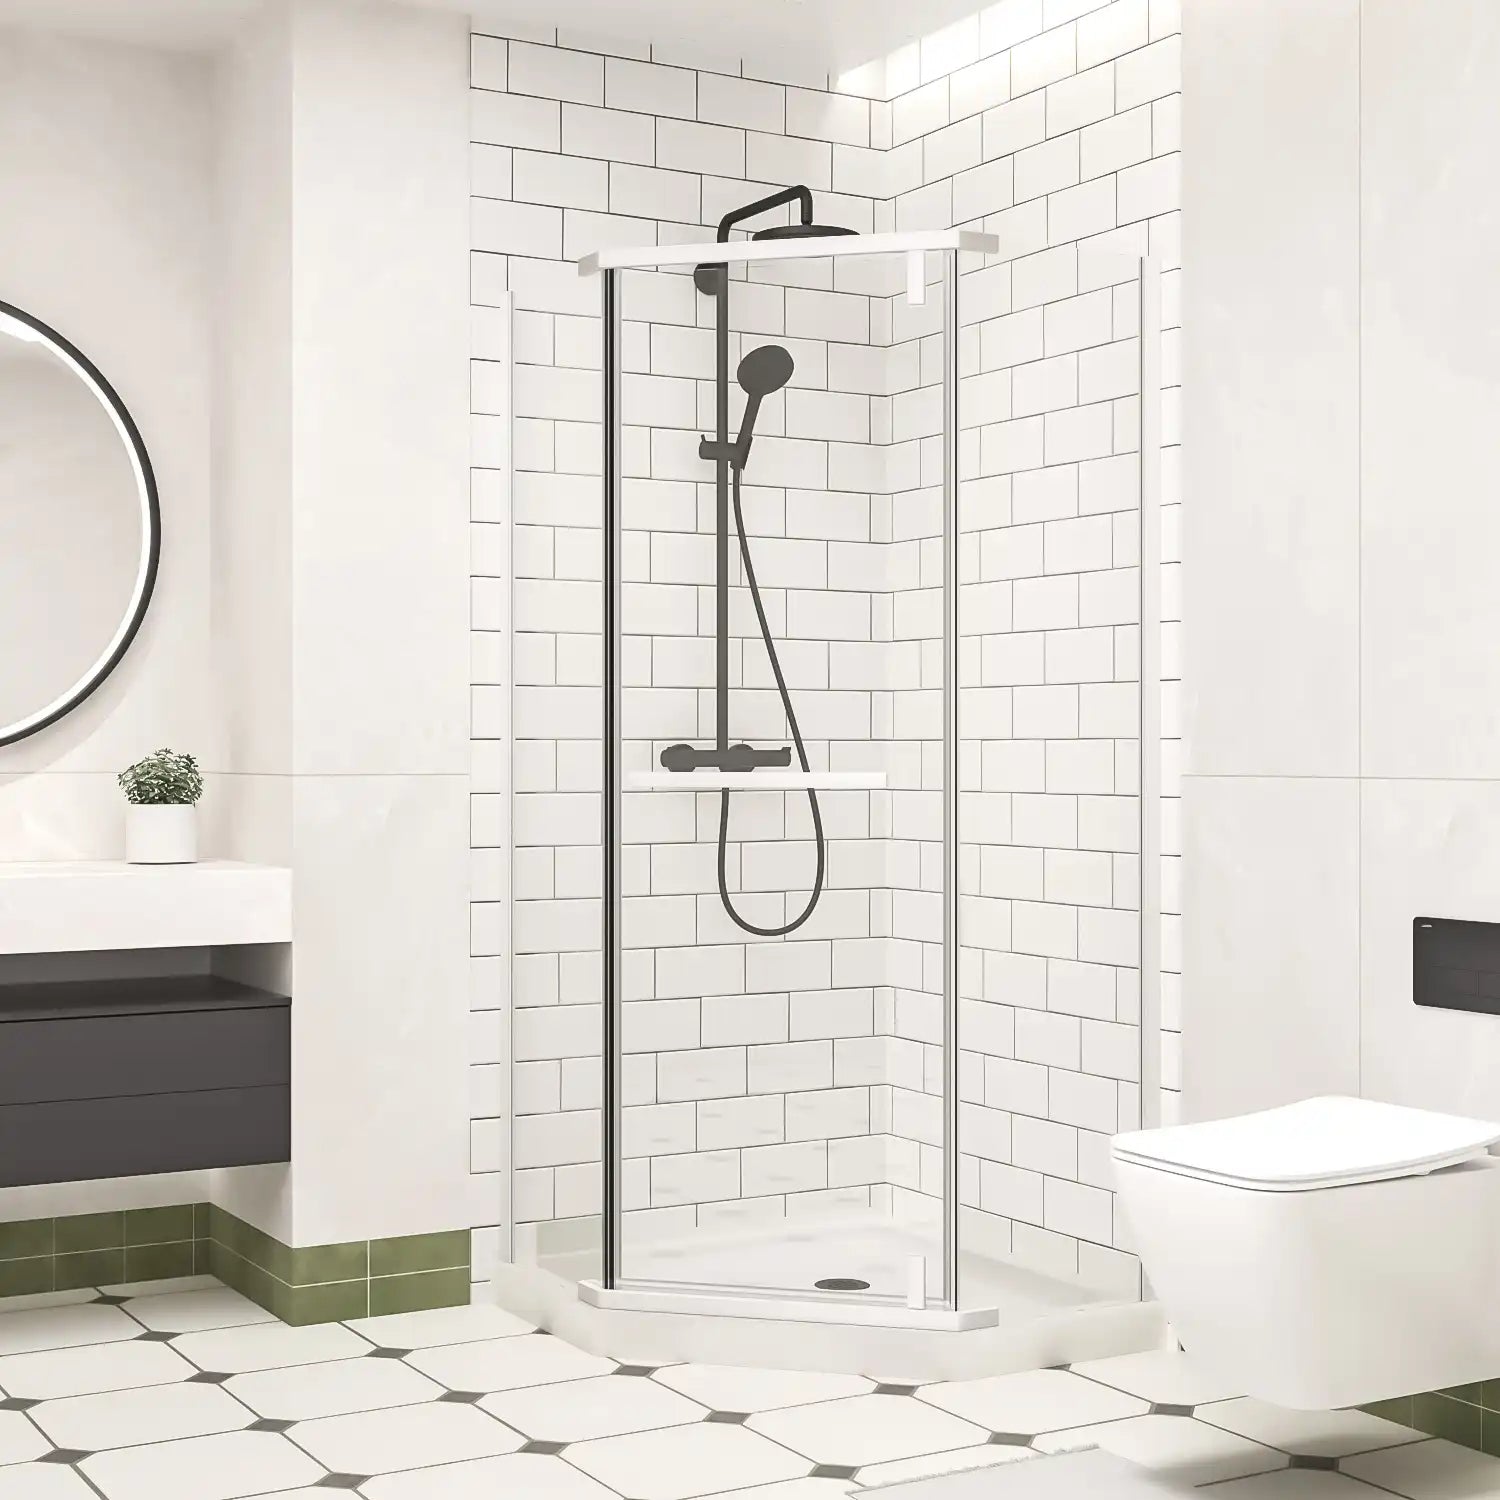
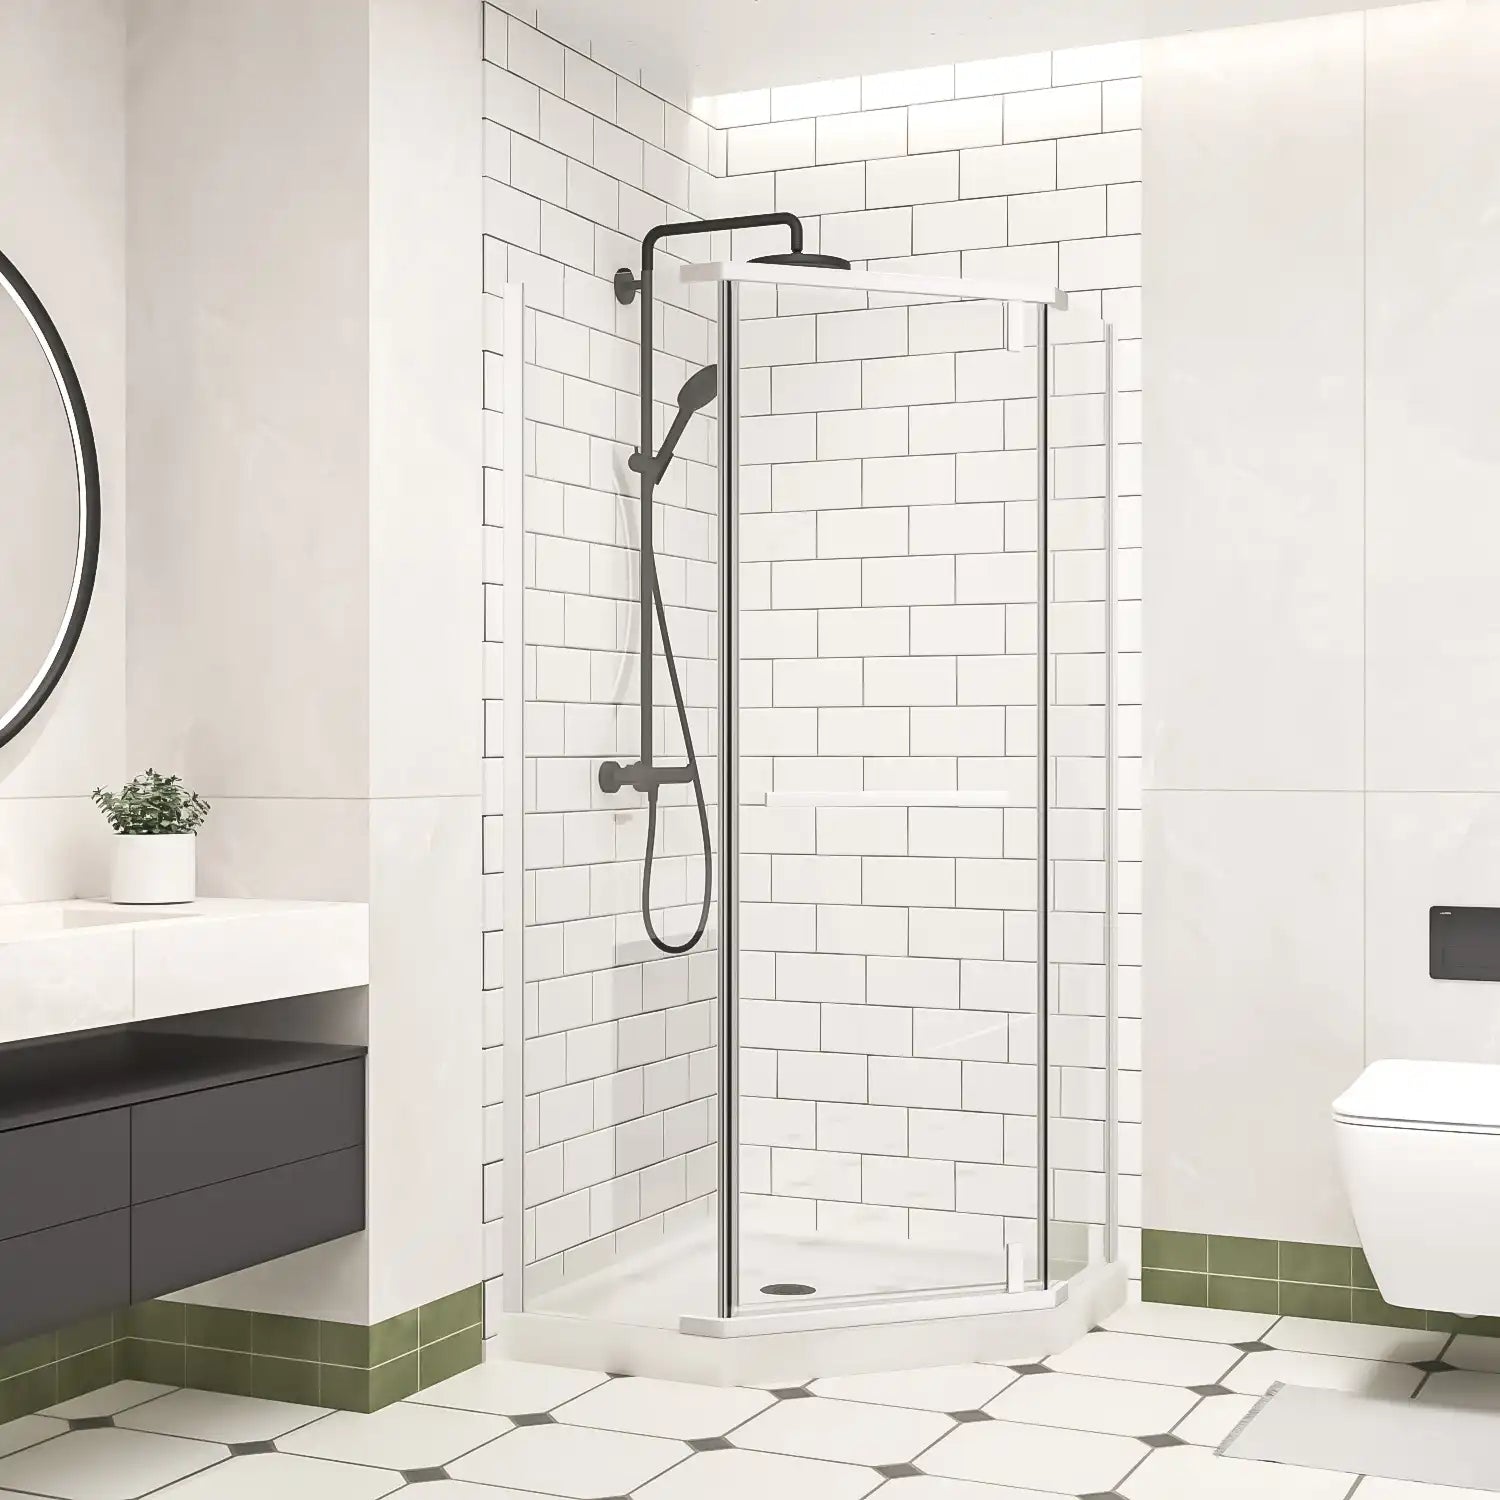
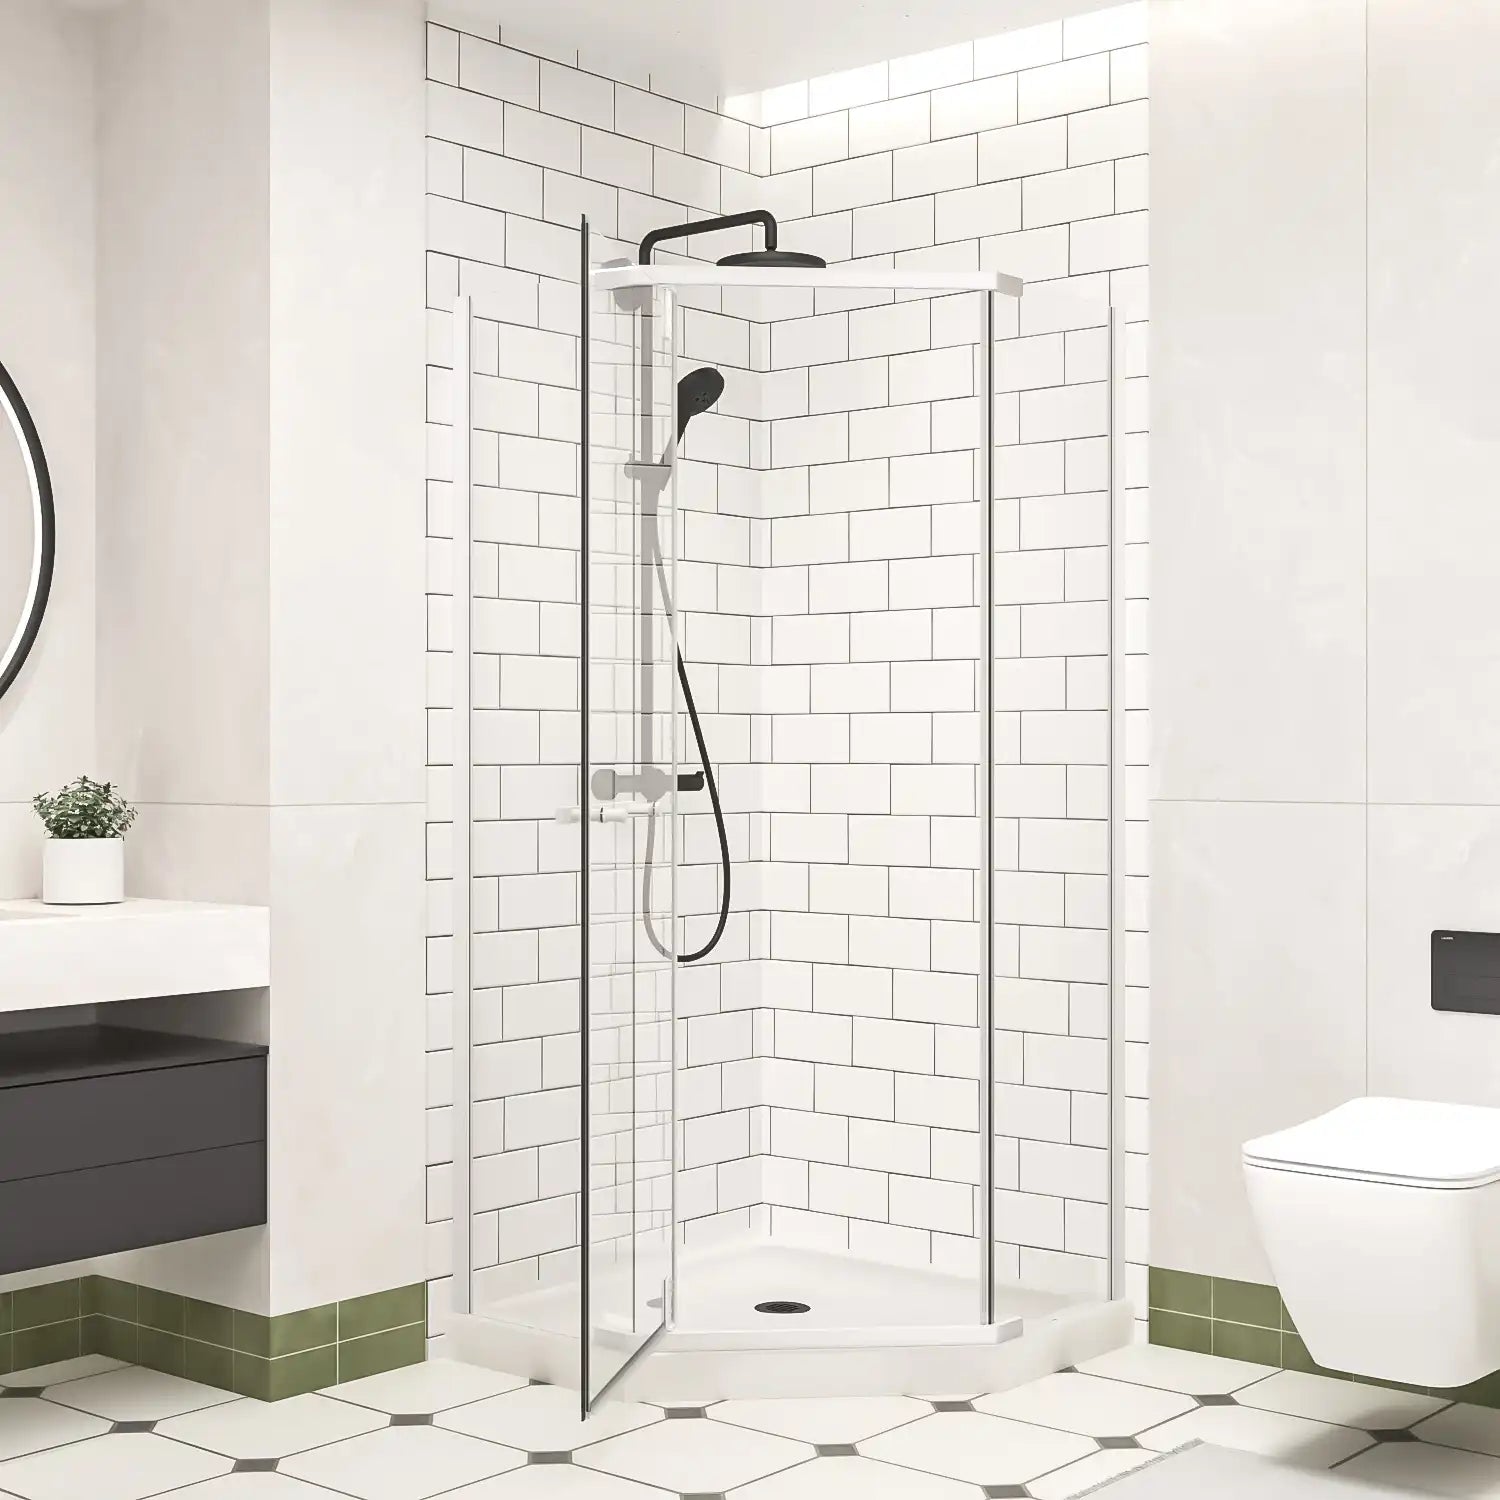
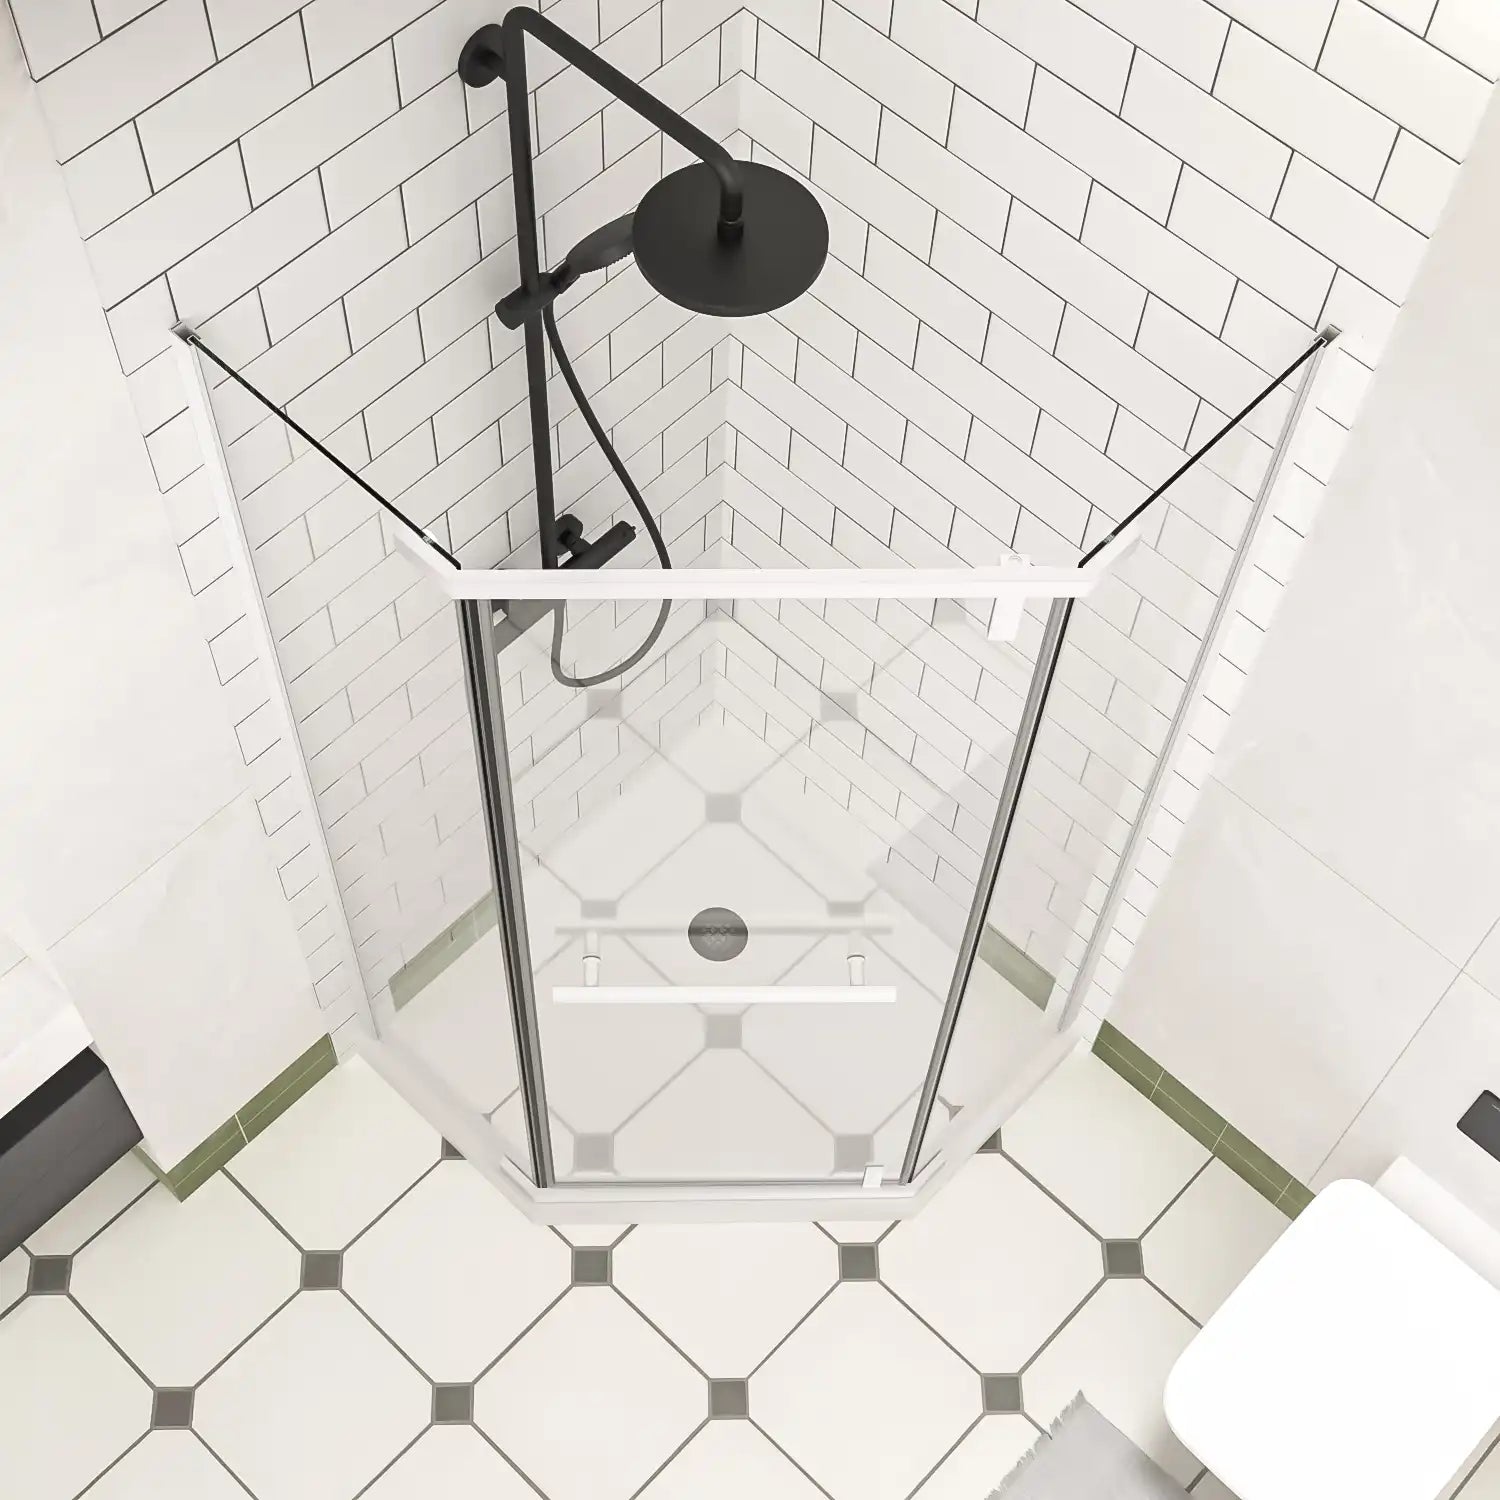
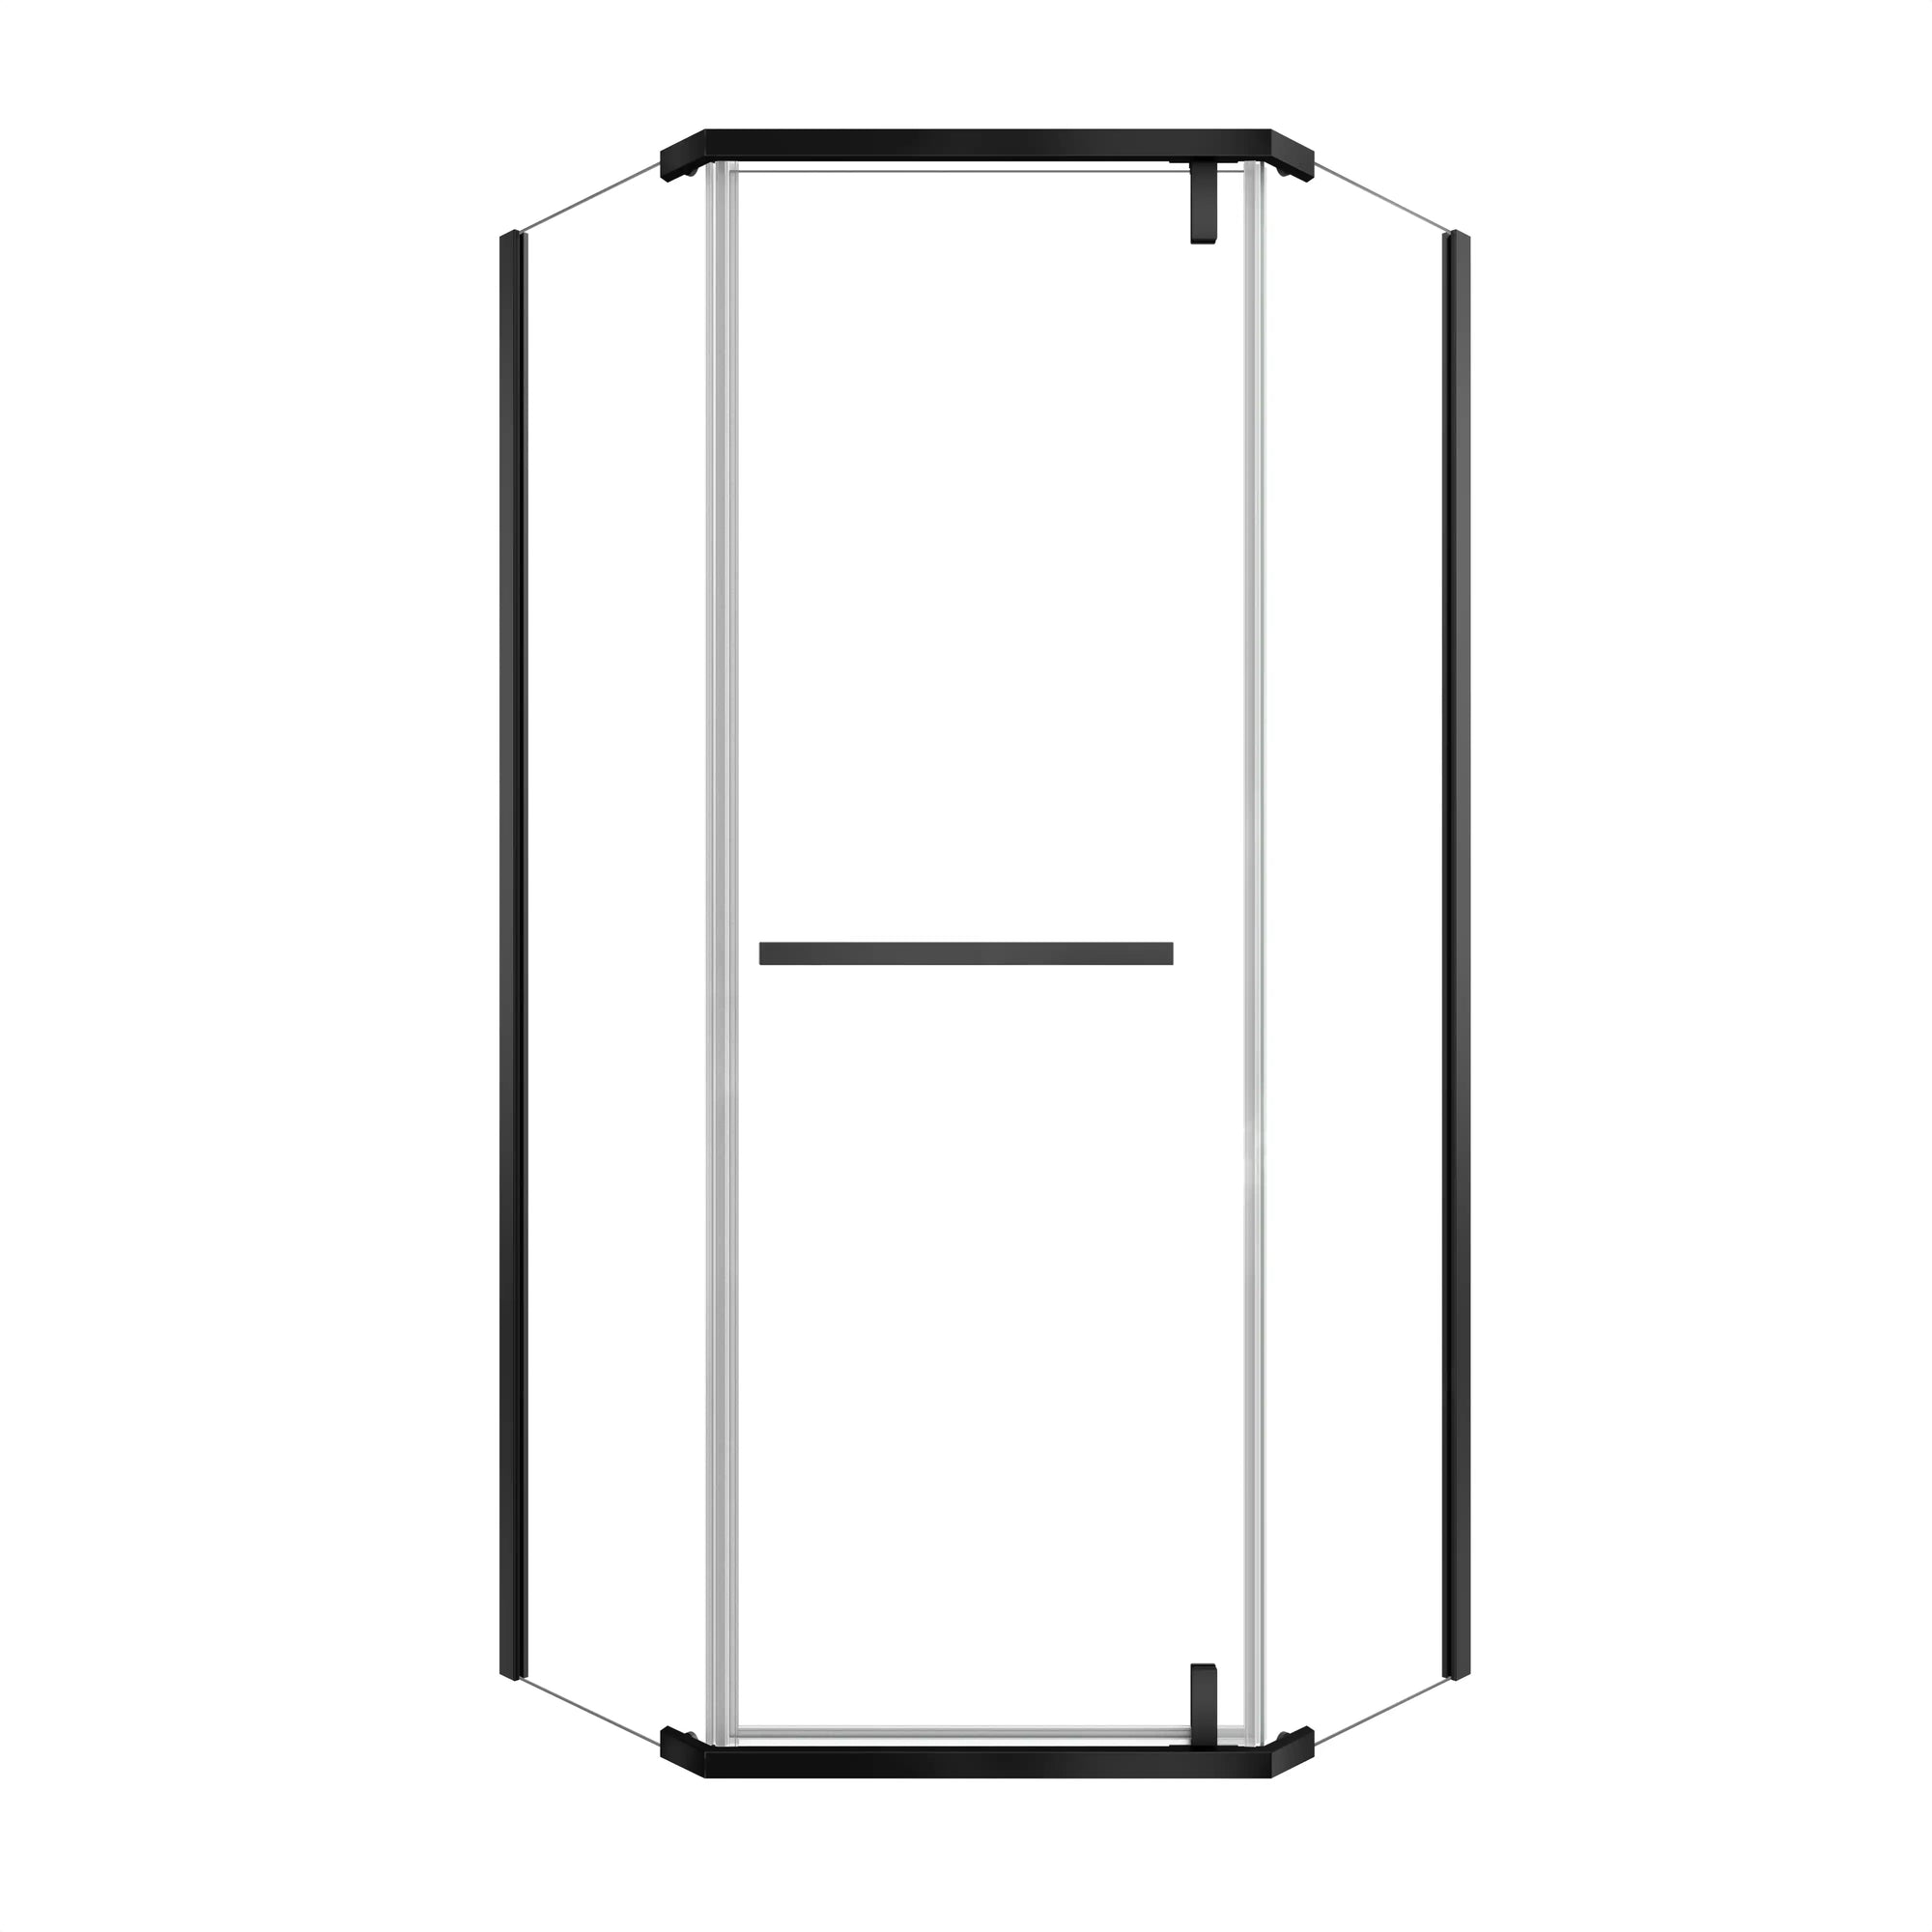
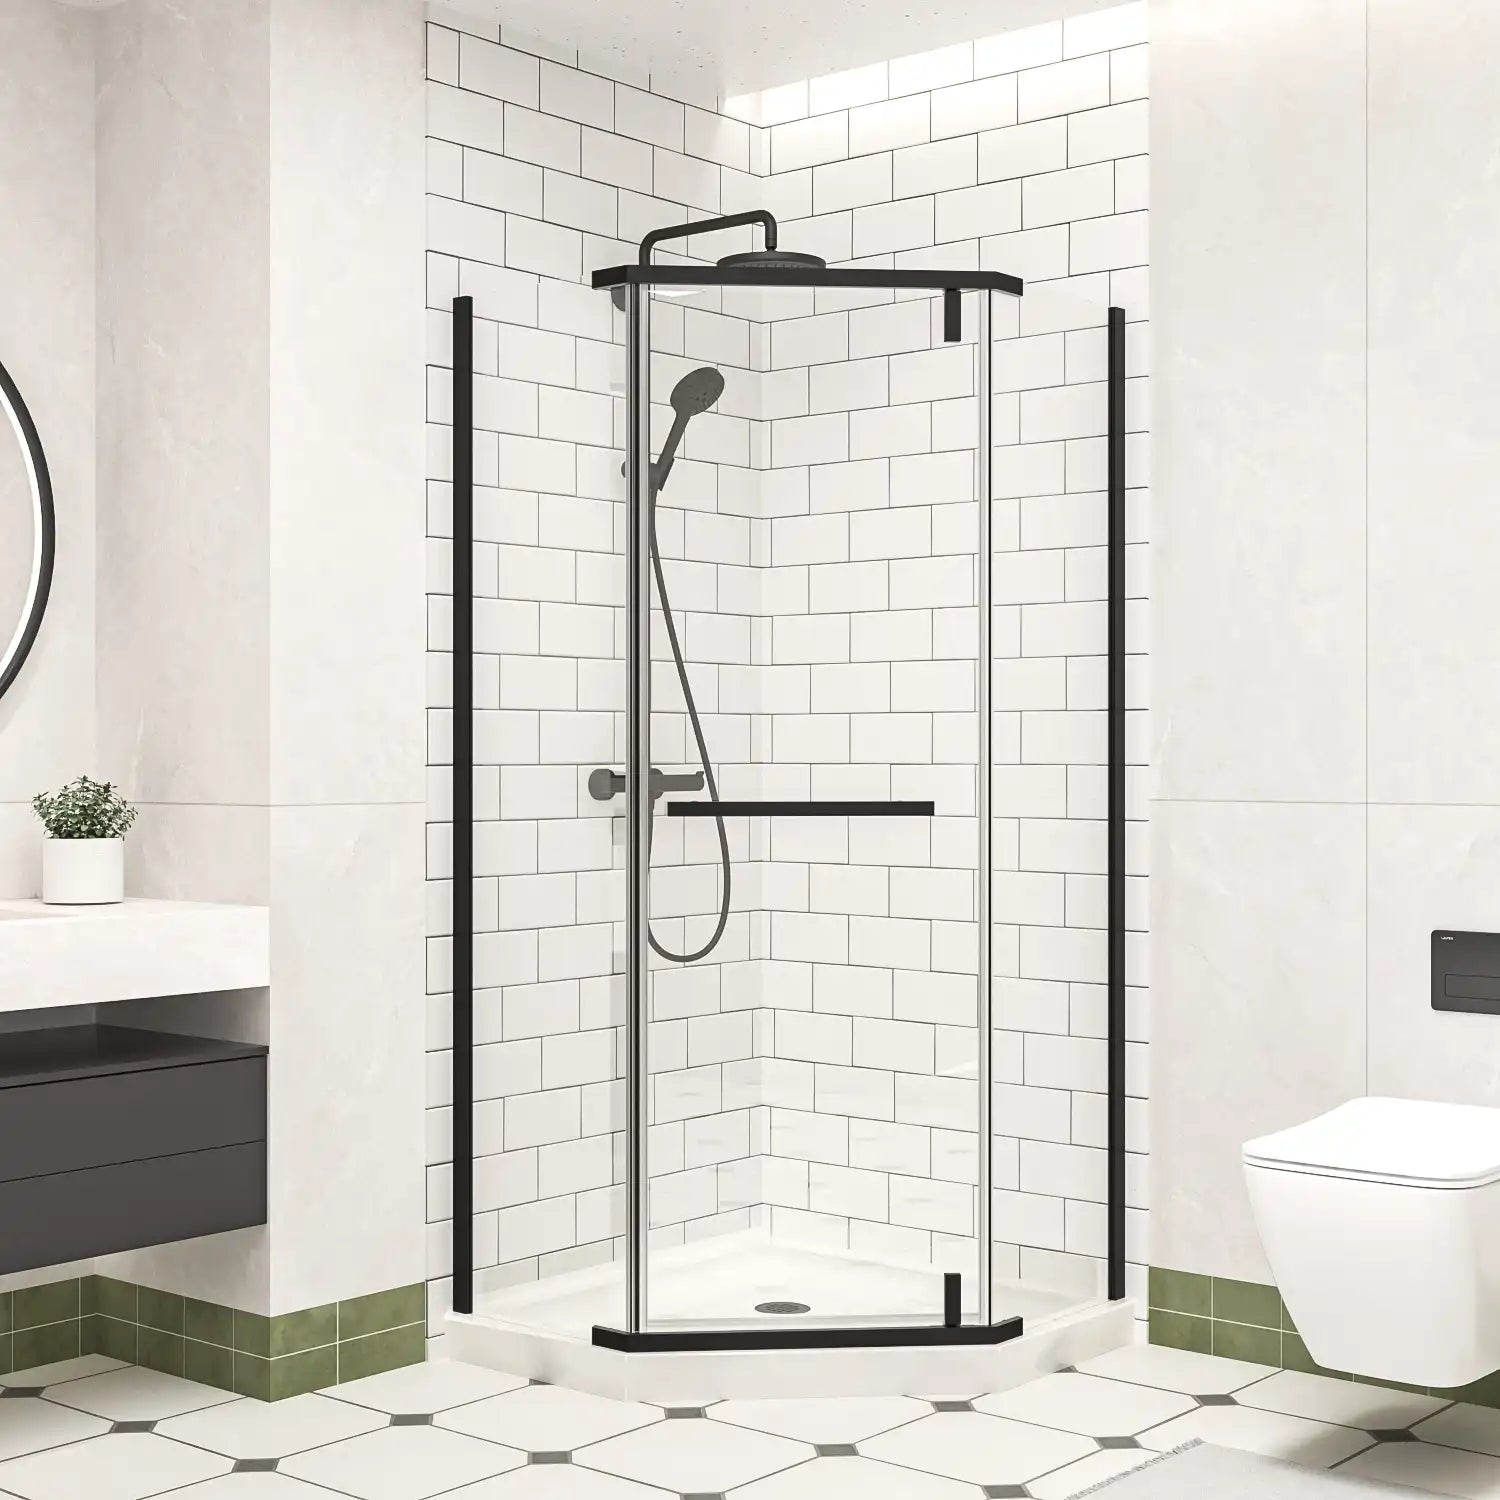
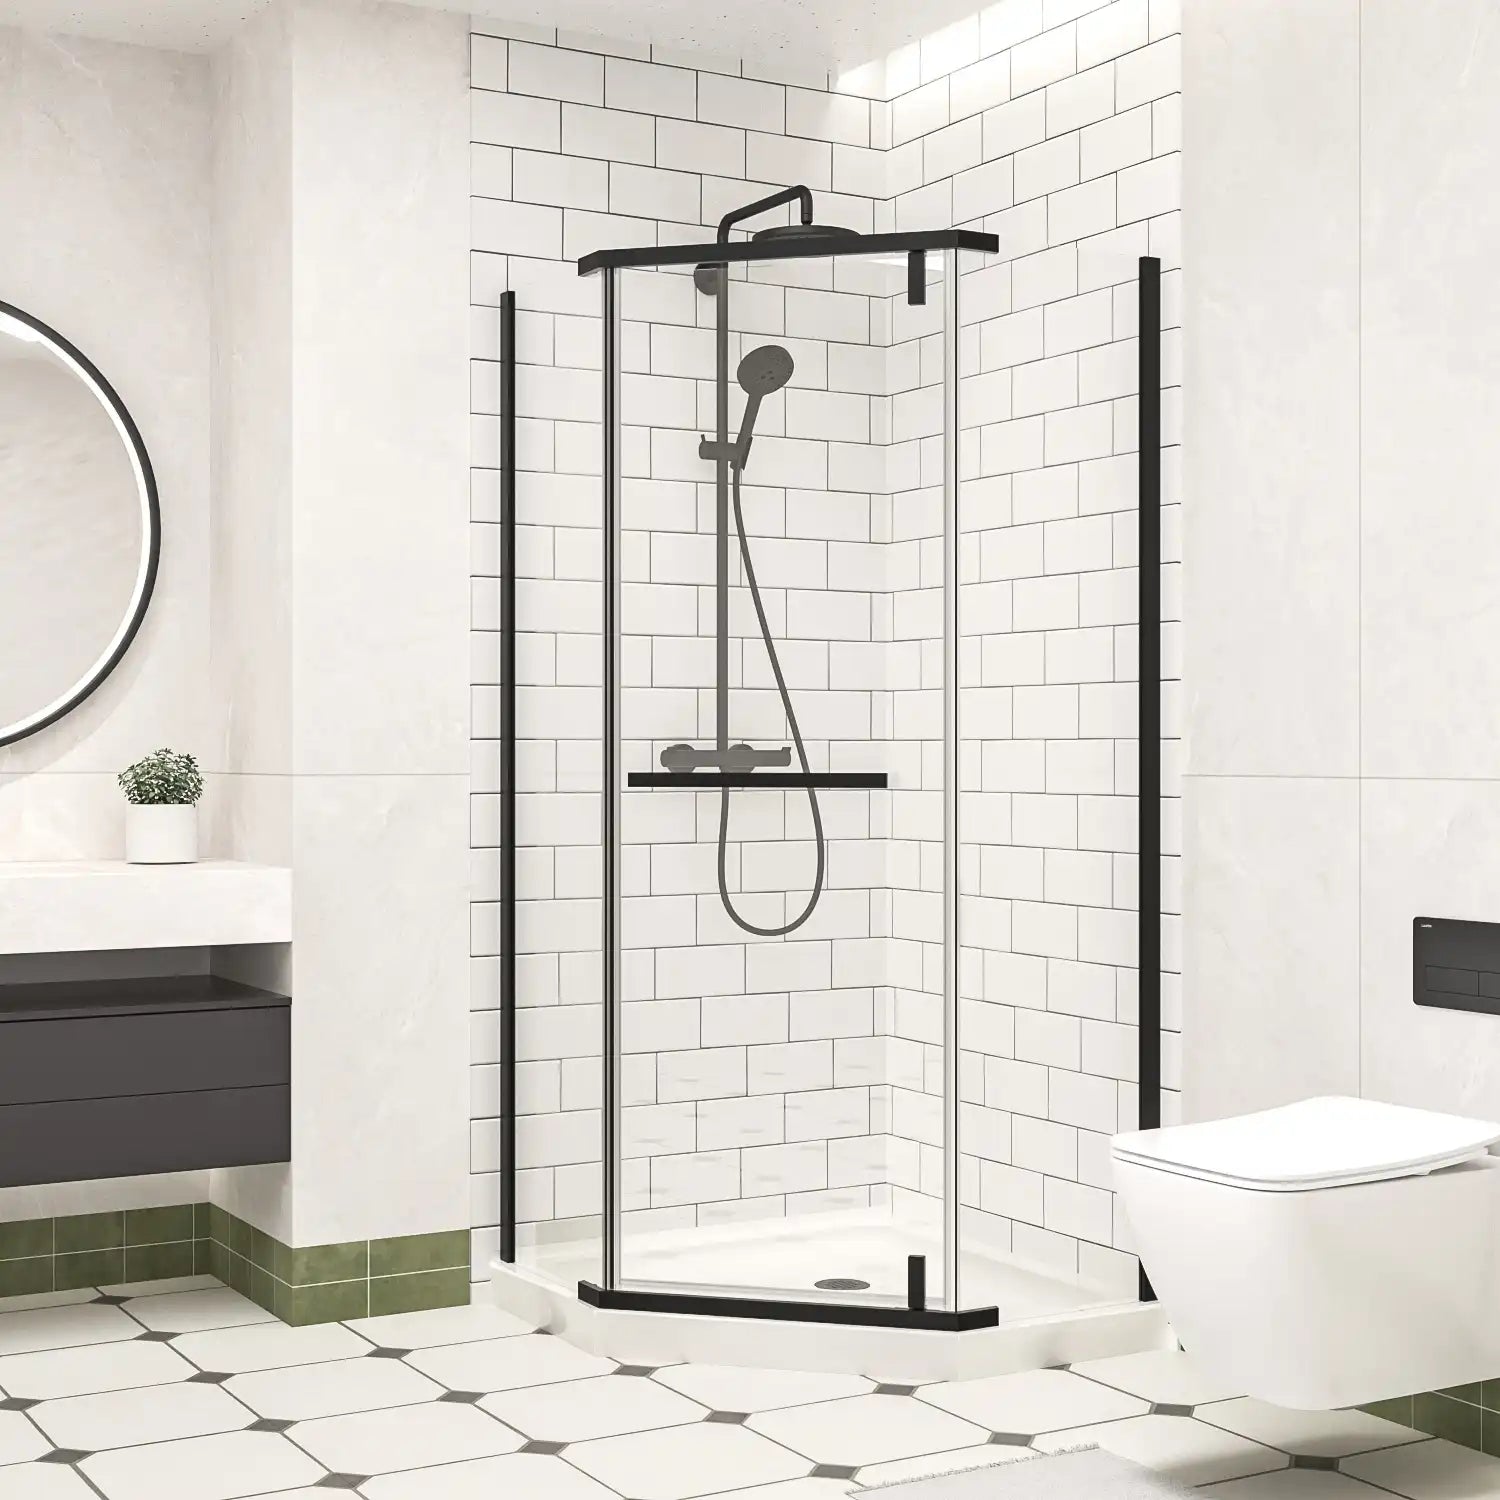
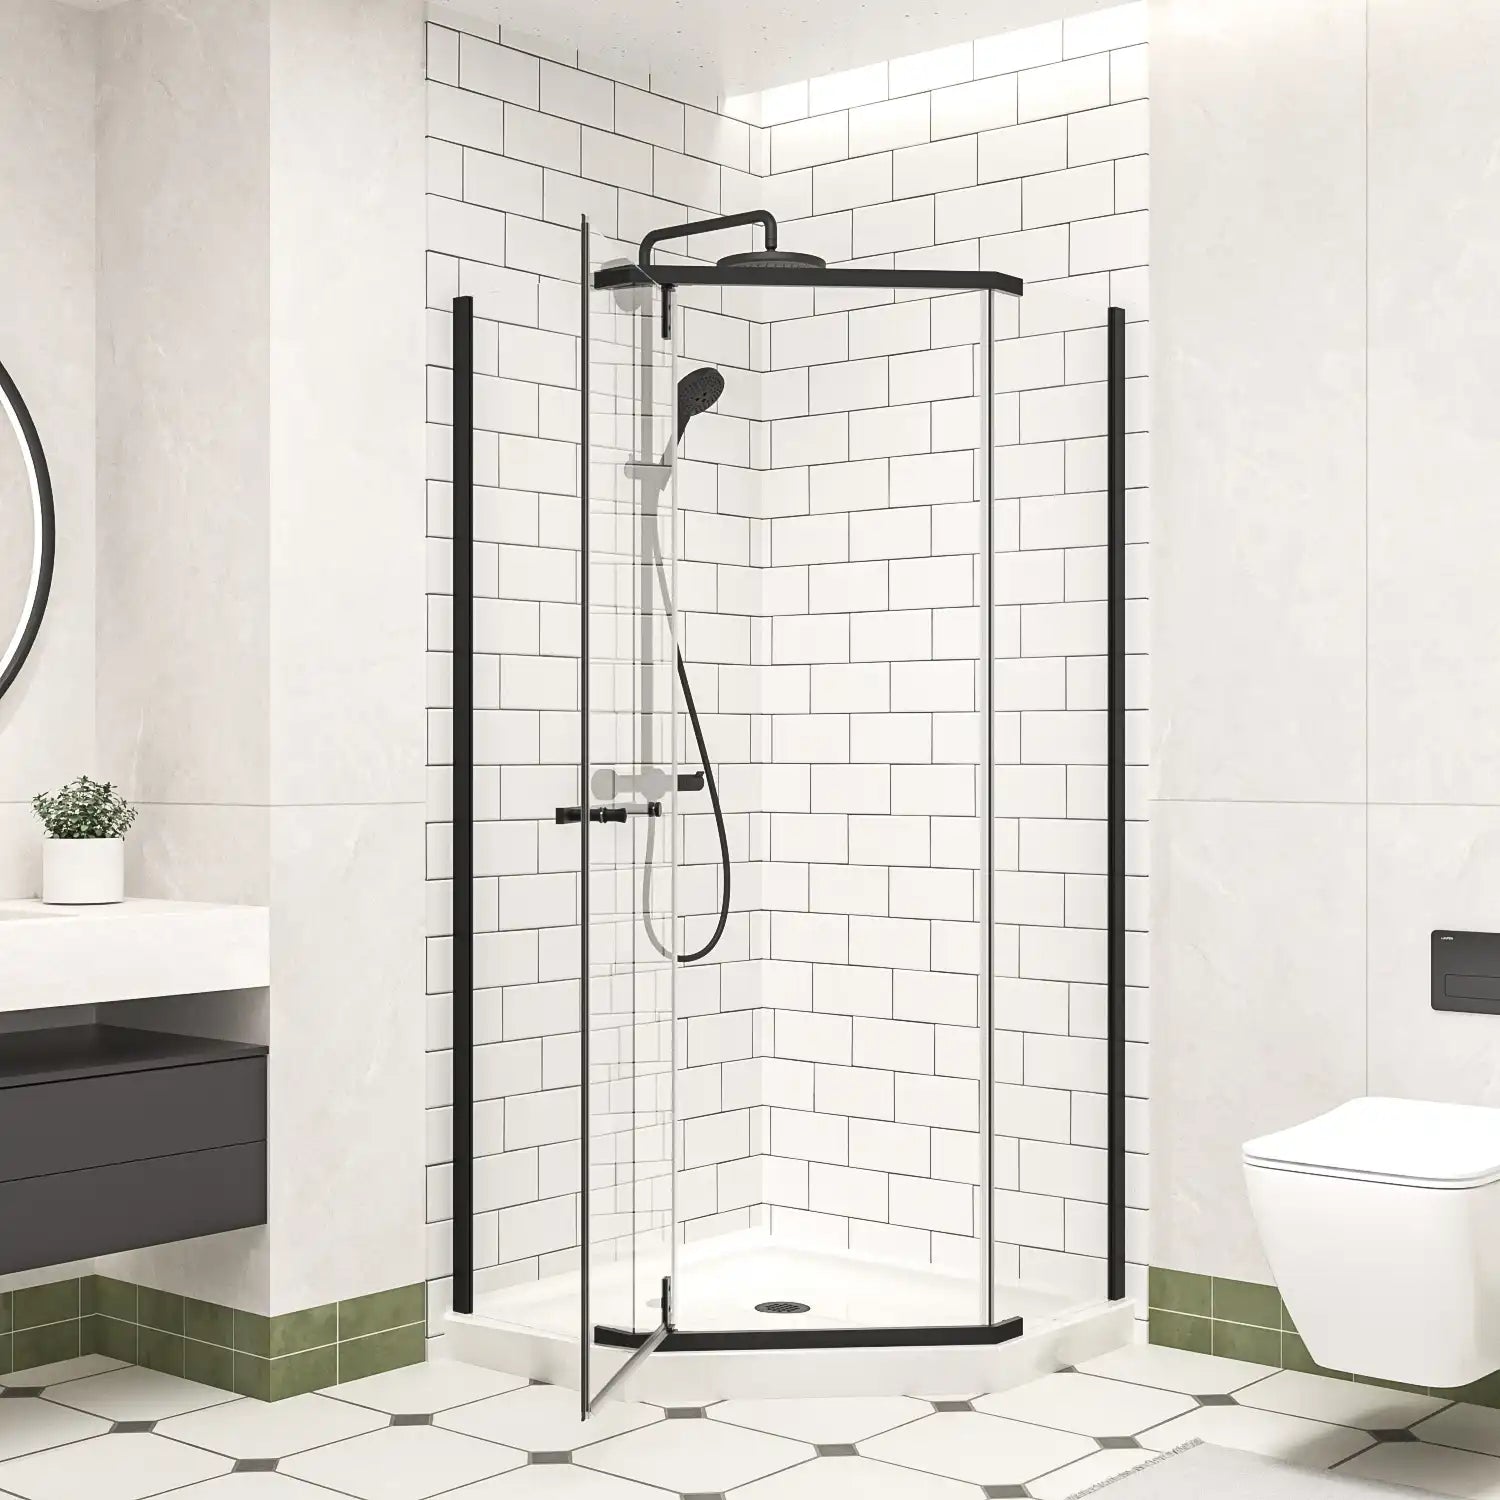
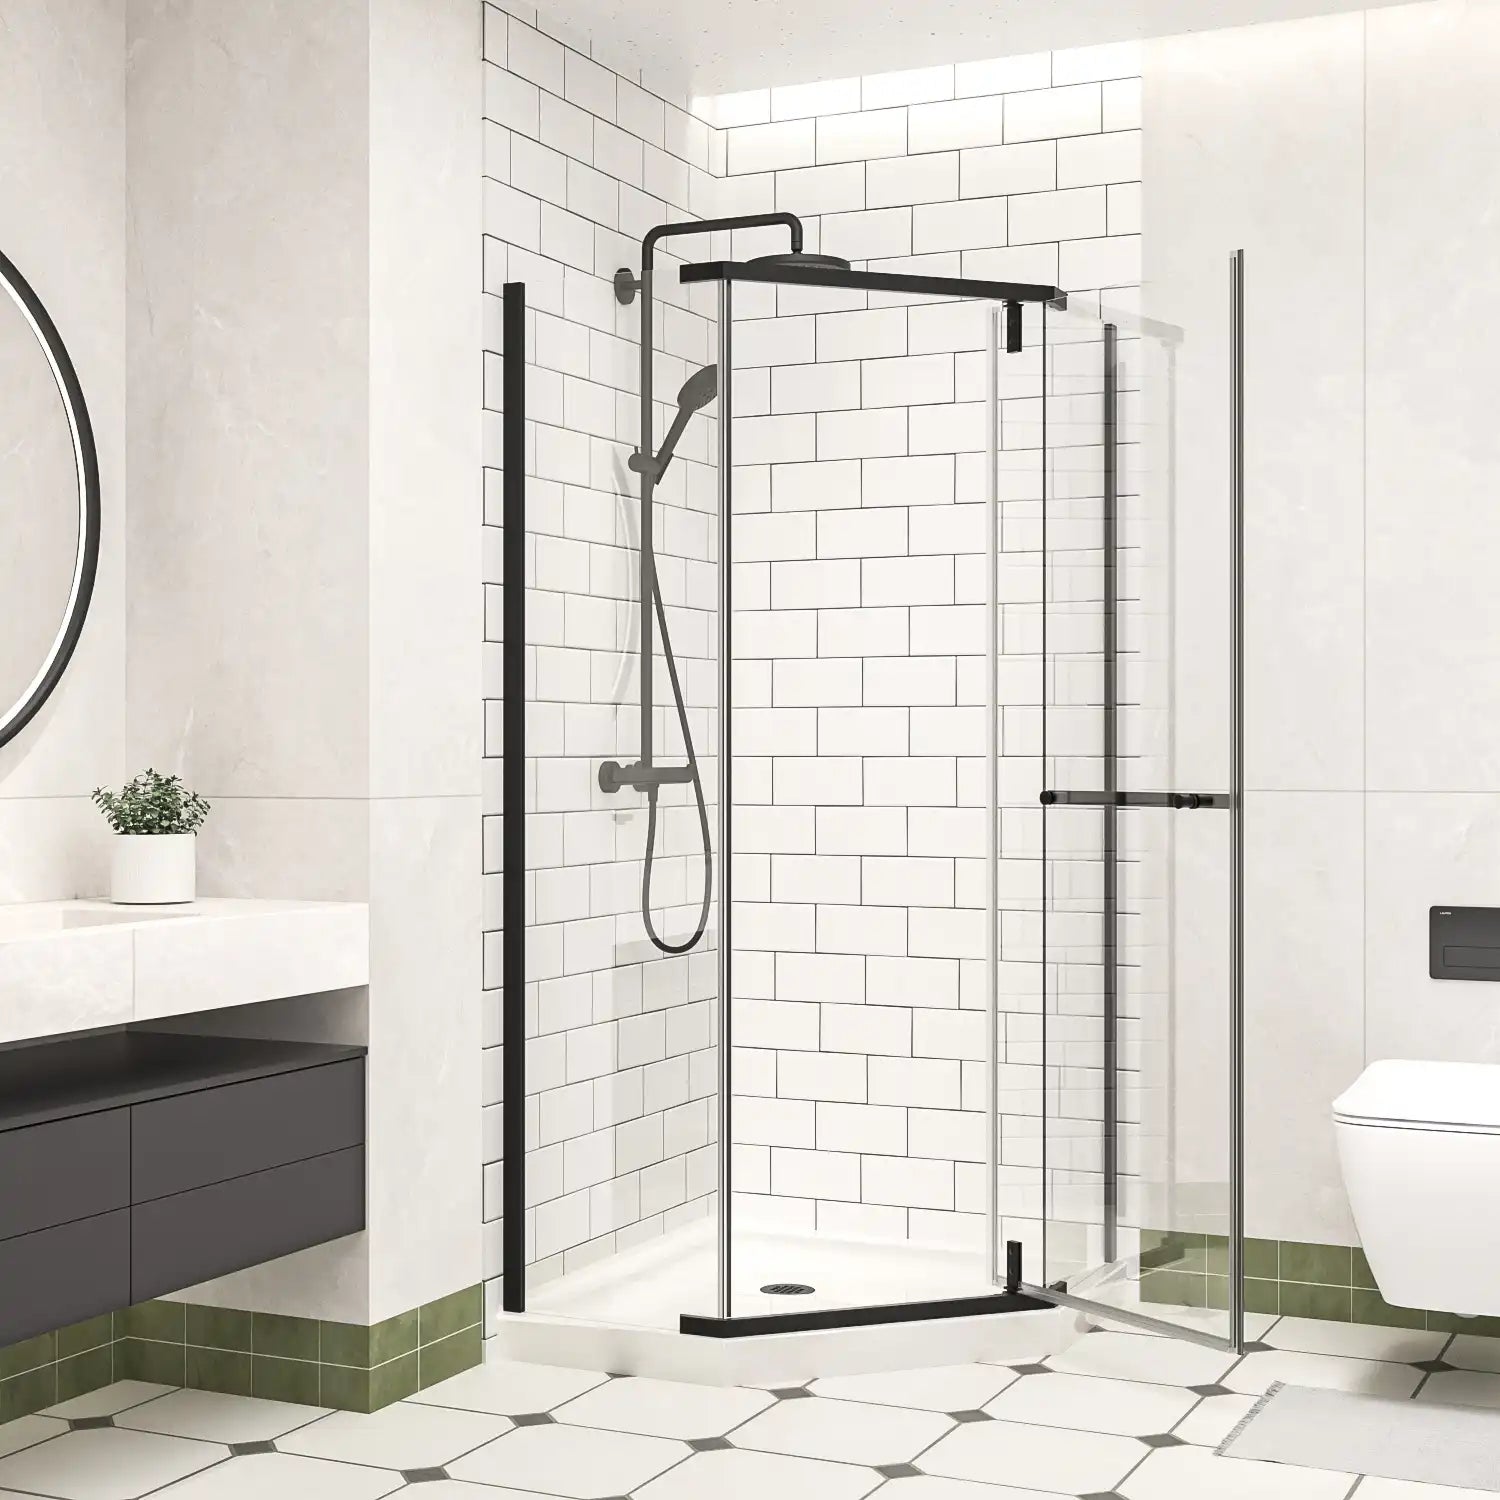
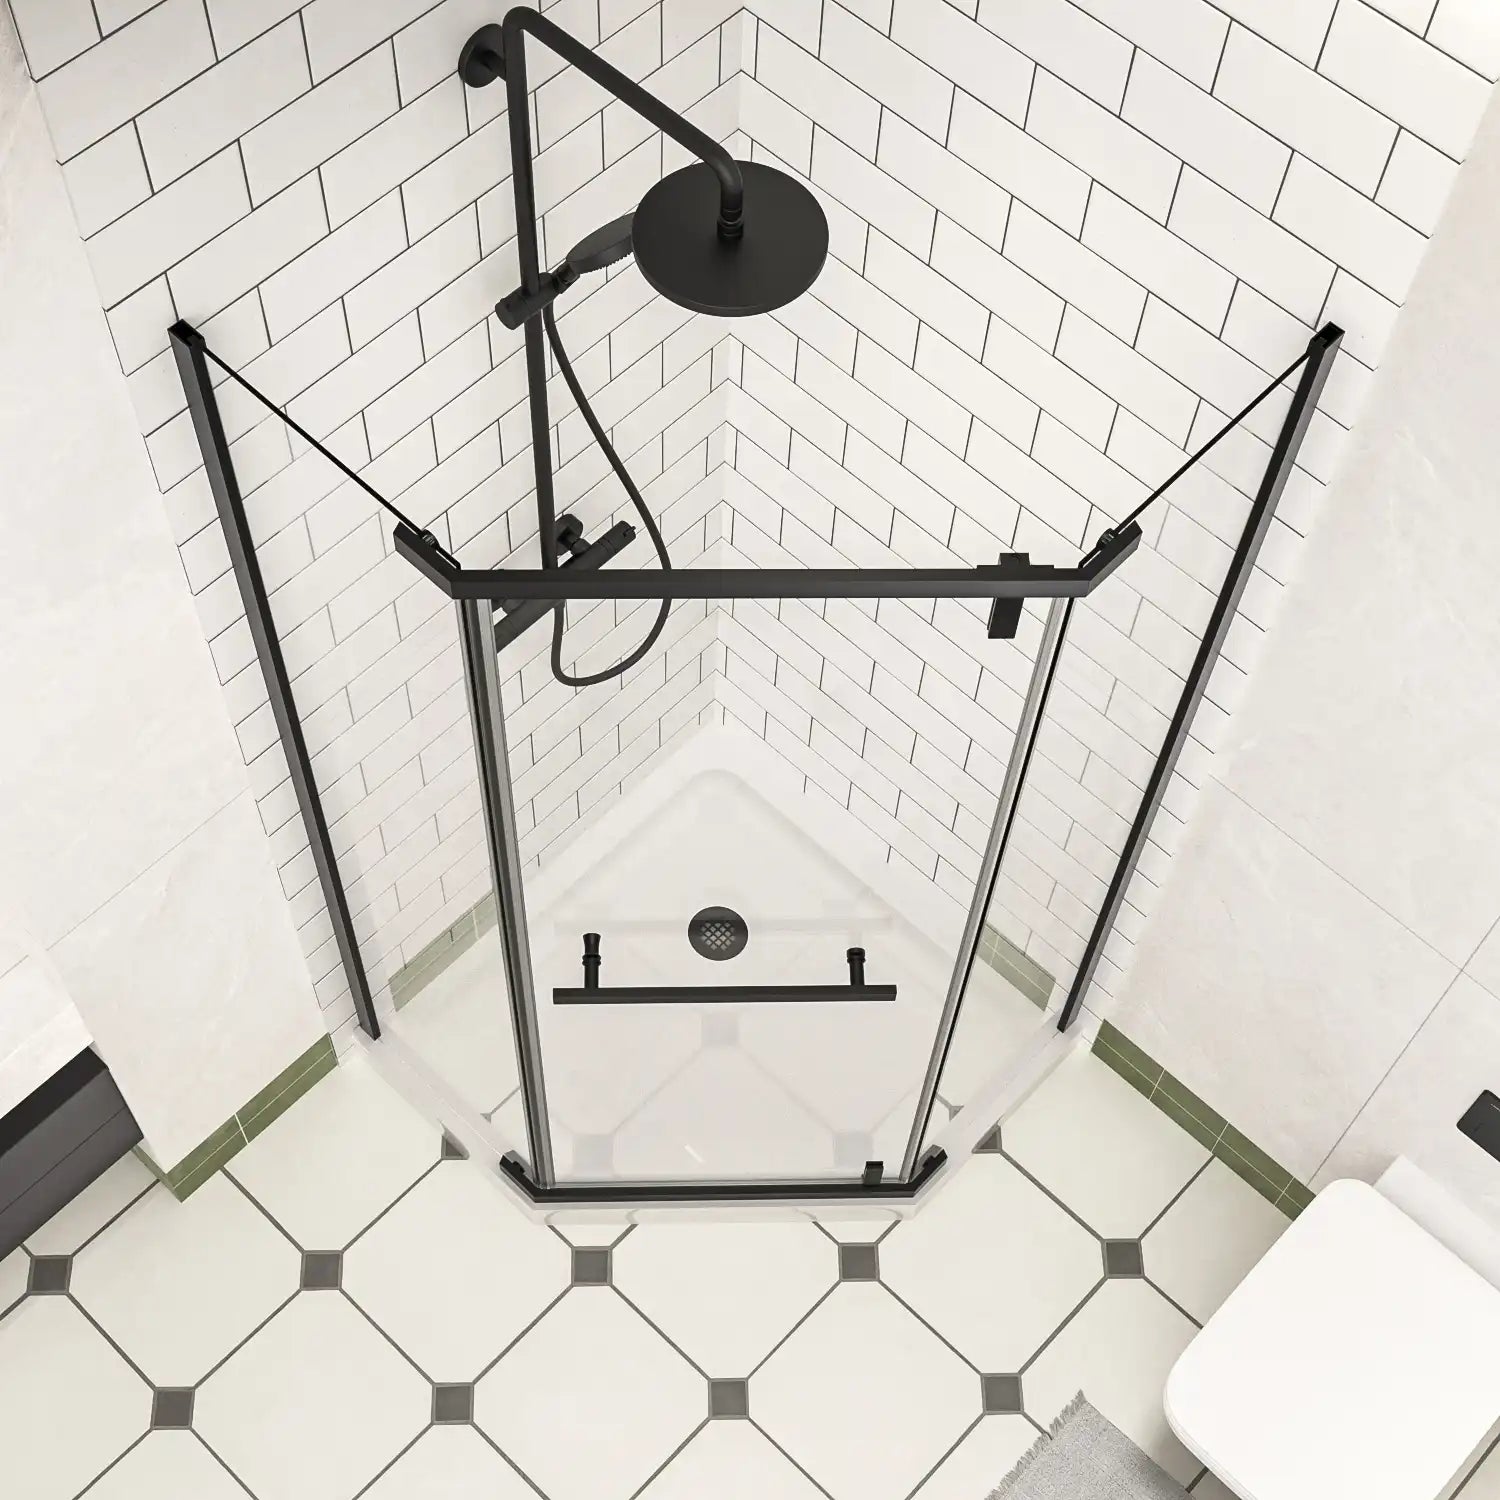
Hey, guys! Worried about your bathroom remodeling plan? Especially if your bathroom is small and space is limited, you might be thinking about installing a Corner Shower Enclosure to save space. But are you worried about potential decoration problems? Don’t worry—today, we’ll dive into the key points you need to pay attention to when installing a corner shower enclosure to help you steer clear of common renovation pitfalls.
Renovating is never something to take lightly. Without proper planning from the start, you might spend time and money only to be left with unsatisfactory results. So let’s guide you through your bathroom transformation journey to ensure that you achieve not only a stunning design but also a highly functional and enjoyable showering experience.
Why Choose a Corner Shower Enclosure?

1. Save Space
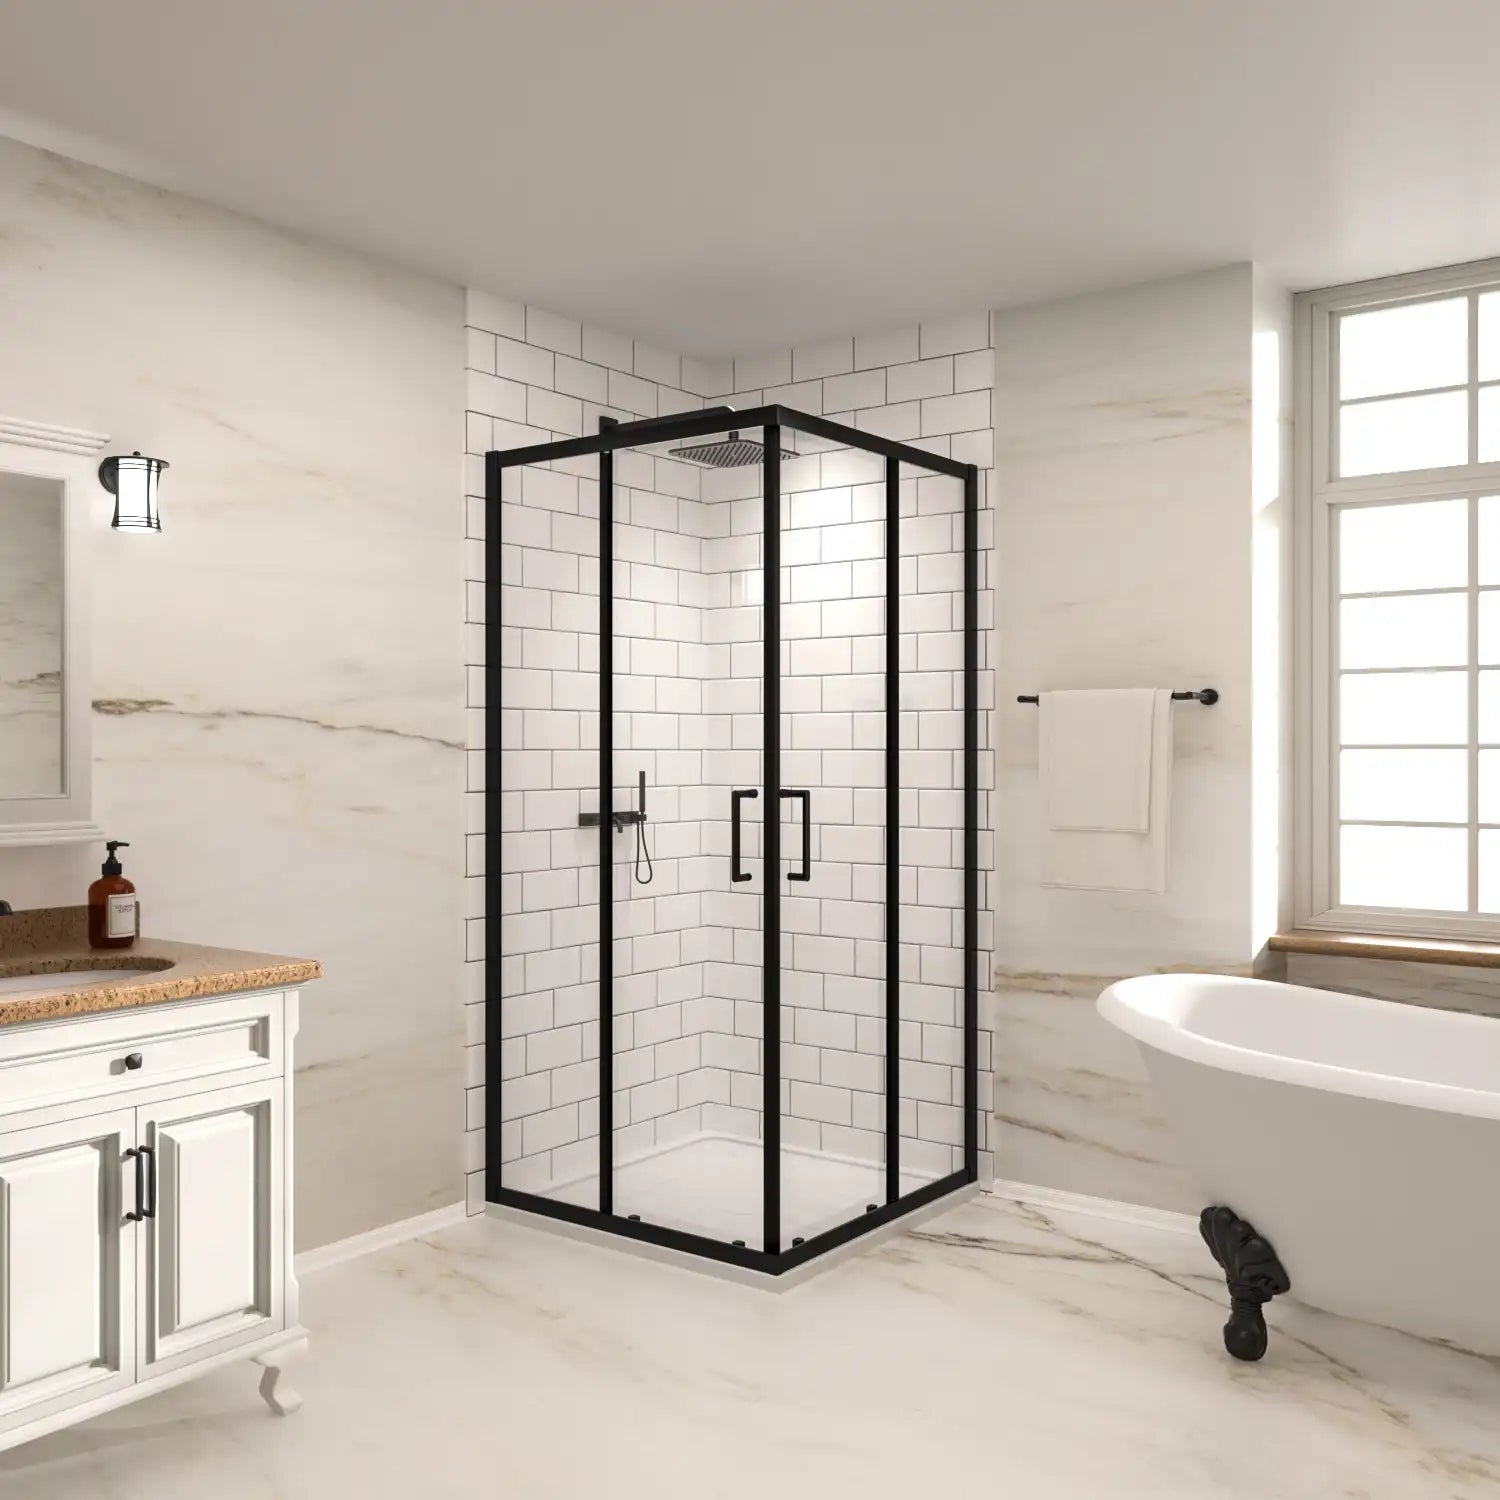
Corner shower enclosures make full use of the bathroom’s corner area, ensuring no extra space is wasted. This design is especially friendly for small bathrooms, providing a separate showering area without making the space feel cramped.
2. Improve Your Design Aesthetic
With options ranging from clear glass panels to matte metal frames, corner shower enclosures offer a variety of designs. These enclosures can seamlessly integrate into styles like modern, Nordic, or industrial, instantly elevating your bathroom’s look.
3. Superior Waterproof Performance
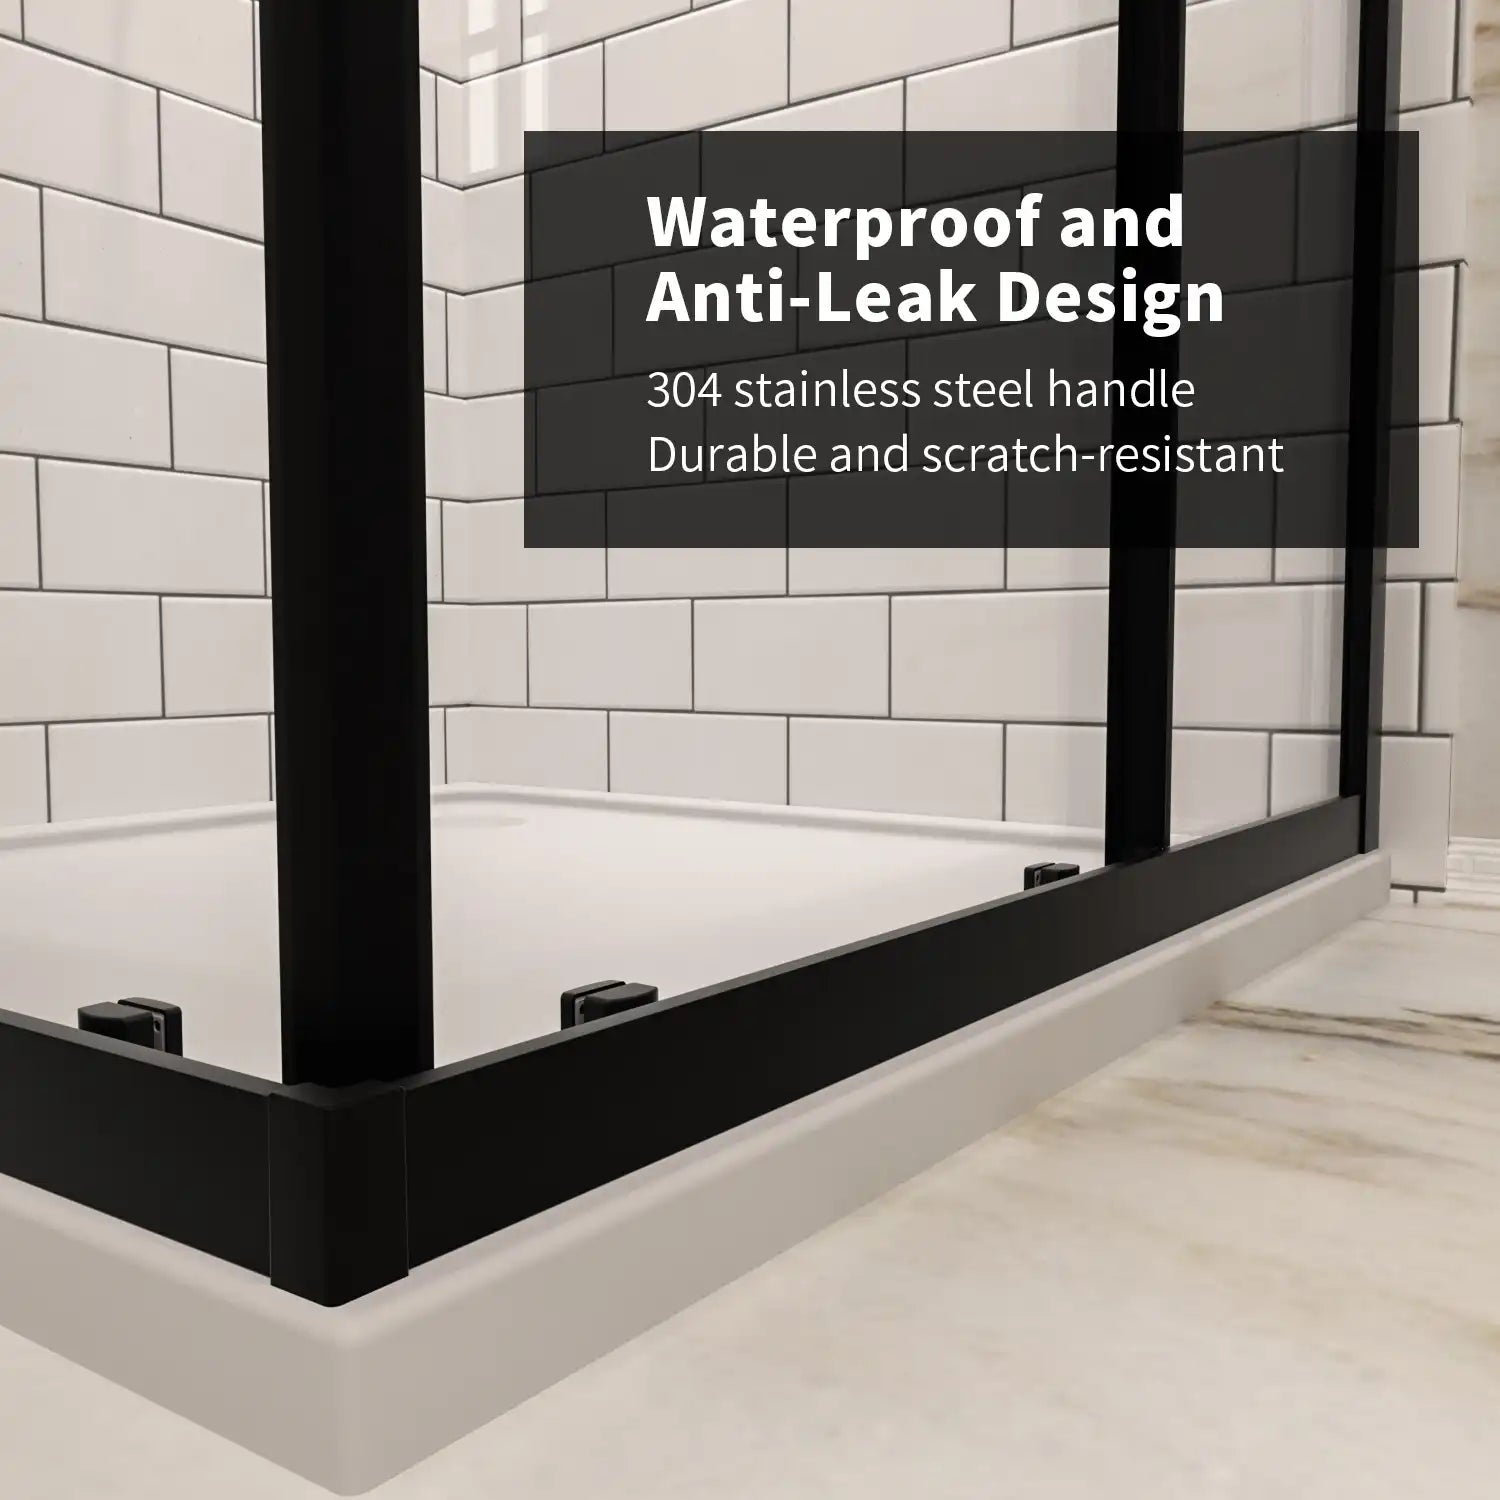
Traditional open showers often lead to water splashing around, leaving your bathroom floor slippery and increasing the cleaning burden. In contrast, the closed design of a corner shower enclosure effectively minimizes these issues. The glass walls and seal strips prevent water leakage, keeping the rest of the bathroom dry.
This enhanced waterproof capability not only improves convenience but also ensures greater safety for families with children or elderly members.
Precautions When Installing a Corner Shower Enclosure

1. Plan the Drainage System Thoroughly
The efficiency of your shower enclosure’s drainage system directly impacts its functionality. Poor drainage can lead to water pooling in the shower or even leaking into other bathroom areas.
What to Do:
- Verify the location of the drain and ensure that the pipeline is clear and functional before installation begins.
- Design the floor with a slight slope (around 1%-2%) to allow water to naturally flow toward the drain.
- If possible, consider incorporating a shower base with advanced drainage features to further enhance water flow.
2. Take Accurate Measurements to Avoid Size Errors
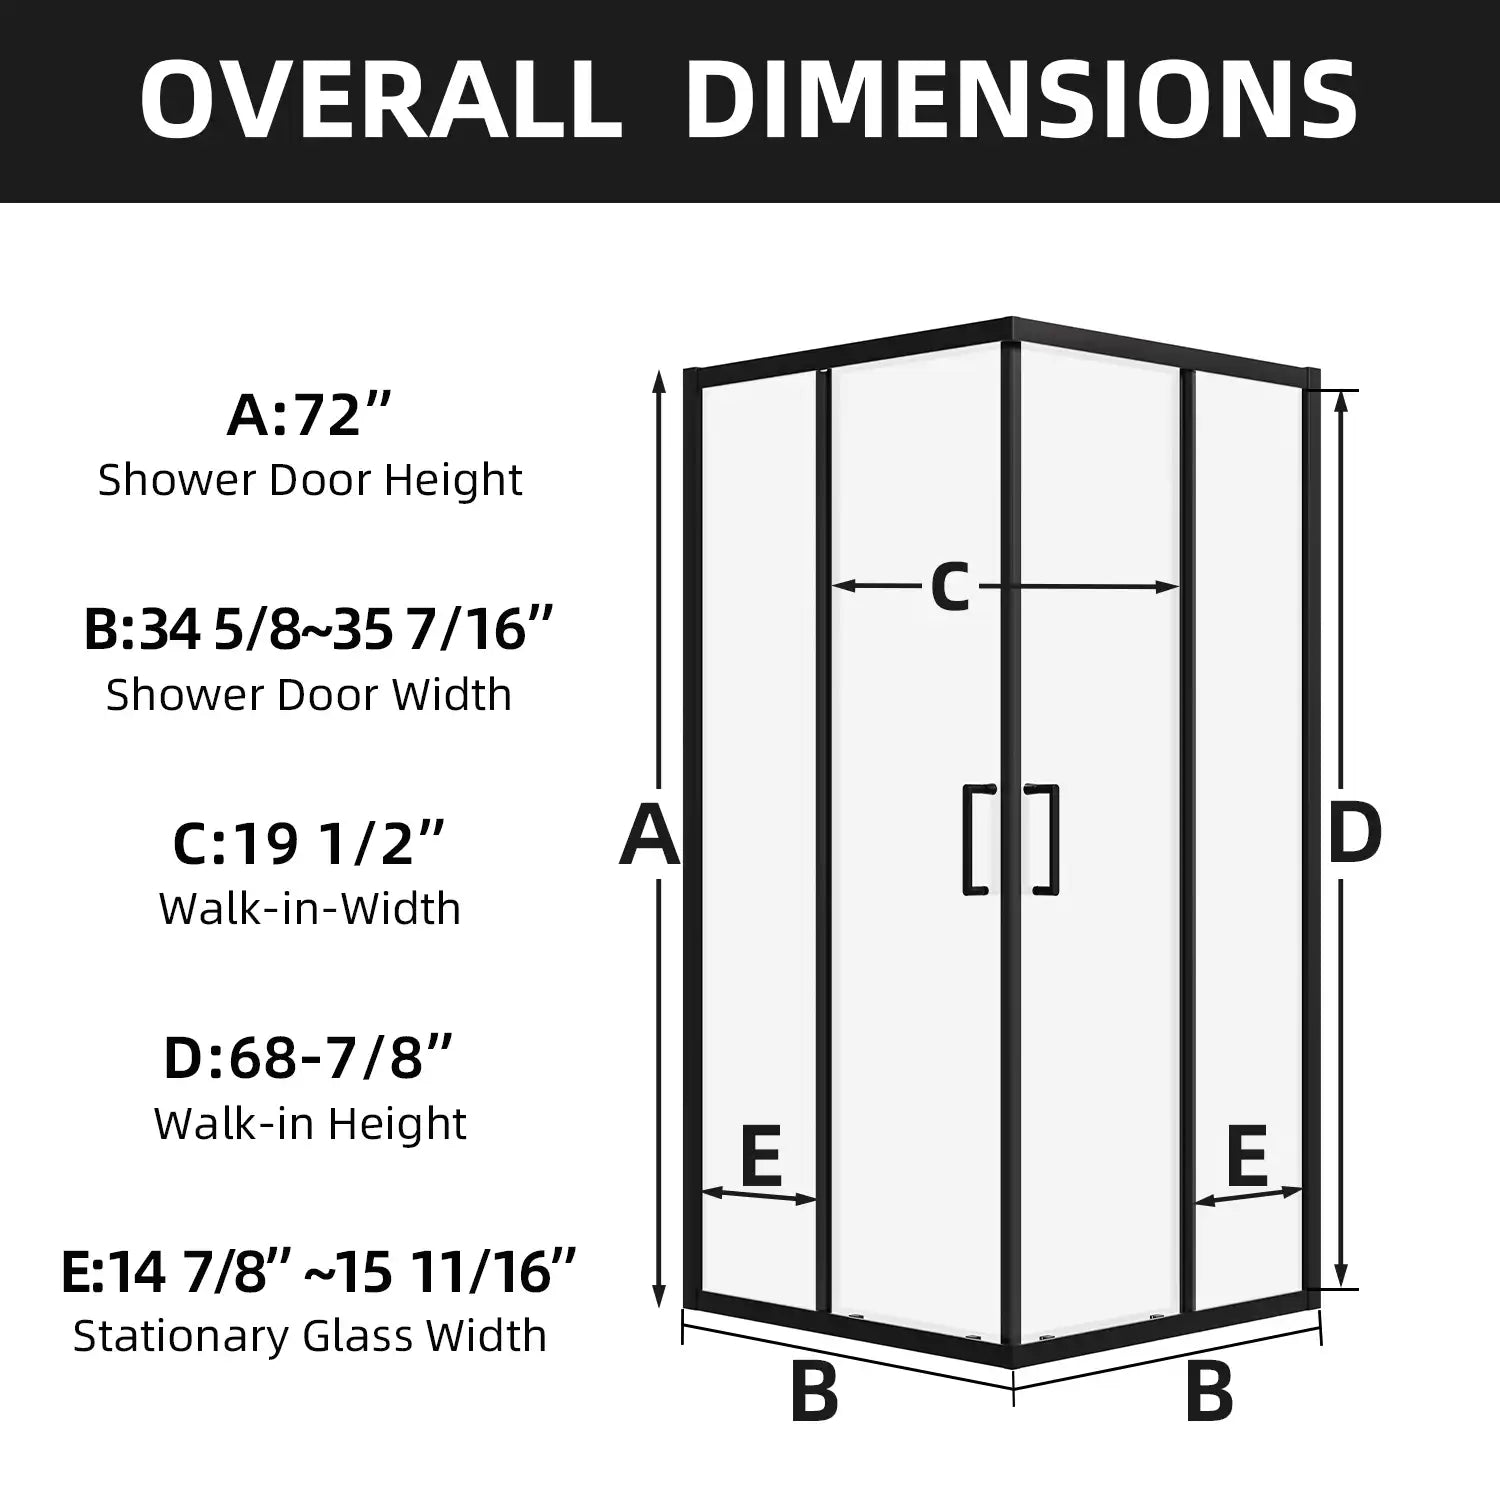
Getting the dimensions right is crucial when installing a corner shower enclosure. Incorrect measurements can lead to instability or gaps that compromise the enclosure’s functionality.
Steps to Take:
- Measure the dimensions of the floor and walls, including height, width, and depth.
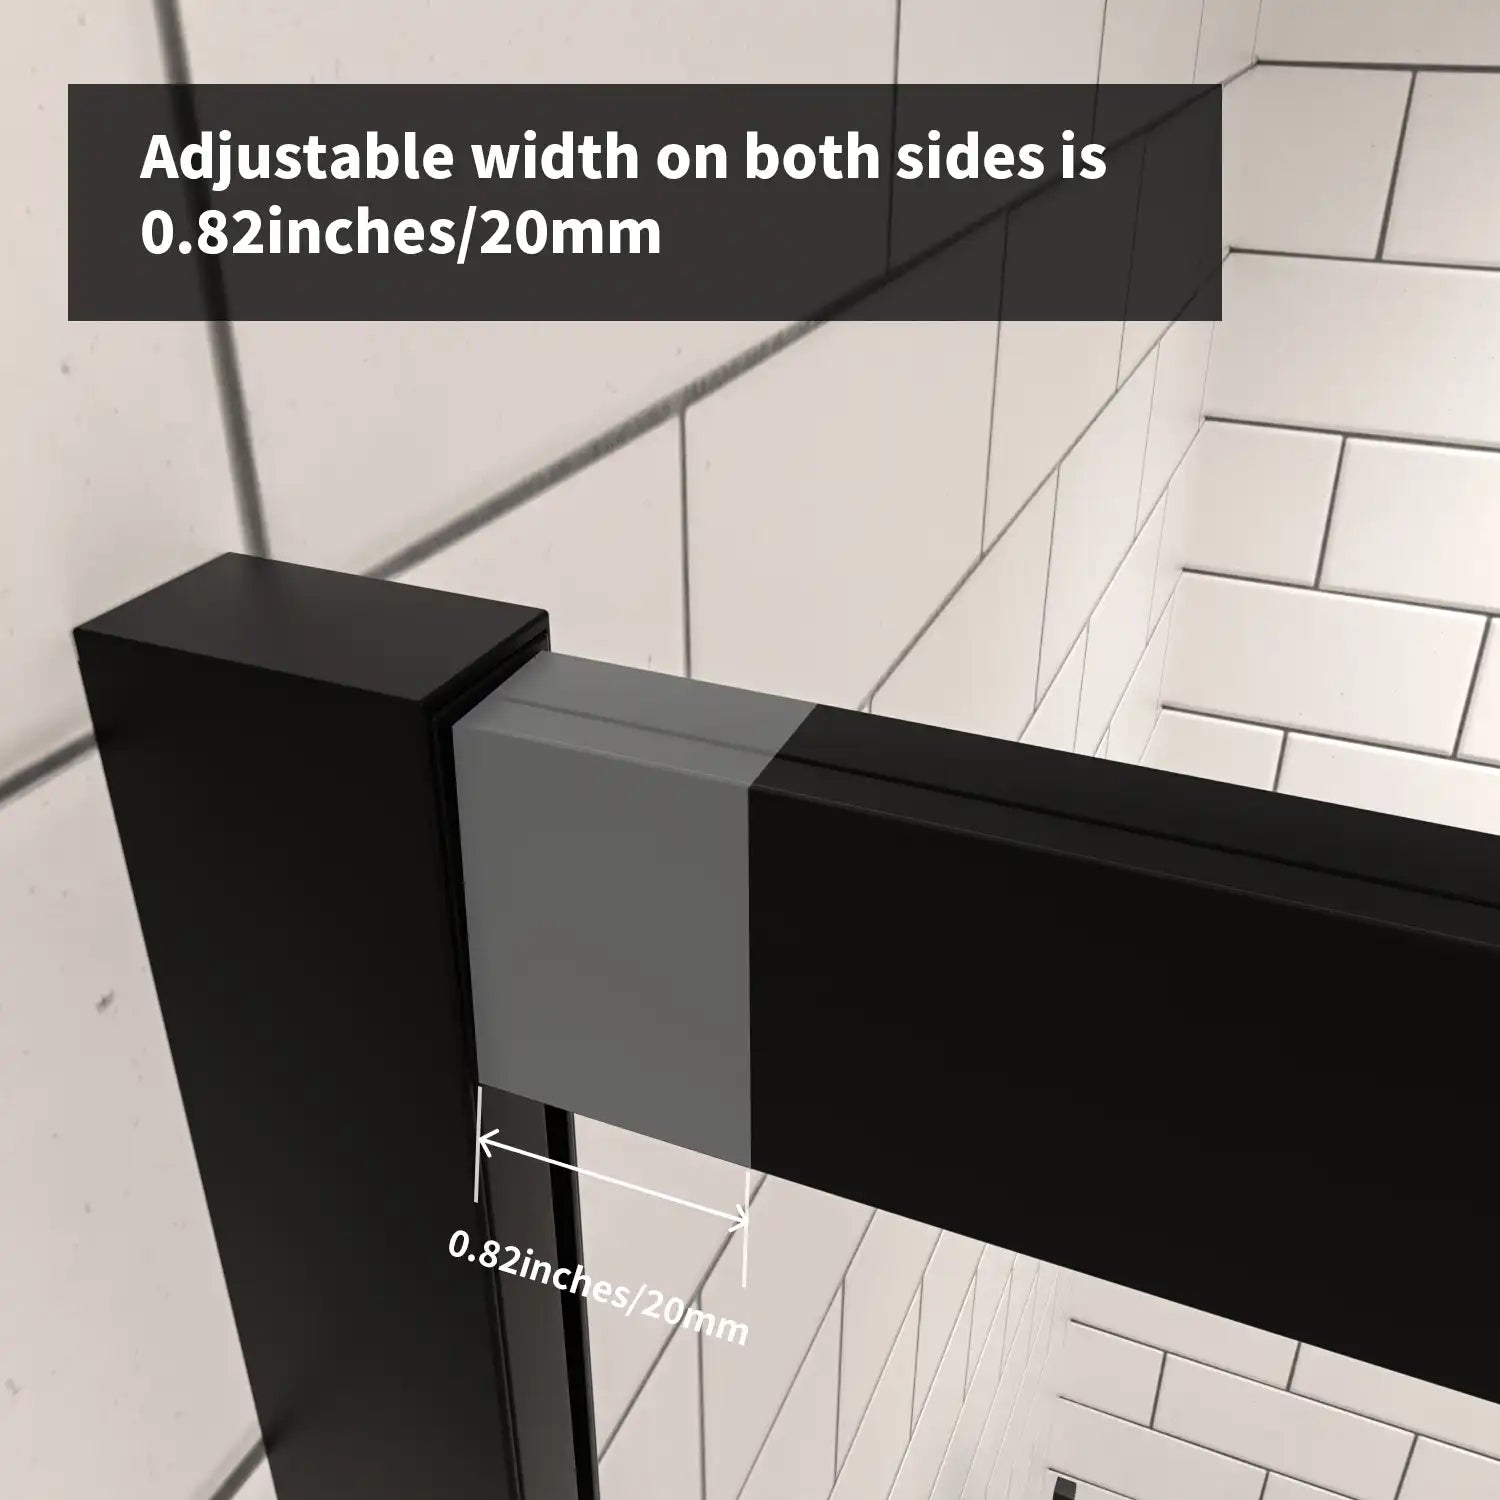
- Account for potential irregularities, such as uneven walls, and prepare solutions in advance.
- For small bathrooms, opt for space-saving designs such as curved or sliding doors to maximize usable space.
3. Choose Compatible Materials for Walls and Floors
The materials you choose for the shower enclosure’s walls and floors significantly affect both its durability and safety. Mismatched materials could compromise the enclosure’s stability or lead to future maintenance issues.
Tips:
- Use high-hardness materials like tiles or stone for the walls to ensure the tracks and frames can be securely fixed.
- Opt for non-slip tiles for the floor, and consider adding a textured shower mat for added safety within the enclosure.
4. Prioritize High-Quality Sealing to Prevent Water Leaks
Leaks are one of the most common problems with corner shower enclosures, especially at seams or corners. Poor sealing can lead to moisture damage in walls and floors, which may cause structural issues over time.
Sealing Recommendations:
- Use premium-grade waterproof sealant to secure the connection between the glass panels, wall, and shower base.
- Ensure even application of the sealant with no gaps or bubbles.
- Regularly inspect and replace sealant strips to address any signs of wear or aging.
5. Plan the Door Opening Direction Wisely
The shower door’s design and opening direction must align with the bathroom’s overall layout. A poorly planned door can interfere with other bathroom elements, reducing usability.
Design Suggestions:
- Sliding doors are ideal for small bathrooms as they don’t require extra clearance.
- For larger bathrooms, consider outward-opening doors for easier access.
- Ensure the door’s swing area is free of obstructions, such as sinks or toilets.
6. Factor in Cleaning and Maintenance Needs
Although corner shower enclosures are visually appealing, neglecting maintenance can turn cleaning into a hassle. For instance, sliding door tracks tend to collect water and debris, and glass panels may accumulate soap scum over time.
Maintenance Tips:
- Choose materials with easy-to-clean features, such as water-repellent glass or stain-resistant coatings.
- Avoid overly deep sliding door tracks, as they can be difficult to clean thoroughly.
- Install removable waterproof strips to facilitate cleaning and future replacements.
How to Avoid Common Installation Errors

Mistake 1: Poor Drainage Planning
Neglecting drainage systems during the planning phase often results in frequent water pooling and flow issues.
Solution: During the design stage, evaluate the bathroom’s overall drainage system, including the slope, pipe placement, and flow capacity.
Mistake 2: Choosing the Wrong Glass Thickness
Using glass that’s too thin can pose safety risks, while overly thick glass may complicate installation and increase costs.
Recommendation: Opt for 8mm to 10mm tempered glass, which offers a balance of safety, aesthetics, and practicality.
Mistake 3: Overlooking Waterproof Materials
Low-quality sealants or sealing strips are prone to quick degradation, leading to leaks and mold problems.
Suggestion: Invest in high-quality waterproof materials and schedule regular maintenance to ensure long-term effectiveness.
Summary: Comprehensive Planning Leads to Better Results
A corner shower enclosure is a functional and stylish addition to any bathroom, but its successful installation depends on attention to detail. From drainage and materials to sealing and cleaning, every aspect contributes to the overall outcome. By avoiding common mistakes and following these precautions, you can save time and effort while achieving a beautifully upgraded bathroom.

FAQ: Frequently Asked Questions About Corner Shower Enclosures
1. How small of a bathroom is suitable for a corner shower enclosure?
Corner shower enclosures work well in bathrooms as small as 2㎡. For extremely tight spaces, sliding door designs are highly recommended.
2. How long does it take to install a corner shower enclosure?
Professional installation typically takes 4-6 hours. If additional waterproofing or floor leveling is required, the process may take longer.
3. What glass thickness should I choose for my shower enclosure?
Tempered glass with a thickness of 8mm to 10mm is ideal for its combination of safety and durability. Glass with a waterproof coating can also help minimize maintenance.
4. Do shower enclosure sliding tracks need regular replacement?
Sliding tracks generally have a long lifespan, but it’s advisable to inspect them every 1-2 years. If you notice rust or difficulty in sliding, consider replacing the tracks.
5. How should uneven walls be addressed?
For uneven walls, adjustable shower enclosure models or custom designs are good solutions. Additionally, preparing the wall surface with proper leveling before installation is essential.
With this guide, you should feel confident in planning and installing your corner shower enclosure. We hope these tips will help you achieve a bathroom that’s both stylish and functional! If you have further questions, feel free to leave a comment below.
Popular Blog Review:
Top Mistakes to Avoid When Choosing a Mirror Size for Your Bathroom Vanity
Maximizing Space: Should Your Shower Door Go All the Way to the Ceiling?
How to Choose the Right Size Round Mirror for Your Bathroom Vanity

