Table of Contents
- 1. Check Wall and Floor Levels First
- 2. Ensure the Track Is Secure
- 3. Remove Old Sealant Thoroughly
- 4. Choose the Right Sealing Material
- 5. Use Habits That Protect the Seal Shower Door Frame
- 6. Conclusion
- 7. FAQ
- 8. Related Articles
Introduction
Have you ever encountered such a problem? You installed your favorite glass shower door, and it worked fine at first. But after a while, you noticed the floor getting damp, water seeping into the corners, and even the bathroom cabinet being eroded by moisture. You had already sealed the shower door frame—so why did this happen?
This is a common oversight among many mid-to-high-end households during bathroom renovations: mistakenly believing that sealing the shower door frame only requires applying a ring of sealant. In fact, what truly determines the performance of a seal shower door frame is whether several critical pre-installation checks have been properly done.
According to a 2023 report by Home Innovation Research Labs, approximately 21% of bathroom leak incidents in the U.S. are due to issues like uneven floors or unstable door tracks, not sealant failure. This indicates the real culprit often lies beneath the surface—literally.
If you're about to seal shower door frame systems in your home, make sure to go through the following four checks first. These are the make-or-break steps that determine whether your seal will last 10 years—or fail in just 3 months.

1. Check Wall and Floor Levels First
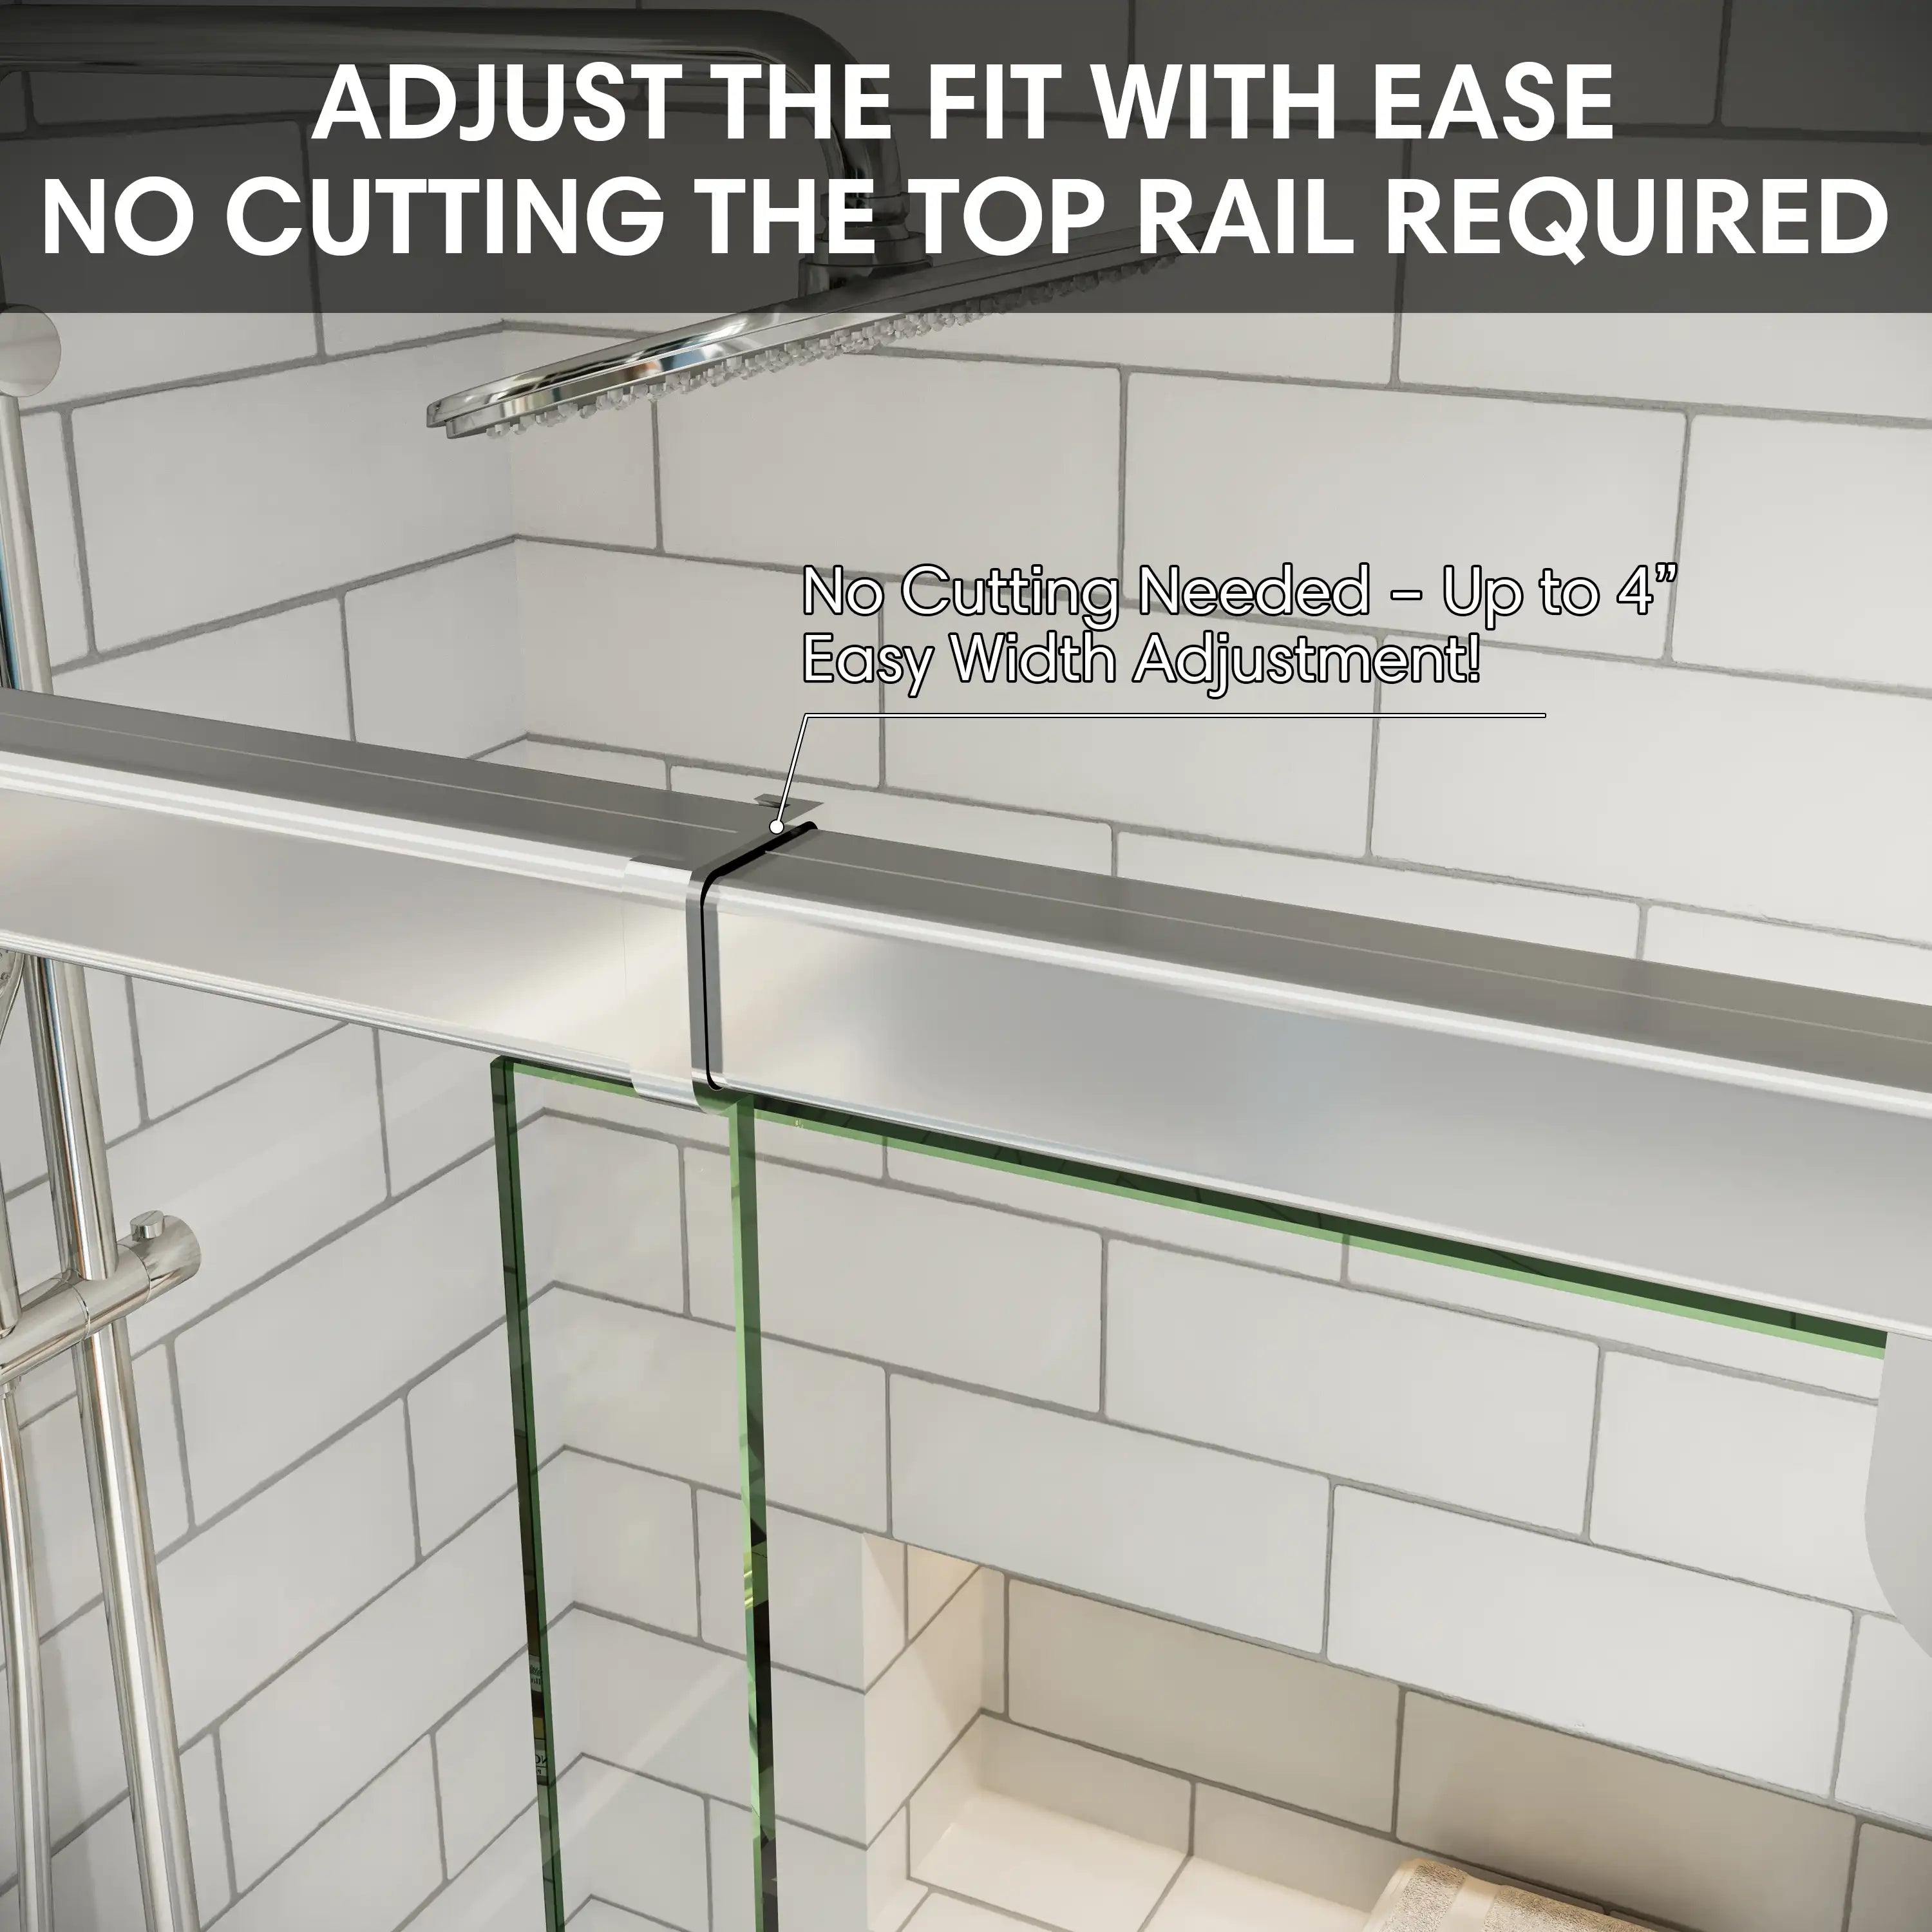
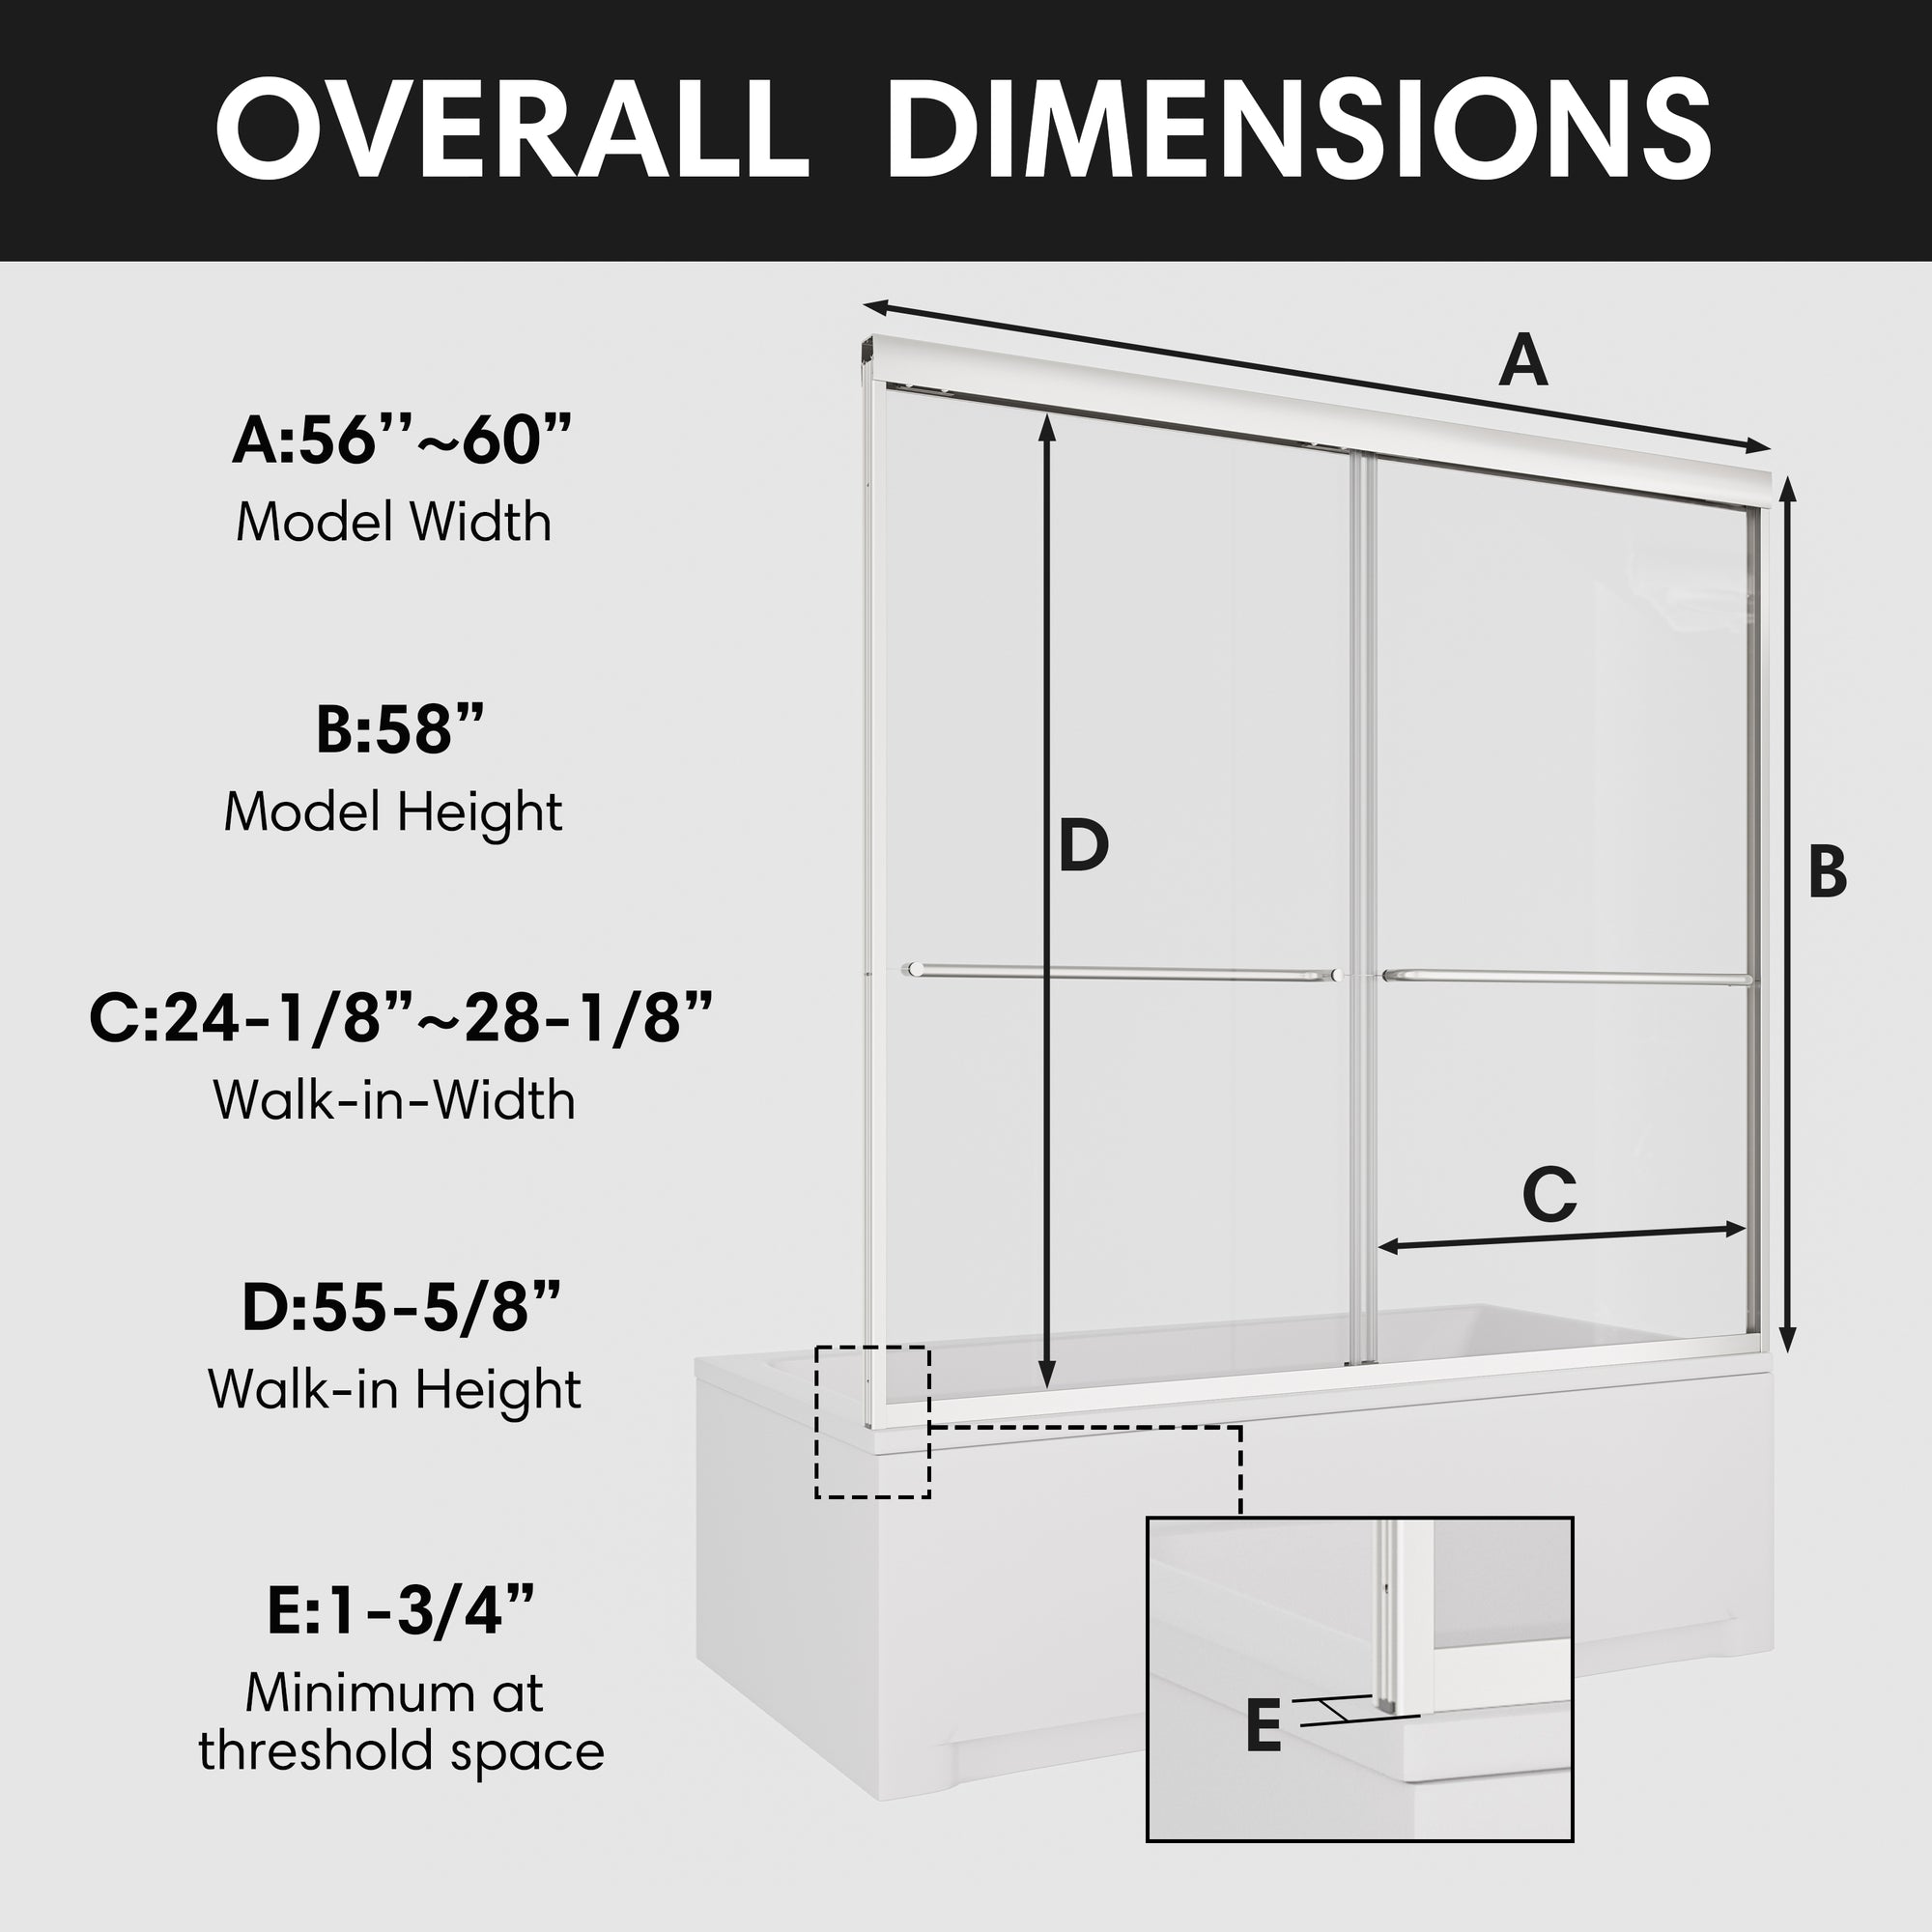
Even if a bathroom looks neat, hidden 1–3 degree tilts between the wall and floor tiles are common. This slight misalignment can create invisible gaps after you seal shower door frame elements, leaving long-term leakage risks.
Before installing your shower door, use a laser level or spirit level to check for slope or uneven surfaces, especially in older homes or those with manually laid tiles. If the deviation exceeds 3mm, level the area or adjust the track height accordingly.
This step might feel tedious, but it's a crucial foundation. Without a level surface, no amount of high-quality sealant will make your seal shower door frame truly watertight.
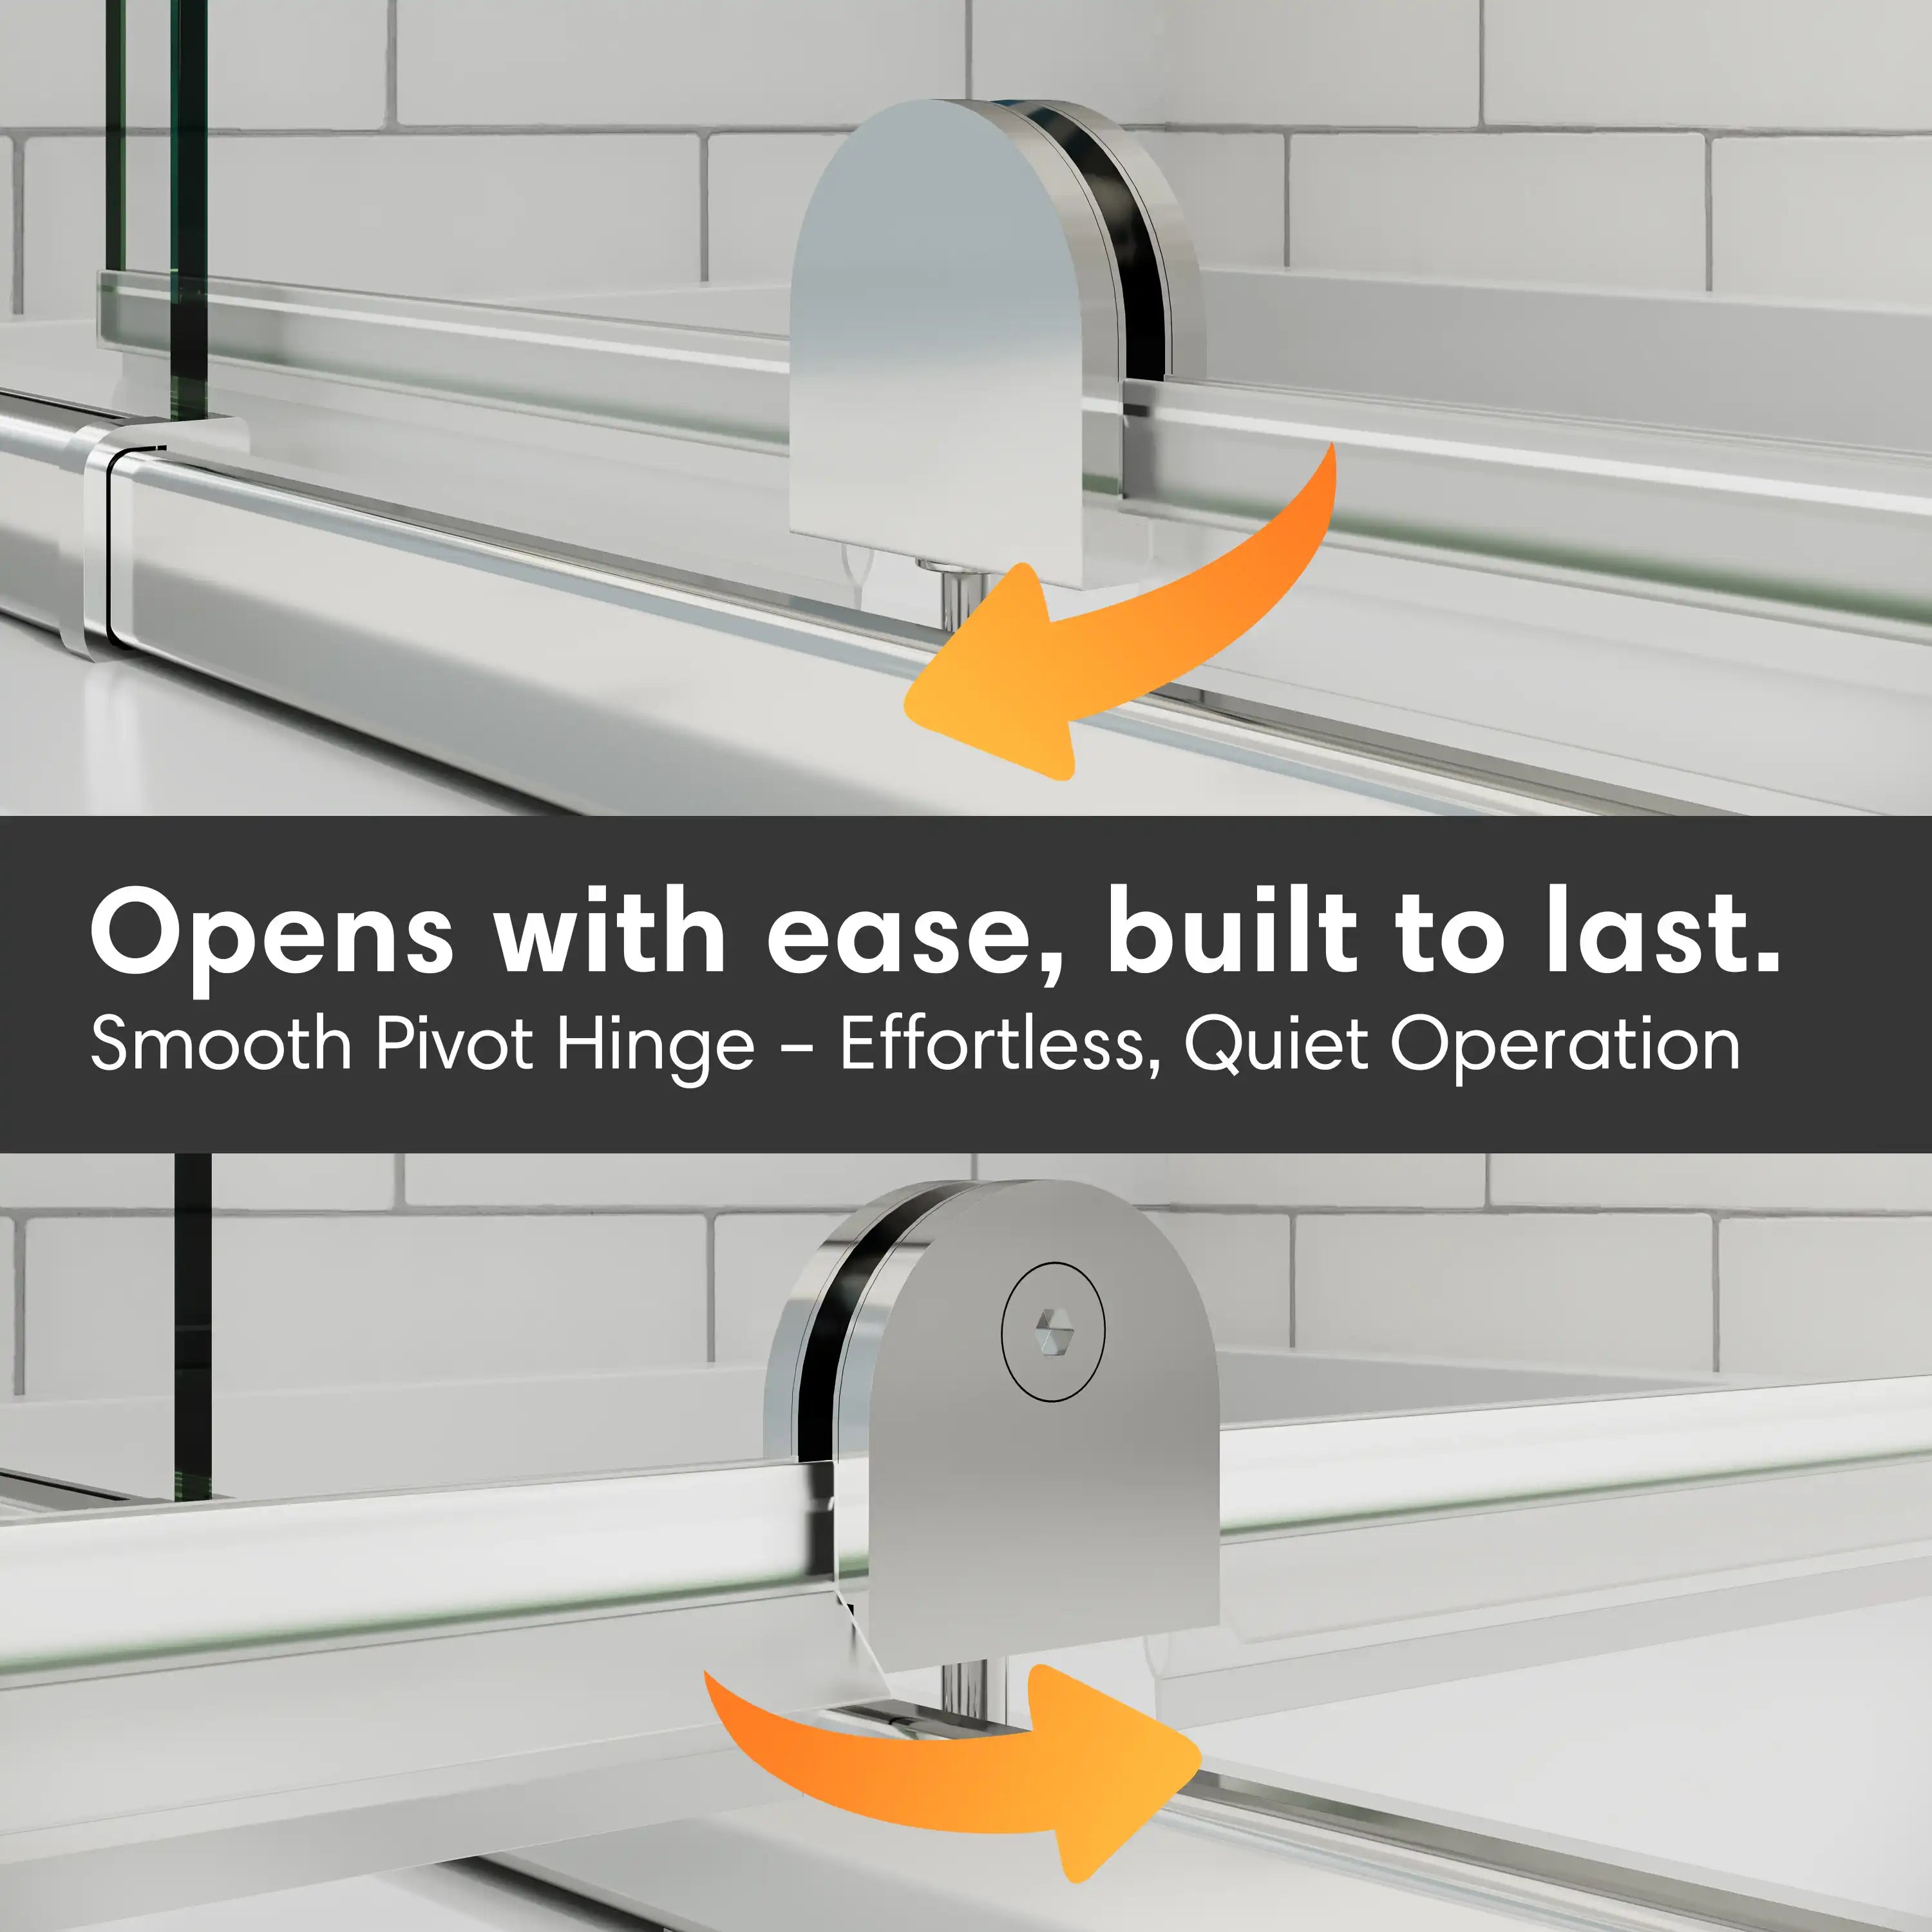
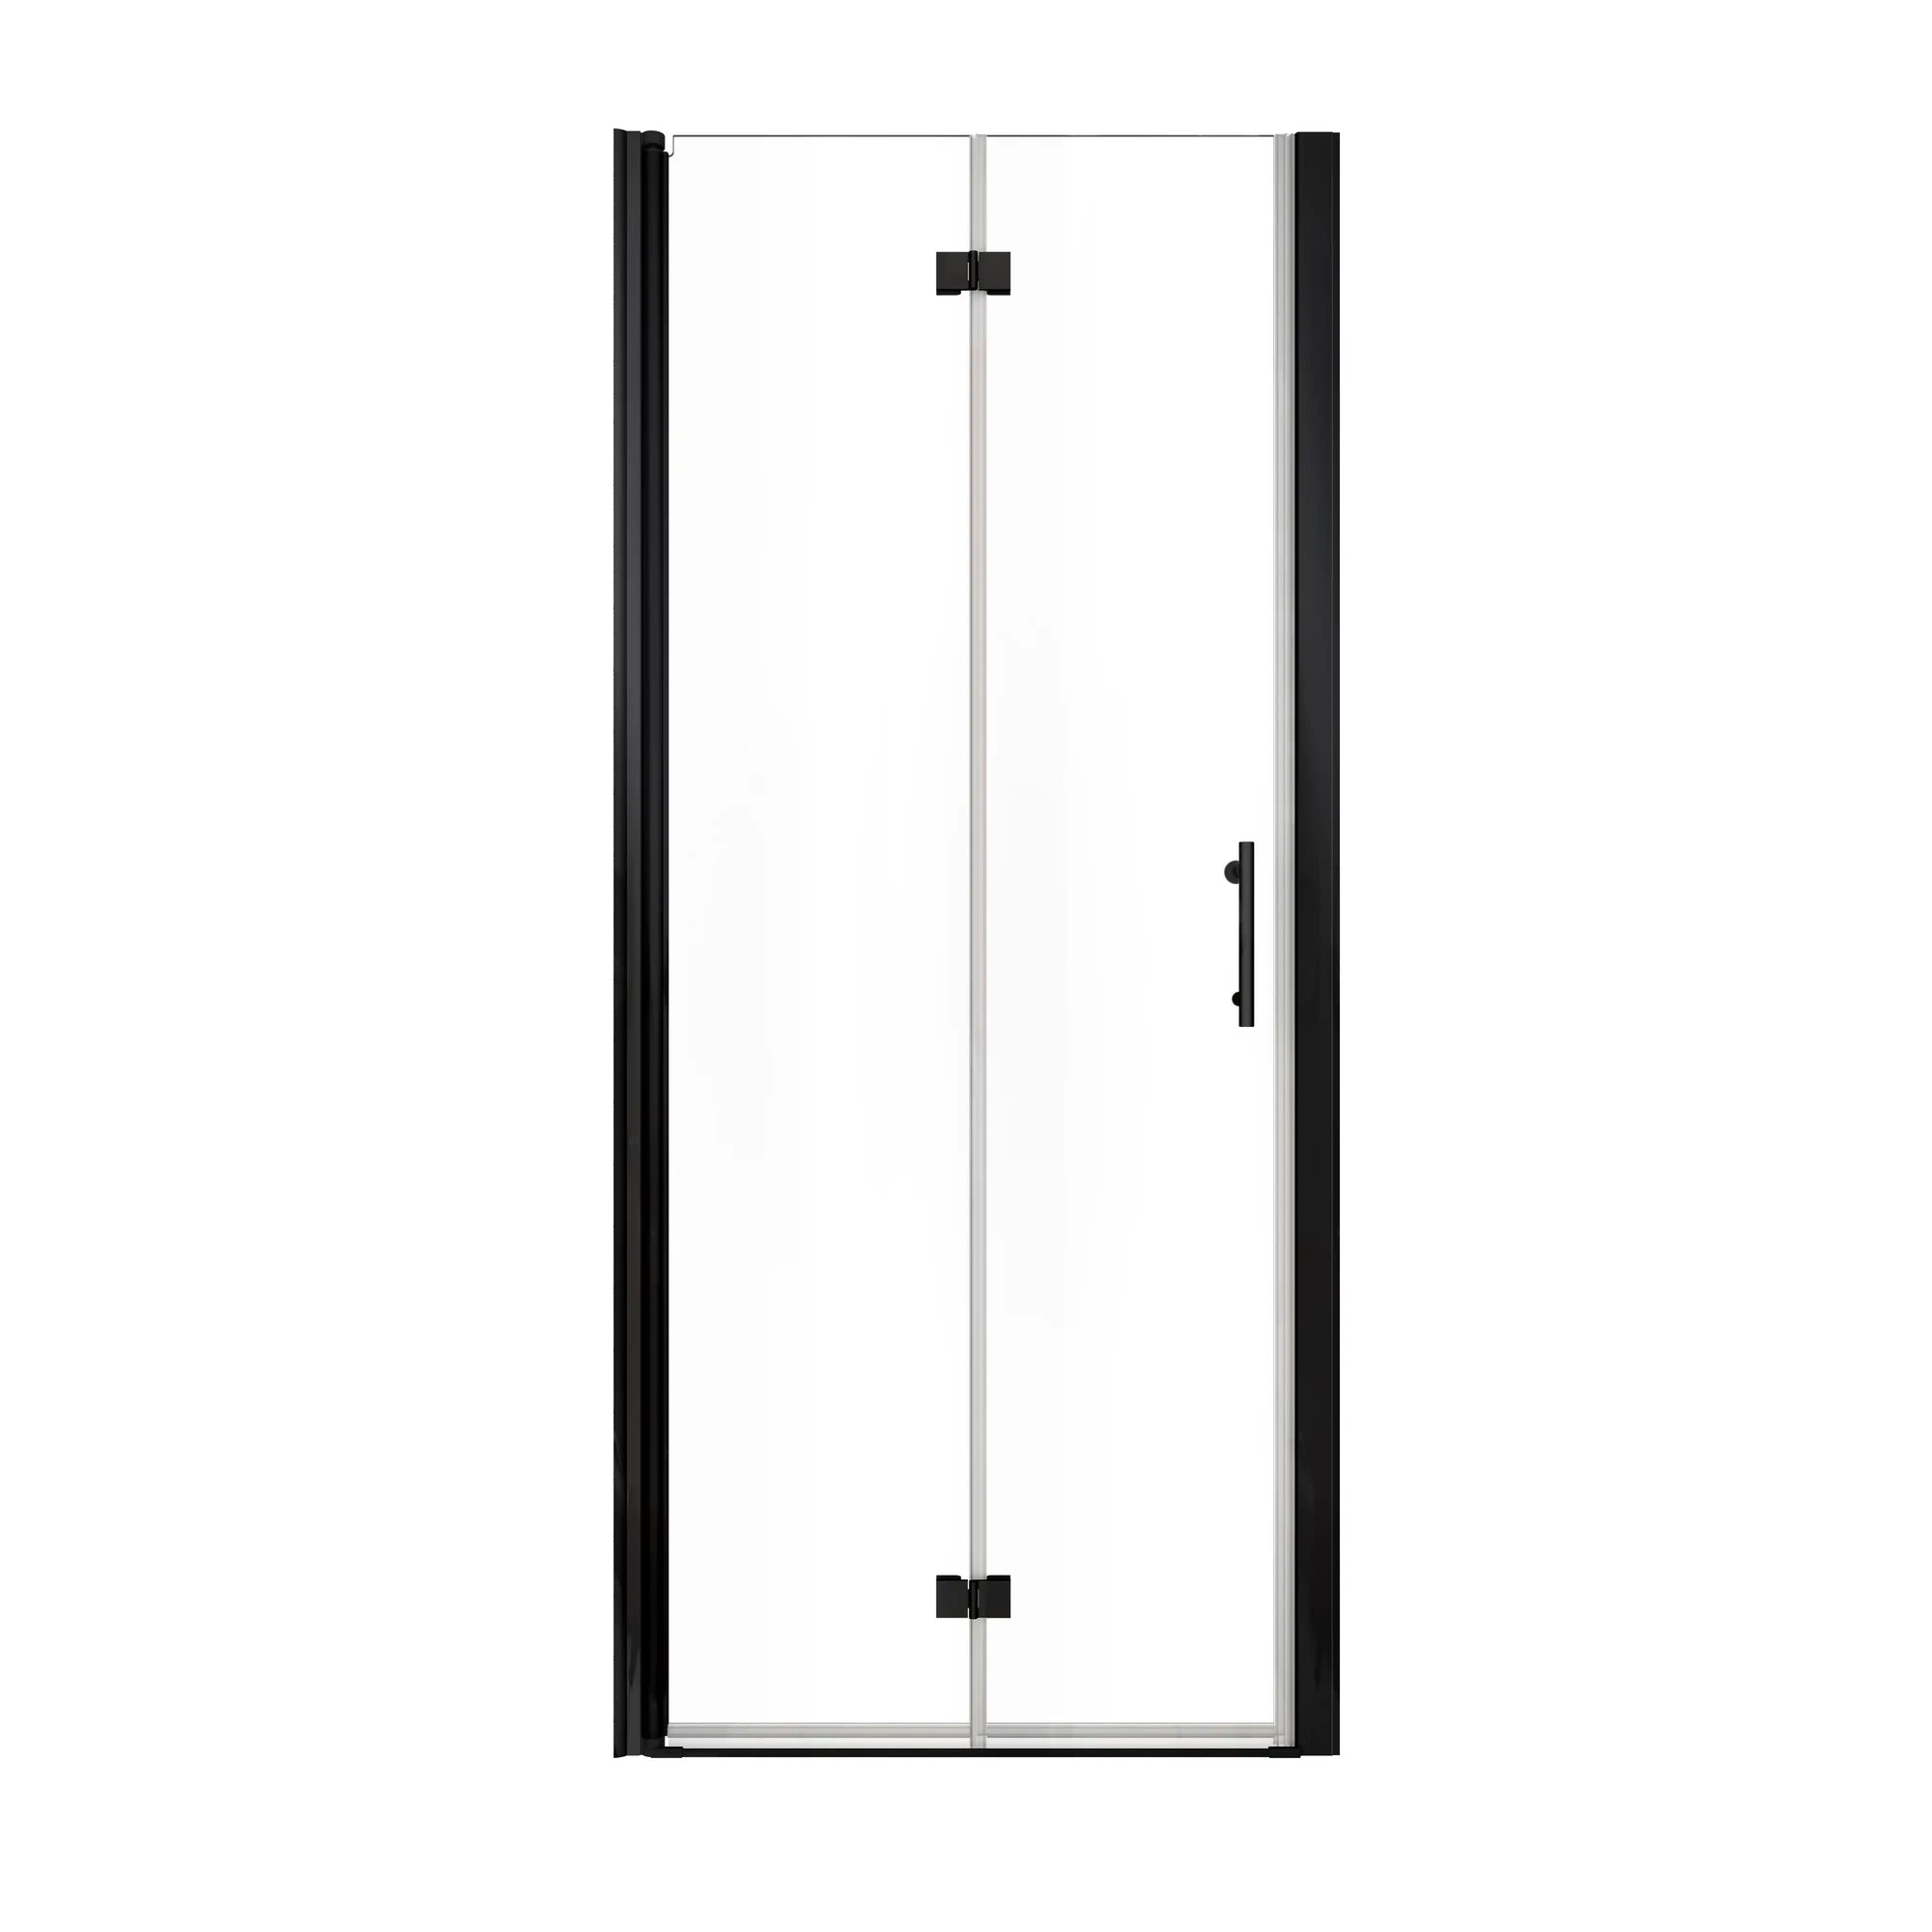
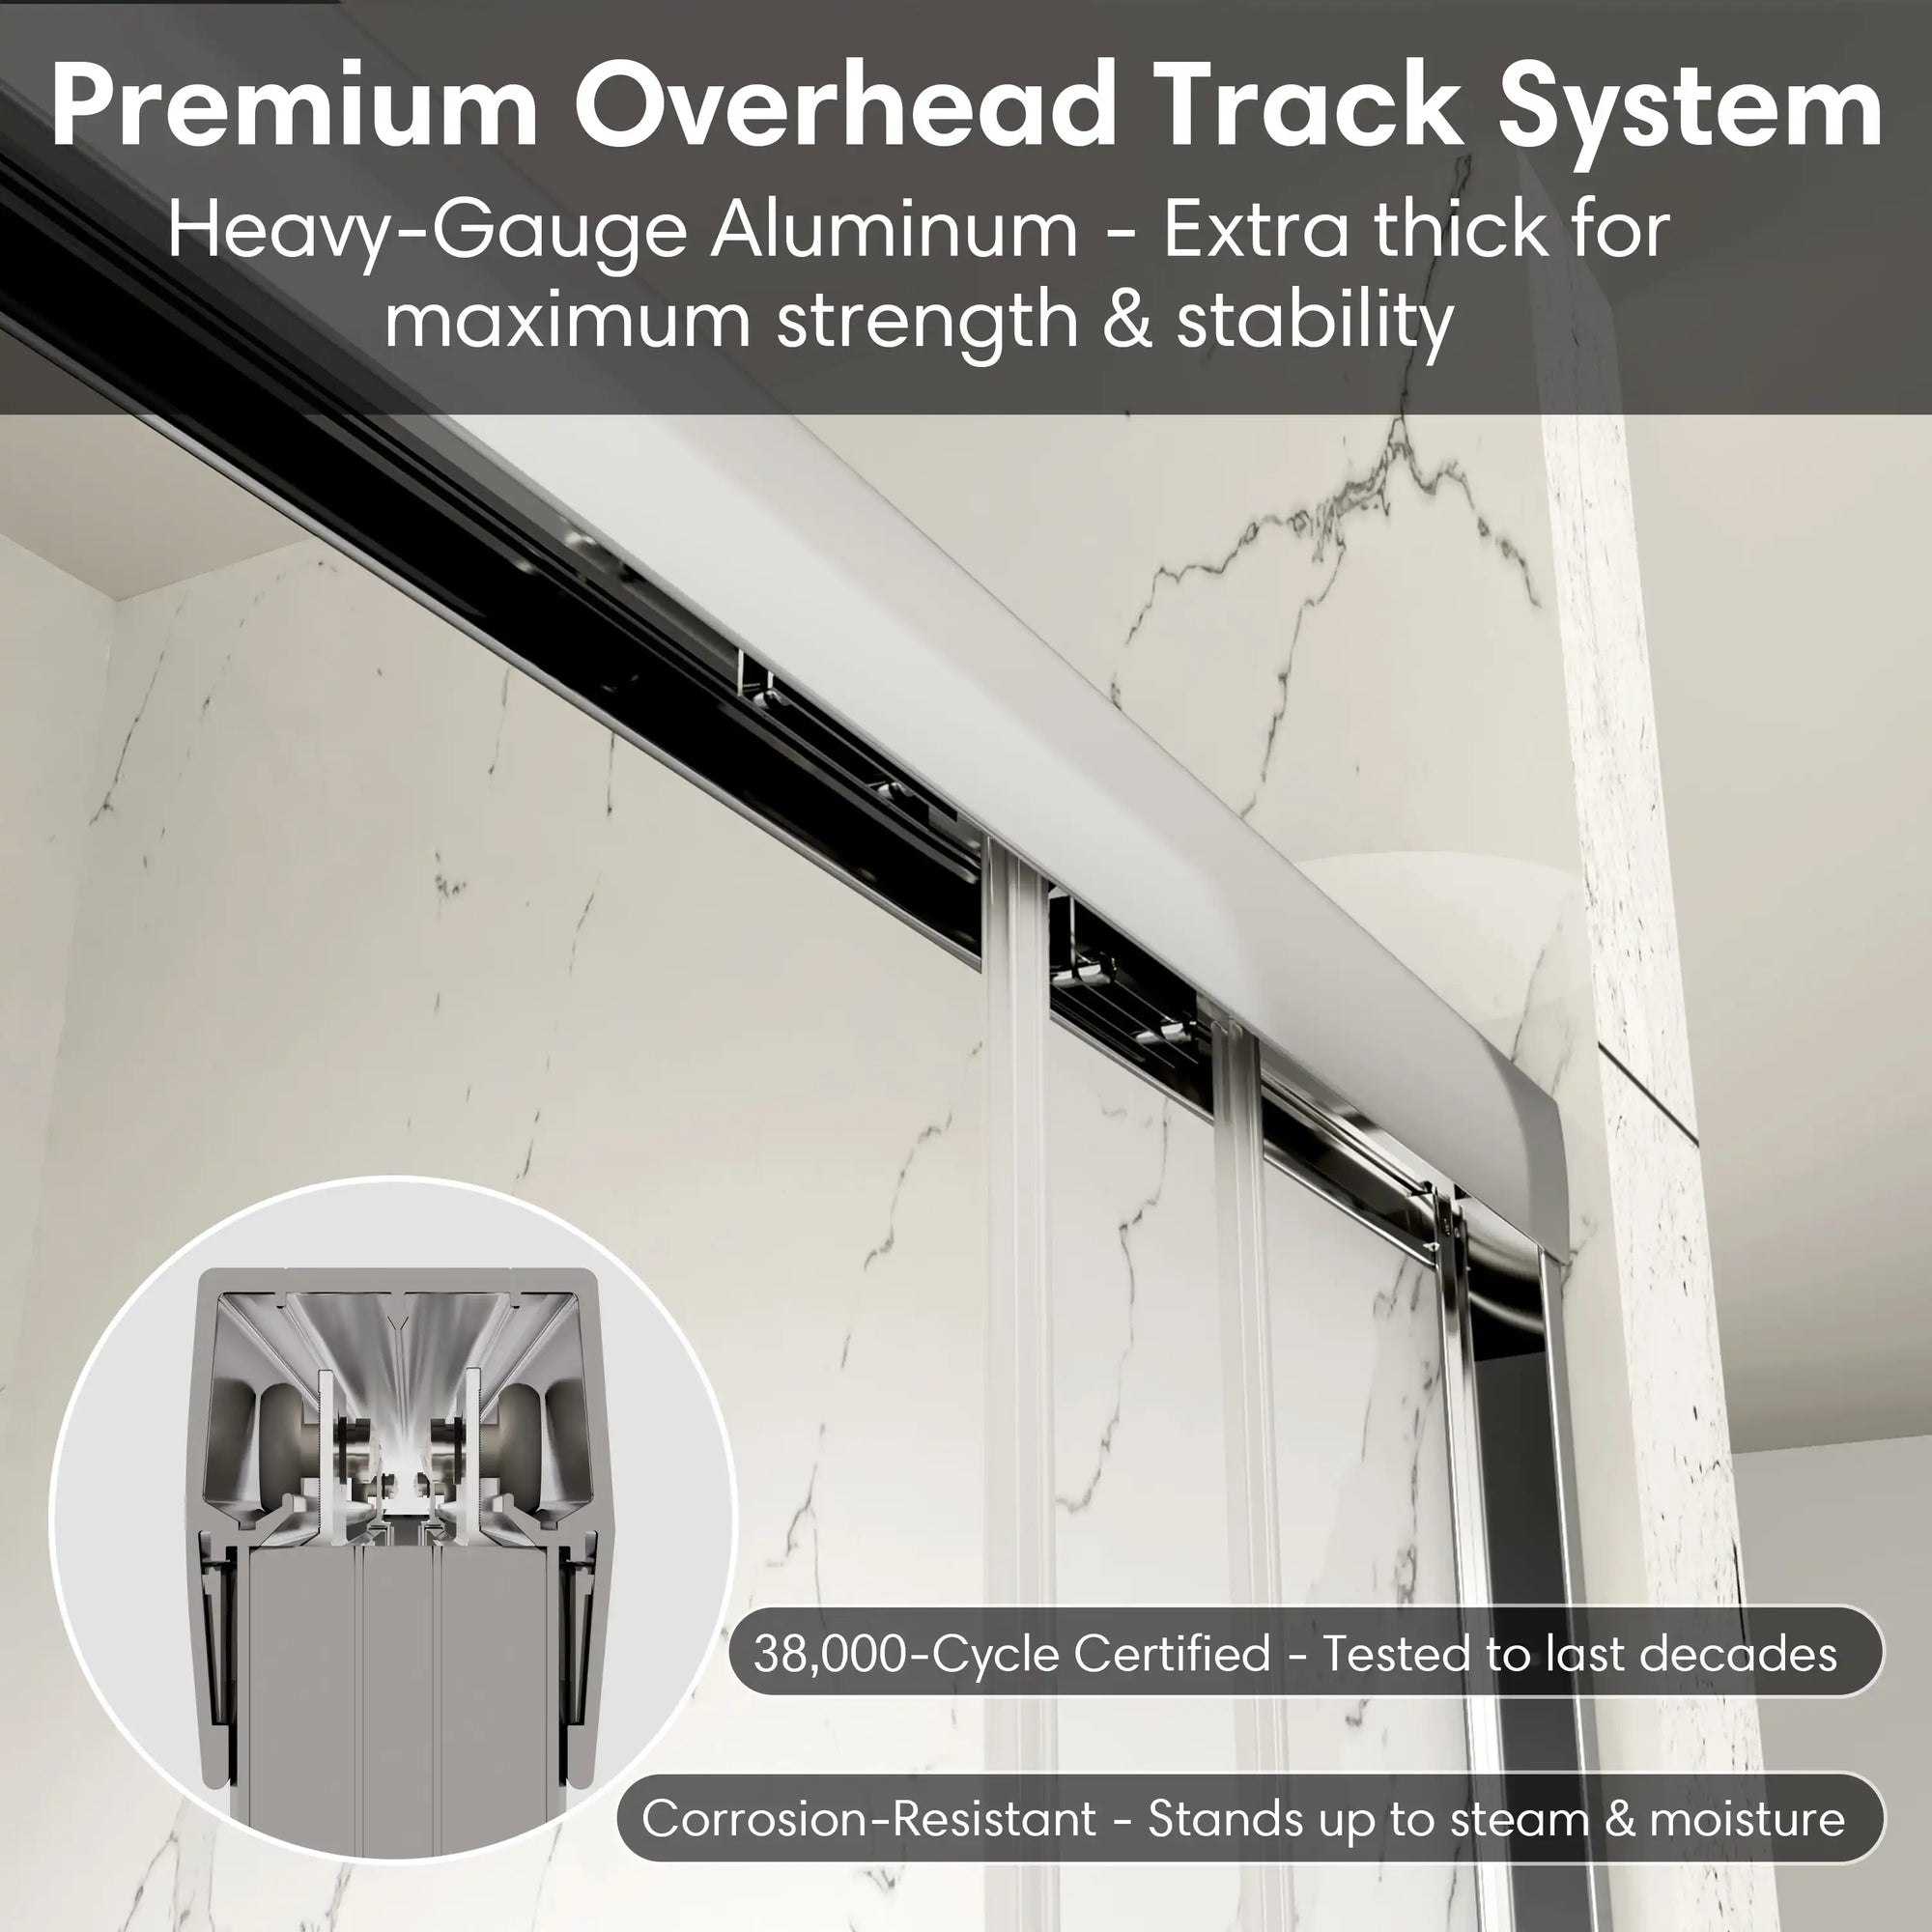
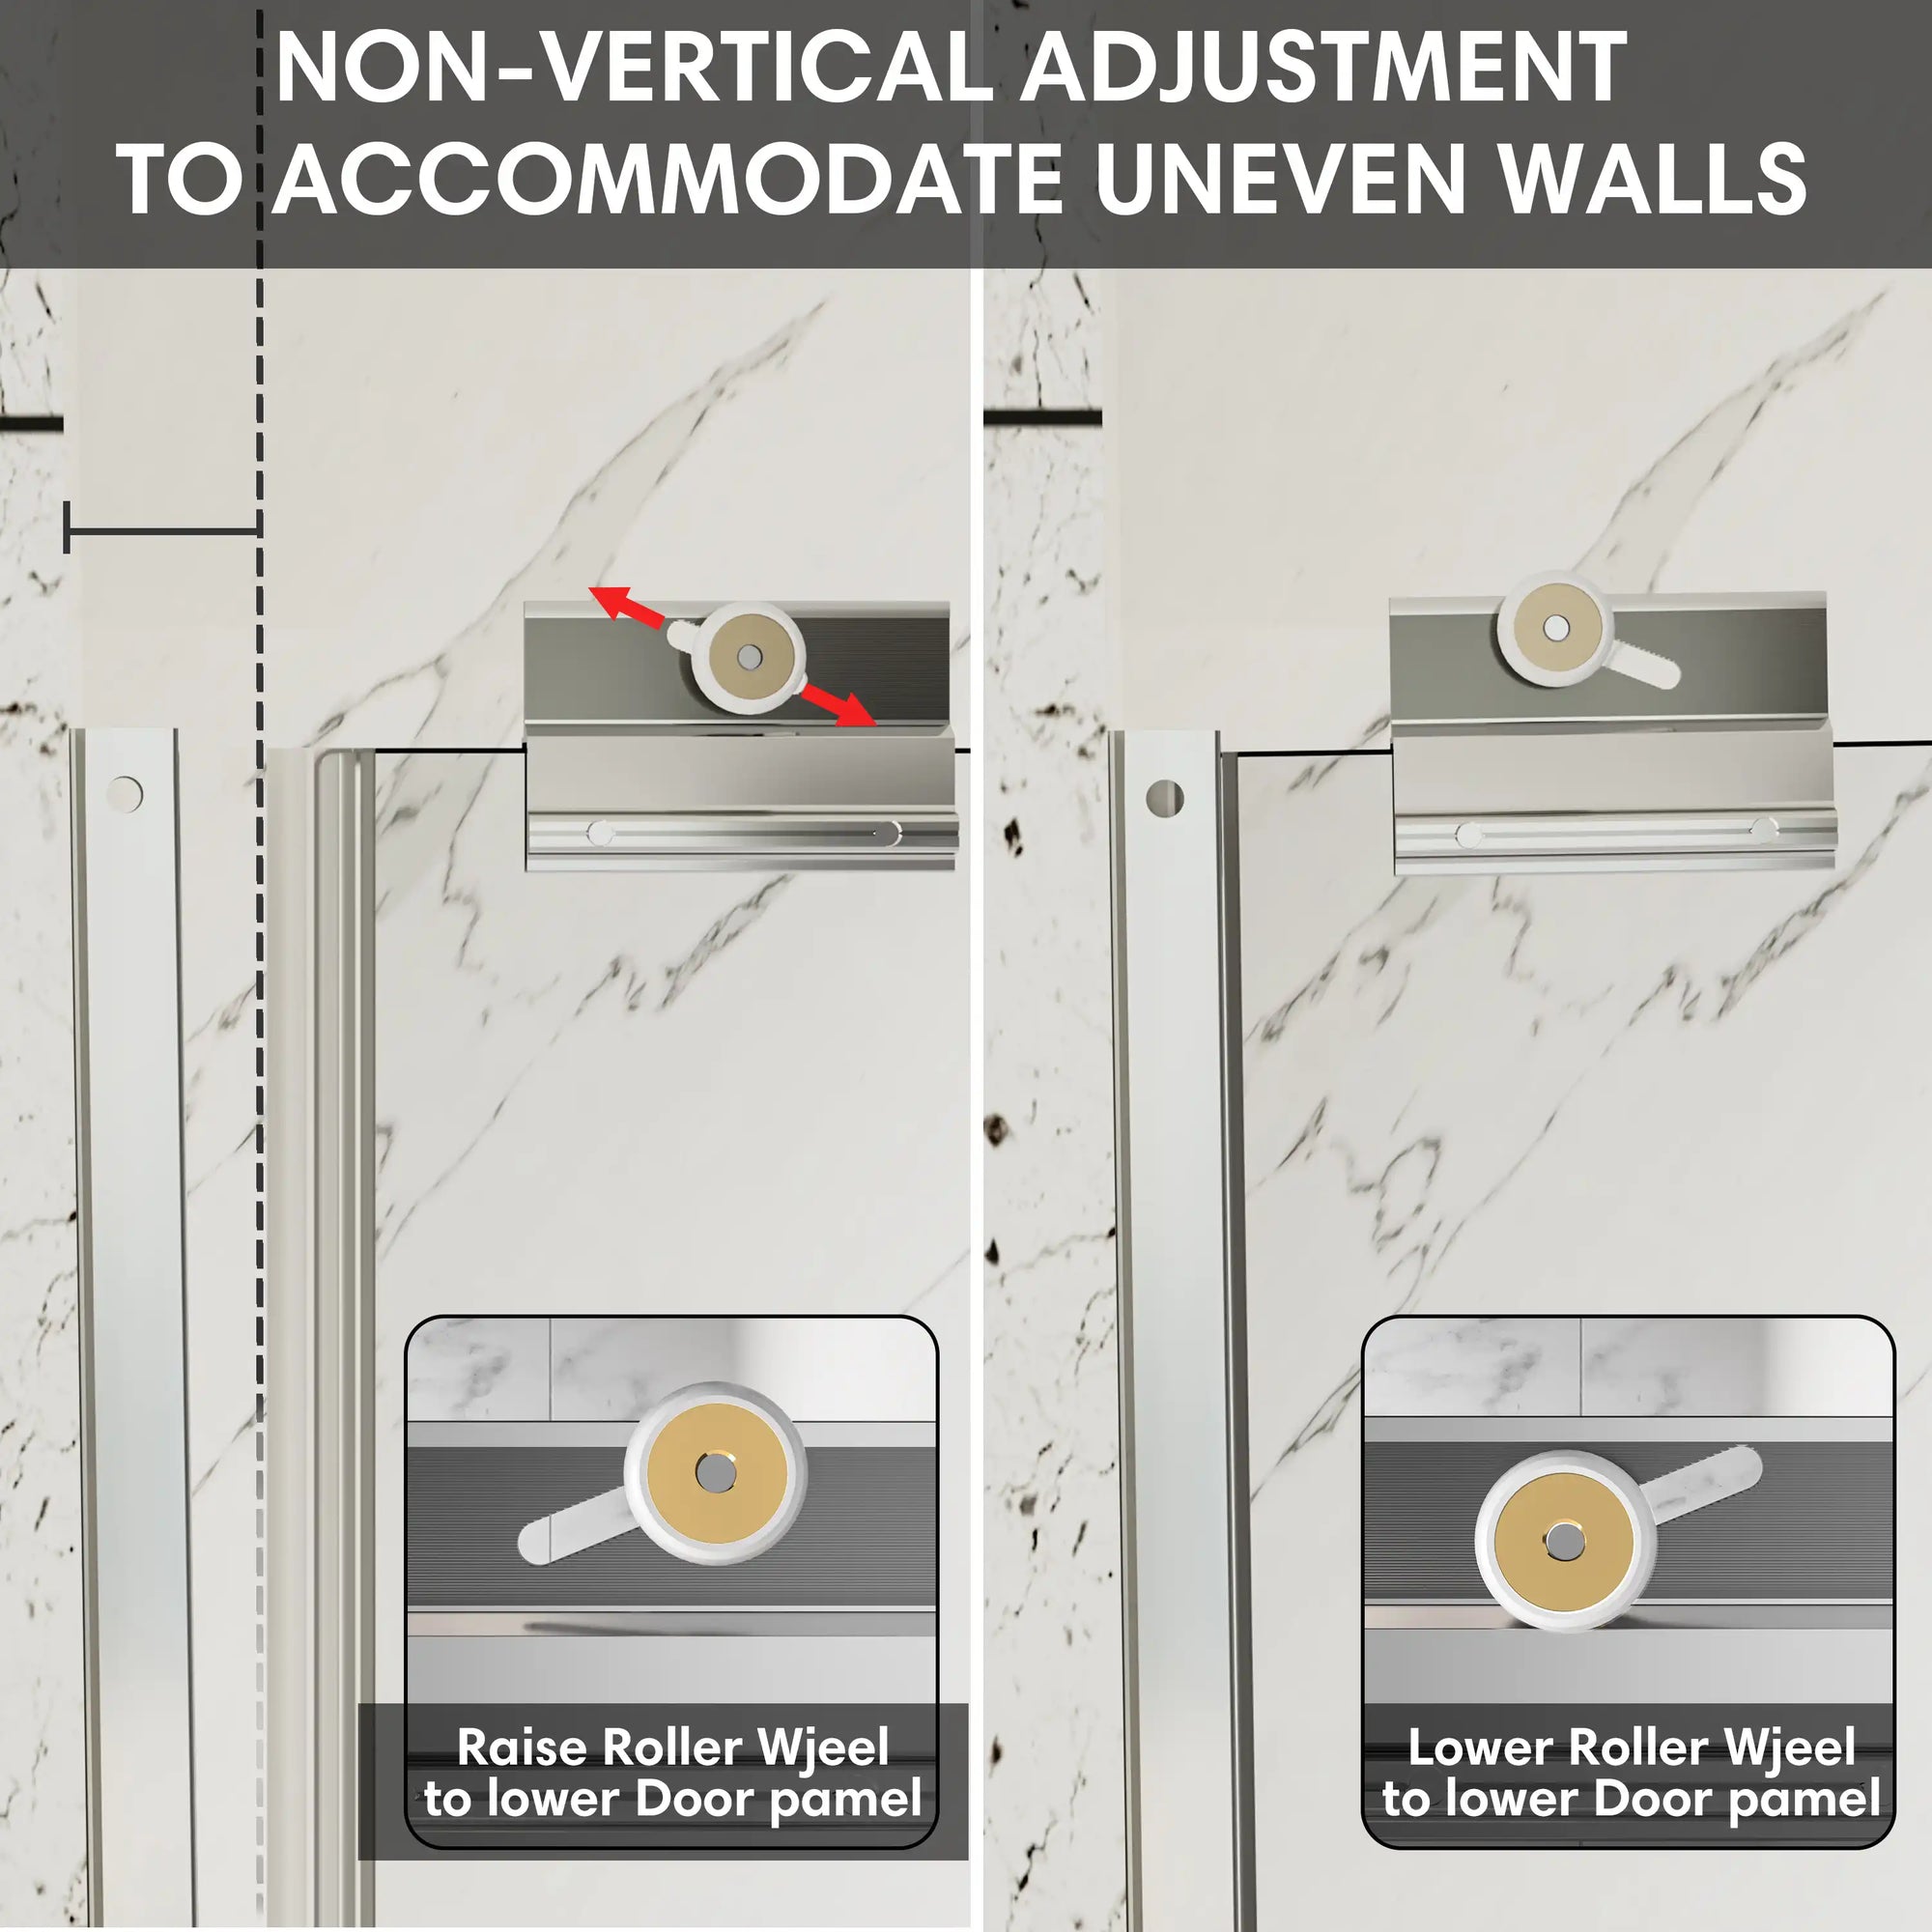
2. Ensure the Track Is Secure
Even if you choose the best materials to seal shower door frame joints, it won’t matter if the track itself isn’t firmly installed. Loose or shaky tracks put stress on the seal, causing it to lift, crack, or peel over time.
Run these quick checks:
- Are screws securely anchoring both ends of the track?
- Is there any glass panel movement when the door opens/closes?
- Is the showerhead stream hitting the track gap directly?
If any issue is found, reinforce the door’s base or install non-slip pads beneath. Physical stability is a prerequisite before you seal shower door frame joints effectively.
3. Remove Old Sealant Thoroughly
Rushing to apply new sealant over old glue is one of the top mistakes in DIY home repairs. For a long-lasting seal shower door frame result, surface prep is everything.
First, soften the old adhesive with a dedicated remover like Goo Gone. Then, use a plastic scraper and brush to clean all residues, including hidden mold, soap scum, or dust. Once clean, let the area air dry for at least 4 hours to ensure there’s no trapped moisture.
Skipping this step often results in early failure—even with premium seal shower door frame materials.
4. Choose the Right Sealing Material
Not all sealants are created equal. Choosing the wrong one when you seal shower door frame areas—especially in high-humidity bathrooms—can lead to discoloration, mold, or rapid breakdown.
Here's what to consider:
- Neutral-cure silicone: Ideal for glass and metal. Anti-mold, strong adhesion, non-corrosive.
- TPU/PVC soft strips: Great for frameless doors or irregular gaps. High flexibility and easy install.
- Gray/black matte sealant: Perfect for dark-themed or industrial-style bathrooms. Offers both function and subtle visual harmony.
According to a 2023 NRDC consumer report, 26% of homeowners are willing to pay a premium for mold-resistant, eco-friendly materials—proving that lasting cleanliness often trumps upfront cost for discerning customers.
Before you seal shower door frame sections, be sure your chosen material is optimized for your unique space and climate conditions.
5. Use Habits That Protect the Seal Shower Door Frame
Even if you perfectly seal shower door frame edges, day-to-day behavior can undermine it over time.
Ask yourself:
- Is the showerhead spraying directly at the frame edge? Consider adding a water guard or adjusting spray direction.
- Are elderly or young family members frequently tugging the glass doors? Magnetic sealing strips with built-in buffers can reduce strain.
- Do you lean against the door or hang towels from it? Reinforce the track before sealing to prevent gravitational stress.
In short, the best seal shower door frame isn’t just about installation—it’s about long-term behavior too.
Conclusion
Many homeowners budget for premium glass doors and designer tiles—but overlook the small detail of how to properly seal shower door frame systems. Ironically, this small omission often leads to the biggest regrets.
A properly sealed frame is more than just a technical task. It's about ensuring peace of mind in your daily life. It keeps your floors dry, your walls clean, and your bathroom elegant for years.
That’s why we’ve curated a full range of high-performance seal shower door frame kits—including mold-resistant silicone, magnetic seals, flexible edge strips, and more—suitable for a variety of bathroom structures and door types.
Browse our selection of seal shower door frame solutions now and take the first step toward a truly “sealed” luxury experience.
FAQ
Q1: How long should I wait after sealing the shower door frame before using the shower?
Wait at least 24 hours to allow full silicone curing. For fast-drying sealants, keep the space dry for 12+ hours.
Q2: My bathroom has mosaic tile walls. Can I still use seal shower door frame materials?
Yes. But since the surface is uneven, use flexible sealants and consider gap-filling spacers for better contact.
Q3: Will magnetic sealing strips interfere with door operation?
No. High-quality magnetic seals are engineered to close firmly without resistance or jamming, even with frequent use.
Q4: Can I seal only the bottom of the shower door?
Not advisable. You should seal the entire frame—including sides and corners—to prevent water from escaping unsealed areas.
Q5: How can I tell if my seal shower door frame has failed?
Look for signs like discoloration, peeling edges, or visible water trails. You can also perform a dry test by slowly pouring water near the frame and checking for seepage.
Related Articles:
How to solve the common leakage problem of sealing shower door frame?
Frameless Shower Door vs. Framed Shower Door: Which One is Best For You?