


Table of Contents
- What Tools You Will Need to Install Bathroom Vanity
- Items You Need to Install A Bathroom Vanity
- How to Install a Bathroom Vanity: A Step-by-Step Guide
- More Tips for Installing the Perfect Bathroom Vanity
- Frequently Asked Questions (FAQs) About How to Install Bathroom Vanity
- Related Articles
Building a bathroom vanity is among the very best DIY projects you can have. How to install a bathroom vanity Once you learn how to install a bathroom vanity, you'll not only add beauty to your space, you'll also add value to your home and storage to your bathroom. This definitive manual provides everything you need to make your project a professionally fine-tuned machine, from performance to design including some detail not found in training manuals.
Difficulty
Beginner to Intermediate
Duration
3-6 hours
What Tools You Will Need to Install Bathroom Vanity
- Tape measure
- Stud finder
- Level
- Adjustable wrench
- Drill
- Screwdriver
- Saw (optional)
- Utility knife
- Clamps
- Bucket
- Pencil or marker
- Sandpaper
- Paintbrush (for touch-ups)

Items You Need to Install A Bathroom Vanity
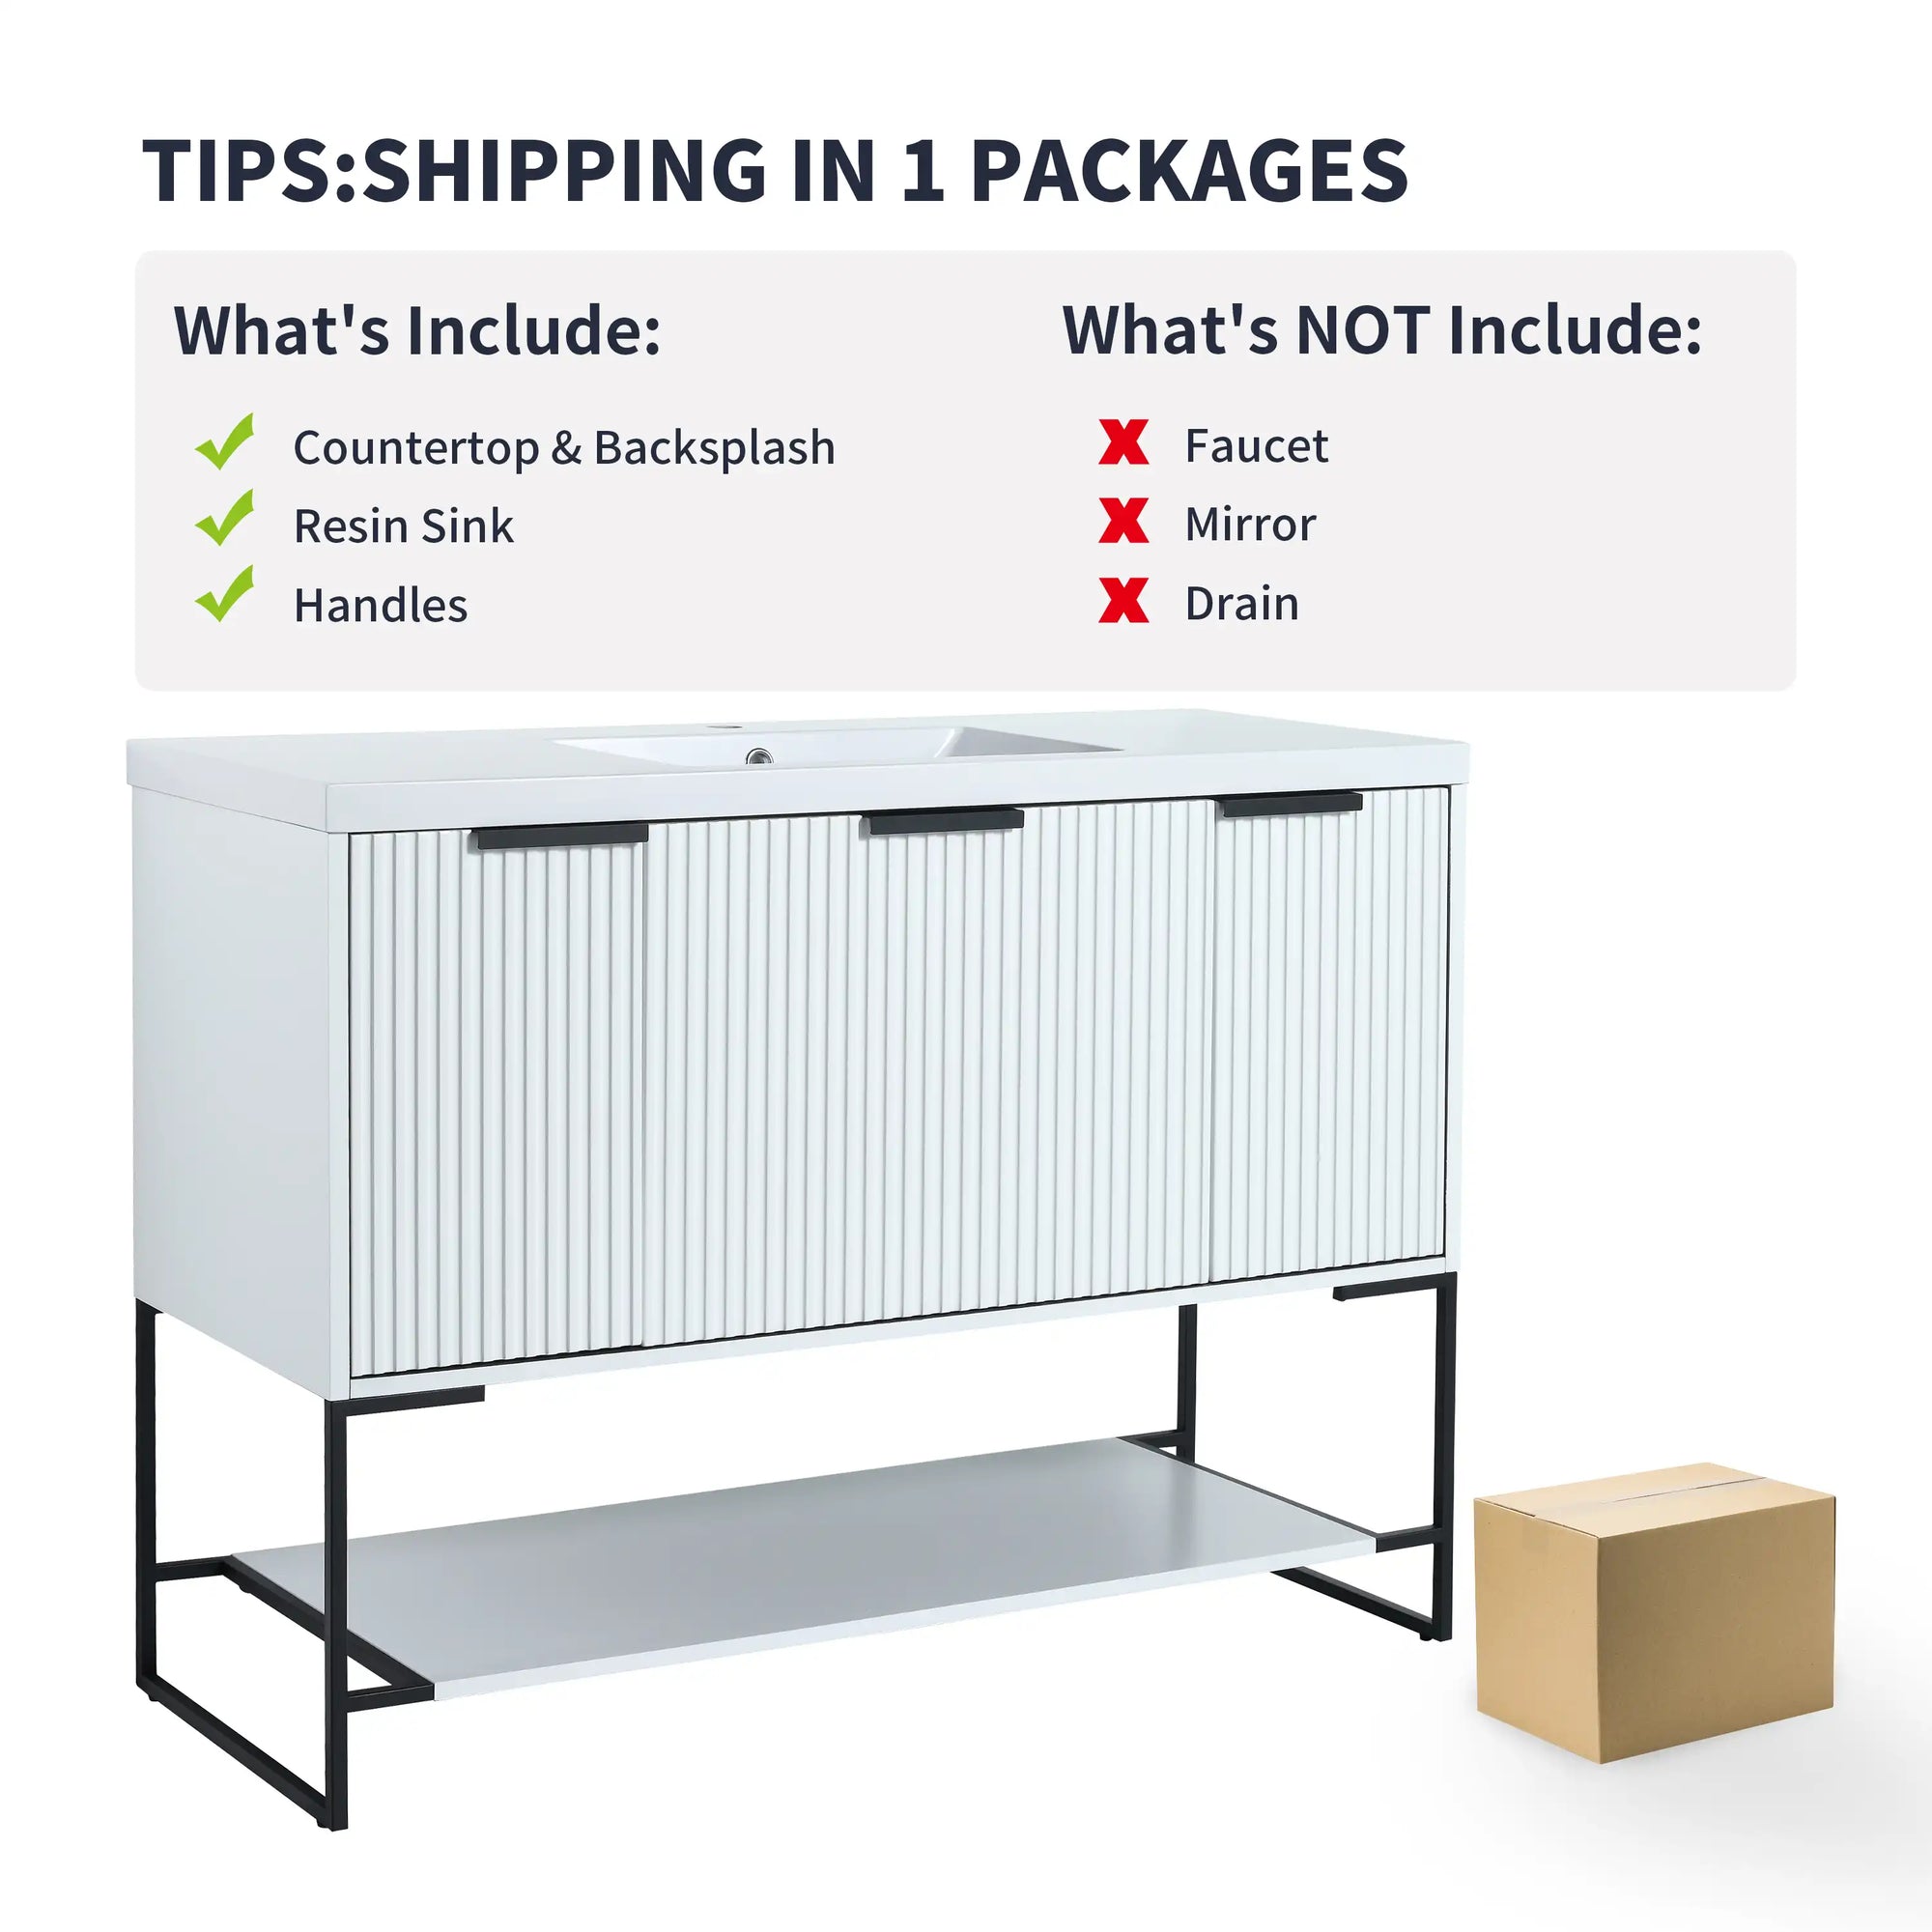
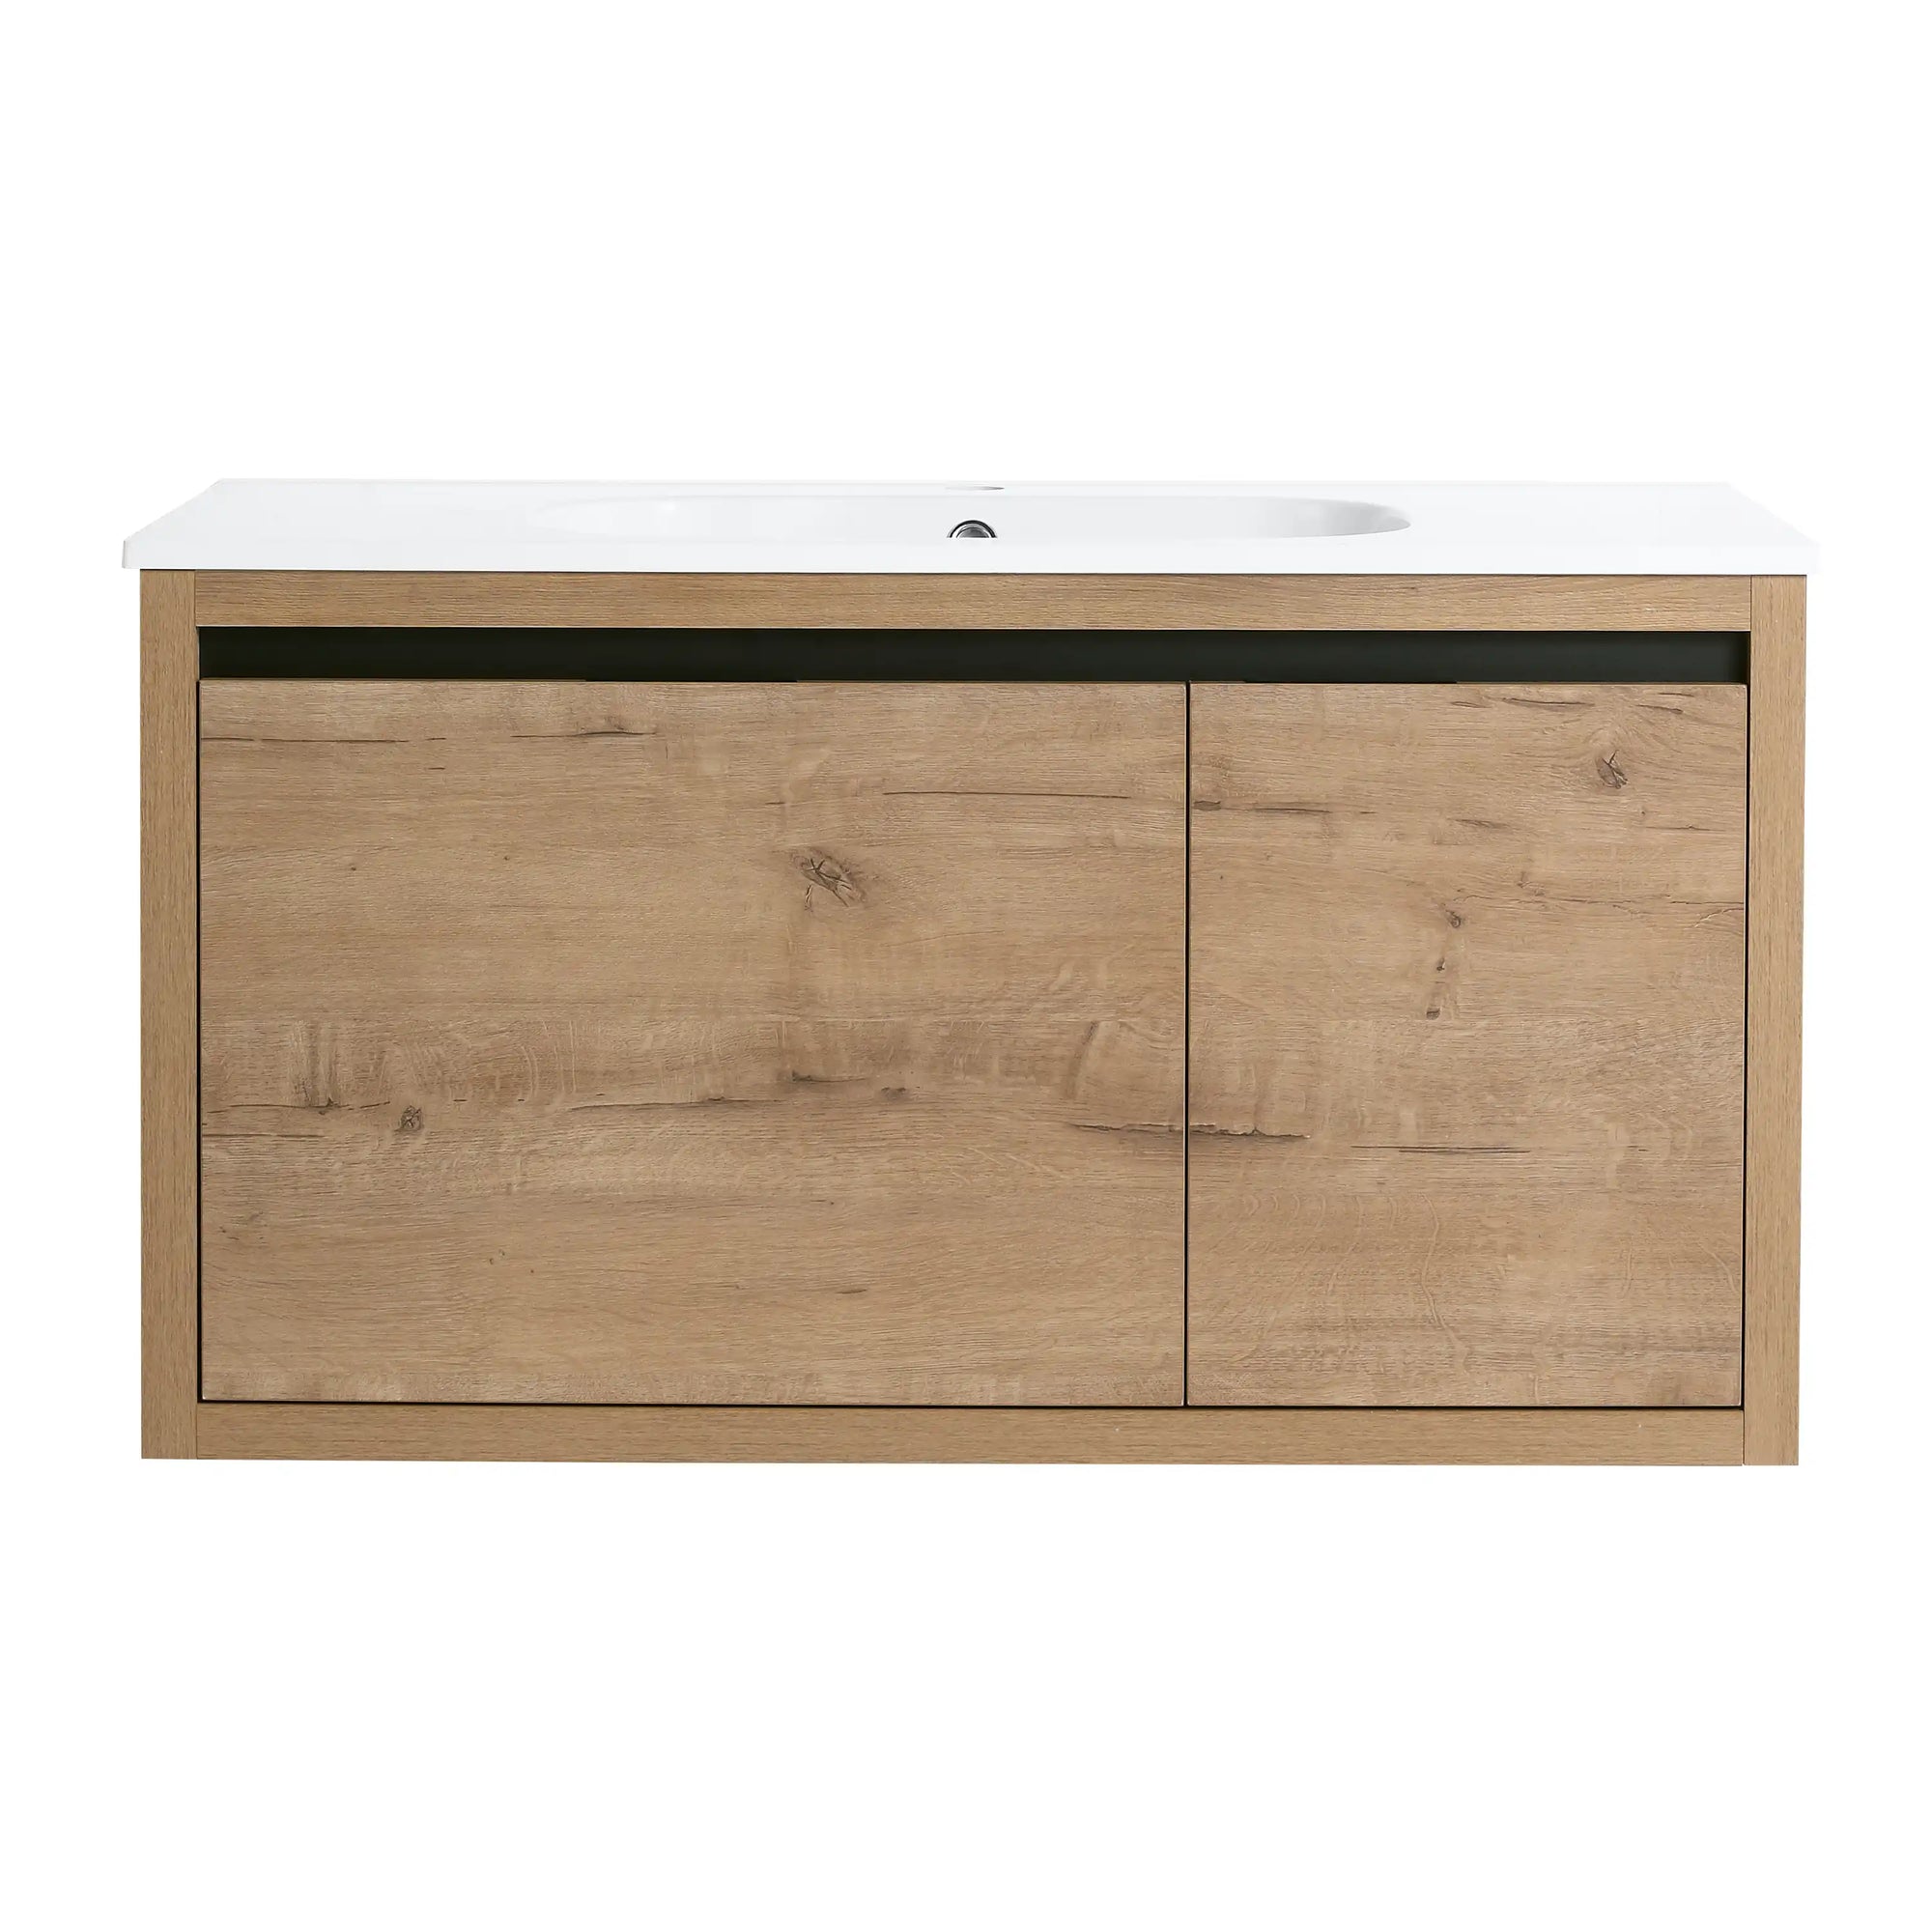
- Bathroom vanity unit
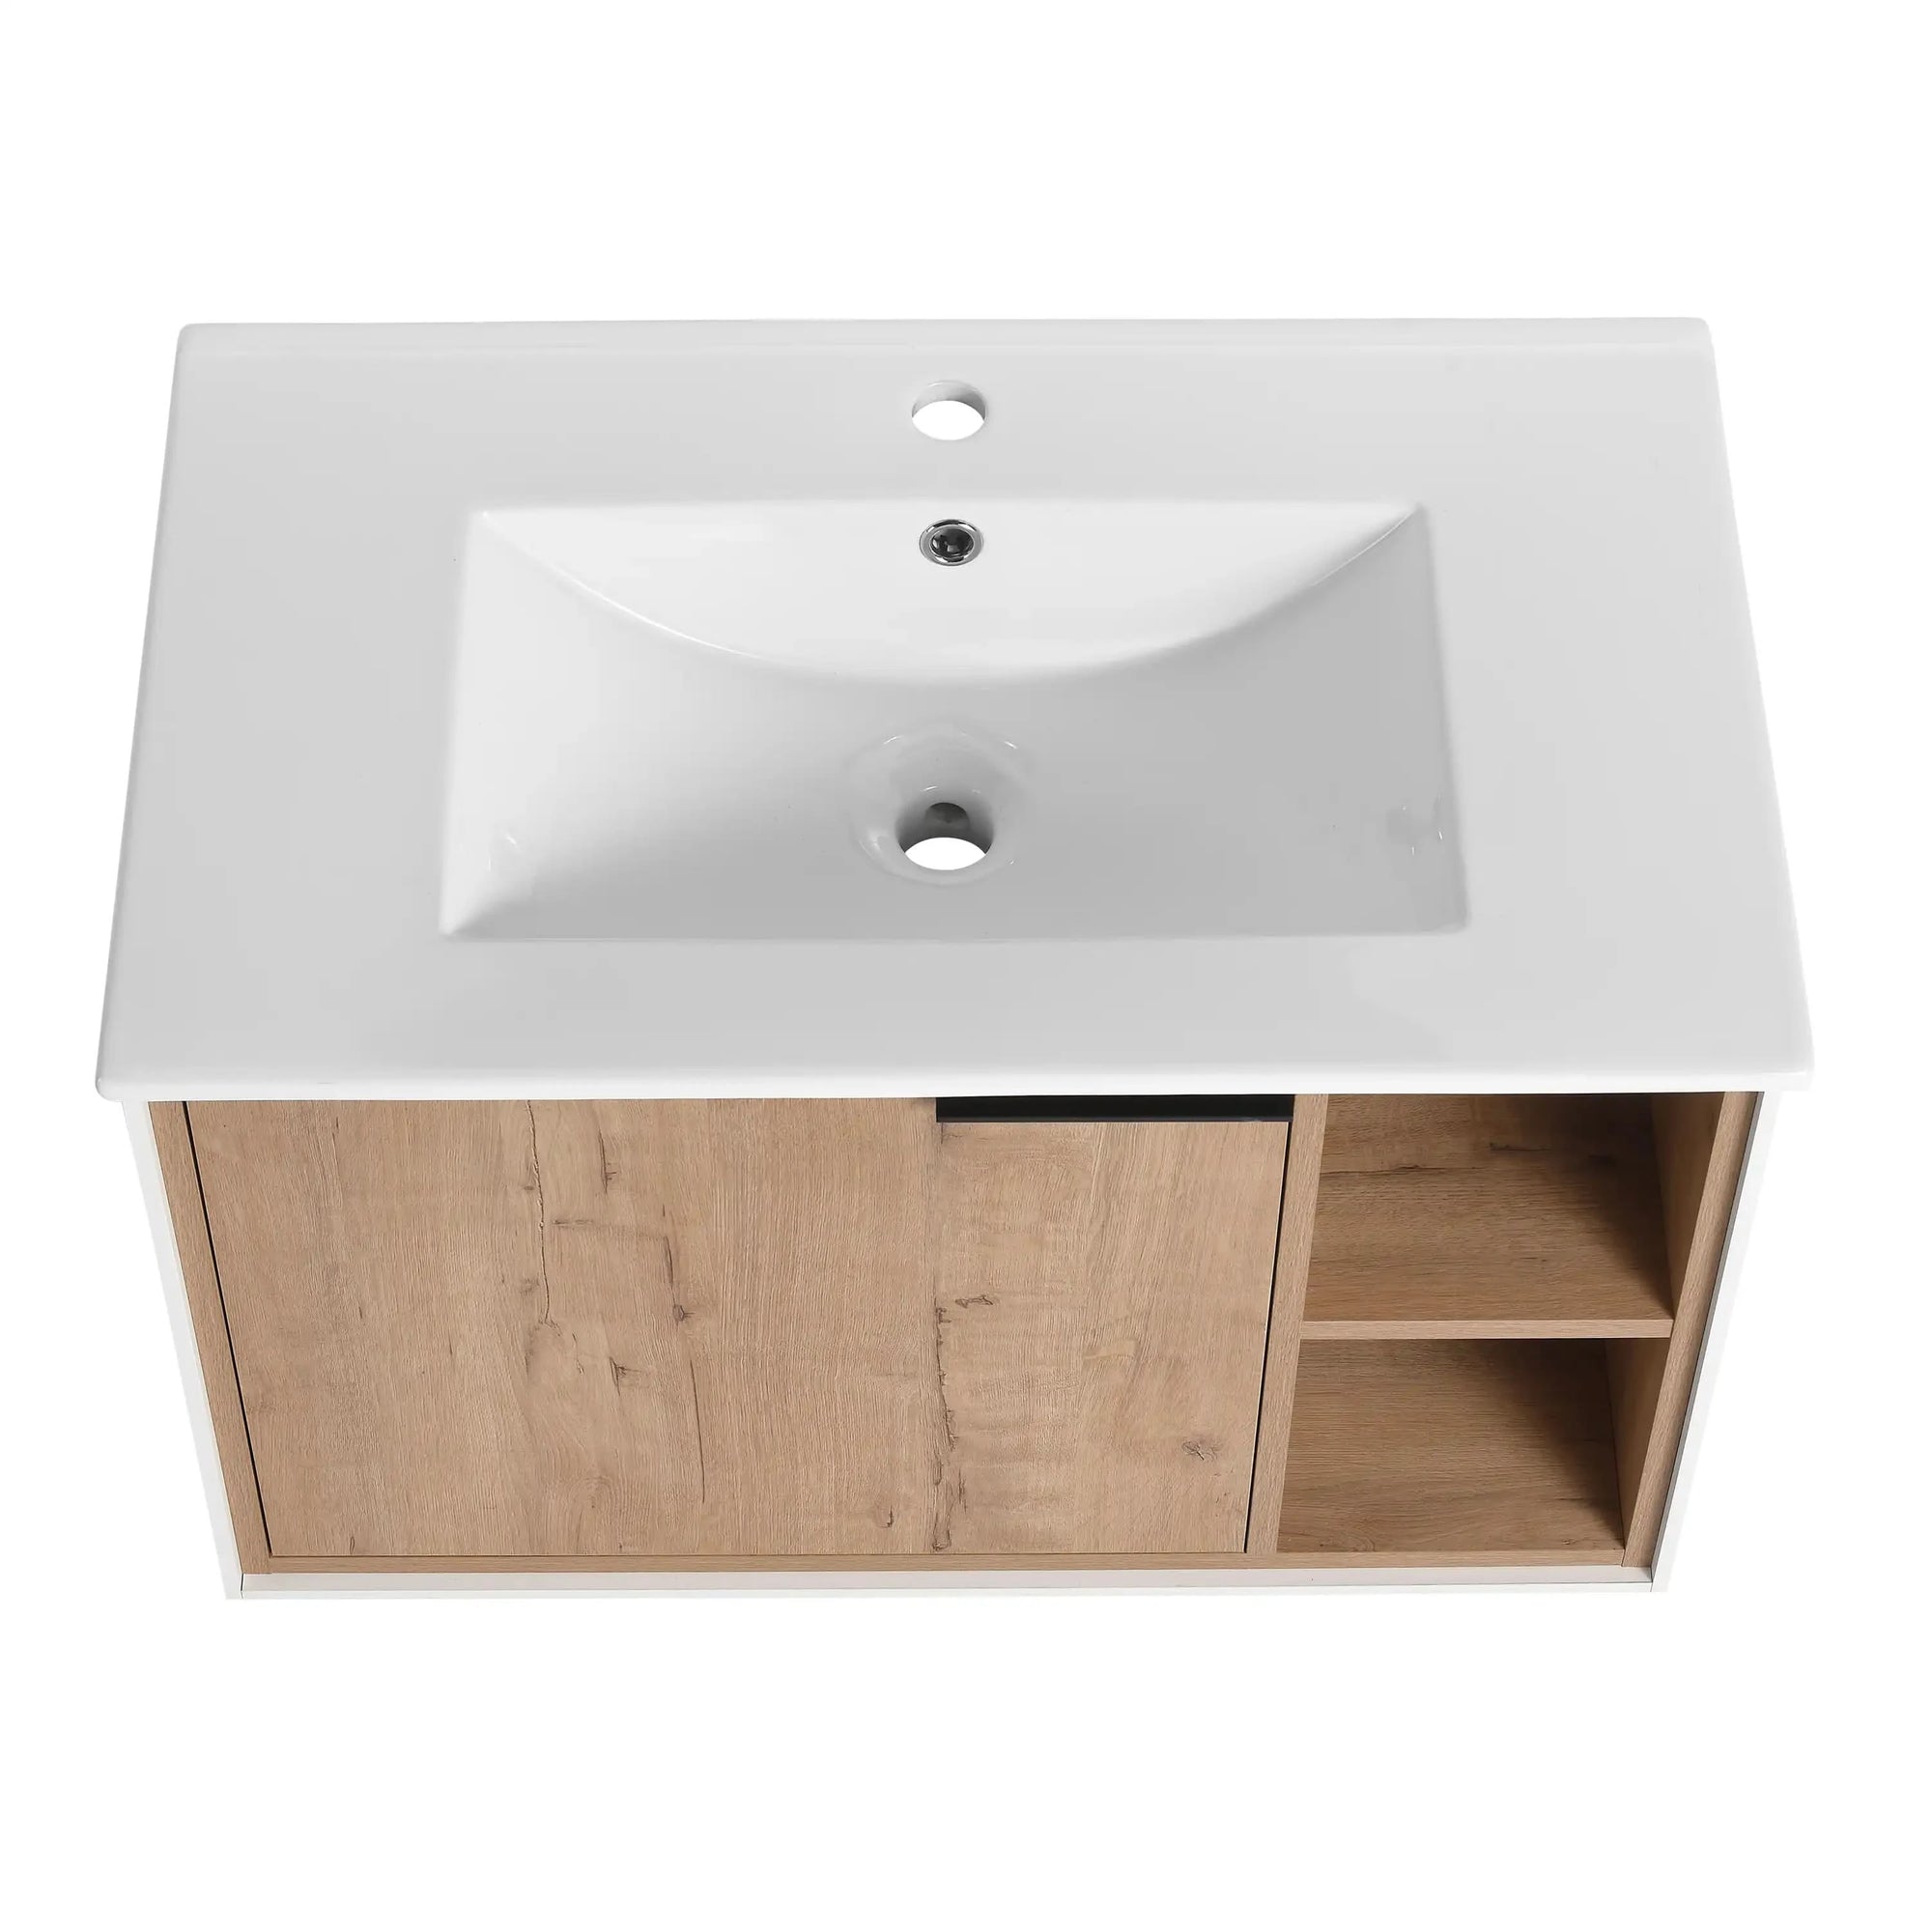
- Vanity top and sink
- Faucet and fixtures
- Silicone caulk
- Shims
- Drywall screws (3-inch)
- Wall anchors (optional)
- Plumber's tape
- Safety glasses and ear protection
- Spackling compound (for wall repairs)
- Primer & paint (for touching up walls)
How to Install a Bathroom Vanity: A Step-by-Step Guide
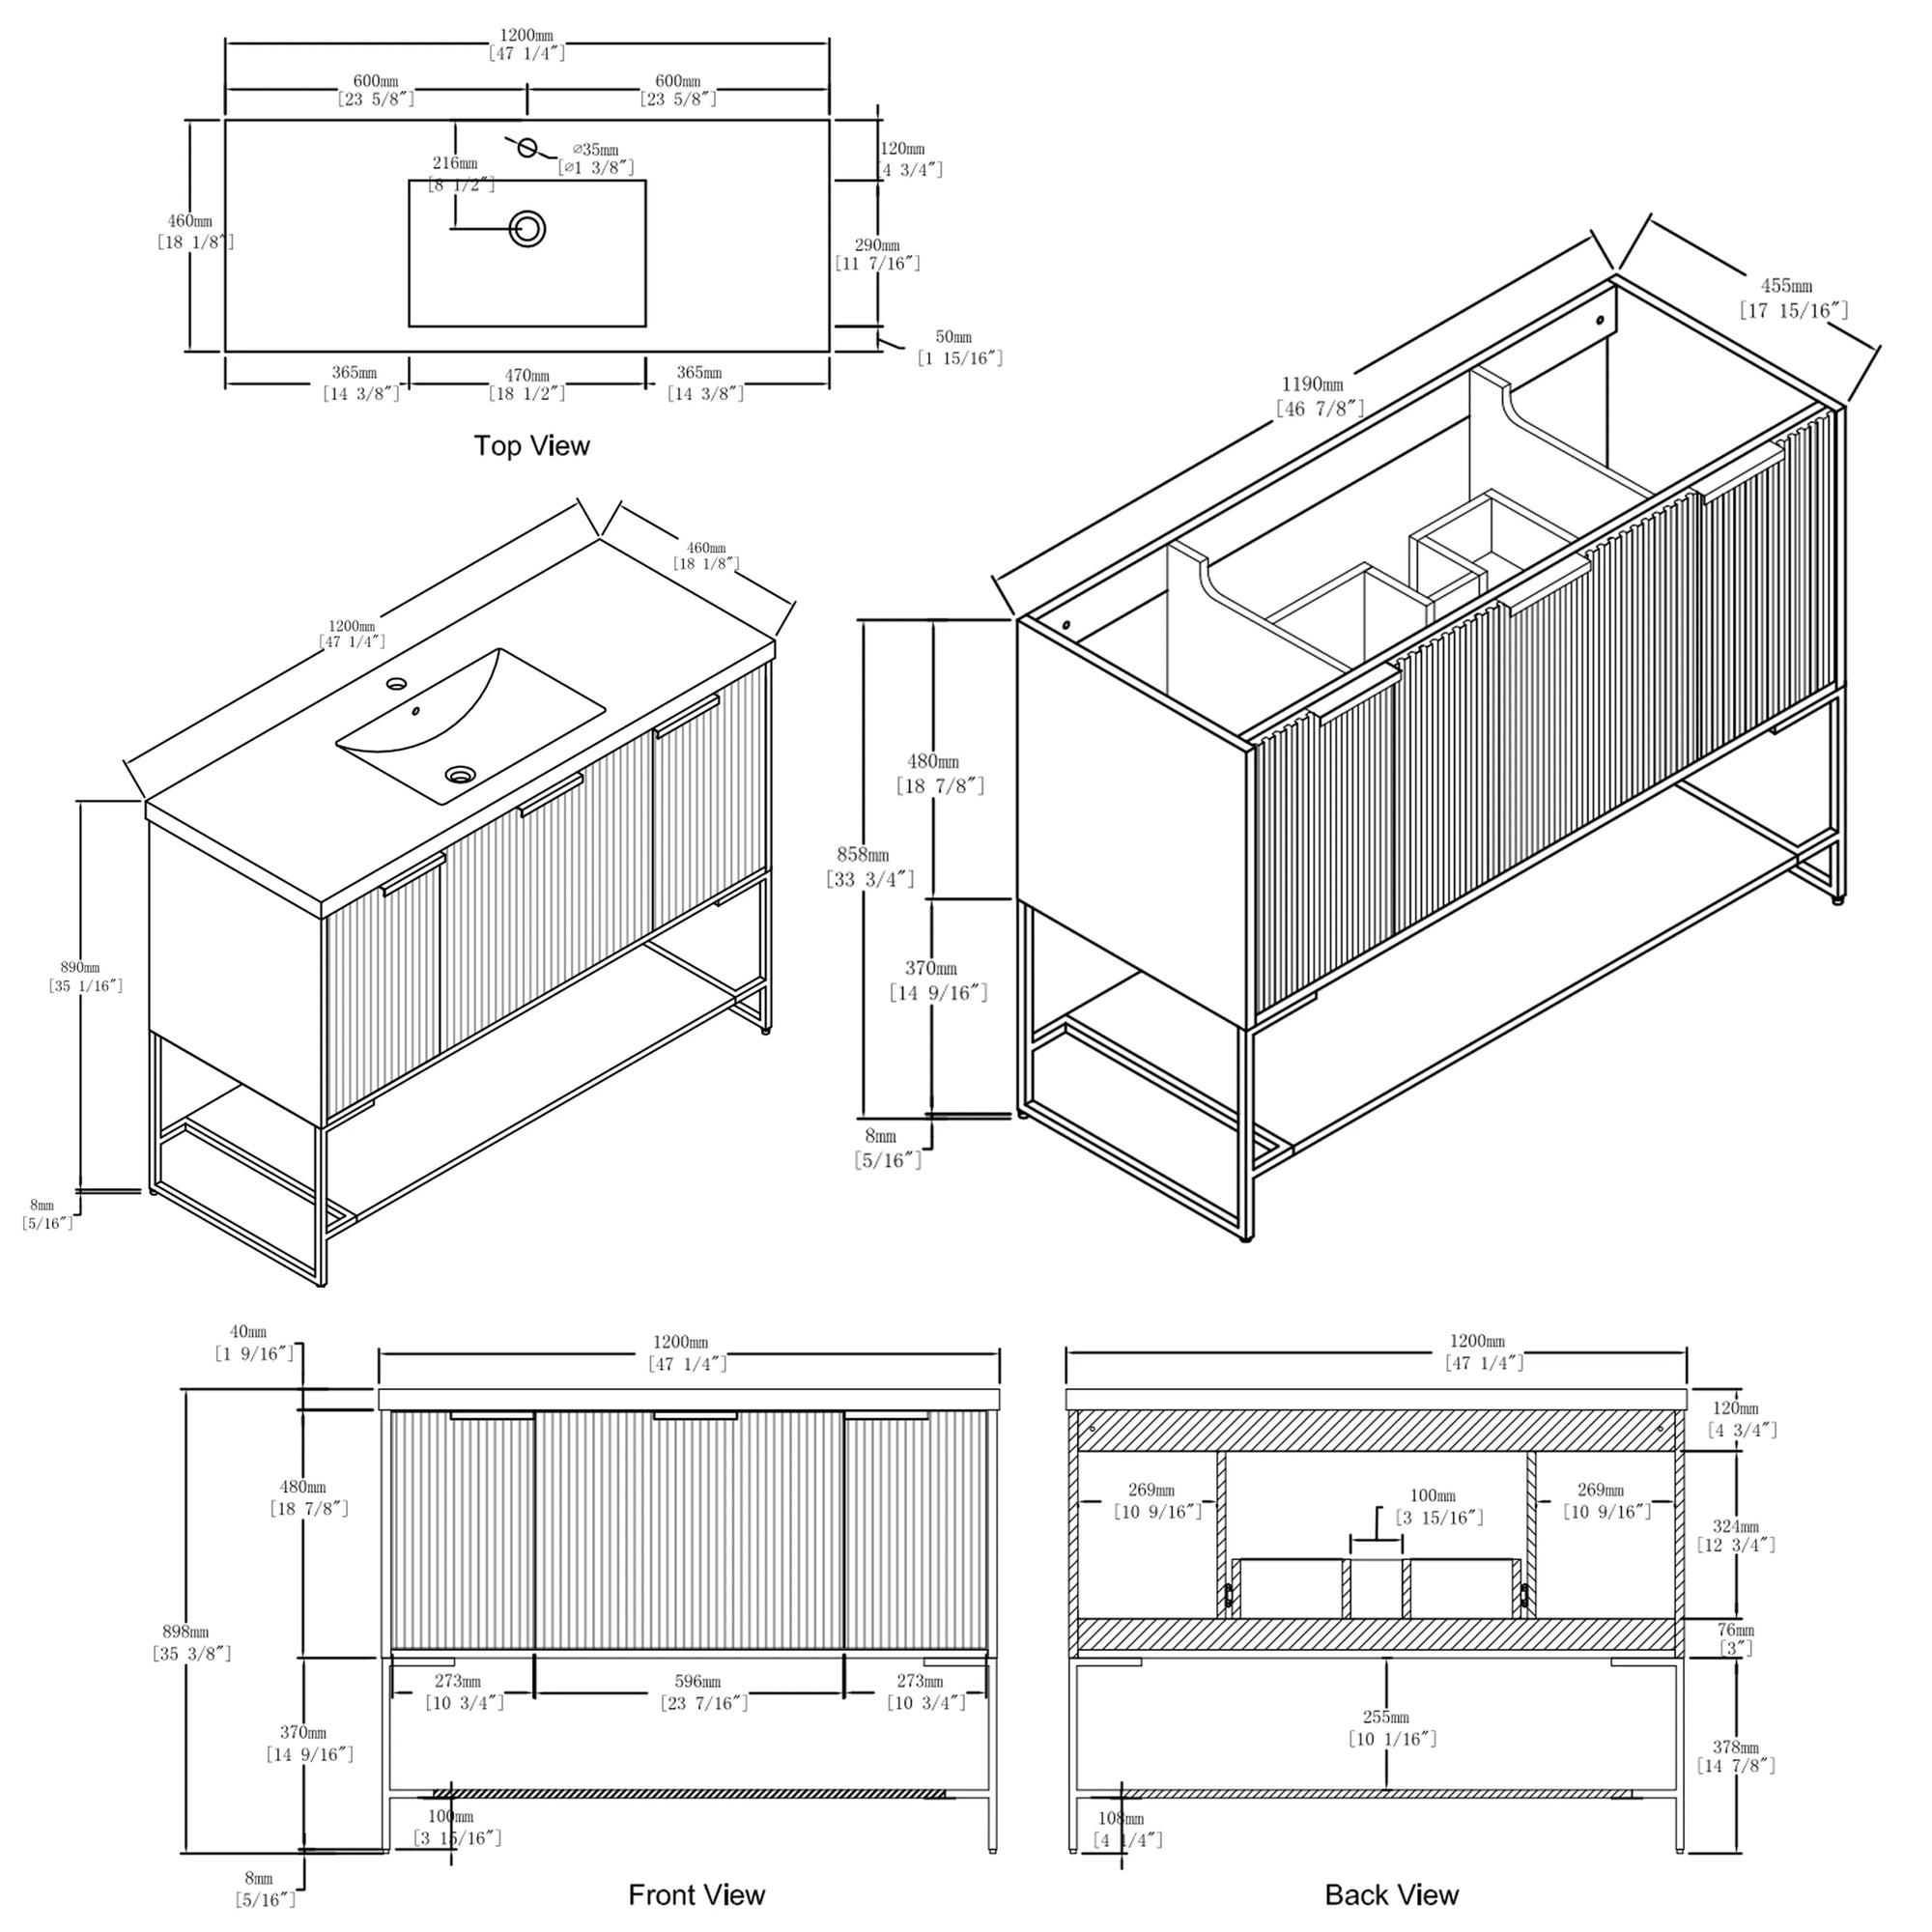
Step 1: Plan and measure your space for a bathroom vanity
Before you schedule a remodel, knowing that great plan and accurate measurements are the key to remodeling any bathroom:
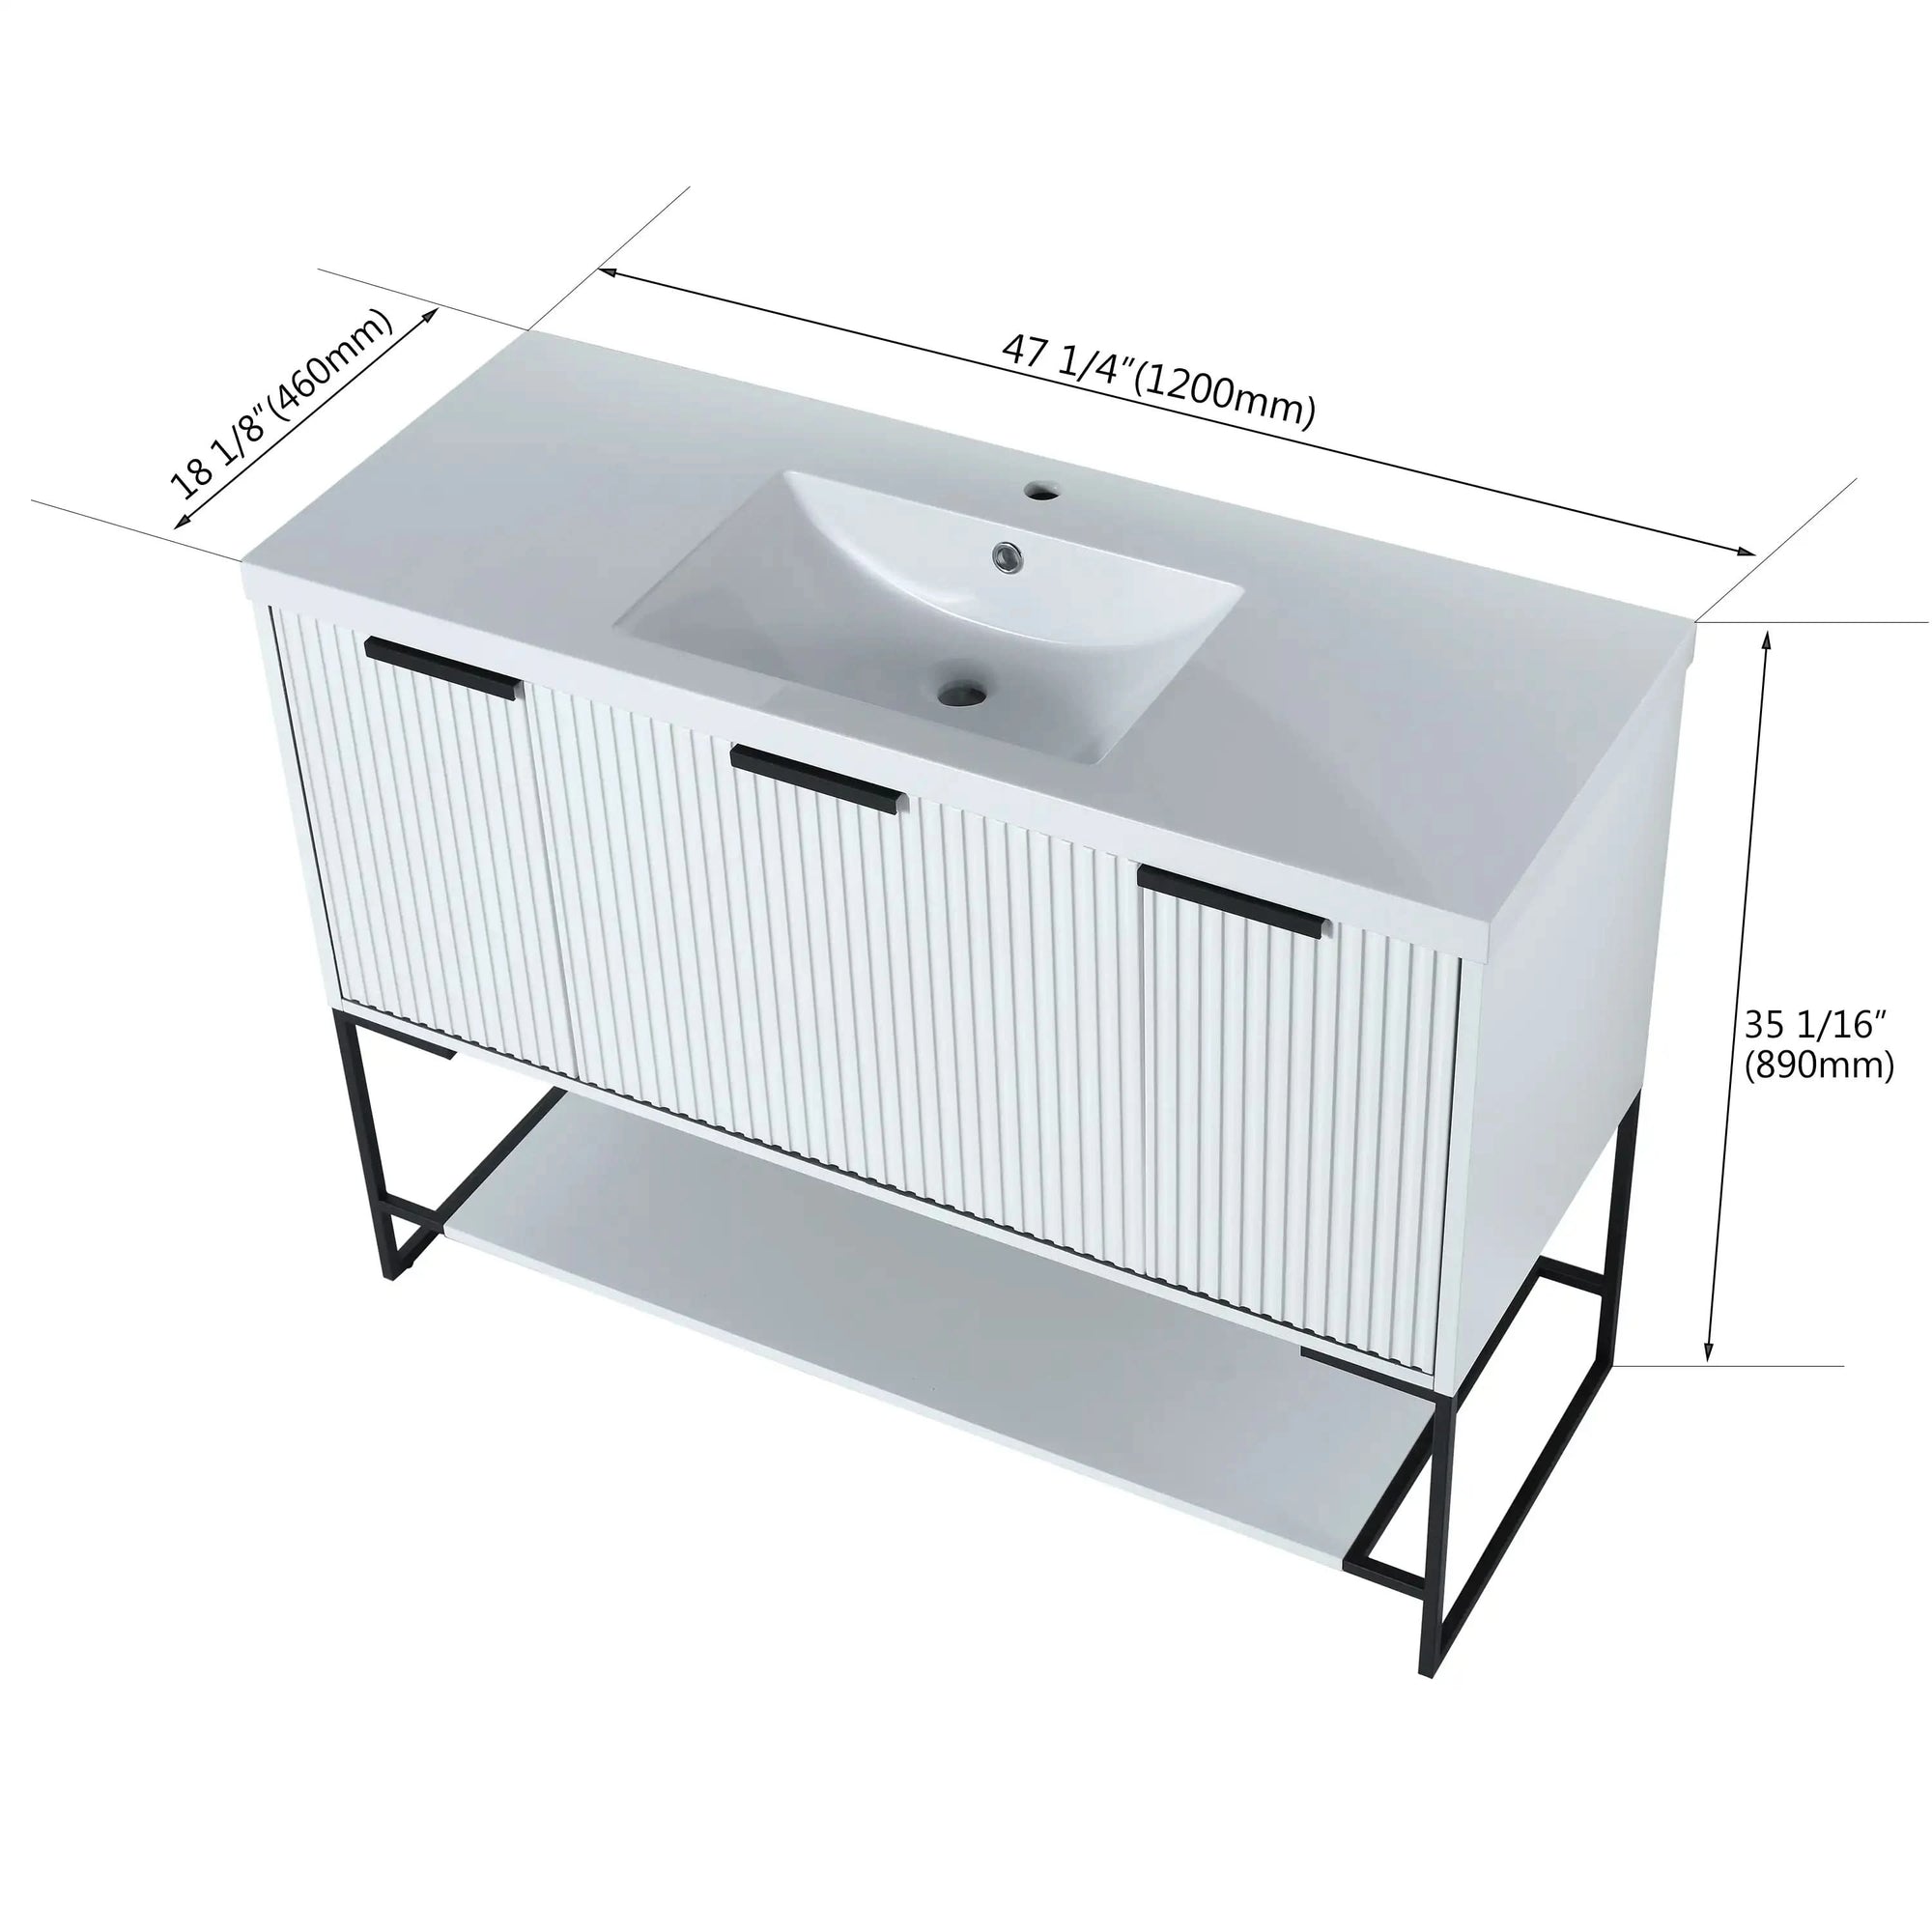
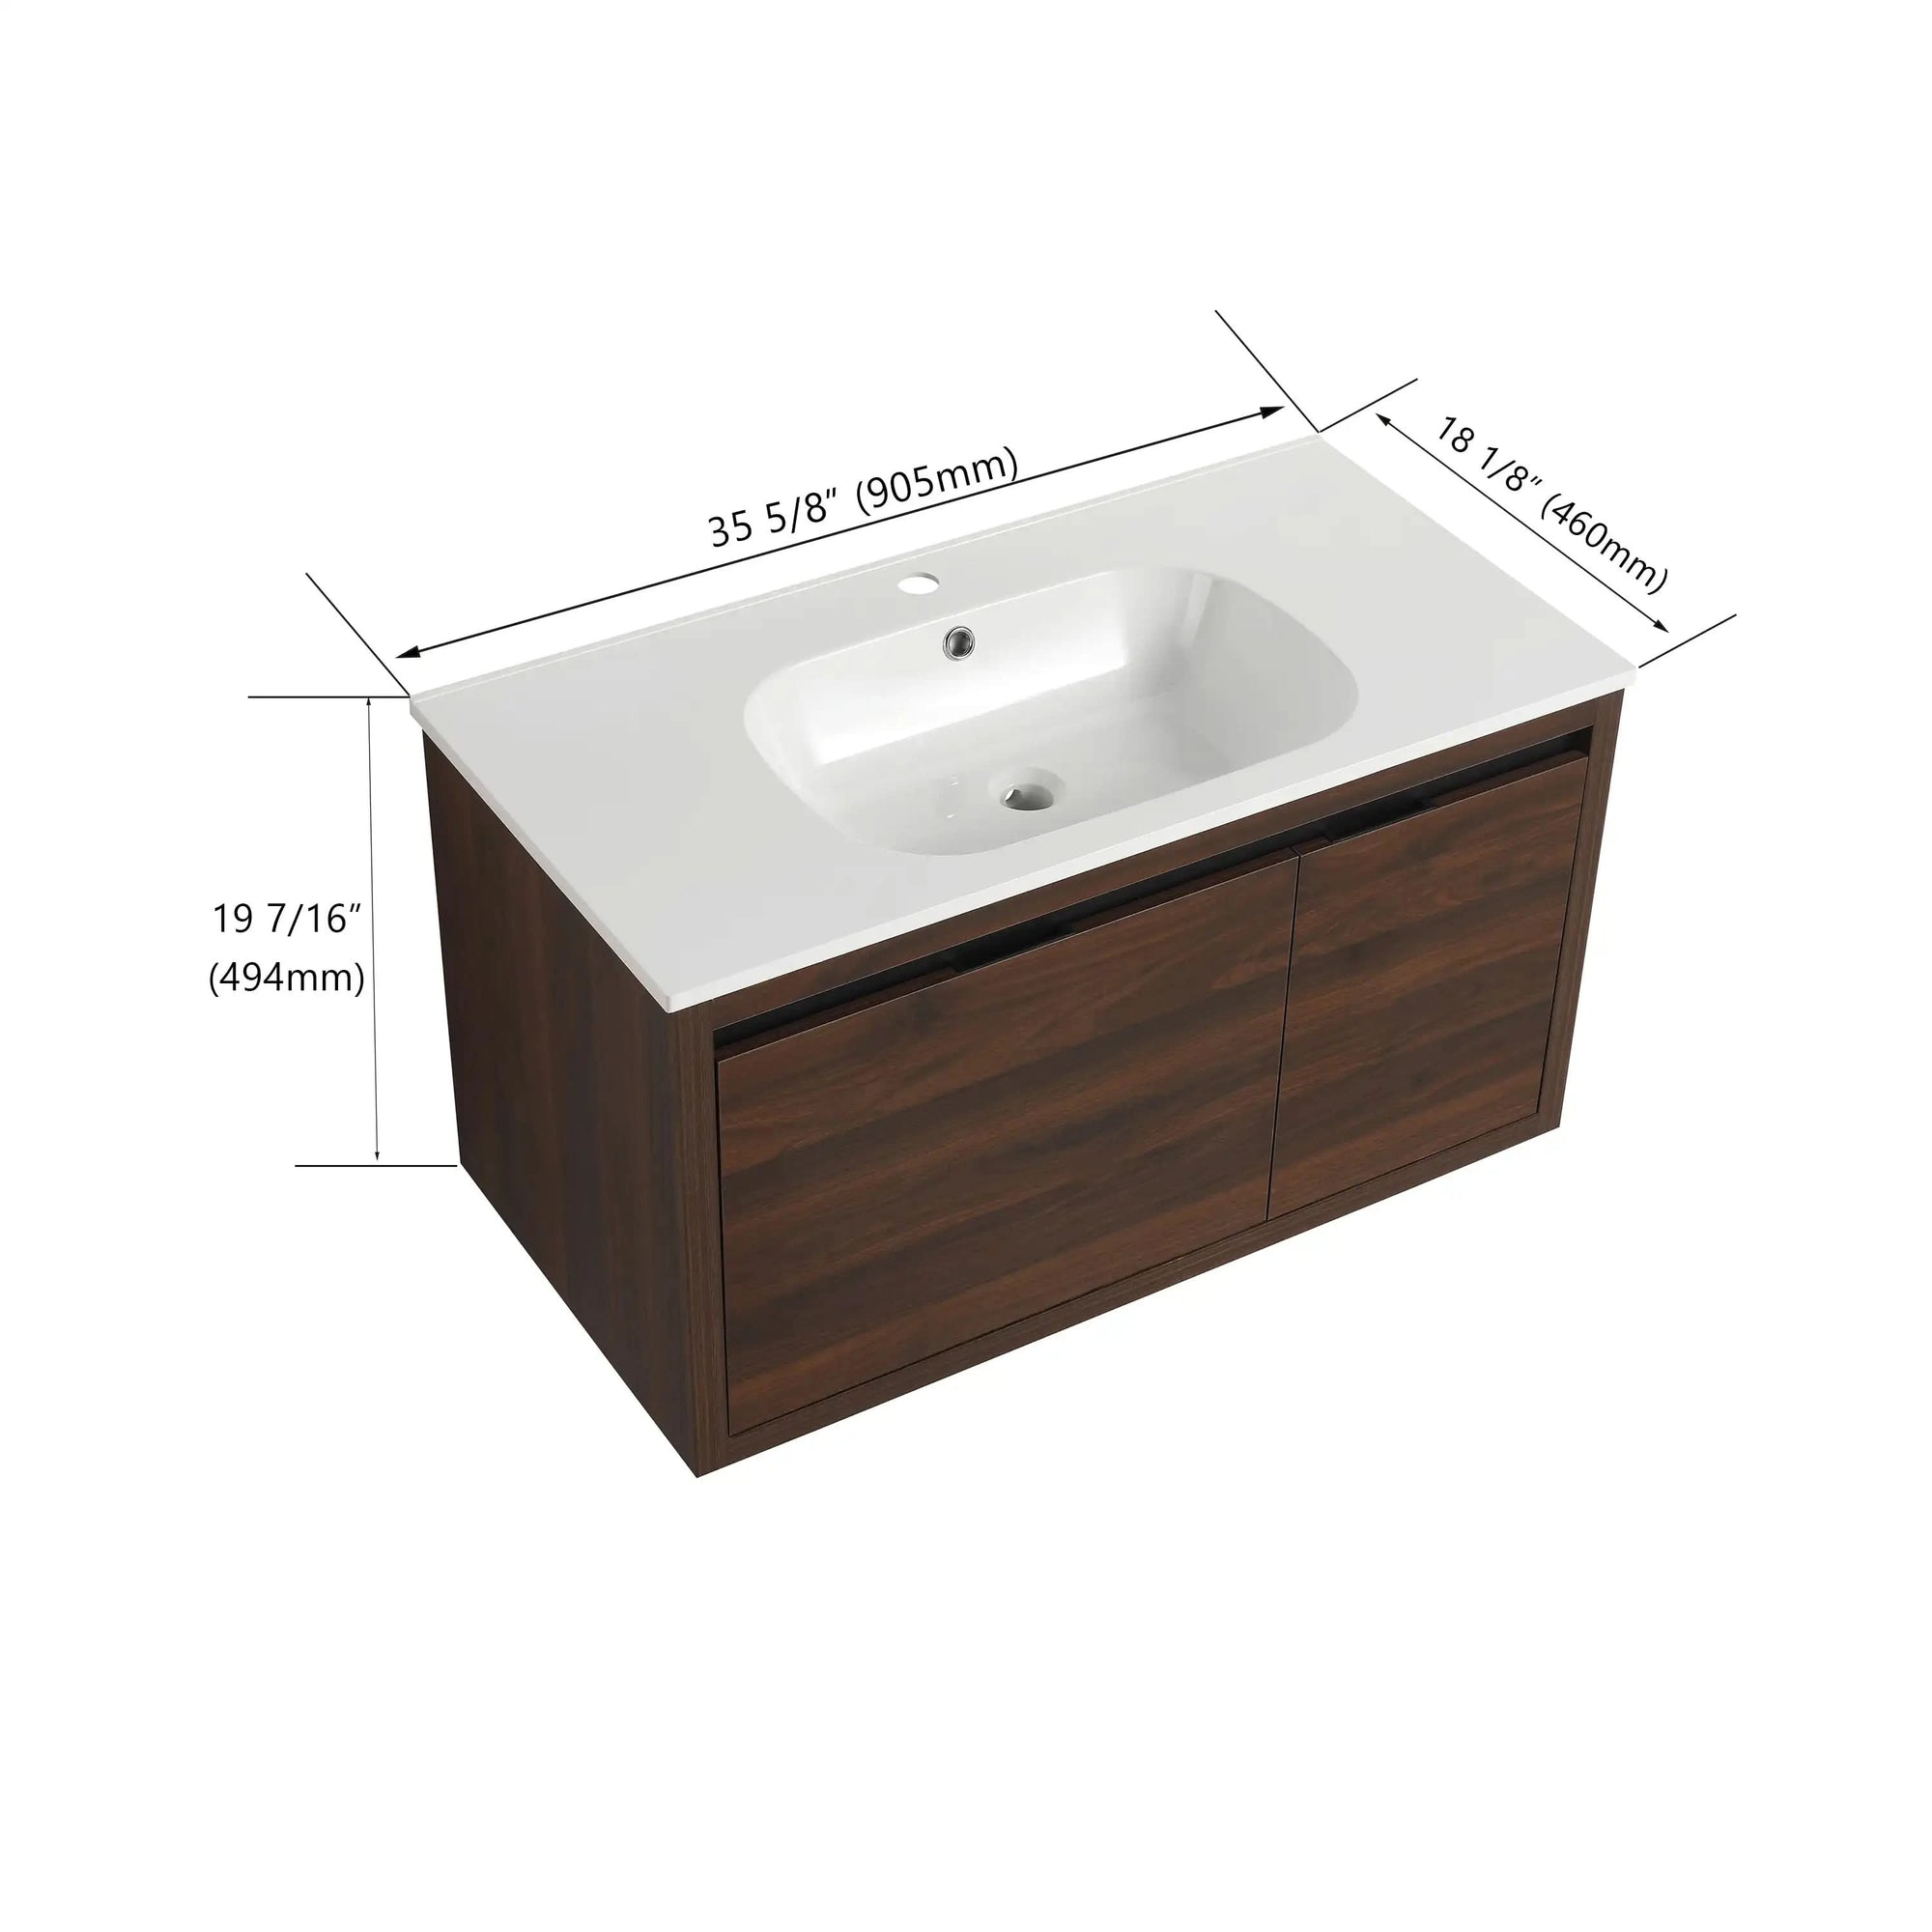
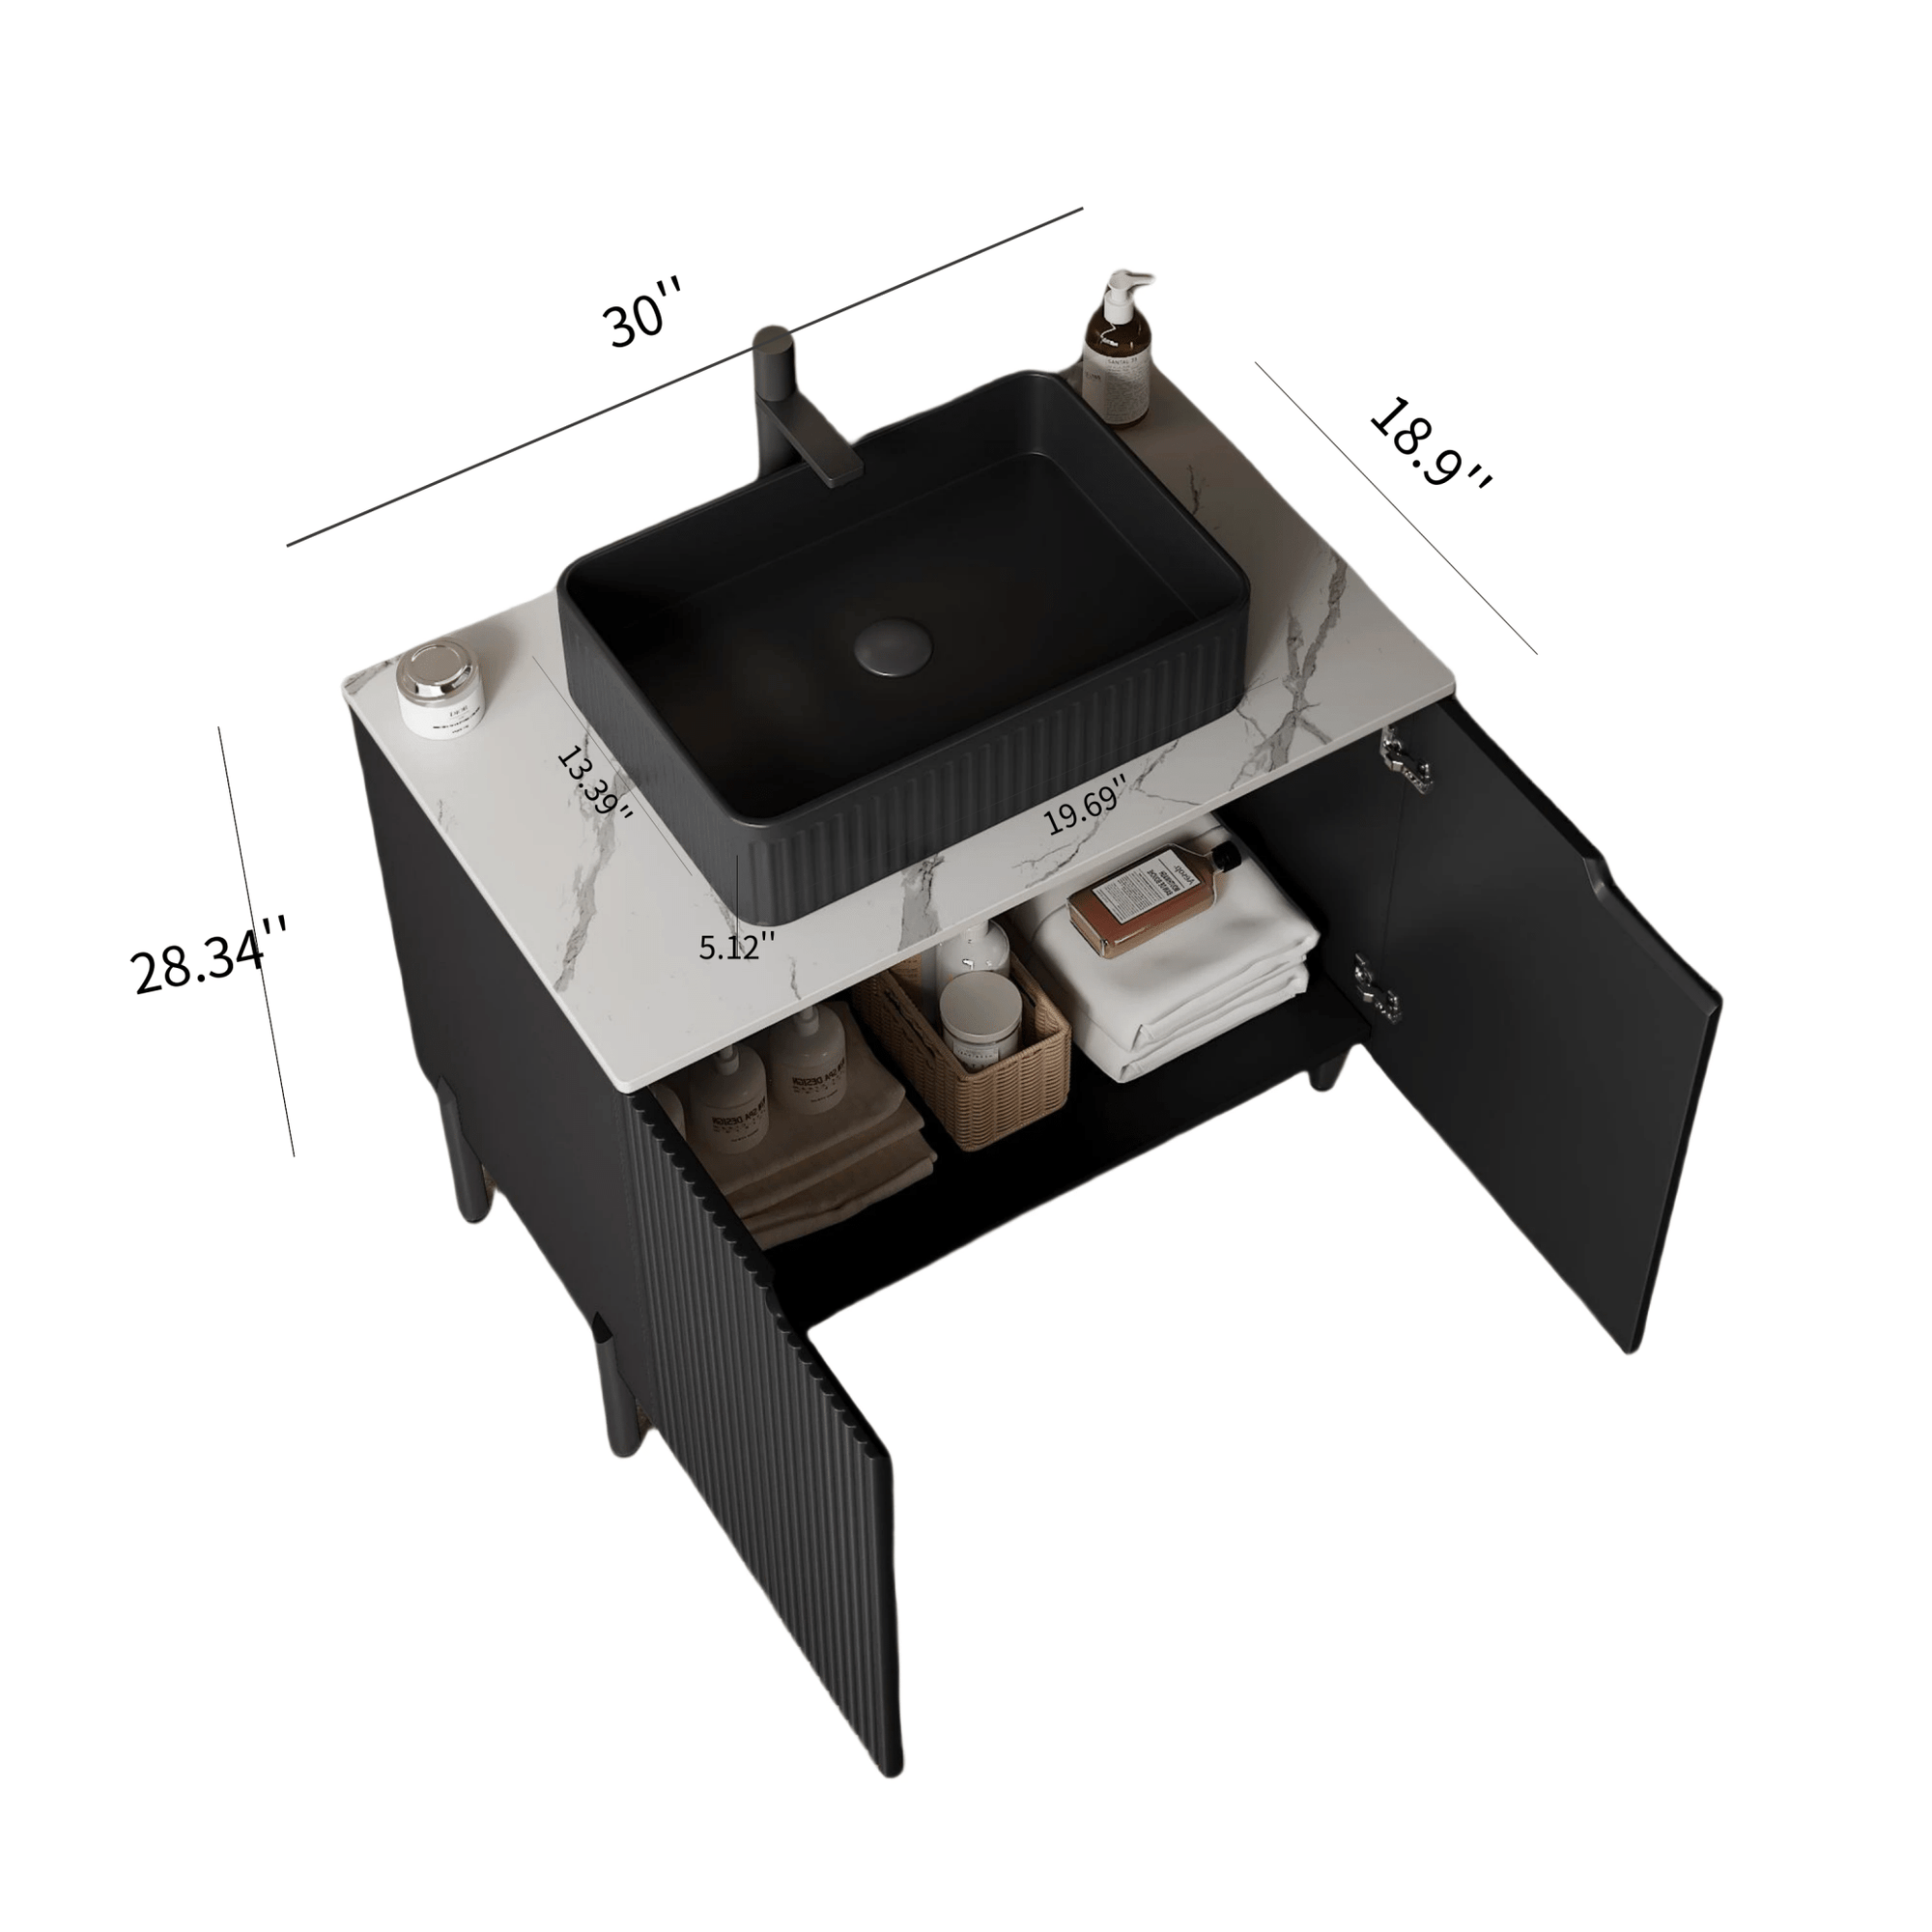
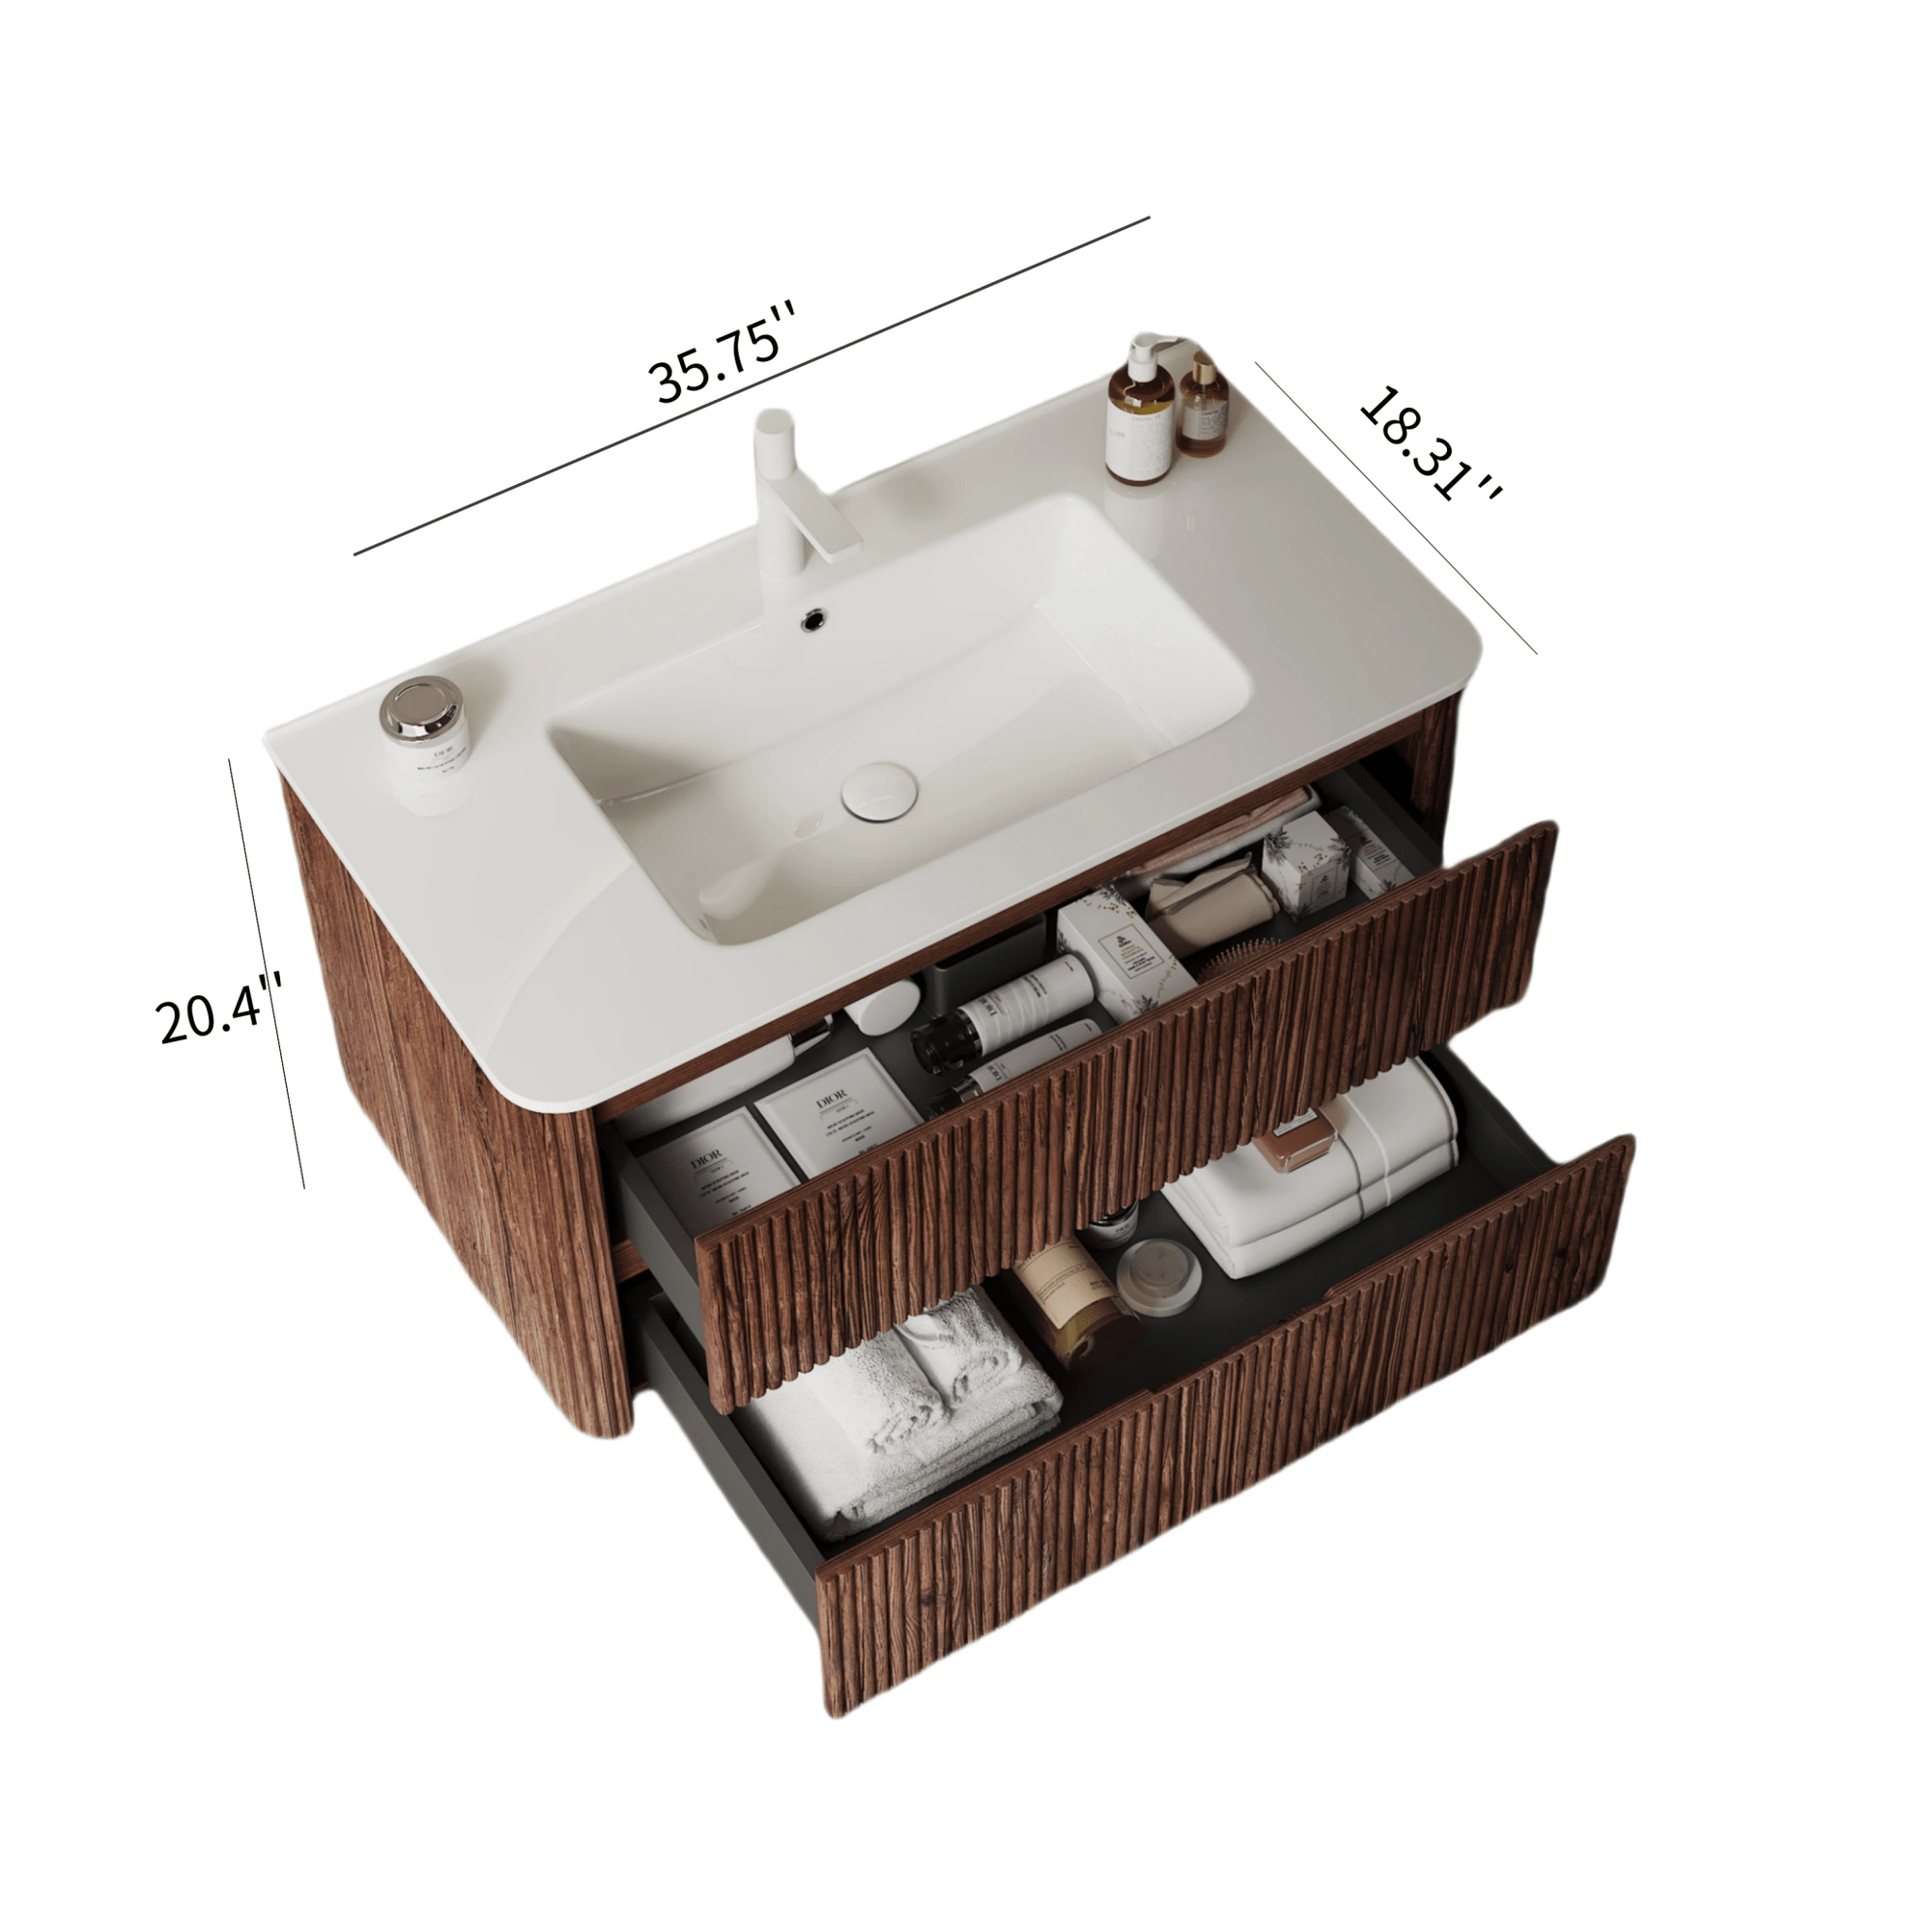
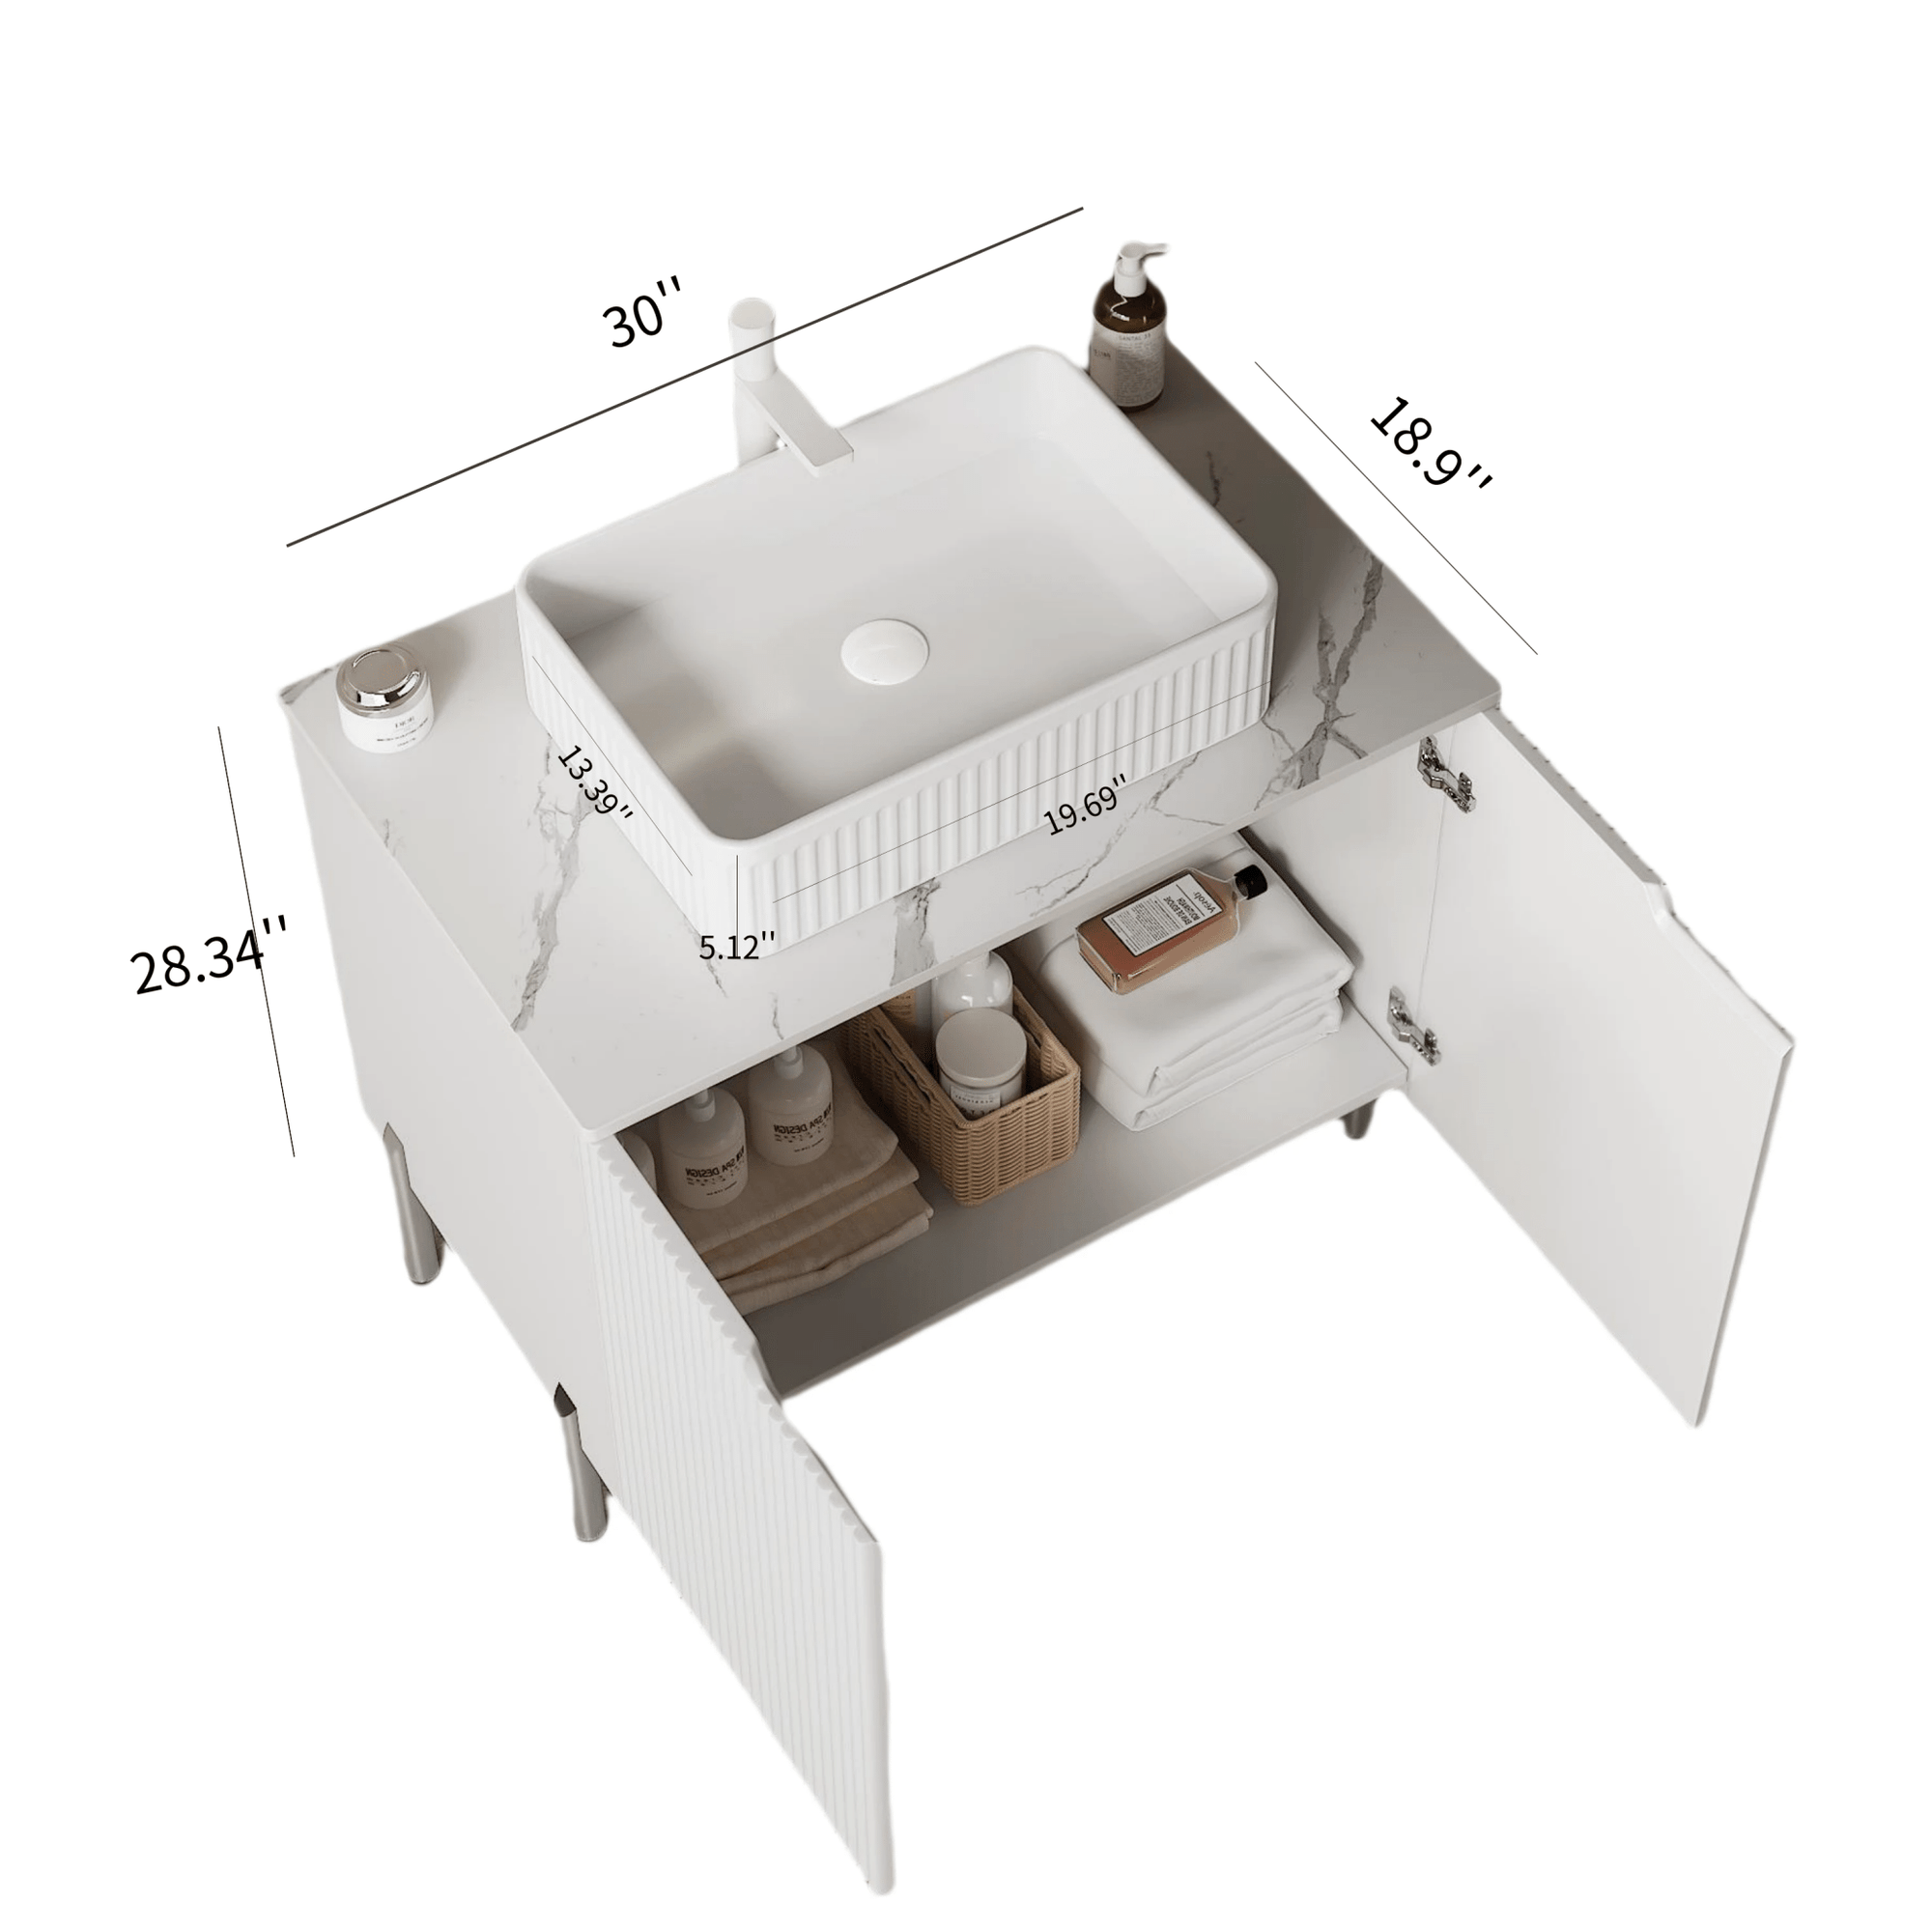
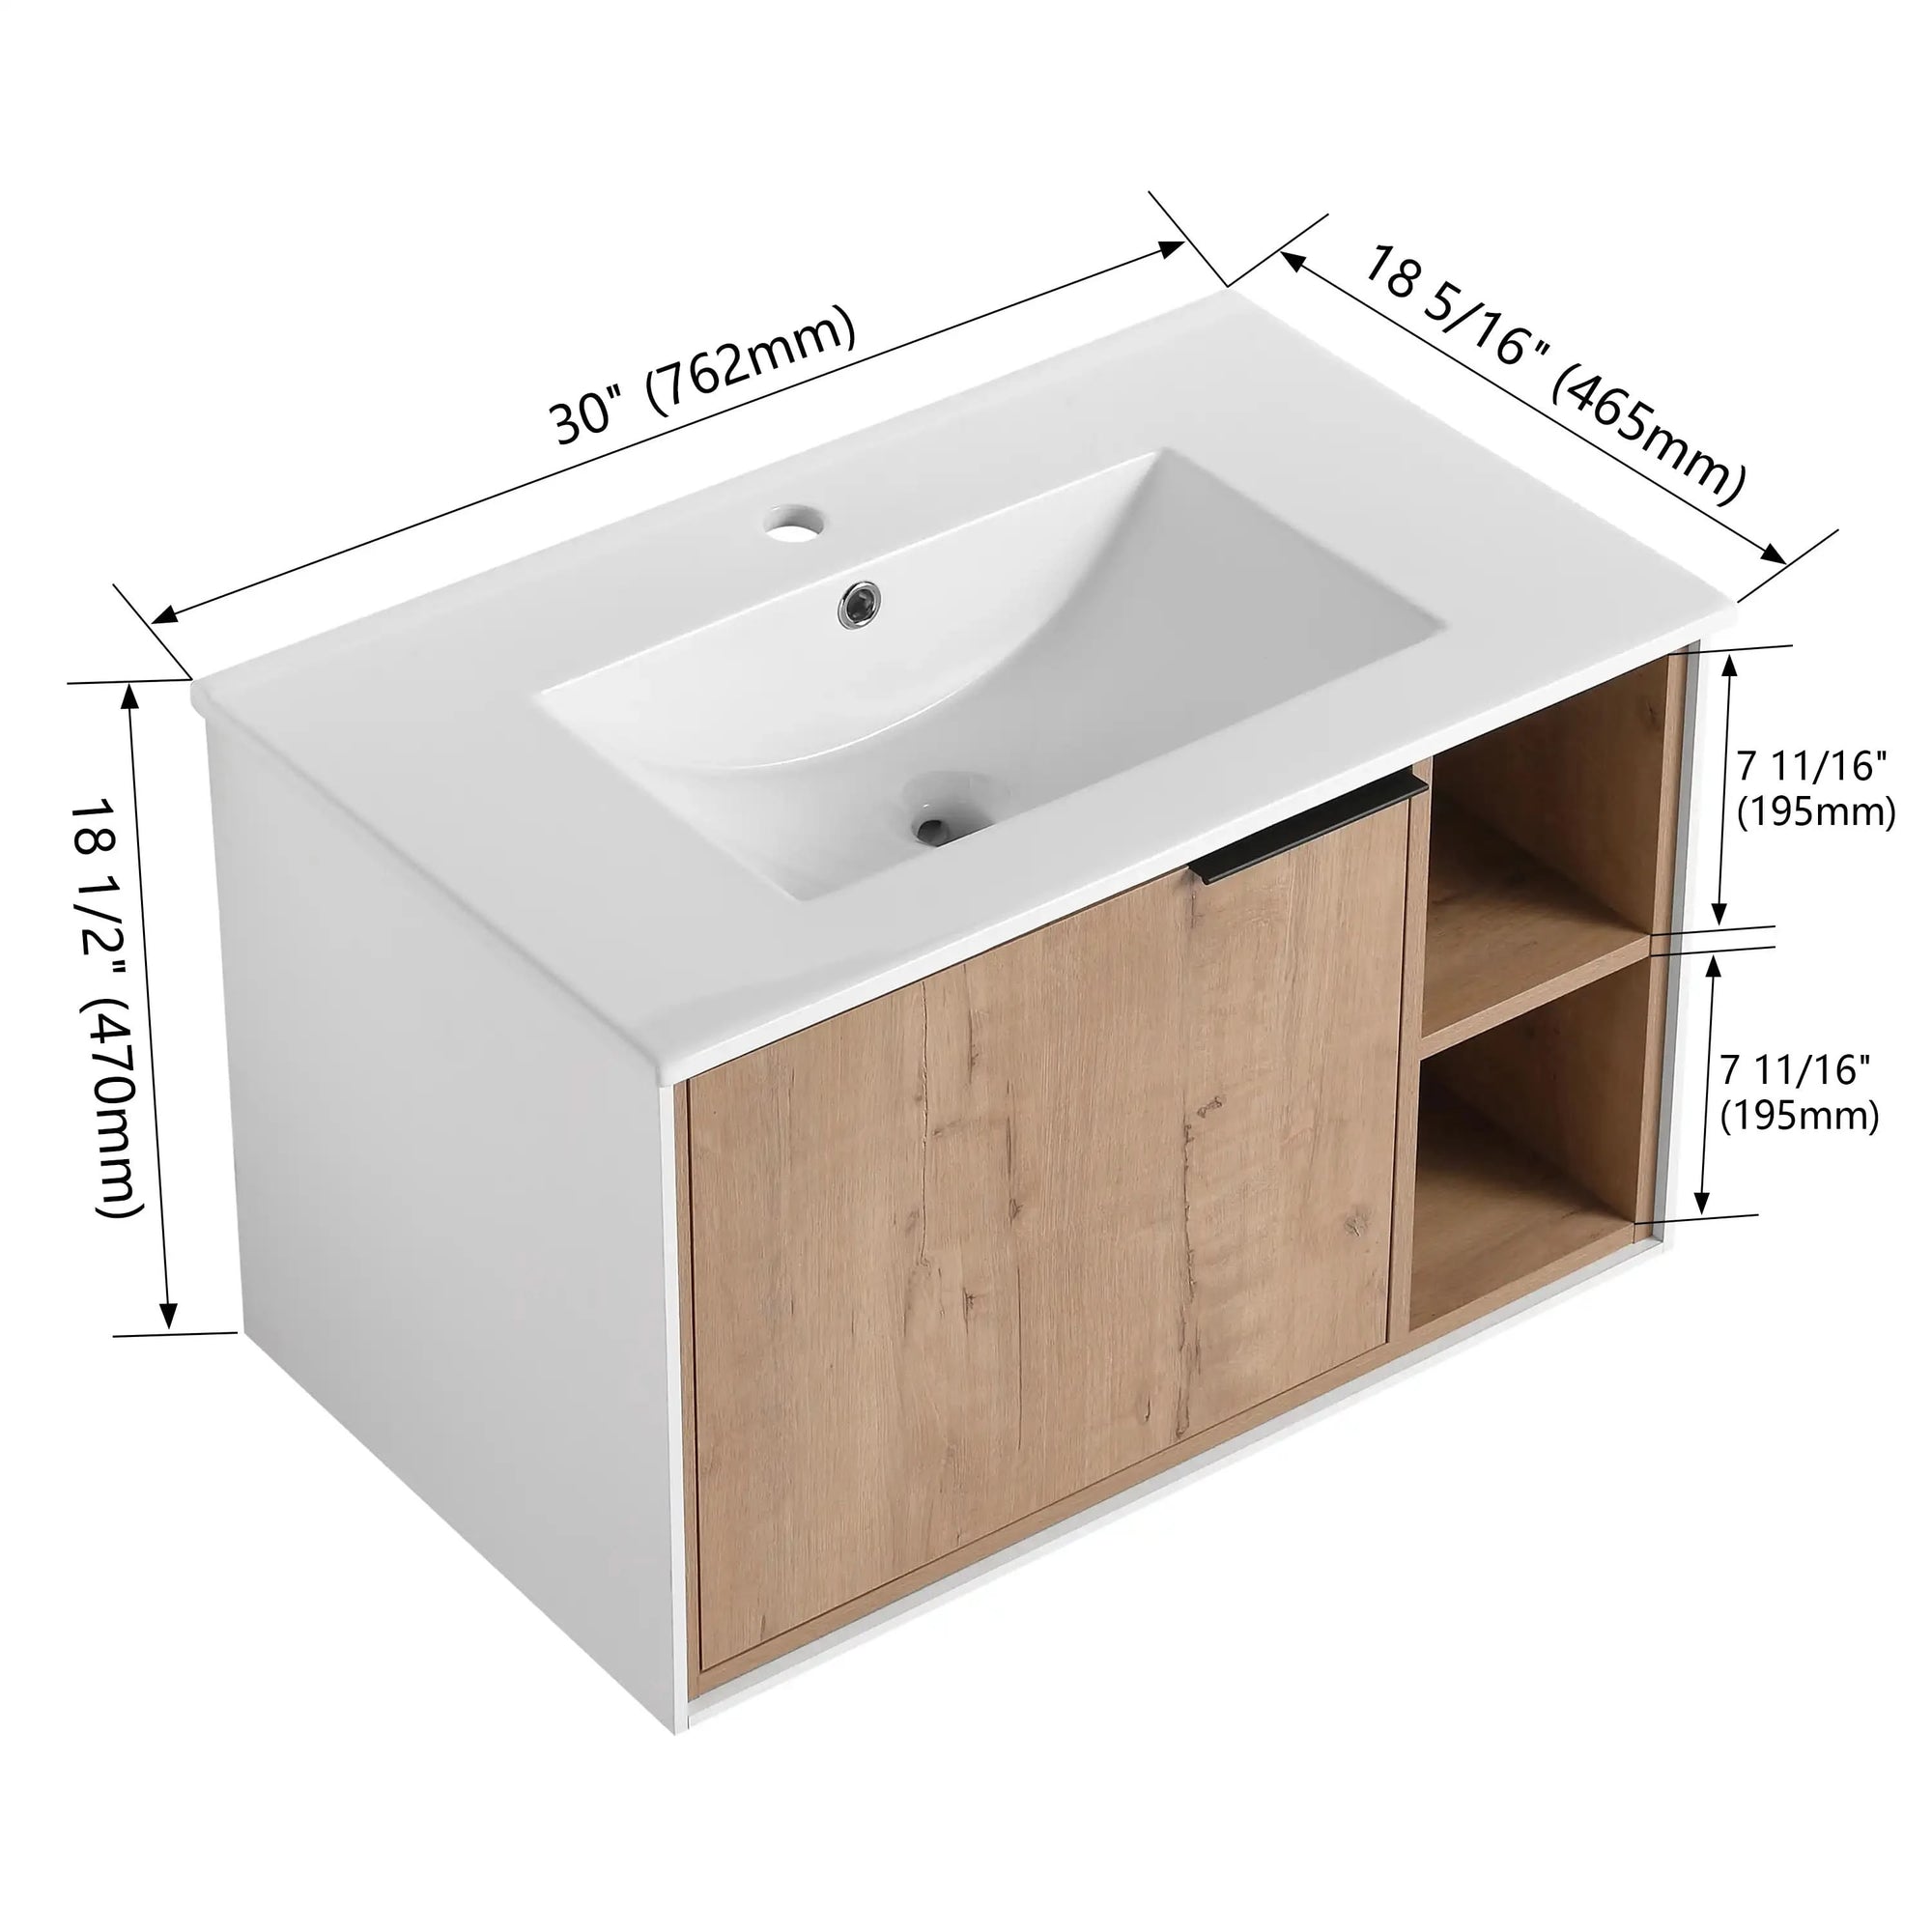
- Take careful width, height, and depth measurements of your bathroom area.
- Check plumbing positions and types to make sure they match up.
- Be sure to check everything twice so you don't make any mistakes that will delay your installation.
Draw a rough layout of your bathroom on paper to see what new placement of your vanity should look like.

Step 2: Picking out the right bathroom vanity
When you are planning a new bathroom, you have to consider a lot of things:
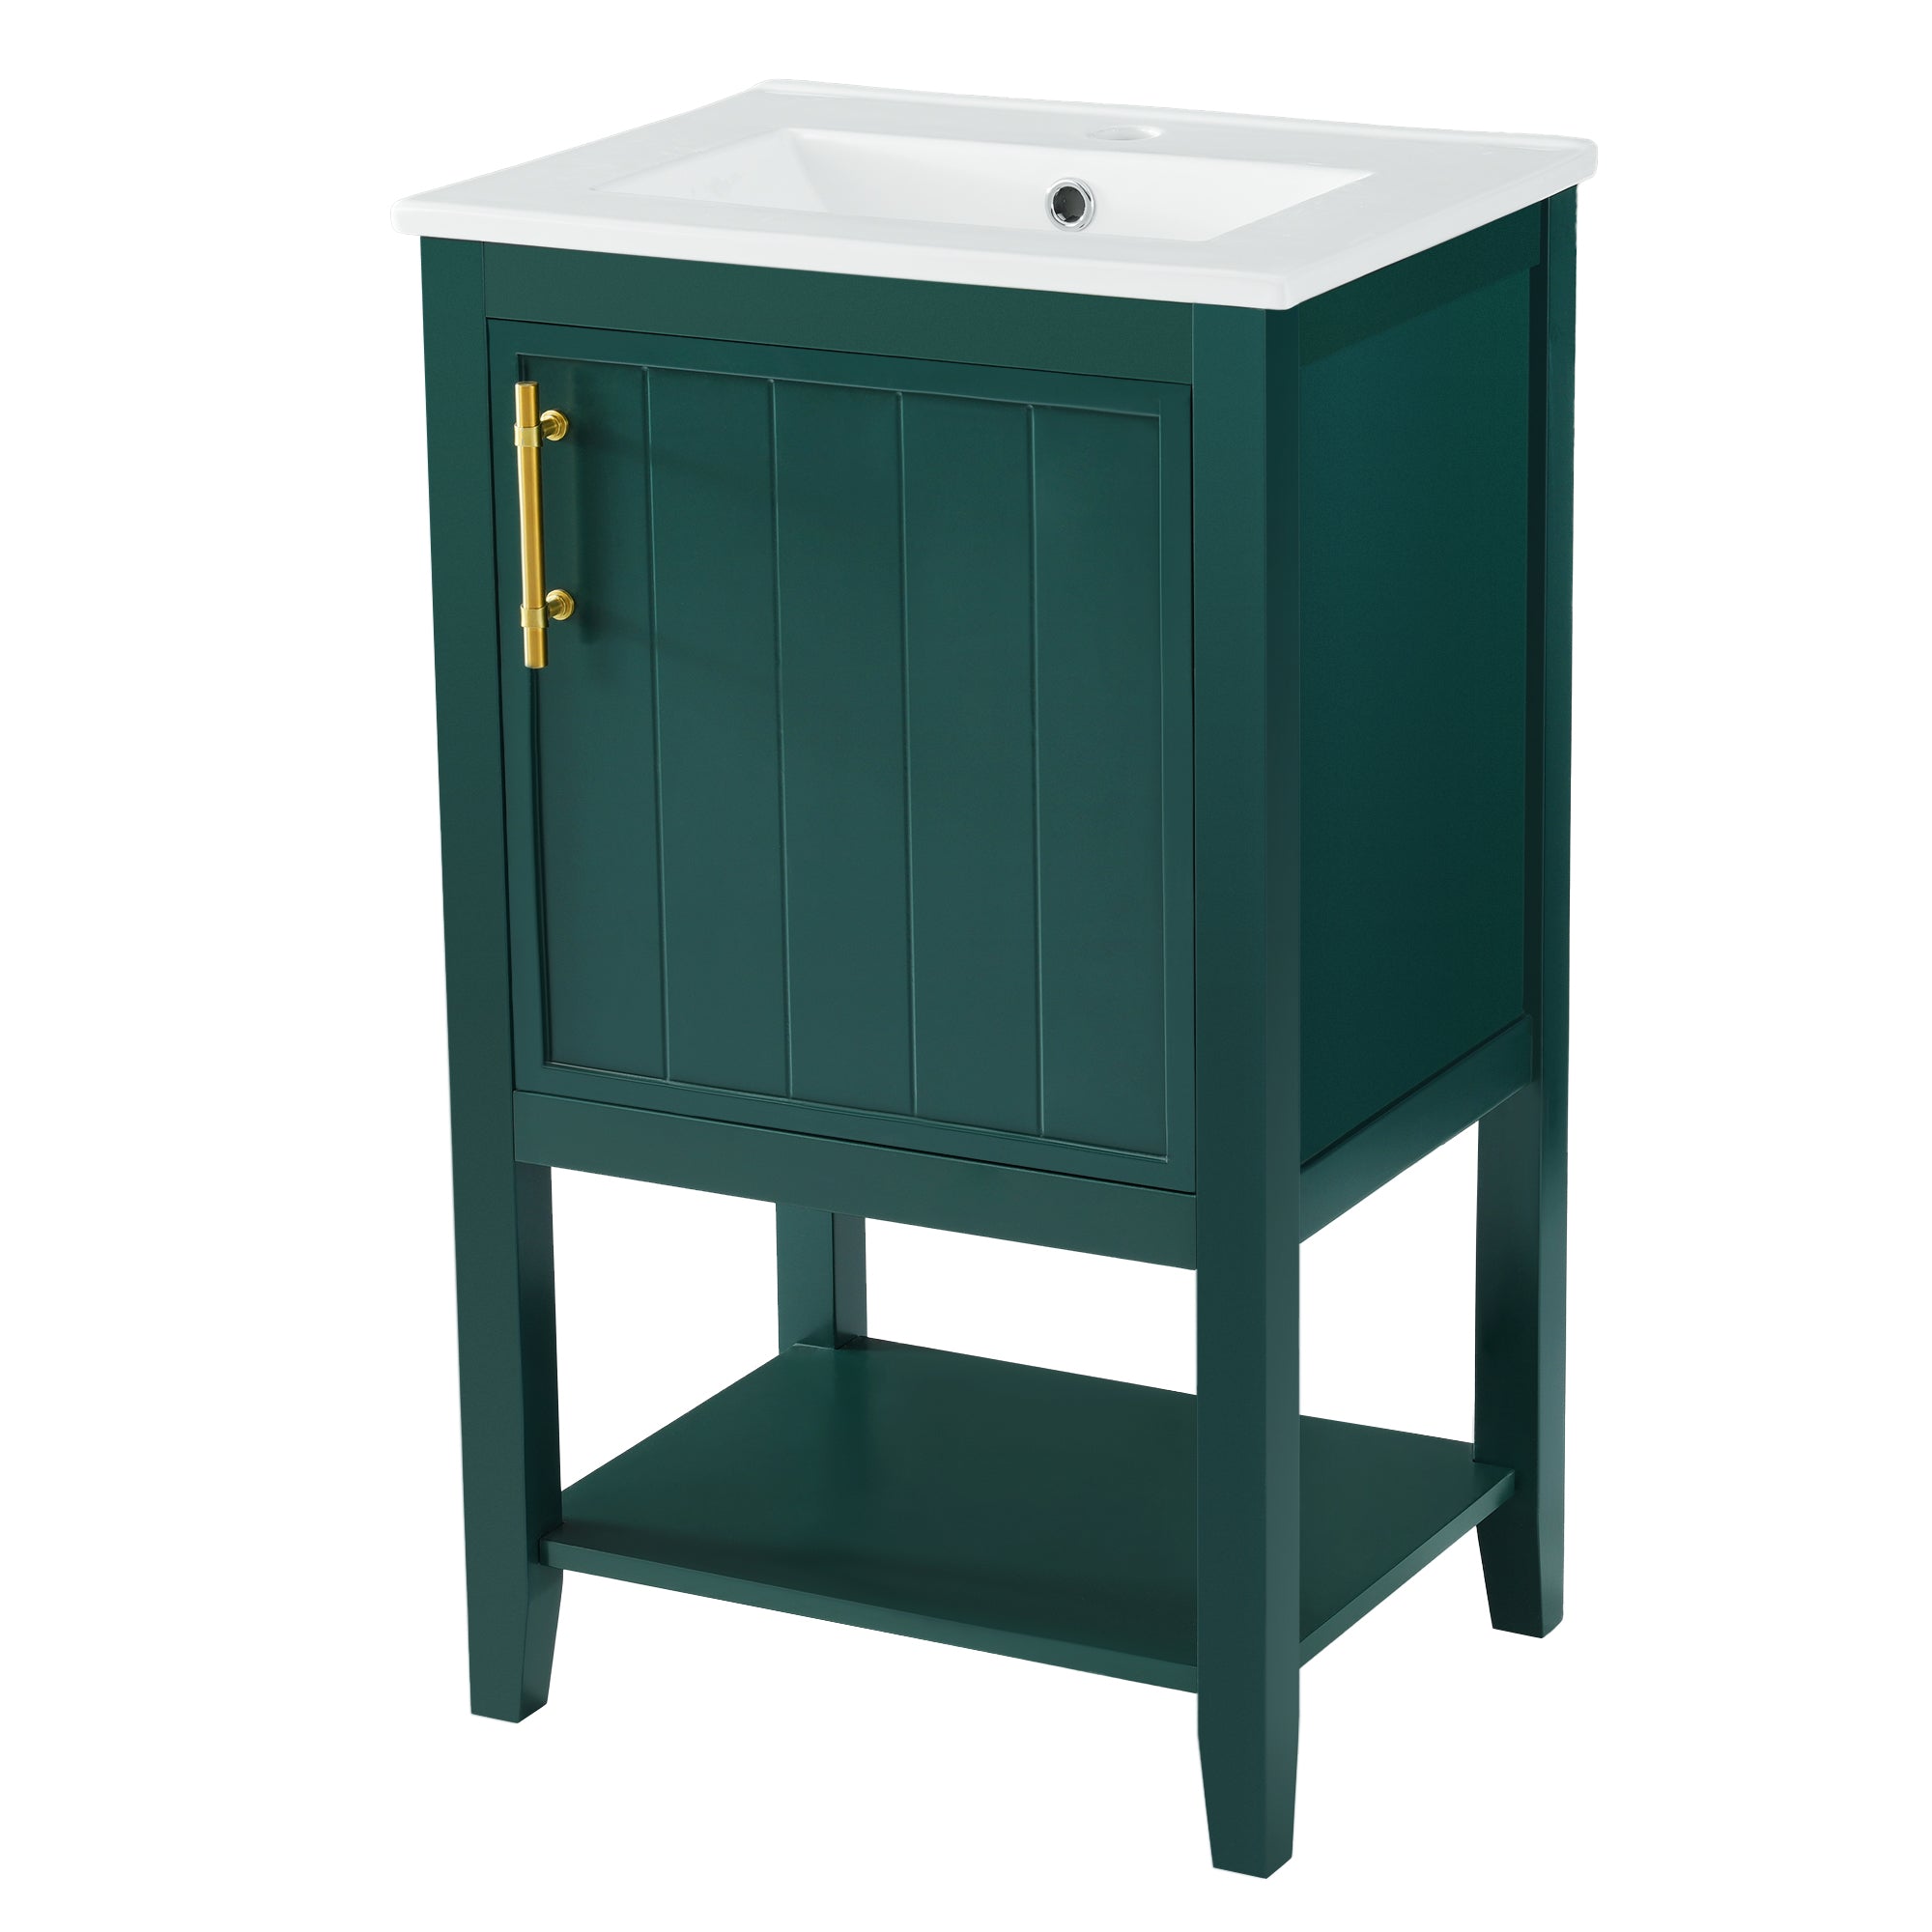
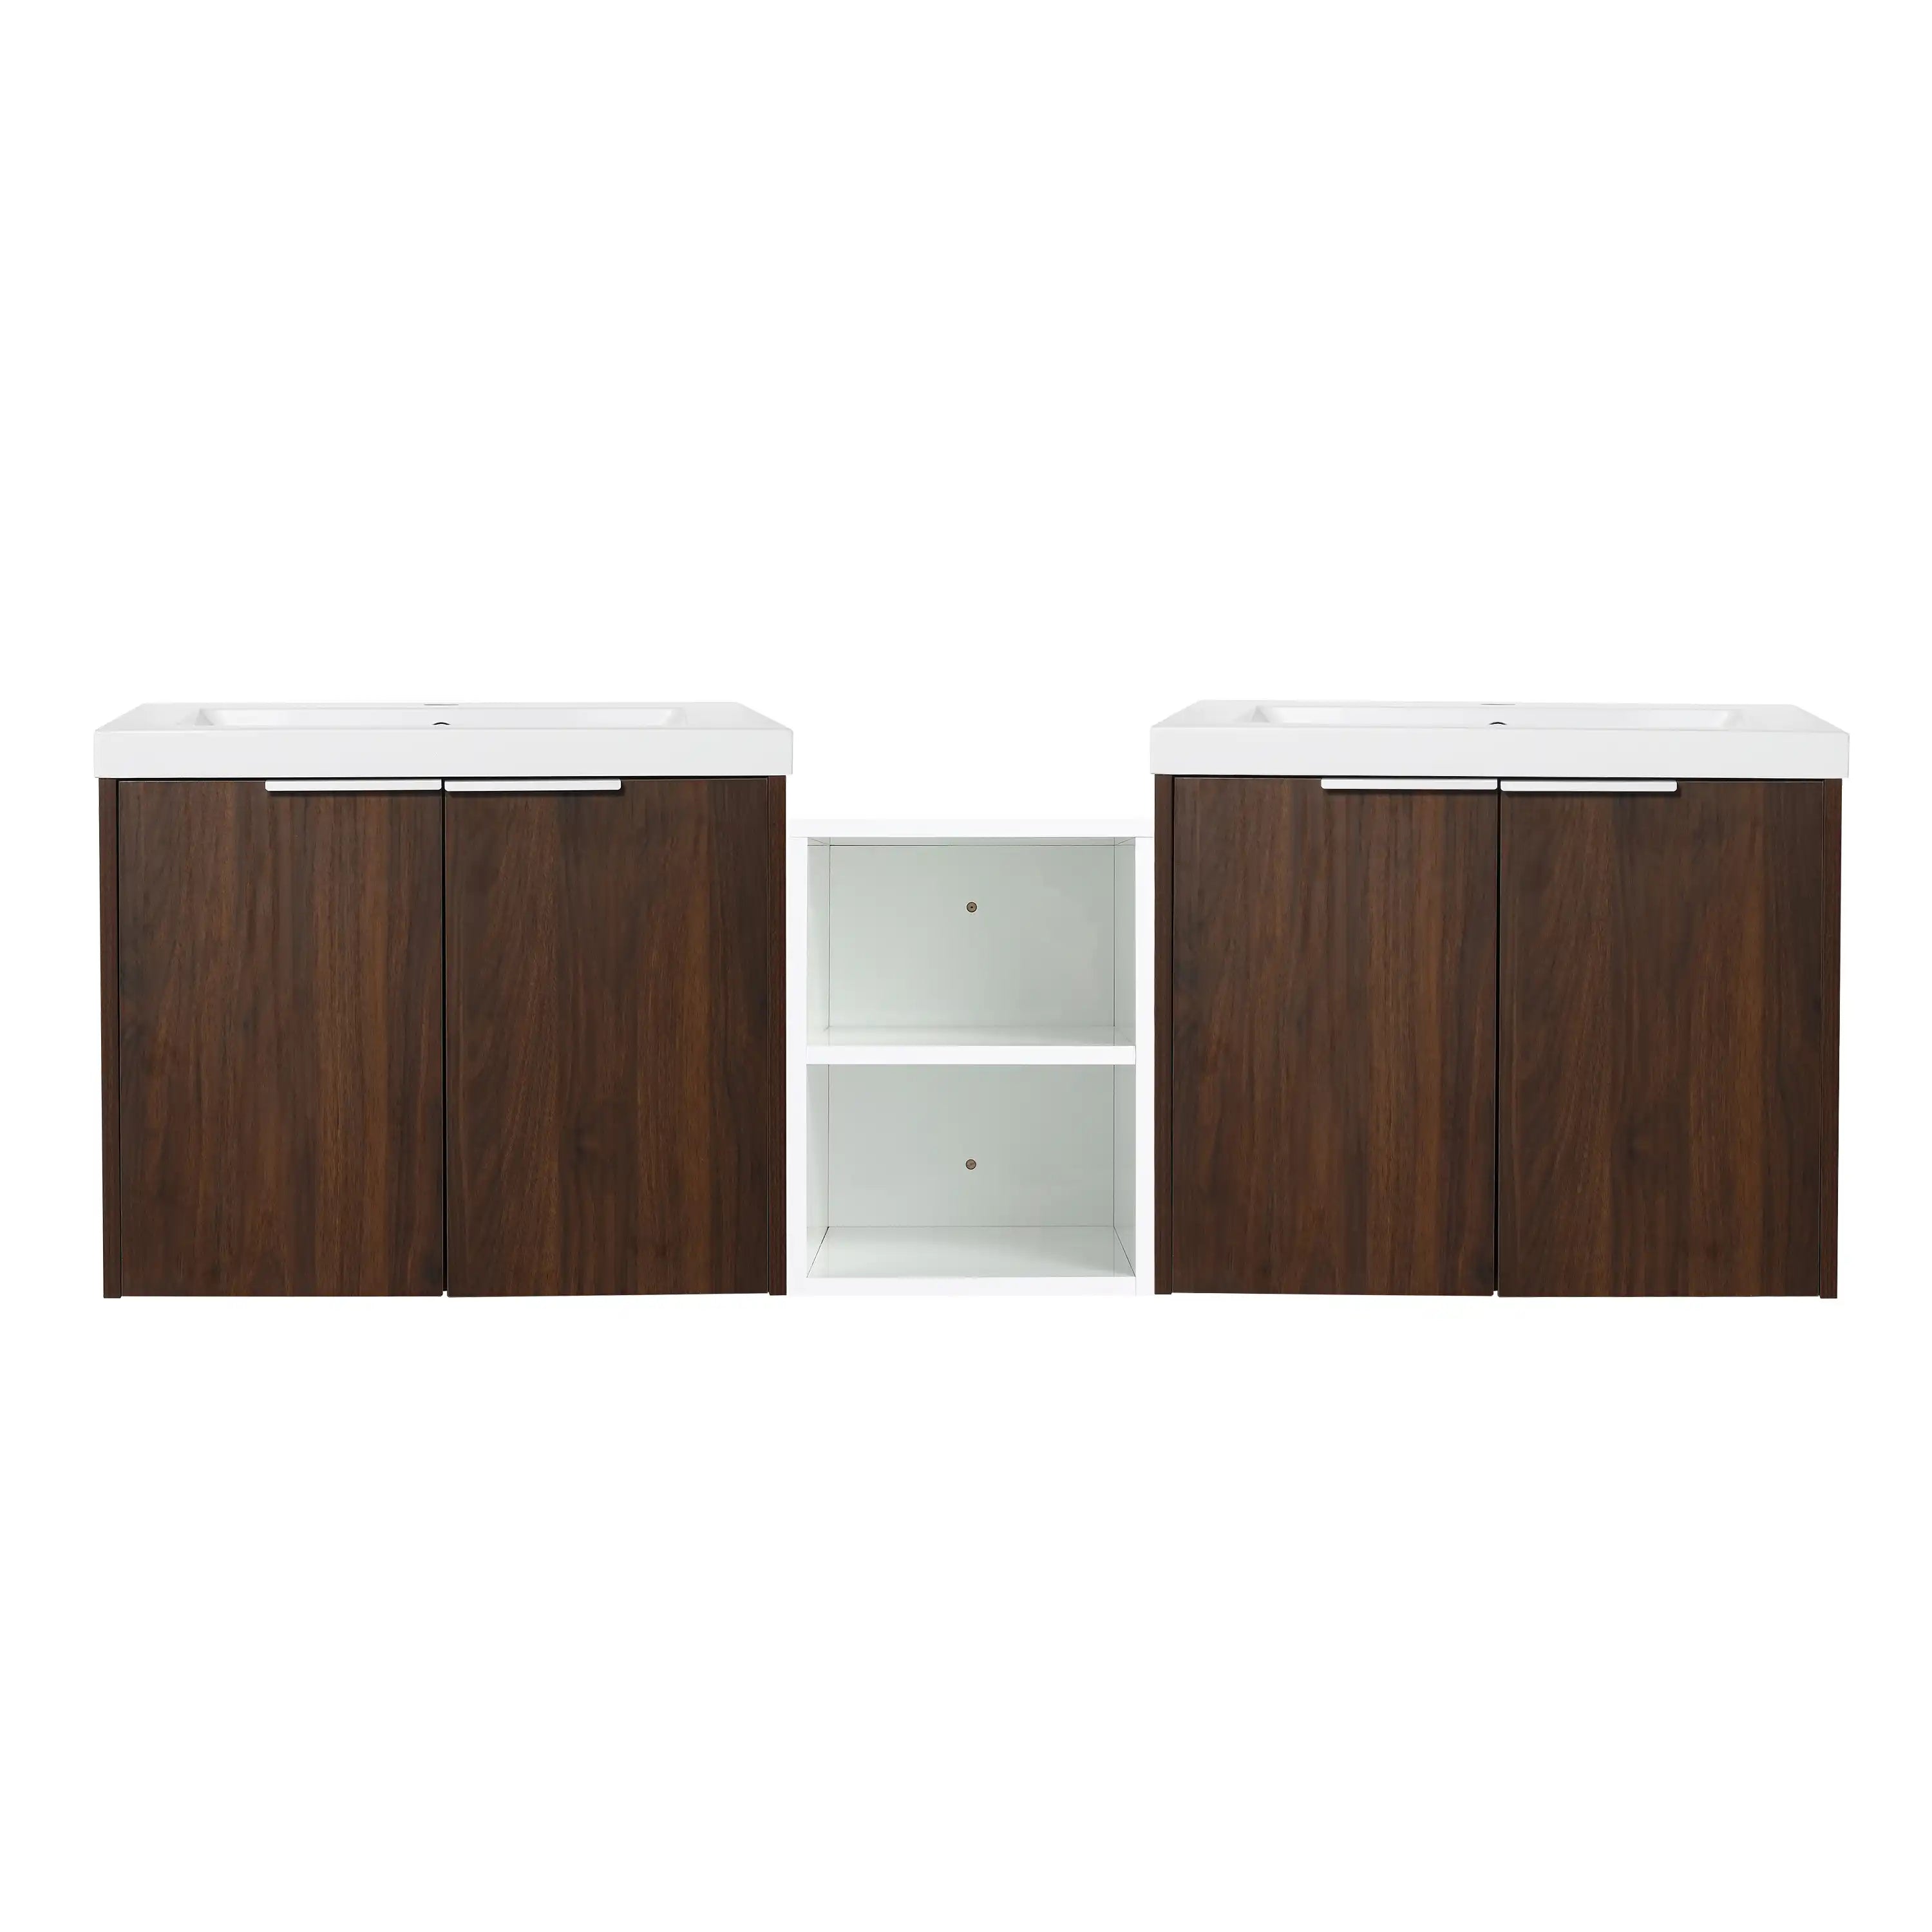
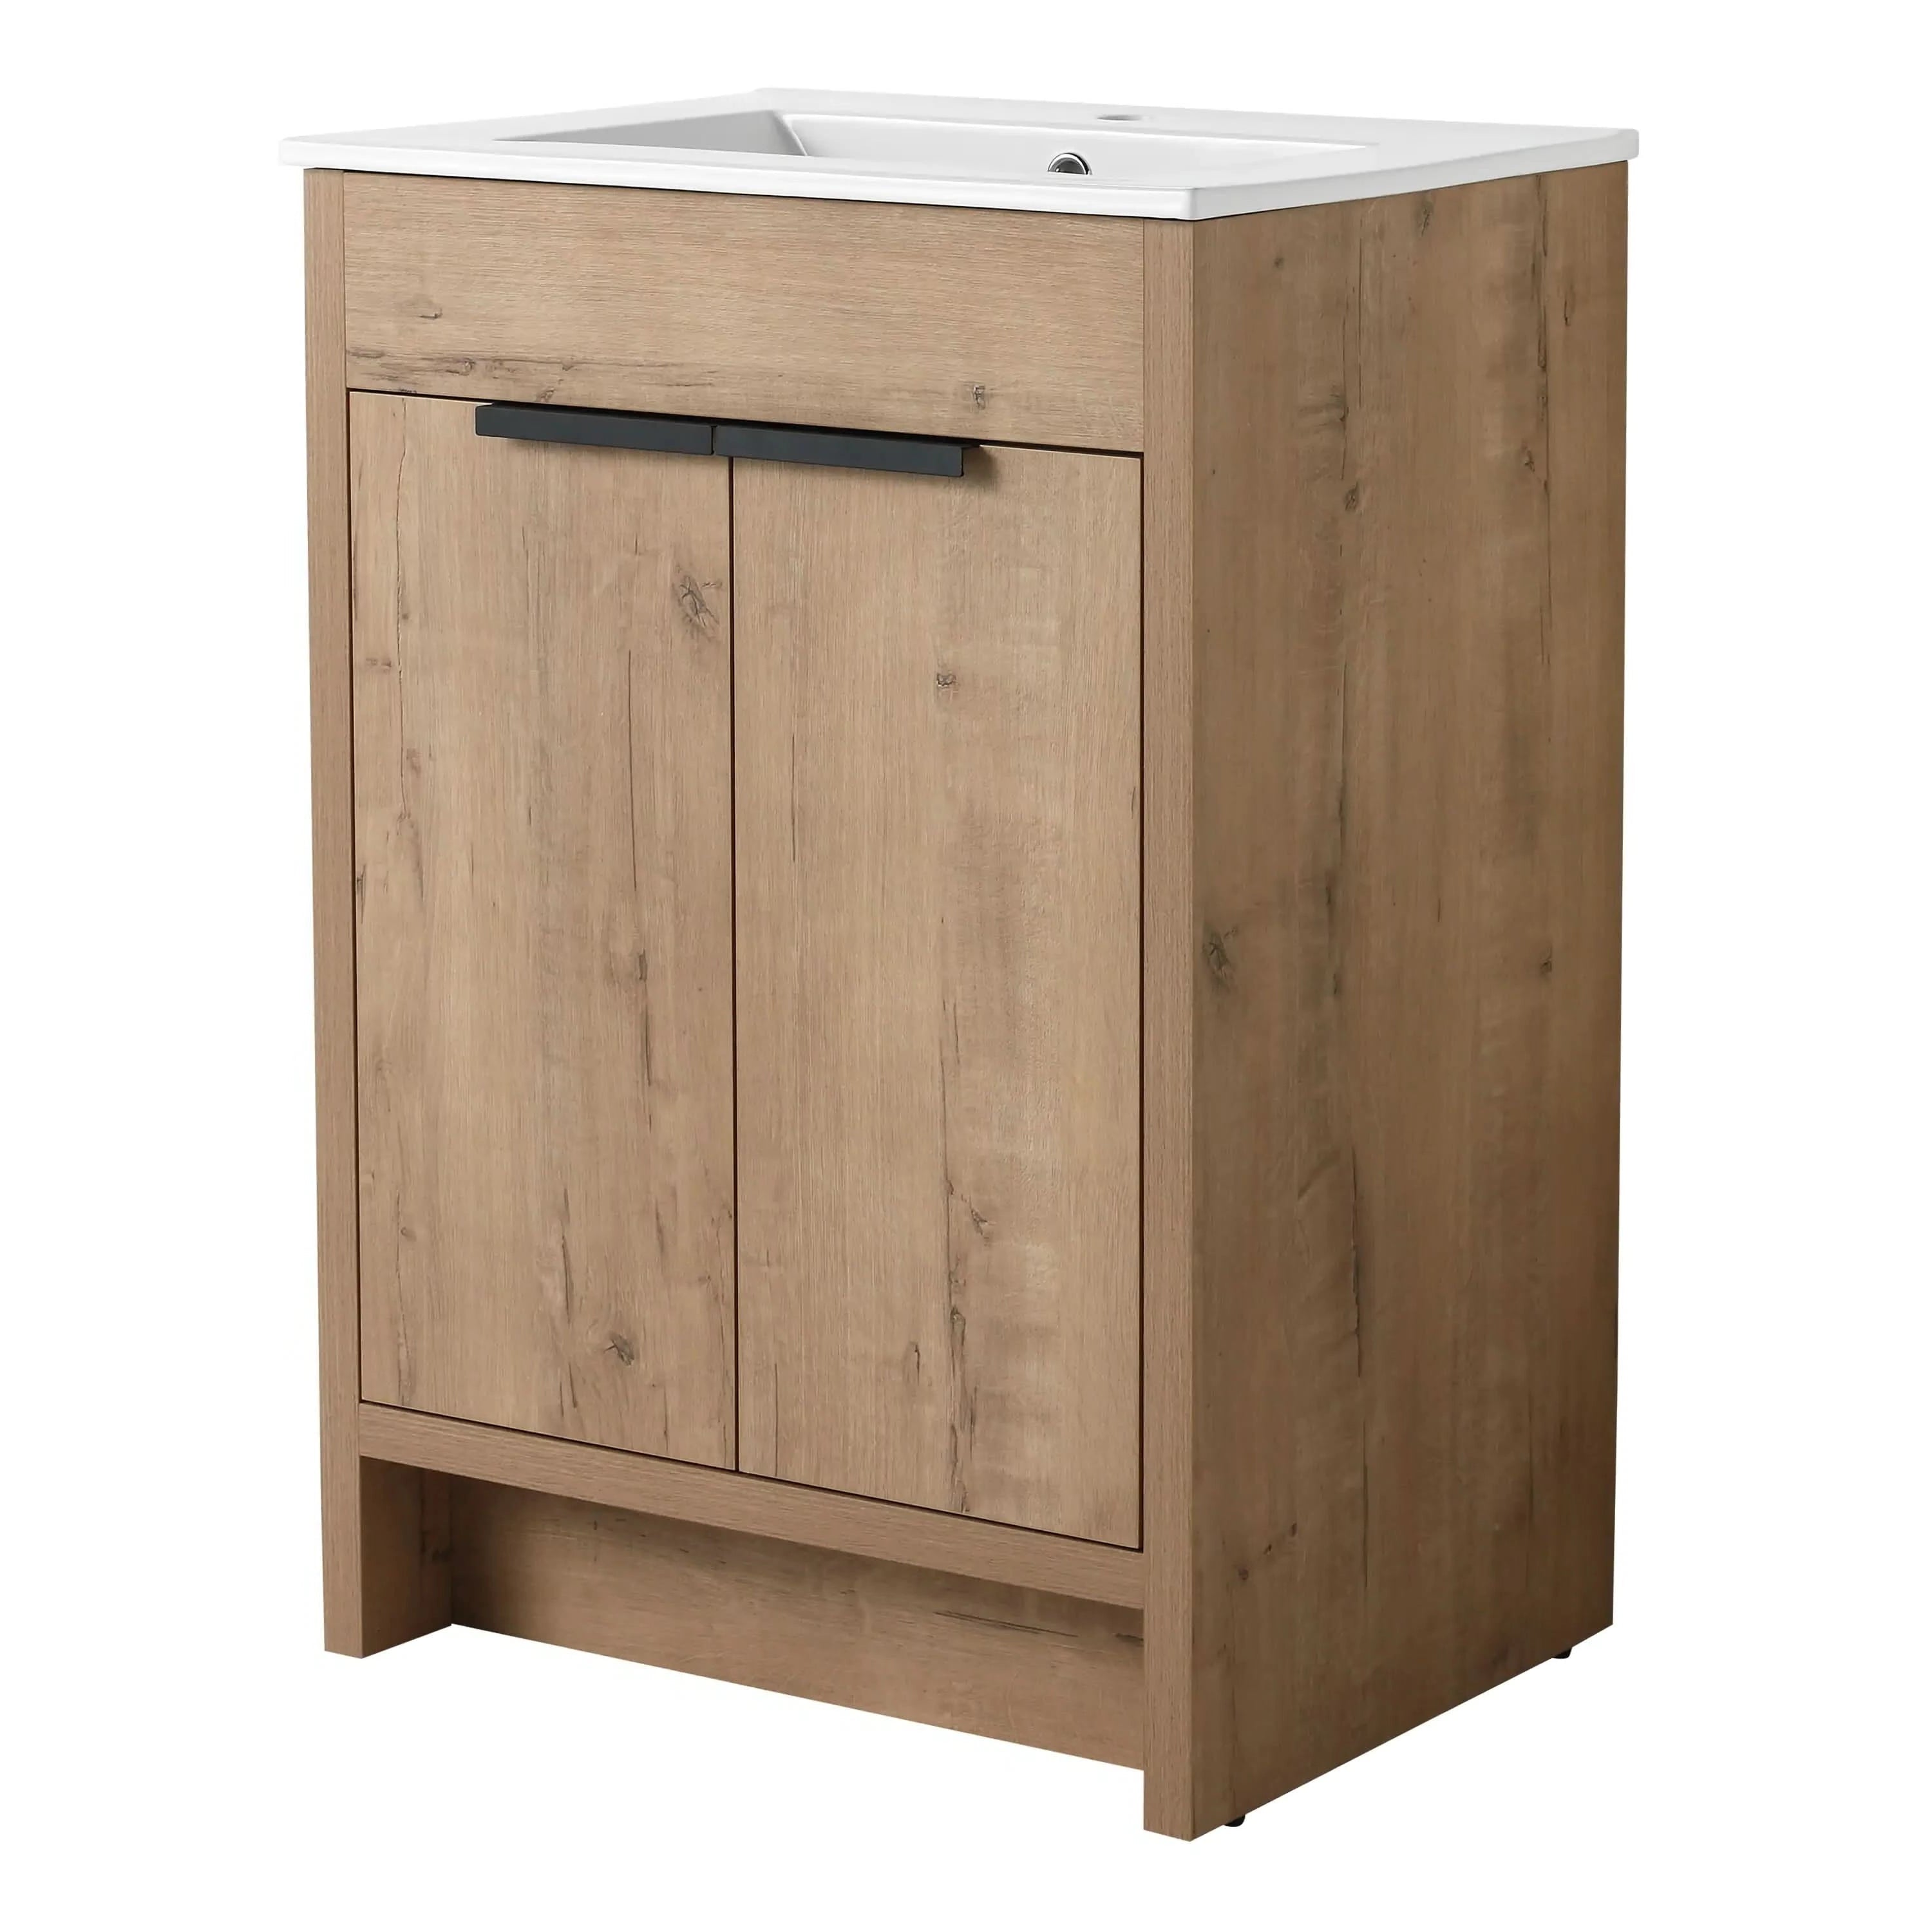
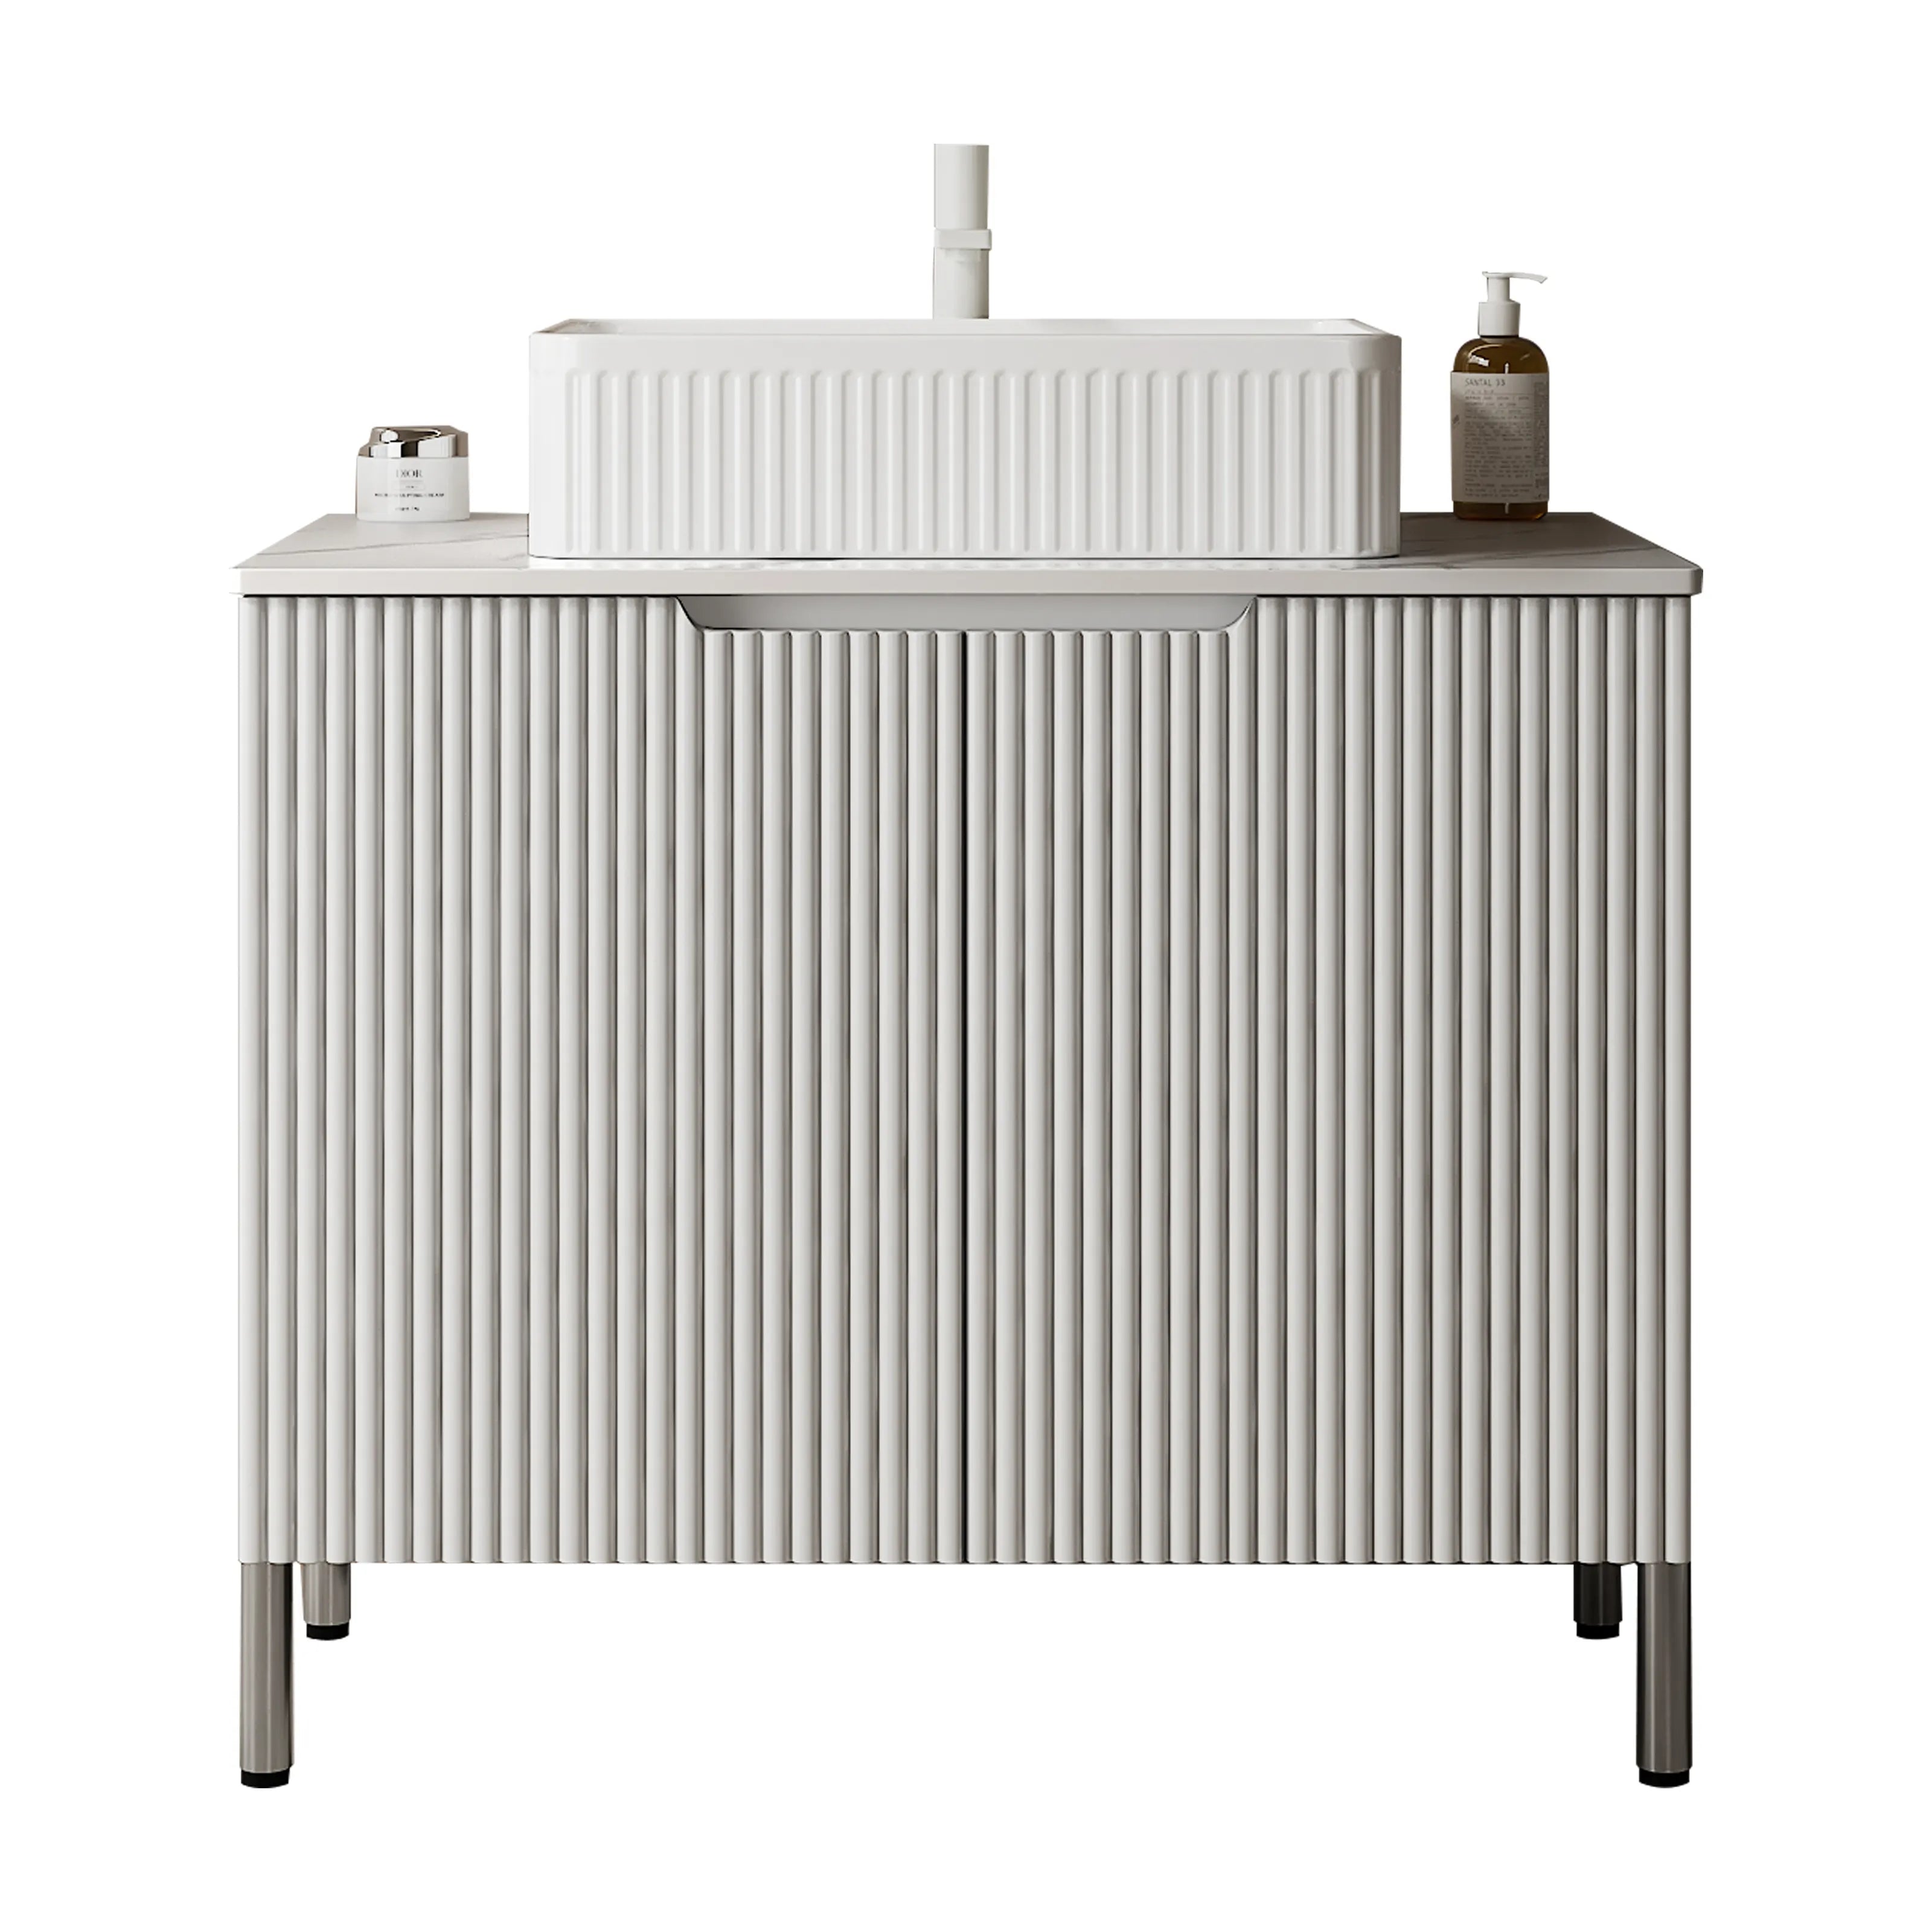
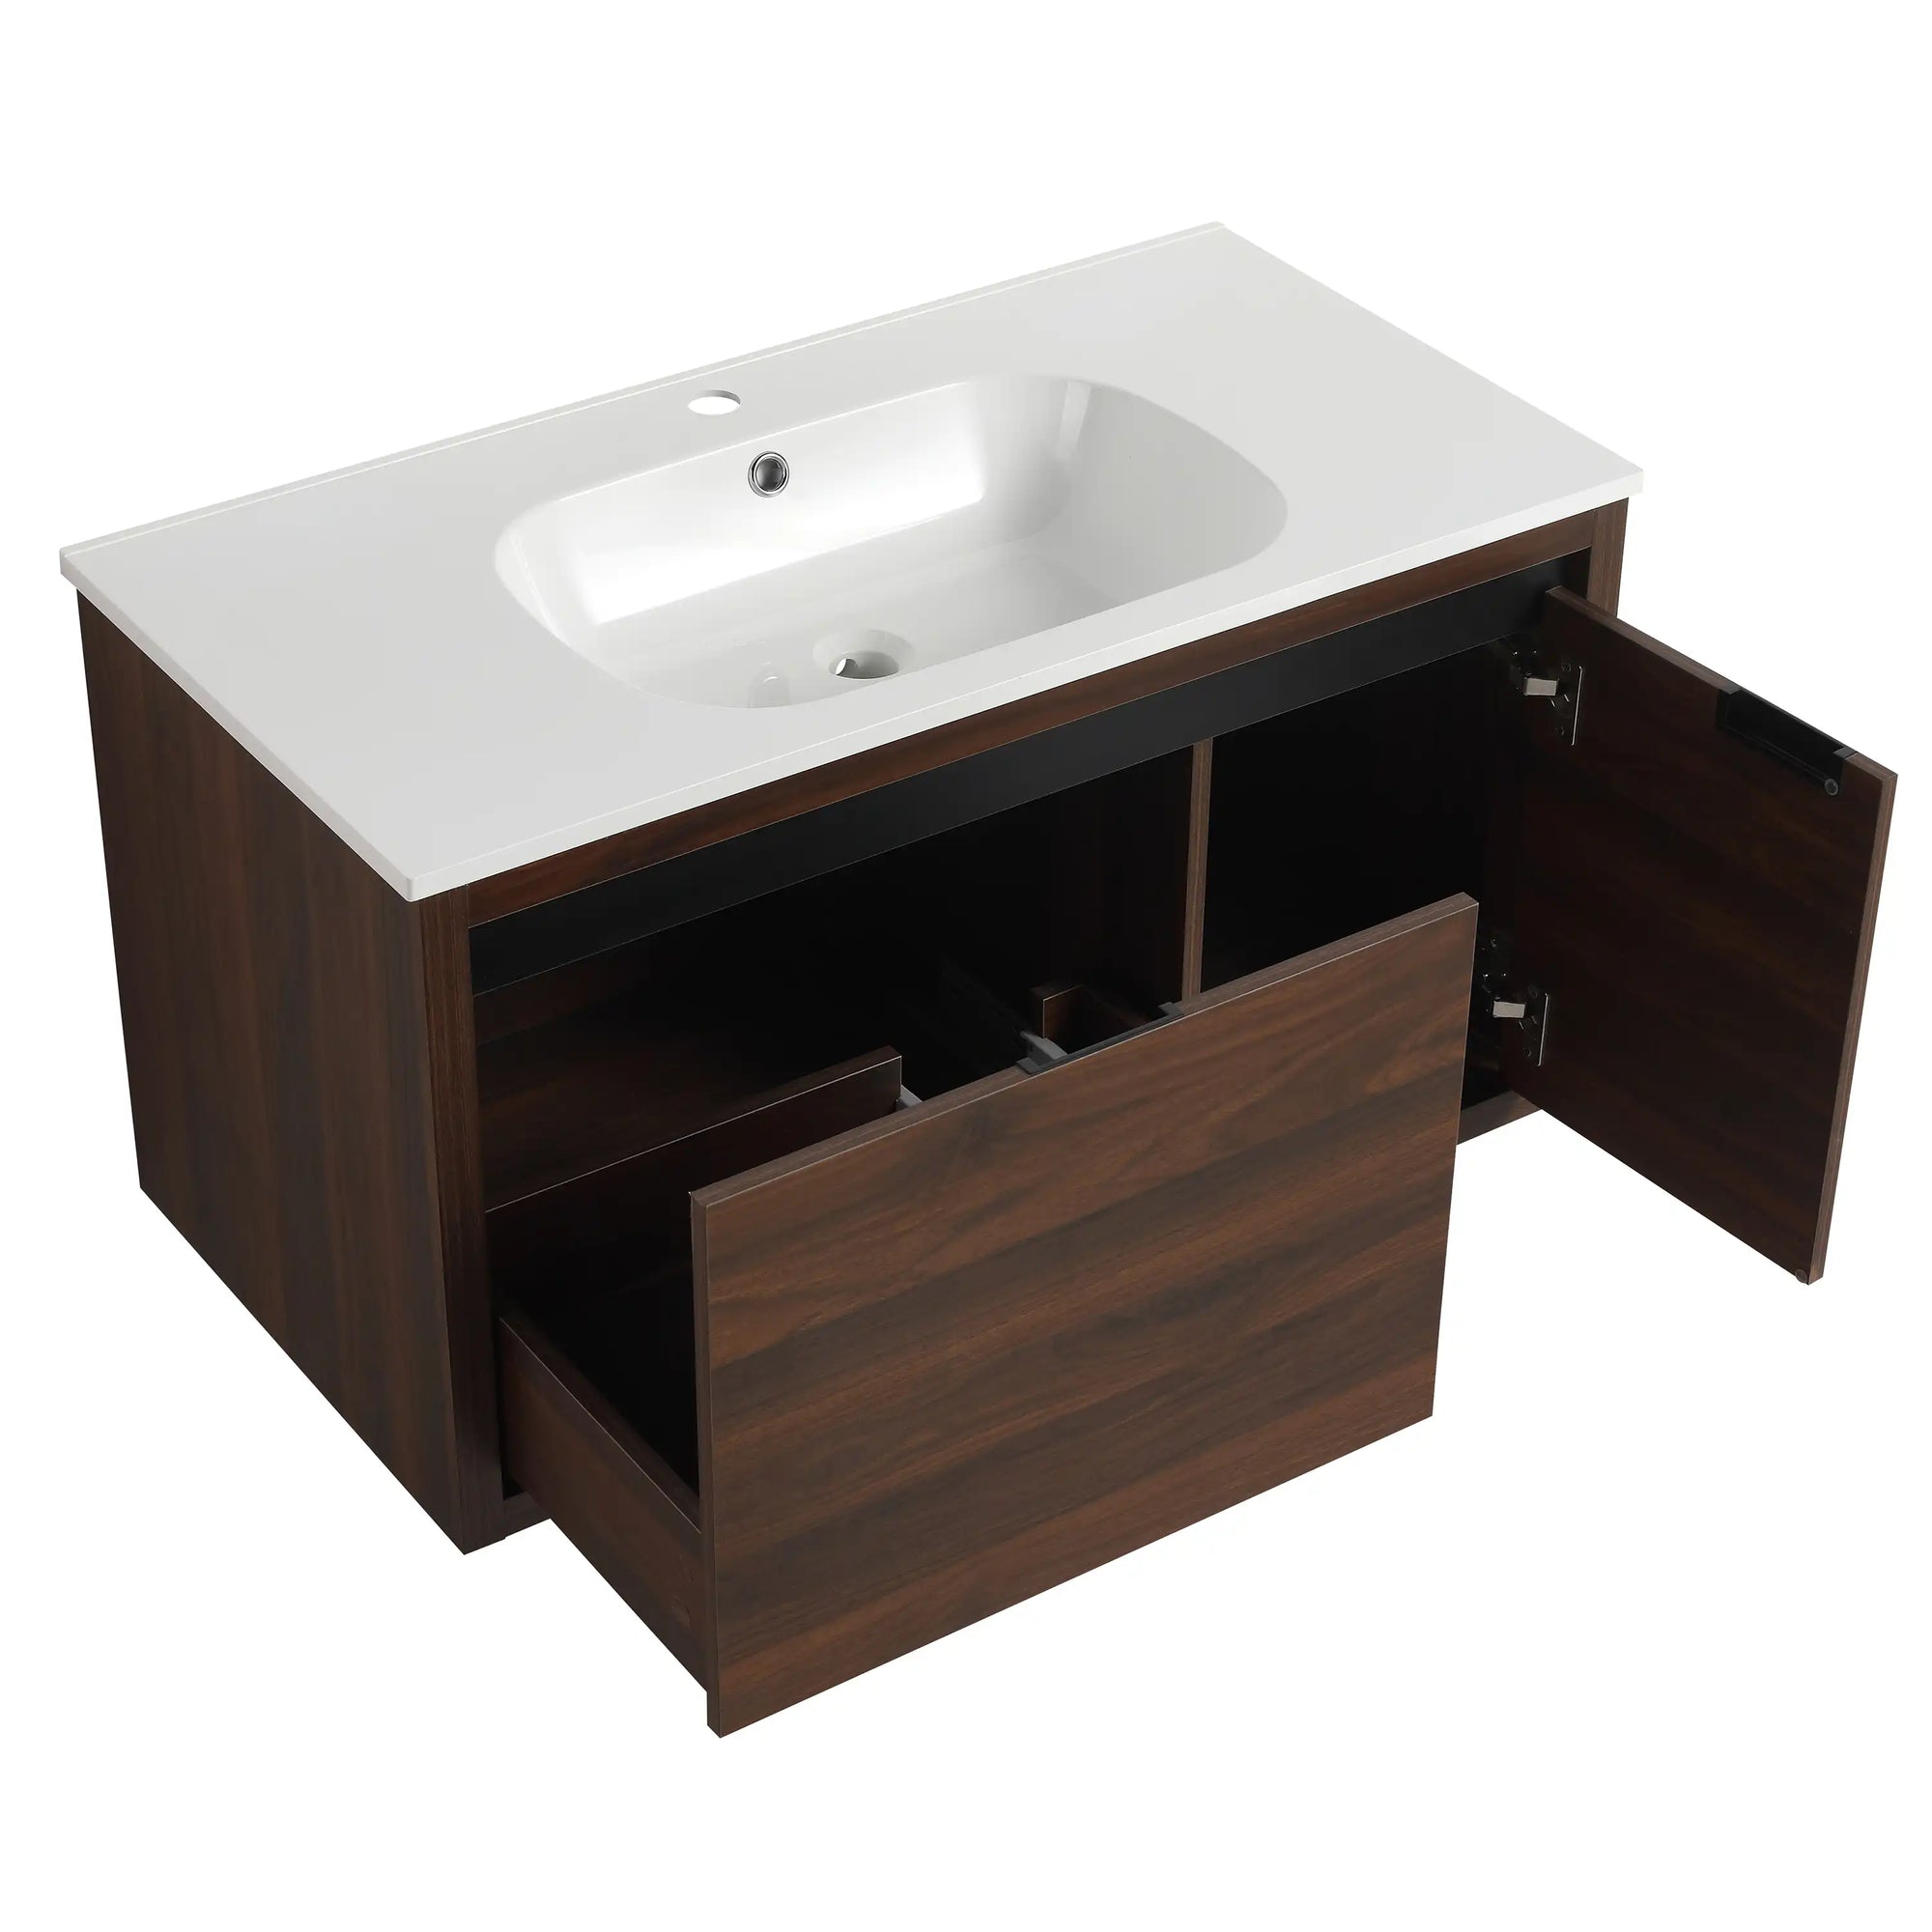
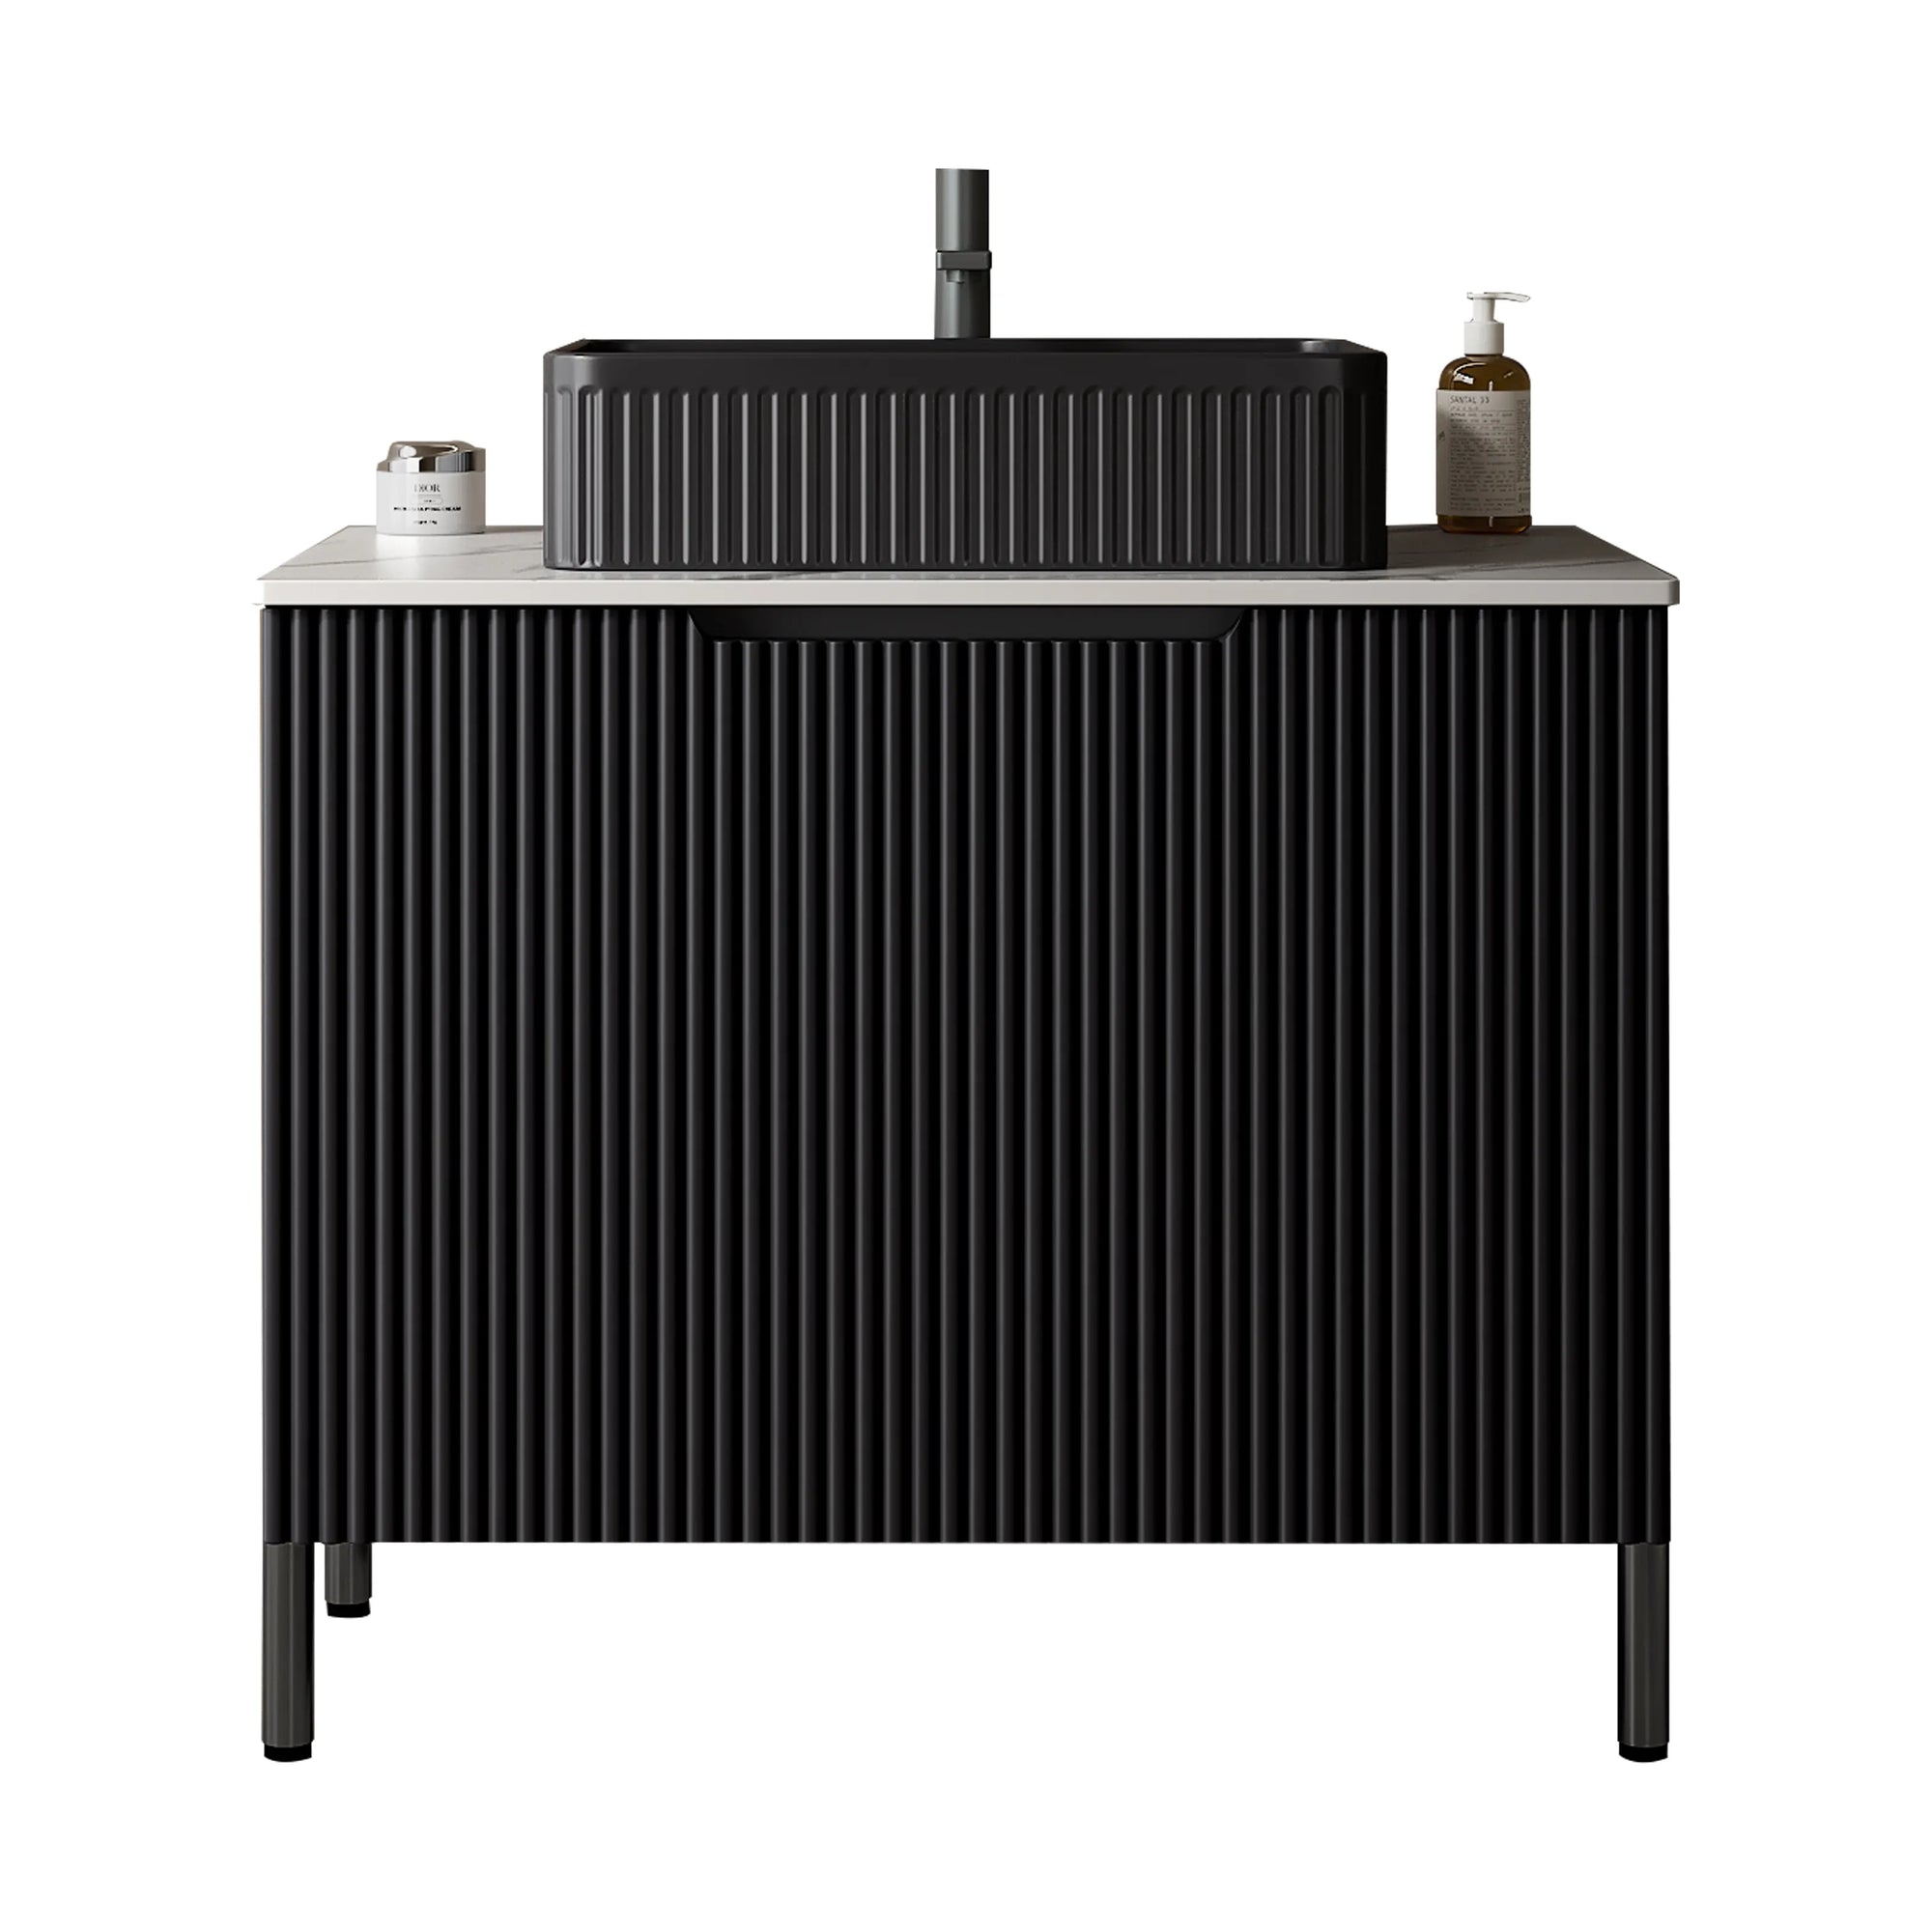
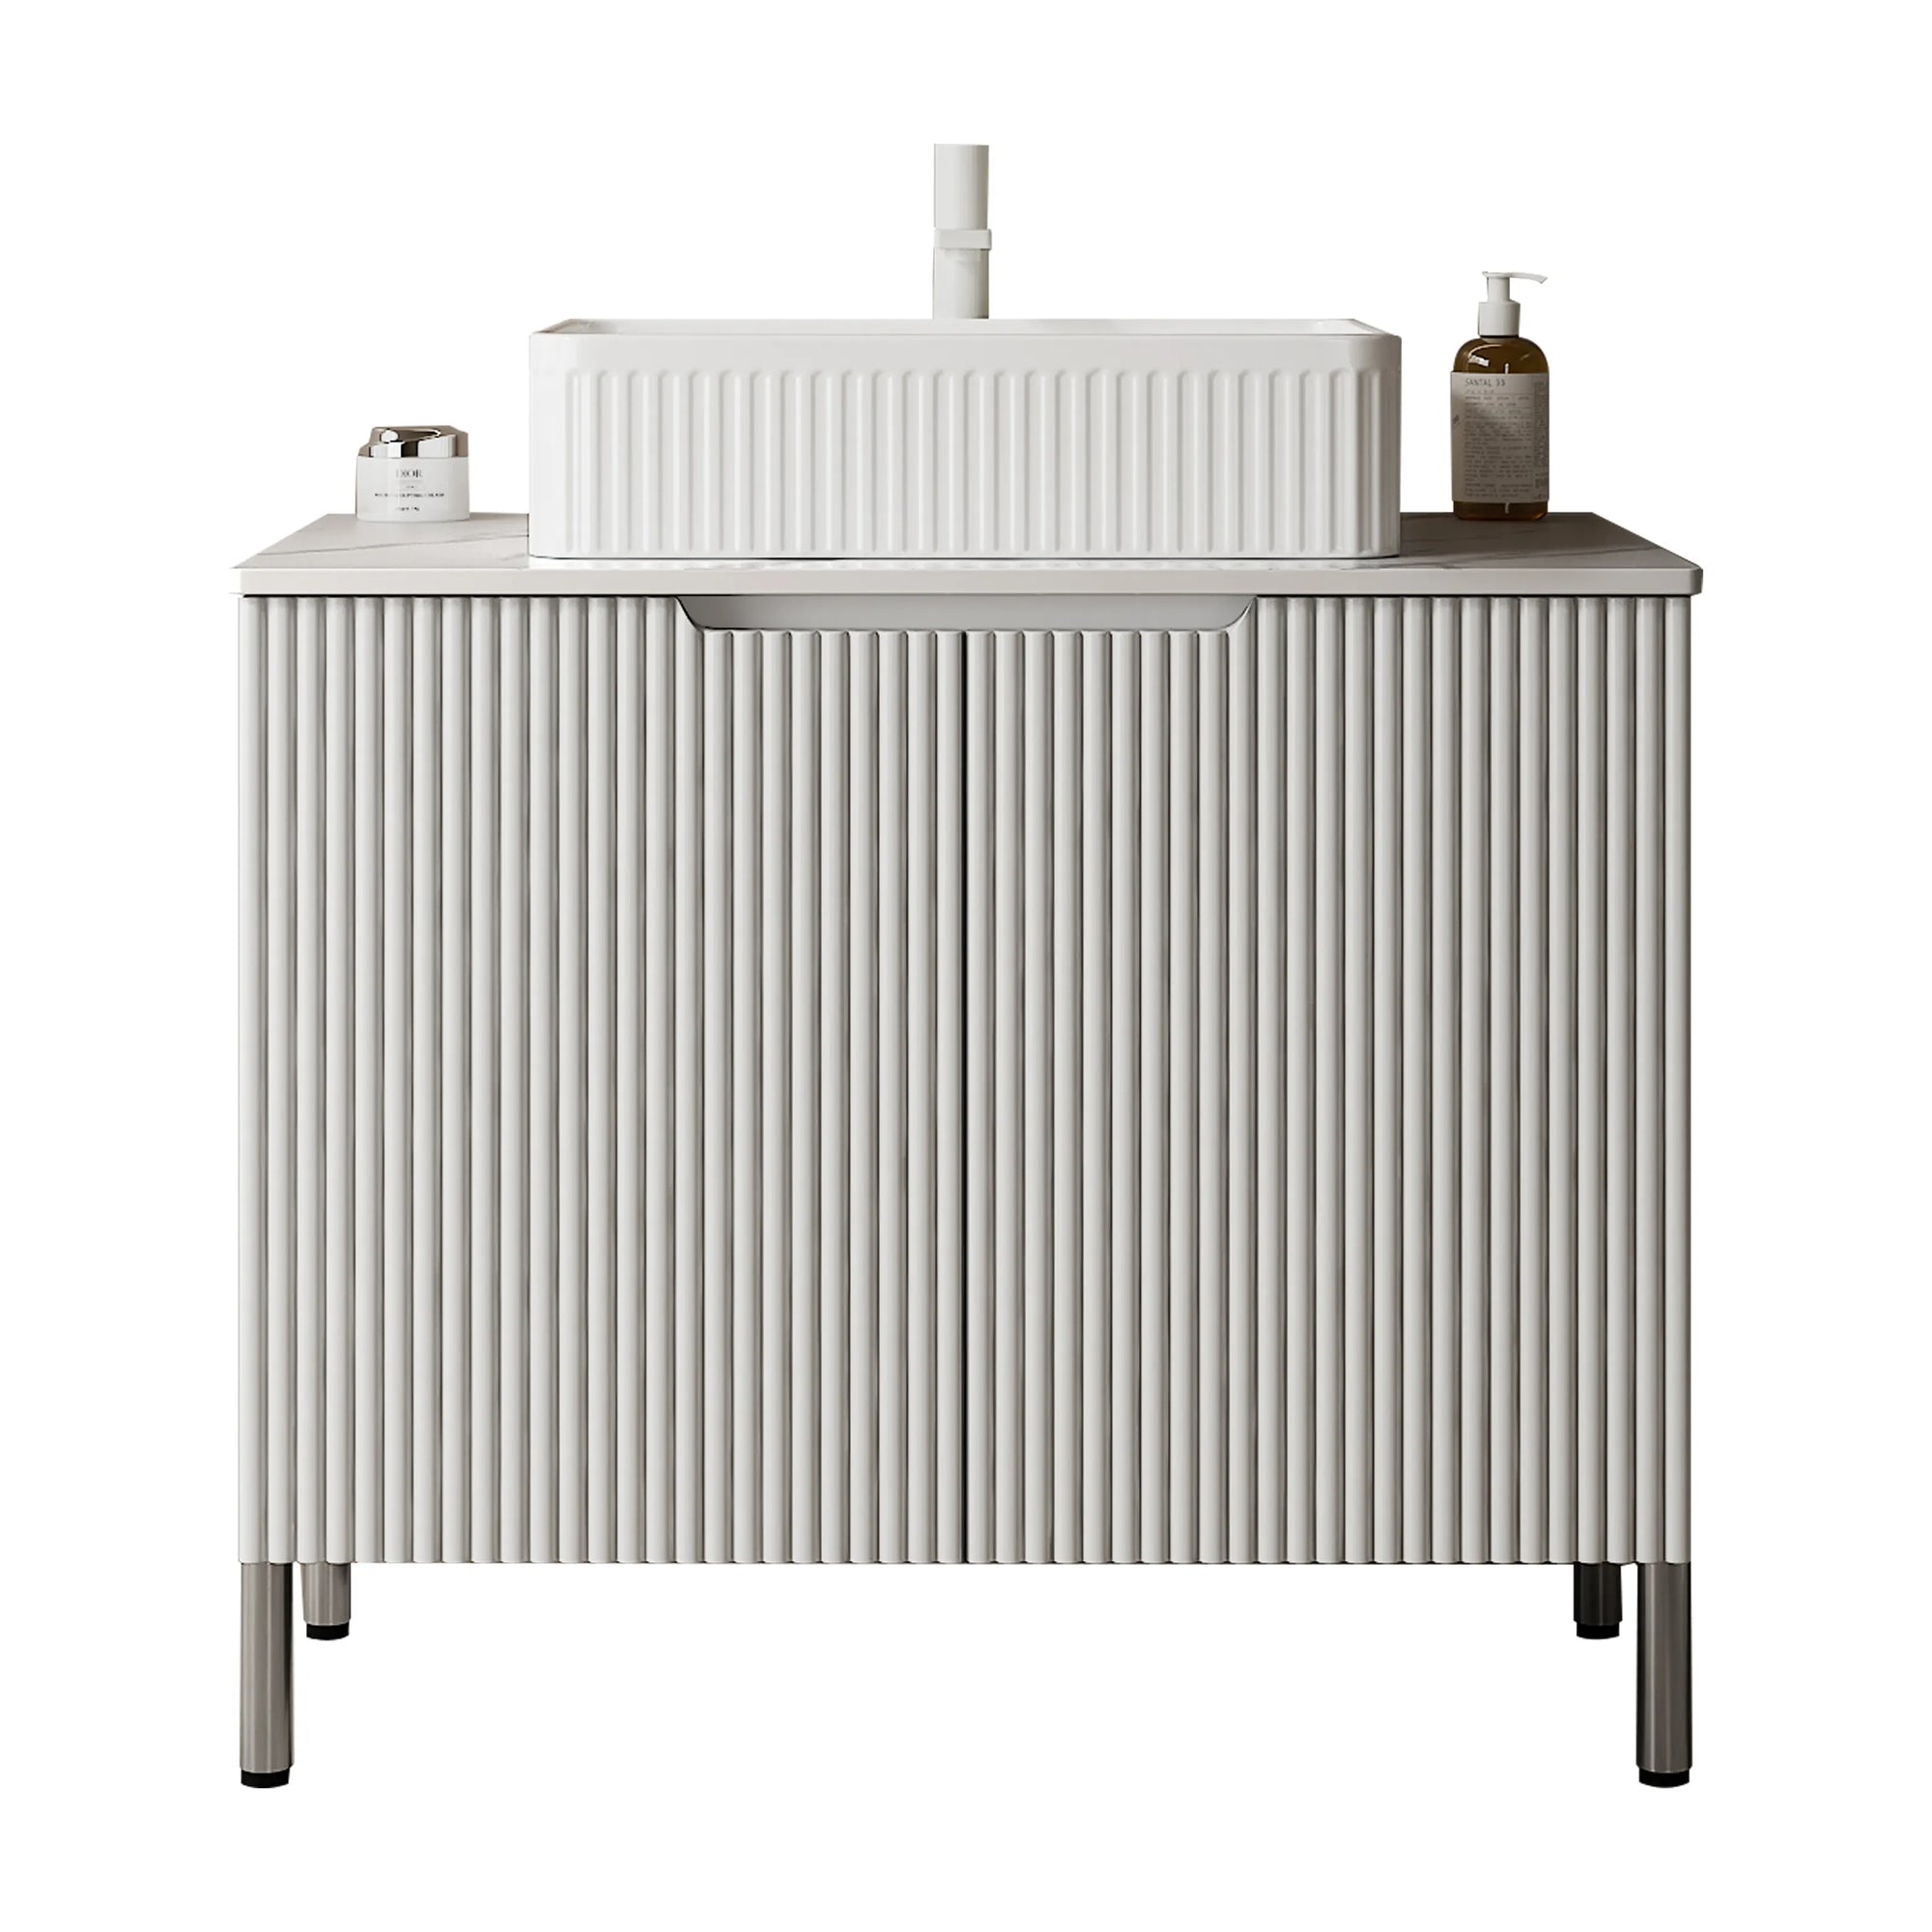
- Freestanding Vanity: Provides storage and ideal for the traditional bathroom style.
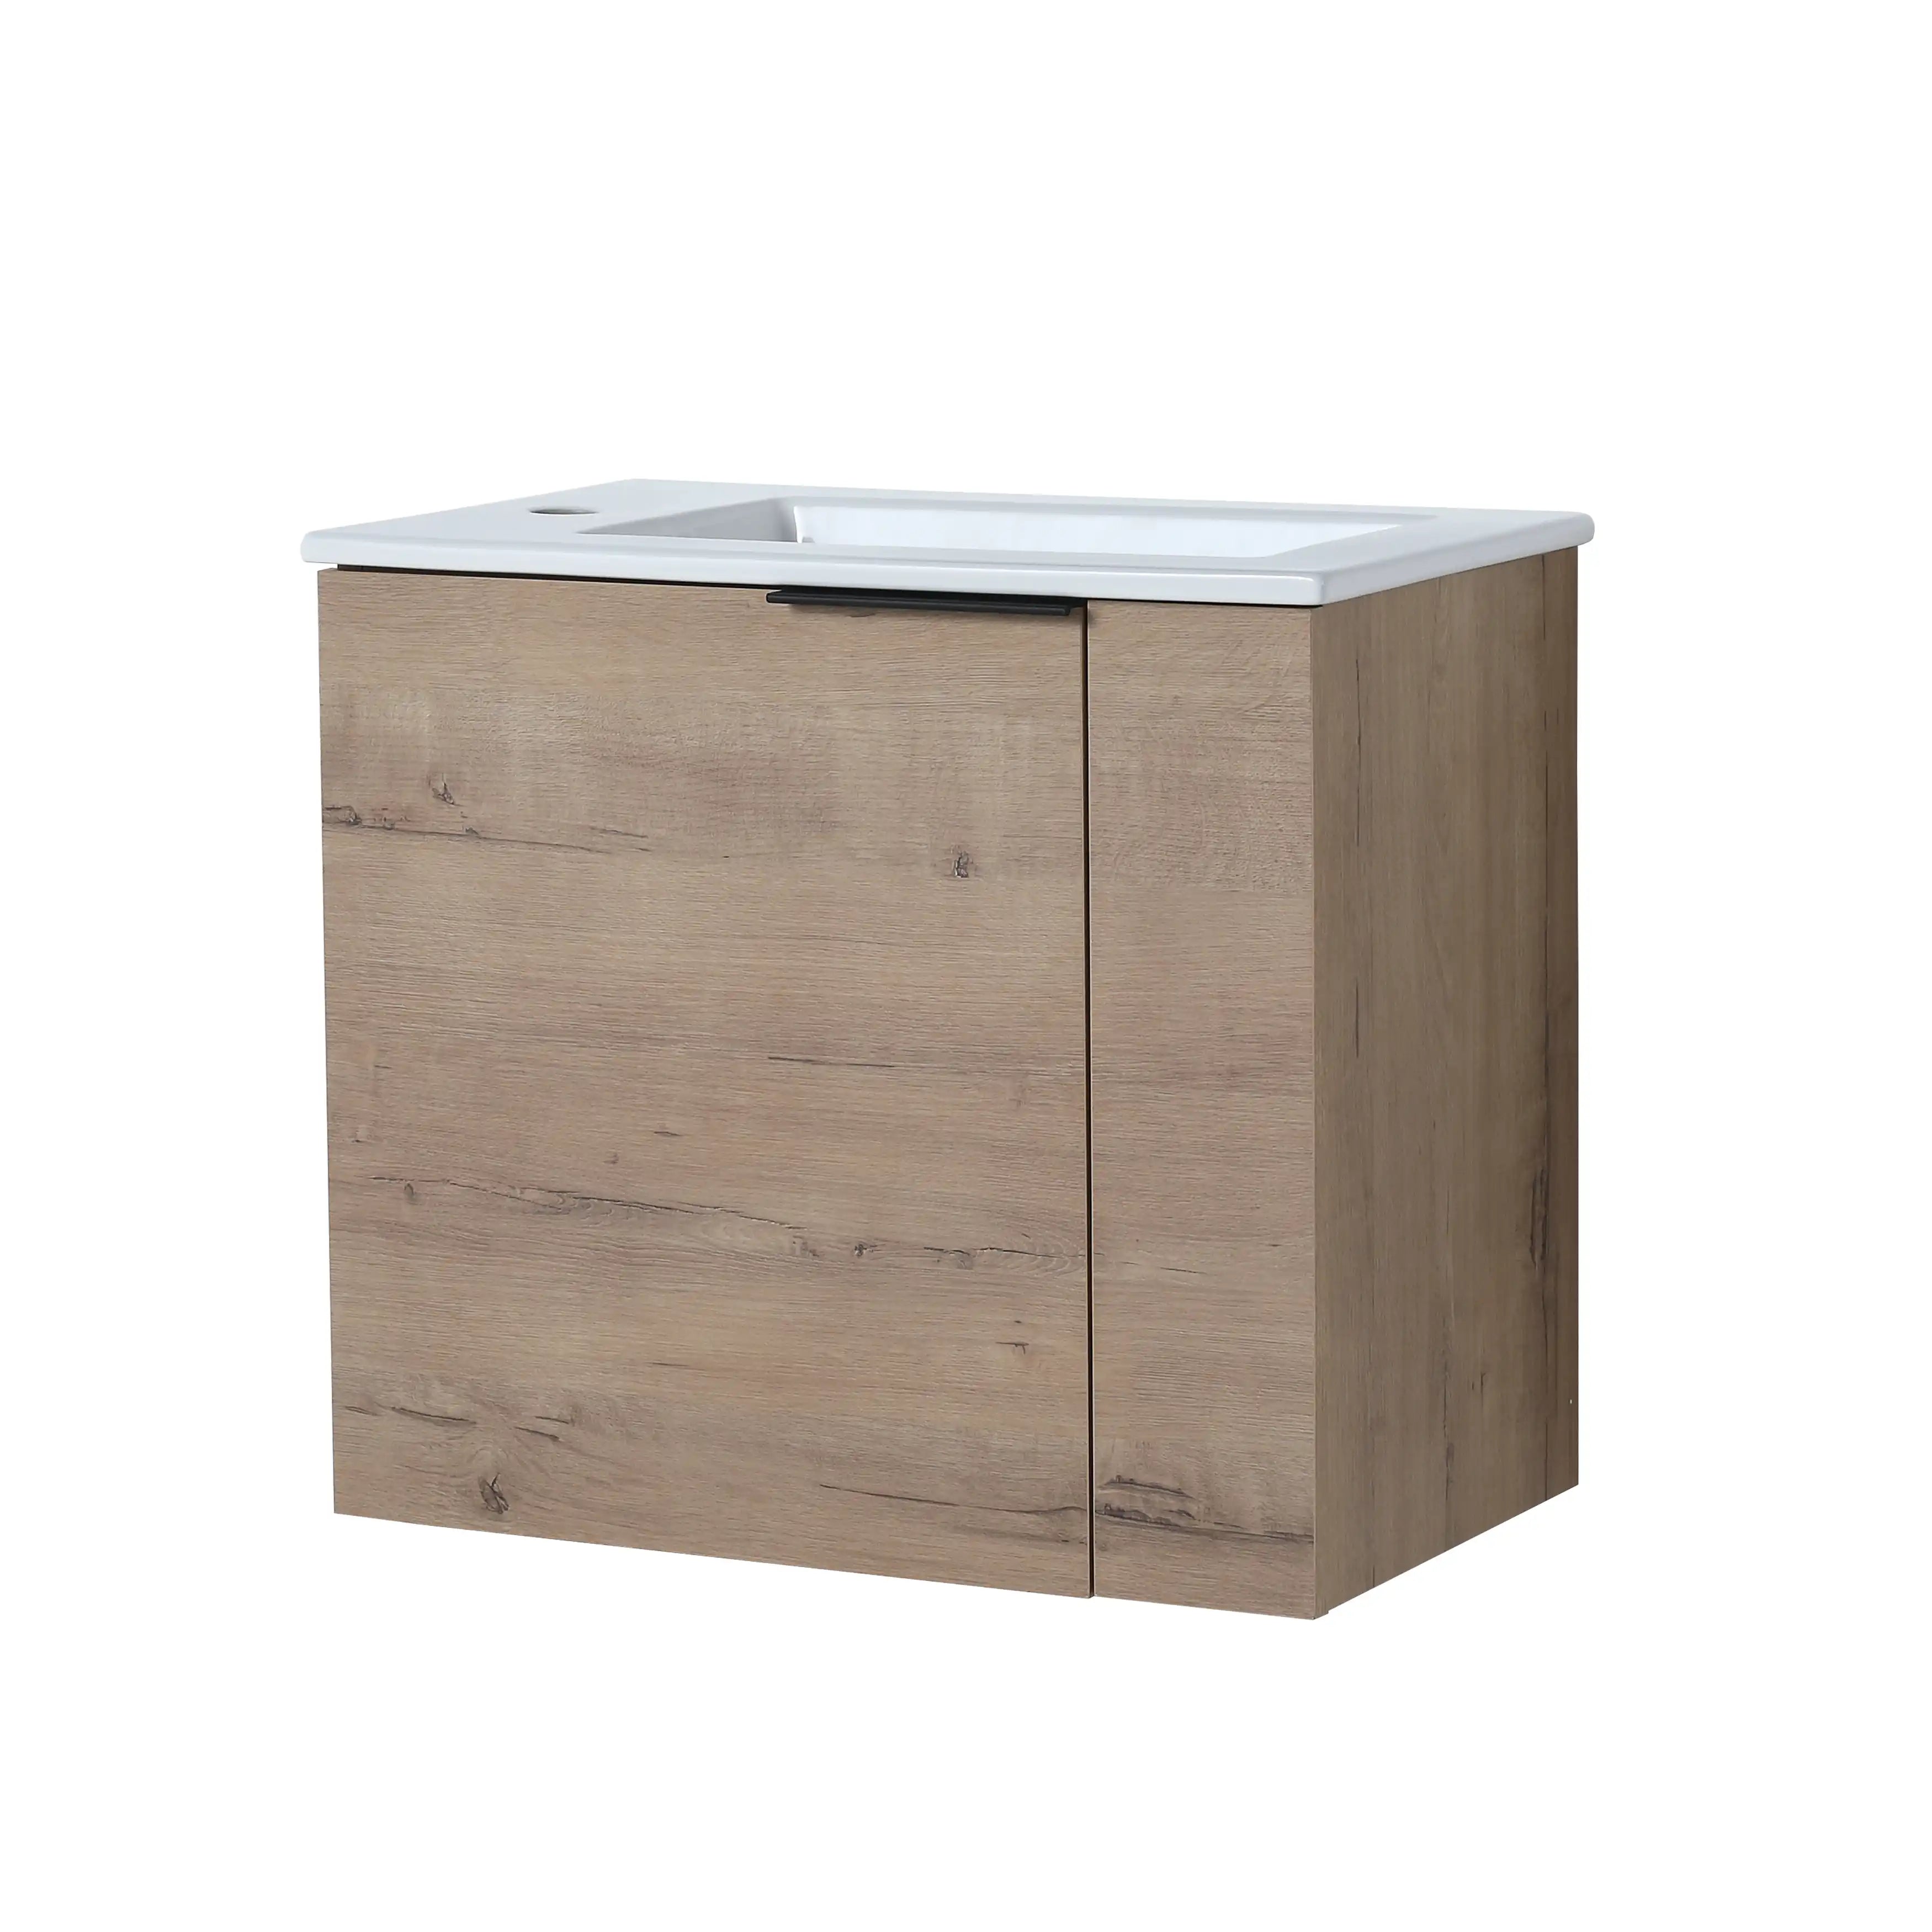
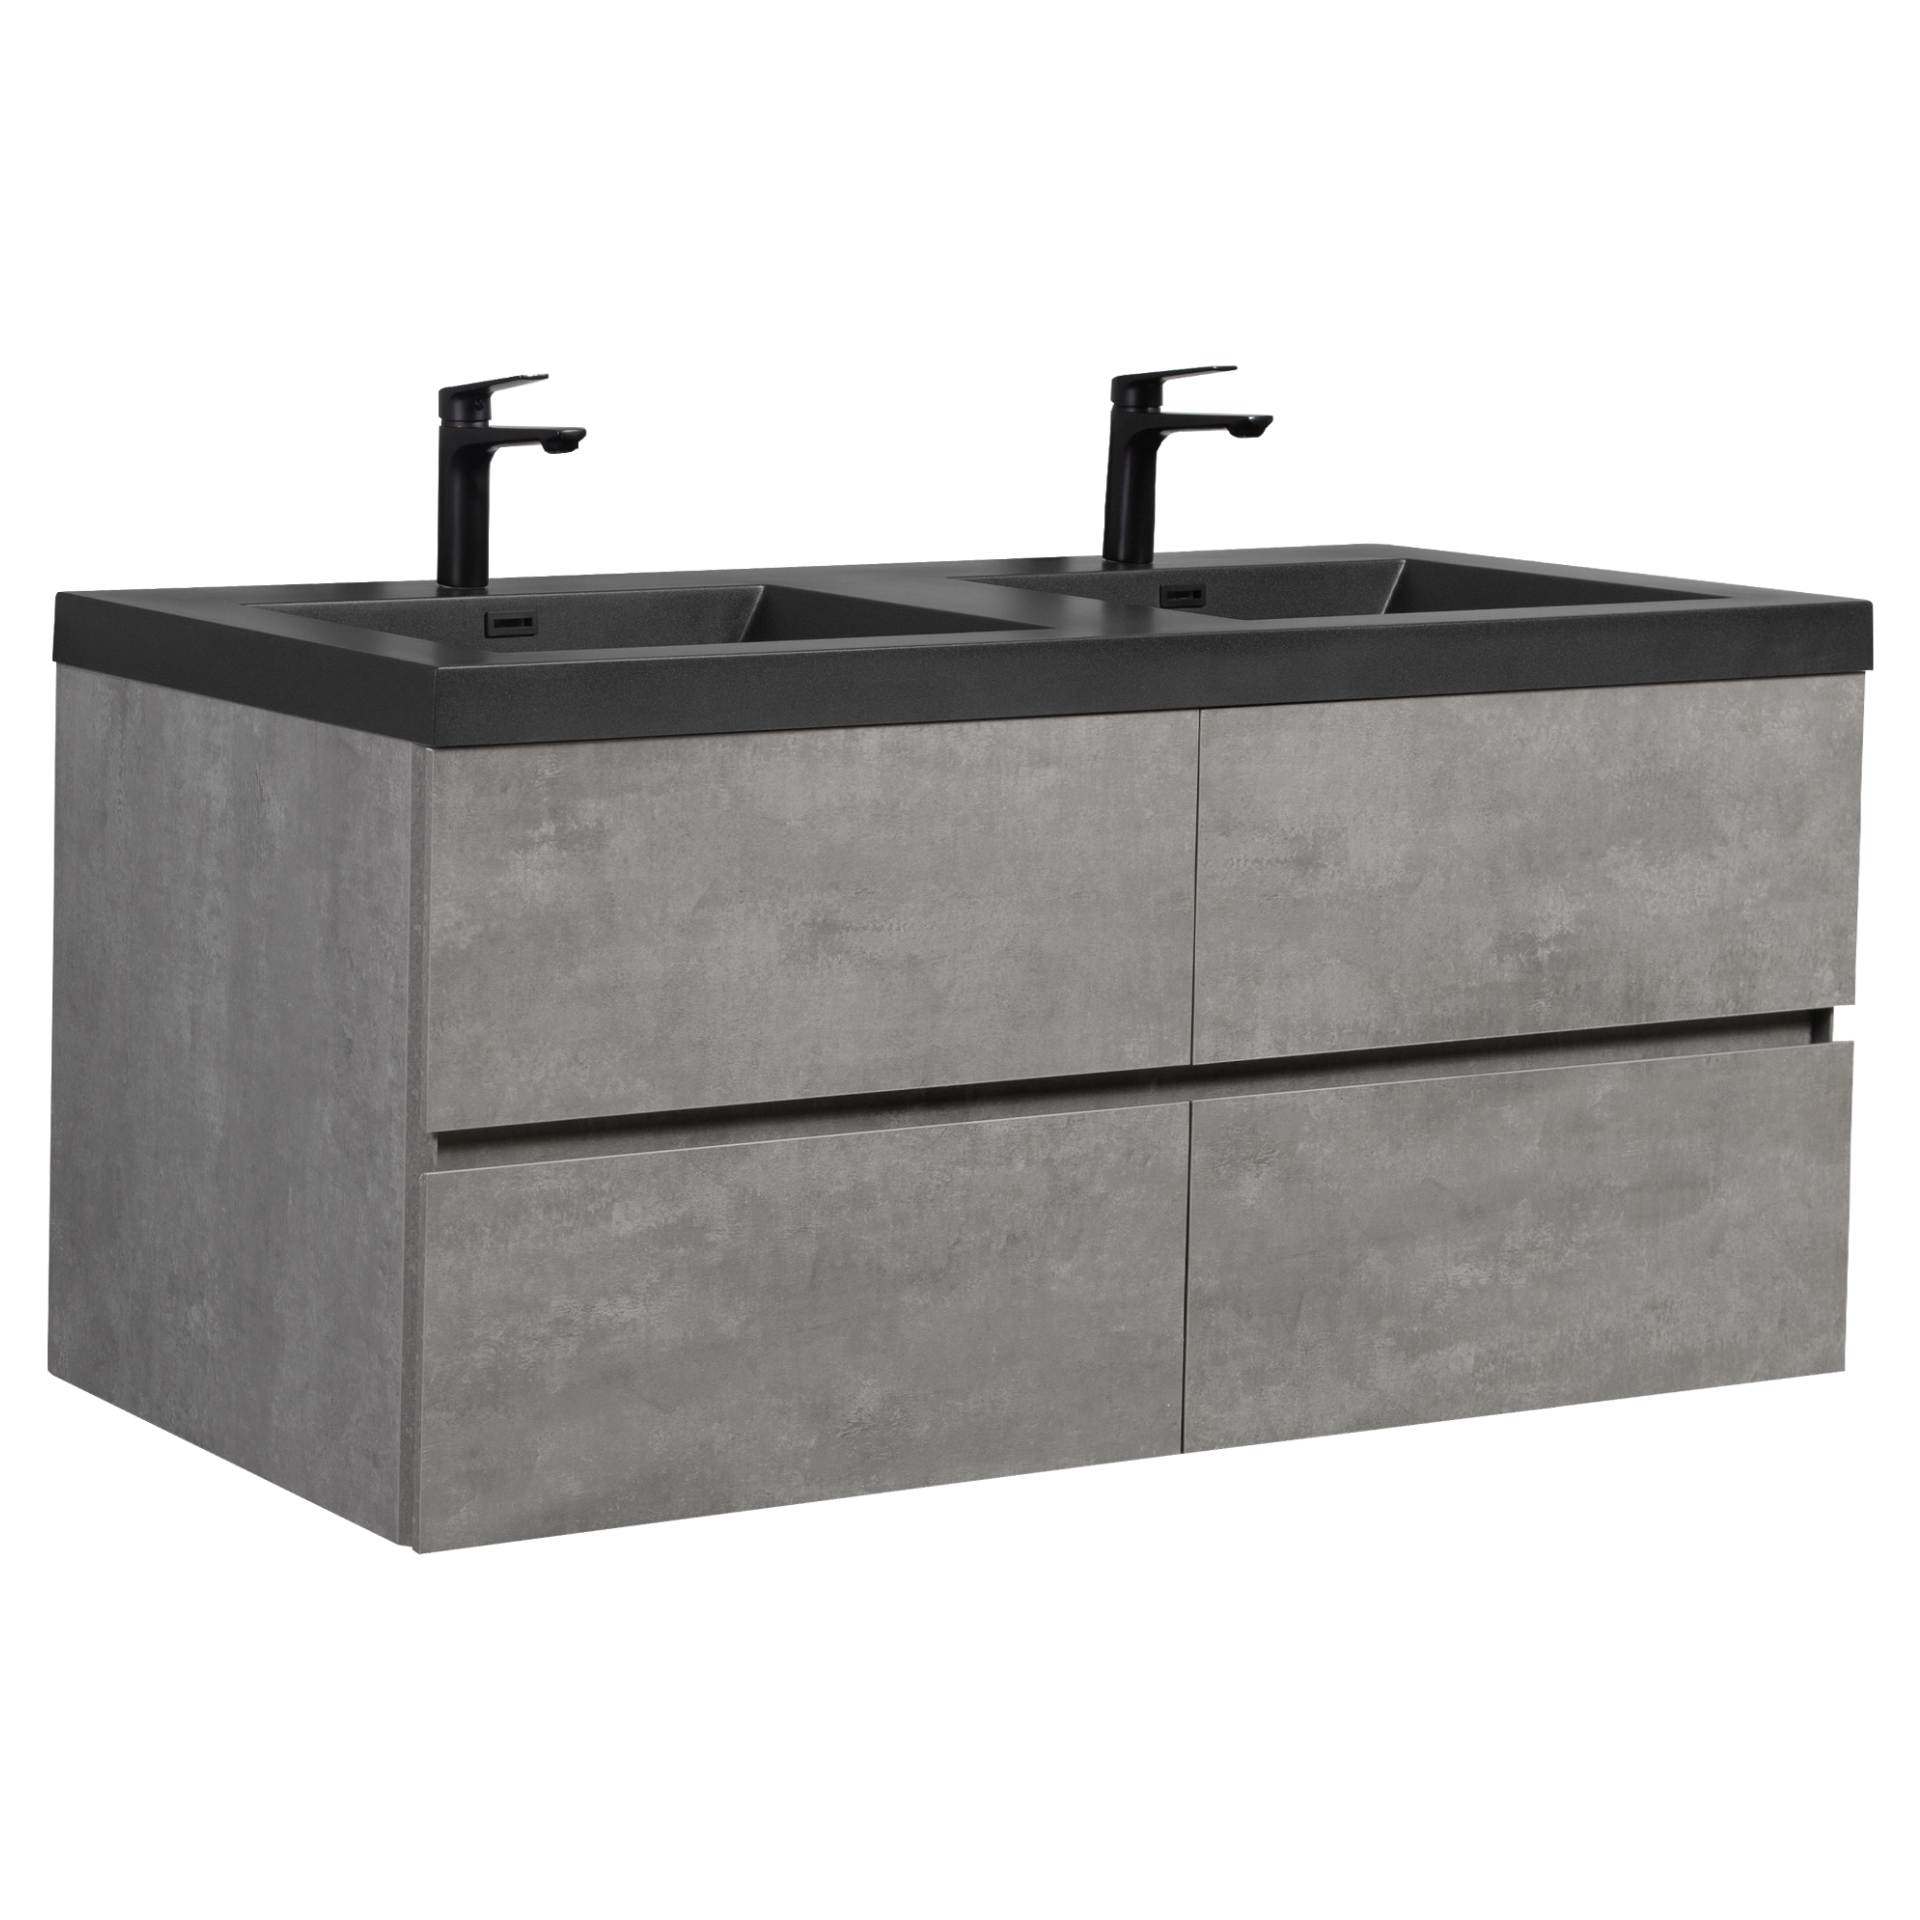
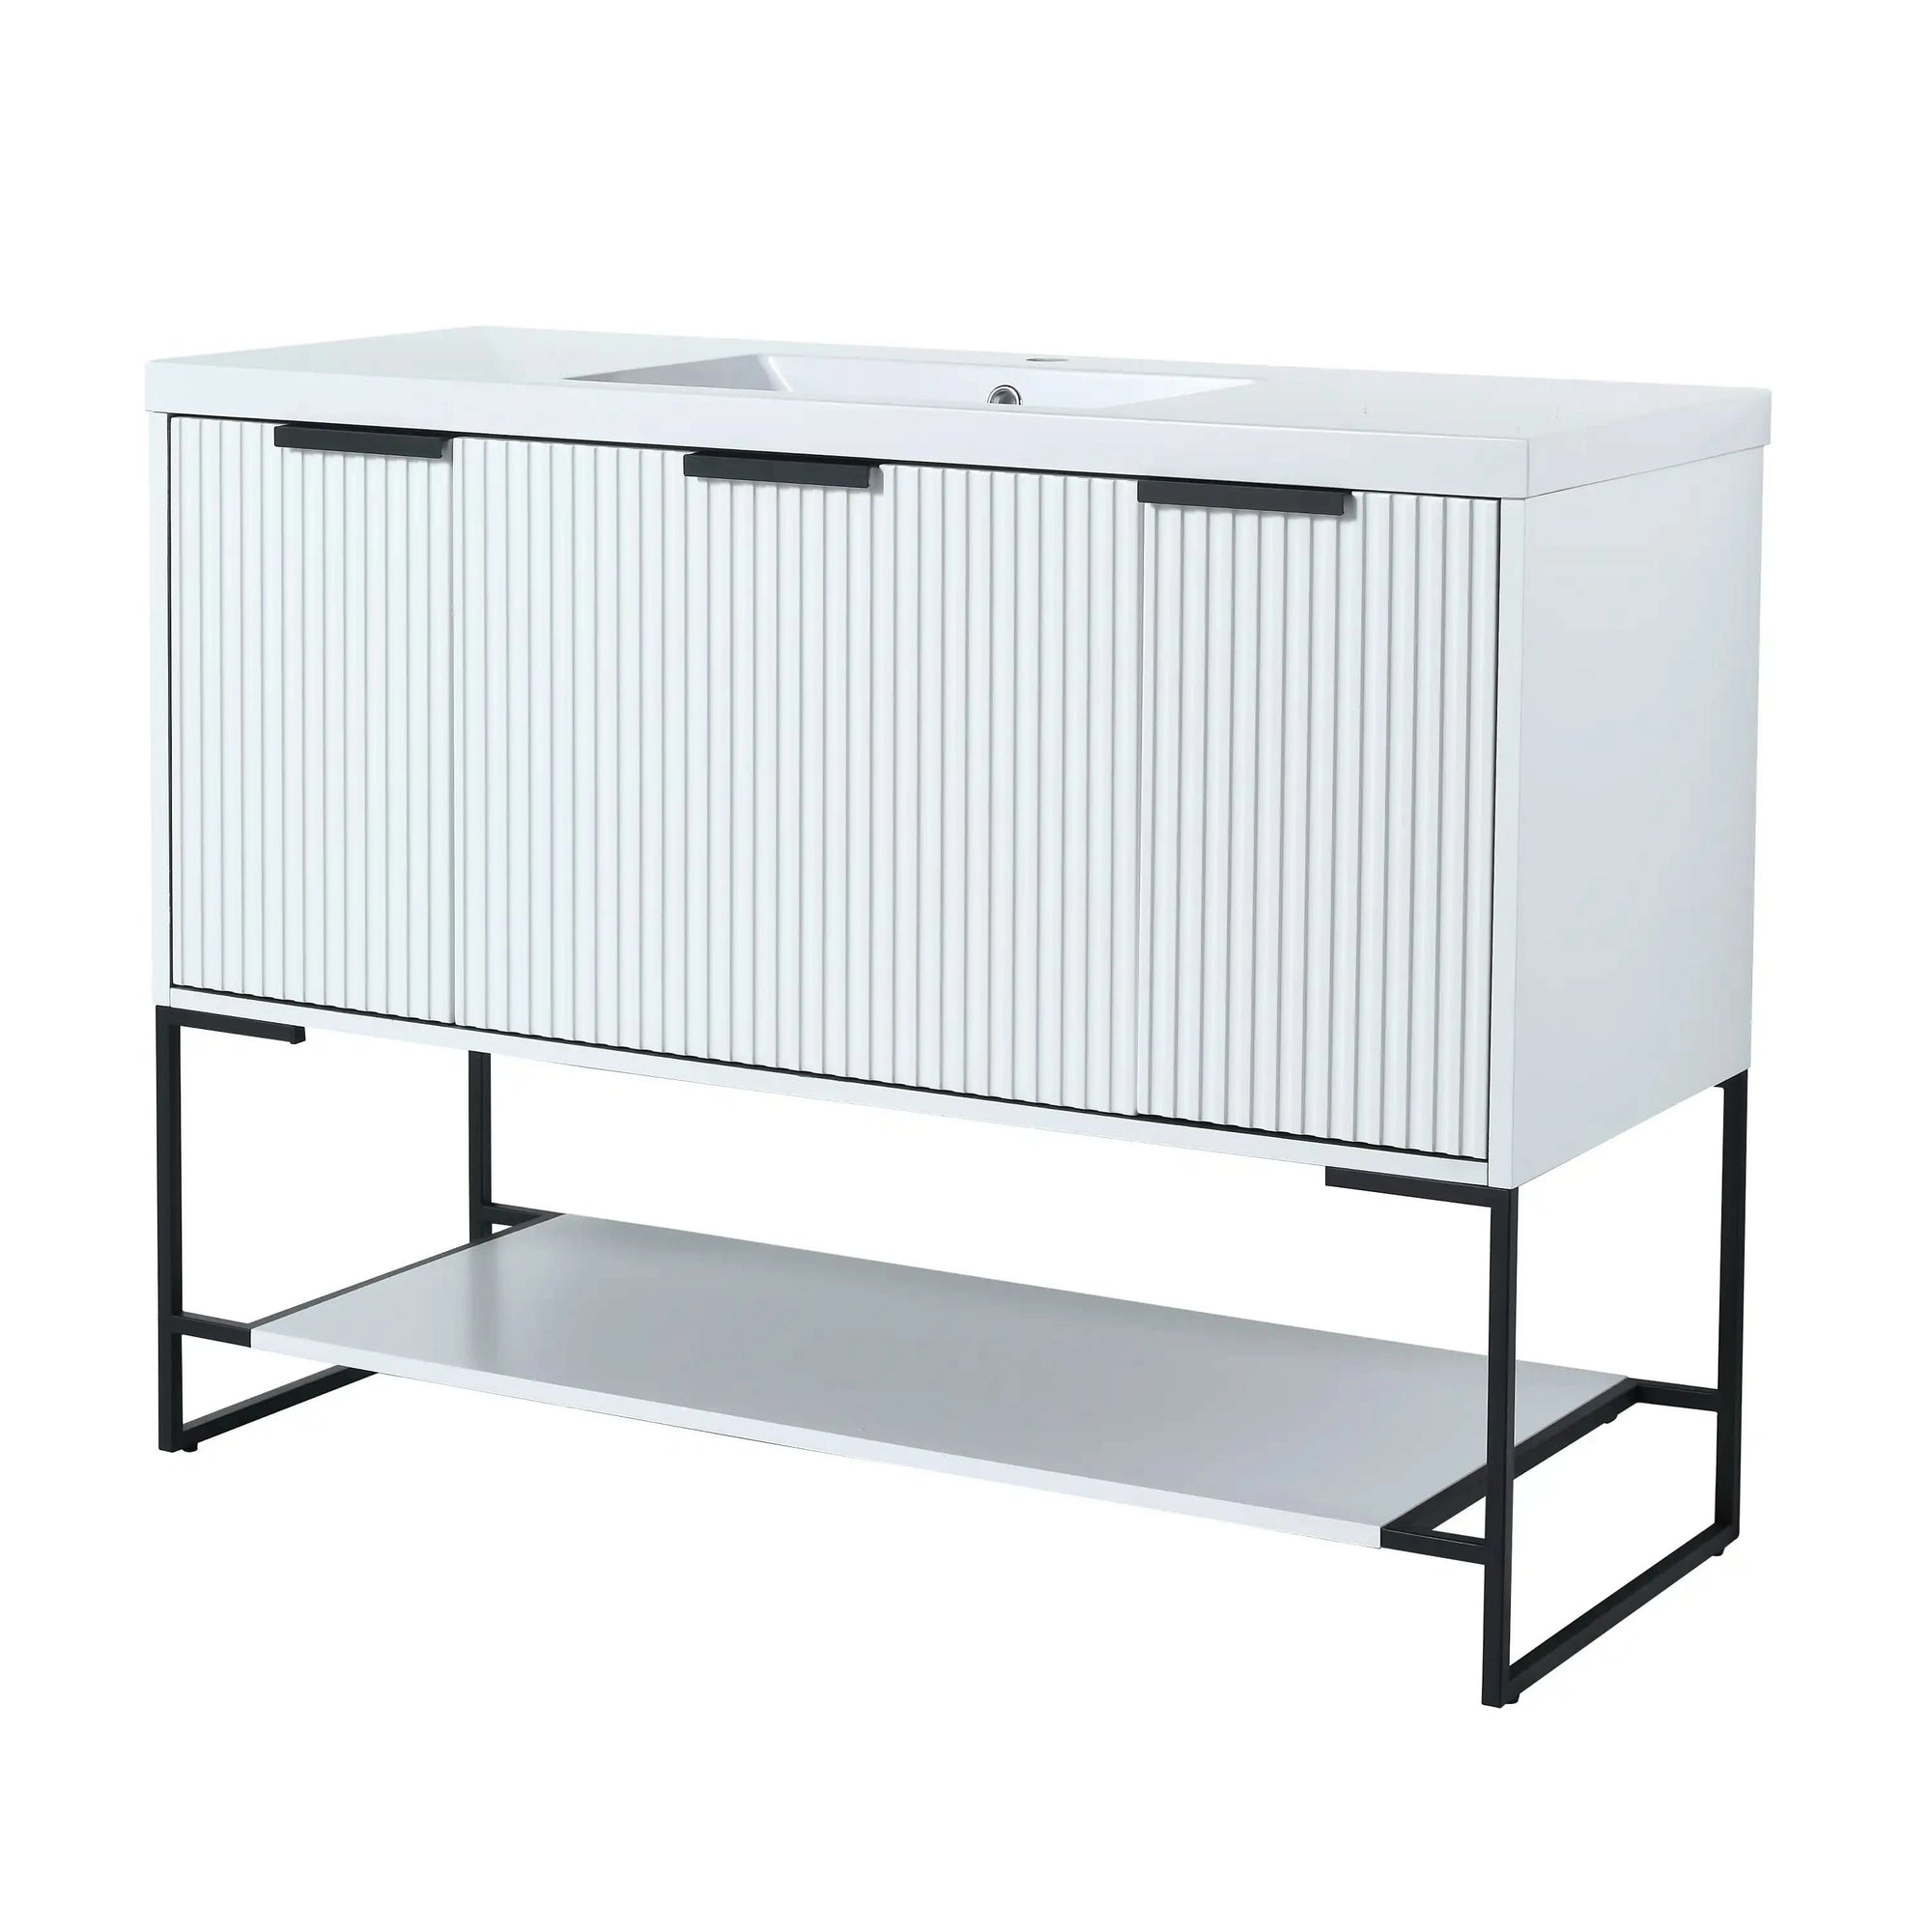
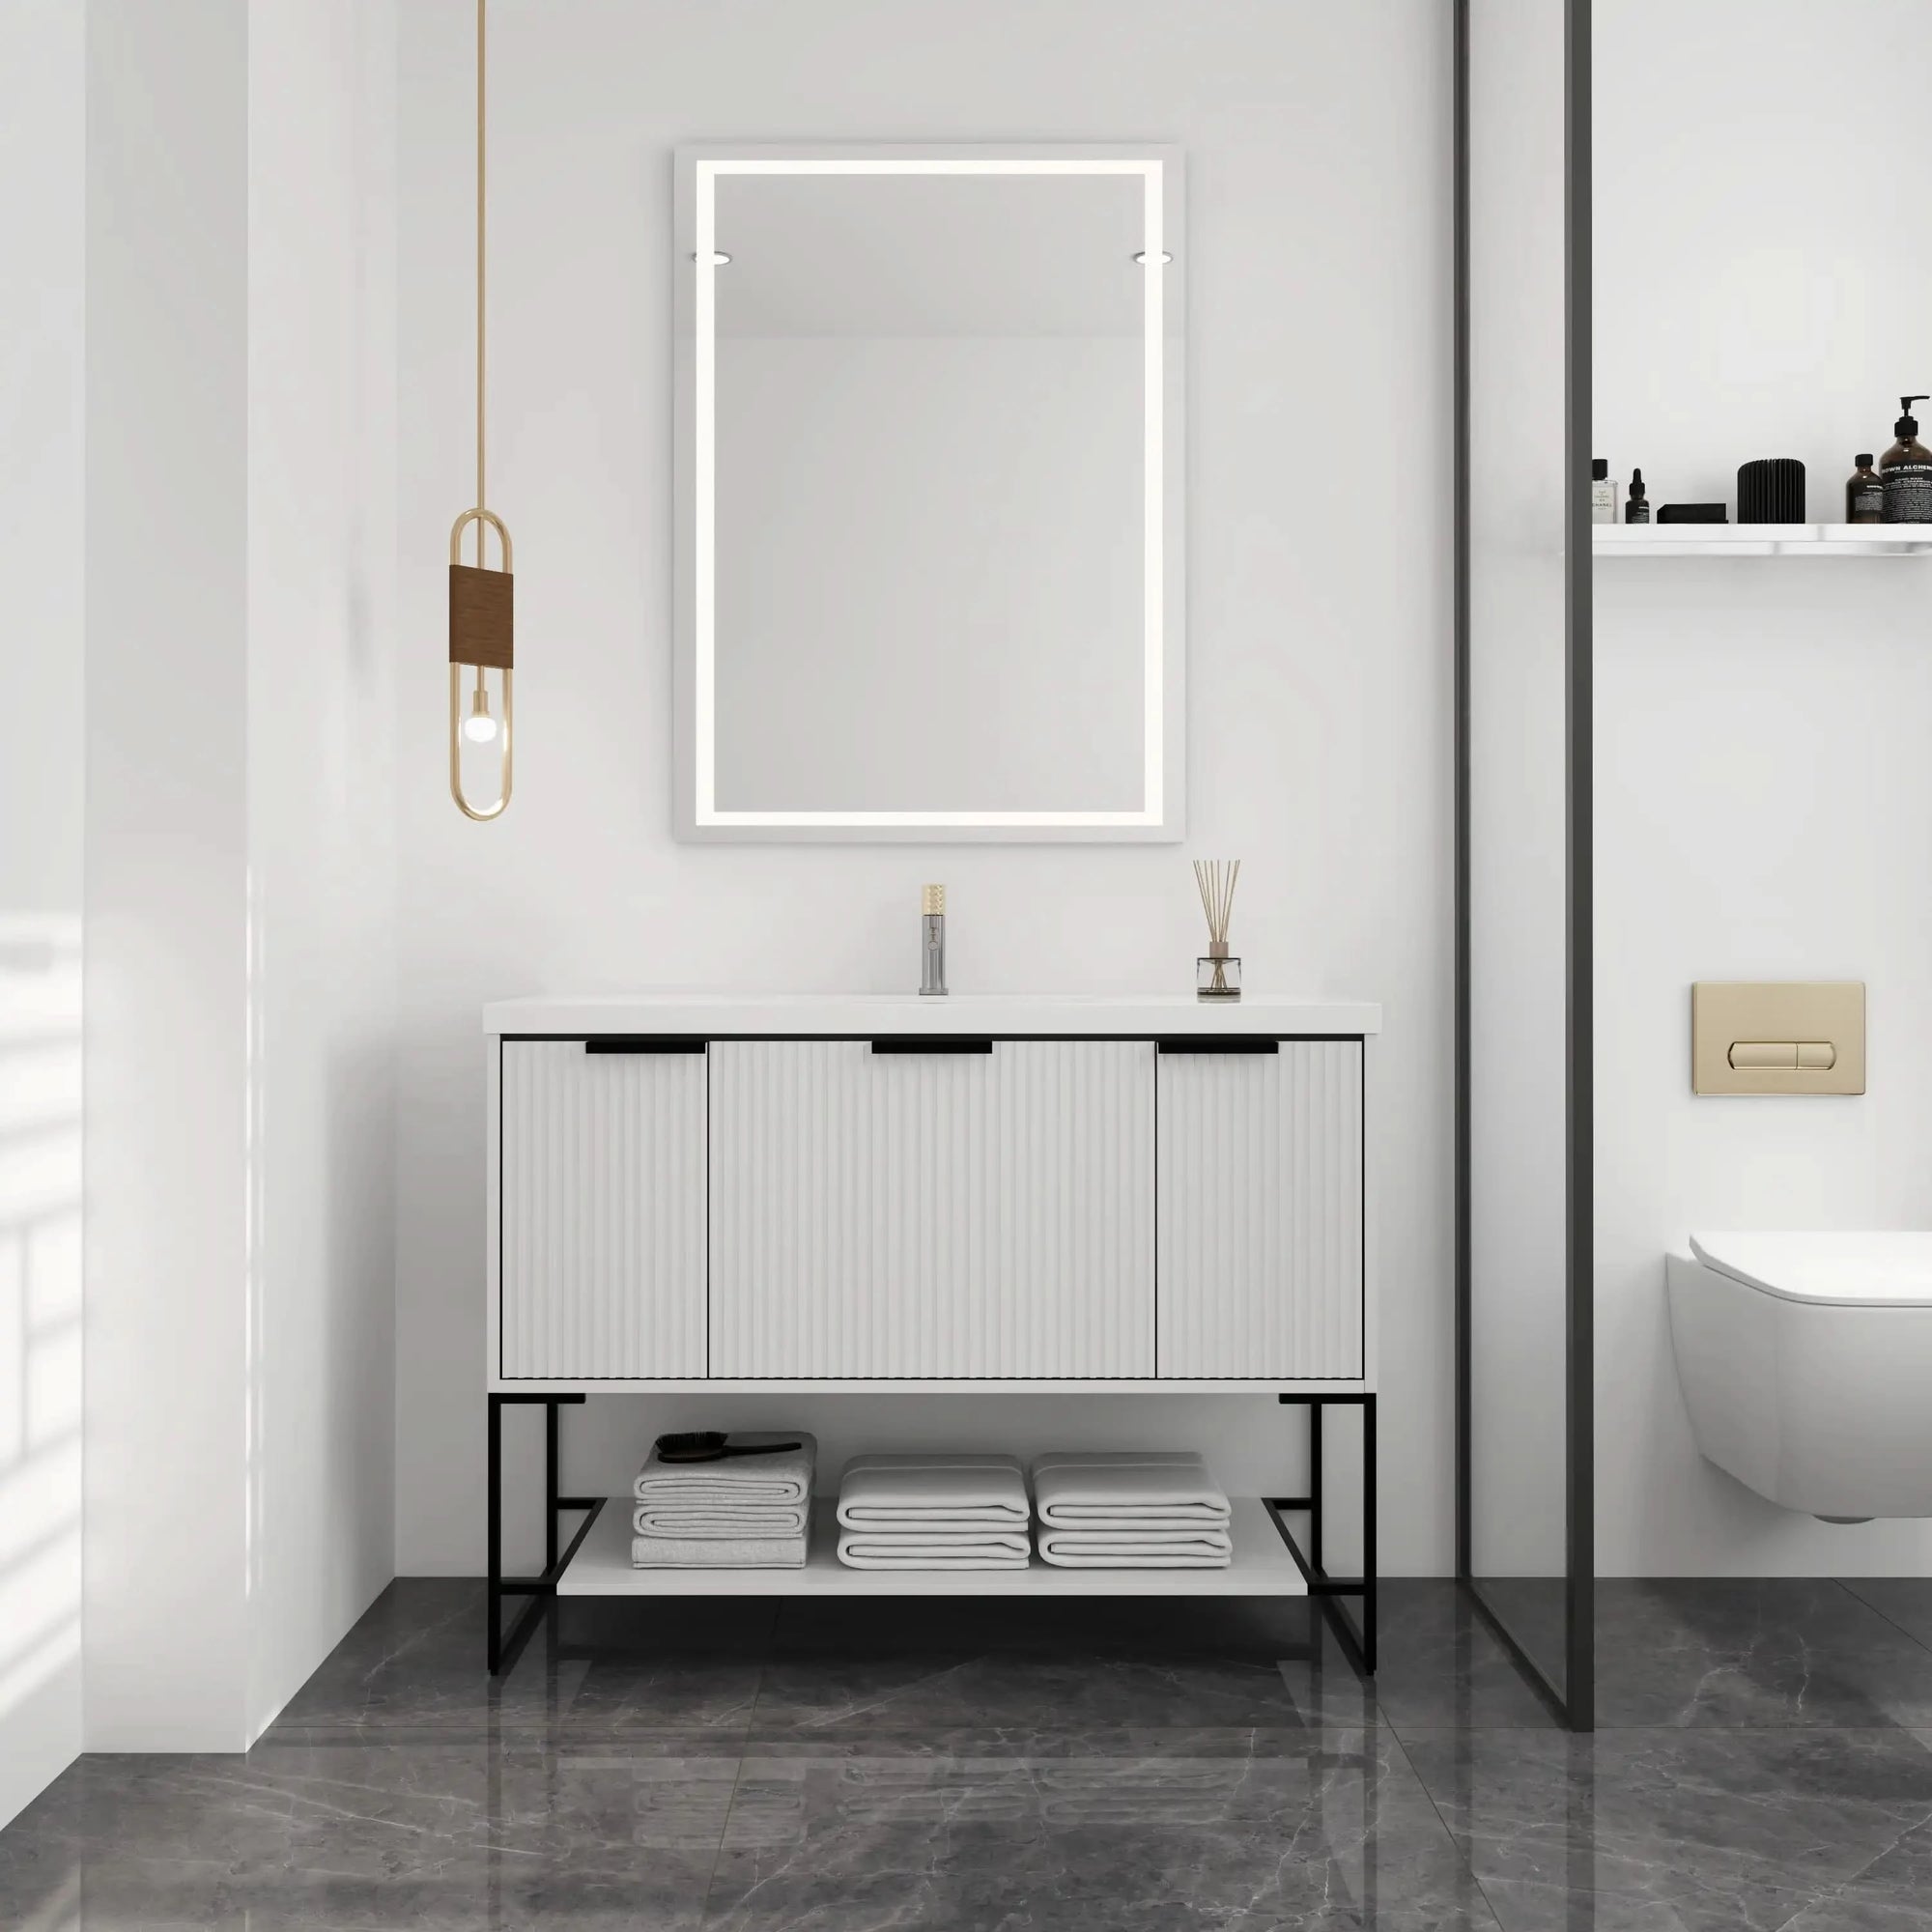
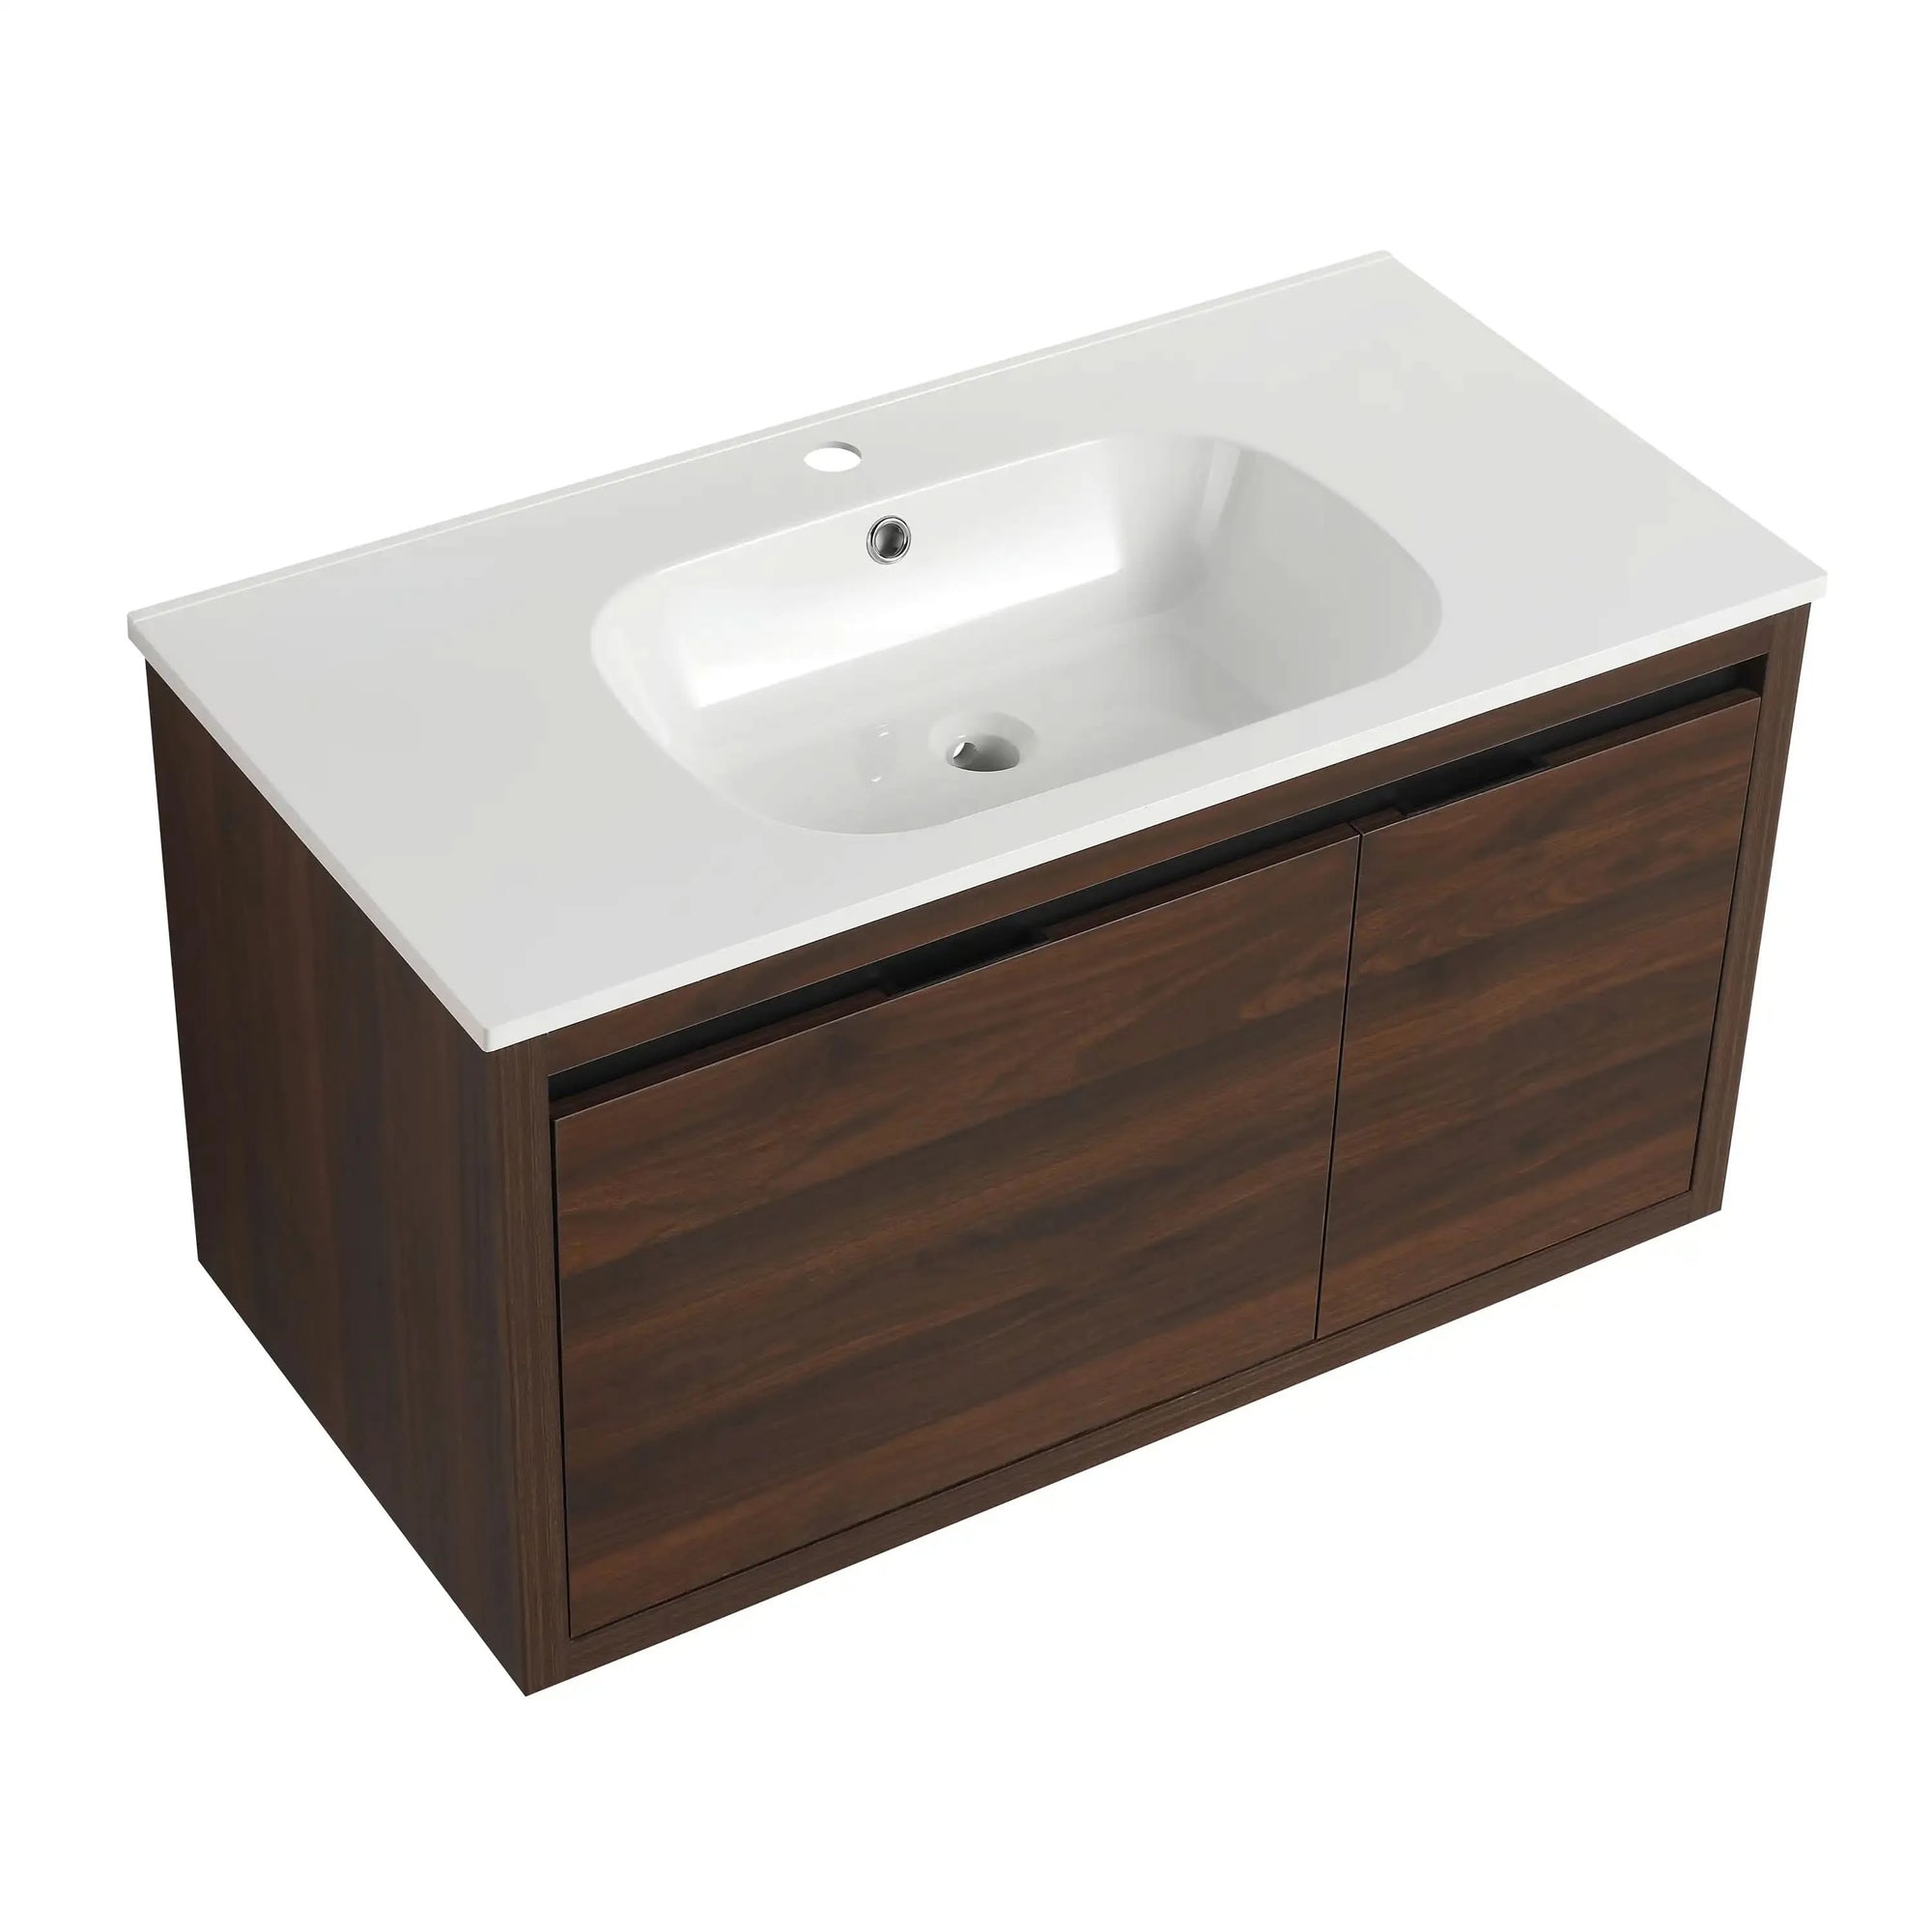
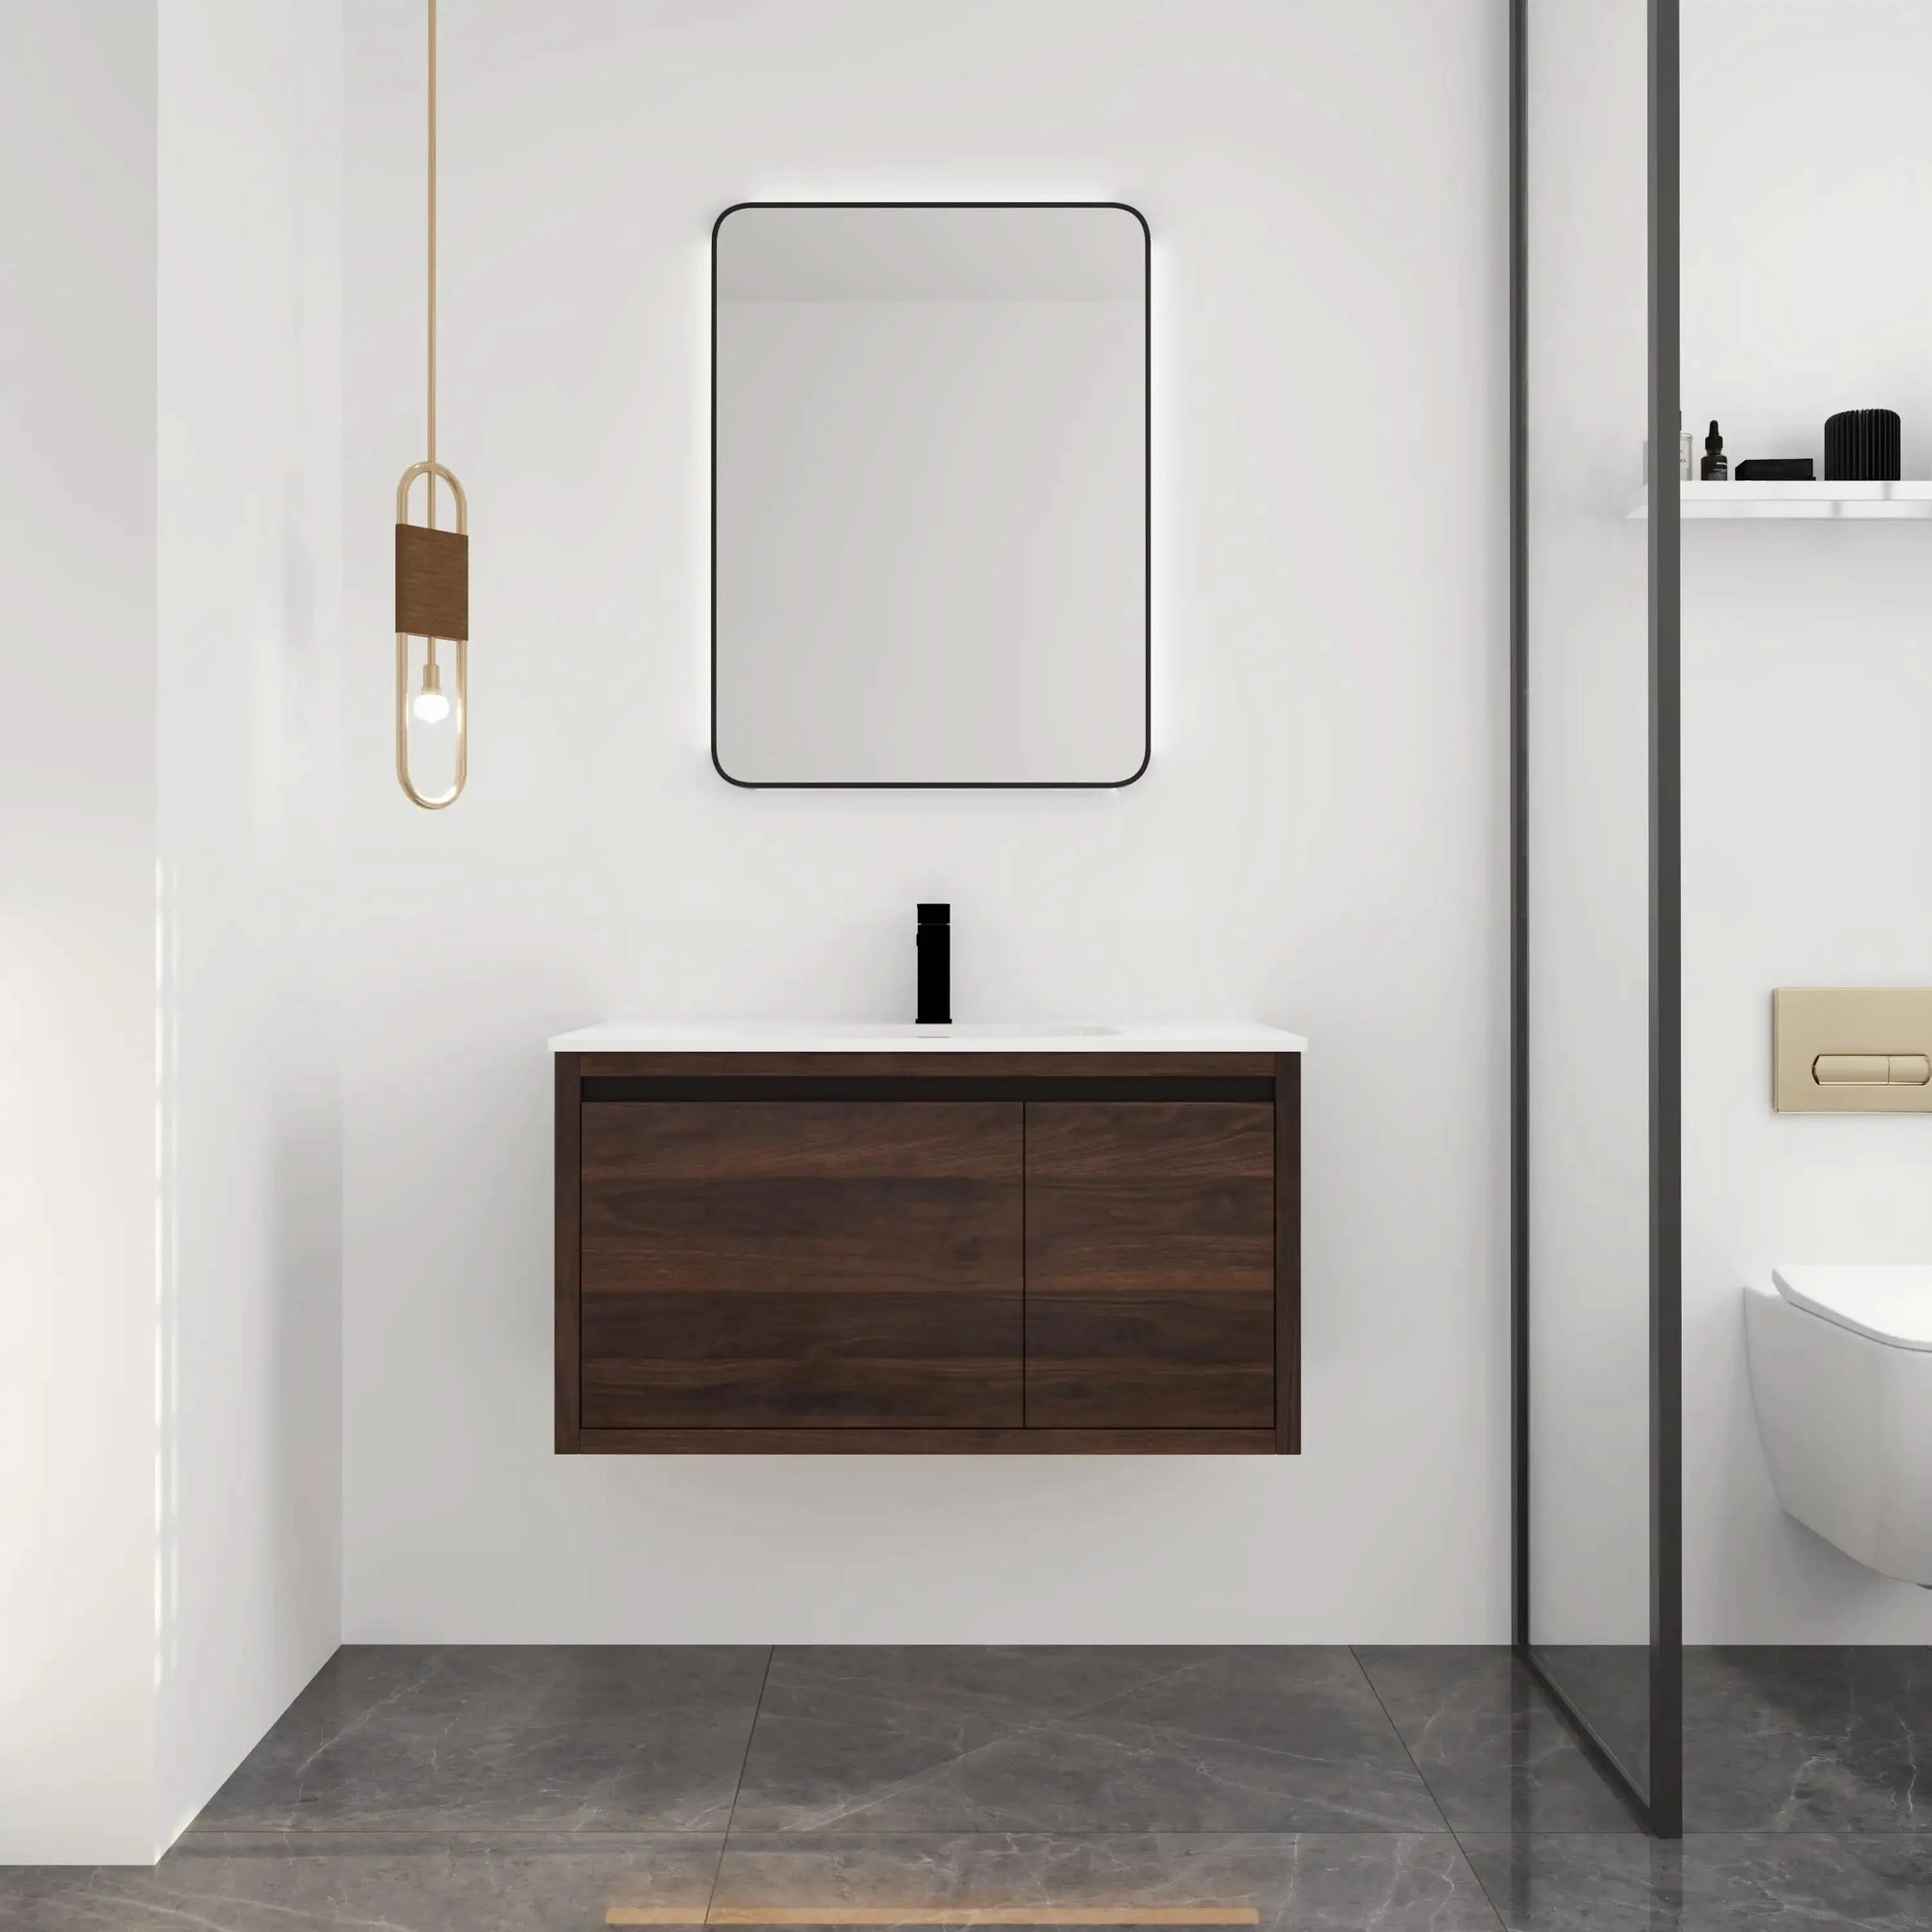
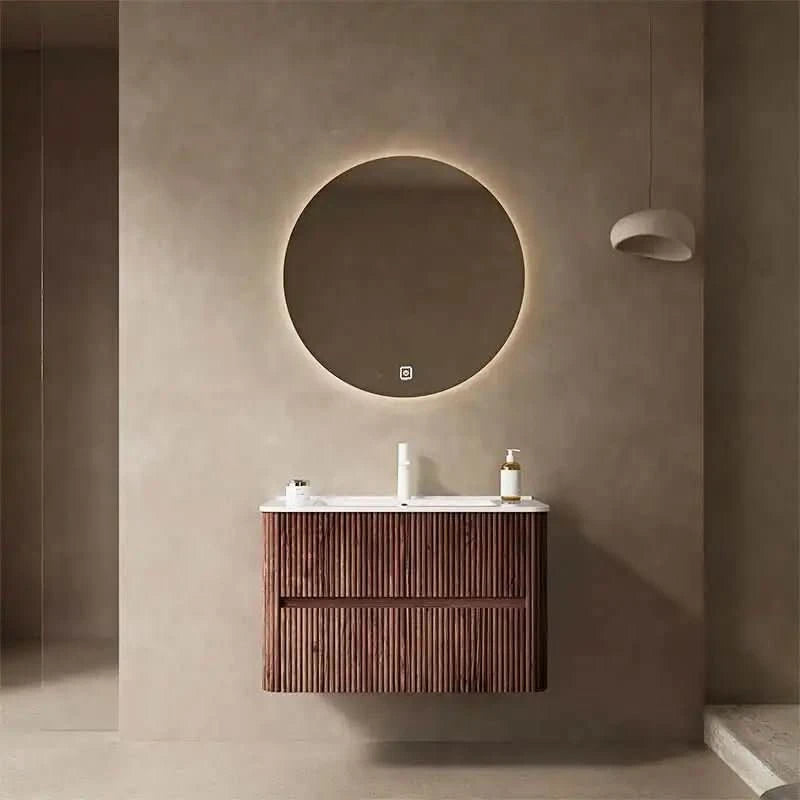
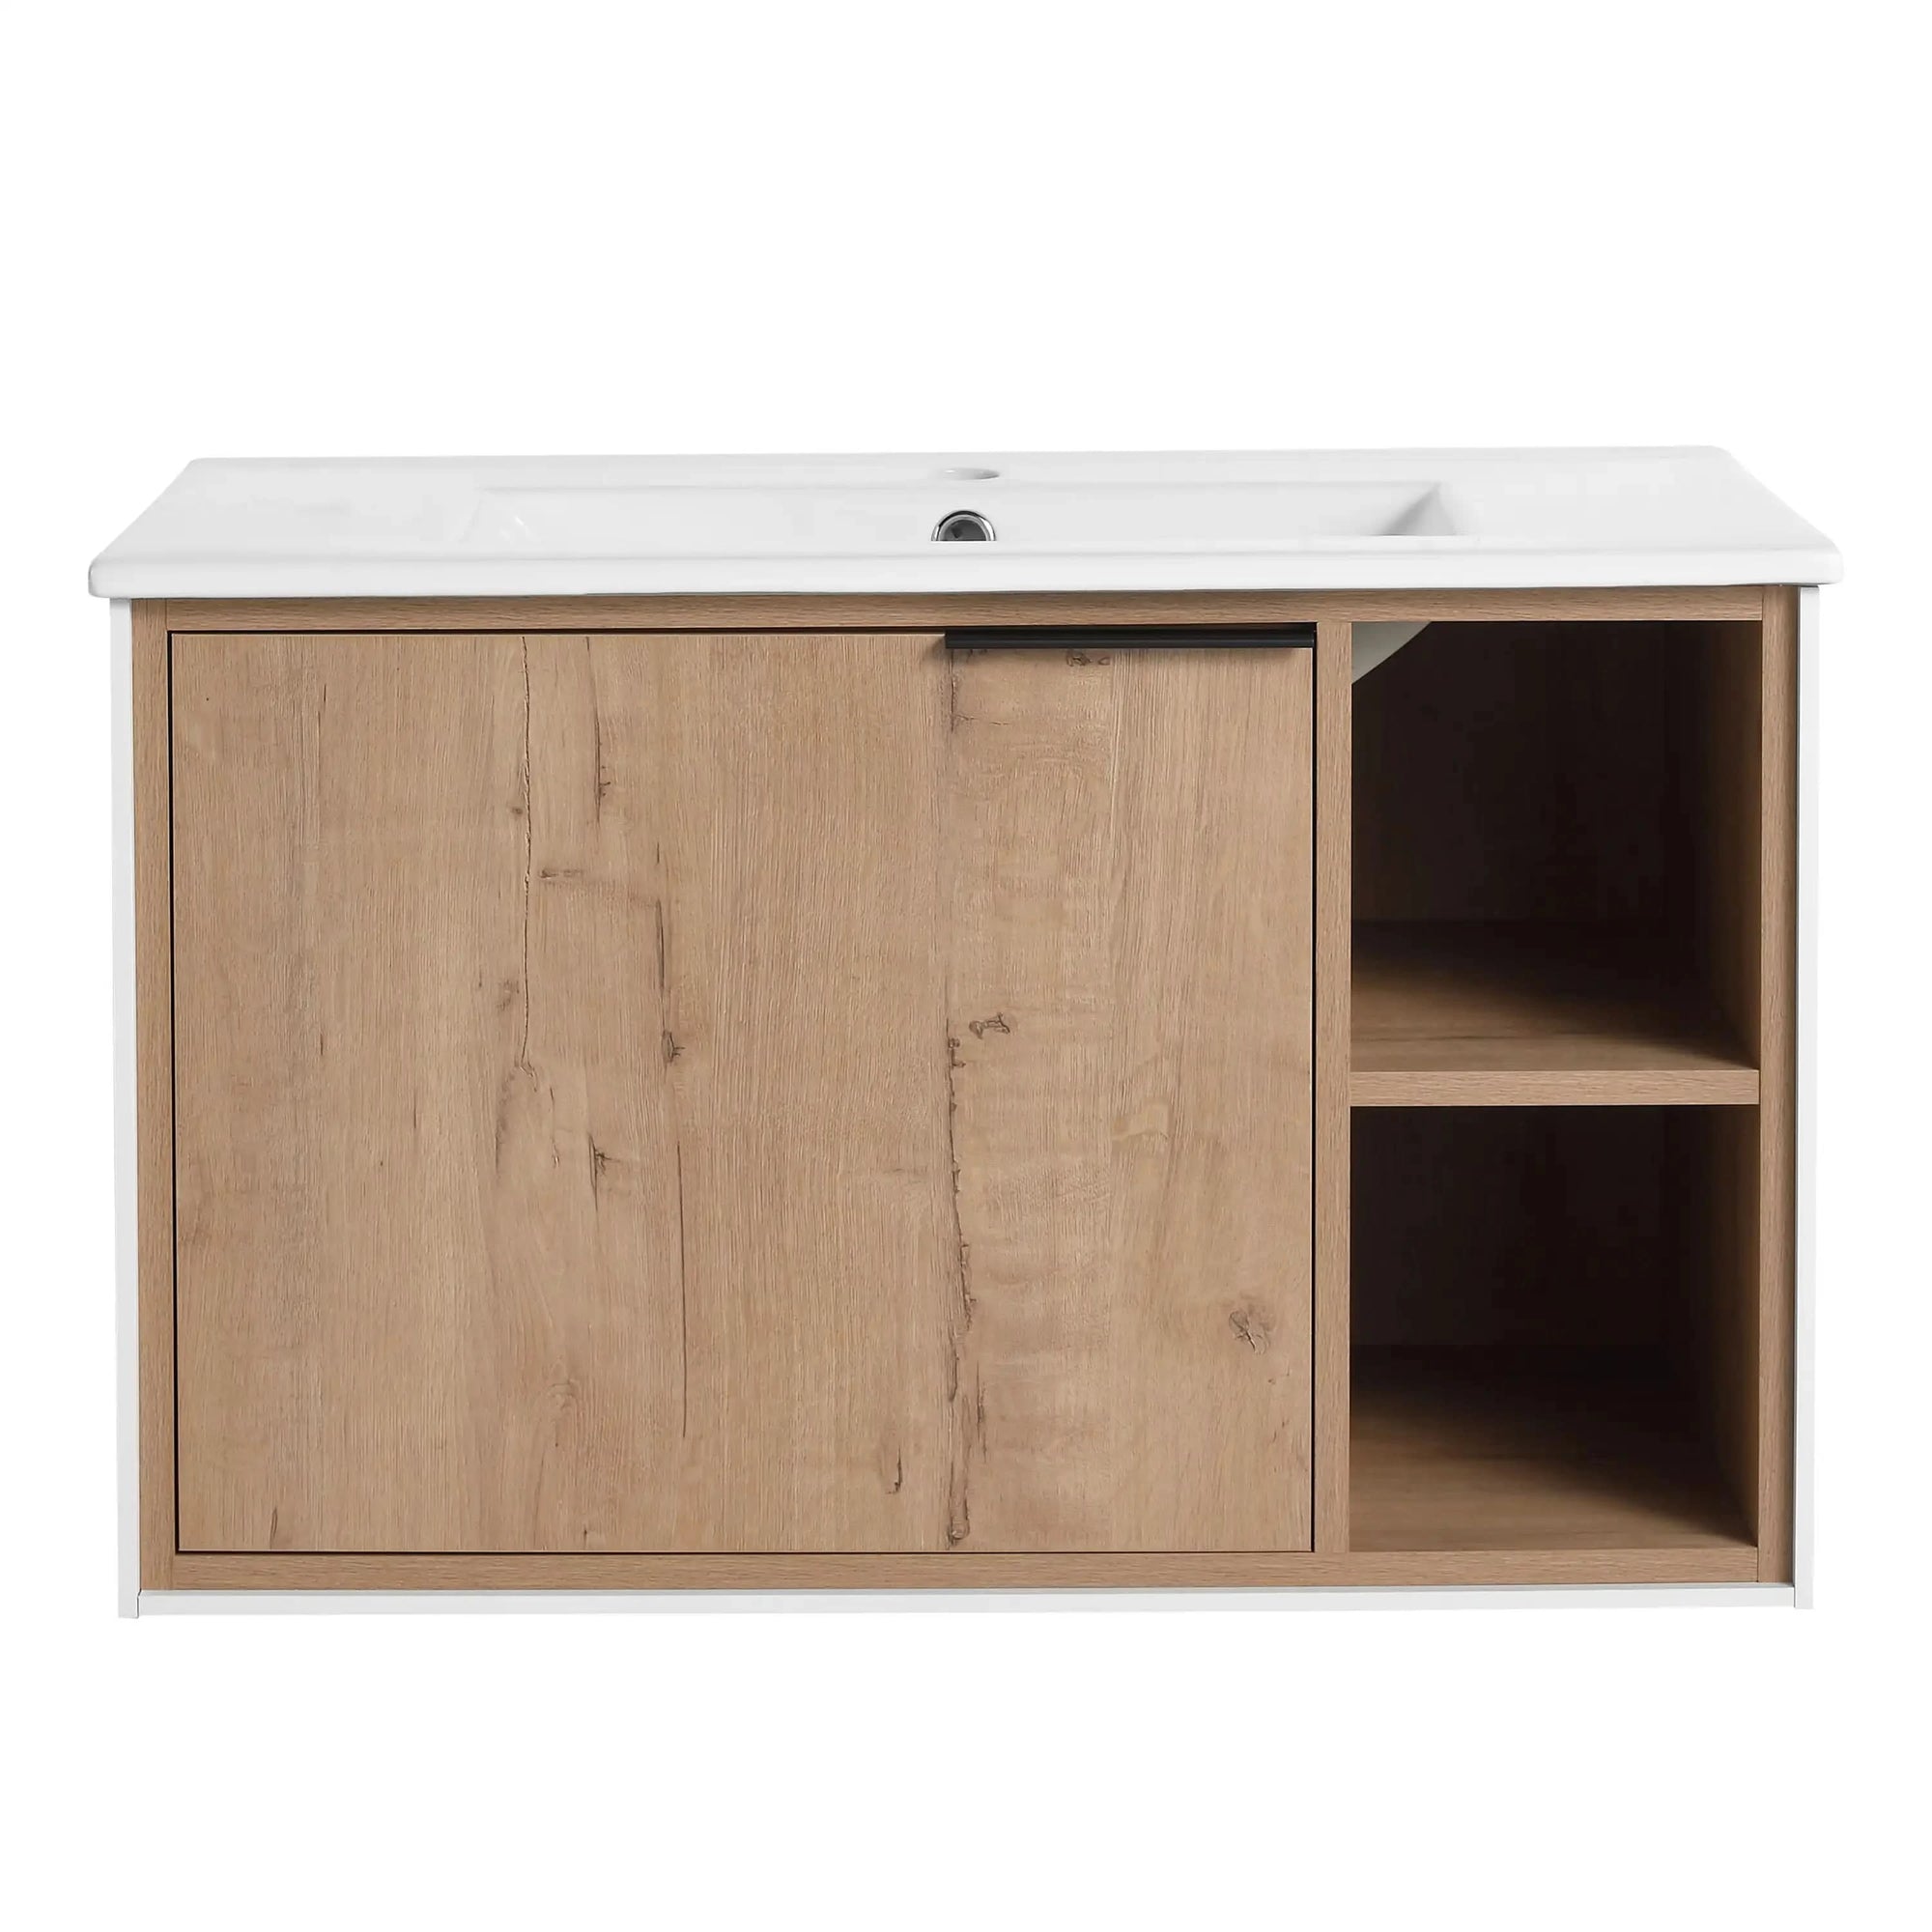
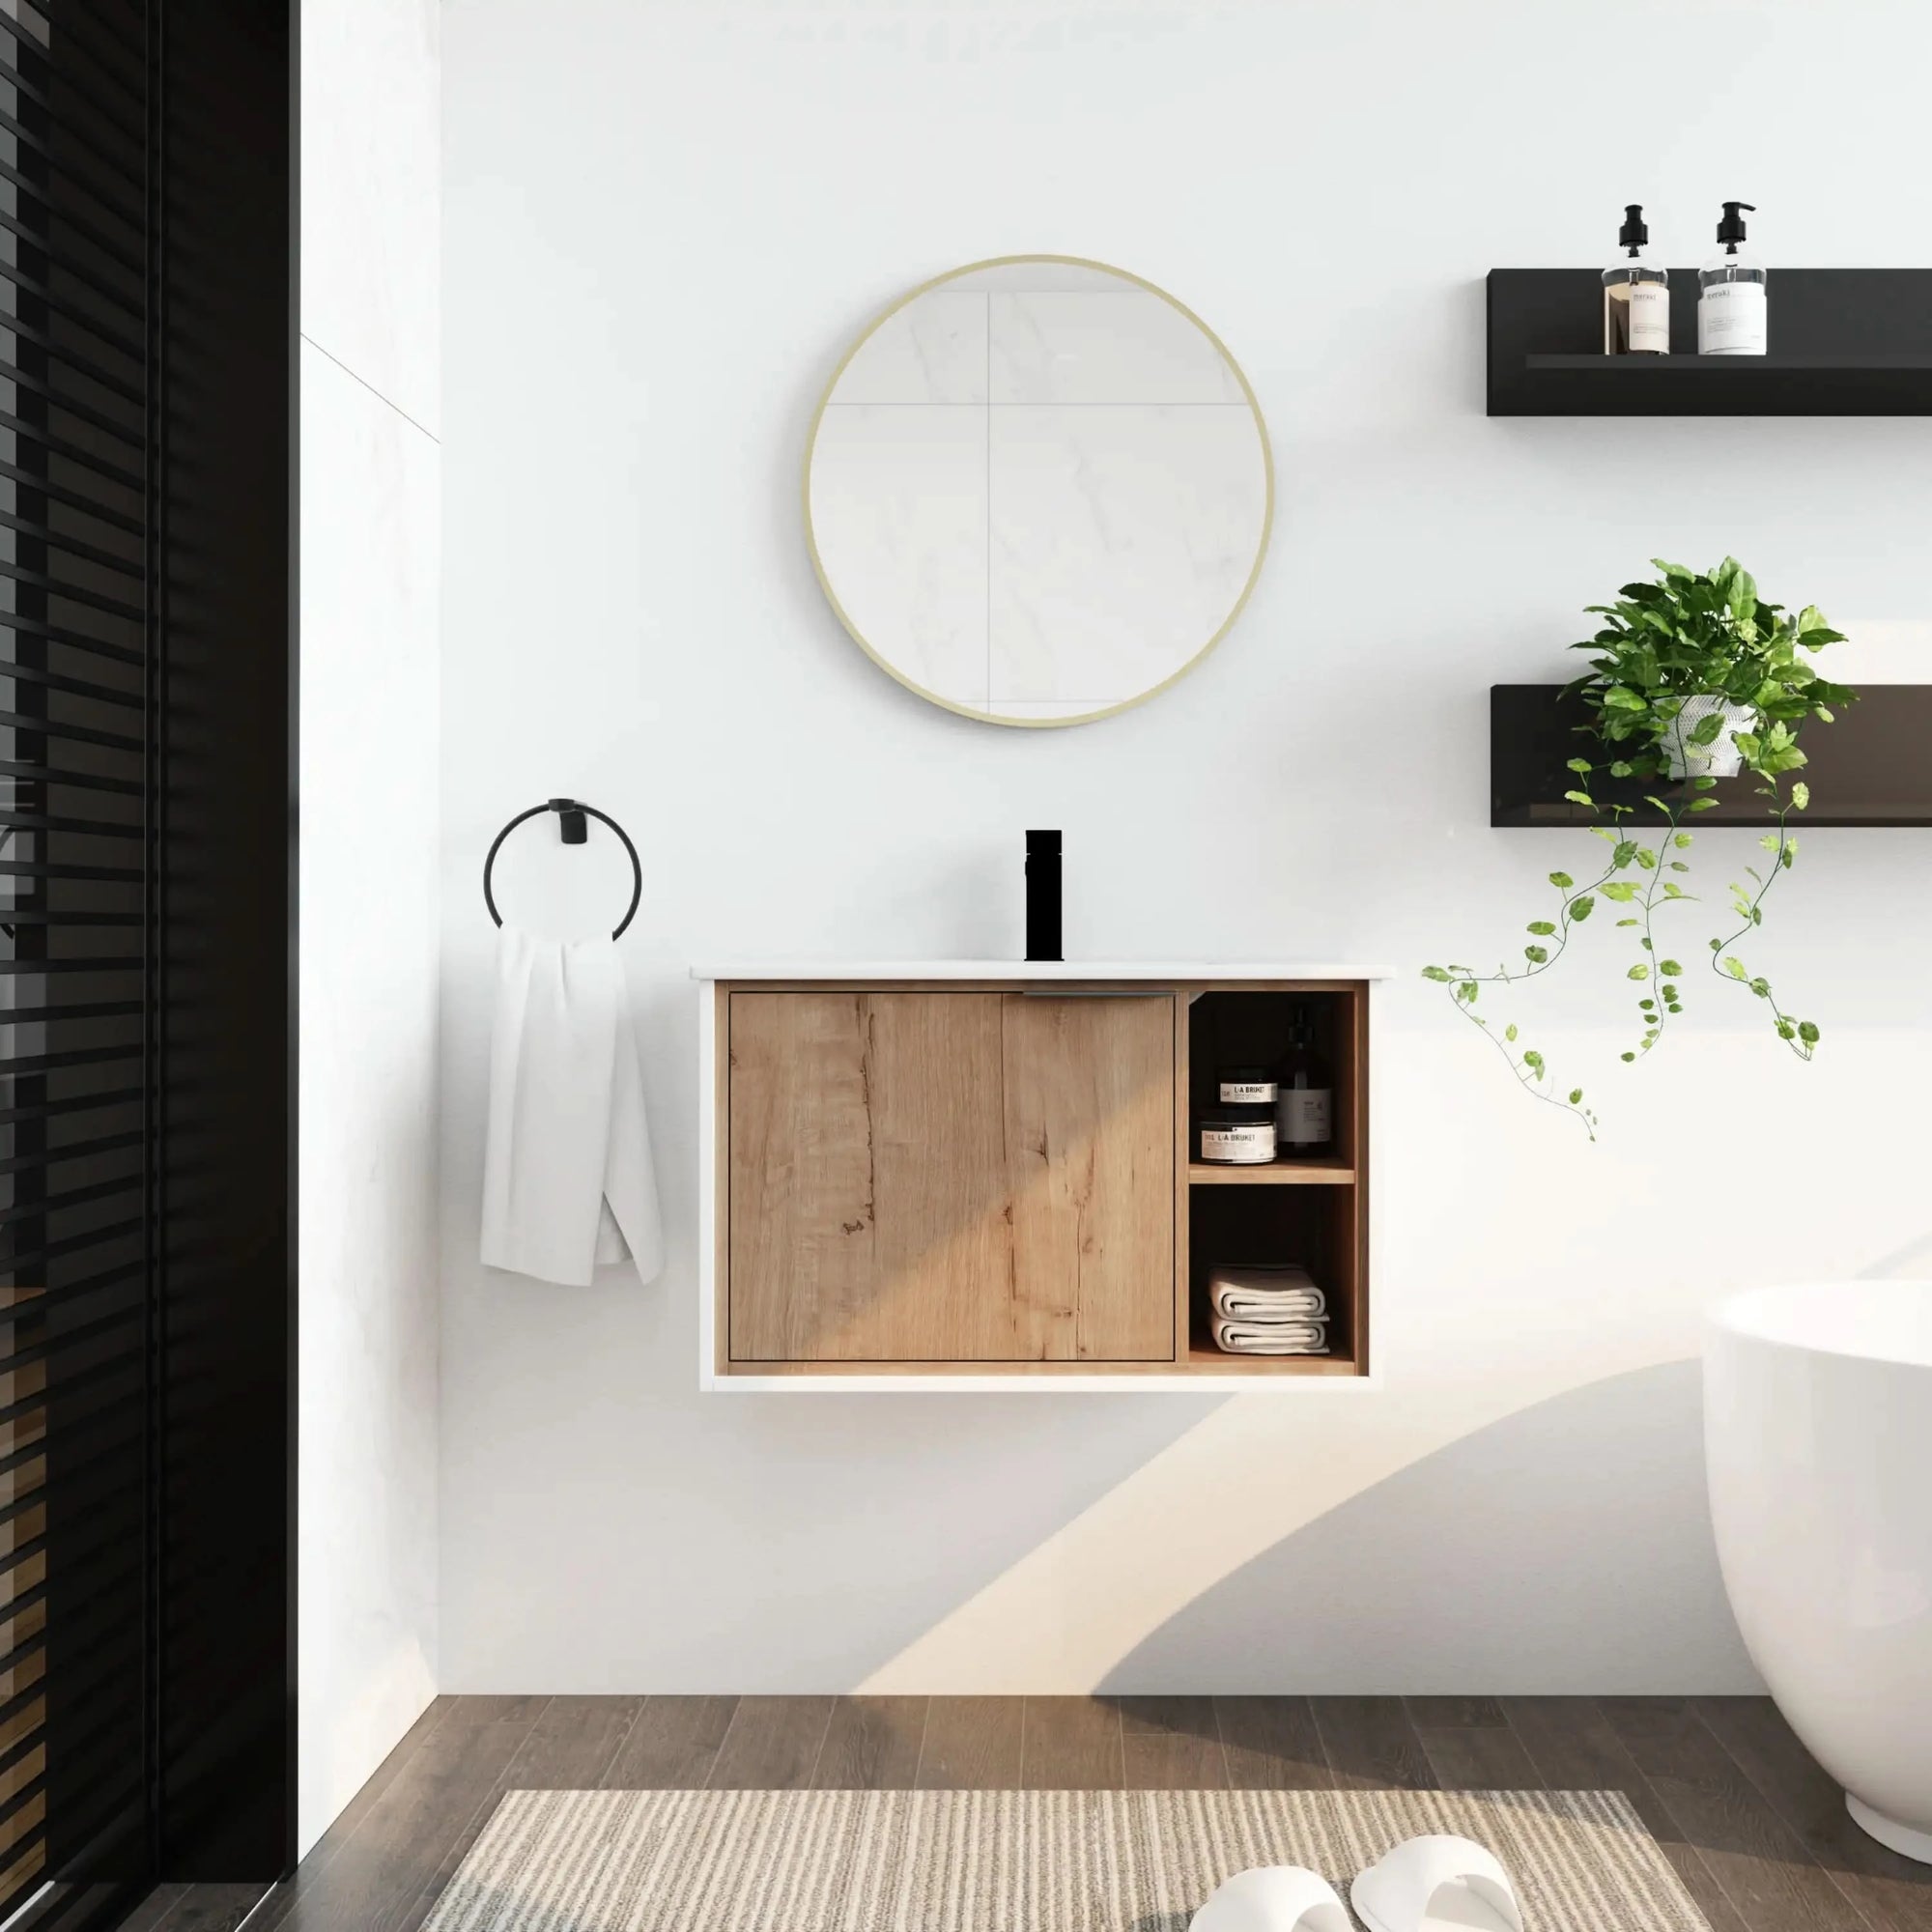
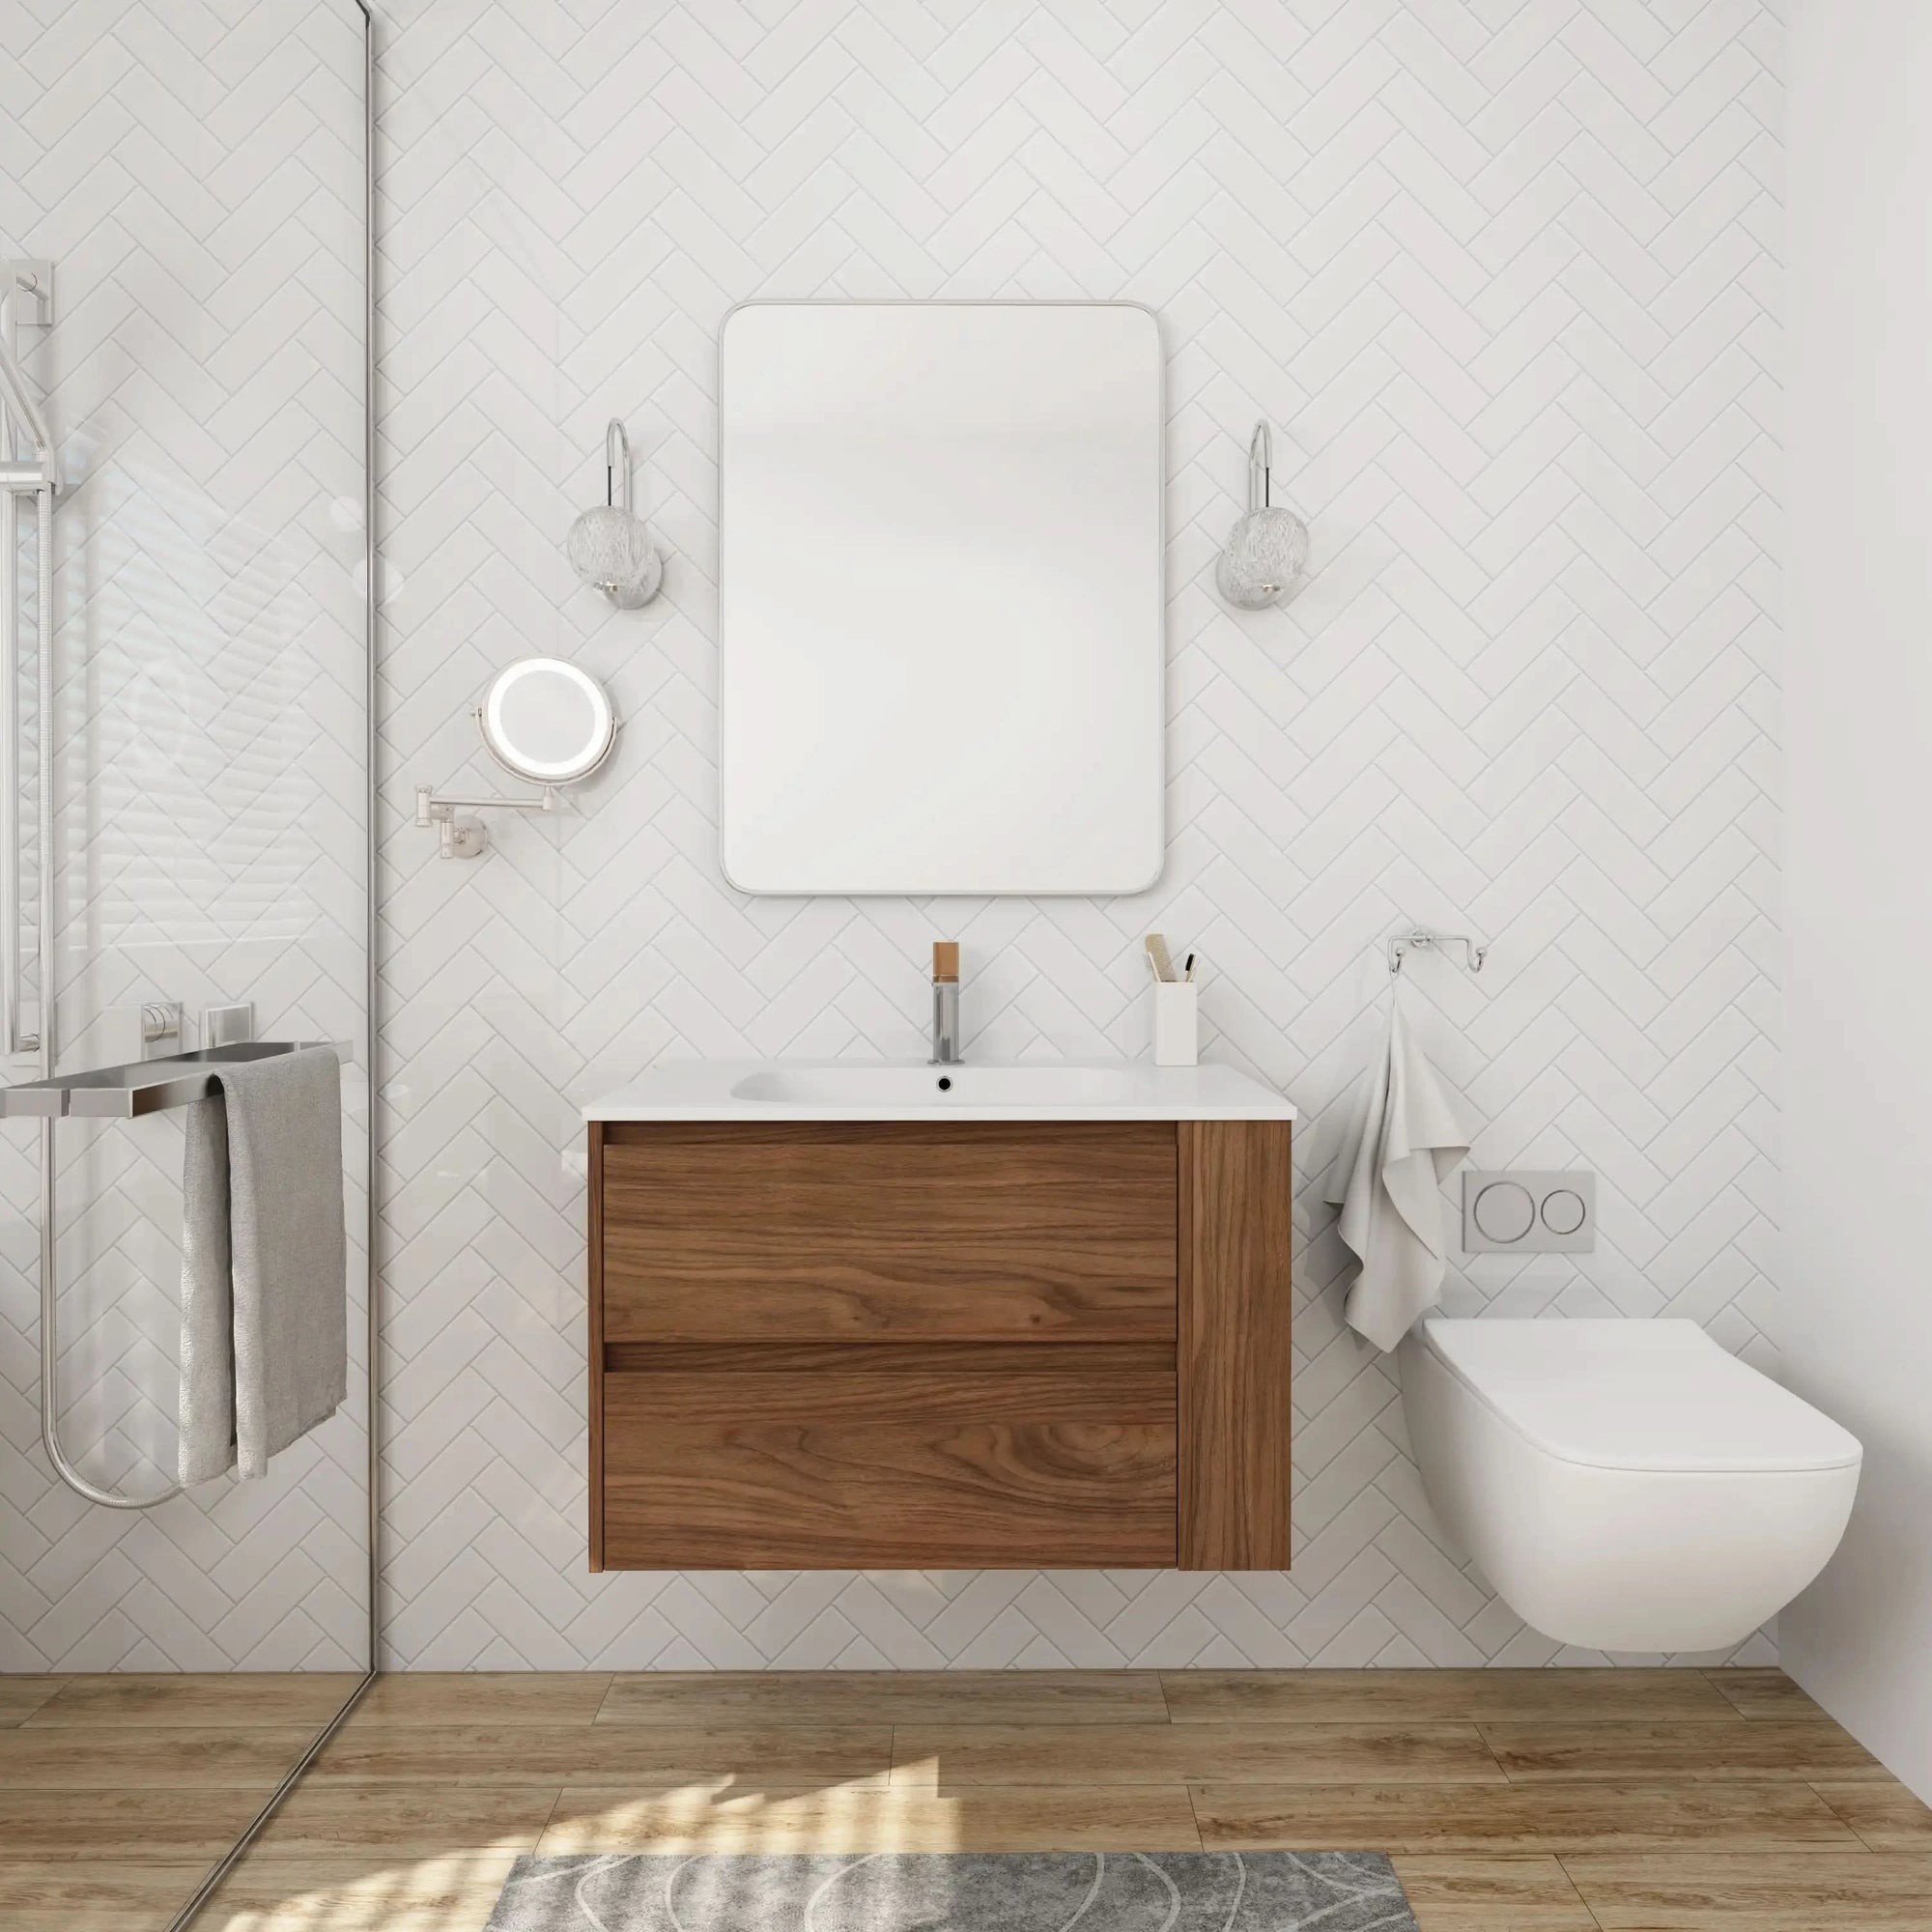
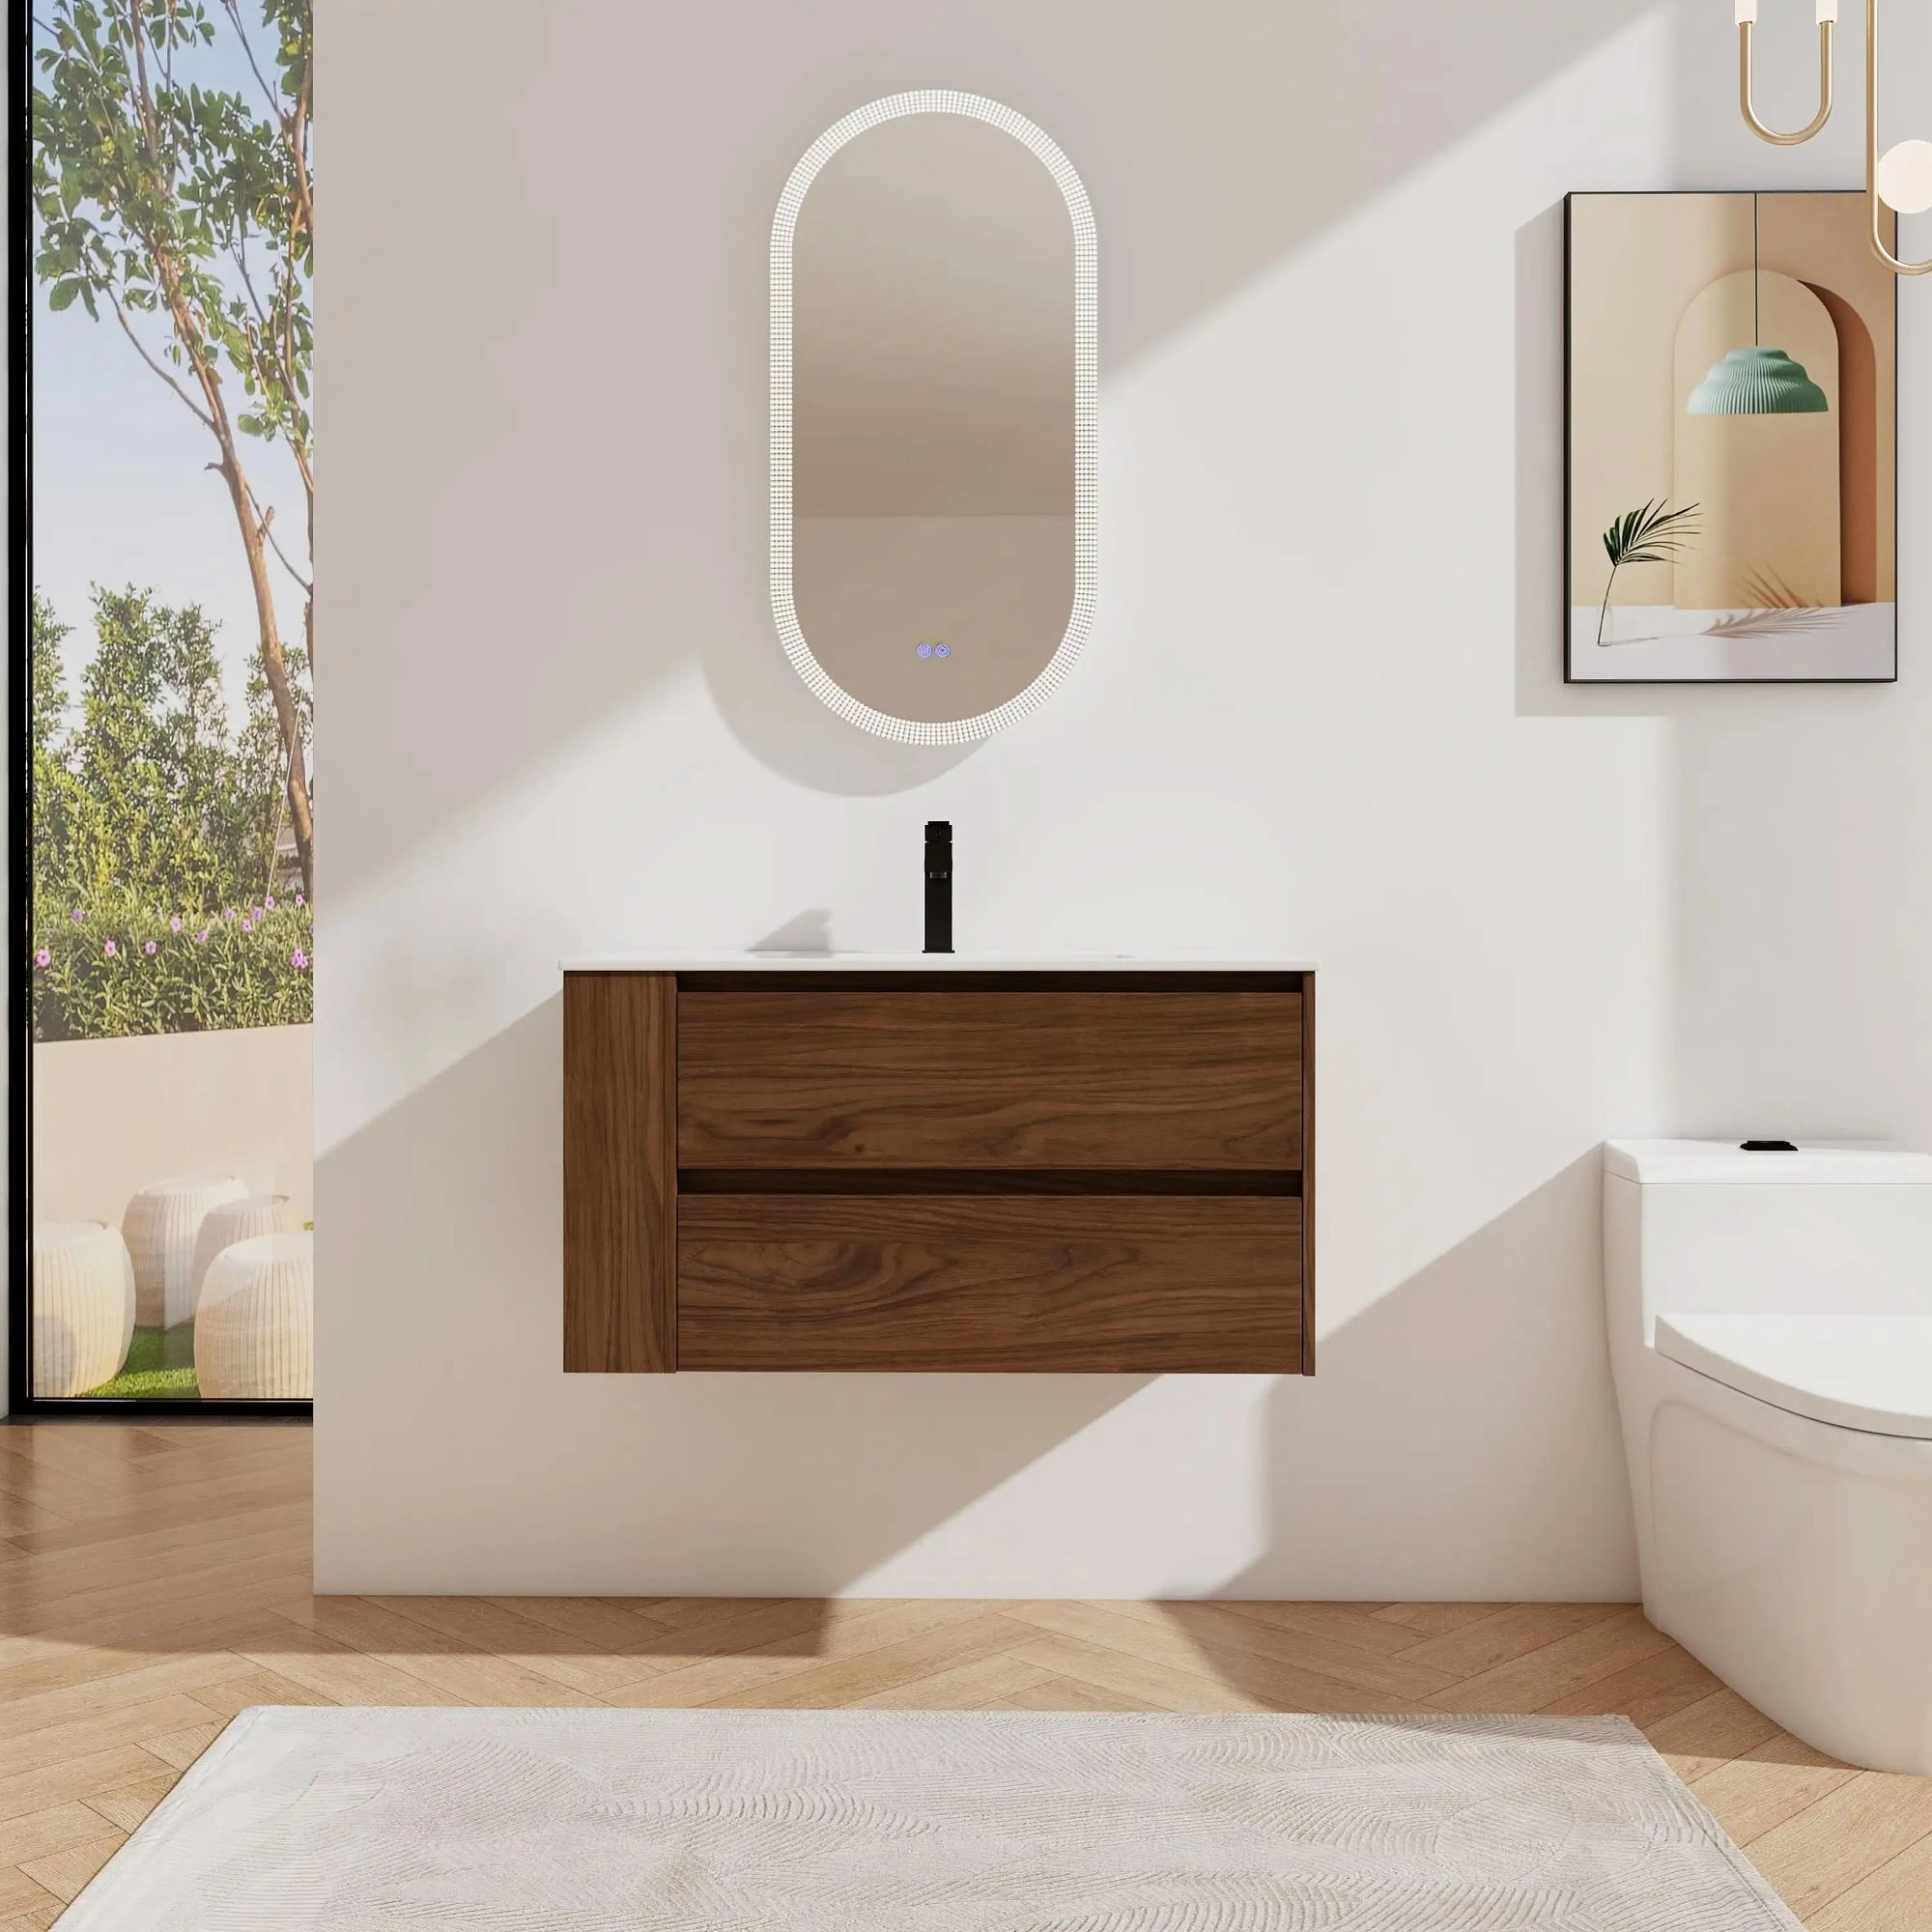
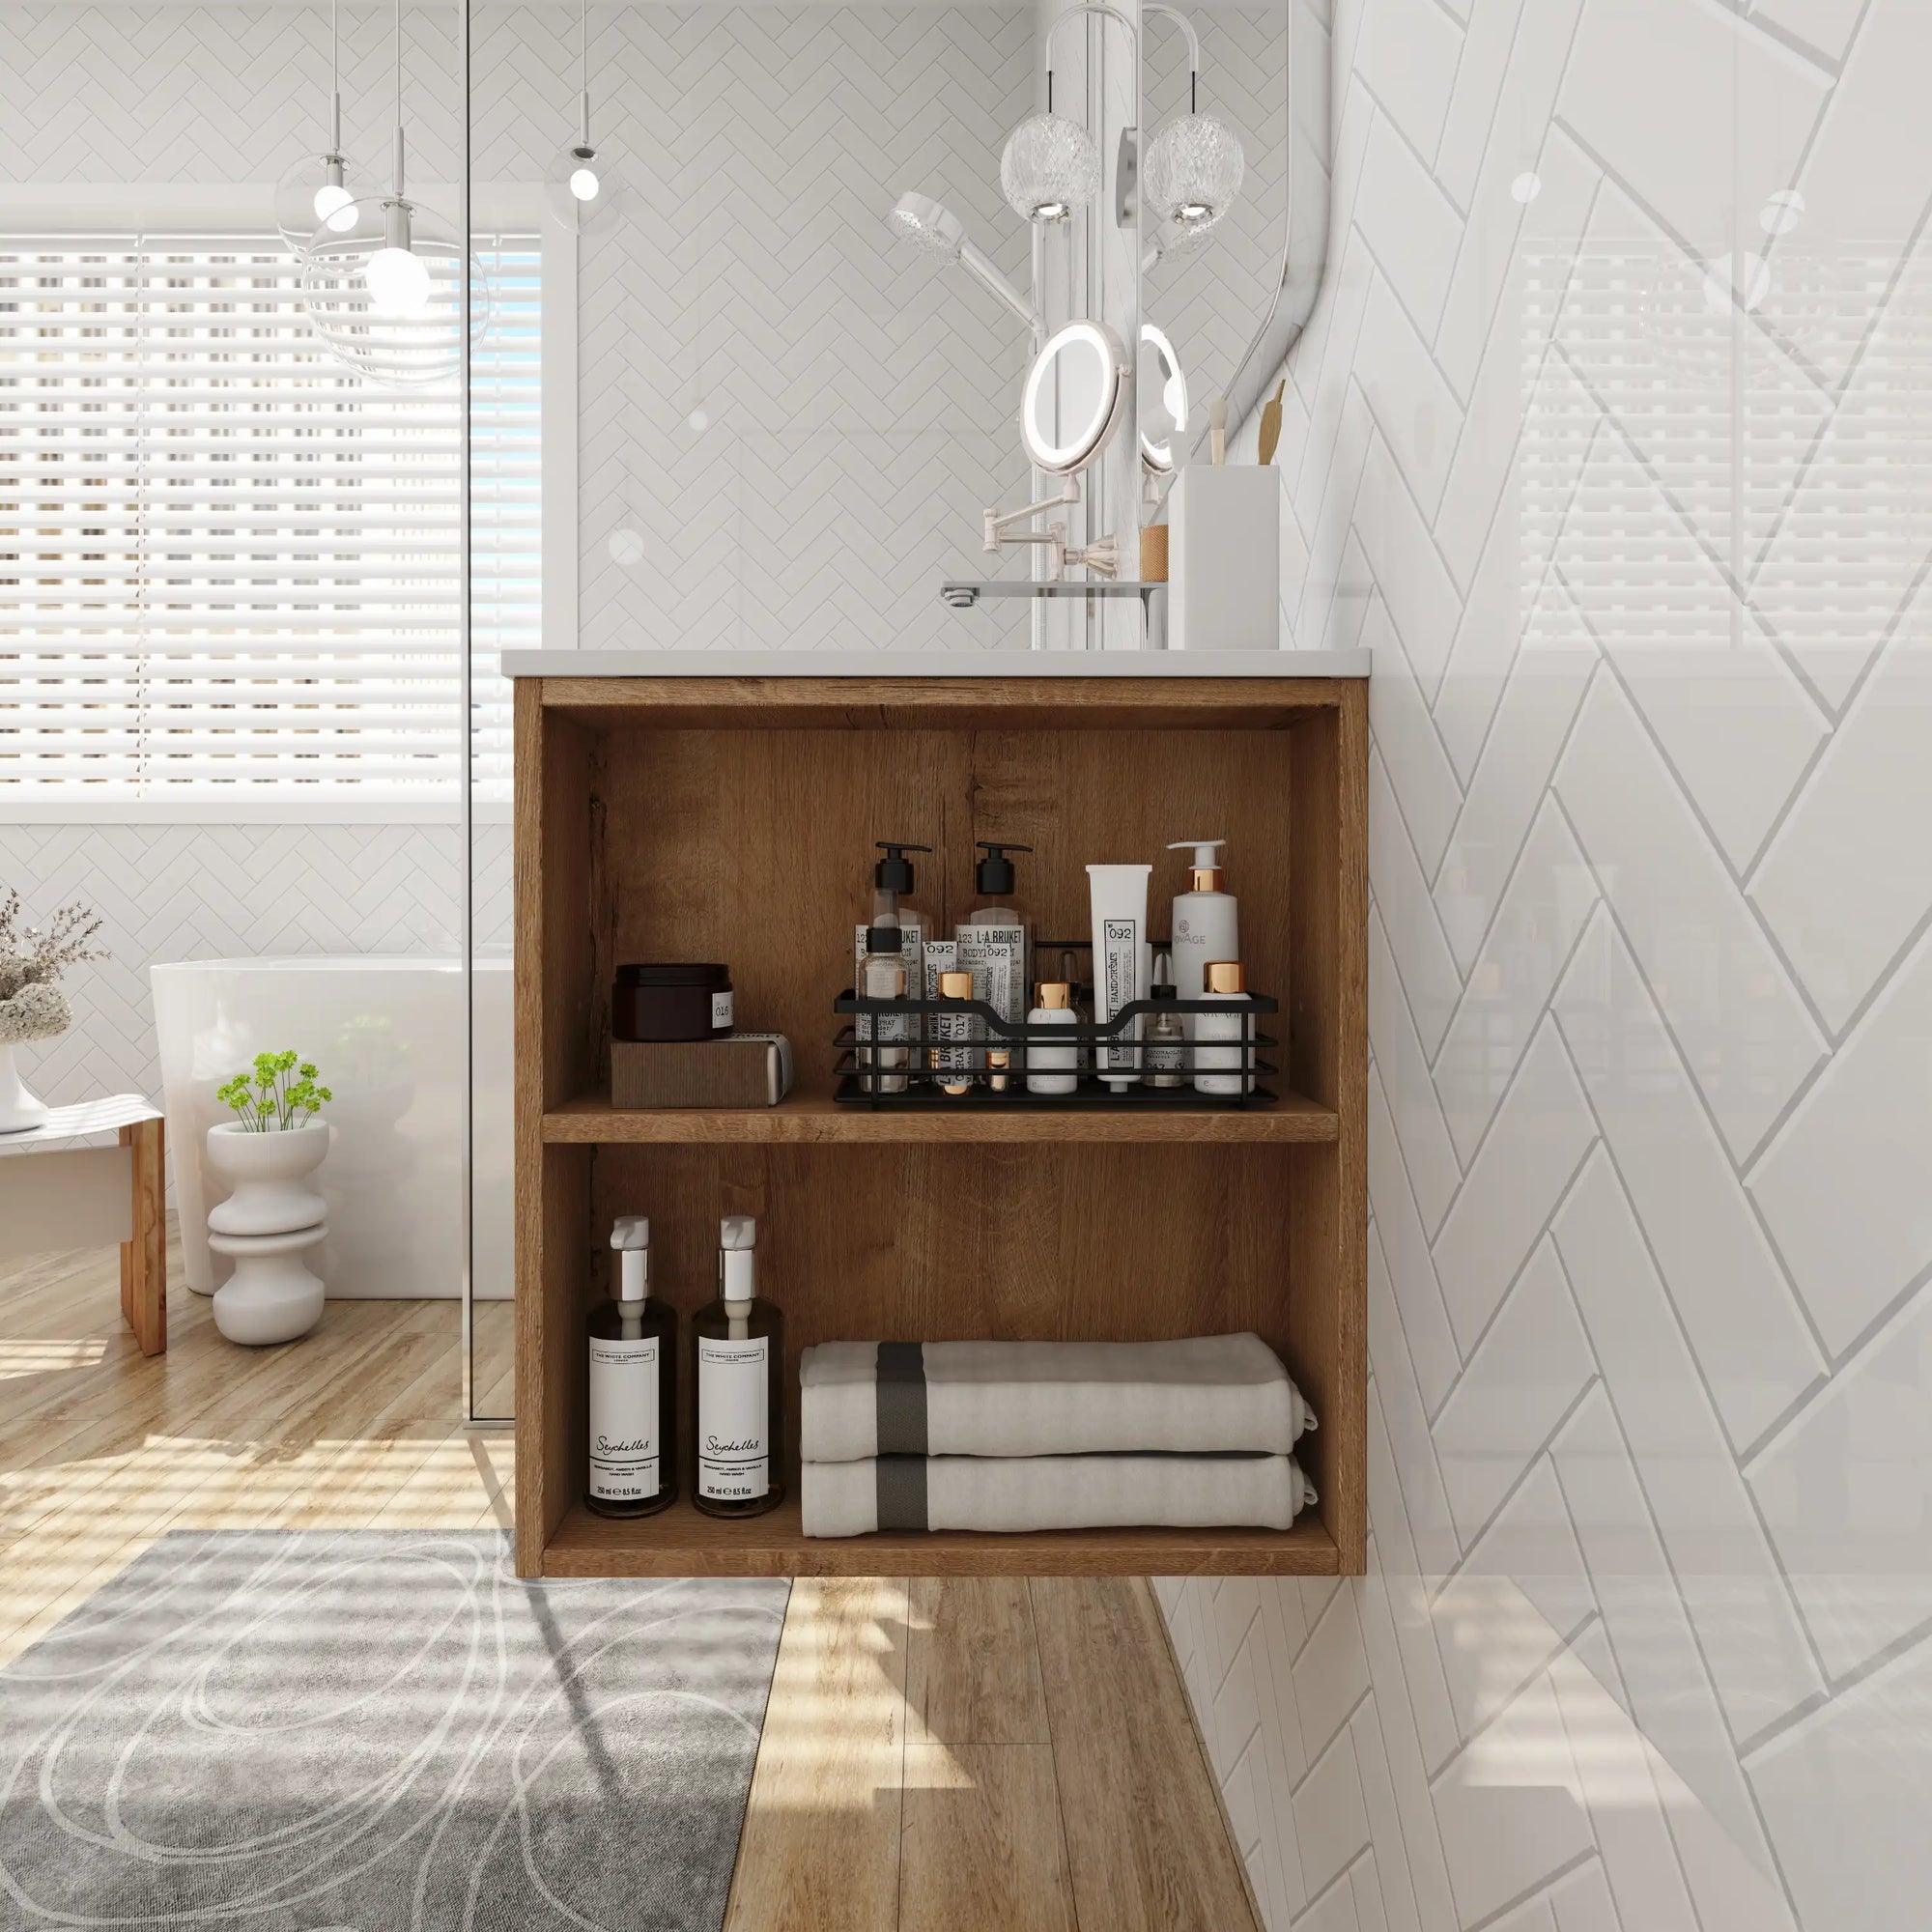
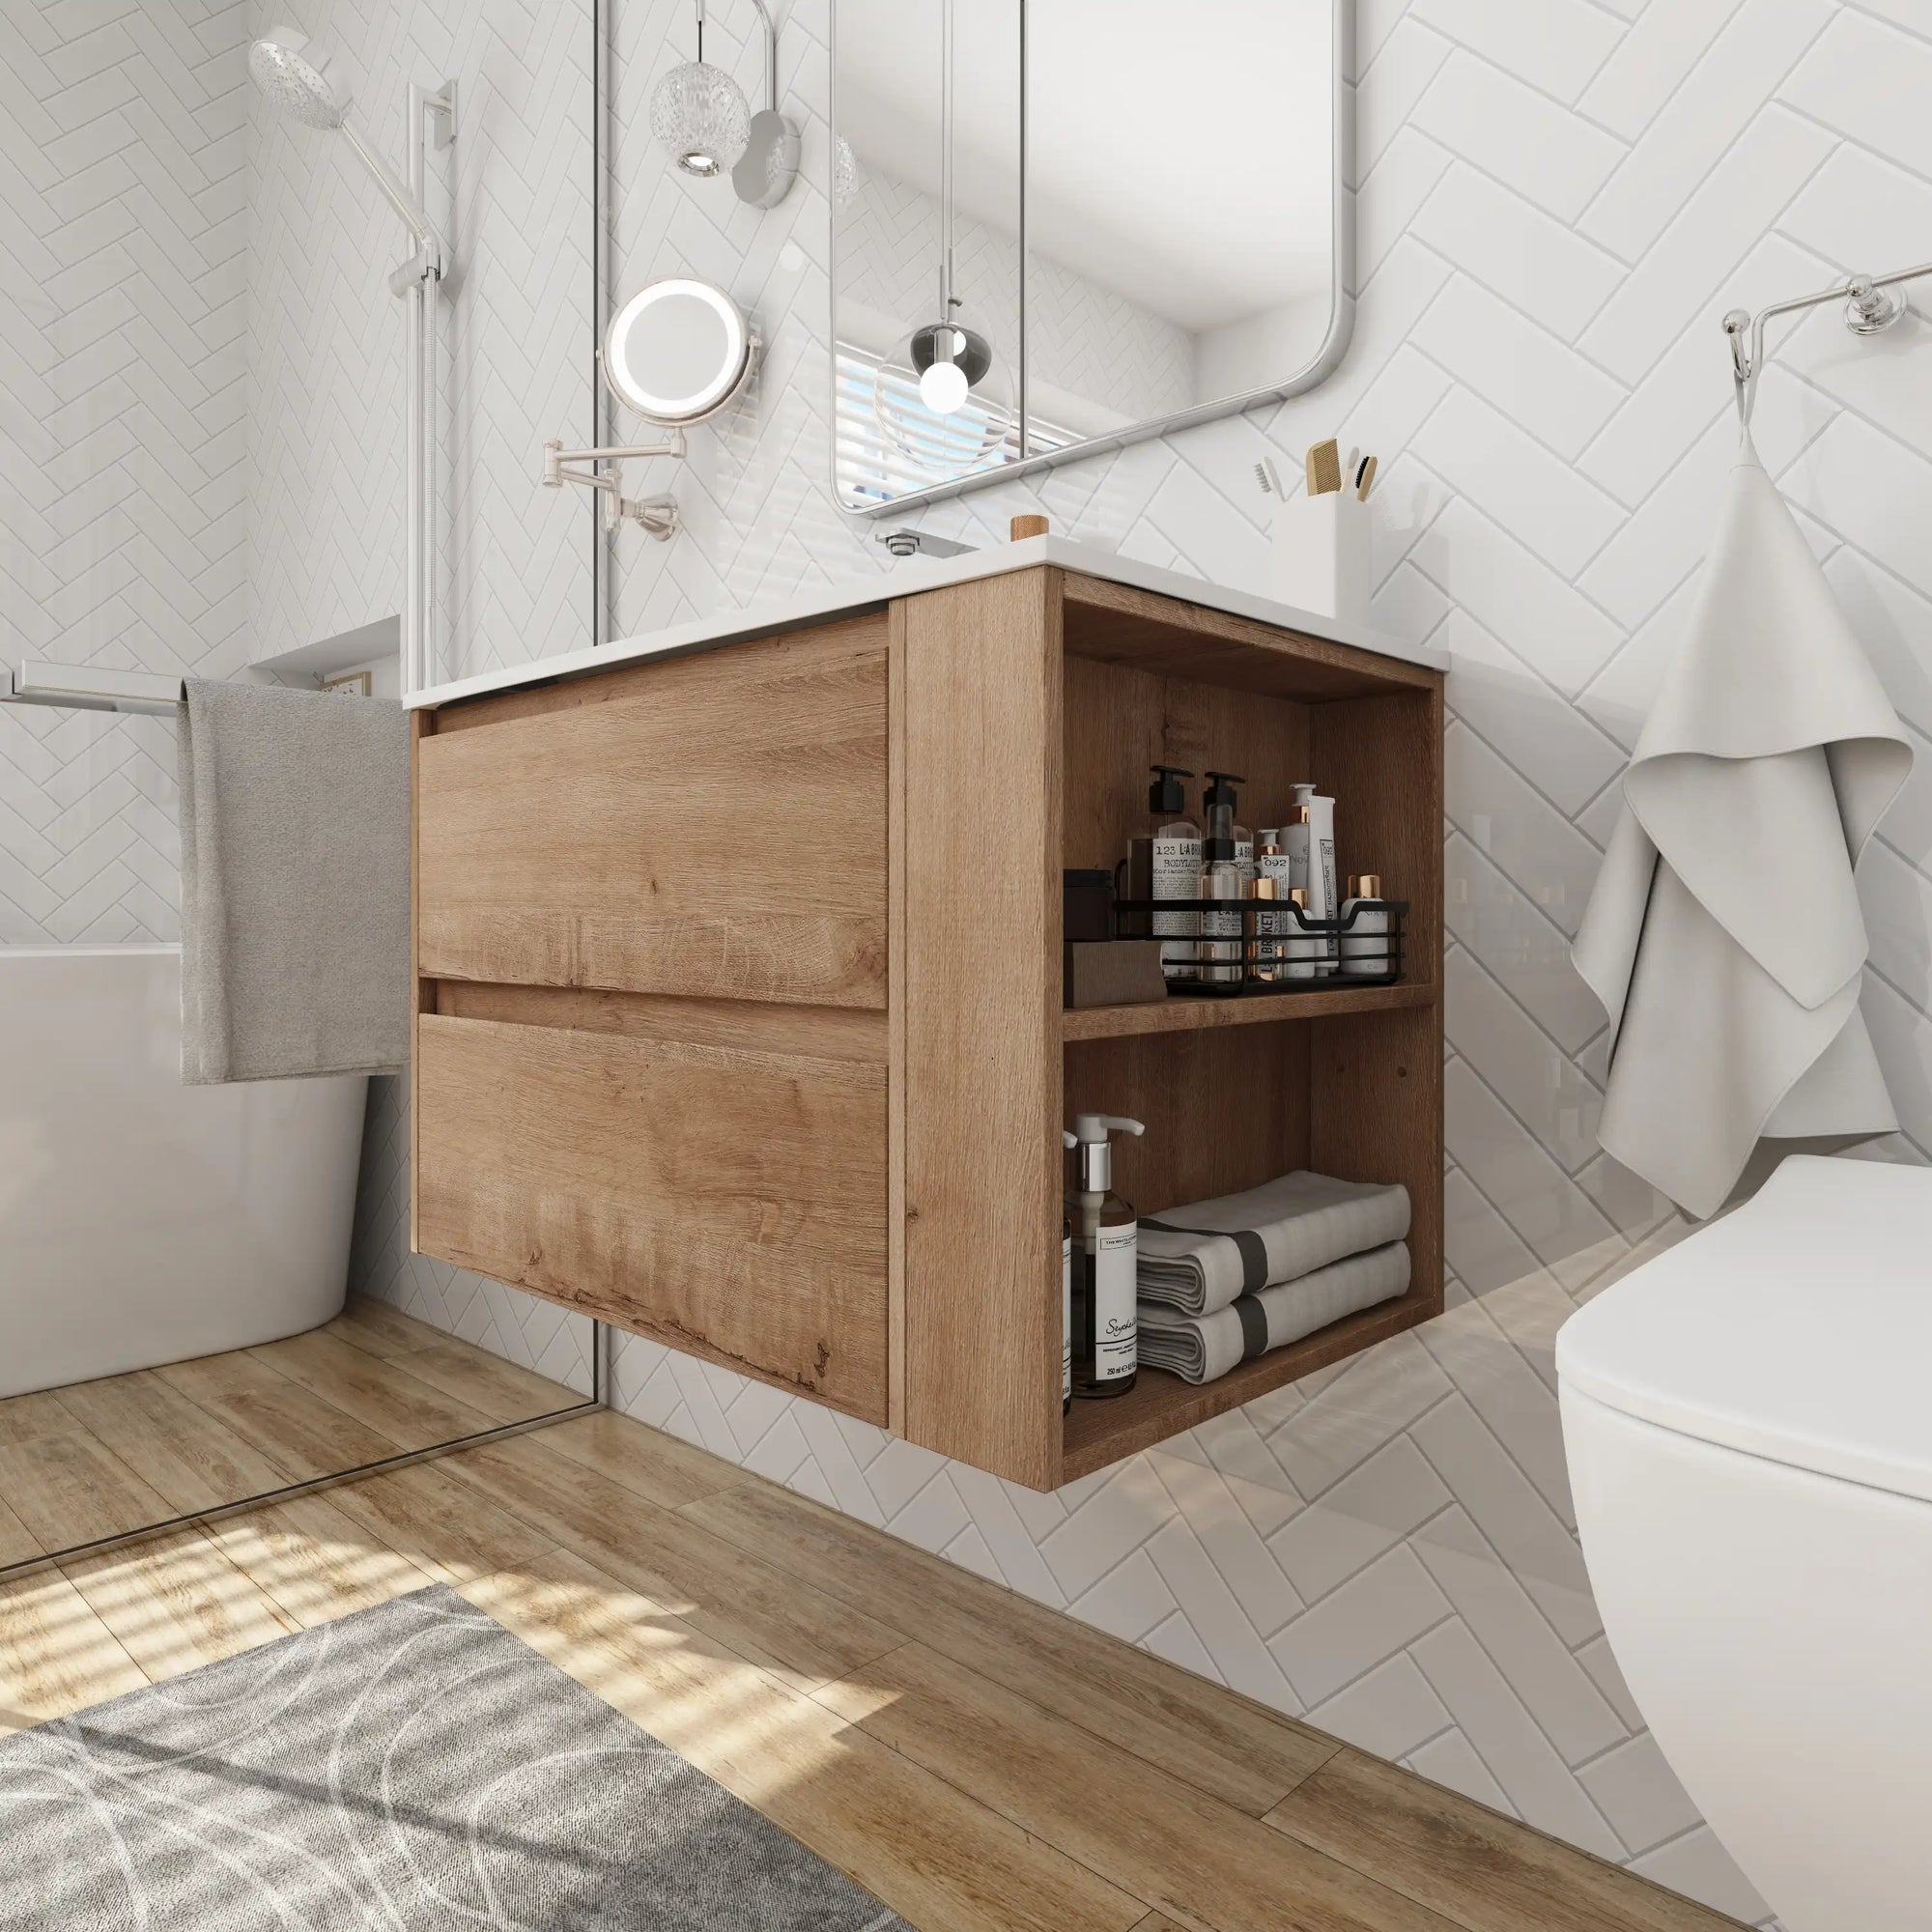
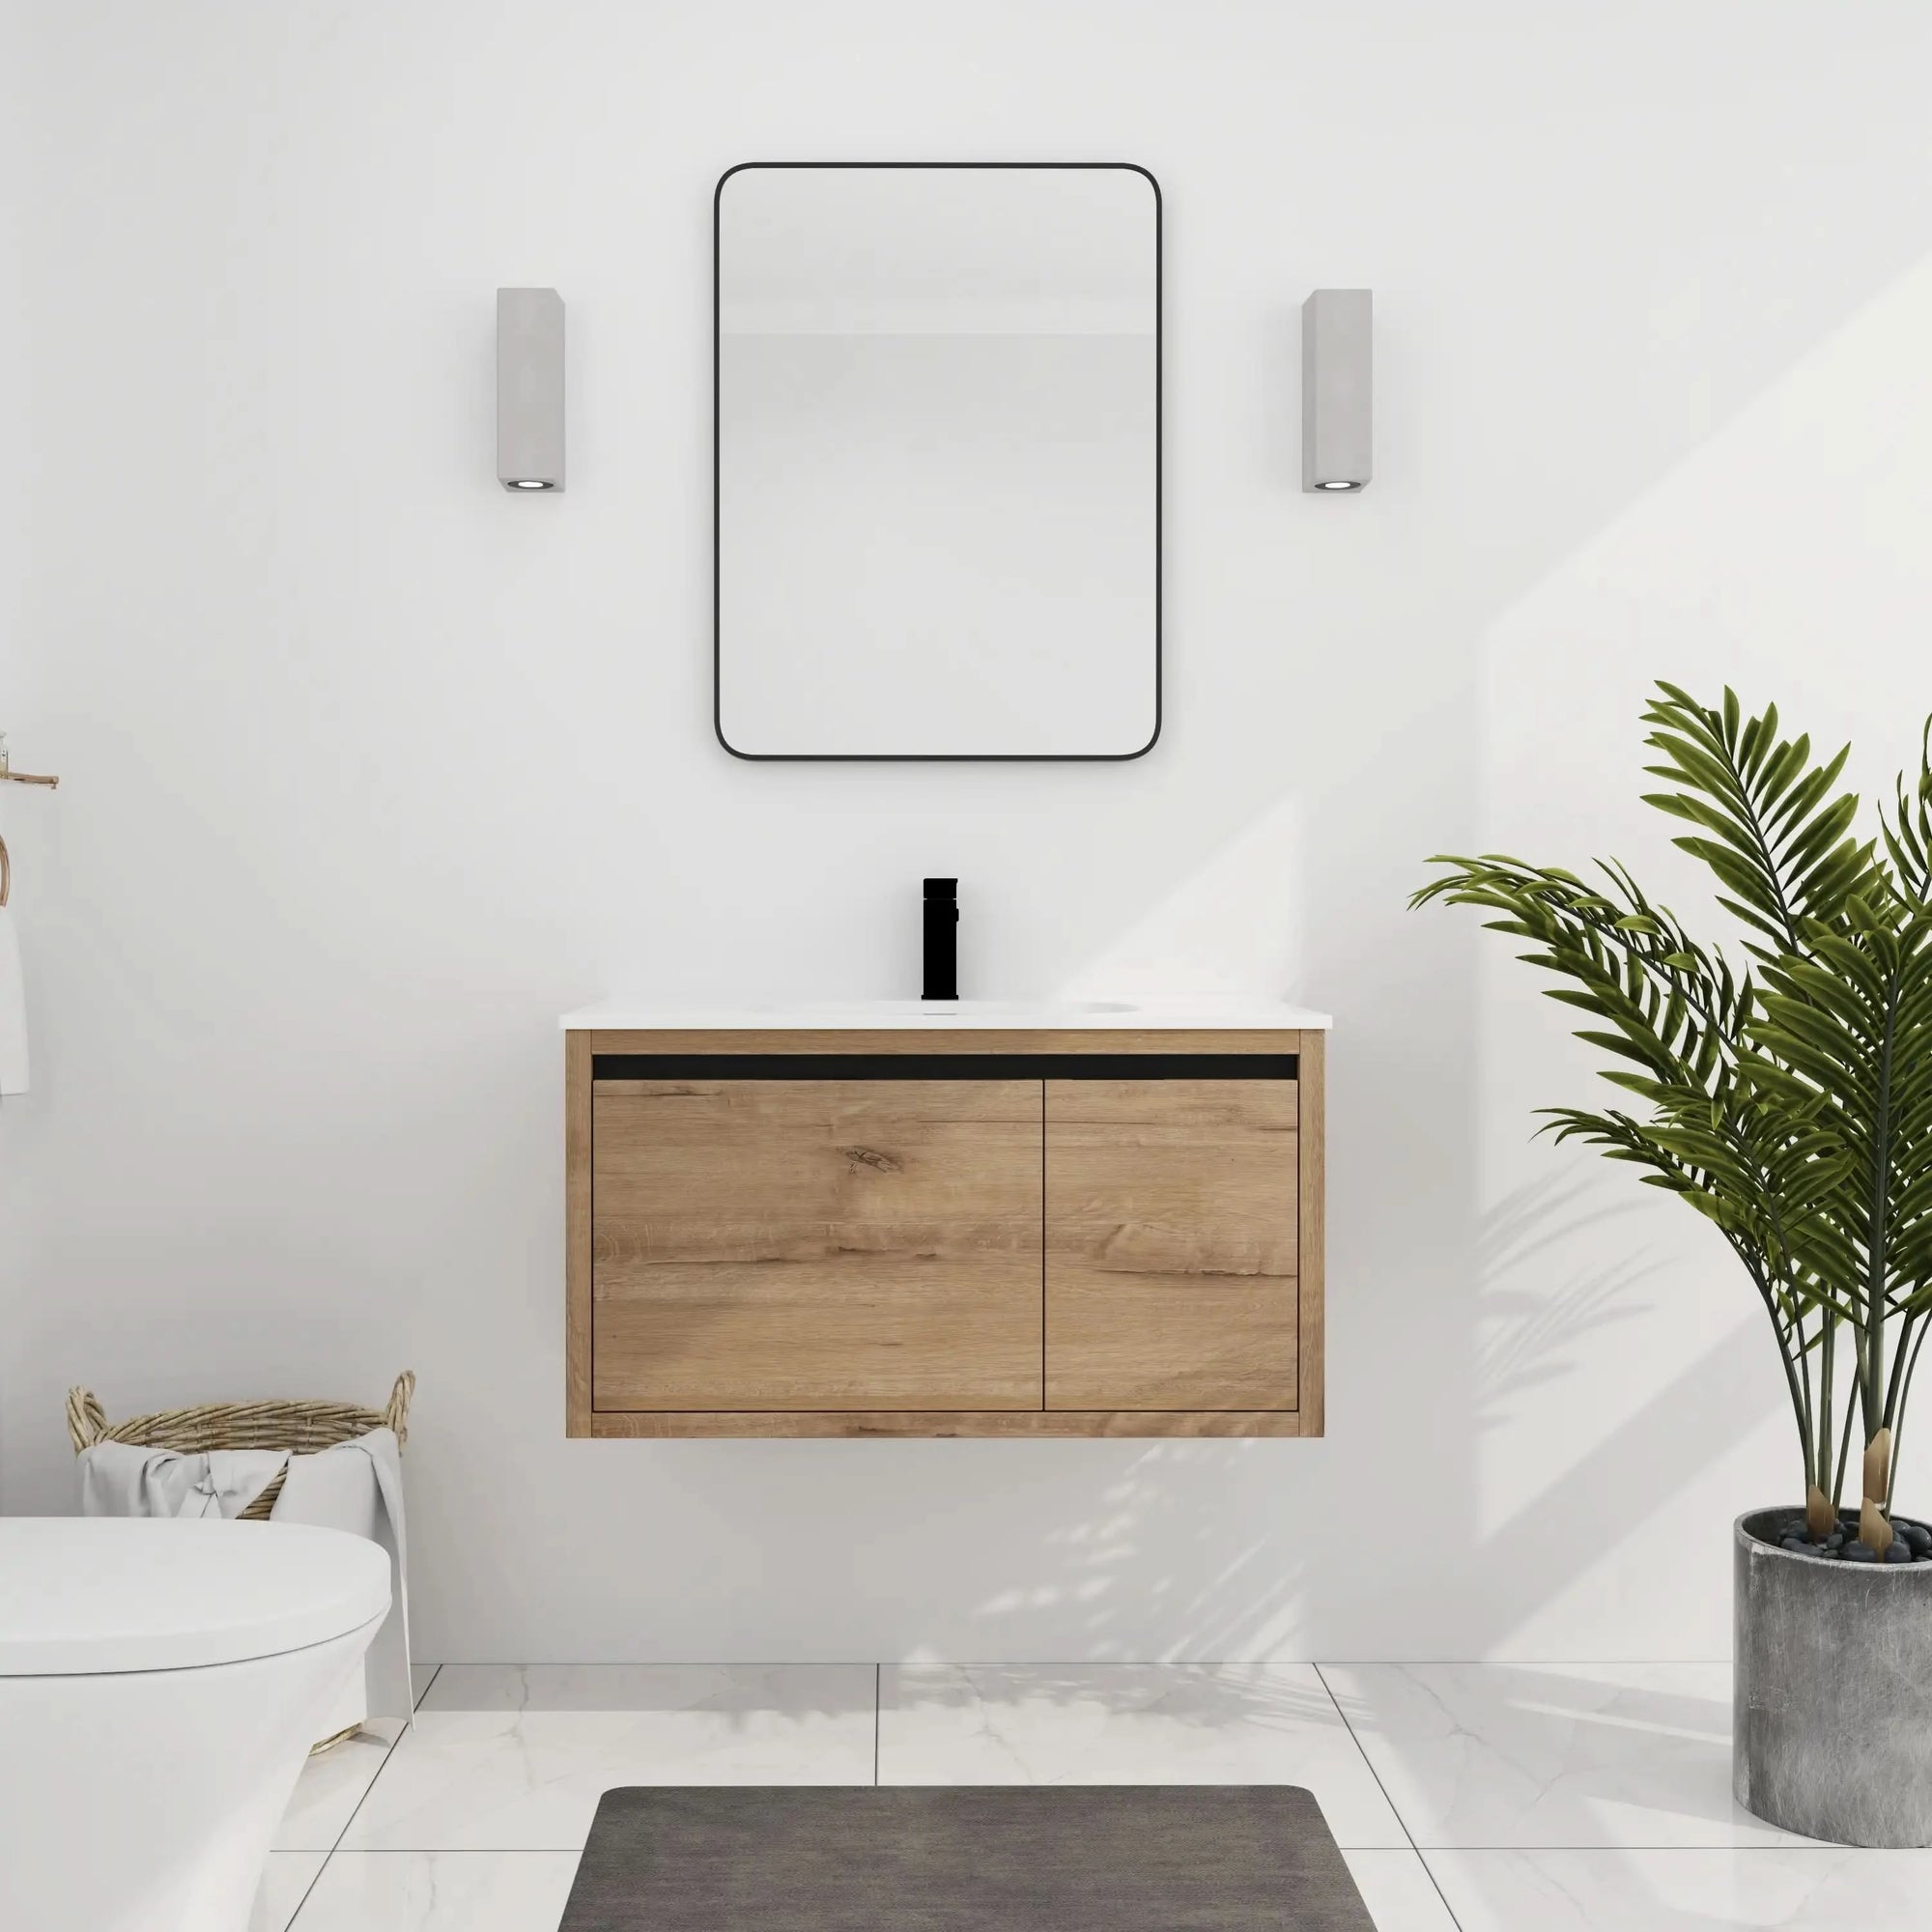
- Wall-Hung Vanity: Designed for small spaces; makes your bathroom look contemporary and offers more space to you.
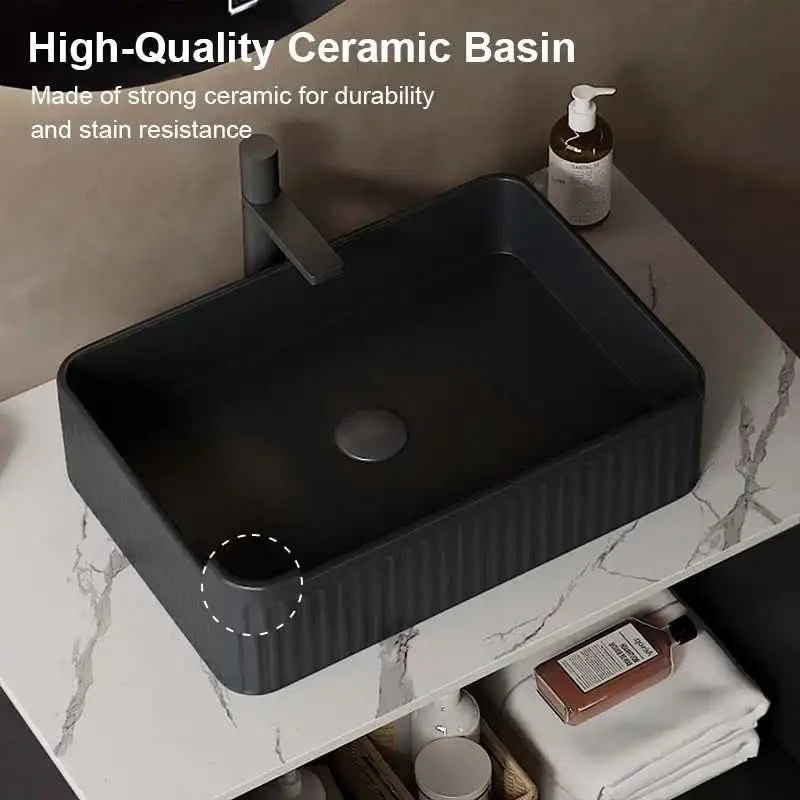
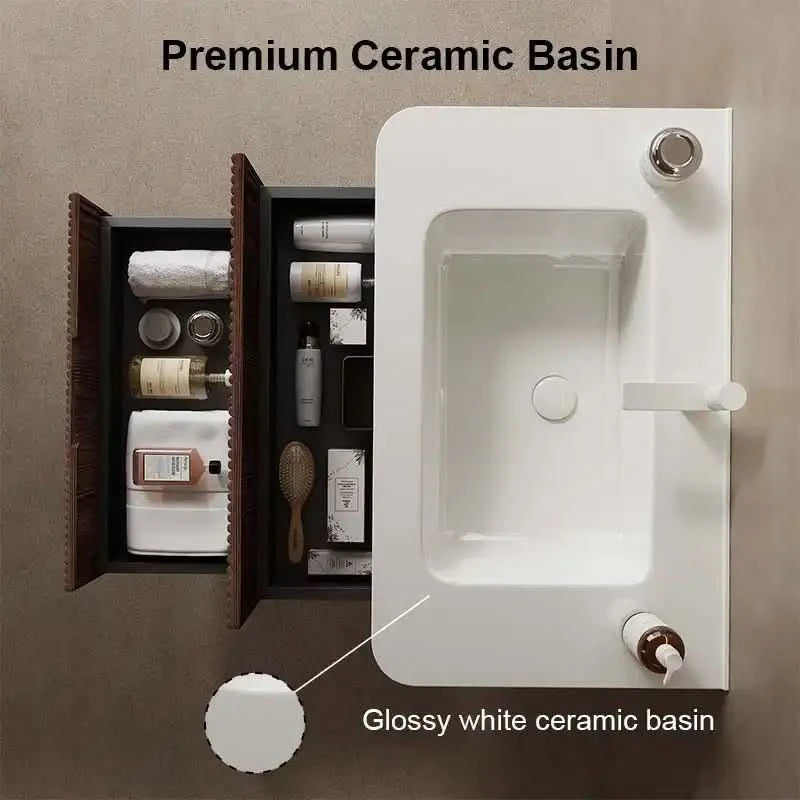
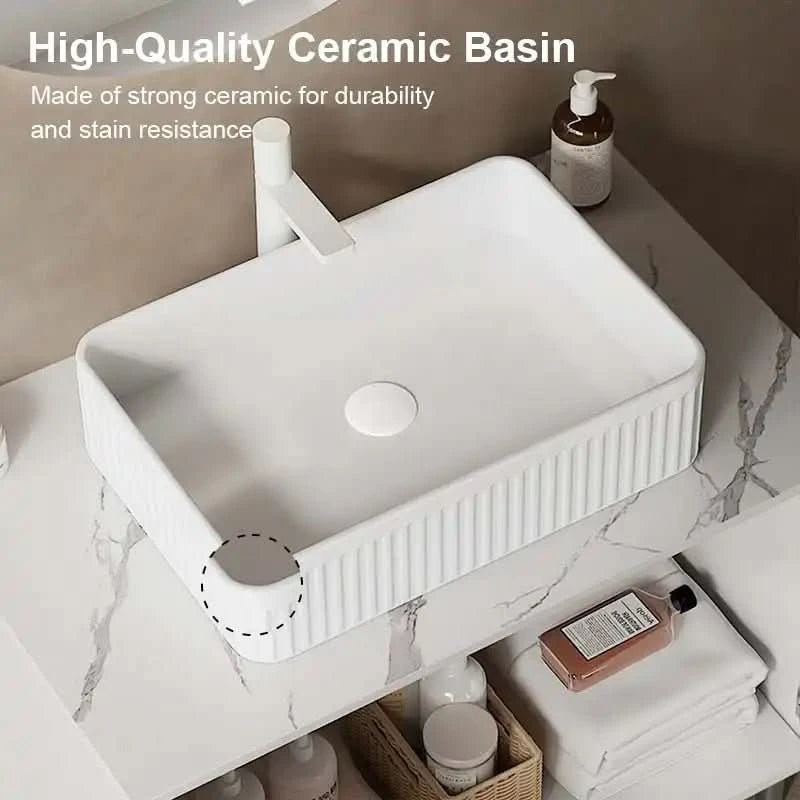
- Material Choice: Choose a material that is resistant to moisture, like granite, quartz, laminate or and solid wood.
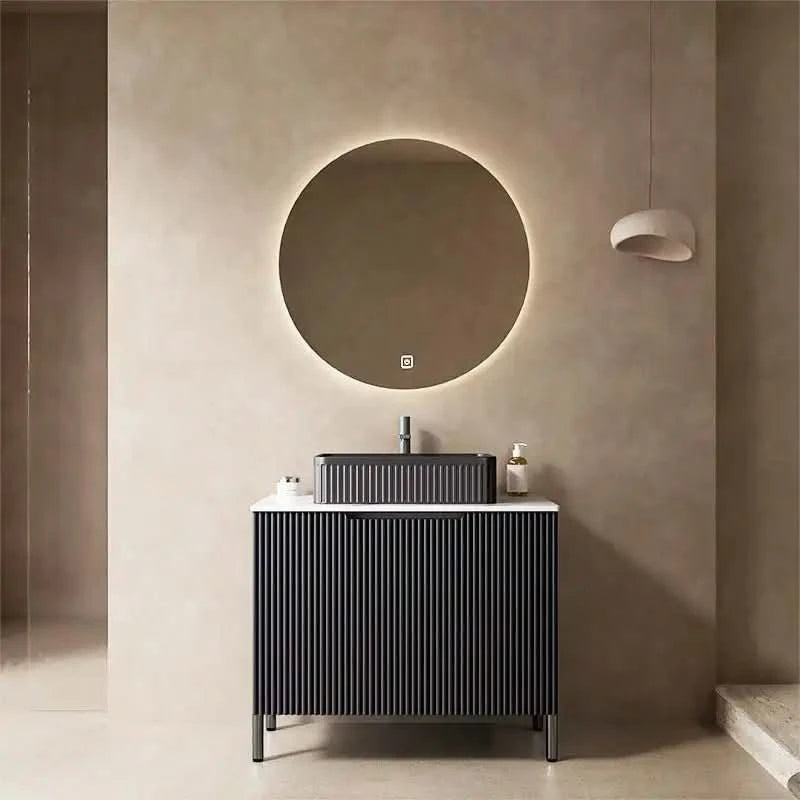
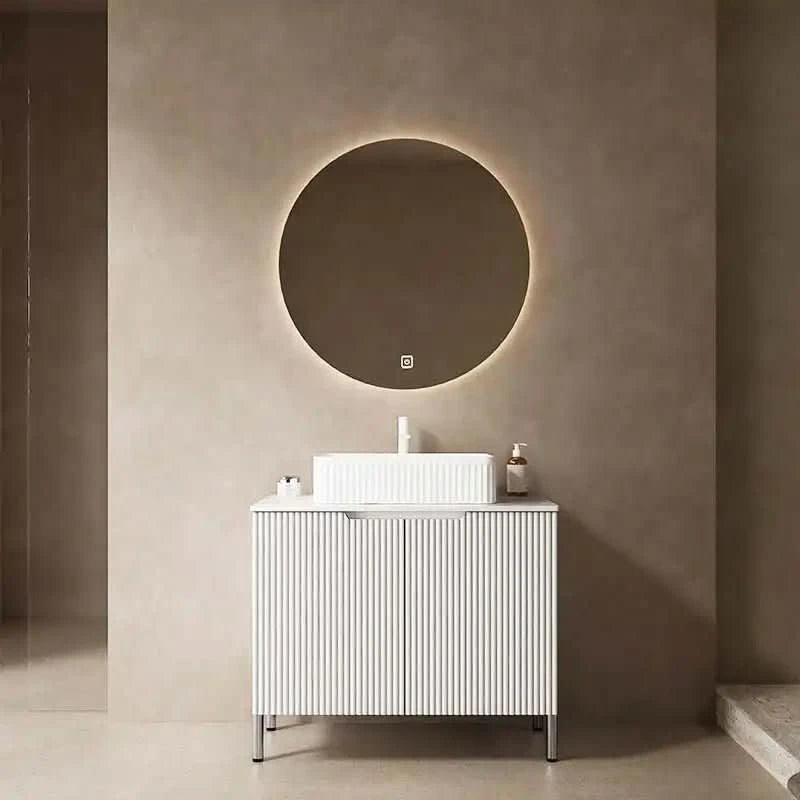
Choose a vanity style that works with your current bathroom décor for a cohesive look.

Step 3: Get rid of your previous rest room vanity
Instantly removes without damaging walls or flooring:
- Shut down the water supply valves under the sink.
- Empty faucet and pipe water into a bucket.
- Carefully unscrew plumbing lines with an adjustable wrench and disconnect.
- Trim existing caulking with a utility knife.
- Unscrew vanity from the wall and remove it carefully.
- Dispose of the old vanity in an environmentally responsible manner.
- Patch any damage to the walls with spackling compound and sand and paint.
Photographic record of your plumbing configuration before detachment makes a great reference for when you reinstall everything.

Step 4: Ready the vanity for the install
Prepare the installation area thoroughly:
- Ensure that the area is dust and dirt free.
- This means making sure plumbing connections and electrical outlets are in easy reach (if they are necessary for the operation of it).
- Mark the wall studs well, those going to give most secure anchor.

Step 5: Positioning and installing the bathroom vanity
Correct positioning for stability and function:
- Position the vanity as you would like it, trace its outline onto the wall.
- Mark studs acurately with a stud finder for easy and secure installation.
- Be sure that the vanity is level, using shims to account for out-of-level floors.
- This can be achieved by drilling holes for plumbing pipe access and vanity attachment.

Step 6: Attach and fasten your bathroom vanity to the wall
Attachment as a source of safety and security:
- Secure the vanity to the wall studs using 3-inch drywall screws.
- If stud alignment isn't perfect, use robust, drywall anchors for added strength.
- Cut excess shims for clean appearance.
You can add some decorative moulding and paint to give it a finished look to hide any gaps, and any unevenness will go unnoticed.

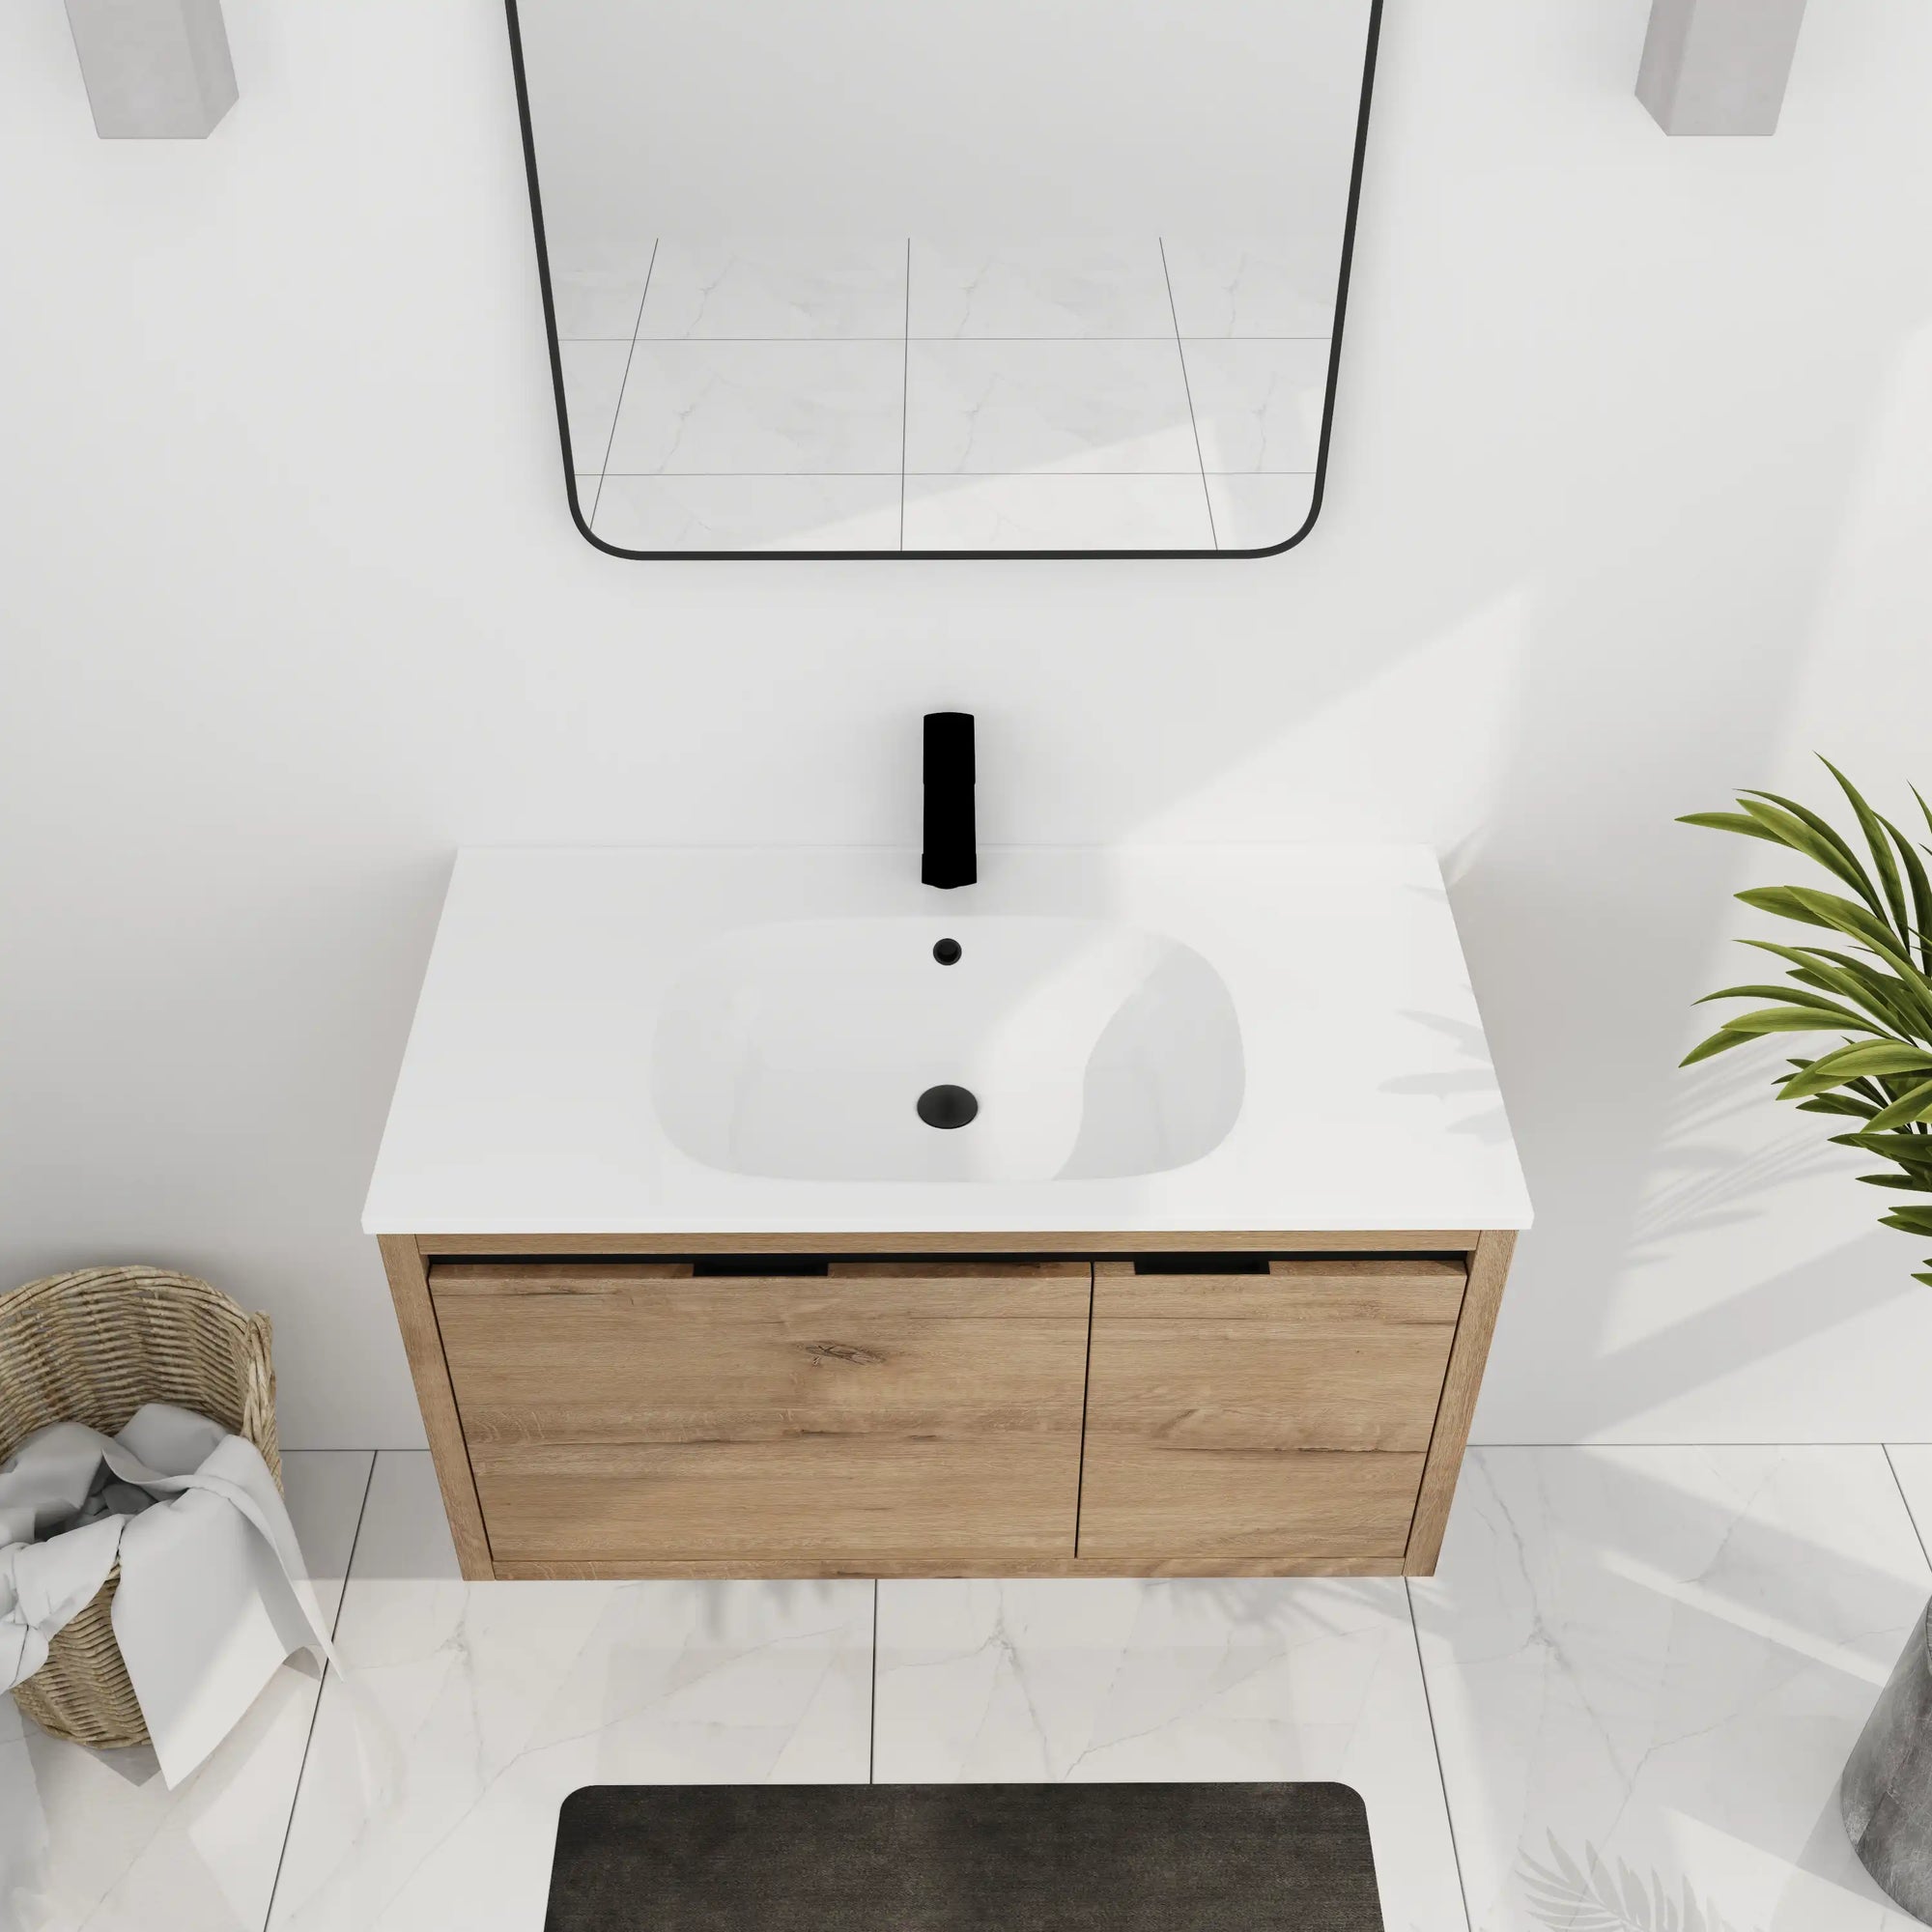
Step 7: Install the bathroom vanity top and sink
Proper install will prevent leaks and last a lifetime:
- Run a good sized line of silicone caulk around the top edges of the vanity.
- Place the vanity top on top carefully and with as much force as possible apply pressure to set it in place.
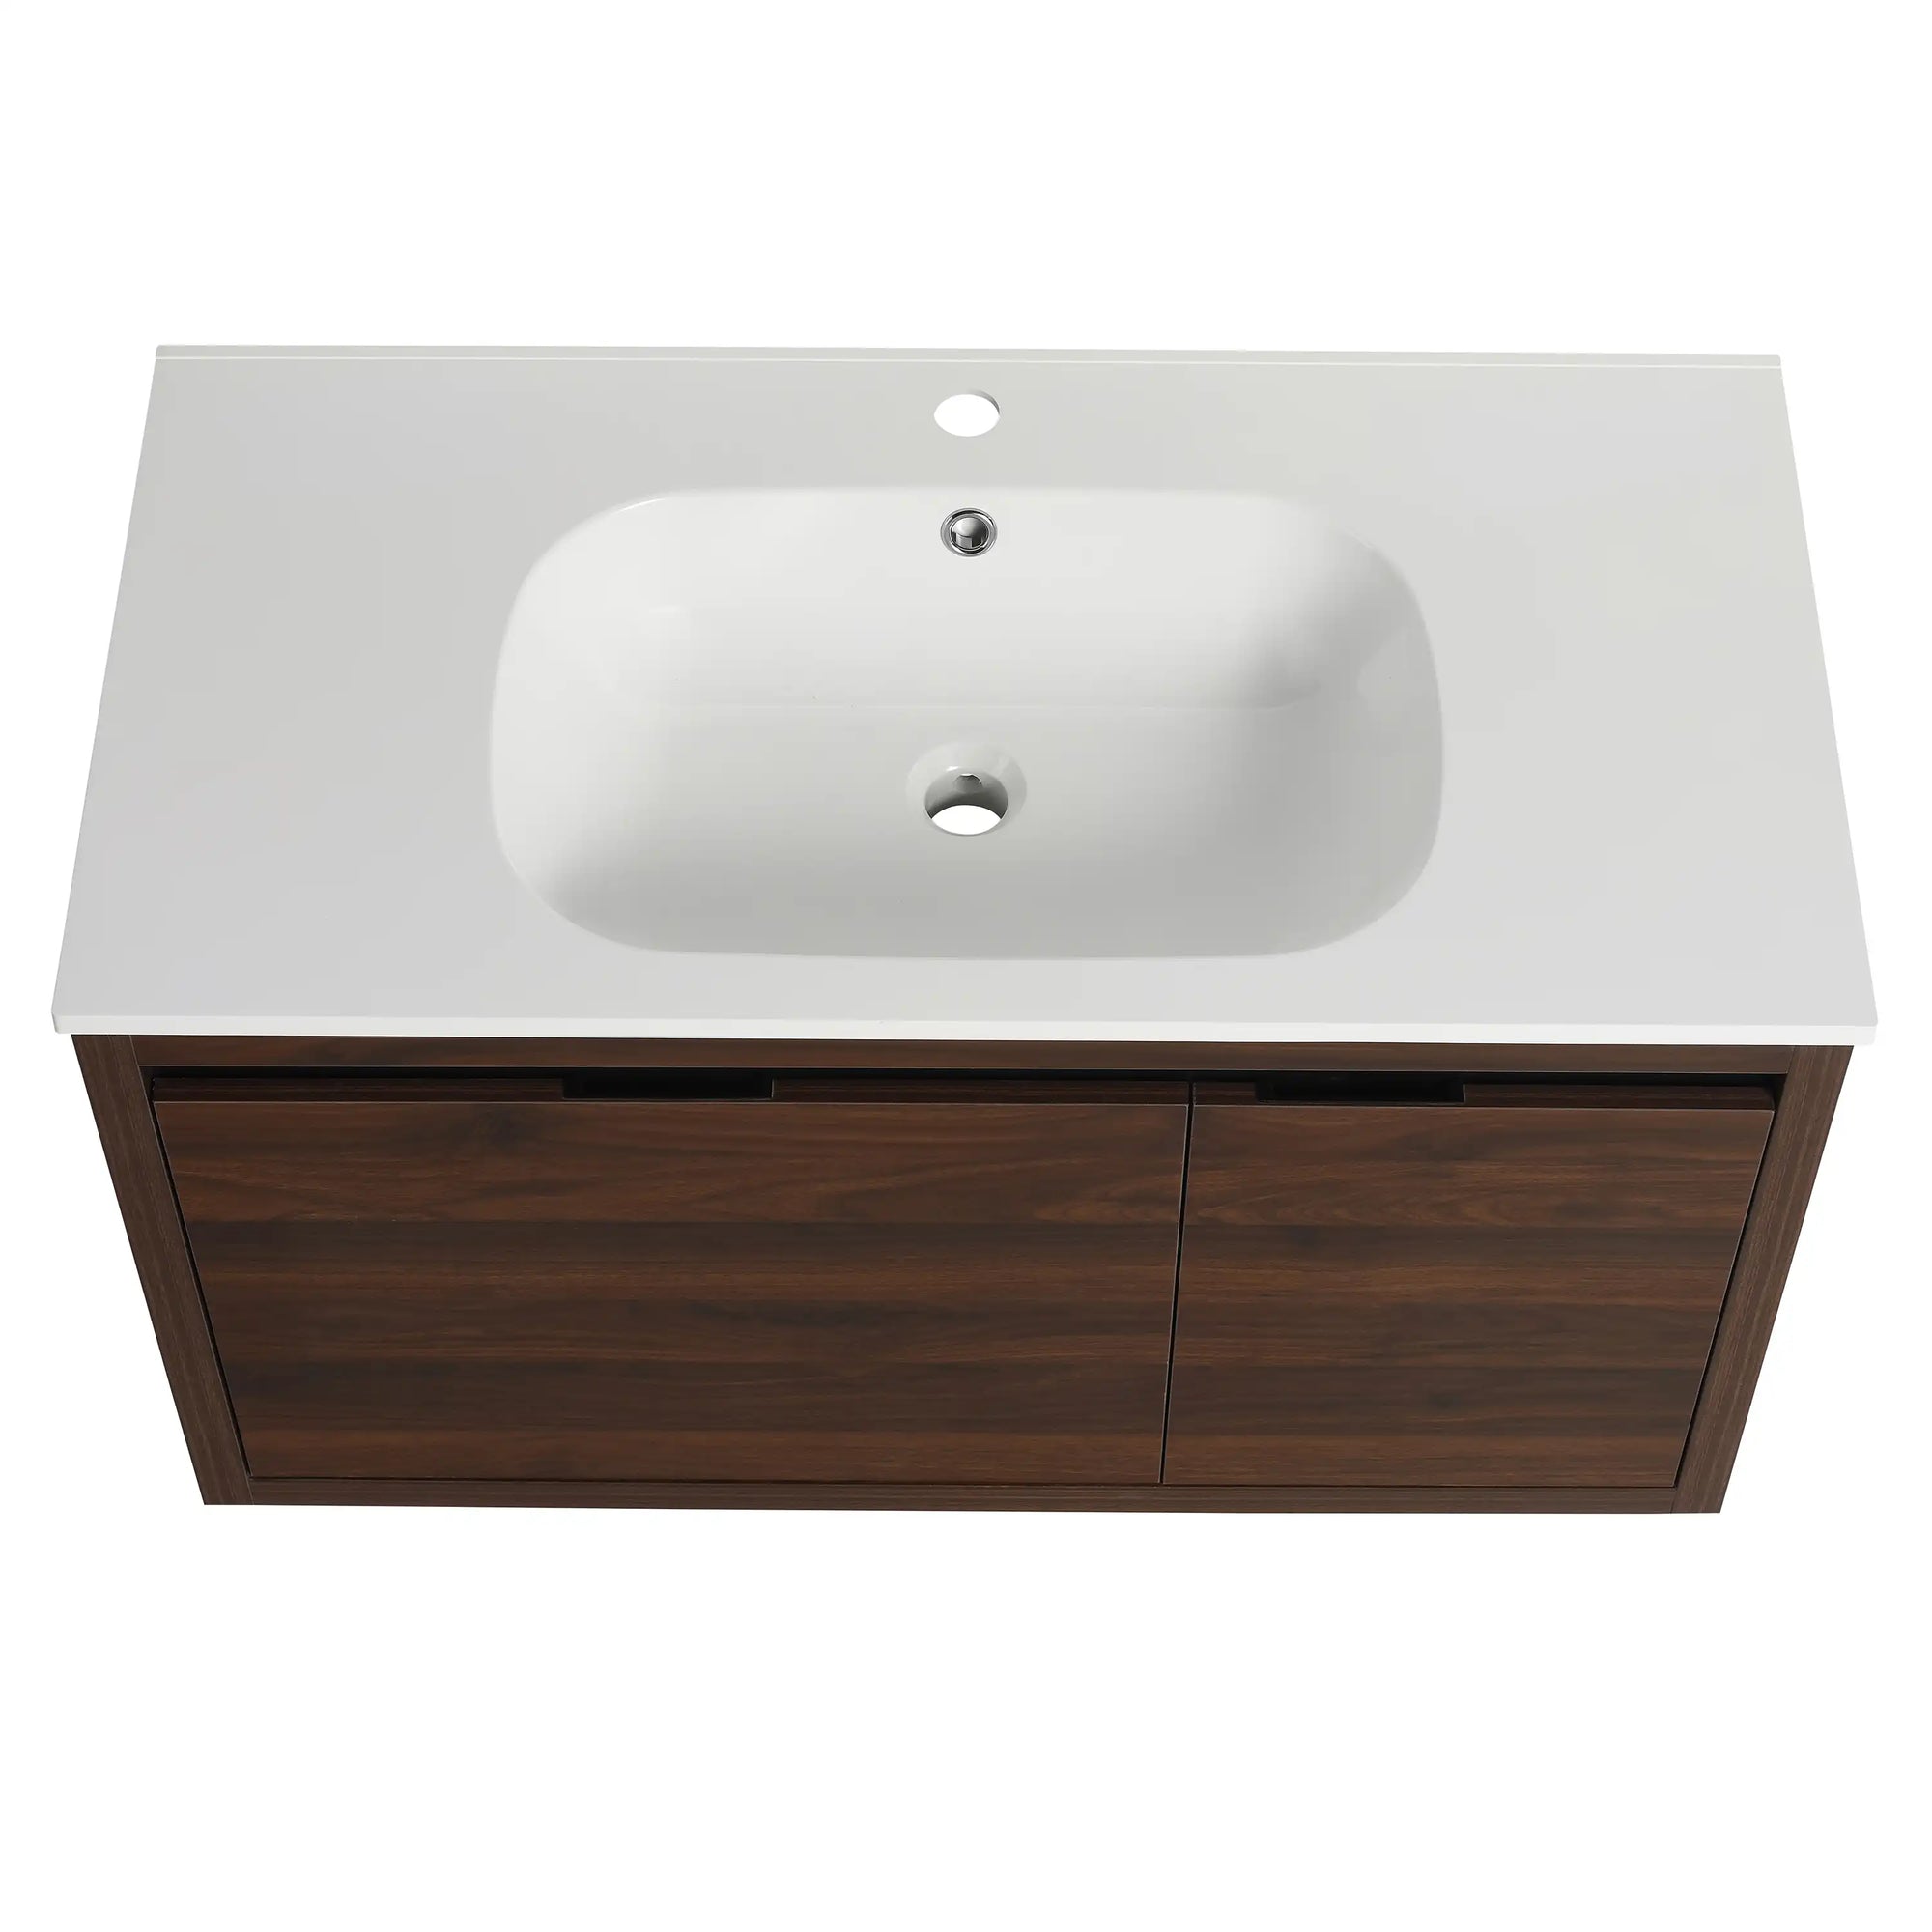
- Fasten sink clips underneath to hold the sink tightly to the vanity top.
- Assemble faucet and drain parts as per manufacturer's instructions.
Install faucet and drain assembly prior to final placement for added ease and time savings.

Step 8: Connecting the plumbing
Reliable plumbing connections are vital:
- Coil plumber's tape around threads for a tight seal.
- Reconnect the water supply lines, and the P-trap, taking care to tighten the connections properly.
- Restore water supply and check carefully for any leaks.
Have some towels nearby during this process for any drips or minor leaks.

Step 9: Apply caulk and finishing touches
Clean caulking adds to the final look and also protects your vanity:
- Use silicone caulk to carefully seal all the seam lines between vanity, wall, and backsplash.
- Caulk lines with a smooth finish for a professional look.
- After installation, draw all vanity surfaces and accessories completely.

More Tips for Installing the Perfect Bathroom Vanity
- Ventilation: You will want your bathroom to be well ventilated in order to protect it from moisture-related harm.
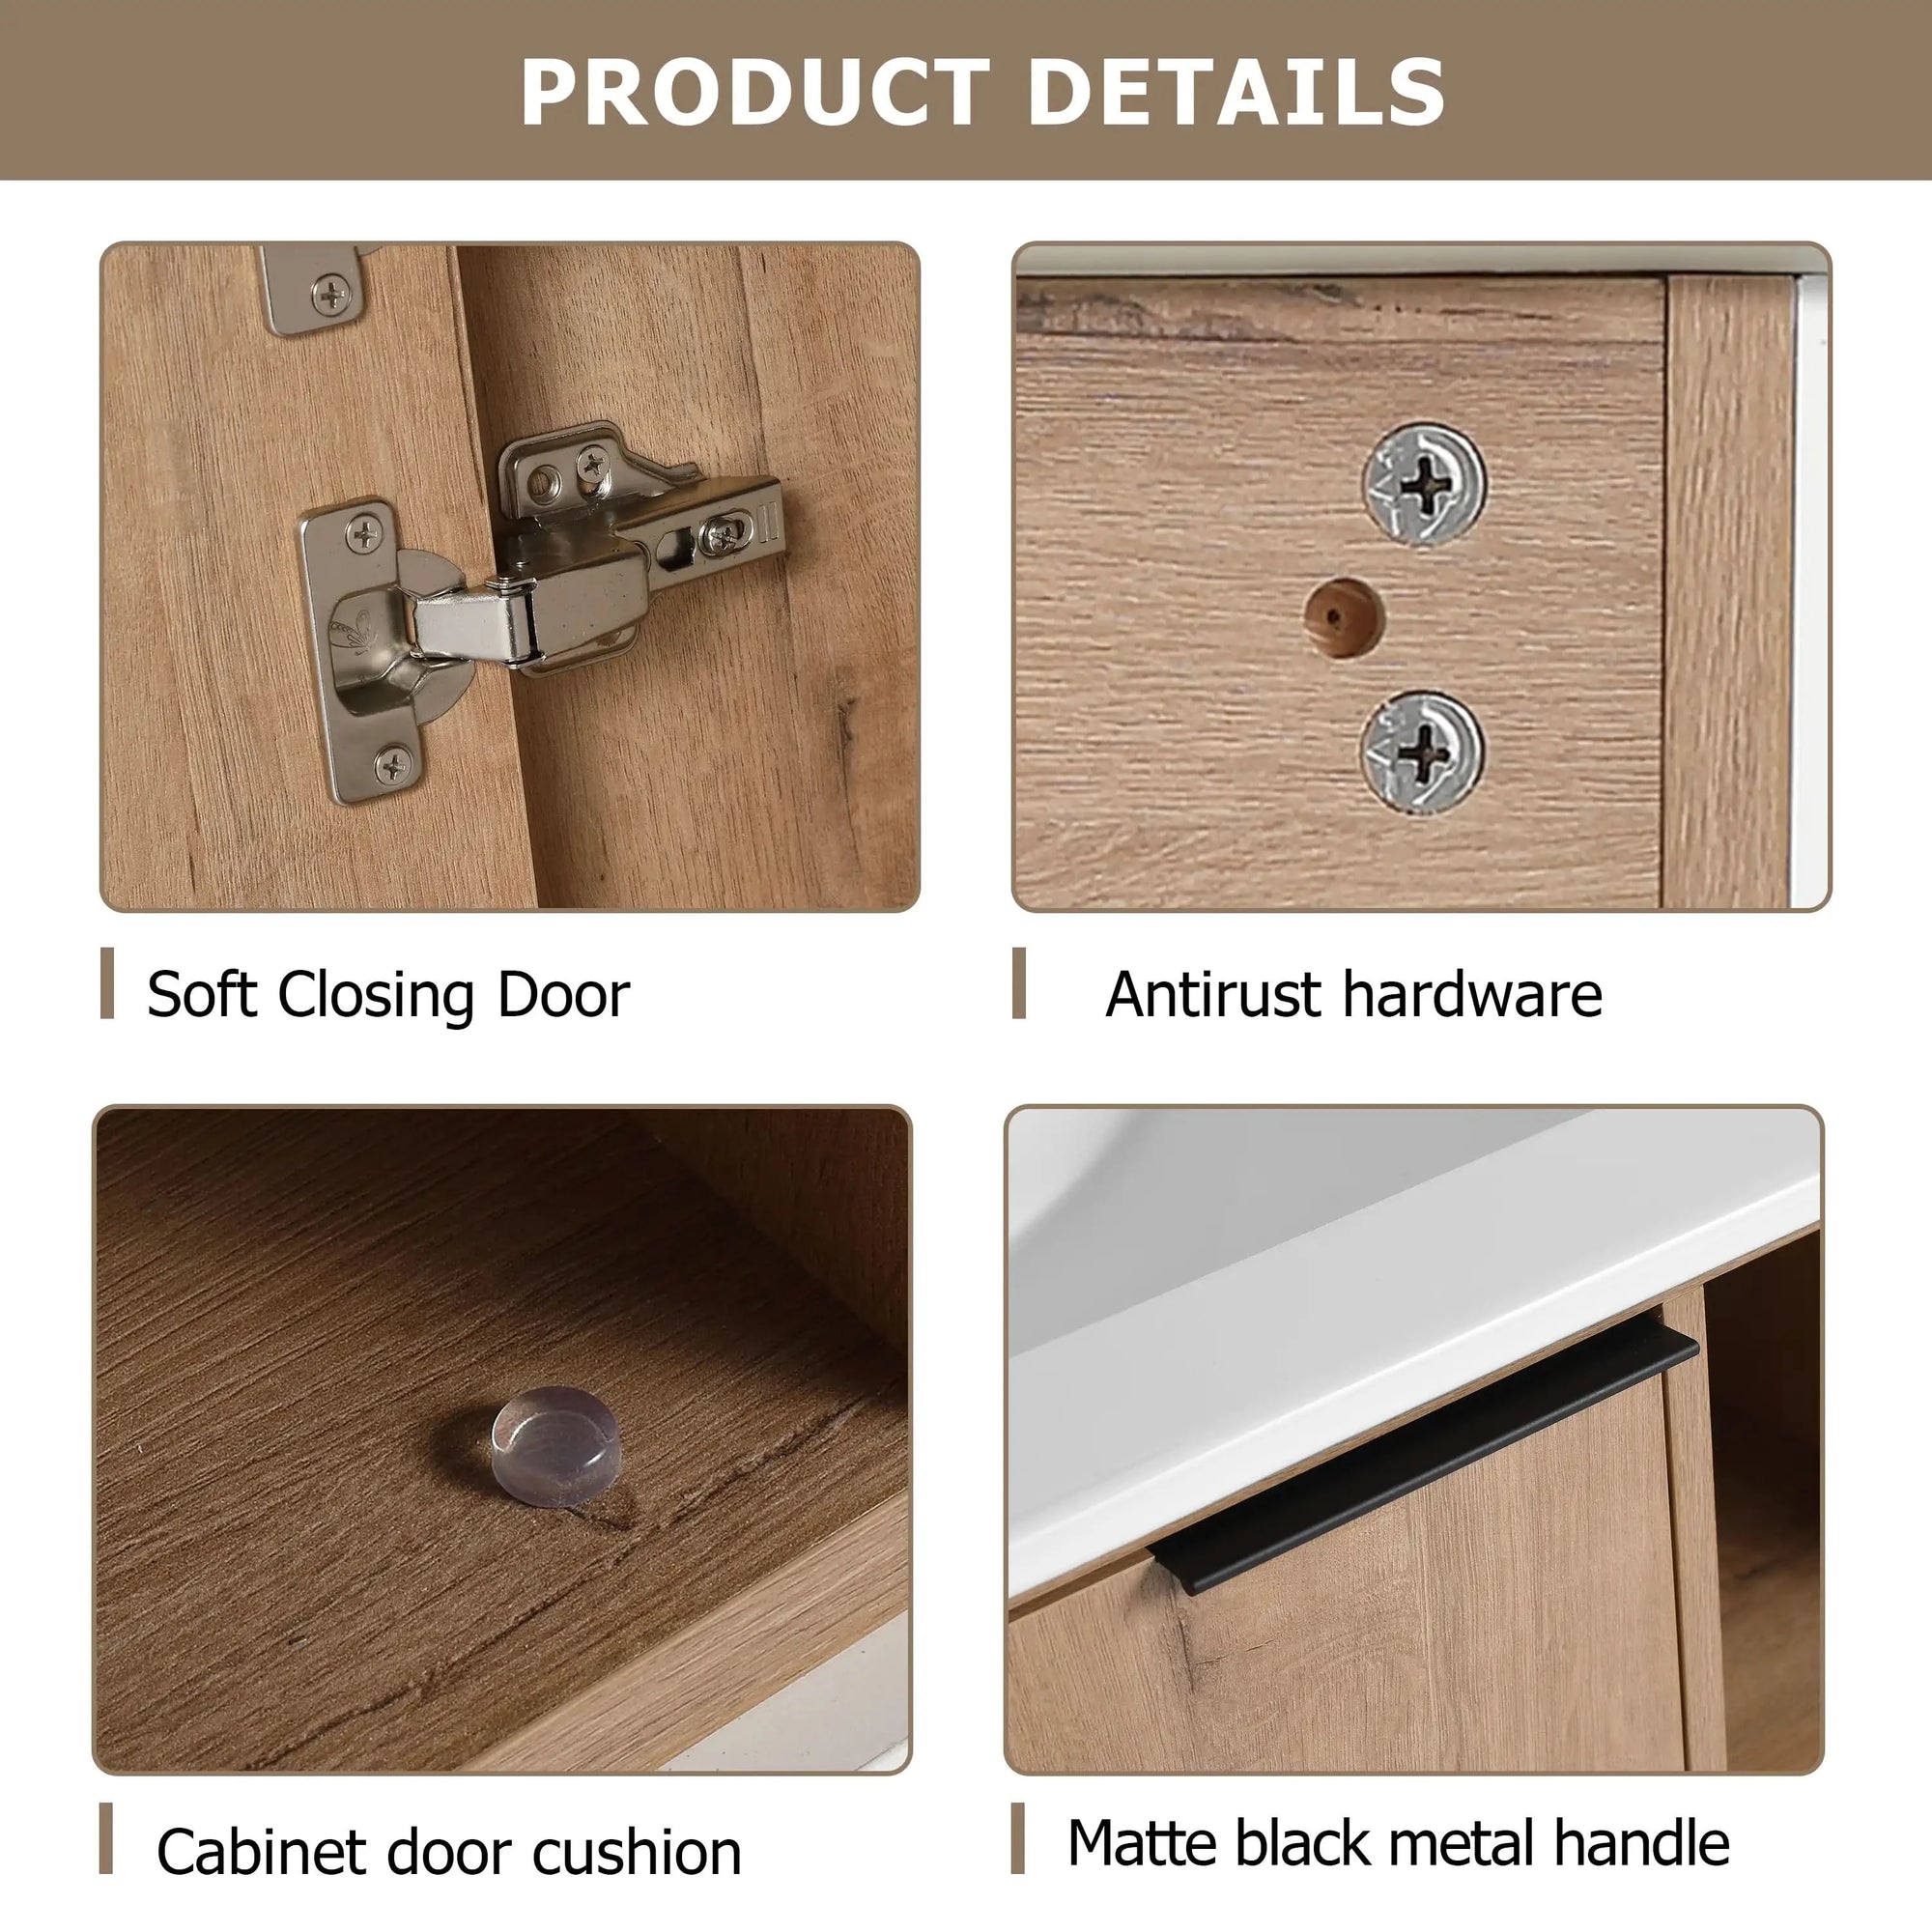
- Quality Hardware: Spend a little more on better quality, longer-lasting hardware and fixtures for your vanity.
- Maintenance: Routinely Check and reseal edges where caulking has been applied for plumbing hook-up to prevent water damage.
Frequently Asked Questions (FAQs) About How to Install Bathroom Vanity
1. How long does it take to install a bathroom vanity?
A: Preparation time: Usually 3-6 hours based on experience and complication.
2. Can I install a bathroom vanity myself or should I call a pro?
A: It can be easy to install for a handyman who knows some carpentry and plumbing. Although, complicated cases warrant professional help.
3. What materials are best for resisting bathroom humidity?
A: Moisture-resistant materials such as granite, quartz, laminate or sealed solid wood are best.
4. Are there any vanities that work well in small bathrooms?
A: Yes, wall-hung or floating vanities are especially popular for smaller baths, both to increase the appearance of free floor area and to convey a sleek, uncluttered, modern design sensibility.
With this step-by-step guide, you'll be on your way to a stunning, functional, and durable bathroom.
Related Articles
Check out these other guides to help you through your bathroom remodeling project and handle other DIY tasks with confidence:
- "How to Stain a Bathroom Cabinet for a High-End Look Without Replacing It"
- "How to Raise Bathroom Cabinets: A Practical Guide for Comfort and Style"
- "How to Paint a Bathroom Vanity: A Comprehensive Guide for DIY Enthusiasts"
- "How to Choose the Best Color for Bathroom Cabinets to Match Any Wall Tile"
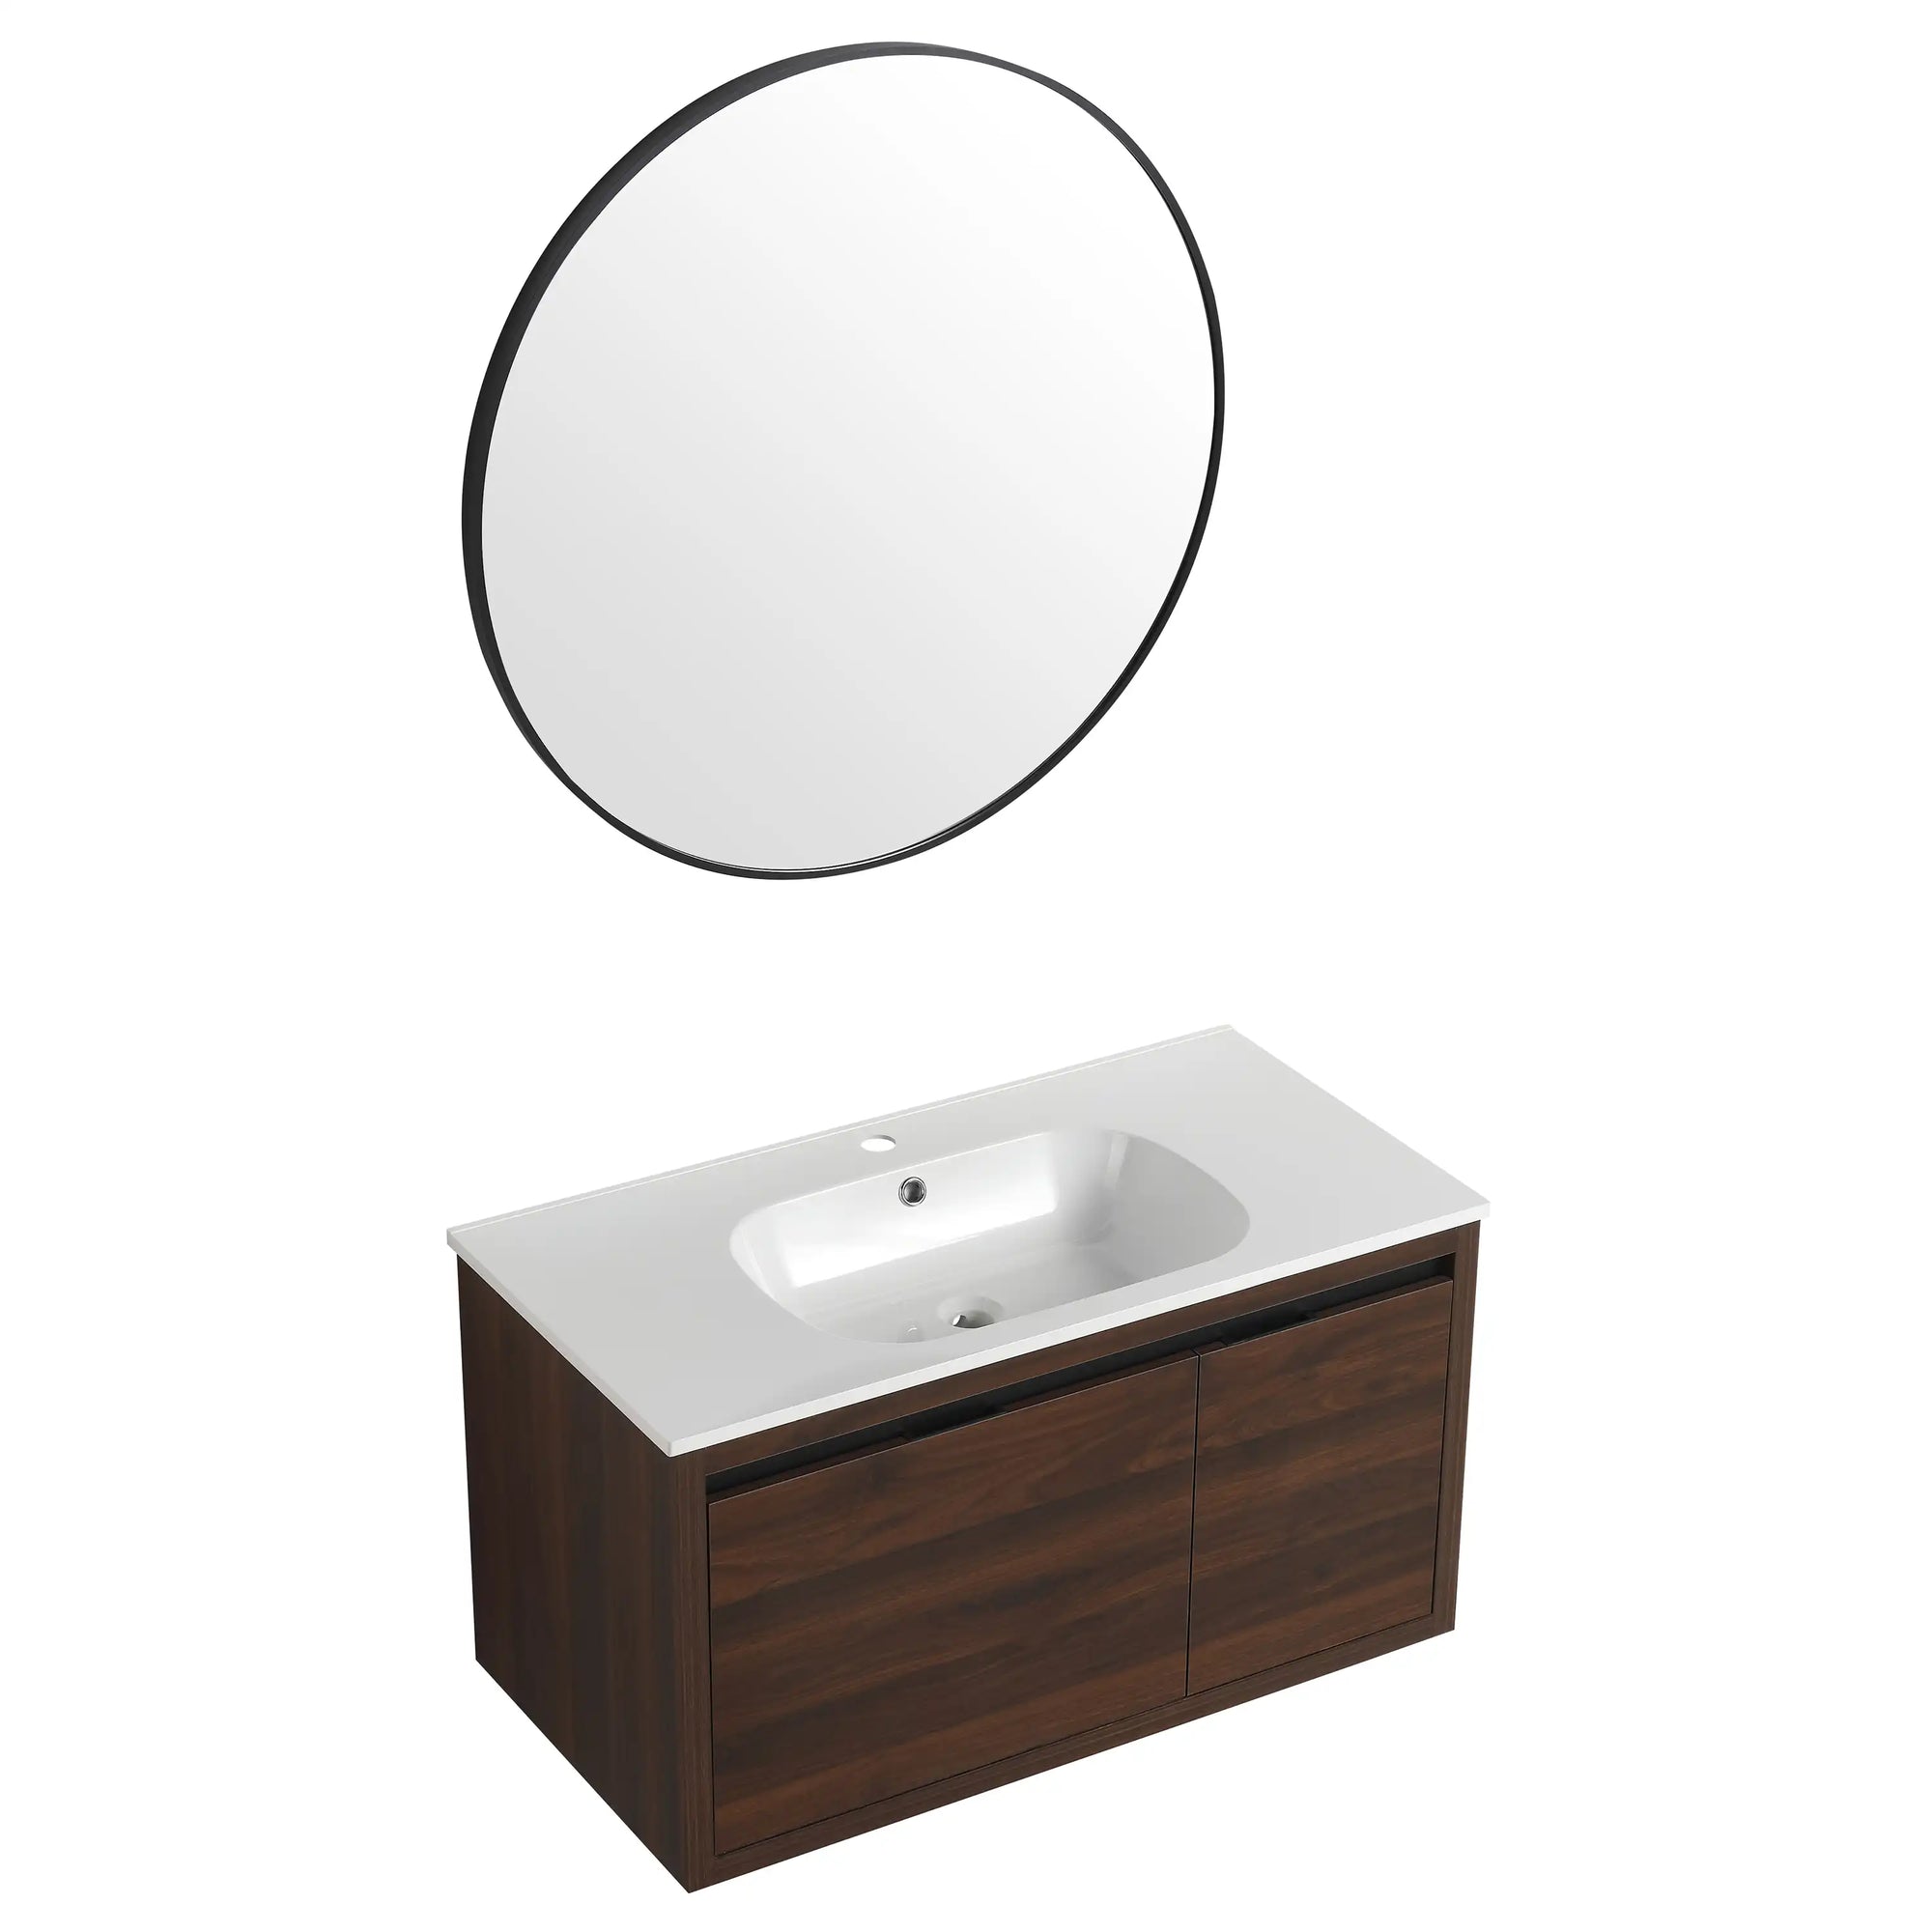
- "How to Match Tiles, Mirrors & Lights with Wall Mount Bathroom Vanity"
- "PVC Cabinet for Bathroom vs Solid Wood: How to Make the Right Choice?"