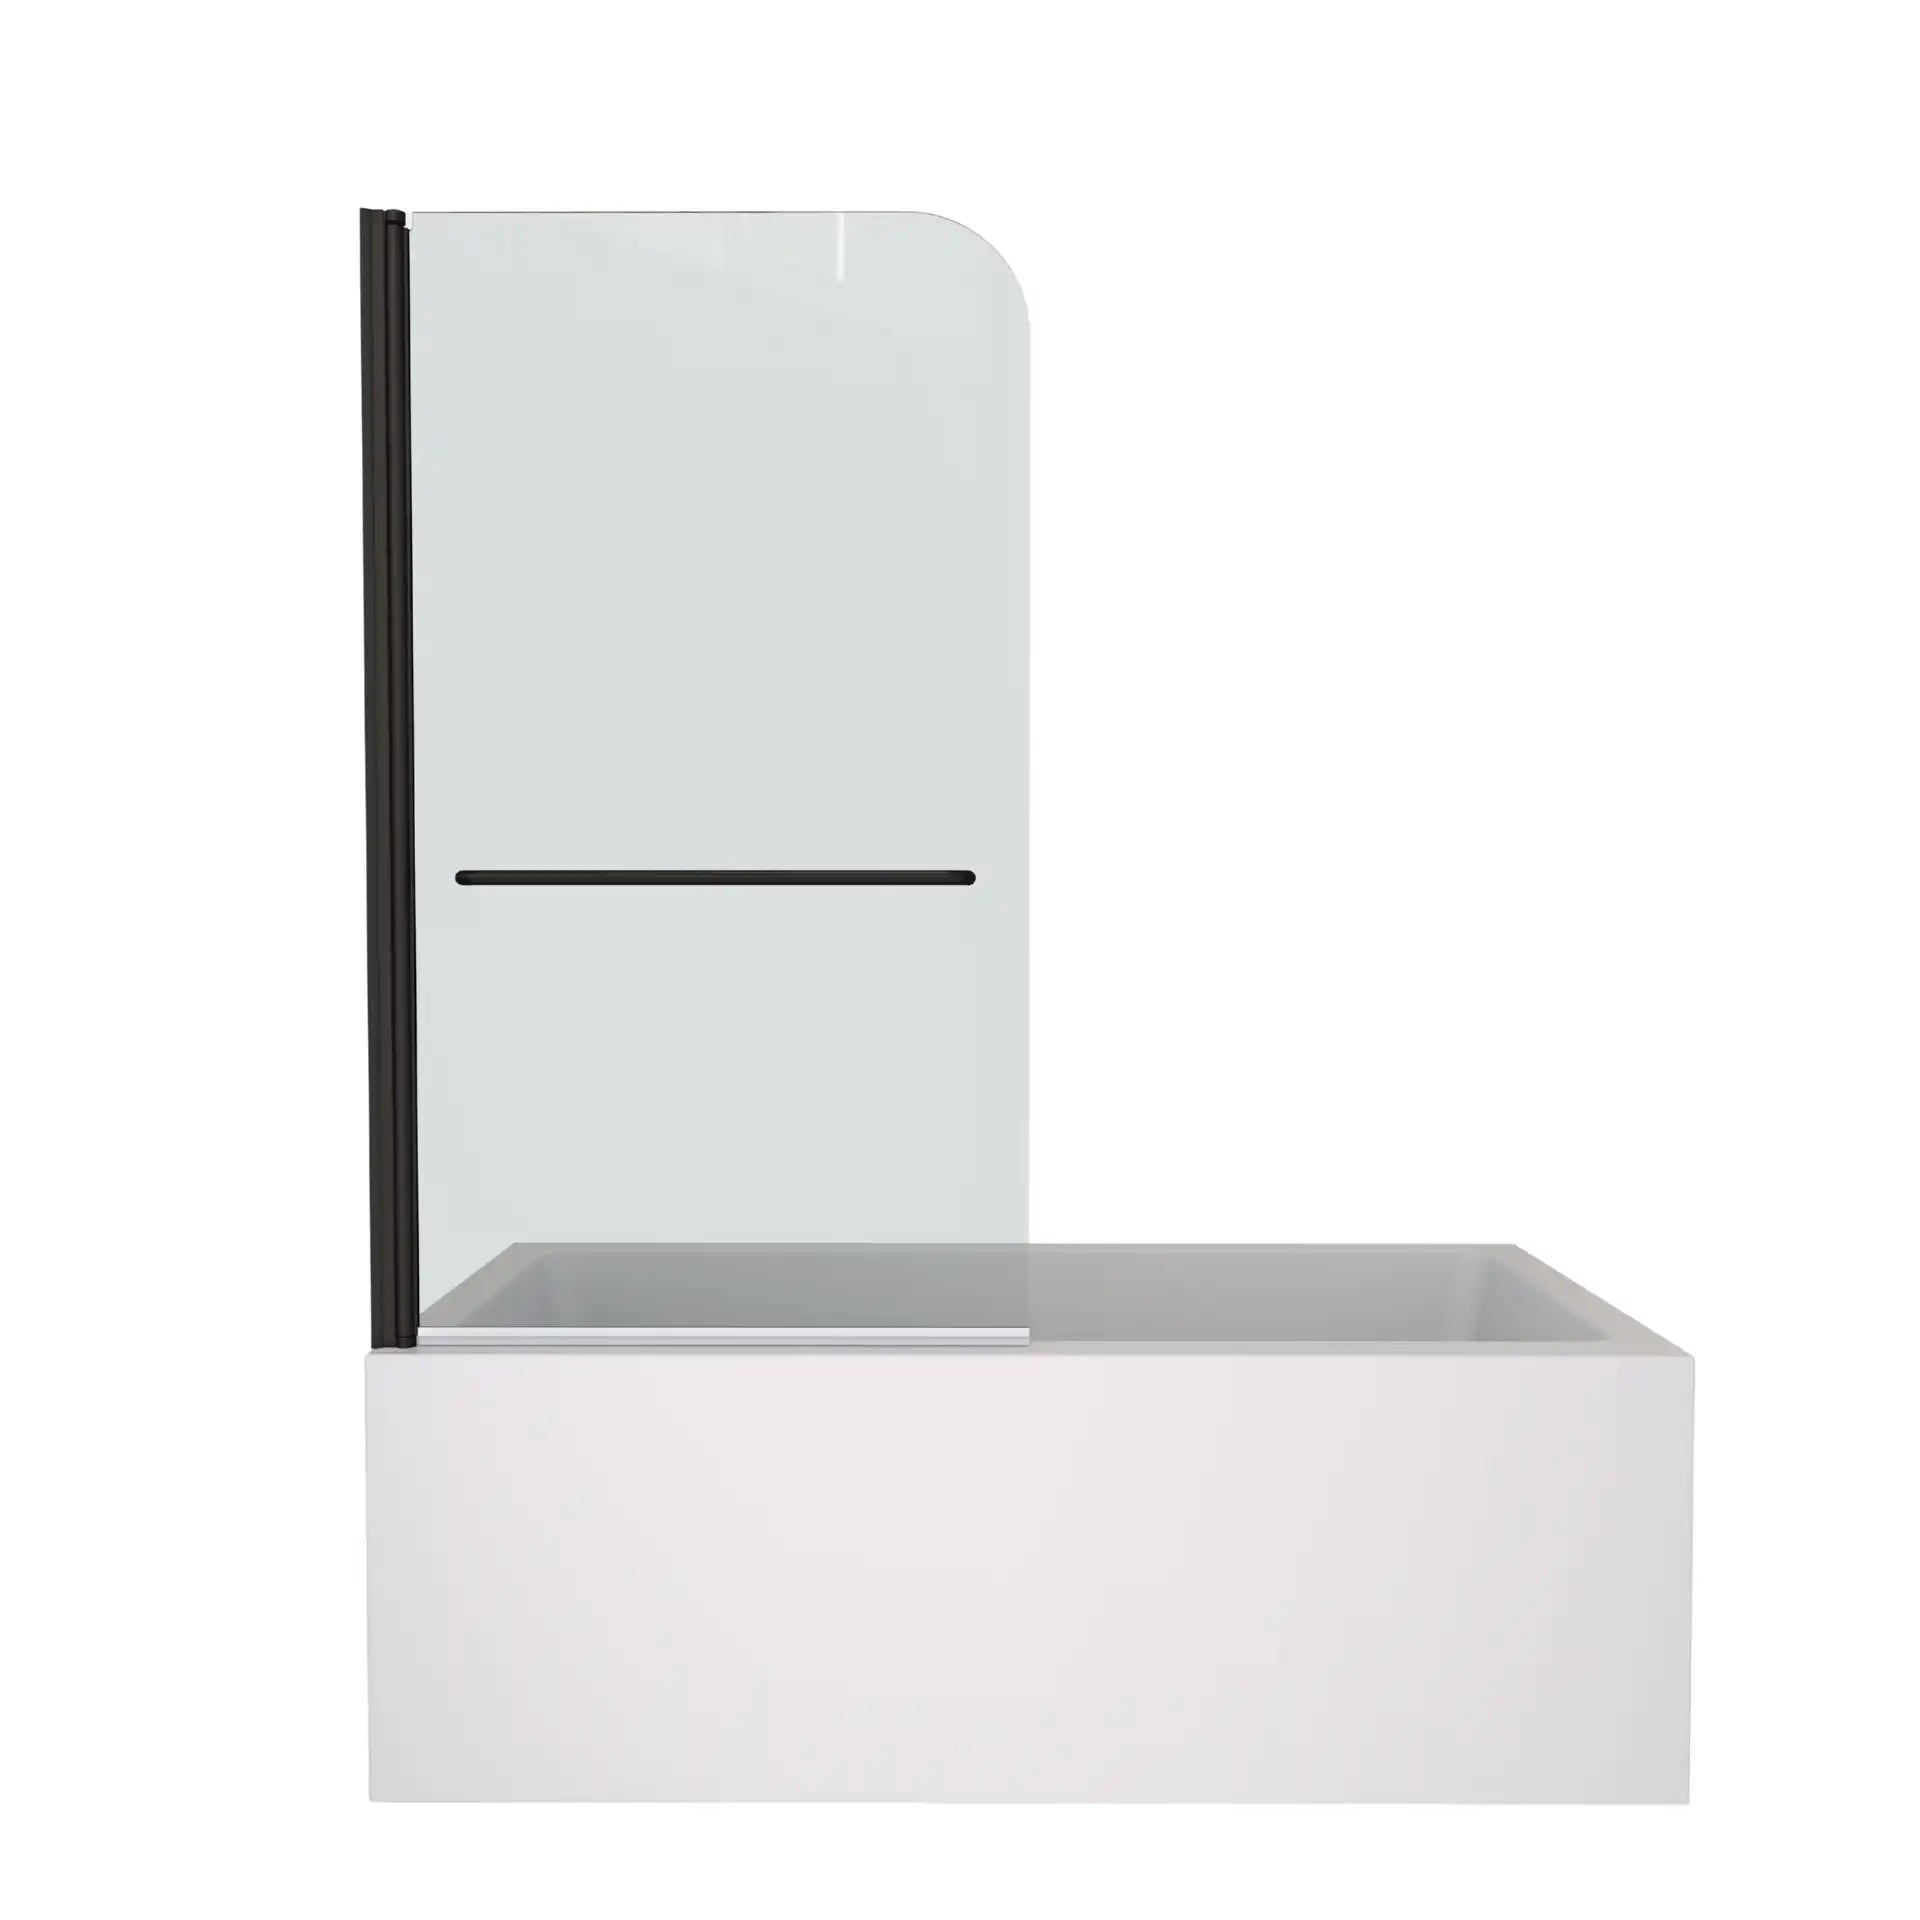
Installing a new bathtub can completely transform your bathroom into a modern, functional, and relaxing space. Whether you're replacing an old model or upgrading to a luxurious freestanding tub, understanding the proper installation process is key to achieving a flawless result.
In this guide, we’ll provide:
- A step-by-step process for both freestanding and built-in bathtubs.
- Tips to avoid common installation pitfalls.
- An overview of tools, materials, and expert insights to simplify the process.
Why Should You Install a New Bathtub?
Installing a new bathtub isn’t just about replacing an old fixture; it’s an investment in comfort, functionality, and style. Whether you’re renovating your bathroom or upgrading for practical reasons, here’s a detailed look at why installing a new bathtub is worth considering:
1. Modern Aesthetics: Elevate Your Bathroom’s Style
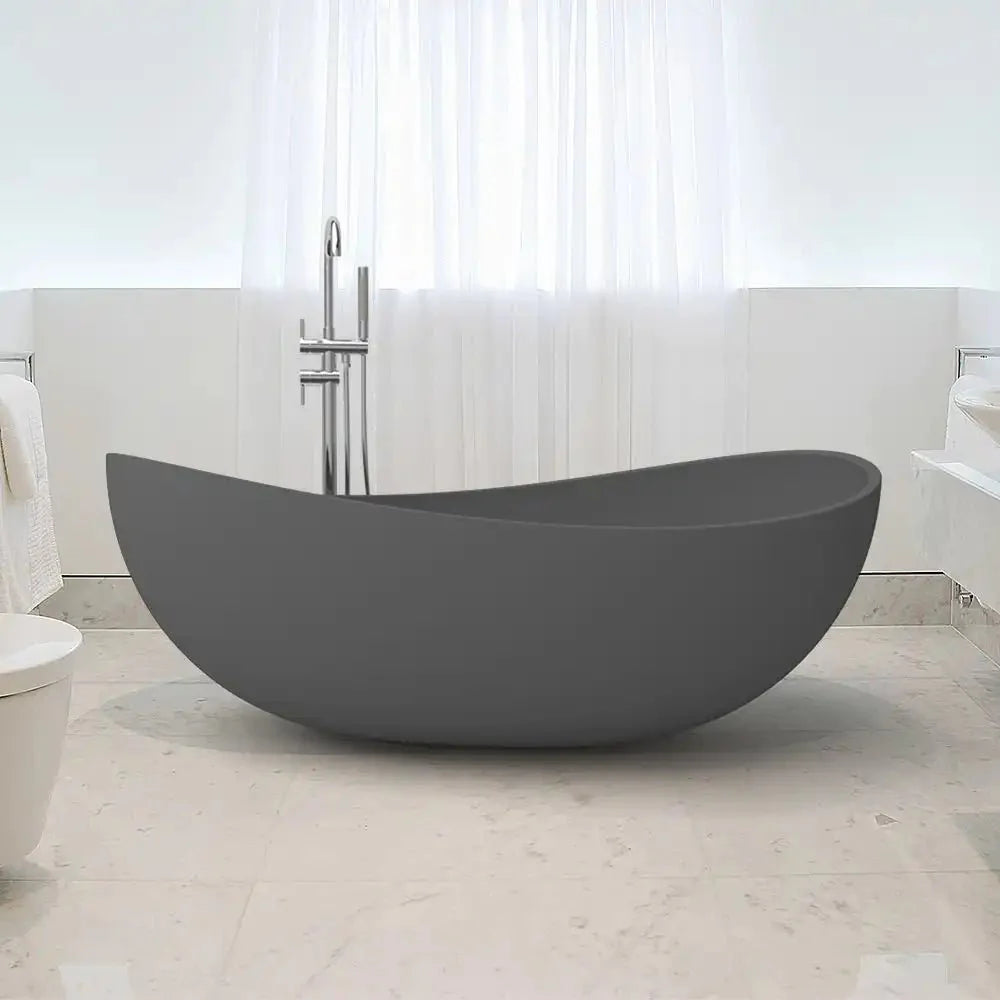
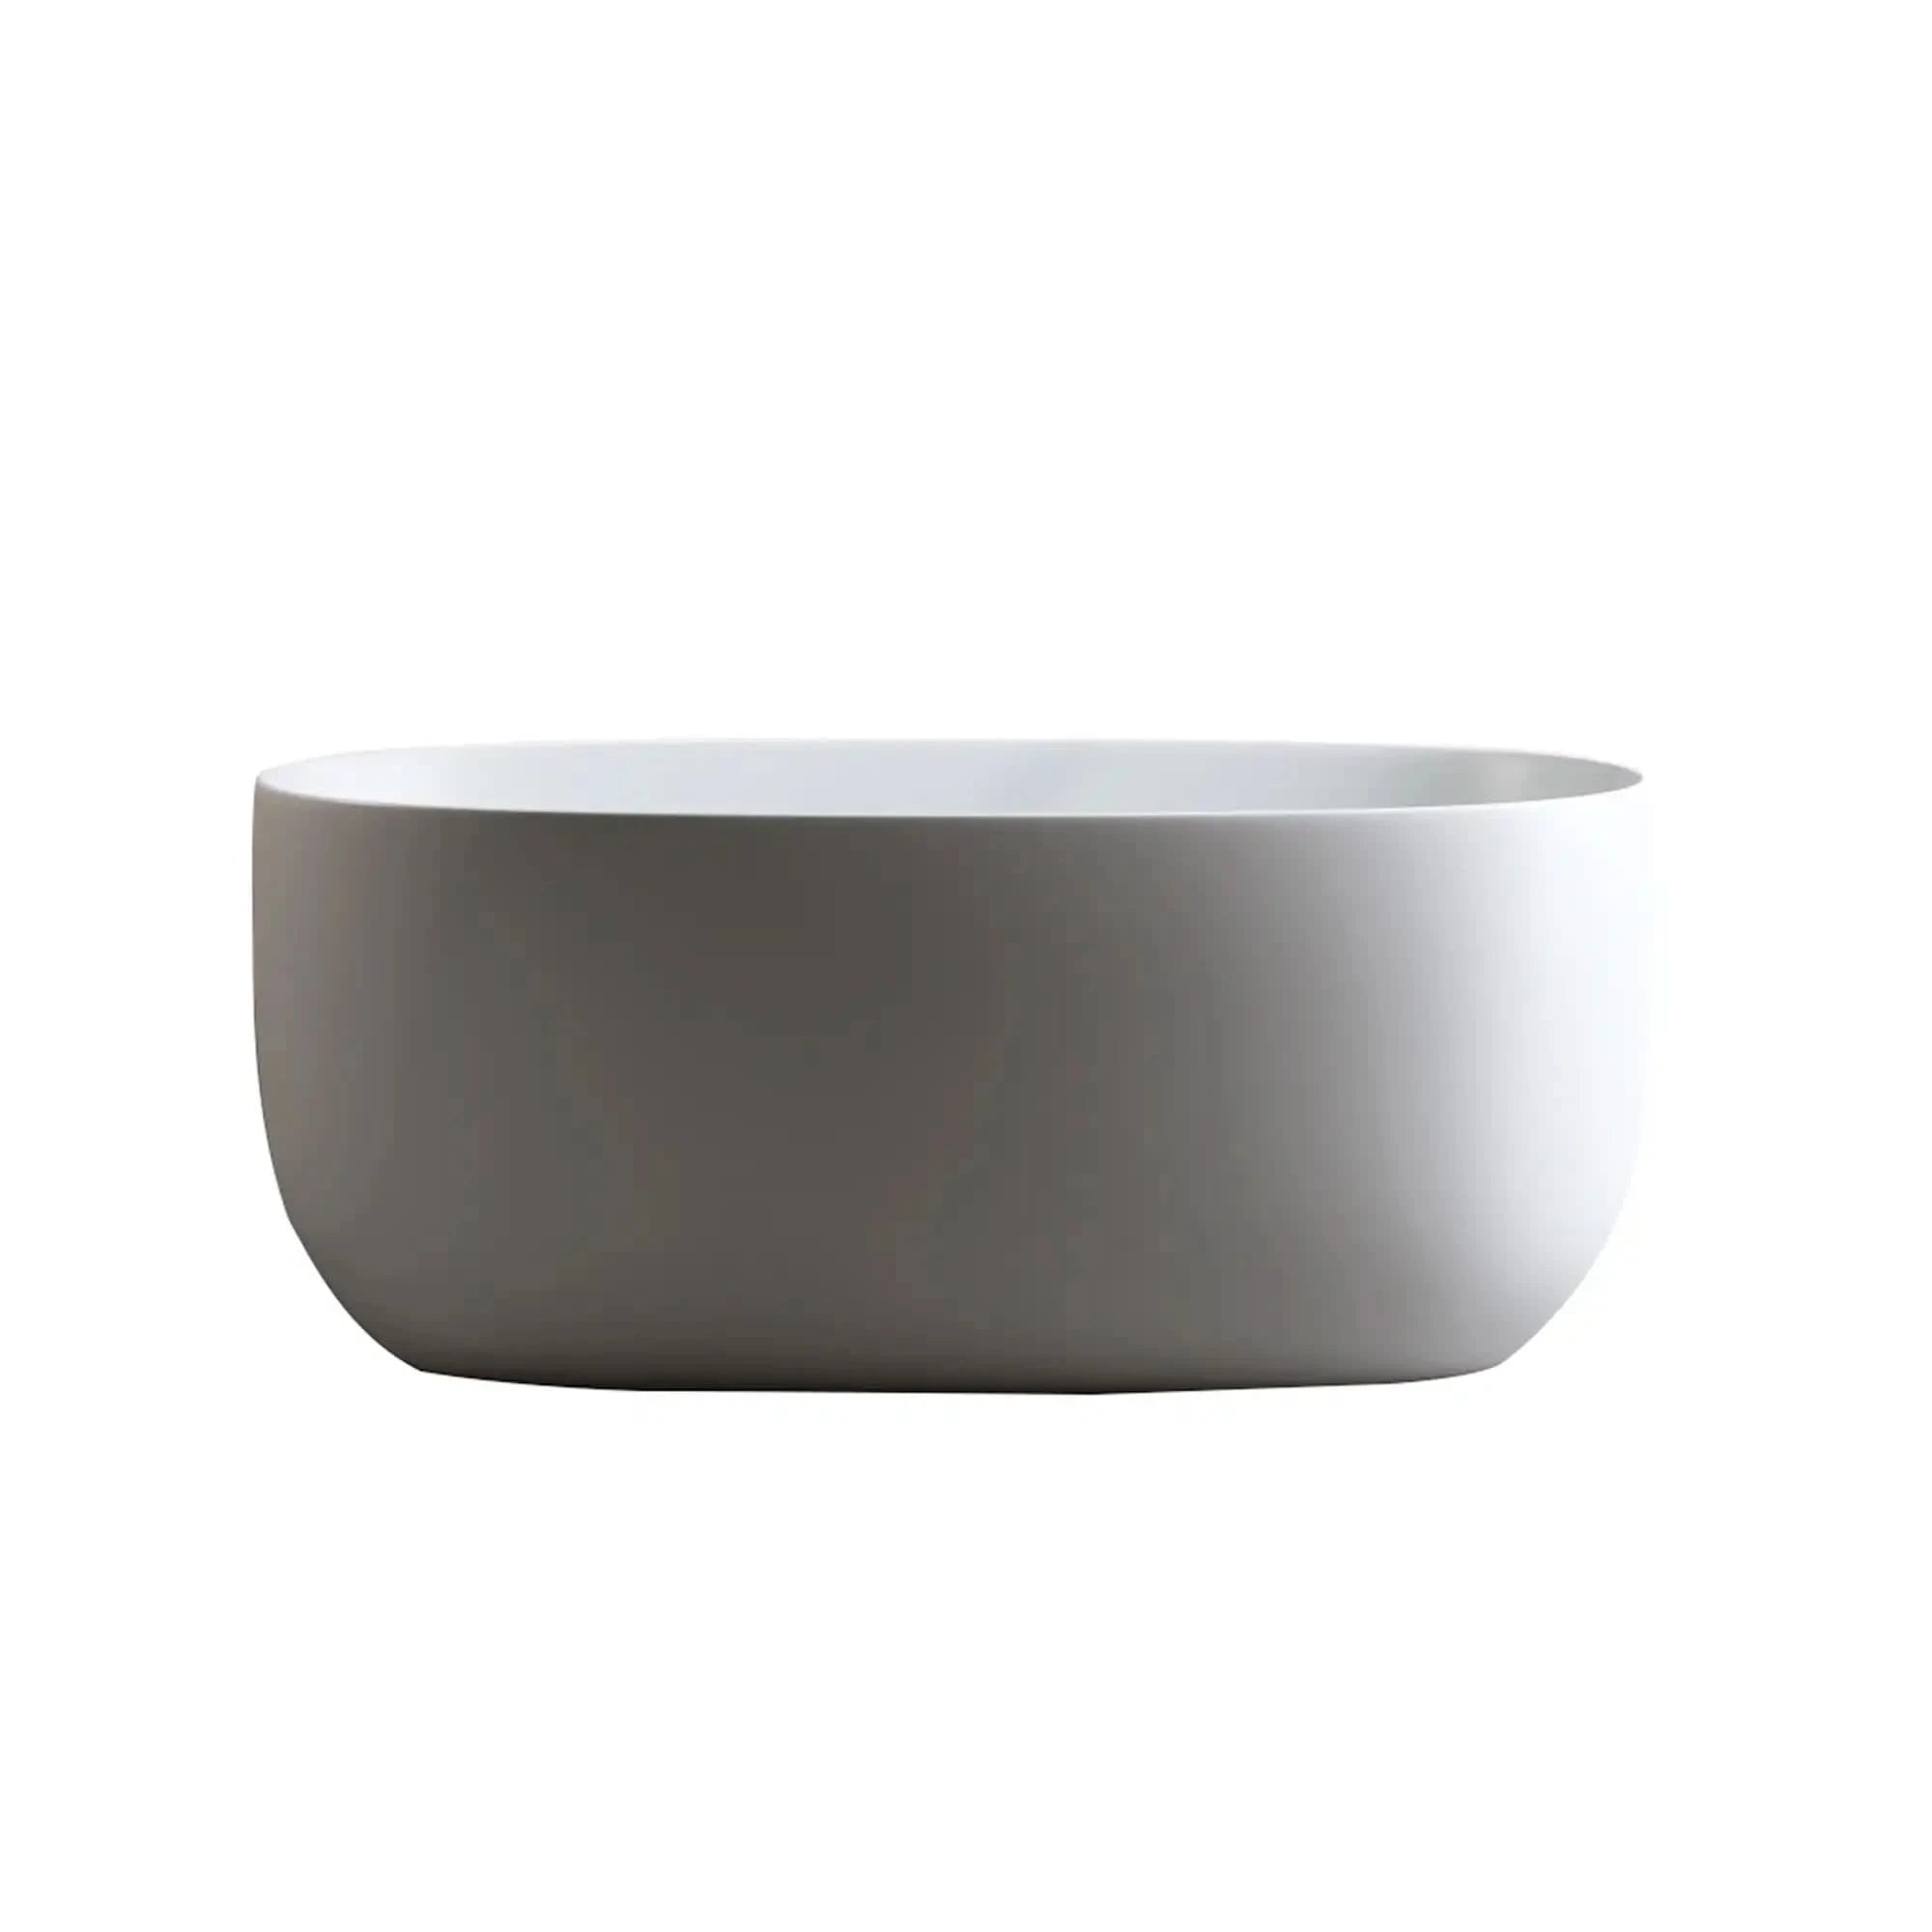
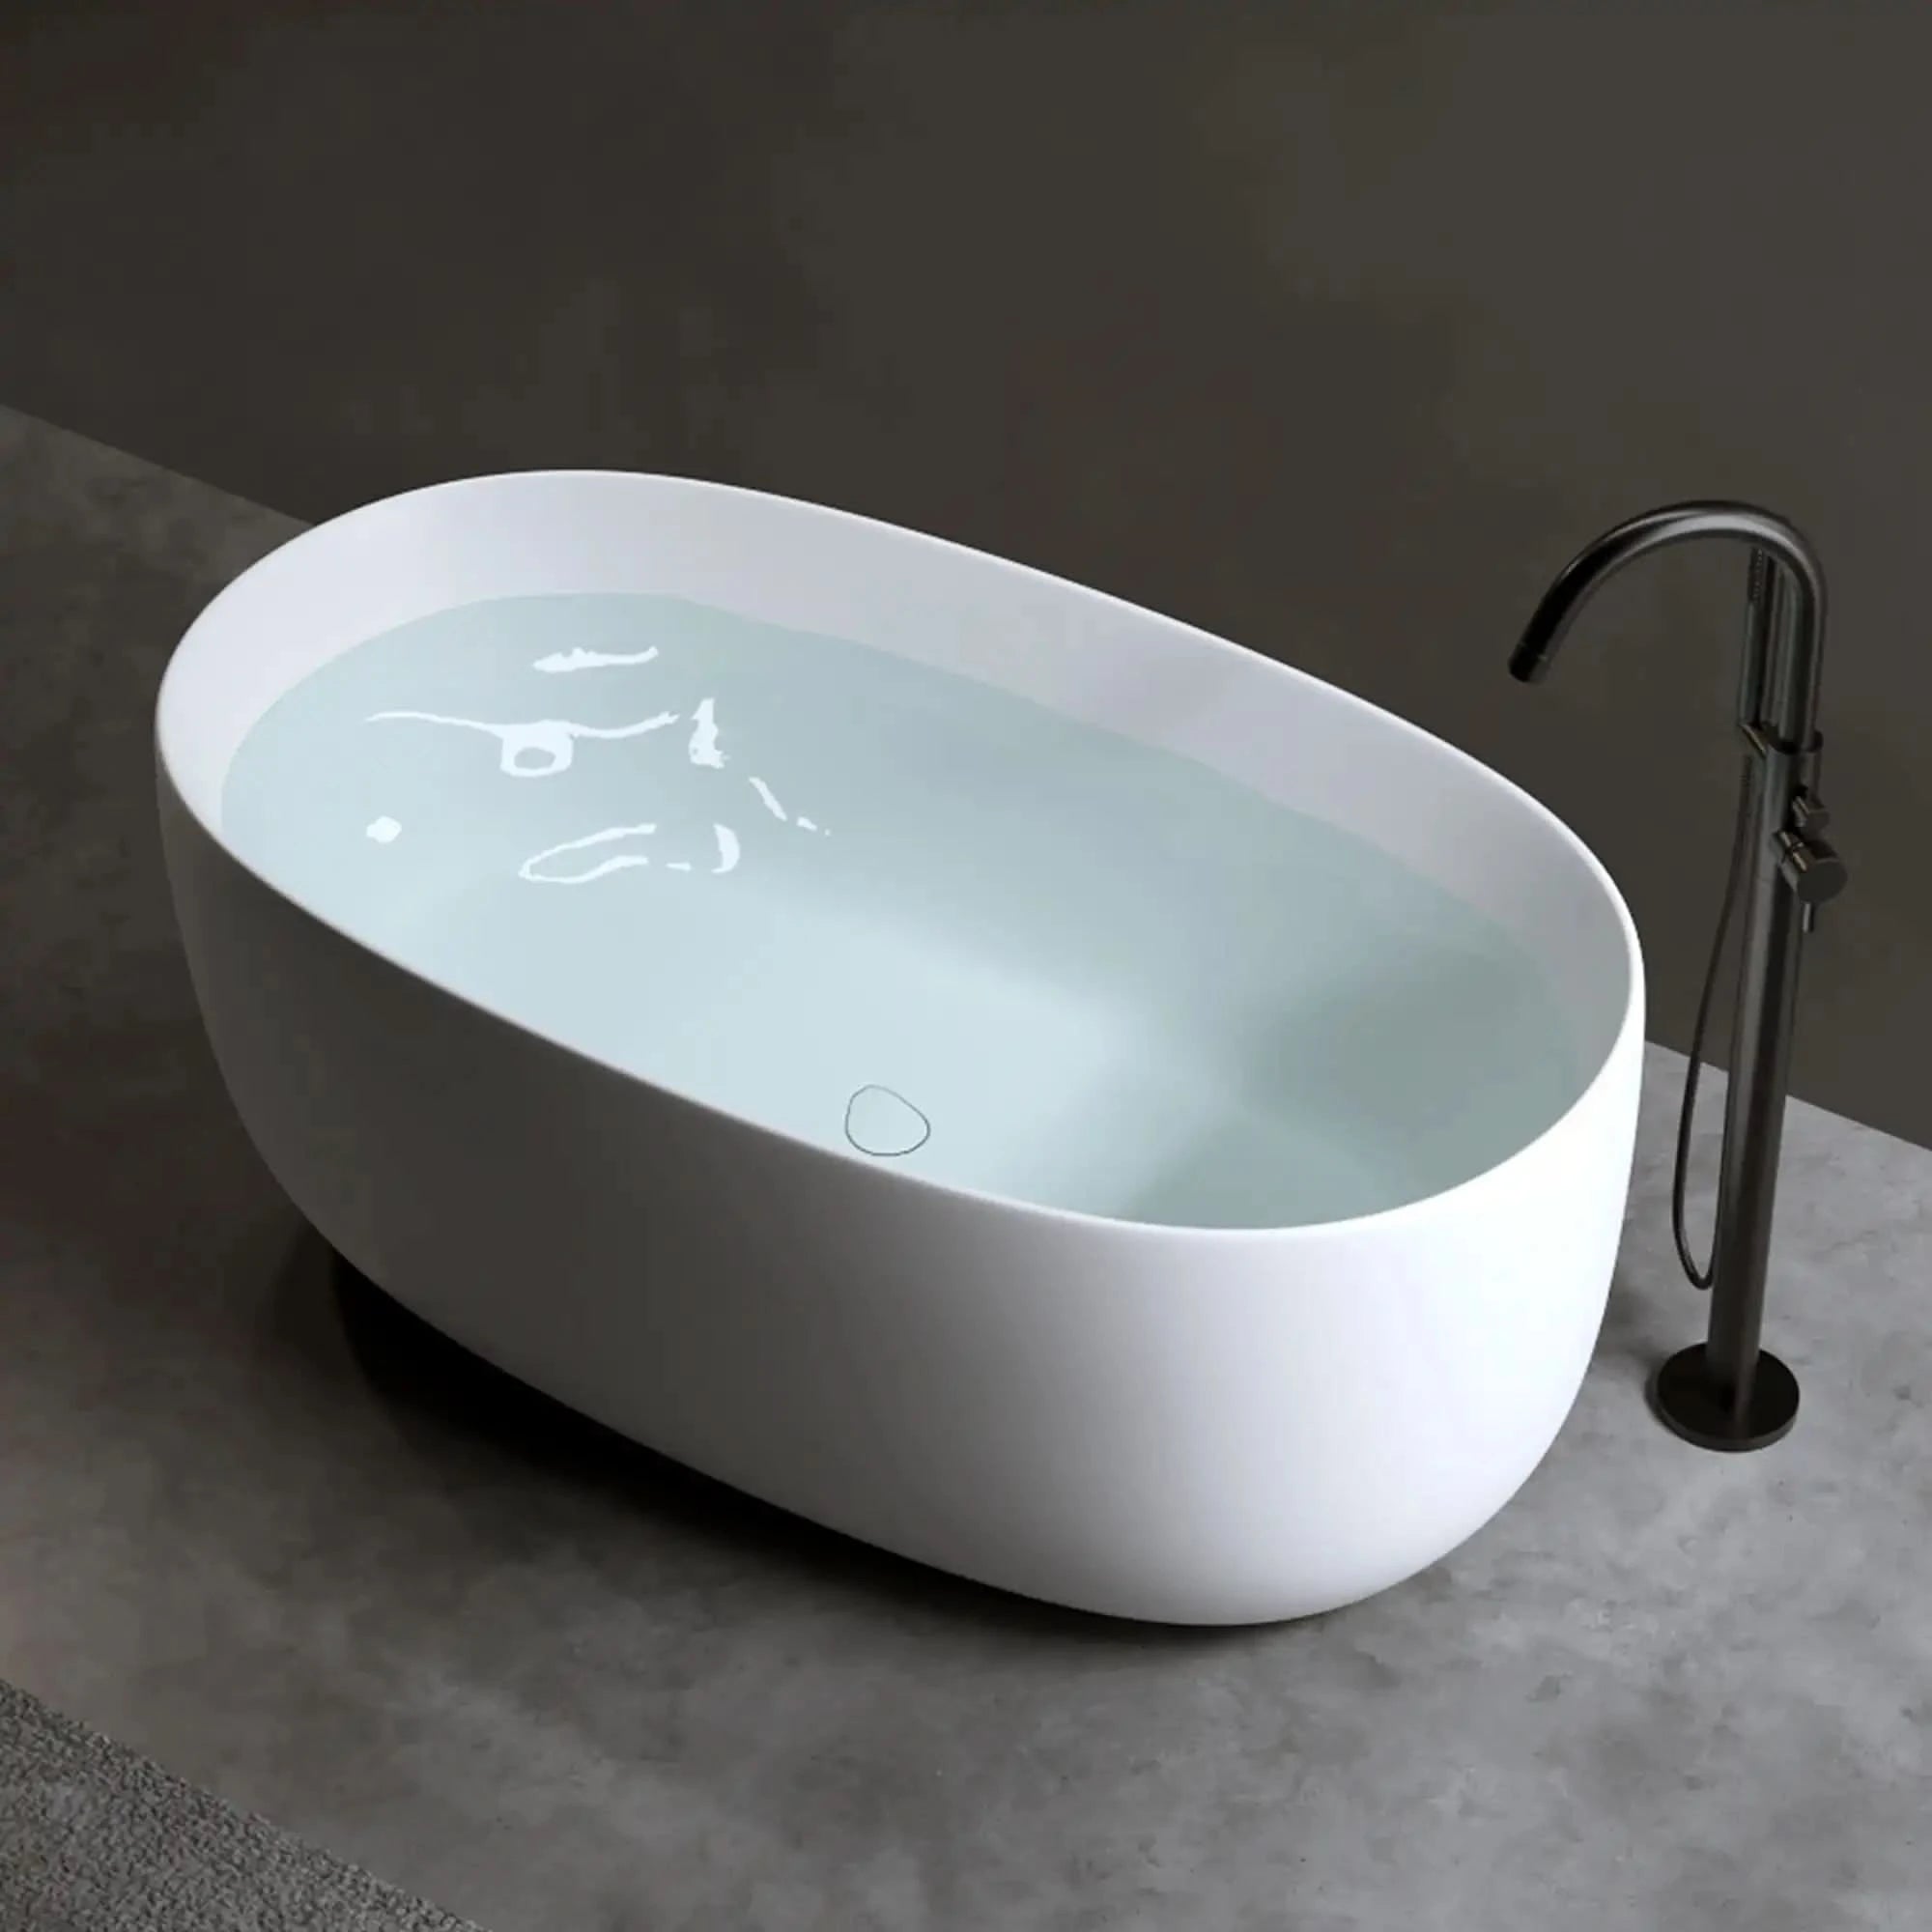
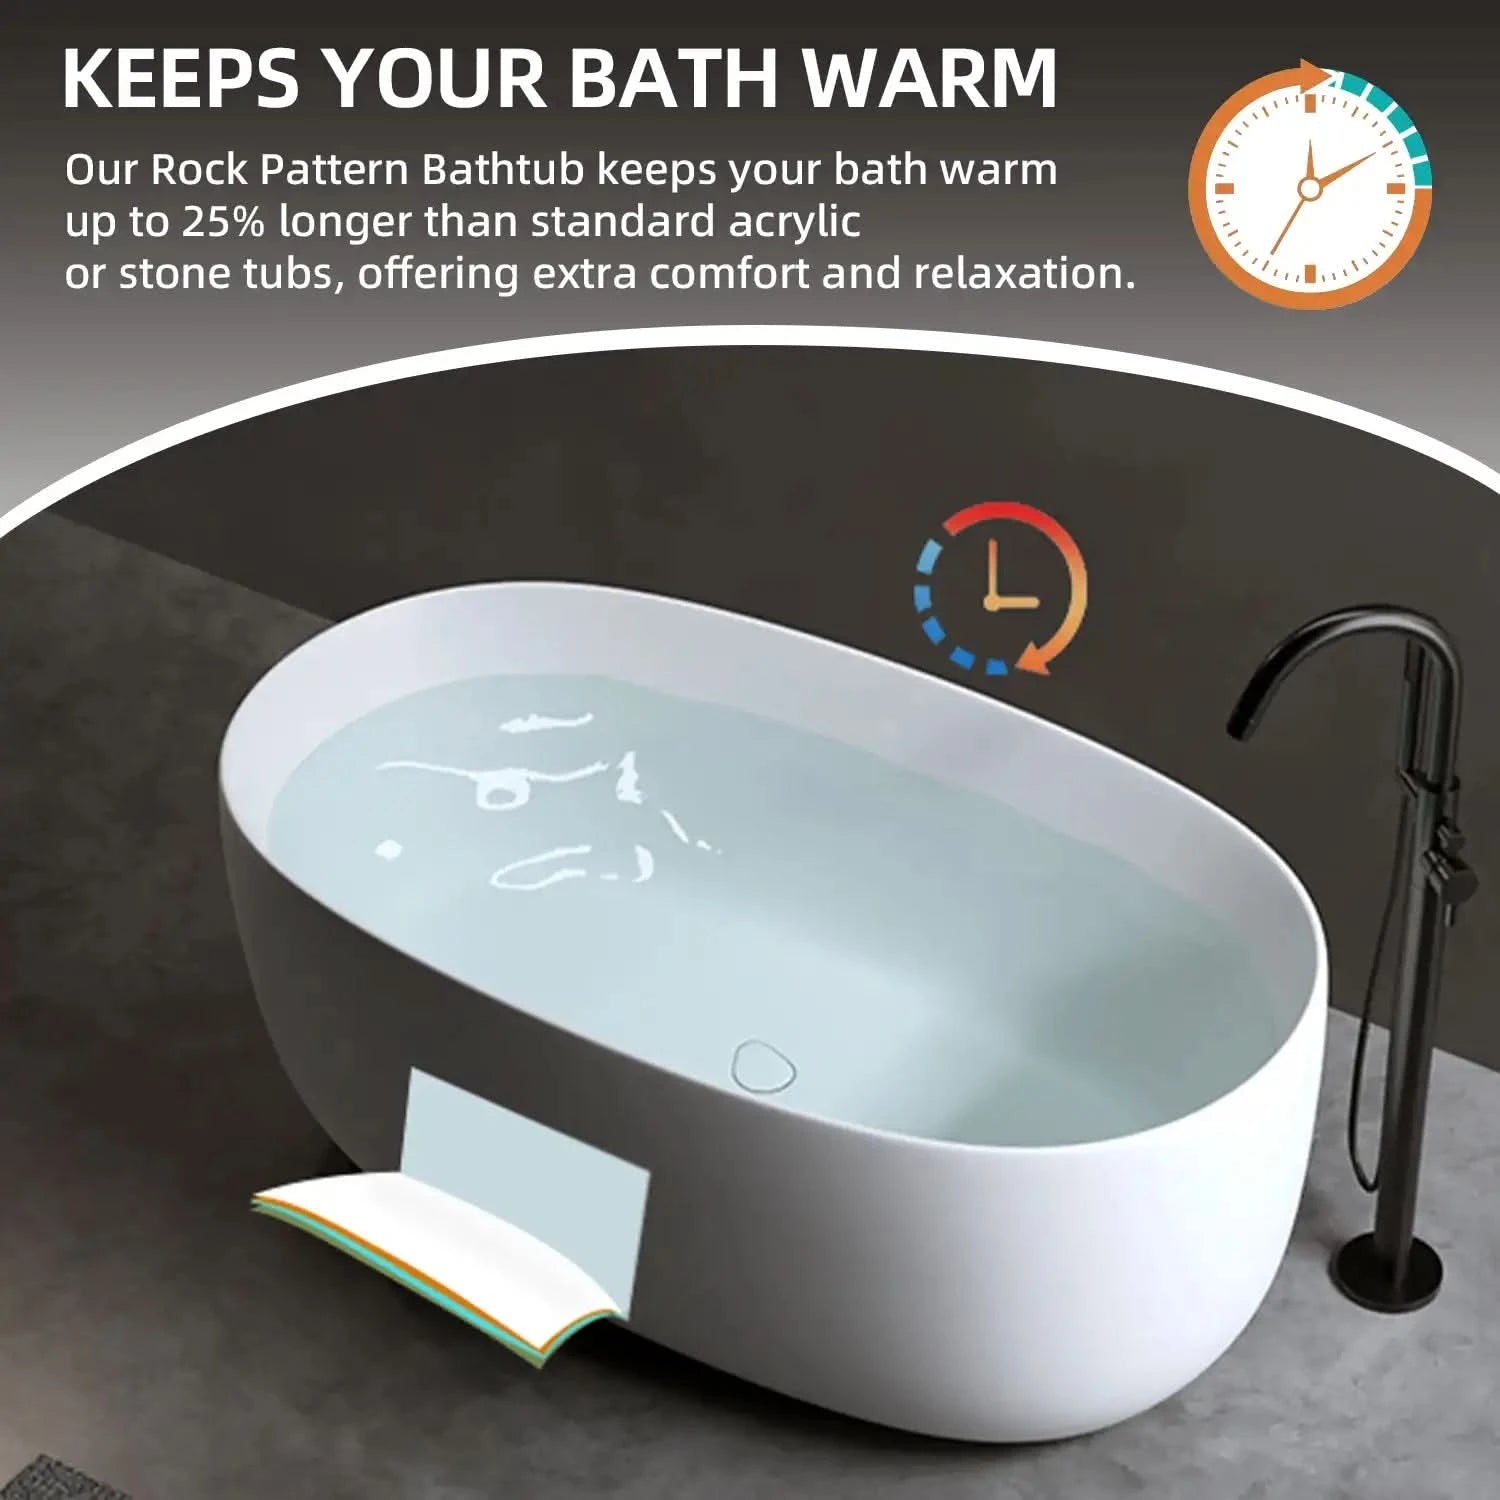
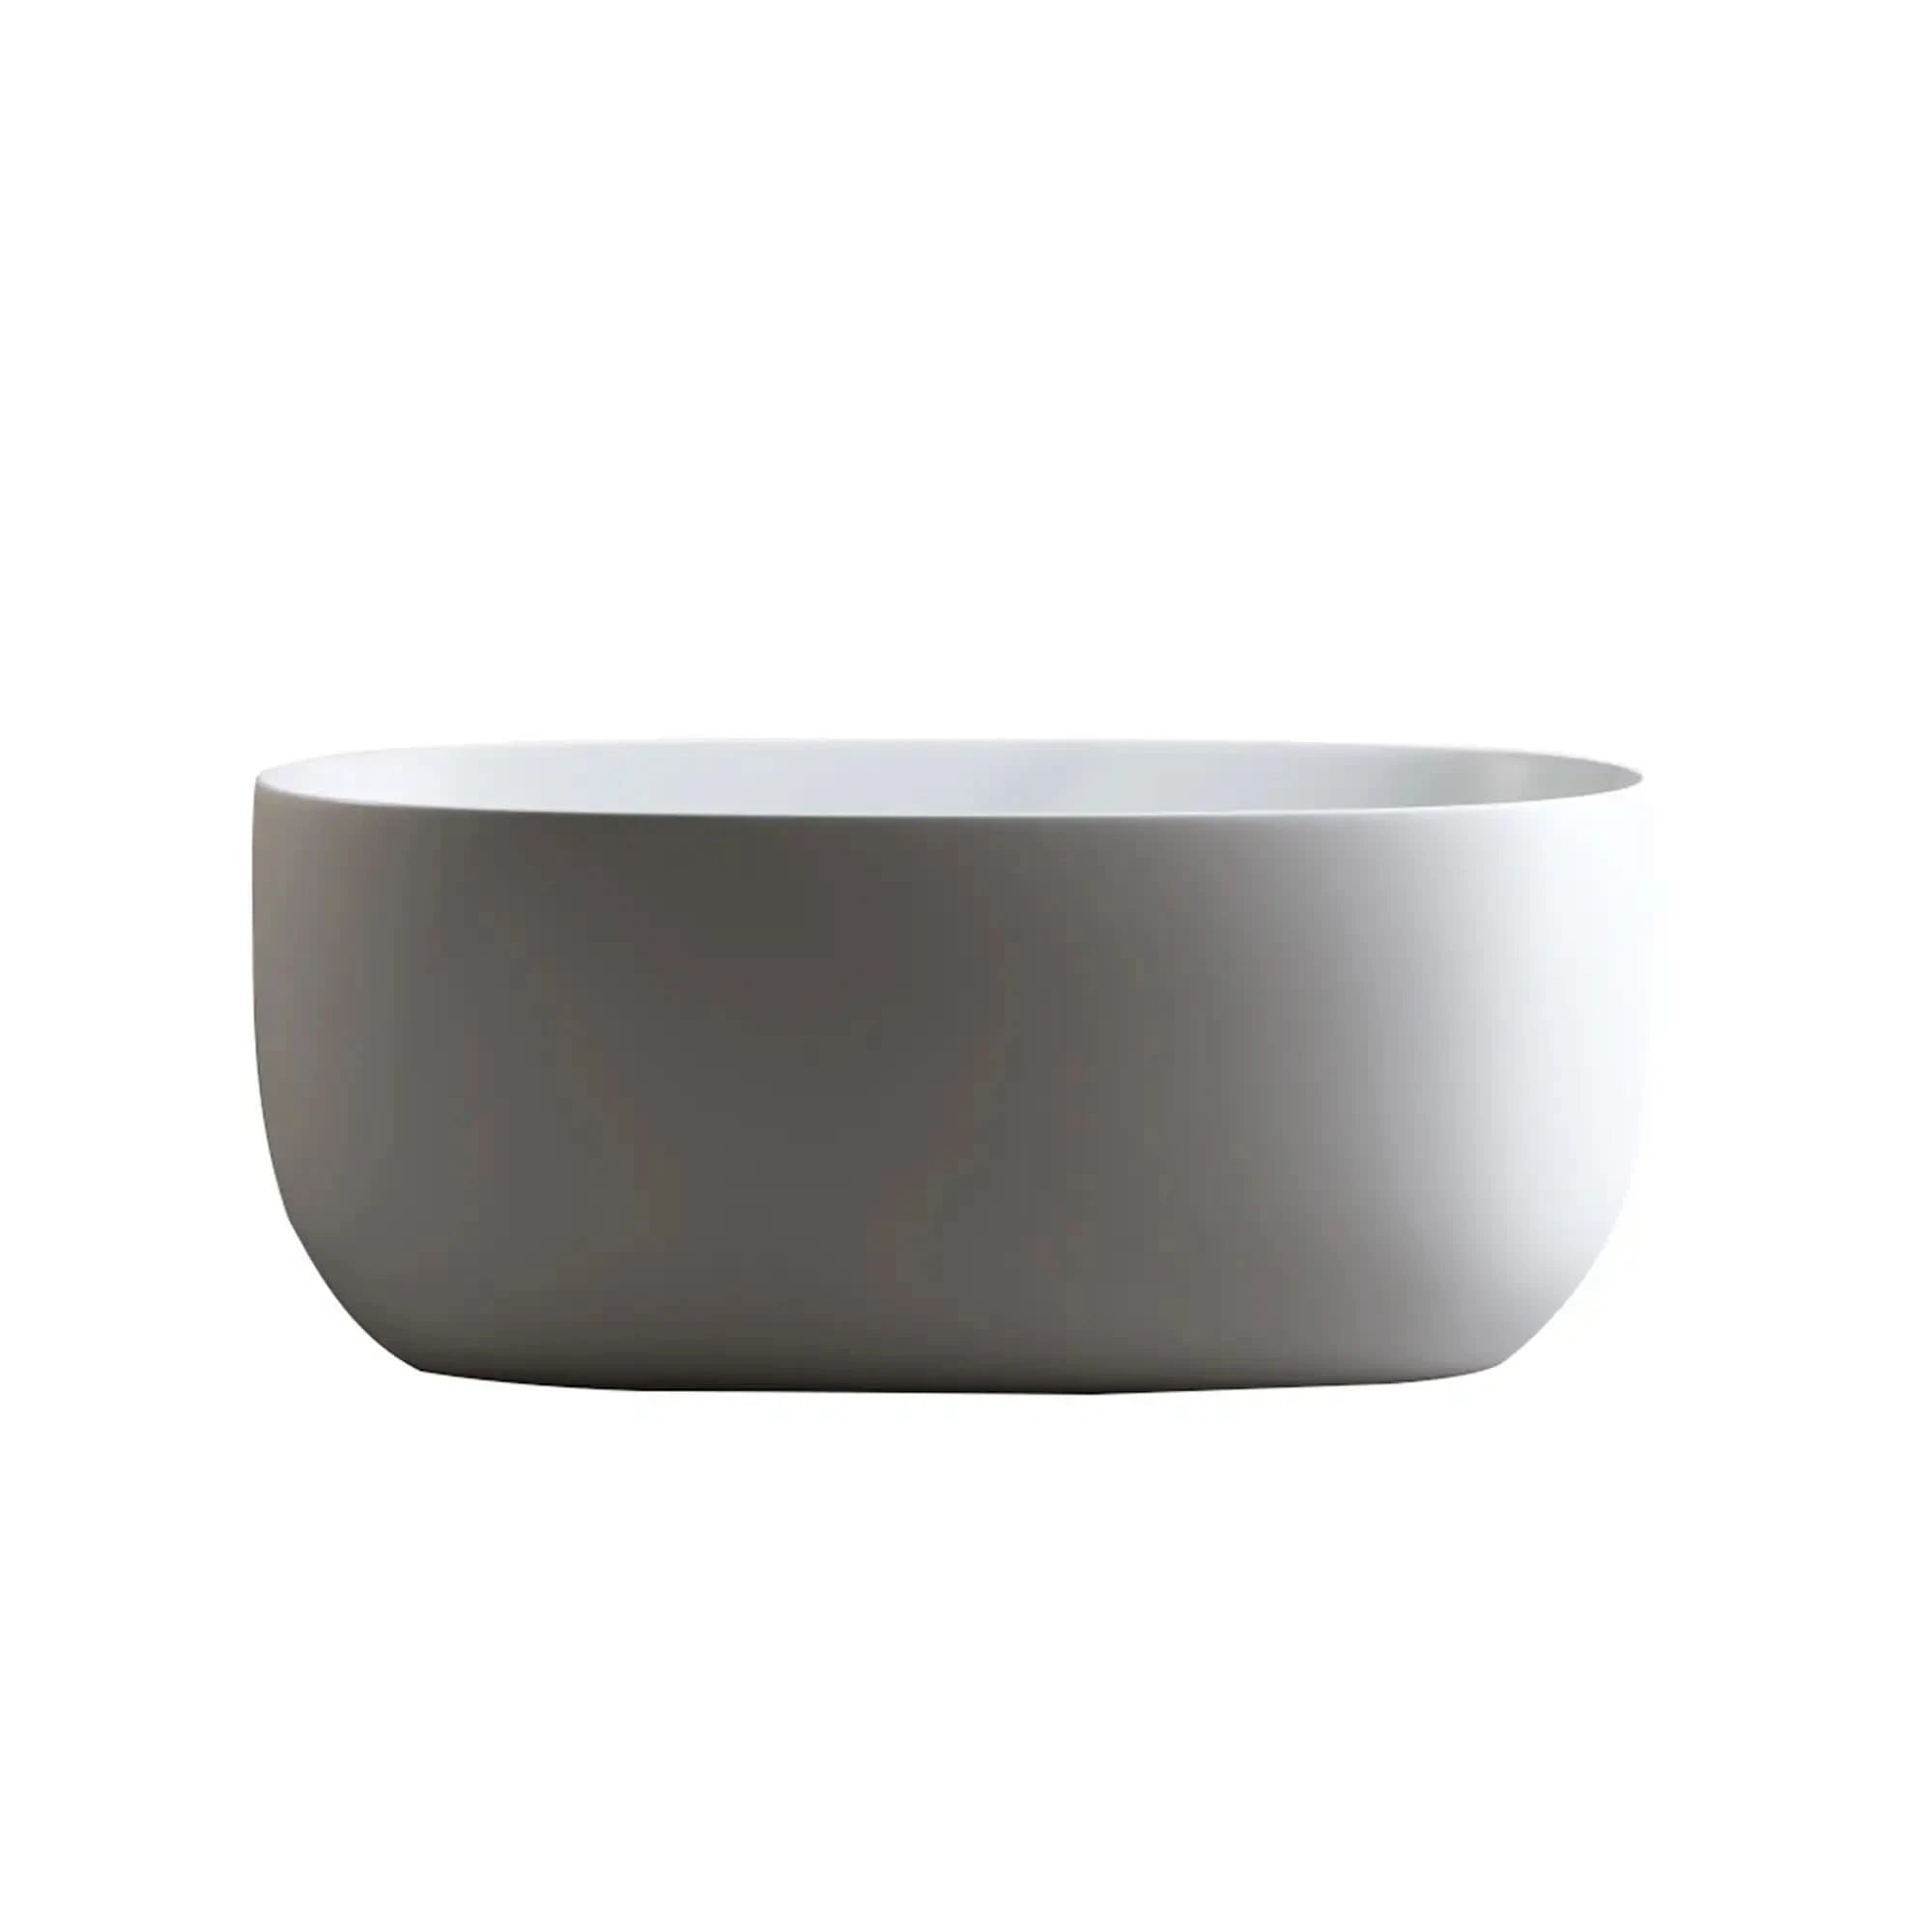
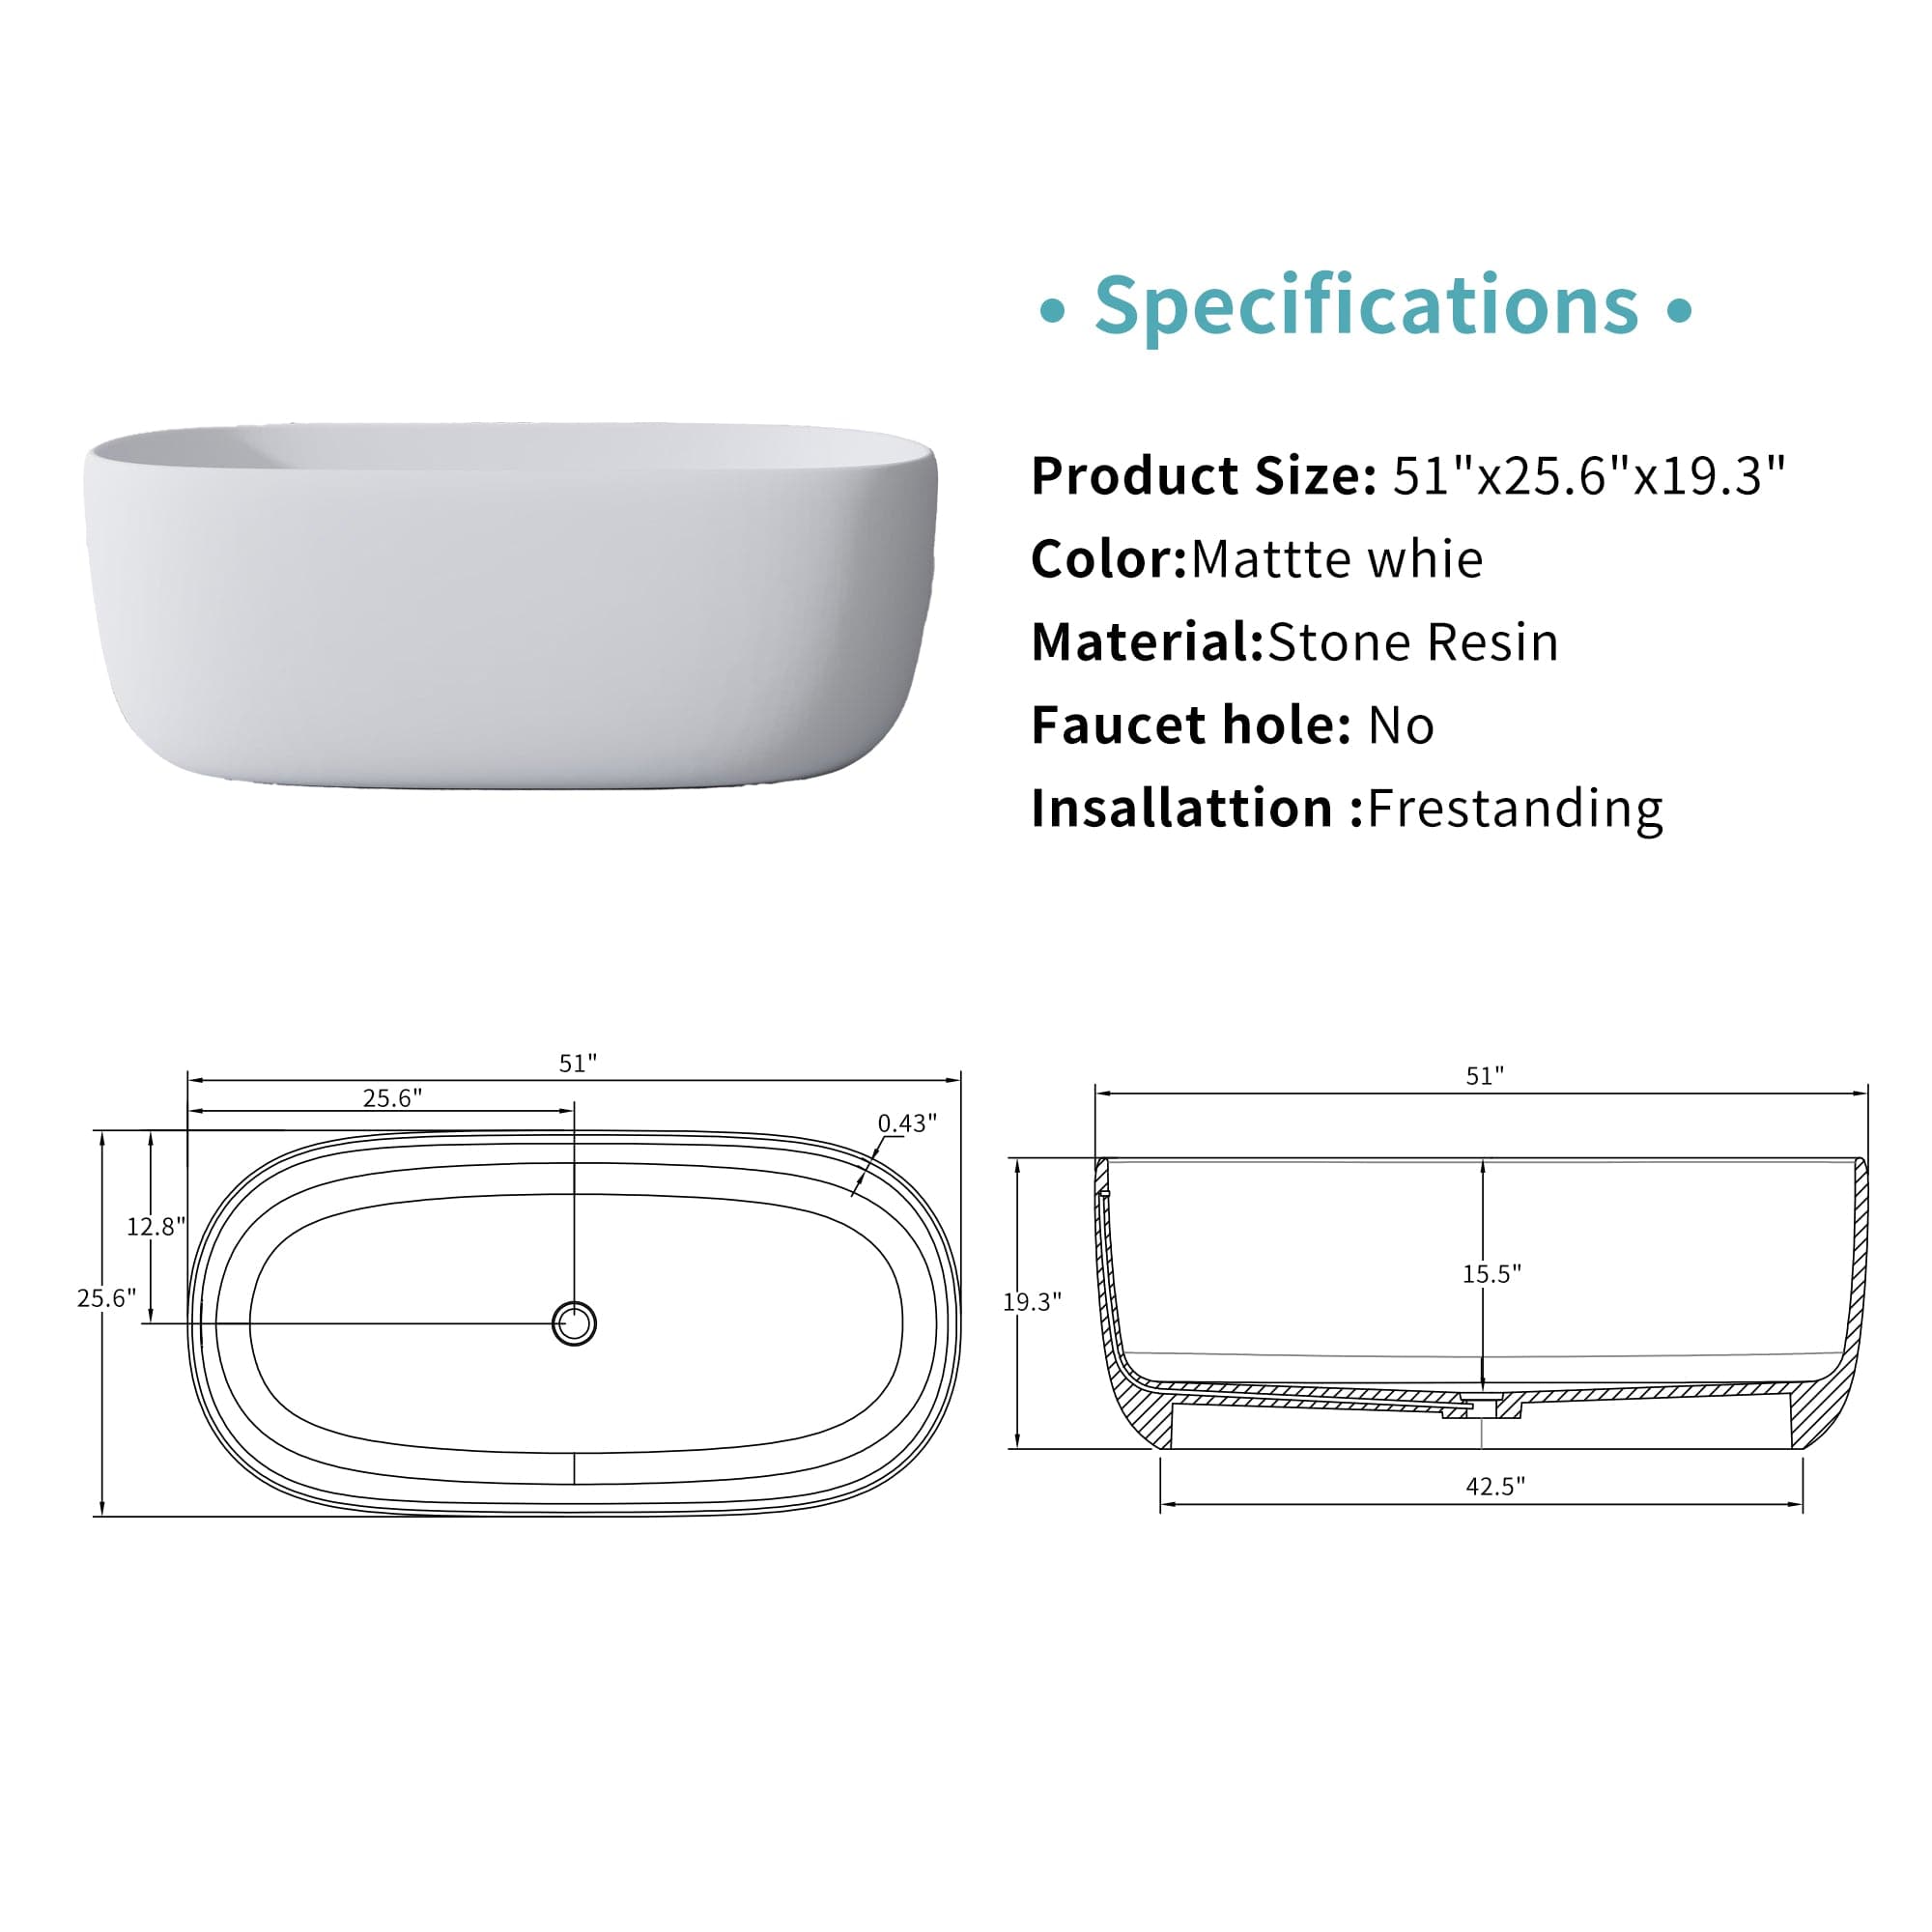
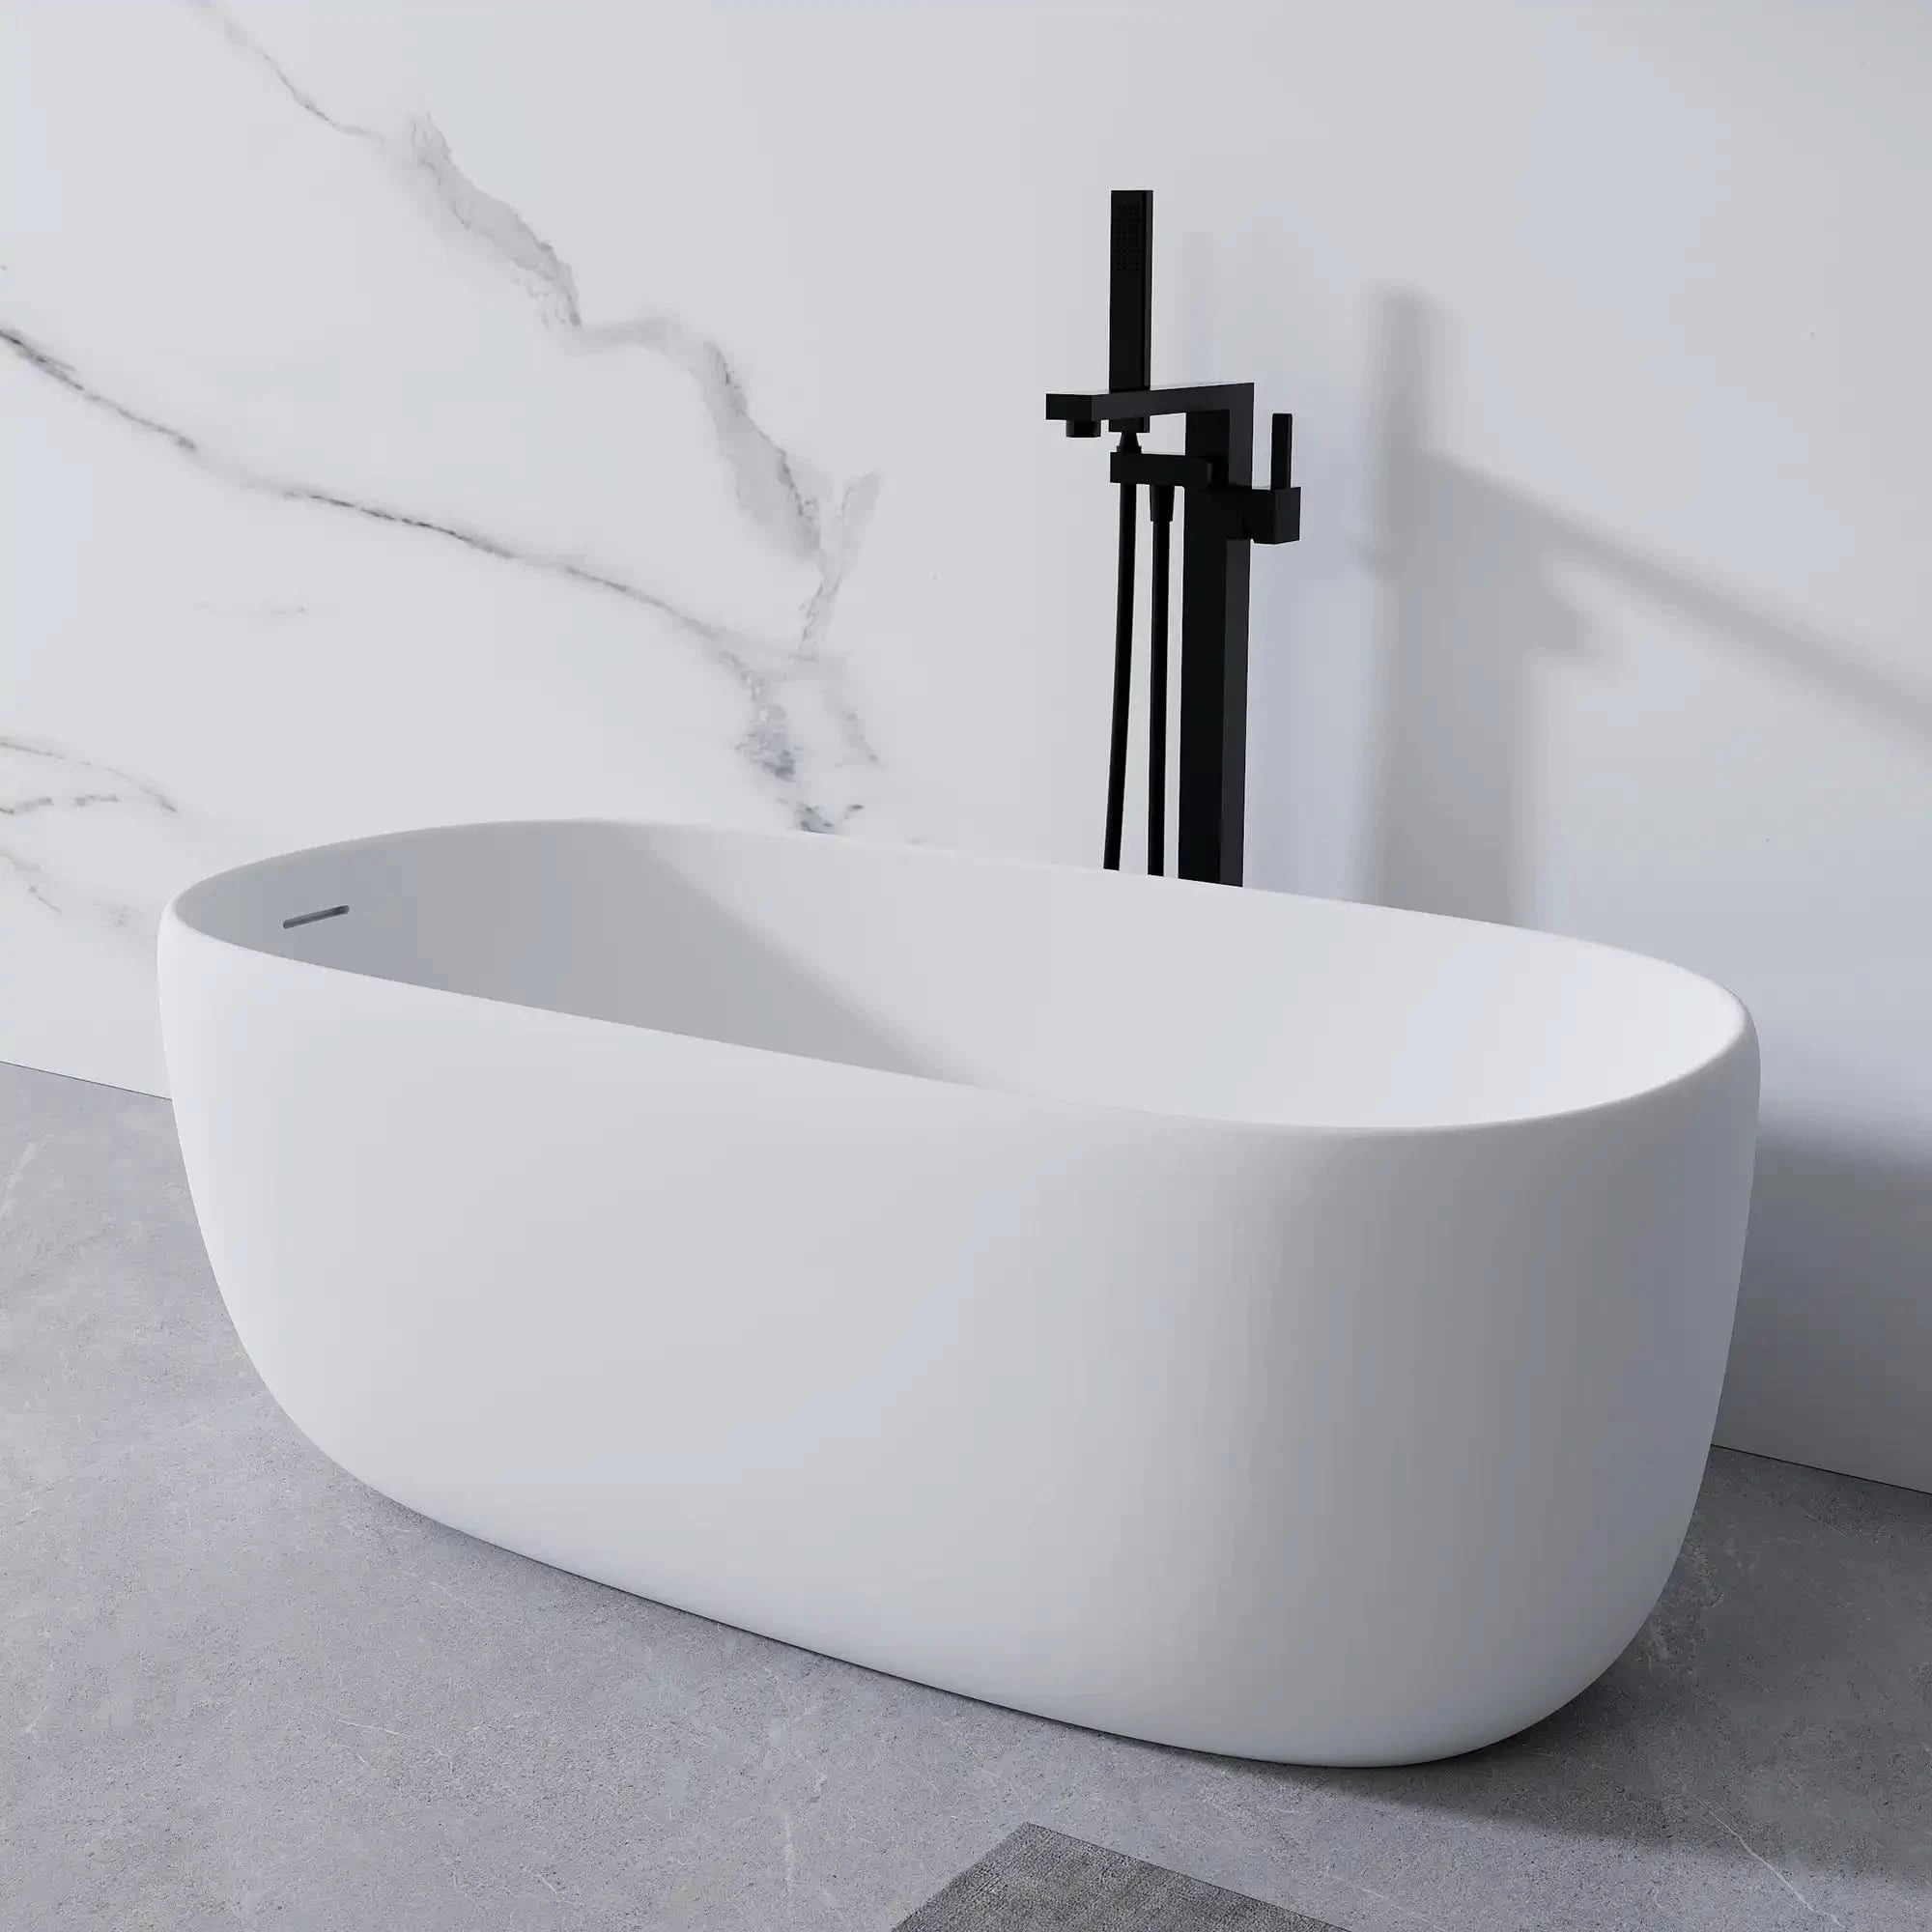
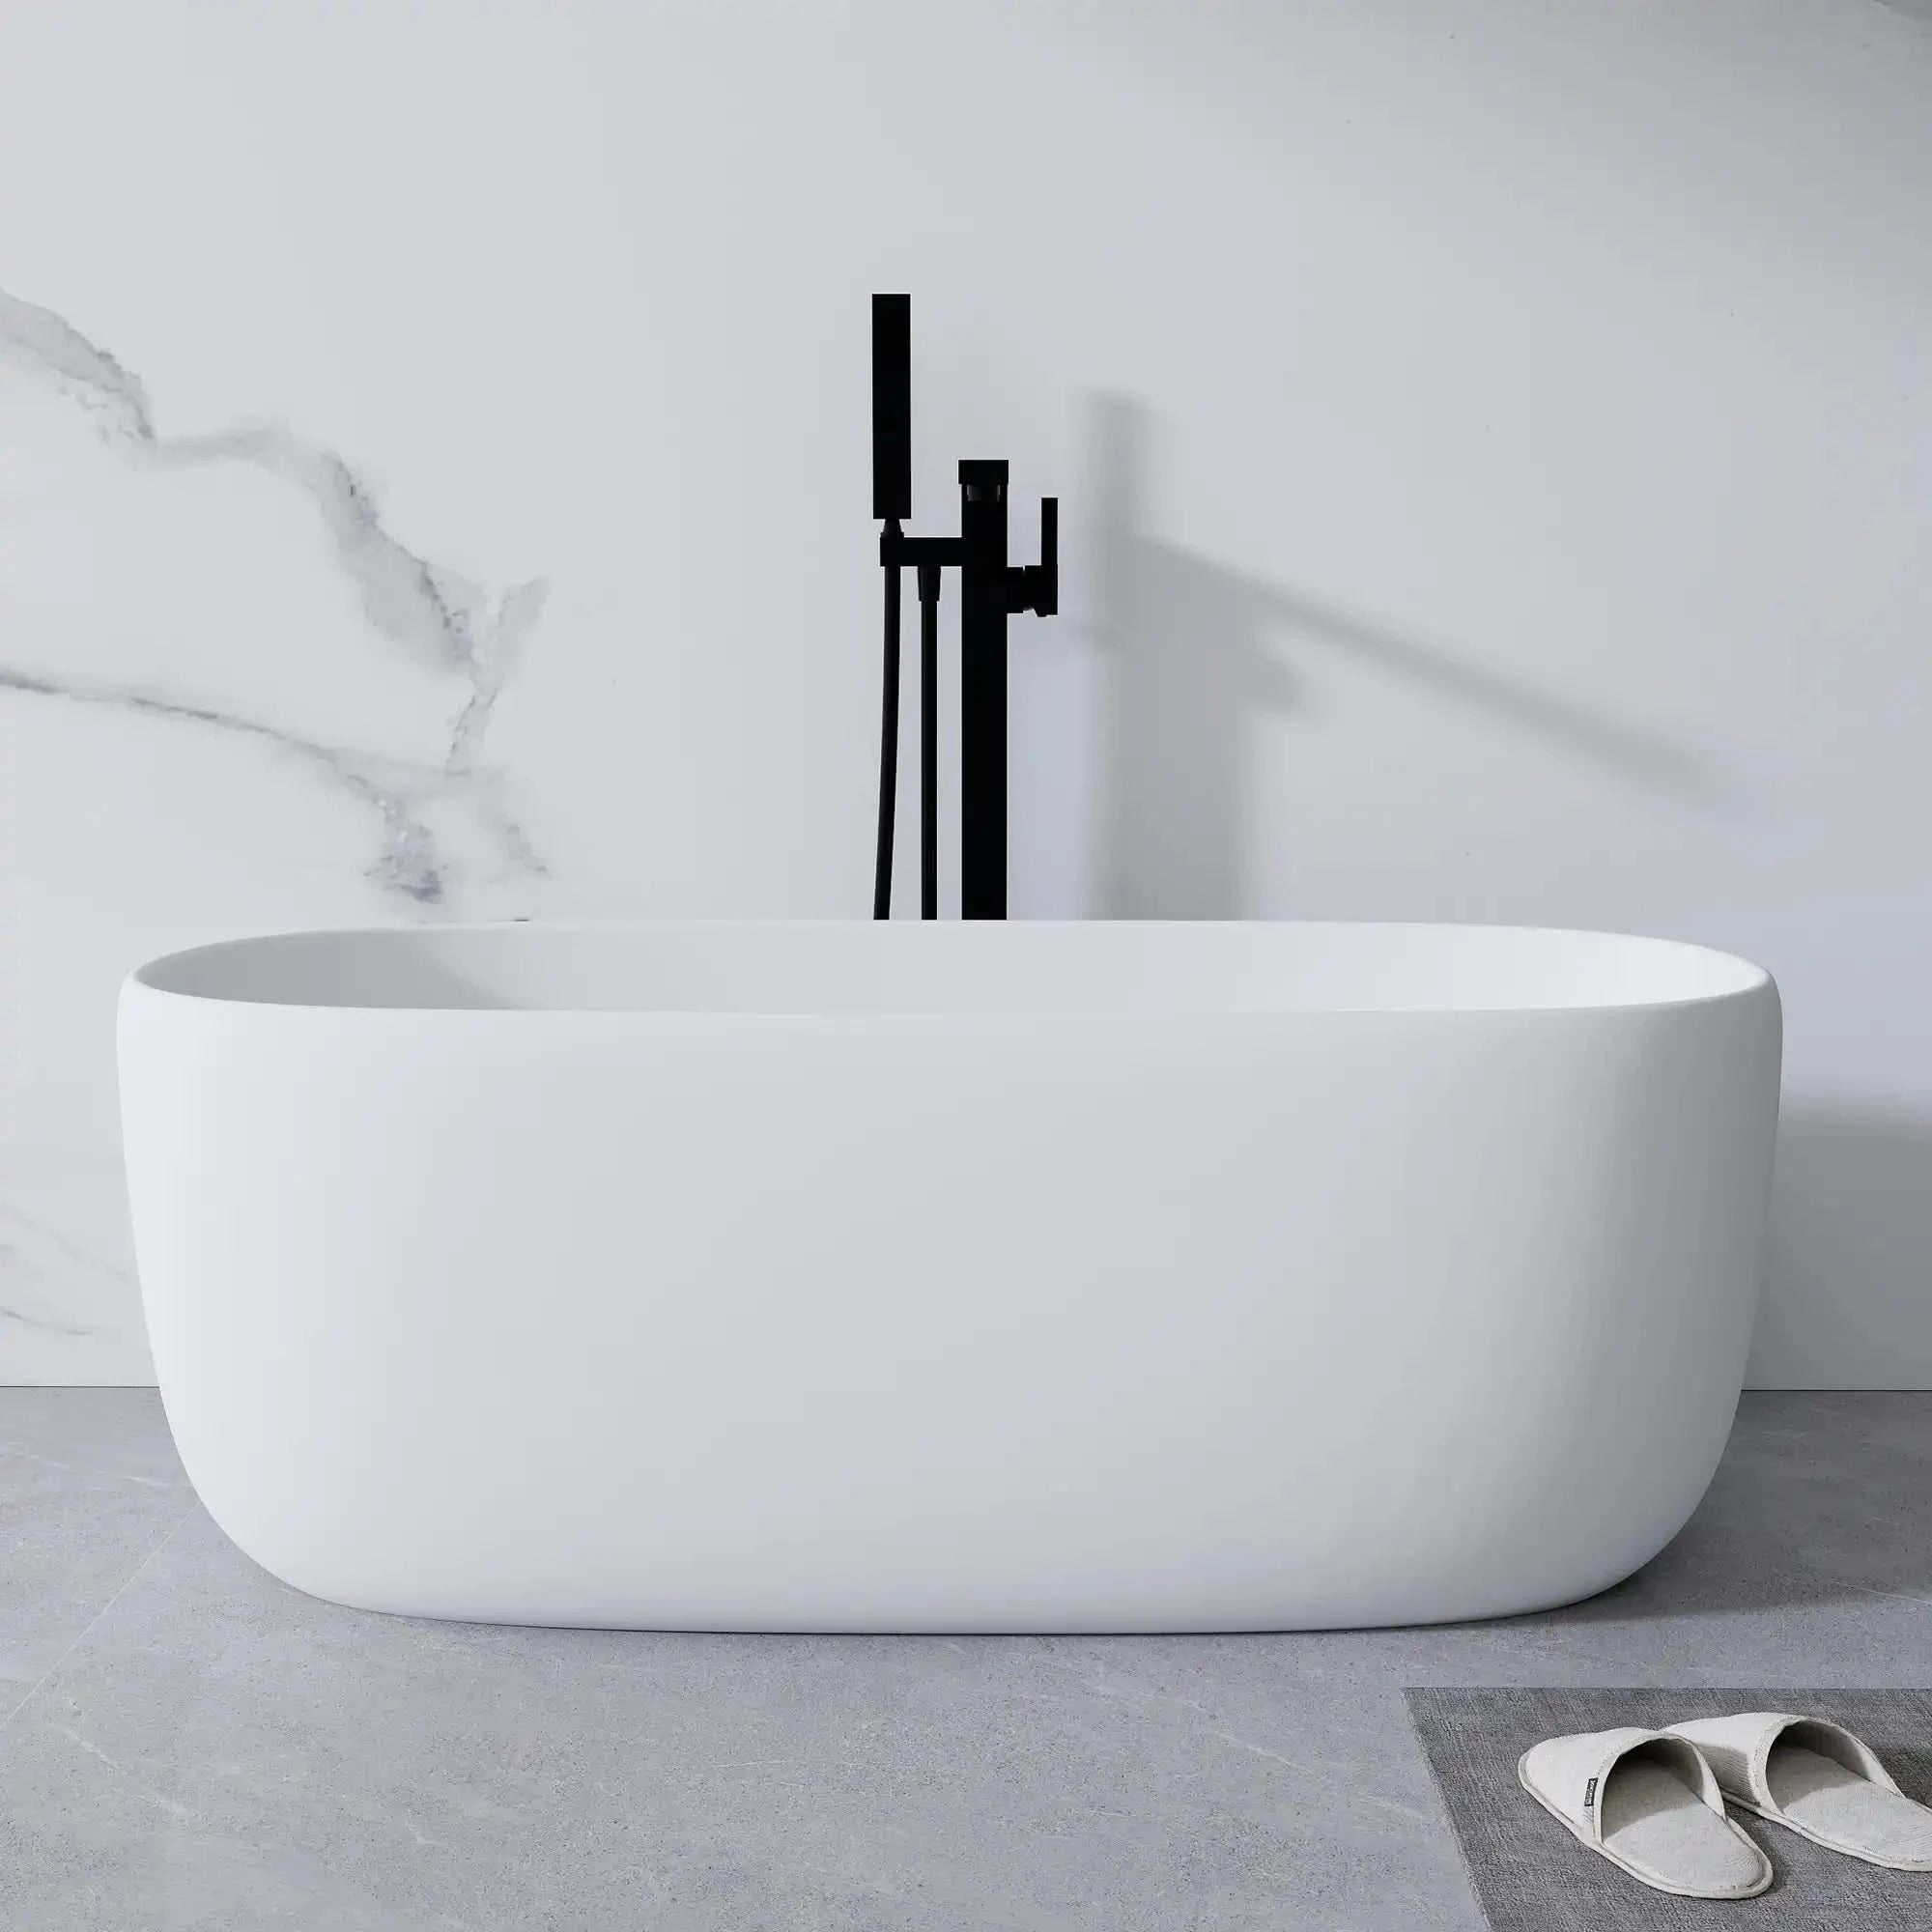
An outdated bathtub can make even the most well-maintained bathroom look worn out. By installing a modern, sleek bathtub, such as the LY Curved Freestanding Soaking Tub, you can:
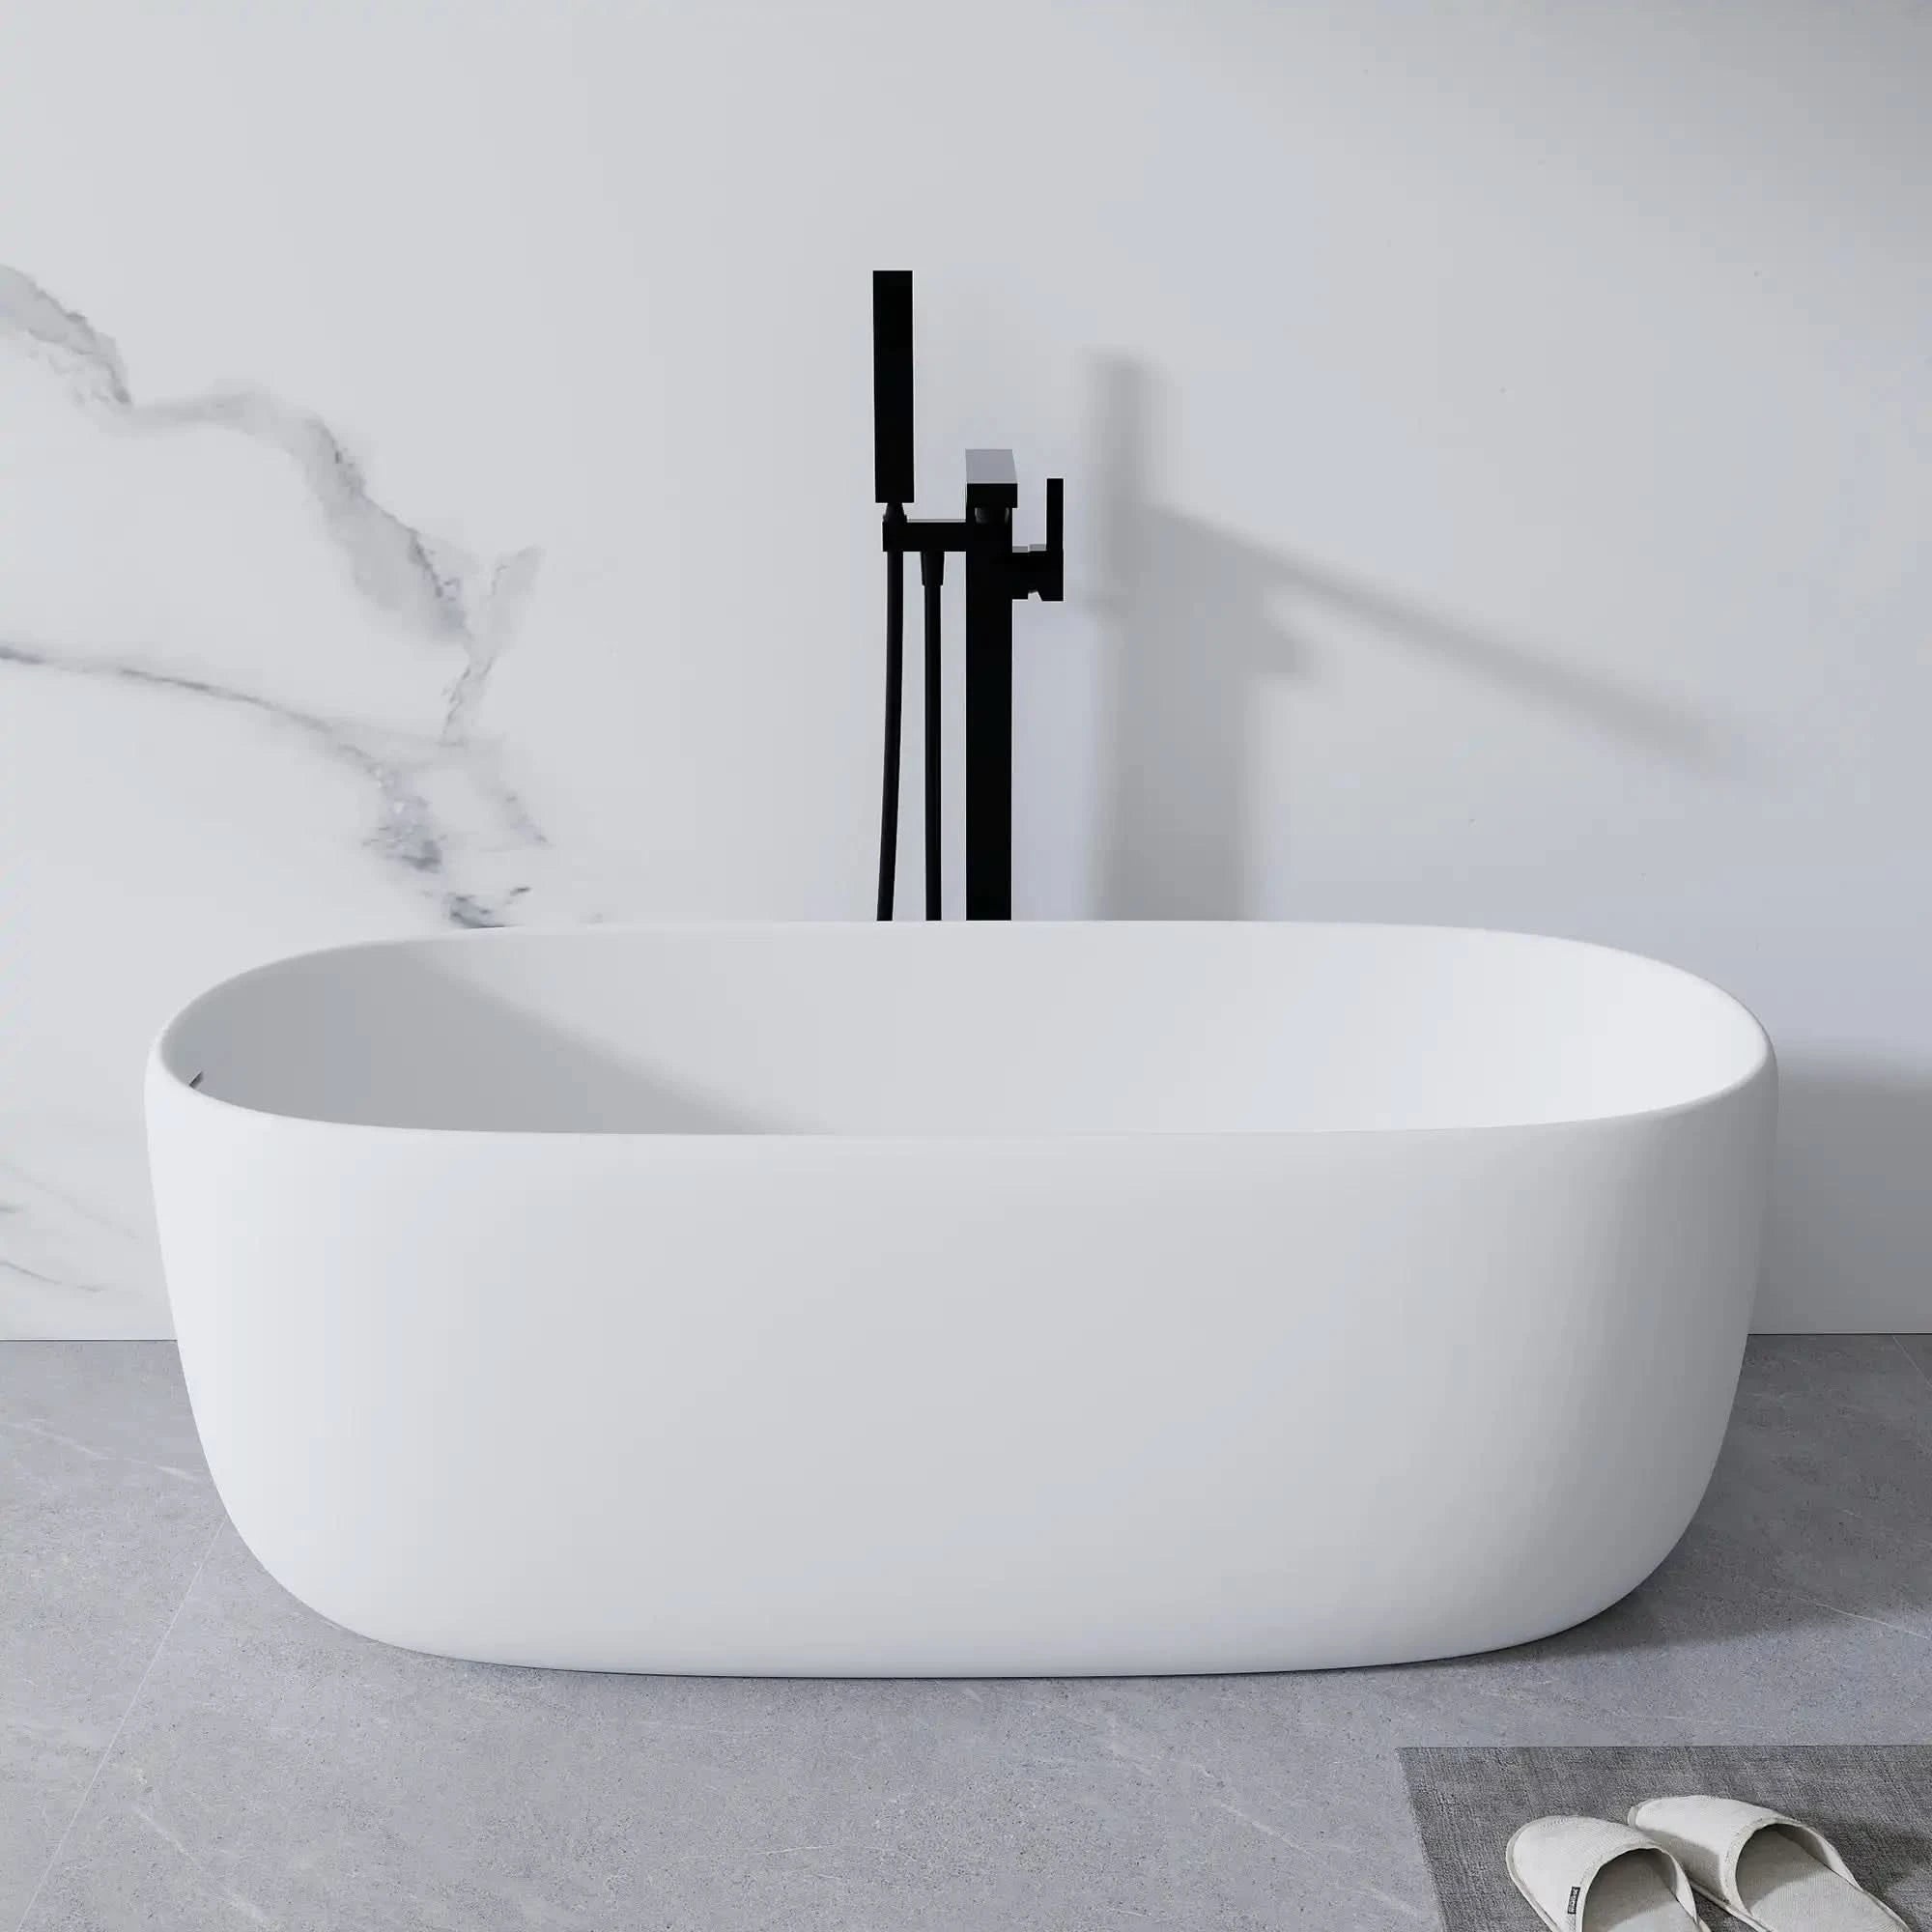
- Create a Luxurious Focal Point: Freestanding tubs offer an elegant centerpiece, making your bathroom feel like a high-end spa.
- Customize Your Bathroom's Theme: Modern tubs come in various designs, from minimalist to vintage-inspired, giving you the flexibility to tailor your space.
- Brighten the Atmosphere: New tubs with clean lines and fresh finishes can make your bathroom appear larger, brighter, and more welcoming.
Reader Benefit: If you’re tired of your bathroom looking dated, a new bathtub is a quick and impactful solution to modernize the space.
2. Enhanced Comfort: Transform Your Bathing Experience
A new bathtub isn’t just a fixture; it’s a sanctuary for relaxation and self-care. Consider upgrading to a spacious soaking tub or ergonomic design for:
- Deeper Water Levels: Soaking tubs, like the LY Egg-Shaped Freestanding Tub, offer ample water depth for full-body immersion, relieving stress and sore muscles.
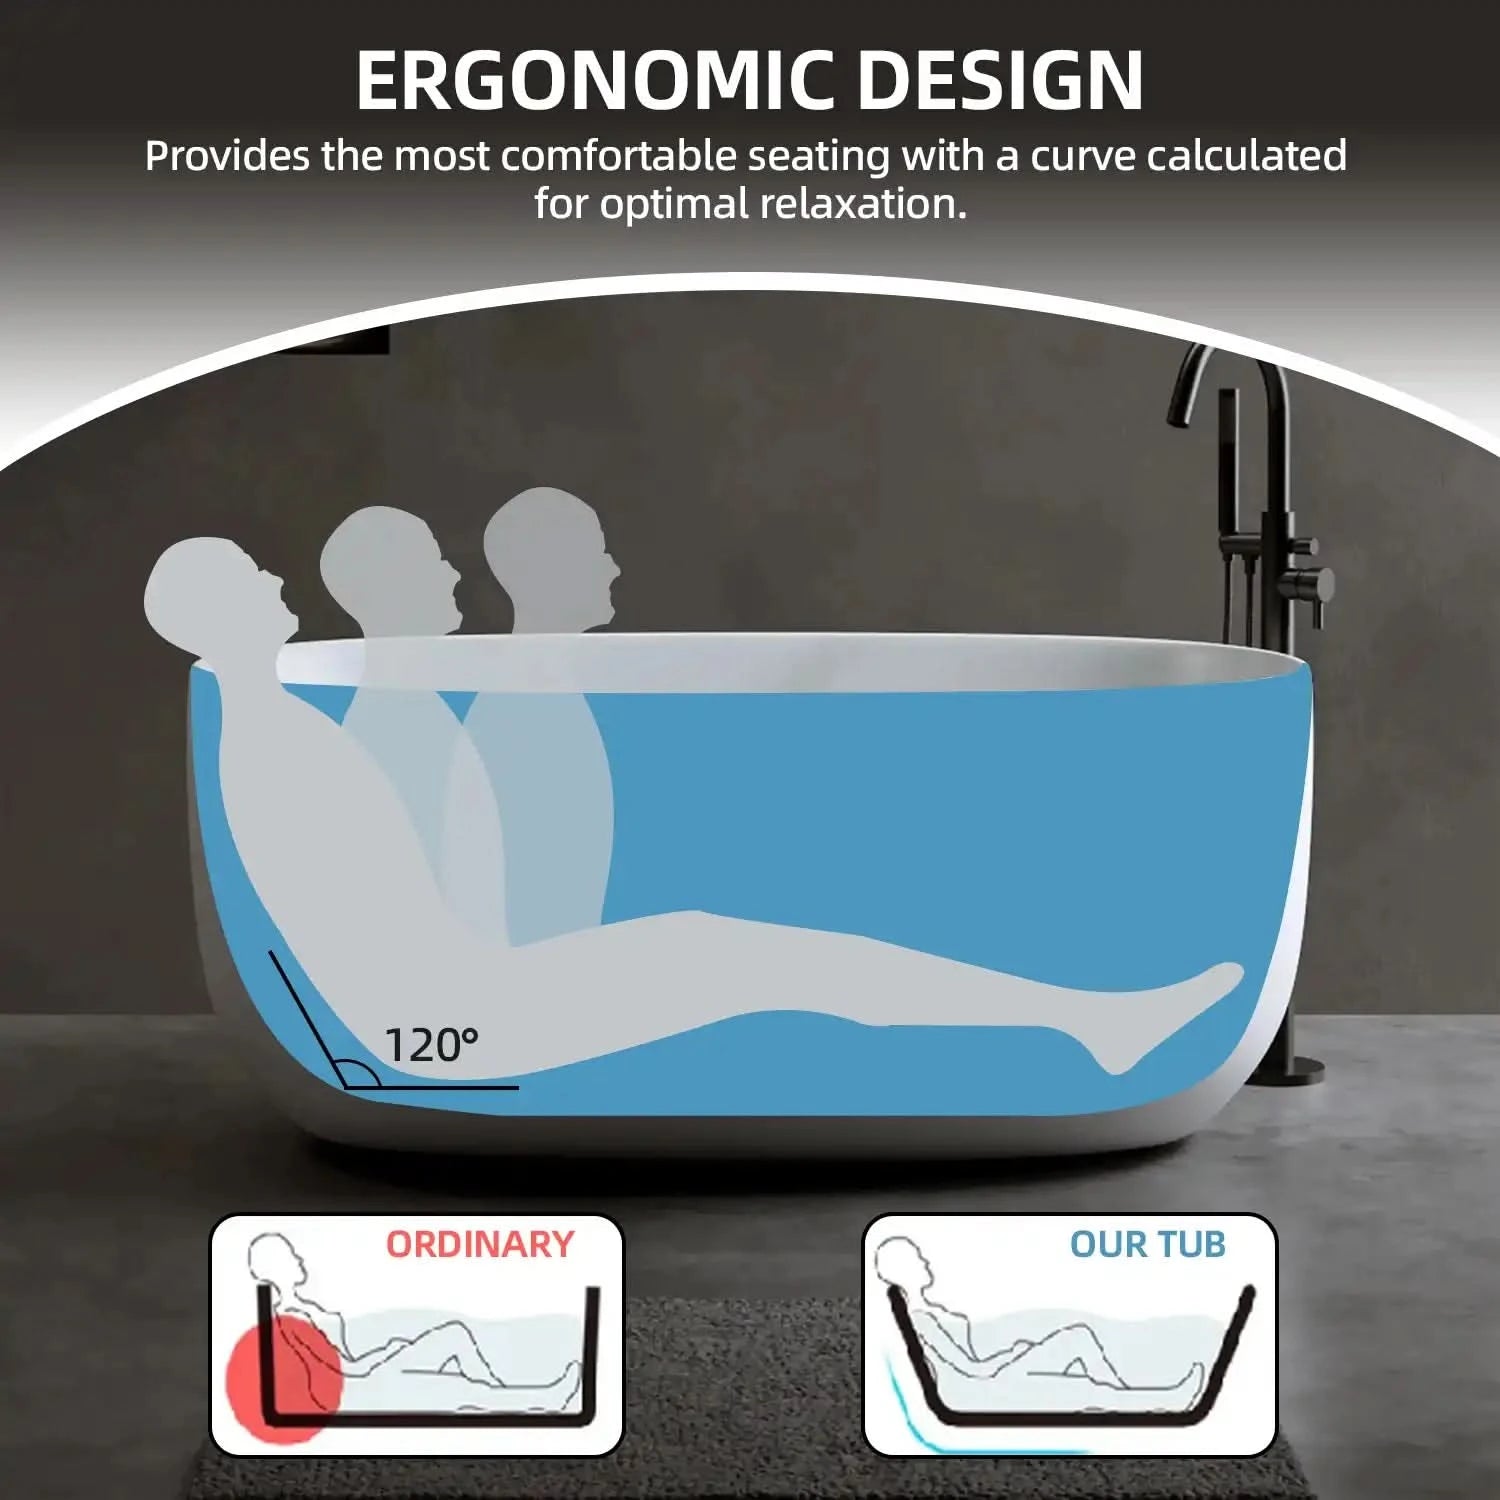
- Ergonomic Features: Modern bathtubs are designed with user comfort in mind, featuring sloped backs and armrests to enhance your bathing posture.
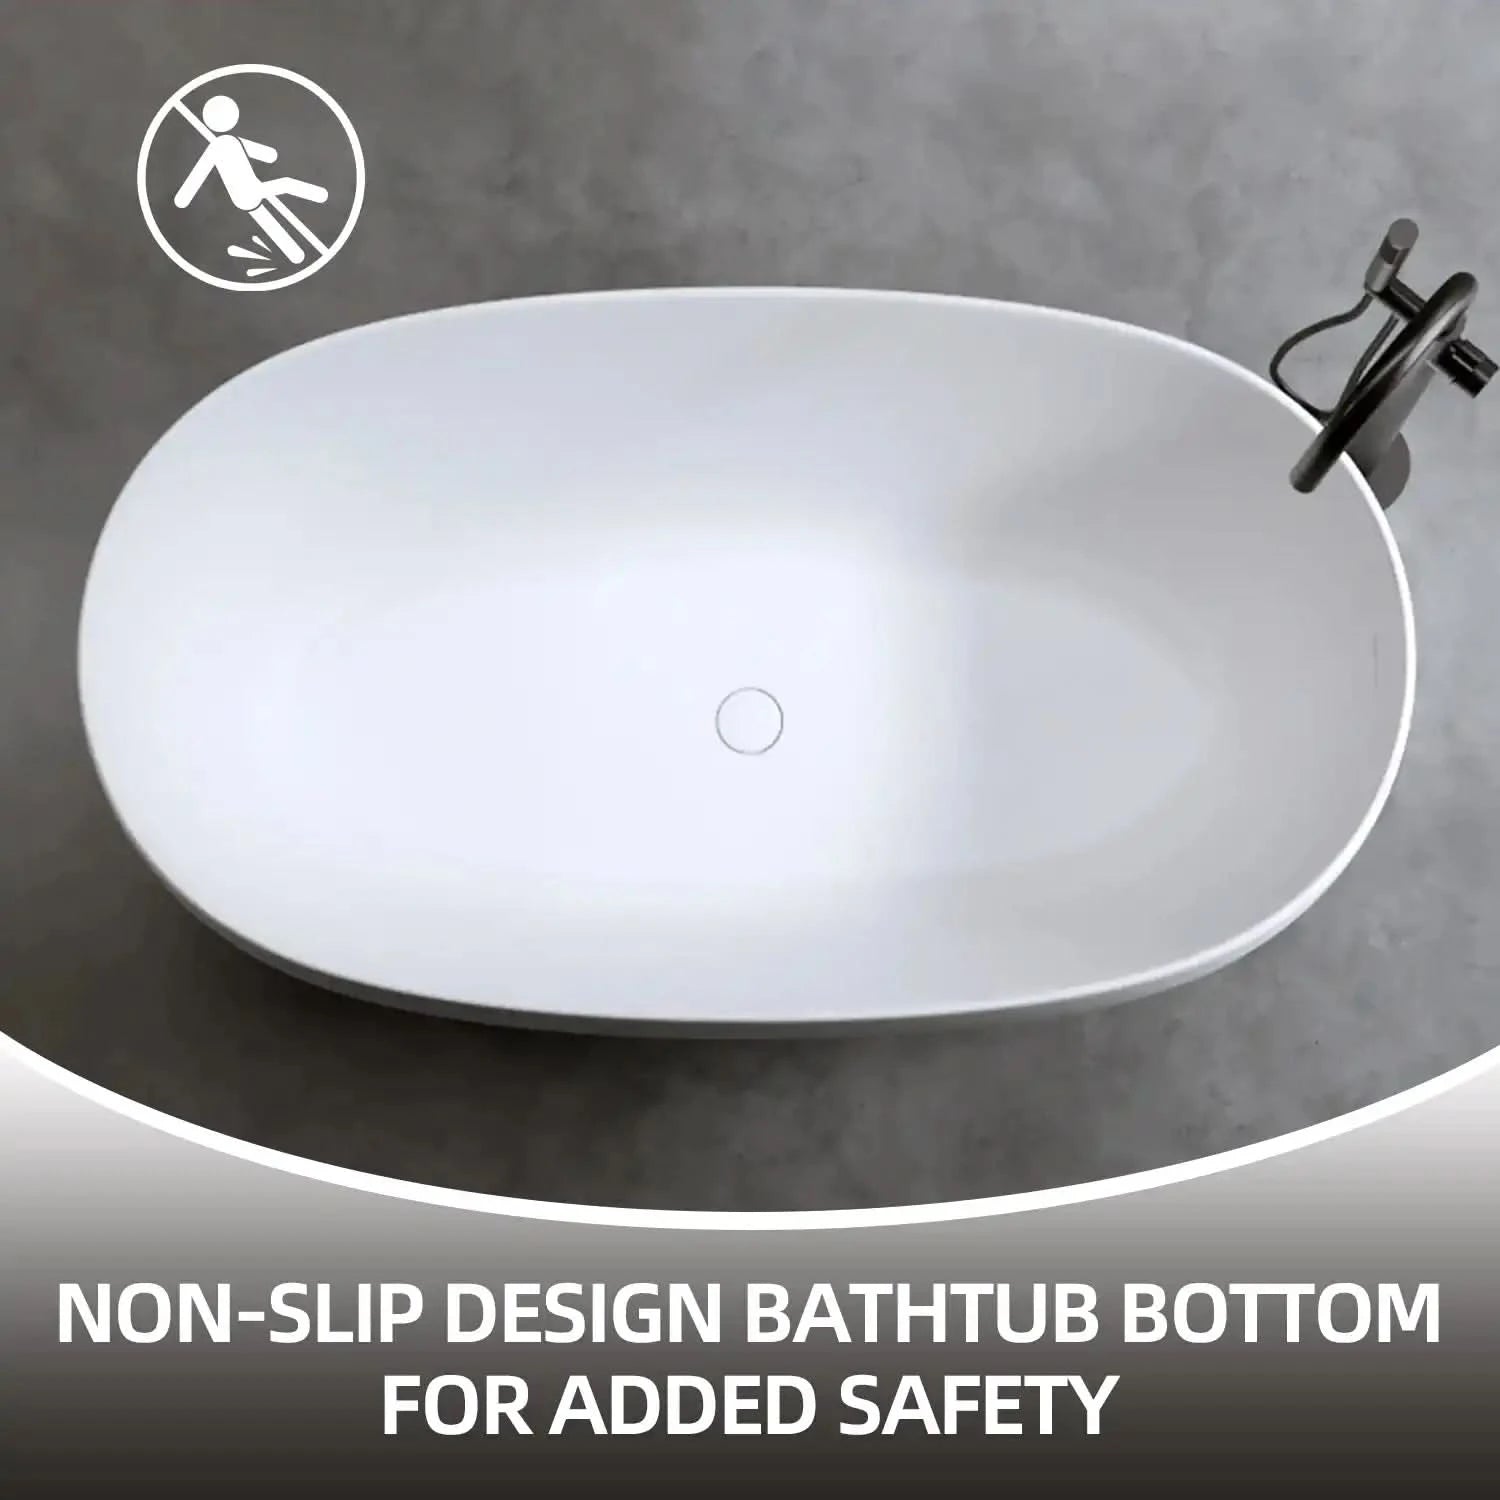
- Optional Add-Ons: Many tubs now include whirlpool jets, heating systems, or anti-slip surfaces for an even better experience.
Reader Insight: If you’ve been using a shallow or uncomfortable tub, investing in a model designed for relaxation can significantly improve your daily routine.
3. Increased Home Value: A Smart Renovation Move
A beautifully renovated bathroom can be a major selling point for potential buyers. Here’s how a new bathtub impacts your property’s value:
- First Impressions Matter: Bathrooms are one of the most scrutinized areas during home tours. A high-quality, aesthetically pleasing bathtub can leave a lasting impression.
- Renovation ROI: According to remodeling studies, bathroom upgrades can recoup up to 60-70% of their cost in increased home value.
- Appealing to Luxury Buyers: Freestanding tubs or customized built-in designs attract buyers looking for modern, luxurious homes.
Reader Perspective: If you’re planning to sell your home in the future, a new bathtub is a strategic way to enhance its appeal and price point.
4. Improved Functionality: Upgrade Your Everyday Use
Old bathtubs often come with hidden problems that affect their usability. Replacing your tub can resolve these issues and offer better efficiency:
- Fix Plumbing Issues: Cracks, chips, or improper fittings in older tubs can lead to water leaks and mold buildup. A new tub eliminates these concerns.
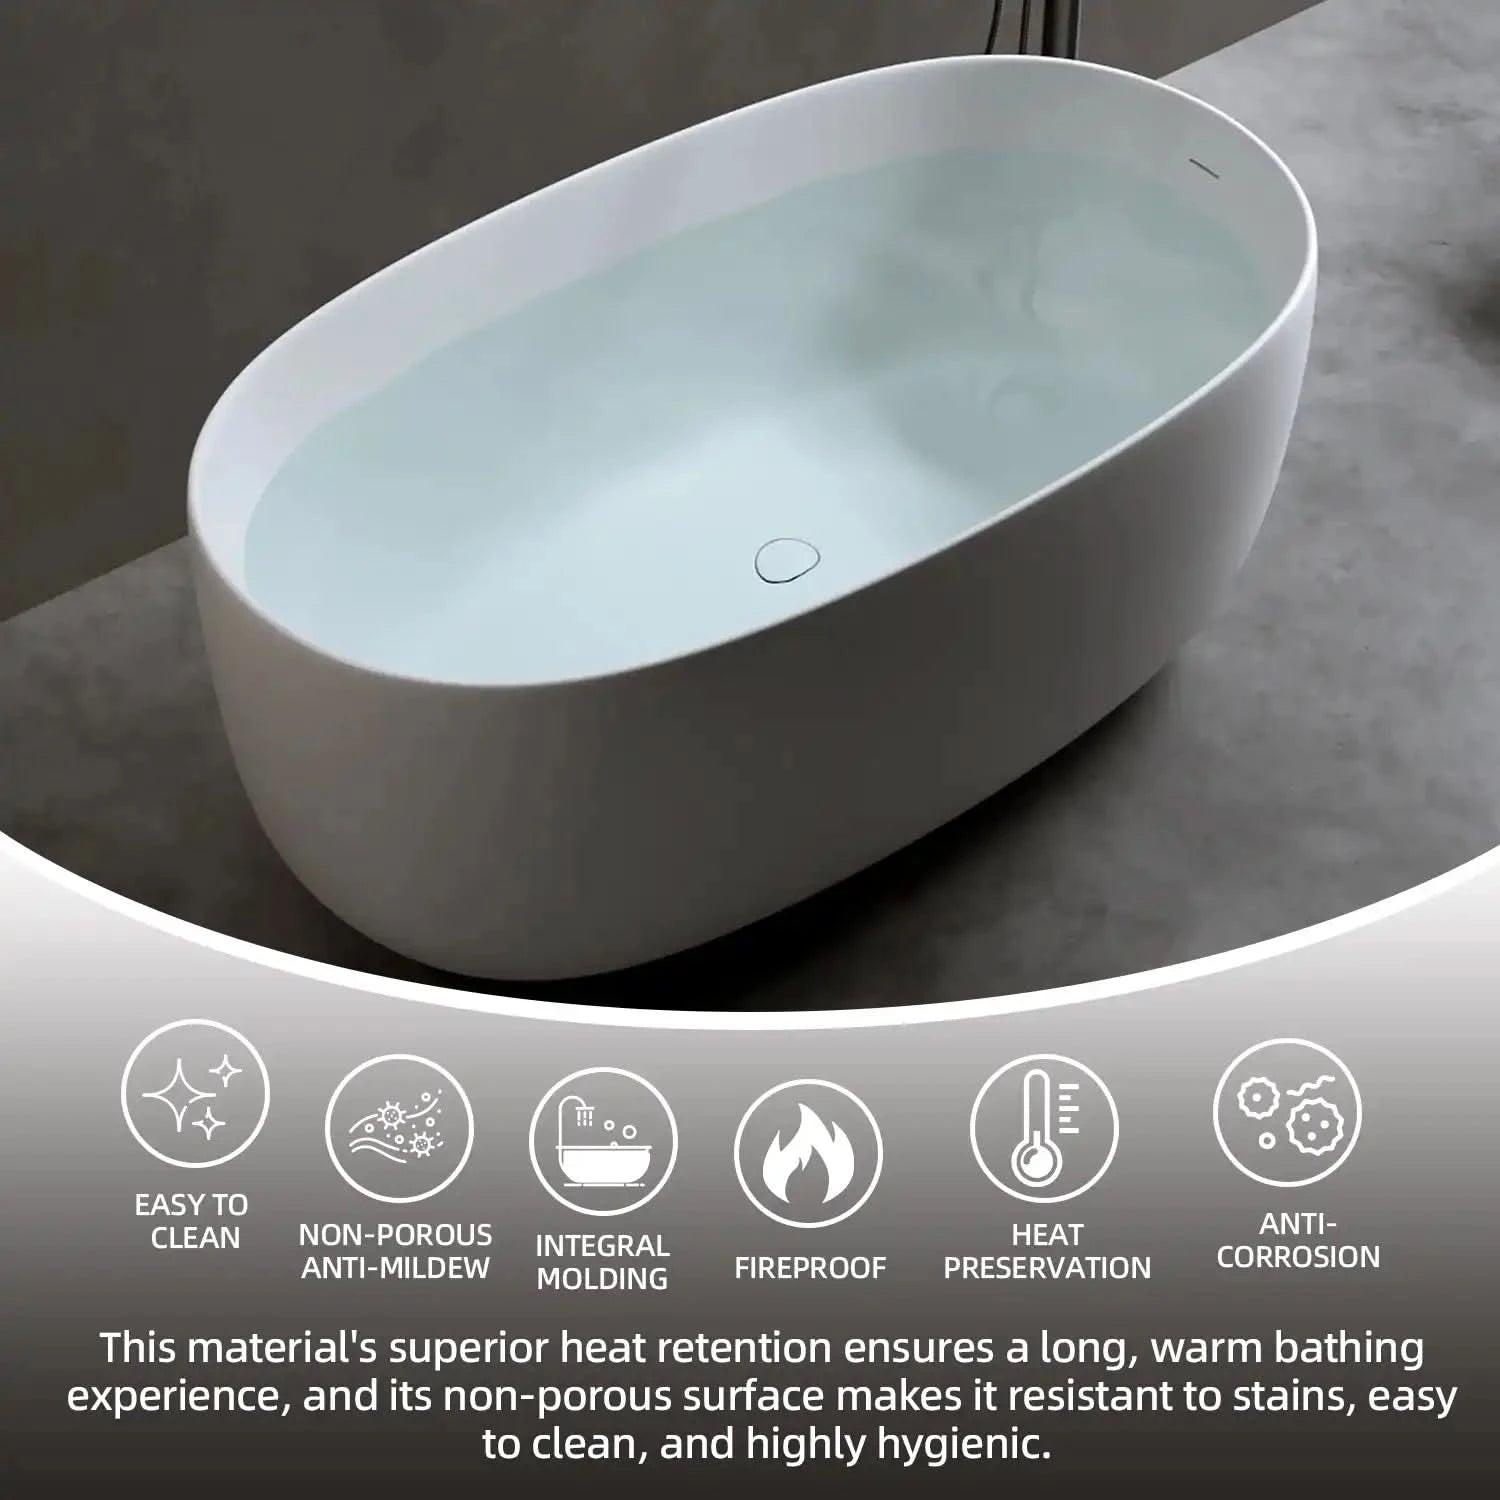
- Upgrade Materials: Older bathtubs often feature materials prone to wear and tear. Modern tubs use durable options like acrylic or fiberglass, which resist staining and chipping.
- Energy Efficiency: A new bathtub with advanced water-saving features can reduce water wastage without compromising the bathing experience.
Reader Takeaway: Beyond aesthetics, a new bathtub ensures your bathroom operates more efficiently and saves on long-term maintenance costs.
What Makes "Bathtub Installation" a Popular Search?
You also asked whether "bathtub installation" aligns with user intent. Let’s dive into why this keyword is valuable and what people are truly searching for:
What Users Really Want to Know:
- Step-by-Step Installation Guides: People searching for "bathtub installation" are often DIY enthusiasts or homeowners trying to understand if they can install a bathtub themselves.
- Cost Considerations: Users want to know the total cost of installing a bathtub, including labor, materials, and tools.
- Types of Bathtubs and Suitability: Many are exploring whether freestanding or built-in tubs are the right choice for their bathroom size and plumbing setup.
- Troubleshooting and Maintenance: Users might be looking for advice on removing old tubs, resolving common installation issues, or maintaining their new tub.
Why They Might Be Installing a New Bathtub:
- Renovation Projects: A bathroom renovation often includes upgrading the bathtub to match a new style.
- Replacing Damaged Fixtures: Cracked or inefficient tubs need replacement for safety and functionality.
- Upgrading Comfort: Freestanding tubs and soaking models are increasingly popular for homeowners seeking relaxation.
- Improving Plumbing Efficiency: Modern bathtubs often feature updated designs that prevent leaks and improve water flow.
By answering these queries thoroughly and clearly in your content, your article aligns with user intent and increases its value in search results.
Revised Segment Summary
The updated section goes beyond listing benefits by:
- Providing Real-Life Scenarios: It helps readers connect their needs (e.g., relaxation, home value) with the benefits of a new bathtub.
- Tapping into User Intent: It addresses the “why” behind common searches related to bathtubs and installation.
- Connecting Features to Benefits: Instead of merely stating features (like “deeper water”), the content explains how they improve user experience.
With these changes, the content can now effectively rank for "bathtub installation" while genuinely addressing user needs.
Essential Tools and Materials for Bathtub Installation
Before starting, gather these tools and materials to streamline the process.
Tools:
- Adjustable wrench
- Pipe wrench
- Power drill
- Caulking gun
- Level
- Utility knife
- Safety goggles and gloves
Materials:
- New bathtub (freestanding or built-in)
- Drain assembly kit
- Plumber’s putty
- Silicone caulk
- Plumbing pipes and fittings
Step-by-Step Guide to Install a Bathtub
Step 1: Measure Your Space and Choose the Right Bathtub
Accurate measurements ensure the bathtub fits perfectly in your bathroom. For freestanding tubs like the LY Seamless Soaking Tub, ensure sufficient space for both the tub and plumbing.
Tips:
- Consider your bathroom layout and plumbing position.
- Choose a tub style that complements your space: Freestanding for luxury, built-in for compact areas.
Step 2: Remove the Old Bathtub
Removing an old bathtub requires care to avoid damaging surrounding fixtures.
- Turn off water supply and drain pipes.
- Cut and remove caulking with a utility knife.
- Disconnect plumbing and lift out the tub (ask for assistance if it’s heavy).
Step 3: Prepare the Installation Area
Inspect and repair the subfloor and walls if necessary. Clean the area thoroughly to ensure the new tub sits evenly.
Expert Tip: Reinforce the floor if you're installing a heavy tub like cast iron or stone models.
Step 4: Install the New Bathtub
For Built-In Bathtubs:
- Position the tub in place and secure it to wall studs.
- Connect the drain and overflow pipes using plumber’s tape for a watertight seal.
- Apply mortar underneath for added stability, if needed.
- Seal edges with silicone caulk.
For Freestanding Bathtubs:
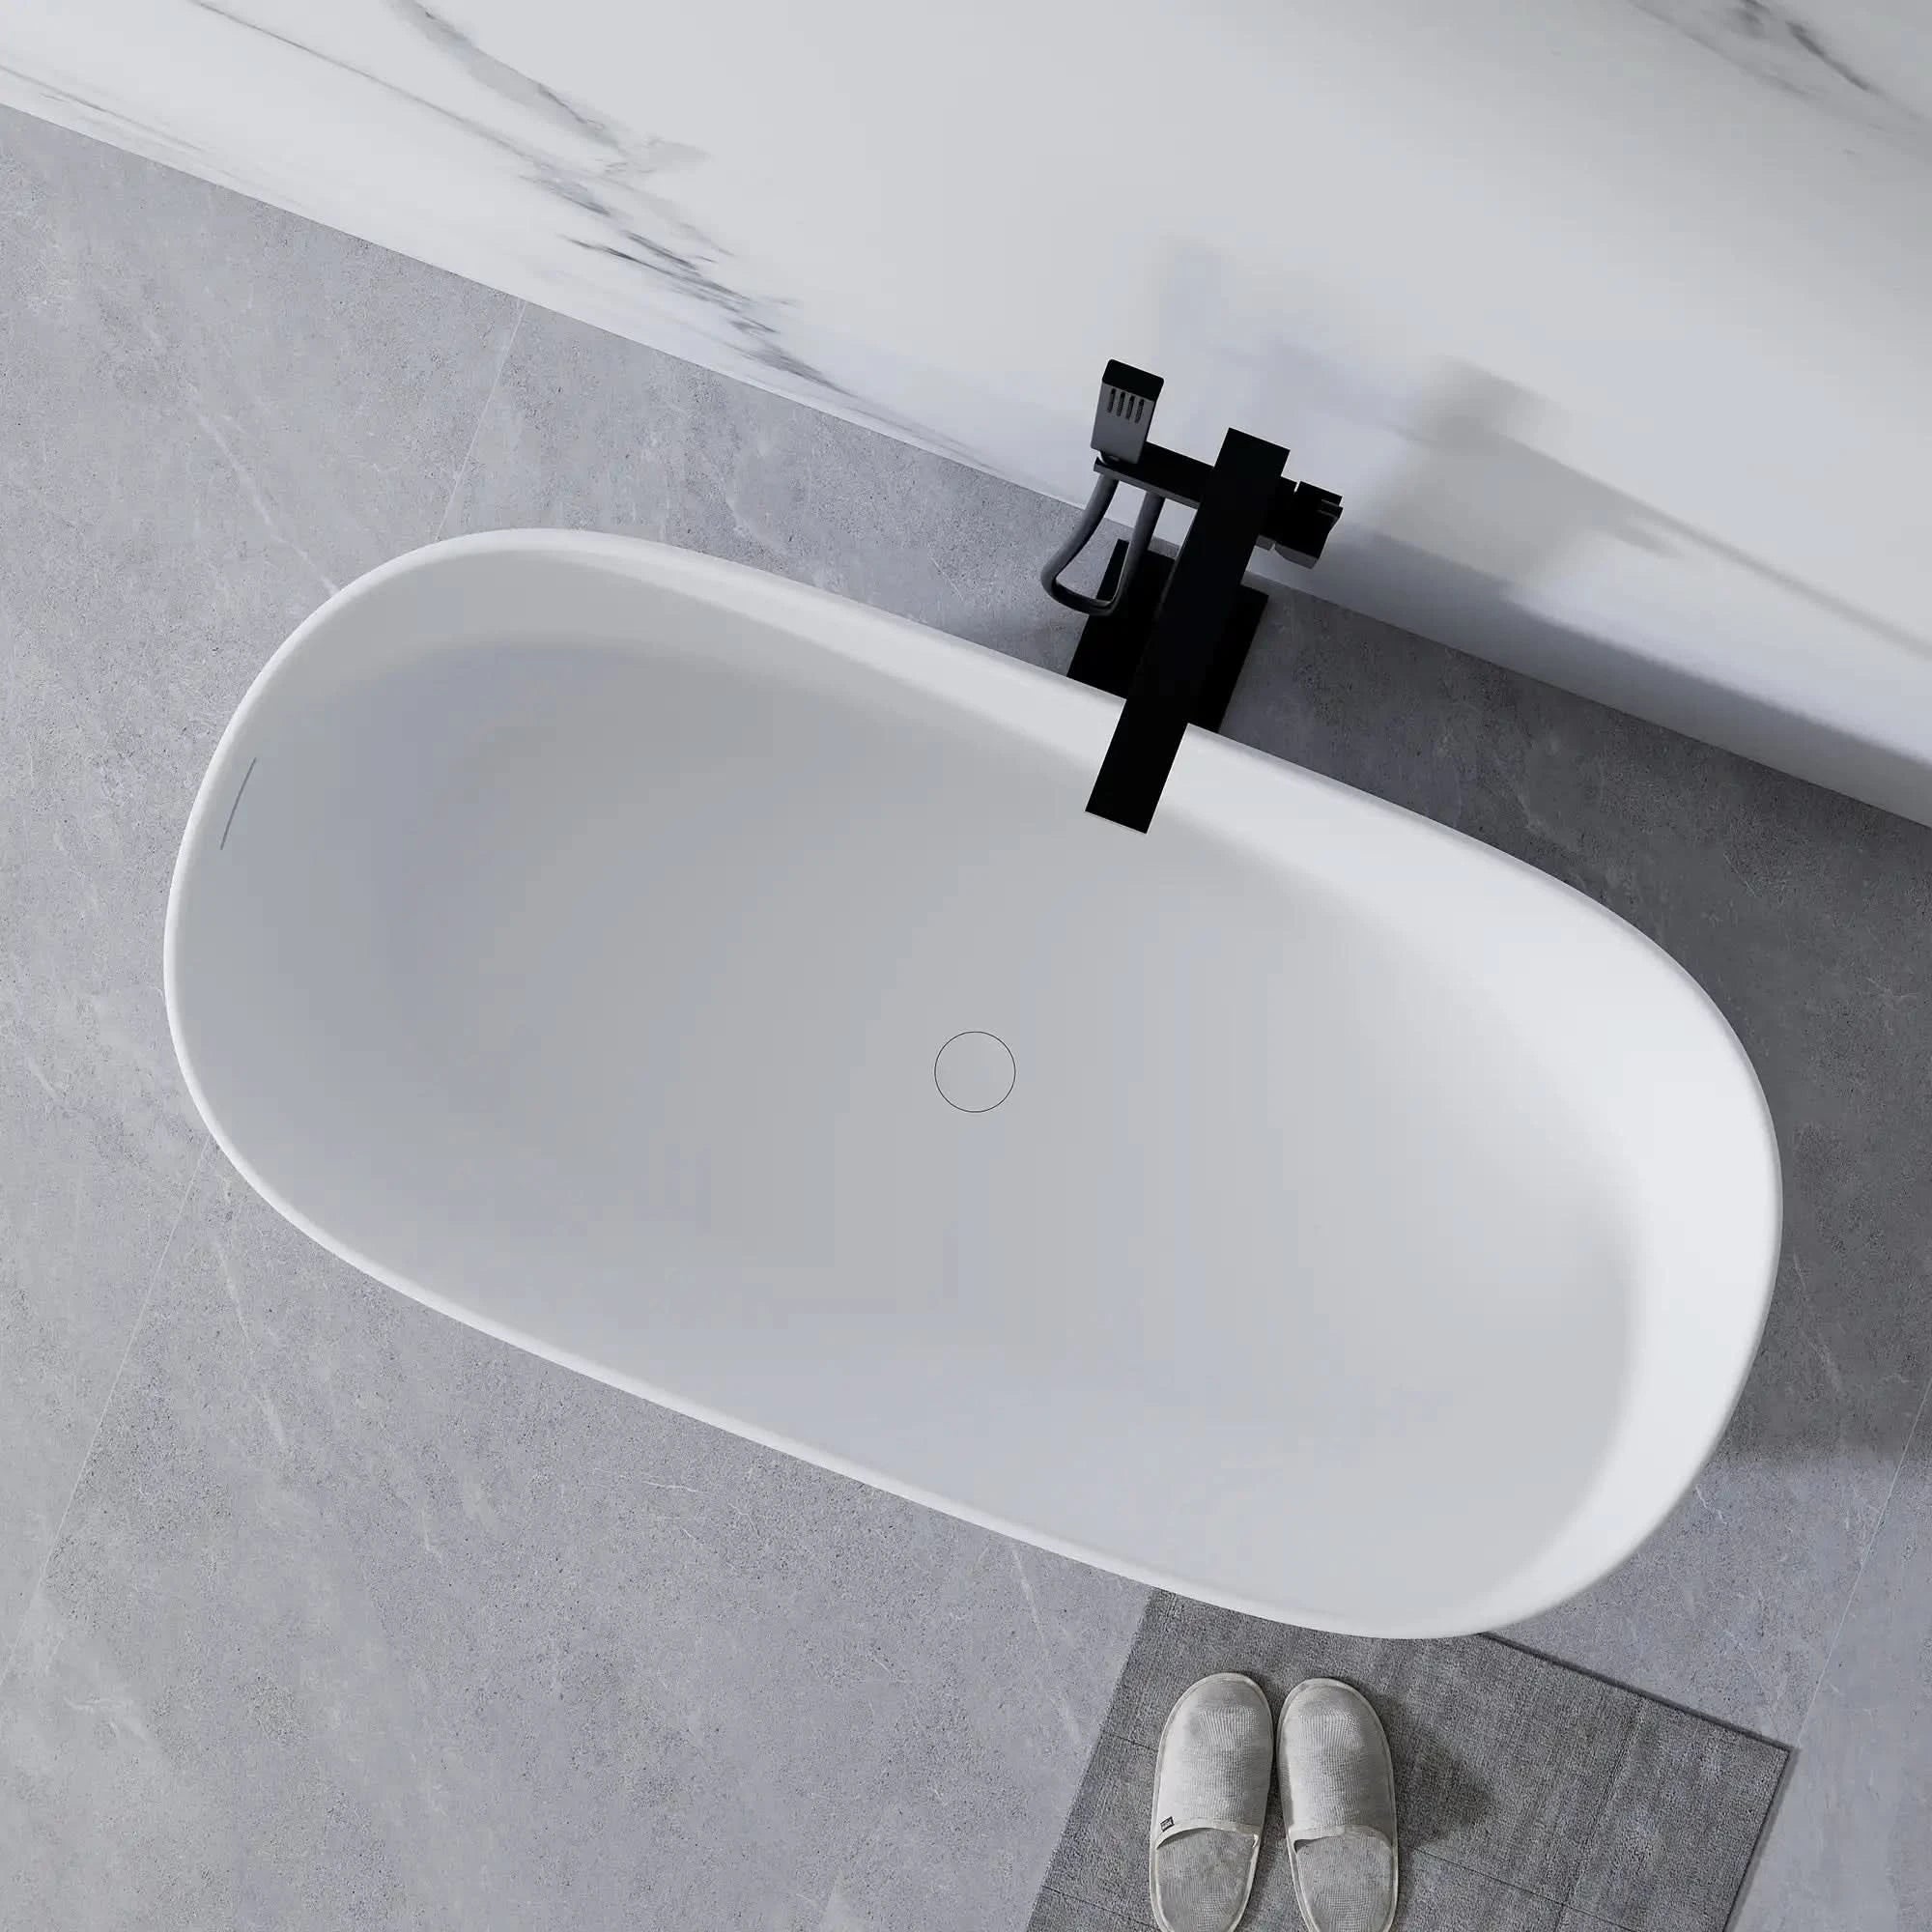
- Place the tub in your desired location, ensuring proper alignment with the plumbing.
- Connect the exposed drain pipes.
- Adjust the tub’s feet to level it perfectly.
- Test for leaks by filling the tub and observing all connections.
Step 5: Add Finishing Touches
Install faucets, clean the area, and apply final caulking where needed.
Expert Tips for a Seamless Installation
- Plan Ahead: If you’re unsure about plumbing adjustments, consult a professional plumber to avoid costly mistakes.
- Use Quality Materials: Investing in premium components ensures a longer-lasting installation.
- Test Before Finishing: Always test for leaks before sealing the connections.
FAQ Section
Q1: How long does it take to install a bathtub?
A: Most installations take 4–6 hours, depending on complexity.
Q2: Do I need to hire a professional?
A: DIY installations are possible for experienced individuals. However, hire a plumber for complex installations.
Q3: What’s the difference between freestanding and built-in tubs?
A: Freestanding tubs offer flexibility in placement, while built-in tubs are secured against walls, saving space.
Conclusion
Installing a bathtub doesn’t have to be a daunting task. With the right tools, preparation, and guidance, you can achieve a stunning bathroom upgrade. Whether you opt for a freestanding tub like the LY Curved Freestanding Soaking Tub or a space-saving built-in model, following this step-by-step guide will ensure a smooth installation process.
Remember to maintain your new tub with regular cleaning and inspections to keep it looking and functioning like new for years to come.
