


Table of Contents
- 1. What Is a Shower Conversion Kit and Why Upgrade?
- 2. 4 Key Factors to Consider Before Installation
- 3. How to Install a Shower Conversion Kit Step-by-Step?
- 4. Shower Conversion Kit Benefits for Different Households
- 5. Choosing the Right Shower Conversion Kit for Your Style
- 6. Conclusion
- 7. FAQ
- 8. Related Articles
Introduction
In American home renovations, a recurring "cognitive gap" is that when choosing an independent bathtub during the renovation, it is only after moving in that one realizes—taking a bath is a weekend treat, while showering is a daily necessity. But giving up the bathtub? That's such a pity. Demolishing and reinstalling a shower enclosure? The budget will be exceeded.
This is precisely when the shower conversion kit works its magic. As a tub-to-shower conversion solution that doesn't require structural alterations or wall demolition and is compatible with most bathtub types, the shower conversion kit effortlessly transforms the traditional soaking space into a modern shower area, meeting your dual demands for functionality and style.

1. What Is a Shower Conversion Kit and Why Upgrade?
A shower conversion kit is a set of functional upgrade components specifically designed for freestanding bathtubs (such as clawfoot tubs, slipper tubs, and freestanding tubs). Without the need to remove the bathtub or redo the pipelines, simply install it in place and you can enjoy a complete shower experience.
This type of bathtub retrofit kit is particularly suitable for mid-to-high-end families who are undergoing light bathroom renovations, optimizing space, or hoping to retain the experience of soaking in a bathtub.
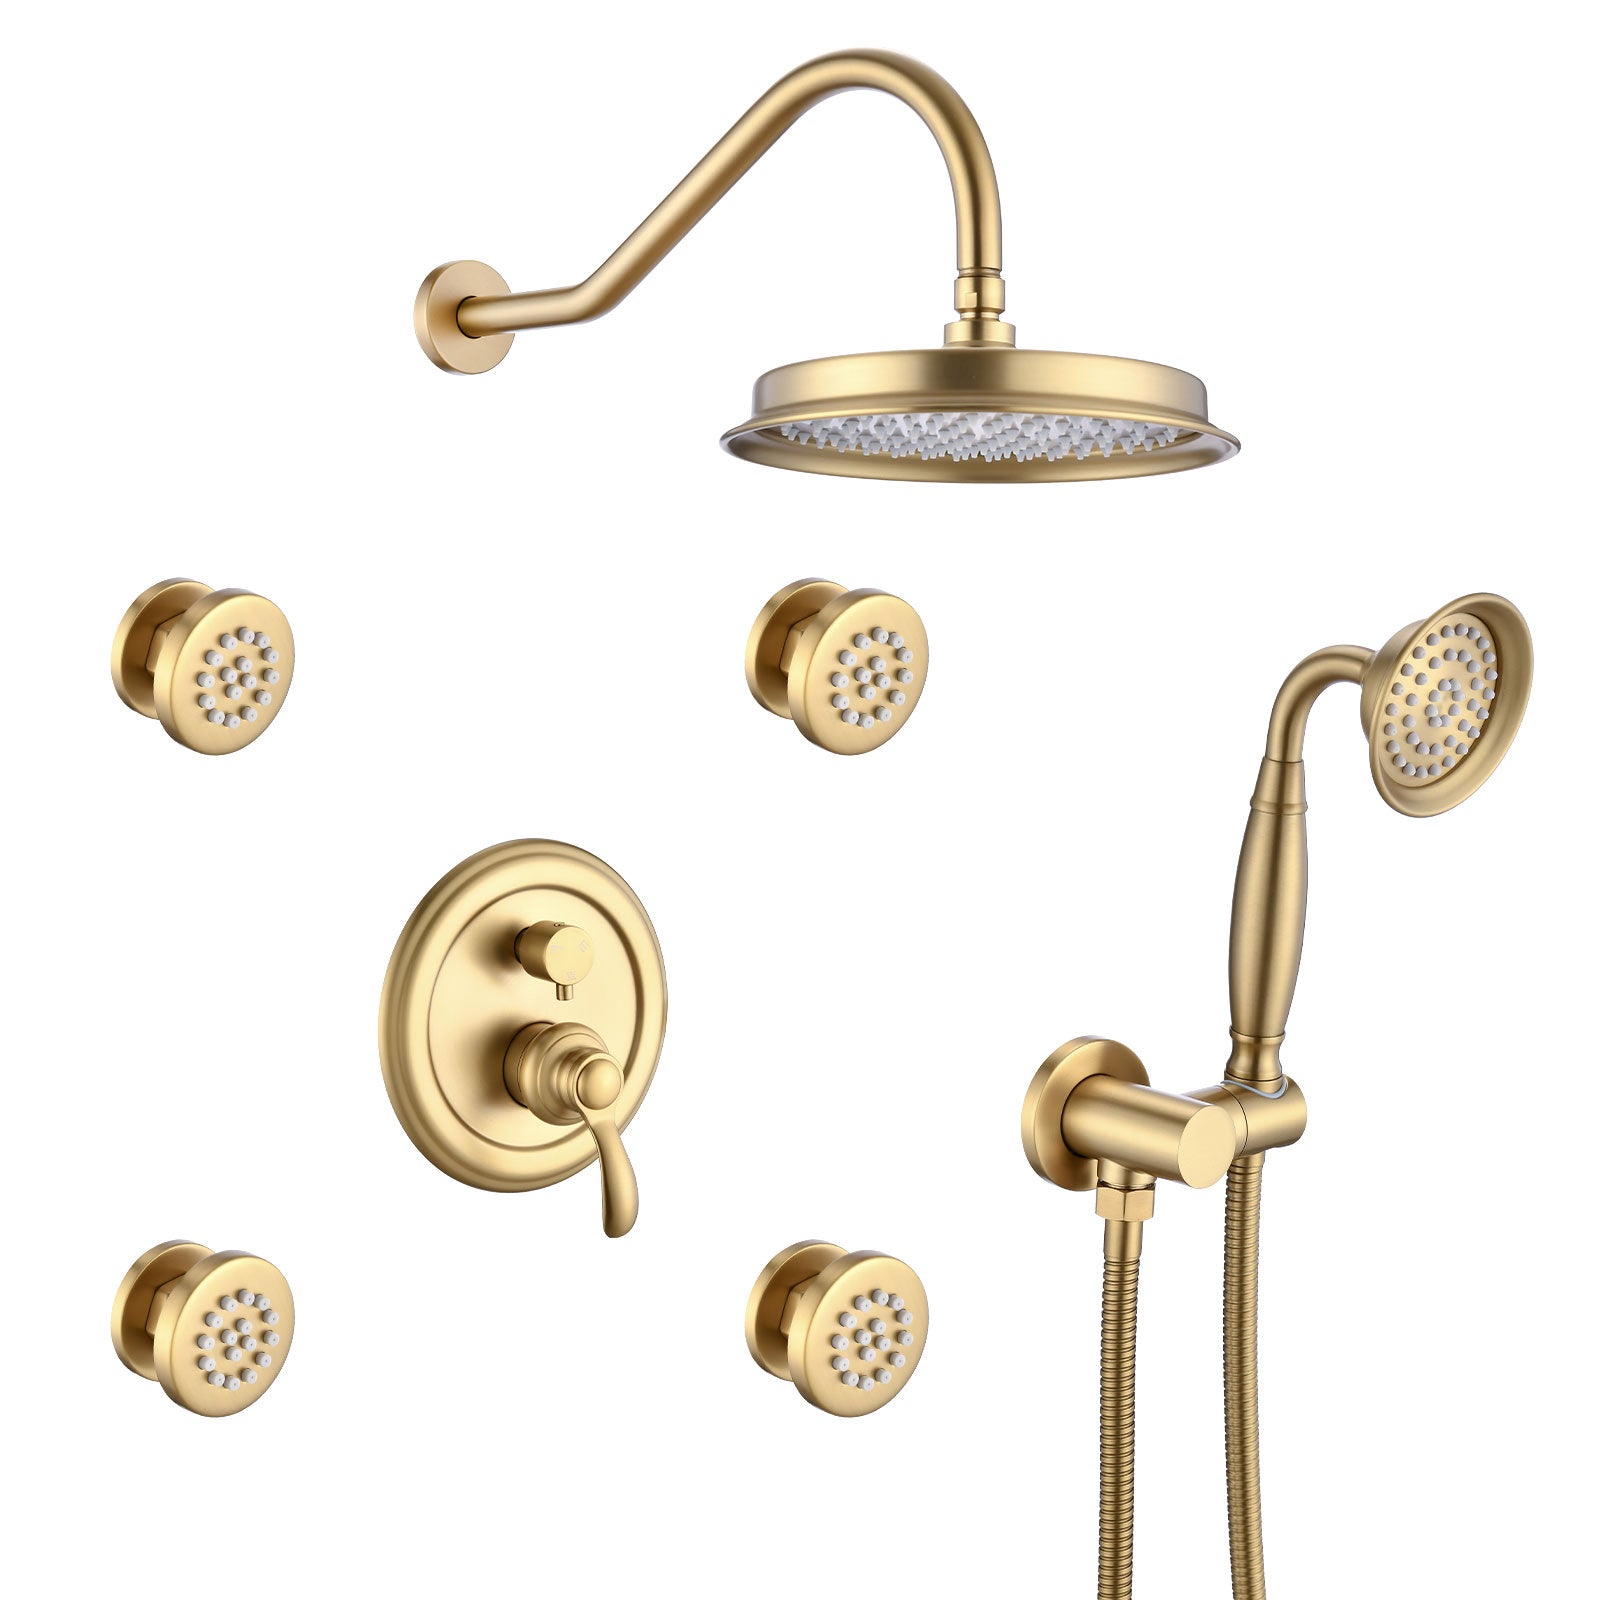
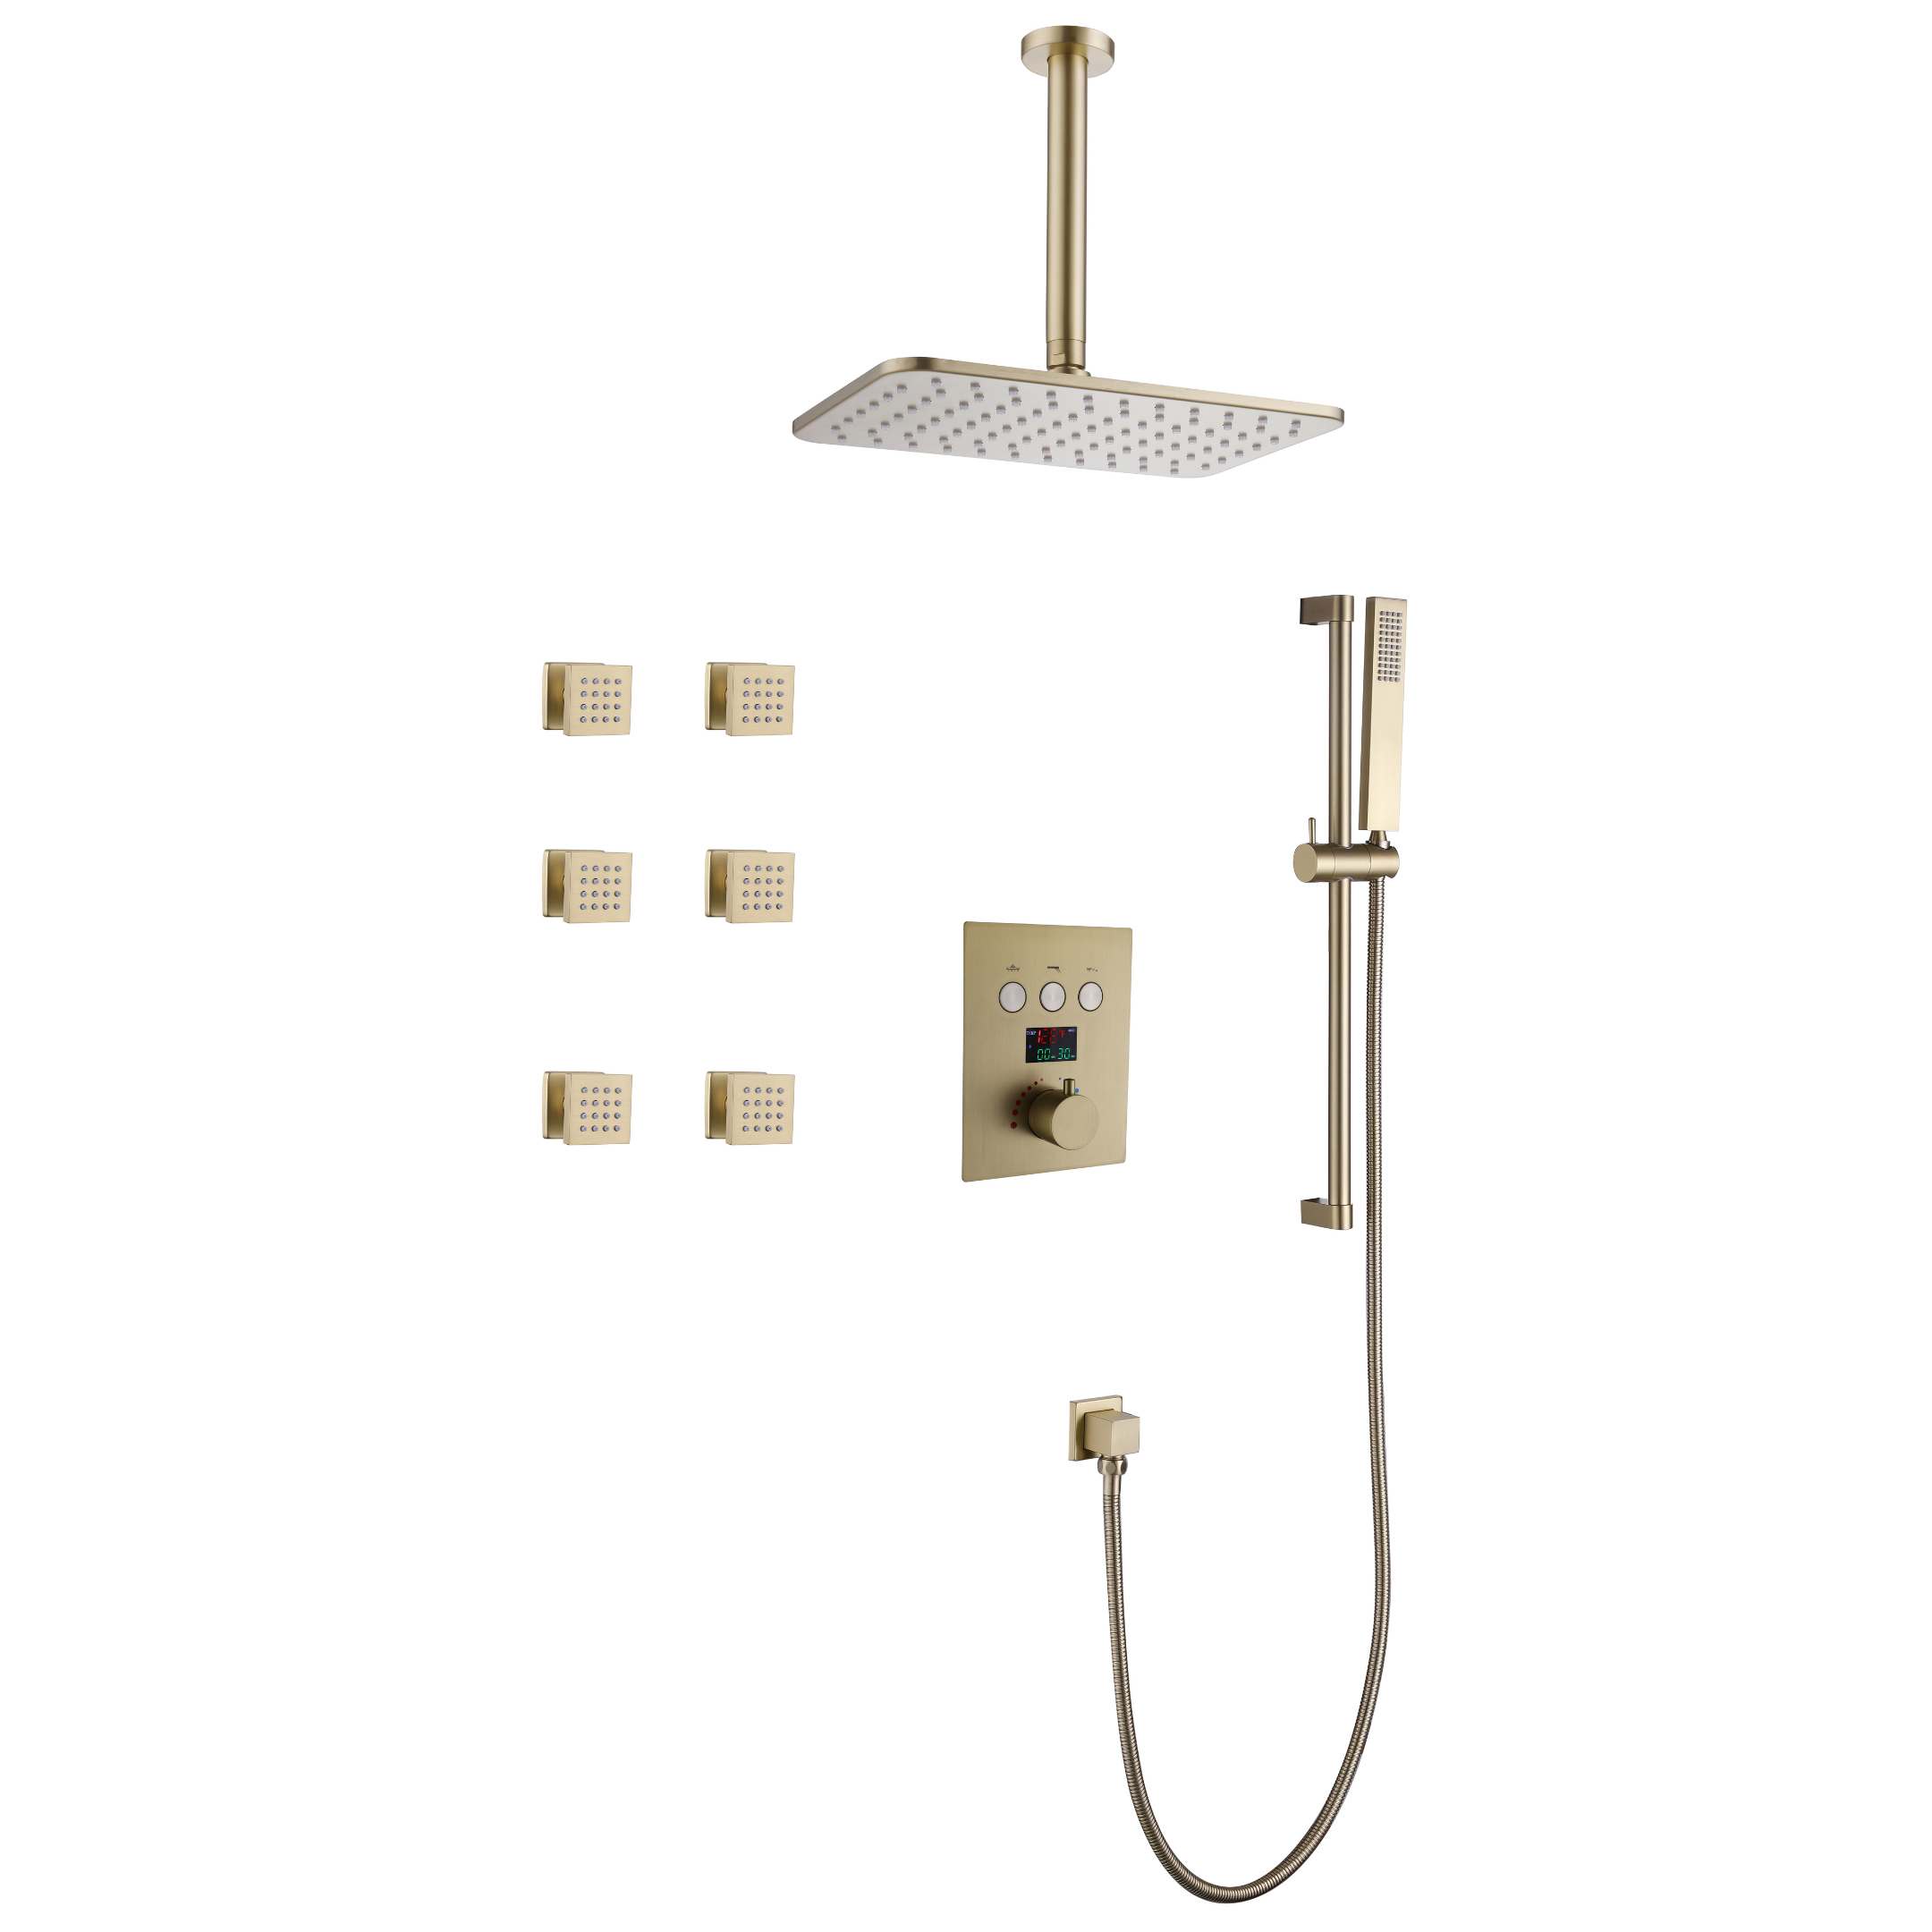
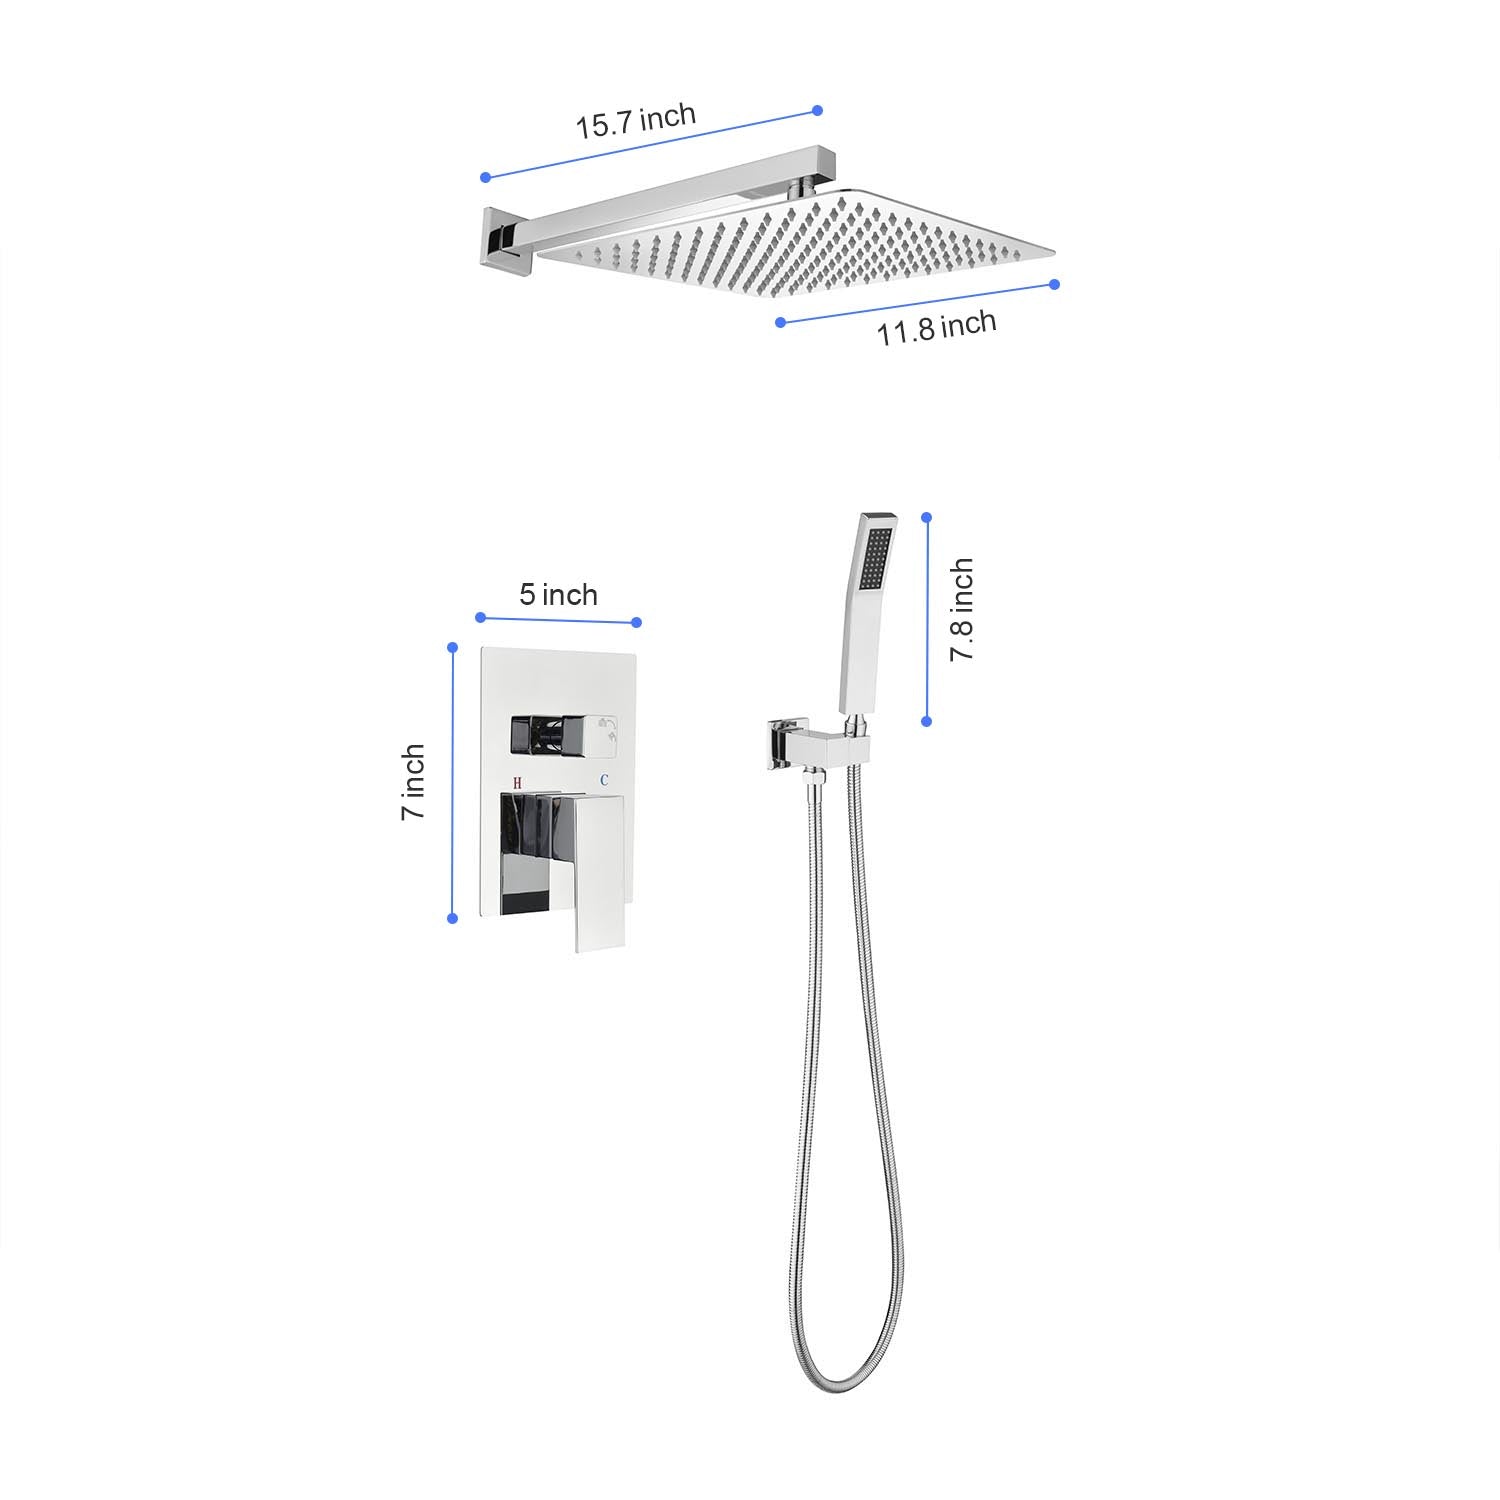
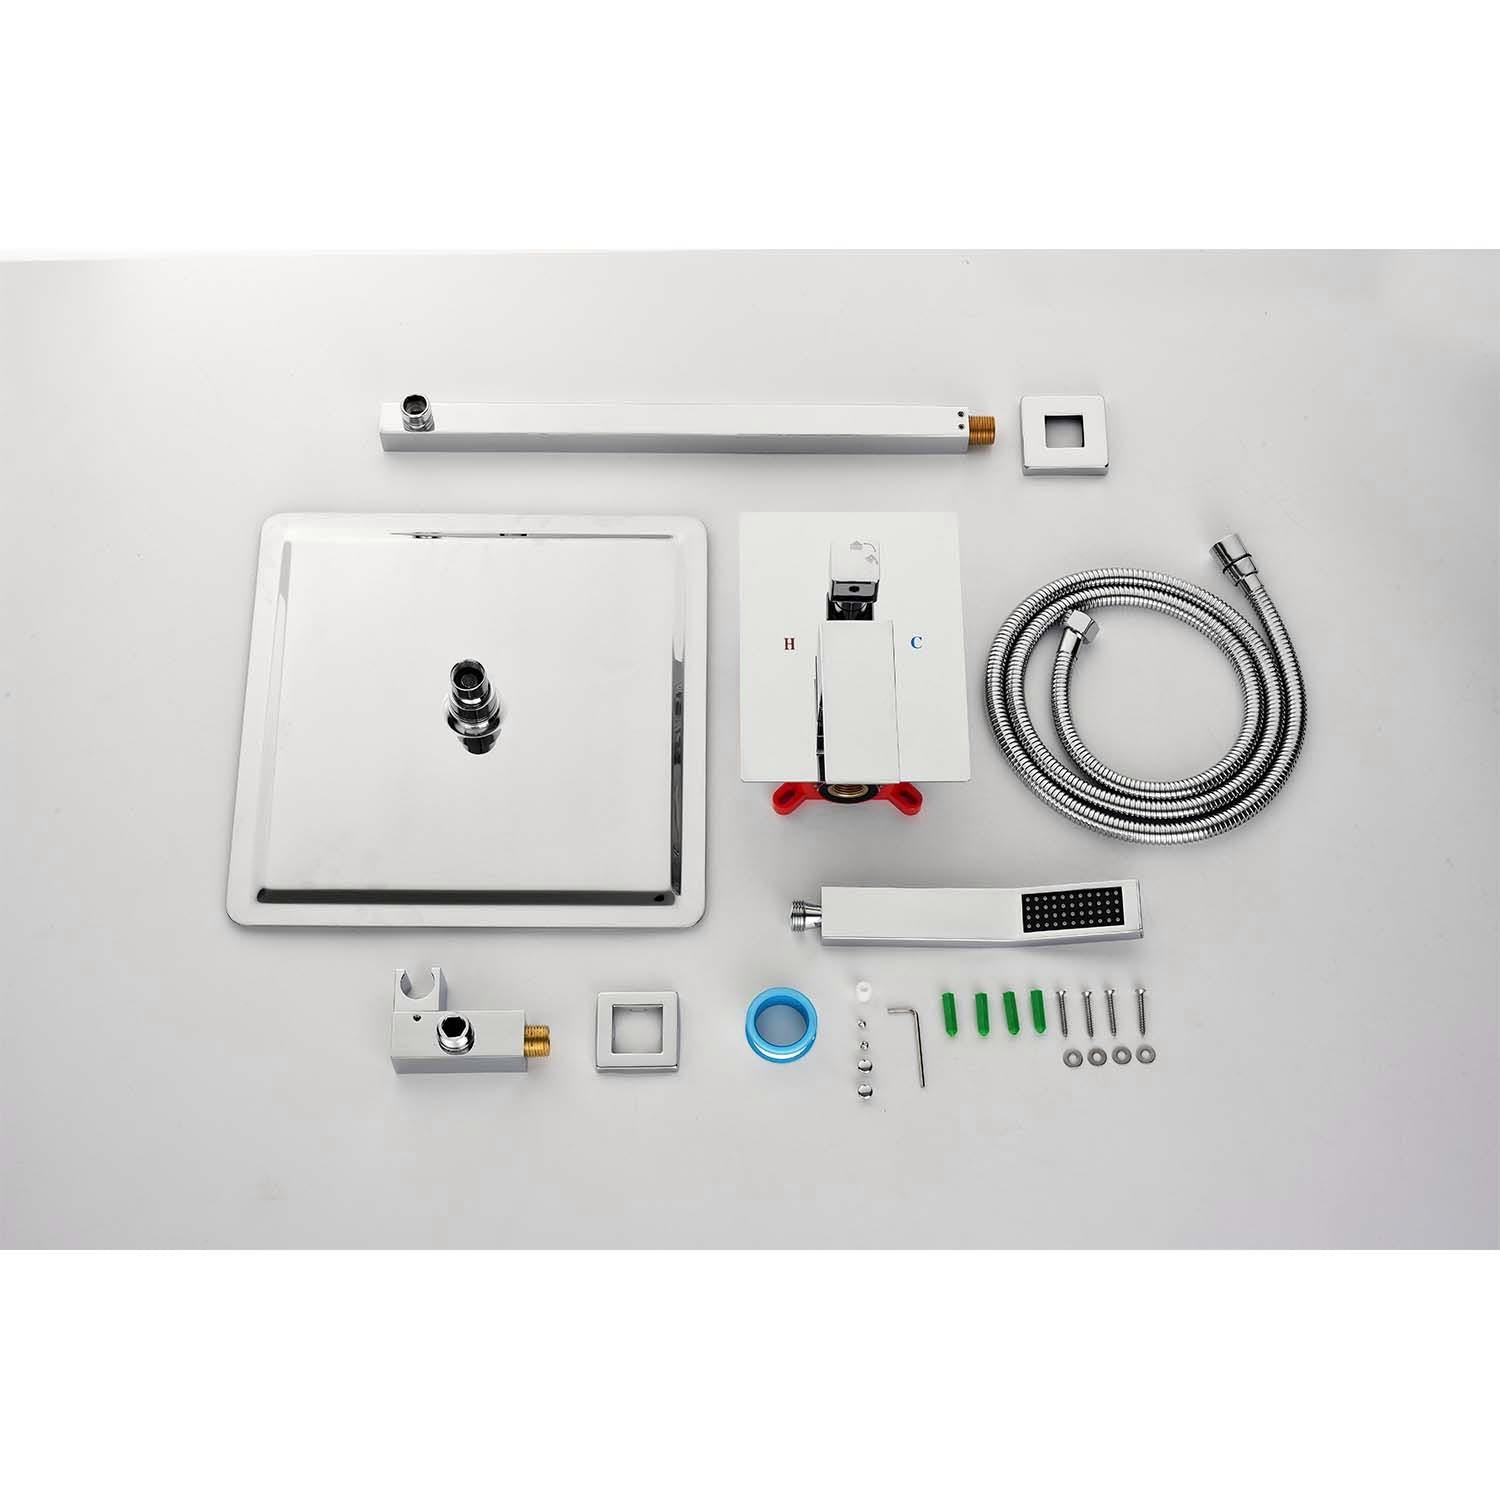
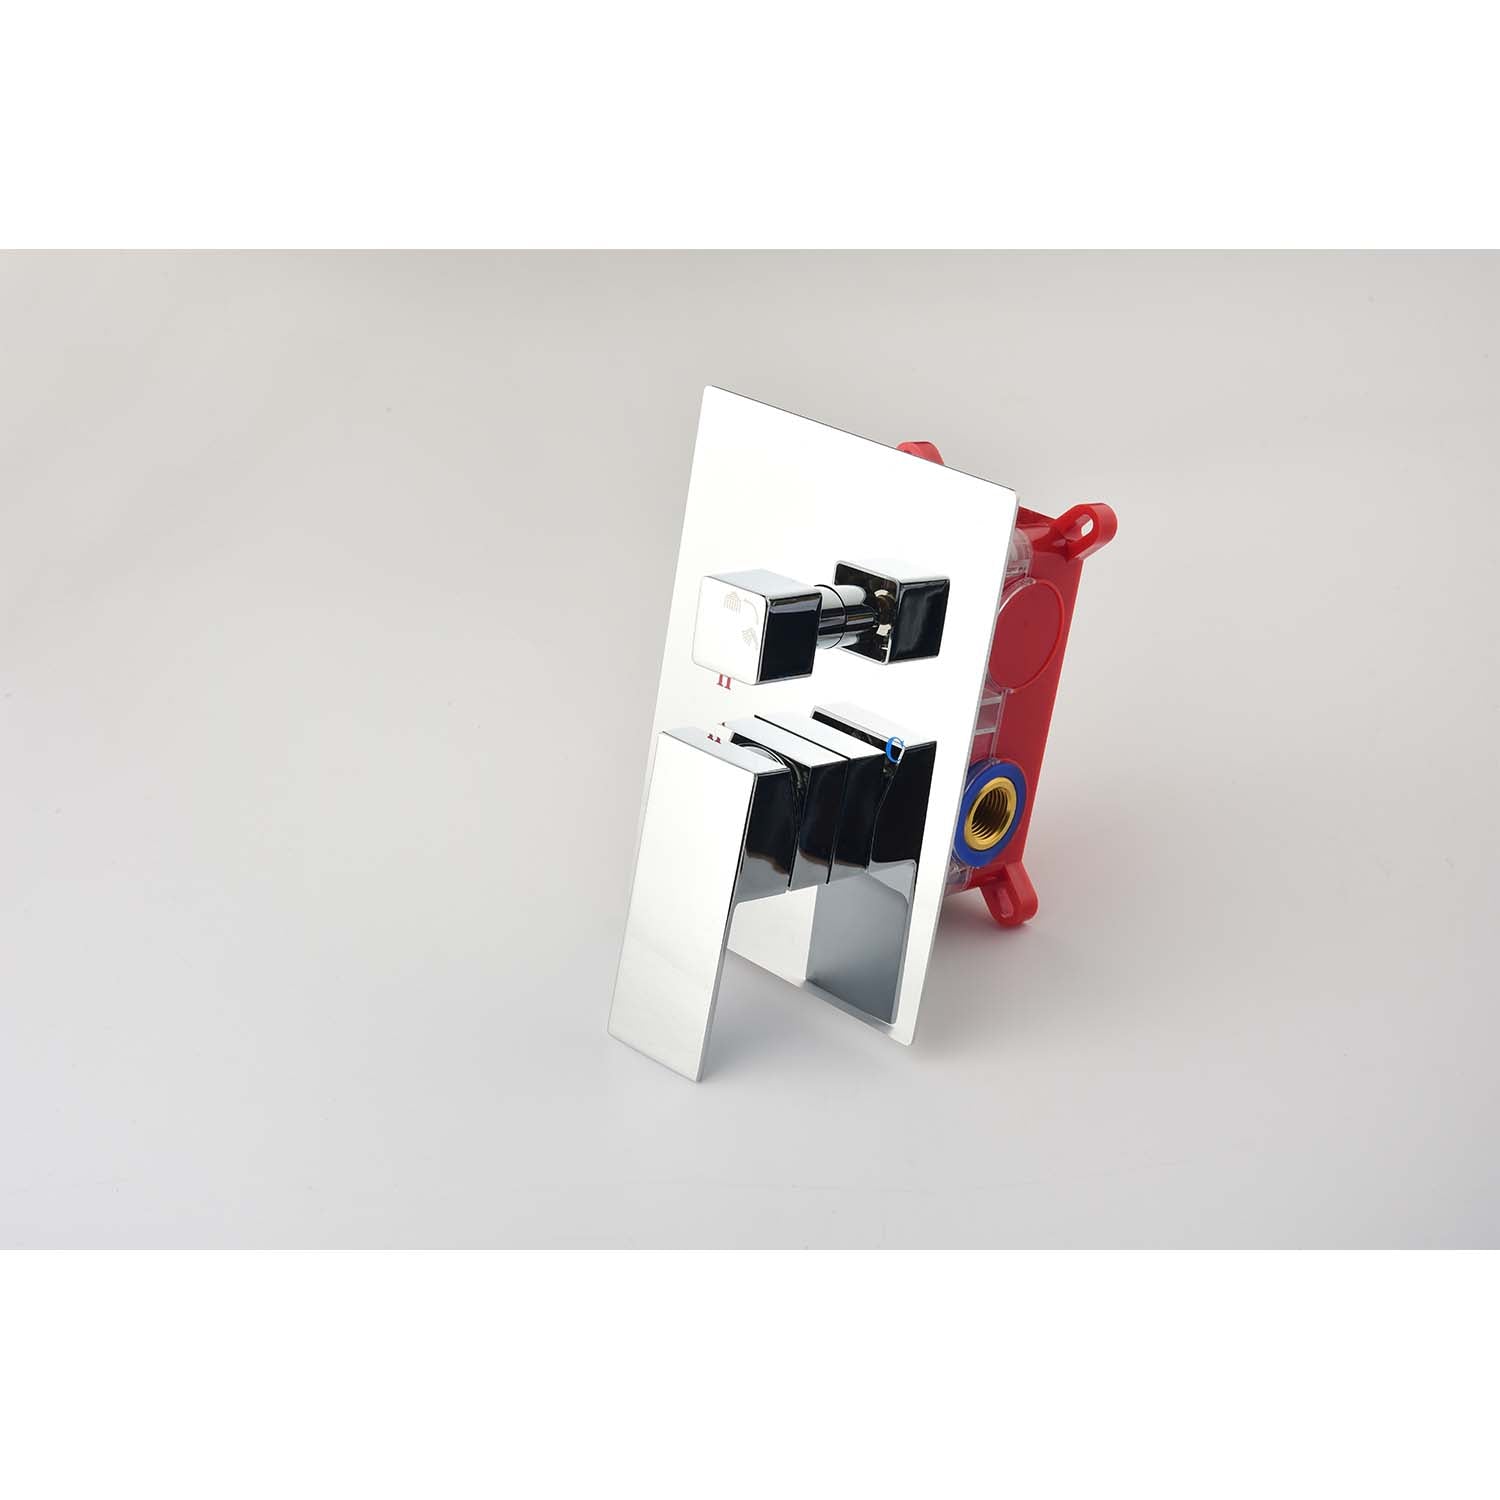
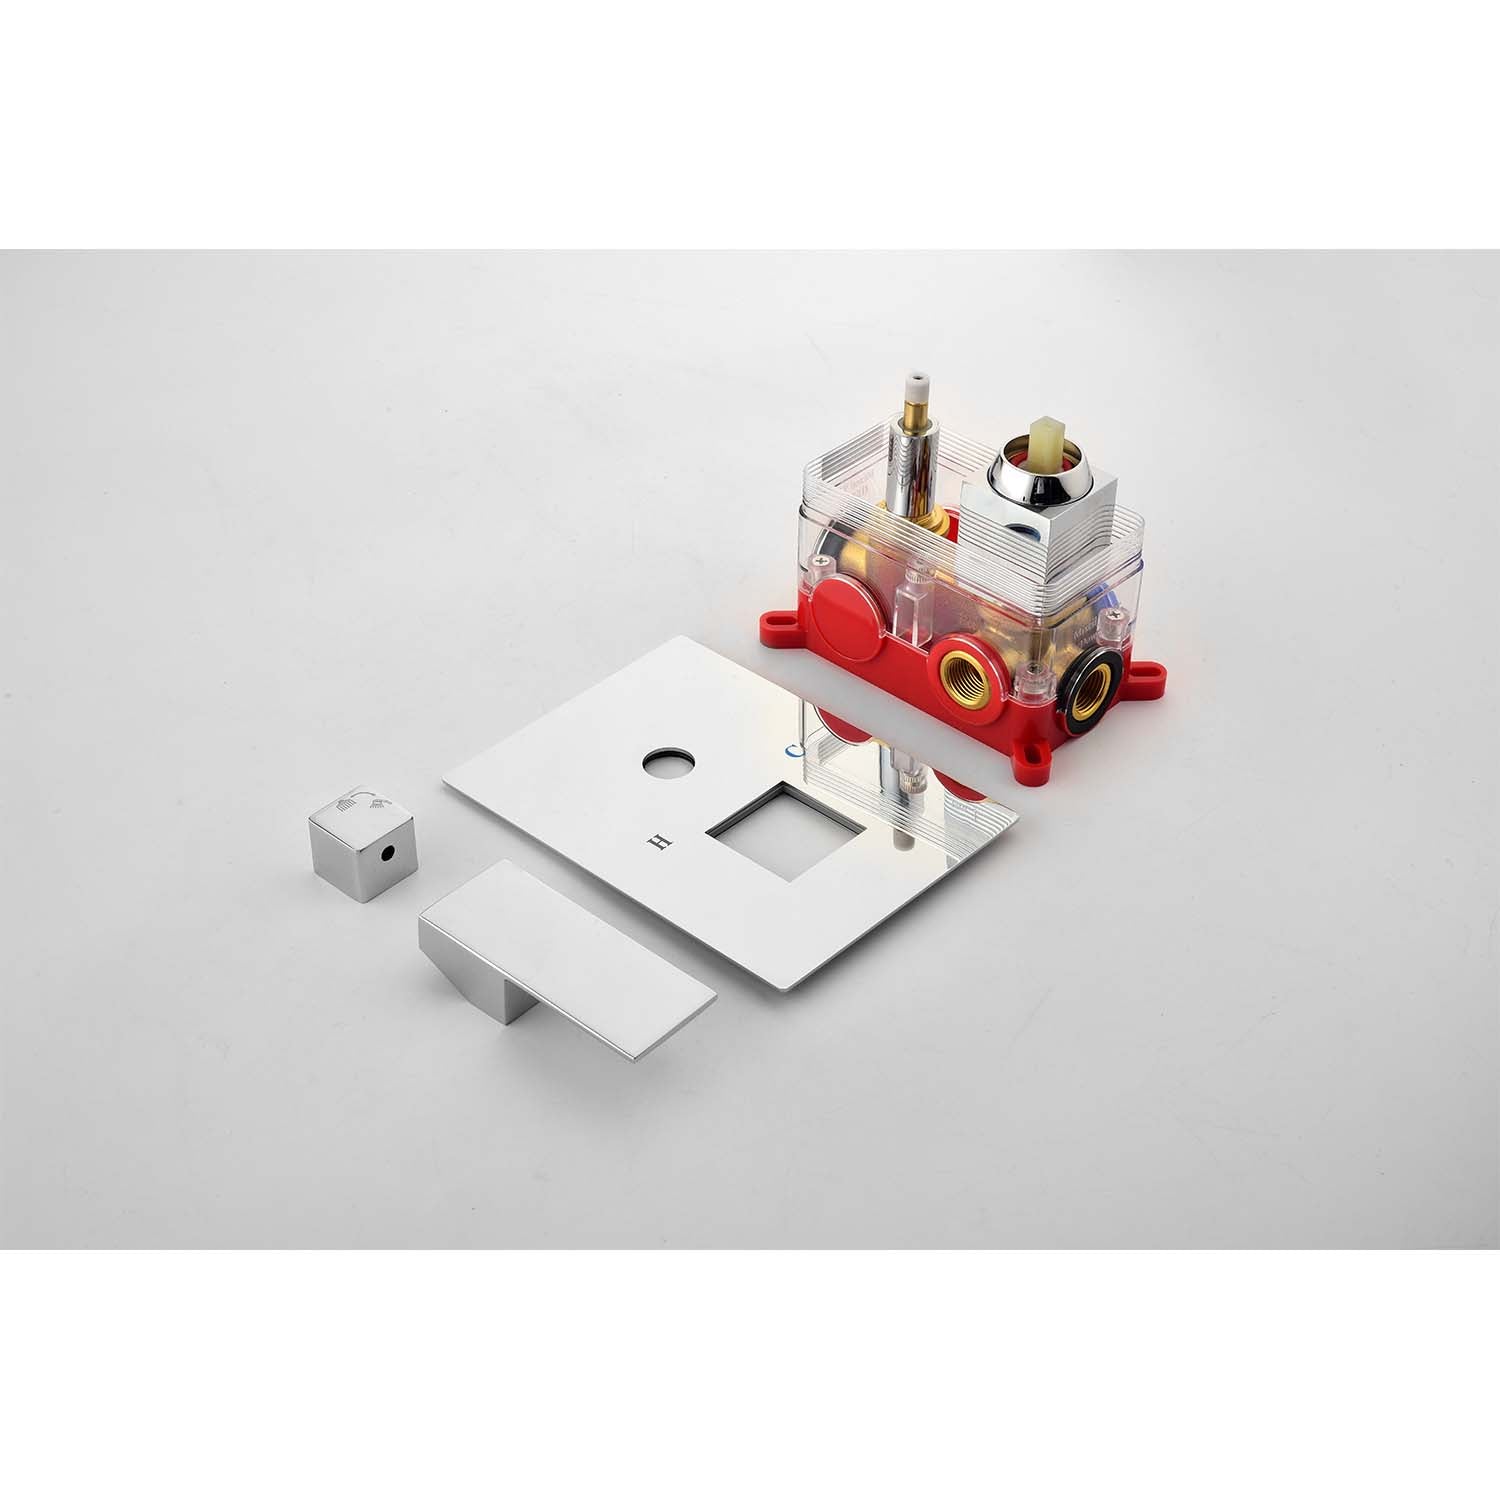
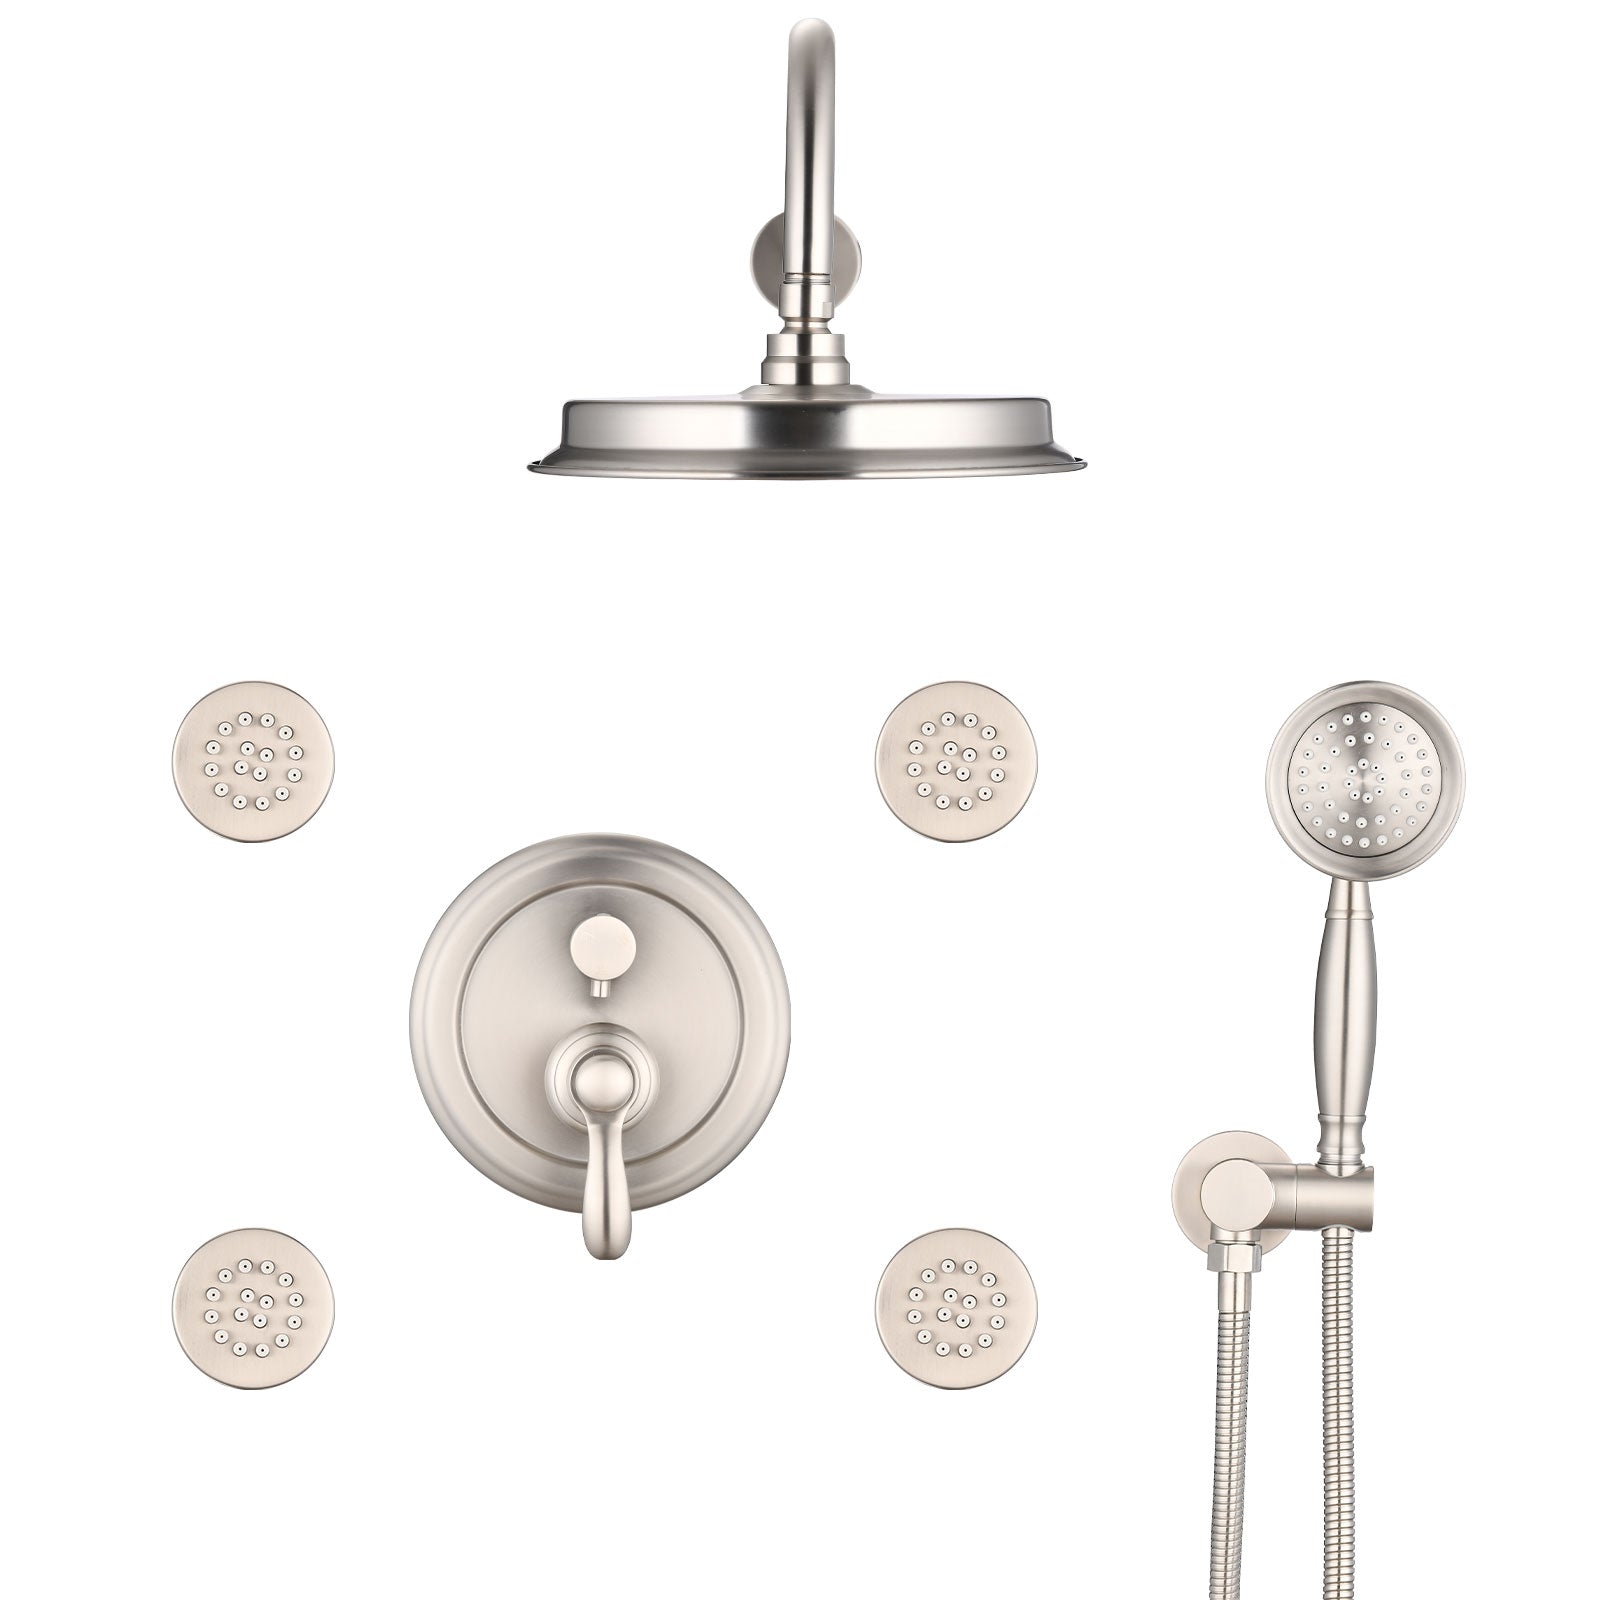
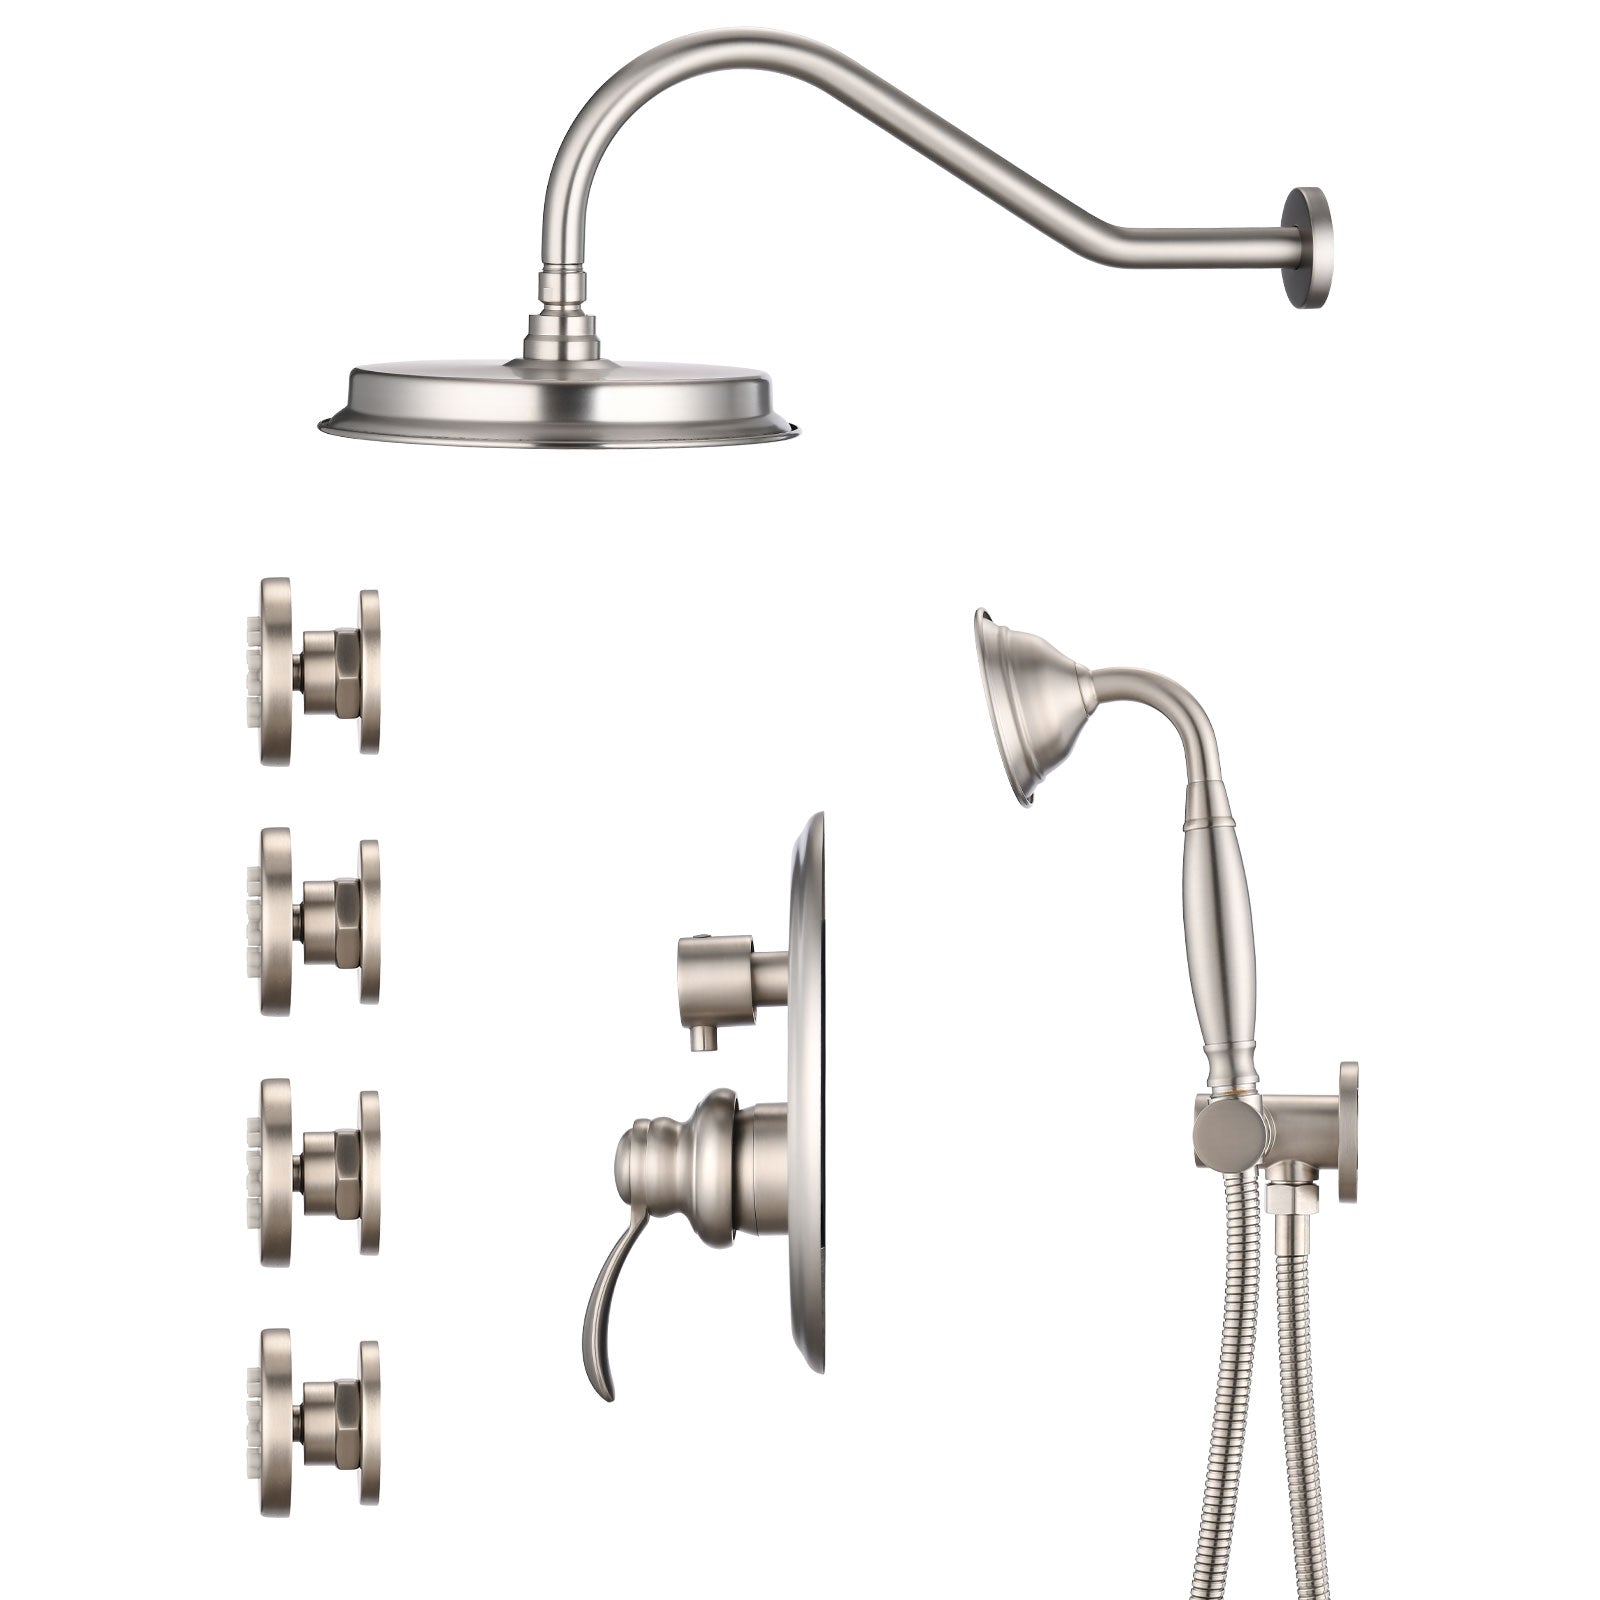
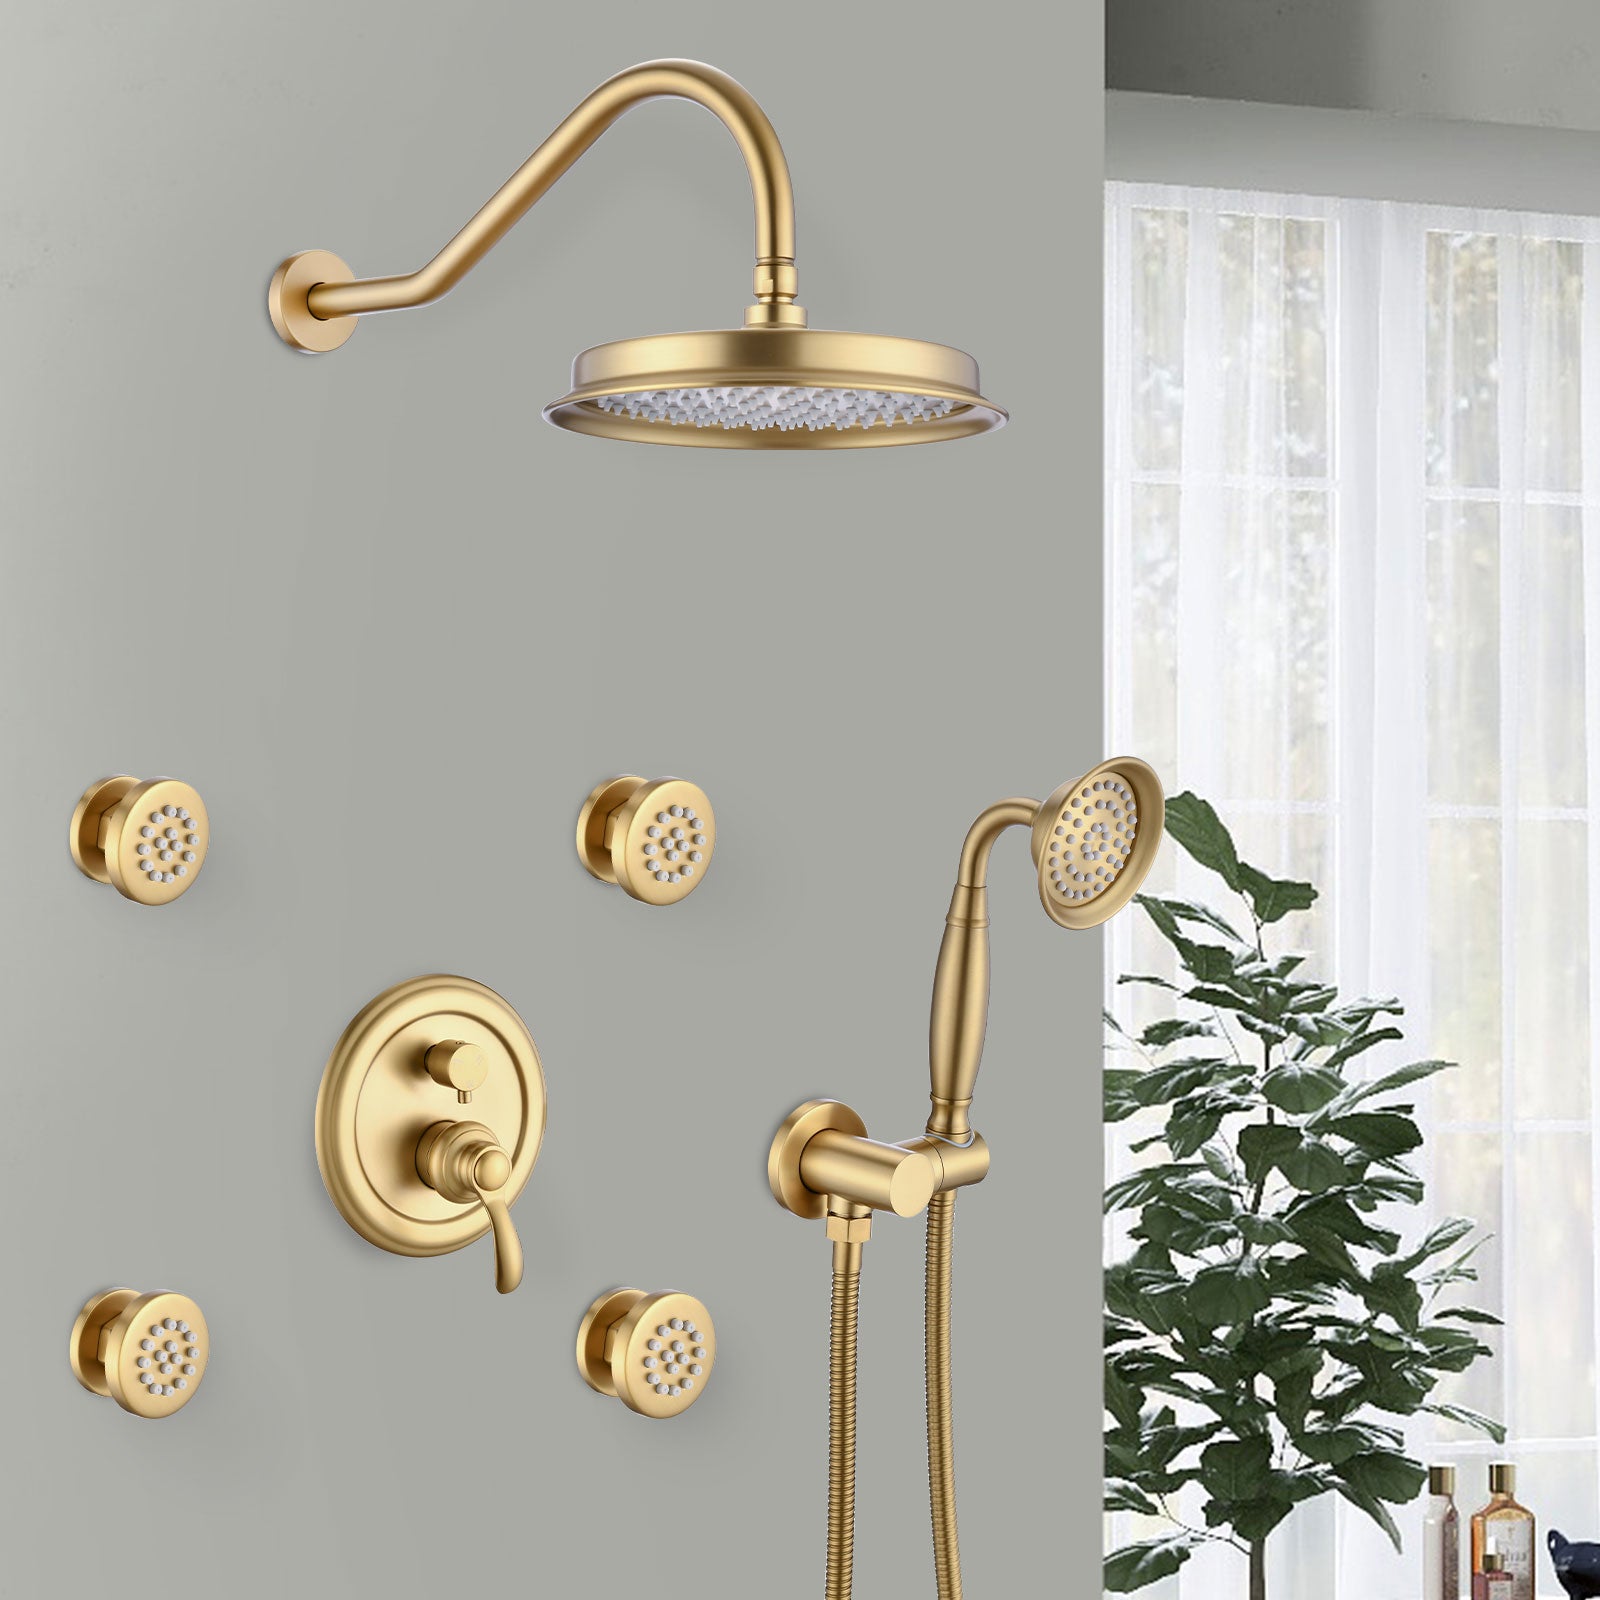
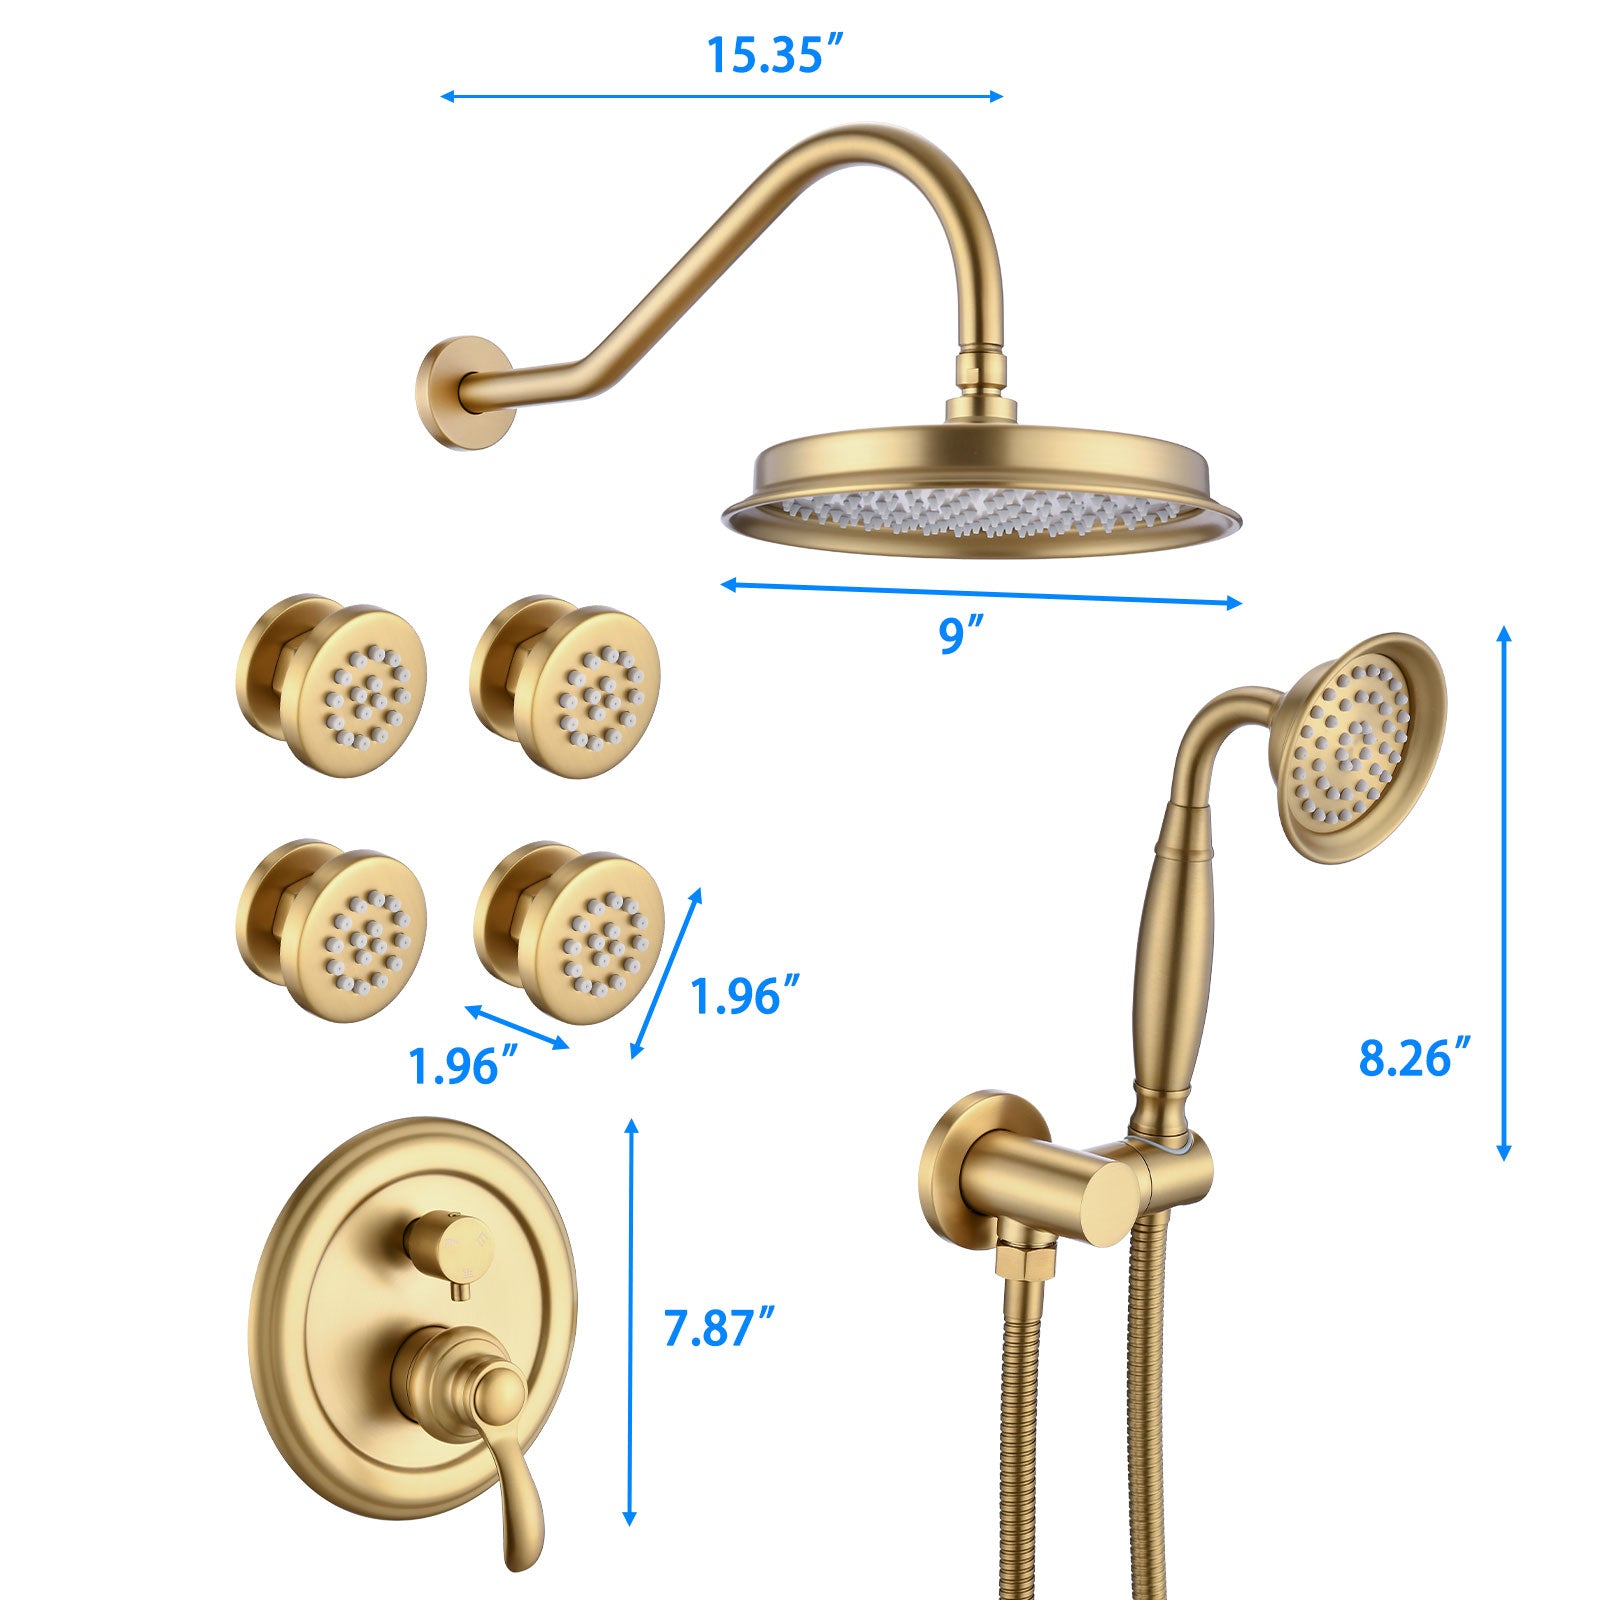
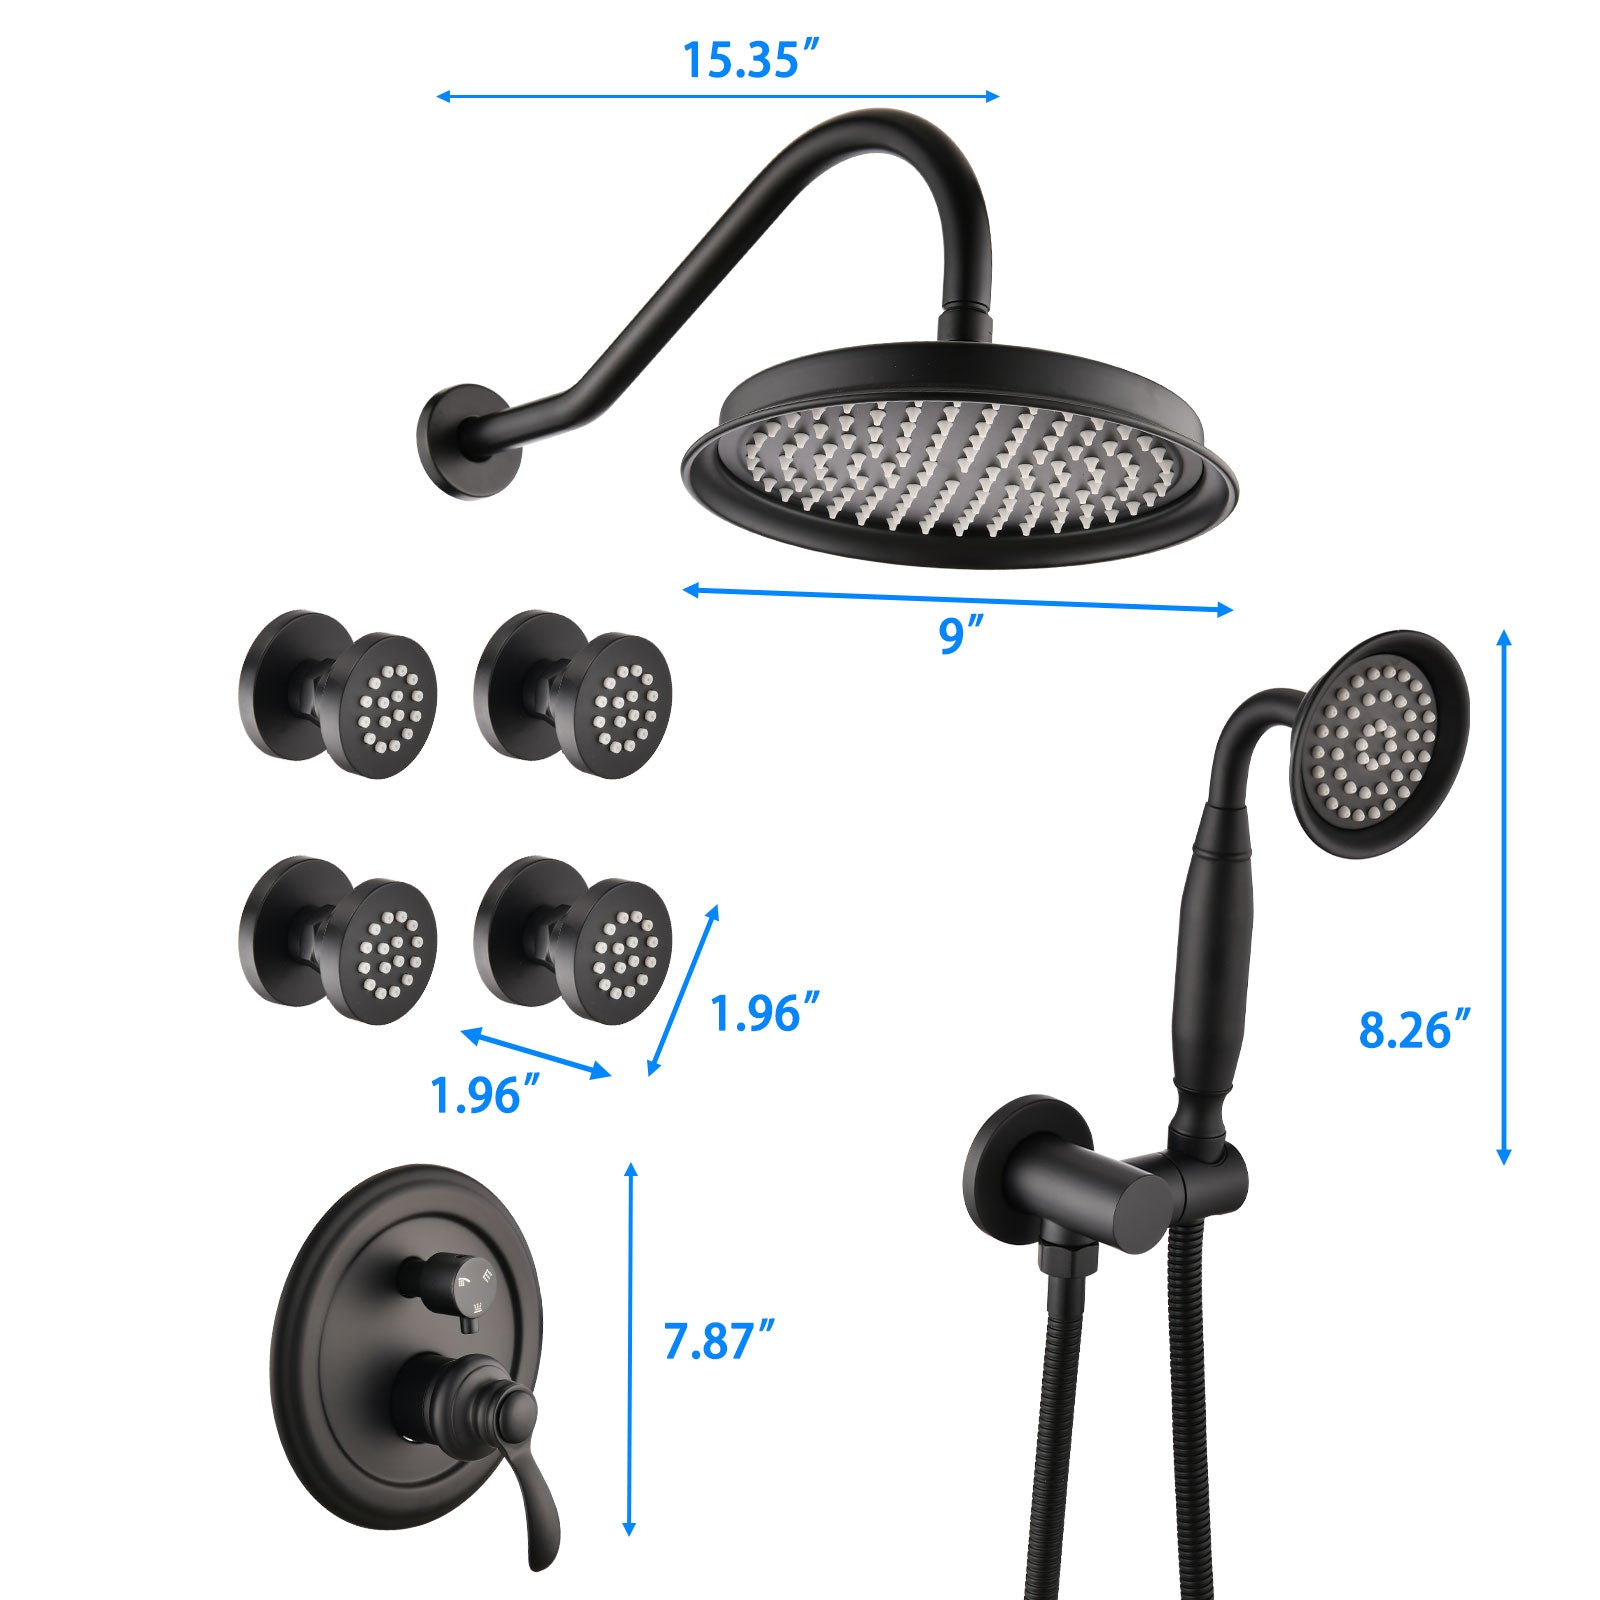
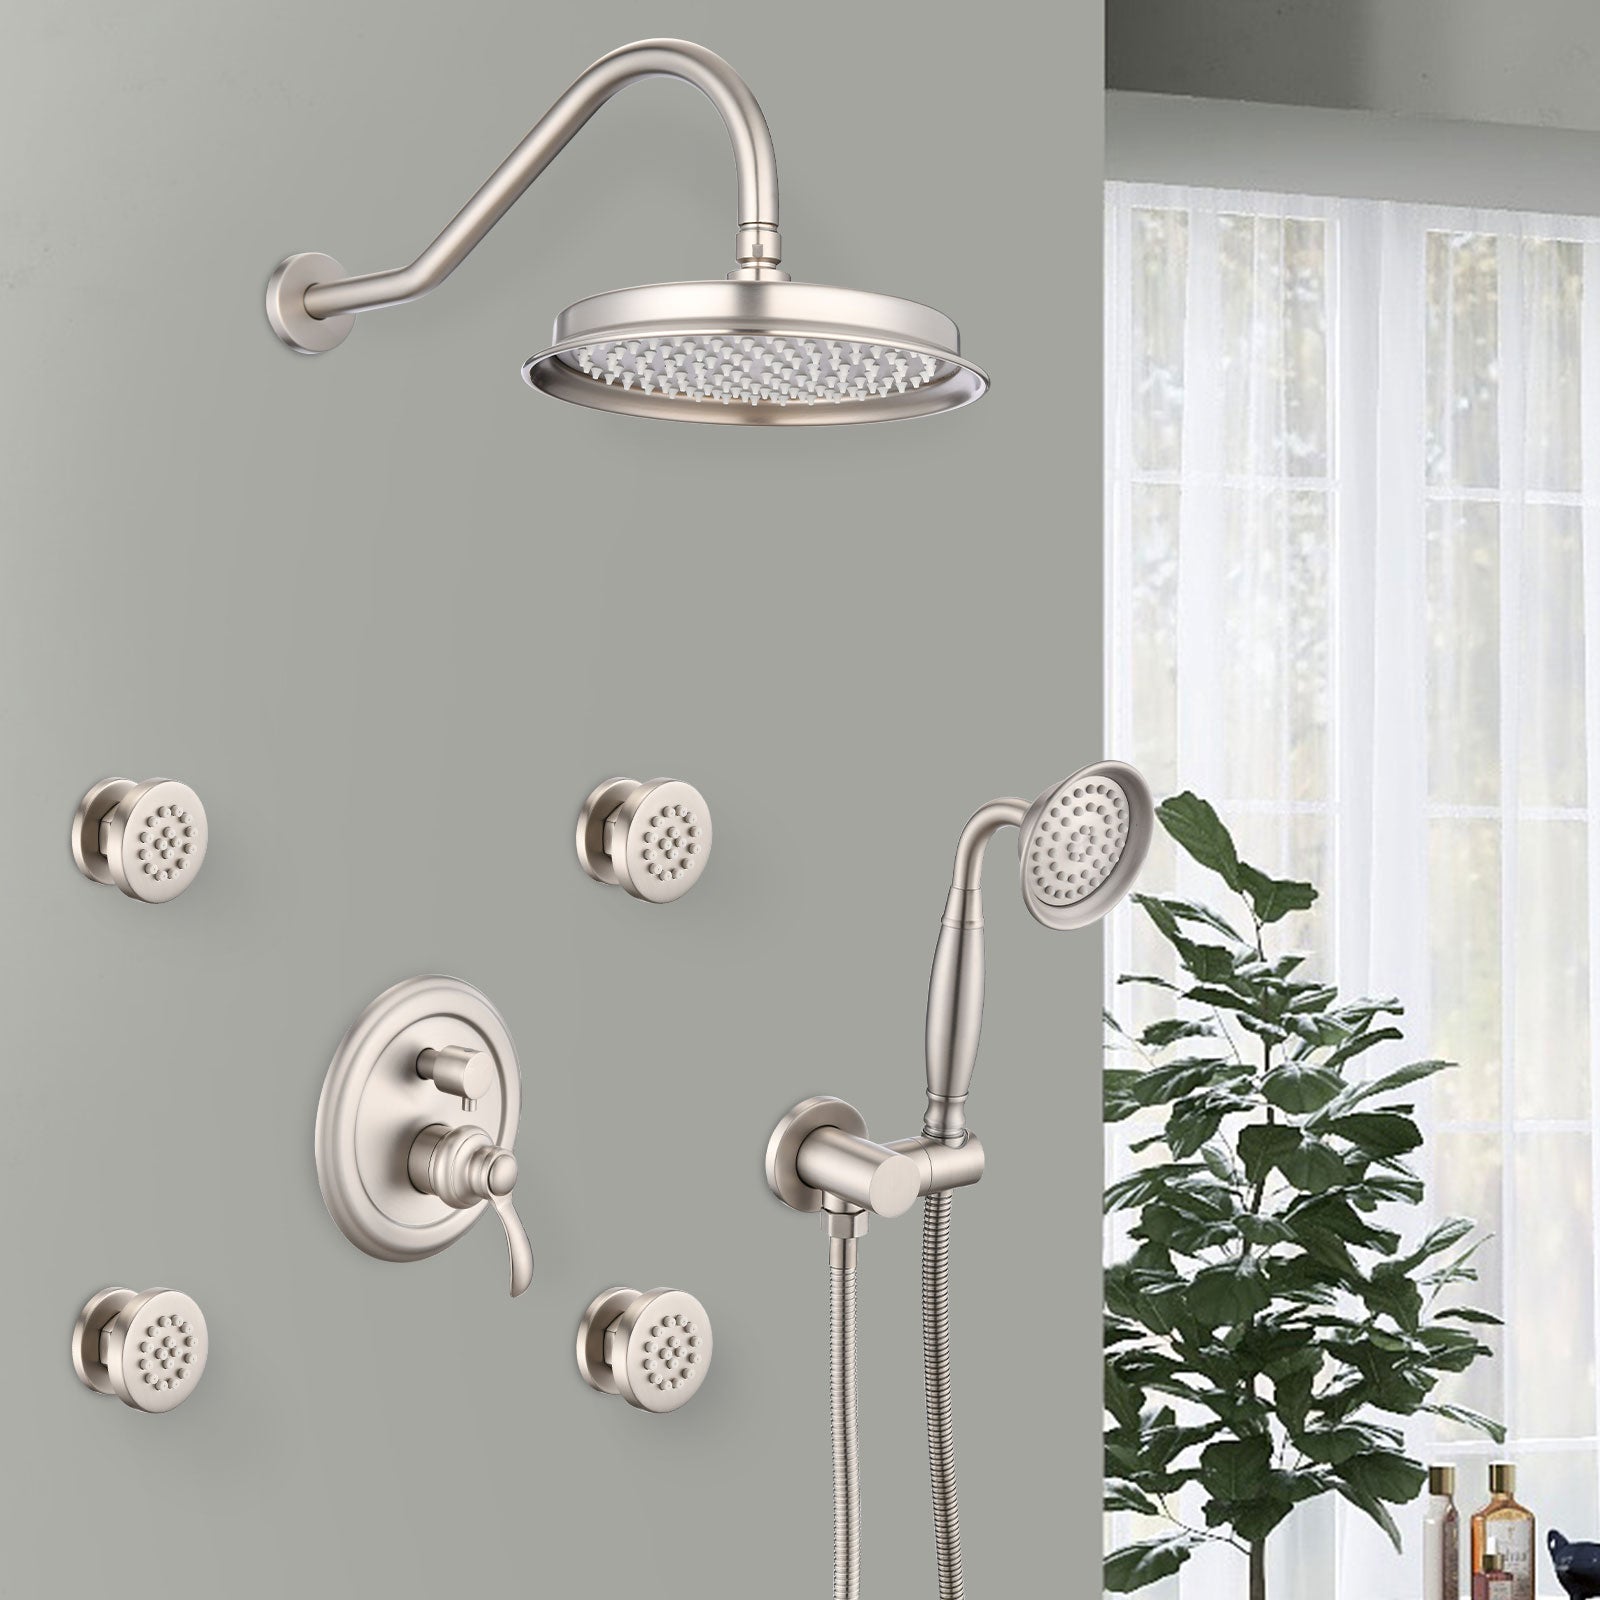
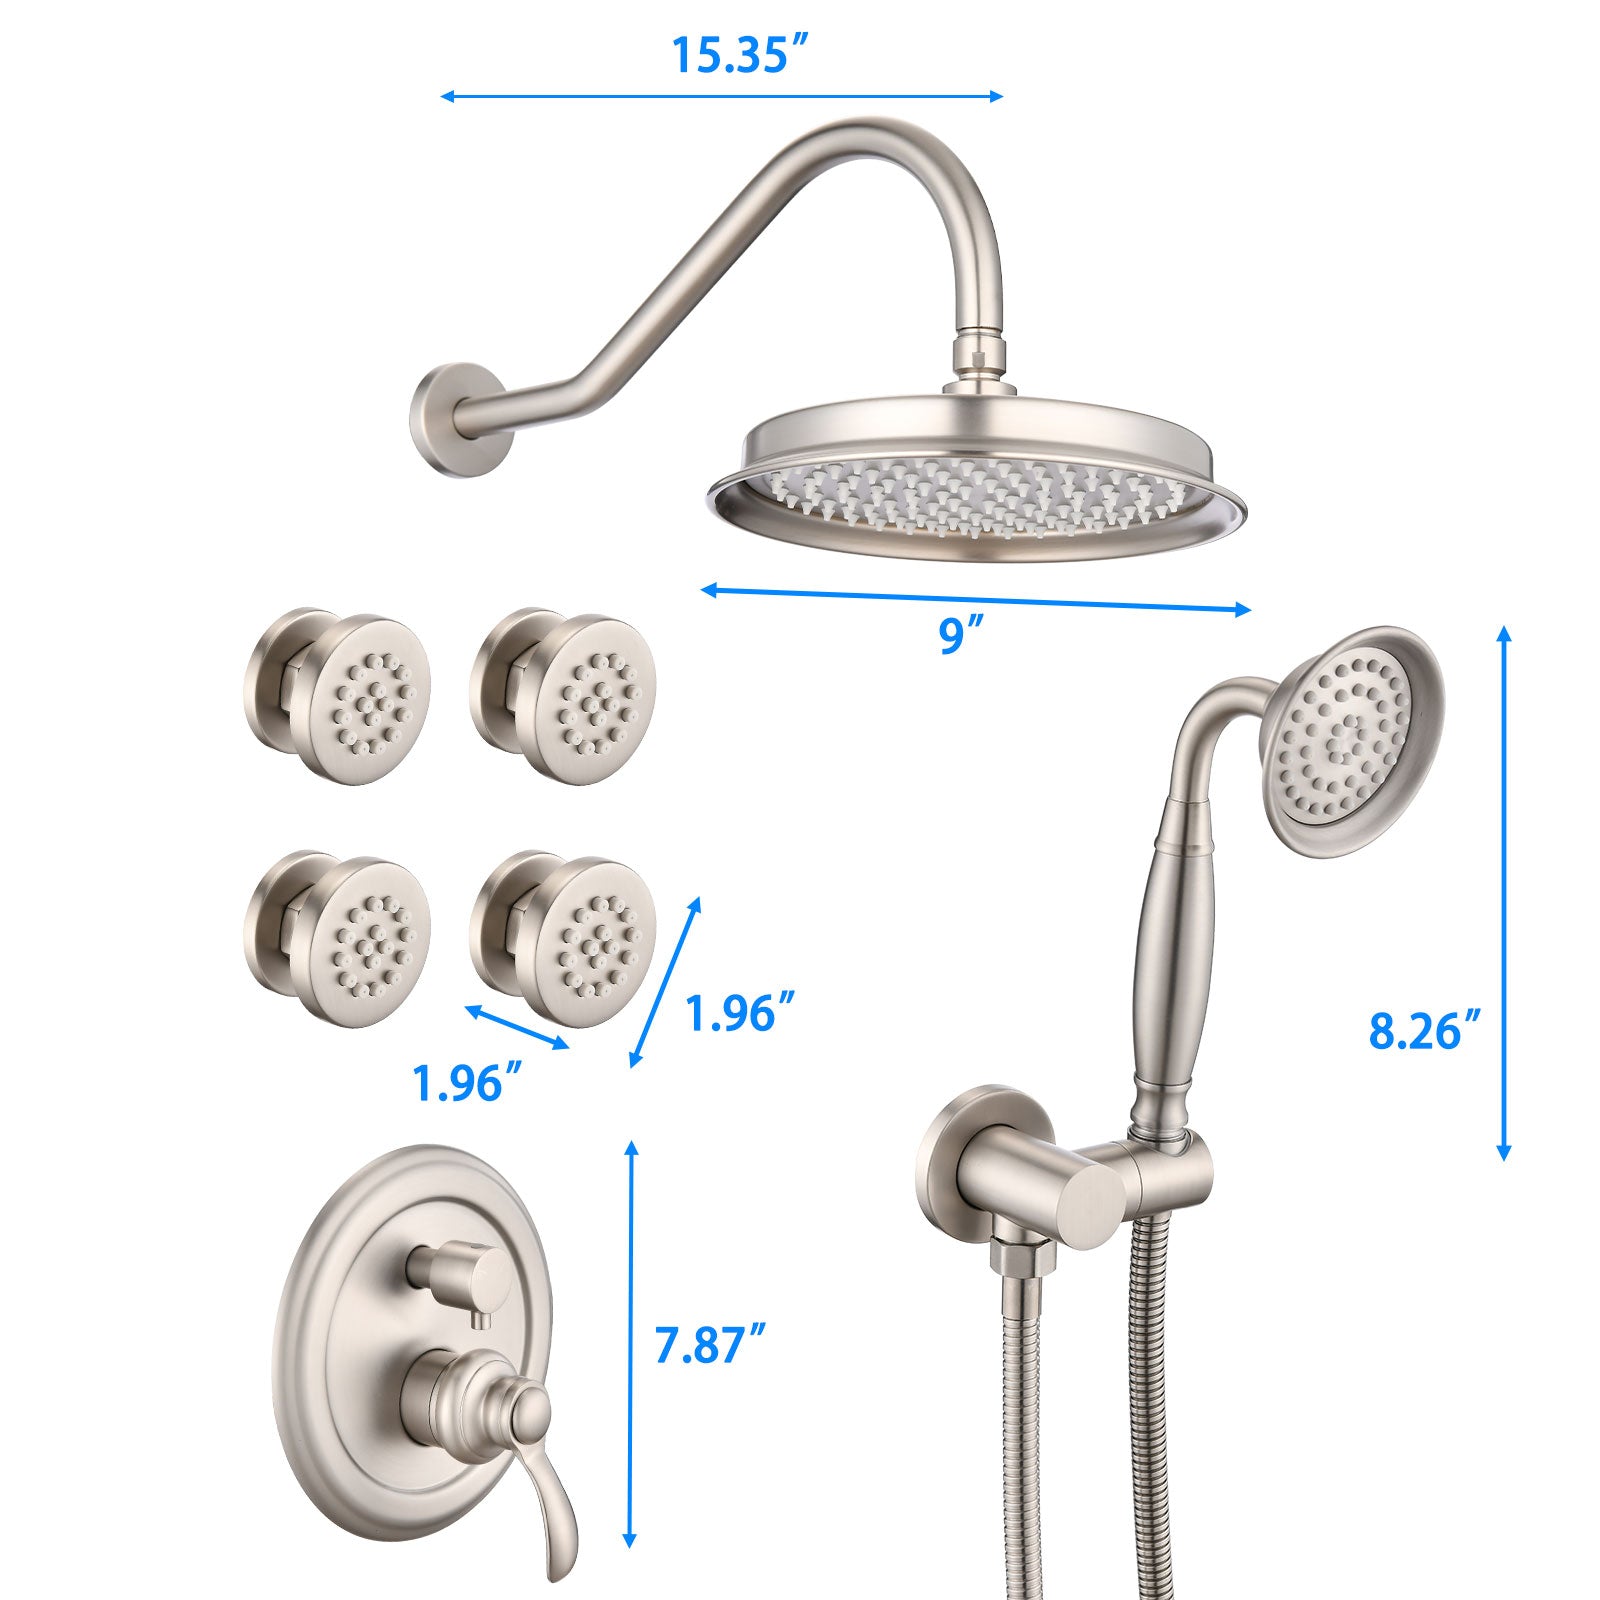
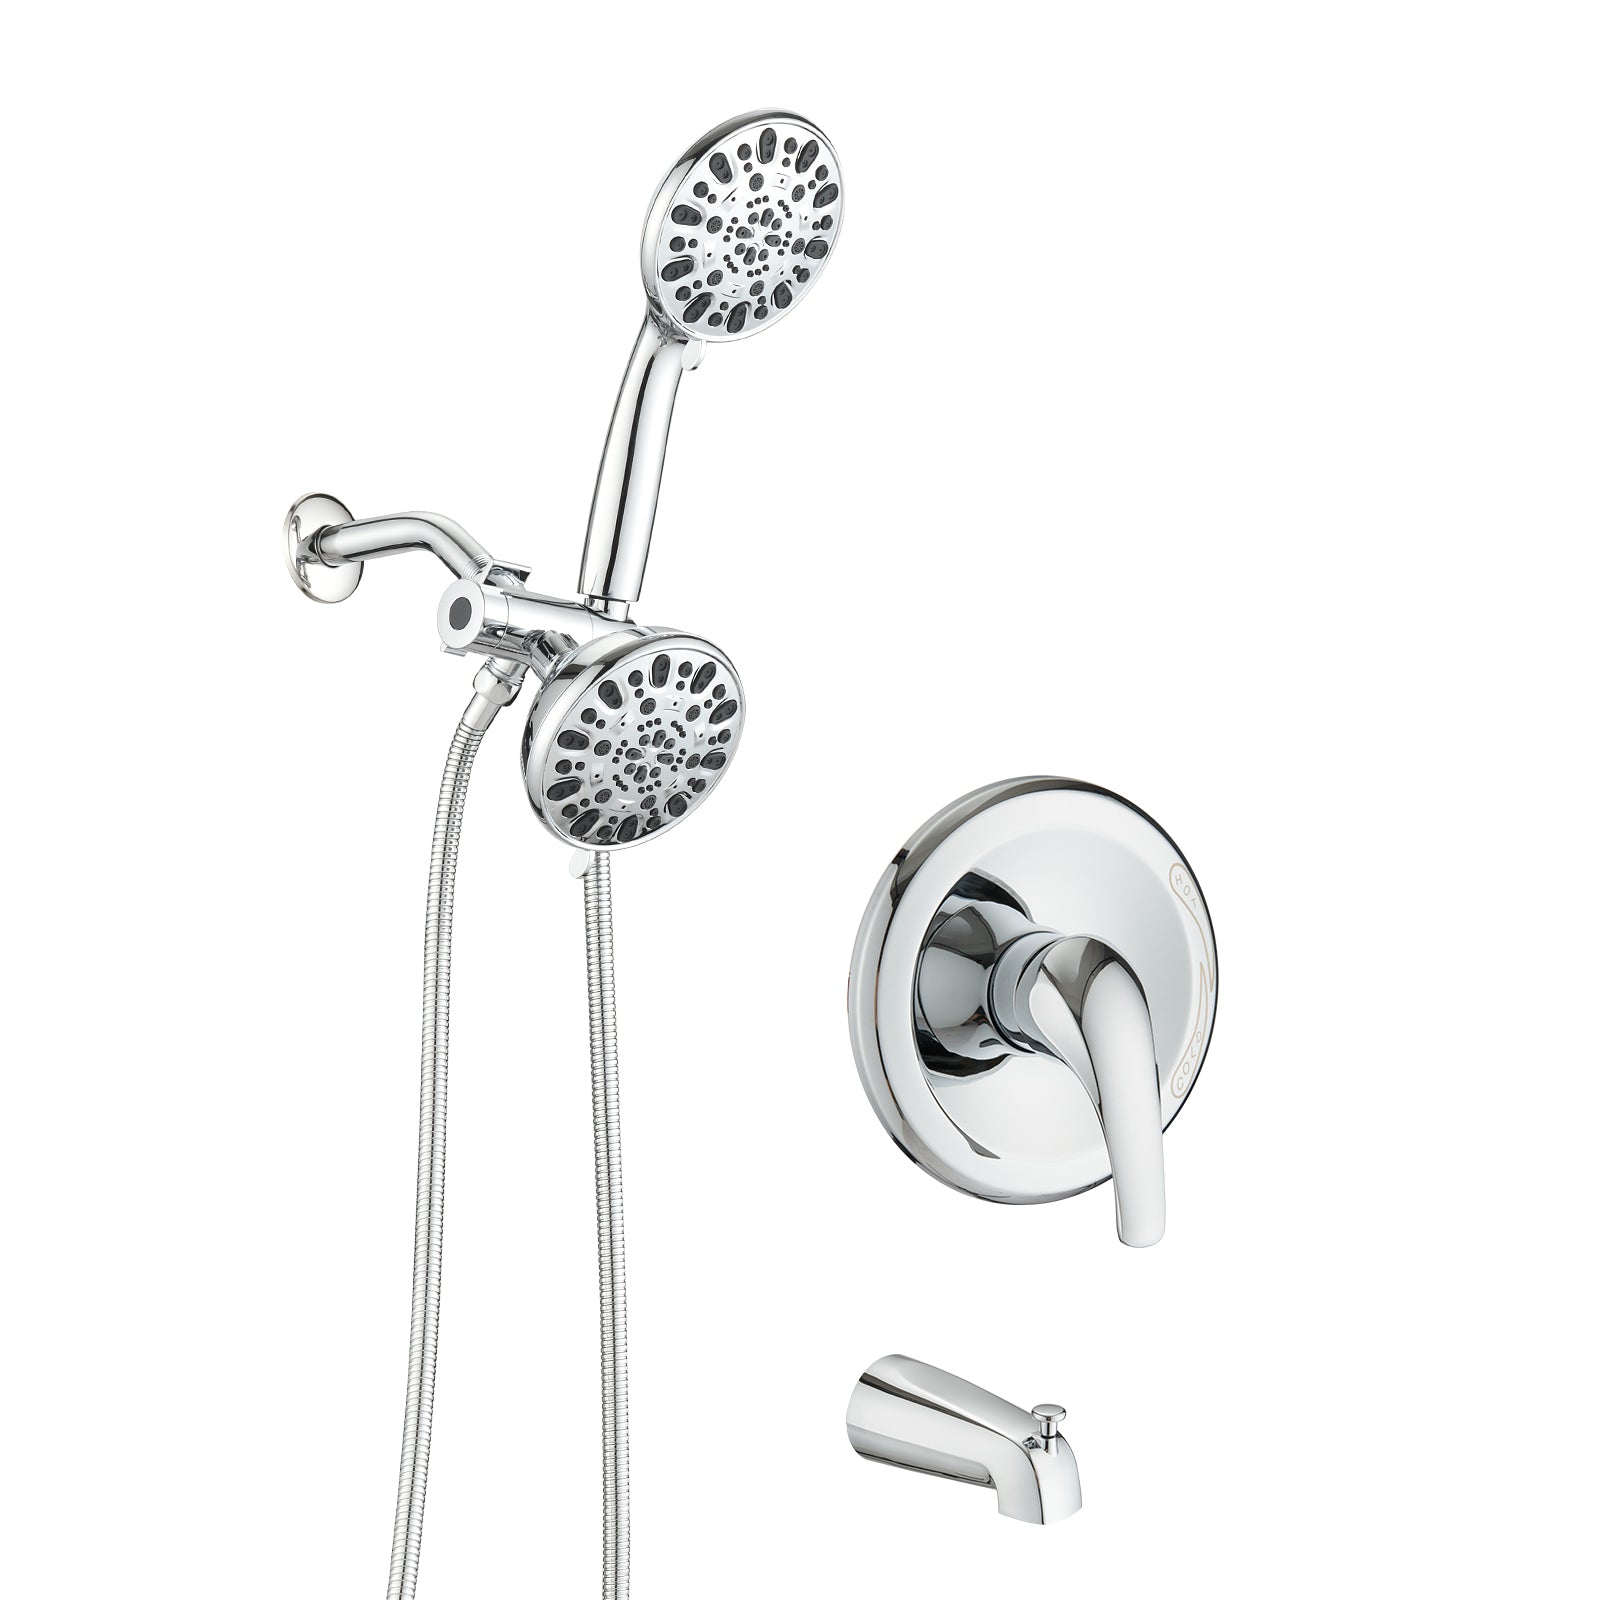
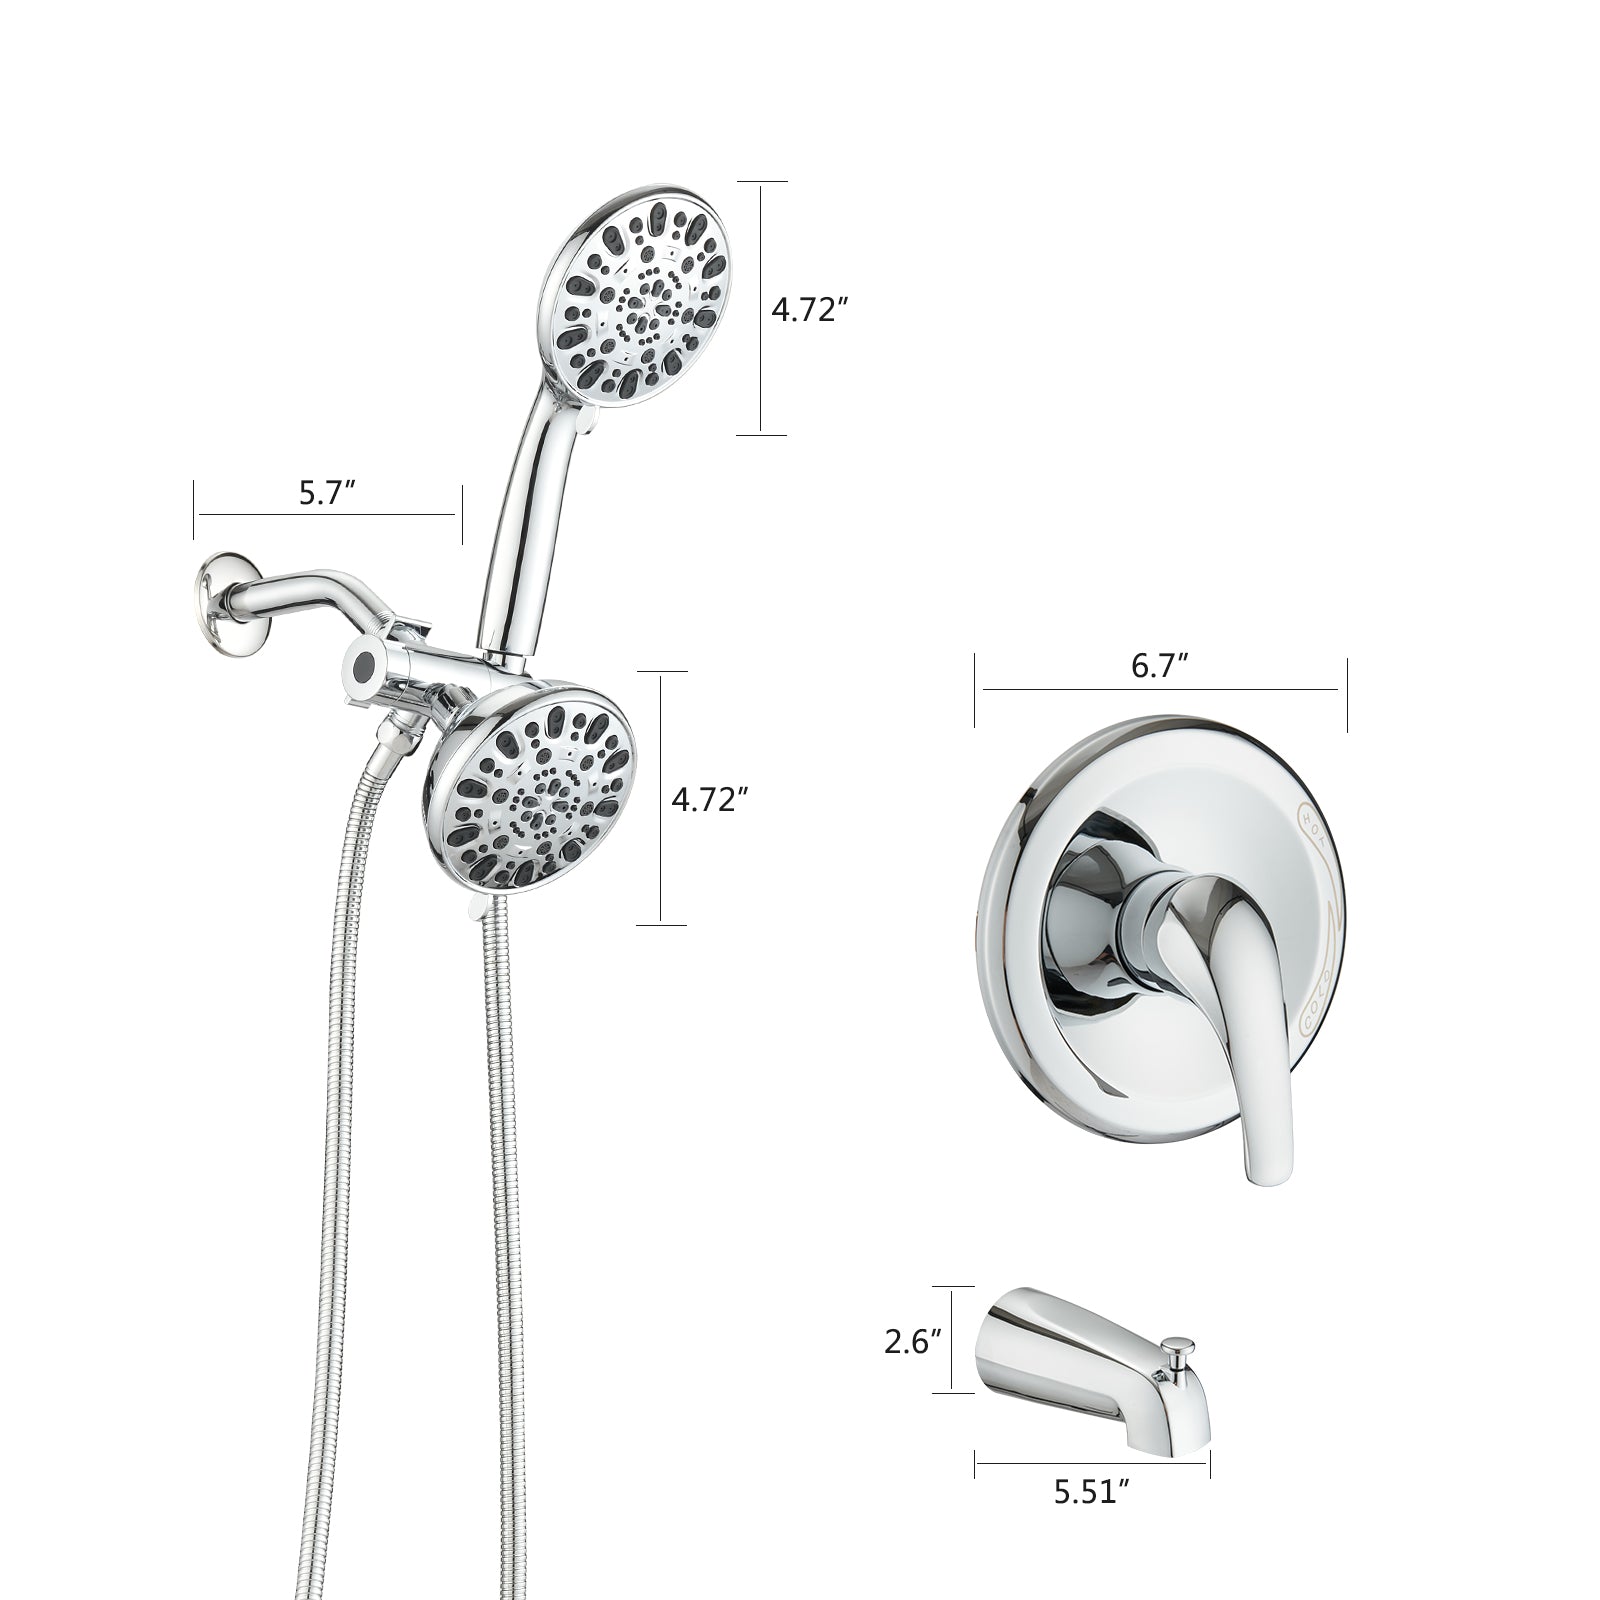
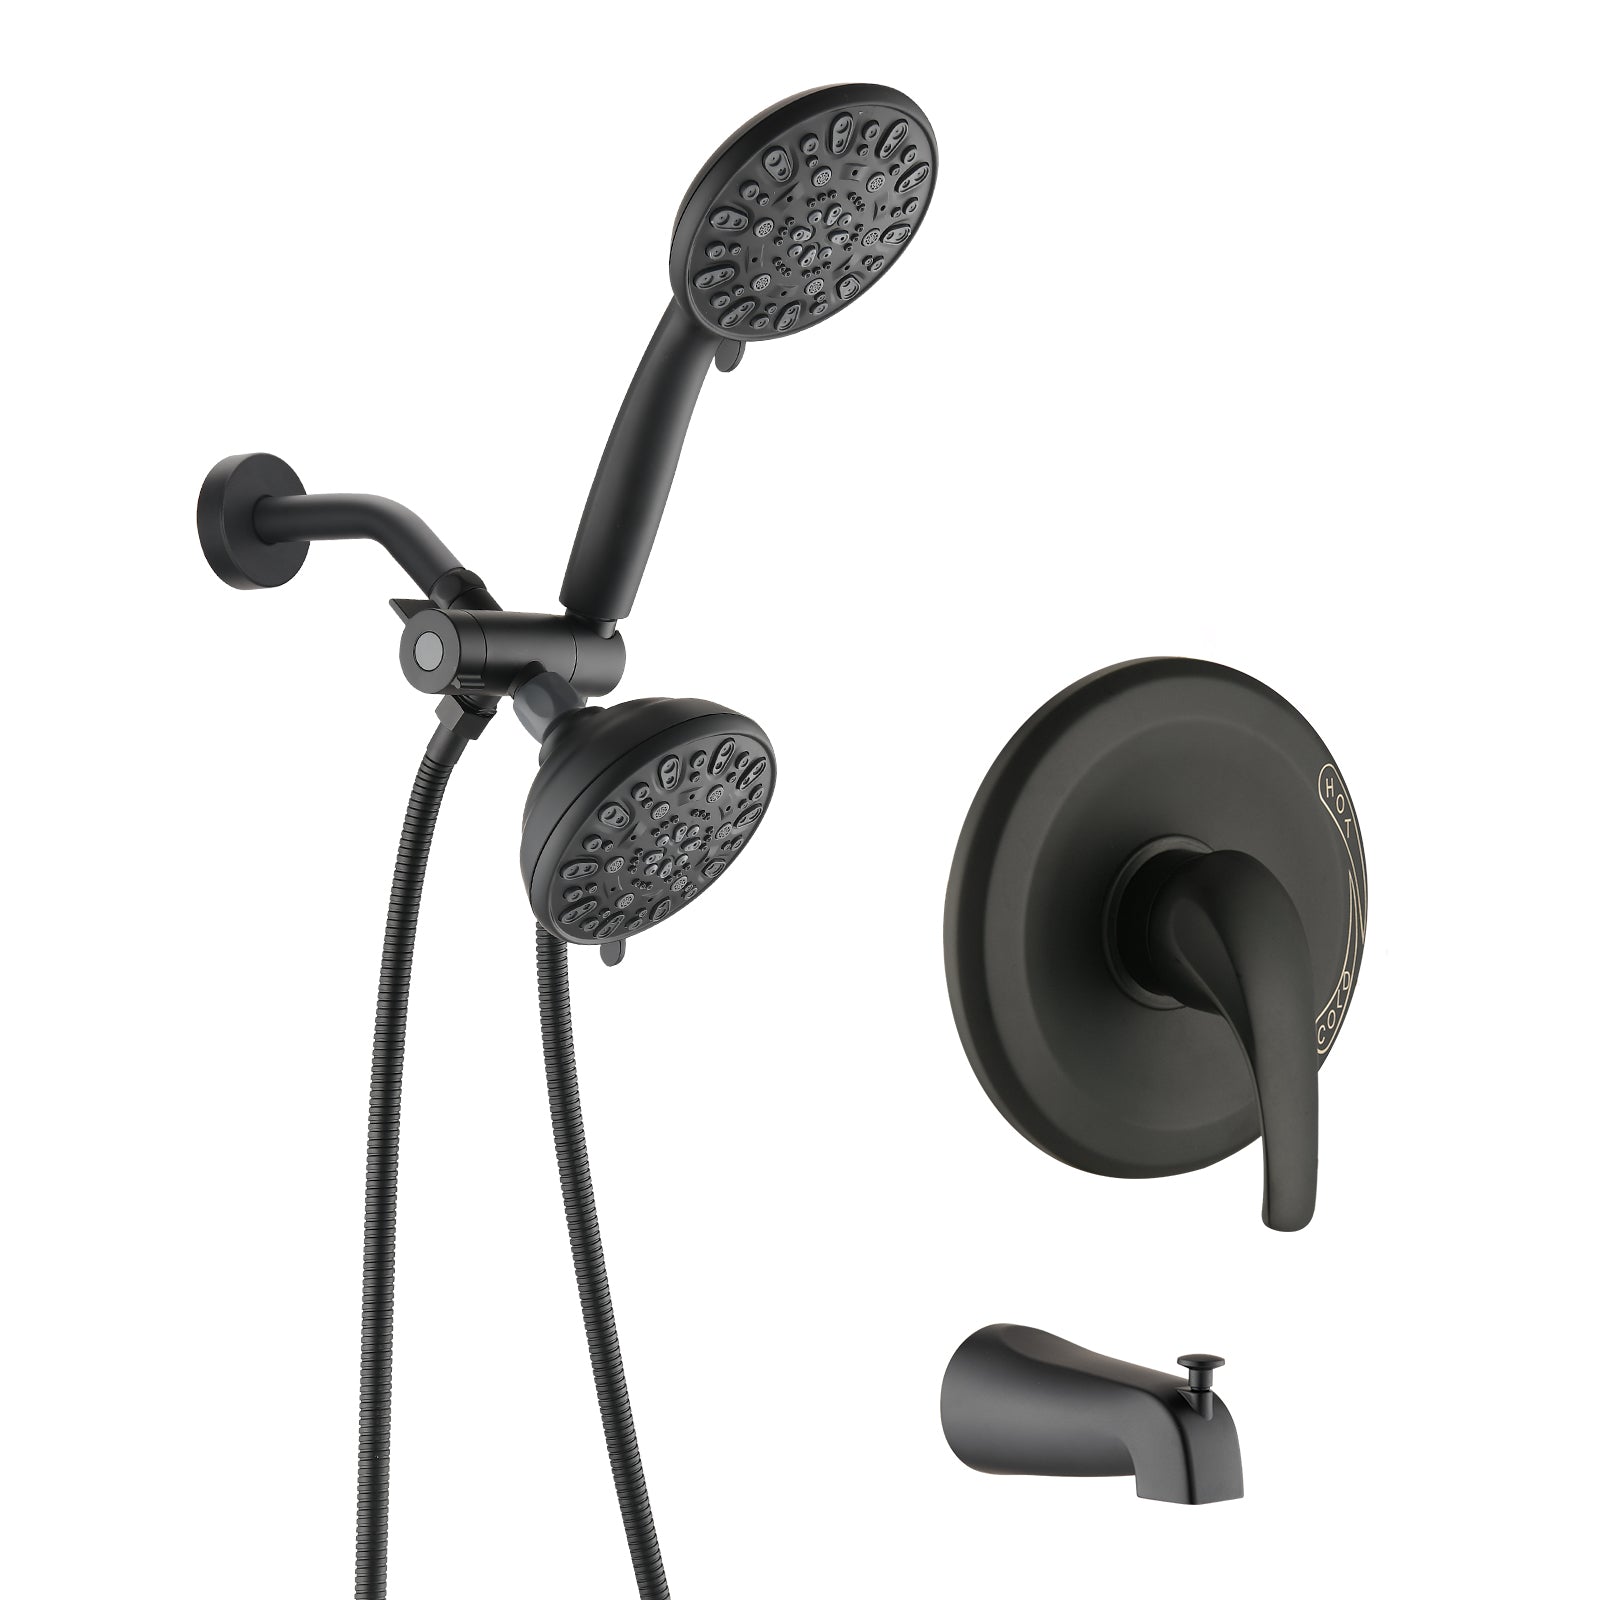
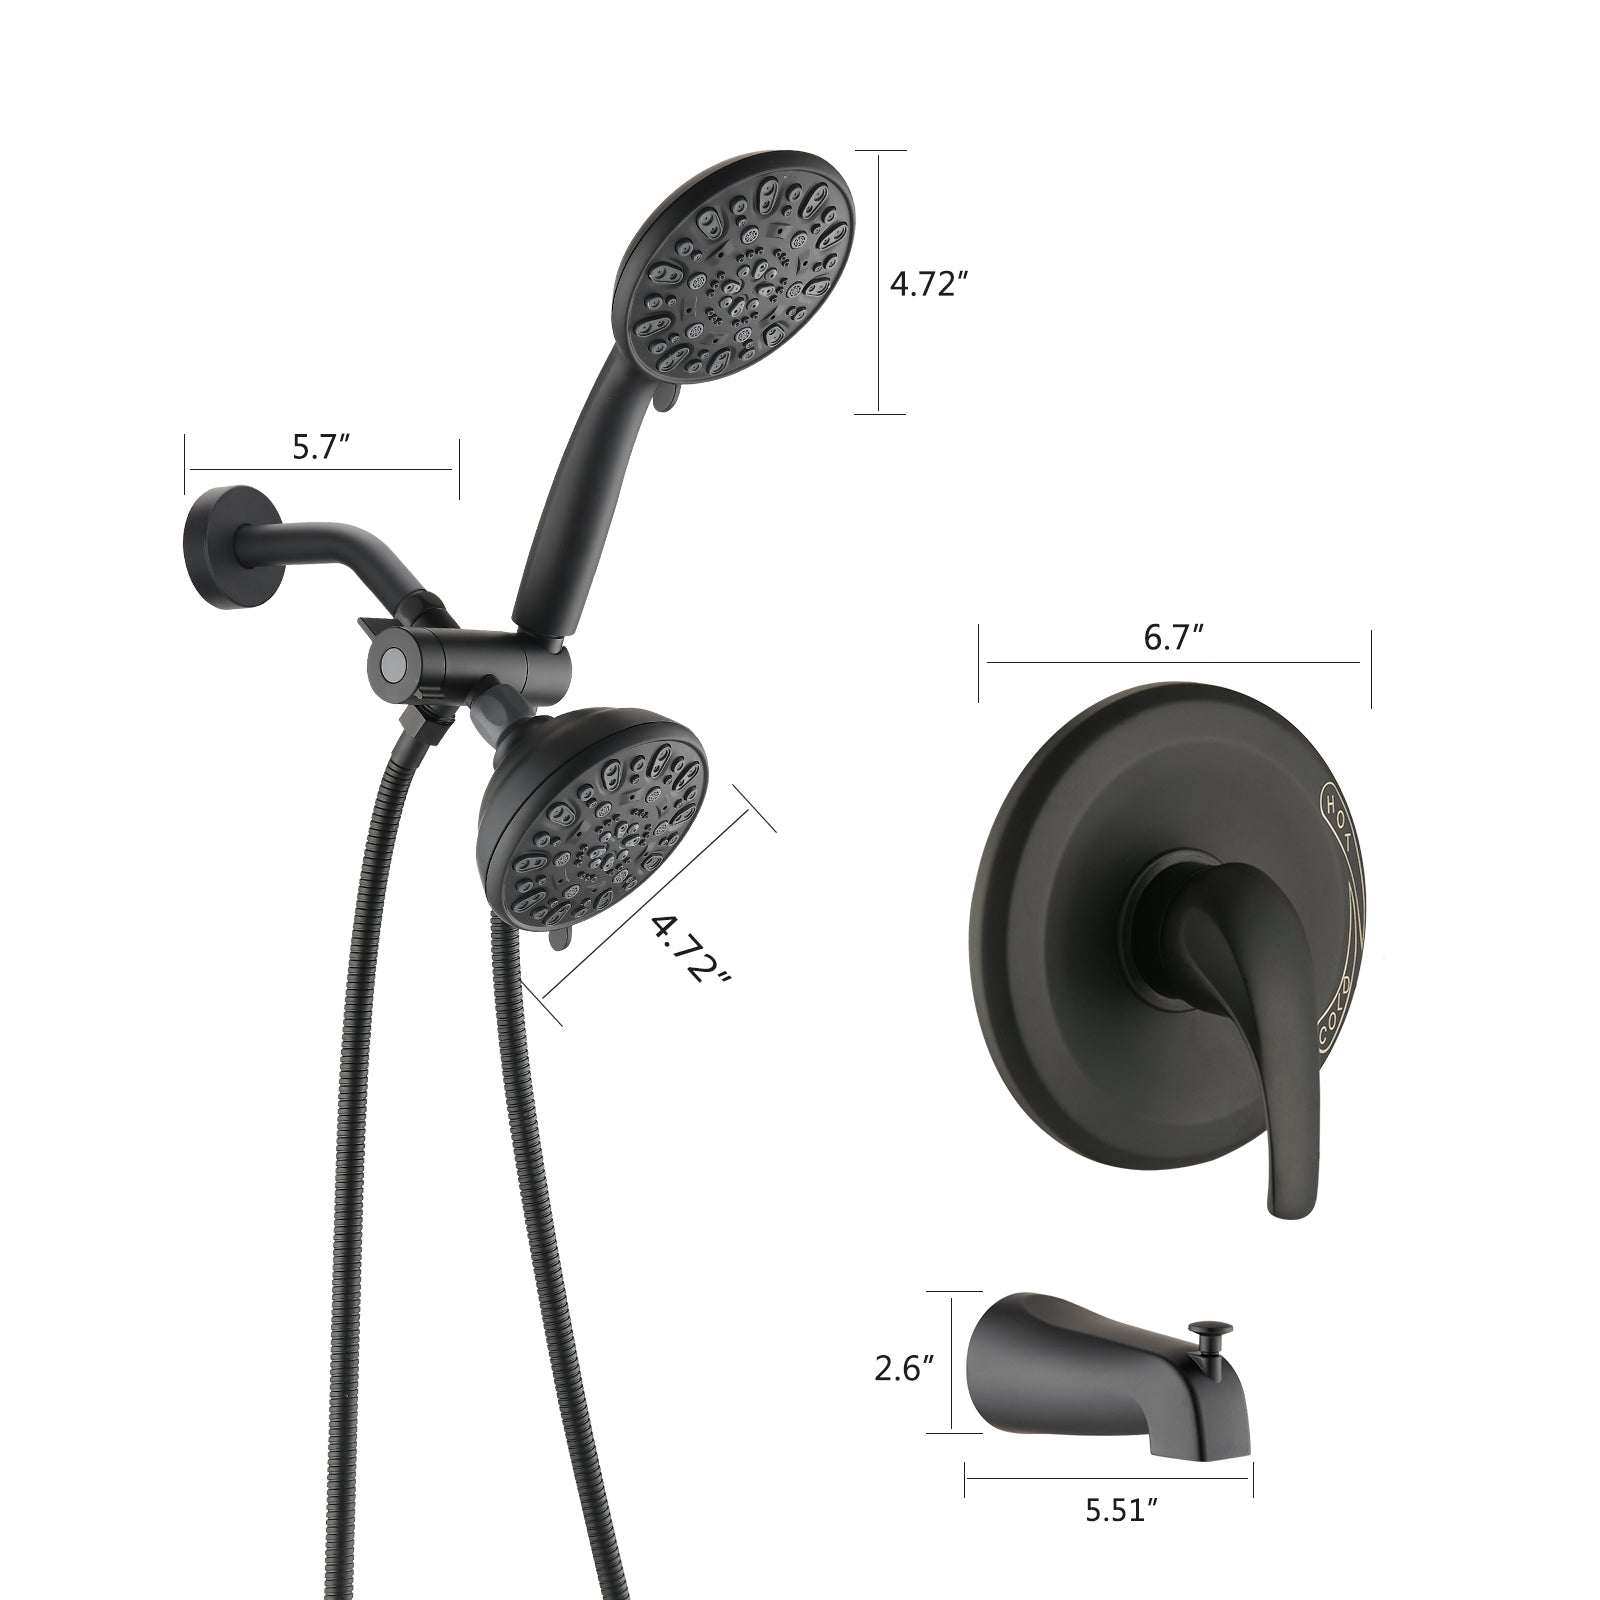
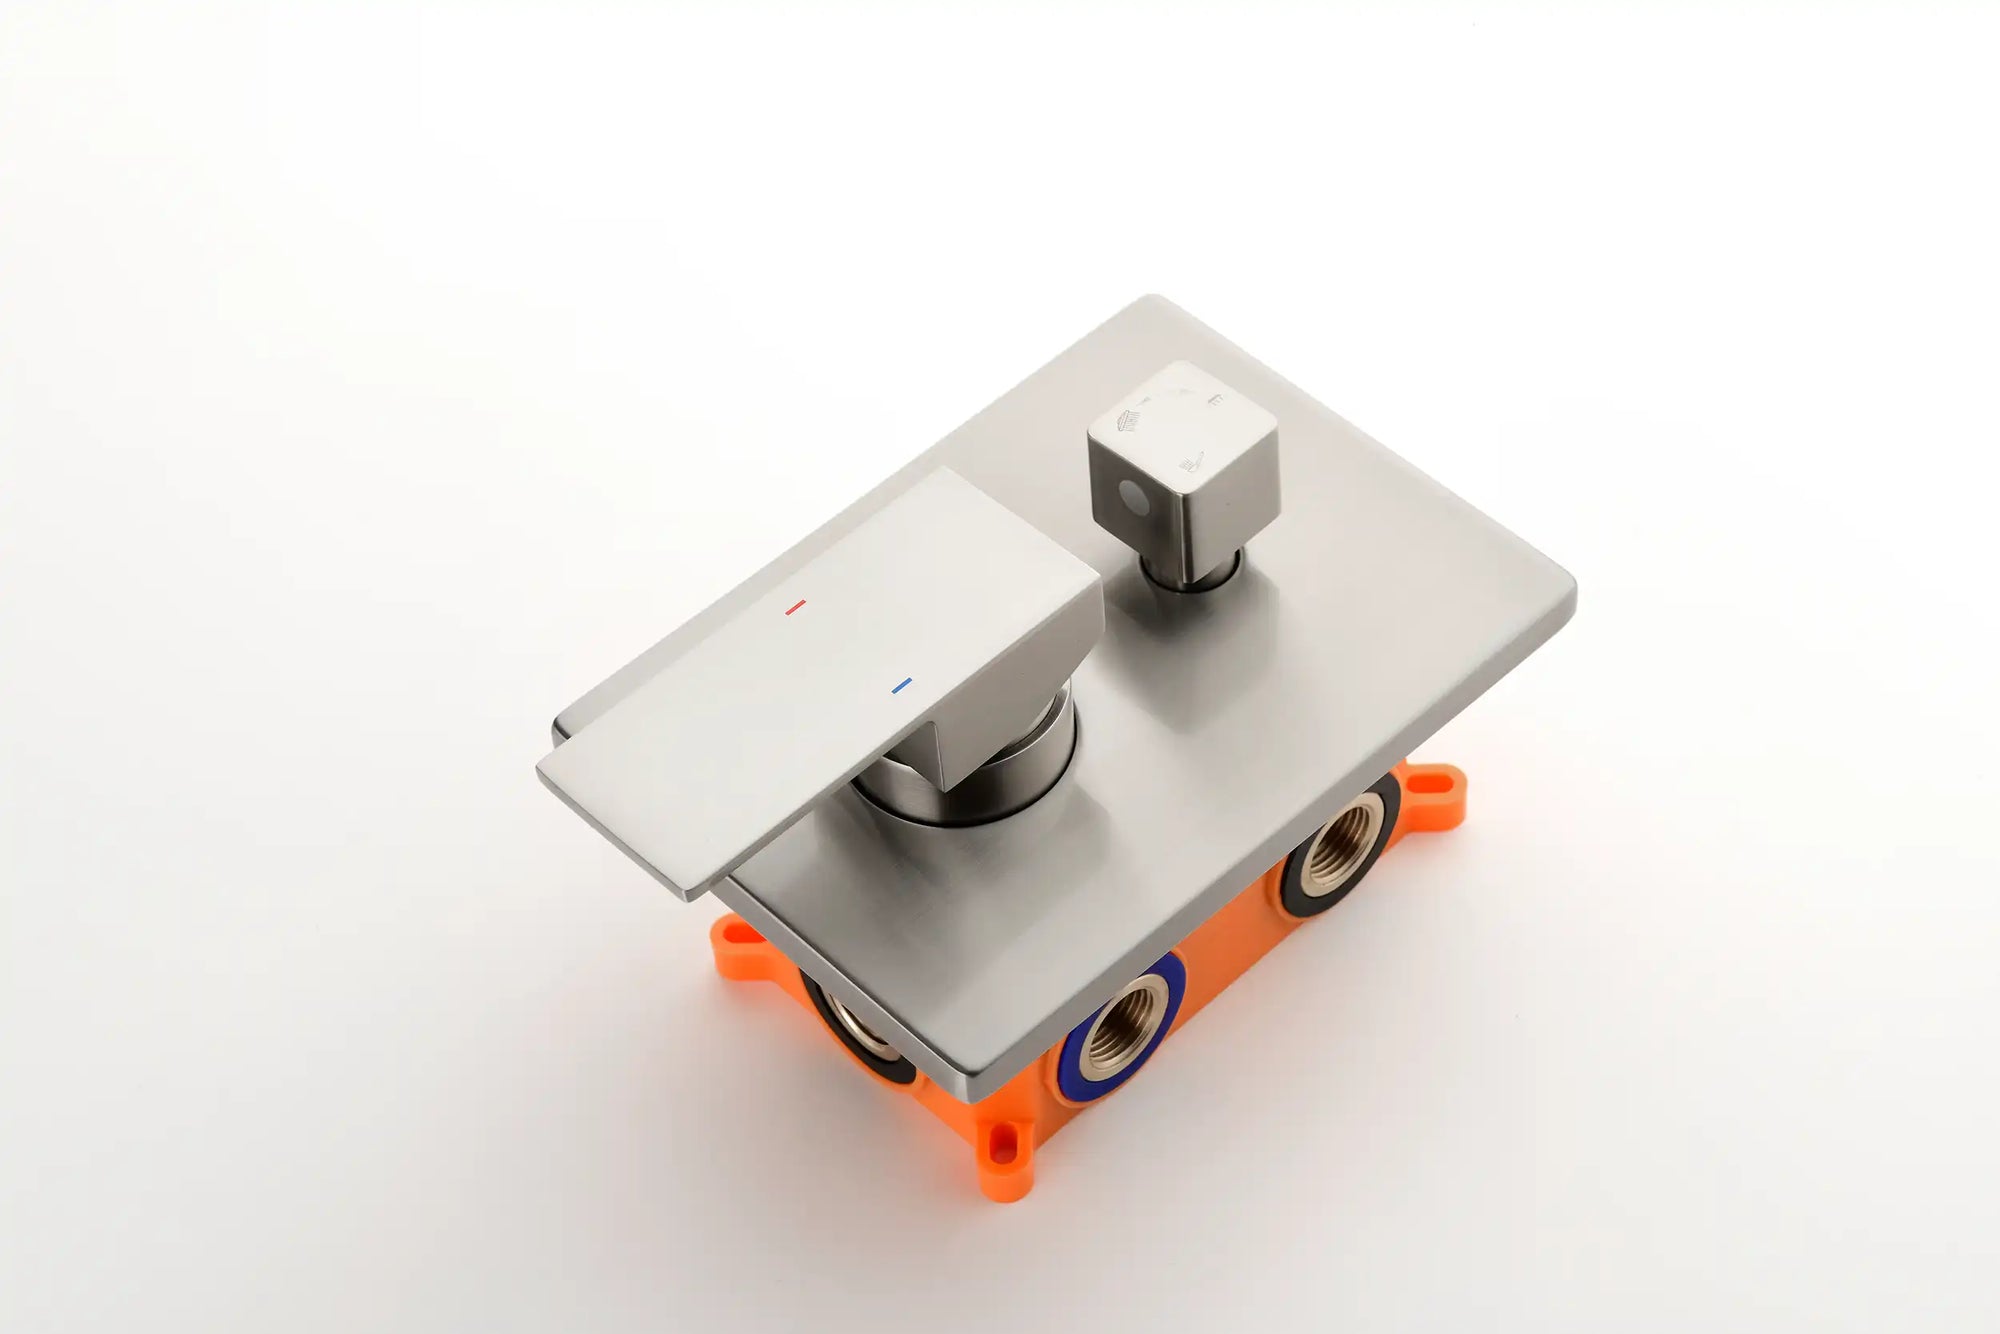
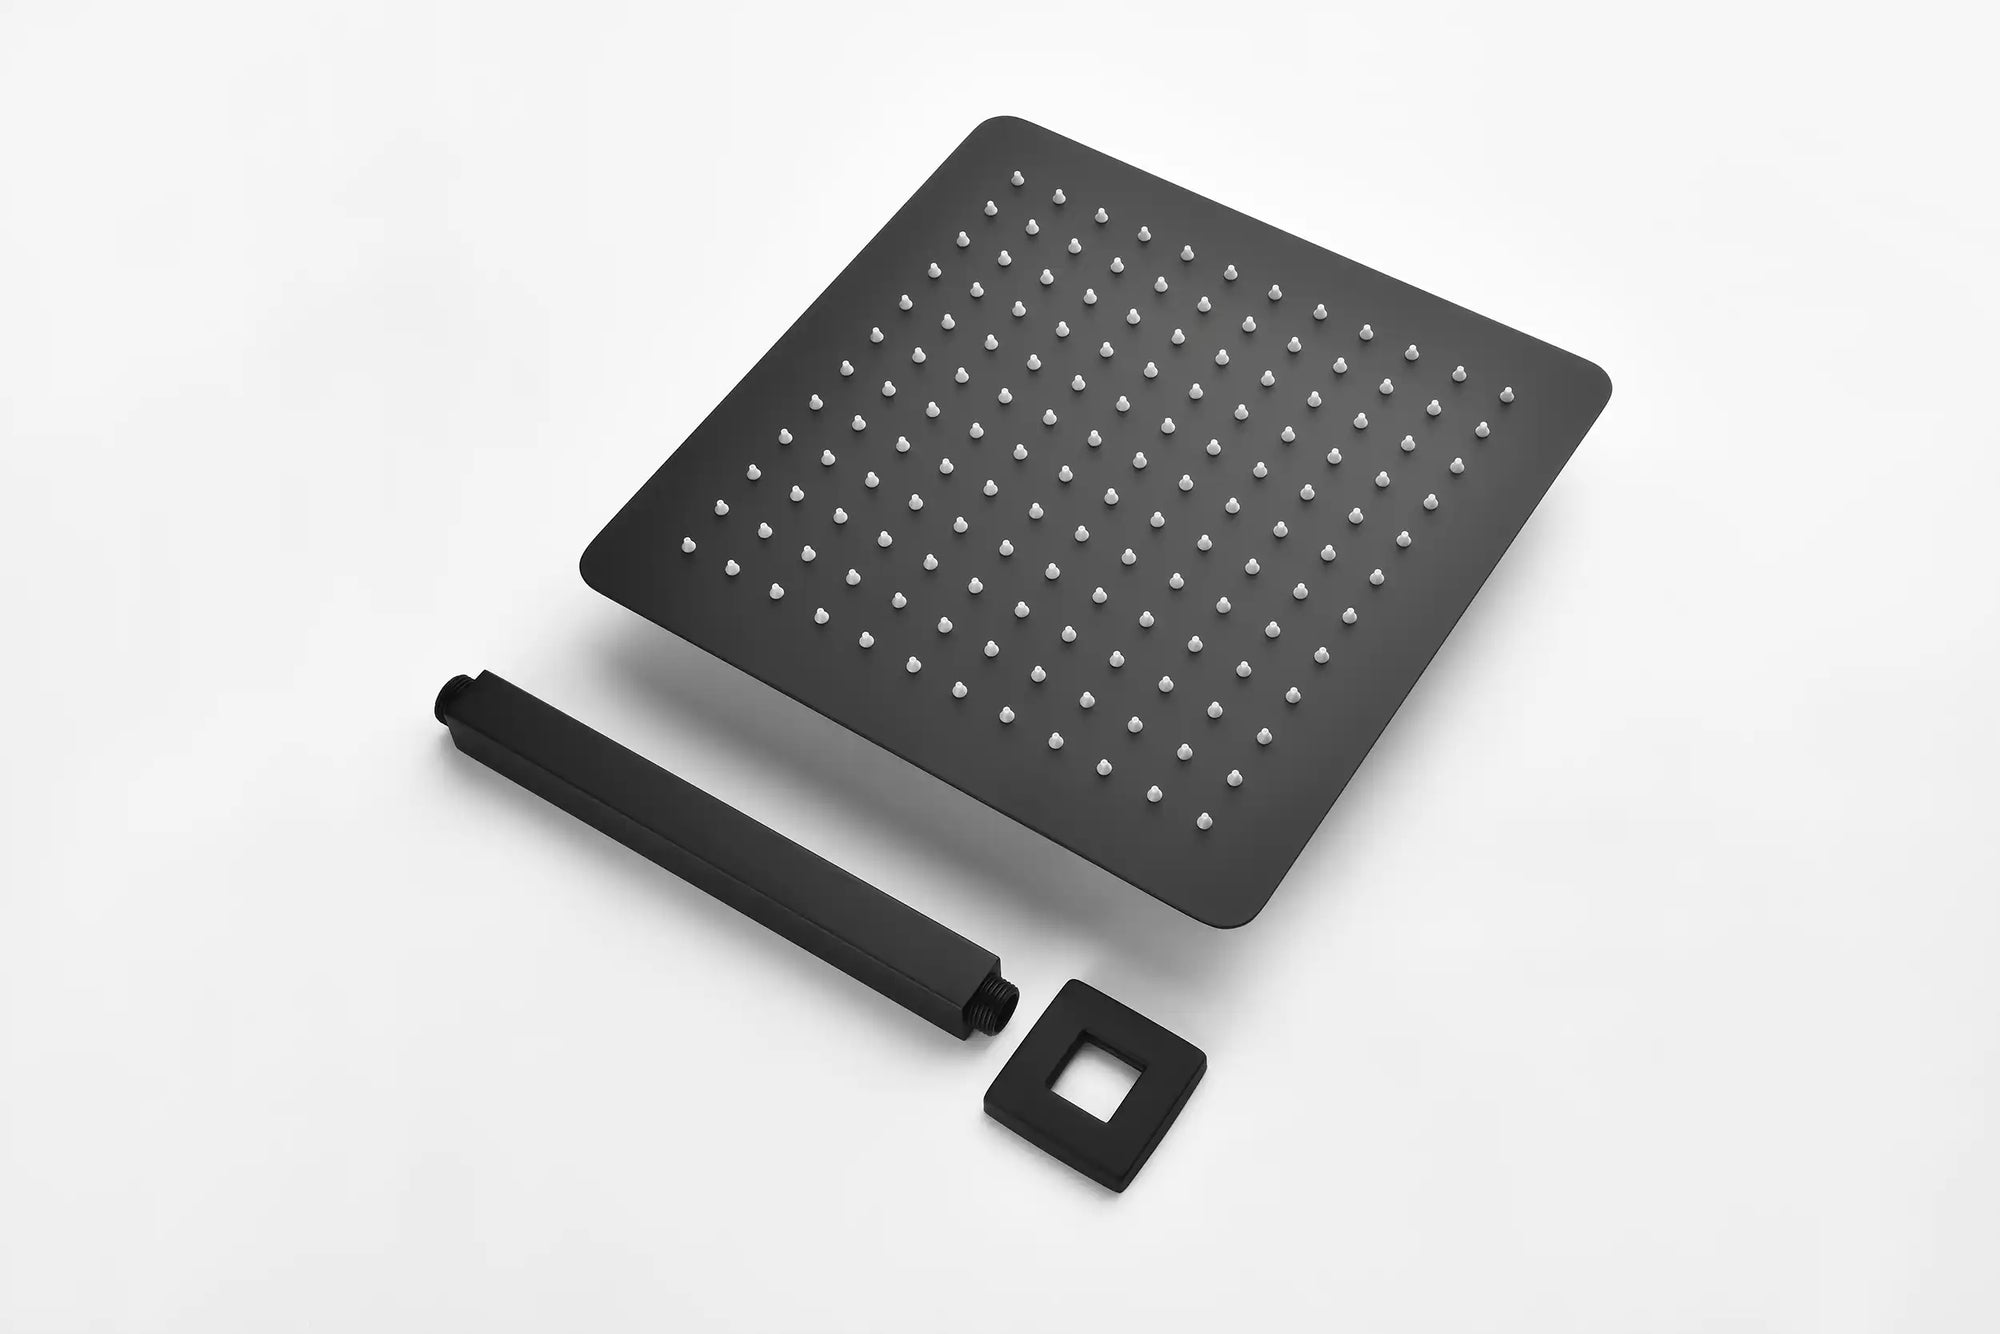
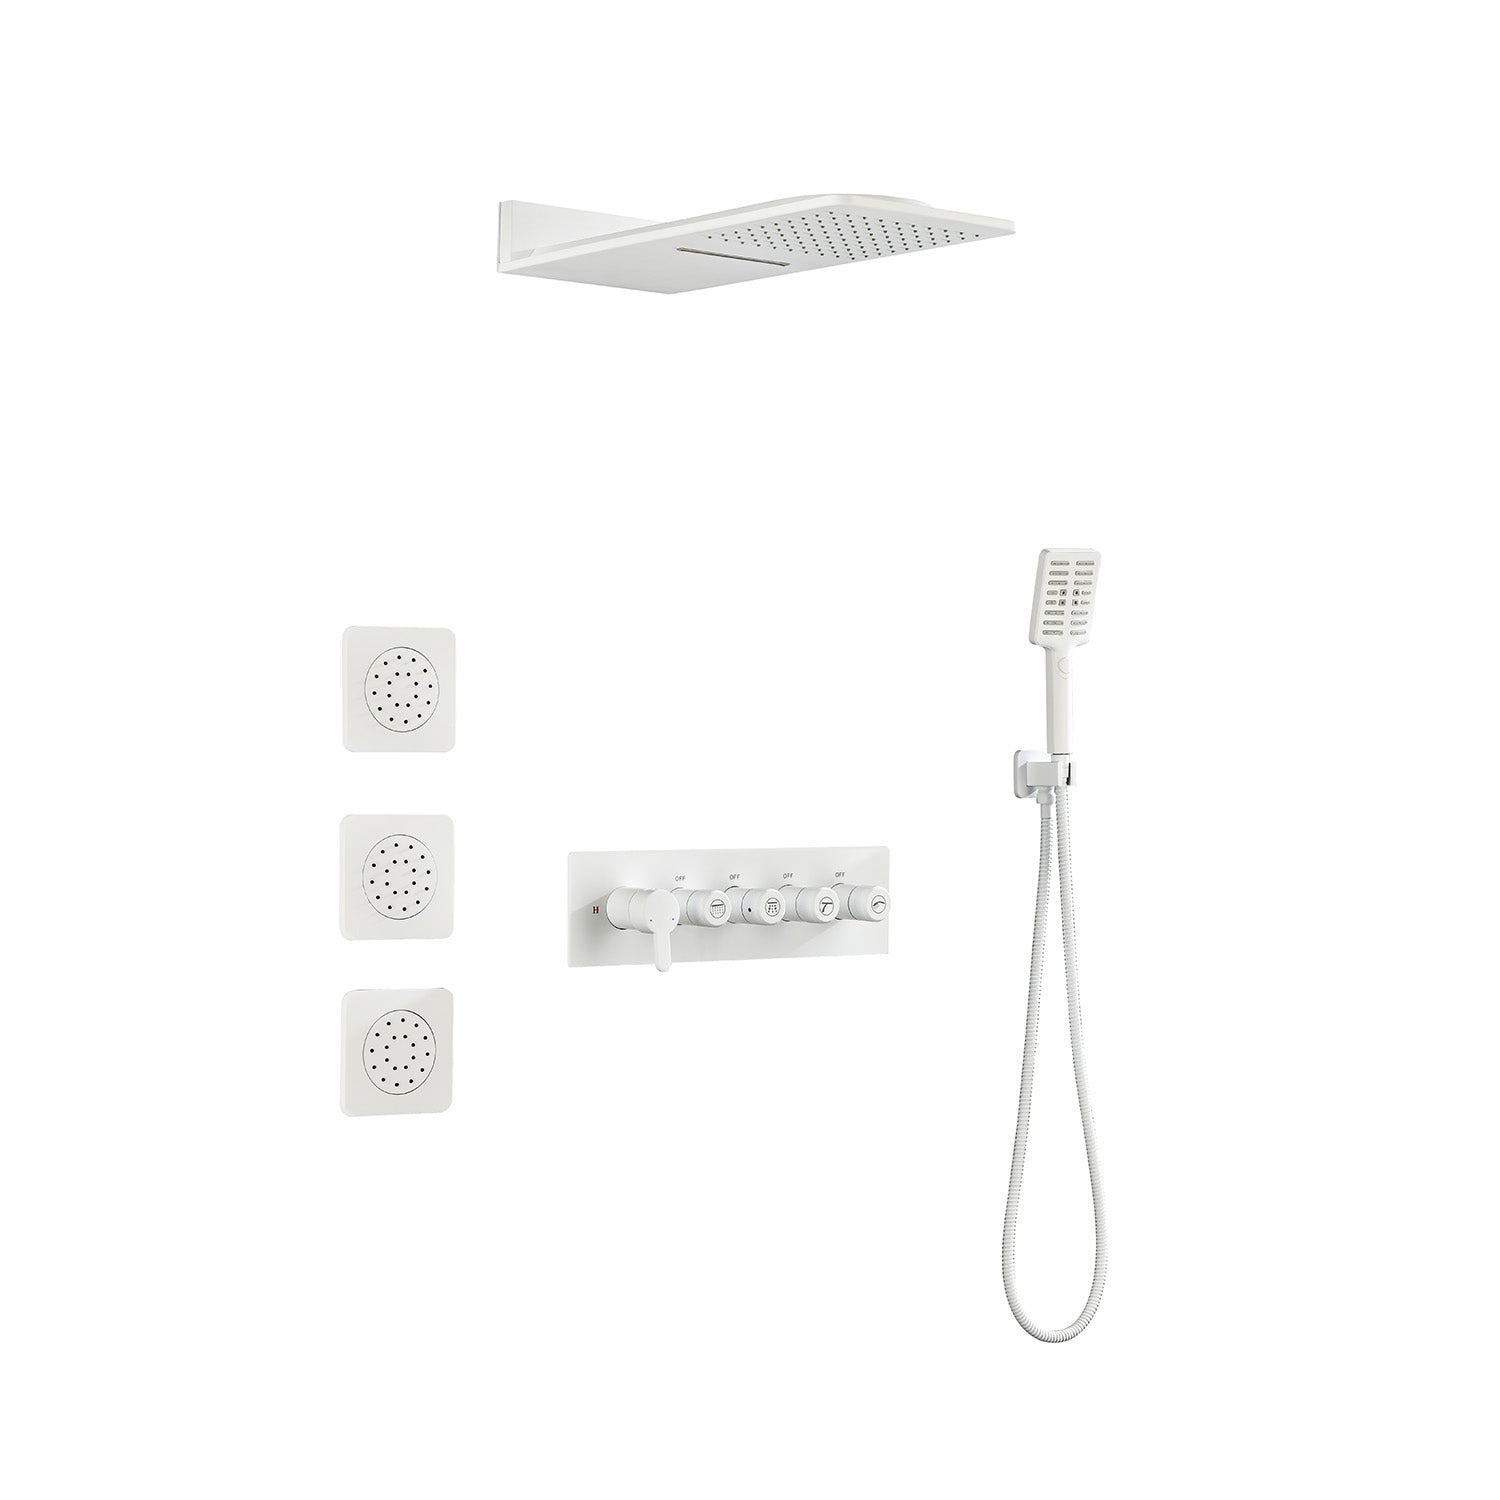
A typical shower conversion kit includes the following core components:
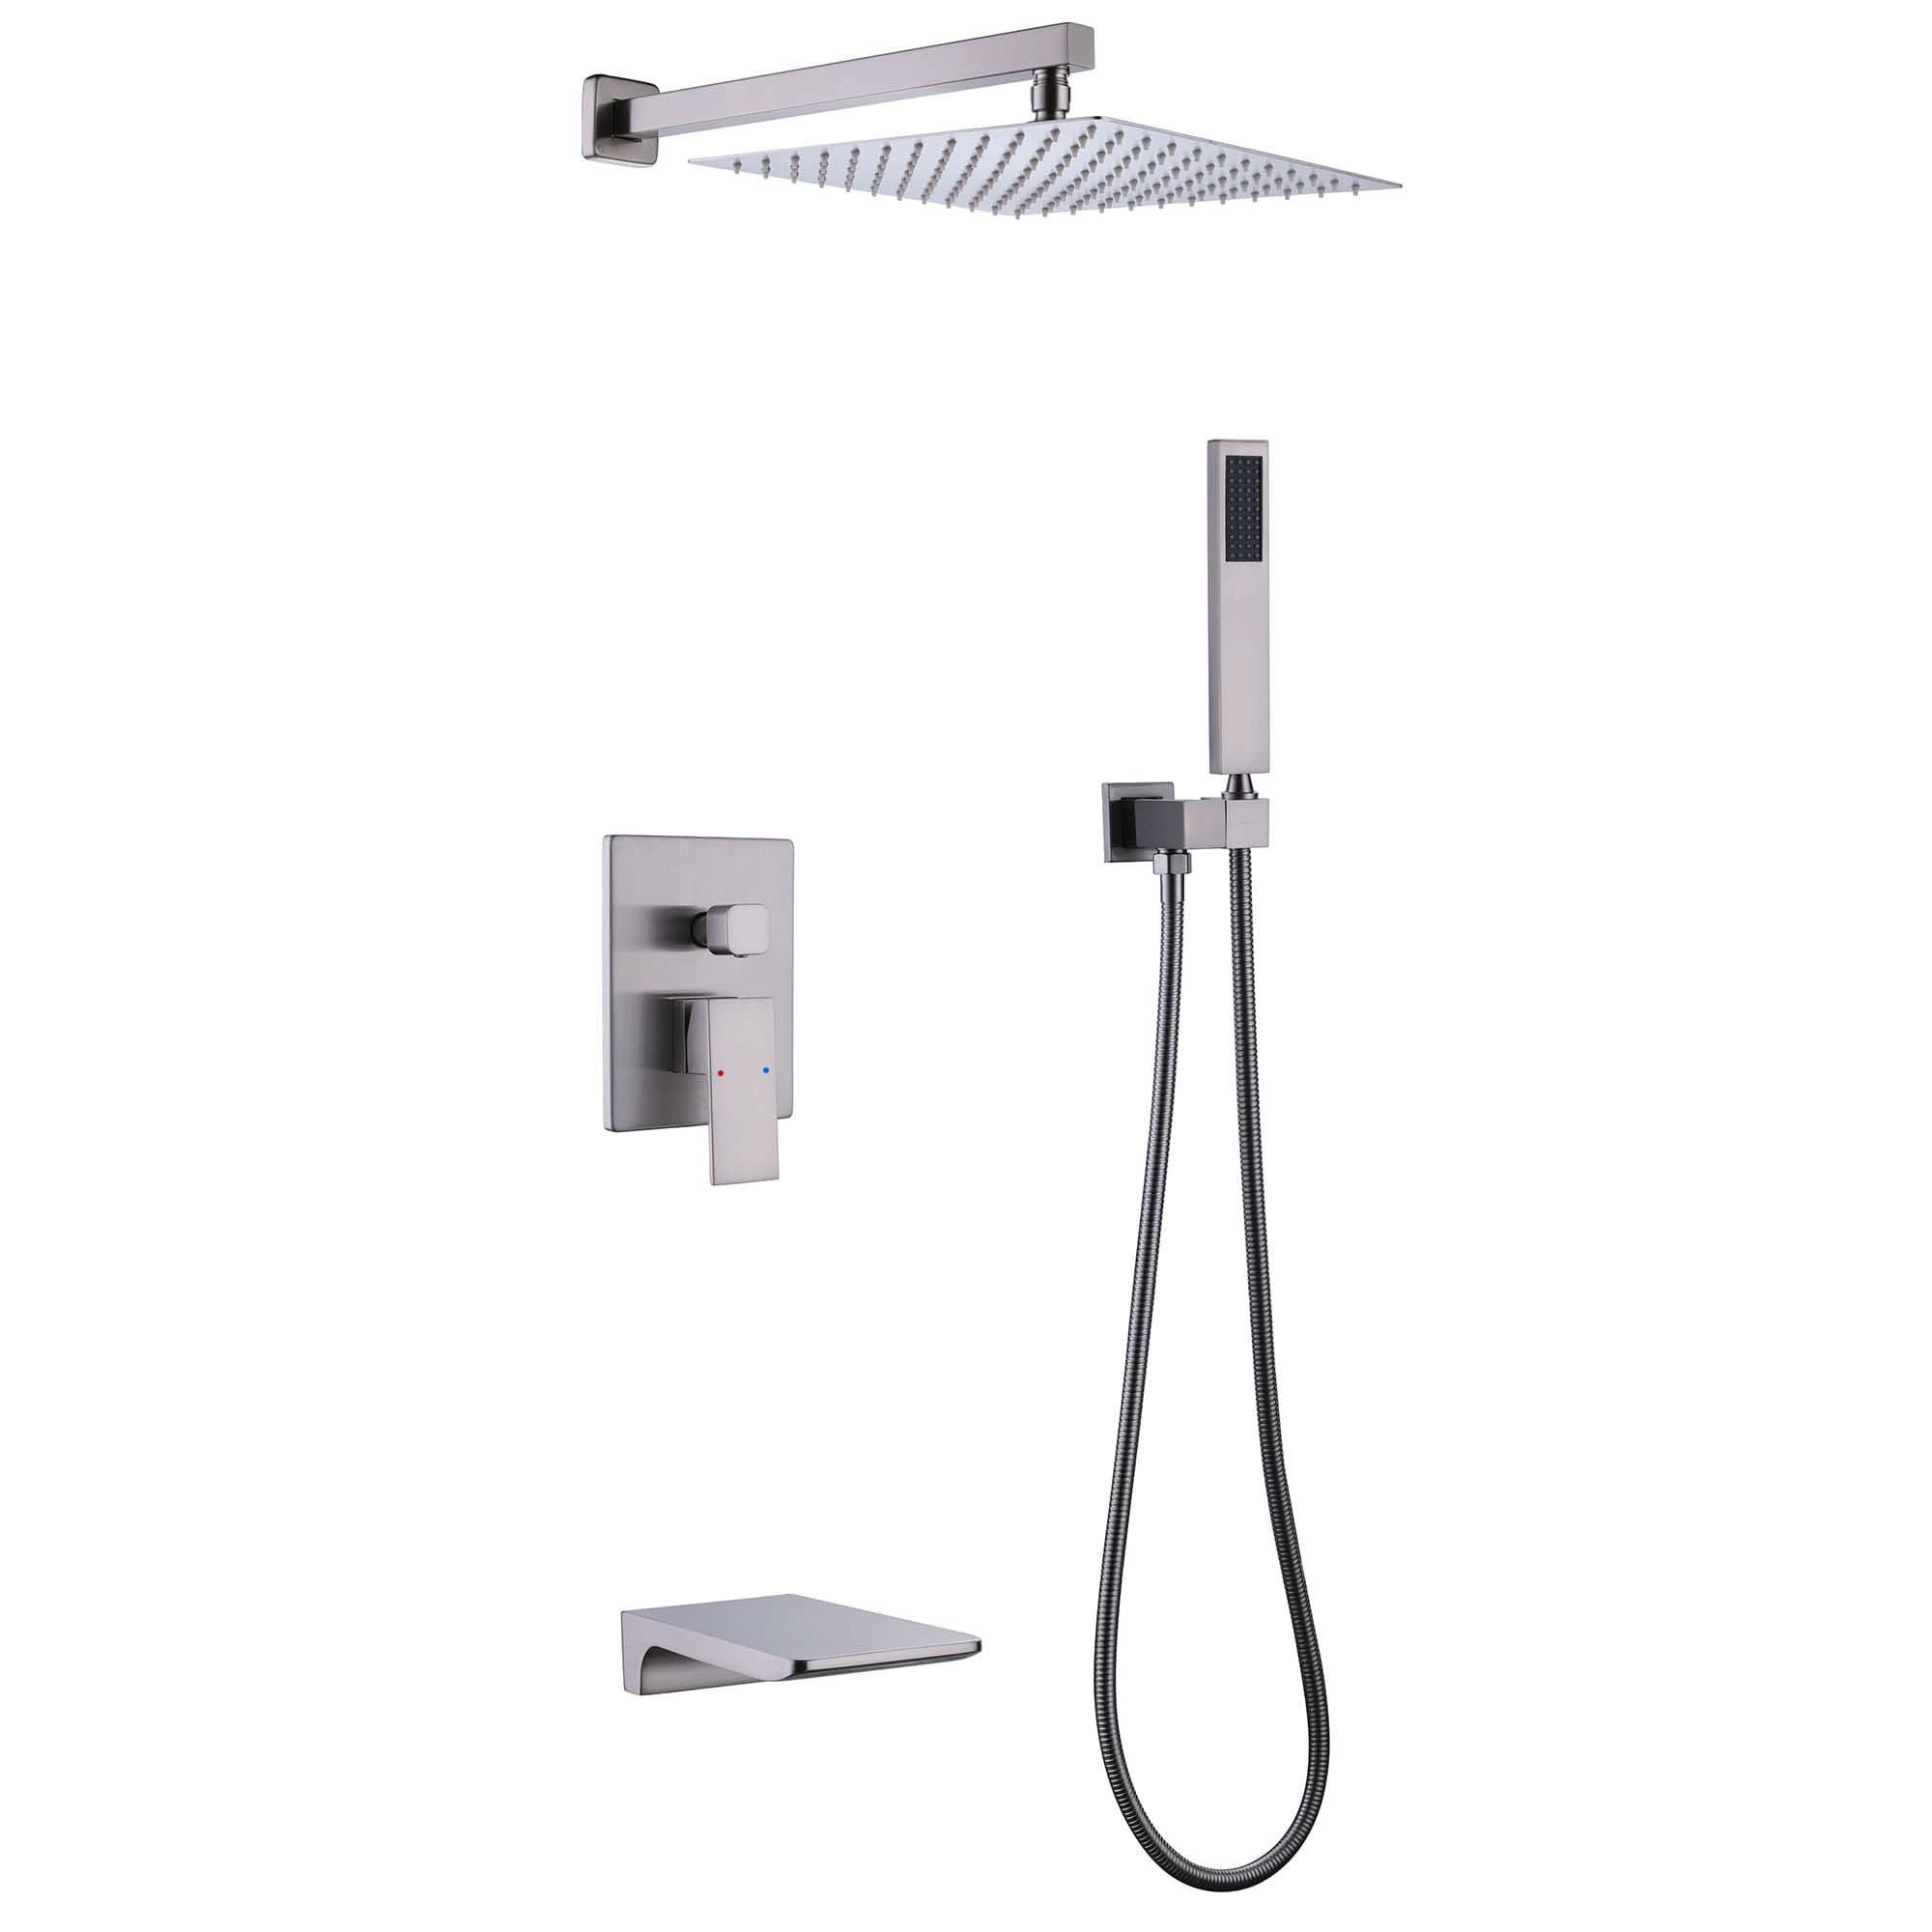
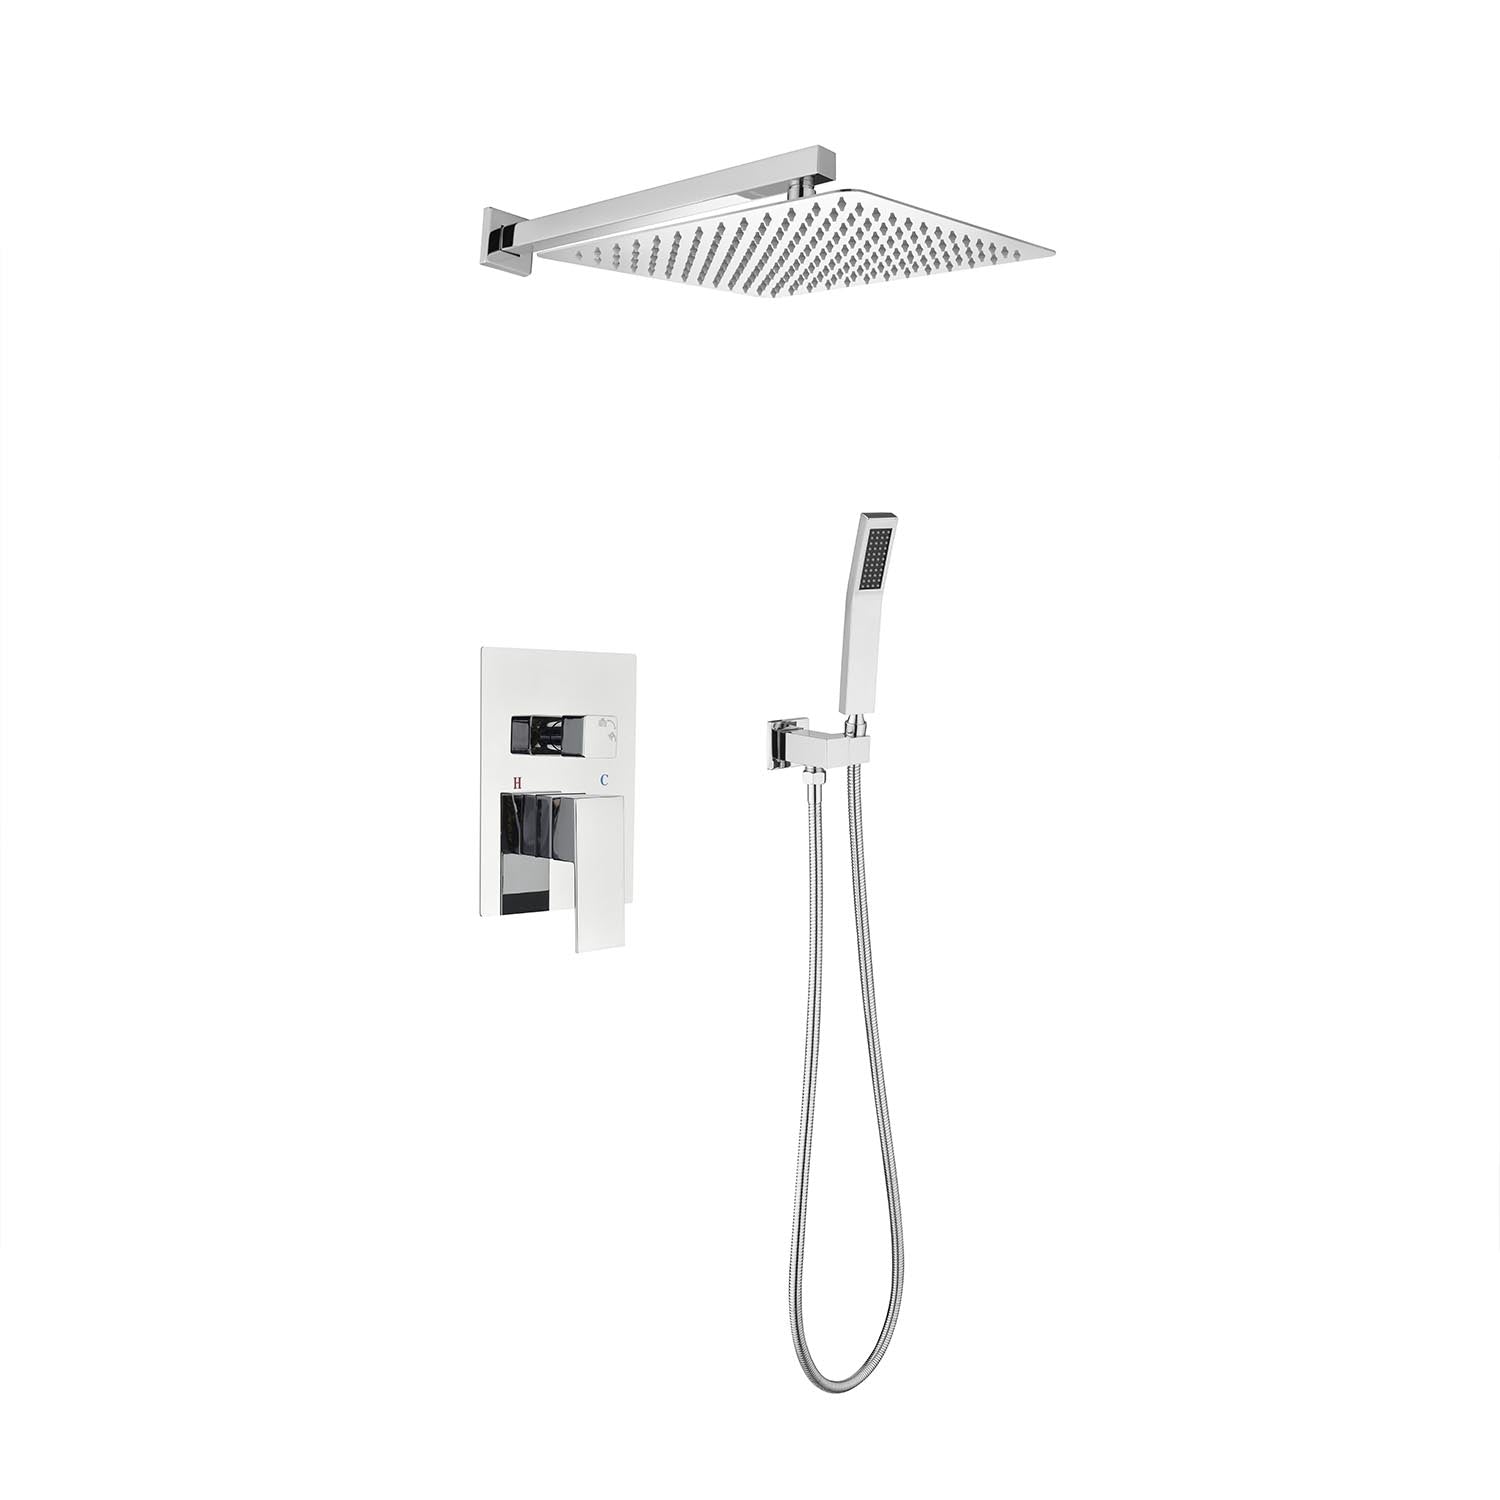
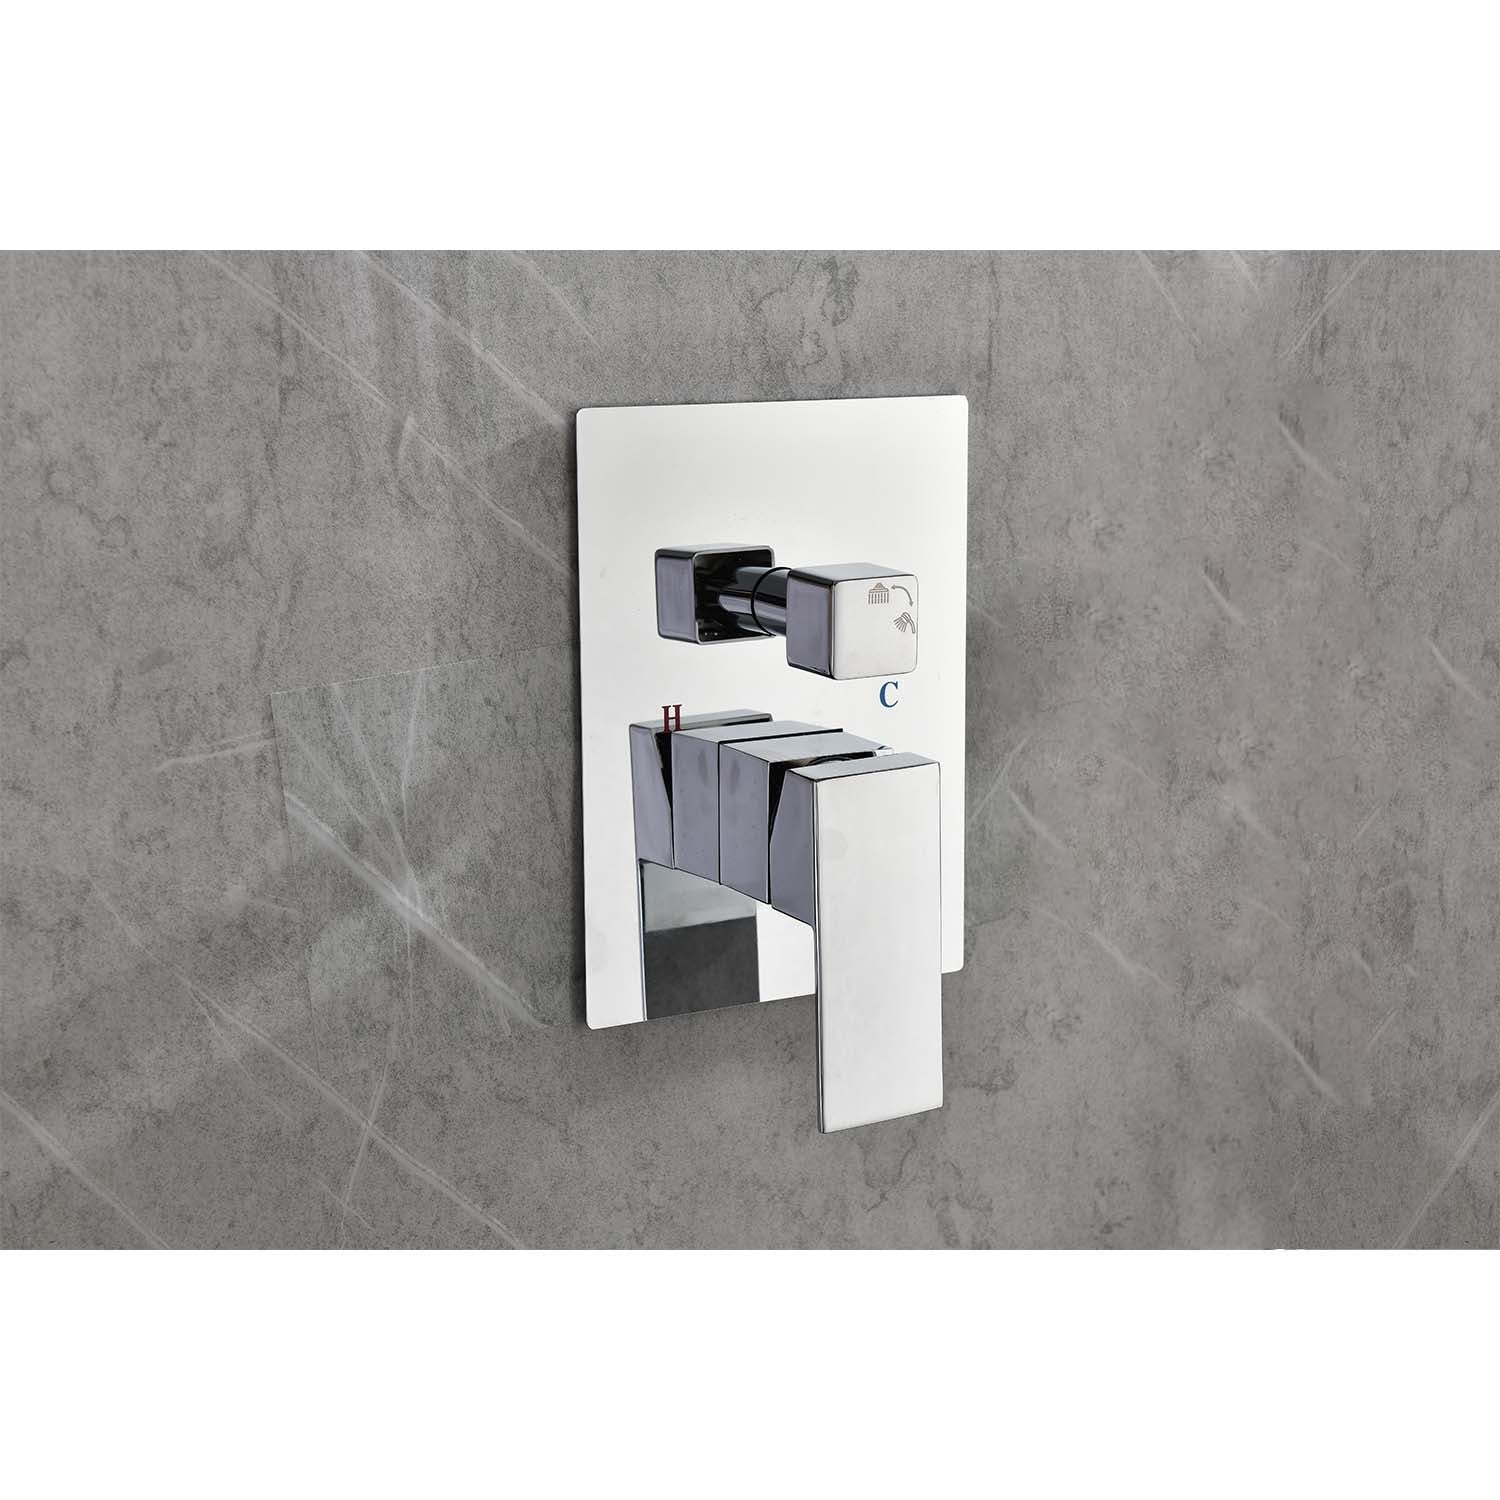
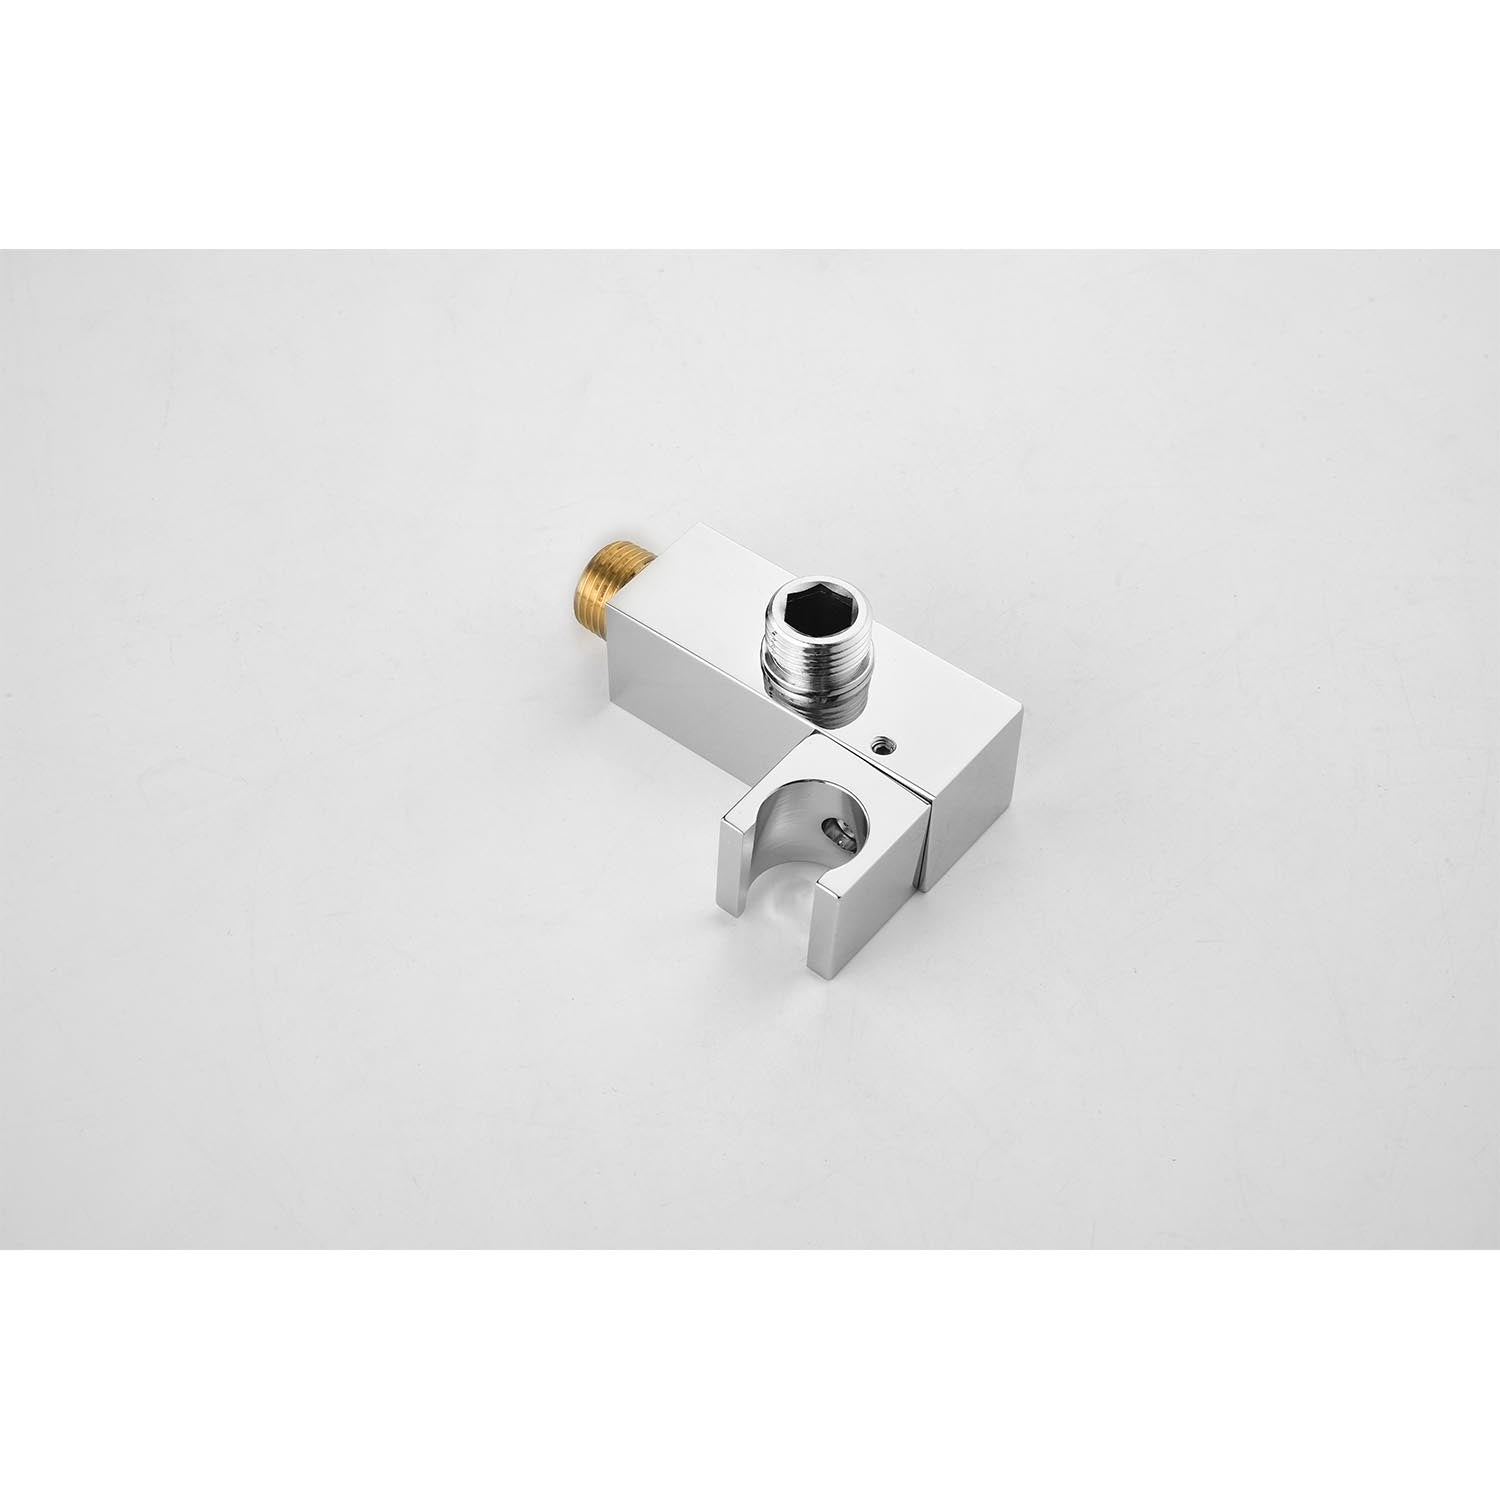
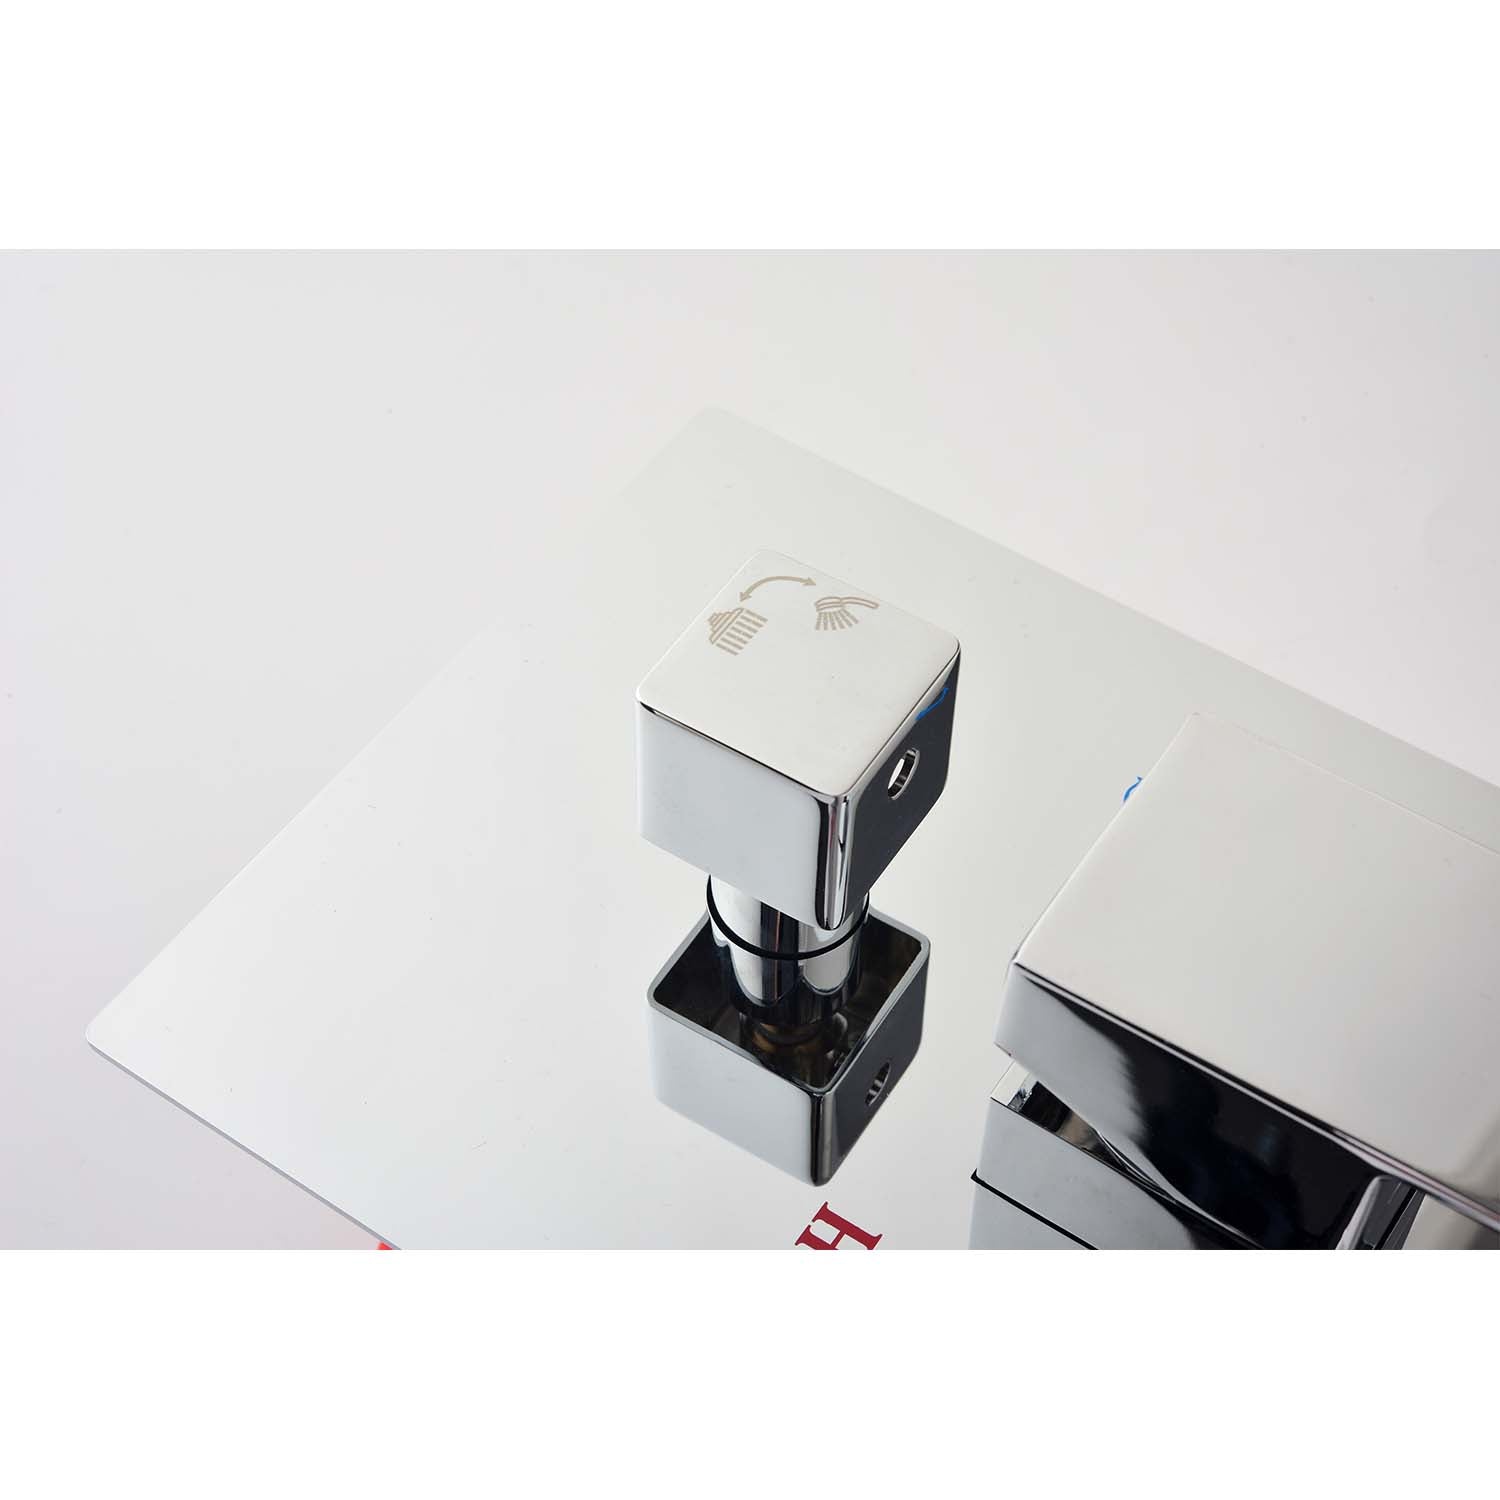
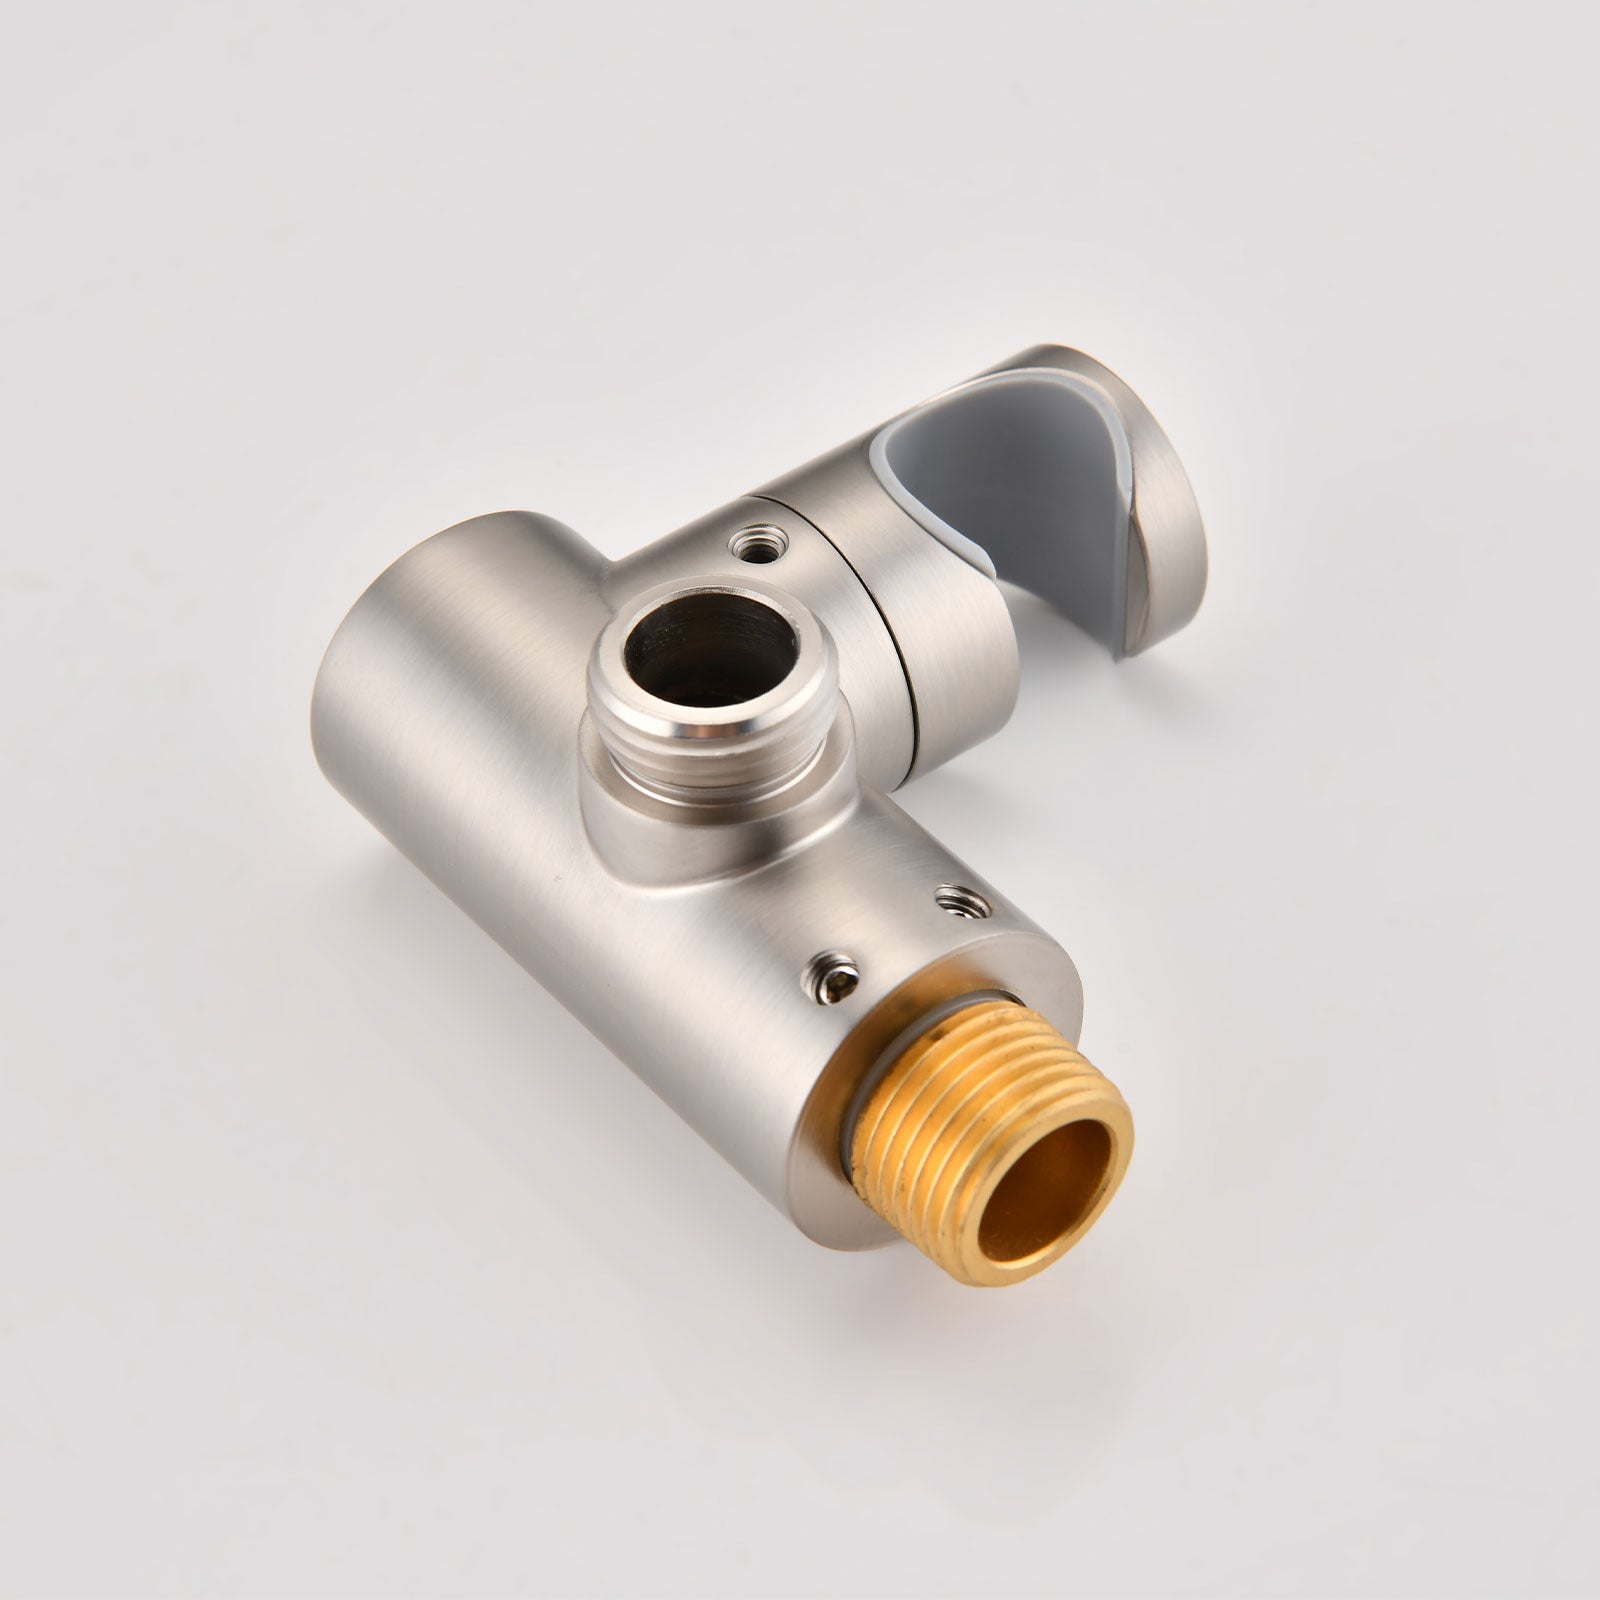
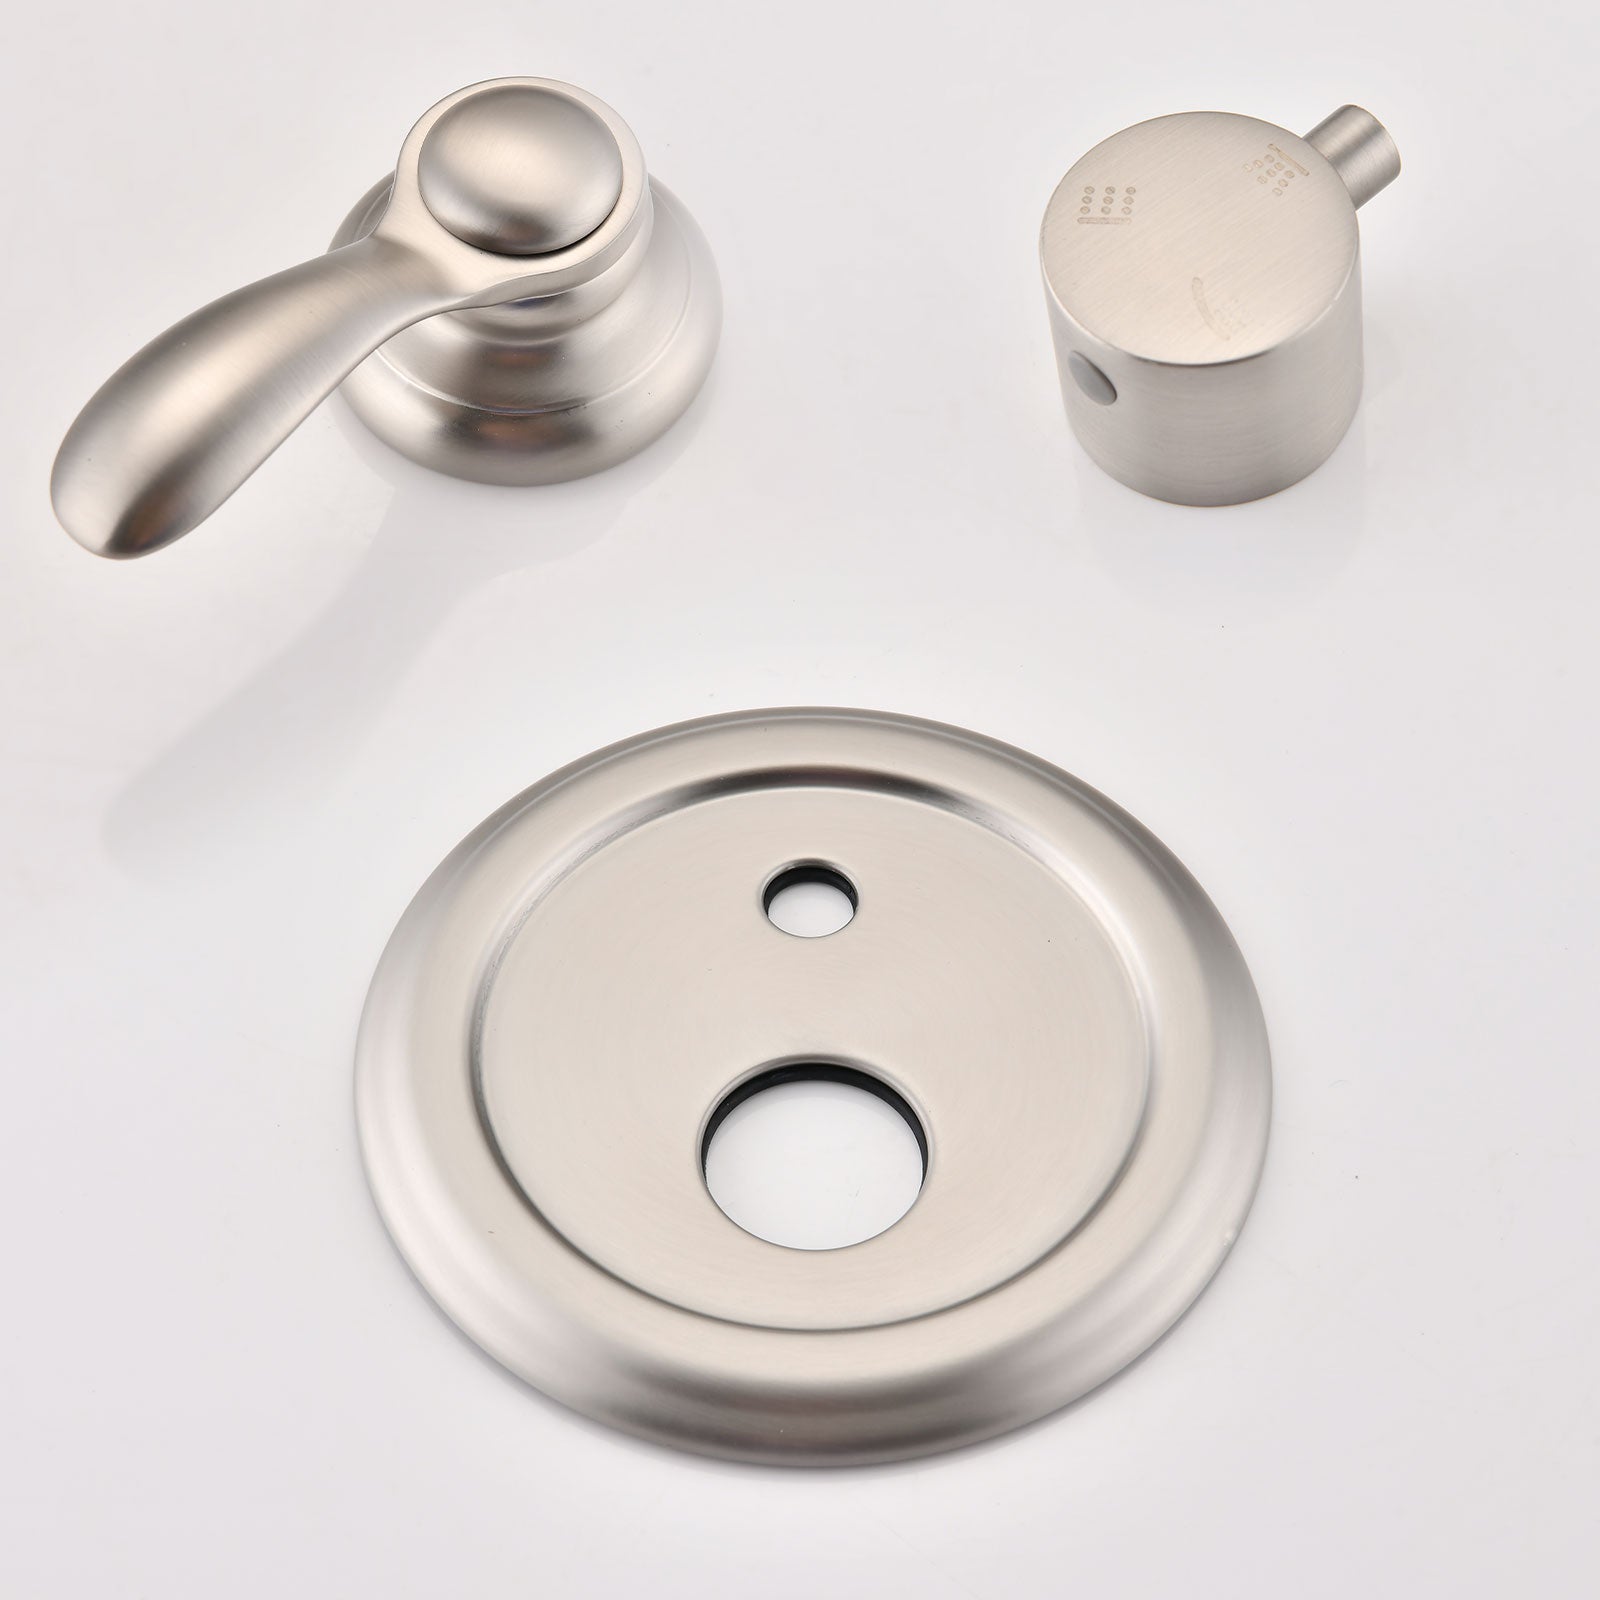
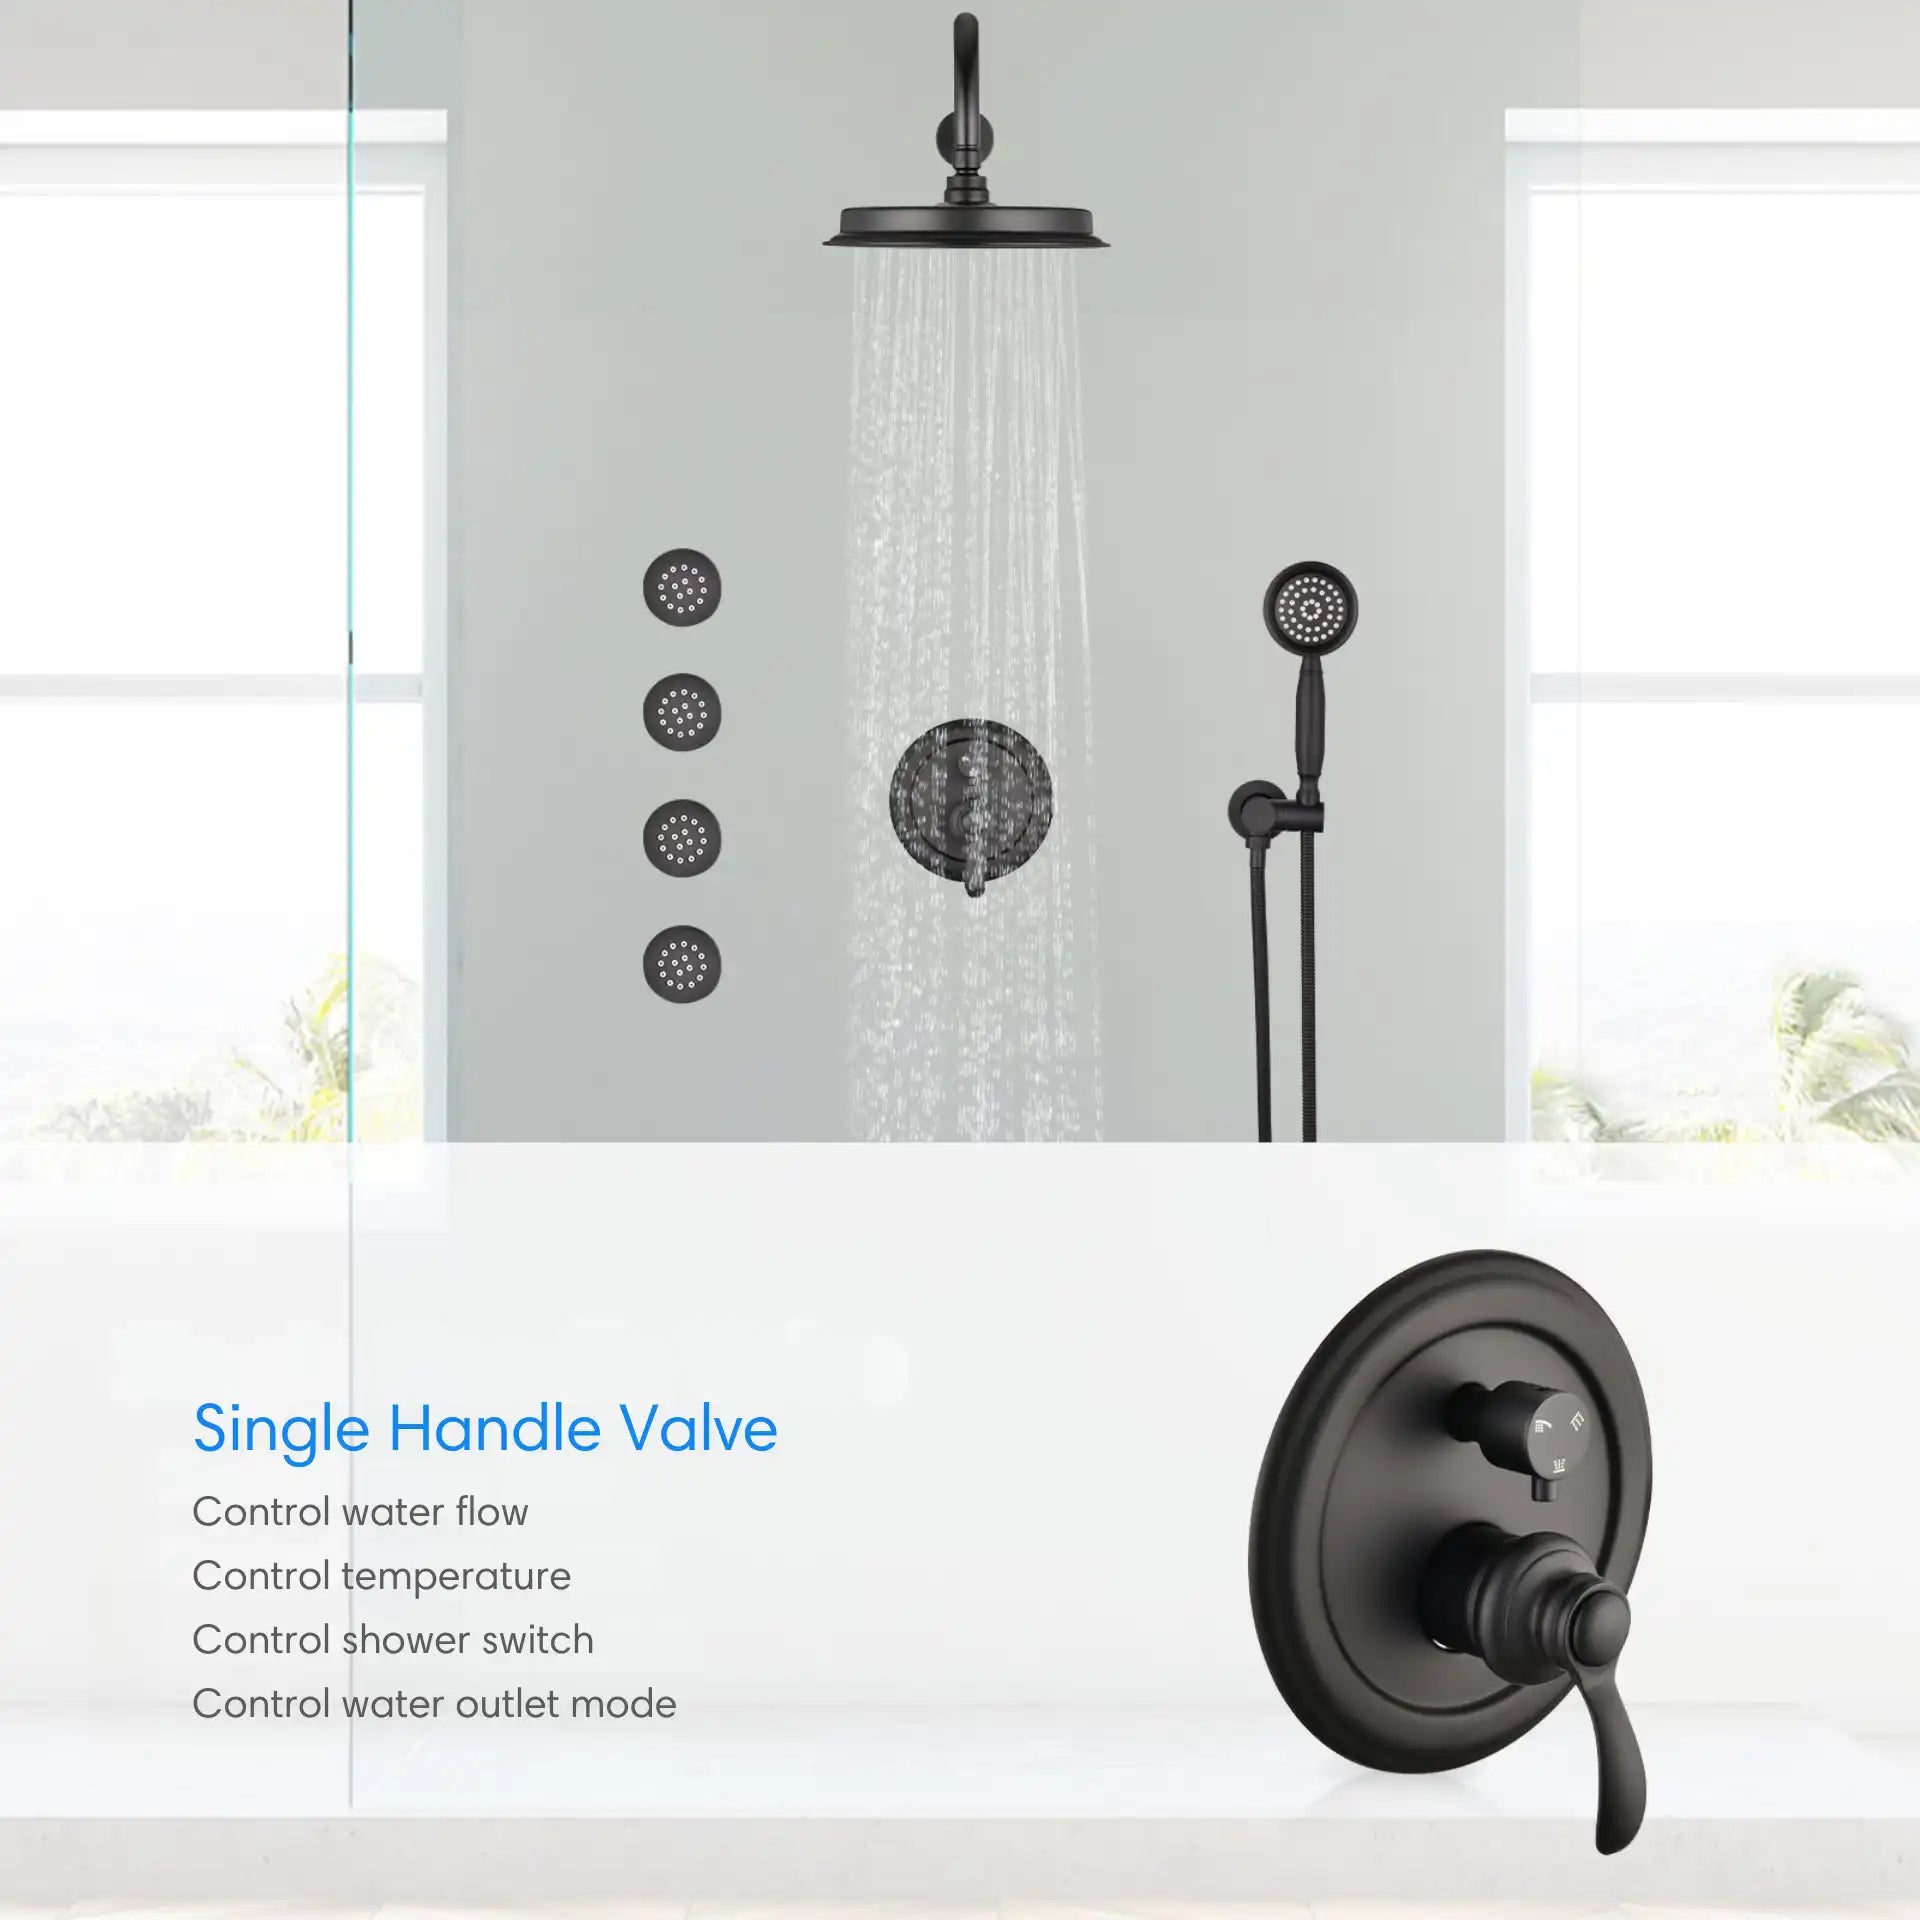
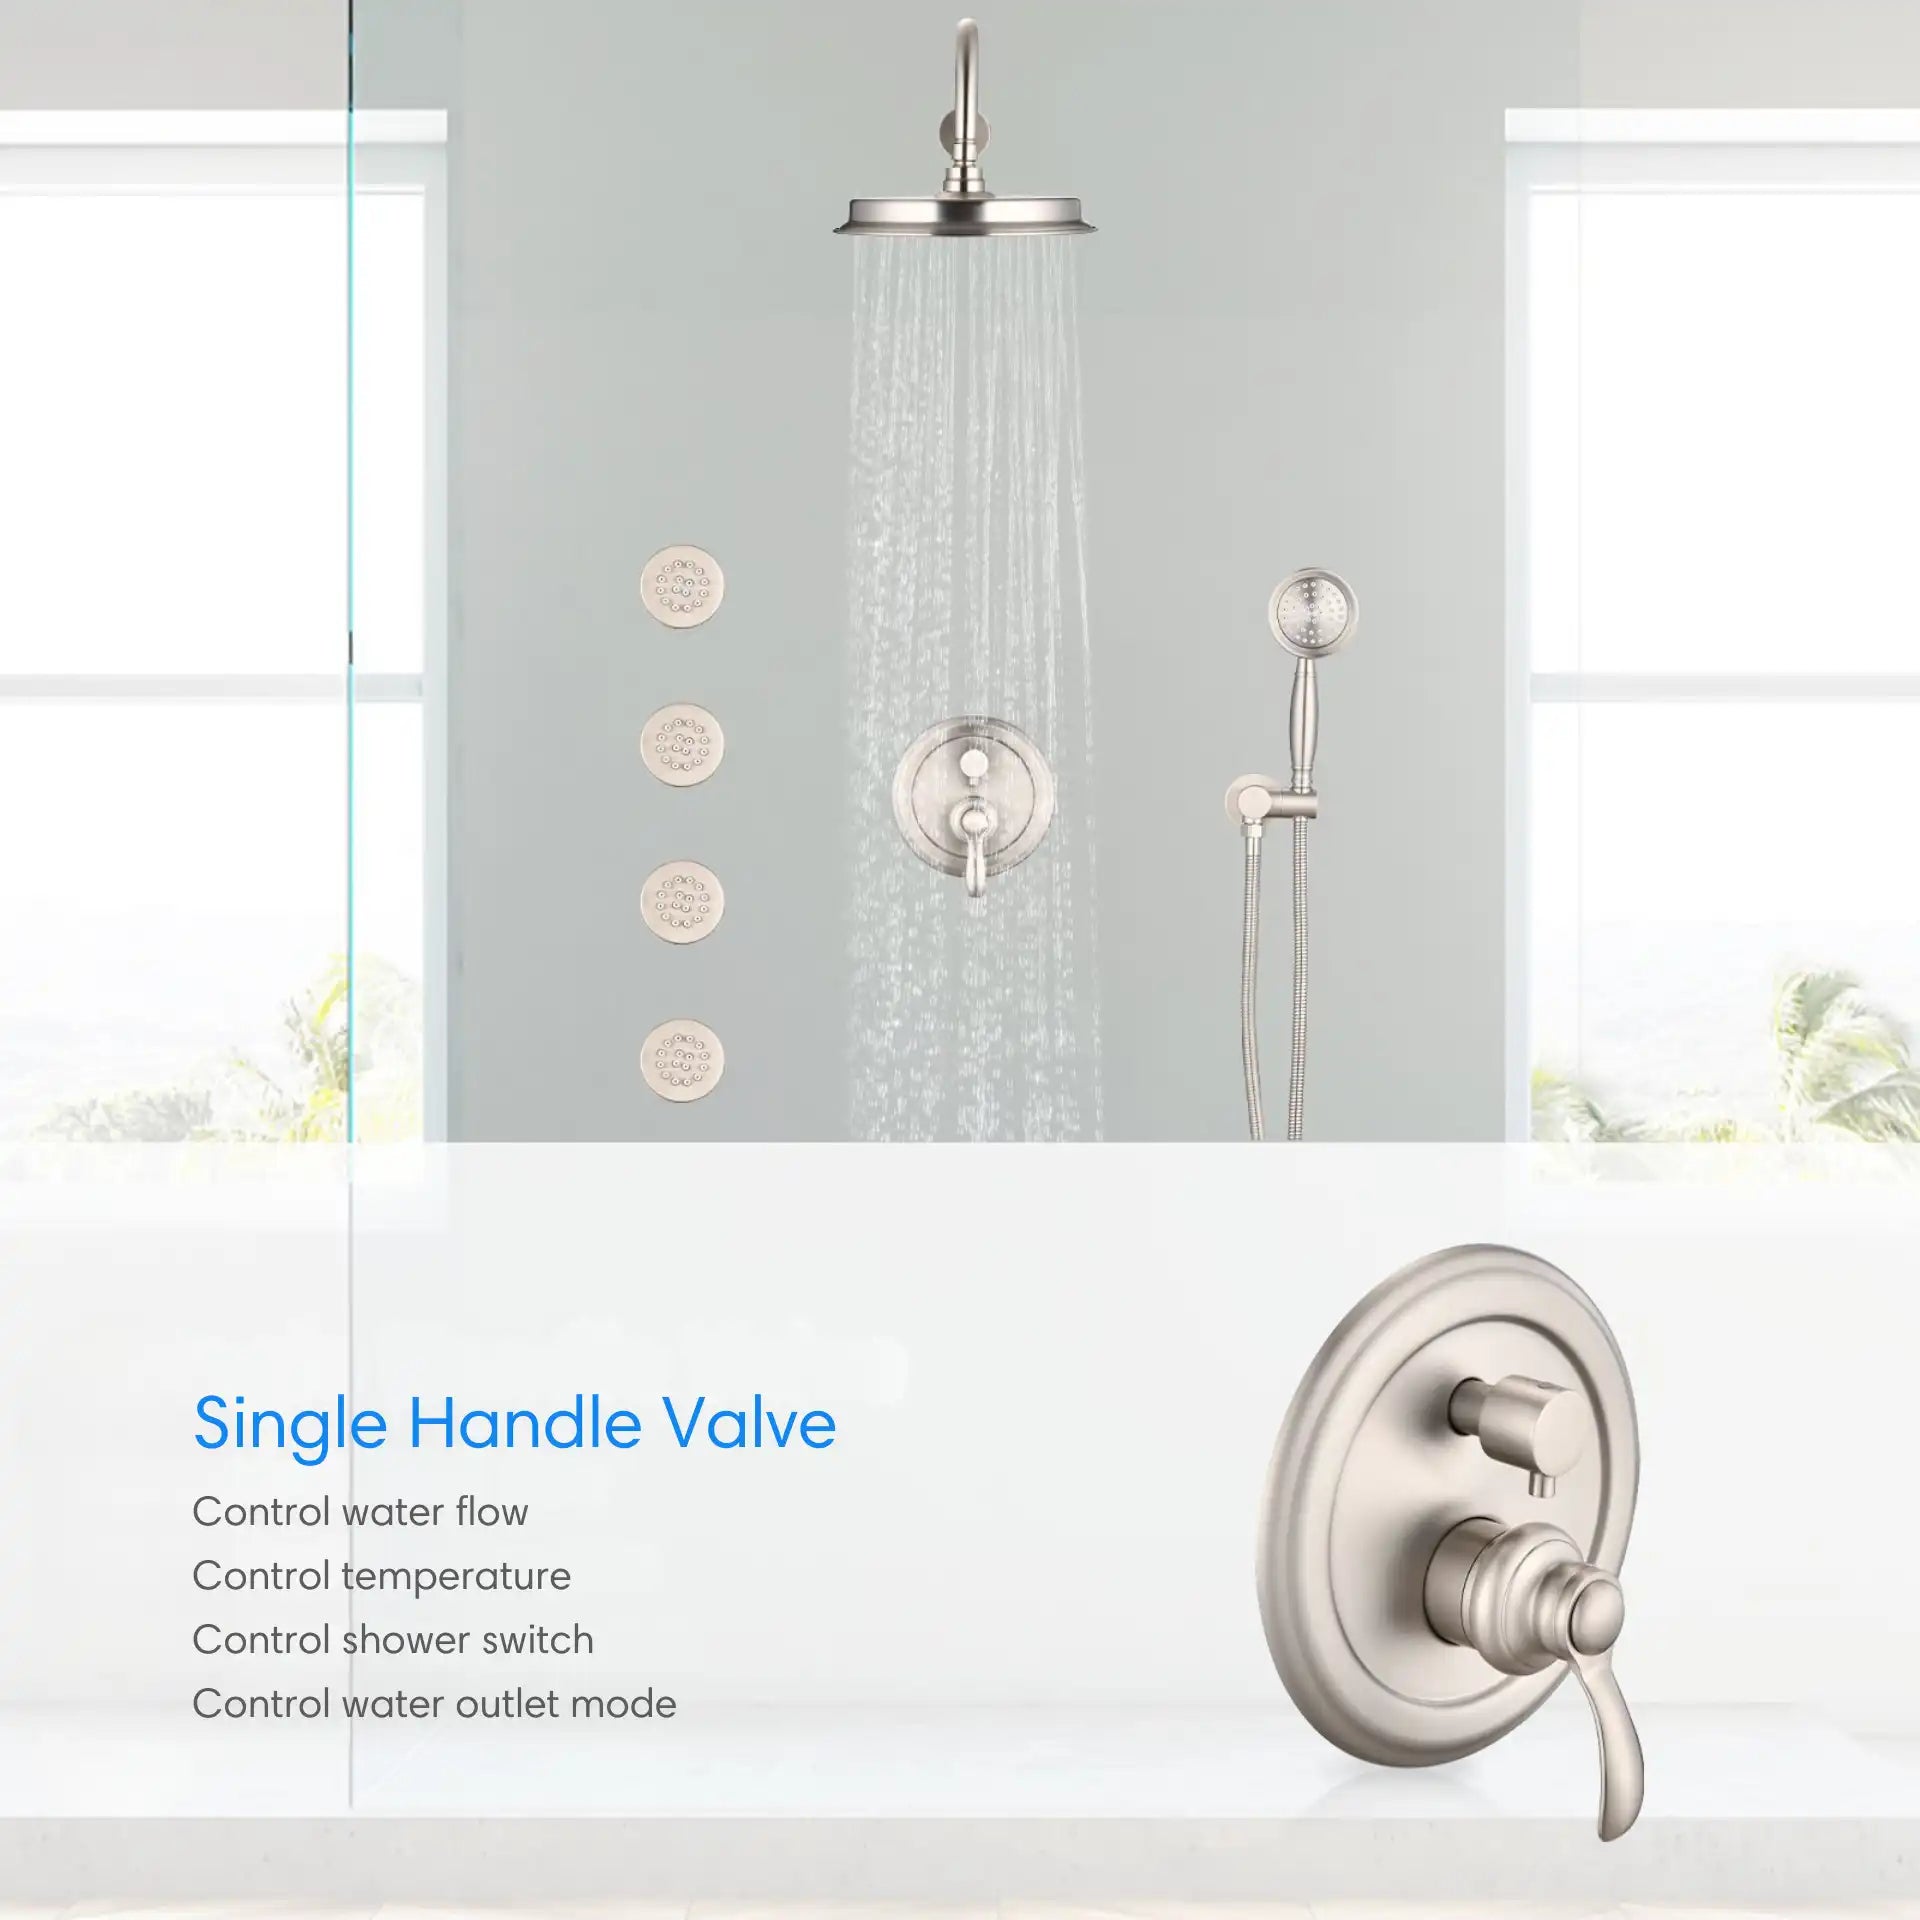
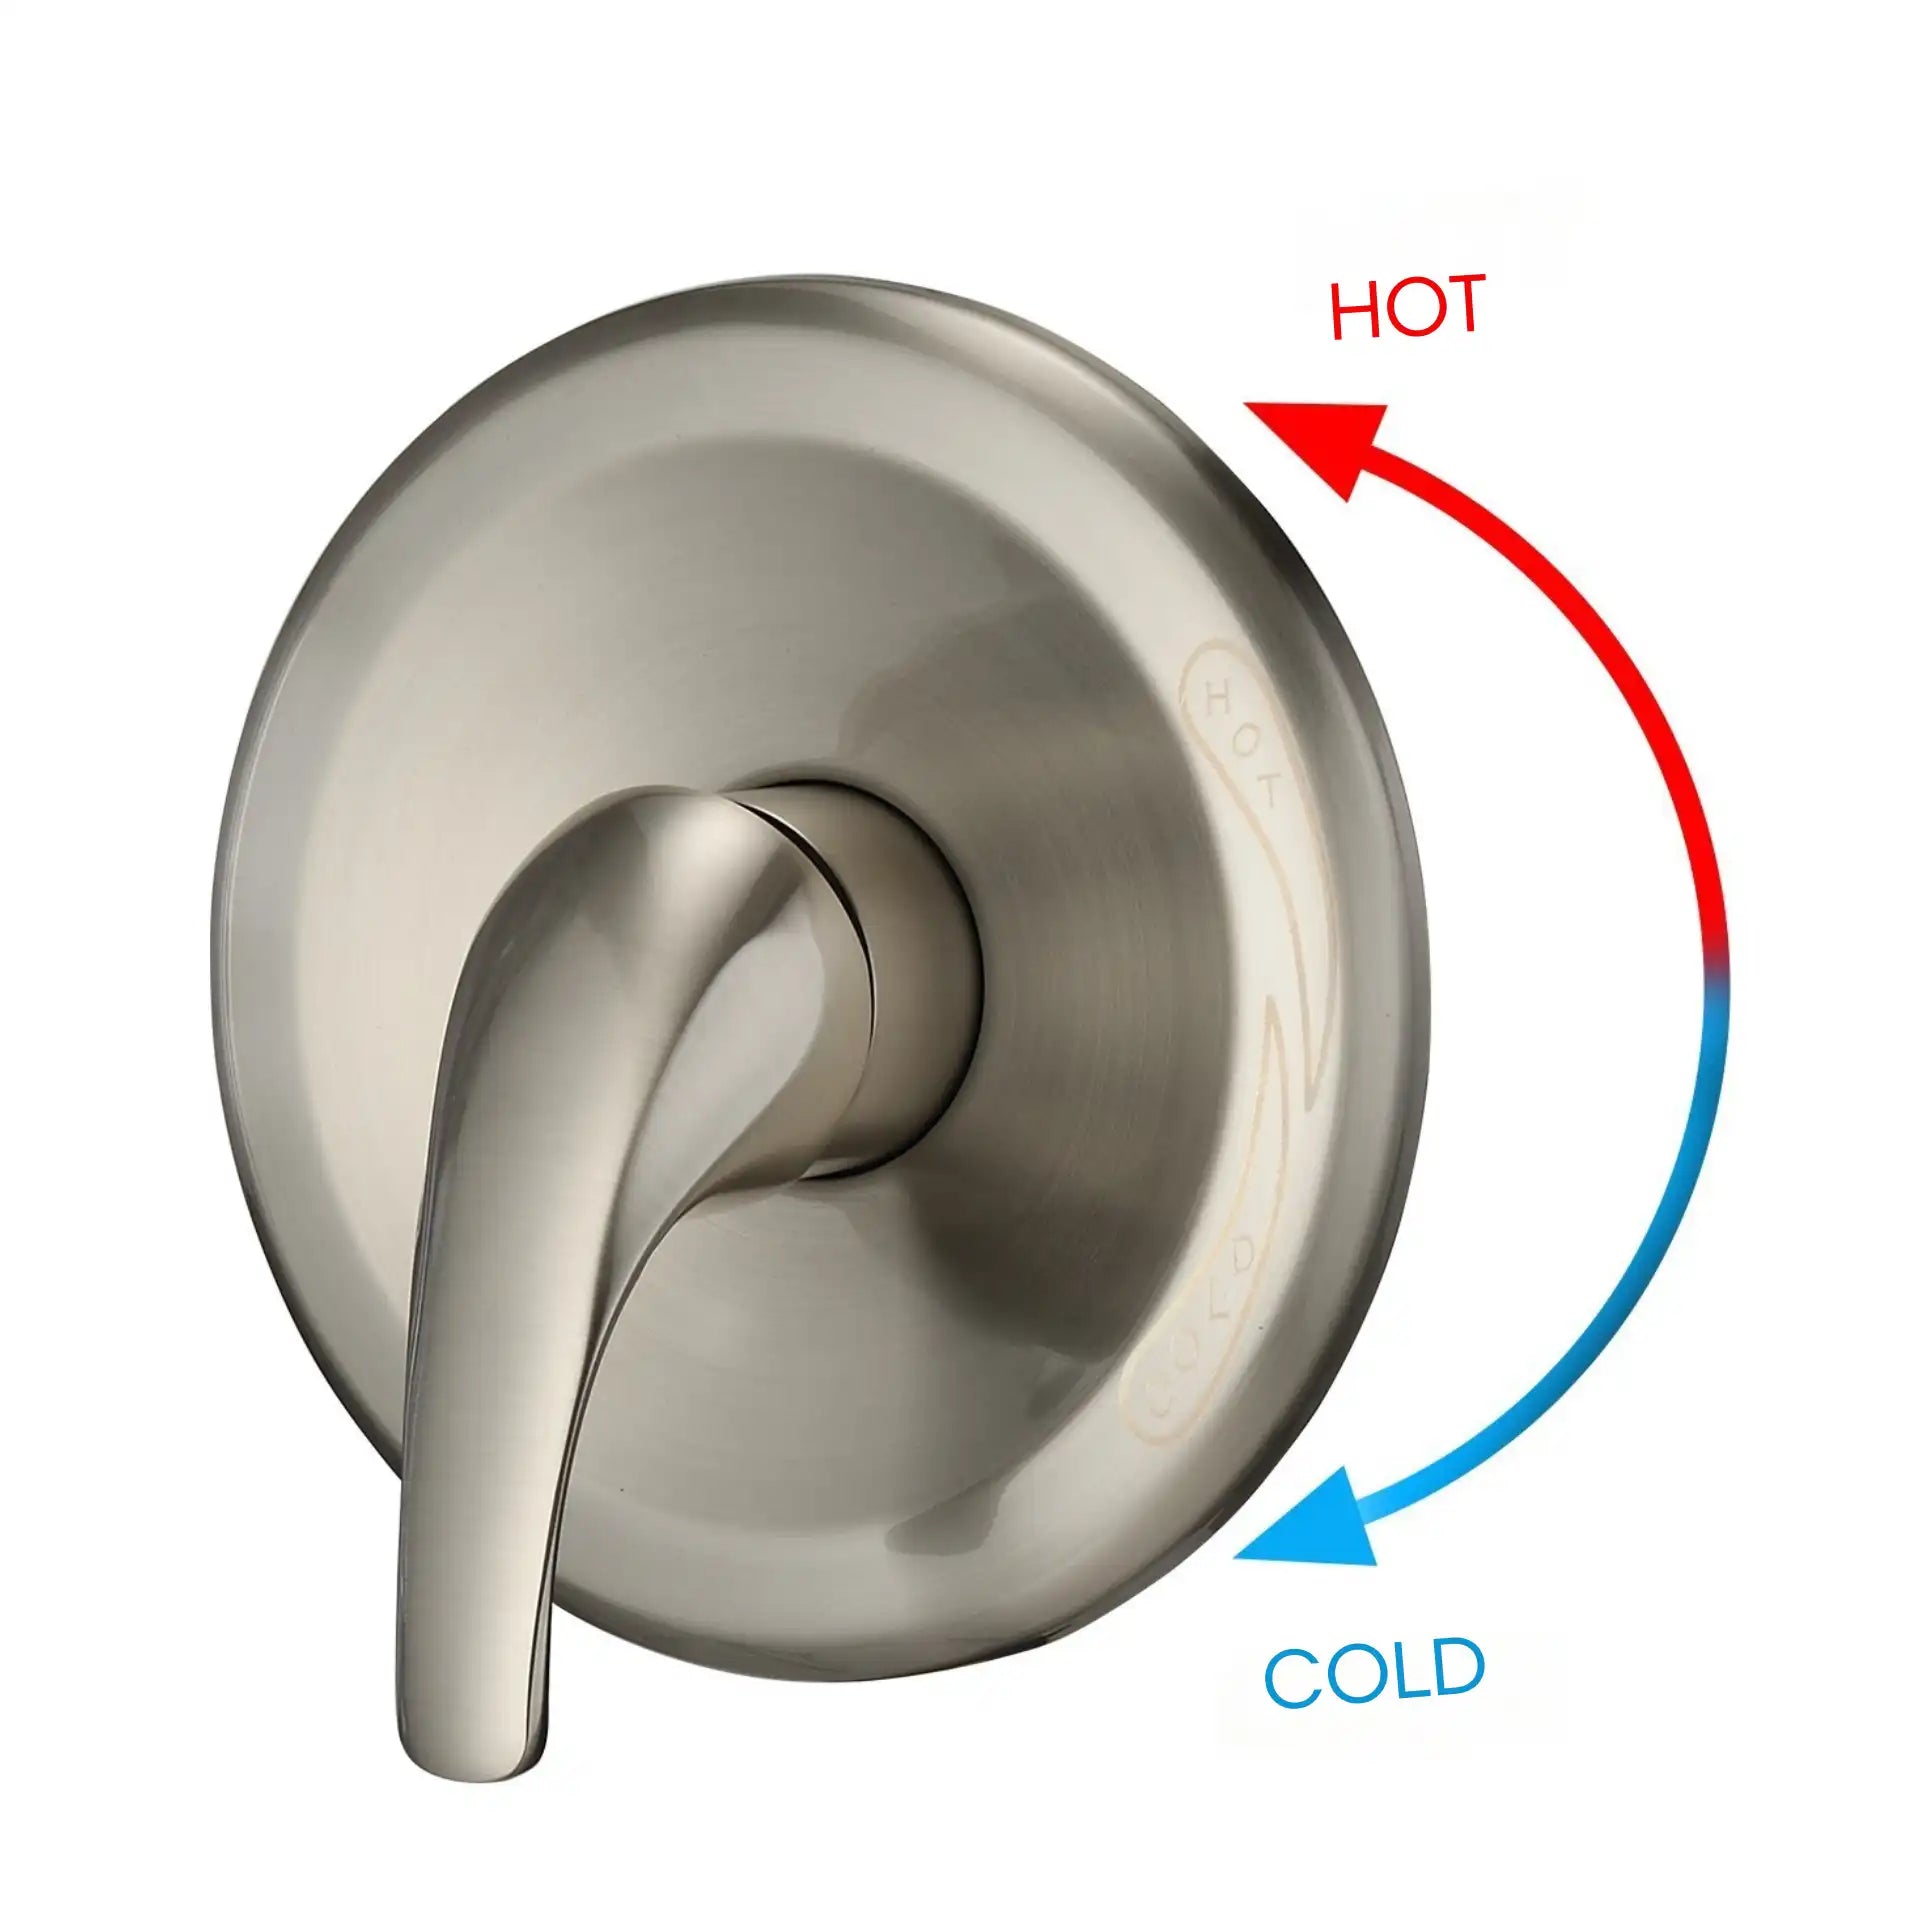
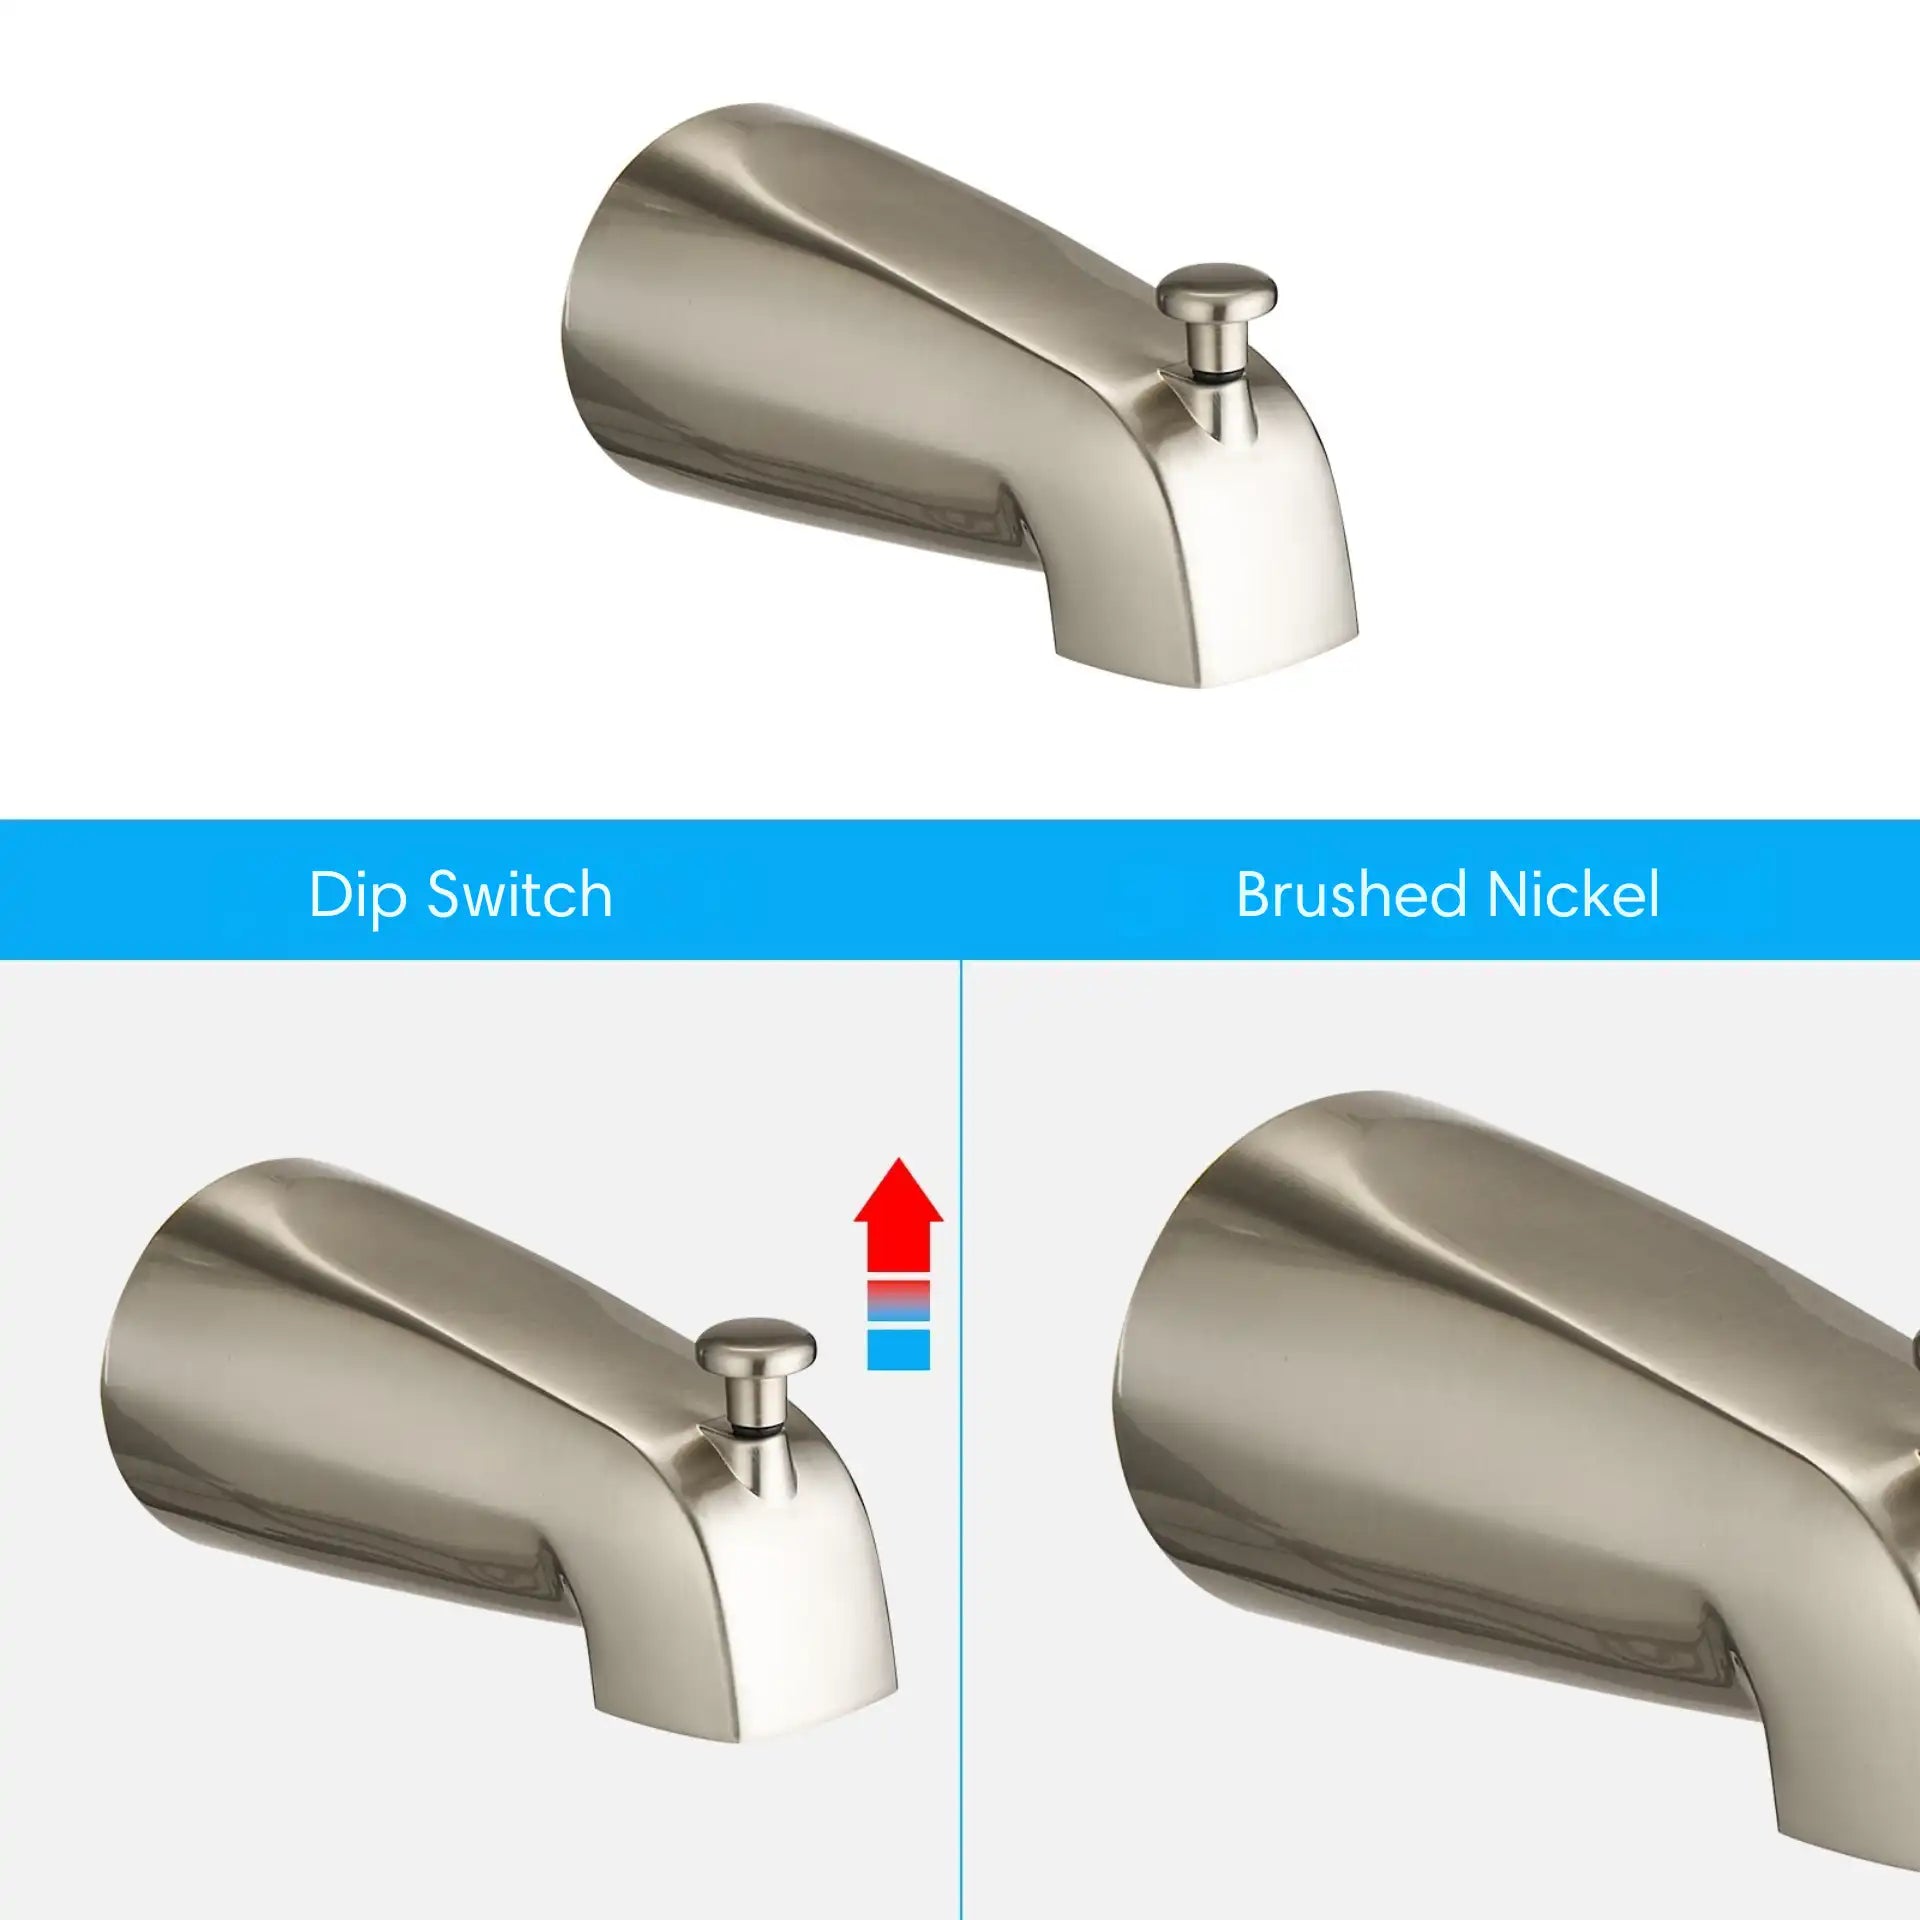
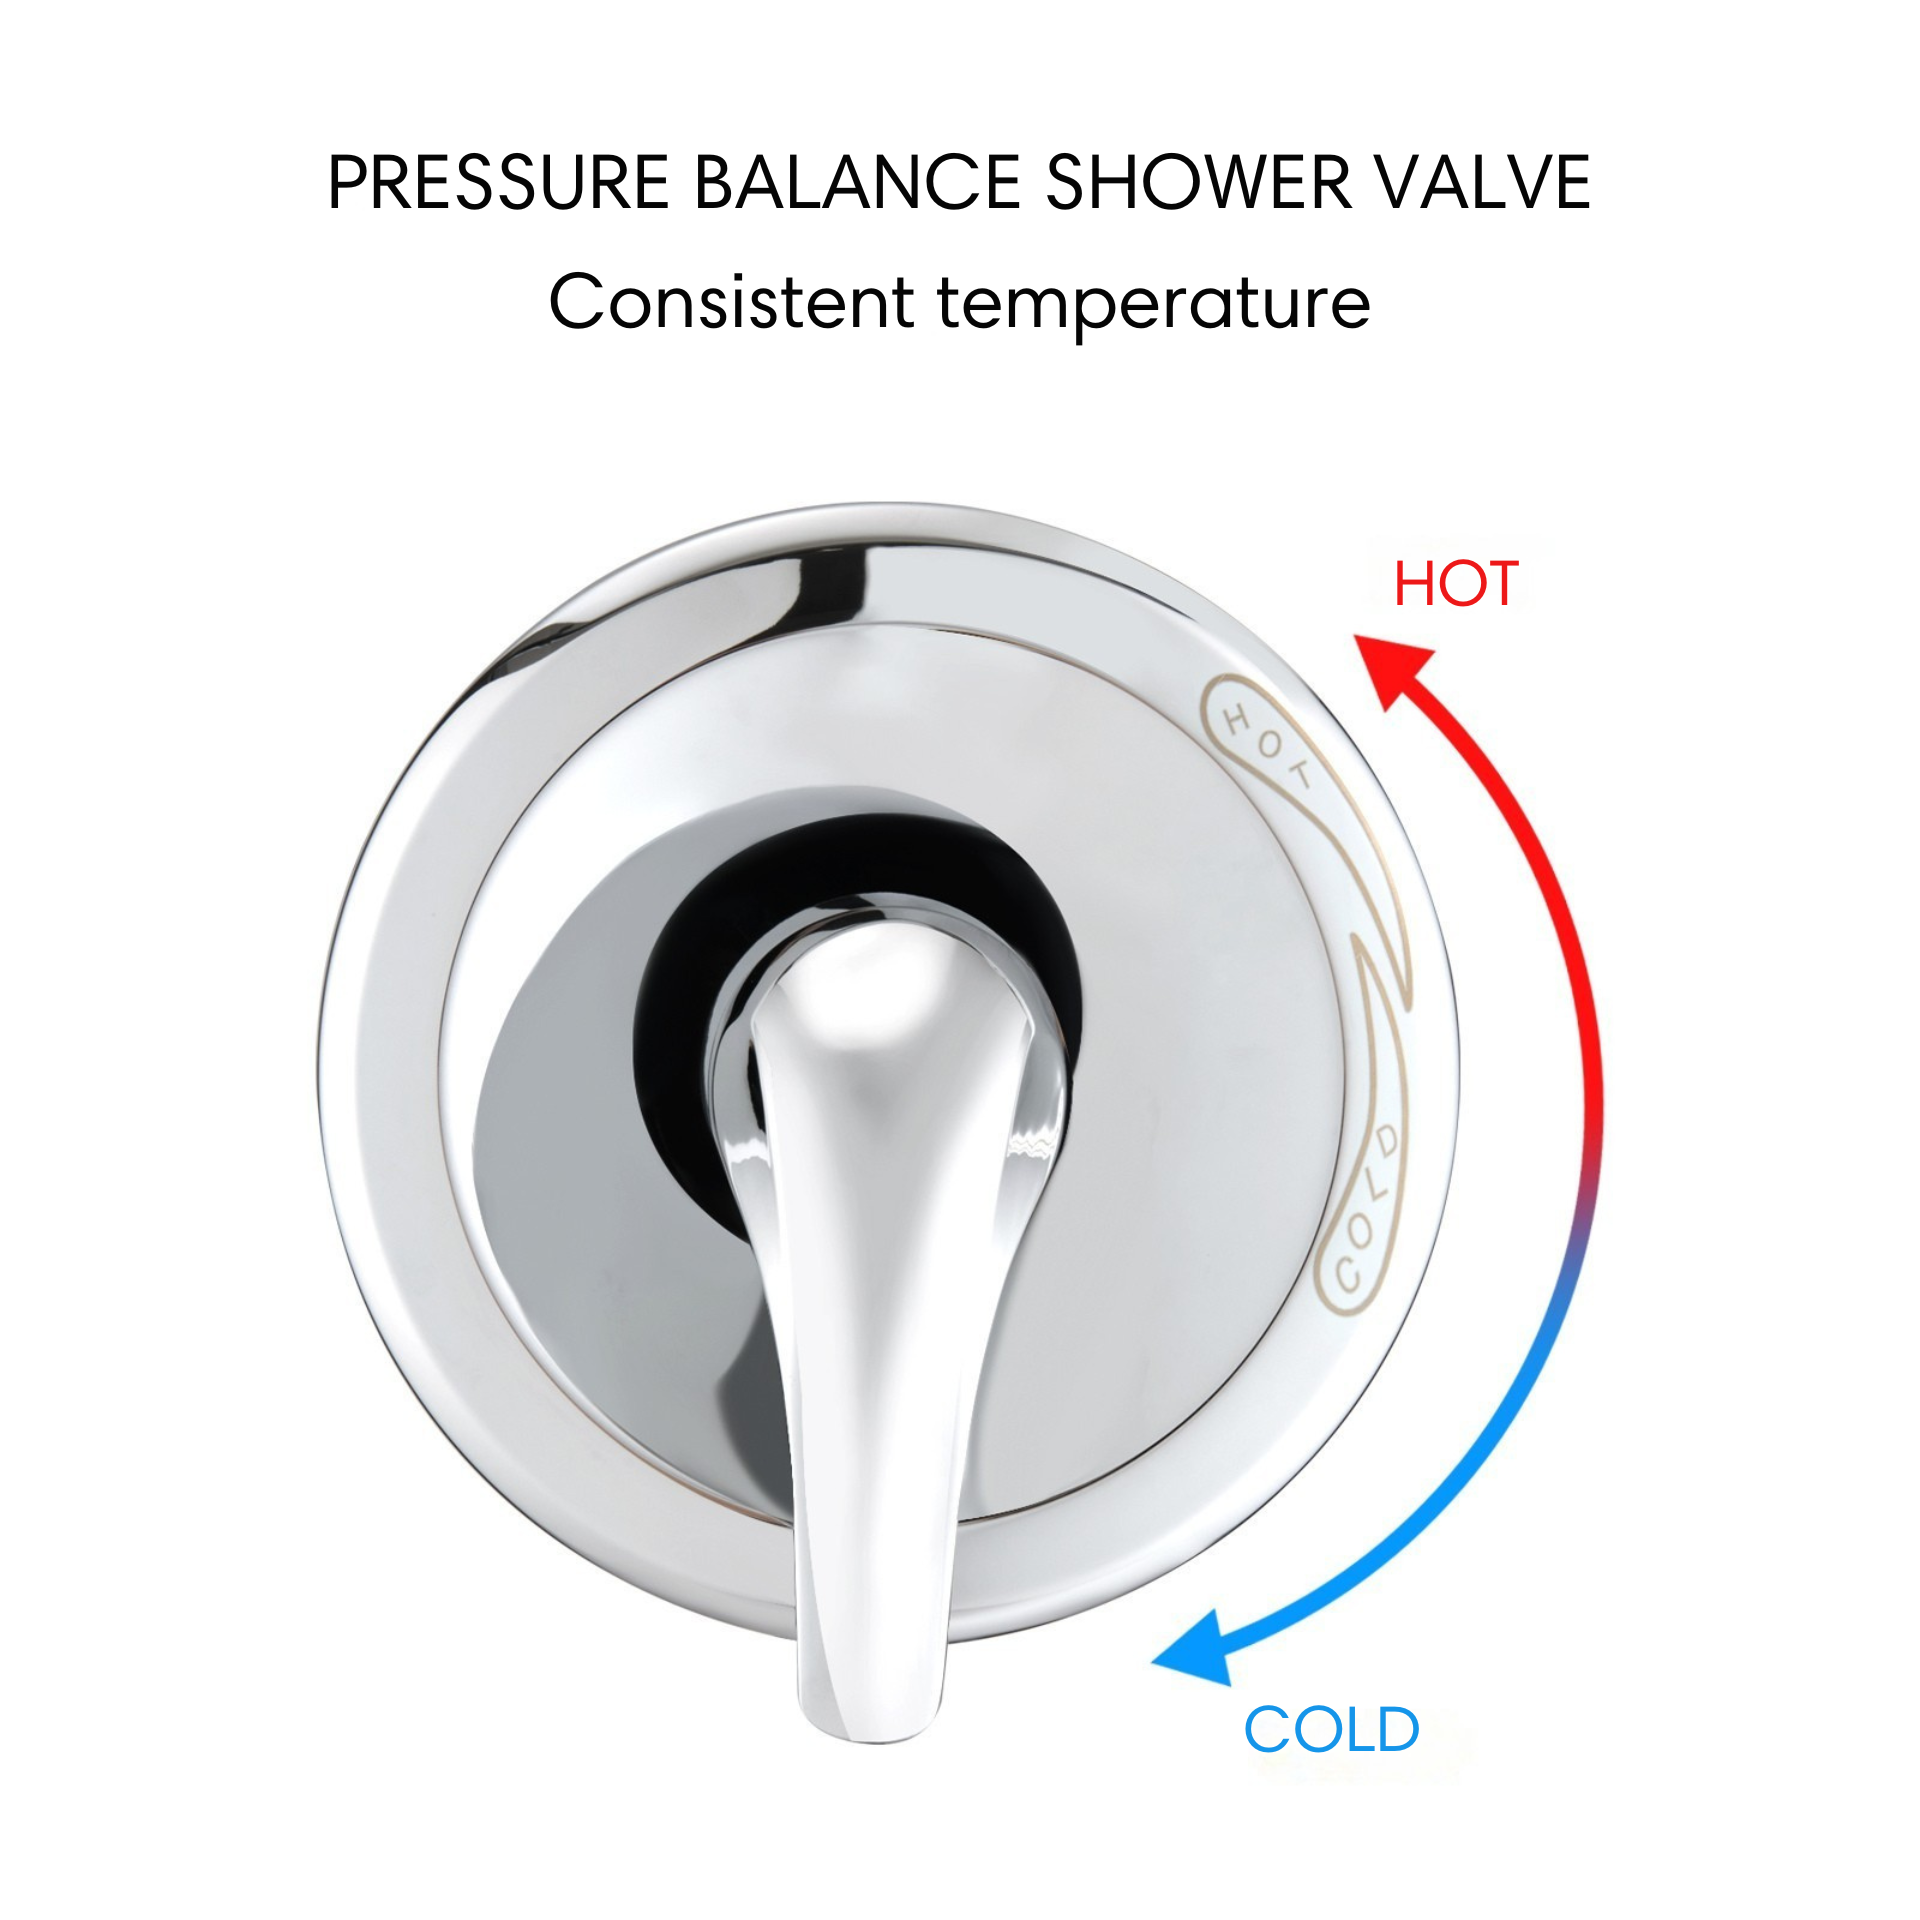
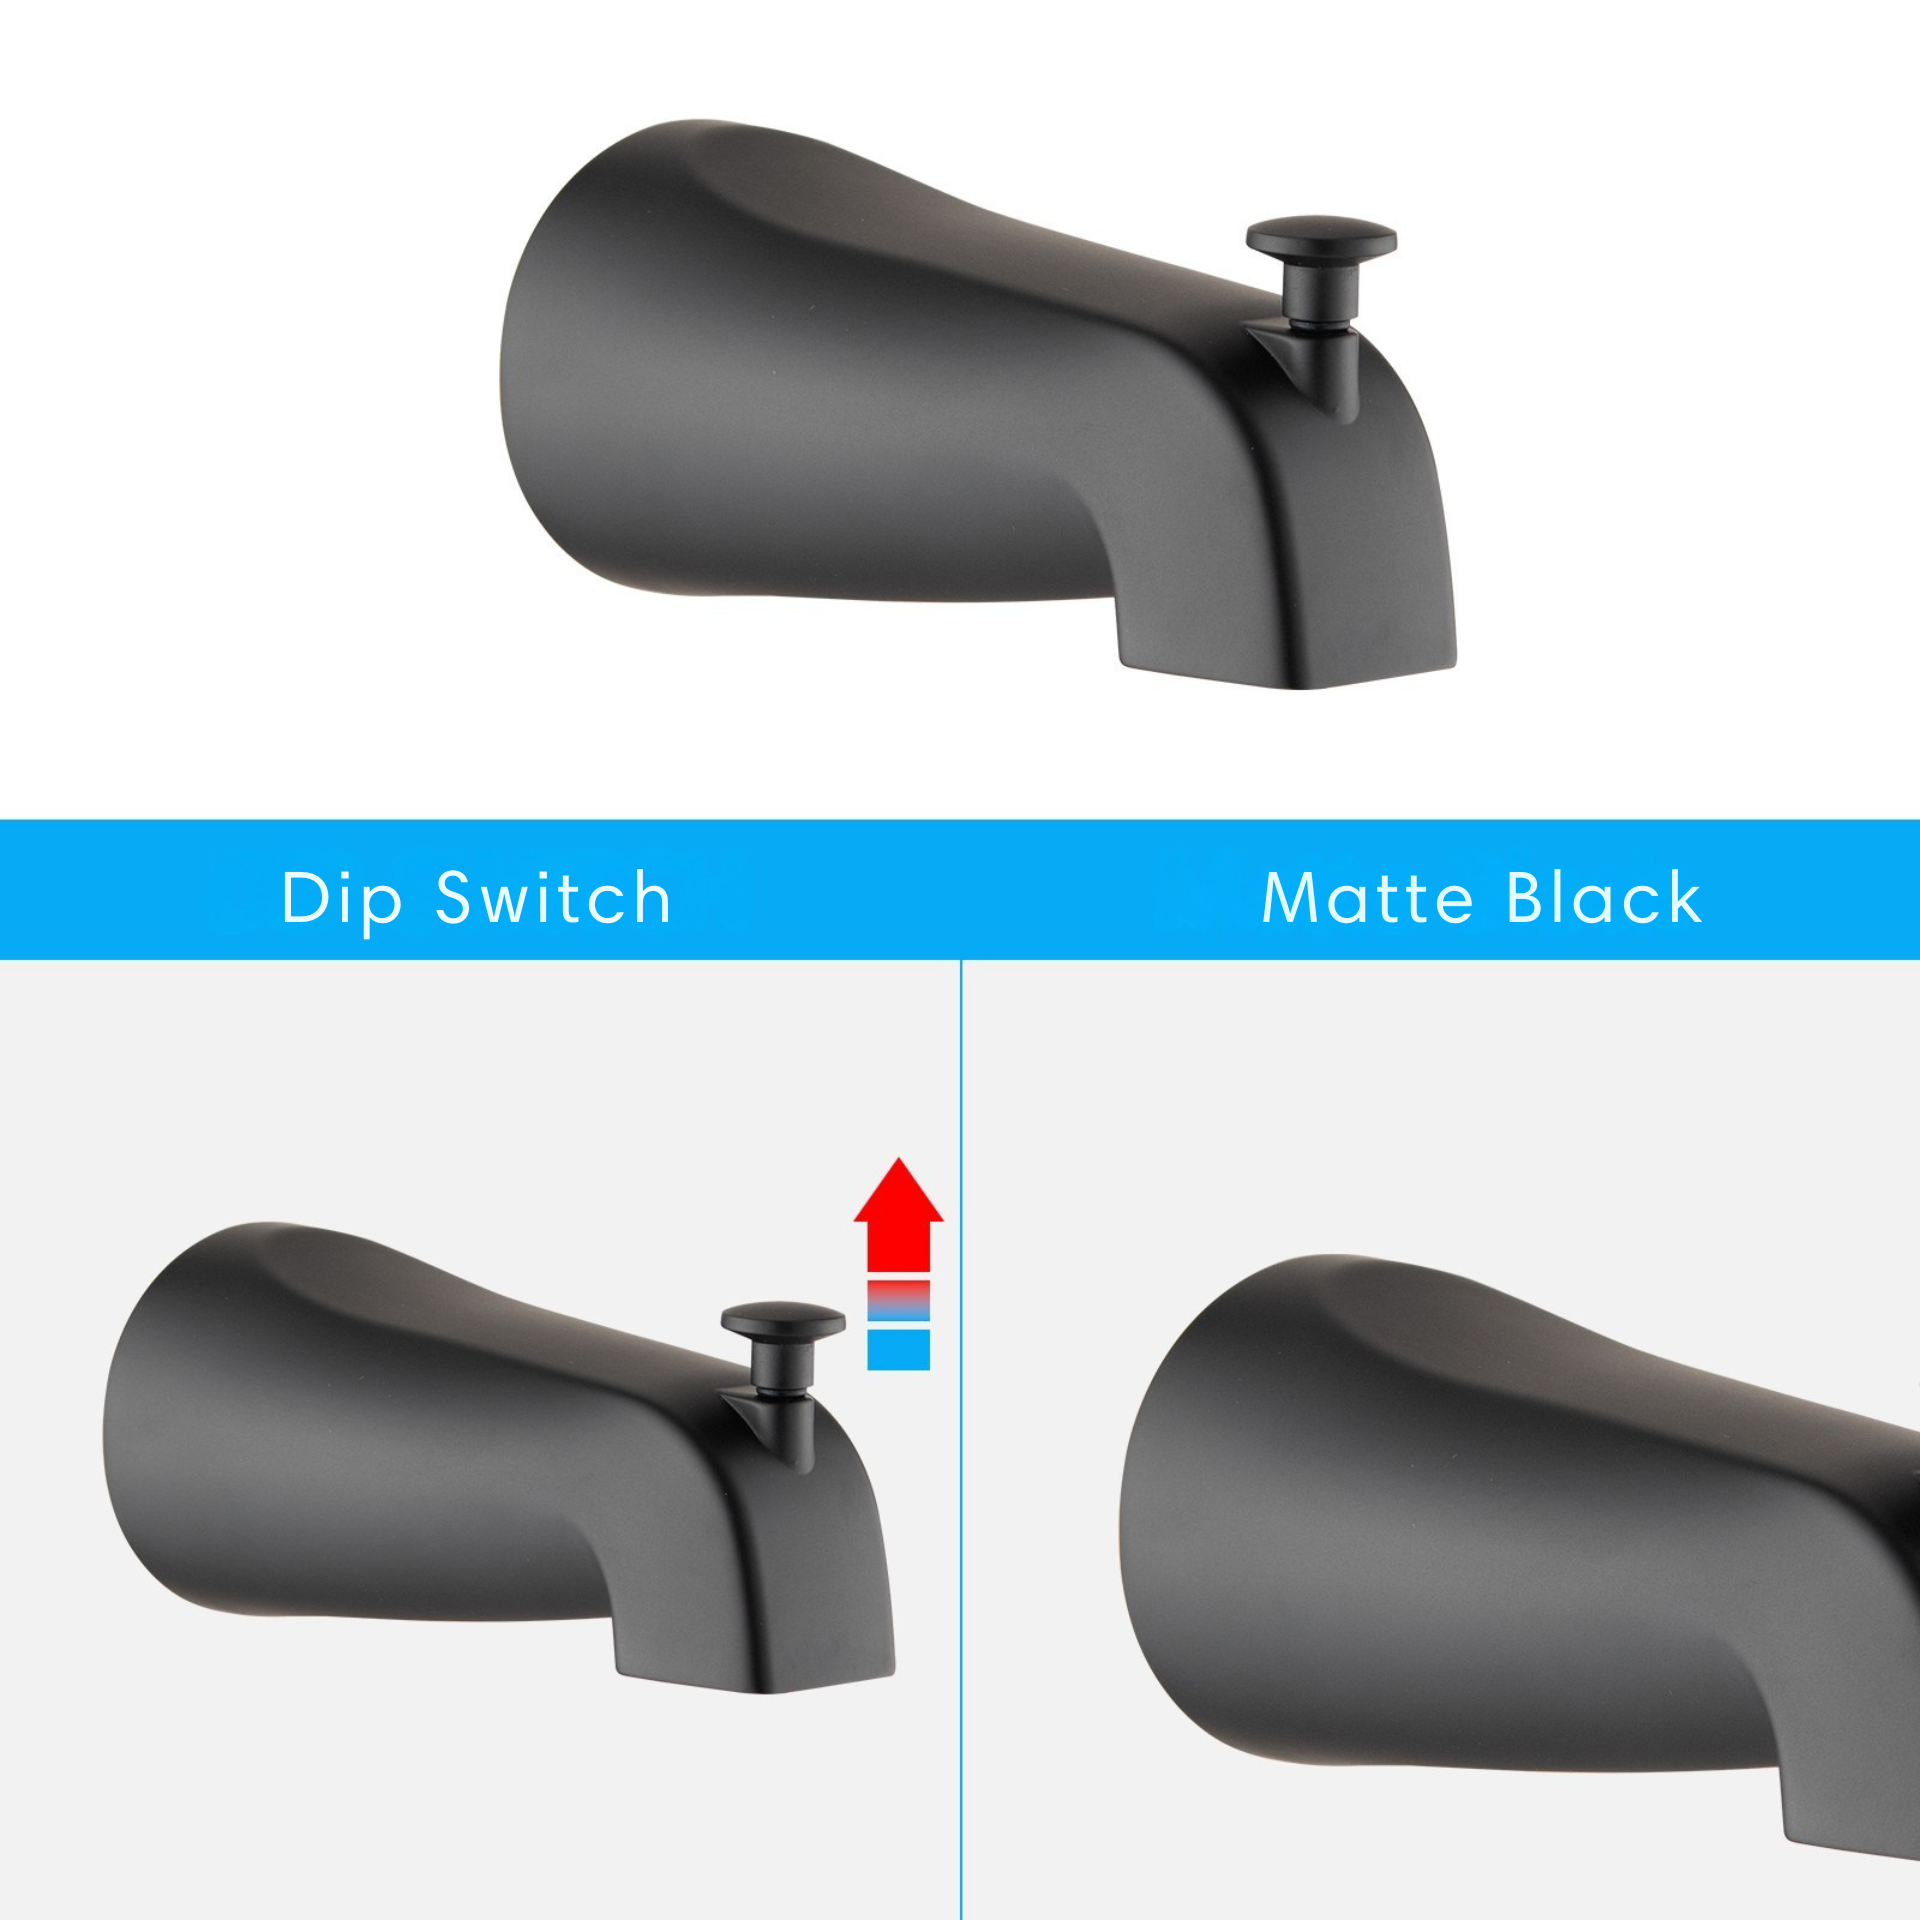
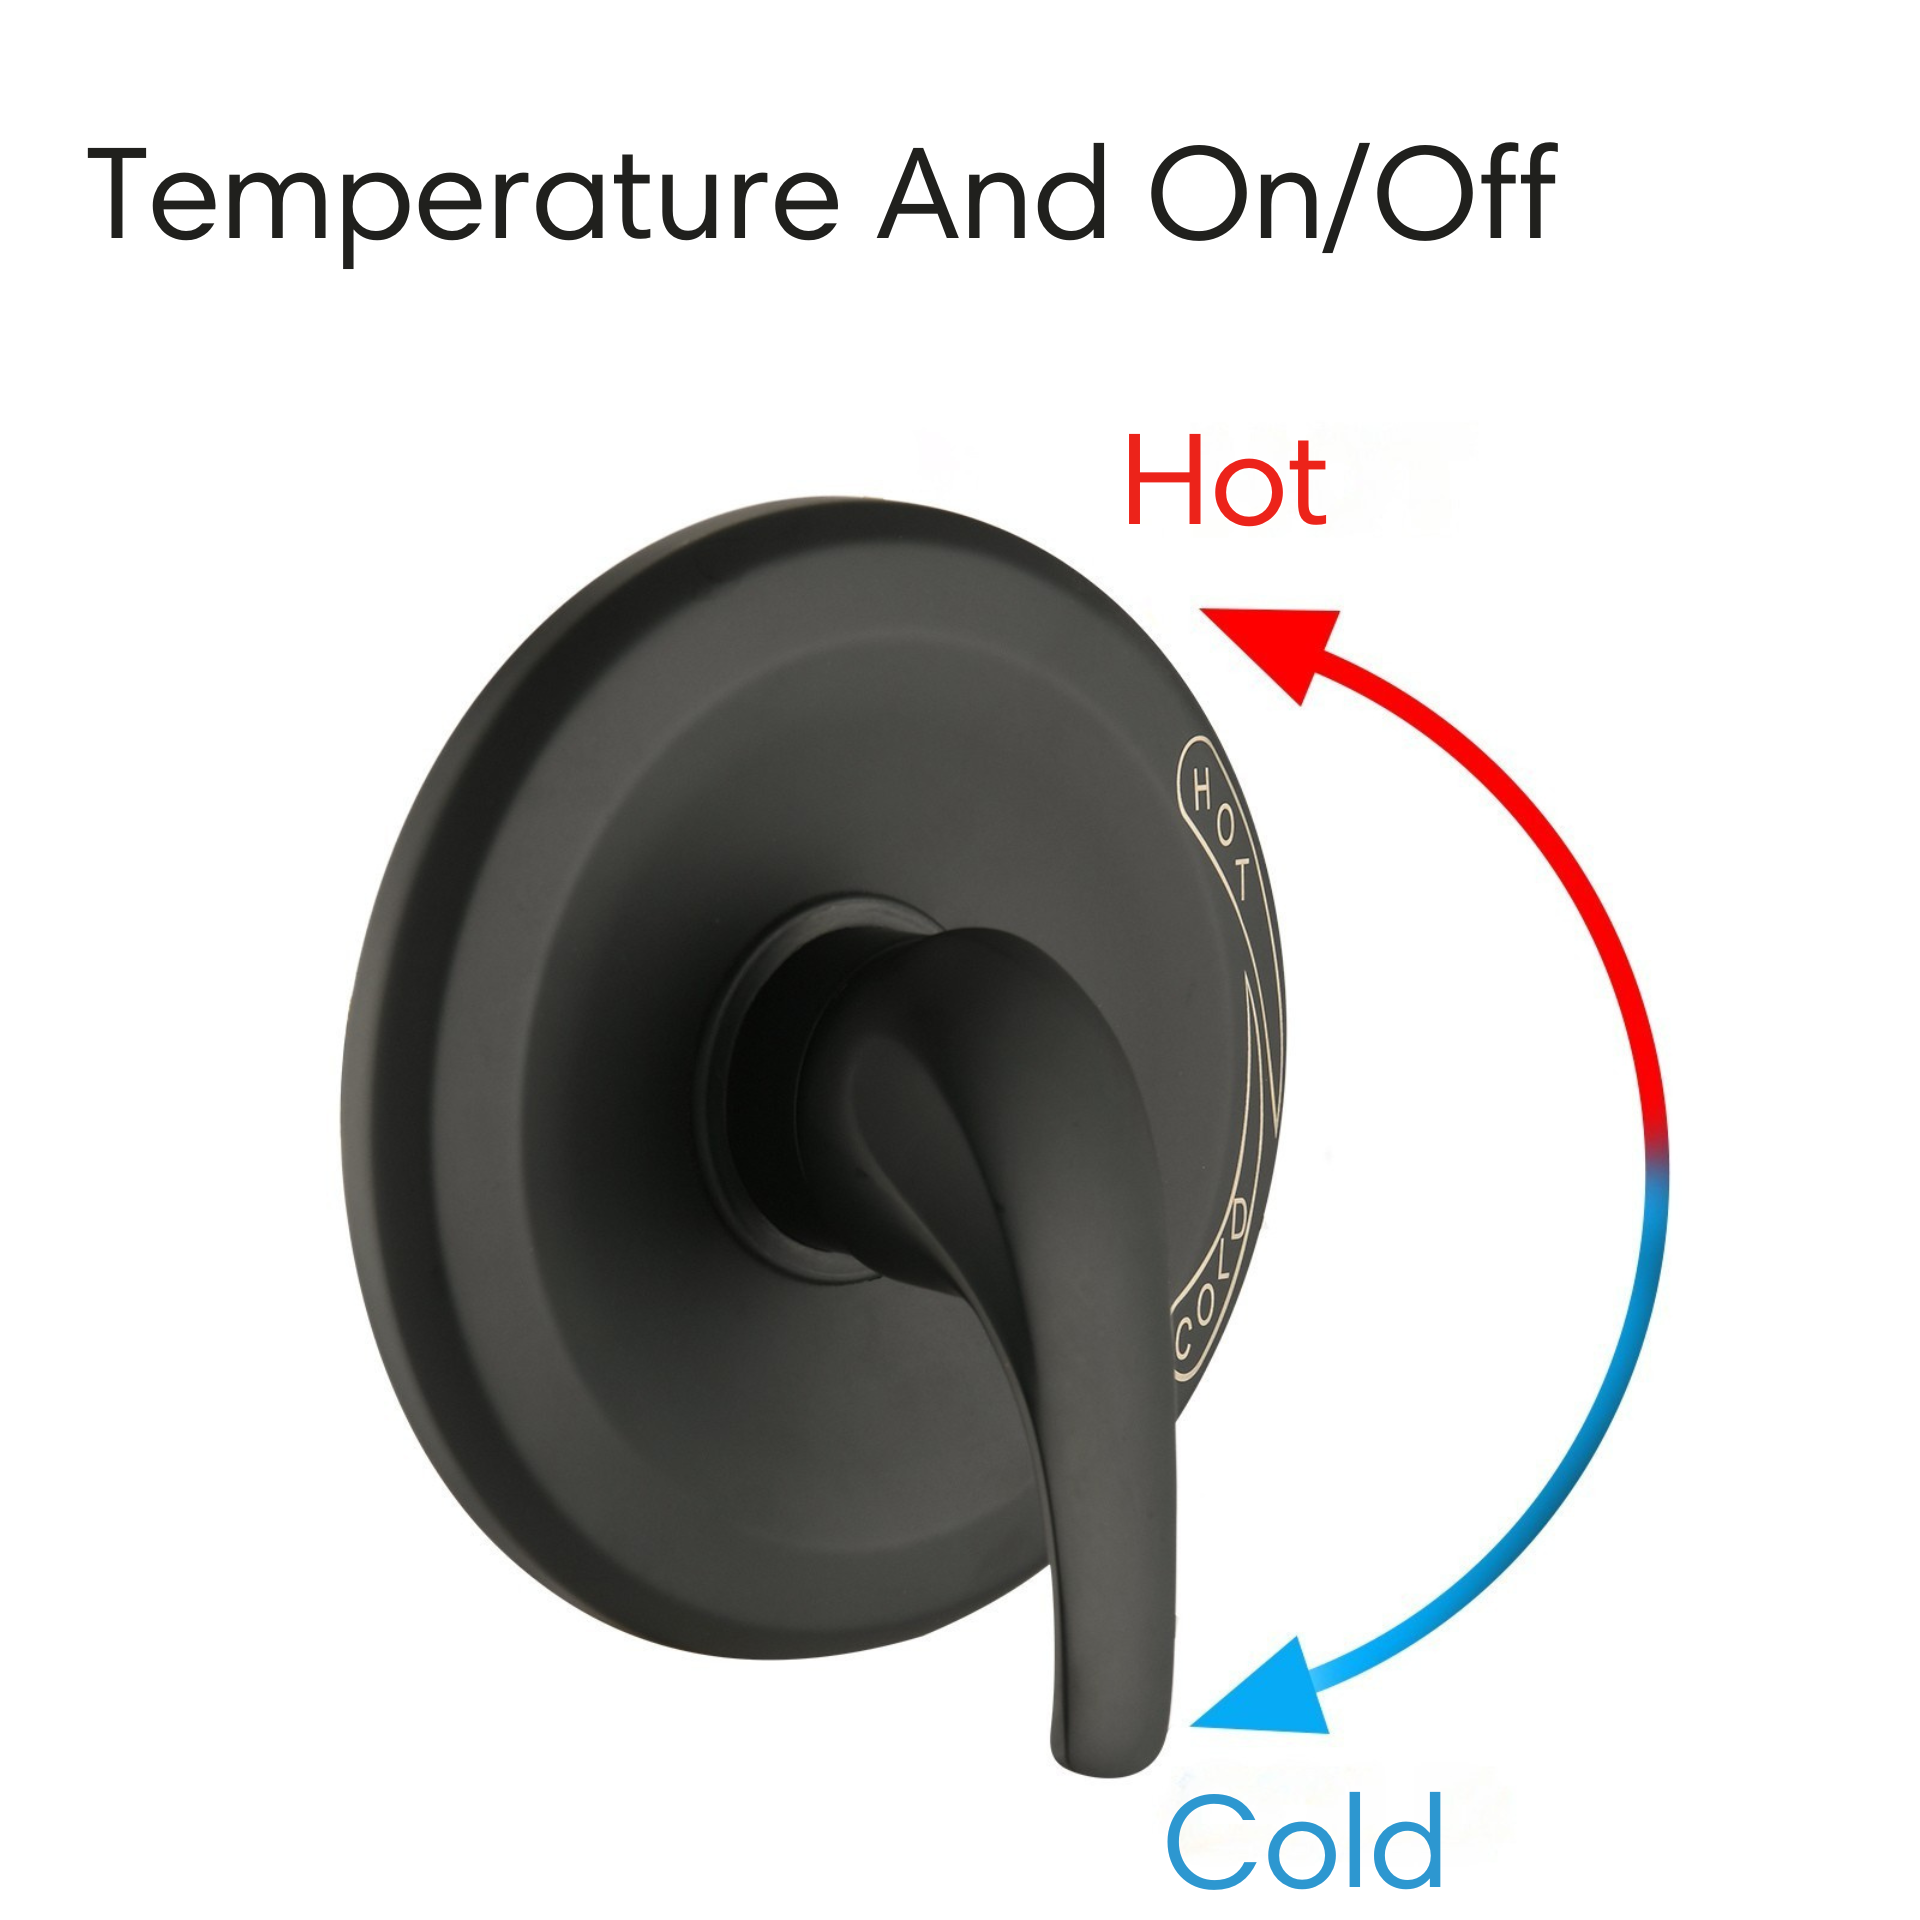
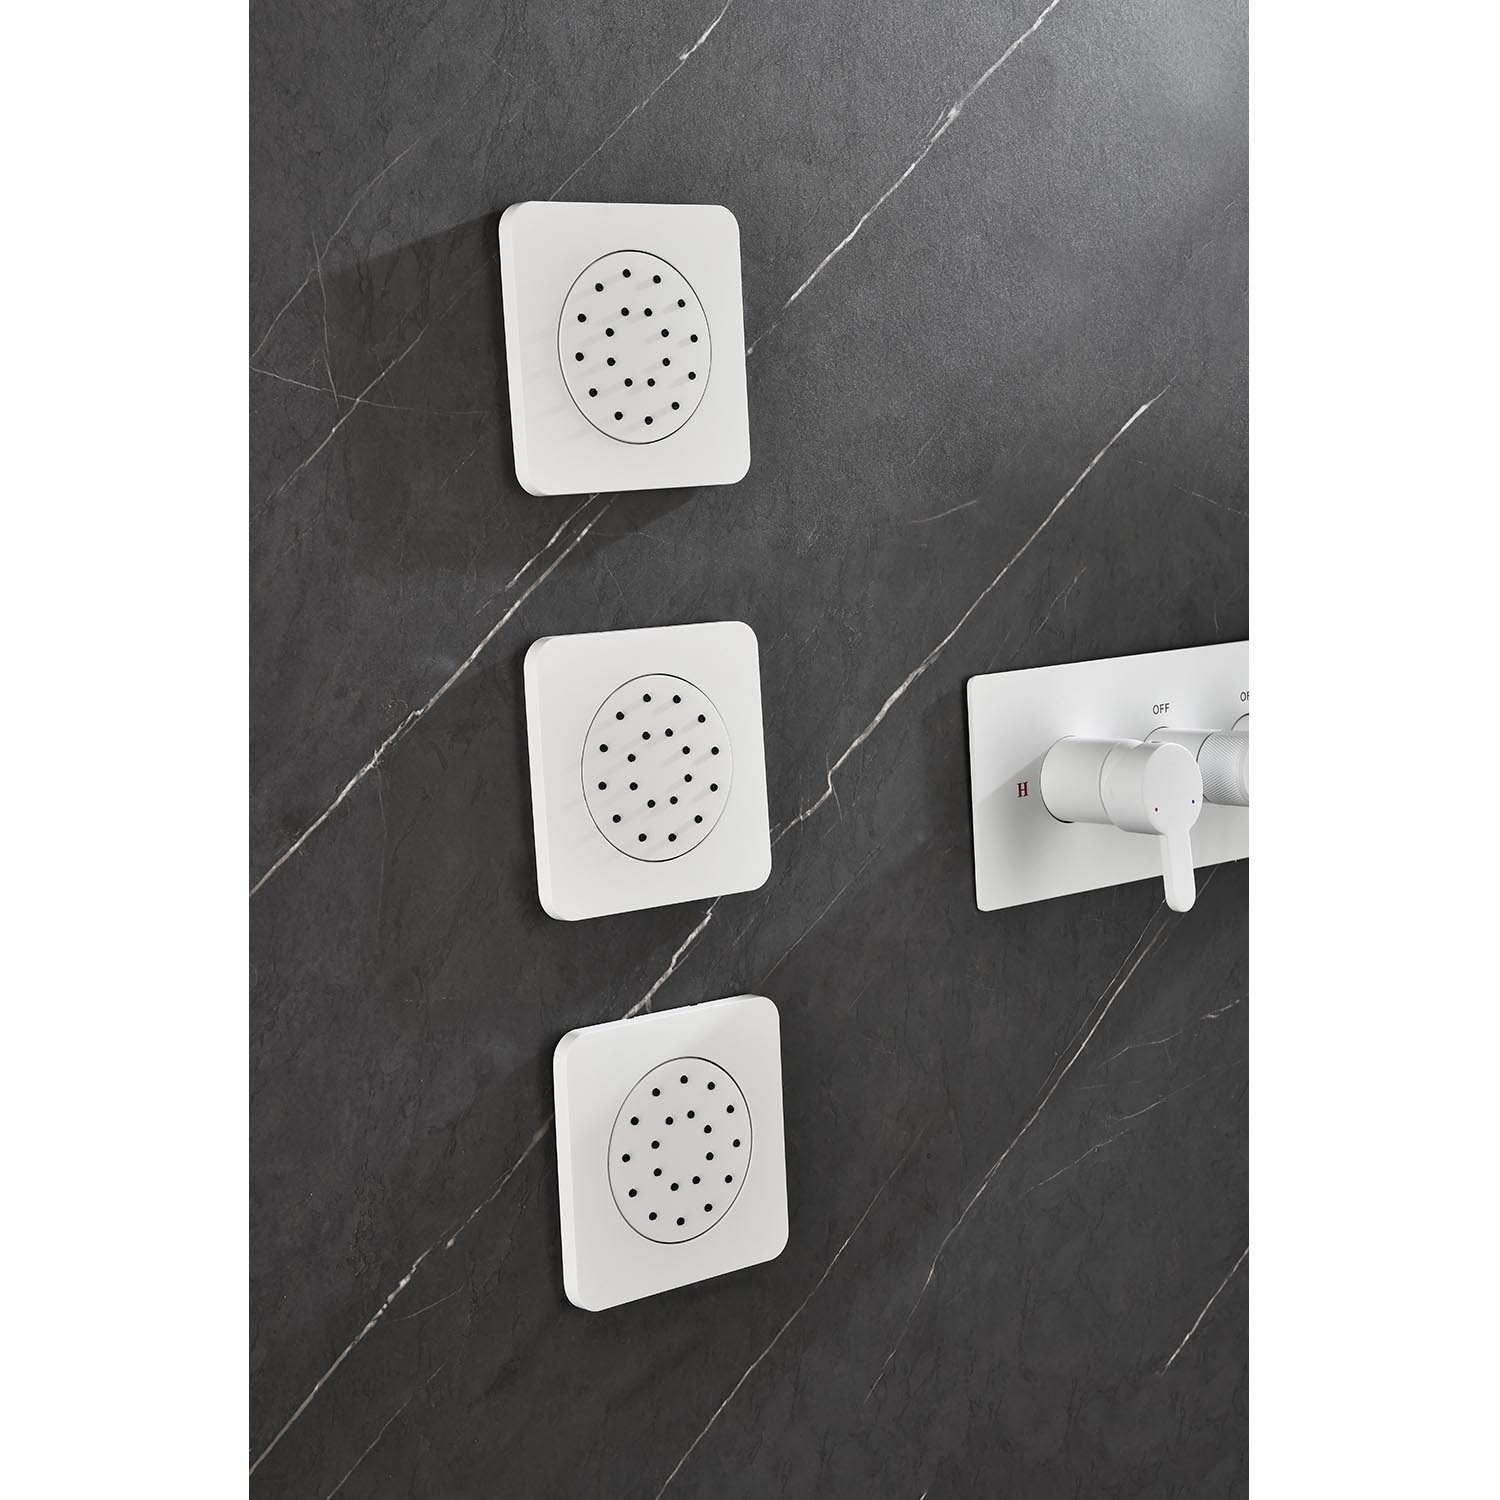
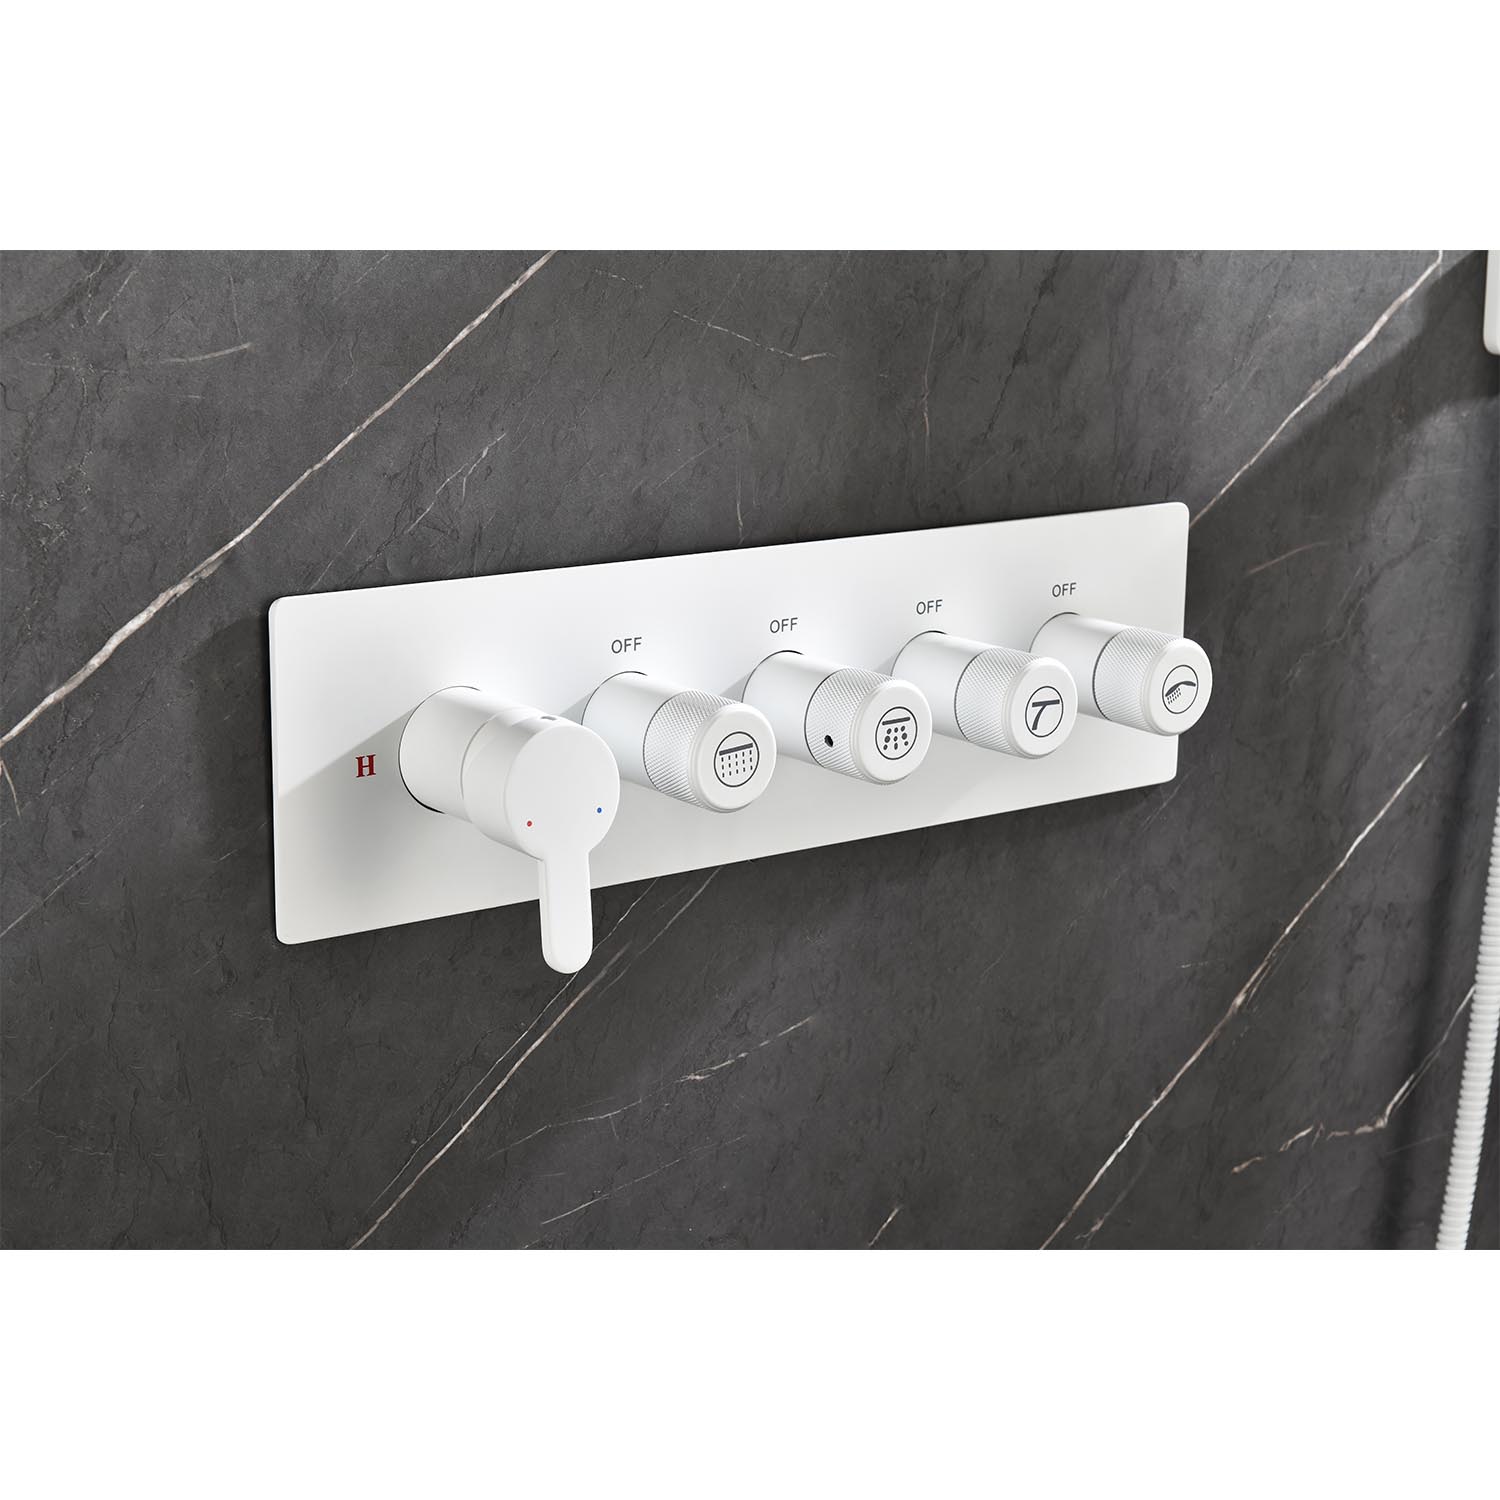
- Faucet + Diverter: Used to regulate hot and cold water and switch the water outlet direction (shower/bathtub)
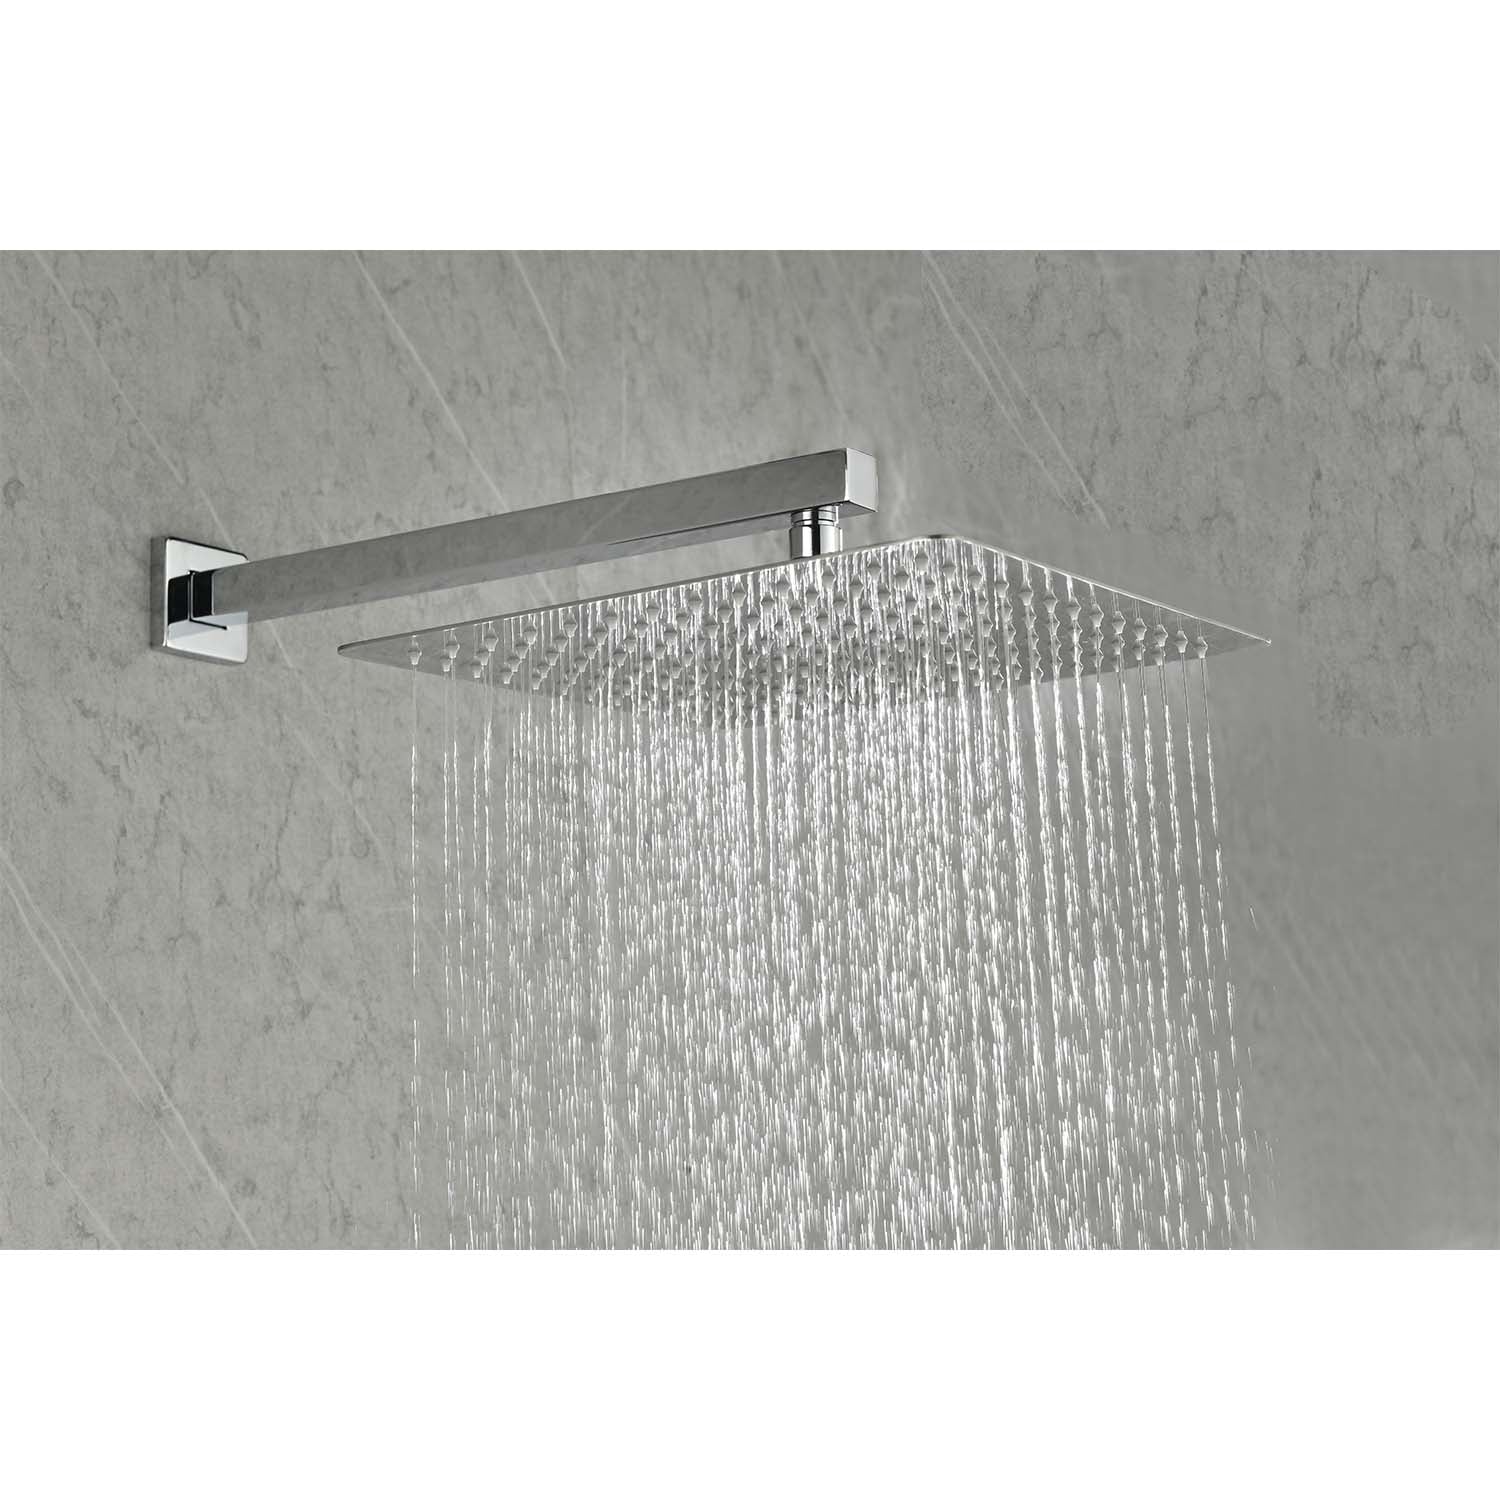
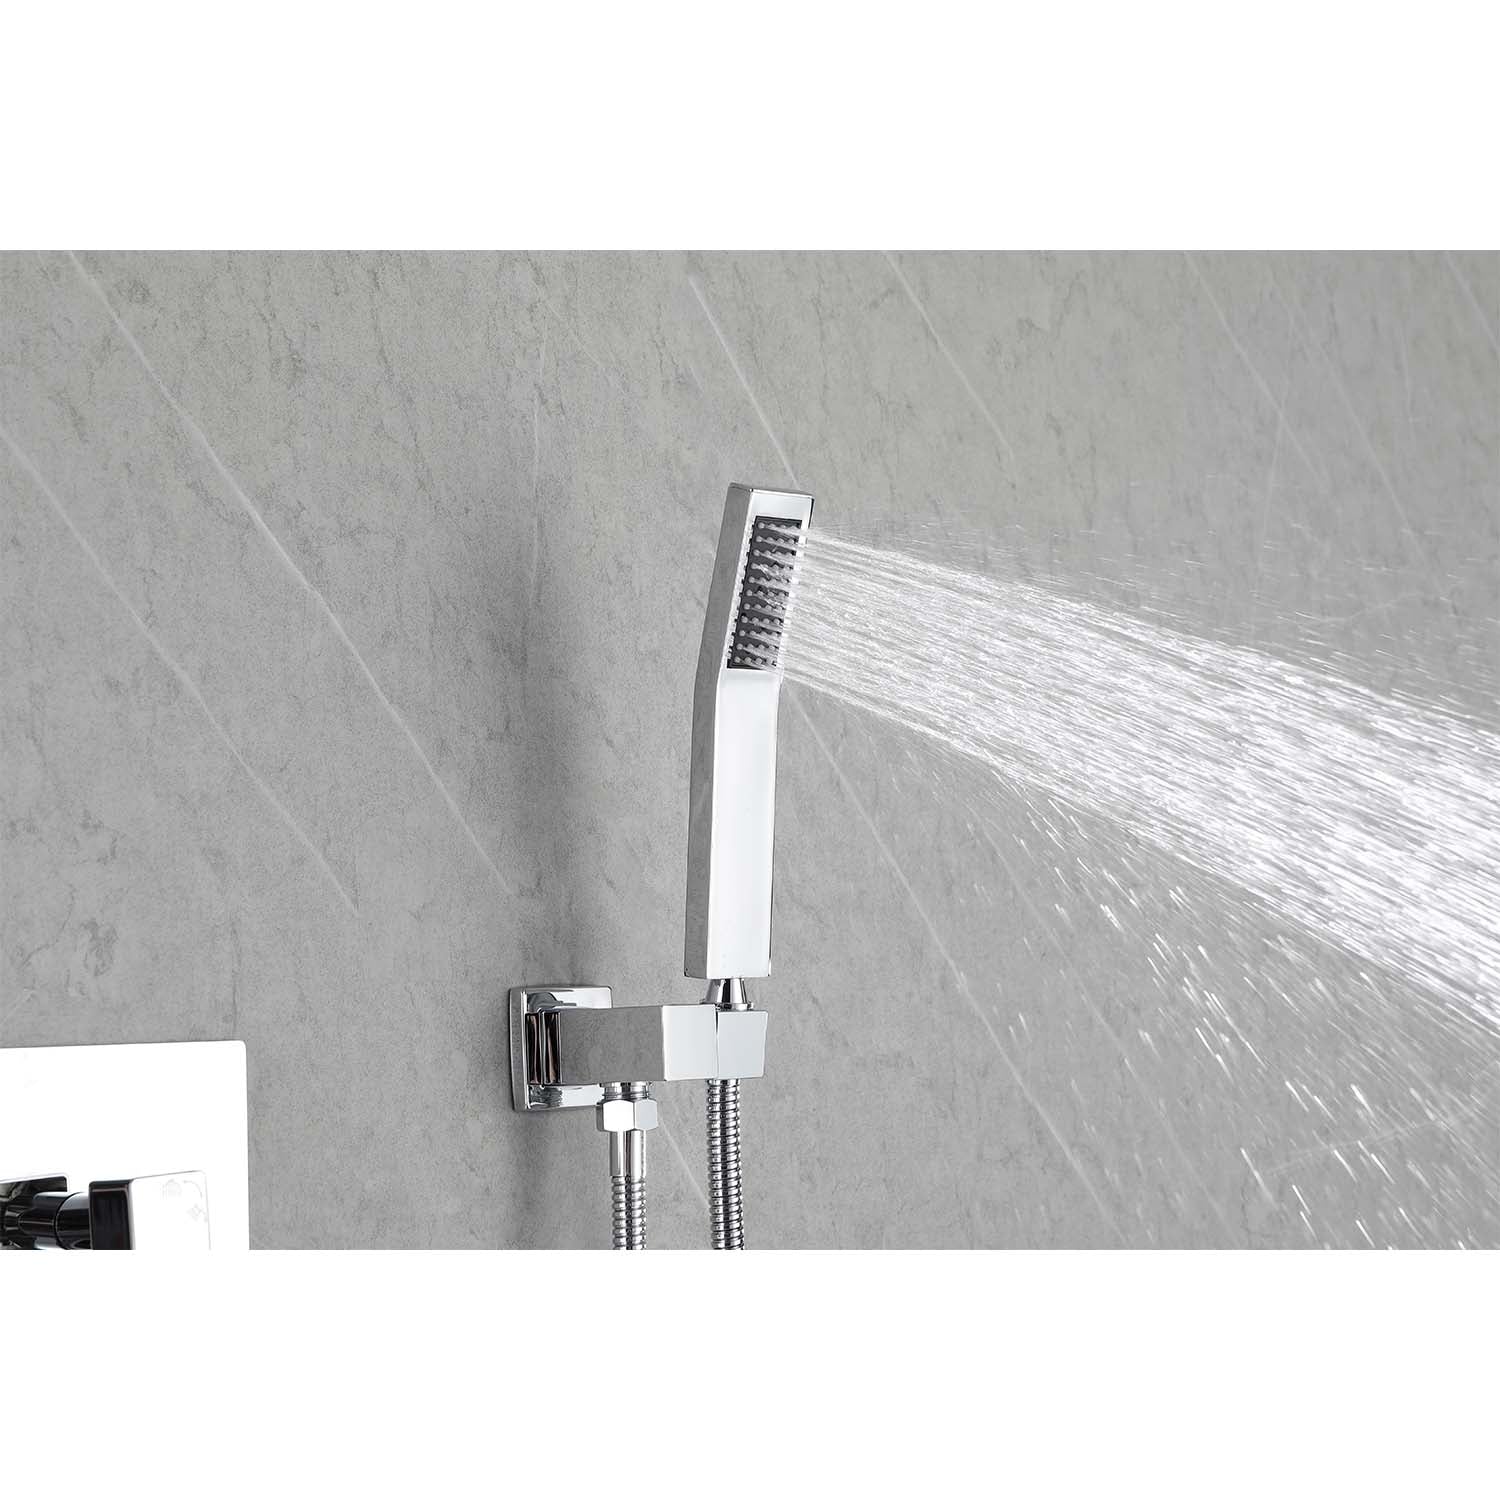
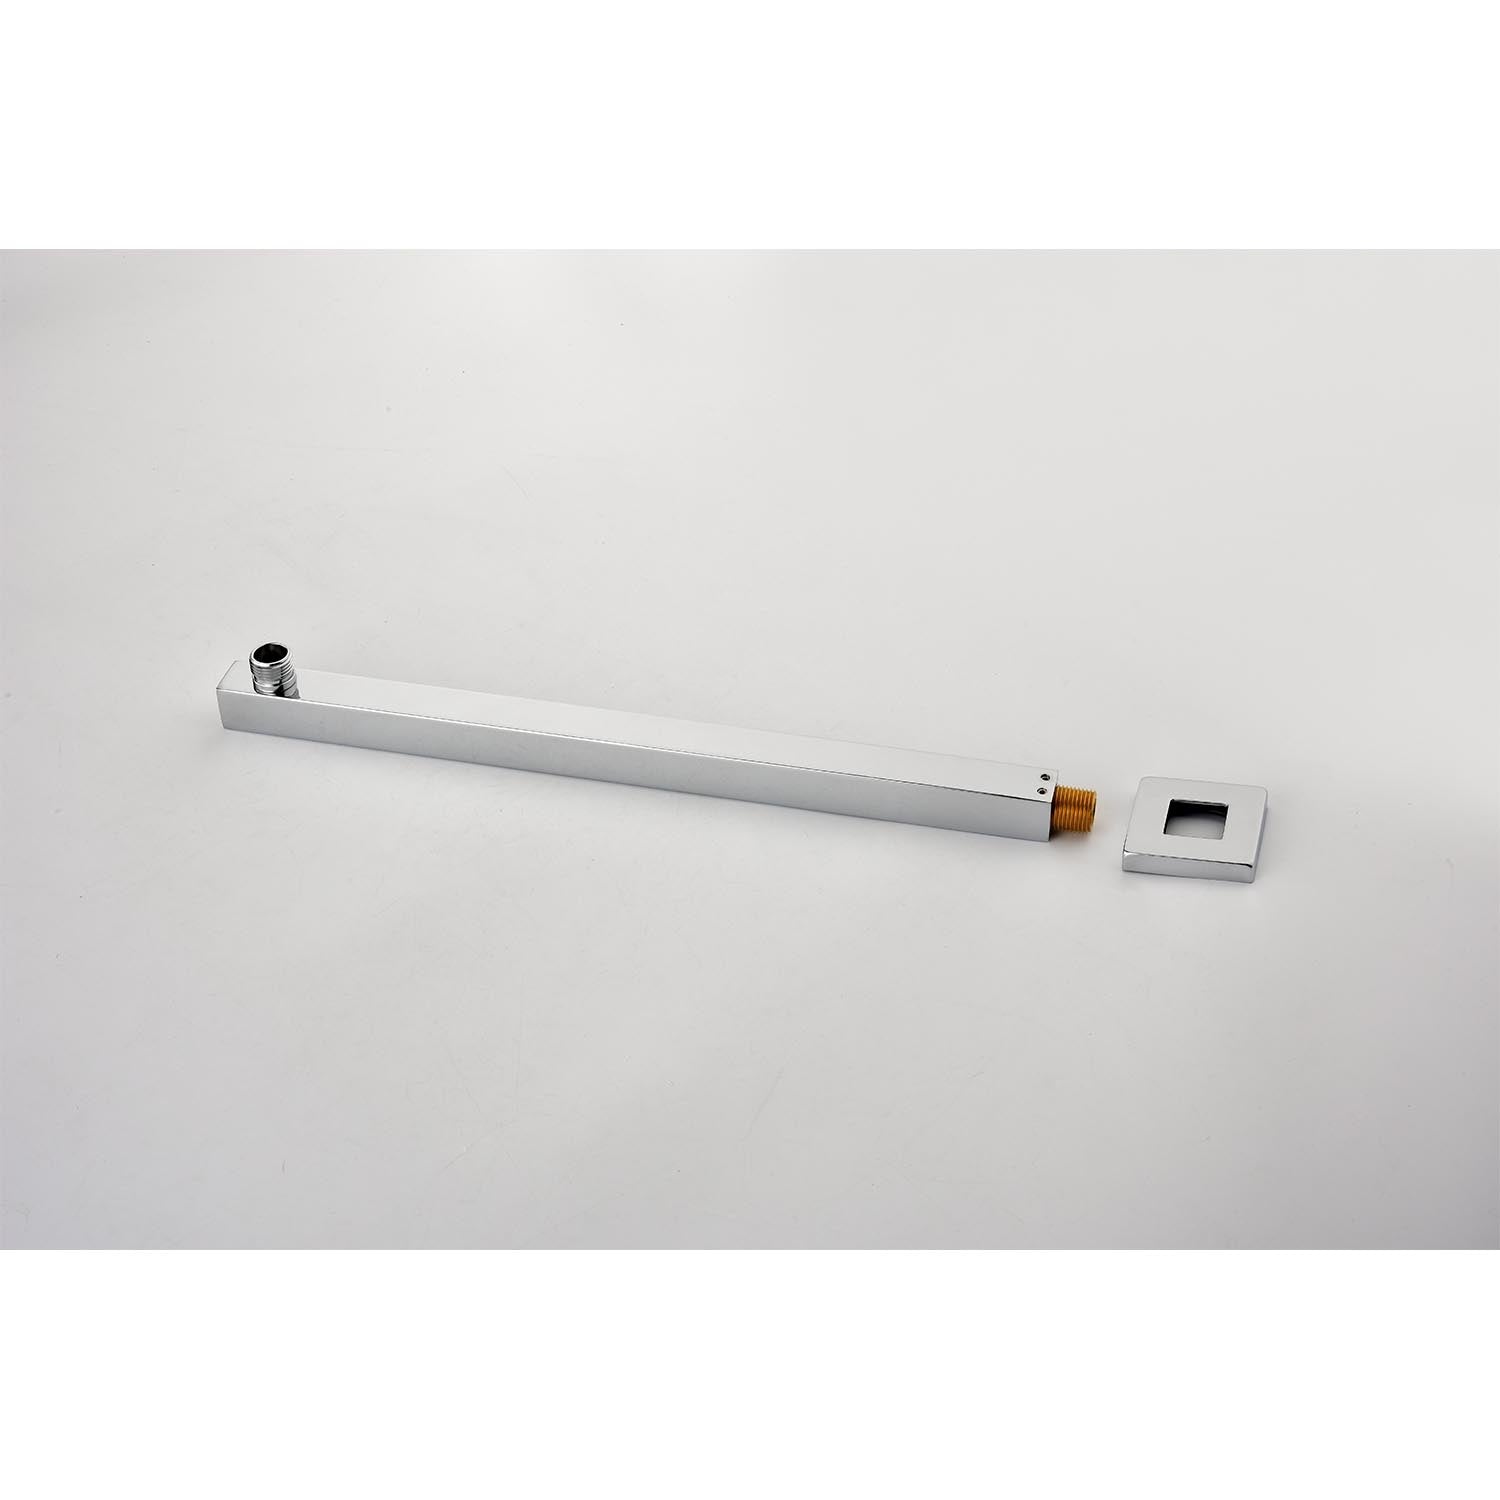
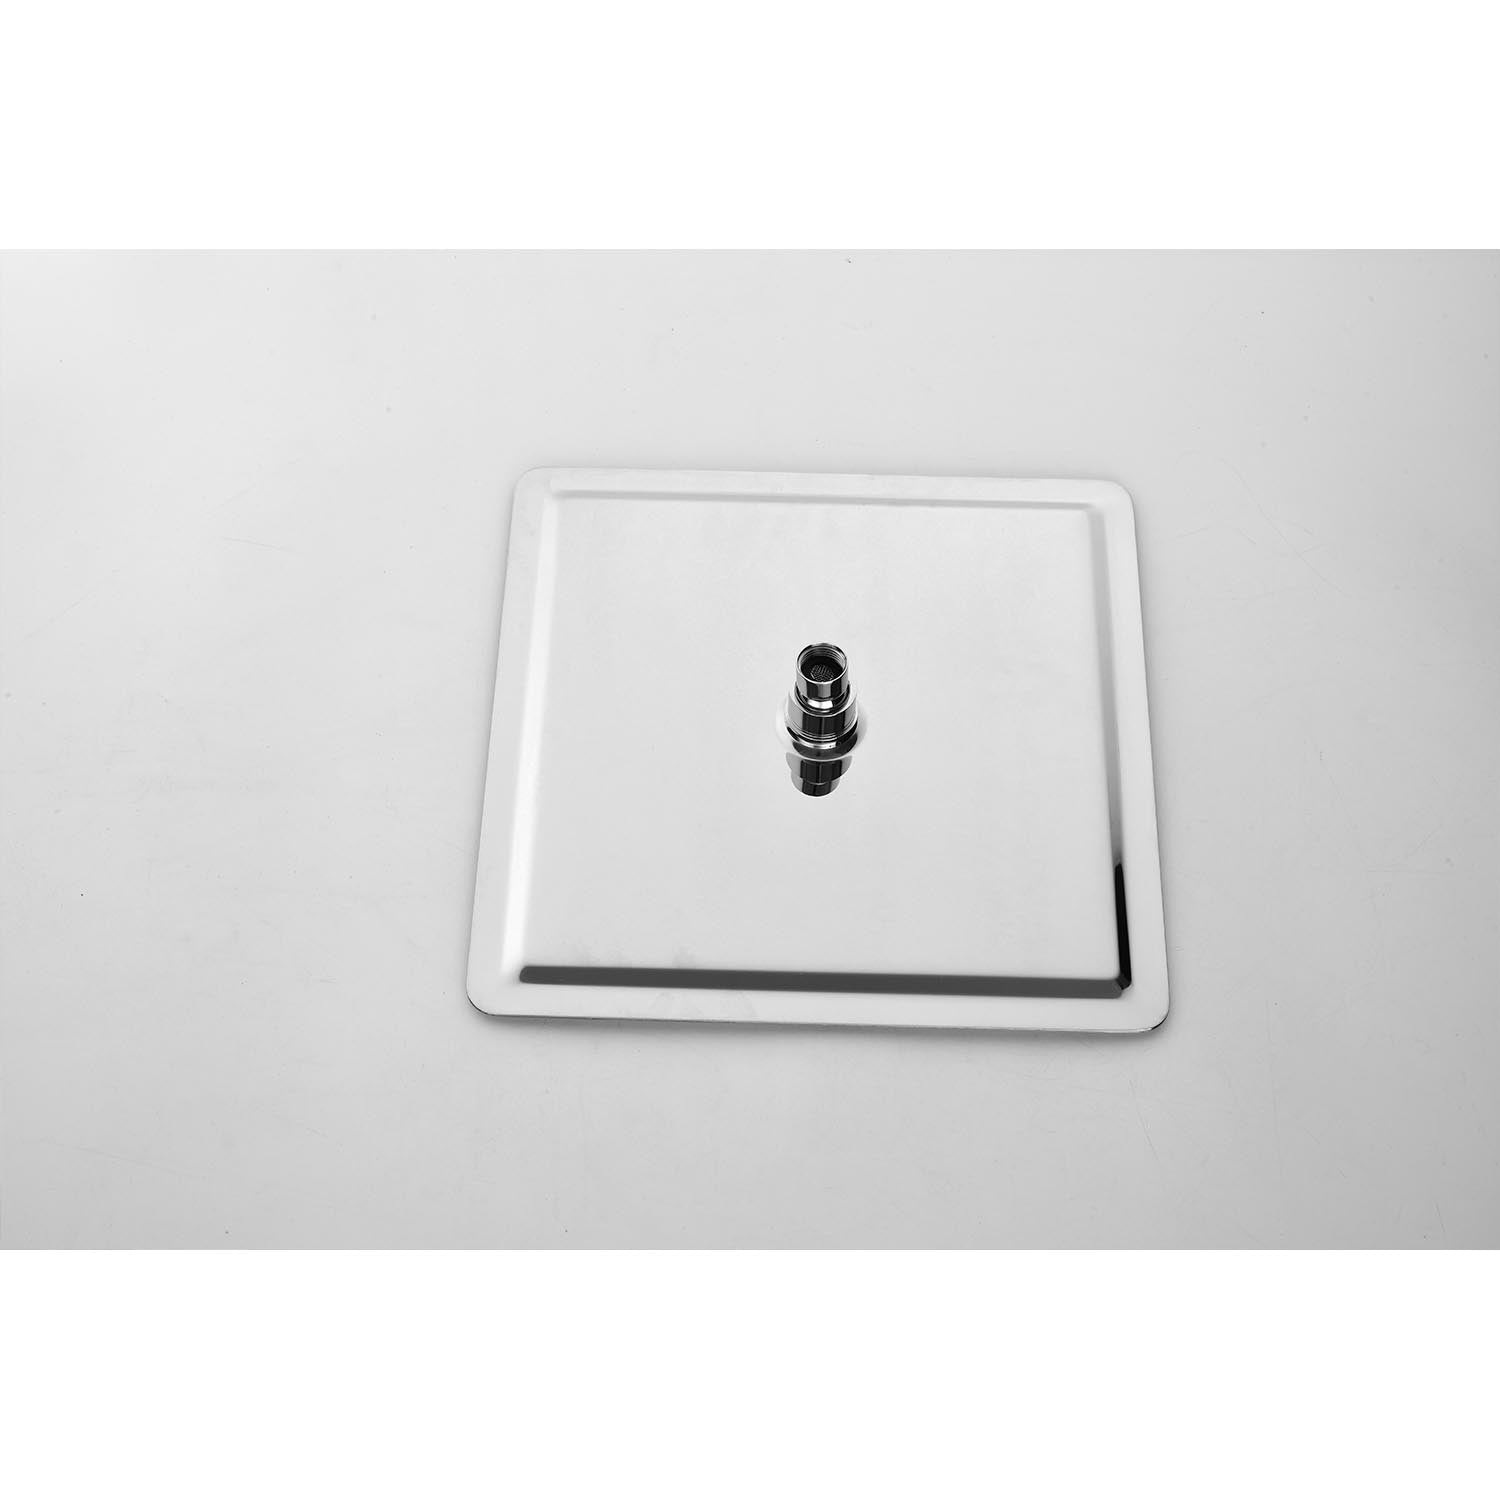
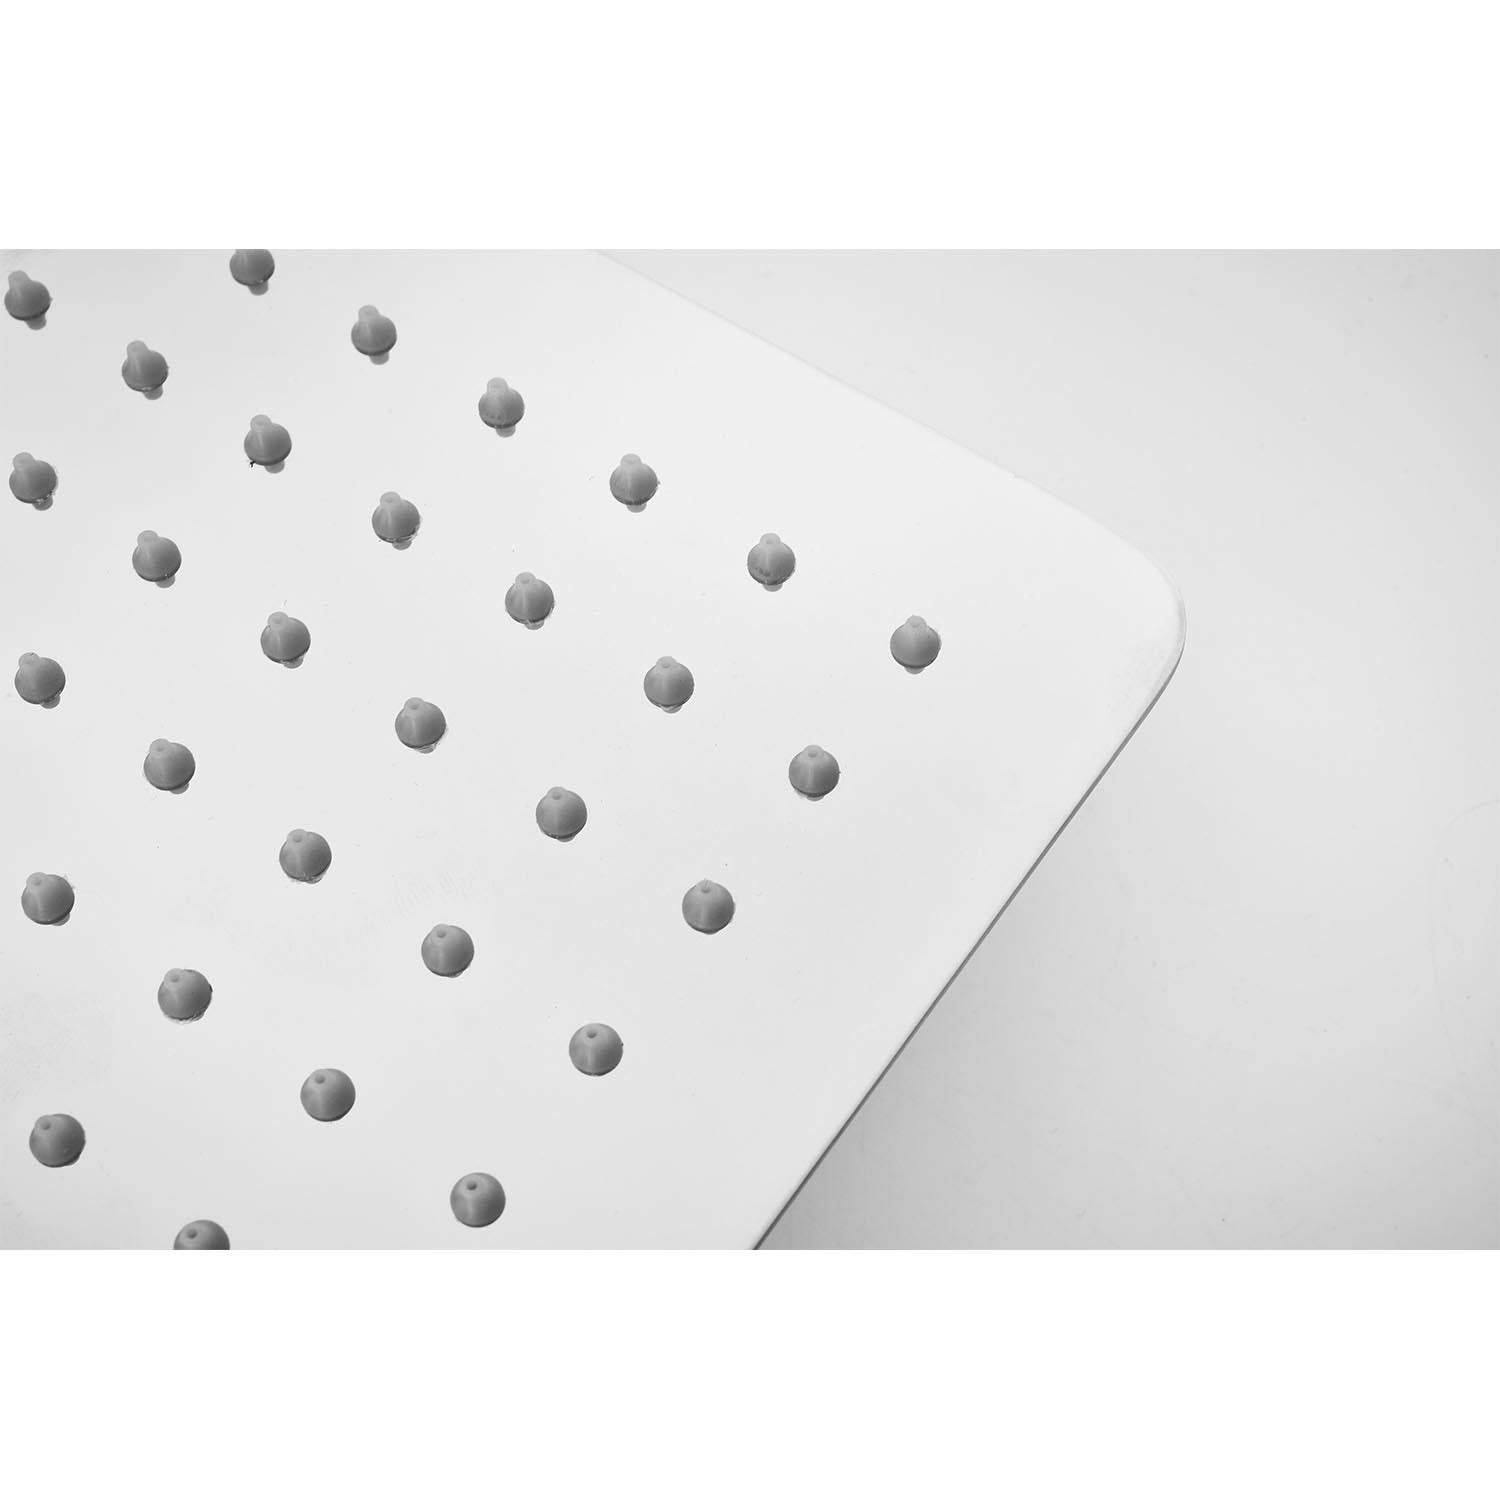
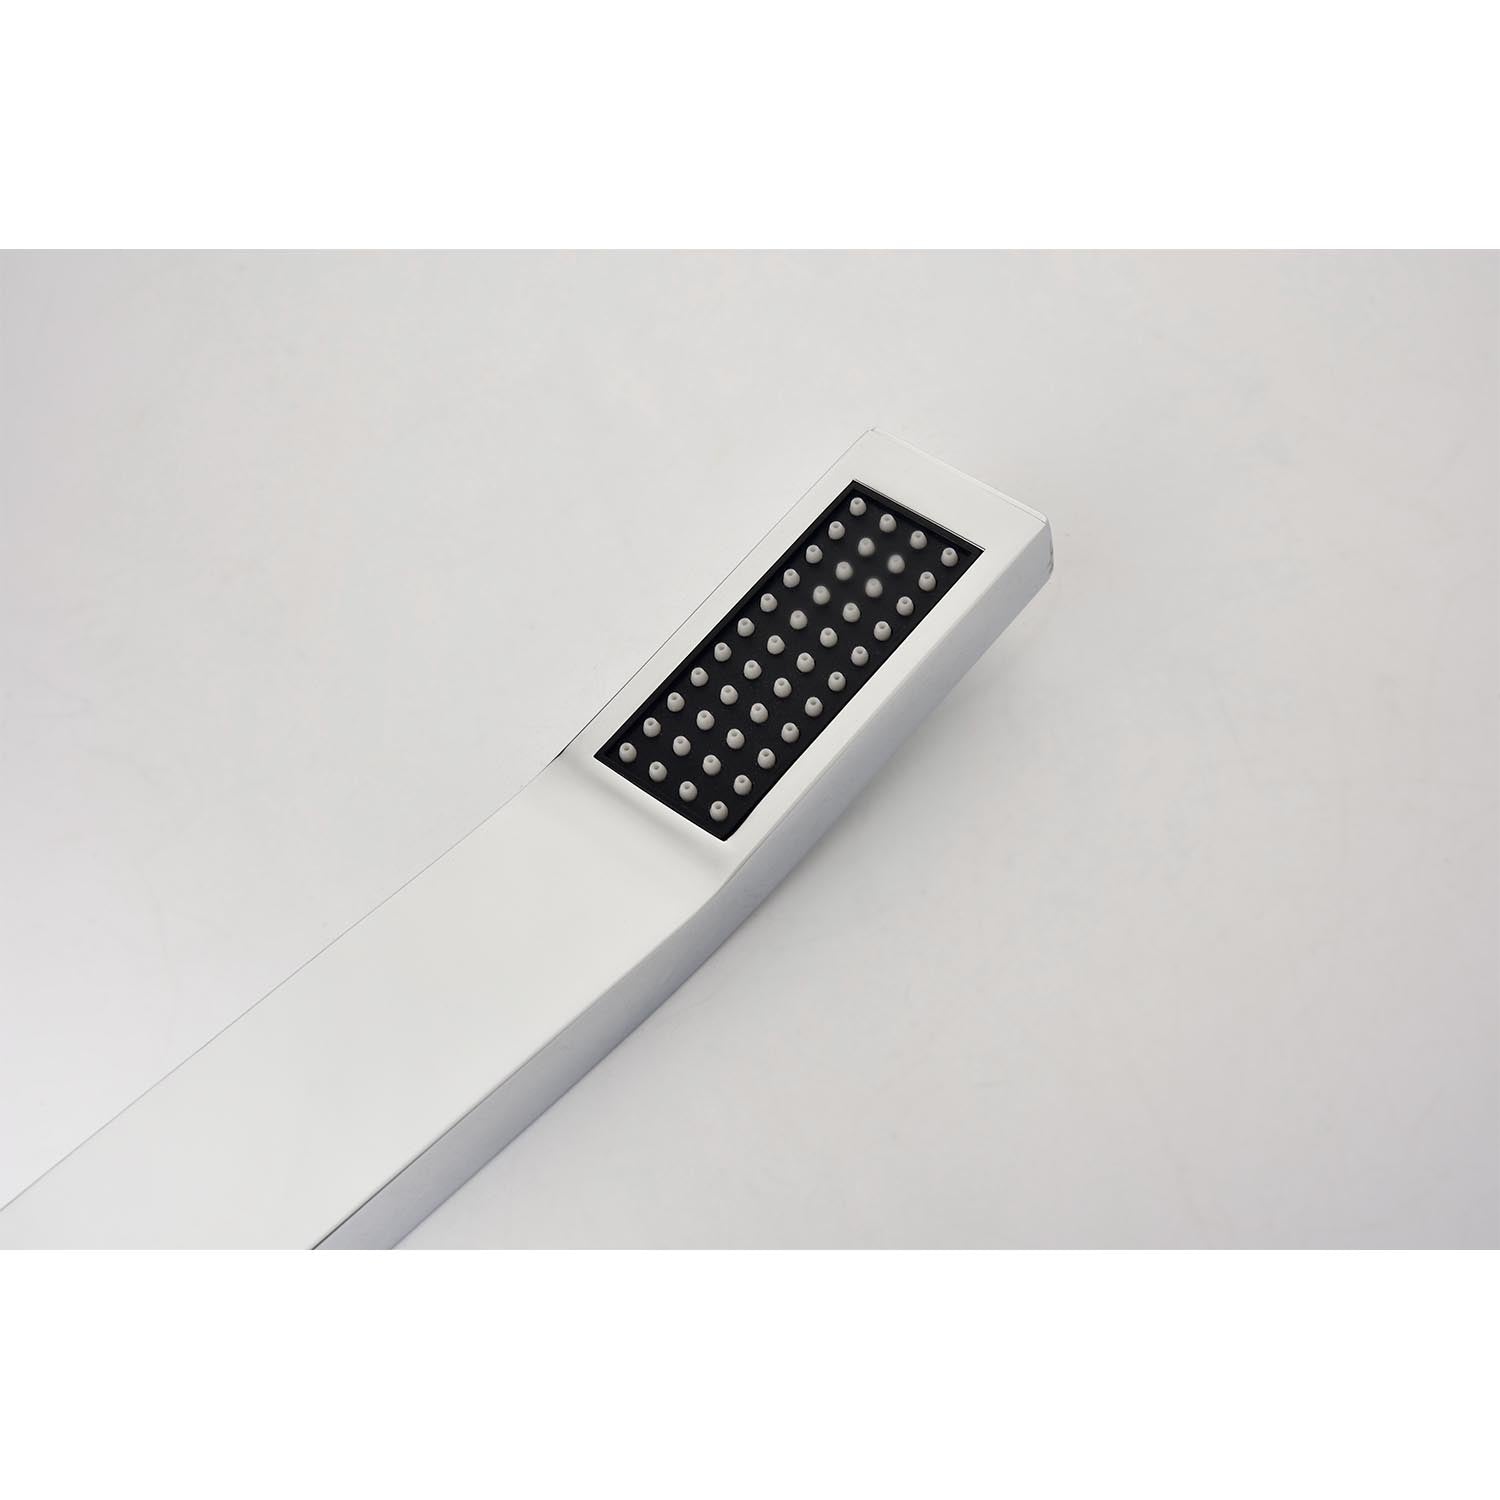
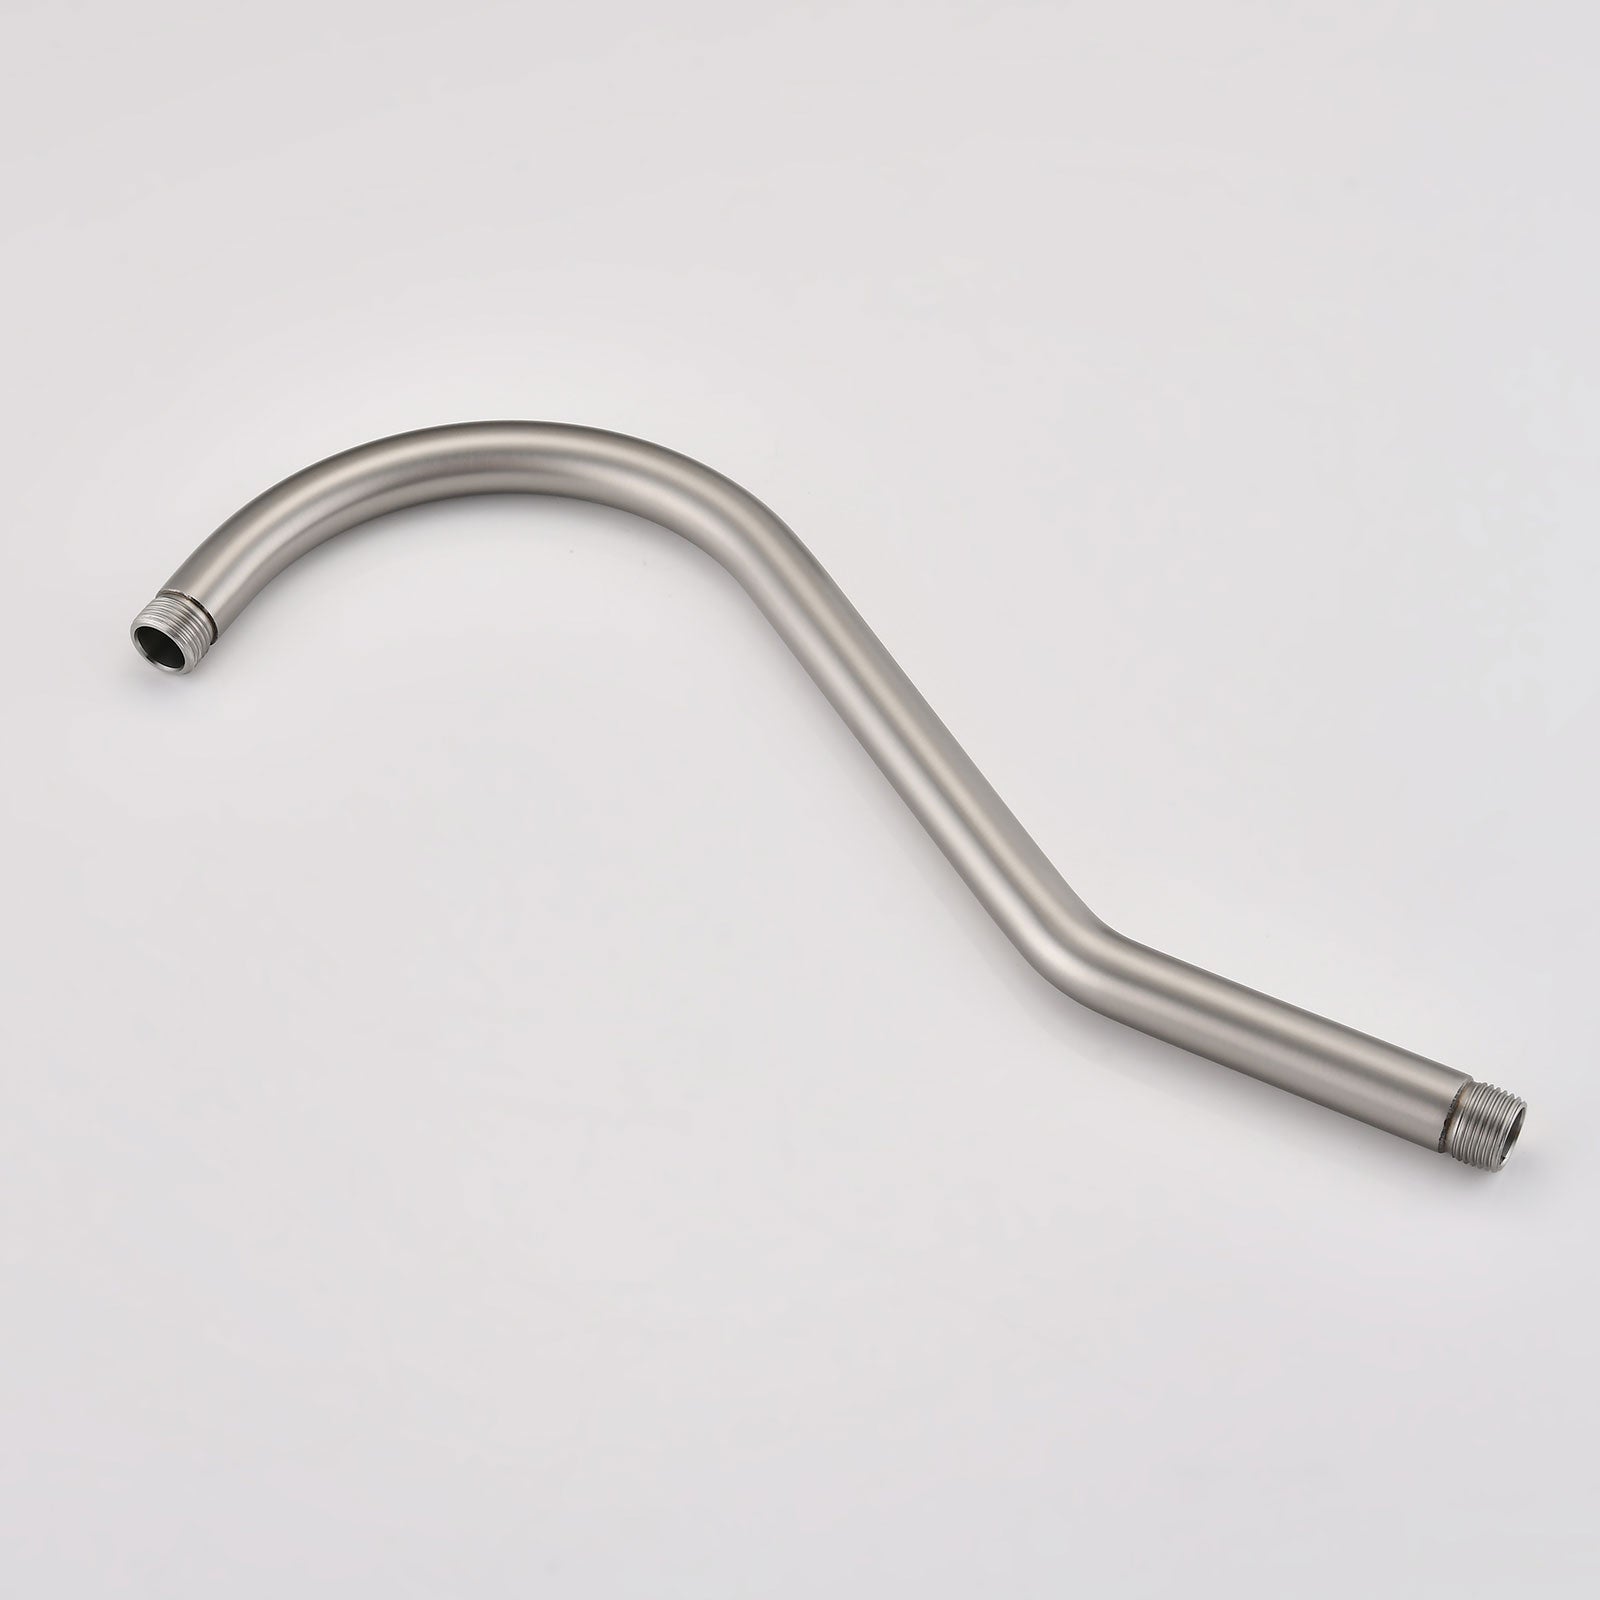
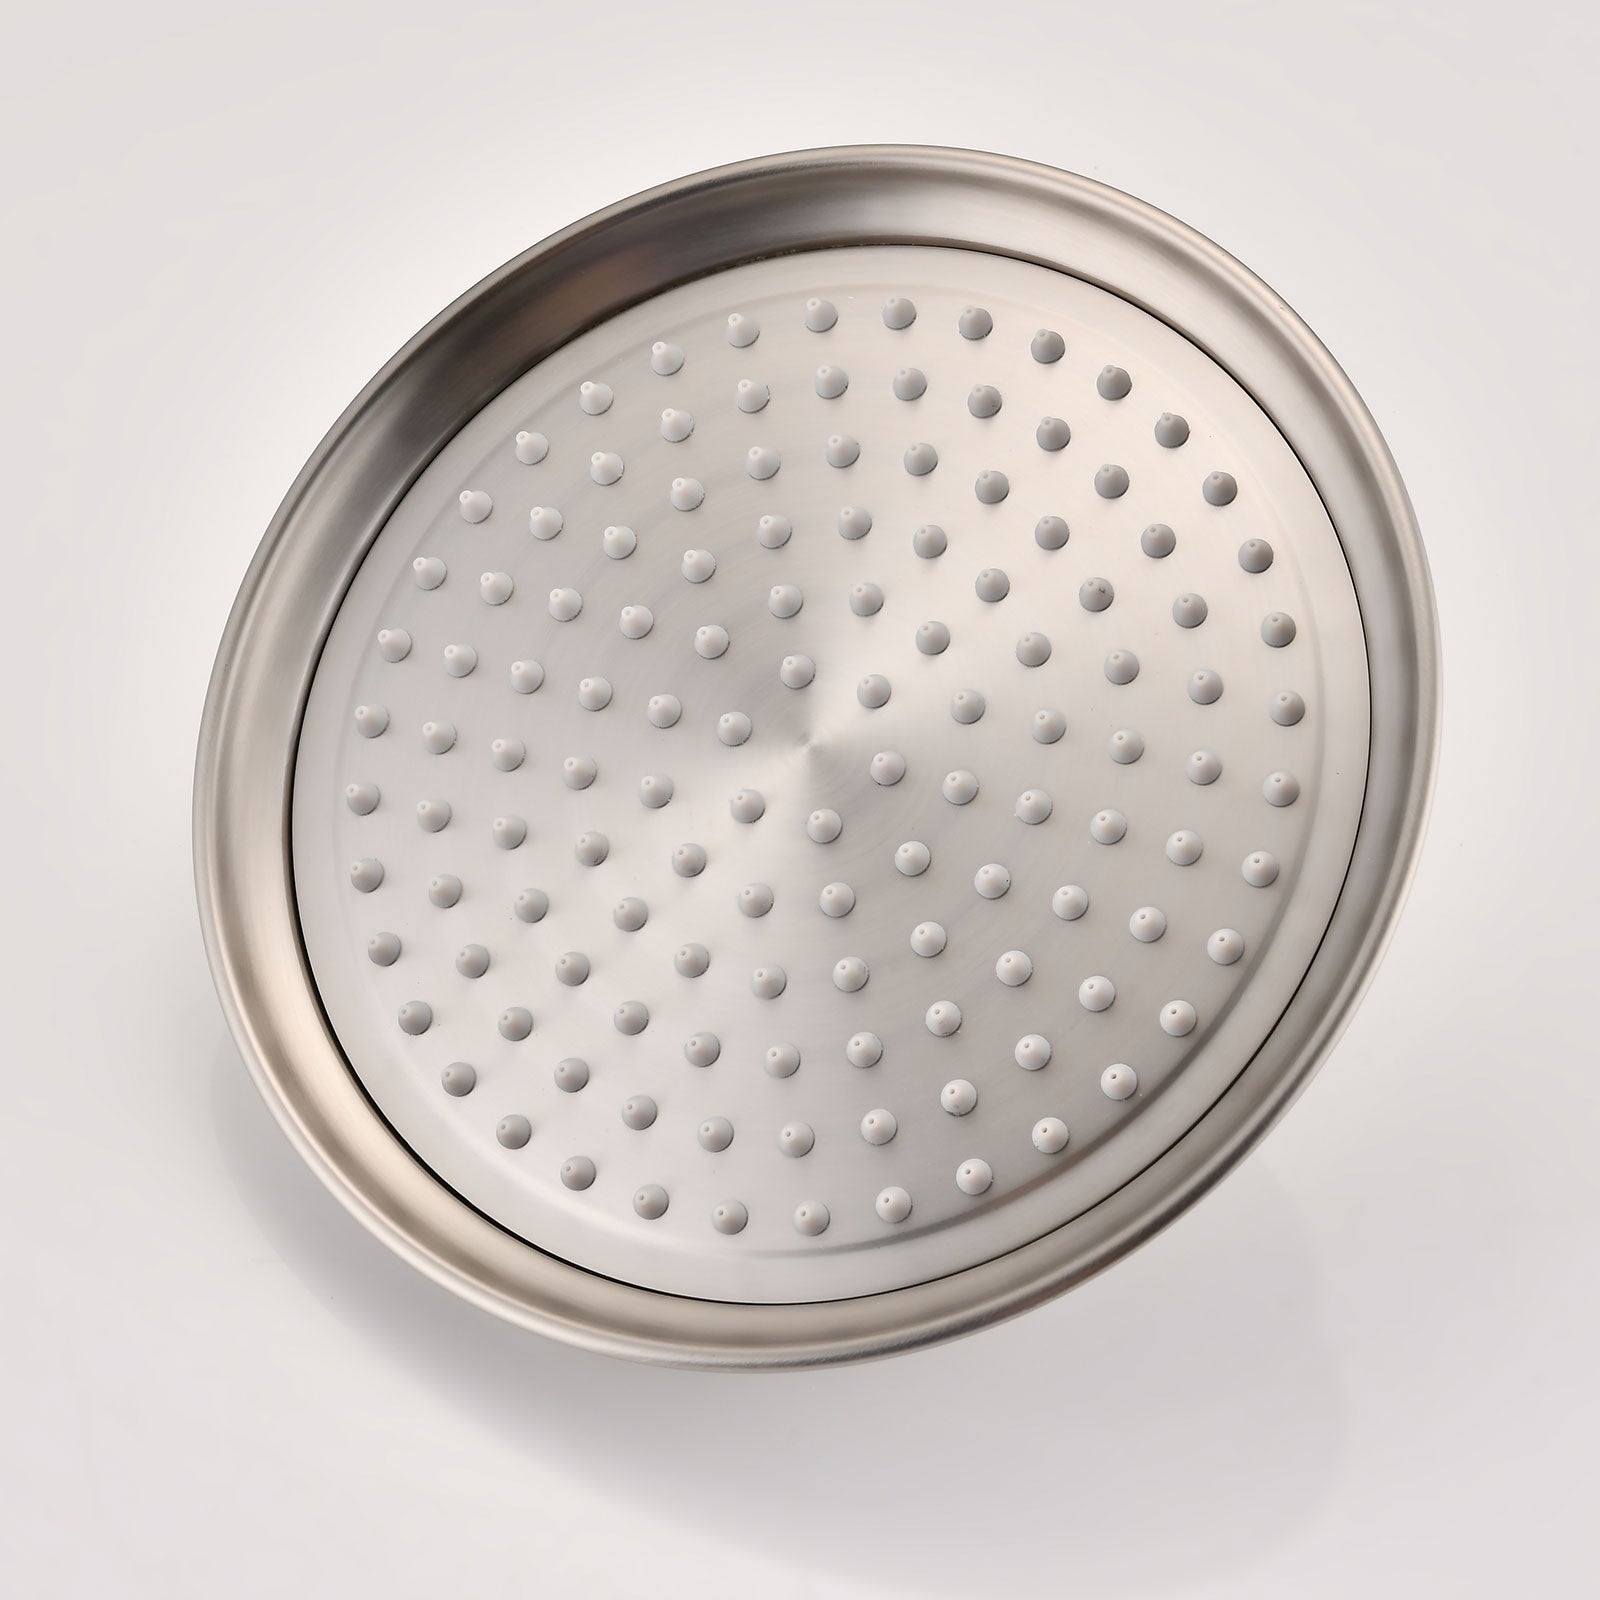
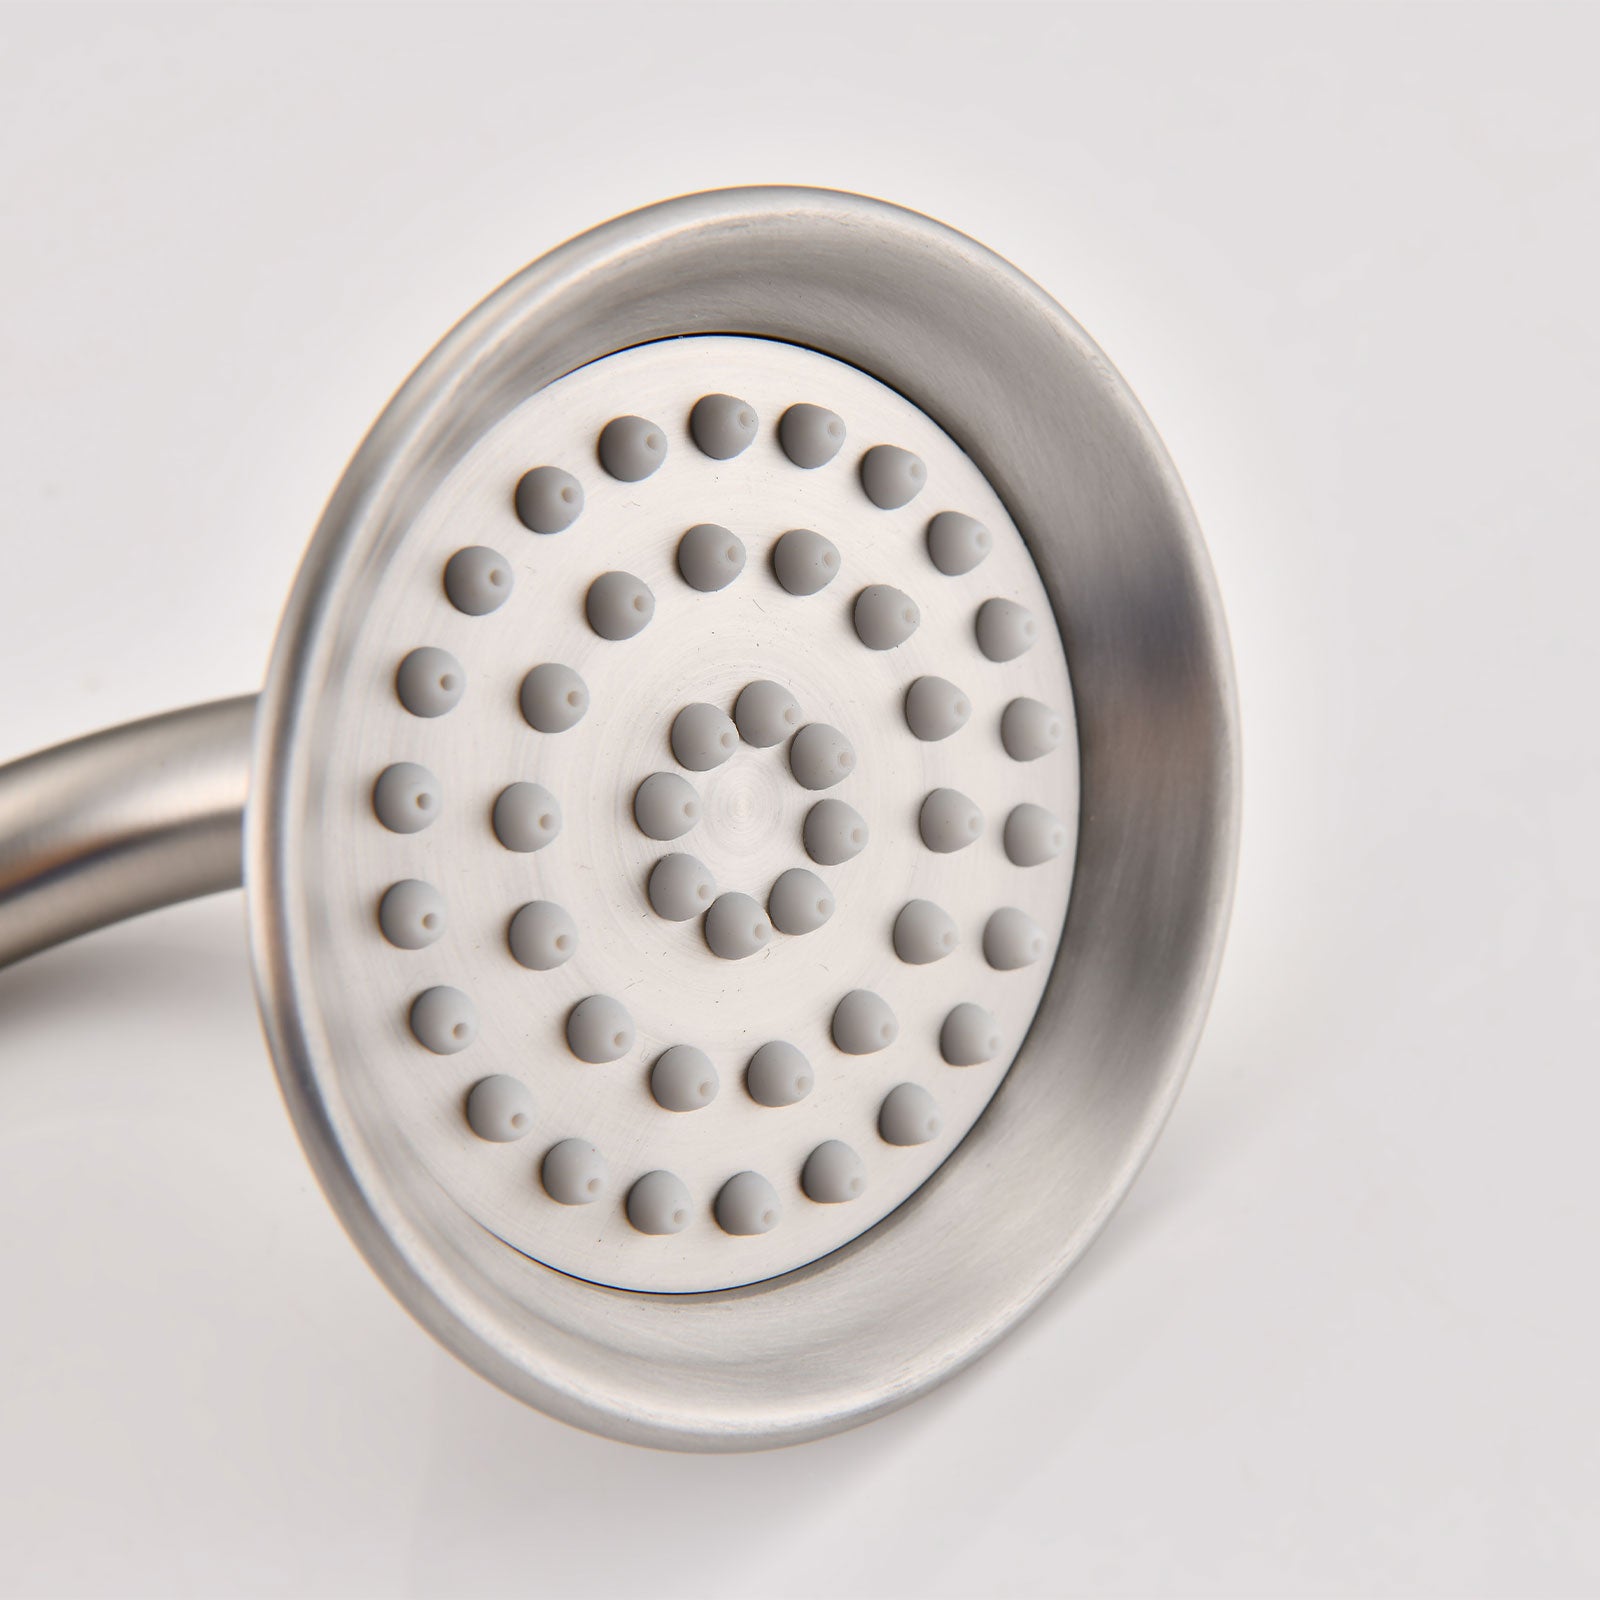
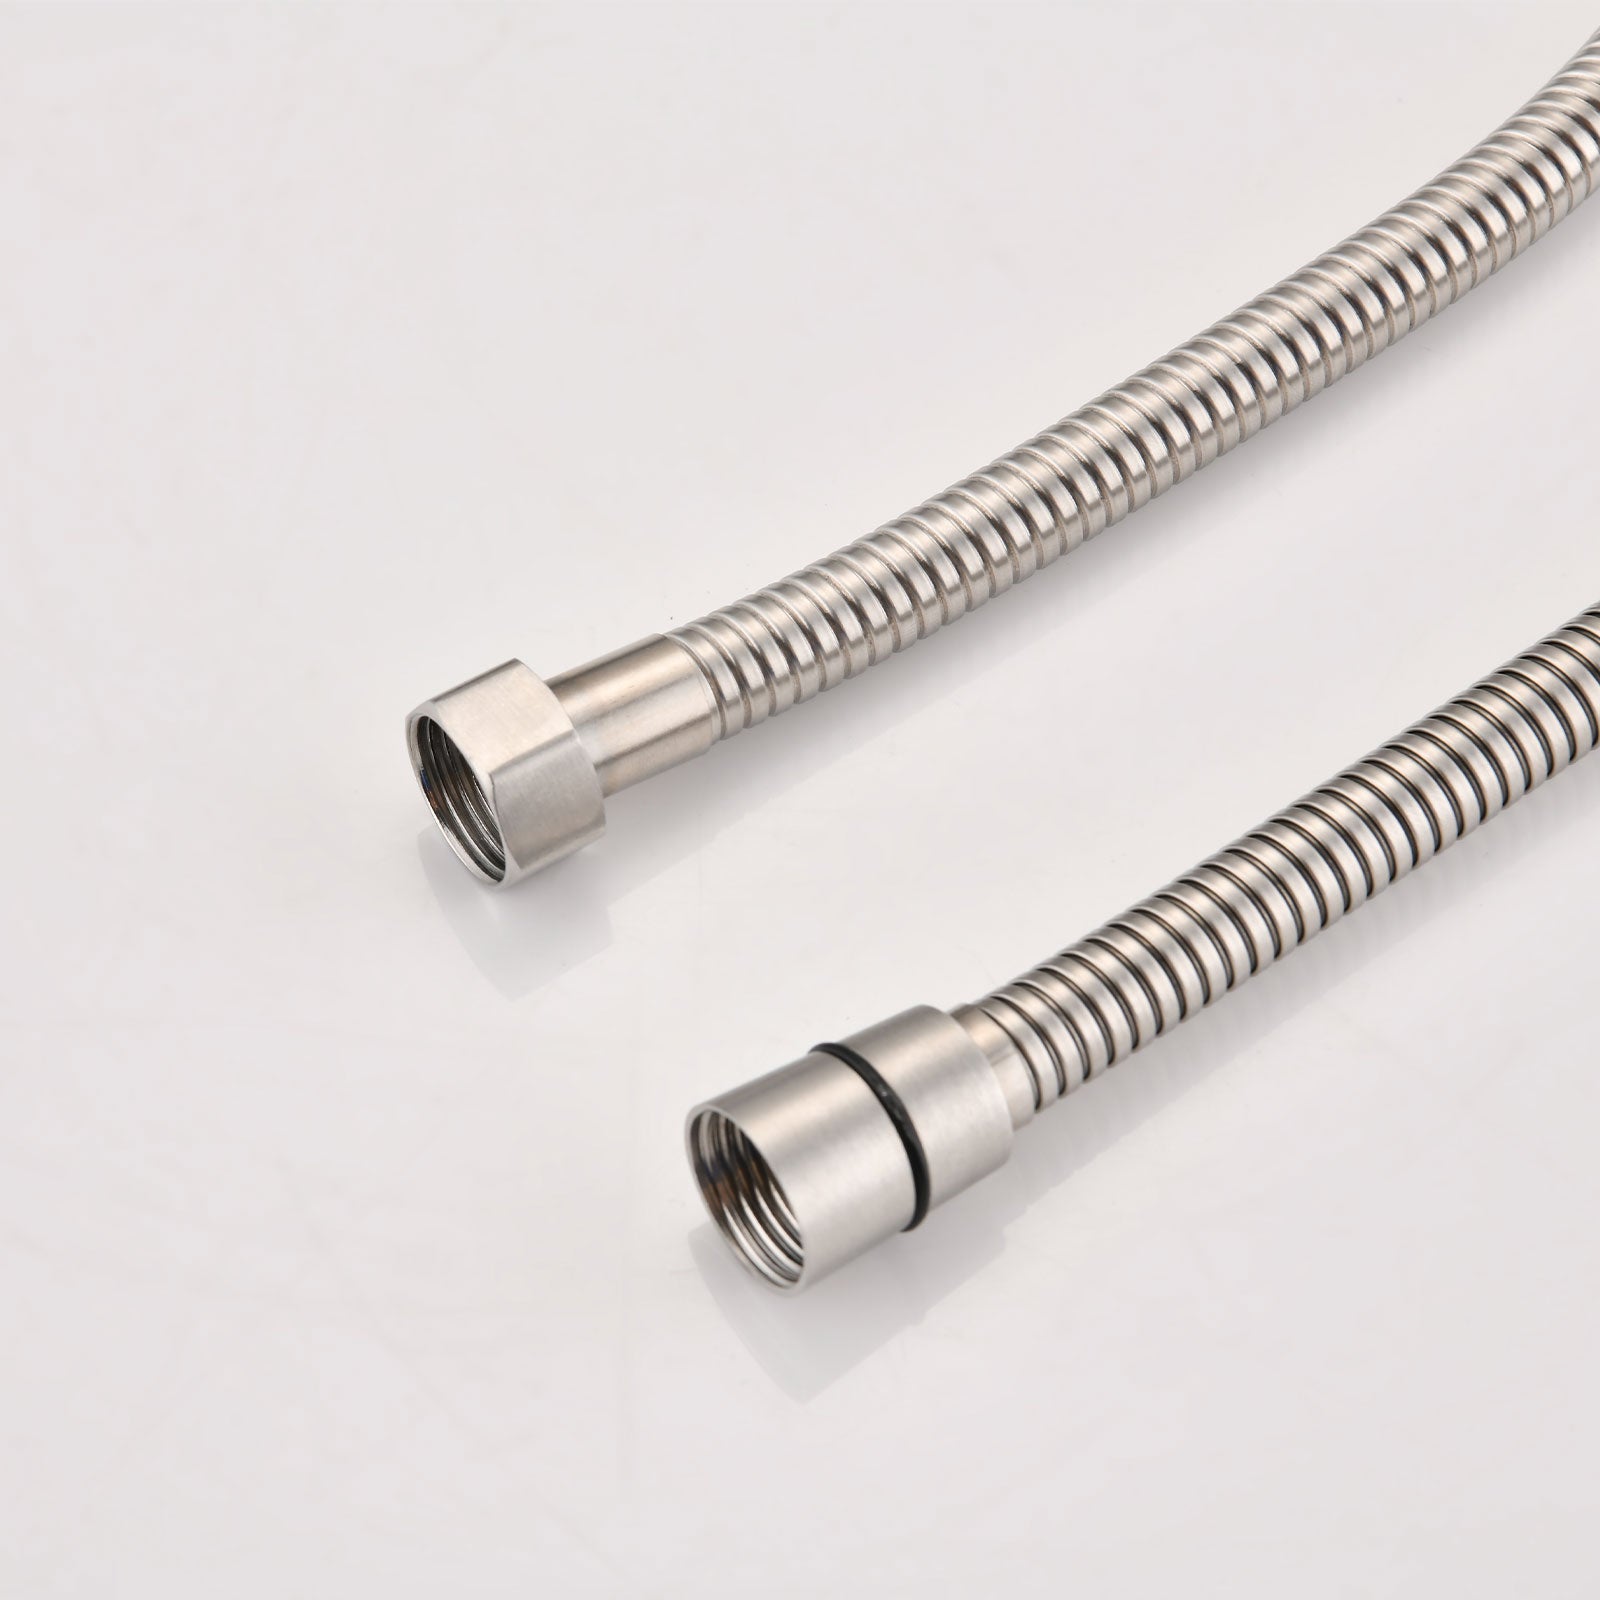
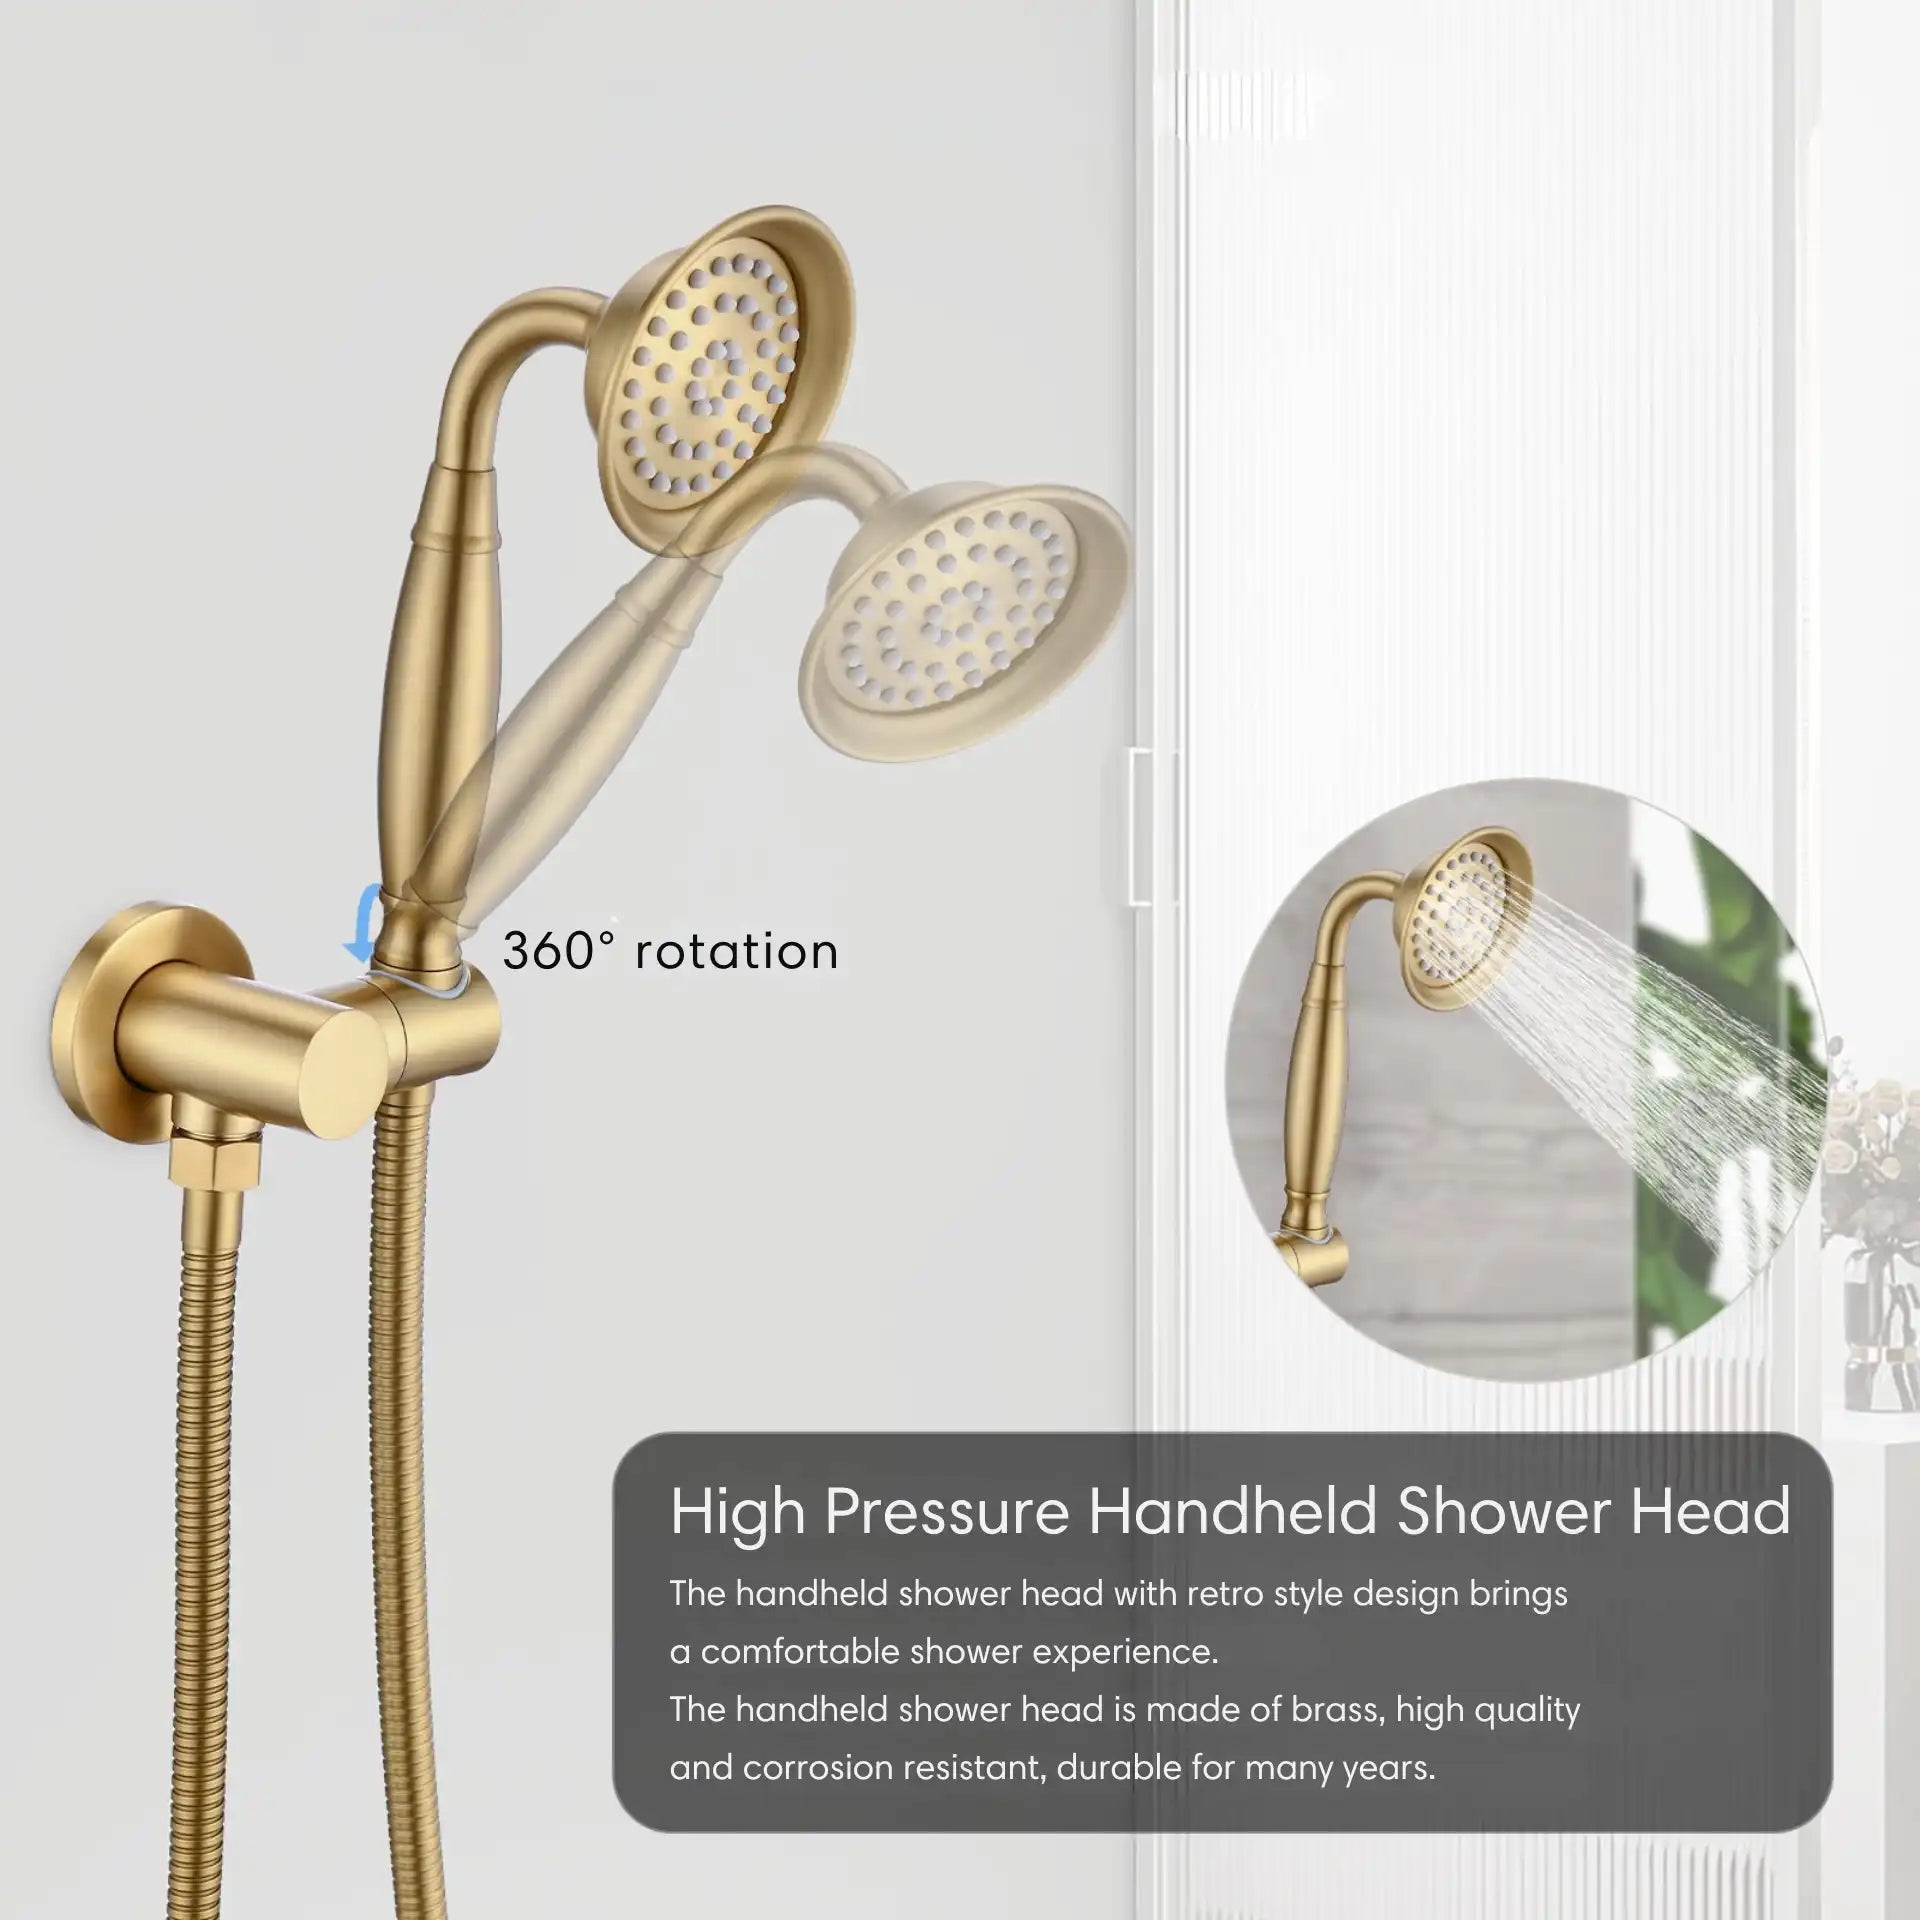
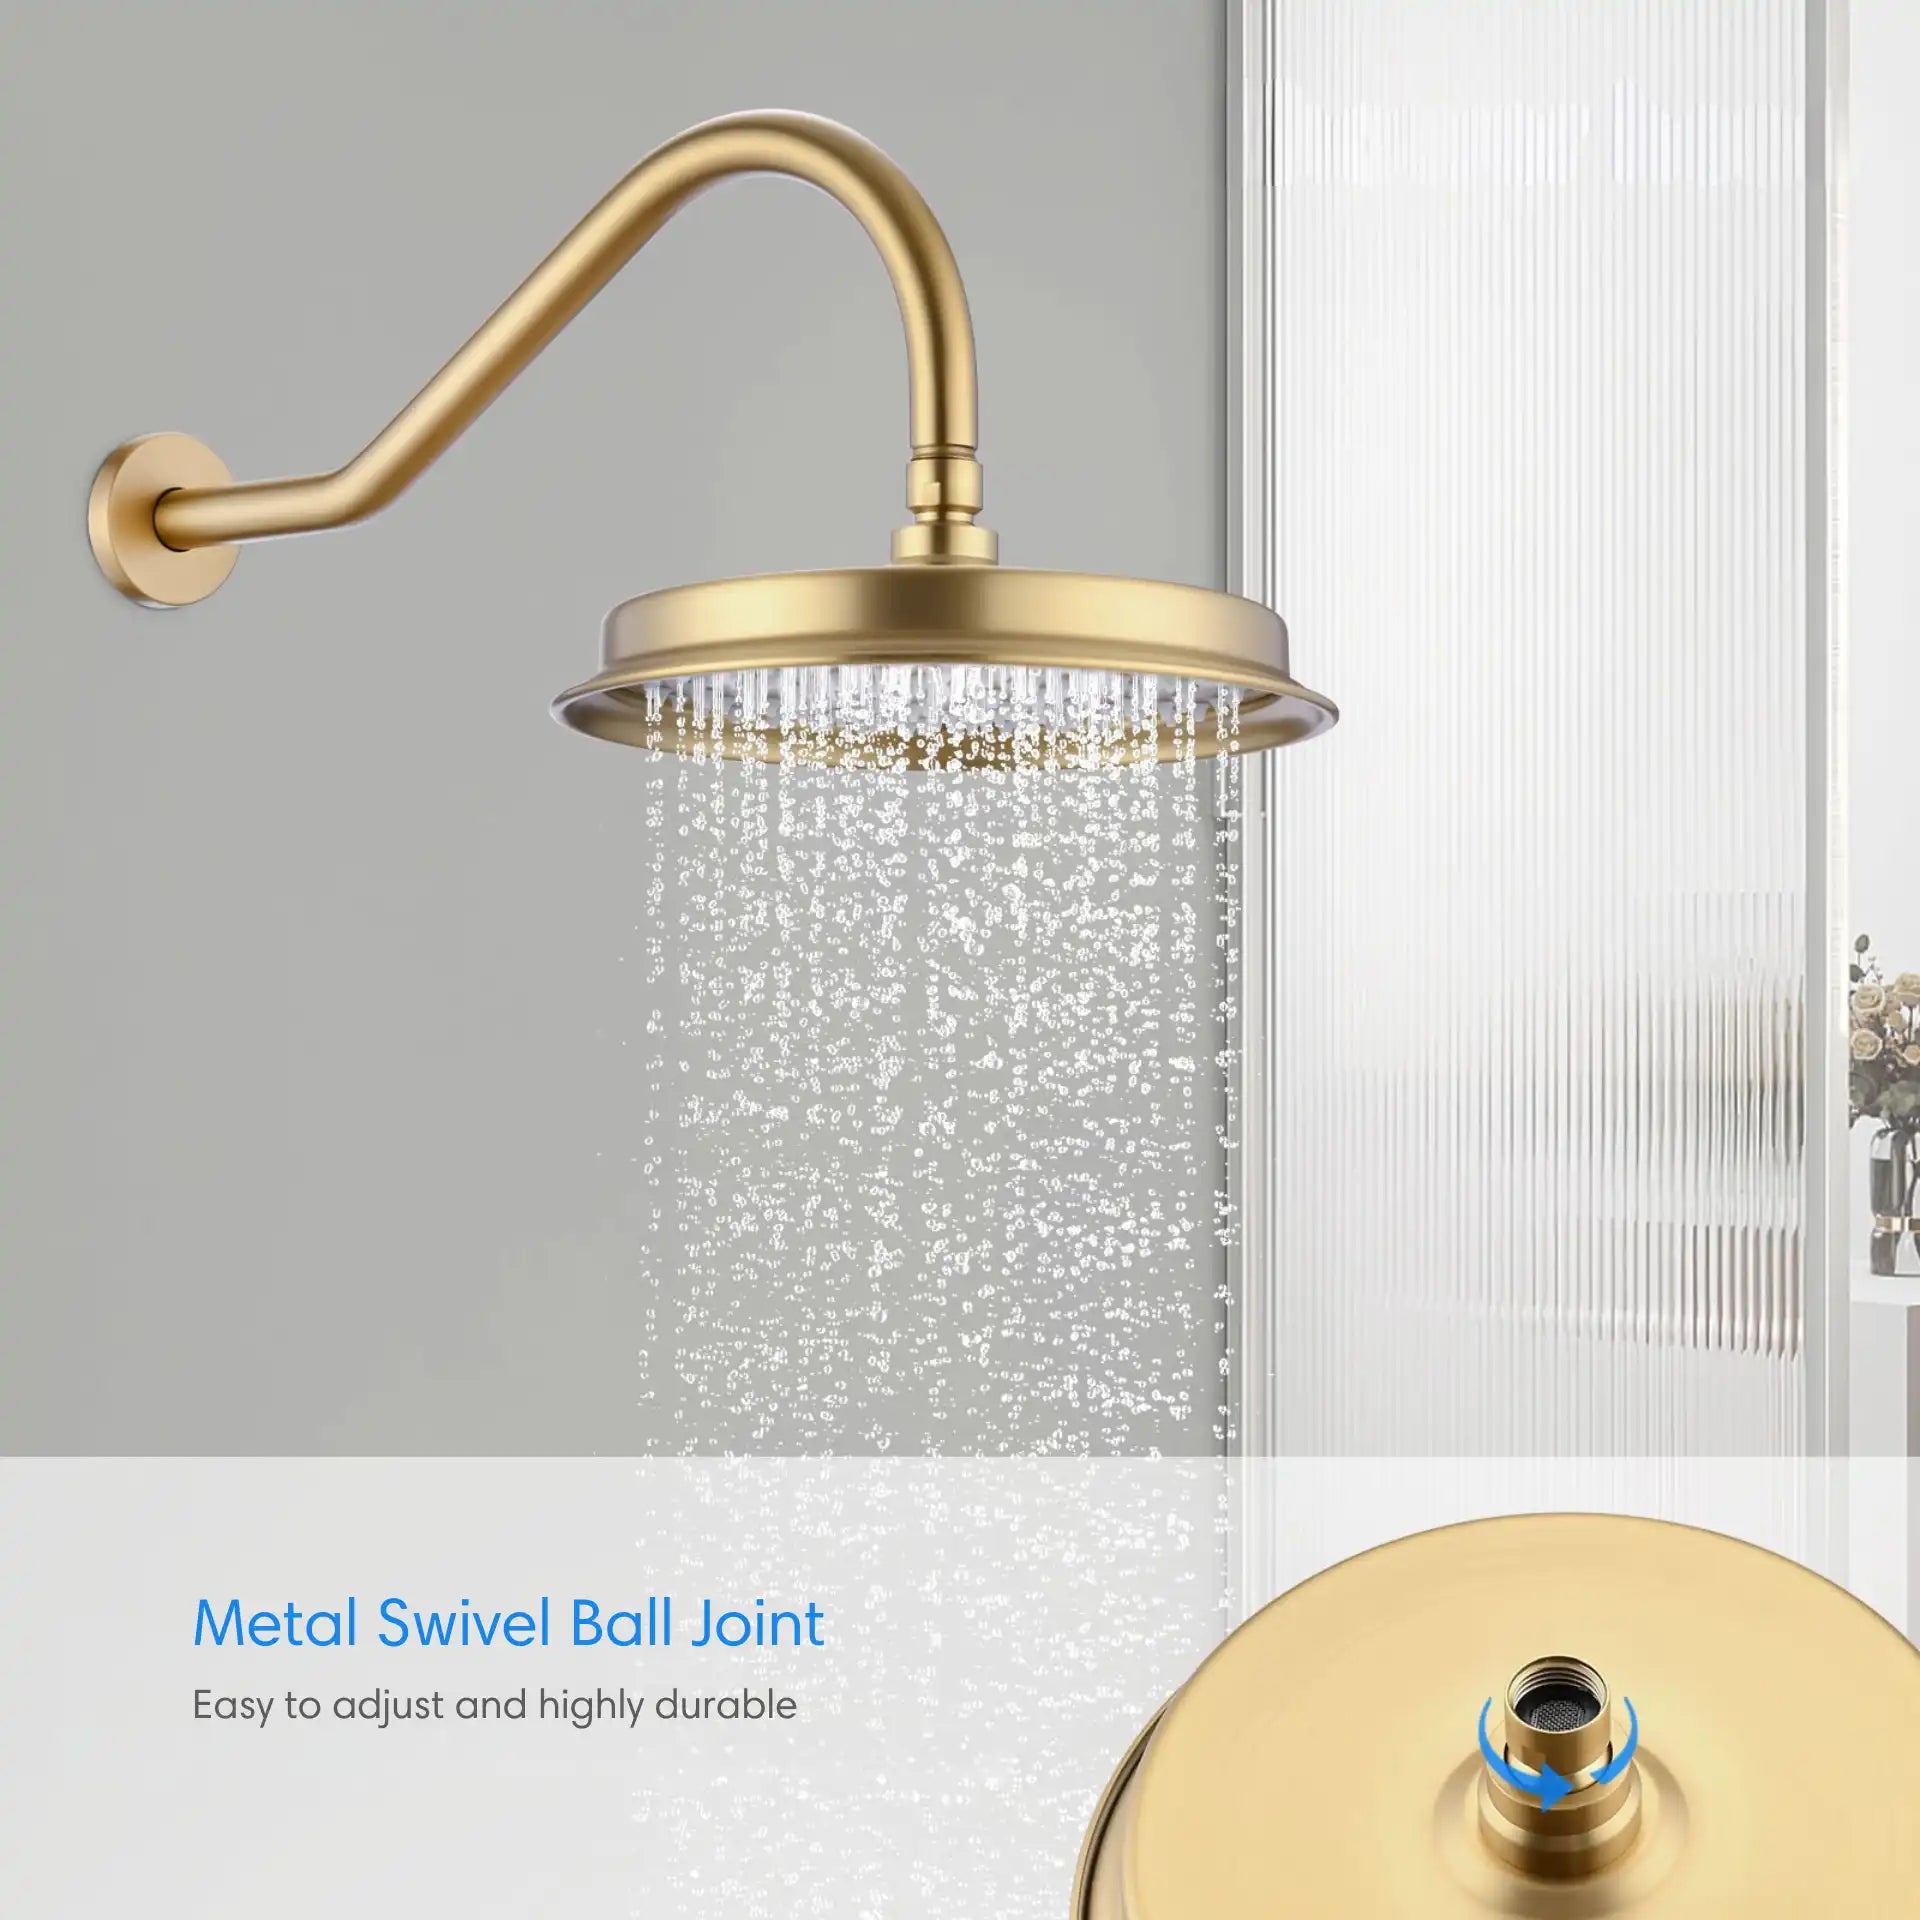
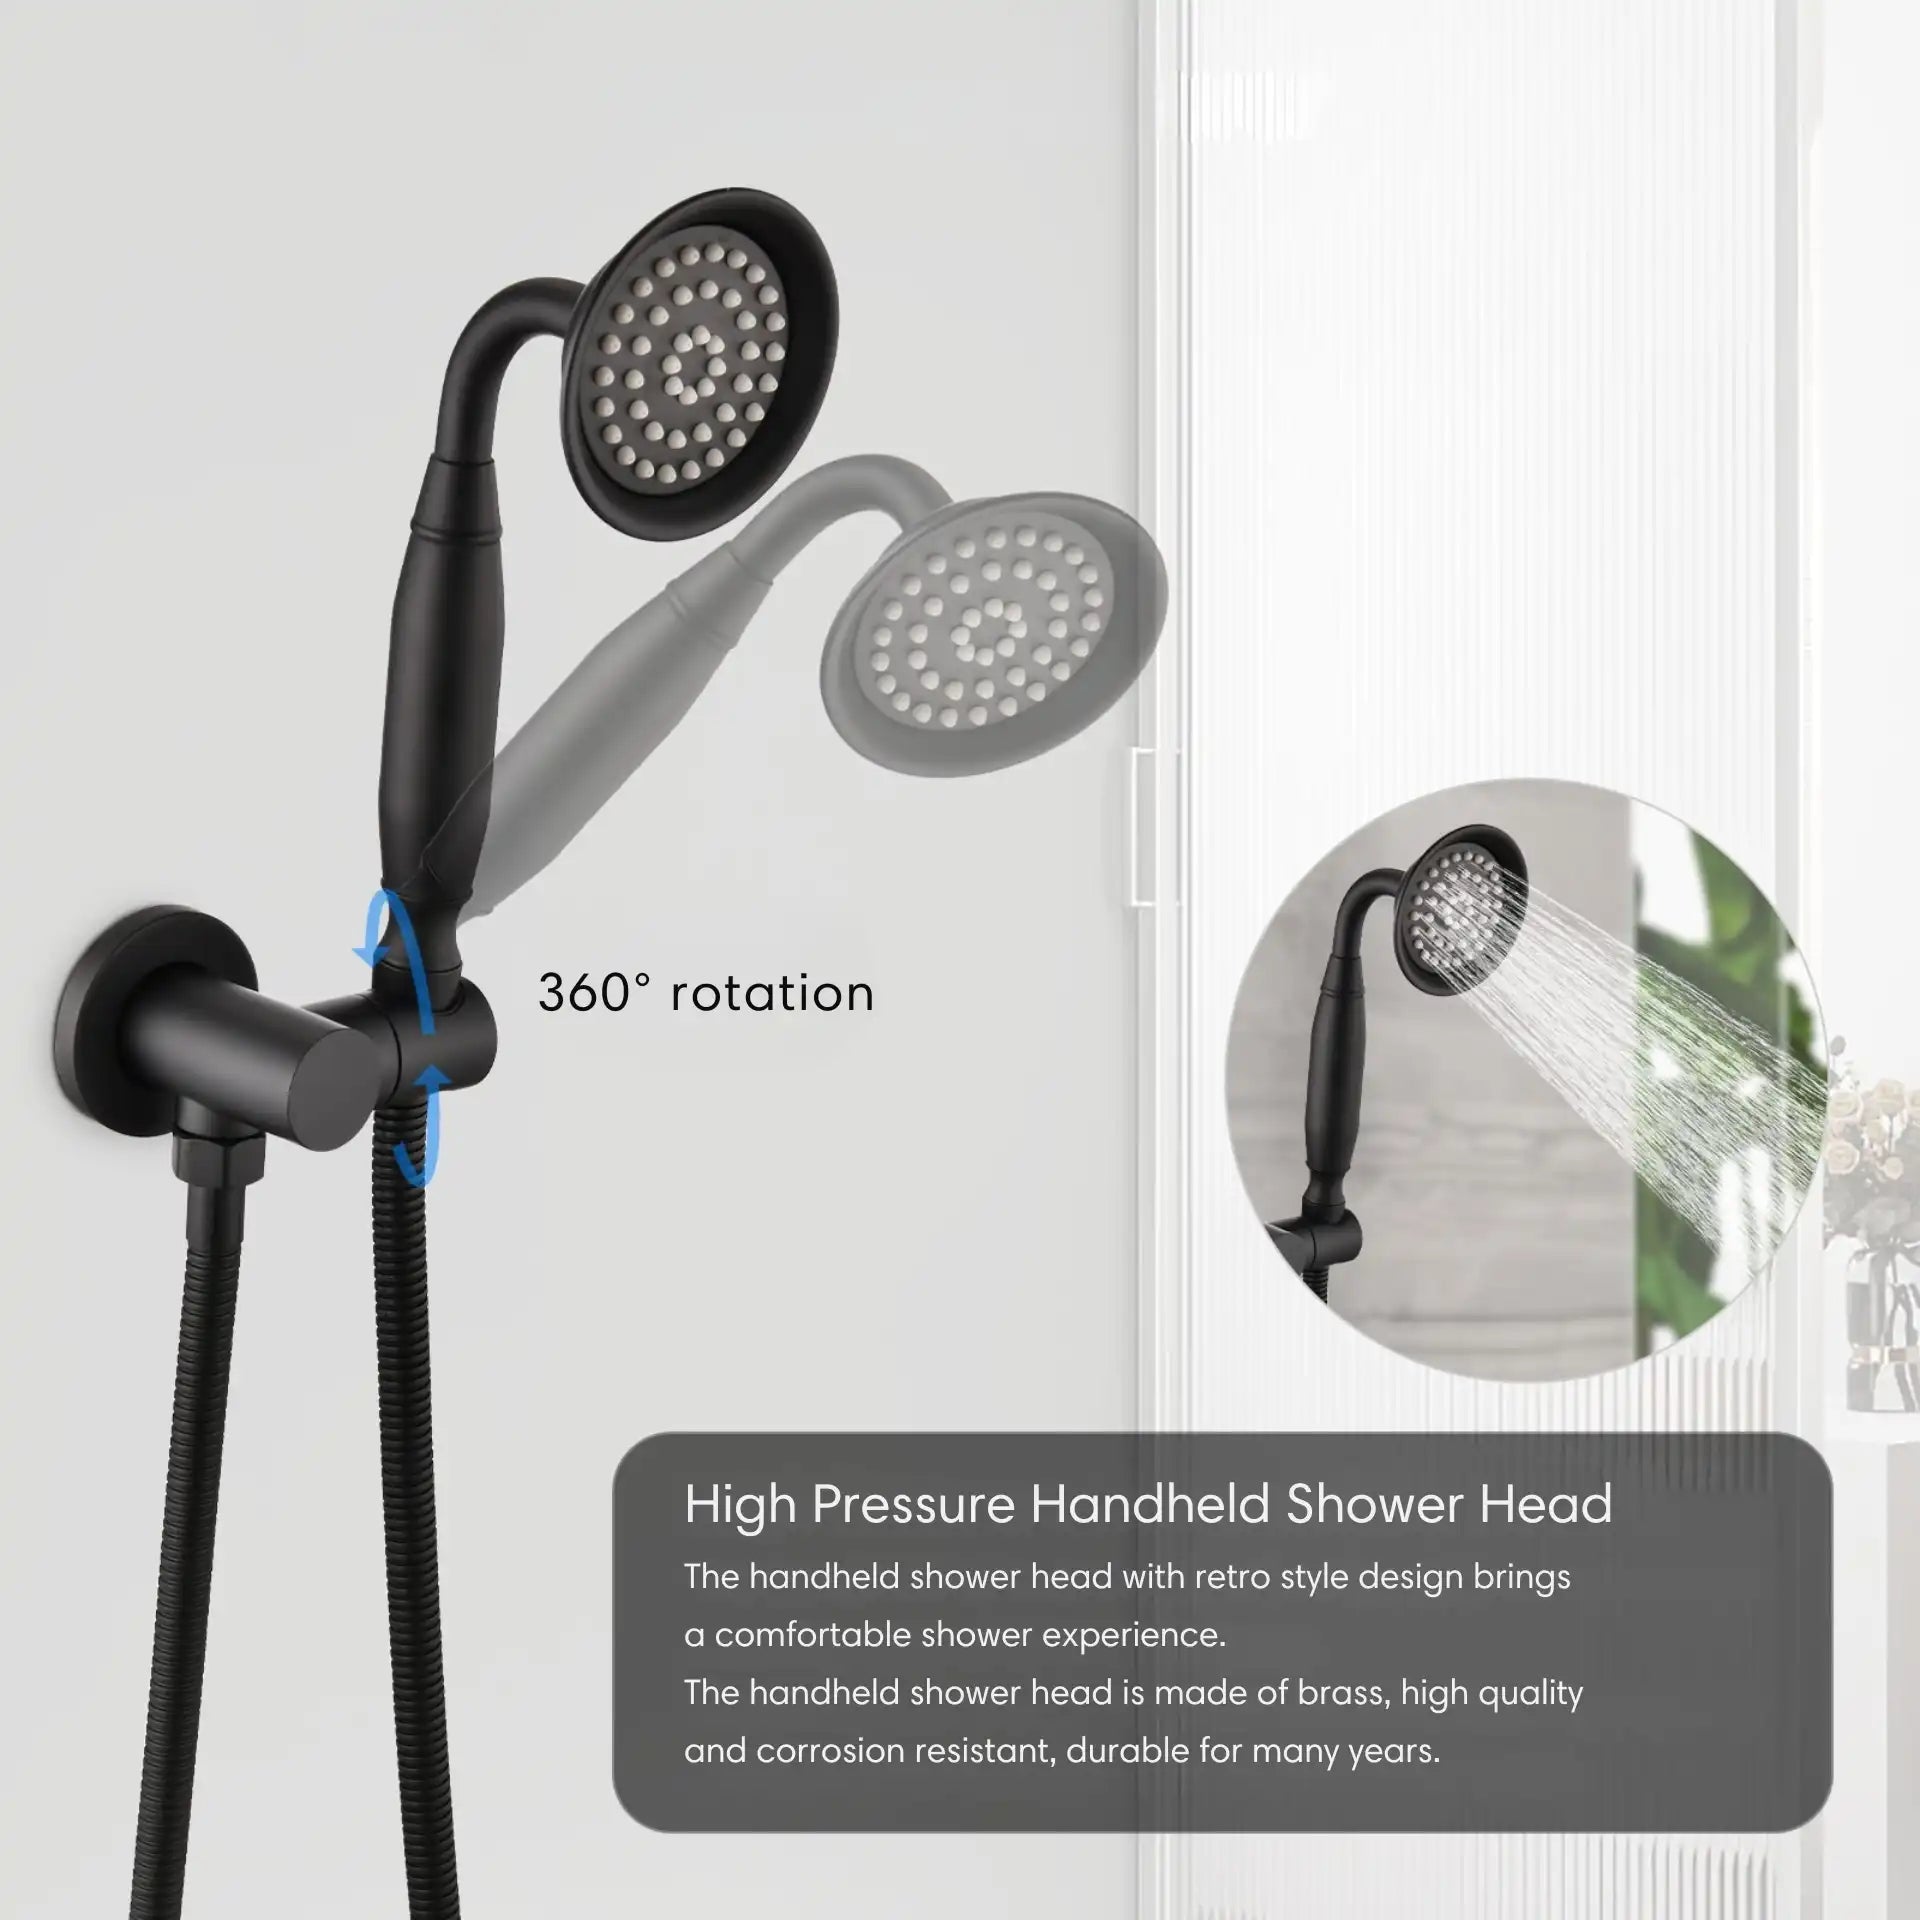
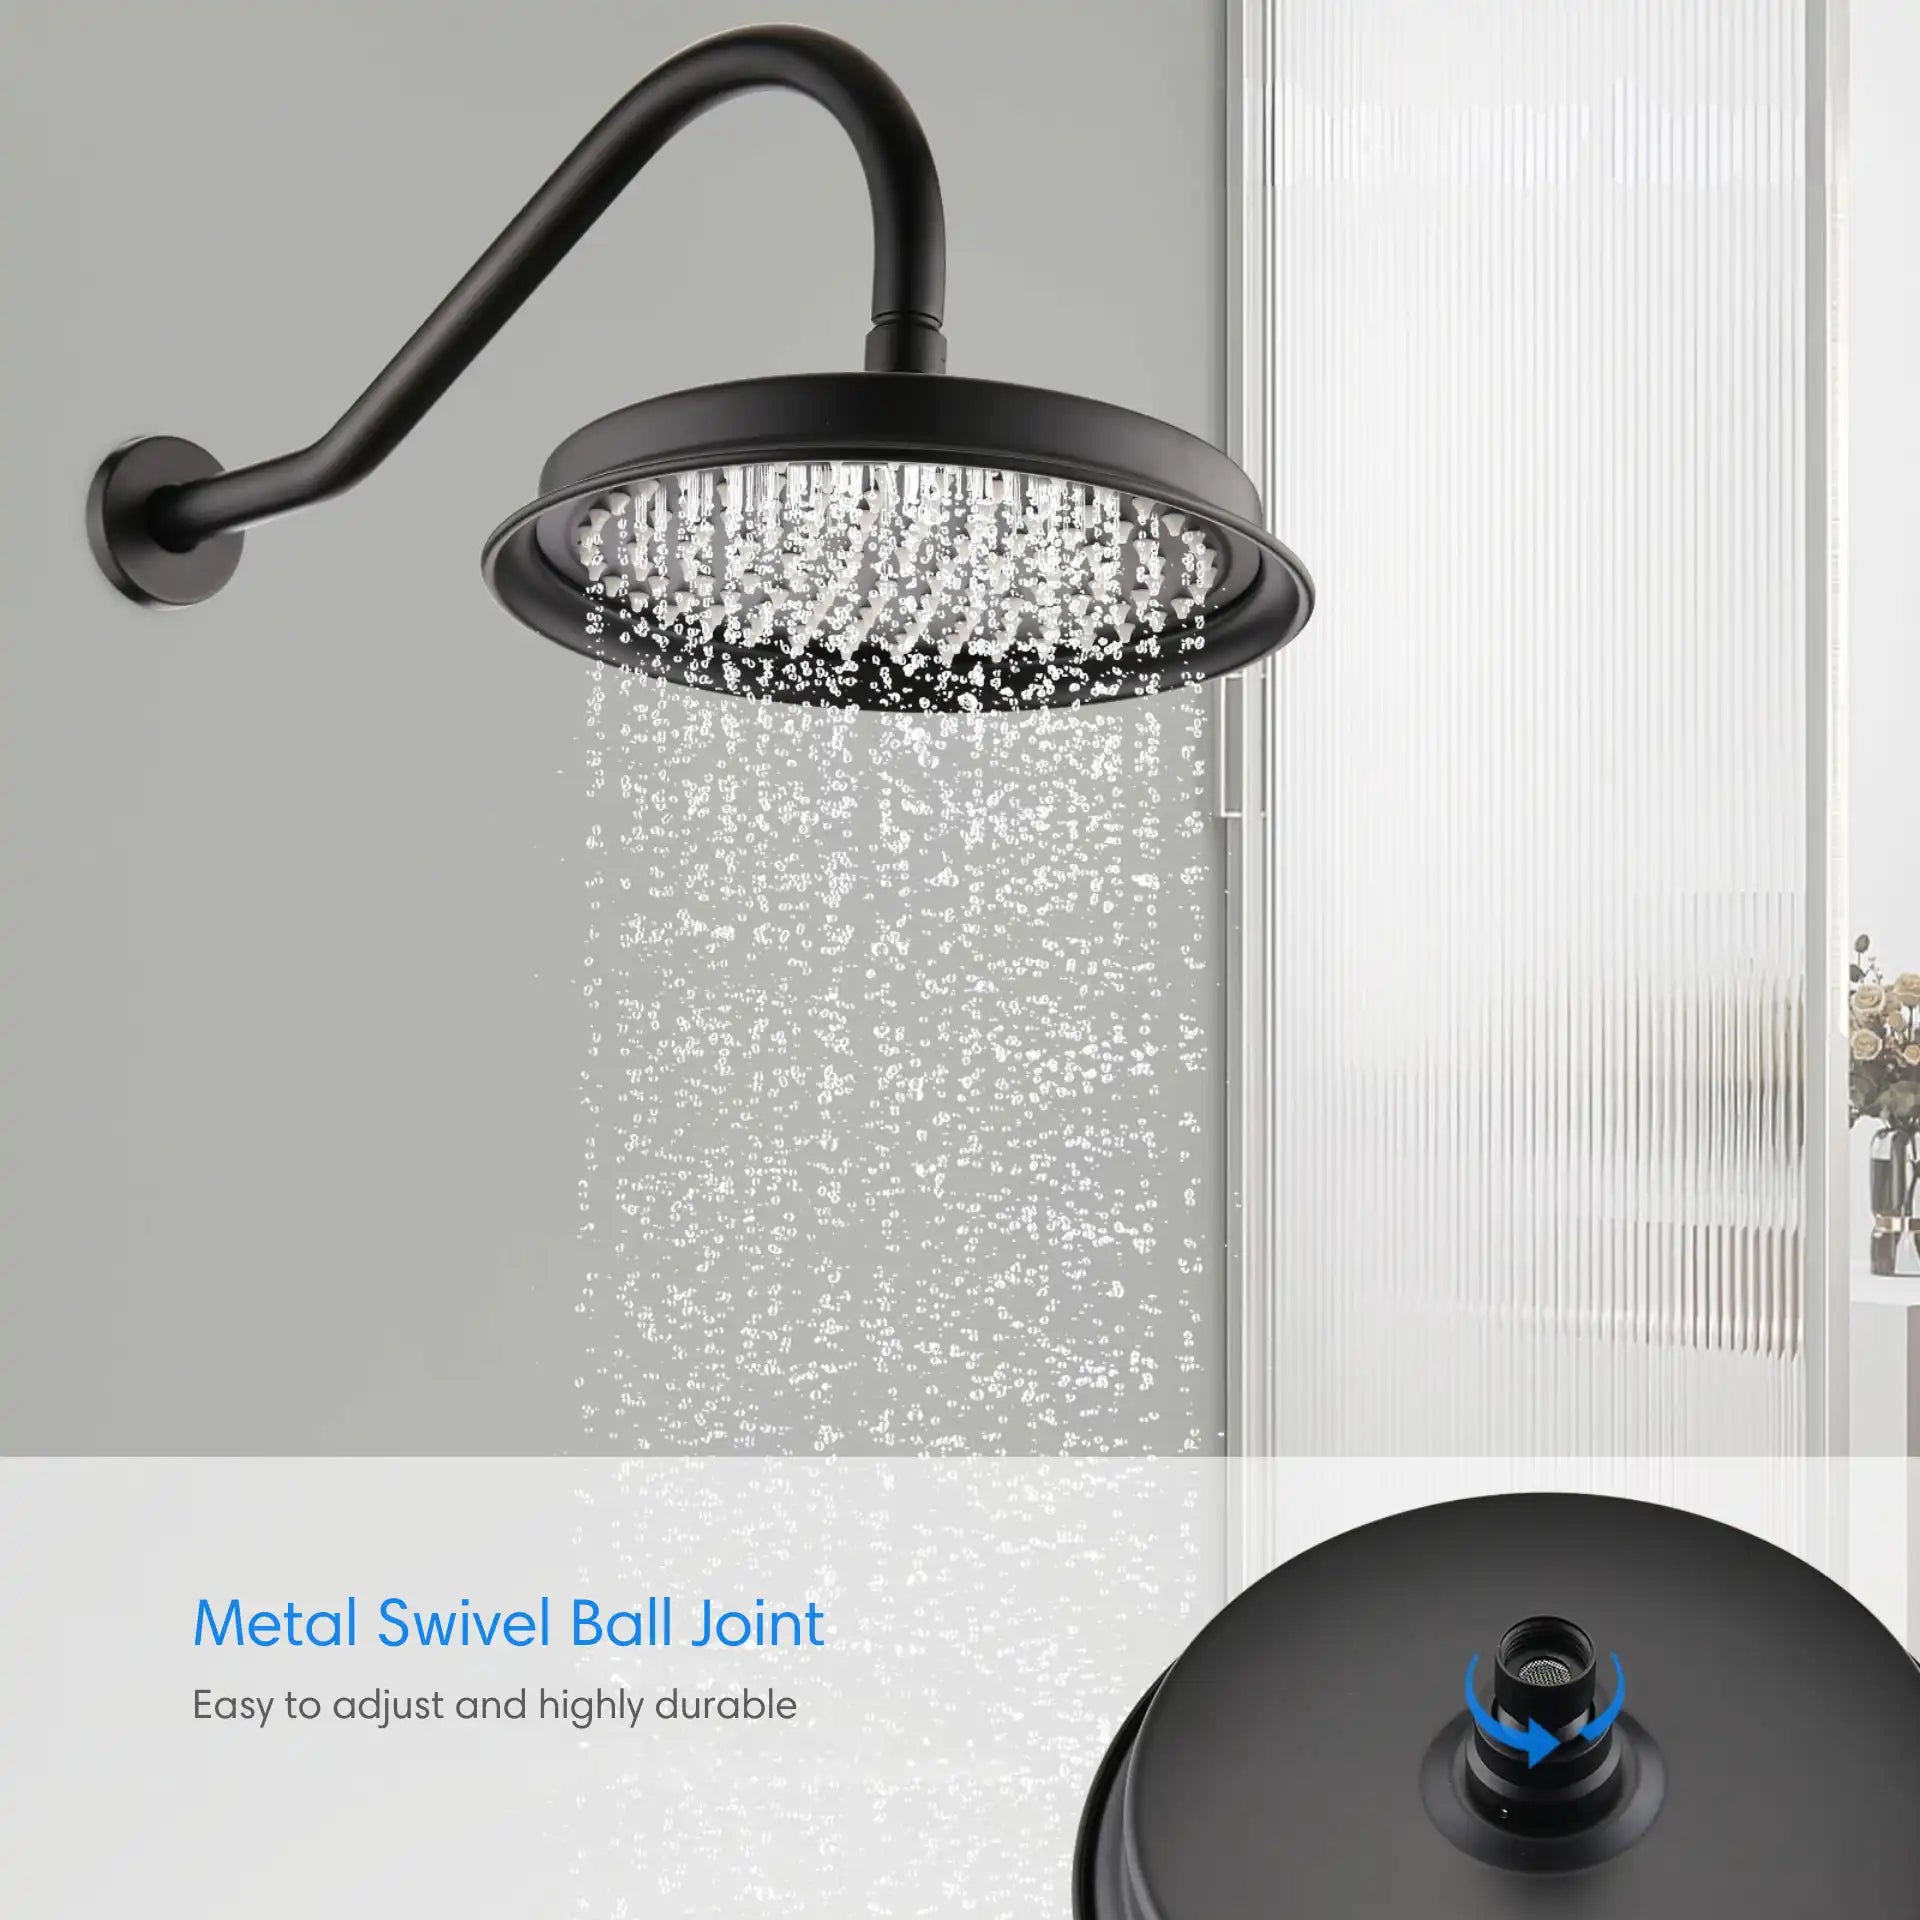
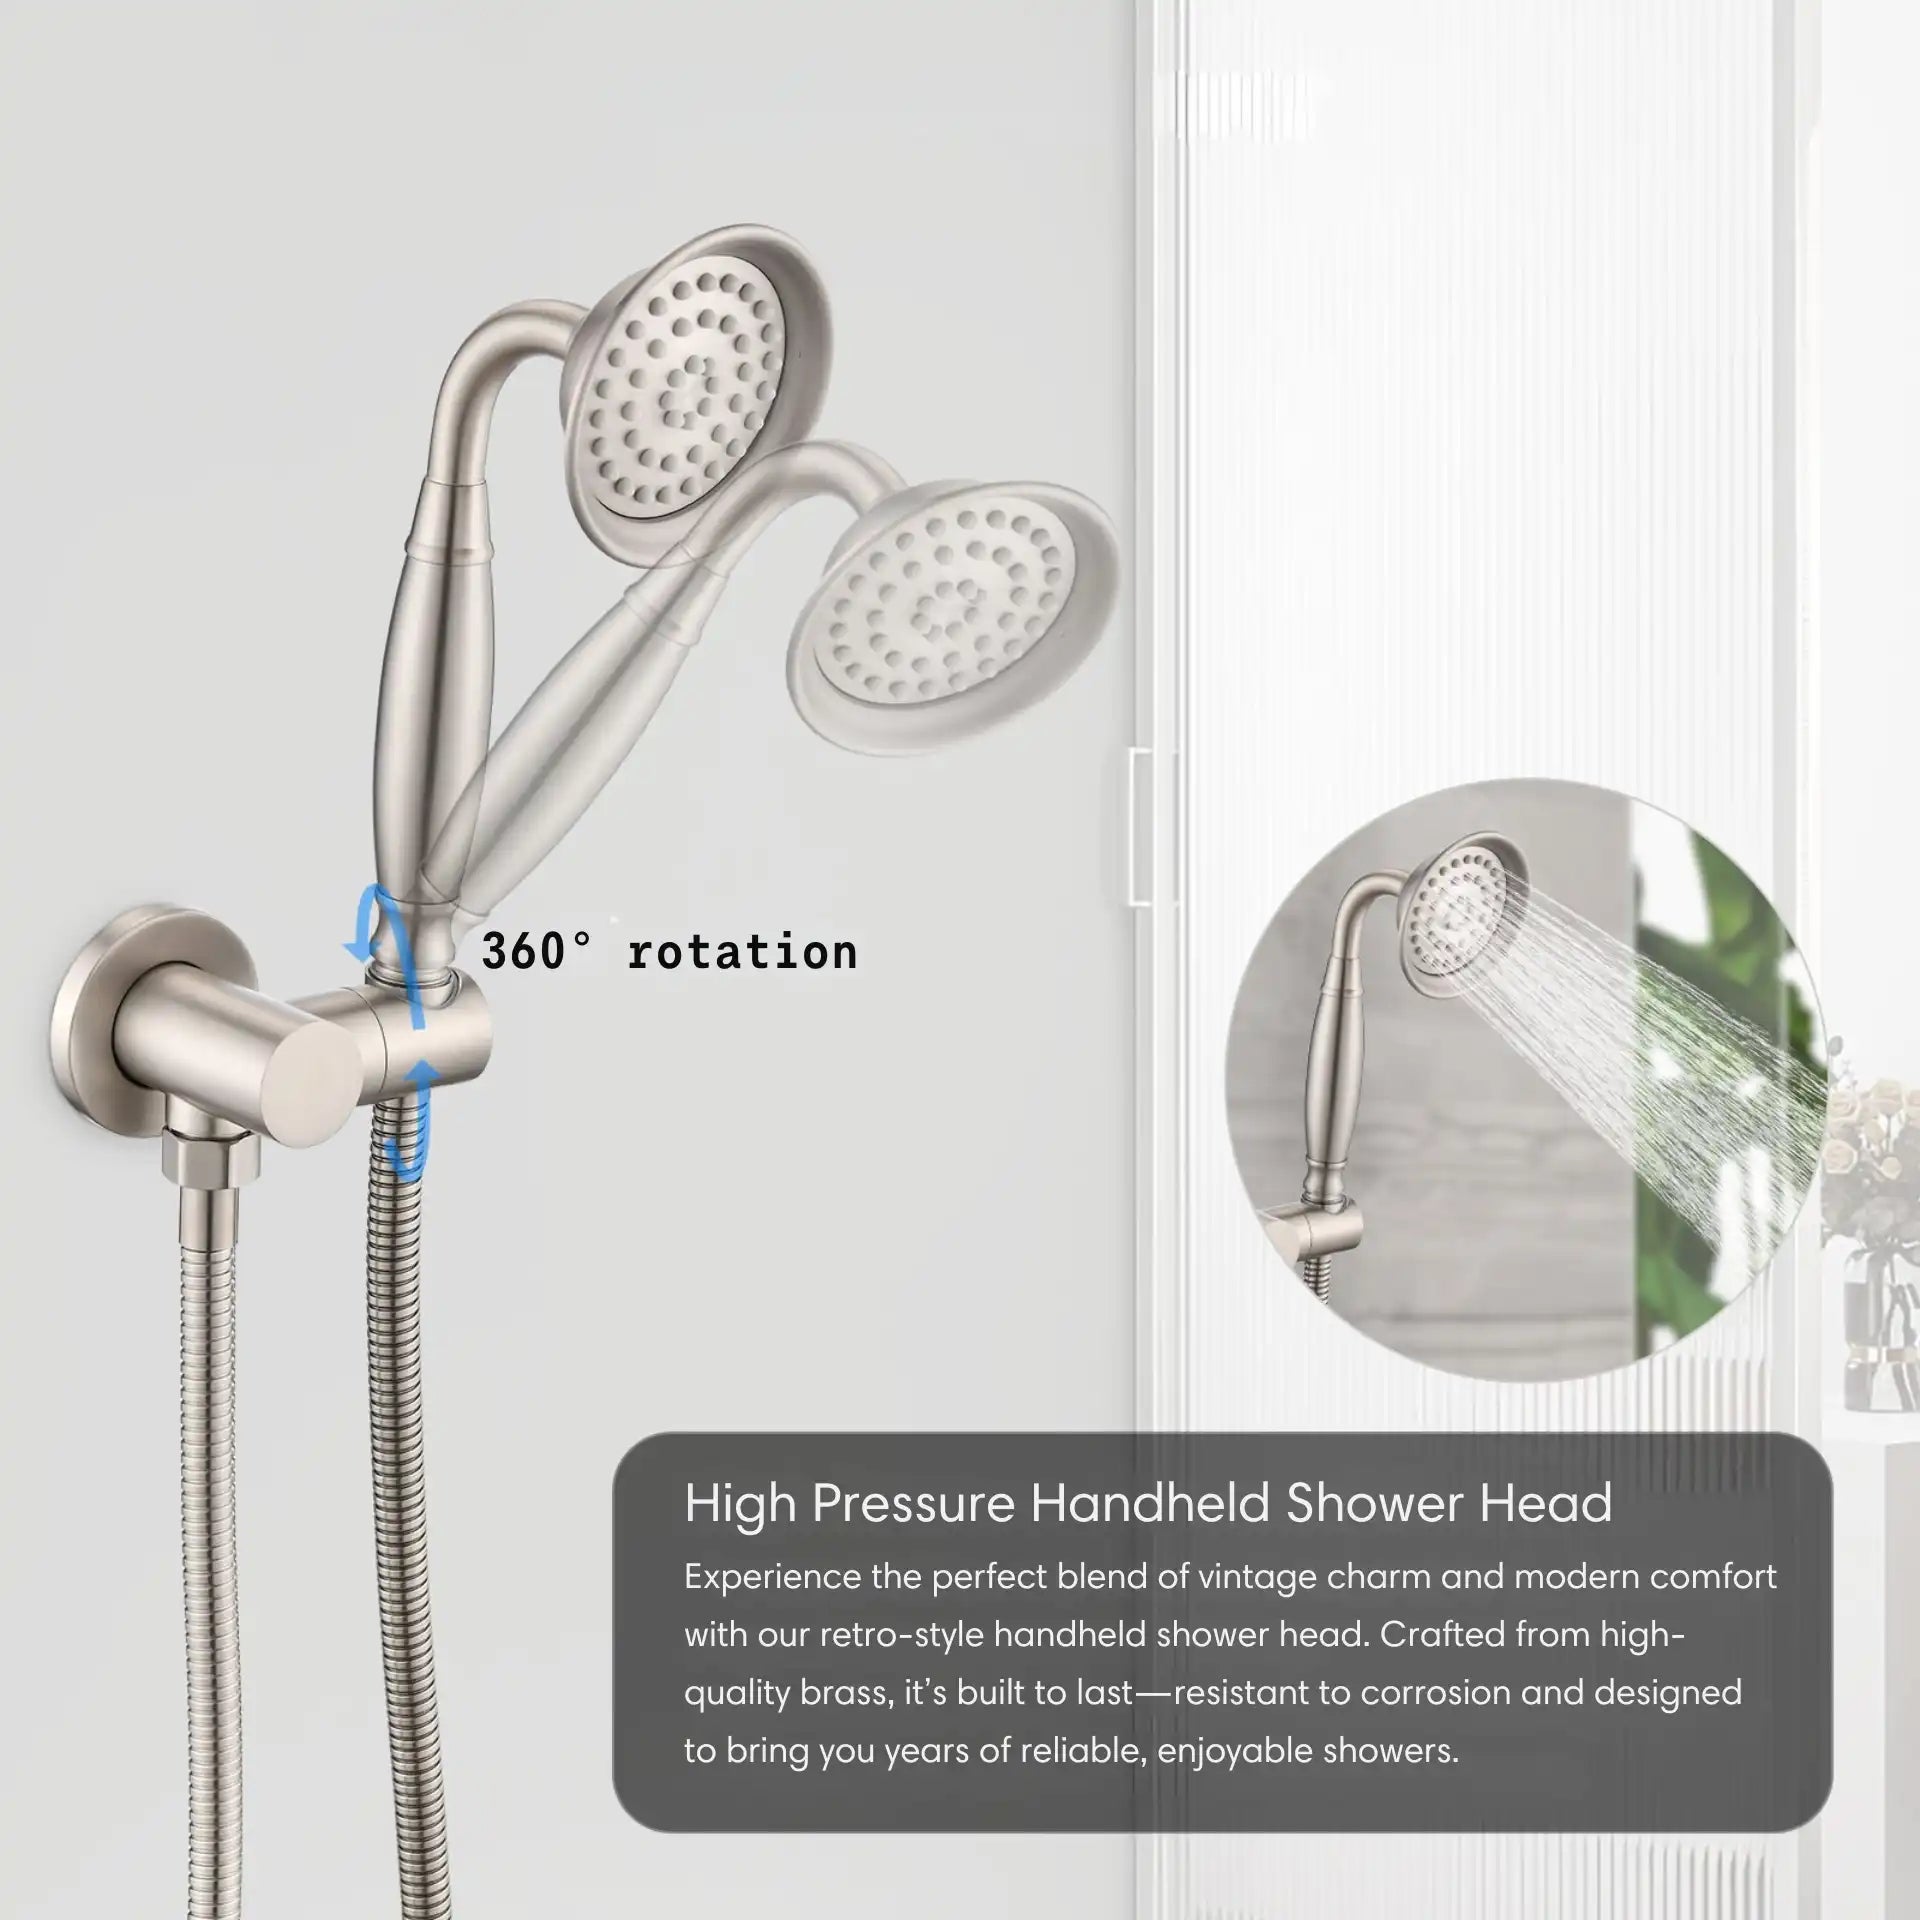
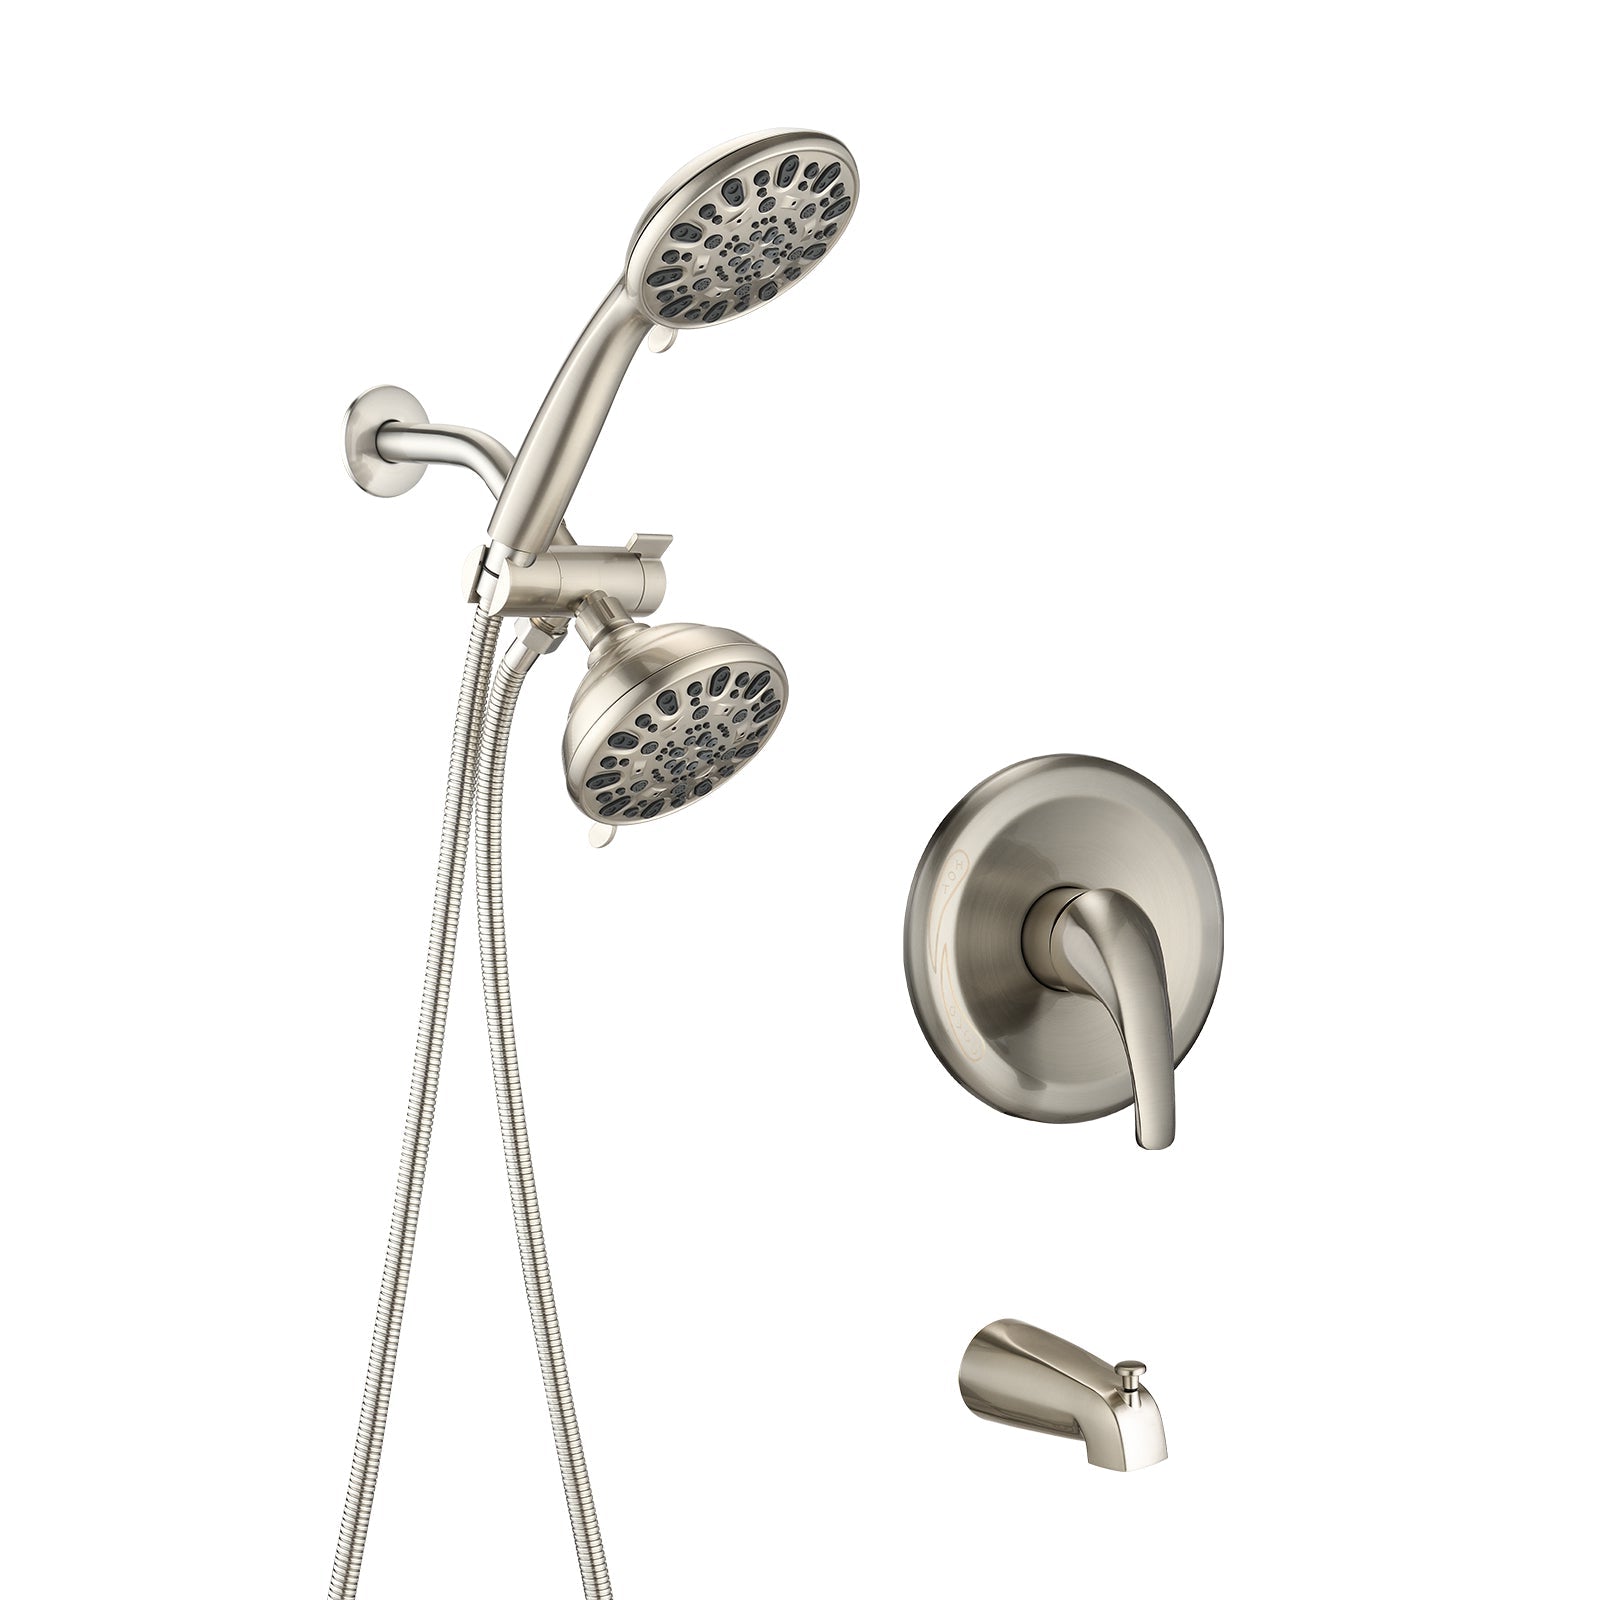
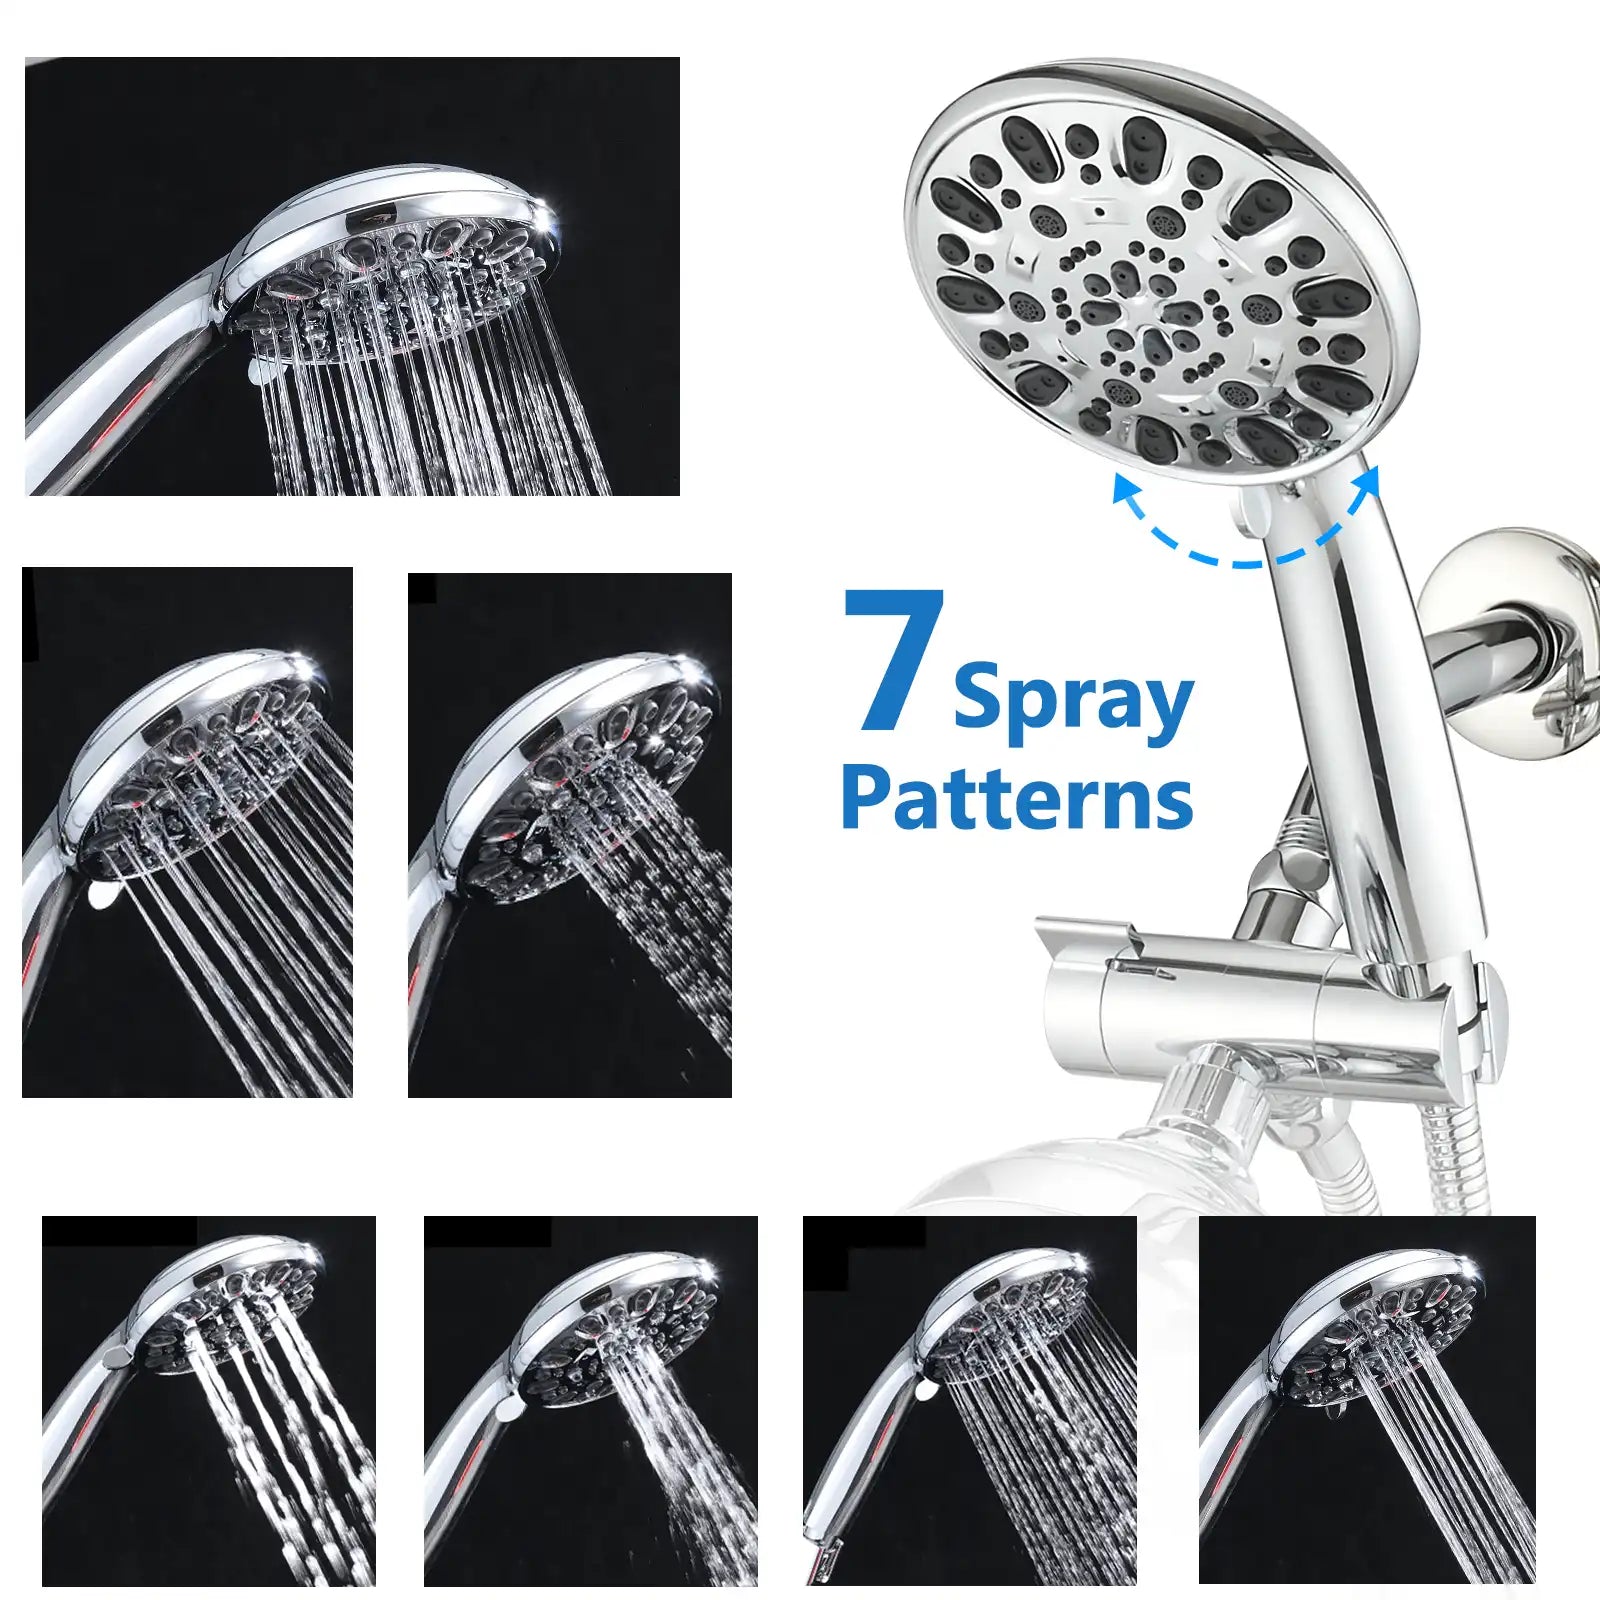
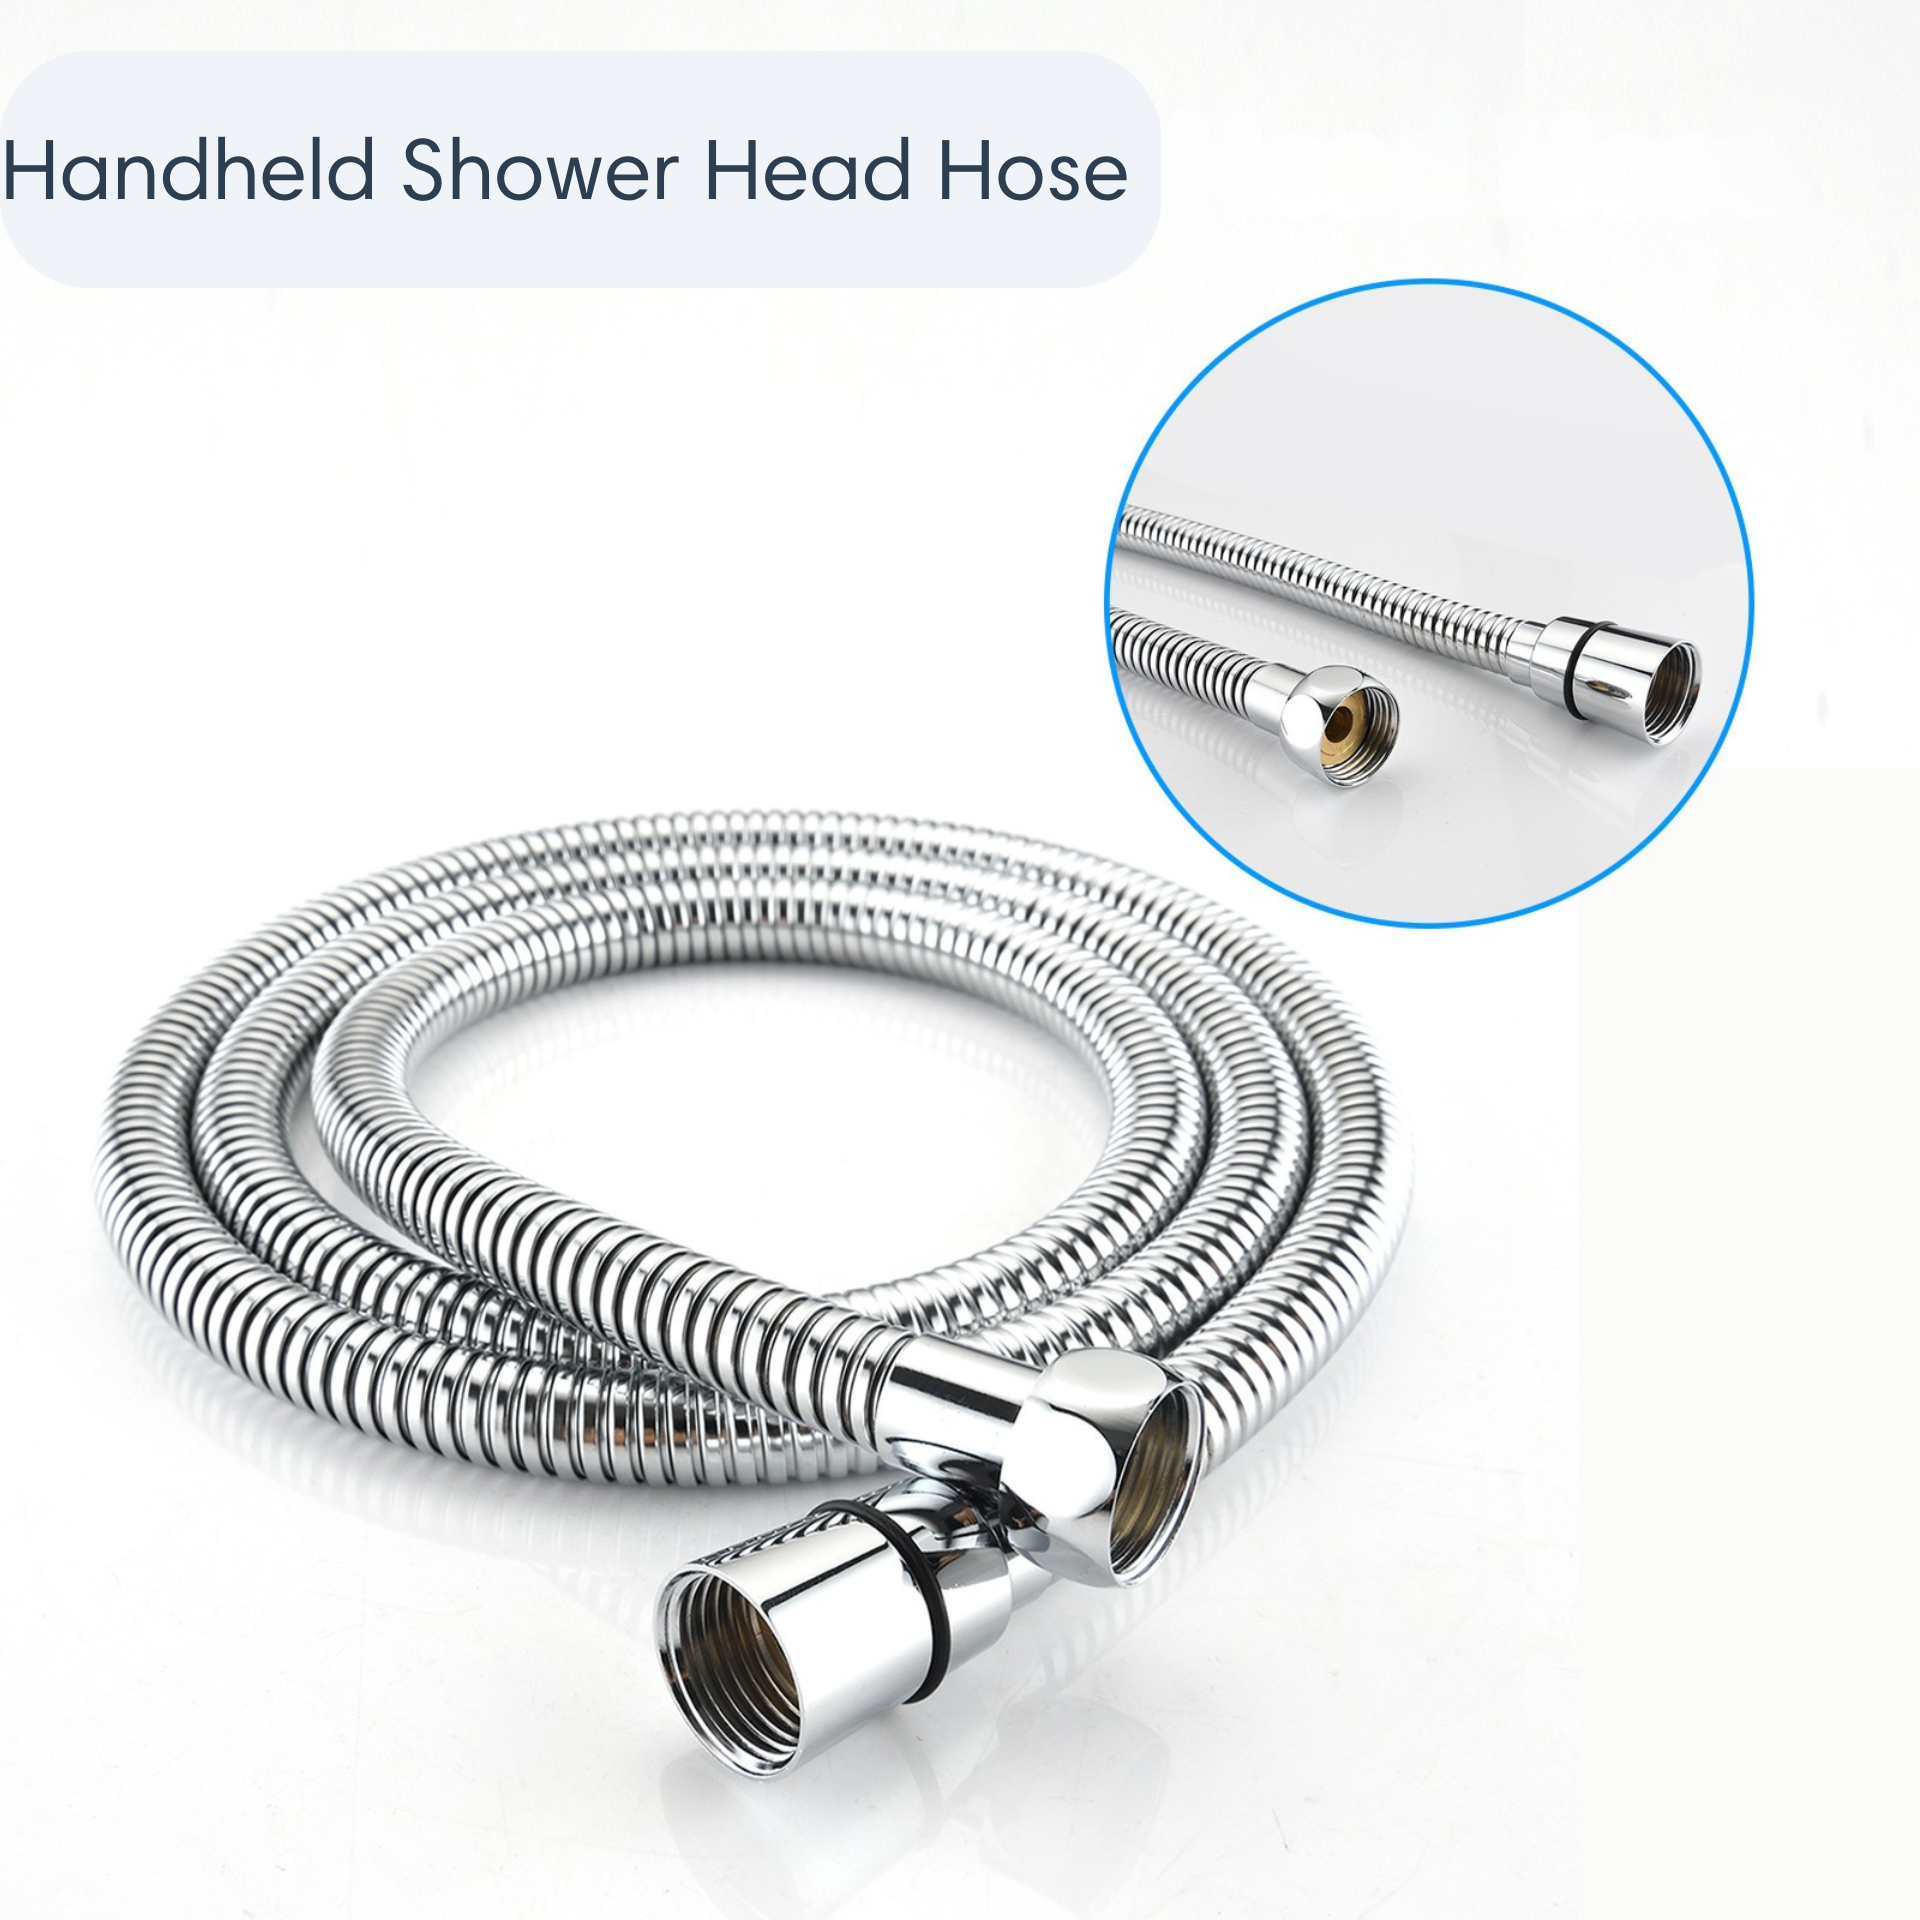
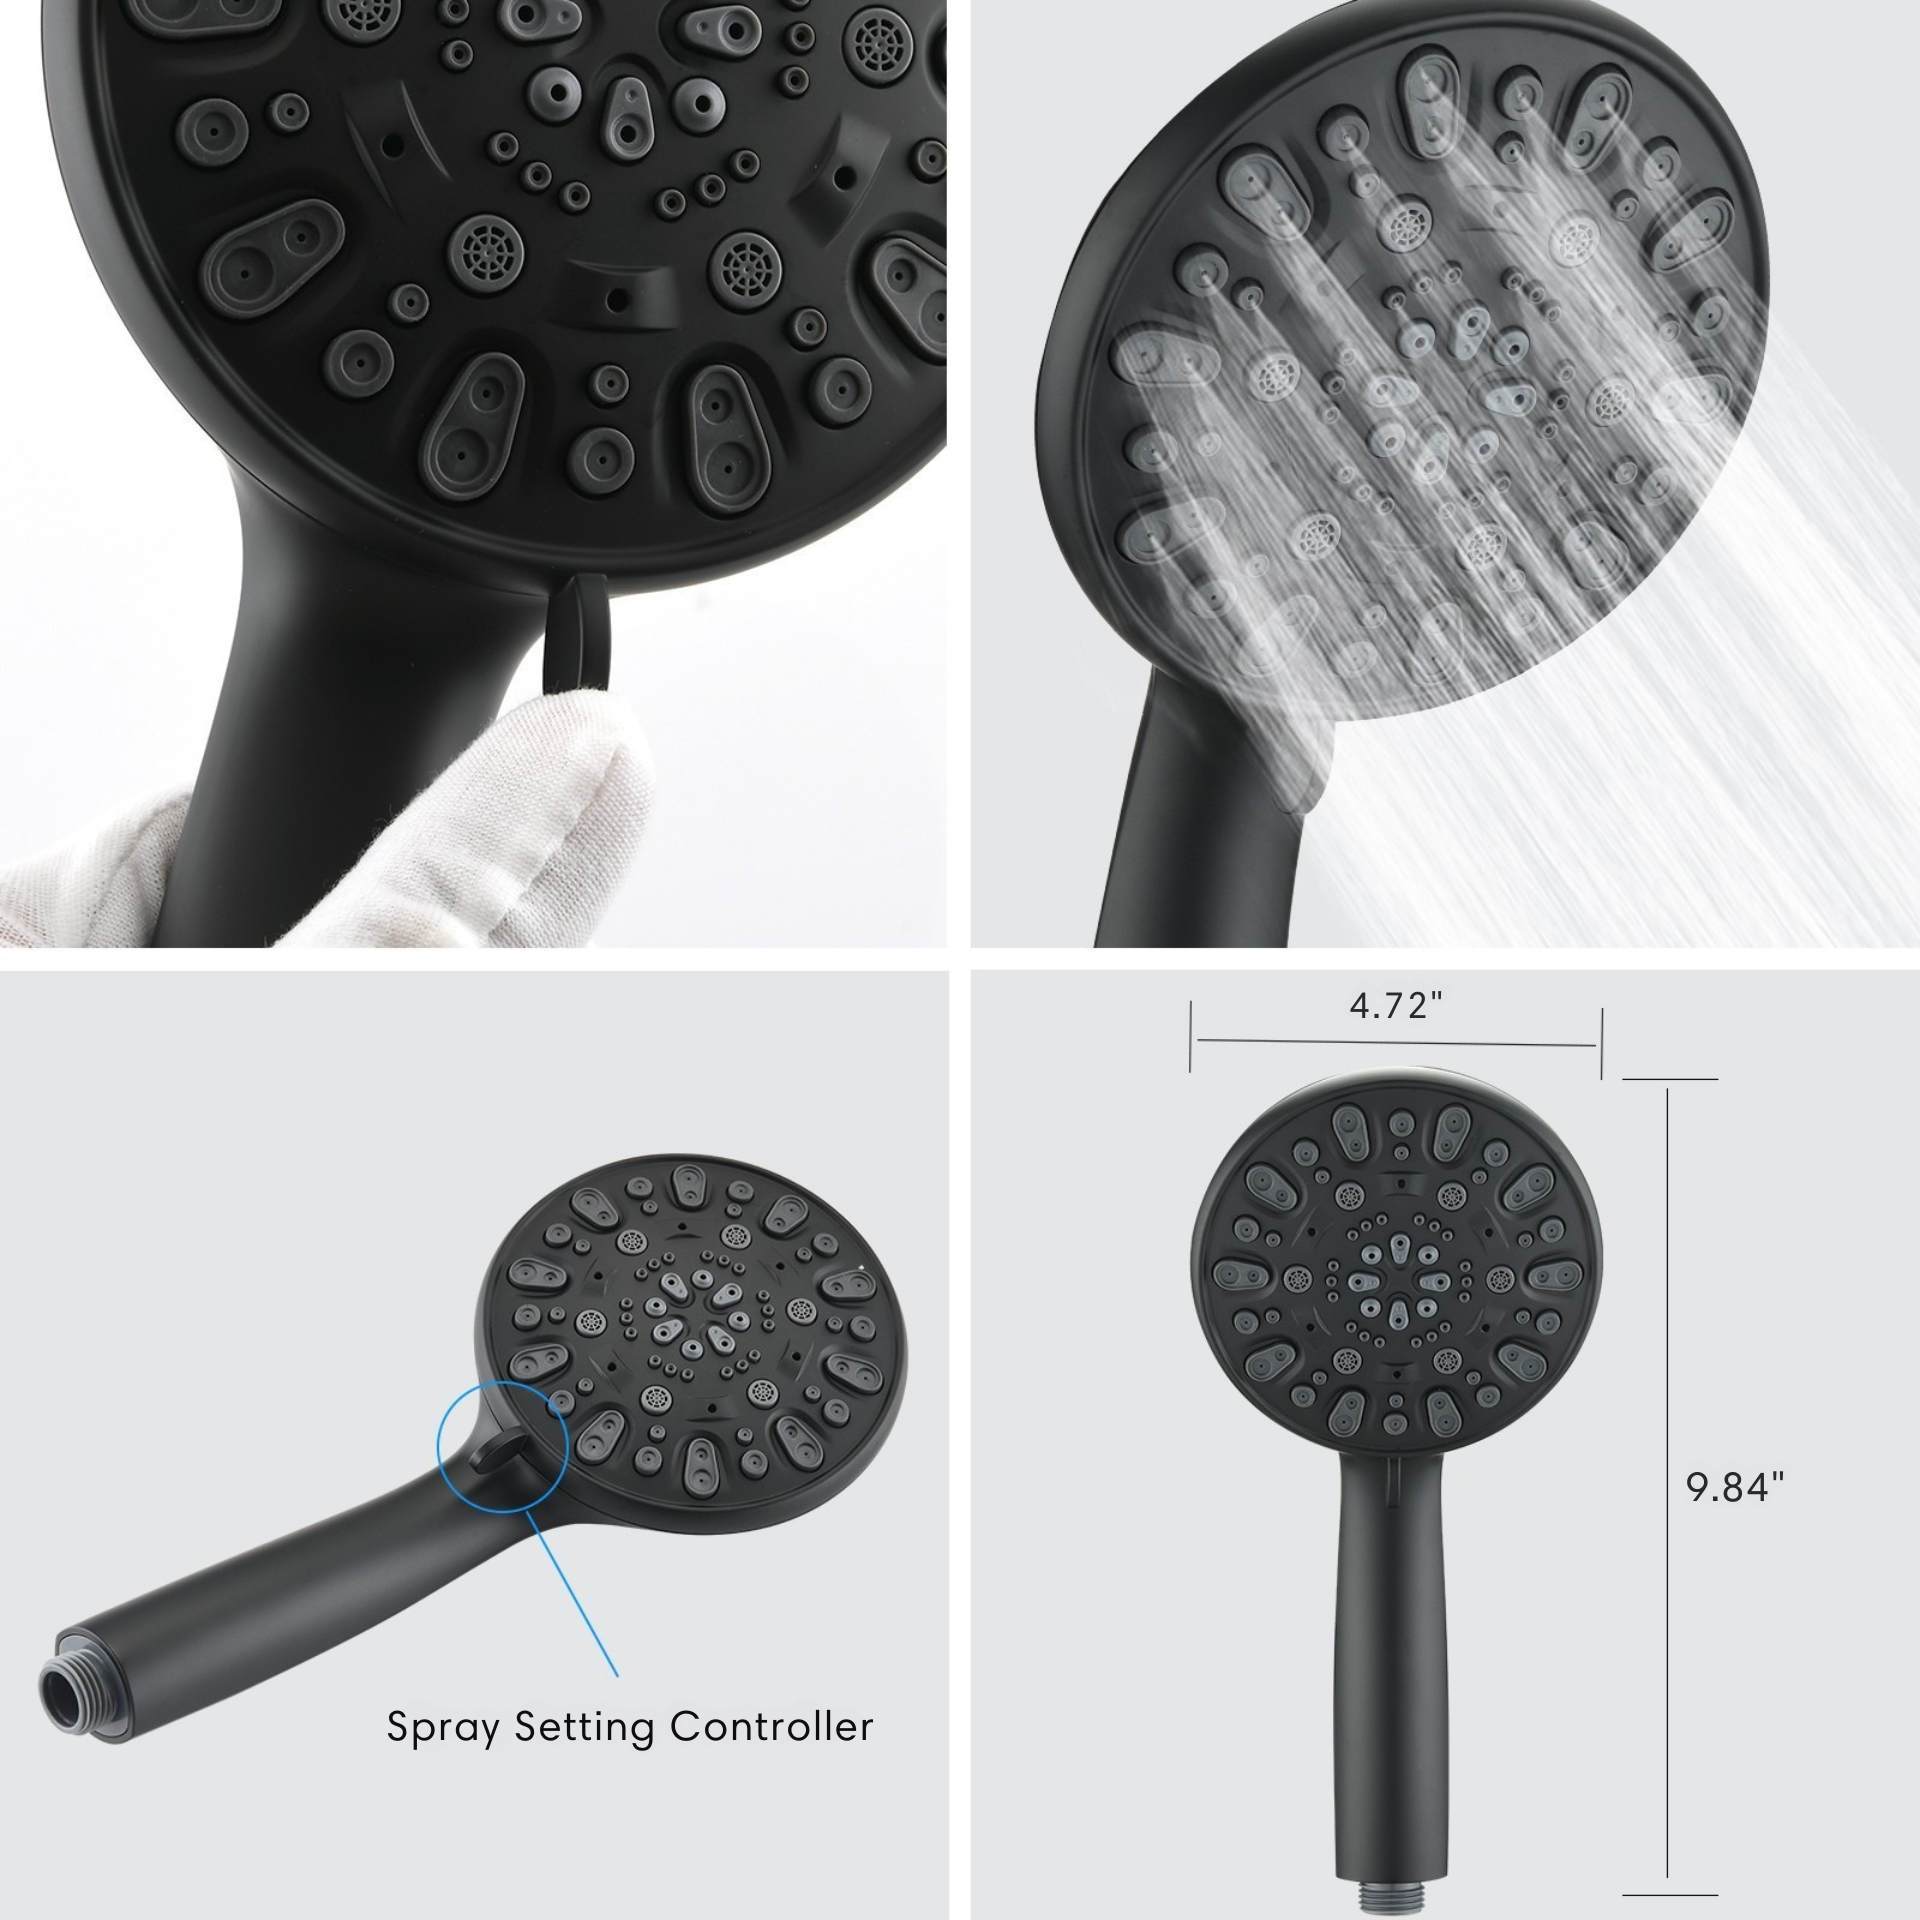
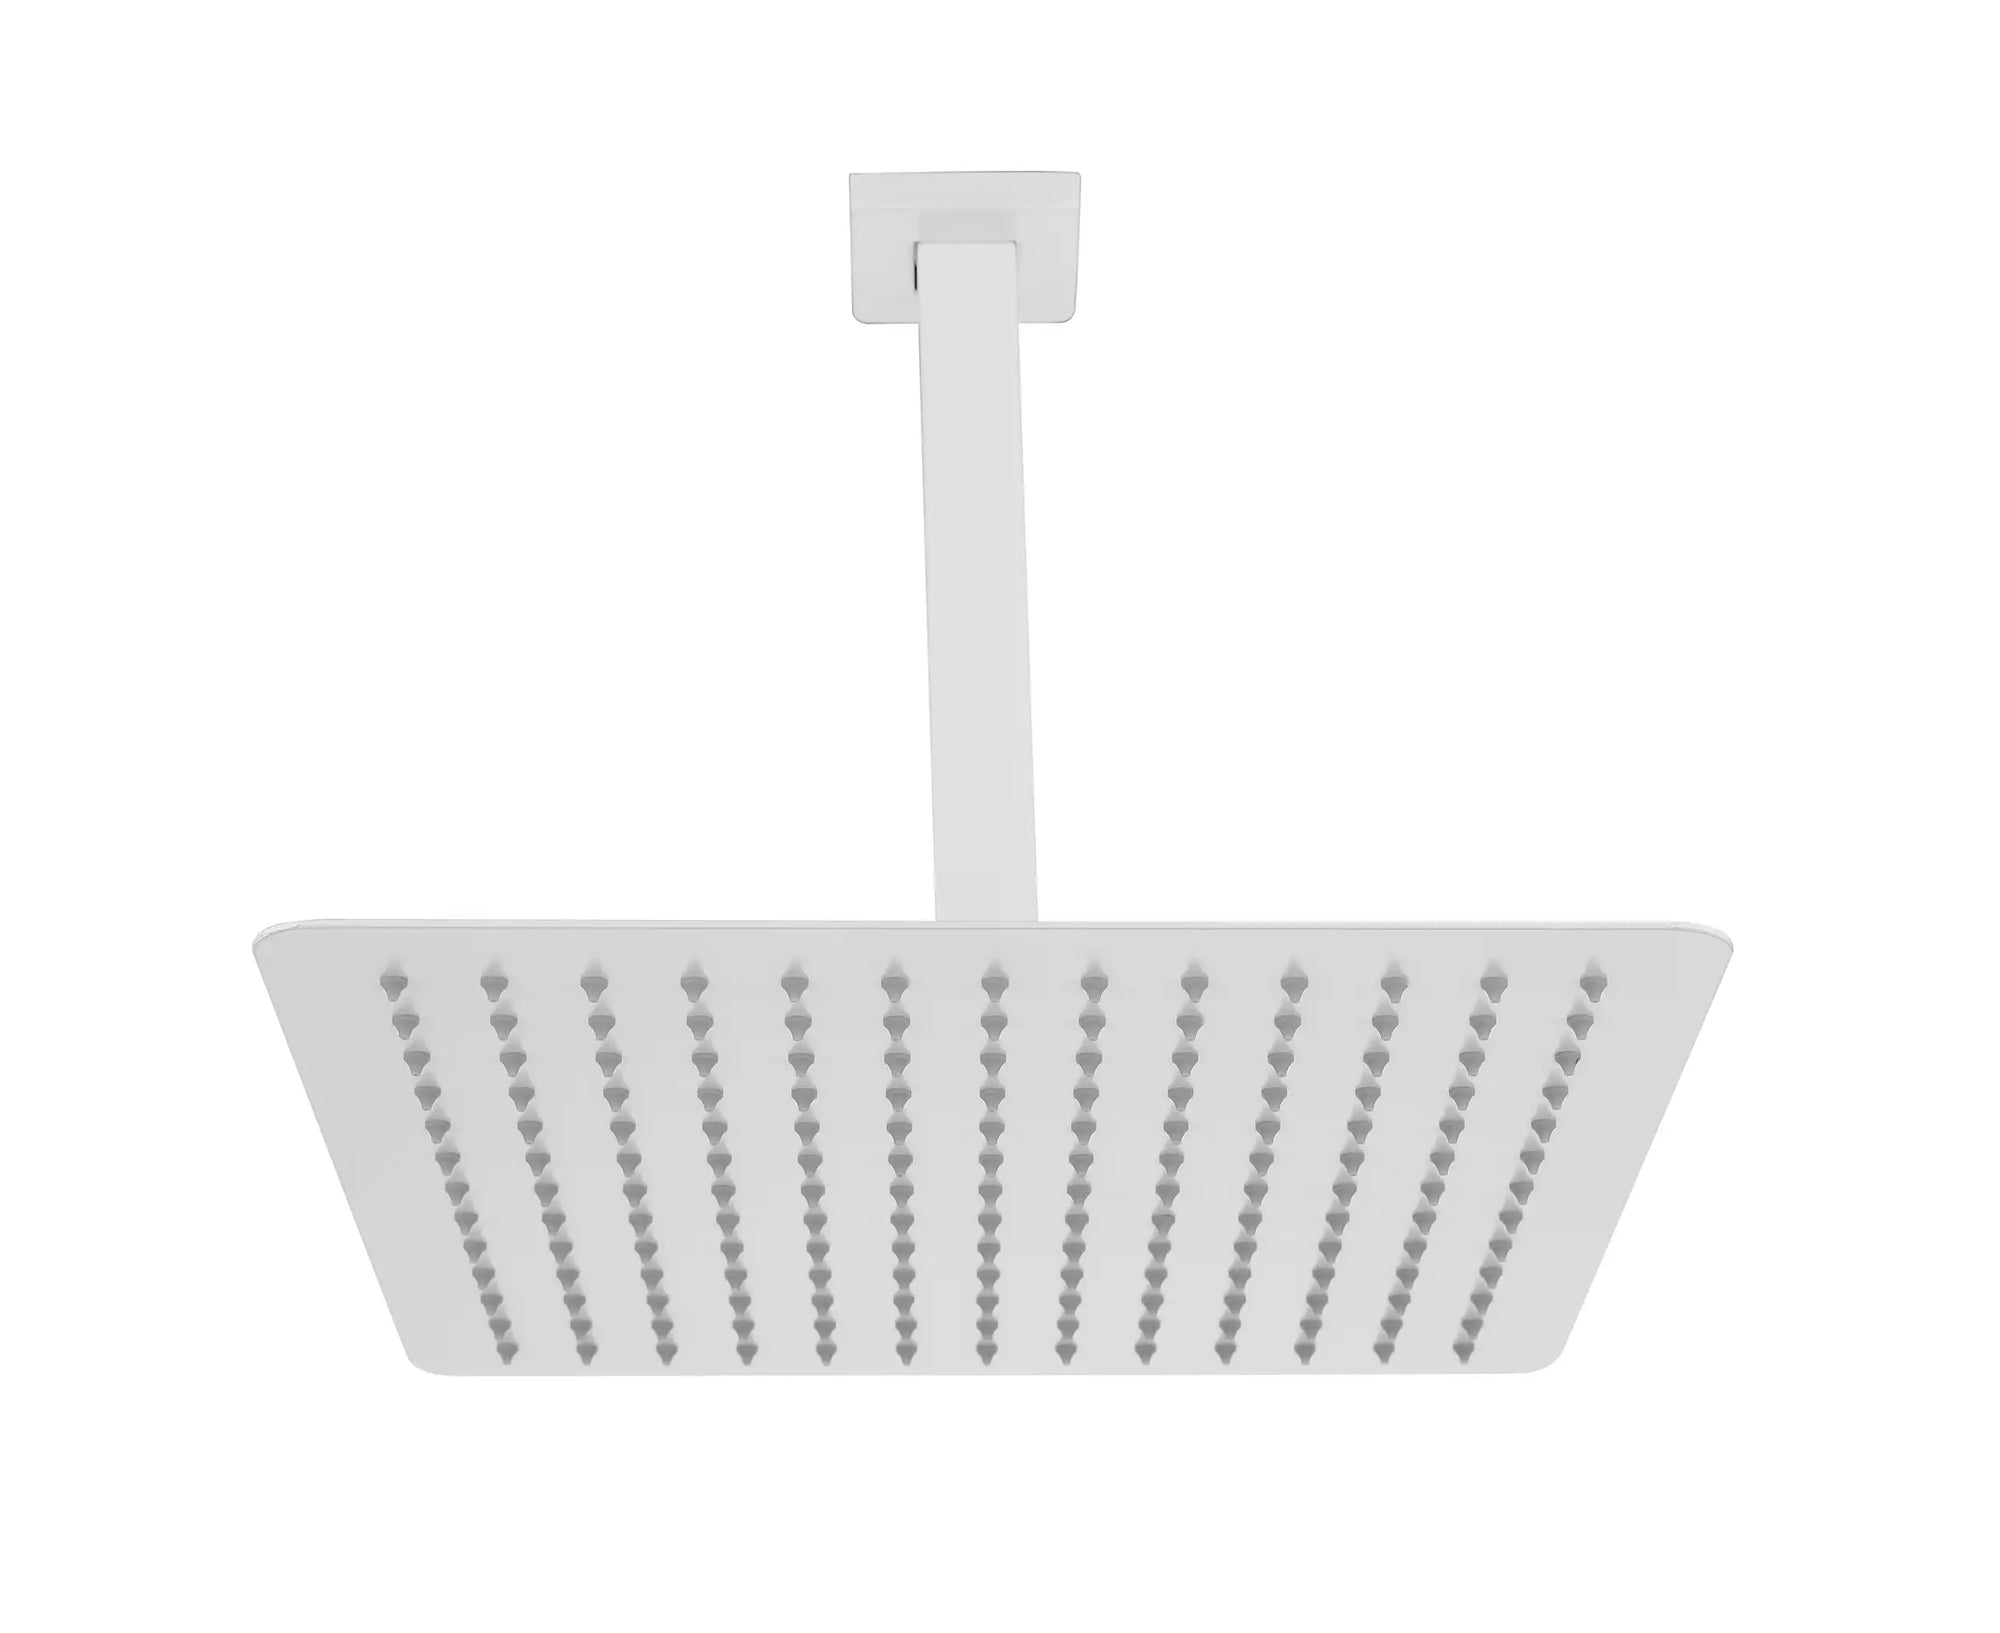
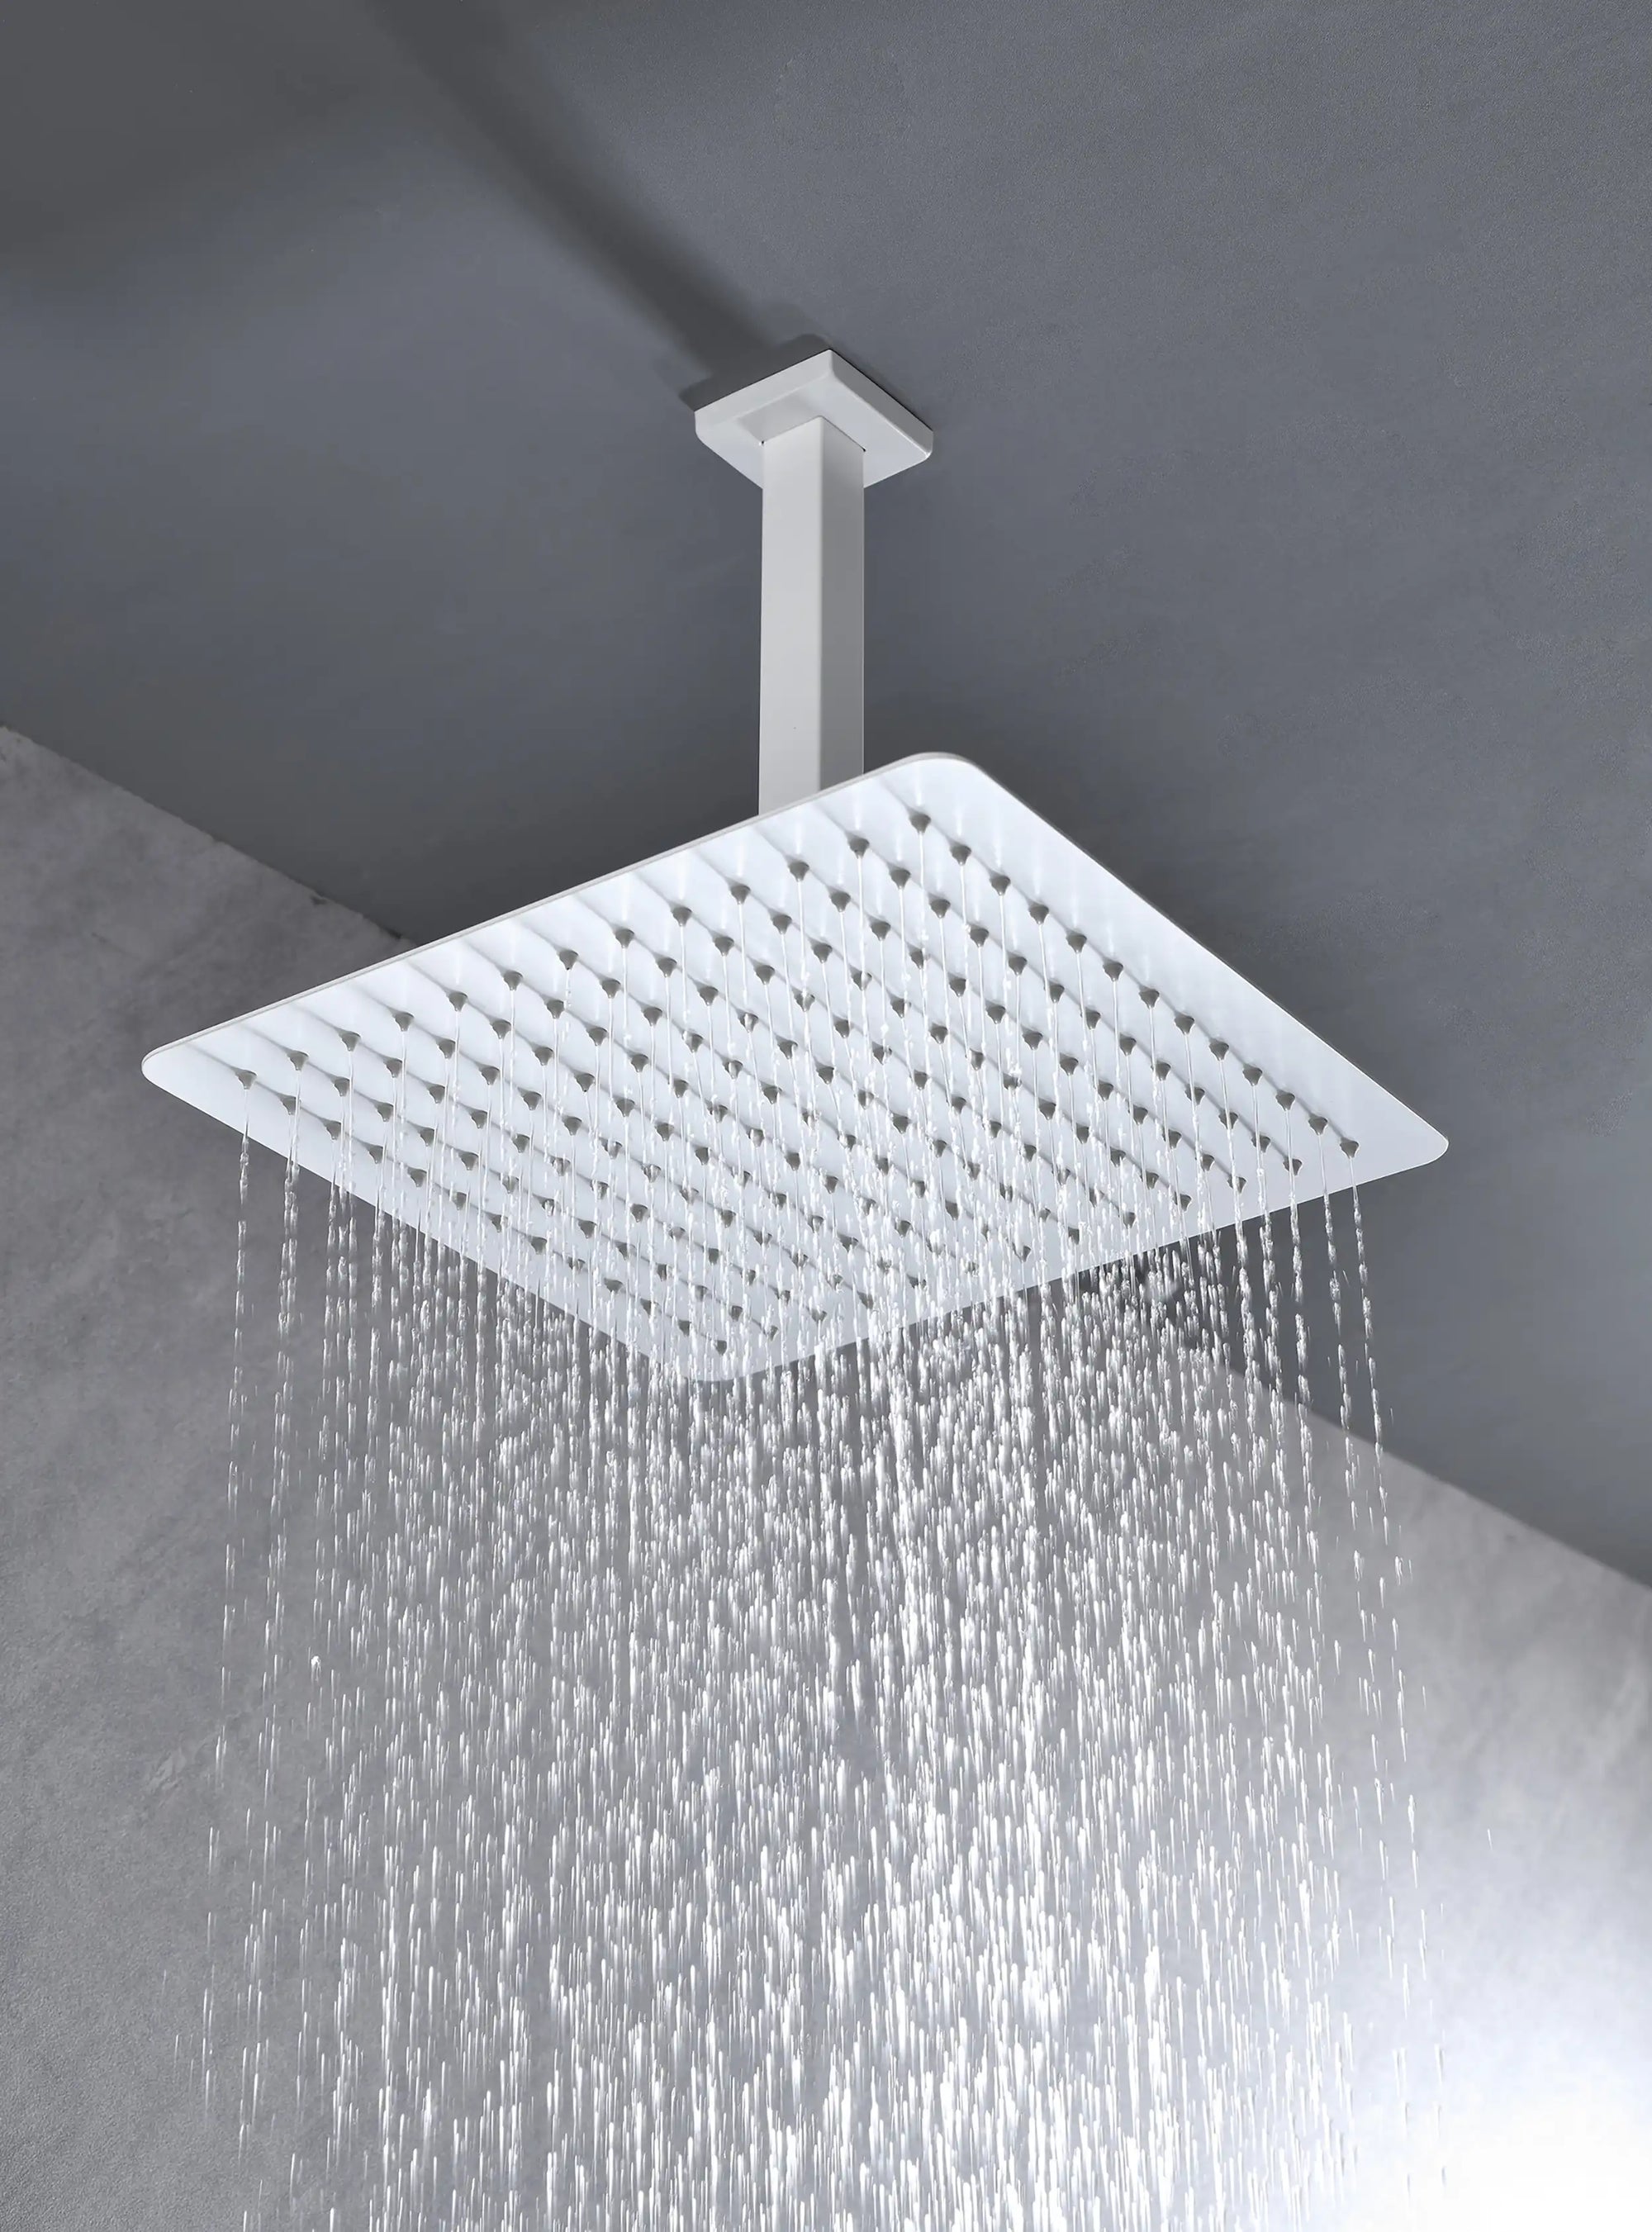
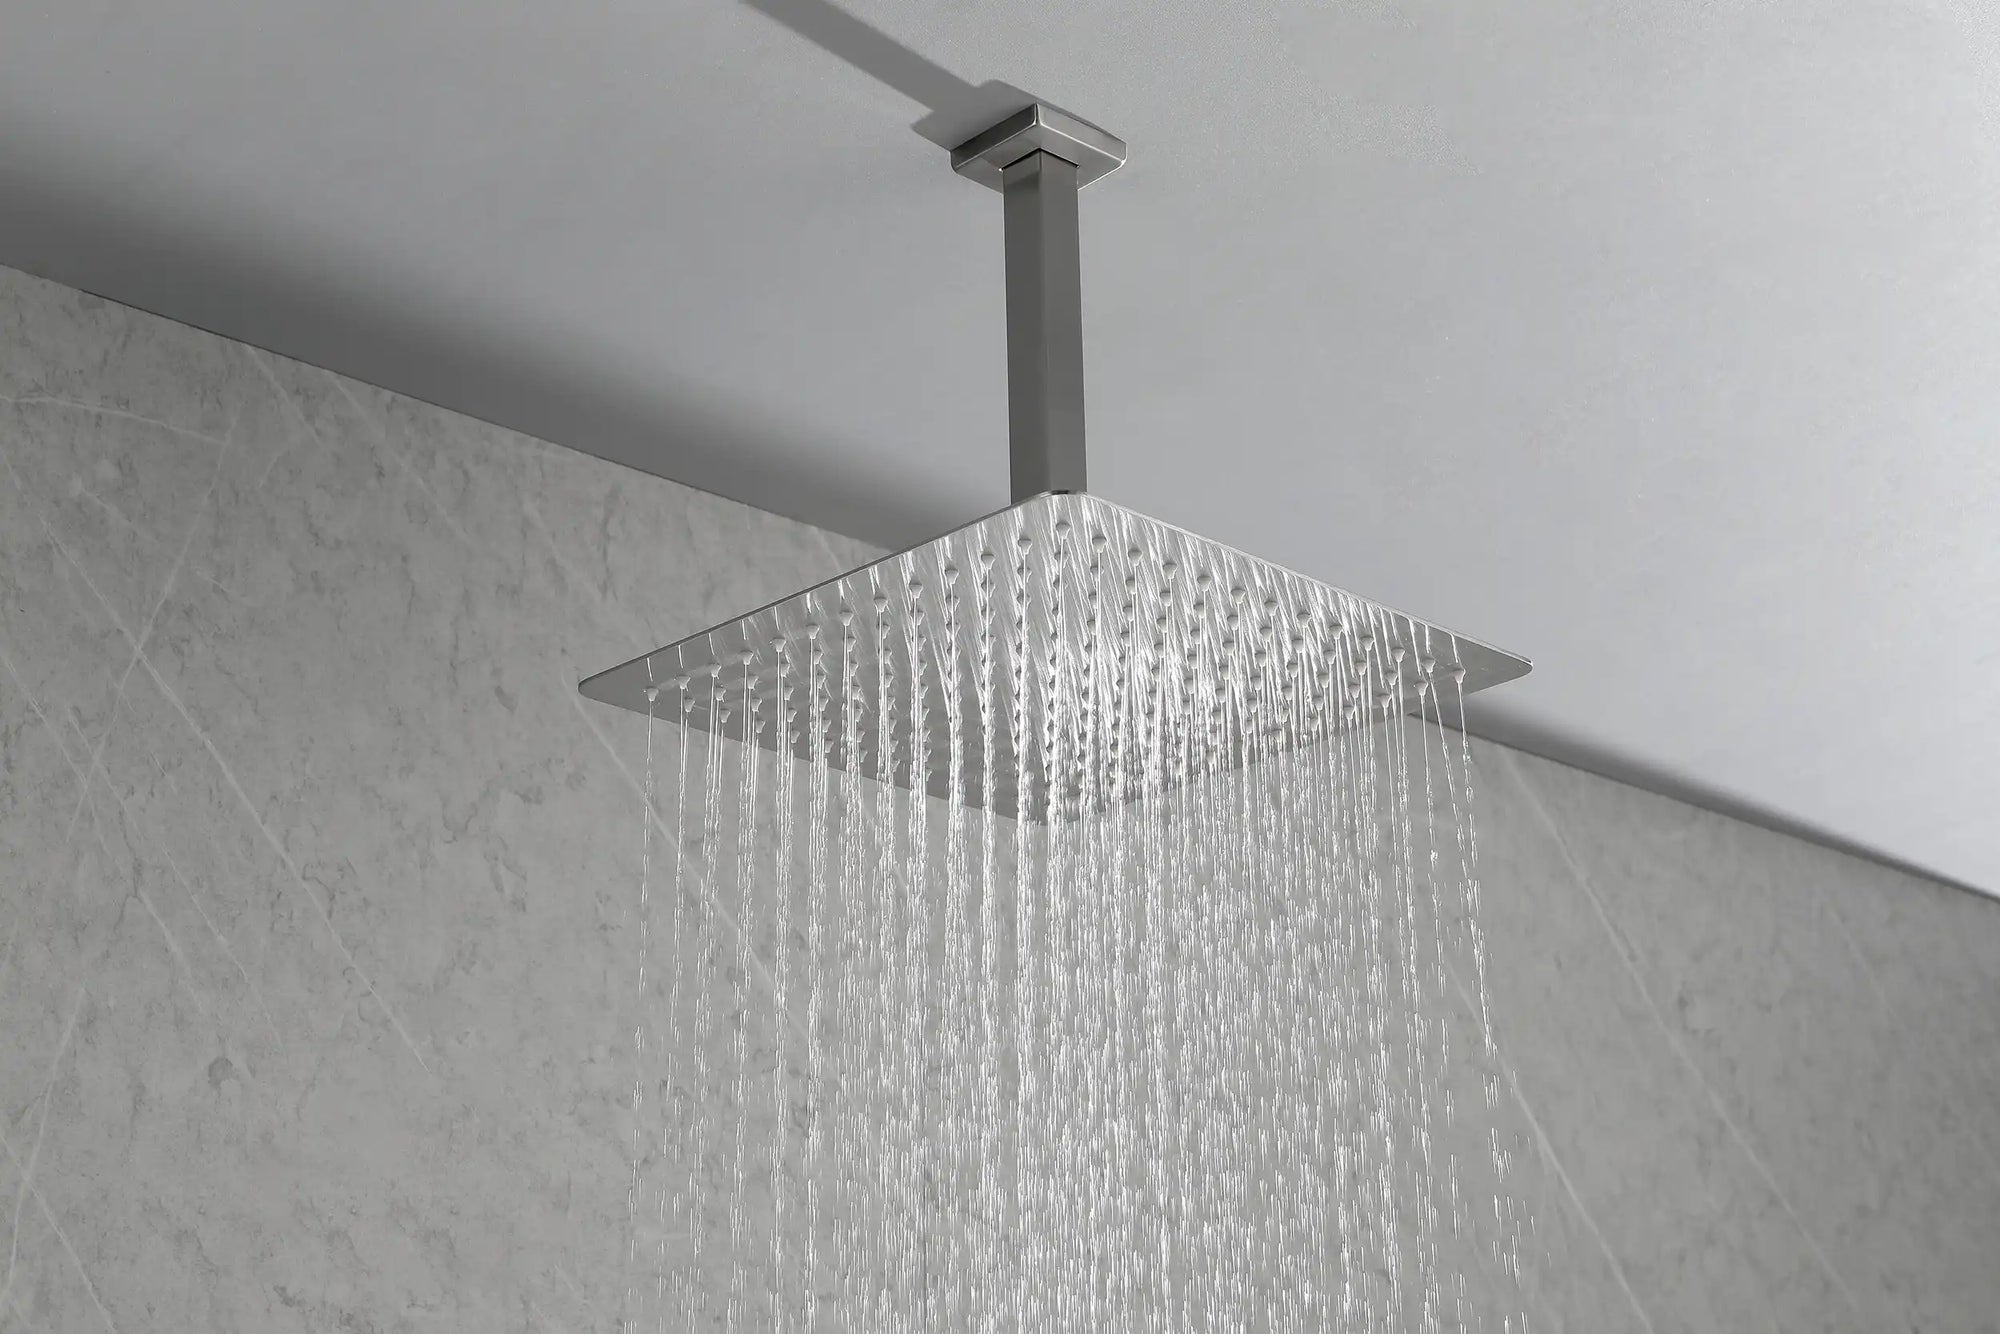
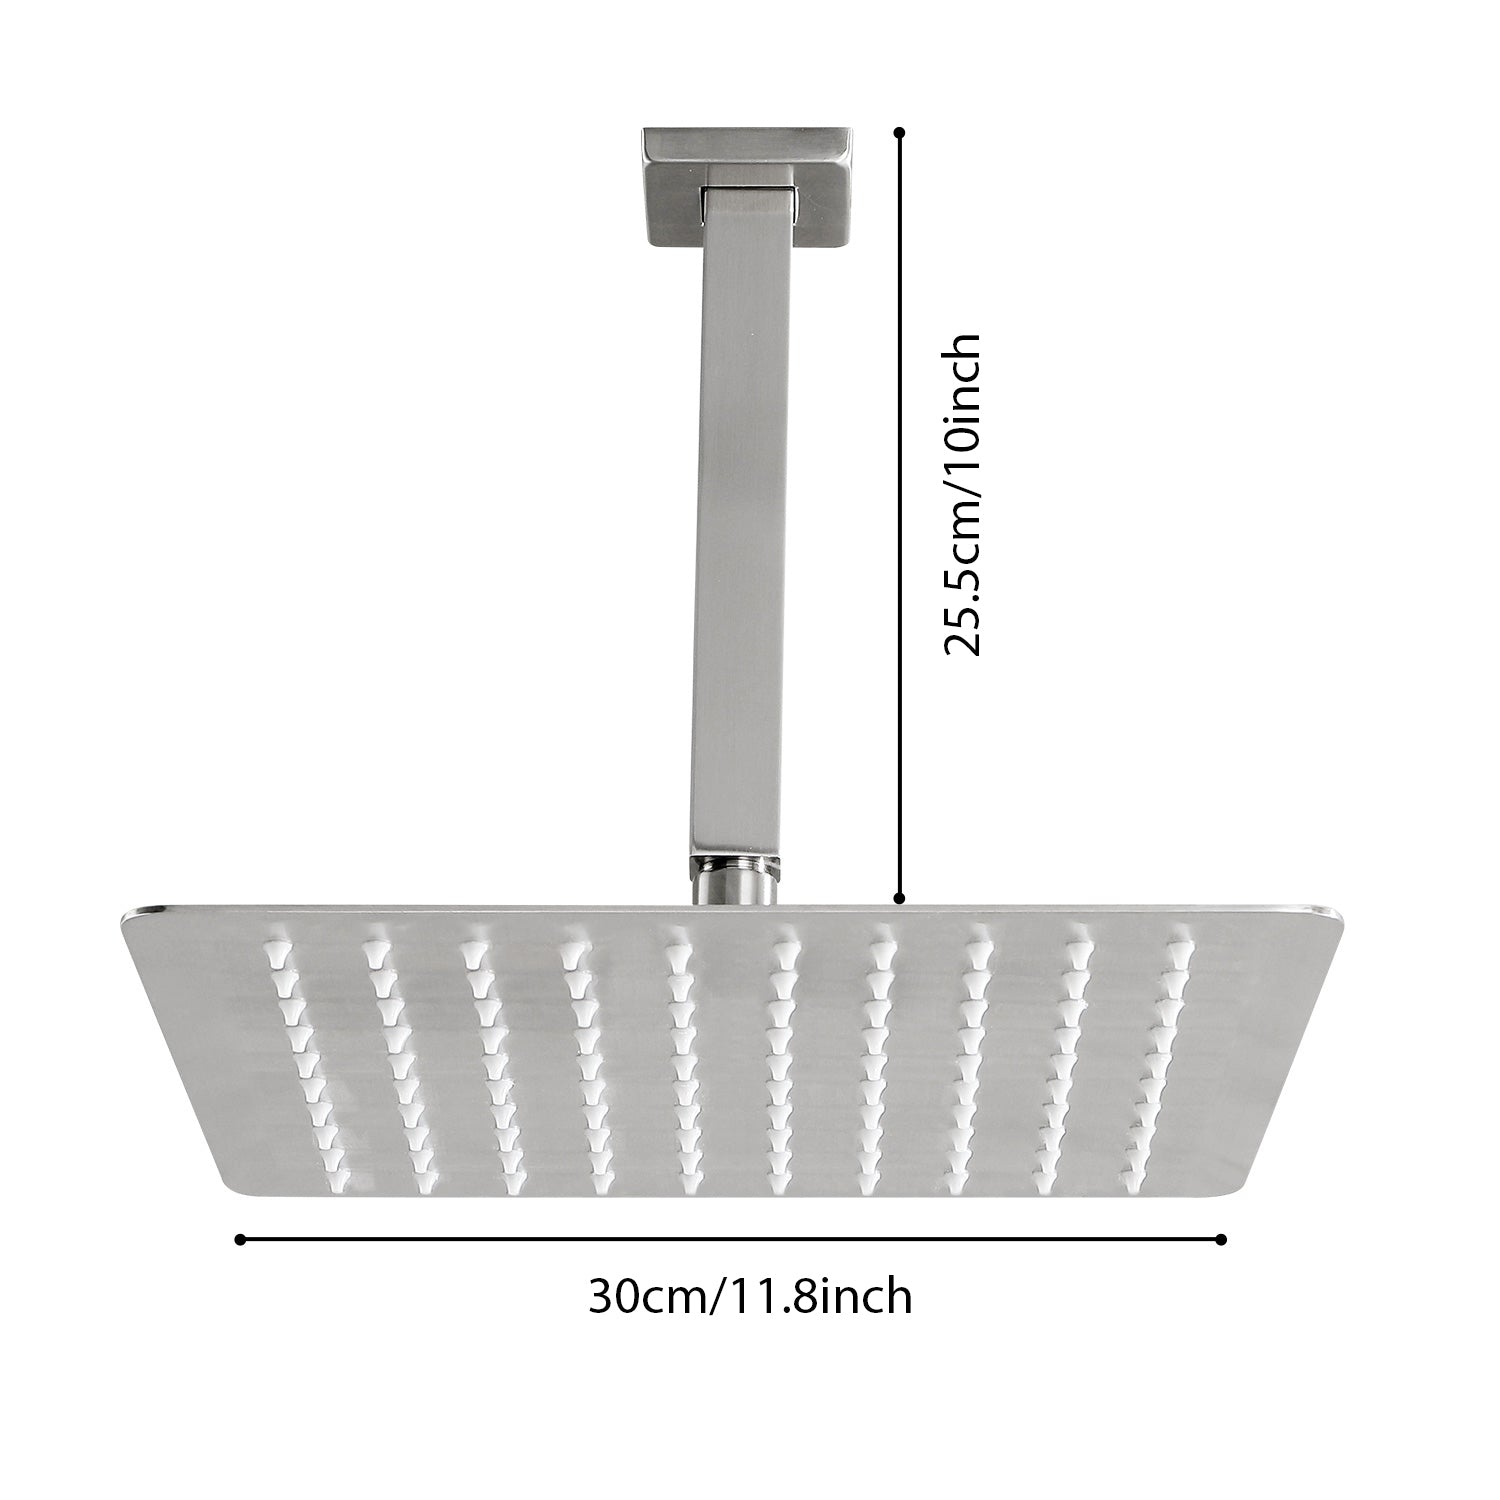
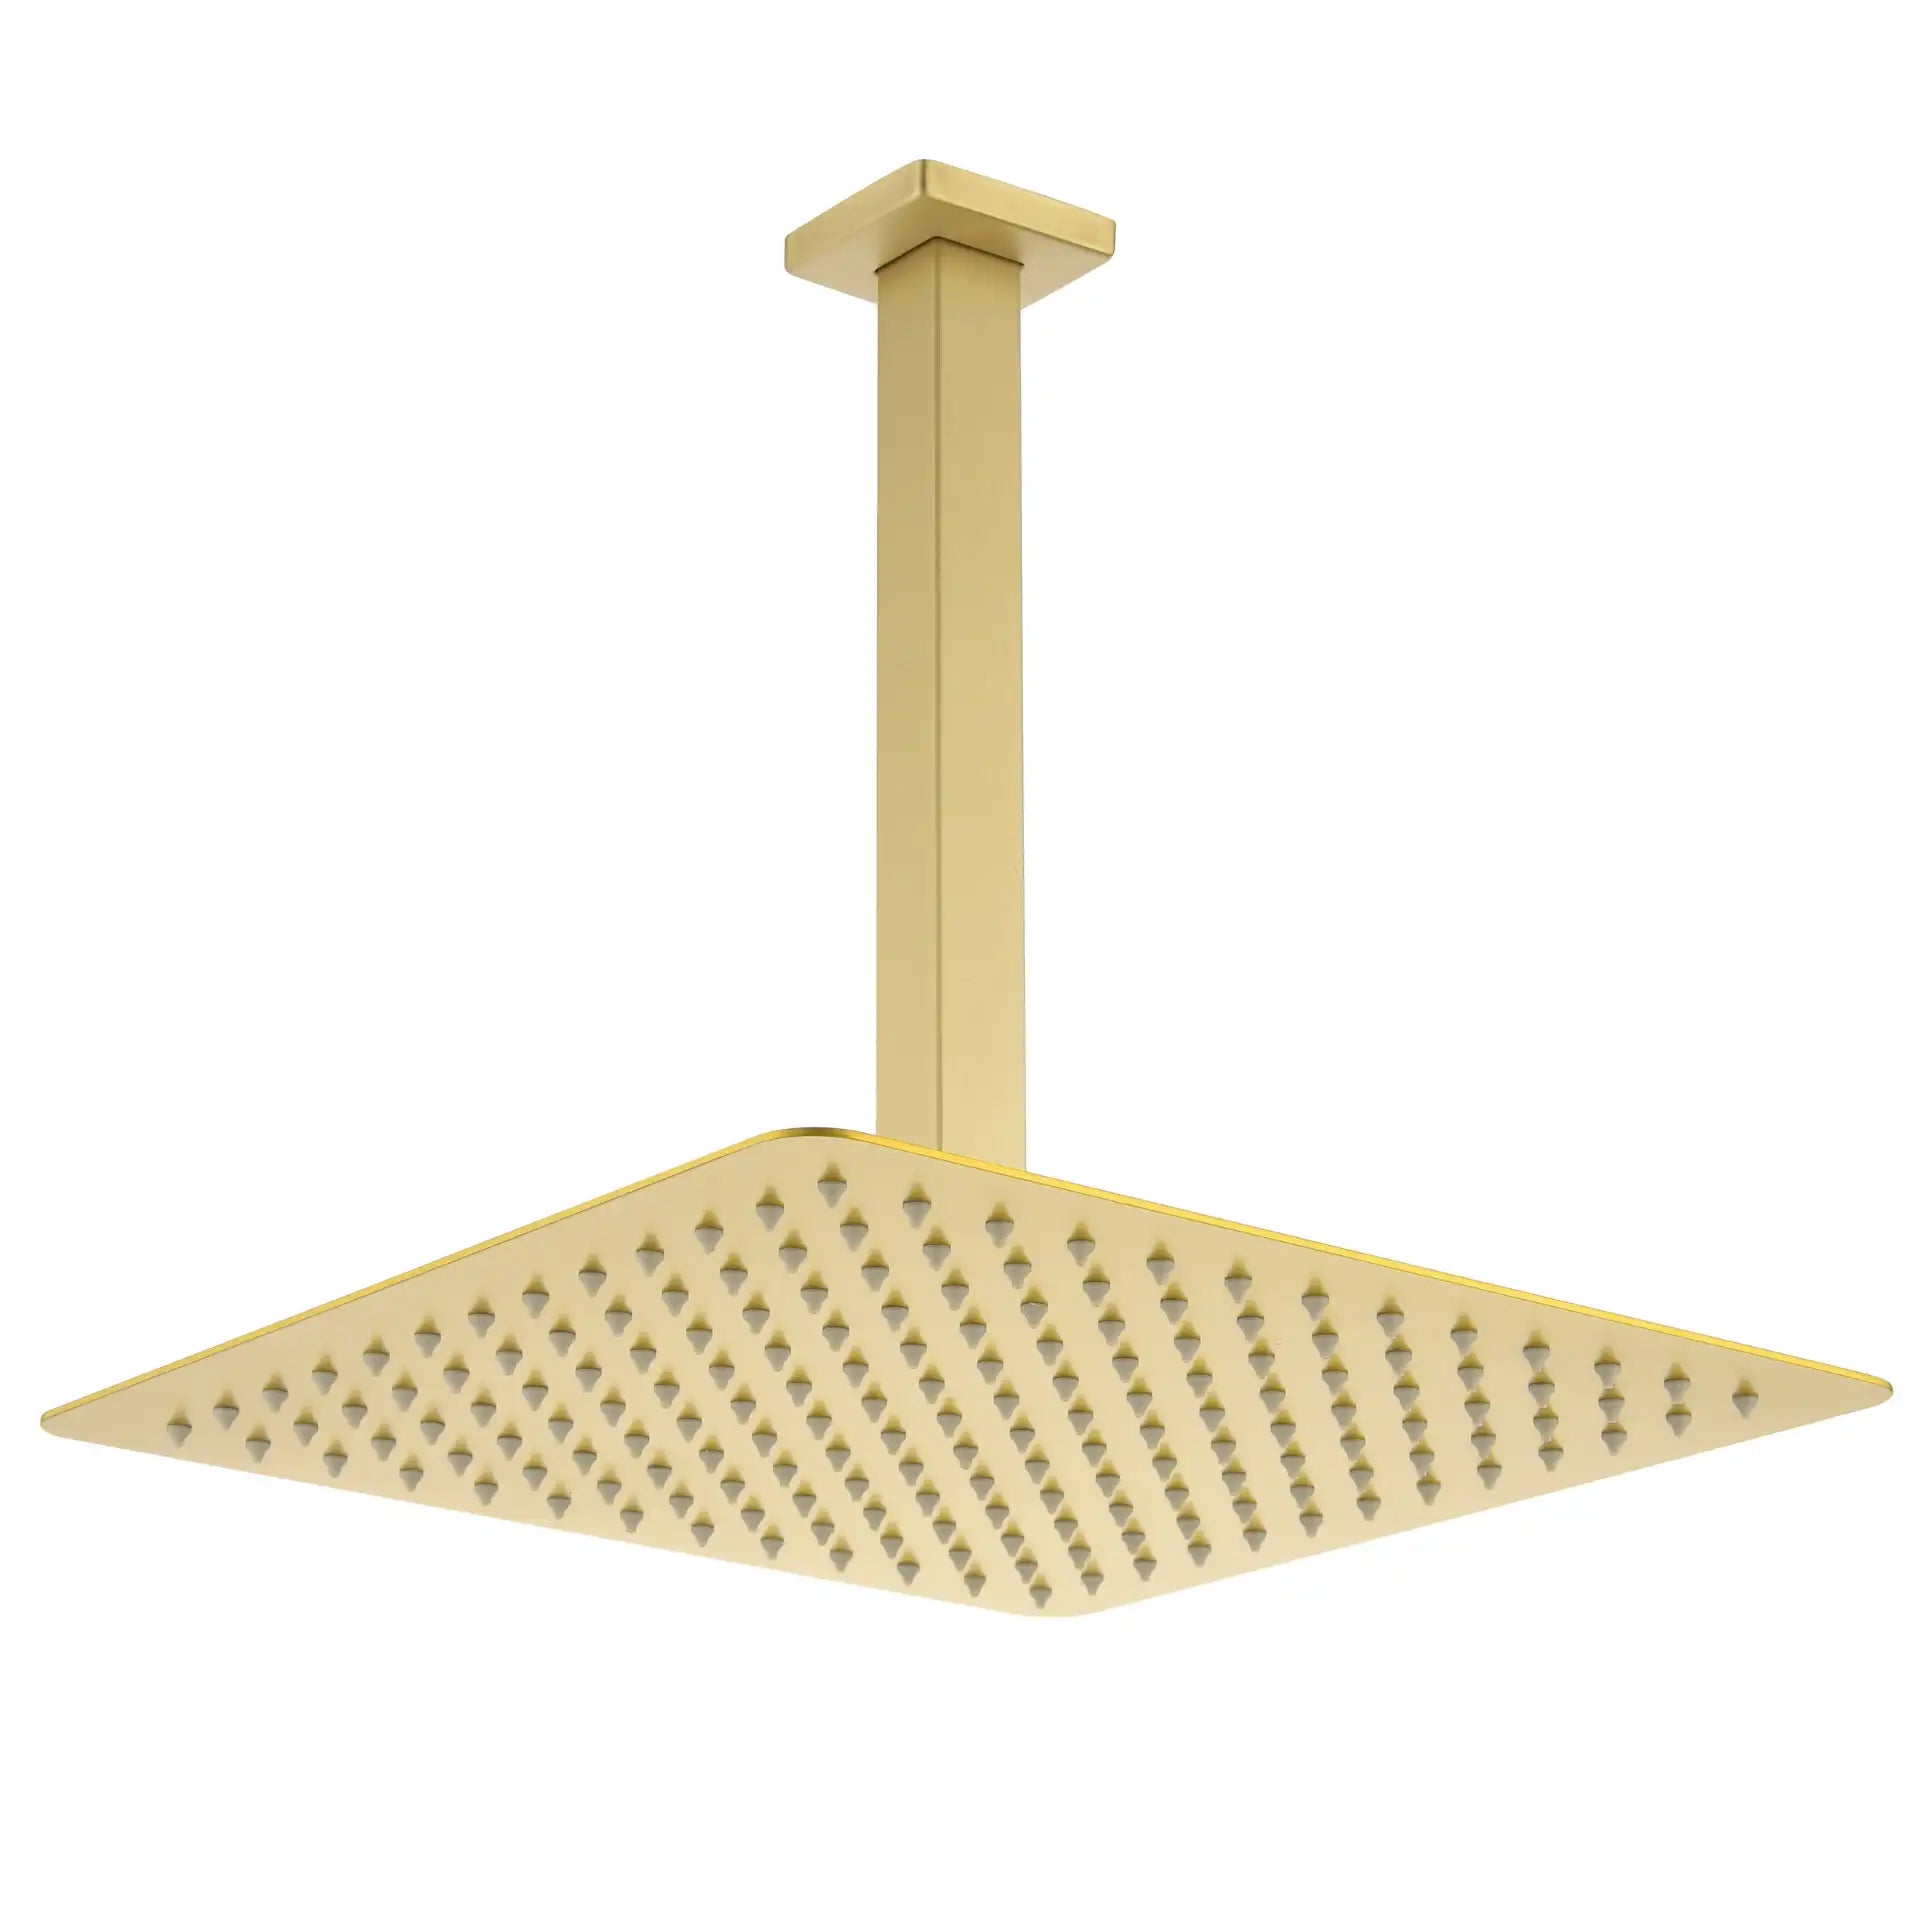
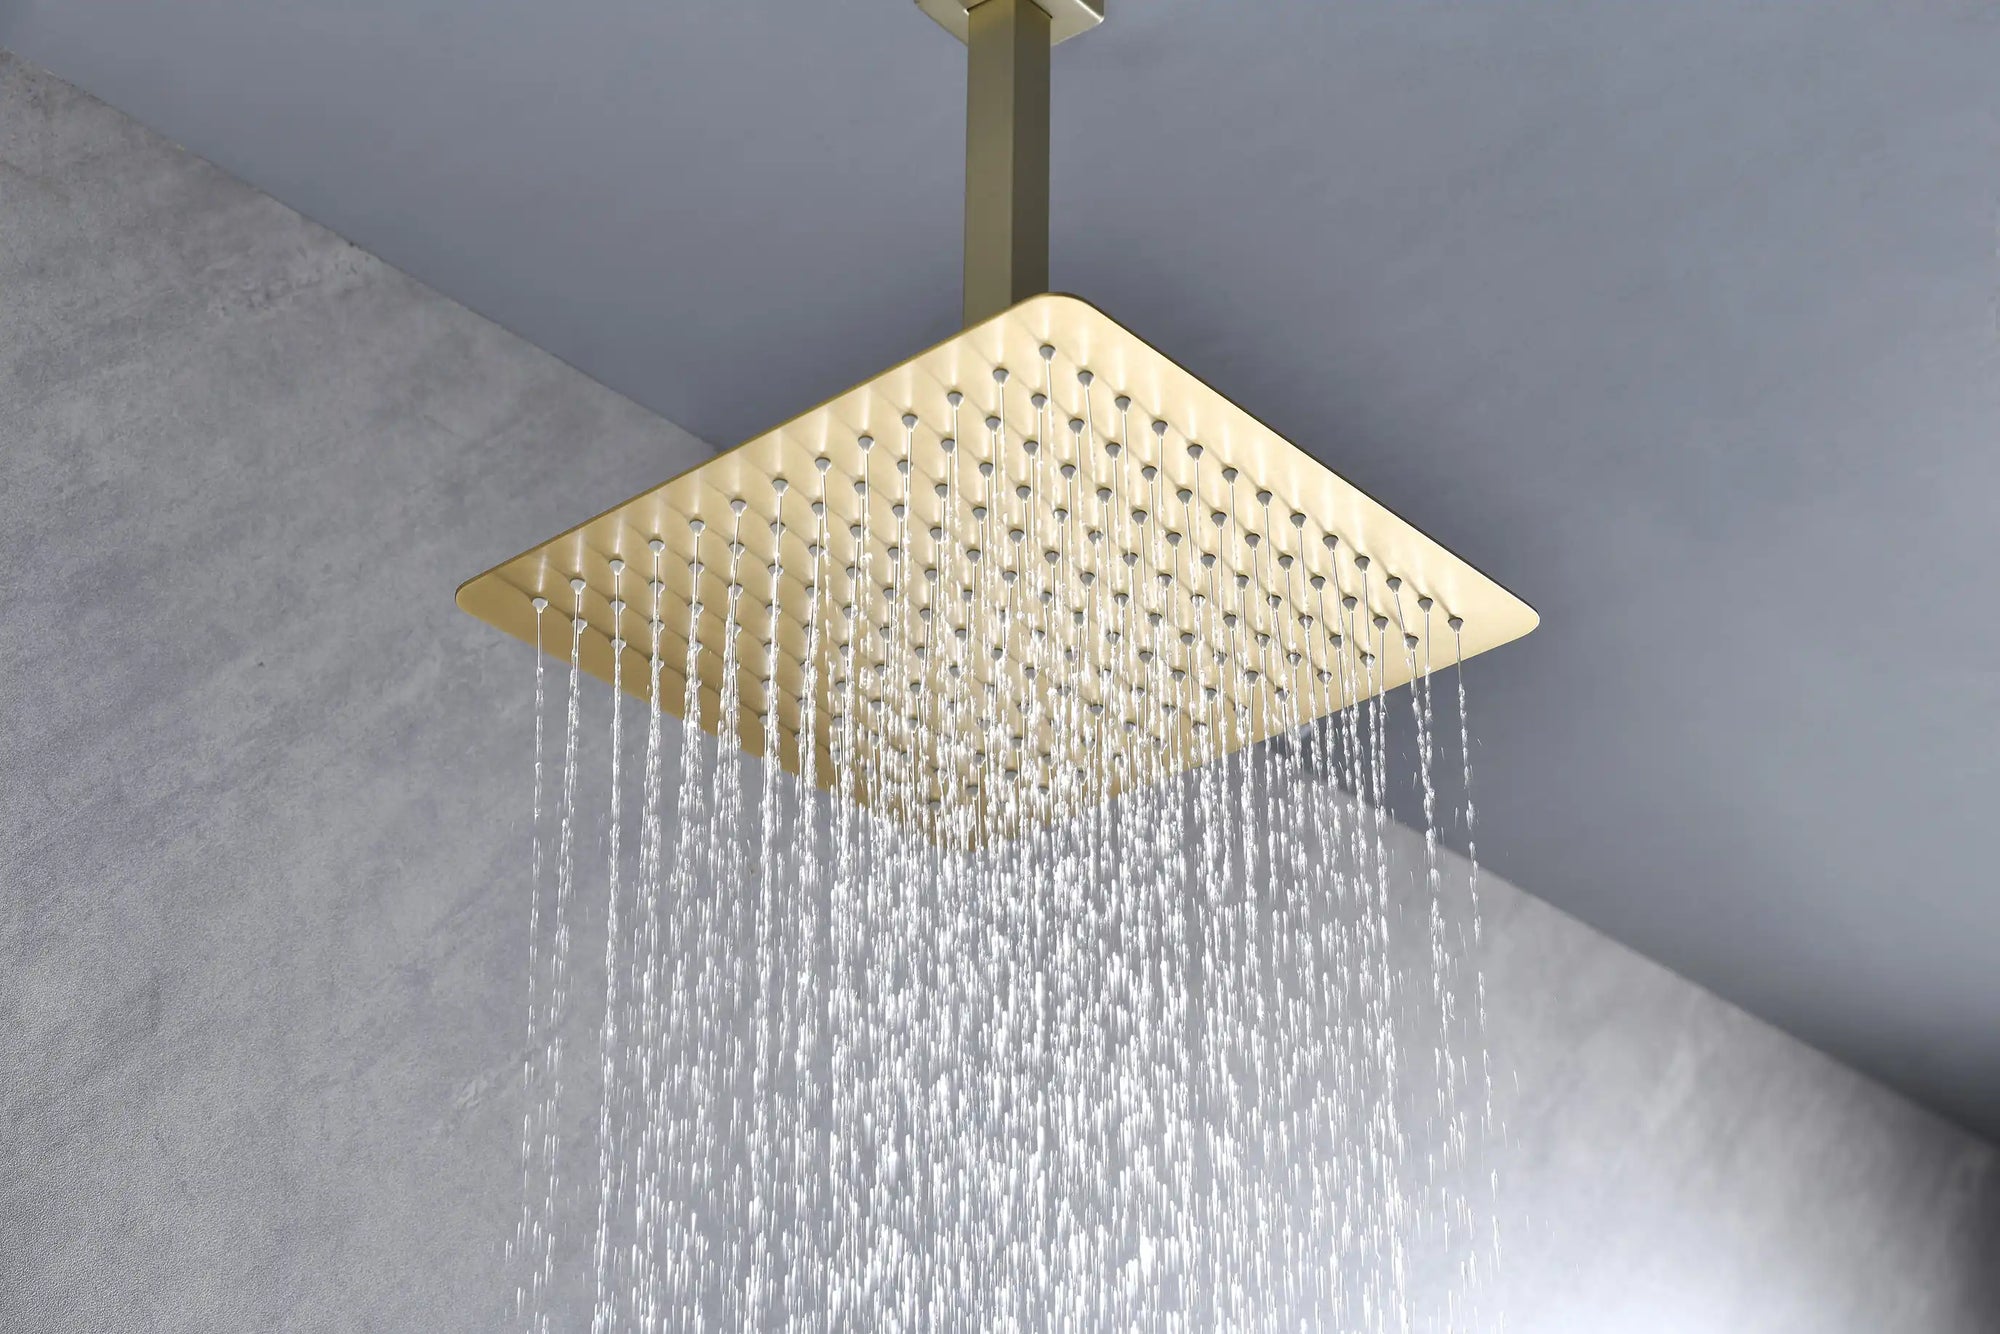
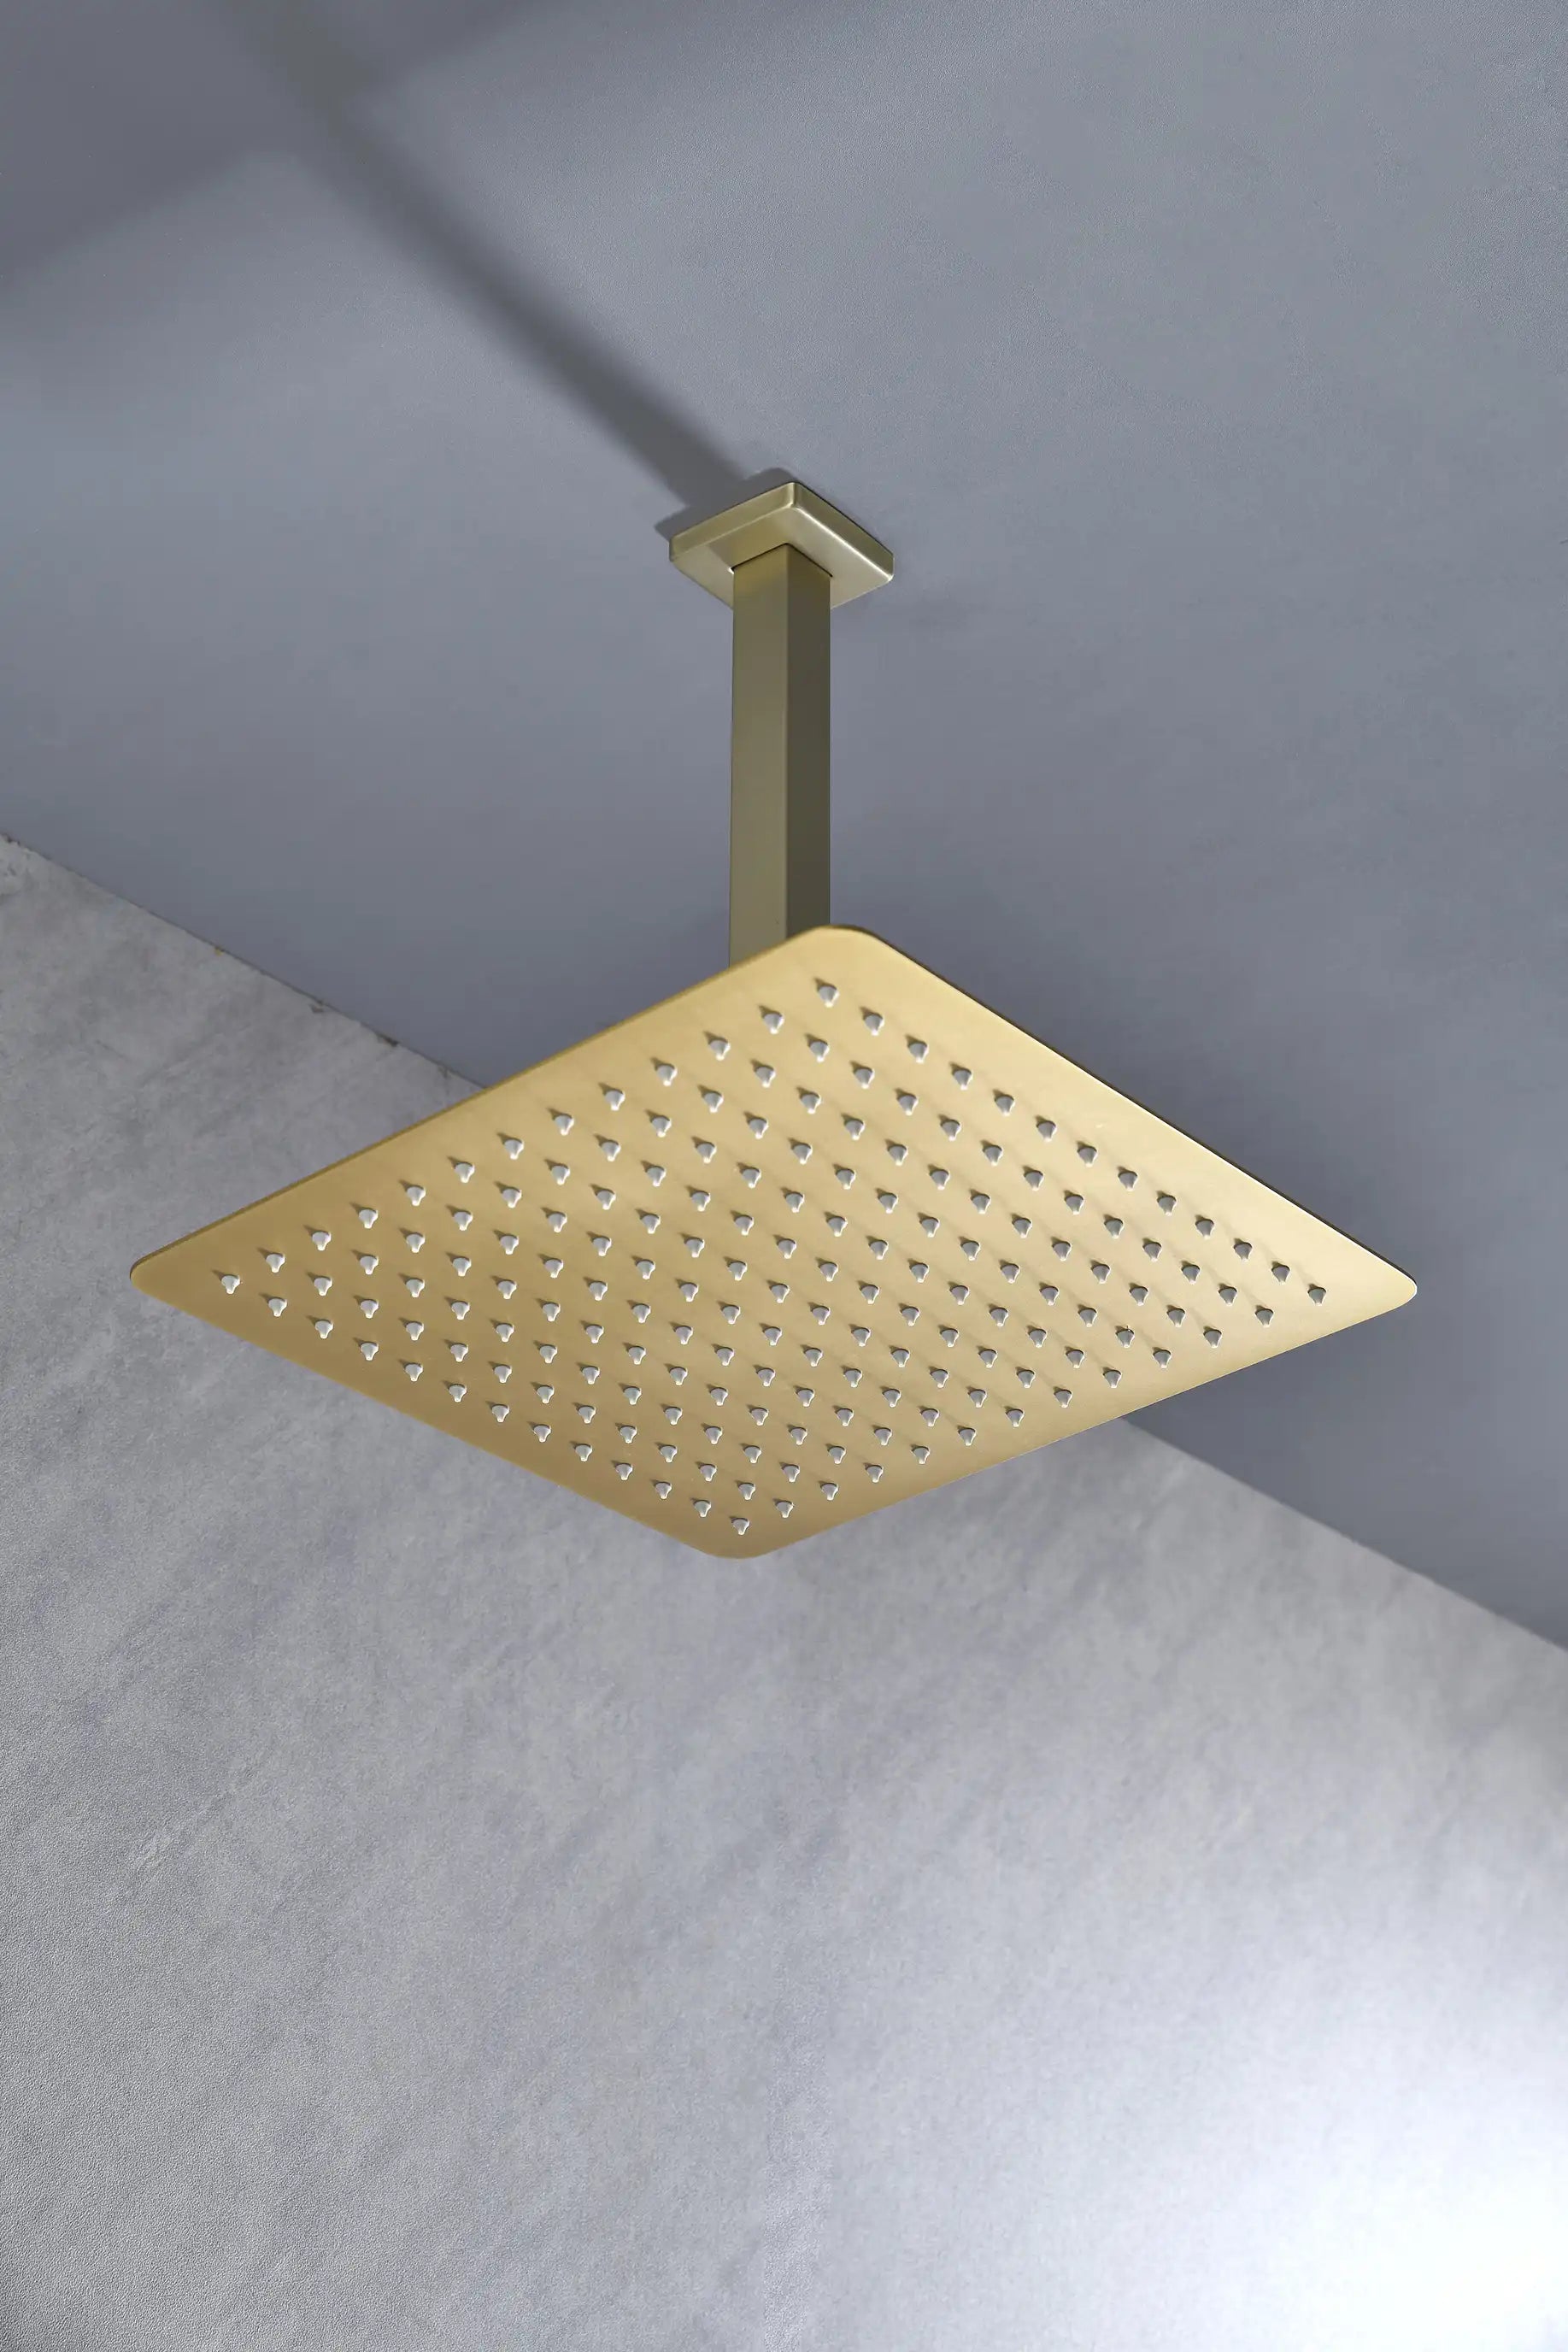
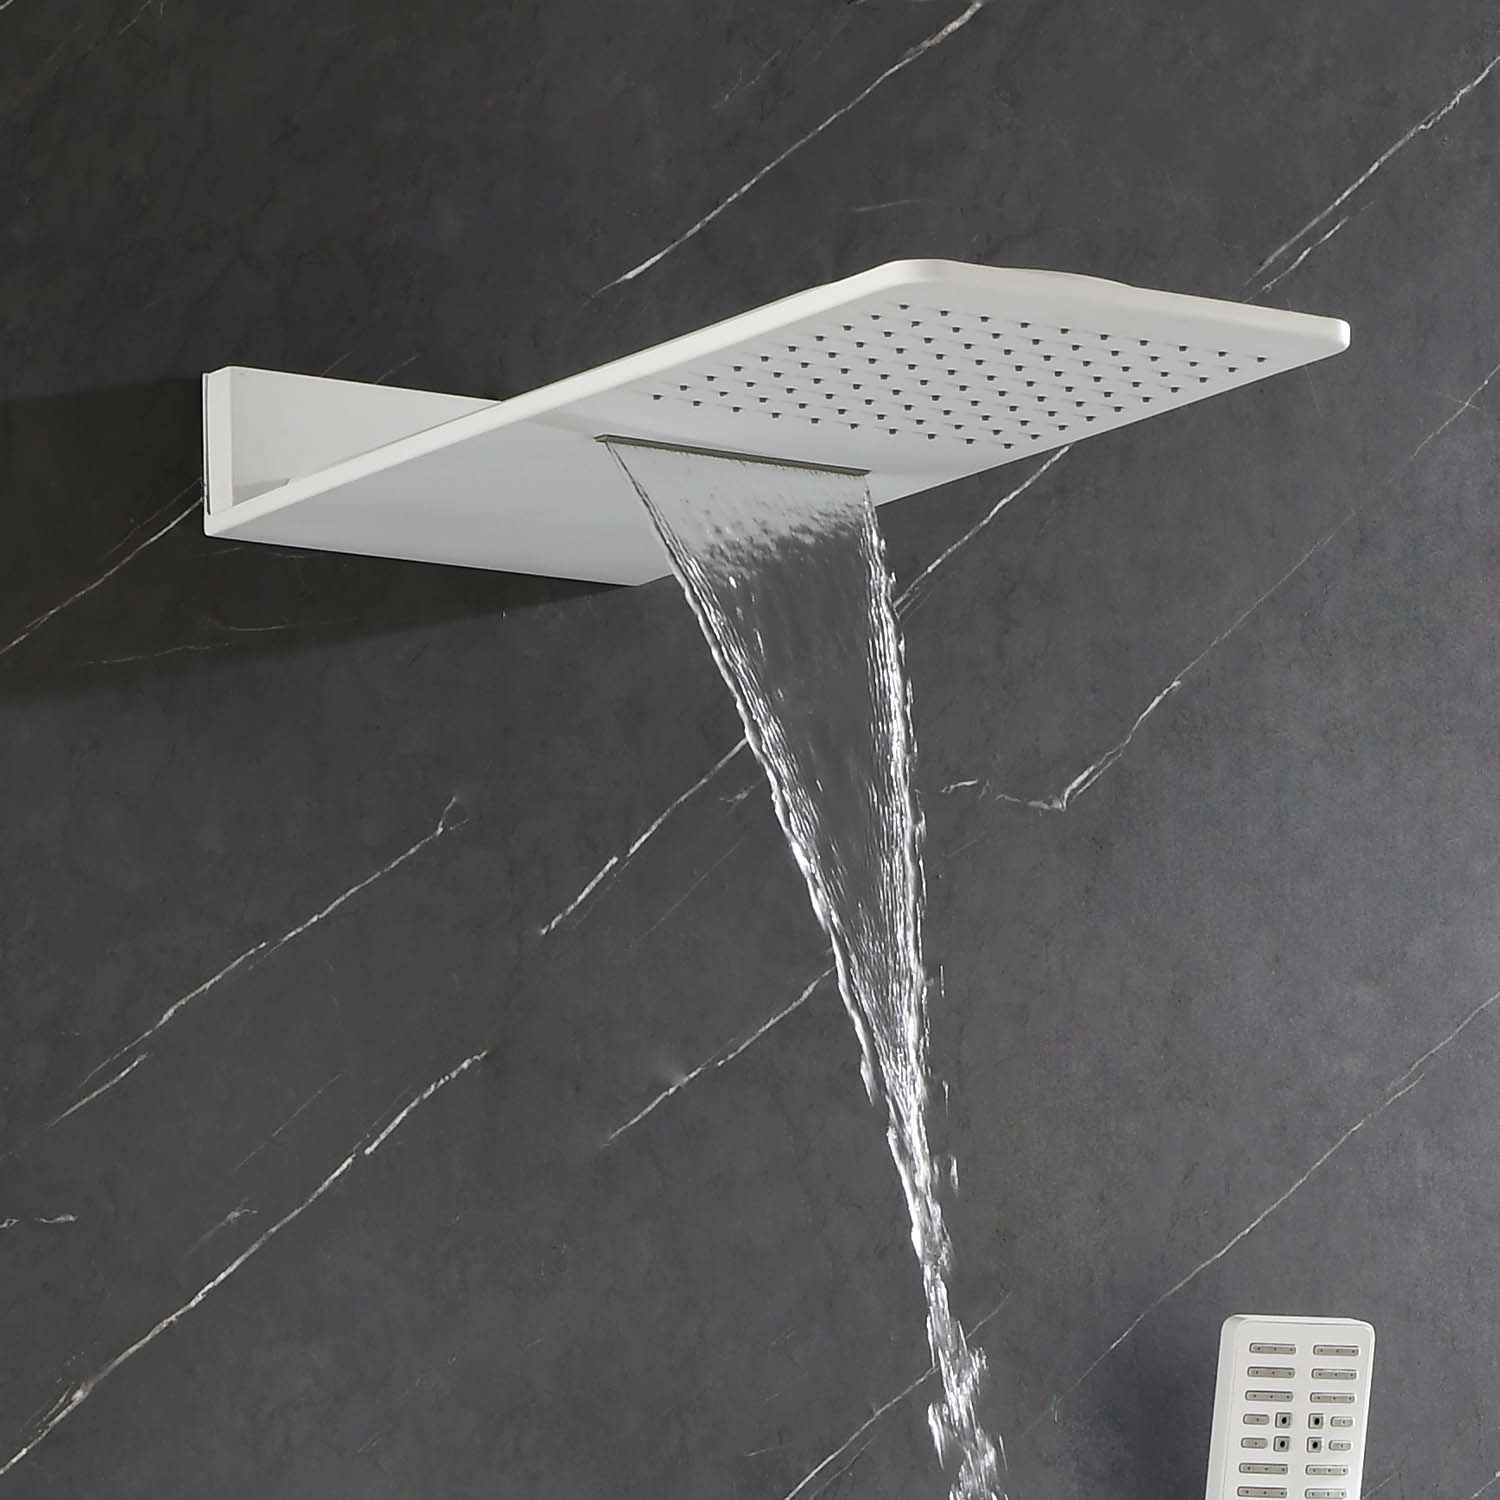
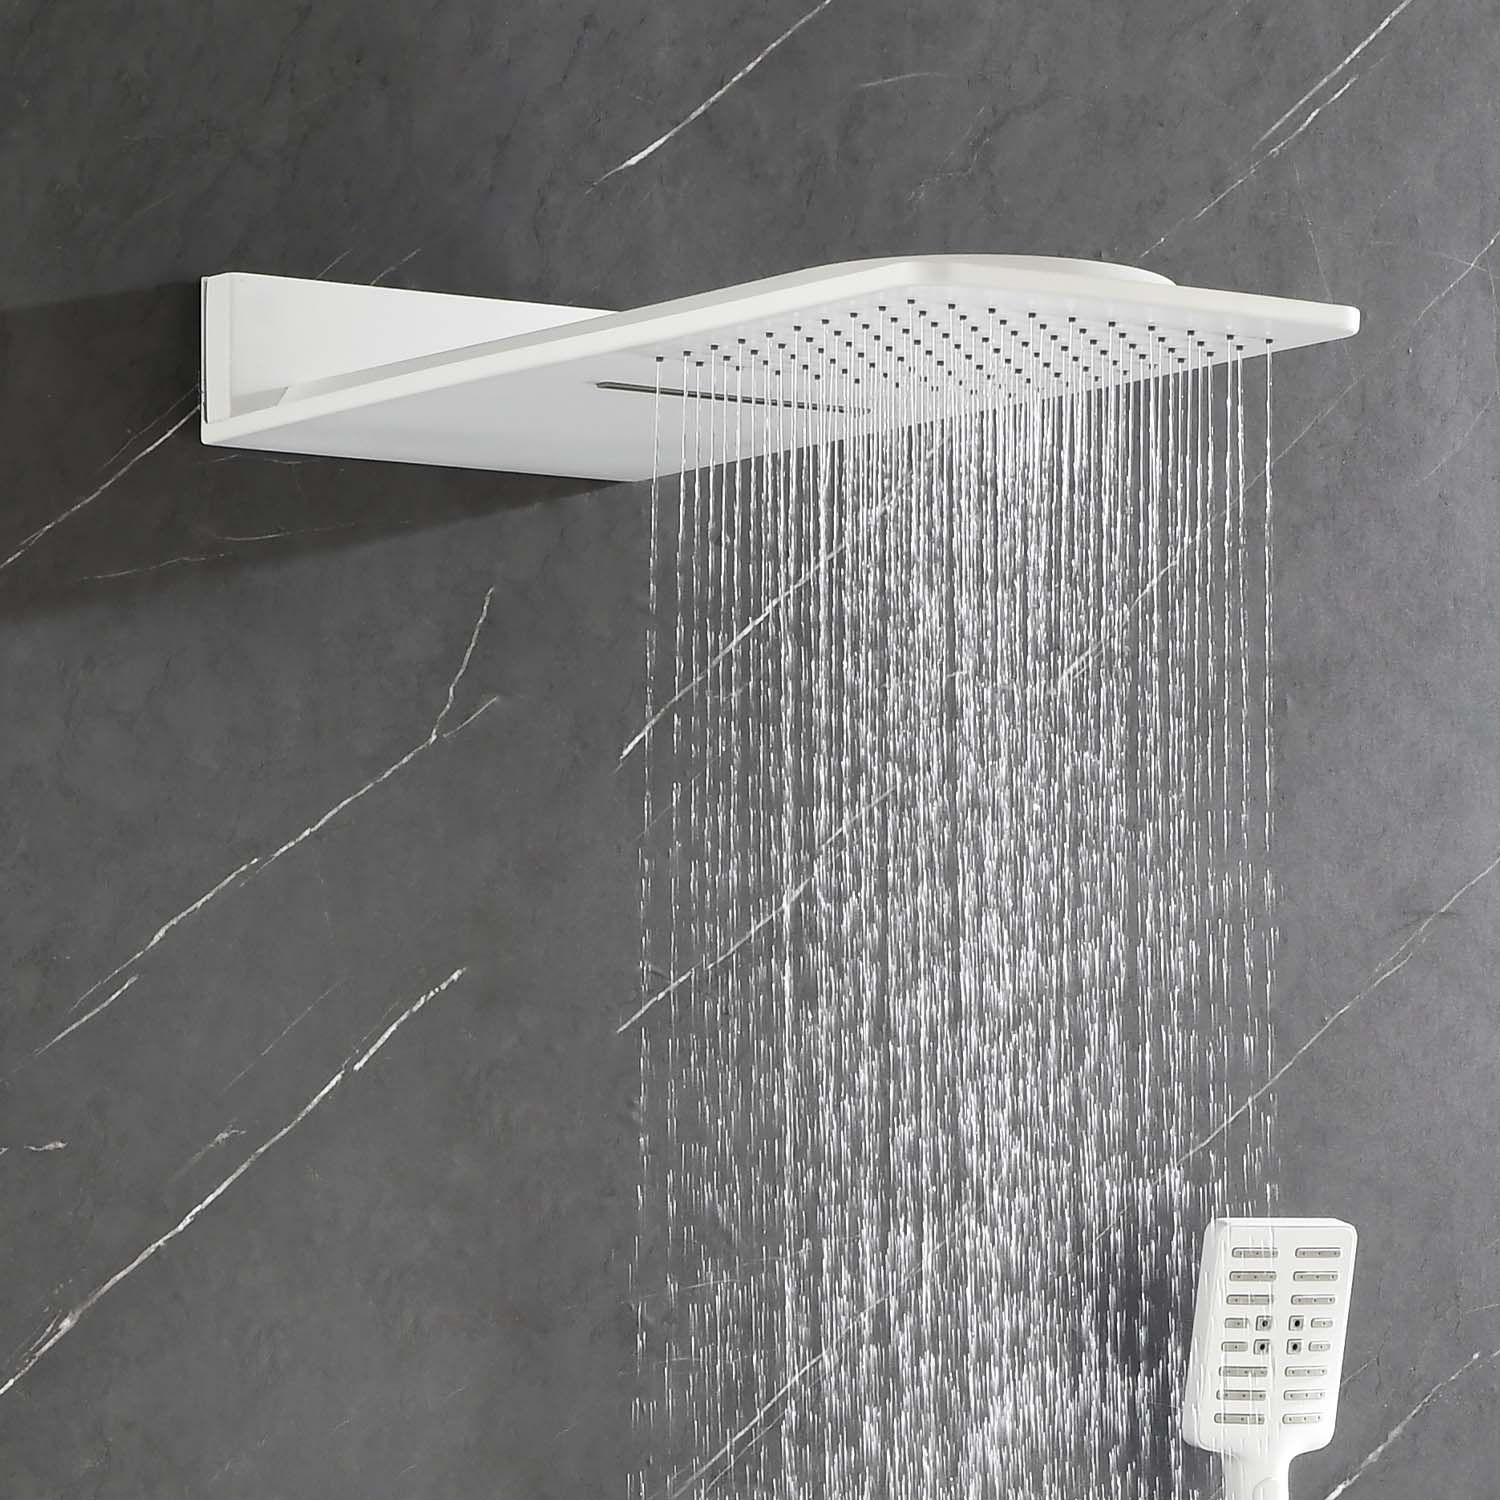
- Riser Pipe + Shower Head: Build a vertical water supply system. Some kits also include a handheld showerhead.
- Curtain Rod (D-shaped or oval): Used for hanging waterproof shower curtains to ensure a dry and wet separation
According to the 2022 Houzz user survey, 42% of American households choose to install a shower conversion kit to enhance the efficiency of their bathtubs while keeping them, rather than completely converting them into shower stalls.
2. 4 Key Factors to Consider Before Installation
To ensure your shower conversion kit functions properly, the installation must be preceded by accurate planning. Different bathtub structures and bathroom layouts determine whether the upgrade can be carried out smoothly.
2.1 The Type of Bathtub Determines the Installation Method
A shower conversion kit is not a universal accessory. Common installation methods include:
- Deck Mount: Suitable for cast iron bathtubs with holes at the edge.
- Inner Tub Wall Mount: For old-fashioned clawfoot tubs with holes in the inner wall.
- Wall Mount: Specifically designed for freestanding tubs without holes or those placed against walls, with strong adaptability.
2.2 Pipe Compatibility and Water Pressure Matching
Bathtub shower systems have minimum water pressure requirements. For residences with high floors, aged water pipelines, or those using secondary water supply systems, it is advisable to prioritize the selection of shower conversion kits that support 1/2" or 3/4" interfaces and test the water output efficiency.
2.3 Space and Ceiling Height
- Is the bathtub installed against the wall?
- Is the ceiling high enough to support the riser pipe?
- Are there any window sills, toilets, or other obstructions that would interfere with the installation of the curtain rod?
- Is the user's height suitable? Users over 6 feet tall need to choose the extra-tall adjustable shower conversion kit.
If you're designing for a shared space, understanding 2 person walk-in shower dimensions can also help you plan with long-term flexibility in mind.
2.4 Is the Hardware Style Consistent?
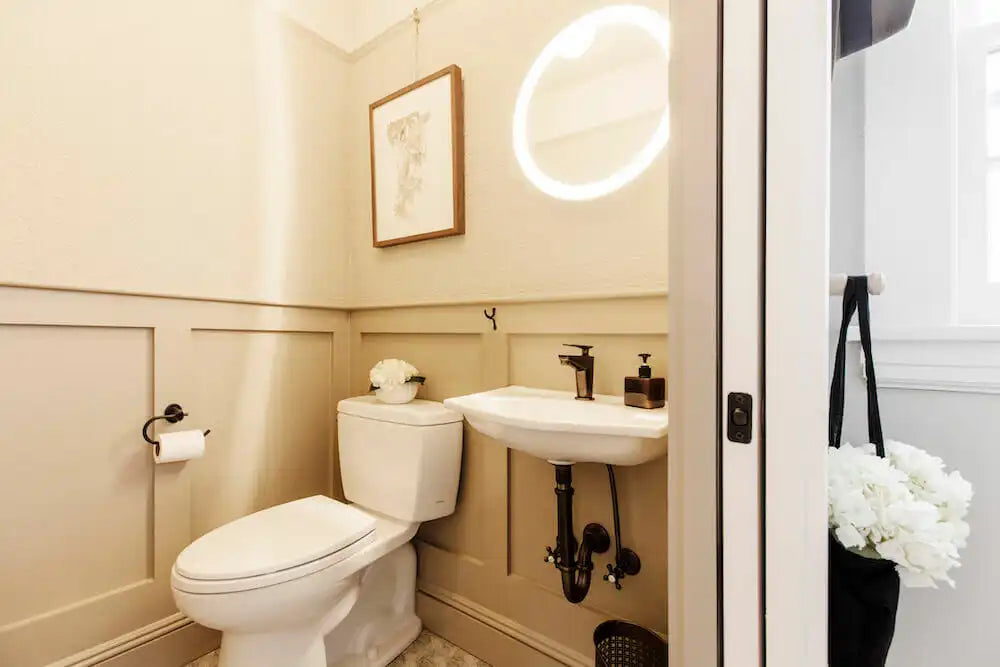
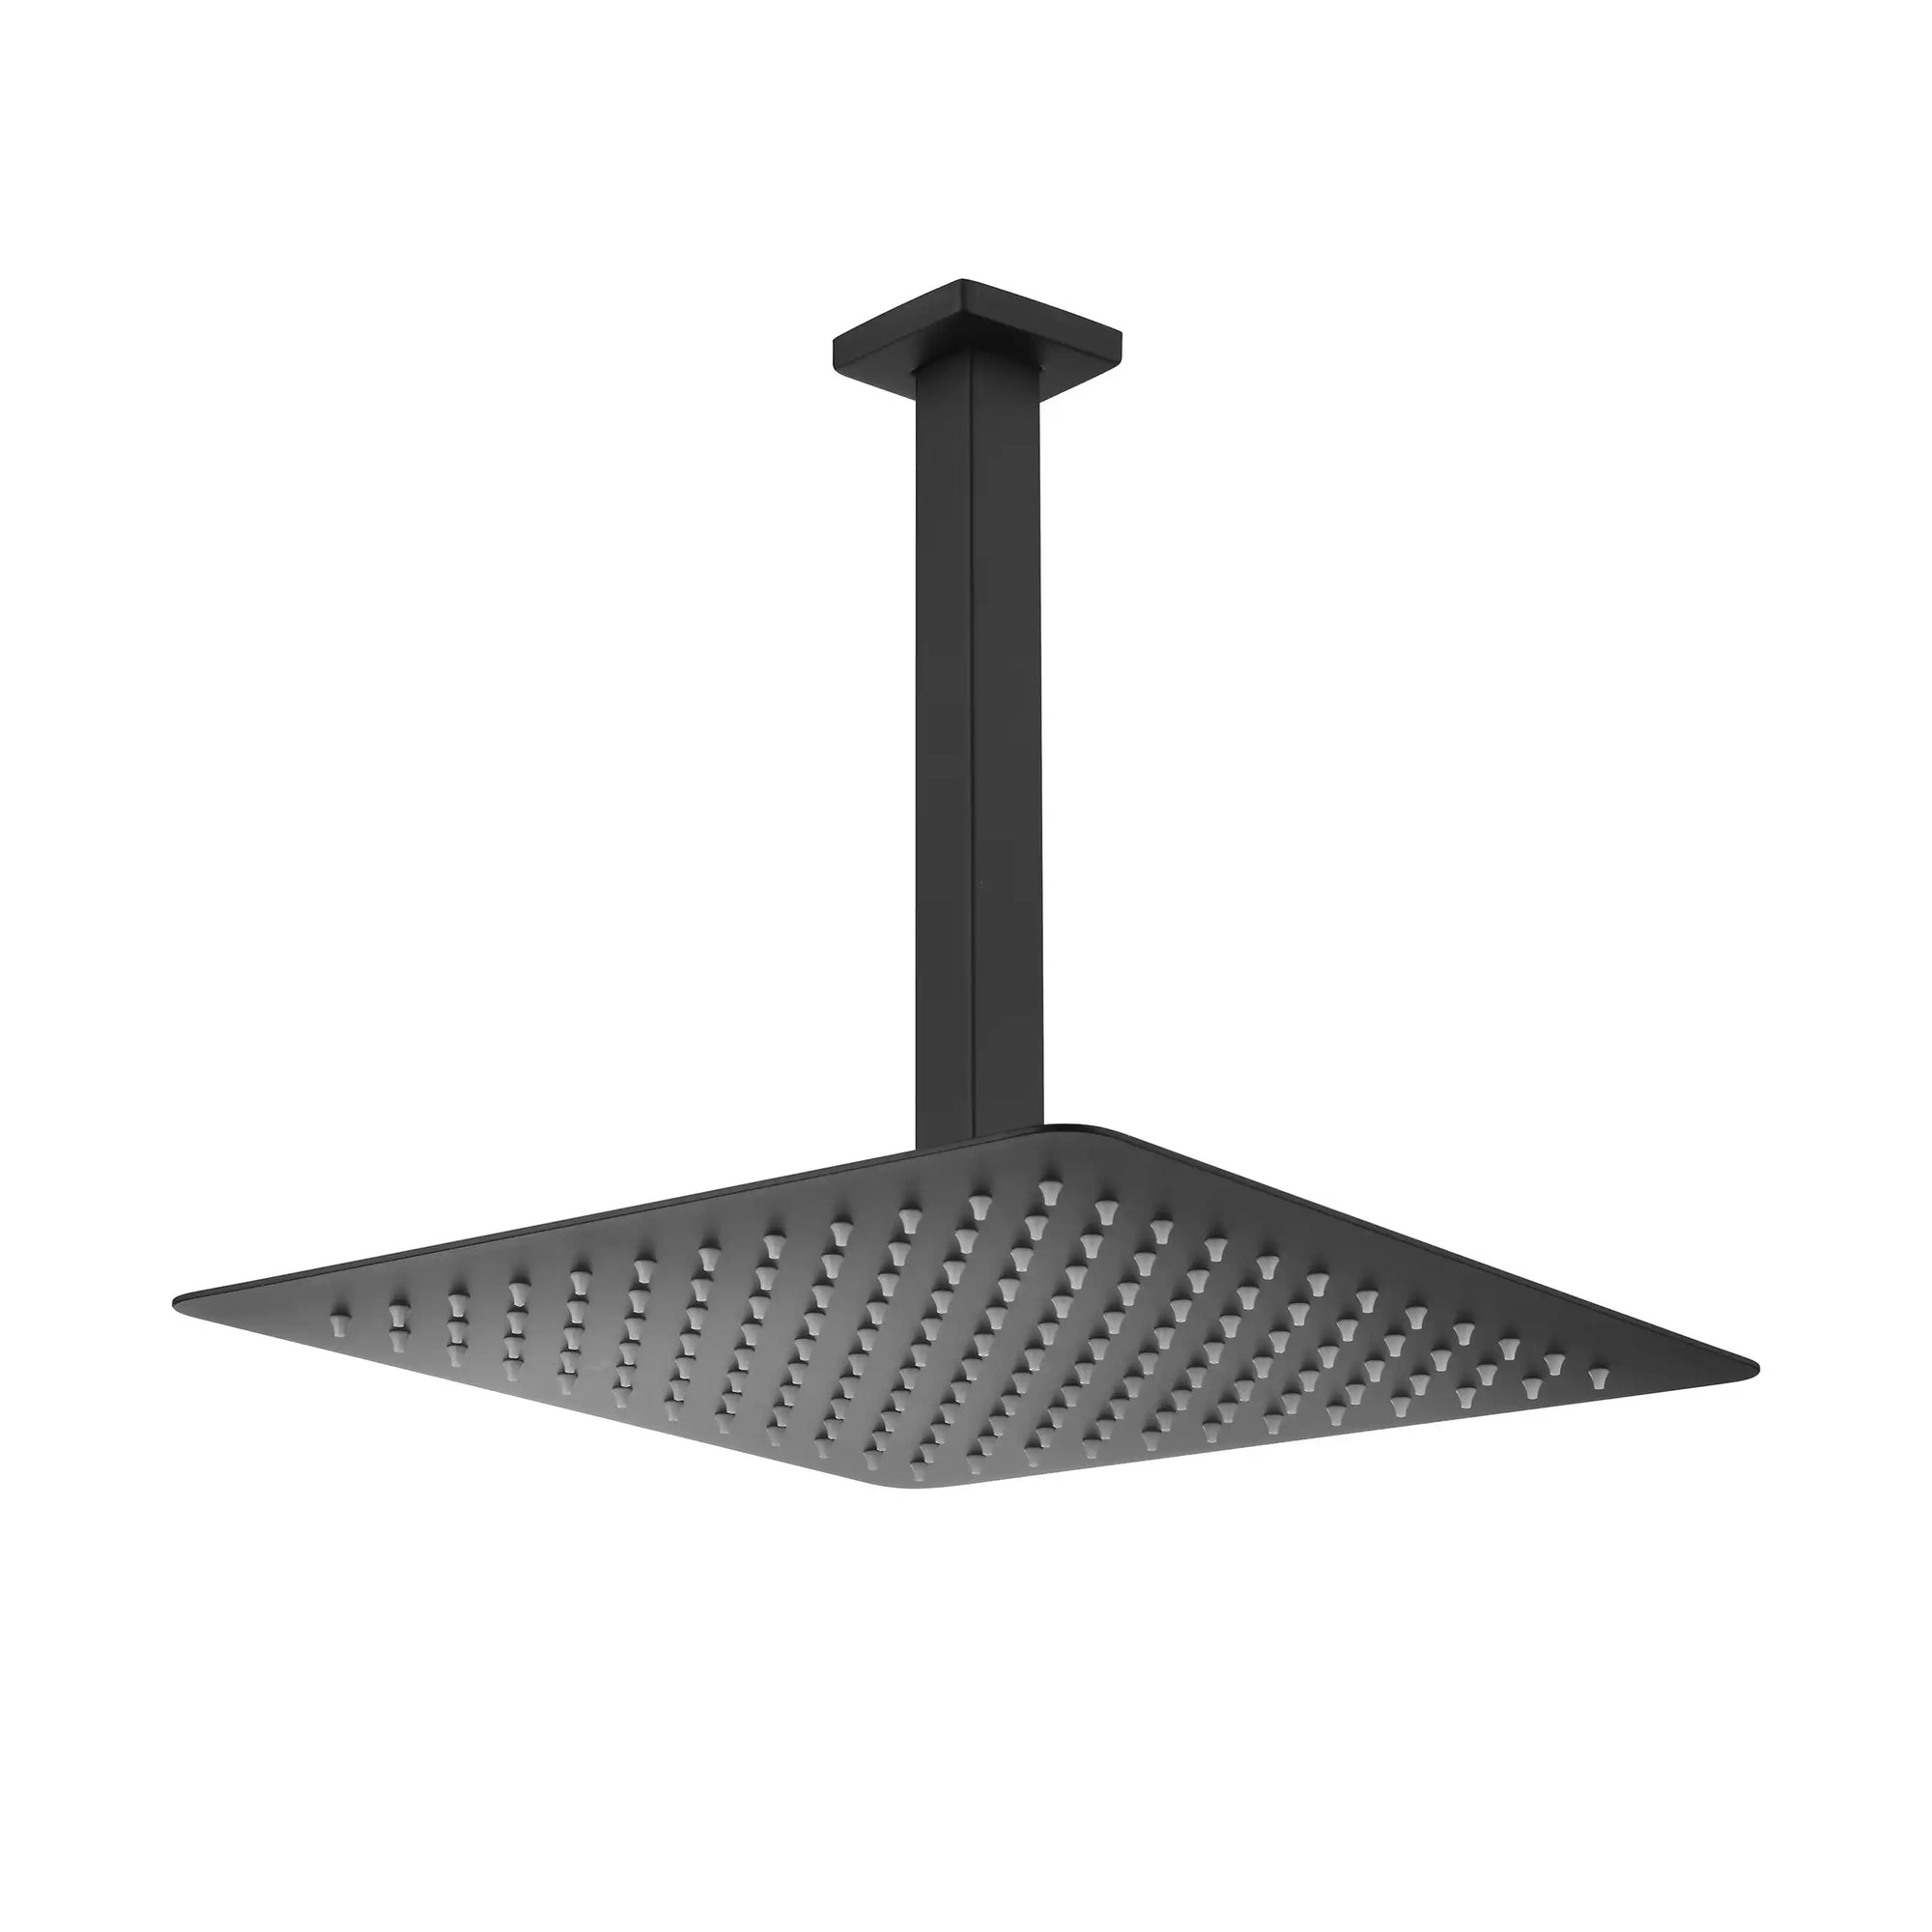
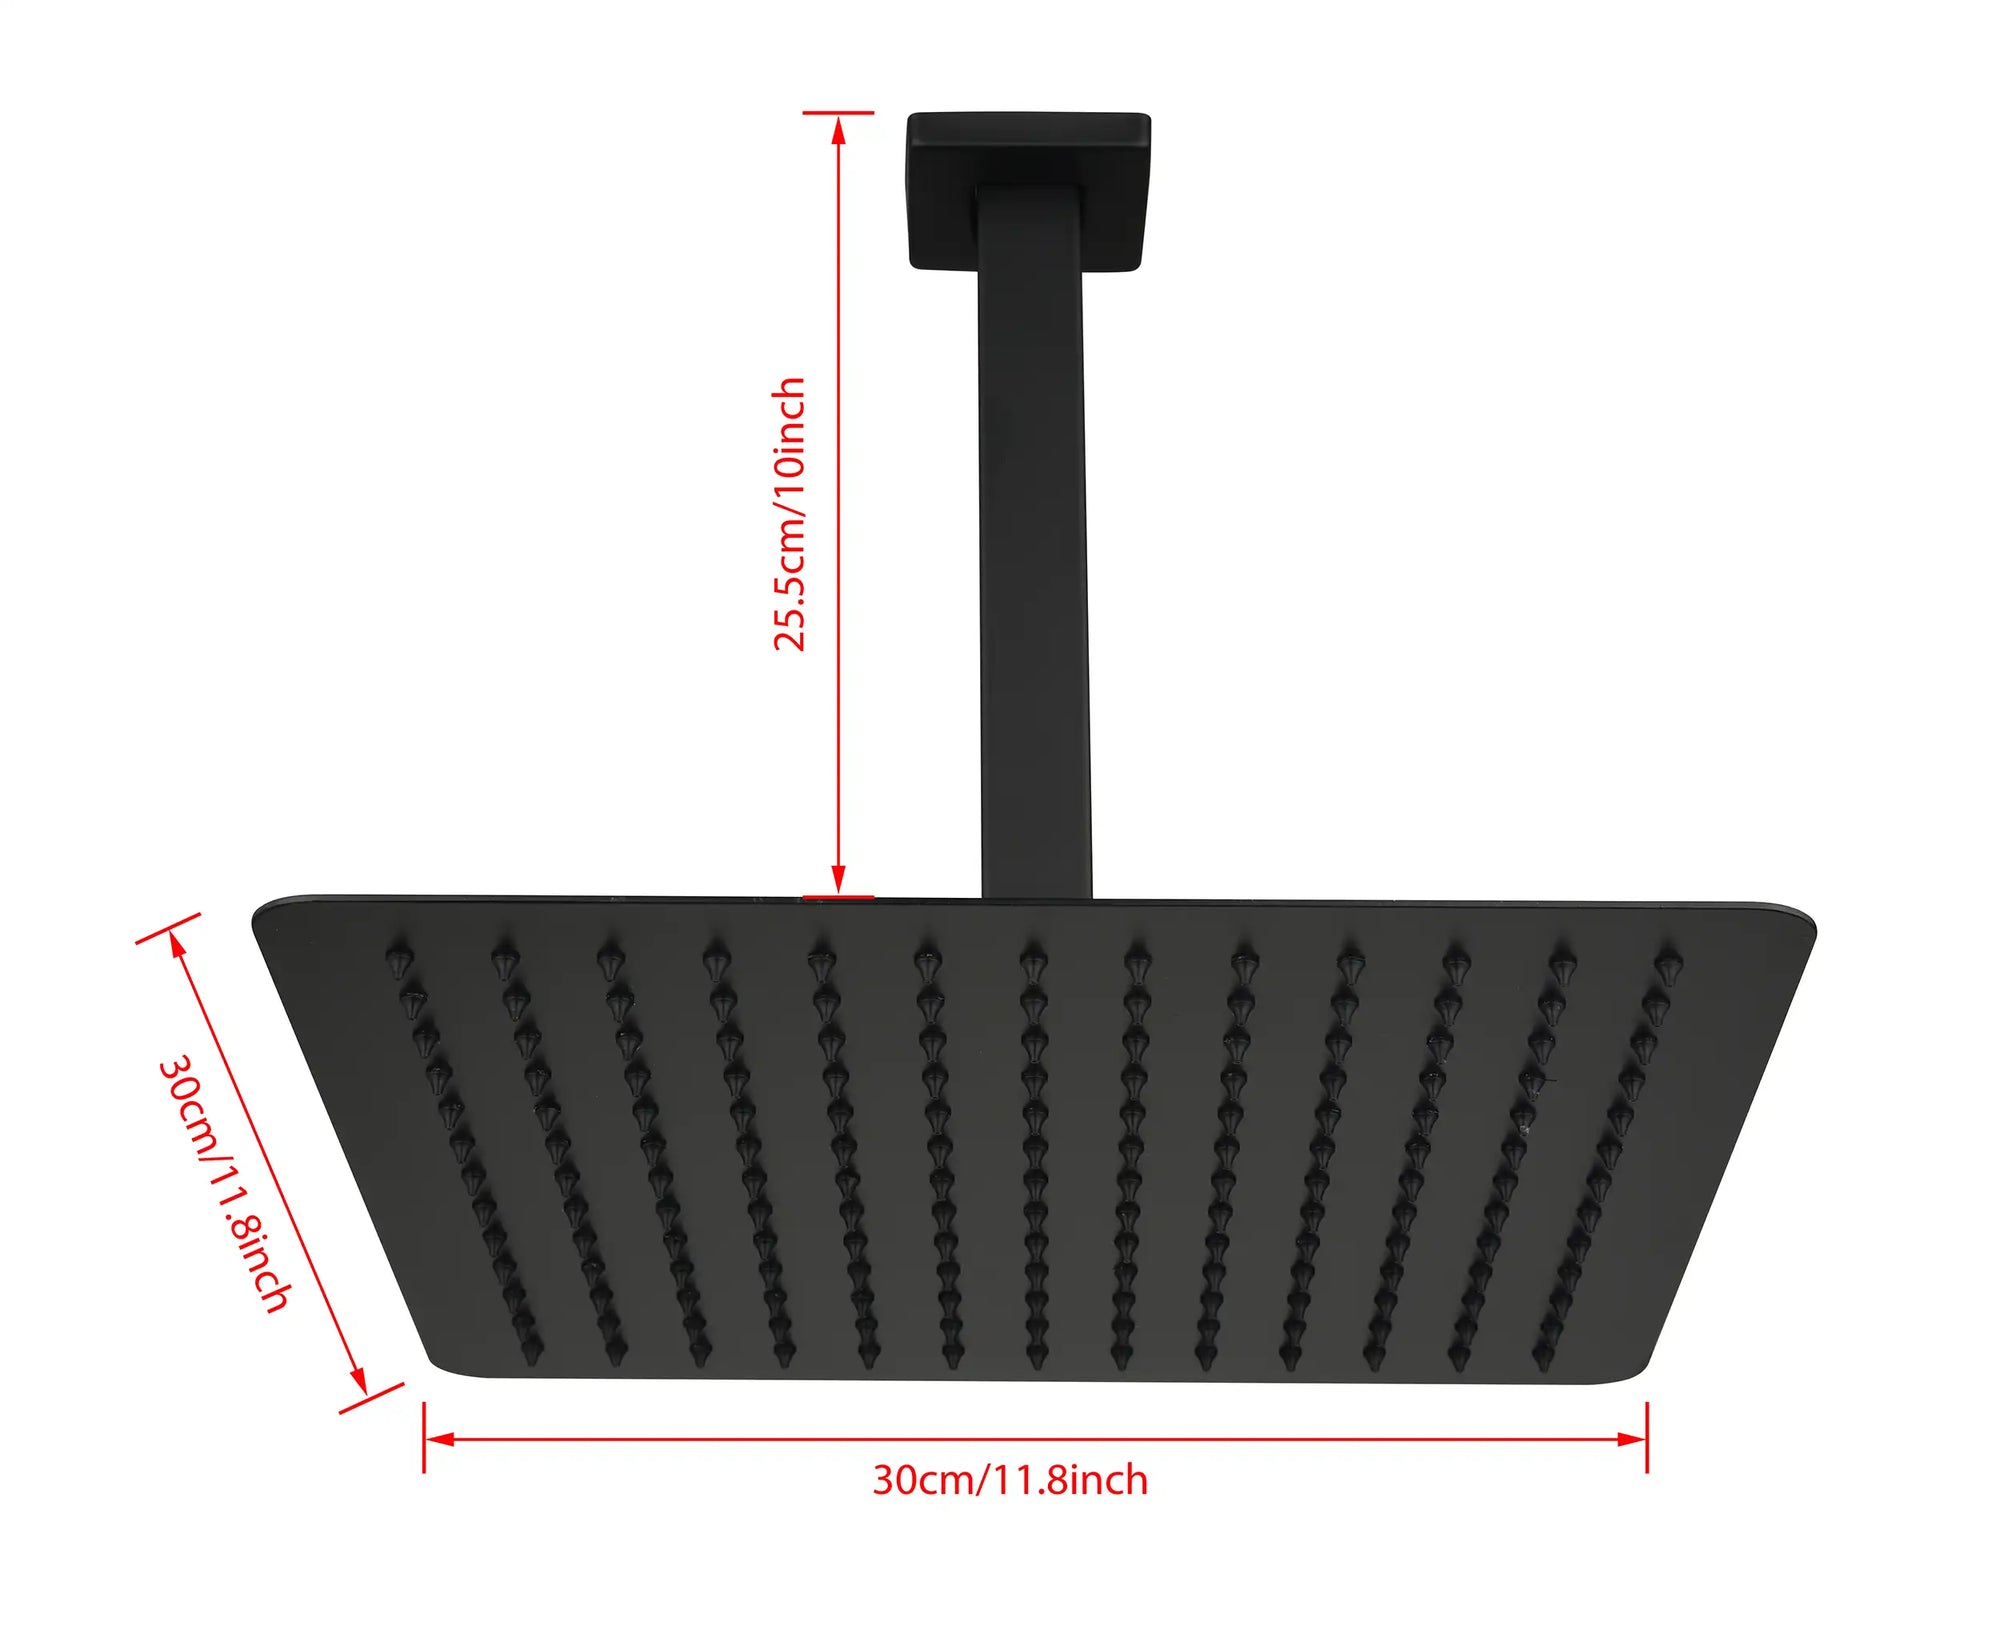
Although the shower conversion kit is a functional component, it has a strong visual presence. It is recommended to choose a finish that is consistent with the existing faucets, lighting fixtures, and towel bars (such as brushed nickel, polished brass, matte black).
3. How to Install a Shower Conversion Kit Step-by-Step?
Installing a shower conversion kit doesn't necessarily require a plumber. Users with basic DIY skills and tools can complete it within half a day, making it an affordable yet impactful bathroom upgrade.
Step 1: Turn Off the Water Supply and Prepare the Tools
Prepare basic equipment such as an adjustable wrench, sealing tape, screwdriver, and anti-slip washers.
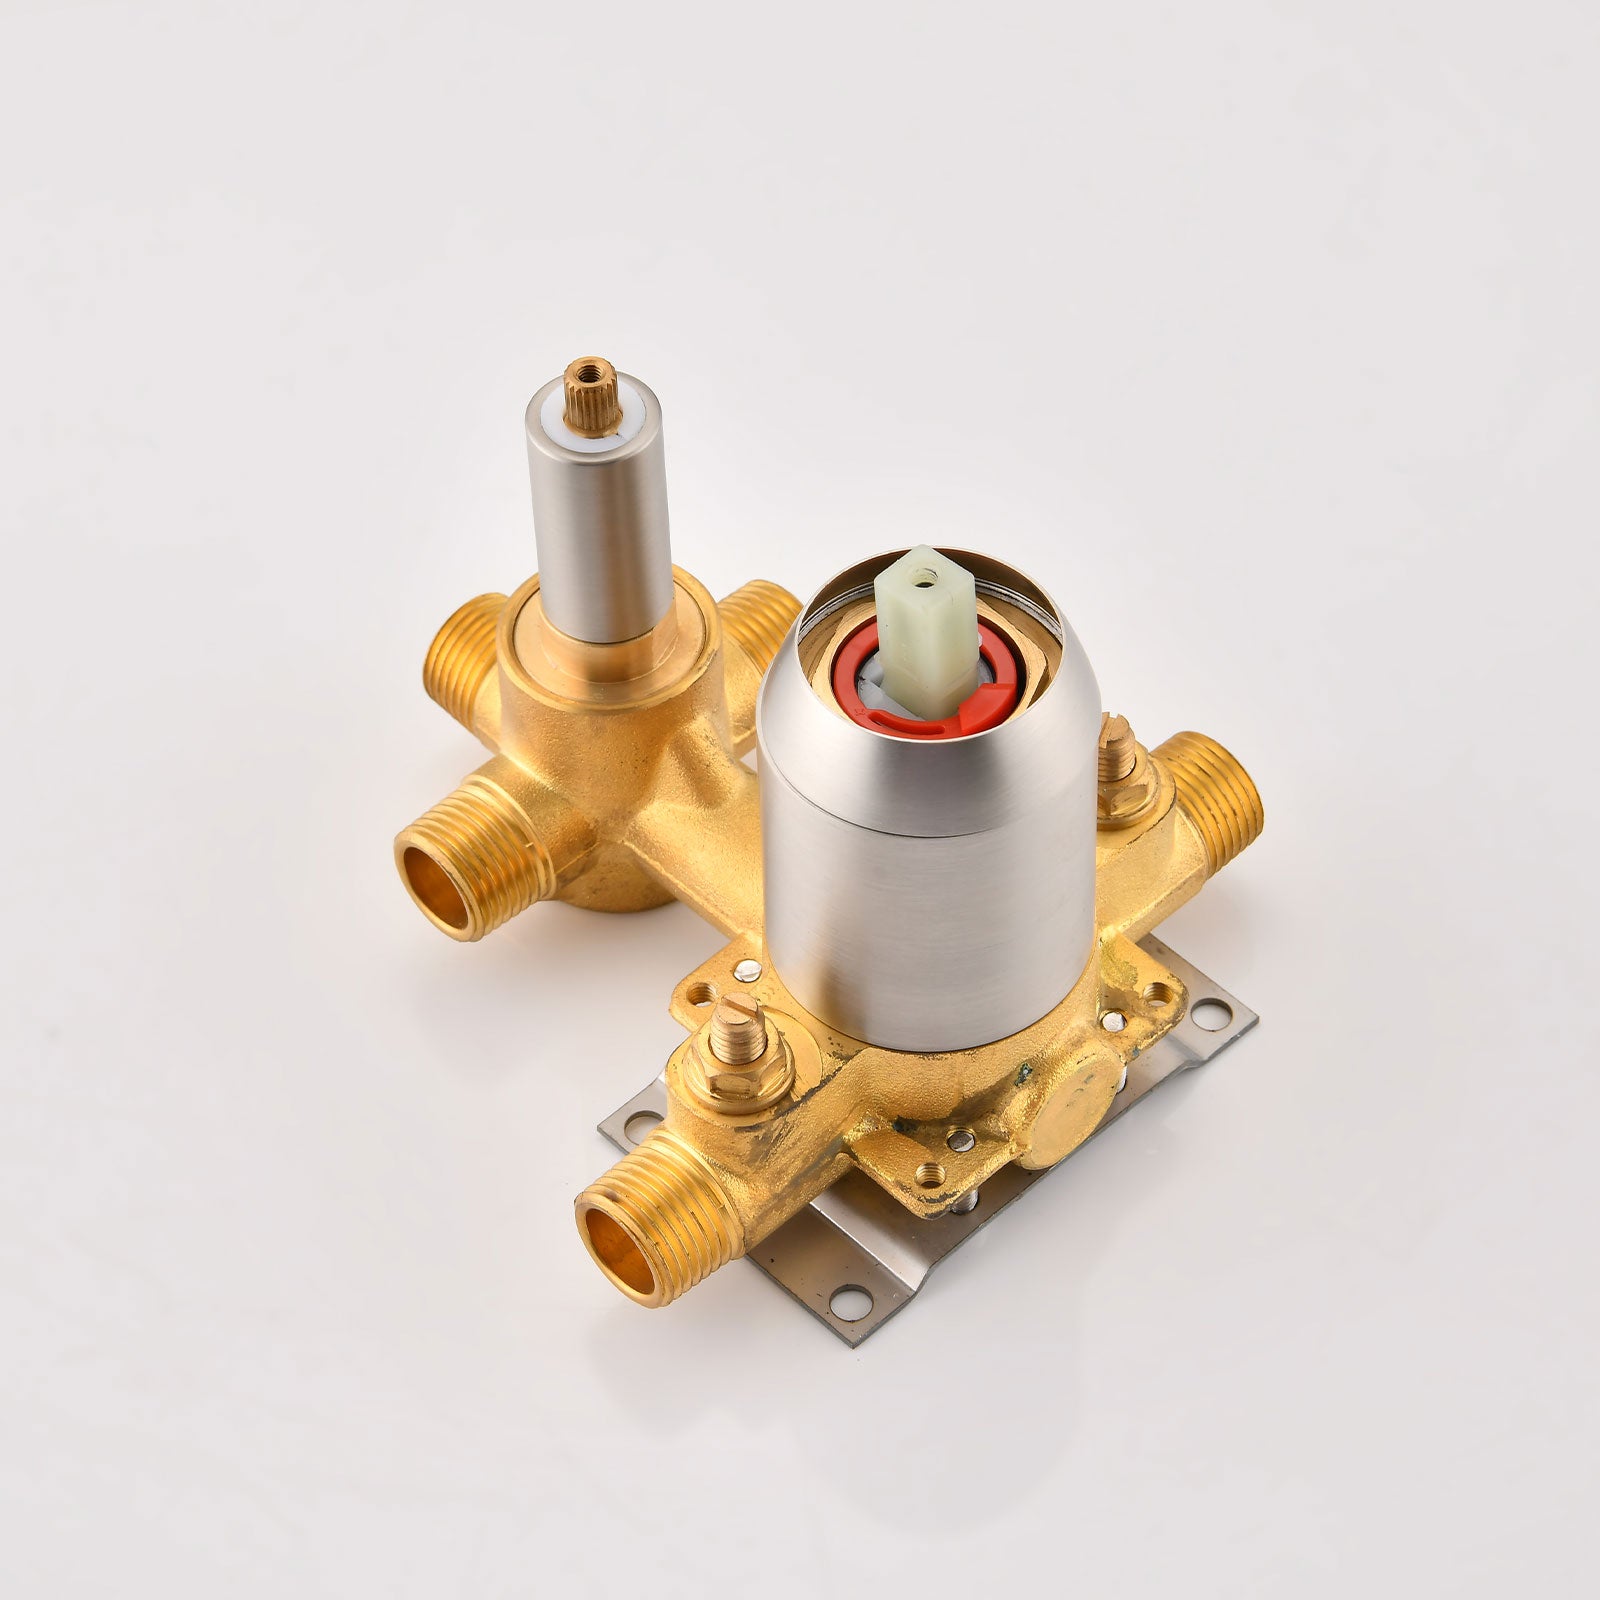
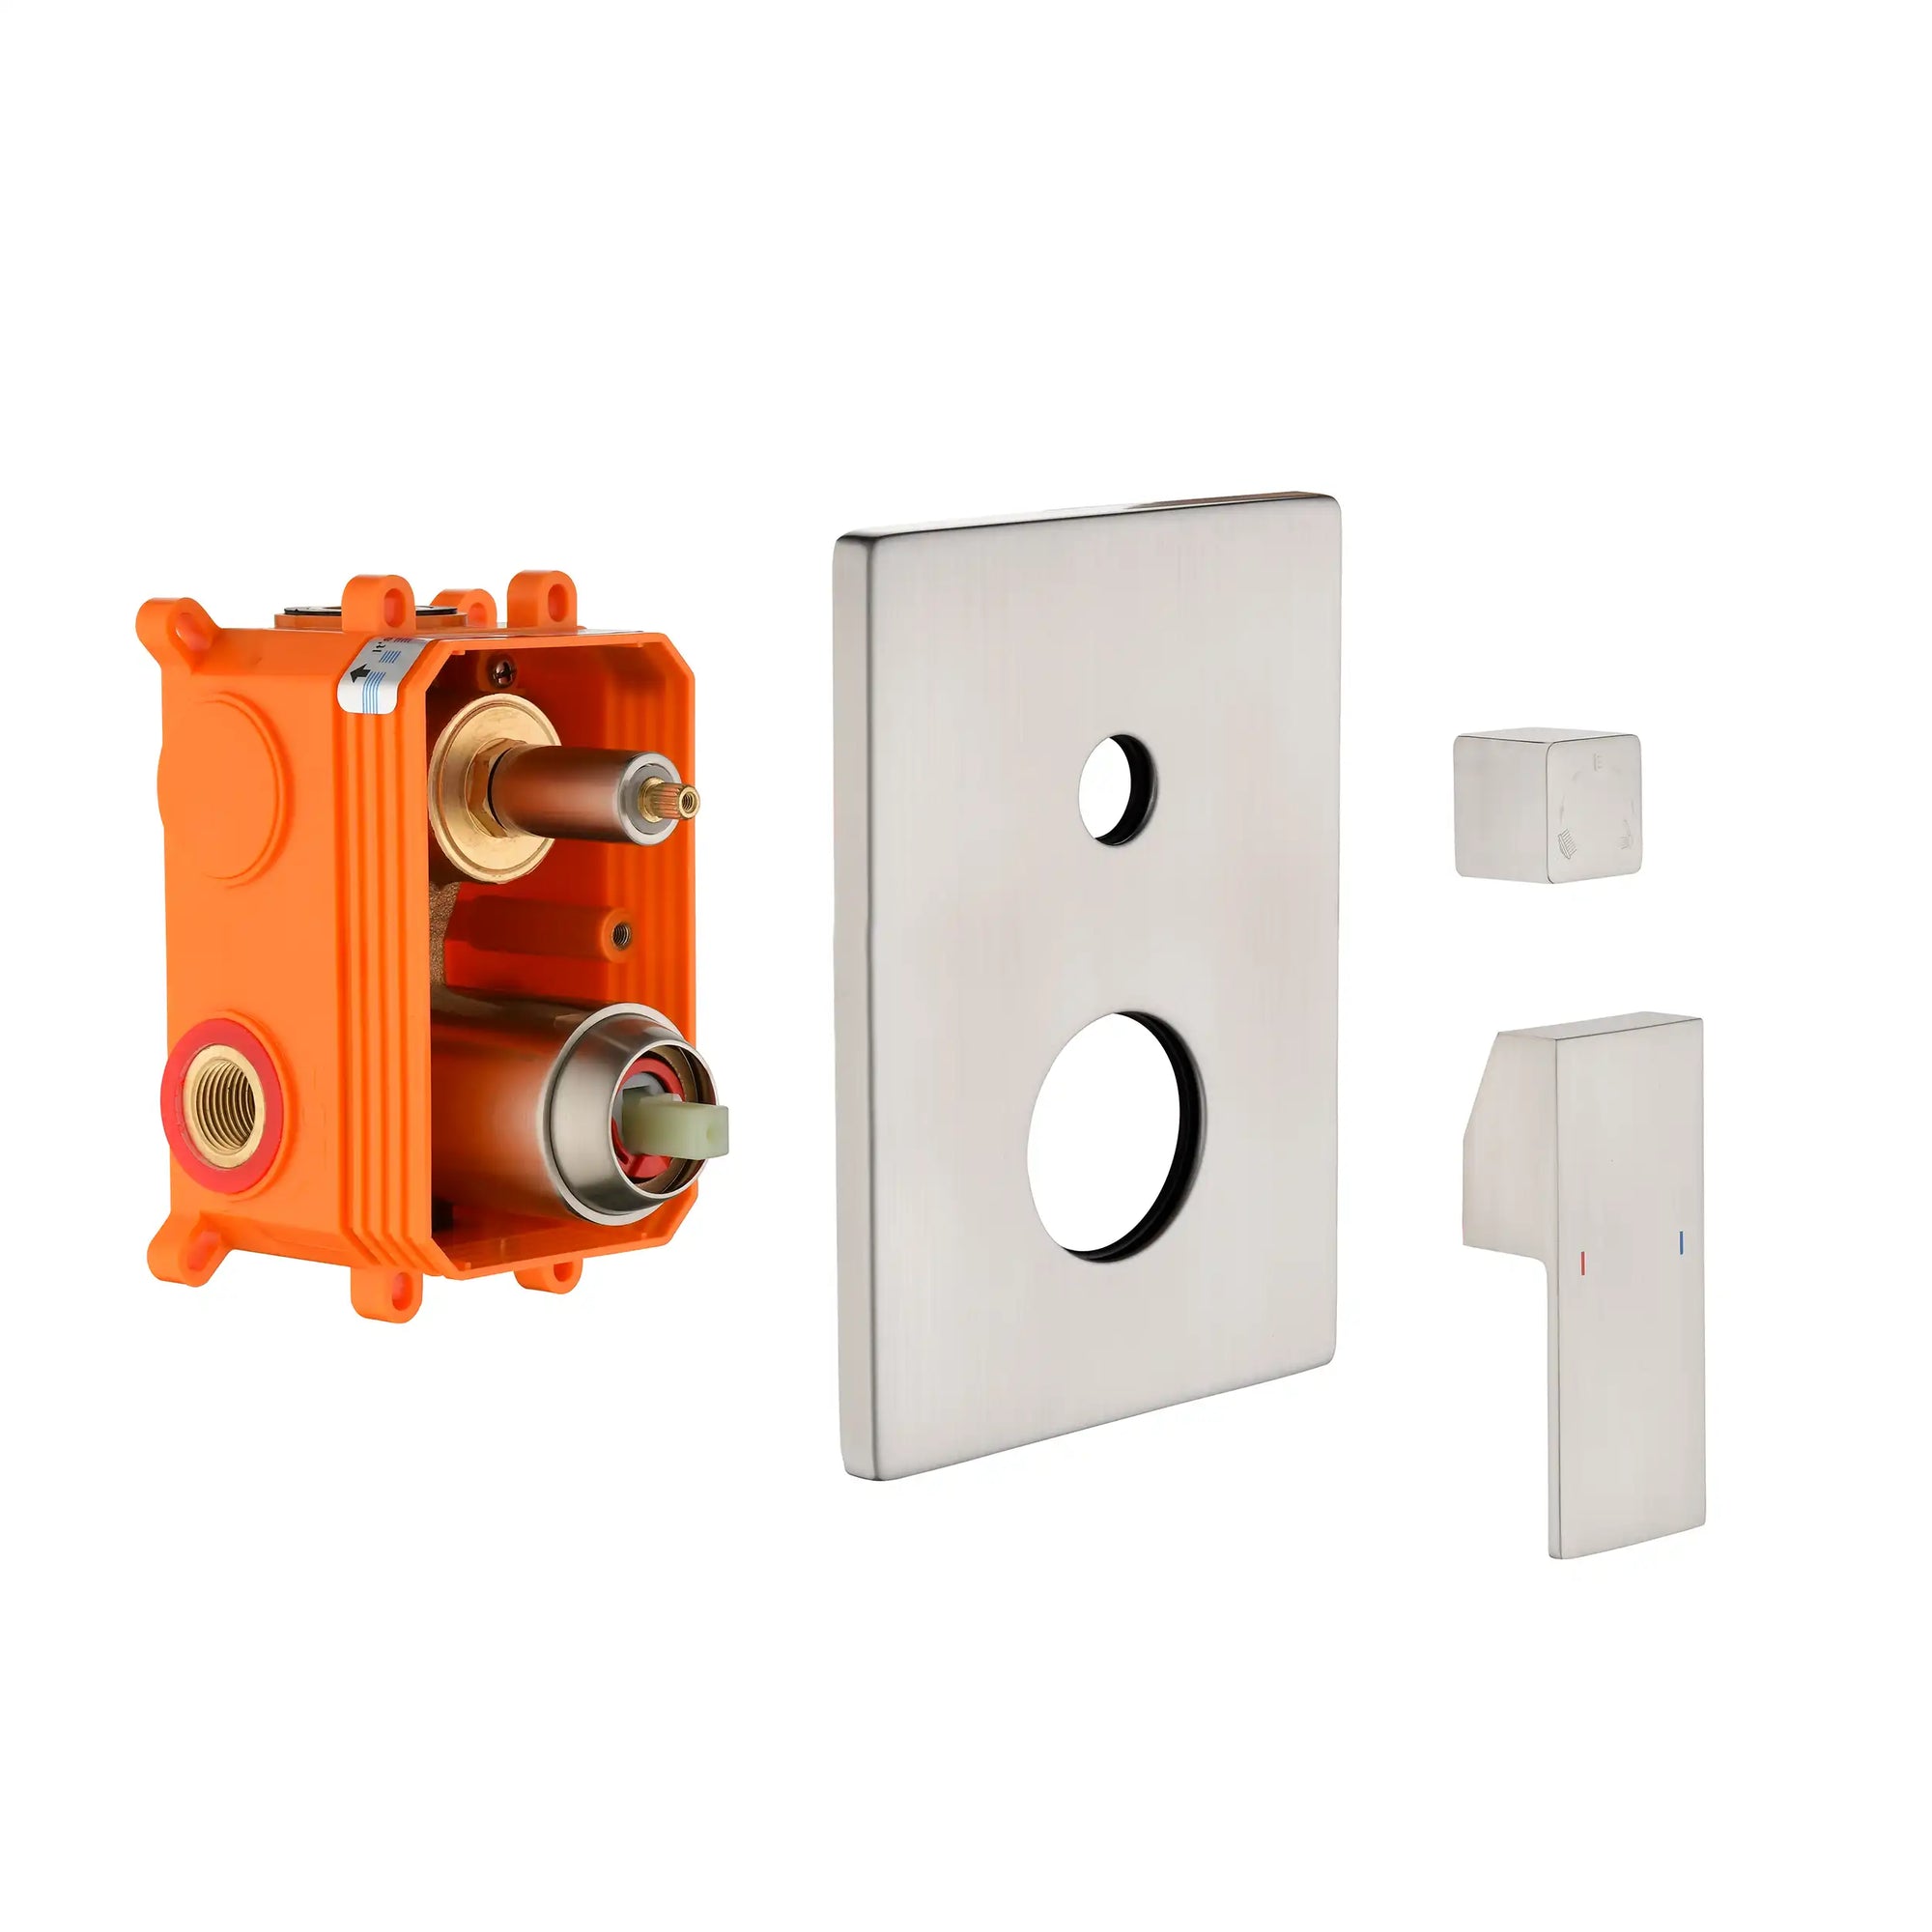
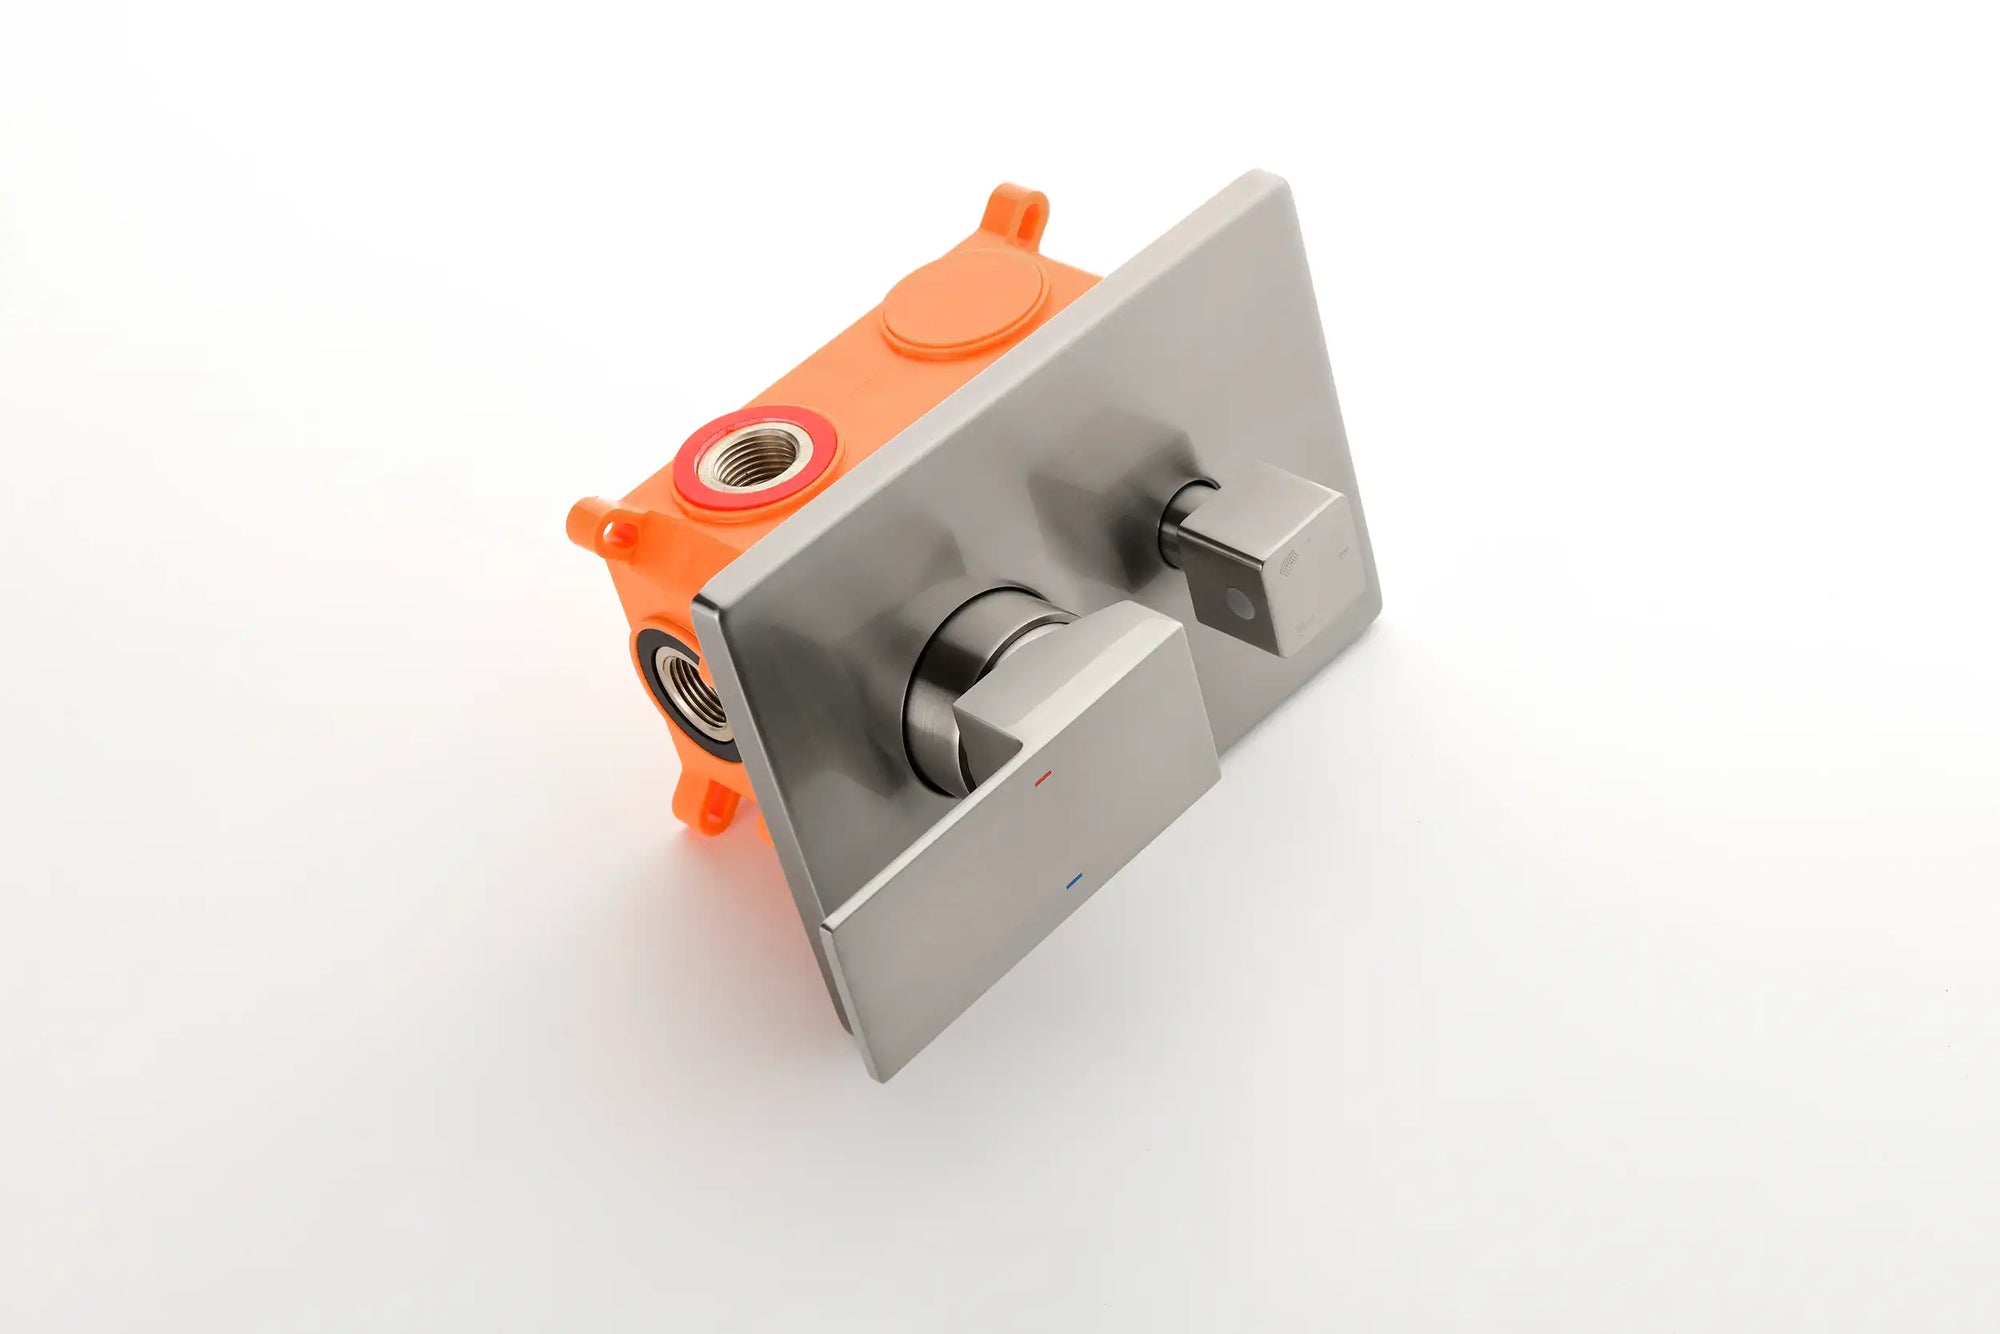
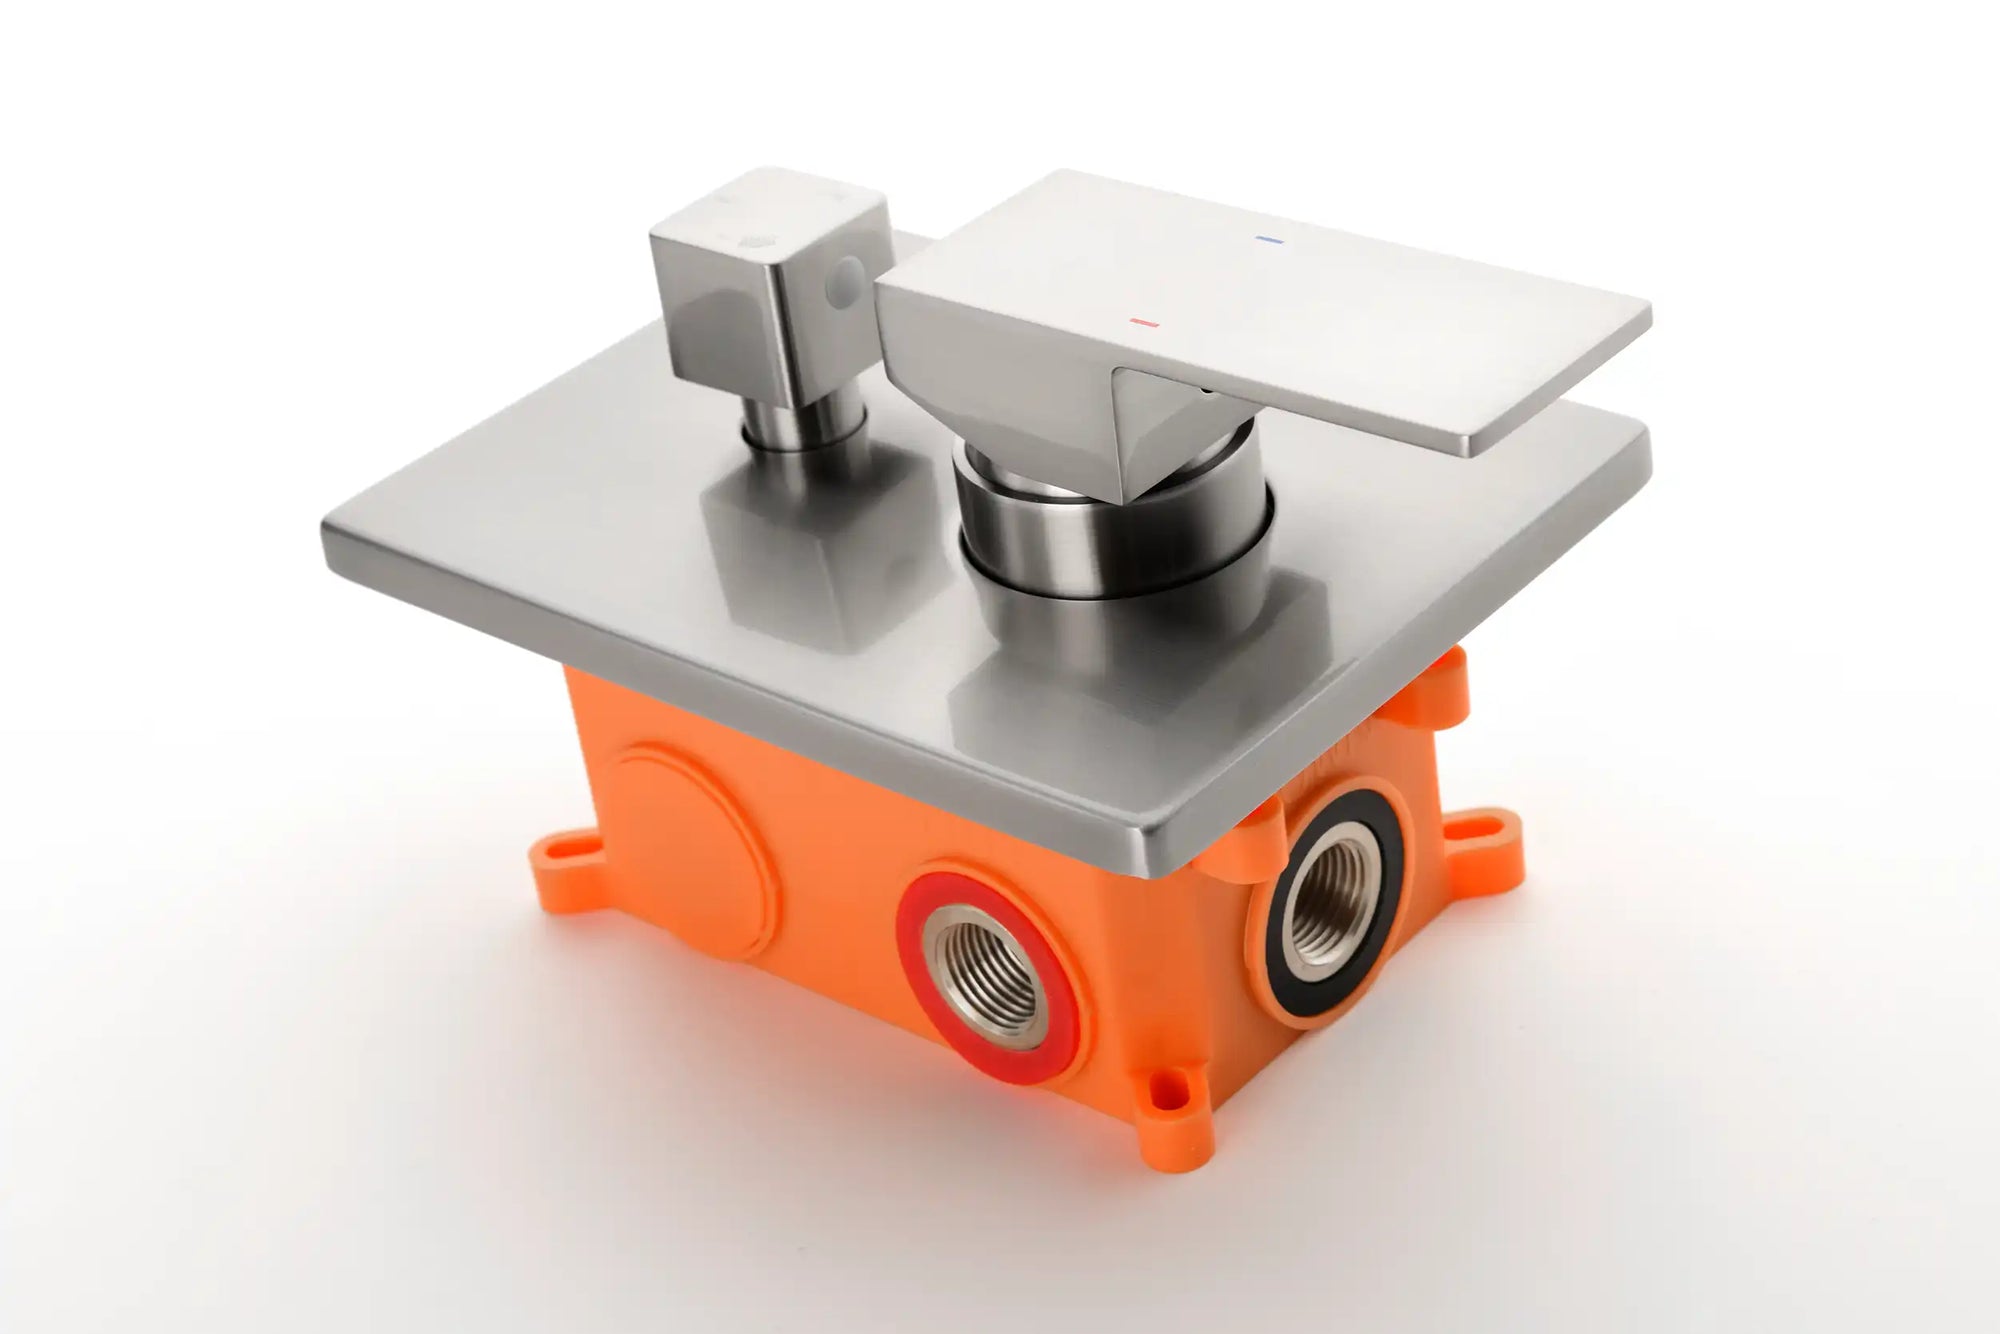
Step 2: Install the Faucet and Diverter
Depending on the type of bathtub, use a deck mount or wall mount installation method. Ensure that the gasket is well sealed and that the diverter switches smoothly.
Step 3: Connect the Cold and Hot Water Supply Pipes
It is recommended to use flexible braided pipes and connect them to the main water source. Install angle valves for easier maintenance in the future. Note that the directions of the cold and hot water pipes must not be reversed.
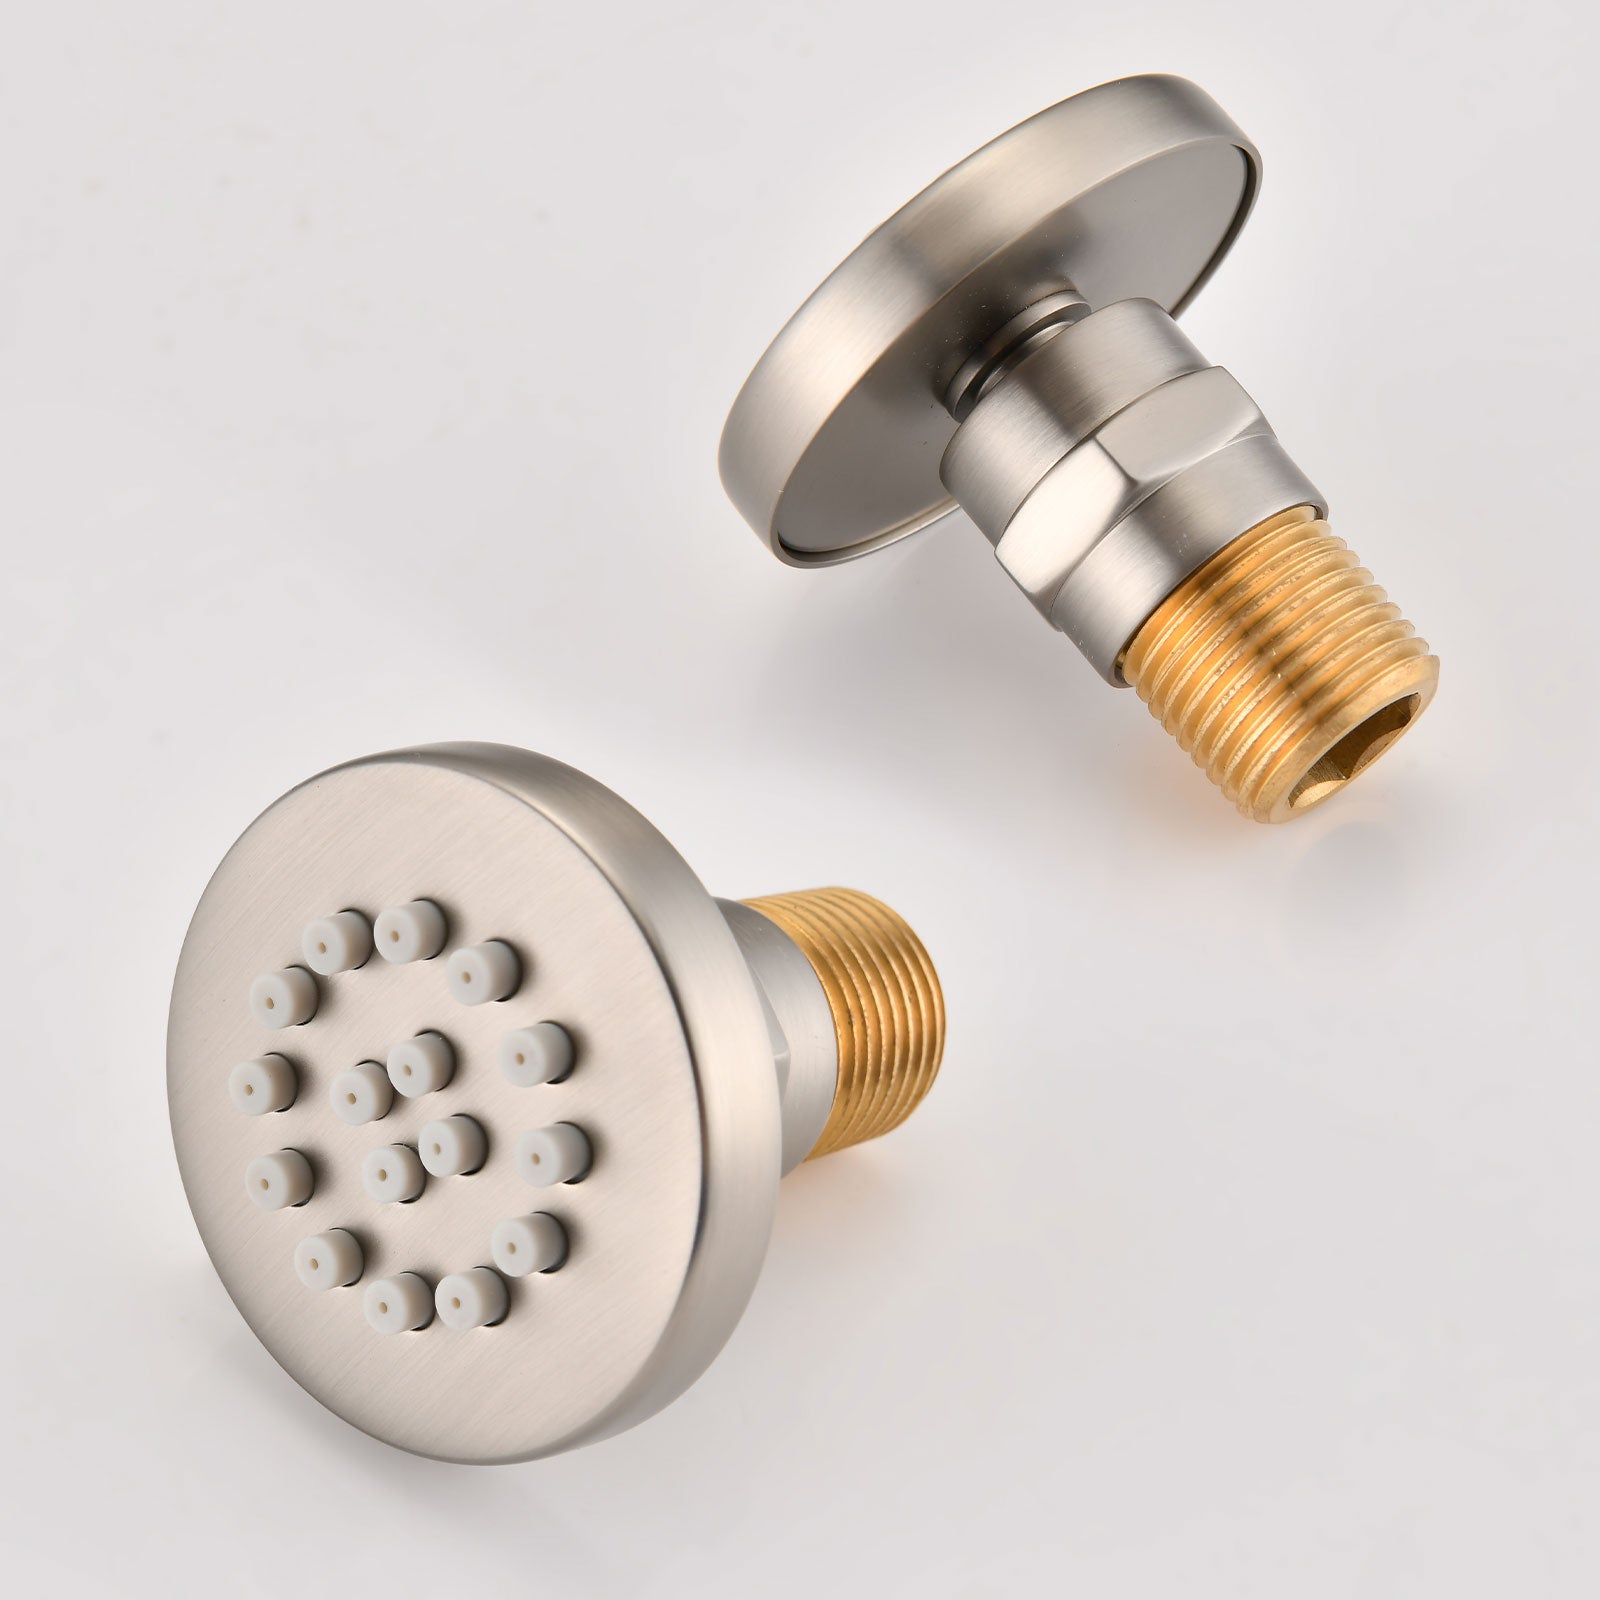
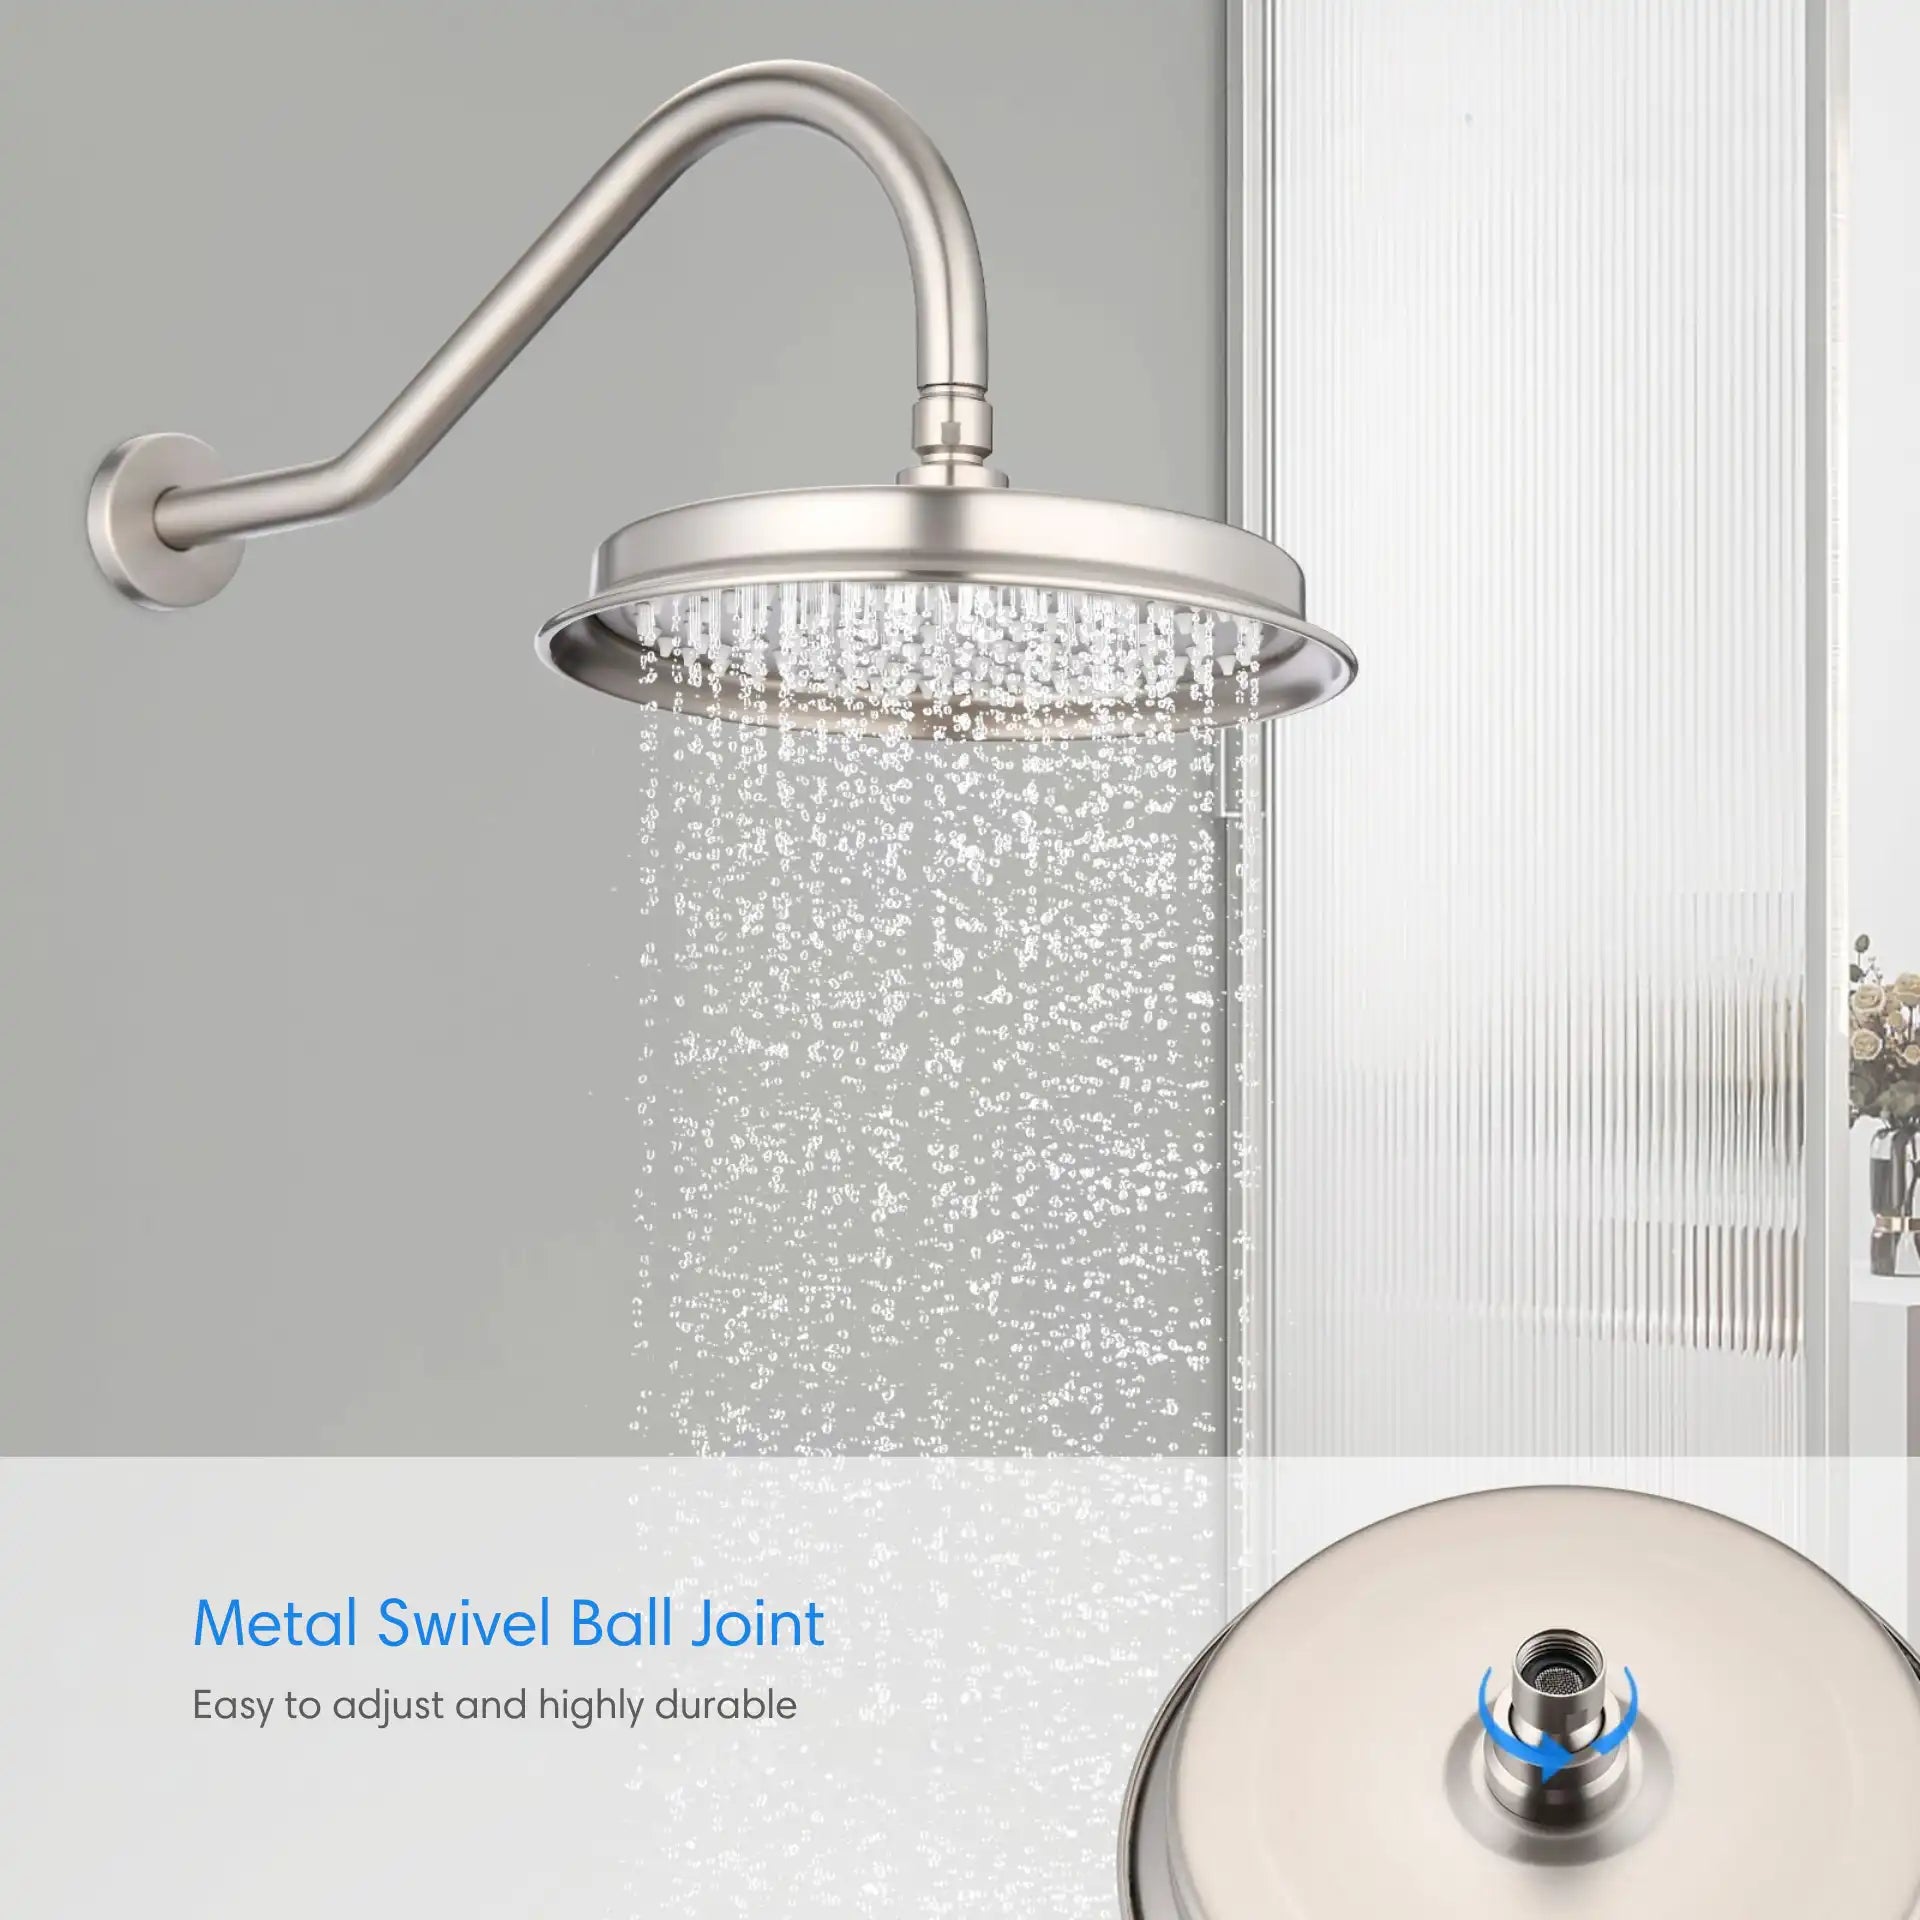
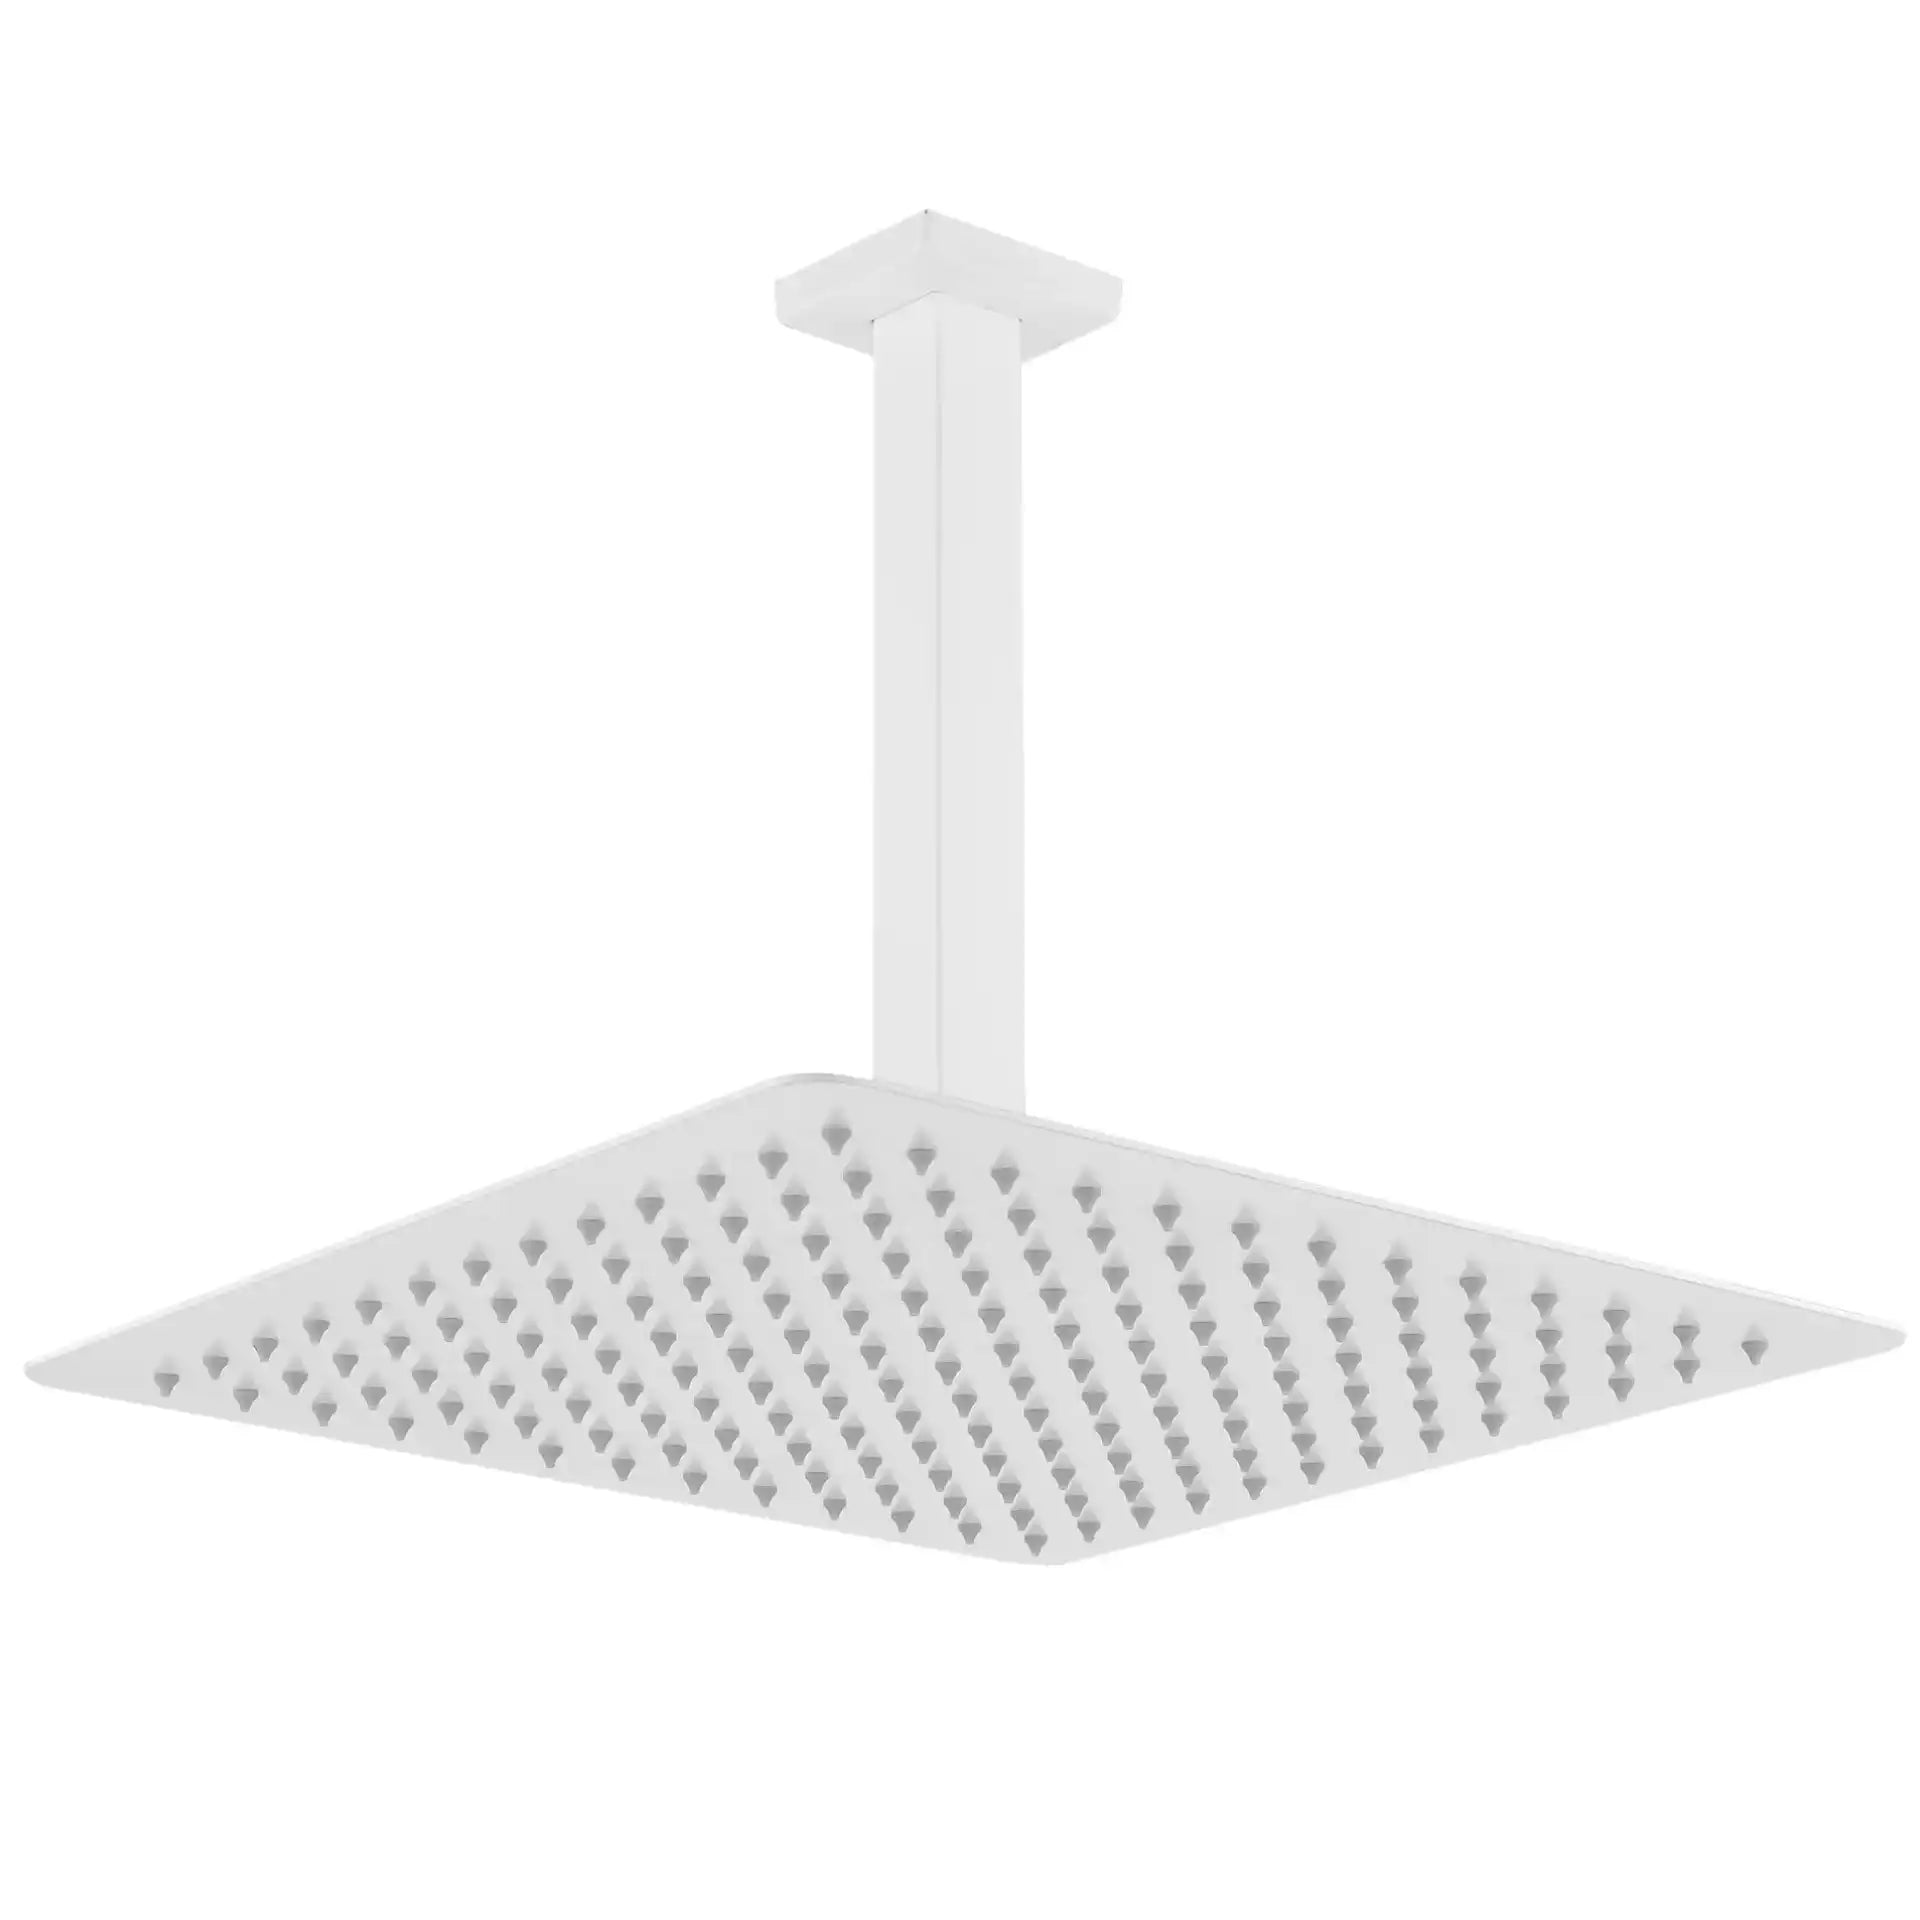
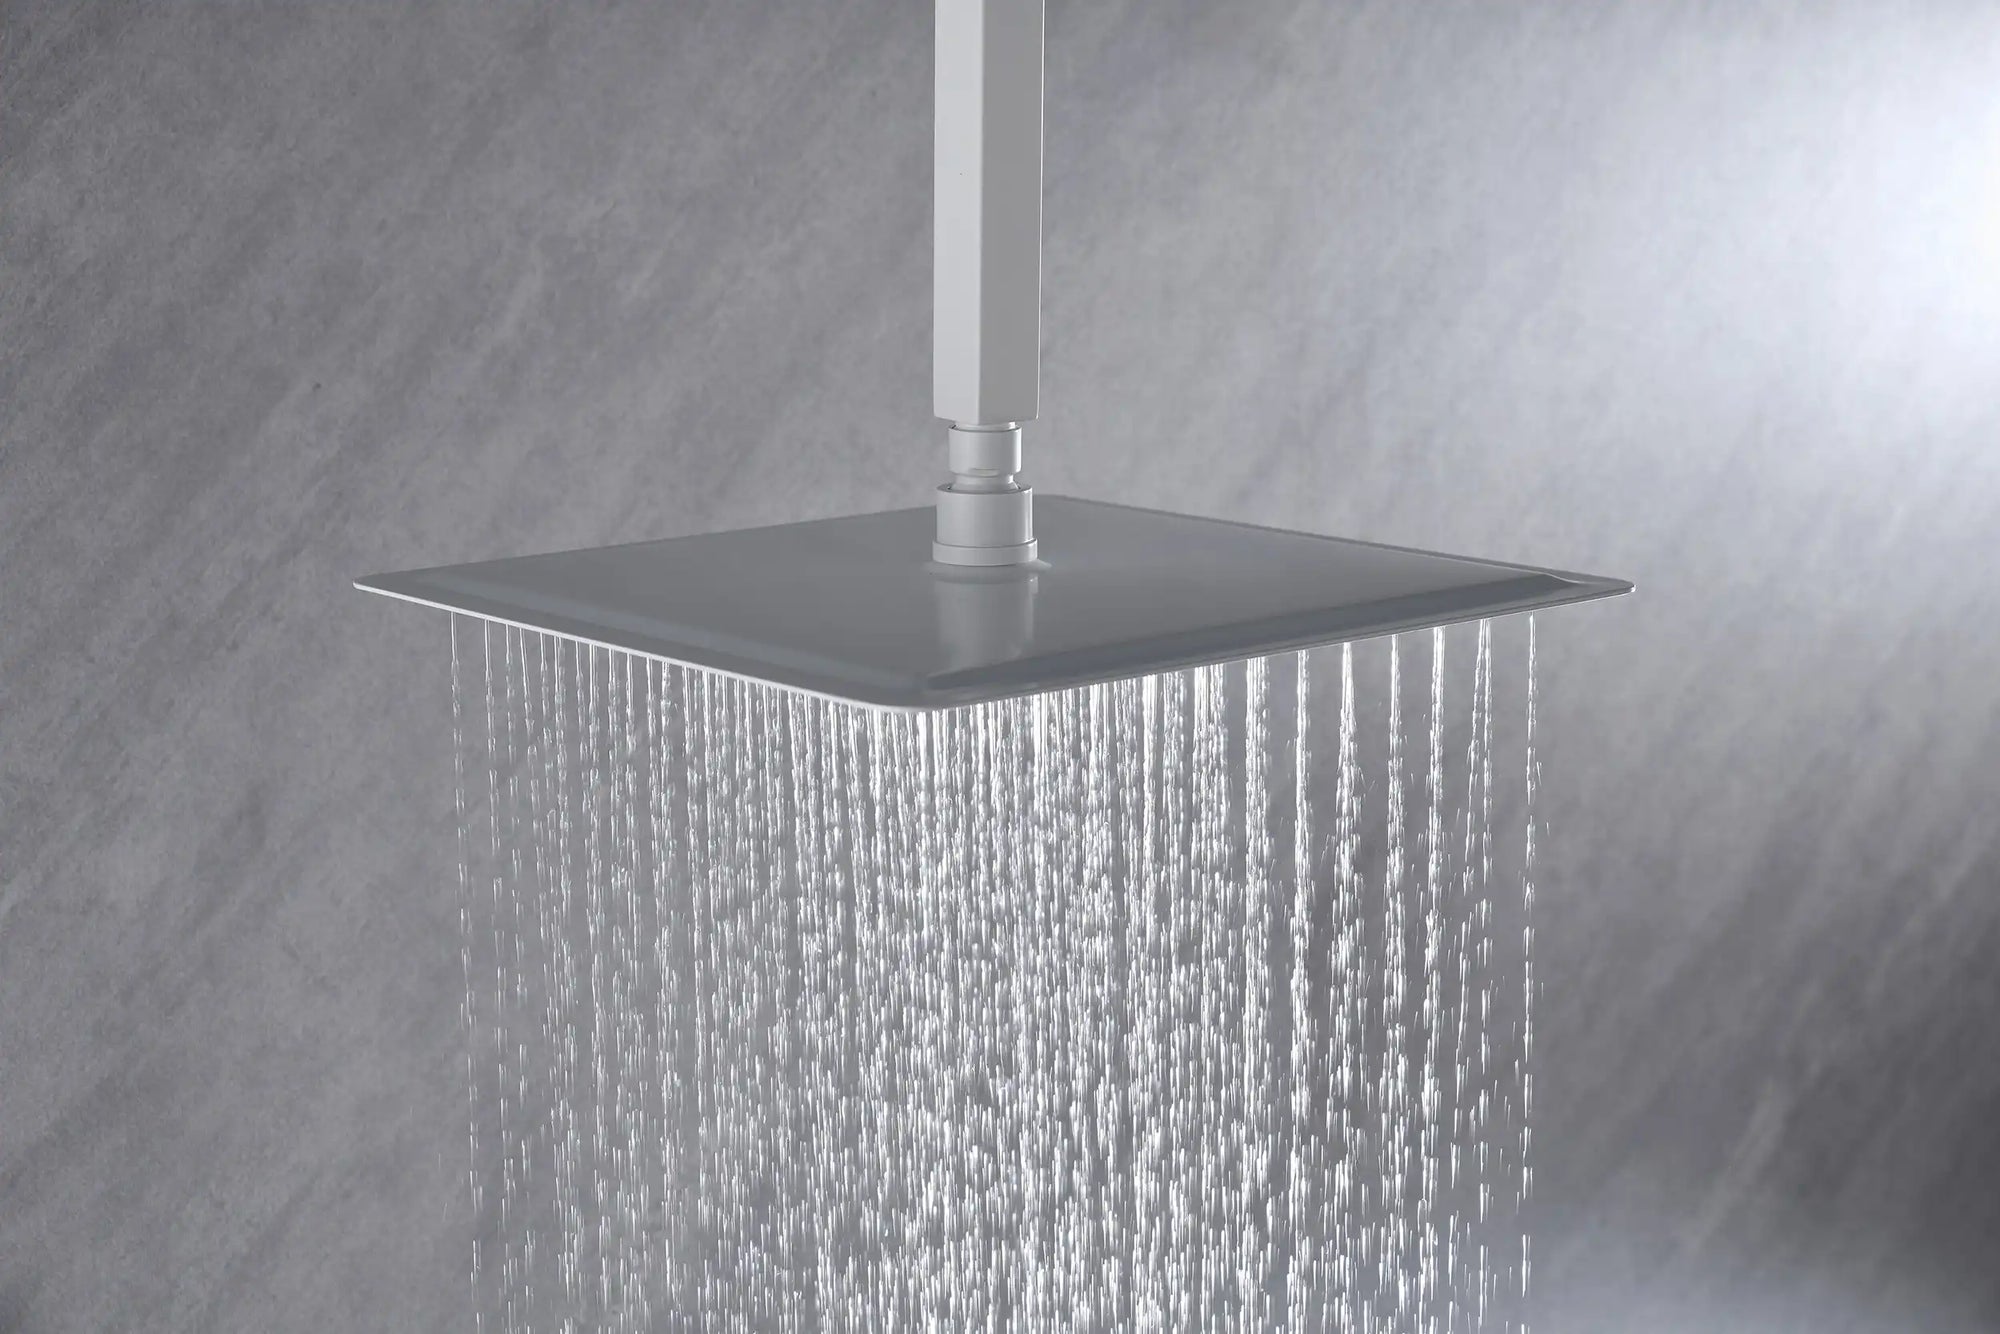
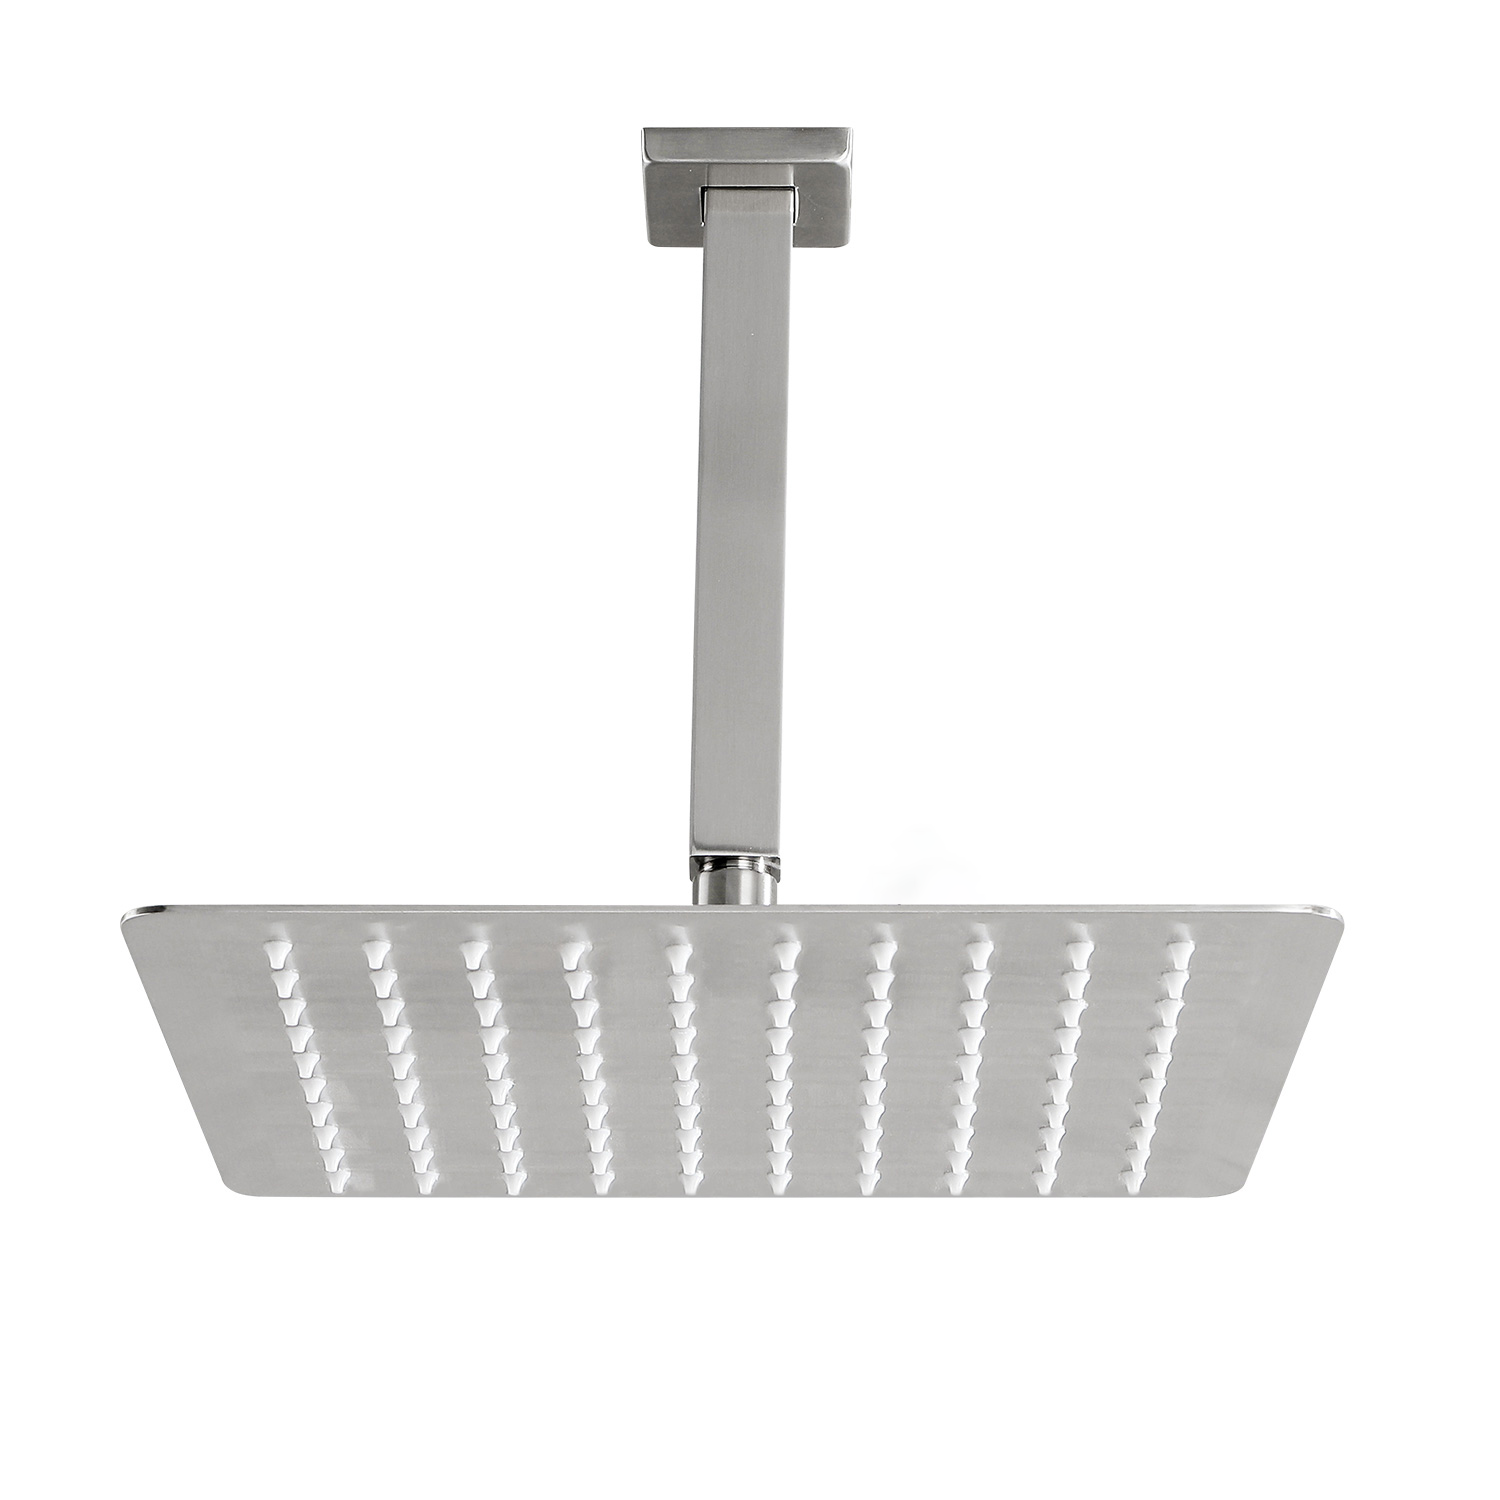
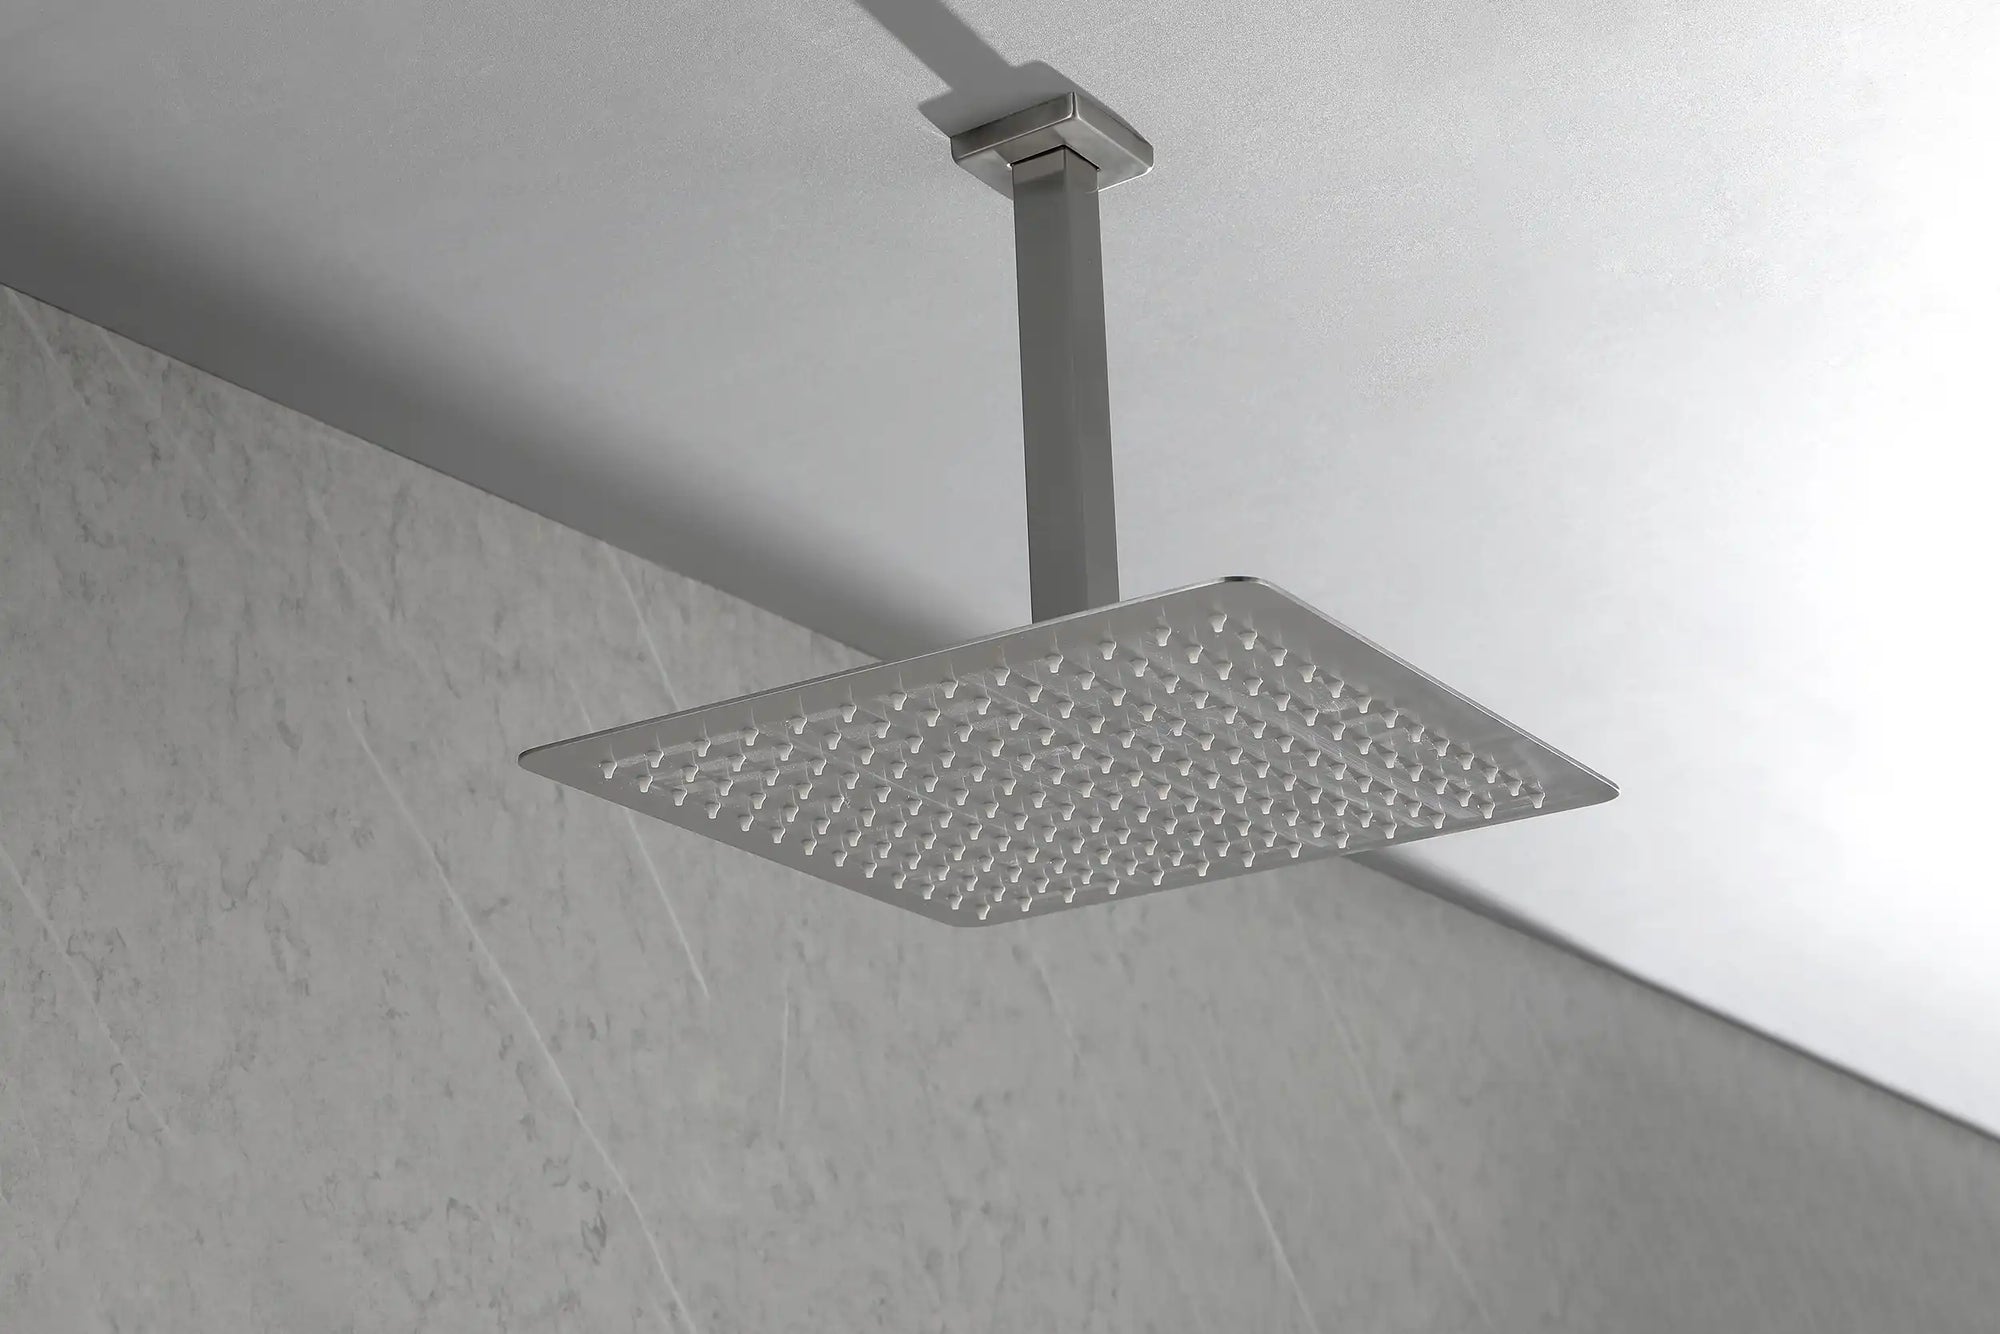
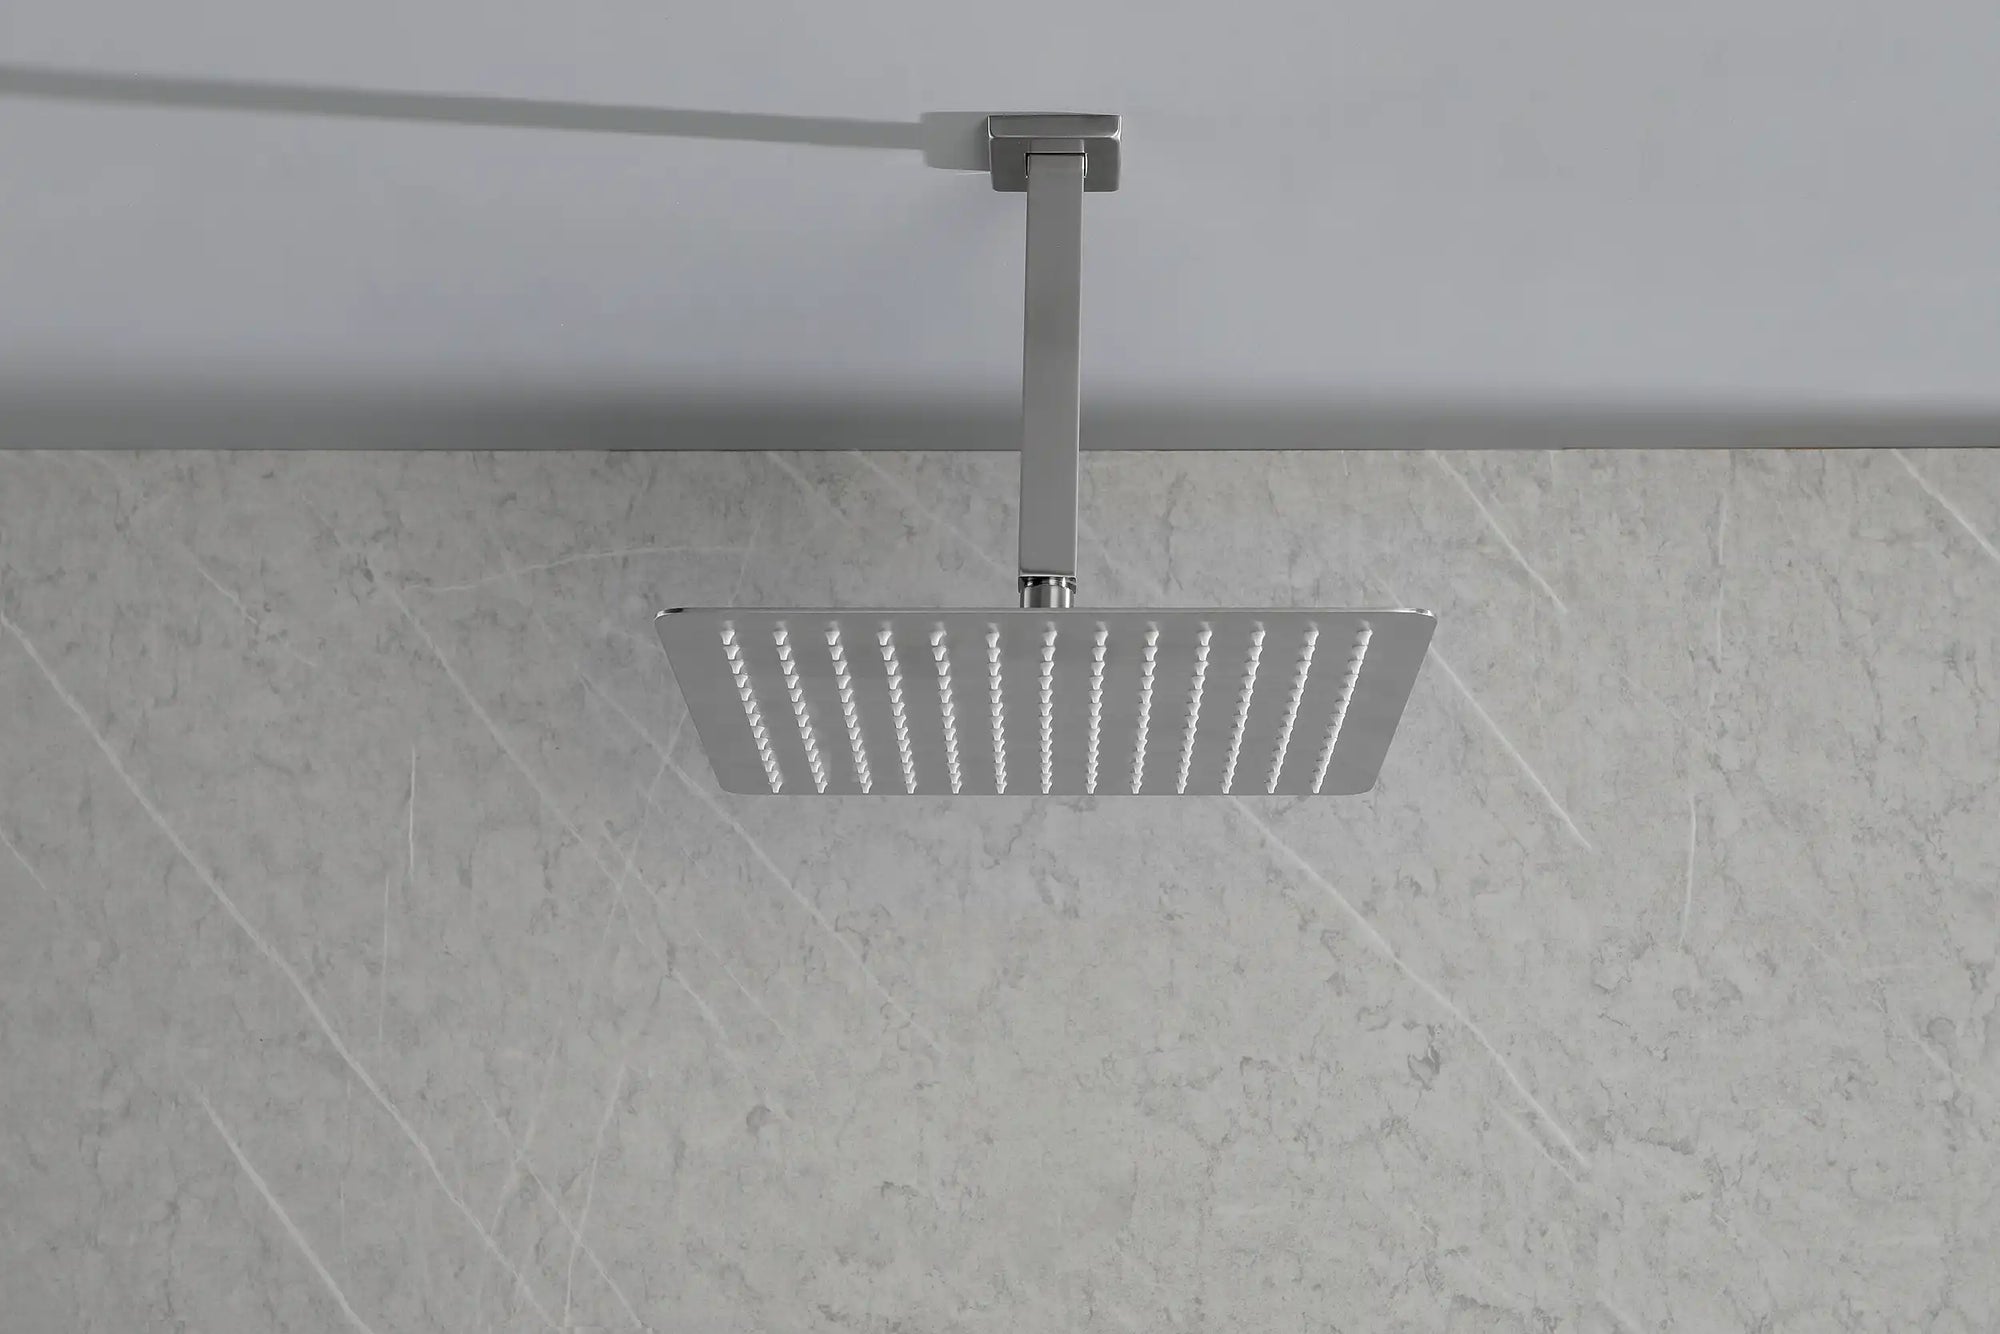
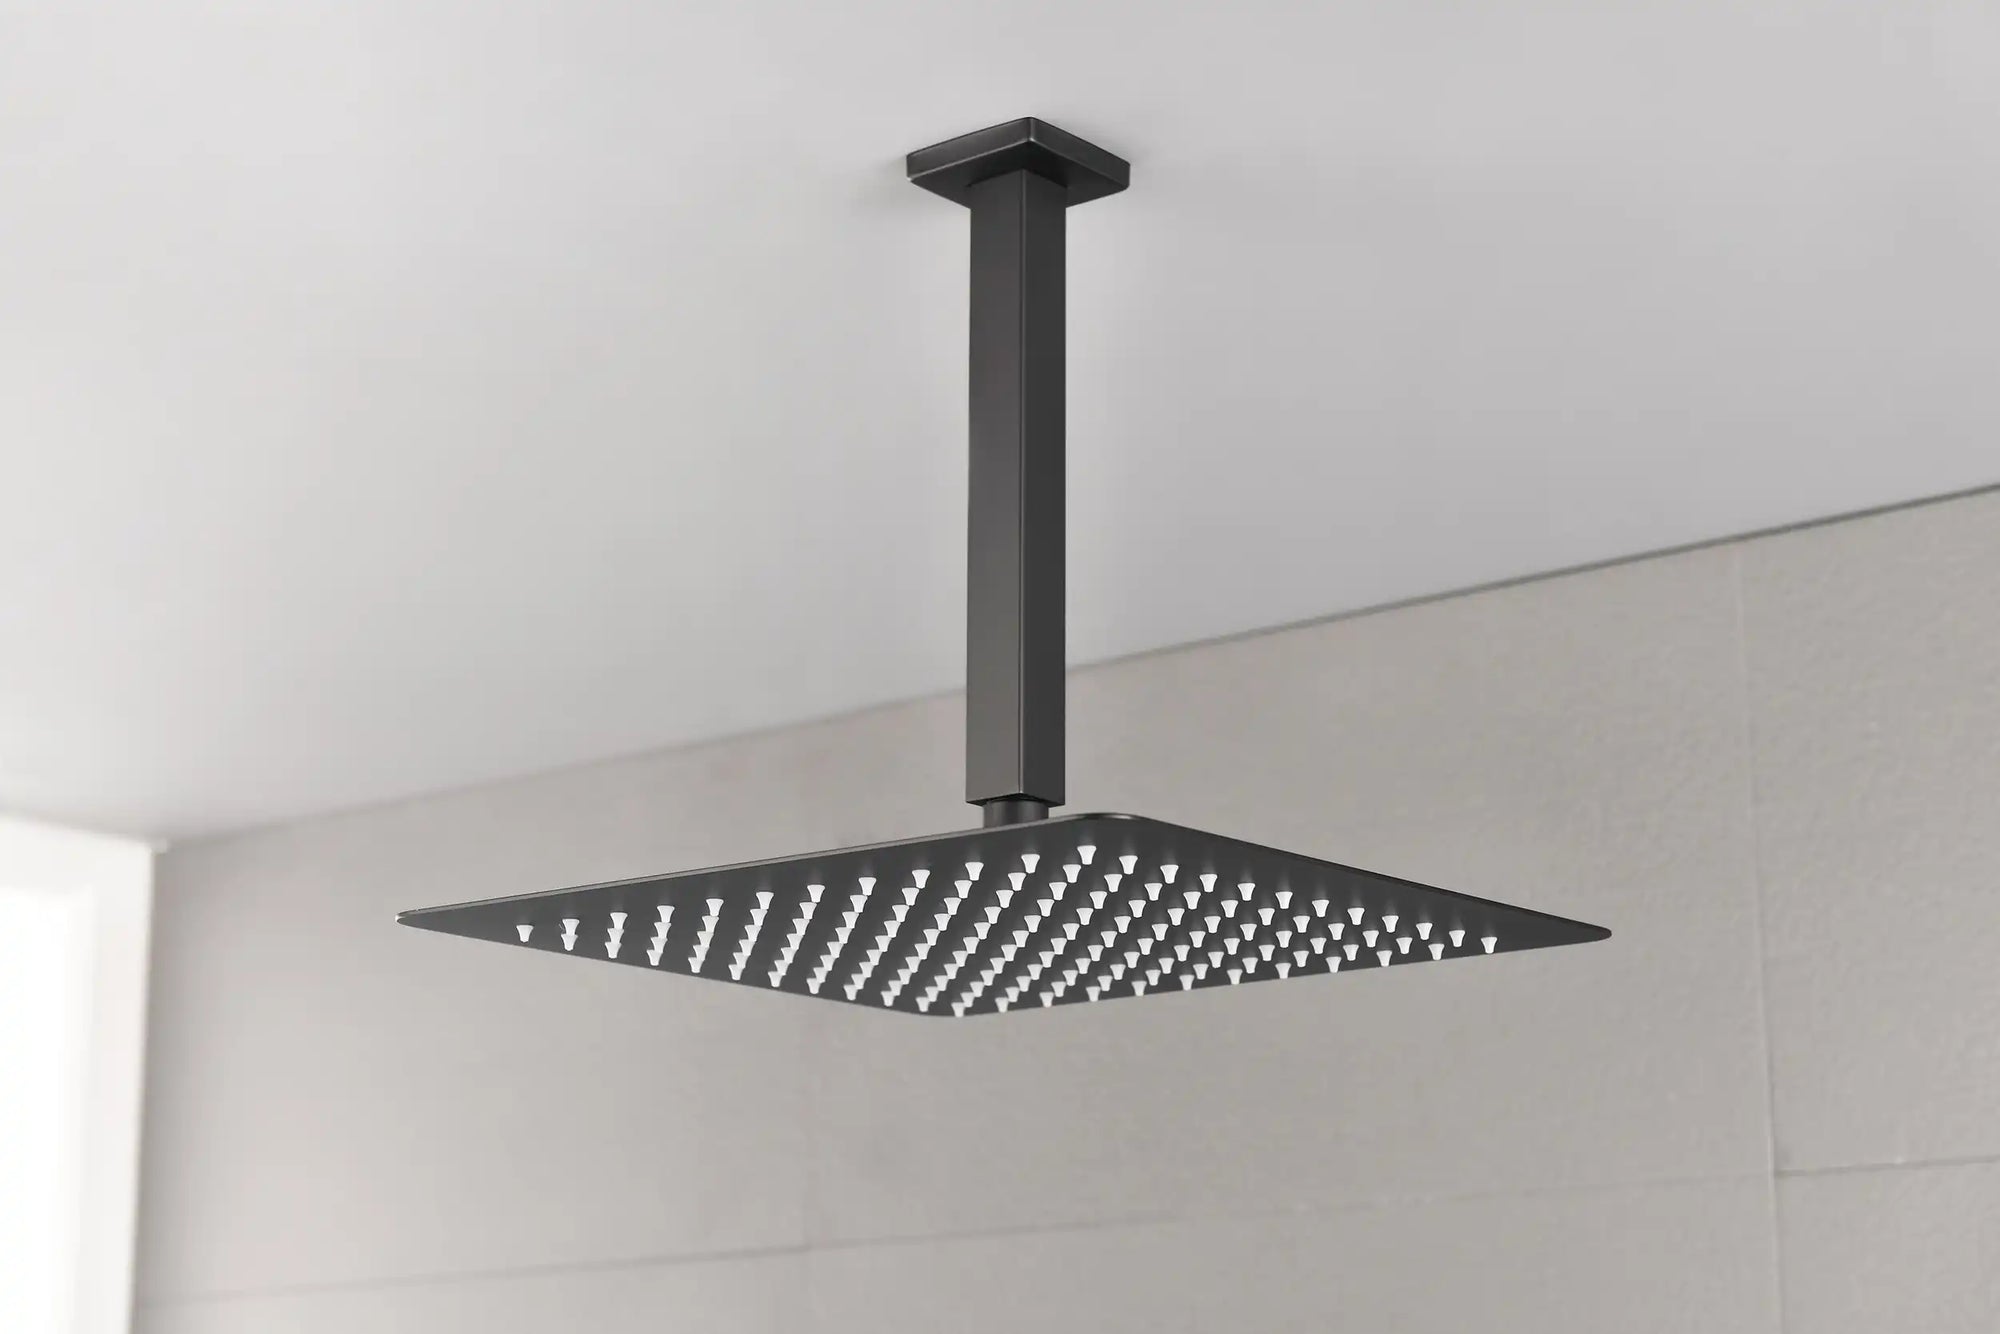
Step 4: Install the Riser Pipe and Shower Head
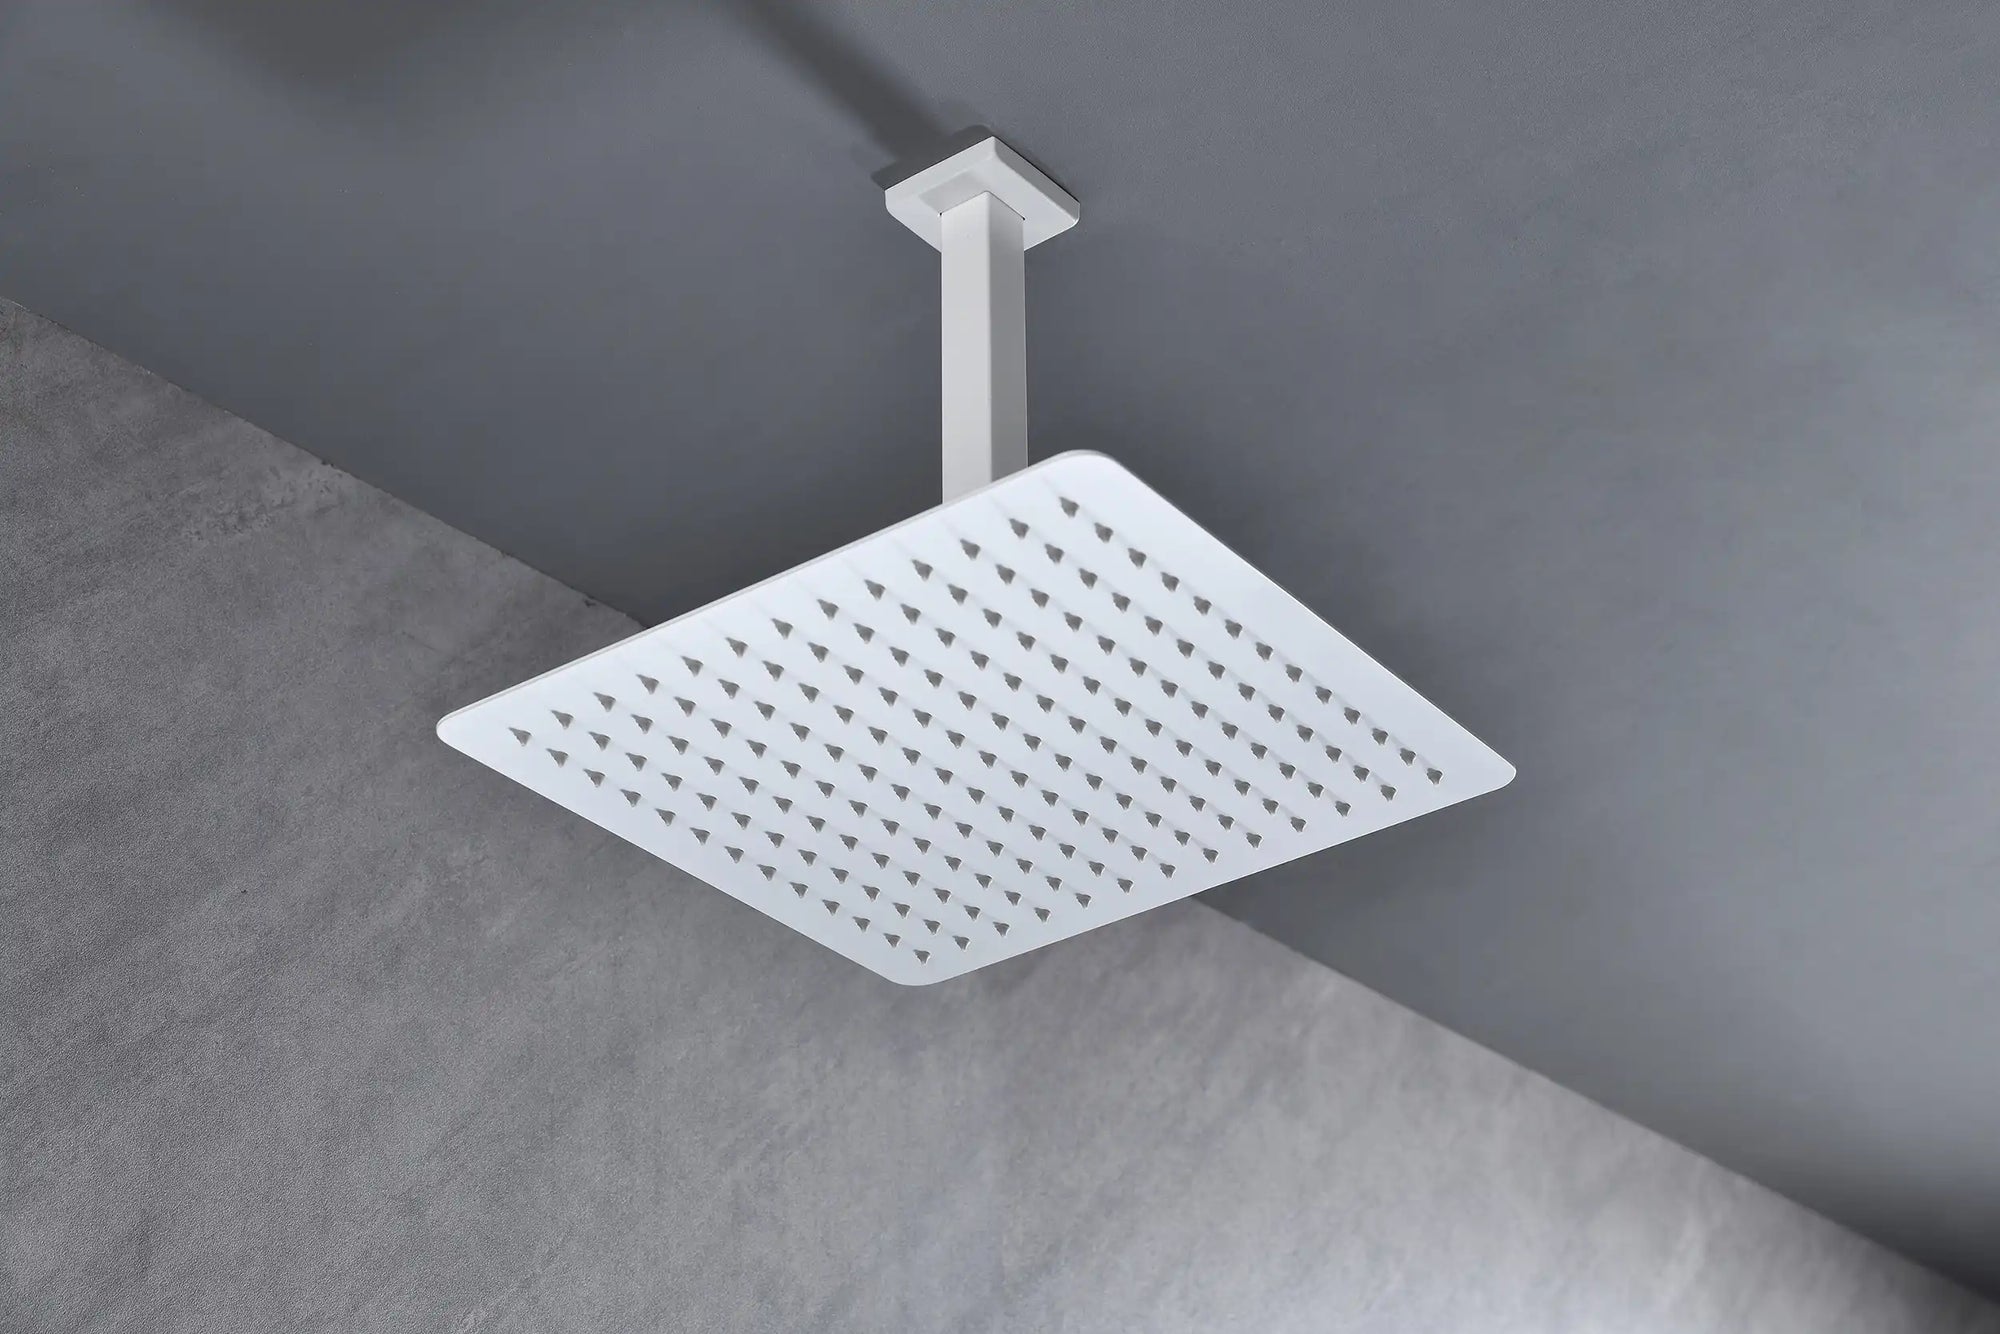
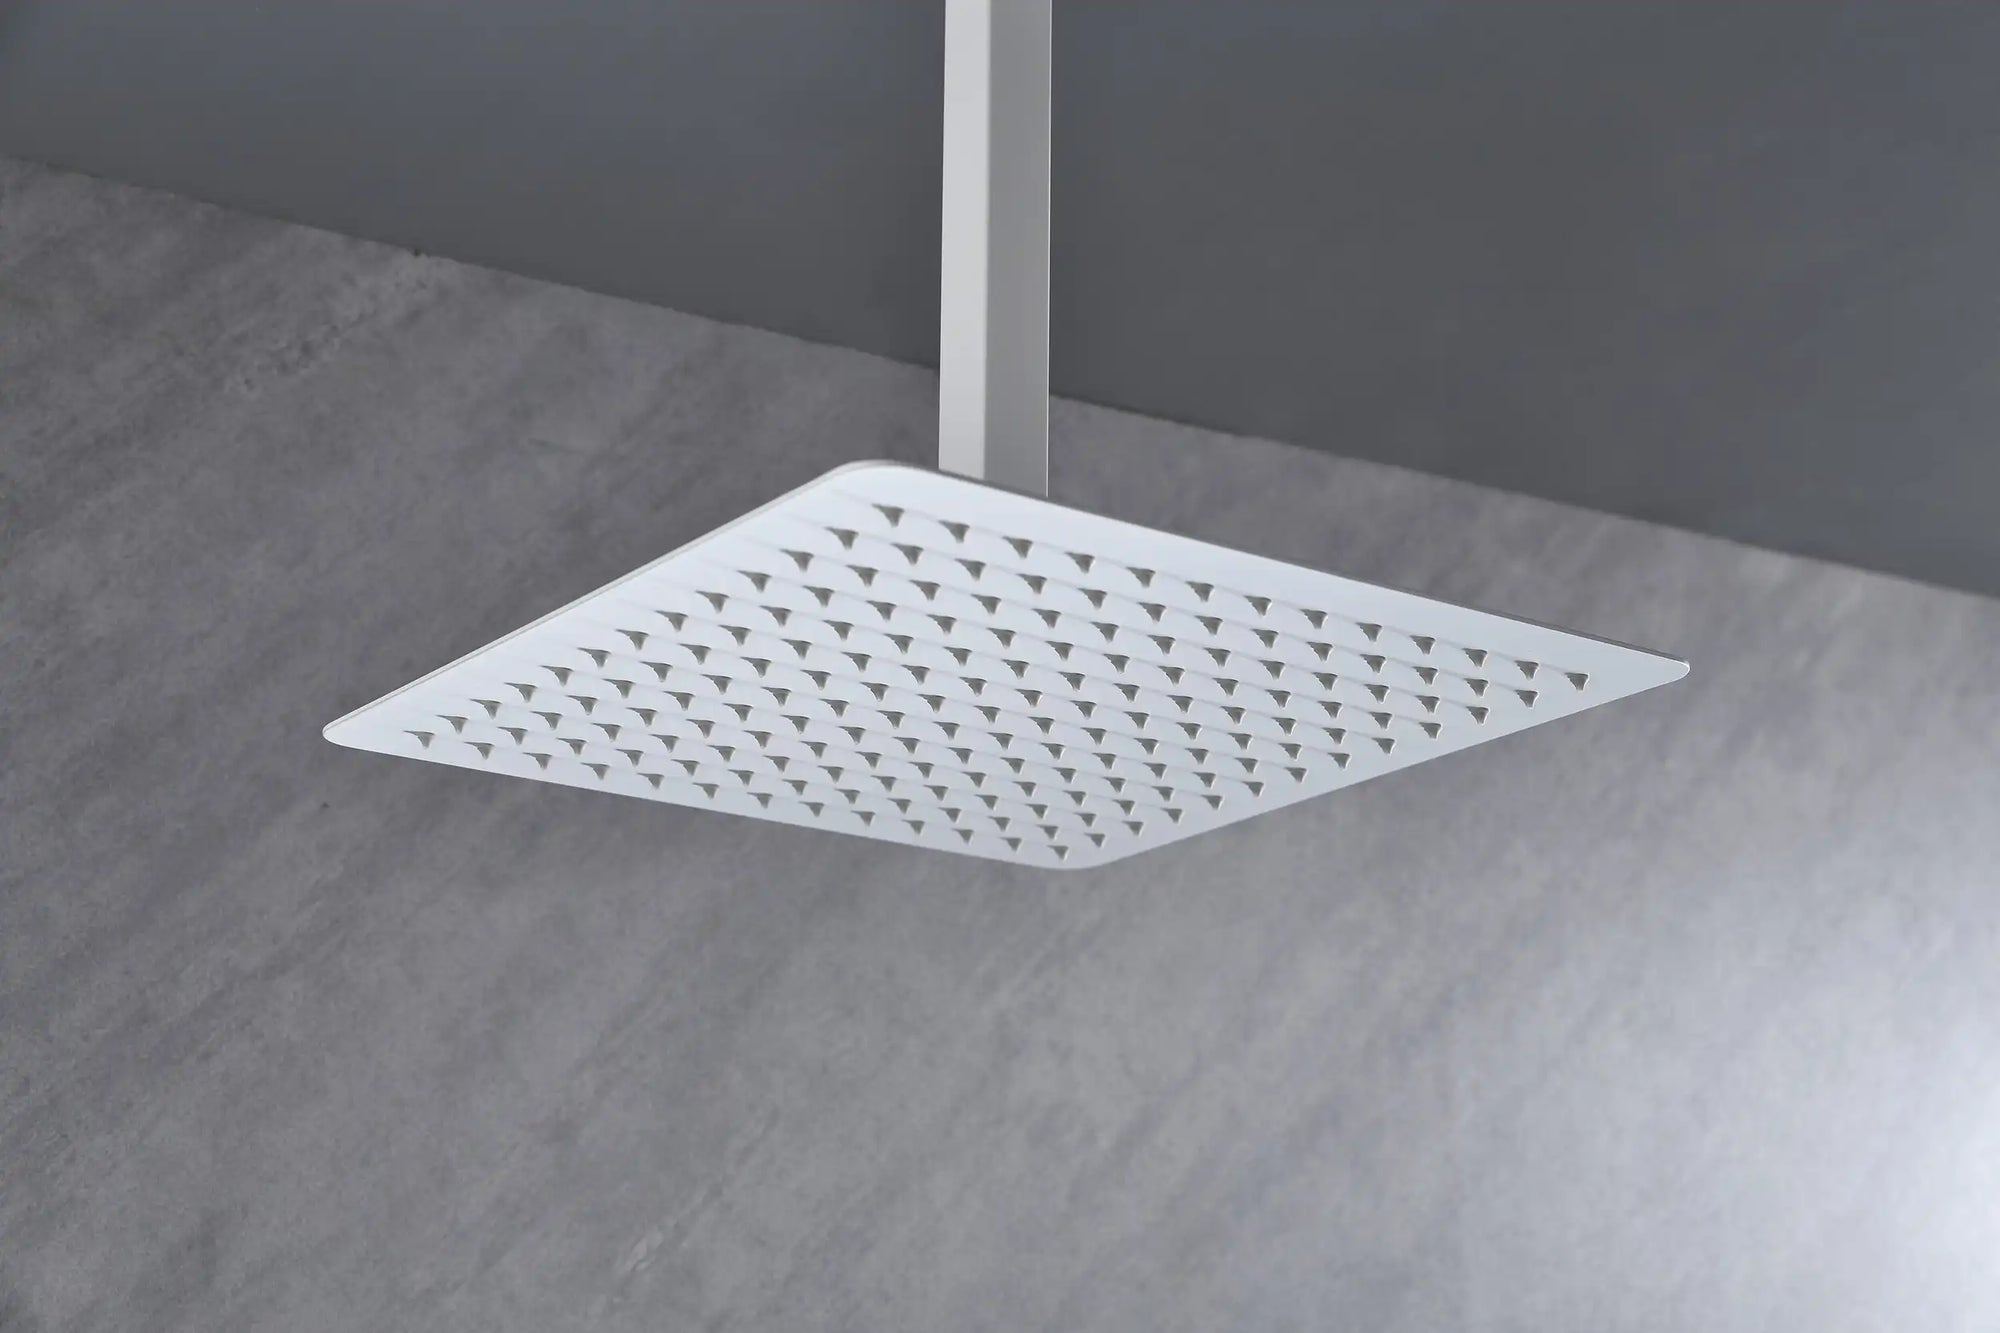
Connect the riser pipe to the faucet. Install the top shower head to the ceiling support or wall bracket. Add anti-sway clamps if necessary to stabilize the shower conversion kit system.
Step 5: Install the Curtain Rod and Shower Curtain
Choose a D-shaped or oval curtain rod and fix it to the crossbeam or wall bracket. It is recommended to use an antibacterial and mold-resistant shower curtain with a magnetic bottom edge or a weighted bottom edge to prevent it from sticking to the body. For added spa-like ambiance during your shower, you can even incorporate shower steamers into your routine.
After installation is completed, test each water outlet and the switch to ensure there is no leakage and the water flows smoothly. Only then can the entire shower conversion kit be put into practical use.
4. Shower Conversion Kit Benefits for Different Households
A shower conversion kit is not merely an extension of shower functionality; it is also a freestanding tub upgrade strategy that adapts to diverse lifestyle patterns.
Couples / Single Users
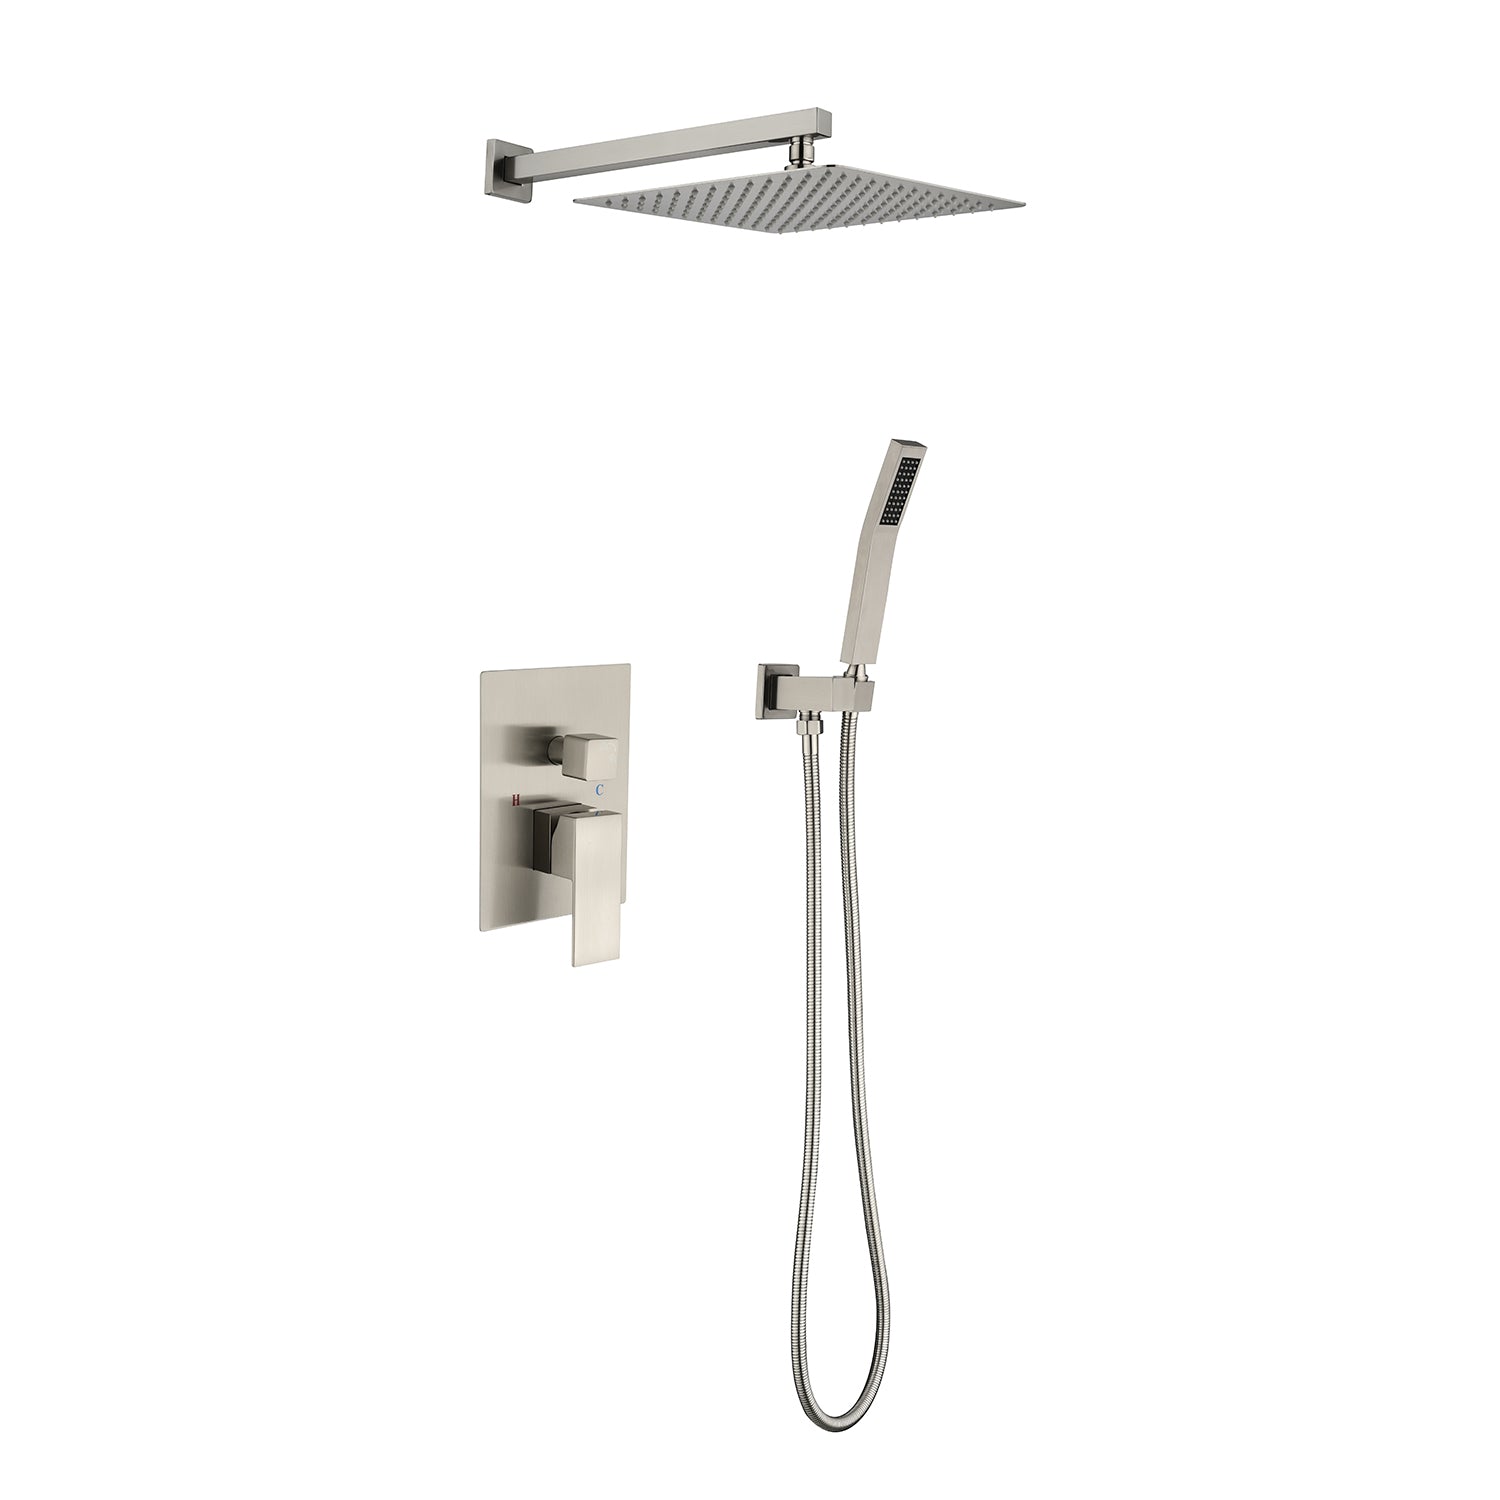
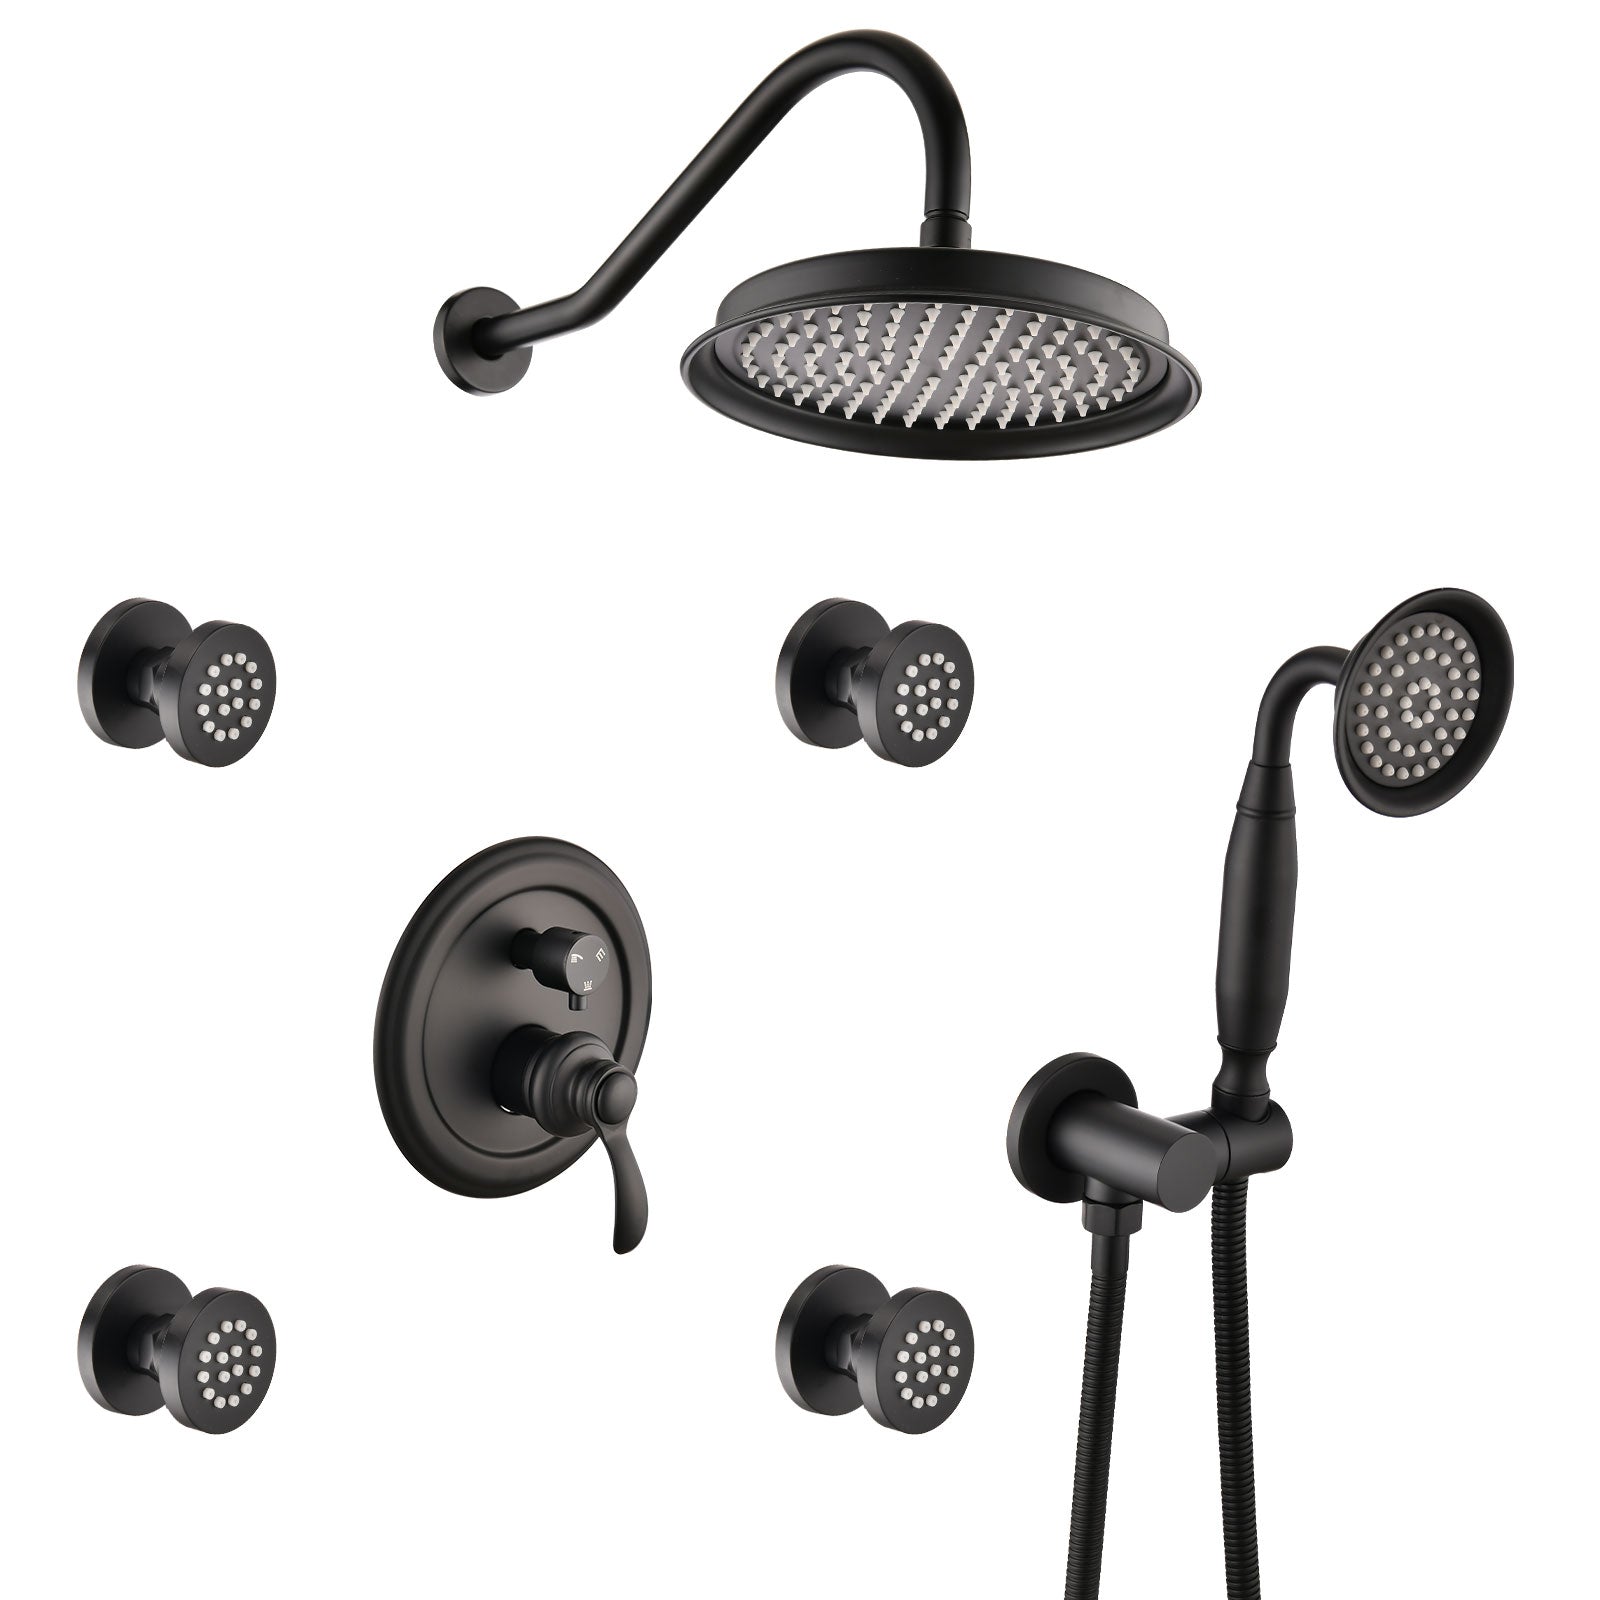
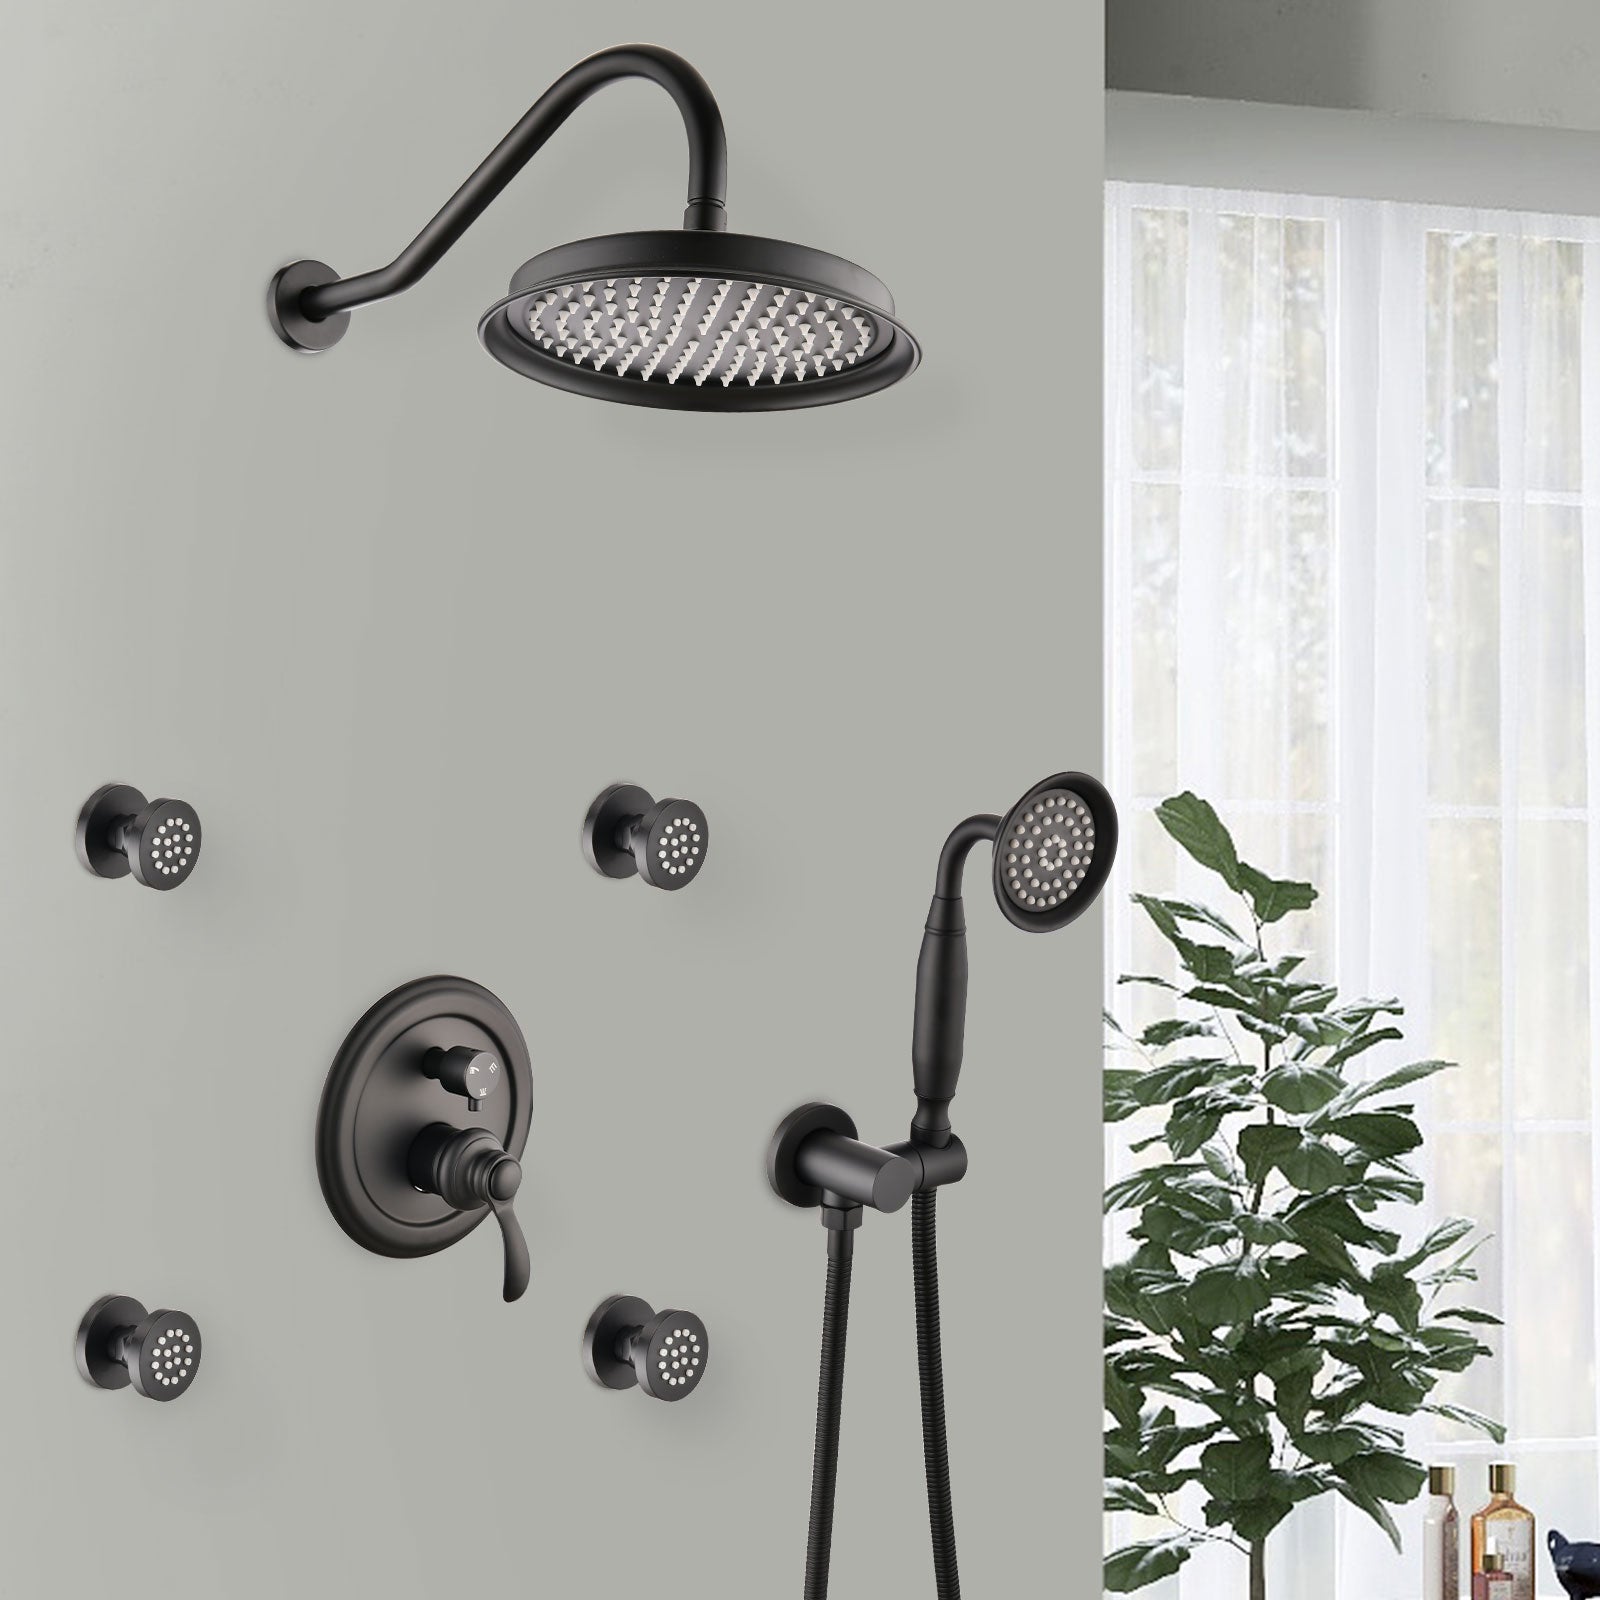
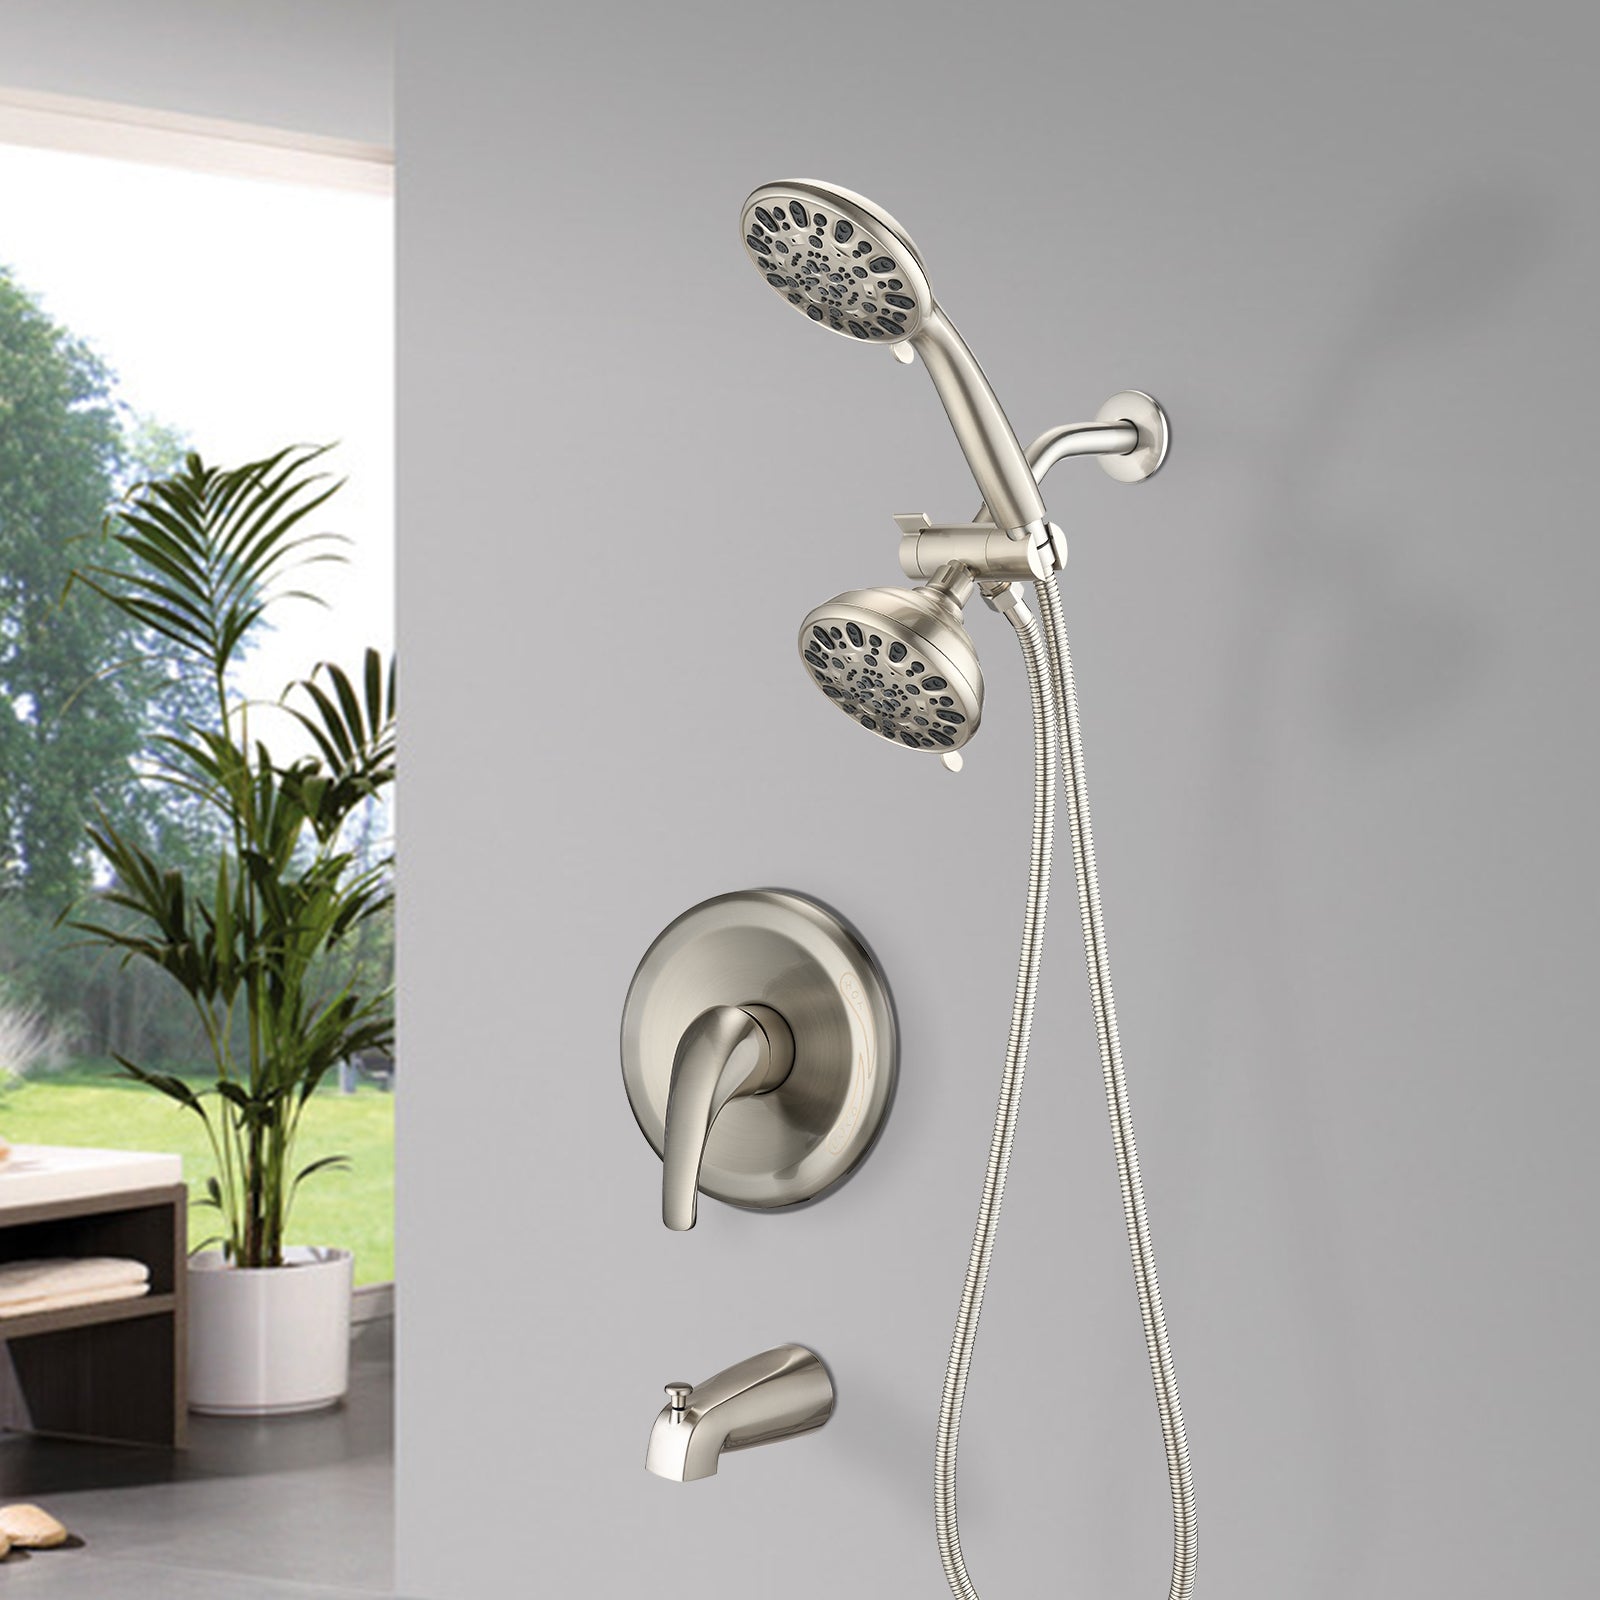
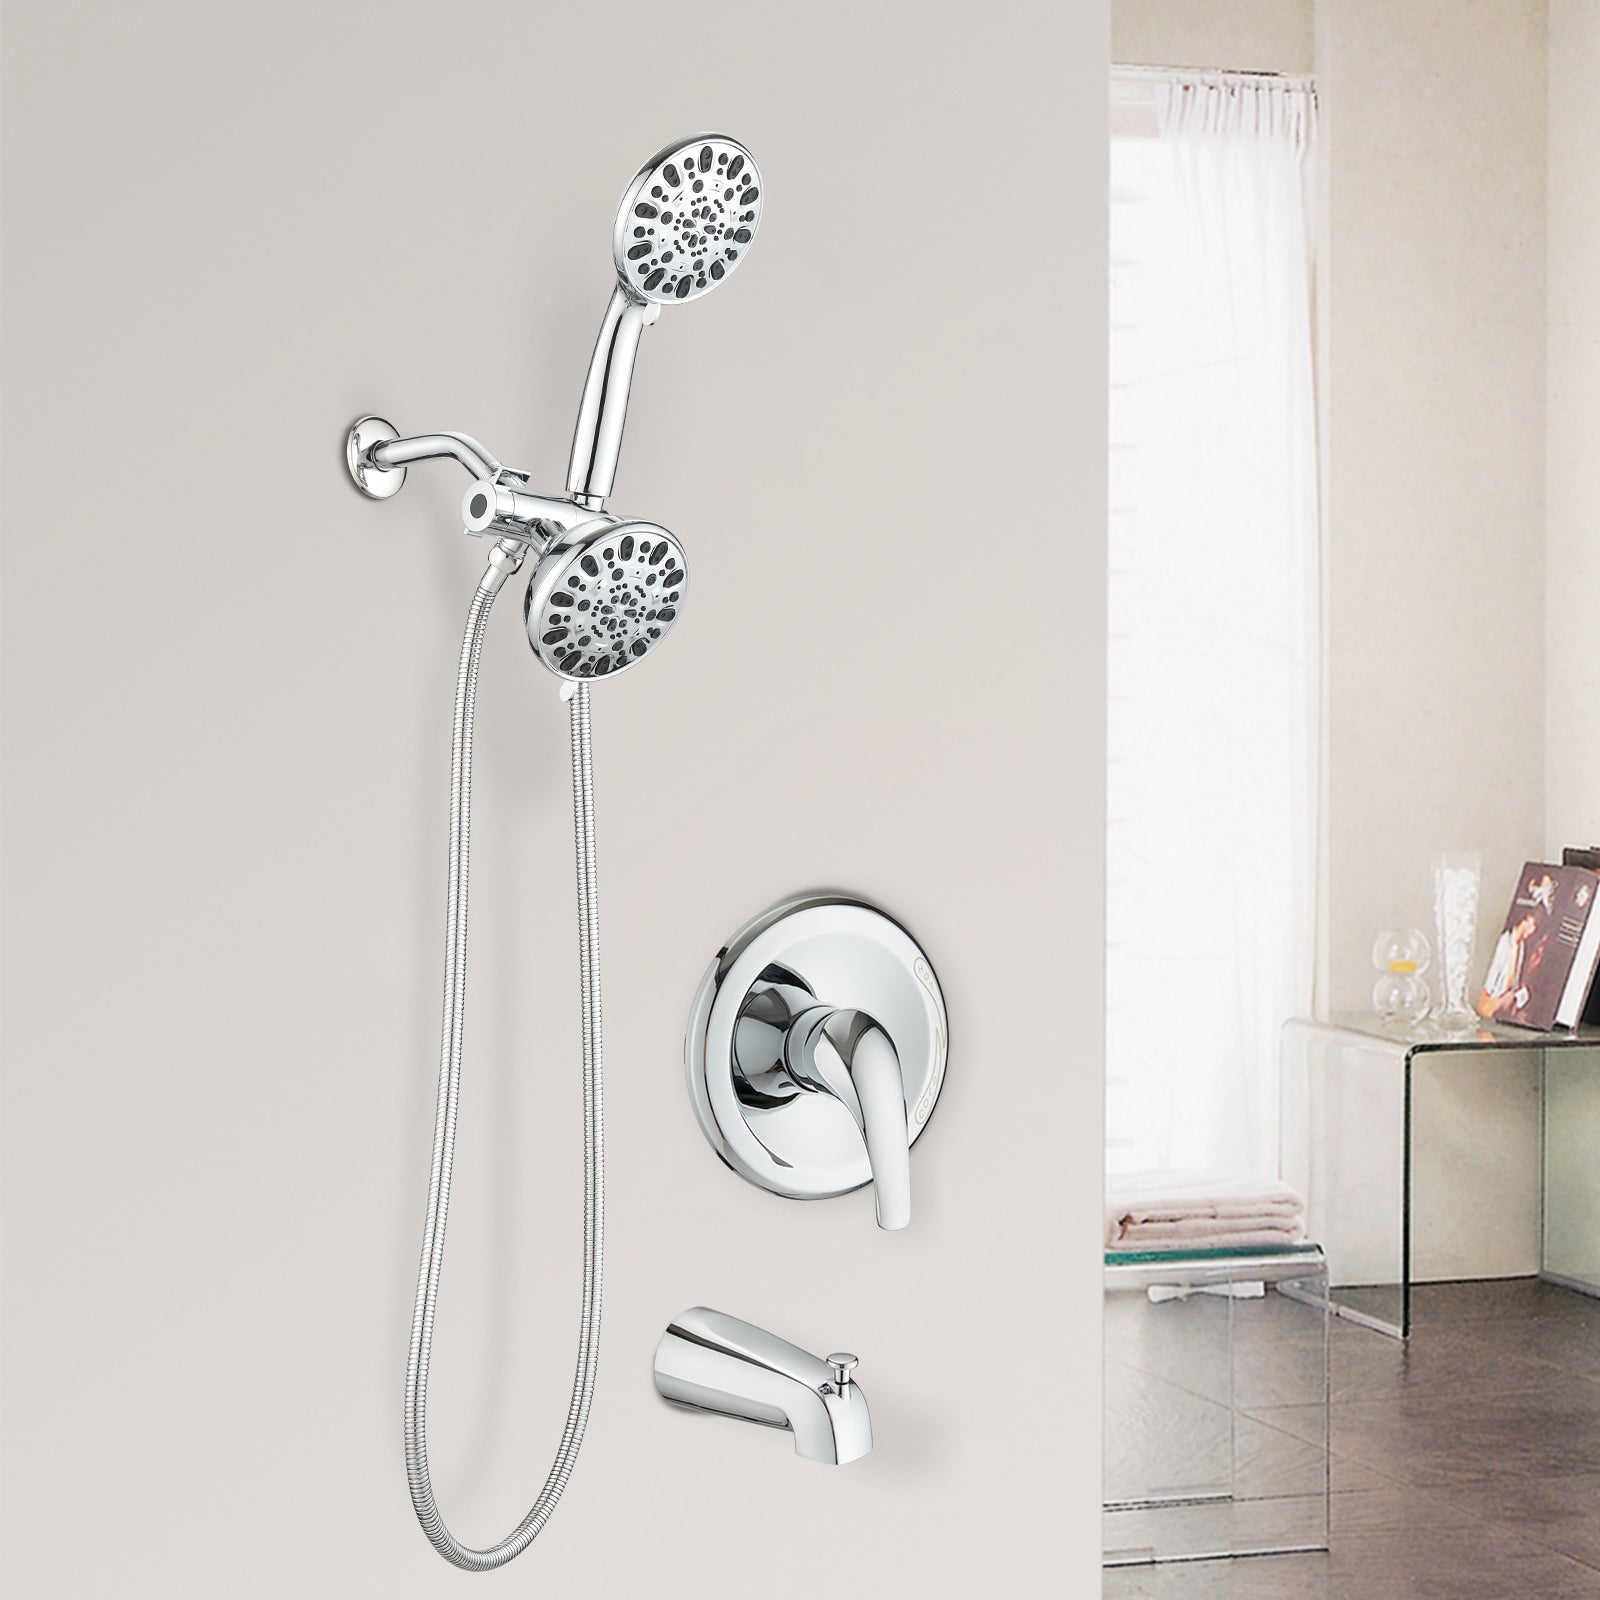
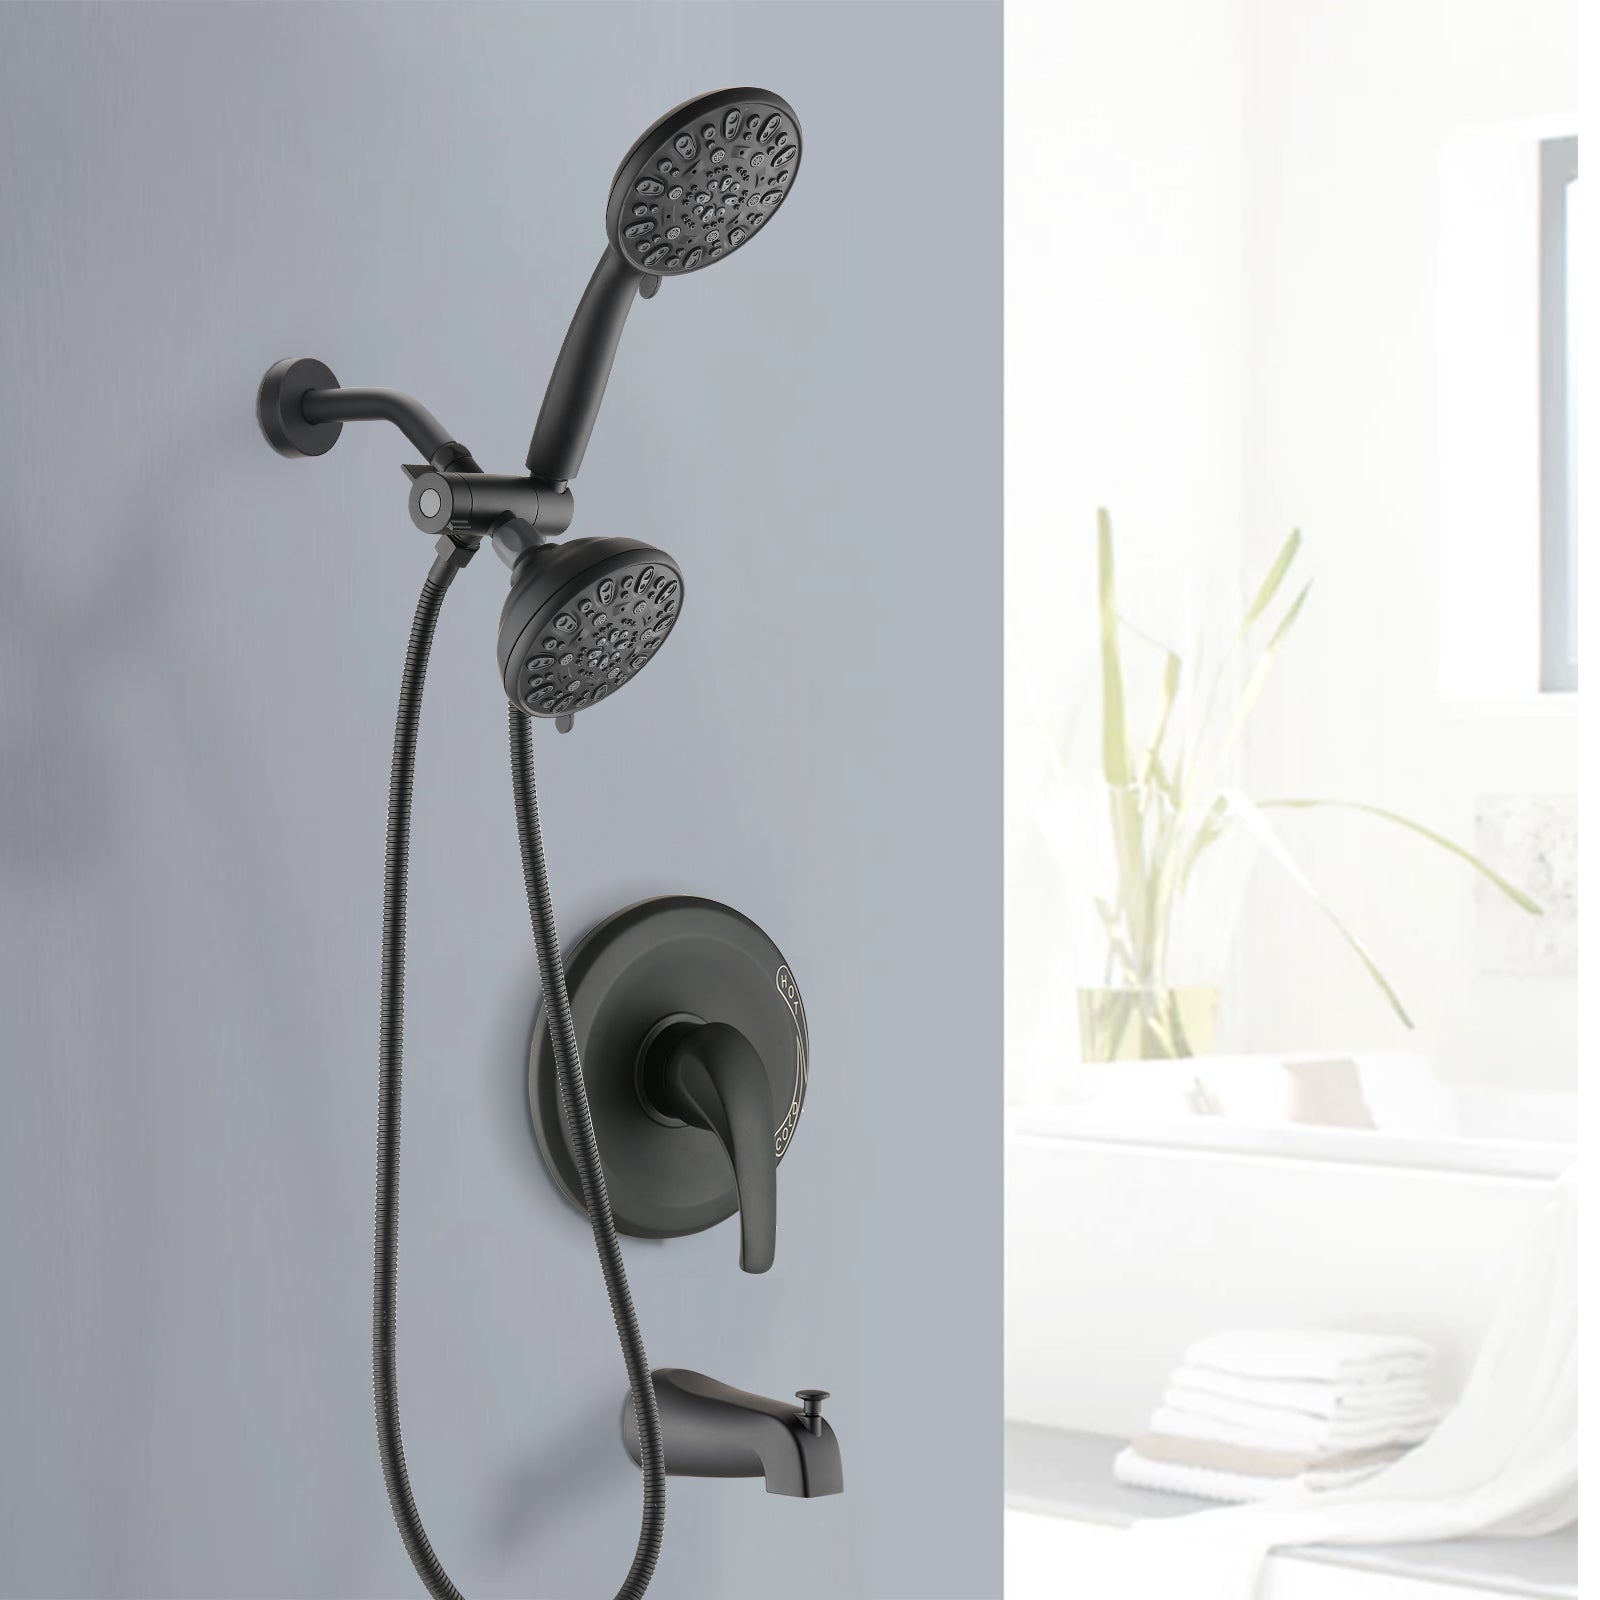
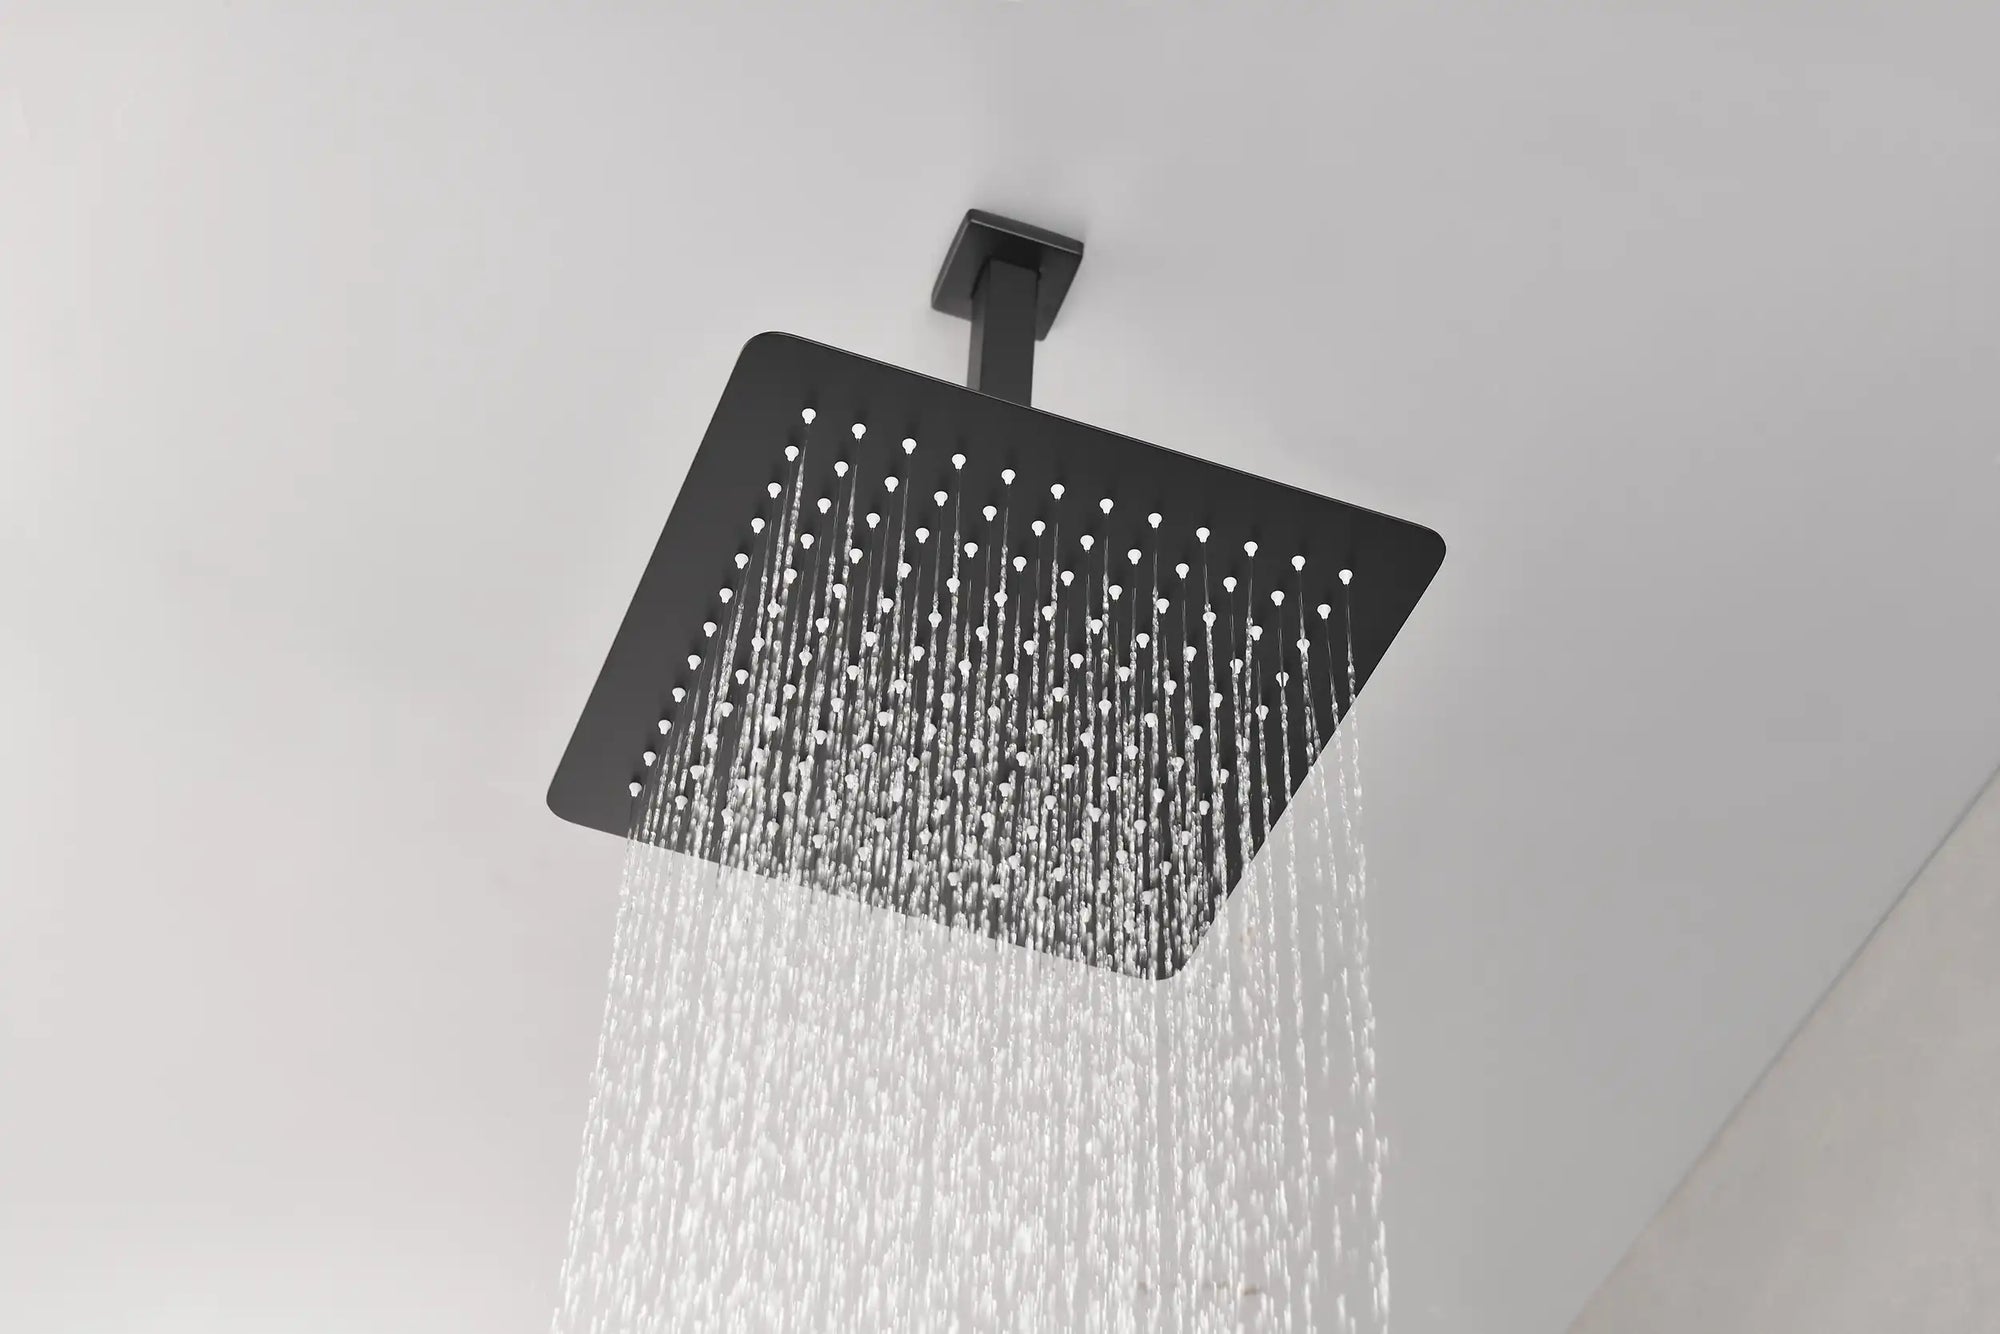
- Ideal for modern bathrooms, wall-mount kits with matte black finishes are stylish and minimalist.
- A half-glass partition combined with a curtain creates transparency and prevents splashing.
- A high-quality shower conversion kit can significantly enhance the overall ambiance.
Family of Three
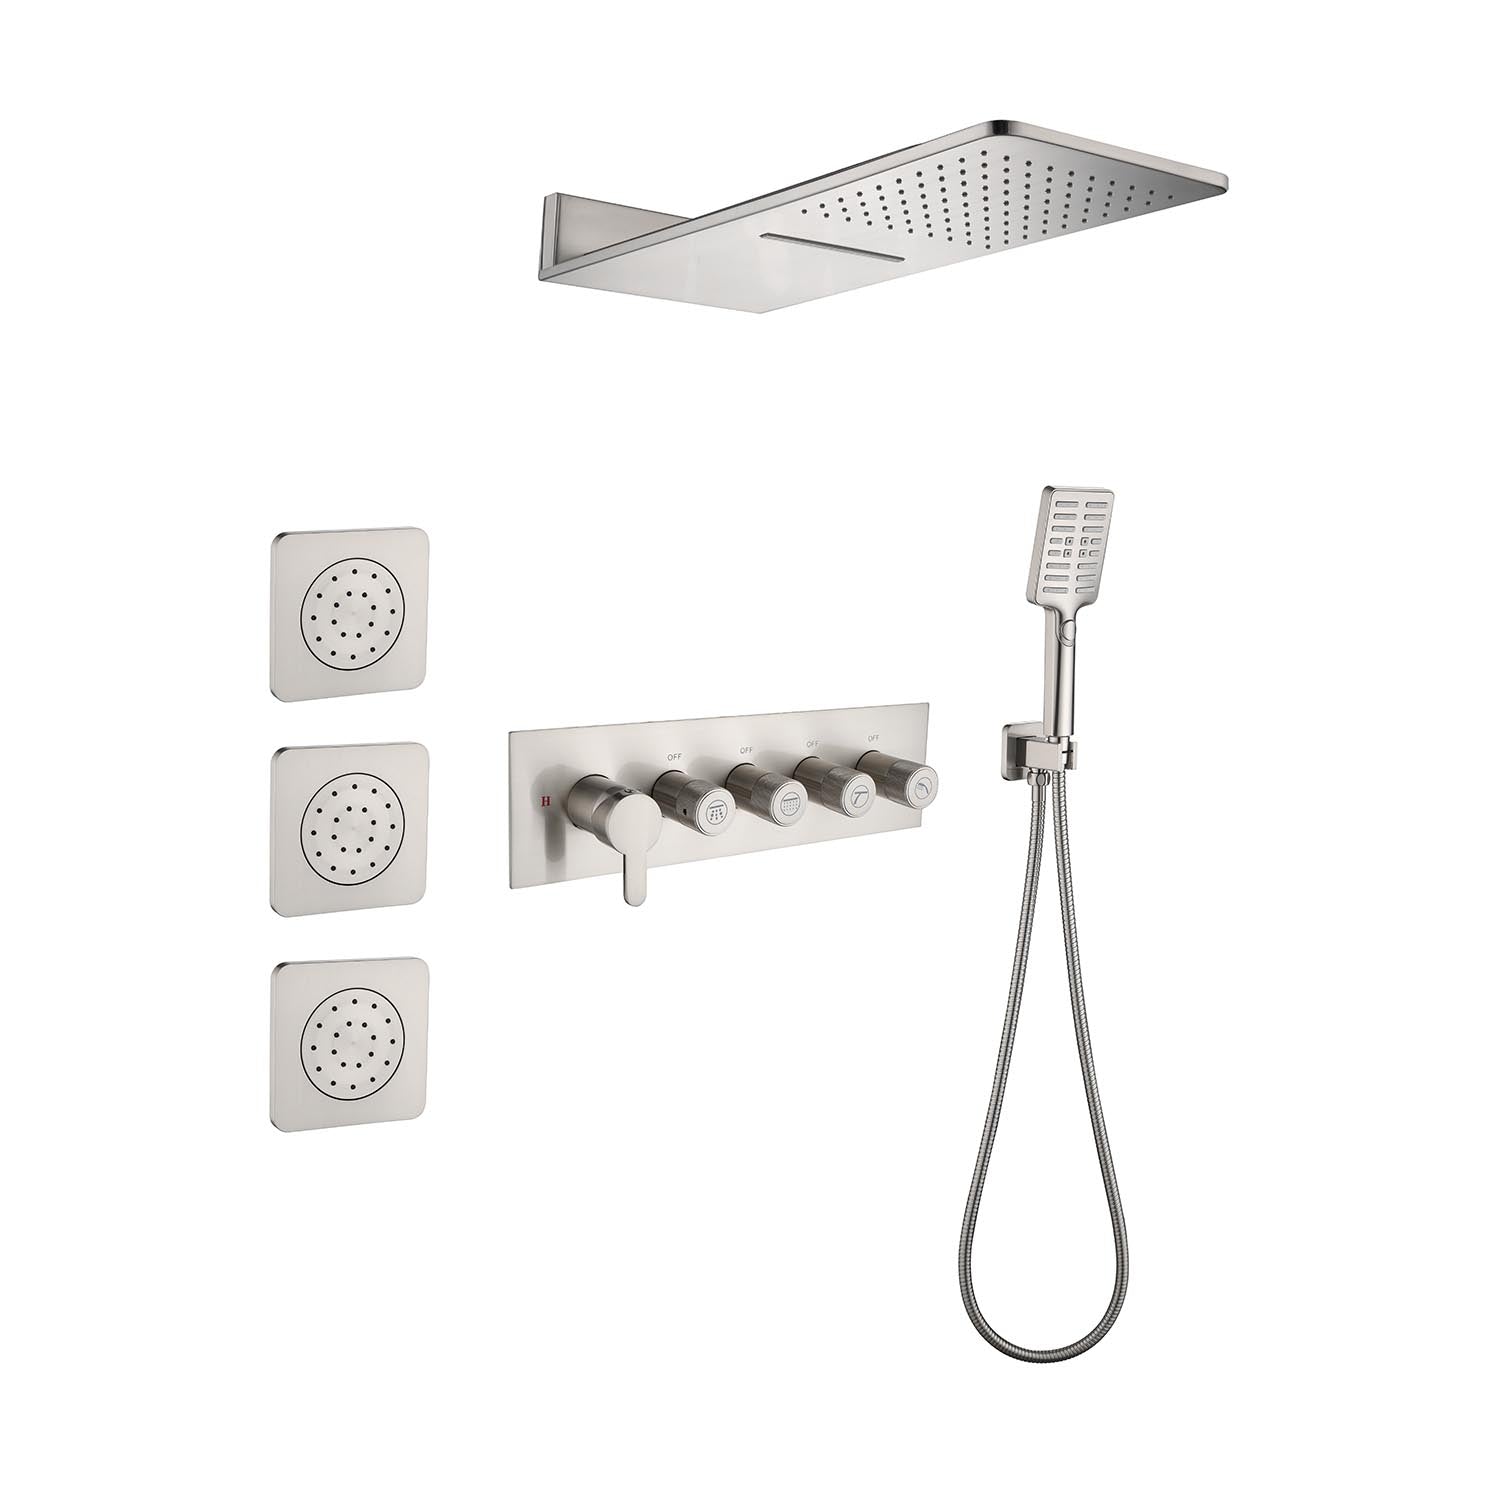
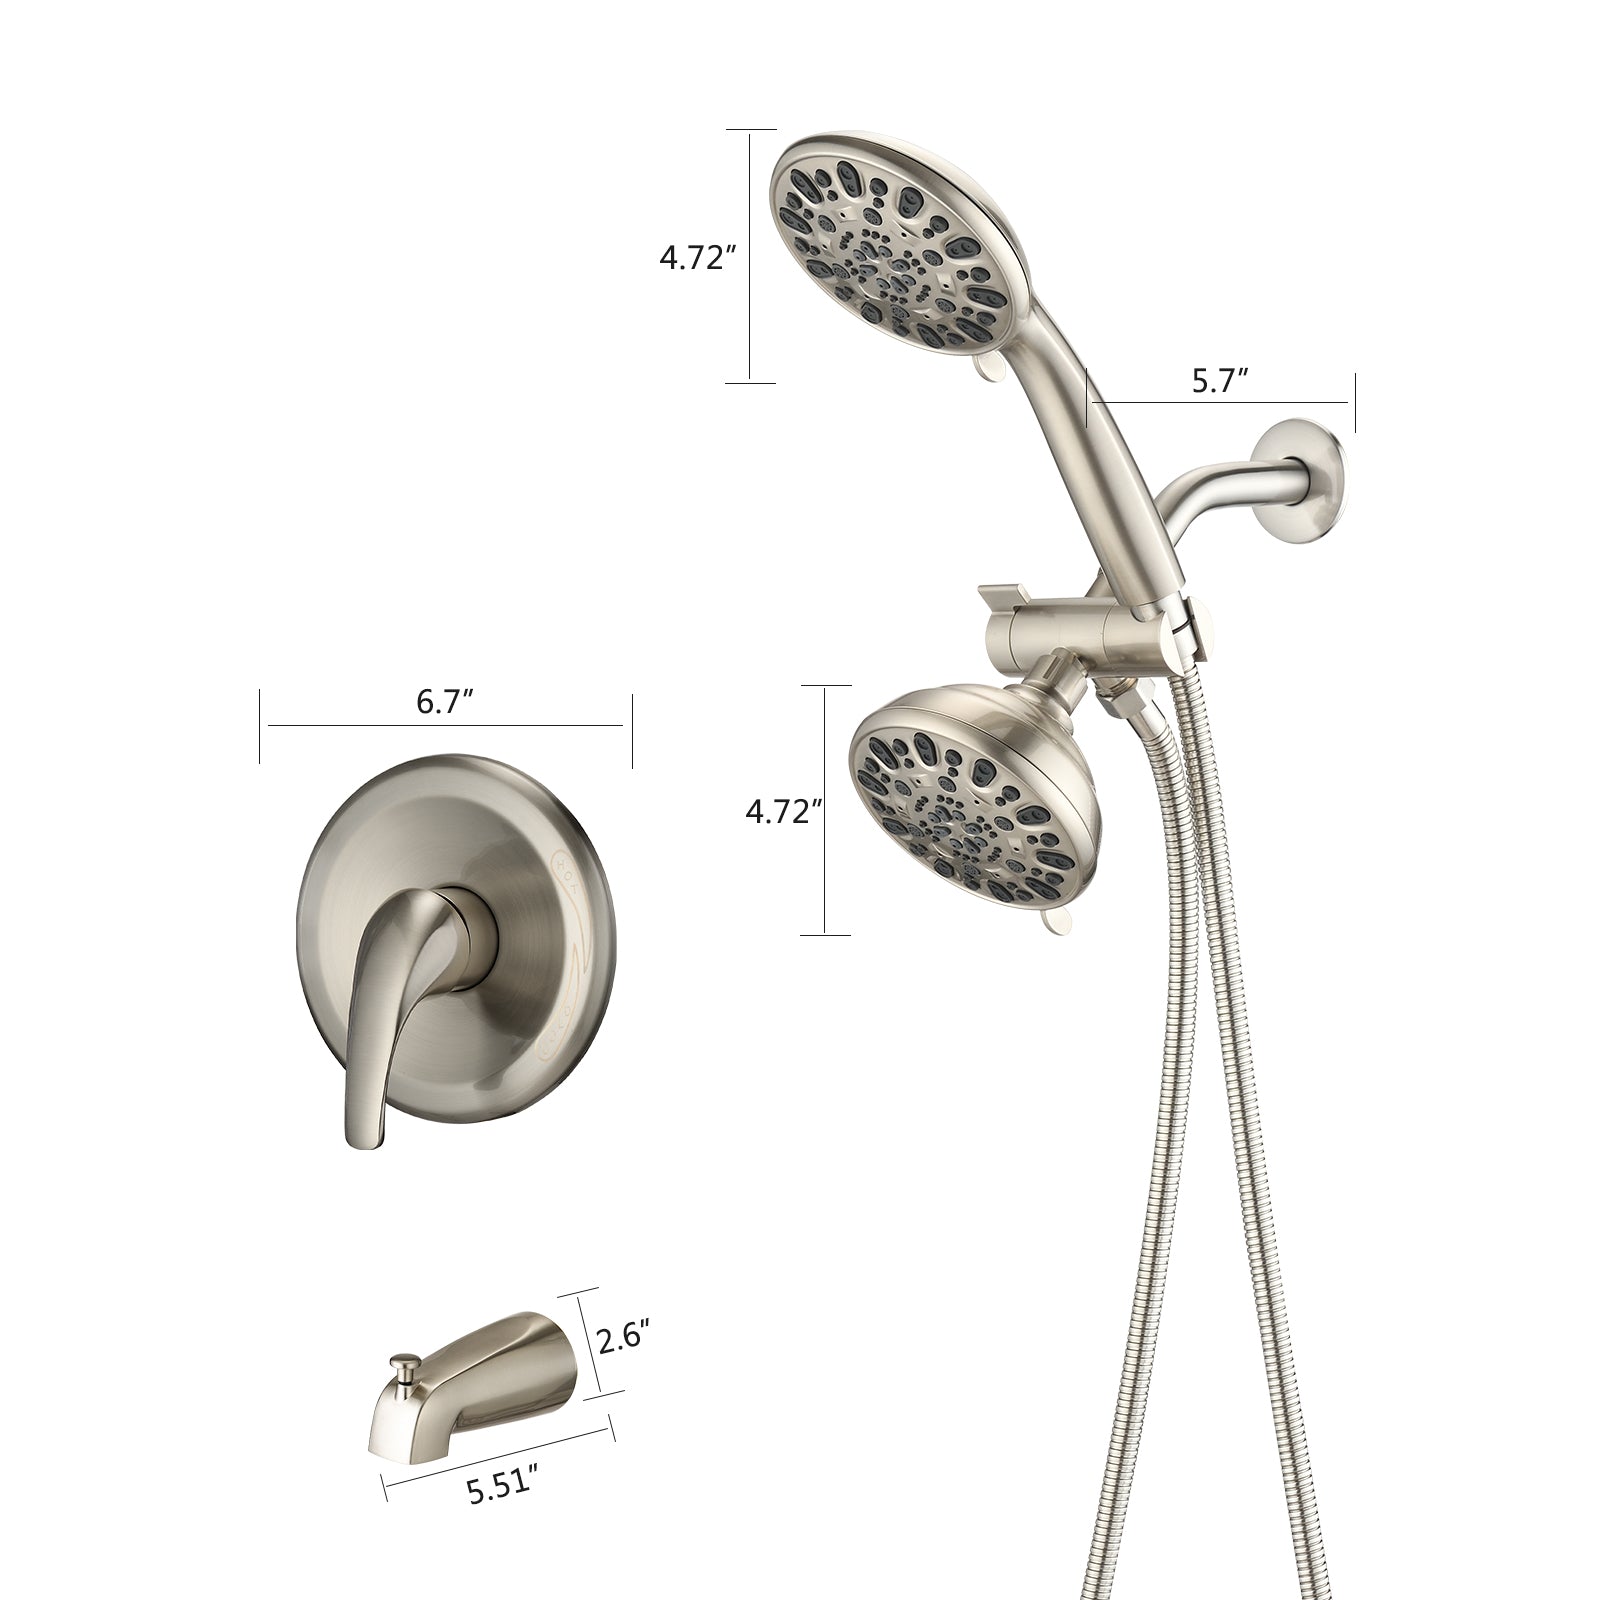
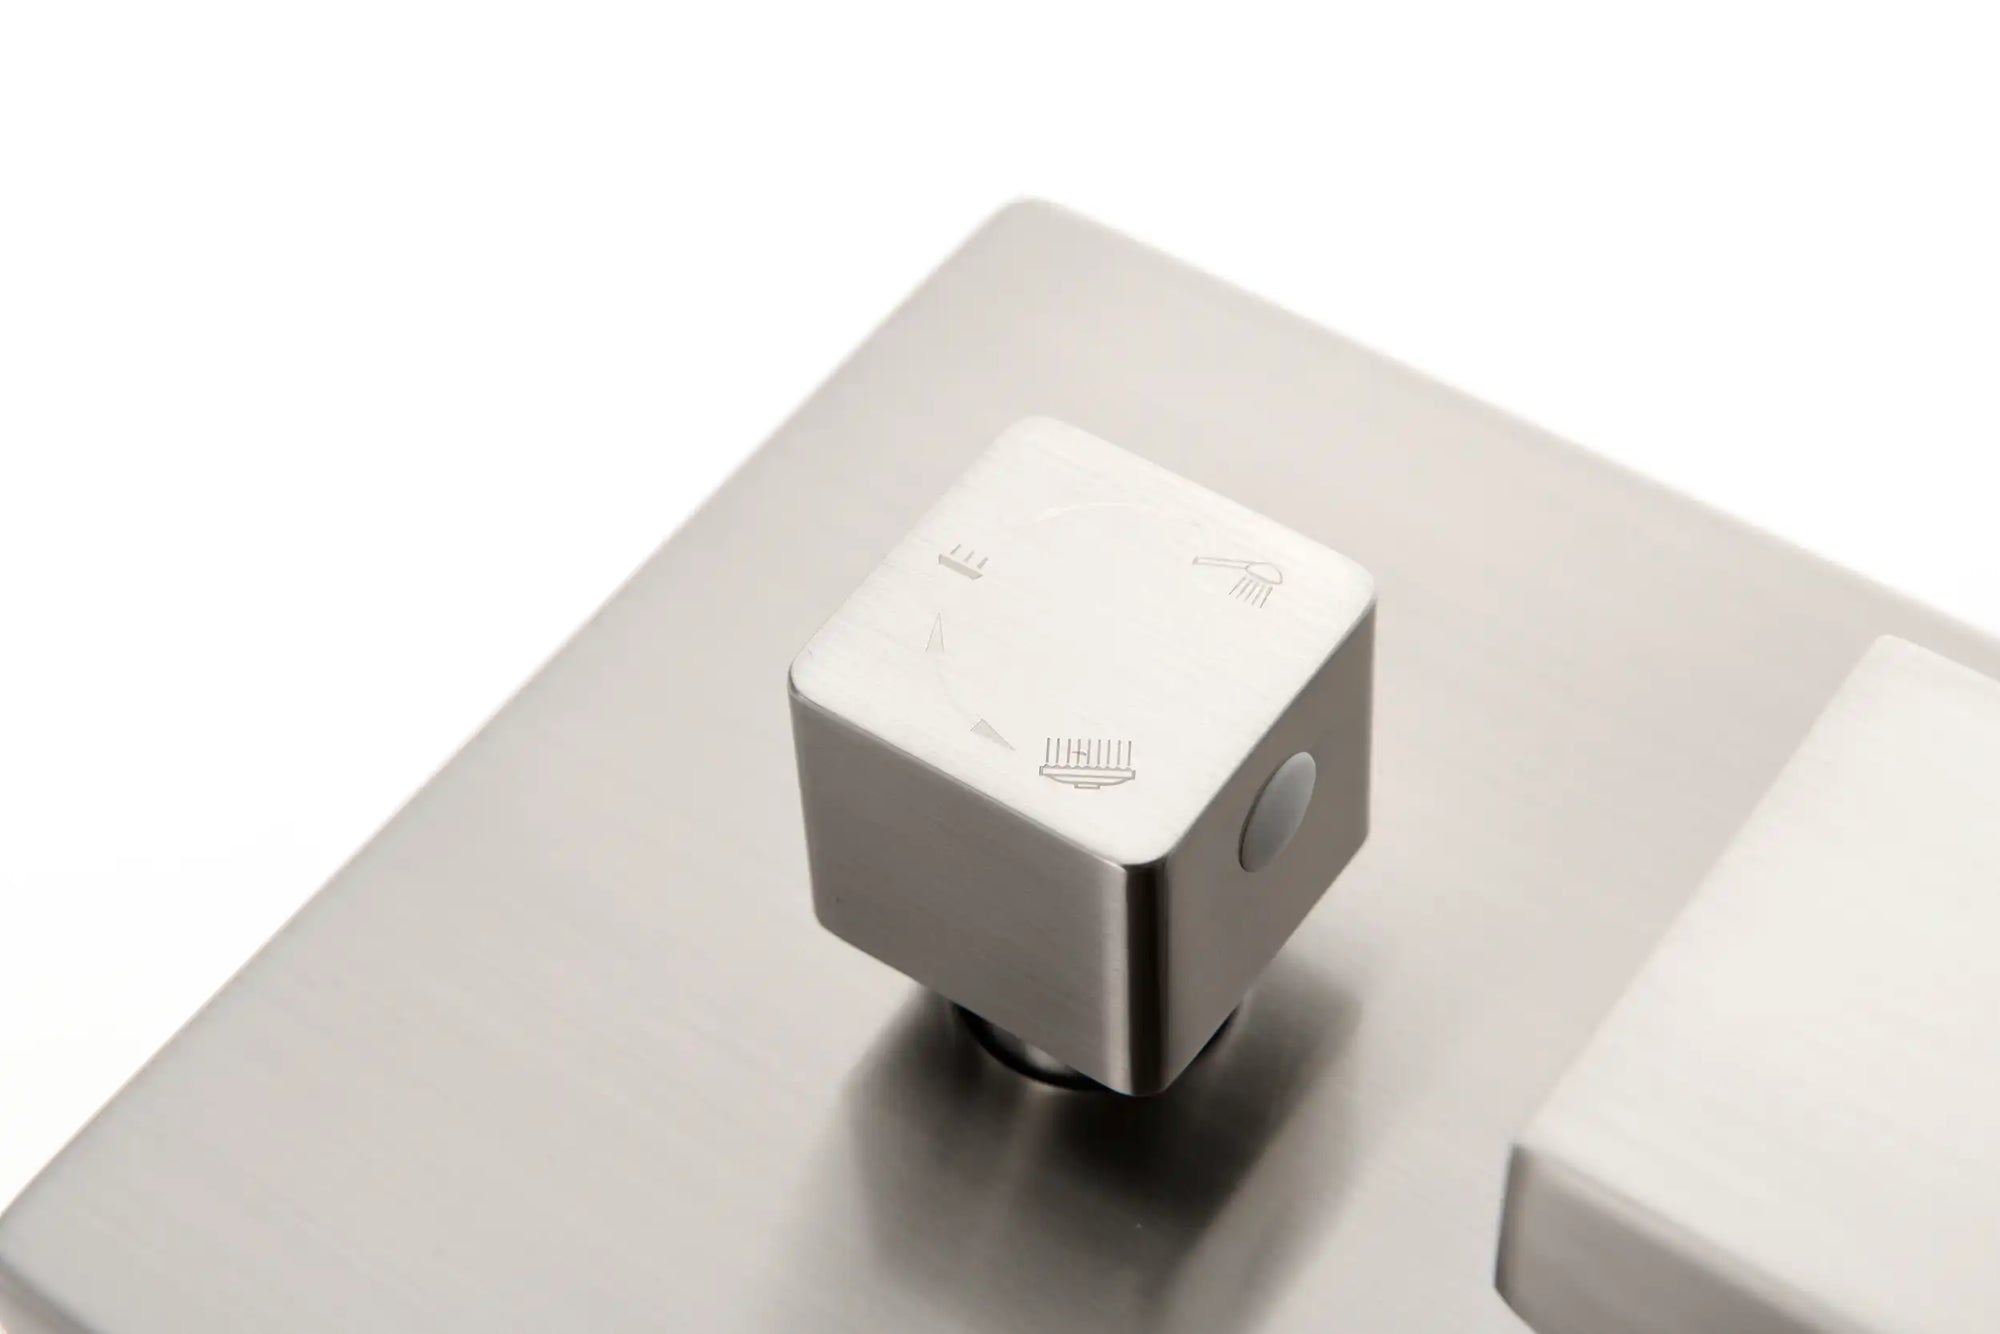
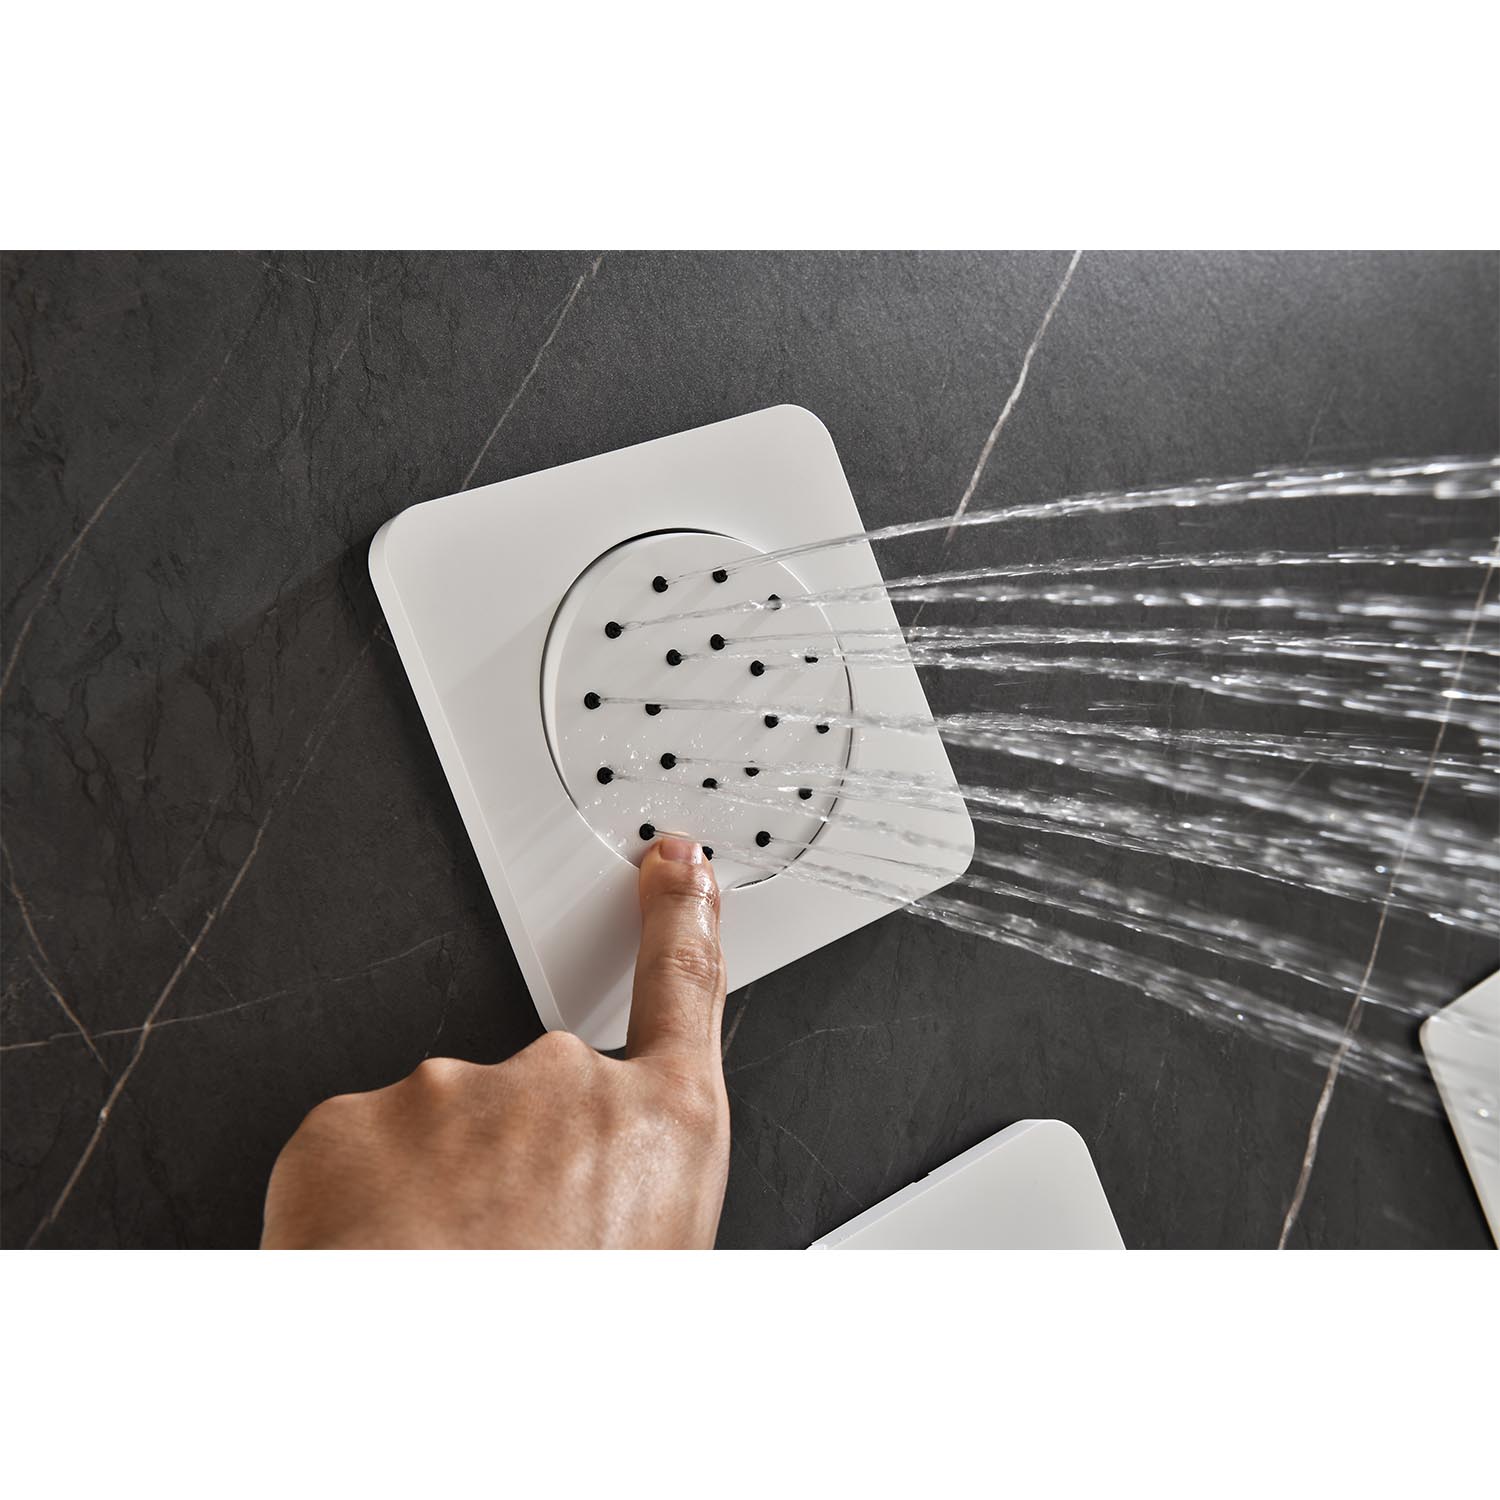
- Opt for a dual outlet design (top + handheld showerhead) to meet varied needs.
- Combine with bathtub corner shelving to improve space usage.
- Use a D-shaped curtain rod for splash prevention in compact spaces.
And when kids use the shower too, knowing how to guide them through bath time safely makes all the difference.
Households with Elderly or Pets
- Choose low-pressure, adjustable shower heads to reduce irritation.
- Add stainless steel grab bars to improve safety.
- Handheld shower heads in a shower conversion kit make it easy to clean pets and assist older adults.
According to the HomeAdvisor 2023 report, installing a shower conversion kit can increase home resale value by 5% to 6%, making it both a practical and financially sound improvement.
5. Choosing the Right Shower Conversion Kit for Your Style
Your bathroom's aesthetic shouldn’t suffer just because you need a shower conversion kit. Select a kit that blends seamlessly into your existing décor.
| Style Type | Installation Method | Recommended Finish |
|---|---|---|
| Modern Minimalist | Wall Mount | Matte Black, Brushed Nickel |
| European Retro | Deck Mount + Gooseneck | Polished Brass, Oil-Rubbed Bronze |
| American Country | Side Mount | Brushed Gold, Chrome |
| Industrial Loft | Exposed Pipe Style | Gunmetal Grey, Matte Steel |
To complete the look, coordinate the shower conversion kit with faucets, mirror cabinets, and towel racks in matching finishes. This cohesive bathtub retrofit kit approach ensures both style and function.
Conclusion
A shower conversion kit is not merely an accessory—it's a lifestyle solution. It makes soaking and showering compatible, merges beauty with utility, and upgrades your daily routine.
Whether you're in the early stages of a bathroom renovation or planning small yet meaningful modifications, a reliable shower conversion kit offers excellent value and long-term utility.
Explore the shower conversion kit that best fits your bathroom needs today, and enjoy a new kind of flexibility in your home routine.
FAQ
Q1: Can a shower conversion kit be connected to a thermostatic or smart shower system?
A: Yes. Most shower conversion kits are compatible with standard 1/2" or 3/4" interfaces. Smart systems may require additional power sources.
Q2: Can I use a glass door instead of a curtain?
A: Some custom setups support glass doors, but most shower conversion kits are designed for curtain use. Additional brackets may be required.
Q3: Can I reuse the shower conversion kit after moving?
A: Absolutely. Wall-mount and no-drill versions of shower conversion kits are often detachable and reusable.
Q4: Does the installation make the bathroom more humid or mold-prone?
A: Not if used properly. Choose anti-mold curtains and ensure good ventilation—like using exhaust fans or open windows.
Q5: Will a shallow tub cause splashing with a shower conversion kit?
A: To prevent this, use a fully enclosed curtain rod and weighted shower curtain bottom for effective water containment.
Related Articles:
Why More People Are Putting Plants in the Shower—and Should You Too?
What Is the Standard Size of a Frameless Glass Shower Door?
Shower Your Pet Like a Pro: Why Bathing at Home Beats the Groomer Every Time