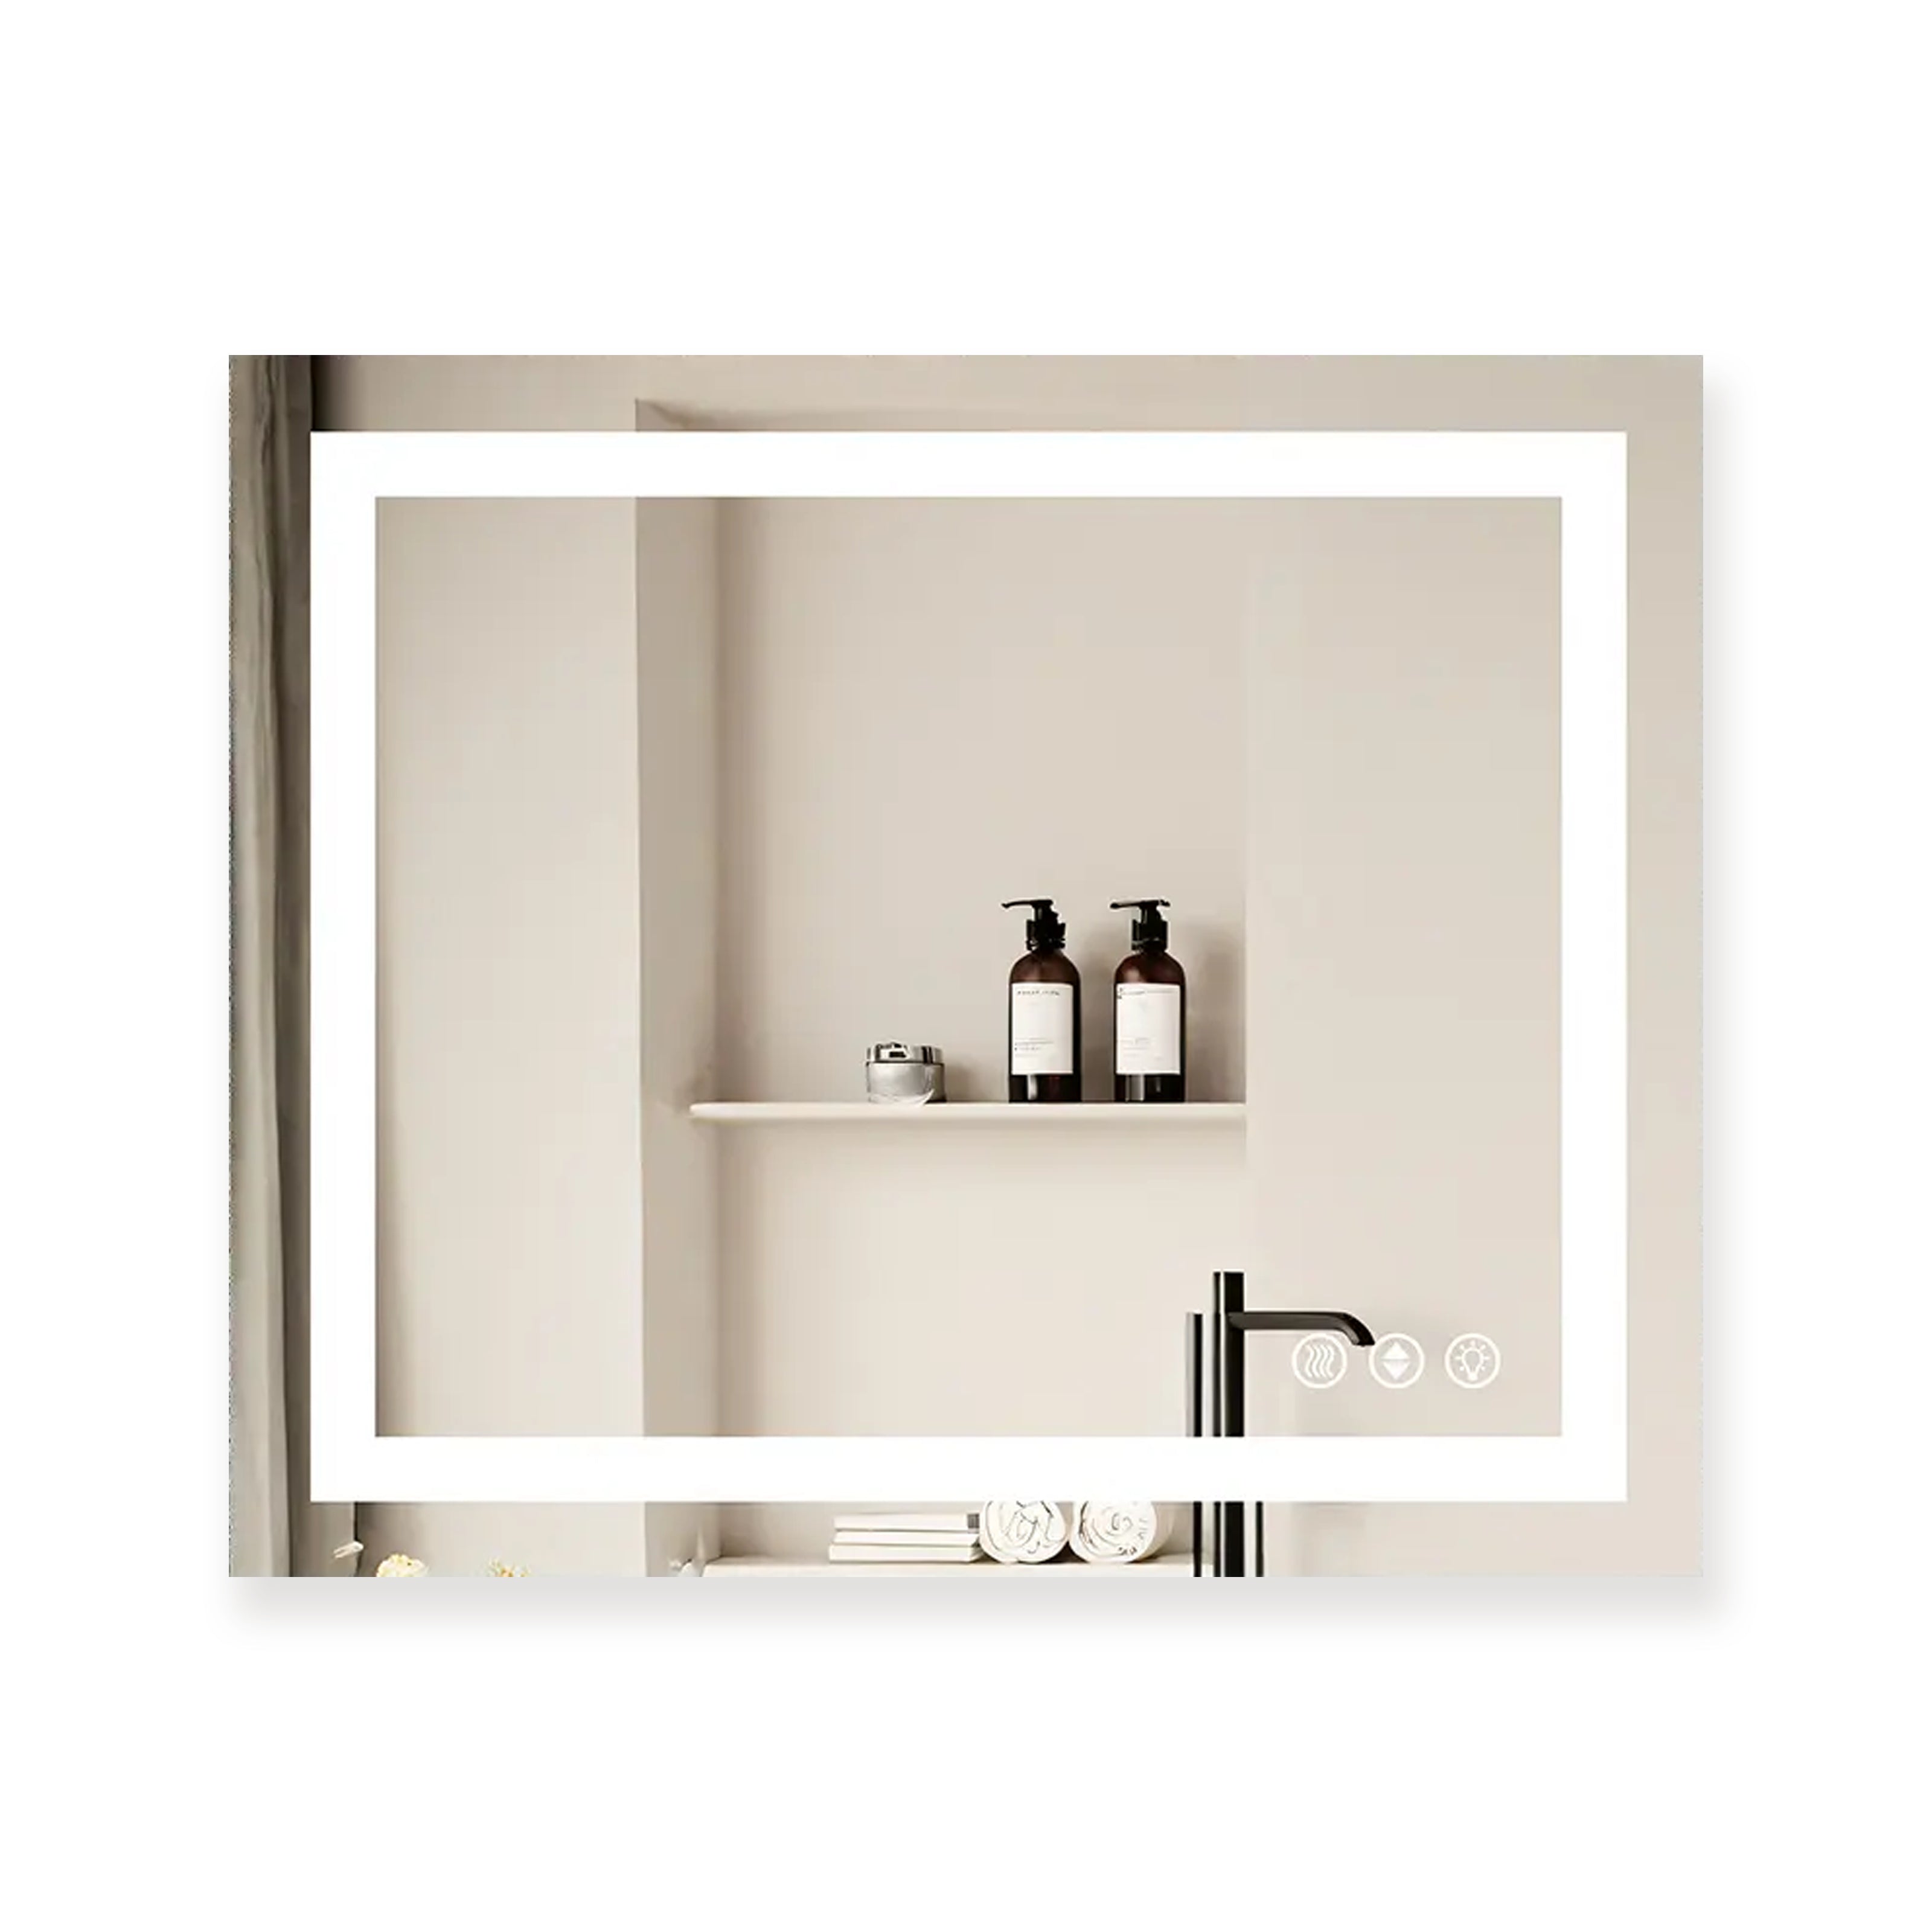
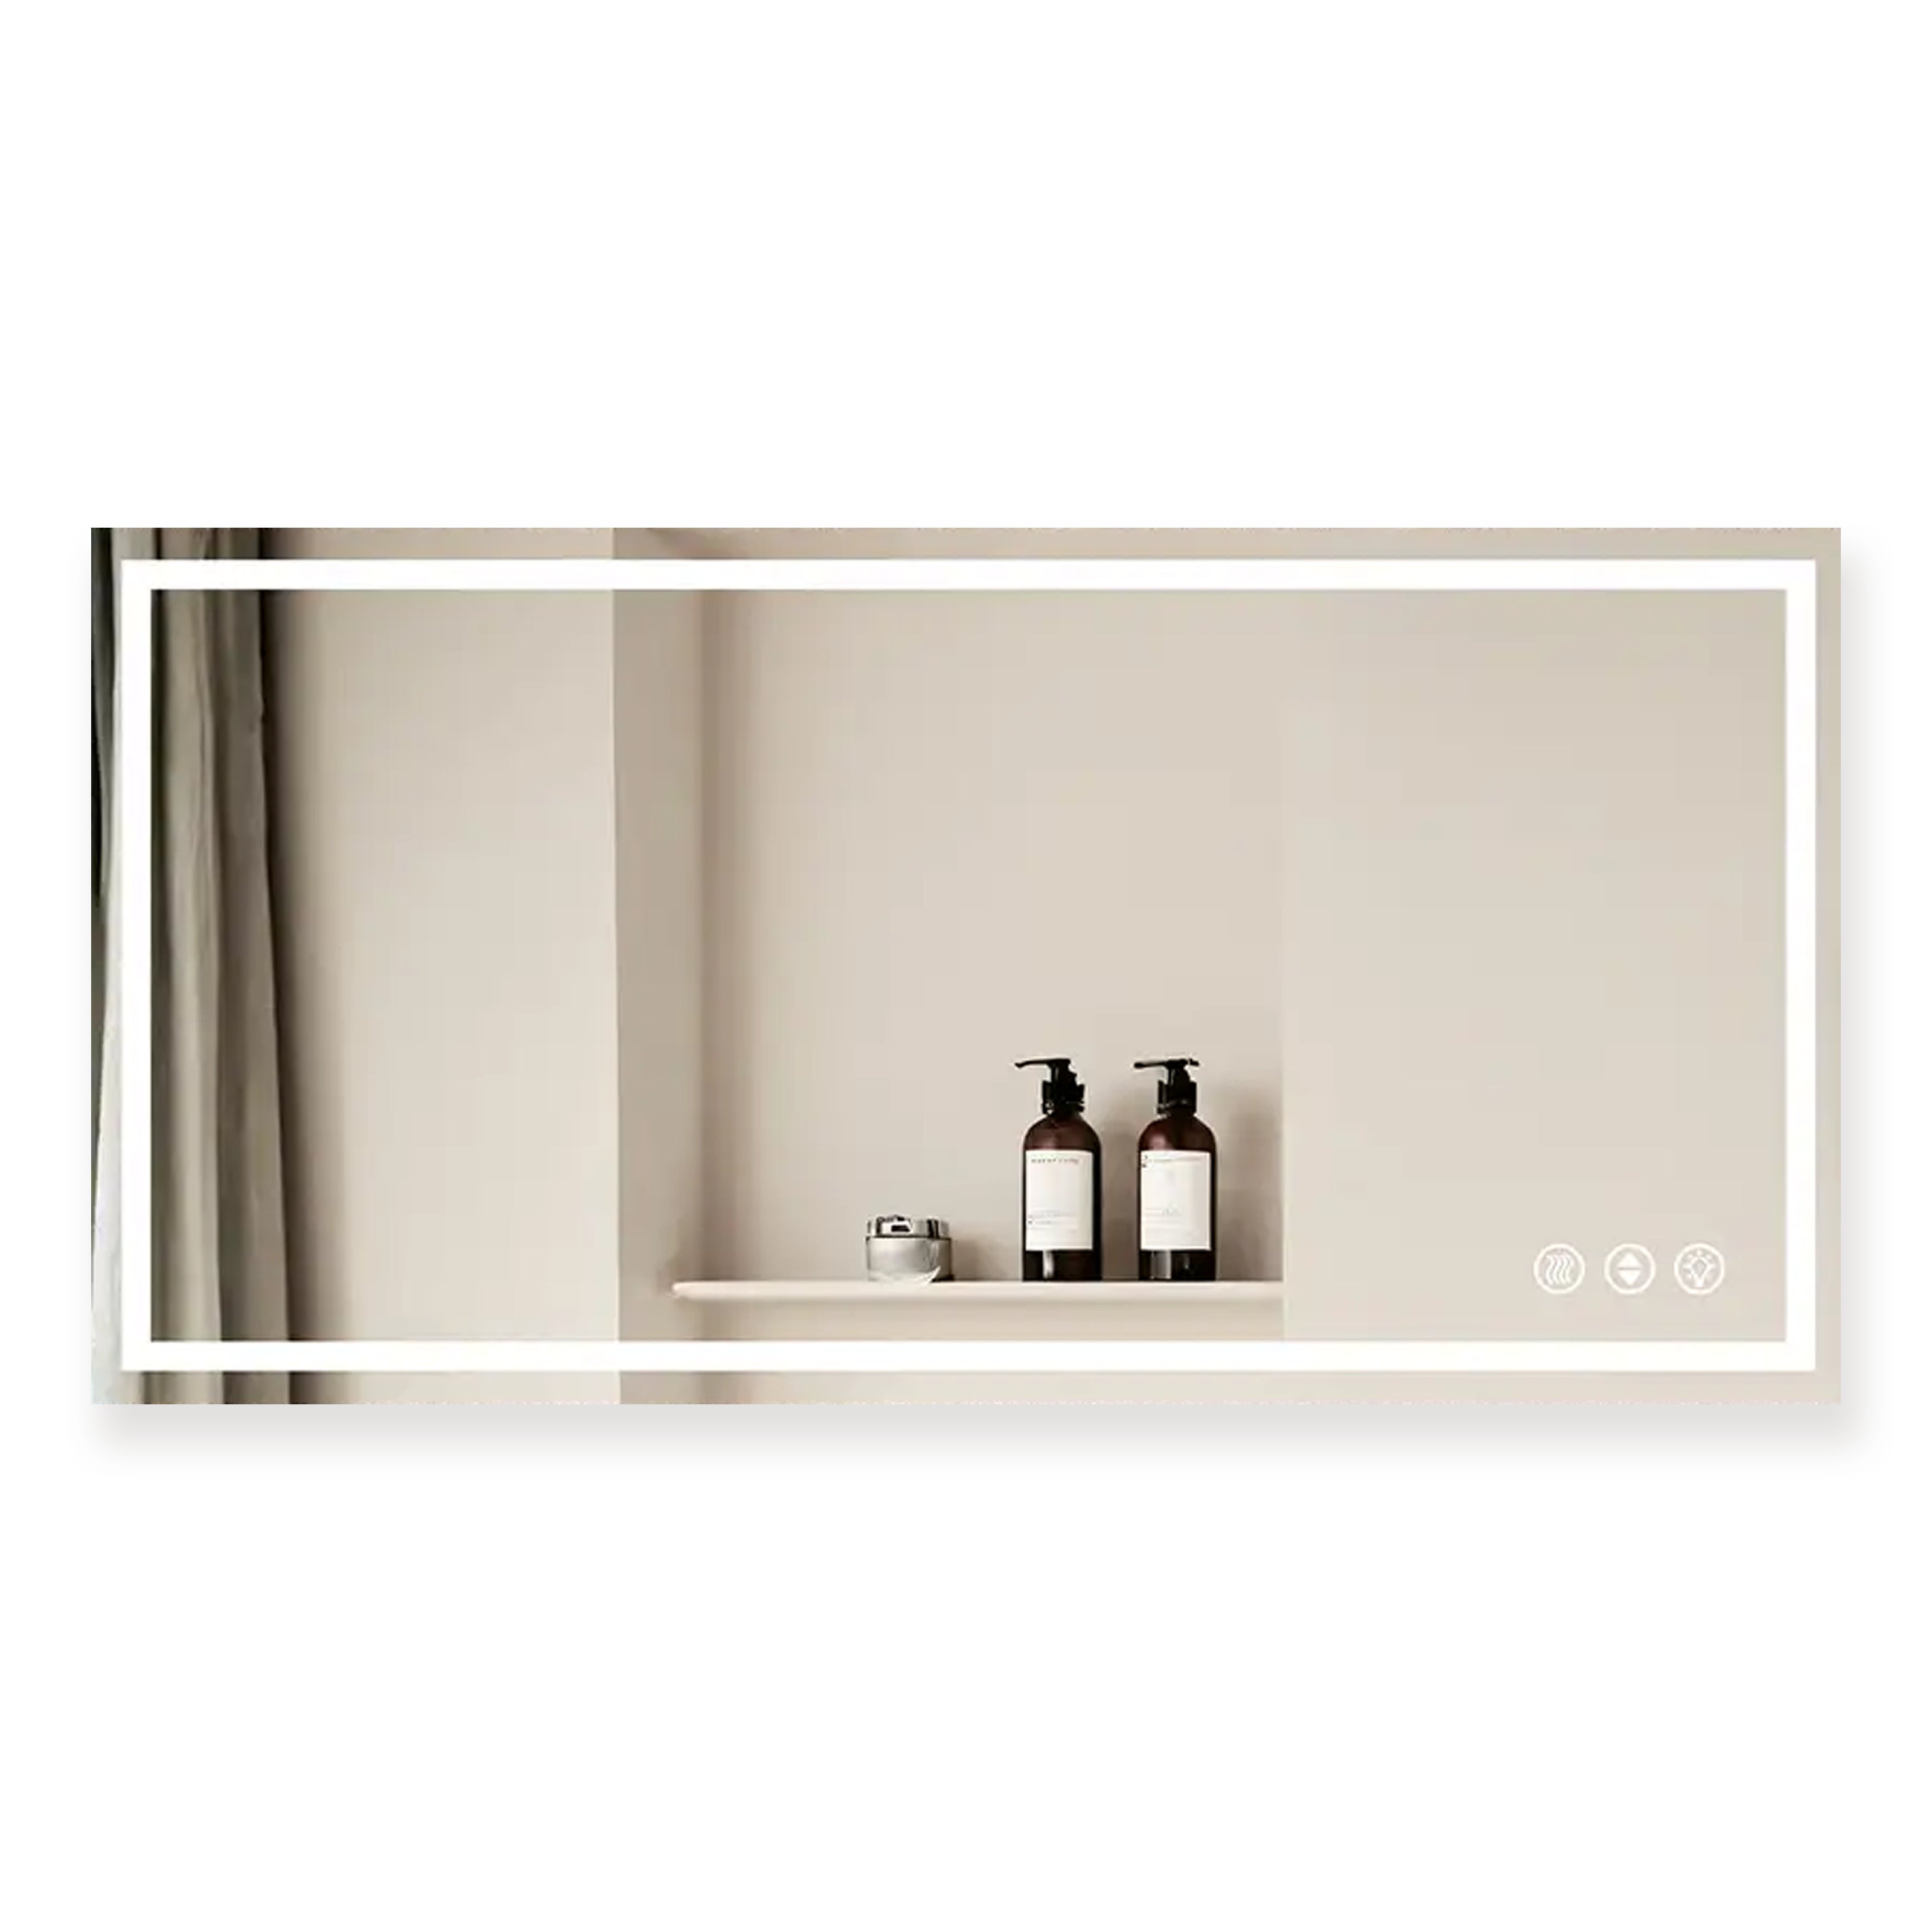
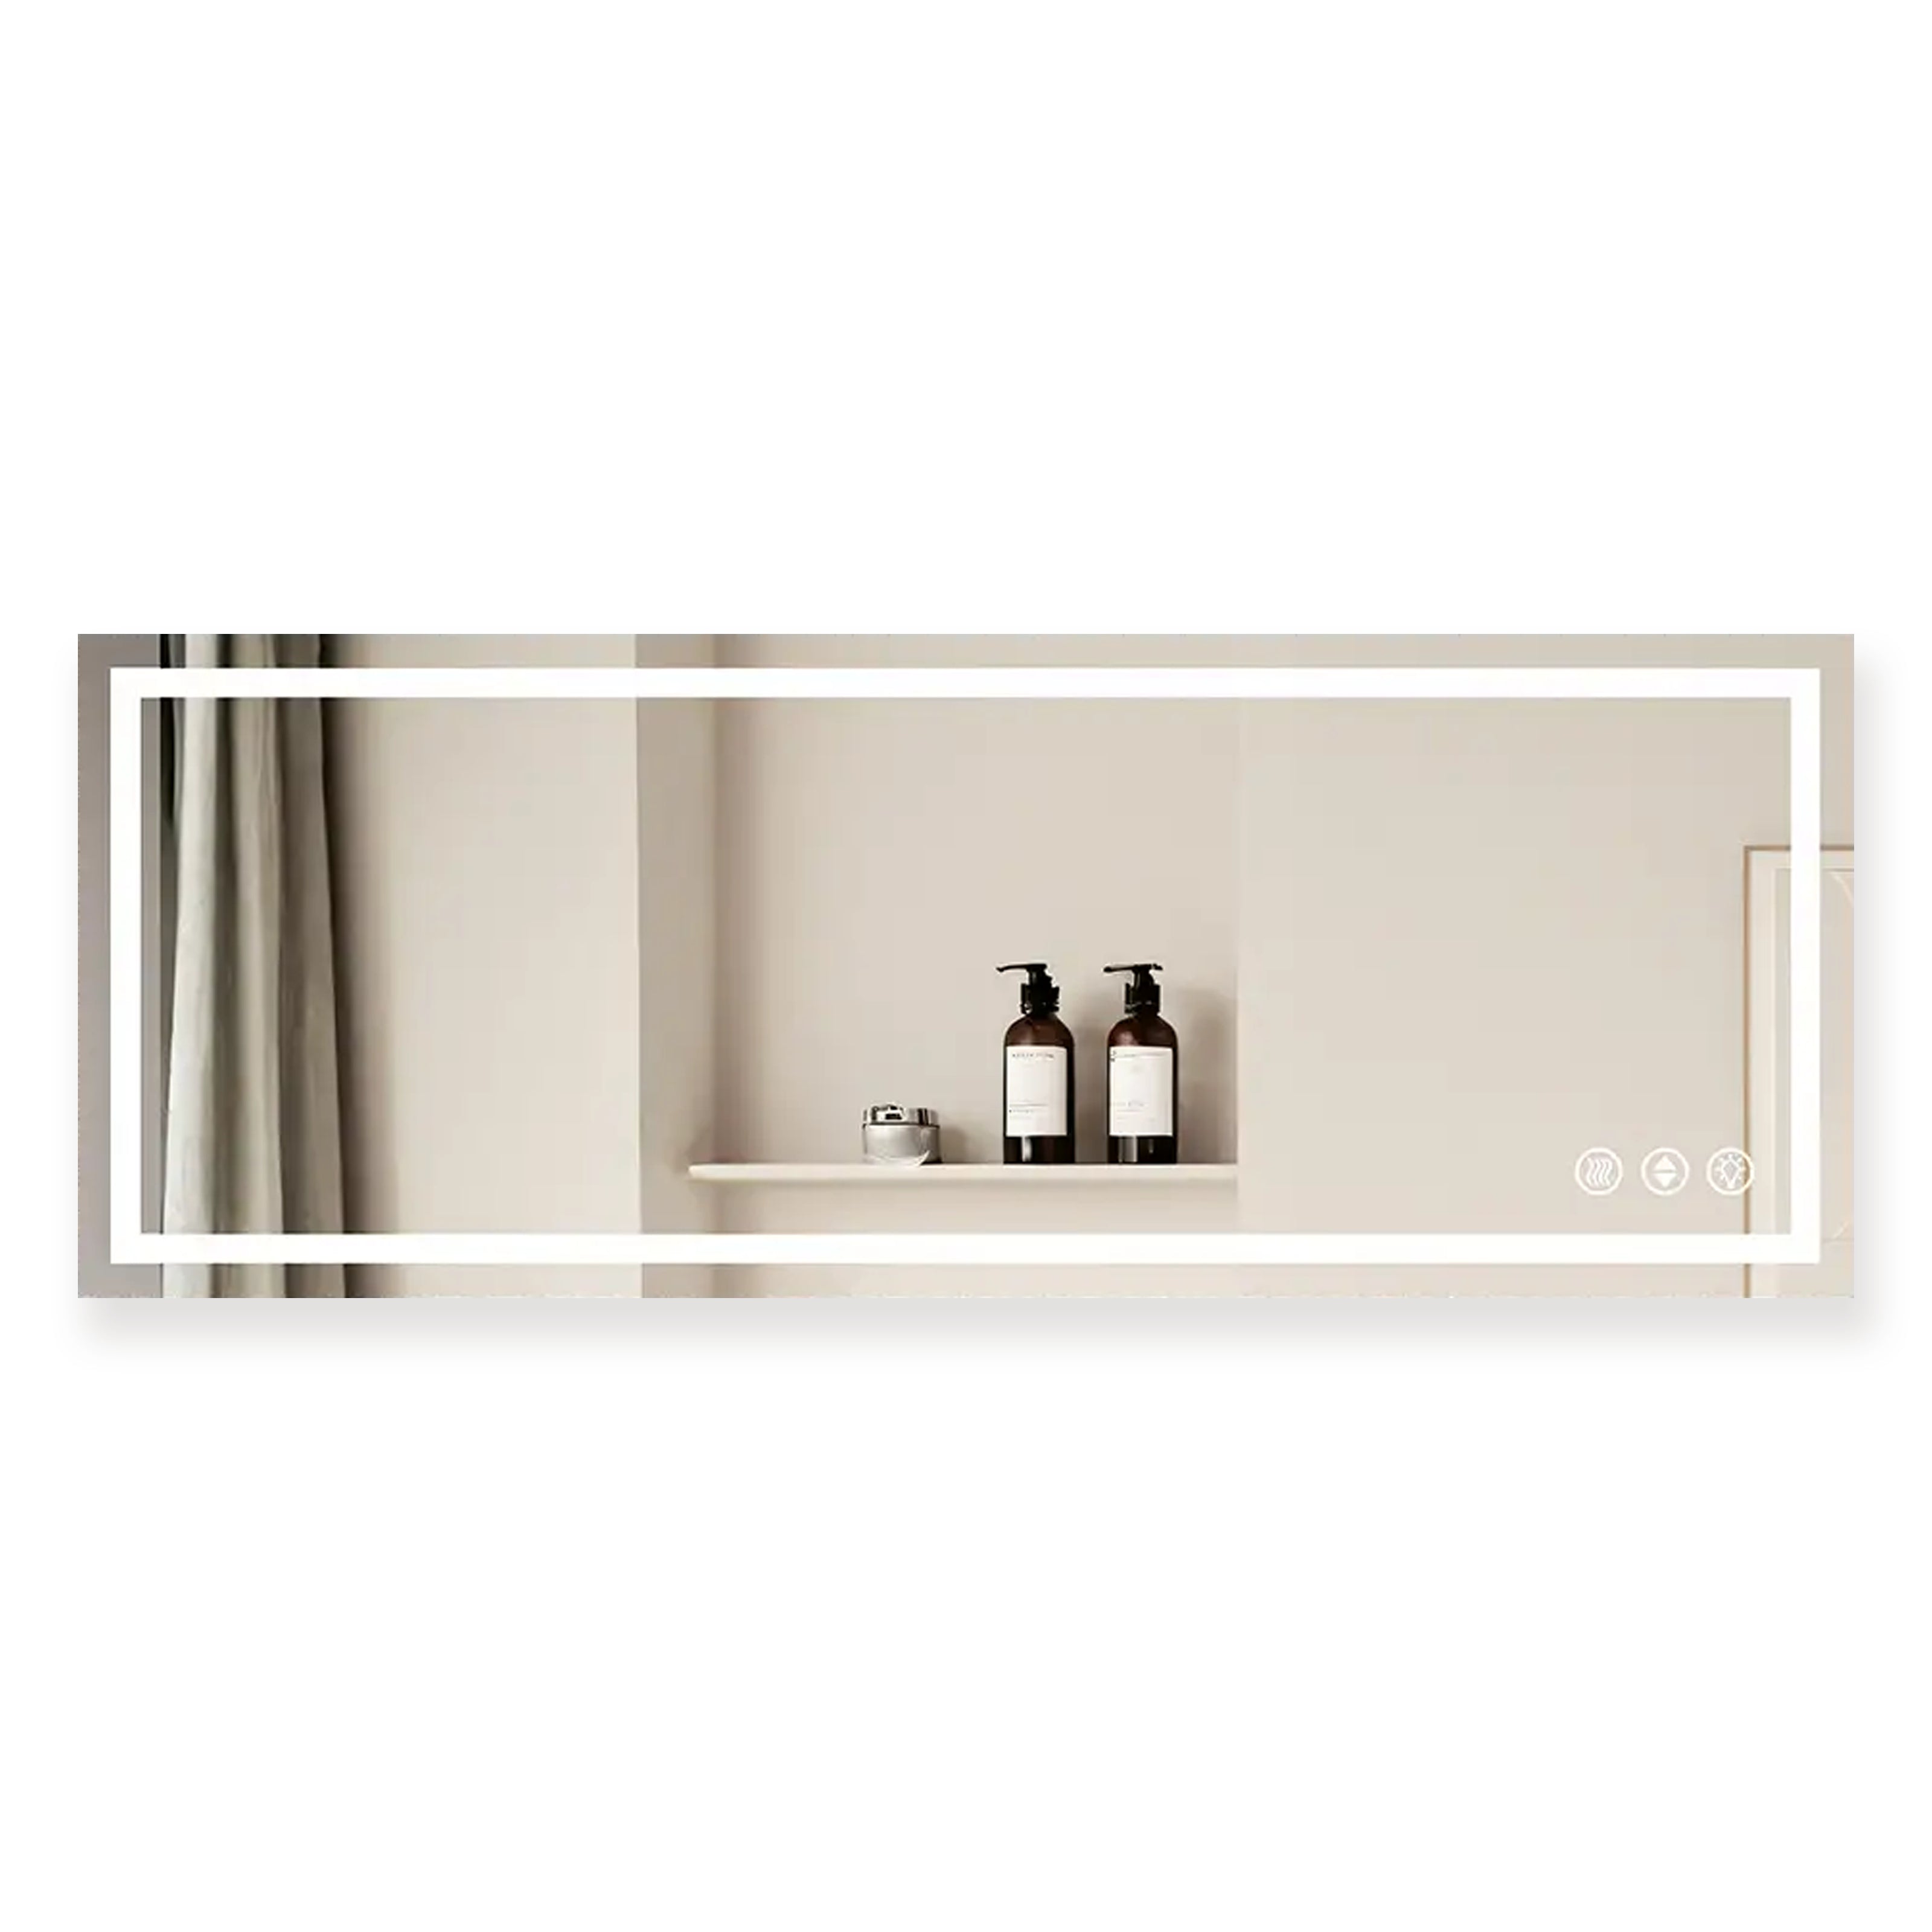
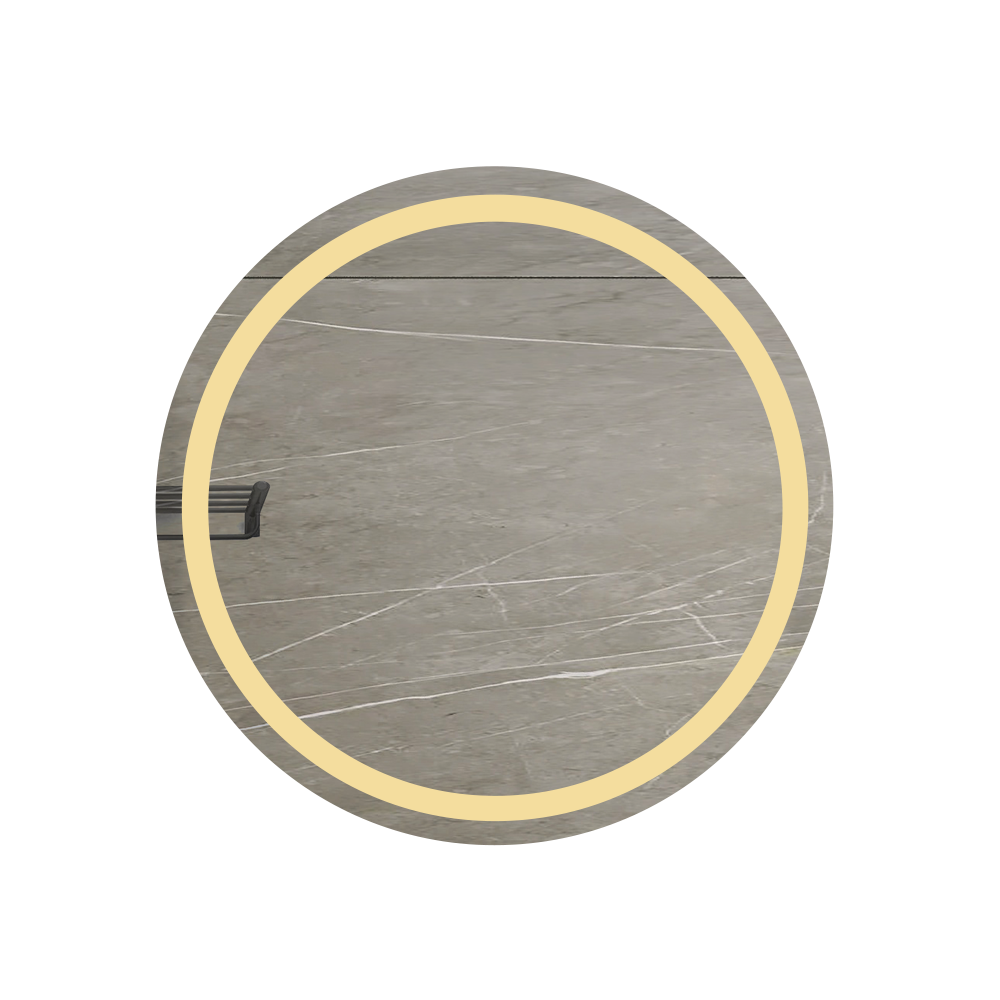
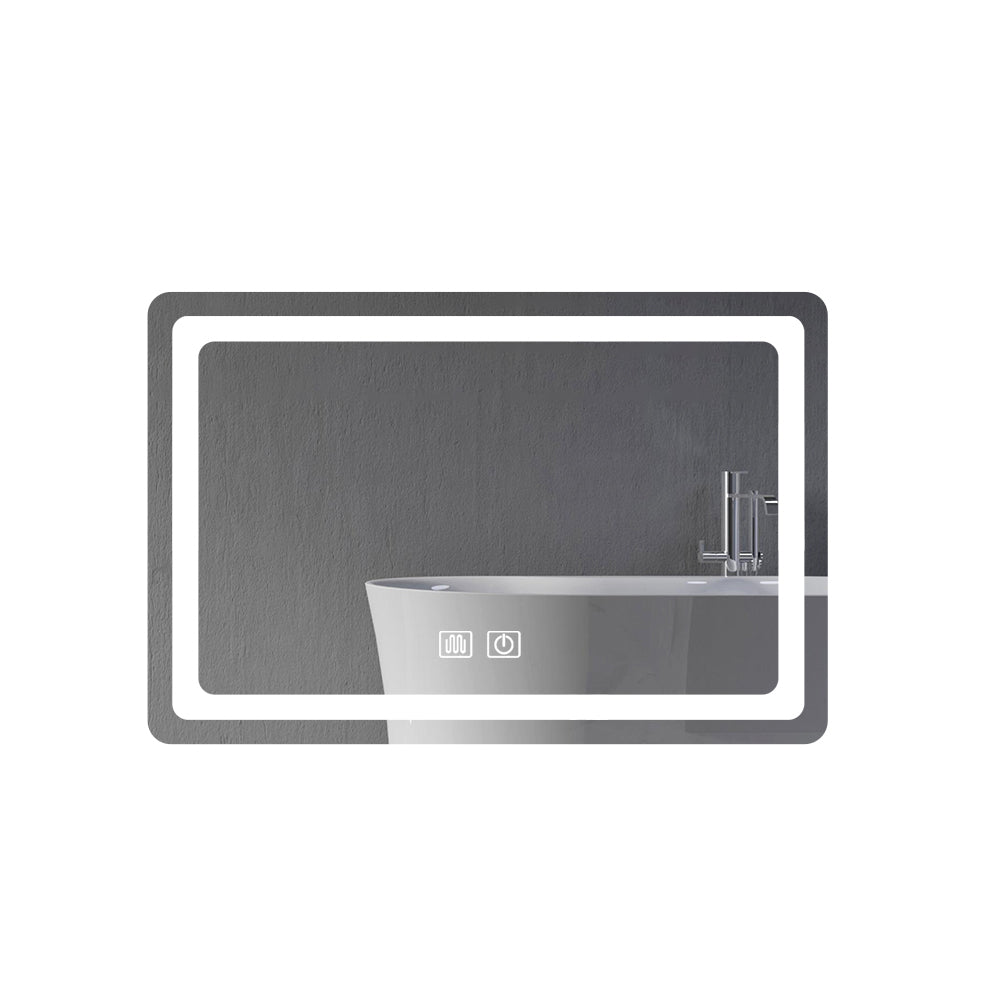
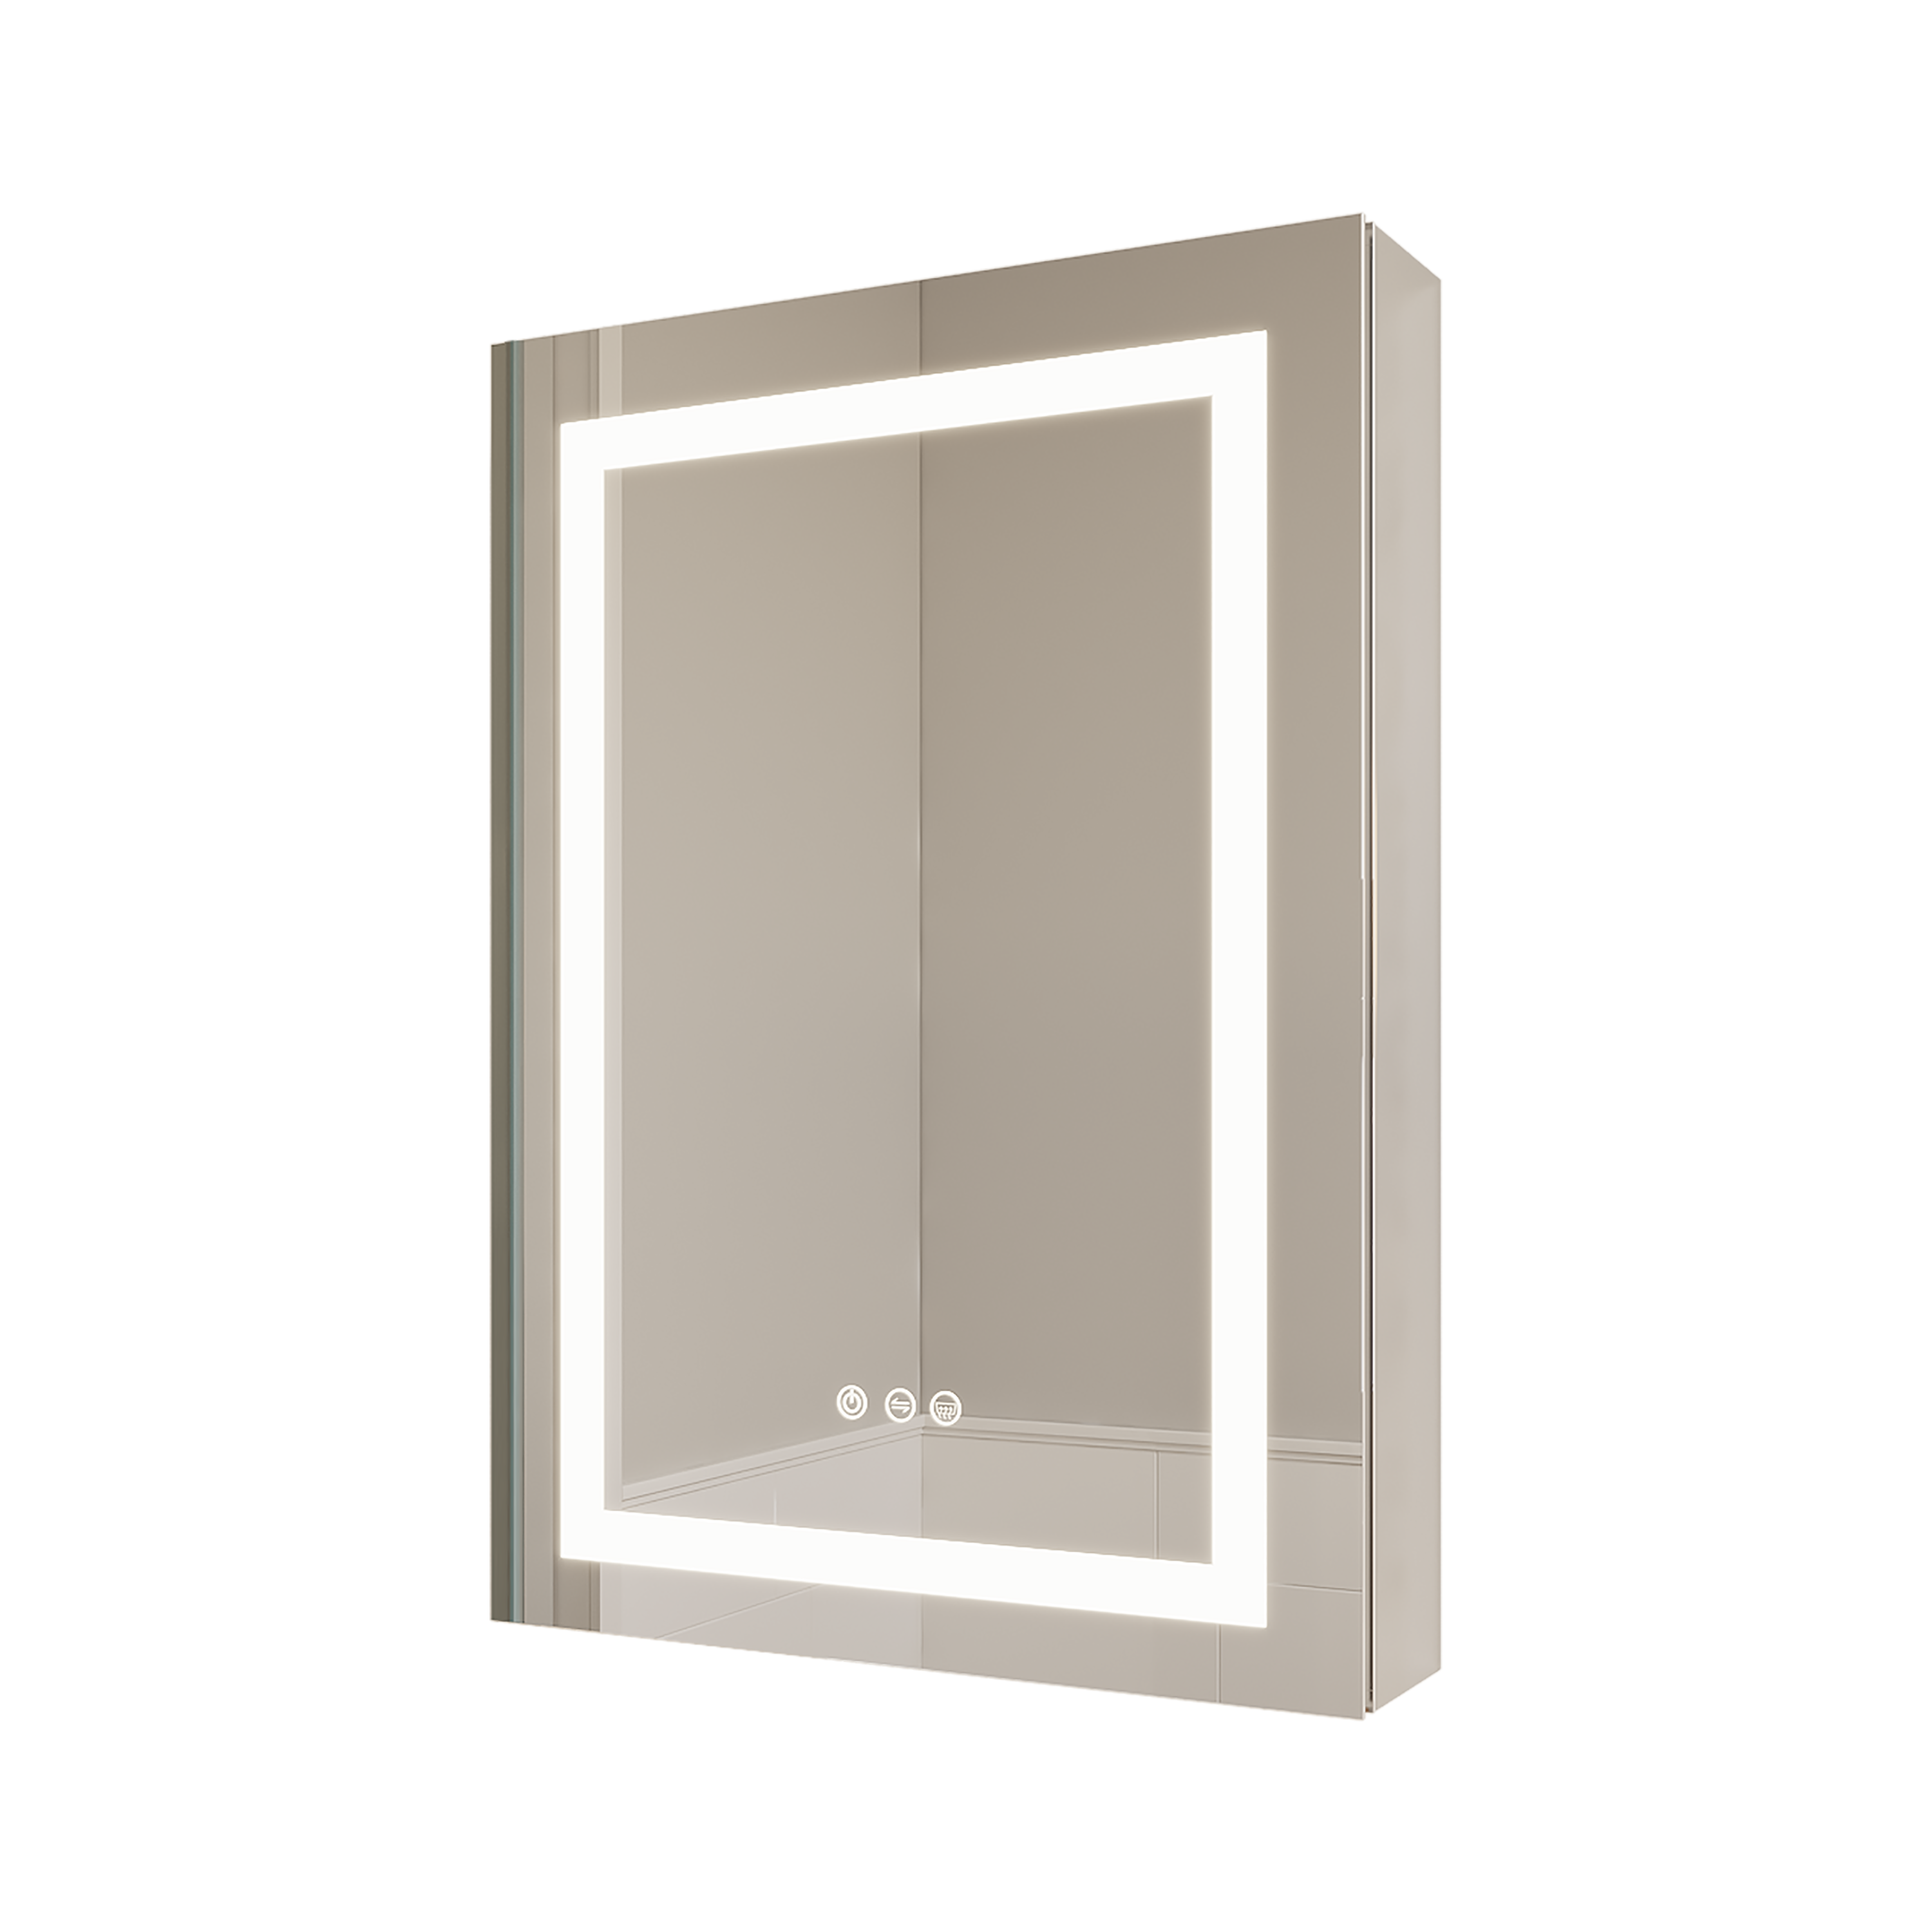
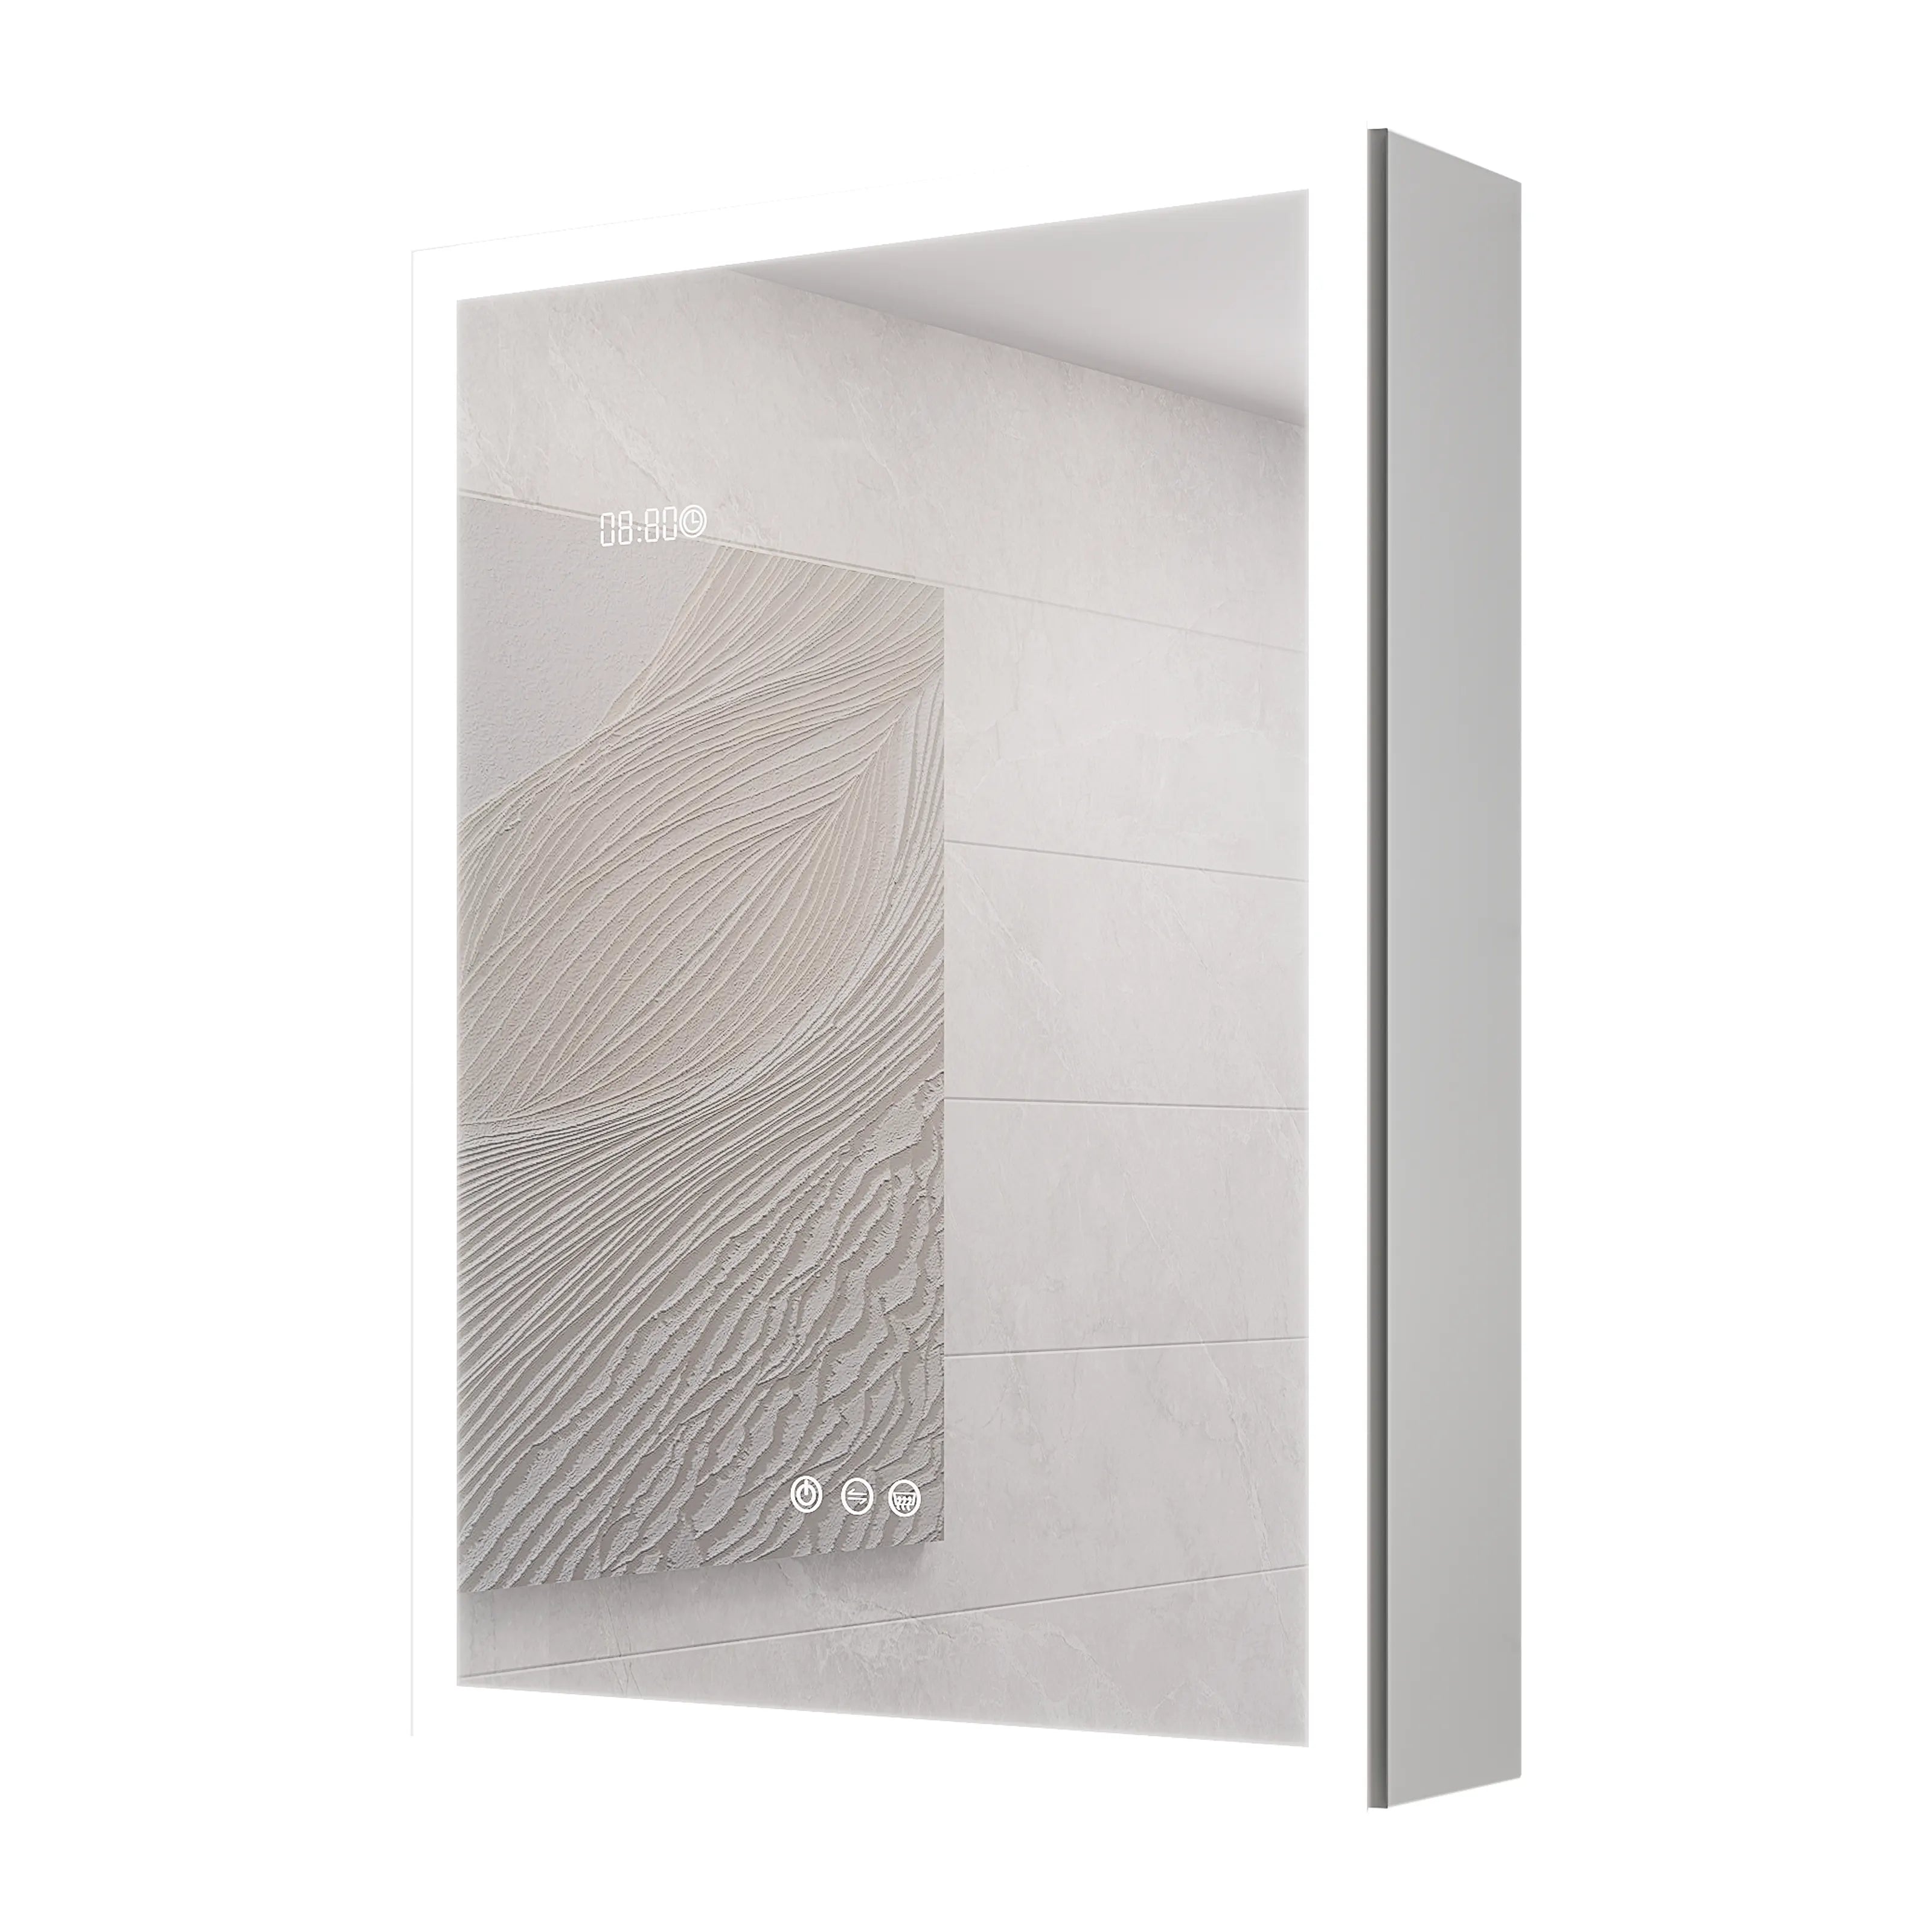
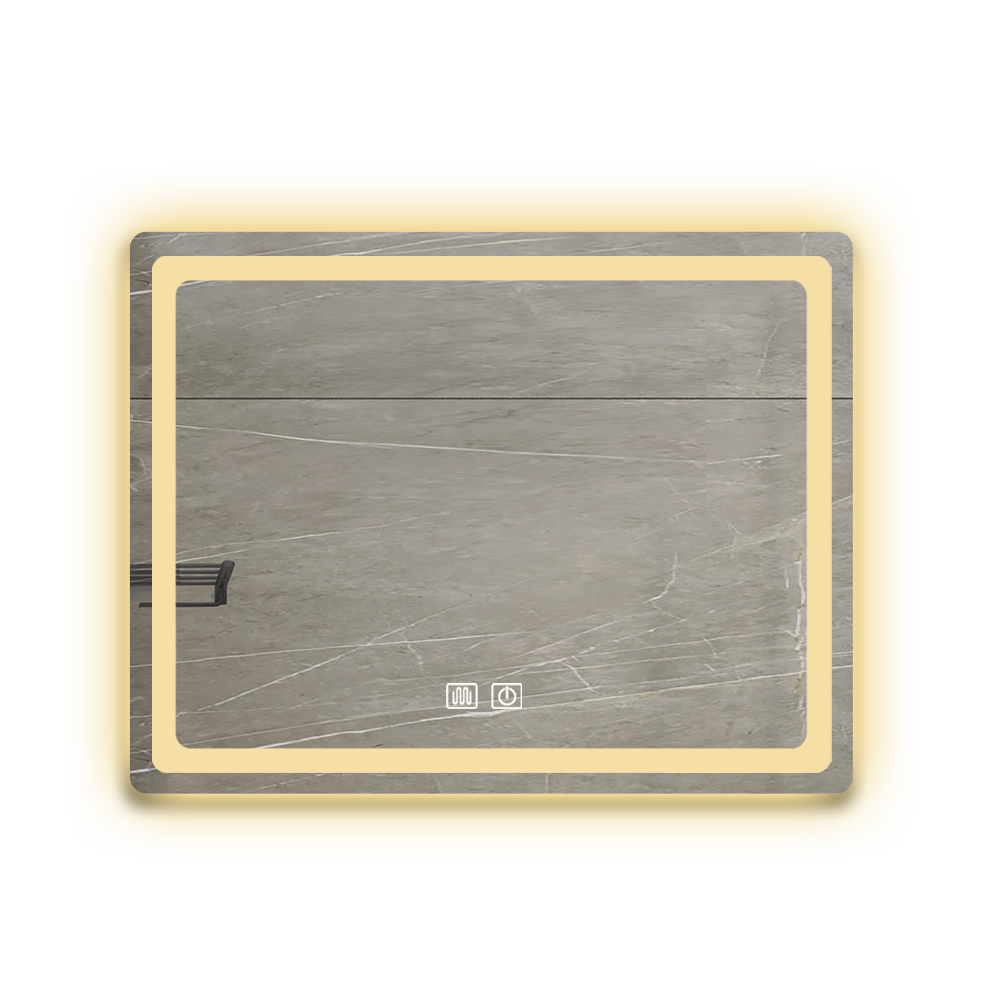
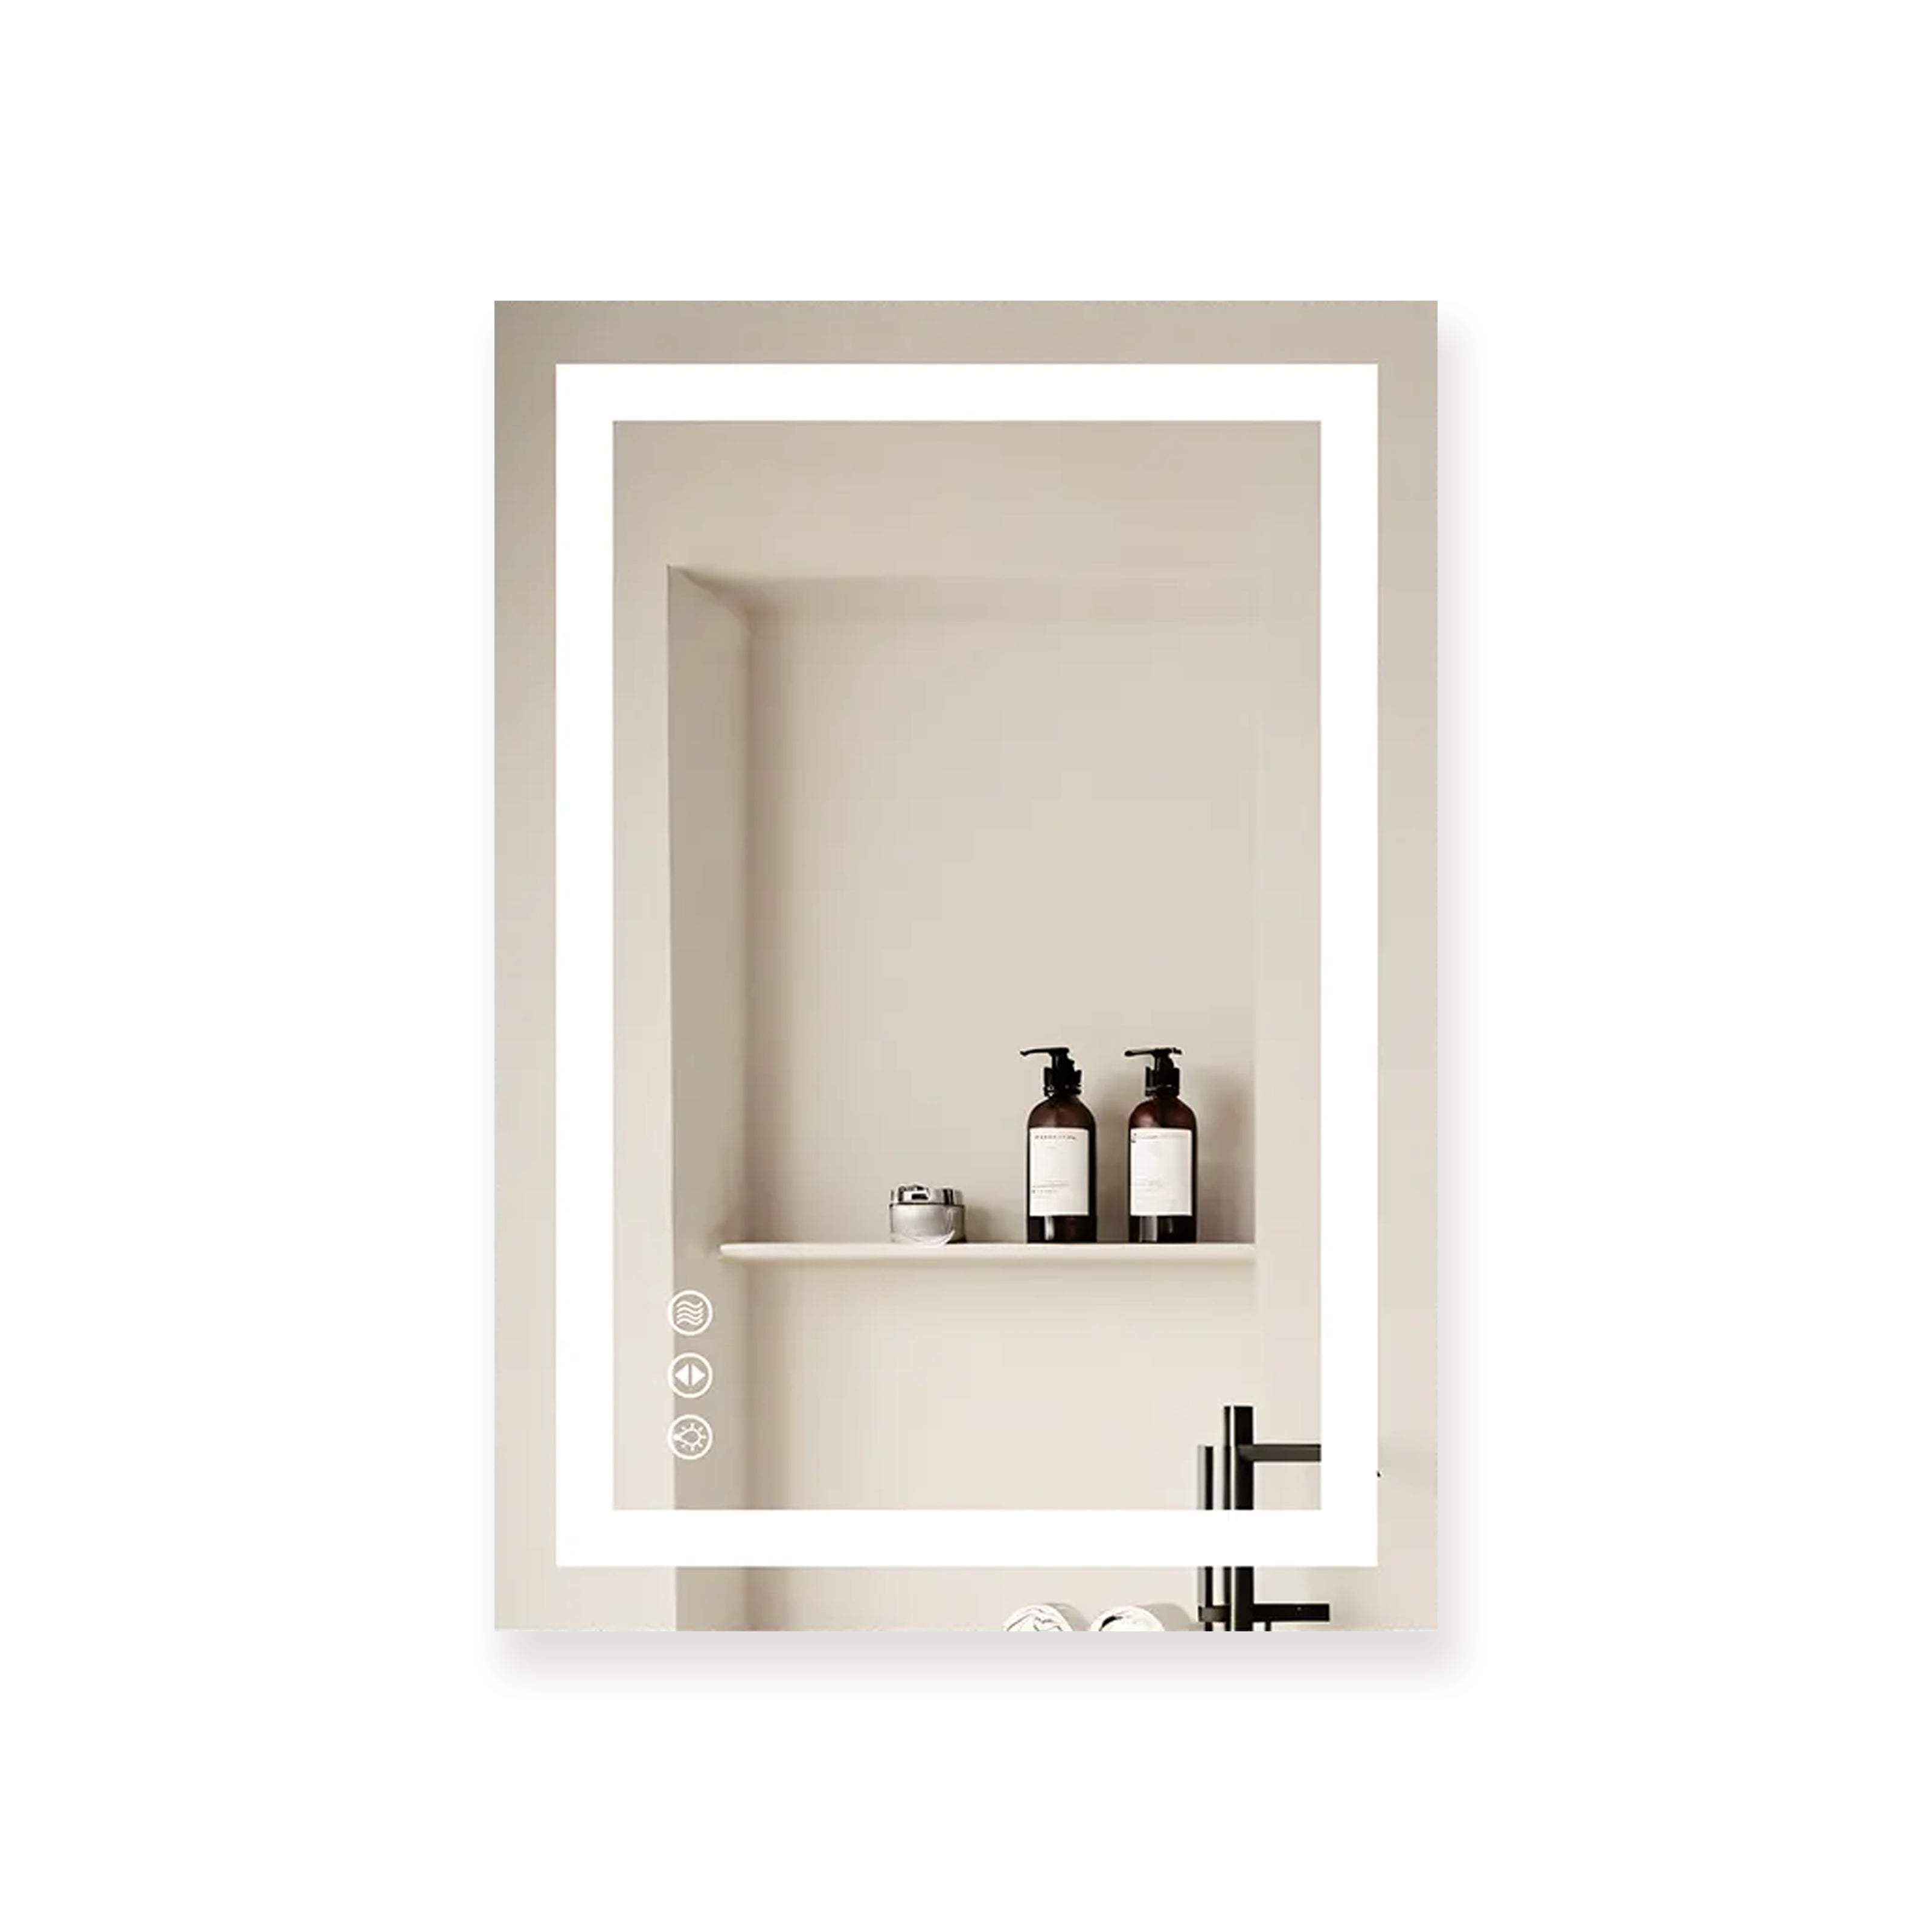
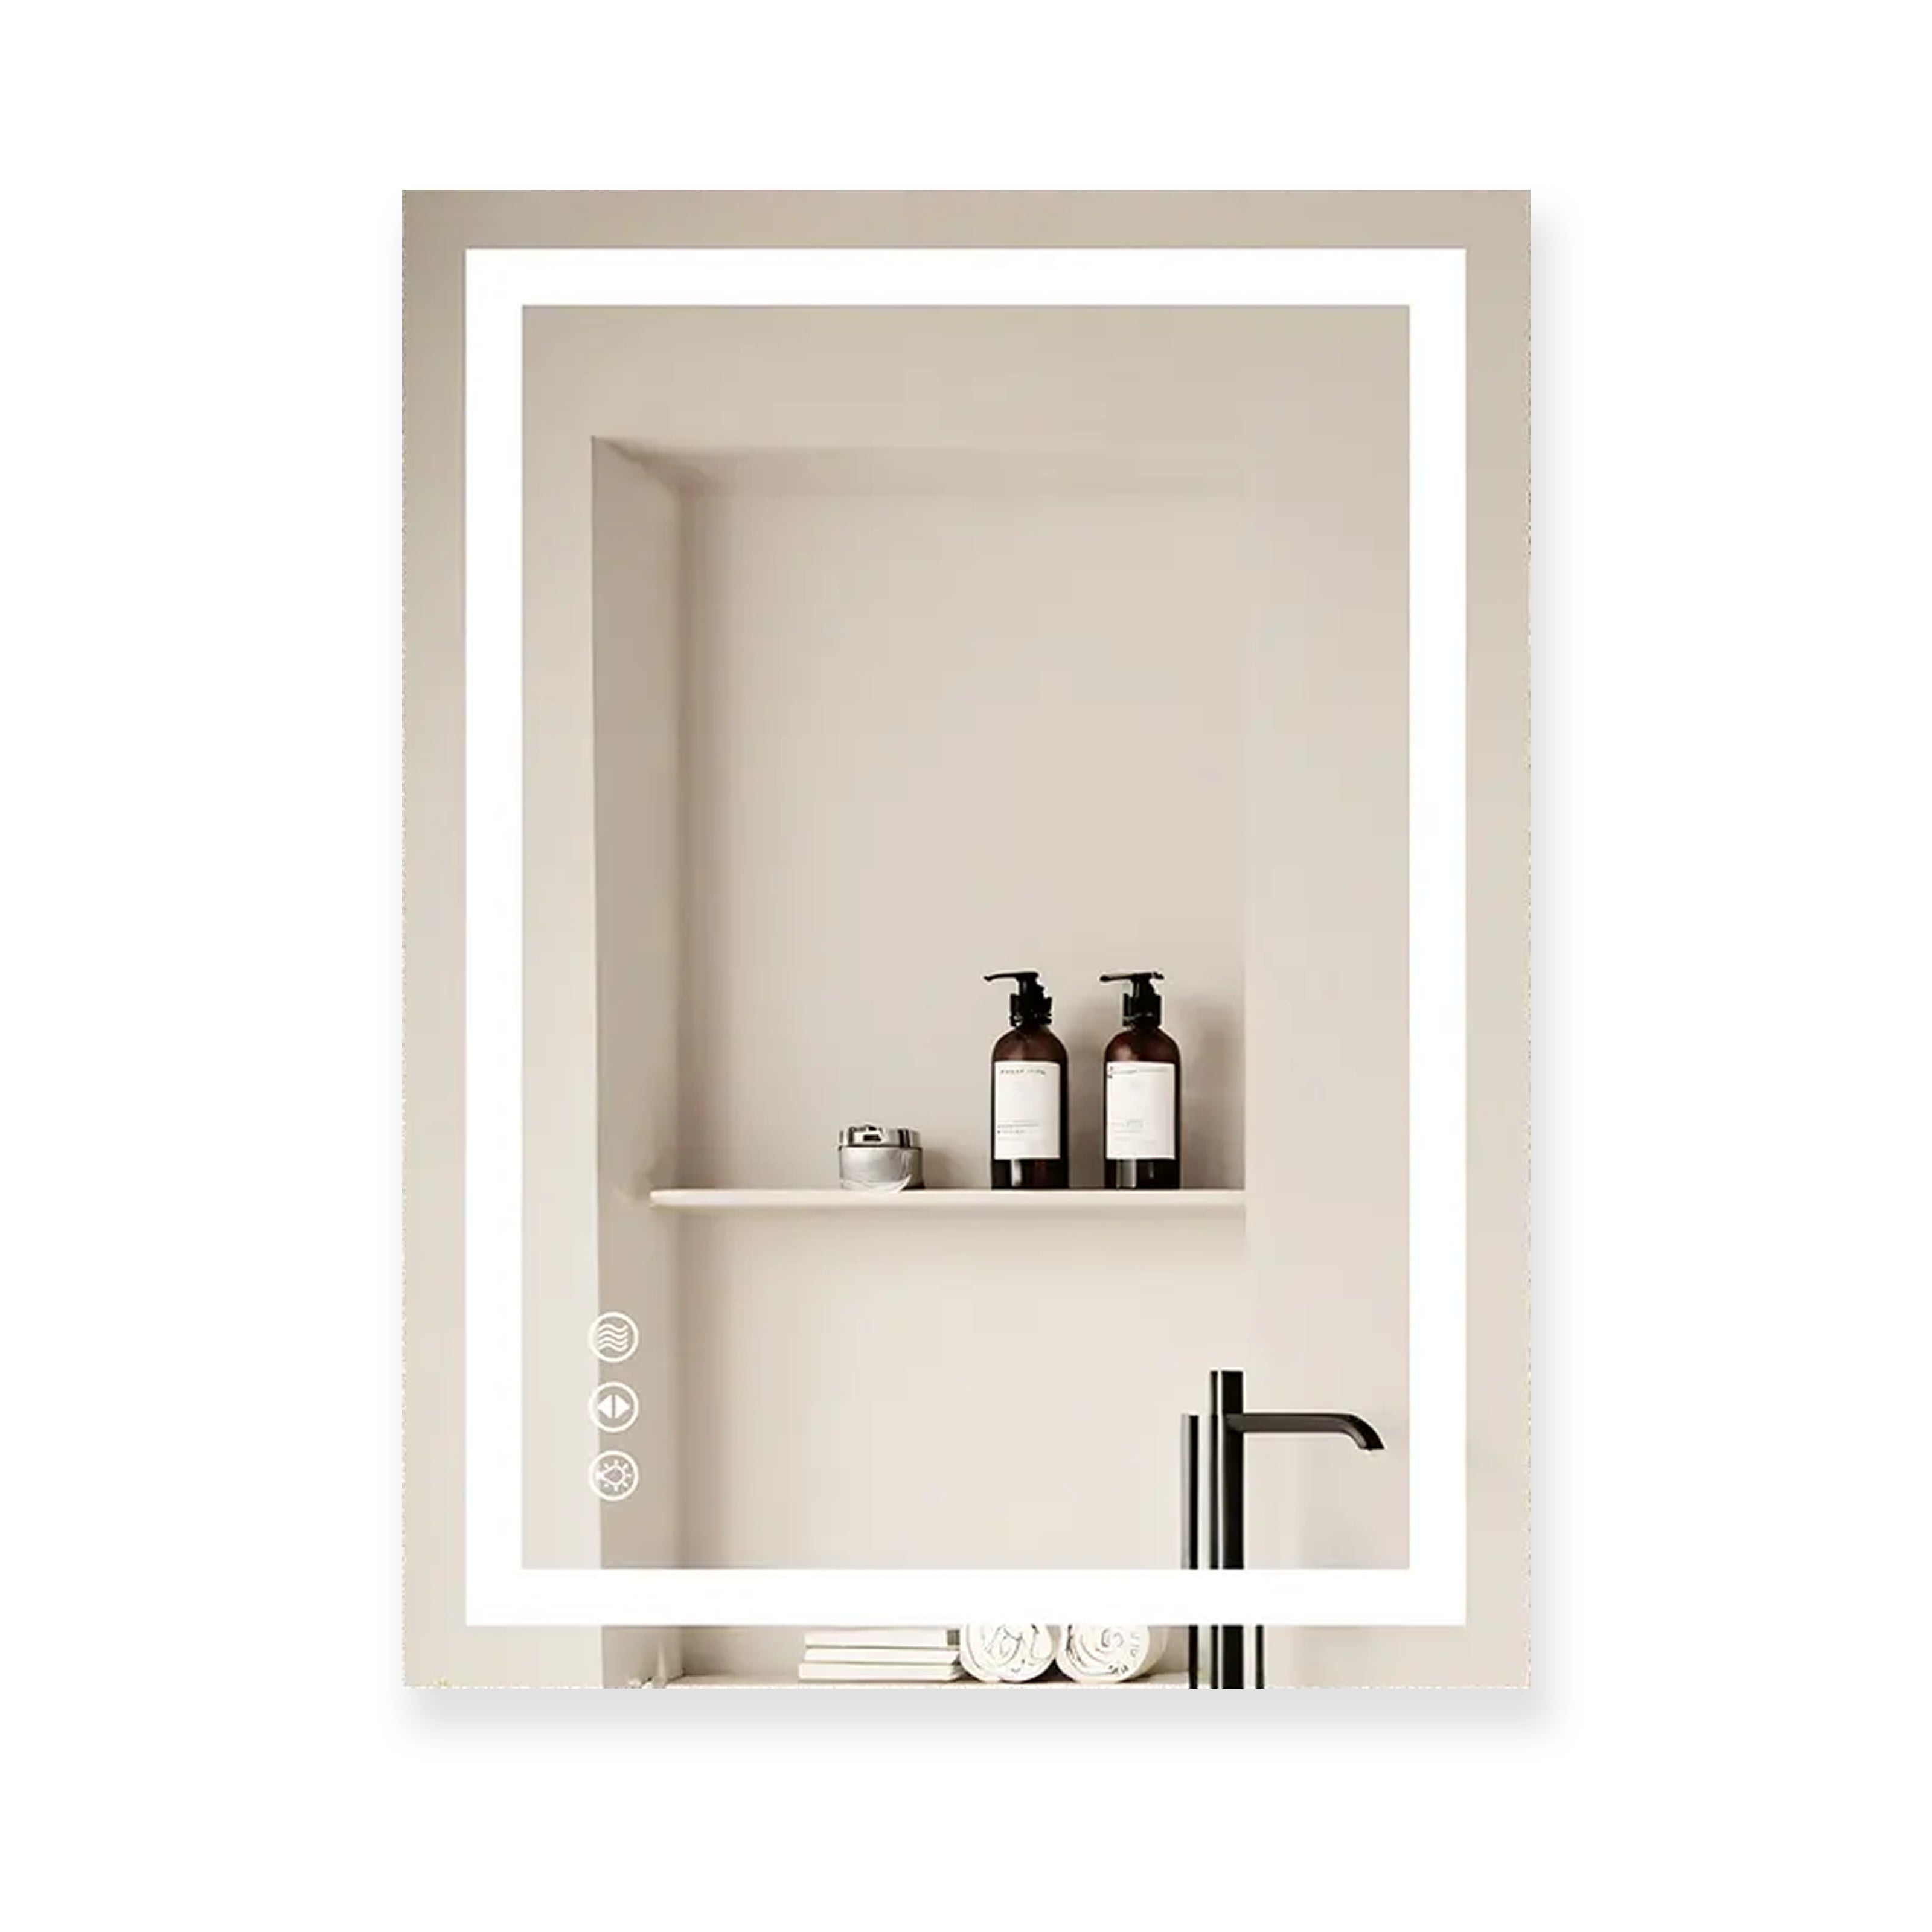
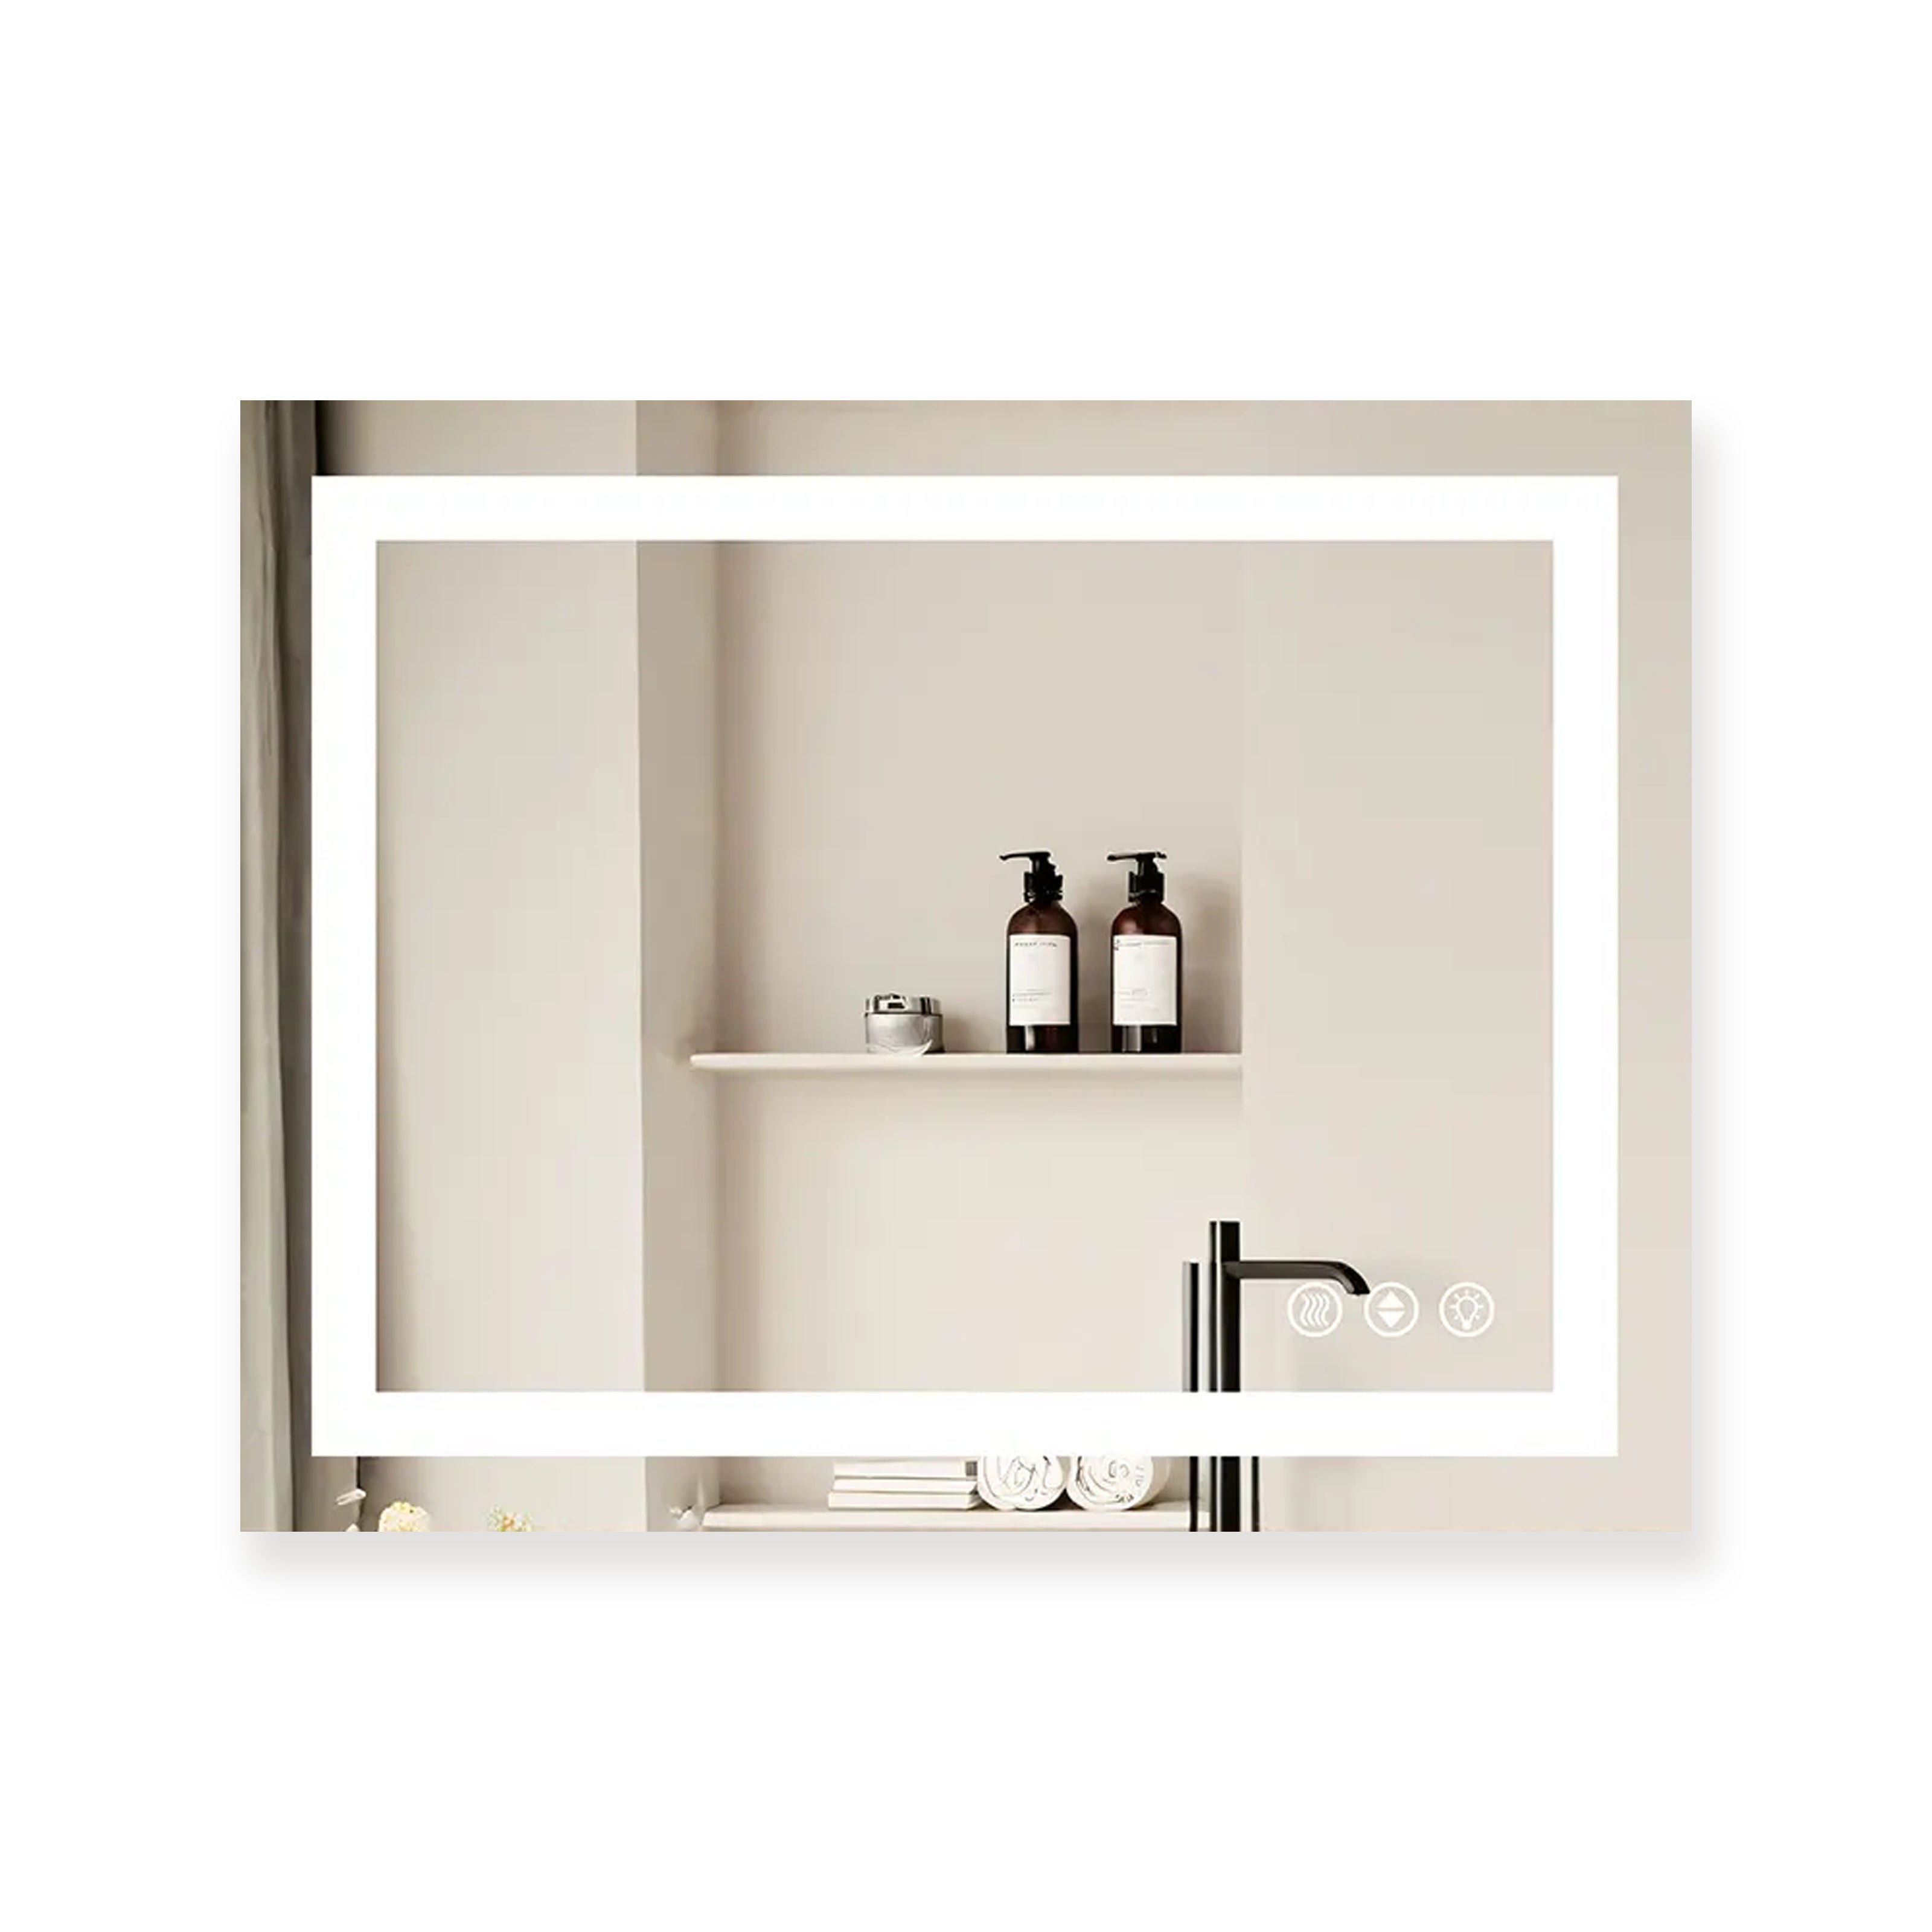
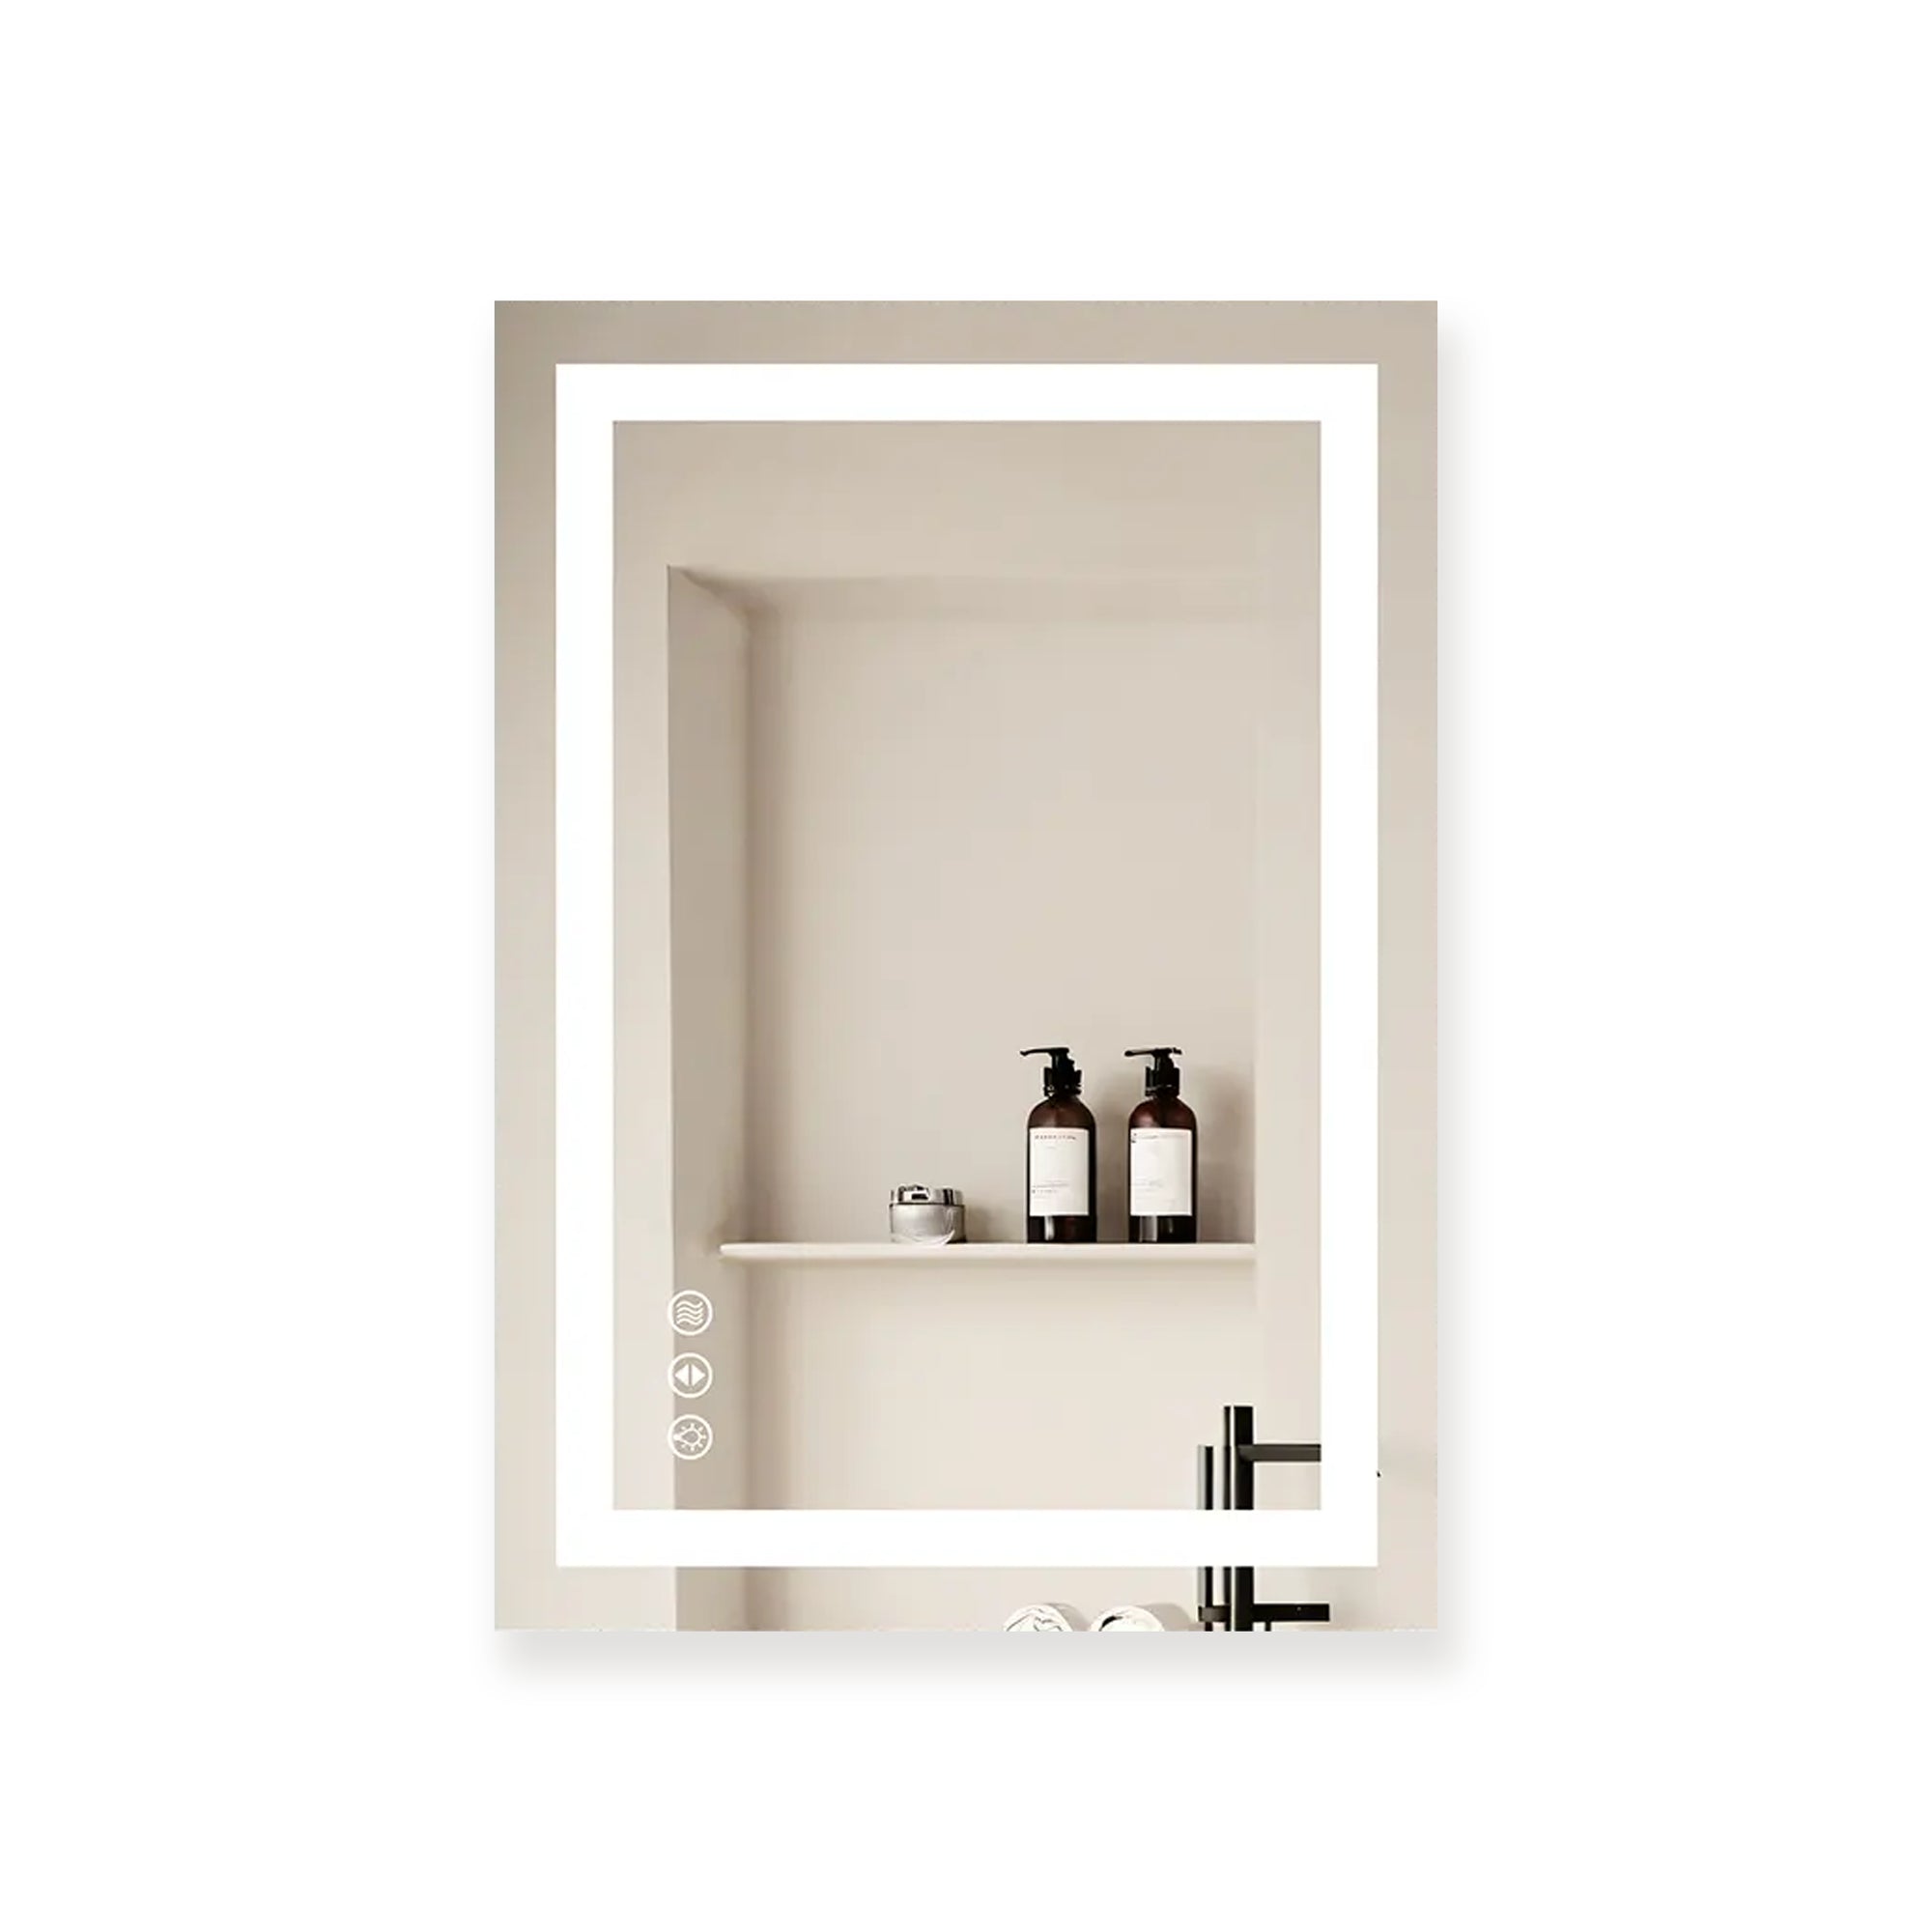
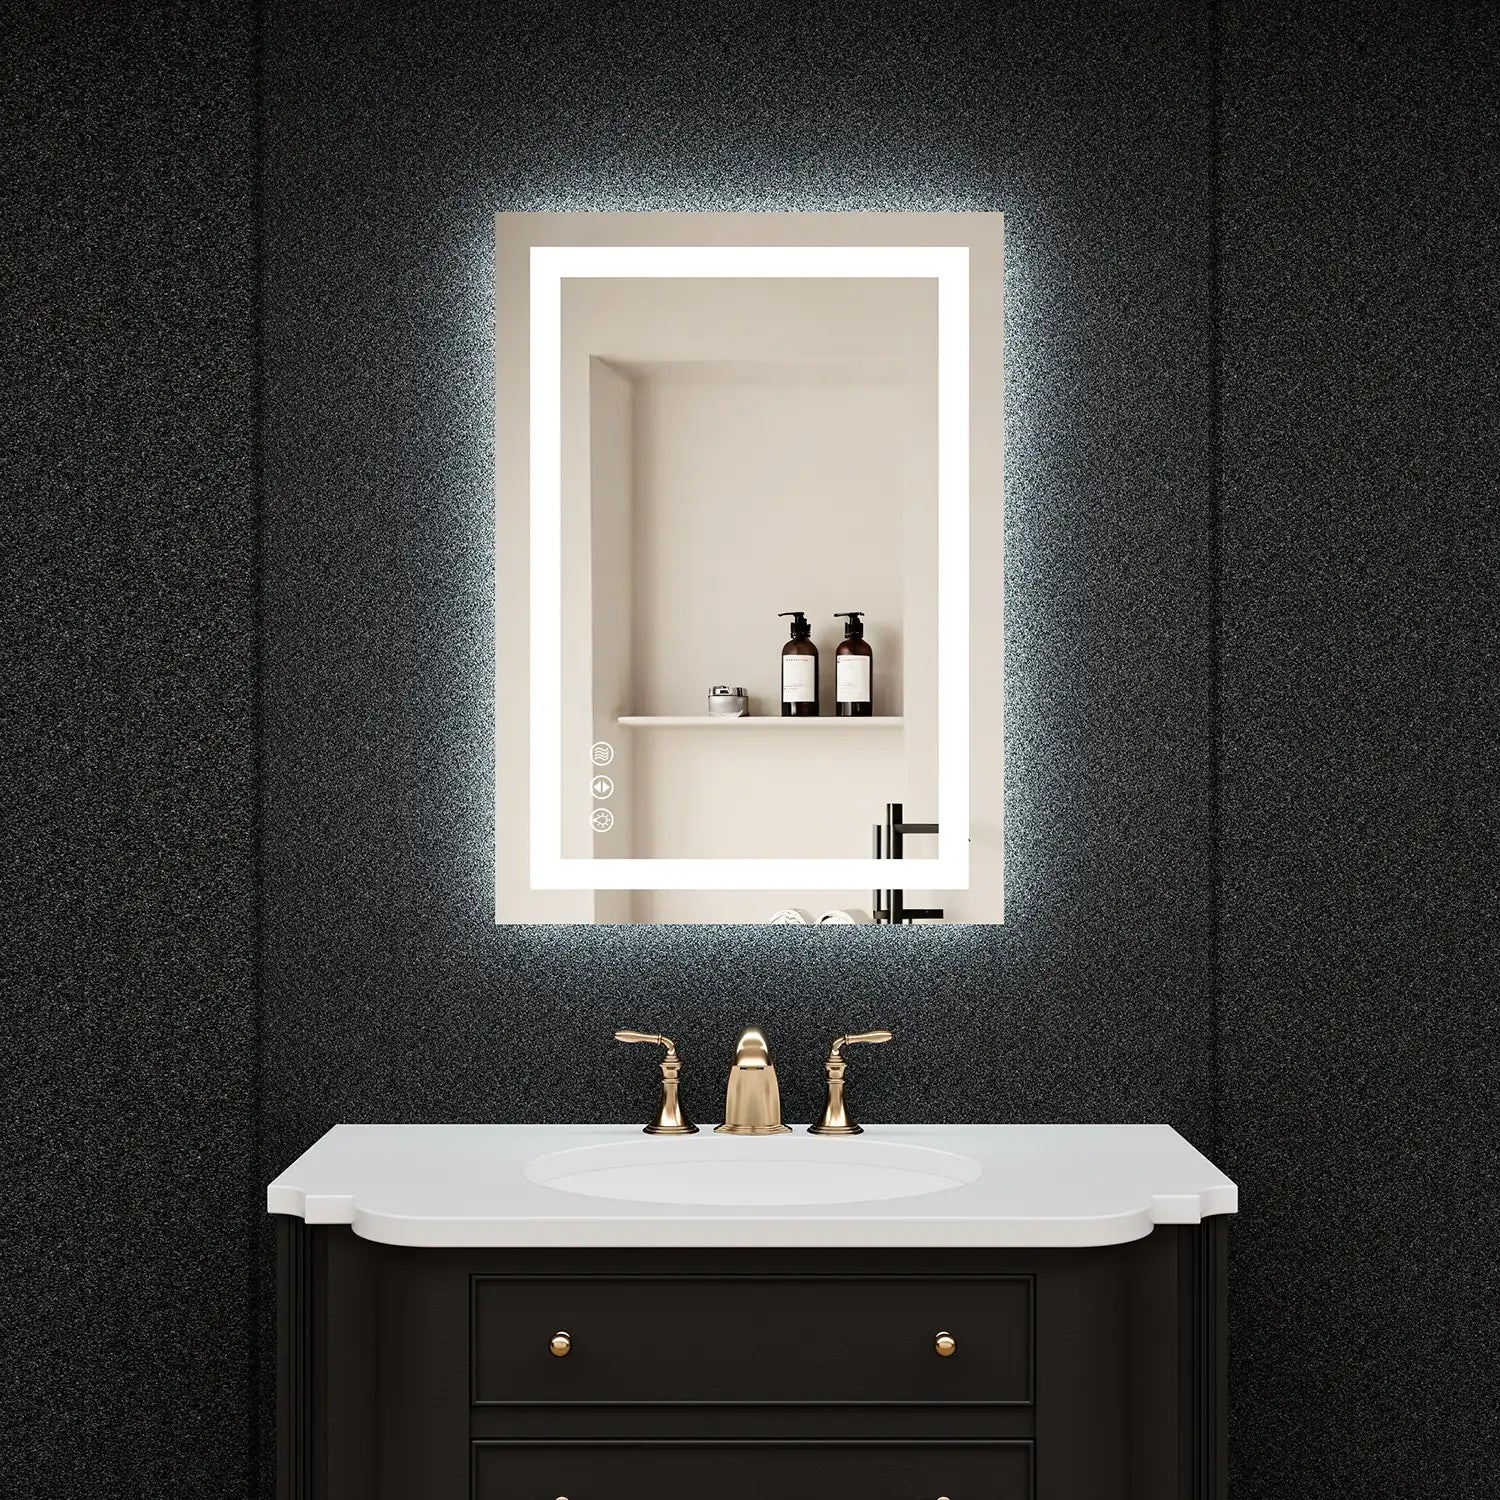
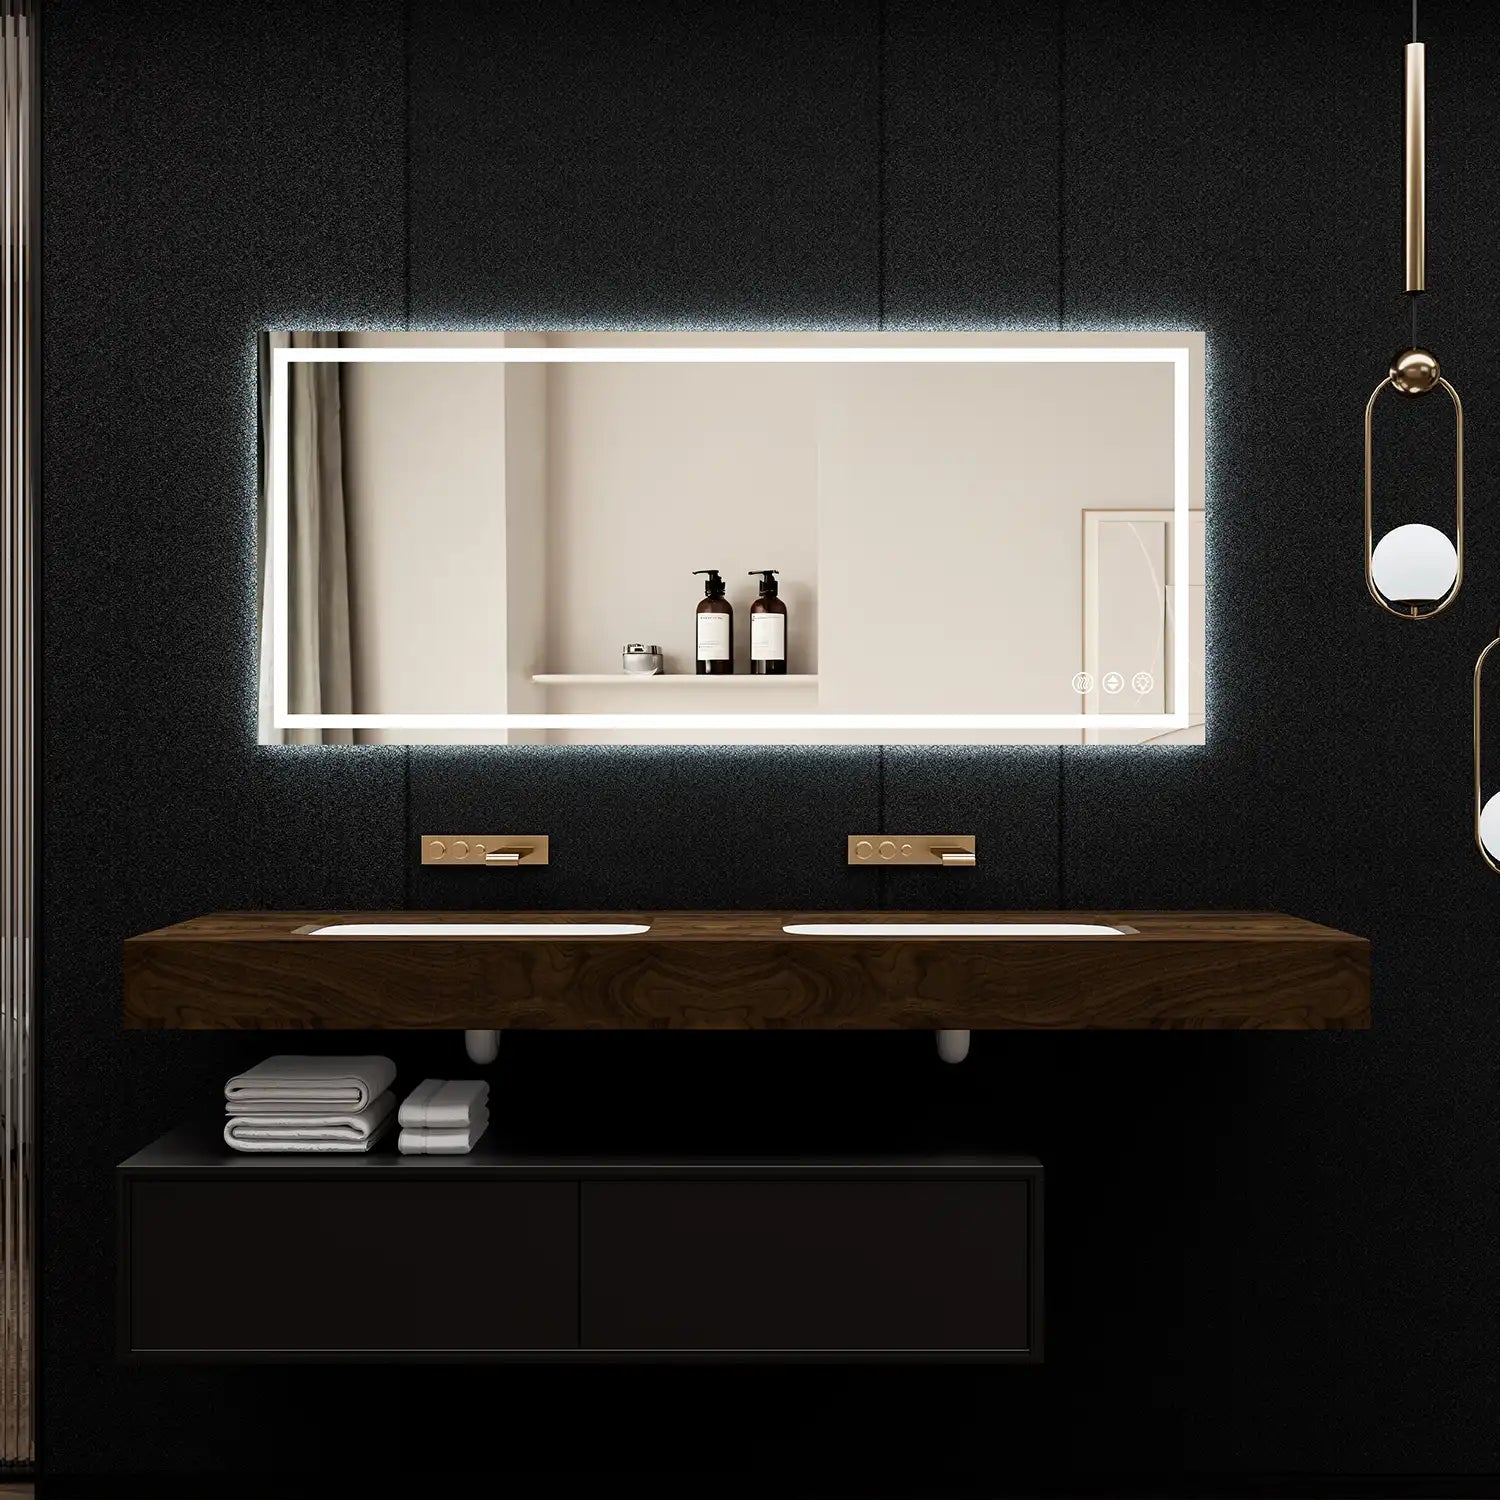
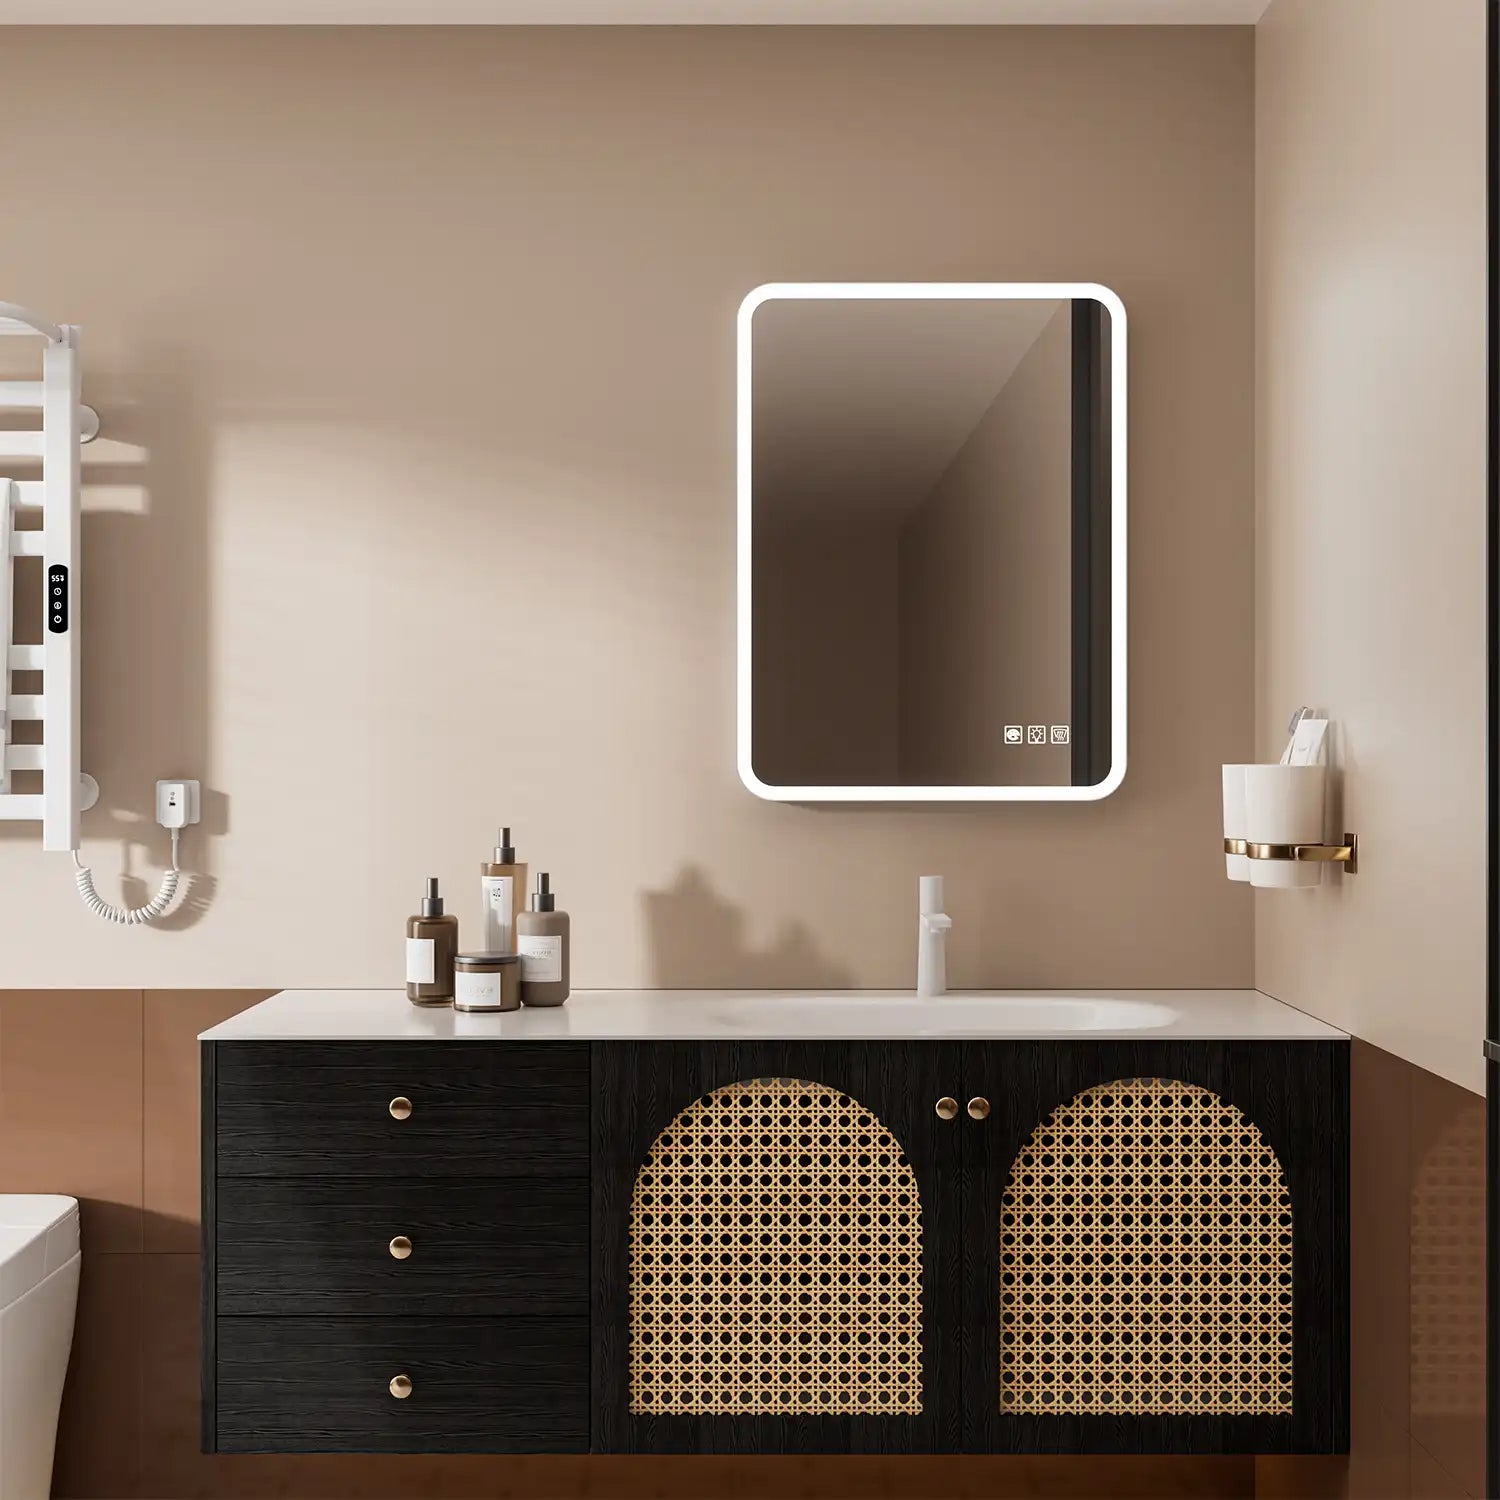
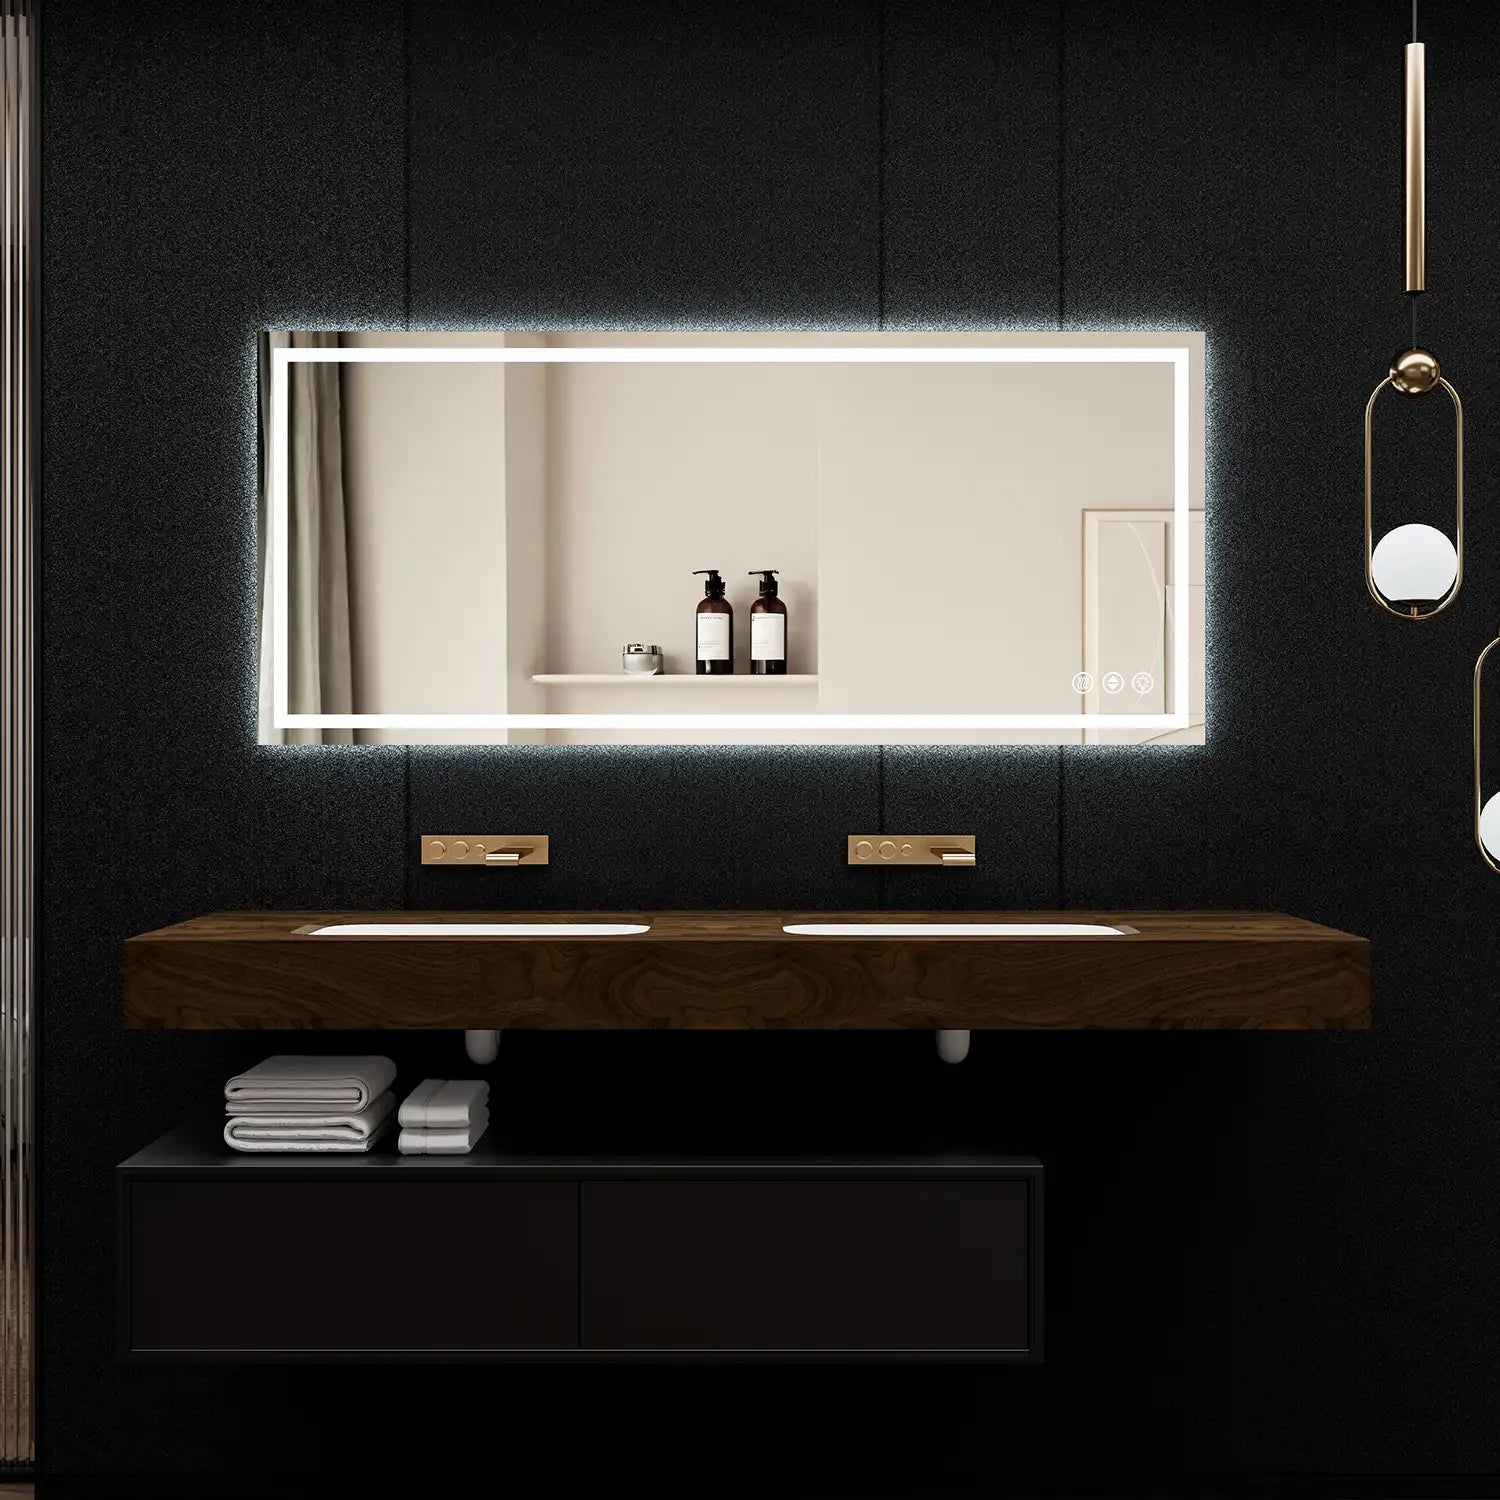
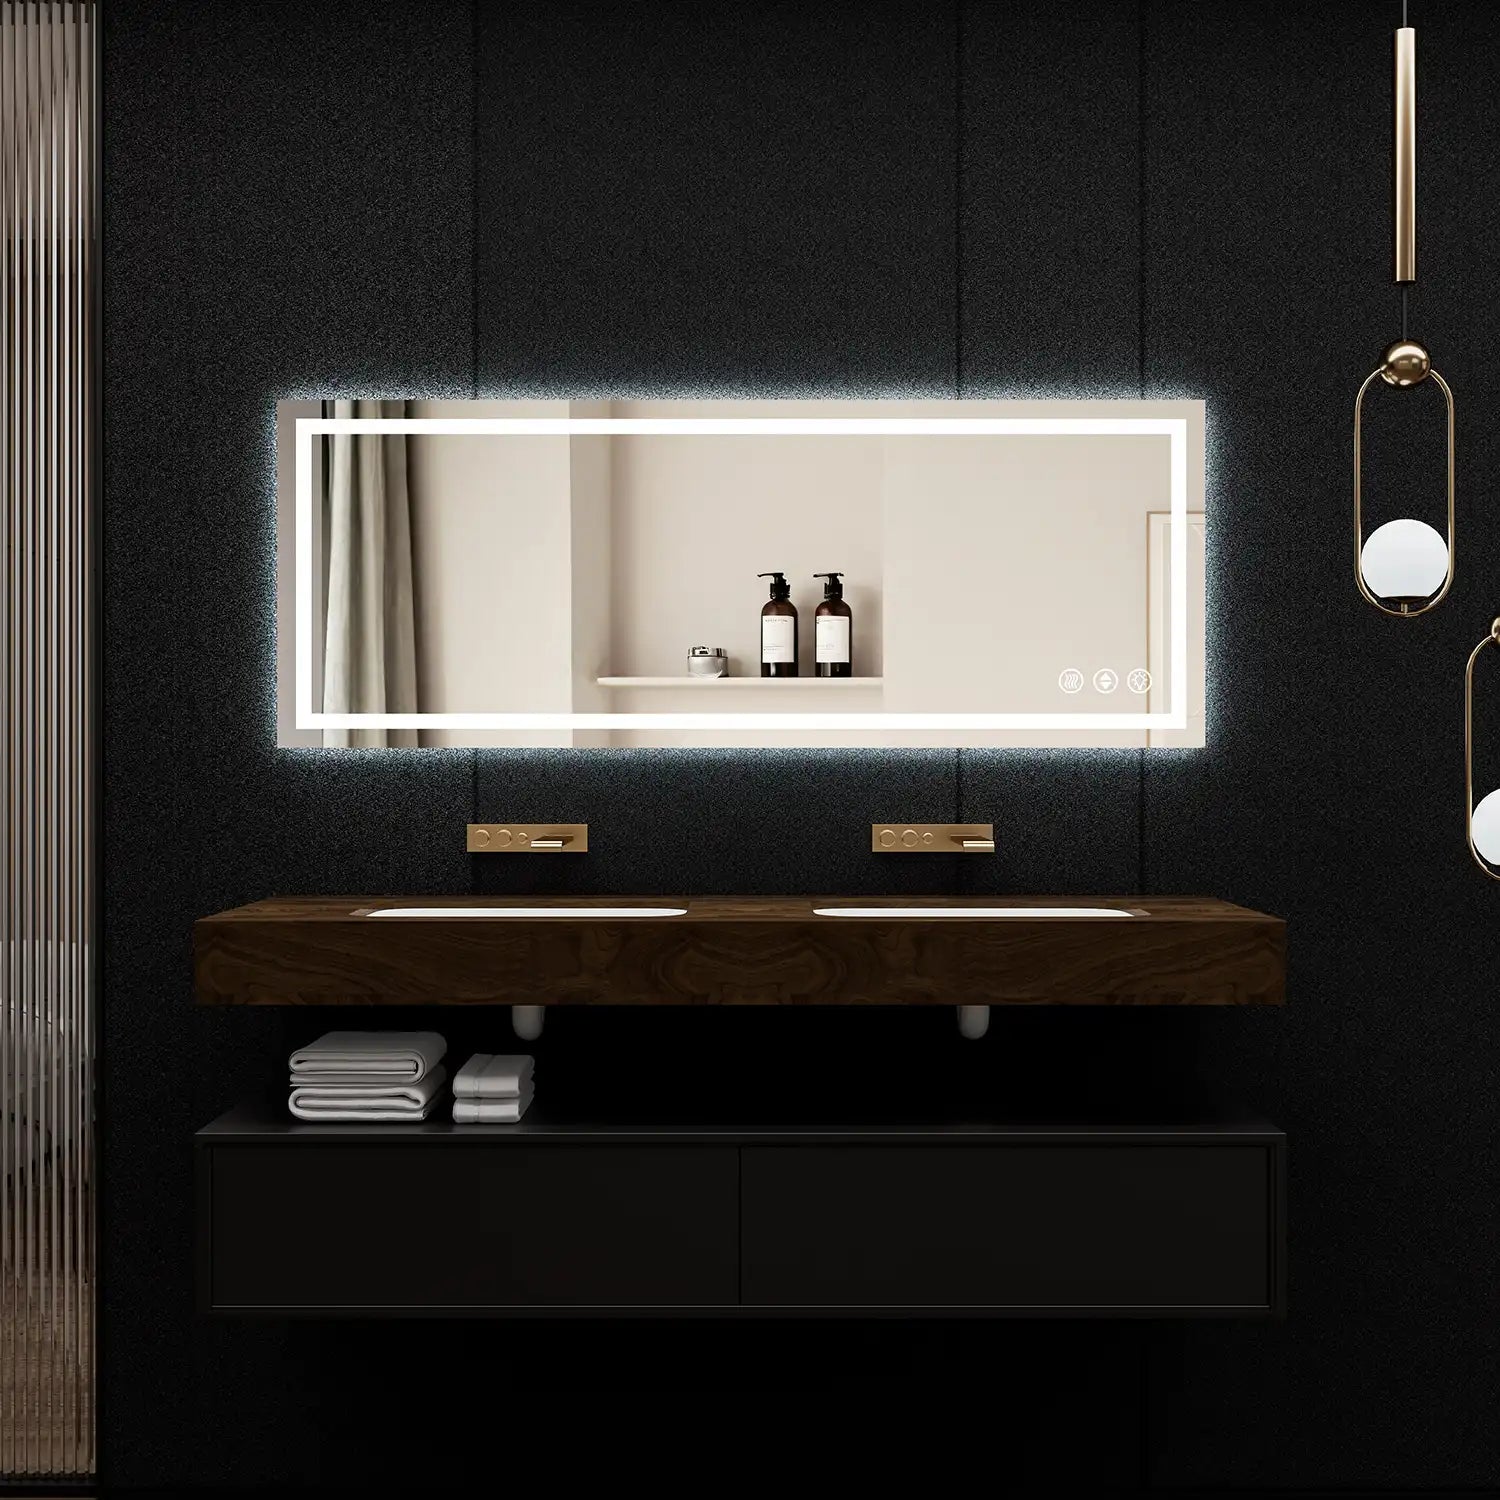
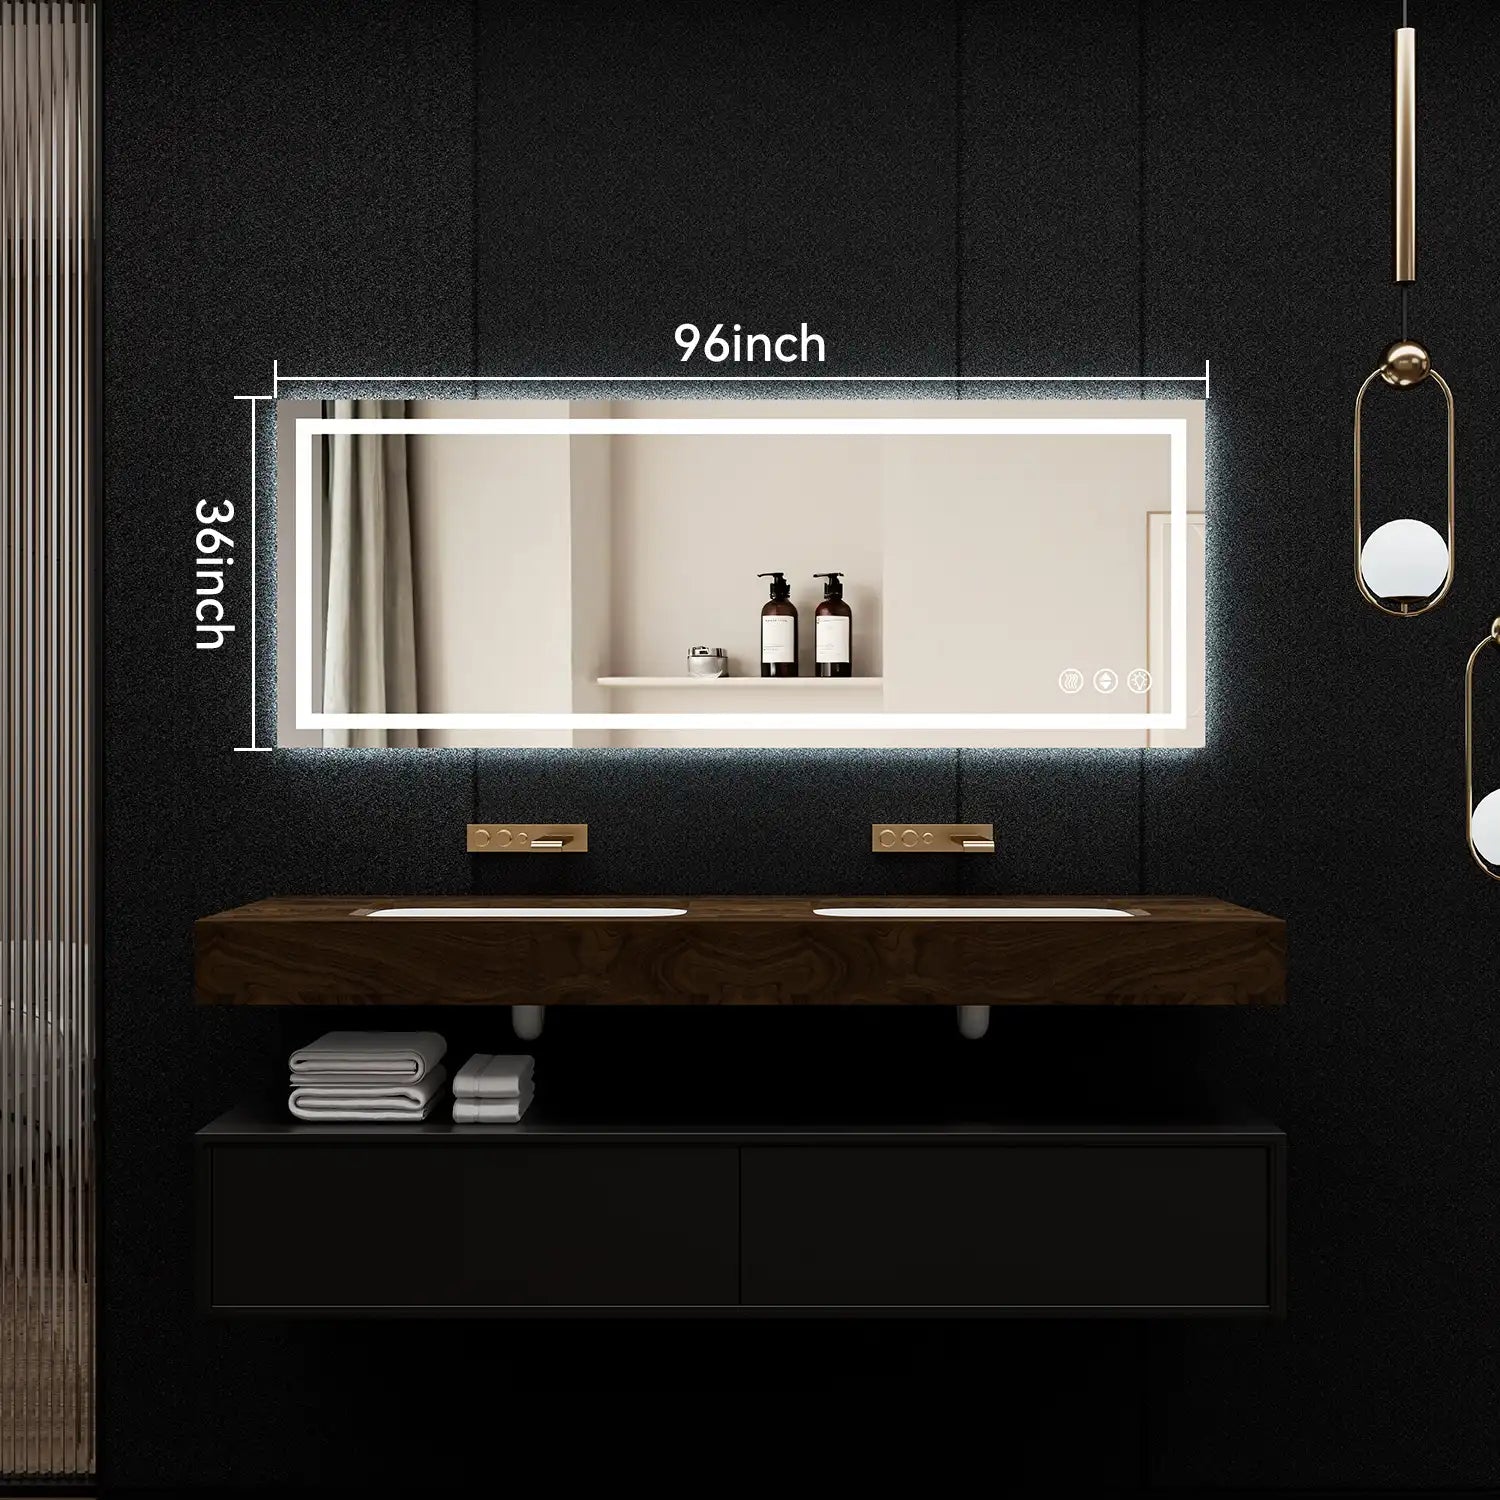
Alright, let me set the stage for you: my bathroom mirror was seriously outdated—think tiny, frameless, and completely uninspiring. So, when I decided it was time for an upgrade, I knew an LED bathroom mirror was the way to go. But let me tell you, the thought of drilling into my (already fragile) bathroom walls had me nervous. What if I cracked the tile? What if it didn’t hold up?
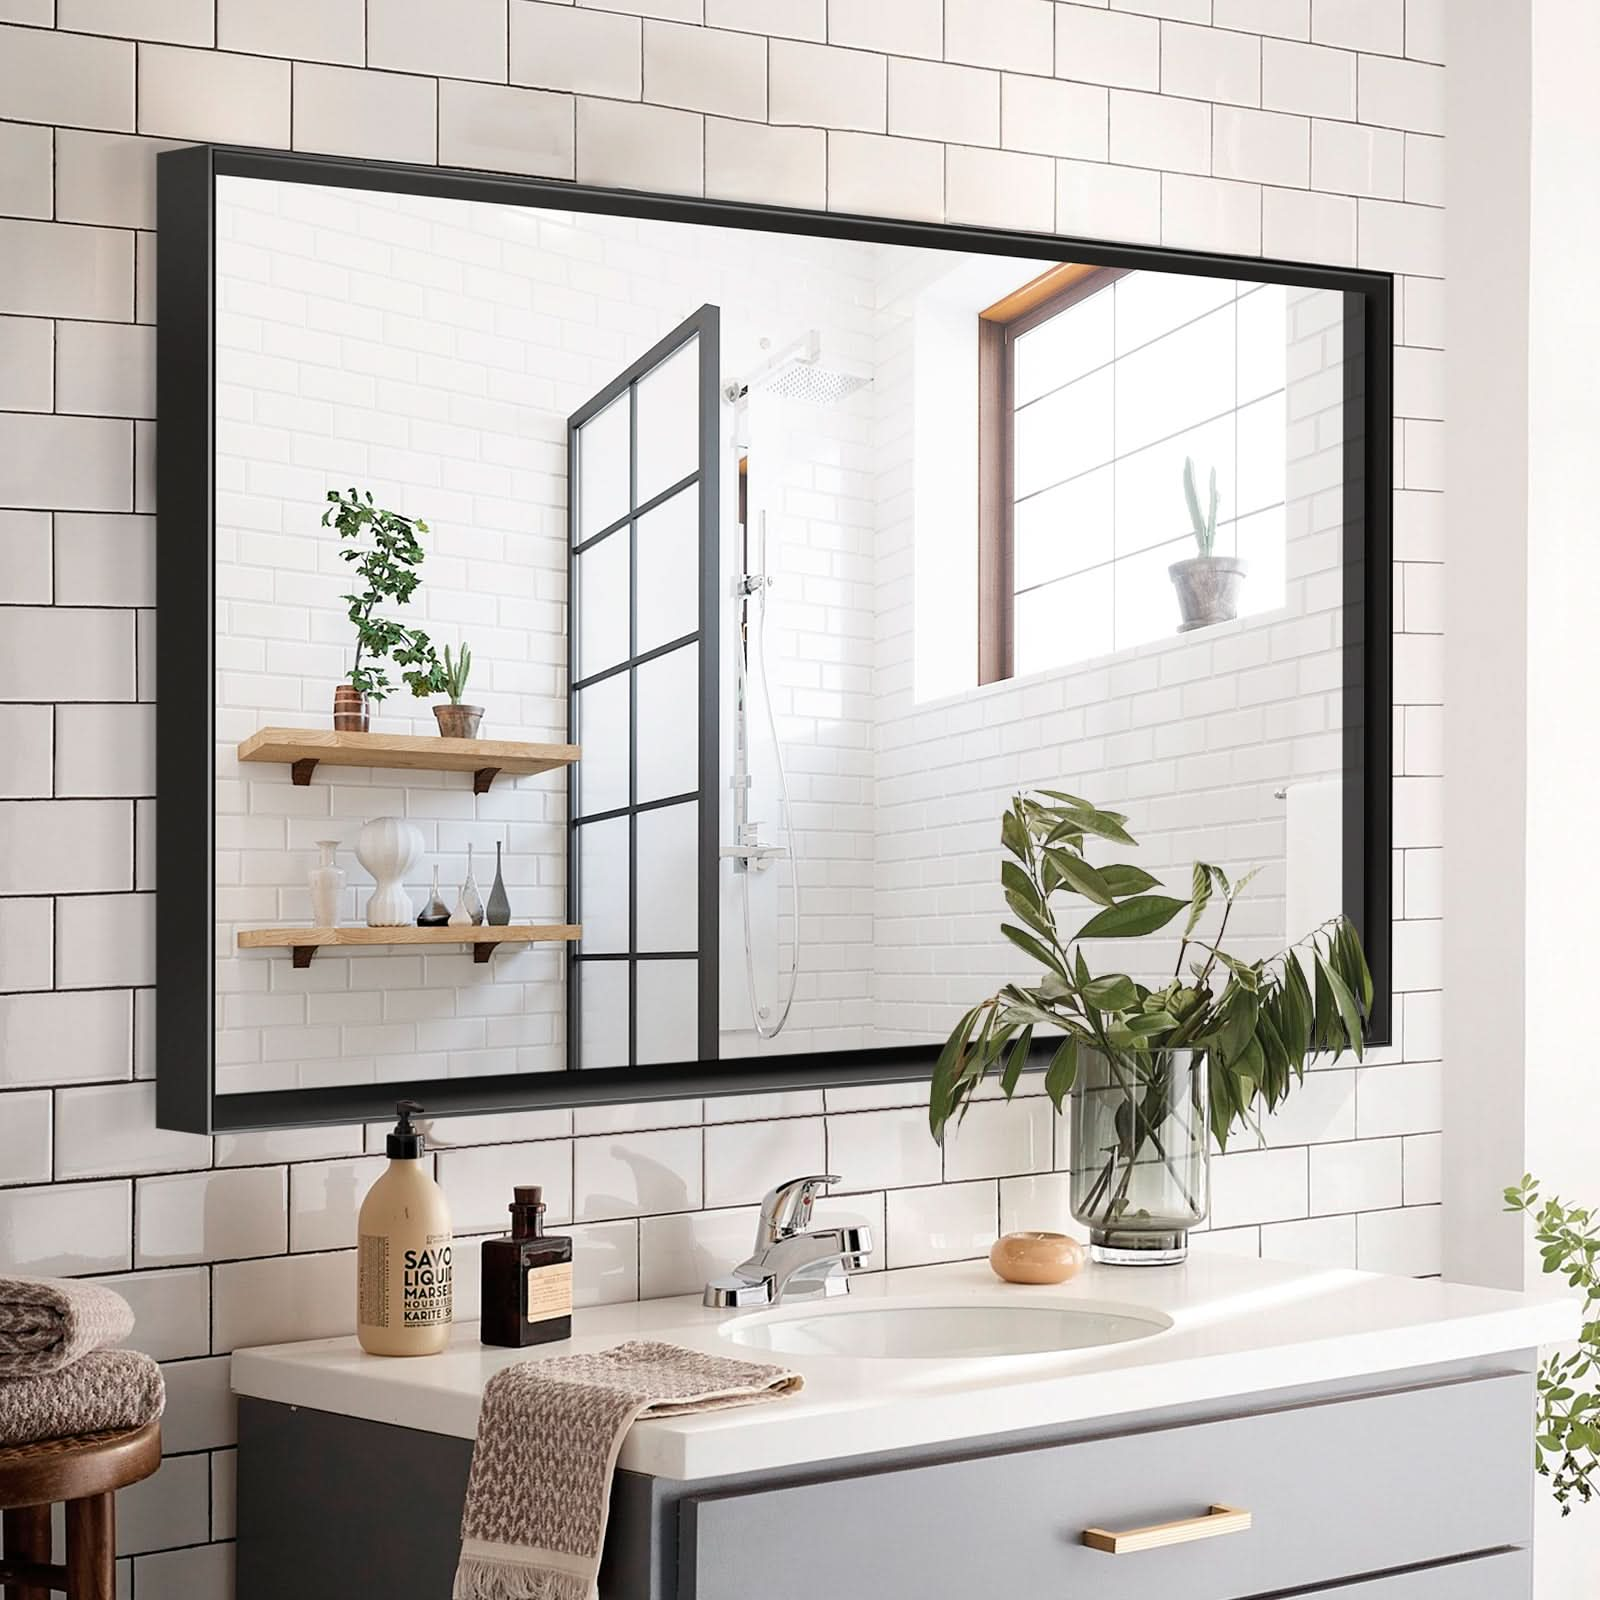
Fast forward a few hours, and I had a chic, glowing mirror on the wall, and—most importantly—my walls were still intact! I’m walking you through my exact process here so you can do the same. If I can pull it off, you can too. Let’s get started!
Step 1: Picking the Right Mirror

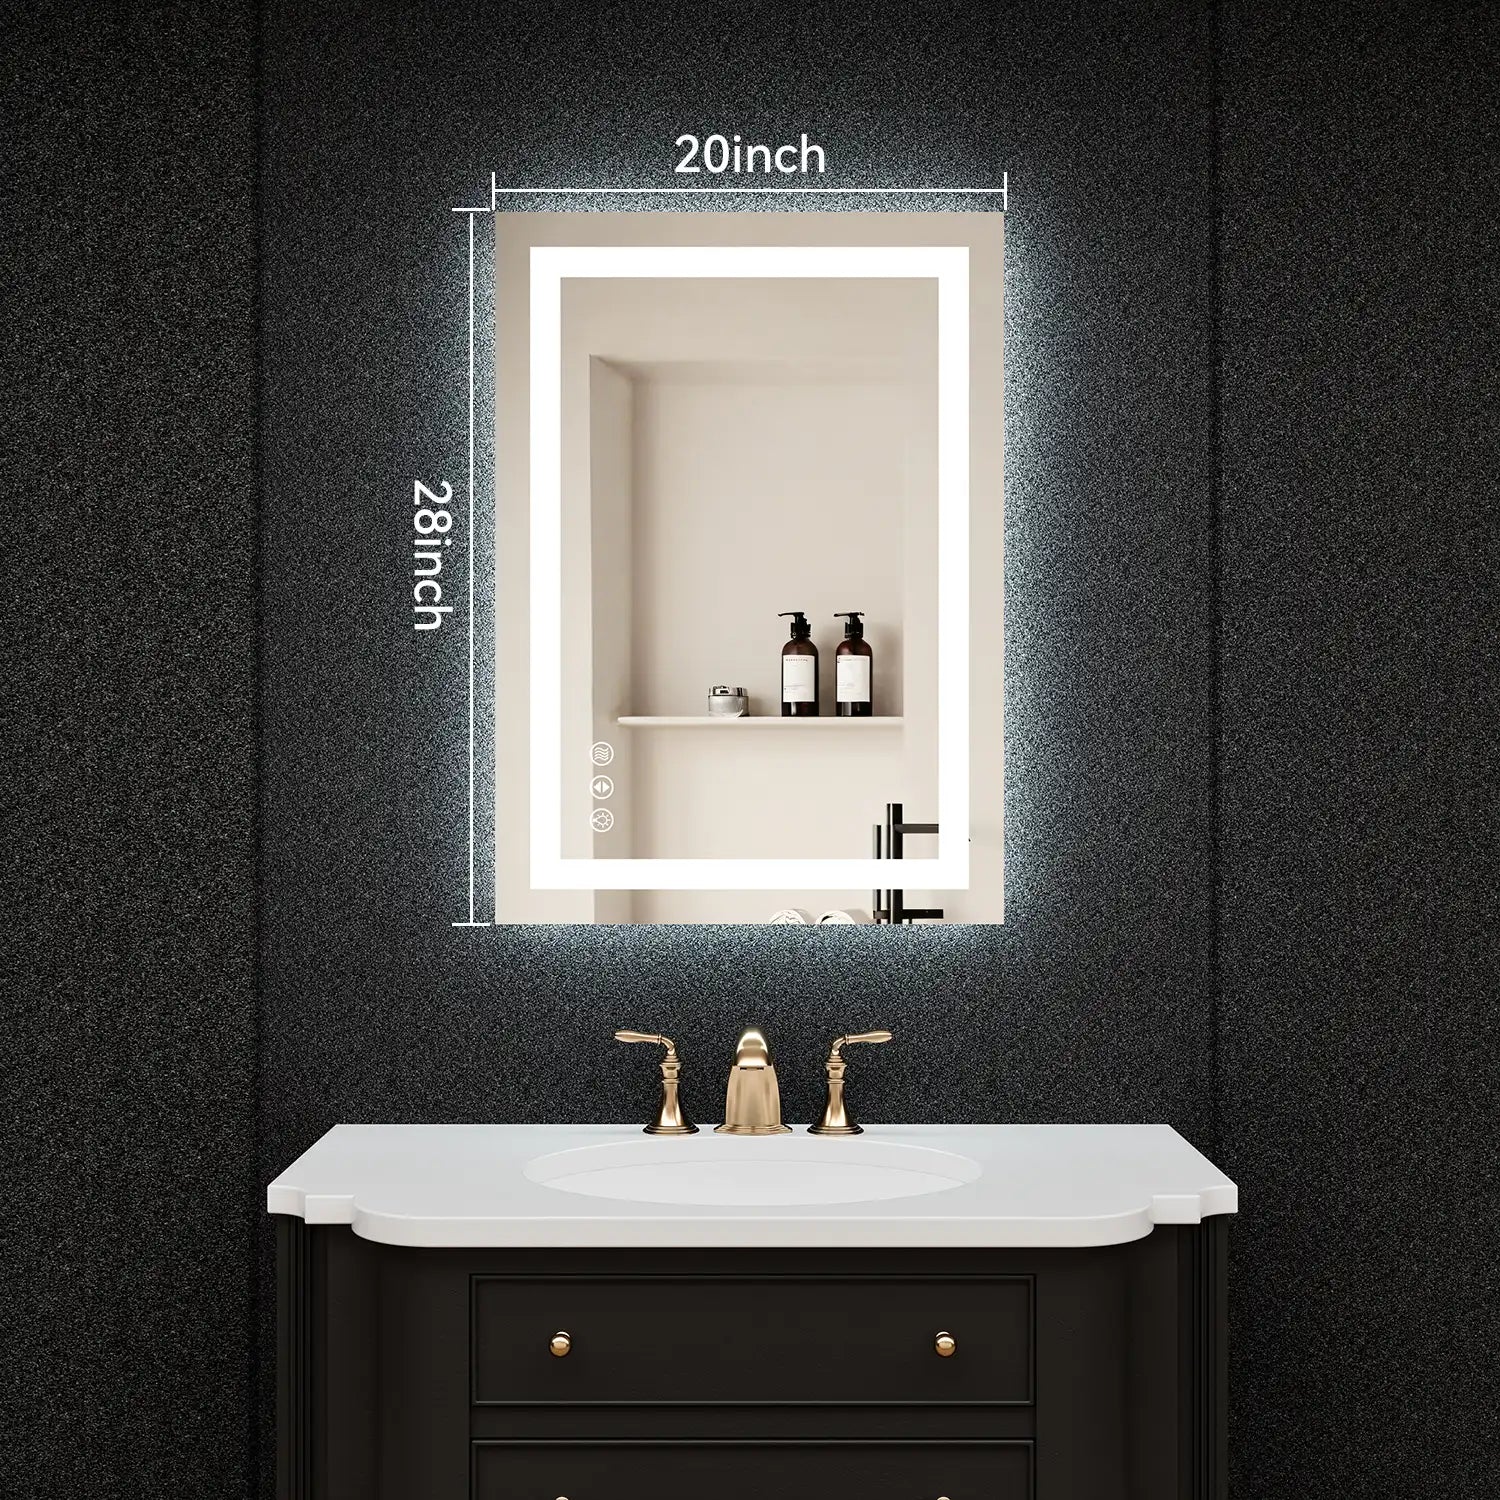
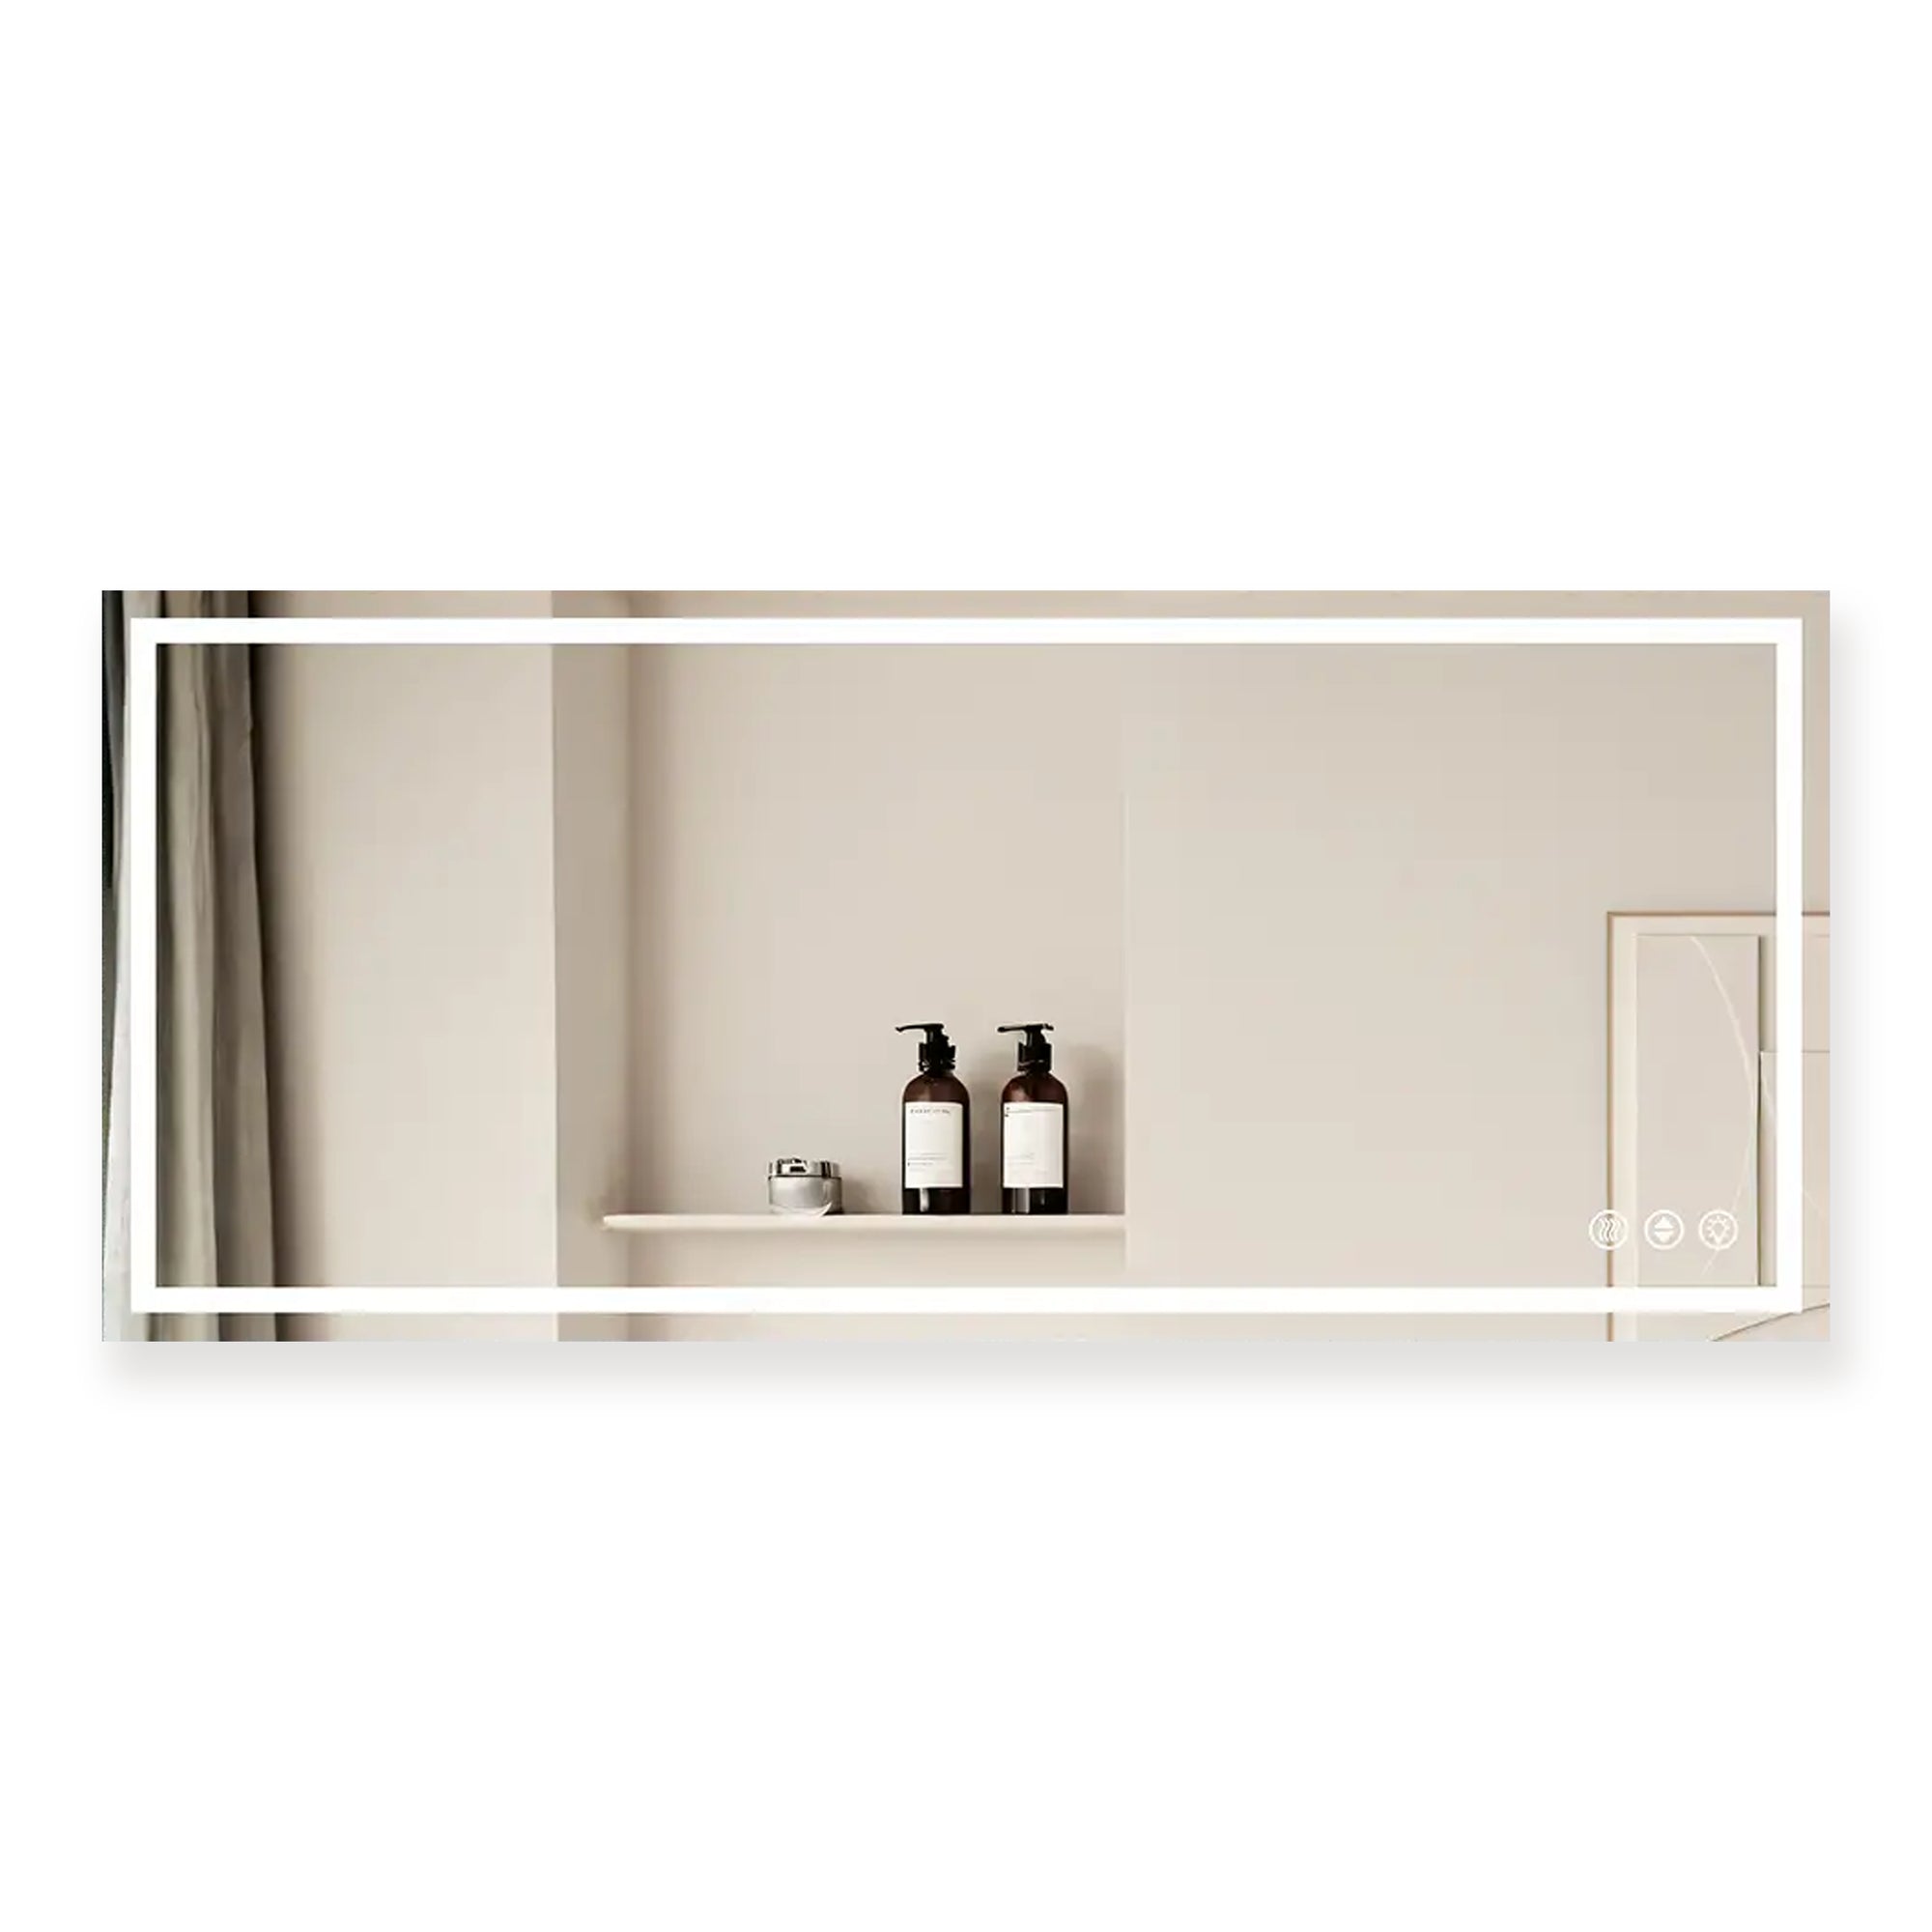
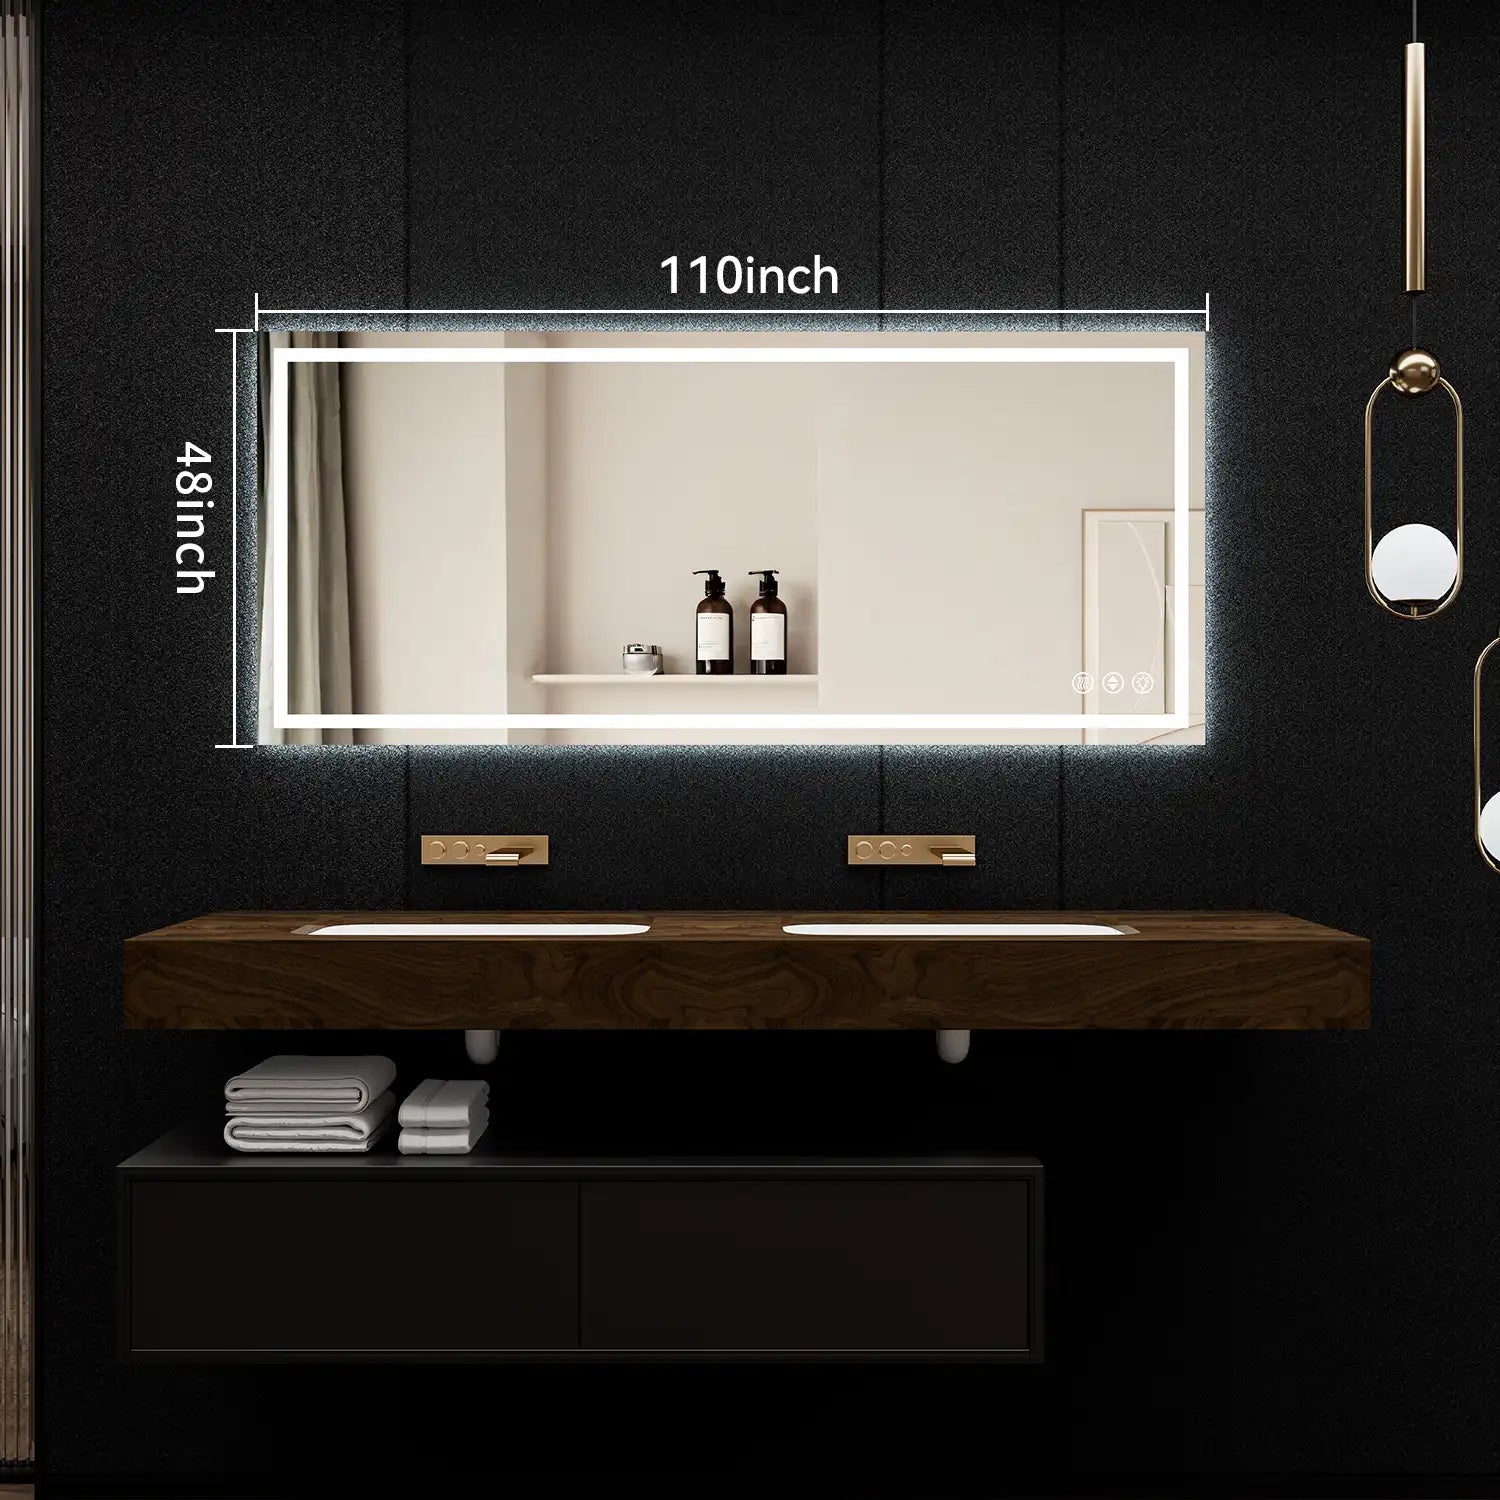
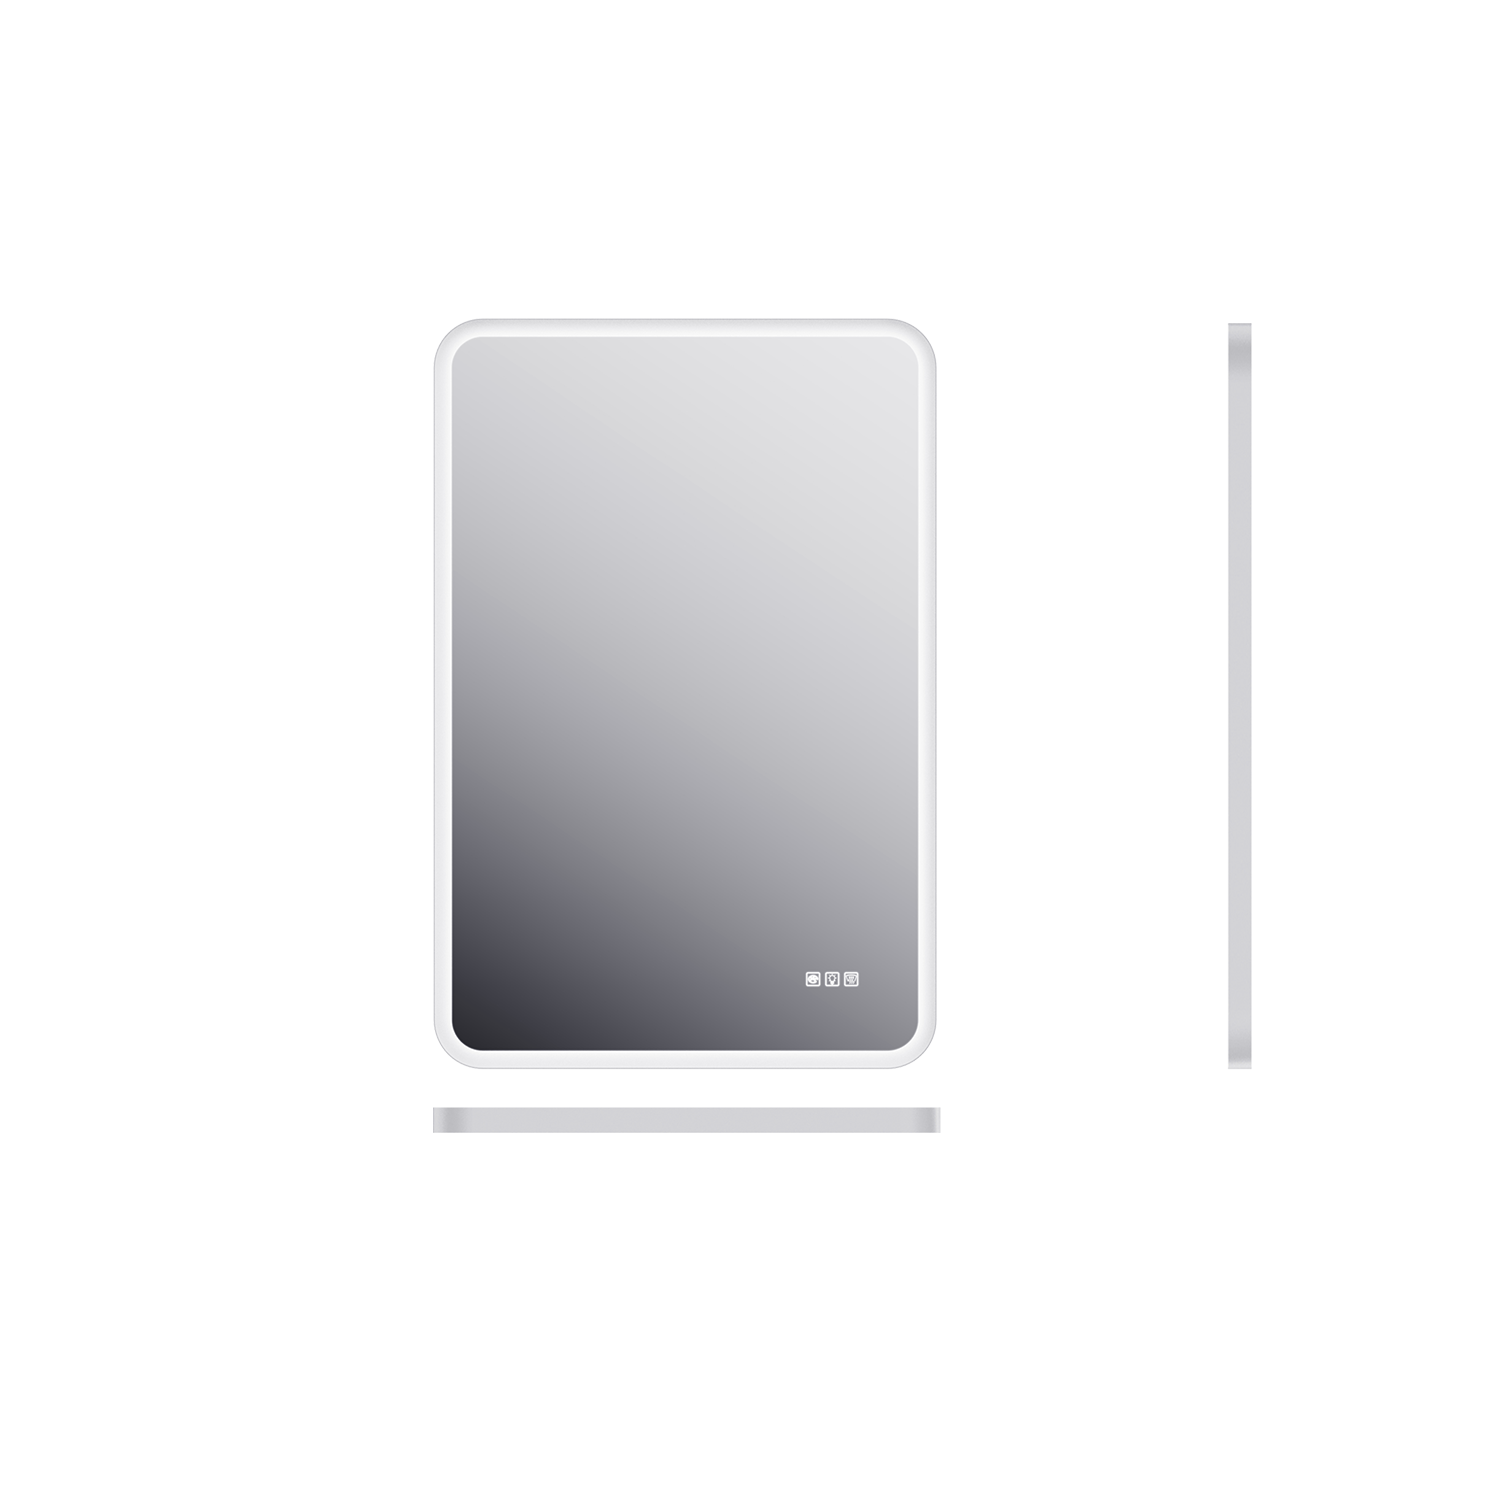
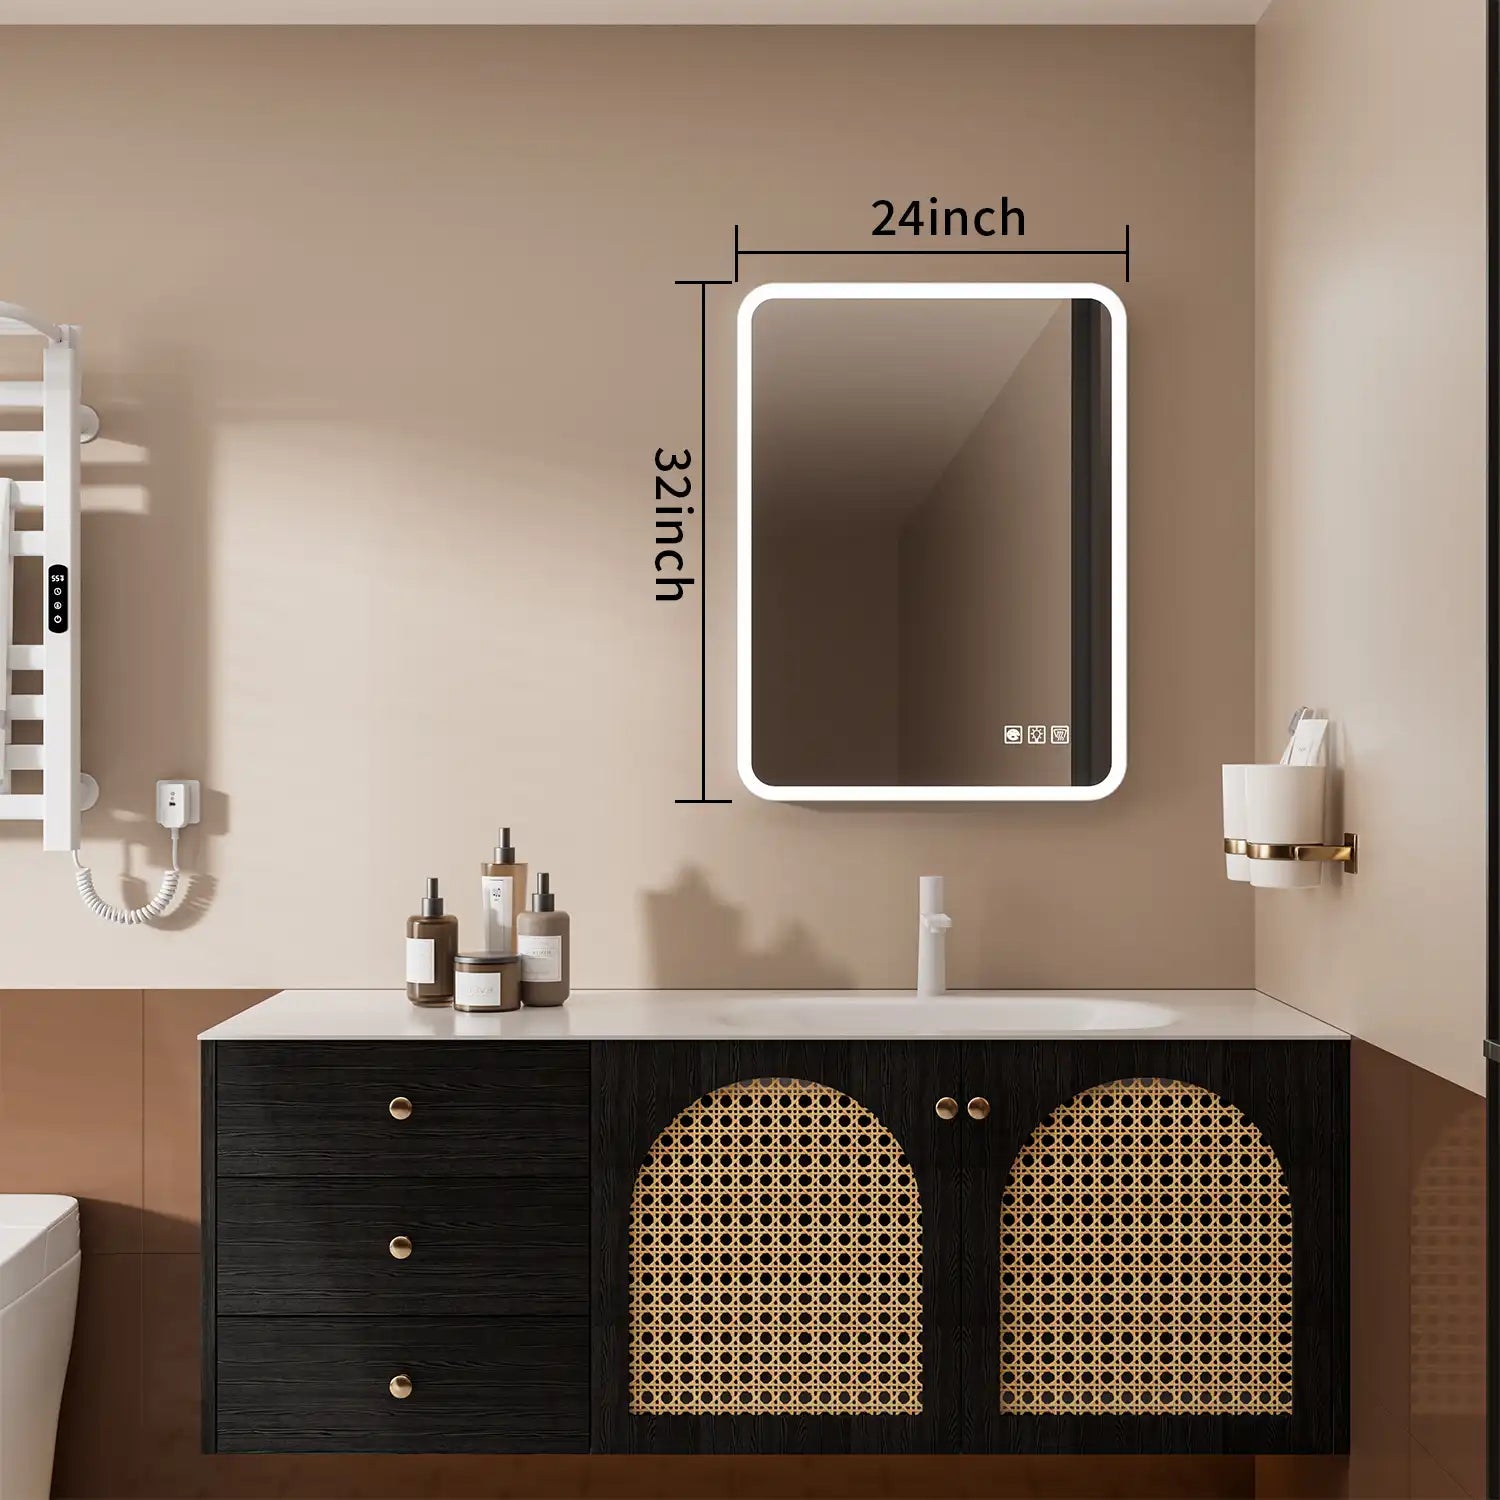
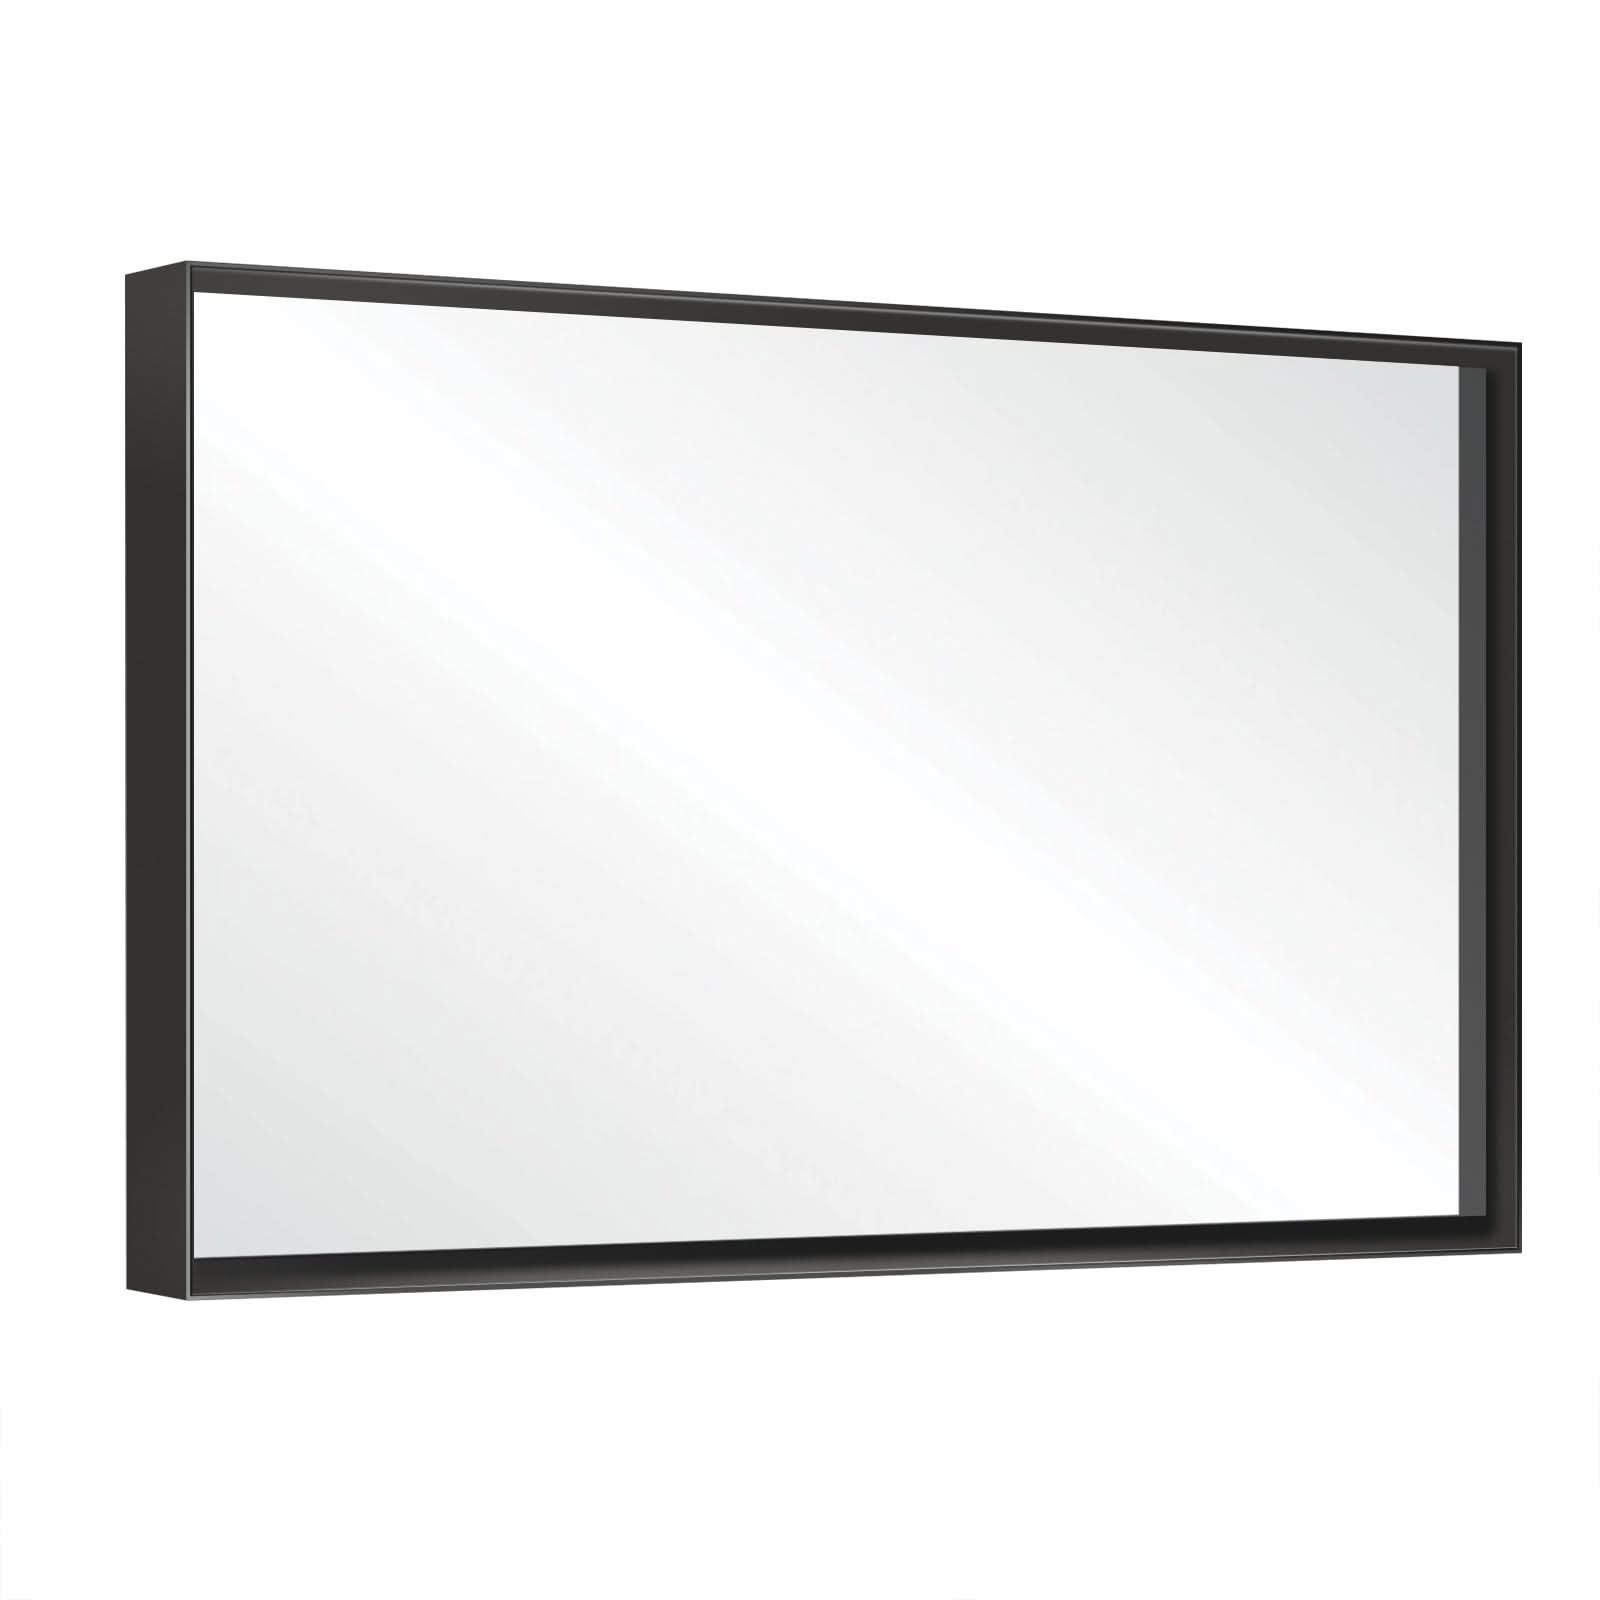
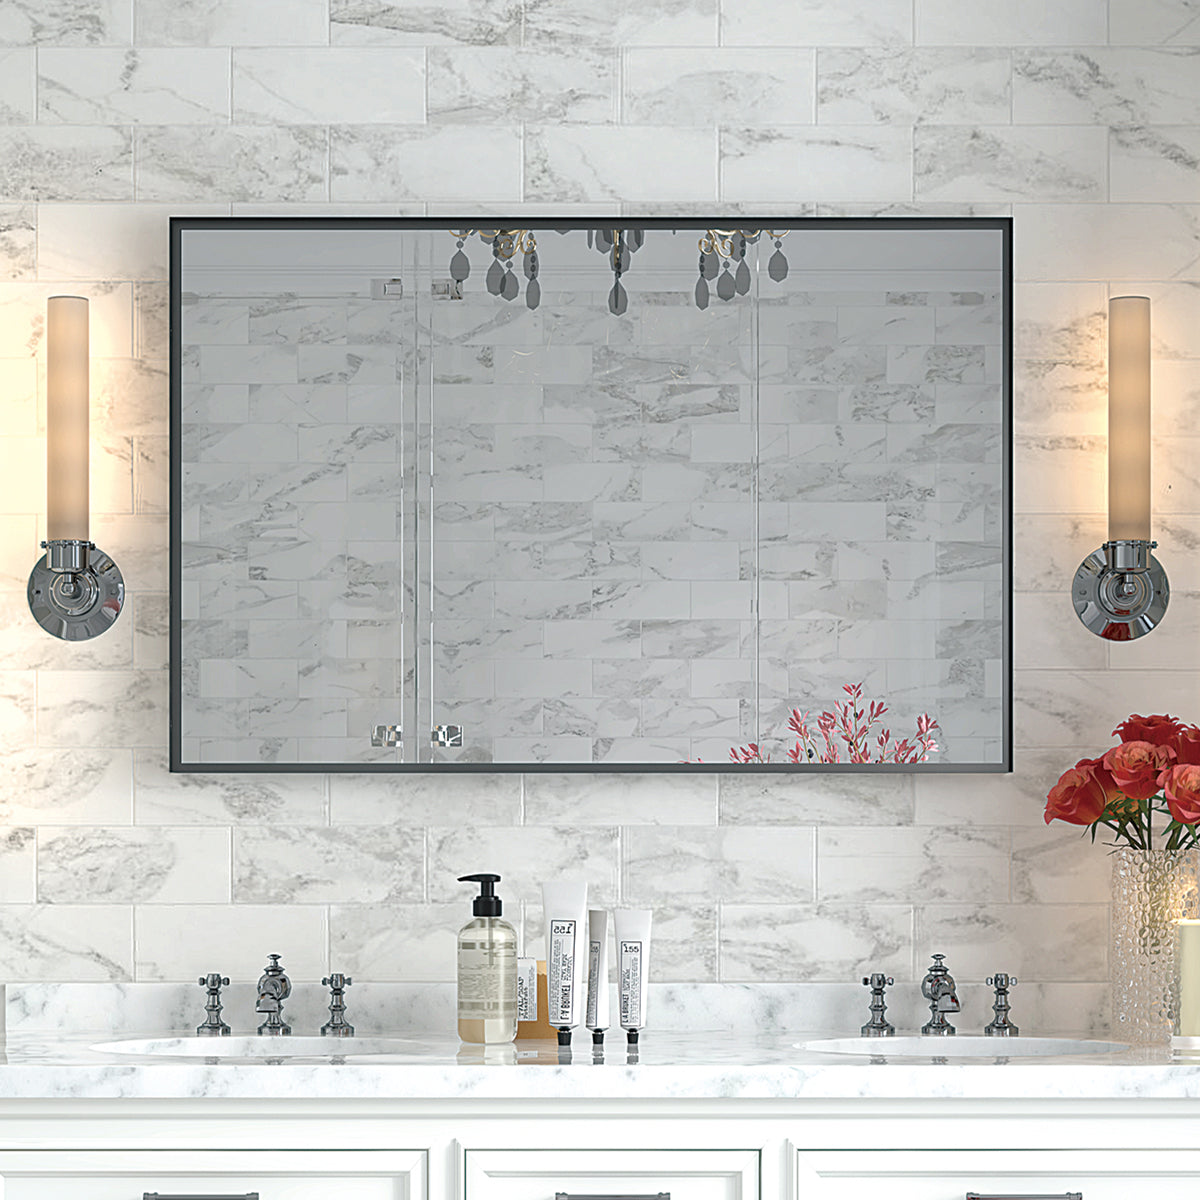
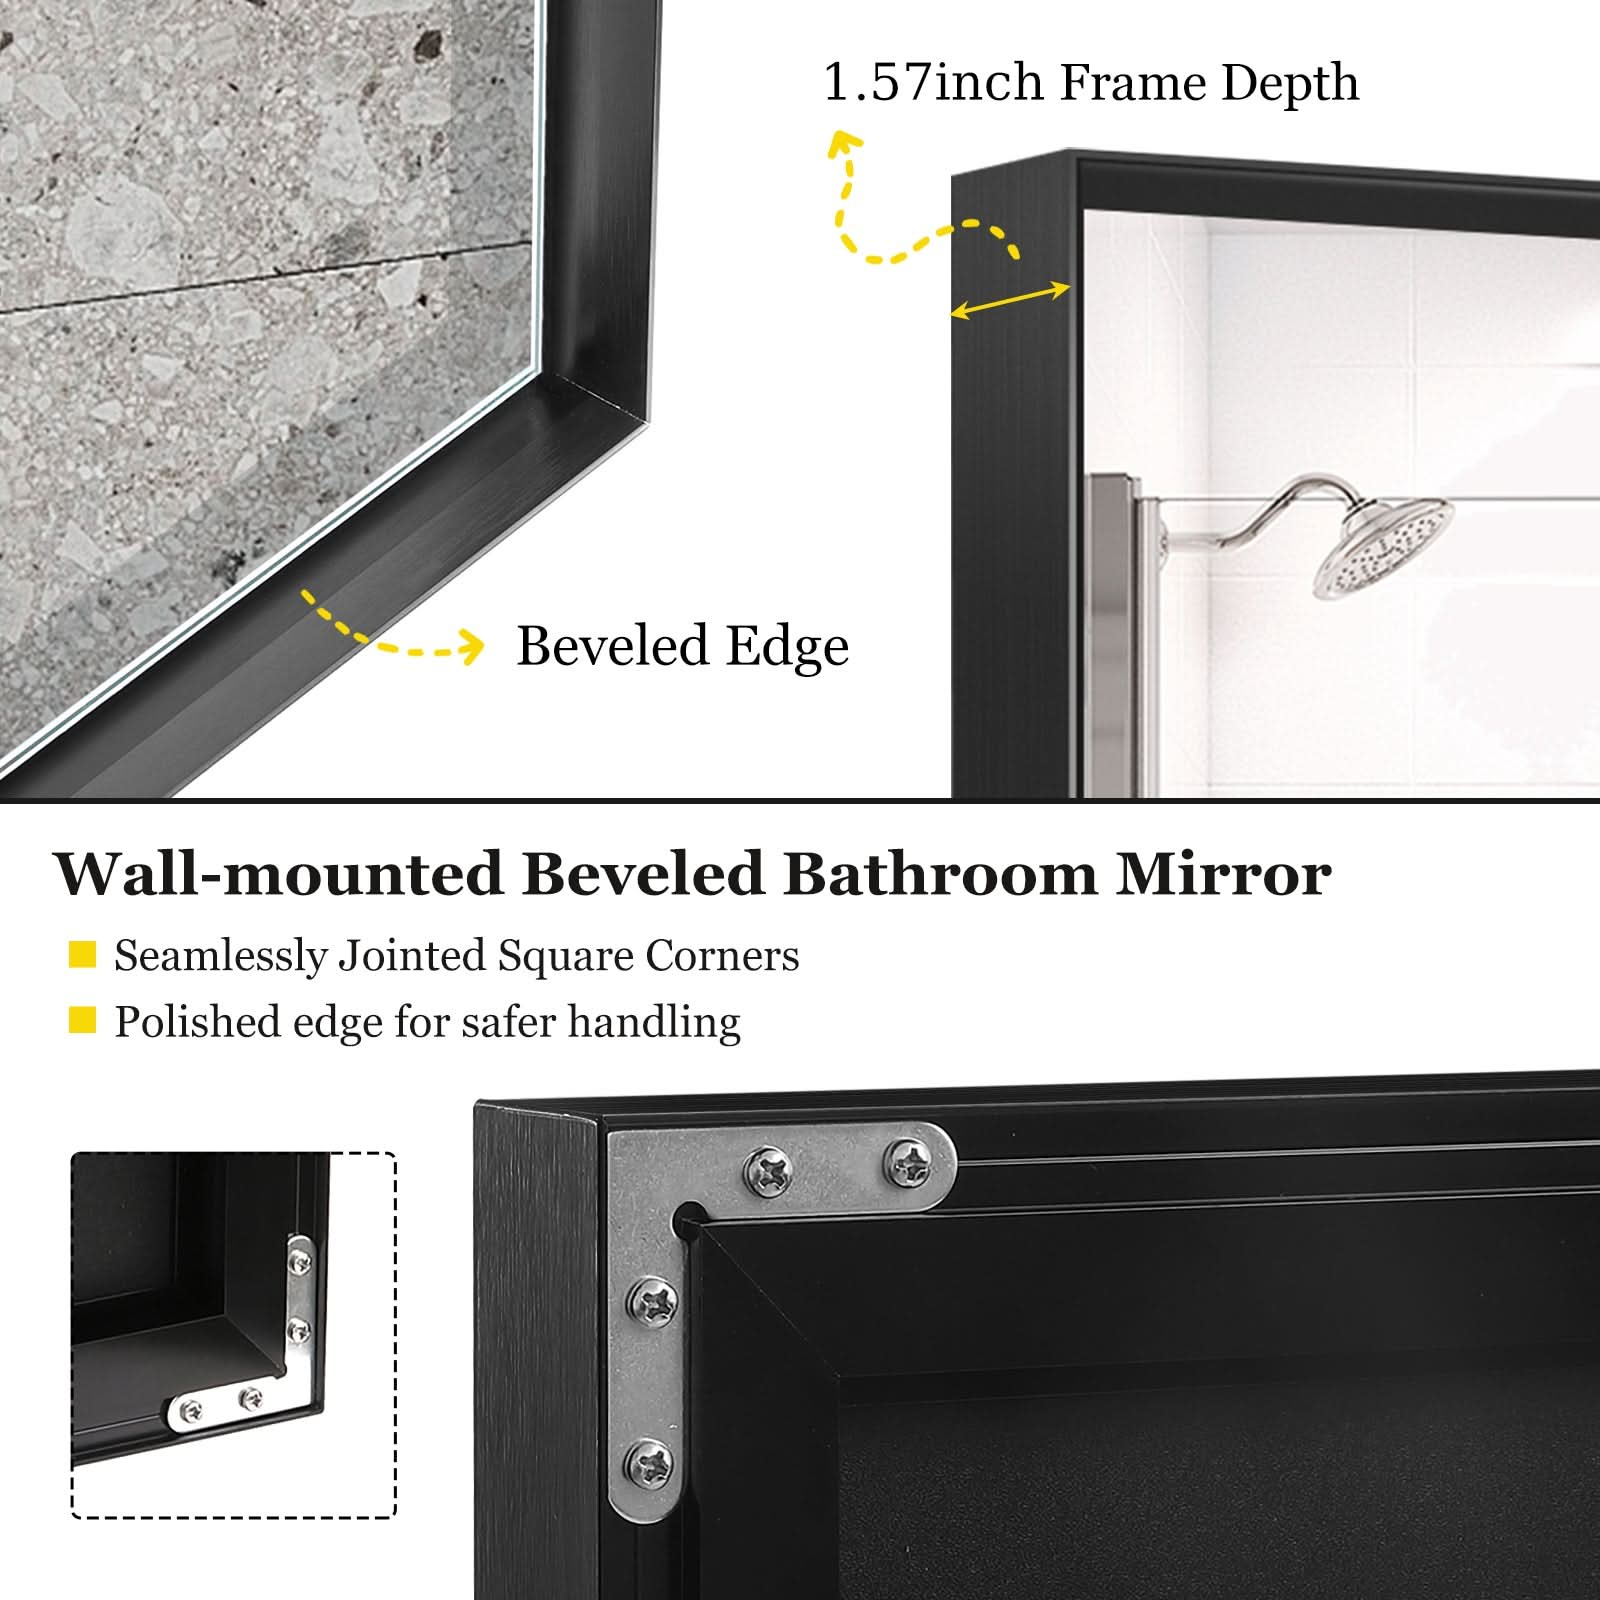
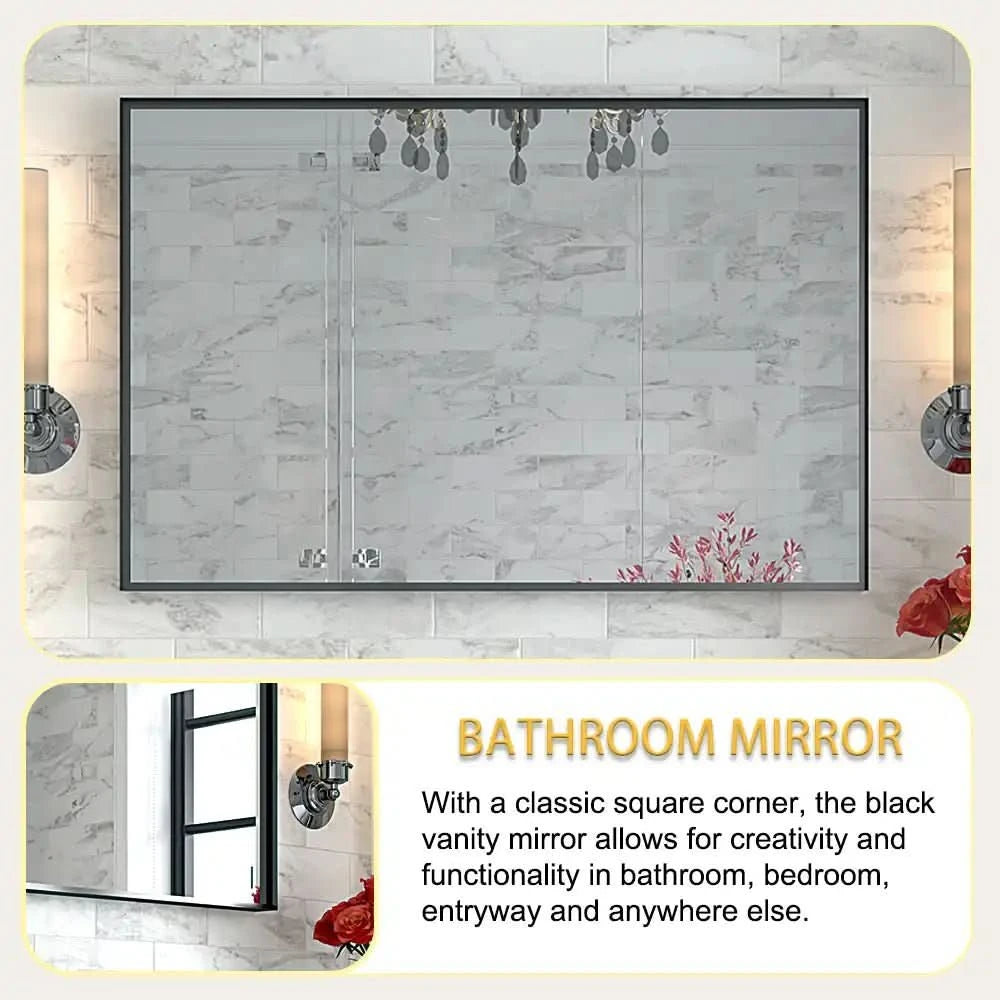
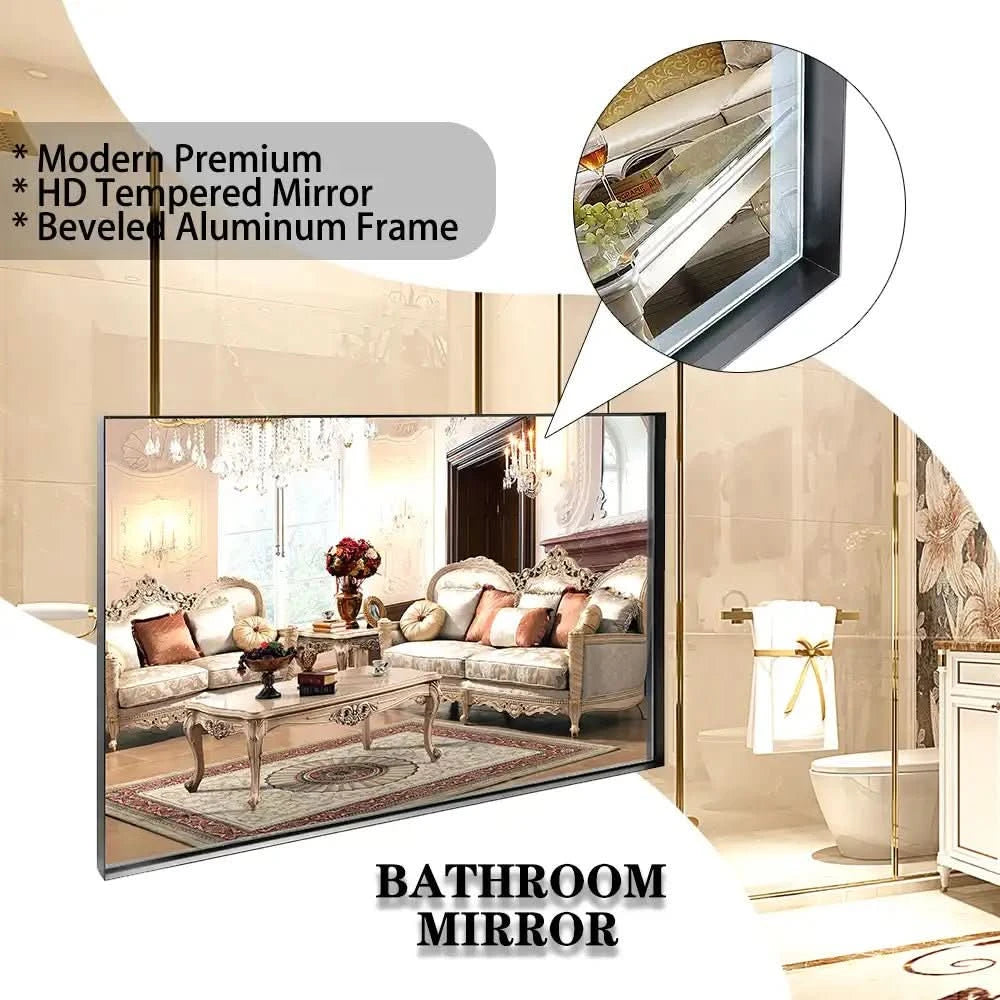
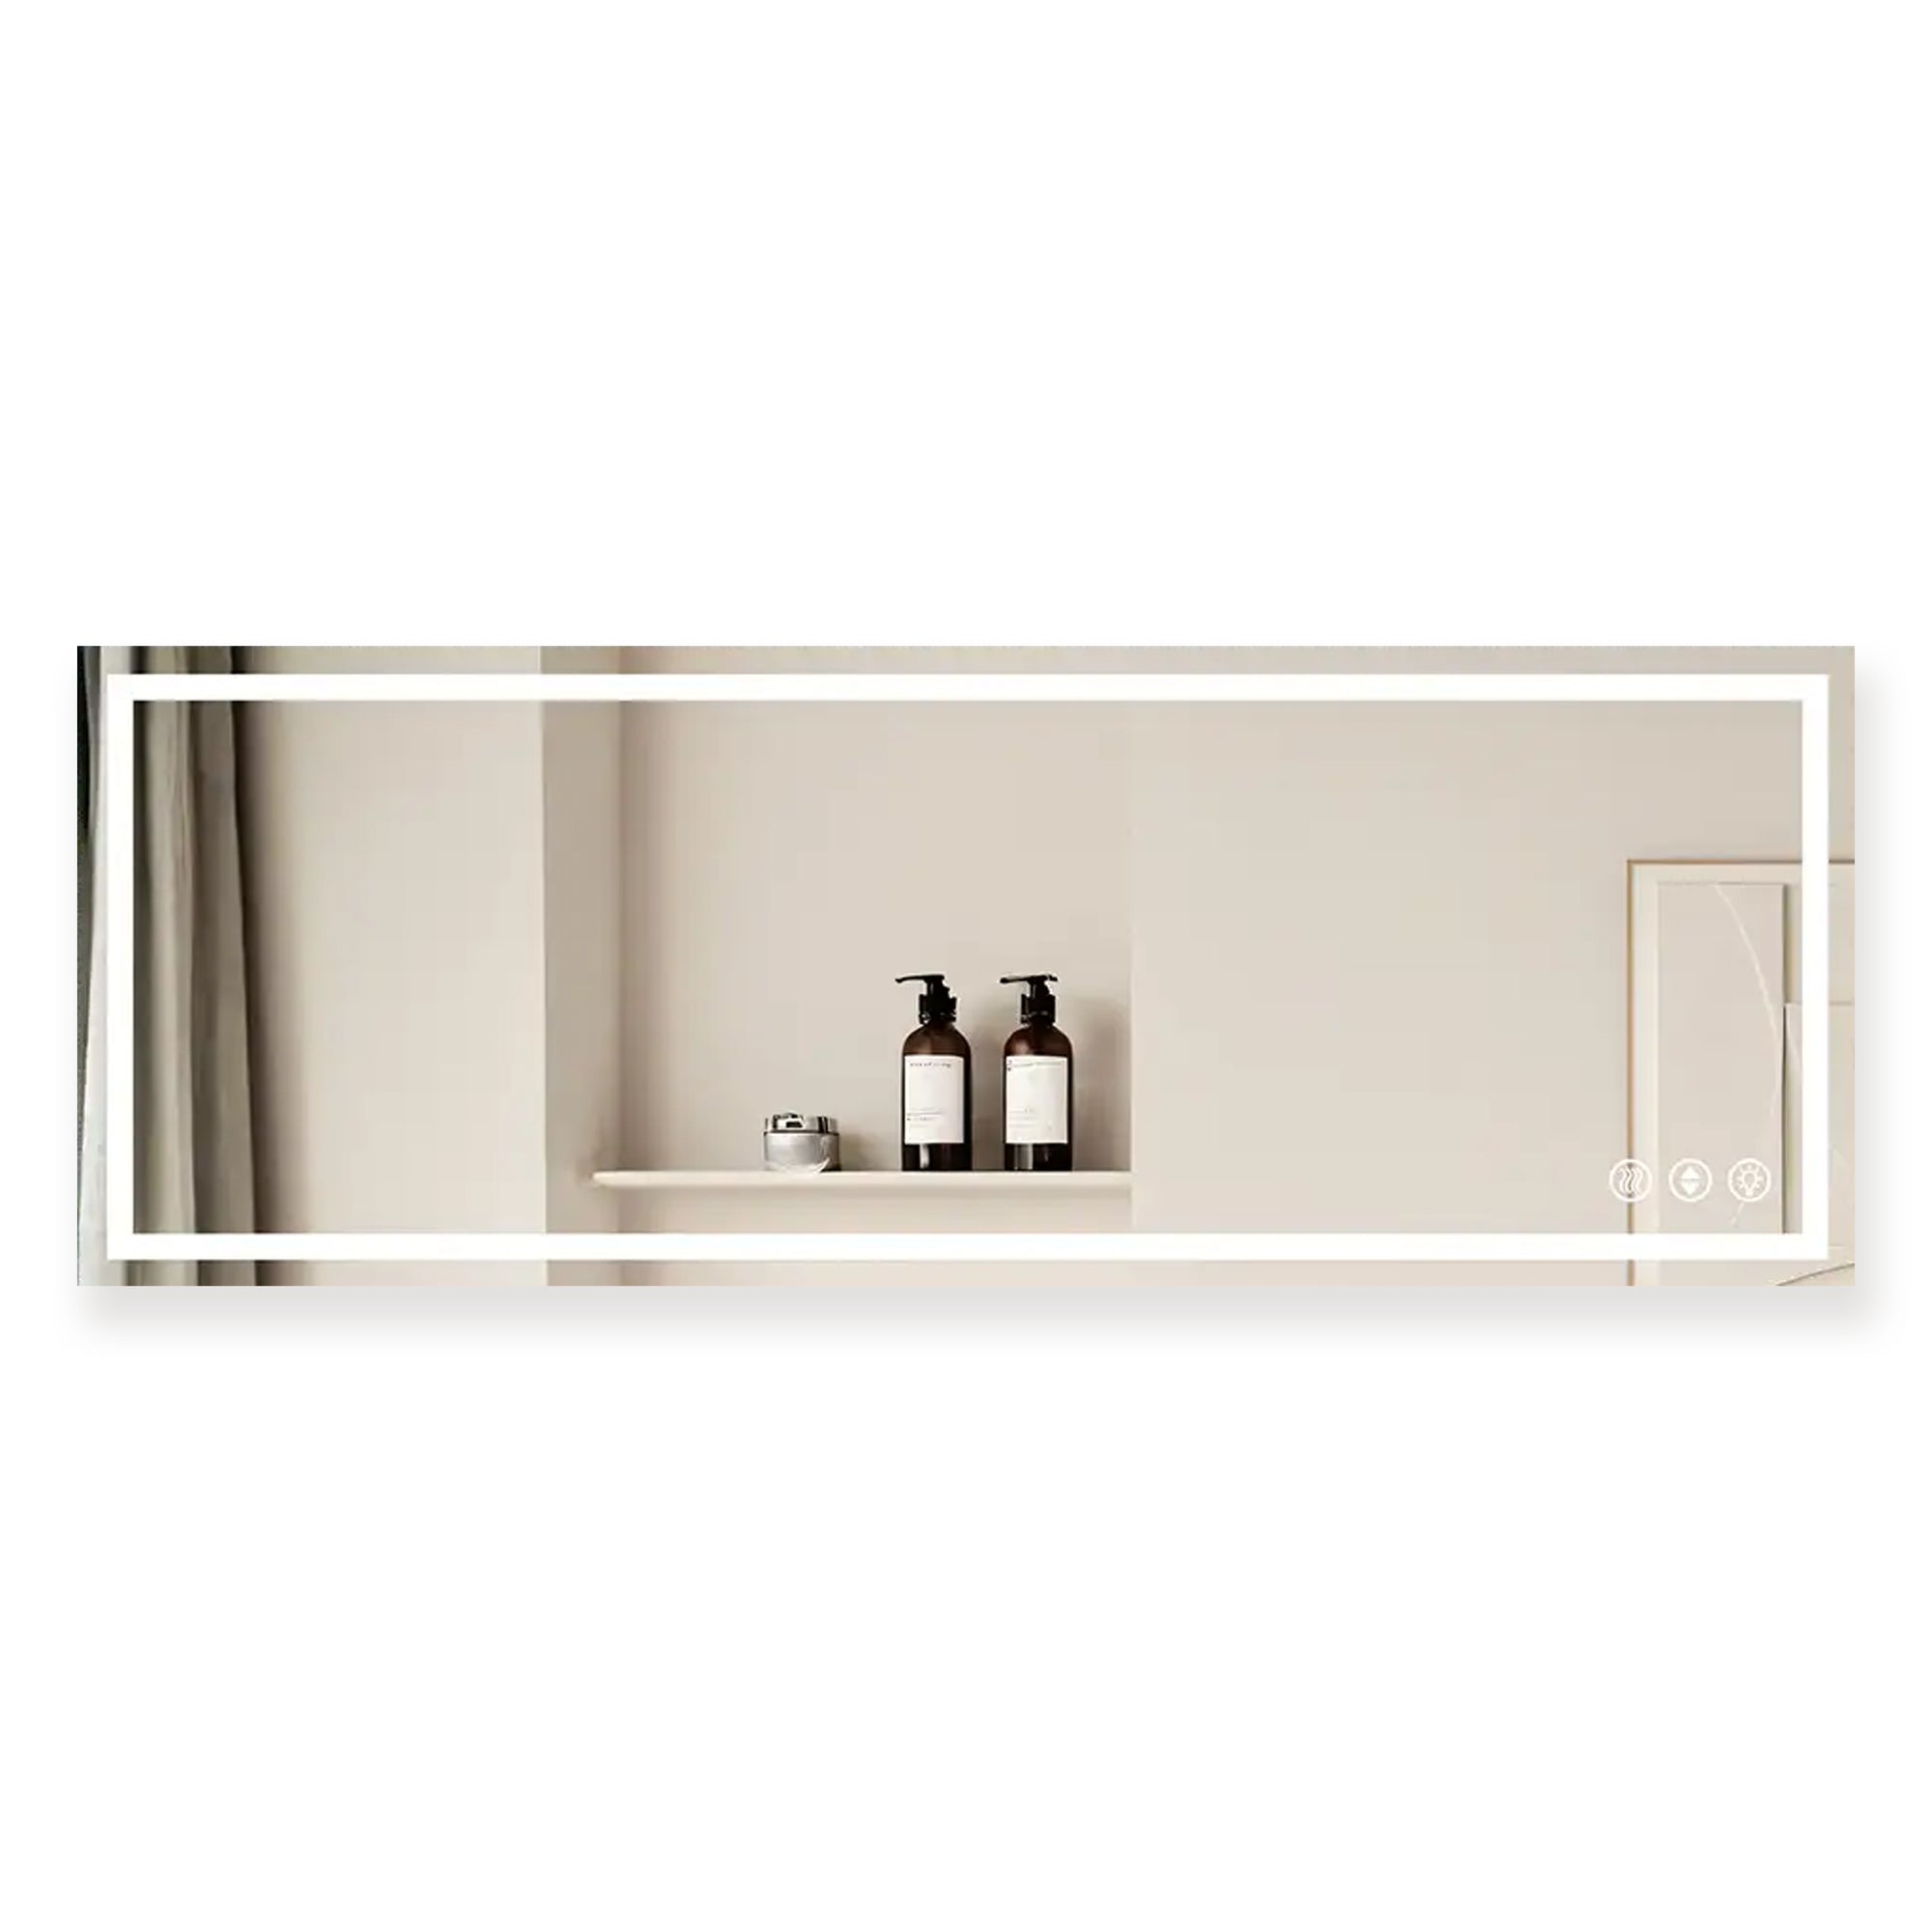
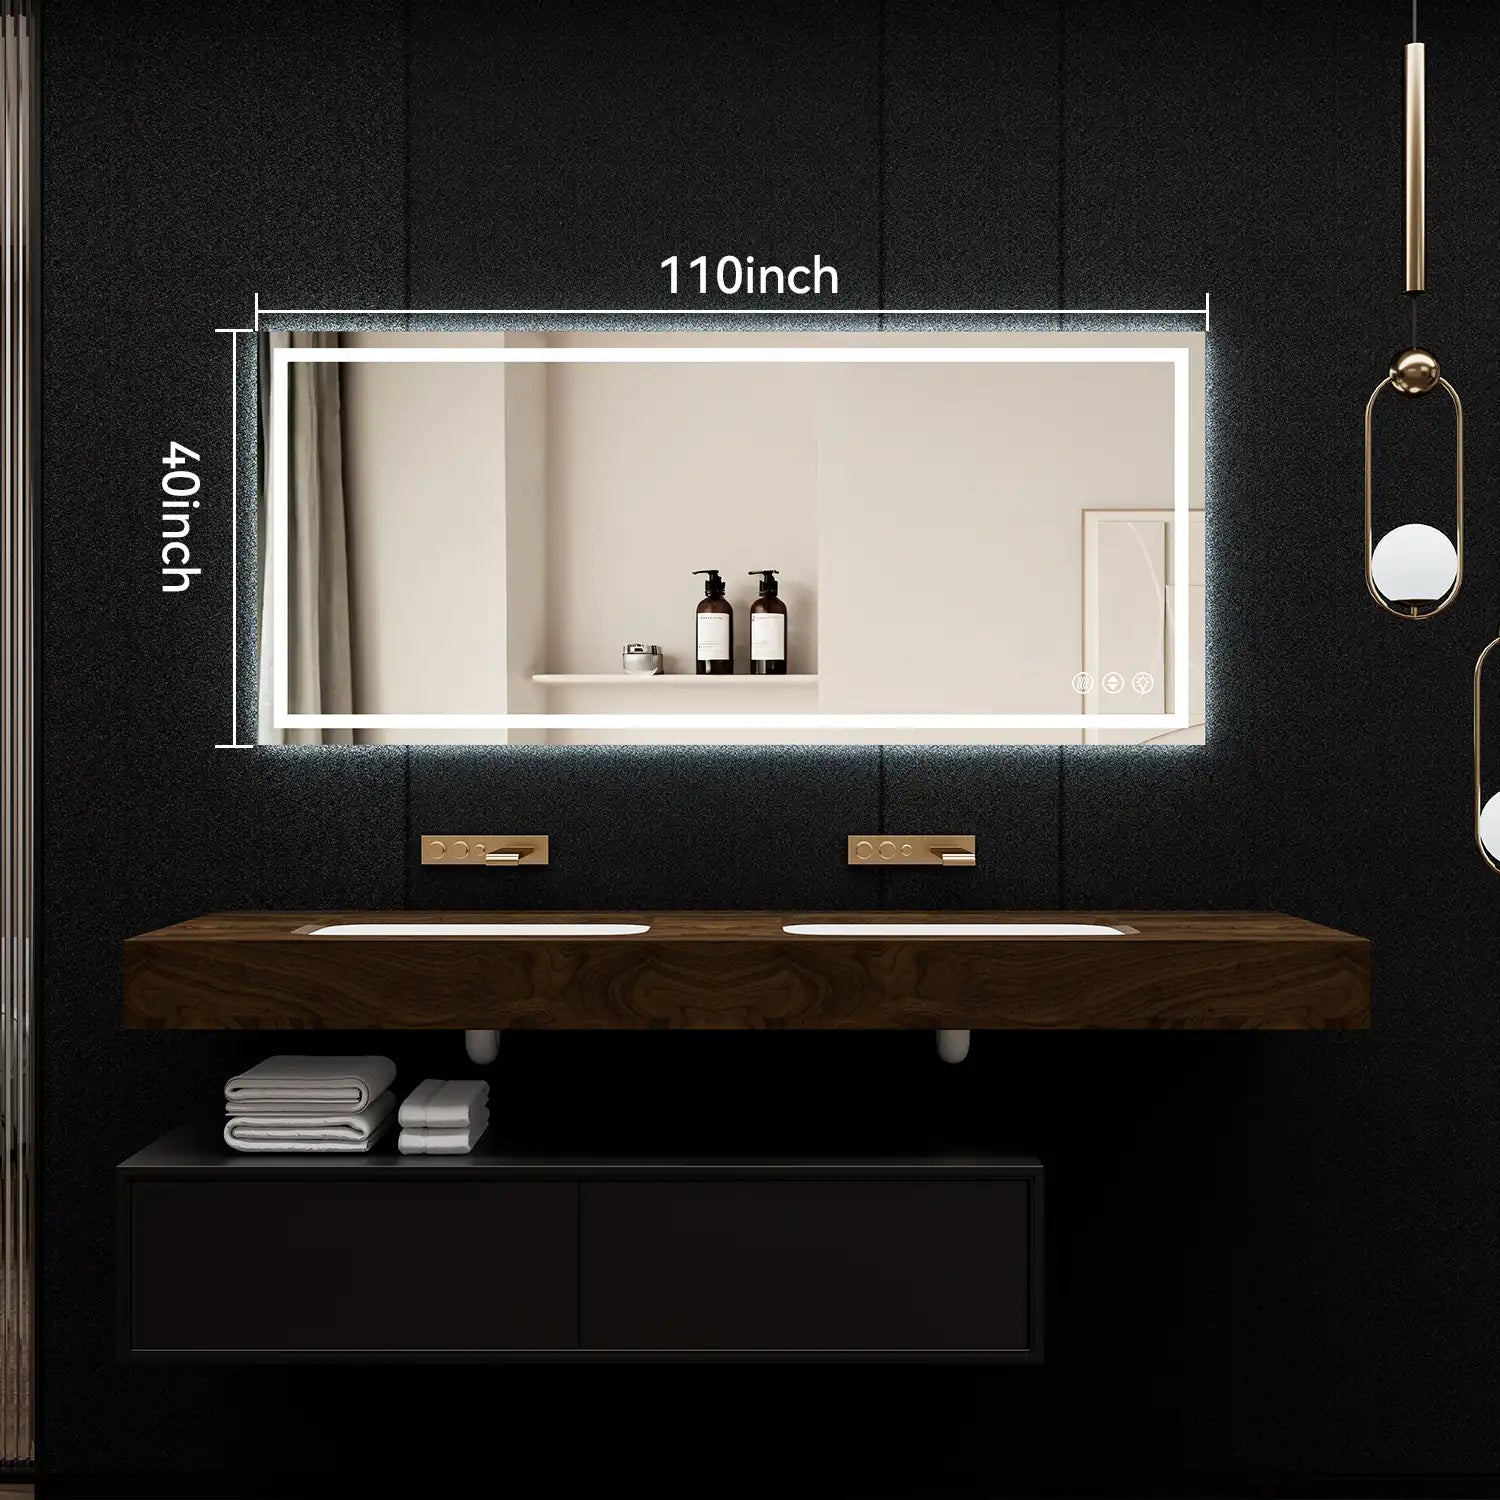
Here’s the thing—before you even think about picking up a drill, you need to choose the right mirror for your space. For me, the size and style were no-brainers (I went with a rectangular, backlit model). The tricky part was making sure it could be installed without requiring heavy-duty electrical rewiring.
If your bathroom already has a power source near where you want the mirror, great! But if not, don’t panic. There are plug-in options that are just as sleek as hardwired ones. I opted for a plug-in model because I wanted to avoid messing with the wiring (plus, it’s renter-friendly if I ever need to take it down).
Step 2: Prepping Your Space

Let’s talk prep. I cleared off the countertop (you do not want to accidentally drop screws into the sink or worse, down the drain), and I laid down a towel to protect the surface.
Grab a friend if possible—an extra set of hands will make the whole process easier.
Next, I used painter’s tape to outline where I wanted the mirror to go. It’s such a simple step, but it made all the difference in visualizing the final placement. I also grabbed my stud finder to locate any studs behind the wall. Luckily, there was one dead center behind where I wanted the mirror—score! If you don’t find a stud, don’t worry. Heavy-duty wall anchors will do the trick (more on those in a sec).
Step 3: Tools You’ll Need

I’ve learned the hard way that not having the right tools on hand can turn a quick project into a very long afternoon. Here’s what I used:
- A drill and drill bits
- Wall anchors (rated for the weight of the mirror)
- A screwdriver
- A level (do not skip this!)
- A tape measure
- Pencil for marking
- The mounting hardware that came with the mirror
Step 4: Marking and Measuring

Now comes the part where you’ll thank yourself for being precise. Using the mounting instructions that came with the mirror, I measured and marked where the brackets needed to go. For my mirror, the brackets had to sit about 6 inches below the top edge. I double-checked everything with my level (crooked mirrors are not cute).
I marked lightly with pencil, then added small pieces of painter’s tape over the marks. This made it easier to see and protected the wall in case I slipped while drilling.
Step 5: Drilling

I’ll admit, I hesitated for a solid five minutes before drilling the first hole. My walls are tiled, and the last thing I wanted was to crack one. But here’s the key: go slow.
For tiled walls, I used a ceramic drill bit. For drywall, a standard drill bit works fine. If you’re drilling into a stud, you won’t need wall anchors; otherwise, make sure to use anchors that can handle the weight of your mirror. I used heavy-duty anchors rated for up to 50 pounds, just to be safe.
Once the holes were drilled, I gently tapped the anchors into place with a rubber mallet (if you don’t have one, the back of a screwdriver works in a pinch).
Step 6: Mounting the Brackets

With the holes ready, I secured the brackets to the wall using the screws provided. This step was straightforward, but I made sure to tighten everything just enough—not so much that I risked stripping the screws, but enough to keep the brackets snug.
Once the brackets were on, I double-checked that everything was level. (Can you tell I’m a little obsessed with my level?)
Step 7: Hanging the Mirror

This part definitely takes two people. While I held the mirror, my friend helped guide the brackets into the slots on the back. Once it clicked into place, I stepped back to make sure it was aligned properly.
It looked perfect.
If your mirror is a plug-in model like mine, now’s the time to route the cord neatly. I used some adhesive cable clips to keep the cord hidden and out of the way.
Step 8: Testing the Lights
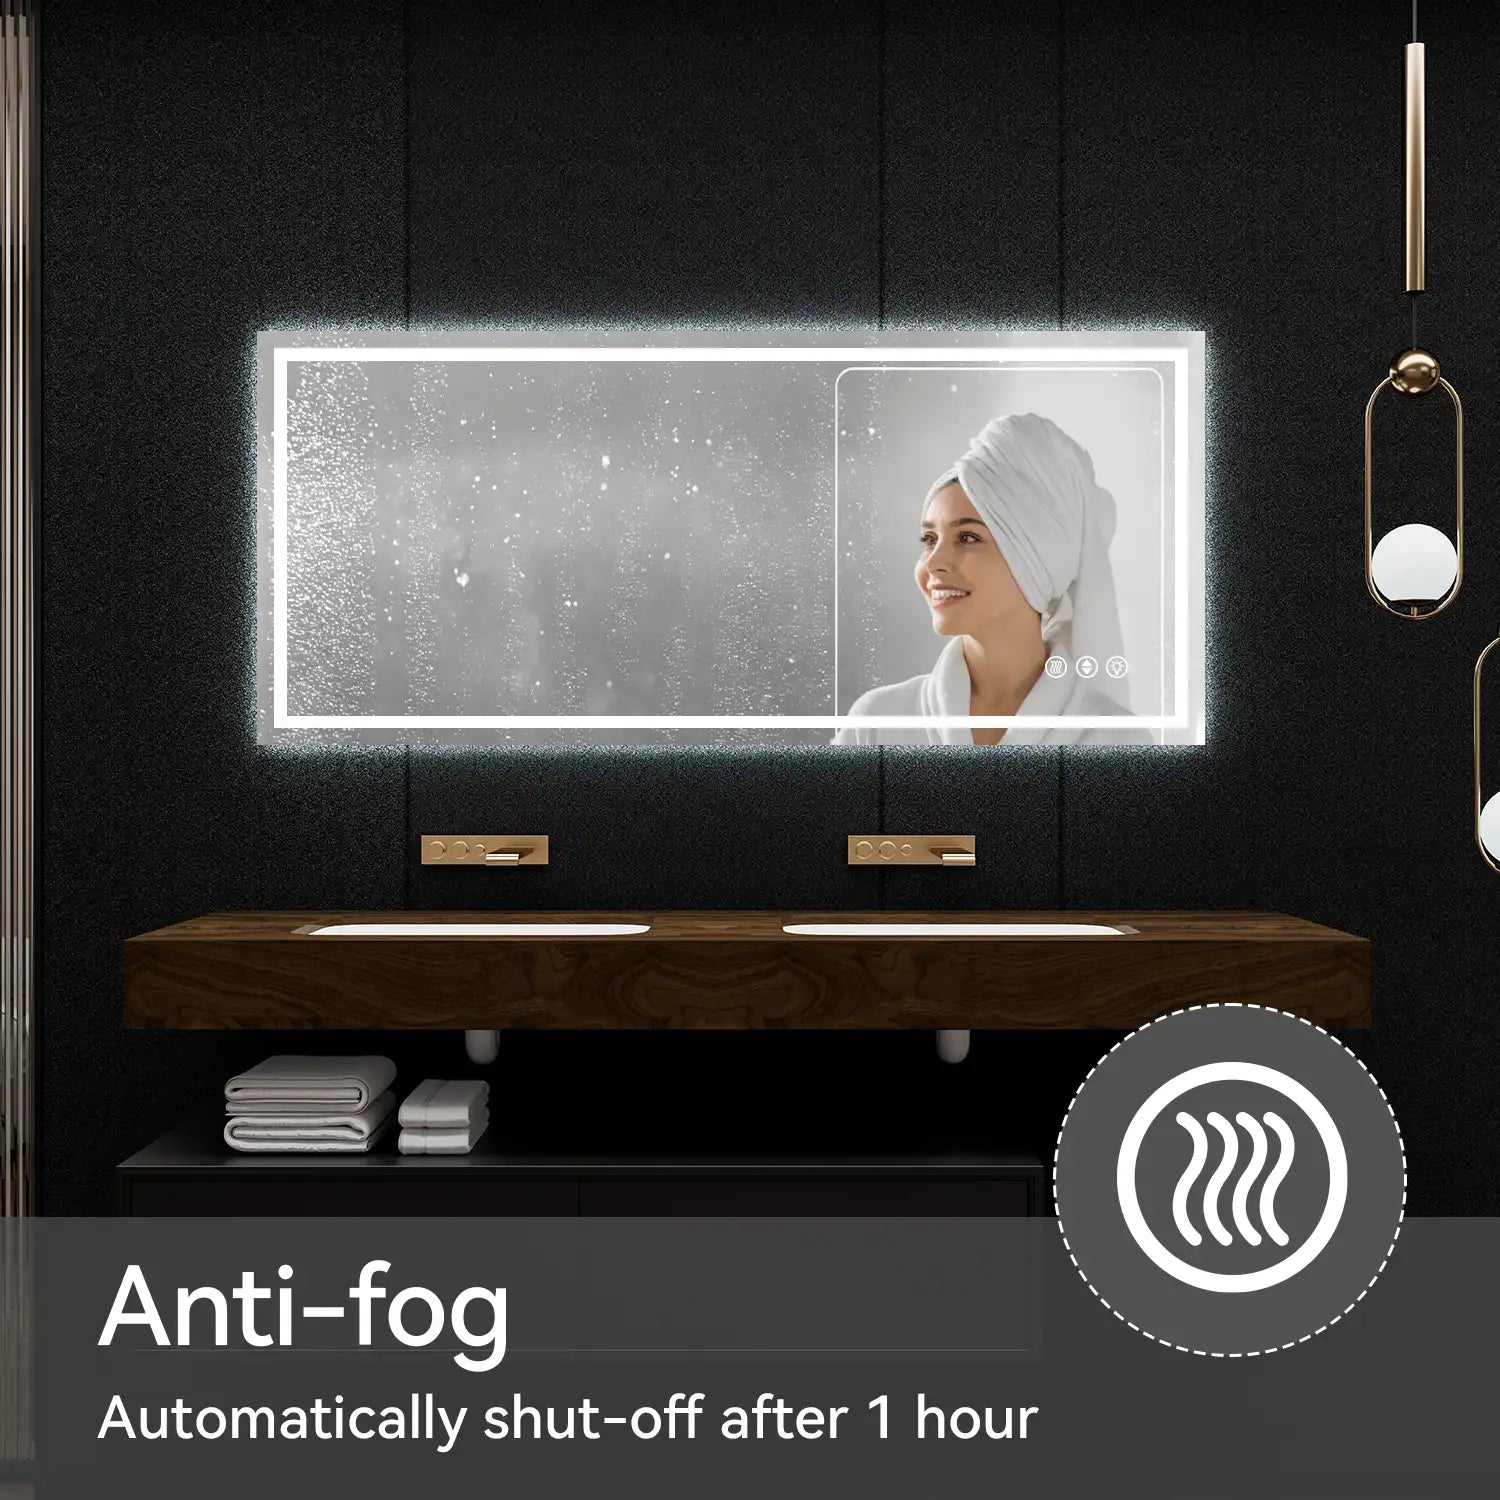
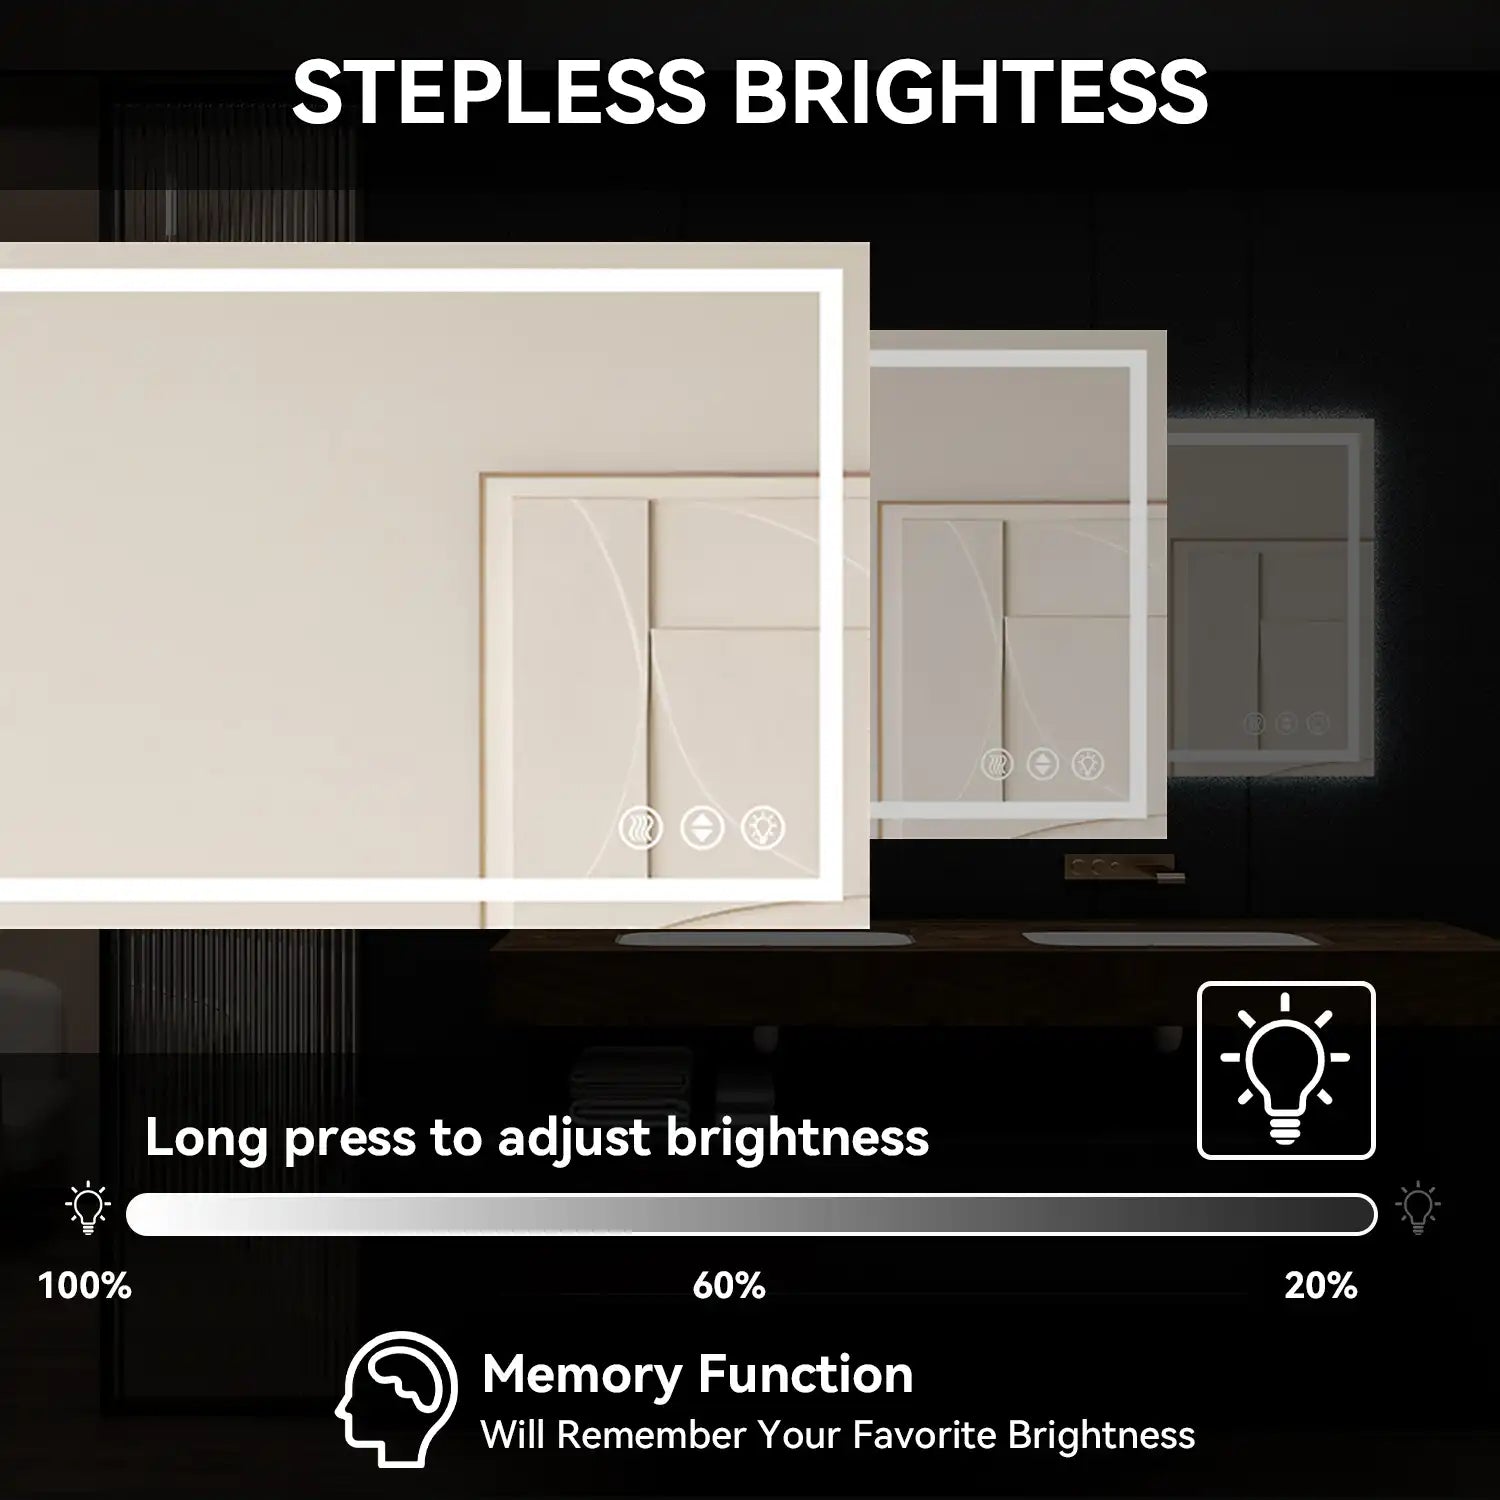
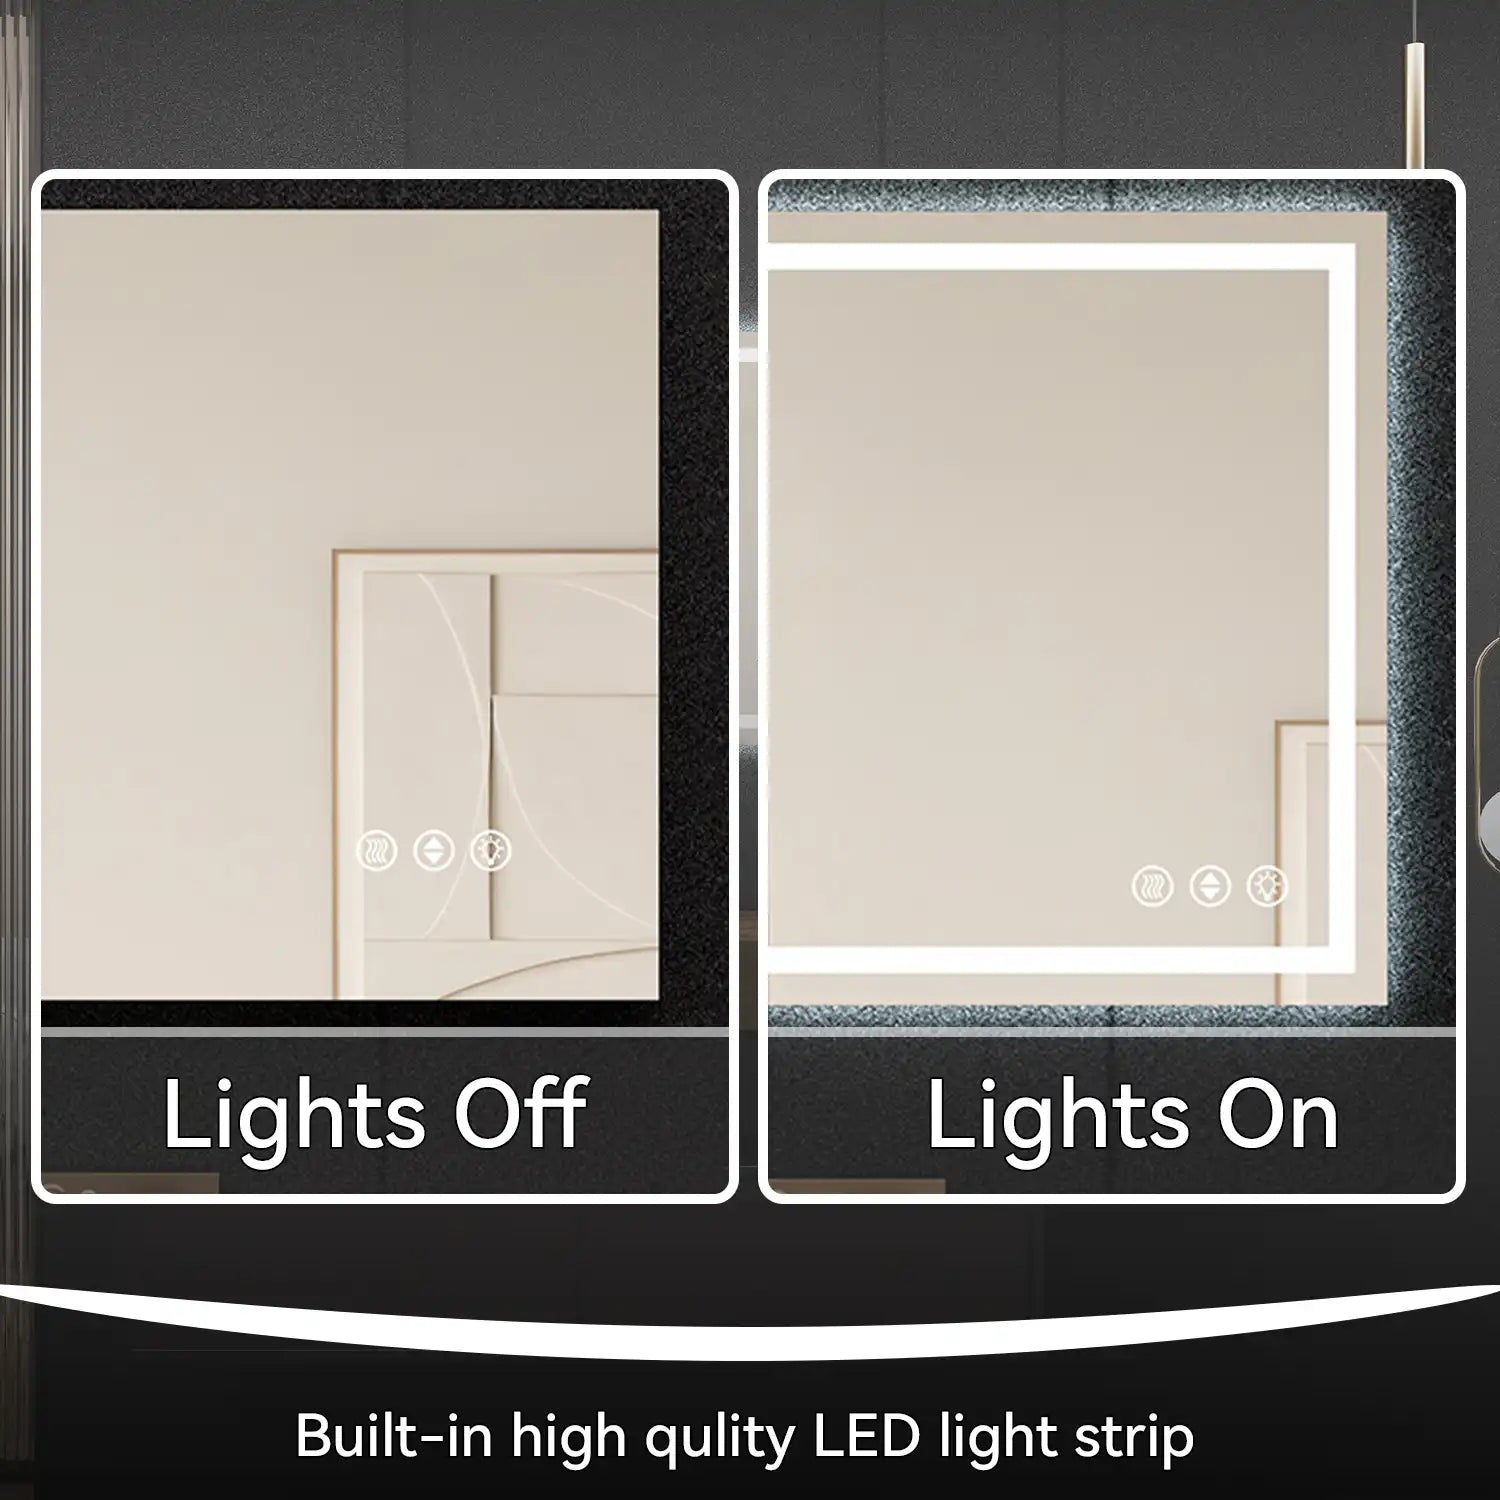
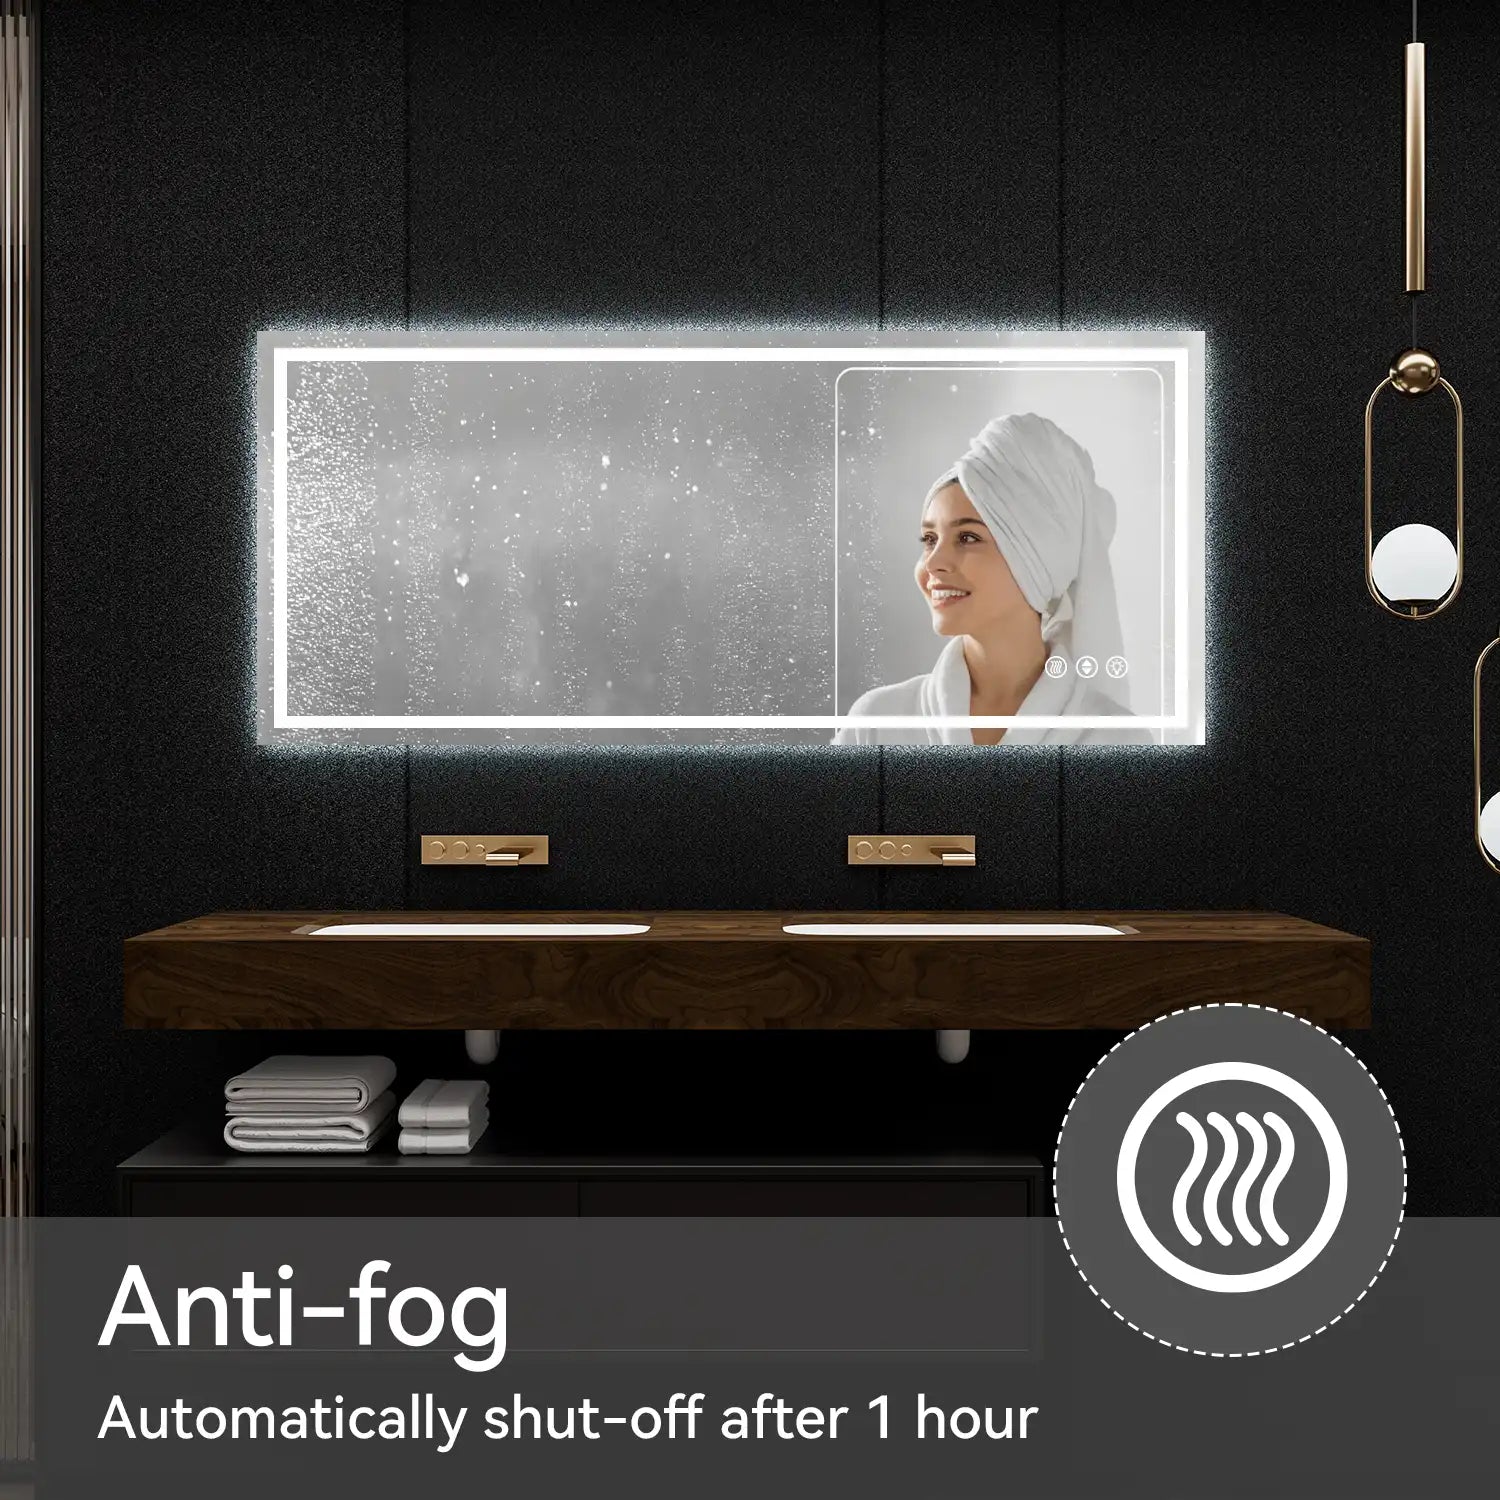
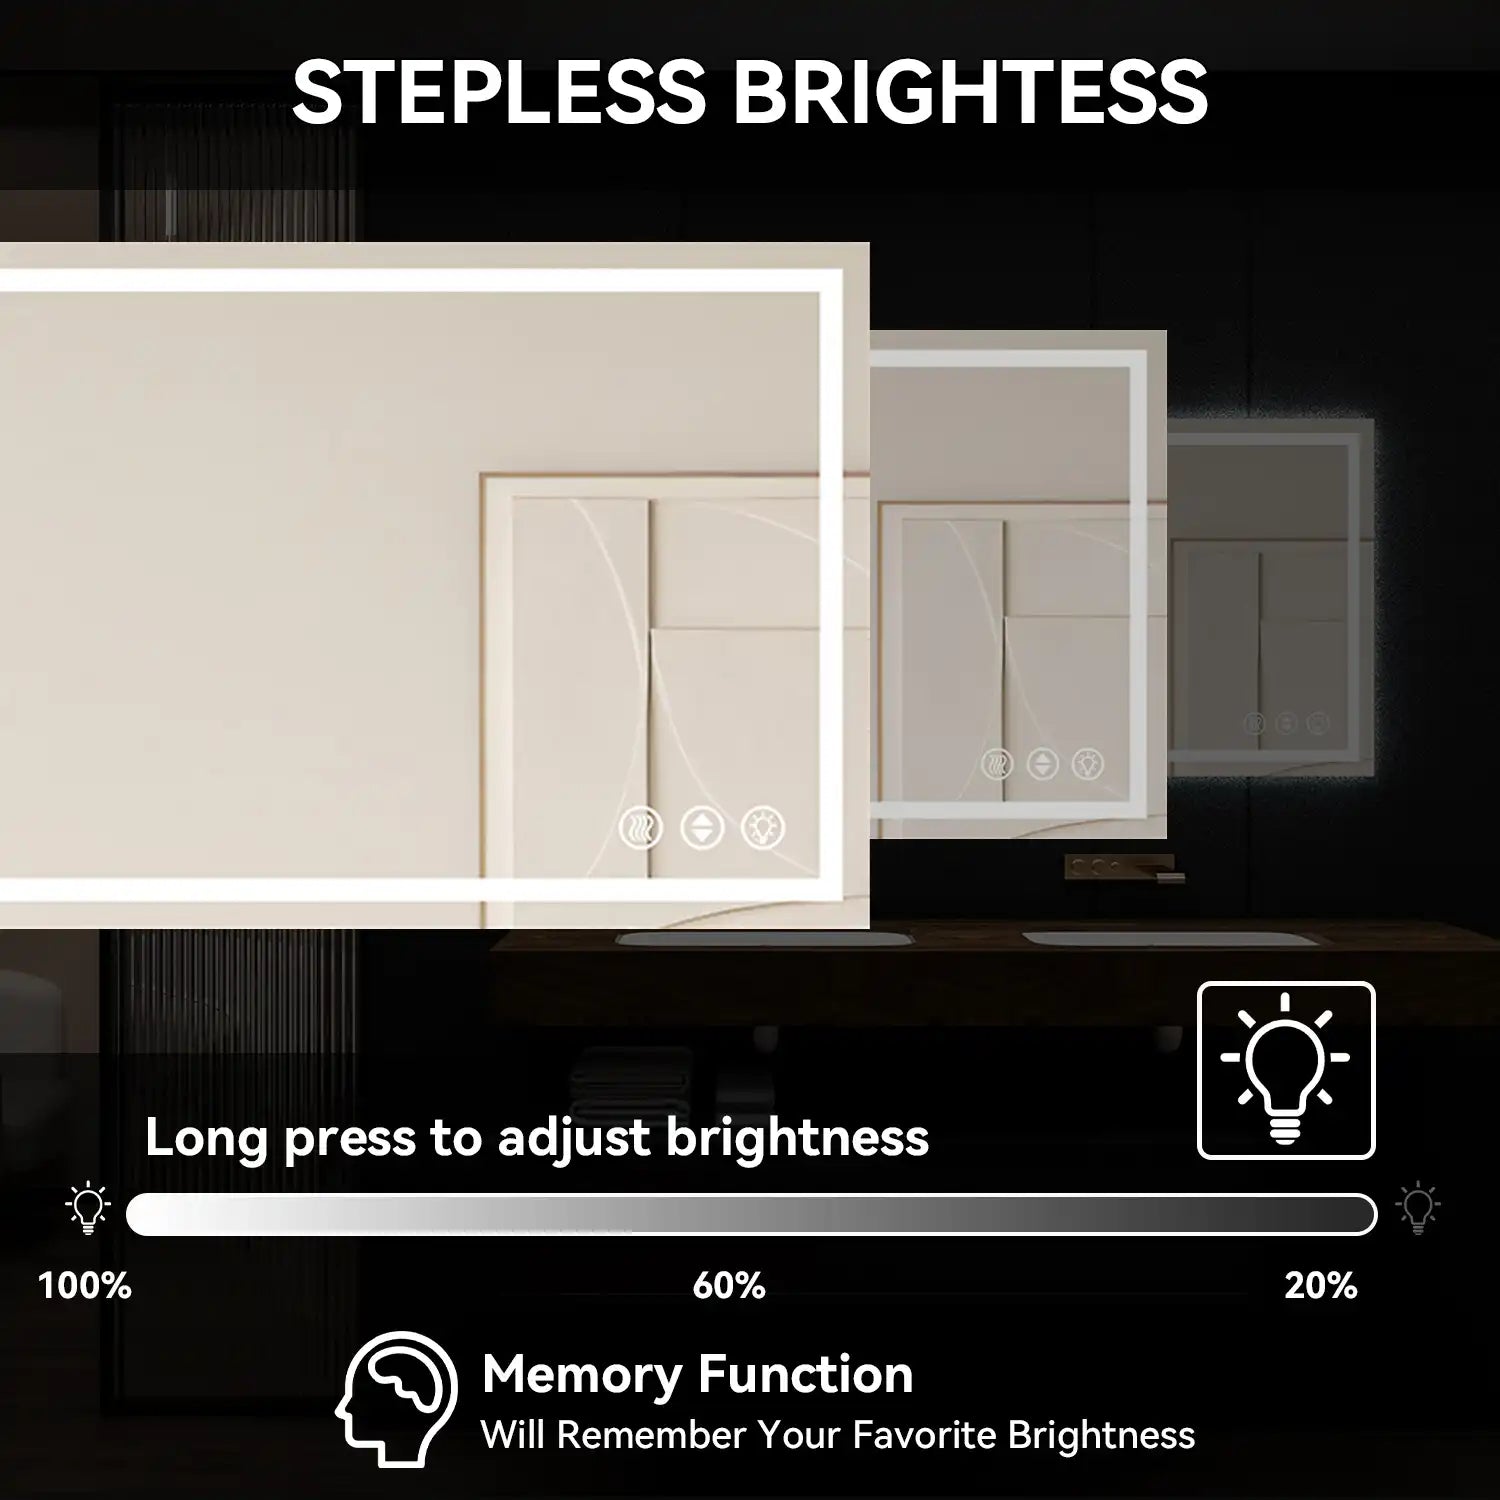
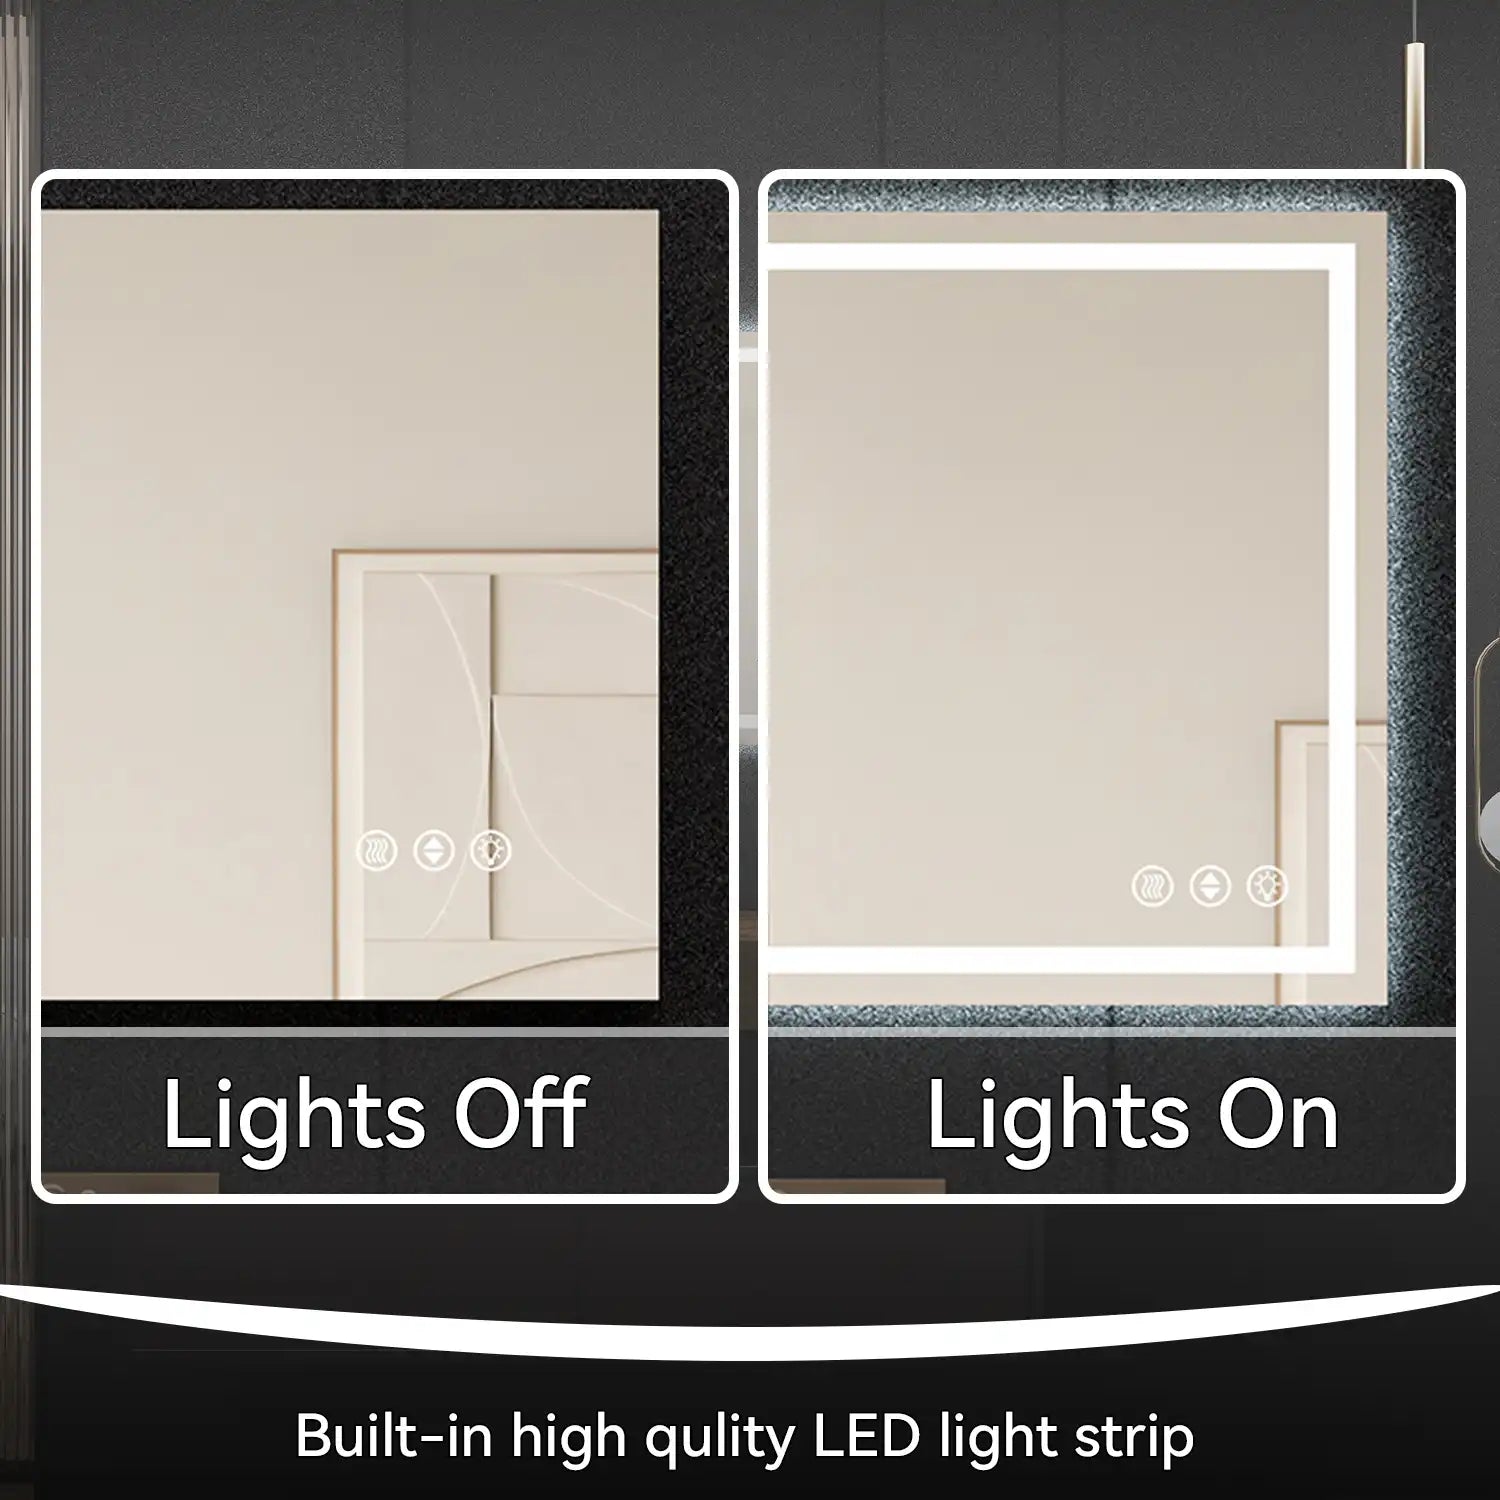
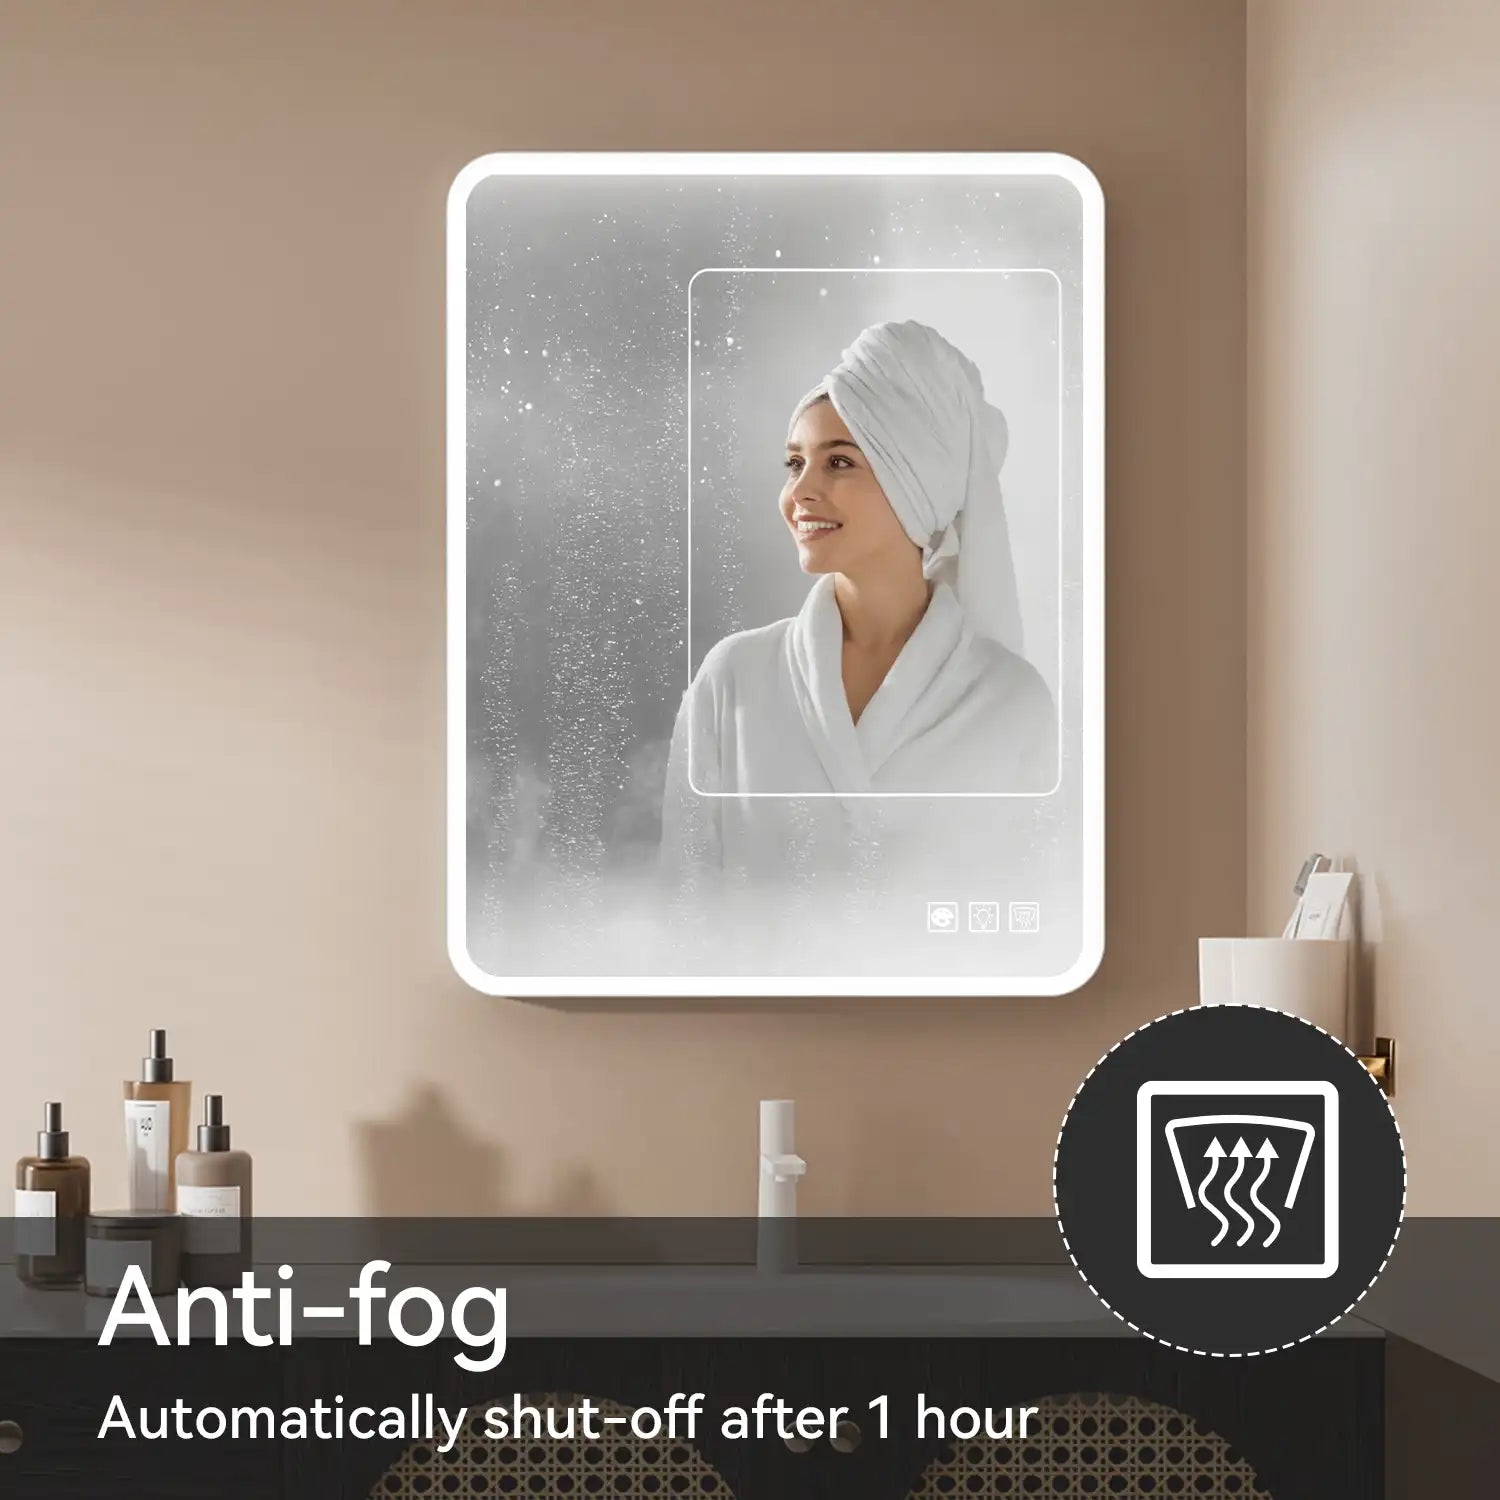
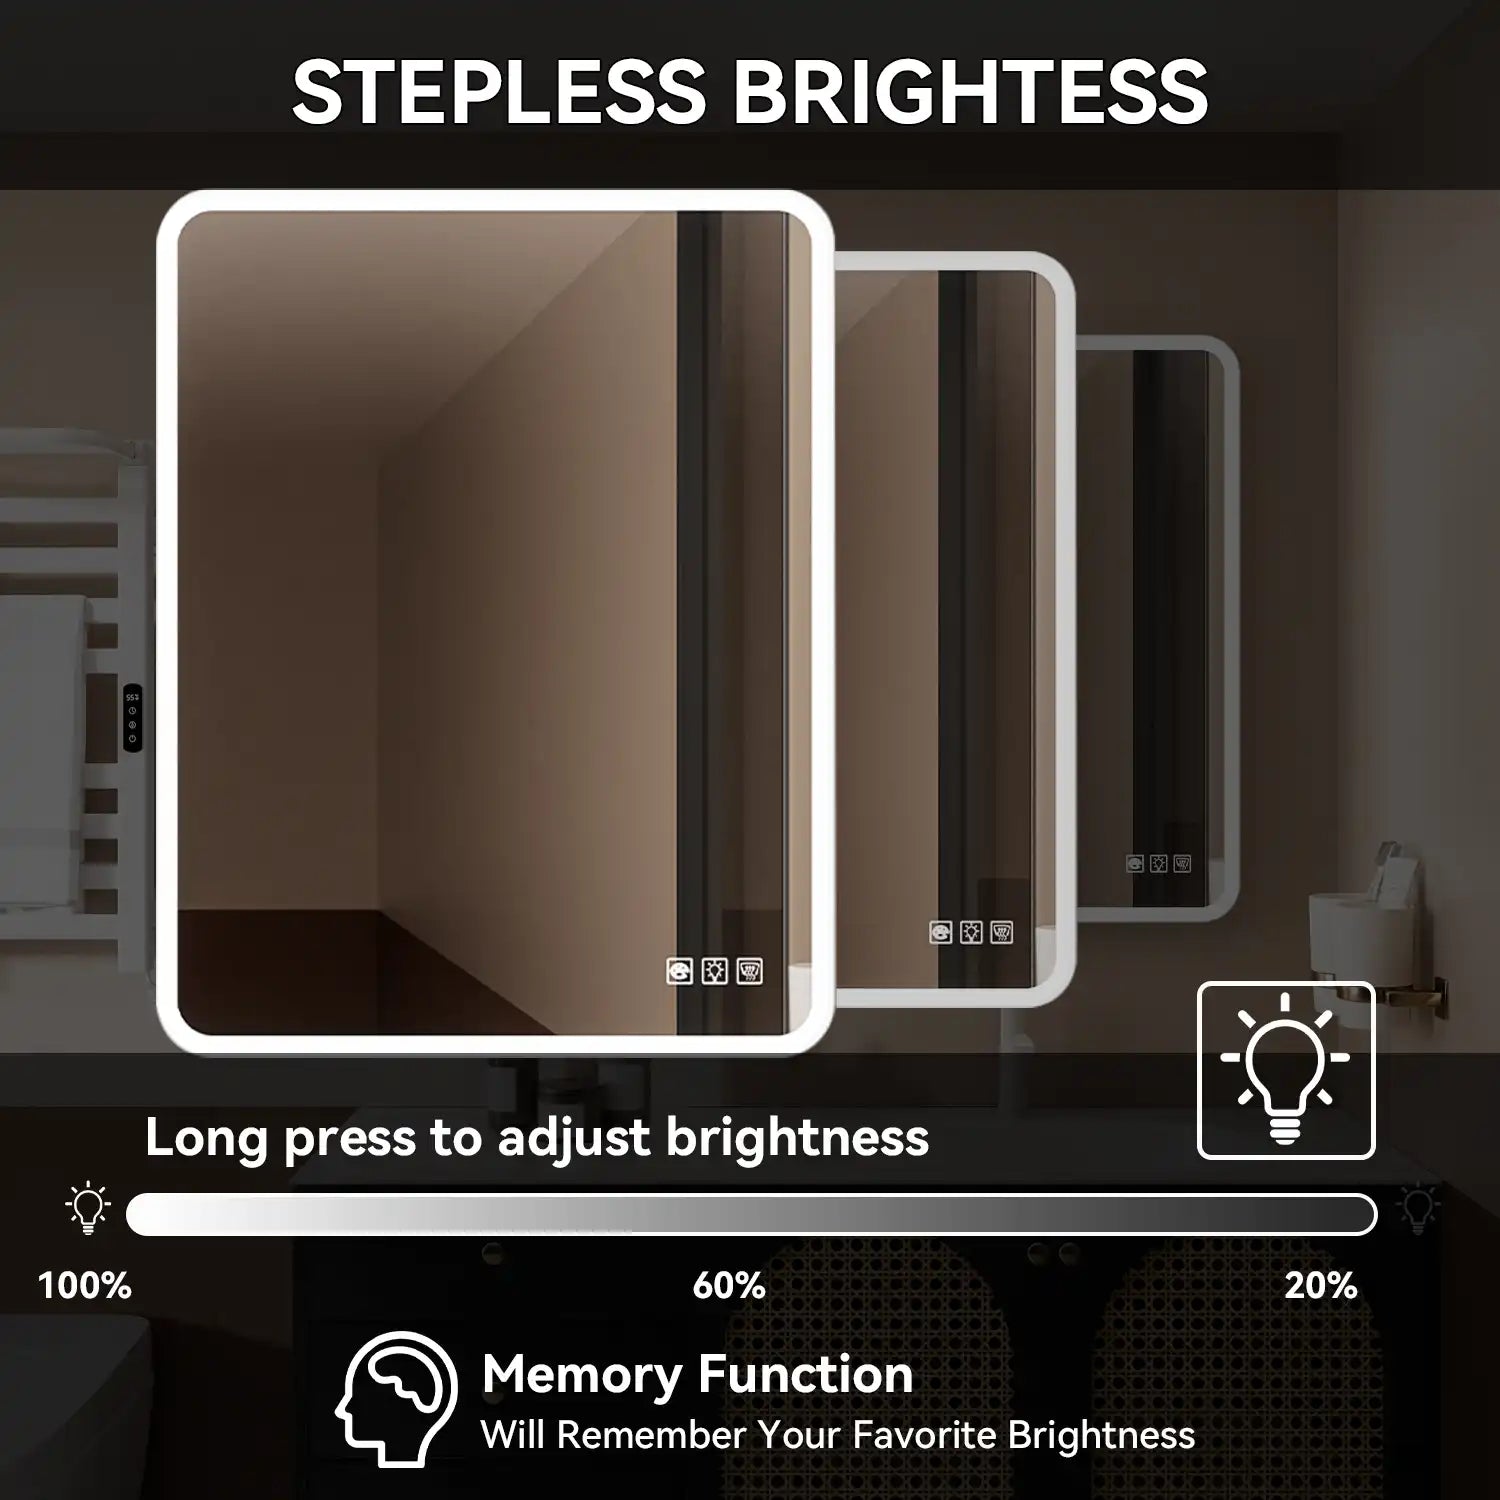
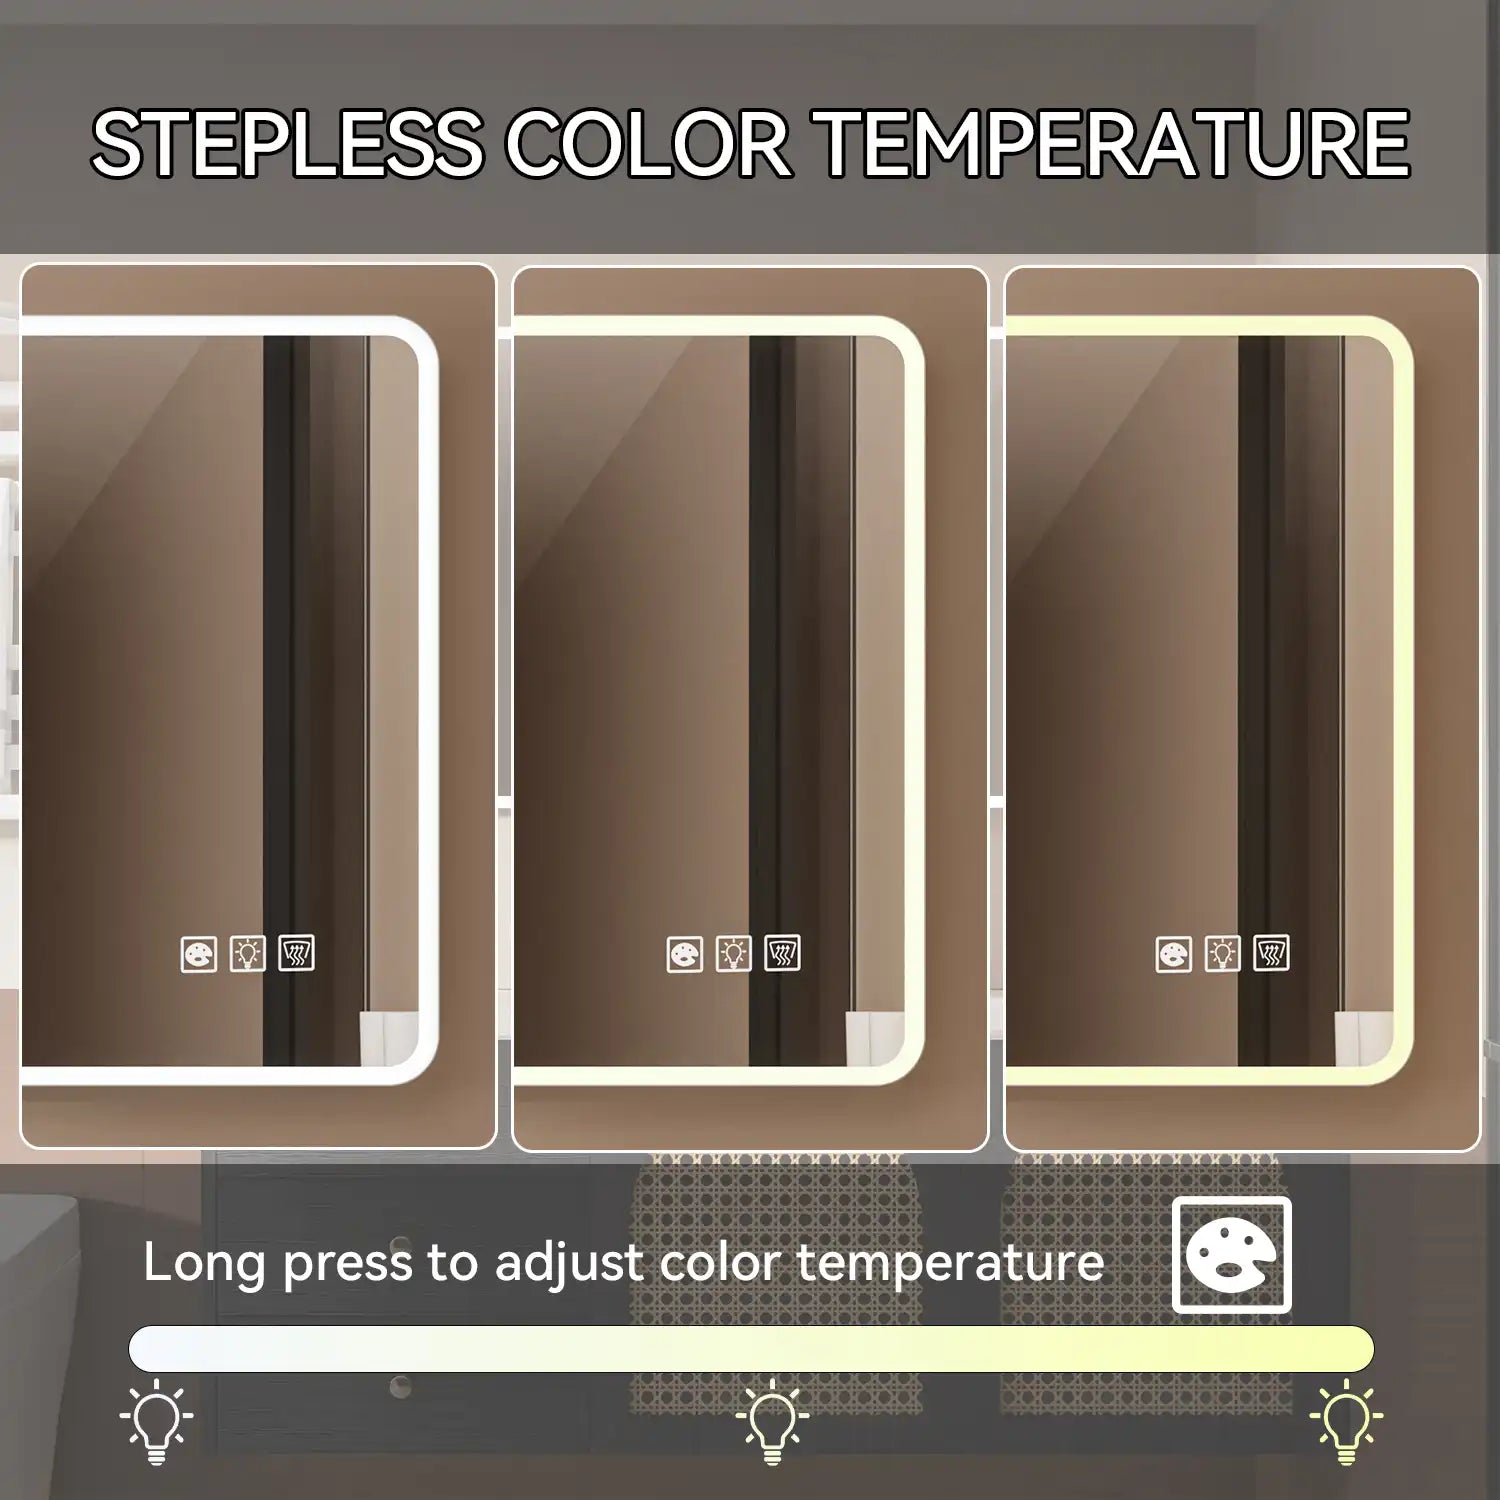
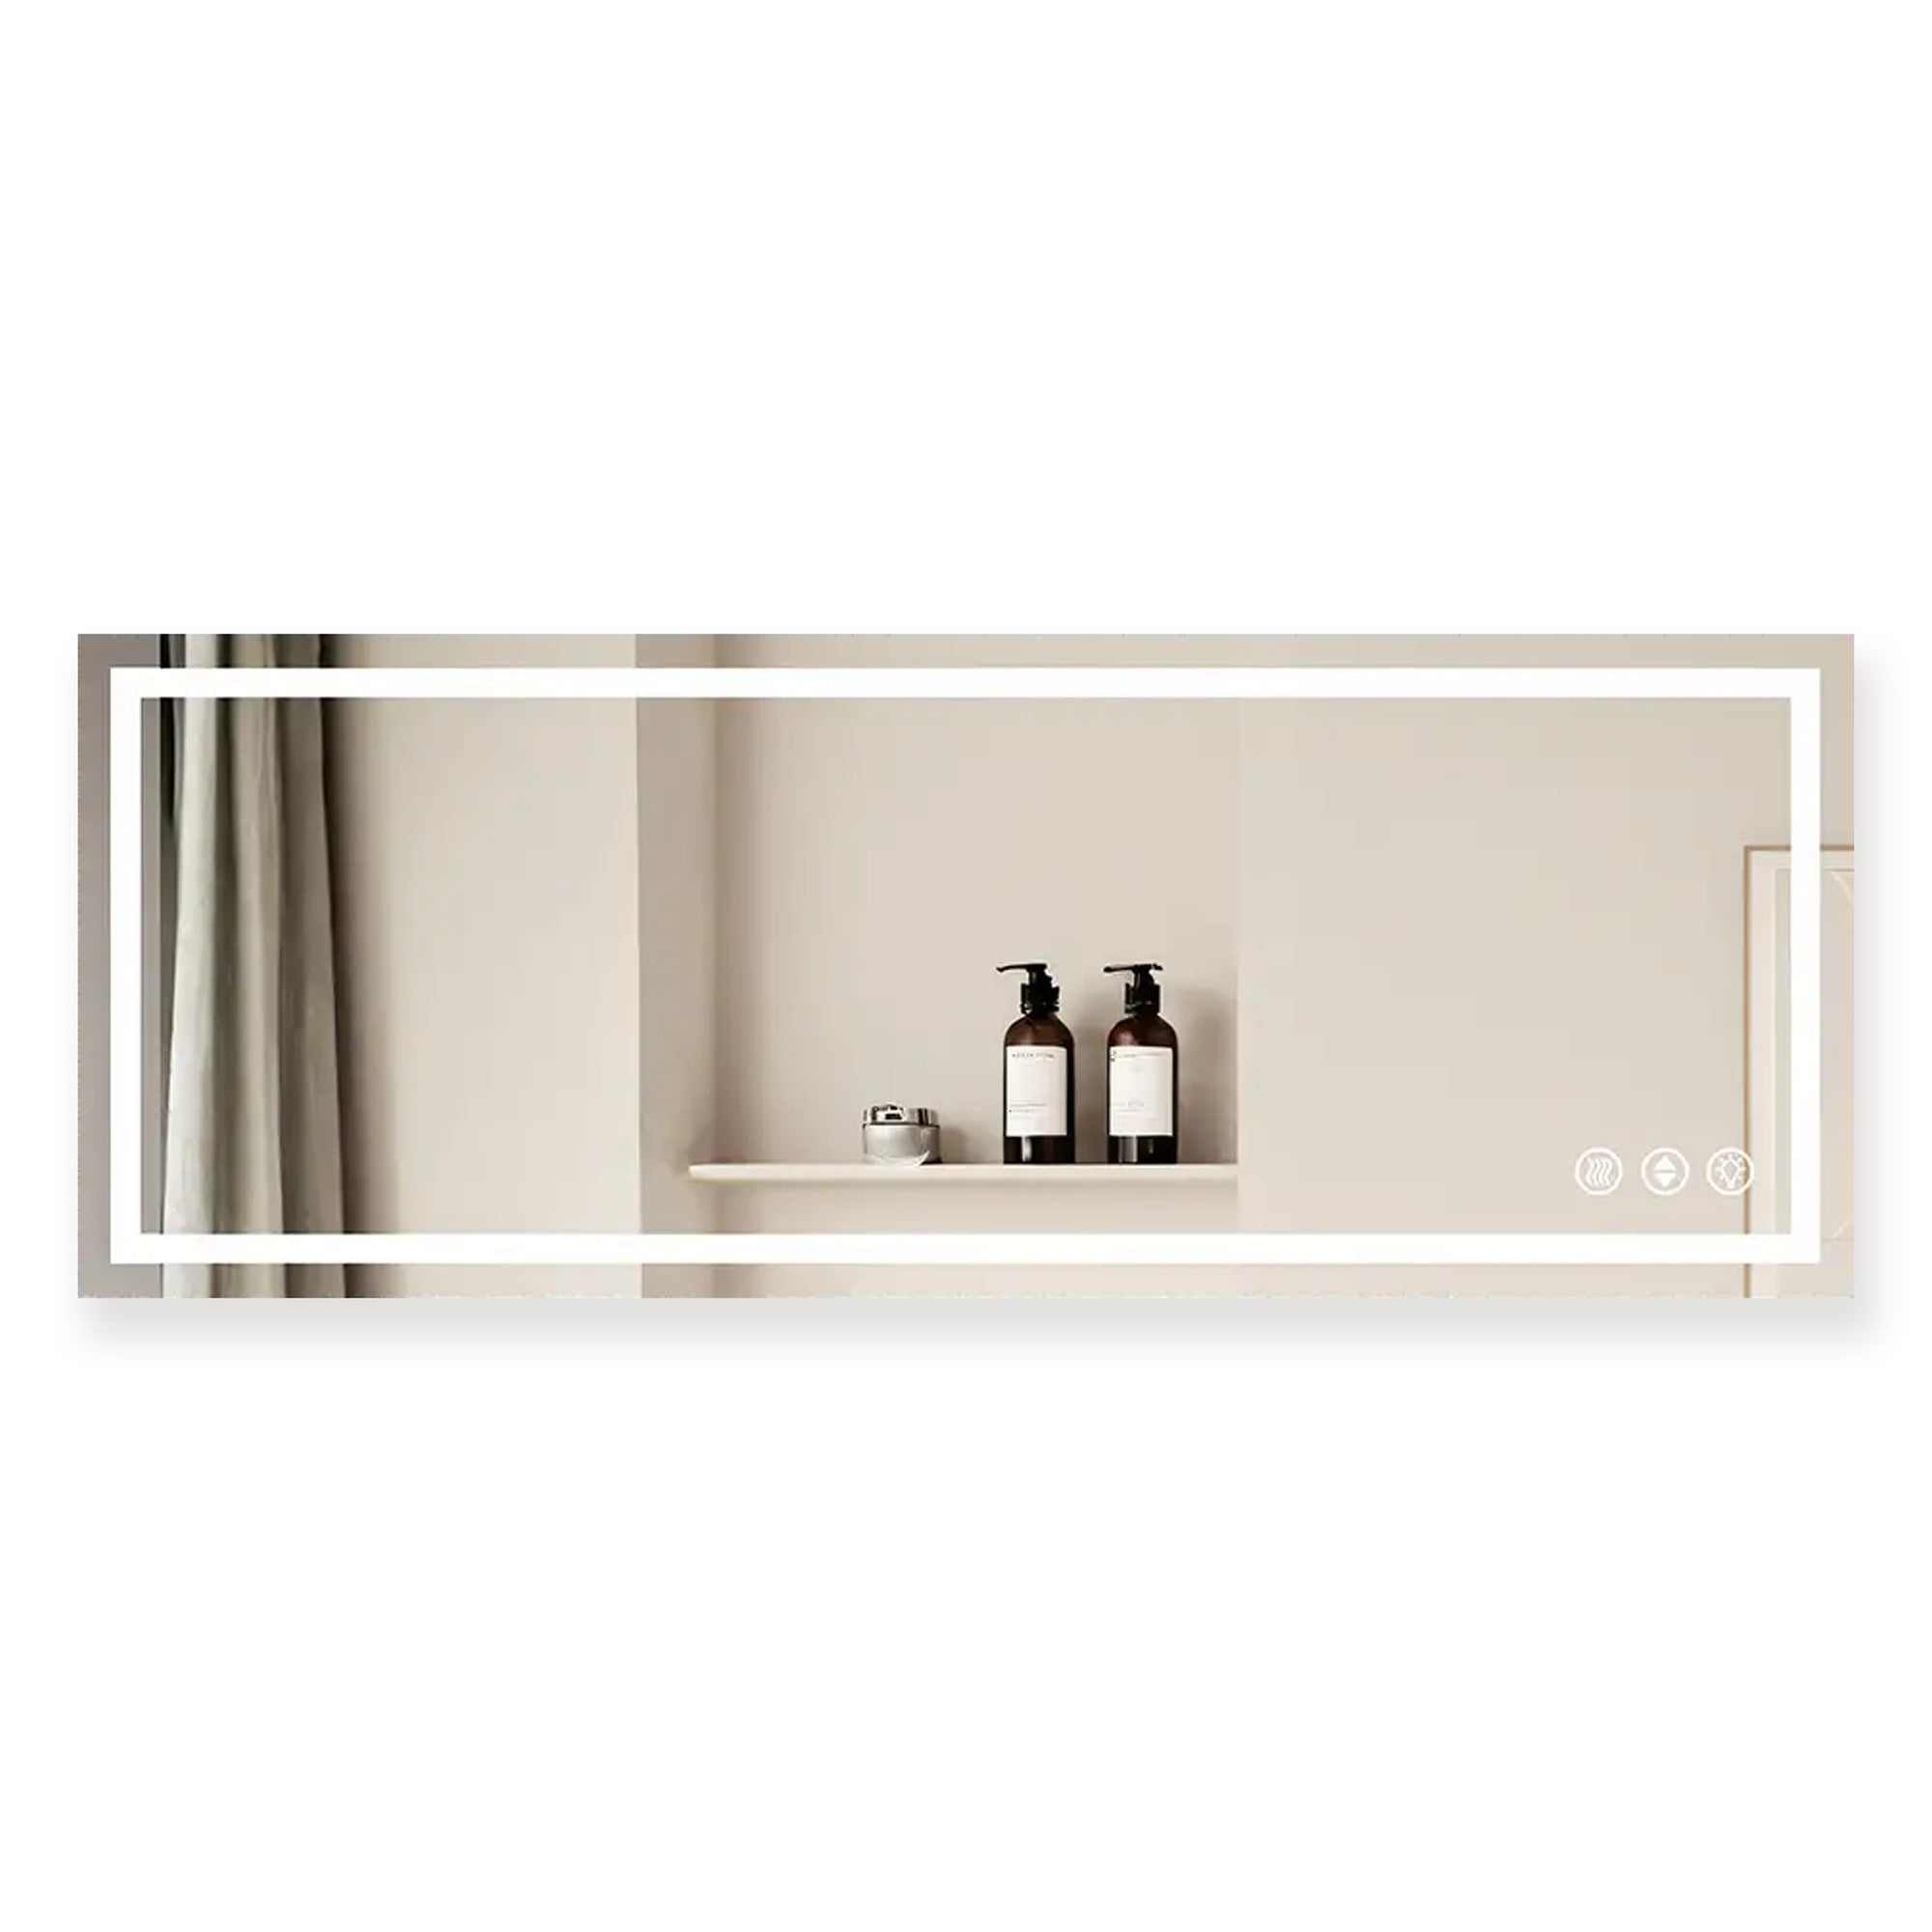
The moment I plugged in the mirror and those LEDs lit up? Wonderful. It instantly transformed the vibe of my bathroom. If your mirror has touch controls or dimming features, test those out too. Mine even has an anti-fog feature, which is a game changer for post-shower mirror checks.
Lessons Learned (aka What I’d Do Differently)
- Take your time with the measurements. I nearly drilled a hole too low but caught it in time.
- Have right drill bits. If you’re working with tile, don’t even think about using a standard bit.
- Ask for help. Even if you think you can manage alone, it’s so much easier (and safer) with a second set of hands.
FAQs
1. What if I don’t have a stud behind the mirror?
Wall anchors are your best friend. Just make sure they’re rated for the weight of your mirror.
2. Can I install an LED mirror if I’m renting?
Yes! Go for a plug-in model and use damage-free mounting strips if possible.
3. Do I need an electrician for hardwired mirrors?
If you’re not comfortable with wiring, absolutely hire a professional. It’s worth the peace of mind.
Final Thoughts
Installing an LED bathroom mirror might seem intimidating, but trust me, it’s totally doable—and so worth it. The glow it adds to your bathroom is unmatched, and knowing you did it yourself? Priceless. If you’re thinking about giving it a try, my advice is simple: take your time, measure carefully, and don’t be afraid to ask for help.
Got any questions or want to share your own experience? Drop a comment below—I’d love to hear from you!
Related Articles
By the way, if you’re as hooked on DIY upgrades as I am, you might love these related articles I’ve put together—sharing more tips, tricks, and lessons from my own projects to help you tackle your next home improvement with confidence!


