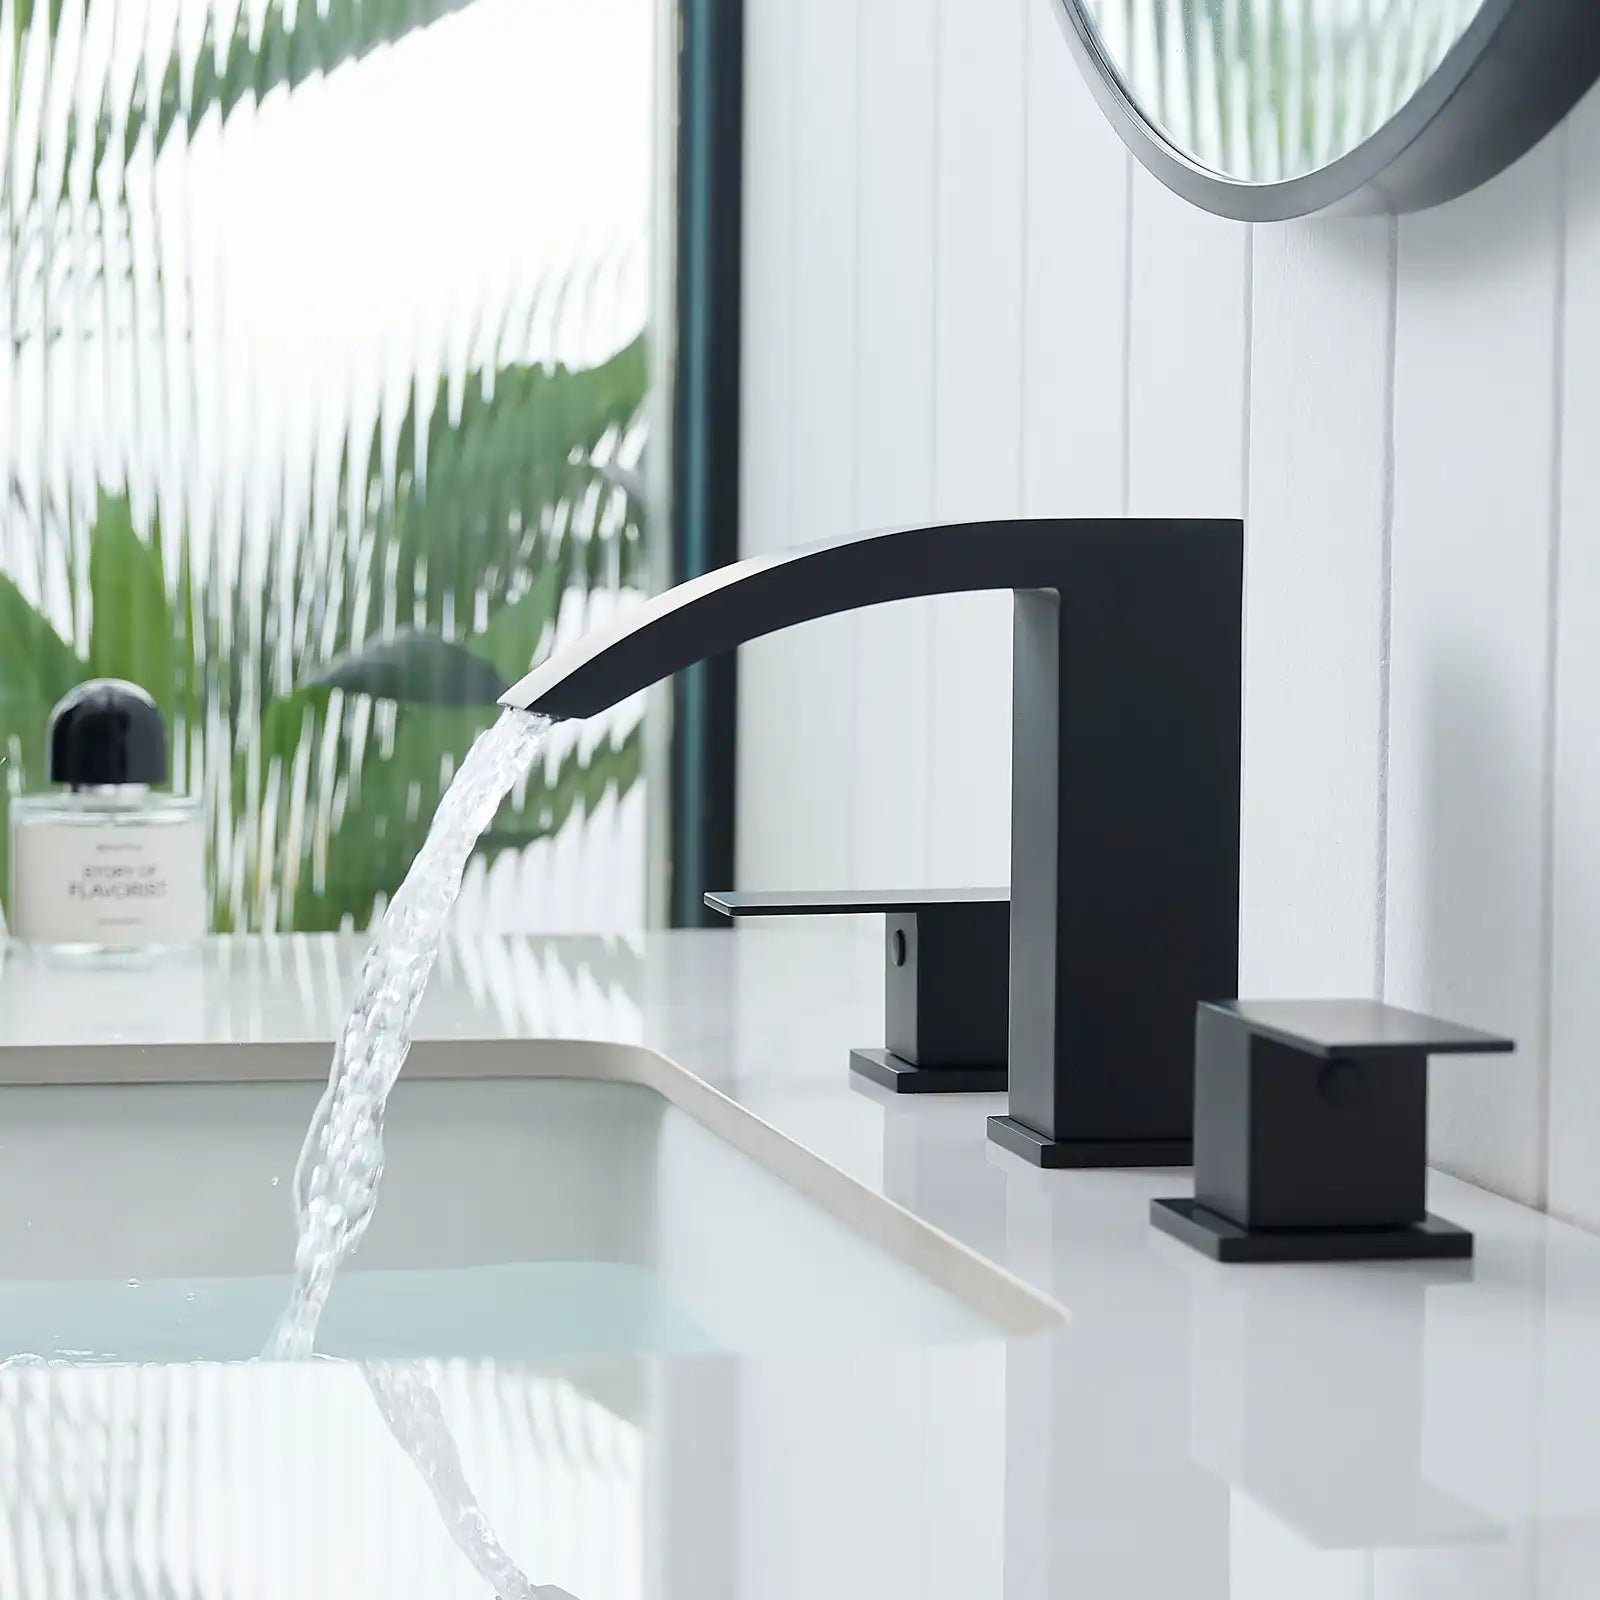
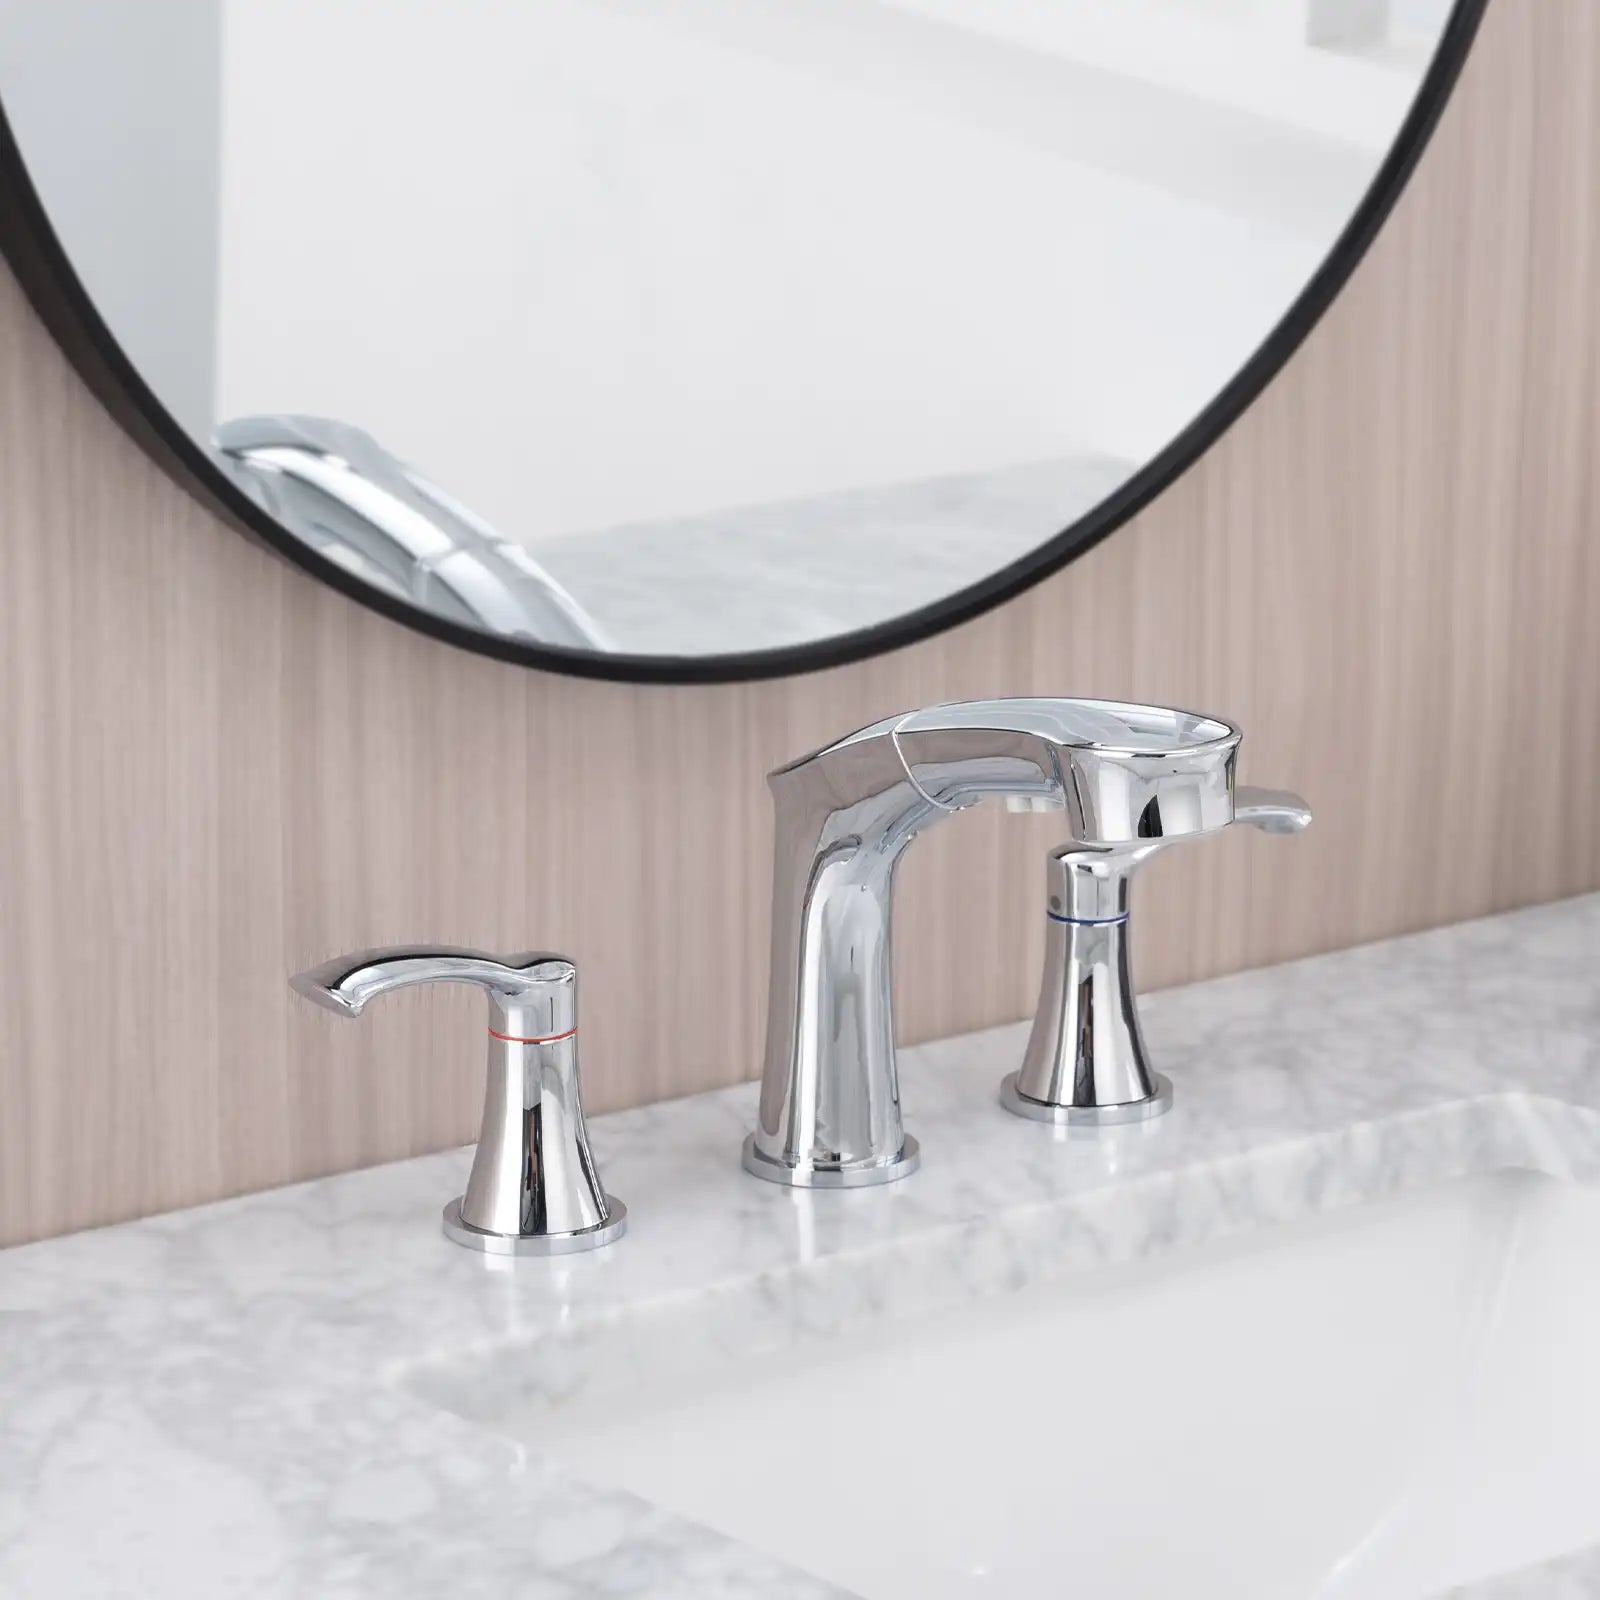
A few weeks ago, I noticed our bathtub faucet had started to drip—constantly. Beyond being wasteful, the sound was driving me absolutely nuts. Plus, the old faucet was dated, with visible corrosion that no amount of scrubbing could fix. It was clear: I needed a replacement.
Hiring a plumber wasn’t in the budget, so I decided to take matters into my own hands. I’m not a professional by any means, but with a bit of research, some patience, and the right tools, I managed to swap out the faucet myself. Here’s how I did it, step by step, and everything I learned along the way.
Step 1: Gather Your Tools and Materials

Before diving in, I made sure I had all the tools I’d need for the project. Here’s what was on my list:
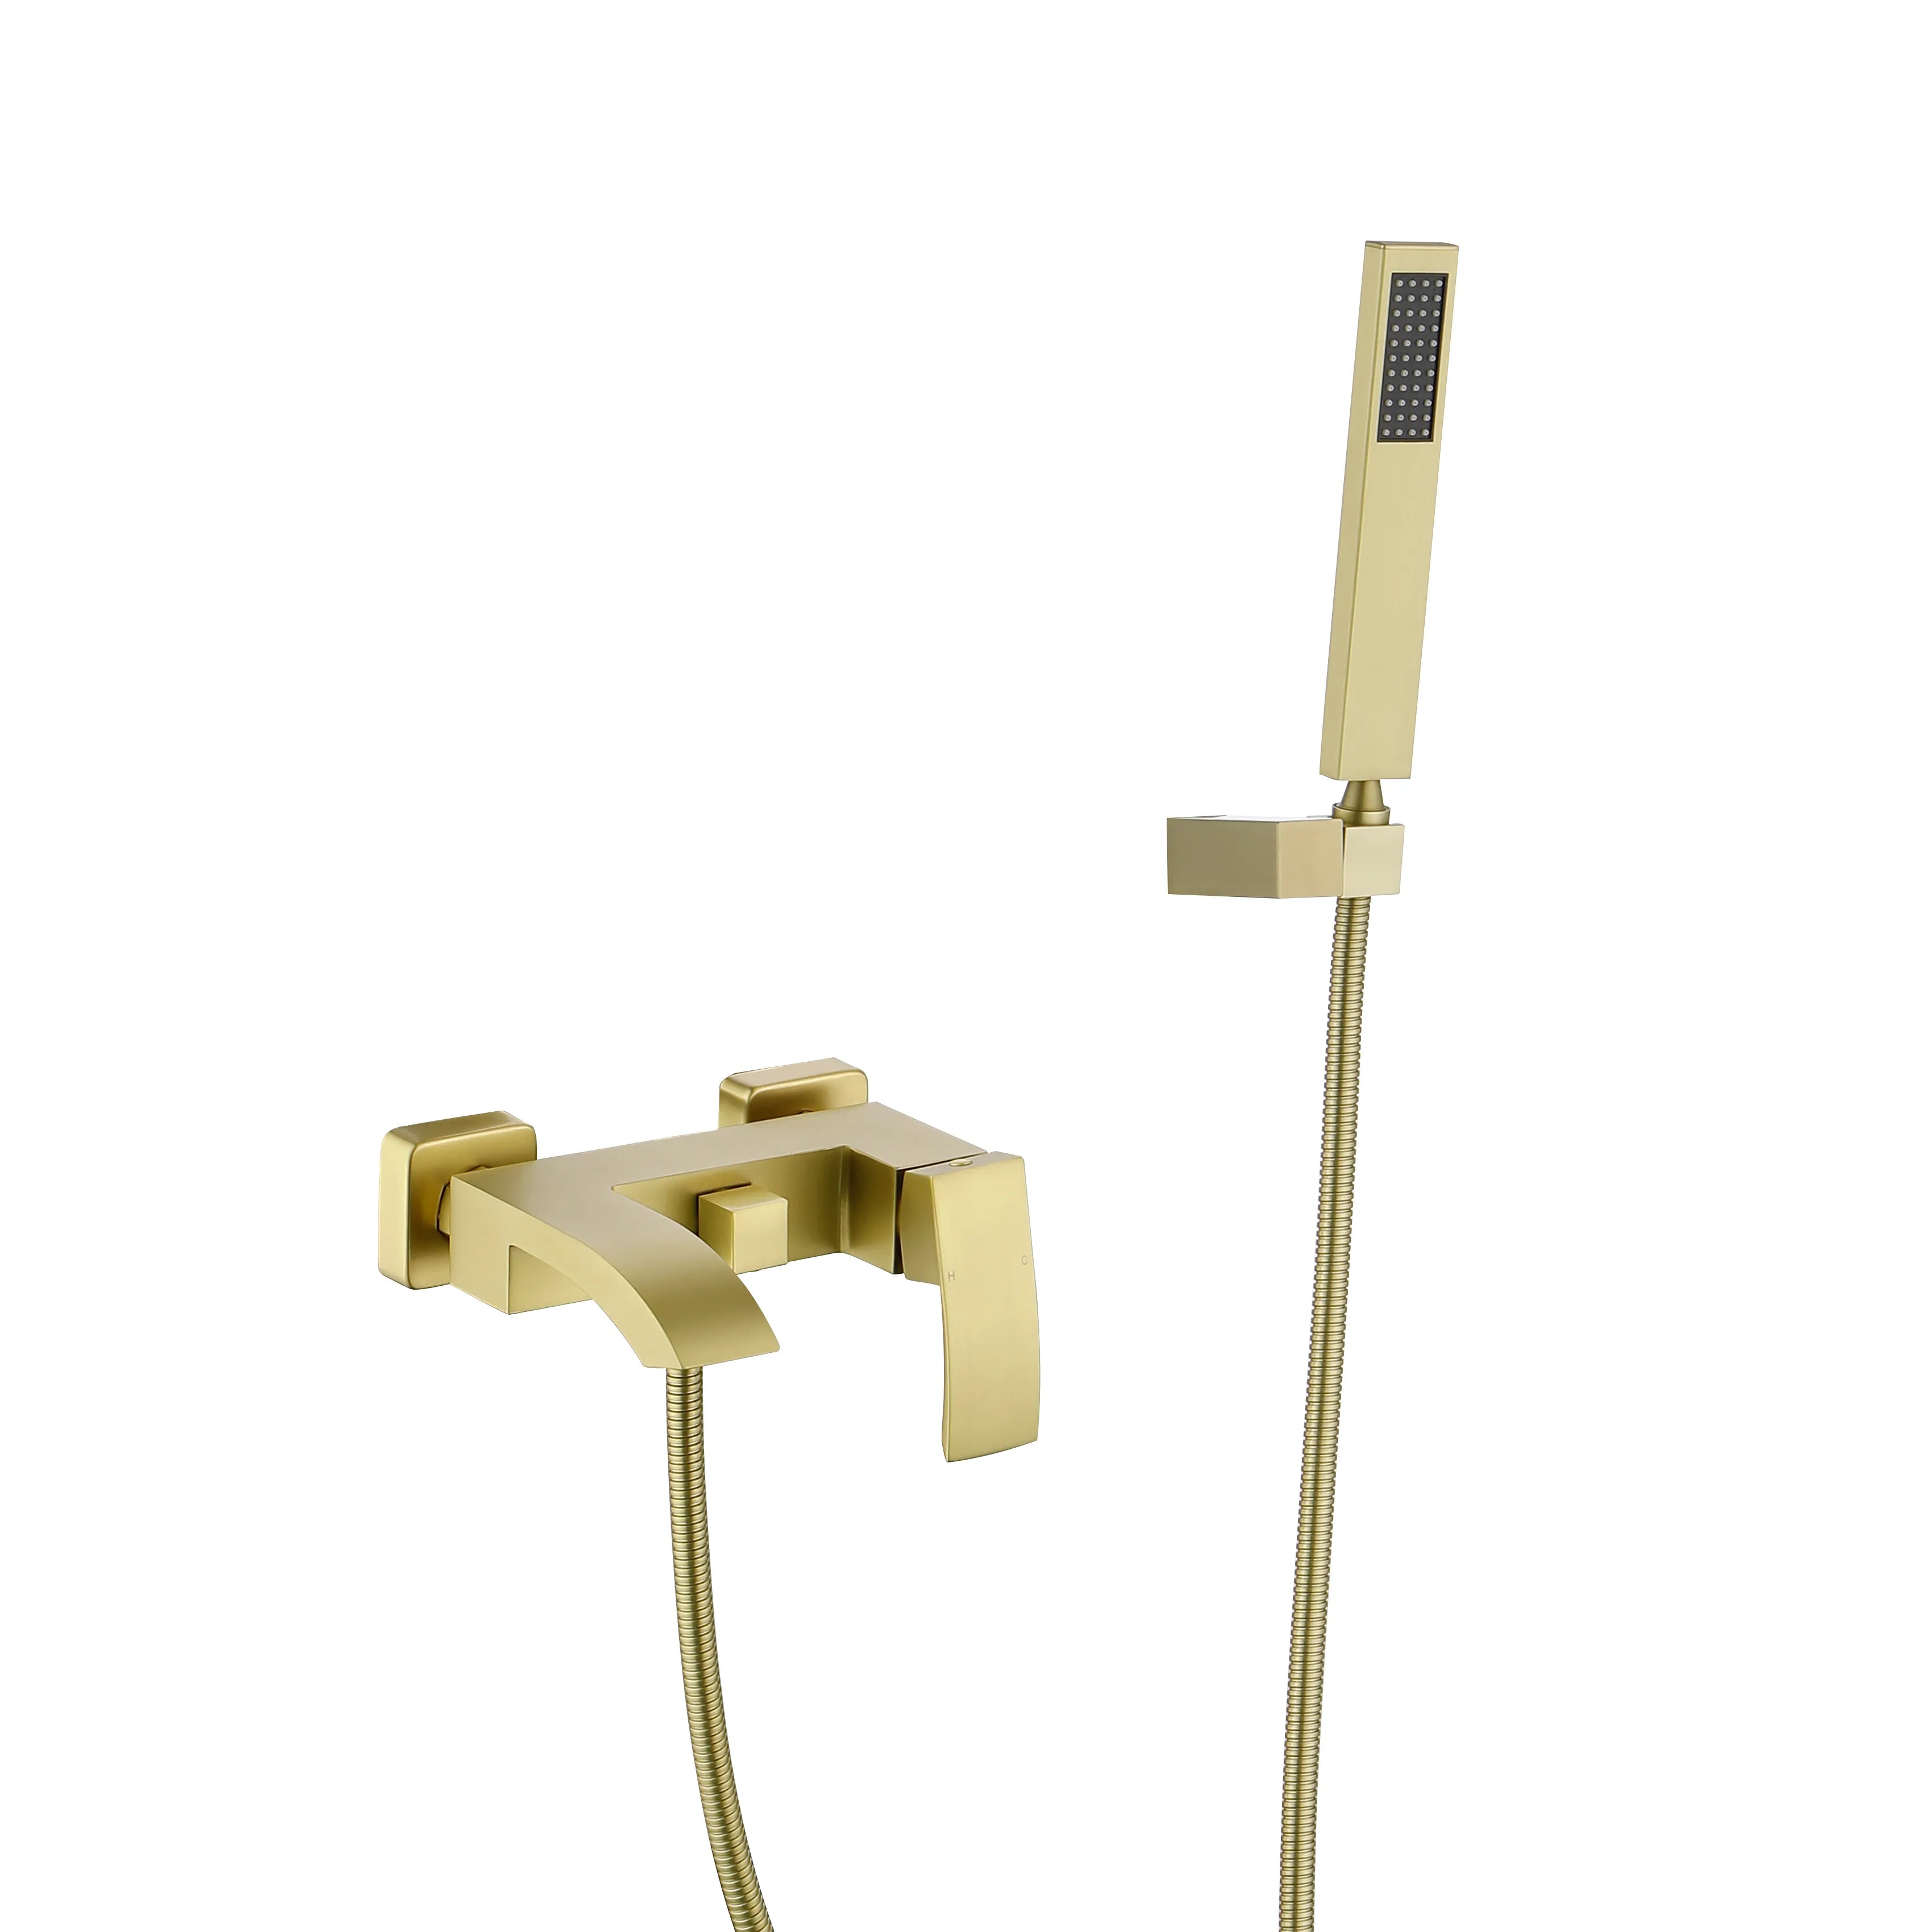
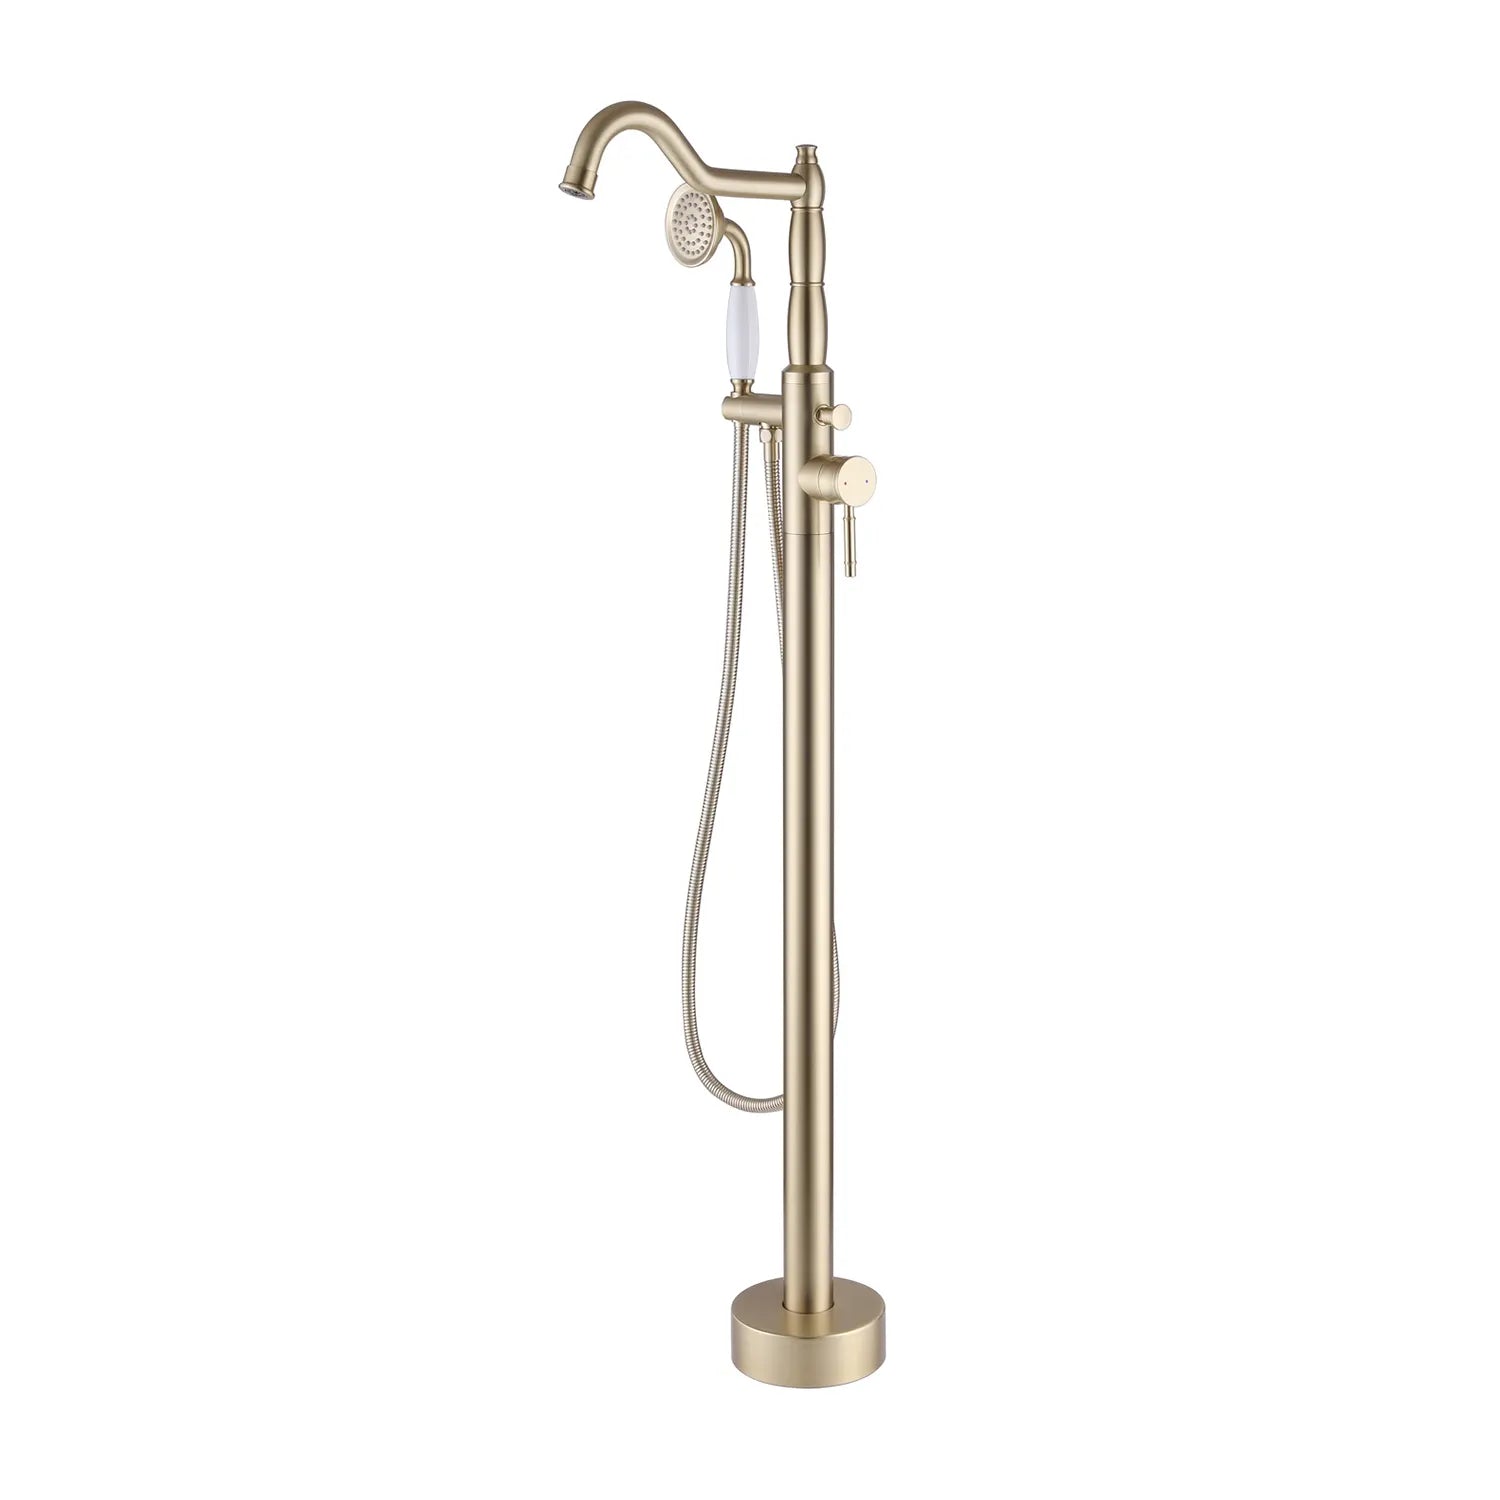
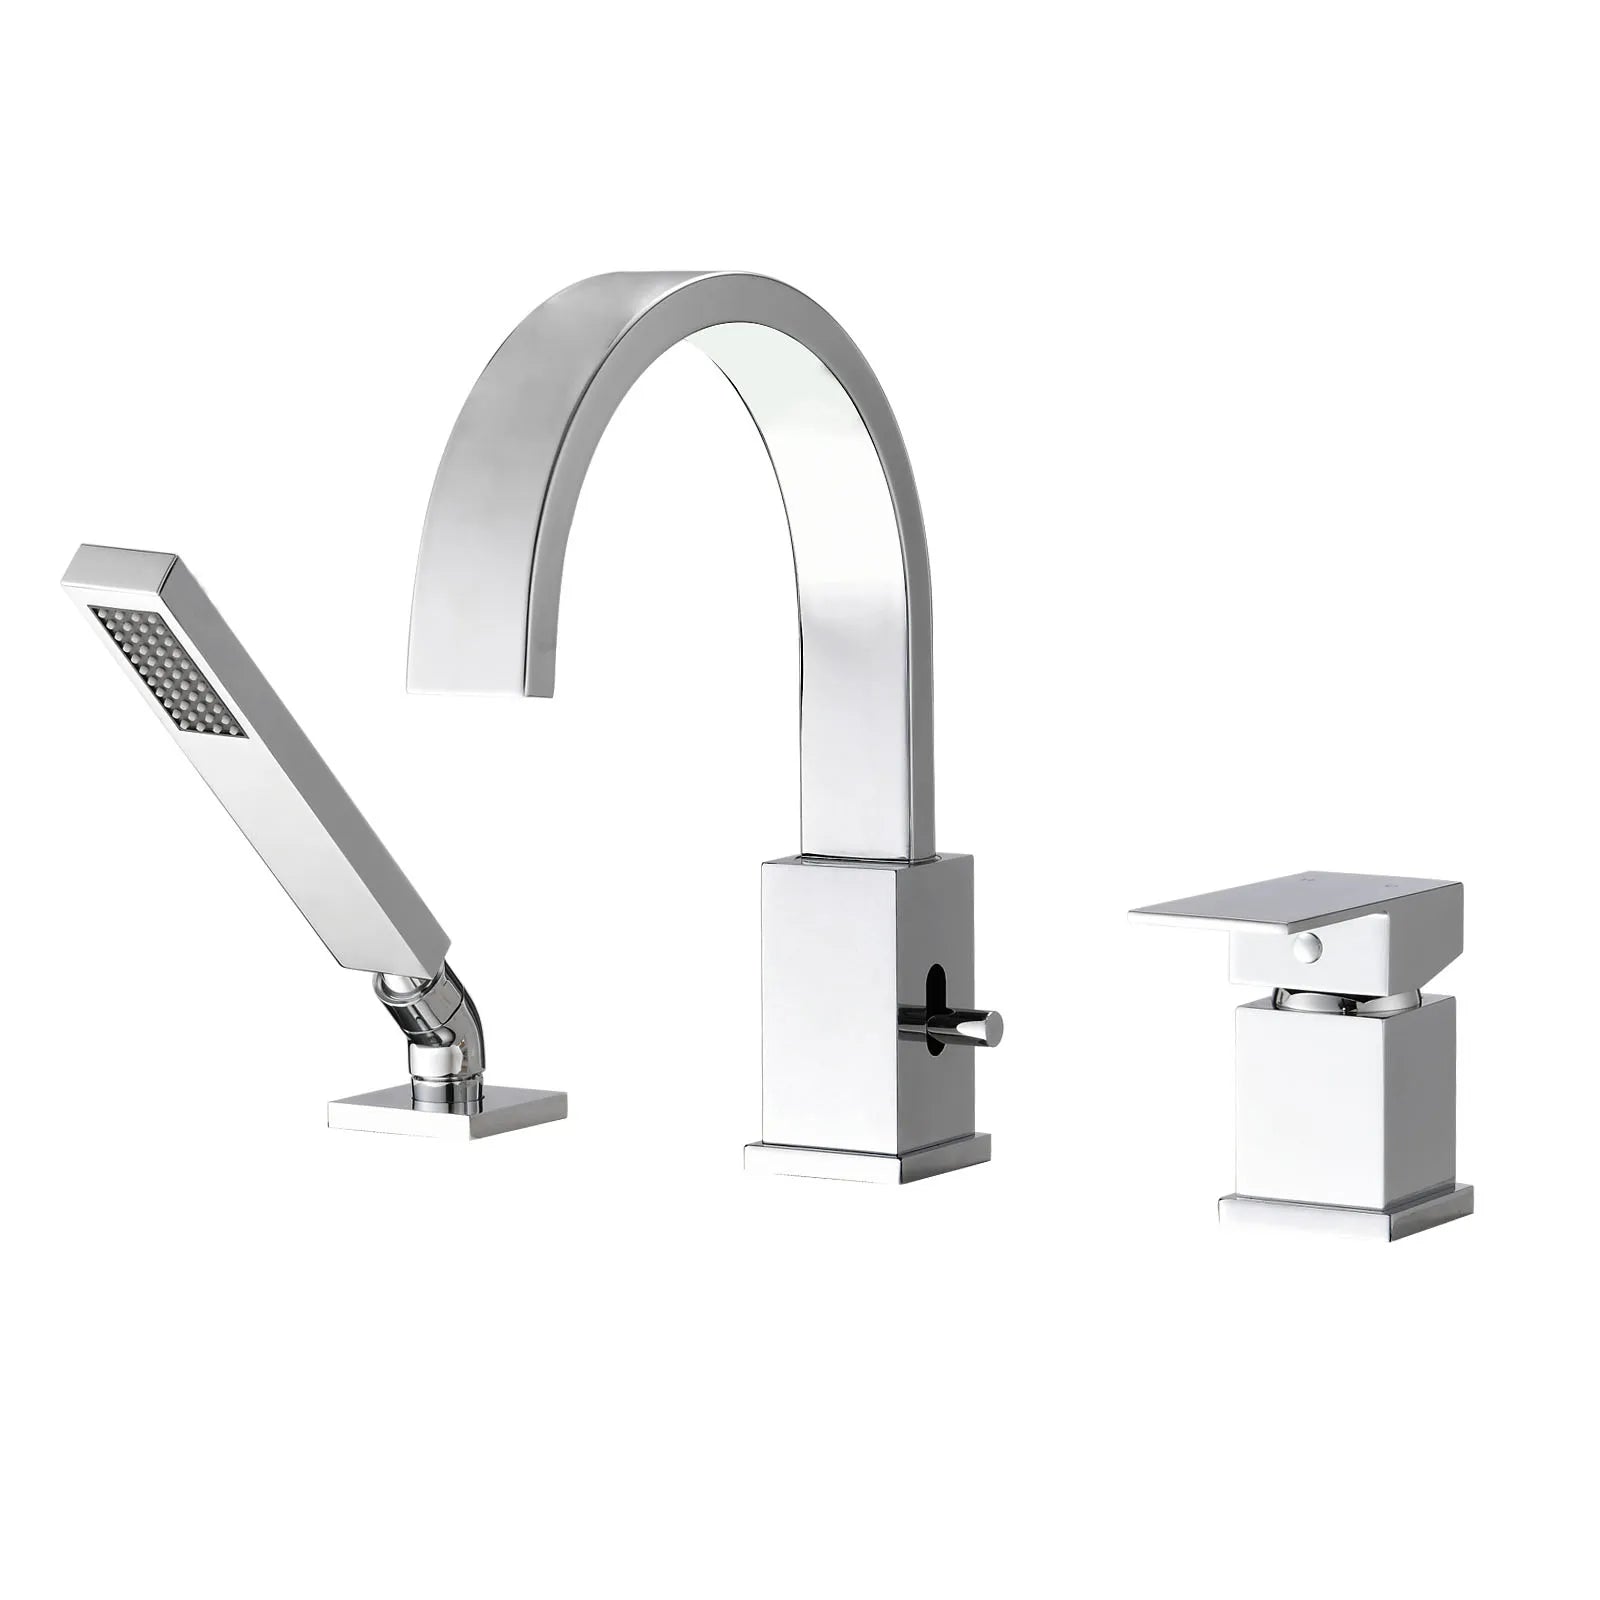
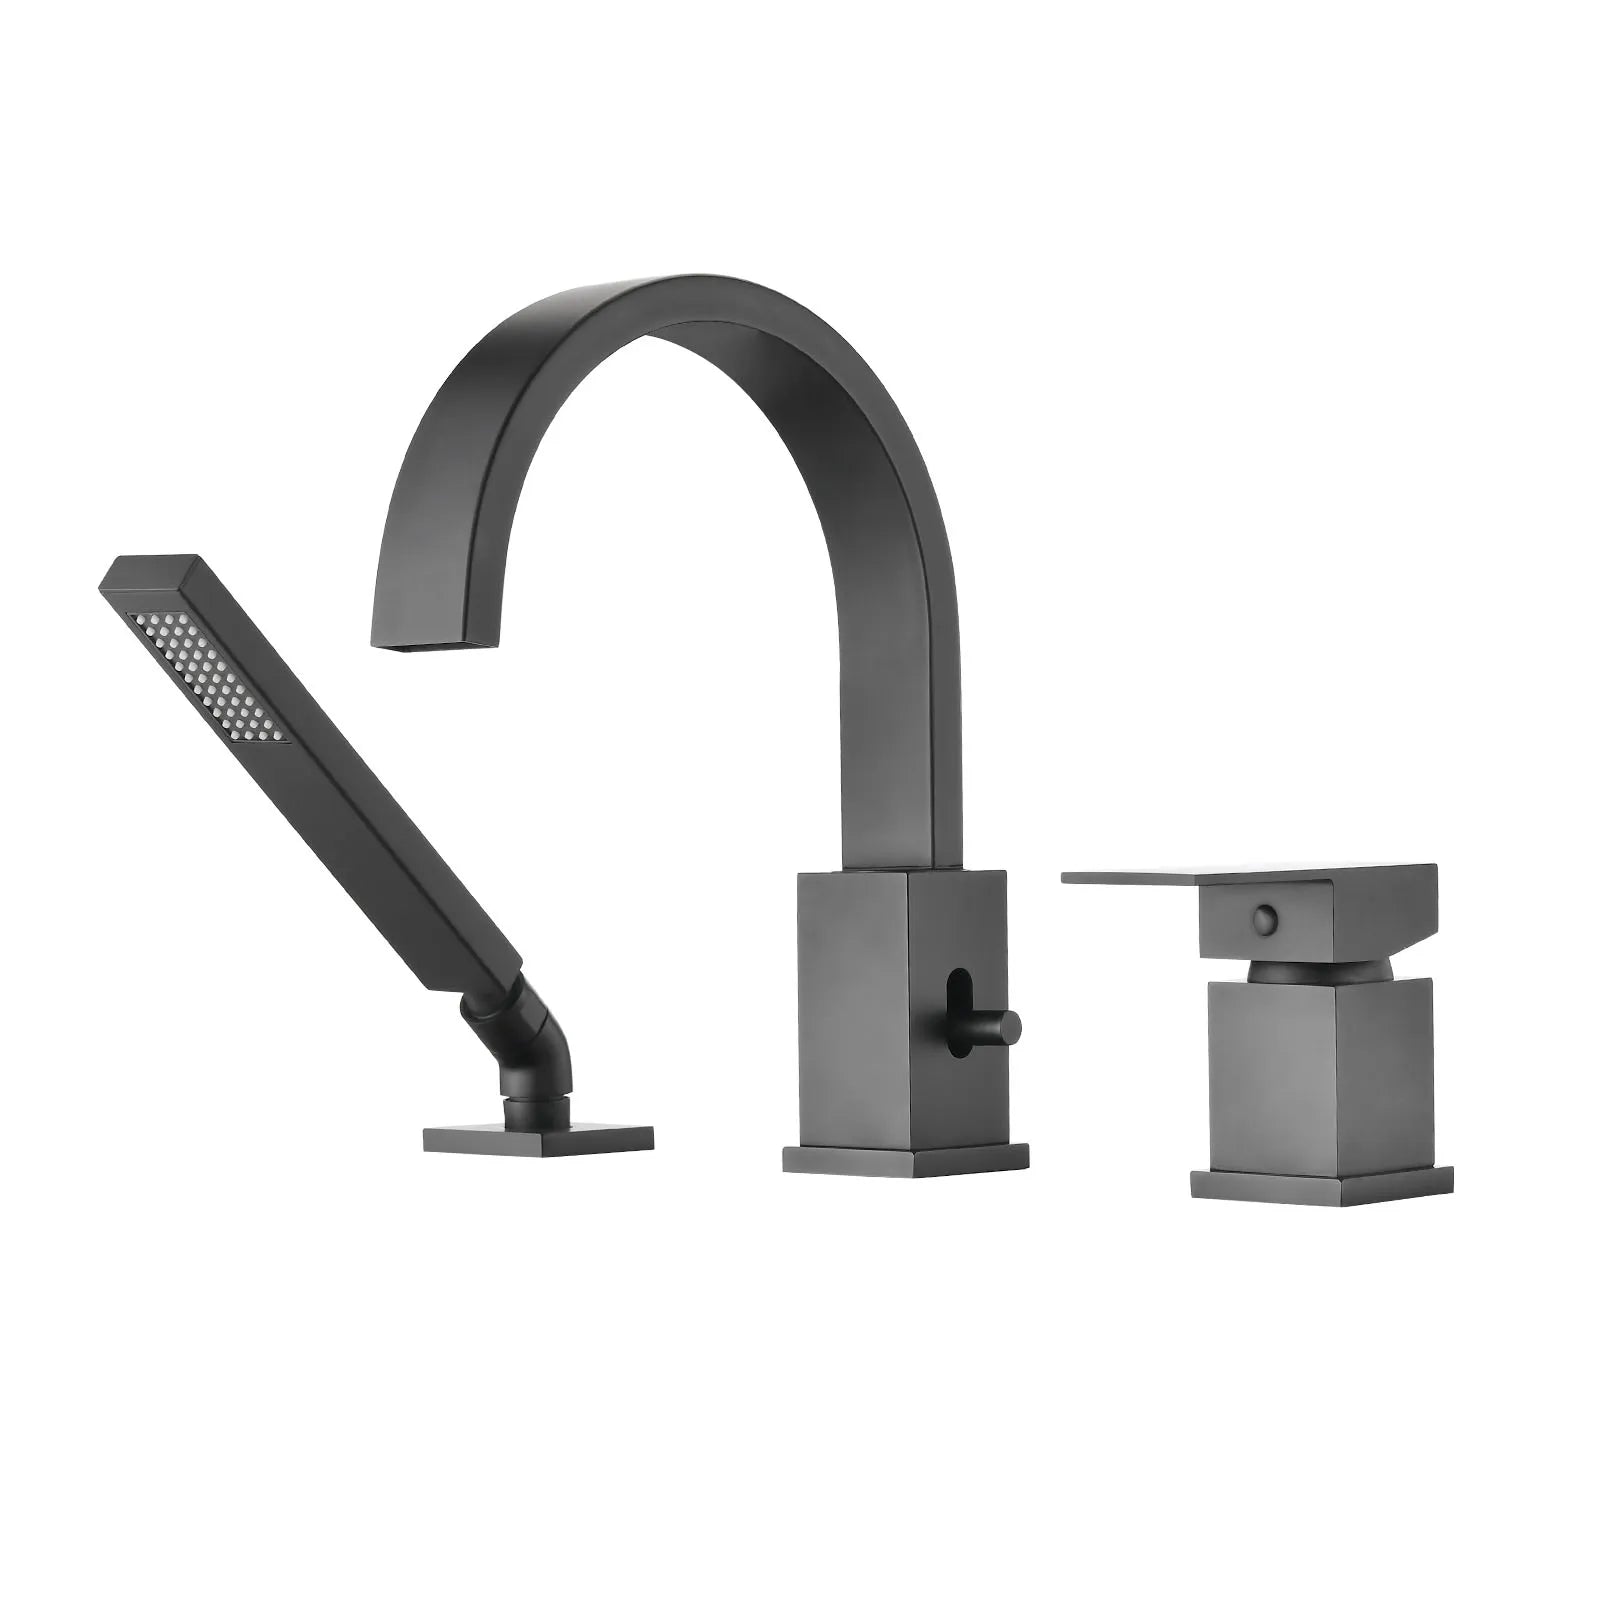
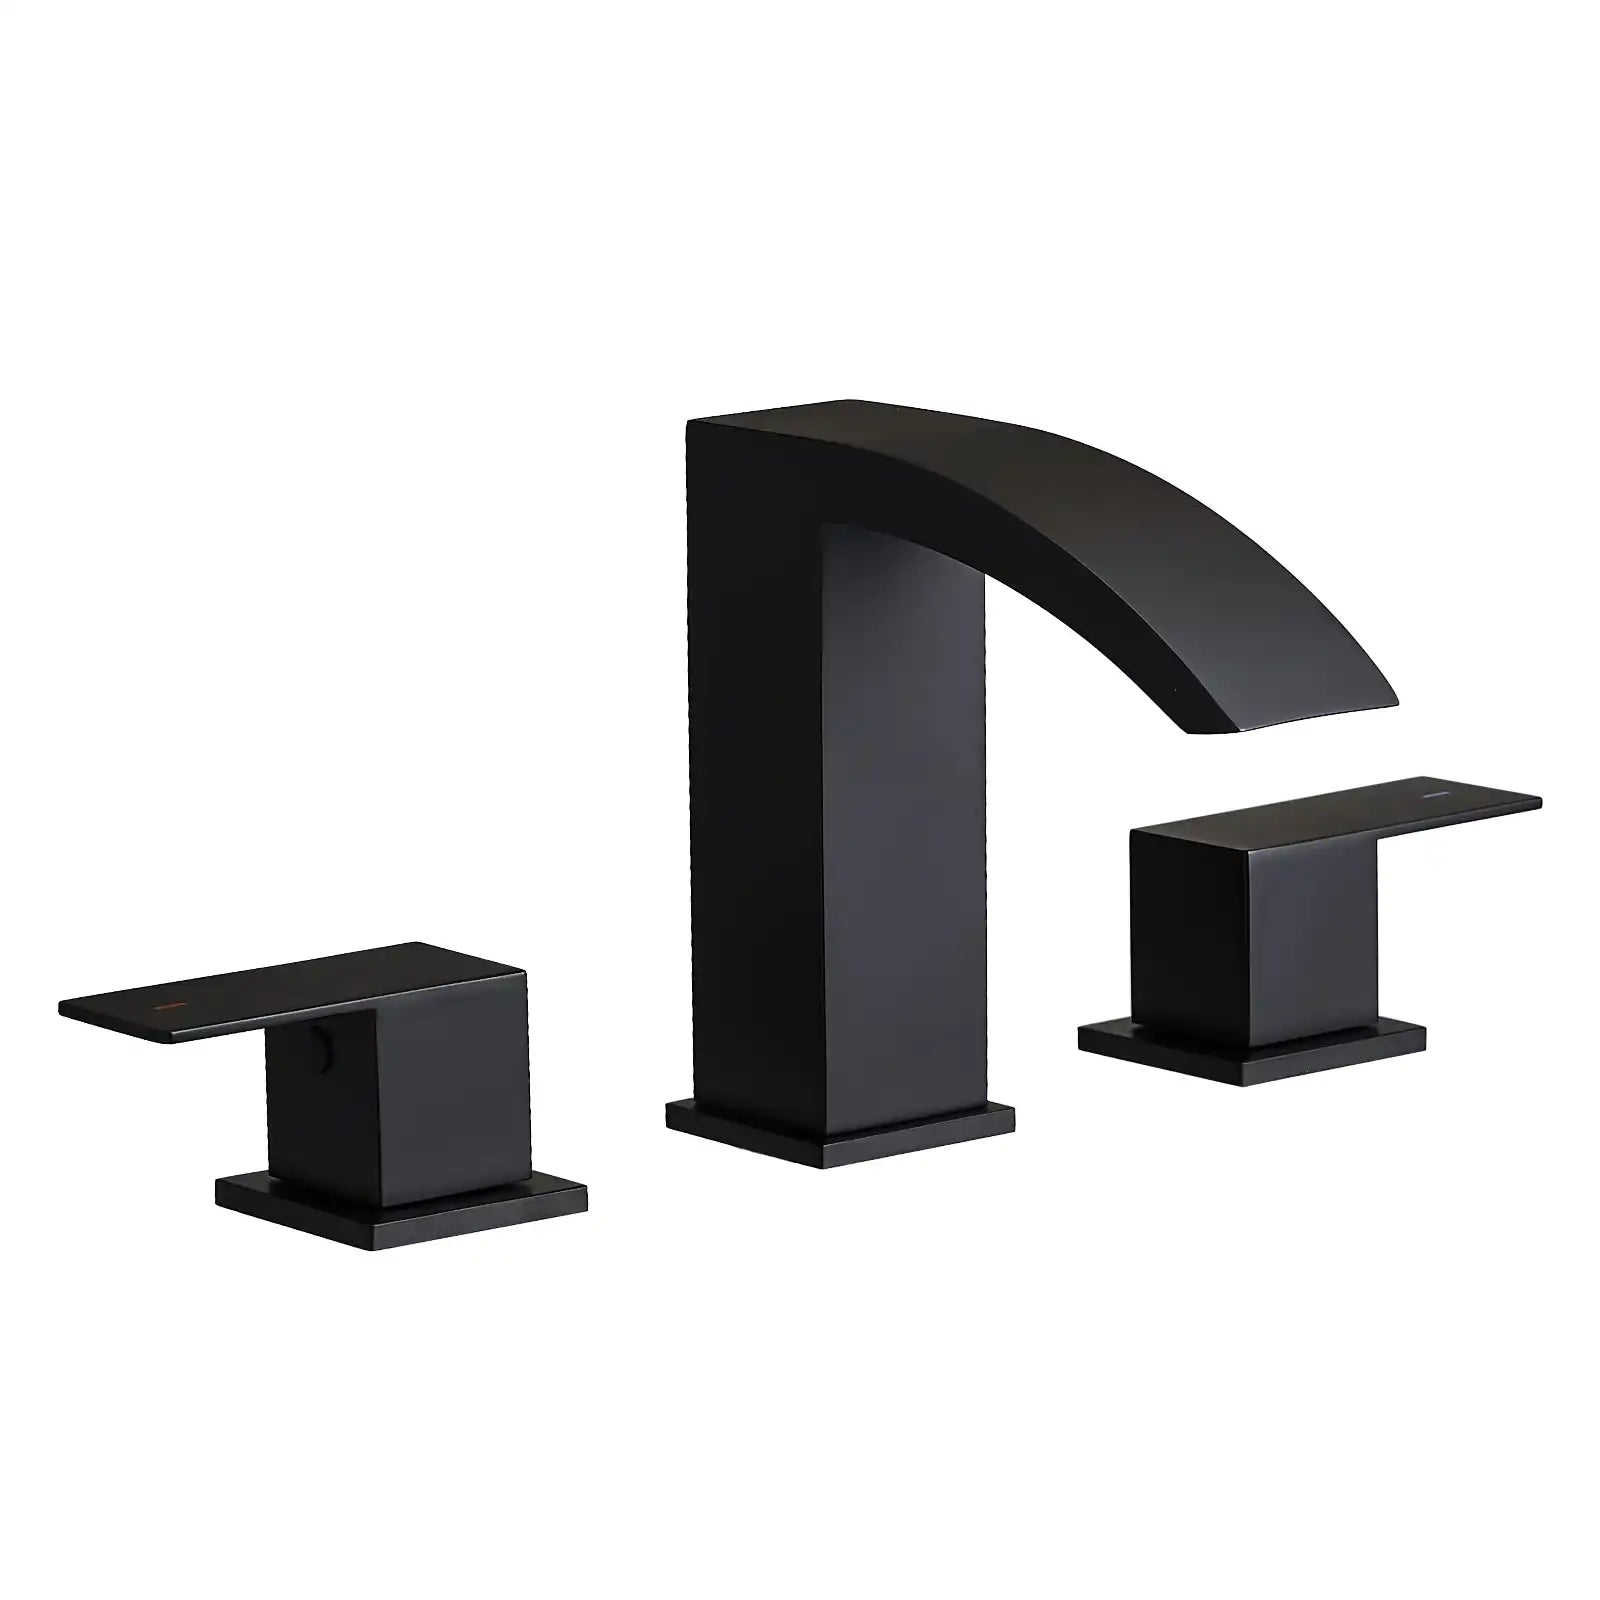
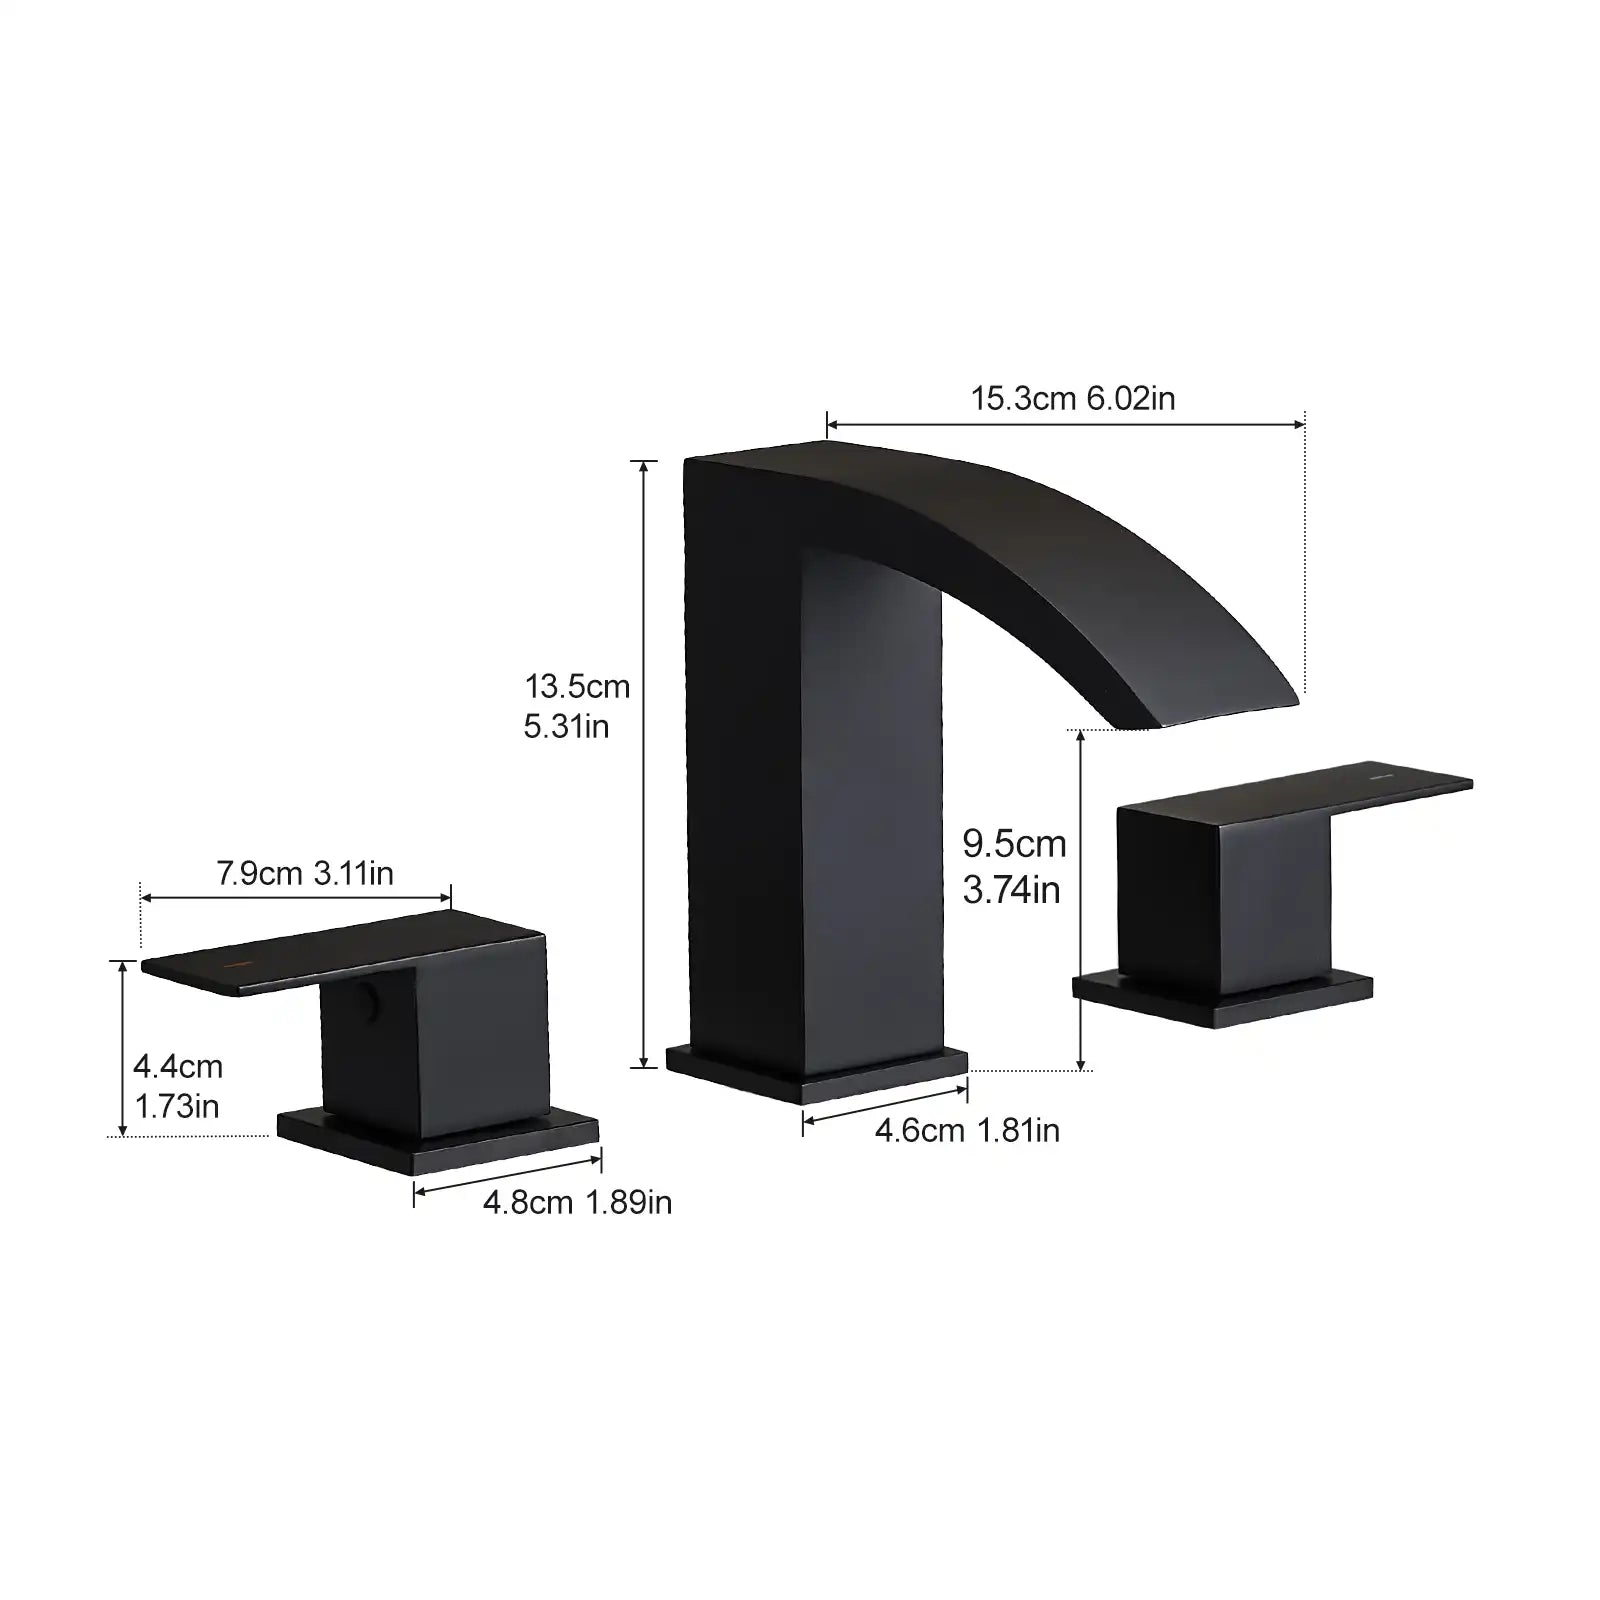
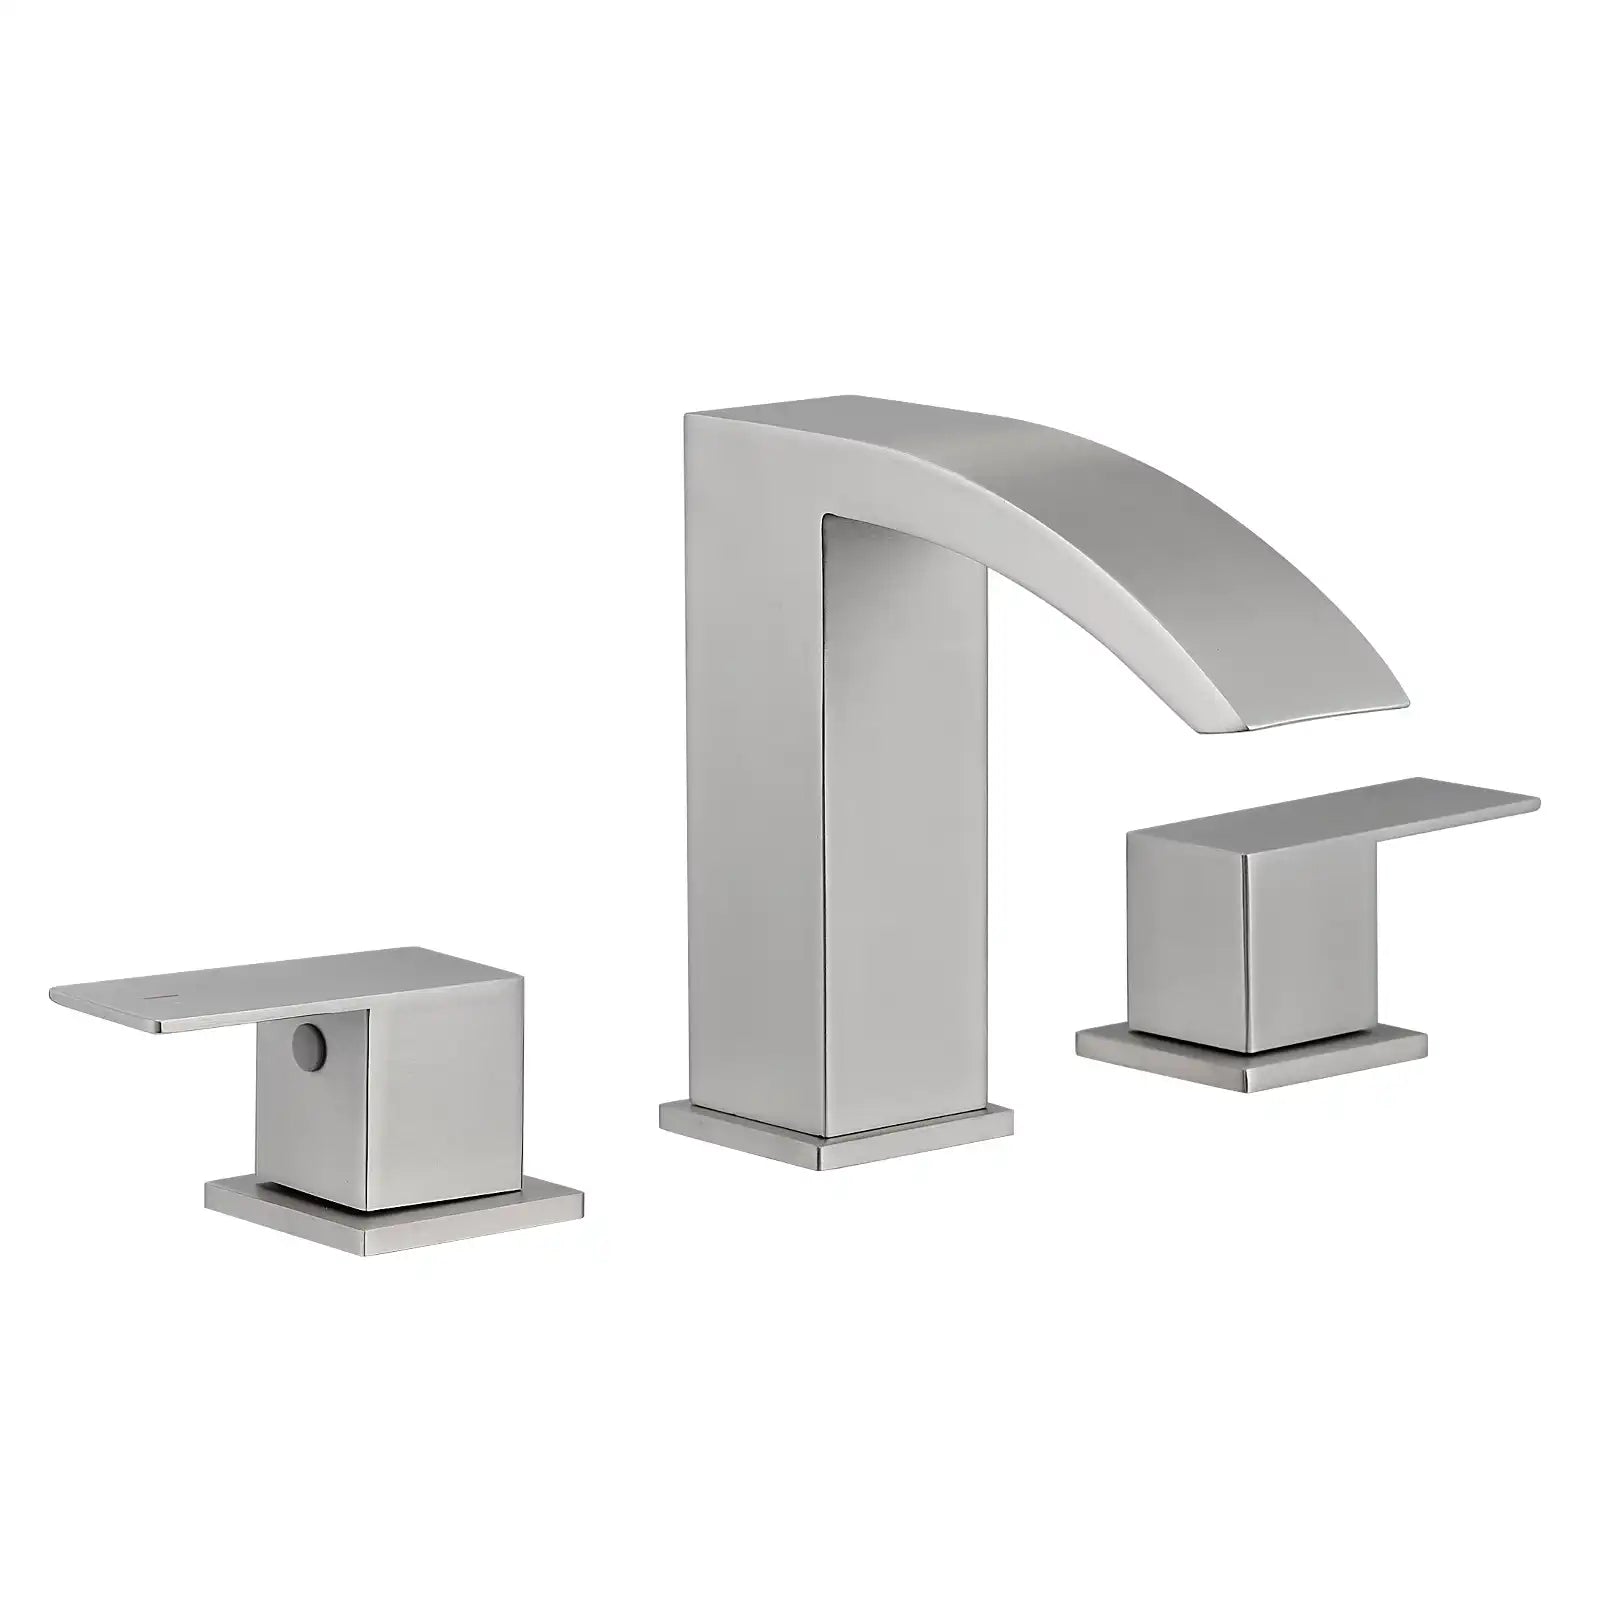
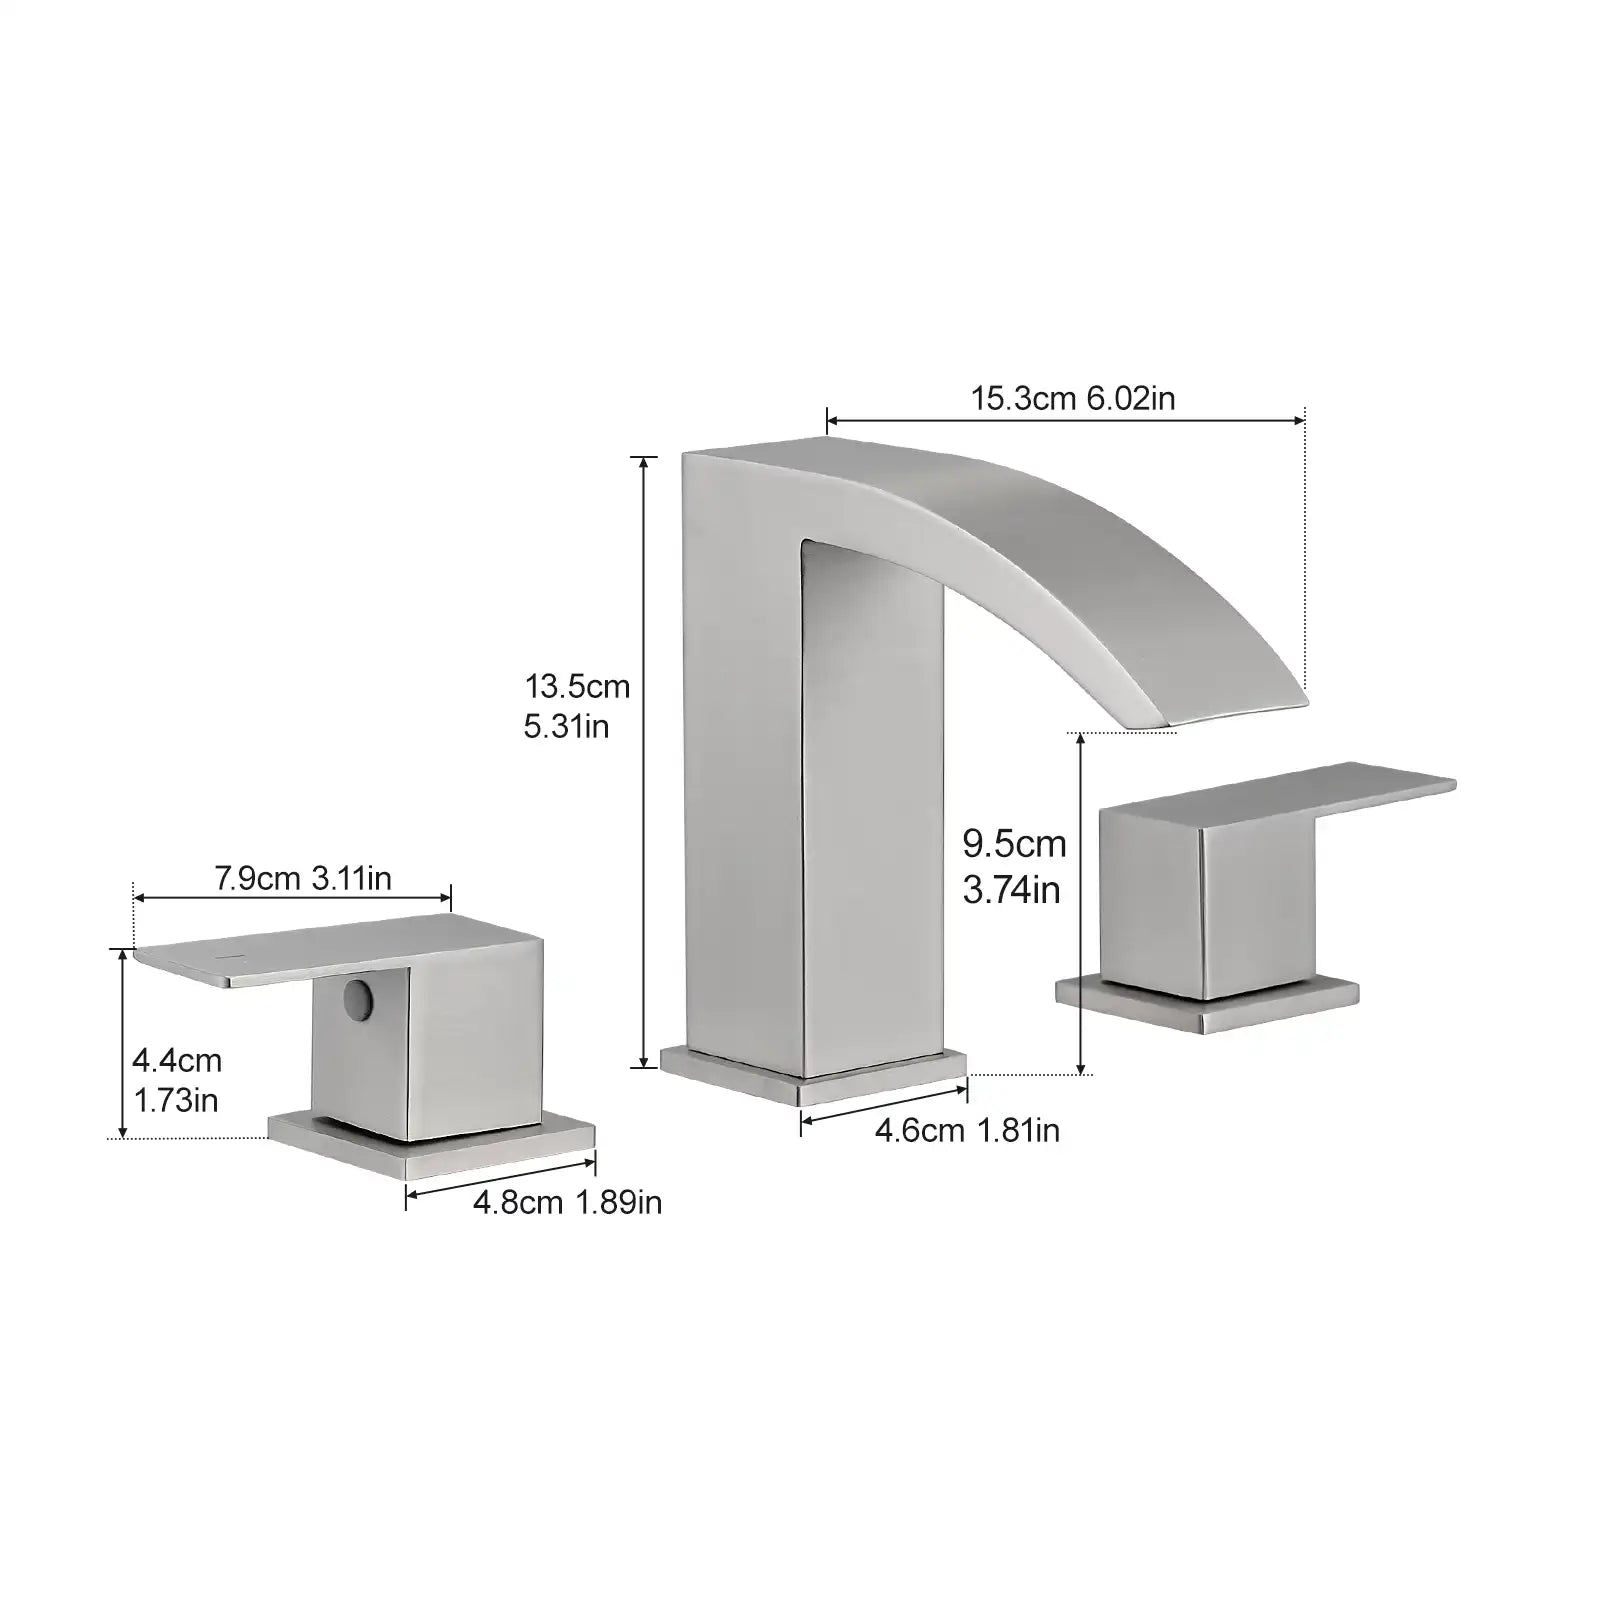
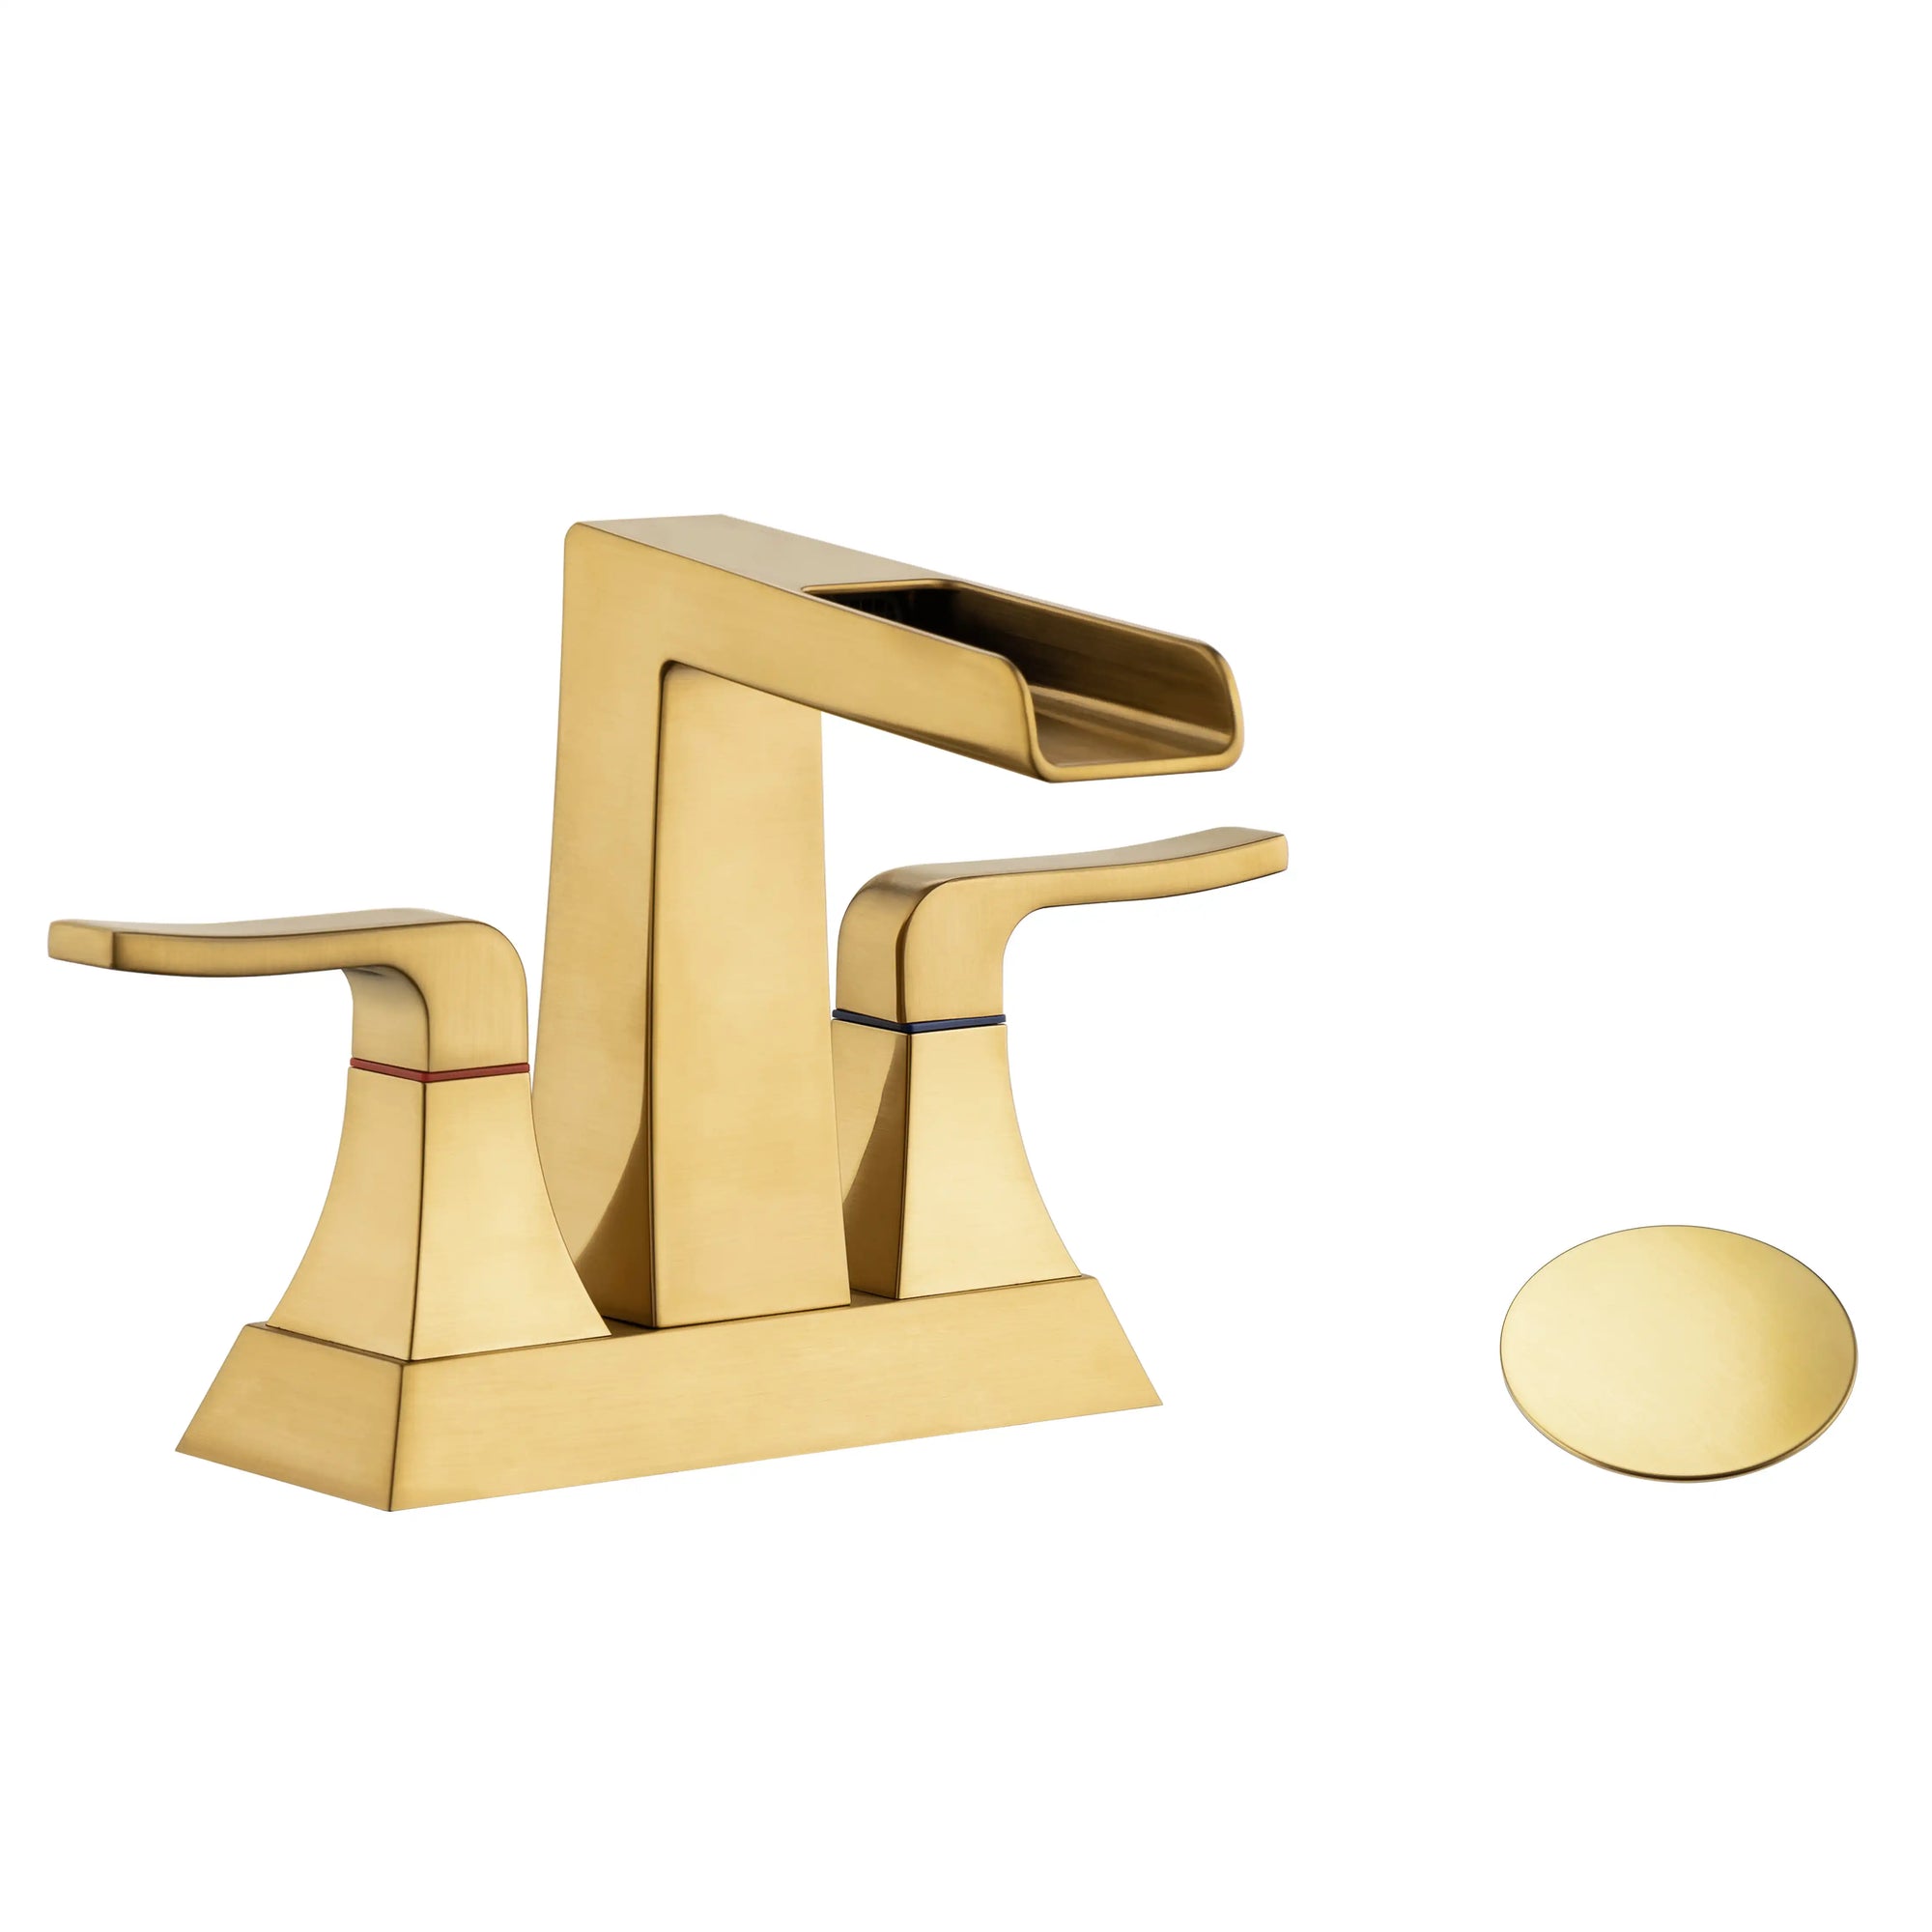
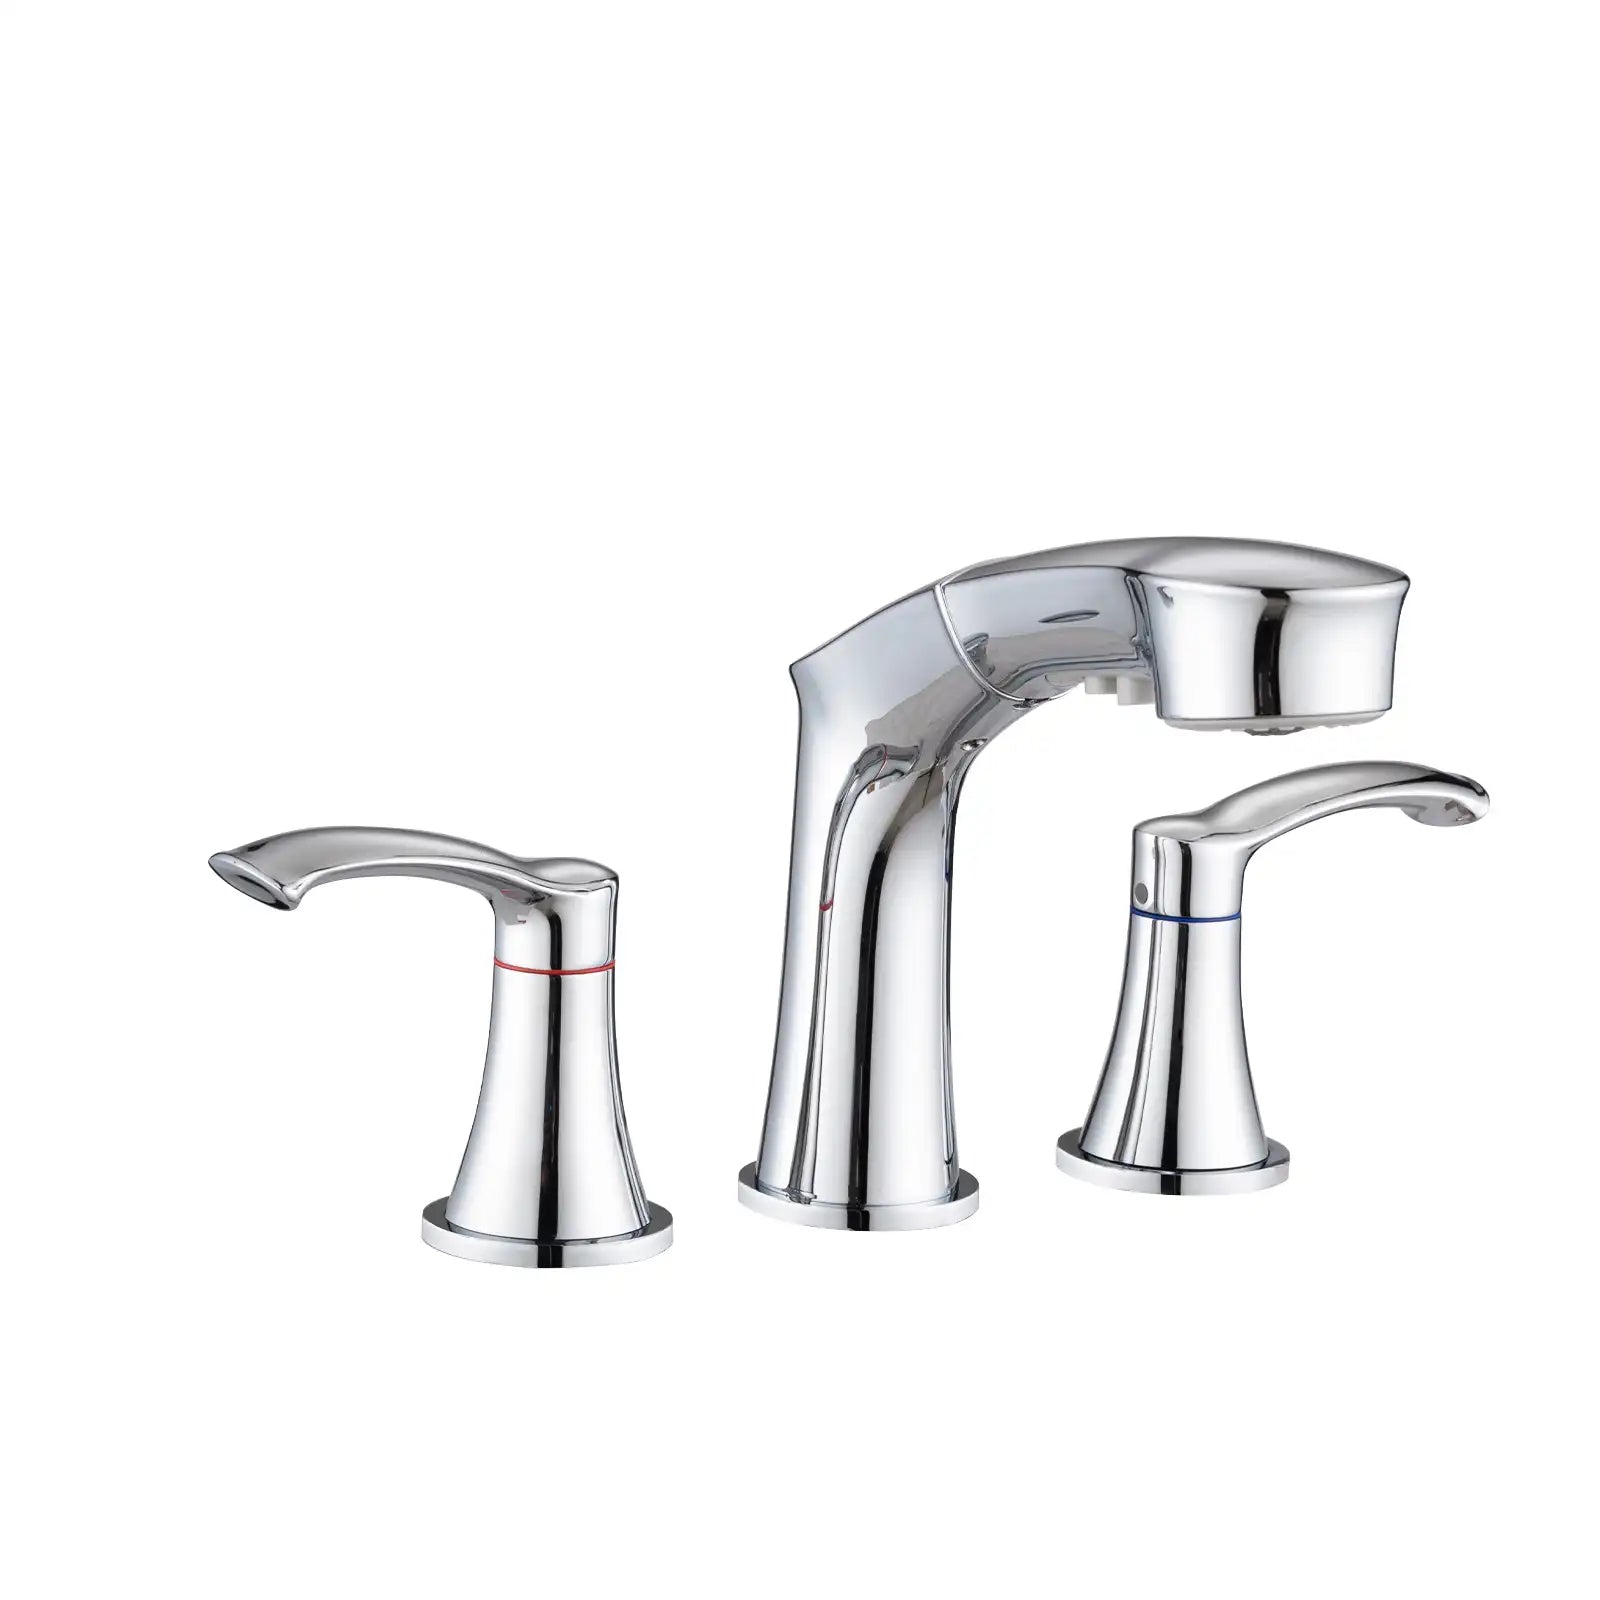
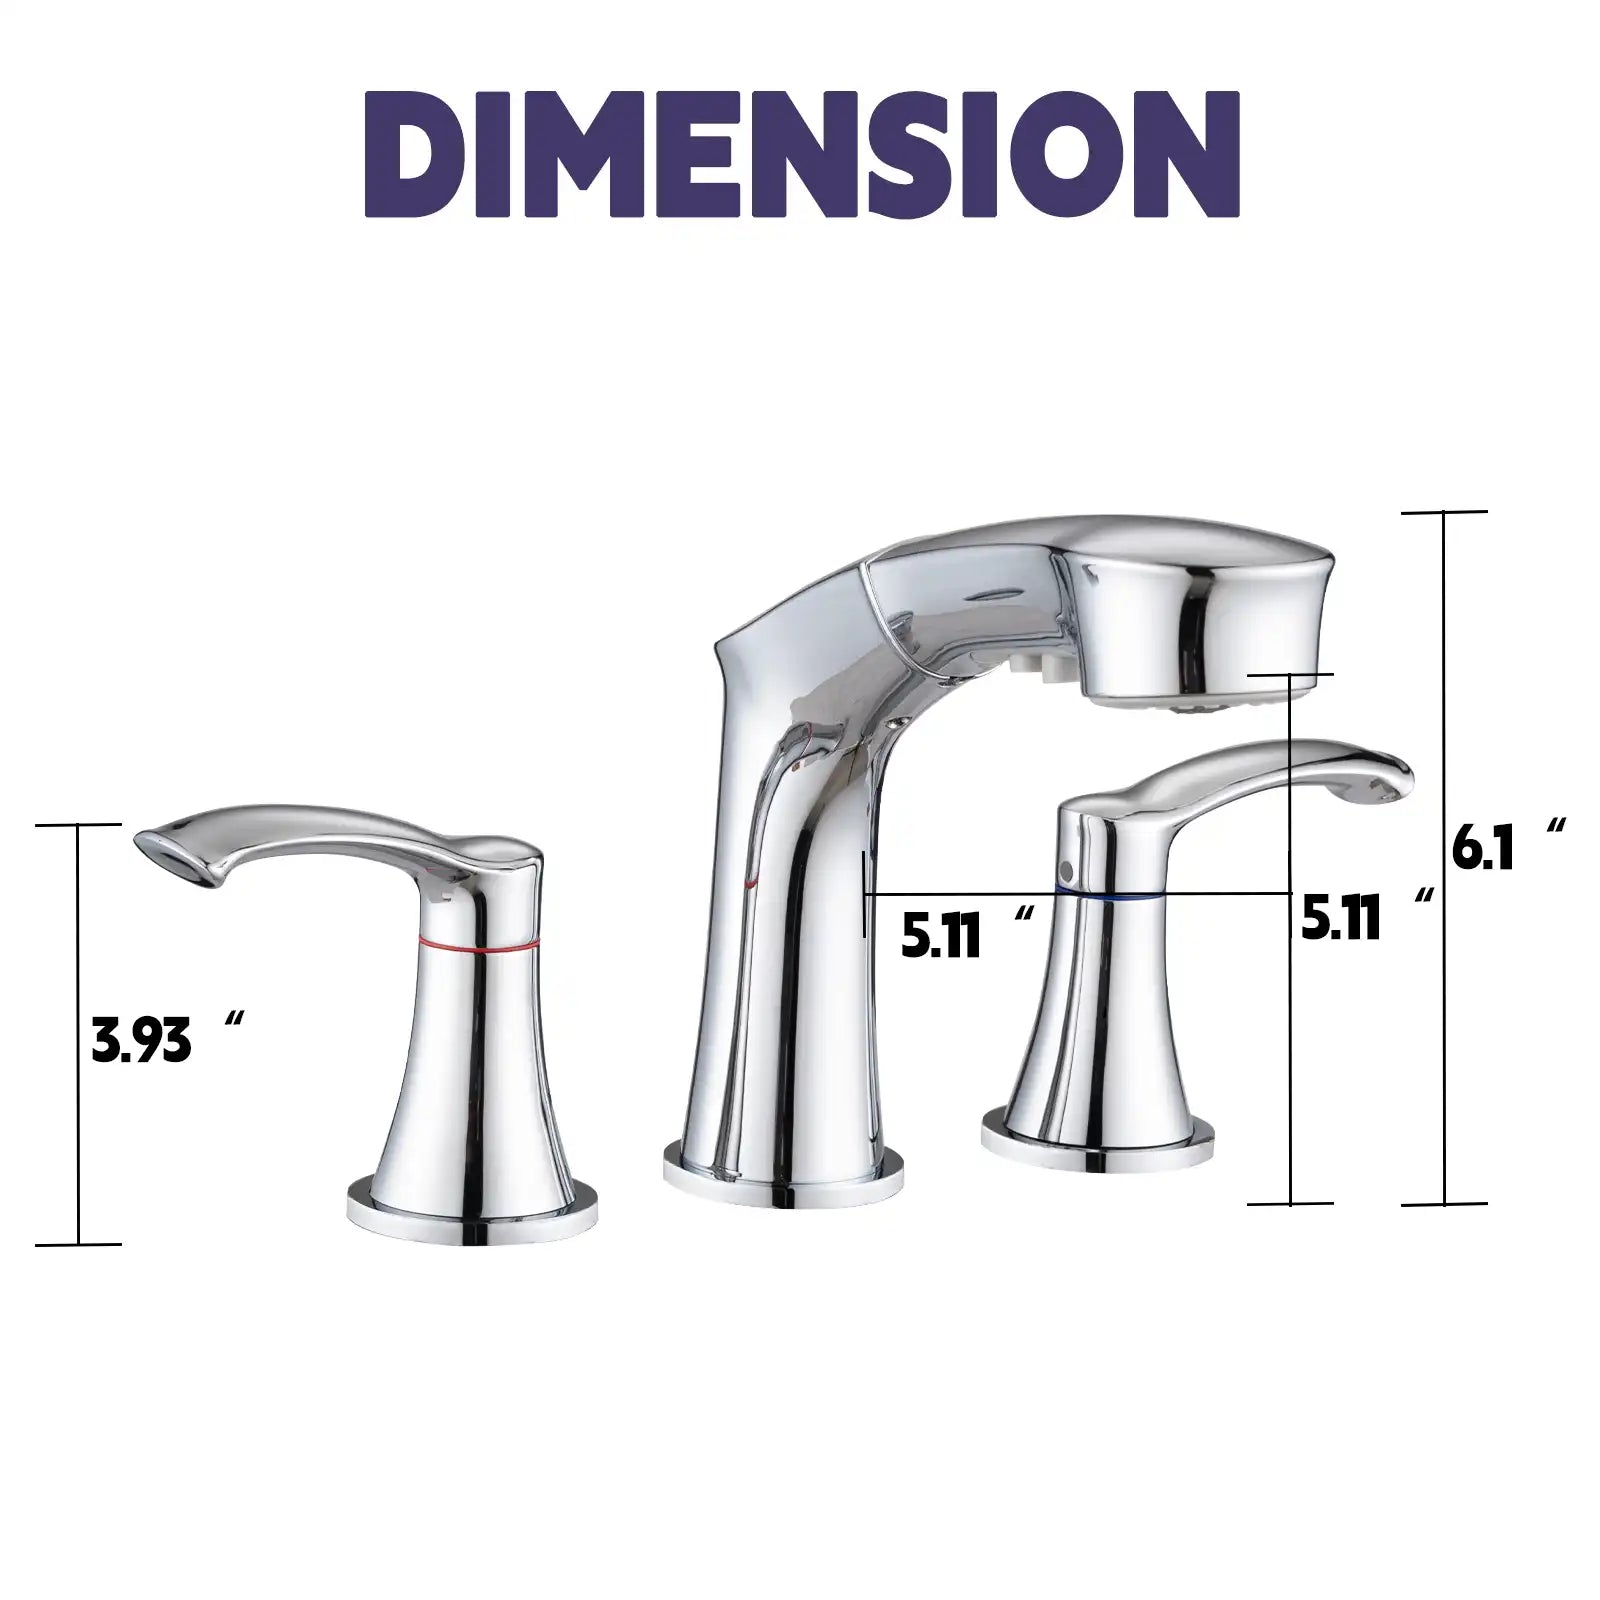
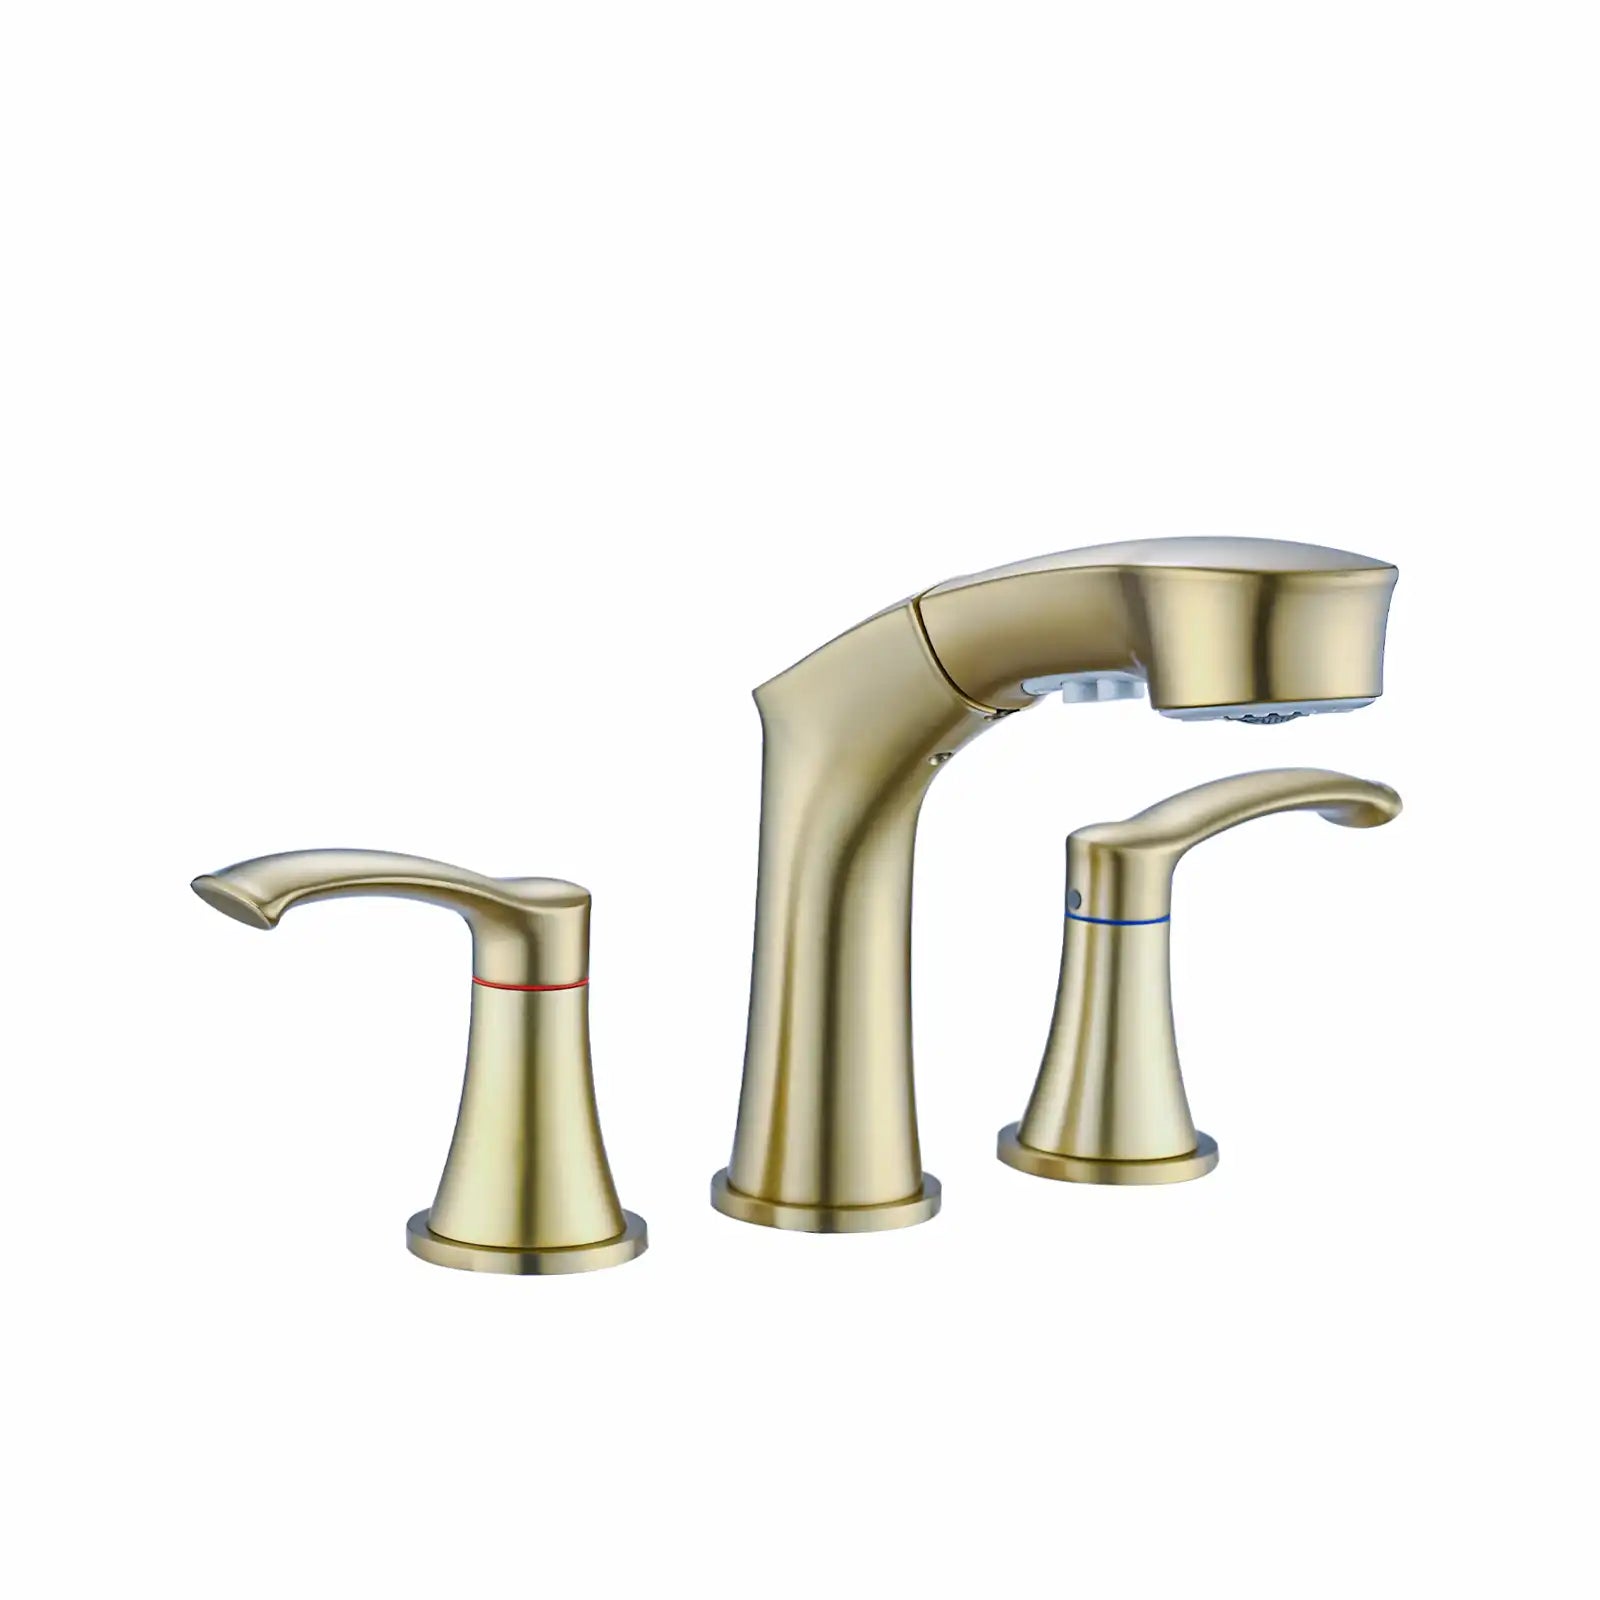
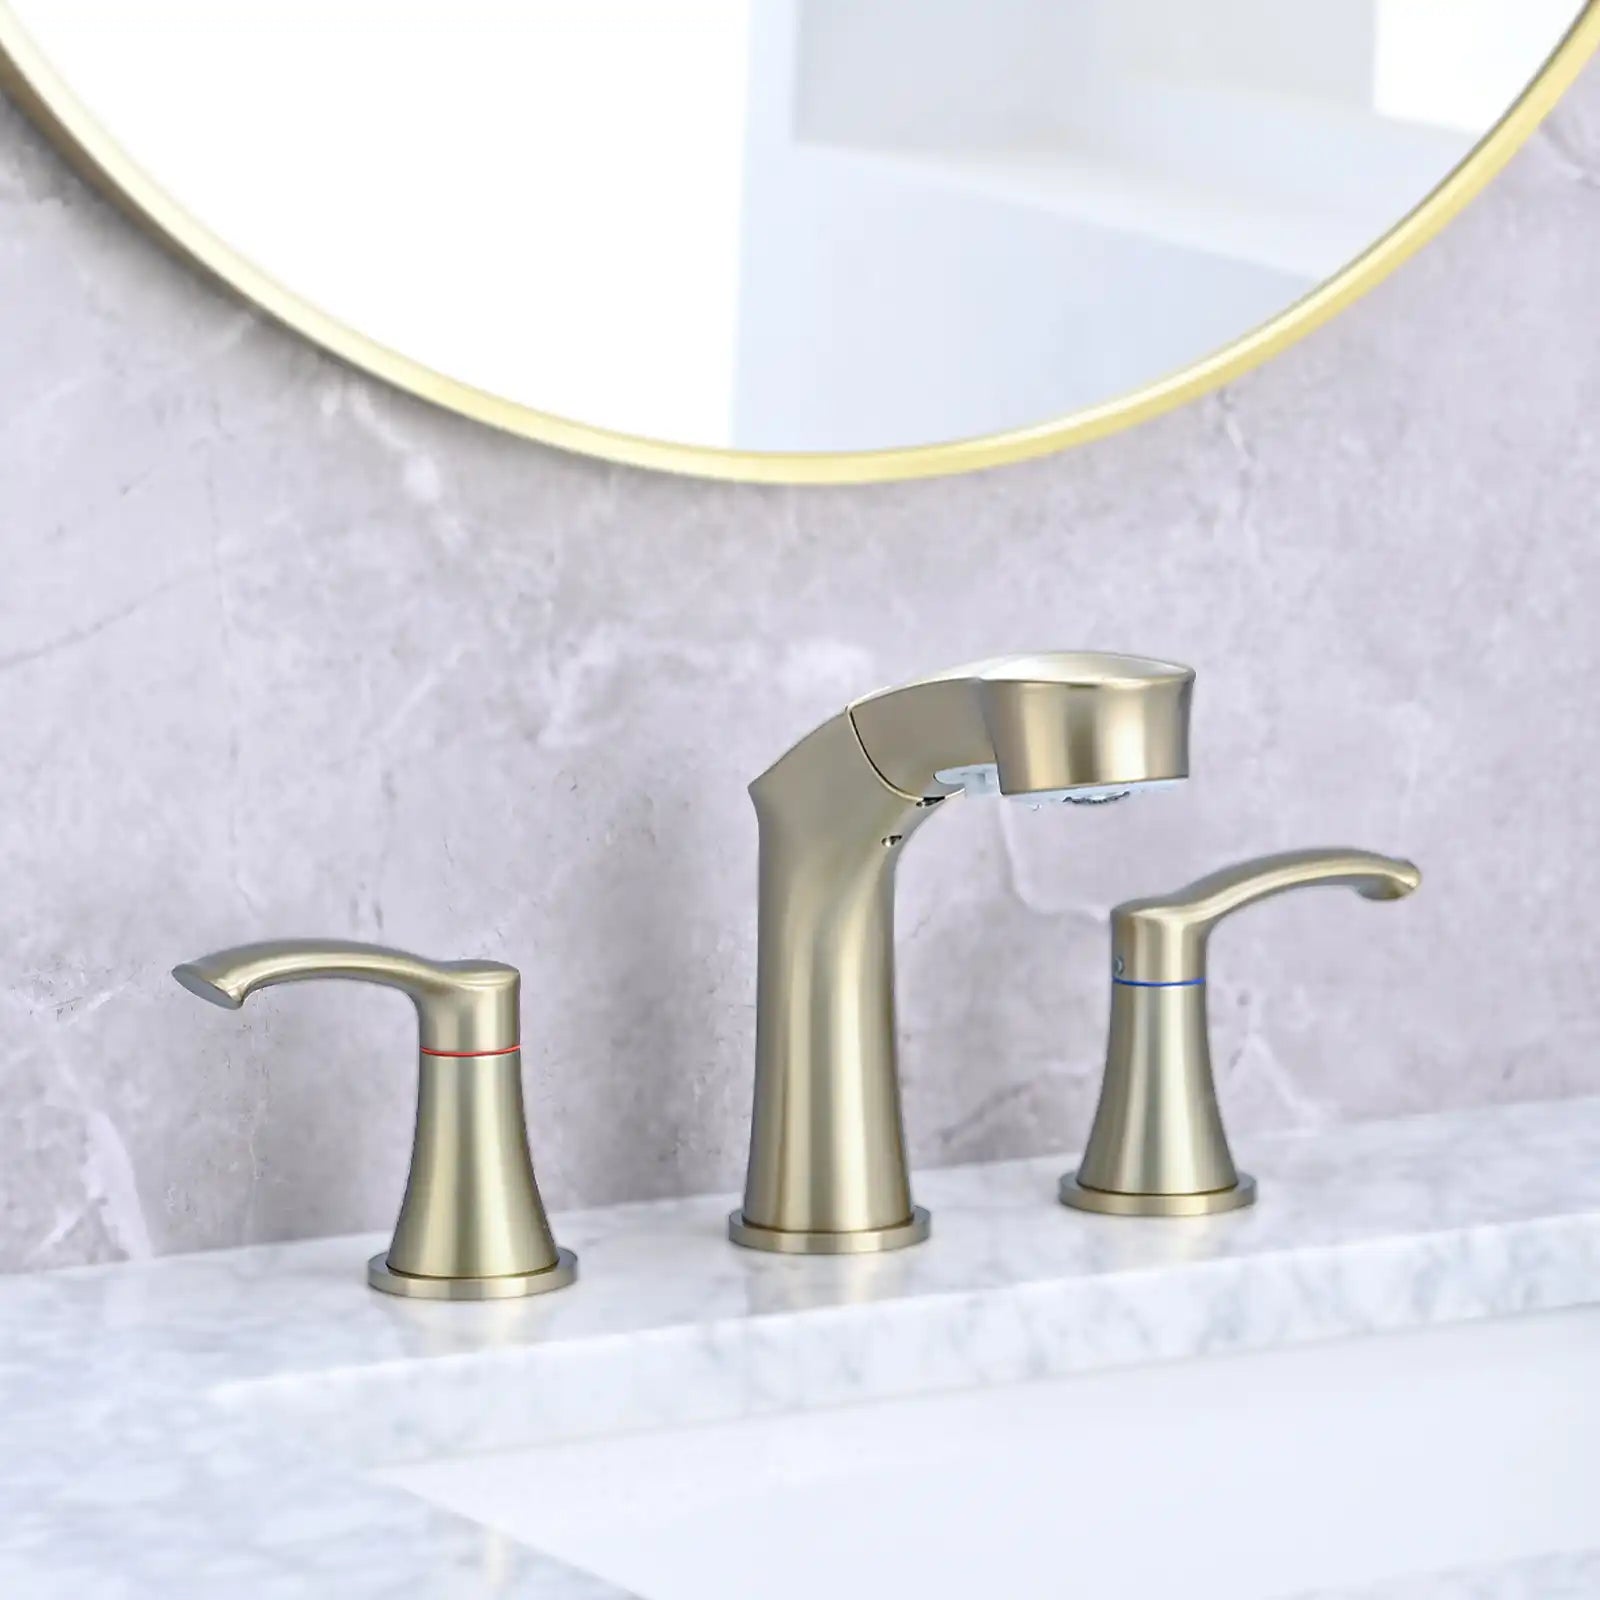
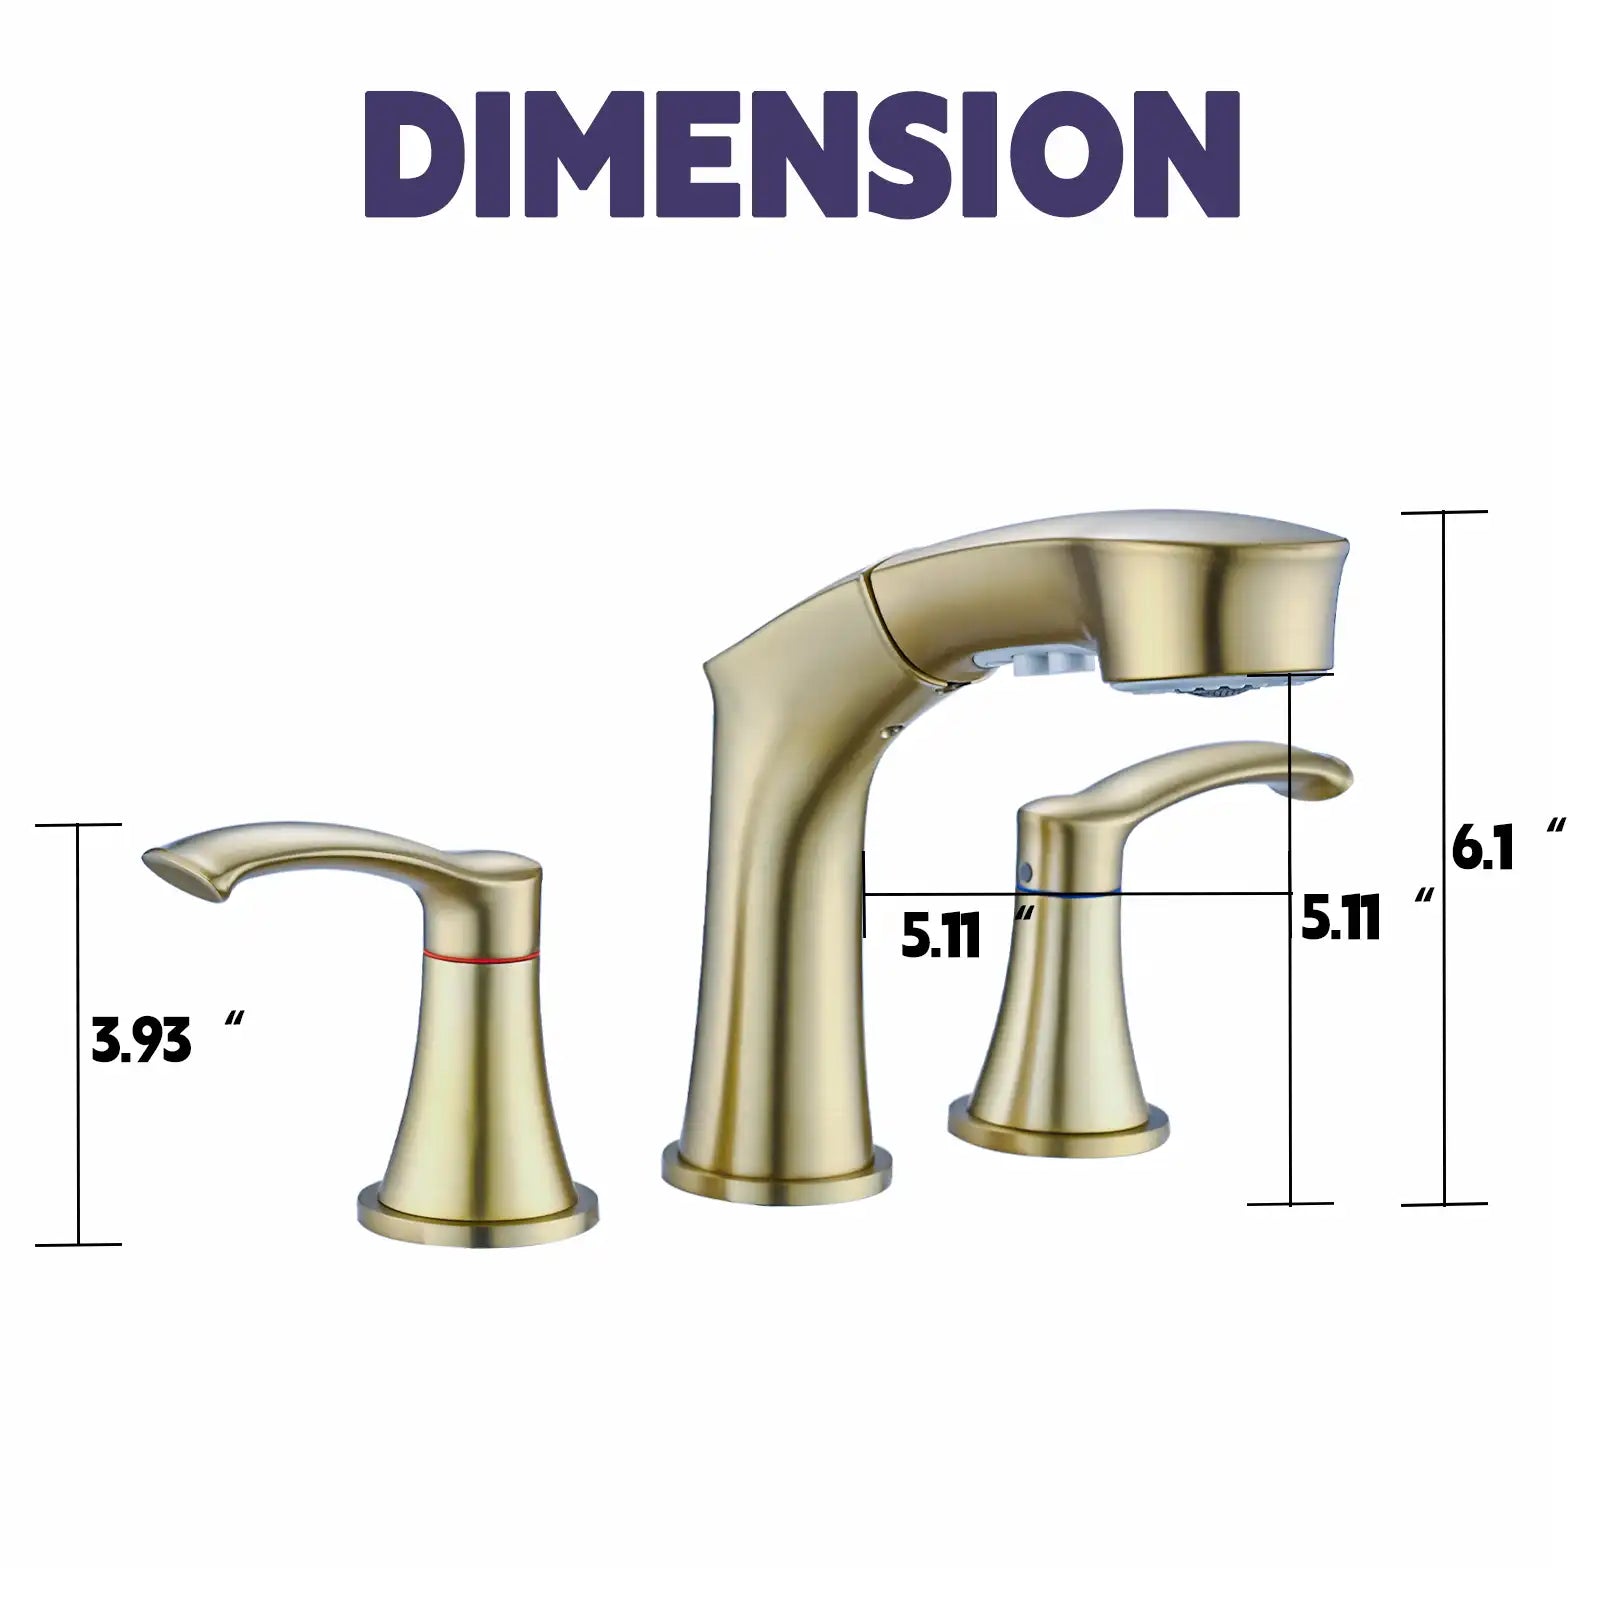
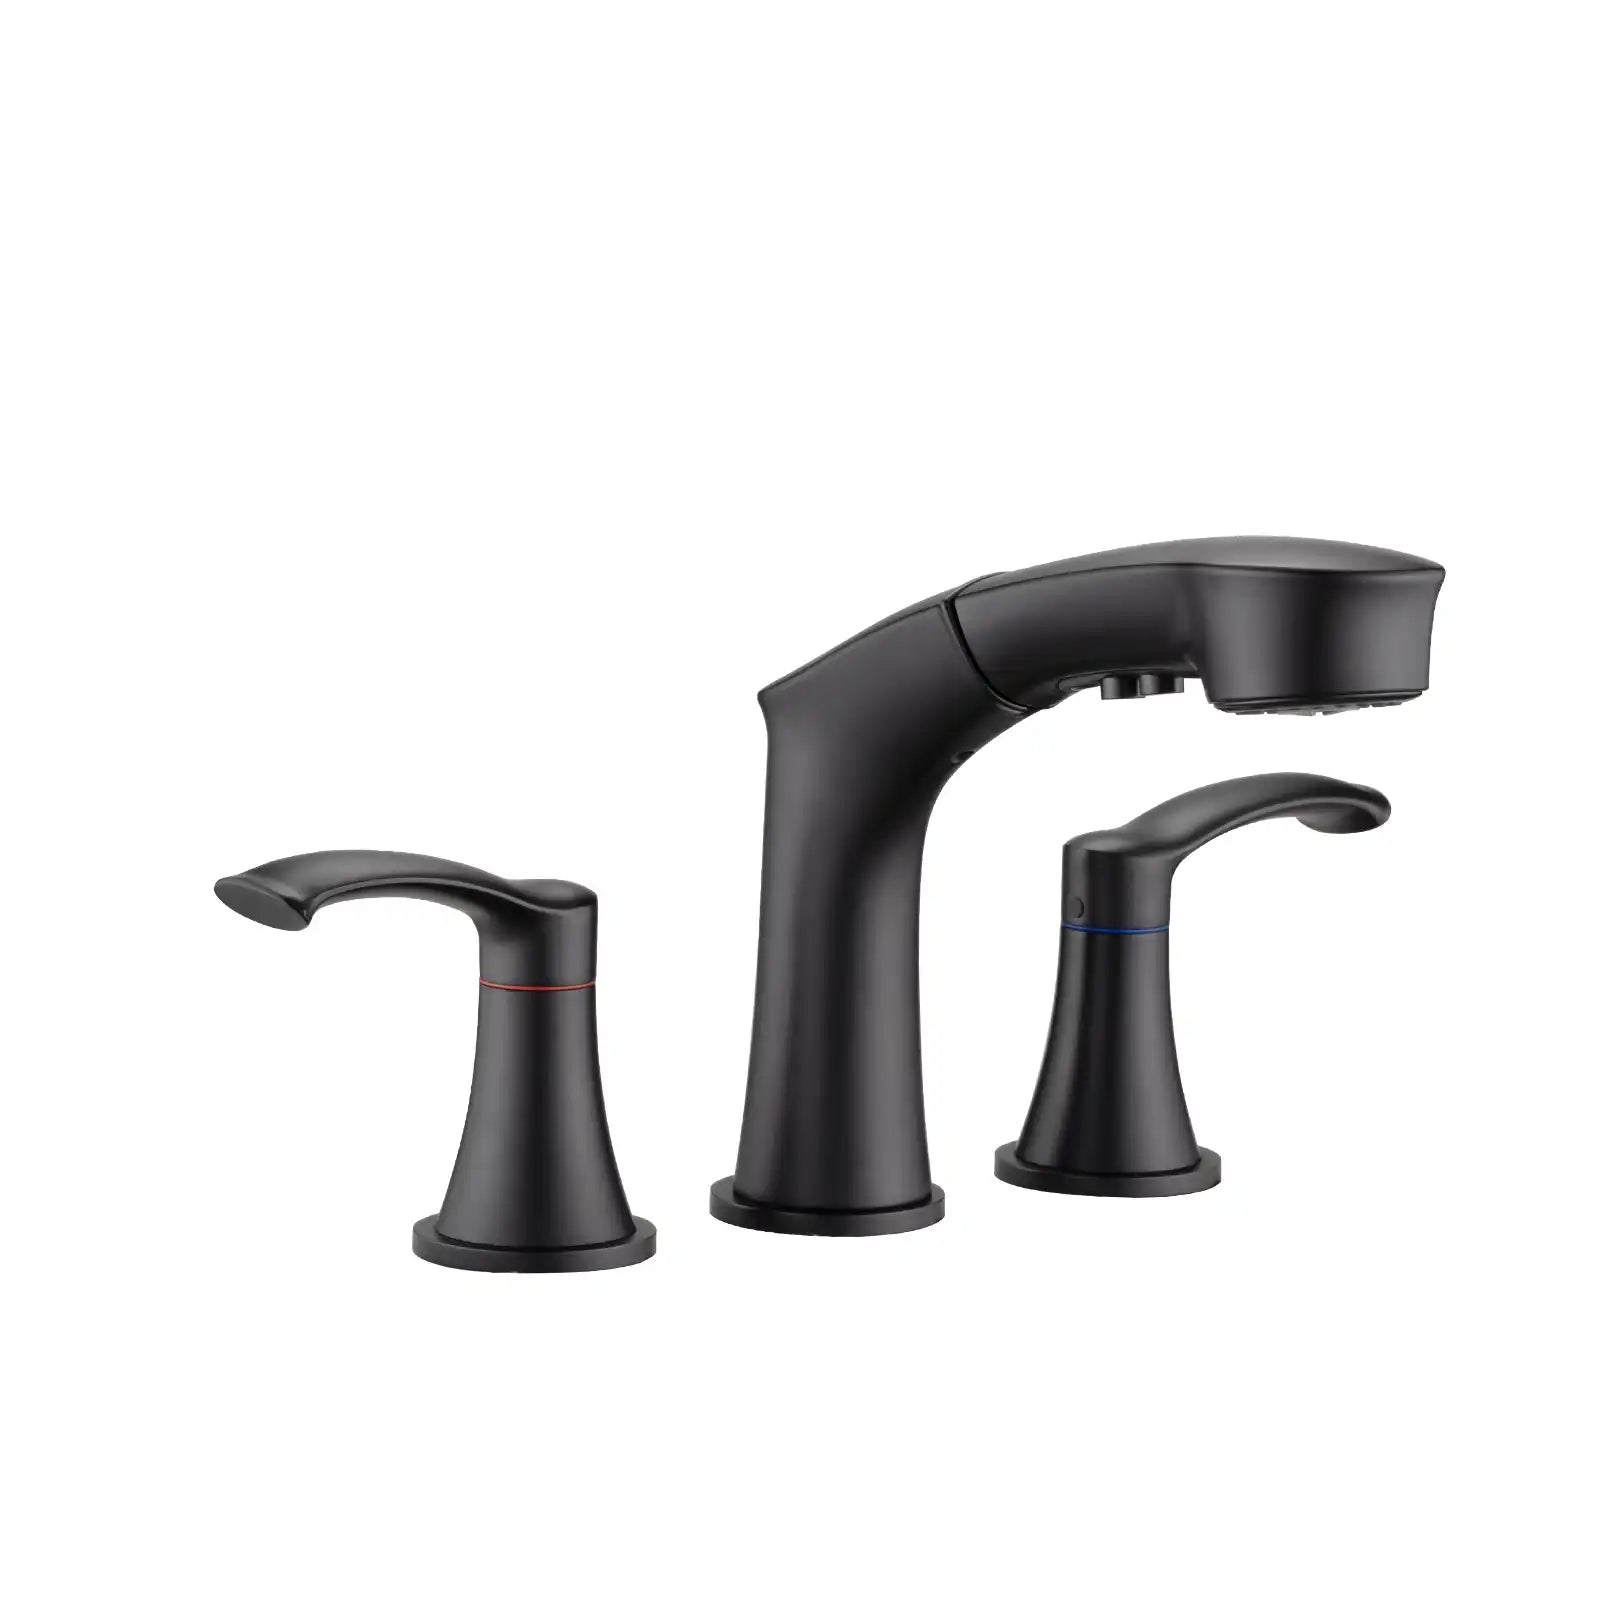
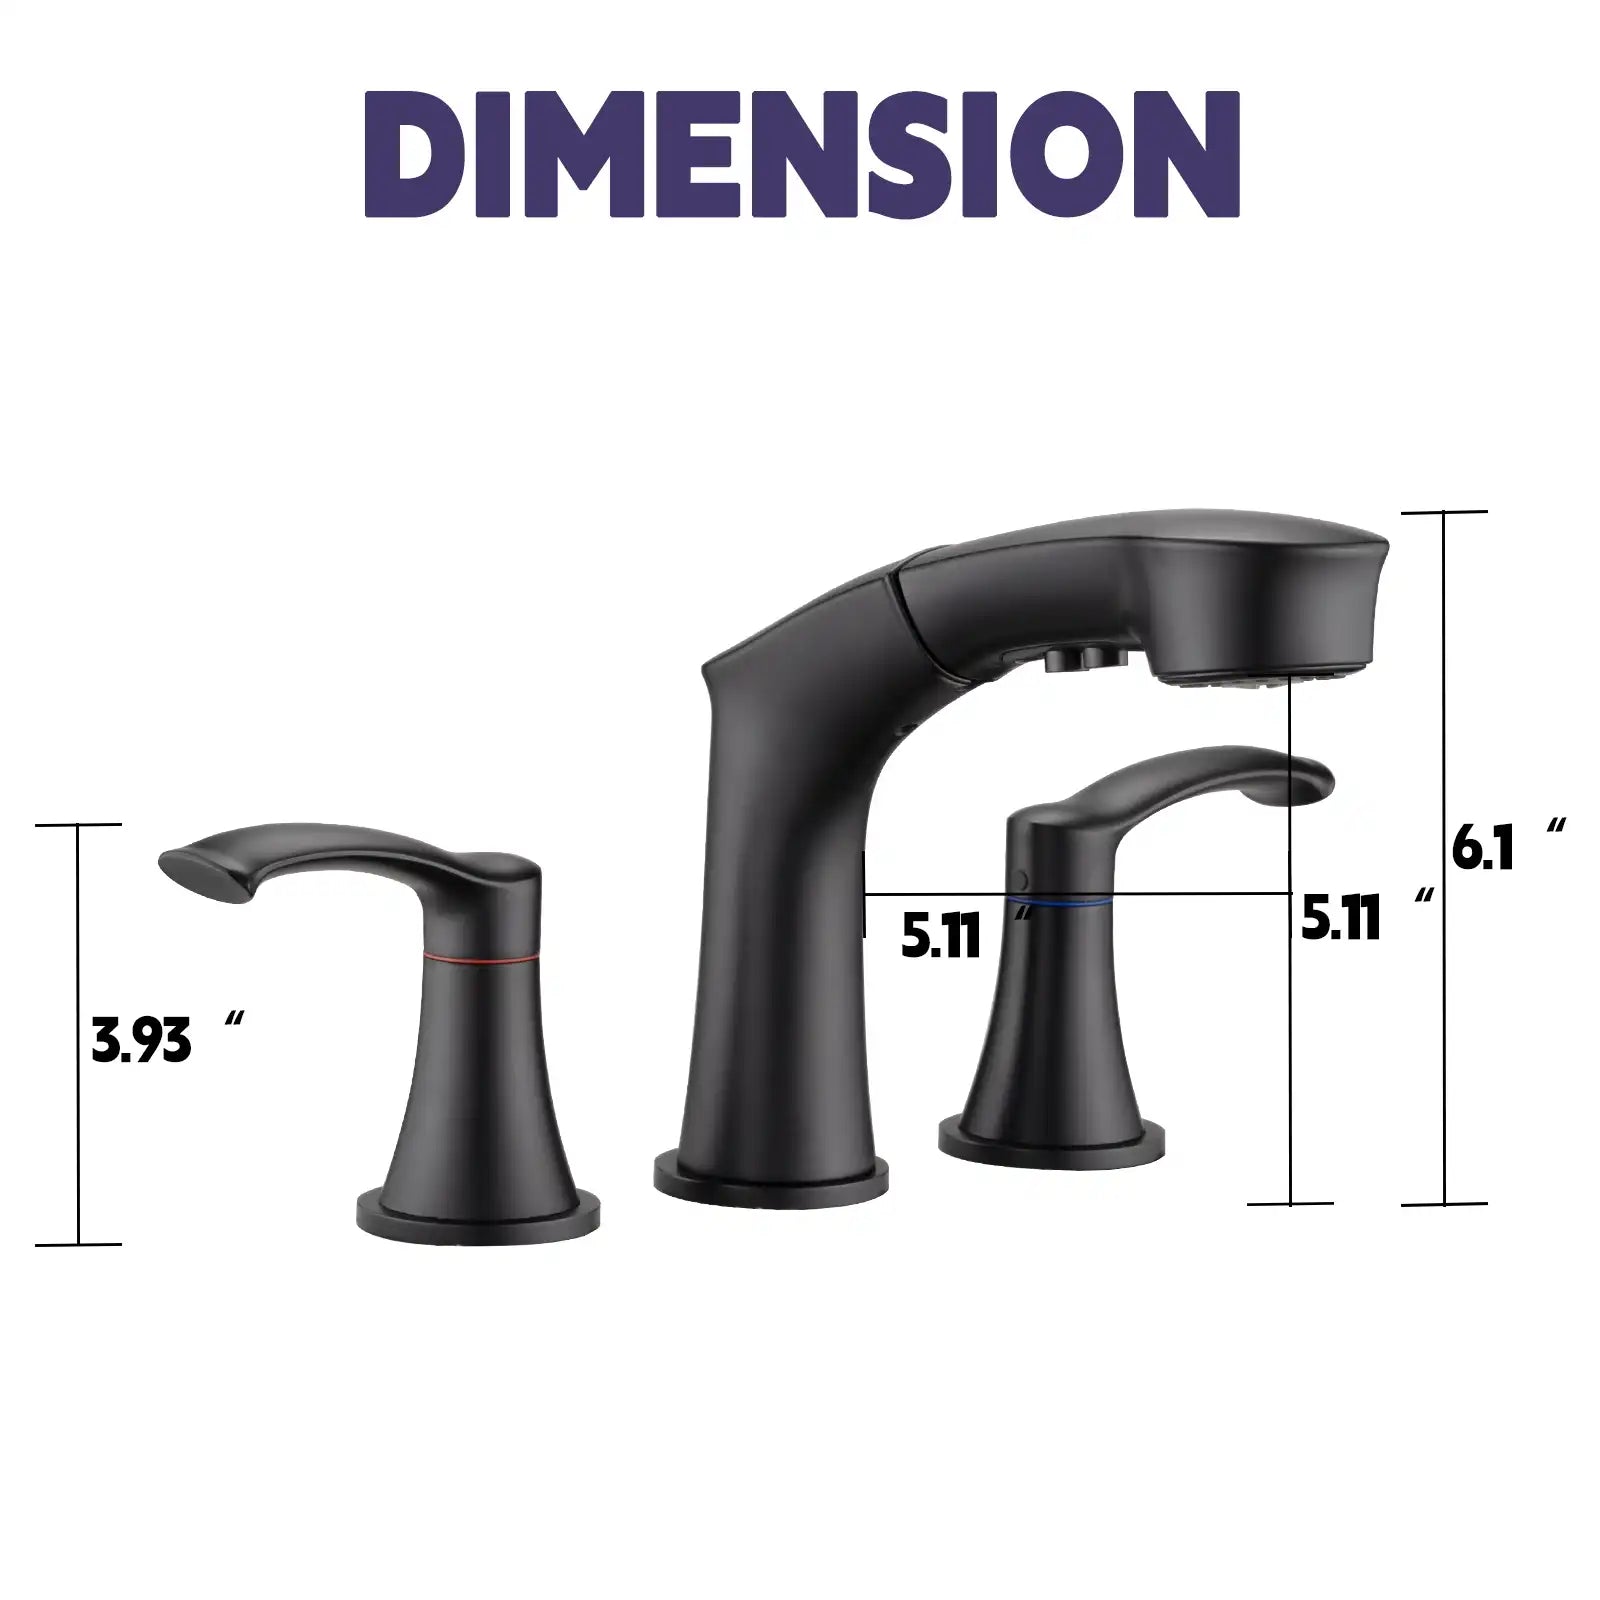
- New two-handle faucet set (I chose a modern brushed nickel style)
- Adjustable wrench
- Screwdrivers (both Phillips and flathead)
- Plumber’s tape
- Silicone caulk and a caulking gun
- Utility knife
- Bucket and some old towels
I also picked up a pair of channel-lock pliers, which turned out to be a lifesaver for loosening stubborn connections. If you’re missing any of these, most are inexpensive and easy to find at your local hardware store.
Step 2: Turn Off the Water (Seriously, Don’t Skip This)
I’ll admit, I double-checked the water shutoff valve three times before starting. Why? Because the last thing I wanted was to deal with a surprise gush of water mid-project. (Yes, I’ve heard the horror stories!) For me, the shutoff valves were conveniently located under the bathroom sink. If you’re not sure where yours are, it’s worth taking a moment to locate them—or even turning off the main water supply for peace of mind.
Once the water was off, I turned the faucet handles to release any remaining water in the pipes. This step might seem small, but trust me, it makes the rest of the process a lot cleaner and less stressful.
Step 3: Removing the Old Faucet

Removing the old faucet was the trickiest part of the whole process for me. Here’s how I got it done:
- Handles: I started by removing the handles. Most have a small decorative cap that hides the screw underneath—use a flathead screwdriver to gently pry it off. After unscrewing the handles, I gave them a little wiggle to slide them off. If yours are stuck, a faucet handle puller can help.
- Spout: My spout had a hidden screw underneath, which I loosened with a screwdriver before sliding the spout off. If your spout screws directly onto the pipe, use an adjustable wrench to twist it off.
- Valve Stems: These were the most challenging part to remove. I used an adjustable wrench to carefully unscrew them from the wall. A quick tip: have a bucket or towel ready to catch any residual water that drips out.
This step took me a while because some parts were stuck, but persistence (and a bit of WD-40) eventually got everything loose.
Step 4: Clean and Prep the Area
Once the old faucet was removed, I finally got a clear look at the area behind it—and let’s just say, it wasn’t exactly pristine. Years of use had left behind old caulk residue, some mineral buildup, and even a bit of rust. This is totally normal, but it does require some cleanup before installing the new faucet.
I used a utility knife to carefully scrape away the old caulk, being mindful not to damage the surrounding tiles. For the mineral buildup, a mixture of vinegar and water worked wonders—just a quick scrub with a cloth, and it looked much better. The rust was minor, so a bit of steel wool took care of that in no time. Prepping the area might feel like a small step, but it makes a huge difference in how smoothly the rest of the process goes.
Step 5: Install the New Faucet

With the area prepped and clean, it was time to install the new faucet. Here’s how I did it:
- Wrap the Threads: I wrapped plumber’s tape around the threads of the pipes and valve stems. This step helps create a watertight seal and is absolutely essential to prevent leaks.
- Attach the Handles: The handles were straightforward to attach. I slid them onto the valve stems and secured them with screws. It’s important to make sure they’re aligned properly (hot on the left, cold on the right).
- Install the Spout: The spout slid onto the pipe and was secured with a set screw underneath. I tightened it with a screwdriver, taking care not to overtighten.
Following the manufacturer’s instructions was key here. Each faucet set is a bit different, so be sure to read the manual that comes with yours.
Step 6: Seal Everything
Once the faucet was in place, I used silicone caulk to seal around the edges of the handles and spout. This step not only gives the installation a clean, finished look but also prevents water from seeping behind the fixtures.
To apply the caulk, I ran a thin bead around the edges and smoothed it out with my finger (you can also use a caulk smoothing tool). Then, I let it dry for 24 hours before turning the water back on.
Step 7: Test the Faucet

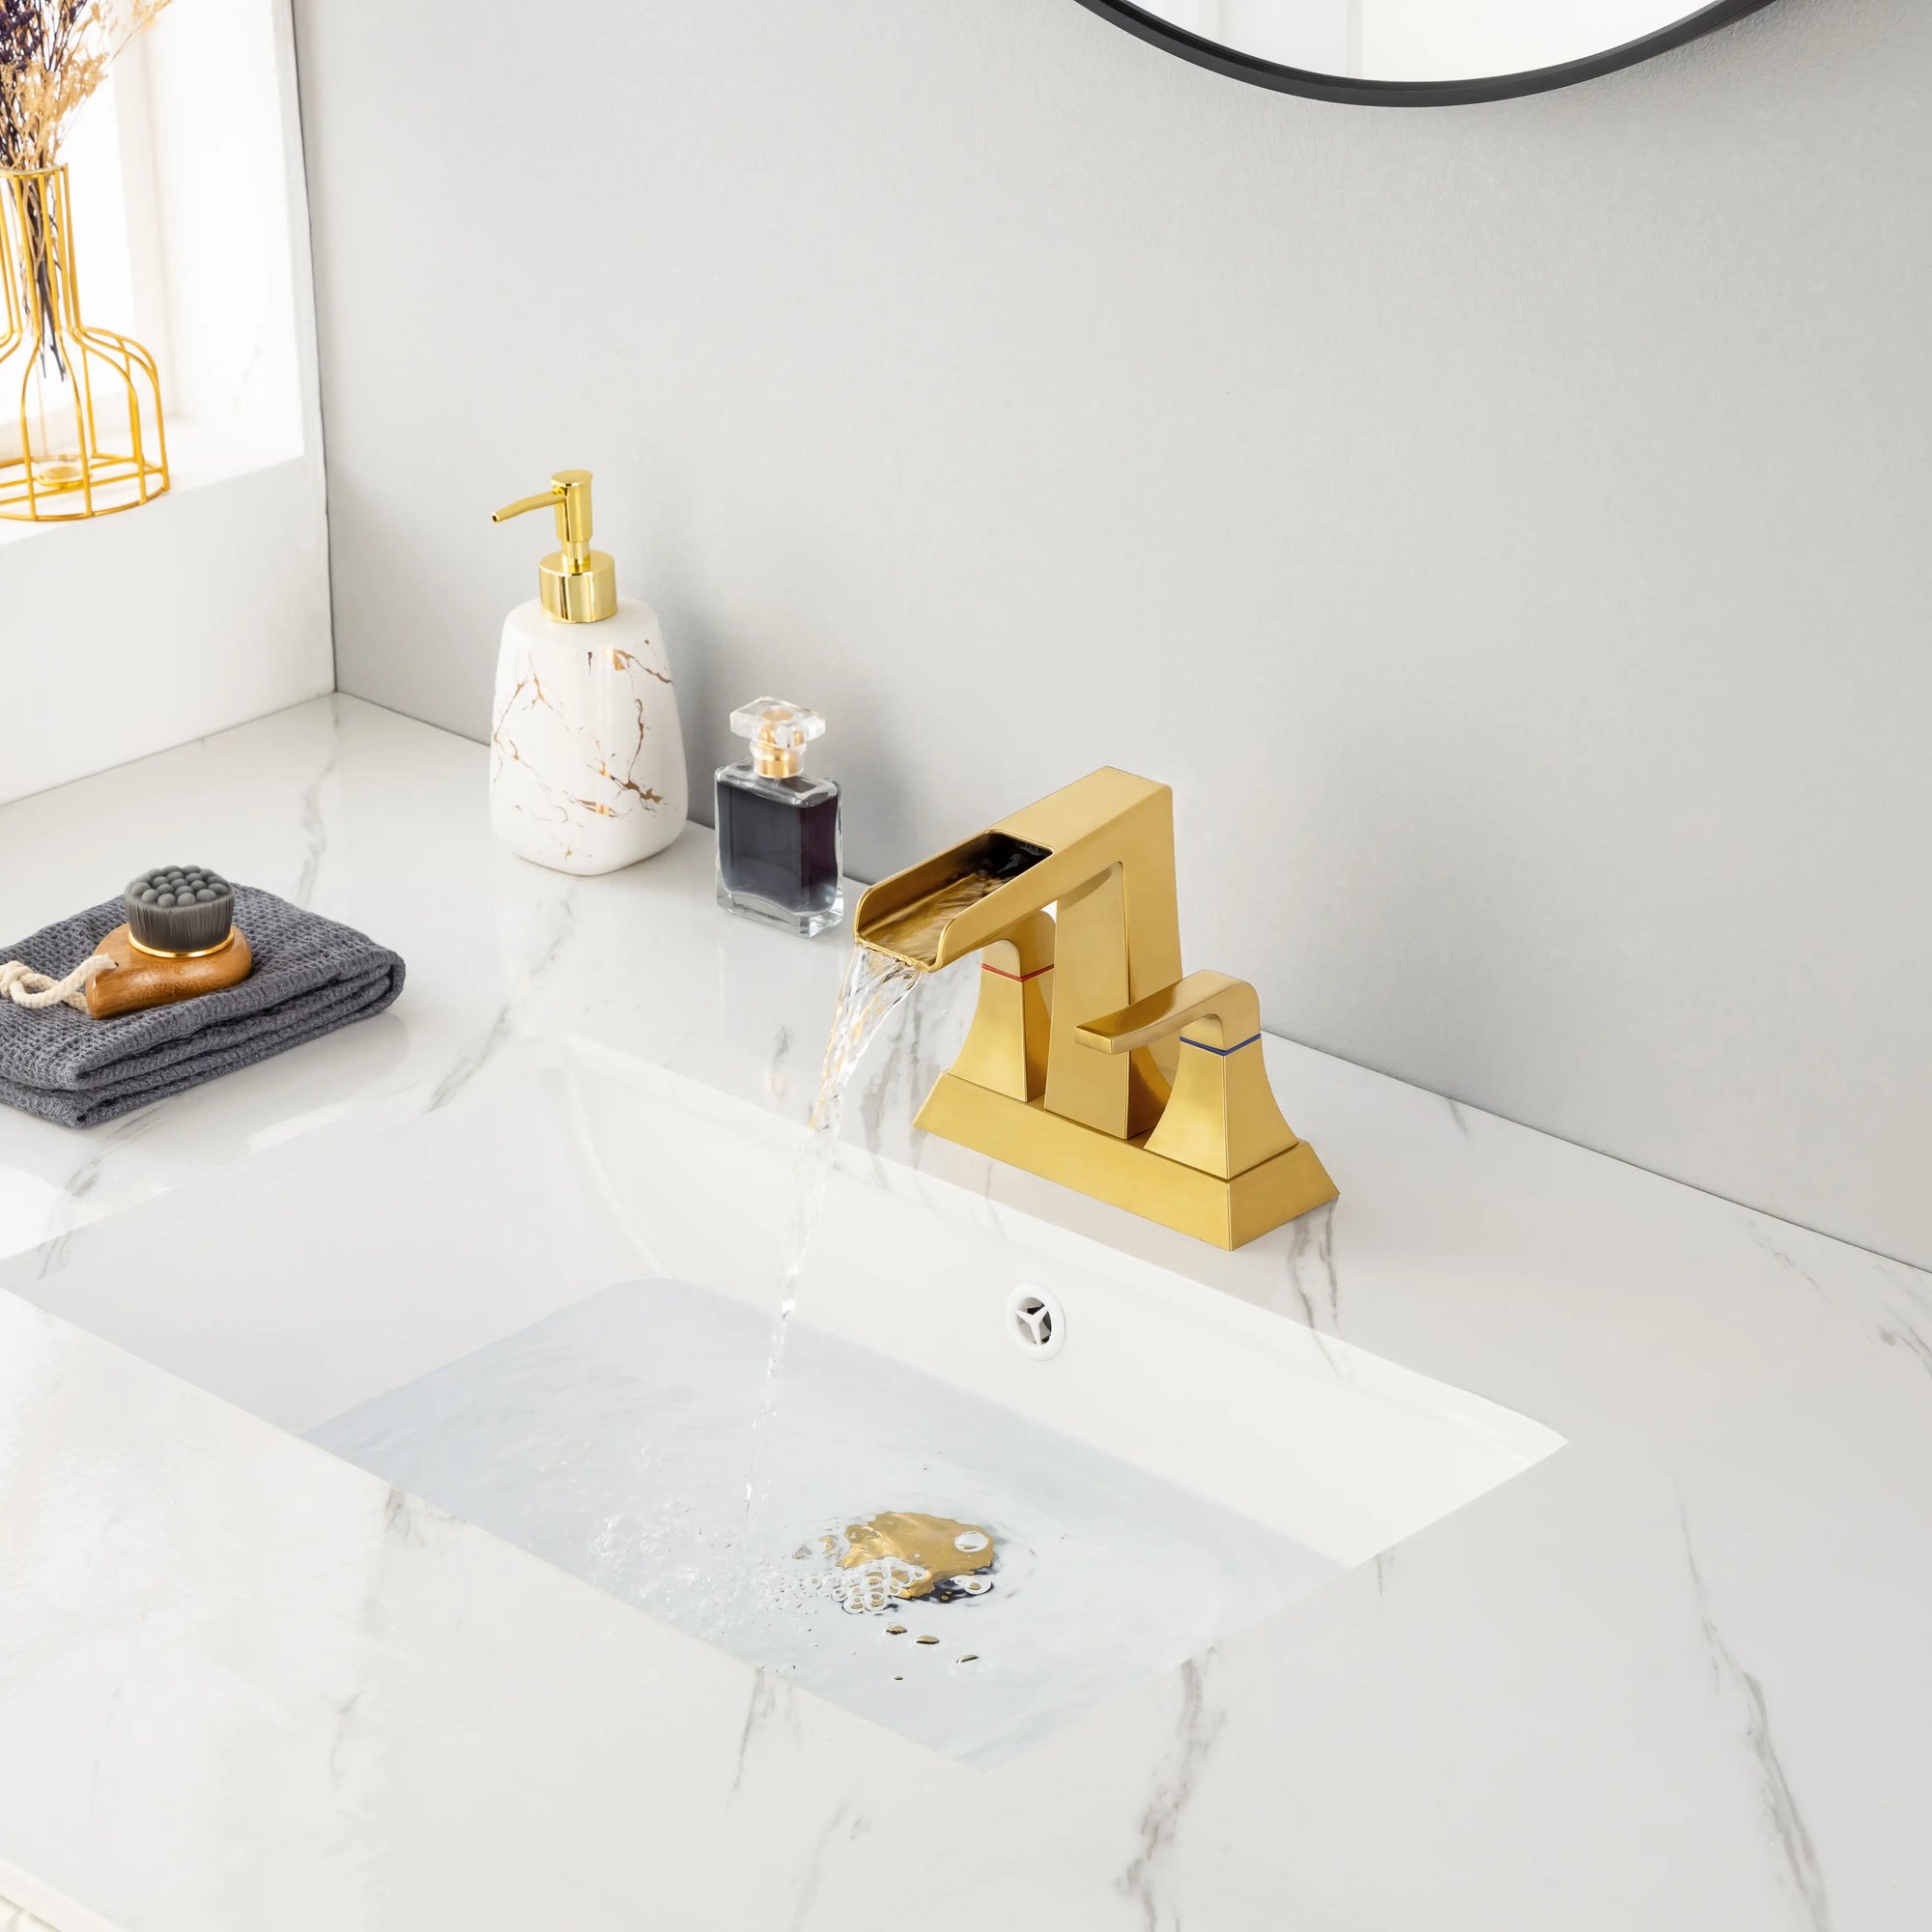
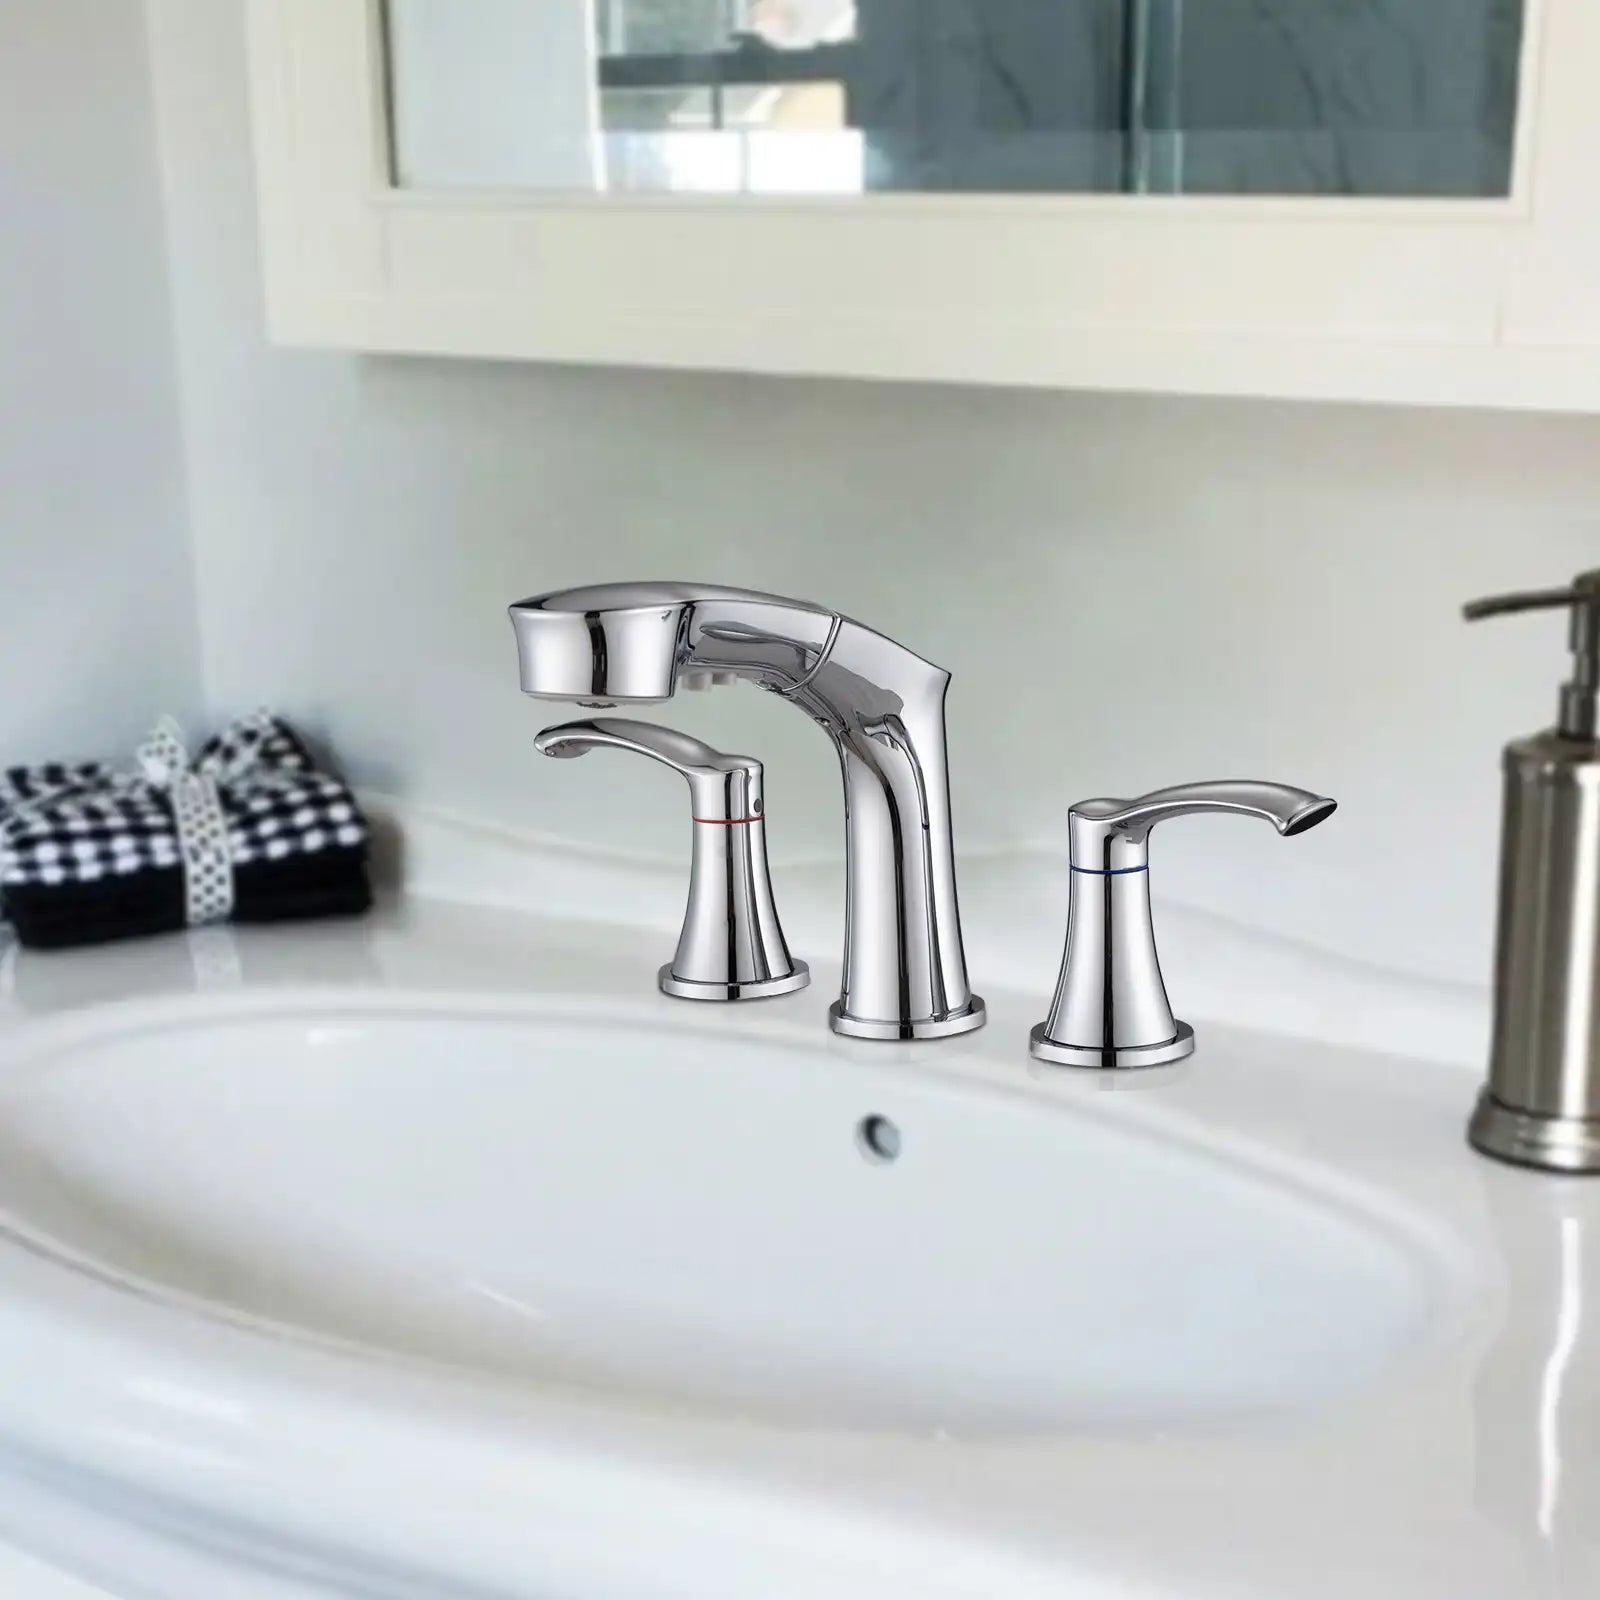
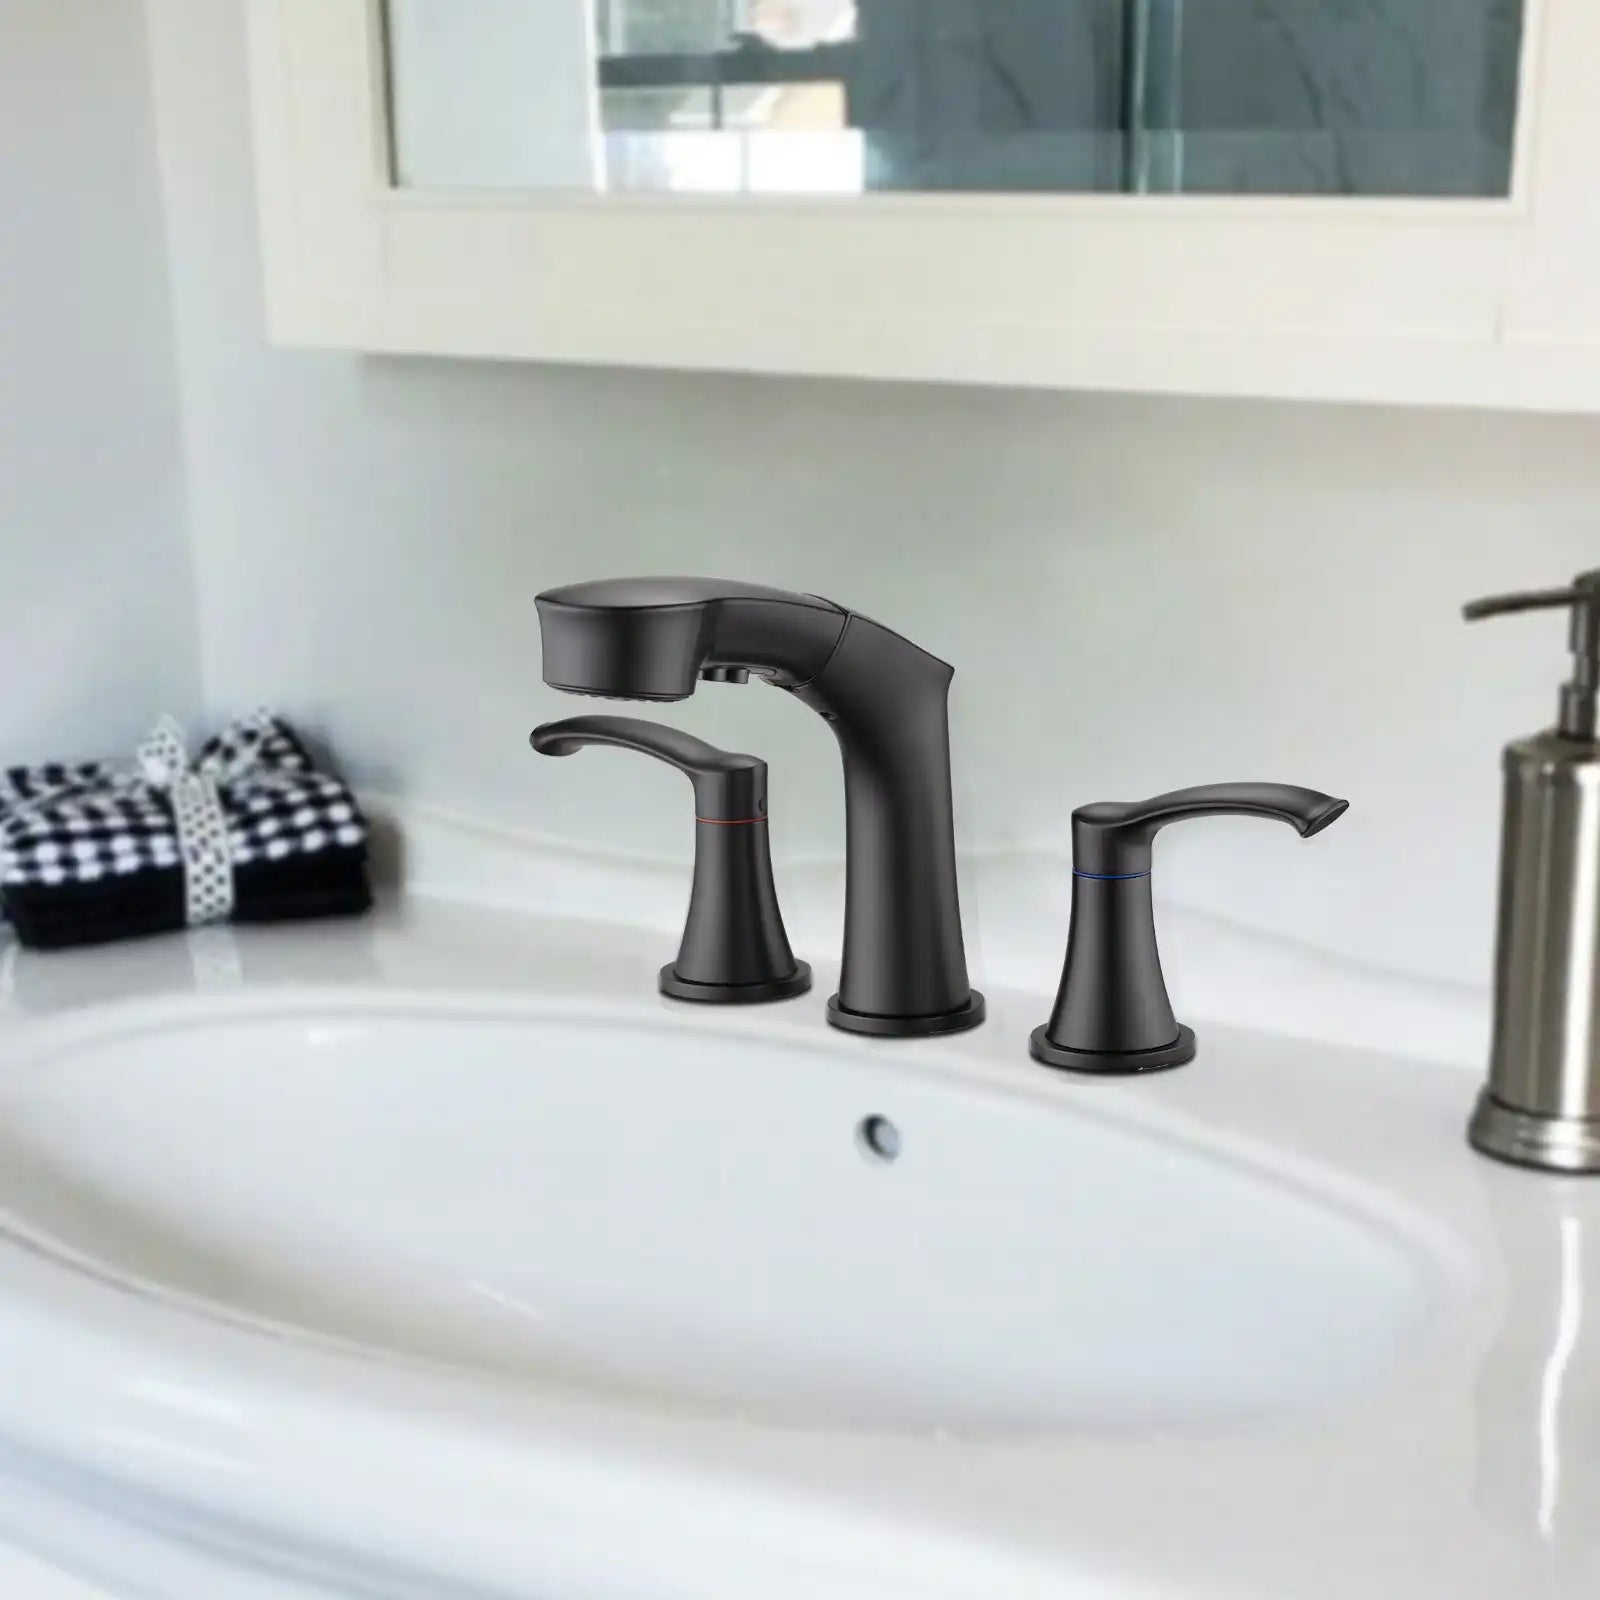
The moment of truth! I turned the water back on and tested both handles. Everything worked perfectly—no leaks, no drips, just a shiny new faucet.
It felt incredibly satisfying to see the end result and know that I had done it all myself. Plus, the new faucet completely elevated the look of the bathroom—it’s amazing how much of a difference a small upgrade can make.
Lessons Learned
- Have Patience: Some parts were stuck and took longer to remove than I expected. Don’t rush—slow and steady wins the race.
- Invest in Good Tools: Channel-lock pliers and plumber’s tape were game-changers for this project.
-
Follow the Instructions: Every faucet is a little different, so take the time to read the manual that comes with yours.
FAQ
1. How long did the whole project take you?
It took me about 3–4 hours from start to finish. Removing the old faucet was the most time-consuming part, but with the right tools and a bit of patience, it wasn’t too bad.
2. Is this your first time doing plumbing work? Was it hard?
This was my first time replacing a faucet, and while I wouldn’t call it “easy,” it was definitely doable. Following the instructions step by step (and having the right tools) made all the difference. The most important thing is not to rush and to take breaks if you’re feeling stuck.
3. Why didn’t you hire a plumber?
Hiring a plumber would have cost at least $300, and I wanted to save money by doing it myself. Plus, I enjoy learning new skills, and this project gave me the confidence to handle future DIY plumbing tasks.
4. What’s your next DIY project?
I’m currently eyeing the sink fixtures in the same bathroom—they’re looking a little dated. Stay tuned for more updates!
Here’s what I spent on this project:

- Faucet set: $179.99
- Plumber’s tape: $3
- Silicone caulk: $7
Total: Just under $200. While this was a bit more than I initially planned, it was still far less expensive than hiring a plumber, which could have easily cost $300 or more. Plus, I got to choose a faucet style I truly loved—making it a worthwhile investment.
Other Simple Ways to Refresh Your Bathroom
If you’re not quite ready to tackle a faucet replacement or are looking for additional ways to upgrade your bathroom without a full renovation, here are a few impactful ideas:
- Paint Your Bathroom Vanity
-
Swap Out Hardware
- Add or Upgrade Lighting
- Replace Your Mirror
- Update Accessories
- Deep Clean and Reseal Grout
Looking for even more inspiration? Check out my post and you’ll find budget-friendly ideas that can be tackled over a weekend!
Final Thoughts
Replacing my two-handle bathtub faucet felt like a big undertaking at first, but it turned out to be an incredibly rewarding project. Not only did it save me money, but it also gave me a sense of accomplishment and a refreshed bathroom I truly enjoy.
Whether you’re tackling this project or exploring other ways to upgrade your space, remember that small changes can make a big difference. Take your time, enjoy the process, and don’t hesitate to ask questions or seek out resources when you need them.
What projects are on your home improvement list this year? Let me know in the comments—I’d love to hear about your plans and cheer you on!
Happy DIY-ing, and until next time!