Introduction
Cluttered countertops and limited storage can make any bathroom feel disorganized. A medicine cabinet solves both problems by adding space and style in one upgrade. If you enjoy hands-on projects, building a DIY medicine cabinet is an affordable way to customize your bathroom while gaining practical experience. This guide covers everything you need, from planning and materials to construction, installation, and safety—so that you can create a cabinet that fits your space and your needs.
Table of Contents:
- Planning Your DIY Medicine Cabinet
- Tools and Materials You’ll Need
- Step-by-Step DIY Construction Process
- Installing Your DIY Medicine Cabinet
- Safety Tips and Best Practices
- Prefer a Ready-Made Option?
- Conclusion
- FAQ
- Related Articles
Planning Your DIY Medicine Cabinet
Proper planning is the basis of every successful project. Measure out and plan your DIY medicine cabinet space before you cut a piece of wood. Start by evaluating your bathroom layout:
-
Wall depth and structure: Determine if your walls can accommodate a recessed cabinet or if a surface-mounted option is more practical.
-
Dimensions: Measure height, width, and depth with precision, allowing extra space for hinges and door clearance.
-
User needs: Consider whether you want adjustable shelves, mirrored doors, or integrated lighting.
Drawing a simple sketch of your envisioned cabinet helps visualize the final product. For those comfortable with digital tools, software programs can generate 3D previews to test proportions. A little planning will help you avoid wasting money on cabinets that will not work in your bathroom design and ensure your finished cabinet fits into your room perfectly.
Tools and Materials You’ll Need
Building your own medicine cabinet does take prep work, and having the proper tools and laying the proper work will help you save time and reduce frustration while in the process of making your own medicine cabinet. Here’s a more detailed breakdown:
Essential Tools:
-
Measuring tape: Accuracy is critical; even a quarter-inch error can cause gaps or misalignment.
-
Level: Ensures your cabinet is perfectly straight when assembling and installing.
-
Carpenter’s square: Helps maintain 90° angles when cutting and joining wood.
-
Saw: A circular saw or table saw is best for large cuts; a hand saw works for small adjustments.
-
Power drill and driver bits: Speeds up assembly and is necessary for installing screws into studs or anchors.
-
Screwdrivers (Phillips and flathead): Handy for hinge adjustments and finishing touches.
-
Clamps: Hold pieces together firmly while gluing or screwing, ensuring stability during assembly.
-
Hammer and nails: Useful for attaching back panels or securing light trim.
-
Sandpaper (various grits): Start with coarse (80–100) for rough edges, finish with fine (220+) for smooth surfaces.
-
Paintbrushes or rollers: For applying primer, paint, or sealant.
-
Stud finder: Essential if you’re wall-mounting to ensure secure anchoring.
-
Protective gear: Safety glasses, gloves, and a dust mask protect you when cutting or sanding wood.
Optional but Helpful Tools:
-
Jigsaw: Great for cutting curves or irregular shapes if your design includes decorative elements.
-
Miter saw: Provides precise angled cuts for framing or trim.
-
Electric sander: Saves time compared to hand-sanding large surfaces.
-
Wood glue: Reinforces joints in addition to screws.
Materials to Prepare:
-
Wood panels: Plywood, MDF with veneer, or hardwood boards depending on budget and finish preference.
-
Back panel material: Thinner plywood or hardboard works well.
-
Mirror: Either a pre-cut mirror door or a custom-cut mirror panel to attach.
-
Hinges: Soft-close hinges are recommended for smooth, quiet operation.
-
Screws and nails: Corrosion-resistant types, suitable for humid bathroom environments.
-
Shelf brackets (if adjustable shelves are planned).
-
Sealant/primer and waterproof paint: Protects the cabinet from moisture damage.
-
Optional add-ons: LED strip lights, anti-fog film for the mirror, or magnetic catches for secure closure.
Having a complete toolkit and quality materials at your disposal ensures that the project flows smoothly from start to finish. A well-prepared workspace not only improves efficiency but also contributes to a professional-looking DIY medicine cabinet you’ll be proud to use.

Step-by-Step DIY Construction Process
Once your tools and materials are ready, you can begin the exciting phase of construction. Follow these steps:
-
Cut the frame and panels: Use your measurements to cut the sides, top, bottom, and back panel. Double-check every dimension before cutting.
-
Assemble the box: Screw together the panels with wood screws, making sure each corner is square. A level helps avoid misalignment.
-
Install shelves: Based on your design, you can use fixed or adjustable shelving. Adjustable brackets allow flexibility for future storage needs.
-
Sand and finish: Use fine grit sandpaper to sand all surfaces. Use primer and waterproof paint or sealant to protect from moisture.
-
Prepare the door: Attach a mirror to the front panel or purchase a pre-cut mirrored door. Secure it with hinges.

Installing Your DIY Medicine Cabinet
After construction, the next step is installation. Choosing the right method depends on your bathroom walls and available space:
-
Recessed installation: Recessed installation: This is where you cut into the wall to mount the cabinet flush with the surface. It provides a contemporary and minimalist aesthetic but is also one that can be difficult, as the plumbing and wiring needs to go behind the wall.
-
Surface-mounted installation: Easier and less invasive, this method attaches the cabinet directly to the wall using brackets and anchors.
Steps to install include:
-
Mark the placement on the wall using a level.
-
Drill pilot holes and insert wall anchors or studs.
-
Secure the cabinet frame, checking alignment frequently.
-
Hang the mirrored door and adjust hinges for smooth operation.
A properly installed cabinet will be solid, swing open easily and line up next to tile or other fixtures without any gaps. Installation is key, as improperly installed storage can look messy projects years down the road!

Safety Tips and Best Practices
While DIY projects can be rewarding, they also carry risks if safety is overlooked. Follow these precautions:
-
Safety equipment: Use gloves and safety goggles when cutting or drilling.
-
Using tools: Handle powered tools carefully and avoid trapping fingers in blades and bits.
-
Stable workspace: Work on a flat surface to prevent the material from shifting around.
-
Moisture control: Seal all wood surfaces thoroughly to prevent warping or mold in humid bathrooms.
Additionally, if you are new to woodworking, consider starting with a simple design before attempting advanced features. Taking breaks to review progress helps prevent mistakes and injuries.
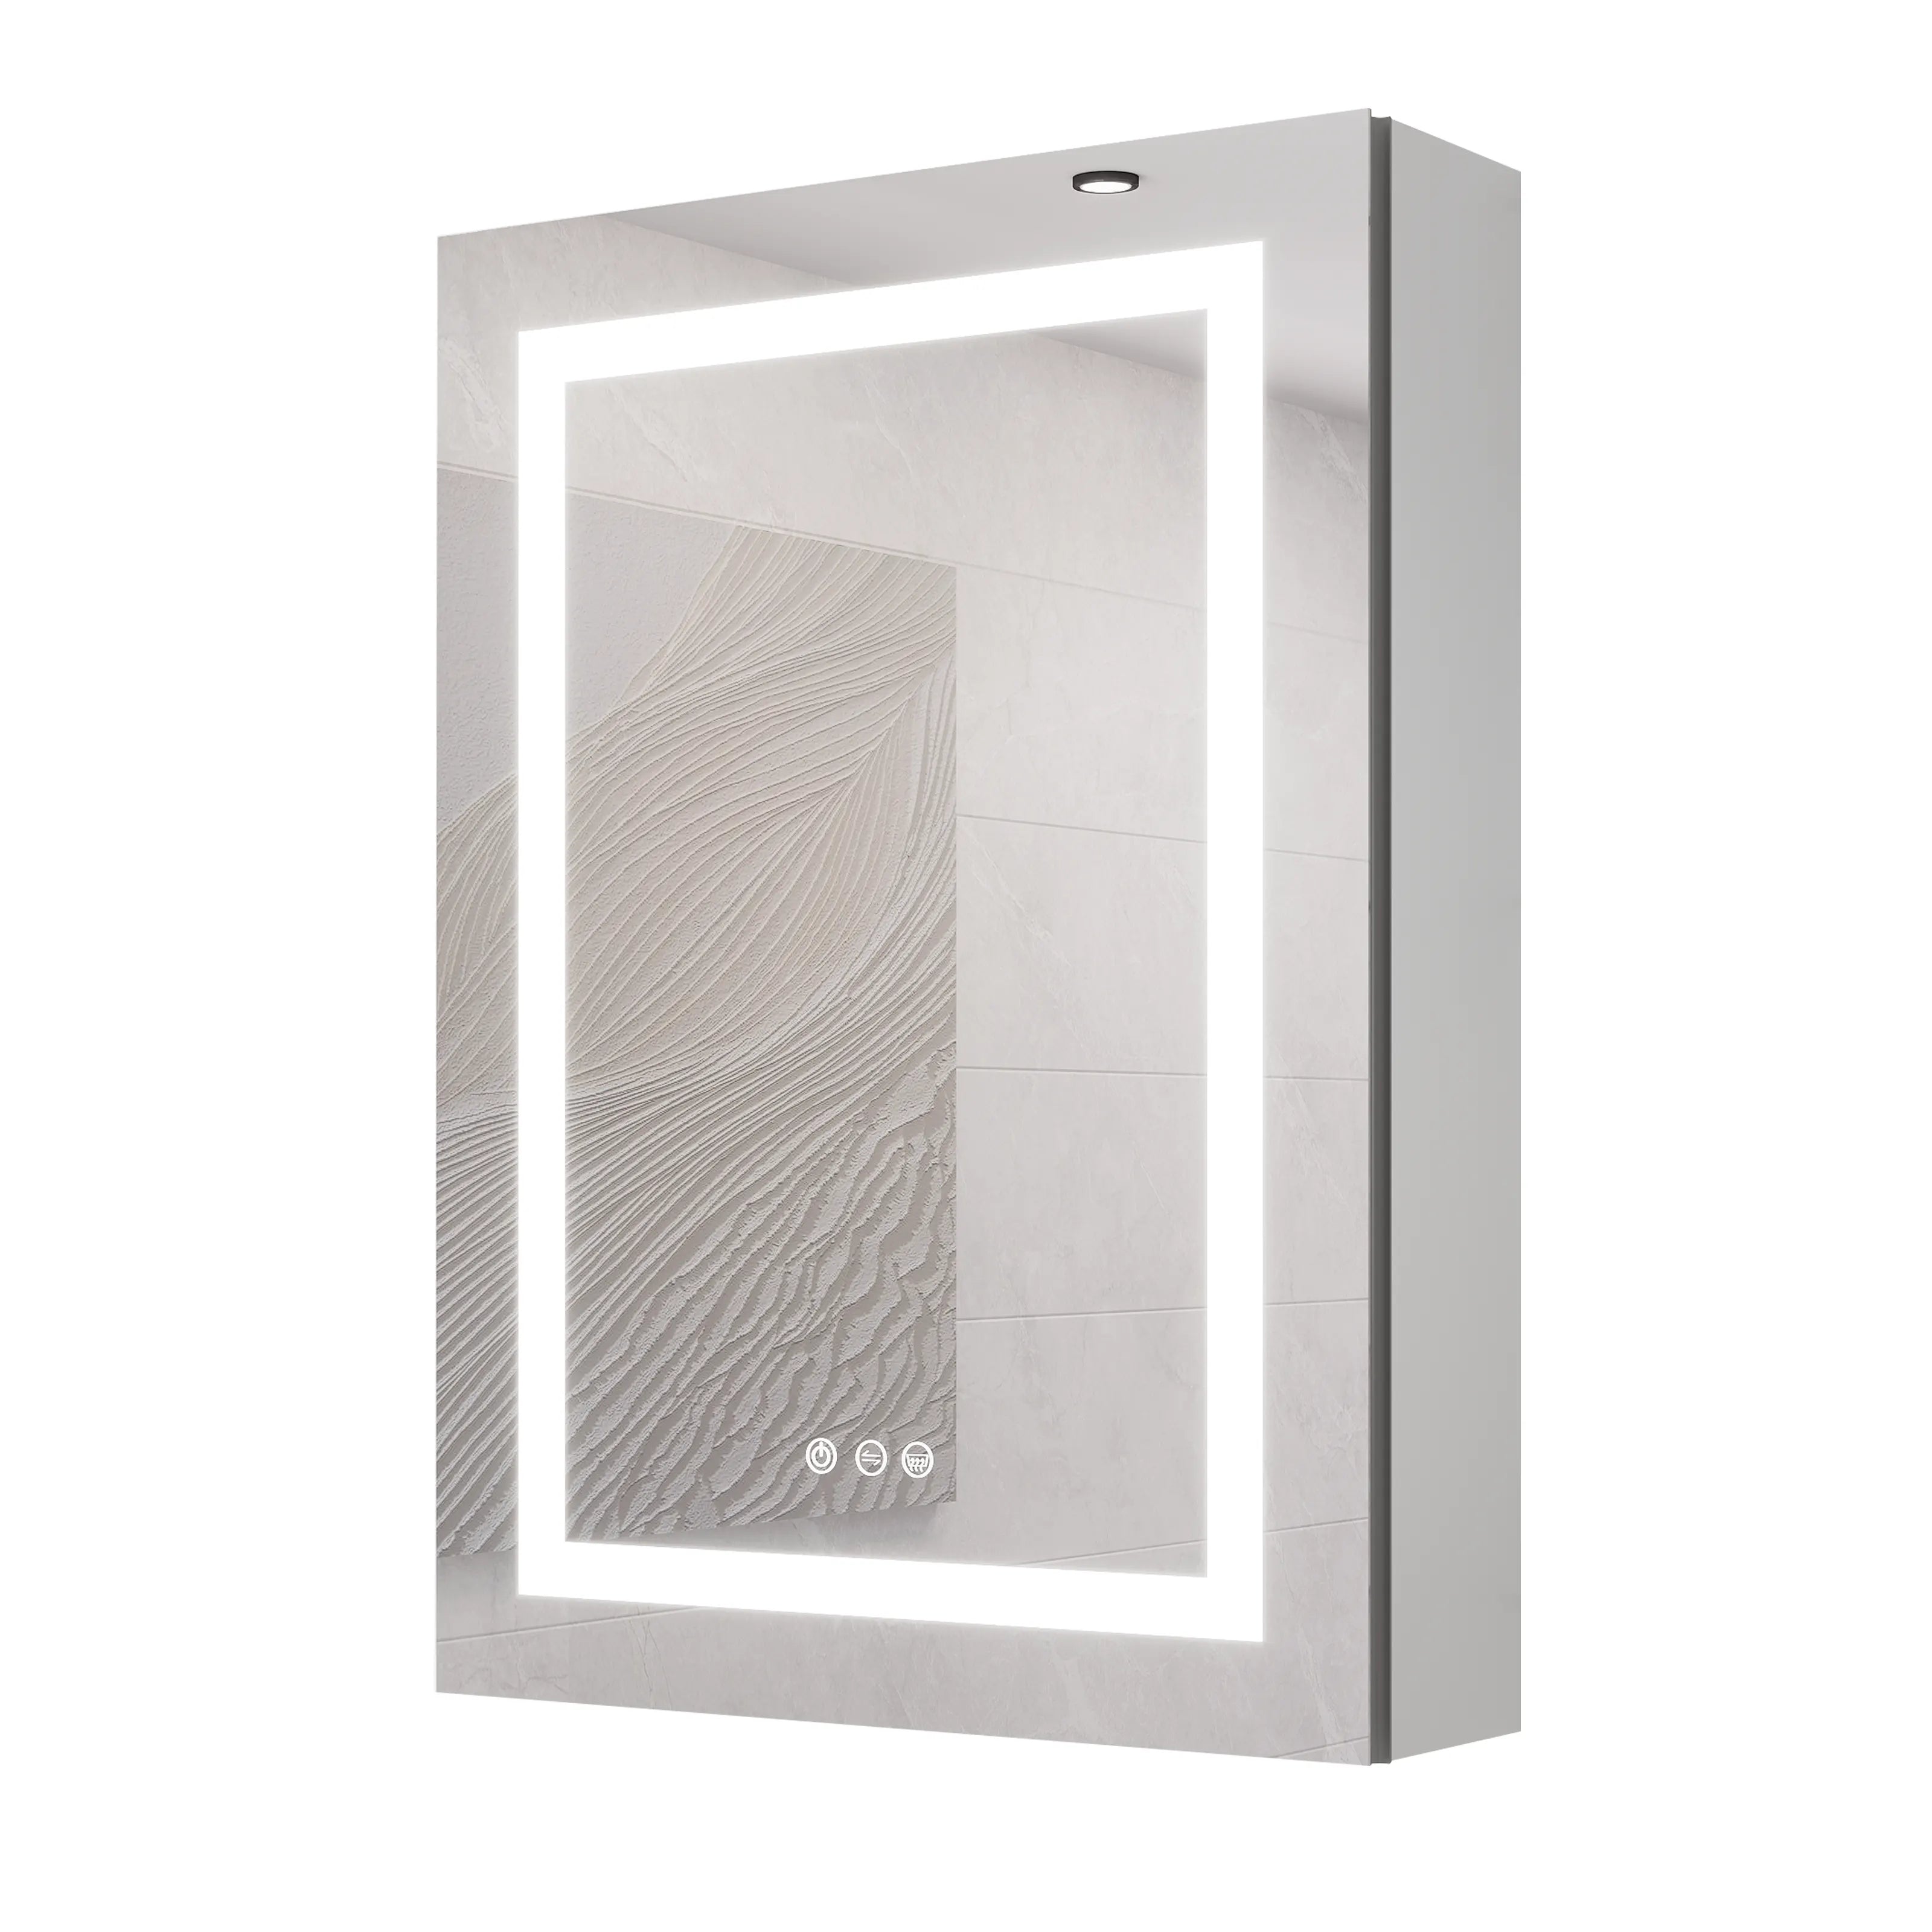
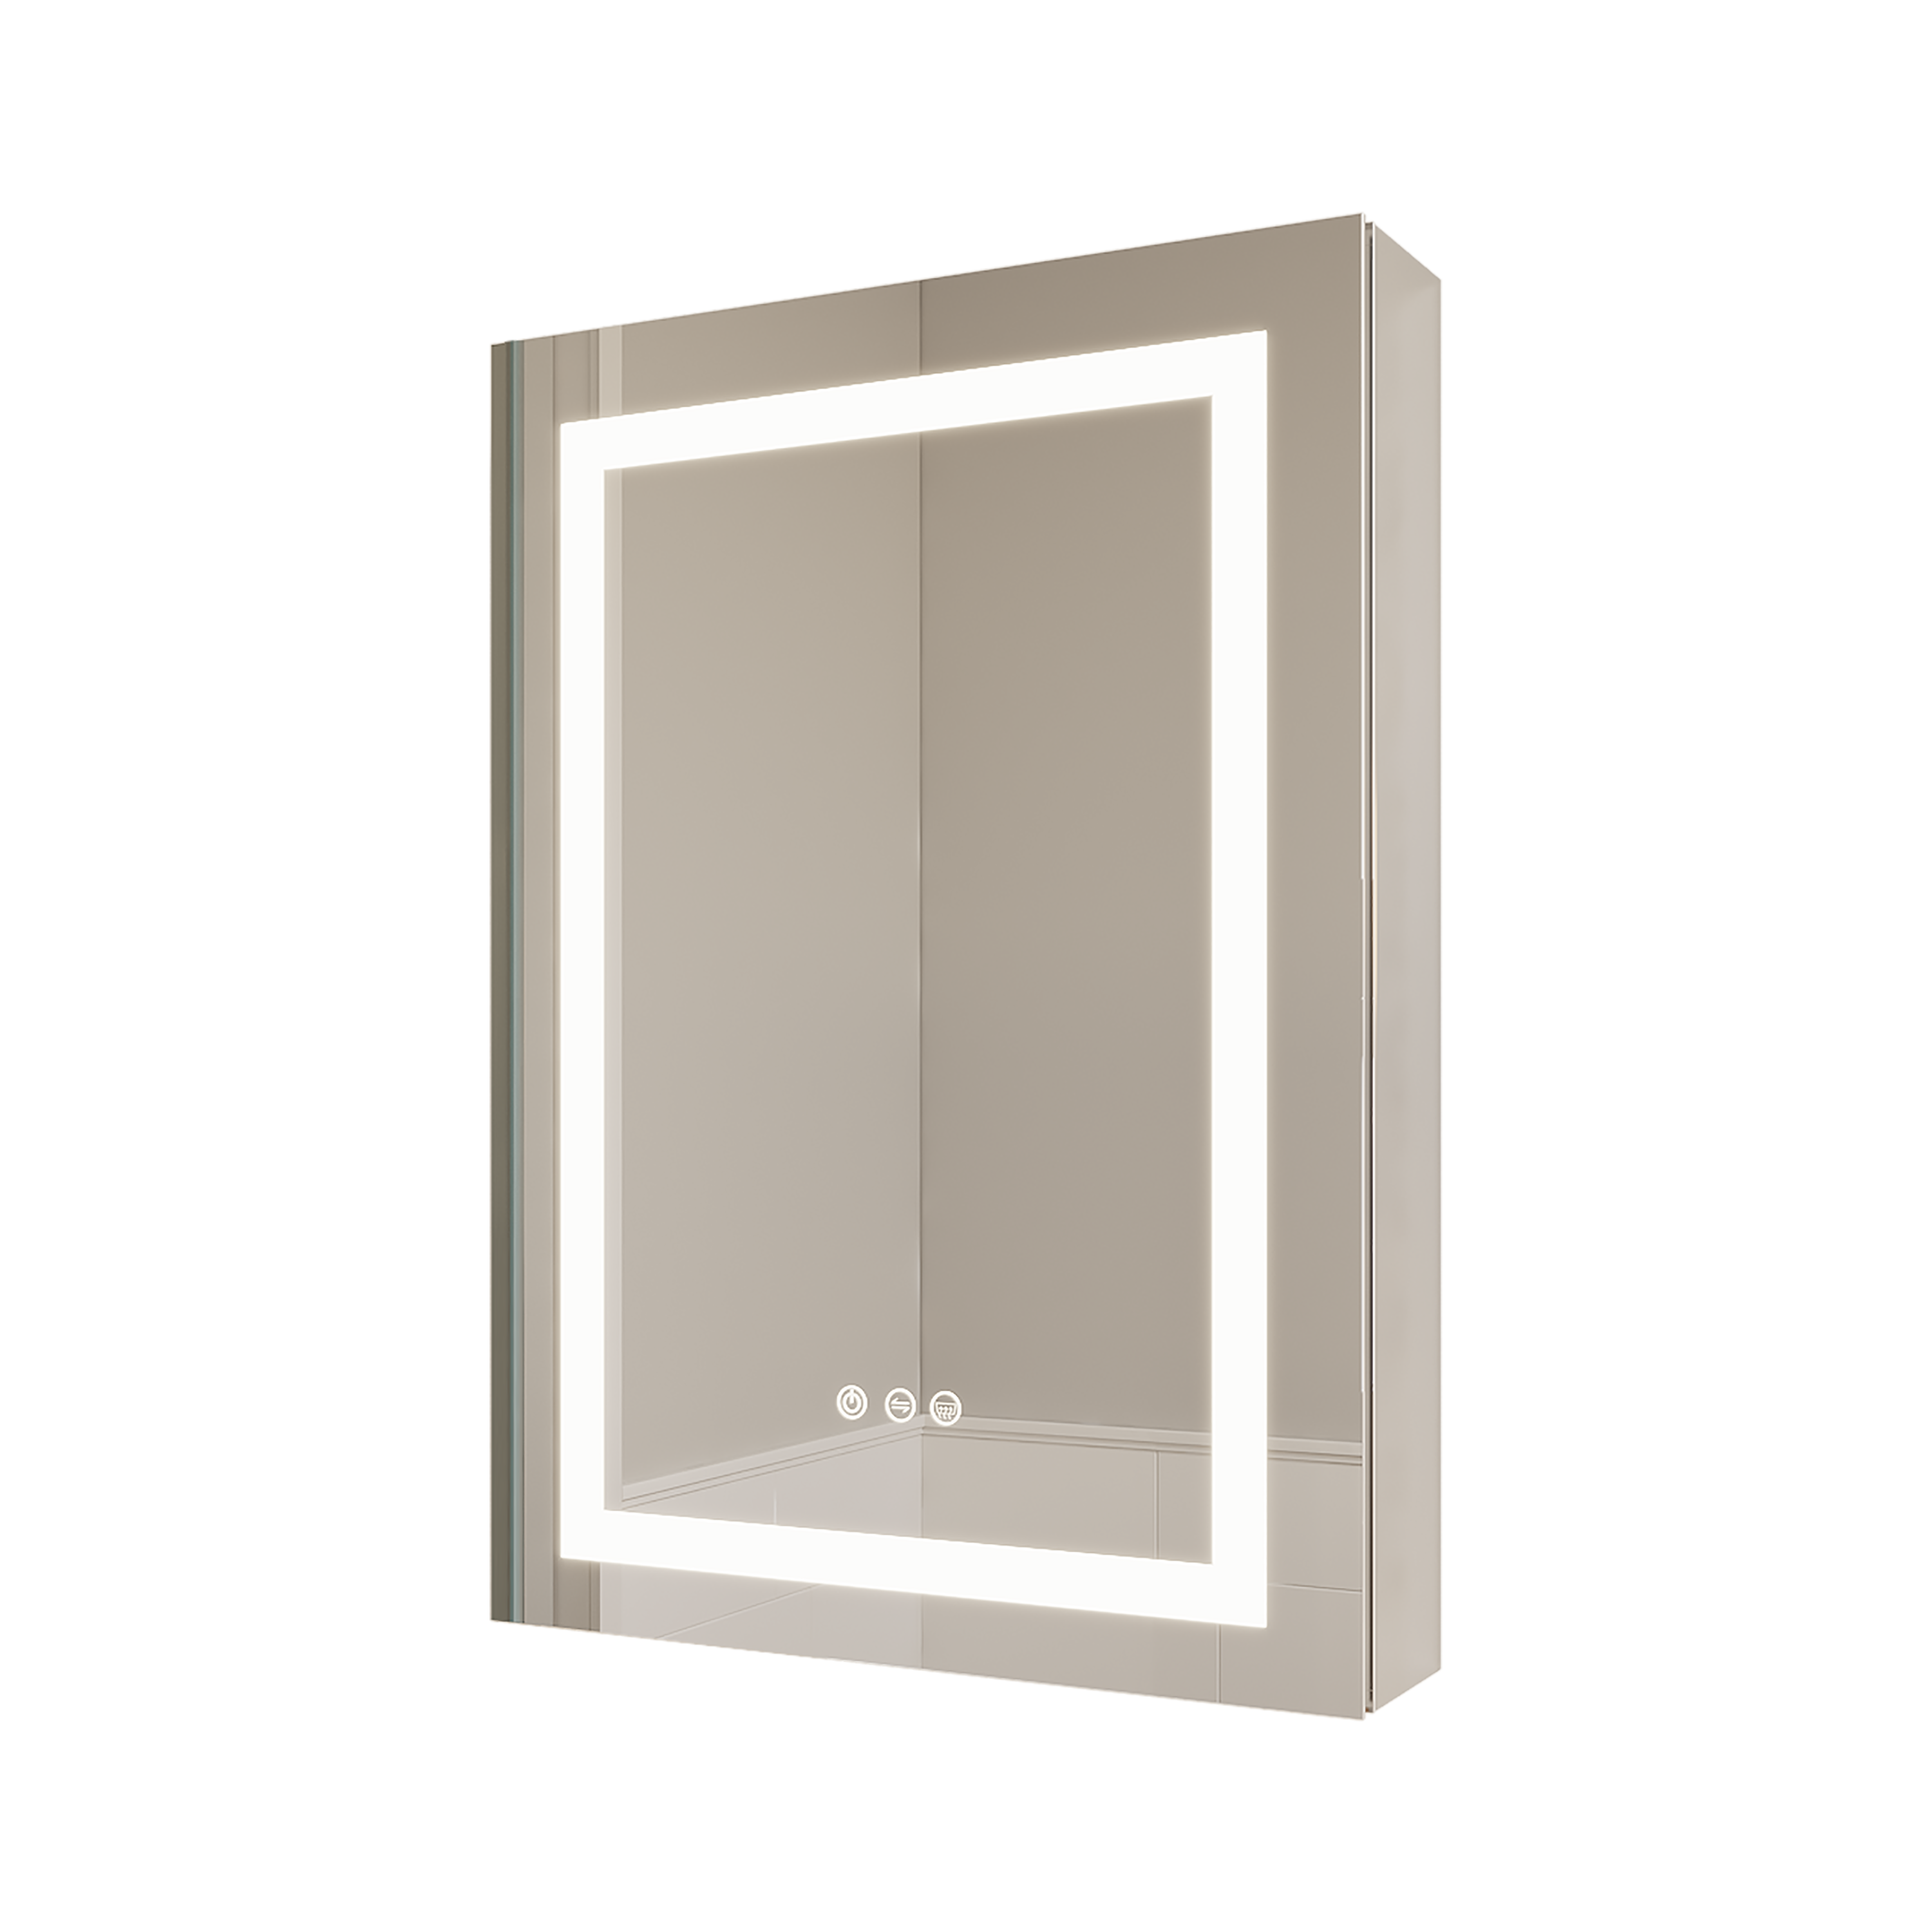
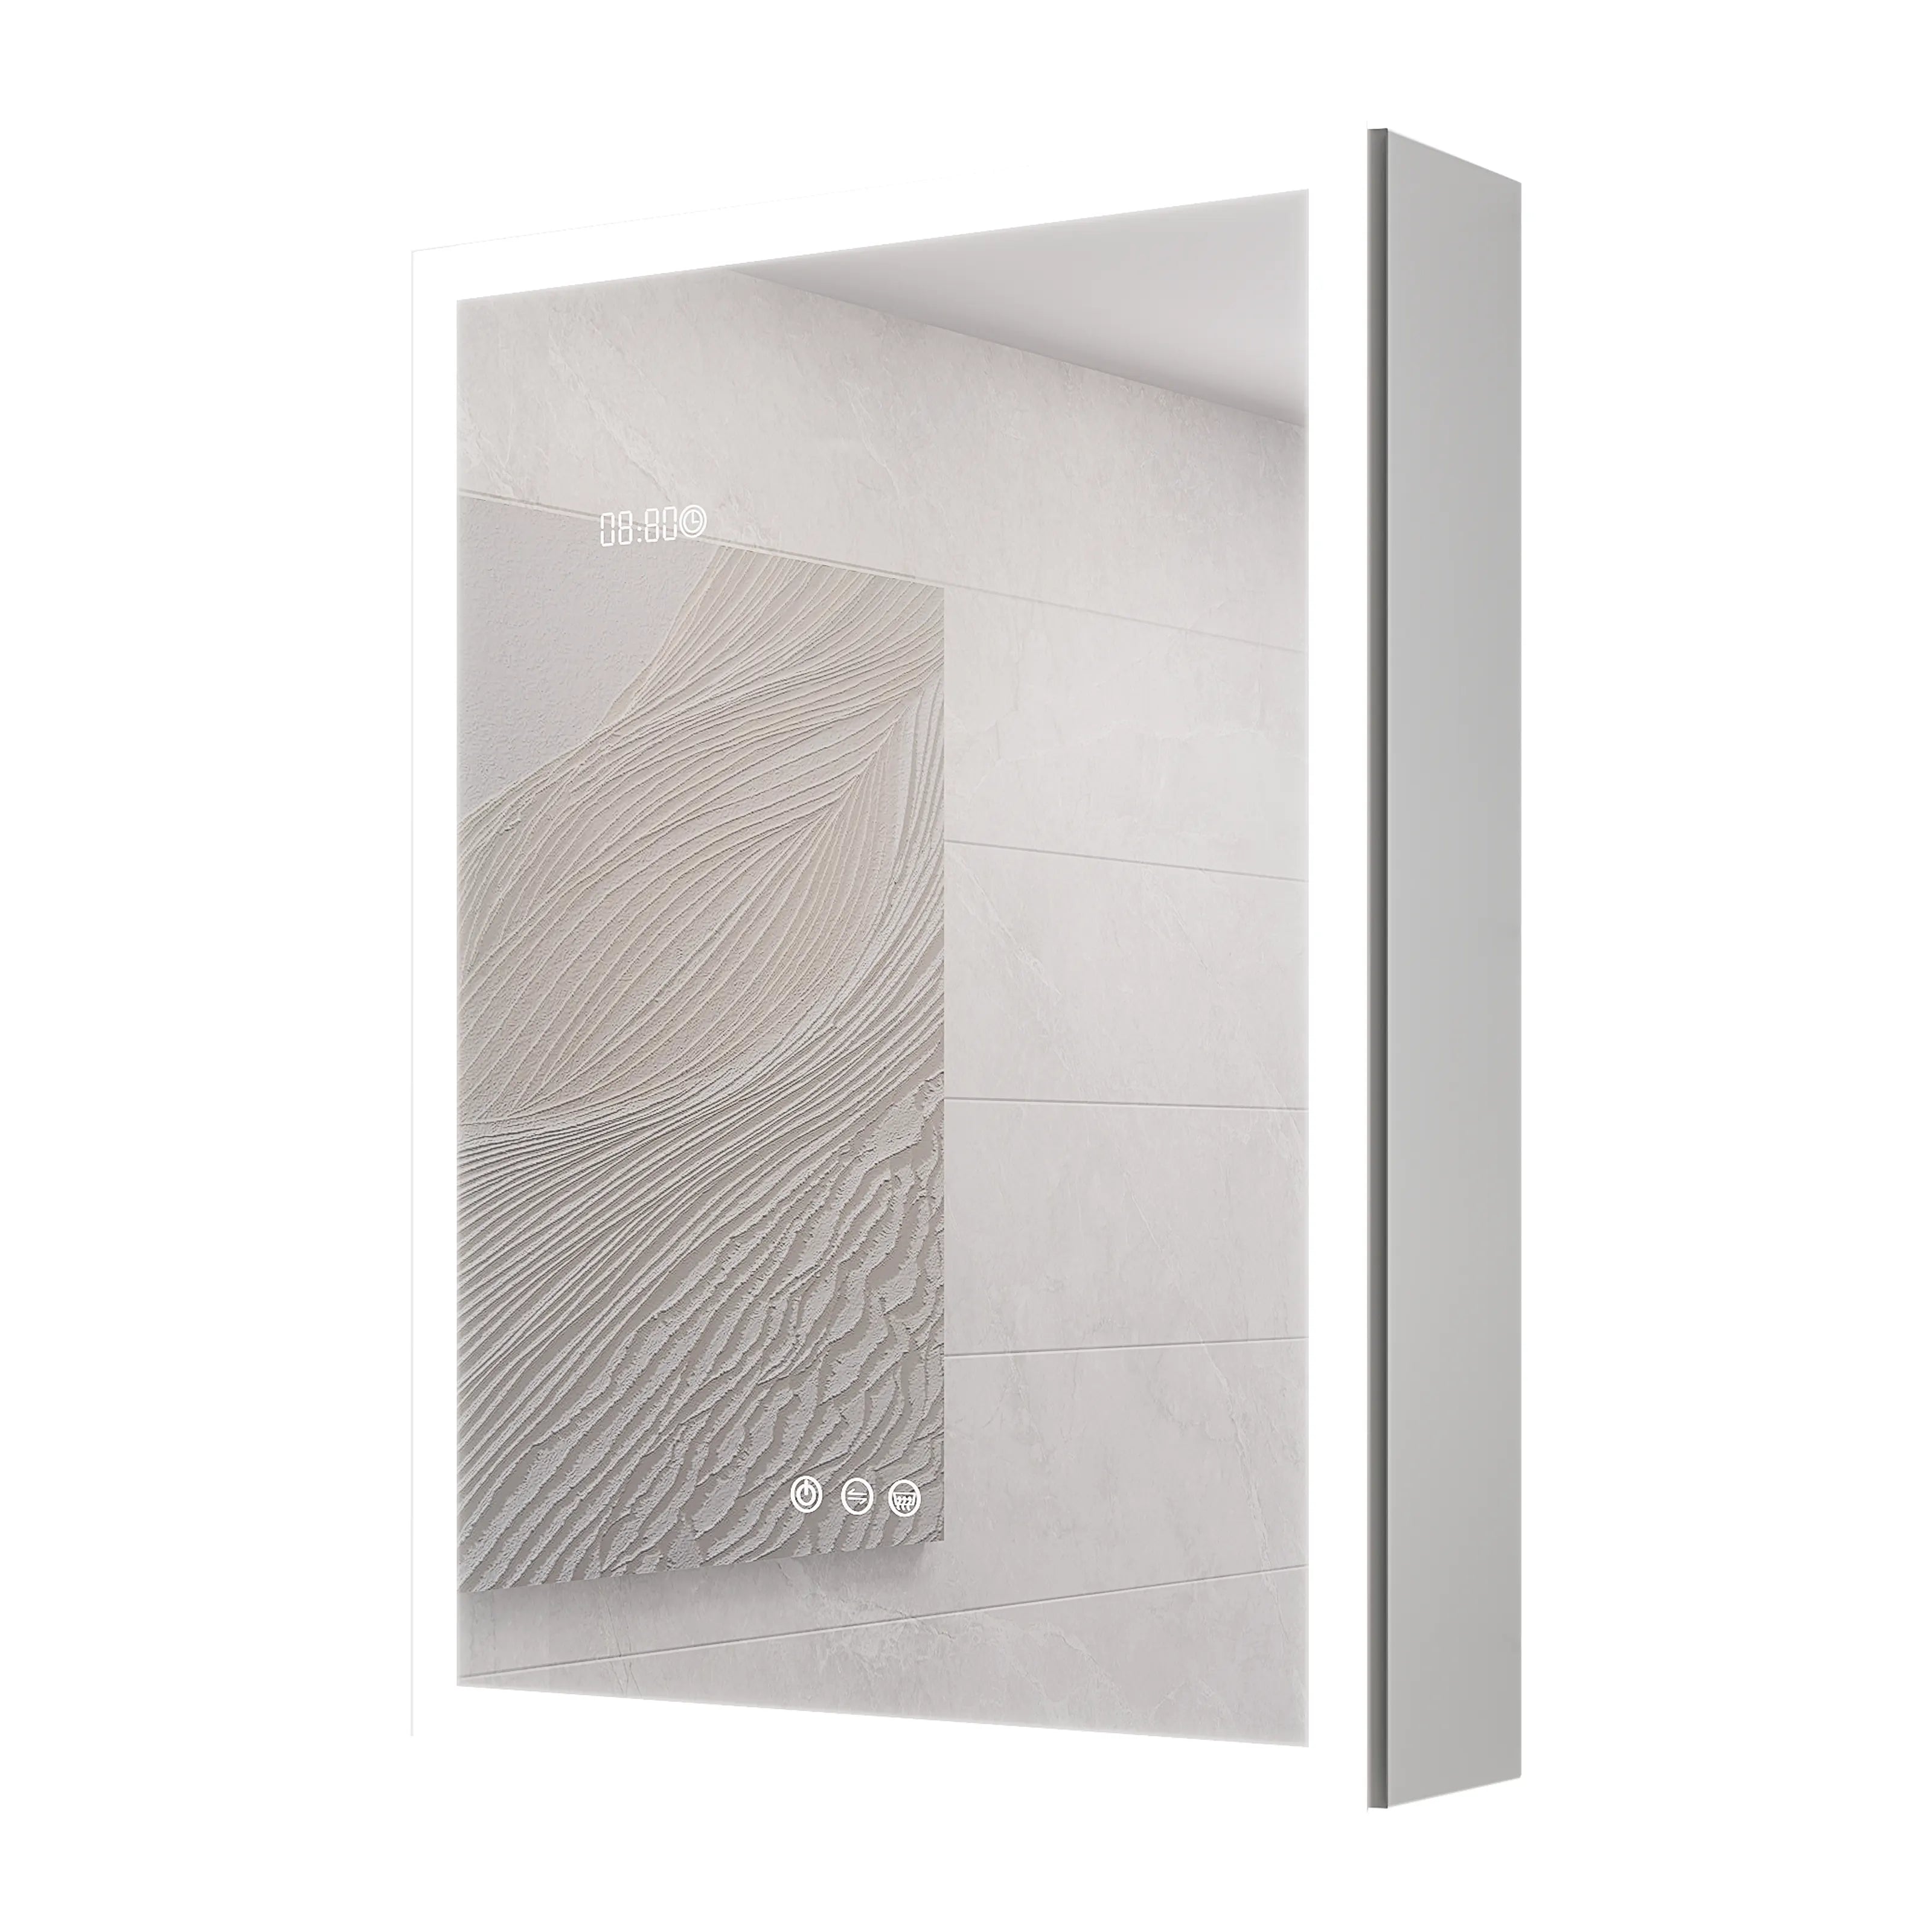
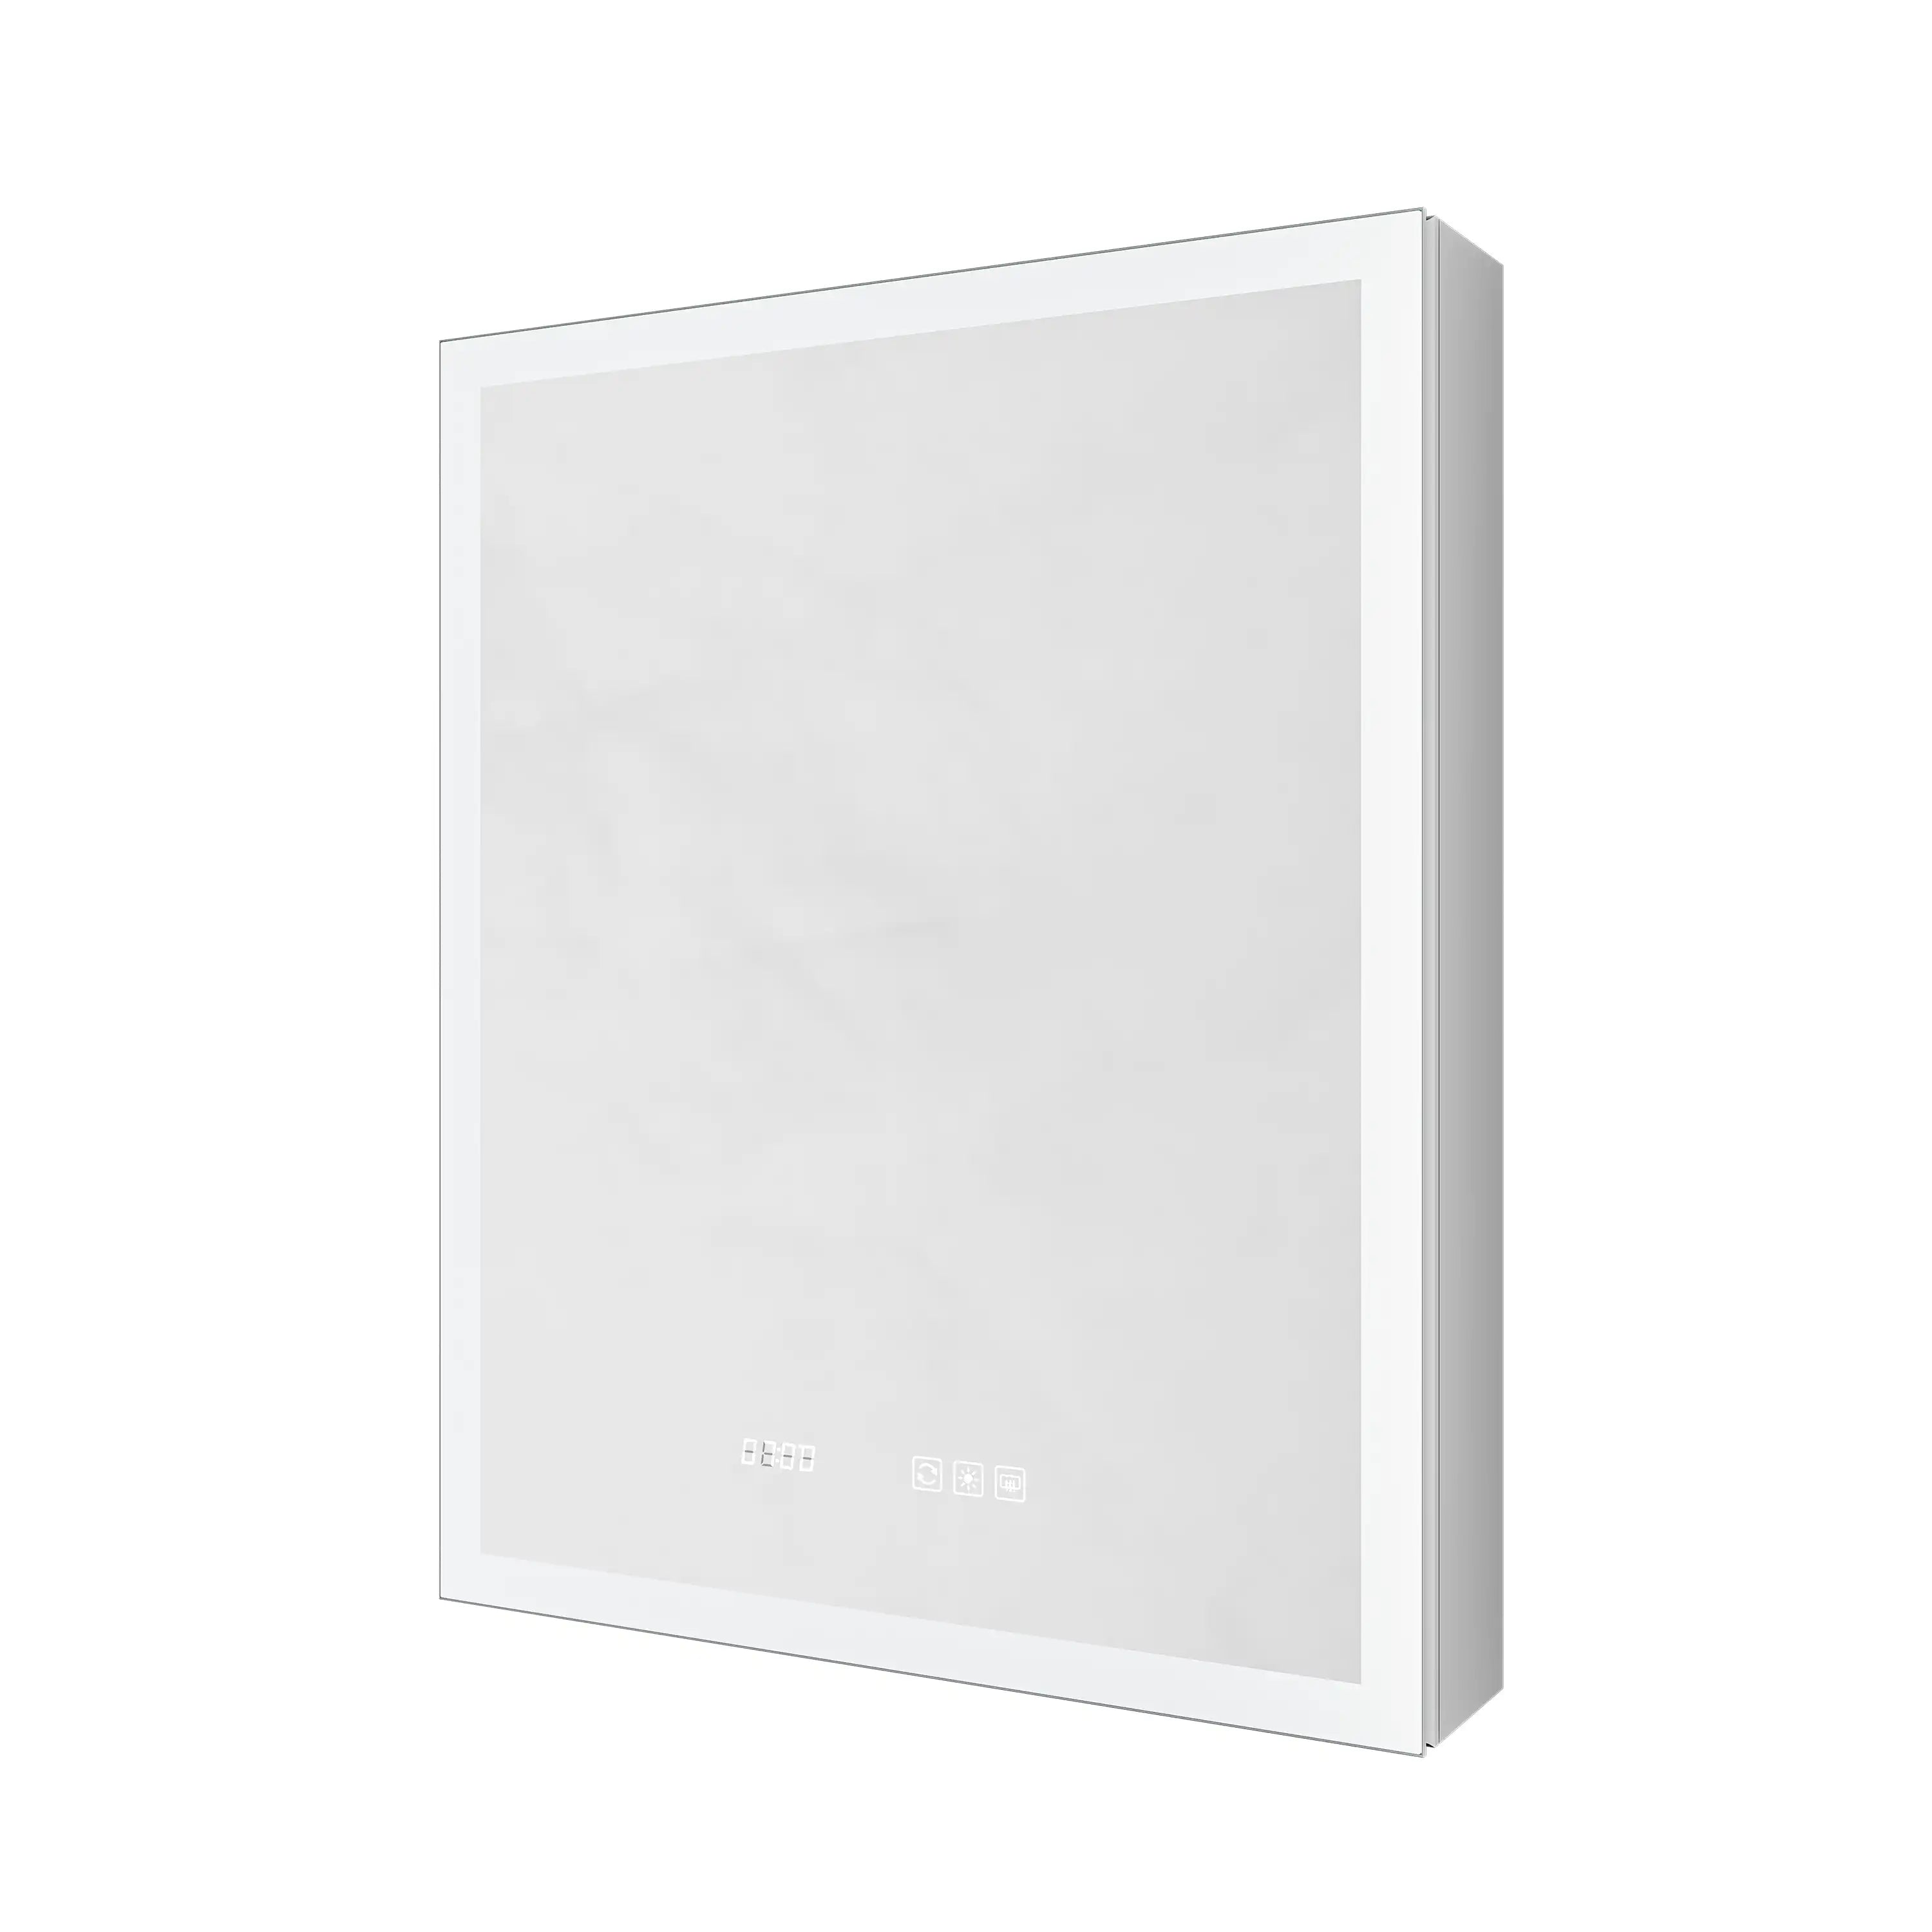
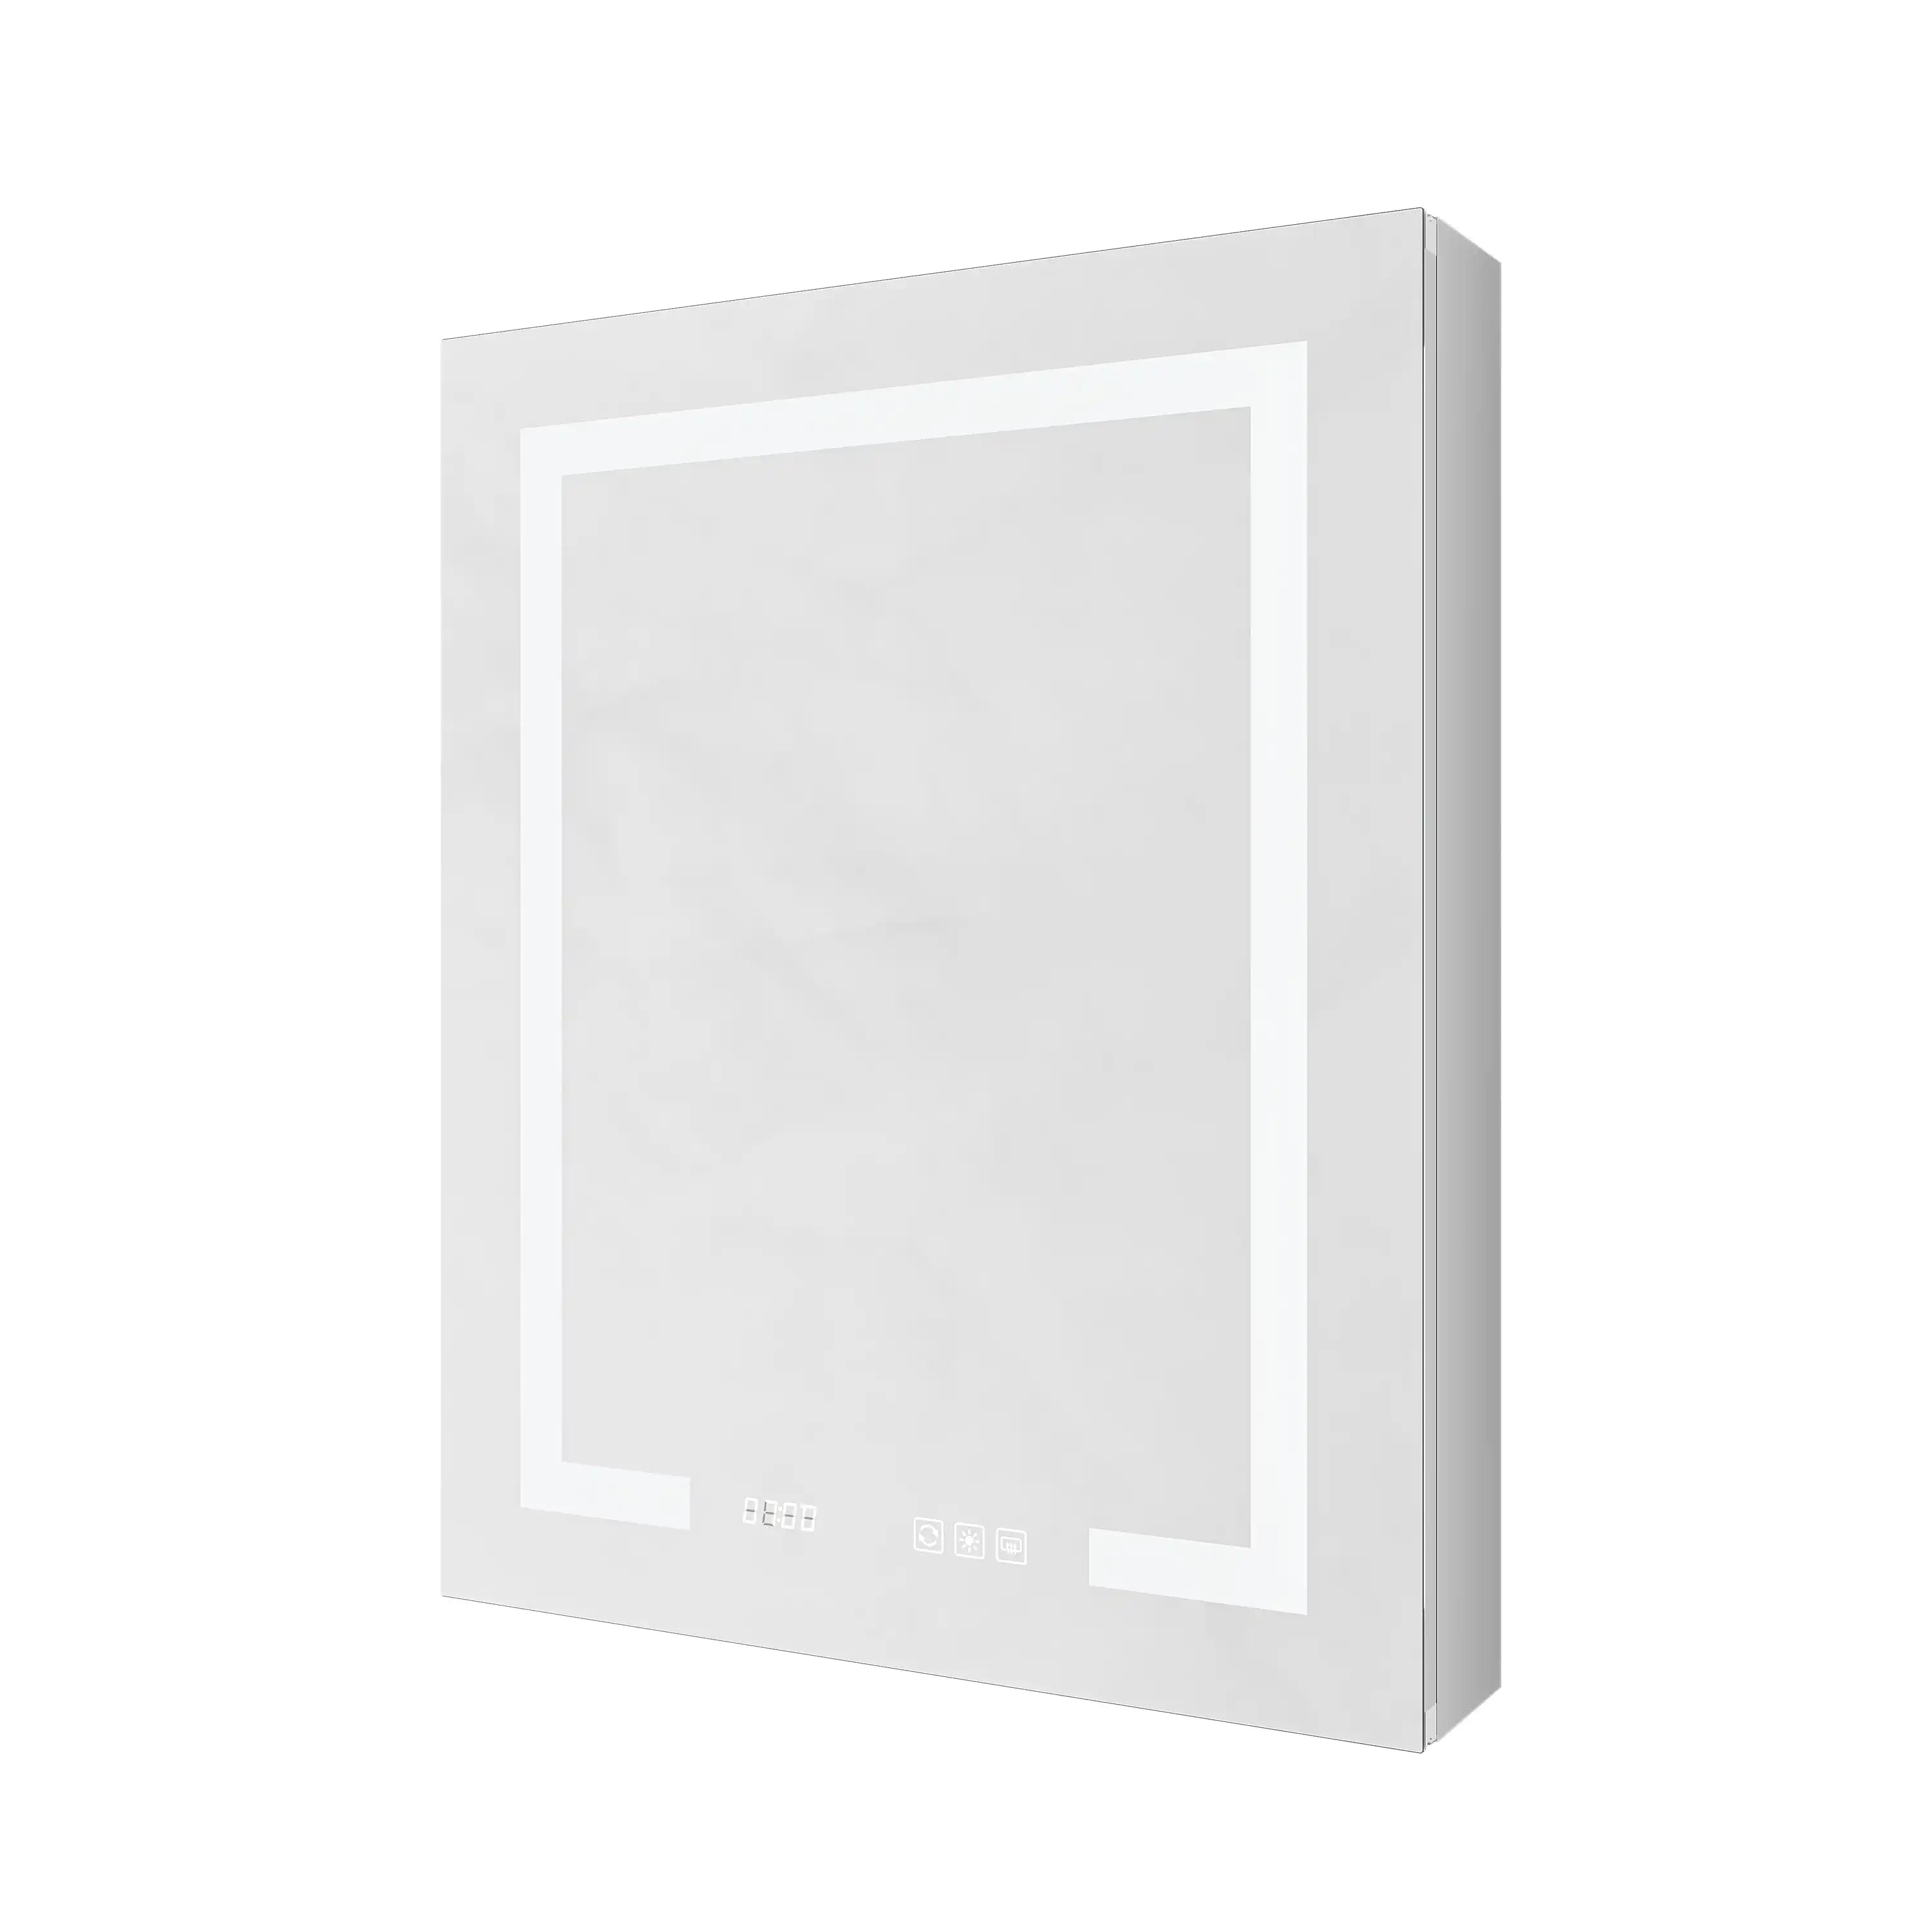
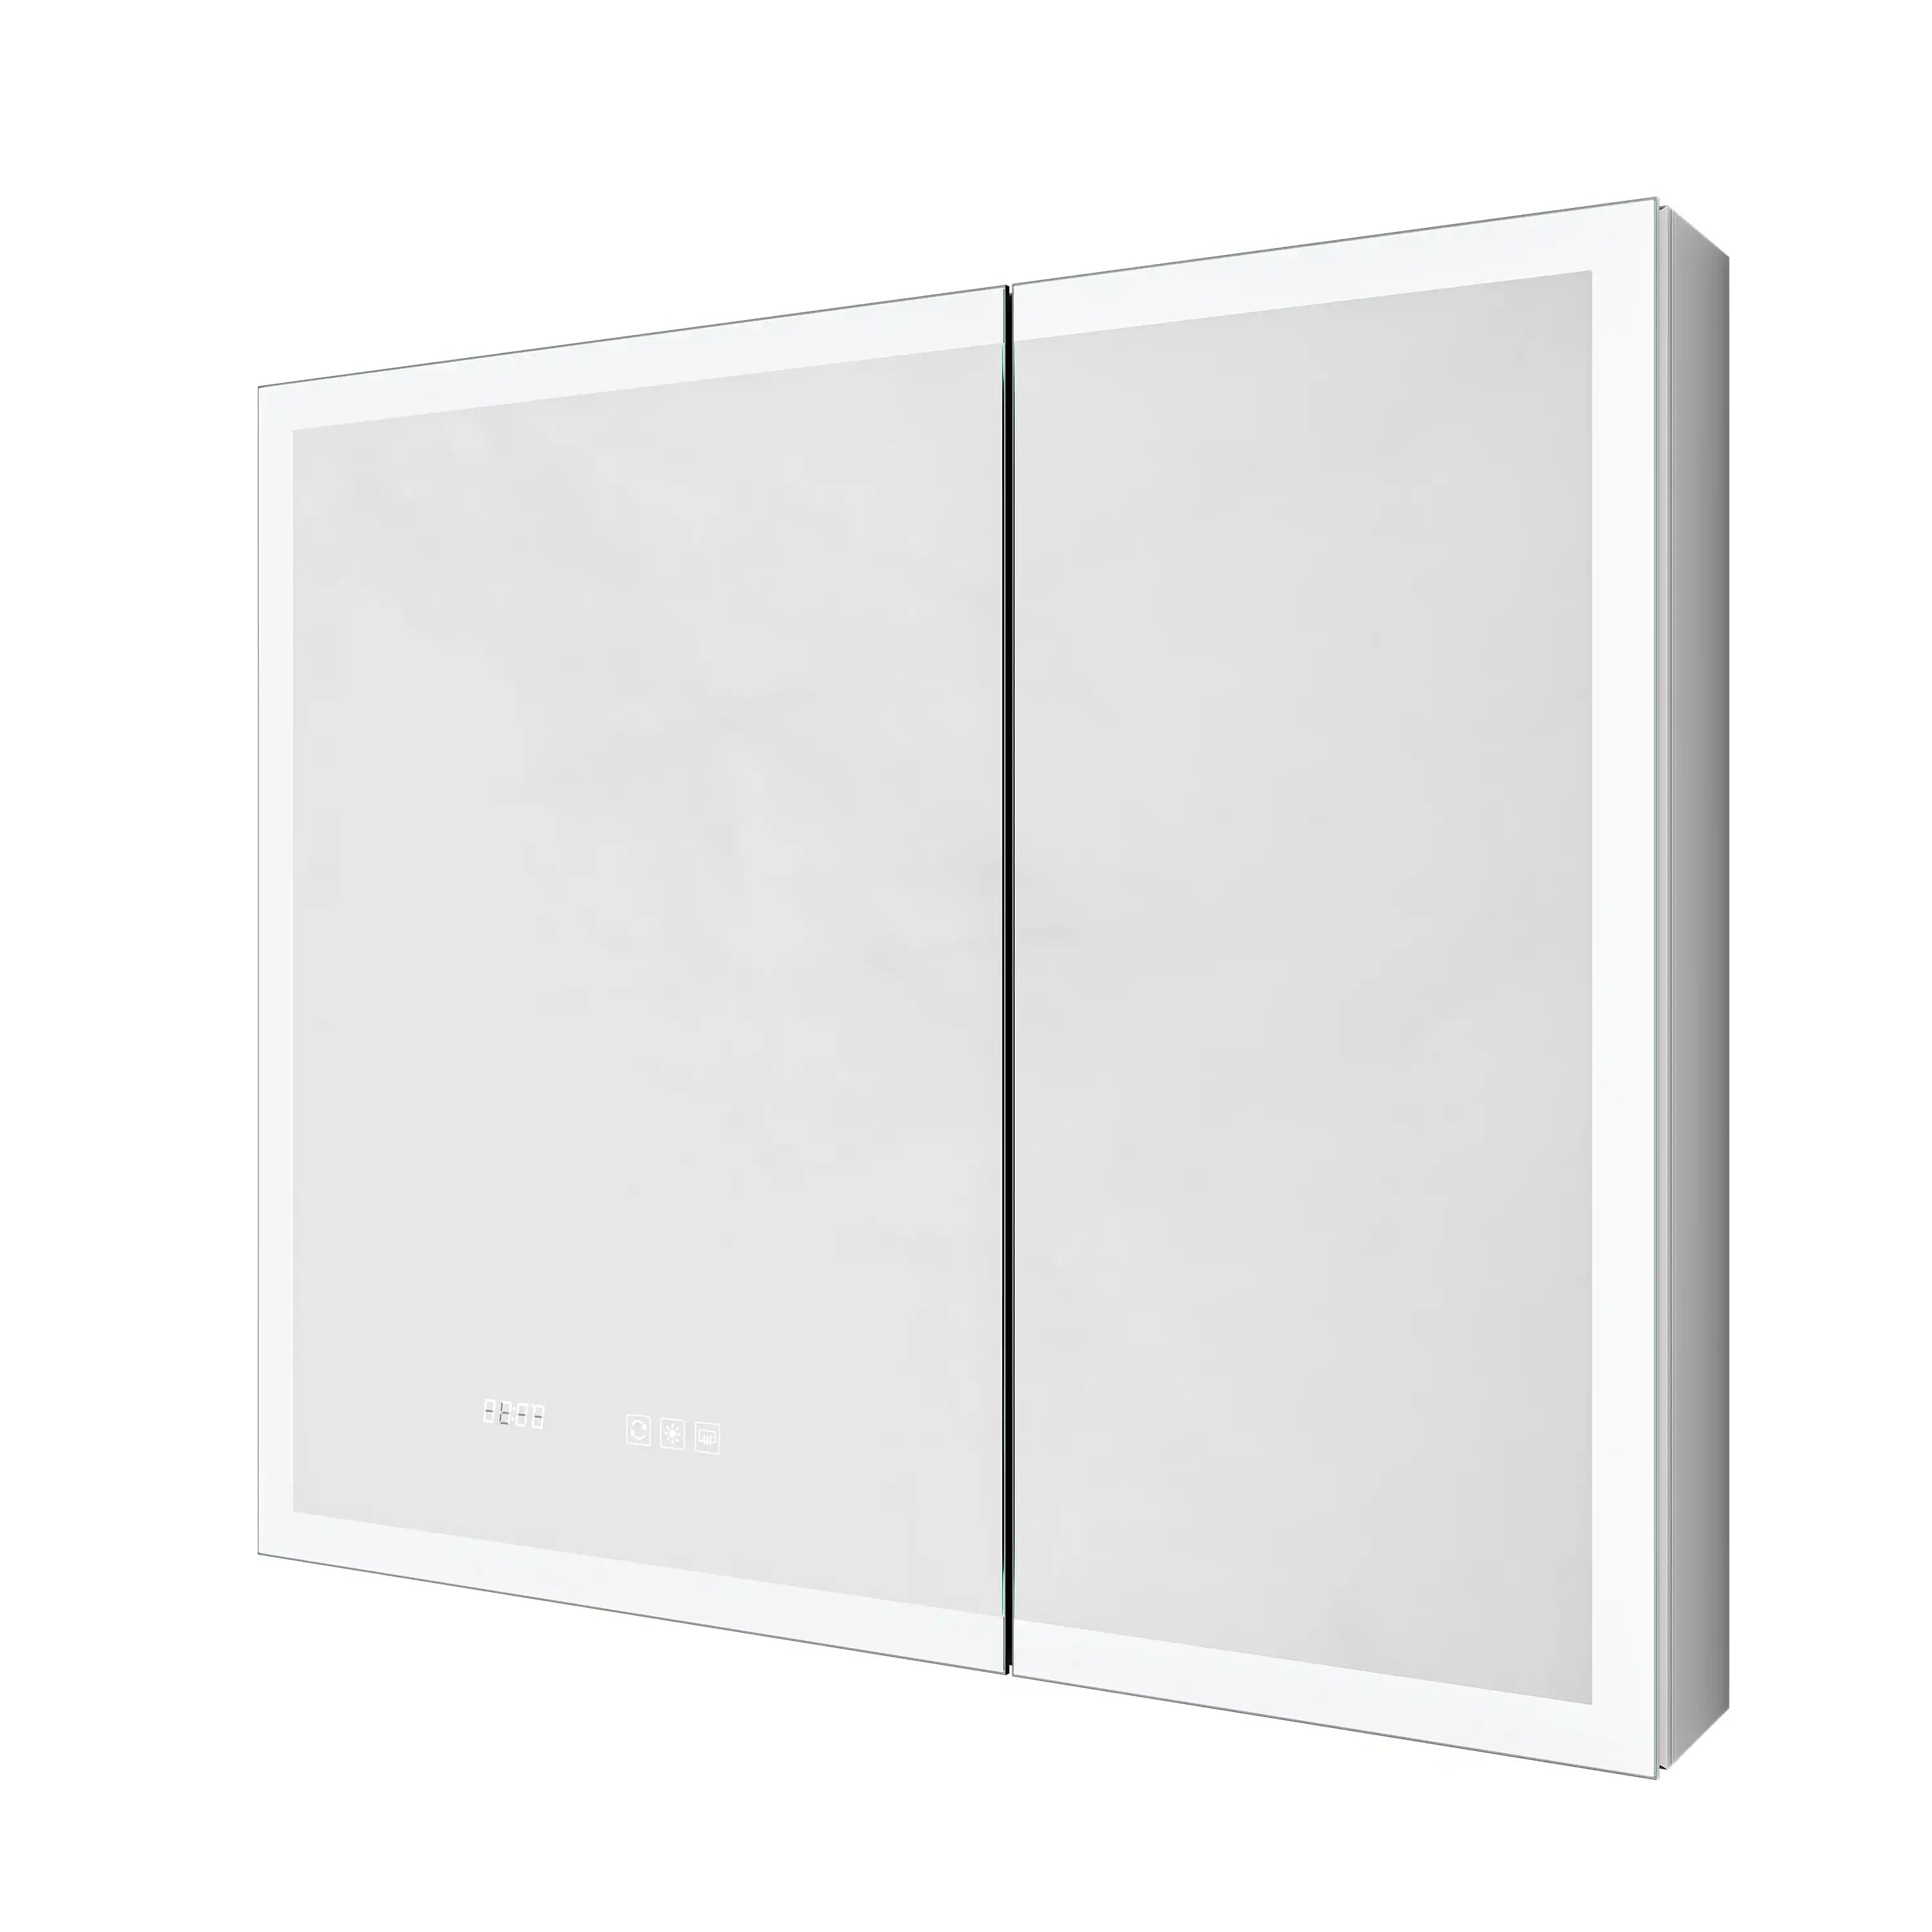
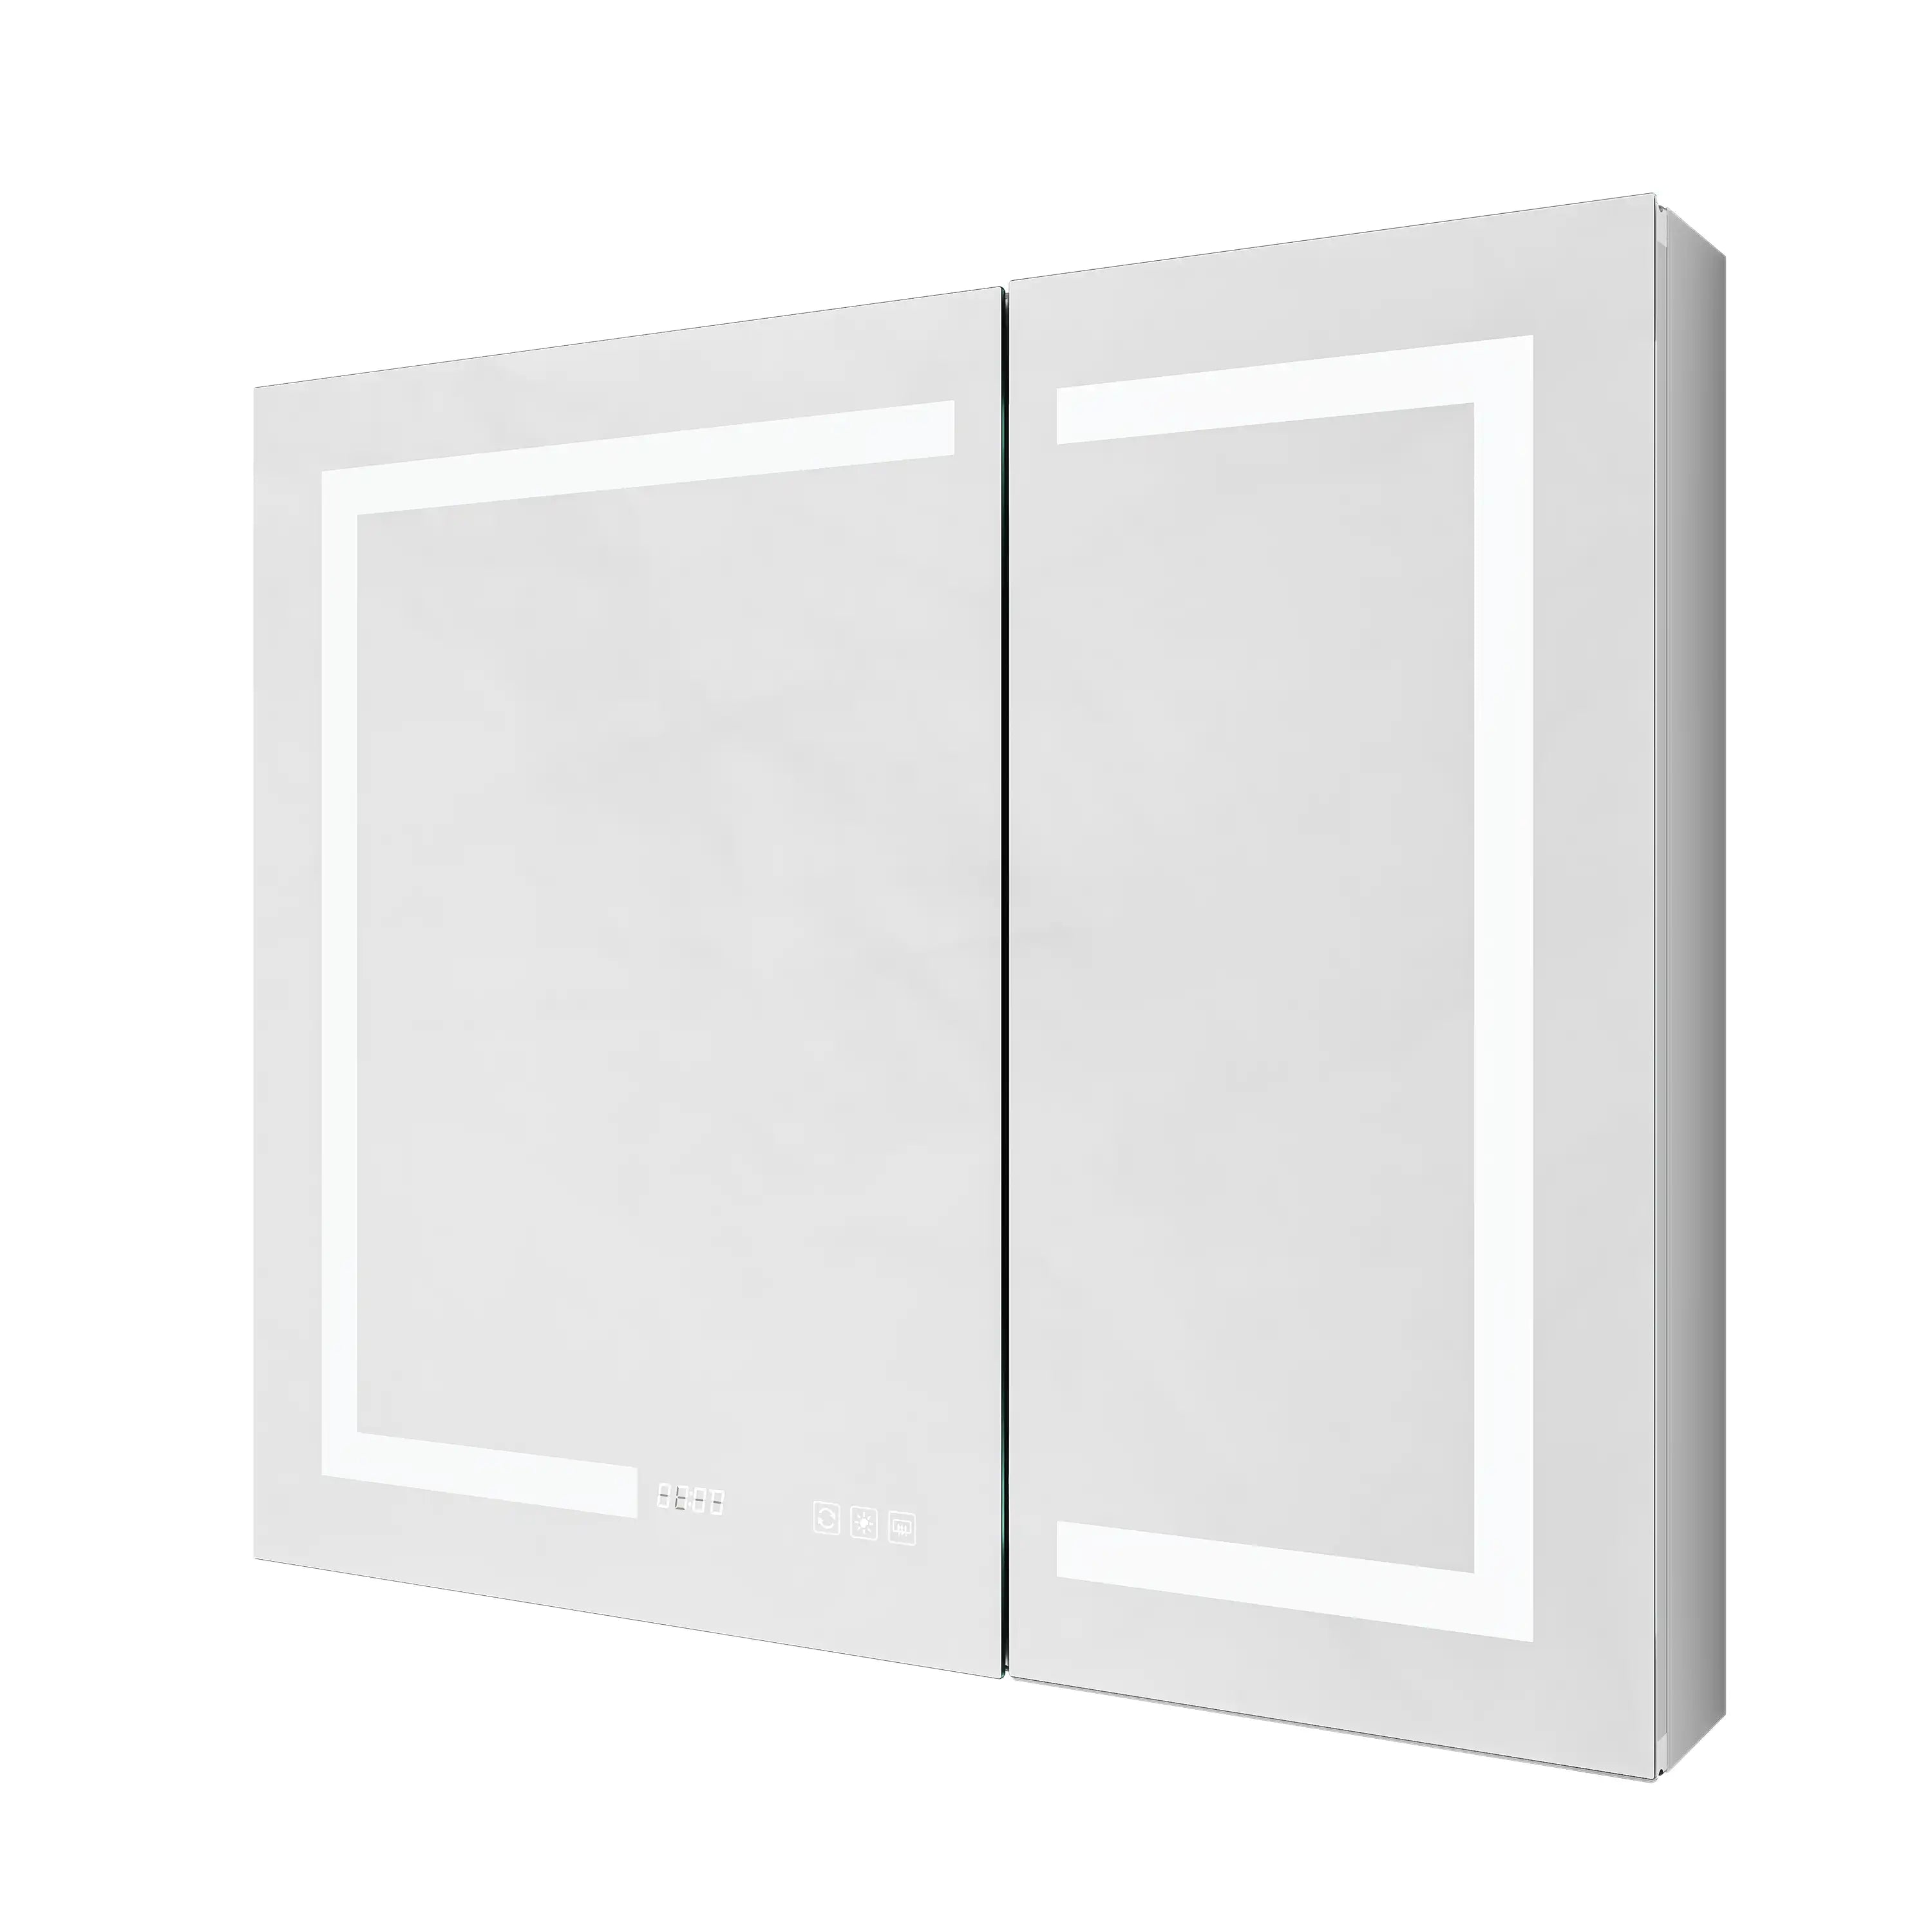
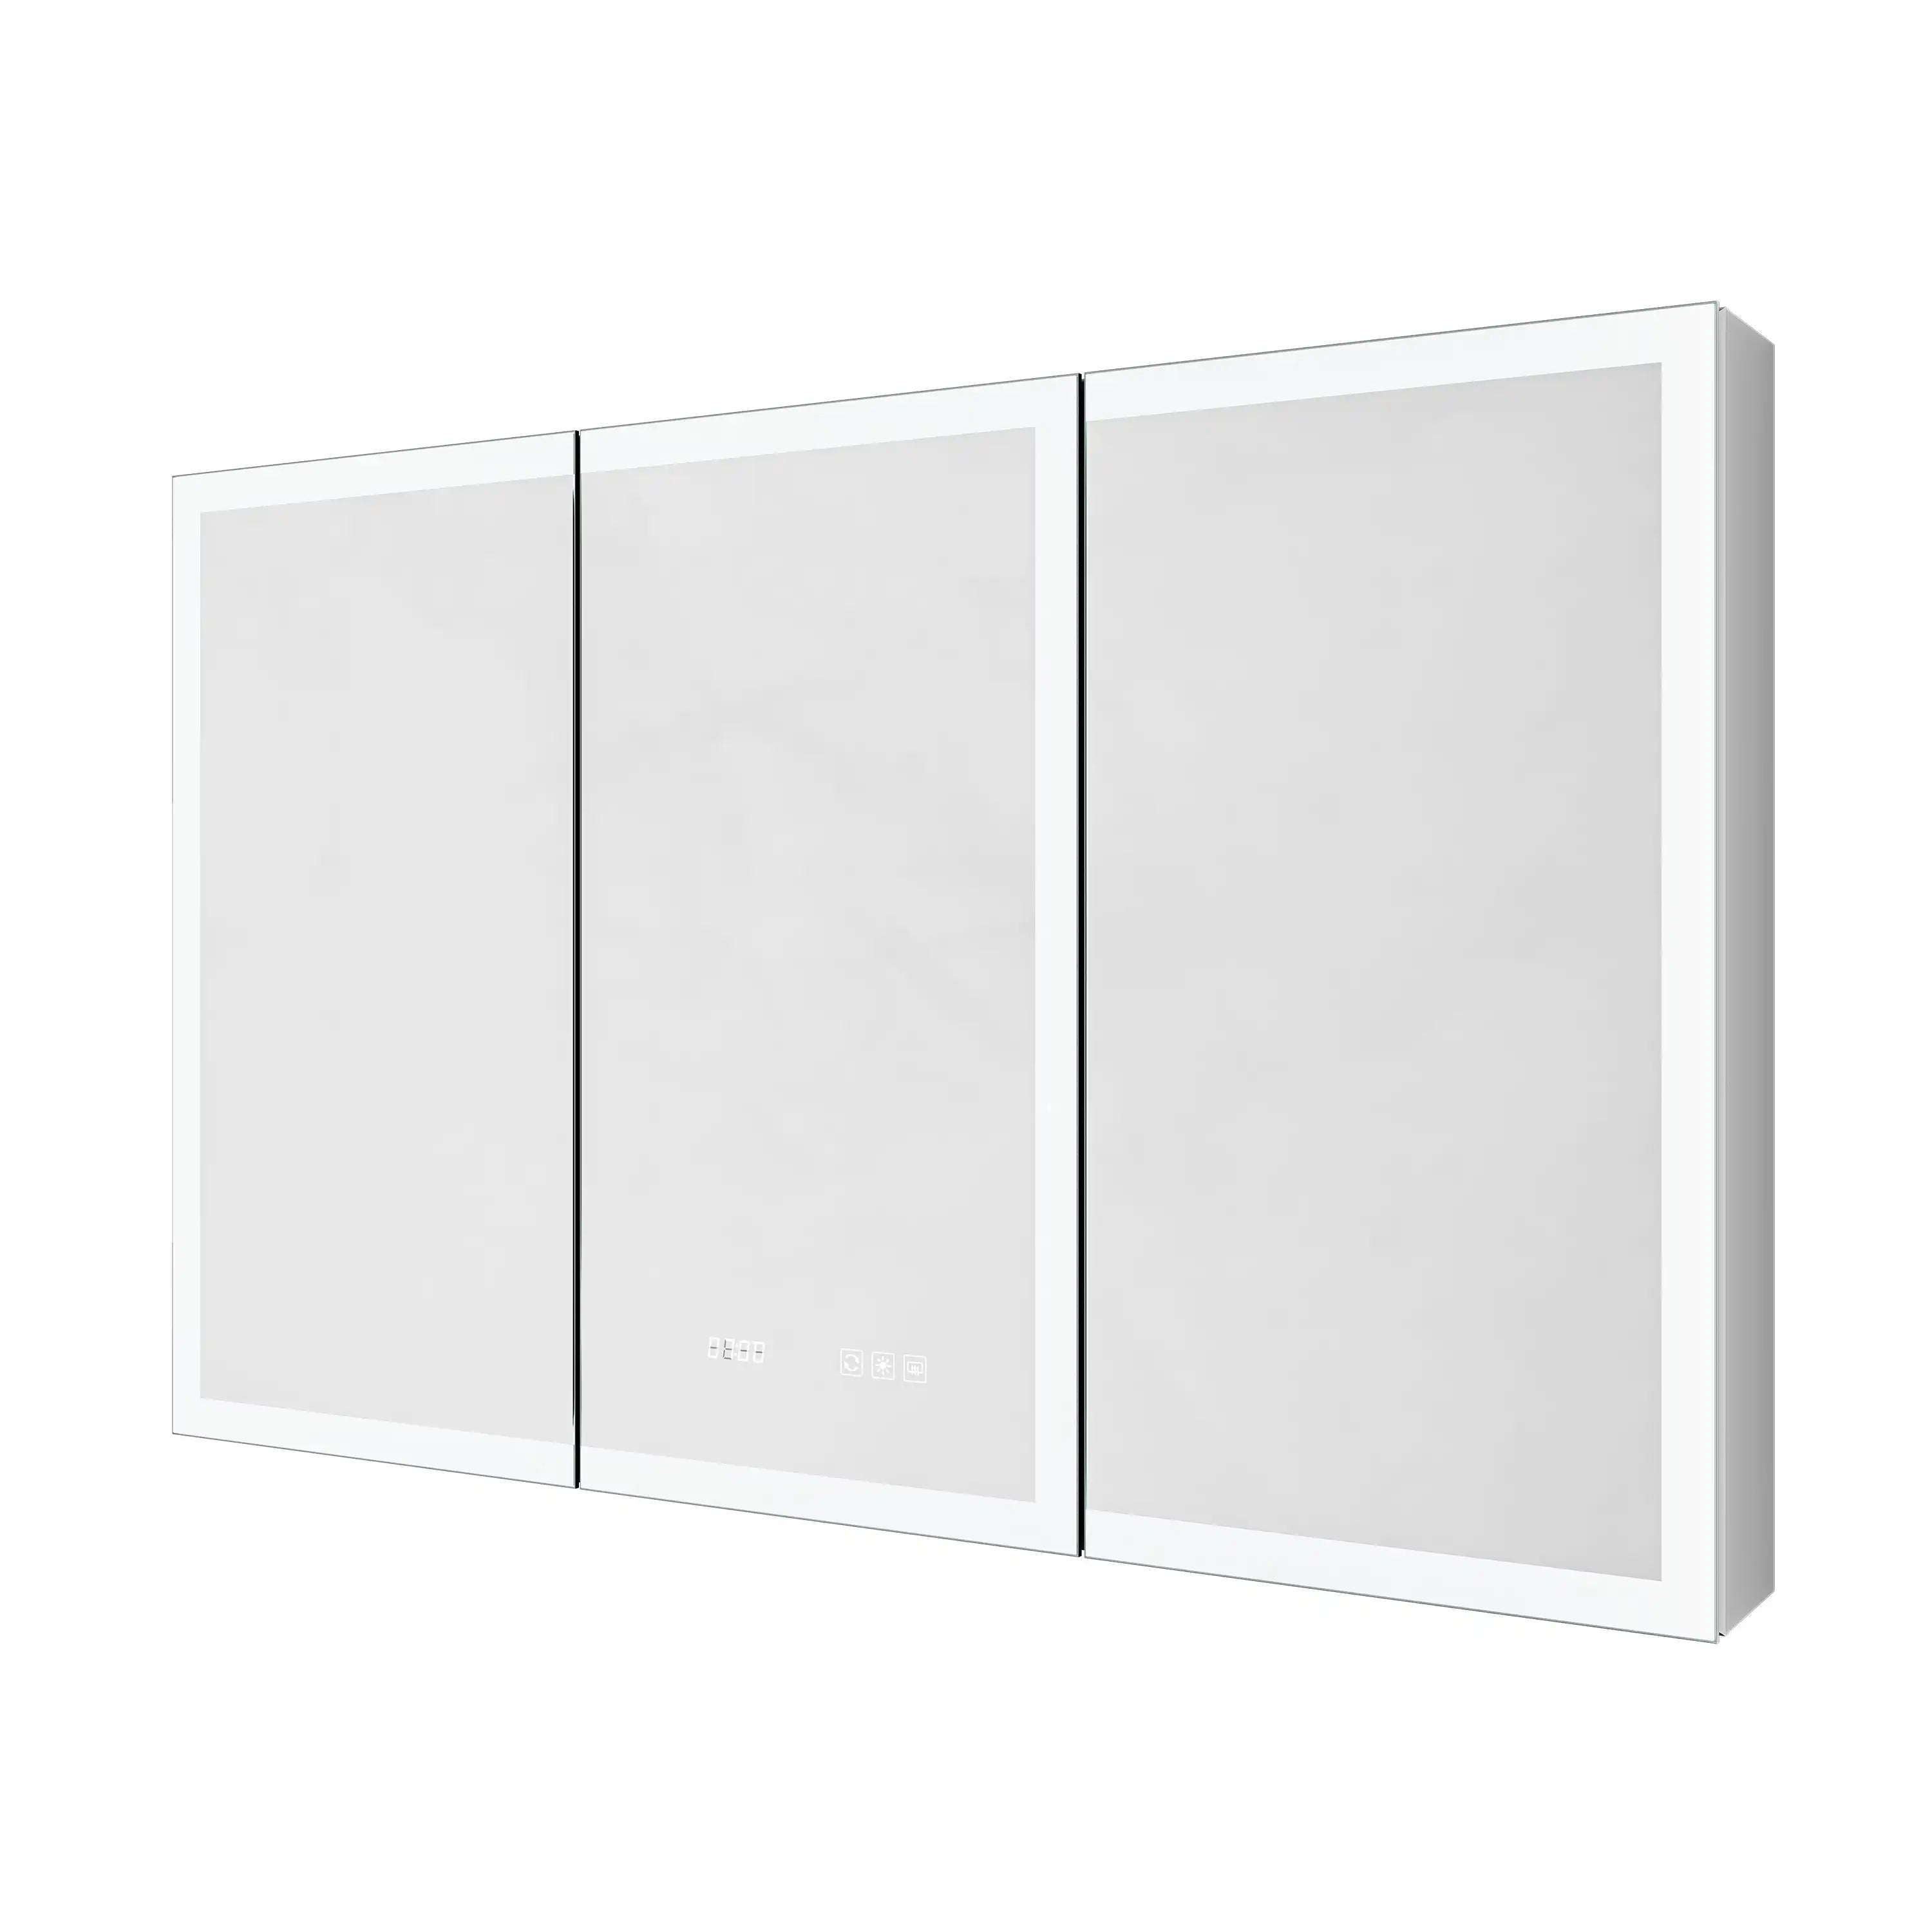
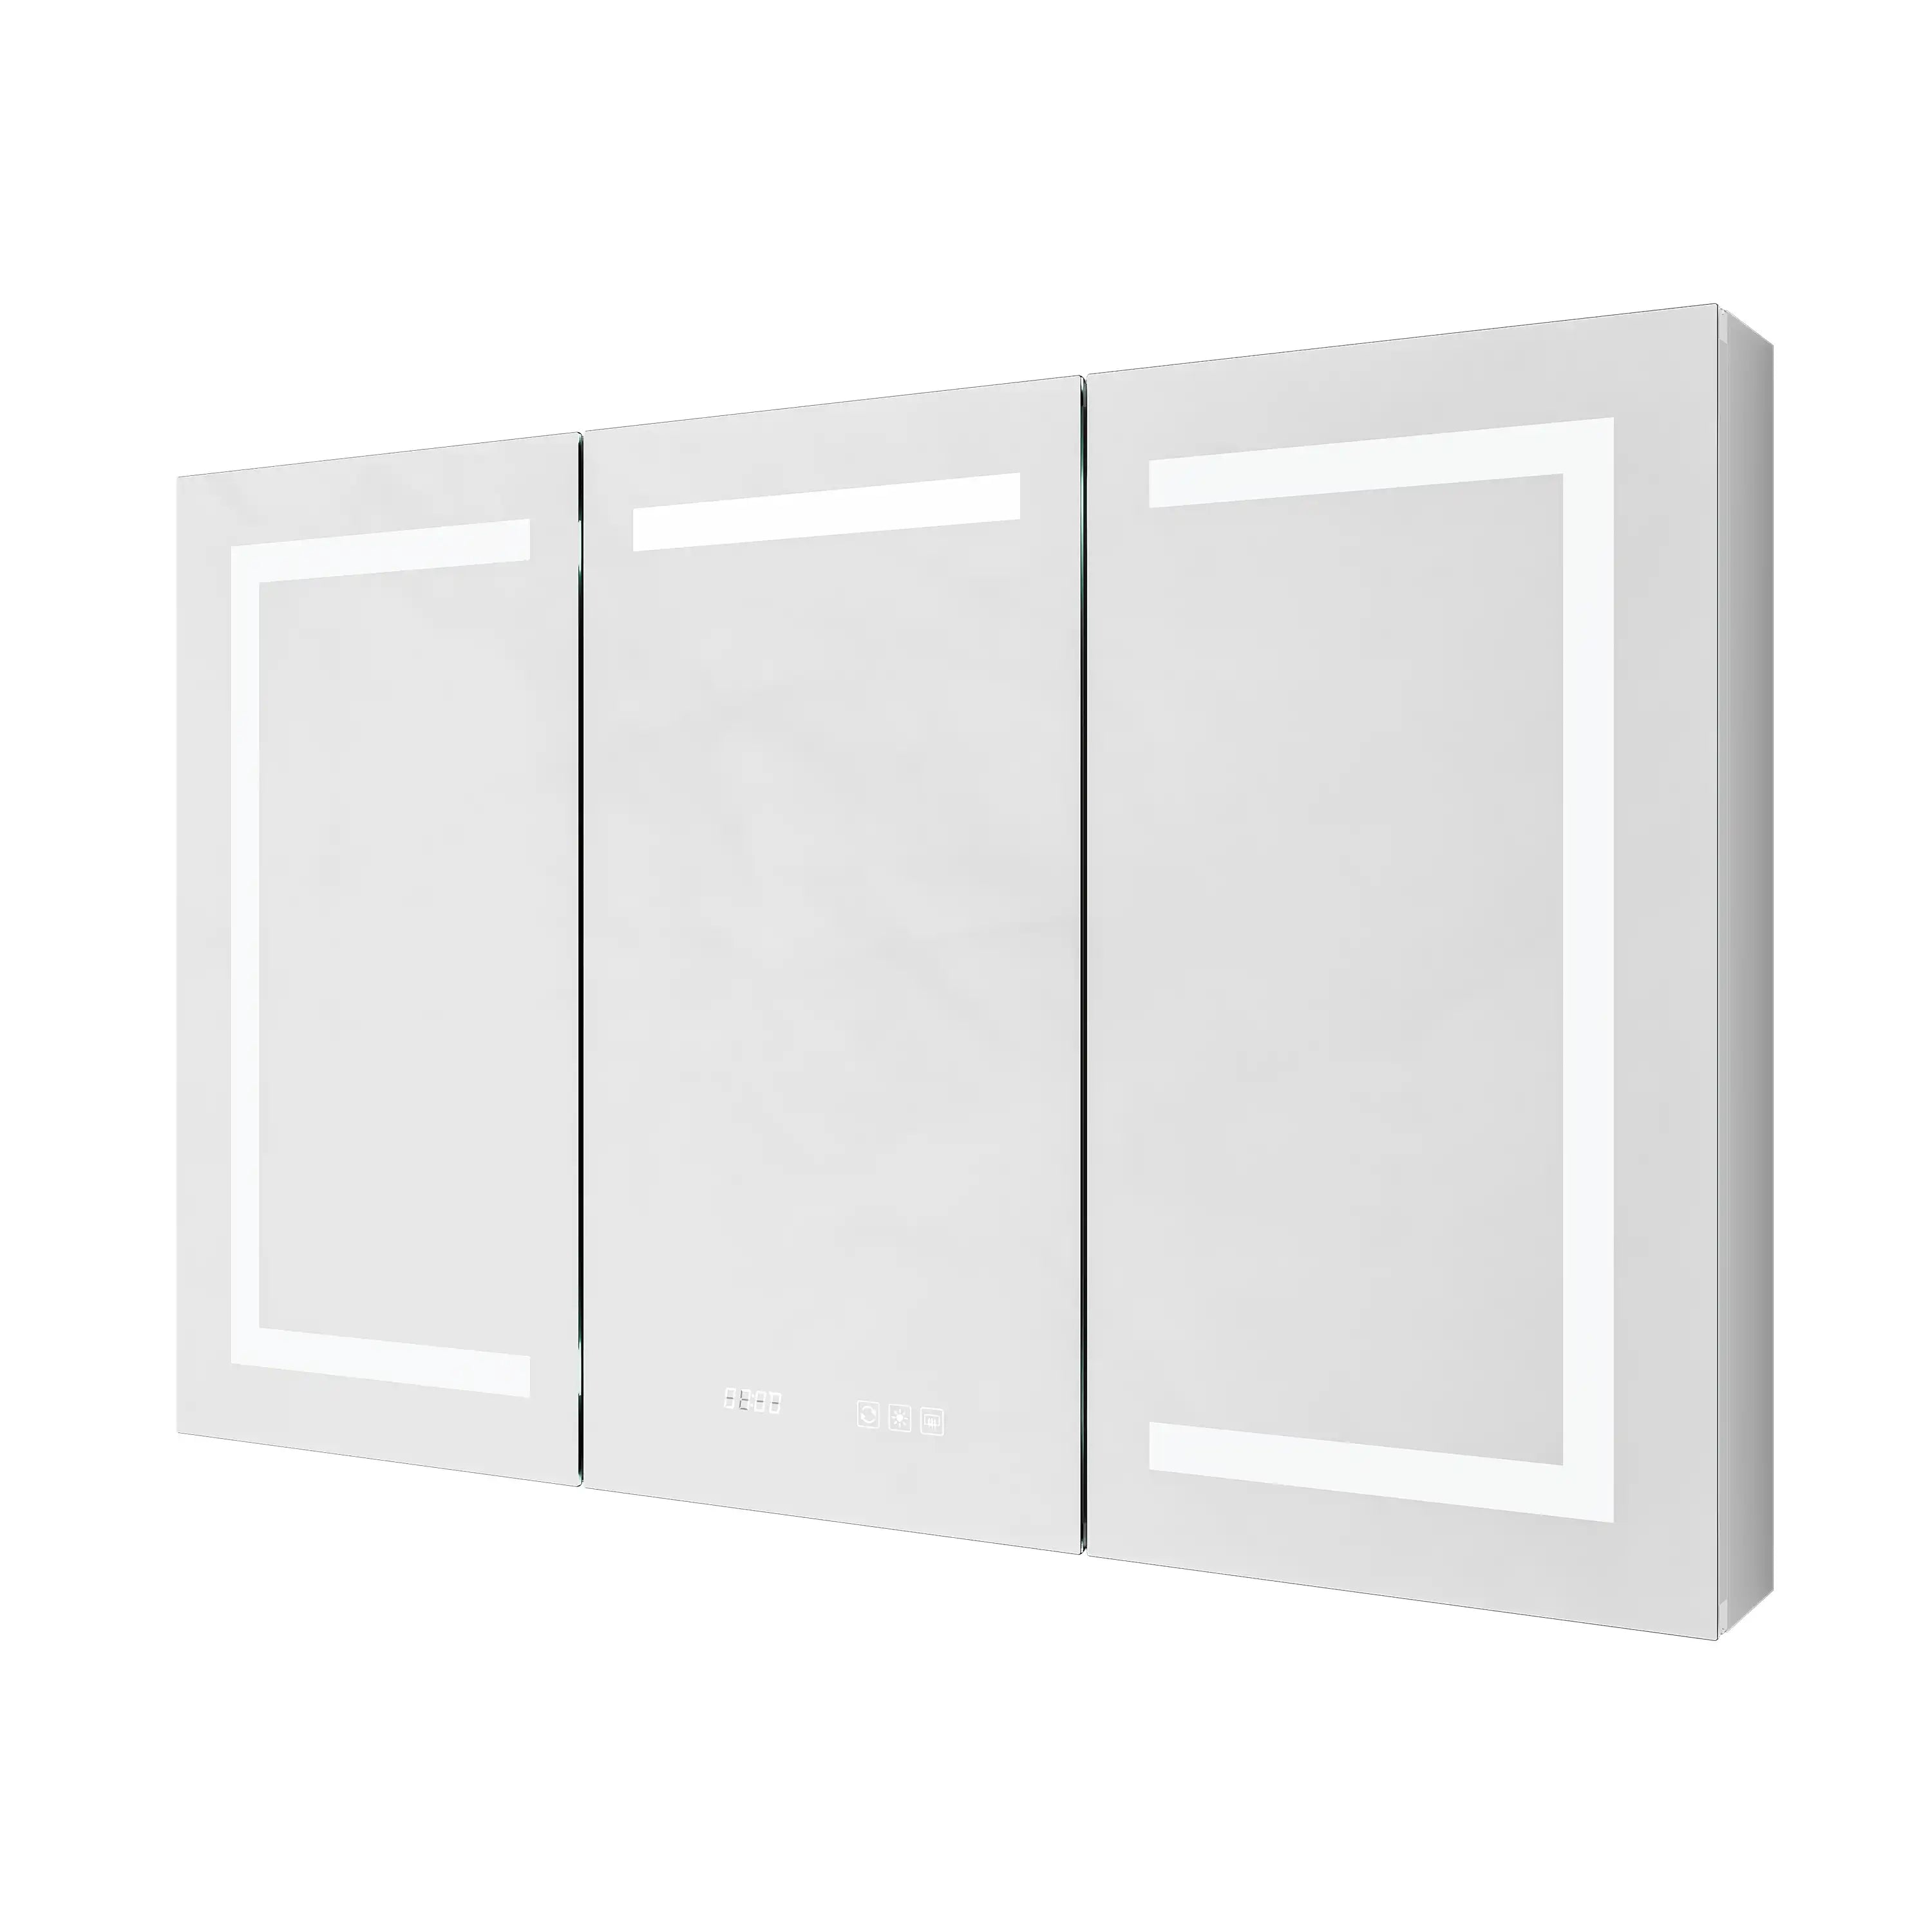
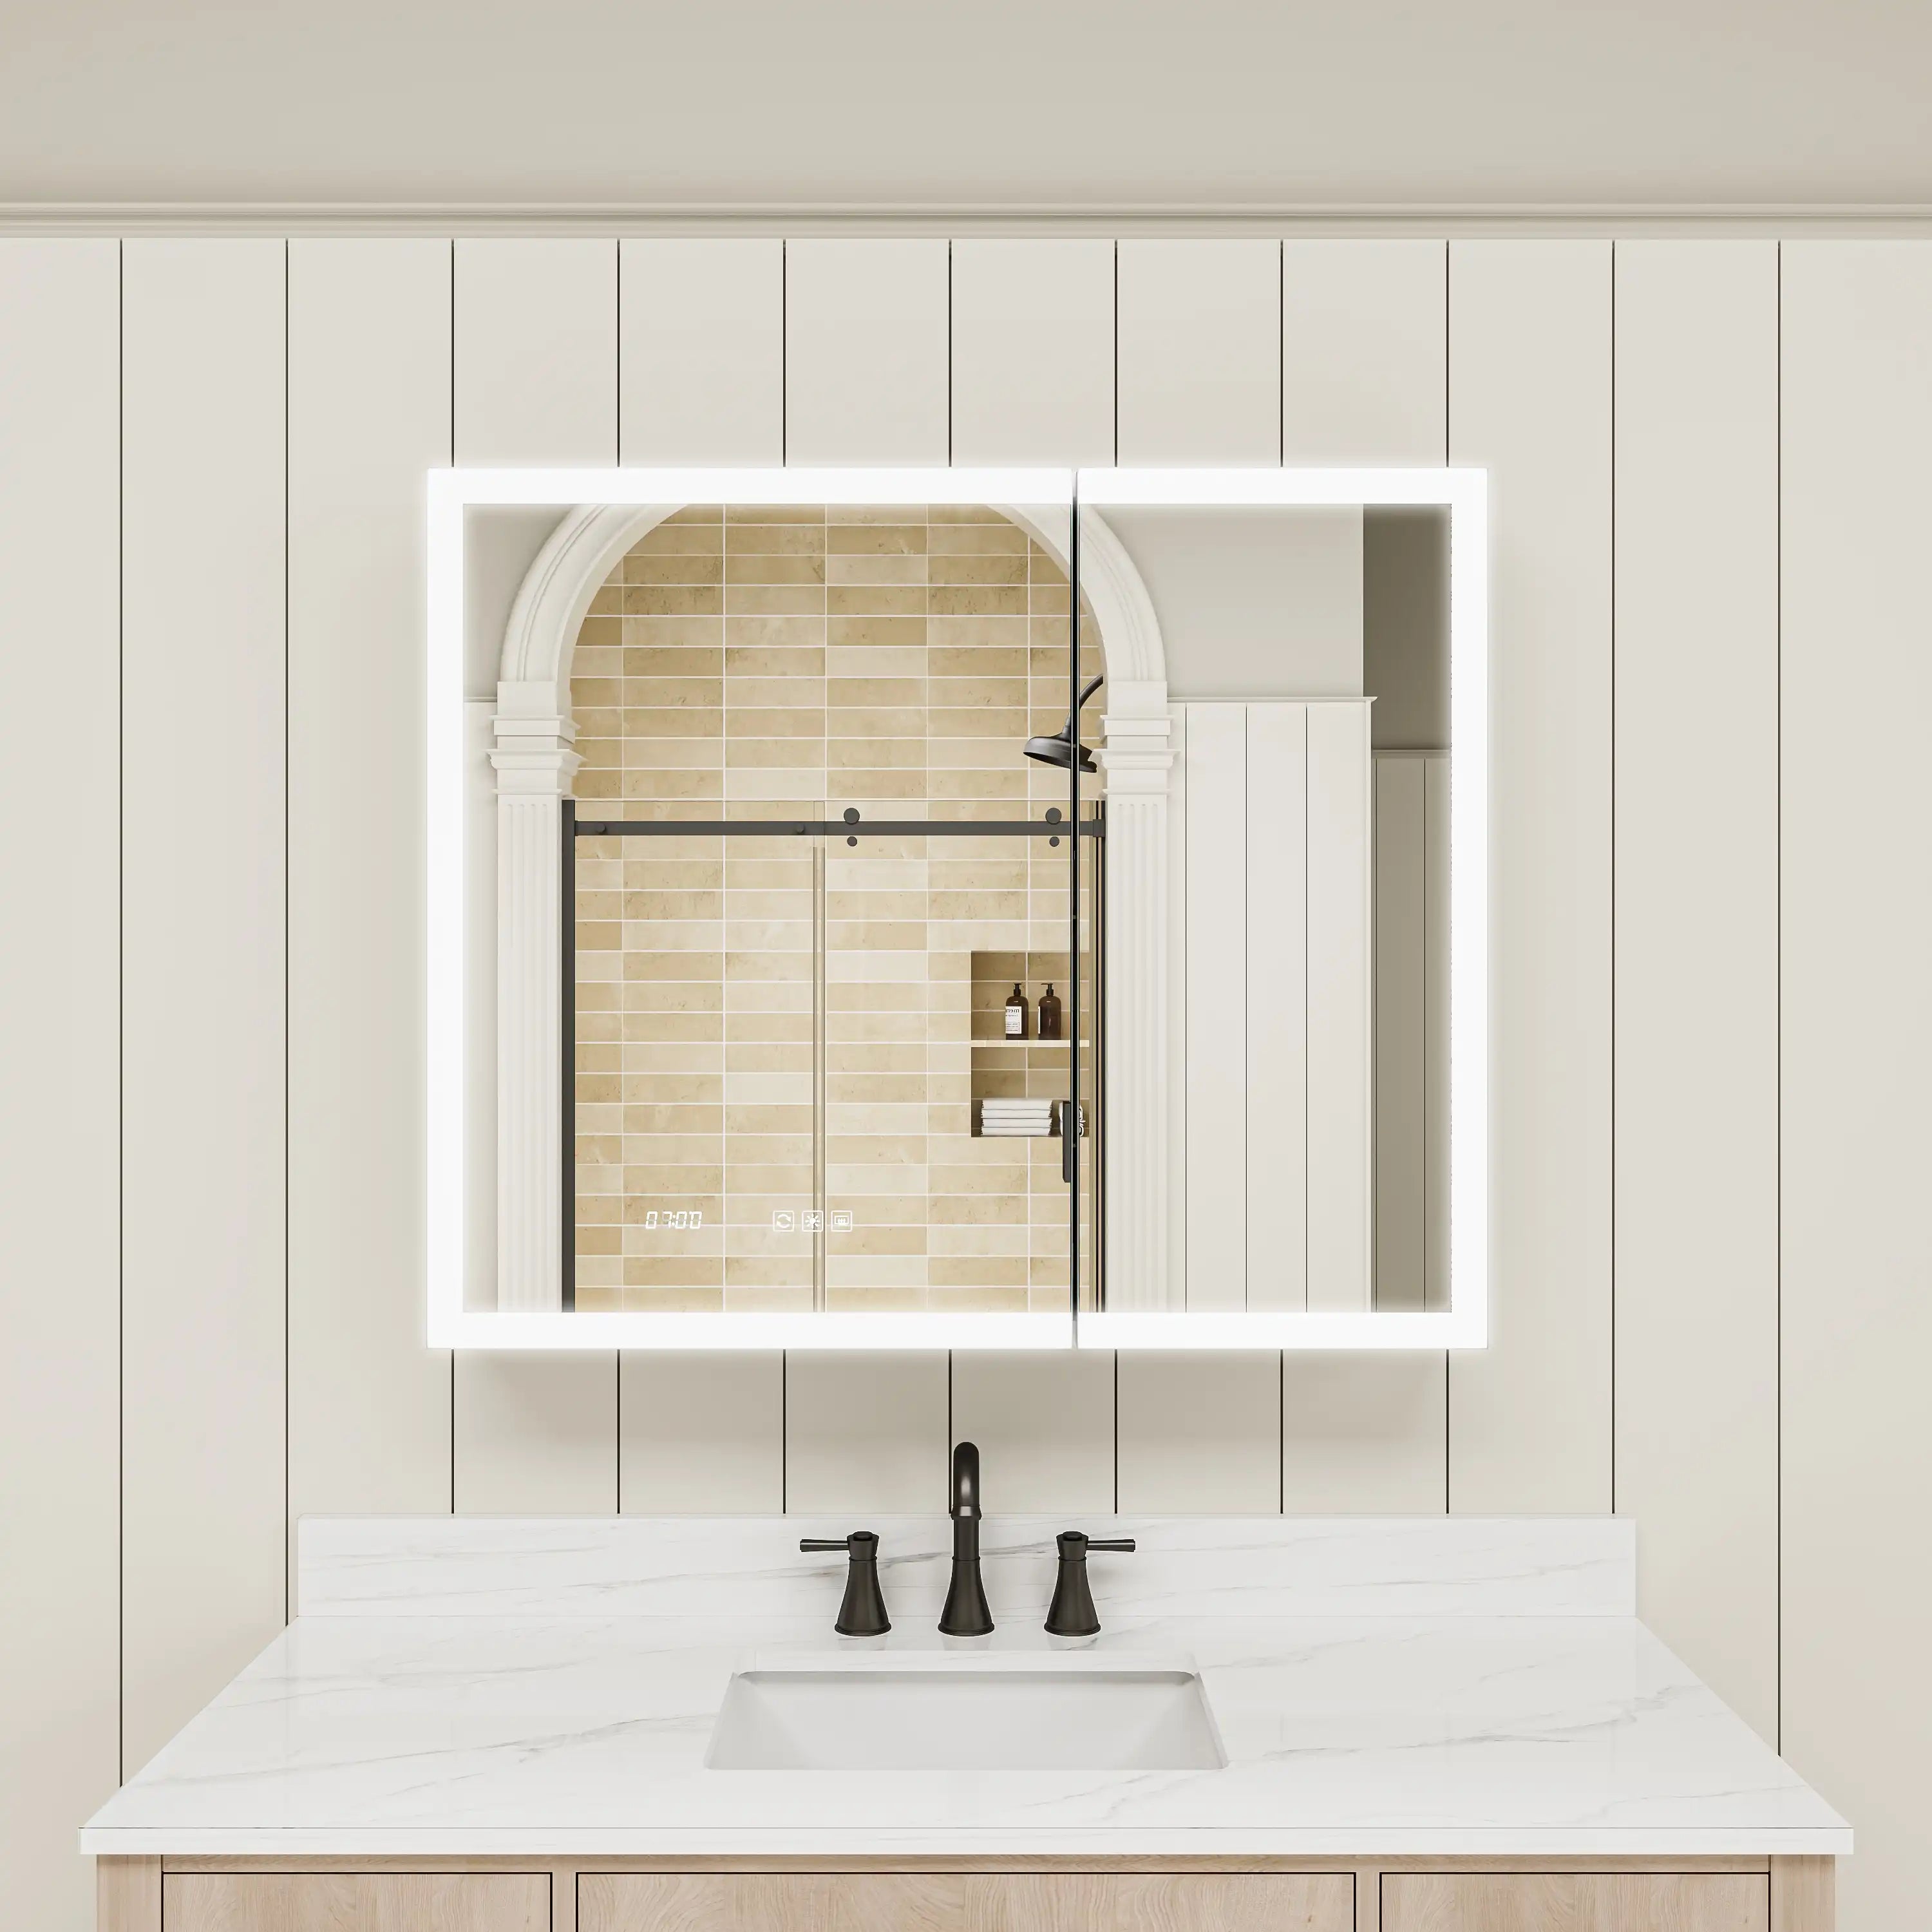
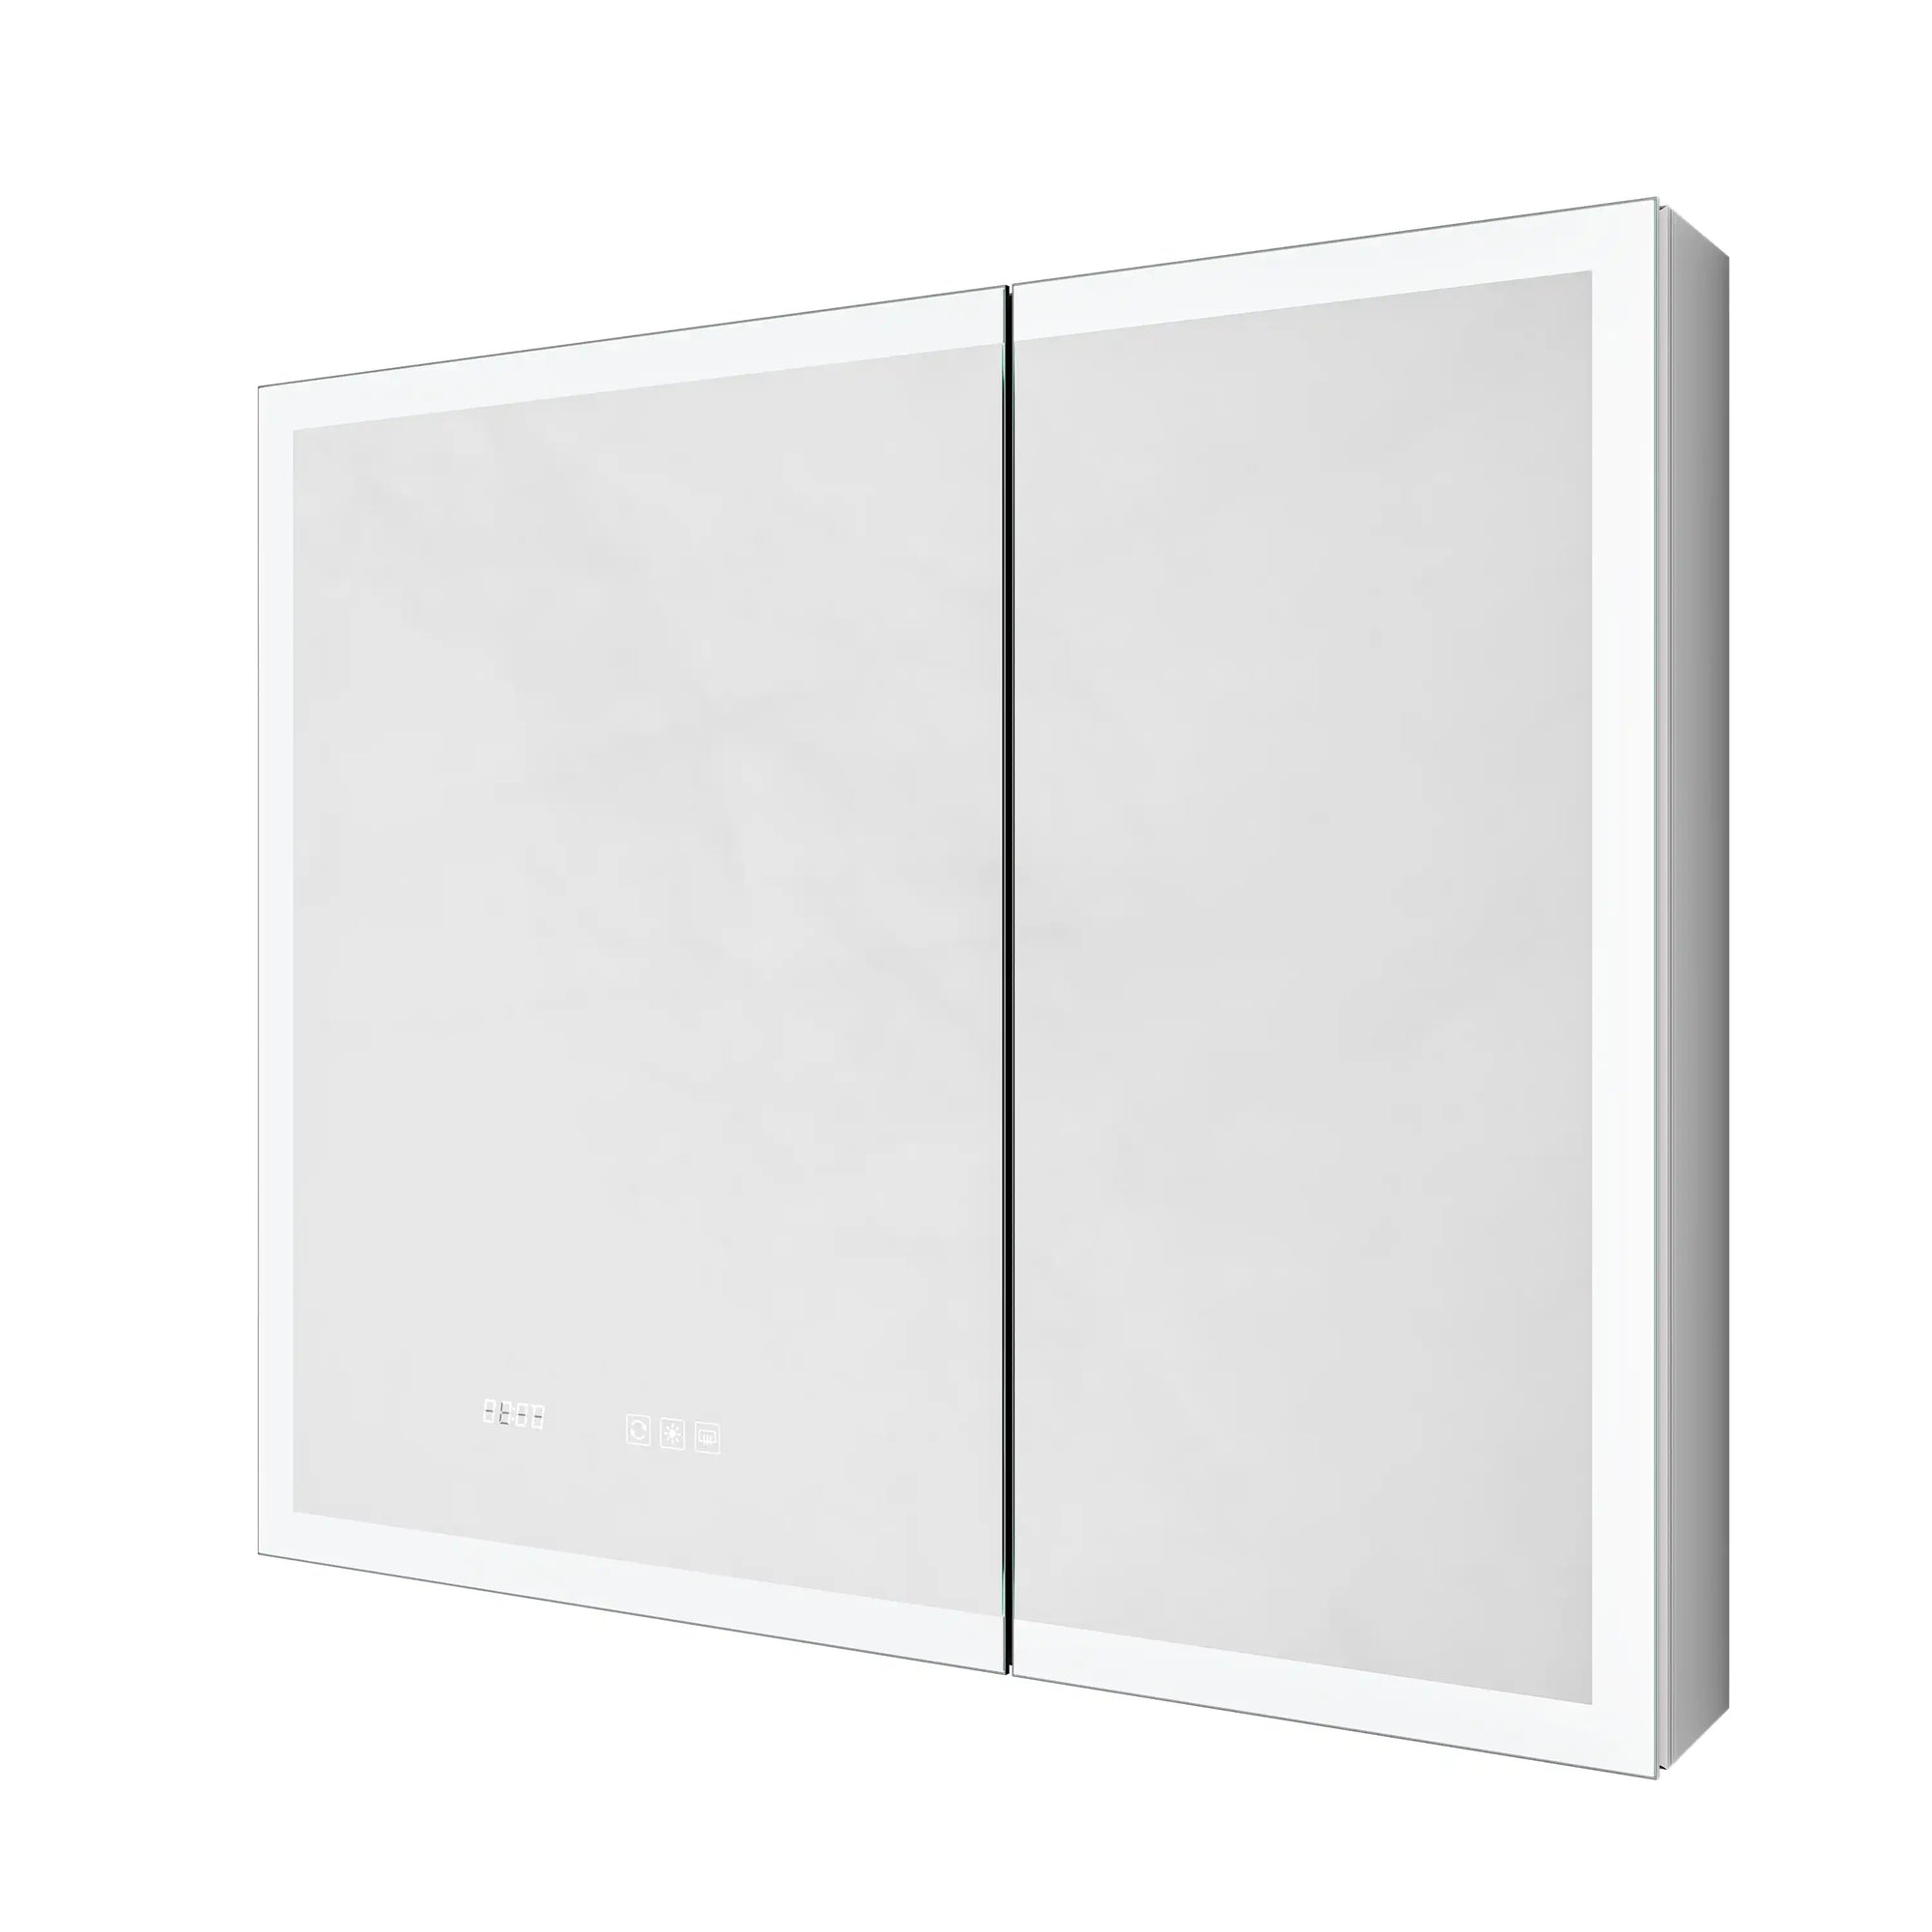
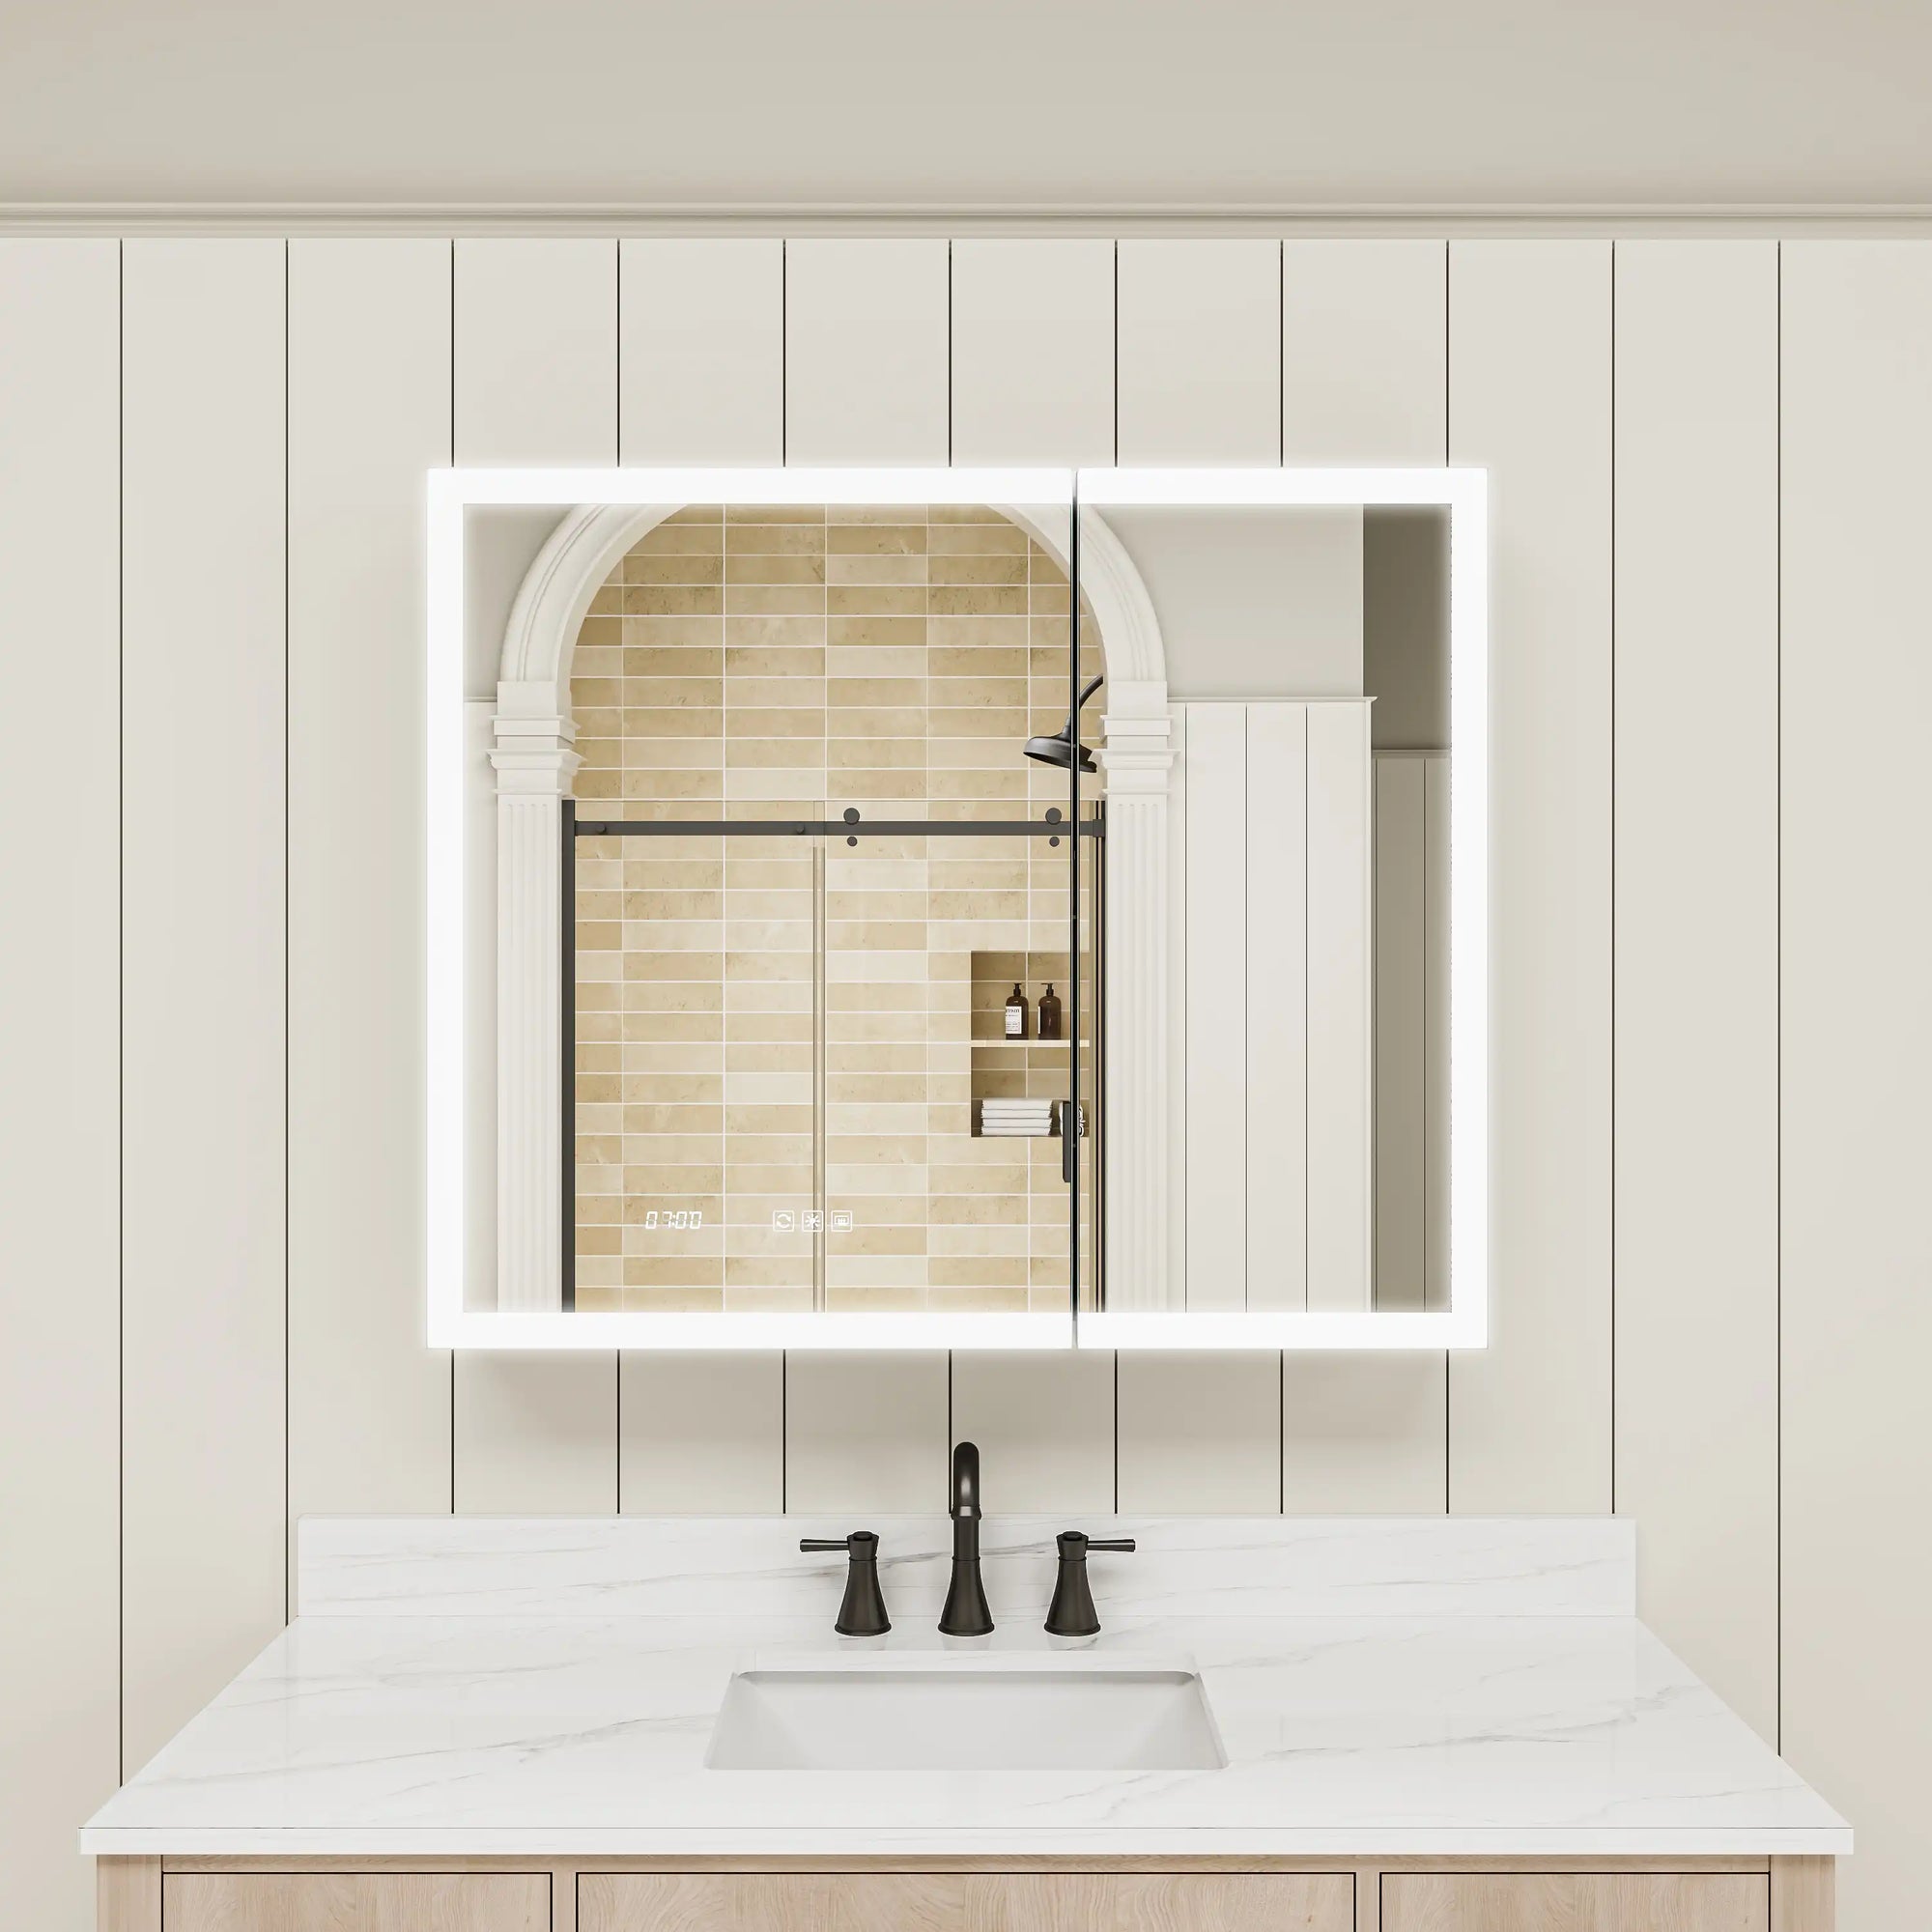
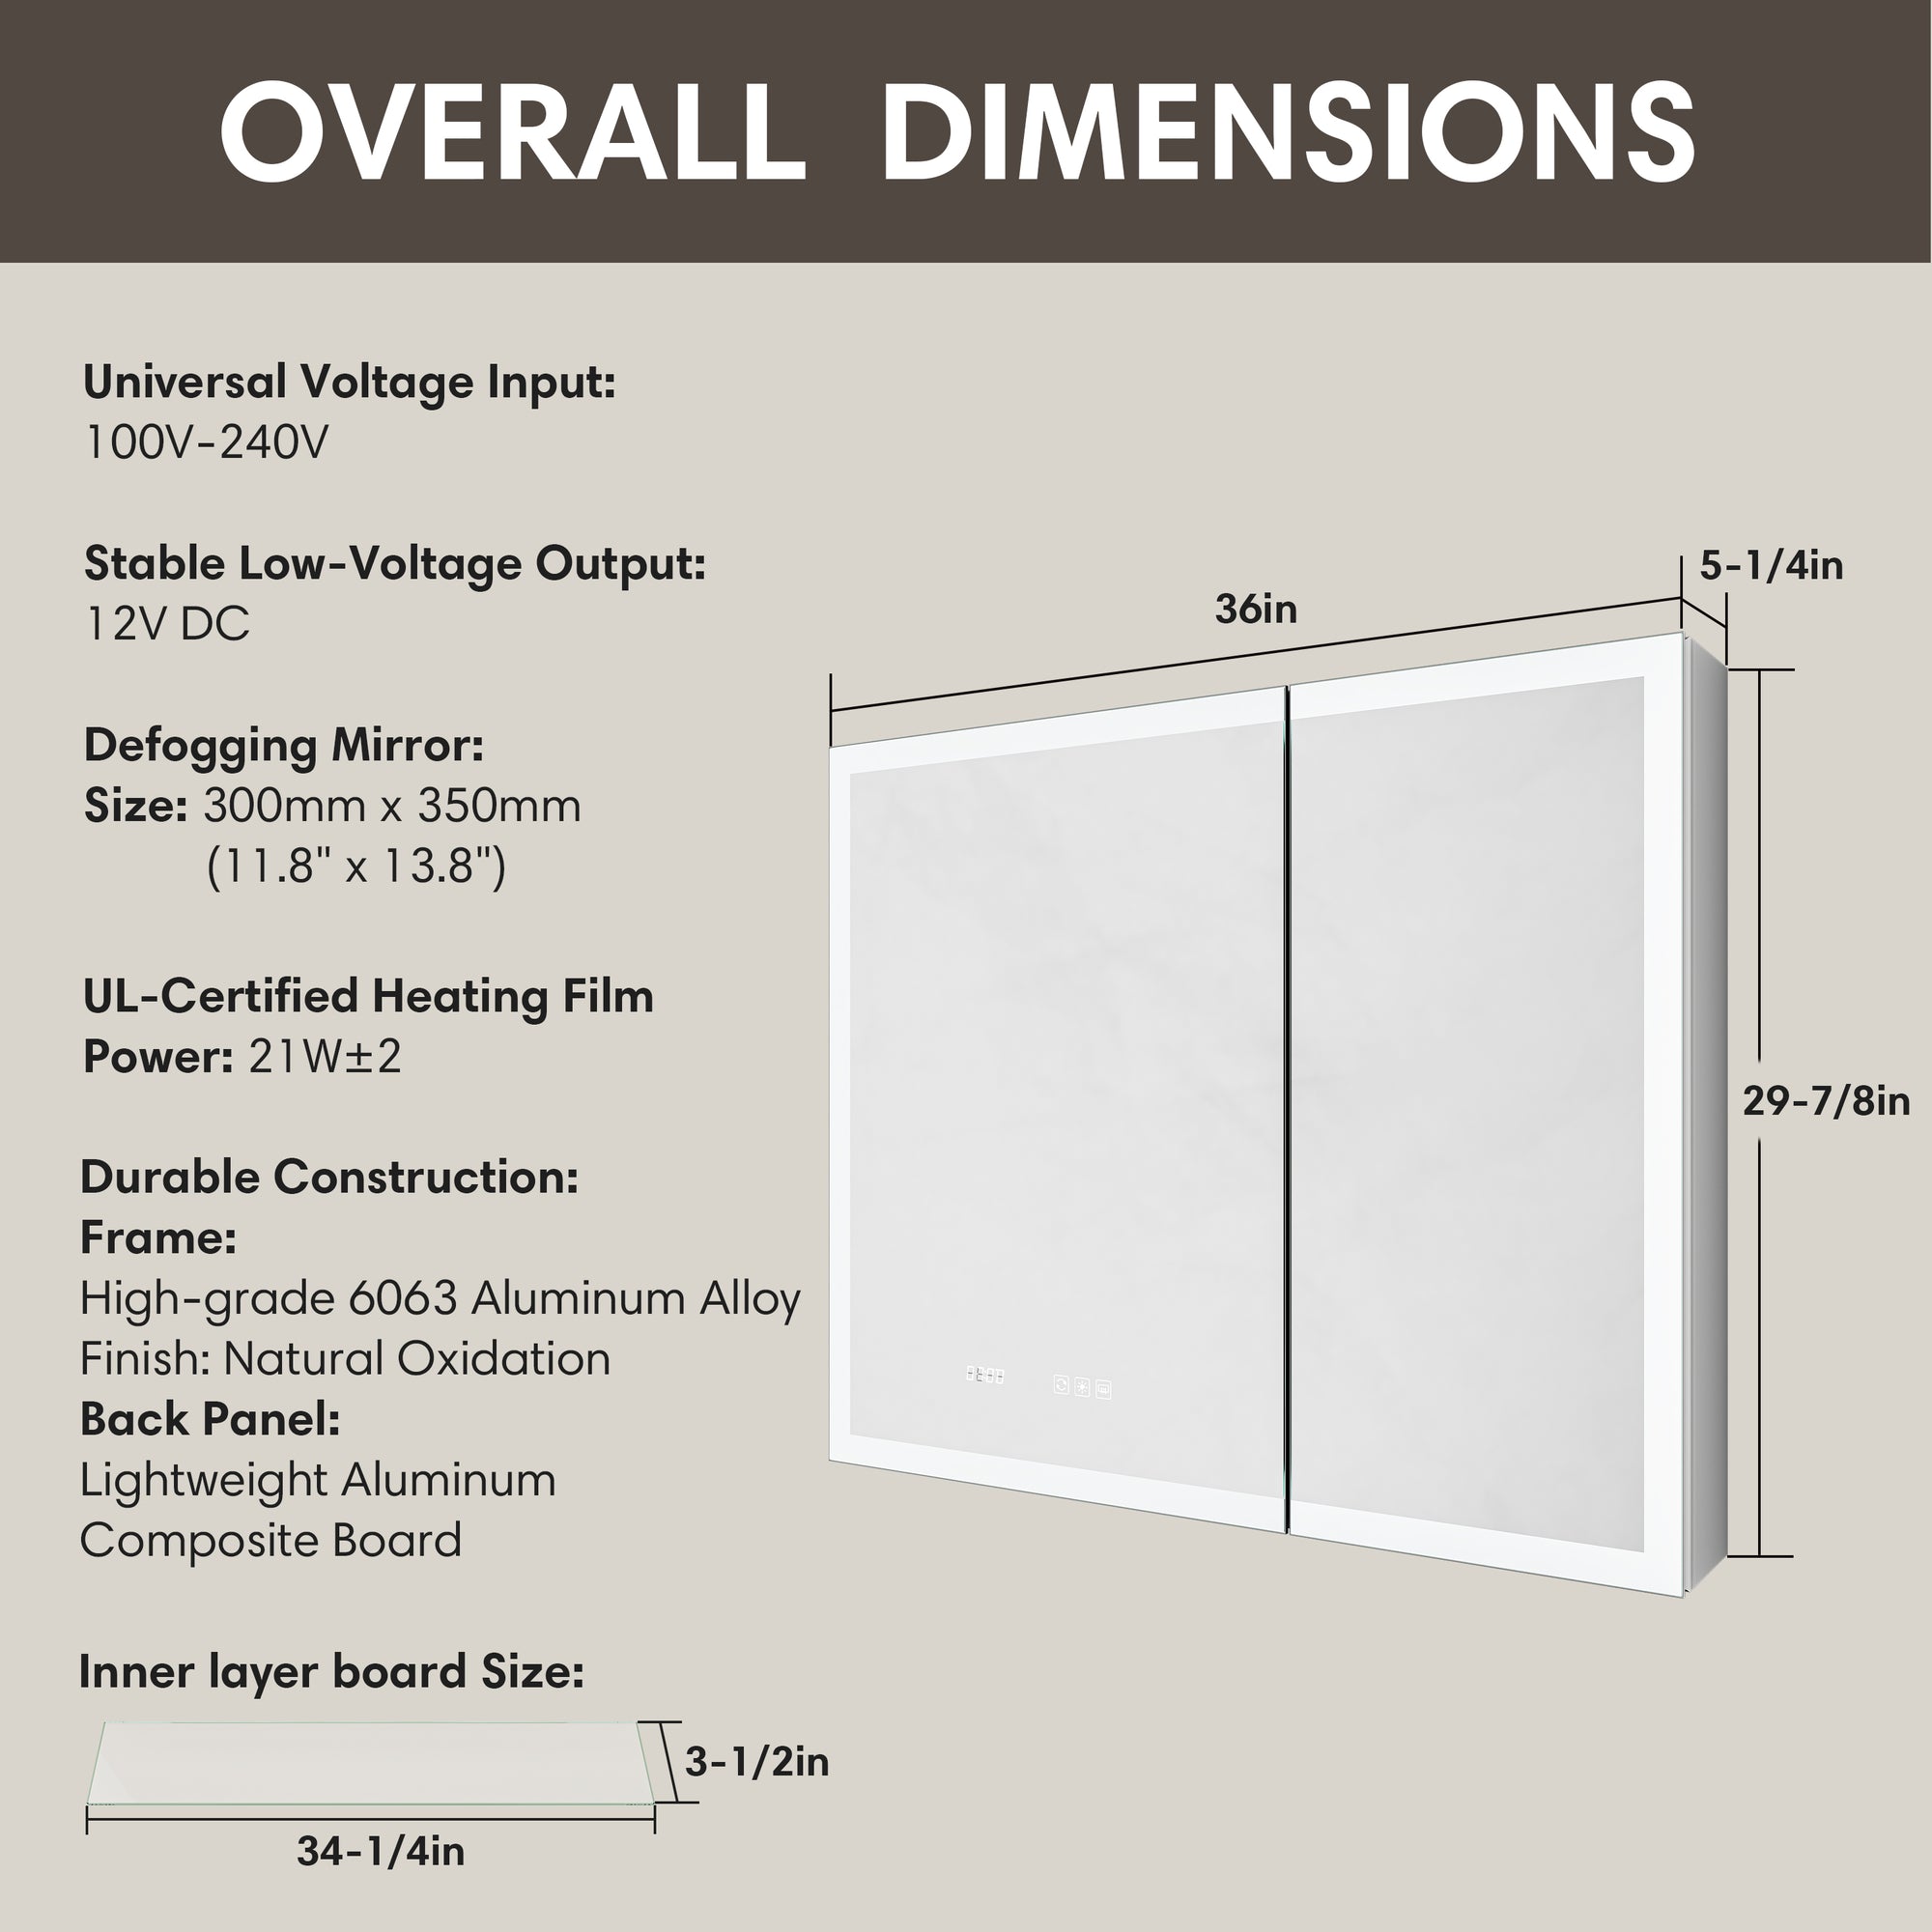
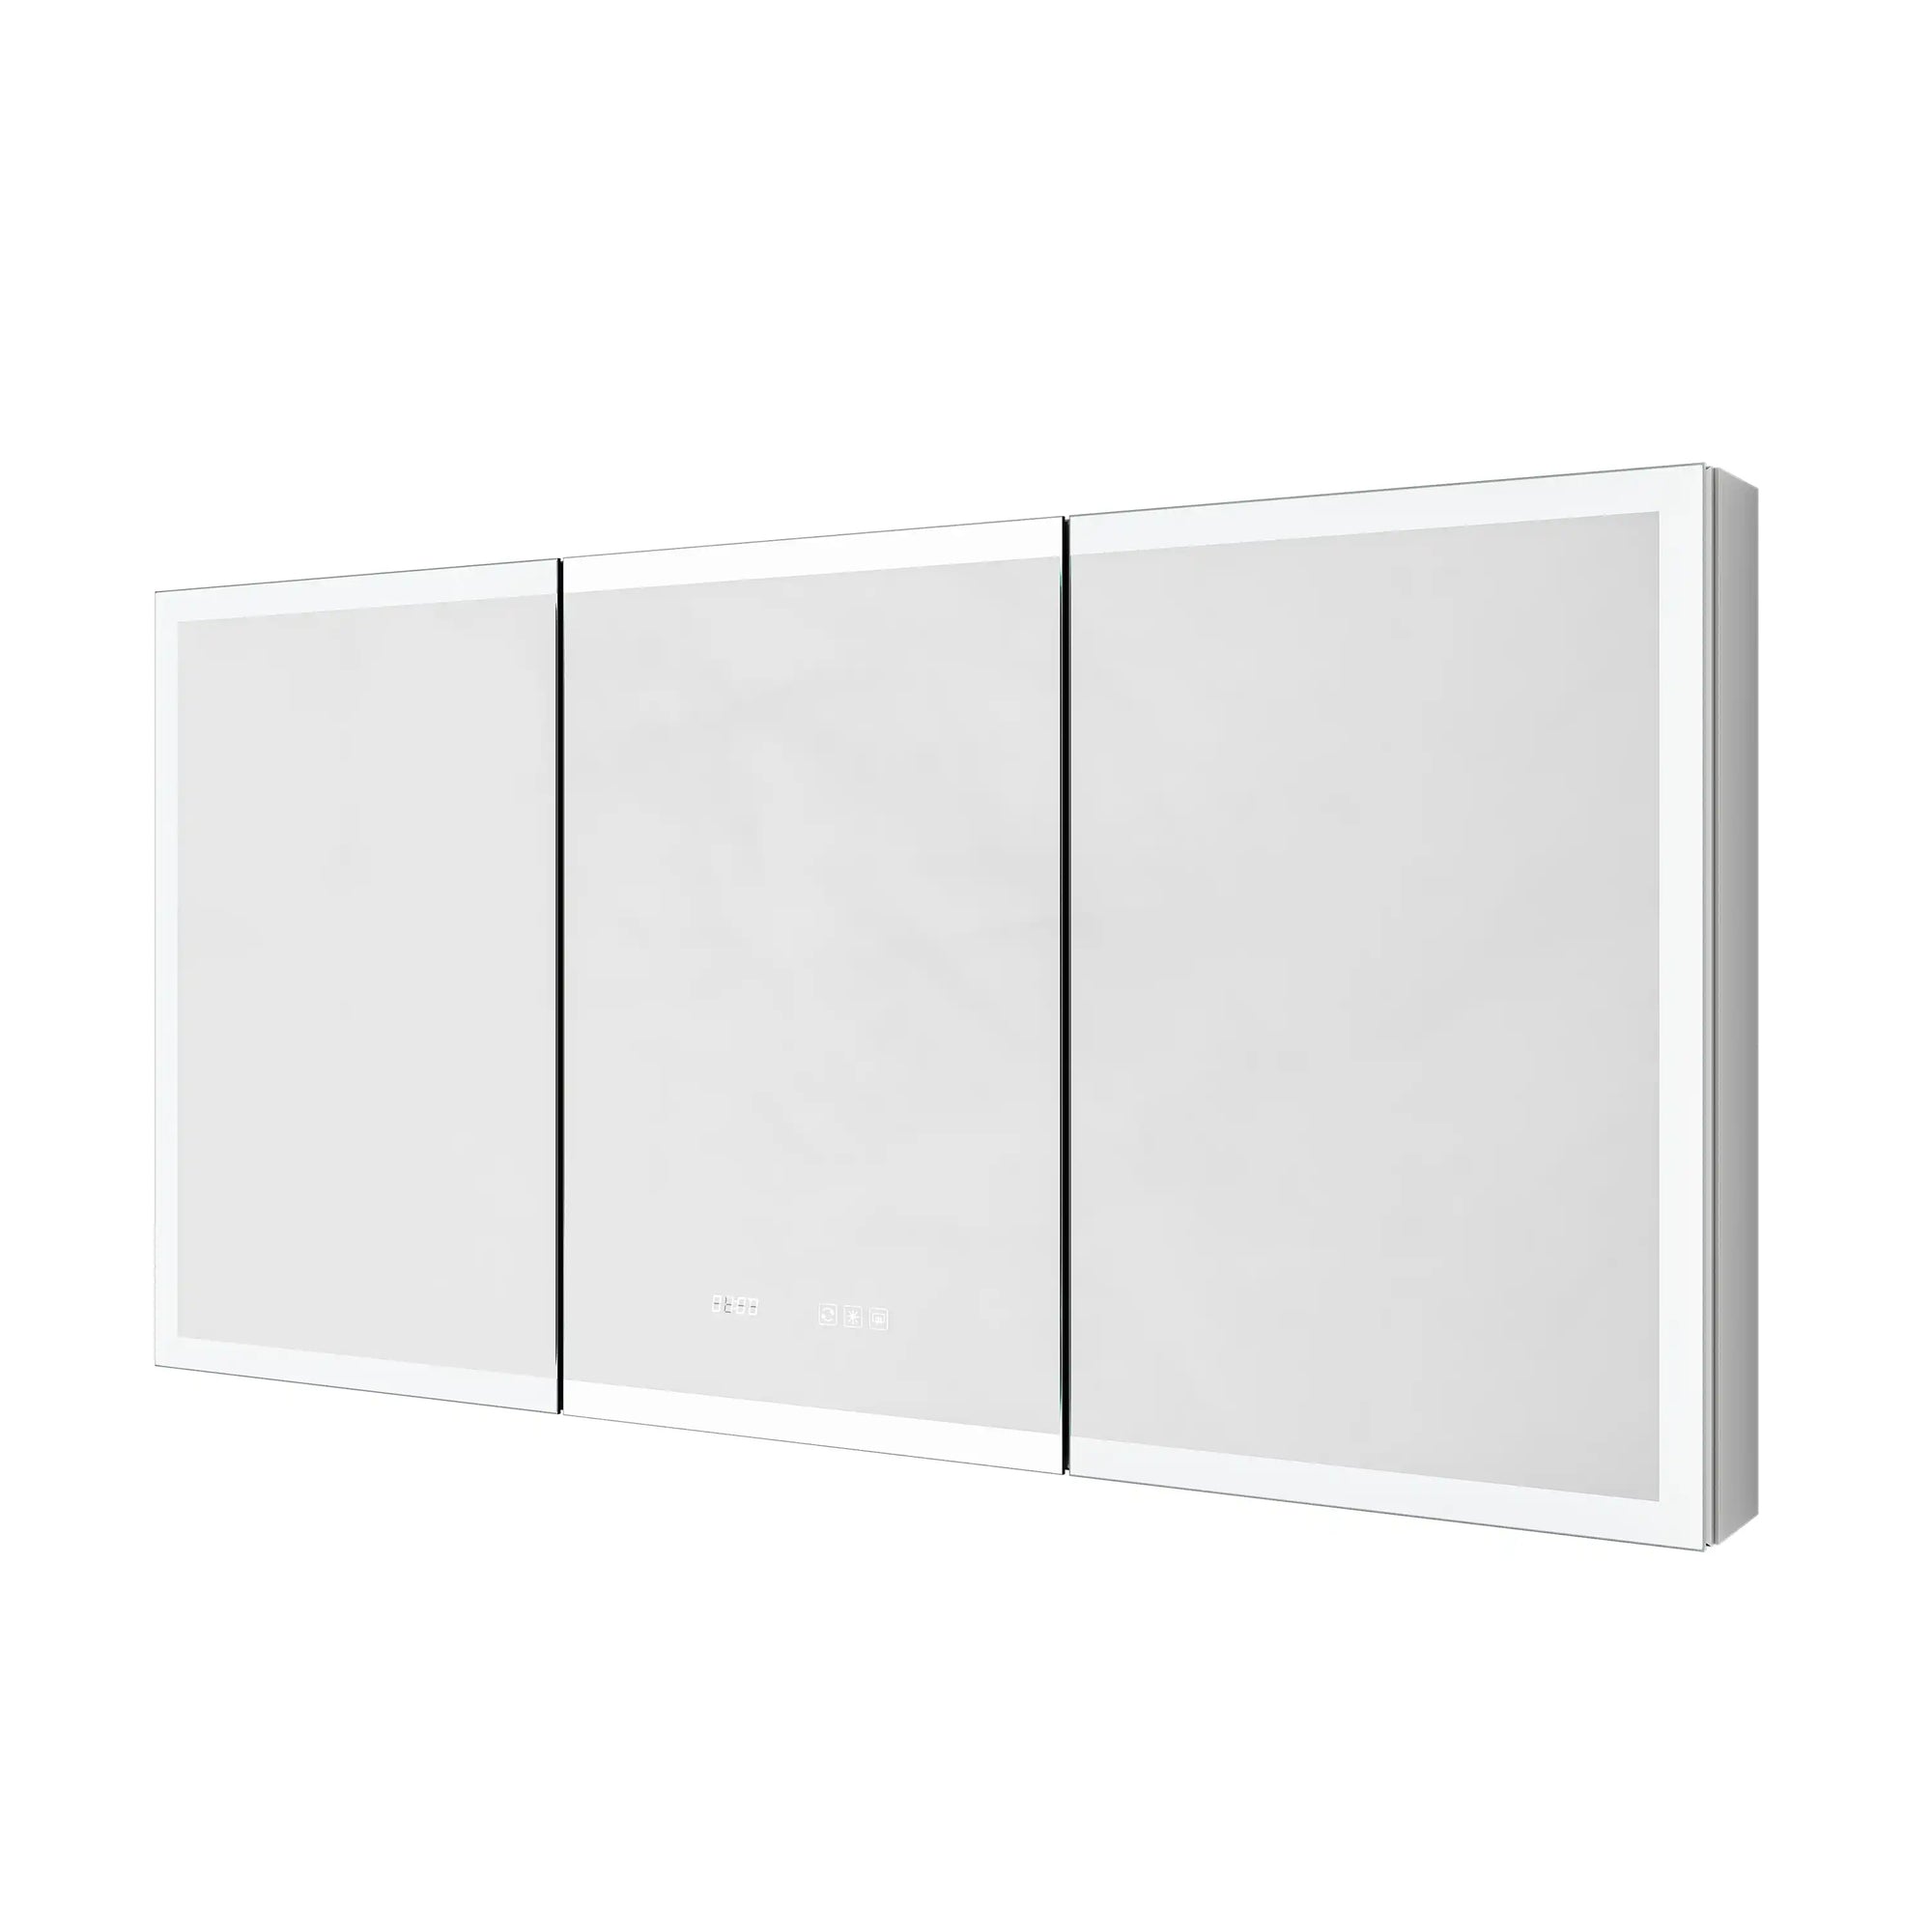
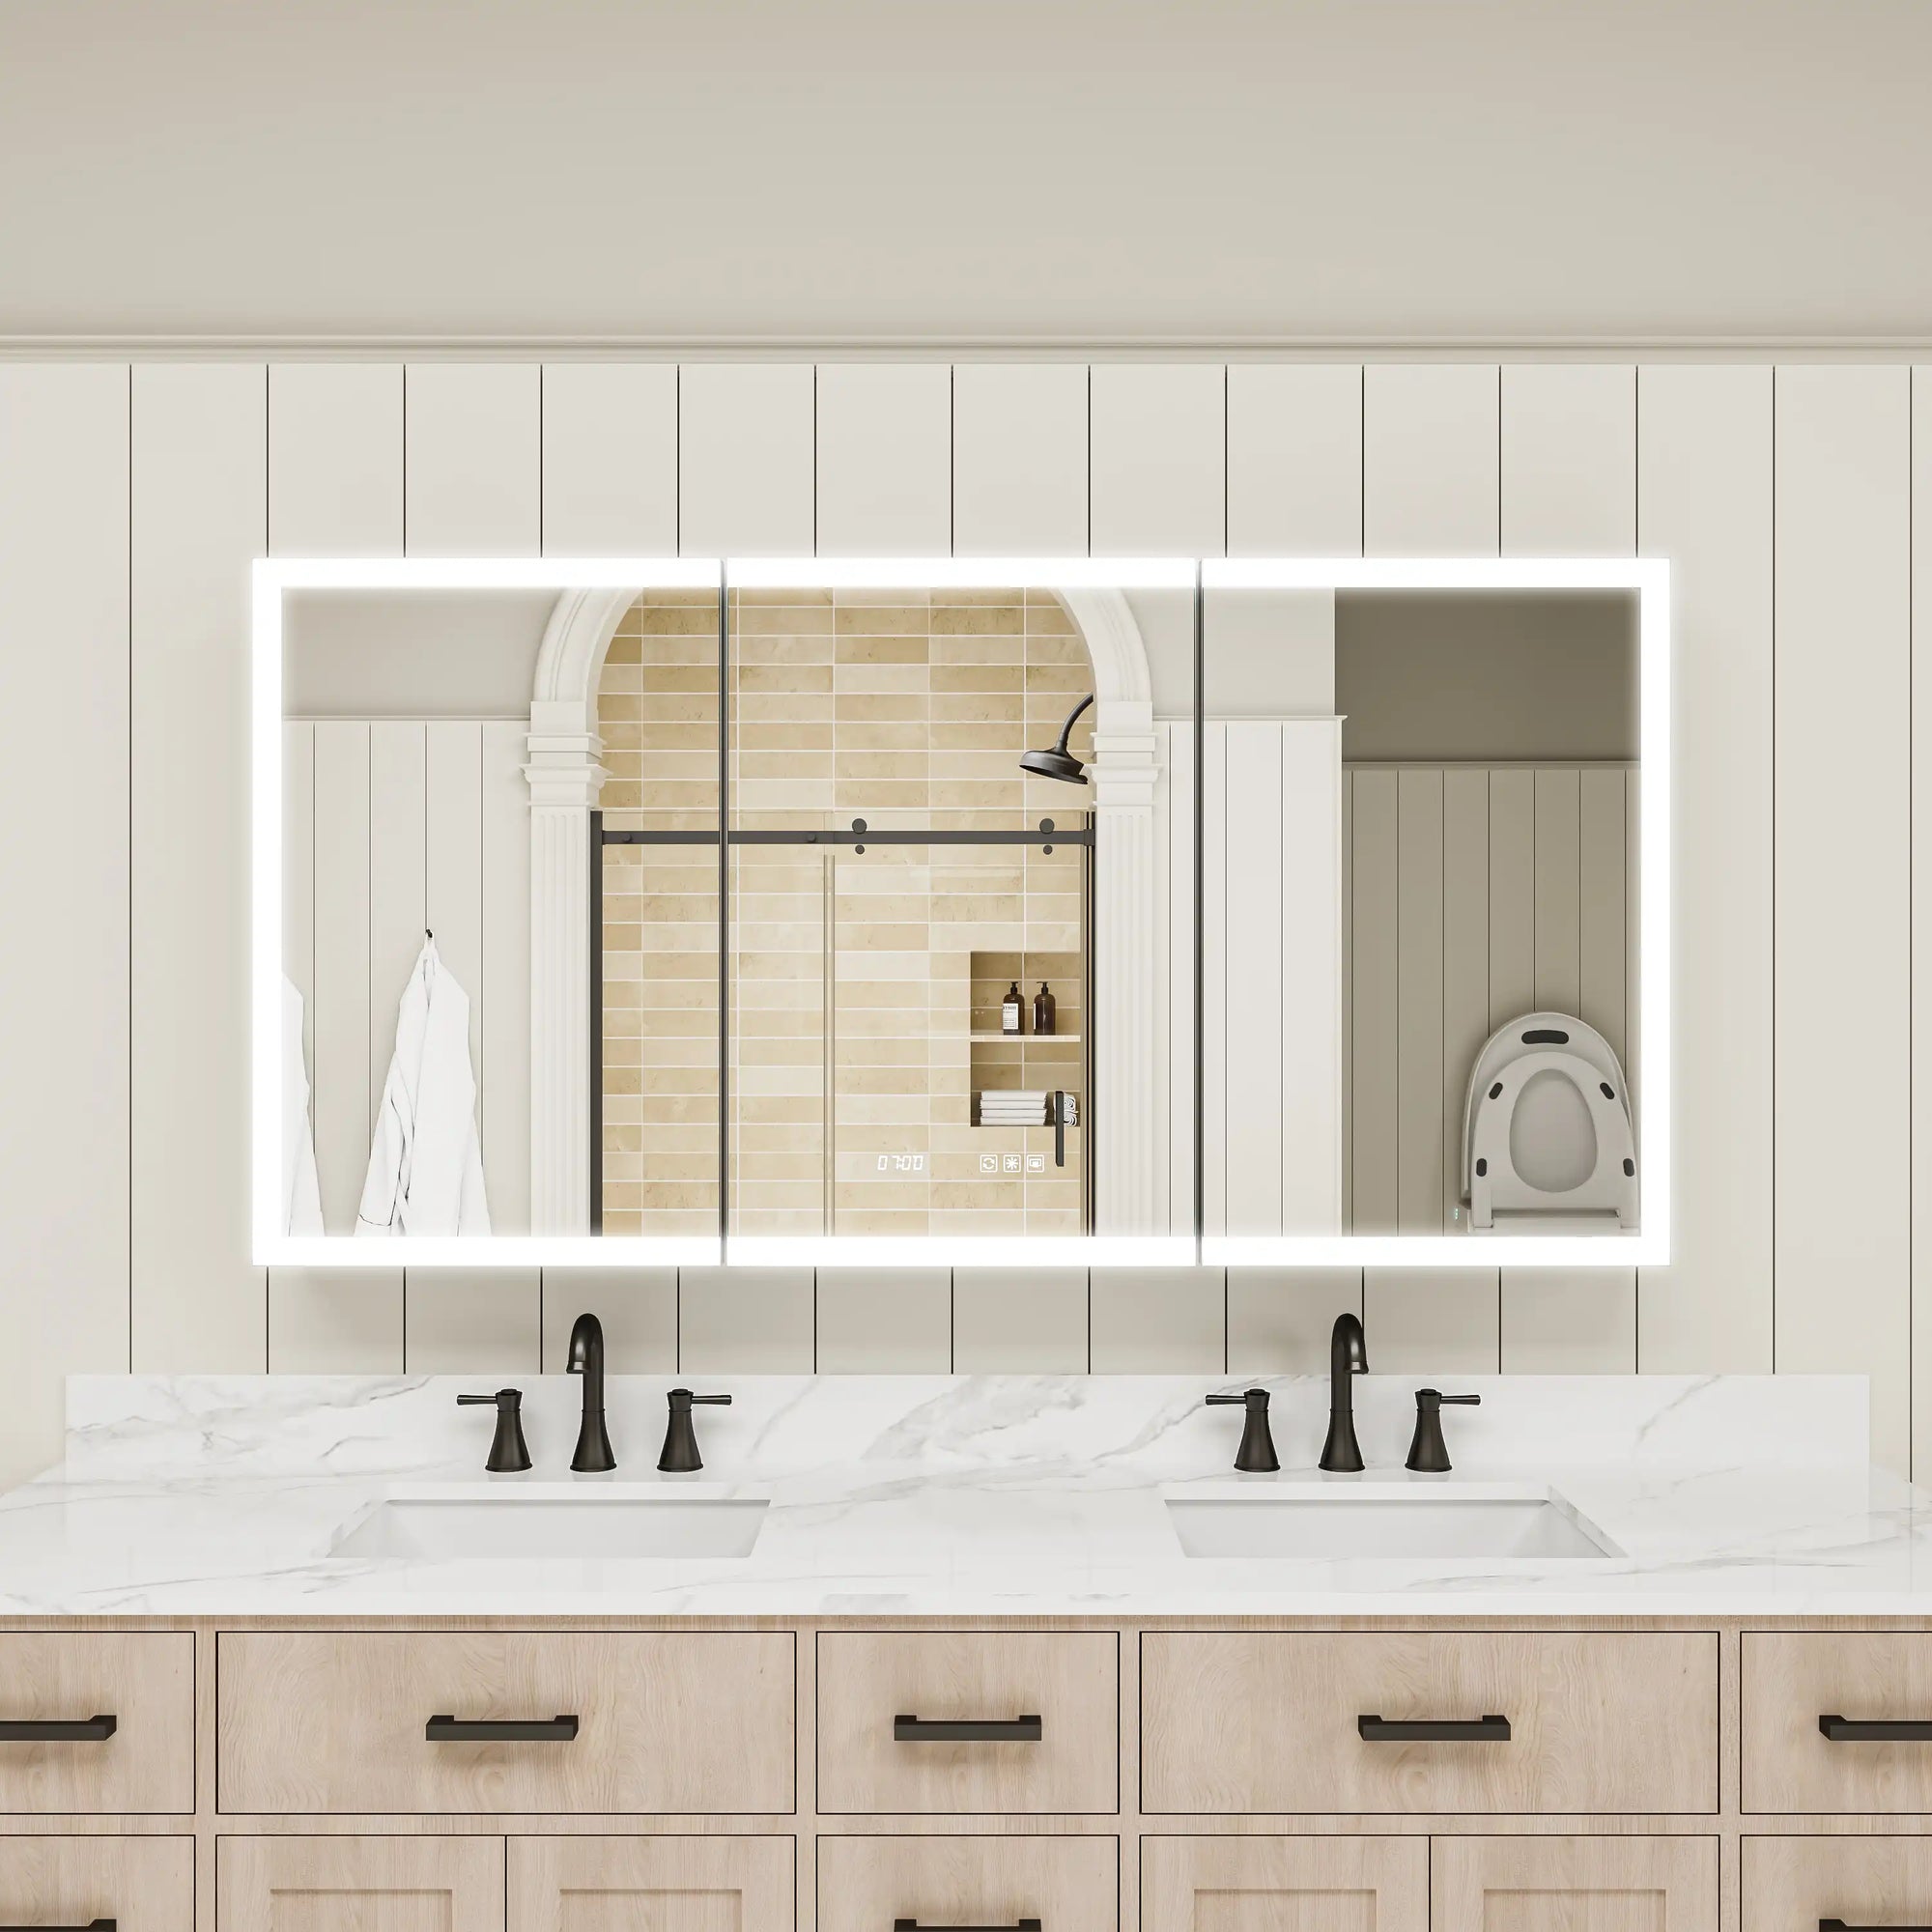
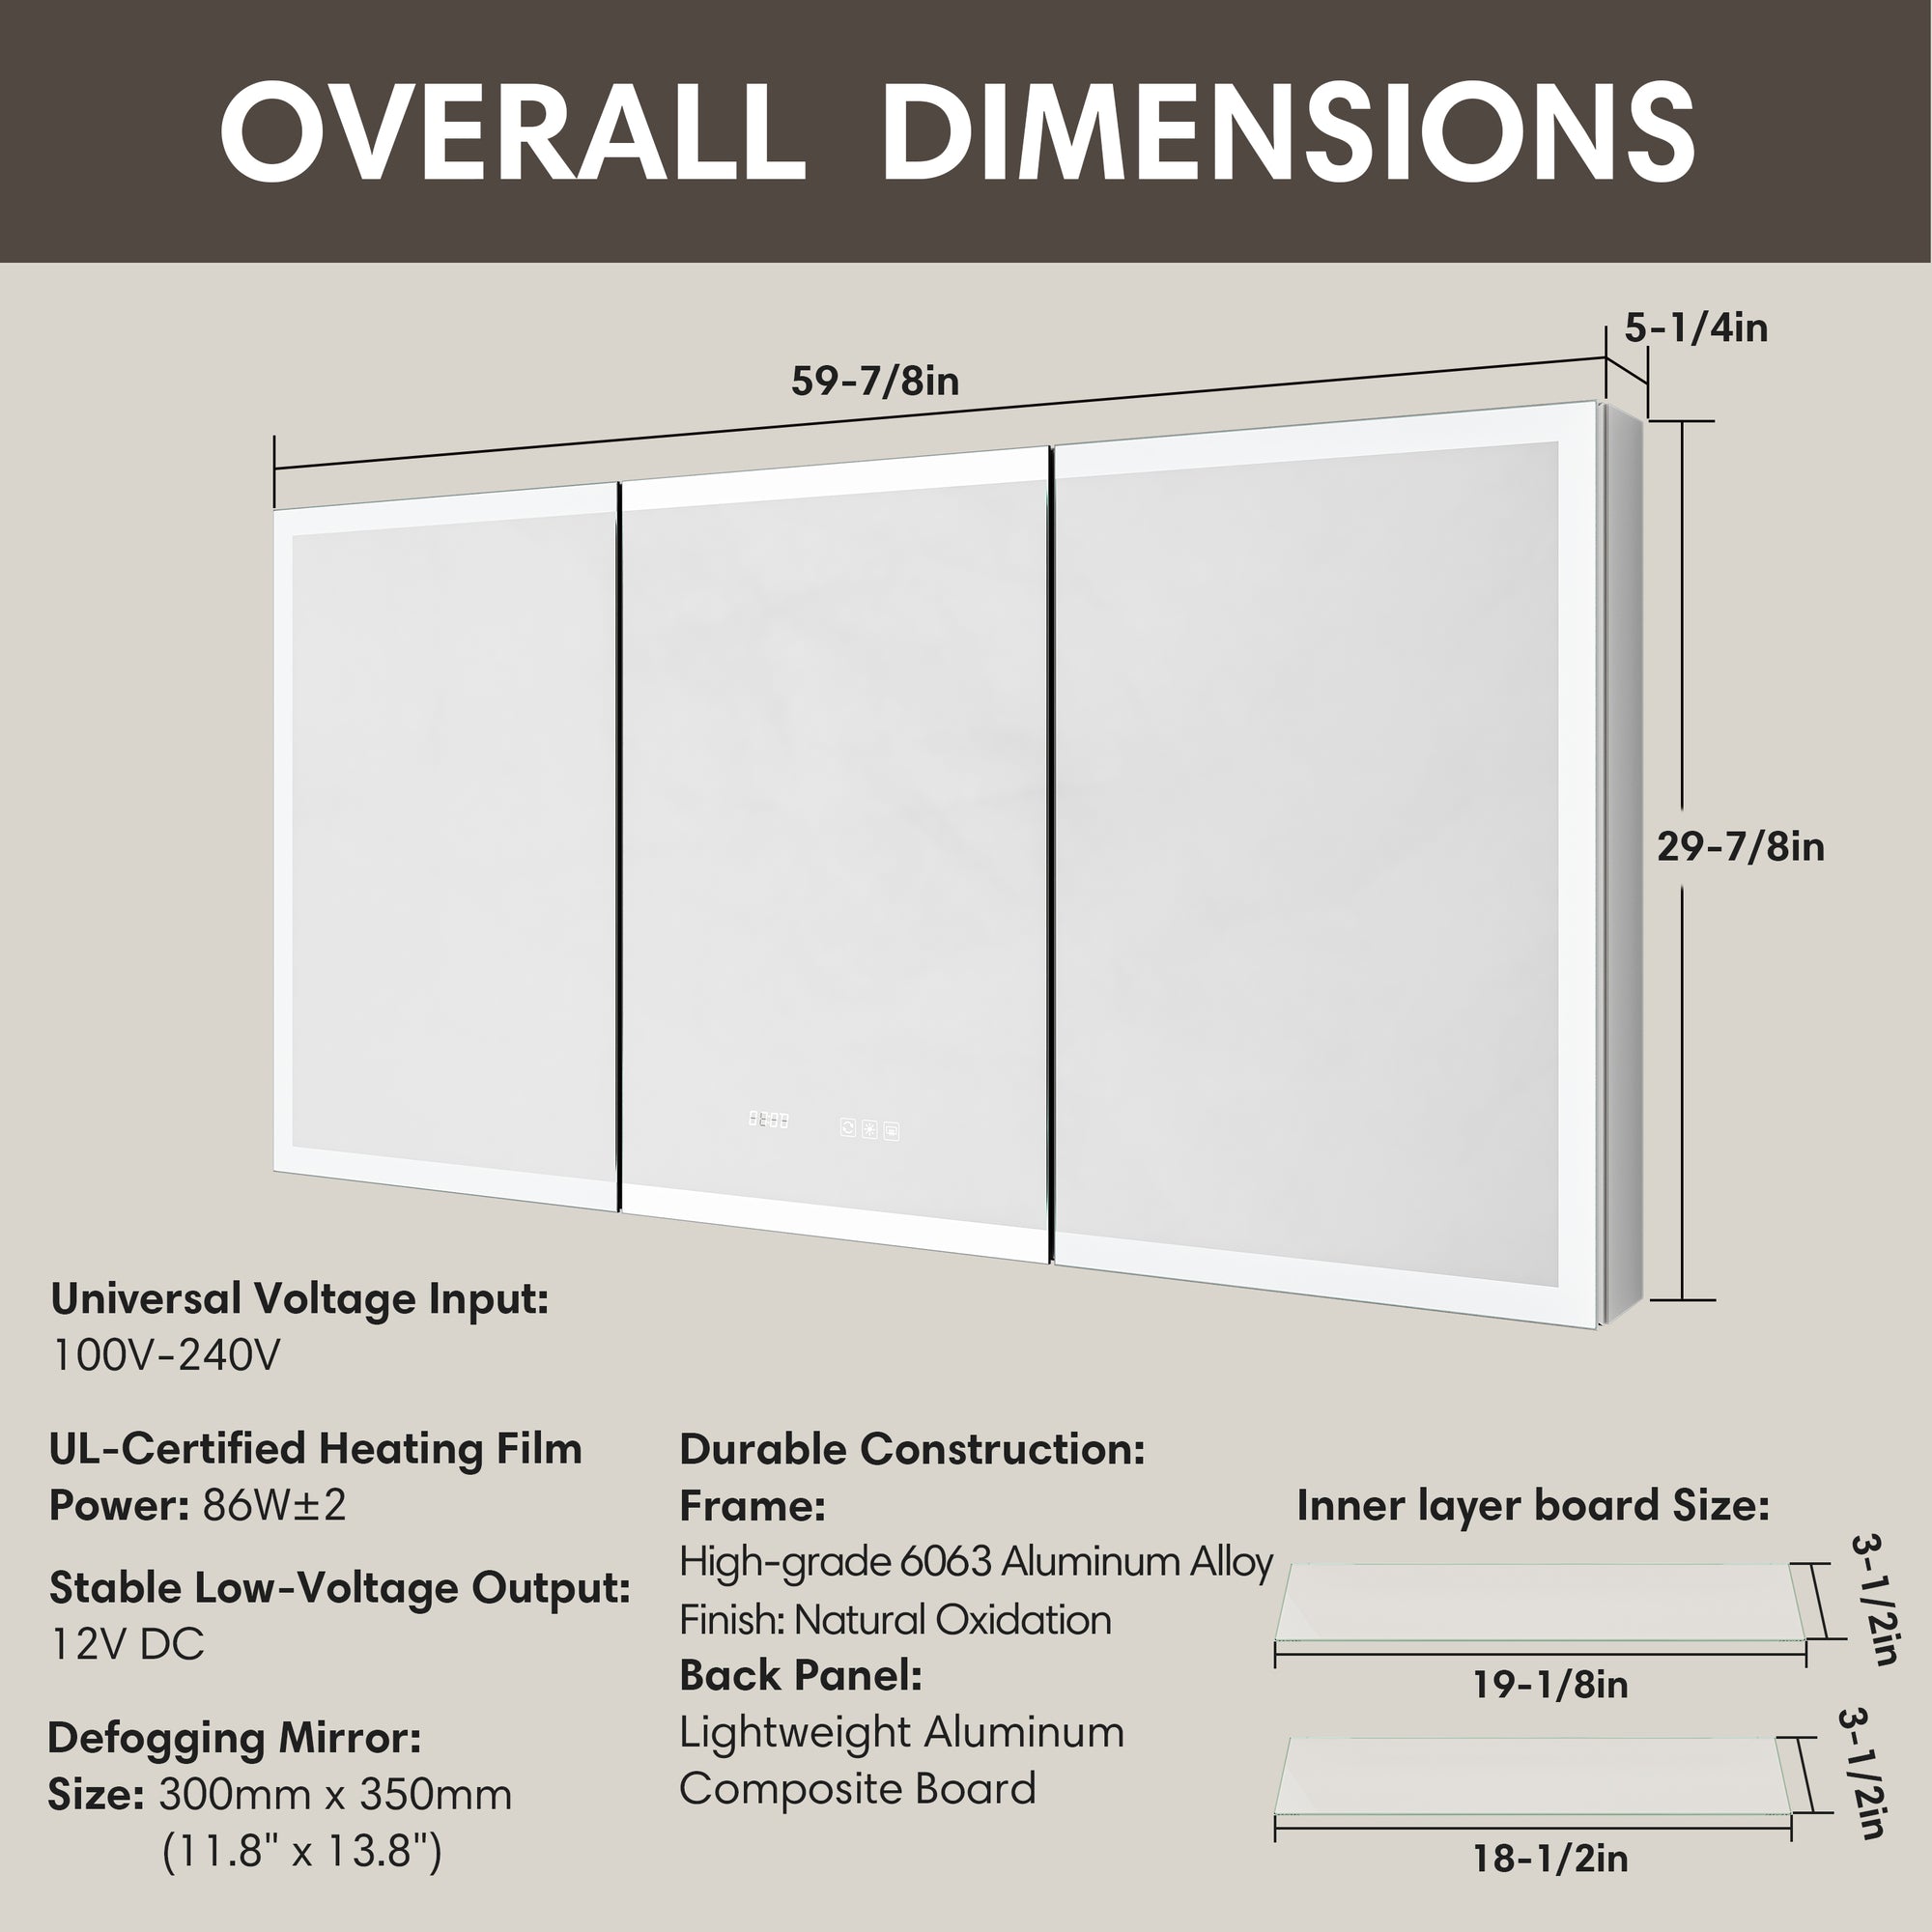
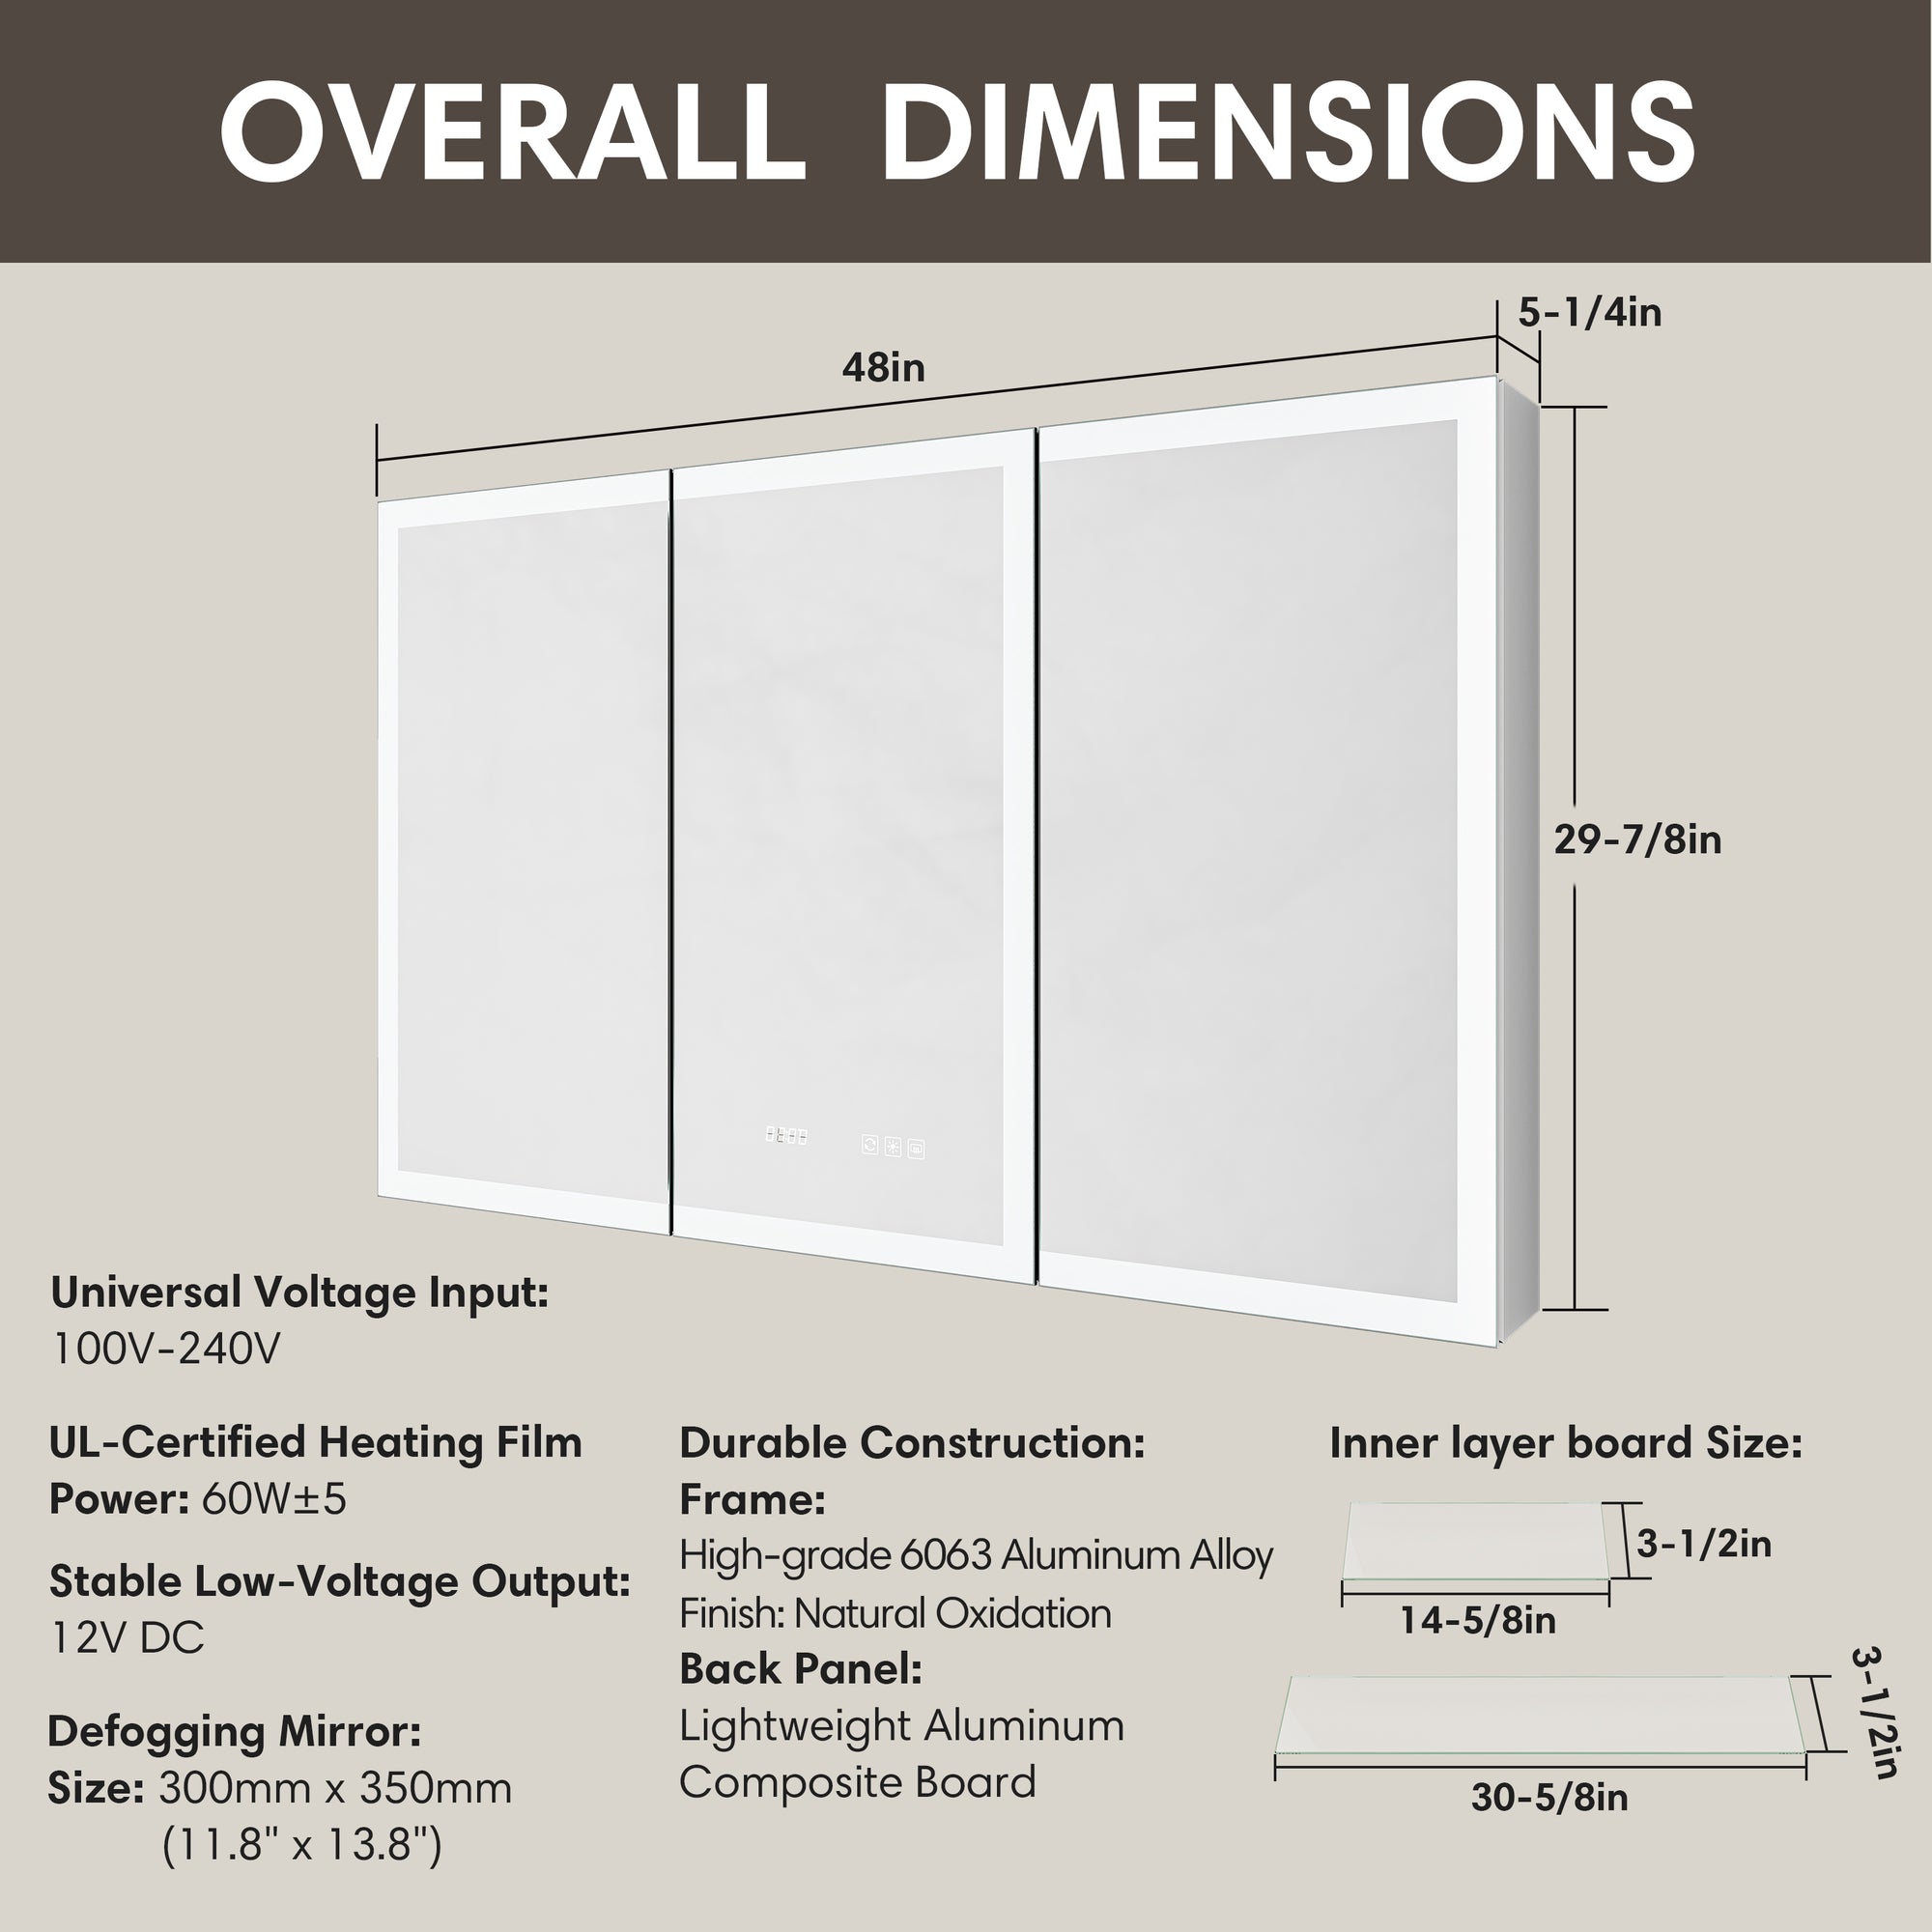
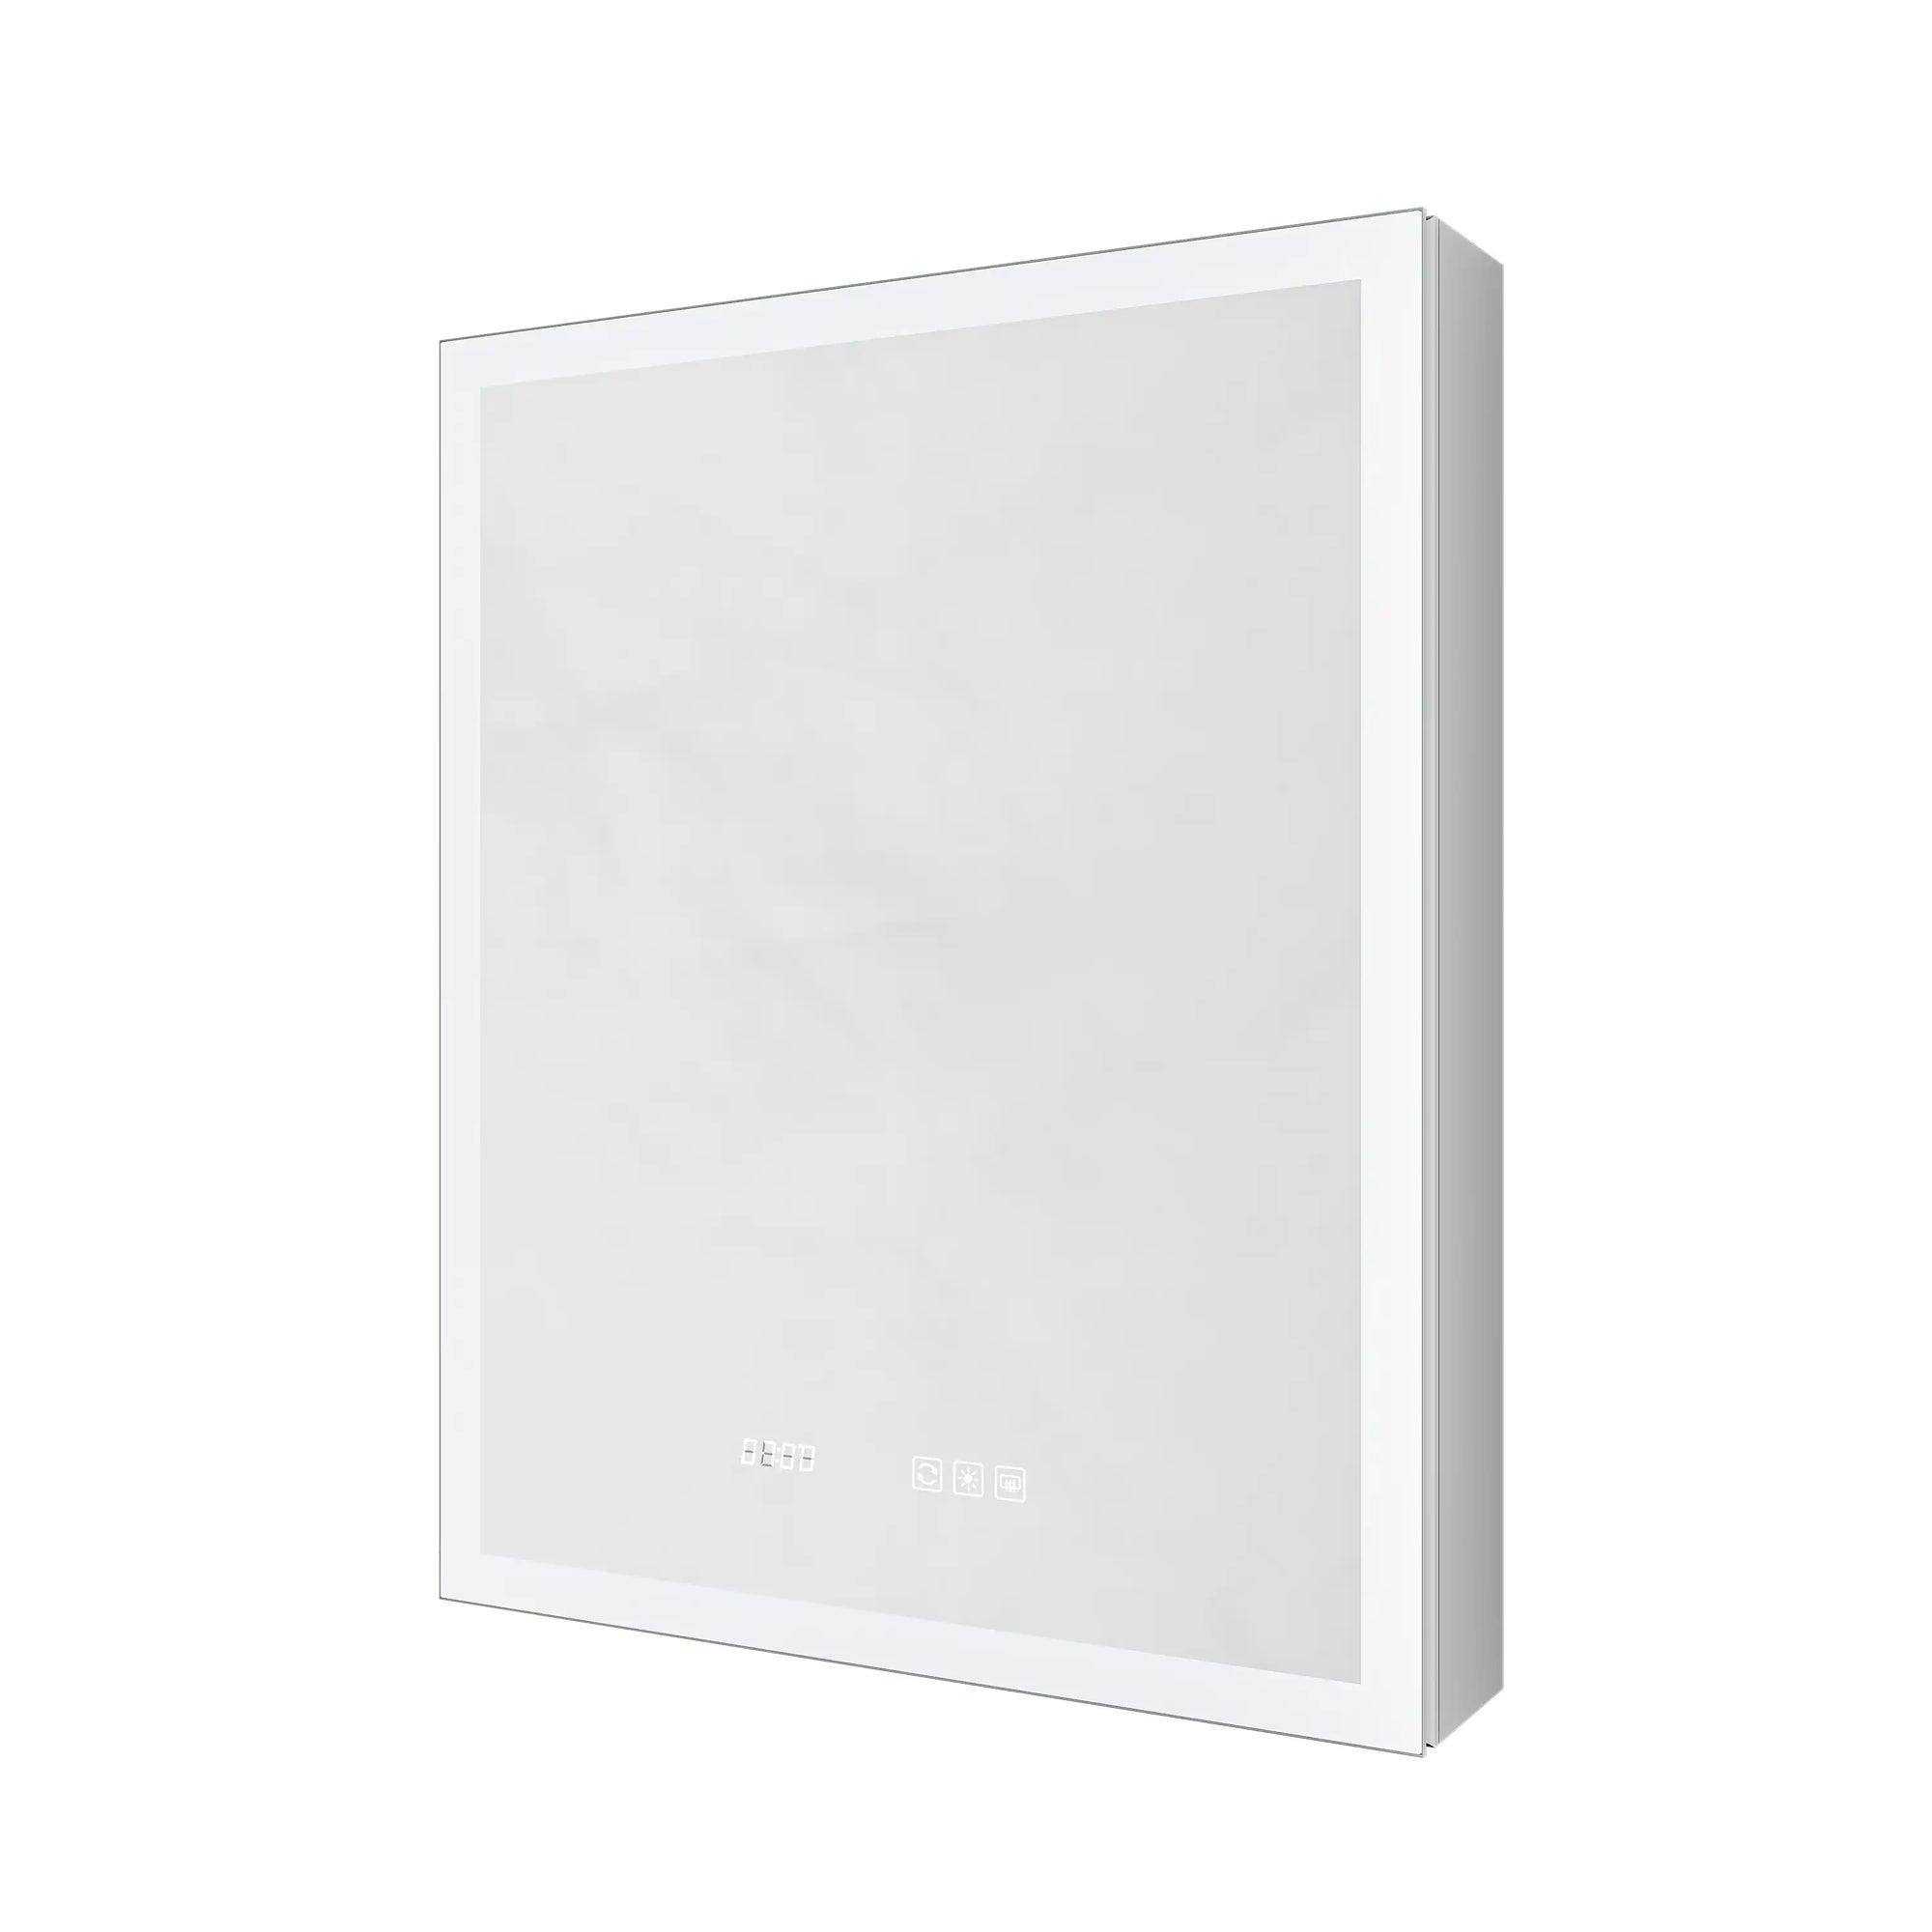
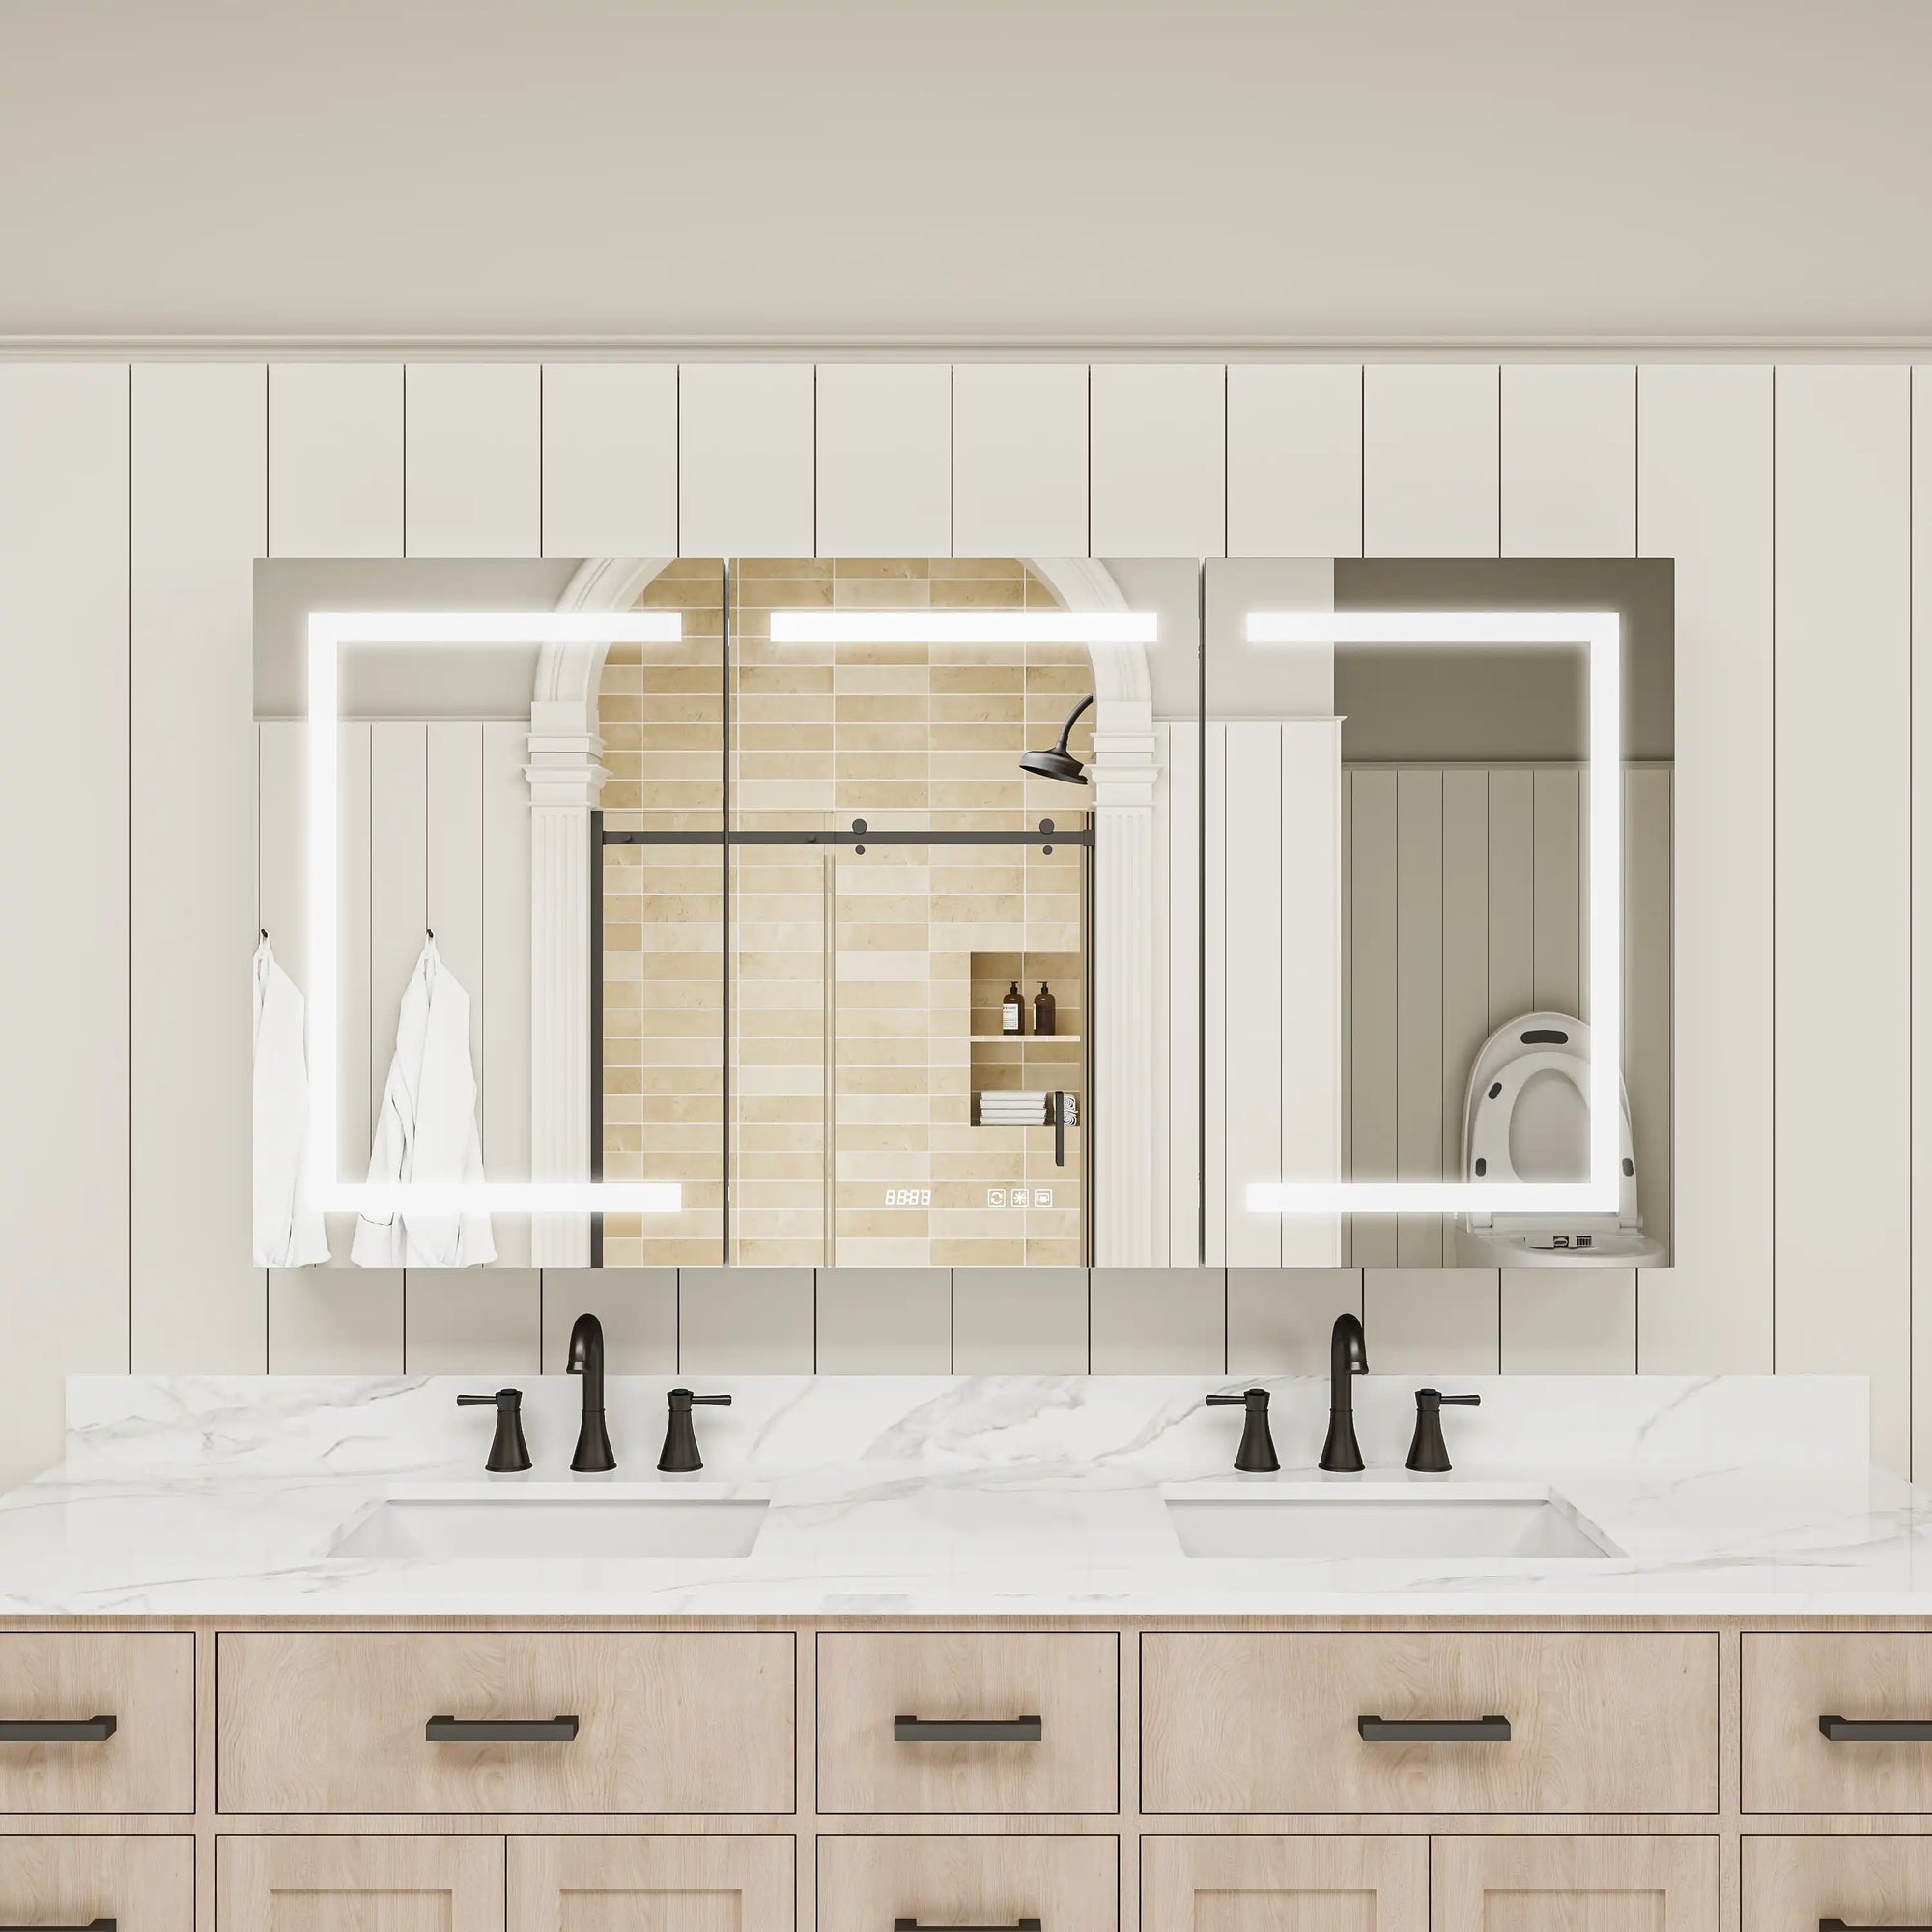
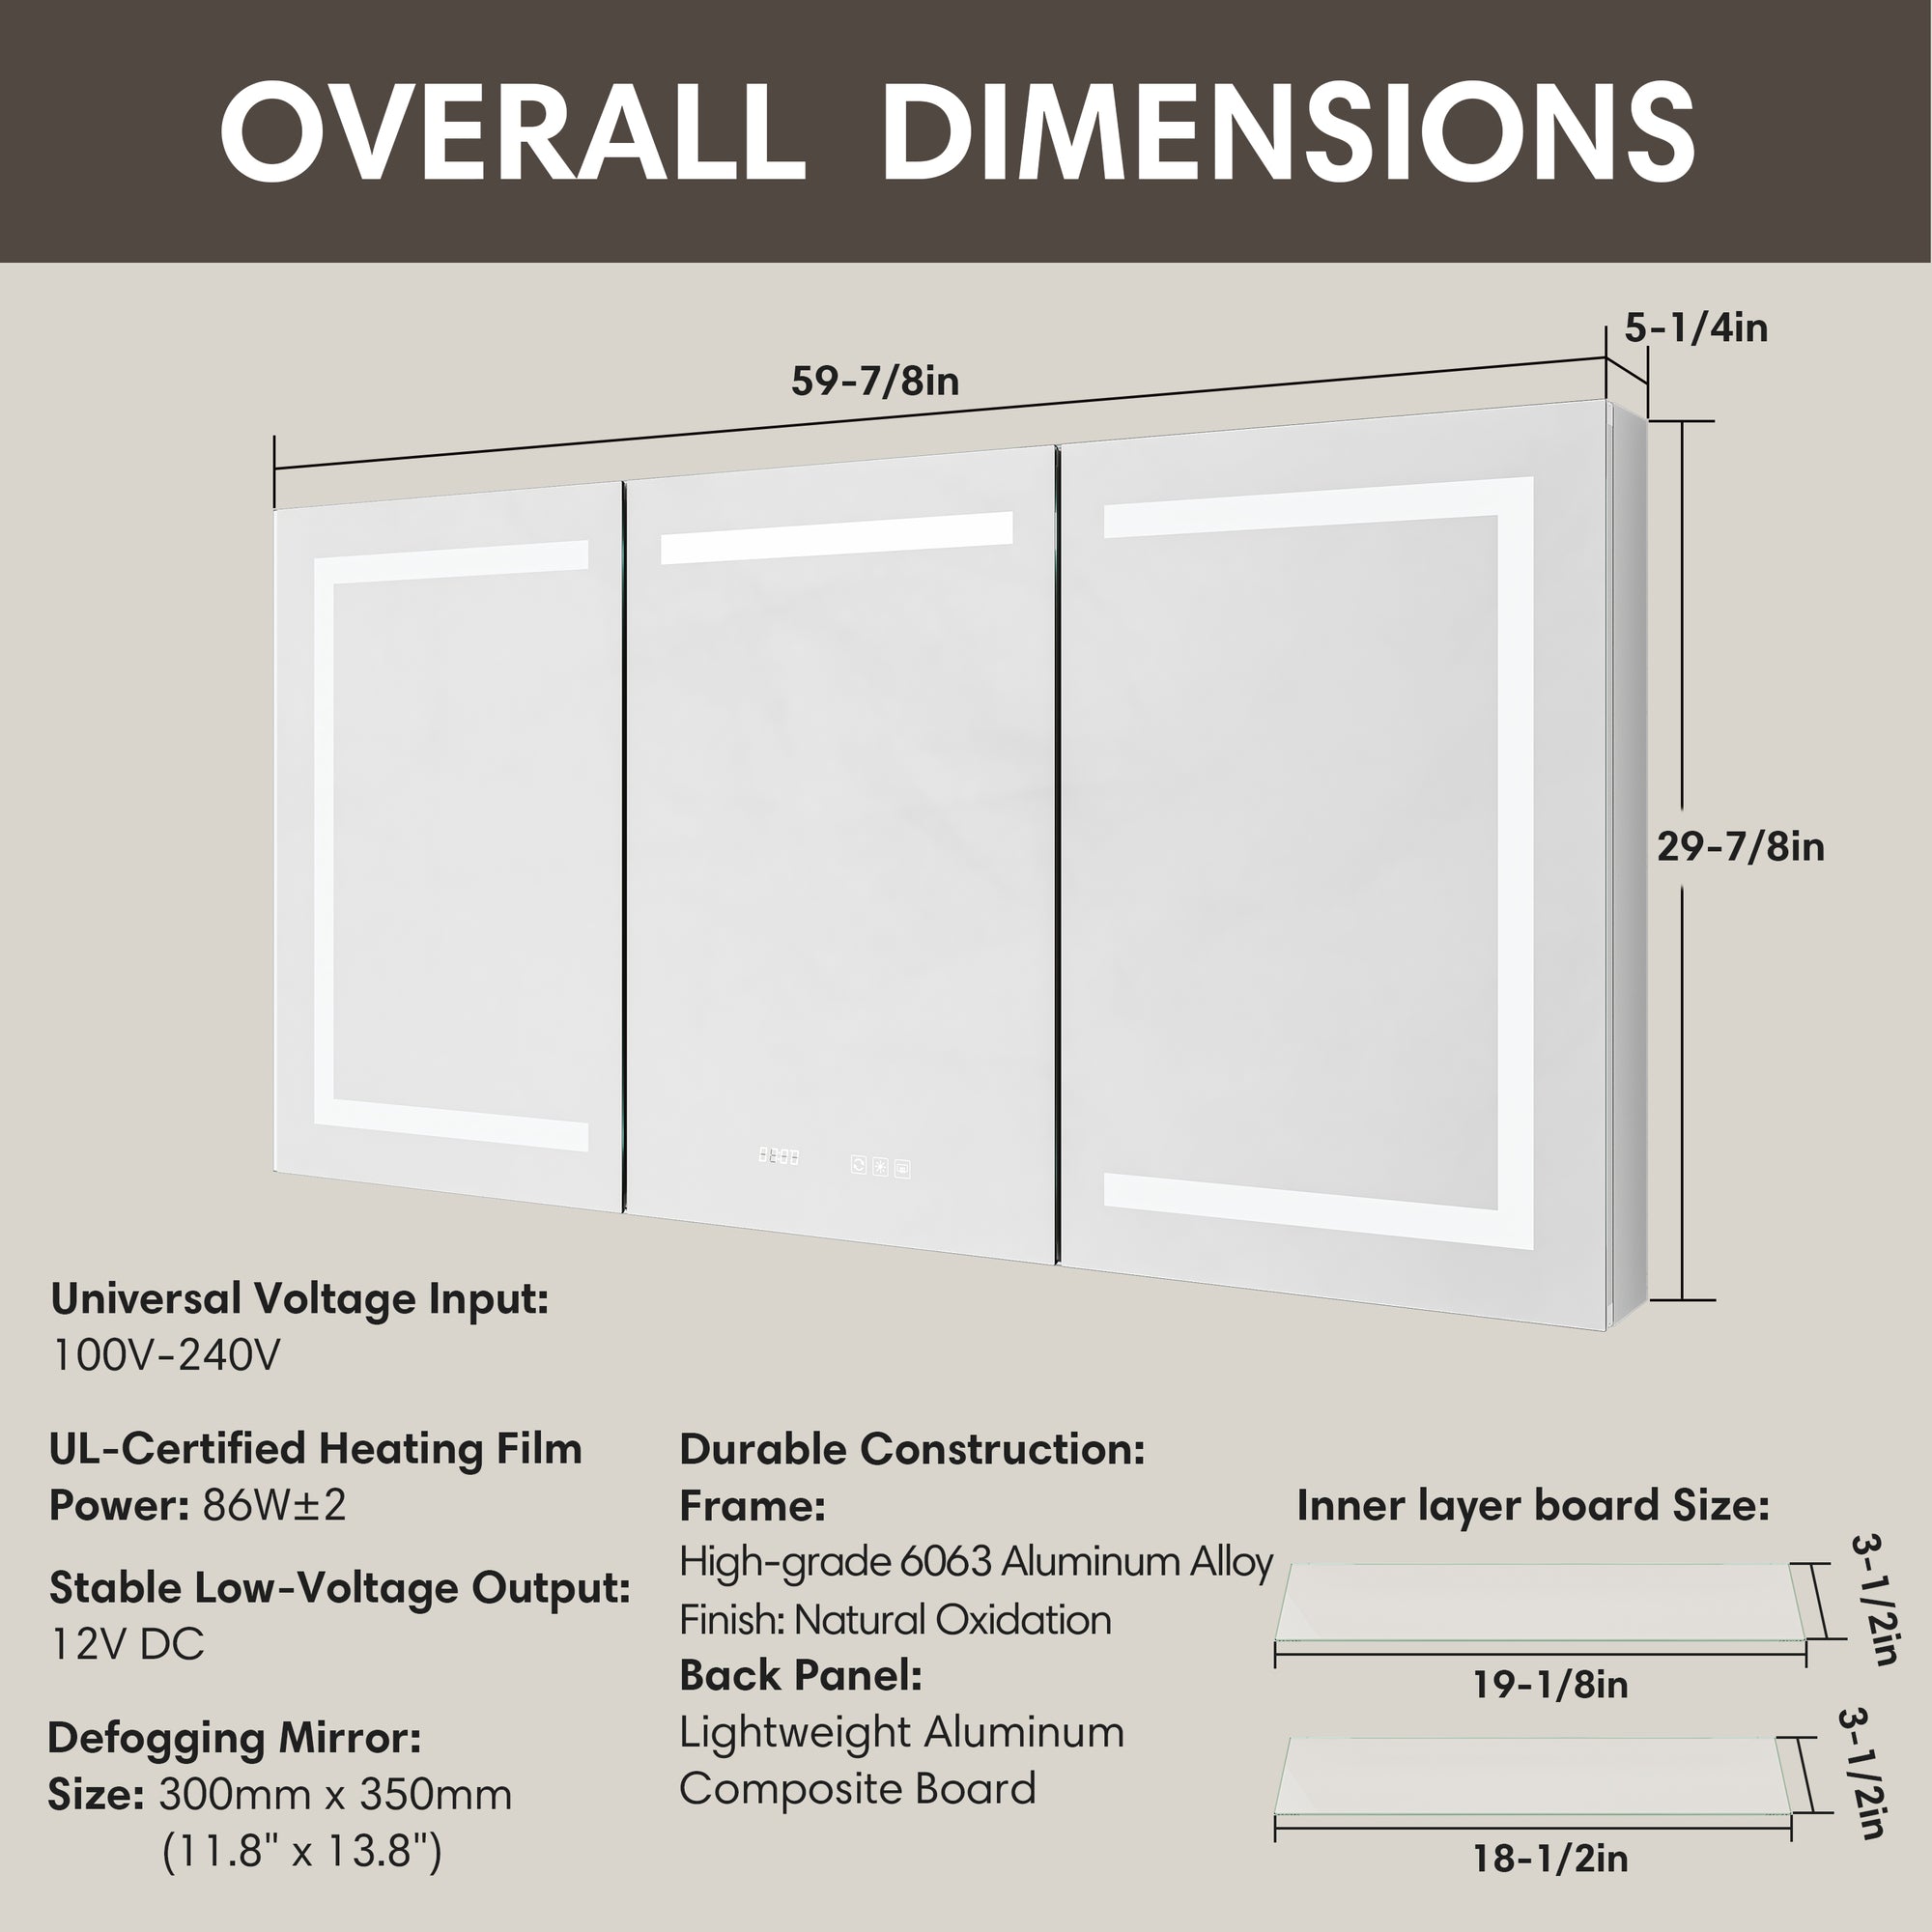
Prefer a Ready-Made Option?
If building a DIY medicine cabinet feels overwhelming, or if you simply prefer the convenience of a finished product, ACE DECOR offers a wide range of ready-made medicine cabinets.
Available in multiple sizes and styles, these cabinets feature modern functions such as integrated LED lighting, anti-fog technology, digital time and temperature displays, and high-power outlets for everyday appliances. Choosing a pre-built solution ensures durability, professional craftsmanship, and the benefit of contemporary features that elevate your bathroom experience.
Conclusion
Building your own DIY medicine cabinet is an opportunity to combine creativity, craftsmanship, and practicality. From planning dimensions and selecting materials to assembling and installing the unit, the process allows you to create a piece tailored to your bathroom’s unique needs. For those who enjoy hands-on projects, the sense of accomplishment is just as rewarding as the functional storage. However, for homeowners who value efficiency and modern technology, exploring ACE DECOR’s ready-made cabinets provides an equally compelling solution. Whichever path you choose, investing in a well-designed medicine cabinet enhances both the beauty and utility of your bathroom.
FAQ
Q1. How long does it take to build a DIY medicine cabinet?
Q2. What’s the best type of wood for a bathroom cabinet?
Q3. Can a beginner handle this project without prior experience?
Q4. How do I waterproof my medicine cabinet?
Q5. Is it better to build a recessed or surface-mounted cabinet?
Related Articles
Recessed Medicine Cabinet With Mirror vs. Traditional Cabinets
Medicine Cabinet Ideas to Elevate Your Bathroom Design
Mirrored Medicine Cabinet with Lights: Must-Have for Modern Bathrooms