When planning a bathroom renovation, most homeowners focus on major fixtures like tubs, showers, and faucets. Yet, small components often make the biggest difference in daily use. One such part is the shower valve trim, a visible piece that not only completes the look of your shower but also makes water control practical and intuitive. This article explains what shower valve trim is, why it matters, how to choose the right one, and what to expect during installation and maintenance.
Table of Contents:
- Basic Introduction: What Is Shower Valve Trim?
- Choosing the Right Valve Trim For Your Shower
- Compatibility and Fit
- Material and Build Quality
- 3. Design and Aesthetic Considerations
- Installing or Replacing Shower Valve Trim
- Common Issues with Shower Valve Trim
- Maintenance Tips for Long-Lasting Performance
- Conclusion
- FAQ
Basic Introduction: What Is Shower Valve Trim?
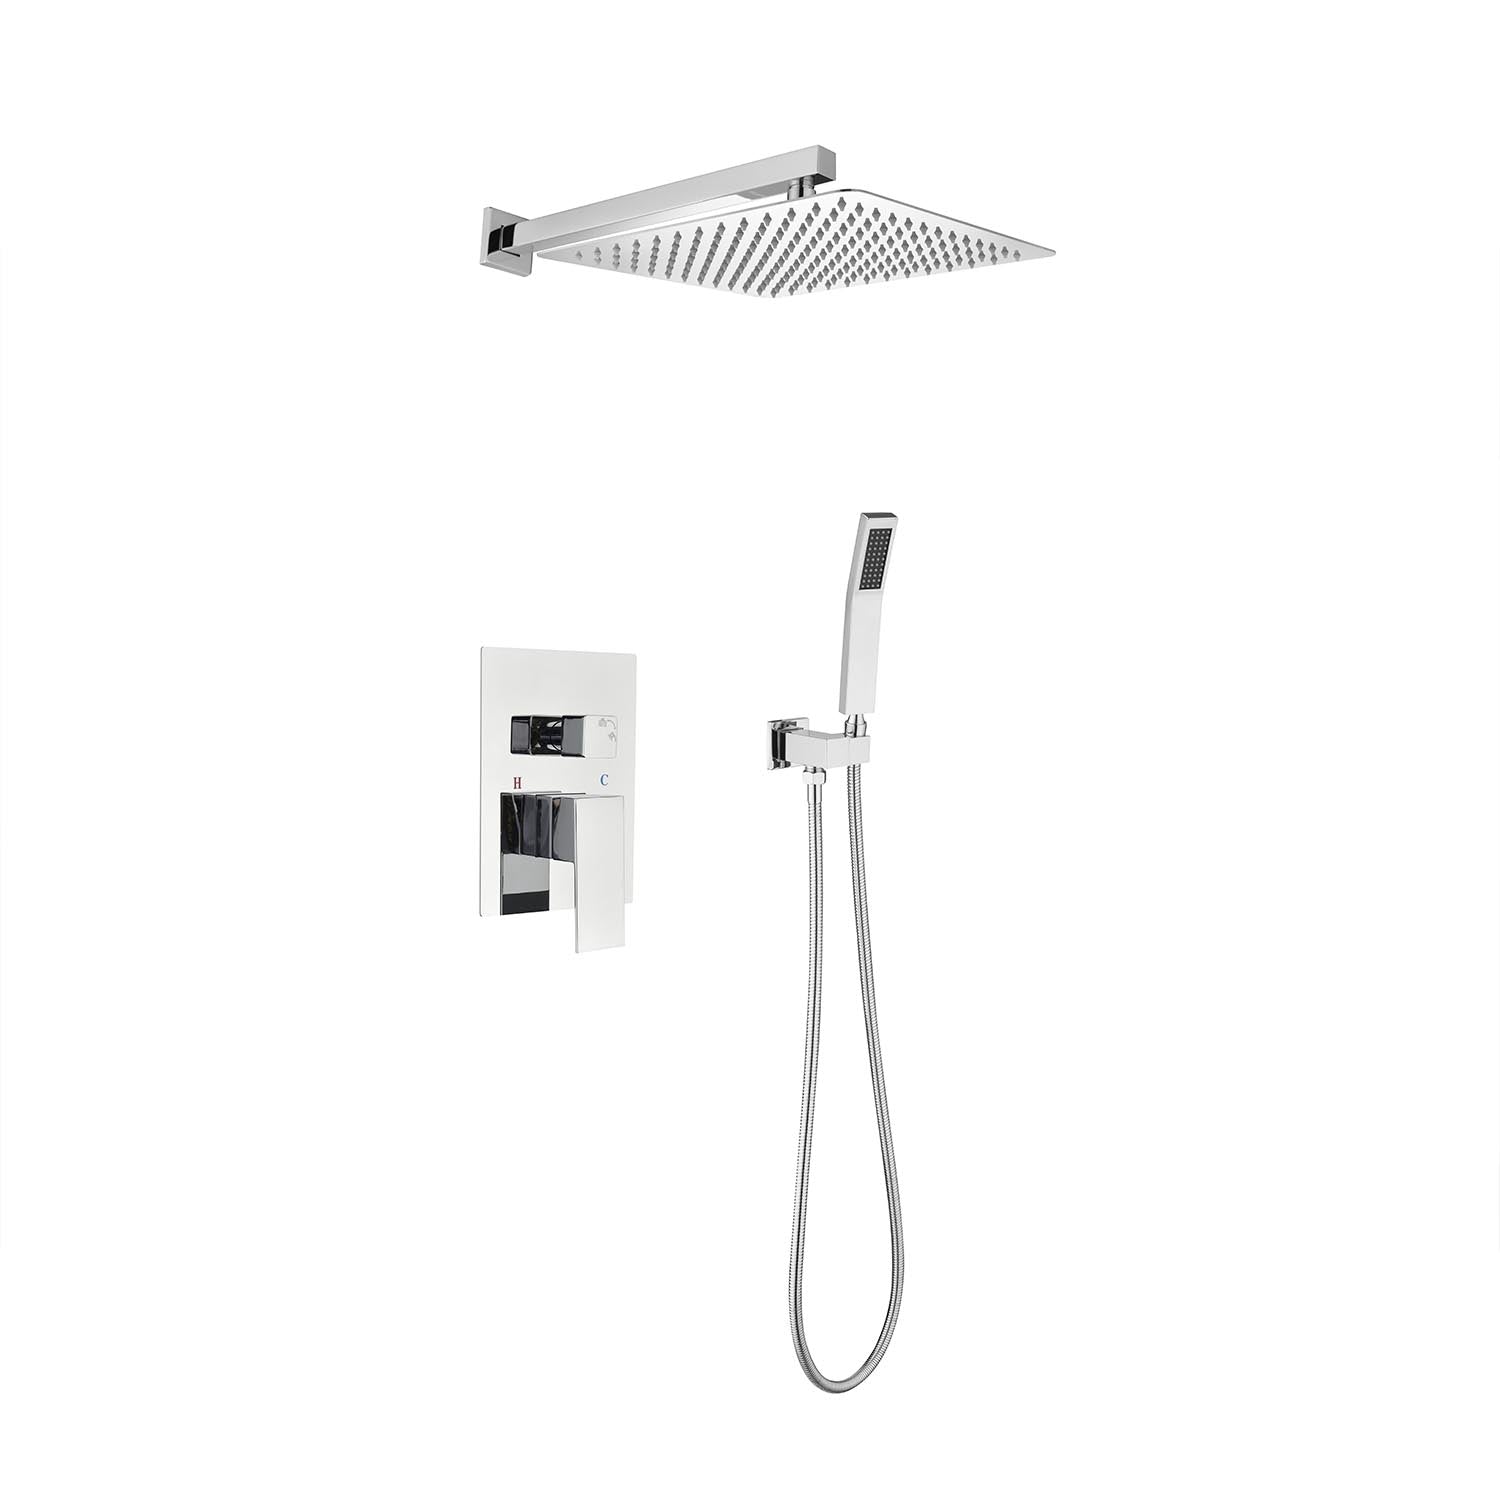
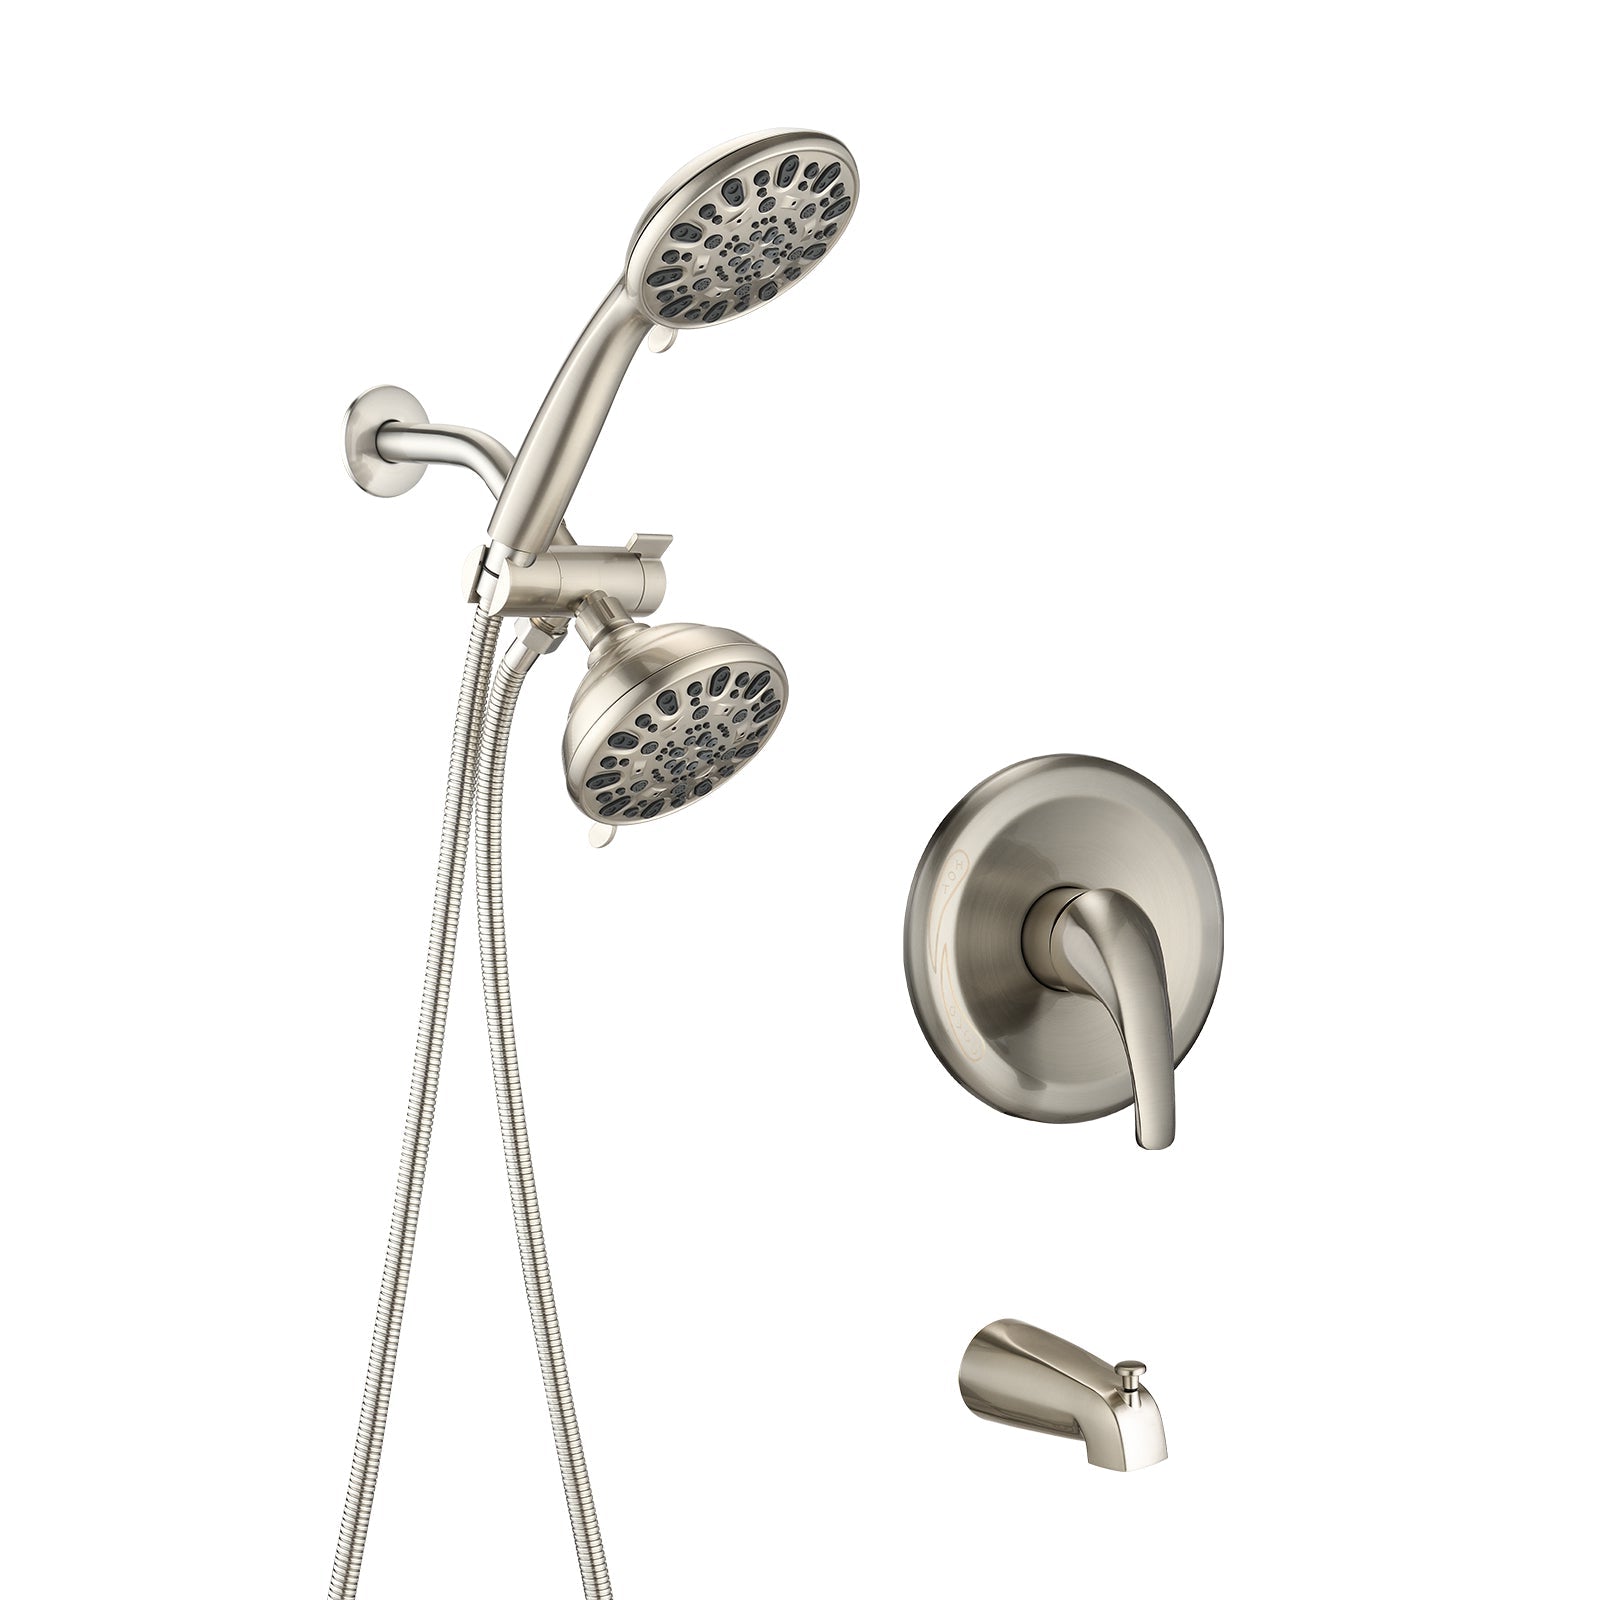
To understand shower valve trim, it’s important to separate it from the valve itself. The valve is the internal mechanism inside the wall that regulates water temperature and pressure. Think of it as the “engine” of your shower system. Trim, or more specifically, the outer hardware you can see and touch, which generally includes the handle, escutcheon plate, and decorative knobs.
In simple terms, the valve makes the system function, and the trim makes it usable. Without trim, the valve would still control the water, but you would have no convenient way to operate it. This is an important distinction especially pouring into why shower valve trim is more than just a decoration but also the true user interface of your shower.

Choosing the Right Valve Trim For Your Shower
1. Compatibility and Fit
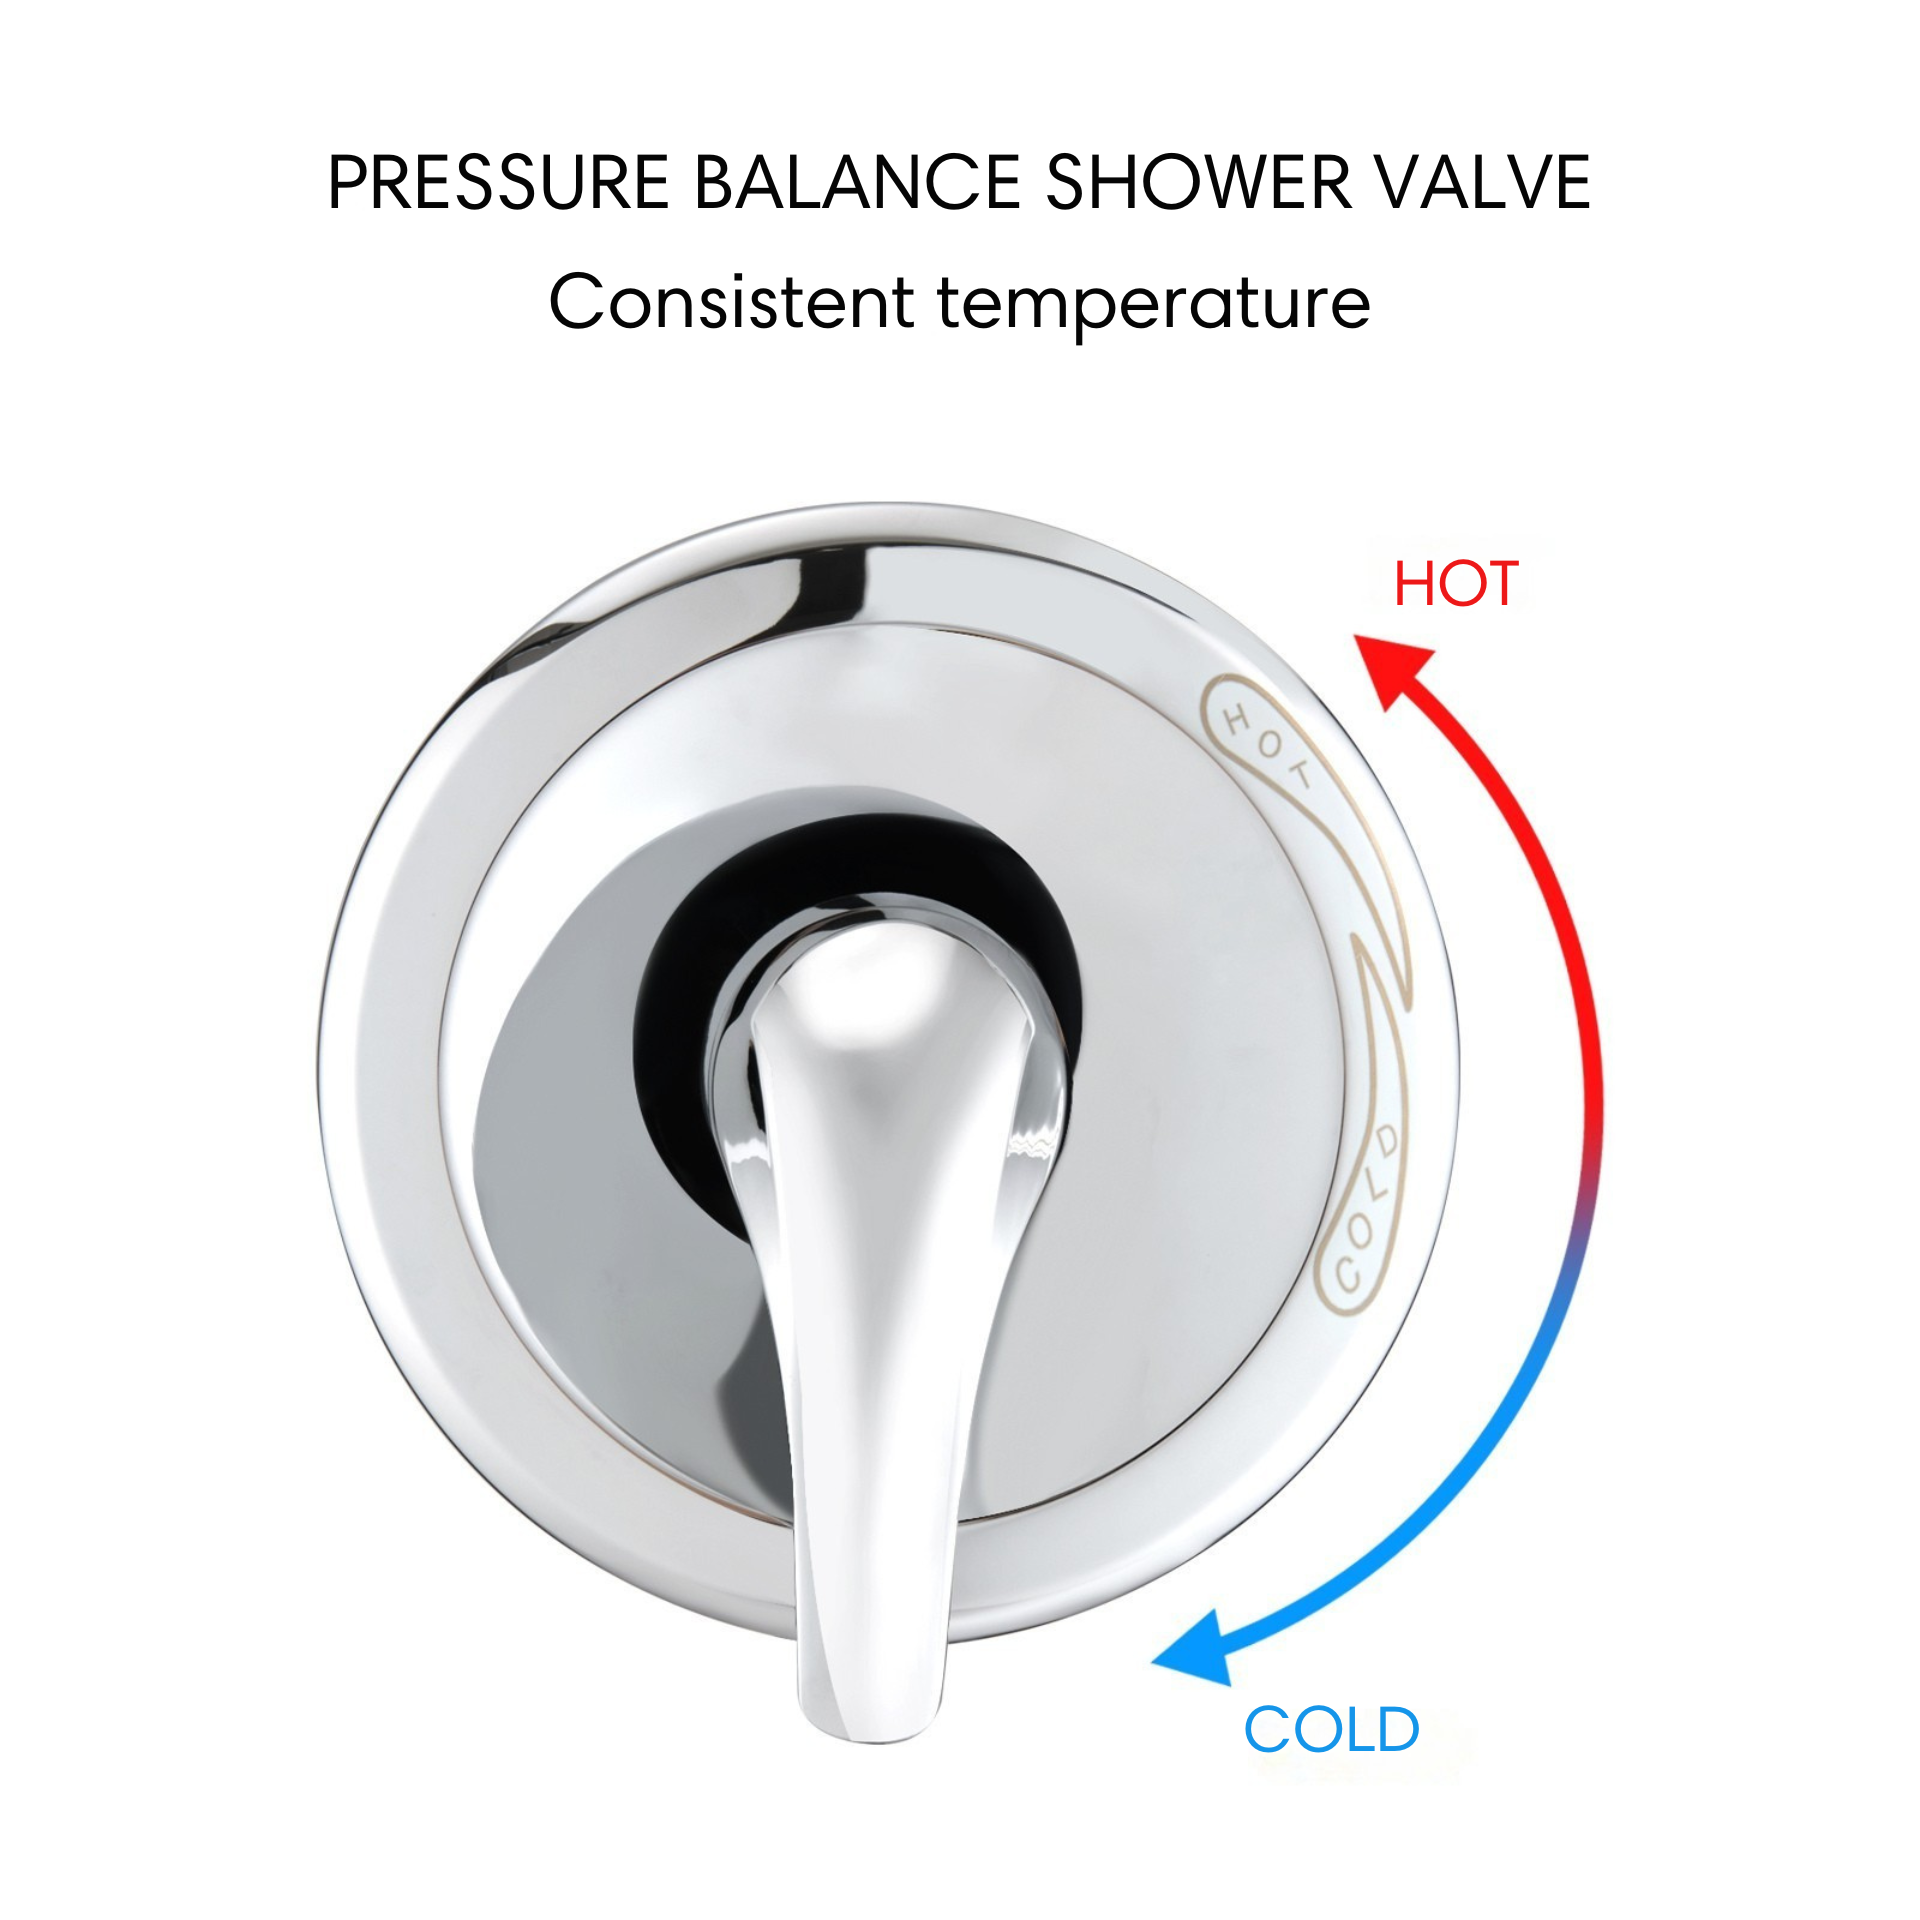
The most important factor in selecting shower valve trim is compatibility with your existing valve. Valves are not universal; they come in different models such as pressure-balancing valves, thermostatic valves, or diverter valves. Each requires trim designed specifically for its mechanism.
Homeowners should first identify the brand and model of their current valve—usually printed on the valve or available in the installation manual. Choosing incompatible trim can result in misaligned handles, poor temperature control, or even inability to install the parts. Ensuring the trim matches your valve guarantees smooth functionality and avoids unnecessary plumbing issues.
| Common Valve Model | Key Features | Trim Compatibility |
|---|---|---|
| Moen Posi-Temp® | Pressure-balancing, single-handle control | Requires Posi-Temp trim kits only |
| Moen Moentrol® | Separate volume & temperature control | Needs Moentrol-specific trims |
| Delta MultiChoice® | Universal rough-in, upgradeable to thermostatic or pressure-balanced | Compatible with various Delta trim series |
| Kohler Rite-Temp® | Pressure-balancing with scald protection | Requires Rite-Temp trims |
| Grohe Universal Rough-In | European-style design, flexible configurations | Works only with Grohe trims |
2. Material and Build Quality
Durability and maintenance needs are directly affected by material choice. Corrosion-resistant brass and stainless steel trims, last for years of performance. Zinc alloys and plastic versions may be more affordable but often show wear and tear faster.
When selecting shower valve trim, consider the environment. Bathrooms are high-moisture spaces where cheap materials can degrade quickly. Investing in higher-quality metals may reduce replacement costs in the long run and ensure a more reliable experience.
| Material | Key Features | Durability | Price Level |
|---|---|---|---|
| Brass | Highly resistant to corrosion, strong build, long-lasting performance | ★★★★★ | High |
| Stainless Steel | Good corrosion resistance, sleek modern look, relatively low maintenance | ★★★★☆ | Medium–High |
| Zinc Alloy | Lightweight, lower cost, decent durability but weaker than brass or steel | ★★★☆☆ | Medium |
| Plastic (ABS/Composite) | Affordable, easy to mold into various designs, less durable, prone to wear | ★★☆☆☆ | Low |
3. Design and Aesthetic Considerations
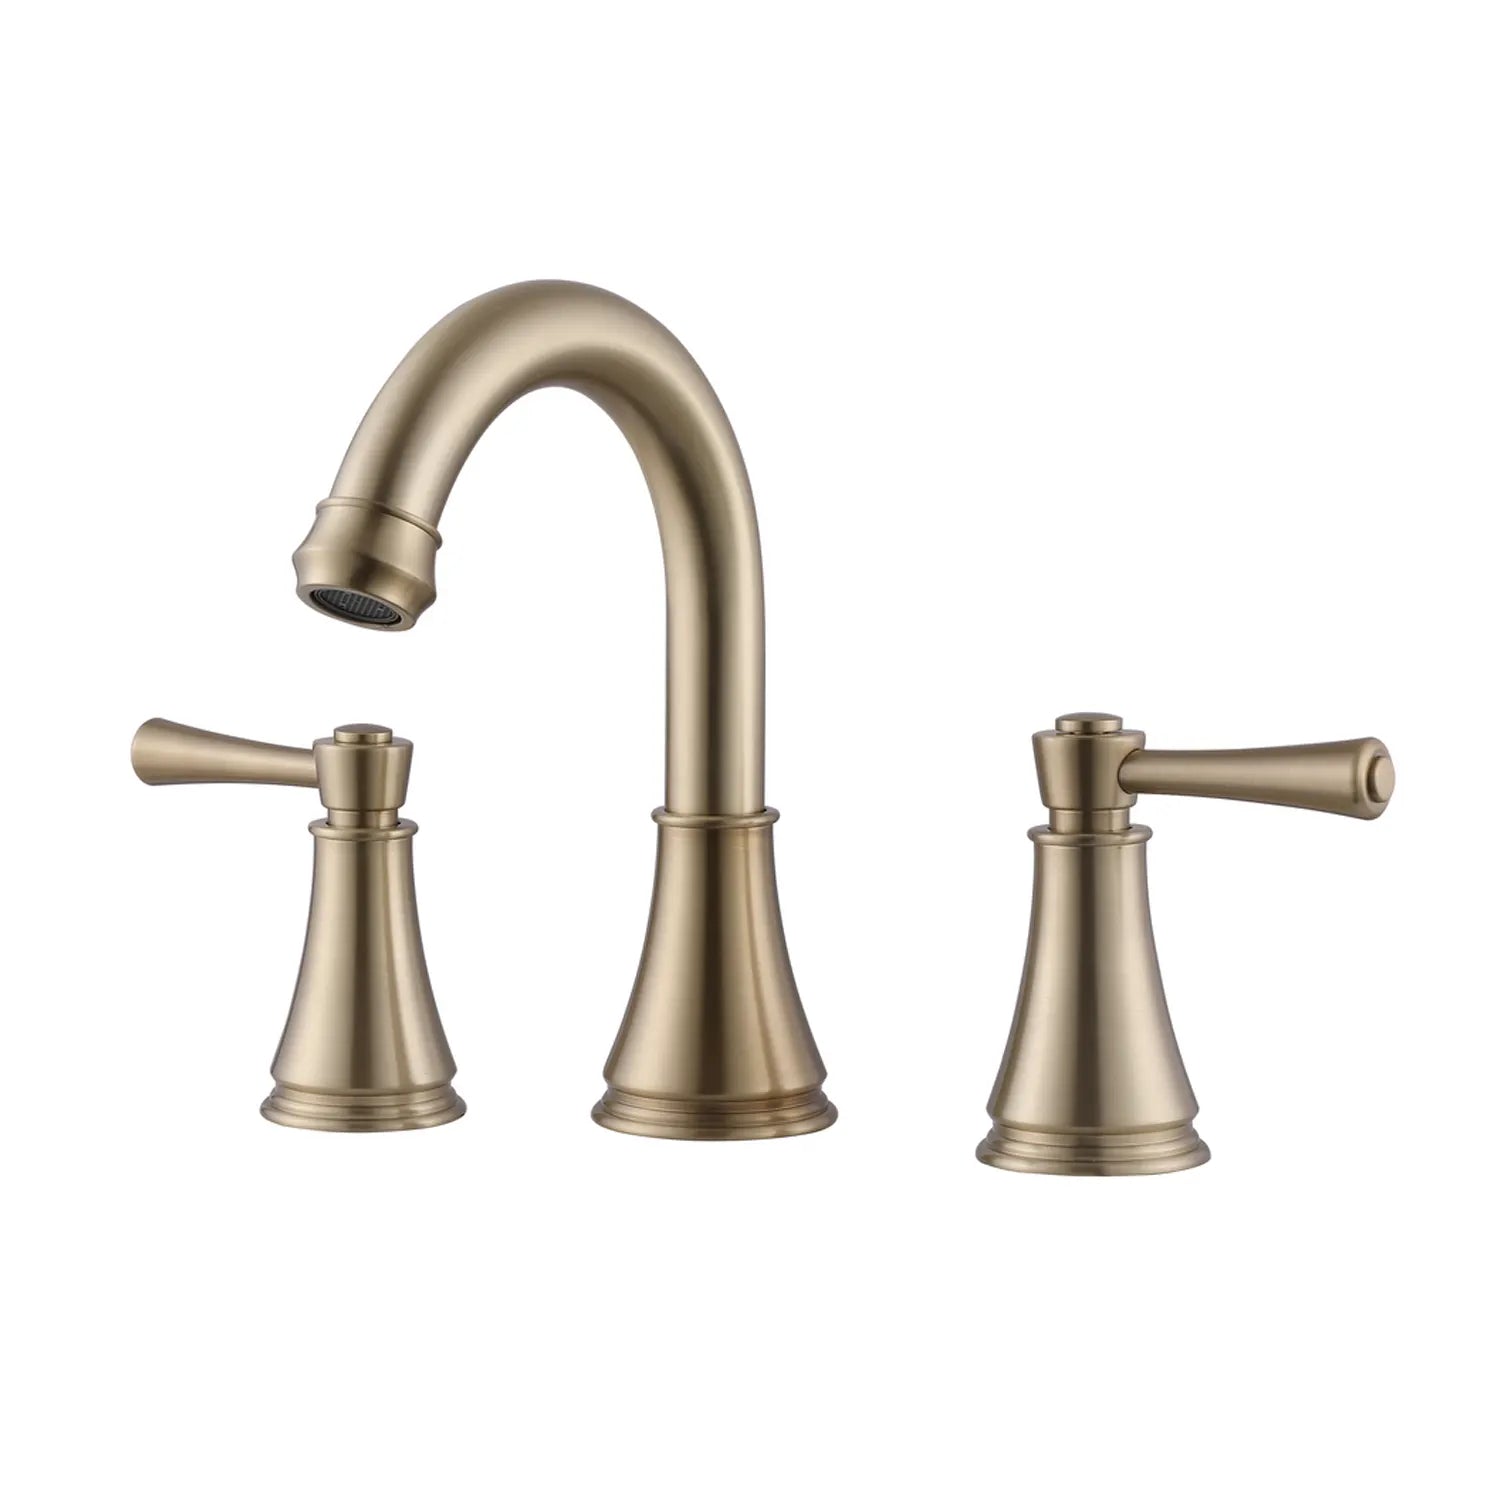
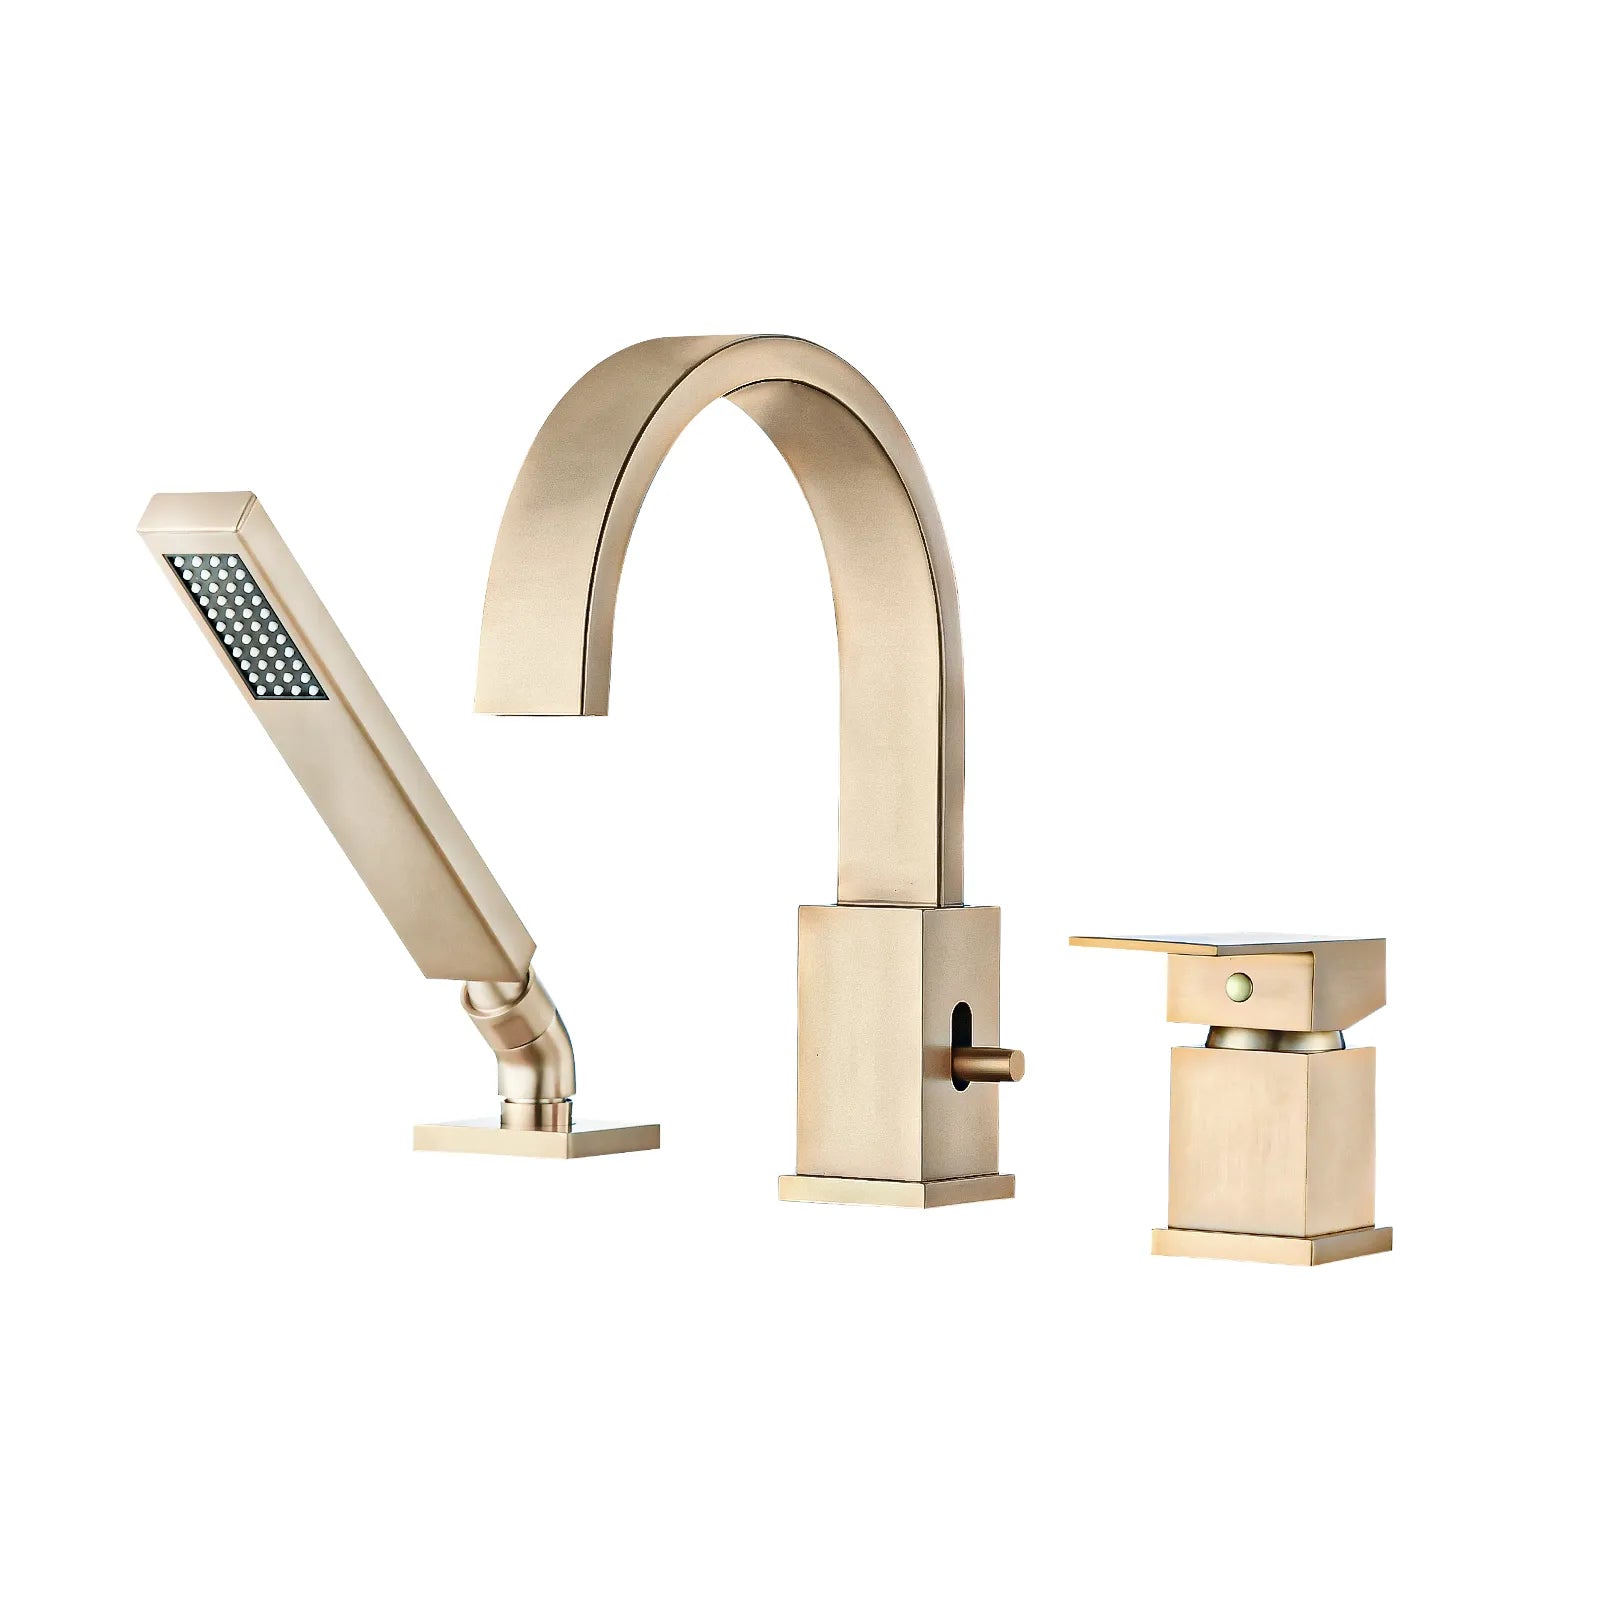
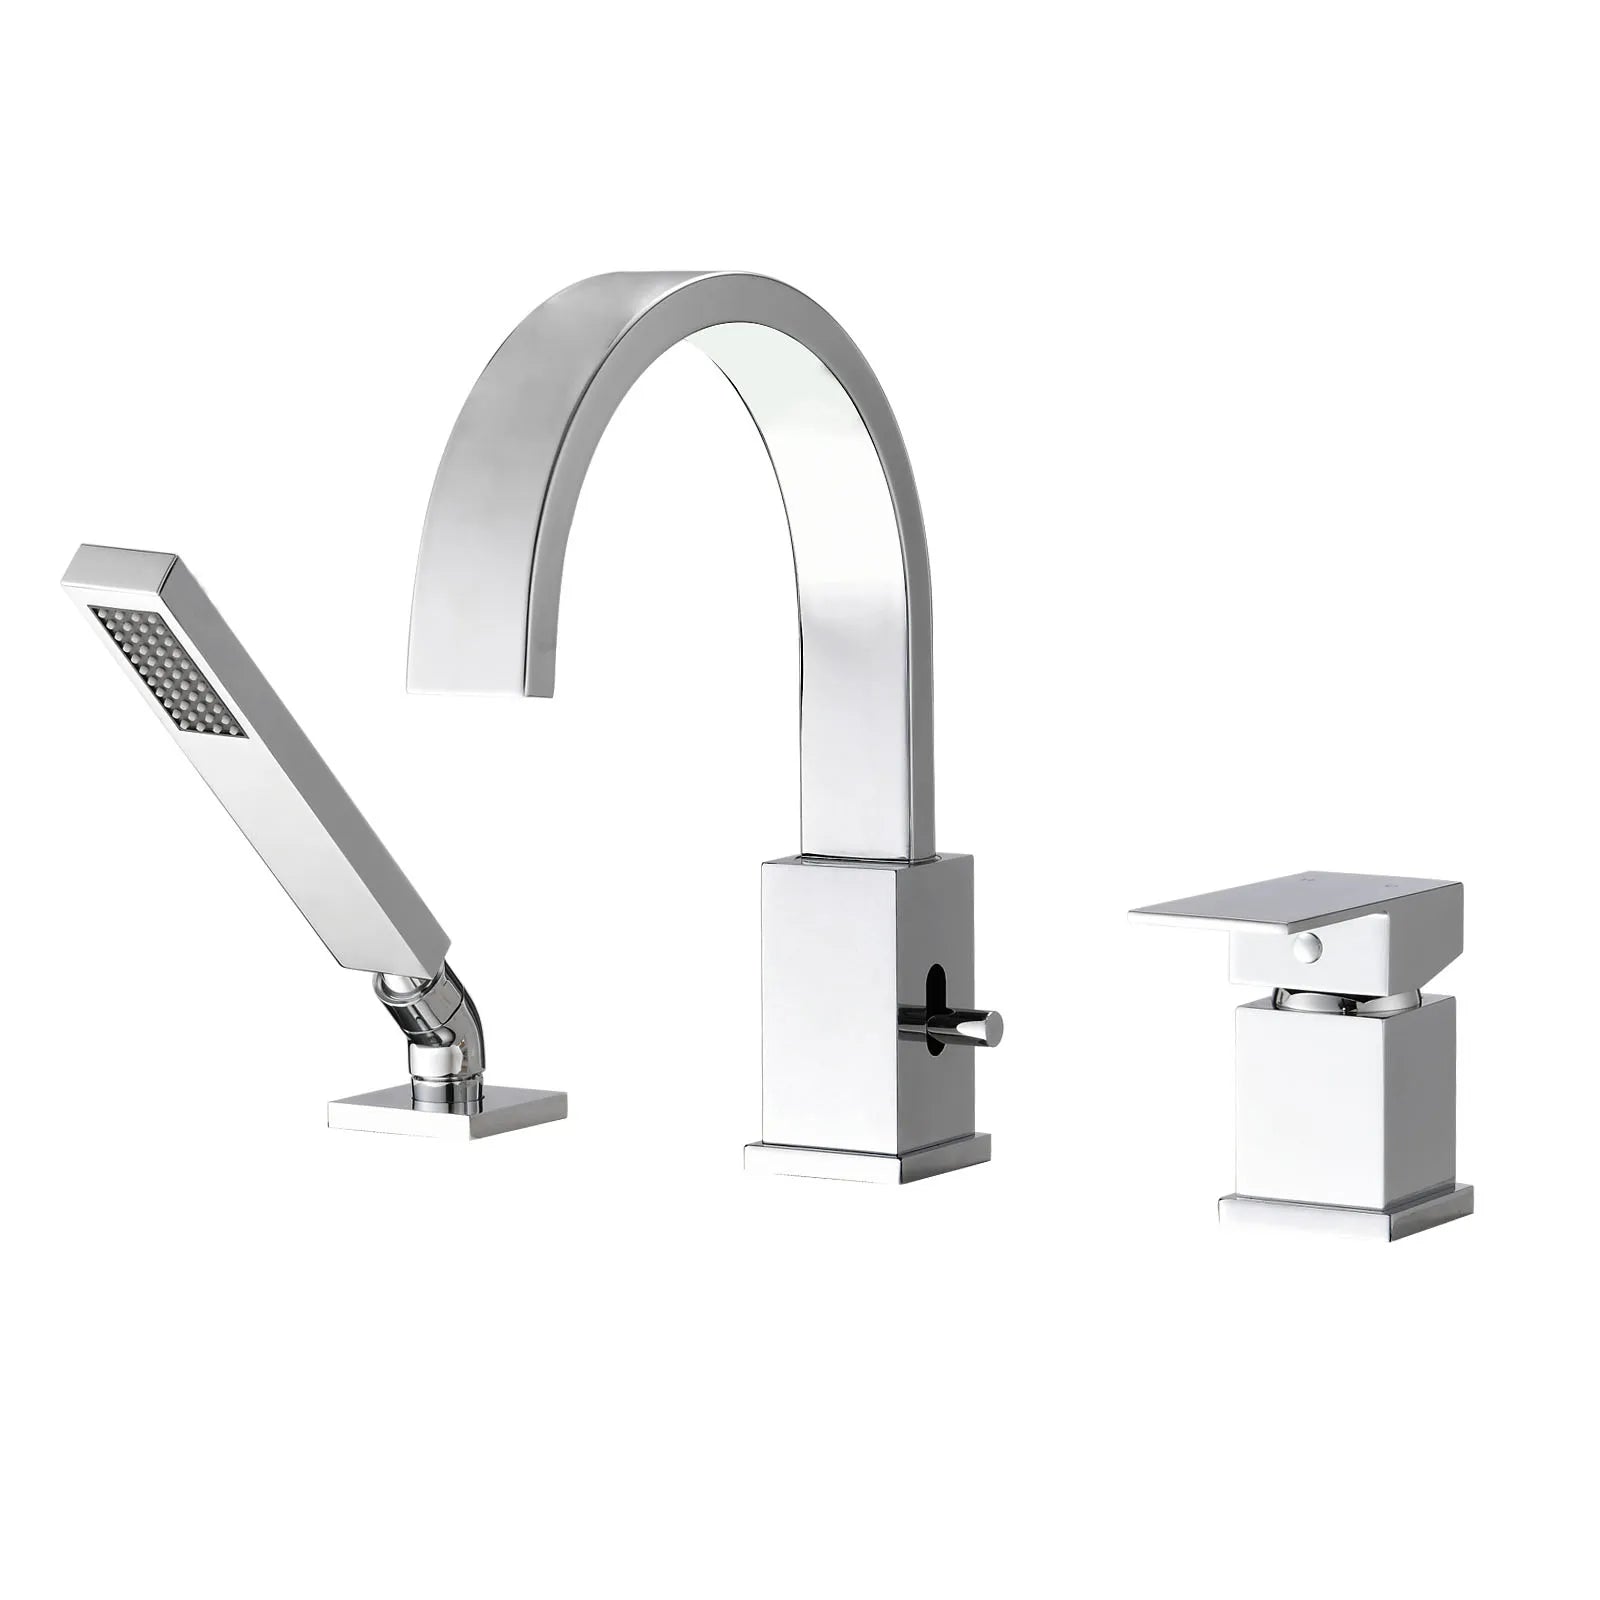
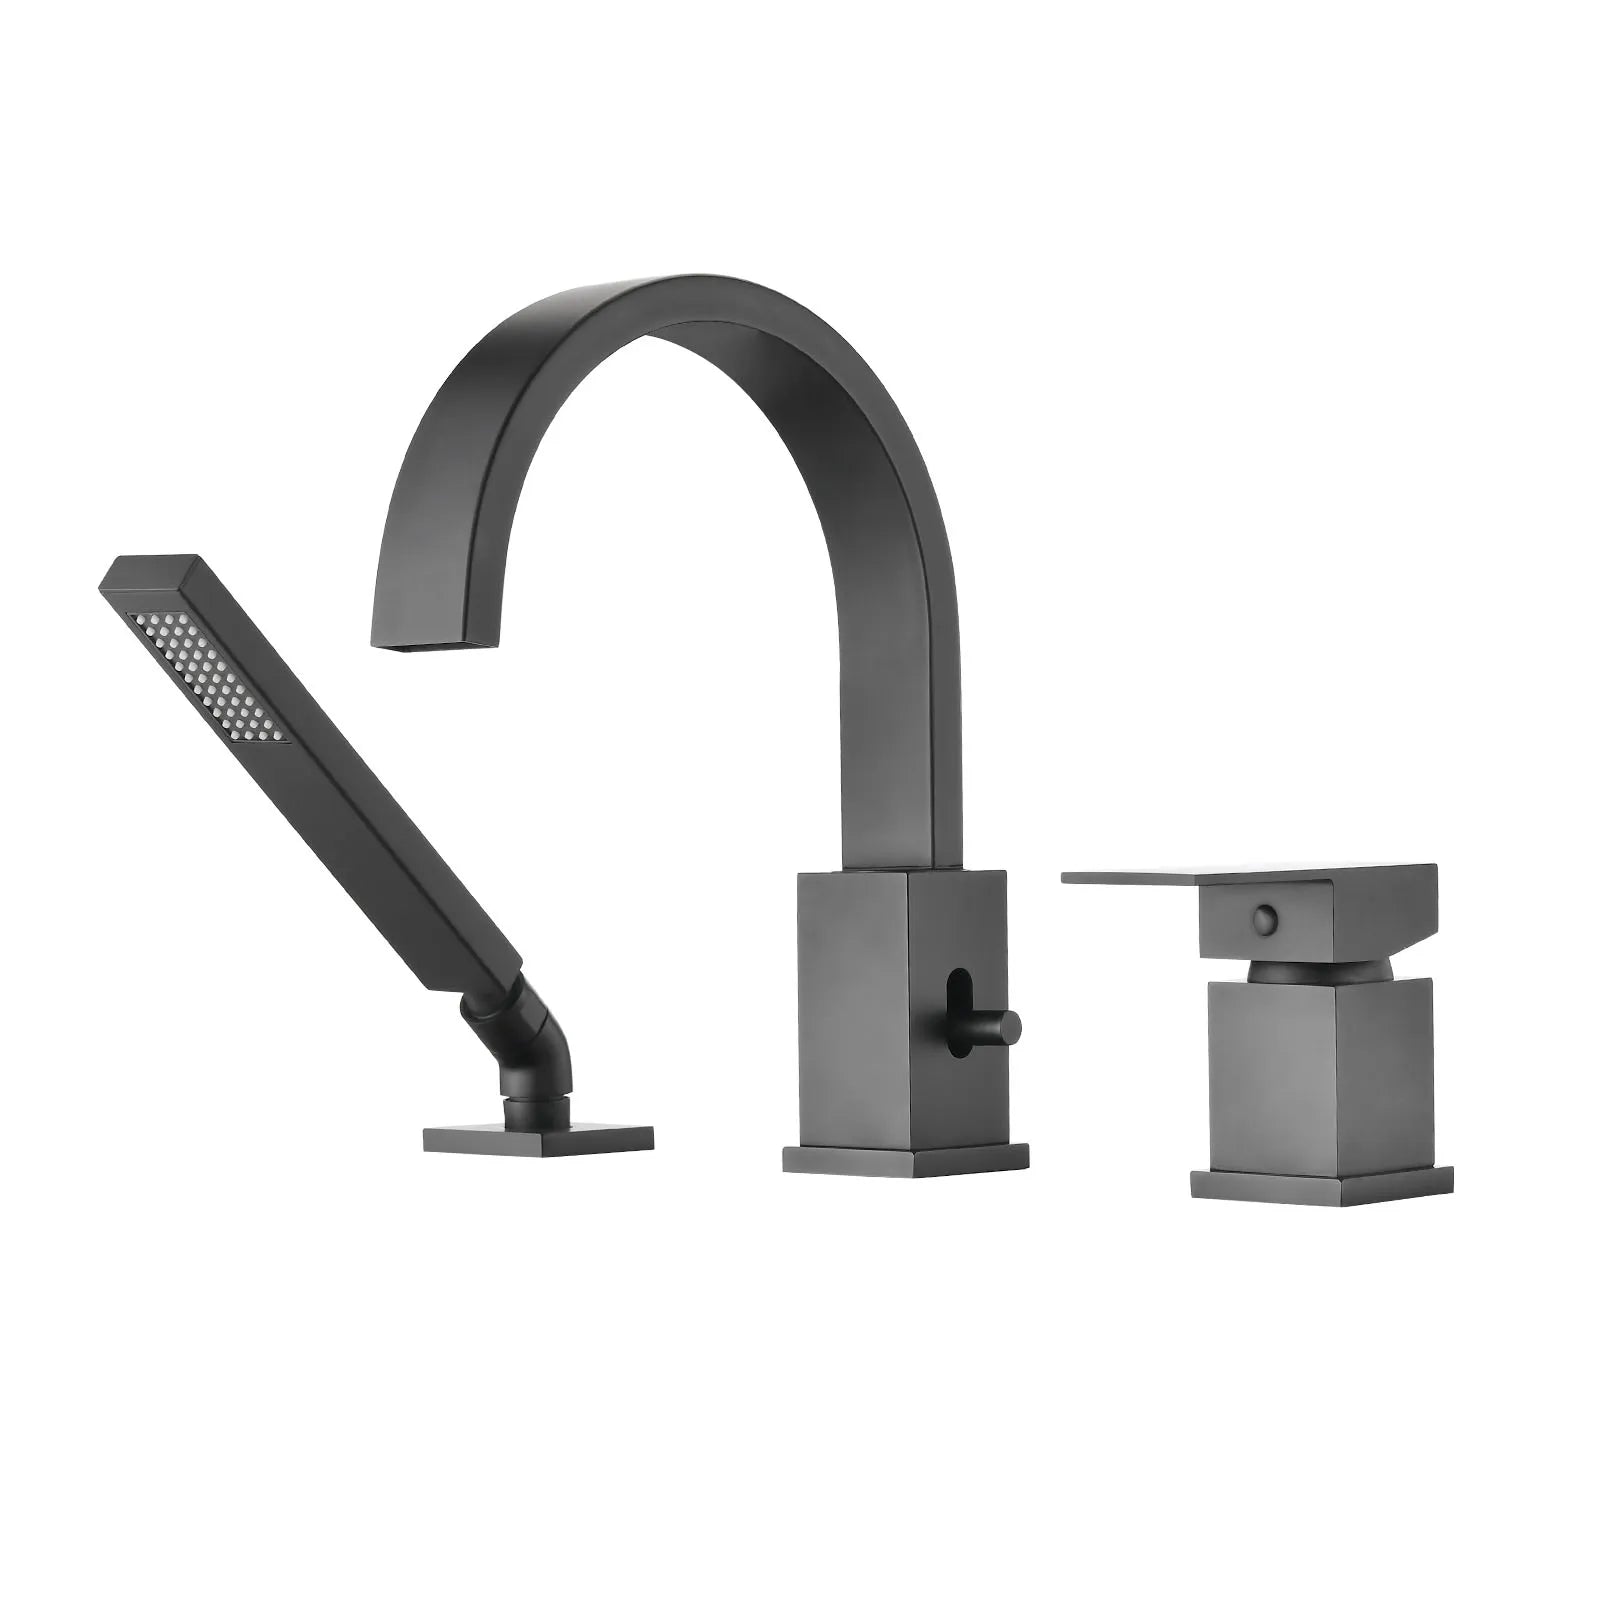
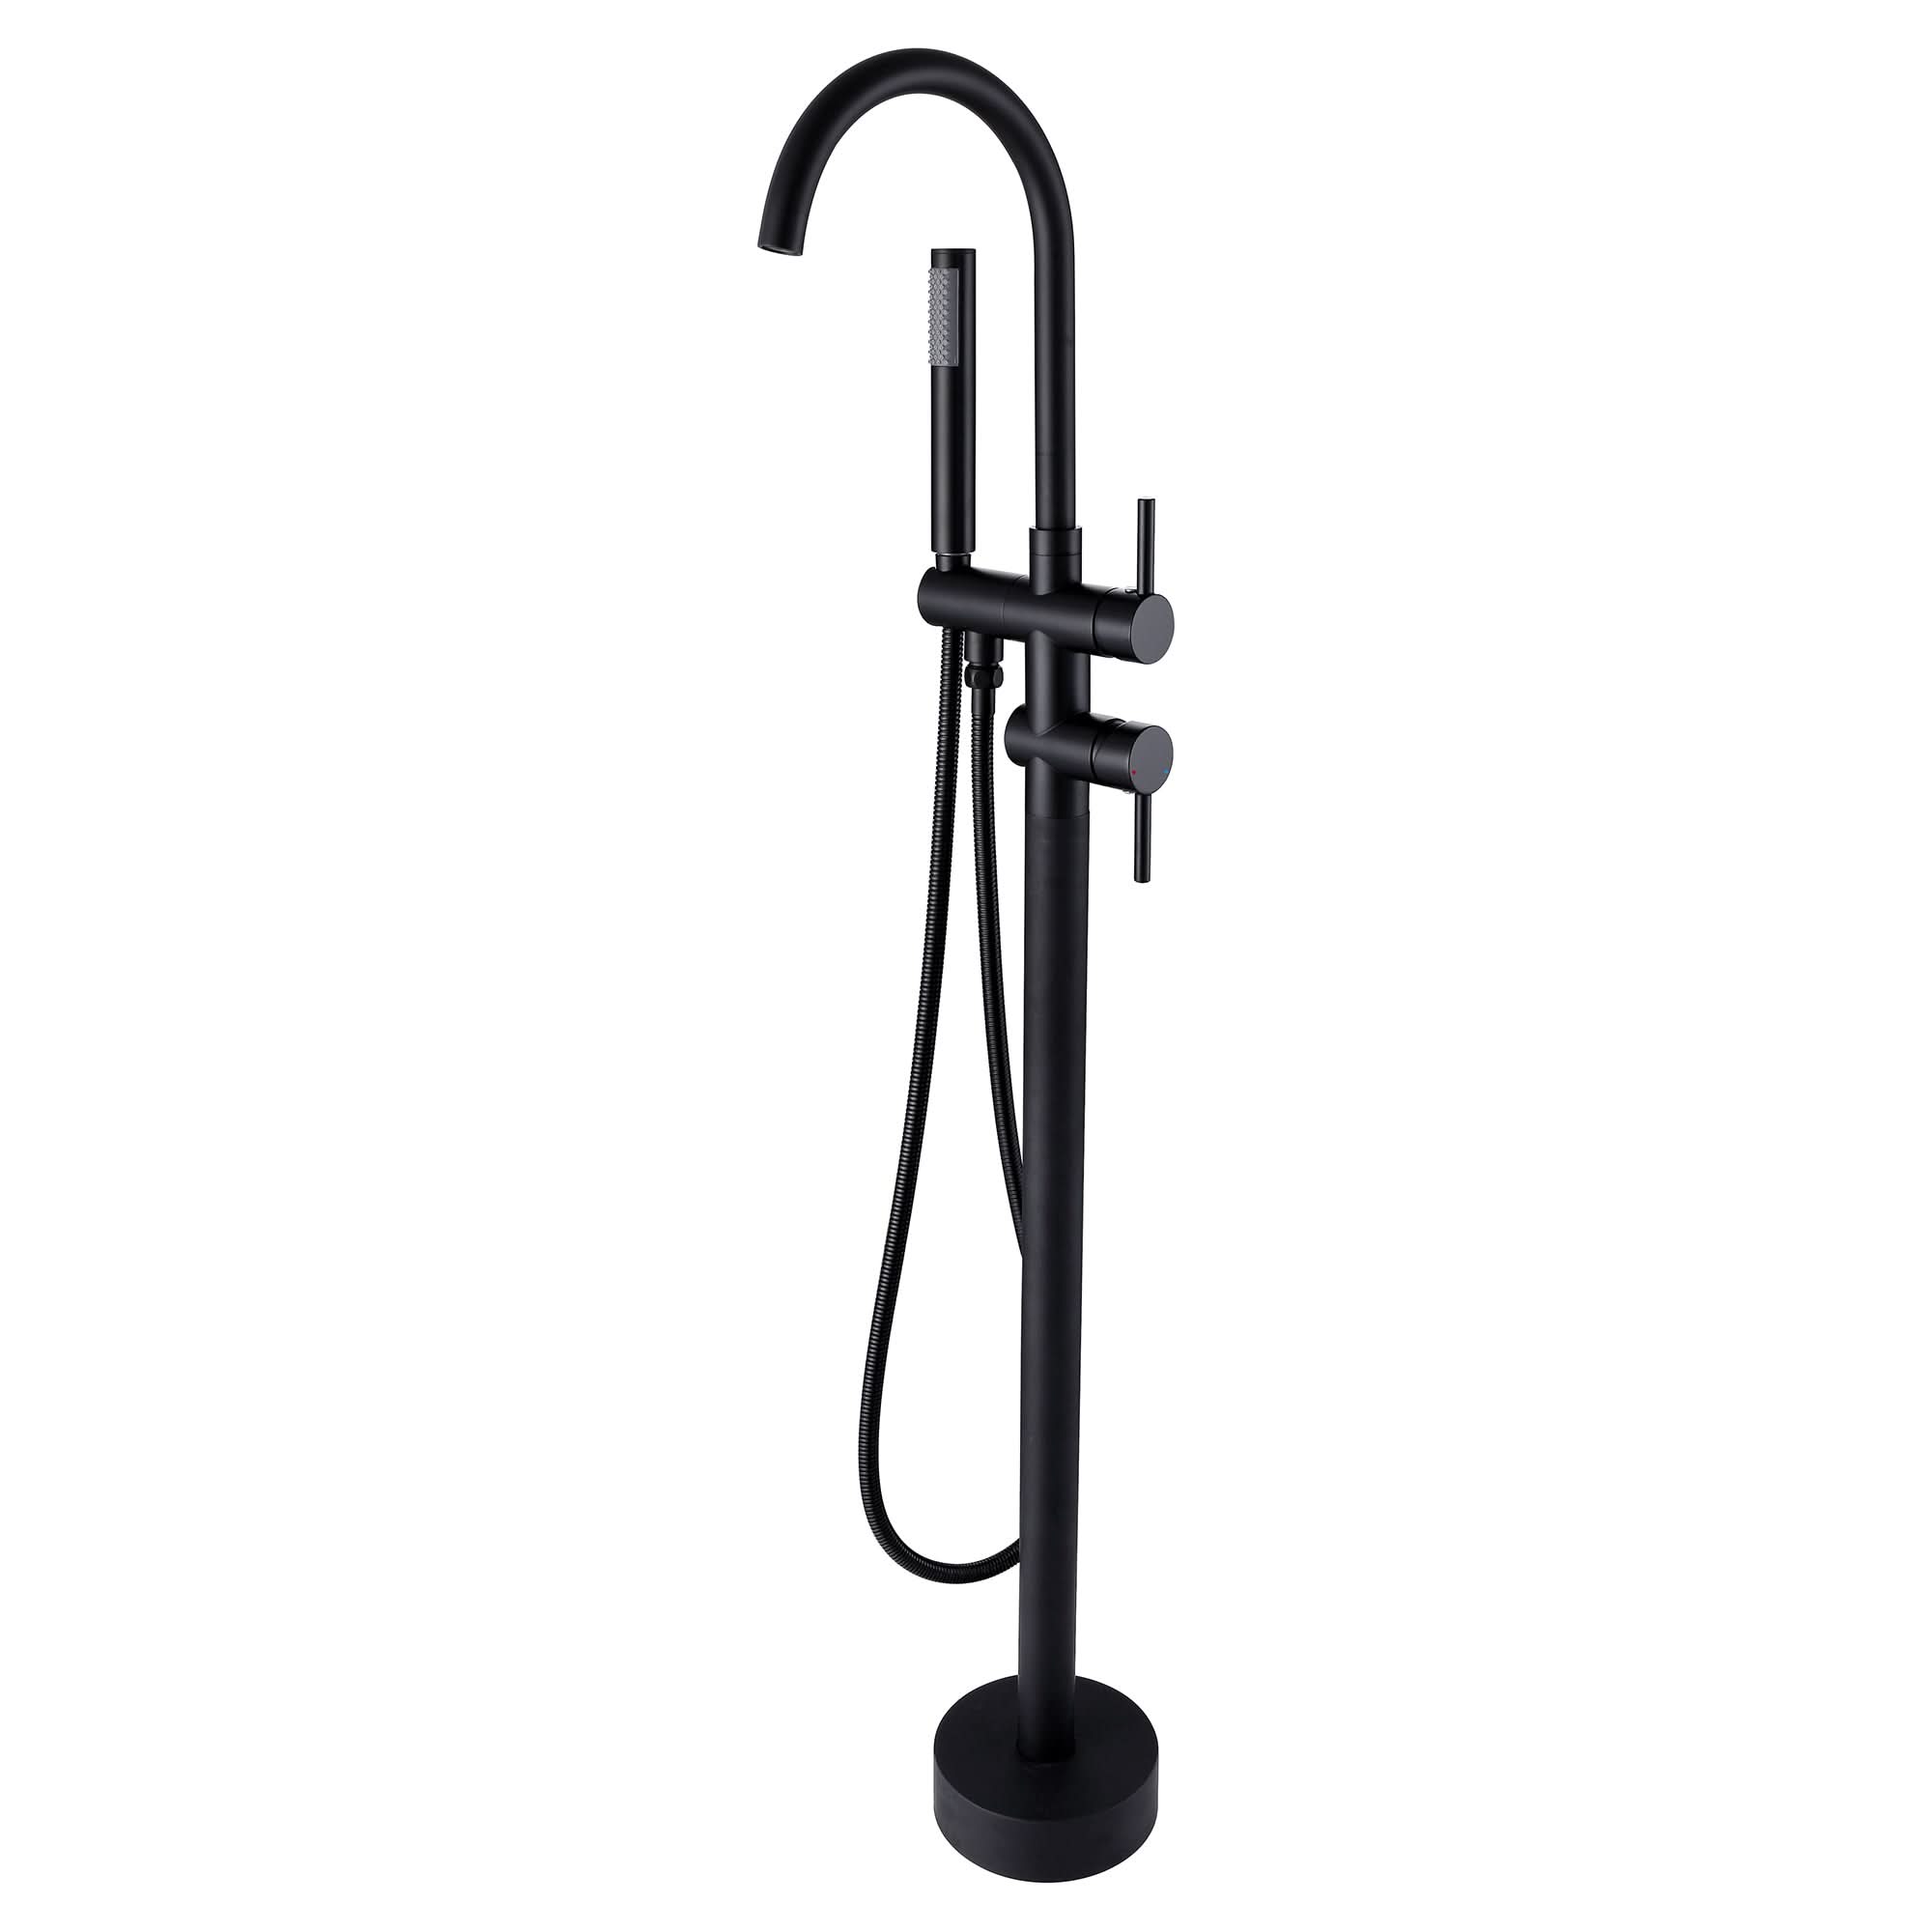
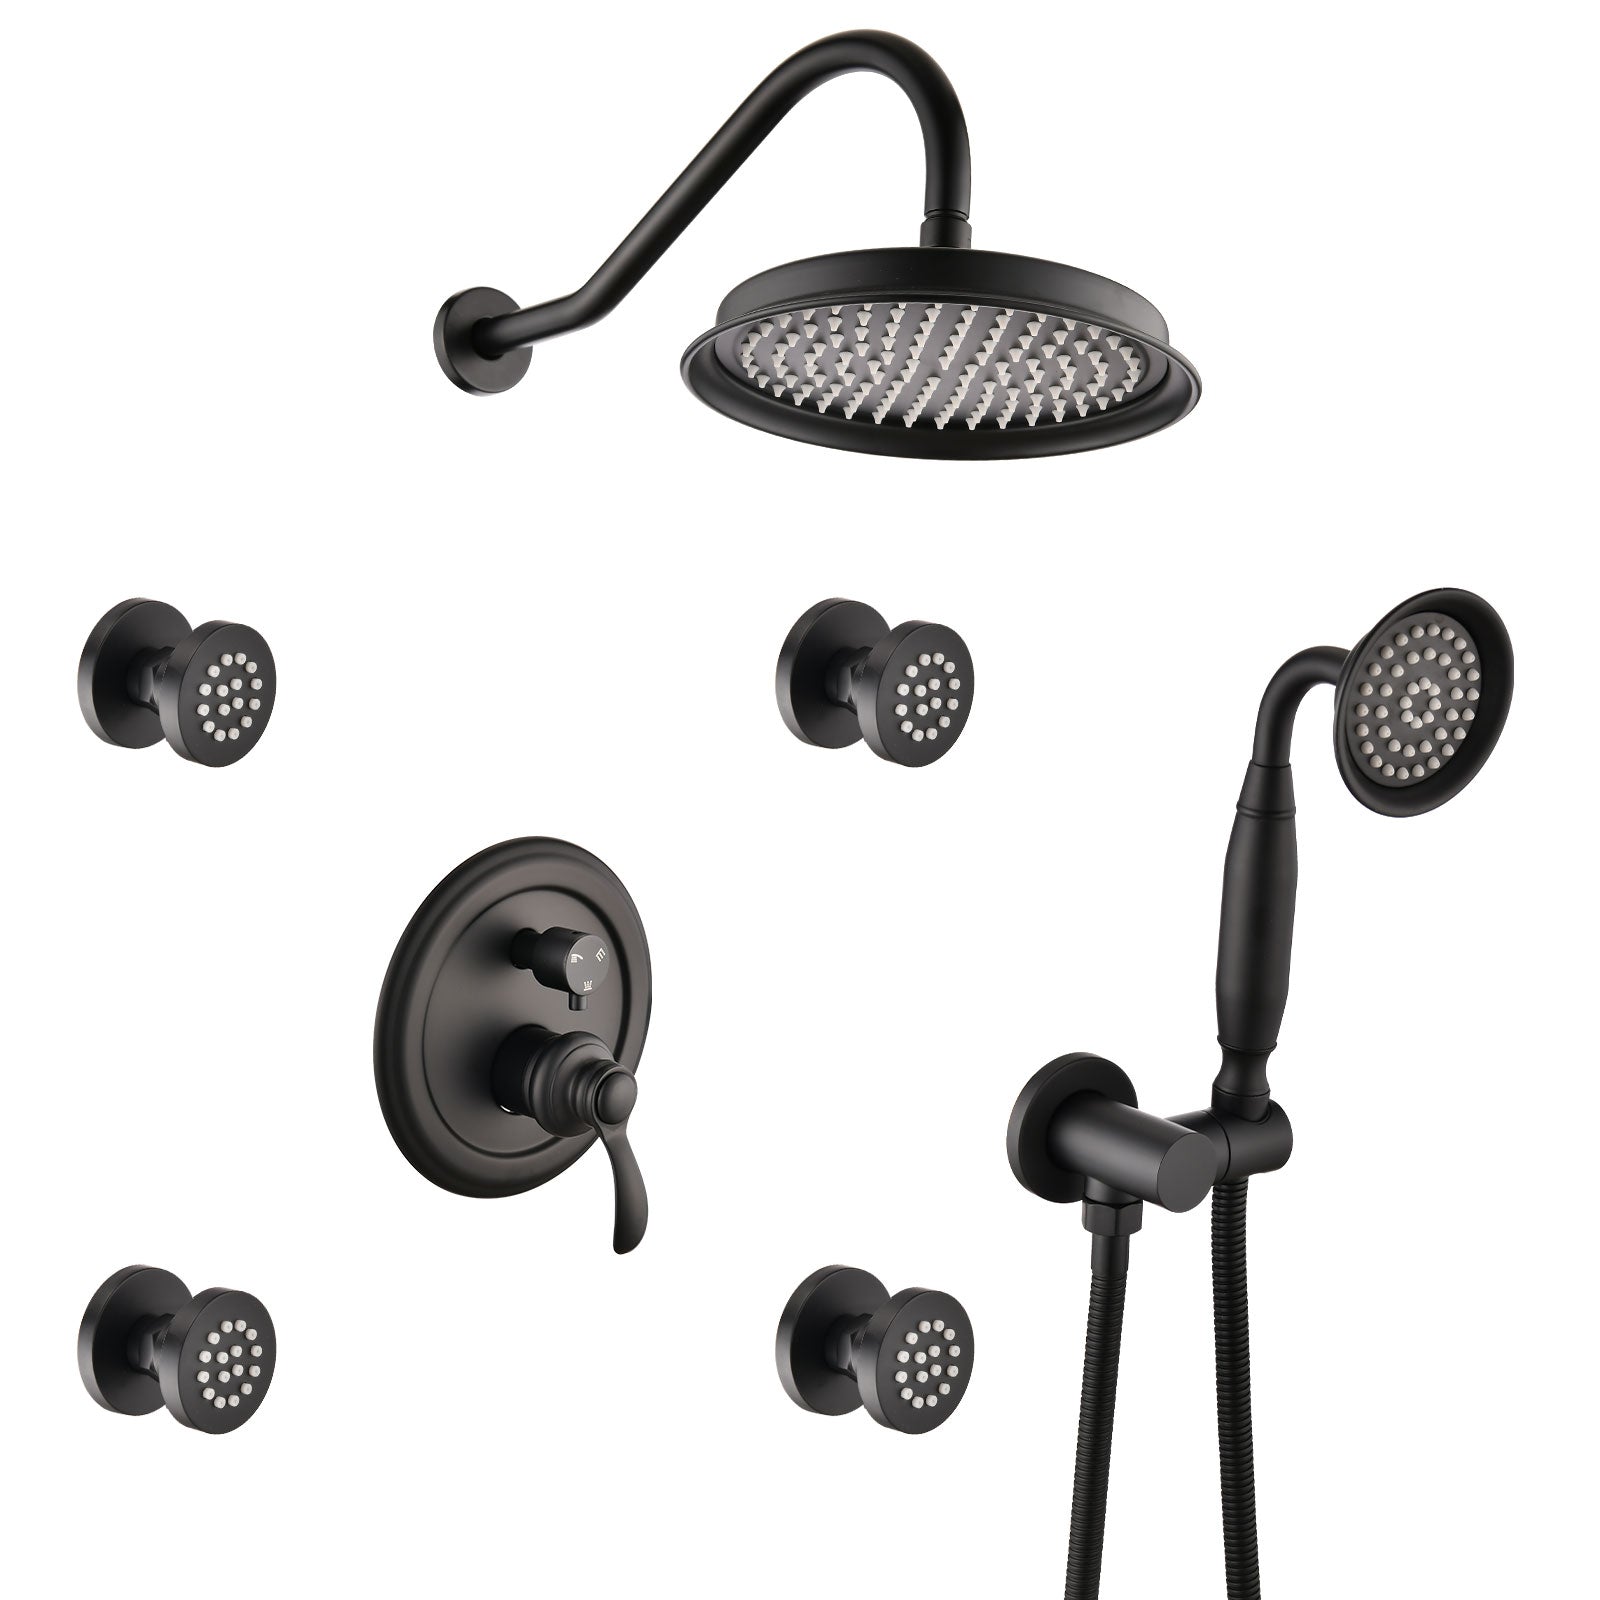
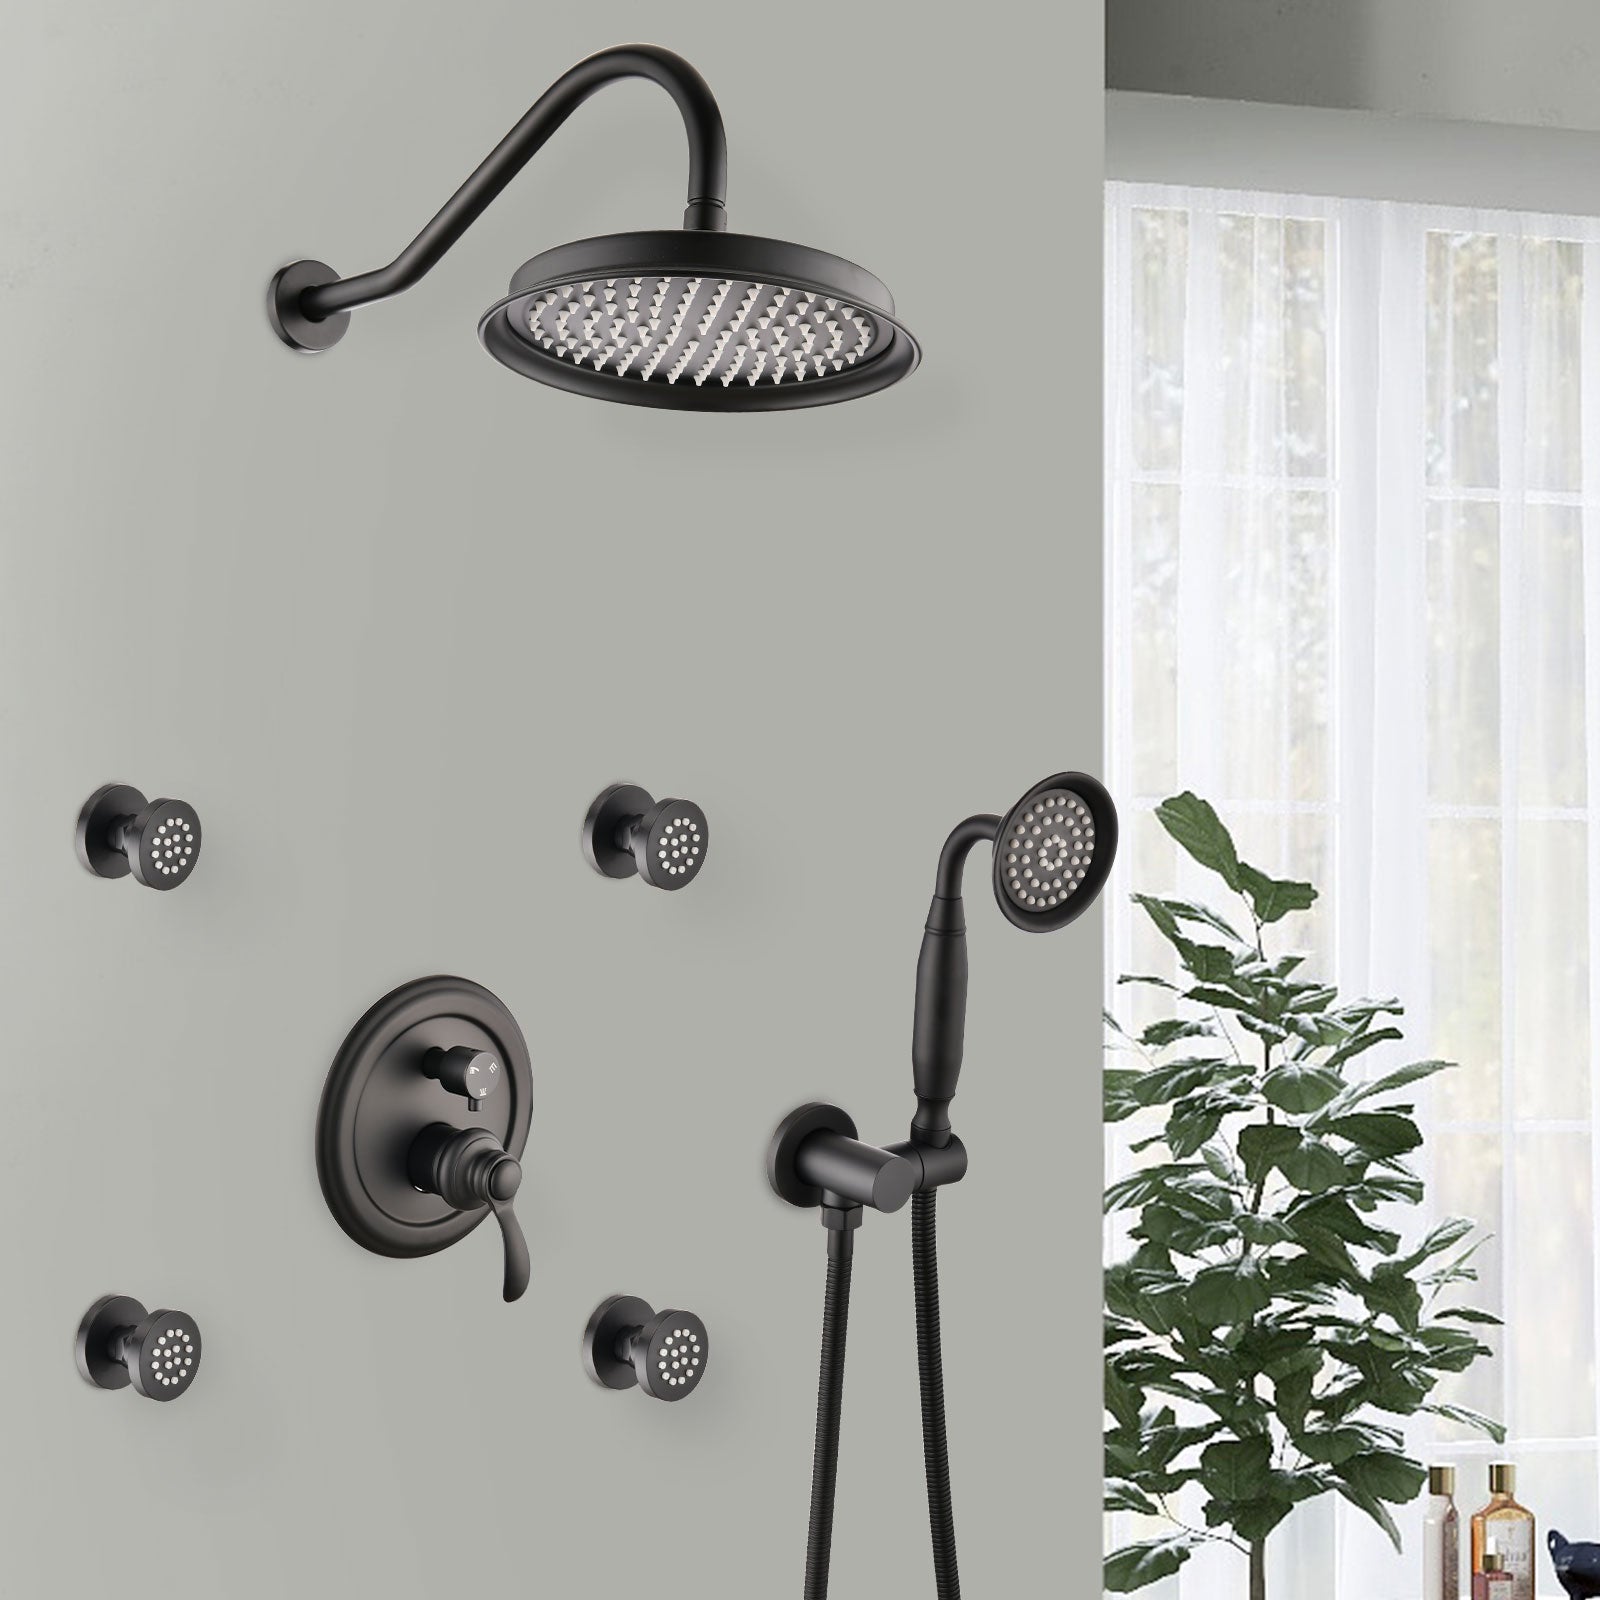
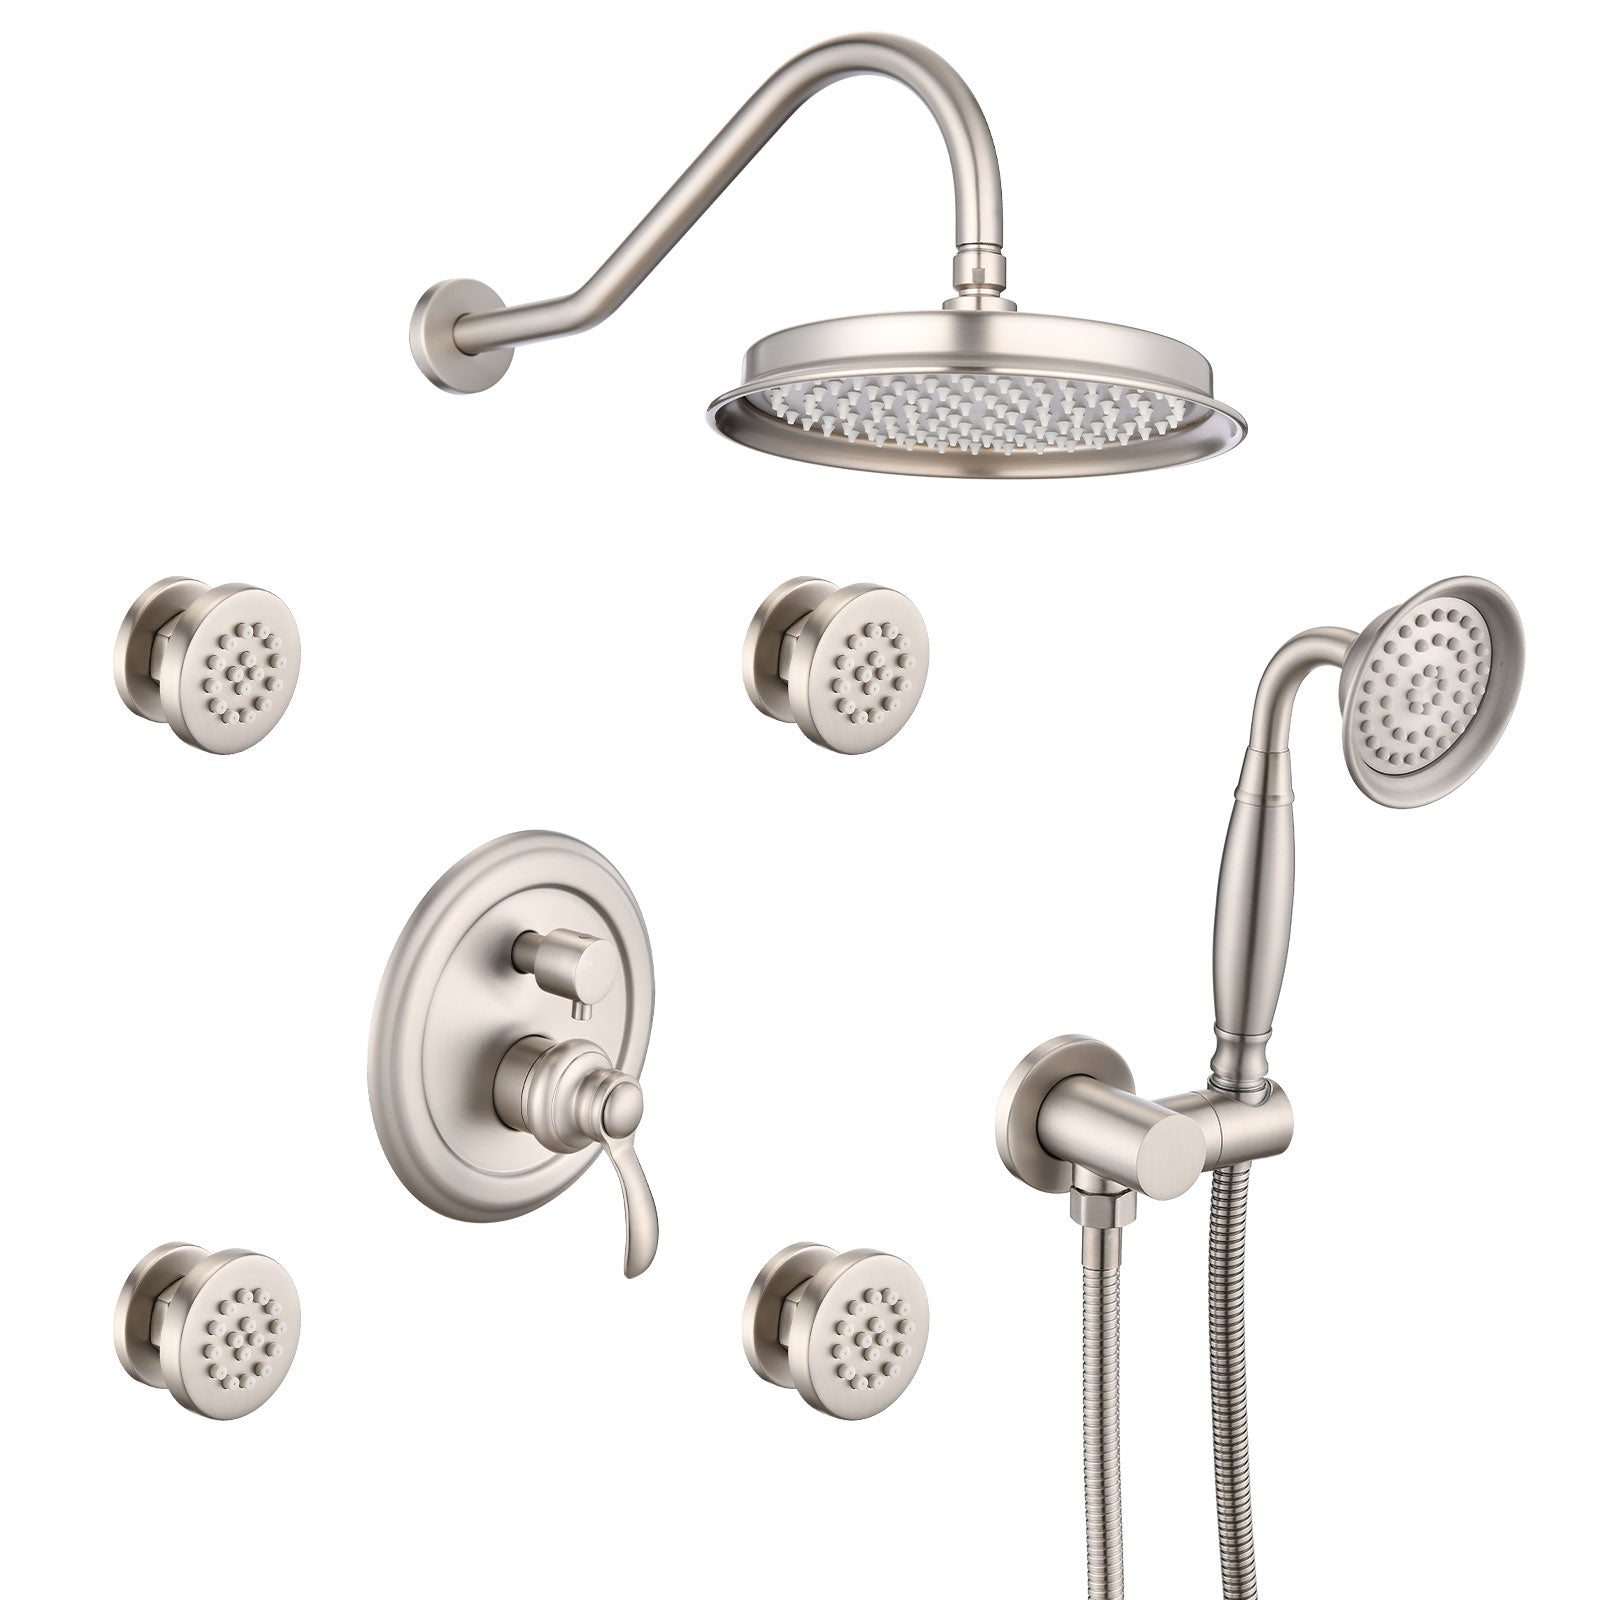
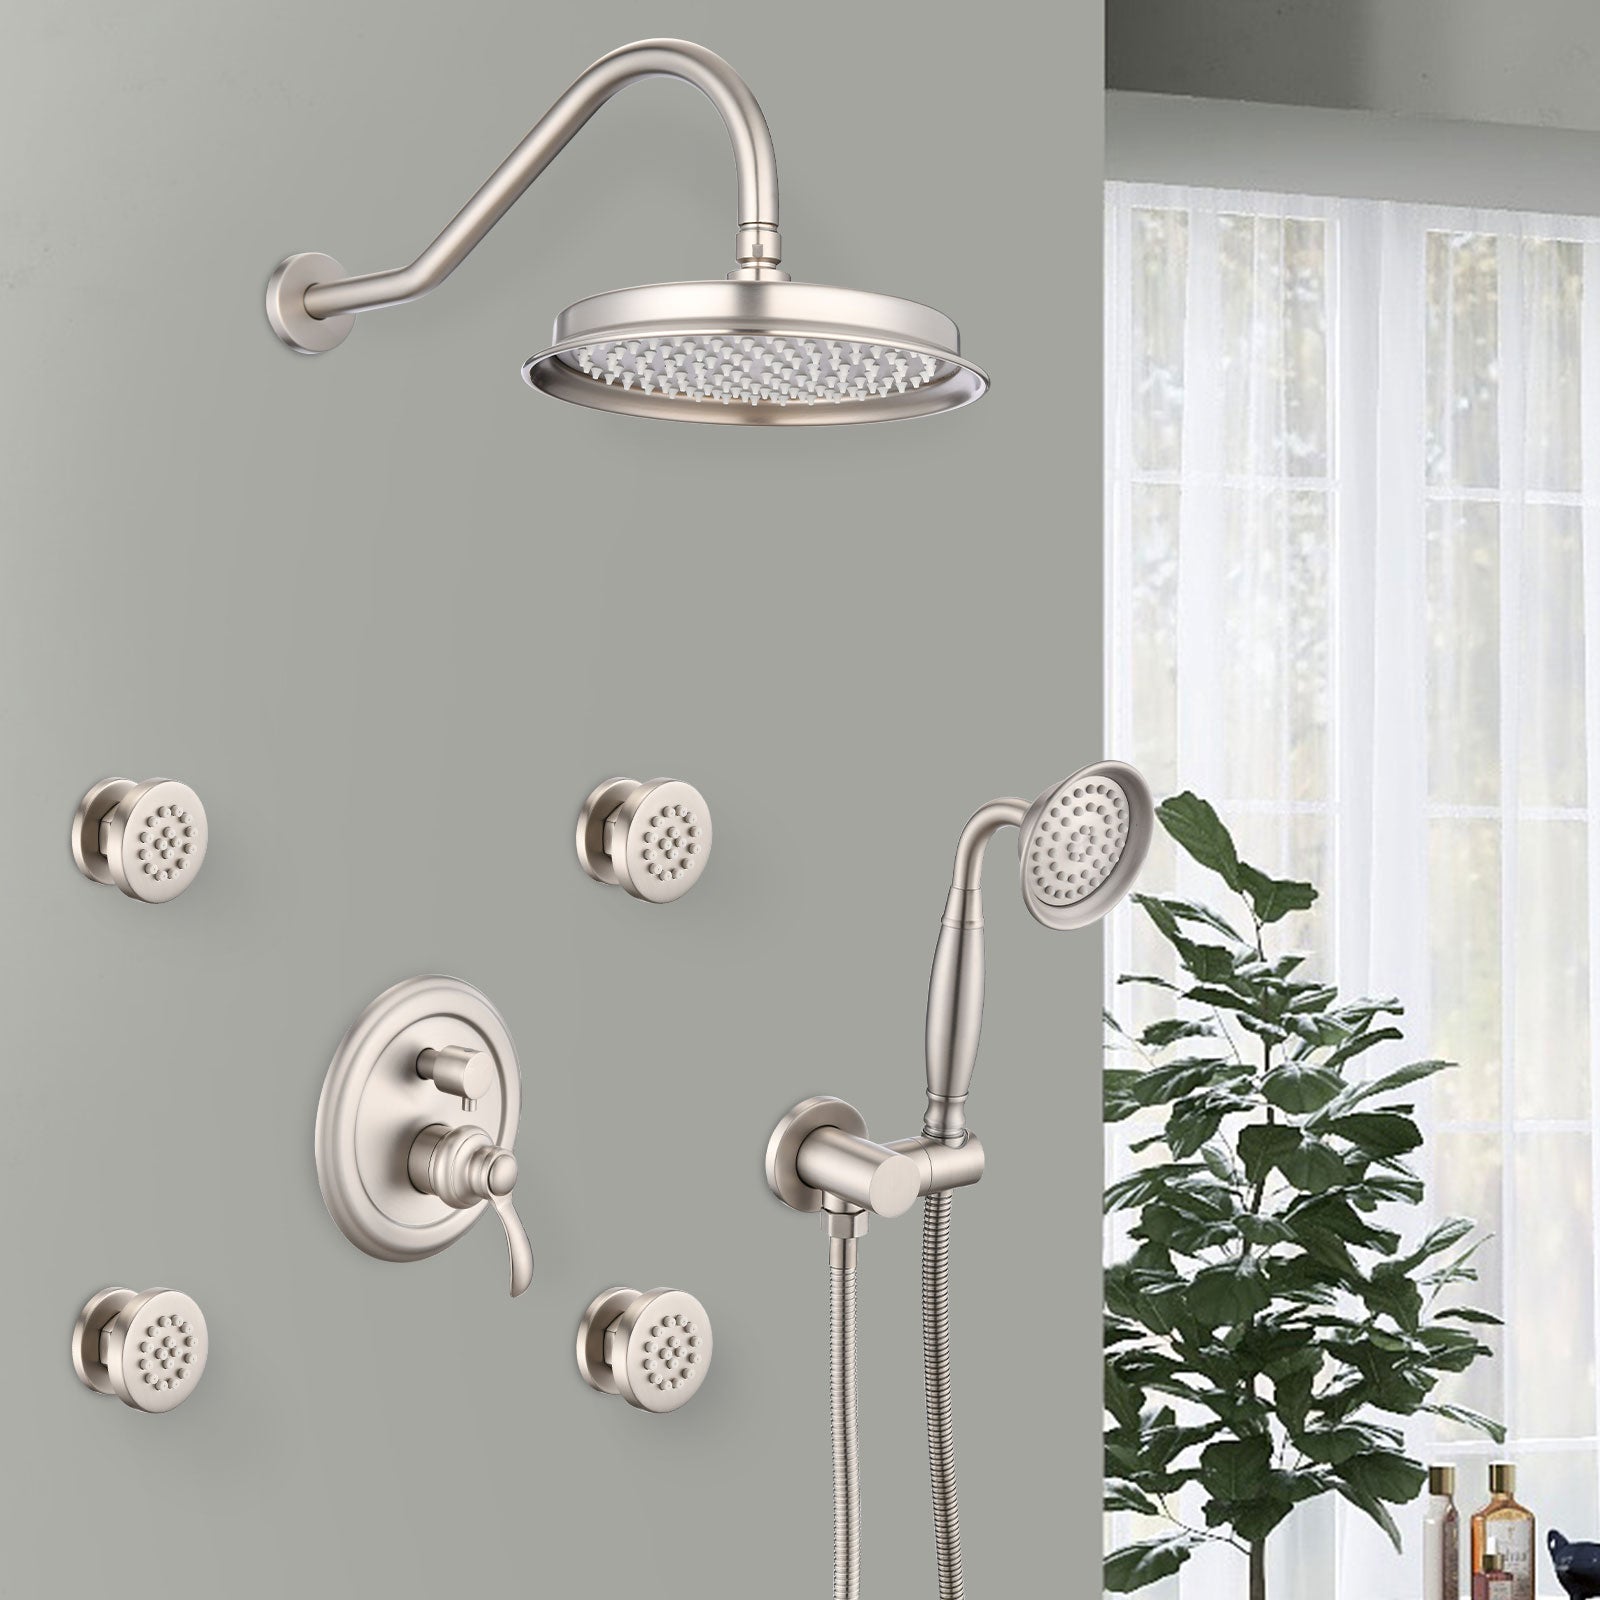
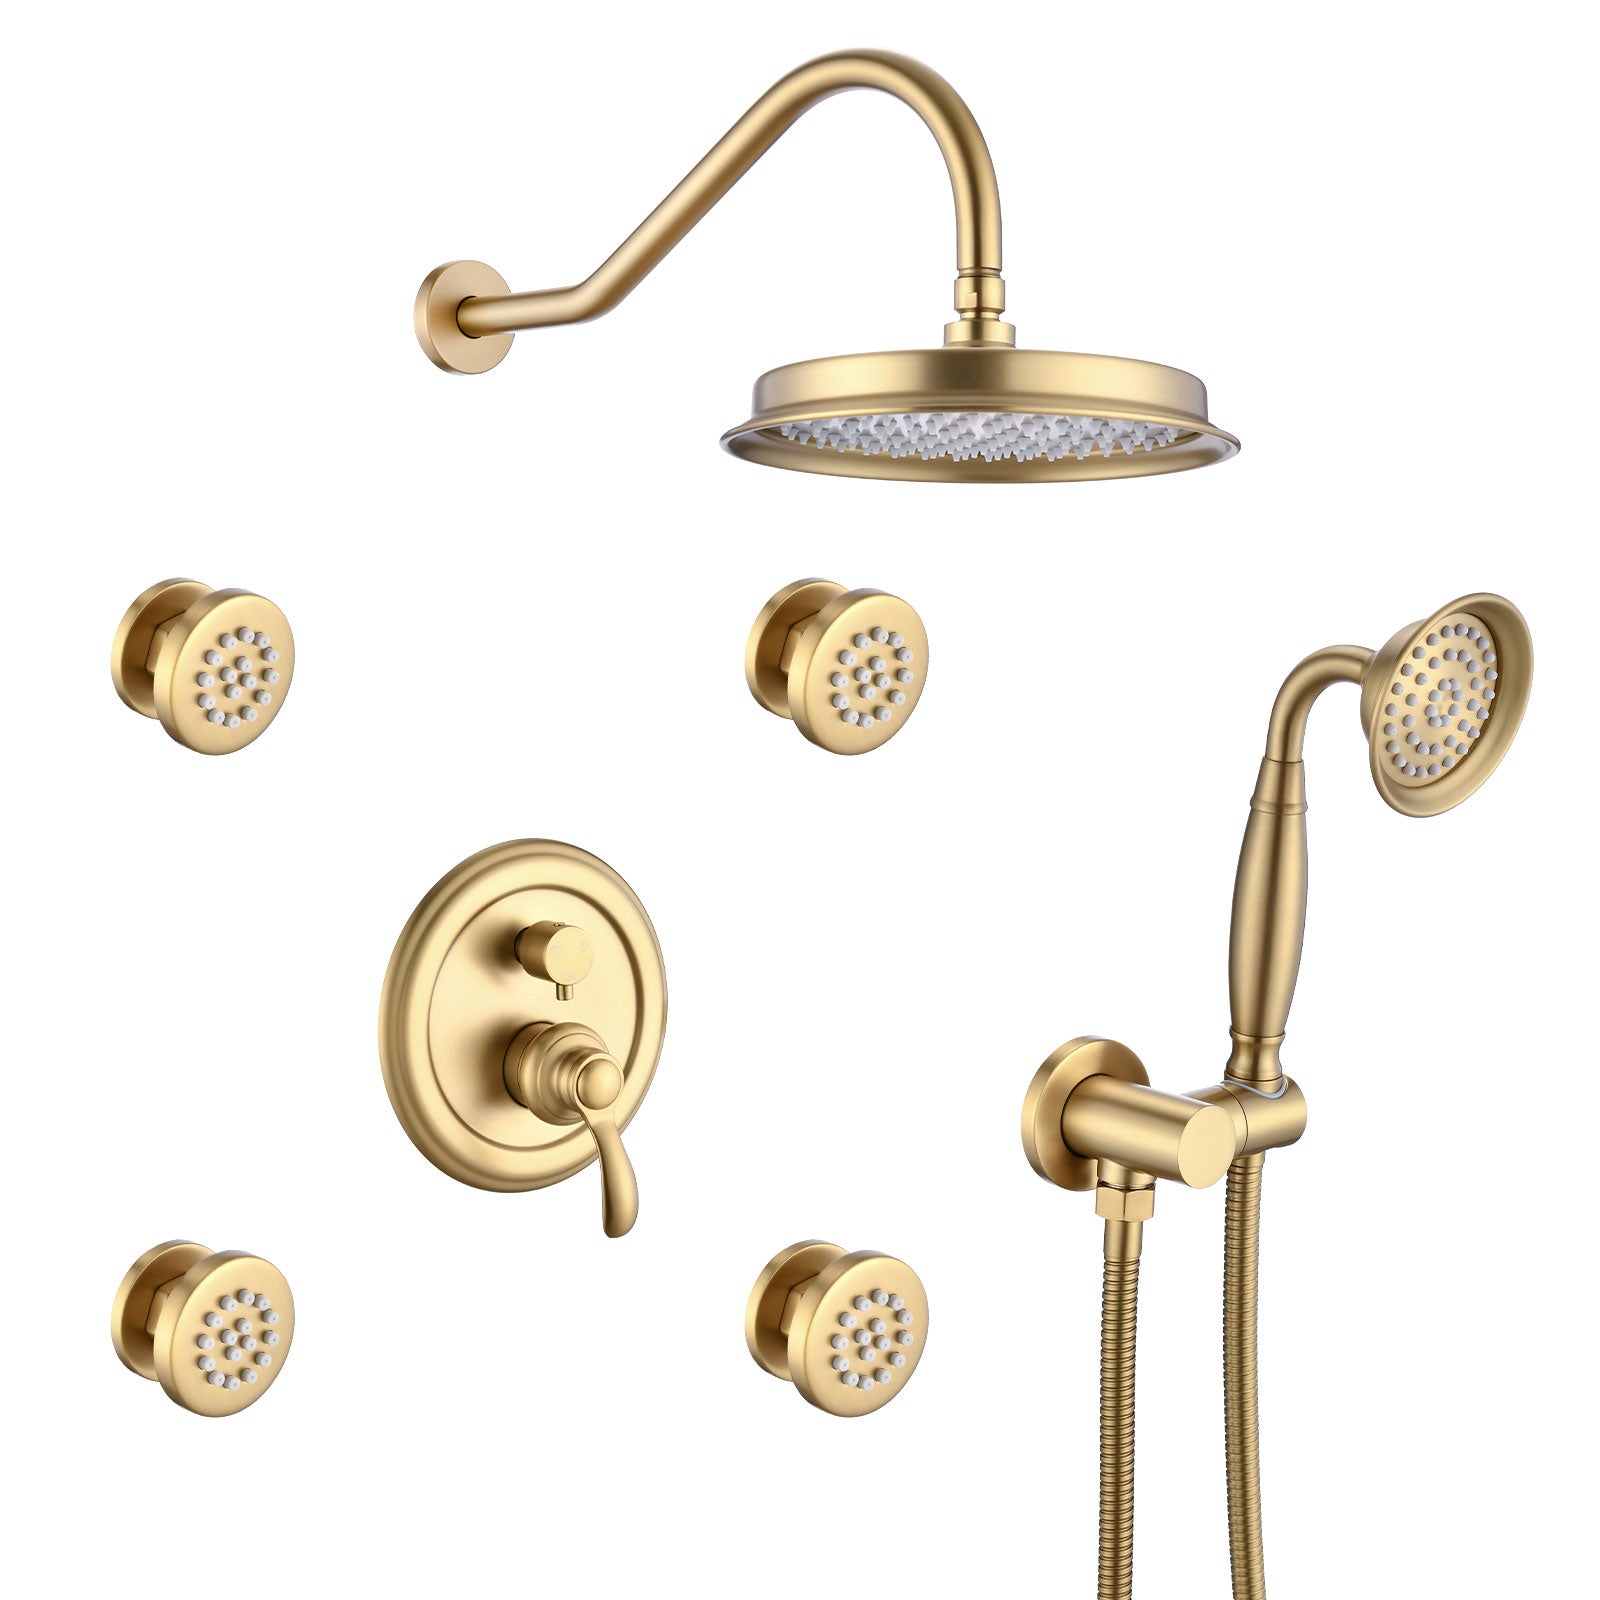
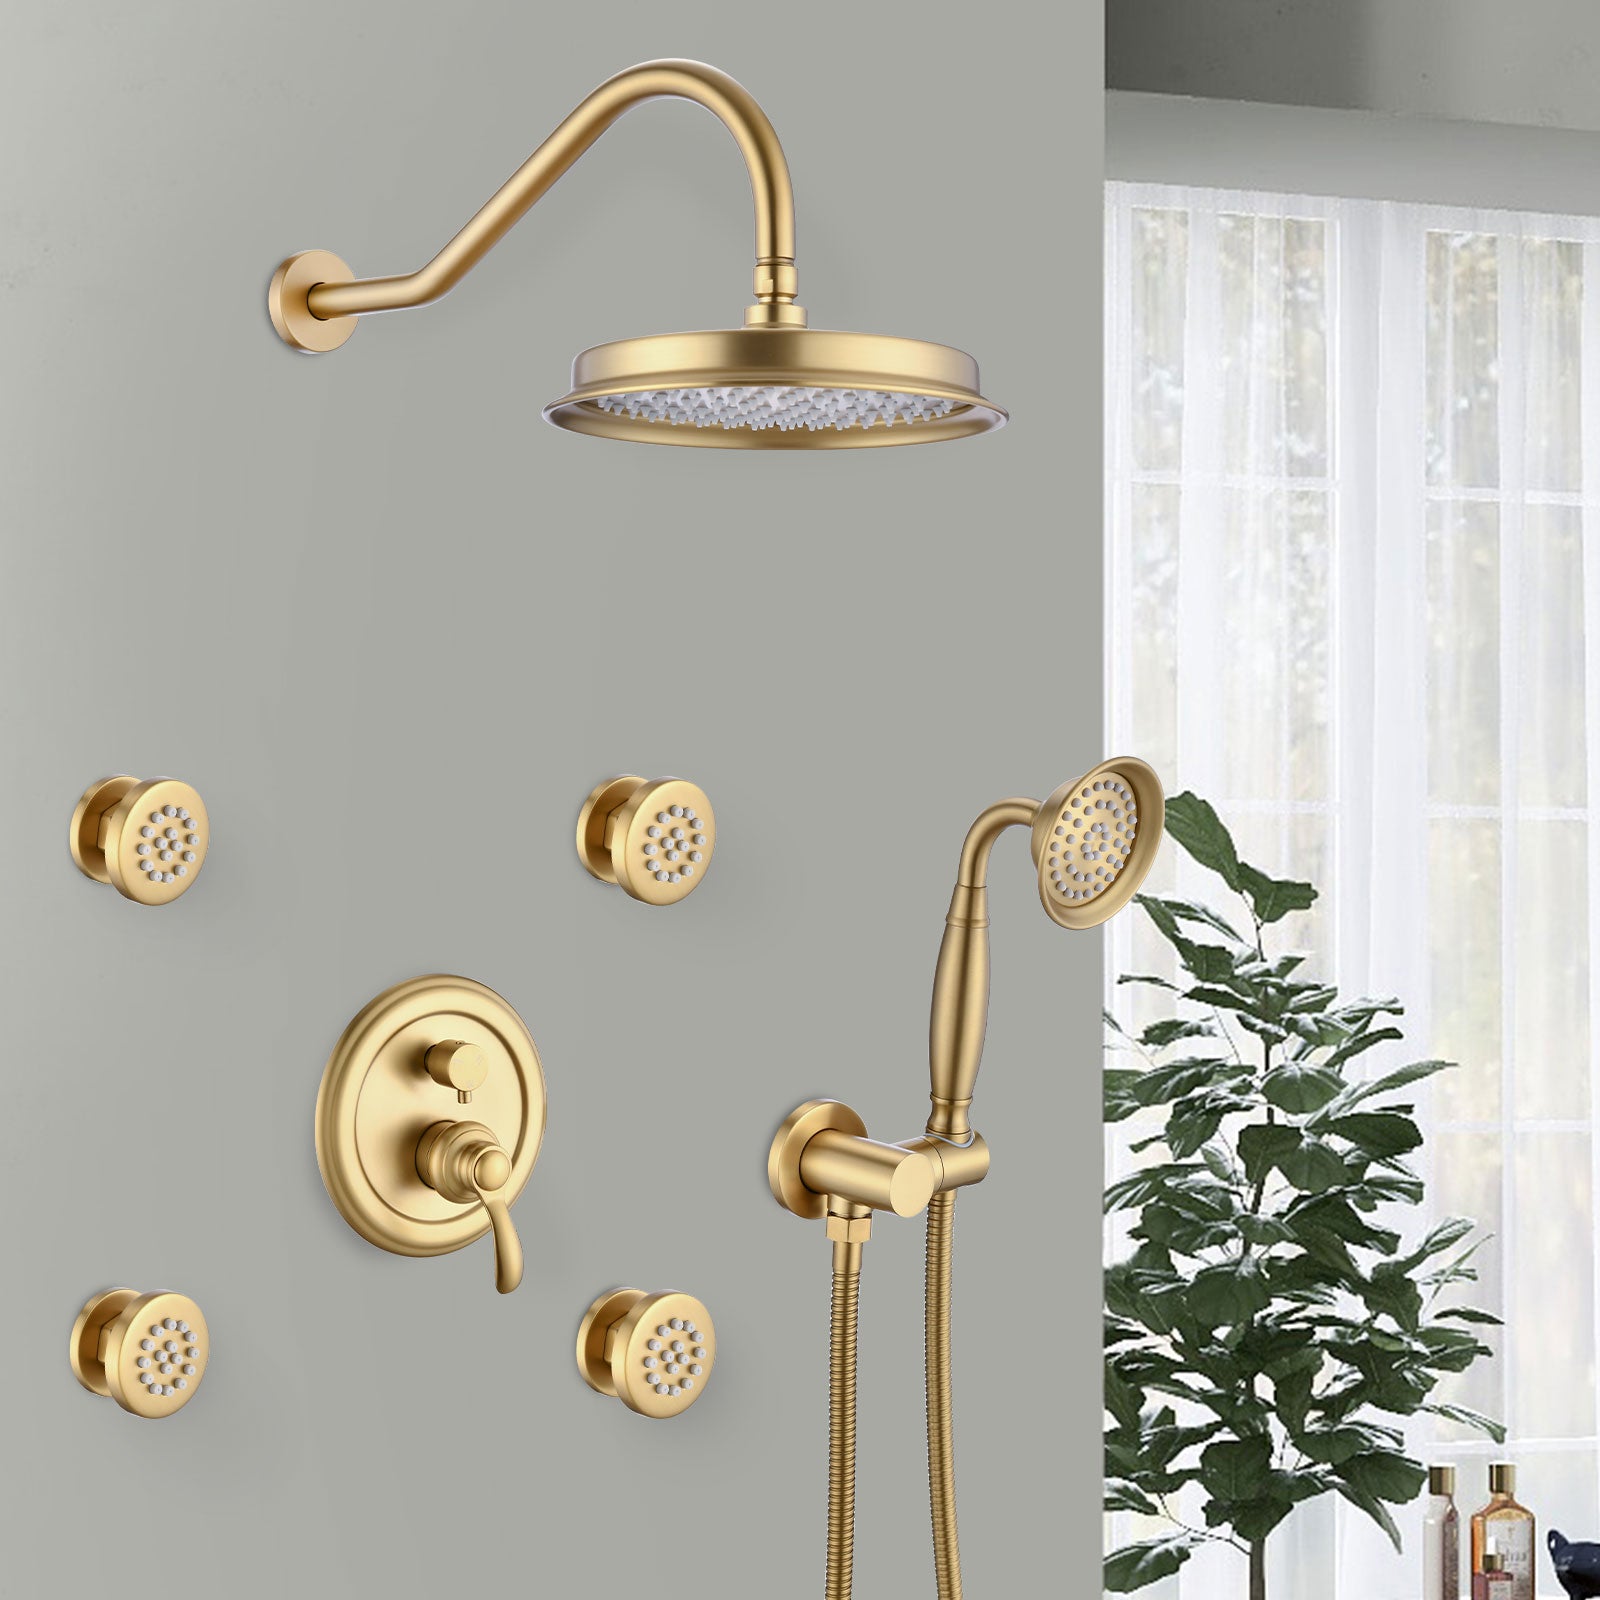
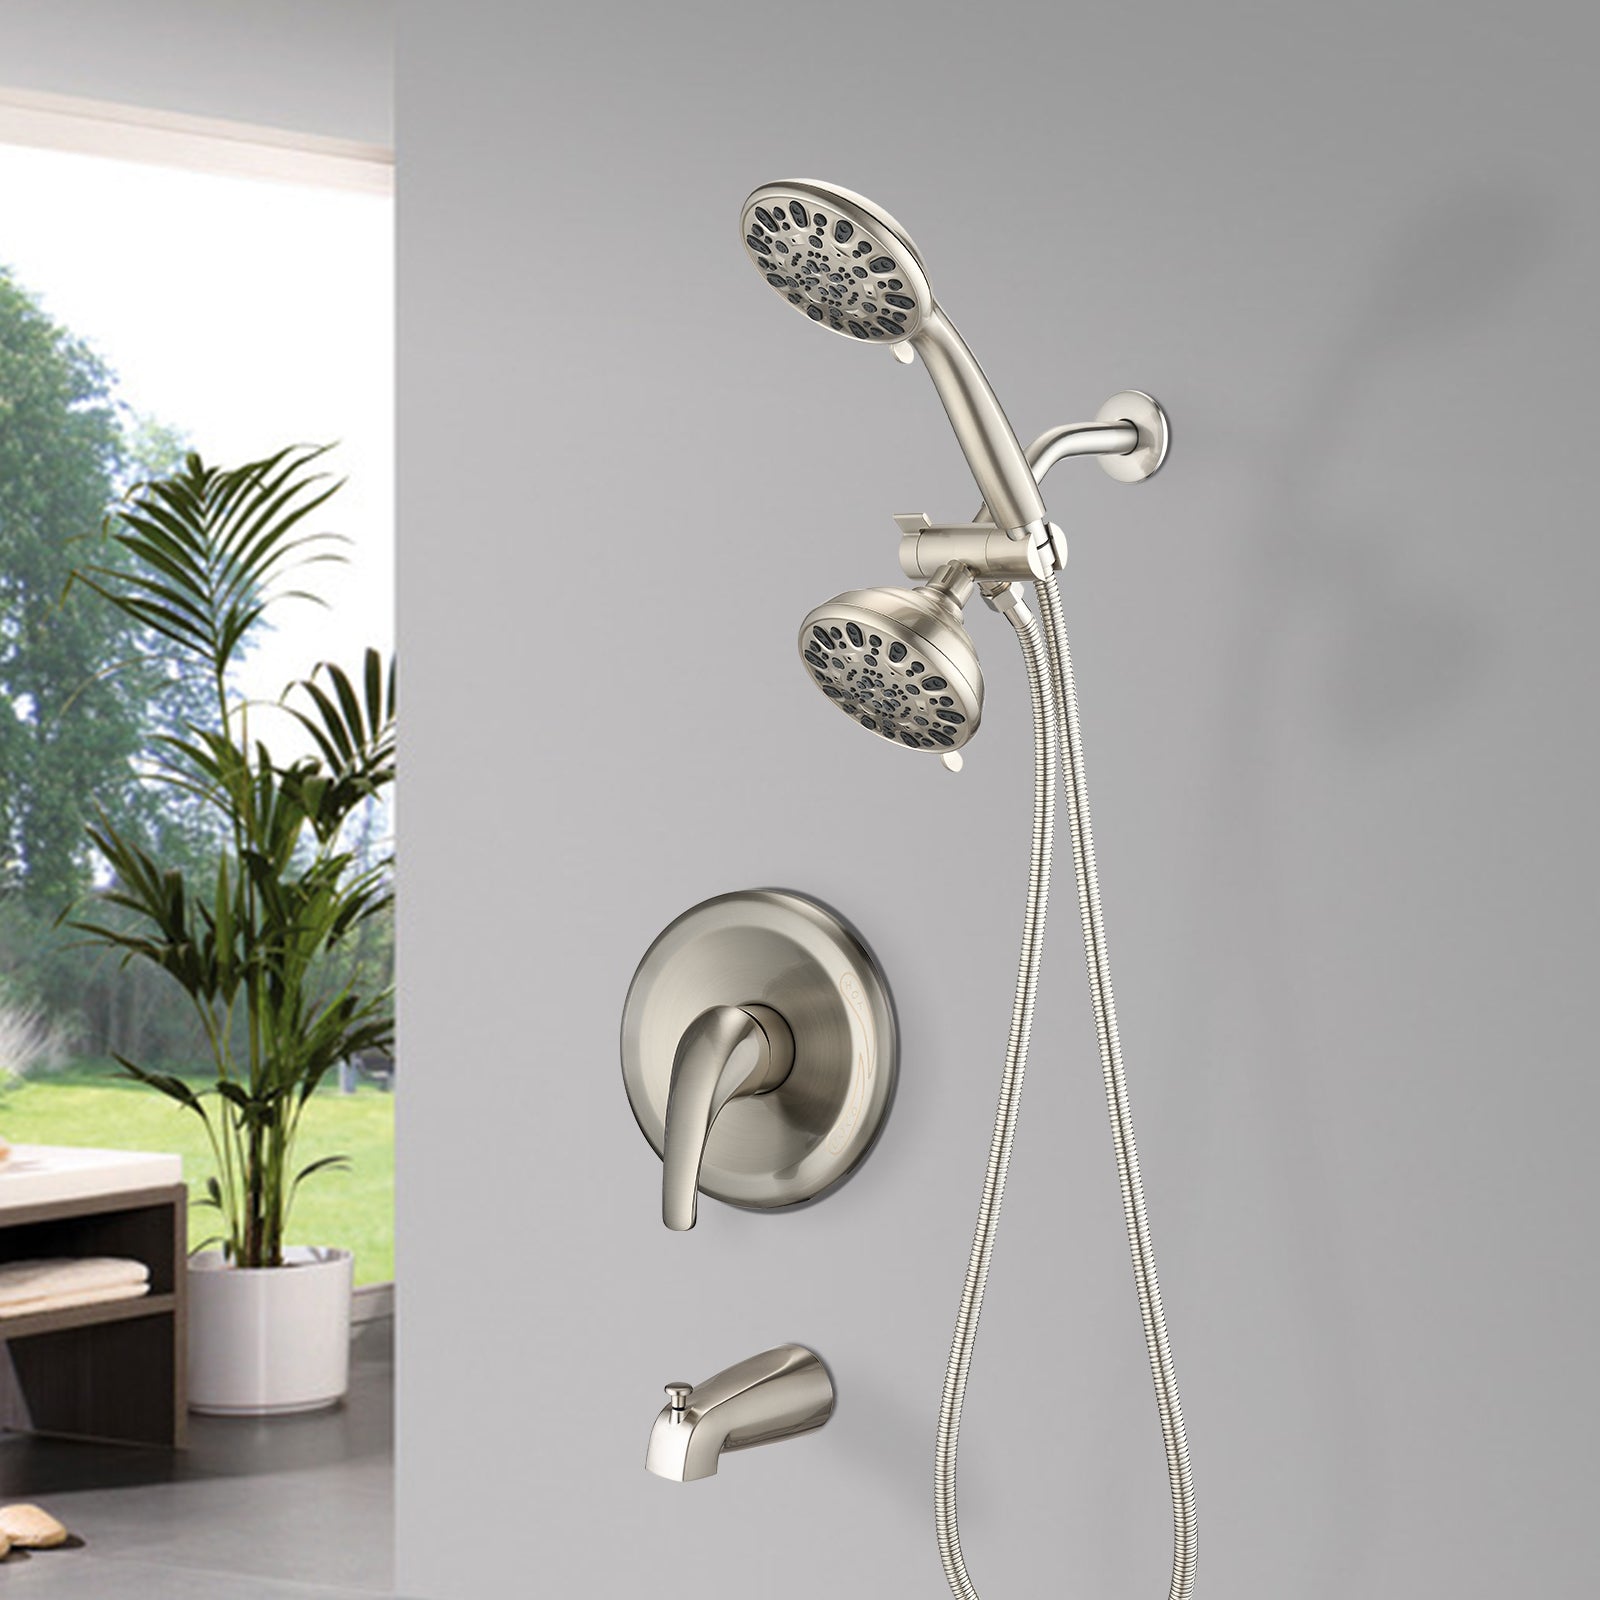
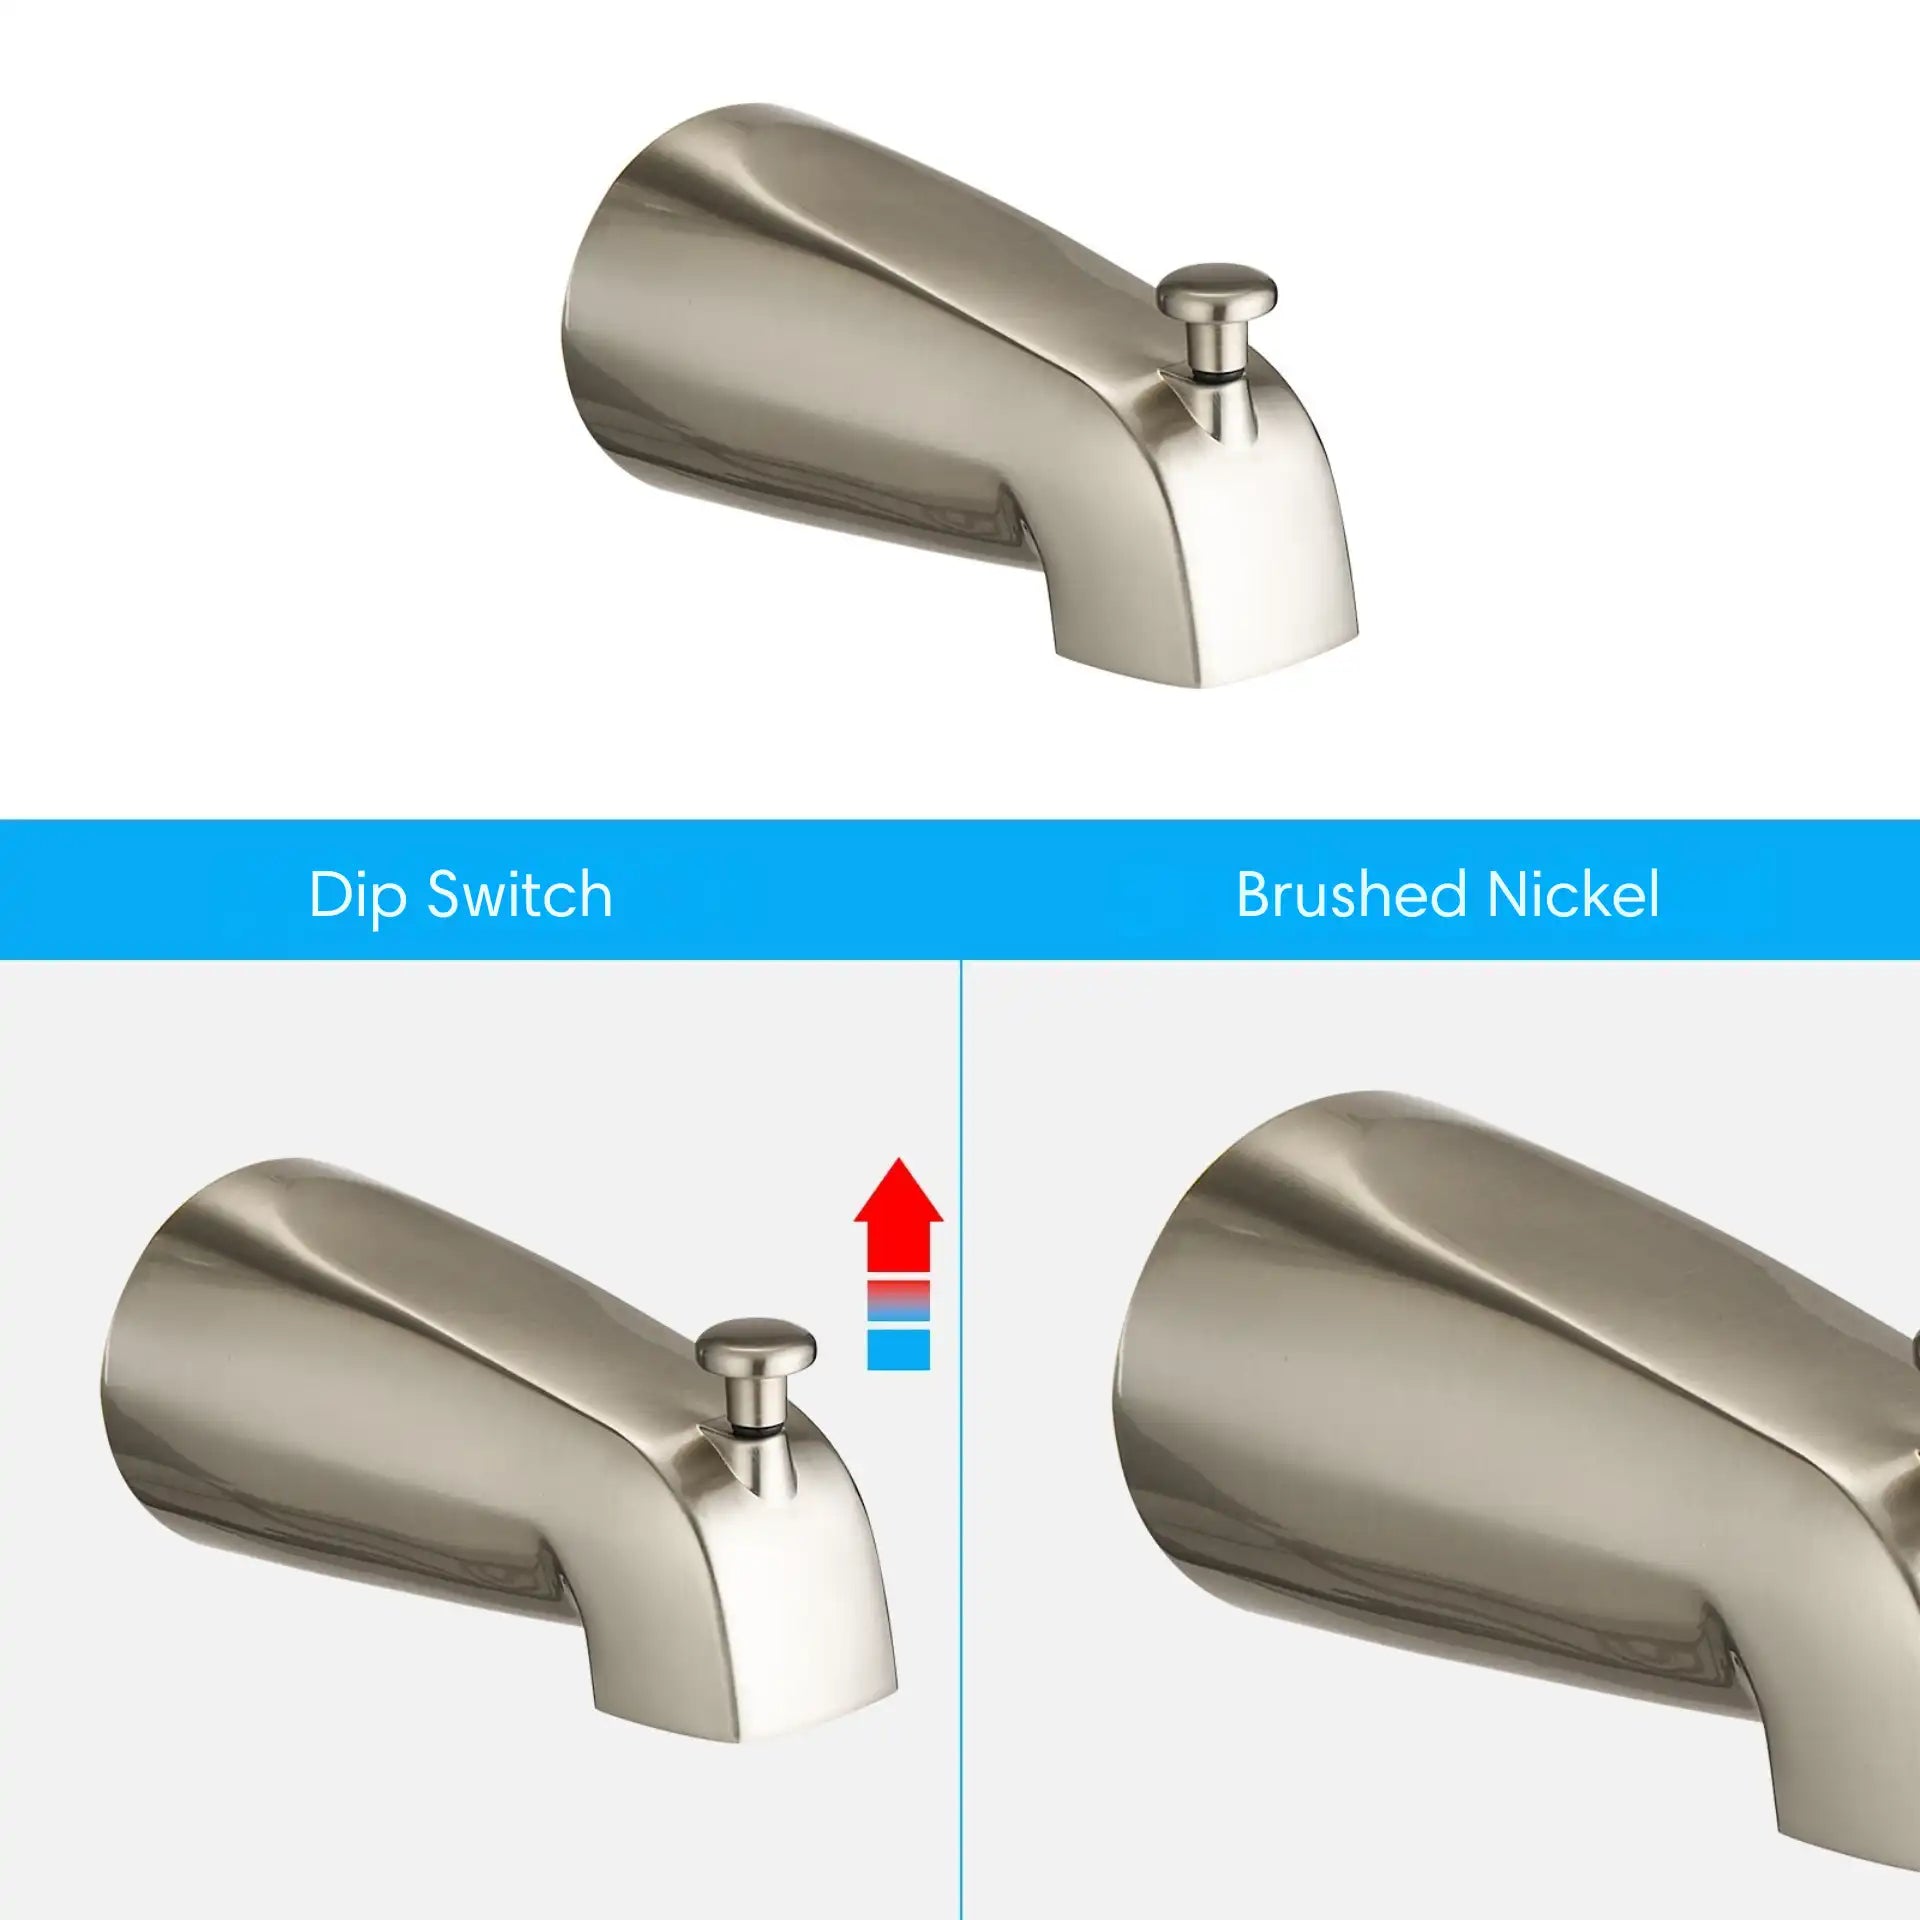
Valve trim is more than function, it is an aesthetic. There are numerous finishes like chrome, brushed nickel, matte black and gold, giving homeowners the ability to match trim to faucets, showerheads and other fixtures.
For modern spaces, minimalist handles with clean lines fit well. Traditional bathrooms may benefit from more ornate designs with rounded edges. Neutral finishes like brushed nickel pair easily with most décor, while bold tones such as matte black can create striking contrasts. When you match your shower valve trim to your bathroom style concept, you create a sleek and seamless appearance.
| Finish | Key Features | Best Suited For |
|---|---|---|
| Chrome | Highly reflective, easy to clean, widely available, budget-friendly | Modern, minimalist, rental properties |
| Brushed Nickel | Soft metallic sheen, resists fingerprints and water spots, versatile | Transitional, contemporary, family bathrooms |
| Matte Black | Bold and dramatic, creates strong contrast, trendy in modern design | Industrial, modern, statement bathrooms |
| Brushed Gold | Warm and luxurious look, pairs well with dark cabinetry or marble | Glam, classic, luxury-inspired spaces |
| Oil-Rubbed Bronze | Dark, rustic finish, often with copper undertones, hides water spots well | Traditional, farmhouse, vintage-inspired designs |
Installing or Replacing Shower Valve Trim
The installation or replacement of the valve trim is often simpler than changing the valve itself. A basic DIY project typically involves these steps:
-
Turn off the water supply.
-
Remove the old handle and escutcheon plate with a screwdriver or Allen wrench.
-
Clean the area to remove old caulk or mineral deposits.
-
Attach the new trim components according to manufacturer instructions.
-
Apply plumber’s tape where necessary to ensure a watertight seal.
-
Turn on the water and test for leaks or alignment issues.
Most homeowners can accomplish this task in less than an hour with common tools. However, if your existing valve is outdated or incompatible, professional assistance may be required to avoid damaging plumbing connections.

Common Issues with Shower Valve Trim
And even the best installed valve trim can run into trouble over time. Common problems include:
-
Leaky handle or drips: Usually worn seals or O-rings. Often times, replacing these parts fixes the issue.
-
Loose handle: Screws can become loose over time. Tightening them restores stability.
-
Escutcheon plate gaps: Poor sealing around the plate can let water seep behind walls. Adding caulk helps prevent hidden moisture damage.
-
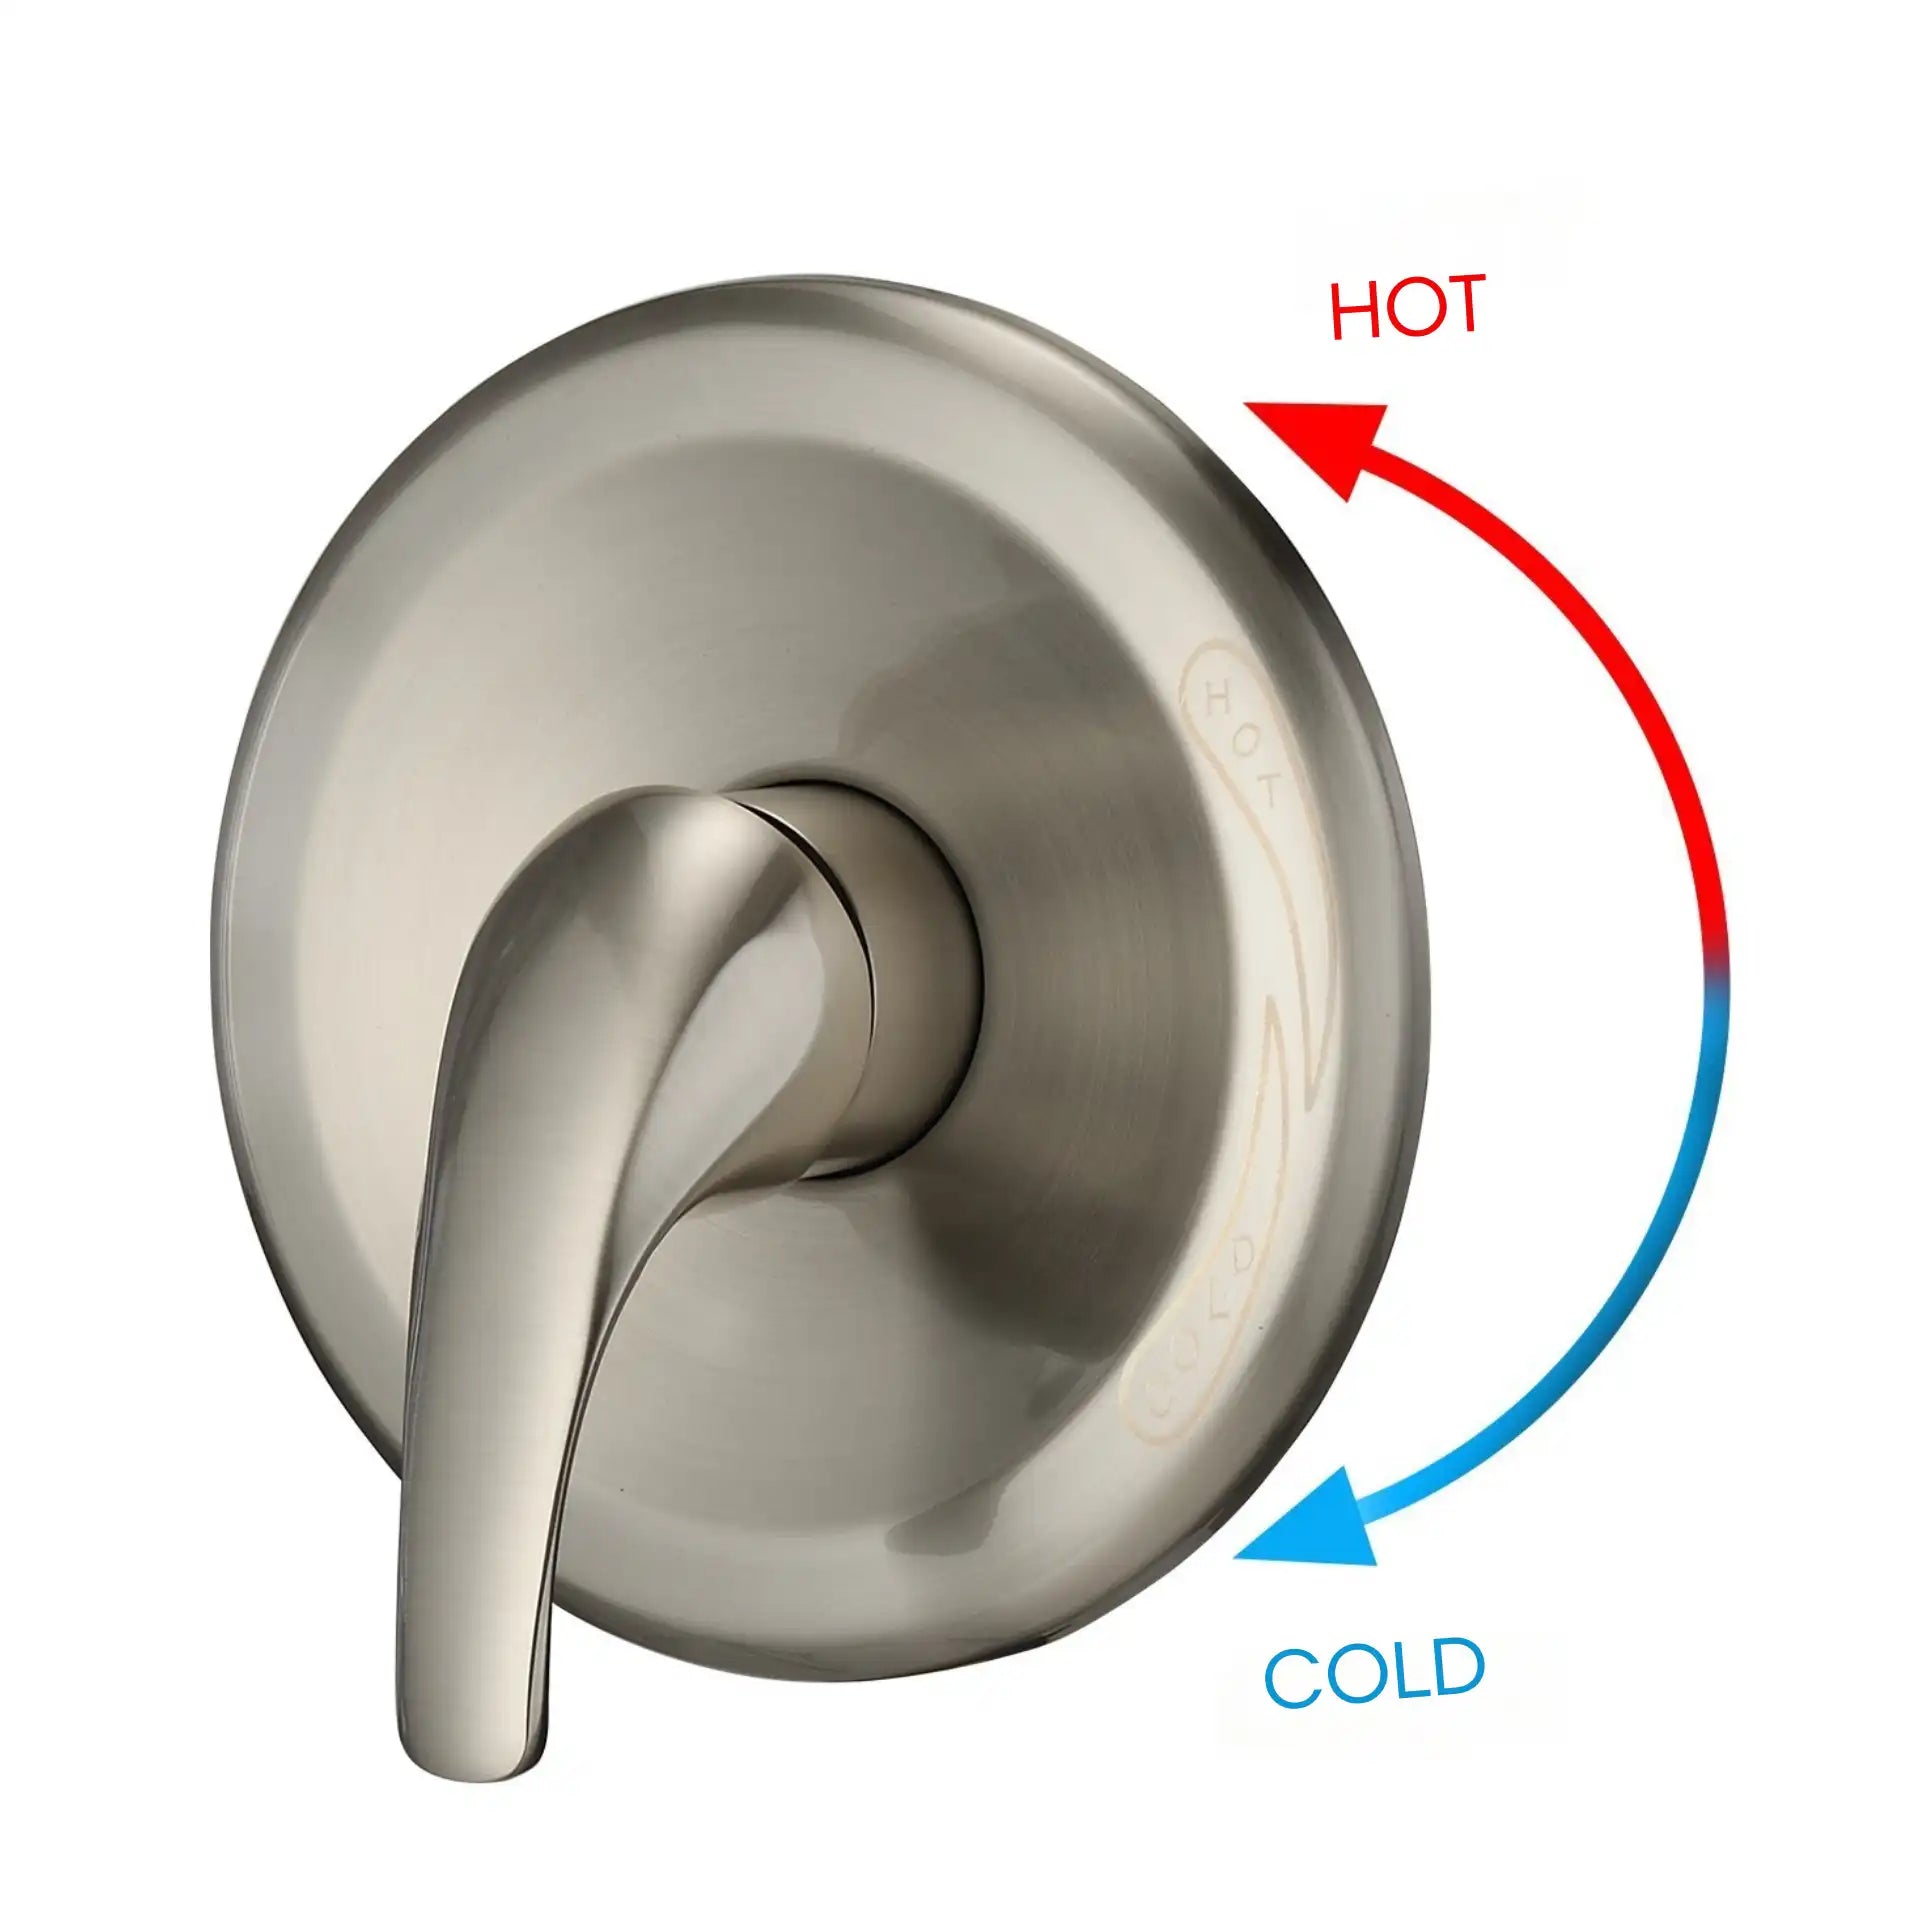
Temperature inaccuracy: If hot and cold mixing feels off, the handle may need recalibration.
Most of these issues are manageable with basic DIY fixes, but persistent leaks or irregular temperature control should prompt a call to a licensed plumber.

Maintenance Tips for Long-Lasting Performance
Regular maintenance will keep your shower valve trim operating and looking good:
-
Regular cleaning: Use mild soap and water instead of harsh chemicals to protect the finish.
-
Check fasteners: Periodically tighten screws to prevent wobbling handles.
-
Prevent mineral buildup: Wipe after use to reduce hard-water build up.
-
Inspect seals: Ensure caulking and gaskets remain intact to block water intrusion.
-
Operate gently: Avoid forcing handles, as this can strain internal valve components.
These are a few steps that prolong the life of the trim and the primary valve, so you get fewer expensive repair moments.

Conclusion
The shower valve trim may appear to be a small accessory, but its importance cannot be overstated. Choosing the right trim helps create a reliable and beautiful shower environment. With proper installation and regular maintenance, you can enjoy trouble-free operation for years to come.
FAQ
Q1. What is the difference between a valve and valve trim?
A: The valve is the internal component that controls water flow and temperature. The trim is the visible hardware (handle and plate) used to operate the valve.
Q2. Can I replace shower valve trim without replacing the valve?
A: Yes, as long as the new trim is compatible with your existing valve model. This makes upgrades easier and less costly.
Q3. How do I know which valve trim is compatible with my shower?
A: Check the brand and model of your valve. Manufacturer specifications or plumber guidance can confirm the correct trim options.
Q4. Which material is best for shower valve trim?
A: Brass and stainless steel are highly durable and resistant to corrosion, making them top choices for long-term reliability.
Q5. Is it possible to install shower valve trim by myself?
A: Yes, many trims can be installed with basic tools. However, if the valve itself requires replacement, professional plumbing services are recommended.
Q6. How often should I replace shower valve trim?
A: There is no strict timeline. Trim usually lasts many years, but replacement may be necessary if it shows signs of wear, leakage, or if you want a design update.
Relative Articles
Bathtub Faucet Replacement: How to Change Bathtub Faucet Without a Plumber
How to Fix a Cracked Mirror: A Complete Guide for DIY and Replacement
Avoid Shower Drips: 5 Tips for Using tape for shower head Correctly
Mixing Metals in the Bathroom: A Guide to Stylishly Combining Different Finishes