Introduction
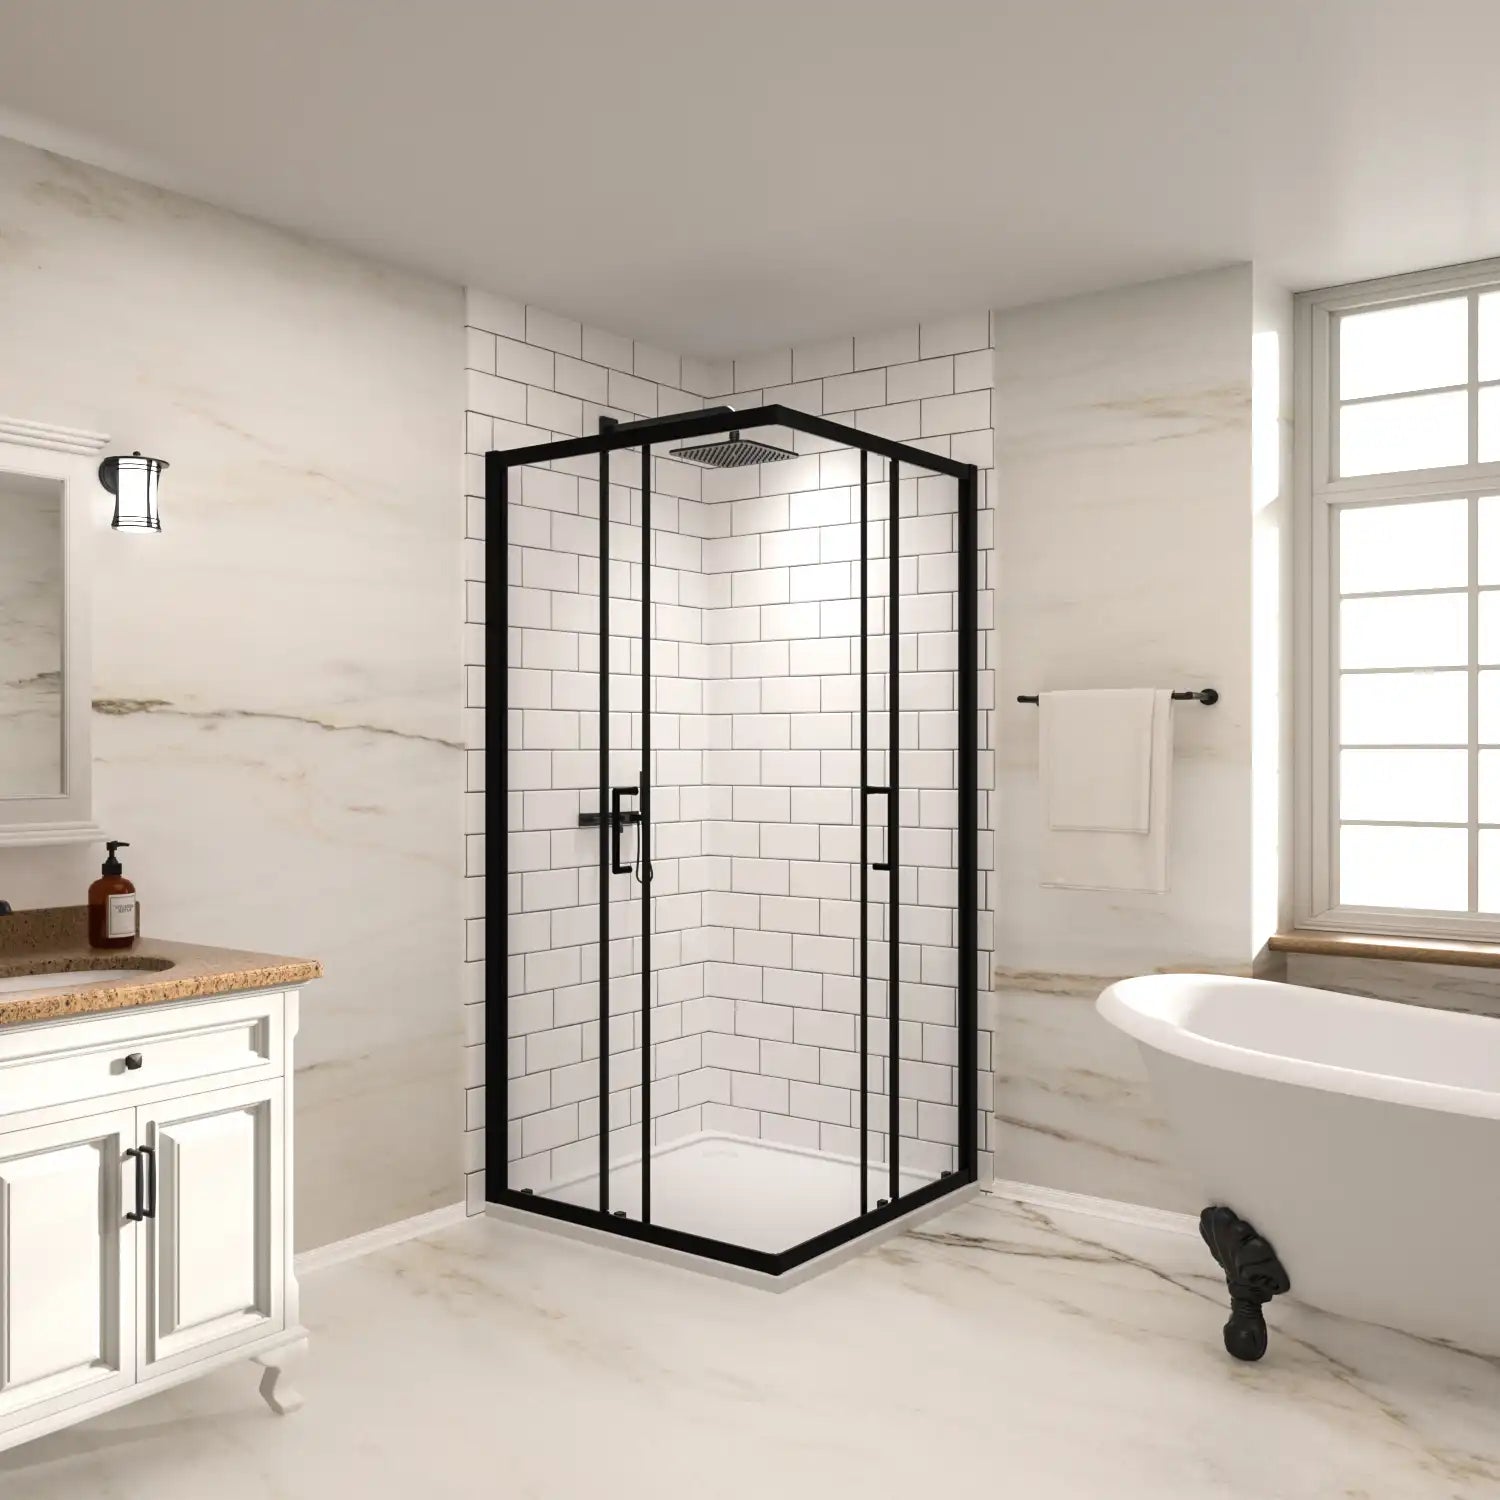
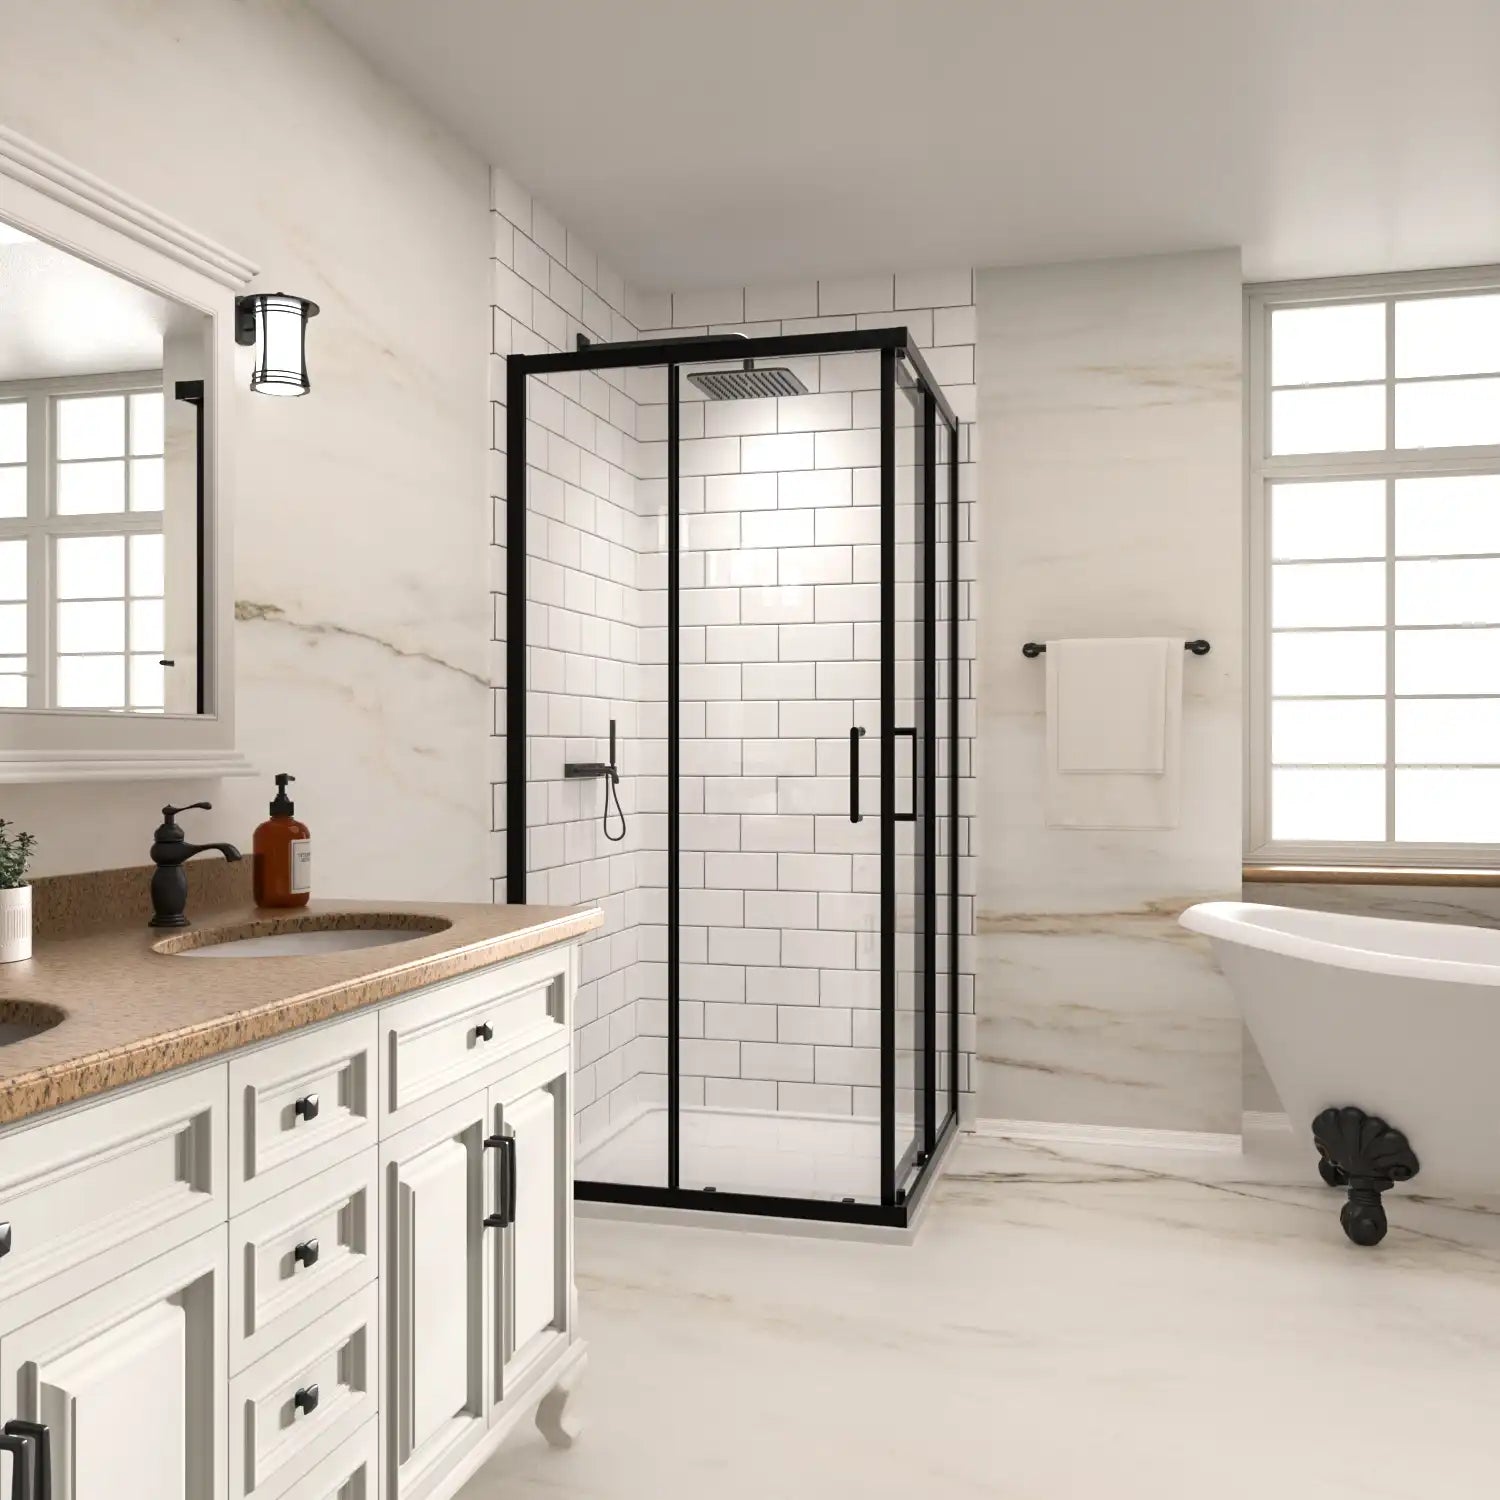
Installing a shower enclosure is a transformative project for your bathroom — enhancing both style and function. But beyond the sleek glass and modern design lies a critical need for proper planning and precision.
In this comprehensive guide, you’ll learn how to install a shower enclosure the right way. We’ll start with choosing the right model, understanding technical specs, preparing your space, and finally walk you step-by-step through the installation process. Whether you're a confident DIYer or just learning the ropes, this article is your expert guide to a leak-proof, long-lasting installation.
Table of Contents:
- 1. Choosing the Right Shower Enclosure: What to Consider First
- 2. Understanding Key Specifications: Glass Thickness, Height, and Adjustment Range
- 3. Preparing for Installation: Tools, Space, and Safety First
- 4. Step-by-Step Installation: Expert-Validated Process for Leak-Free Results
- 5. Common Mistakes to Avoid and Expert Tips for Best Results
- Conclusion
- FAQs: Your Questions Answered by Experts
1. Choosing the Right Shower Enclosure: What to Consider First
Before getting your tools ready, you need to select the enclosure that suits your bathroom layout and personal taste. This choice will shape your entire installation process.
Factors to Consider:
-
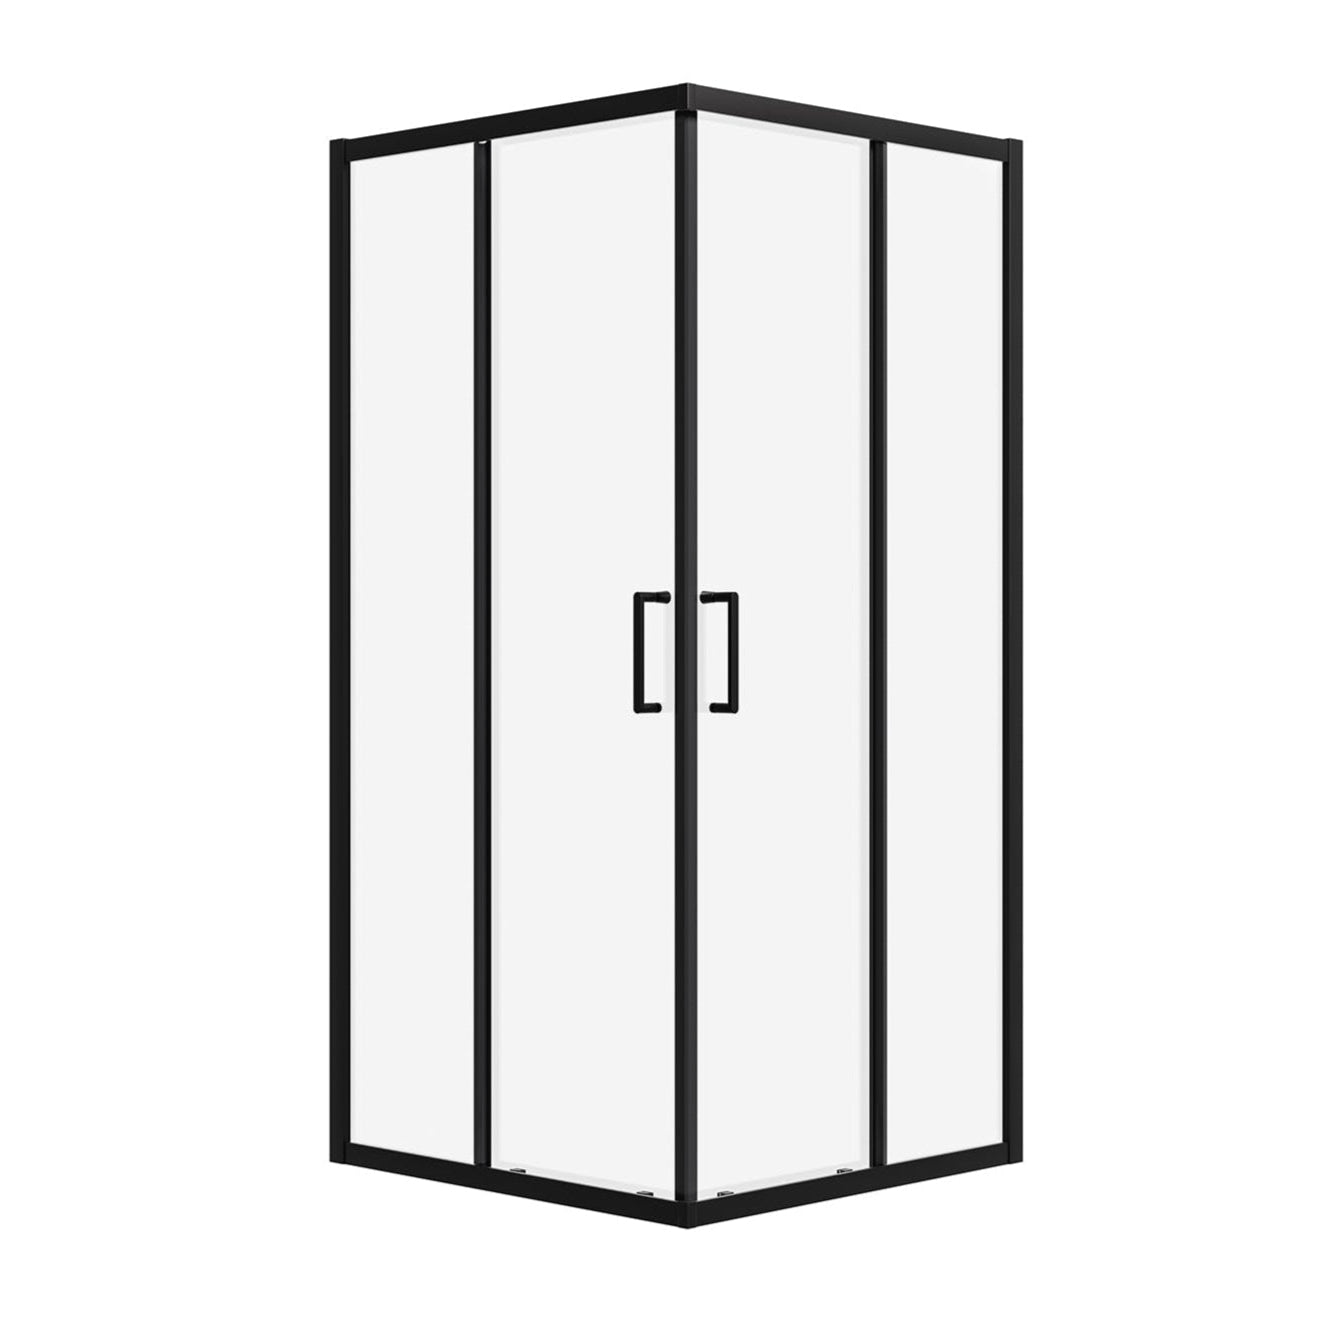
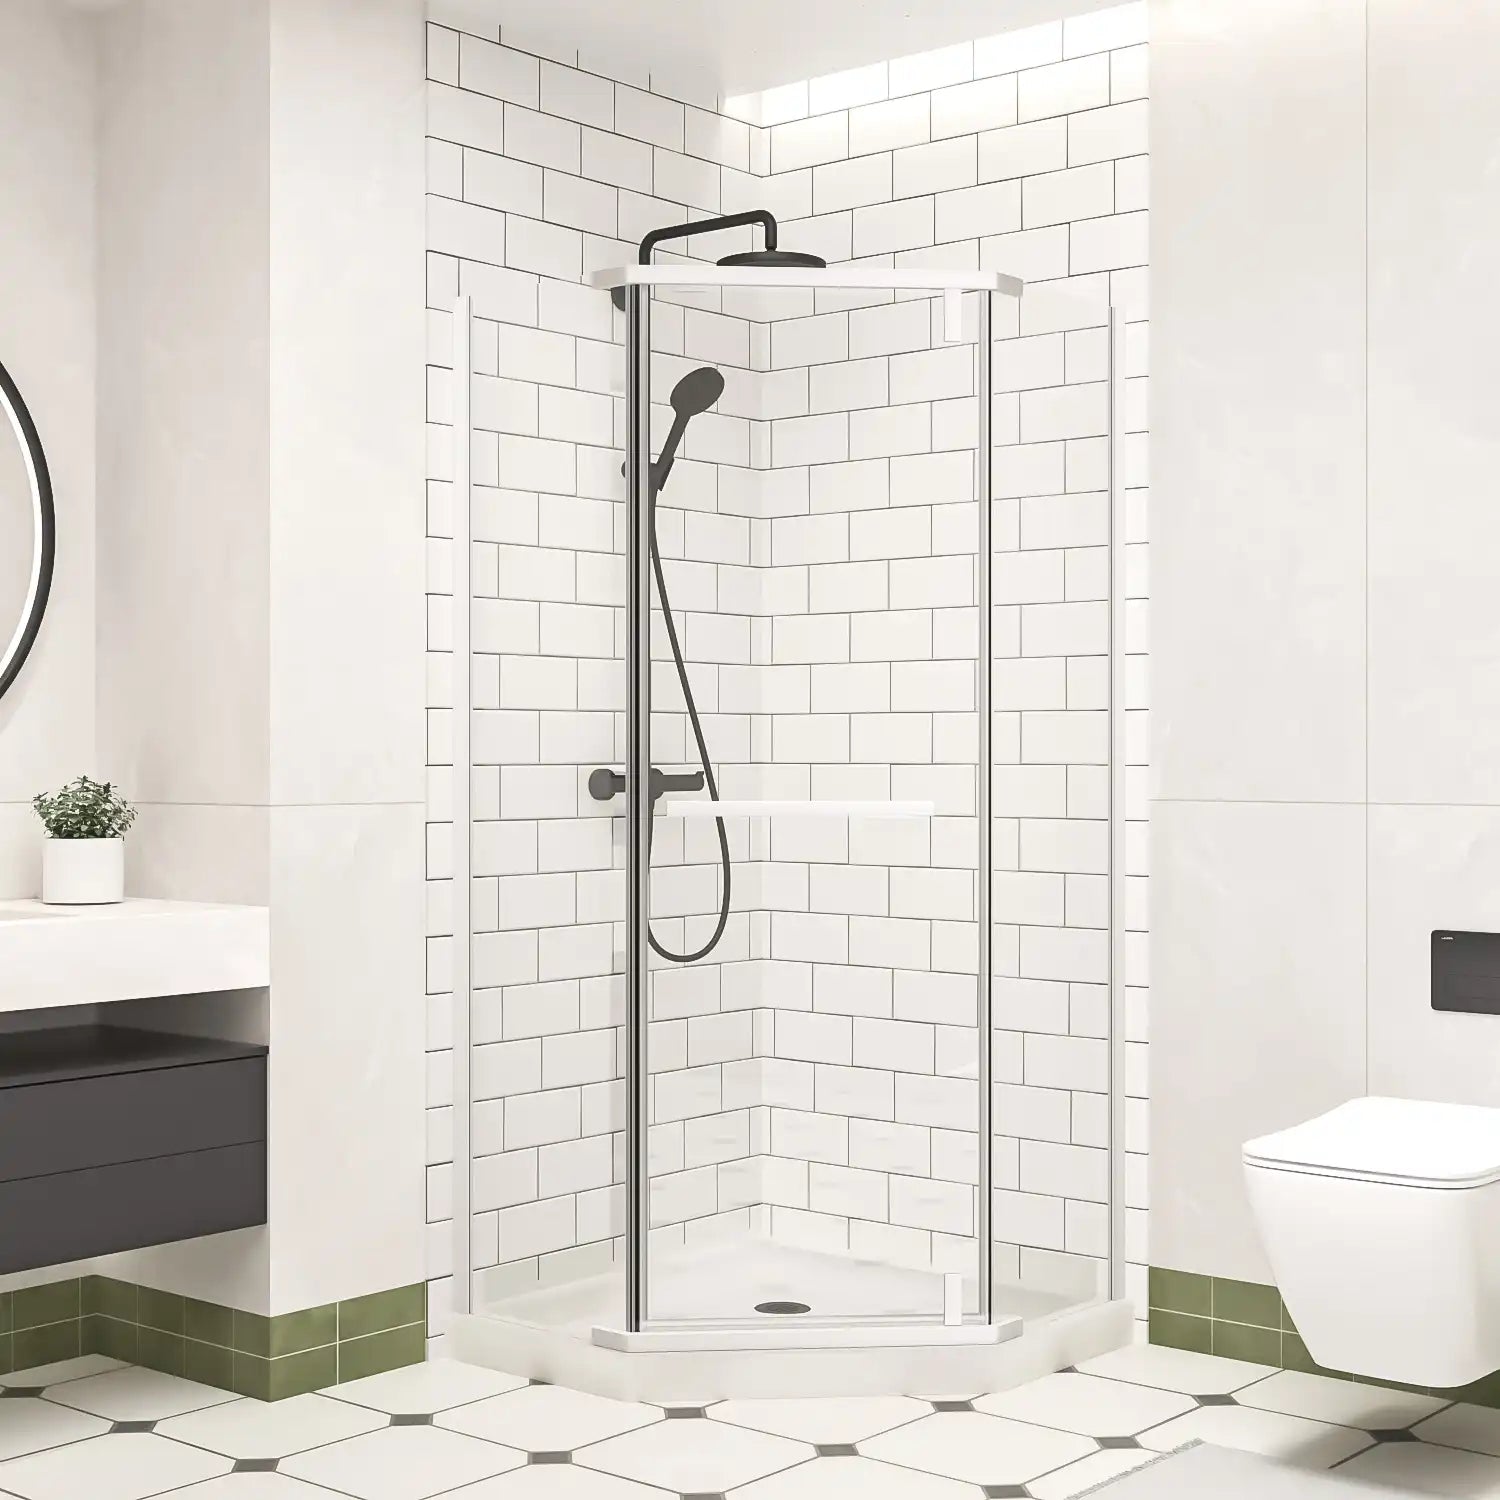
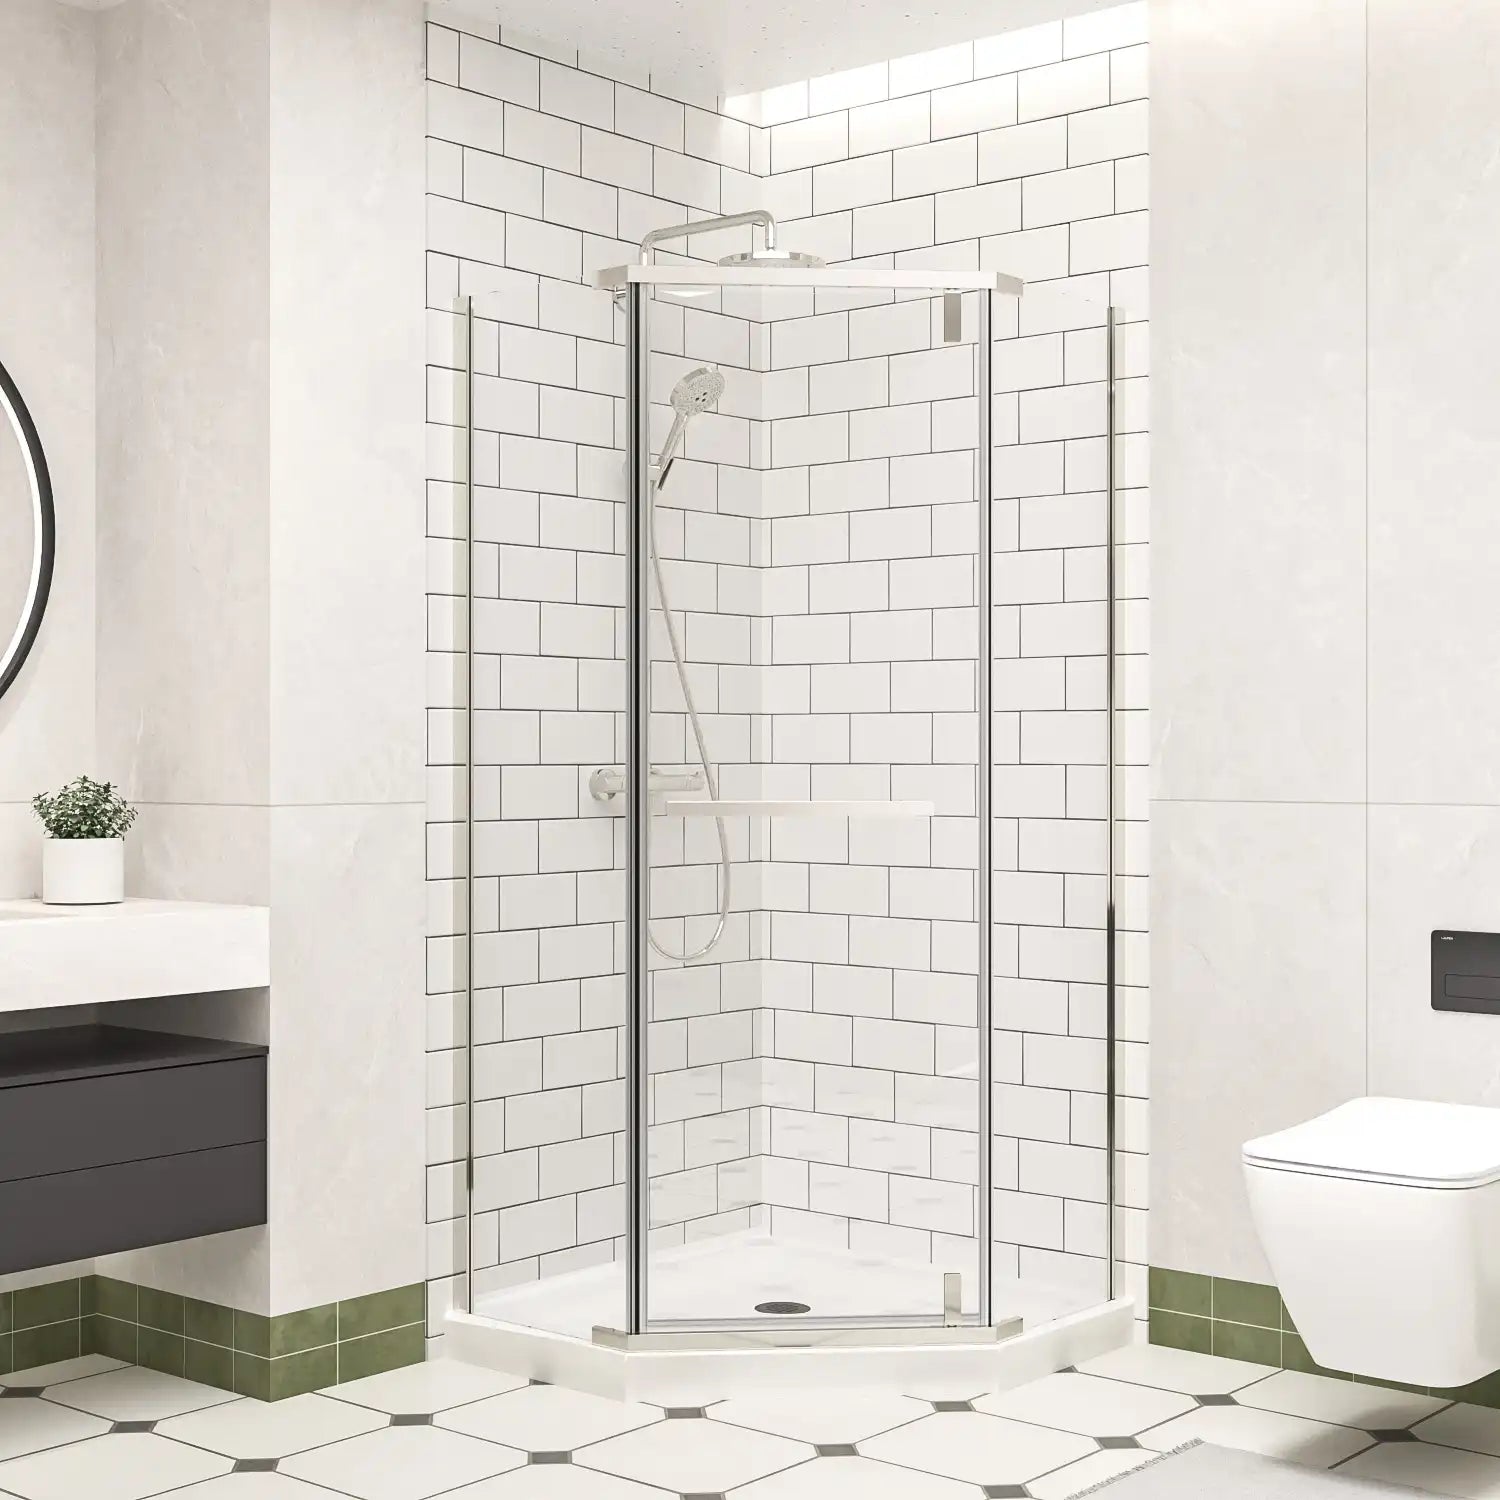
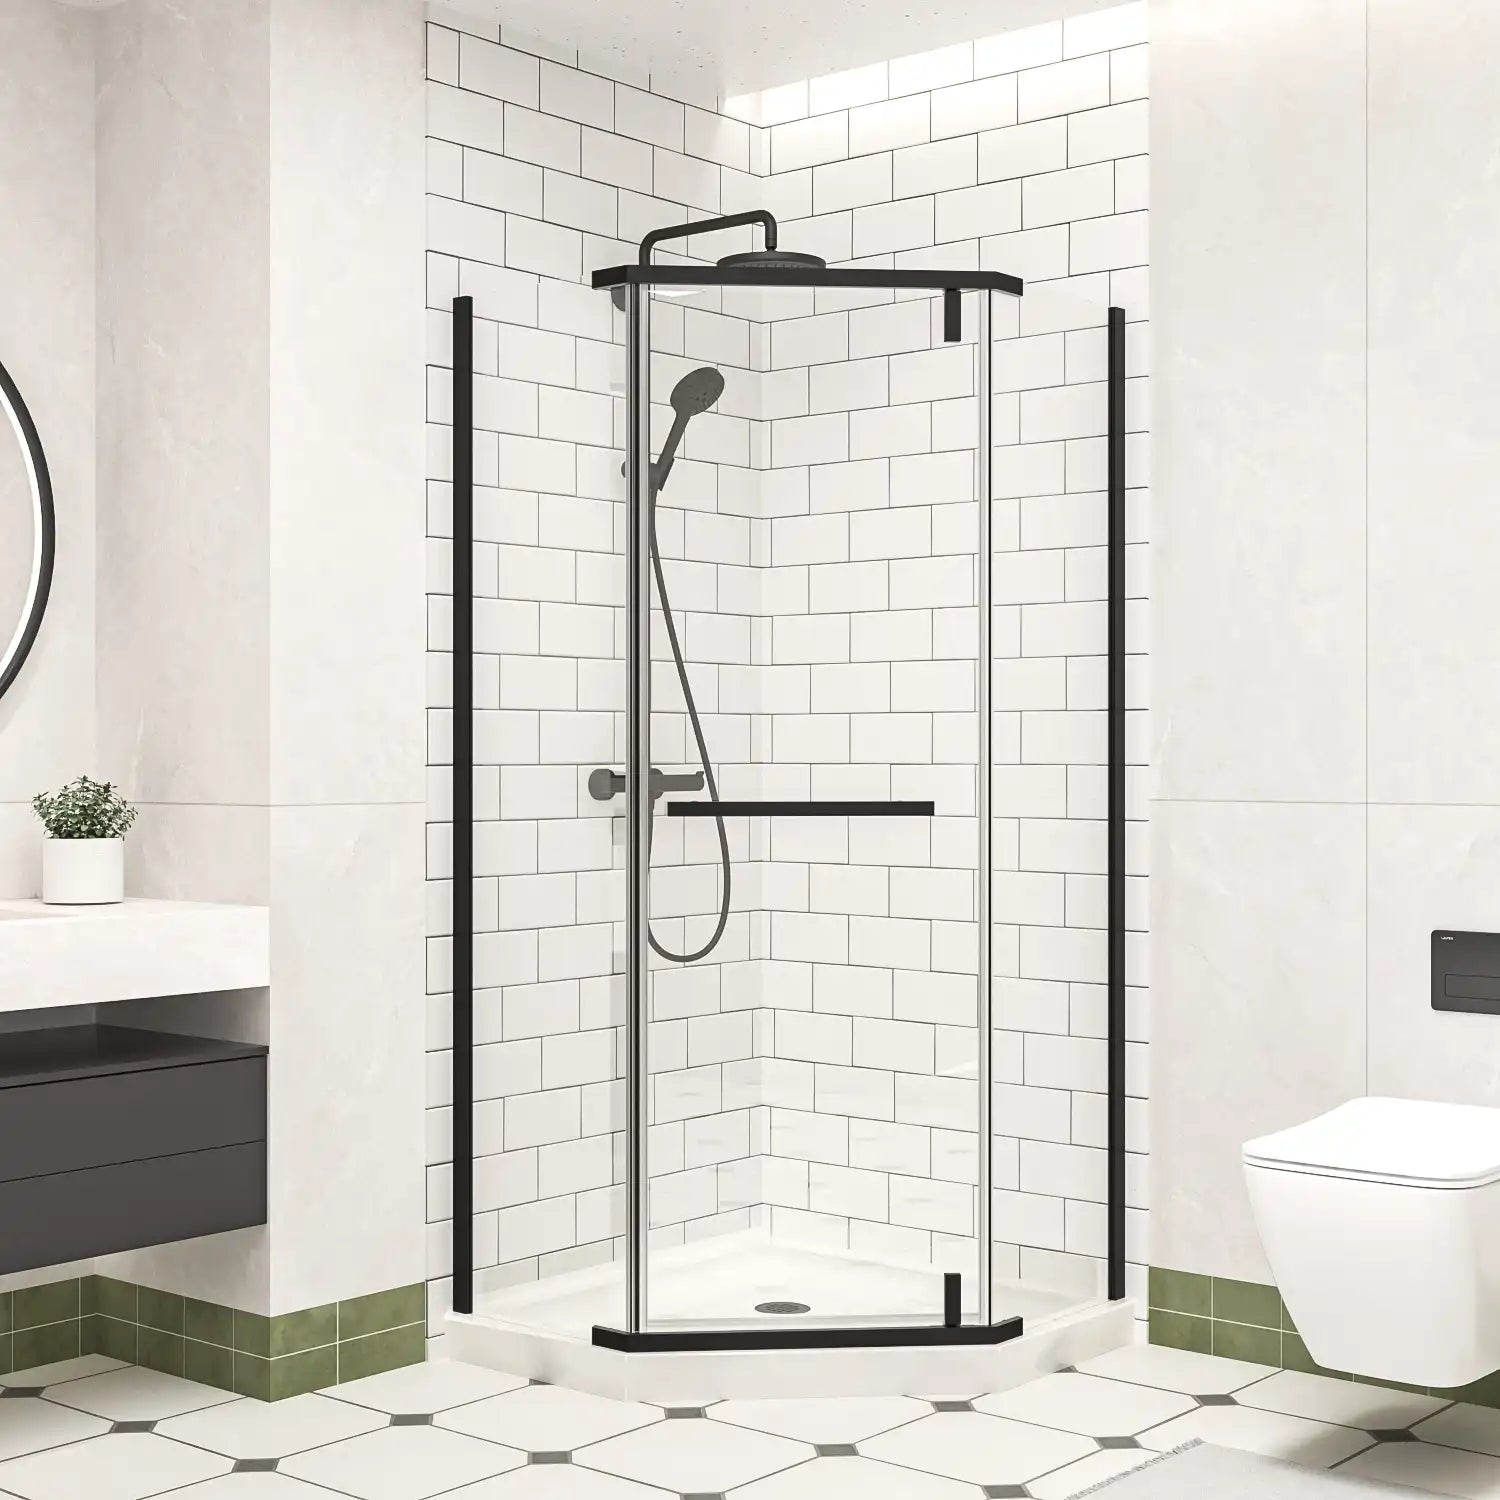
Bathroom Size & Shape: A quadrant enclosure saves space in smaller bathrooms, while a rectangular walk-in works better in open layouts.
-
Glass Type: Tempered glass (typically 6mm–10mm) offers durability and safety. The thicker the glass, the more luxurious the look, but it will be much heavier and harder to install. Some high-end glasses contain nano-coatings that can effectively resist water stains and reduce the difficulty of daily cleaning.
-
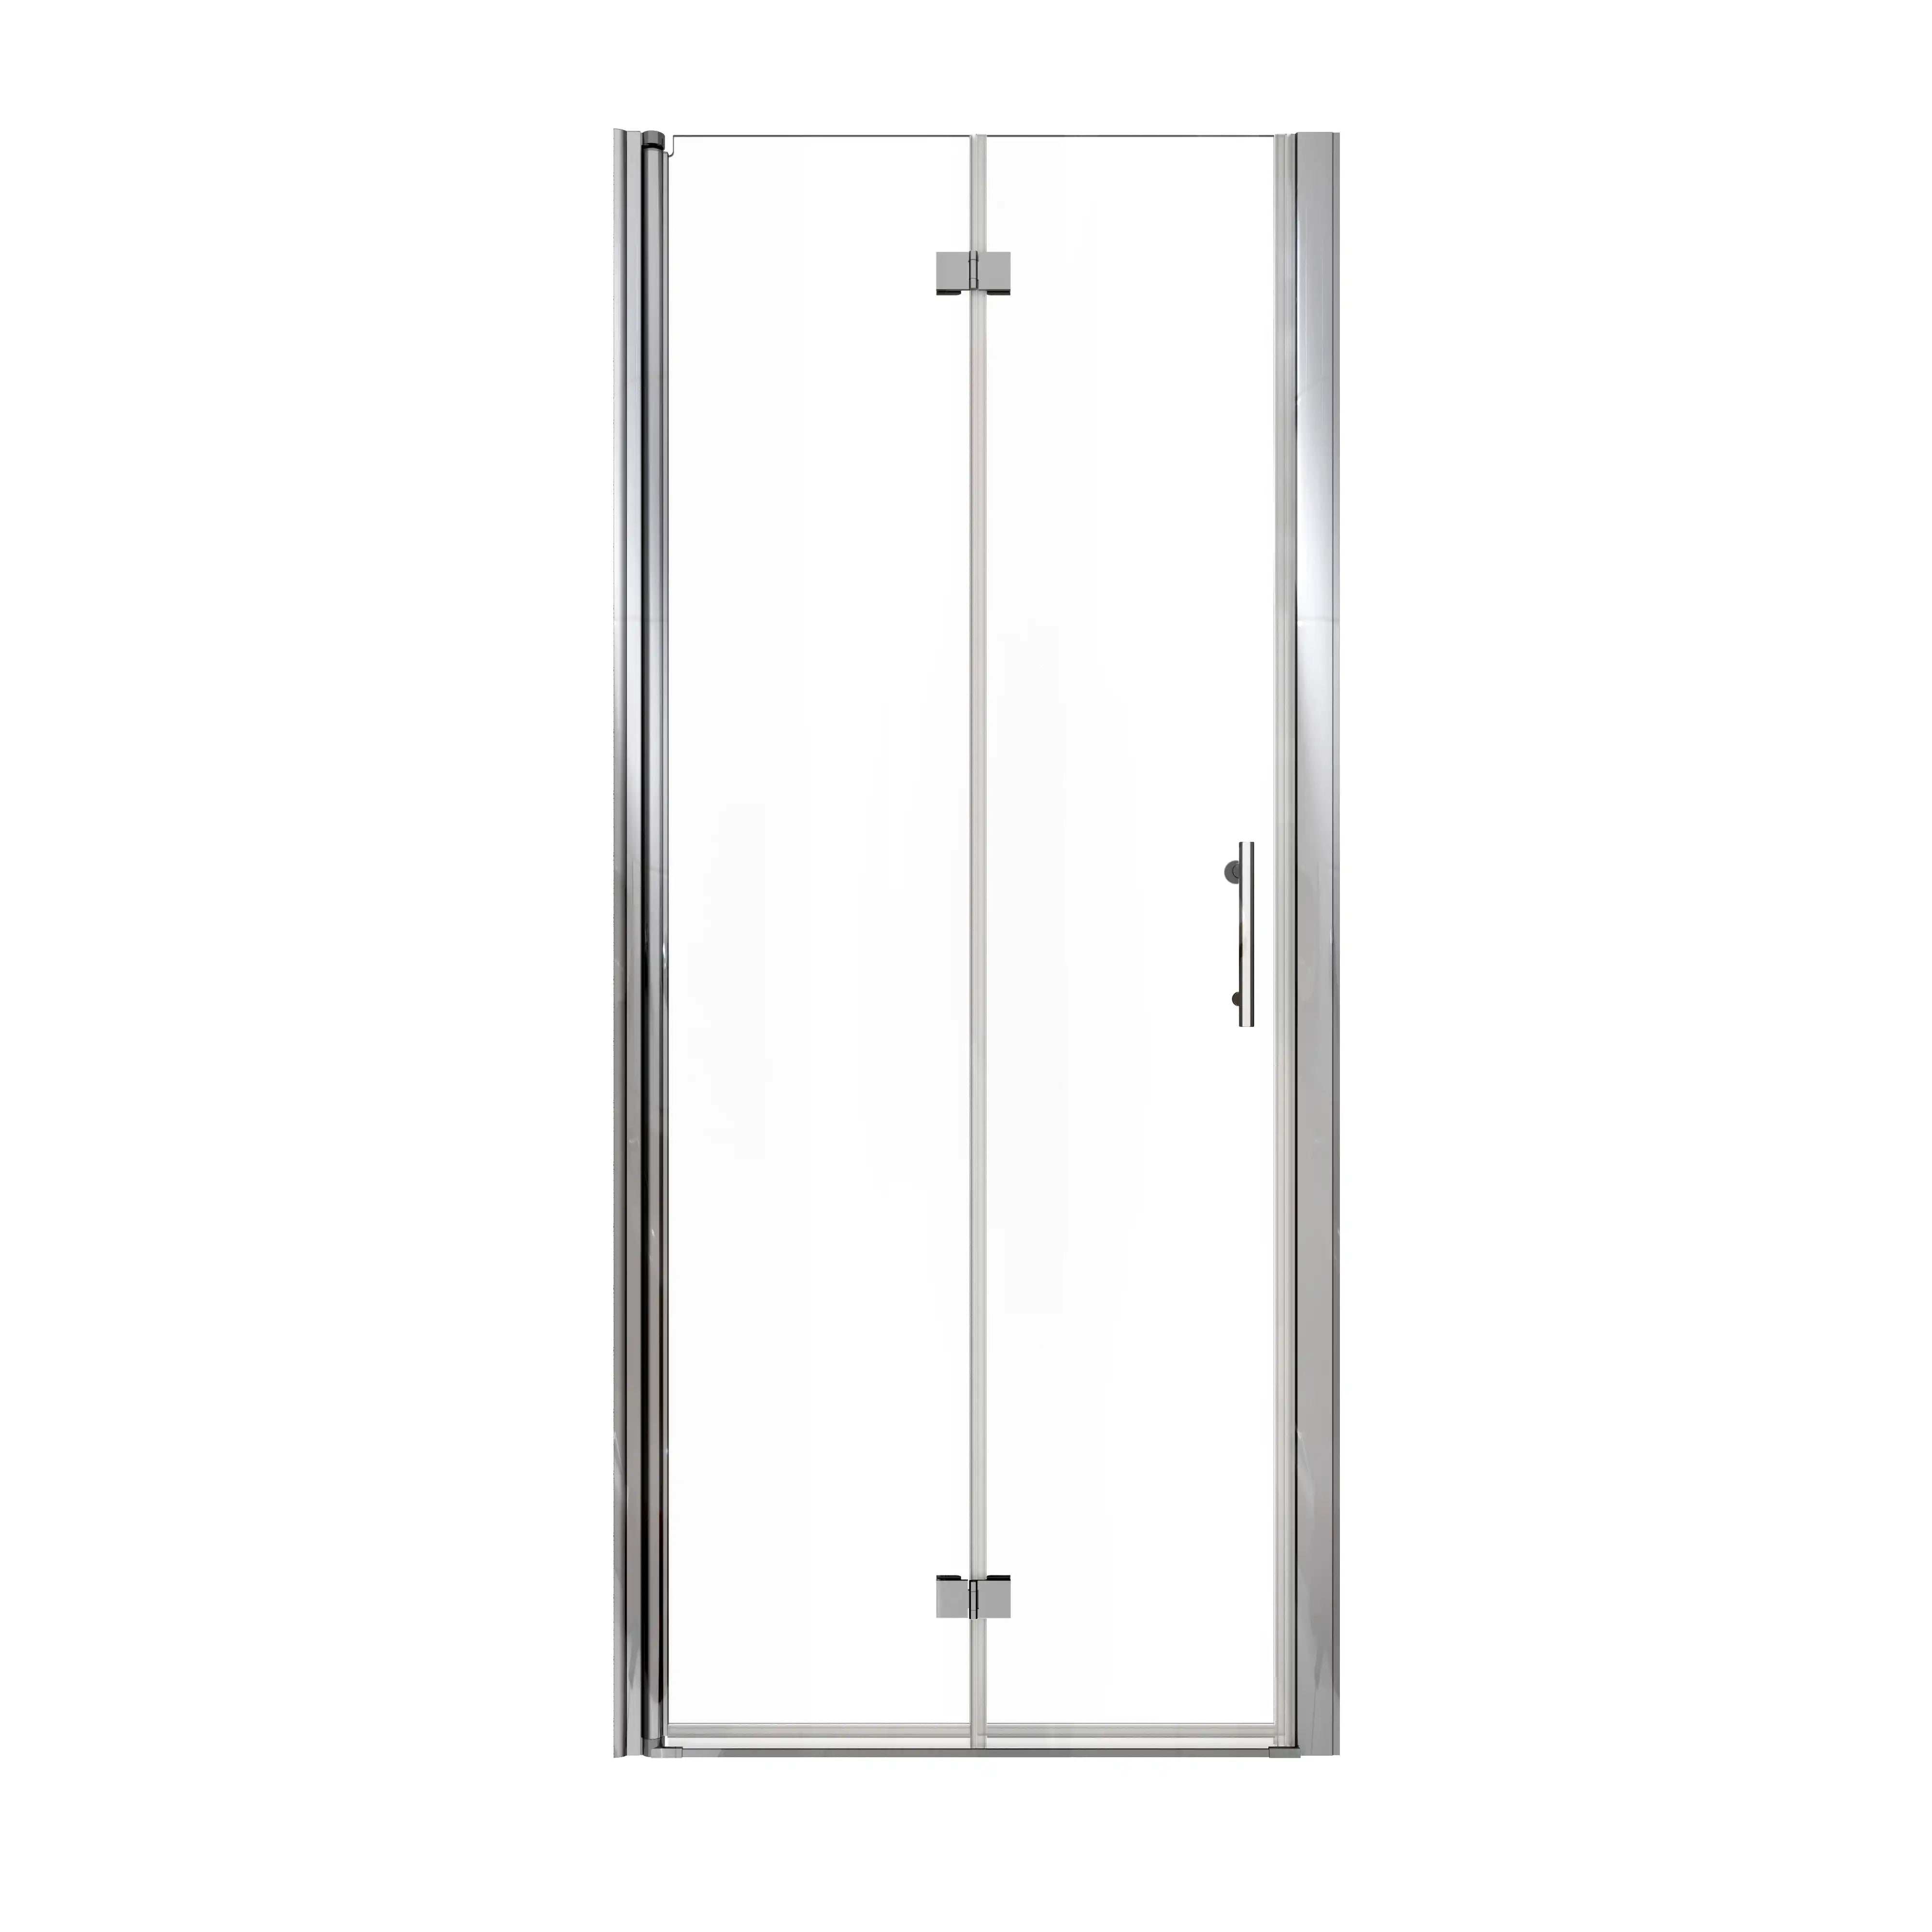
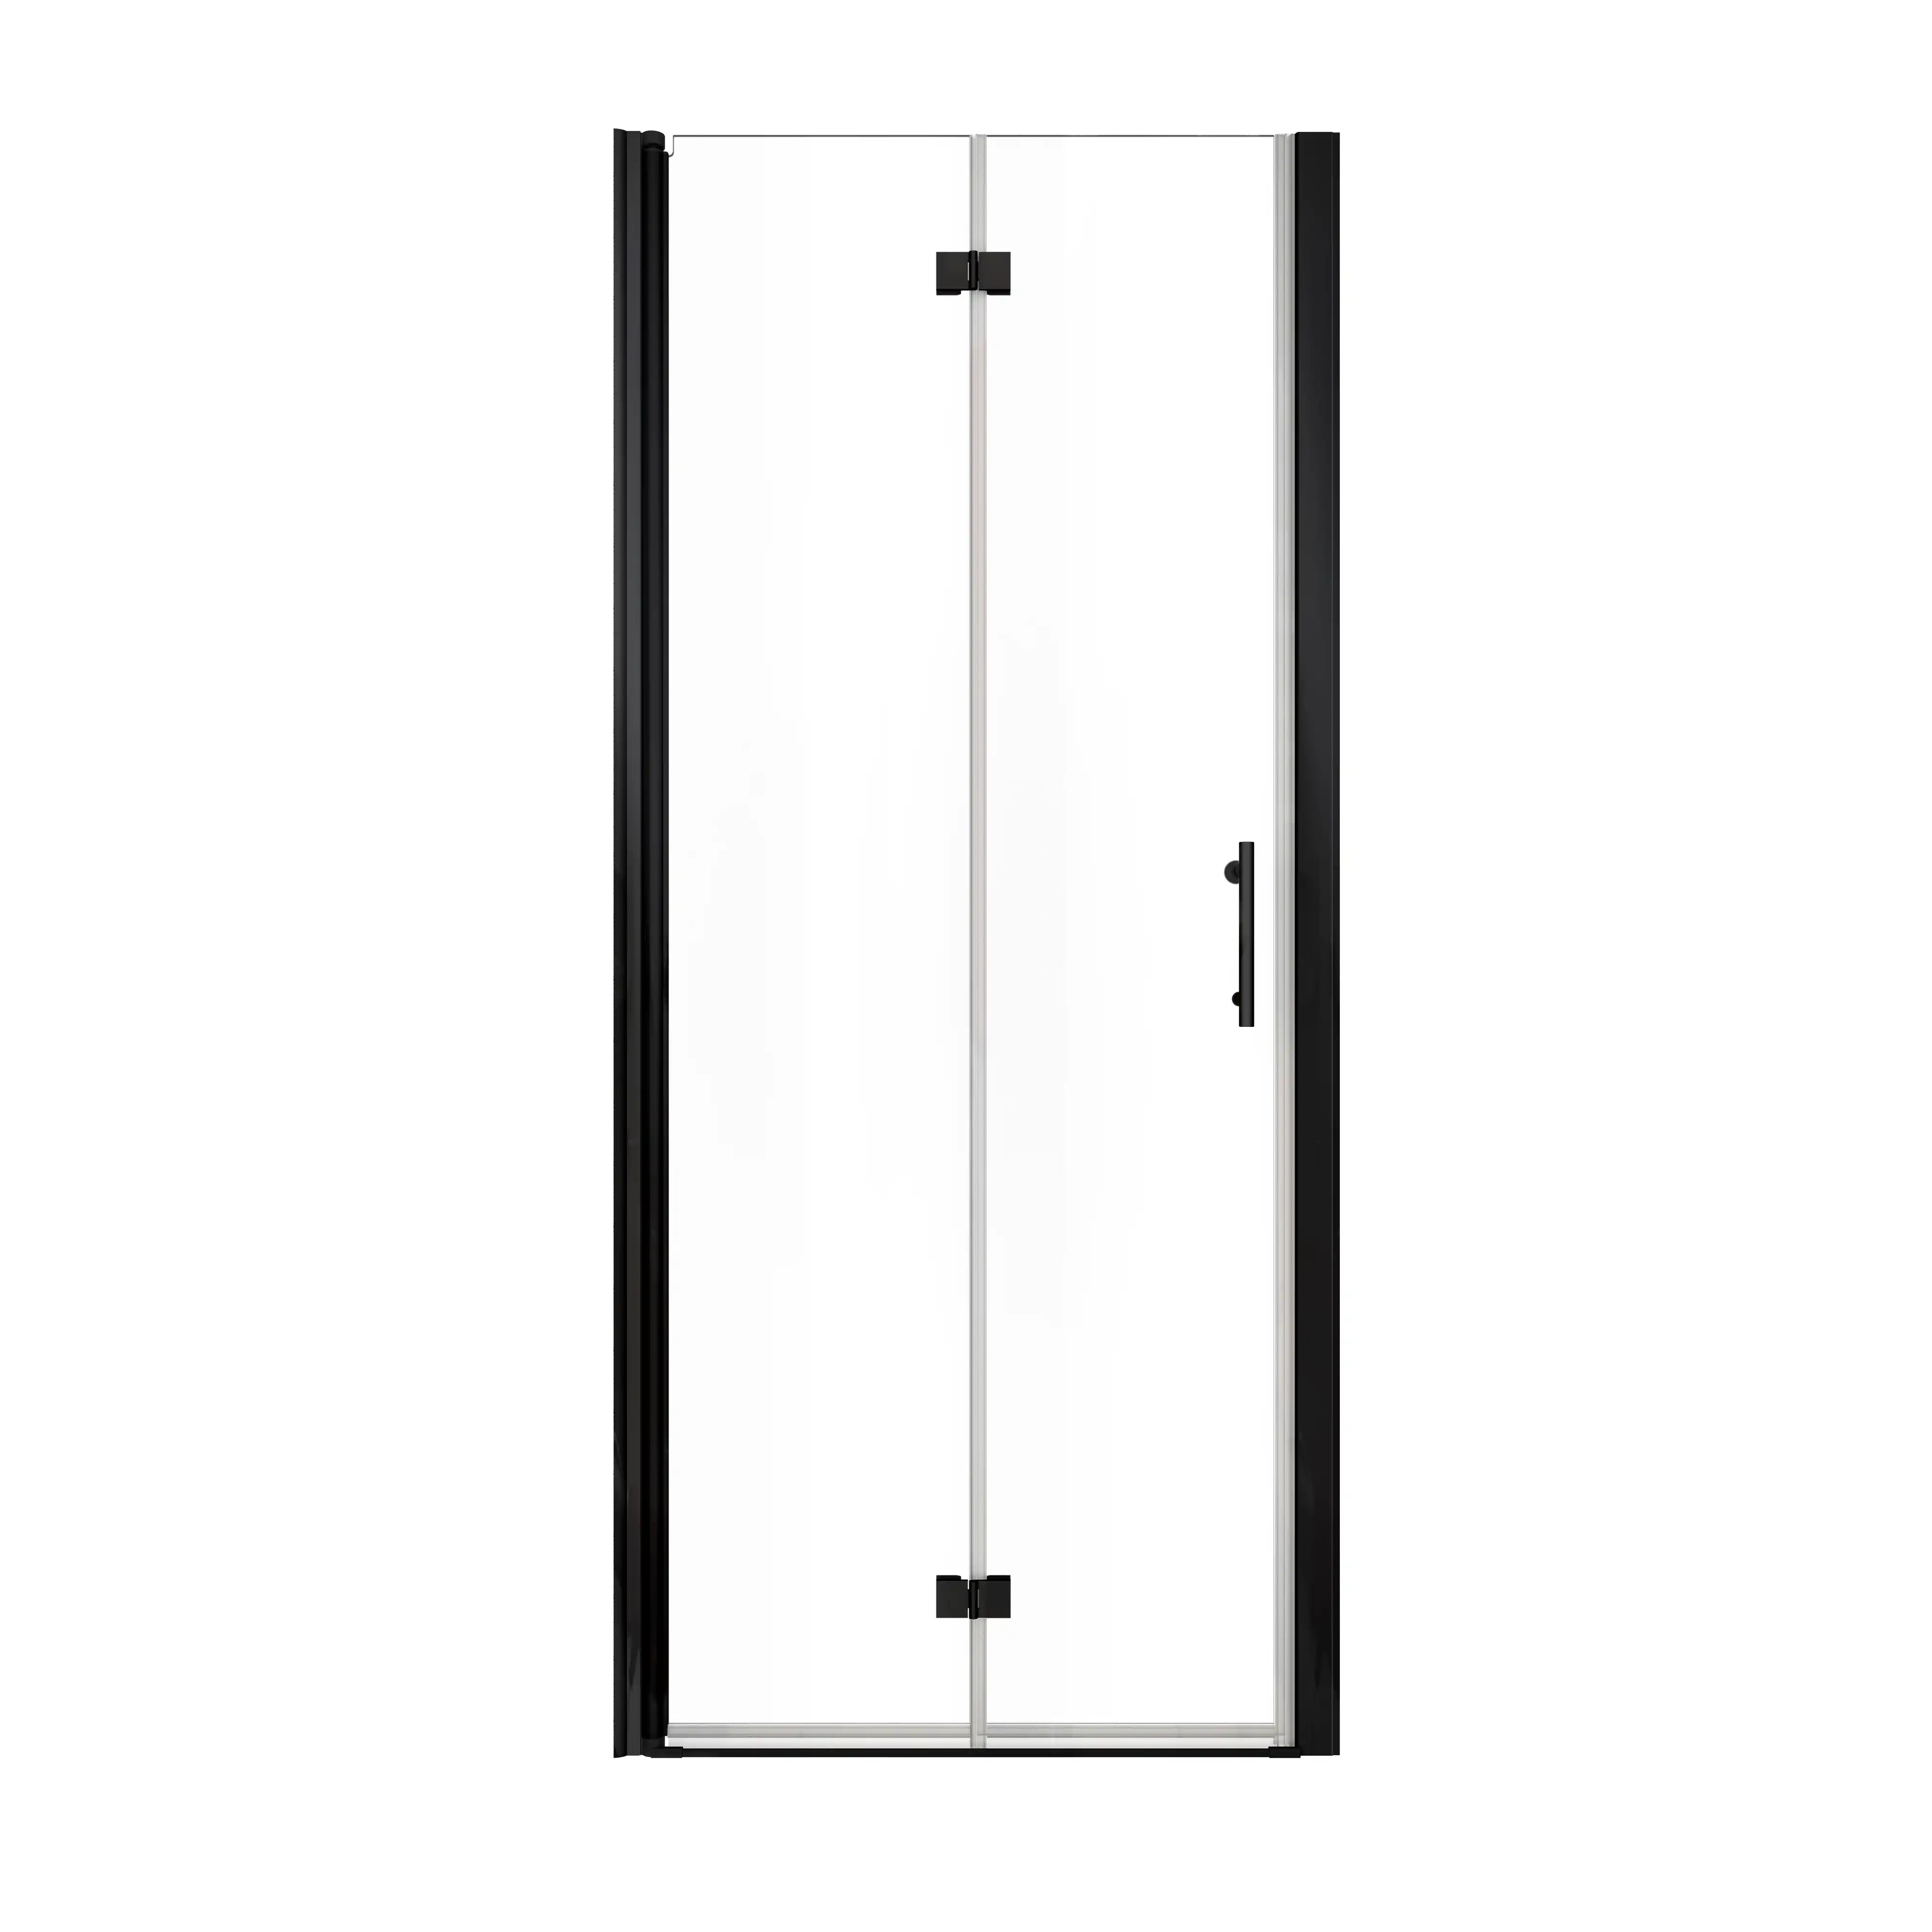
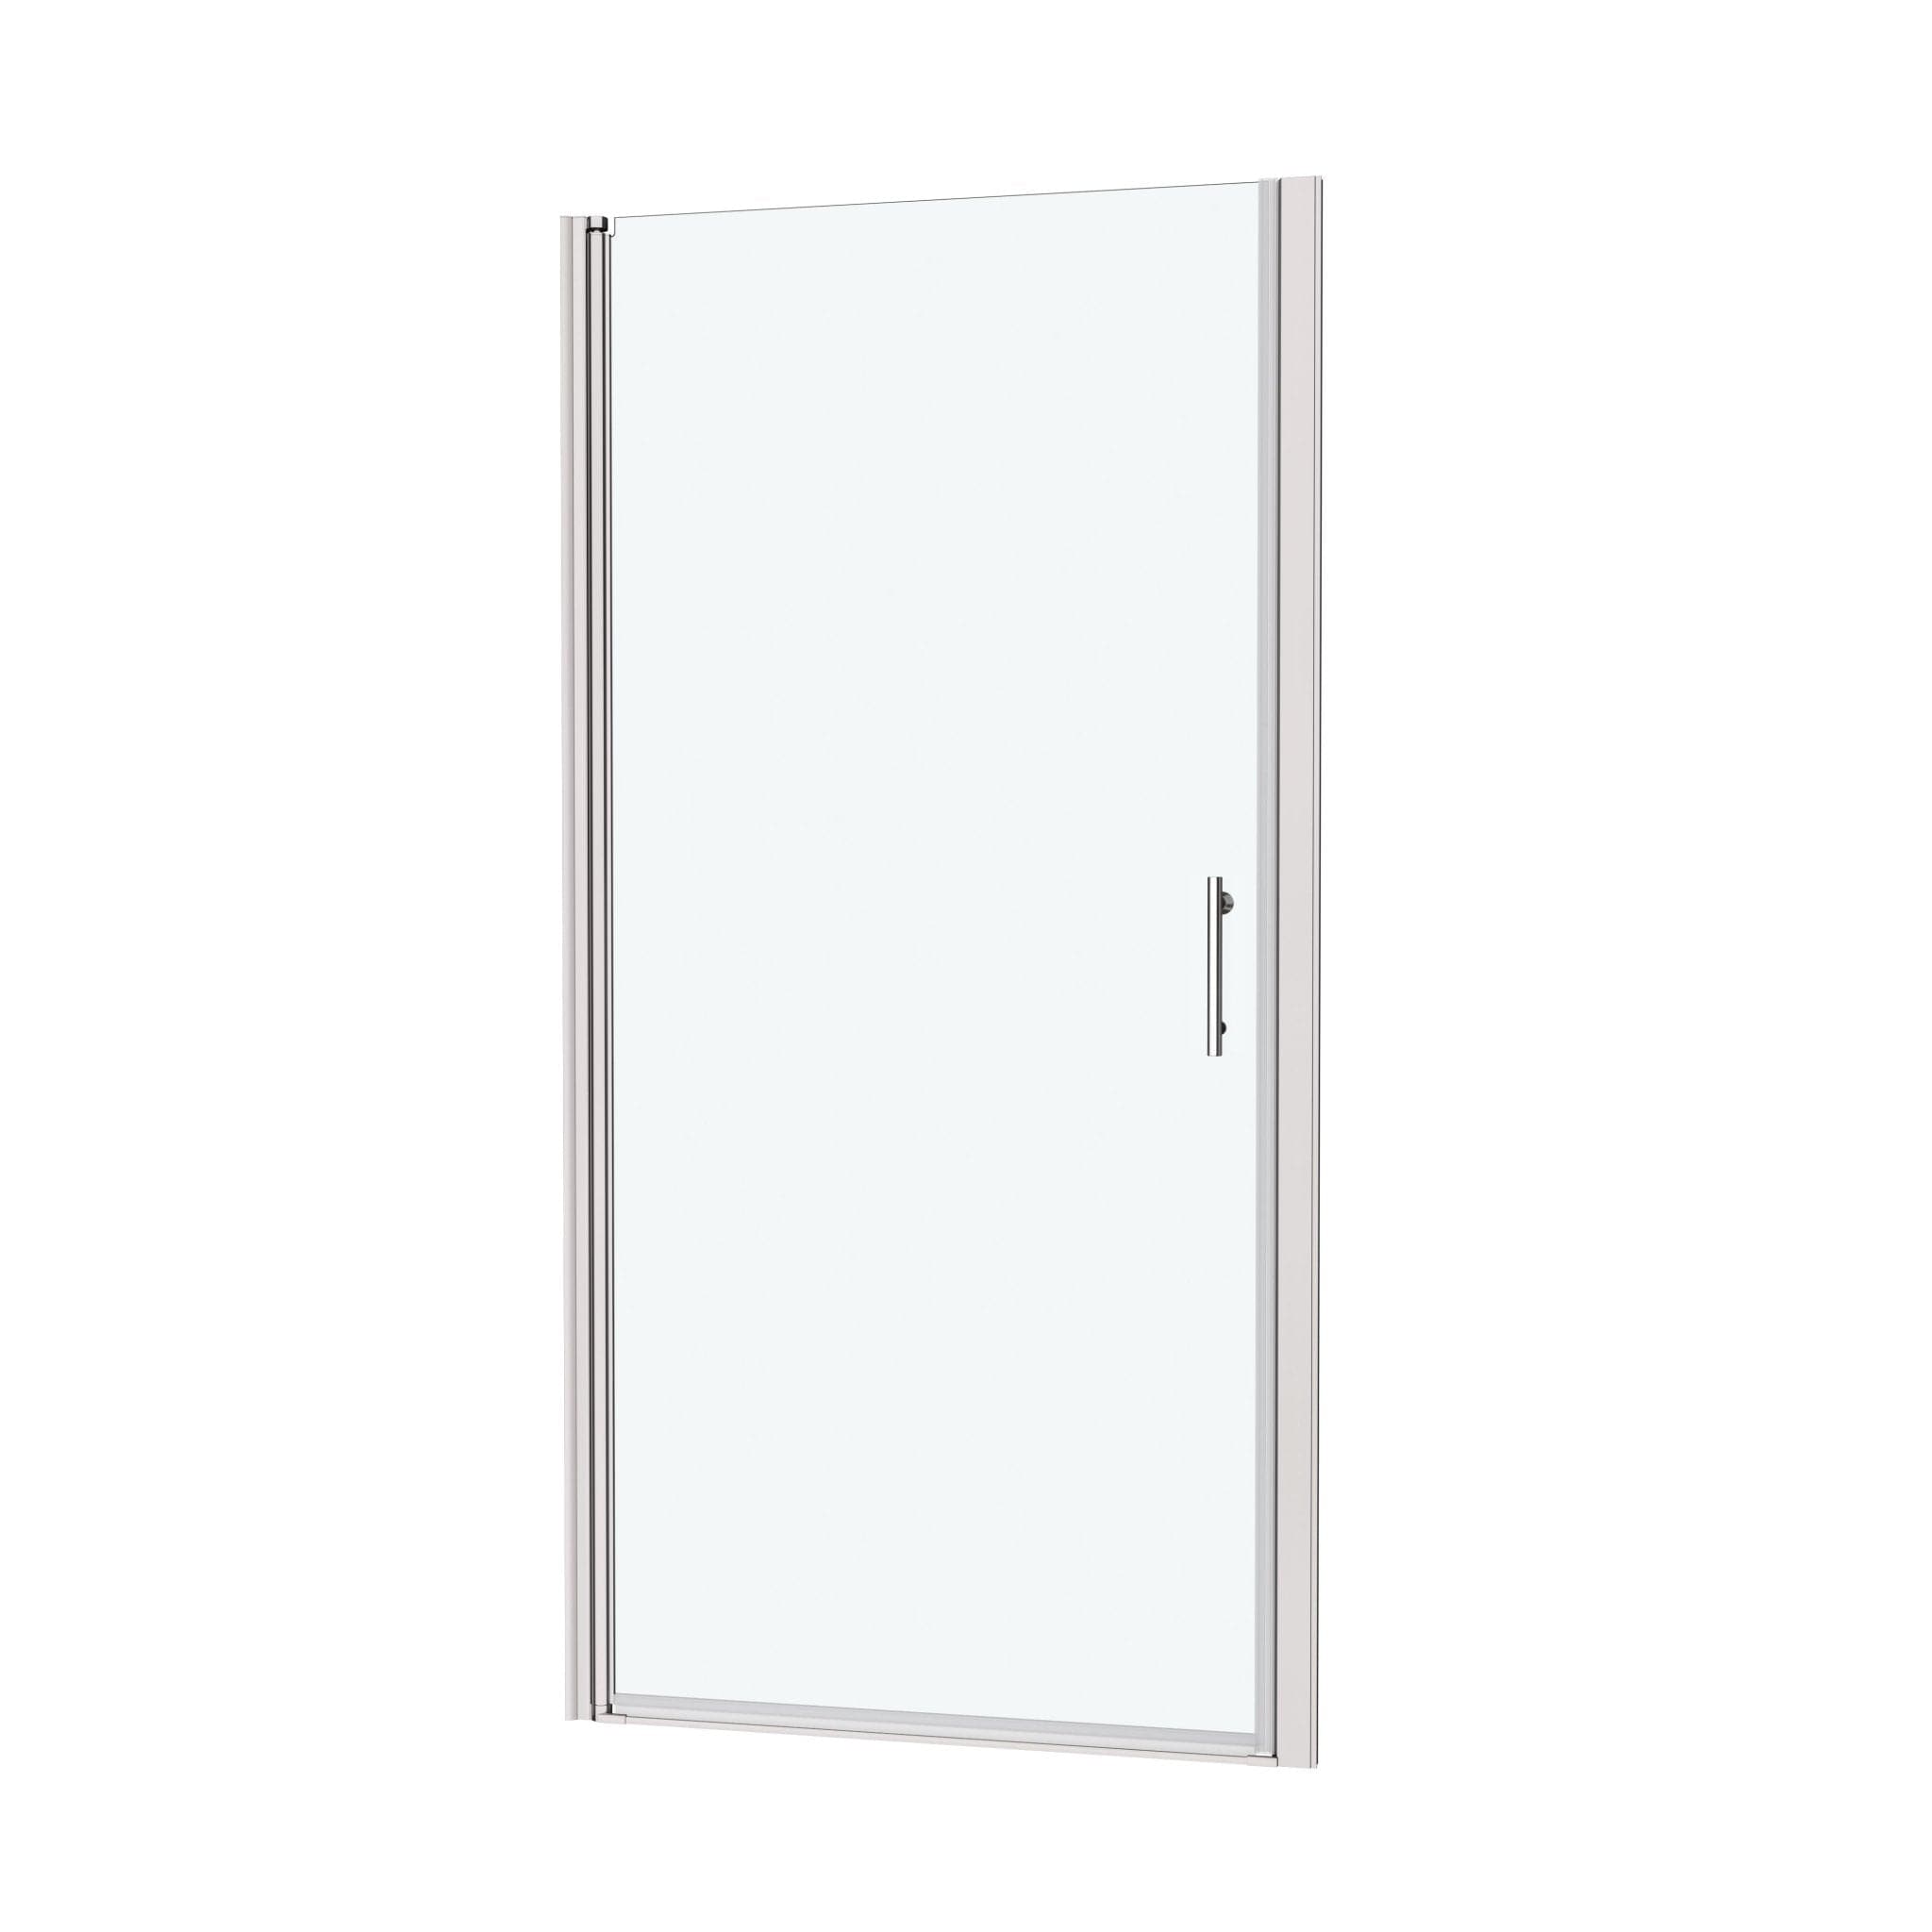
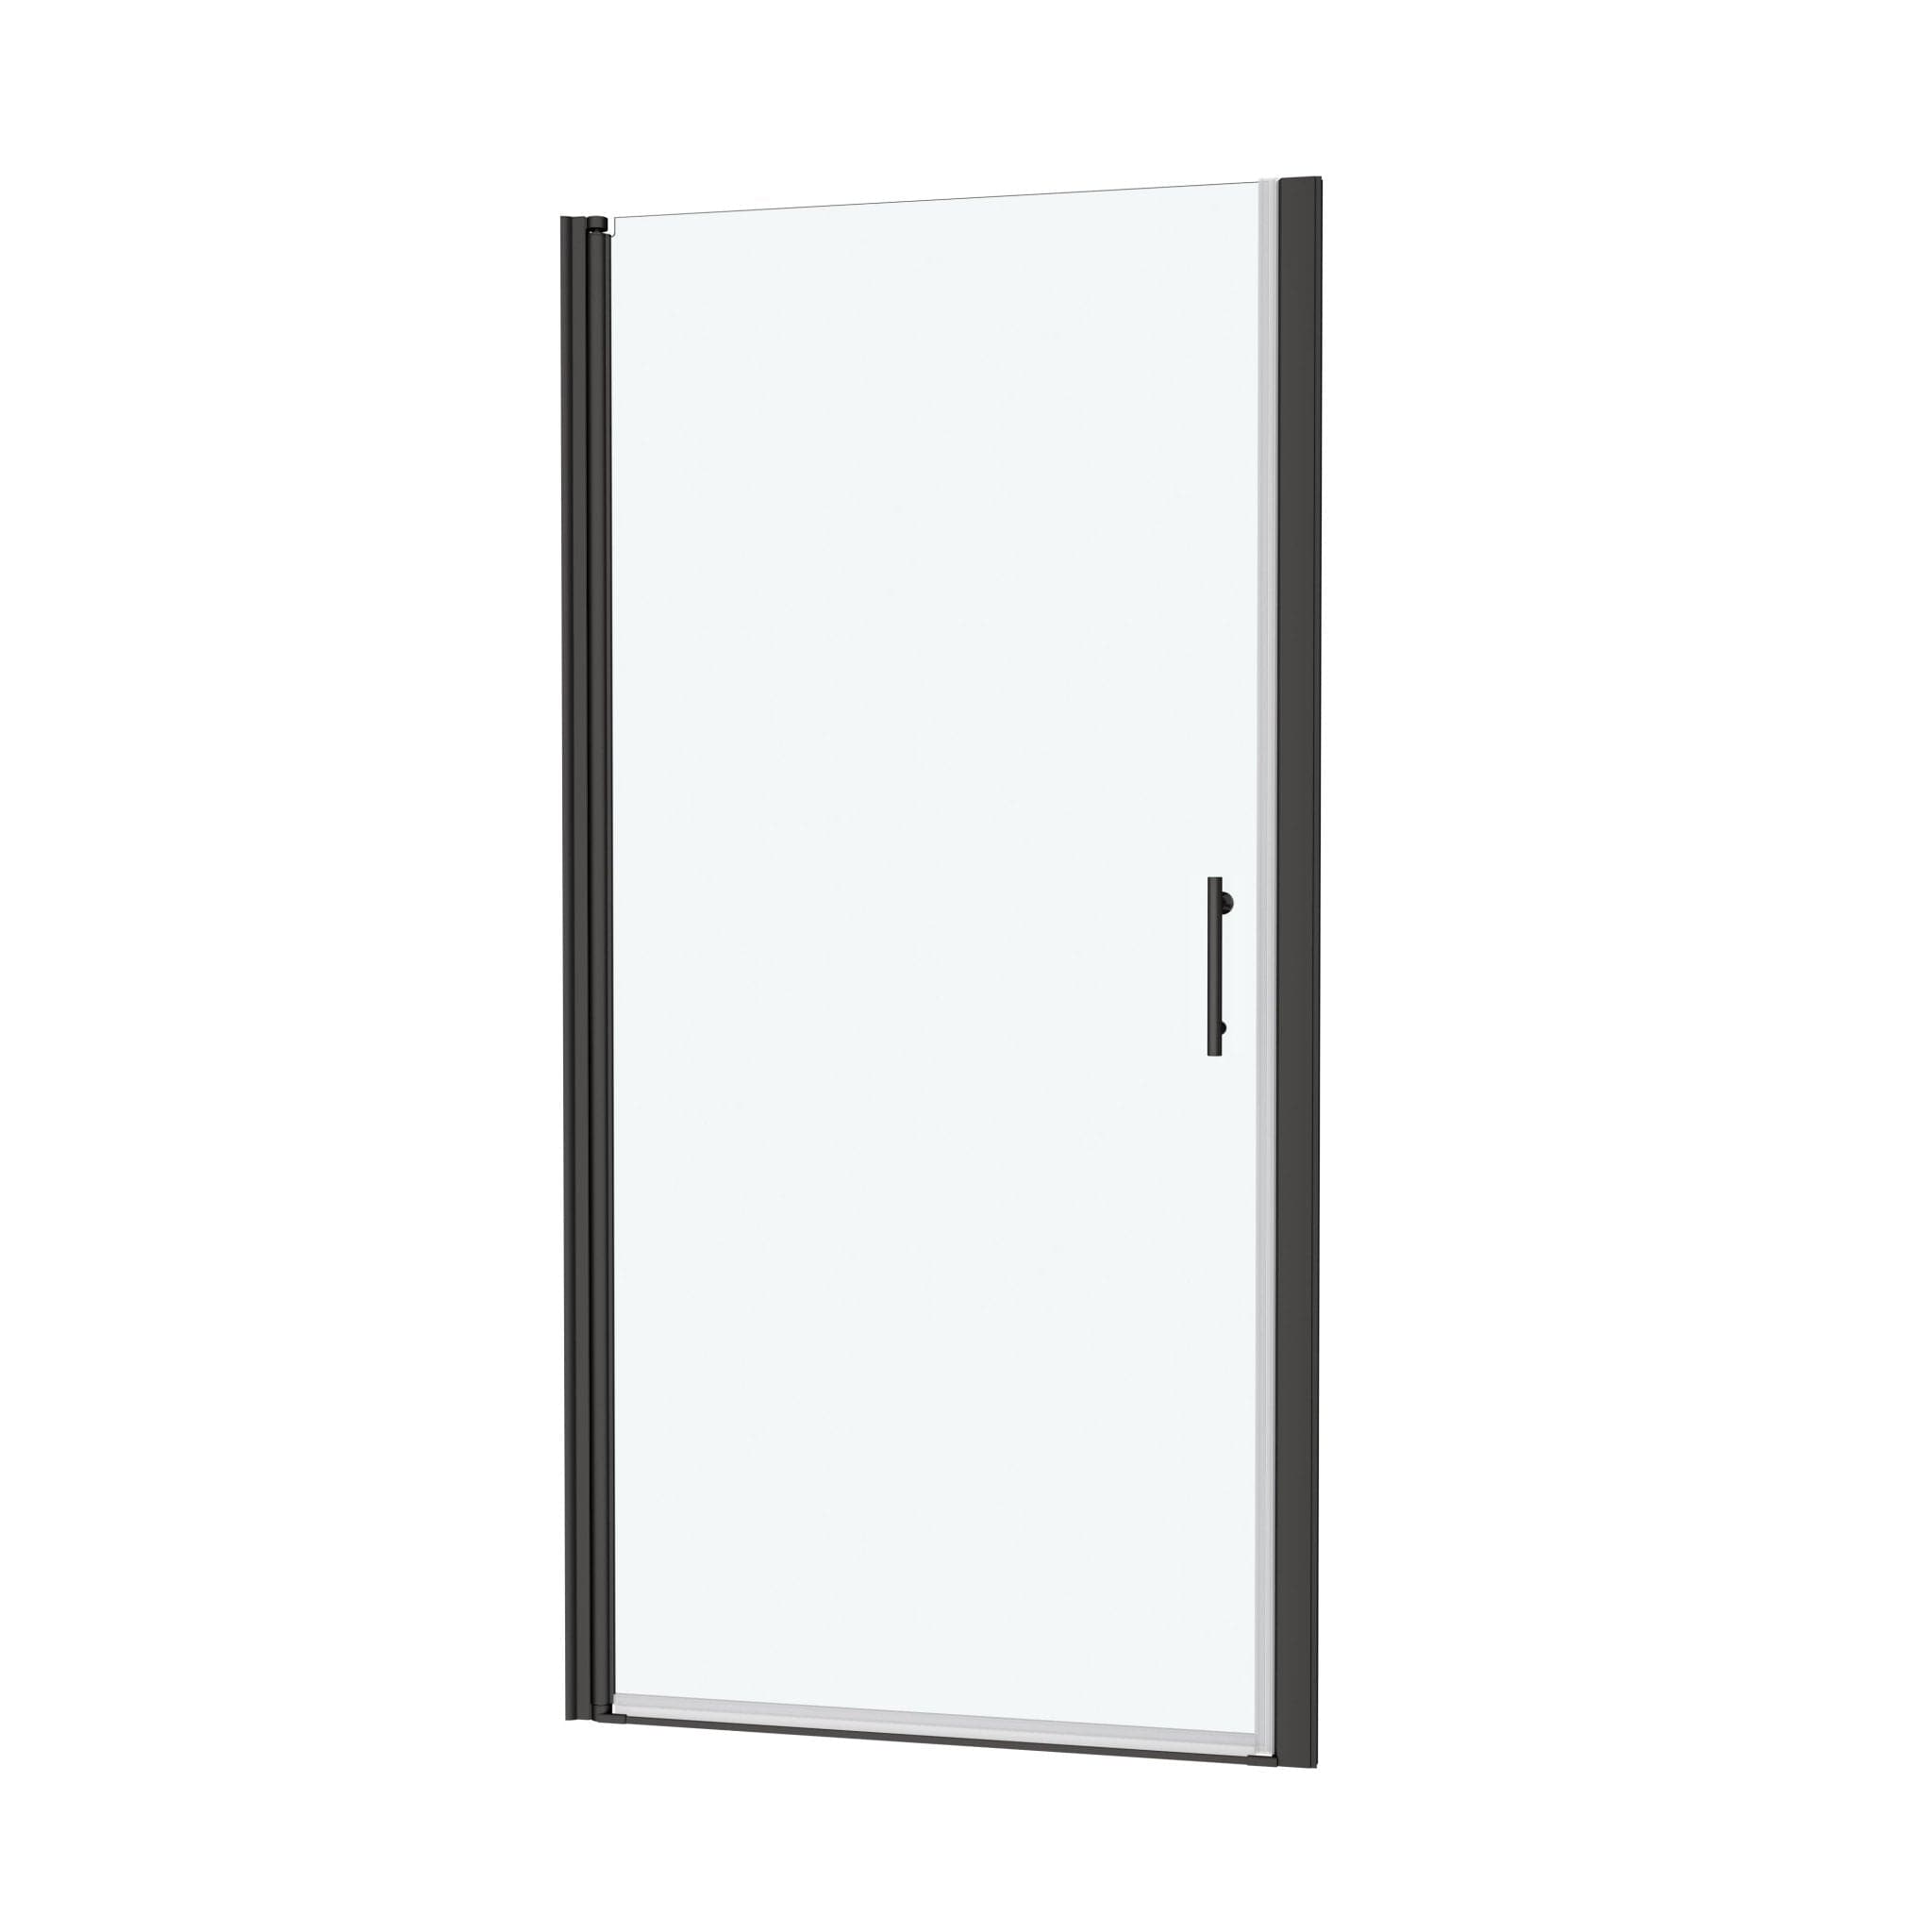
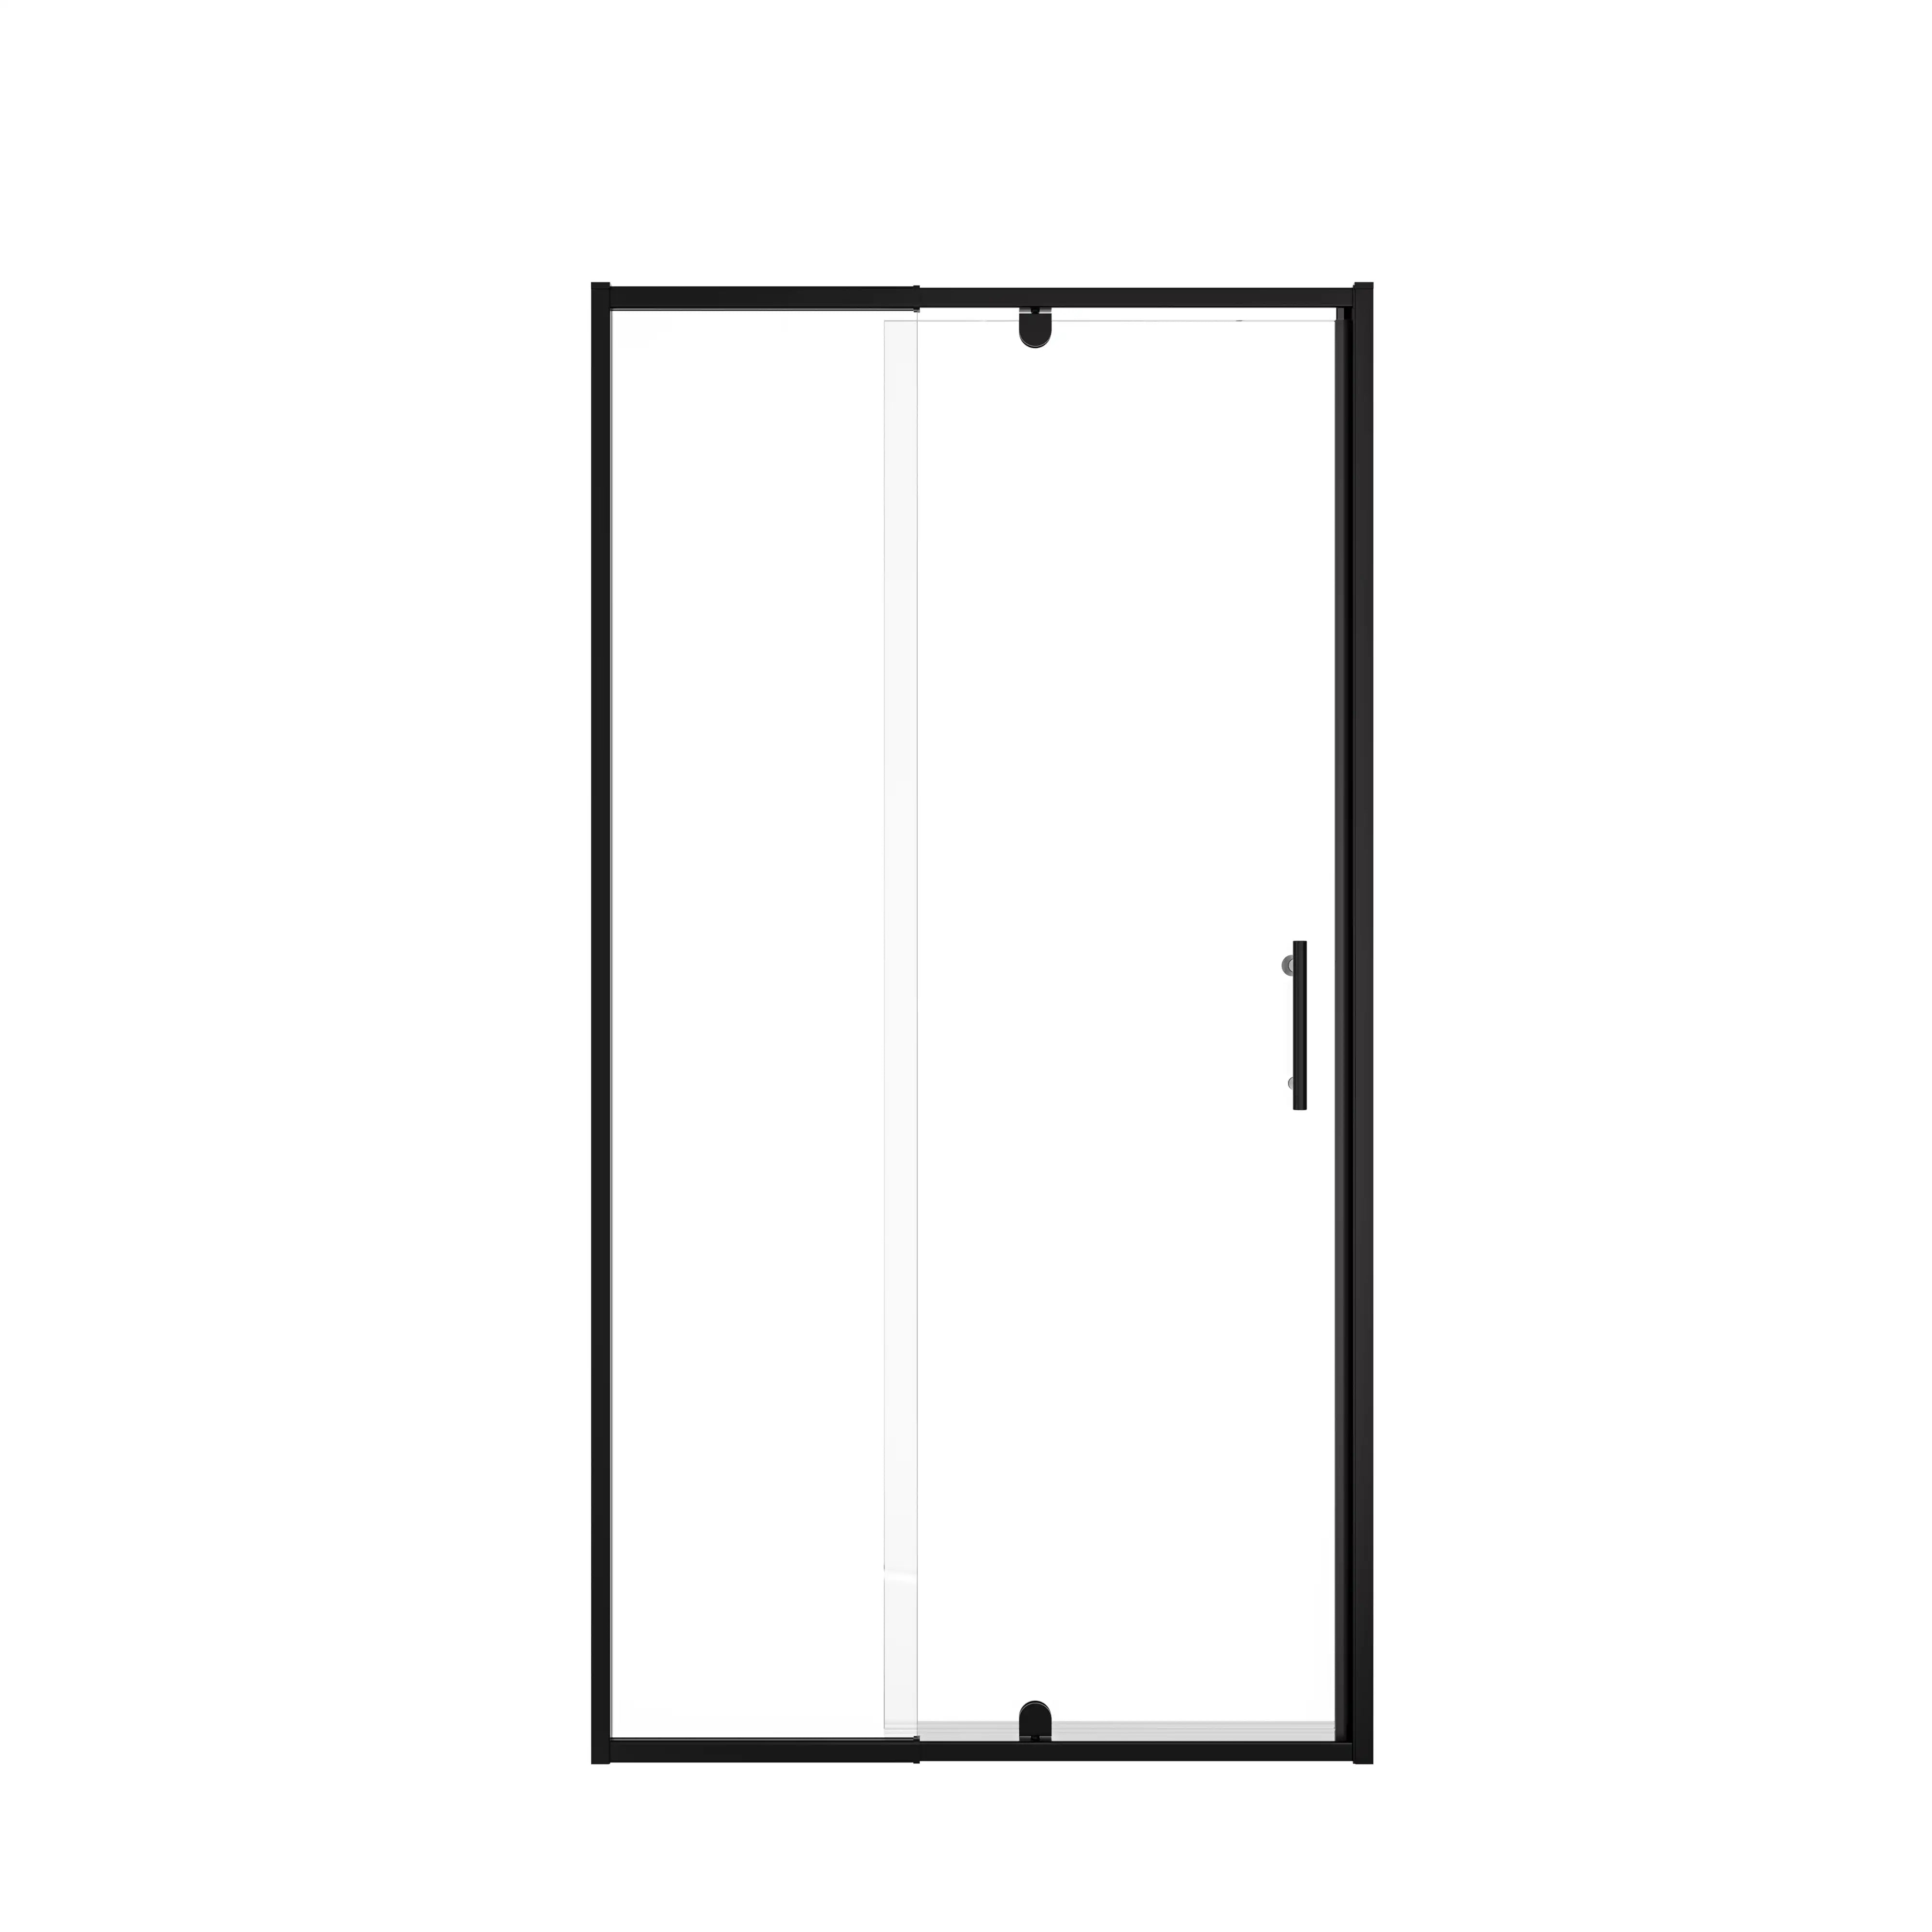
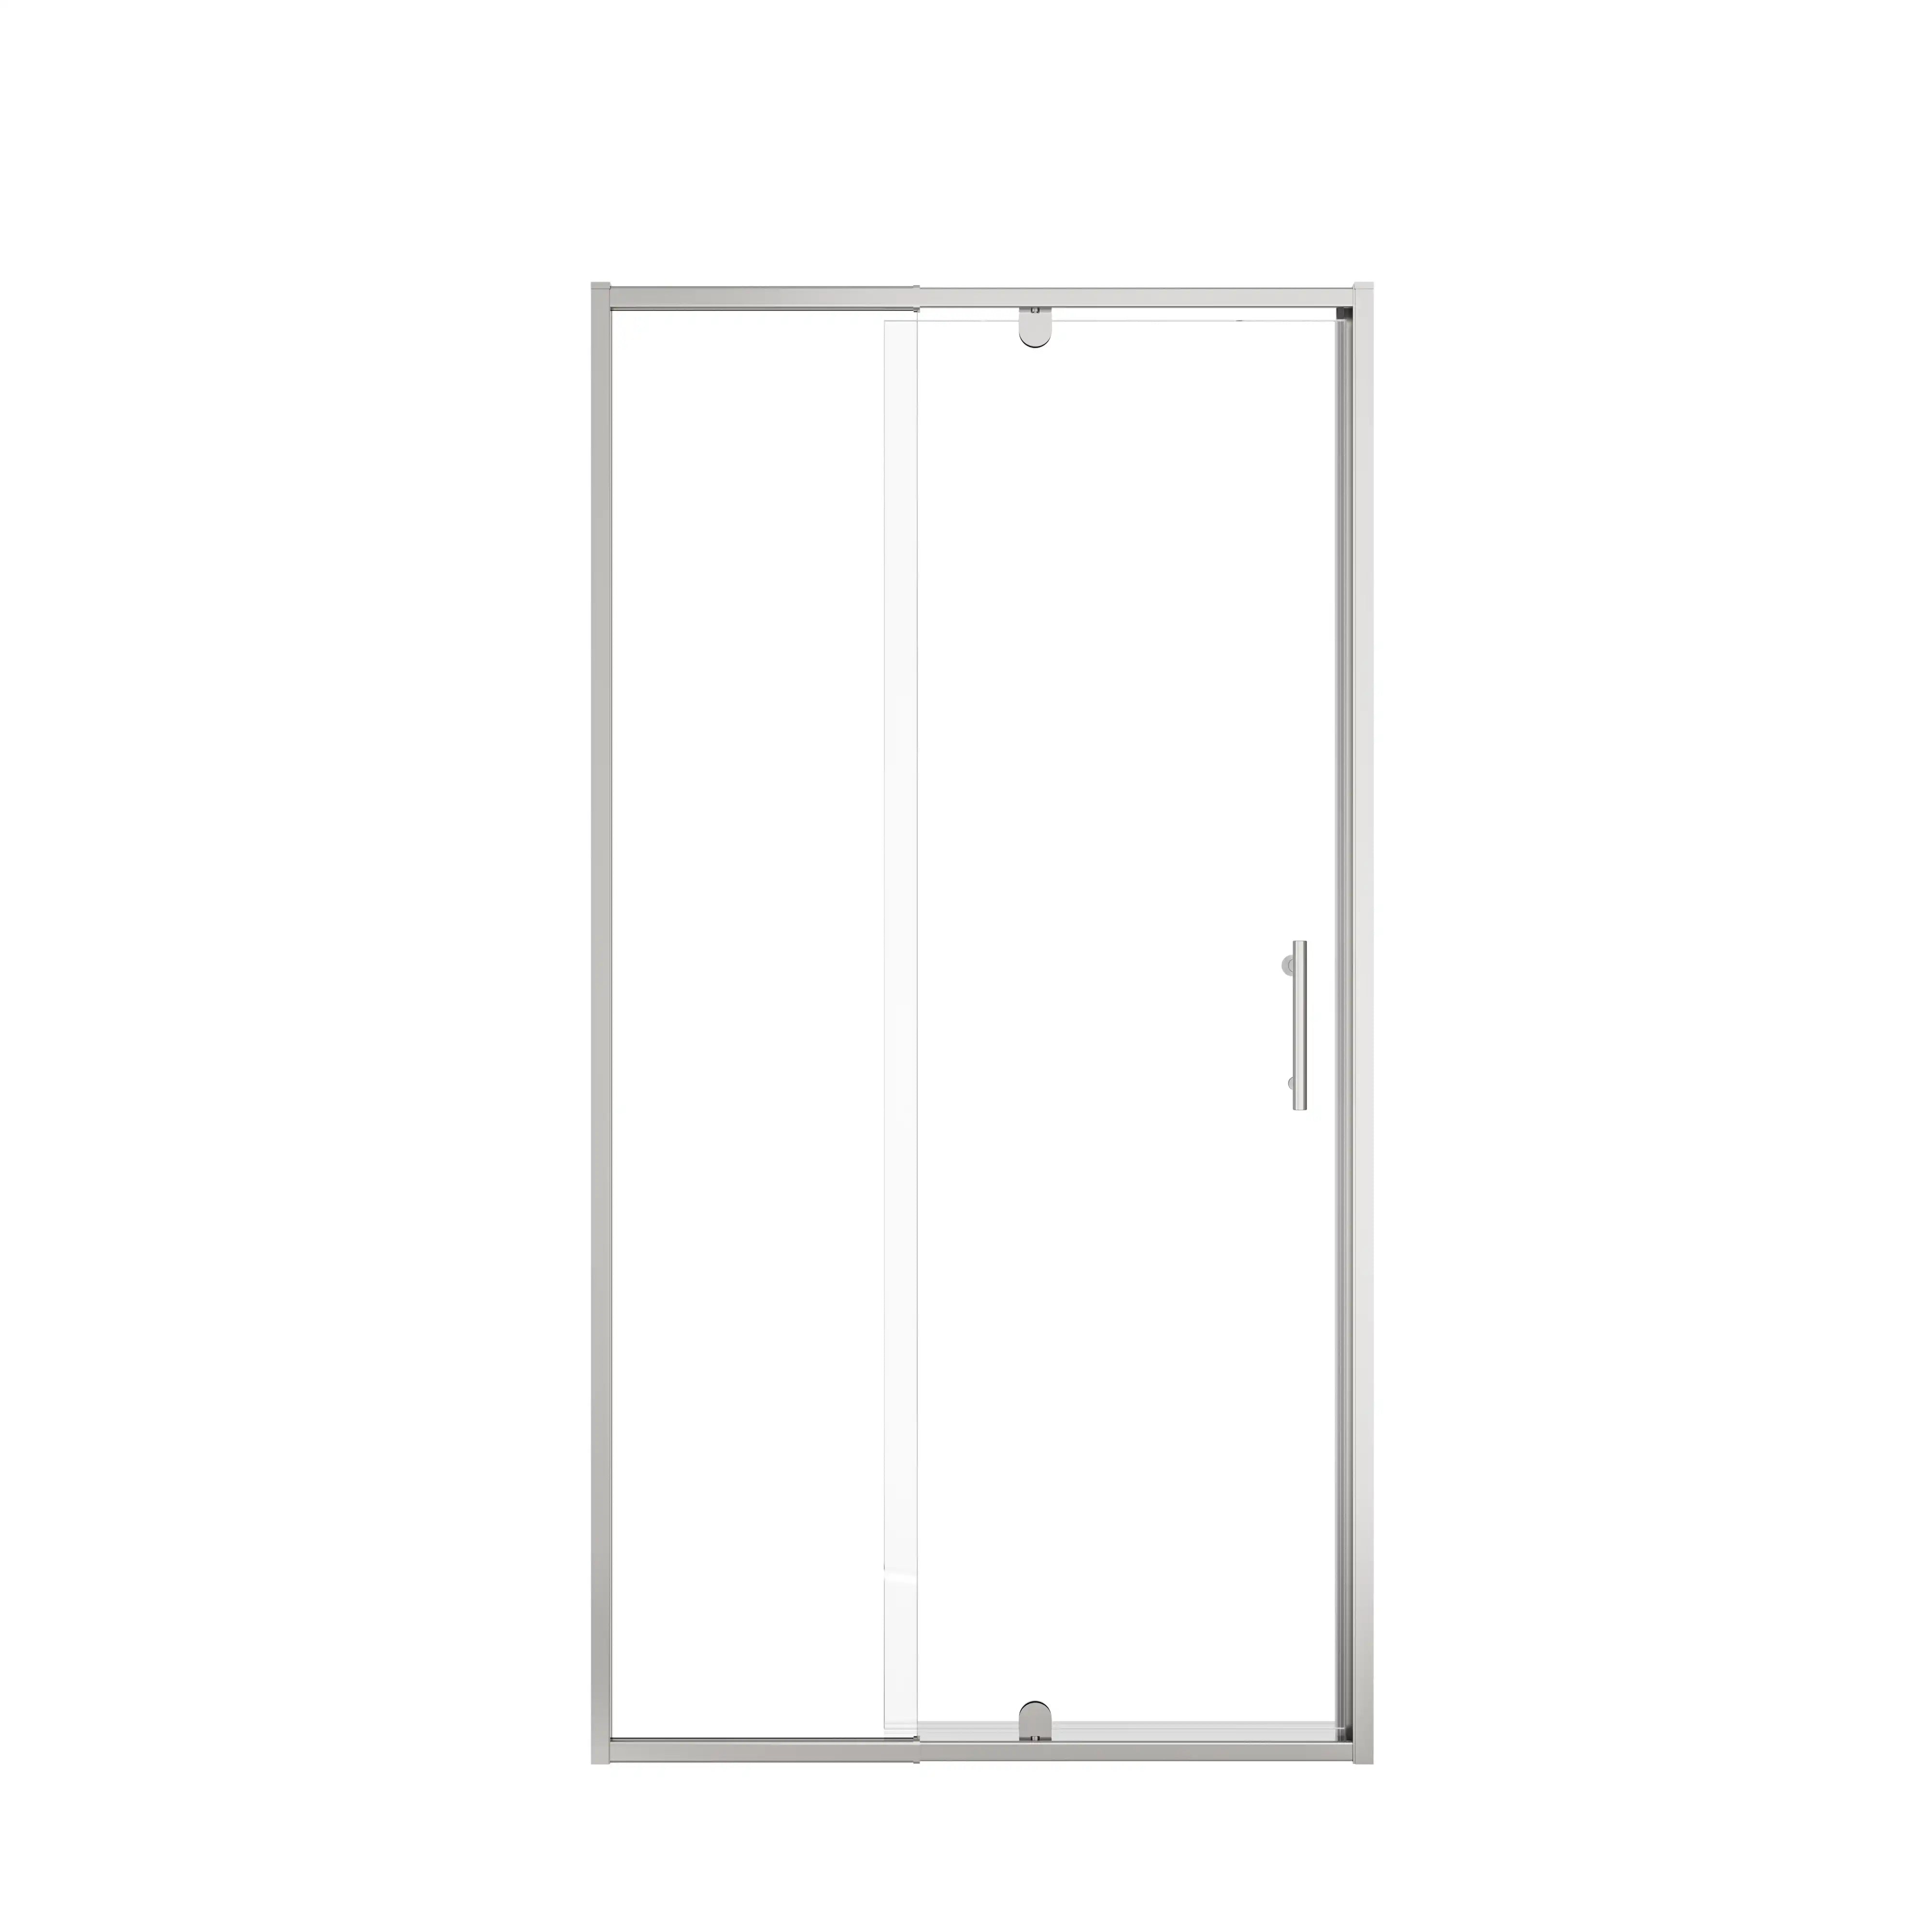
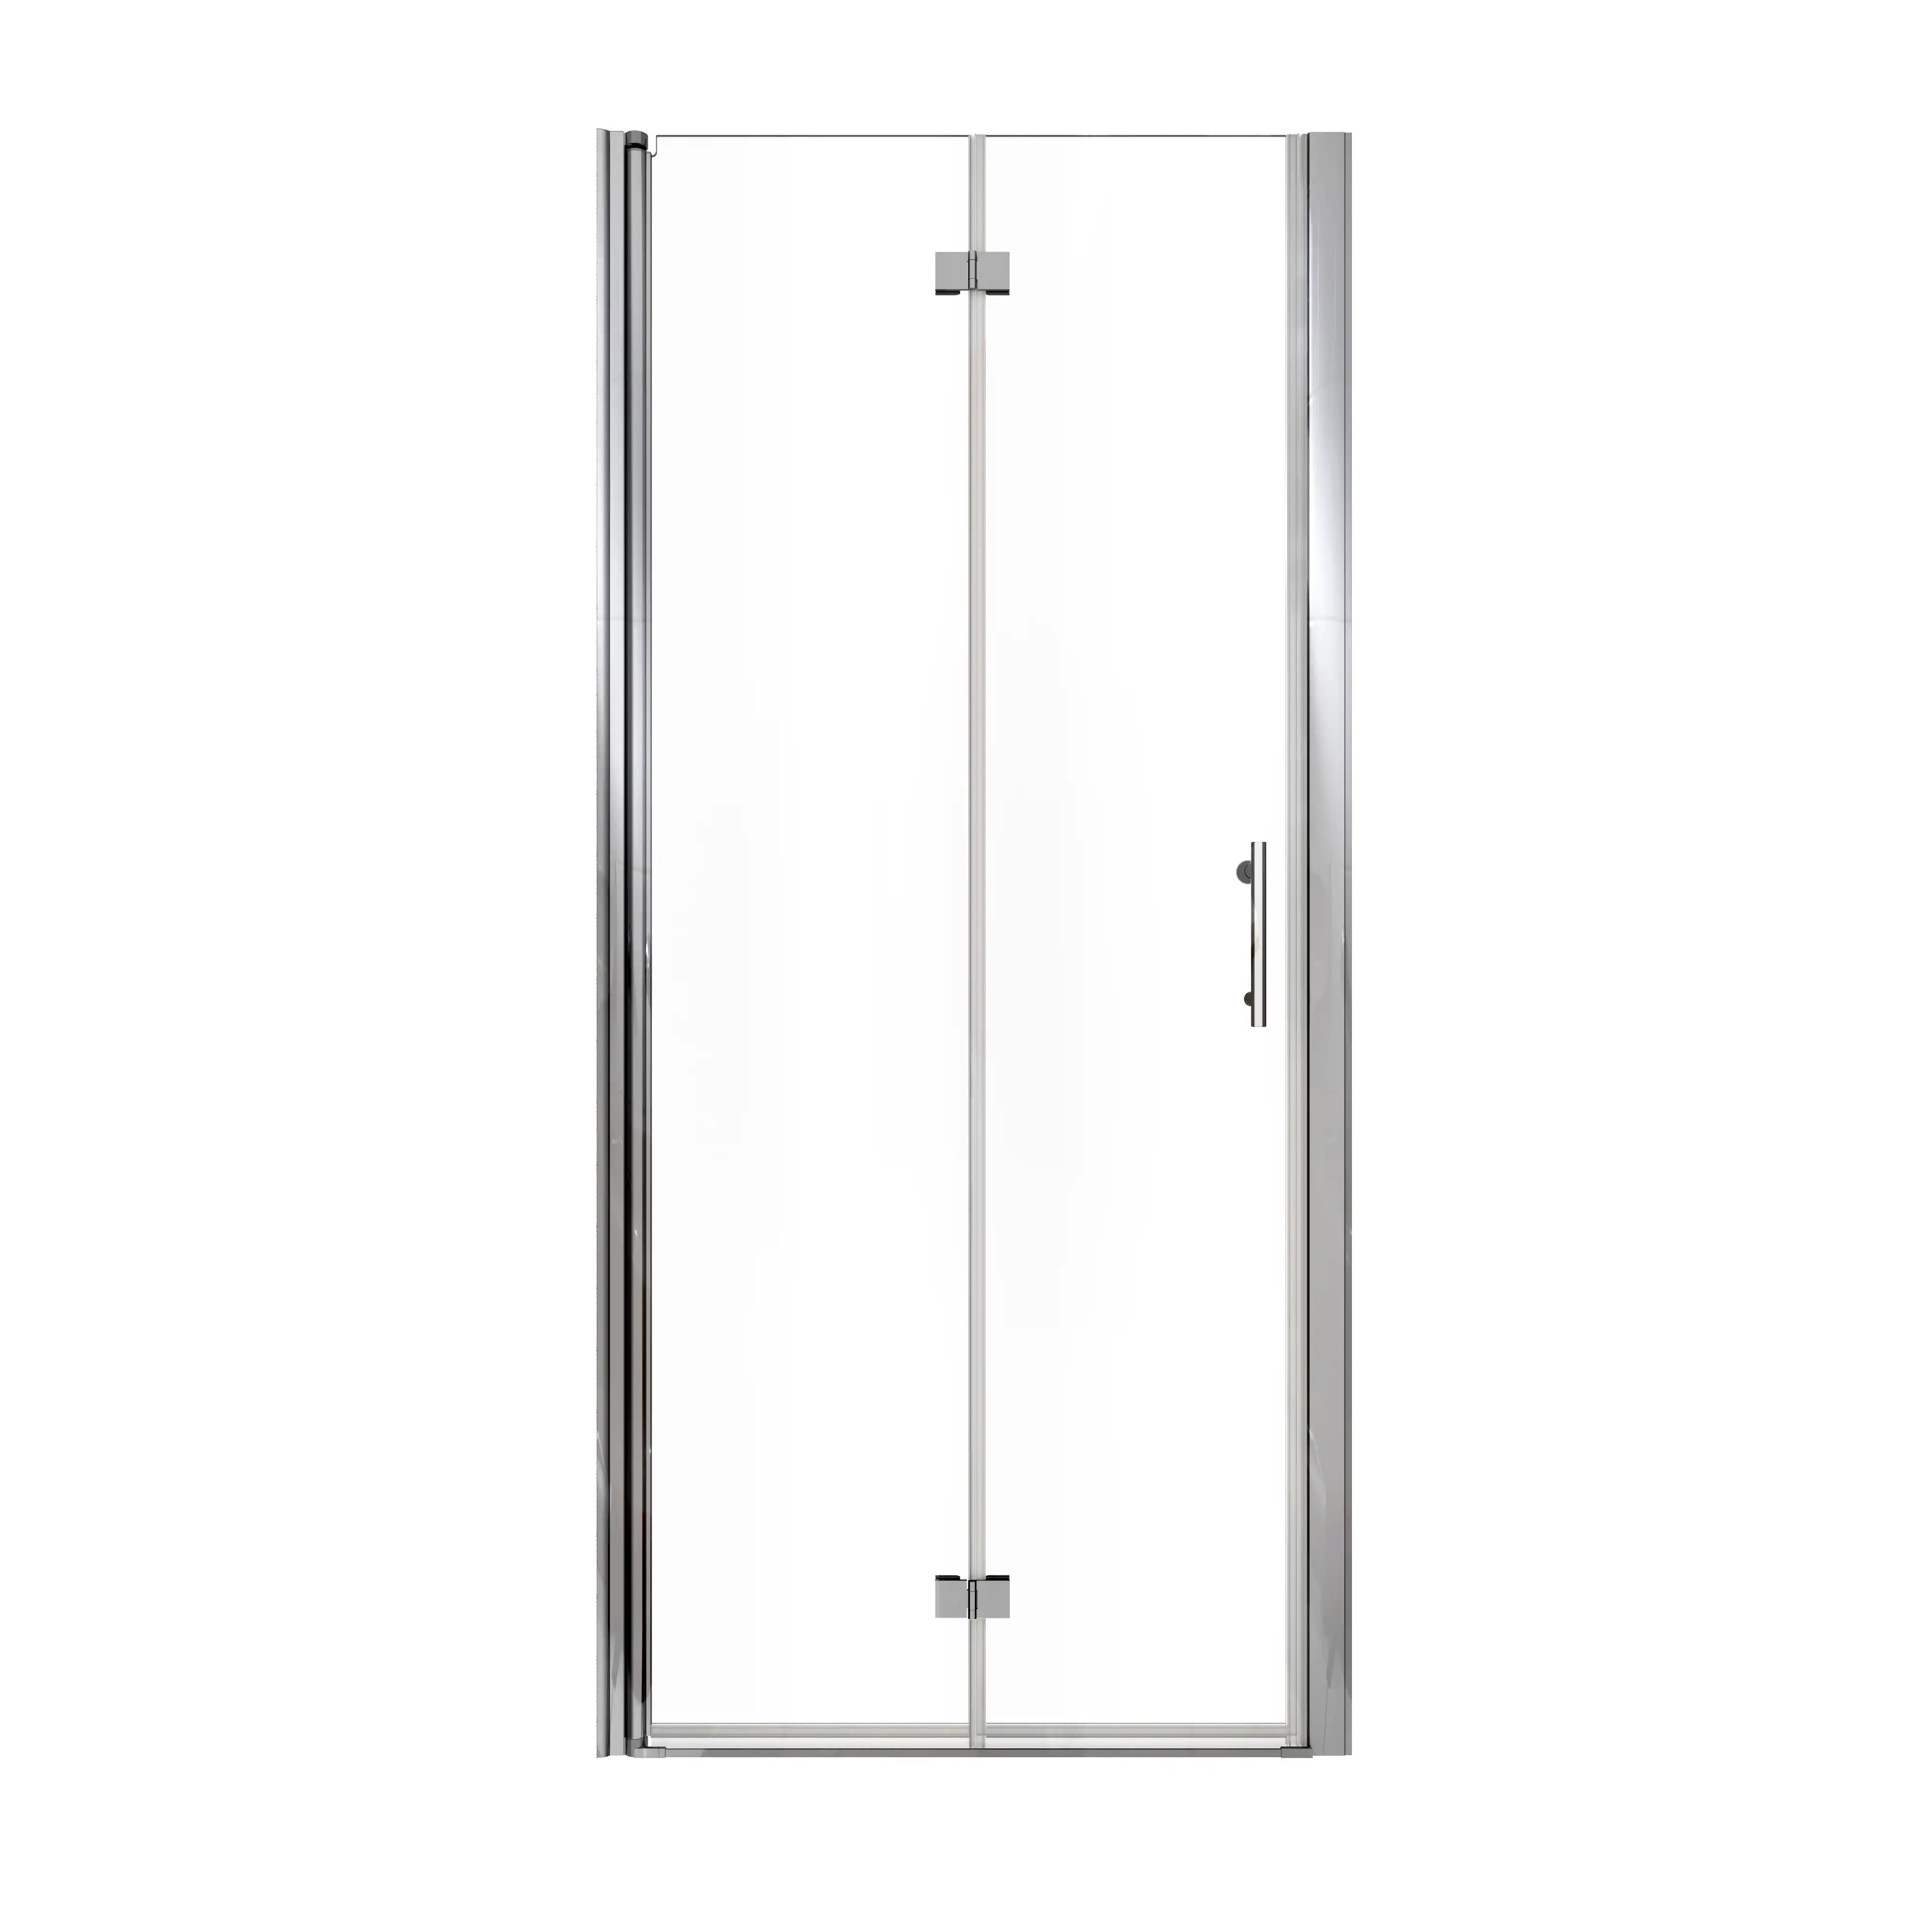
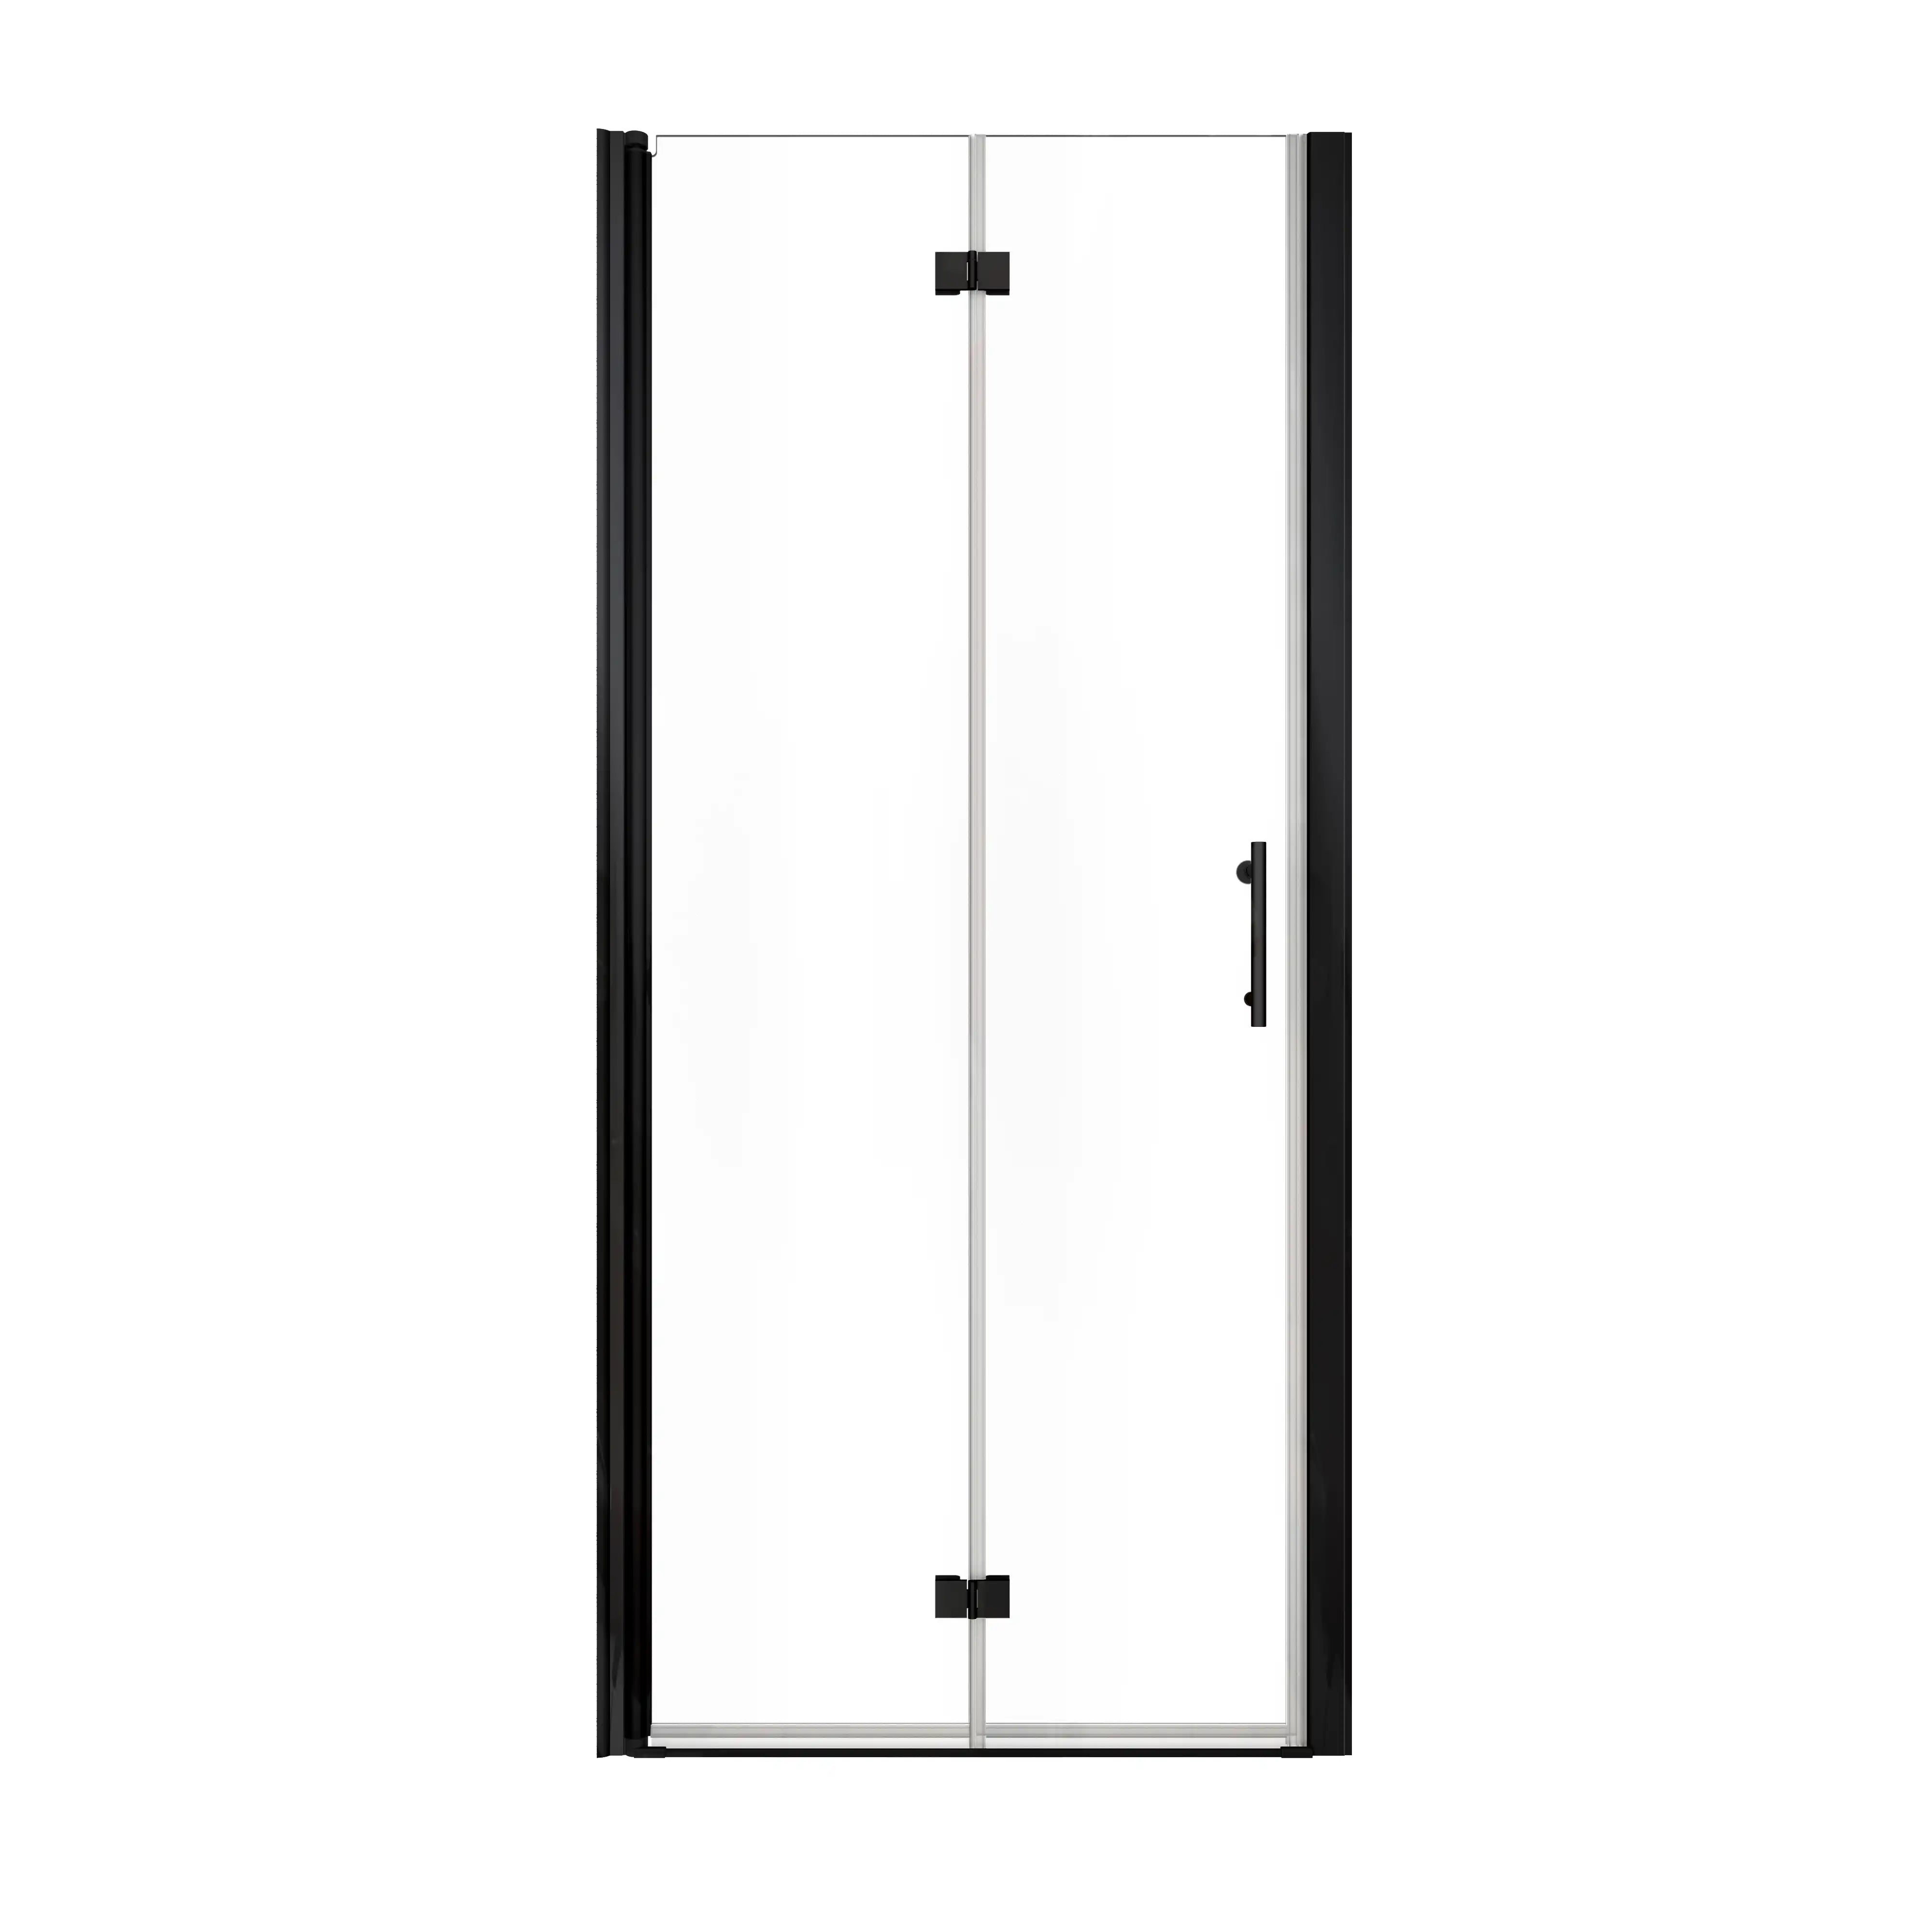
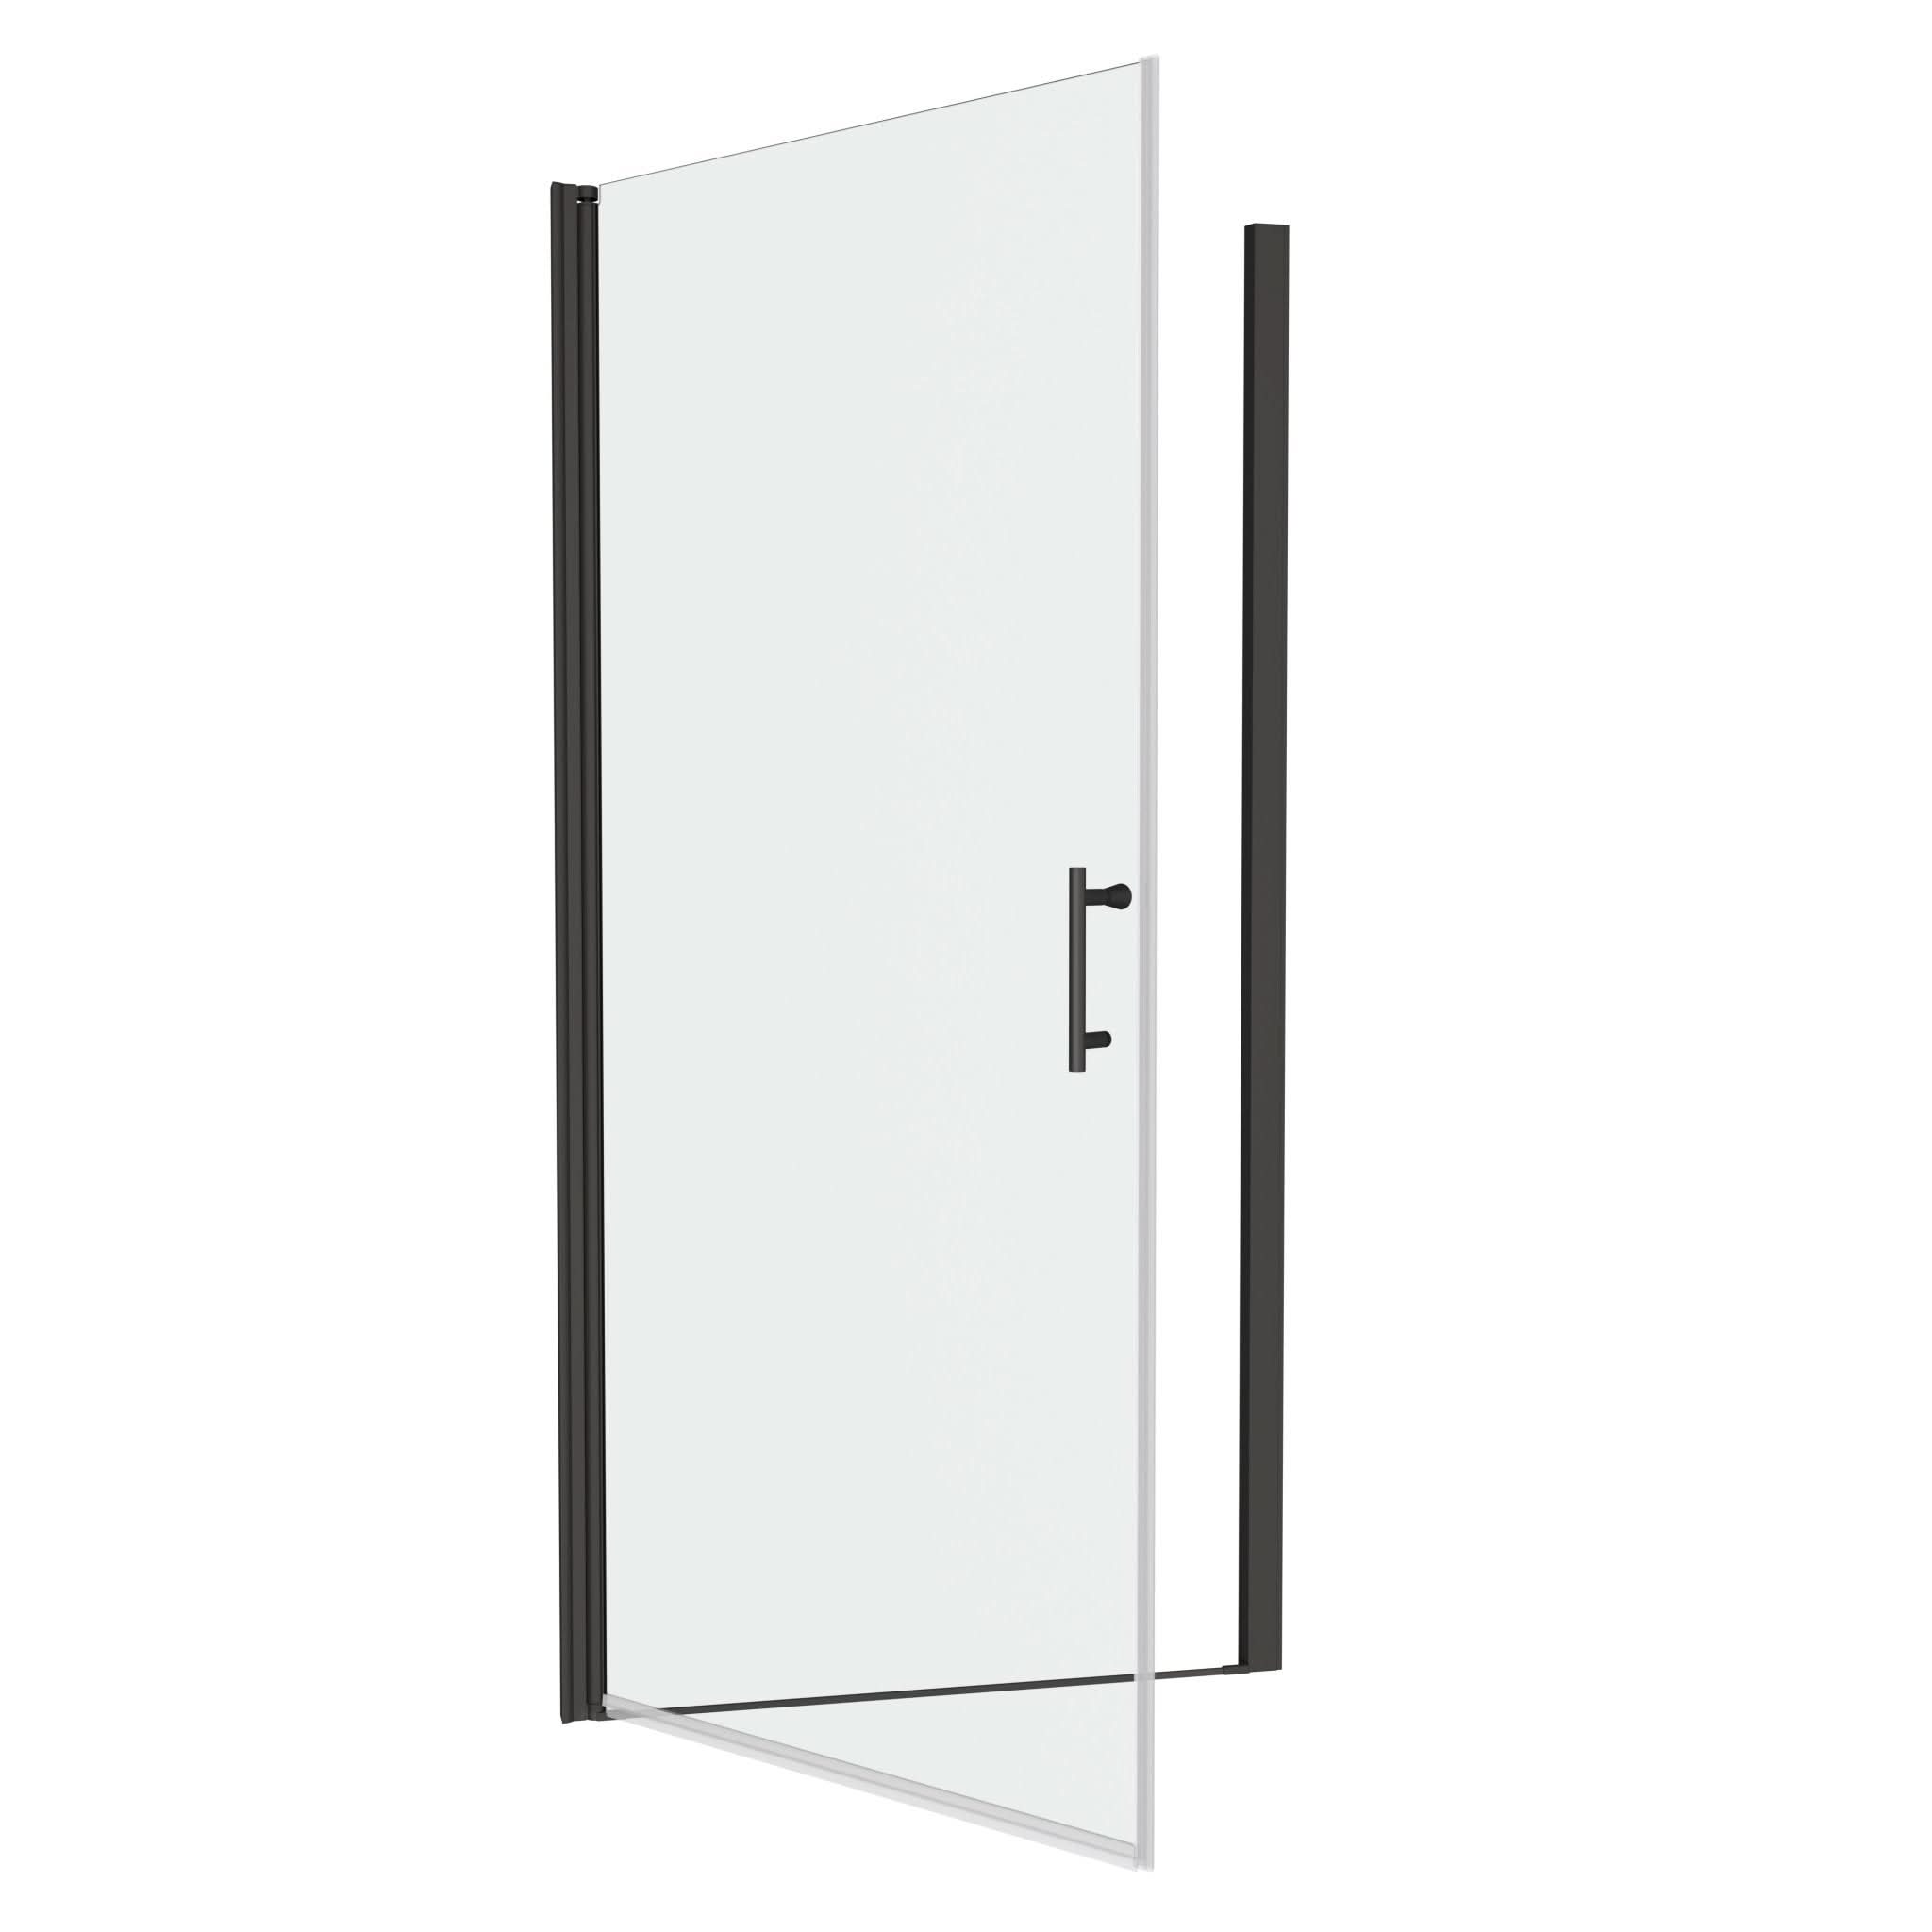
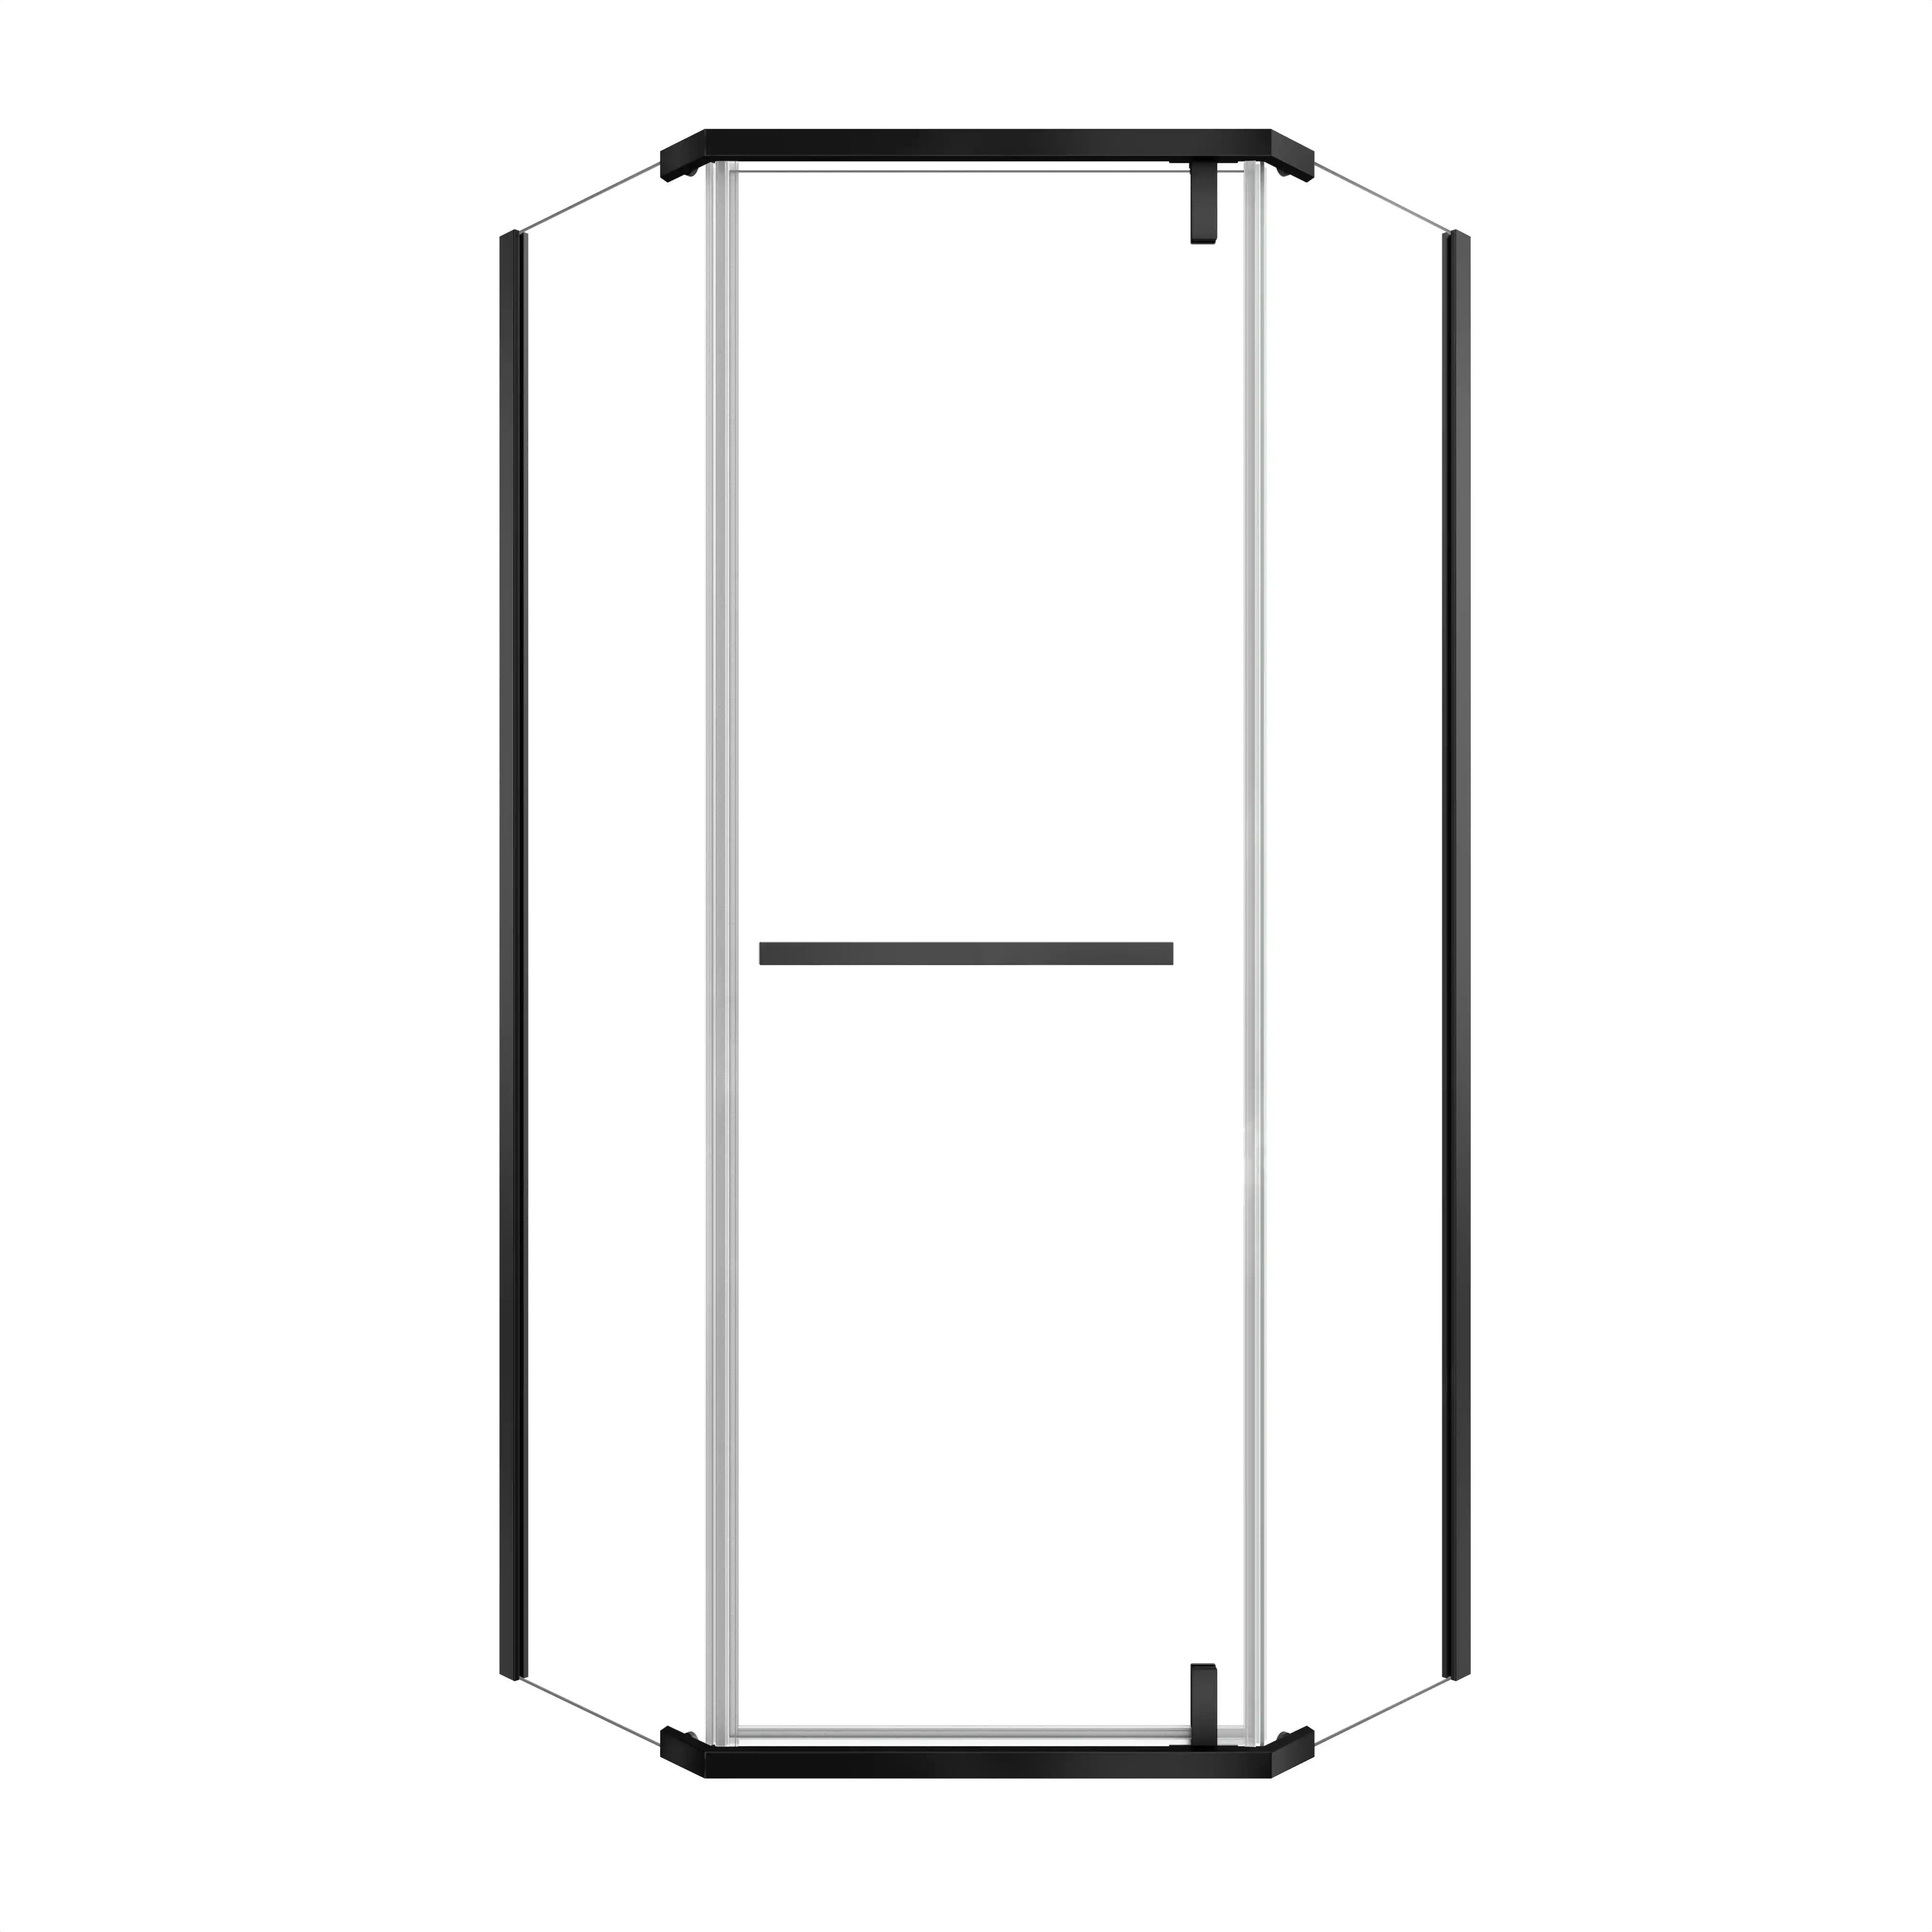
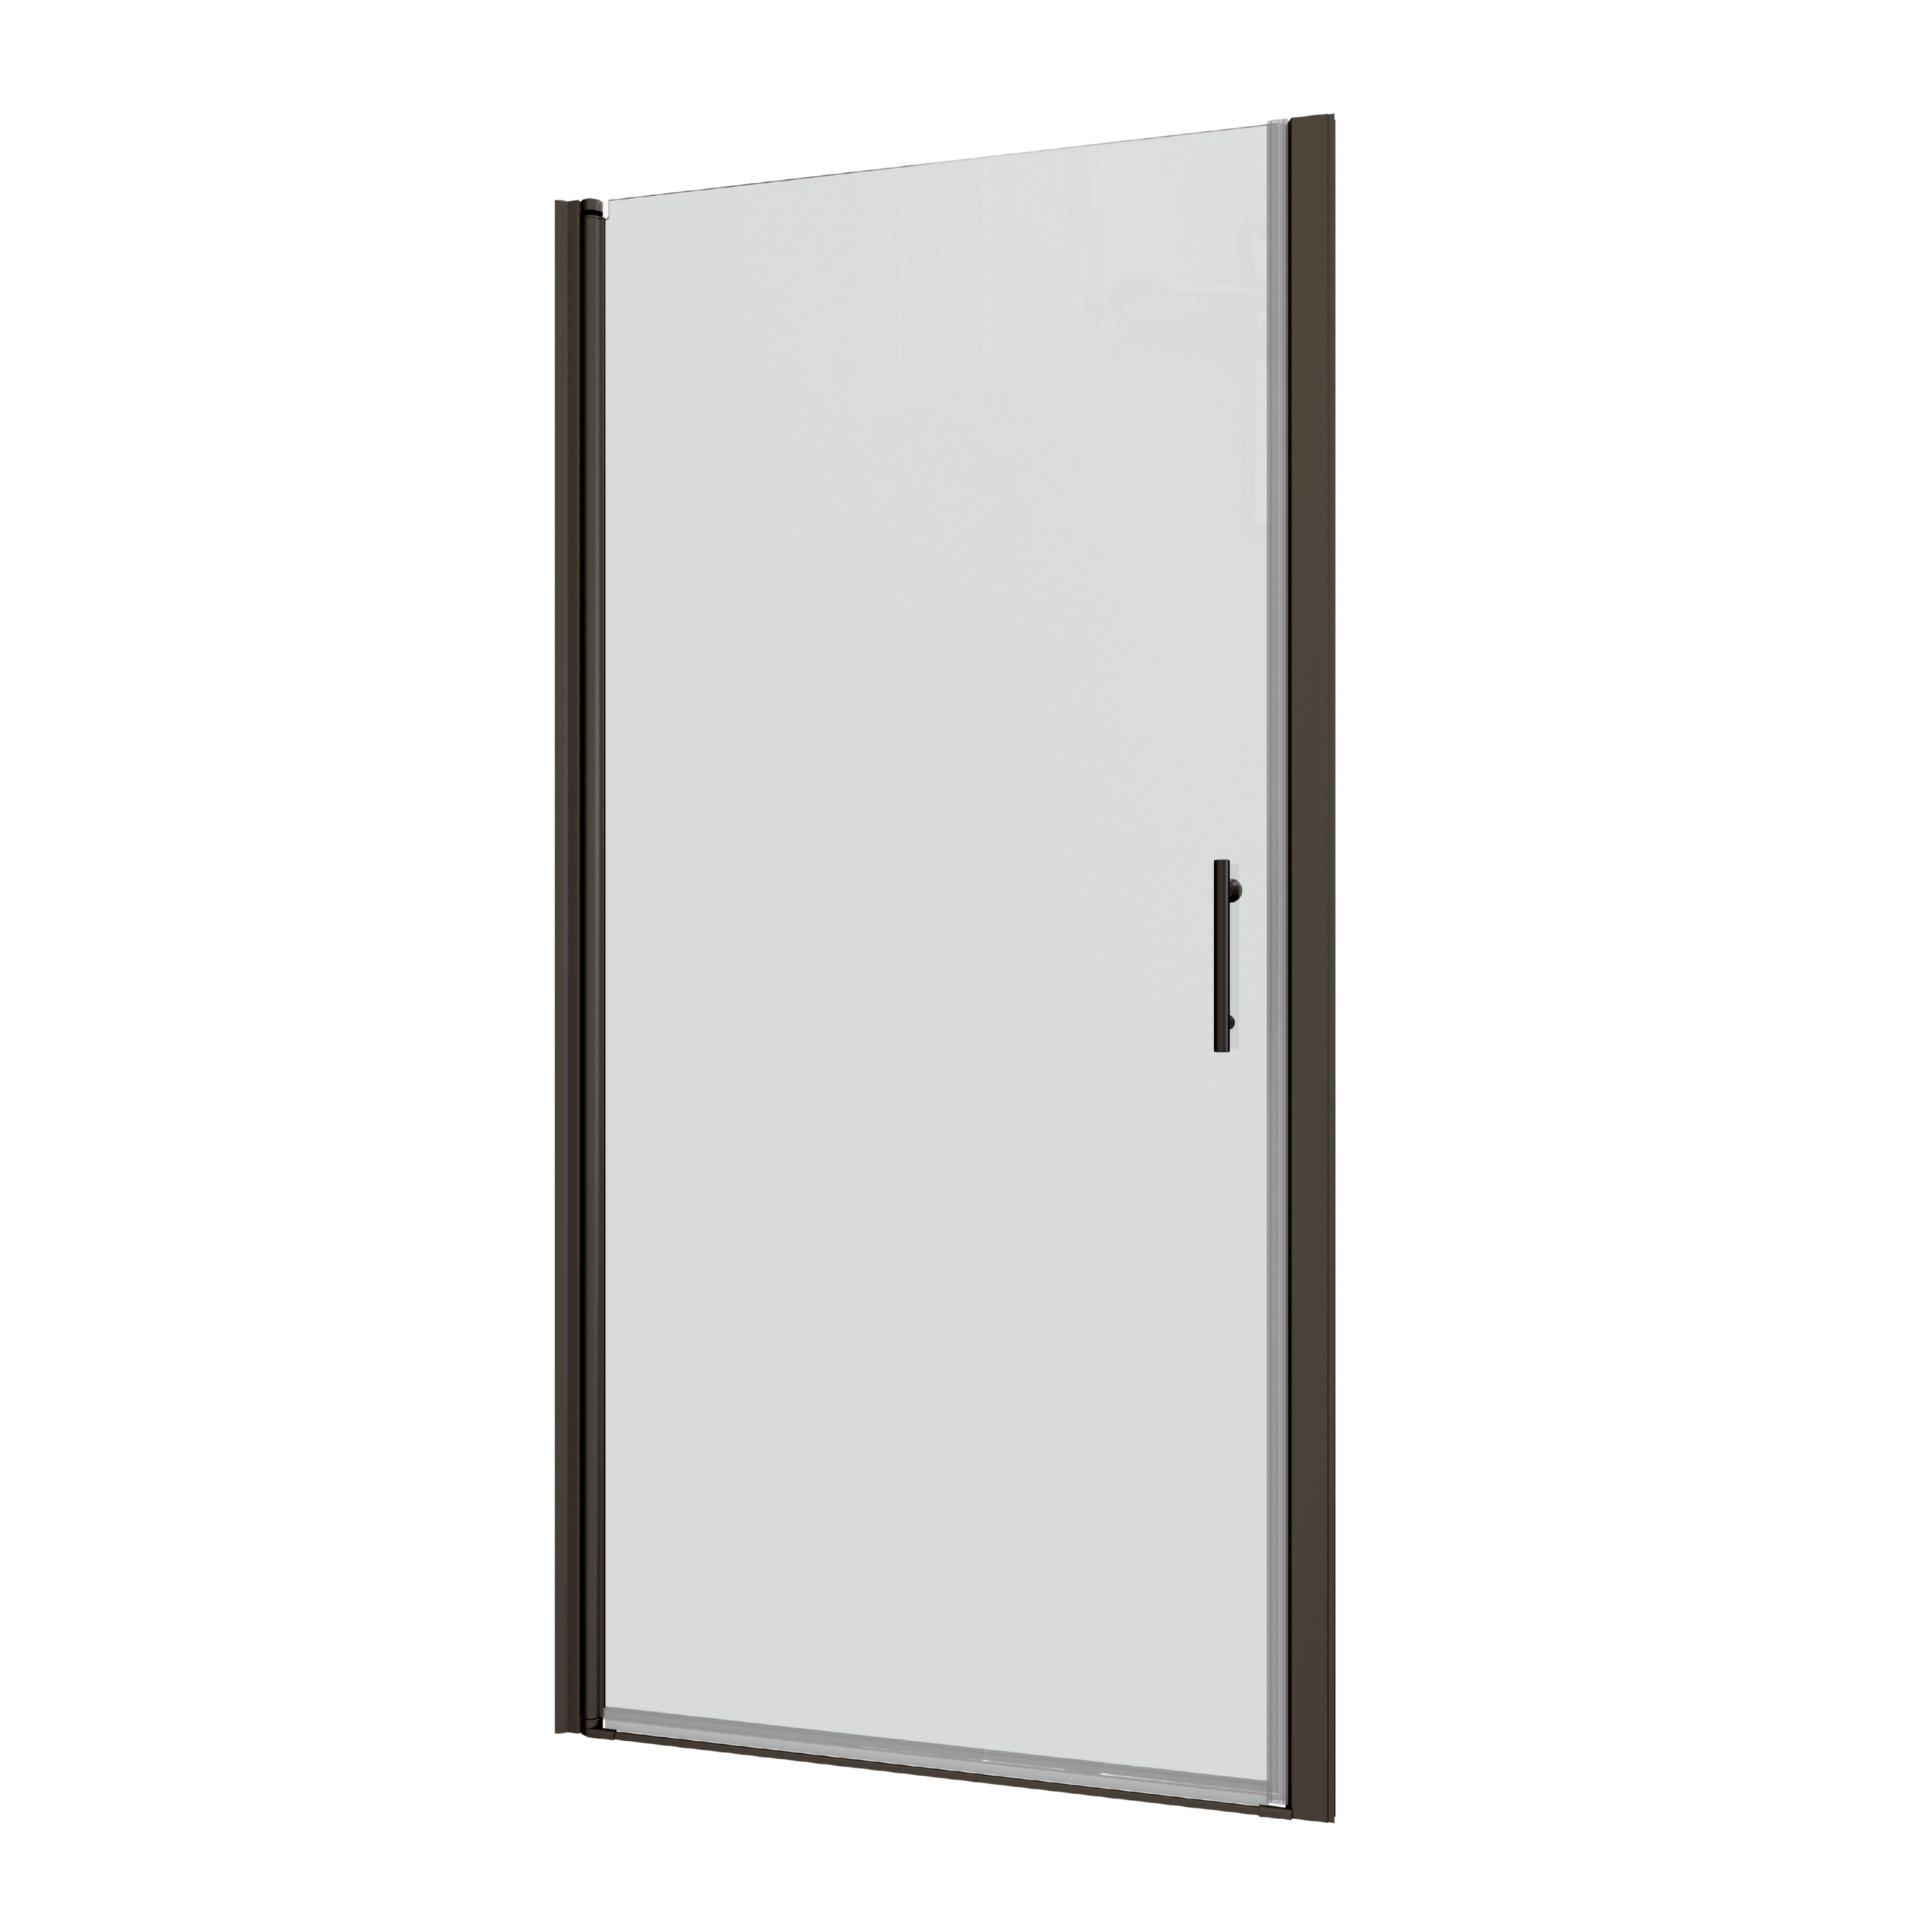
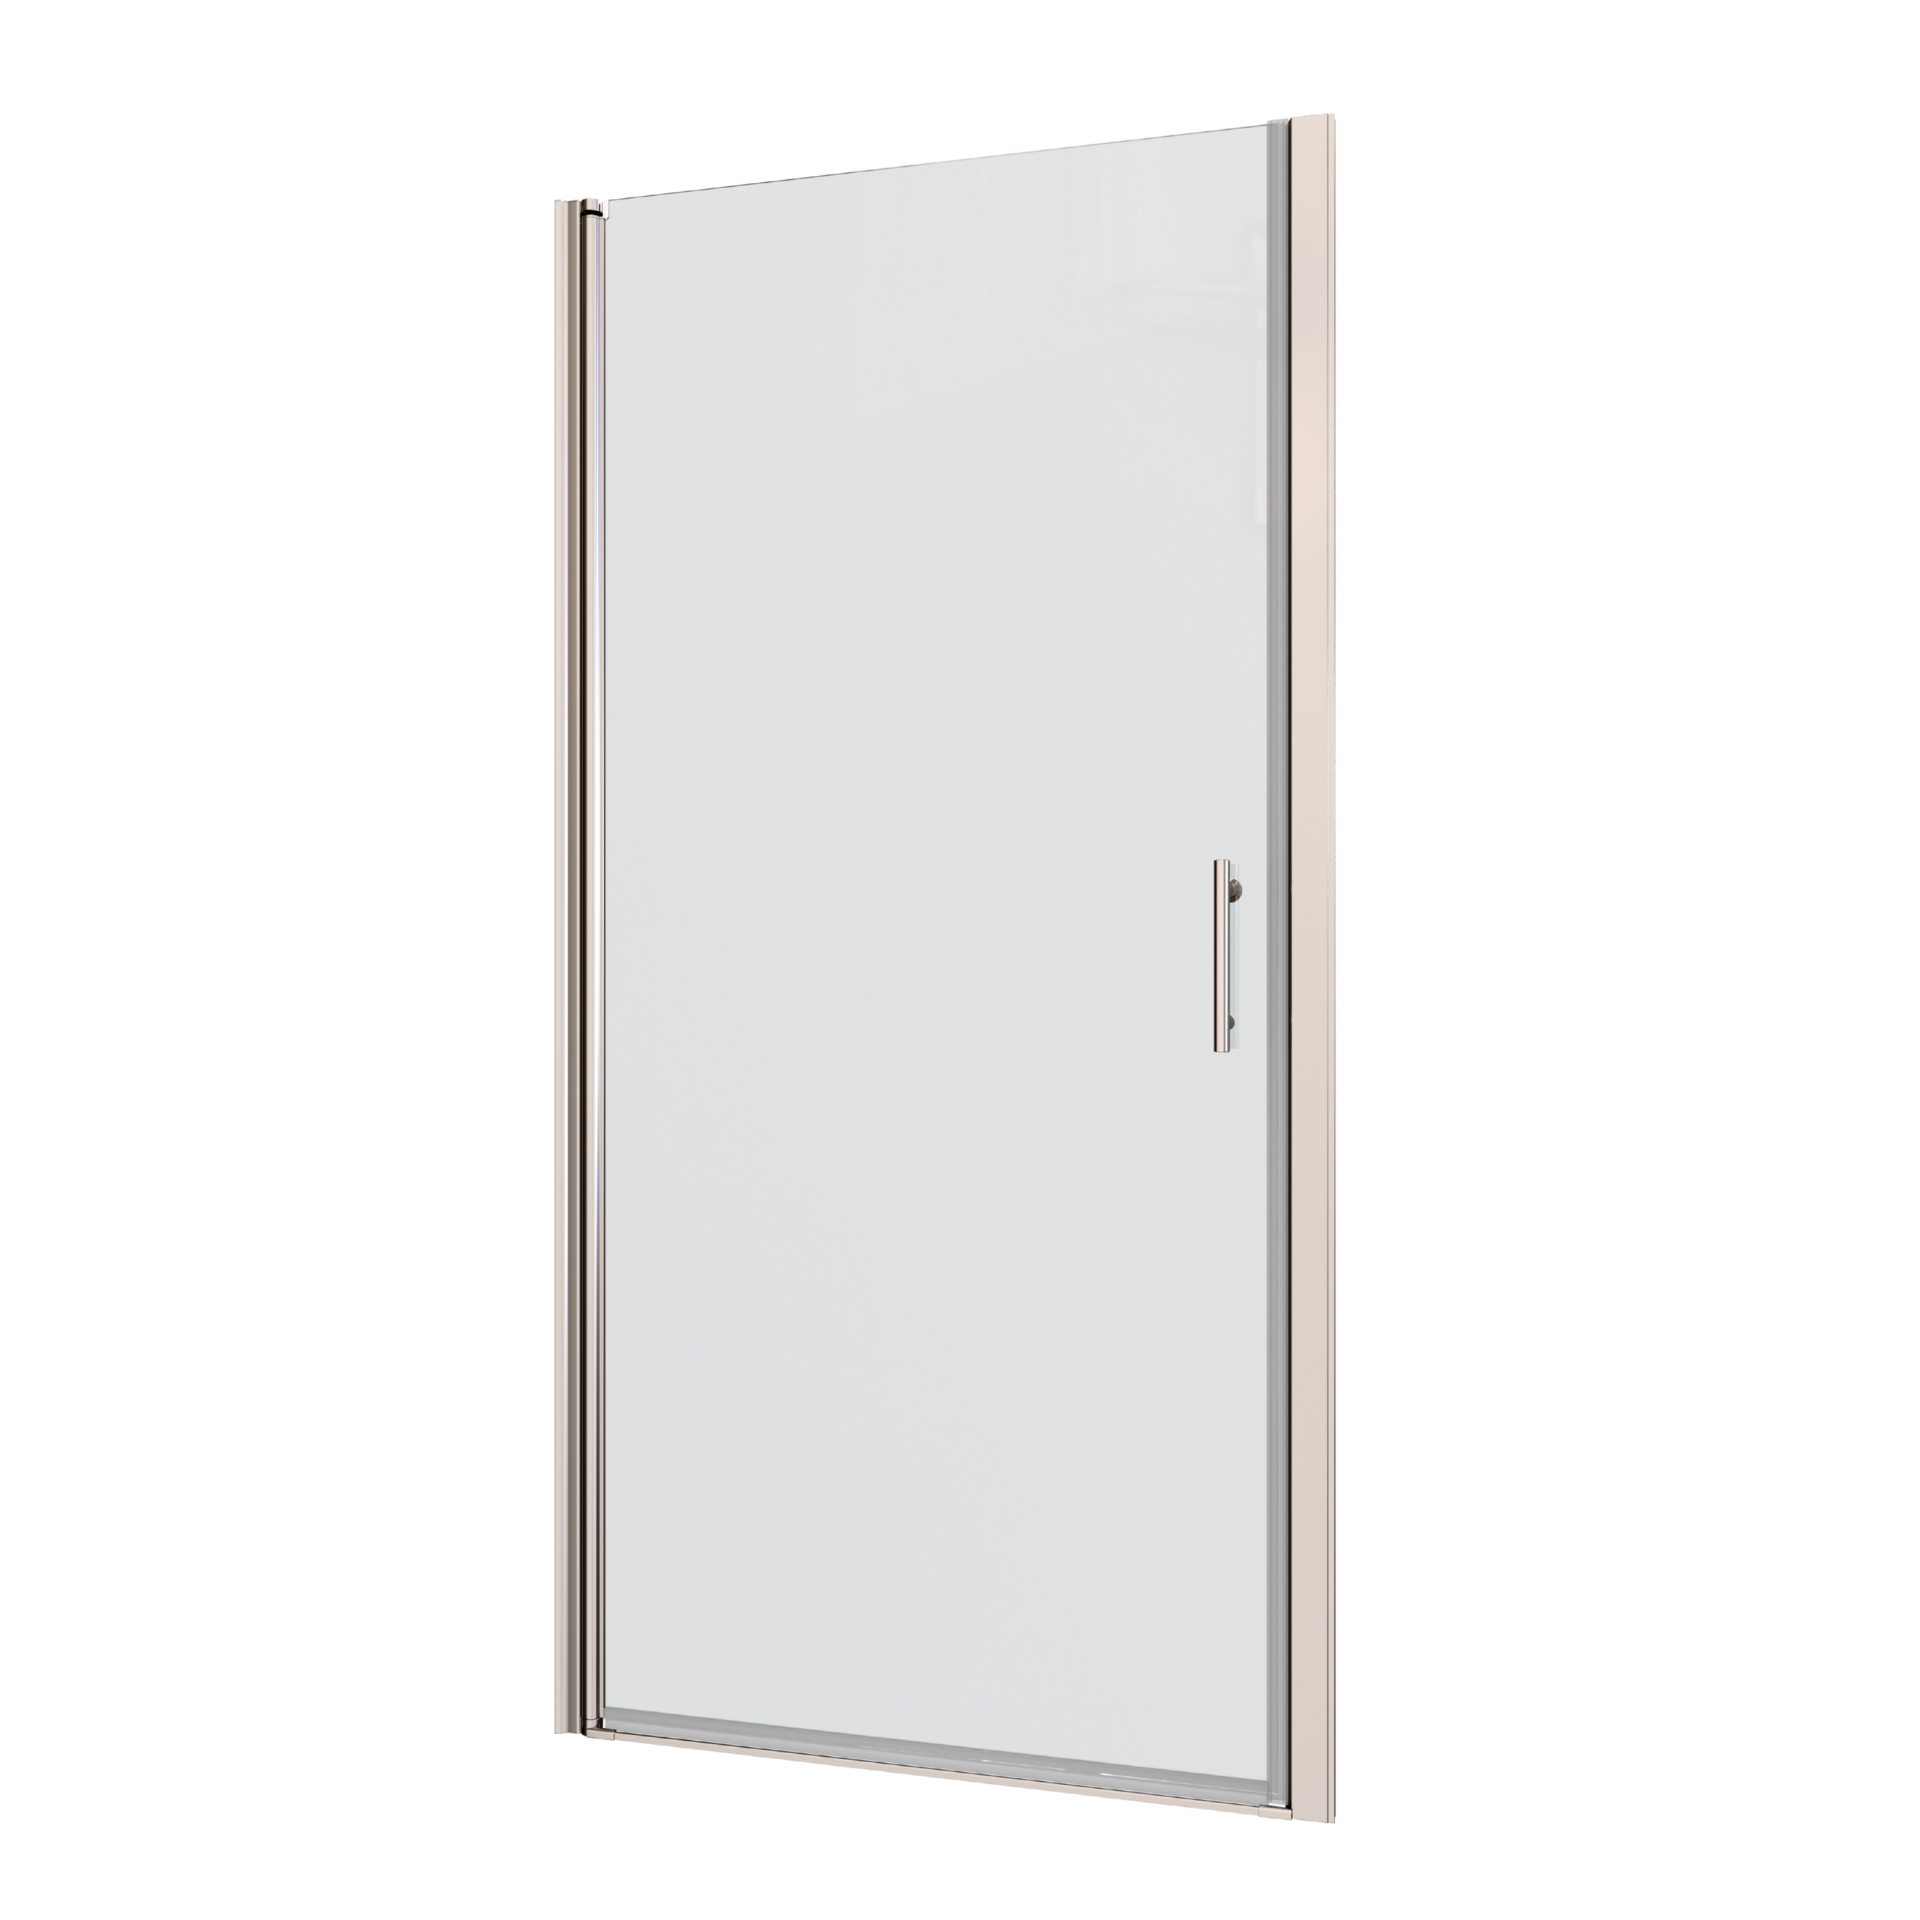
Door Styles: Hinged, sliding, bi-fold, or pivot. Sliding doors are great for compact areas, while hinged doors require clearance.
-
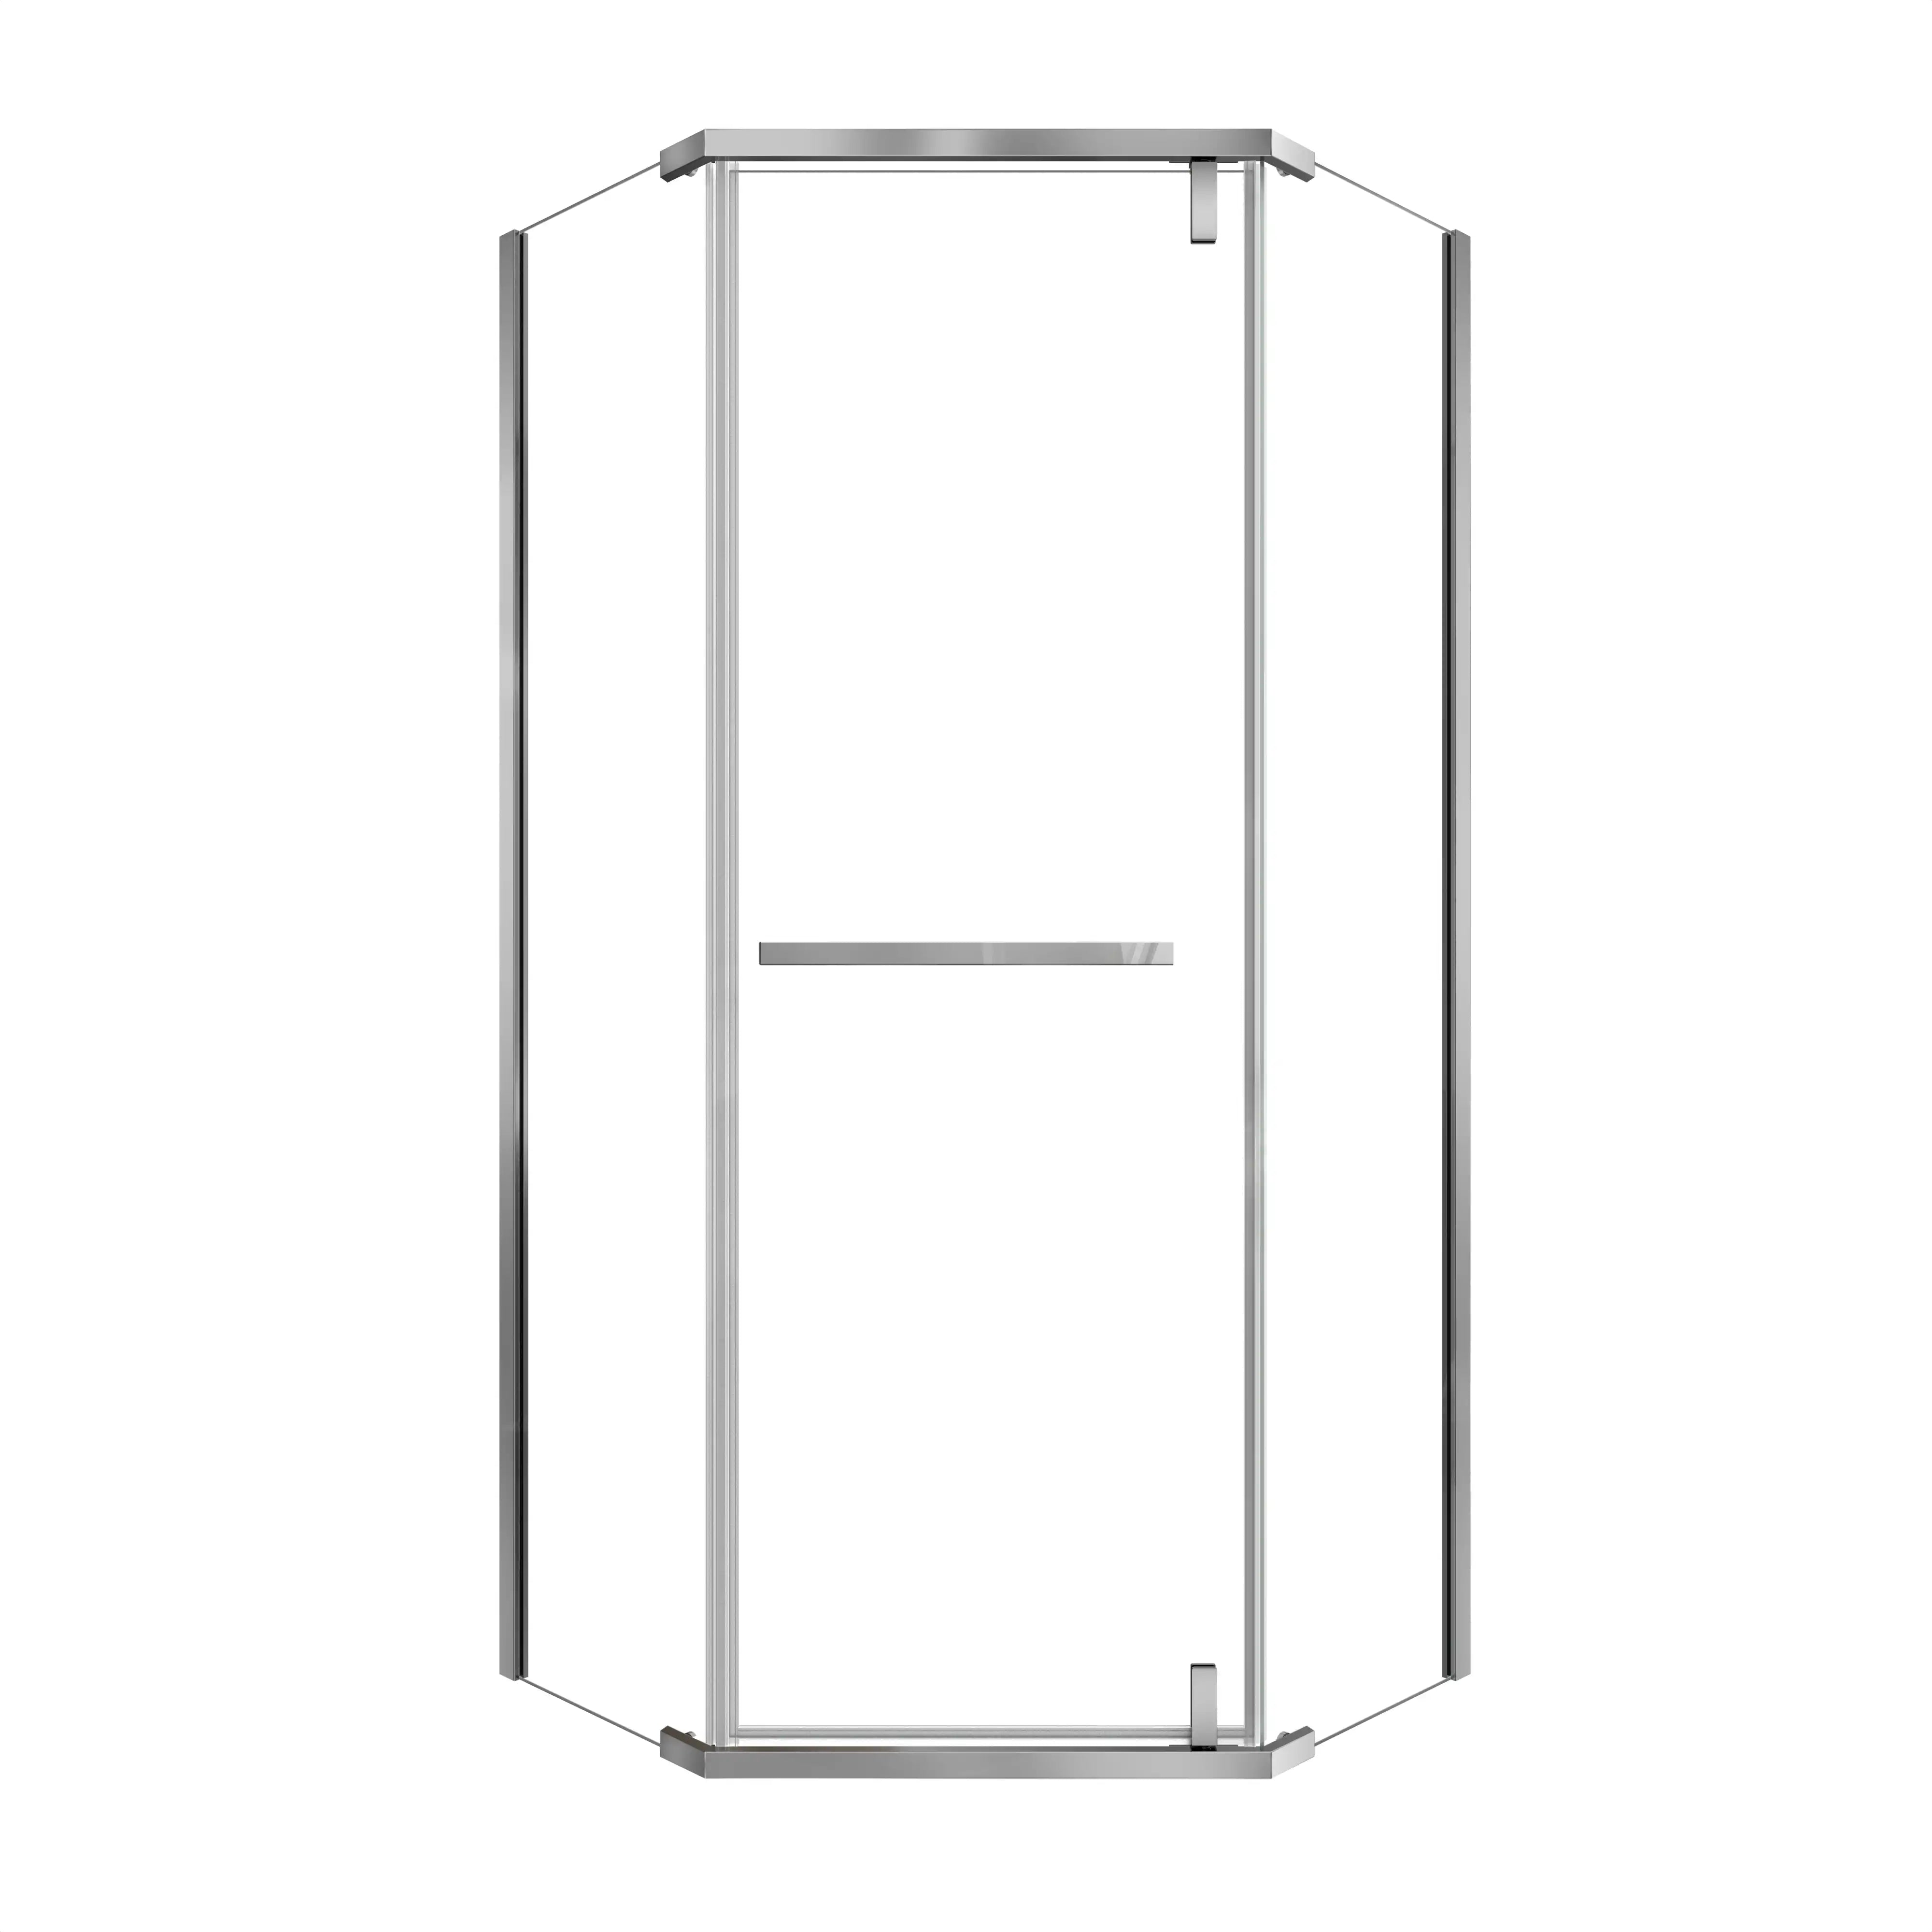
Framed vs. Frameless: Frameless offers a modern, minimalist appeal but requires more precise installation and stable walls.
-
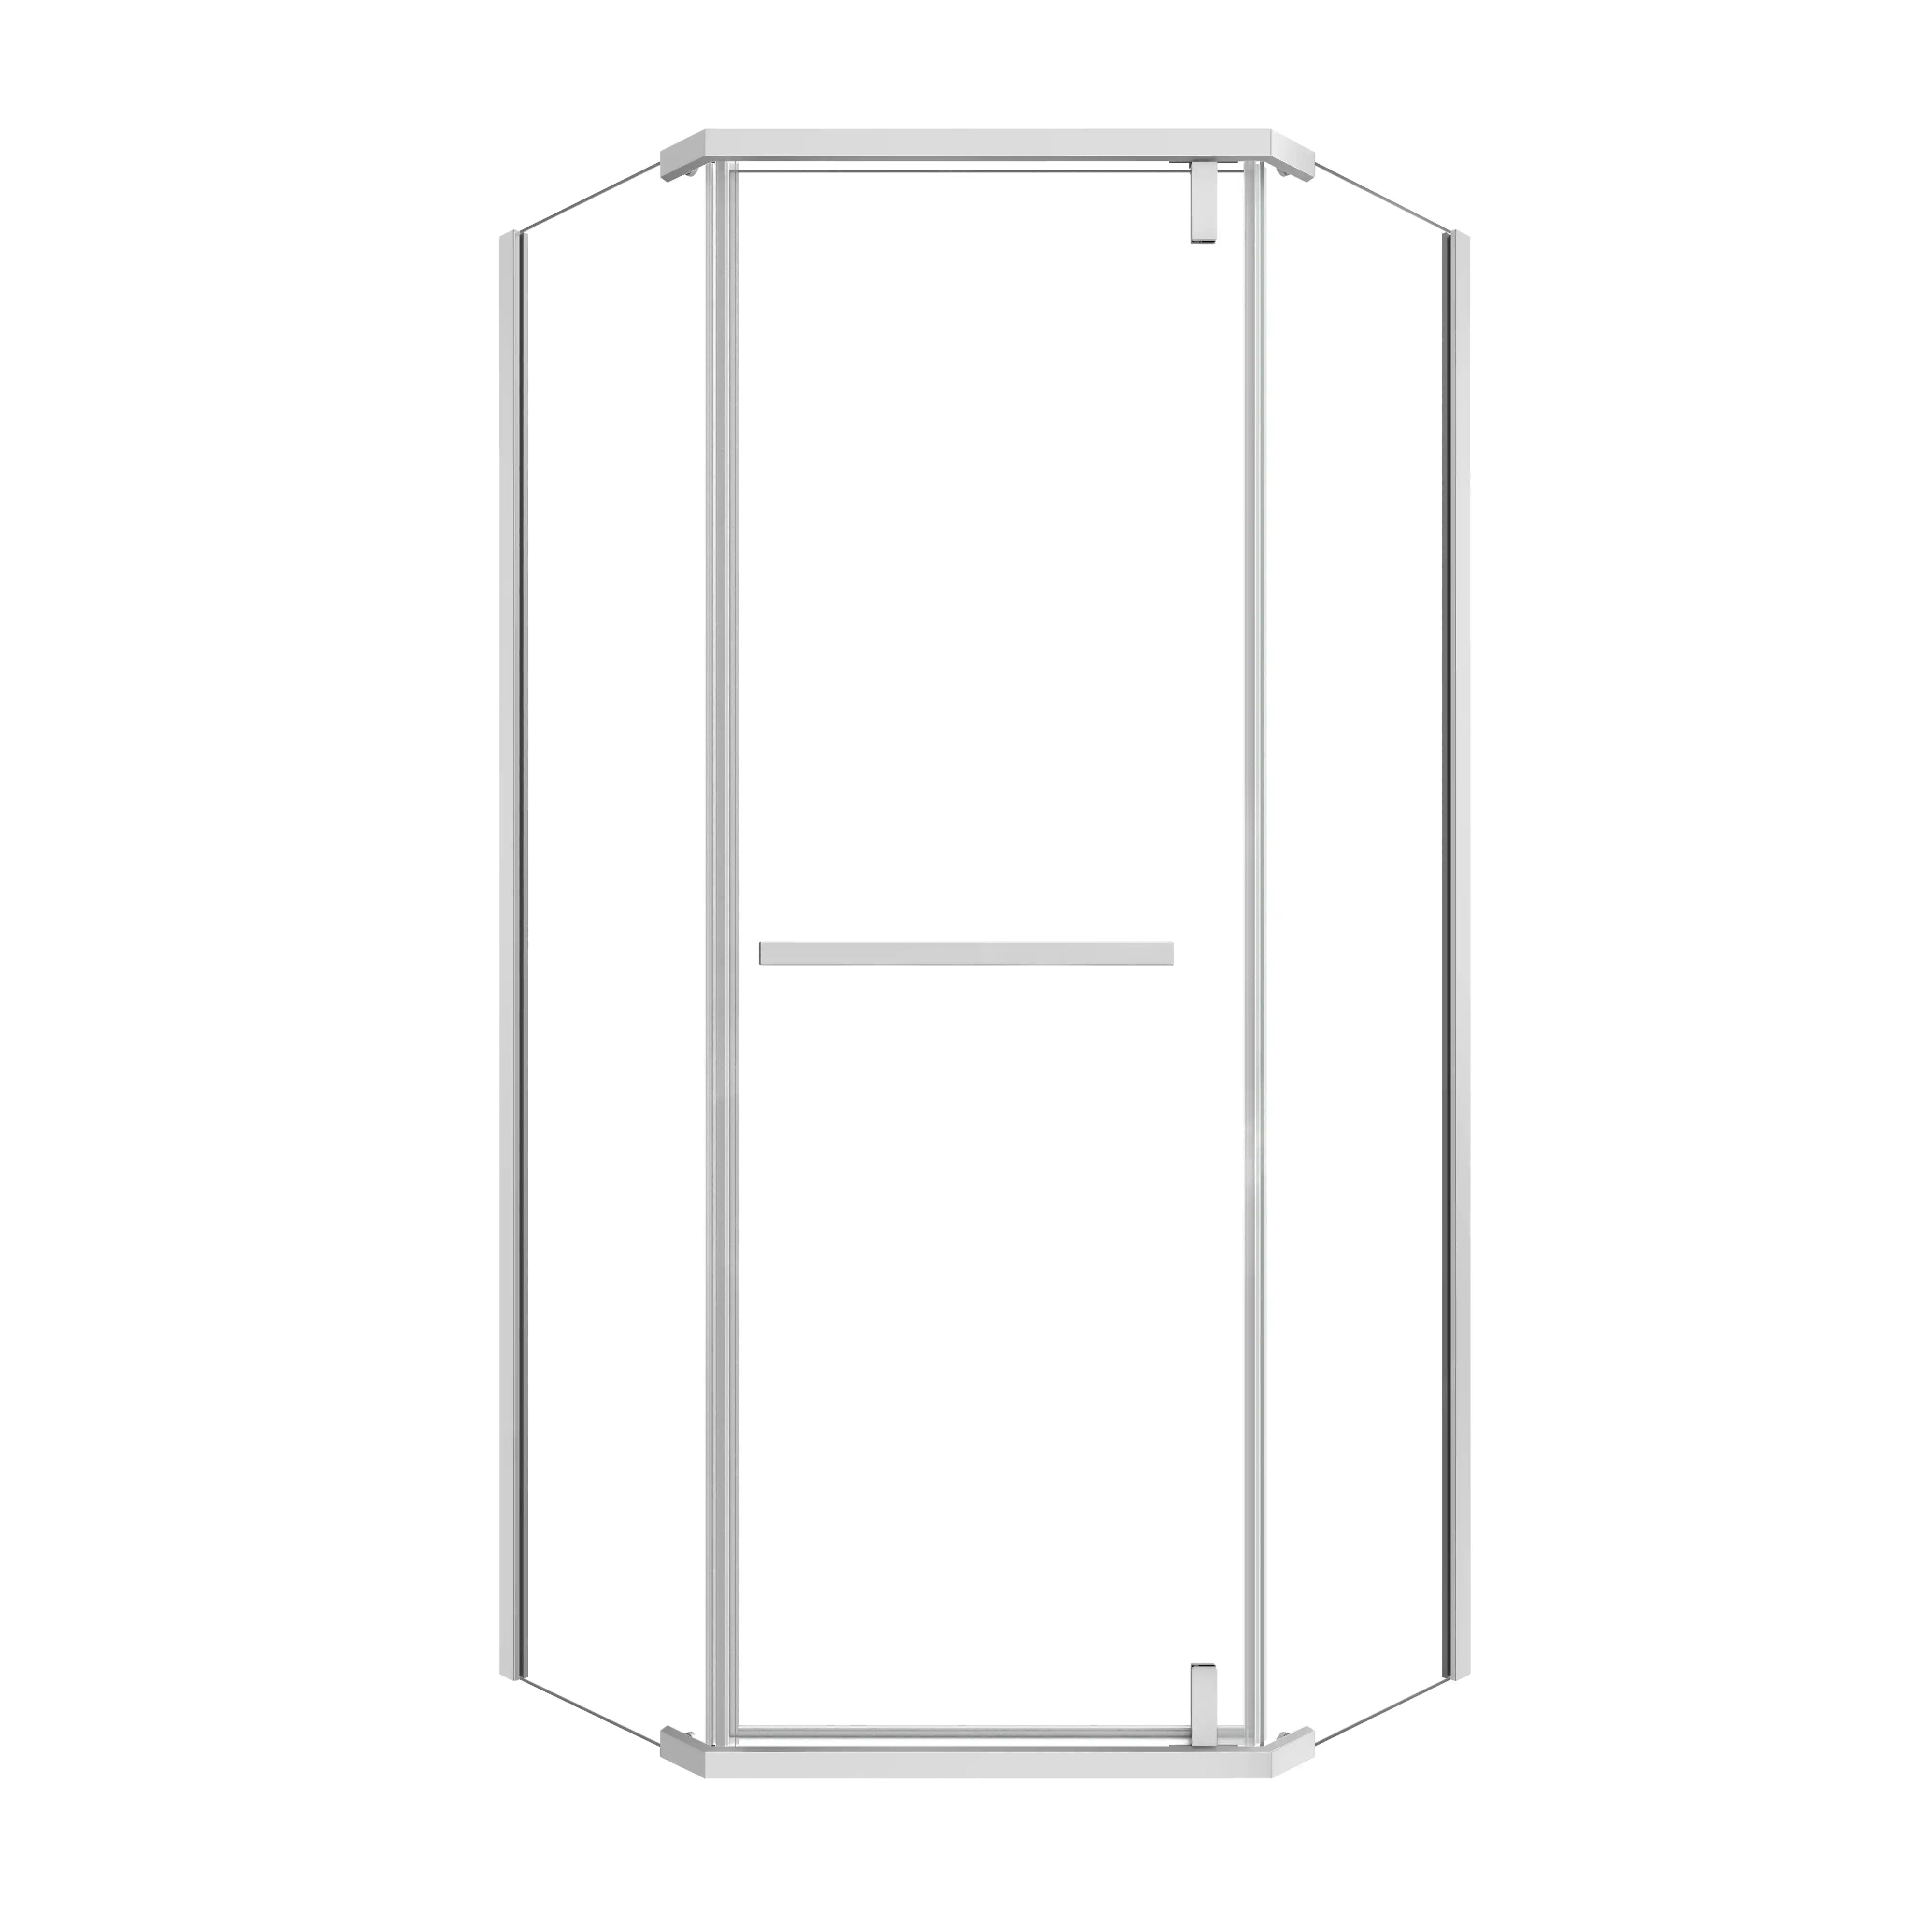
Finish Options: Chrome, matte black, brushed nickel — choose what complements your fixtures and tile.
Understanding your needs and layout is essential before learning how to install a shower enclosure, as not all models suit every space.

2. Understanding Key Specifications: Glass Thickness, Height, and Adjustment Range
Knowing your enclosure’s specs isn’t just technical trivia, it directly impacts safety, performance, and ease of installation.
Common Technical Specs:
-
Glass Thickness: 6mm is common for standard enclosures; 8mm or 10mm feels more robust and elegant but may need wall reinforcement.
-
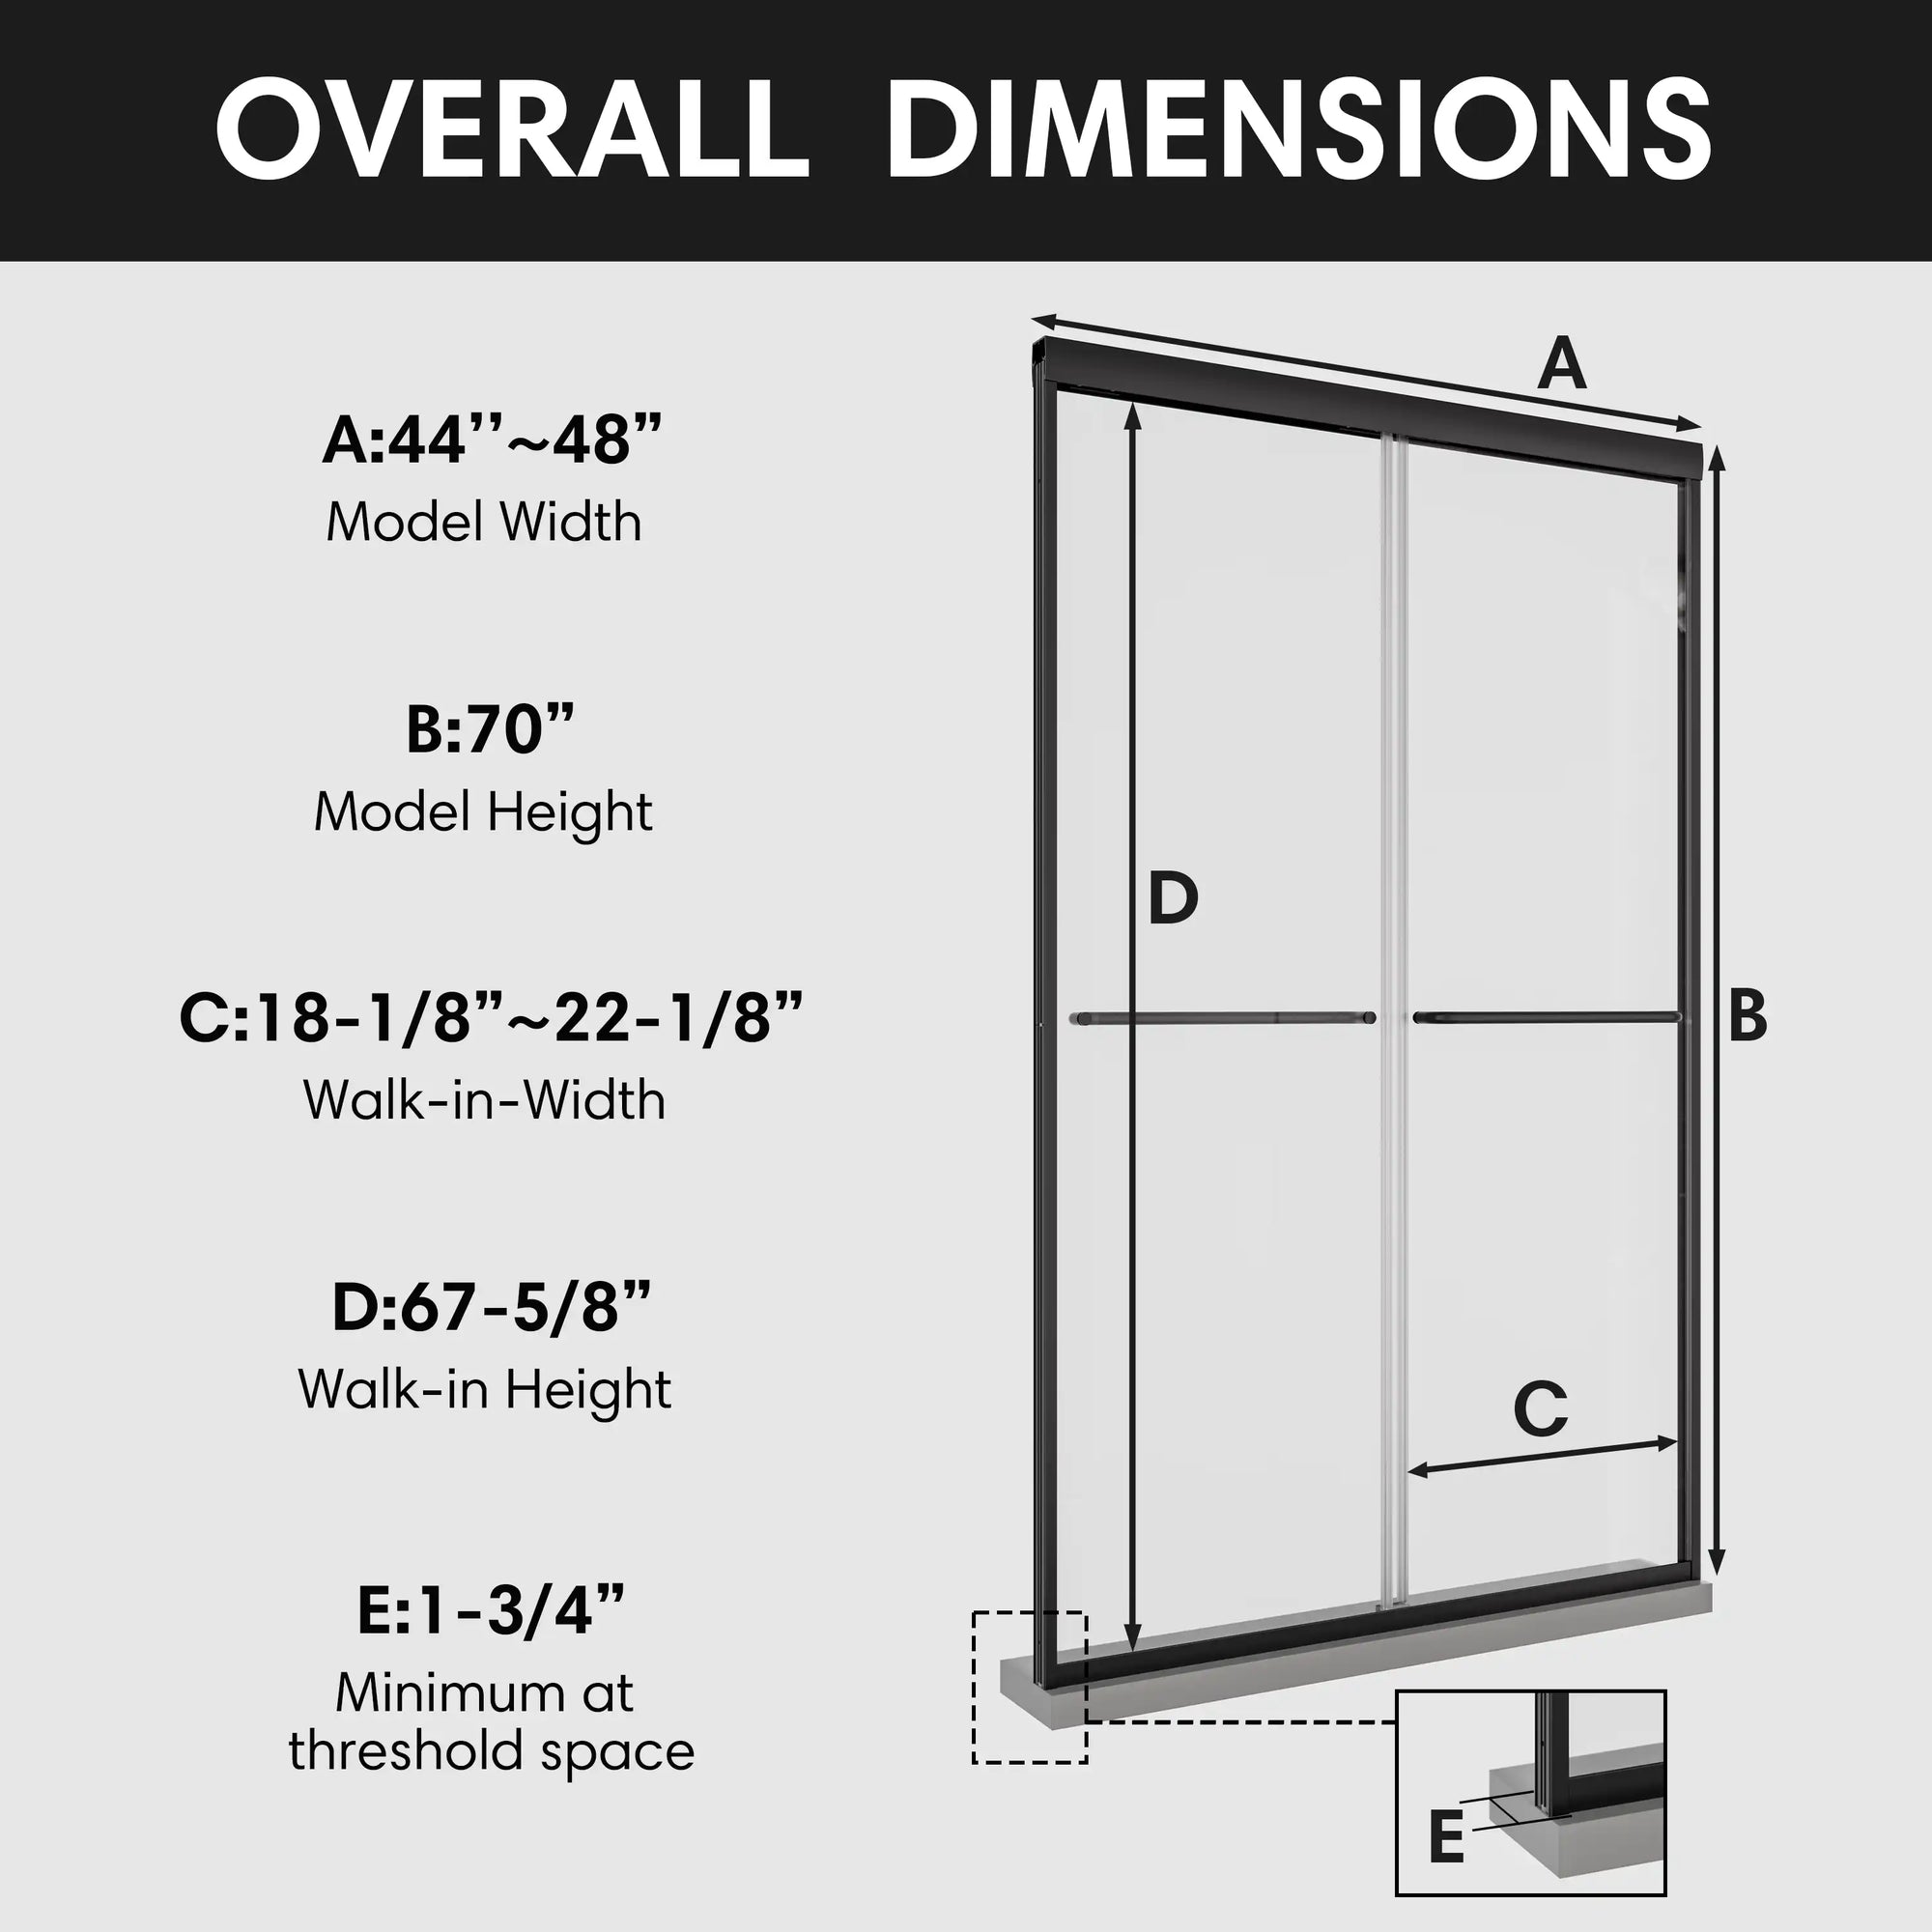
Height: Standard heights range from 1850mm to 2000mm. Taller models reduce splash but may not fit beneath sloped ceilings.
-
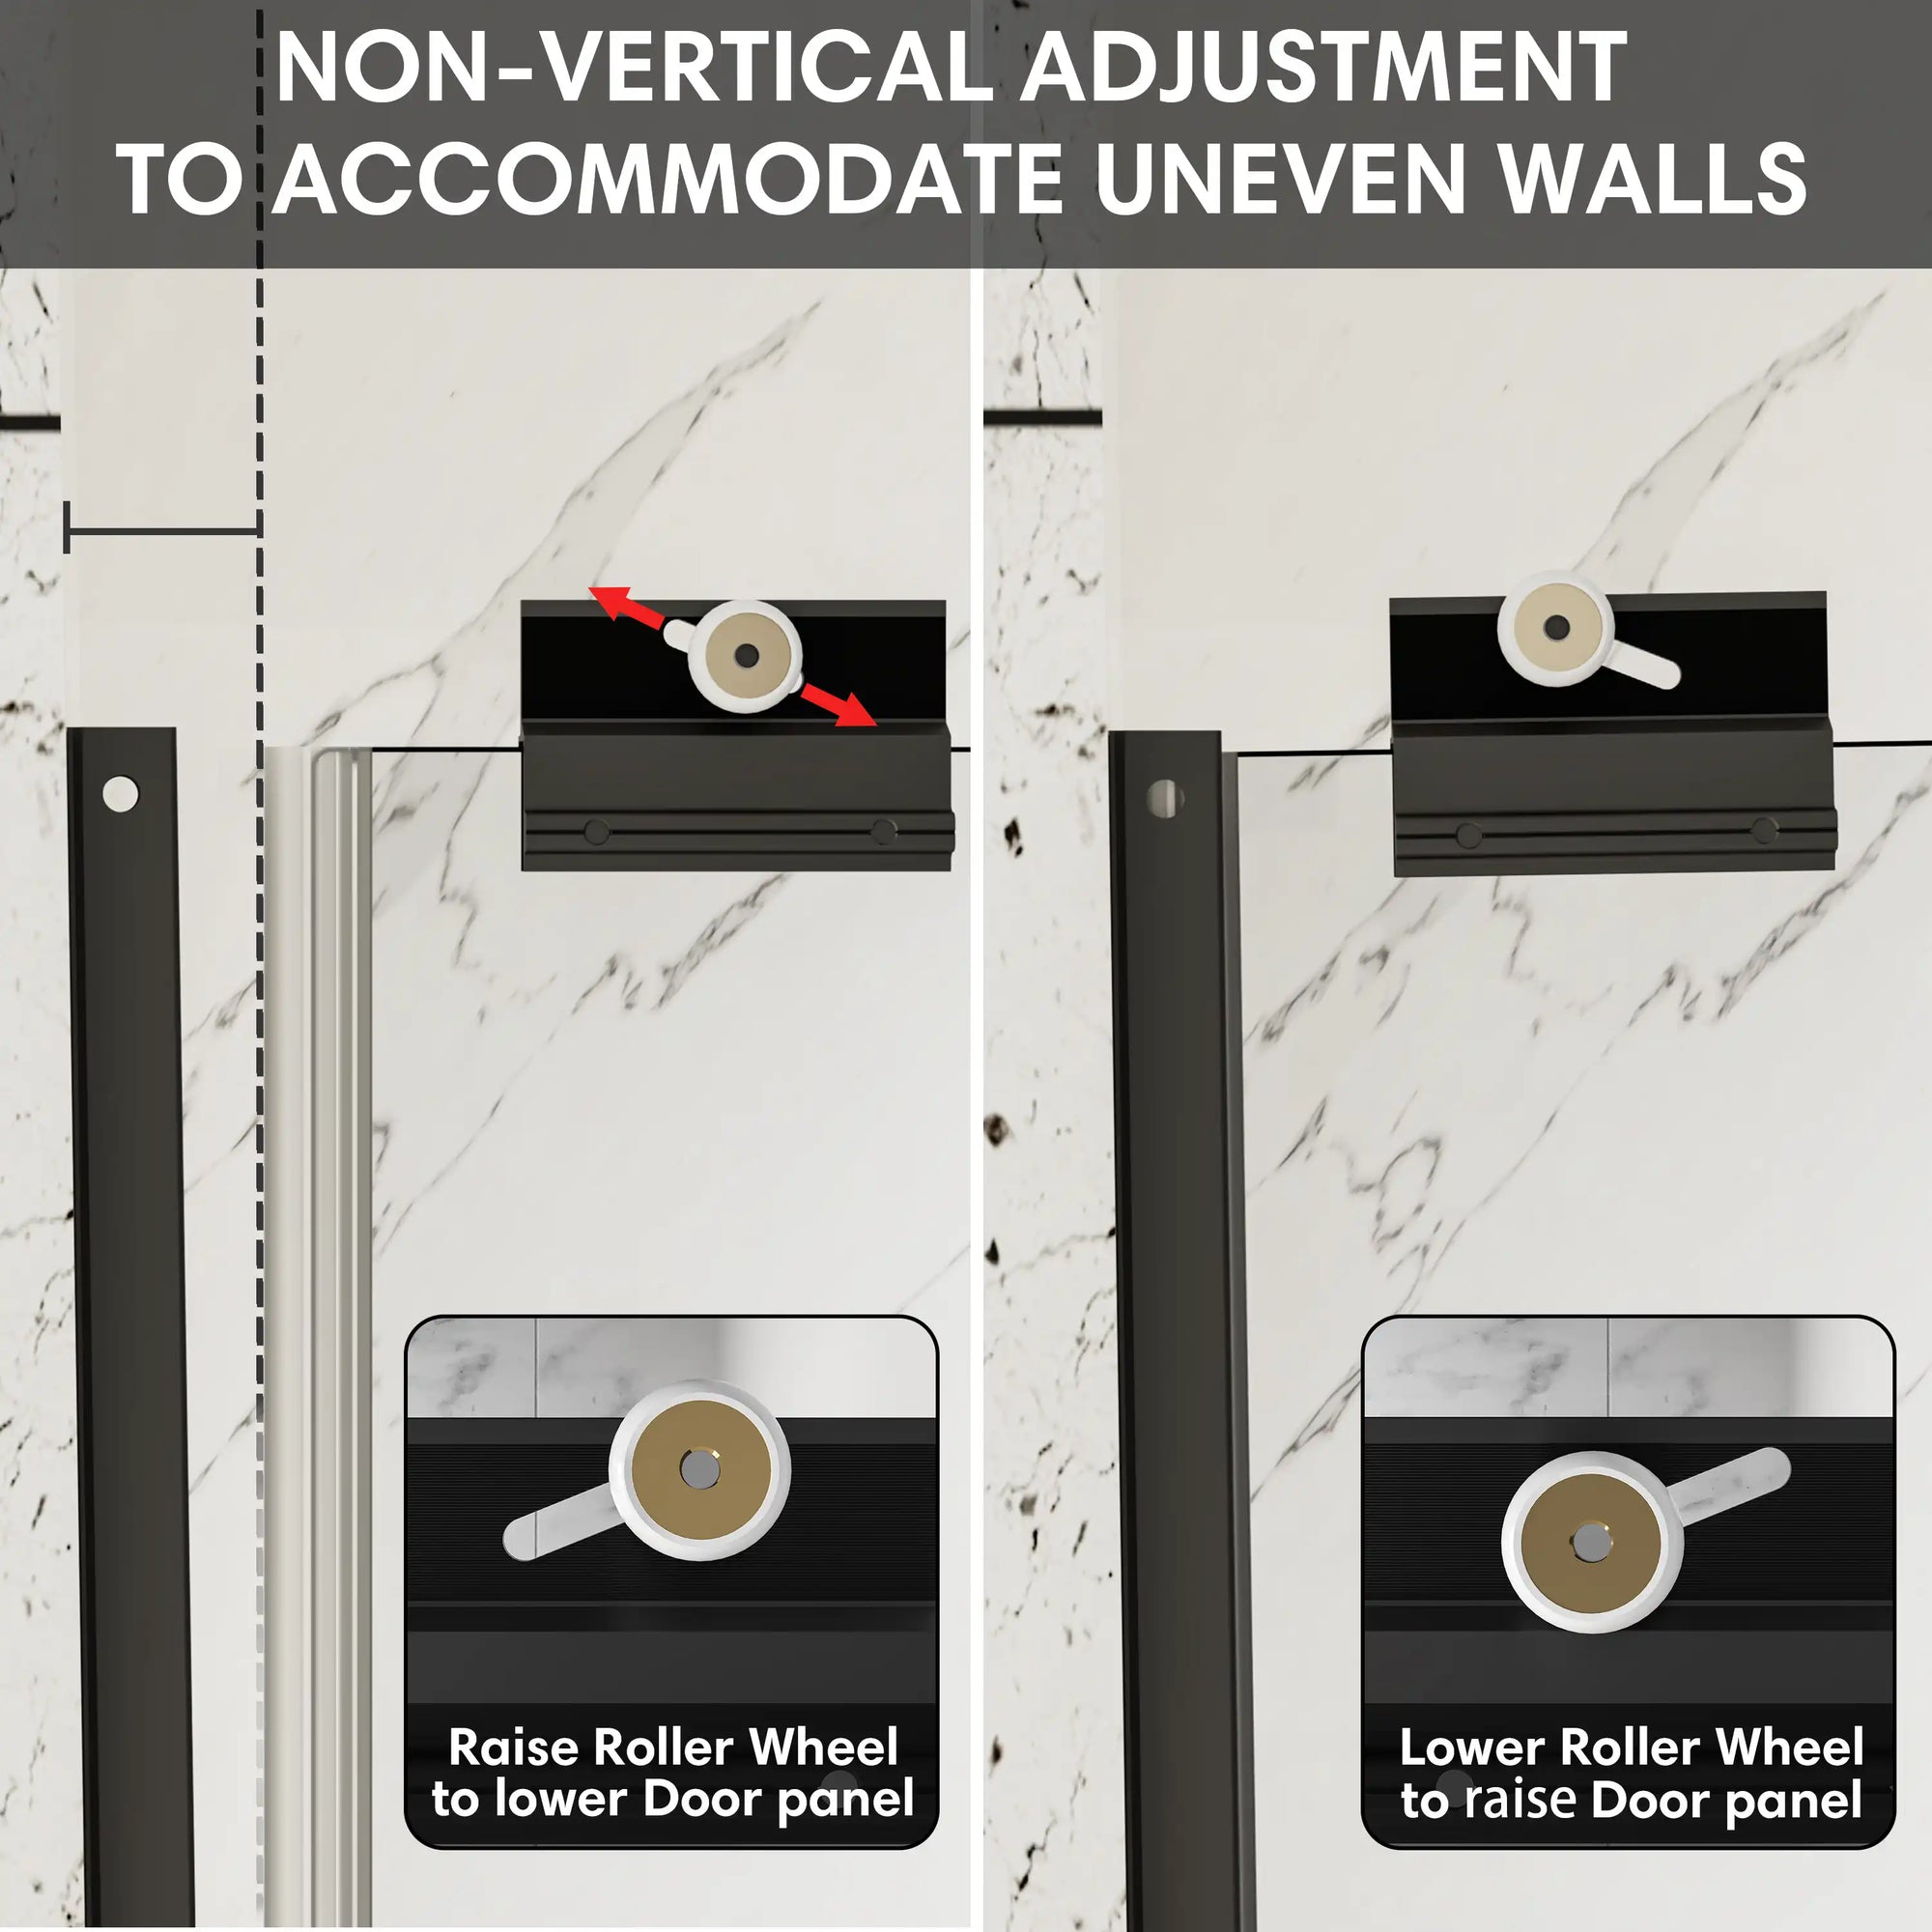
Adjustment Range: Wall profiles typically offer 10mm–25mm of adjustment to accommodate uneven walls.
-
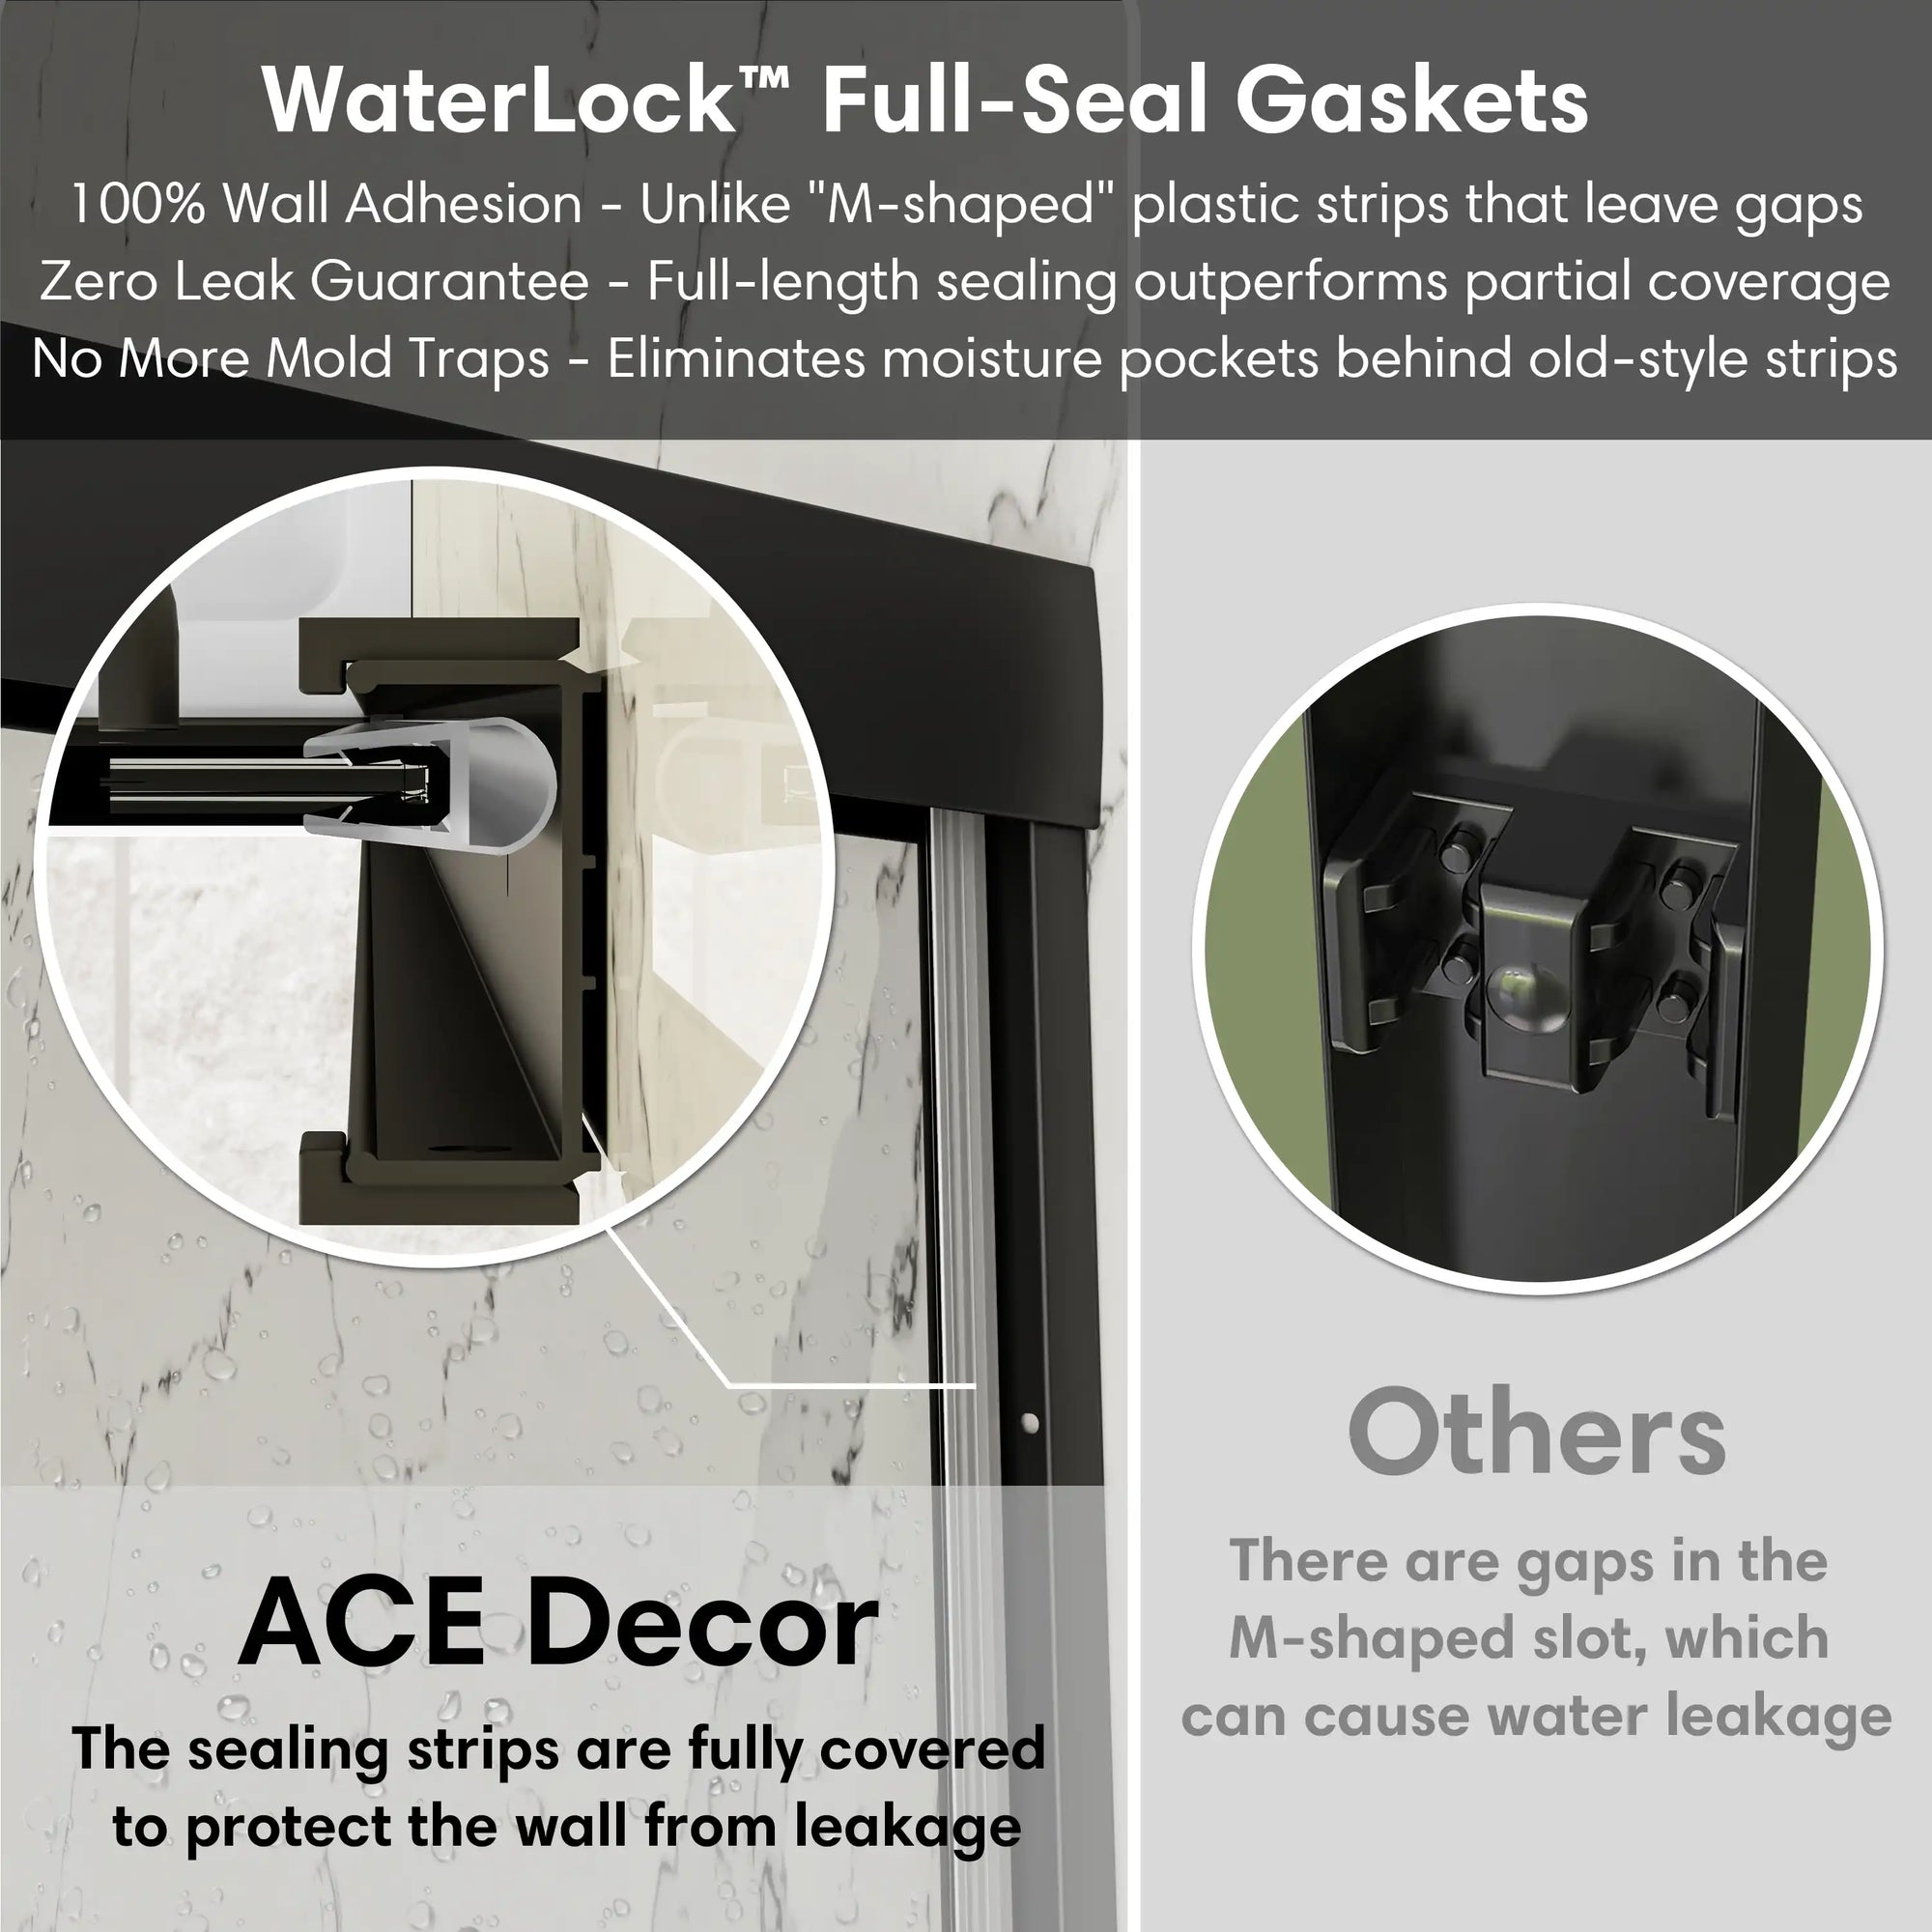
Waterproofing Features: Look for magnetic door seals, bottom strips, and overlapping glass seams to prevent leaks.
Accurate measurements and awareness of your product’s limits will ensure fewer surprises later in the installation process.

3. Preparing for Installation: Tools, Space, and Safety First
With any successful shower enclosure installation preparation is key. This is what you will need to prepare the scene:
Tools & Prep Checklist:
-
Tools: Measuring tape, level, drill, rubber mallet, screwdriver, sealant gun, sealant, masking tape, knife, gloves and squarer.
-
Wall Inspection: Ensure your walls are plumb and finished with water-resistant board or tiles.
-
Shower Tray: Should be level and properly secured with adhesive or a mortar bed.
-
Drainage Setup: Pre-fit your drain and confirm its position before placing the tray.
-
Two People Minimum: Most enclosures require two people to maneuver glass panels safely.
Thorough preparation helps avoid mid-installation delays, and it’s a critical first step when figuring out how to install a shower enclosure effectively.
4. Step-by-Step Installation: Expert-Validated Process for Leak-Free Results
Let’s now walk through the detailed, corrected installation steps for a standard framed or semi-frameless shower enclosure with a tray.
✅ Step 1: Prepare the Subsurface and Supports
-
Reinforce wall studs where mounting hardware will go.
-
Ensure the subfloor is clean and level.
-
If required, apply a waterproof membrane and set the tray in a mortar bed for extra support.
✅ Step 2: Position and Level the Tray
-
Dry-fit the shower tray and ensure proper alignment with the drain.
-
Use a spirit level and shims to ensure it’s perfectly level.
-
Secure the tray using mortar or adhesive and allow it to cure fully.
✅ Step 3: Mark Level Lines and Dry-Fit Enclosure
-
Use a level to mark where wall profiles will sit.
-
Dry-fit all glass panels and doors to visualize how parts align and identify adjustments.
✅ Step 4: Prepare the Walls
-
Replace any drywall with cement board if needed.
-
Sand surfaces and clean off dust or residue to improve adhesive bond.
✅ Step 5: Cut Holes for Fixtures (if applicable)
-
Mark positions for plumbing or wall fasteners.
-
Use a diamond hole saw for accurate cuts without cracking the panels.
✅ Step 6: Install Vertical Wall Profiles
-
Drill holes into your marked positions and insert wall plugs.
-
Secure wall profiles using screws, checking for vertical alignment.
✅ Step 7: Glue or Silicone Wall Panels (if applicable)
-
Apply silicone or panel adhesive and press panels into place one by one.
-
Secure temporarily with masking tape or supports until fully set.
✅ Step 8: Assemble and Install Frame and Glass Doors
-
Attach top and bottom rails or tracks if applicable.
-
Install stationary glass panels into wall profiles, then attach moving doors.
-
Adjust rollers for smooth, even movement, and install stoppers if included.
✅ Step 9: Seal the Joints
-
The surface need to be clean and free of debris before applying silicone.
-
Apply a good quality silicone sealant to the edges.
-
Focus on the base-to-wall joint, frame edges, and corners.
✅ Step 10: Final Checks
-
Test the door swing and sliding smoothness.
-
Run water along joints to check for leaks.
-
Allow sealant to cure for at least 24 hours before first use.
With these verified steps, you now know exactly how to install a shower enclosure with confidence and professionalism.
5. Common Mistakes to Avoid and Expert Tips for Best Results
Even well-prepared installers can fall into avoidable traps. Here are the top issues—and how to dodge them.
Mistakes to Avoid:
-
Skipping level checks: Can cause door misalignment and leaks.
-
Sealing the inside of the enclosure: Prevents proper drainage and leads to mold.
-
Using weak wall anchors: Always anchor into studs or use heavy-duty toggles.
-
Overtightening screws: May crack glass or distort profiles.
Pro Tips:
-
Label parts before starting assembly to avoid confusion.
-
Use masking tape to hold parts in position while aligning panels.
-
Use clear silicone only — colored variants can stain tiles over time.
These insights help take your knowledge of how to install a shower enclosure from basic to expert-level.
Conclusion
Installing a shower enclosure isn’t just about aesthetics — it’s about durability, safety, and comfort. From choosing the right type, understanding the product specs, preparing your workspace, to finally following step-by-step instructions, we’ve laid out the full roadmap. Knowing how to install a shower enclosure gives you more than a beautiful bathroom upgrade—it empowers you with lasting home improvement skills. With care, the right tools, and our expert guidance, you’ll be enjoying your sleek, modern shower in no time.
FAQs: Your Questions Answered by Experts
Q1: Can I install a shower enclosure alone?
A: second person is strongly recommended — glass panels are heavy, and precise alignment requires teamwork.
Q2: How long does the full installation take?
A: Including prep and curing time, plan for a full day. Active install may take 4–6 hours depending on experience.
Q3: What kind of sealant should I use?
A: Use a high-quality, mold-resistant clear silicone designed for bathrooms.
Q4: Why is water leaking at the base?
A: It’s likely a sealing issue — check if the tray is level and that the silicone was applied properly.
Q5:Can I install on a tiled floor without a tray?
A: Yes, with proper waterproofing and slope, but it’s more complex. Most DIYers find tray installations easier and safer.
Related Articles
Base for Shower Floor Installation Comparison: Prefab or Self-Leveling?
Installation Guide: DIY Steps for Installing Glass Shower Sliding Doors
Sterling Shower Doors: Types, Installation Guide, and Choosing the Perfect Fit