Table of Contents
- What is pivot shower door? Is it suitable for your home?
- Preparations before you install pivot shower door
- 5 key steps: How to install pivot shower door like a pro
- Common mistakes when you install pivot shower door
- After-care: Keep your pivot shower door working like new
- Conclusion
- FAQ
Introduction
You might not expect that after spending thousands of dollars renovating the bathroom, the biggest "flaw" that affects the experience could be a poorly installed shower door. Pivot shower doors are becoming increasingly popular among mid-to-high-end households in the United States due to their high-end appearance and space-saving features. However, many users have encountered numerous troubles when they try to install pivot shower door themselves—doors that won’t close, water spilling everywhere, or wall tiles cracking.
These problems often have one thing in common: incorrect installation. If you're planning to install pivot shower door or still debating whether to DIY or call a pro, this article walks you through the process with step-by-step guidance, helping you avoid costly mistakes.
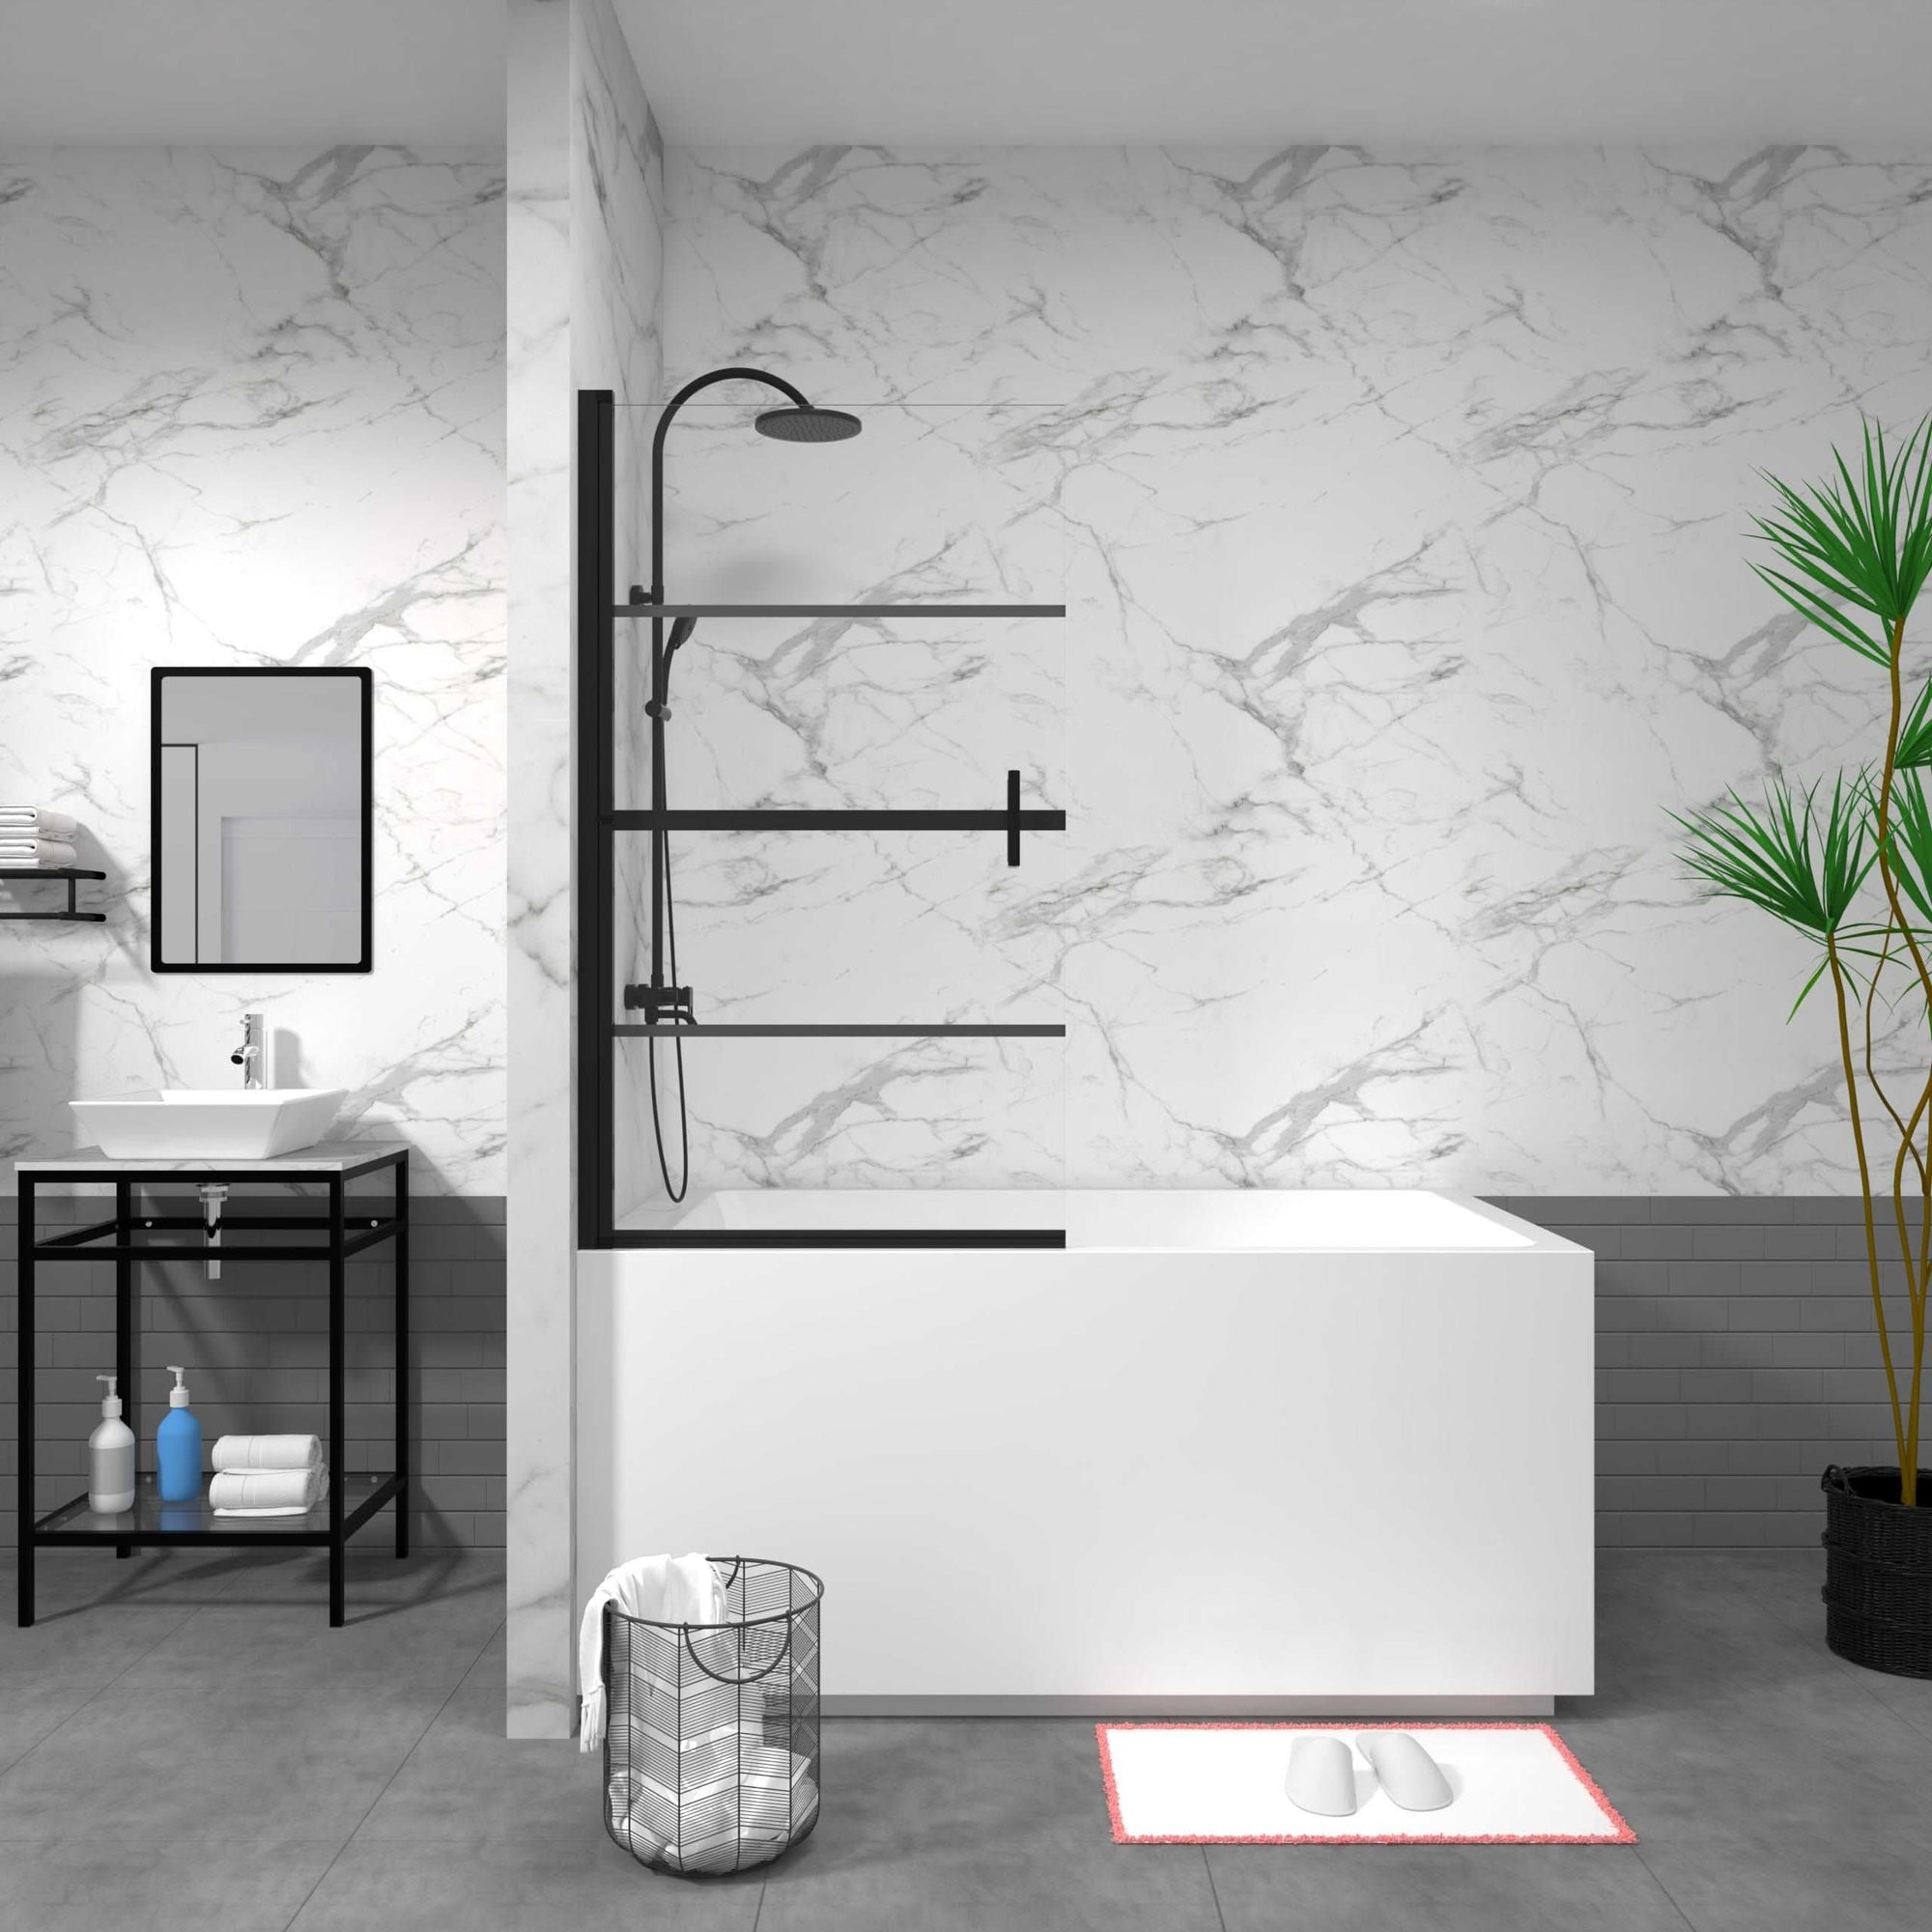
What is pivot shower door? Is it suitable for your home?

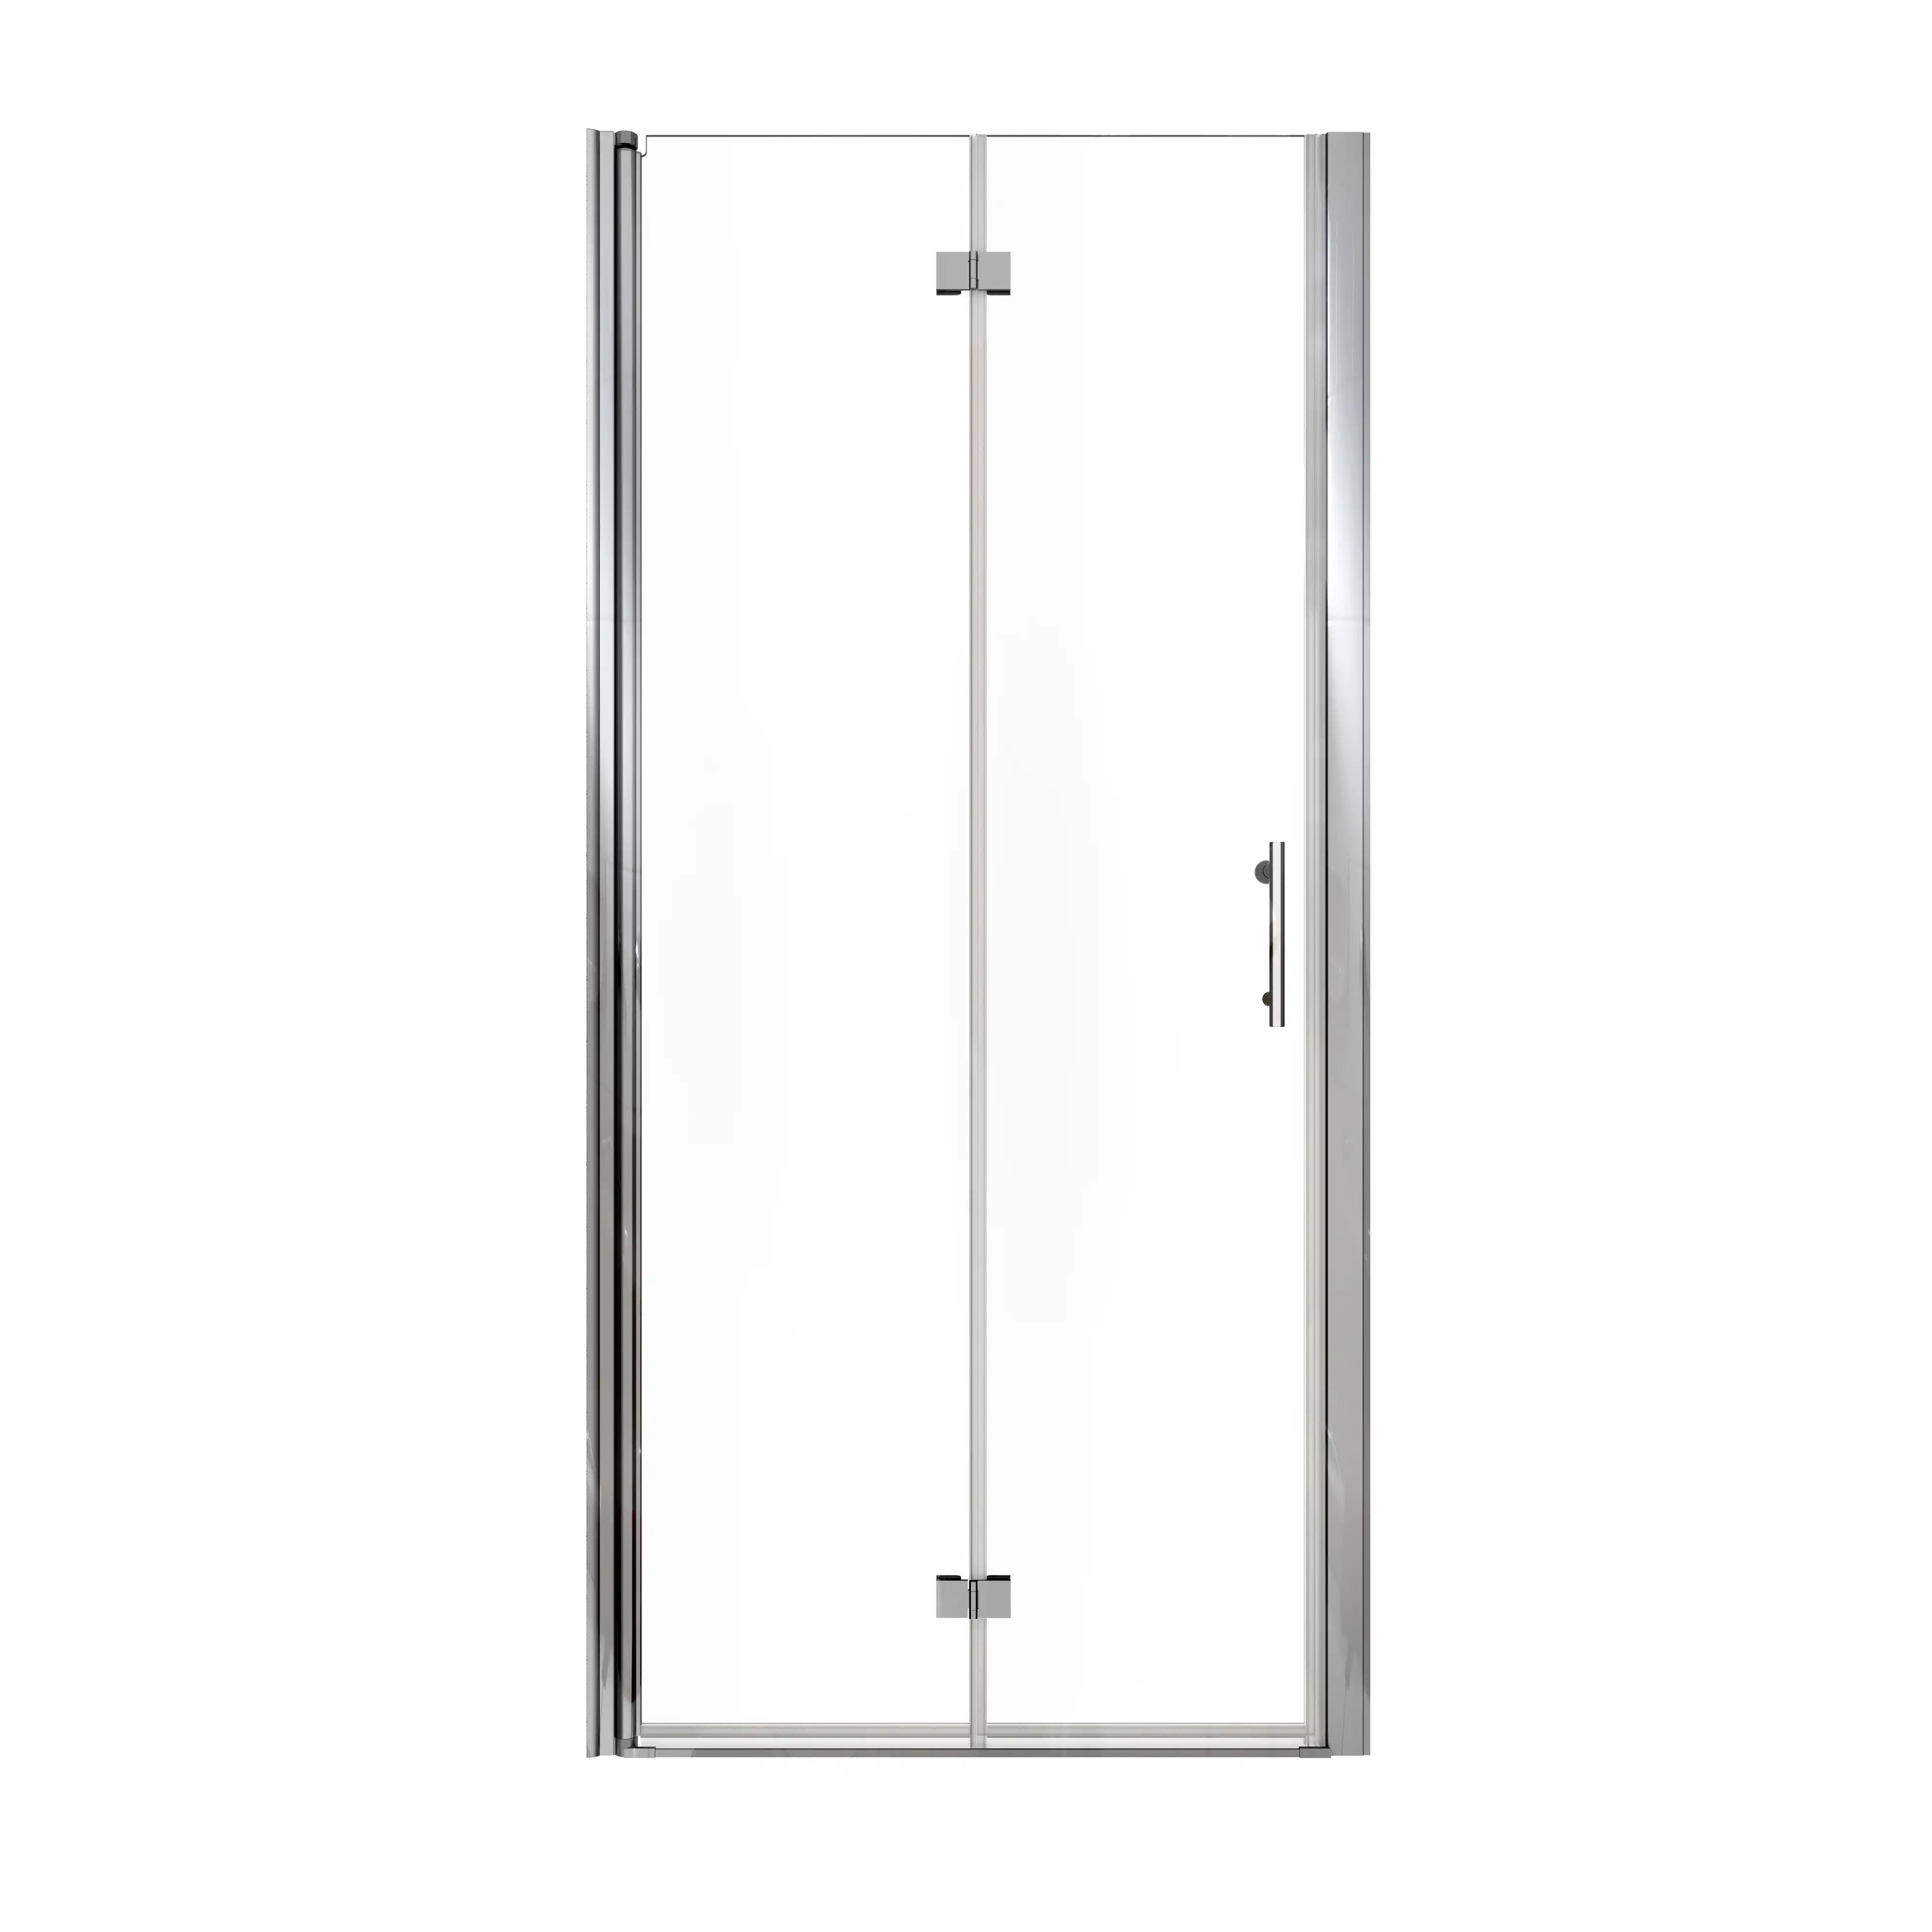
A pivot shower door is a type of door that opens using a fixed hinge at the top and bottom, allowing it to swing inward, outward, or both. Unlike a sliding door, it requires less overlap, making it more open and accessible.
Key advantages:
- Takes up minimal floor space, perfect for mid-sized or large bathrooms
- Has a clean, minimalist aesthetic that aligns with modern design trends
- Features better sealing performance compared to folding or bi-fold doors
However, to install pivot shower door correctly, your bathroom wall must be straight and your floor level. Always evaluate your bathroom’s layout, rotation radius, and wall stability before deciding to install.
If your walls are uneven or tiled over drywall, you may need support backing before starting to install pivot shower door for maximum stability.
Preparations before you install pivot shower door
What you need isn’t just tools—but precision, patience, and planning. Here’s how to prepare before you install pivot shower door:
Installation toolkit:
- Electric drill
- Phillips screwdriver
- Level & tape measure
- Silicone gun
- Neutral anti-mold sealant
- Gloves and safety glasses
Three essential pre-installation steps:
Accurate measurements
Measure your opening width and height to the millimeter. If it’s uneven by more than 5mm, choose an adjustable model before you install pivot shower door.
Wall assessment
Check if you’re mounting into tile, cement, or drywall. For non-solid walls, reinforce with wood studs or anchors.
Swing clearance check
A pivot shower door opens in a fan-like arc. Use masking tape to mock-swing the radius before committing to install. Make sure it doesn’t collide with toilets or vanities.
The more thoroughly you plan, the easier it will be to install pivot shower door smoothly and avoid regret.
5 key steps: How to install pivot shower door like a pro

Installing a pivot shower door may seem like a straightforward project, but each step requires precision to ensure the door operates smoothly and stays watertight. Here’s how to handle it like a pro.
Mark your drill points carefully
Start by using a tape measure and level to ensure both sides of your shower opening are plumb and even. Take your time. The goal is to create a balanced and square frame for the pivot shower door. If your walls are out of square, note the differences so you can compensate during installation with adjustable hardware or spacers.
Make drill point marks for the frame or hinges, double-checking the symmetry on both sides. A crooked frame will make it nearly impossible to get a smooth swing or proper seal when you install pivot shower door.
Mount the hinges or frame securely
Depending on the model you’ve chosen, your door may require either a full perimeter frame or just two pivot points. If you’re drilling through tile, use a carbide-tipped or glass-rated bit at slow speed to prevent chipping.
Before tightening screws, loosely place the hardware first and test the alignment. Use wall anchors where necessary, especially in drywall installations, to provide added holding power. A common mistake when people install pivot shower door is over-tightening screws into soft substrates, leading to long-term instability.
Position and secure the glass door panel
Pivot shower doors are often made of tempered glass and can weigh between 40 to 80 pounds. Always have a second person assist during this step to prevent dropping or tipping.
Carefully slide the glass into the hinge brackets or track system. Make sure the door is perfectly vertical—use a level again to confirm—then begin tightening the mounting hardware. If the door drags or sags even slightly, pause and readjust the hardware before continuing. This step directly affects long-term performance and alignment.
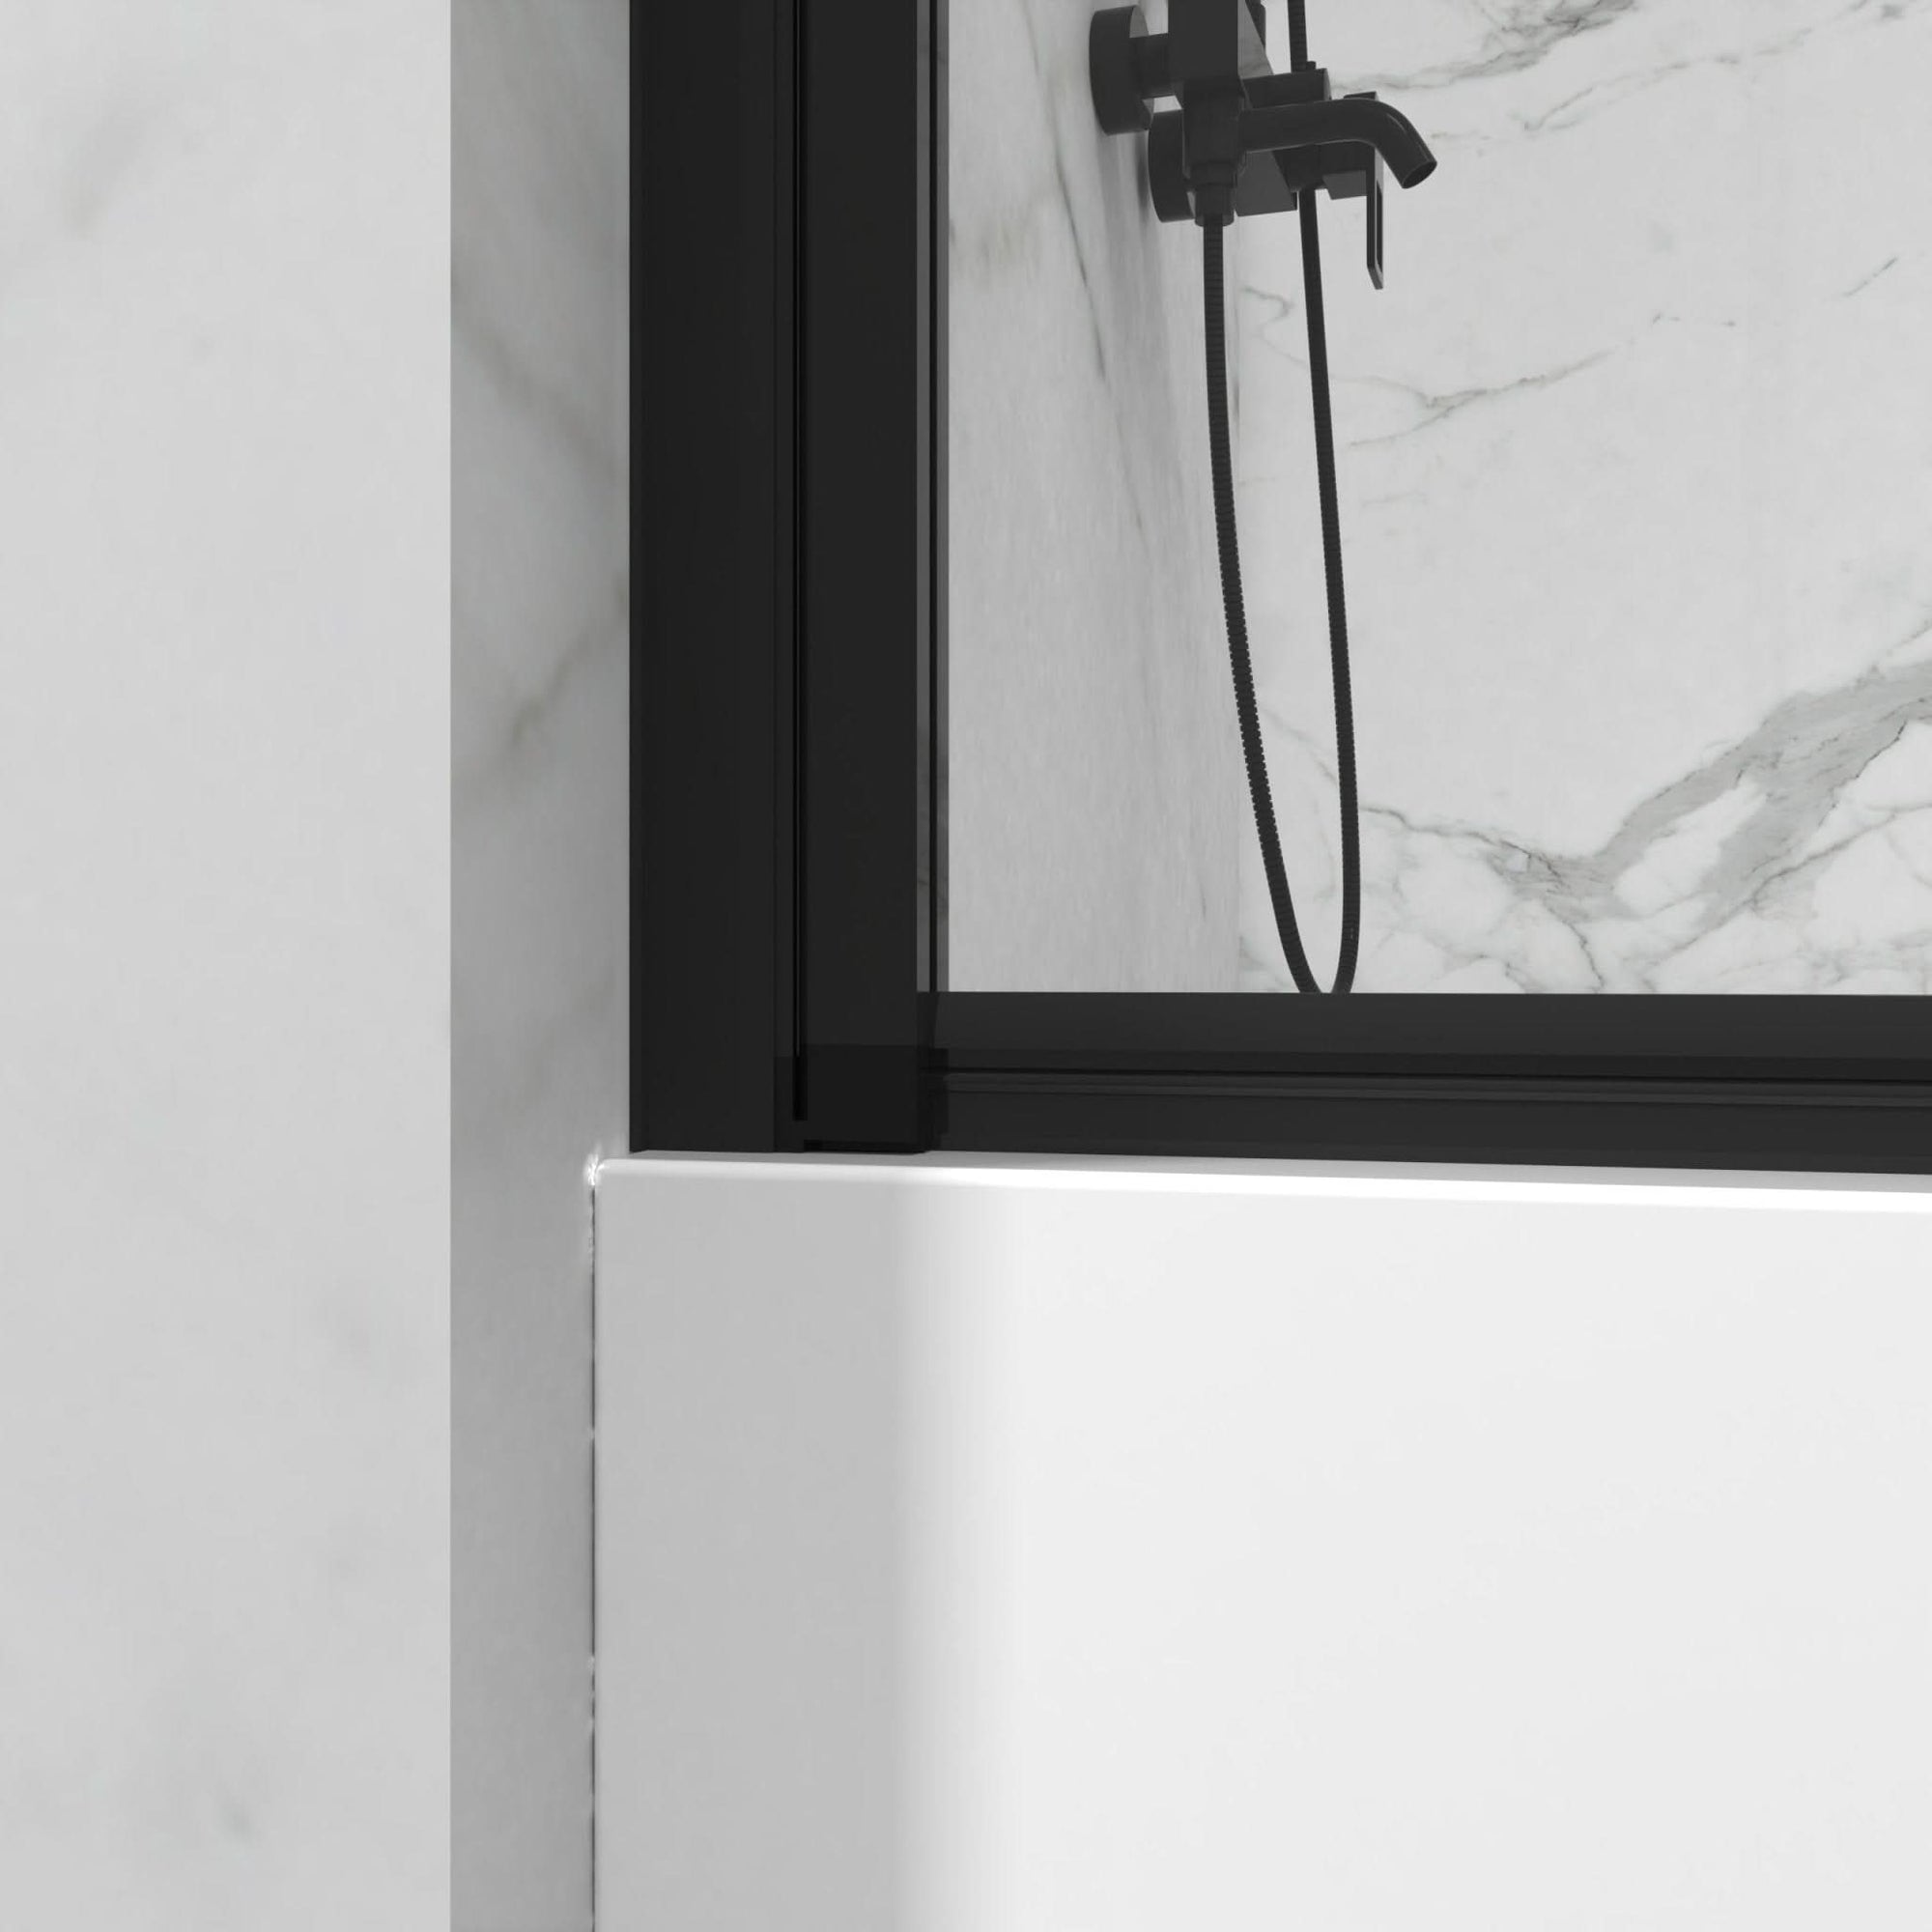
Apply sealant and rubber strips with precision
This is the most important waterproofing phase. Use a high-quality, mold-resistant silicone to seal all points where glass meets wall or floor. Lay the bead in one smooth, continuous motion—any gaps could allow water to escape.
Install rubber sweep strips at the base of the door and around the sides where needed. Many people install pivot shower door without sealing both sides of the glass, which can result in leaks or even structural mold issues down the line.
Don’t rush this step—curing time matters. Let sealant dry for at least 24 hours before using the shower.
Test, adjust, and test again
Once the pivot shower door is fully installed, open and close the door 20–30 times to ensure smooth operation. Watch how the door aligns against the magnetic seal or frame—does it shut fully? Is it level? Is there drag or noise?
If needed, adjust the pivot points slightly to improve alignment. Water-test the door by lightly running water inside the shower and inspecting outside edges for any leaks. This final test phase ensures your install pivot shower door job was successful.
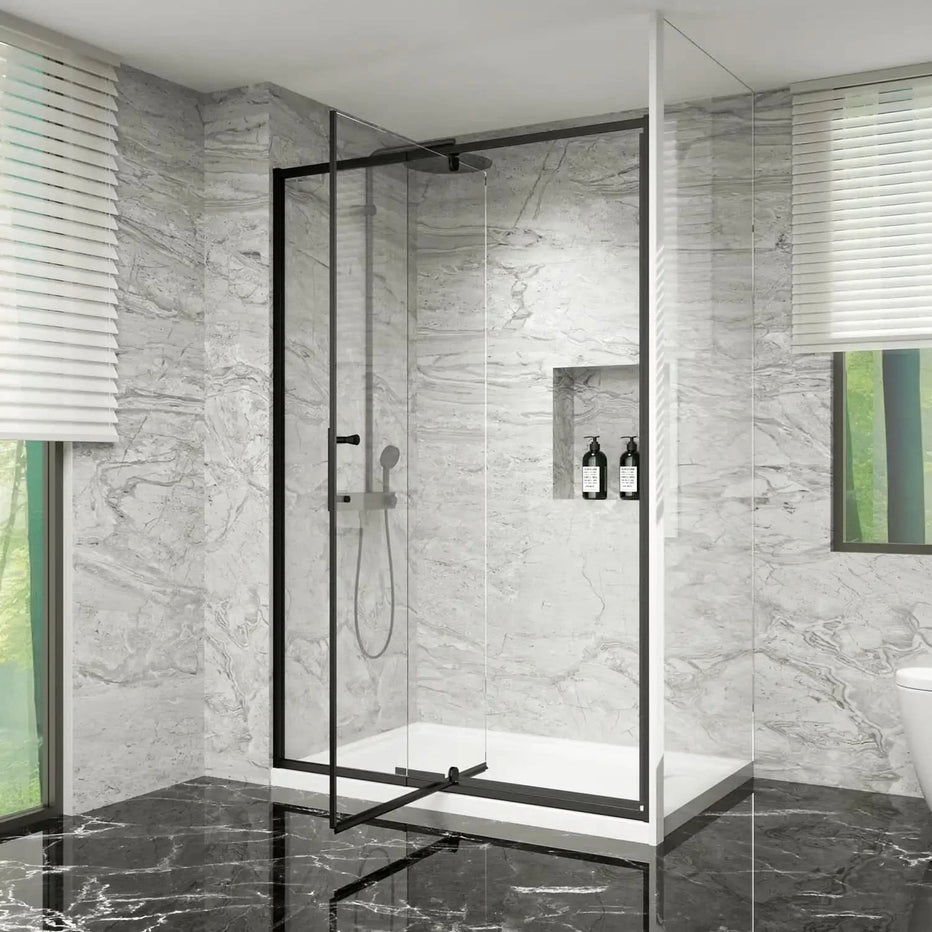
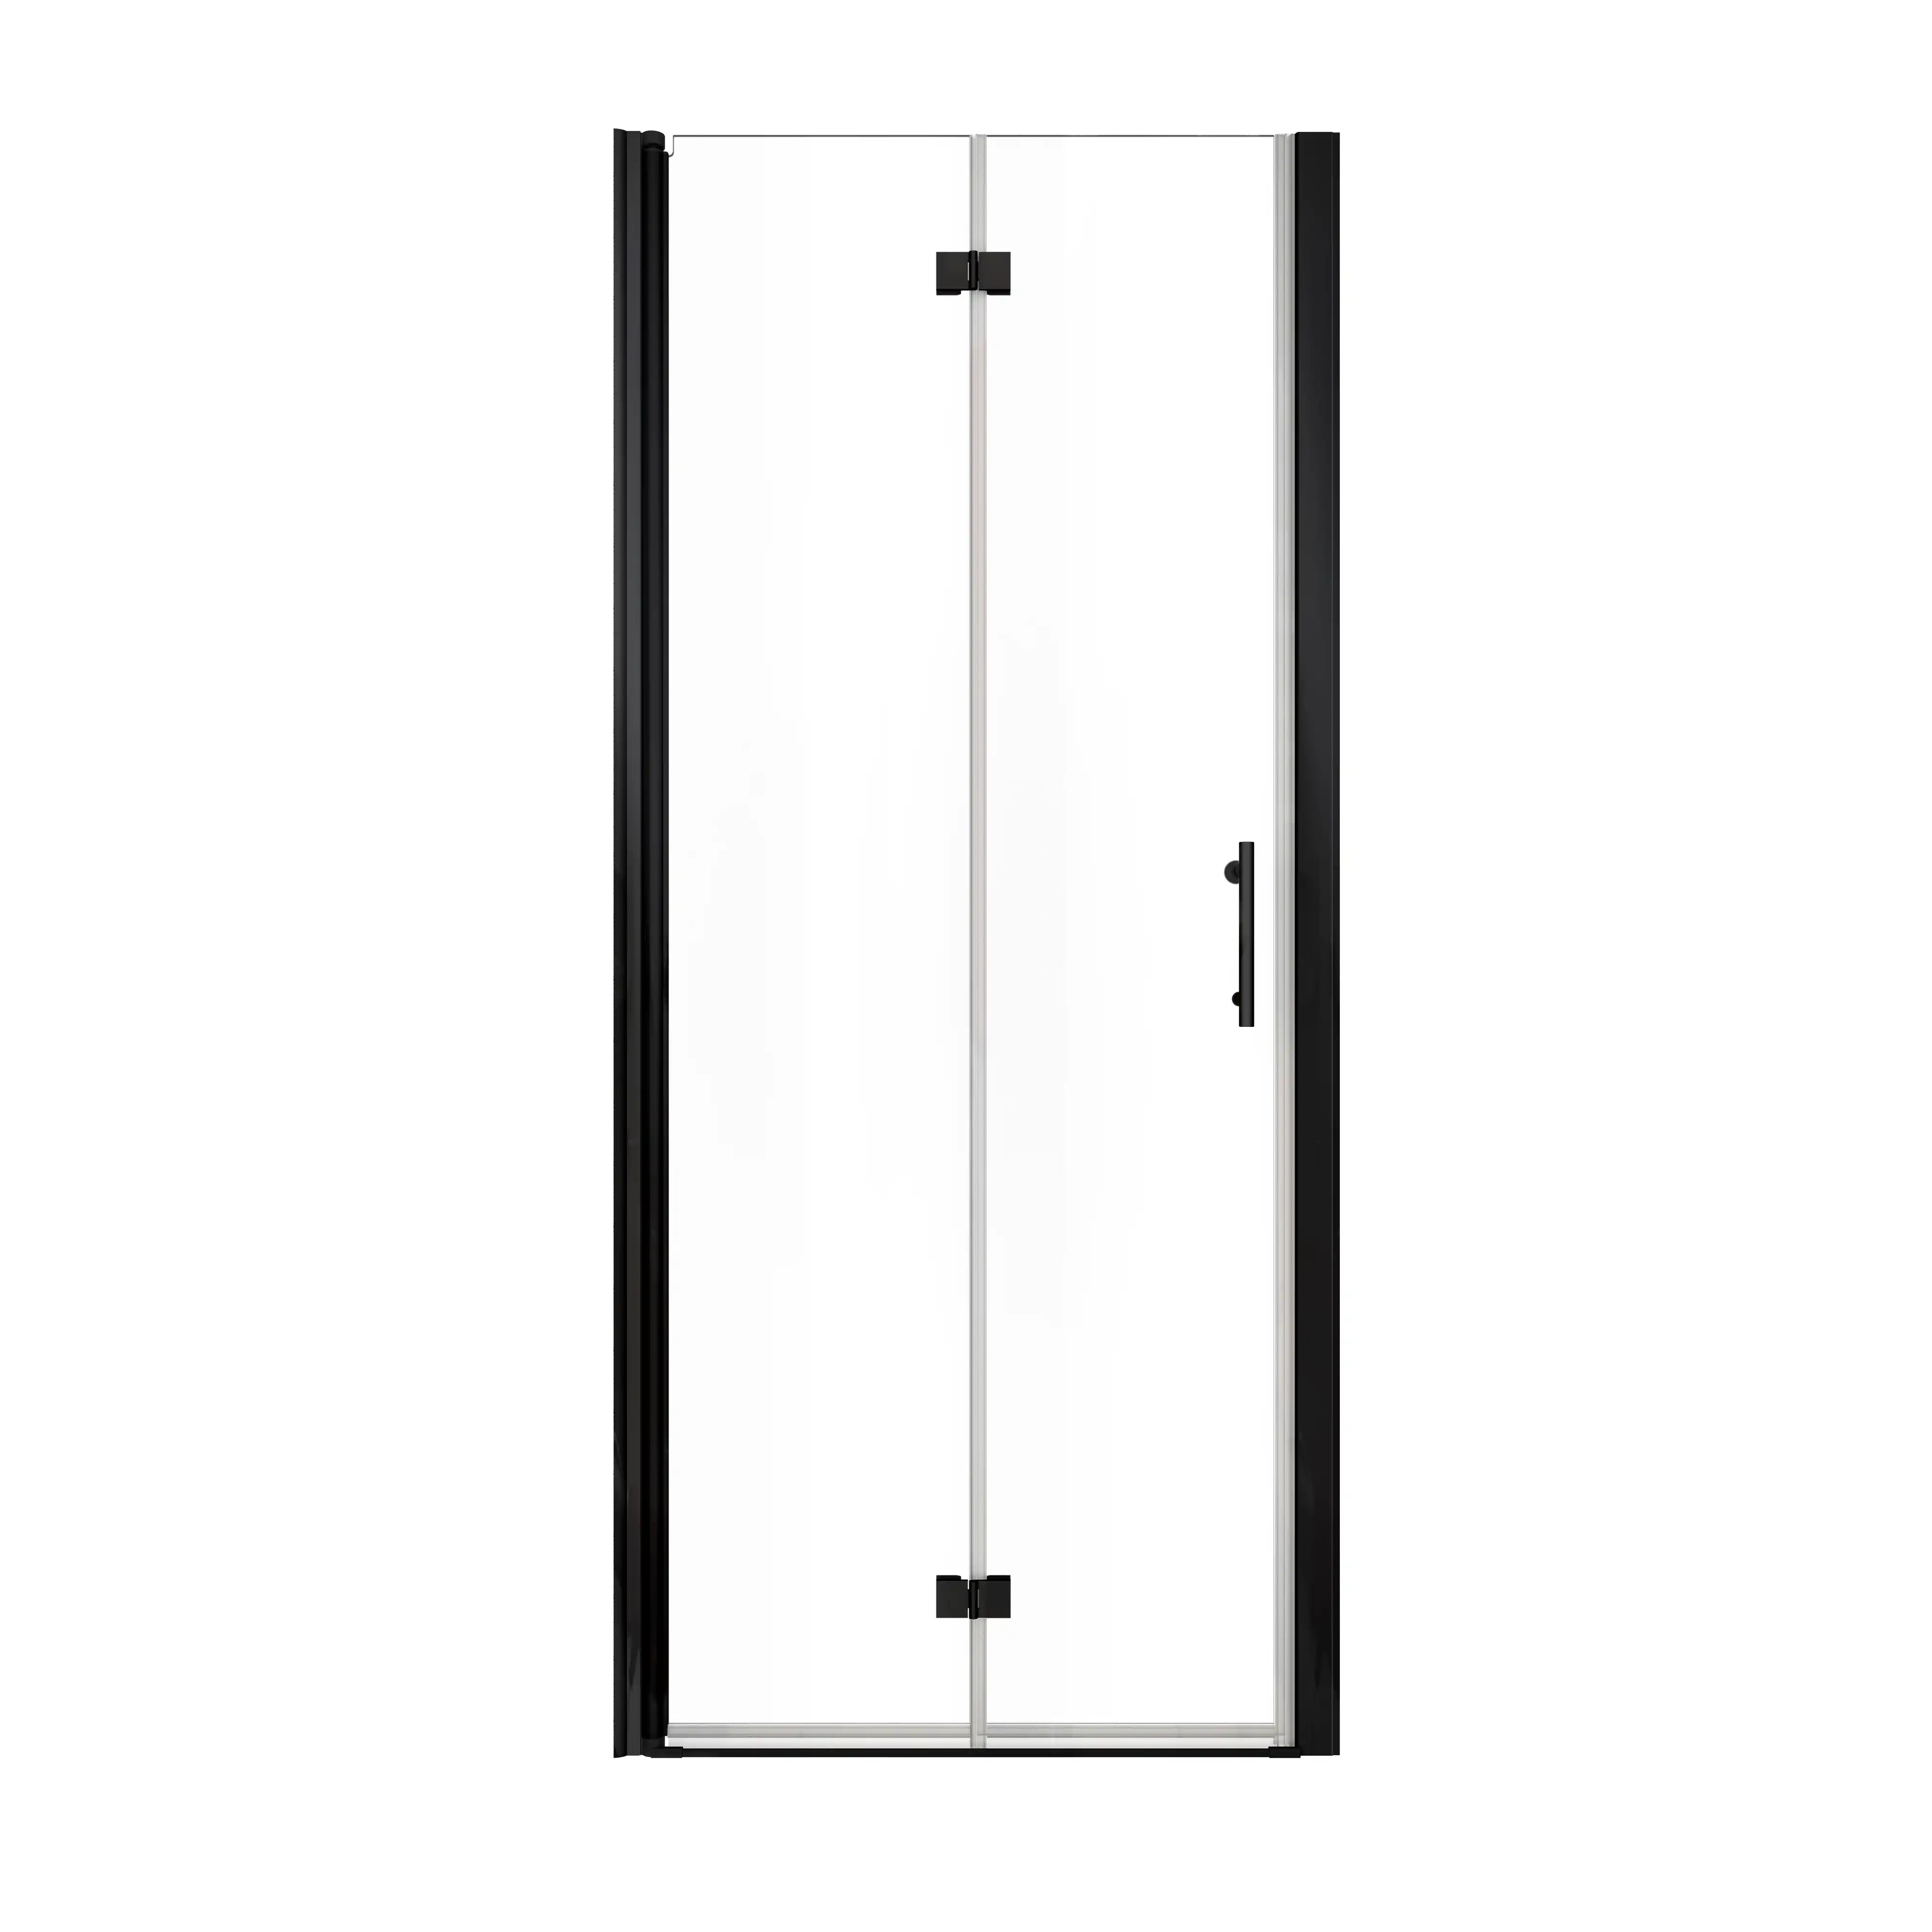
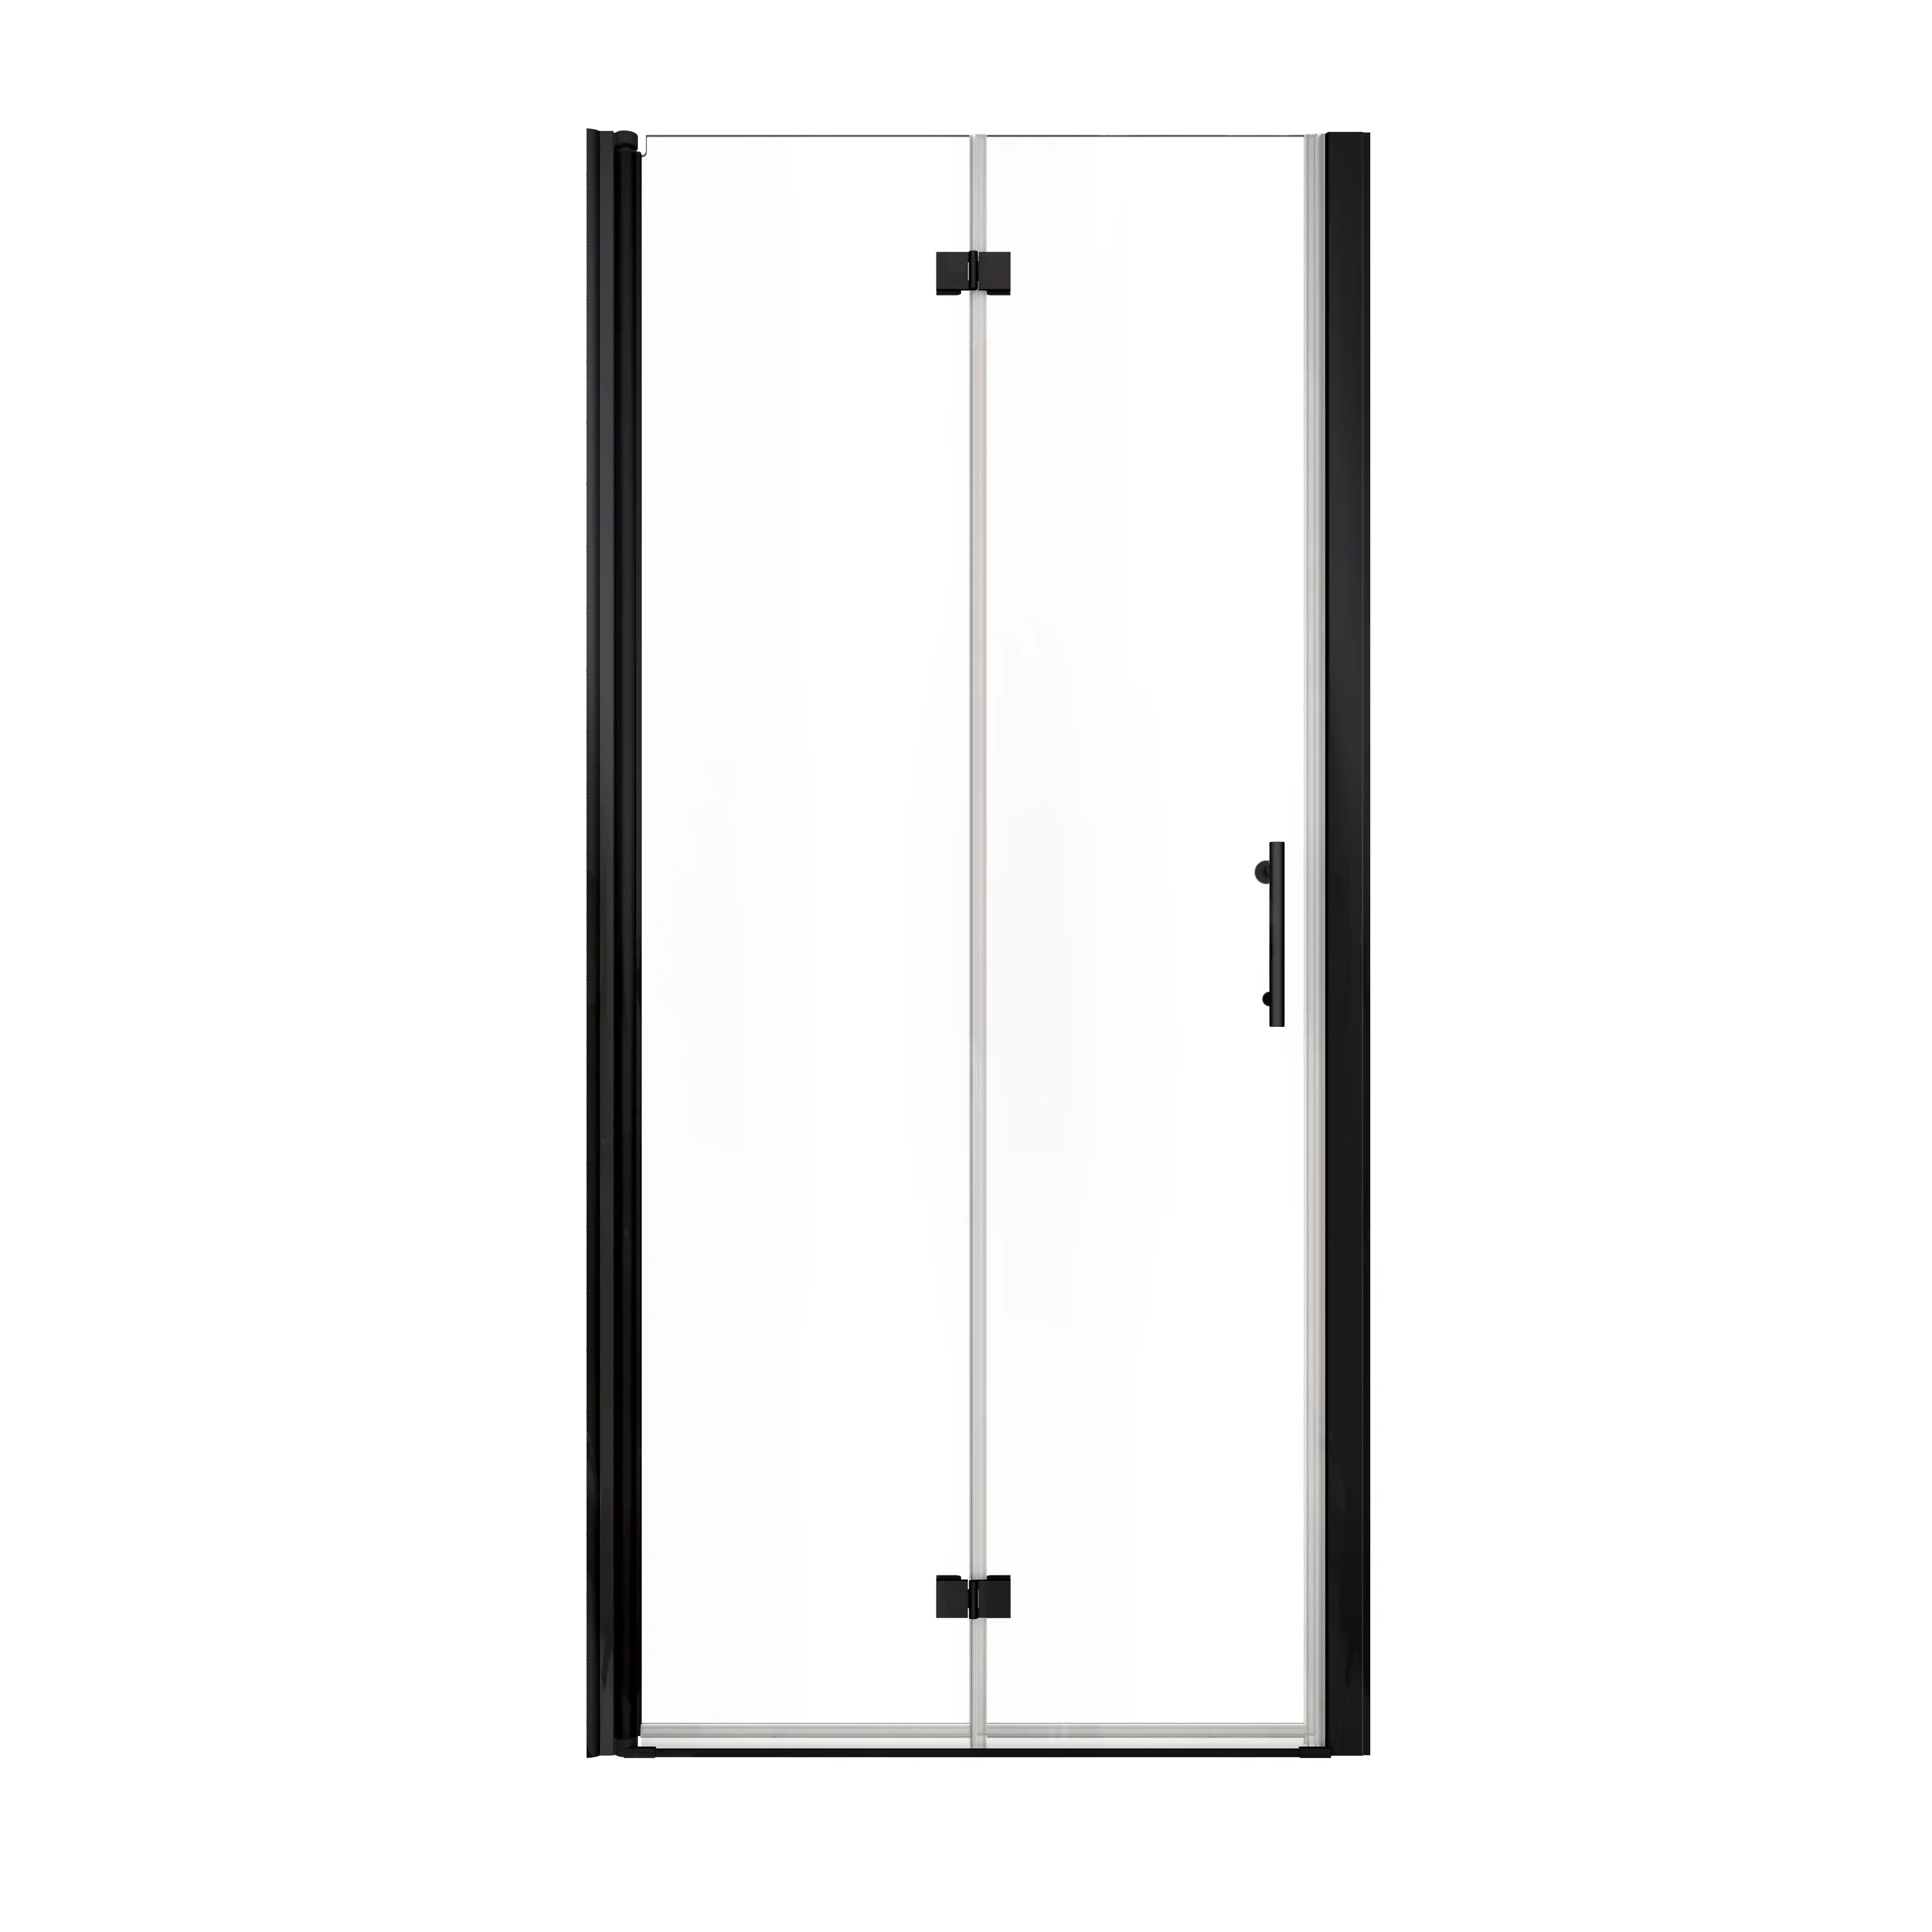
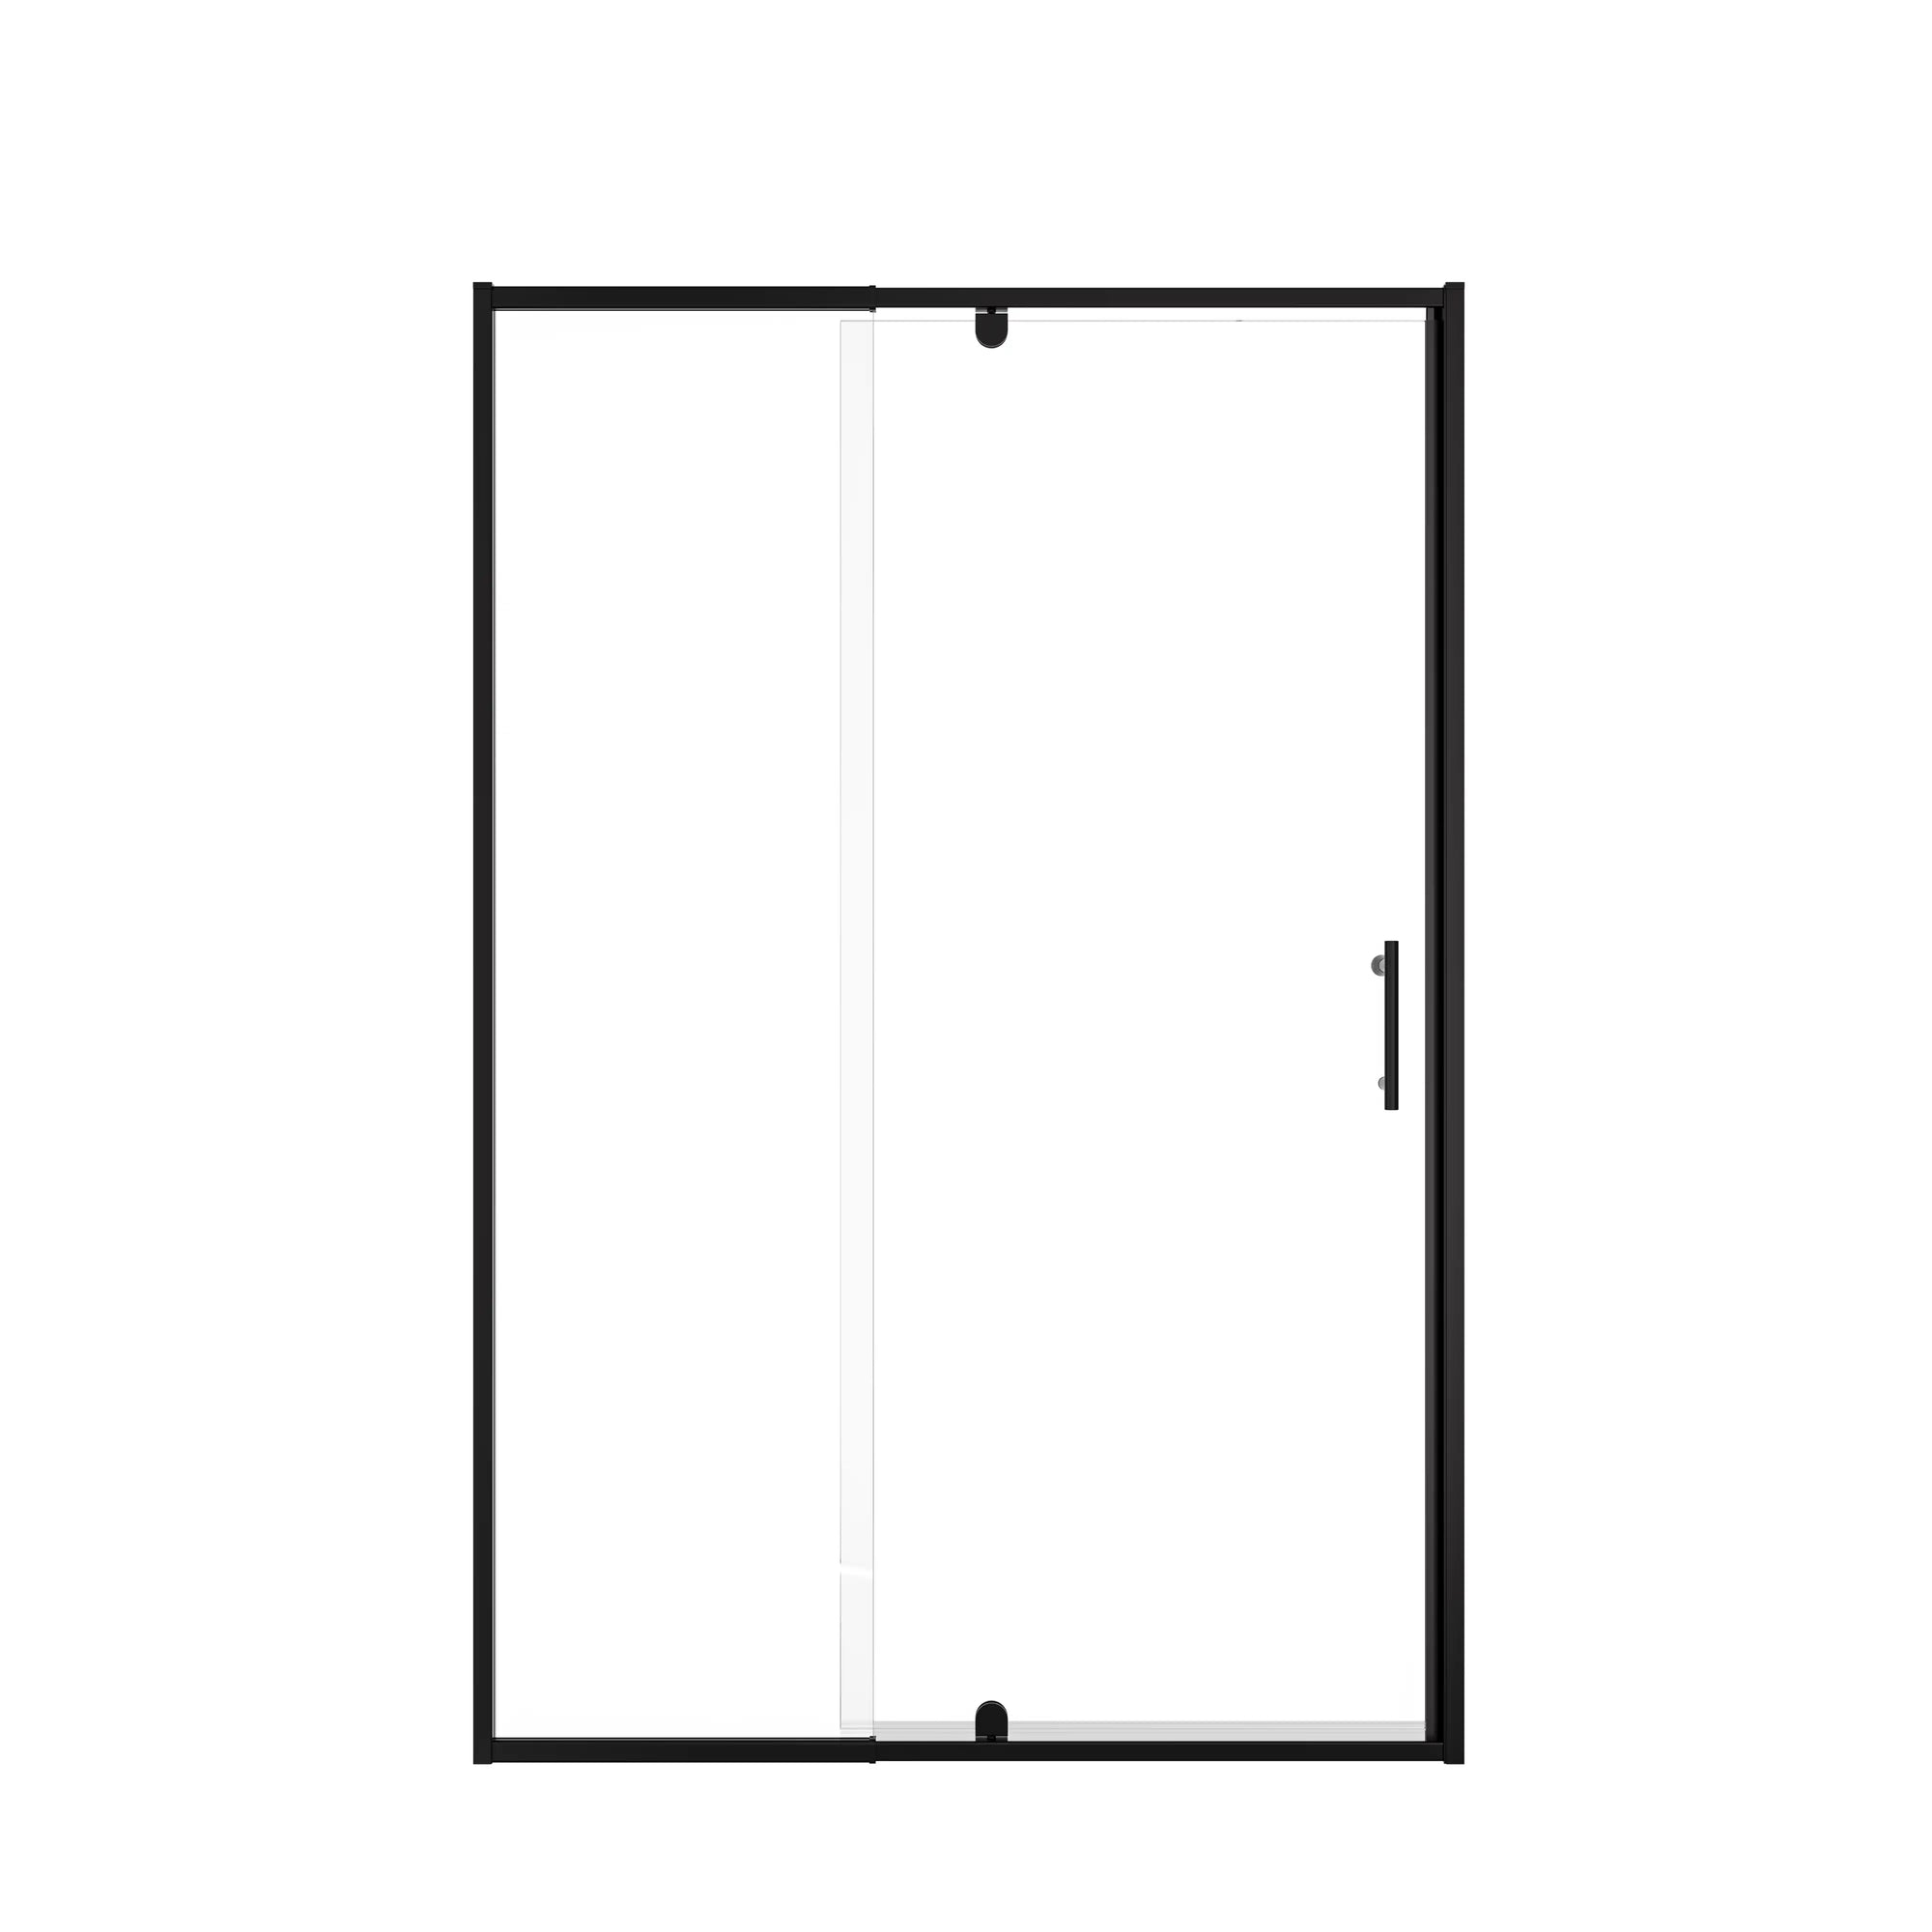
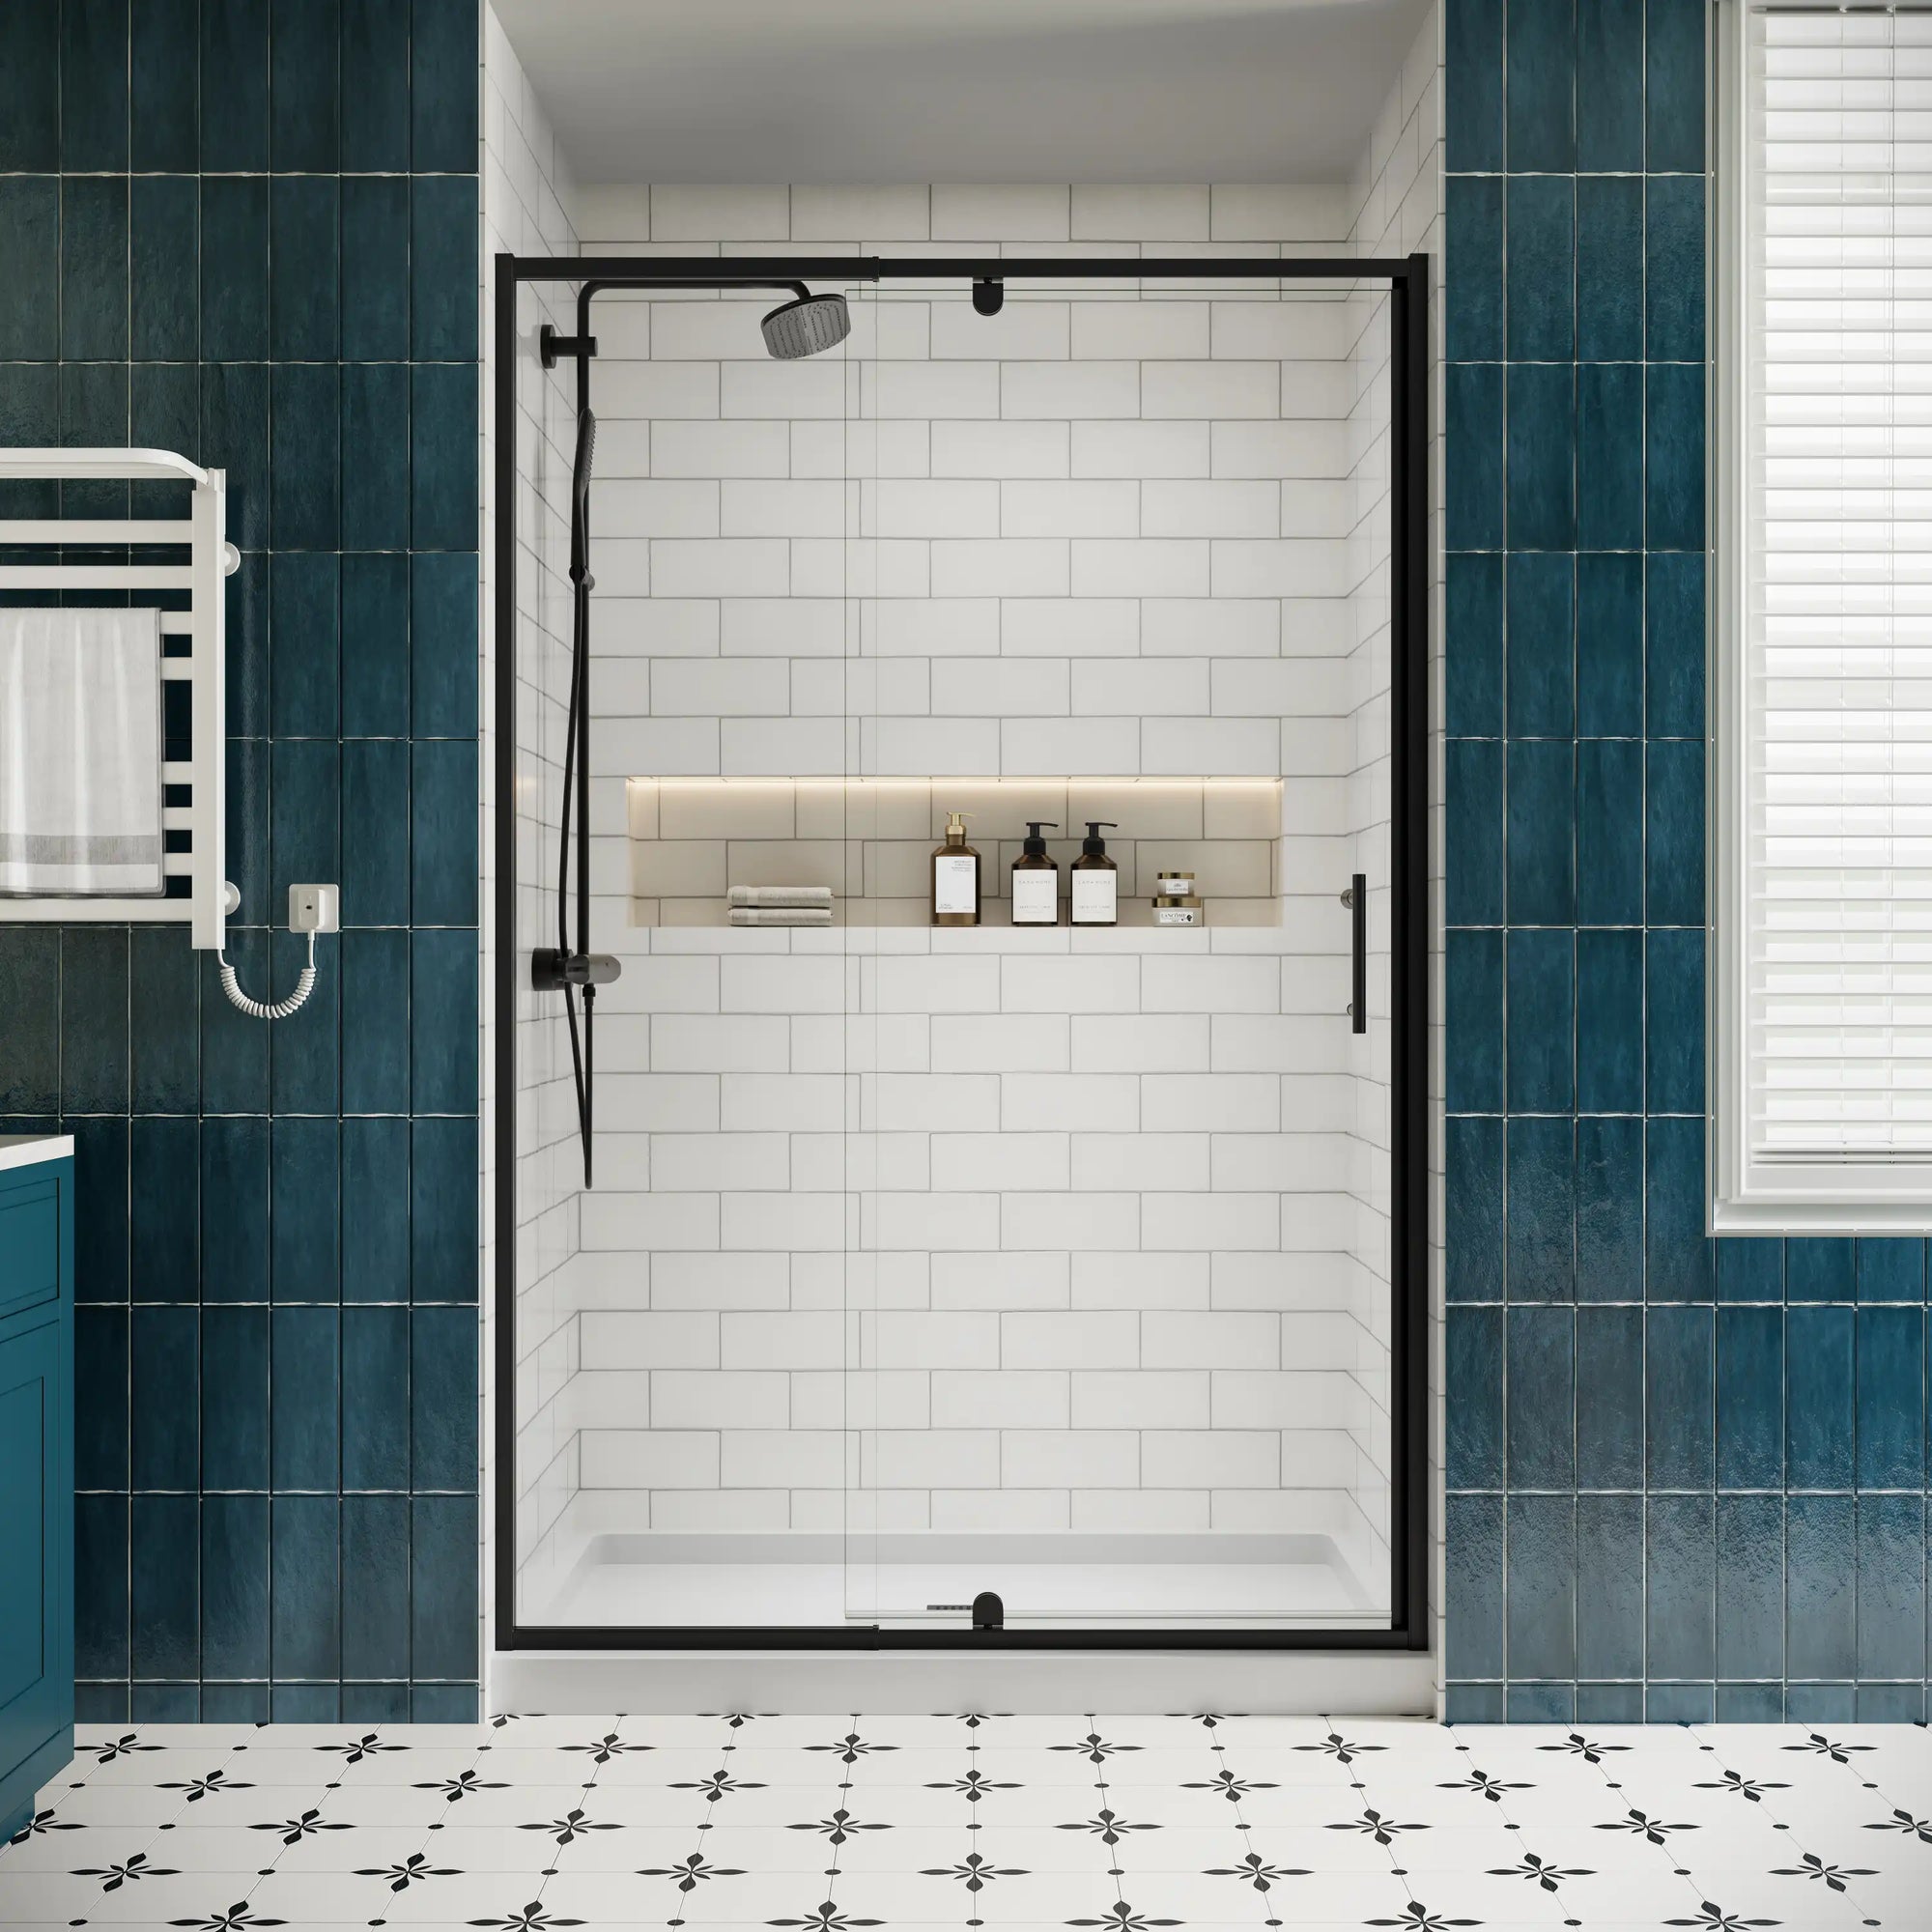
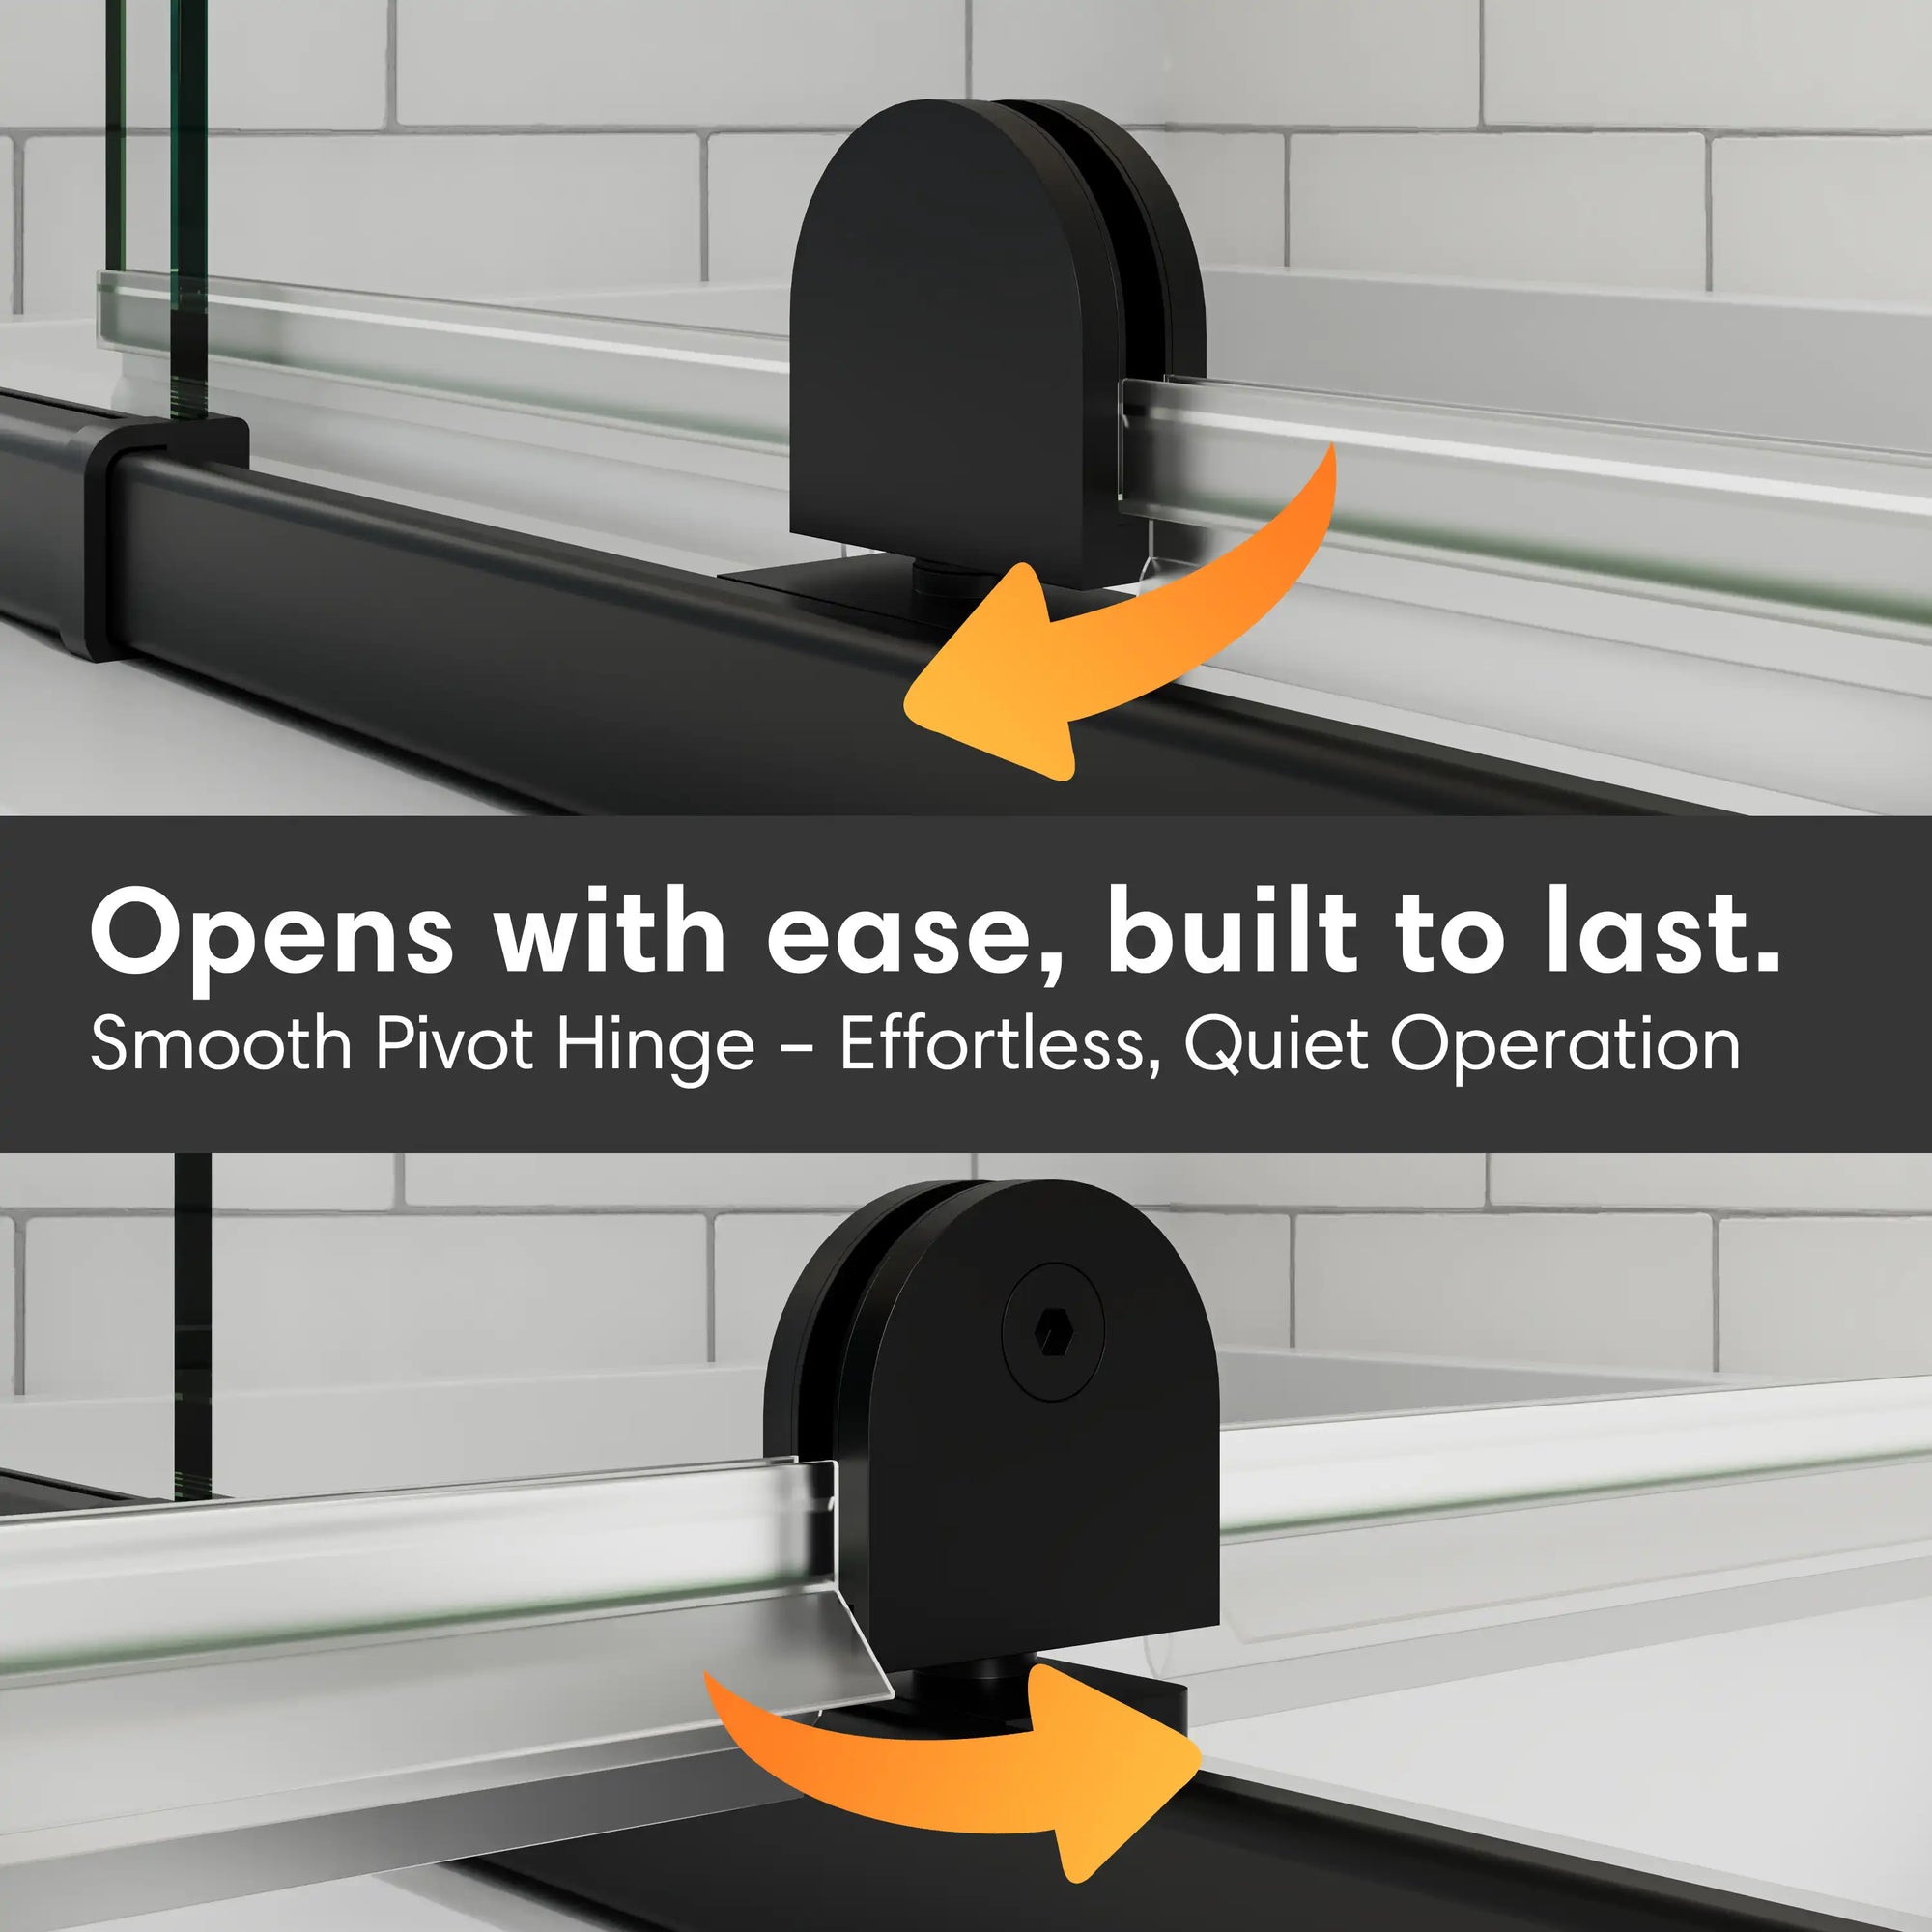
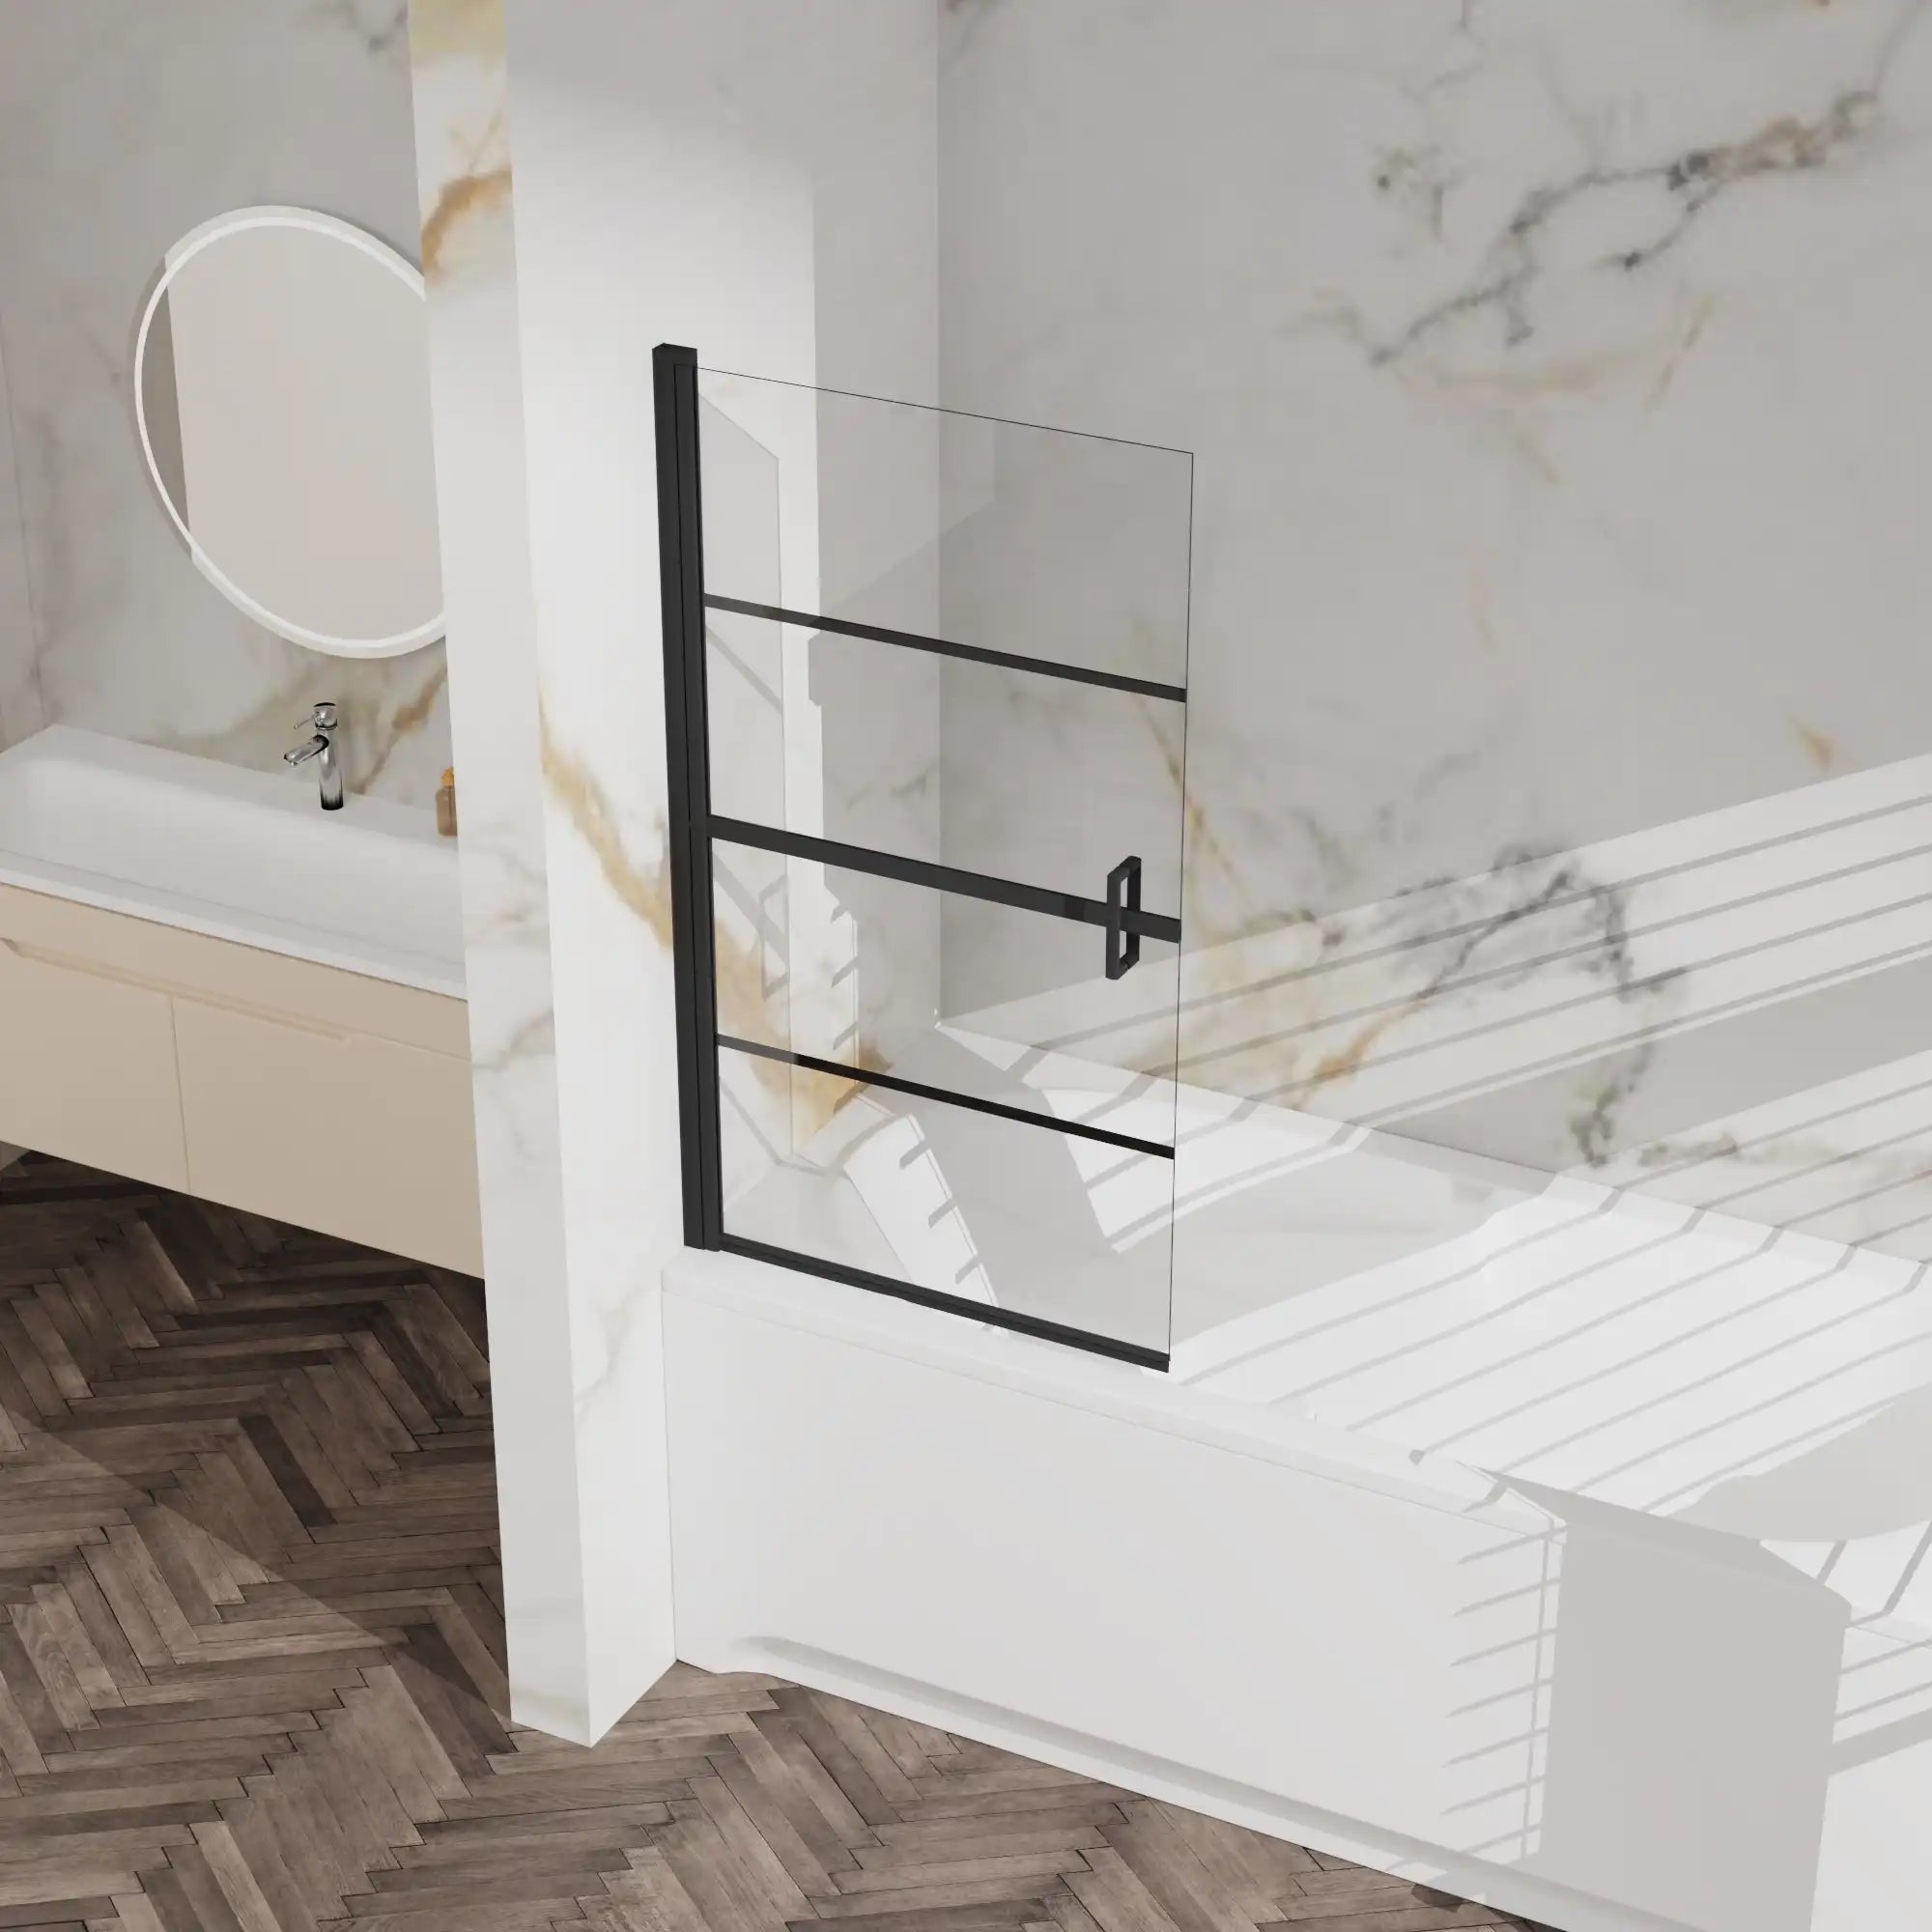
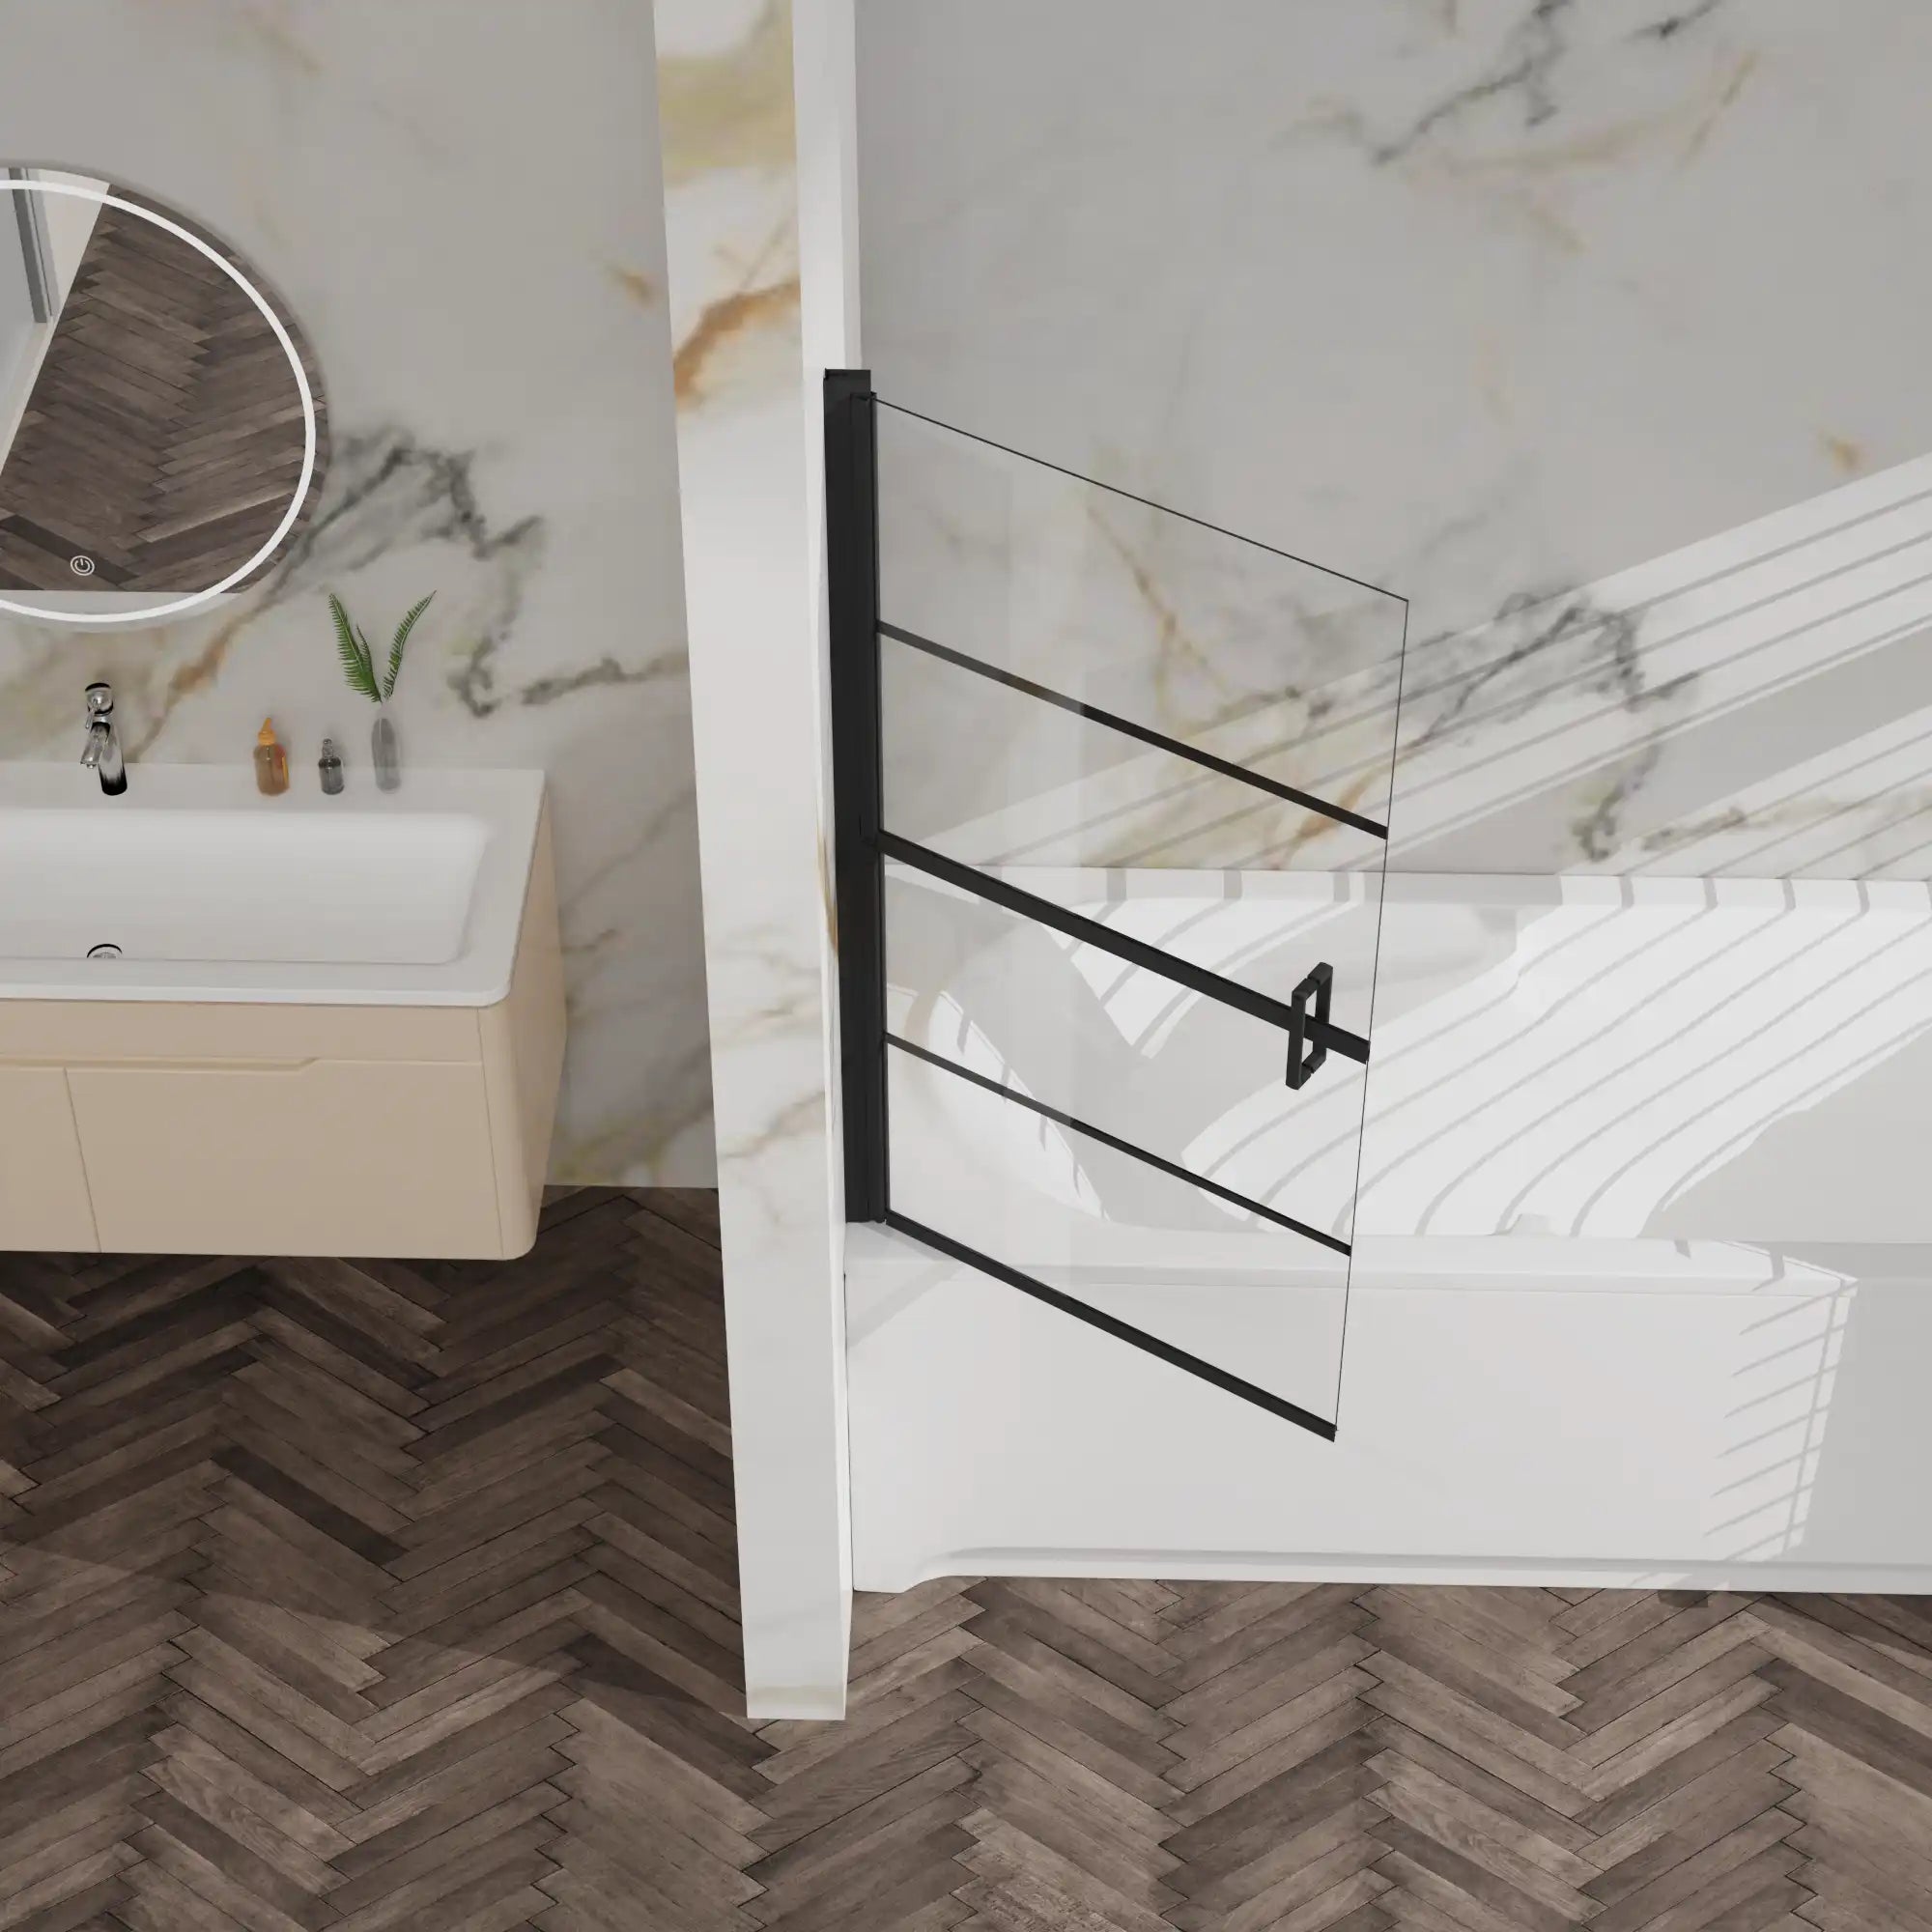
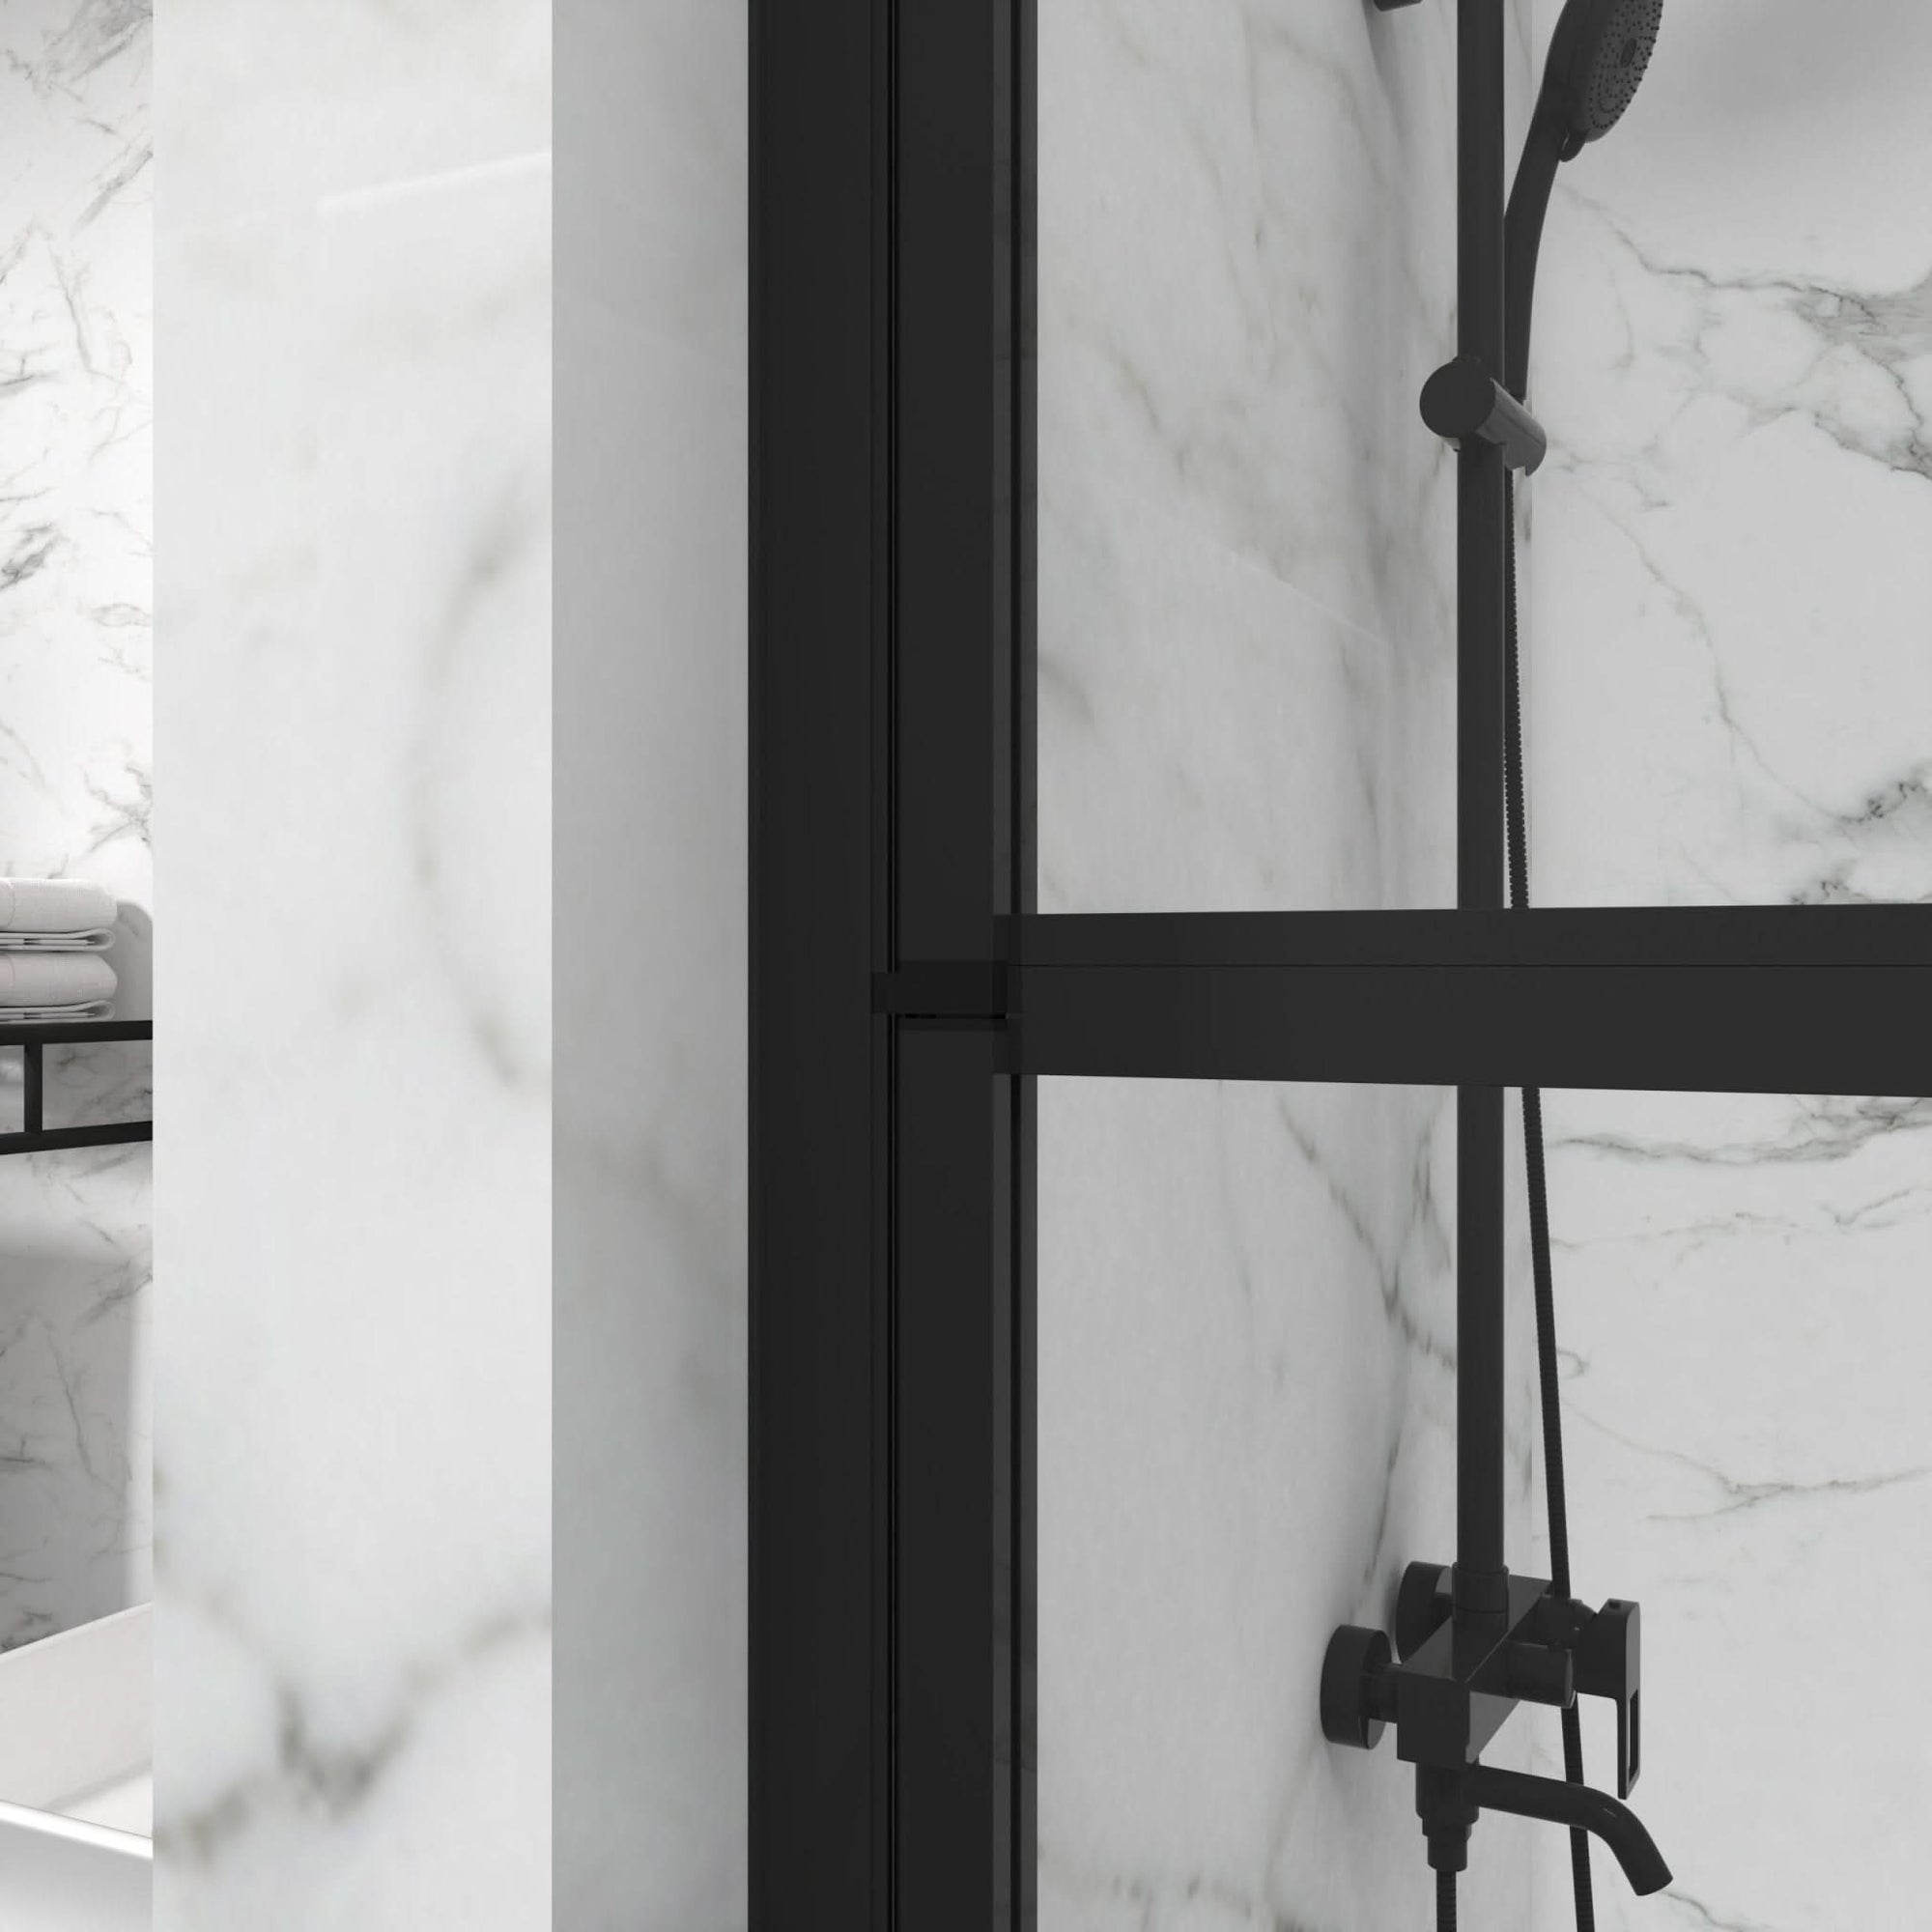
48" x 71" Black Framed Pivot Shower Door
The glass is SGCC-certified and 6mm thick — safe, solid and fashionable. No leaks—no seals, no water loss. Easy to install, even easier to work.
Common mistakes when you install pivot shower door
Even experienced DIYers can run into problems when installing a pivot shower door. Avoiding these common errors can save you hours of frustration and costly repairs later.
Ignoring wall and floor alignment
Most walls aren’t perfectly straight. Failing to check this causes doors to misalign, stick, or leak. Always measure at multiple points and adjust accordingly.
Skipping a helper when handling glass
Glass doors are heavy and awkward to hold. Trying to install pivot shower door alone can result in cracks, injuries, or misalignment. Always recruit a second person.
Poor sealant application
Sealant applied to dirty or wet surfaces won’t adhere properly. Clean, dry, and degrease all areas before applying. Don’t skimp—missed spots cause future water damage.
Choosing the wrong swing direction
Make sure your door won’t hit vanities or toilets when open. Measure swing radius carefully. If your bathroom is tight, sliding doors may be a better choice.
Forgetting bottom track slope or return lip
Flat thresholds = water leaks. Add a gentle inward slope or water dam under the door to keep water in the shower. Many forget this step during installation.
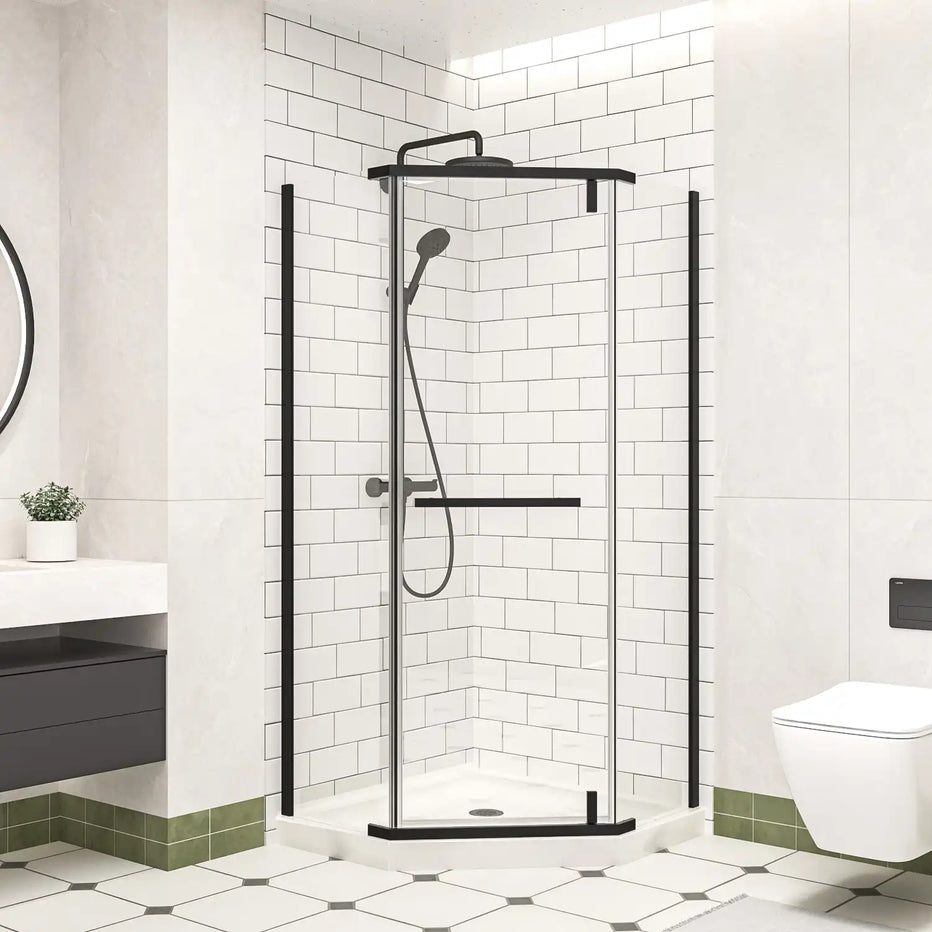
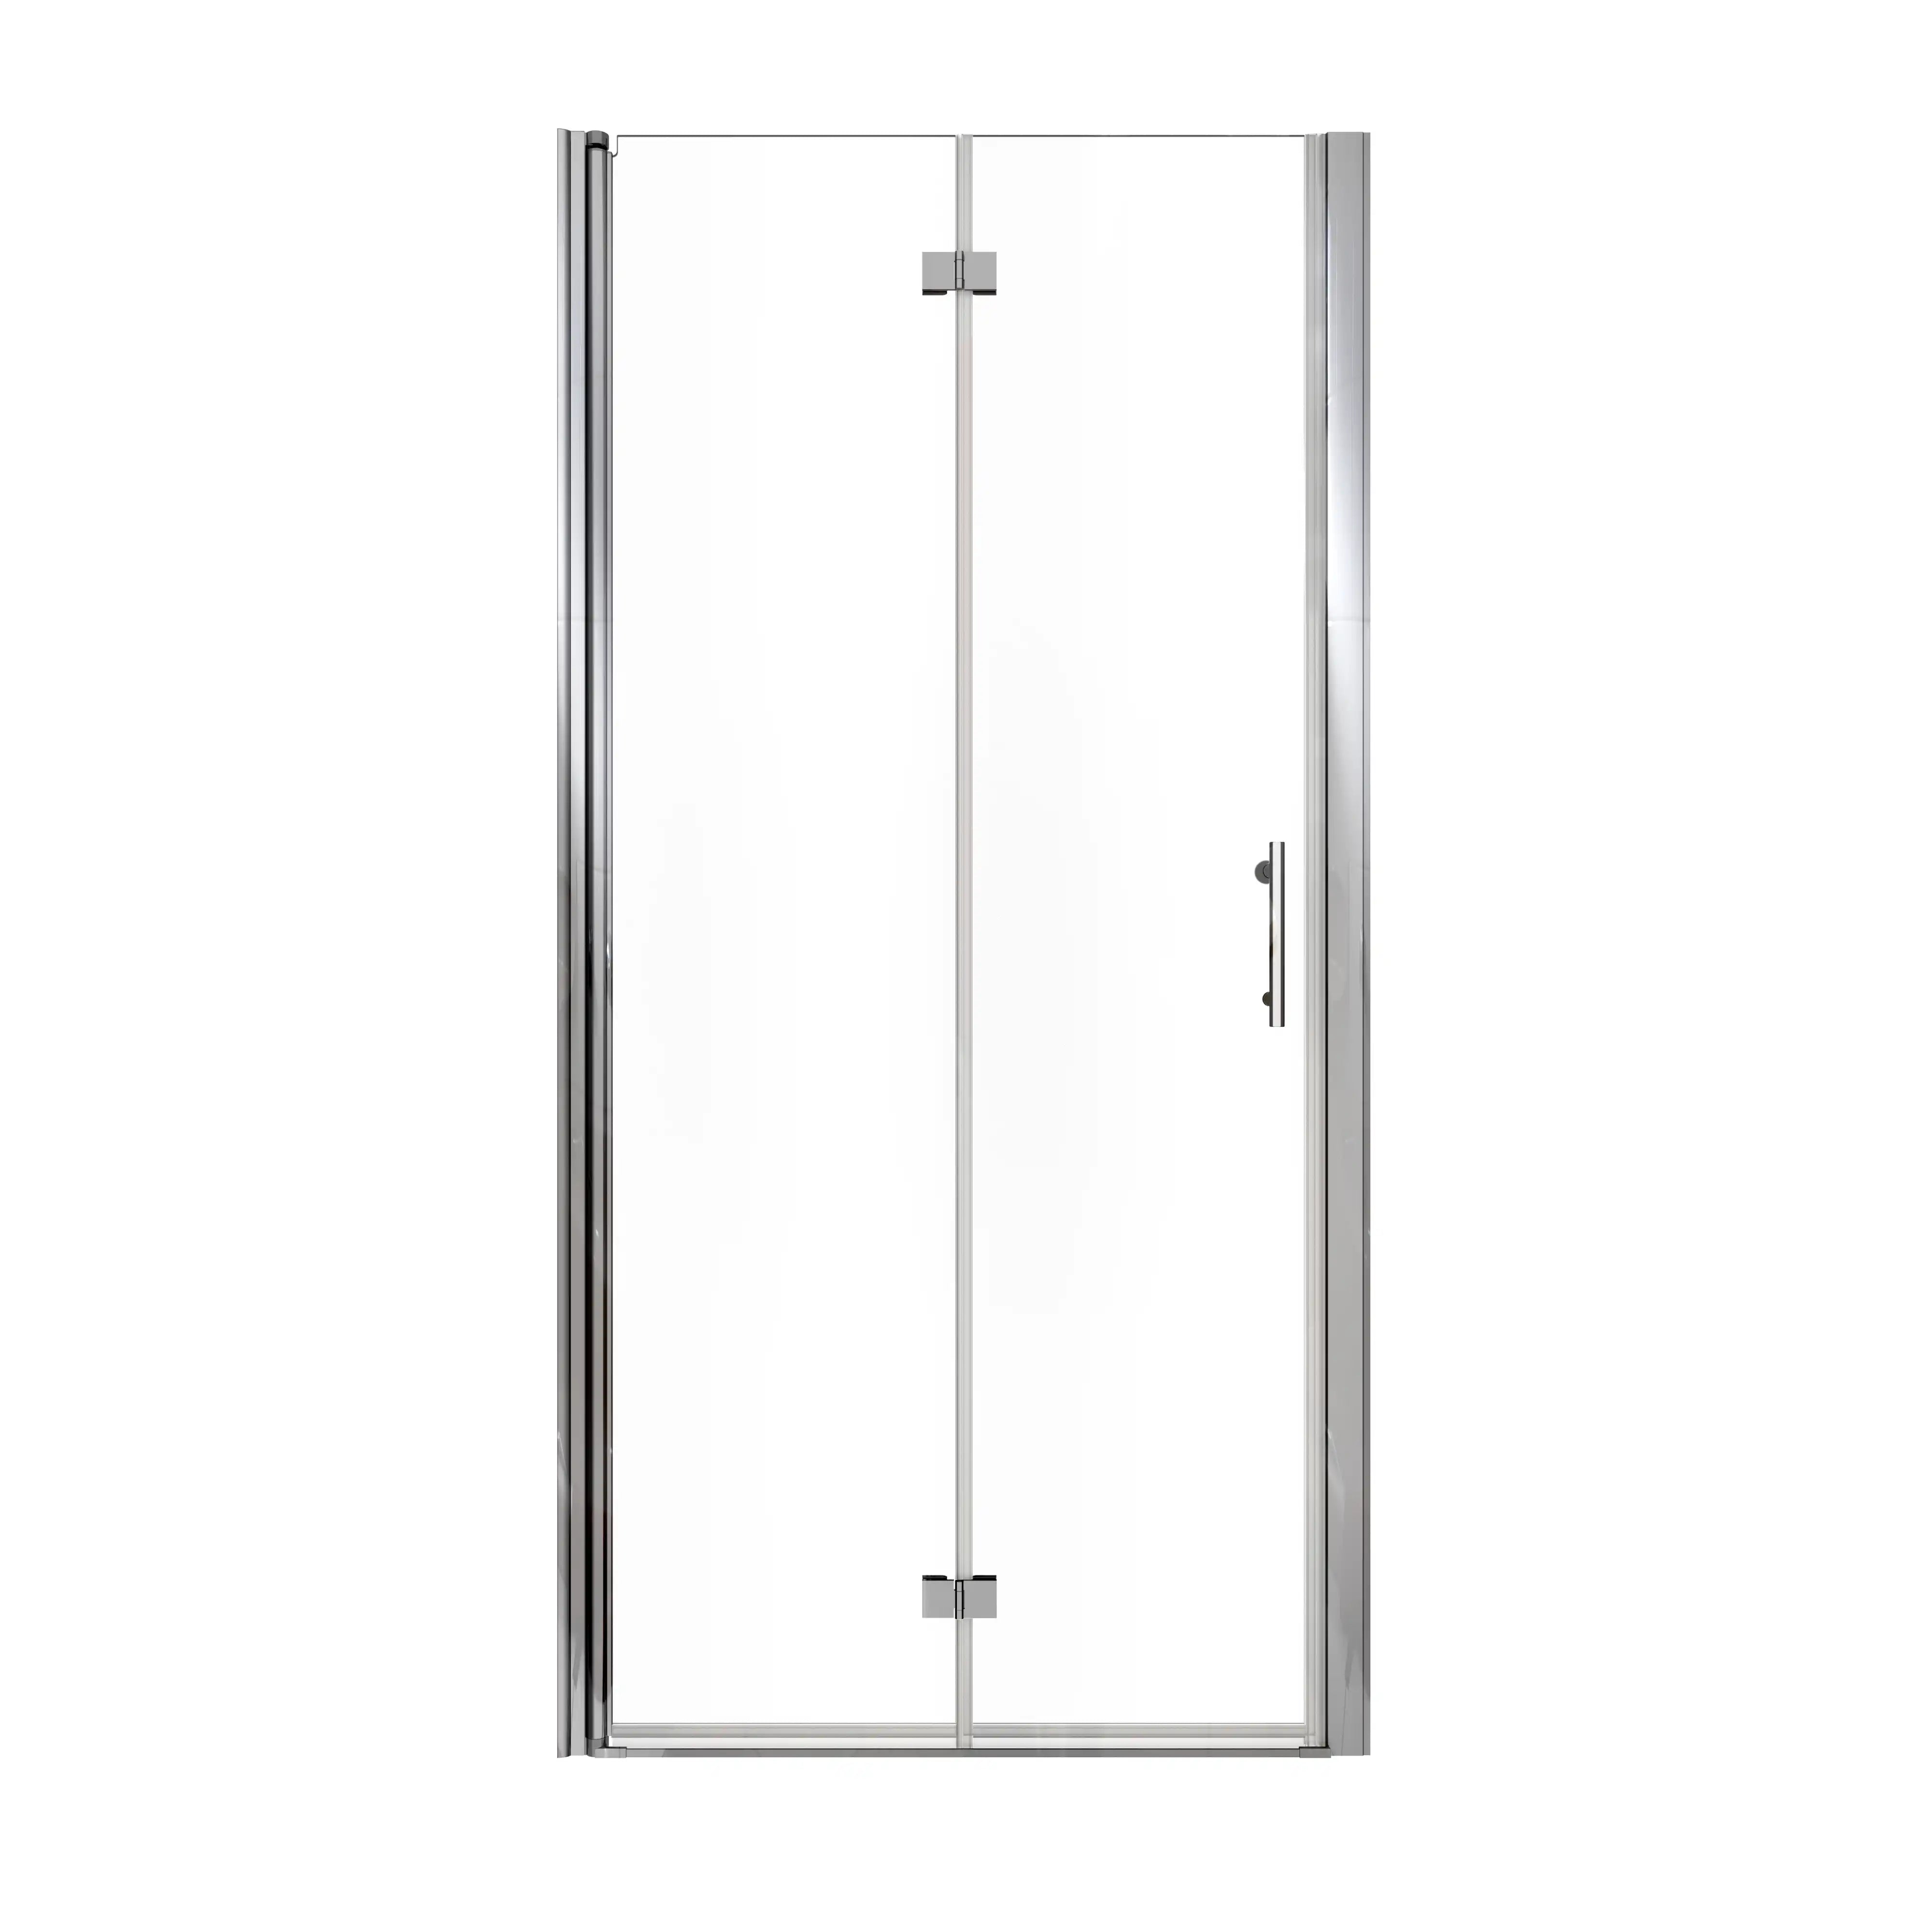
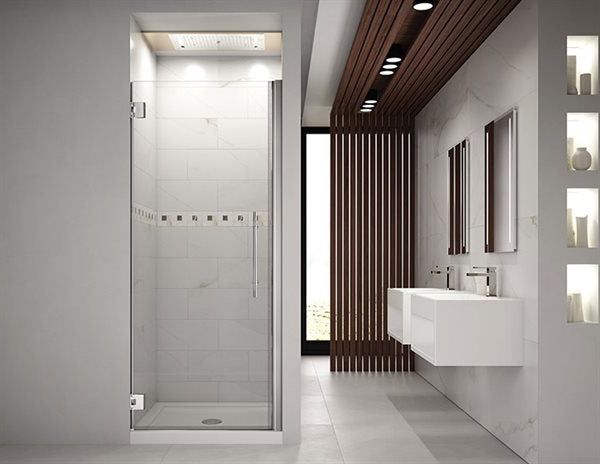
36"W *36"H Frameless Corner Shower Enclosure
- 6mm tempered glass for safety
- Magnetic seal prevents leaks
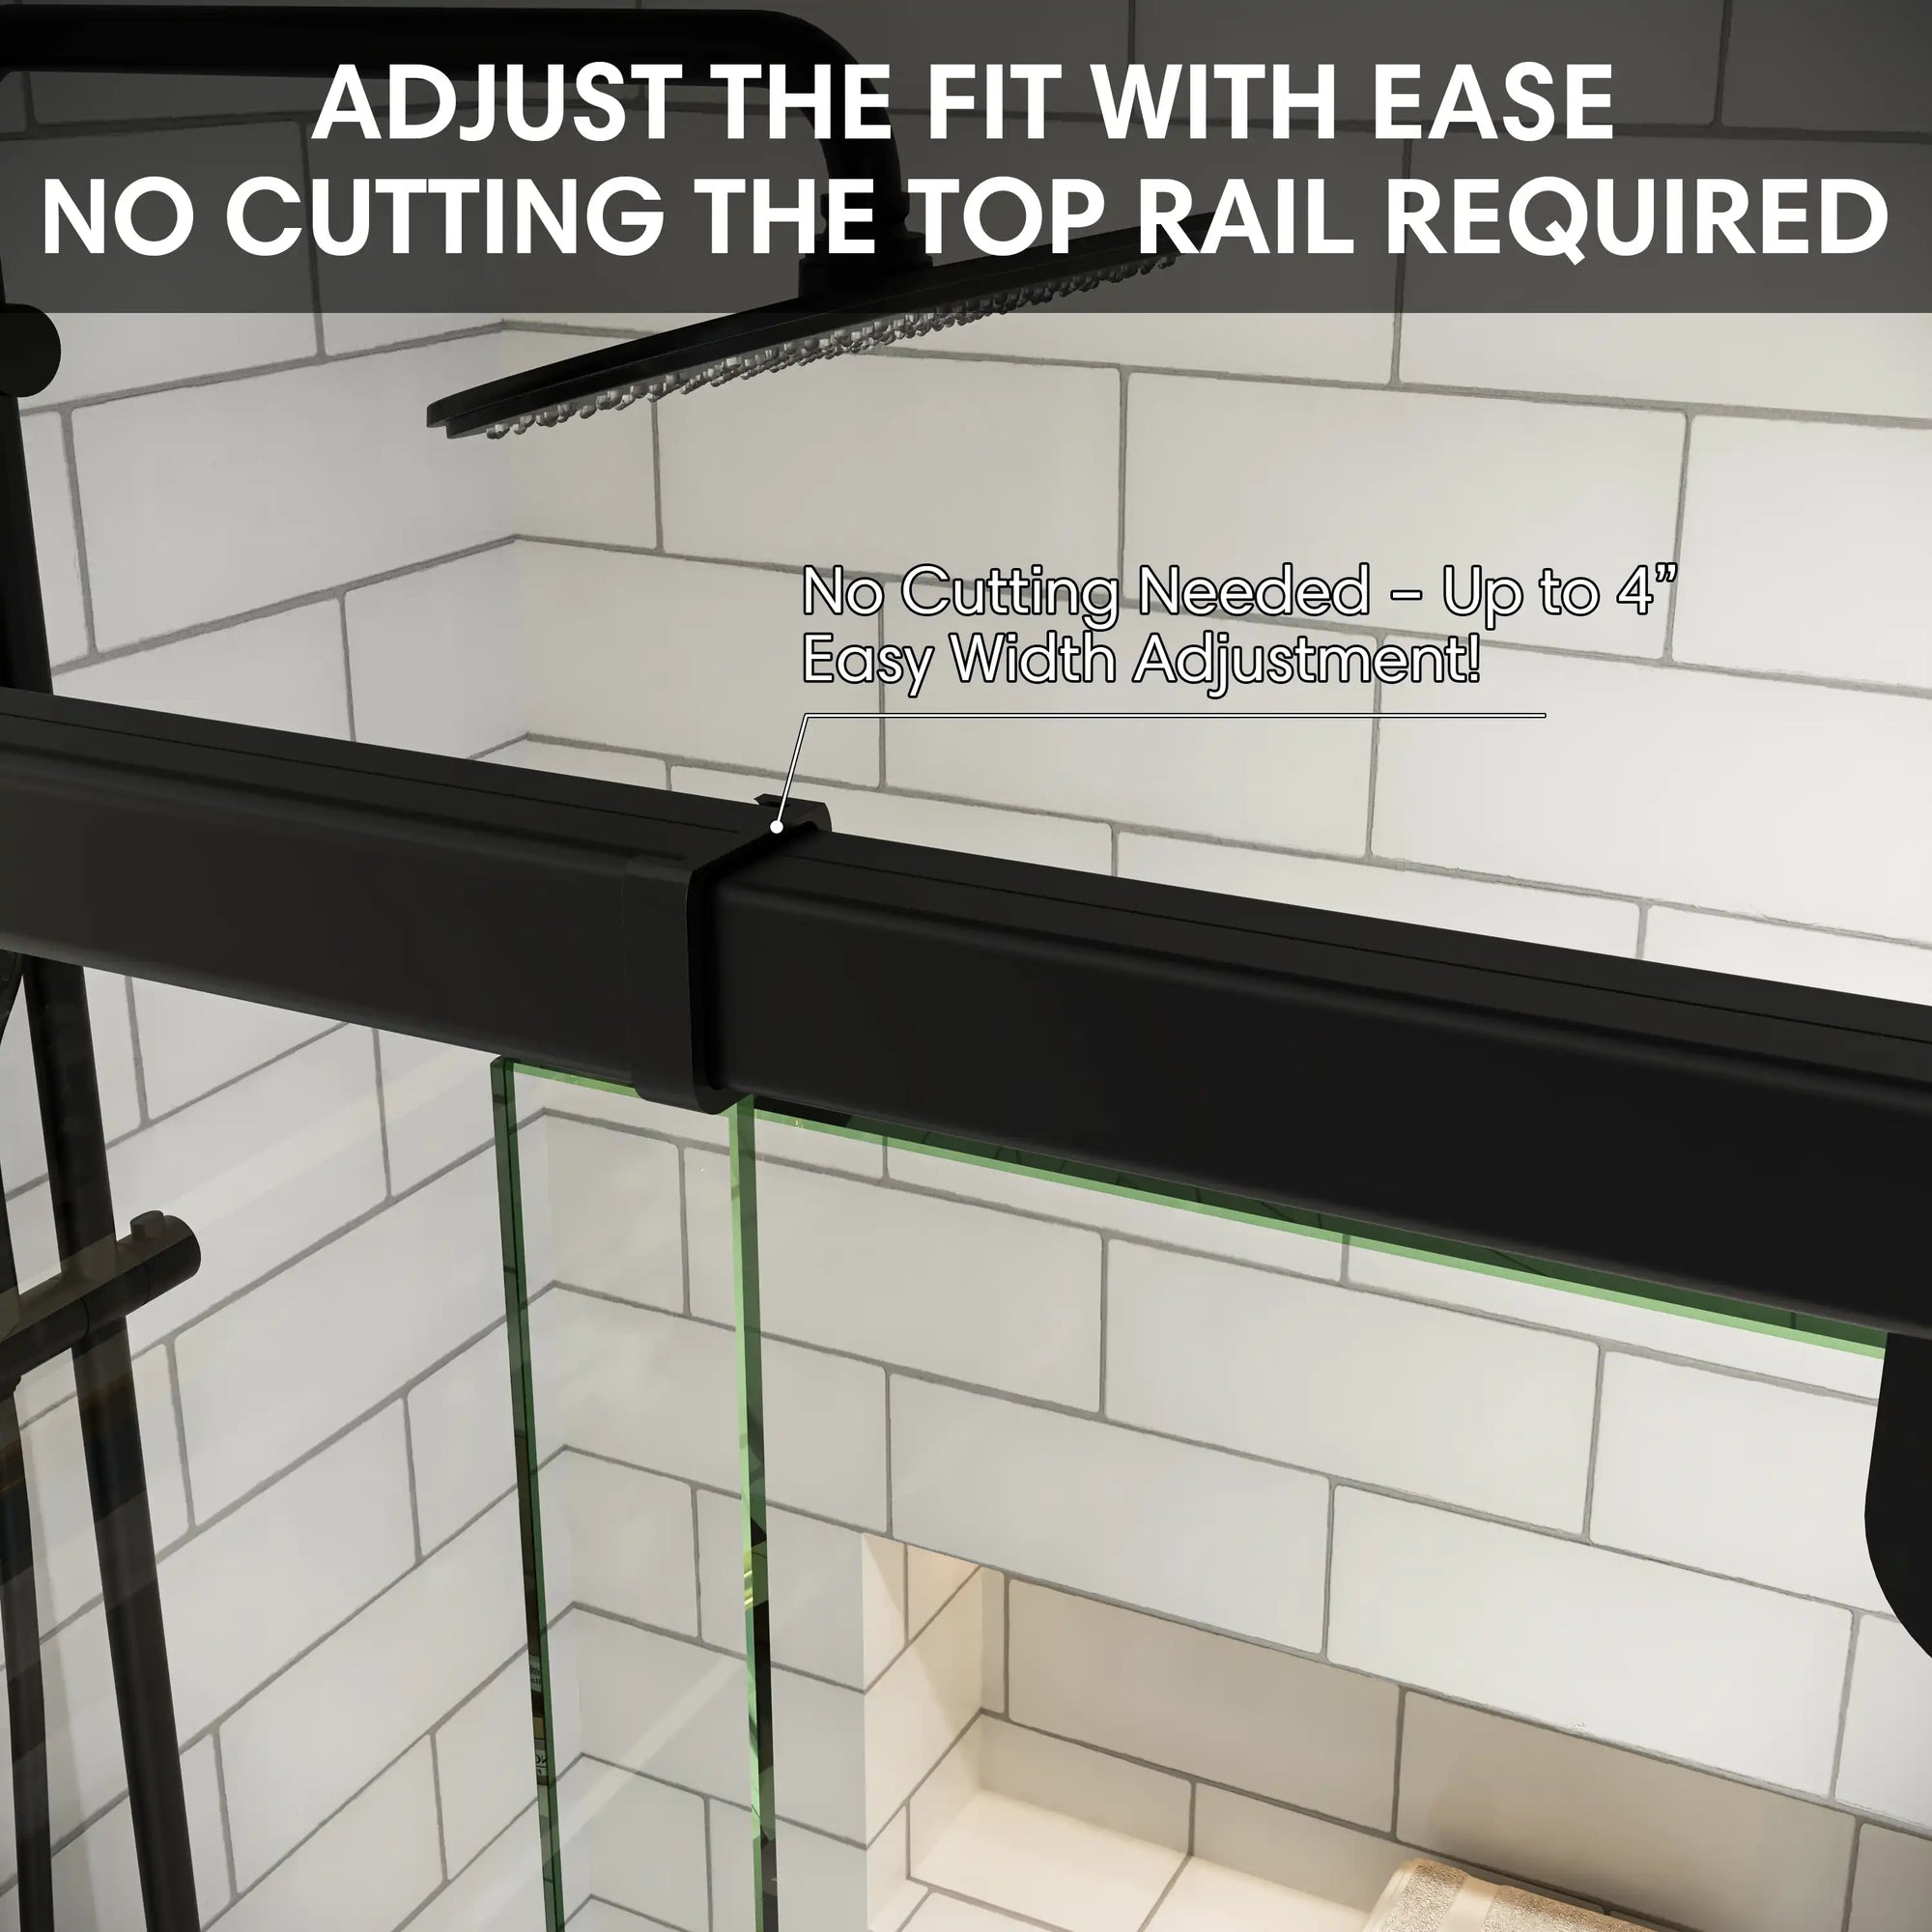
- Adjustable frame fits uneven walls
- Nano-coating resists water stains
After-care: Keep your pivot shower door working like new

Now that you've learned how to install pivot shower door, let’s keep it in top shape.
- Clean glass weekly with non-abrasive cleaner
- Apply silicone spray to hinges every 6 months
- Check and replace worn-out rubber seals yearly
- Inspect sealing areas regularly for cracks or mold
With proper care, your door will look new for years and keep your bathroom dry and stylish.
Conclusion
The average U.S. homeowner spends over $6,500 on bathroom upgrades—and the shower door can make or break that investment. Done right, when you install pivot shower door, you gain more than a door—you upgrade your daily experience.
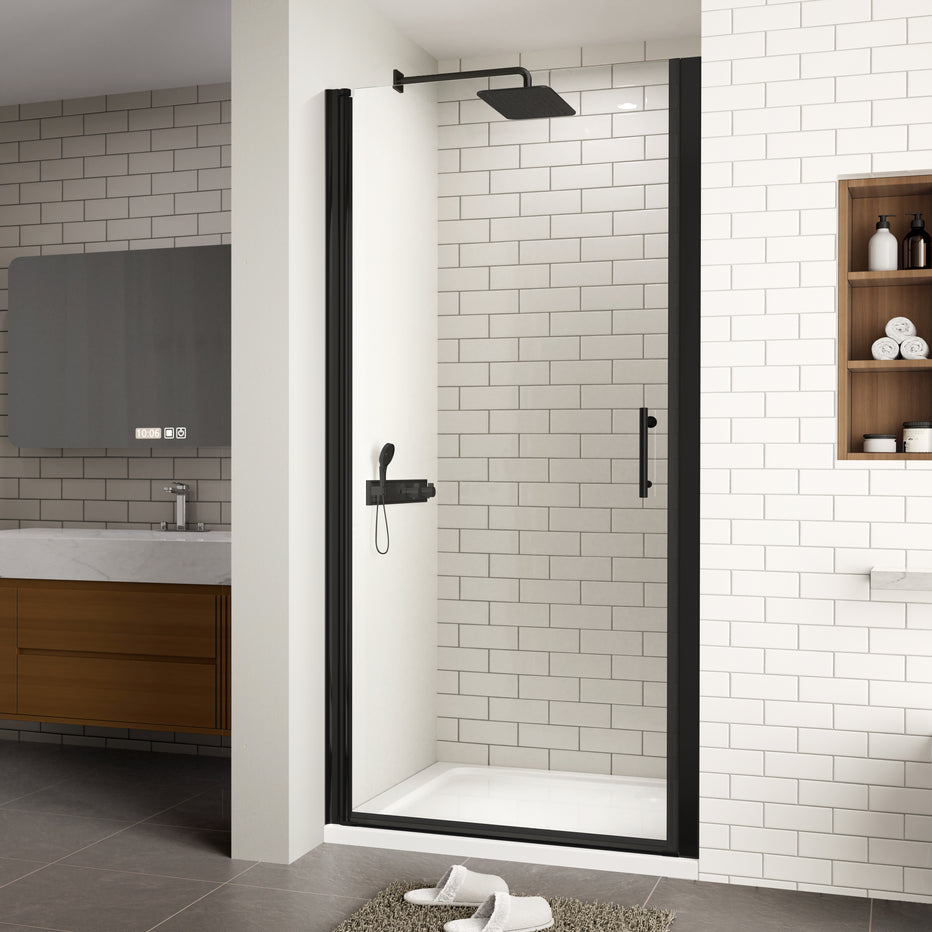
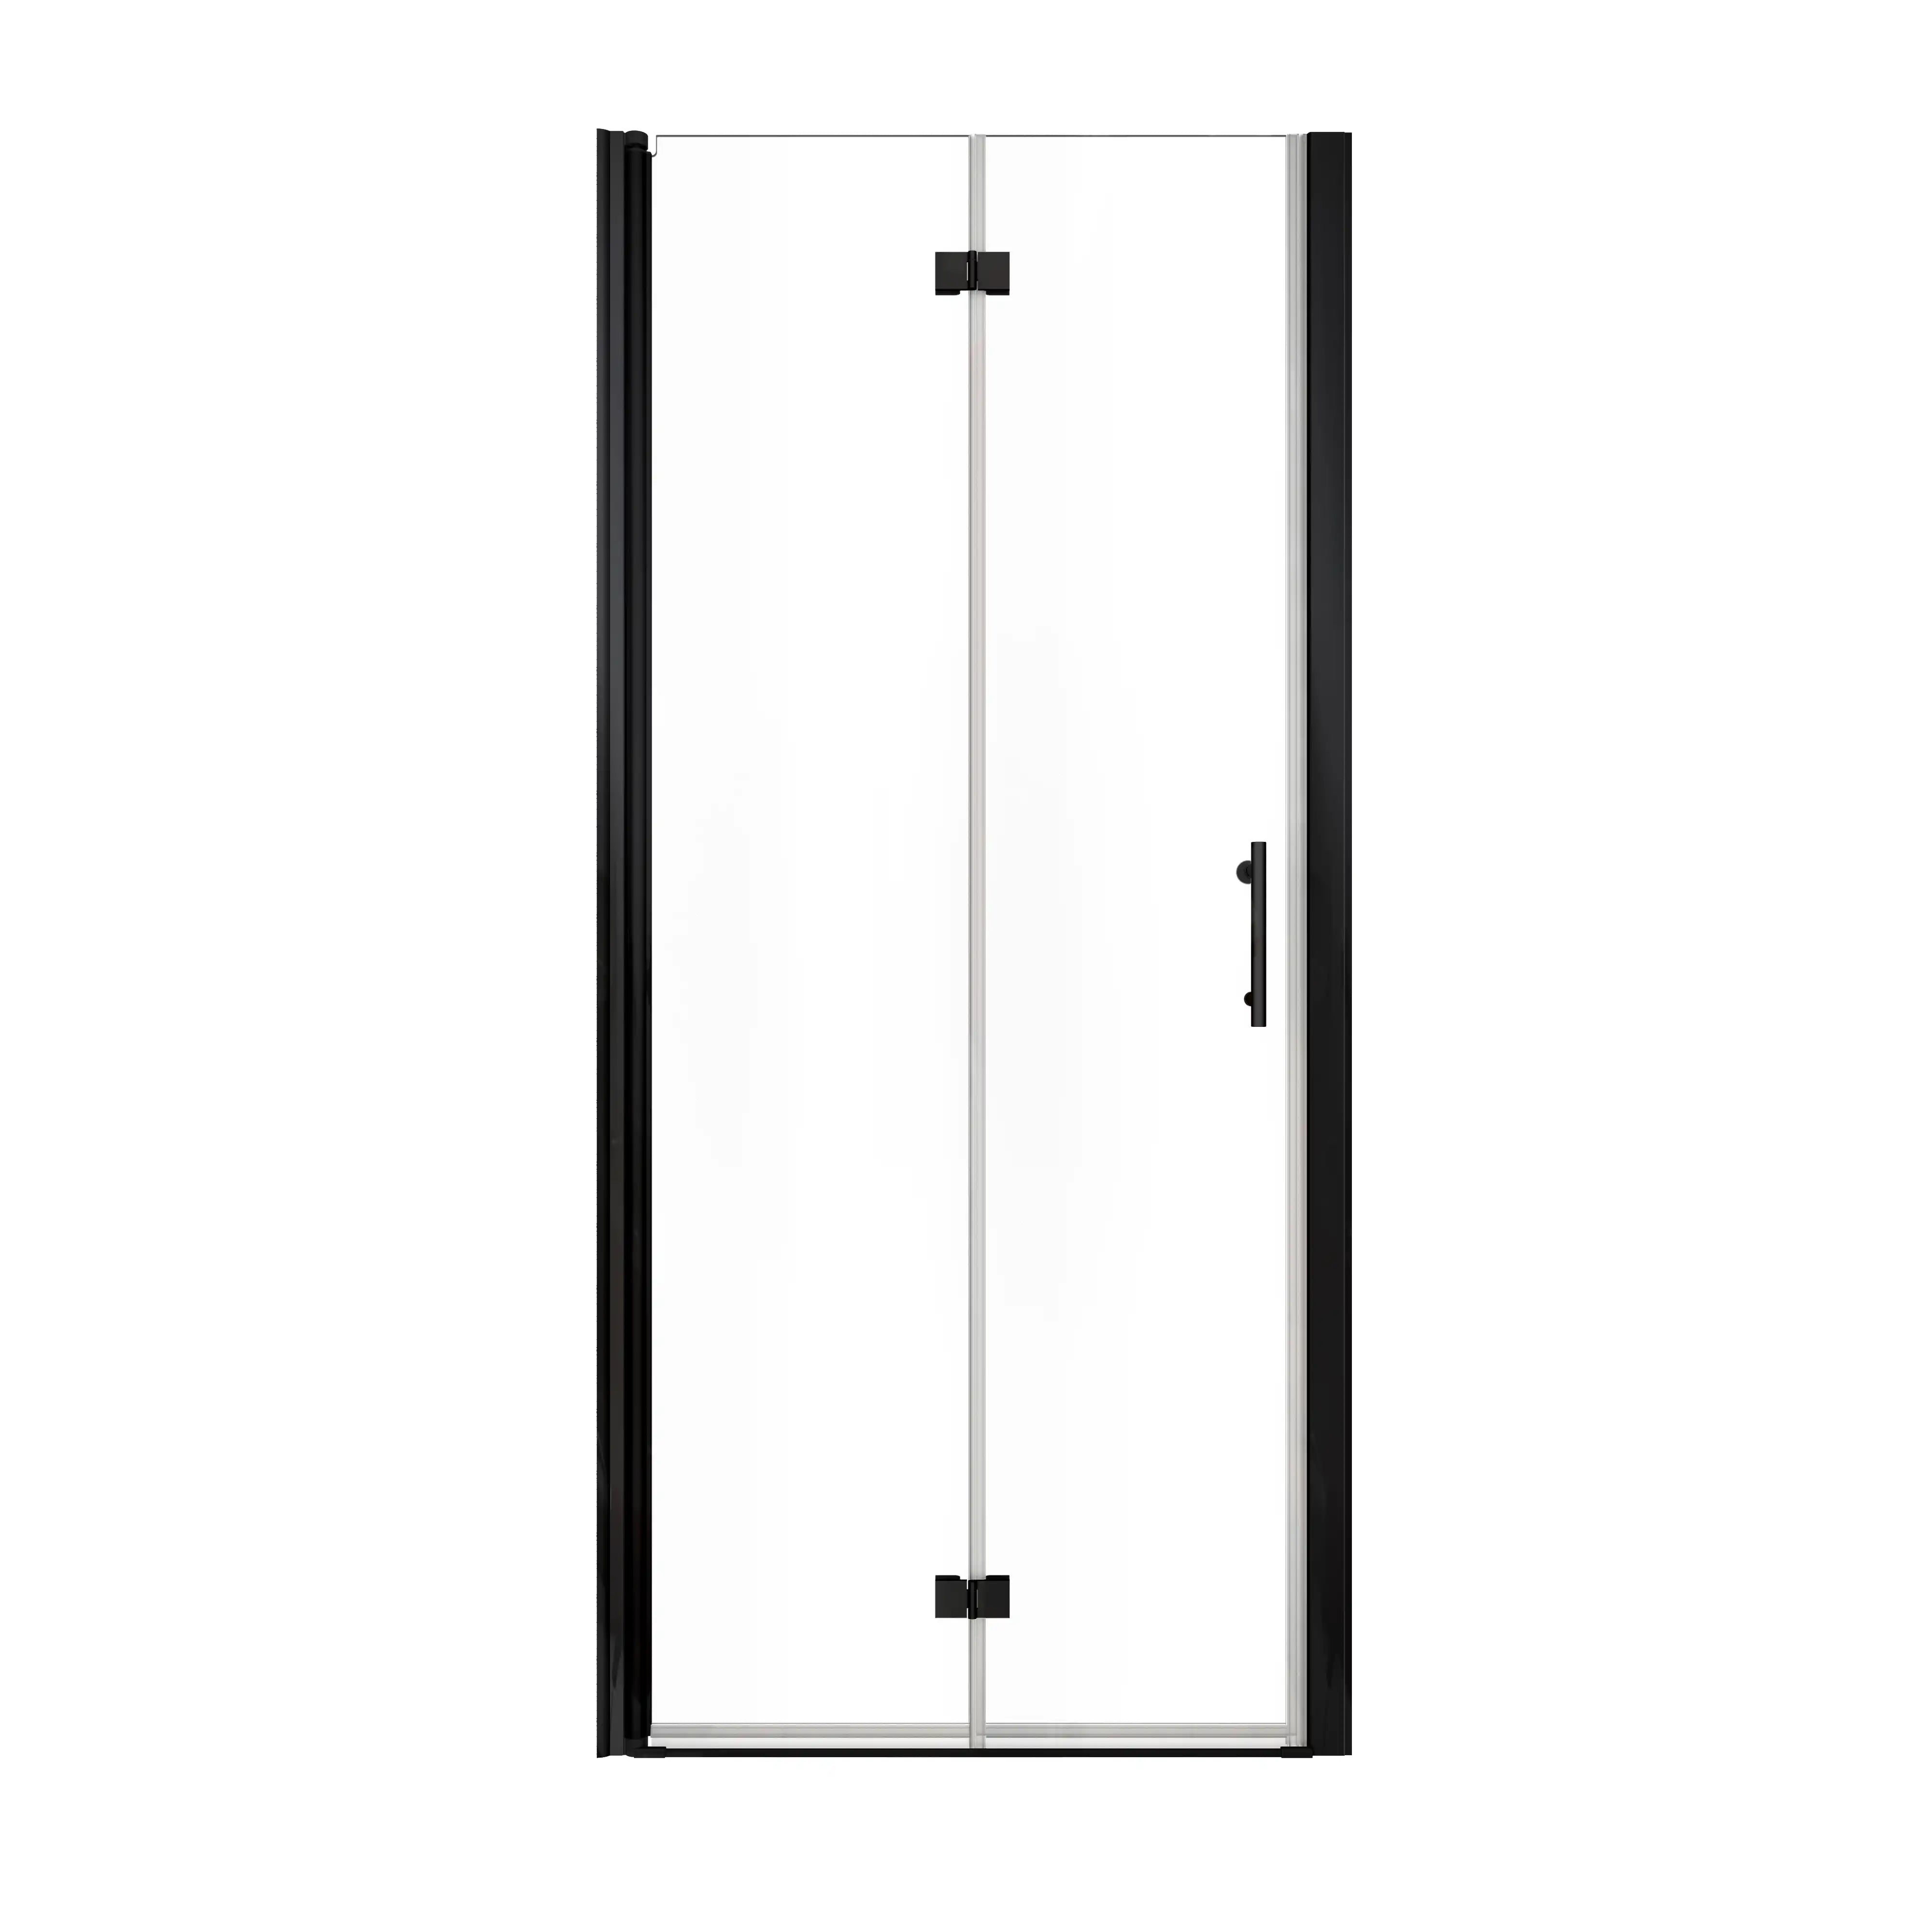
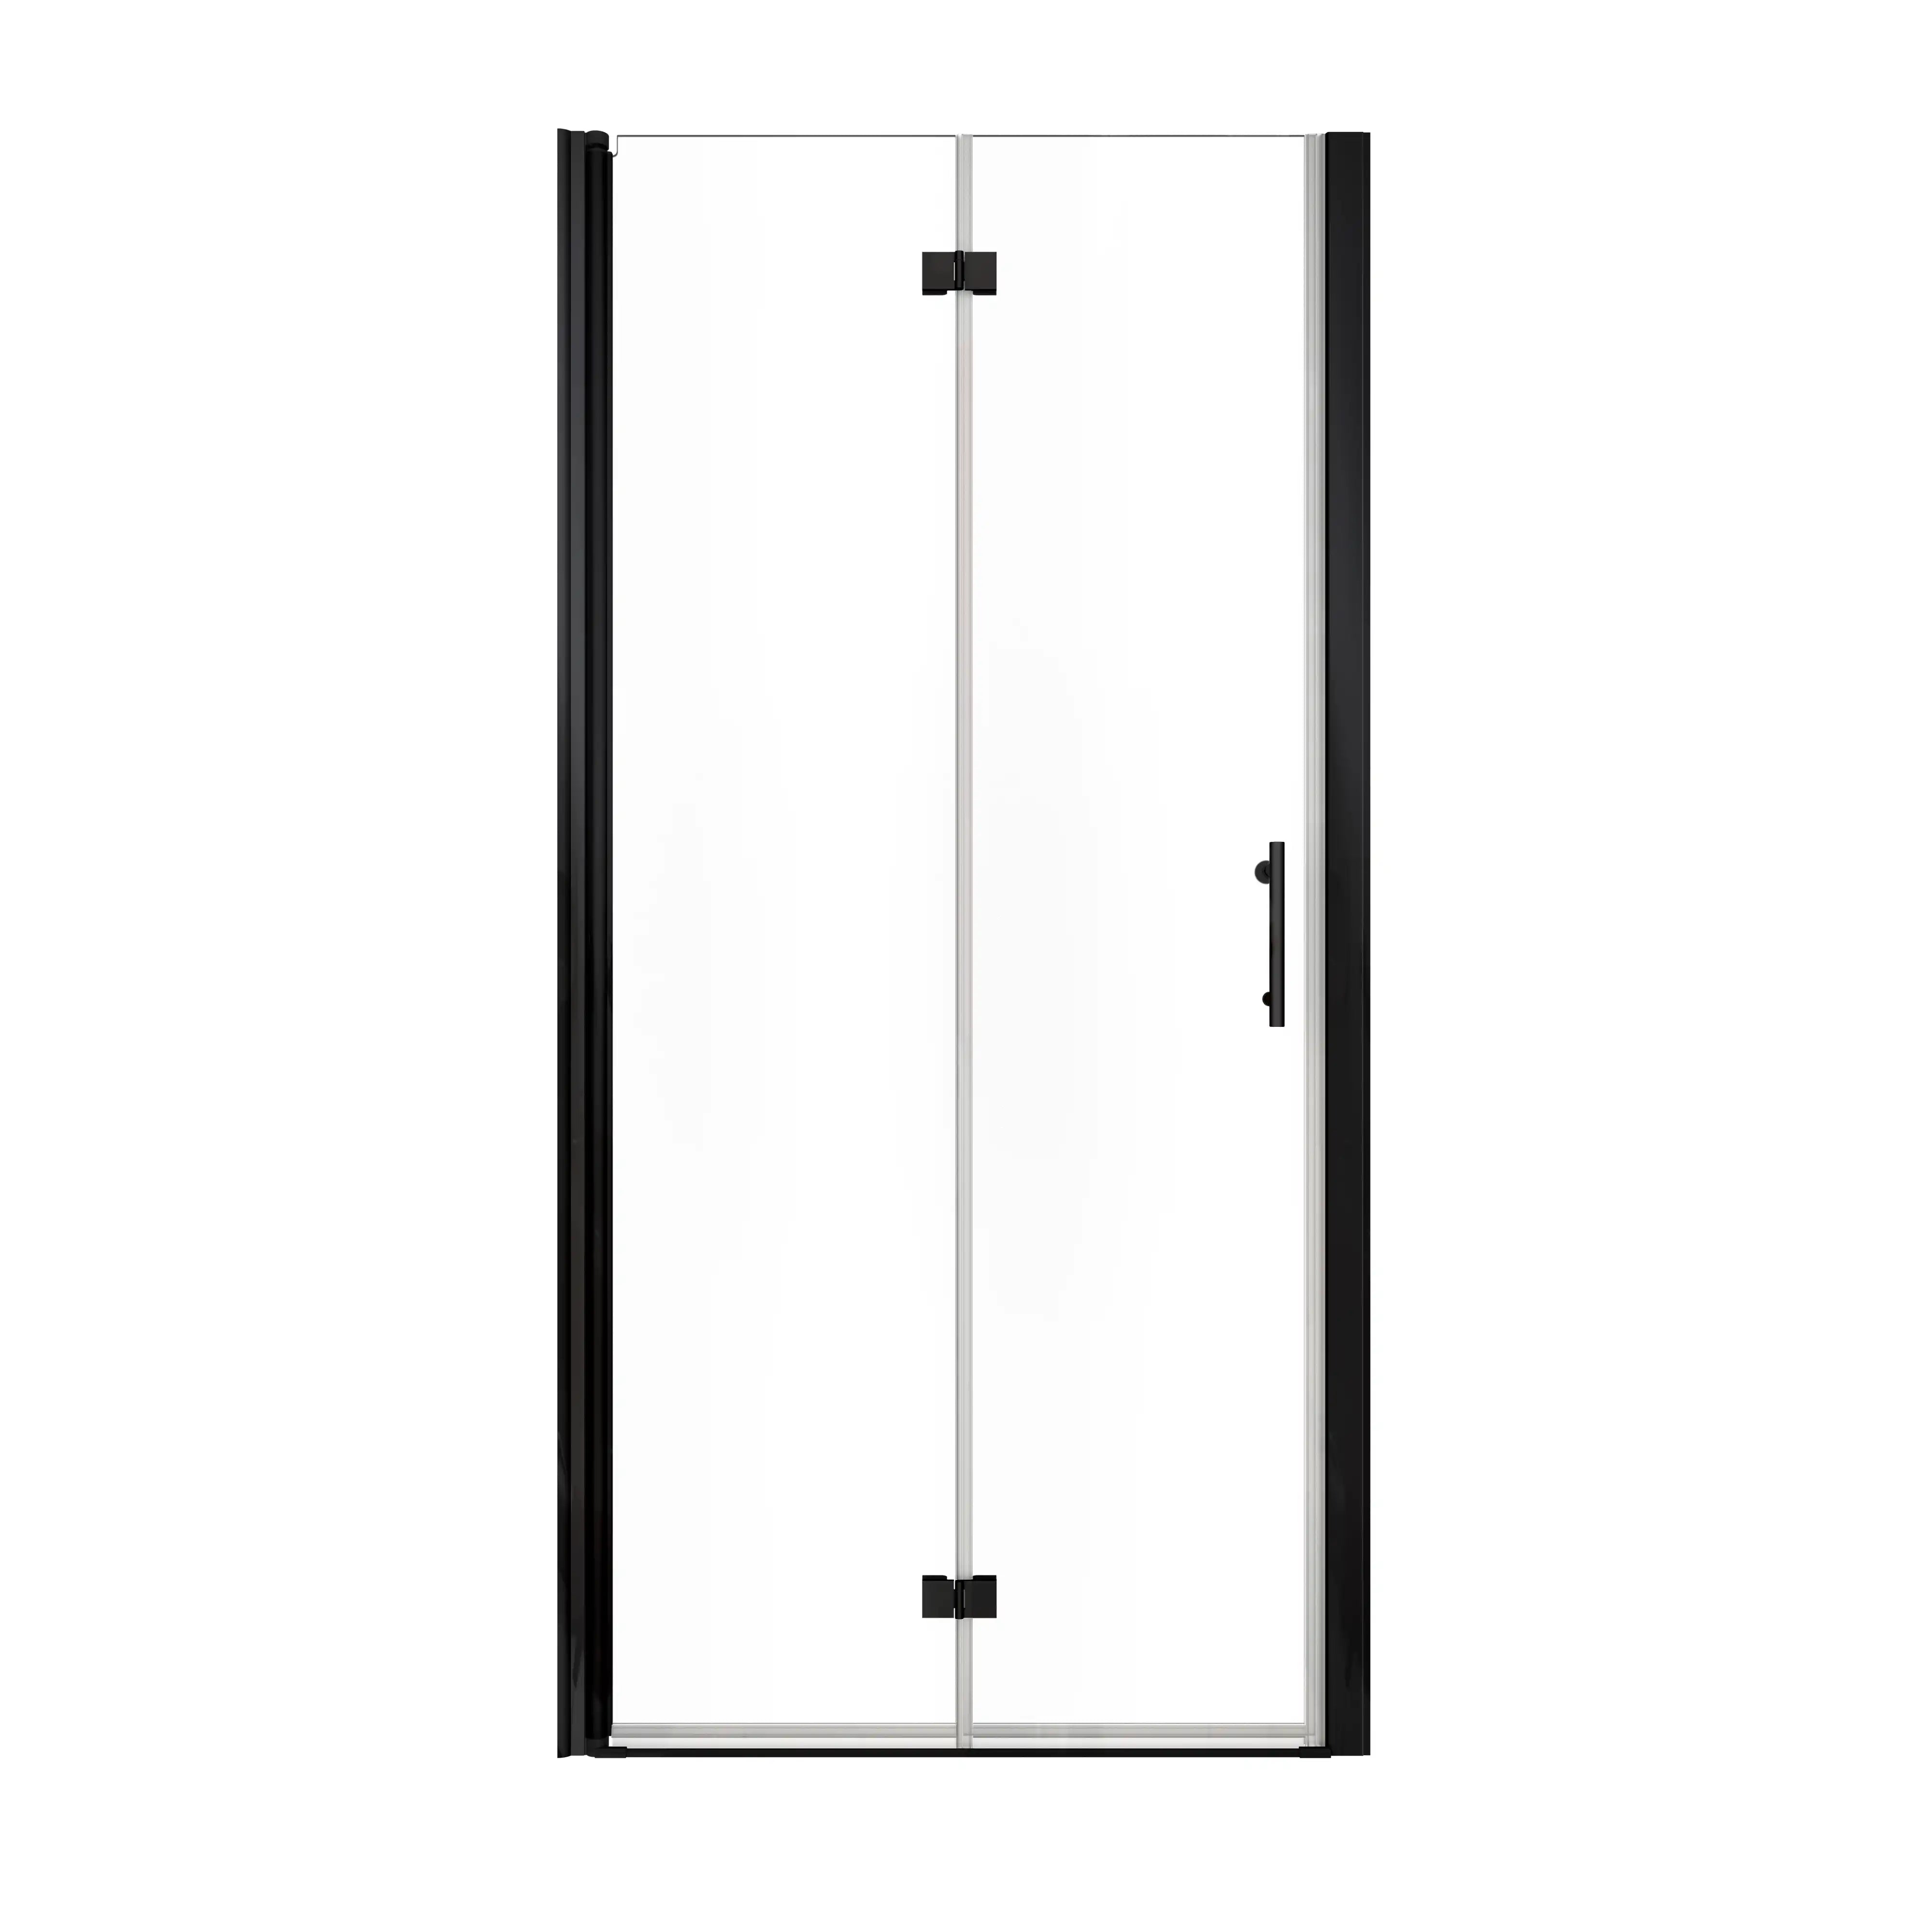
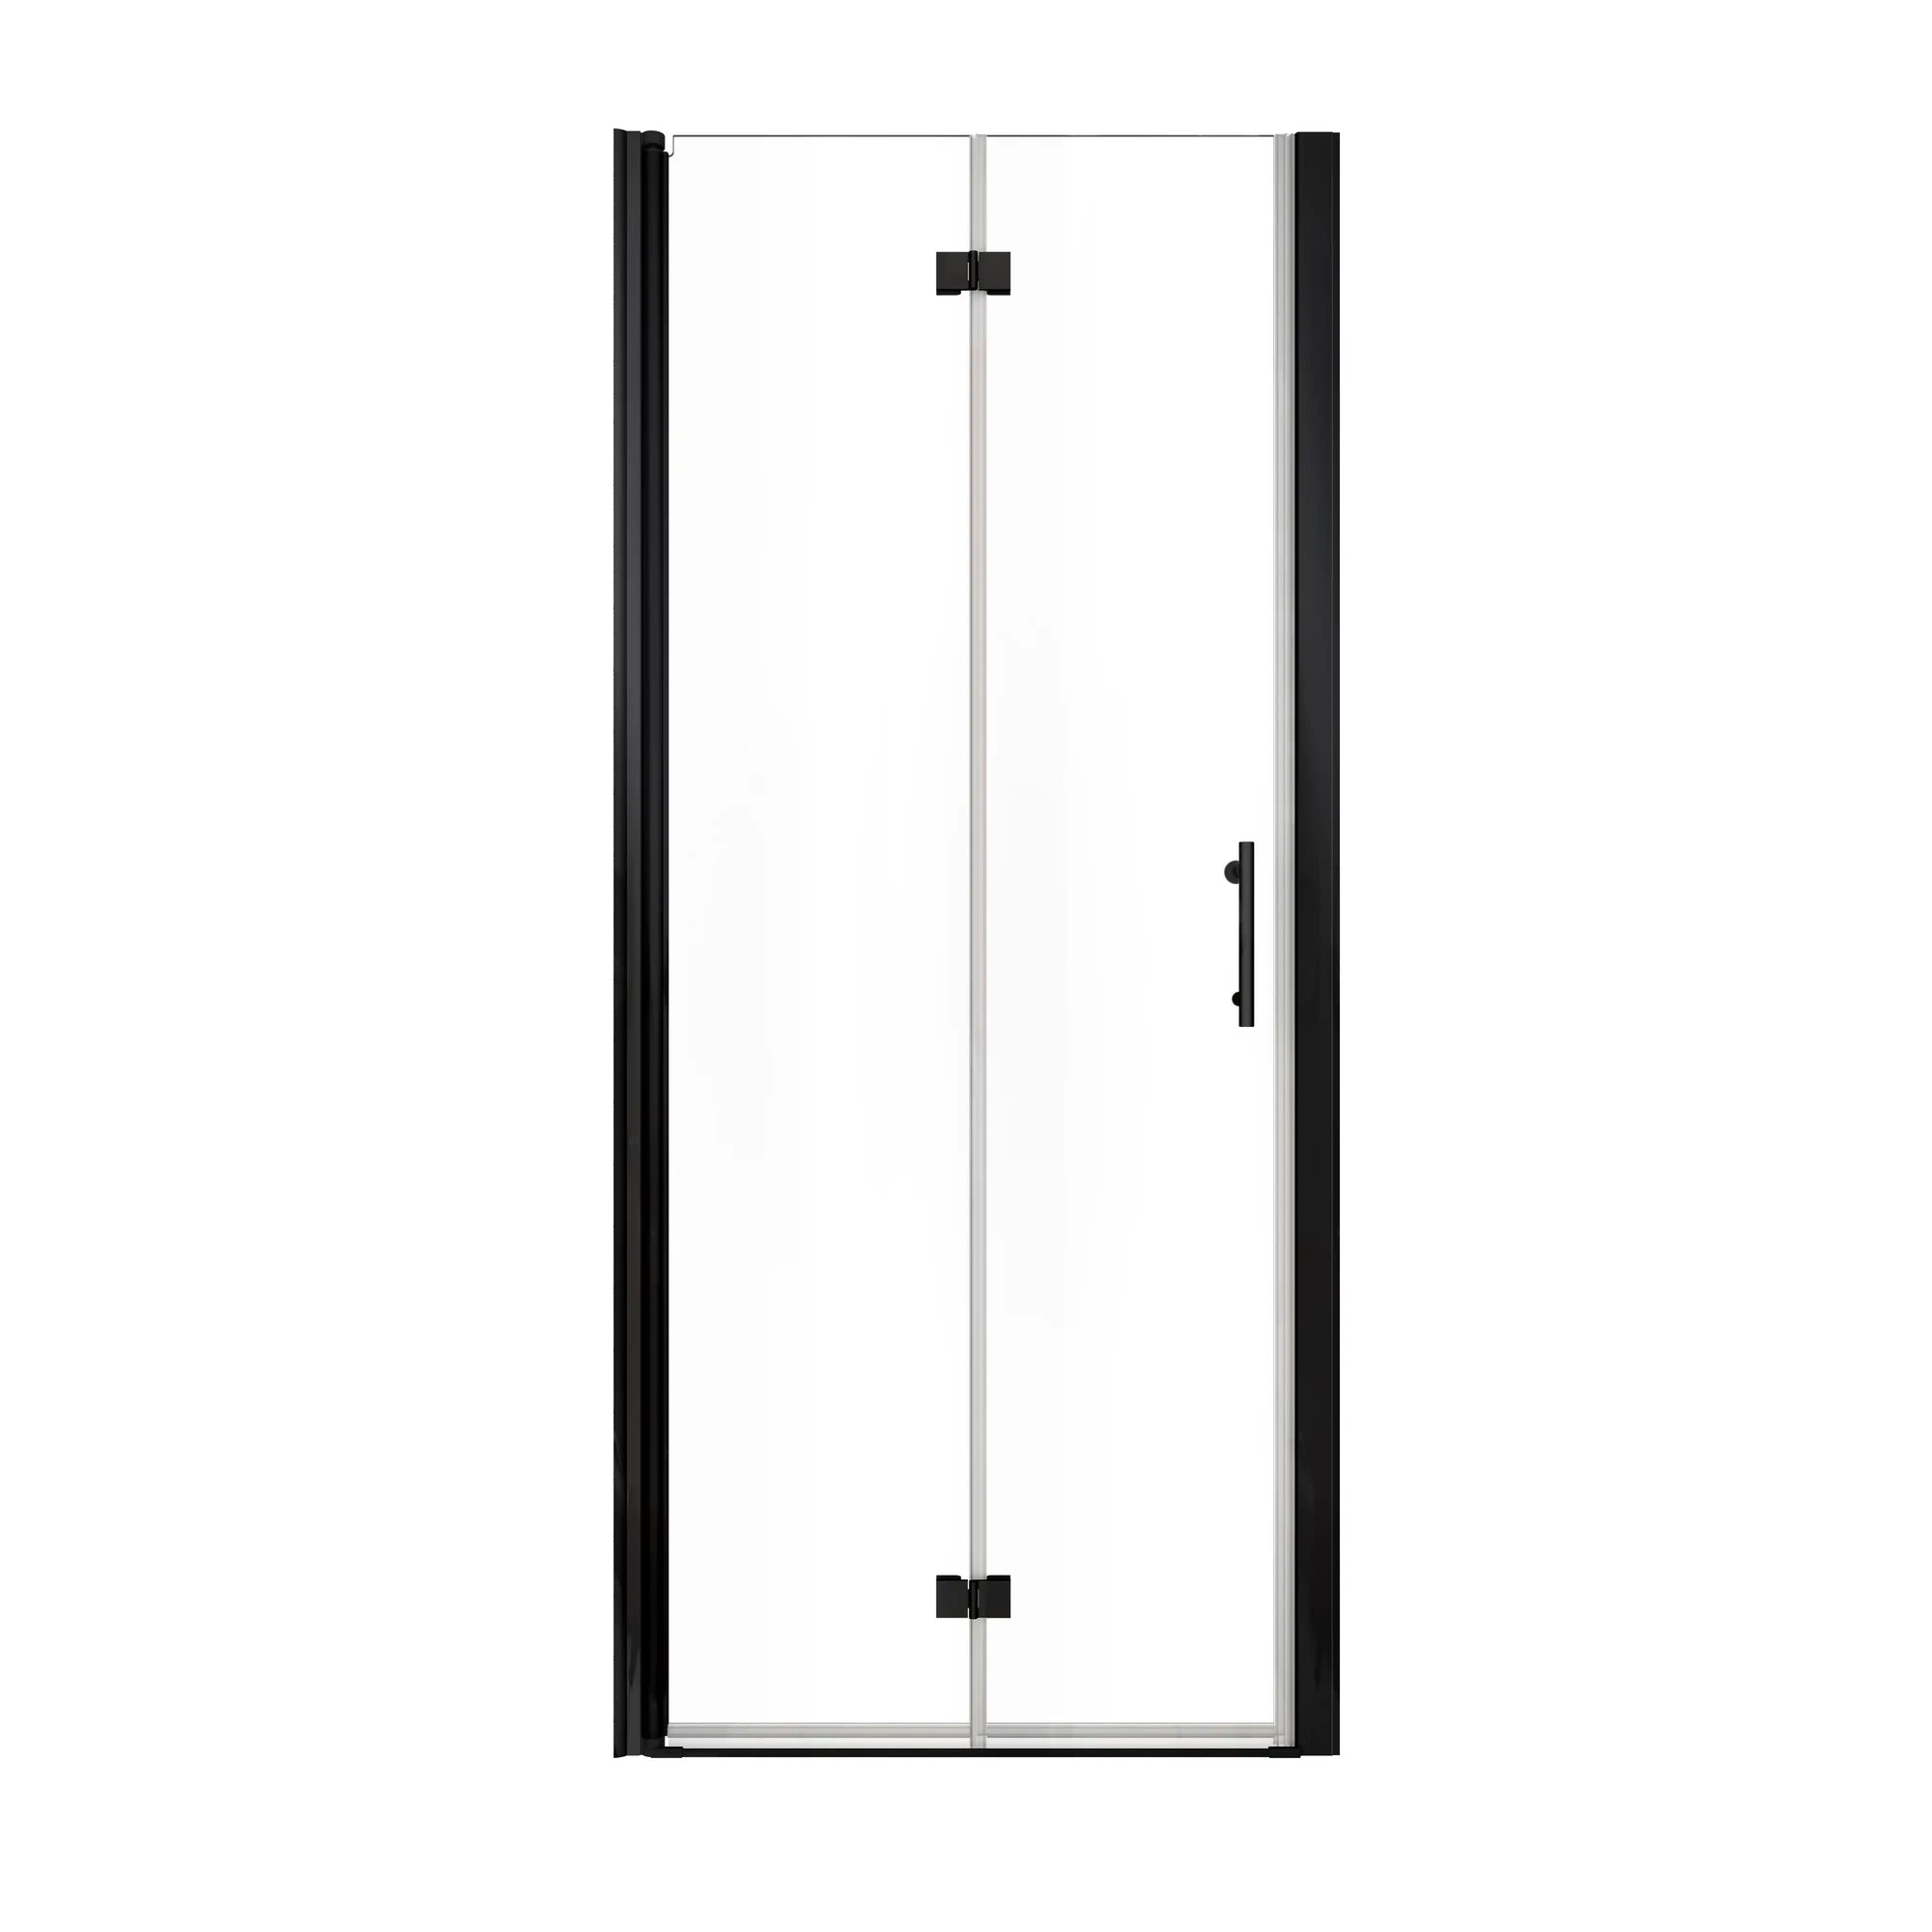
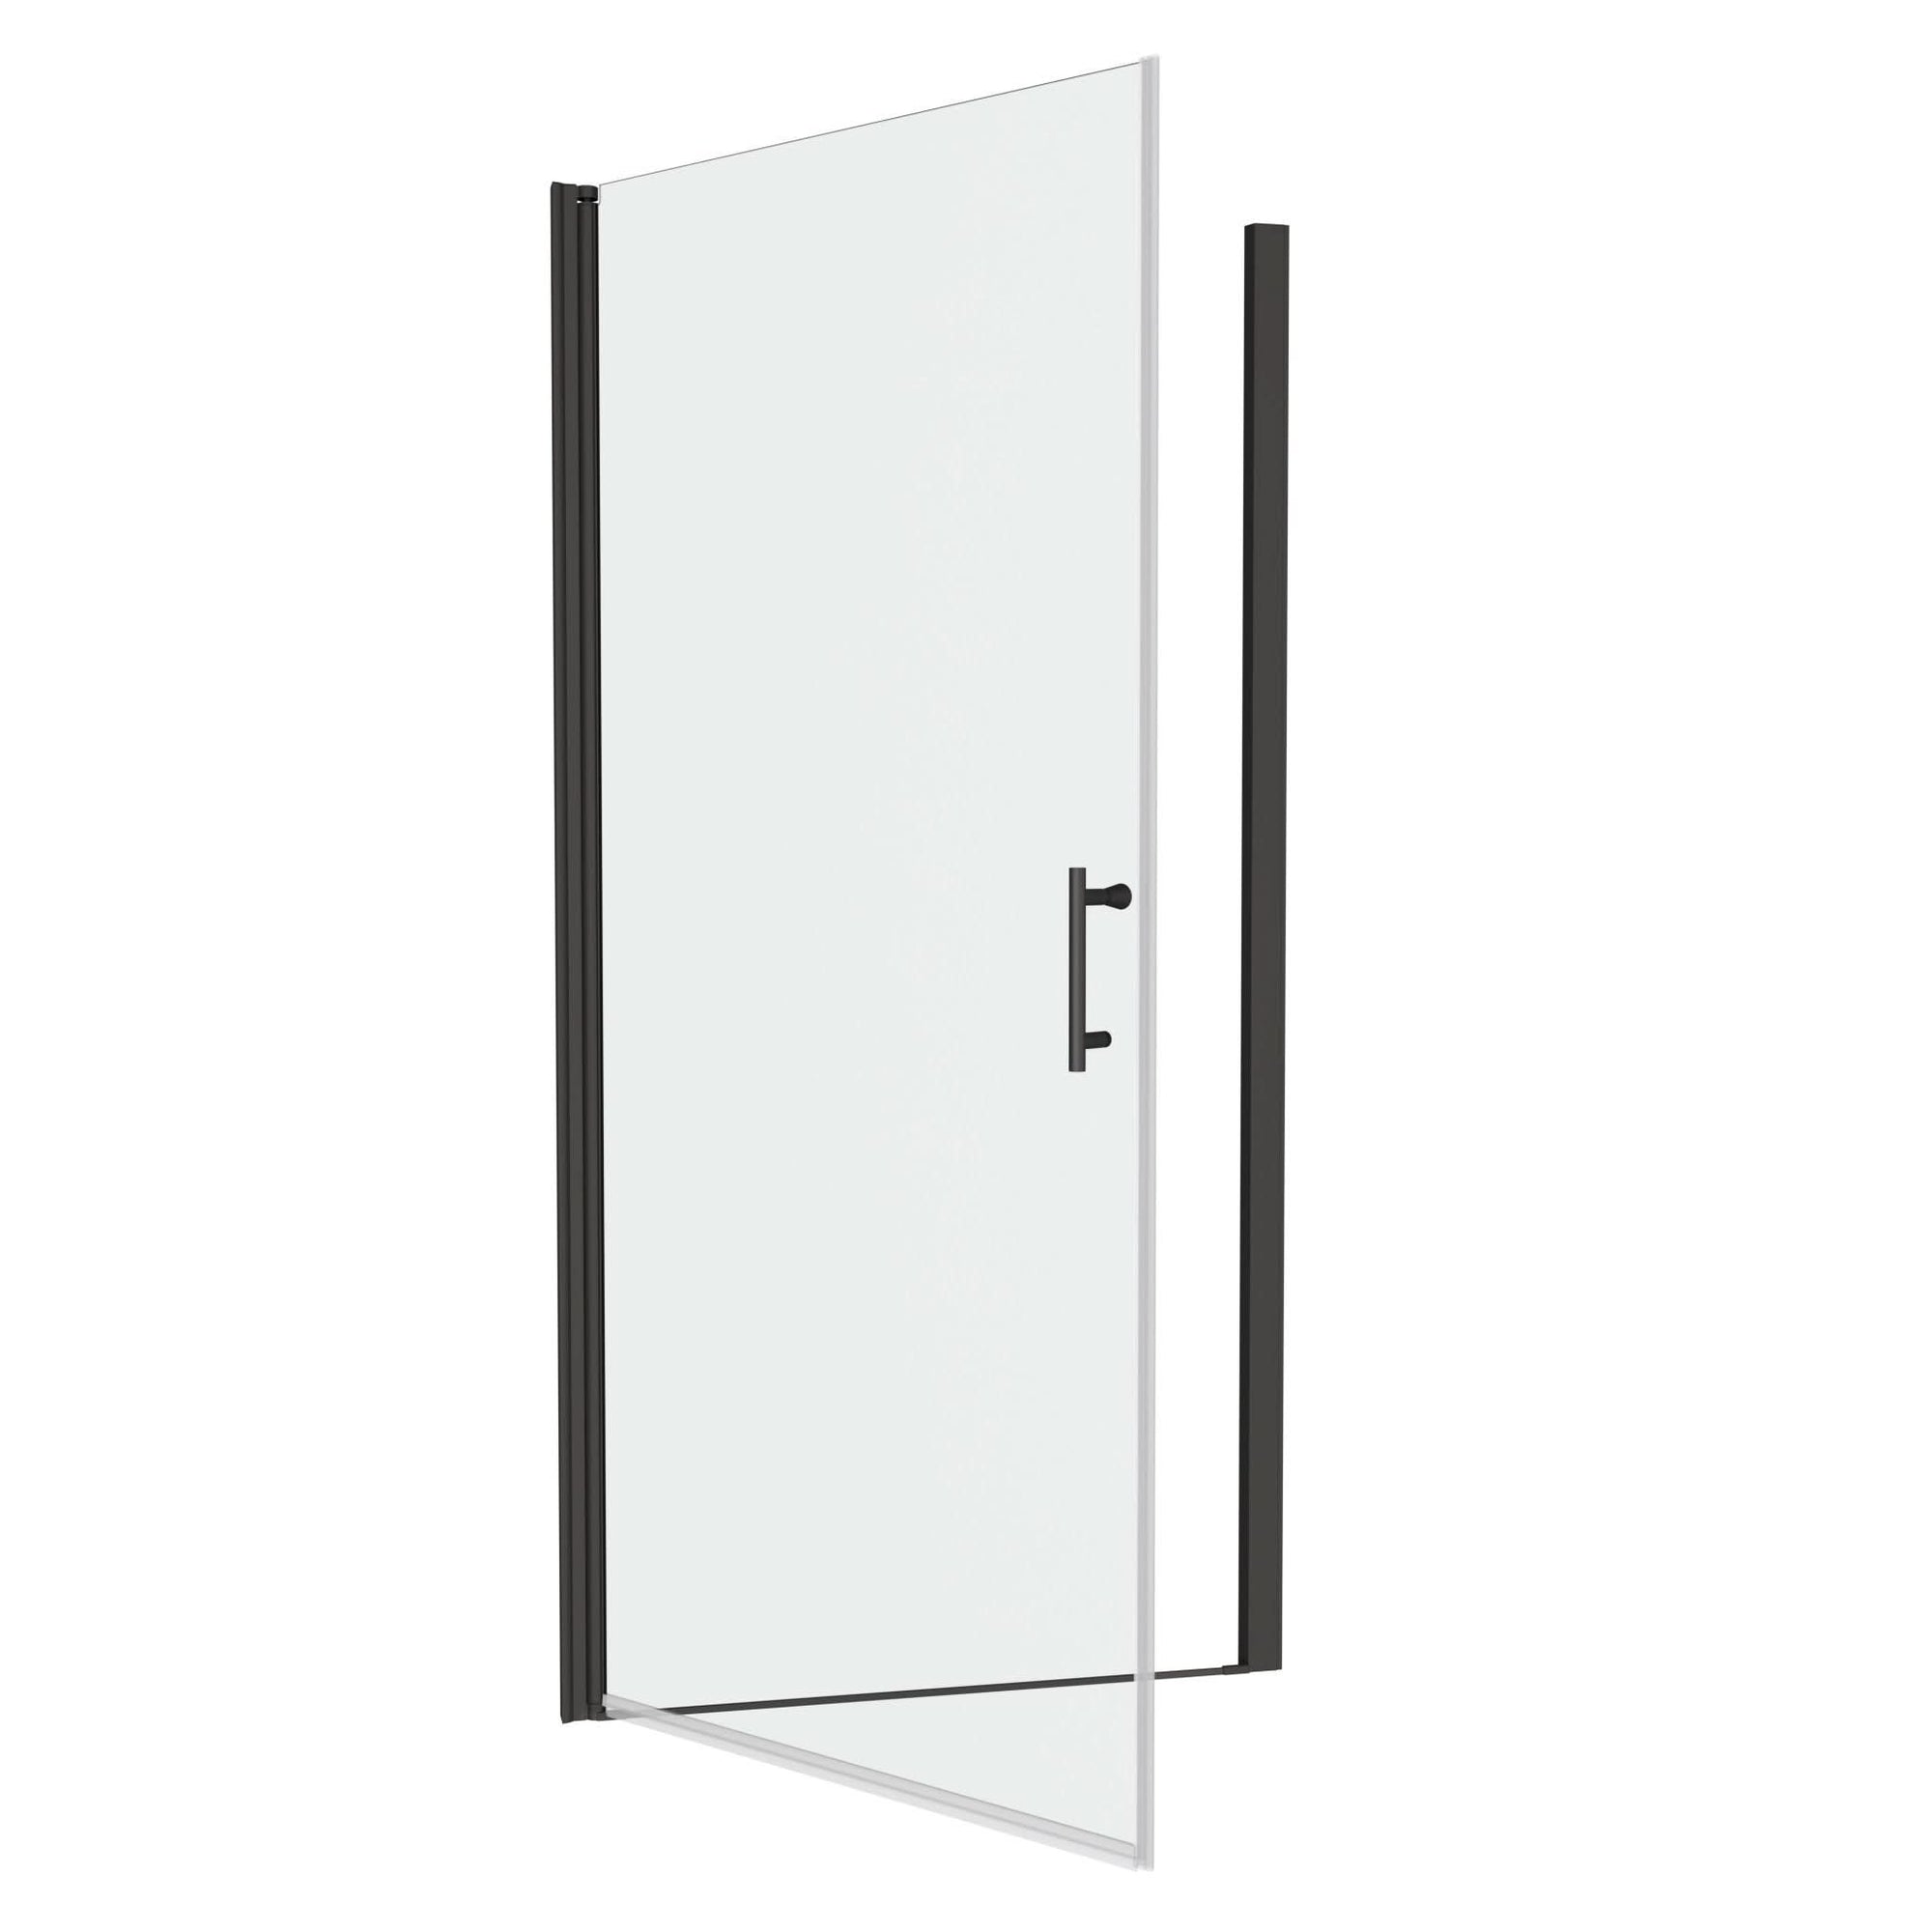
34" W x 72" H Matte Black Framed Pivot Shower Door
- Fits 34–35.375" openings, ideal for compact spaces
- 0.25" tempered glass for safety
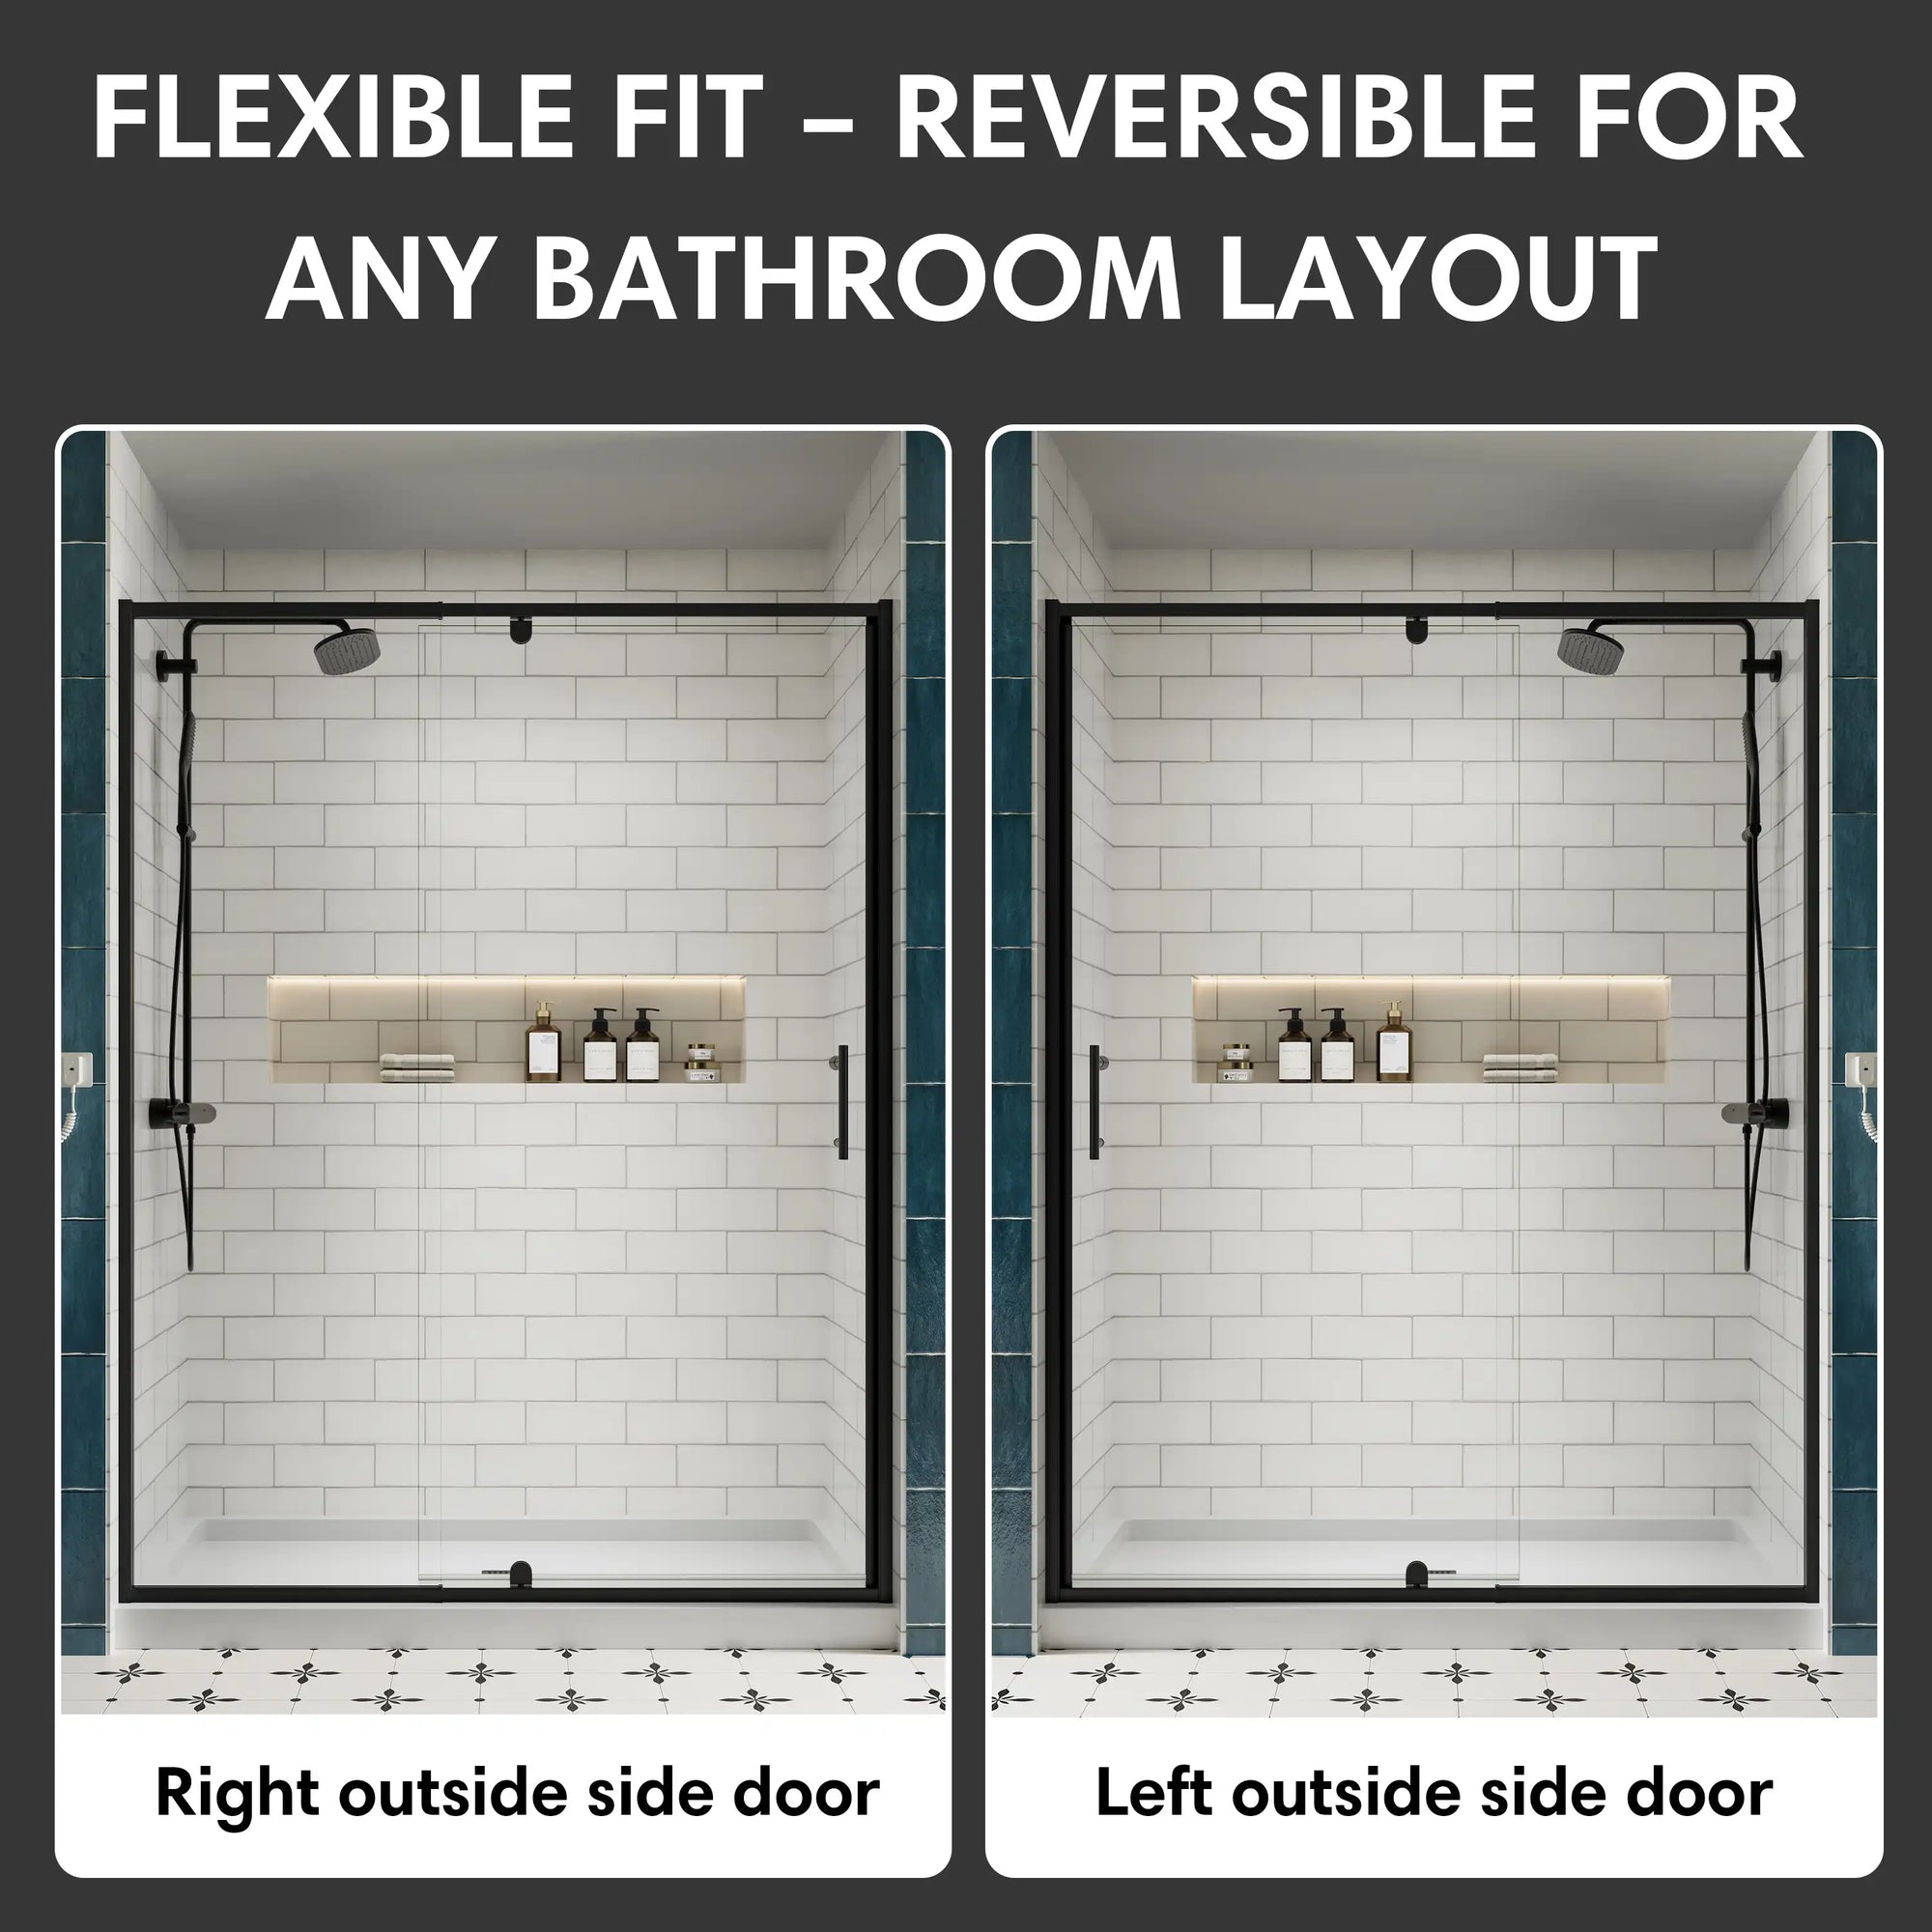
- 180° pivot door for easy access
- ANSI & SGCC certified for durability
So whether you're remodeling or replacing an old enclosure, follow this guide or work with a professional to get it right.
Looking for the right door and help to install it?
We offer premium pivot shower doors with national delivery and certified install support. Shop now and book your free consultation today.
FAQ
Q1: Can I install pivot shower door on old tile?
Yes, but always use a proper drill bit and test for cracking. Prep is key.
Q2: What if I mess up the installation?
Minor errors can be corrected. For major misalignment, remove and reinstall carefully.
Q3: Is it harder to use heavier glass doors?
No. Quality hinges make even heavy pivot doors easy to swing open and closed.
Q4: Can I install it myself without experience?
If you’re handy and have tools, it’s possible. For first-timers or non-standard walls, consider professional help.
Q5: How long do pivot shower doors last?
With proper installation and maintenance, they last 8–12 years or more.
Related Articles:
Pivot vs Hinged Shower Door: Choose Nothing but the Best!
Sarah’s Bathroom Transformation: How a Pivot Shower Door Changed Everything