But if you are reading this, you are likely saying:
"Can I actually install sliding glass doors to a walk-in shower myself?”
The hesitation is natural — and forgivable. Shower door installation frequently suggests a job that should be left to the pros. Drilling into tile? Aligning heavy glass panels? Waterproofing? To most homeowners, it looks like a high-risk, technical, even scary project.
But here's the surprise: with the right product — and the right guidance — you can totally do it yourself.
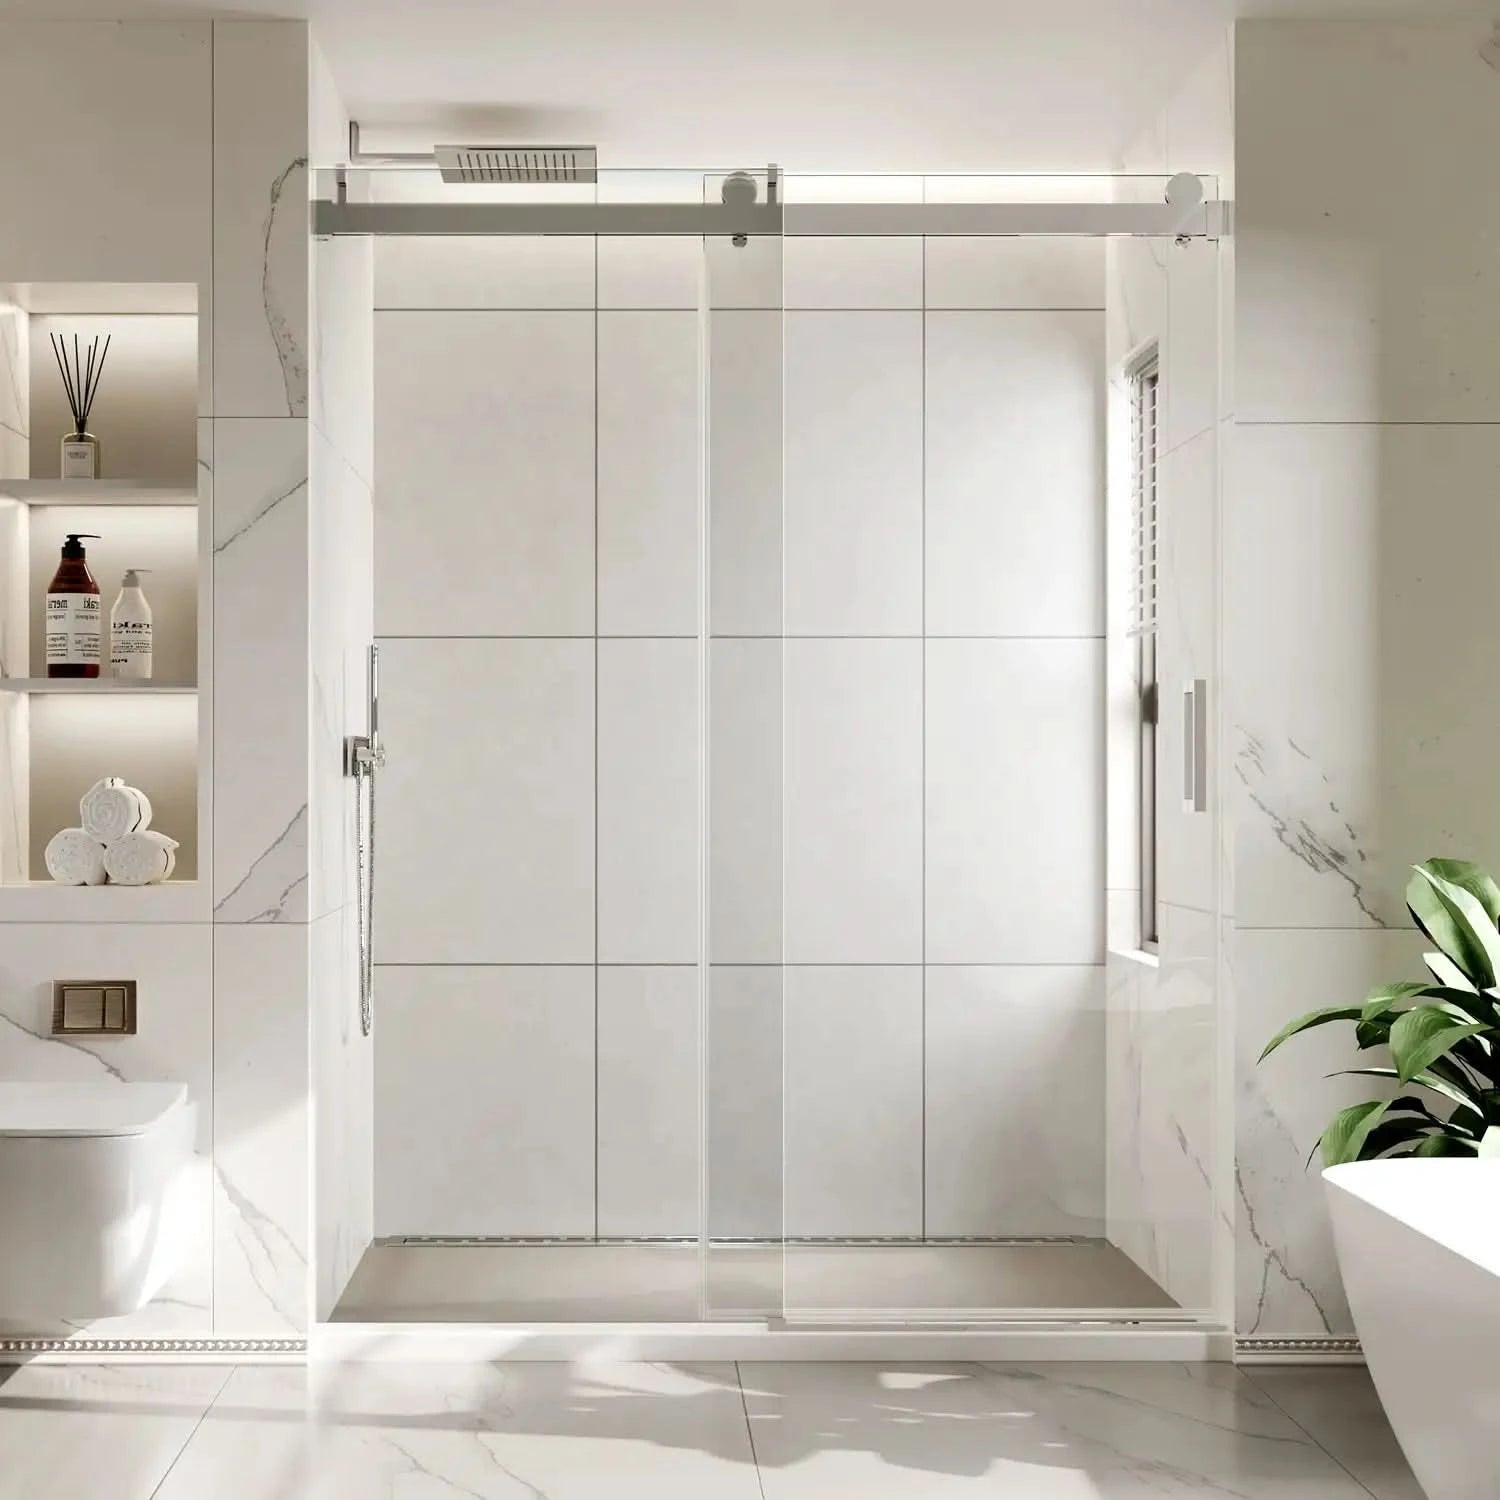
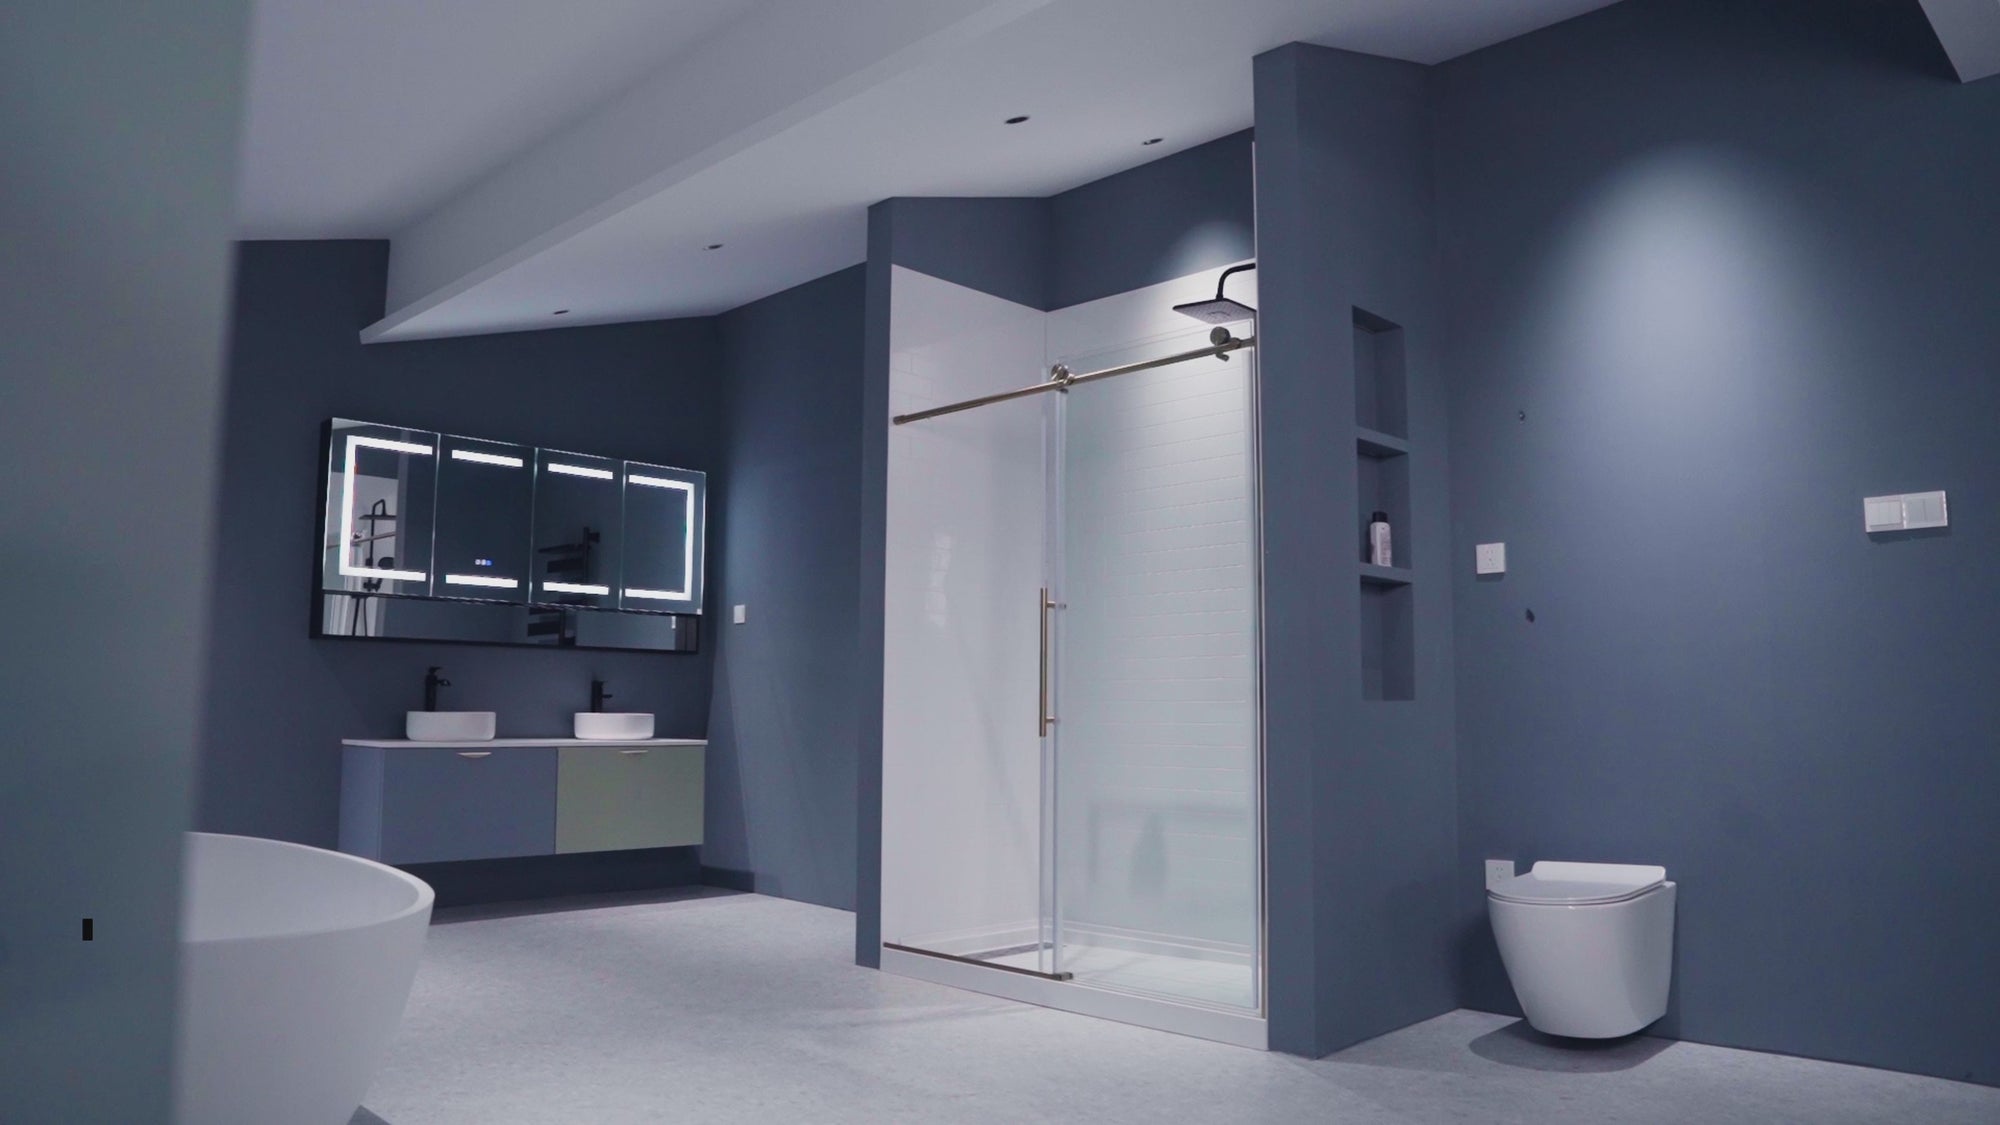
This blog is more than a general how-to. It's a full installation and step-by-step guide following an actual user installing the Ace Decor 0224D sliding glass shower door. You'll get to see what's inside the box, what tools are required, just how everything unfolds from unboxing up to the glass-wipe finale, and what specifically makes this particular model so suitable for DIY confidence.
Whether you are updating an older shower enclosure or adding a new one, this guide is designed to take you from "I don't know" to "I can't believe I just did that.”
Table of Contents
- What You Get in the Box: Full Kit Breakdown
- Tools You'll Need (and What You Won't)
- Complete Installation Guide Step by Step
- Critical DIY-Related Aspects of the 0224D
- Pro Tips for Installation Success
- Cleaning, Maintenance & Longevity
- Common Installation Issues — Solved
- Overall Summary: Who Should Purchase the 0224D
- FAQs
- Ready to Install Your Own?
- Related Articles
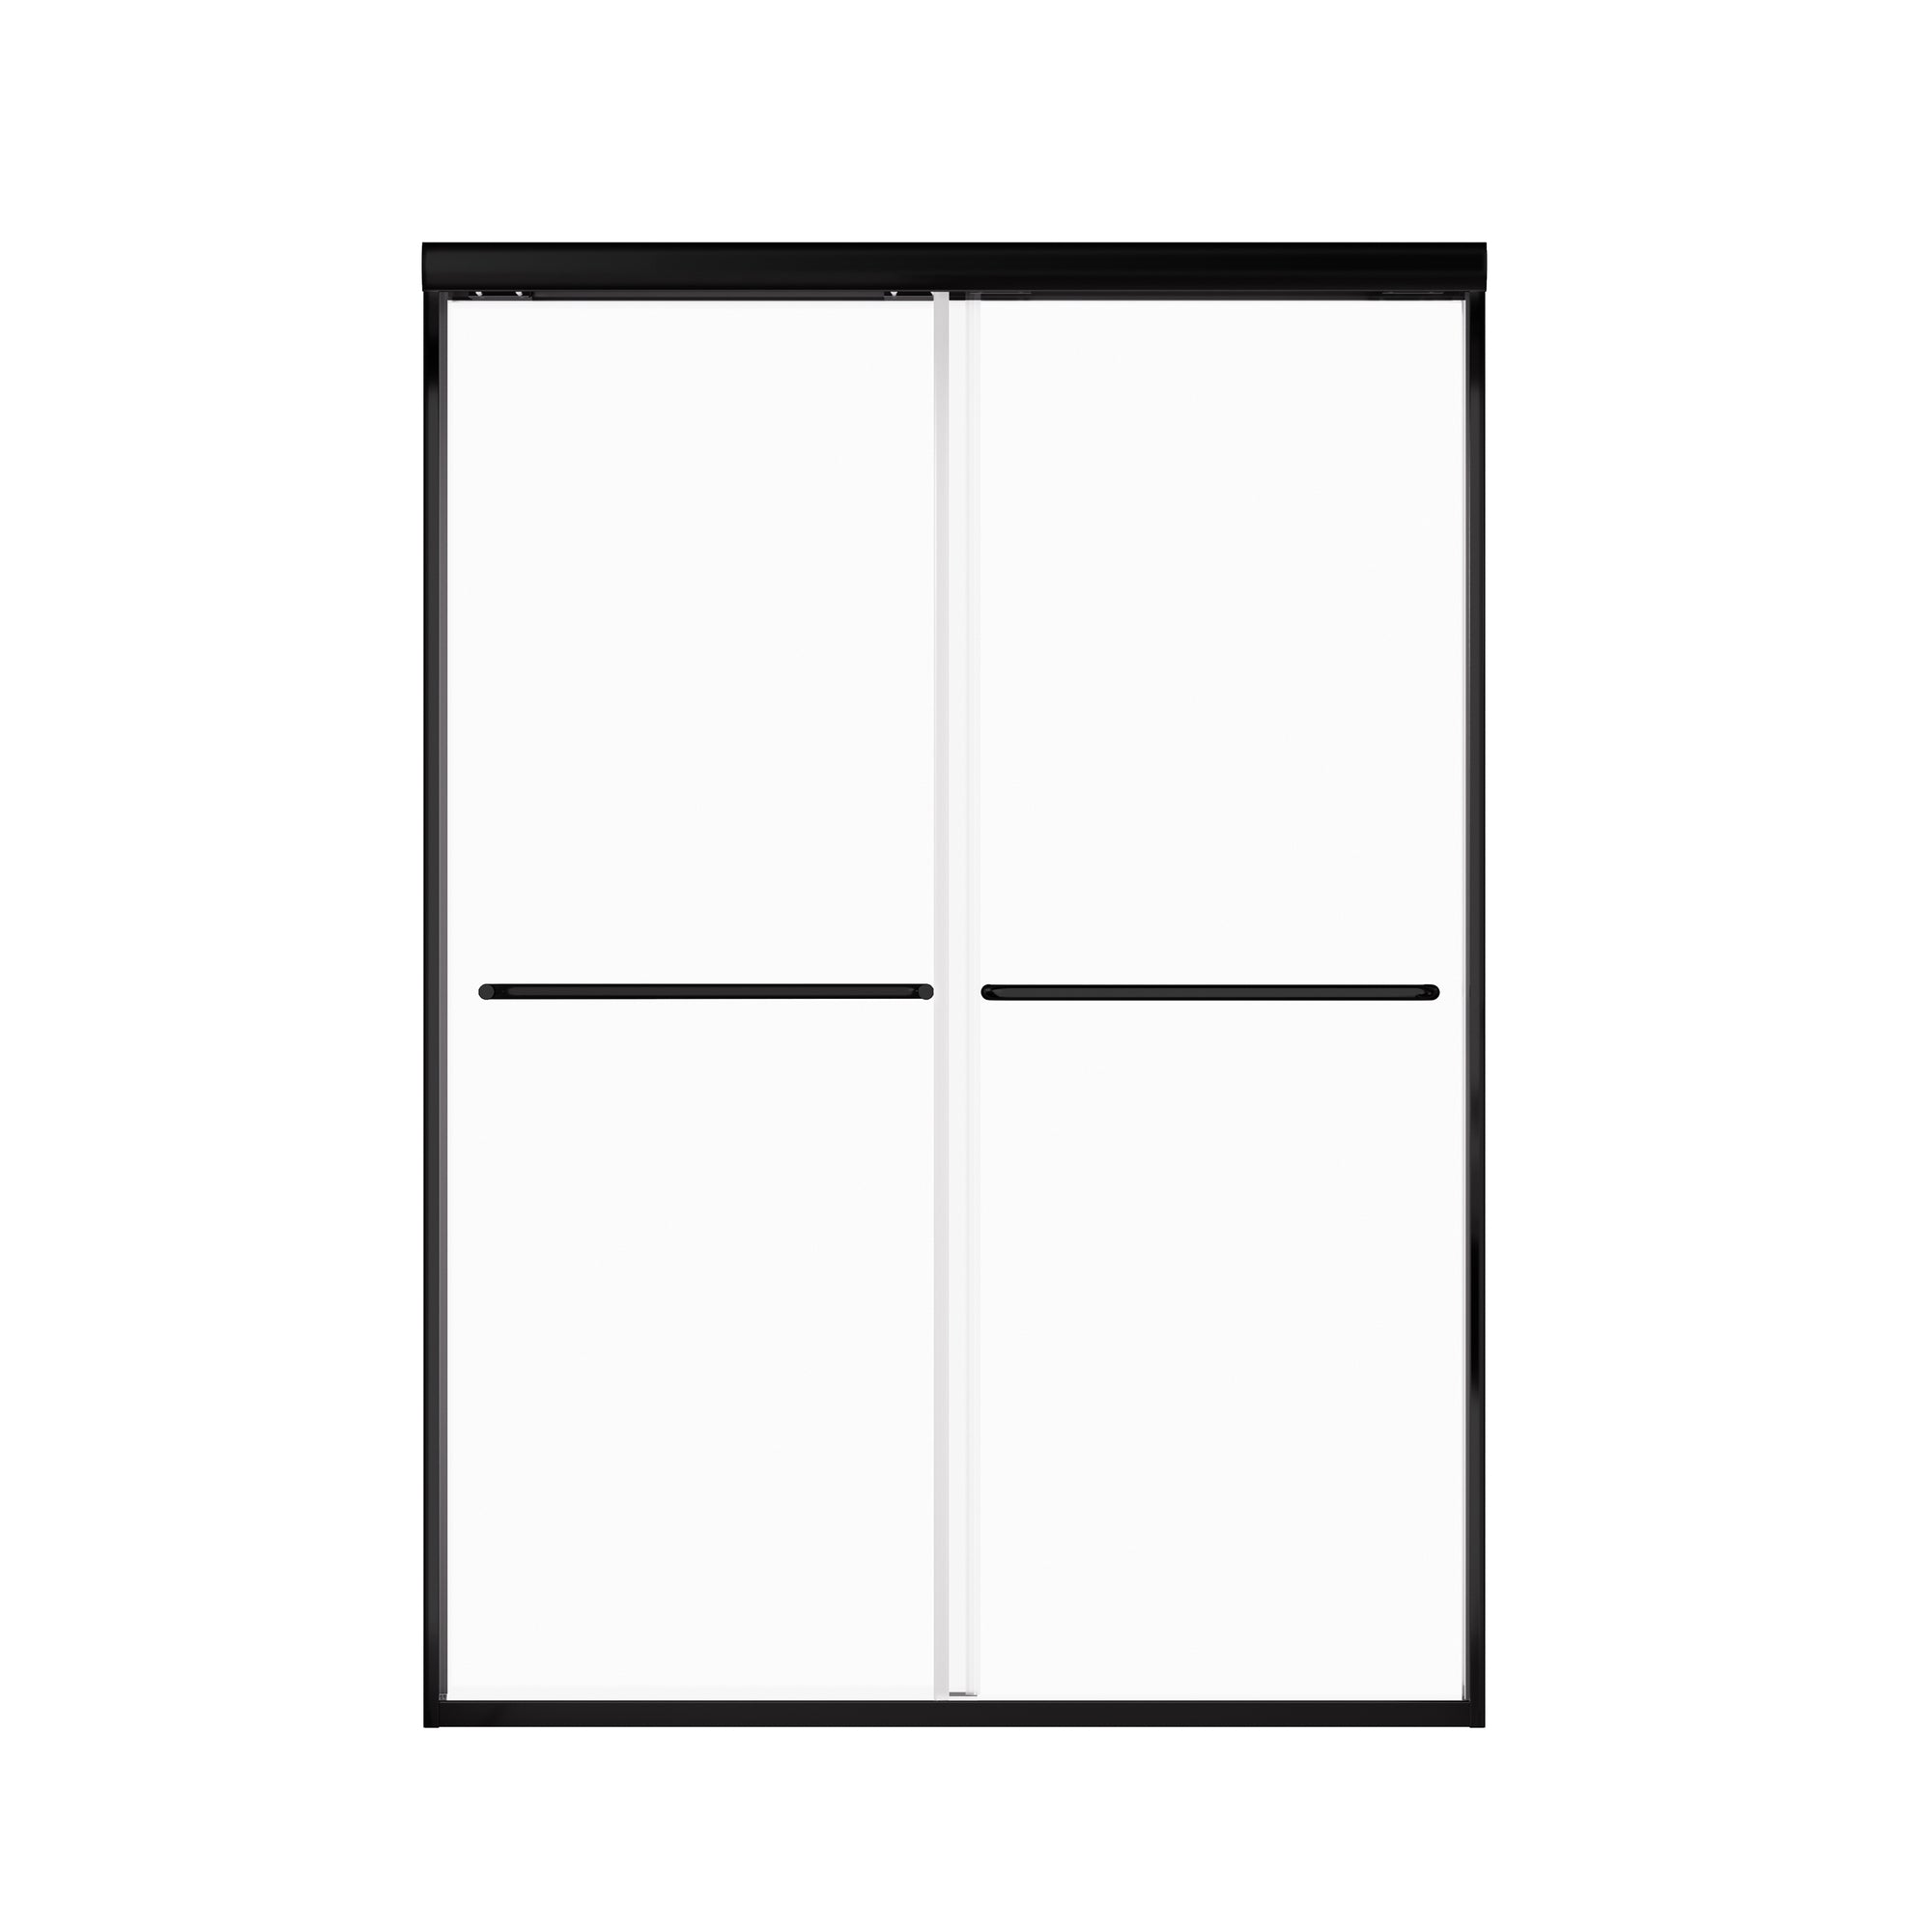
1. What You Get in the Box: Full Kit Breakdown
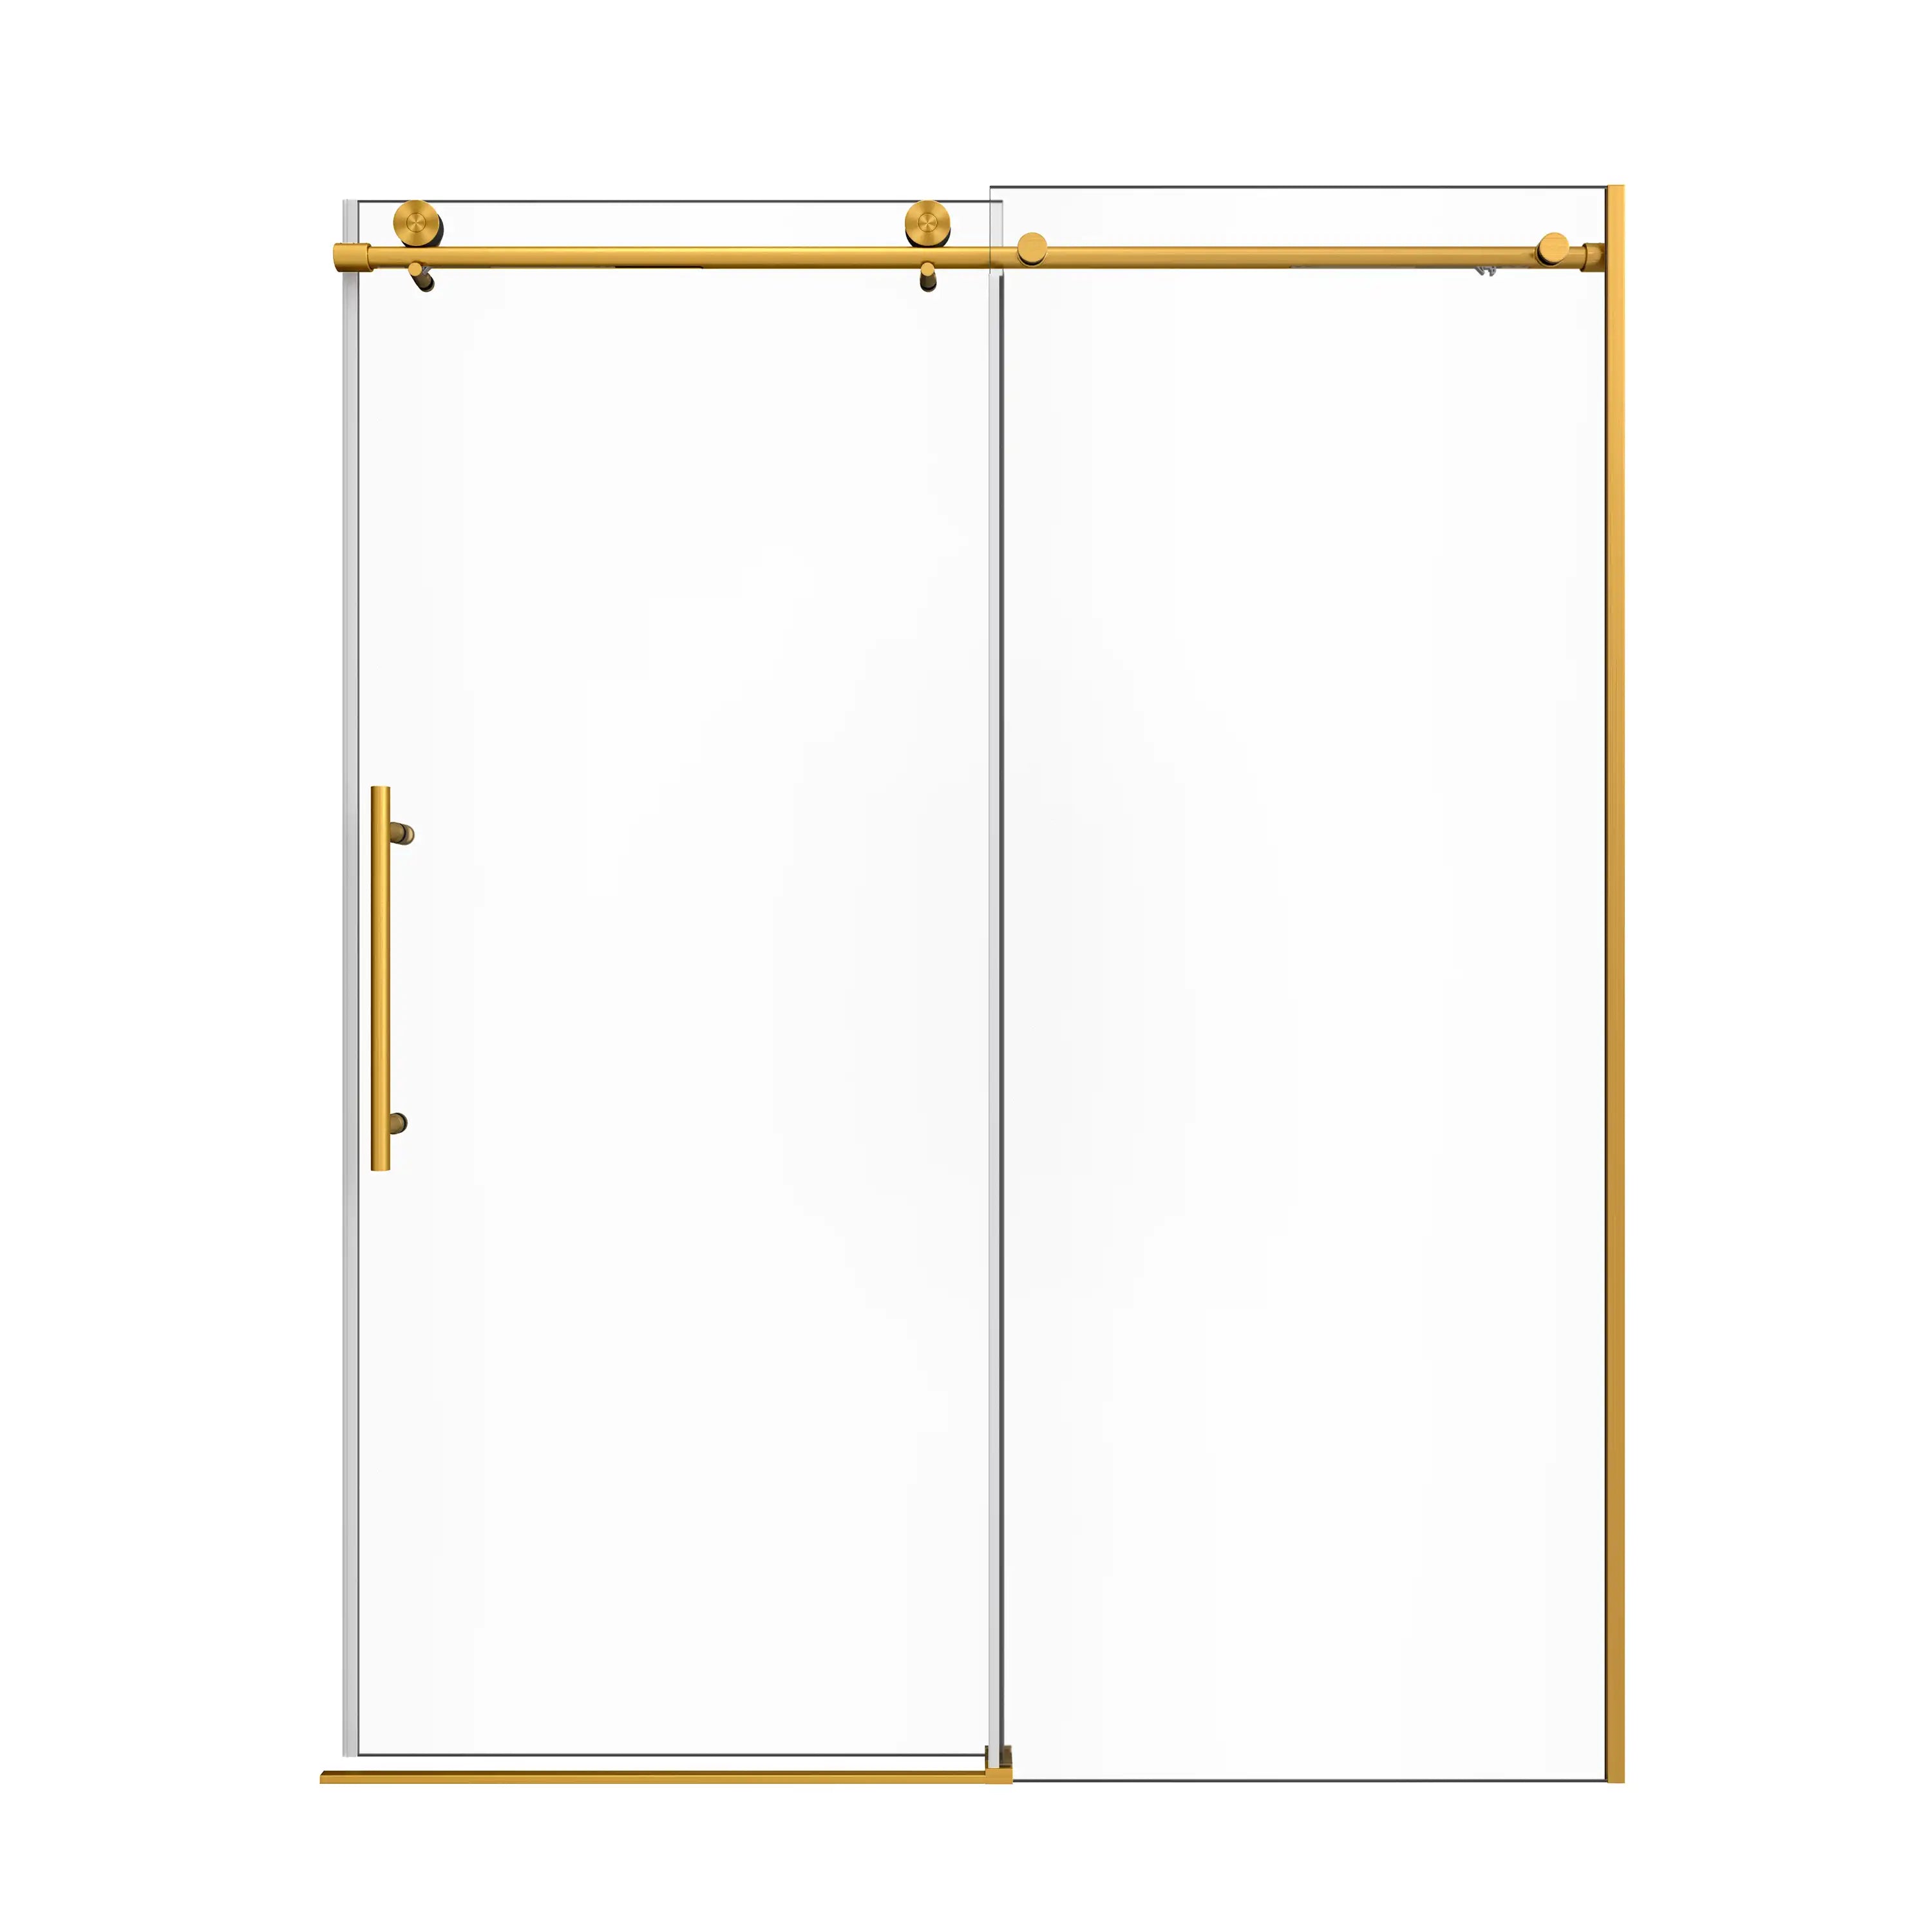
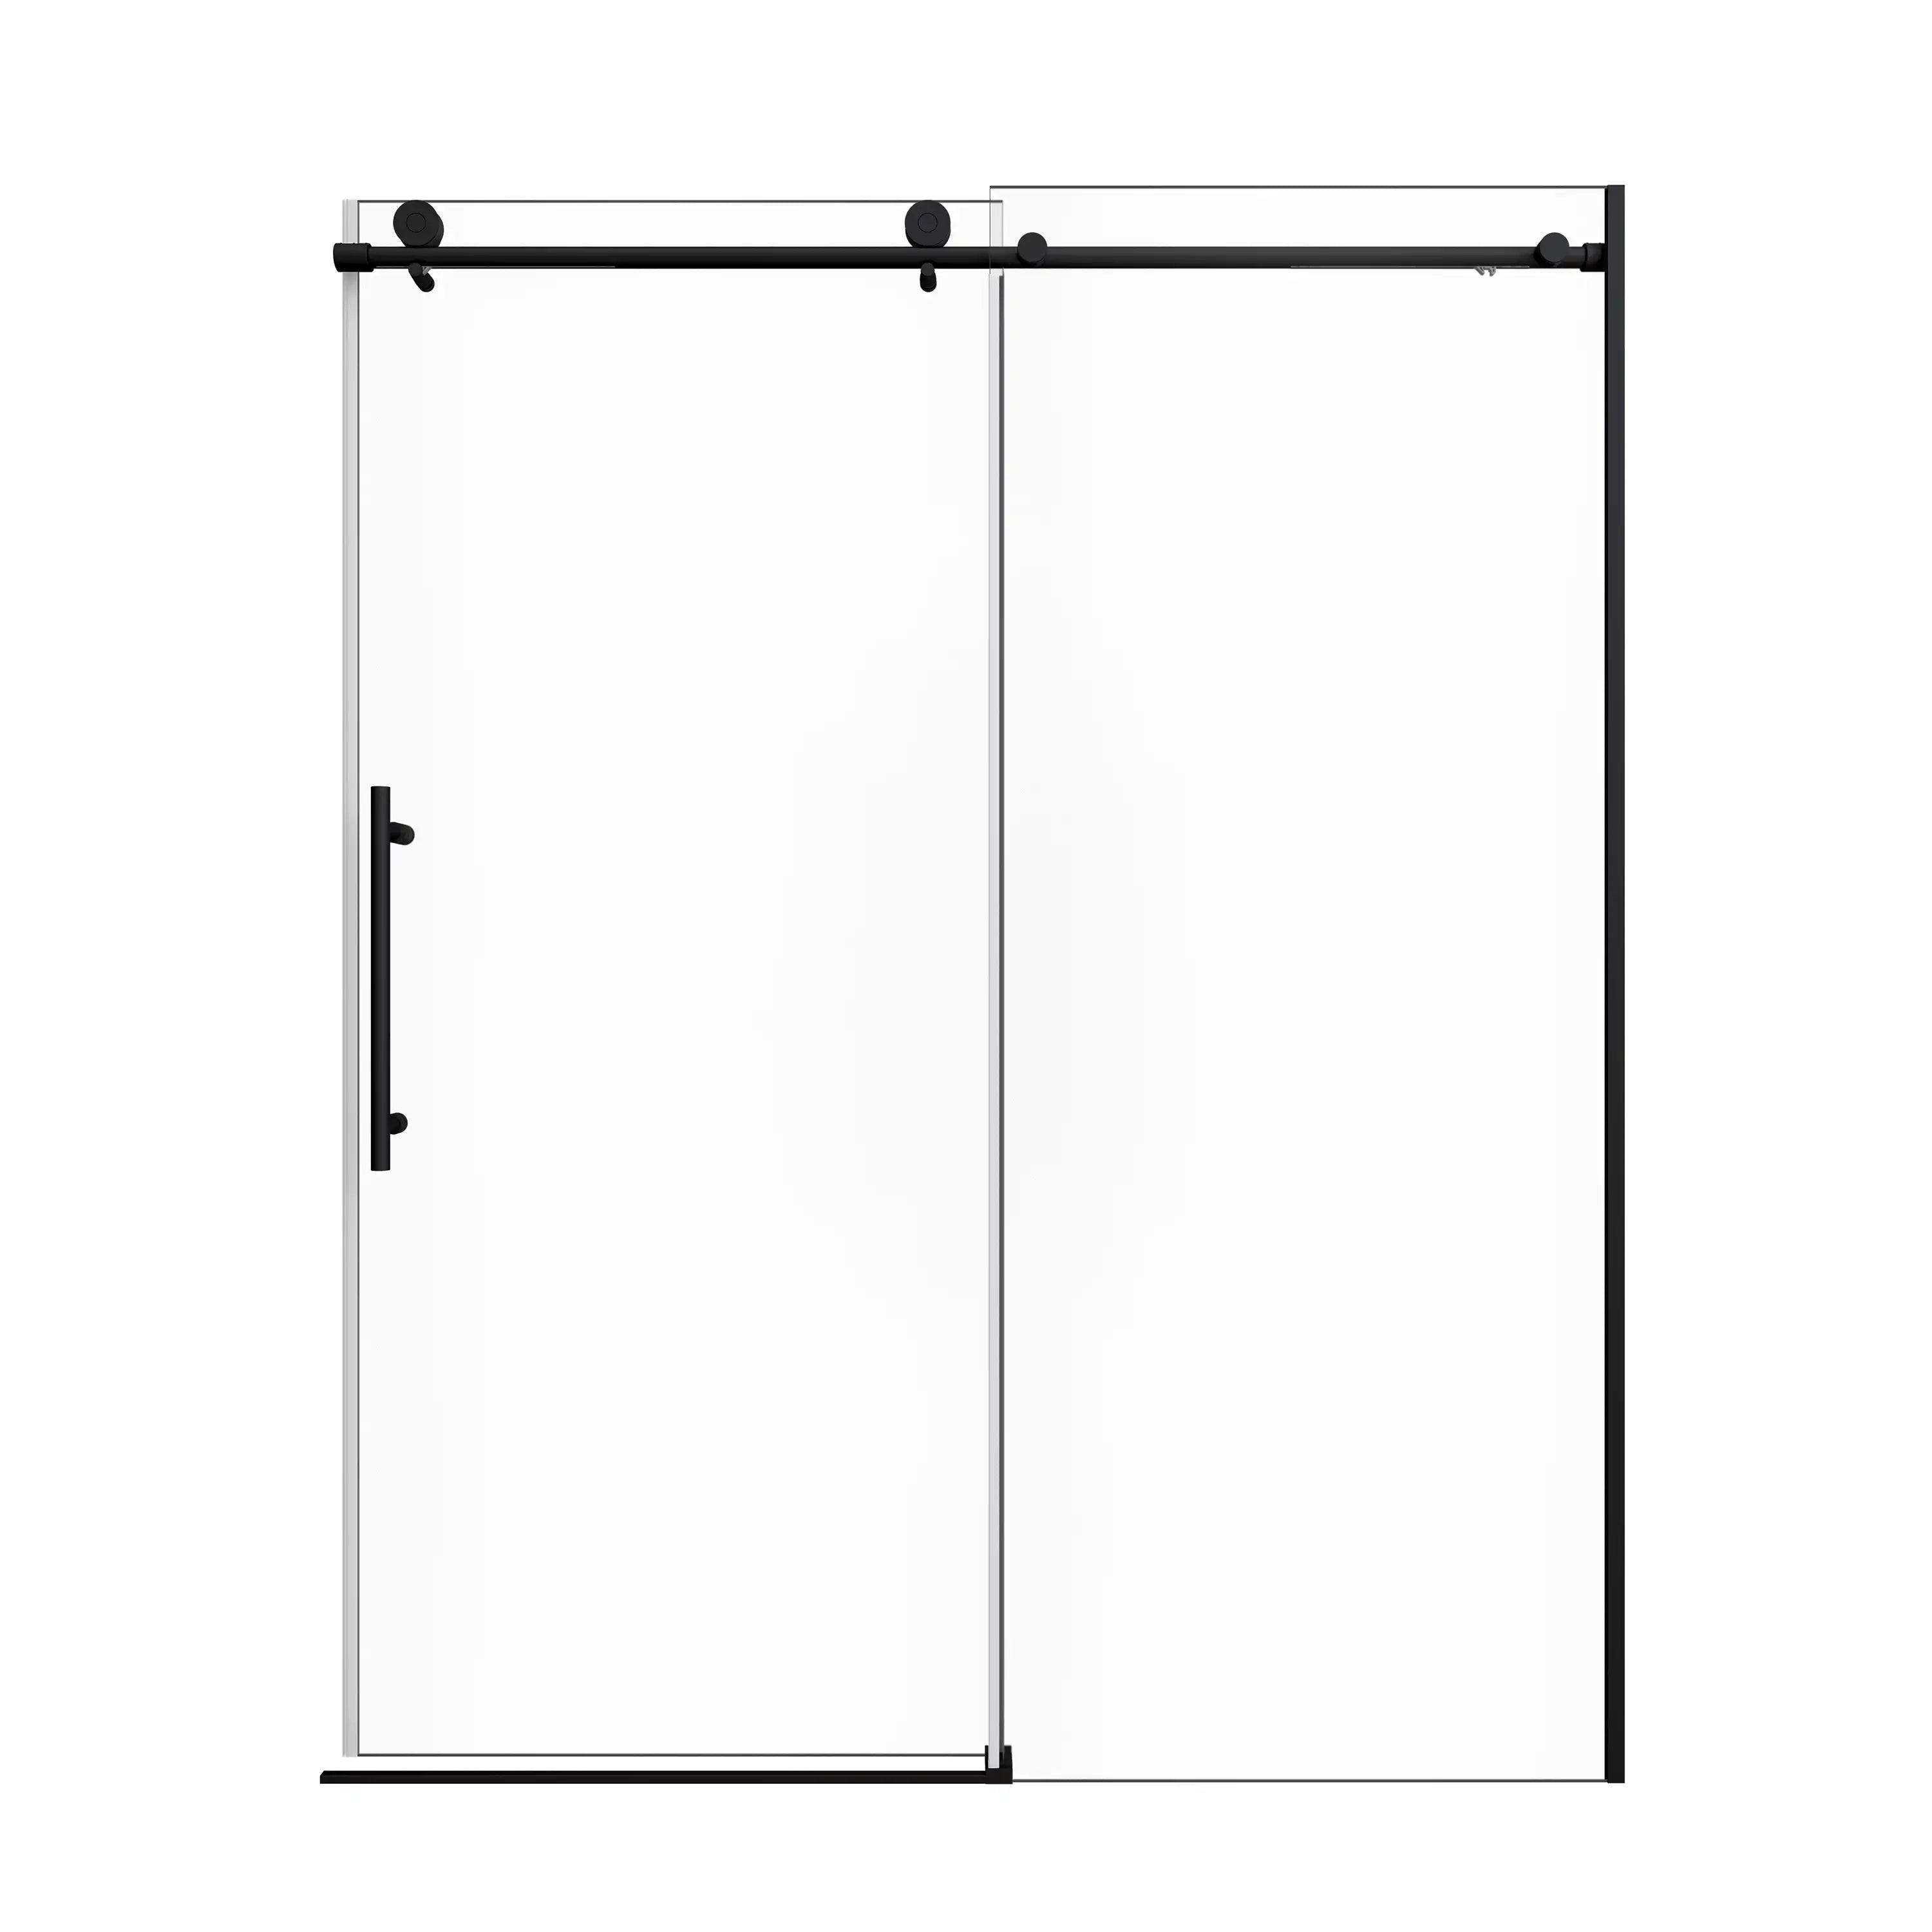
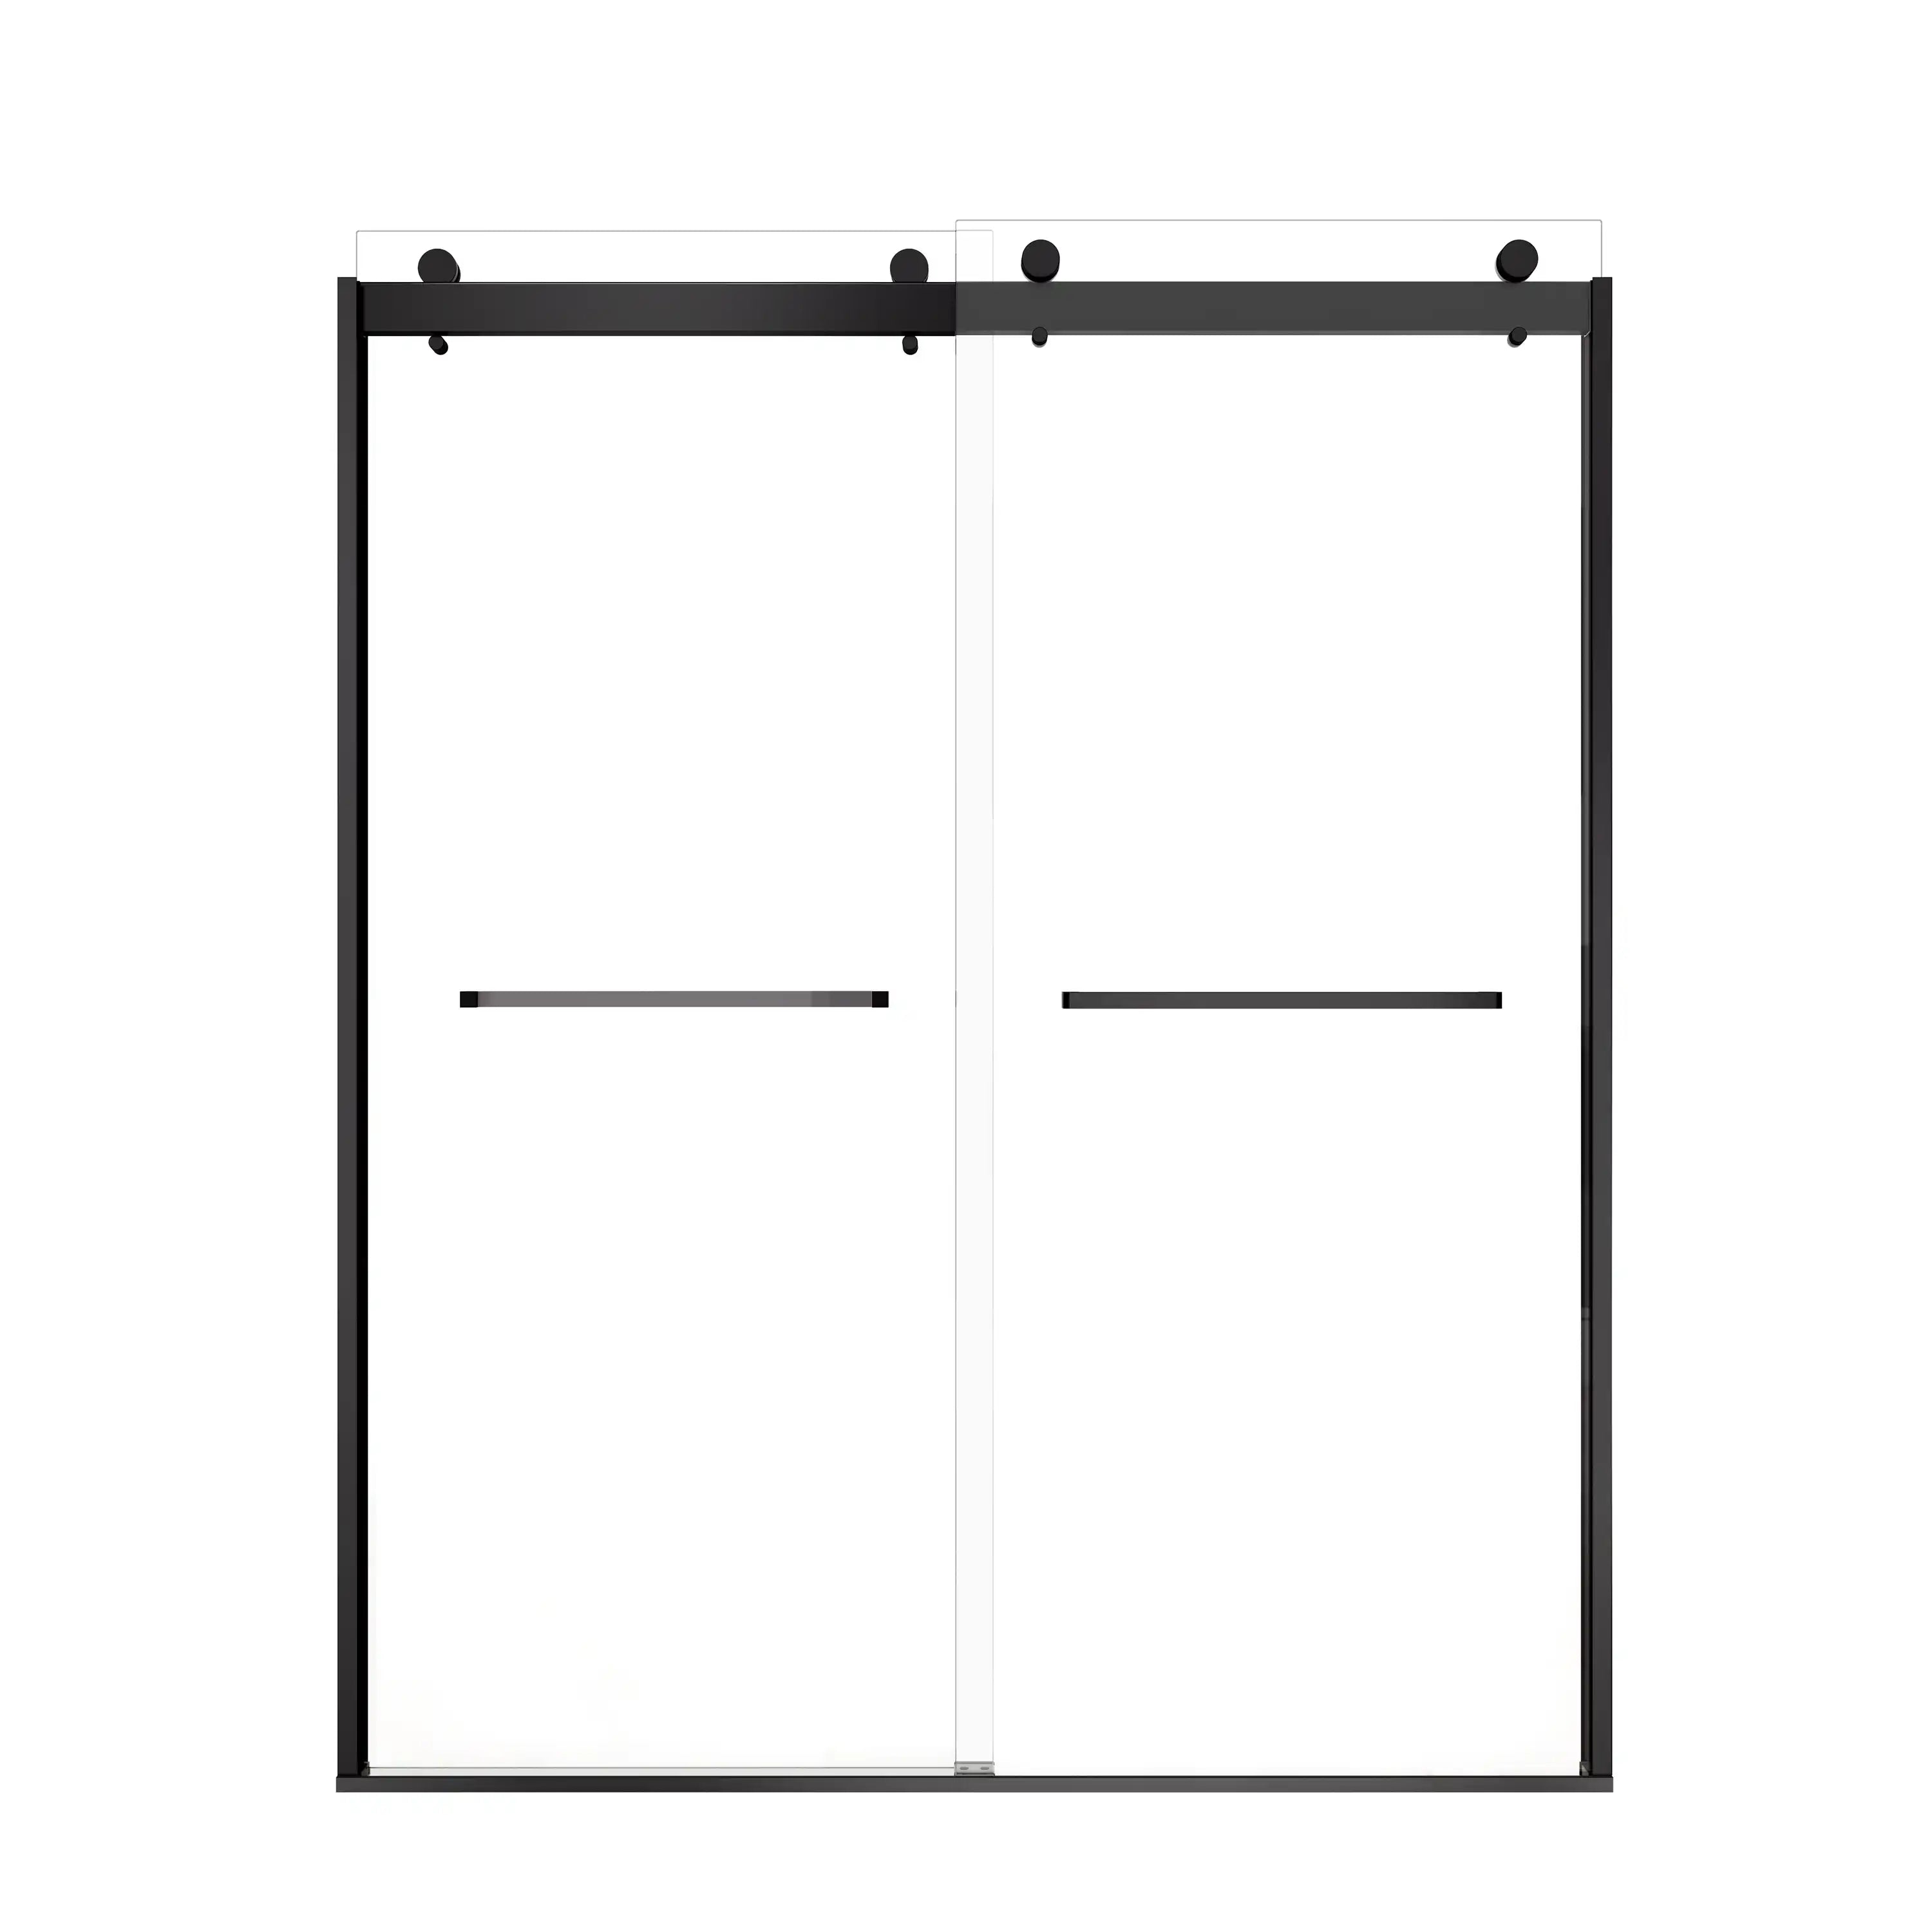
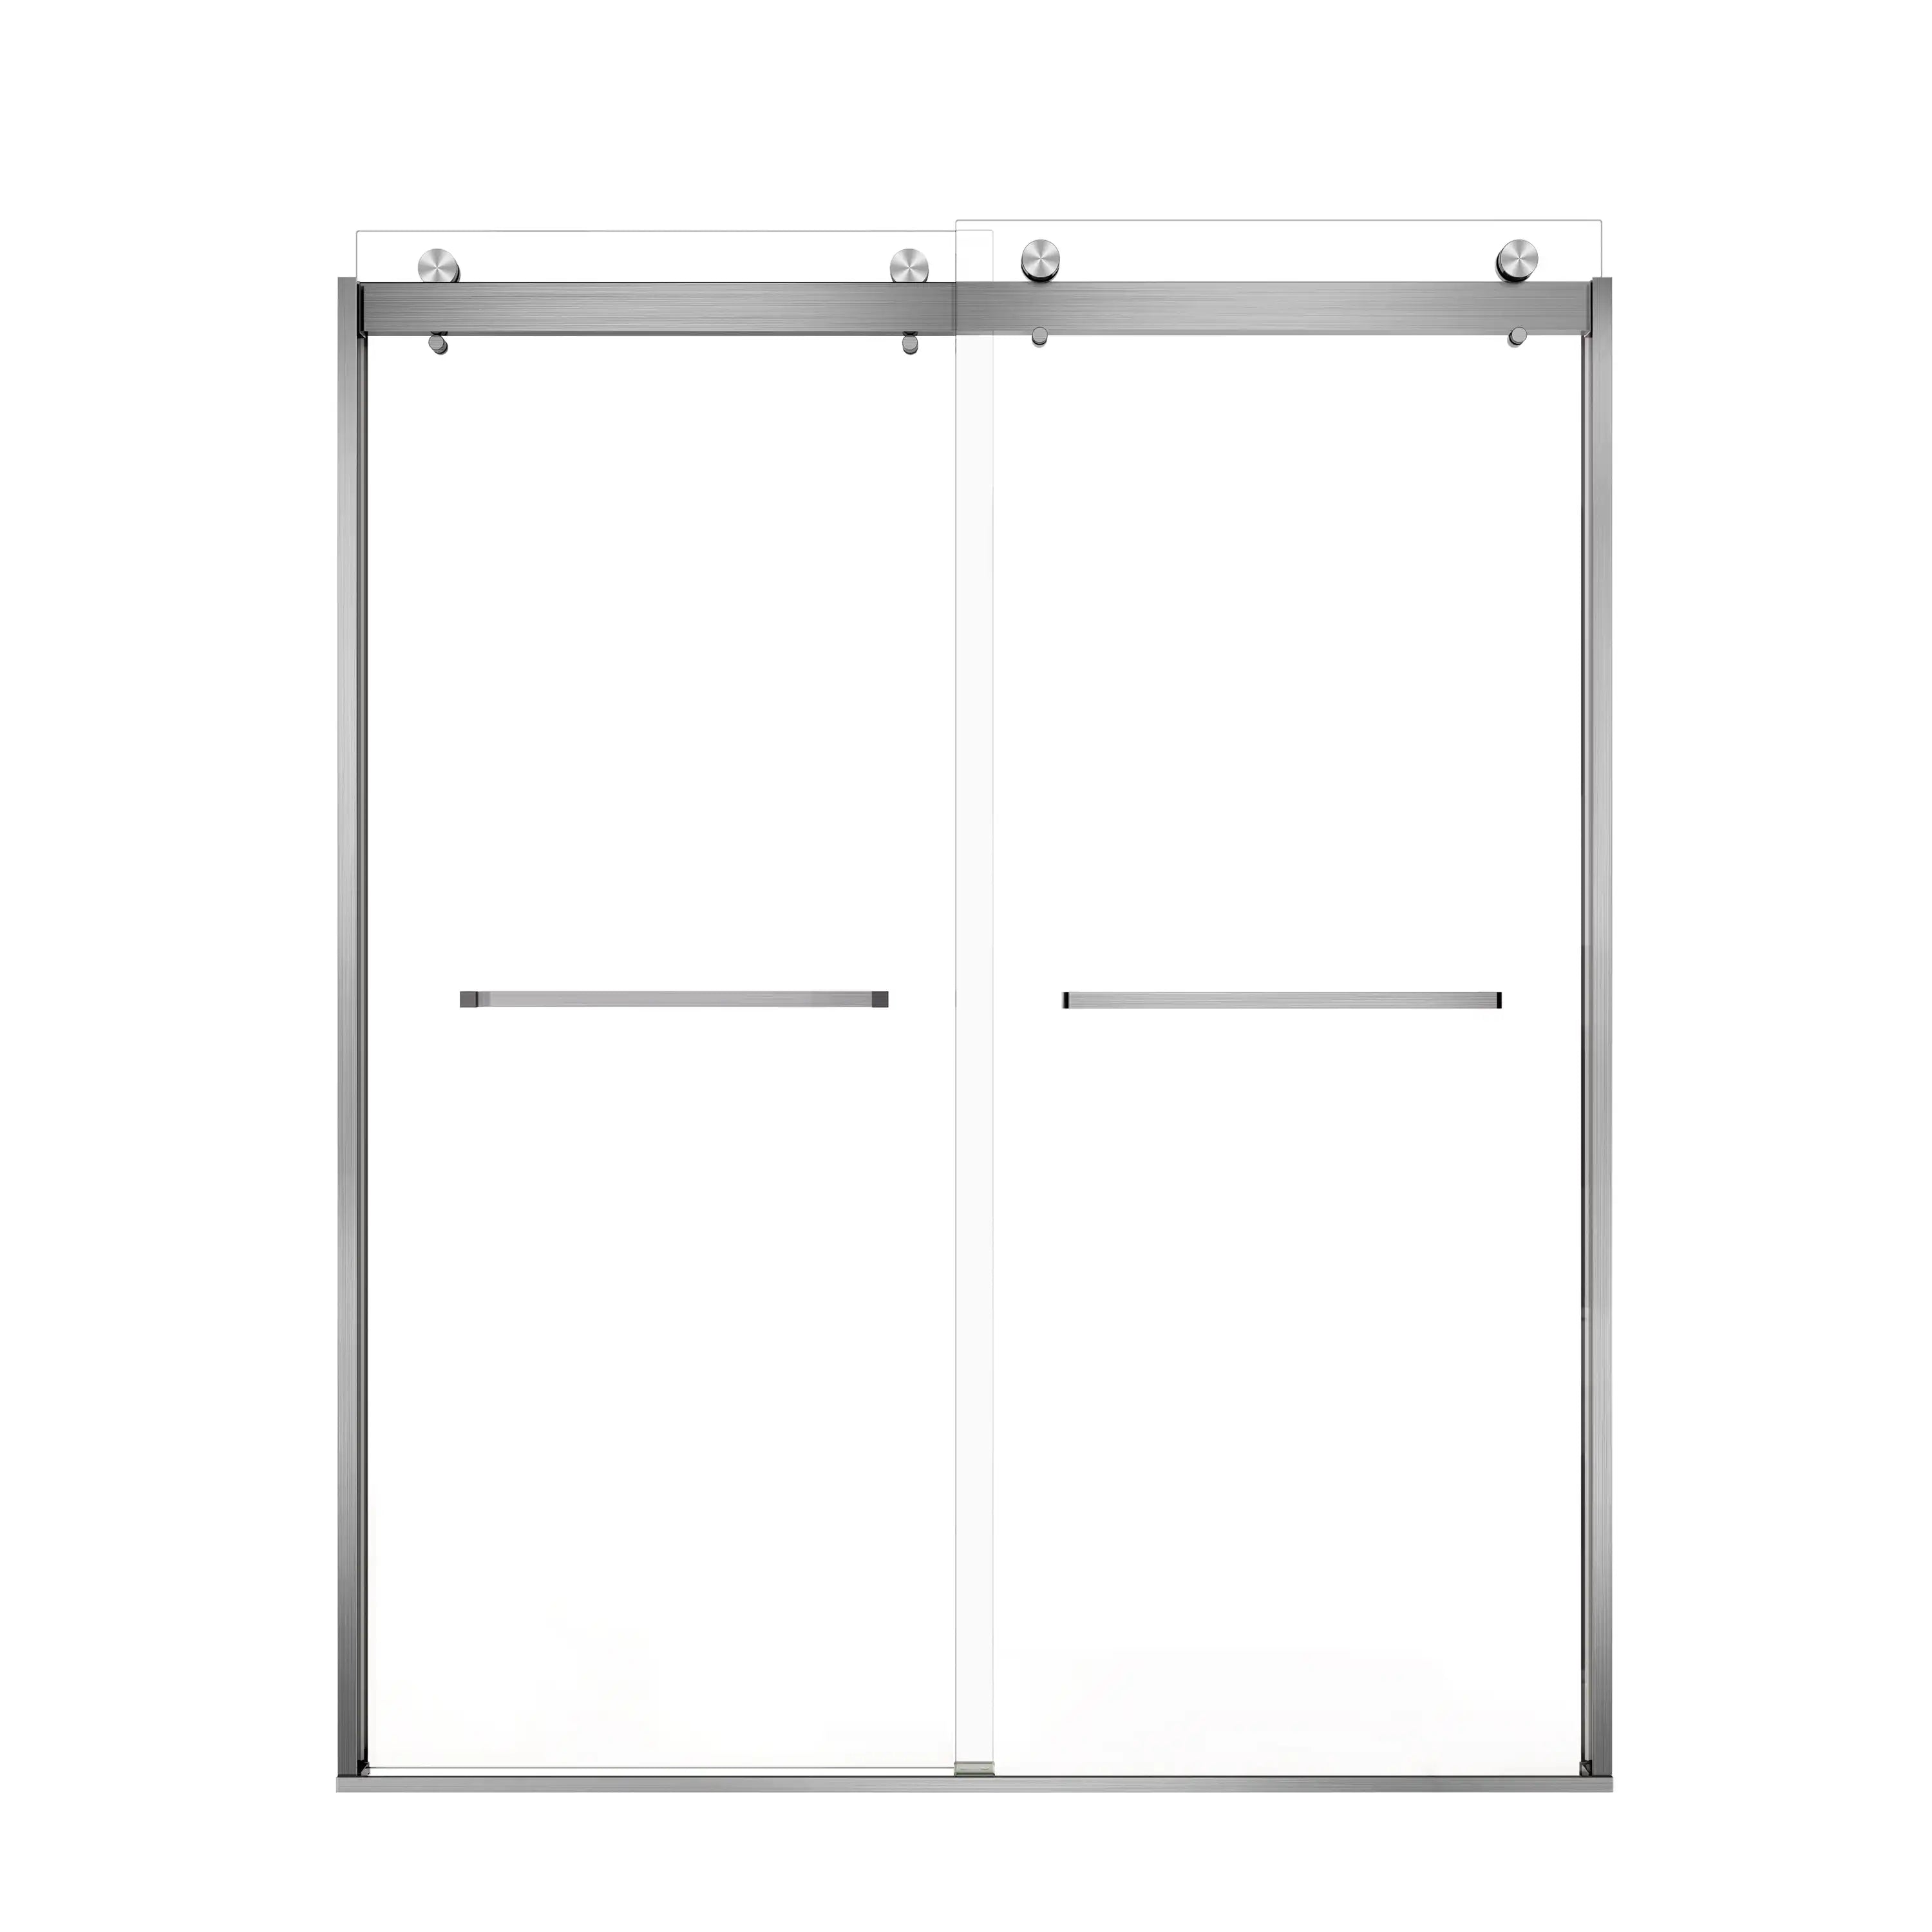
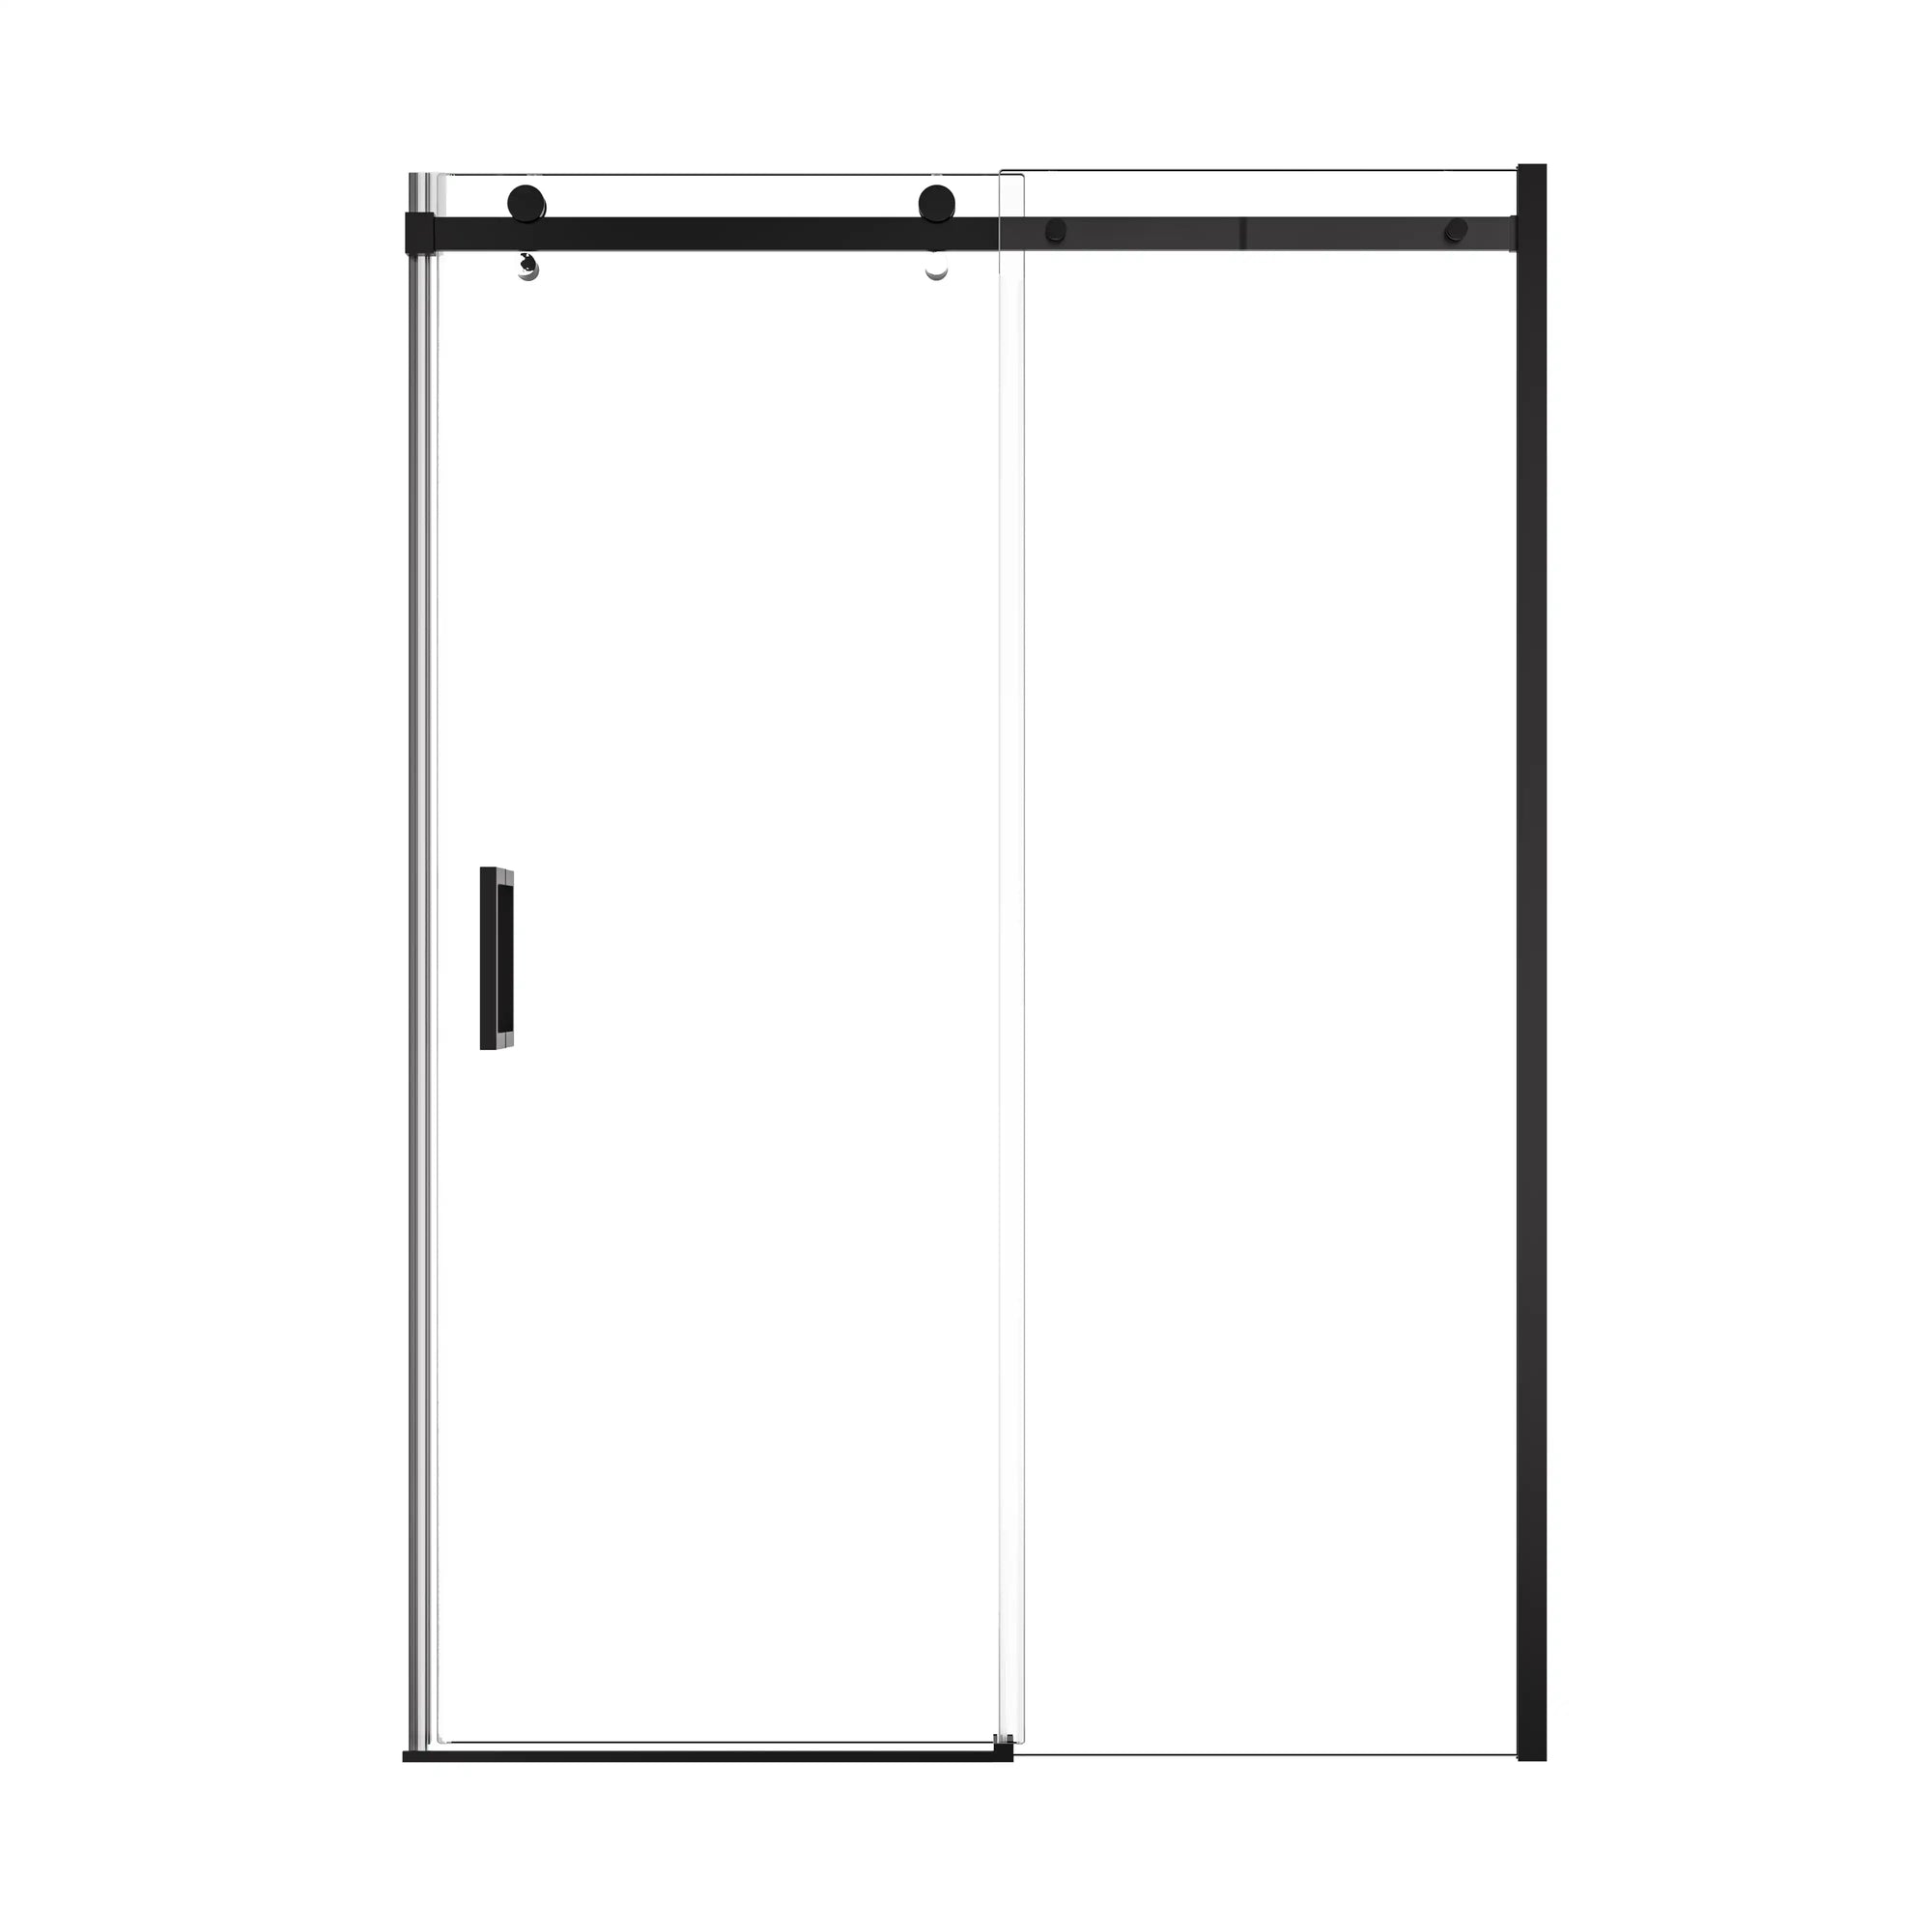
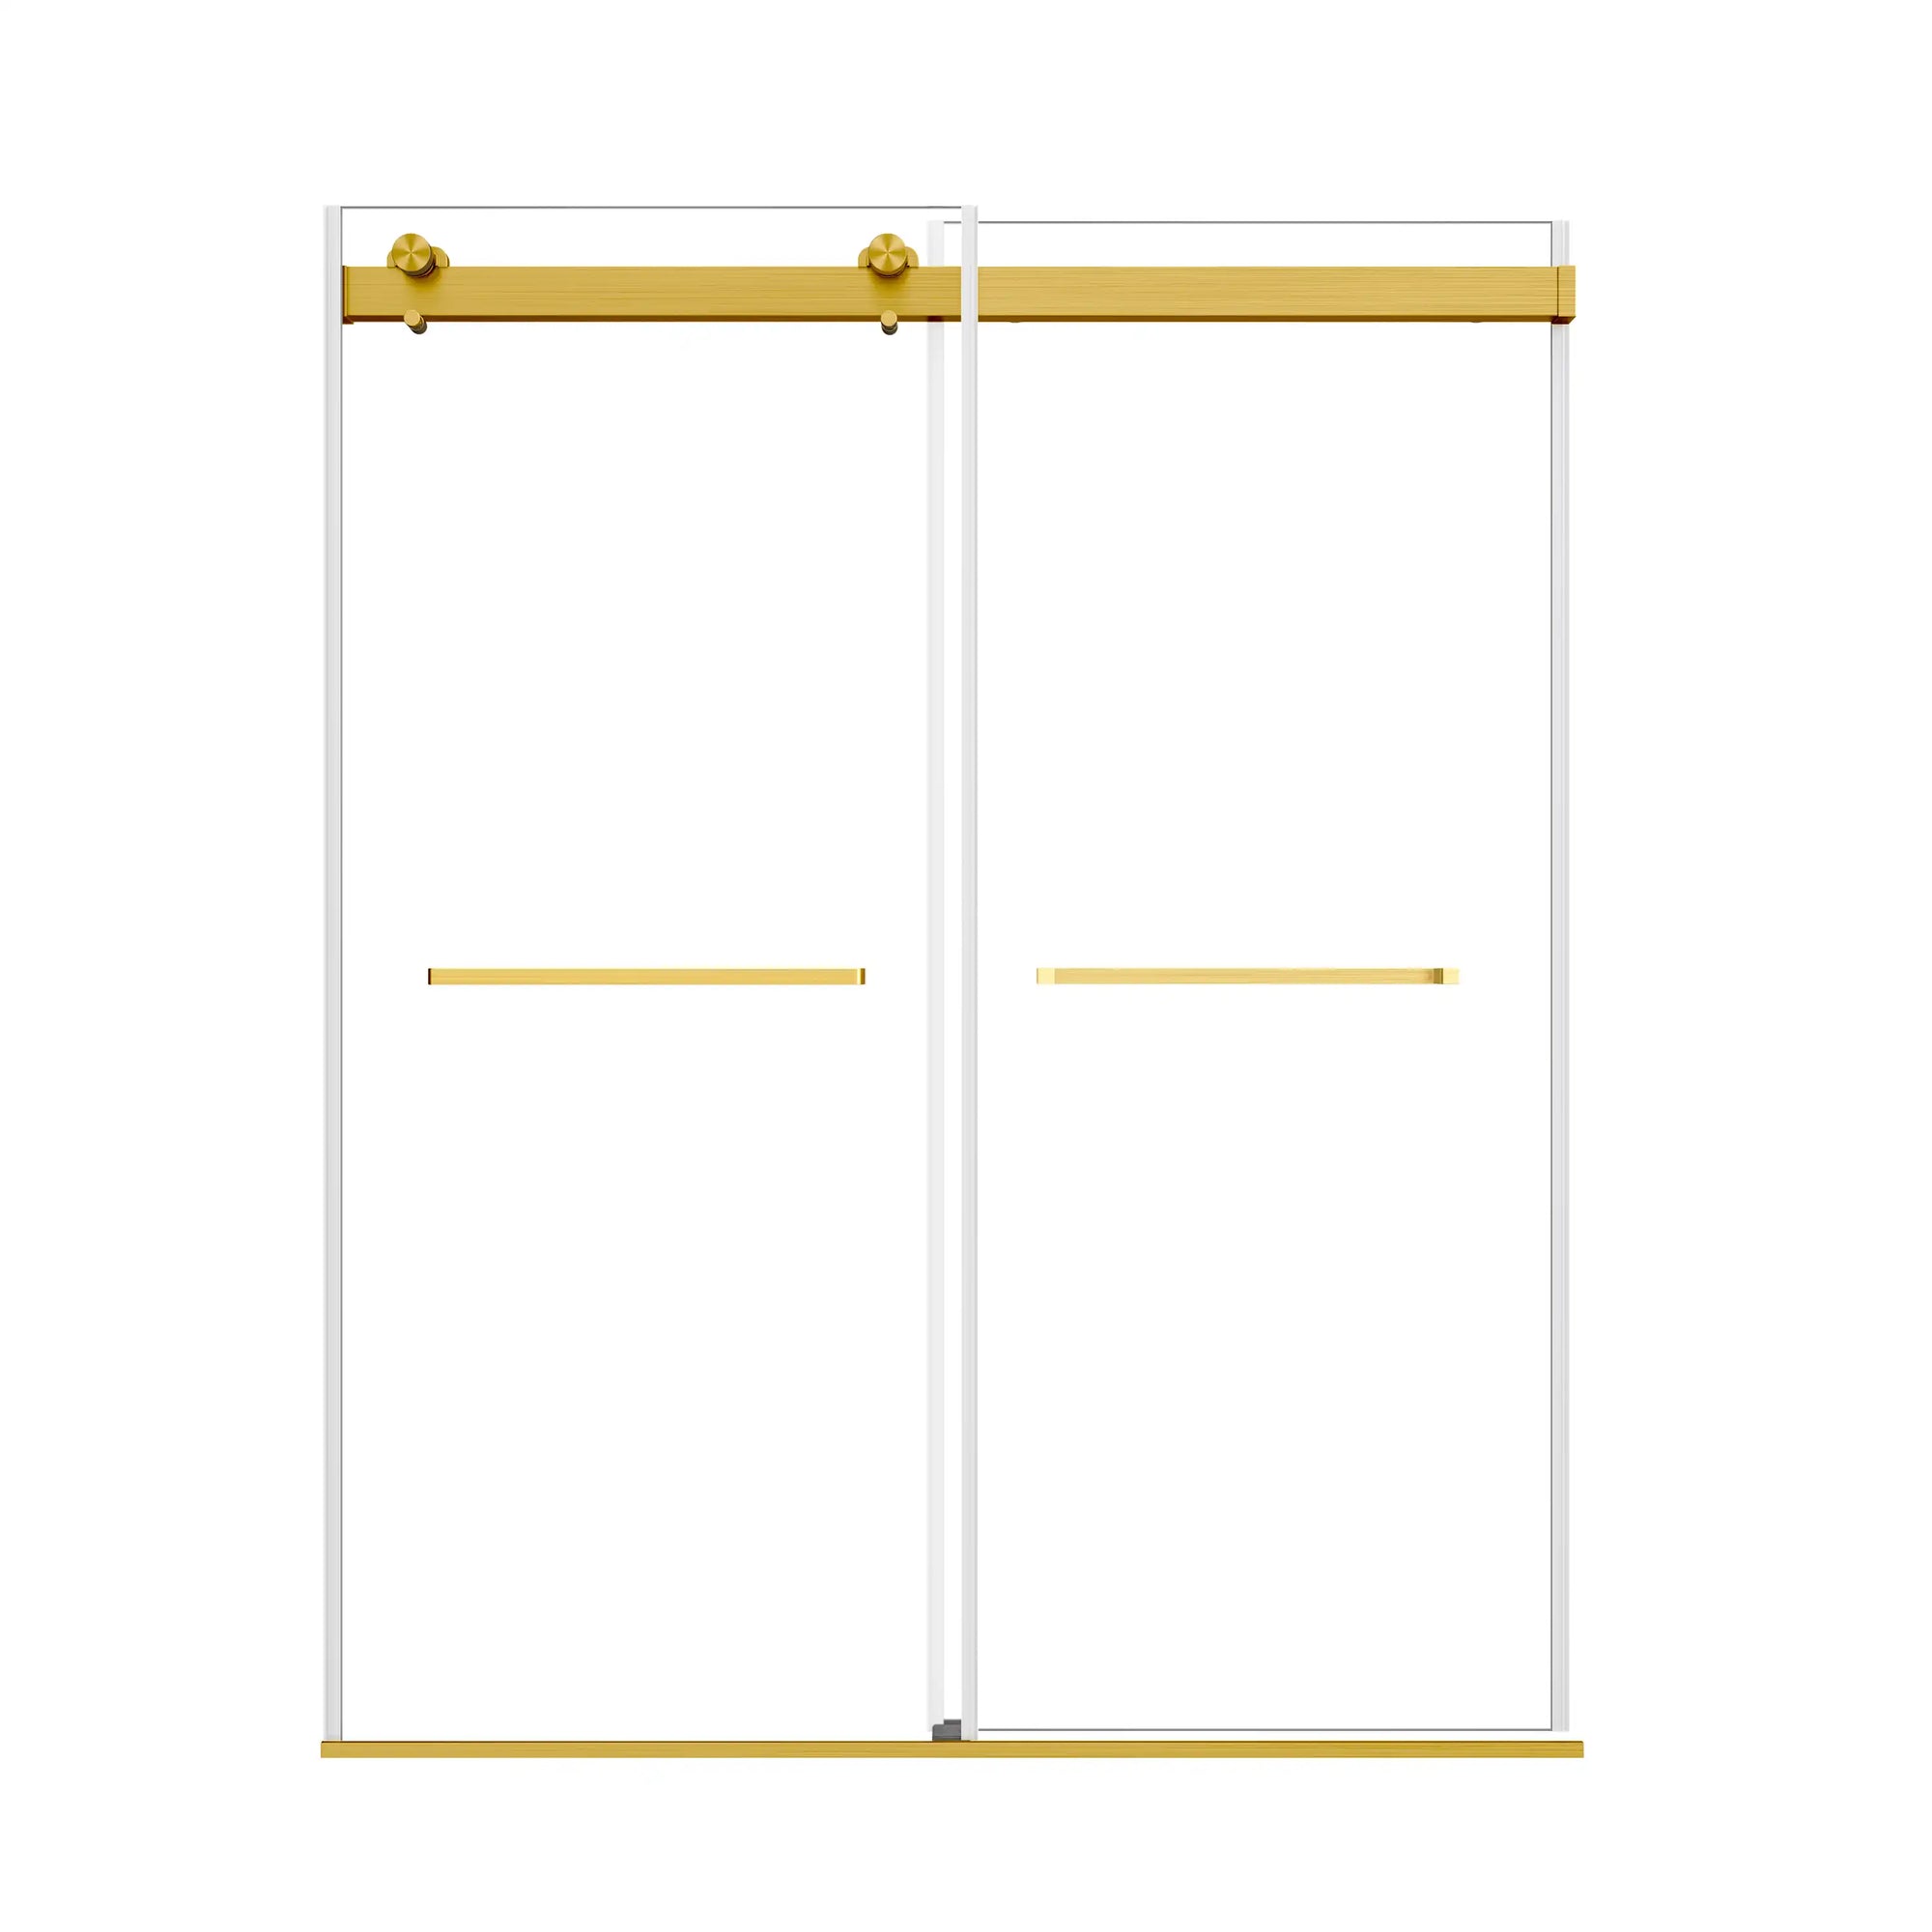
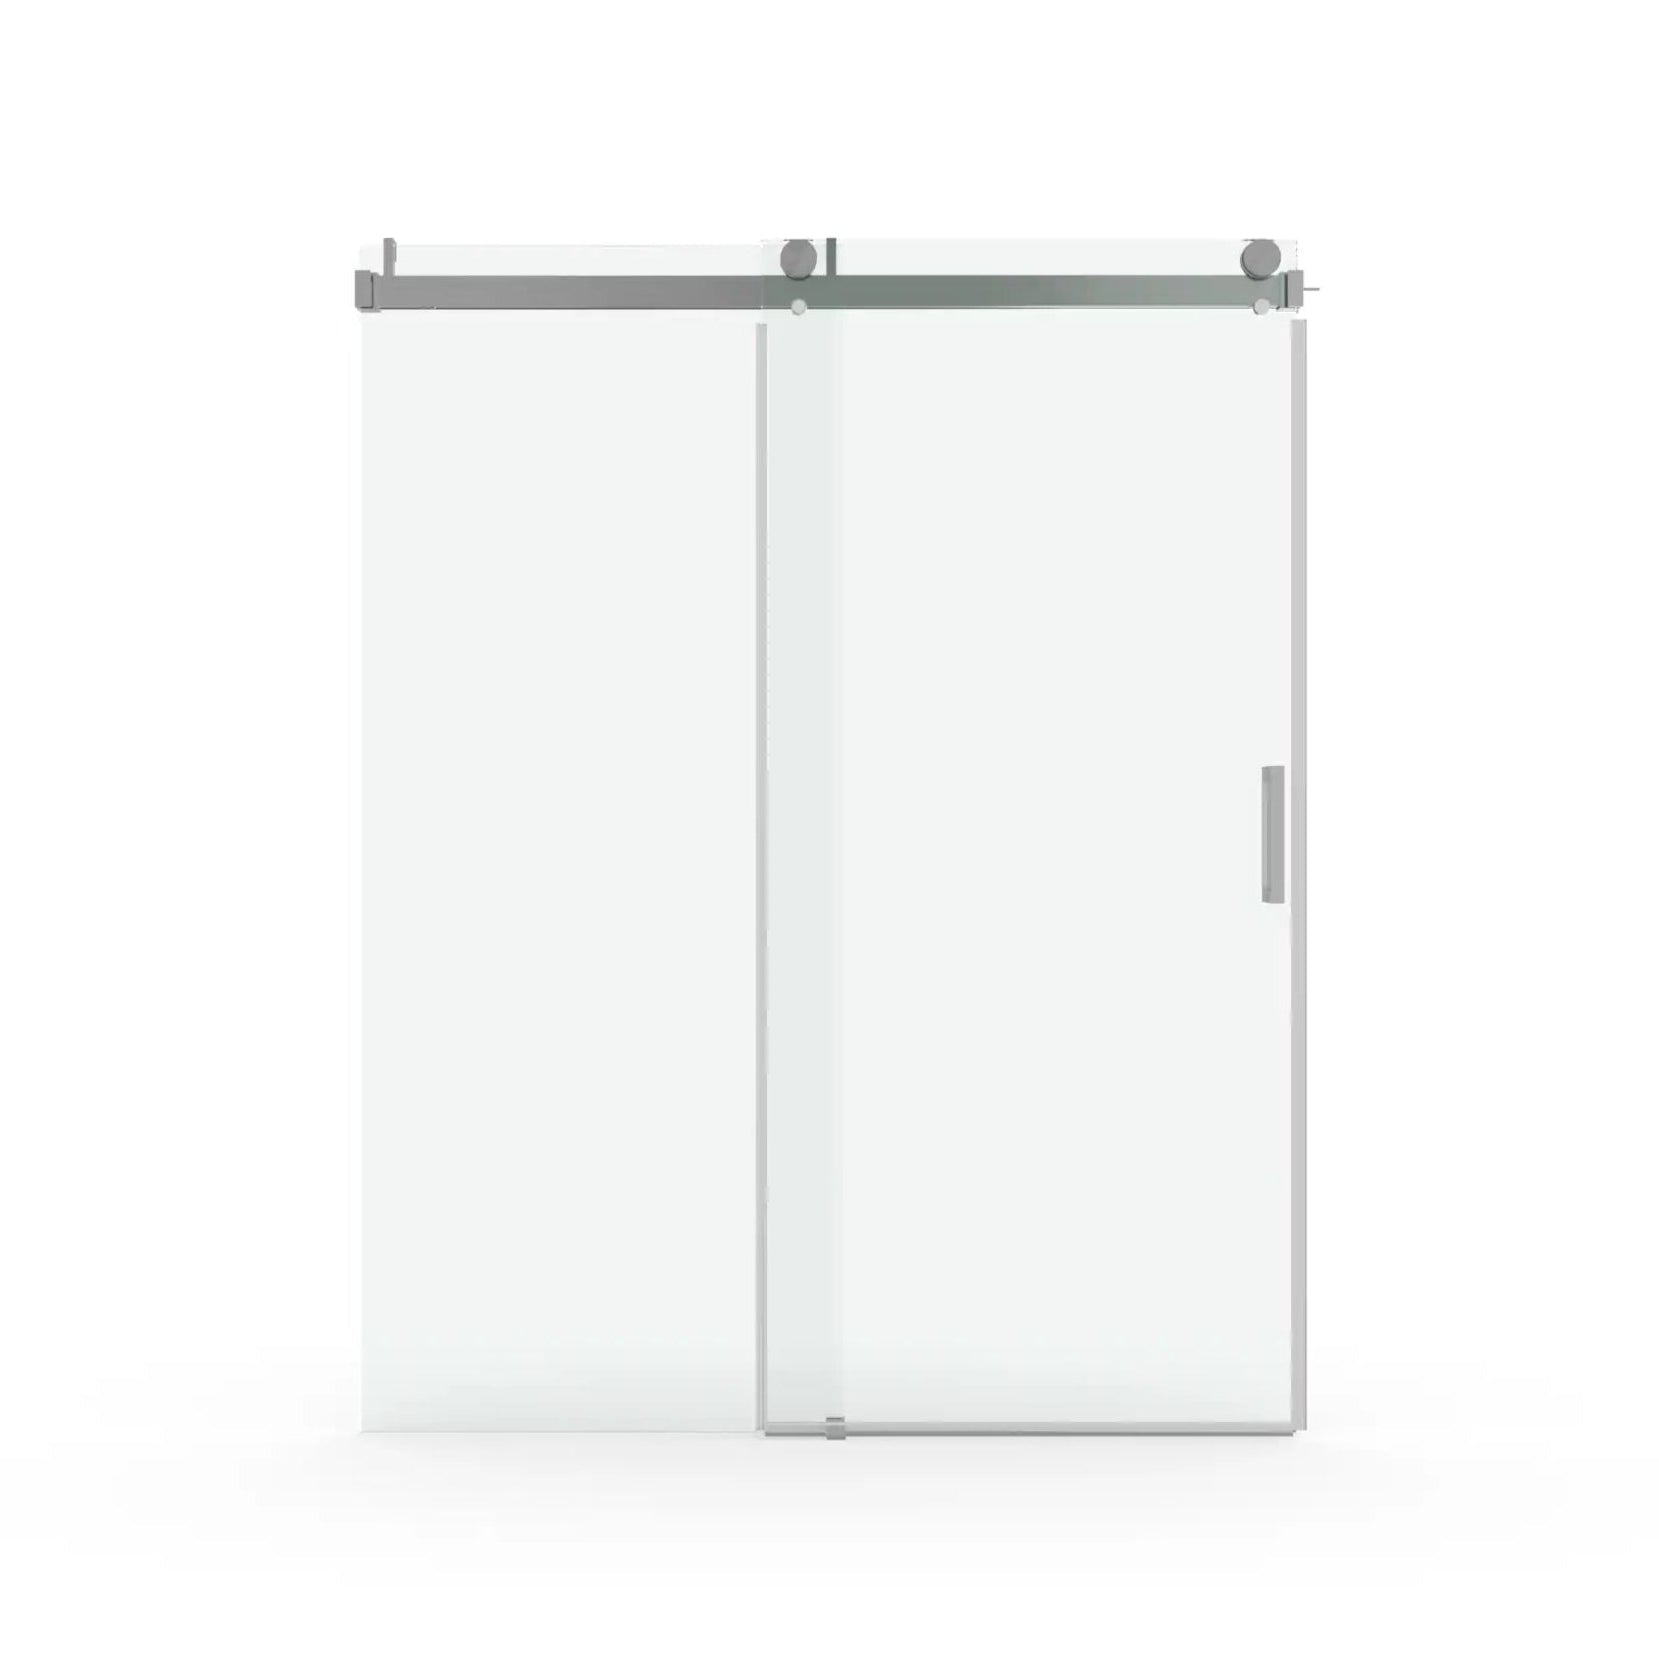
Indeed, when the 0224D arrives, it's like opening the control panel of a spaceship — a design-driven, hardcore package that oozes quality. But once you open that well-cushioned box, you're looking at a surprisingly organized and well-labeled set of parts.
Here's the complete inventory:
| Component | Description |
|---|---|
| 2x Tempered Glass Panels | 8mm safety-certified, factory-polished, with pre-drilled holes |
| Aluminum Top Rail | Reinforced, thick-wall aluminum for added rigidity and longevity |
| Bottom Guide Rail | Durable and low-profile to maintain smooth tracking |
| Wall Profiles | Accommodate up to 10mm of wall deviation (huge DIY benefit!) |
| Roller Assembly | Pre-assembled smooth-glide bearing system |
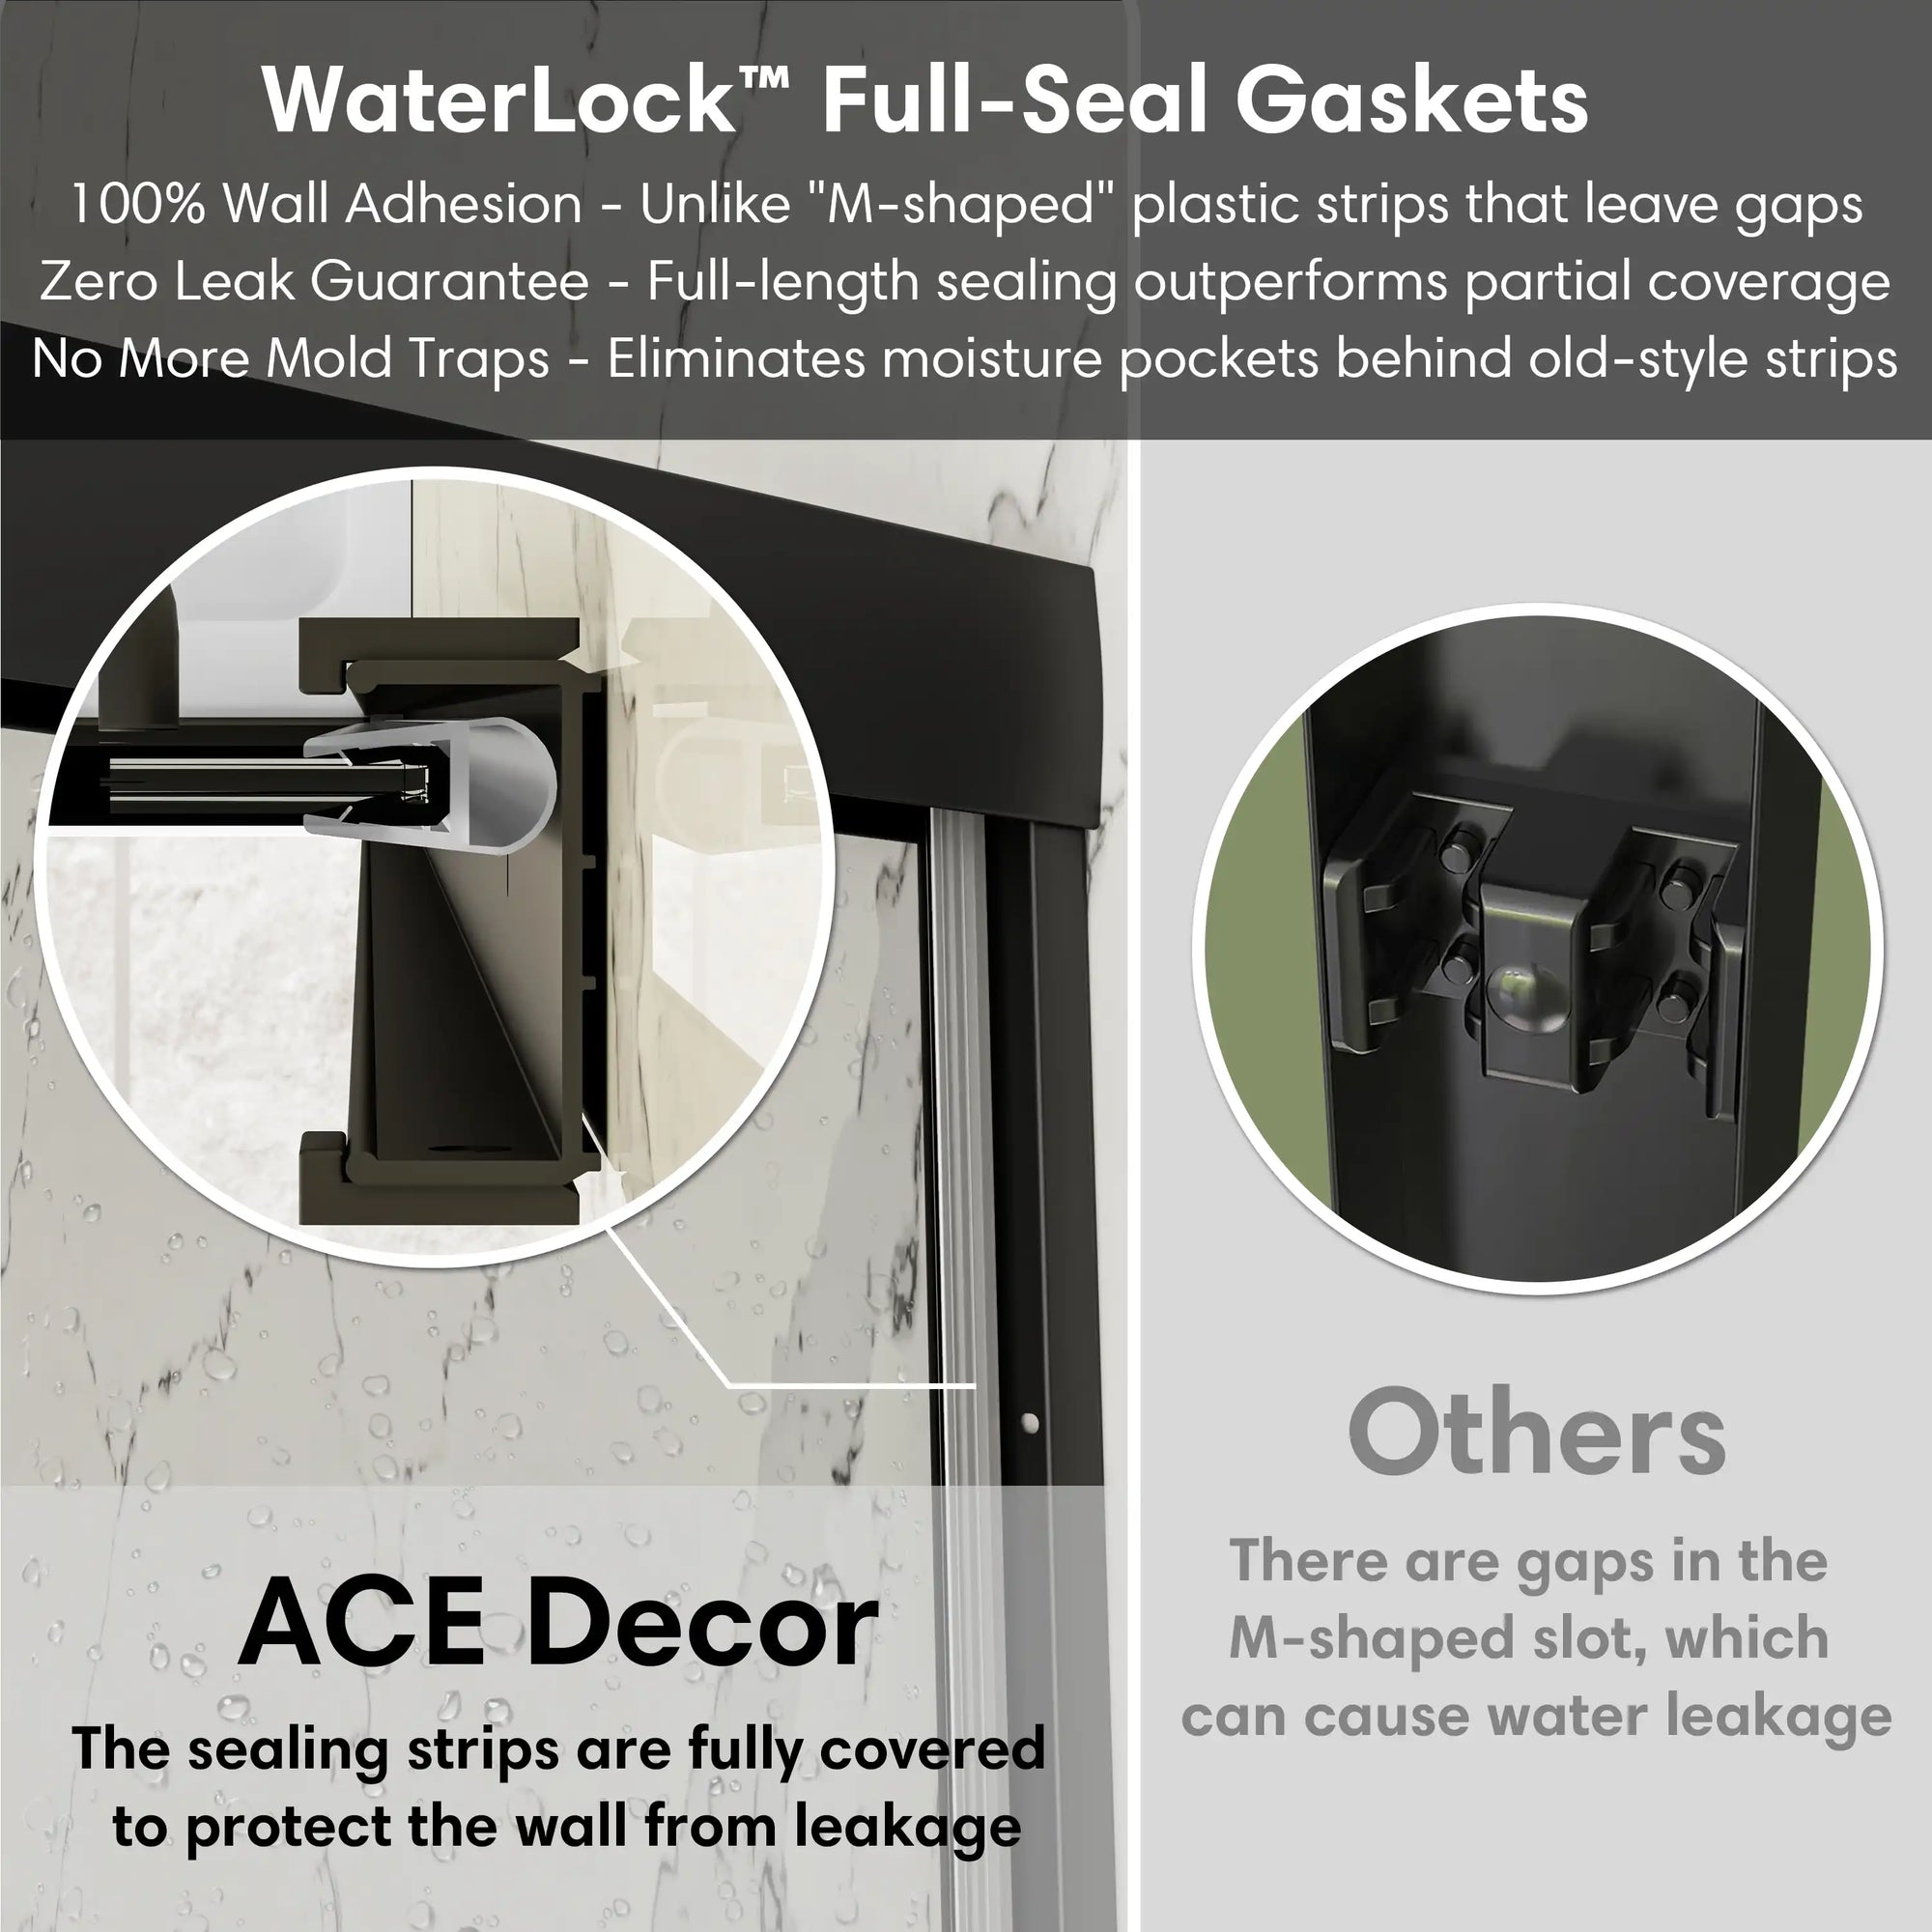
| Magnetic Seals & Gaskets | Ensure a tight, water-resistant closure |
| Handles | Elegant metal handles with included screws and decorative caps |
| Waterproof Strip | Aluminum cap for floor edge sealing |
| Screws, Anchors, Caps | Clearly labeled hardware packs for easy step matching |
| Installation & Maintenance Manual | Full-color, diagram-rich, multilingual guide with QR video links |
Everything was organized and labeled in numerical order. That made the whole setup process seem idiot-proof -and, as a first-time installer, it was.
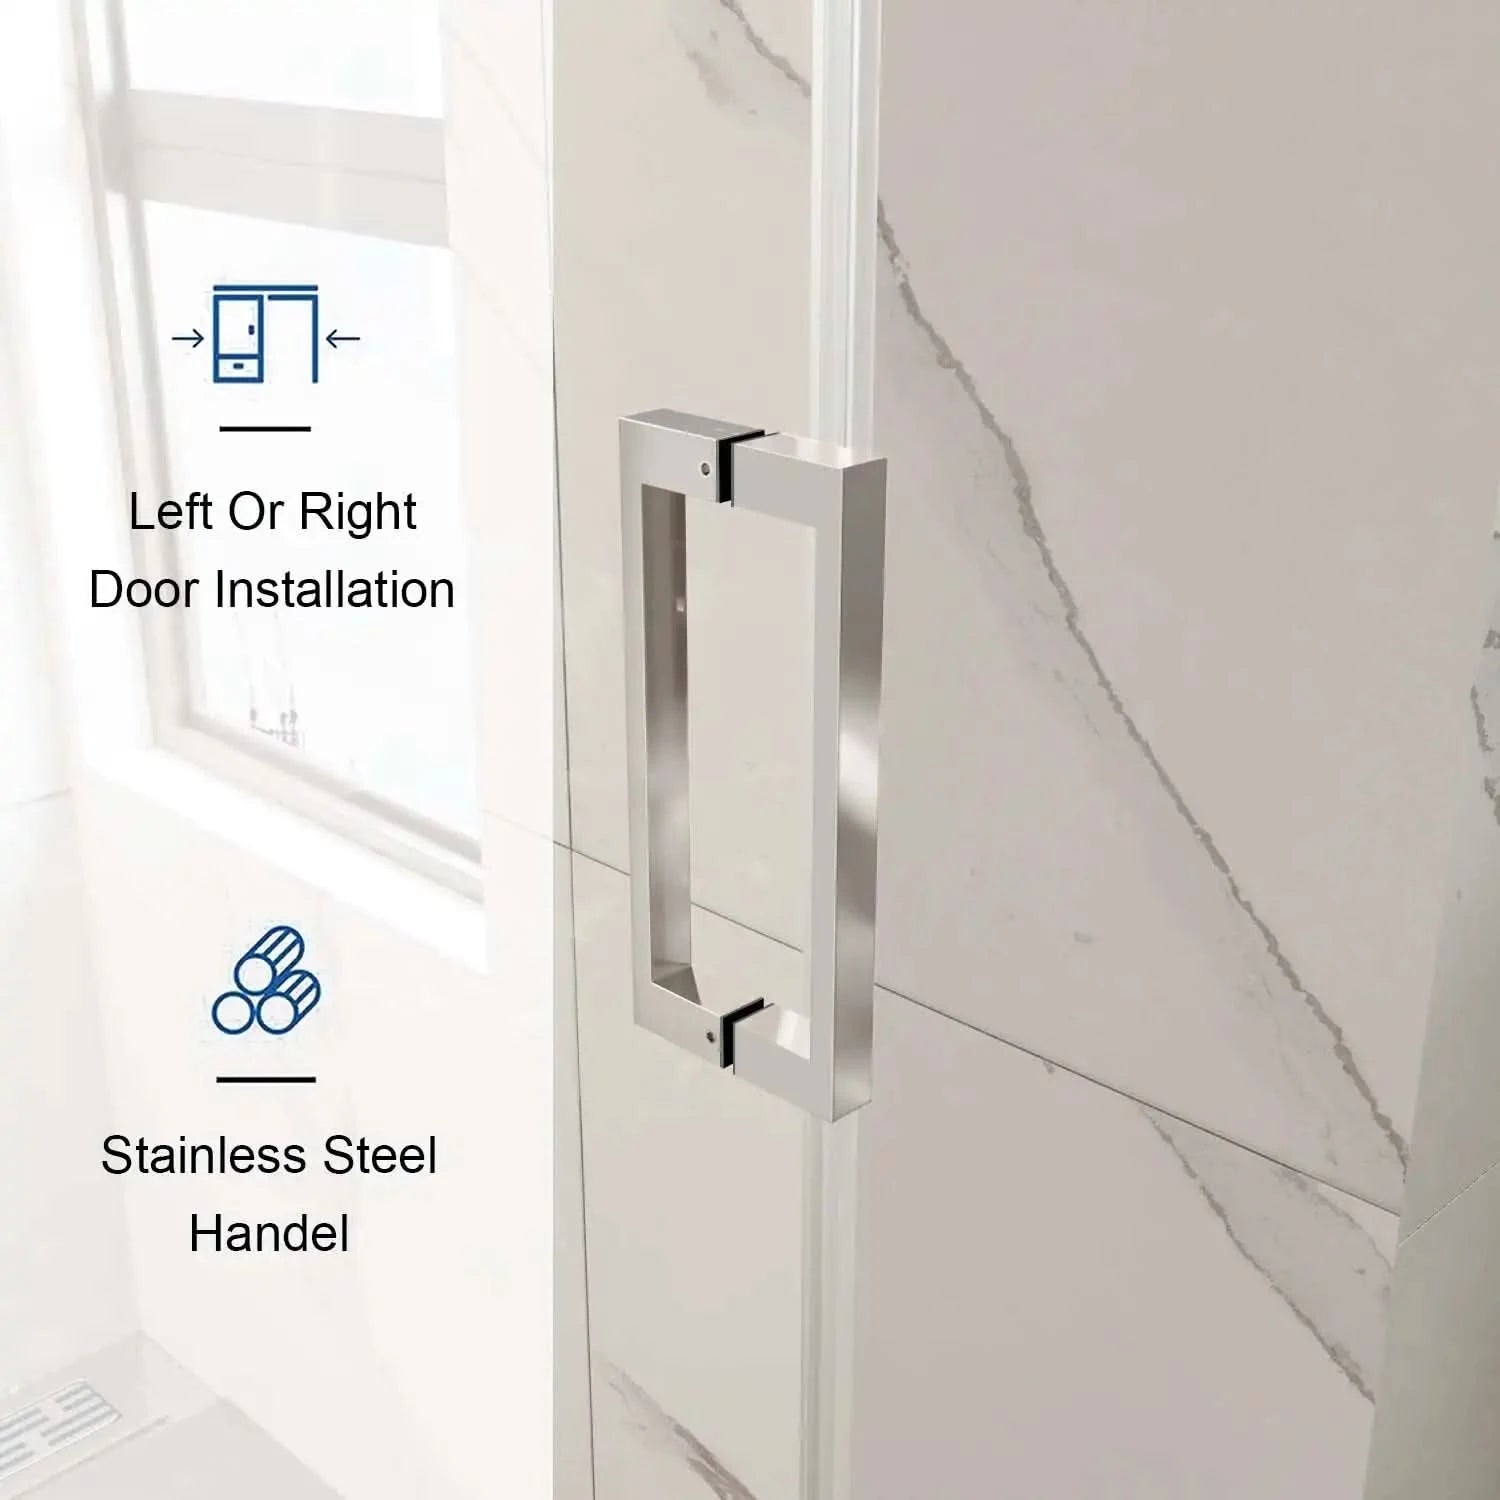
All visible components are corrosion-resistant and rust-free, designed for humid environments — something you won't always get with cheaper models. If you're wondering what makes certain shower doors truly rust-proof, check out this deep dive on all-stainless-steel shower hardware.

2. Tools You'll Need (and What You Won't)
Forget the industrial-grade tools. Basic tools are all you need to install 0224D as most DIYers already possess them. Here's a comprehensive breakdown:
Essential Tools:
- Power Drill (Corded or Battery-Powered)
- 6mm Masonry Drill Bit (for tile walls)
- Phillips Screwdriver
- Spirit Level (24” or longer)
- Tape Measure
- Rubber Mallet (for light tapping)
- Vacuum Glass Lifter (safety feature is advisable for this)
Optional (But Nice to Have):
- Painter's Tape – if you want to mark on the quilt or need a guideline
- Caulking Gun & Clear Silicone Sealant – for waterproofing
- Utility Knife – if you need to trim gasket ends
What You Don't Need:
- Wet tile saws
- Wall lasers
- Special alignment gauges
- Plumbers (unless you're really not interested in doing it yourself)
The installation instructions even recommended beginner-friendly replacements if you don't have suction cups. Example being tipping the glass with the assistance of a tub edge with some cloth padding.
And while this model is clearly beginner-friendly, there are other models on the market that also offer installation ease — with tradeoffs. For a broader comparison of options, here's a guide to sliding shower doors anyone can install themselves.
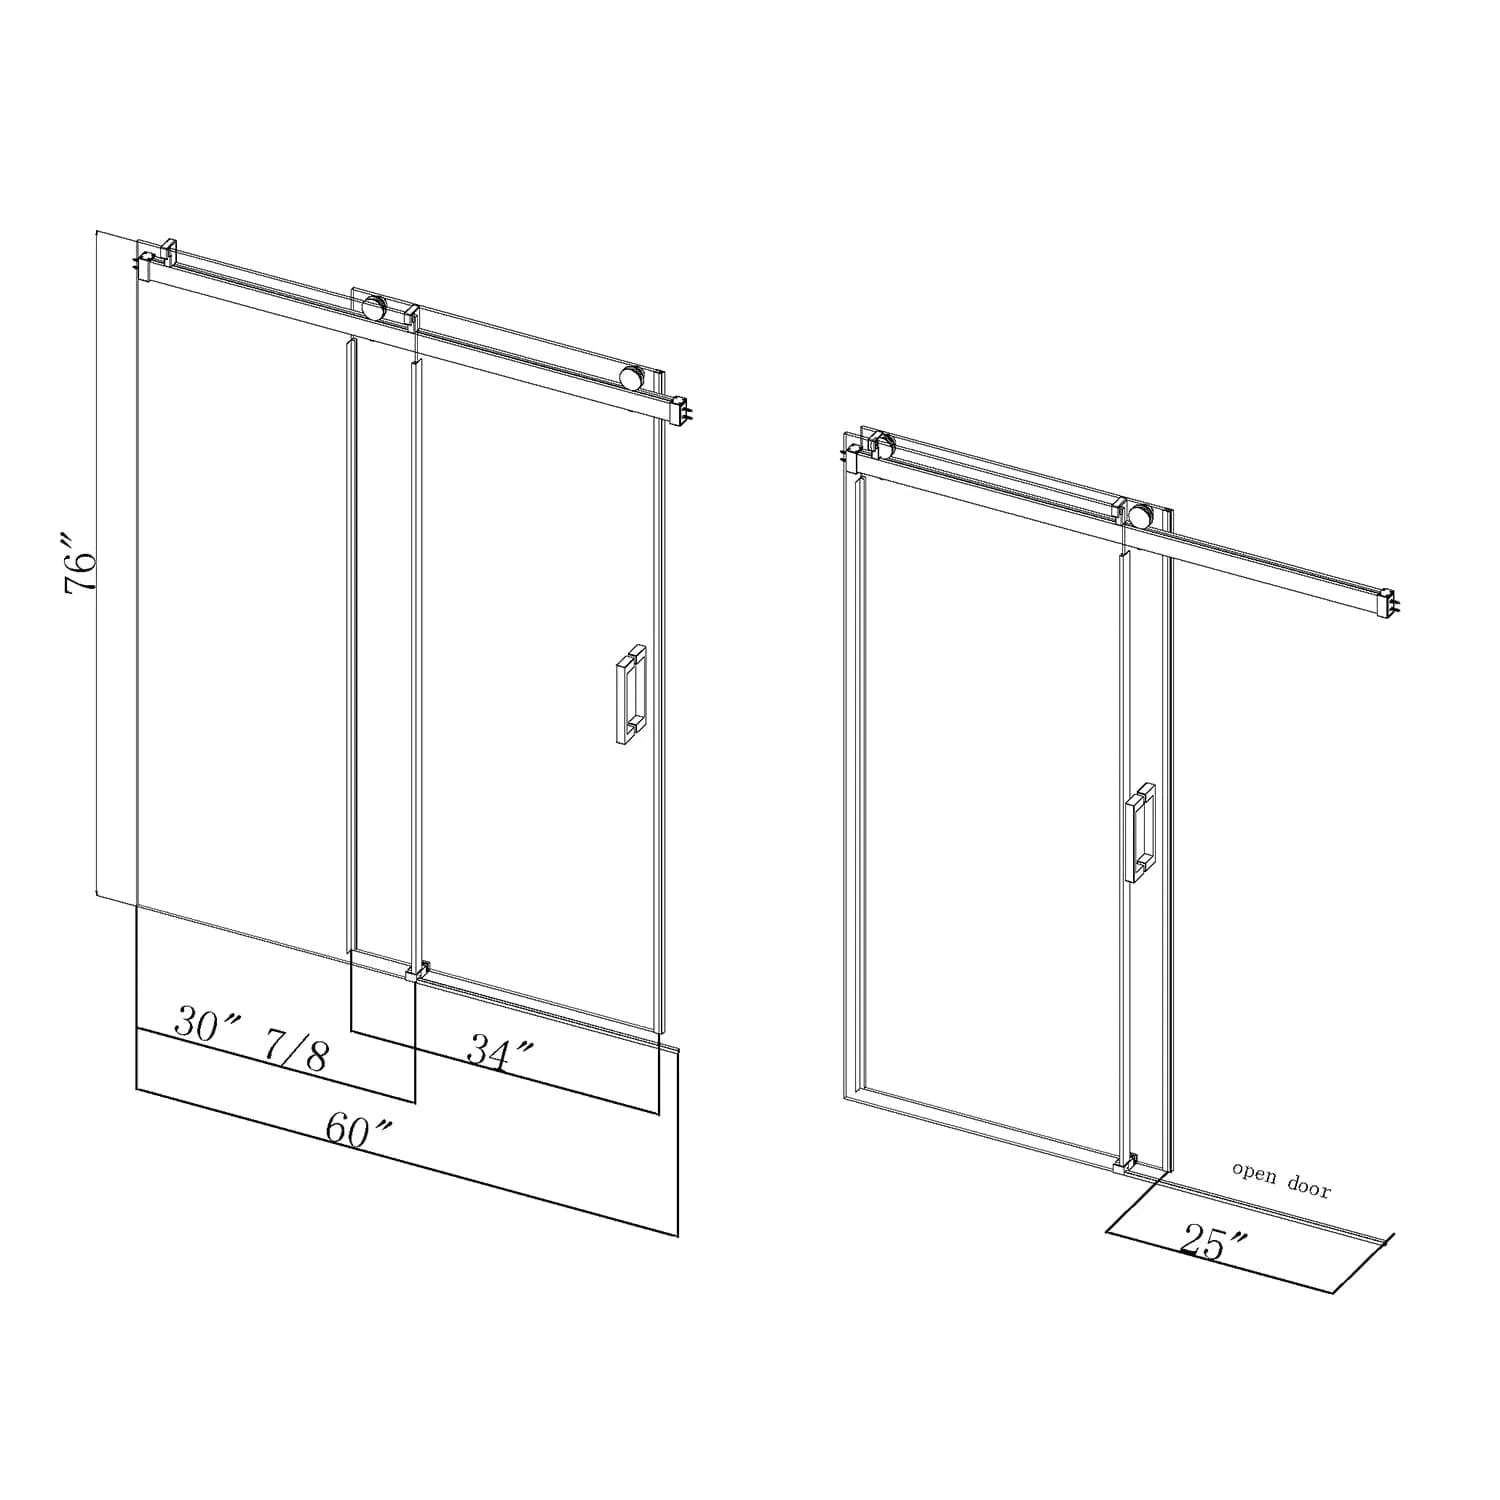
Complete Installation Guide Step by Step
Here's a step-by-step look at the actual do-it-yourself installation process. This real world one I did in a bit under 3 hours with one helper.
Step 1: Open the Box and Make Sure You Have Everything
Prior to drilling, place all parts on a cushioned surface. Please use included parts list to verify components and quantities. Examine the glass for cracks or signs of shipping damage.
Time required: ~20 mins
Step 2: Install Wall Profiles
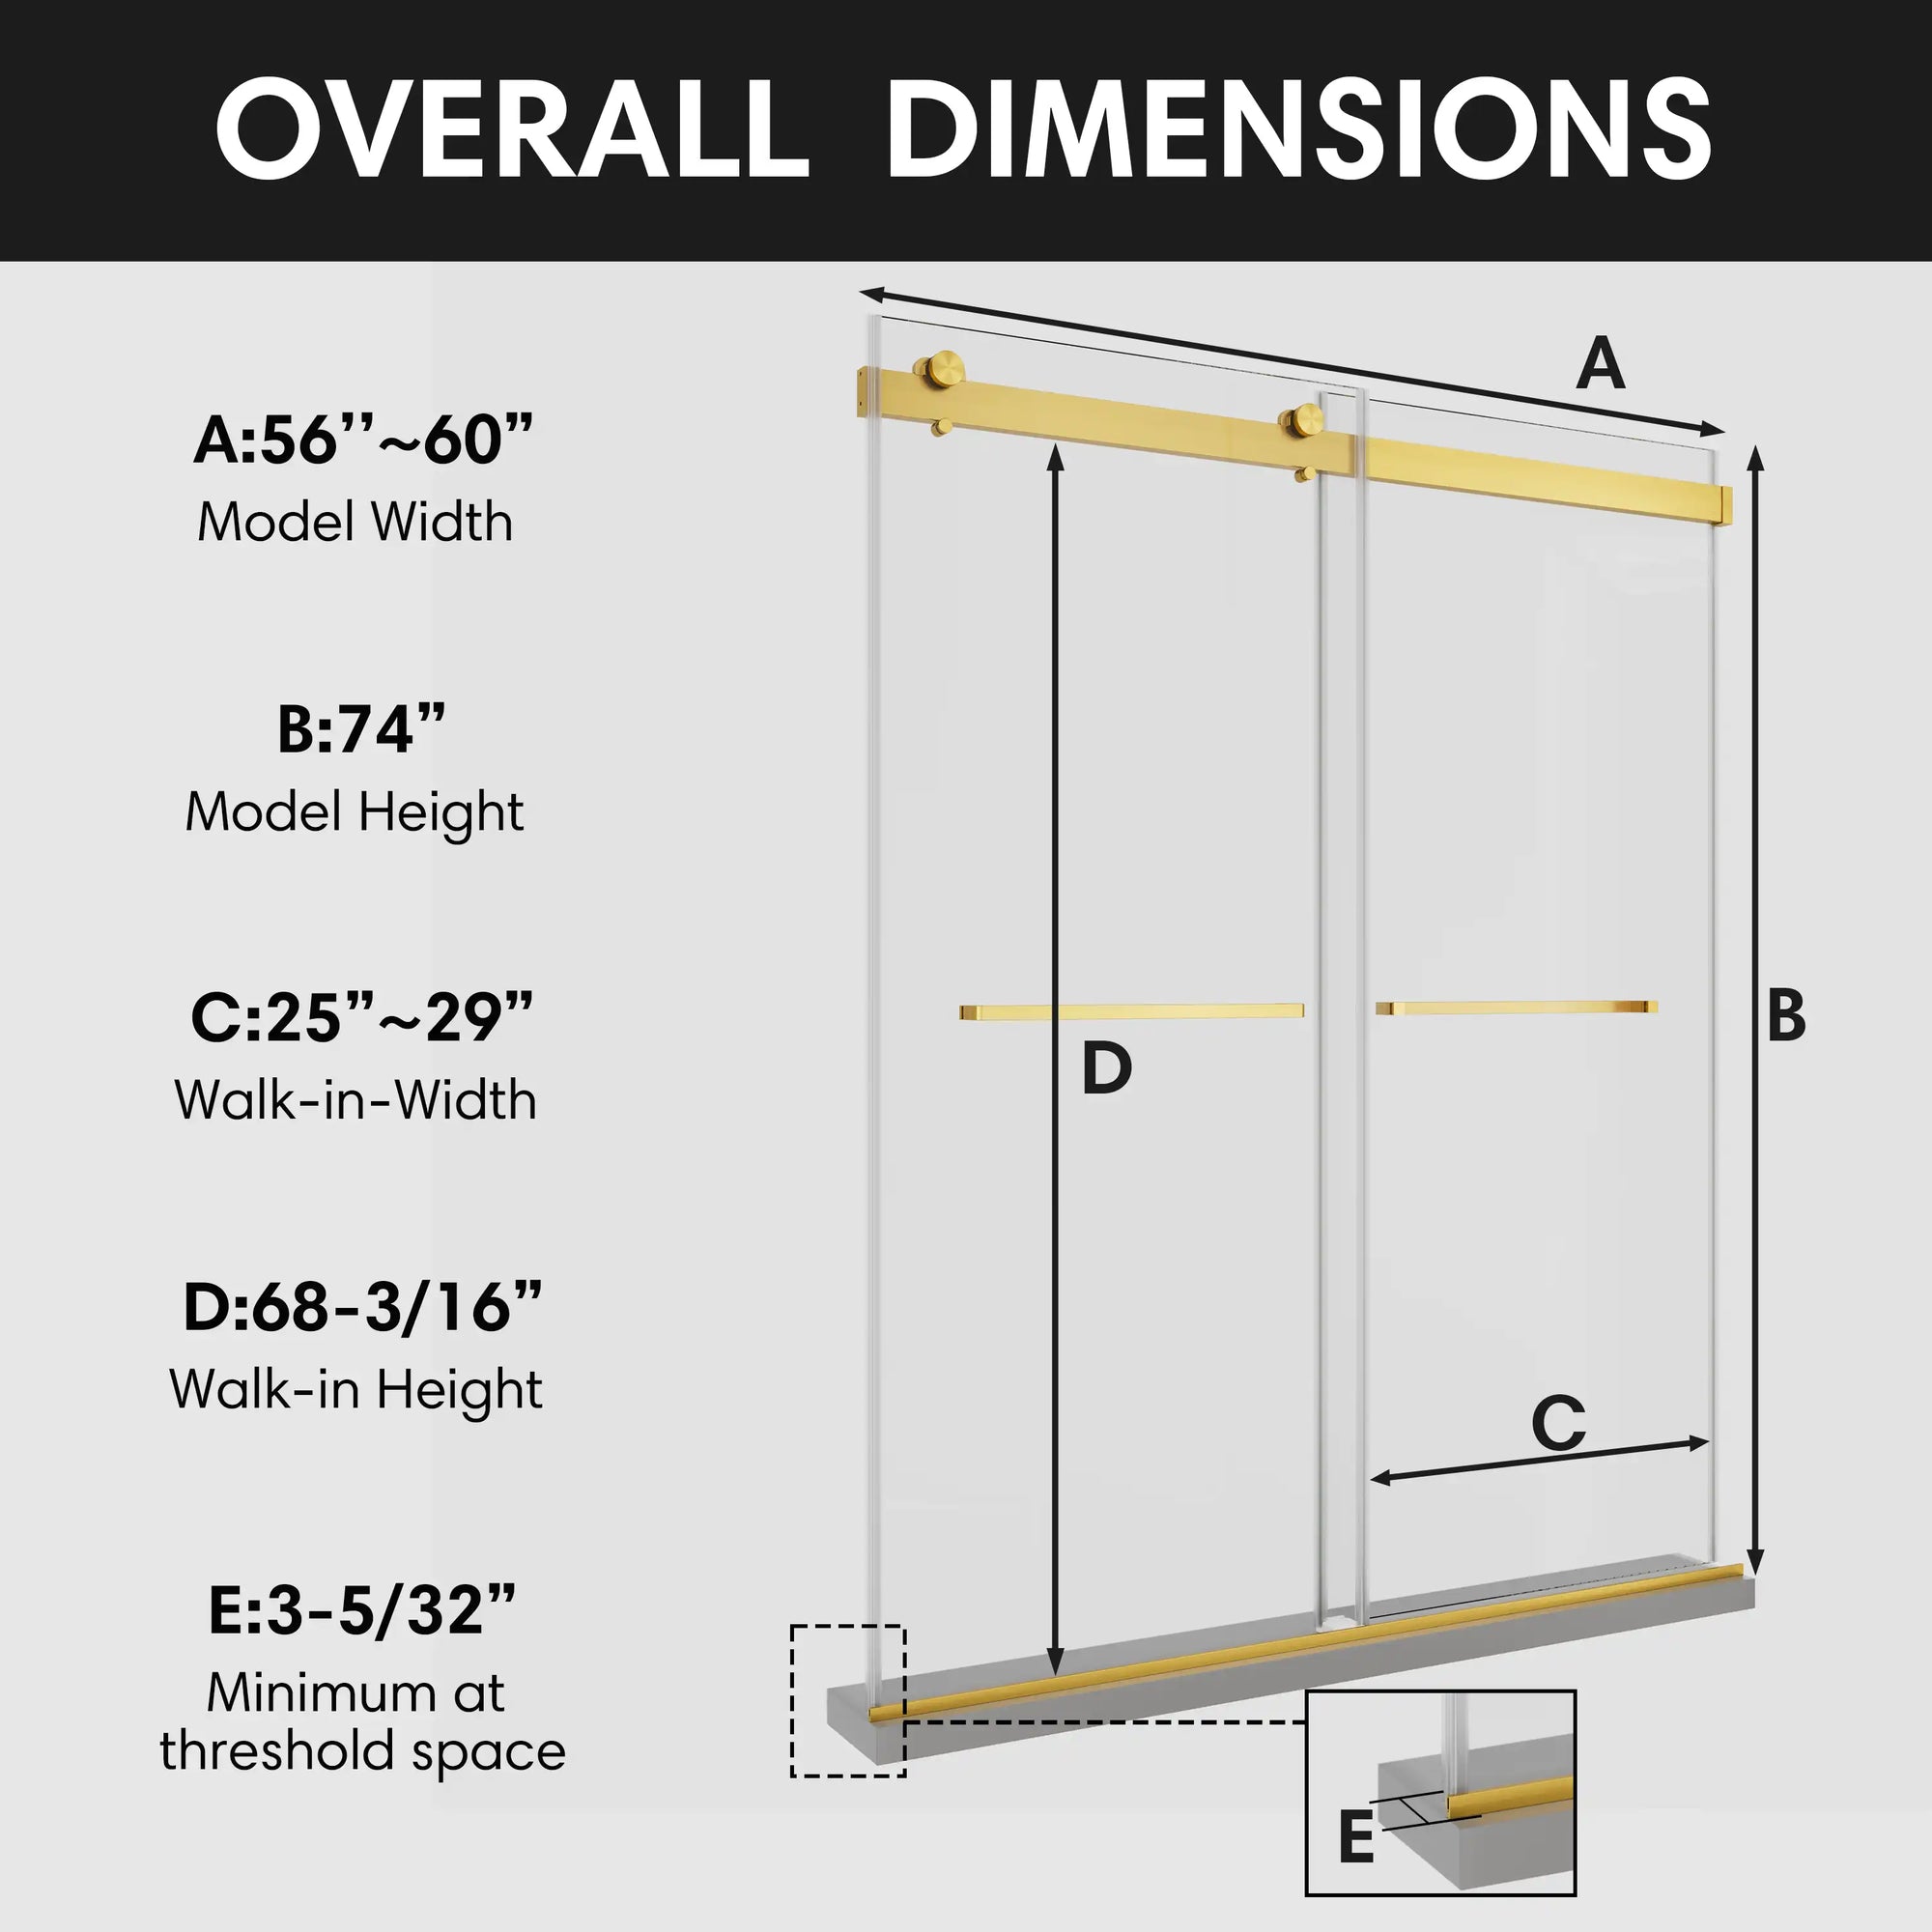
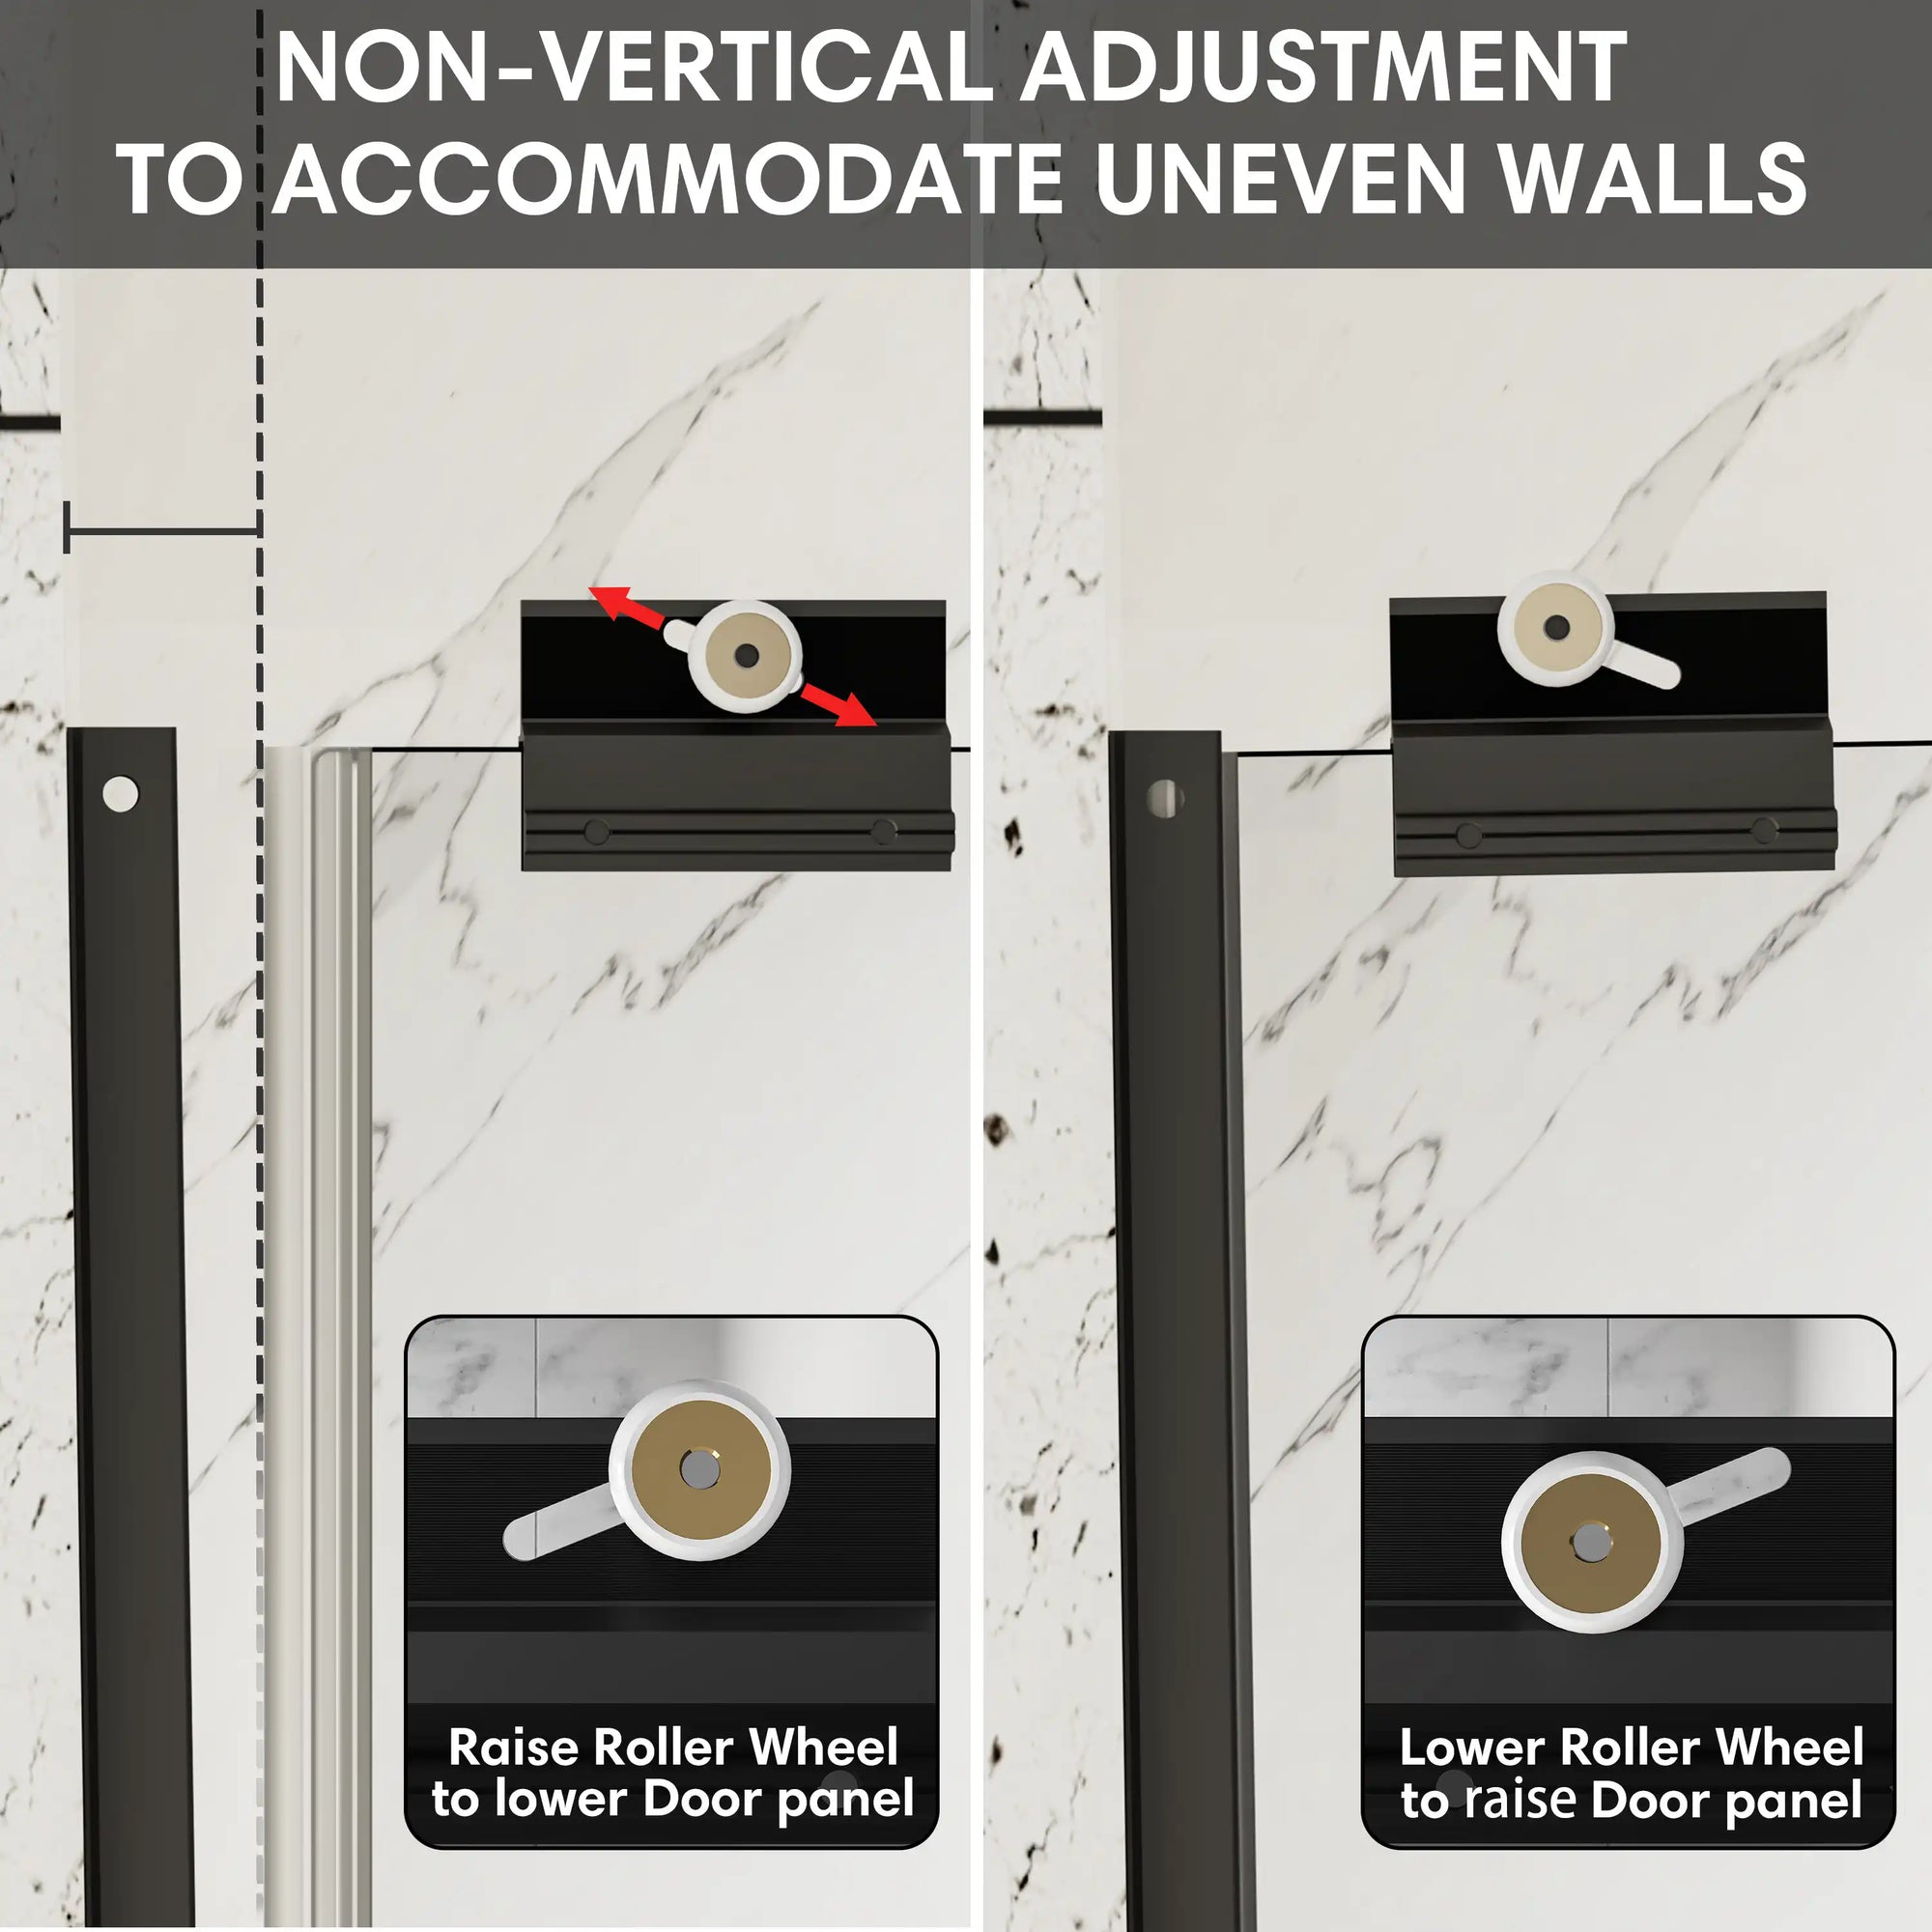
Find and mark the vertical height on both sides of the shower. Place the level on top of them to make sure they will be straight and then drill away. The walls are adjustable for out of plumb (uneven walls) for up to 10mm allowing for a straight and true wall fit even on older walls.
- Drill pilot holes using the 6mm masonry bit.
- Insert anchors and mount the profiles using the included screws.
Apply painter's tape where you will drill to prevent cracking tile glaze.
Step 3: Attach the Top Rail
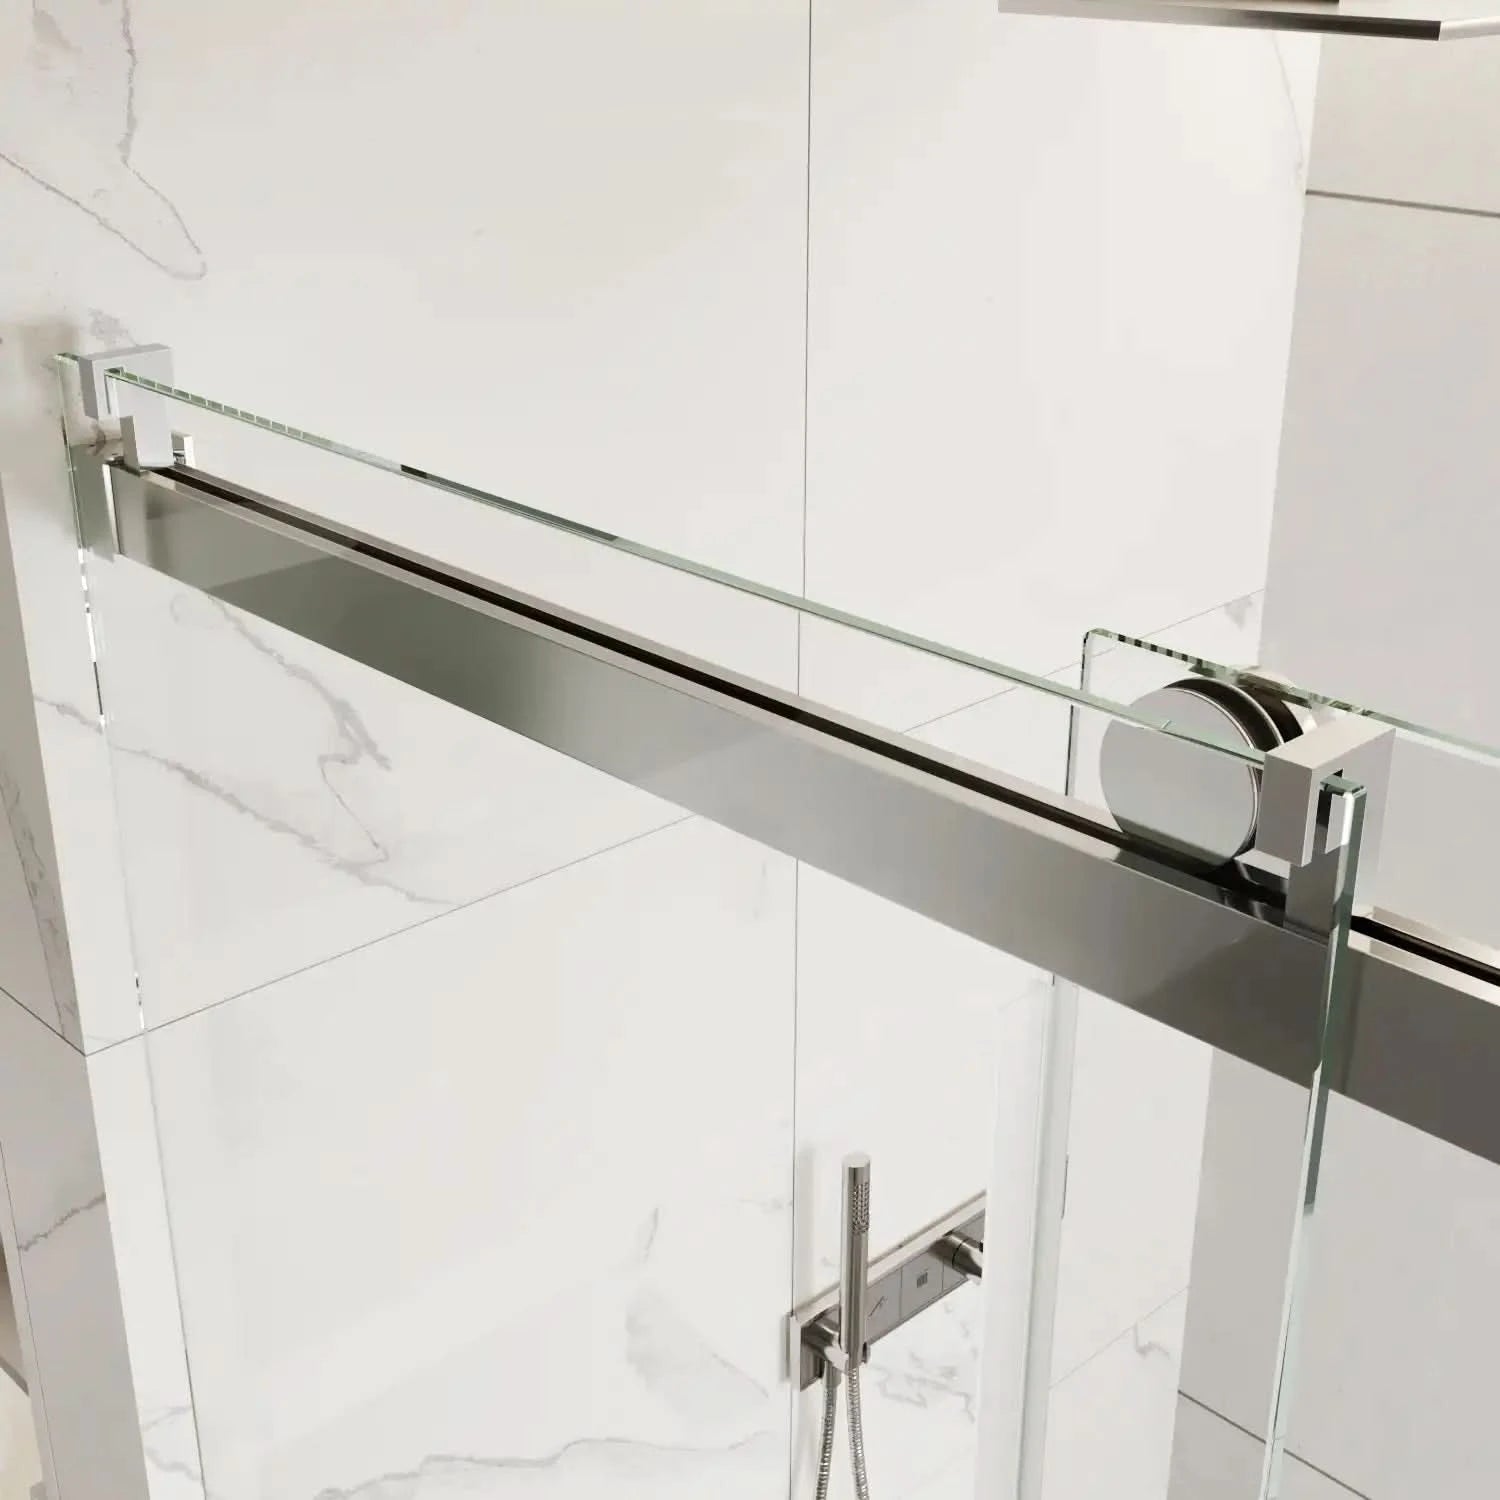
Push the top aluminum rail into both wall profiles on the wall. Secured by screws with internal locks. The rail is strengthened to be able to withstand weight and prevent warping or sagging.
- Ensure it's level before you make it tight.
- It's beneficial to have a second person here, but not necessary.
Step 4: Mount Glass Panels
Use suction lifters or lift the glass very carefully onto the roller mounts. The rollers ride on the top track and are secured to the preinstalled fasteners.
- Tighten or loosen roller tension with included Allen key for smooth rolling.
- The bottom of the glass will sit within the bottom guide rail where it will be held in place.
The sliding was also surprisingly quiet and smooth, due to ball-bearing rollers.
The glass itself is ultra-clear and thick — but not fragile. In fact, there's a lot more engineering behind shower glass than meets the eye. Glass thickness isn't the only reason it won't shatter, and understanding why can give DIYers extra peace of mind.
Step 5: Add the Guide Rail & Water Seals
Then install the bottom guide (reduces glass sway), and attach side magnetic seals. These snap or stick on the glass.
Attach aluminum splash strip on the threshold to prevent splashing.
Step 6: Final Touches
- Attach handles to glass door.
- Clean fingerprints off glass.
- Apply clear silicone along bottom edge and side profiles.
- Allow to cure for 24 hours before using the shower.
Total Time: ~2.5–3 hours
Level: Beginner-friendly with helper
Shower Ready: Next day

Critical DIY-Related Aspects of the 0224D
What makes the 0224D so friendly for nonprofessional use? These 4 intelligent capabilities are noteworthy:
1. Clear Instructional Materials
The manual also is diagrams-first, not text blocks. It also includes QR codes that divert to an installation video.
2. Wall Adjustment Tolerance (10mm)
That in and of itself could save you an hour of annoyance. Few walls are perfectly plumb, and the 0224D wall profiles allow for fine-tuning without the need to re-drill.
3. Heavy-Duty Rollers
Once you've fitted the rollers they run very smoothly, and don't move once in place. This reduces misalignment mid-installation.
4. Complete Hardware Kit
Screws, plugs and rail end caps — it's all there. You won't have to make a trip to the hardware store mid-project.
One standout design touch? The outer rollers. Sleek on the outside, but also engineered for smoother, longer-lasting performance. Their hidden advantages might surprise you — it's not just about looks.
Pro Tips for Installation Success
1. Dry-fit everything before drilling.
Verify glass-to-rail alignment before you drill anything.
2. Use suction cups for safe lifting.
Tempered glass hangs tough, but if you drop it, you have to start from scratch.
3. Watch the video guide first.
It's a mere 8 minutes to explain the order of operations.
4. Measure twice, drill once.
Wall anchors are difficult to move.
Even if you've never drilled into tile before, this guide — combined with the right product — can give you the confidence to try. But don't forget: not all sliding shower doors are created equal. Just because one looks modern doesn't mean it performs well.
Cleaning, Maintenance & Longevity
Your new setup will stay looking minimal and modern — and most importantly, structurally sound — for years. If you're interested in why minimalist design is dominating bathroom trends lately, this trend breakdown on frameless shower doors explains it all.
The 0224D is also built for long-term clarity and performance — with proper care, that is.
Weekly Maintenance
- One wipe glass after every shower
- Take a mild vinegar spray or glass cleaner
- Avoid abrasive scrubbers
Quarterly
- Check roller tension
- Re-tighten screws if needed
Annually
- Change out old seals or magnetic strips
- Reapply silicone sealant at edges
And it is easy peasy with the provided maintenance guide.

Common Installation Issues — Solved
| Issue | Solution |
|---|---|
| Door doesn’t slide smoothly | Clean track, check for debris, adjust roller screws |
| Uneven gap between panels | Adjust wall profile spacing — use the 10mm wiggle room |
| Water leaking near bottom | Recheck silicone seal, ensure floor is level |
| Panels not aligned | Loosen top rail slightly and reposition |
Ace Decor's customer service engineers are available to help via email or phone. We respond to most enquiries in 24 hours.
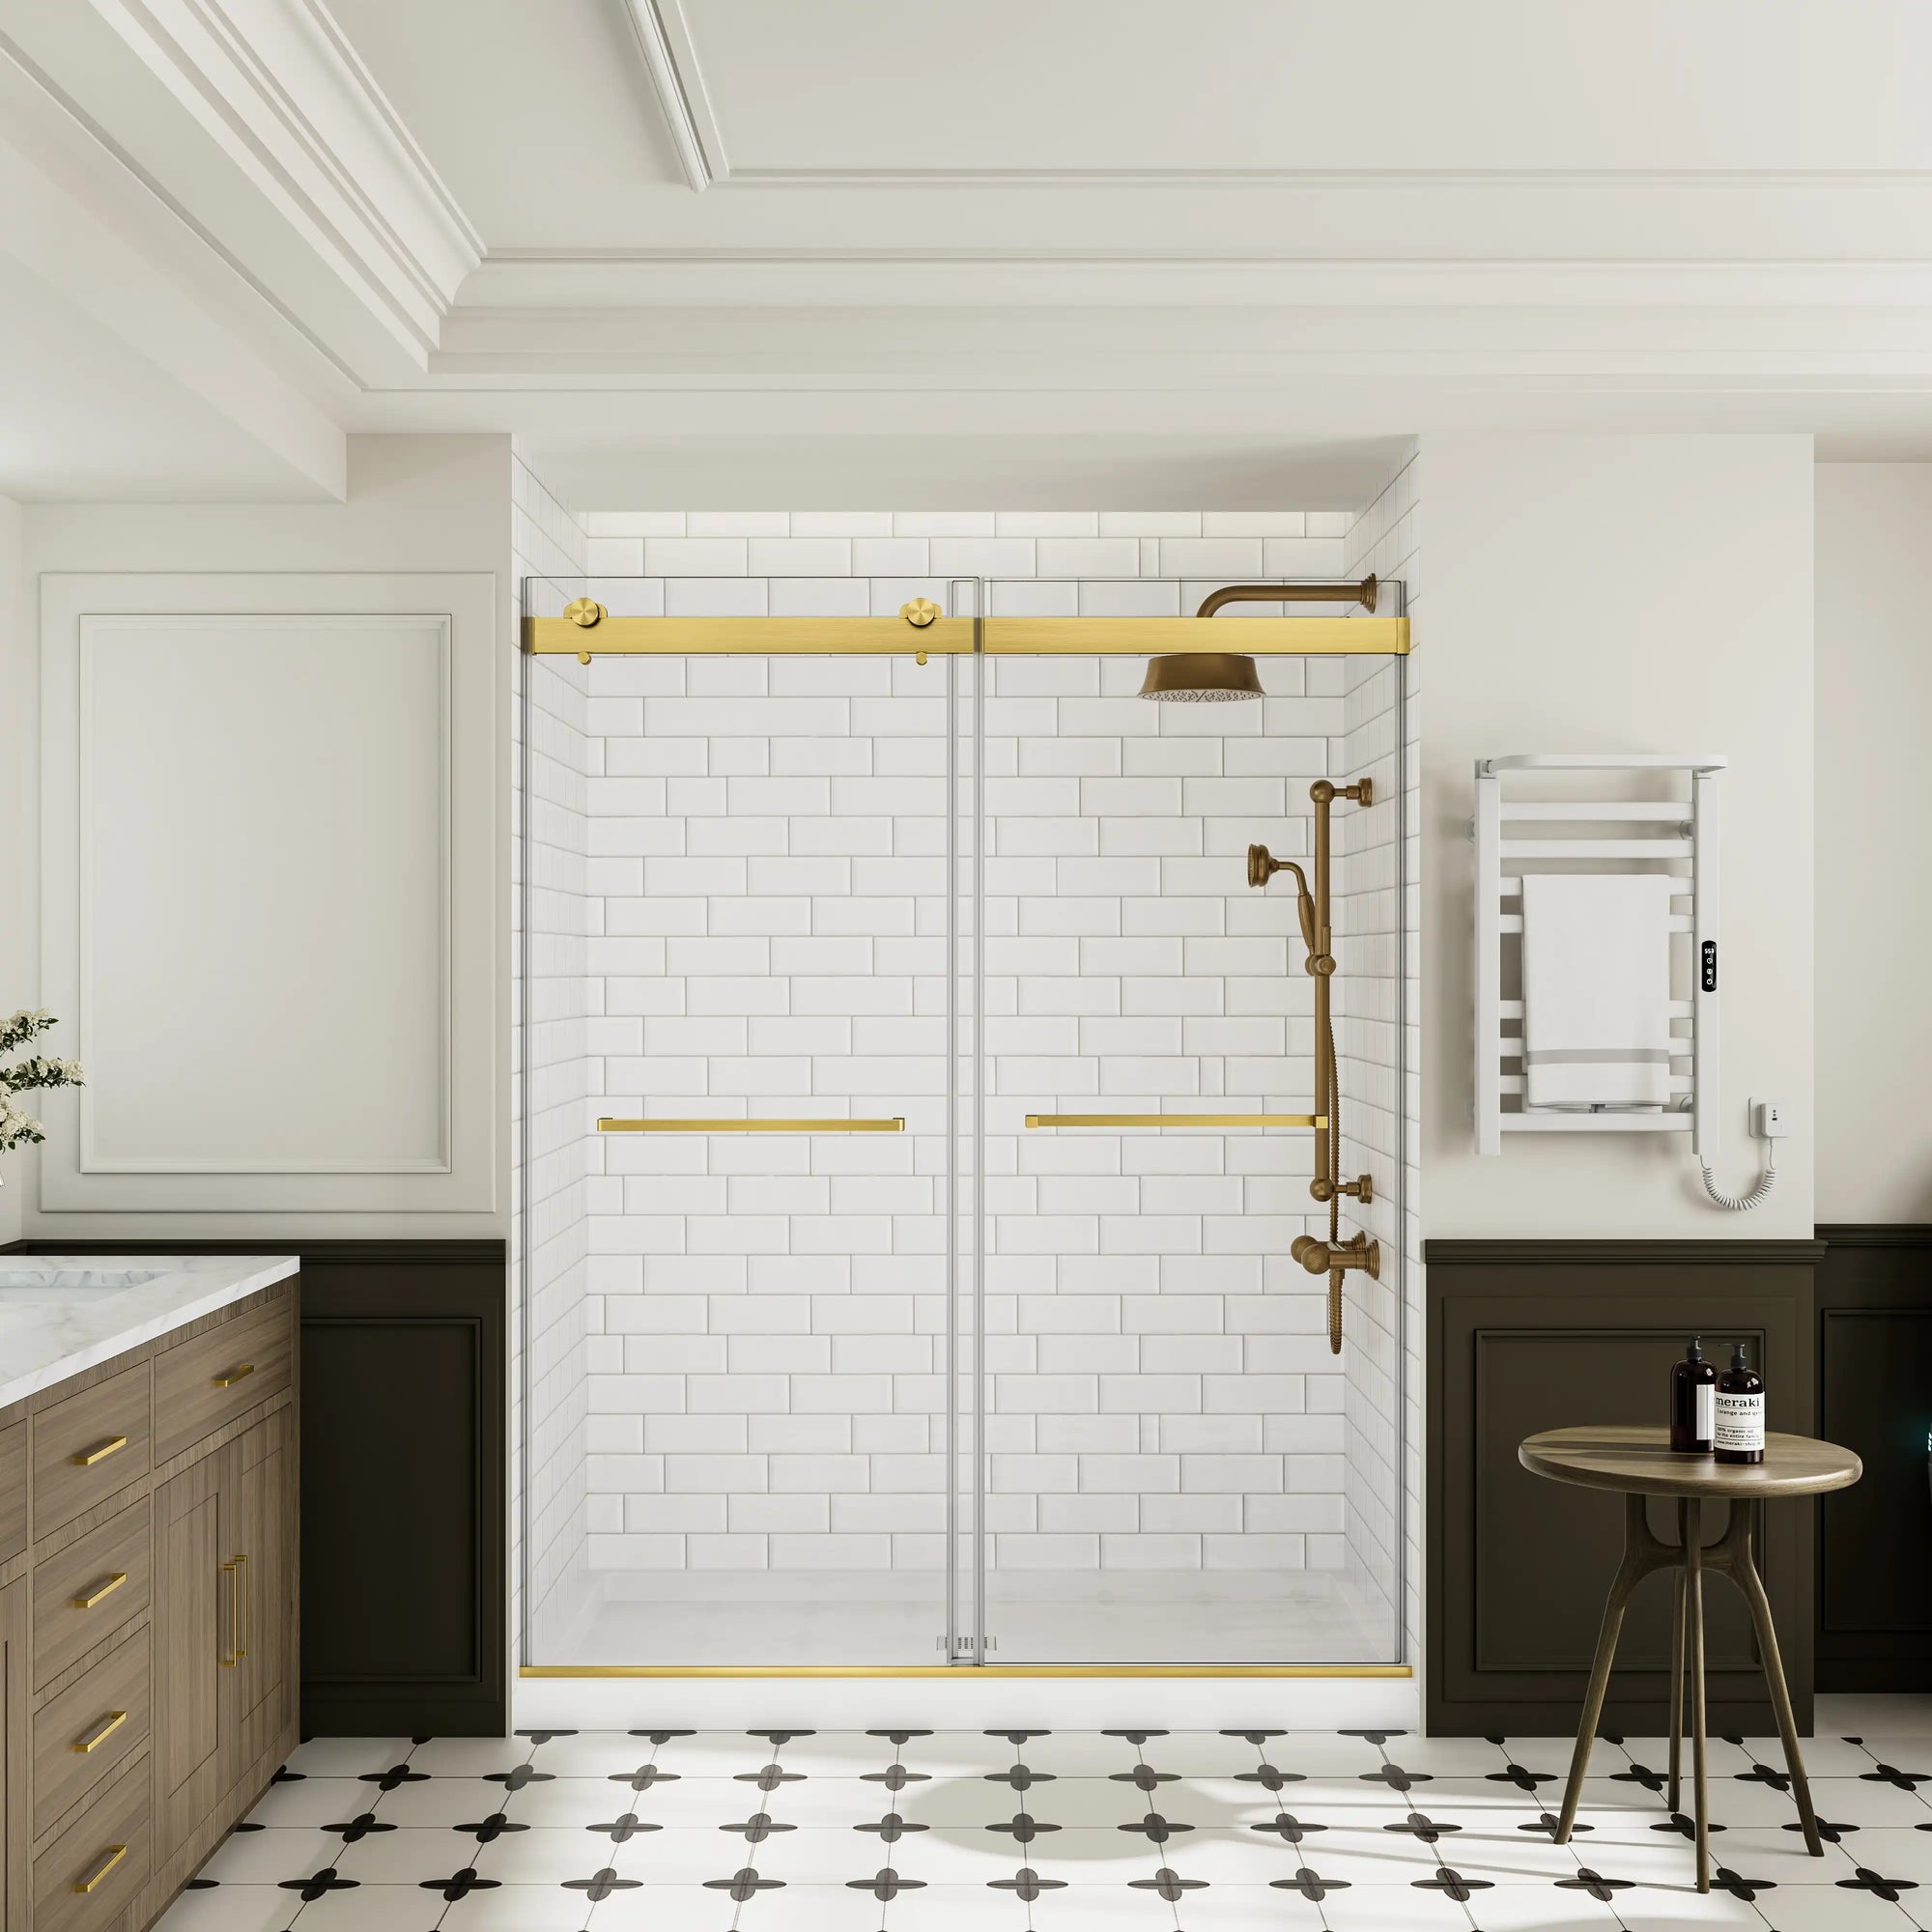
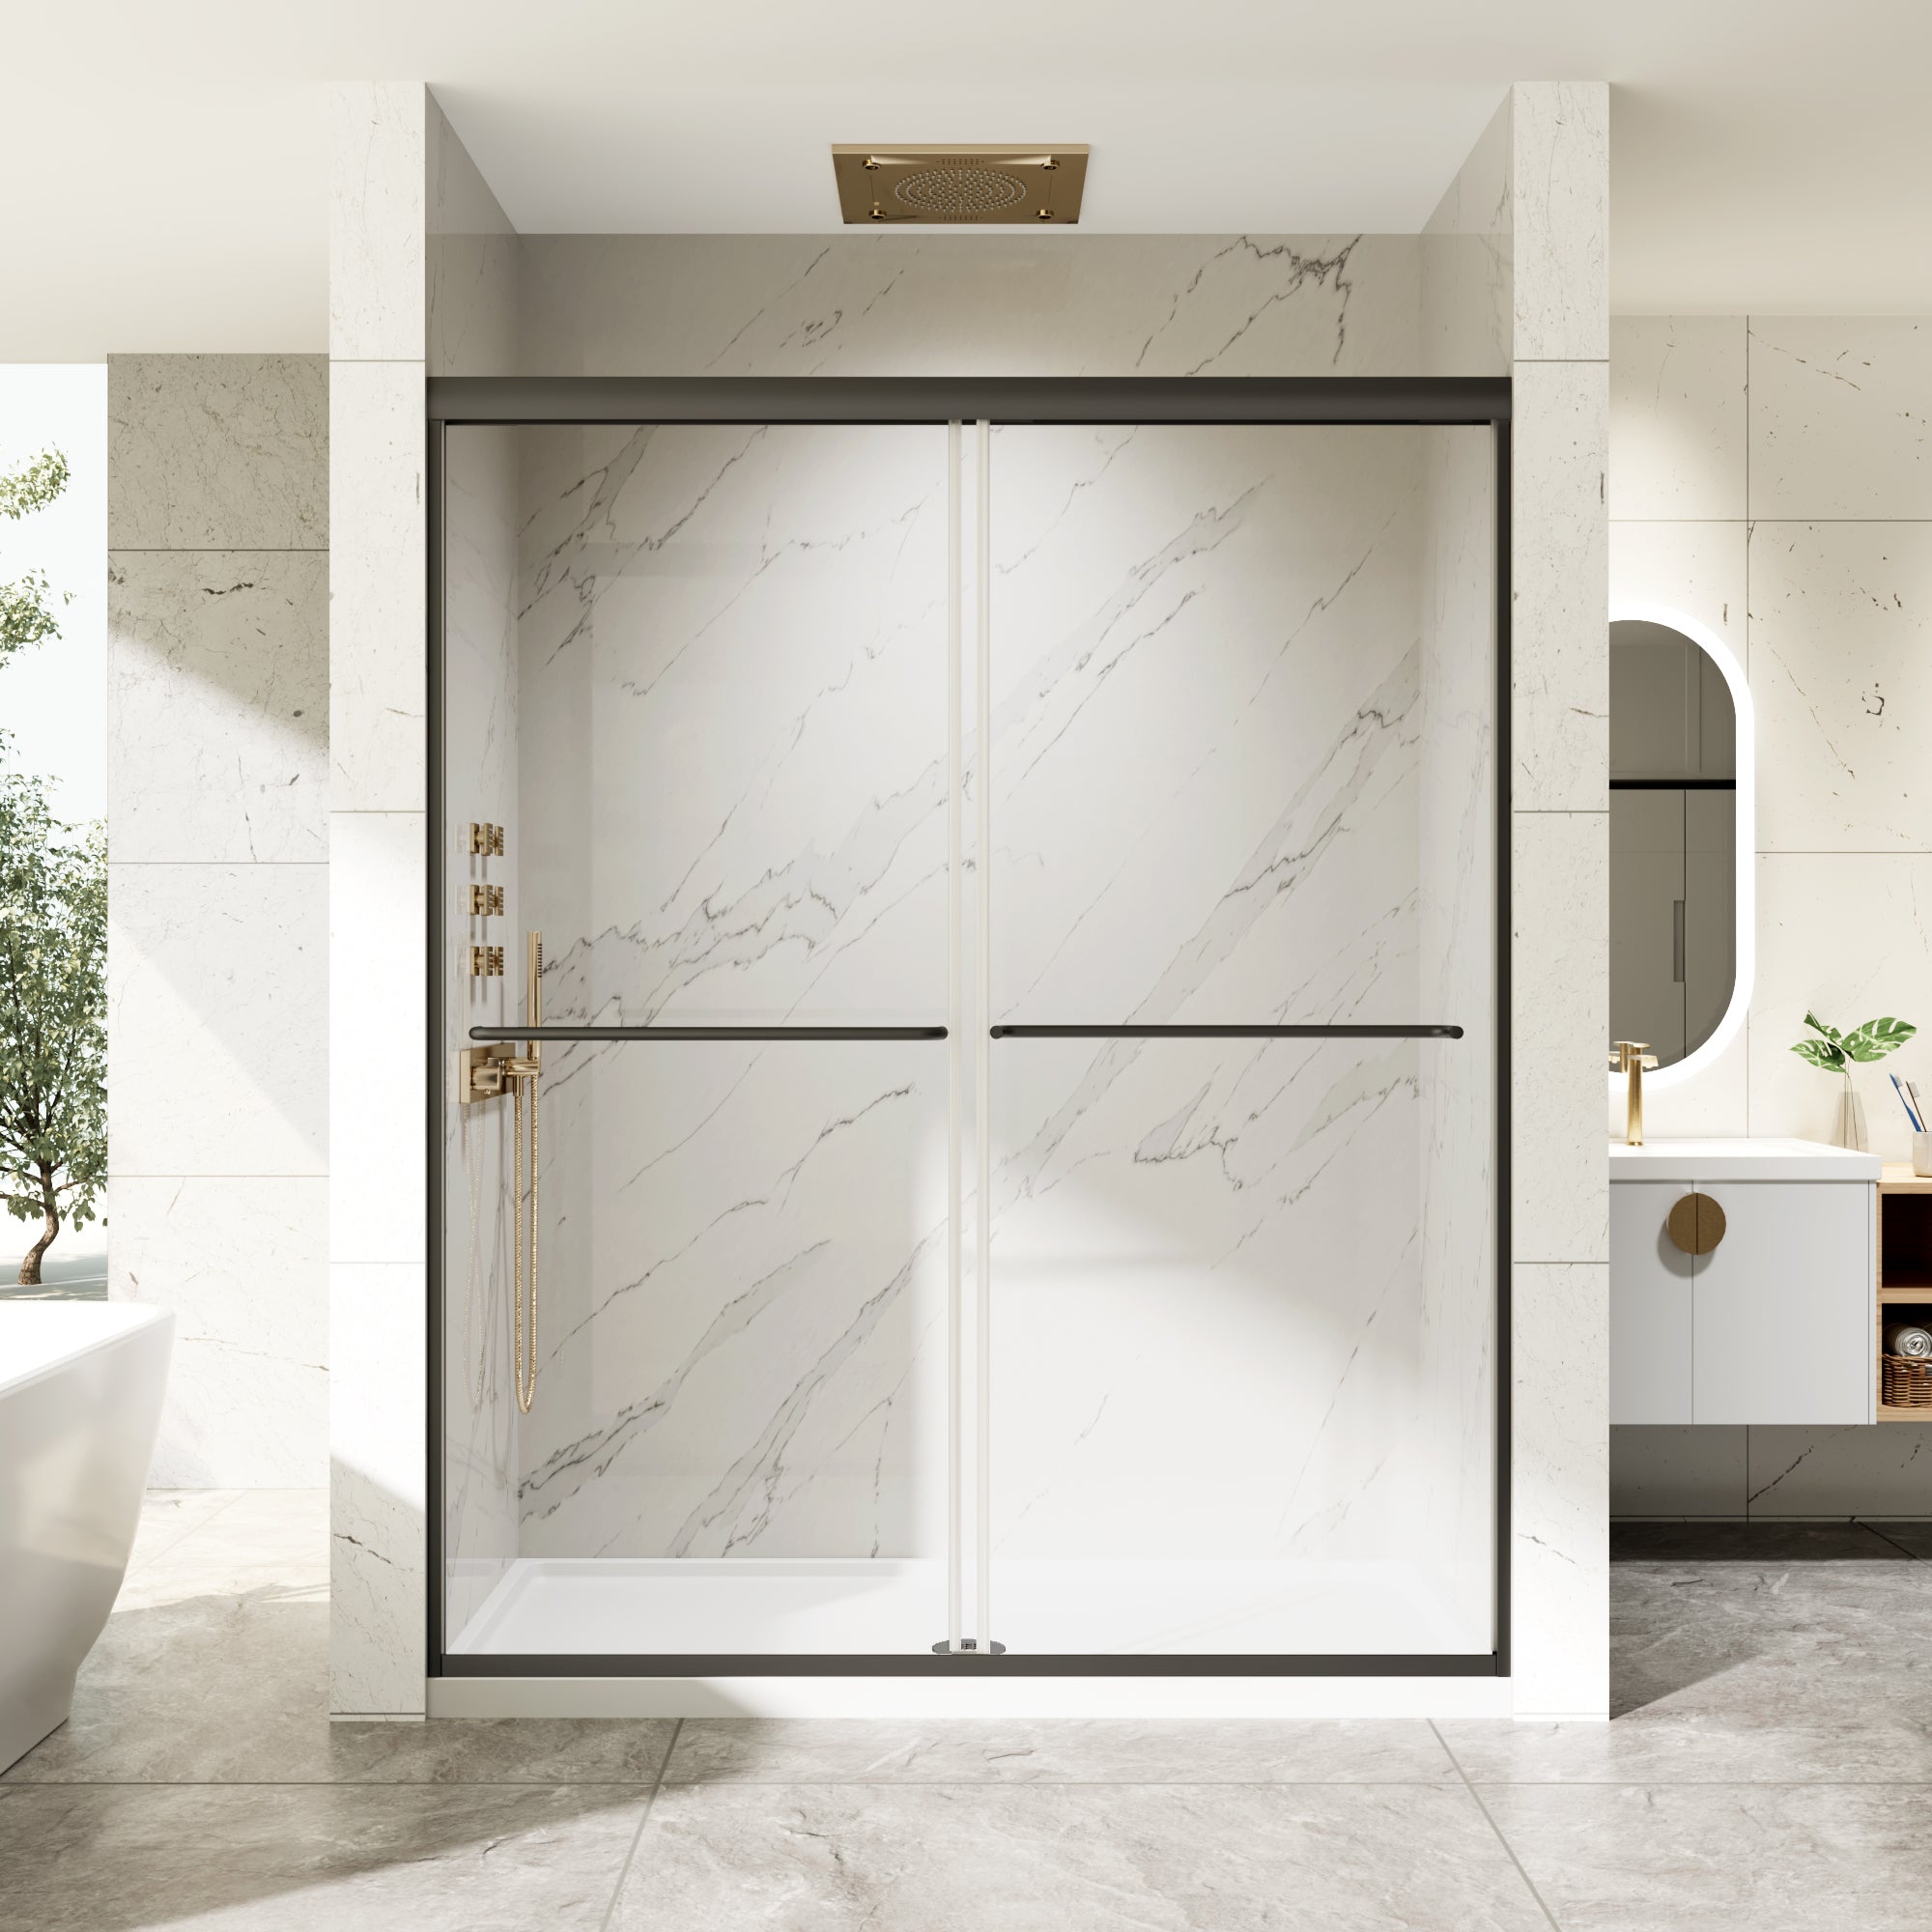
Overall Summary: Who Should Purchase the 0224D
You'll love the 0224D if:
- You're a seasoned DIYer with simple tools
- You desire contemporary sliding glass doors for your walk-in shower without the price tag of a contractor
- You have walls that are not perfectly plumb
- You like intuitive instructions and high quality design
This is a product that is meant to cater the hassle of first timers. Everything has a reason, and every step has been considered for simplicity.
This model is also ideal for families with kids or elderly members. The smooth glide reduces resistance, and the stable roller system avoids dangerous slamming or jamming. Learn why door stability is a non-negotiable safety feature in family homes.
FAQs
Q: Can I install this alone?
A: Yes, but a helper will be invaluable when lifting glass.
Q: Does it have bathtub use?
A: This unit is designed for walk-in showers only.
Q: Can you reverse it (left or right opening)?
A: Yes. You have the option of selecting which side moves and which remains static.
Q: Is the glass frosted?
A: No, this model comes with crystal-clear tempered safety glass.
Ready to Install Your Own?
You'll get premium materials, elegant aesthetics, and DIY-optimized engineering — all at a price that's often half that of other luxury brands. If you're wondering how that's possible, here's the breakdown of what you're really paying for.
If you want a high-end, do-it-yourself sliding glass door for your walk-in shower, the 0224D should be one of the first on your list.
- Made for quick, easy installation
- Everything included – 100% complete hardware and instruction kit included
- Engineered for the 1st time installer
Related Articles
Want to do some more research before you make your choice? These expert guides explore shower door design, installation, and operation in greater detail — a must read for smart DIYers and value-focused consumers.
- "Say Goodbye to Leaks and Wobbles: Discover ACE DECOR's Premium Sliding Shower Doors"
- "How to Install Bathtub Door and Seal It Perfectly to Prevent Leaks"
- "Maximize Space in Small Bathrooms with Glass Shower Doors and Panels"
- "7 Stunning Bathrooms That Nailed Glass Shower Enclosures Frameless"
- "5 Creative Design Ideas Using Frosted Shower Doors for a Modern Bathroom"