Table of Contents
- 1. Pre-Installation: Plan Before You Drill
- 2. Choose the Right Door Type
- 3. How to Install Bathtub Door: Step-by-Step Guide
- 4. Seal It Right: Avoid Costly Leaks
- 5. Common Mistakes to Avoid
- 6. Post-Installation Care and Maintenance
- 7. Health and Environmental Considerations
- 8. Style Matching by Material Type
- 9. Conclusion
- 10. FAQ
- 11. Related Articles
Introduction
A homeowner from Palo Alto, California, chose a popular frameless glass bathtub door during a bathroom renovation. He confidently followed the installation instructions. However, four months later, the wooden floor began to warp, and water stains appeared at the corners of the walls. Eventually, he spent over $3,200 to redo the waterproofing system.
This case makes it clear that knowing how to install bathtub door is not just about following a manual—it’s about protecting the long-term integrity of your home. From choosing the right materials to sealing with precision, every decision affects water resistance.
This article will provide a detailed breakdown of how to install bathtub door the right way, tailored for mid-to-high-end homeowners who value both aesthetics and function. Avoid costly mistakes and build a truly waterproof bathroom setup.

1. Pre-Installation: Plan Before You Drill
Every successful how to install bathtub door project starts with solid preparation. Understanding your wall and tub materials is crucial for proper sealing.
In most high-end bathrooms, the wall finishes include tile, acrylic panels, or natural stone. Each interacts differently with sealants, so tool and material selection must be intentional.
Essential Tools and Materials:
- Electric drill
- Laser or bubble level
- Tape measure
- Sealant gun
- Foam sealant pad
- High-quality silicone sealant
- Suction cups for glass handling
A smooth how to install bathtub door experience depends more on accuracy than brute force.
Material-Based Sealant Advice:
- Tile surfaces: Use acid-resistant neutral silicone to combat mold
- Acrylic walls: Modified silicone offers better flexibility and adhesion
- Natural stone: Always use acid-free sealants to avoid surface corrosion
According to NAHB’s 2023 Residential Technology Report, if sealants are mismatched to wall substrates, seal failure rates rise by 47% within 3 months.
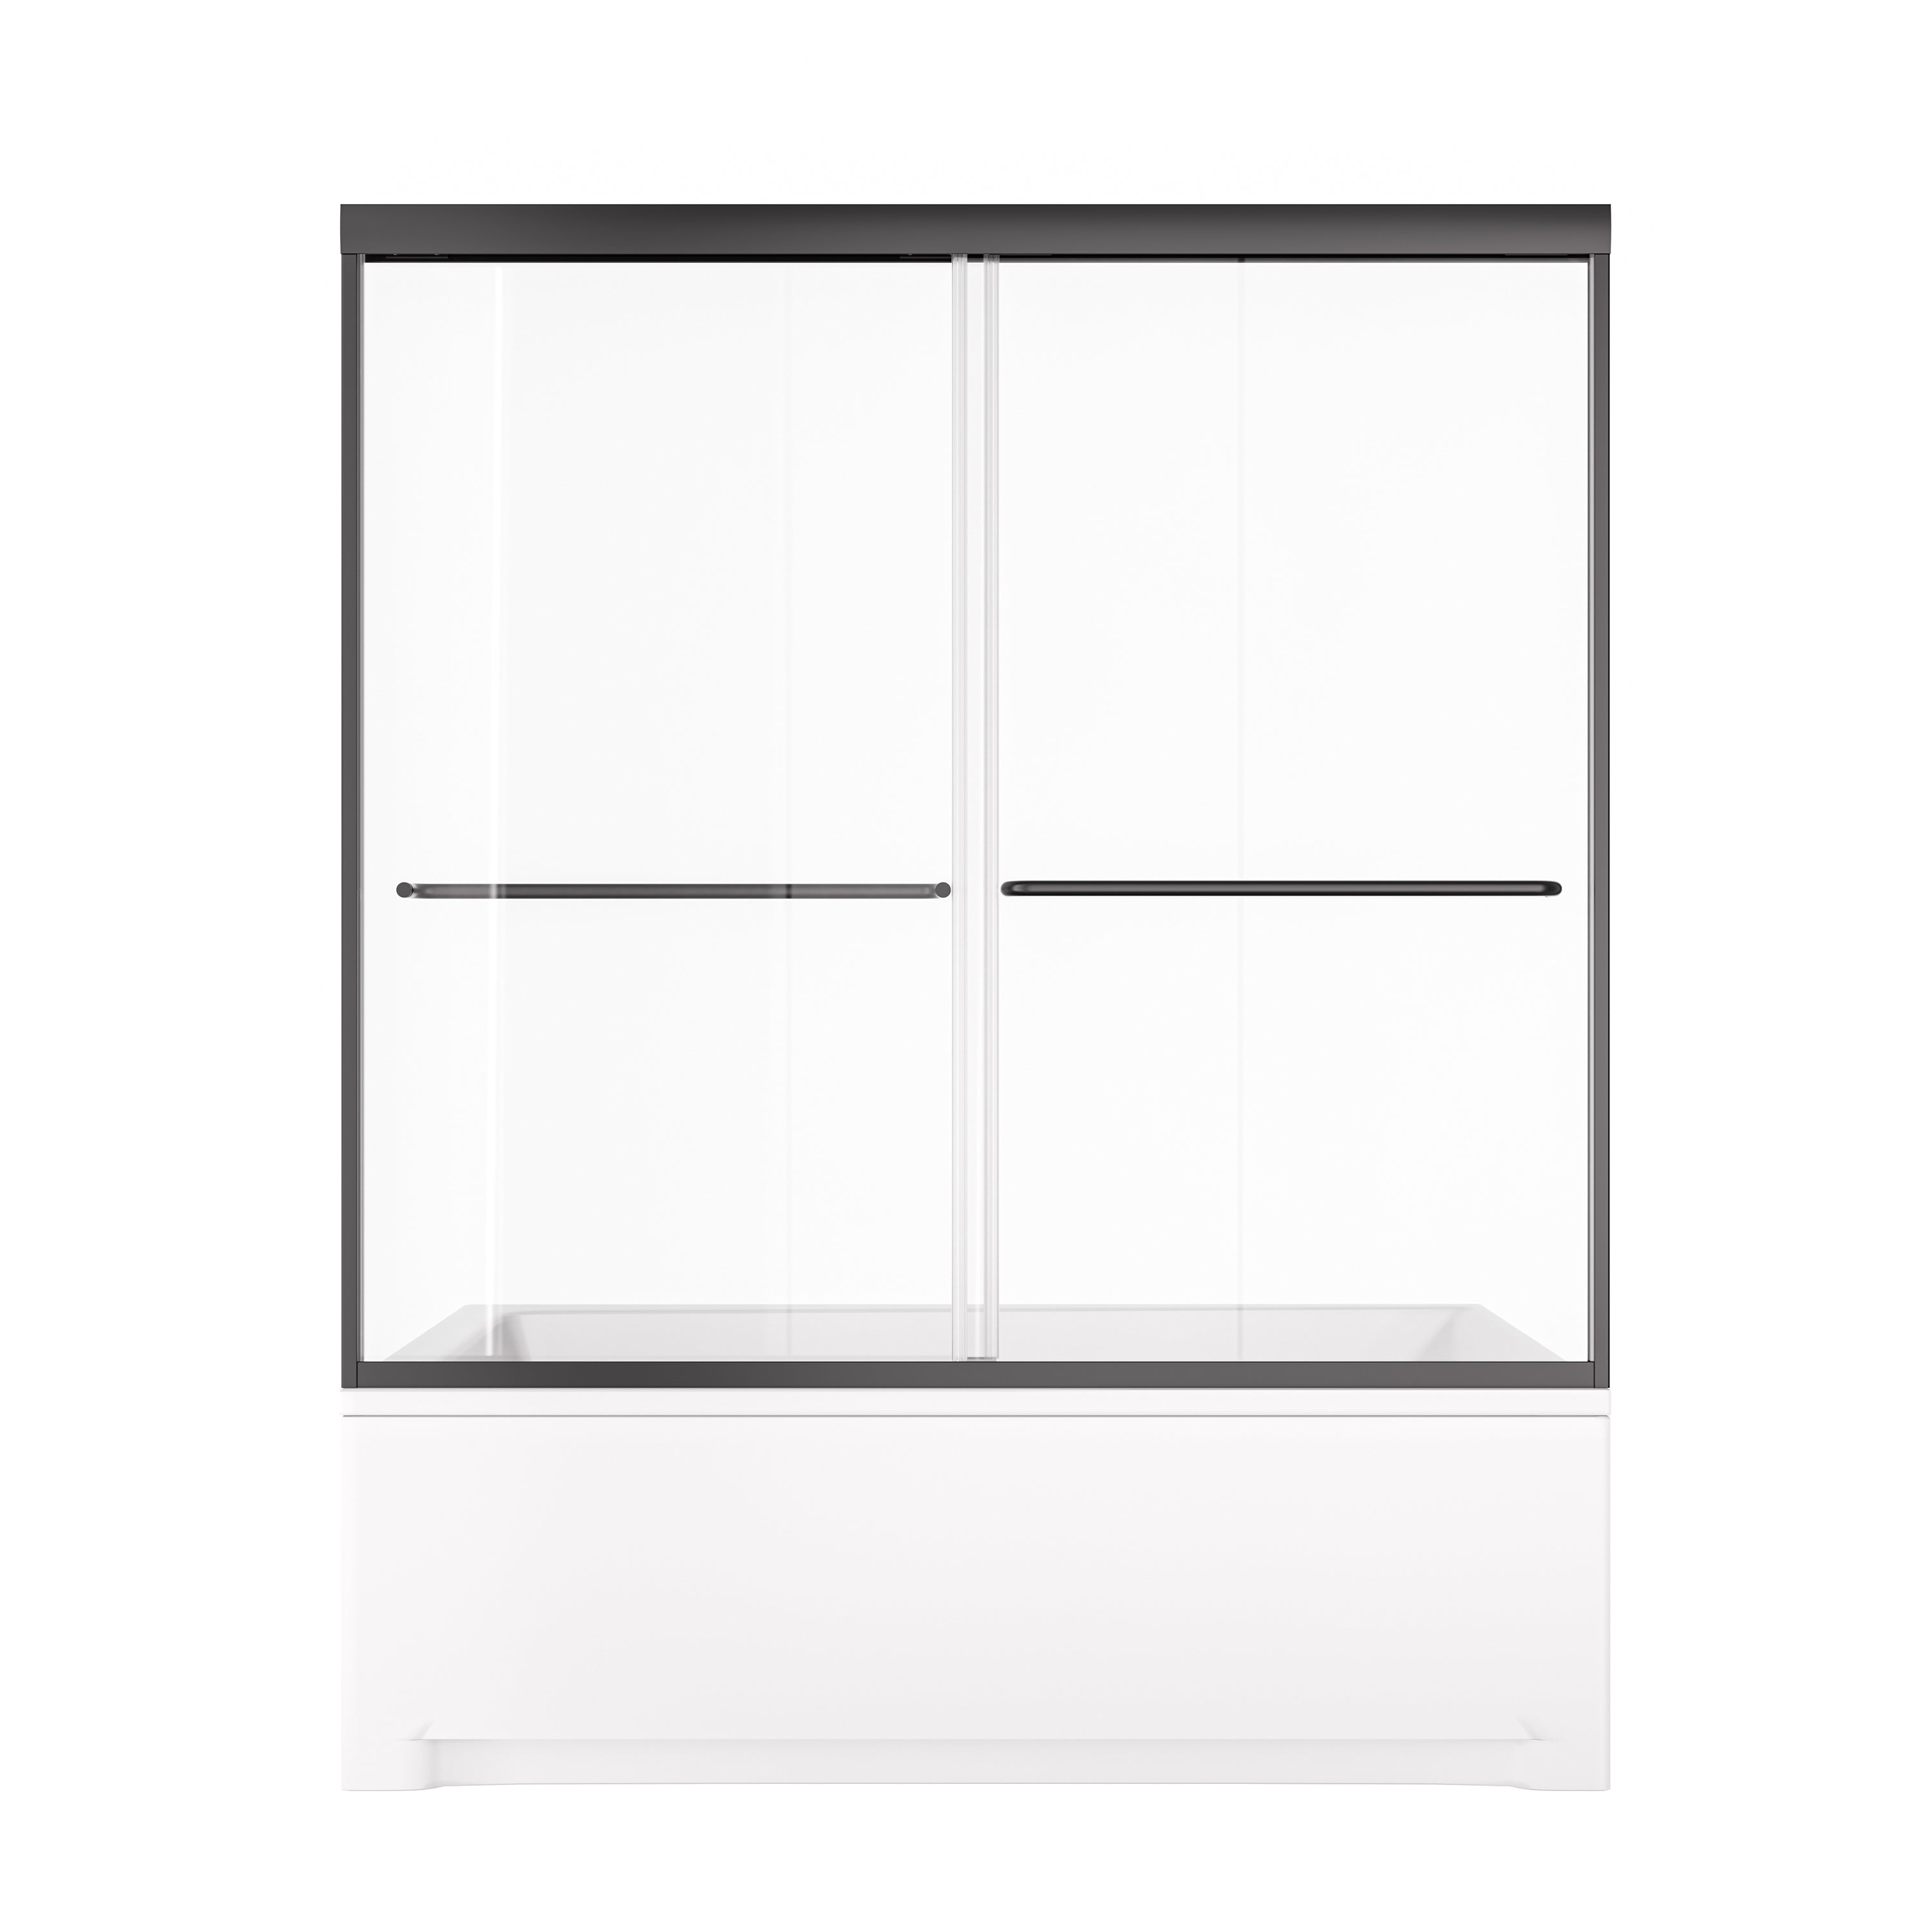
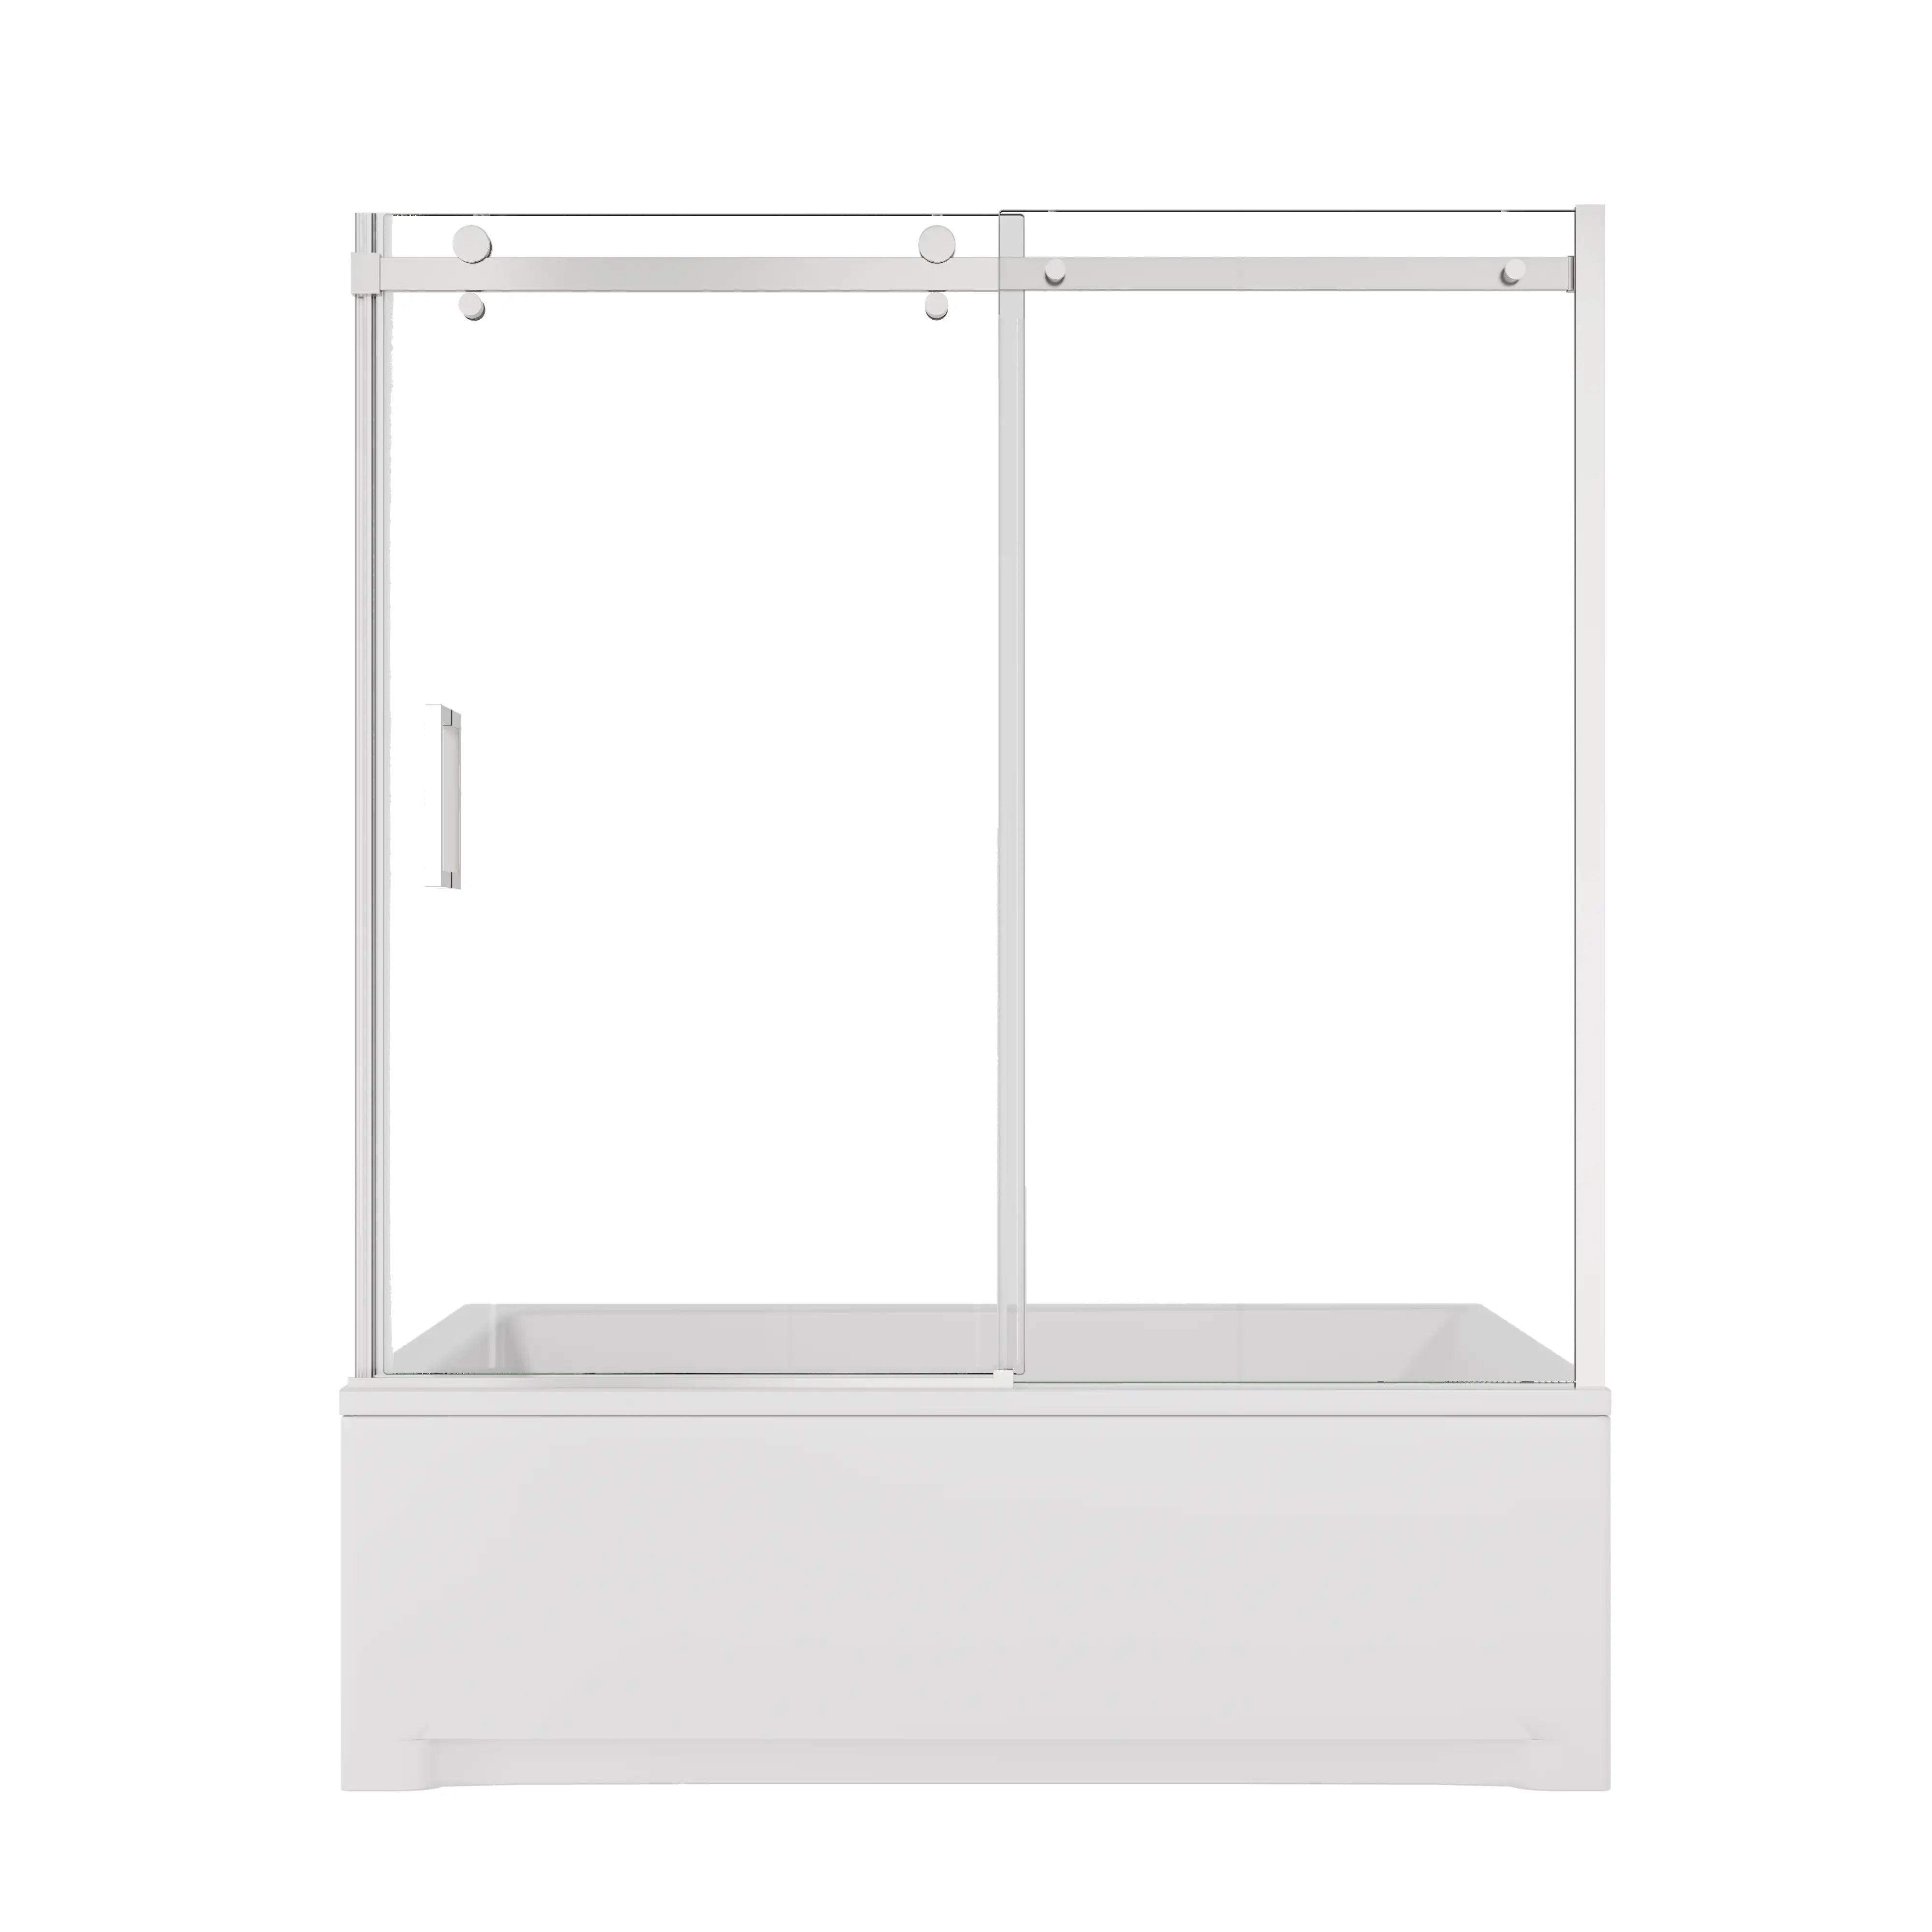
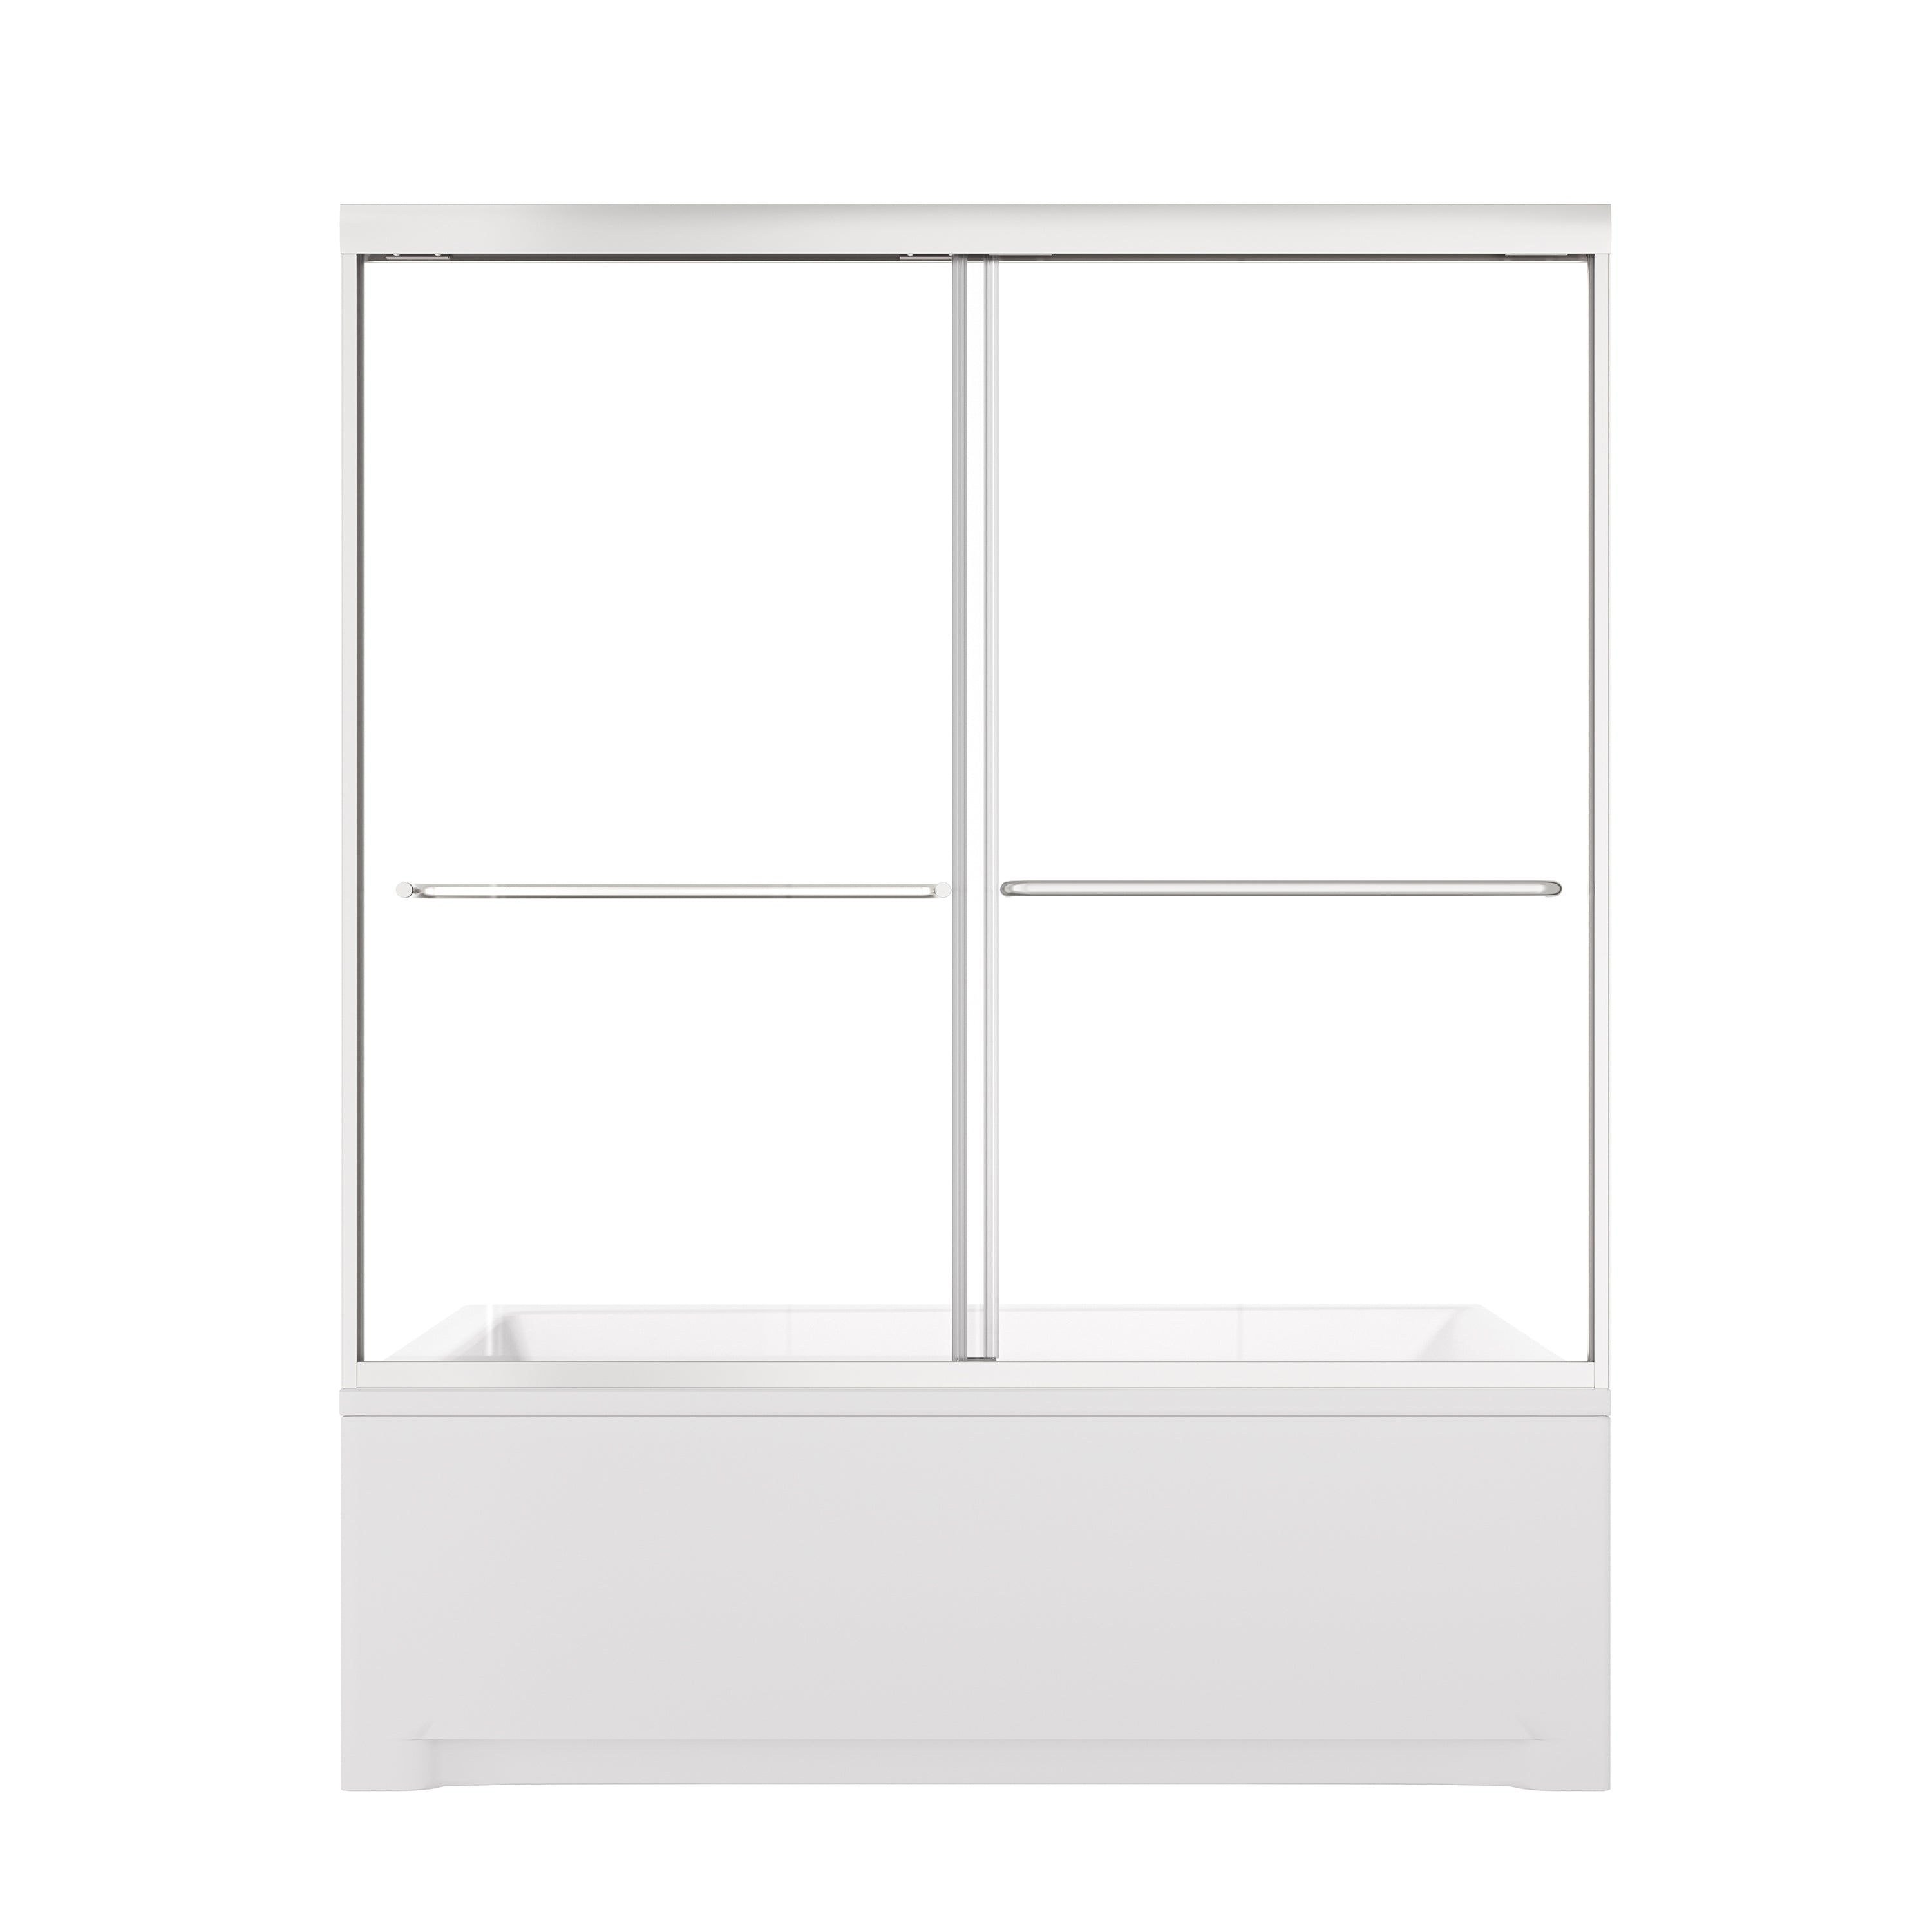
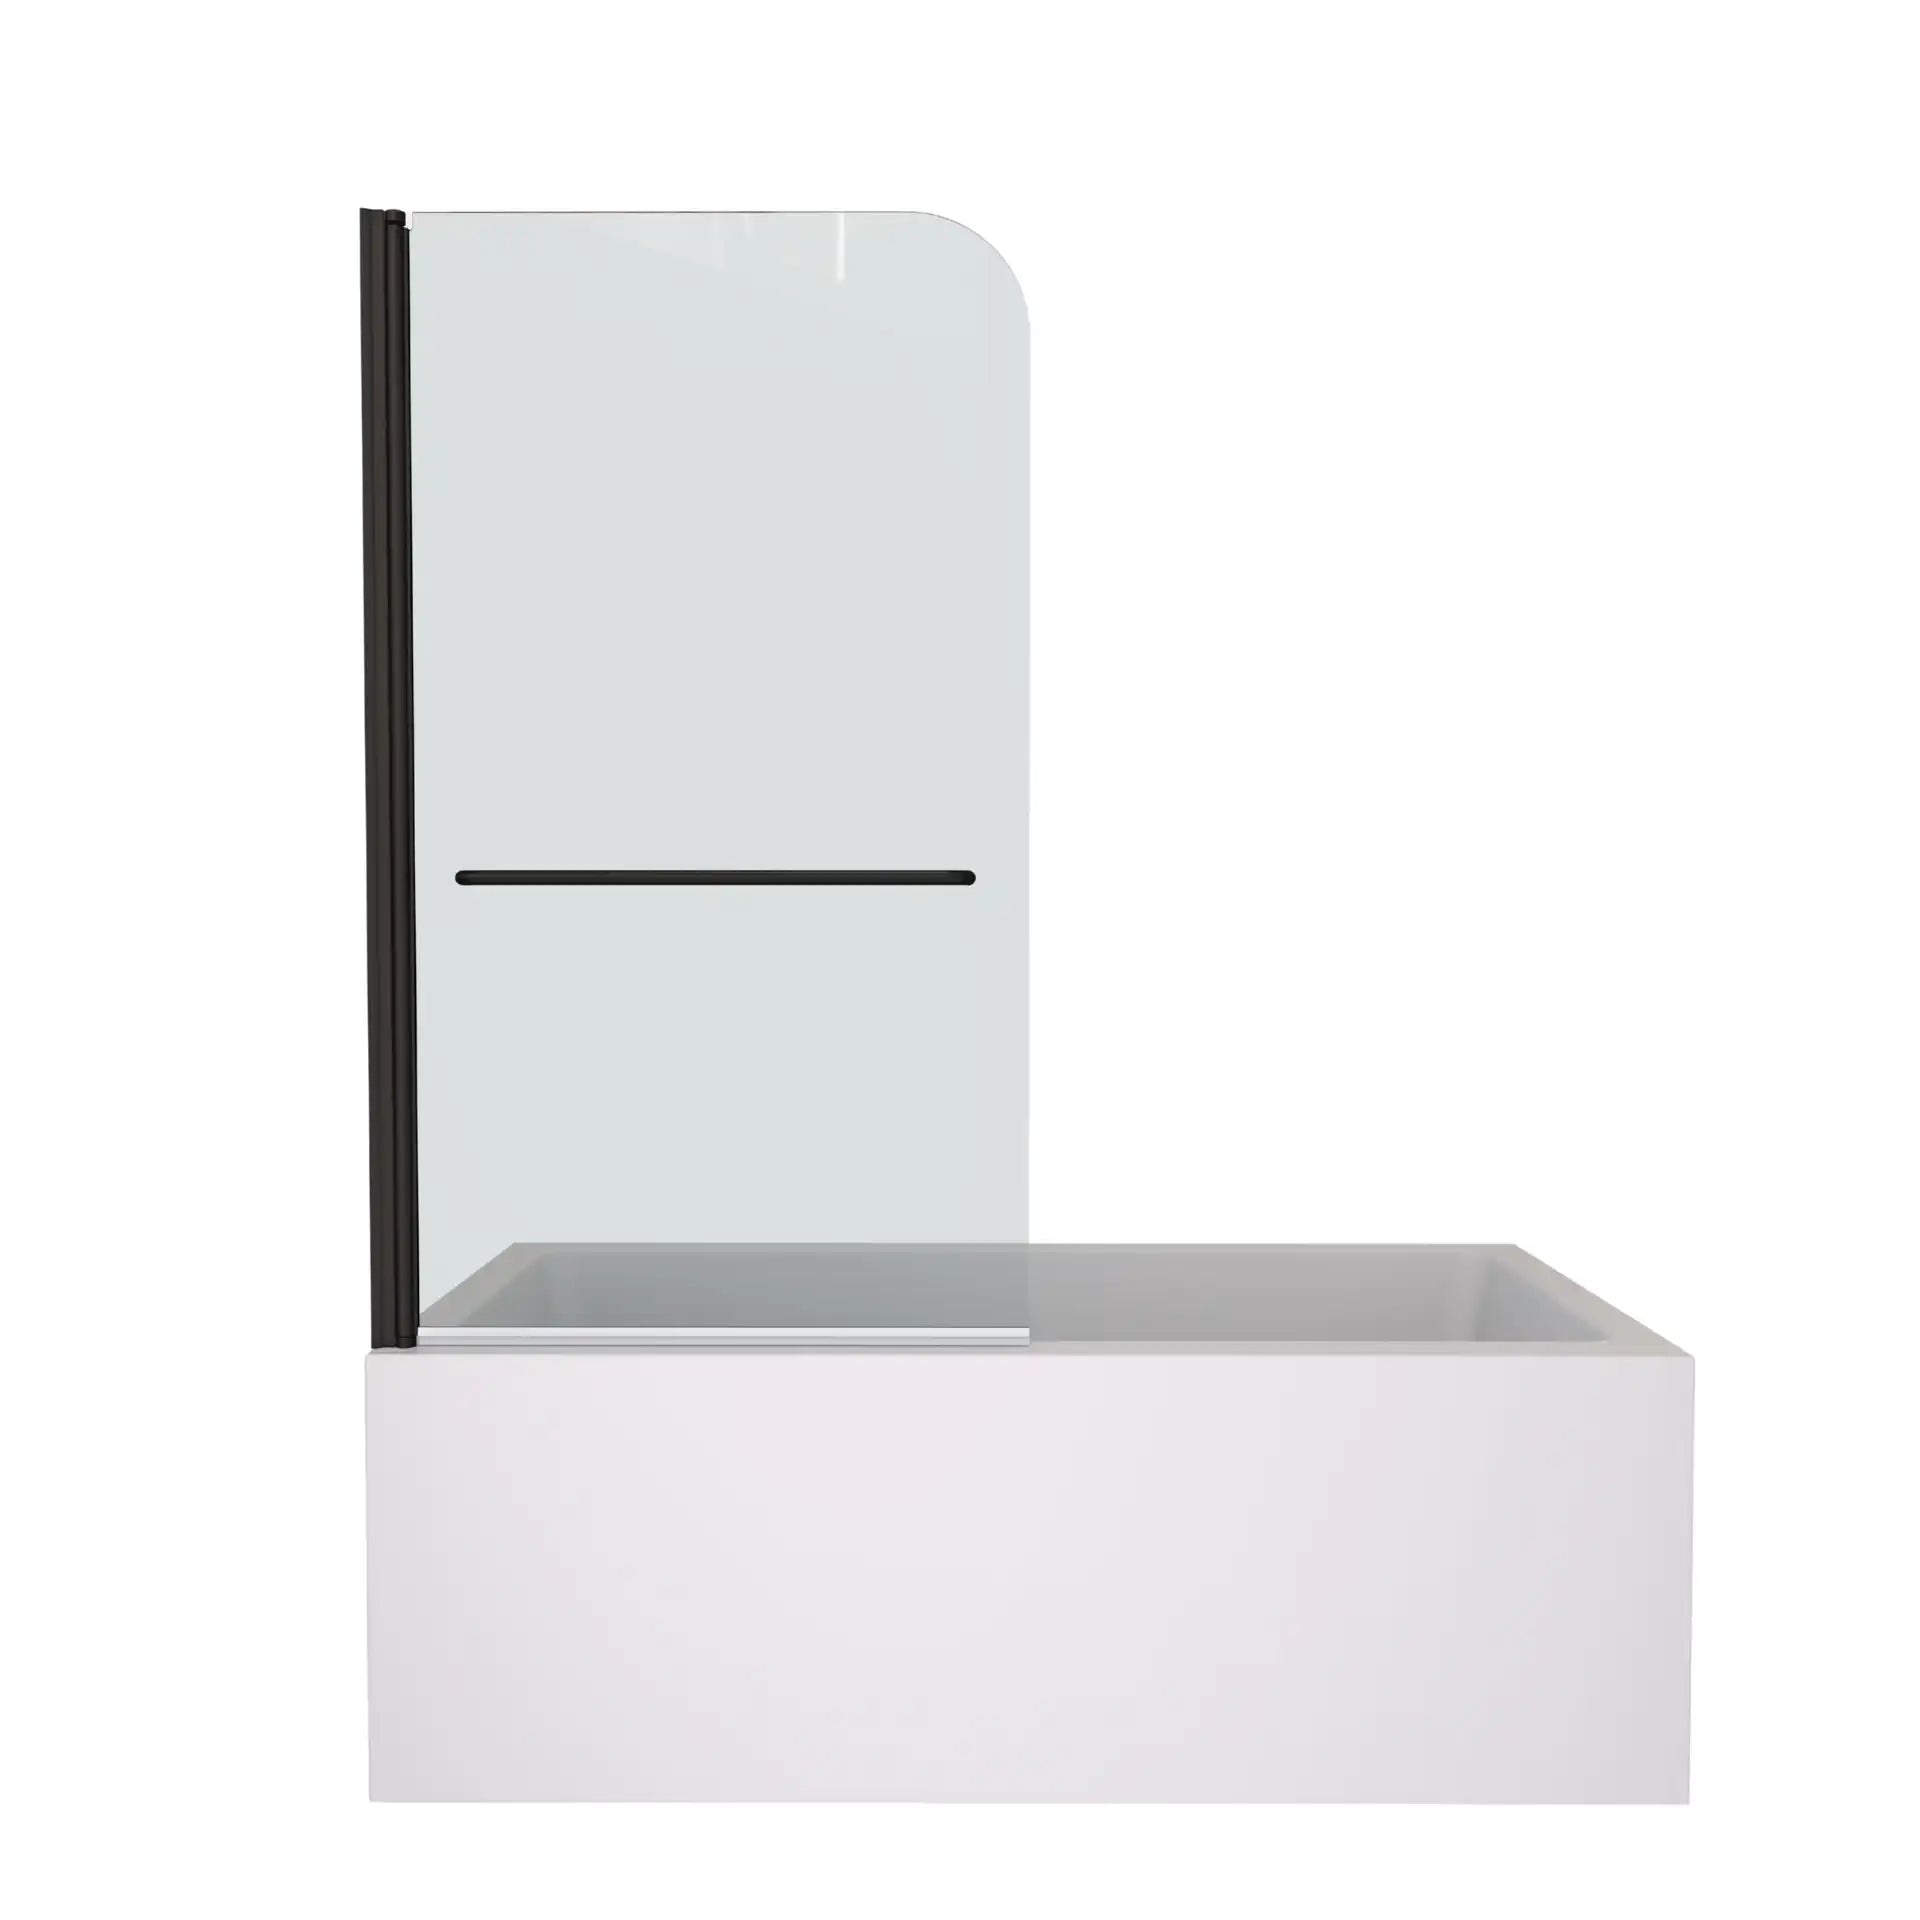
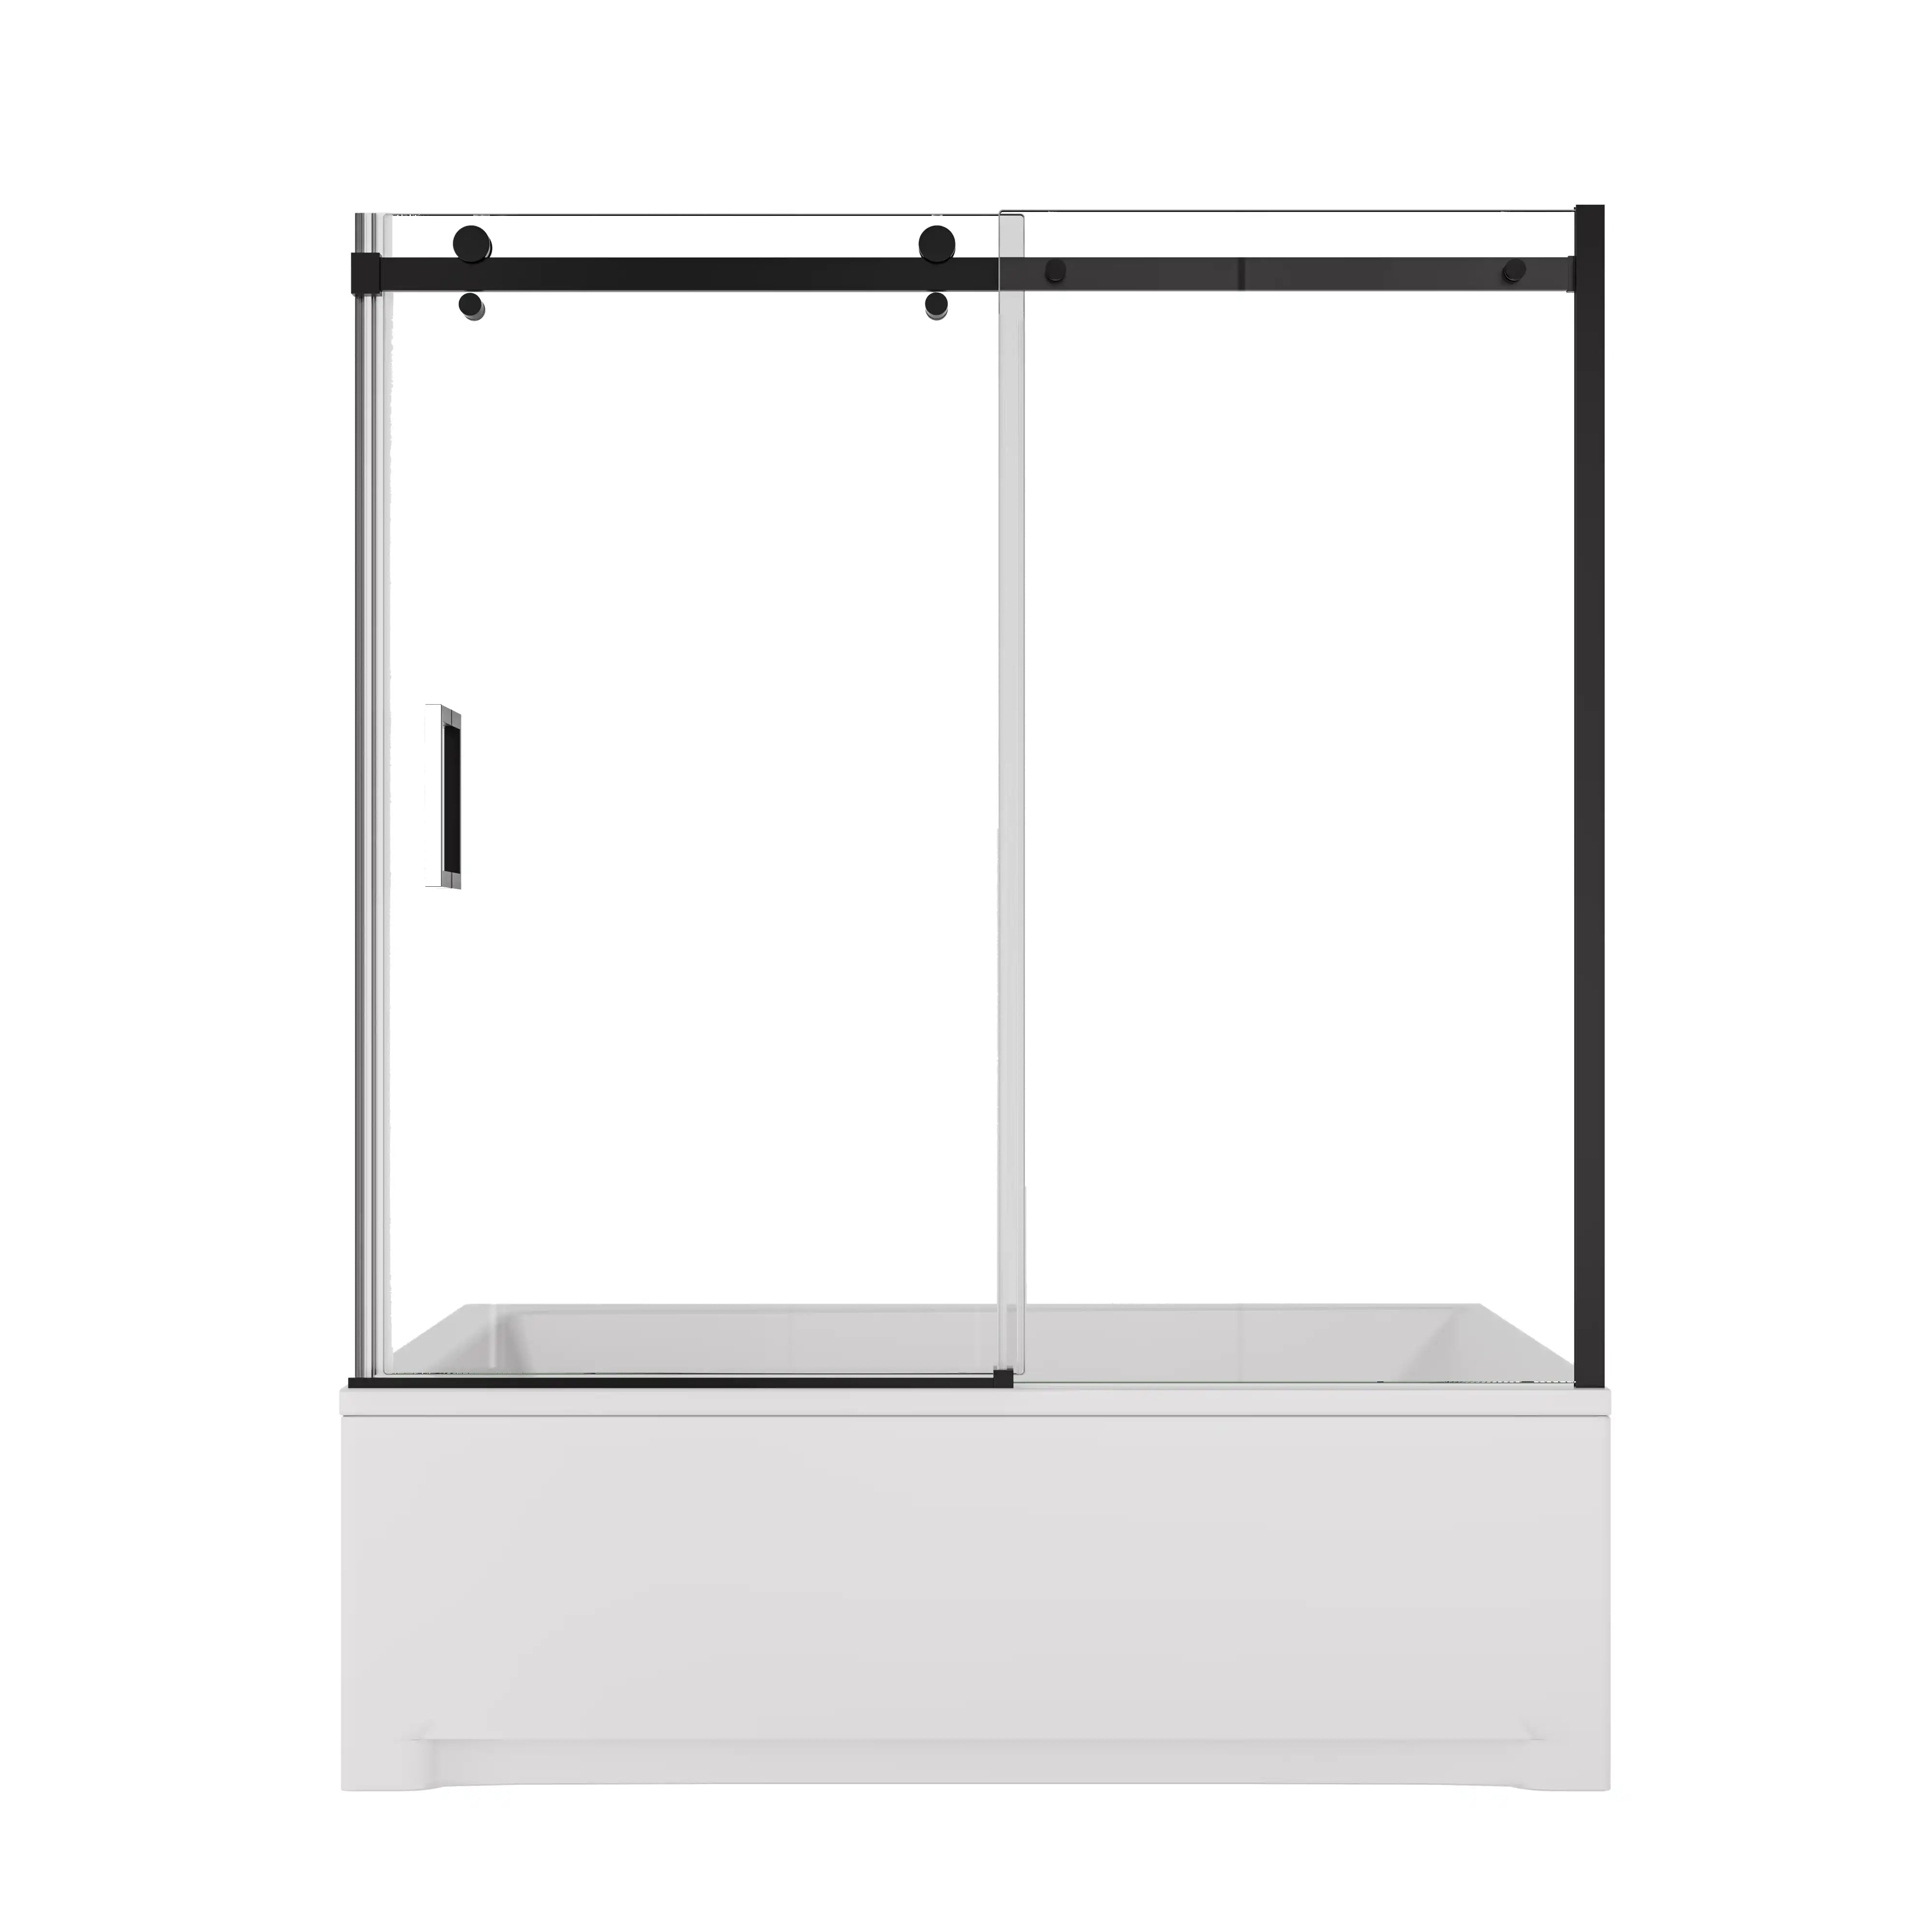
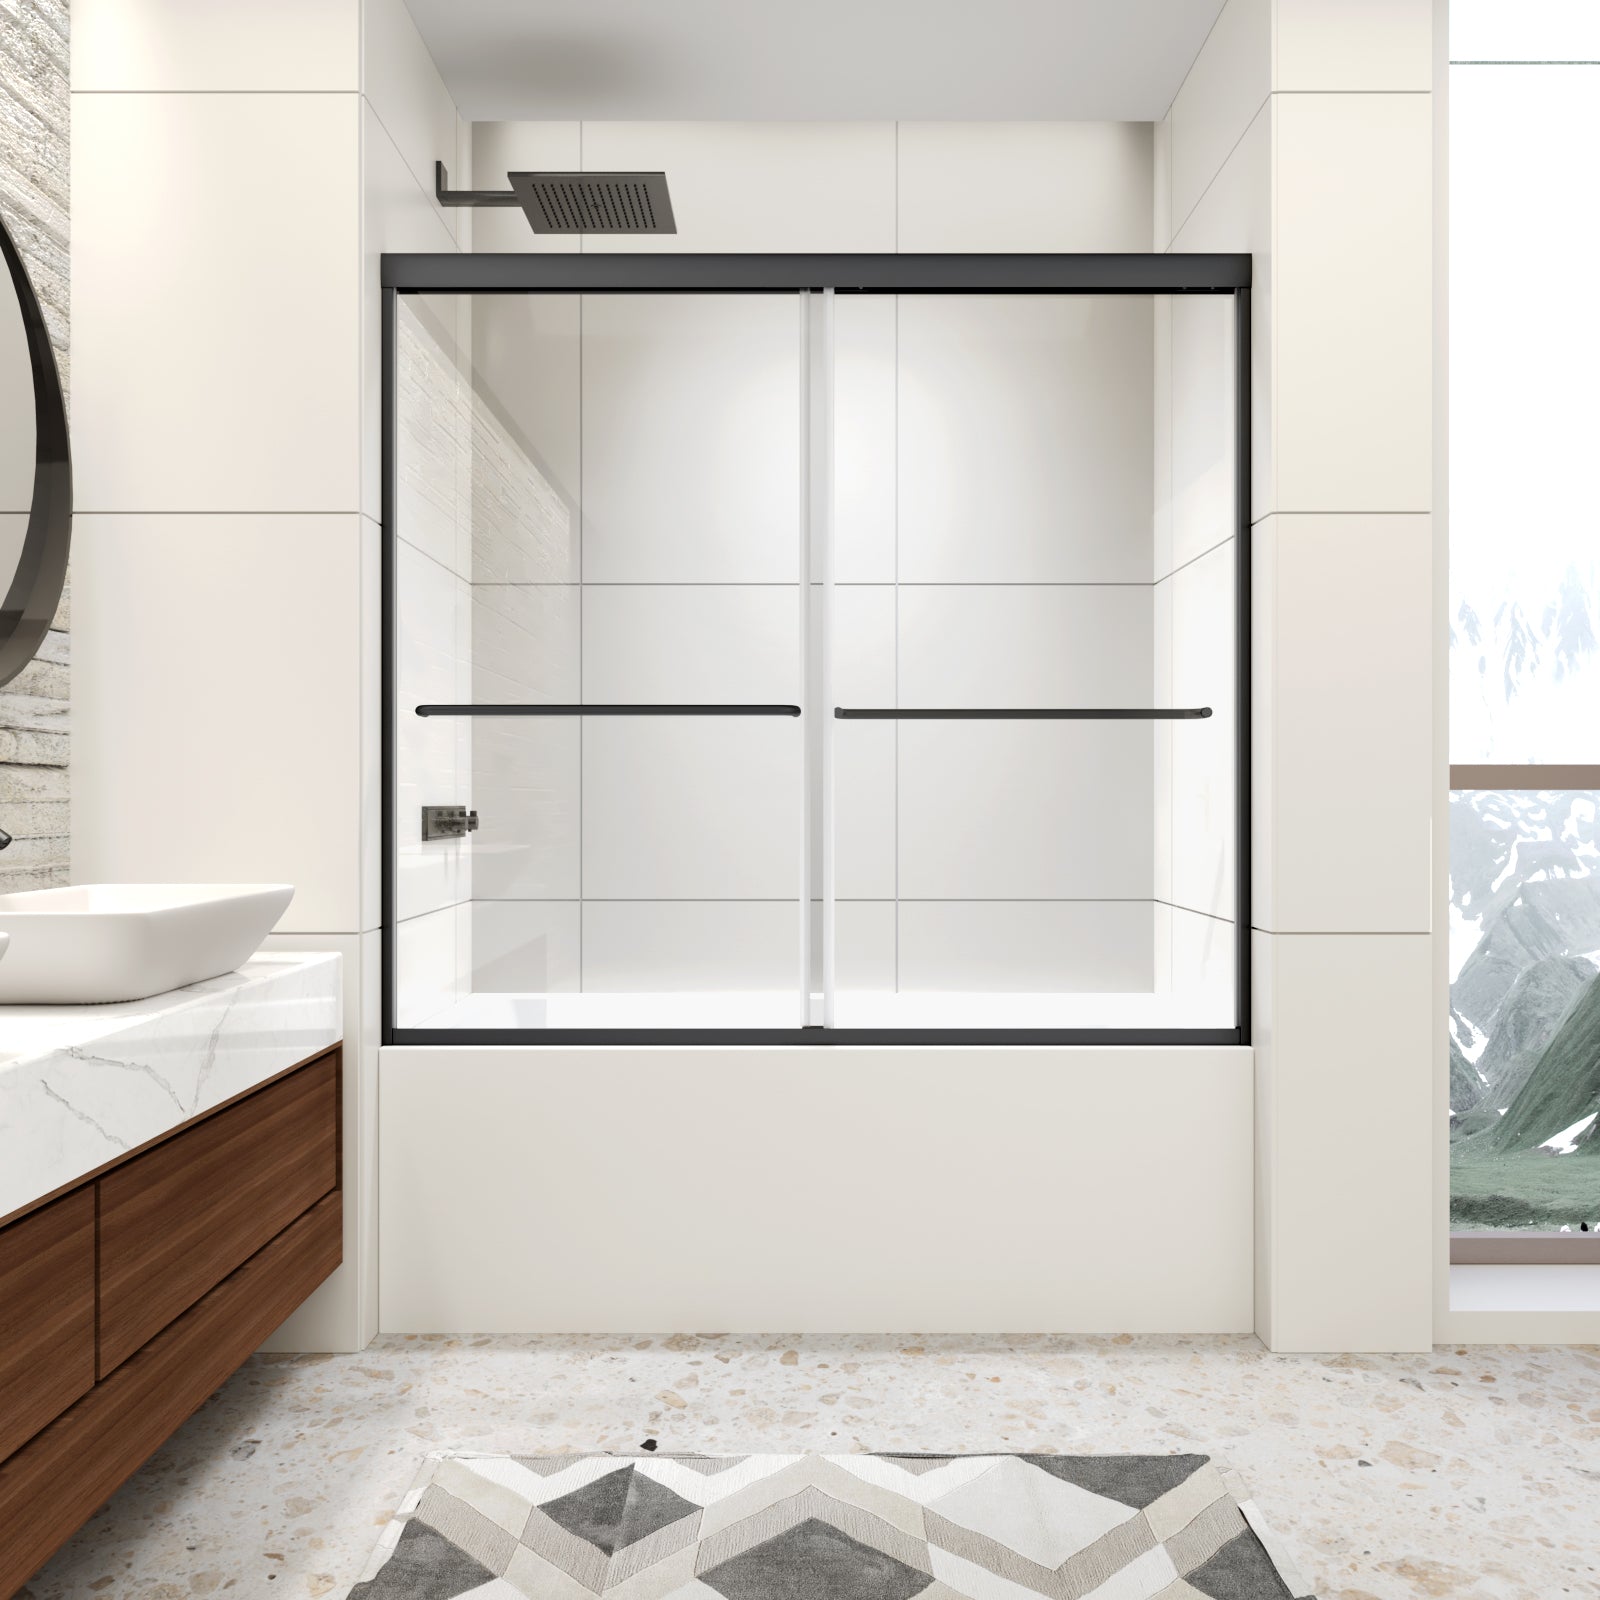
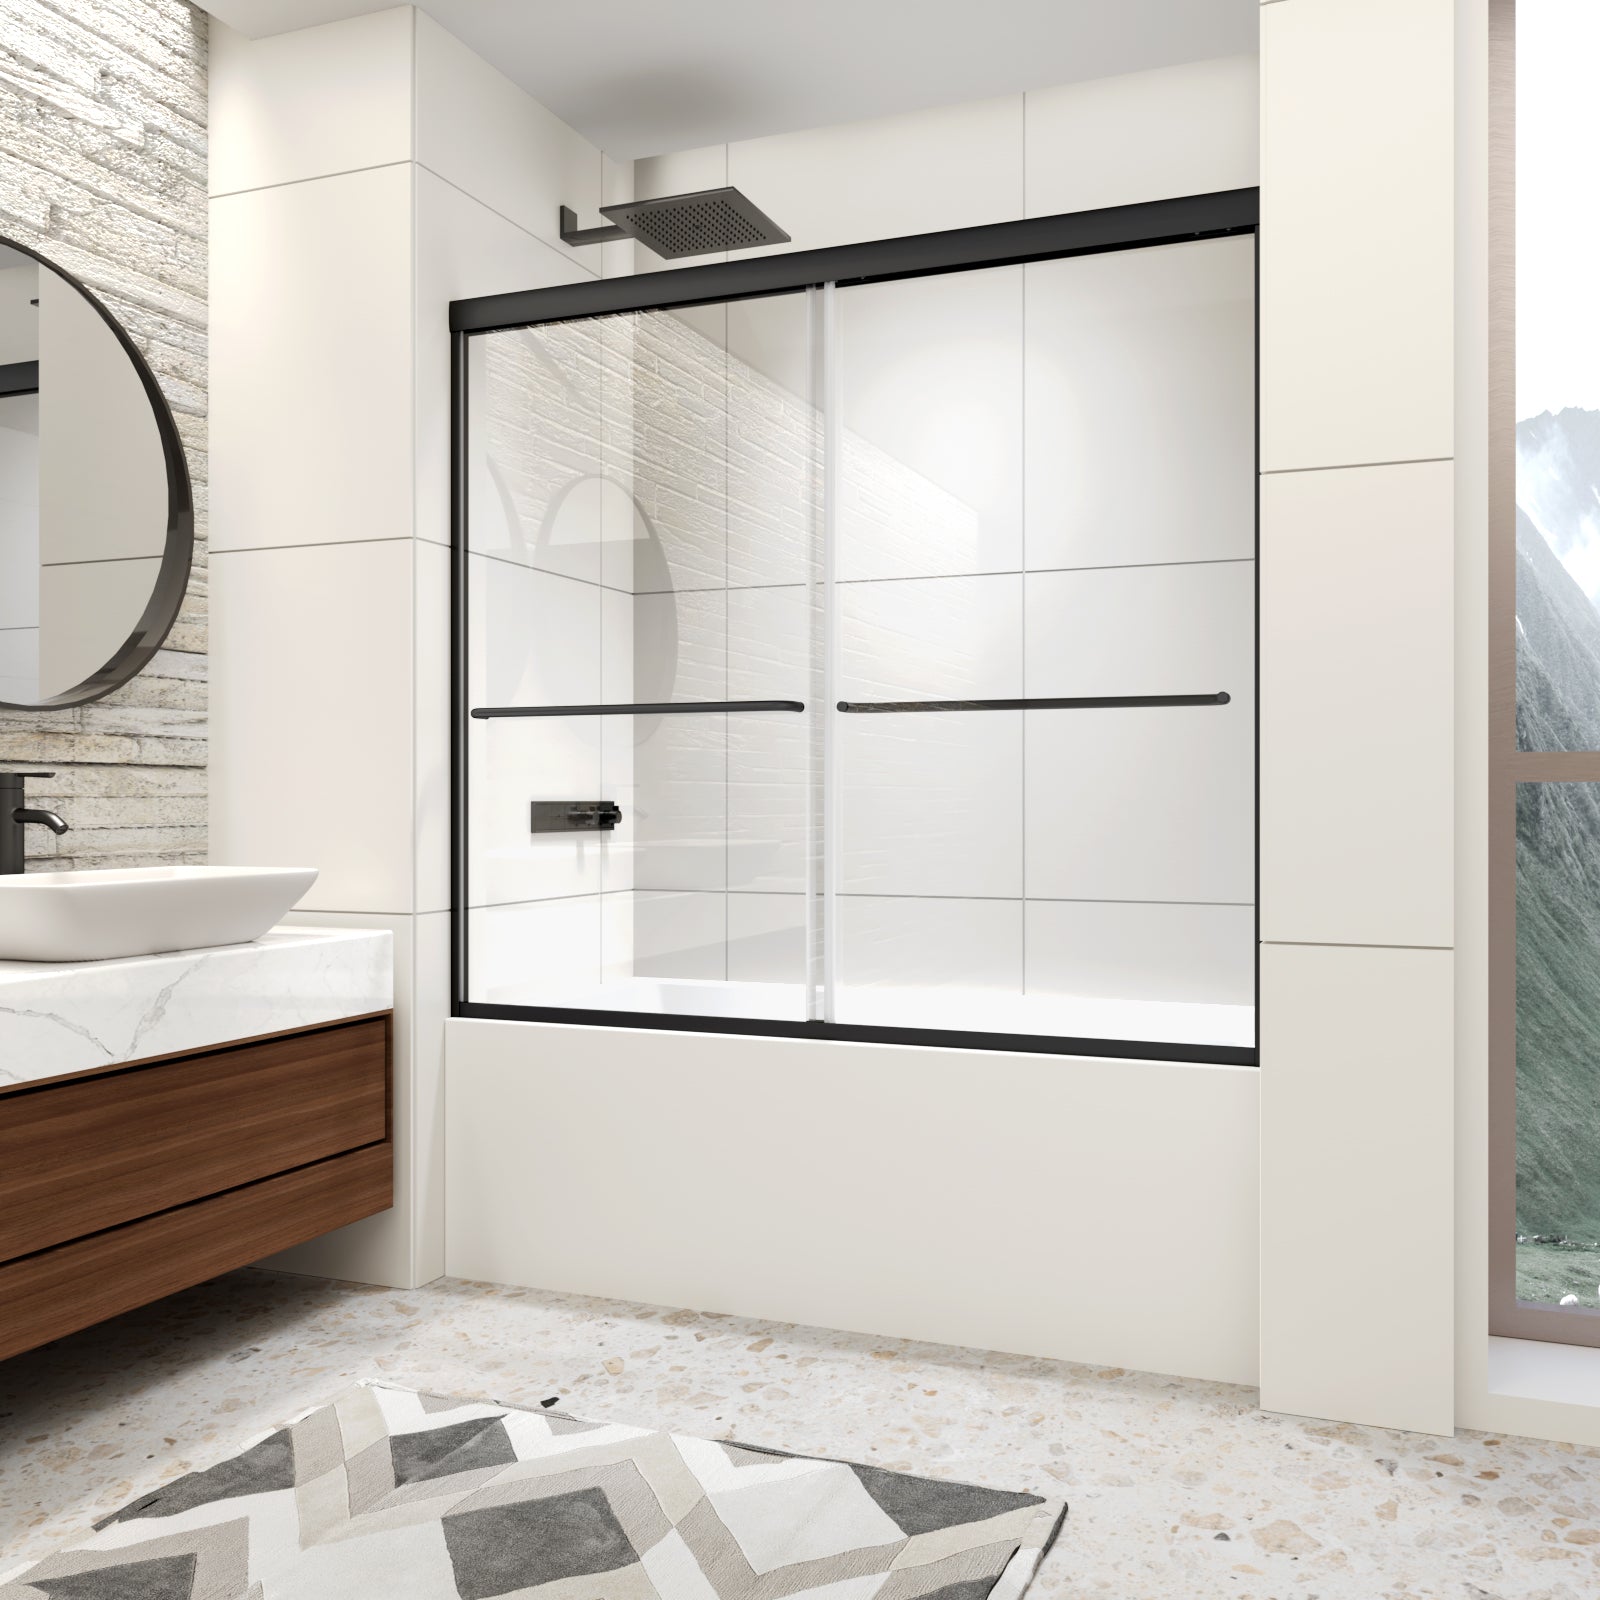
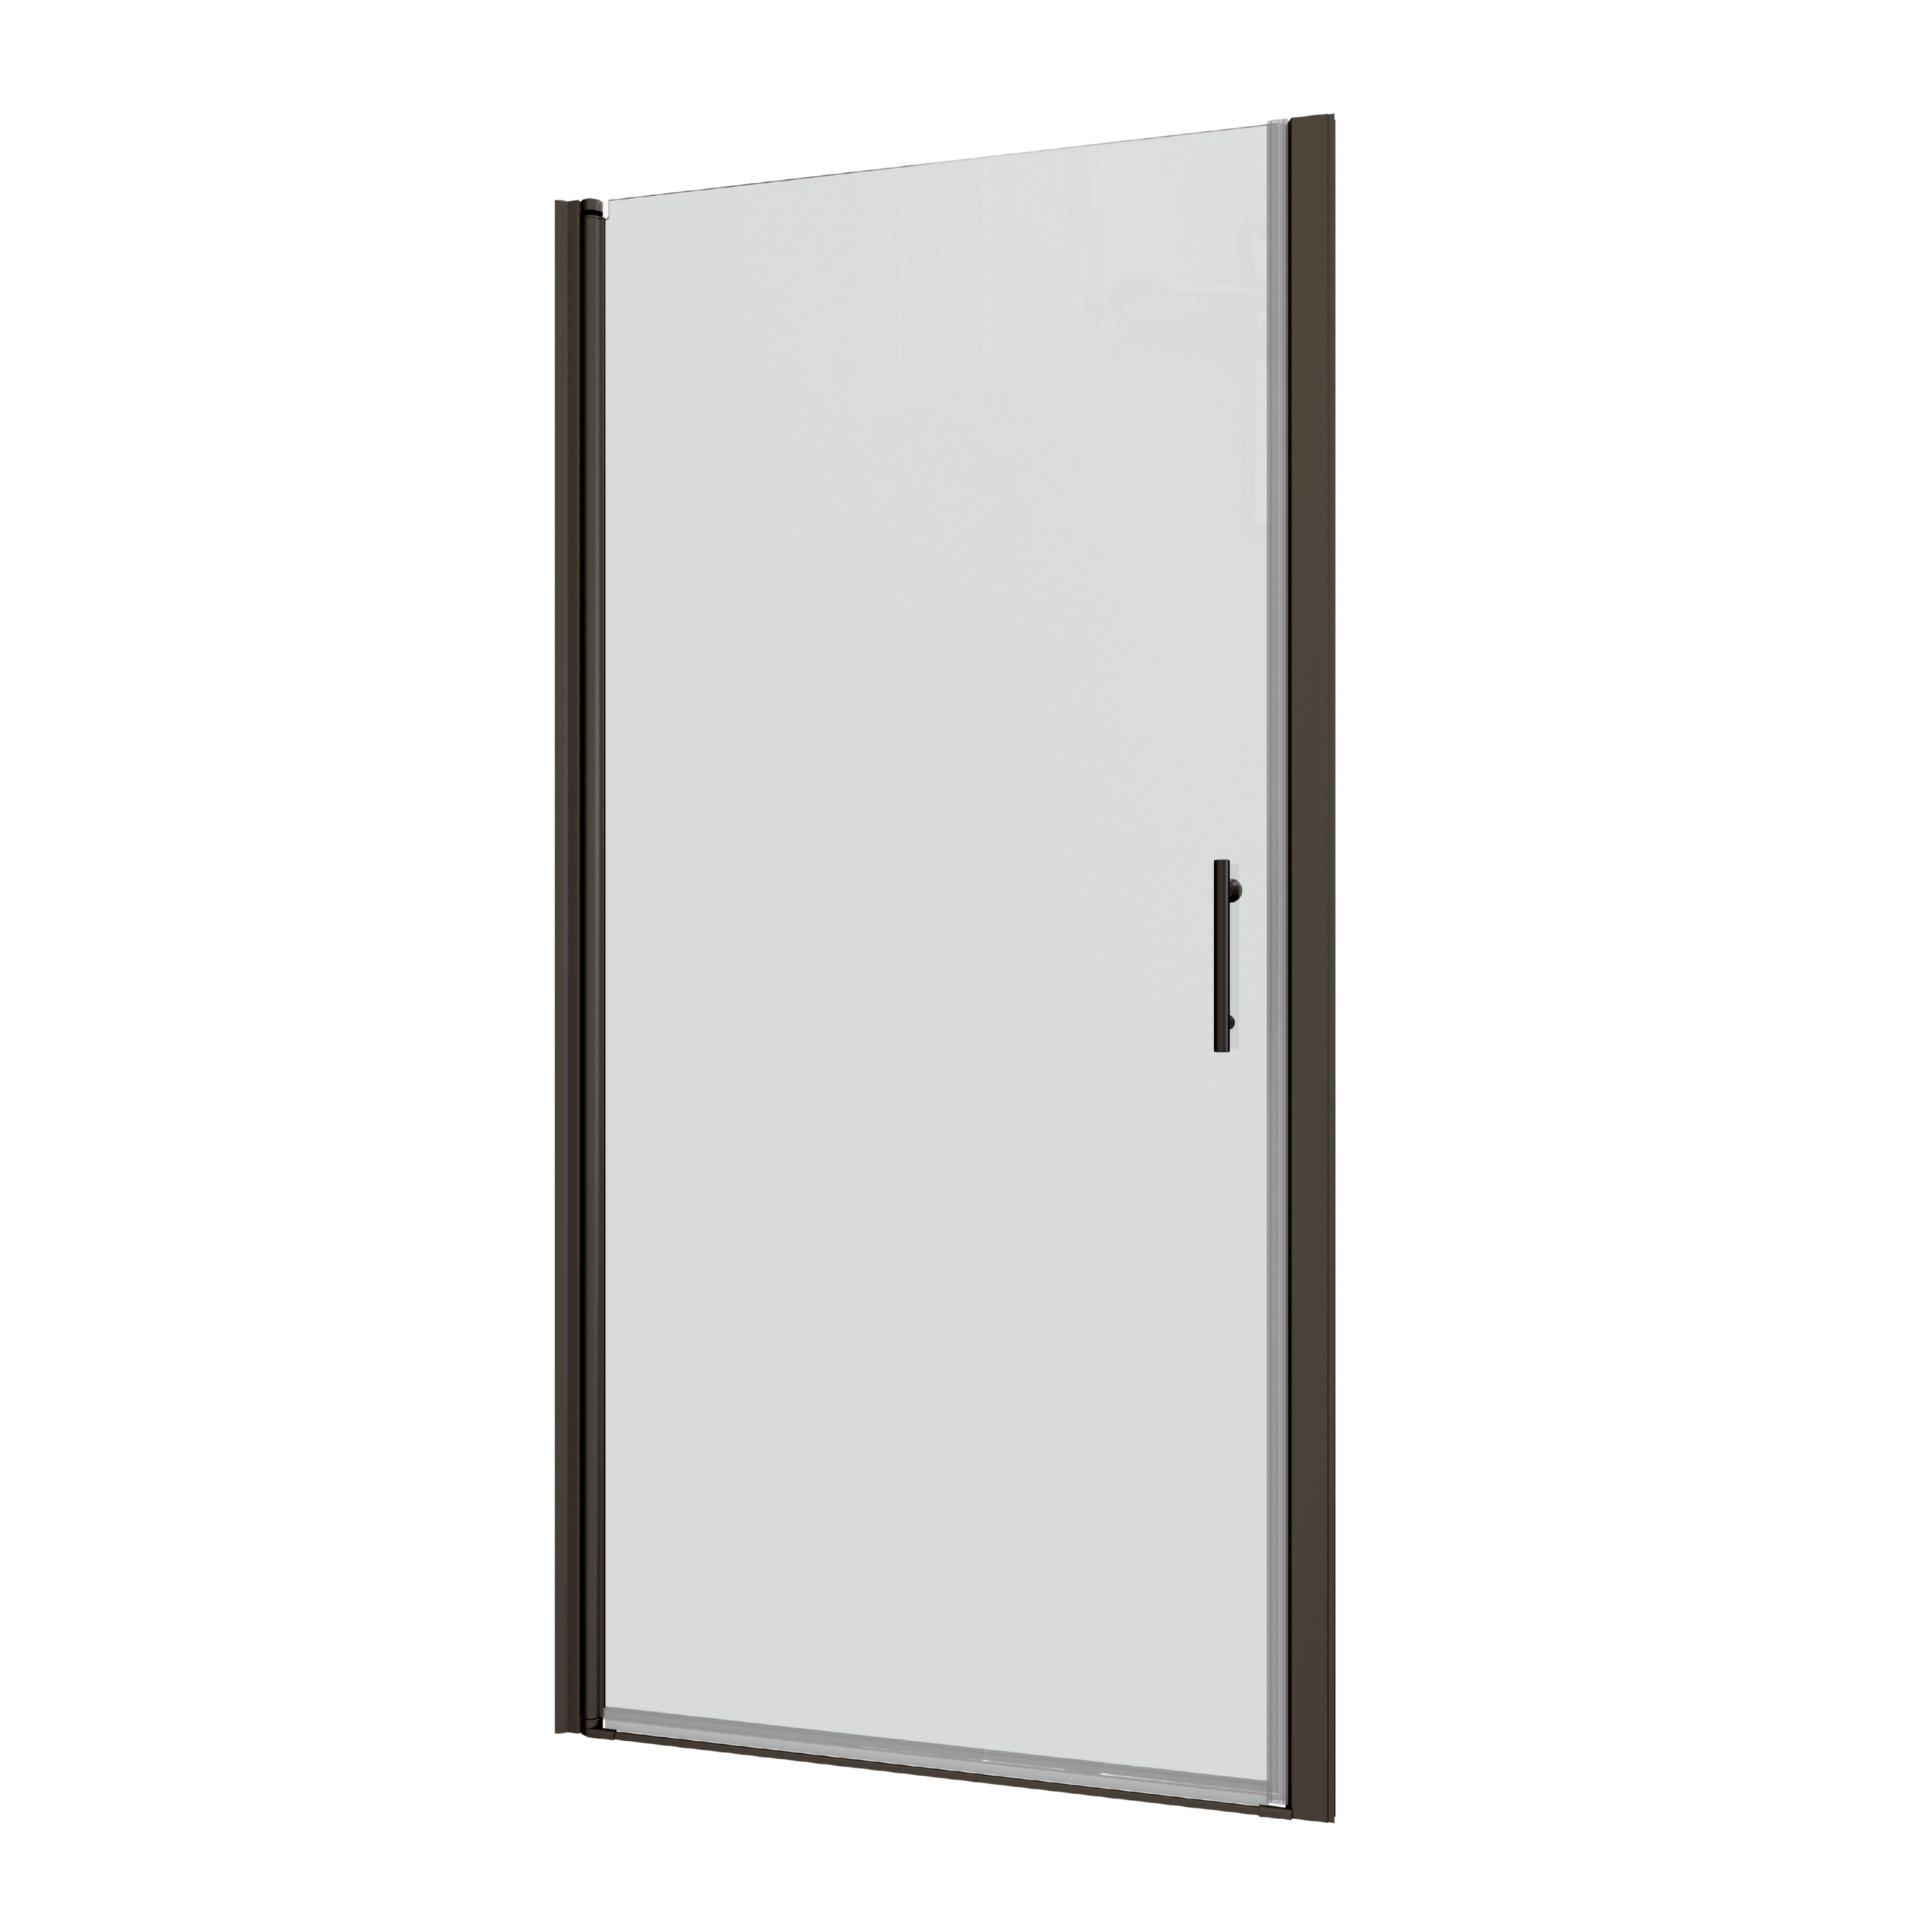
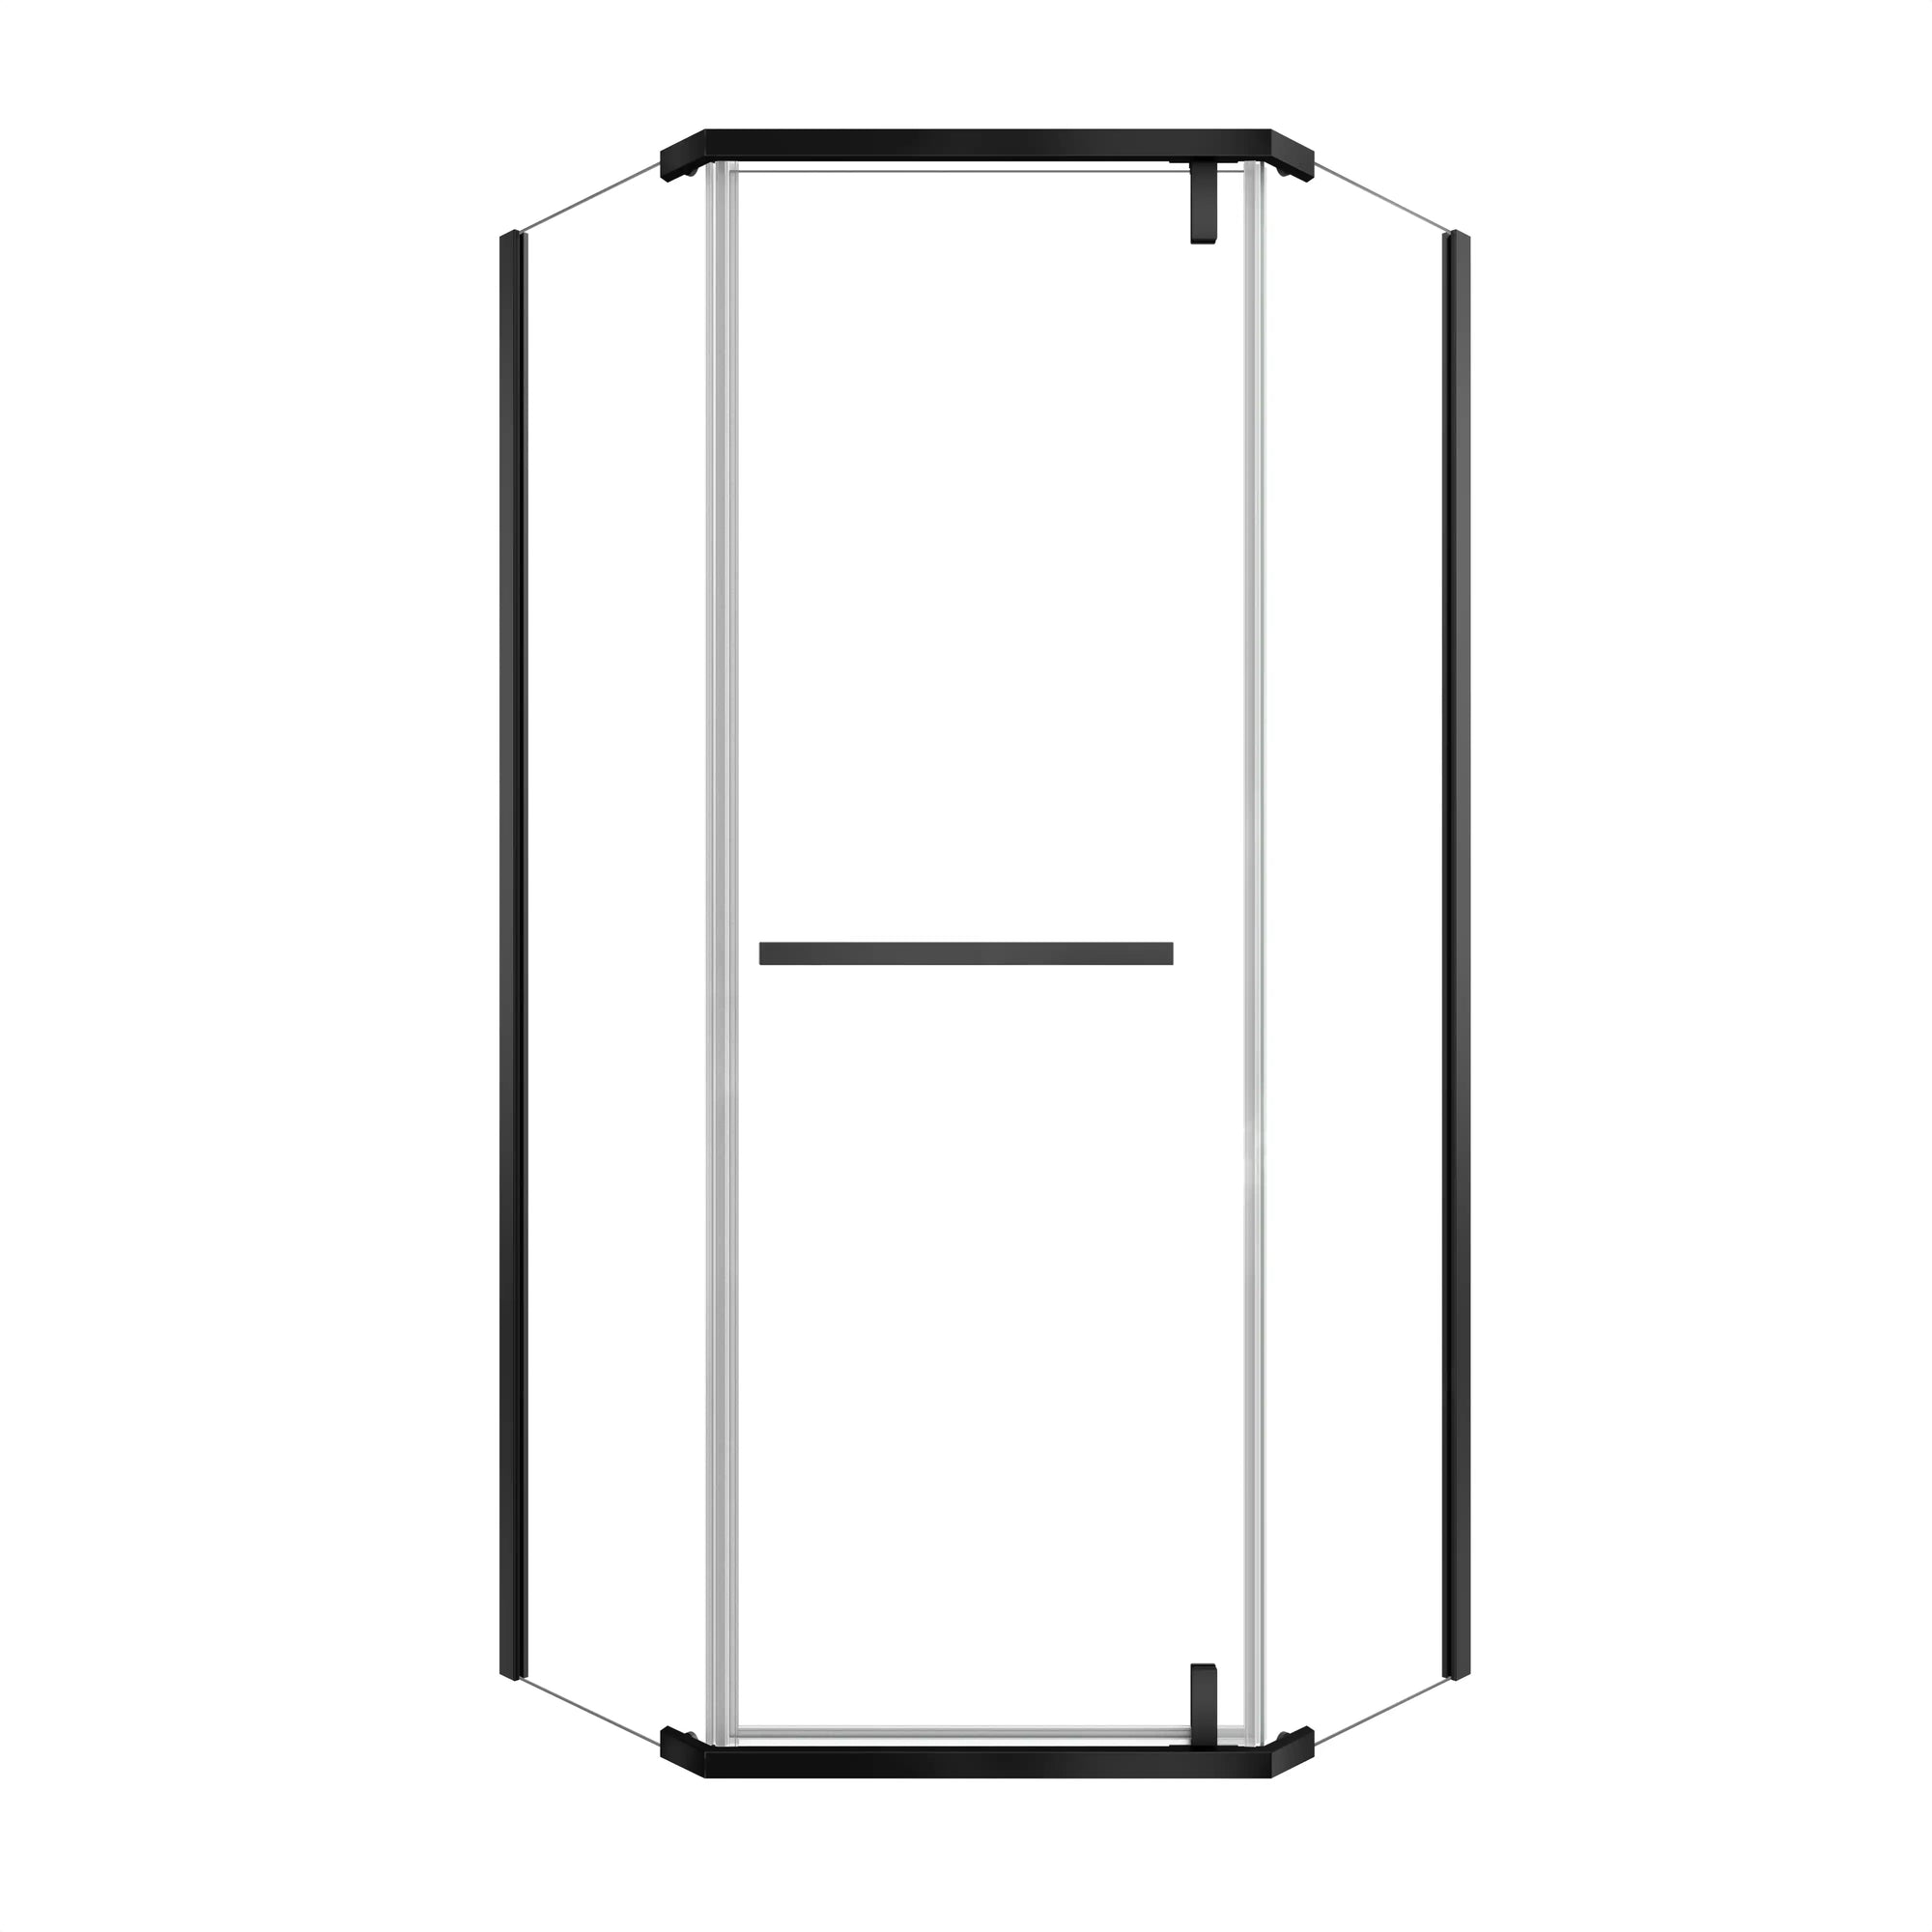
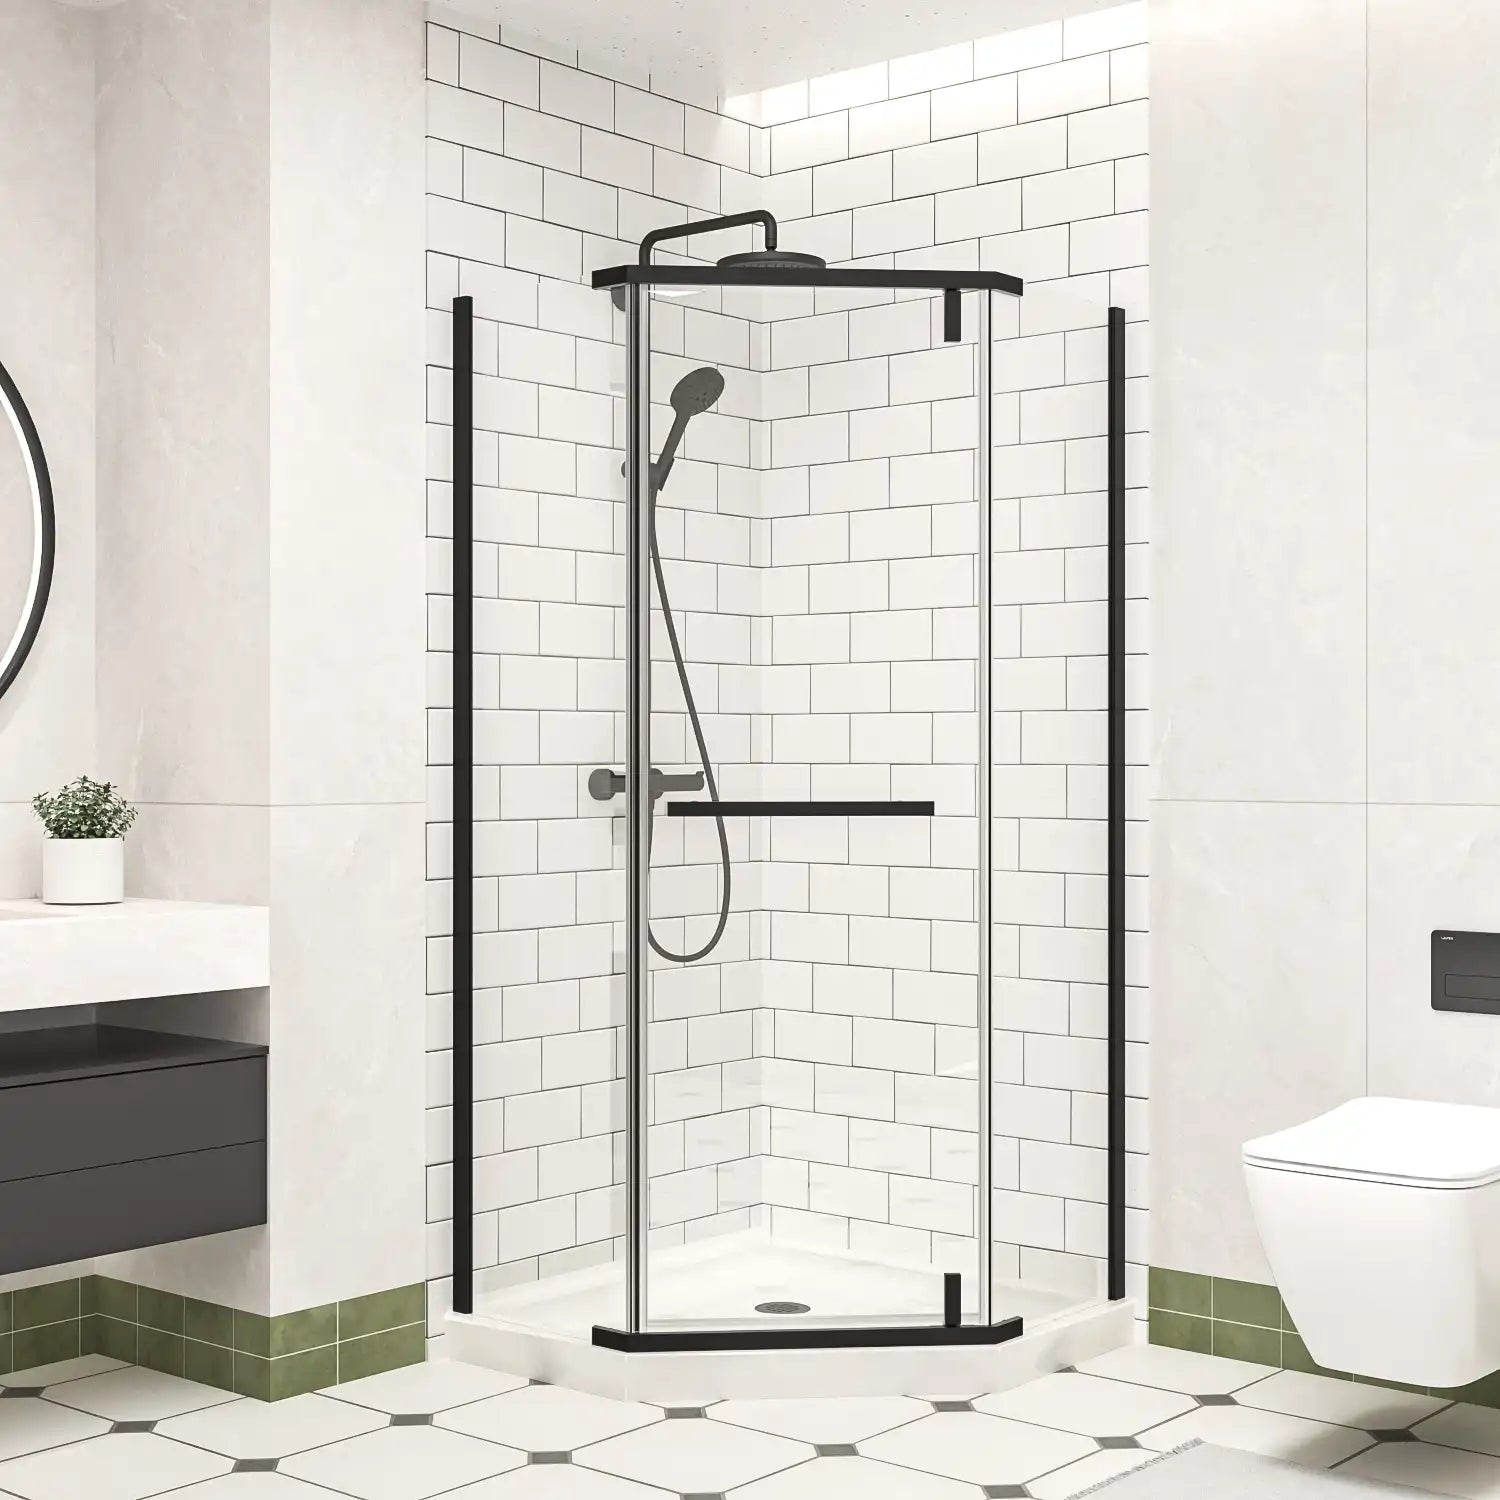
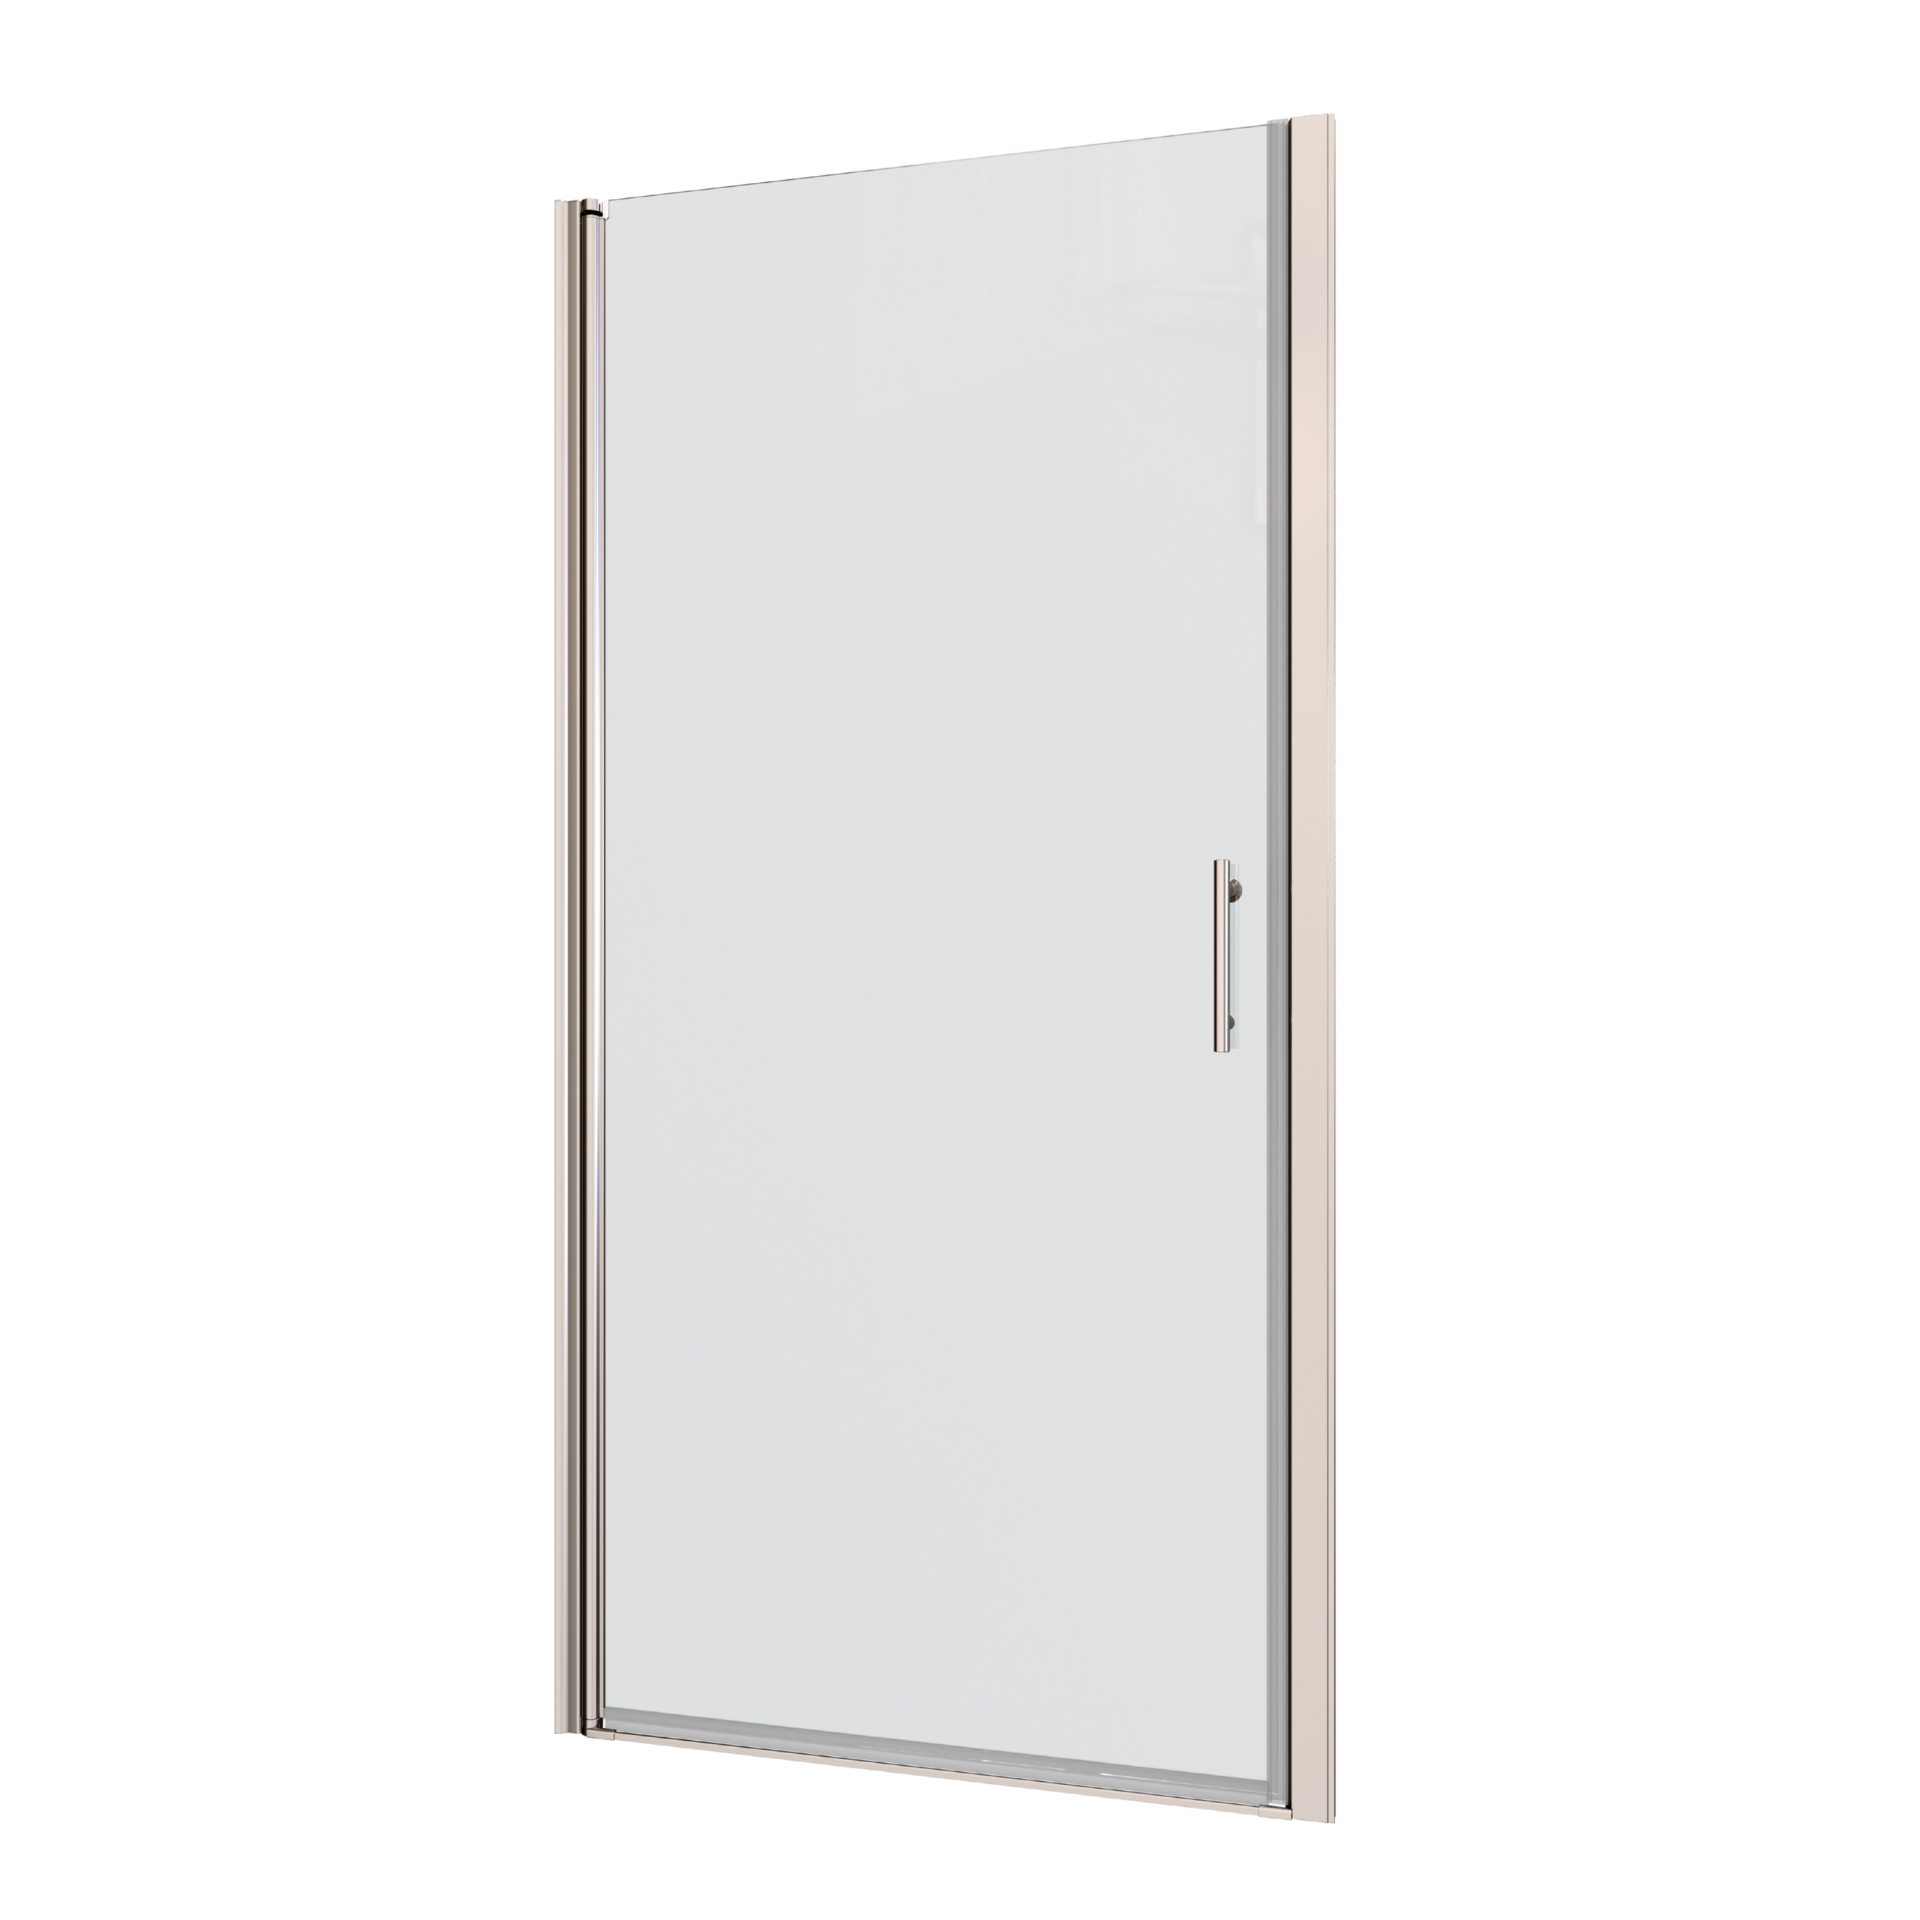
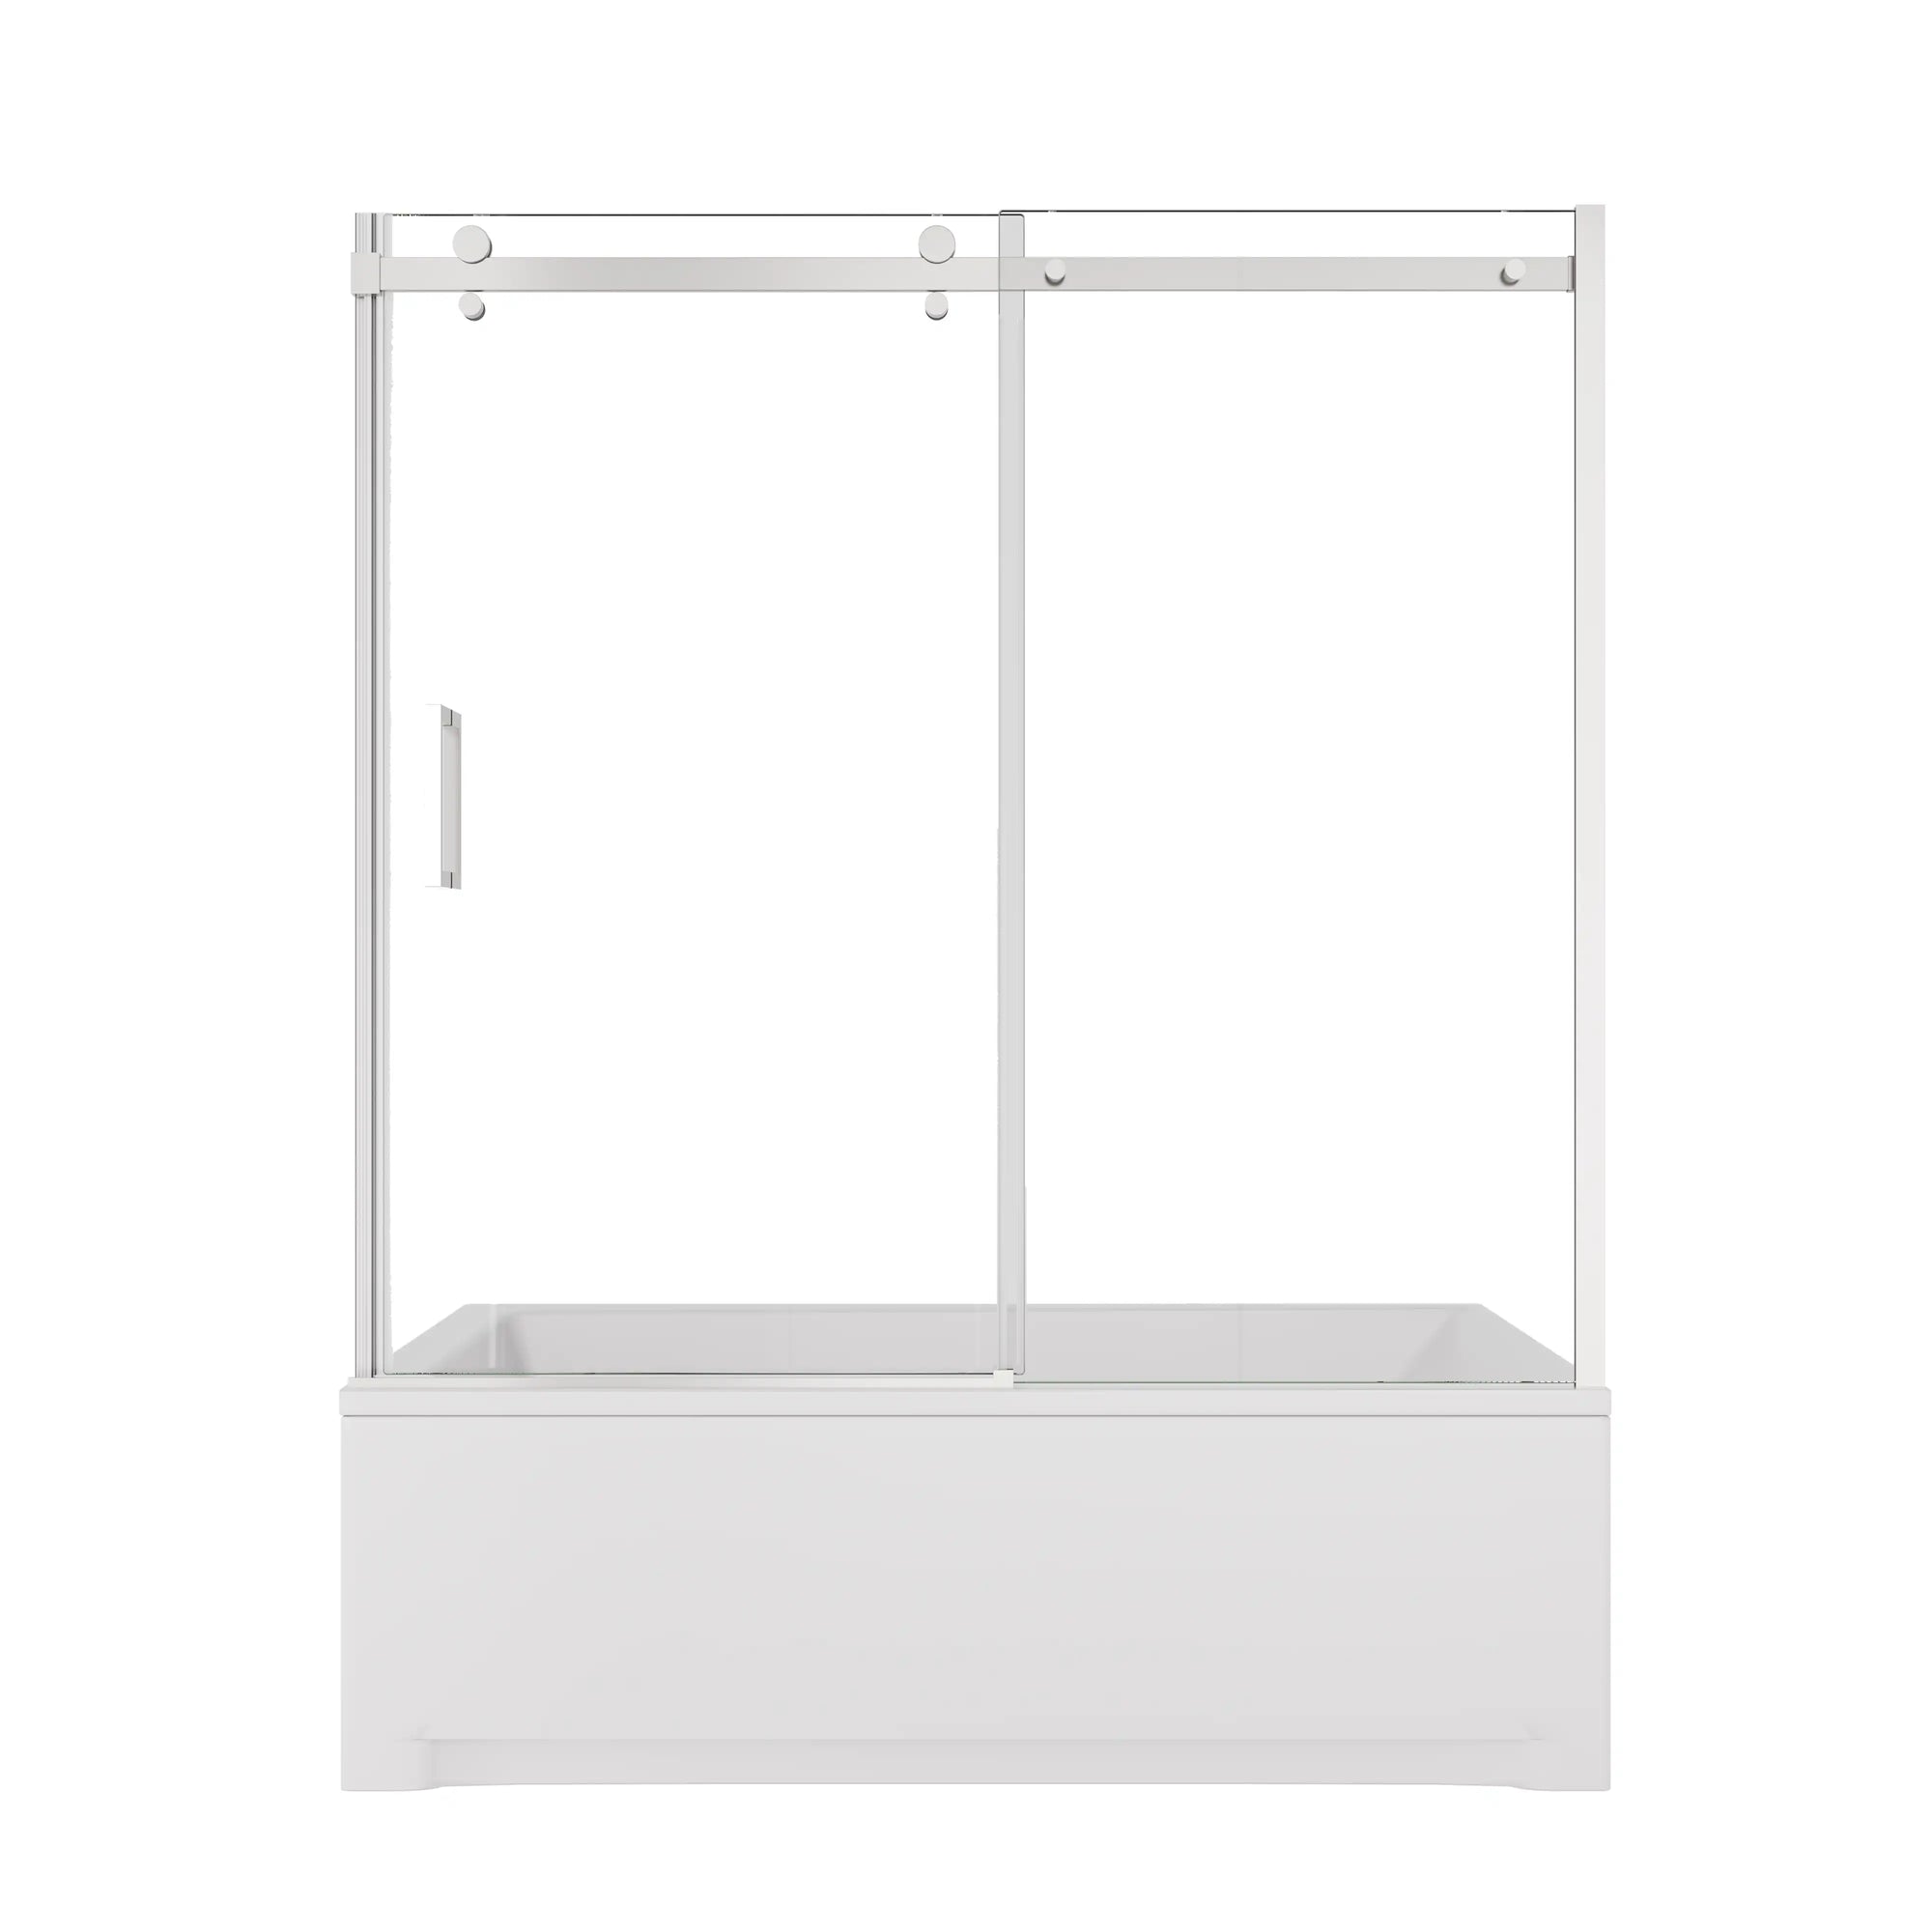
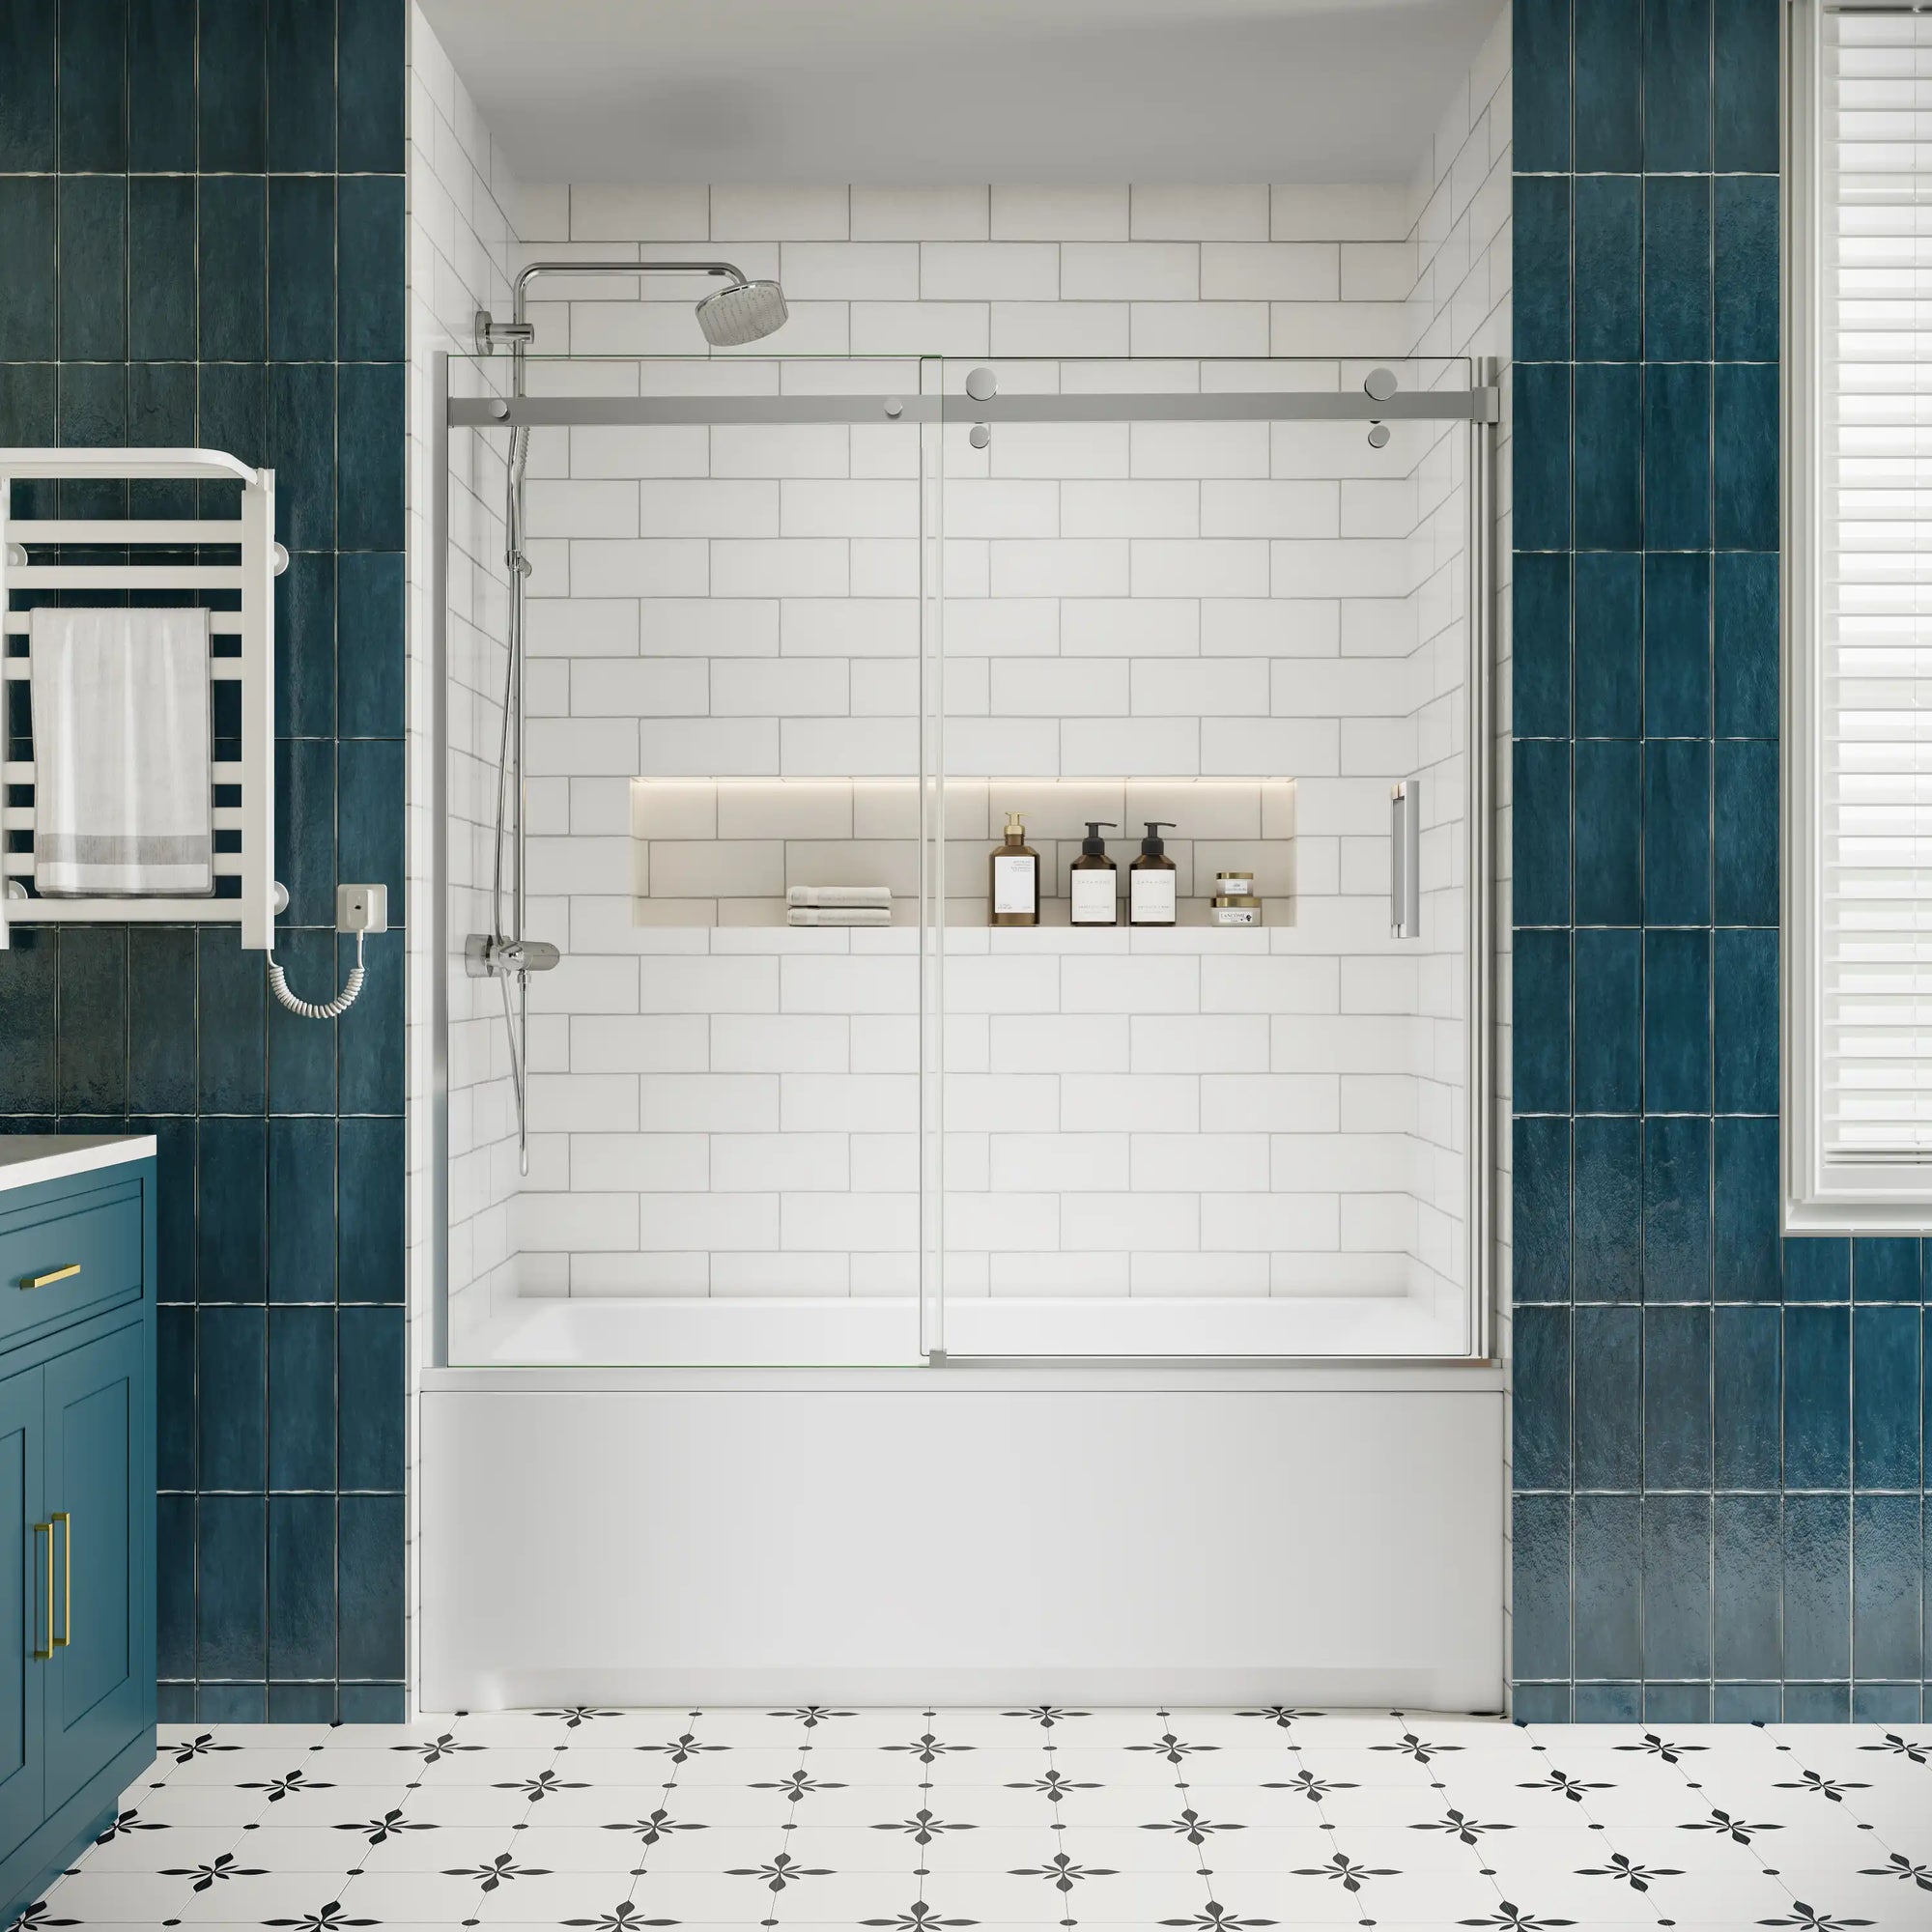
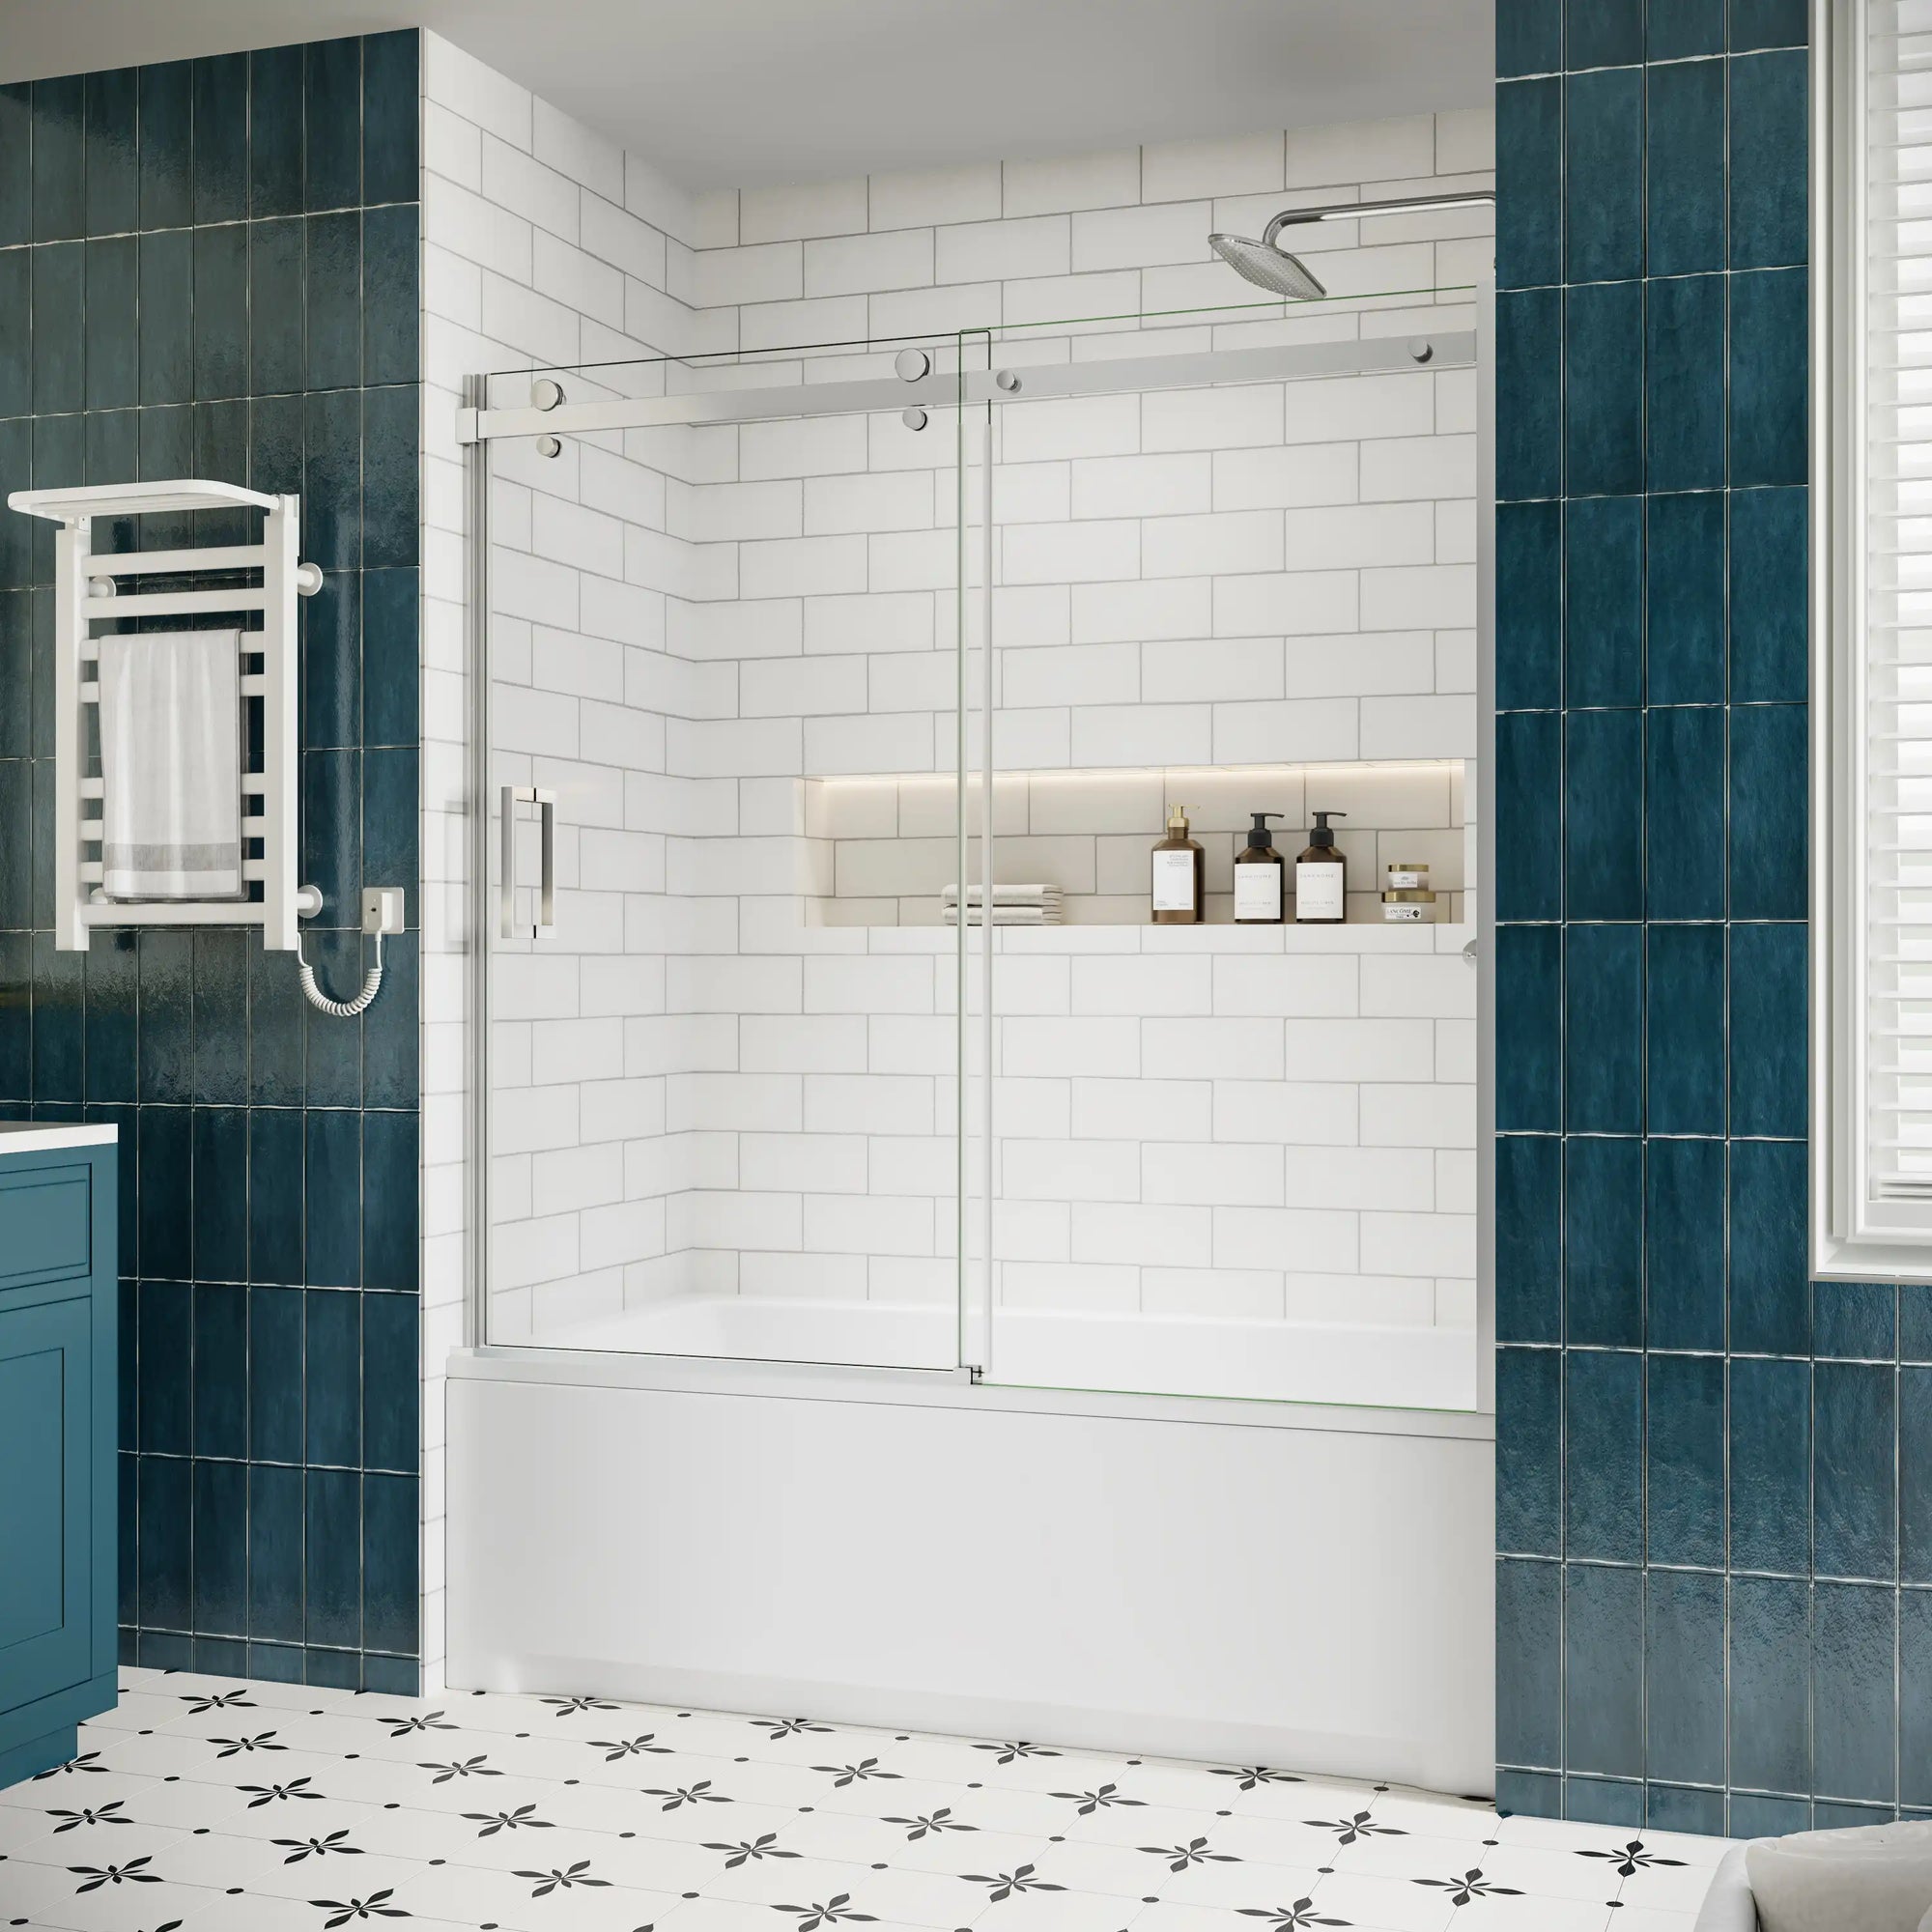
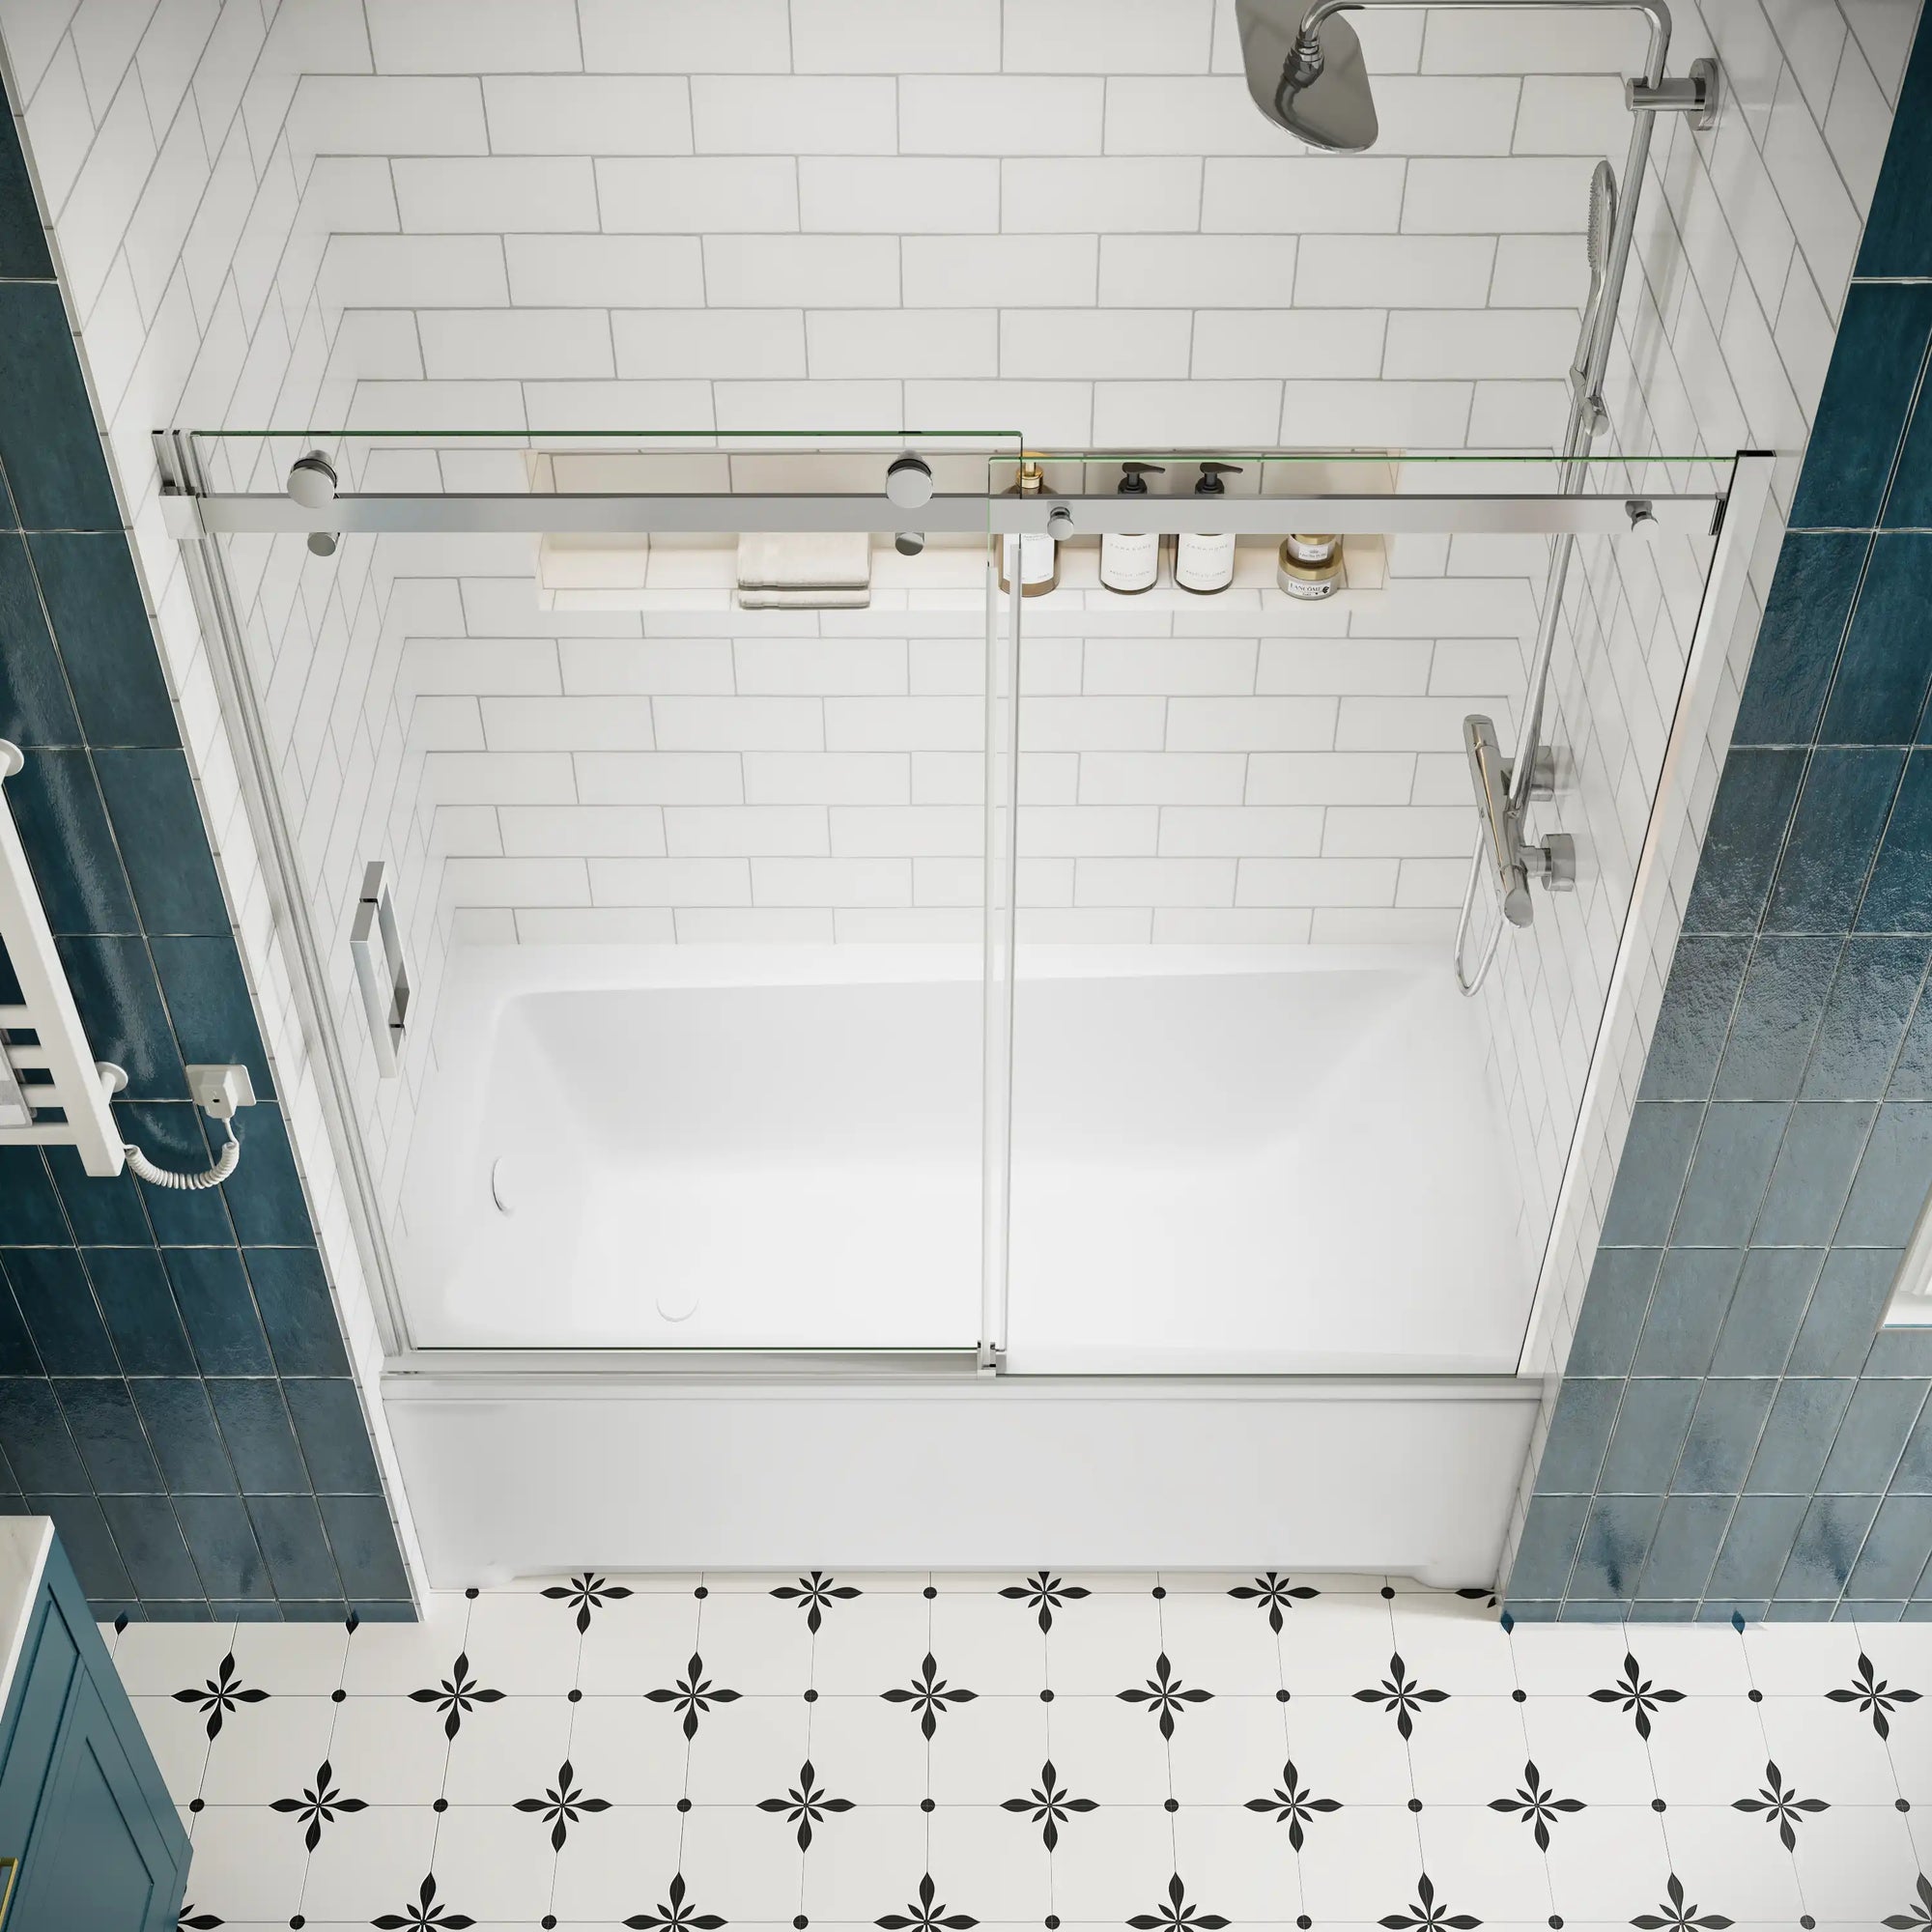
2. Choose the Right Door Type
The first step in how to install bathtub door isn’t installation—it’s choosing the right door style. Each type of bathtub door has unique sealing challenges.
Common Types:
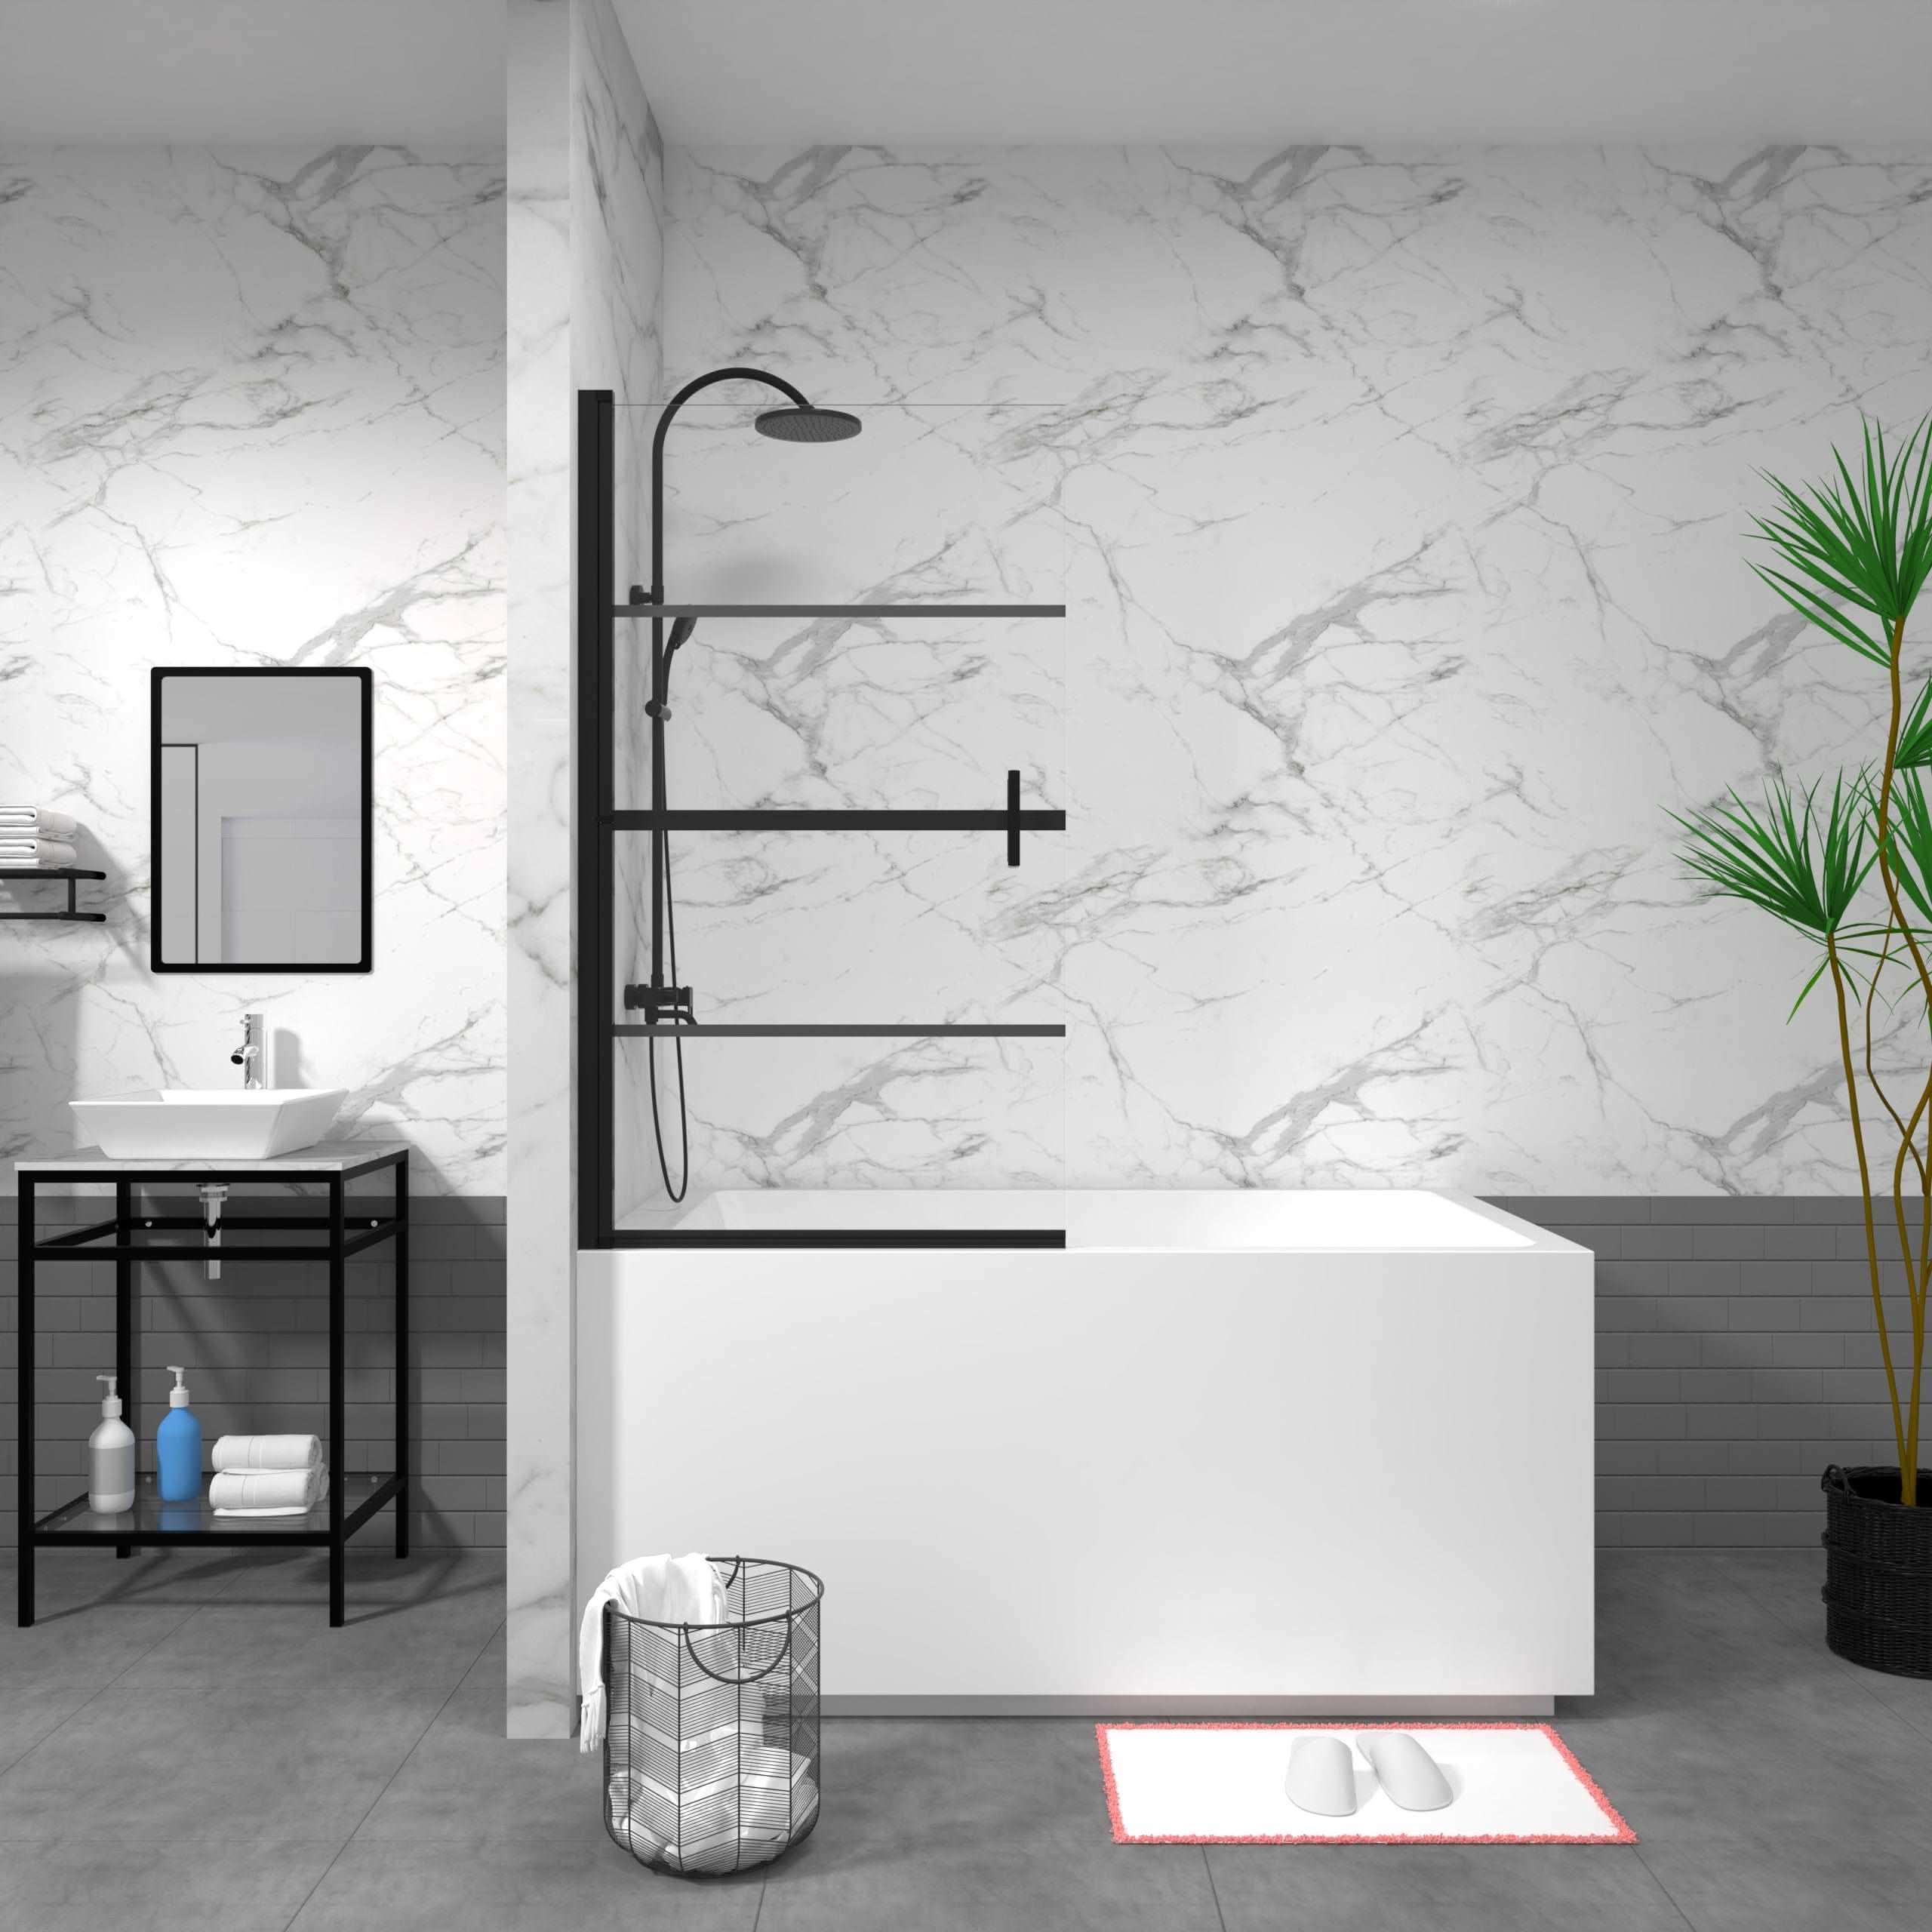
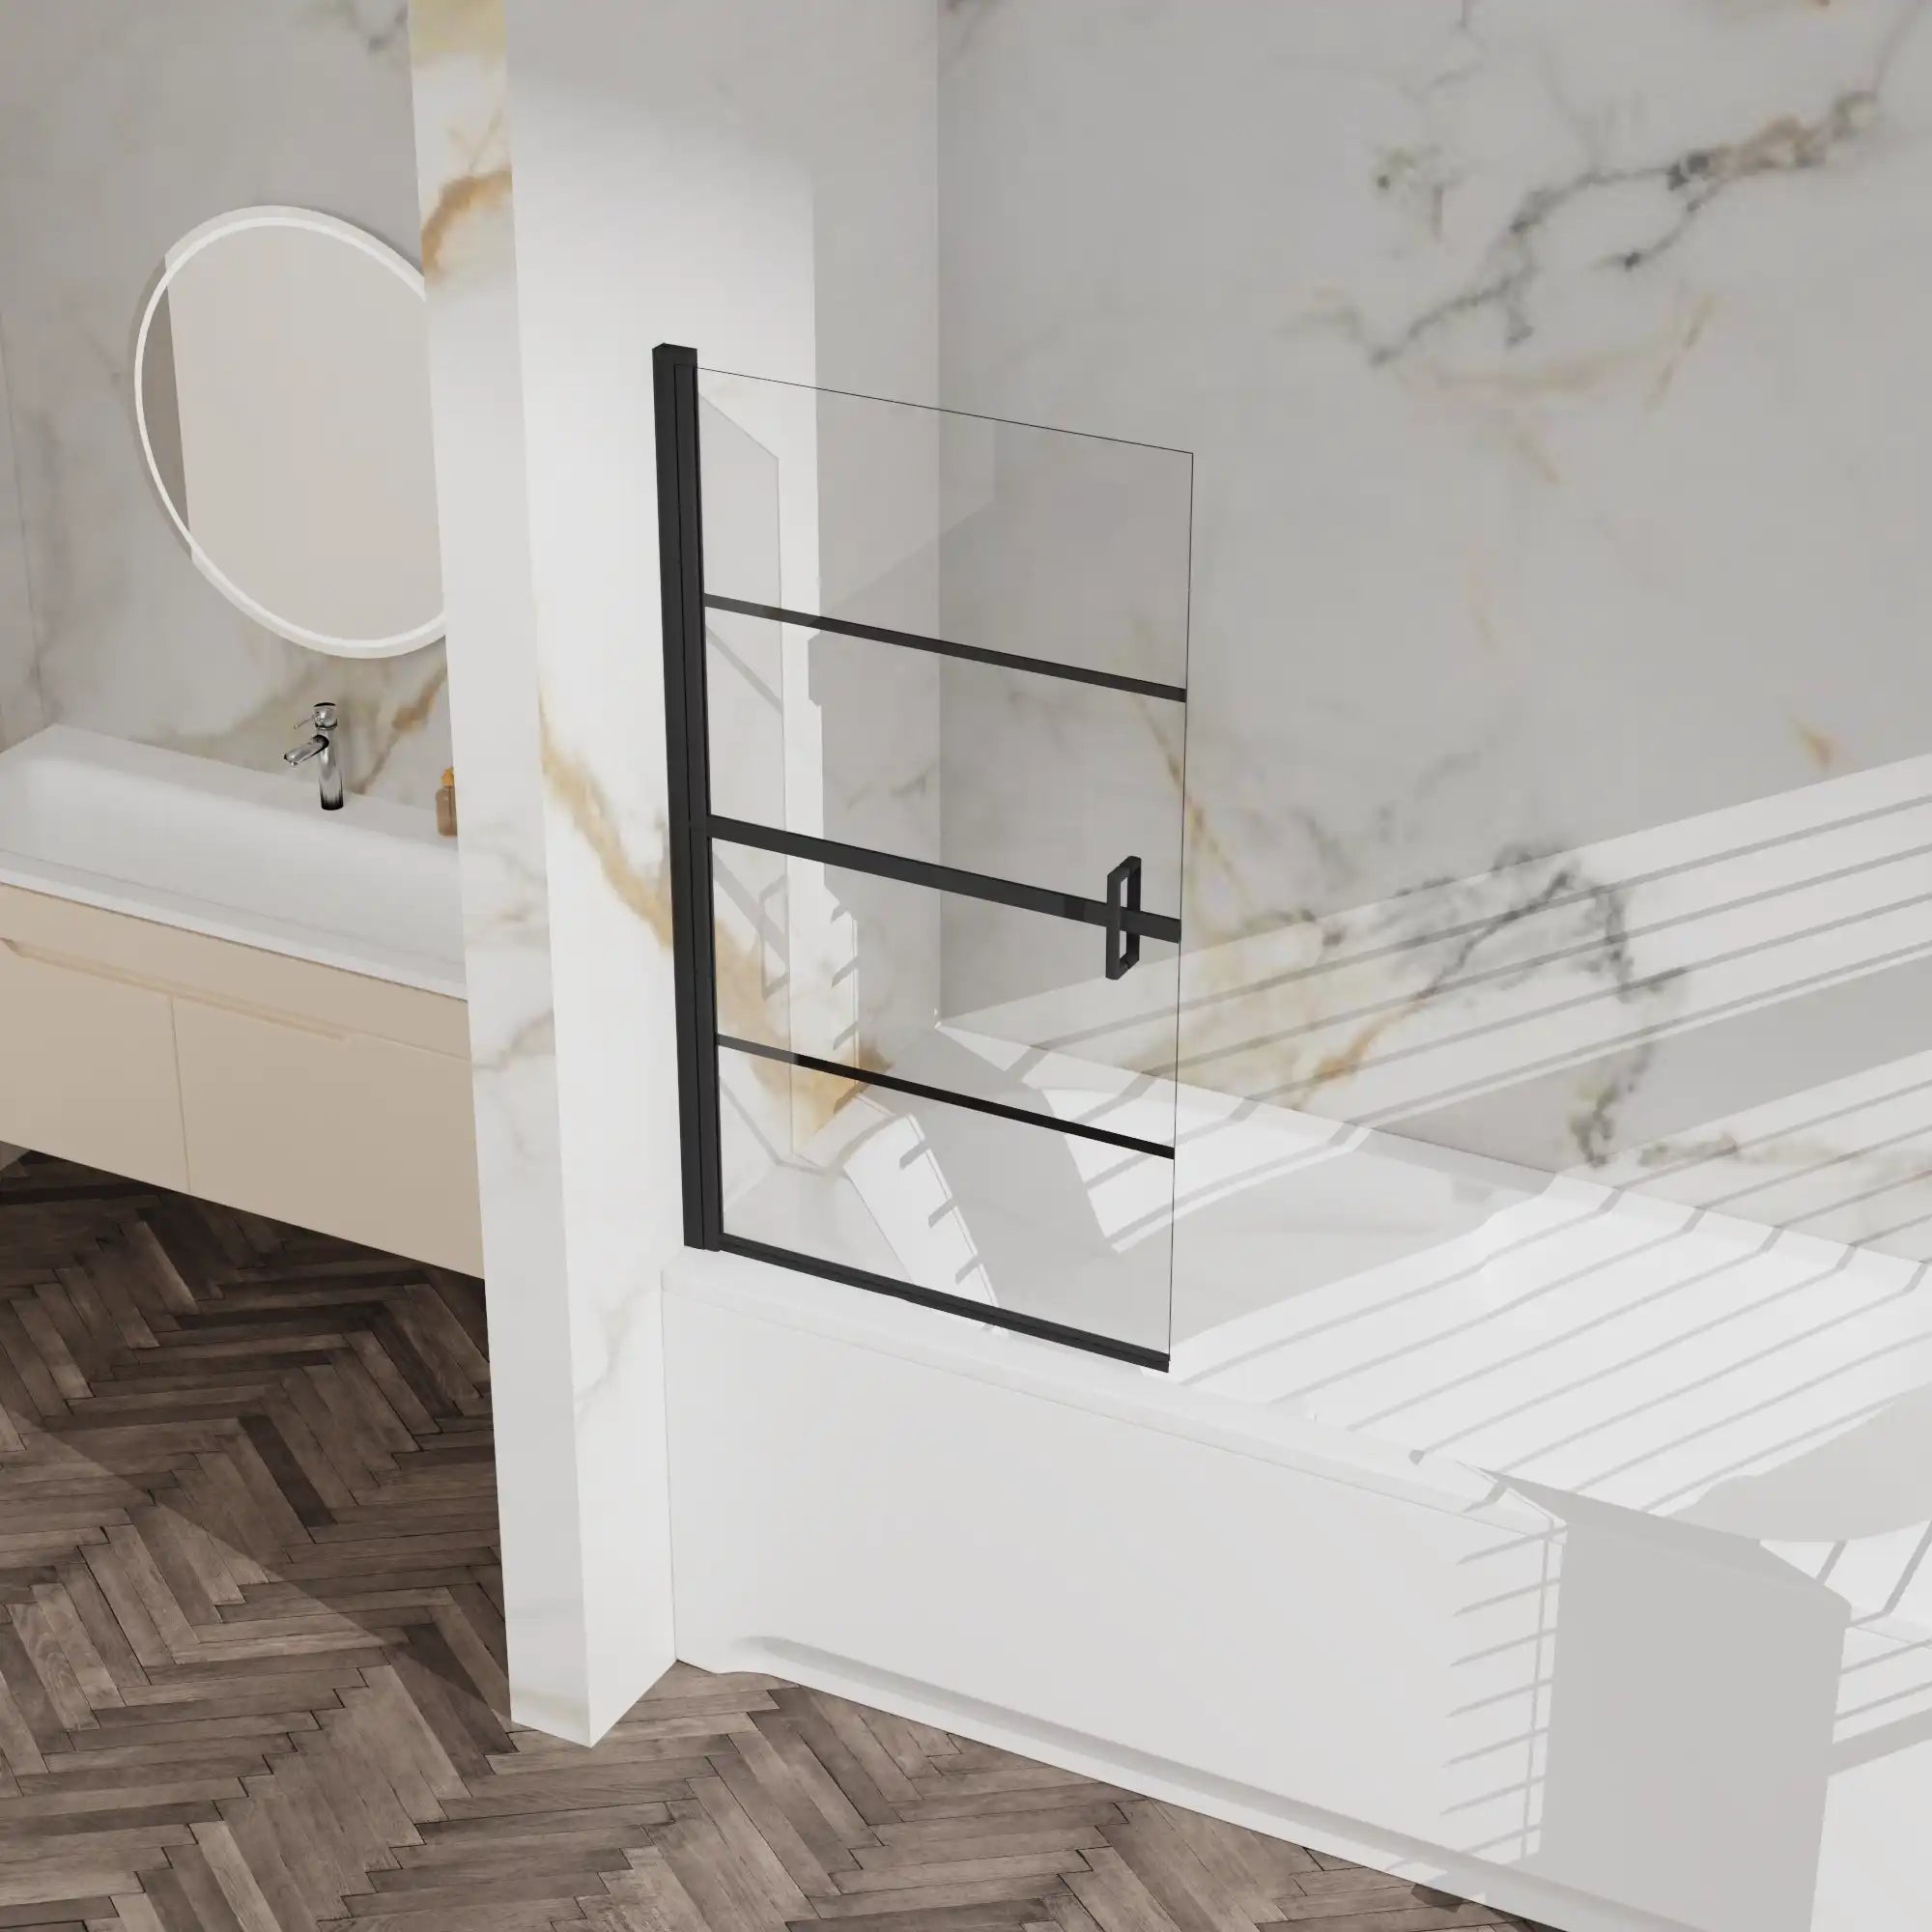
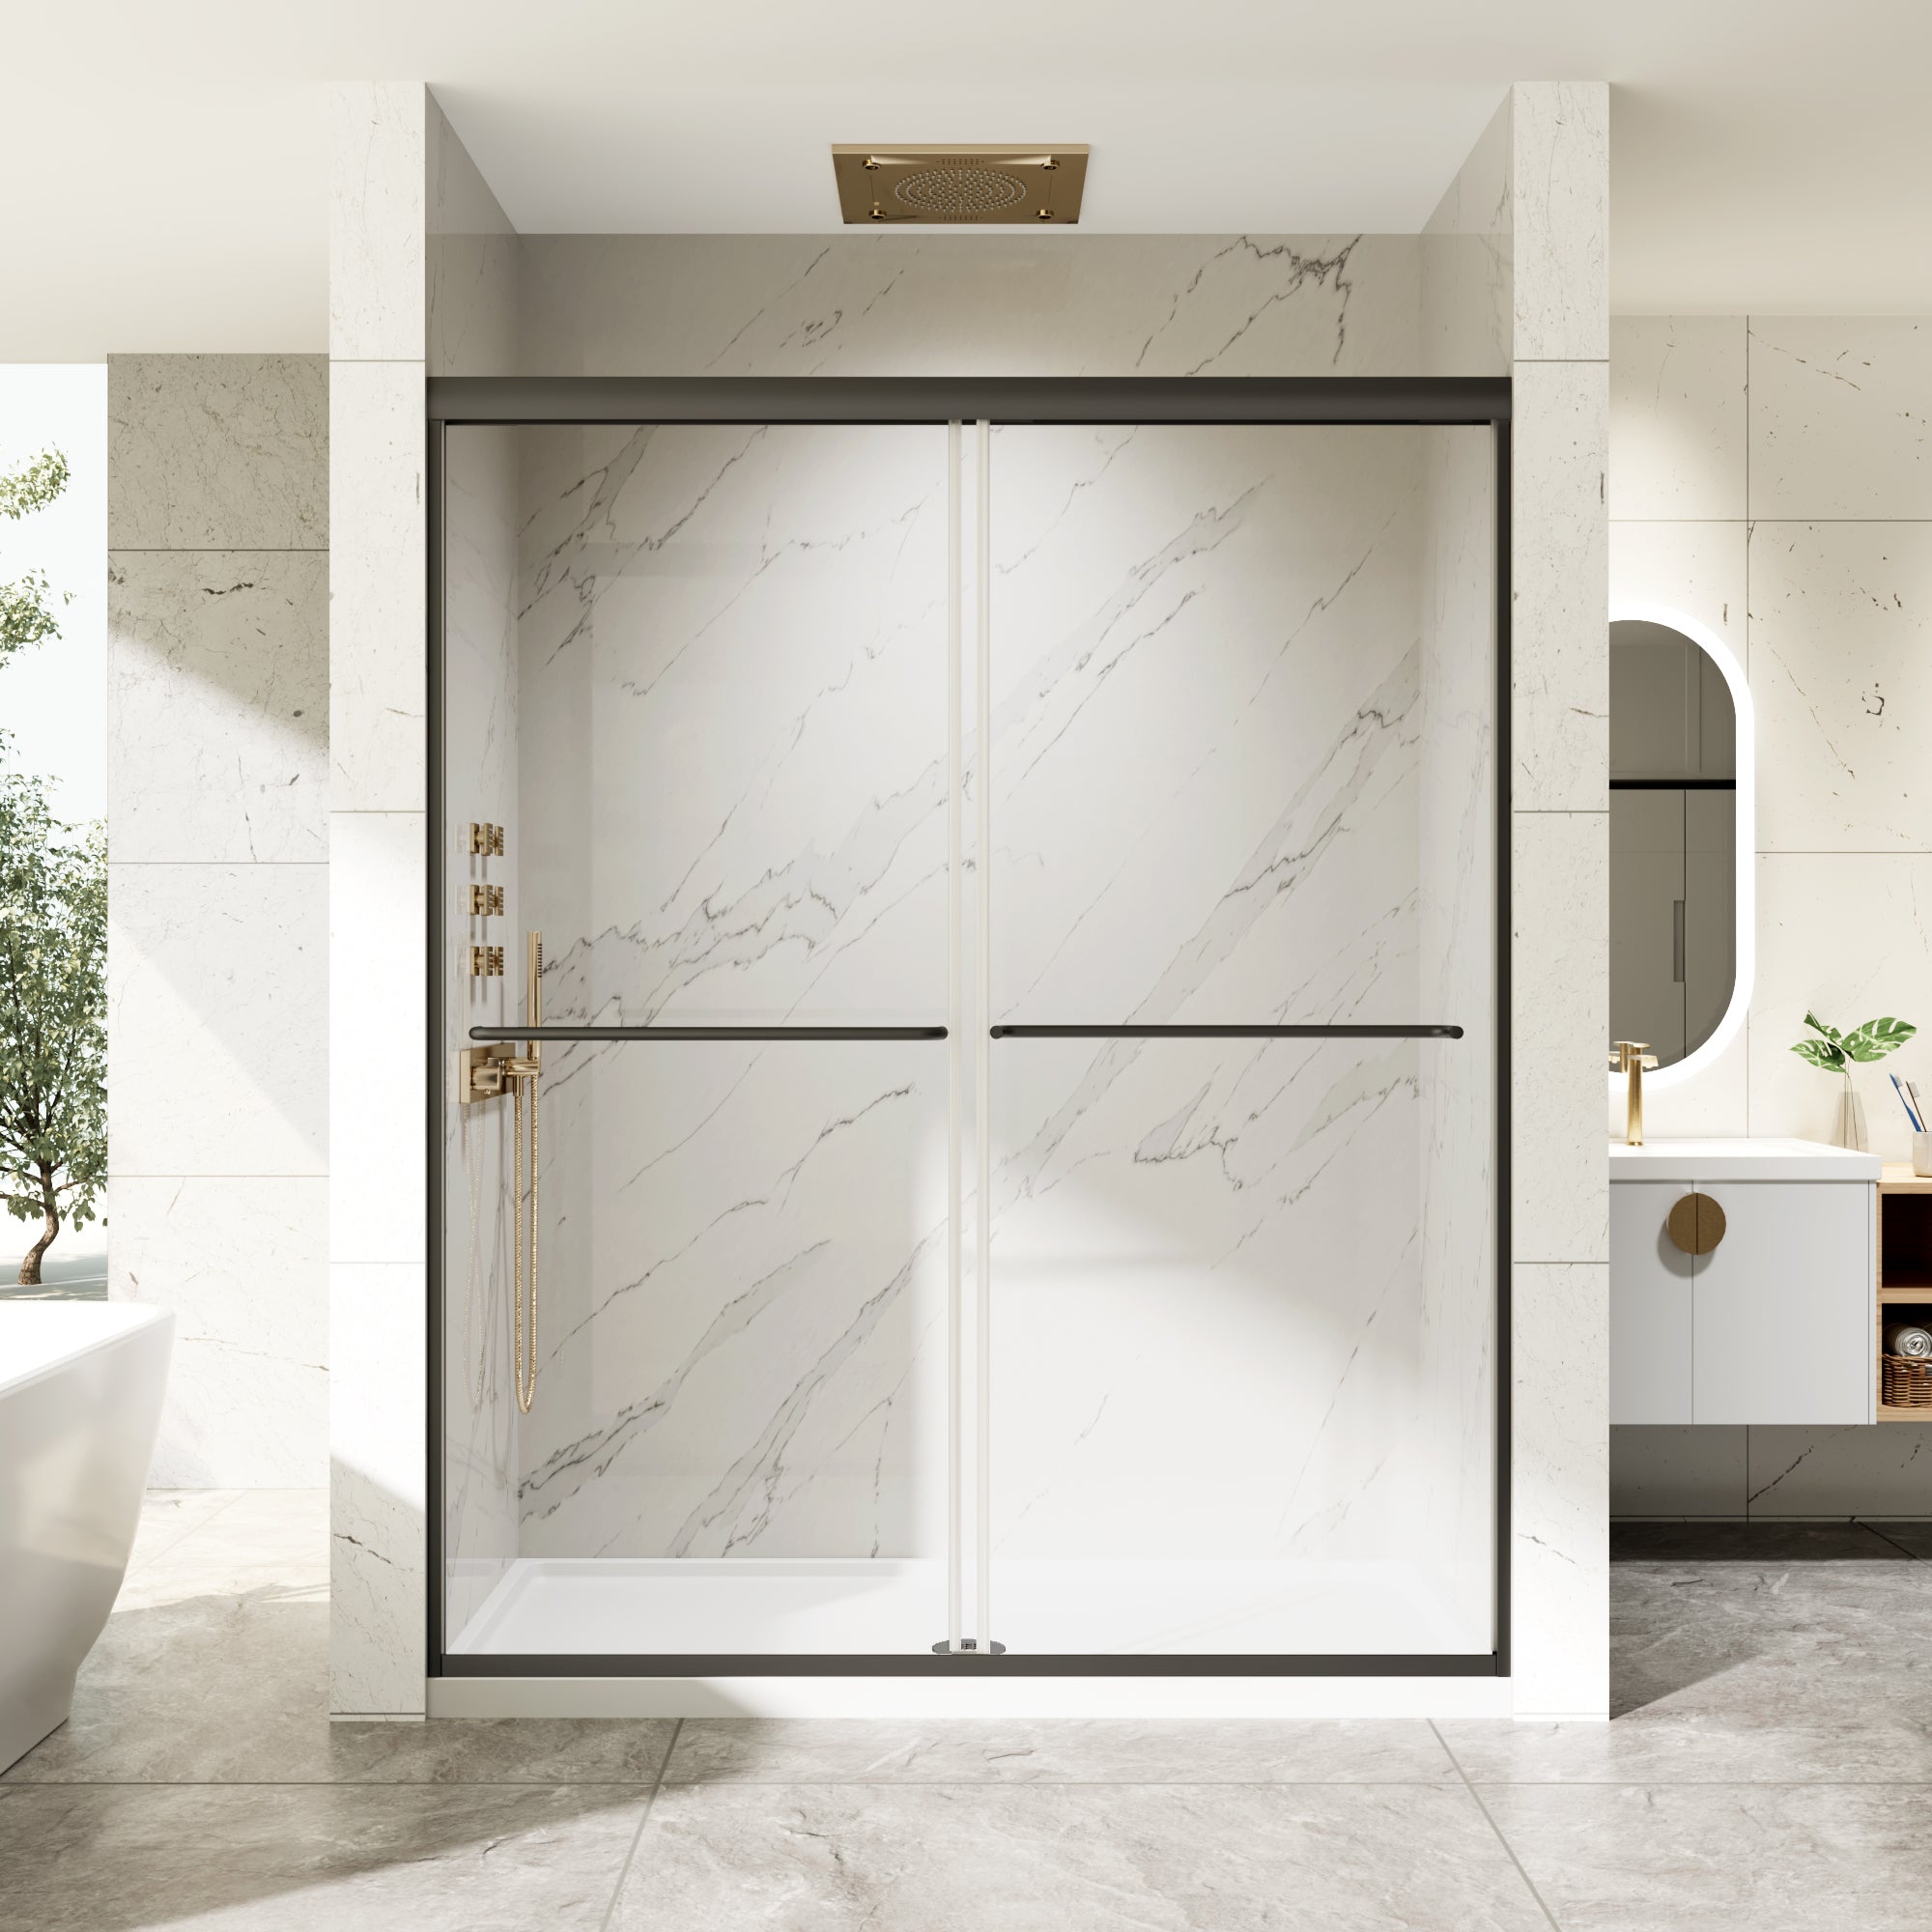
- Framed doors: Ideal for uneven tub edges; stable and easier to seal
- Frameless sliding doors: Sleek and modern, but require precise installation and sealing
- Swing doors: Avoid track water buildup, but need more clearance space
The 2023 Bathroom Upgrade Trends Report by Houzz shows over 65% of American homeowners prefer frameless designs. However, 28% of those users reported leakage within three months. This highlights the importance of mastering how to install bathtub door specifically for frameless models.
Best Combination:
Frameless sliding doors paired with clear vinyl seals and flexible bottom dams strike a good balance between aesthetics and leak protection.
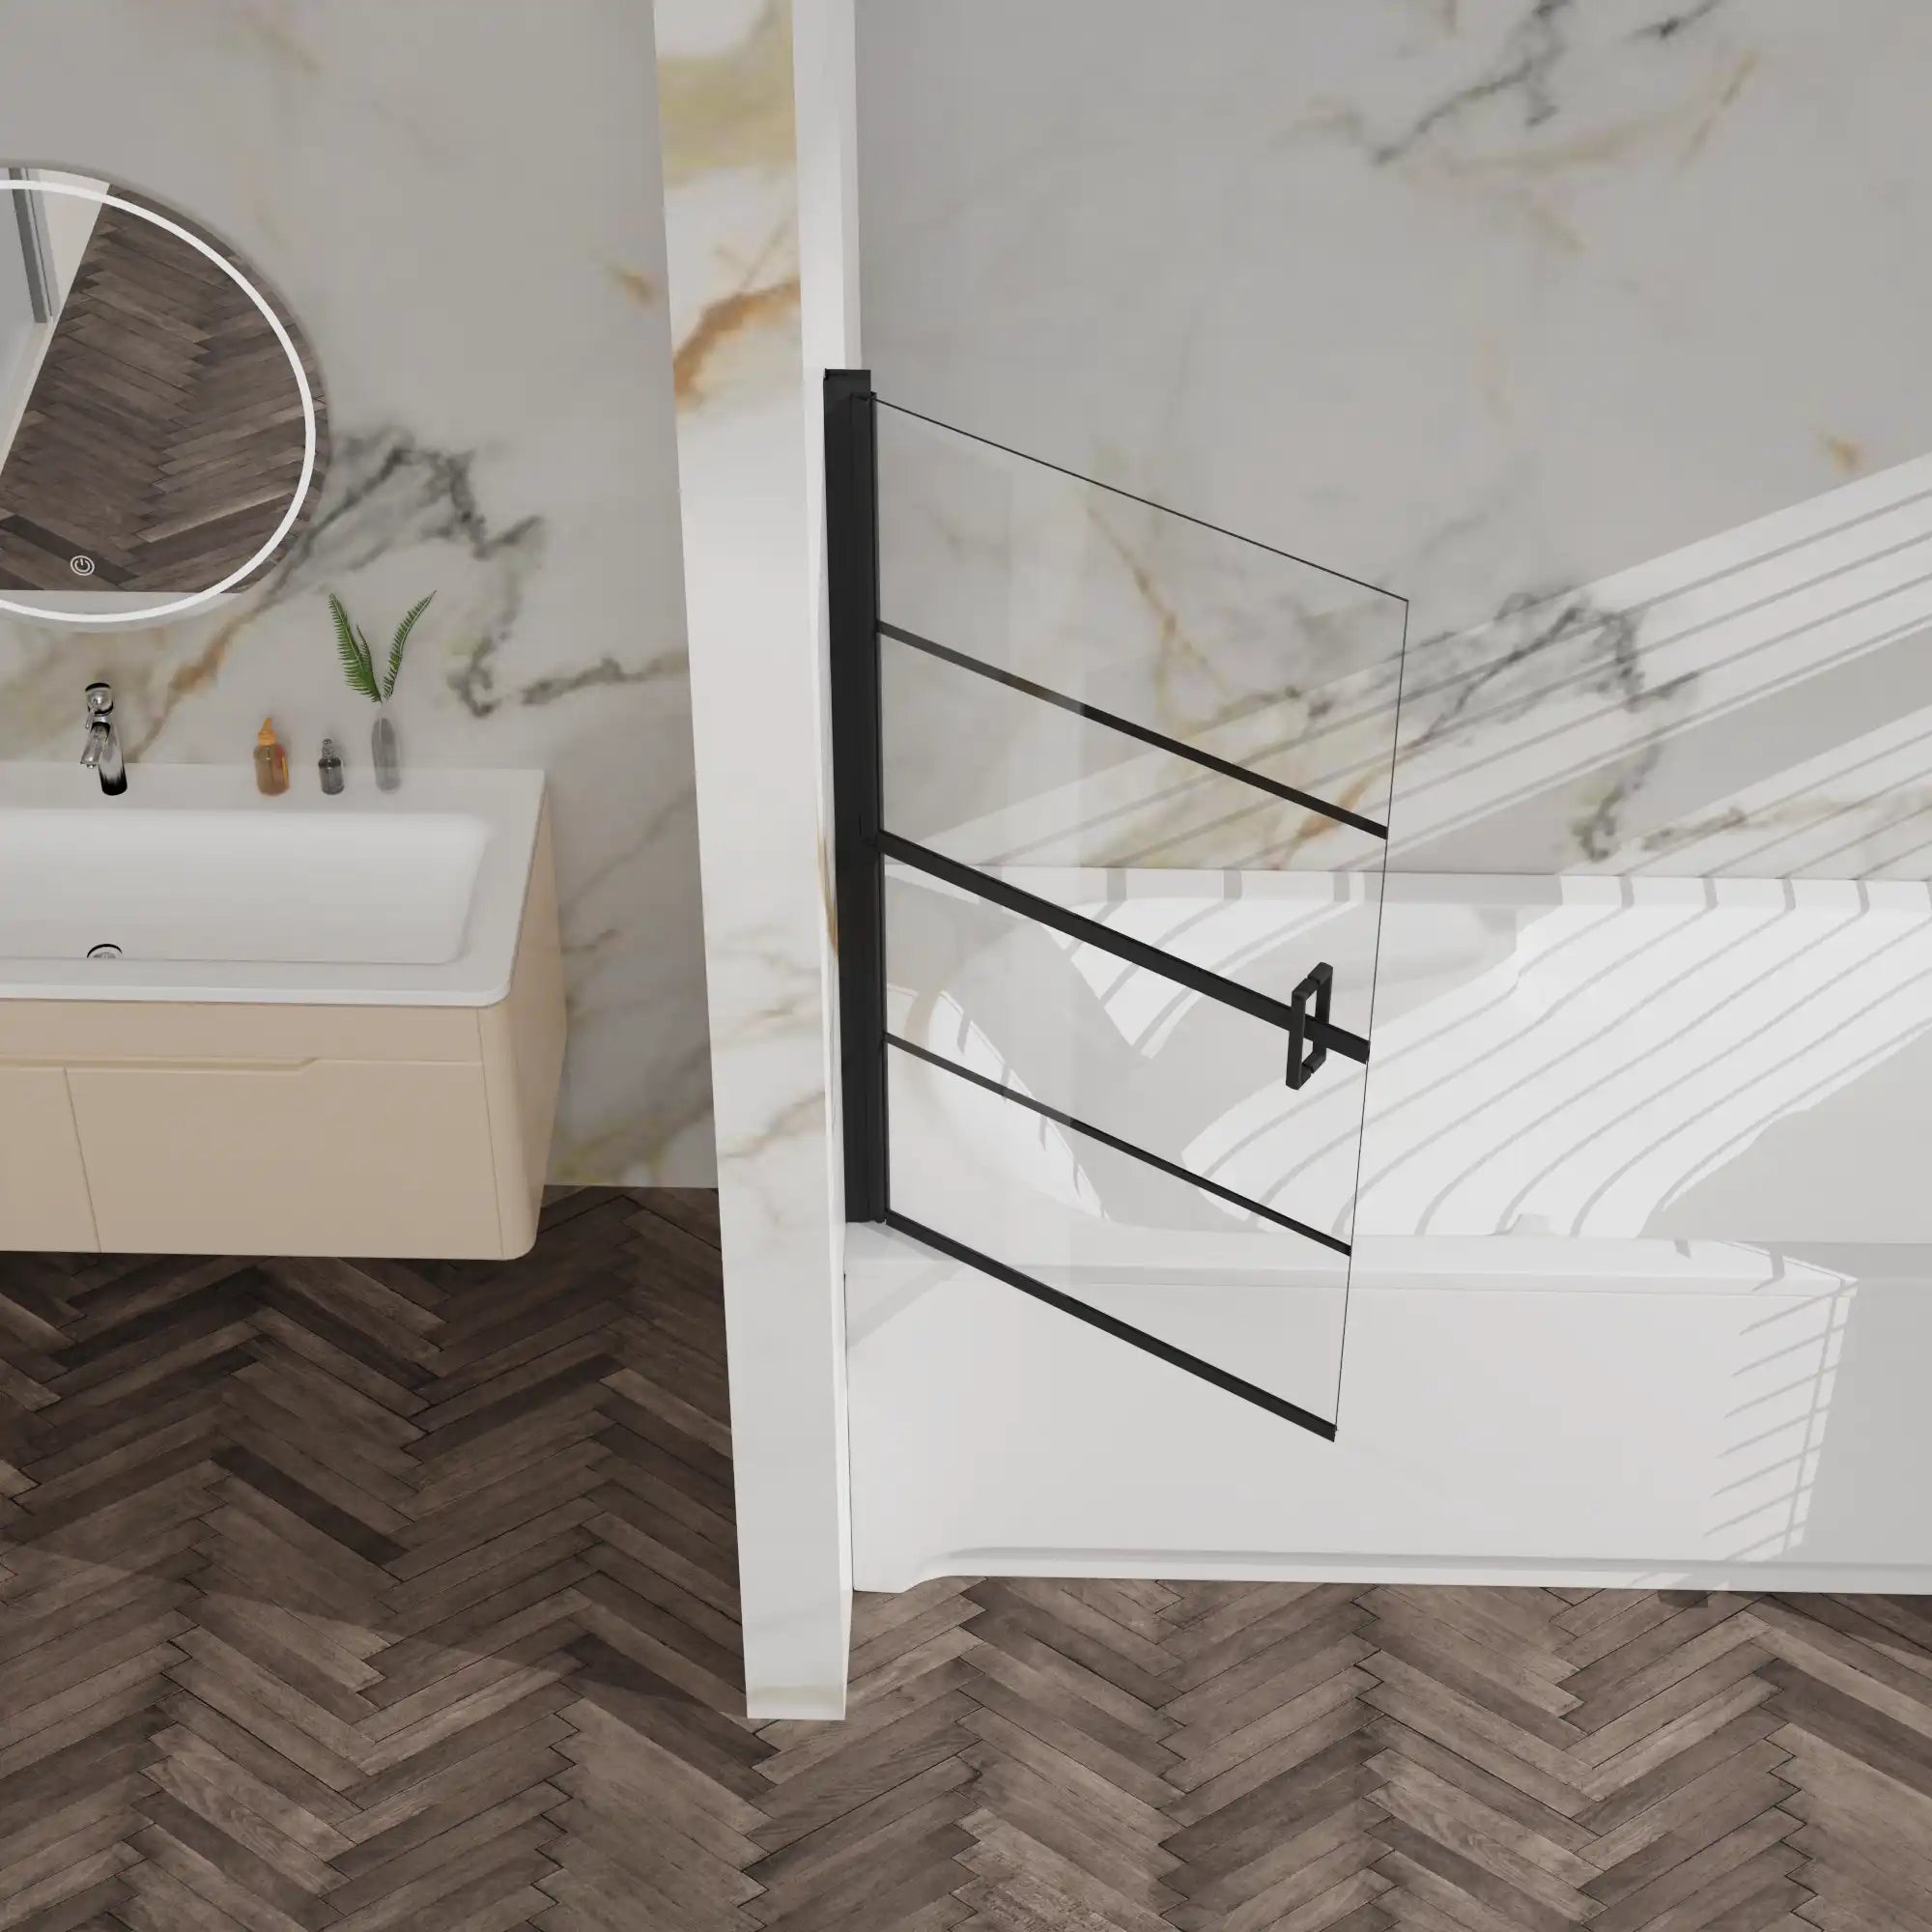
3. How to Install Bathtub Door: Step-by-Step Guide
Executing how to install bathtub door successfully involves four key stages that must not be rushed.
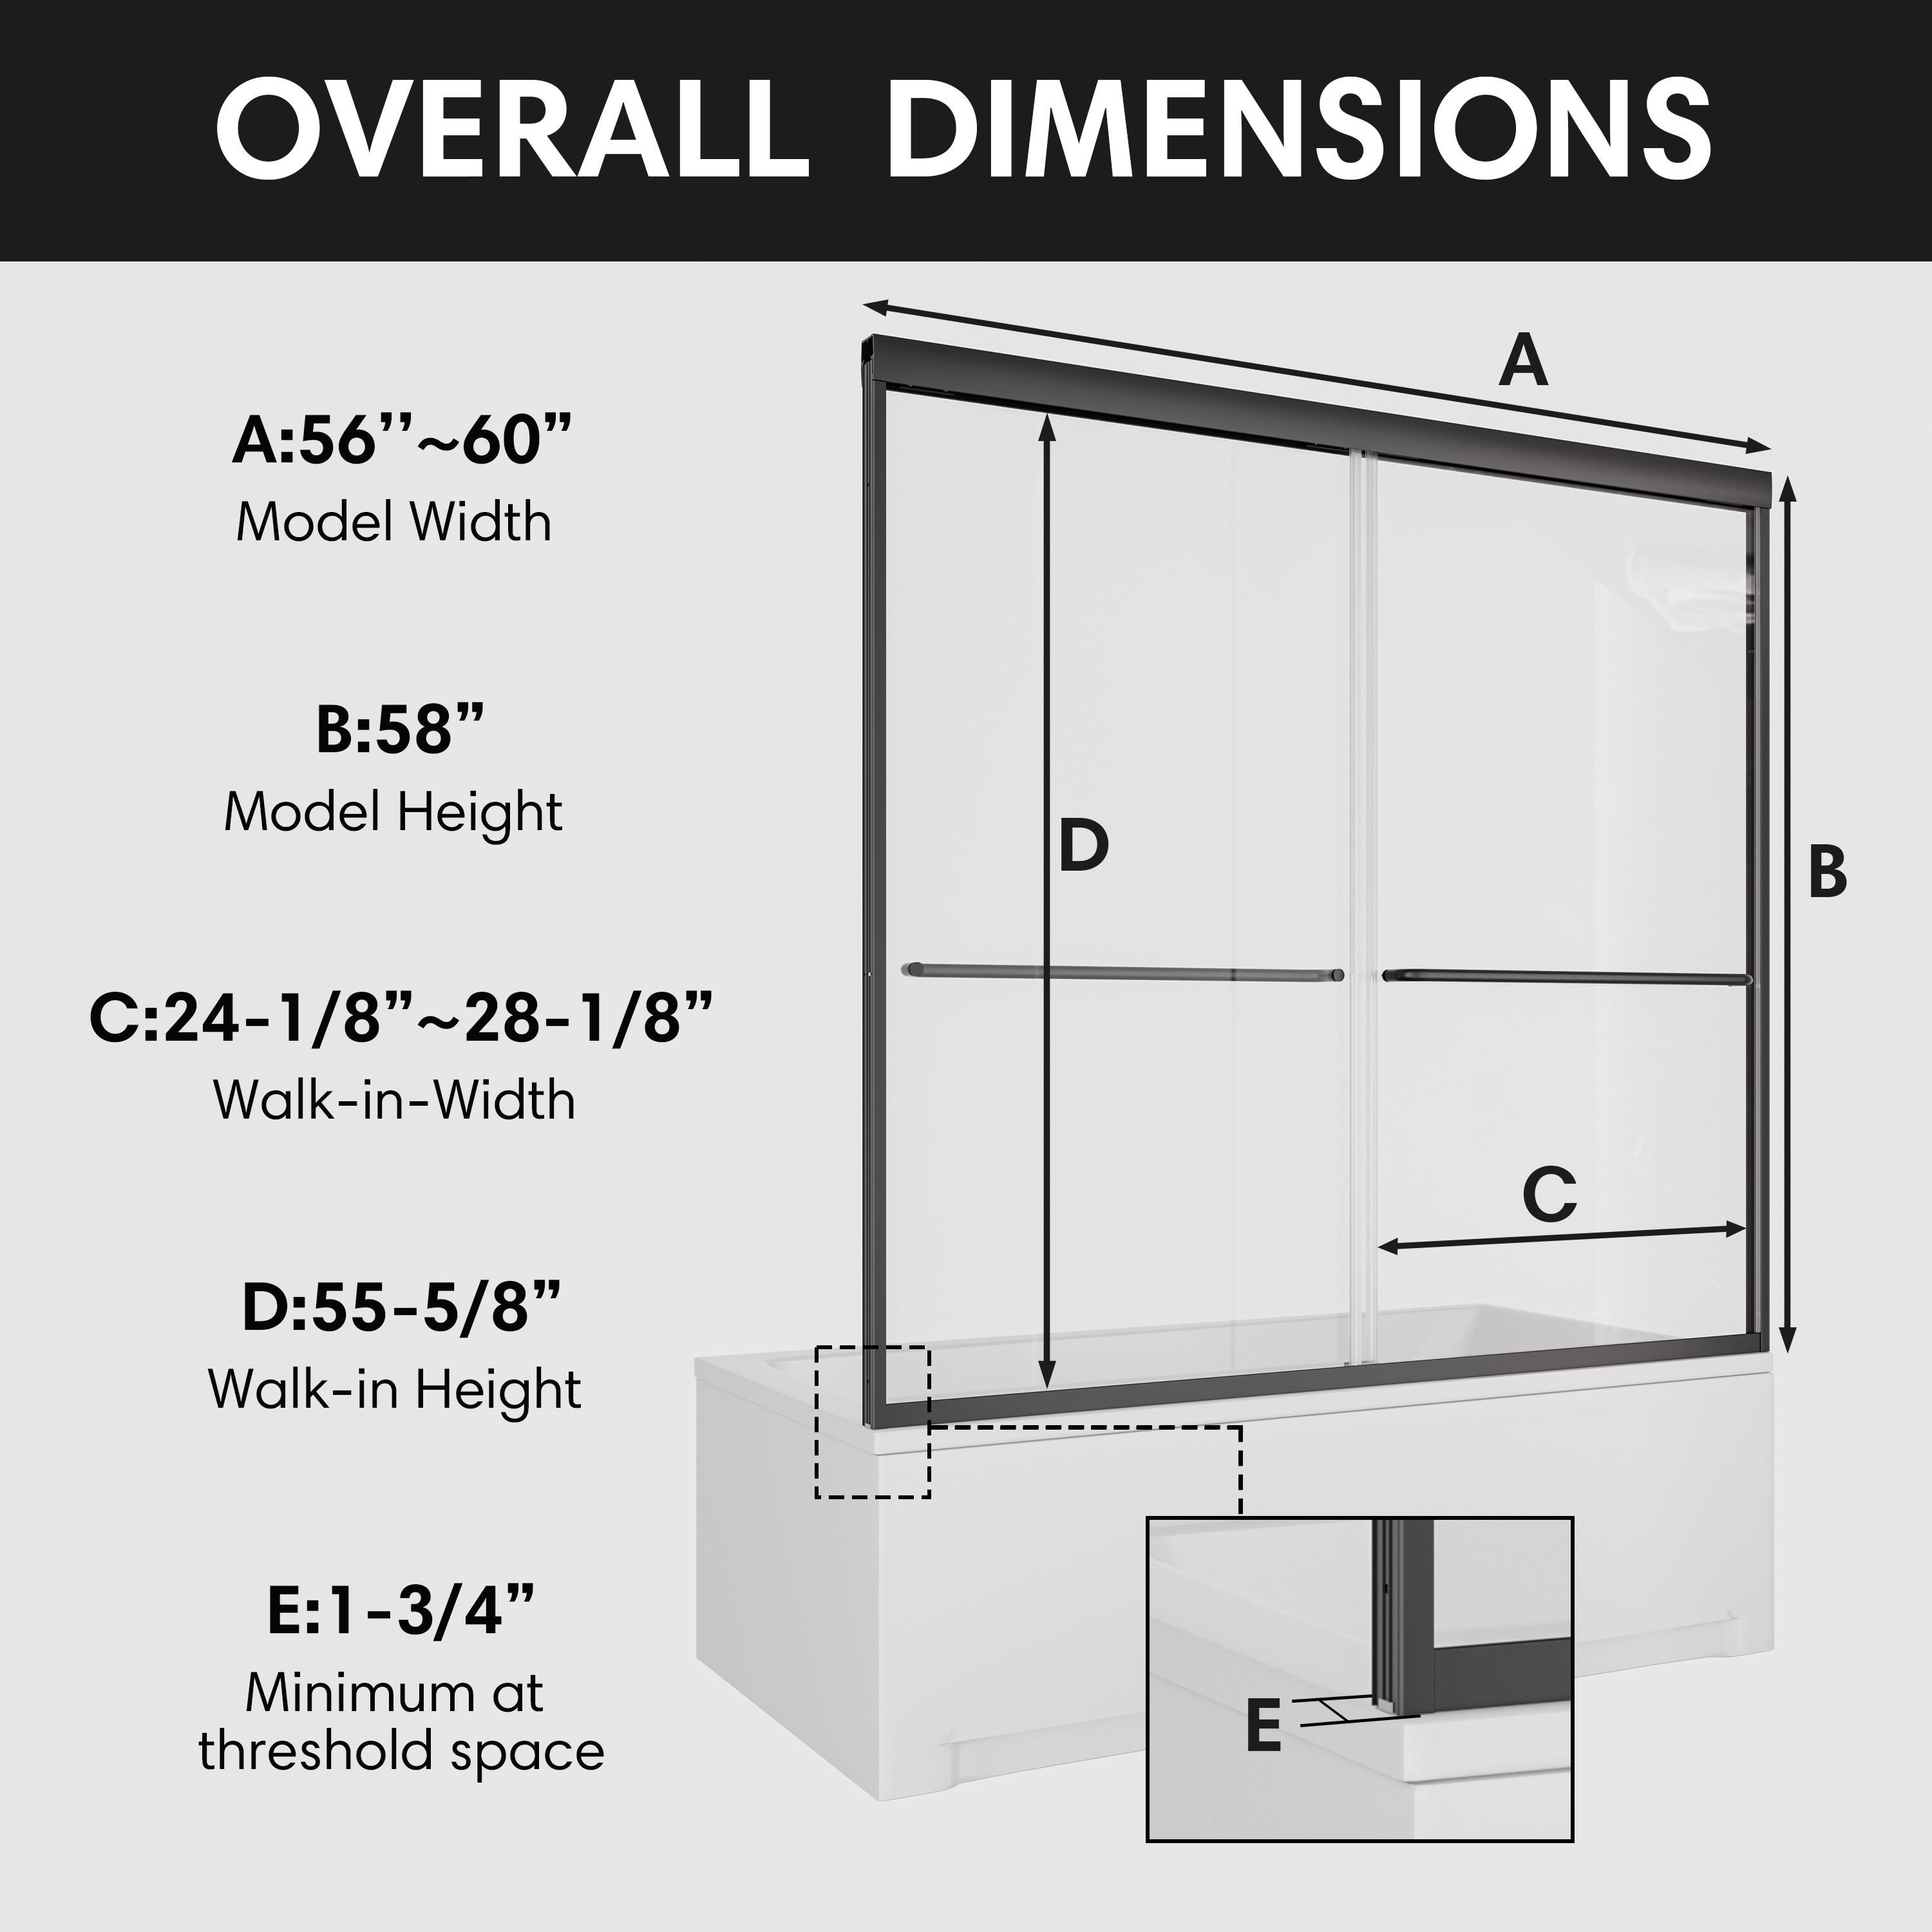
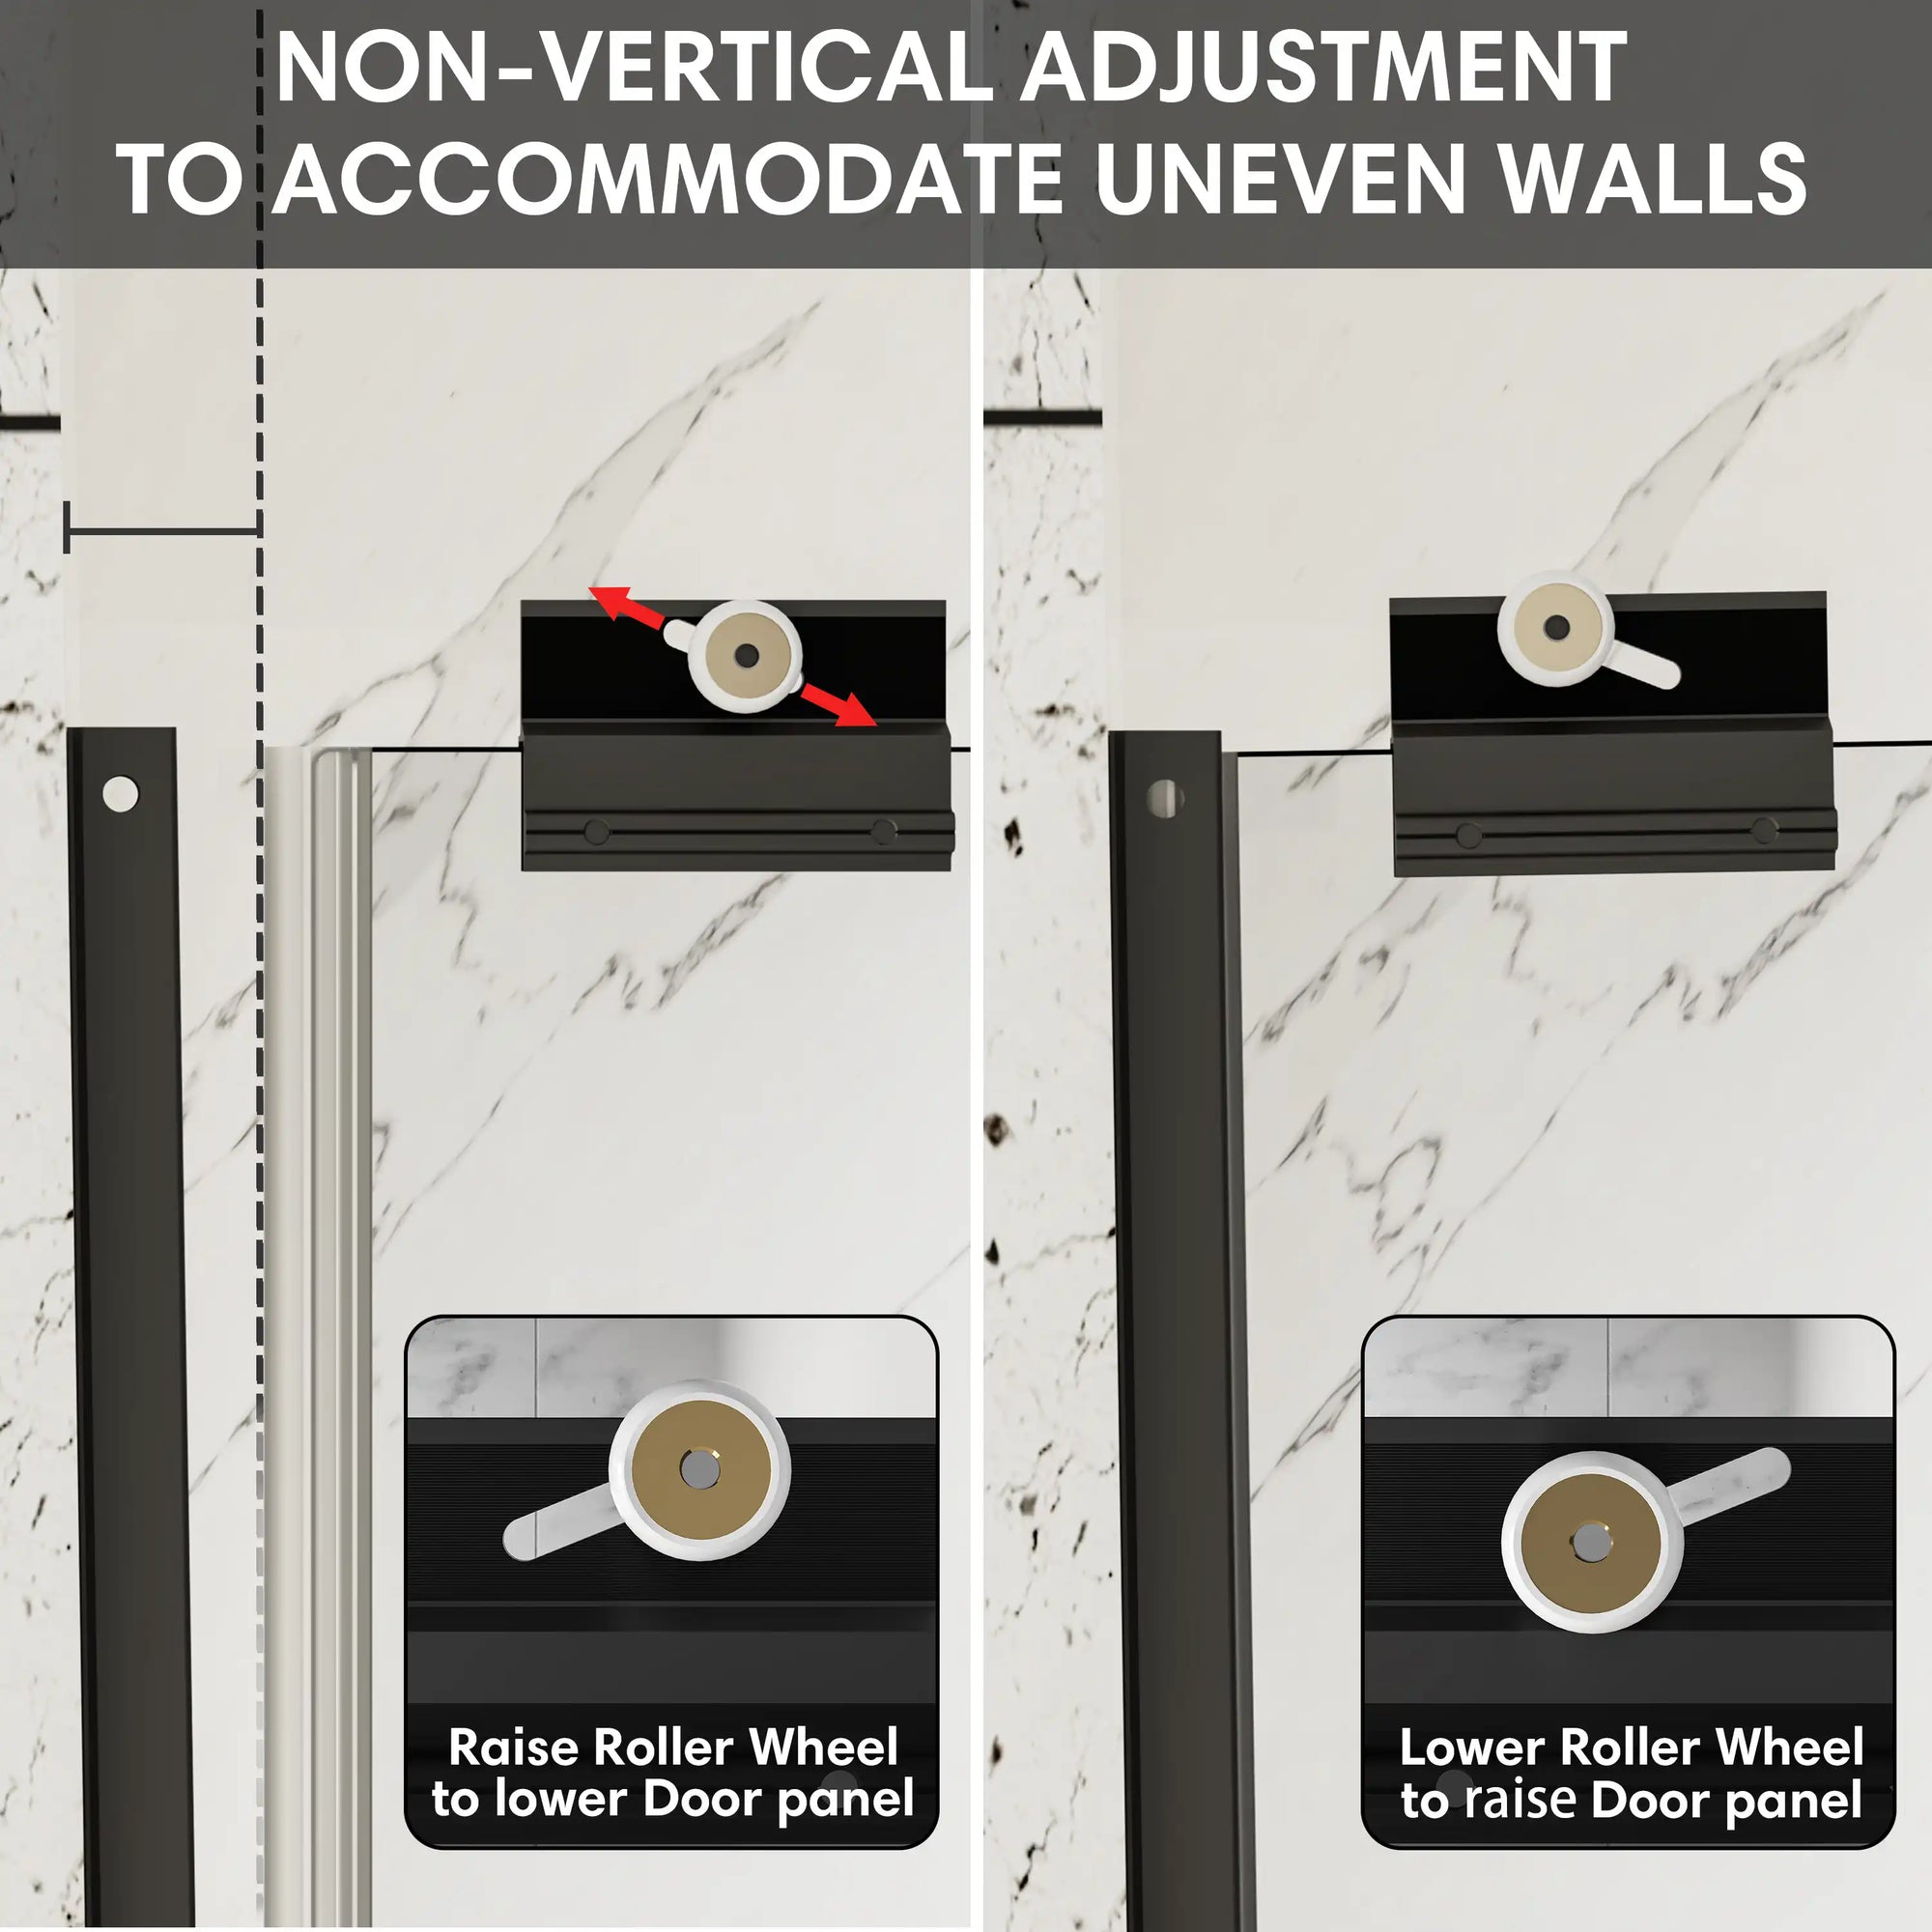
Step 1: Precise Measurement and Positioning
Use a laser level to mark vertical lines on the wall. Ensure both ends of the track are level within a 2mm tolerance. When working on tile, apply painter’s tape before marking to protect the finish.
Step 2: Drilling and Track Installation
Adjust drilling methods based on your wall:
- Concrete or brick: Use an impact drill and expansion bolts
- Wooden studs: Pre-drill and fasten with self-tapping screws
Clean holes using a vacuum or blower before applying any sealant. Skipping this in your how to install bathtub door process could result in a loose or leaky track.
Step 3: Mount the Glass Door
Securely lift the glass using suction cups and set it into the bottom track. Place a 1mm silicone pad beneath the track to minimize vibrations and prevent frame distortion from prolonged use.
Step 4: Closure and Water Test
Slide the door several times to ensure smooth movement. Gaps should be uniform. Simulate a shower to check for any water leakage along the bottom or wall tracks. Recalibrate if necessary.
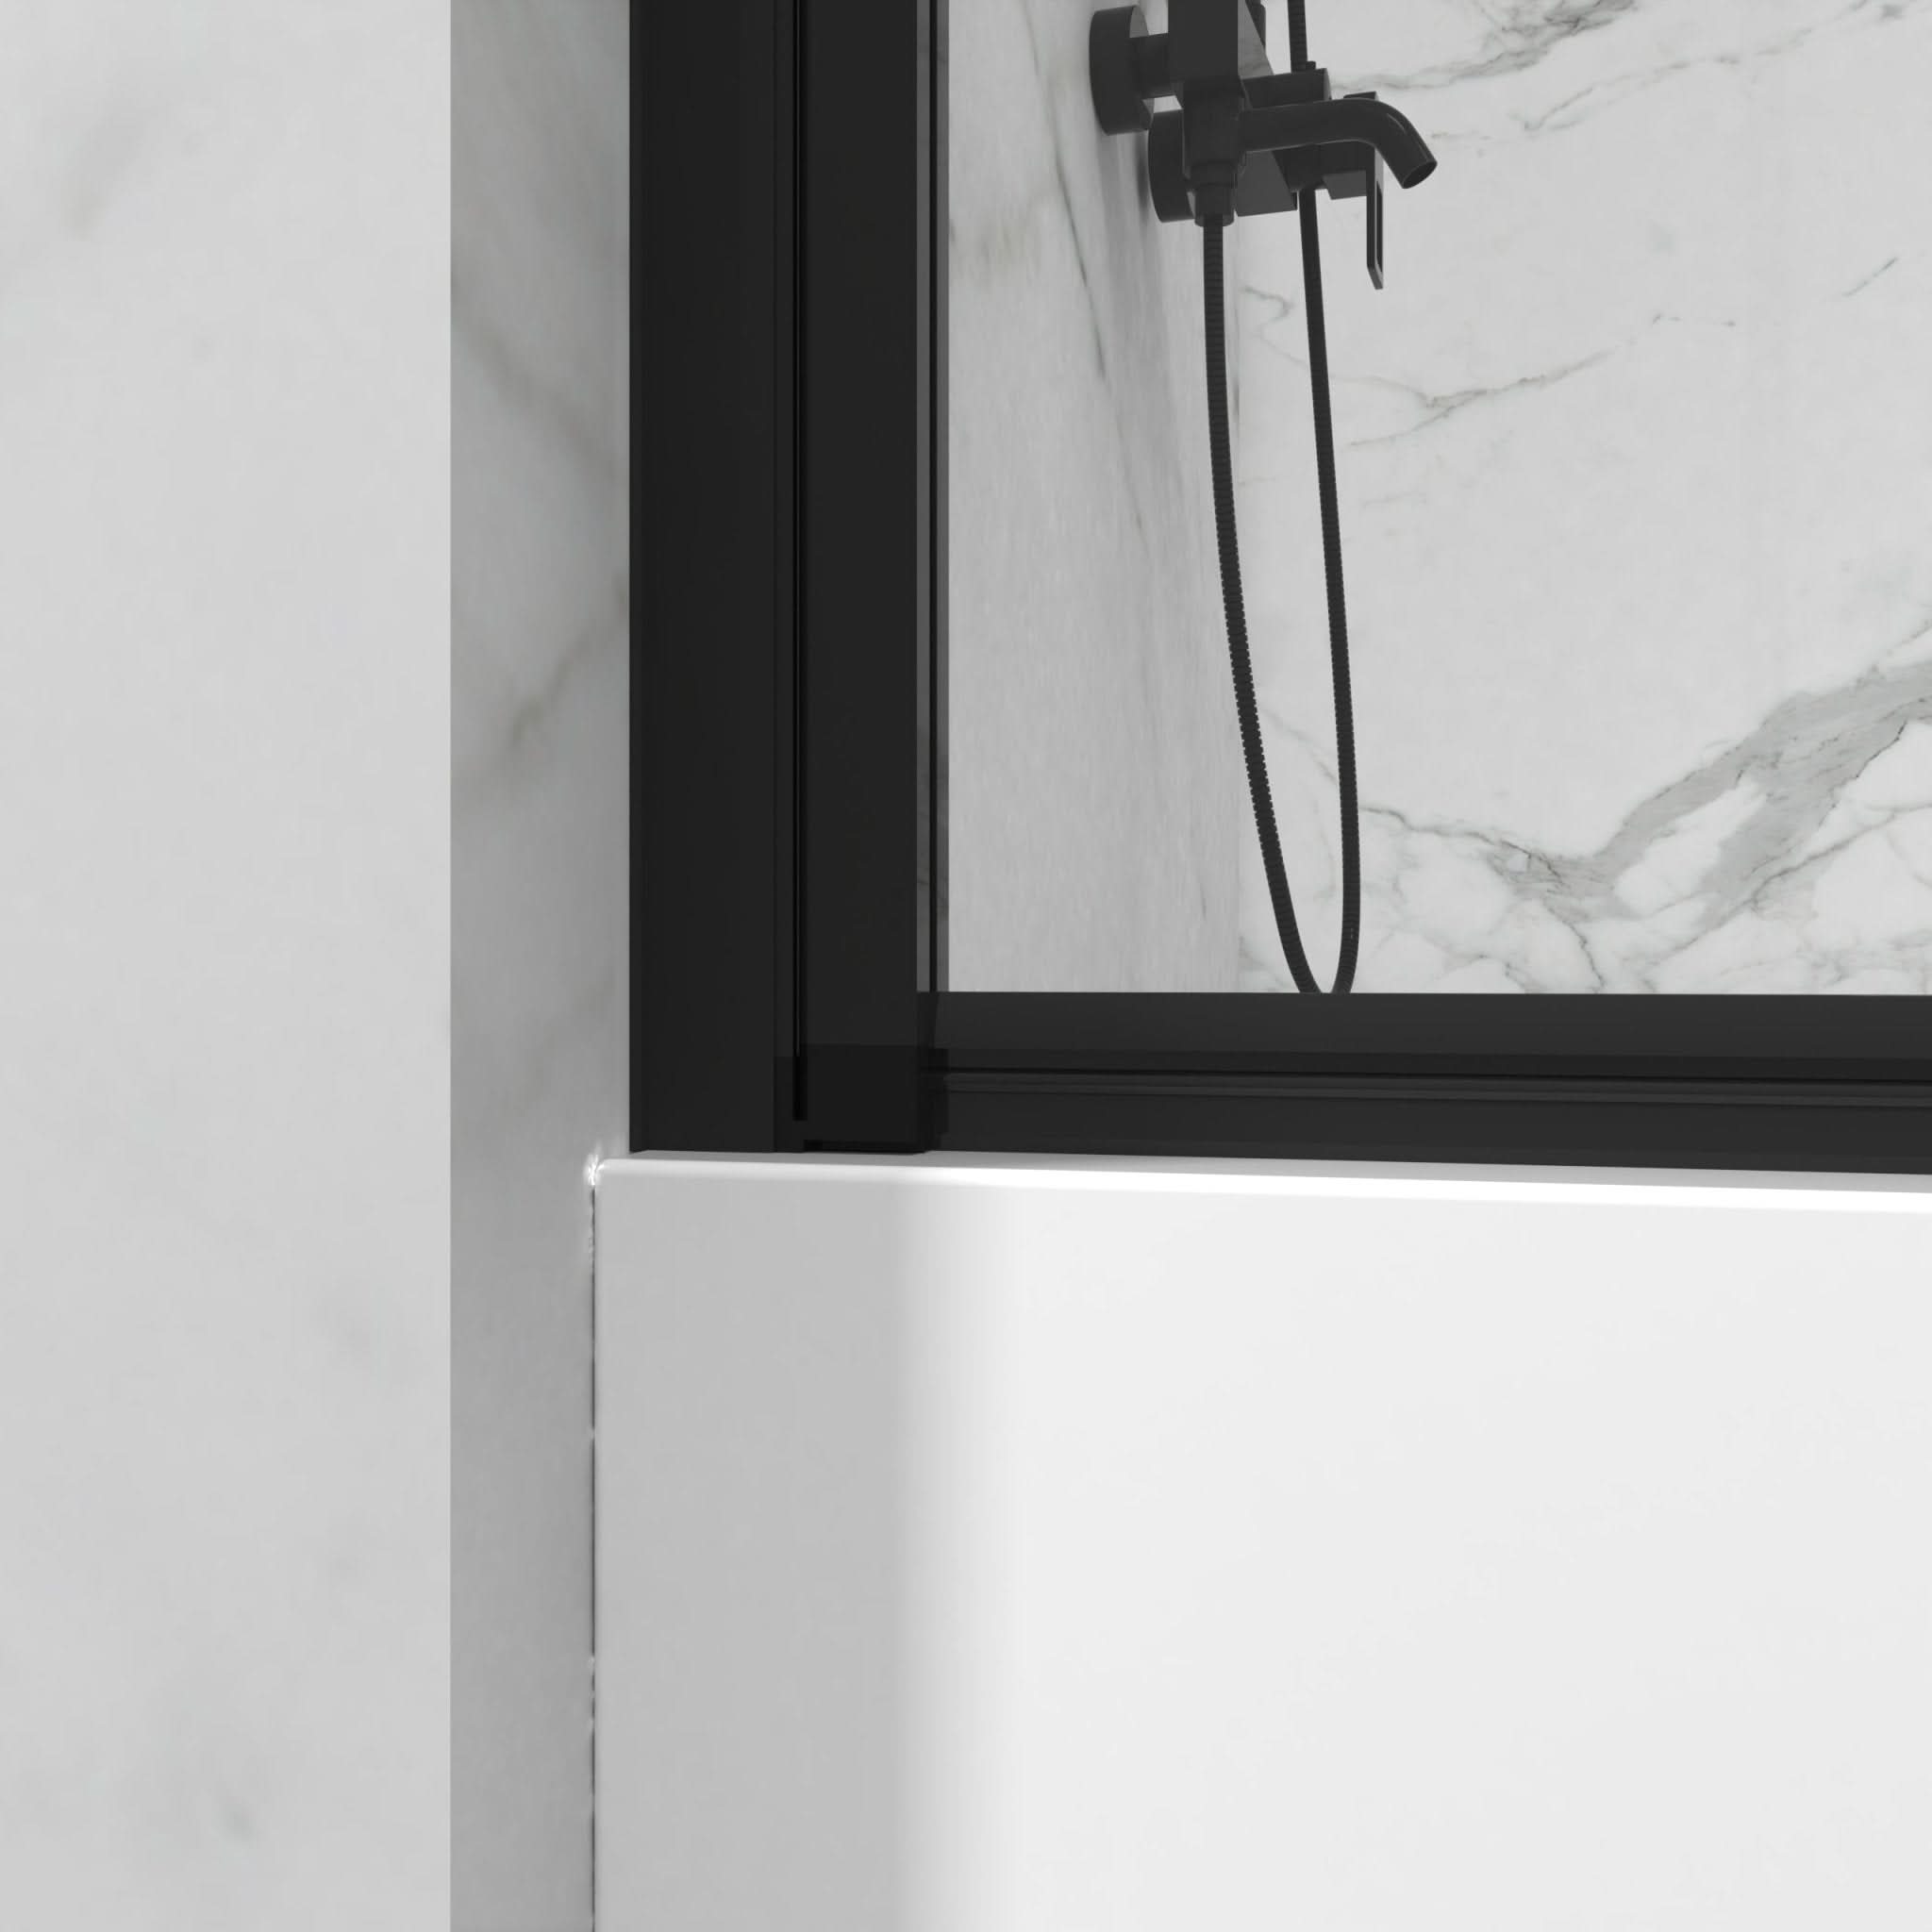
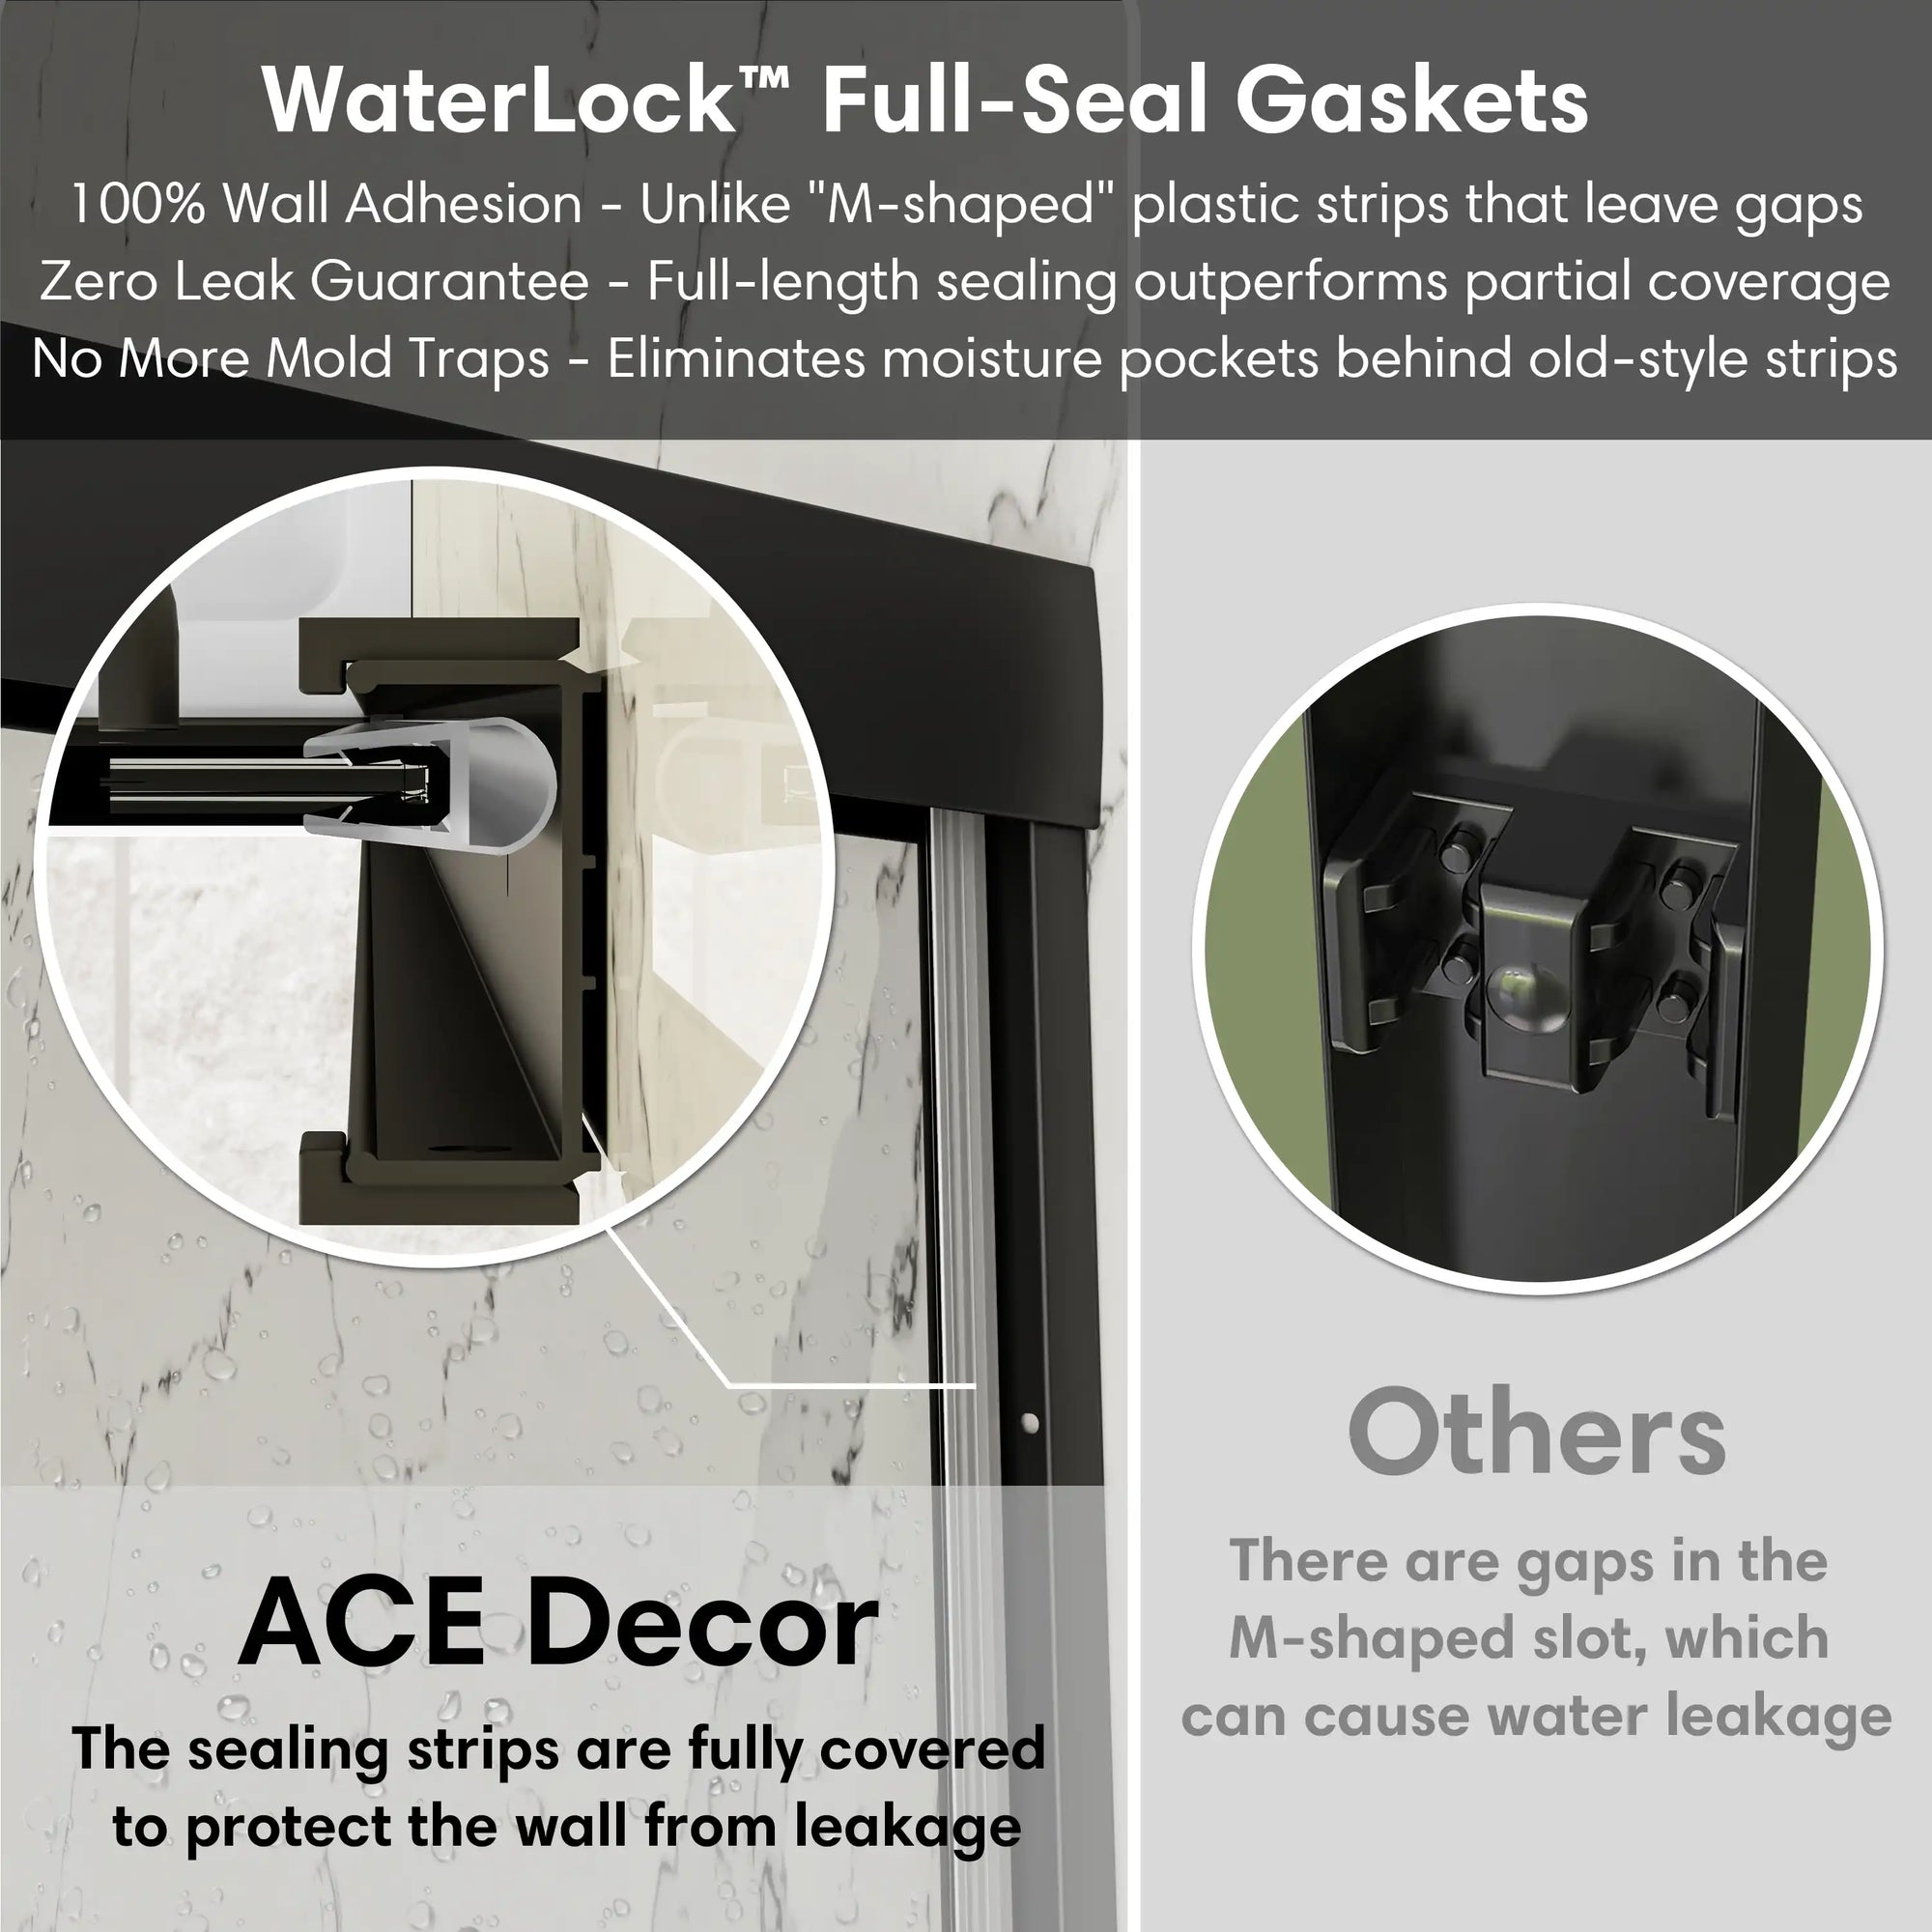
4. Seal It Right: Avoid Costly Leaks
Perfect sealing separates professional-quality results from short-term fixes. Most how to install bathtub door failures stem from insufficient or misapplied sealant.
Focus Areas:
- Wall-to-track joints: Clean with alcohol, apply a continuous bead of silicone, and smooth with a finishing tool
- Bottom rail and tub junction: First install foam tape, then a soft dam, and finally apply a Z-pattern seal
- Glass door joints: Apply 2–3mm transparent seals, especially for sliding panels
A 2023 internal test by ACE DECOR found that systems using foam tape and dual silicone layers held up against 48 hours of continuous water pressure with less than 1% leakage.
5. Common Mistakes to Avoid
You might follow every instruction on how to install bathtub door, yet overlook minor issues that cause major failures.
Examples:
- Tub edge unevenness: Use foam filler strips to level and support seal contact
Climate sensitivity:
- Hot and humid states (e.g., Florida): Mold-resistant sealants are essential
- Cold and dry states (e.g., Colorado): Use sealants with high elasticity to prevent cracking
- VOC emissions: Many low-cost sealants contain harmful VOCs. For homes with children or pets, select low-VOC, Greenguard-certified options.
Addressing these variables during how to install bathtub door can prevent costly repairs later.
6. Post-Installation Care and Maintenance
After you complete how to install bathtub door, allow 24 hours of drying time before any water exposure. Maintenance keeps seals effective and extends the system’s lifespan.
Maintenance Tips:
- Check seals for mold or gaps every 6 months
- Replace bottom water barrier strips annually
- Clean joints with pH-neutral solutions to avoid weakening adhesives
Following these small steps ensures your how to install bathtub door project continues to protect your space year after year.

Conclusion
A properly executed how to install bathtub door project enhances your bathroom’s function, appearance, and resale value. But more importantly, it protects your home from structural water damage.
Choosing the right tools, materials, and techniques makes a lasting difference. If you're ready to upgrade, we recommend ACE DECOR's frameless sliding bathtub door system. With professional-grade seals and homeowner-friendly installation, it's ideal for high-end American homes.
Visit ACE DECOR’s official site today to get your exclusive installation kit and free waterproofing bonuses. Master how to install bathtub door—once, and for good.
FAQ
Q1: Can I complete how to install bathtub door without drilling?
A: Some clamp-style models are drill-free, but often compromise on sealing. For long-term protection, use anti-slip strips and adhesive reinforcement.
Q2: Why is my door noisy after I install it?
A: Debris or improper leveling can cause noise. Recalibrate the rail with a laser level and clean the track thoroughly.
Q3: Should I waterproof the wall before installing the bathtub door?
A: Yes, especially for older or porous walls. Apply a primer for better sealant adhesion during your how to install bathtub door project.
Q4: How do I make the bathtub door safer for children?
A: Choose tempered glass with a protective film, use soft-close hinges, and consider installing childproof locks.
Q5: What if water leaks from the bottom after I follow how to install bathtub door steps correctly?
A: Check if the bottom rail angle is adequate. Reapply silicone and install a flexible dam strip to reinforce the seal.
Related Articles:
How to Add Shower Doors to a Bathtub: Simple Installation Guide
Frameless Bathtub Shower Doors to Modernize Your Bathrooms
The 5 Key Steps to Installing a Folding Bathtub Shower Door Are Easy for Beginners to Learn