Introduction – Why Shower Door Maintenance Matters
When it comes to maintaining your bathroom, shower door kits often get overlooked. However, taking care of your shower doors is just as important as cleaning the rest of your bathroom. A well-maintained shower door not only improves the aesthetics of your bathroom but also ensures the longevity of the product. Regular maintenance helps to avoid costly repairs, preserve the quality of the materials, and prevent common issues such as leaks, mold, and hard water stains. In this article, we’ll cover essential tips to keep your shower door kit looking new and functioning smoothly for years to come.
Step 1 – Clean Your Shower Door Kit Regularly
Why Regular Cleaning is Essential
One of the most important aspects of maintaining a shower door kit is regular cleaning. Over time, soap scum, water spots, and mineral deposits can accumulate on the glass, making it look cloudy or grimy. Left unchecked, these buildups can lead to permanent staining or even damage to the finish of the door. Regular cleaning helps maintain the shine of your shower door and prevents the growth of bacteria or mold, which thrive in damp, unclean environments.
Best Cleaning Solutions for Shower Door Kits
To keep your shower doors sparkling, it’s essential to use the right cleaning products. Avoid harsh chemicals or abrasive cleaners, as they can scratch or damage the glass. Instead, opt for mild, non-abrasive cleaners that are designed specifically for glass surfaces. Vinegar and water is an effective and natural solution for removing soap scum, while a commercial glass cleaner can be used to achieve a streak-free shine. Make sure to follow the manufacturer's instructions on any product you choose.
Cleaning Tools to Use and Avoid
The right cleaning tools make all the difference. Microfiber cloths are an excellent choice for wiping down glass, as they are gentle and won't leave behind lint or streaks. A squeegee is another indispensable tool, as it helps to remove excess water after each shower, preventing water spots and soap buildup. Avoid using abrasive sponges or steel wool, as these can scratch the surface of your shower door, causing permanent damage.
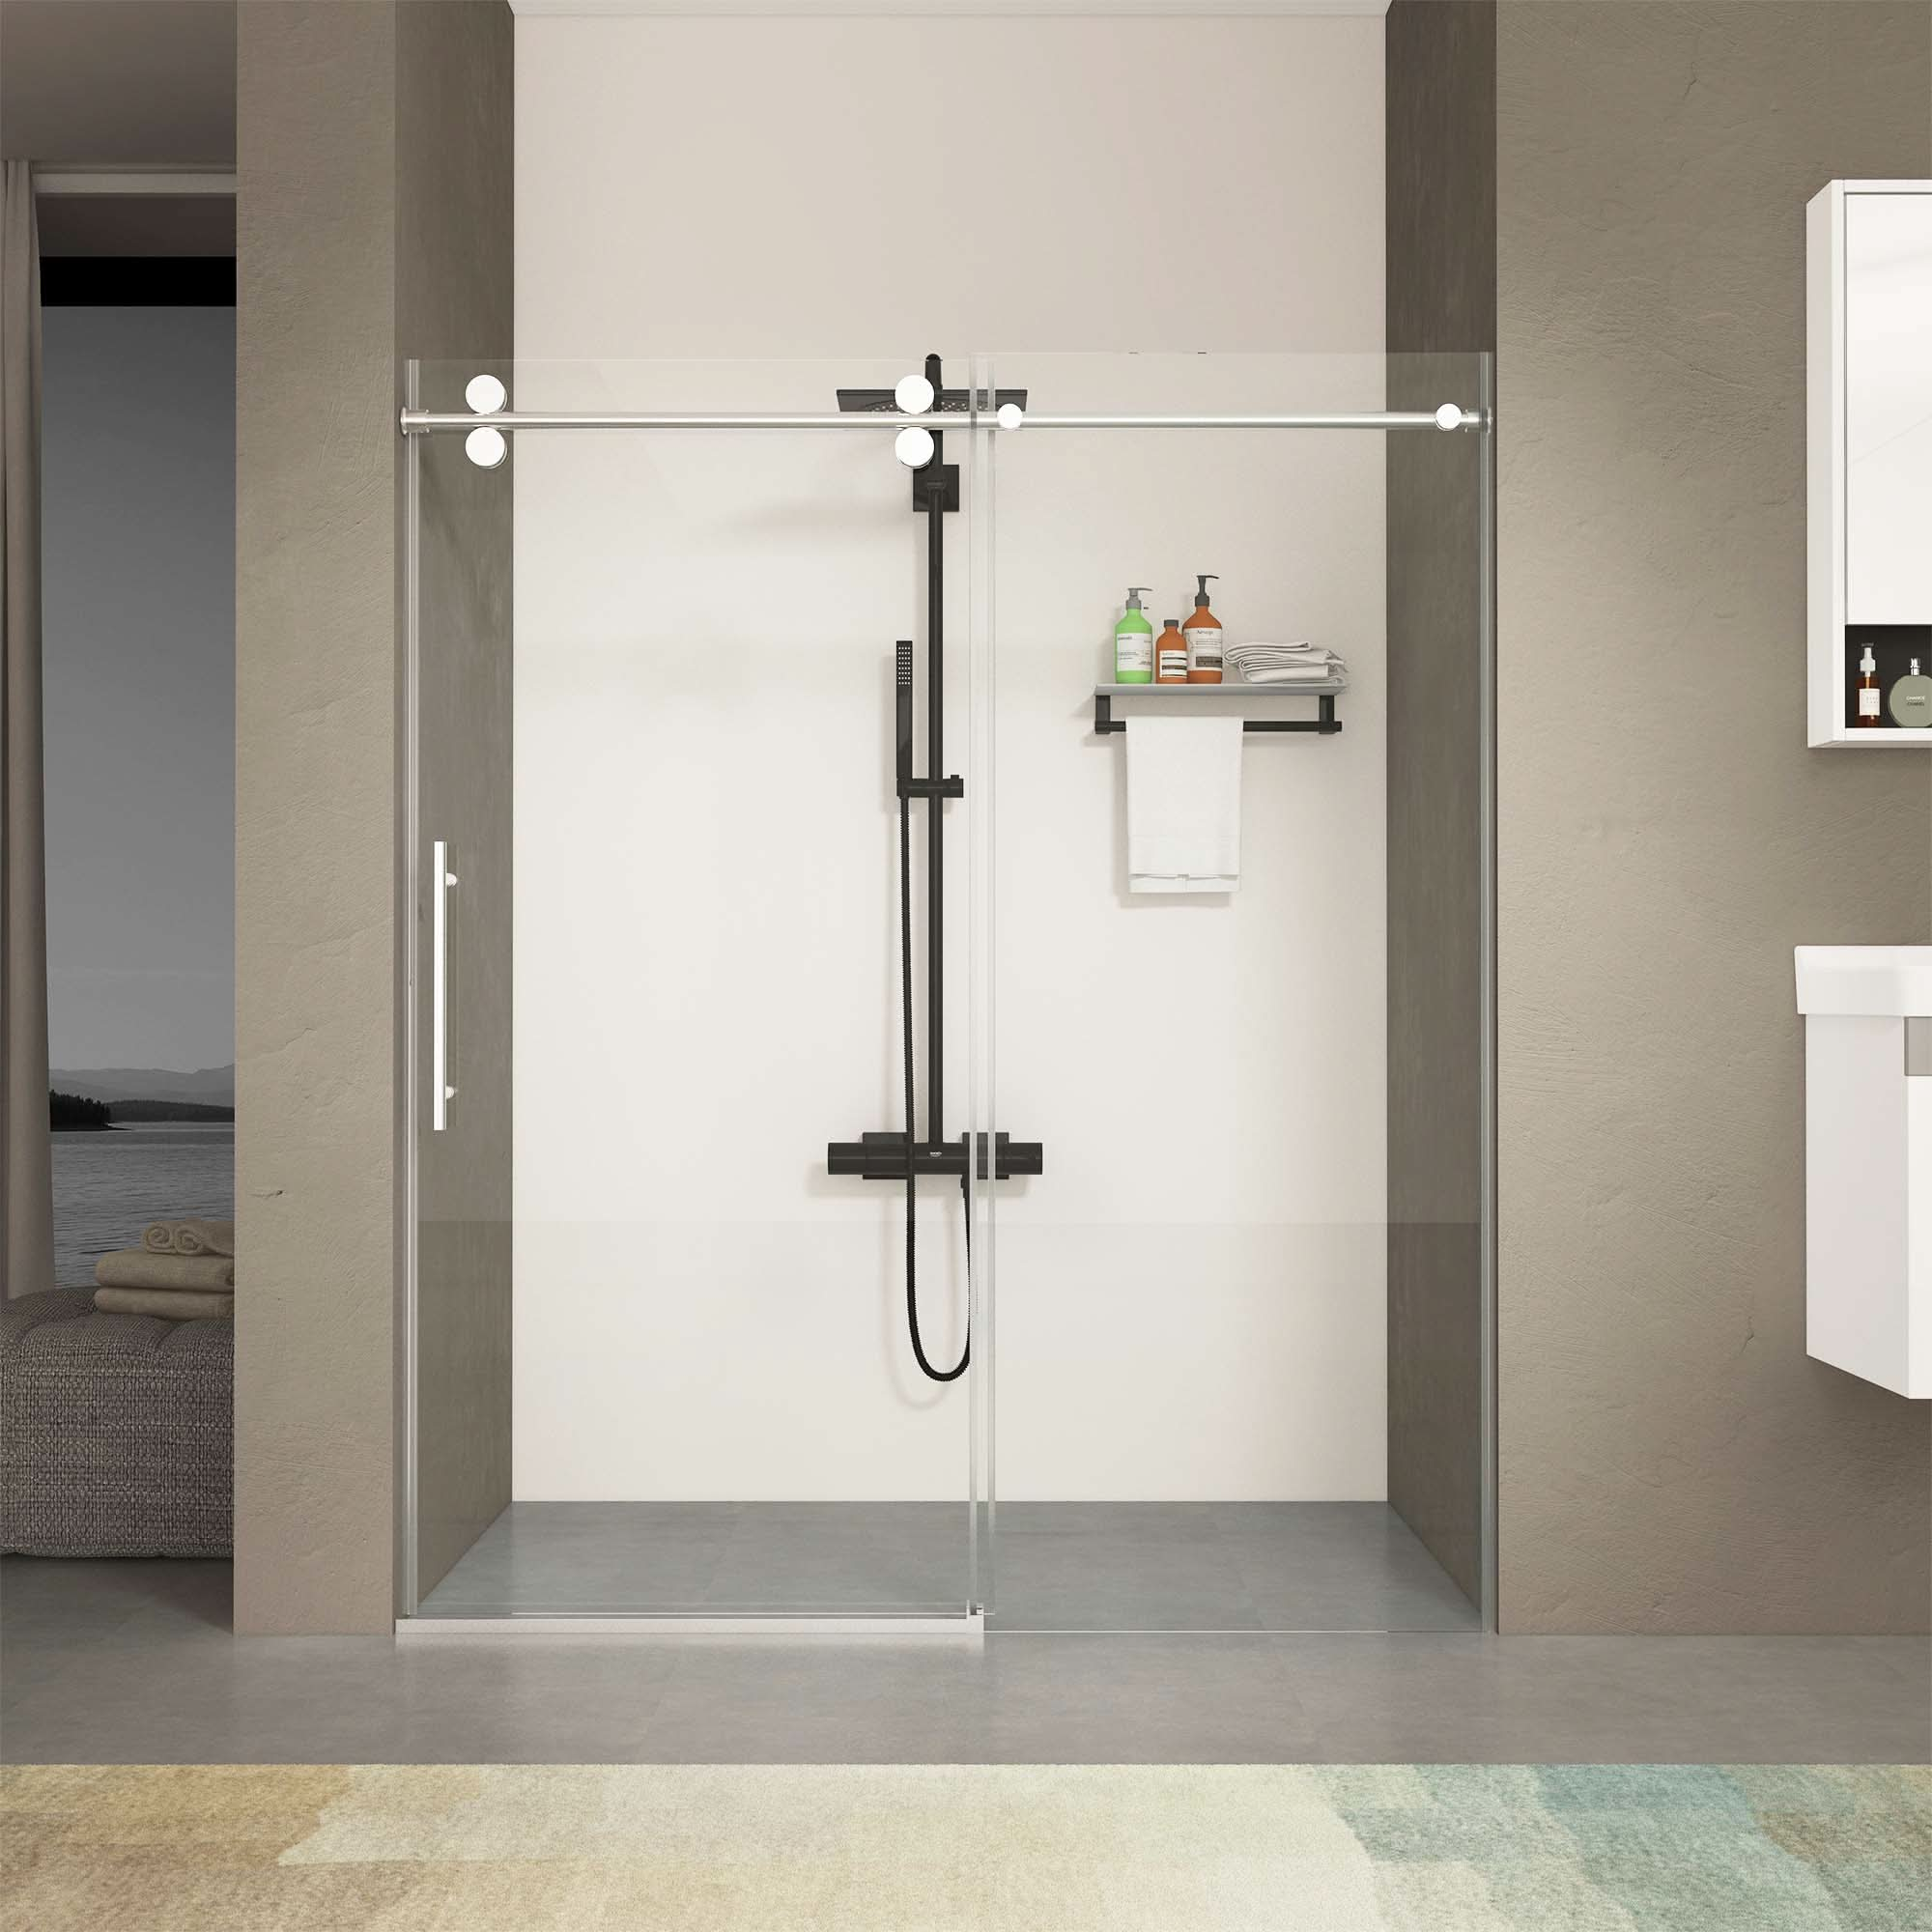
By regularly maintaining your shower door, you ensure that its beauty and functionality will last longer, just like with our Bypass Shower Door – Matte Black & Chrome Framed, which combines style and durability. The clean, modern look of this door, when maintained properly, enhances the overall design of any bathroom.
Step 2 – Prevent Water Damage and Hard Water Stains
Using Water Repellent Coatings
One of the best ways to keep your shower doors looking new is to invest in a water-repellent coating. These products create a barrier on the glass, causing water to bead up and roll off, rather than forming stubborn water spots. Water-repellent treatments can reduce the frequency of cleaning and help prevent the buildup of minerals from hard water. Simply follow the instructions provided by the manufacturer on how to apply the treatment. Typically, these coatings need to be reapplied every 6 months to a year.
Drying Your Shower Doors After Use
One of the simplest yet most effective ways to maintain your shower door is to wipe it down after each use. While it may seem like a small step, using a squeegee or a soft cloth to dry off the glass can prevent water spots and soap scum buildup. If you are consistent, you’ll find that your shower door stays looking new with minimal effort. It only takes a minute, but the benefits of regularly drying your doors will be visible in the long run.
For those looking for a robust and stylish option to add to your bathroom, consider the SD 8mm Tempered Glass Sliding Shower Door. The sleek design, combined with high-quality tempered glass, makes it both a functional and stunning addition to any bathroom.
Step 3 – Maintain the Tracks and Hinges
Cleaning and Lubricating the Tracks
For sliding shower doors, the tracks are one of the most critical components to maintain. Over time, dirt, soap scum, and grime can build up in the tracks, making the door harder to slide. To prevent this, it’s essential to clean the tracks regularly. Use a soft brush or a vacuum to remove debris, followed by wiping the tracks with a damp cloth. For added smoothness, apply a light coating of silicone spray lubricant to the tracks every few months to keep the door sliding effortlessly.
Inspecting Hinges and Hardware
In addition to the tracks, it’s important to check the hinges and other hardware on your shower door kit. These can accumulate mineral buildup, especially if you live in an area with hard water. Regularly inspect the hinges for signs of rust or wear. If you notice any issues, clean the hardware gently with a cloth and lubricate it with a rust-resistant spray. For any signs of significant rust or damage, it may be time to replace the parts to avoid malfunction.
If you're looking for a door that combines functionality with sleek aesthetics, our ACE Double Sliding Shower Door offers both. Its robust construction ensures smooth movement, and the design works seamlessly in any modern bathroom.
Step 4 – Preventing Mold and Mildew Growth
Identifying Areas Prone to Mold and Mildew
Mold and mildew thrive in the warm, damp environment of your shower, especially in areas that are not adequately ventilated. The edges of your shower doors and around the seals are common areas where mold and mildew can develop. It's essential to be proactive and regularly check these areas to avoid the growth of these harmful fungi, which can lead to unpleasant odors and health concerns.
How to Remove Mold and Mildew Safely
If you find mold or mildew on your shower door kit, it’s important to address the issue immediately. You can use white vinegar, baking soda, or a mold and mildew cleaner to scrub the affected areas. Spray the solution directly onto the mold, let it sit for a few minutes, and then scrub it away with a soft cloth or sponge. For persistent mold, you may need to repeat the process a few times.
Step 5 – Check for Wear and Tear
Regularly Inspecting Your Shower Door Kit
Even with regular maintenance, wear and tear are inevitable. Cracks, chips, or scratches on the glass are common over time, and it’s important to check for these issues regularly. Minor imperfections can be easily fixed, but it’s essential to identify them early to avoid larger issues down the road. Also, inspect the seals and weatherstripping to ensure they are intact and functioning properly. If the seals are worn out or cracked, replace them promptly to prevent leaks.
Addressing Issues Promptly to Avoid Bigger Problems
If you notice any minor issues, address them quickly before they turn into more significant problems. Small issues like loose hardware, worn-out seals, or minor cracks in the glass can often be repaired without a complete replacement. Early intervention can save you money on costly repairs or replacements.
A great example of a shower door kit that’s designed for longevity and ease of maintenance is the Bypass Shower Door – Matte Black & Chrome Framed. With its high-quality finish, this door is both stylish and durable, requiring minimal upkeep to keep it looking new.
Step 6 – Know When It’s Time for a Professional Checkup
When to Call a Professional
While regular maintenance is essential, there are times when it’s best to call in a professional. If your shower door becomes misaligned, experiences difficulty in opening or closing, or develops leaks, it’s best to have an expert take a look. They can assess the problem, offer repairs, or help you replace parts to restore your shower door’s function and appearance.
Conclusion – Keep Your Shower Doors Looking Brand New
Maintaining your shower door kit is a simple yet crucial task that can keep your bathroom looking pristine and extend the life of your investment. Regular cleaning, preventive measures against water damage, and inspection for wear and tear are all key elements in ensuring your shower door kit stays in great condition. By following these essential maintenance tips, you’ll not only enhance the appearance of your bathroom but also avoid unnecessary repairs. Remember, a little effort goes a long way when it comes to keeping your shower doors looking brand new!
FAQ
Q: How often should I clean my shower door kit?
A: You should clean your shower door kit at least once a week to prevent the buildup of soap scum, water spots, and grime. However, wiping down the glass after every shower with a squeegee or cloth can significantly reduce the frequency of deep cleans.
Q: How can I prevent hard water stains on my shower door?
A: Hard water stains are a common issue, especially in areas with mineral-rich water. To prevent stains, consider applying a water-repellent coating on the glass. These treatments create a protective barrier, allowing water to bead off and reducing the chance of mineral buildup. Additionally, wiping down the glass with a squeegee after each shower helps prevent the stains from forming.
Q: Can I use bleach to clean my shower door kit?
A: While bleach can be effective in removing mold or mildew, it’s generally not recommended for regular cleaning, as it can damage the seals and any rubber components over time. Instead, opt for a gentler cleaning solution like vinegar and water or a commercial glass cleaner that is designed for shower doors. For mold and mildew, white vinegar or a mildew cleaner works best for spot treatments.
Q: How do I maintain the tracks and rollers of my sliding shower door?
A: Regularly clean the tracks and rollers of your sliding shower door to prevent the buildup of debris and soap scum, which can cause the door to stick or operate unevenly. Use a soft brush to remove dirt, followed by a damp cloth. Lubricating the tracks with a silicone-based lubricant every few months will keep the door sliding smoothly and quietly.
Q: My shower door is leaking. What should I do?
A: If your shower door is leaking, check the seals and weatherstripping around the edges of the door. Over time, these can become worn or damaged, causing leaks. Replacing old or cracked seals should resolve the issue. If the problem persists, ensure that the door is properly aligned within its frame or consider seeking professional help for adjustments.
Q: Can I replace just the glass panel on my shower door kit?
A: Yes, you can replace just the glass panel on your shower door kit, especially if it’s cracked or scratched. However, it’s important to ensure that the replacement glass matches the original specifications for safety and compatibility. If you’re unsure, it’s a good idea to consult a professional to handle the replacement.
Q: How can I prevent mold from growing around my shower door?
A: Mold and mildew thrive in damp, poorly ventilated areas. To prevent growth around your shower door, ensure your bathroom is well-ventilated by using an exhaust fan or opening a window during and after showers. Additionally, wiping down the glass and seals after each use can help reduce moisture buildup. If mold does appear, use a mildew remover or a mixture of vinegar and water to clean the affected areas.

