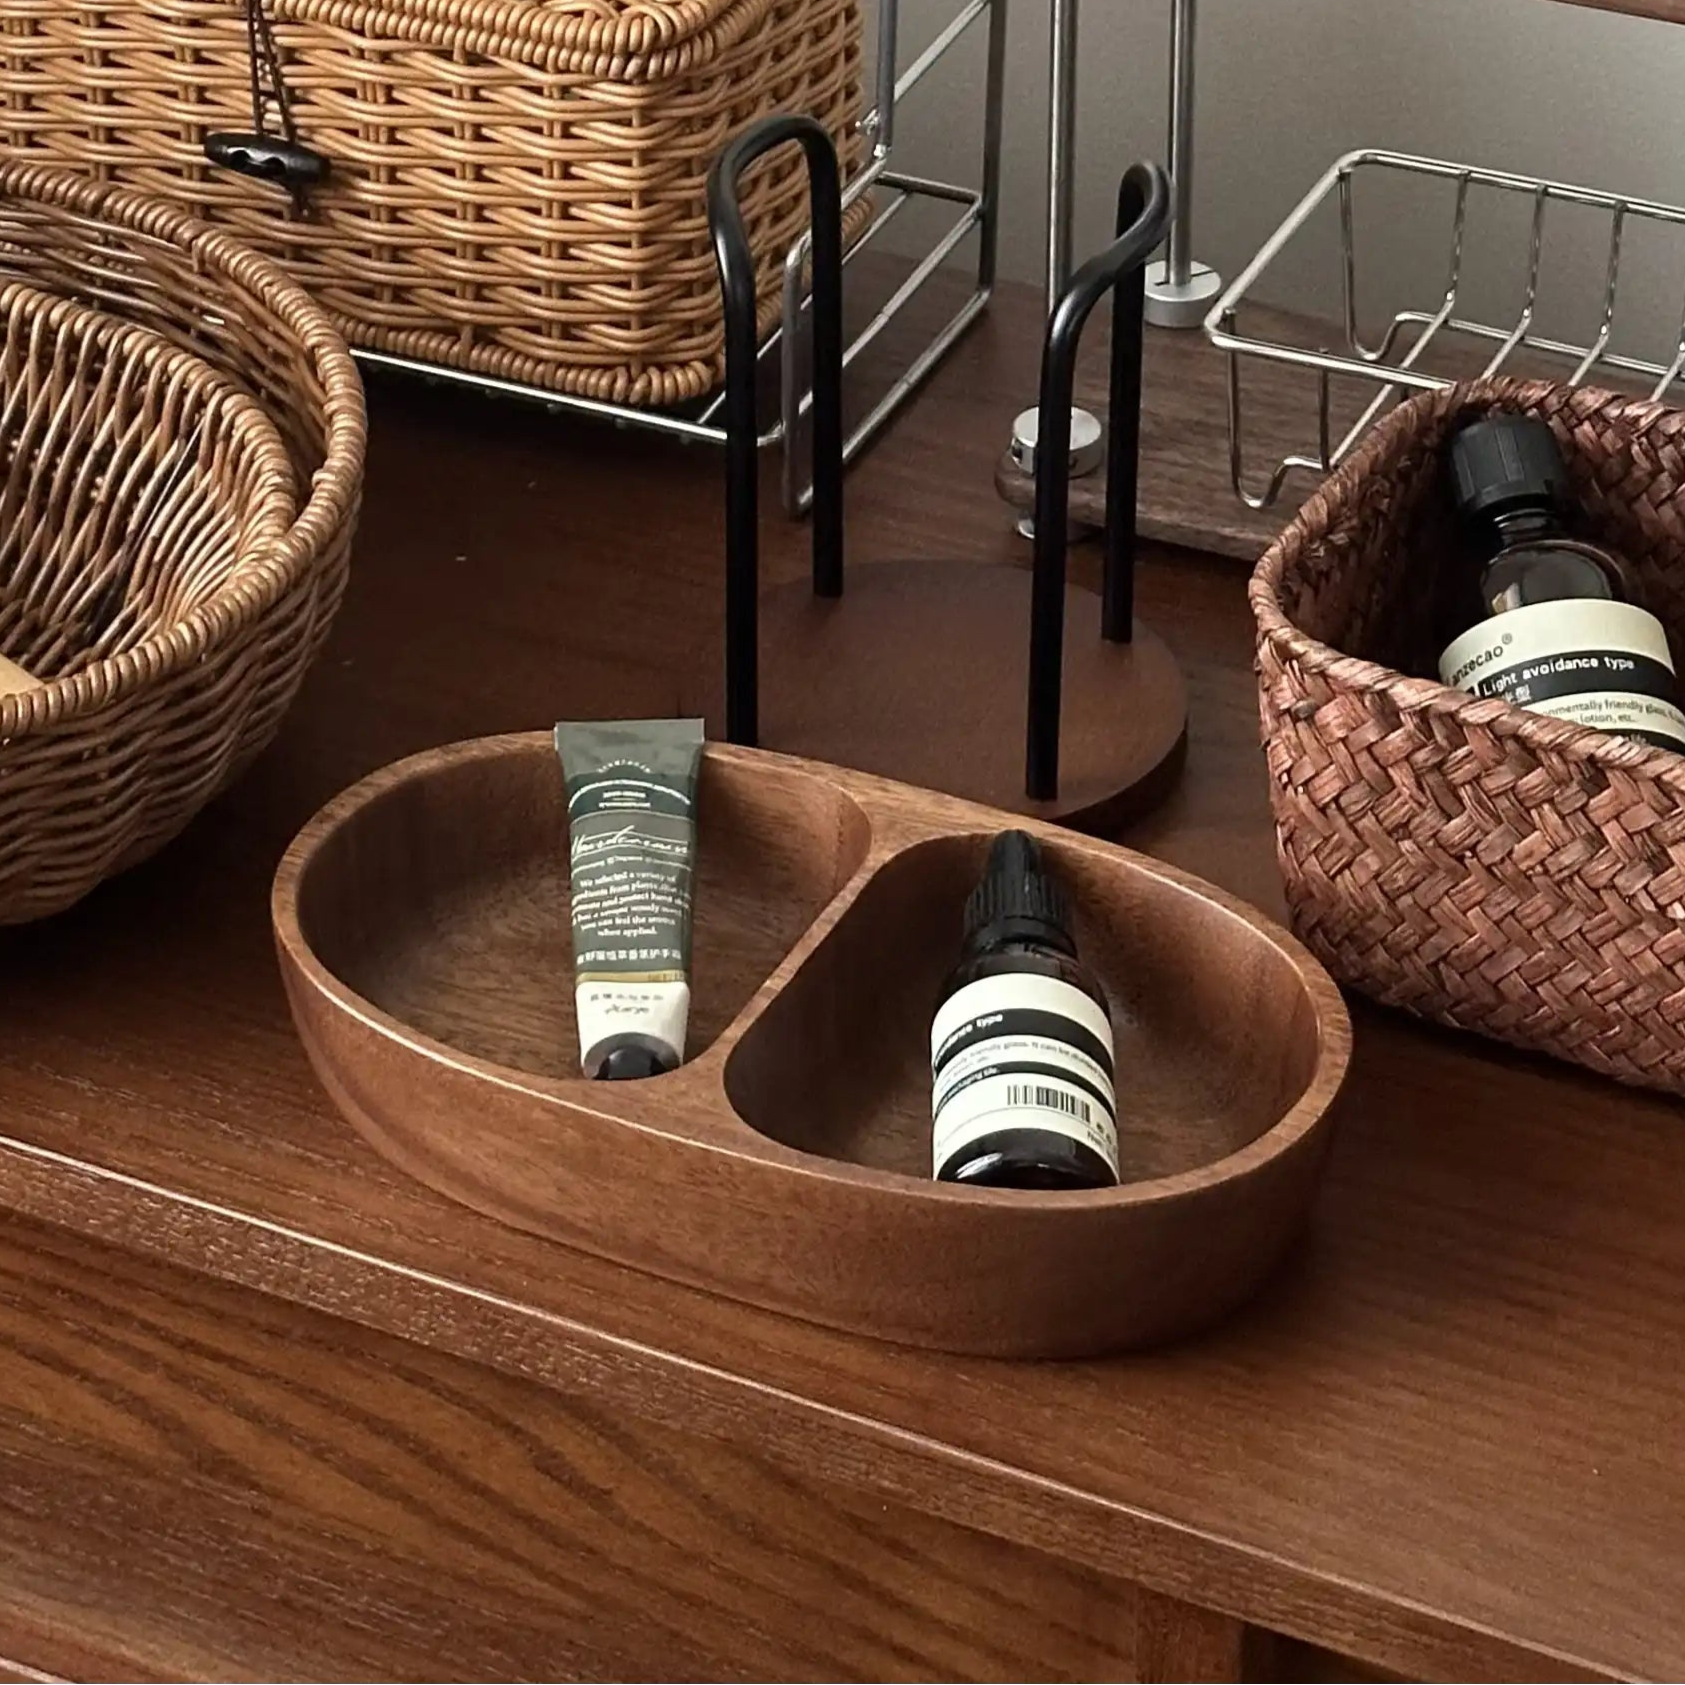
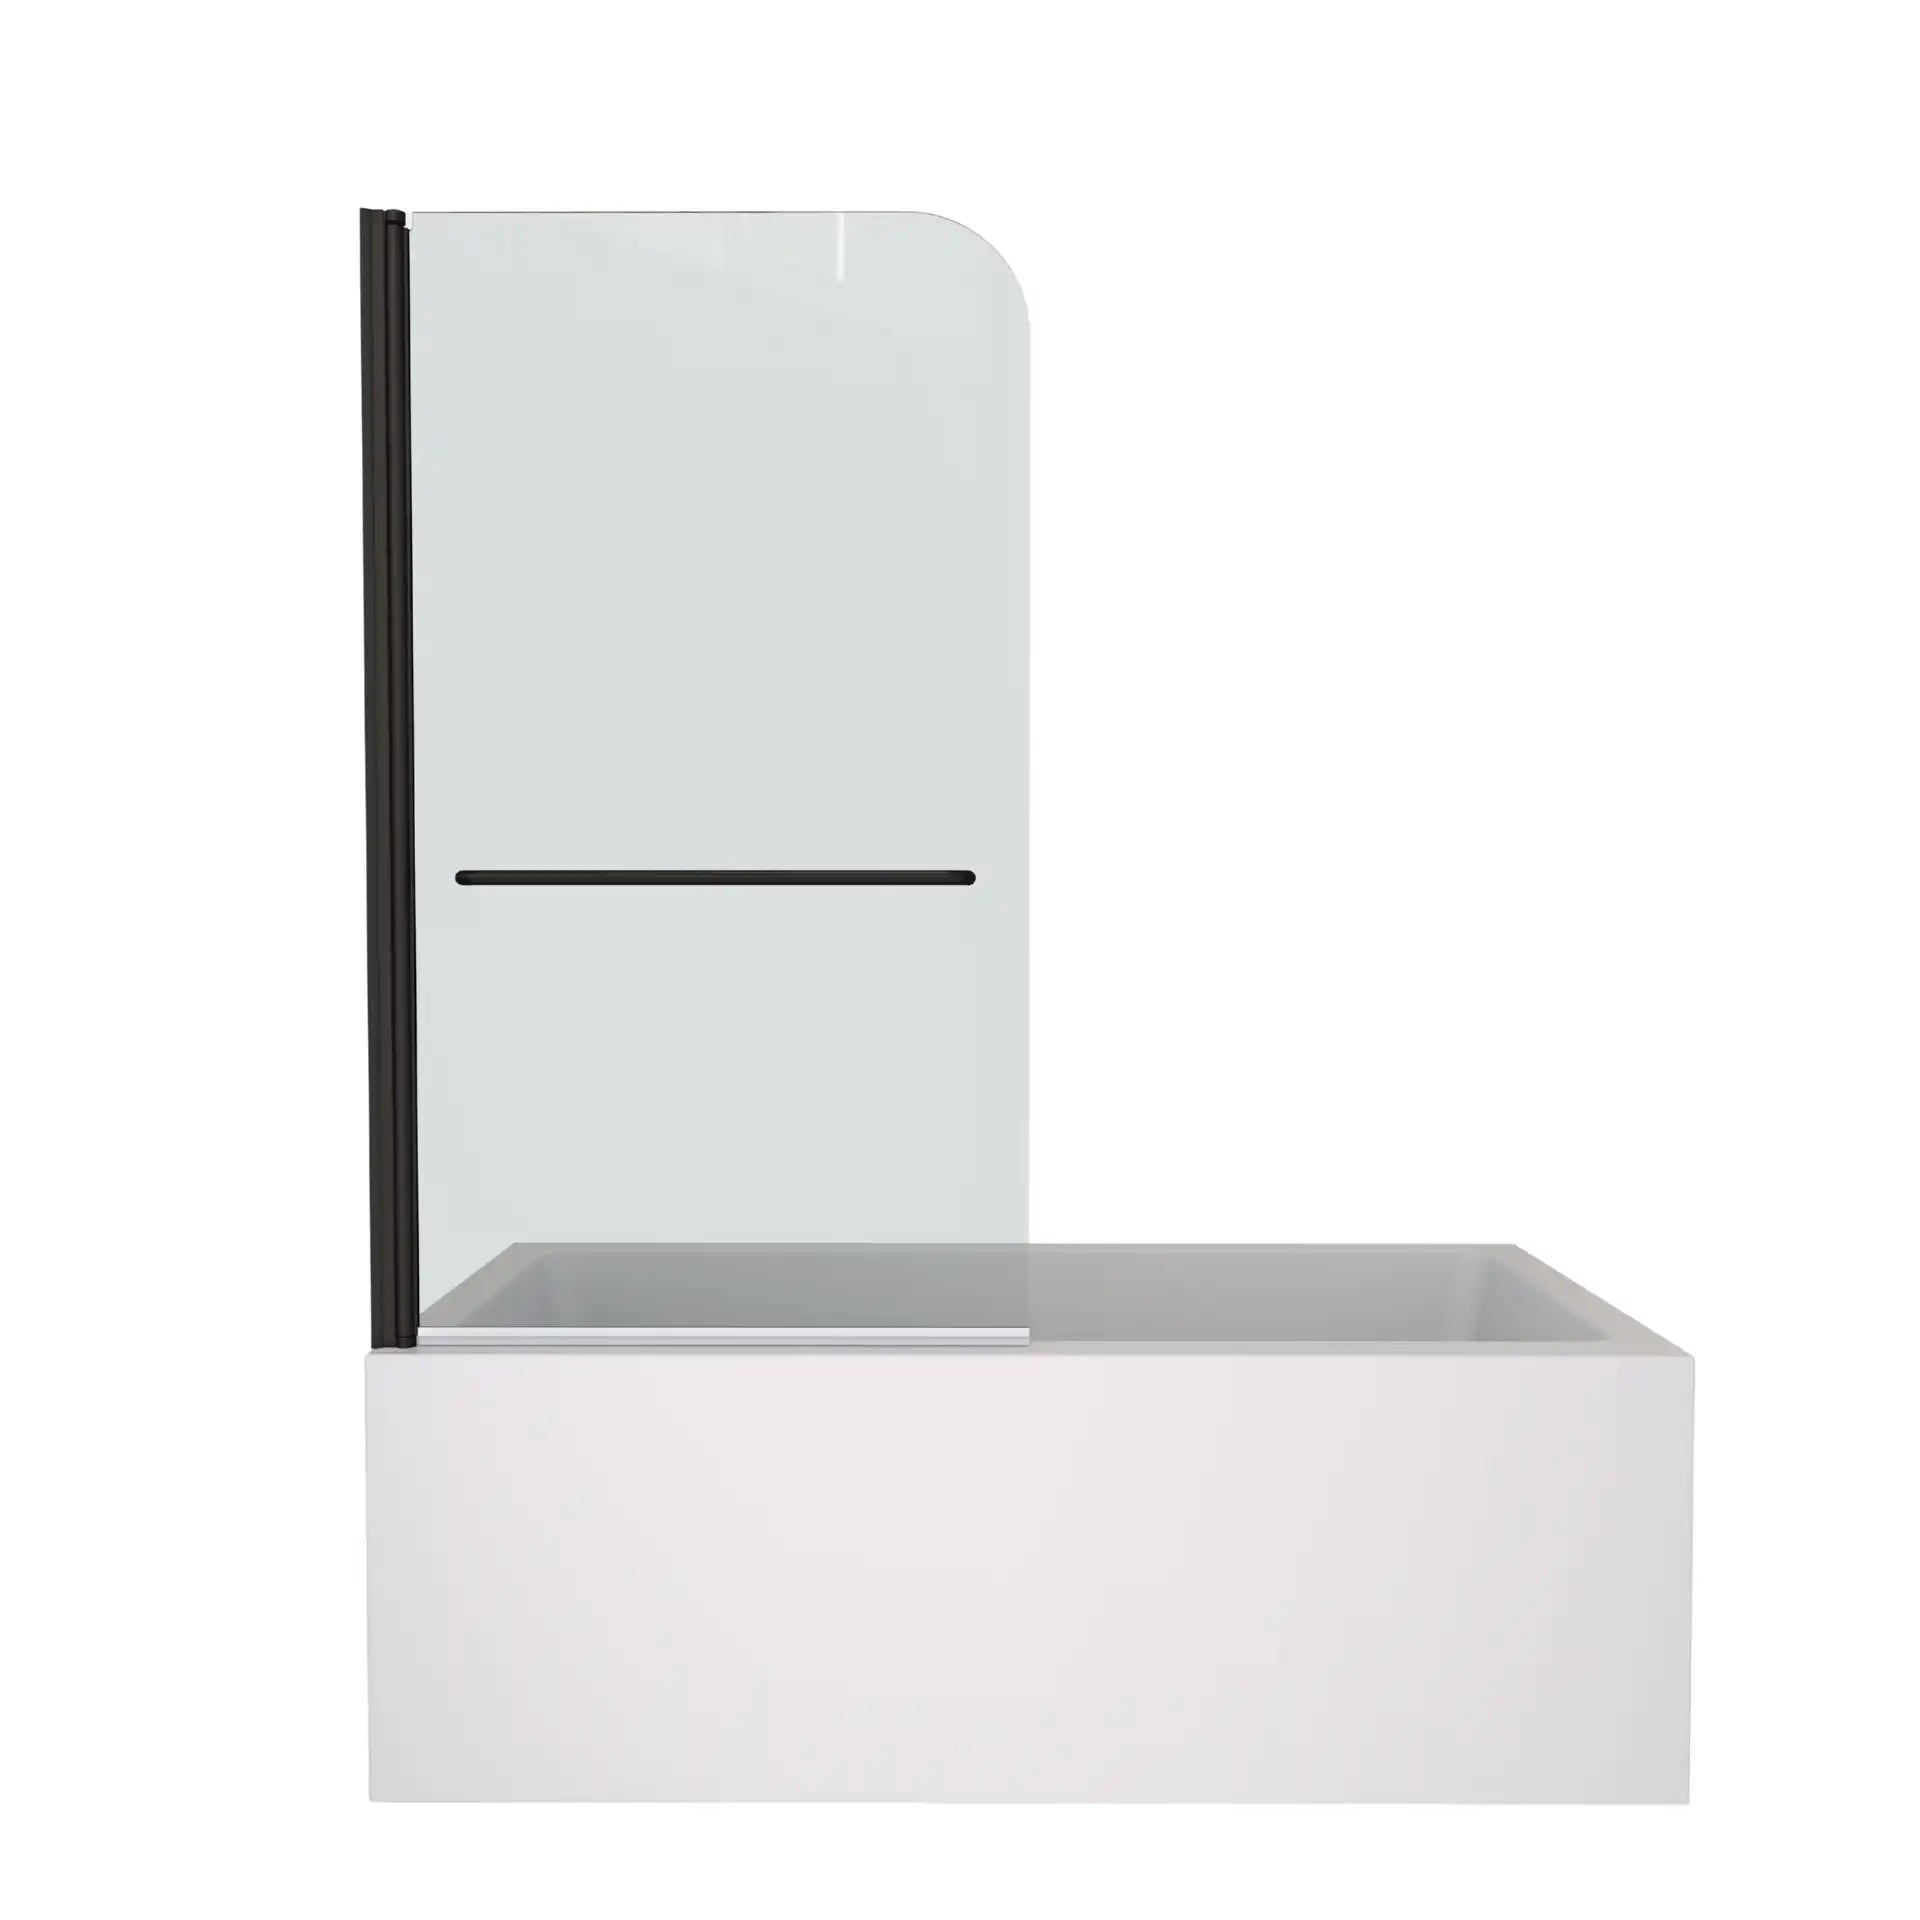
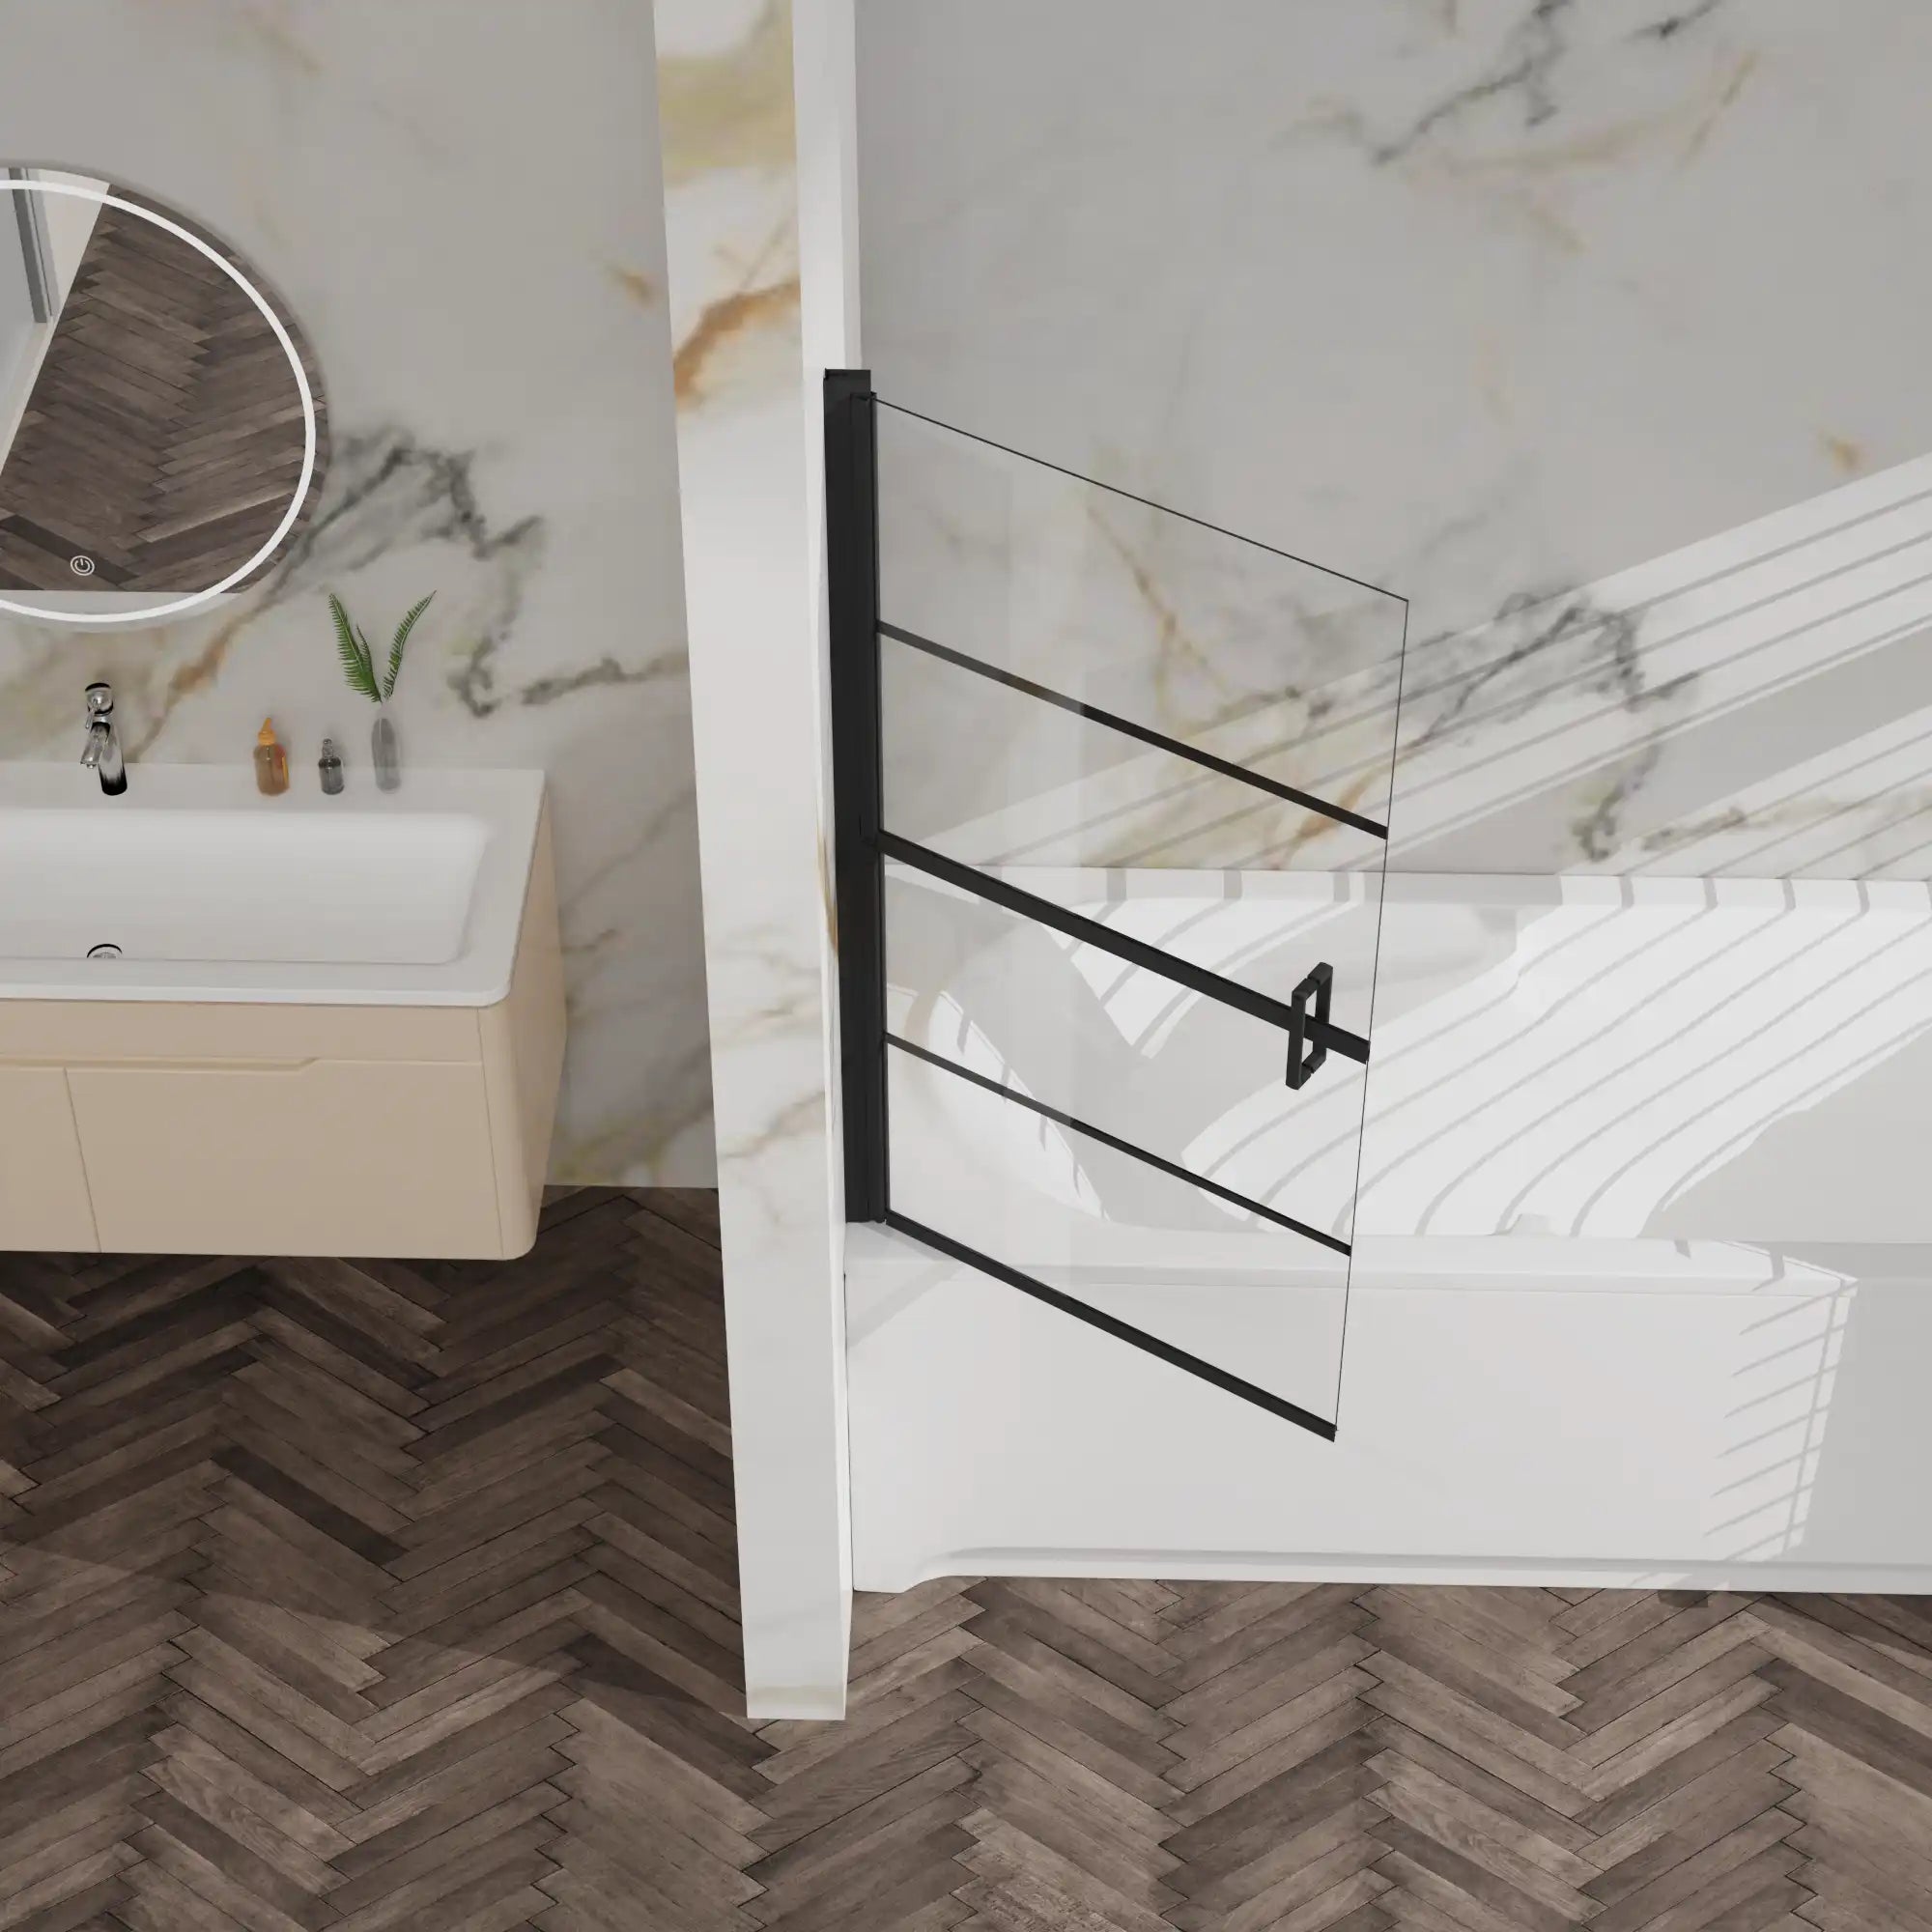
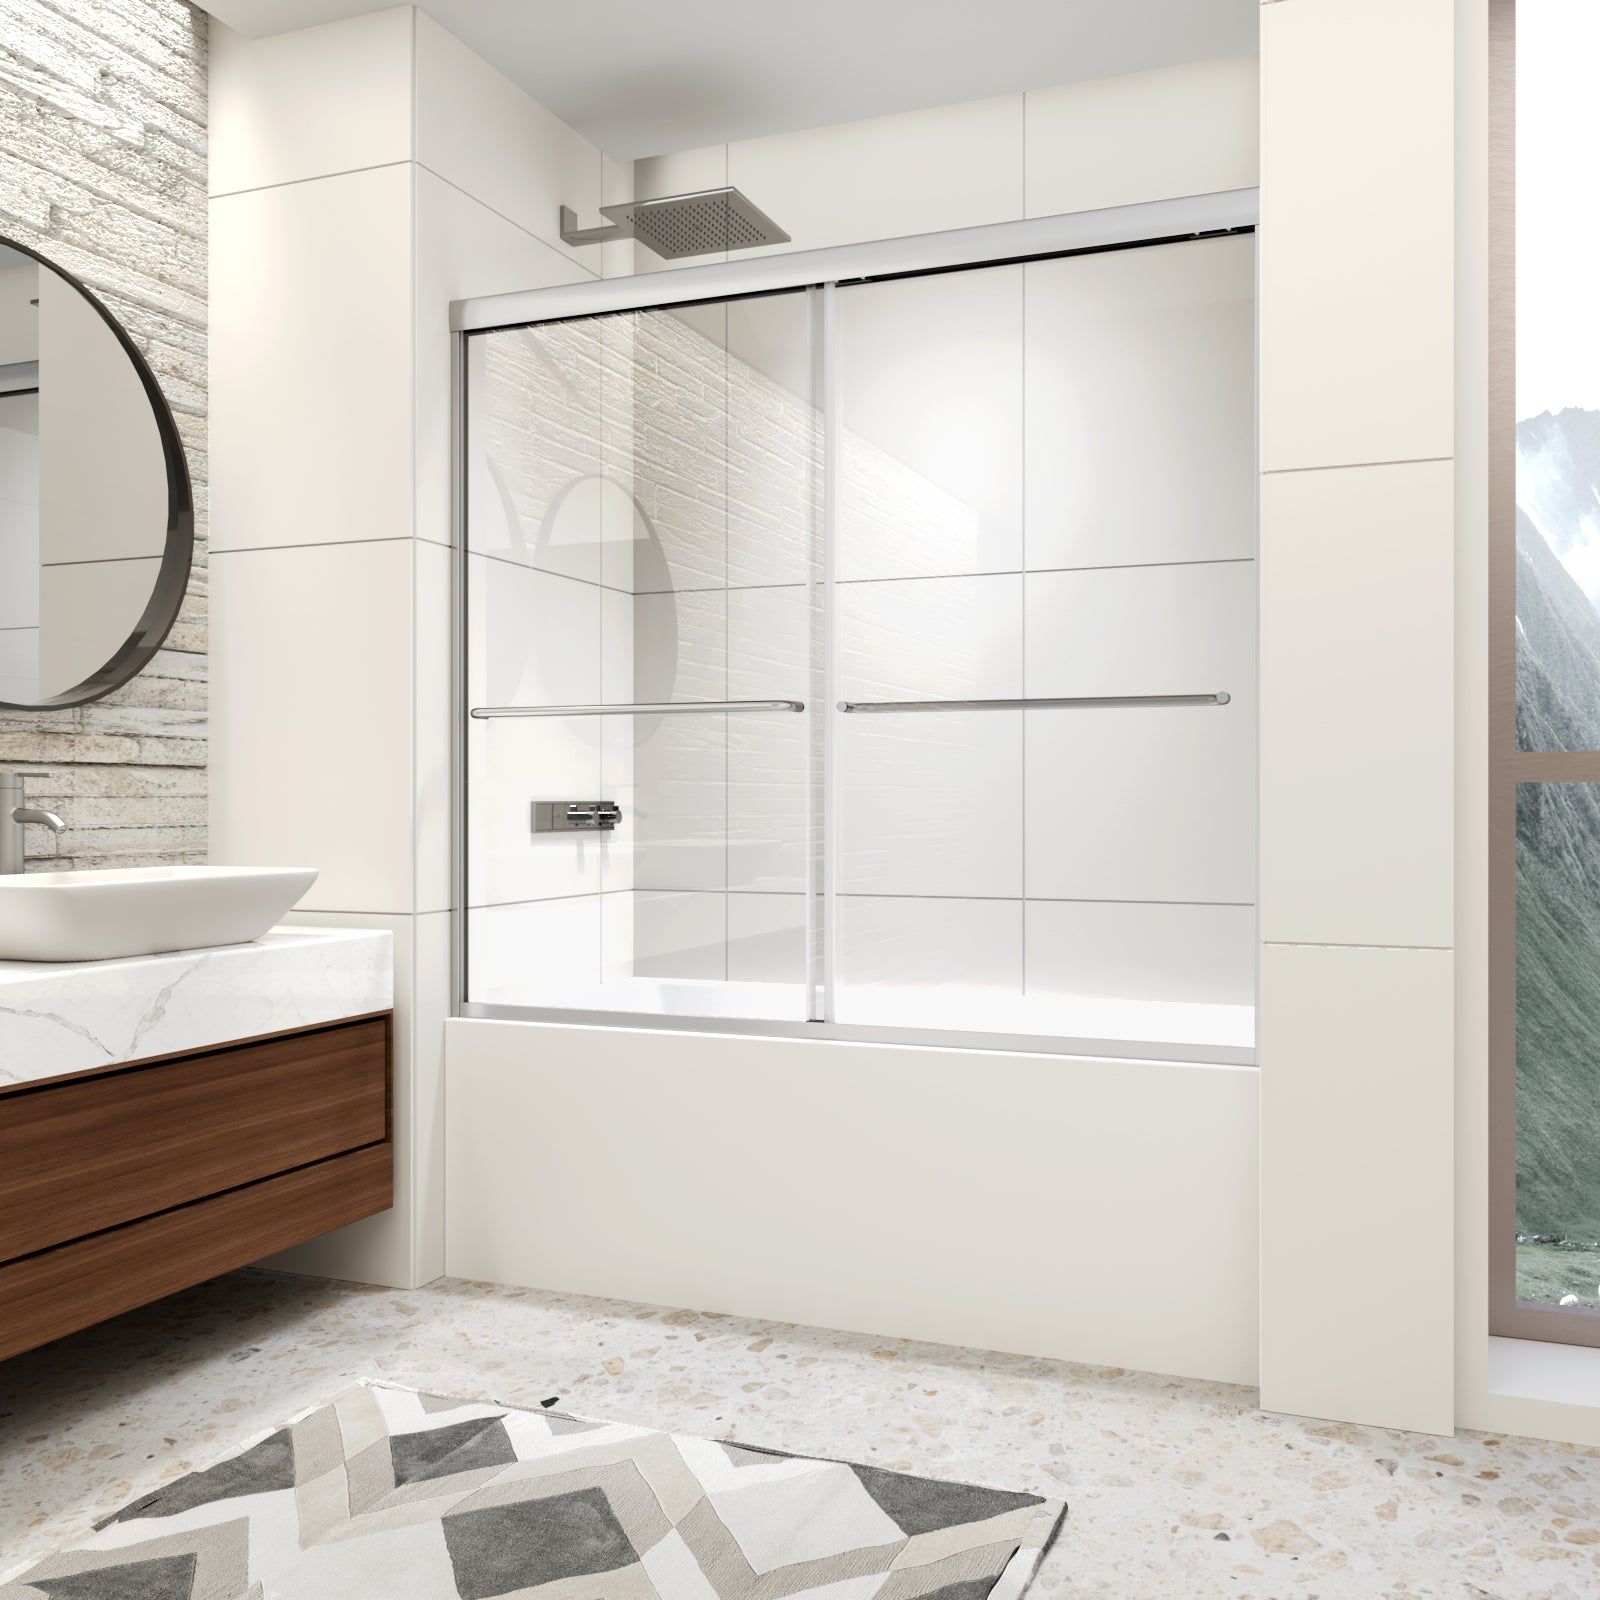
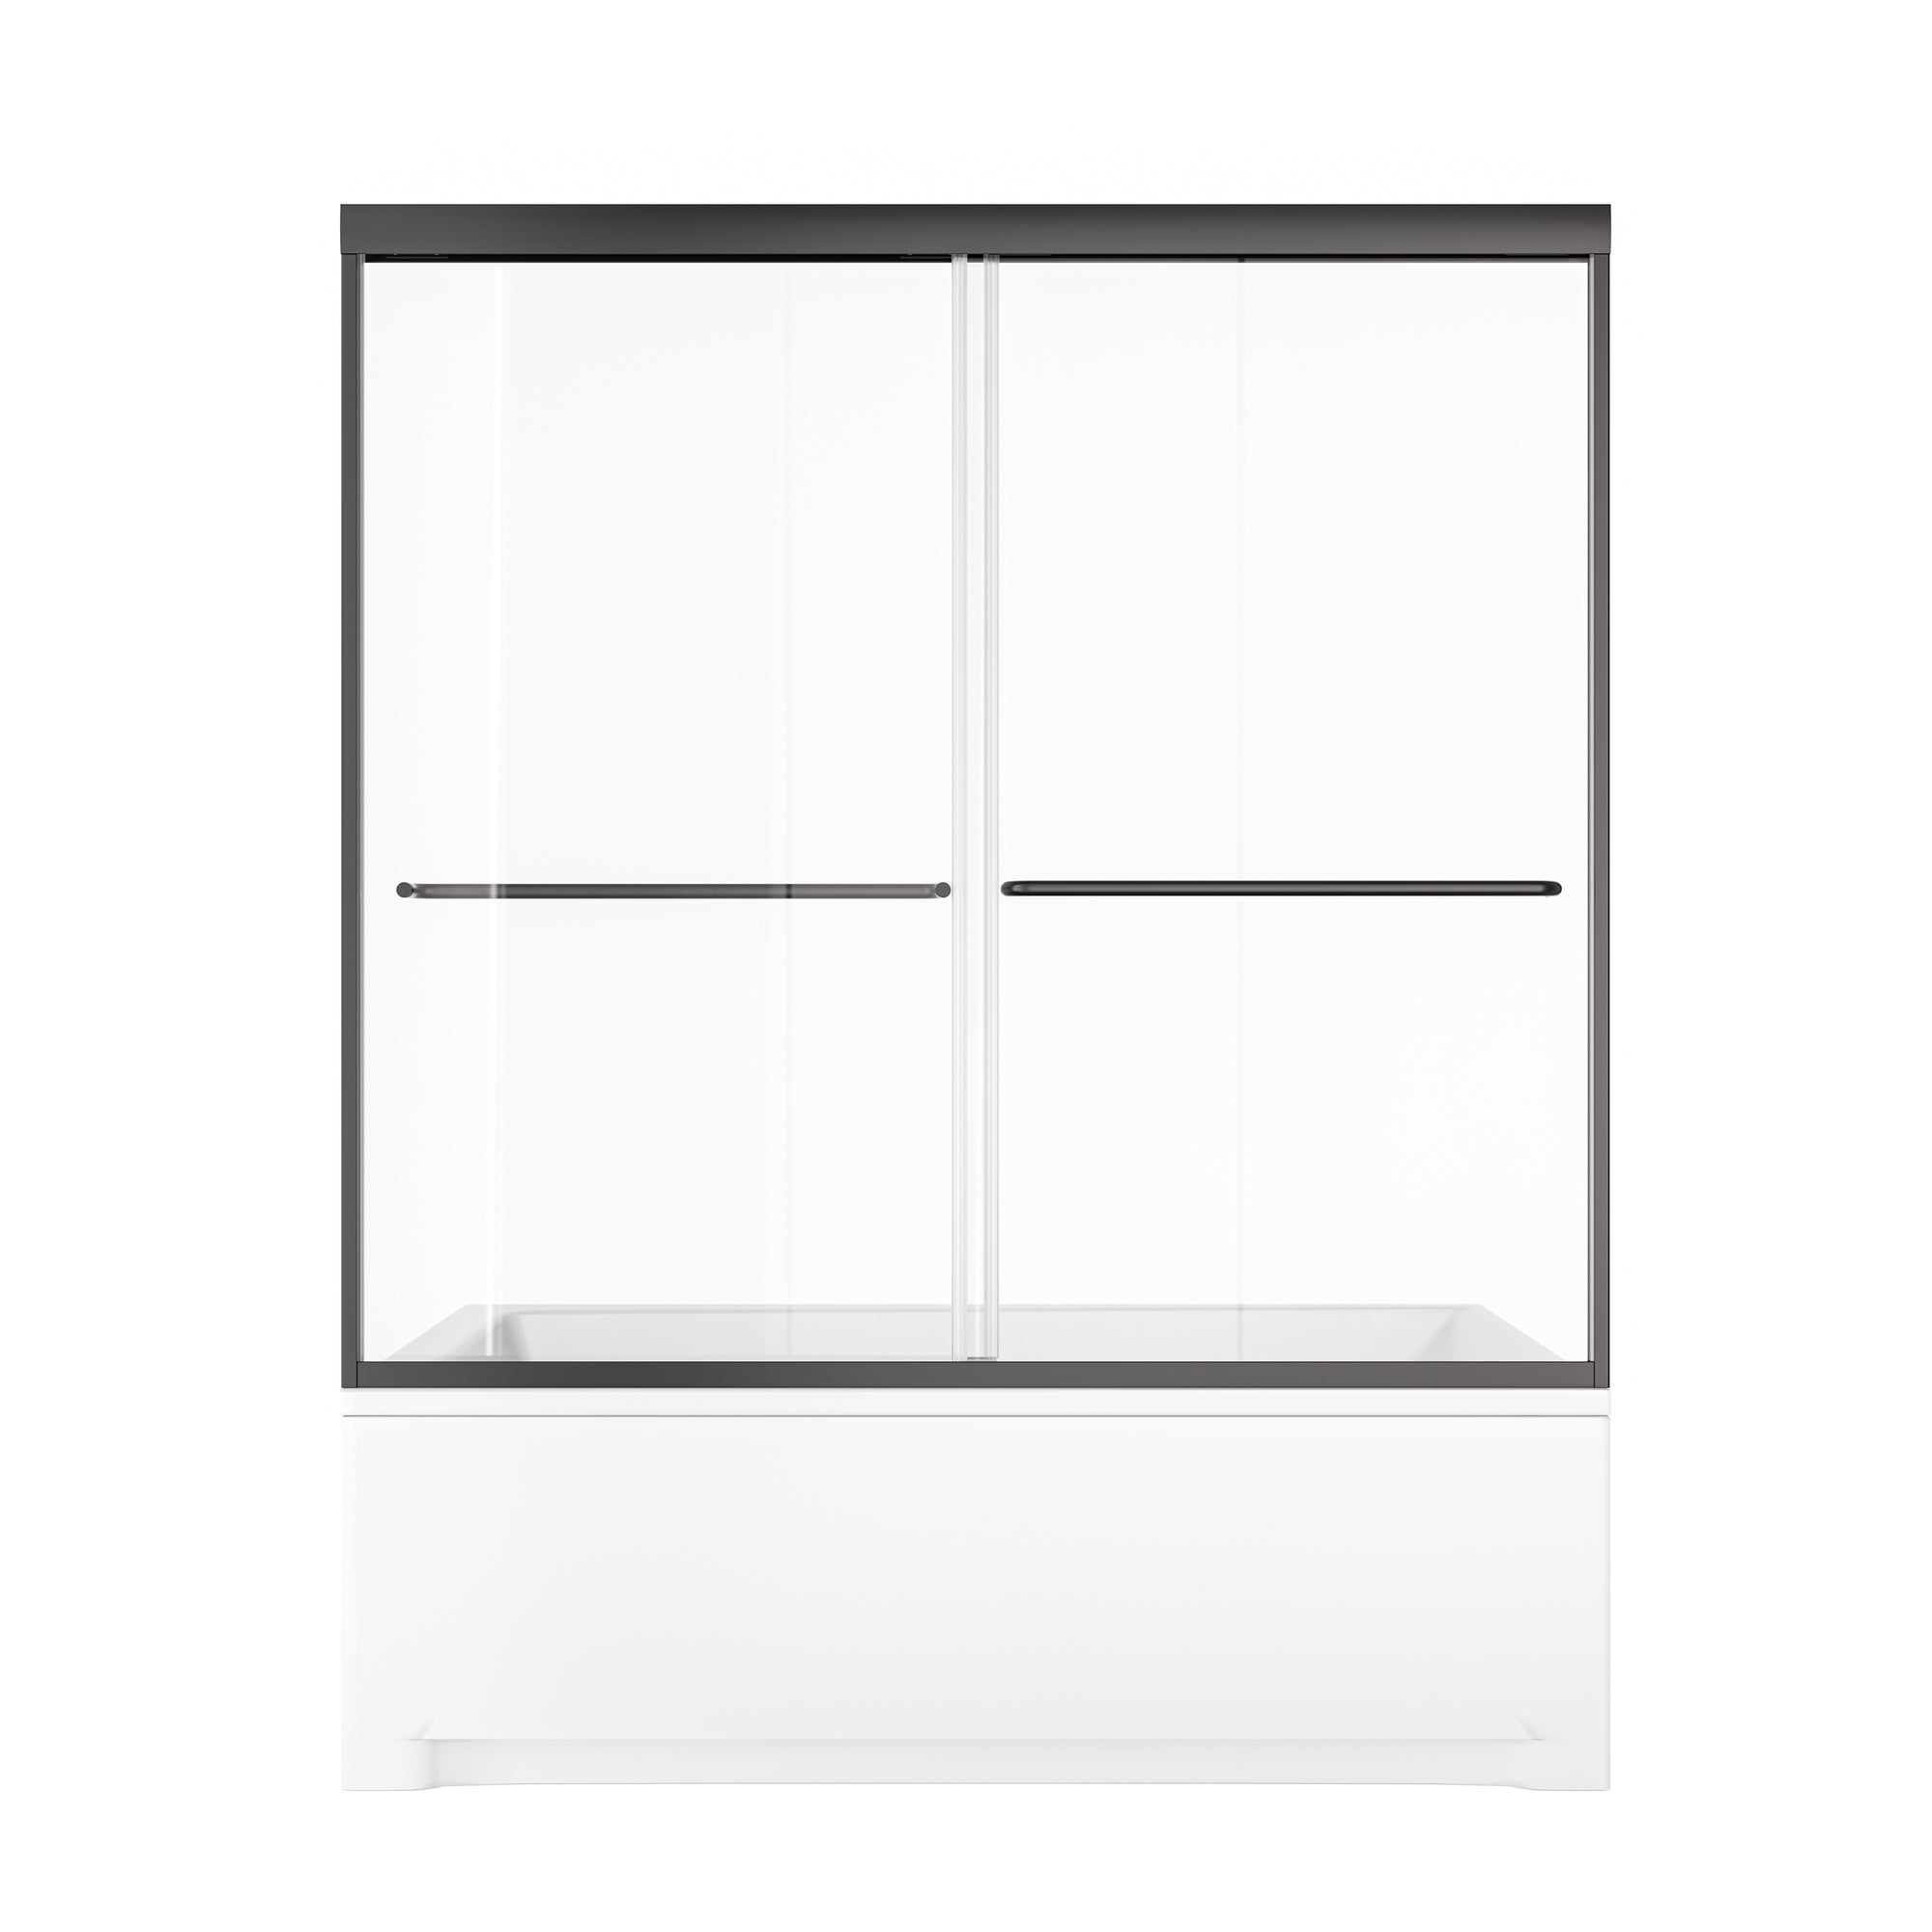
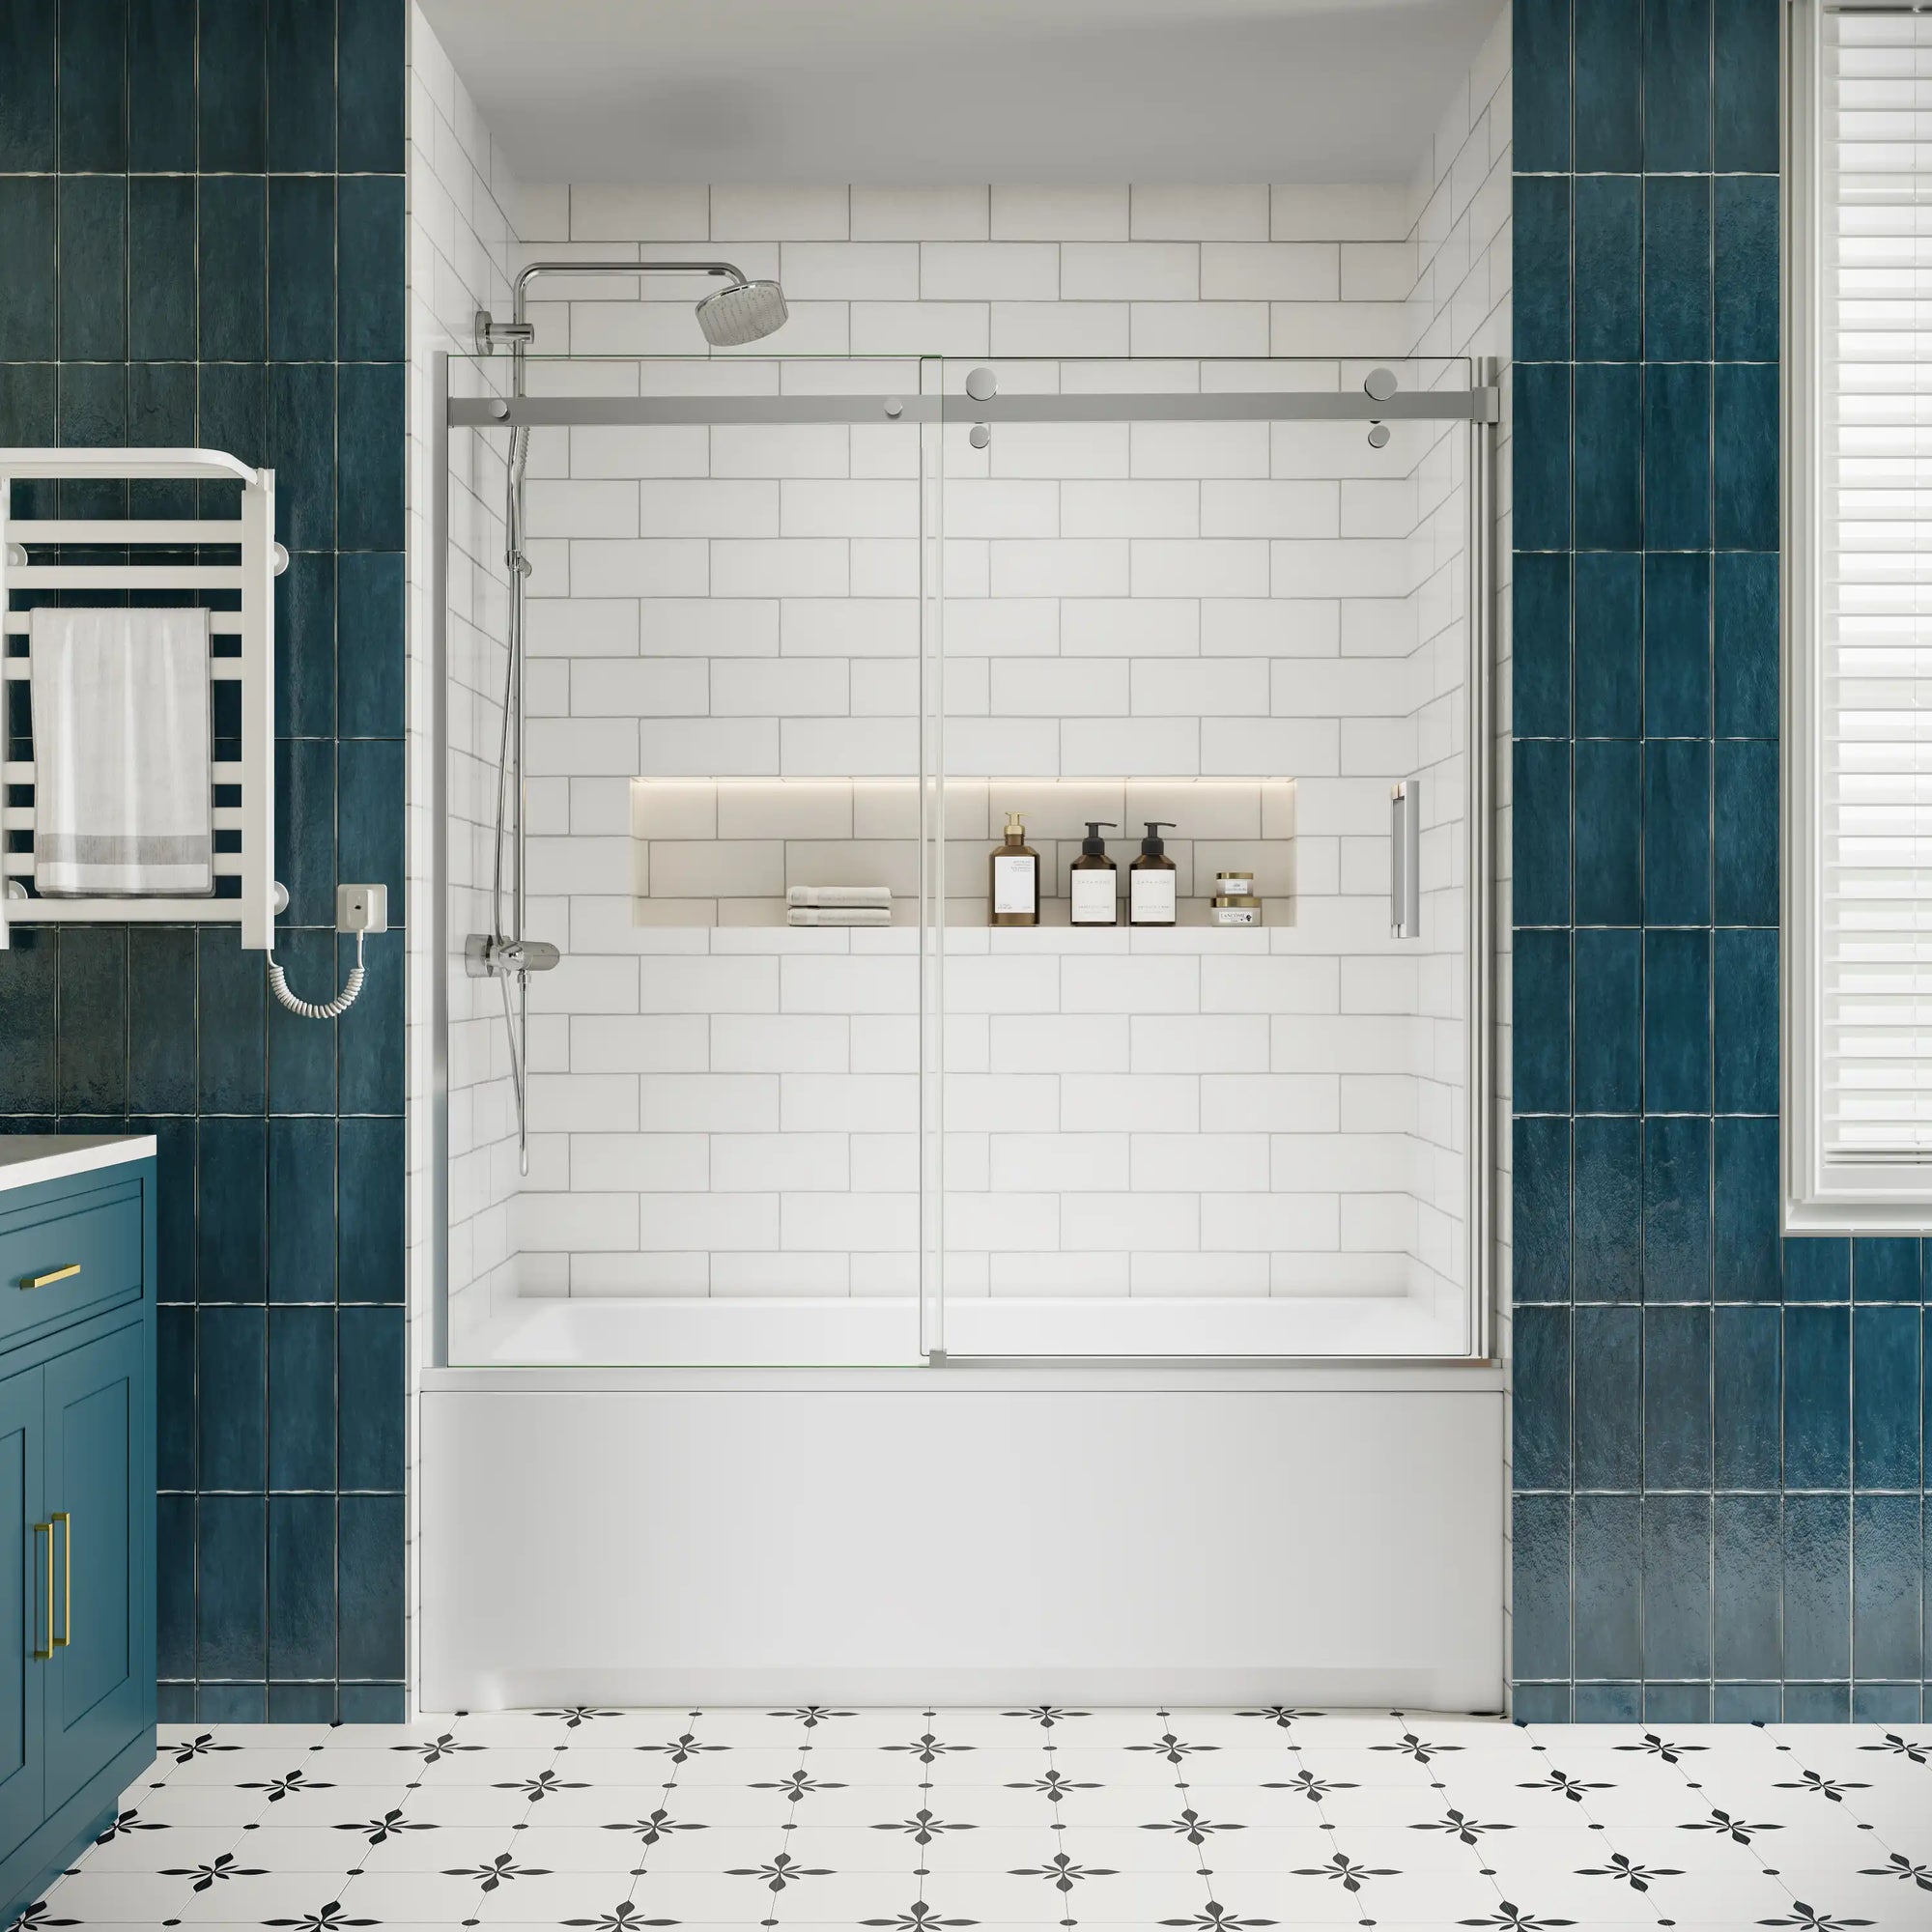
Just like you nobody likes to see a shower curtain sticking to in the mid-shower. So is there any replacement of curtains that can upgrade your bathroom while keeping it functional? Well, you're in luck because shower doors can! Shower doors are a great DIY addition to your bathtub that makes your bathroom look refined and classy while also keeping the water in your tub!
Now, if you're thinking, "Is this something I can actually do myself?" the answer is yes! We'll walk you through each step, breaking it down into simple, easy-to-follow instructions. Ready to get started? Let's learn it!
What You'll Need (Tools & Materials)

Before we jump into installation, let's gather everything you'll need.
Tools:
- Measuring tape
- Level
- Drill and drill bits
- Screwdriver
- Masking tape
- Silicone caulk and caulk gun
- Hacksaw (if adjustments are needed)
- Rubber mallet
- Safety glasses
- Pencil (for marking)
Materials:
- Shower door kit (including glass panels, frame, and hardware)
- Anchors and screws
- Waterproof silicone sealant
- Cleaning supplies (to prep the area)
Got everything? Perfect! Now, let's get to the fun part.
7 Easy Steps To Add Shower Doors to a Bathtub
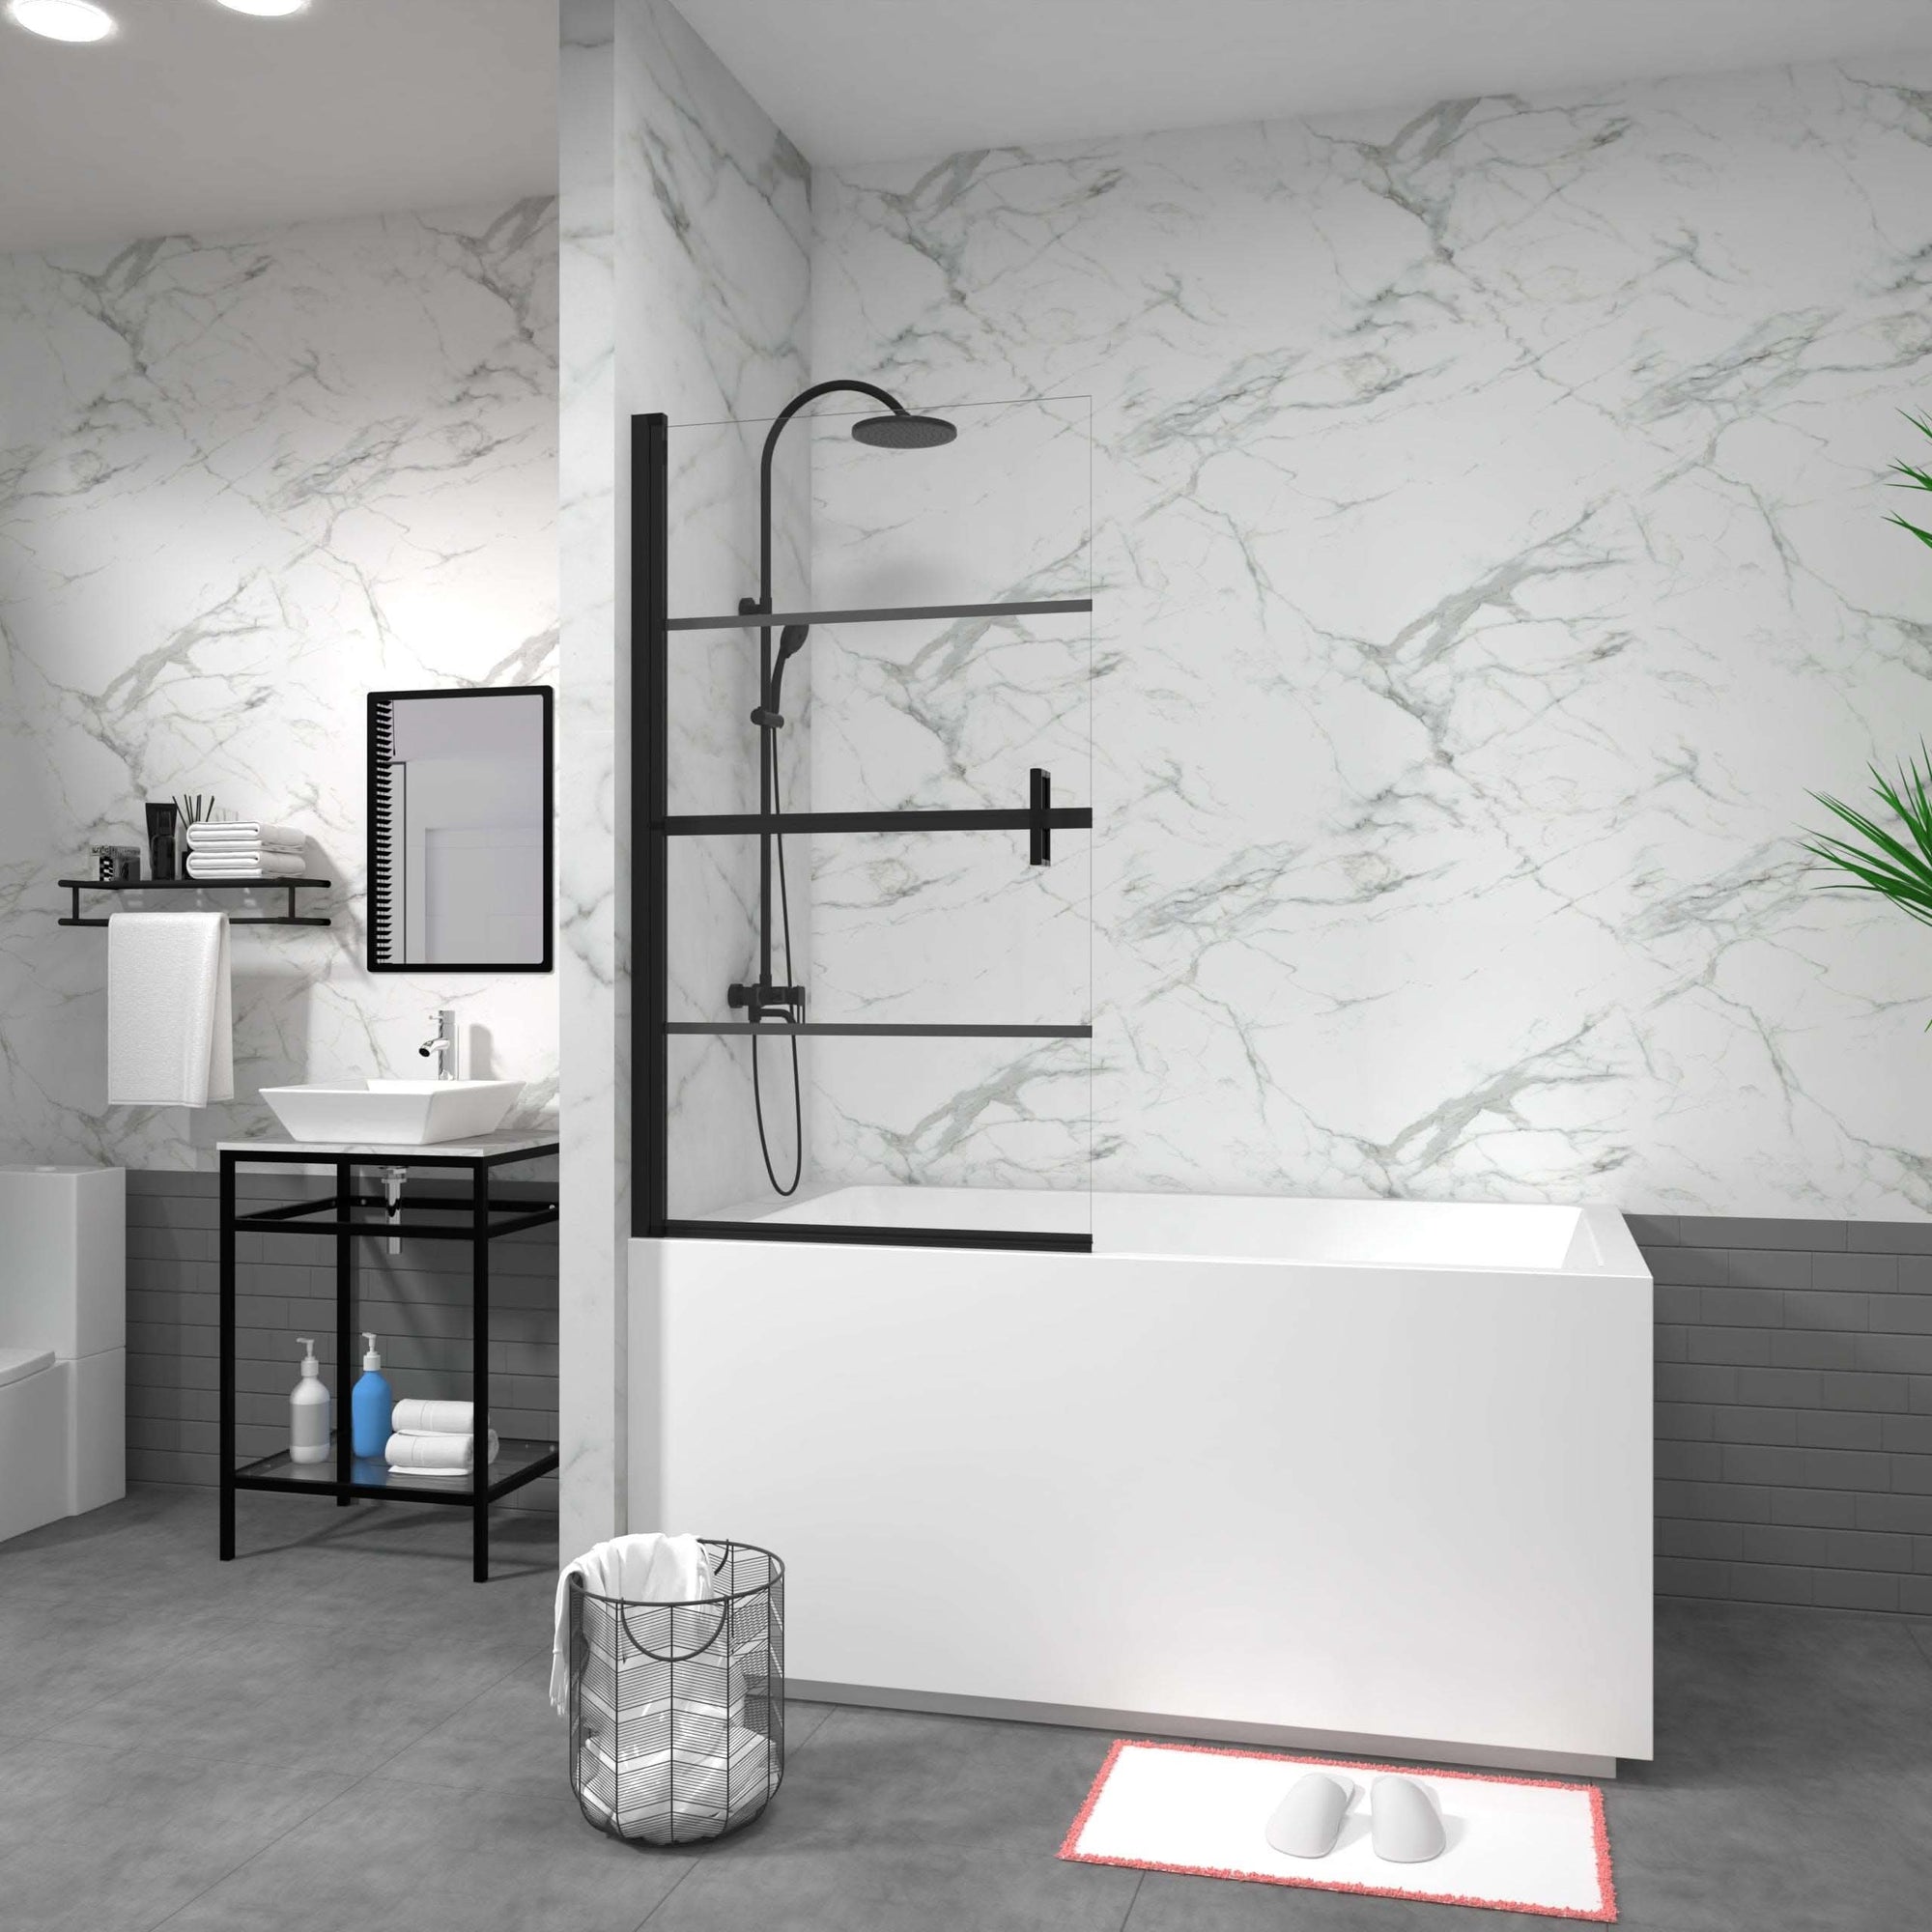
Shower curtains cling in all the wrong ways and water splashes everywhere are some of the most irritating things that can happen in a bathroom. And to be honest, they never quite give that sleek, modern vibe you need for your brand-new bathroom.
Here's the ultimate step-by-step guide to upgrade your bathroom with a new shower door without the hassle!
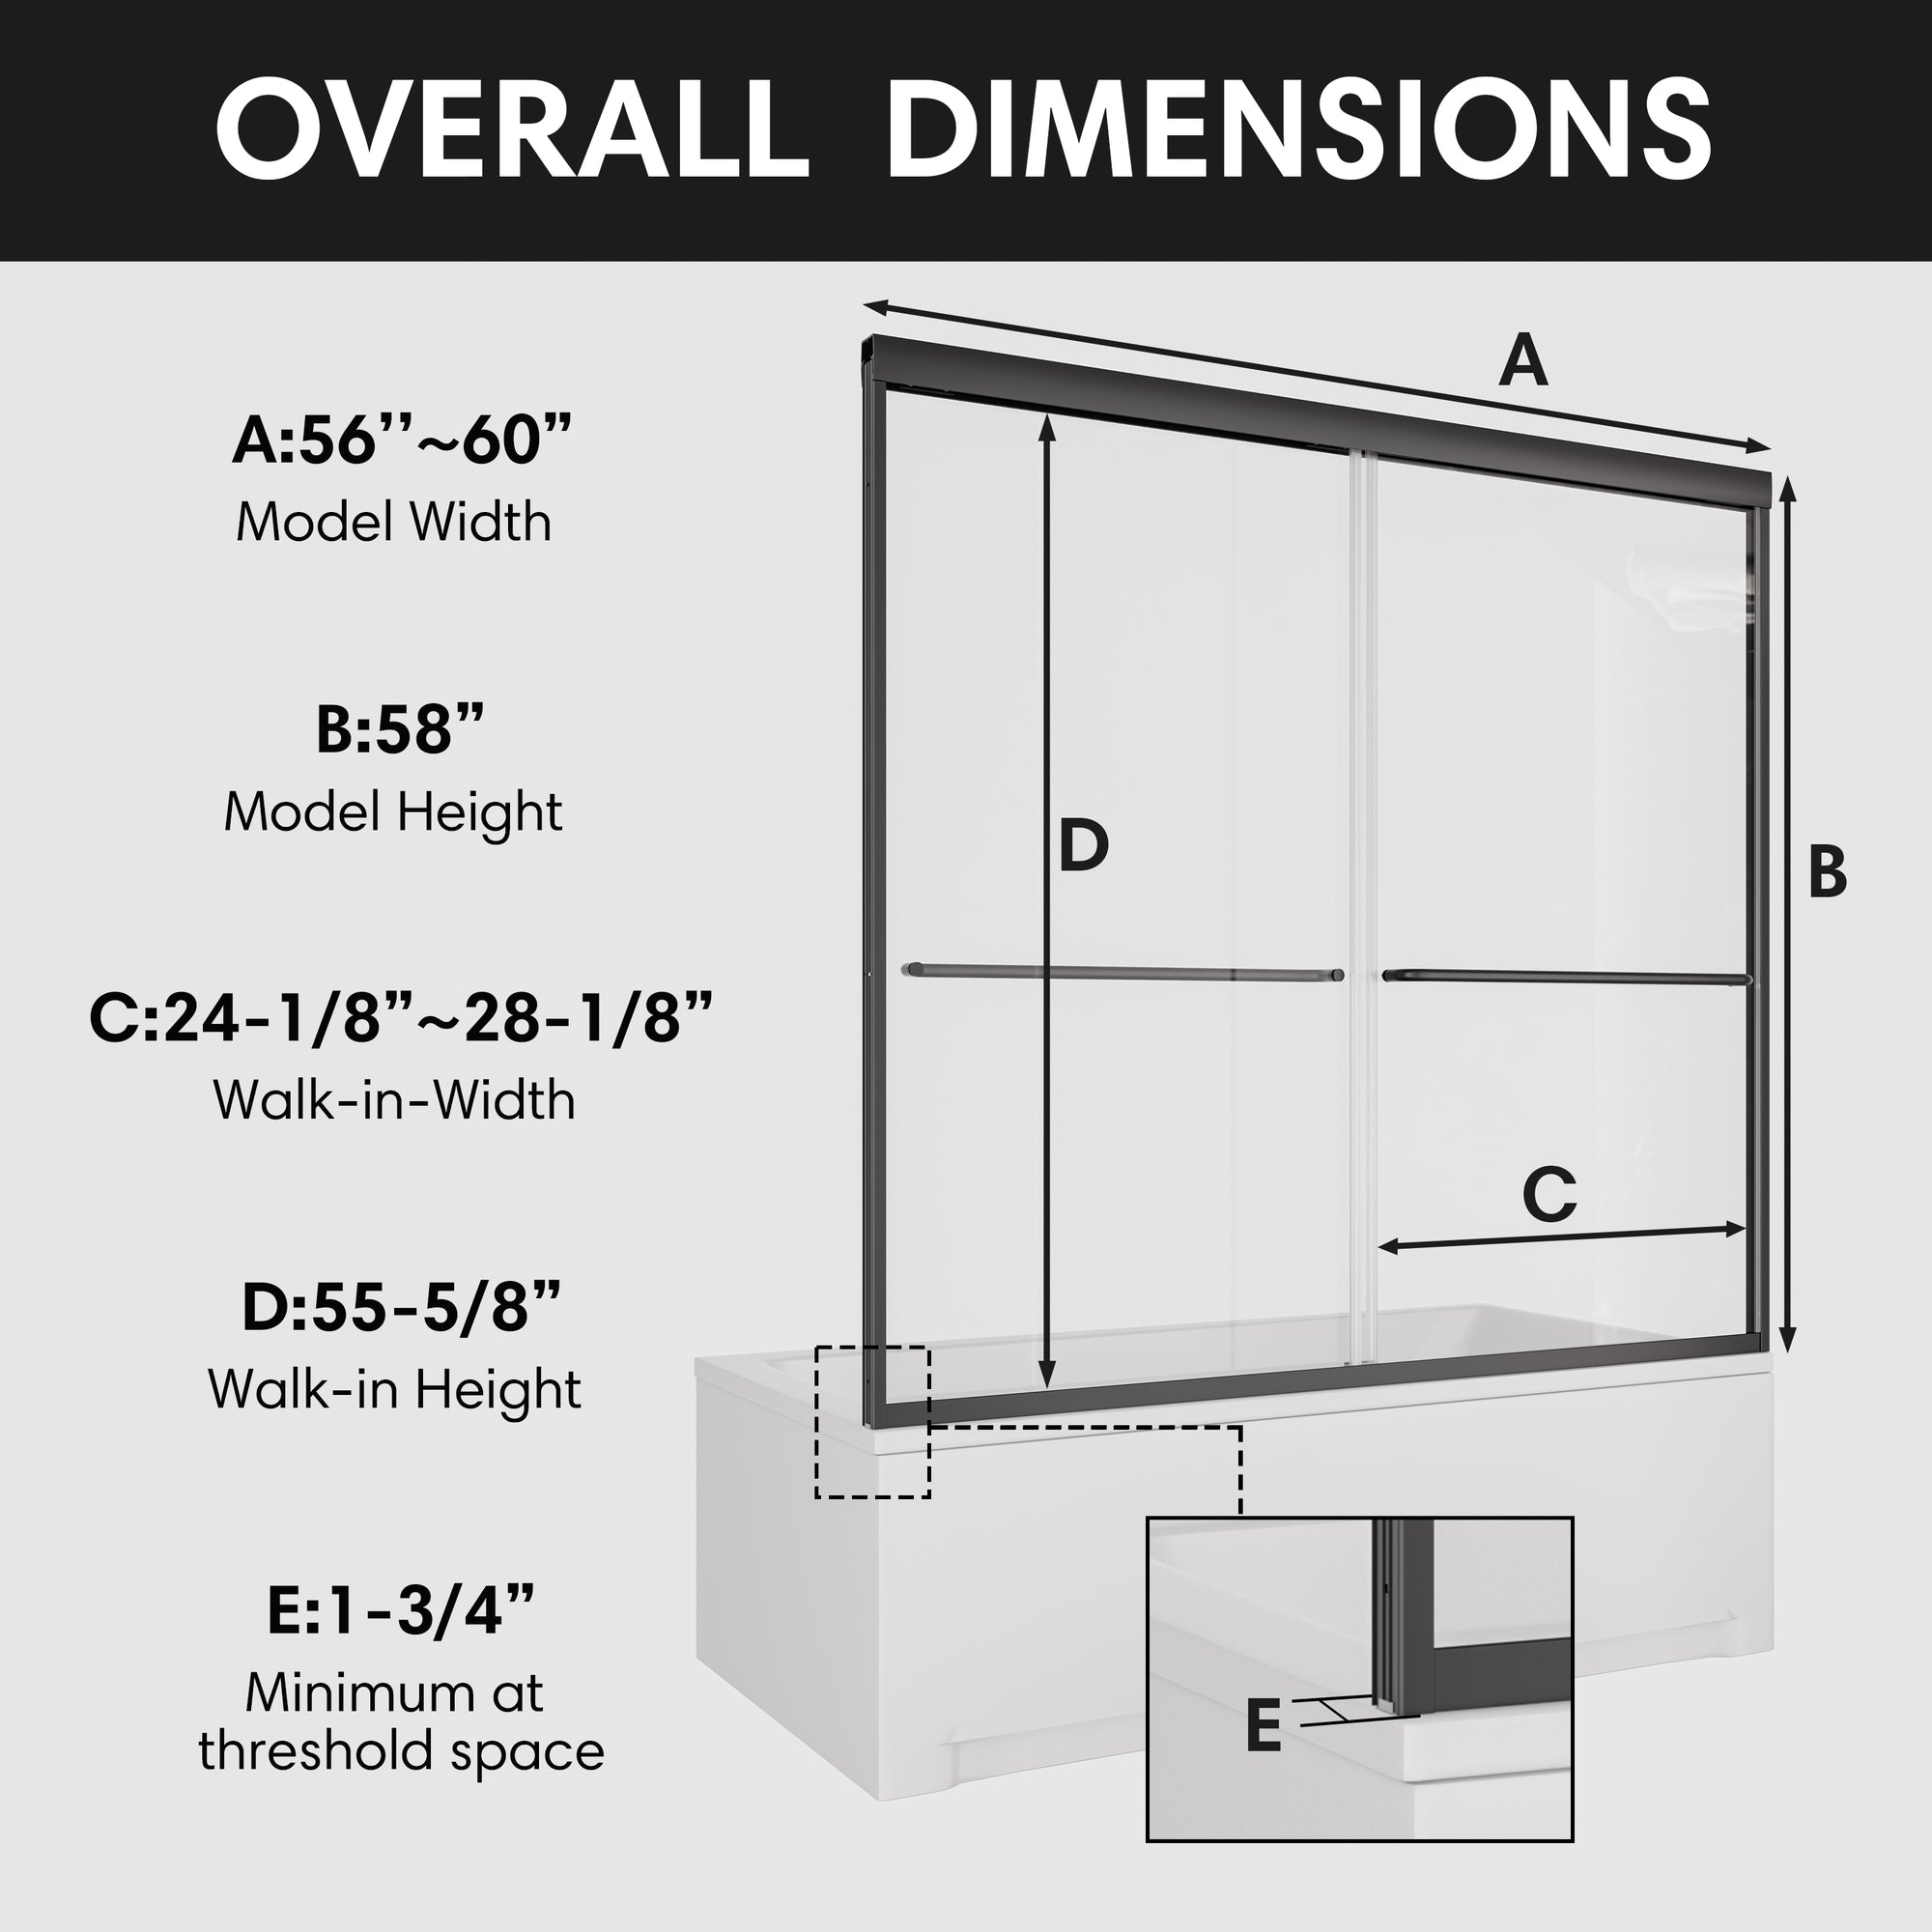
Step 1: Measure Your Bathtub Space

This is the most crucial step. Don't mess this up, otherwise you'll end up with a door that doesn't fit properly (or worse, one that leaks!).
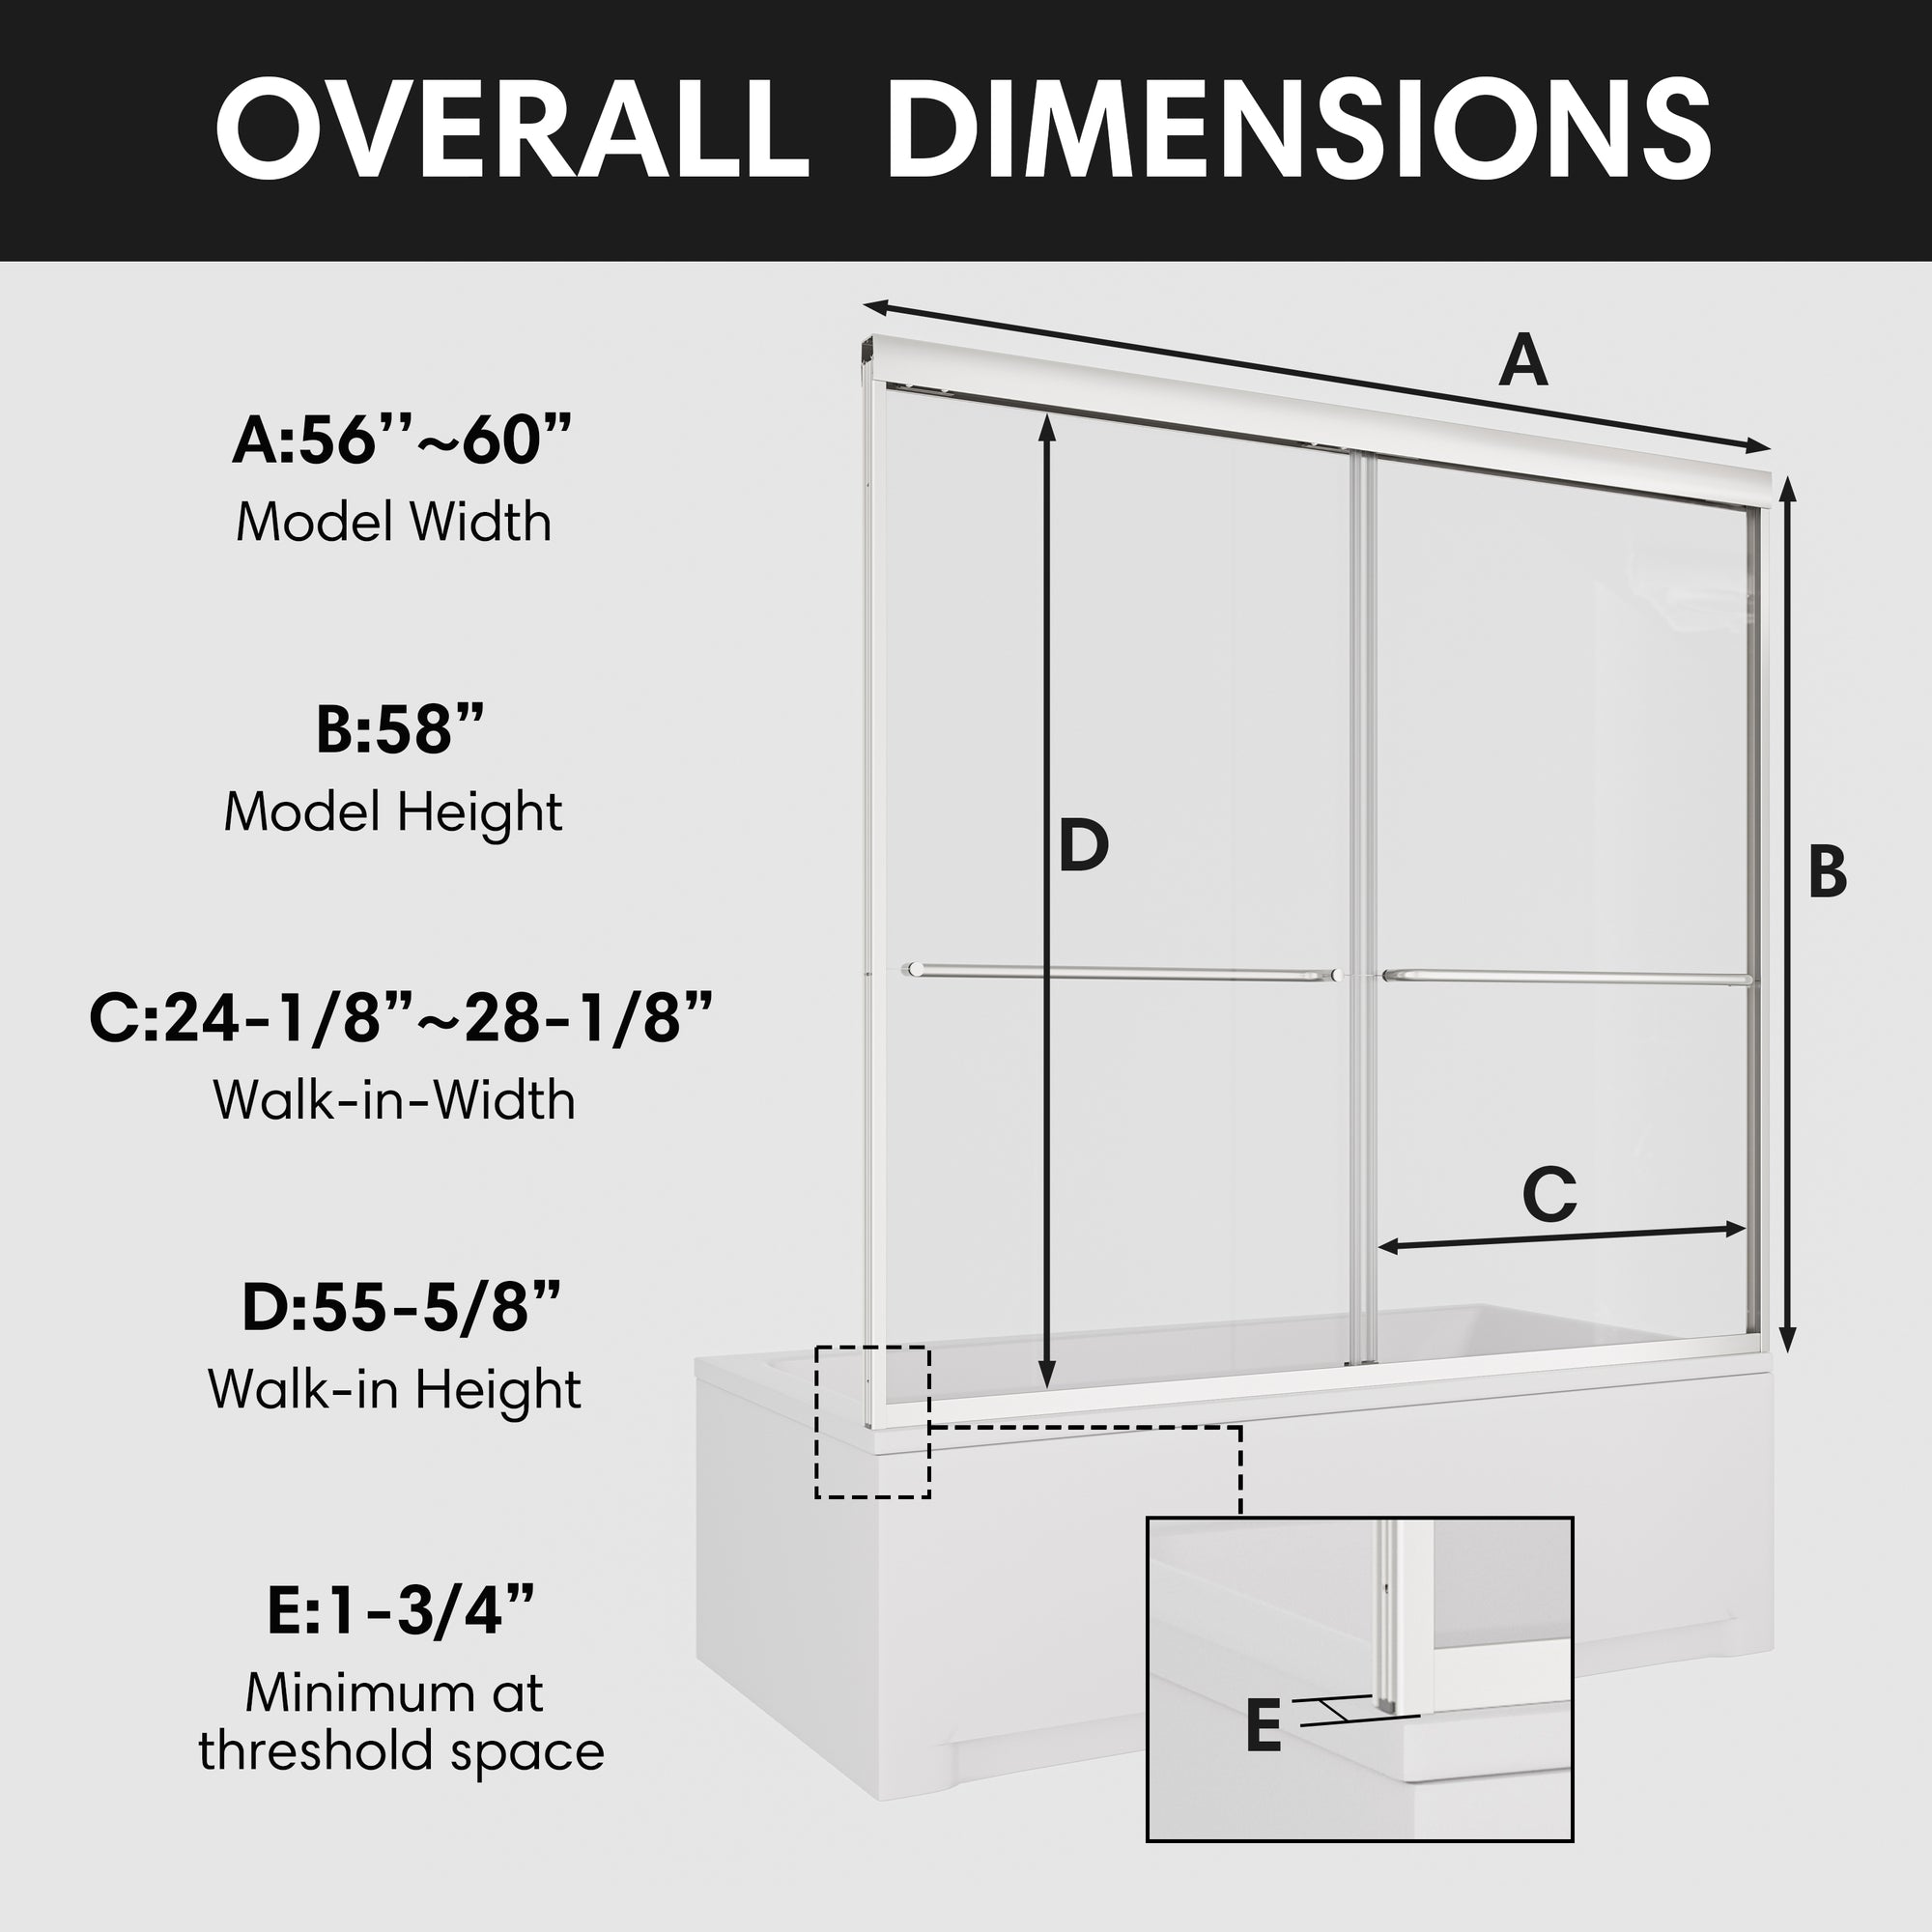
- Measure the width of the tub from wall to wall and note it down on a piece of paper.
- Measure the height from the tub’s edge to the desired height of the shower door.
- Double-check your measurements! If your shower door kit allows for adjustments, that’s great. However, you should try to get the most accurate measurement possible.
Now you have to take these measurements with you to the store or shopkeeper. Make sure to check them against the specs of the shower door kit you're purchasing.
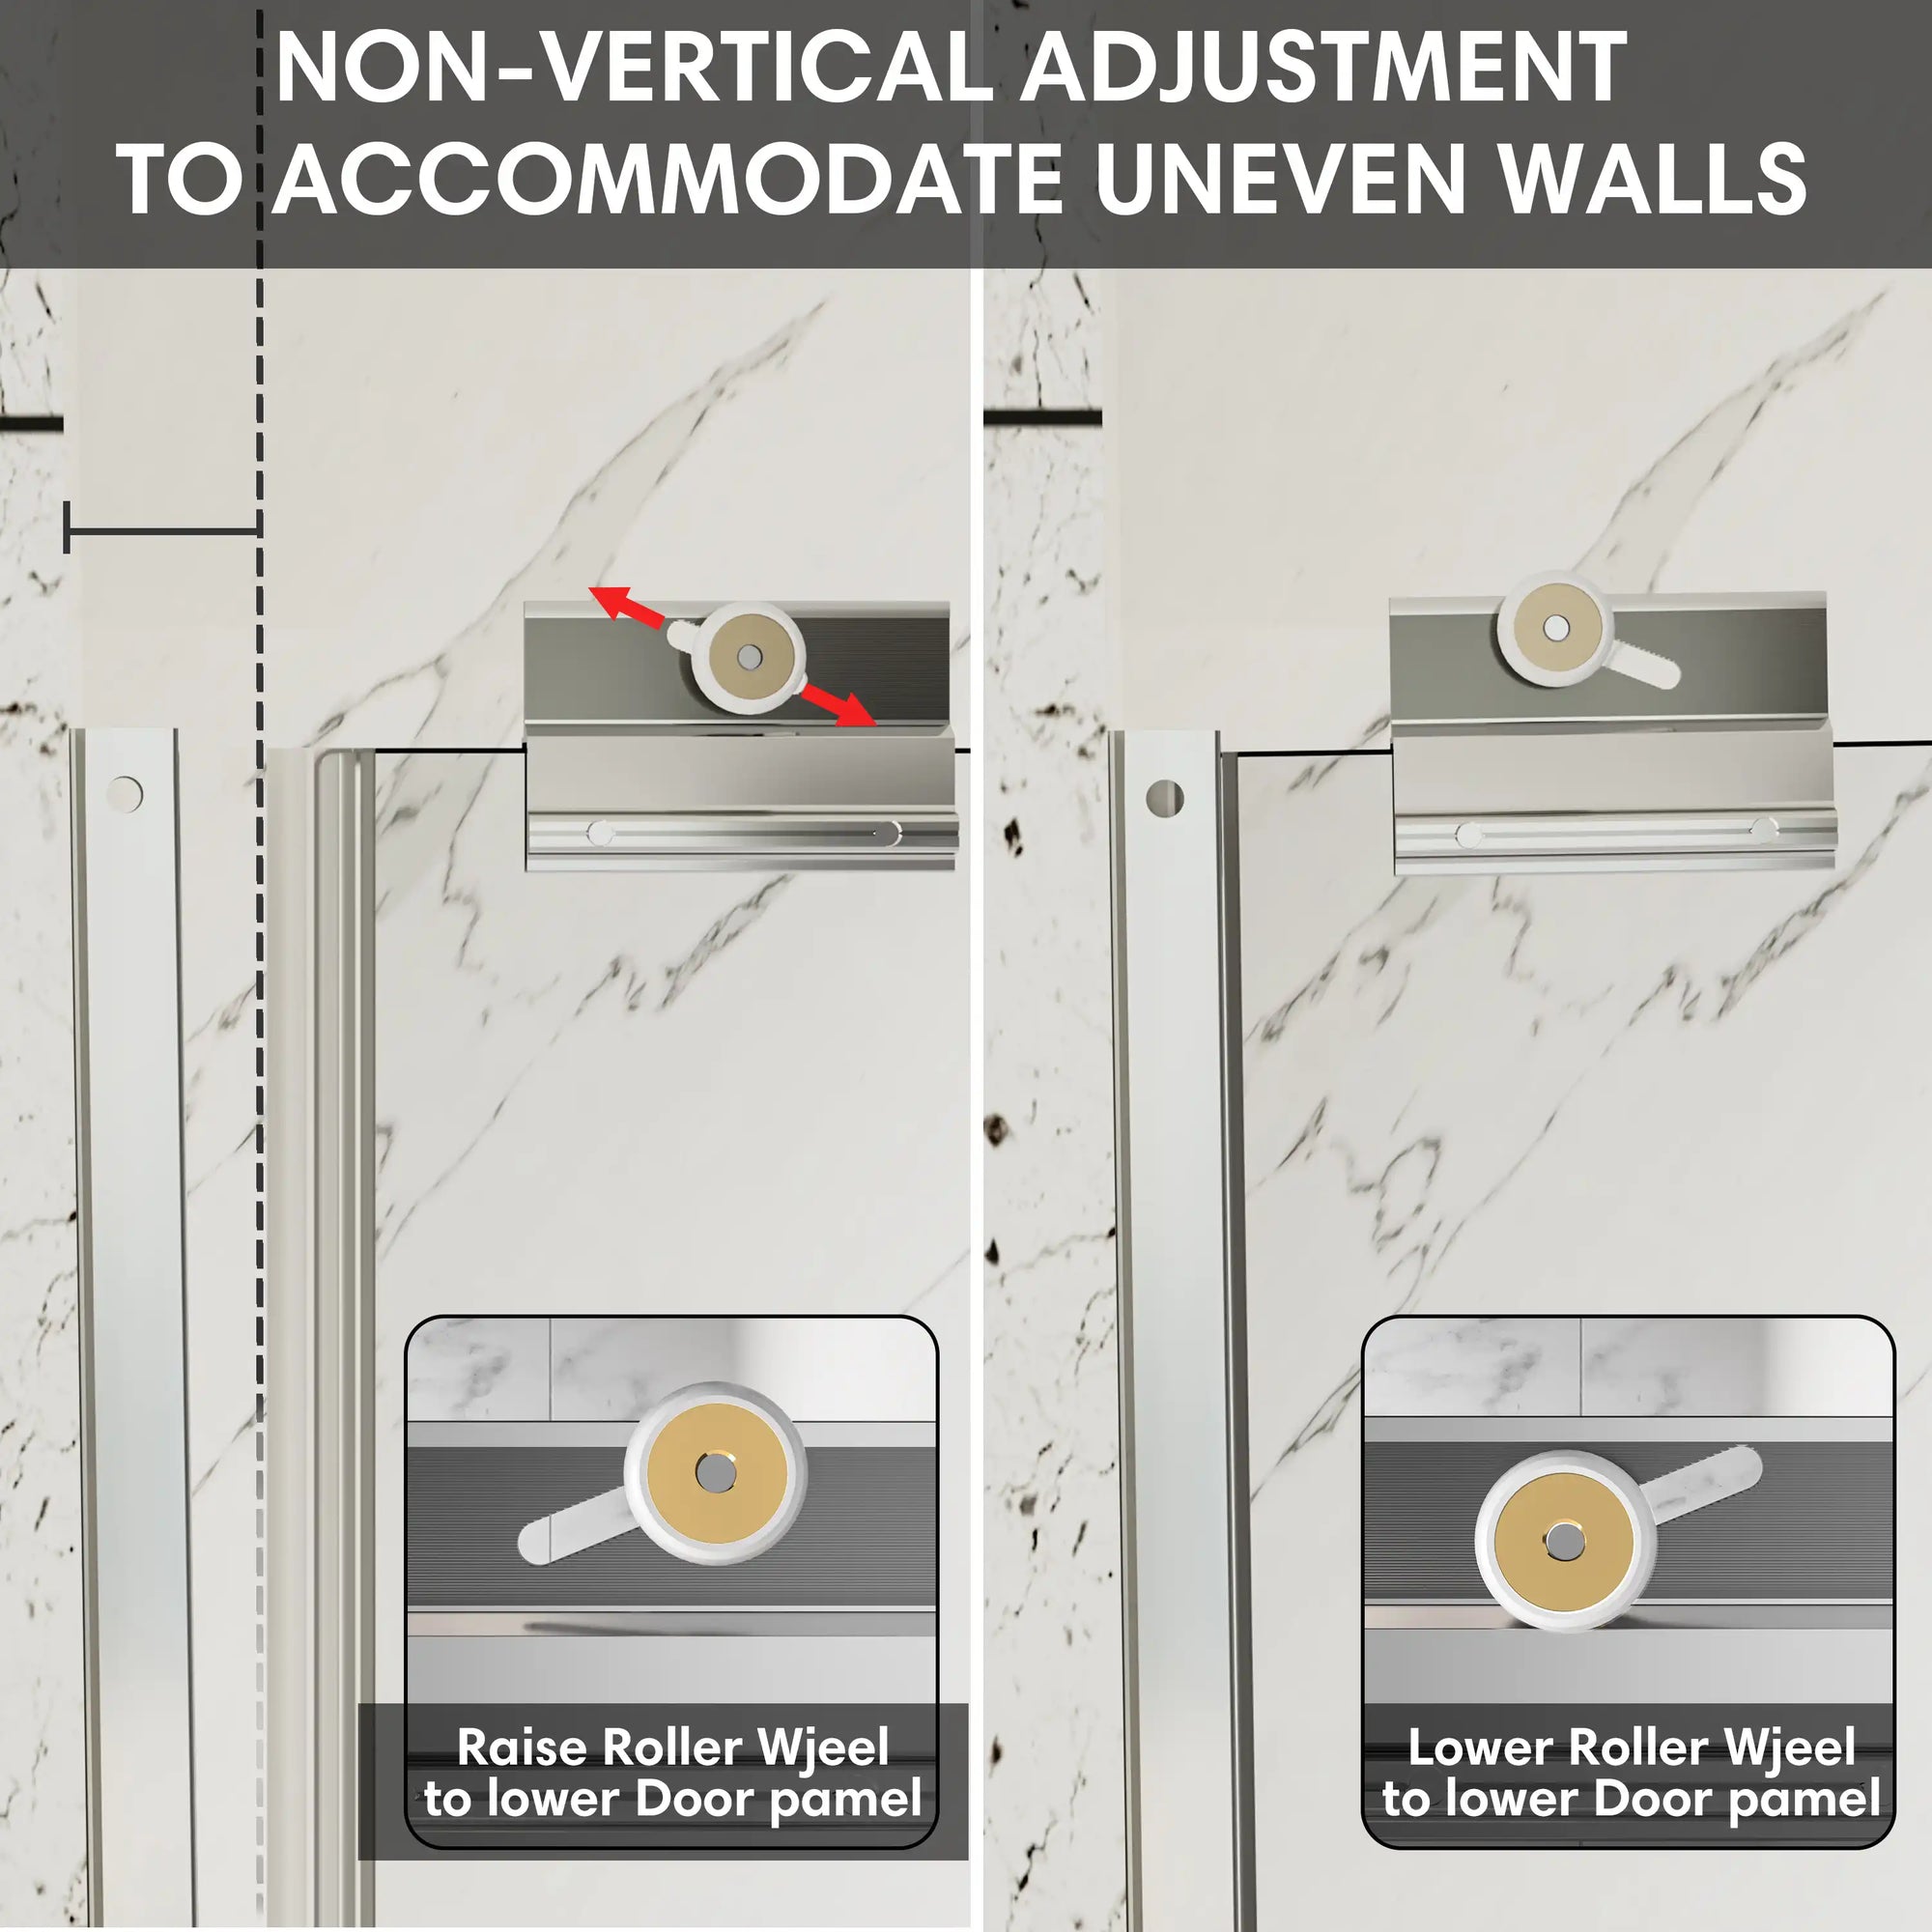
Pro Tip: You must buy a shower door kit with adjustable side rails. This is because walls can be slightly uneven (which is common in older homes).
Step 2: Prepare the Area

You may already be aware of the fact that dust, mold, grime, or old caulk should not interfere with your new shower doors. A clean, dry surface ensures the new sealant adheres properly and also prevents leaks.
- Once the edges have dried, you will need to scrape any old caulk from the tub edges with a putty knife or scraper.
- Make sure to deep clean the area with a bathroom cleaner and allow it to fully dry.
- Lay down the painter’s tape along the tub where the bottom track will sit. This helps prevent excess caulk from making a mess.
- You can use a hair dryer to soften stubborn old caulk.
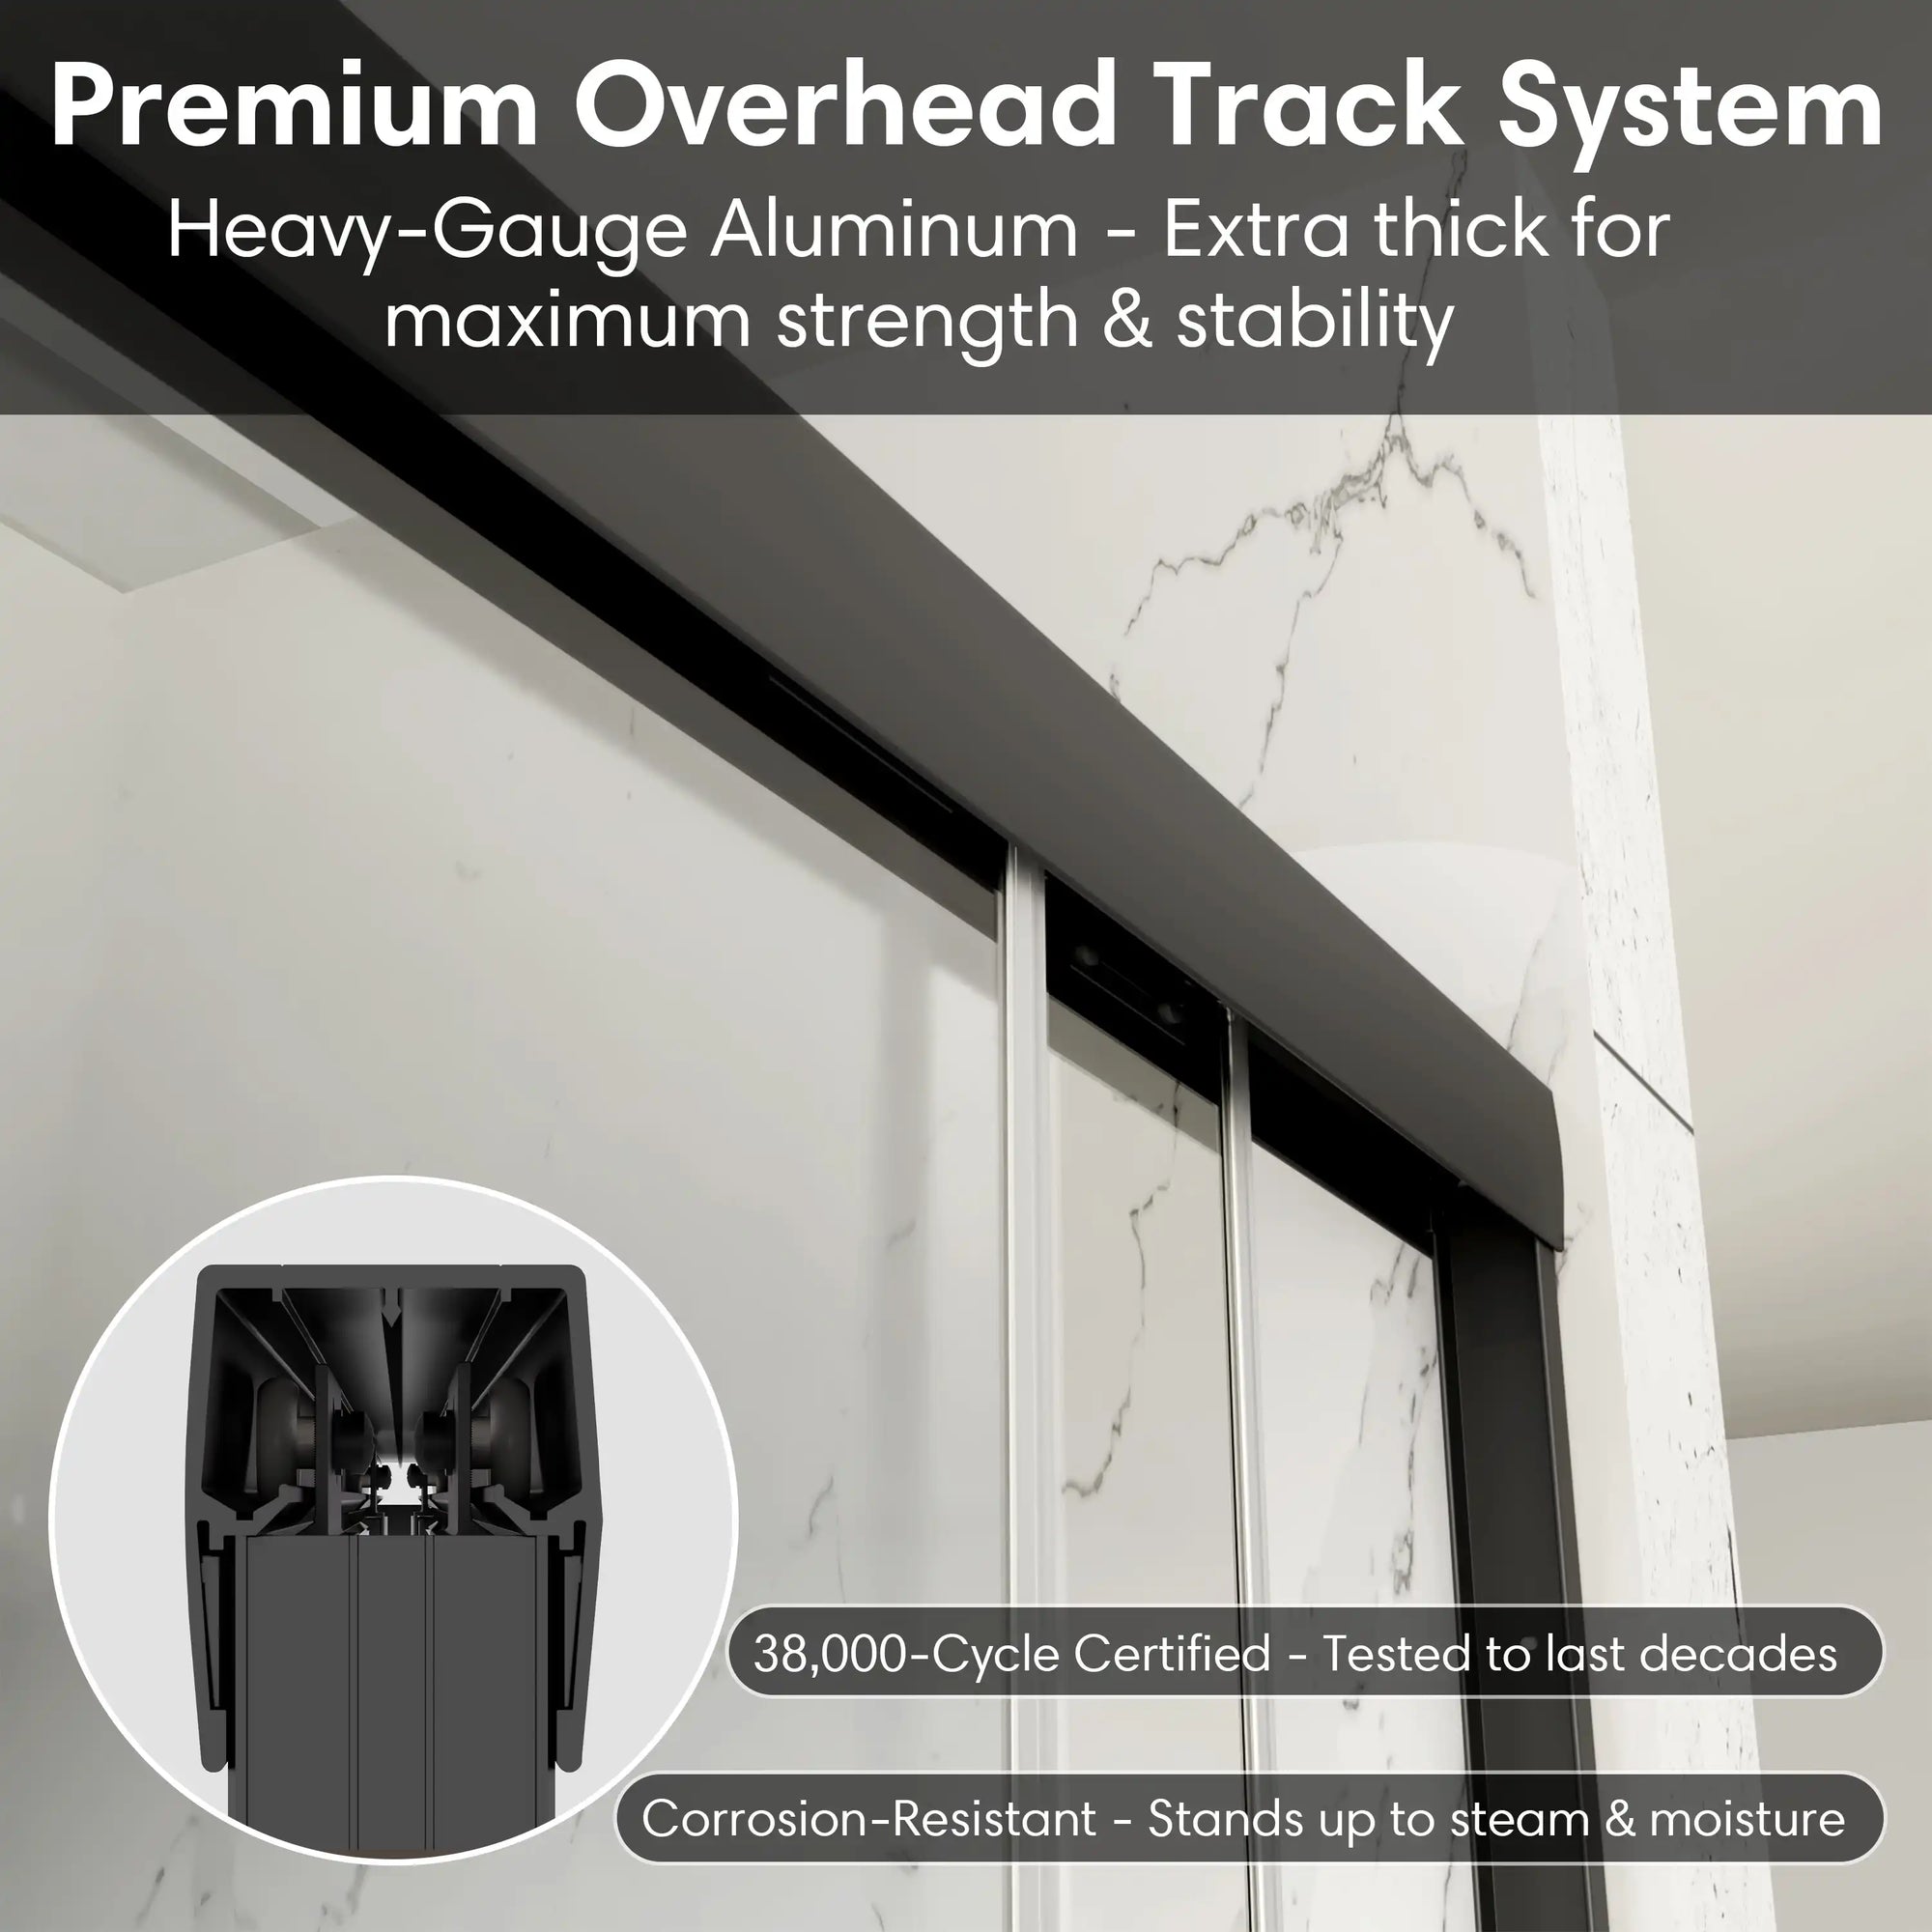
Step 3: Install the Bottom Track

The bottom track is what keeps everything aligned and prevents leaks.
- Position the bottom track along the edge of the tub.
- A sharp lead pencil can help you draw marks where you will drill the holes.
- Drill pilot holes (tiny guide holes) to prevent cracking the surface.
- Next, you have to apply a thin bead of silicone caulk along the underside of the track and press it into place.
If your kit requires screws, drill holes carefully and use wall anchors if you are drilling into the tile. Also be careful not to overtighten the screws, which could crack the tub or cause the track to sit unevenly.
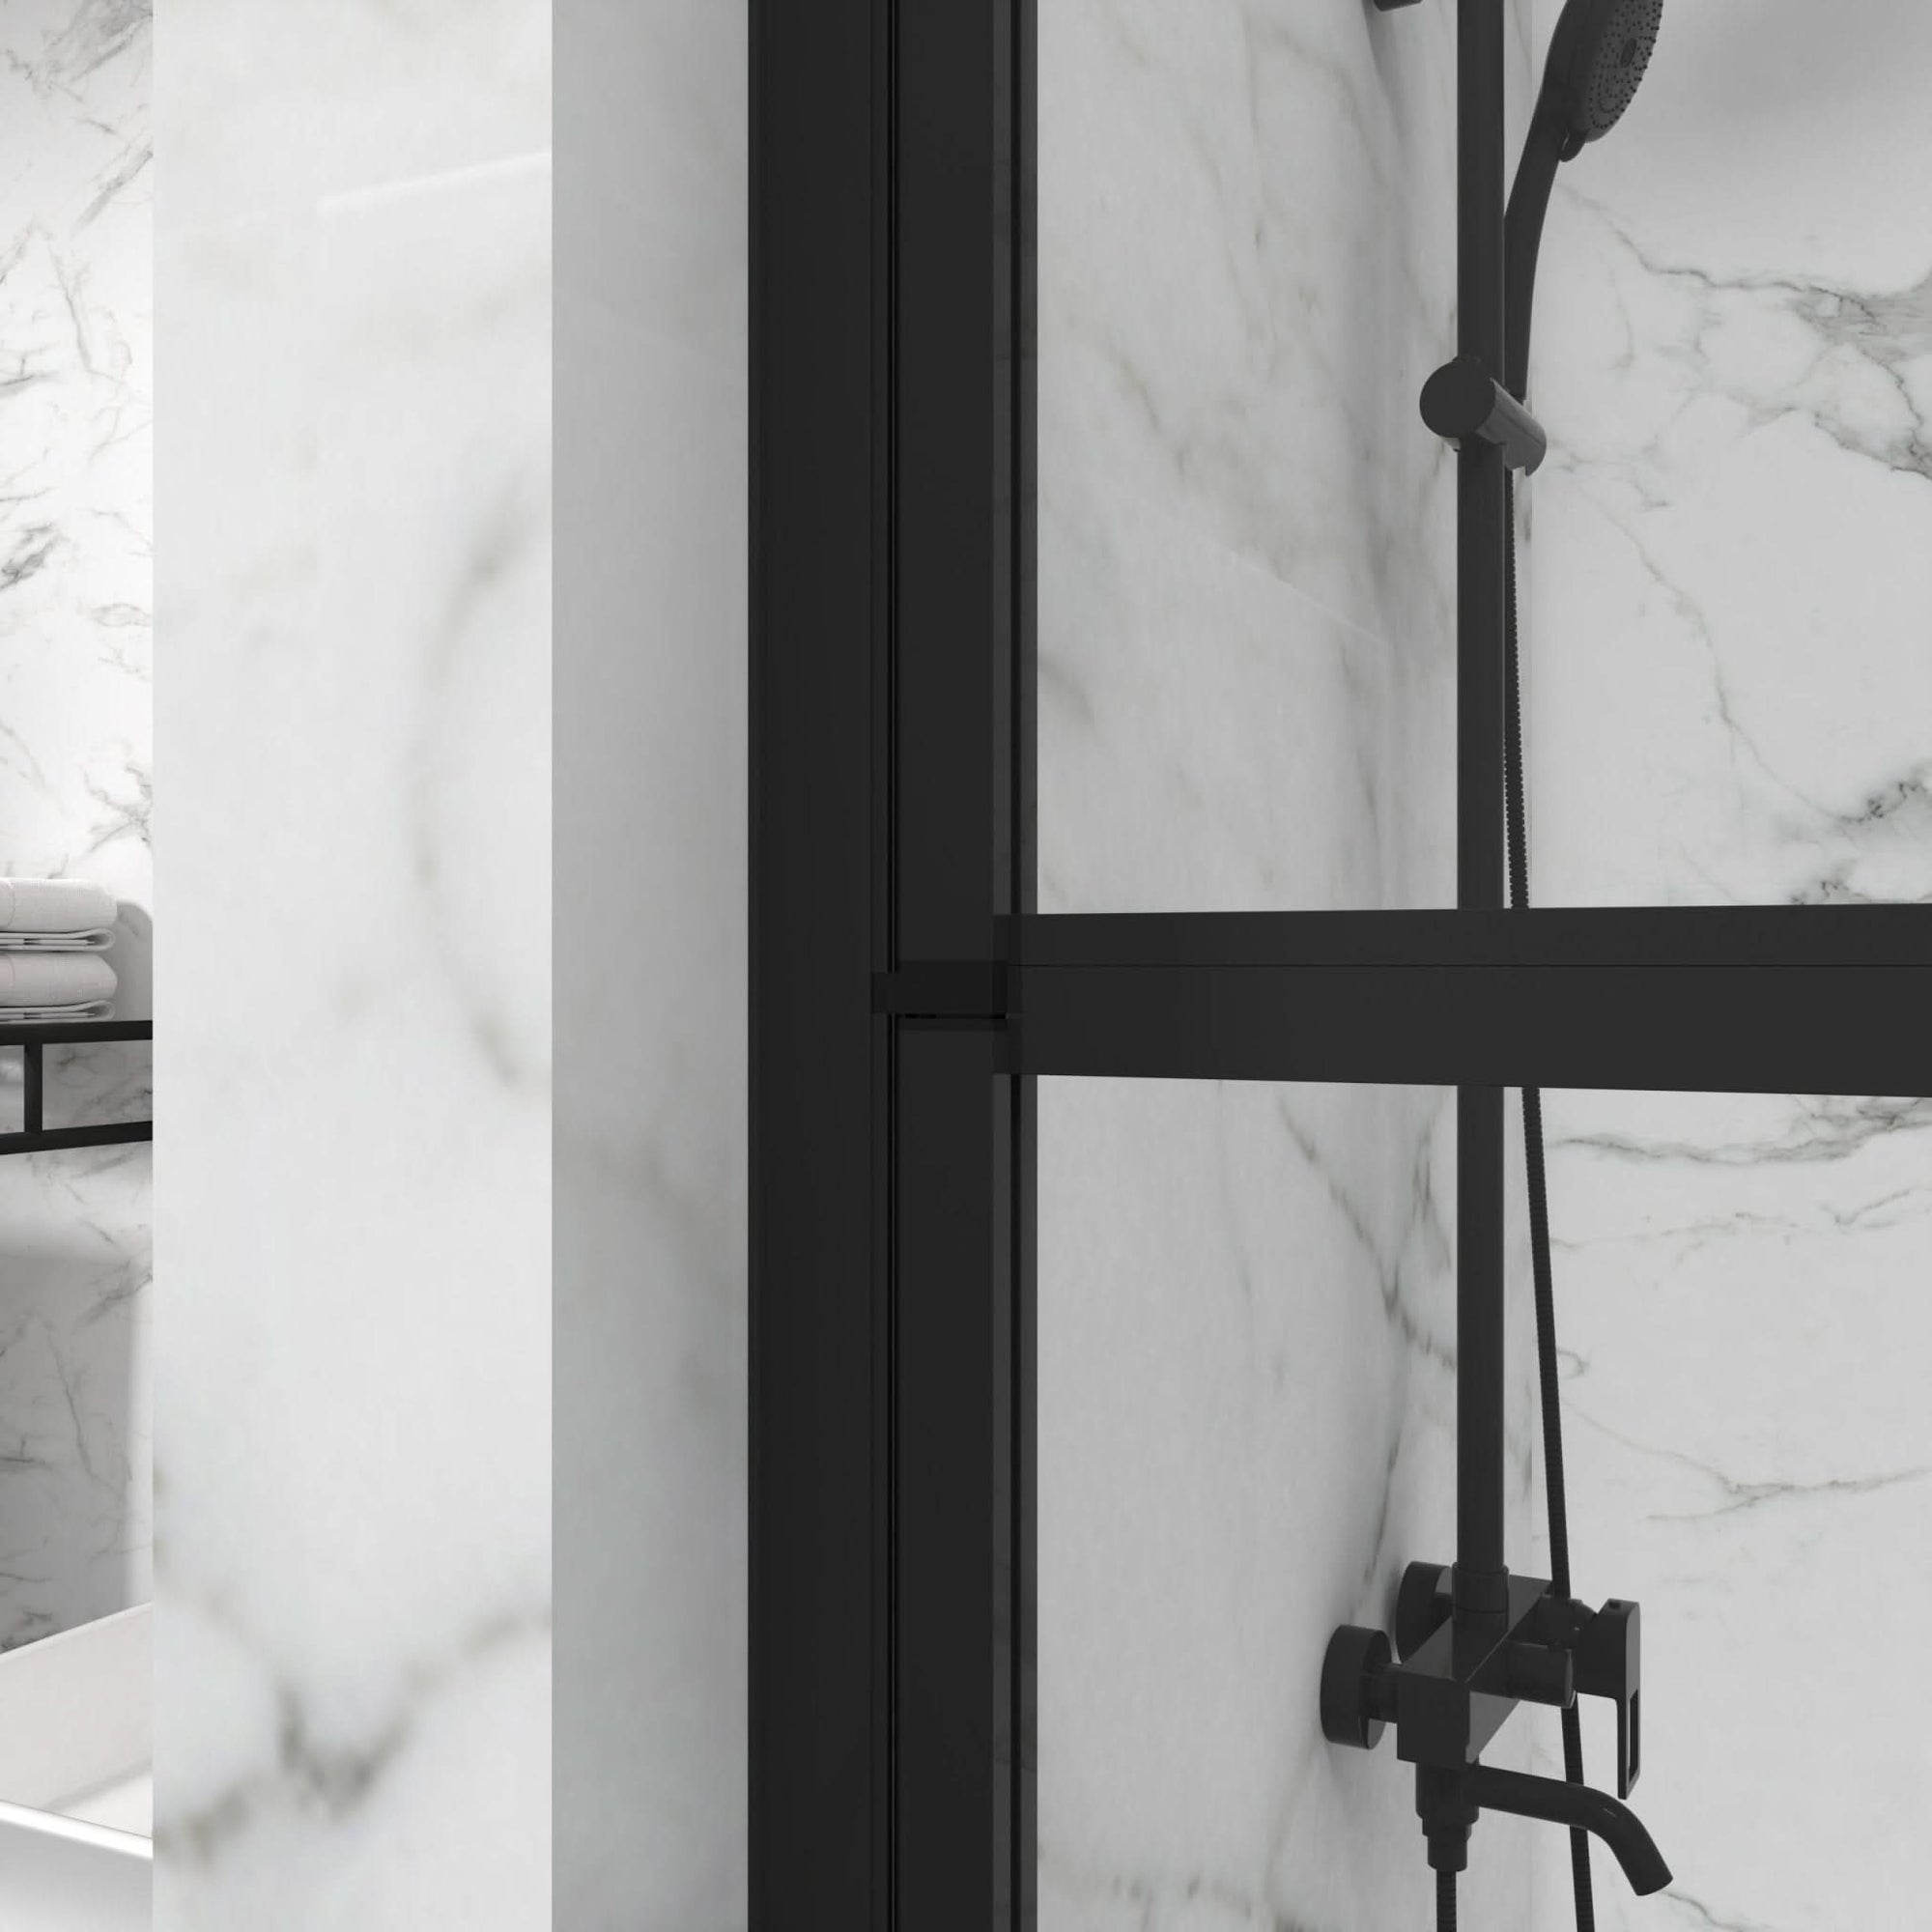
Step 4: Attach the Side Rails
These are the vertical tracks that hold the glass doors in place.
- Place the side rails against the wall and mark the screw hole locations.
- Drill pilot holes and insert wall anchors if needed.
- Secure the rails using screws, making sure they are perfectly level.
Common Mistake: Not using a level can lead to doors that won't slide smoothly. Always double-check!
Want to find the perfect shower door for your bathroom style and needs? Click here!
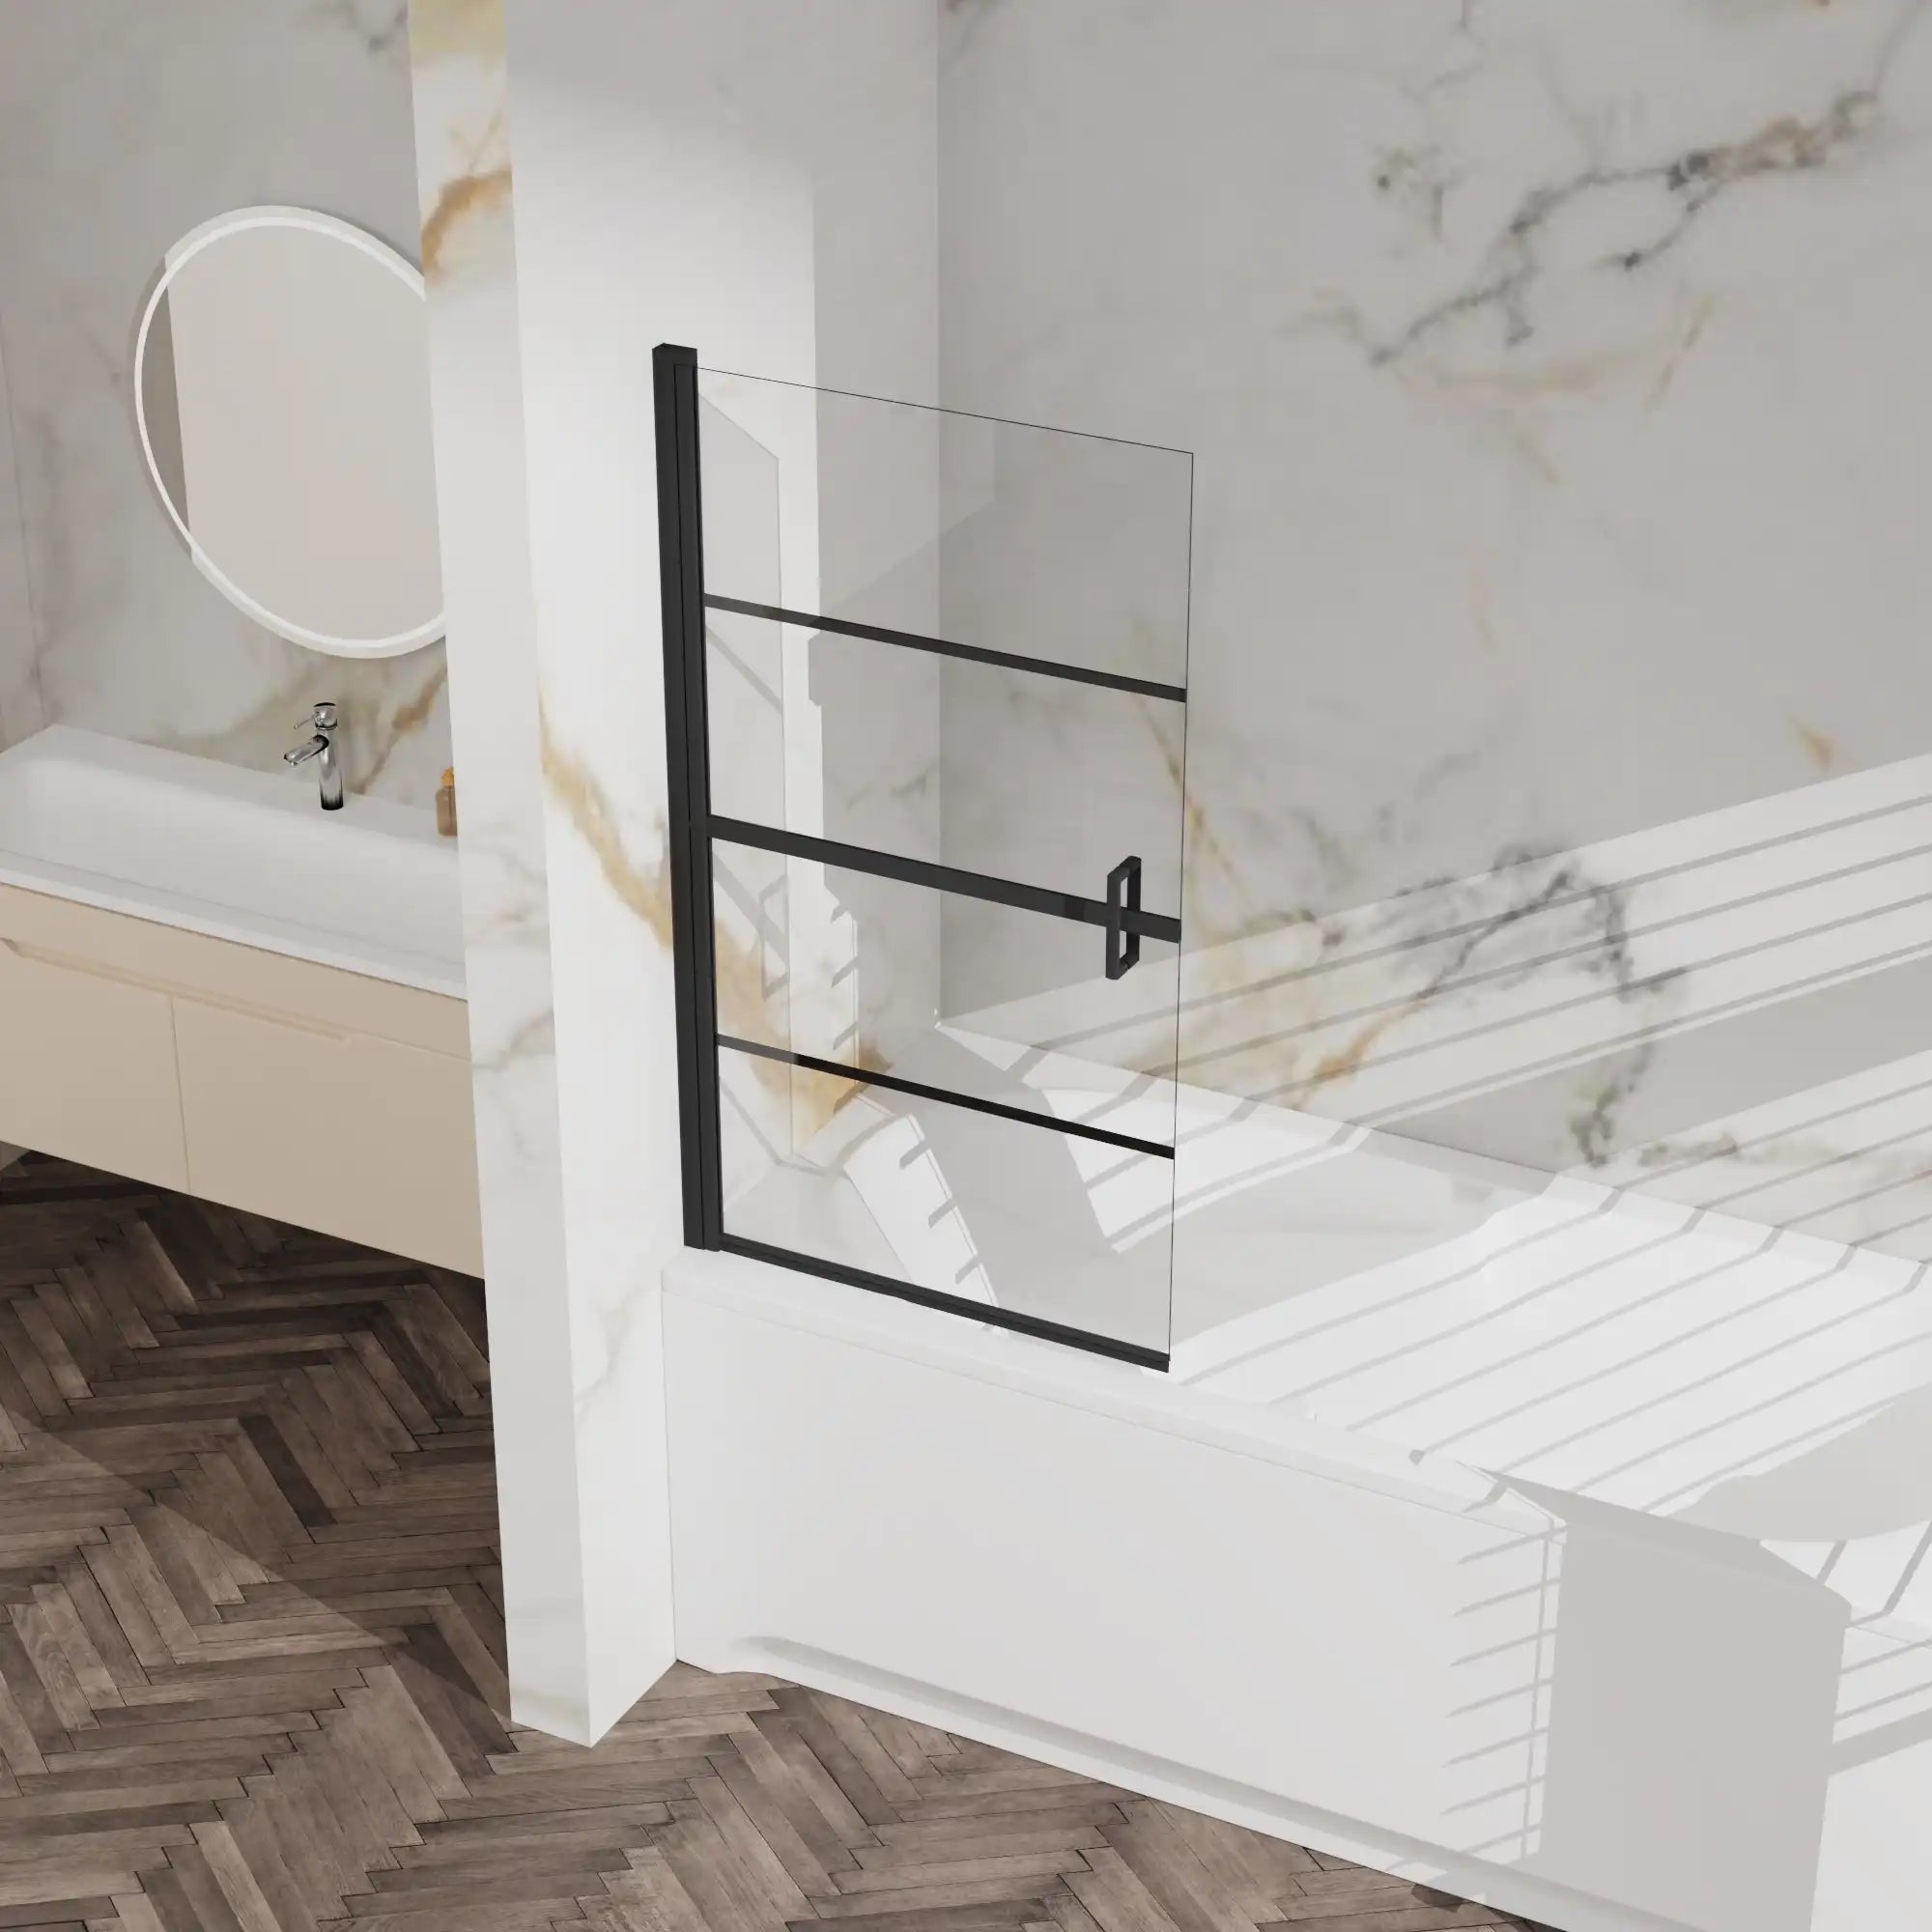
Step 5: Install the Glass Doors

Alright, here comes the trickiest (but most satisfying) part: hanging the actual glass doors. Just take your time, be patient, and let's get those doors up!
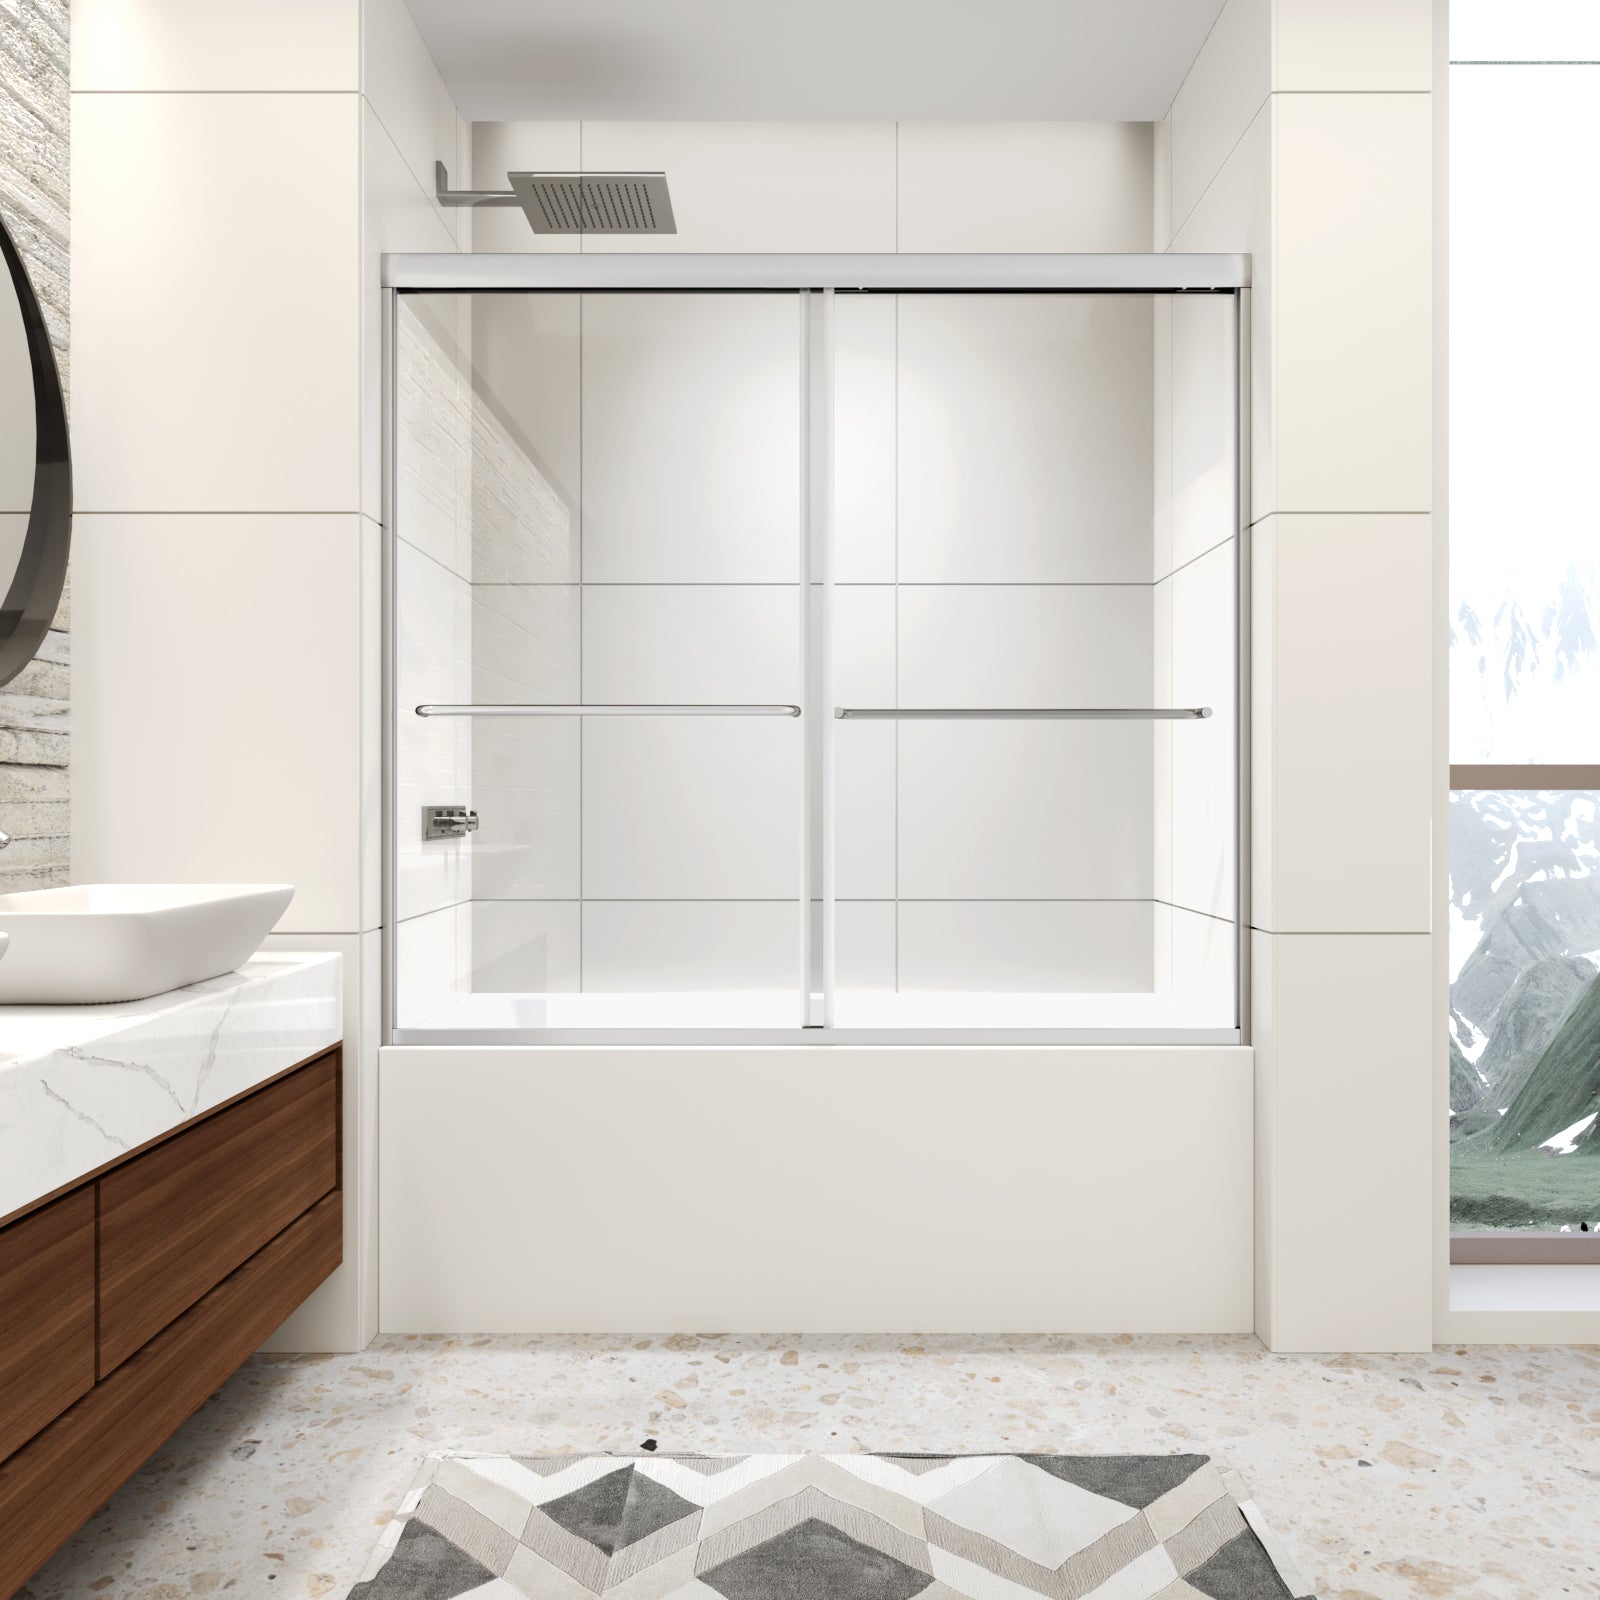
If You Have Sliding Doors:
- Check Your Rollers First – Most sliding doors have rollers that sit inside the top track, letting them glide smoothly. Before you start, make sure you have them attached properly (some clip in, others screw on—check your manual).
- Lift the First Door Into Place – Grab your glass panel (carefully, these things can be heavy!), hold it upright, and slightly tilt the top edge toward the track.
- Insert the Rollers into the Track – Gently guide the rollers into the top rail. If they don't slide in easily, don't force them—just wiggle the door a bit until they pop into place.
- Set the Bottom Edge – Once the top is secure, lower the bottom edge into the bottom track.
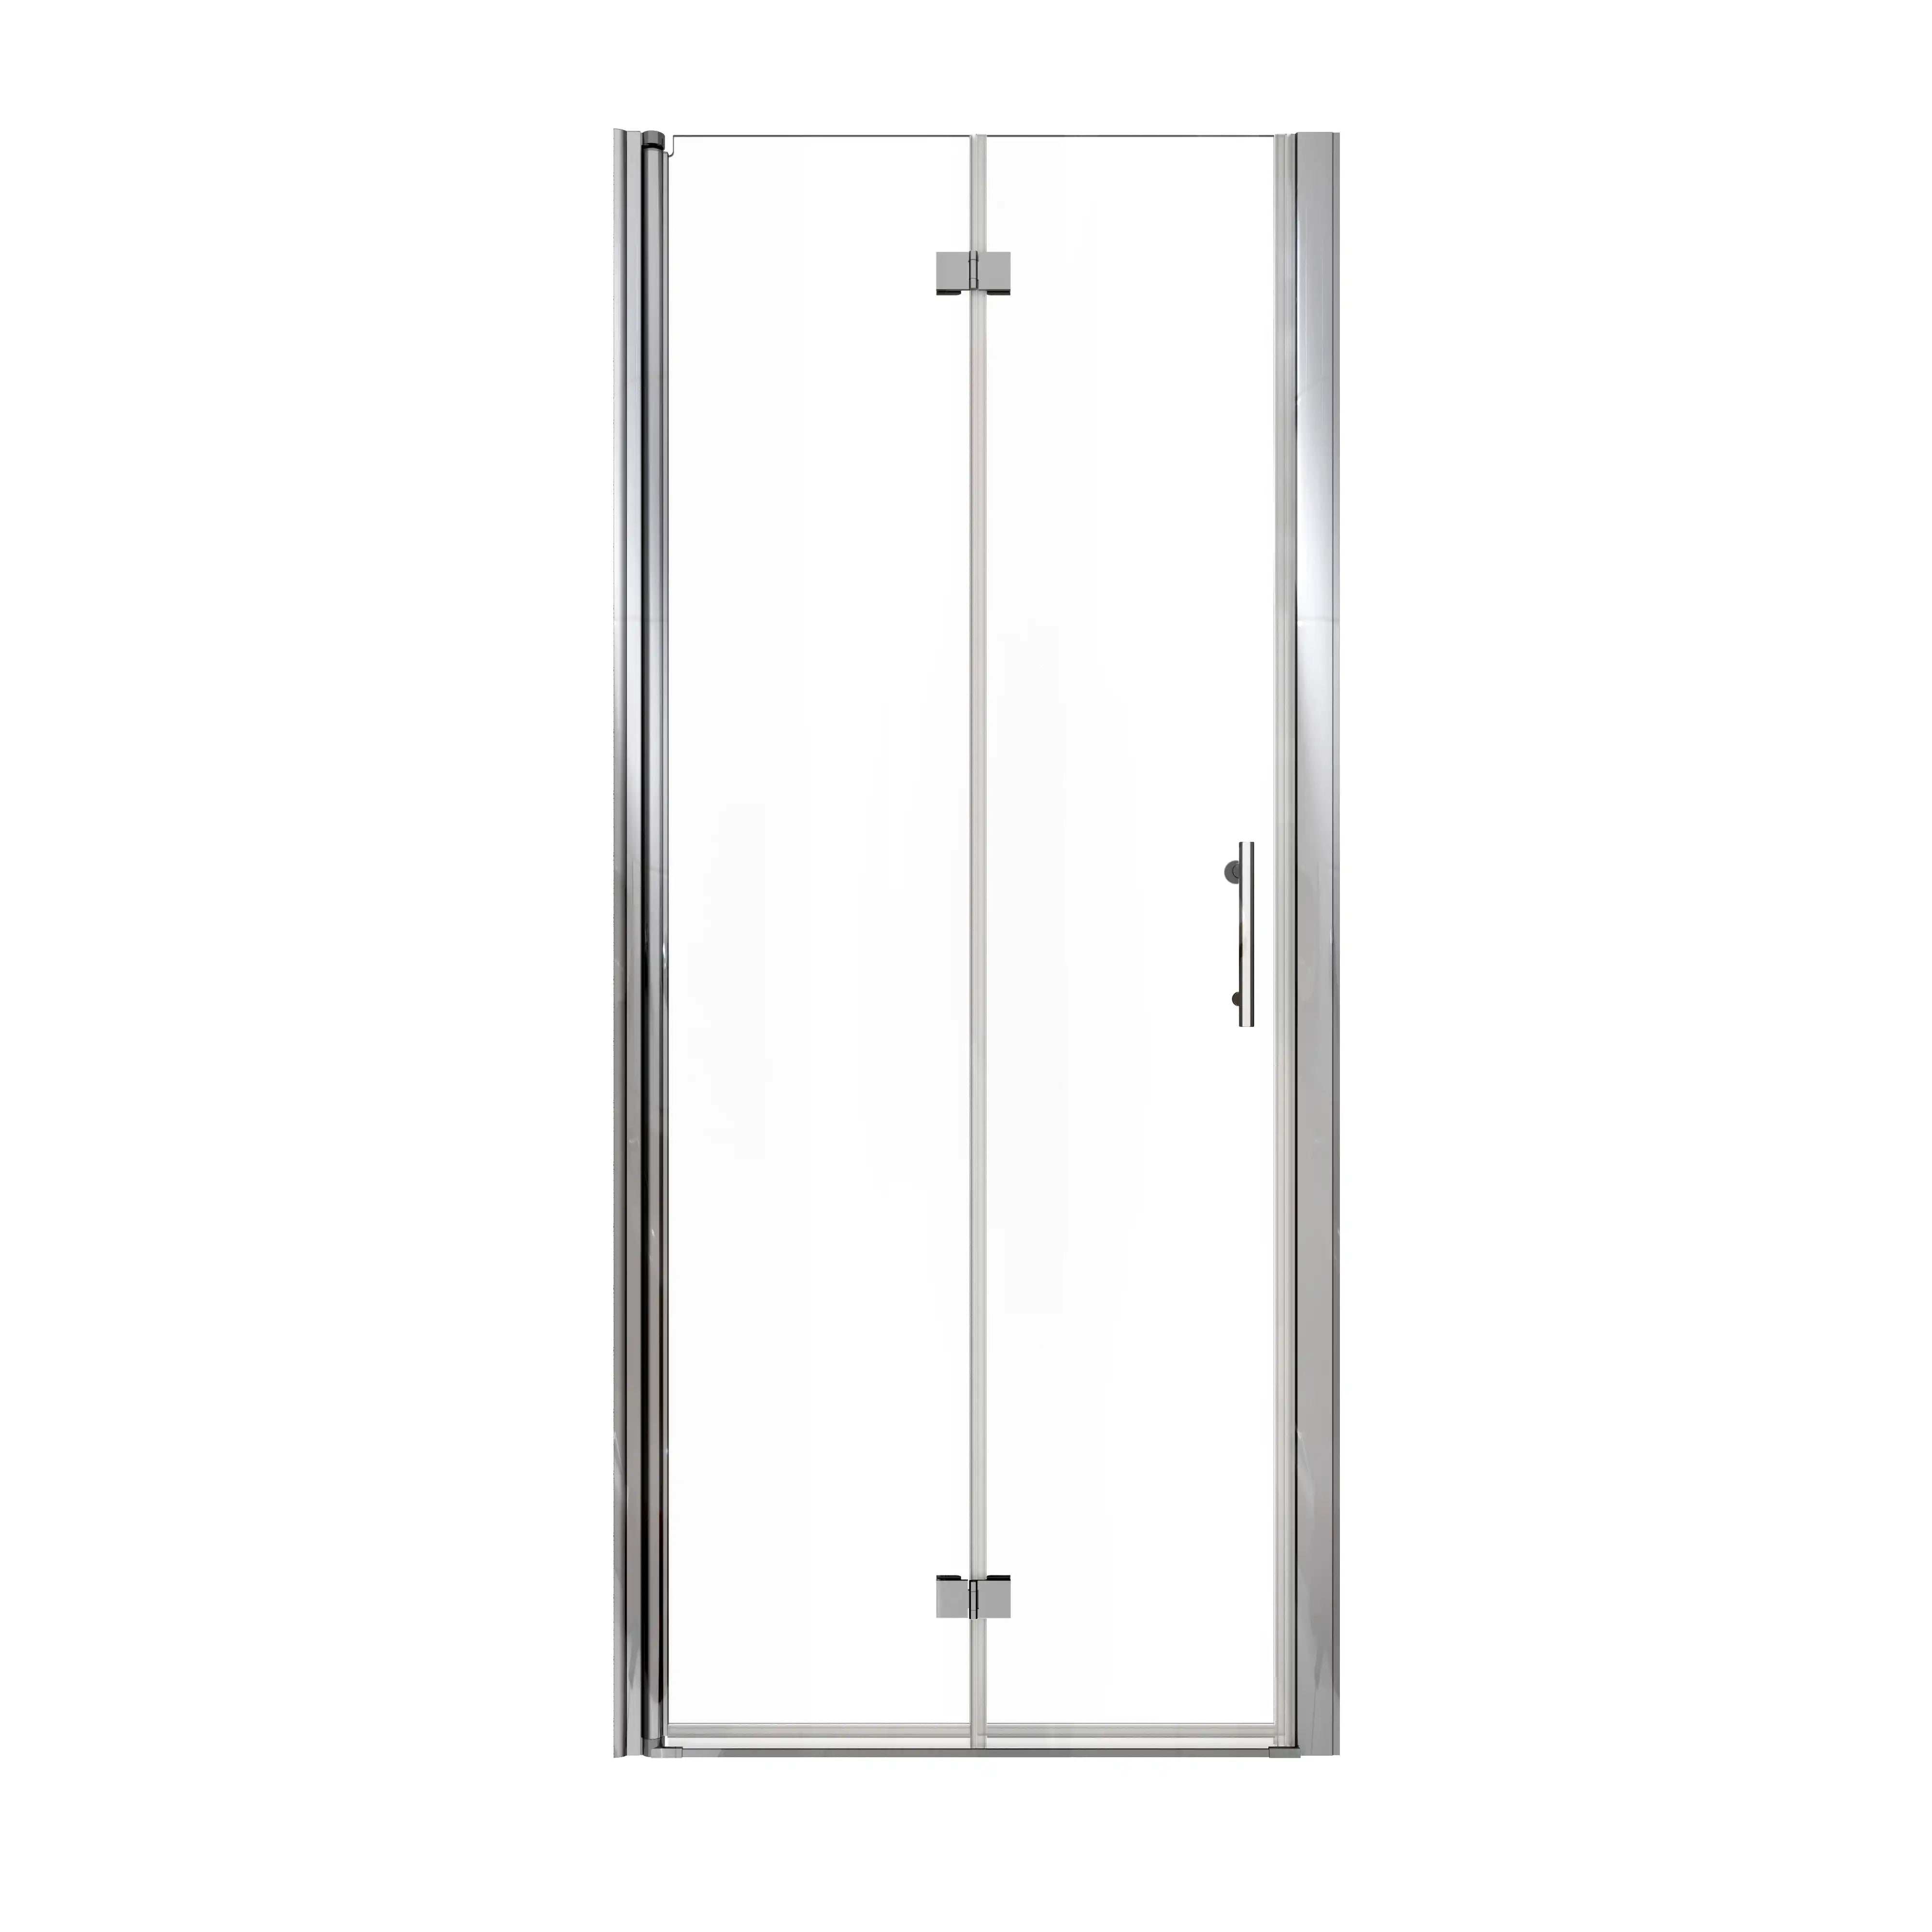
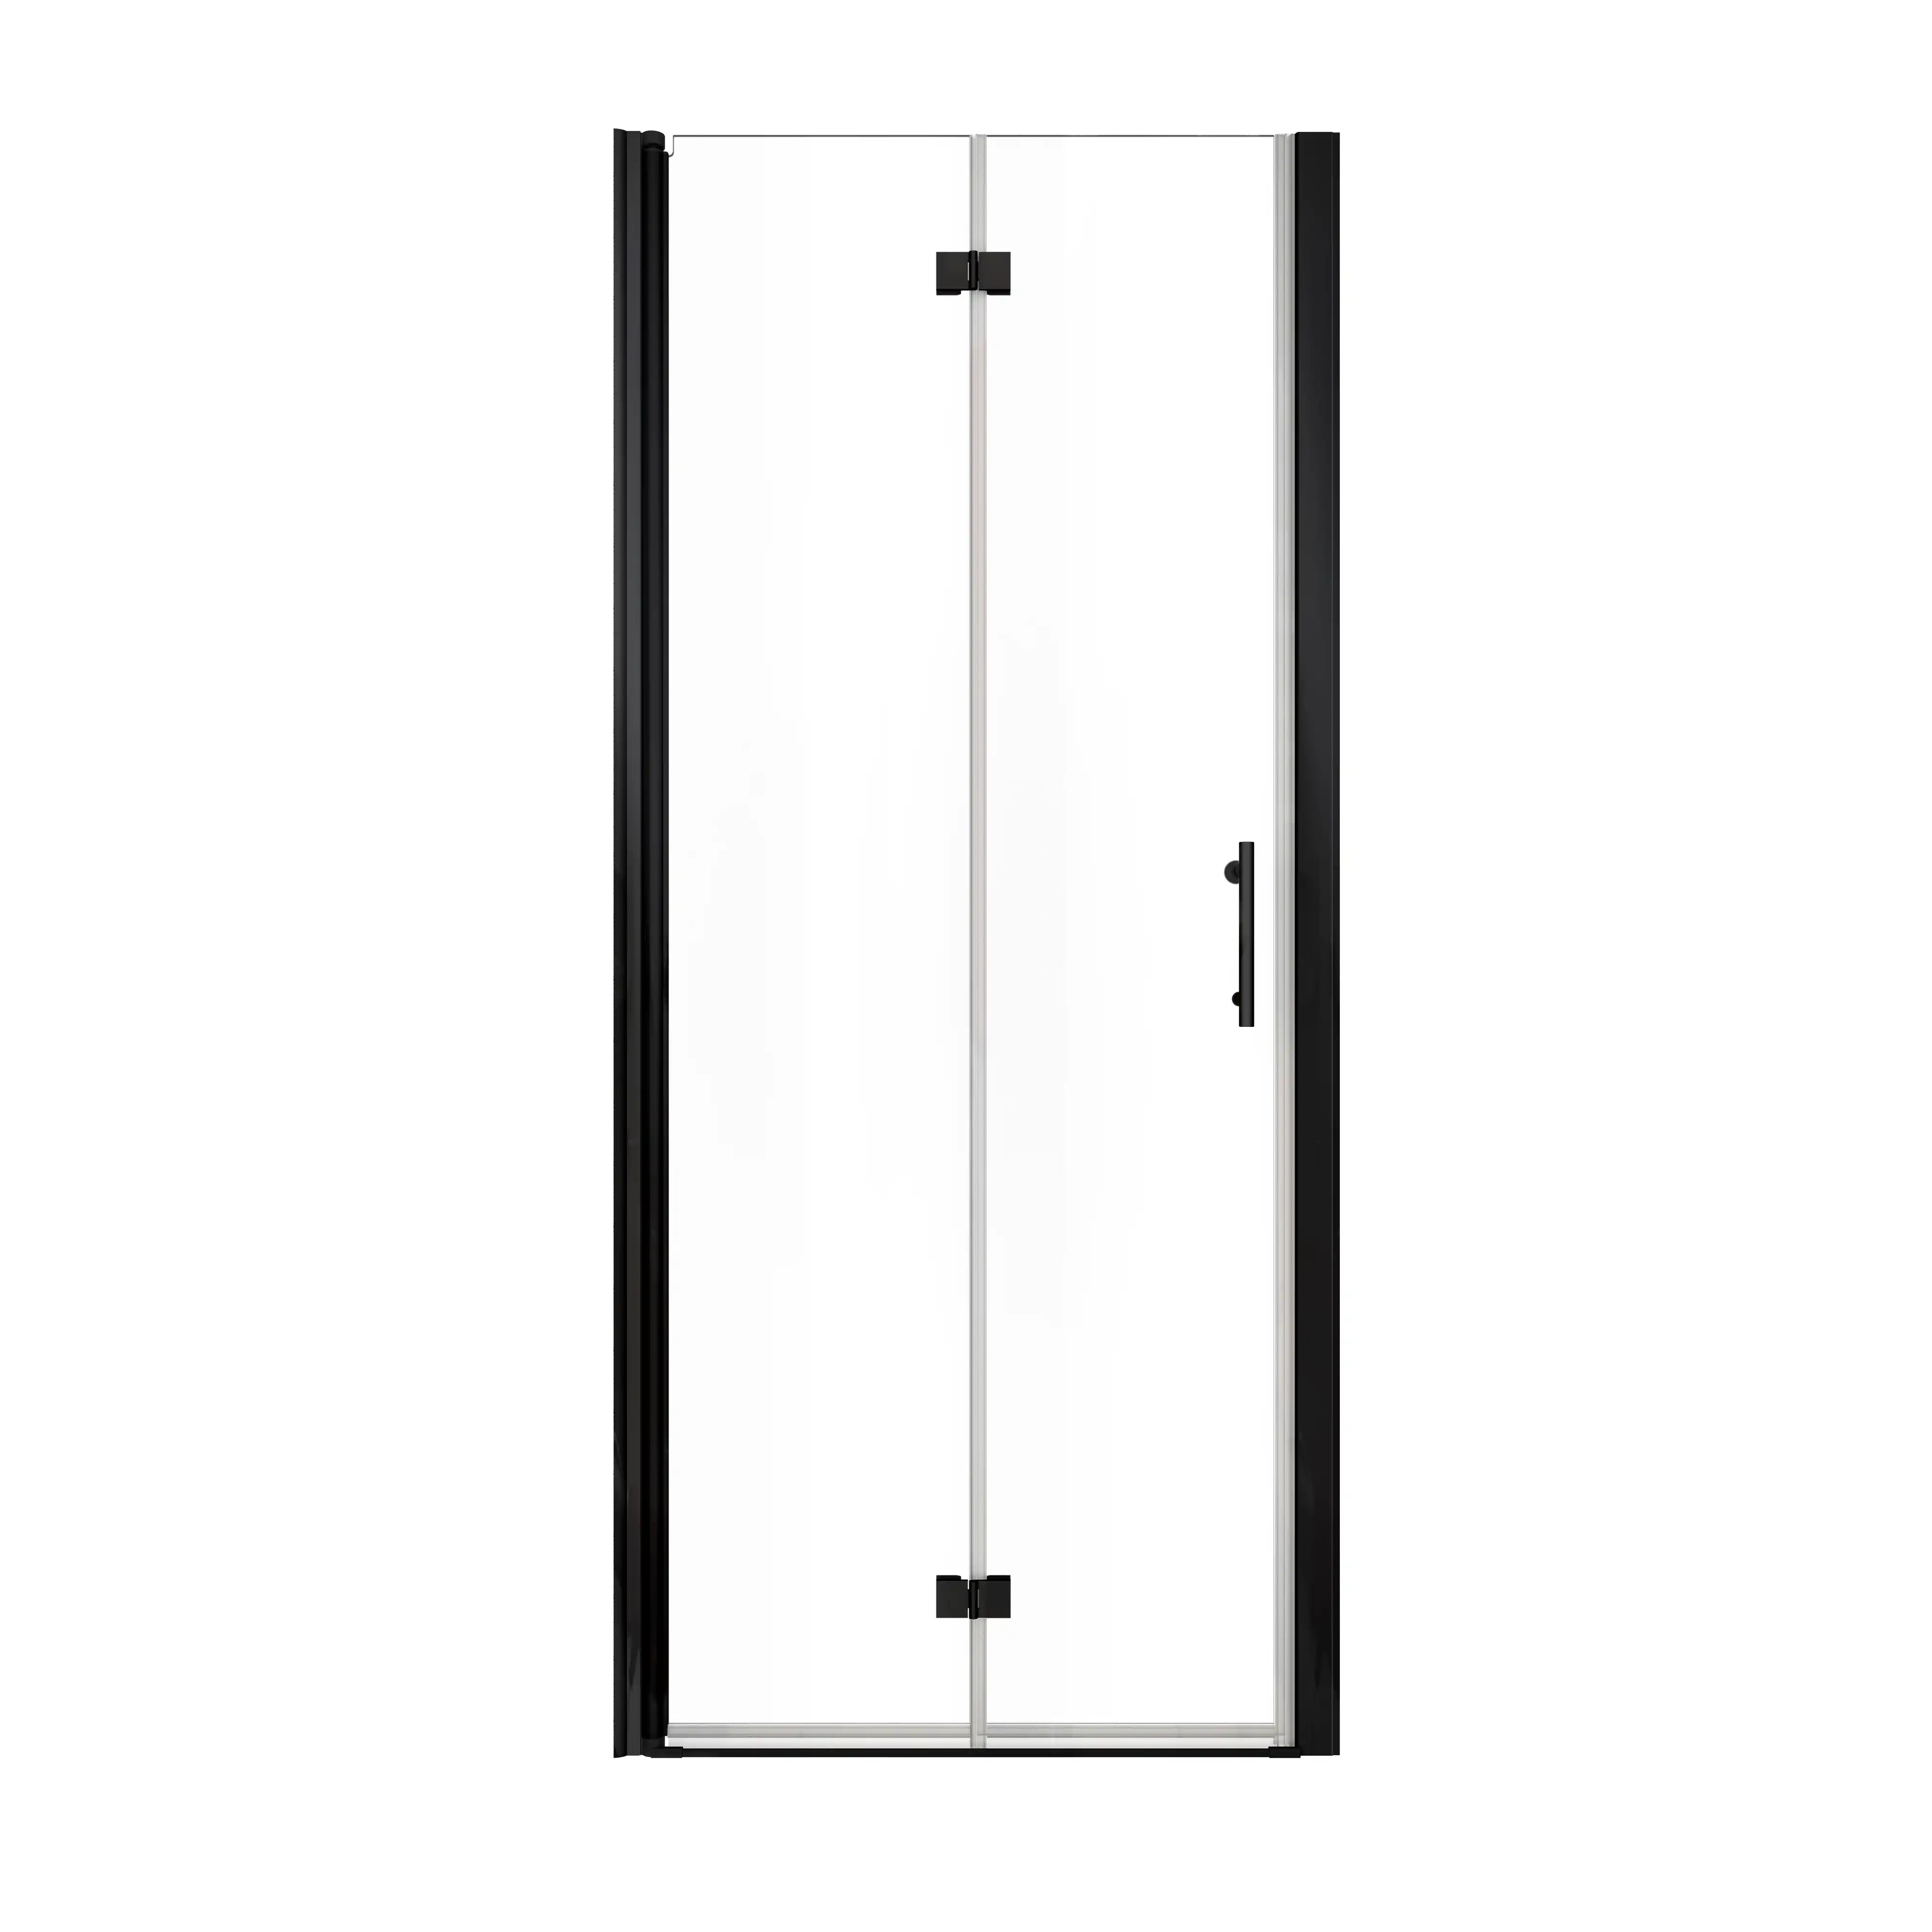
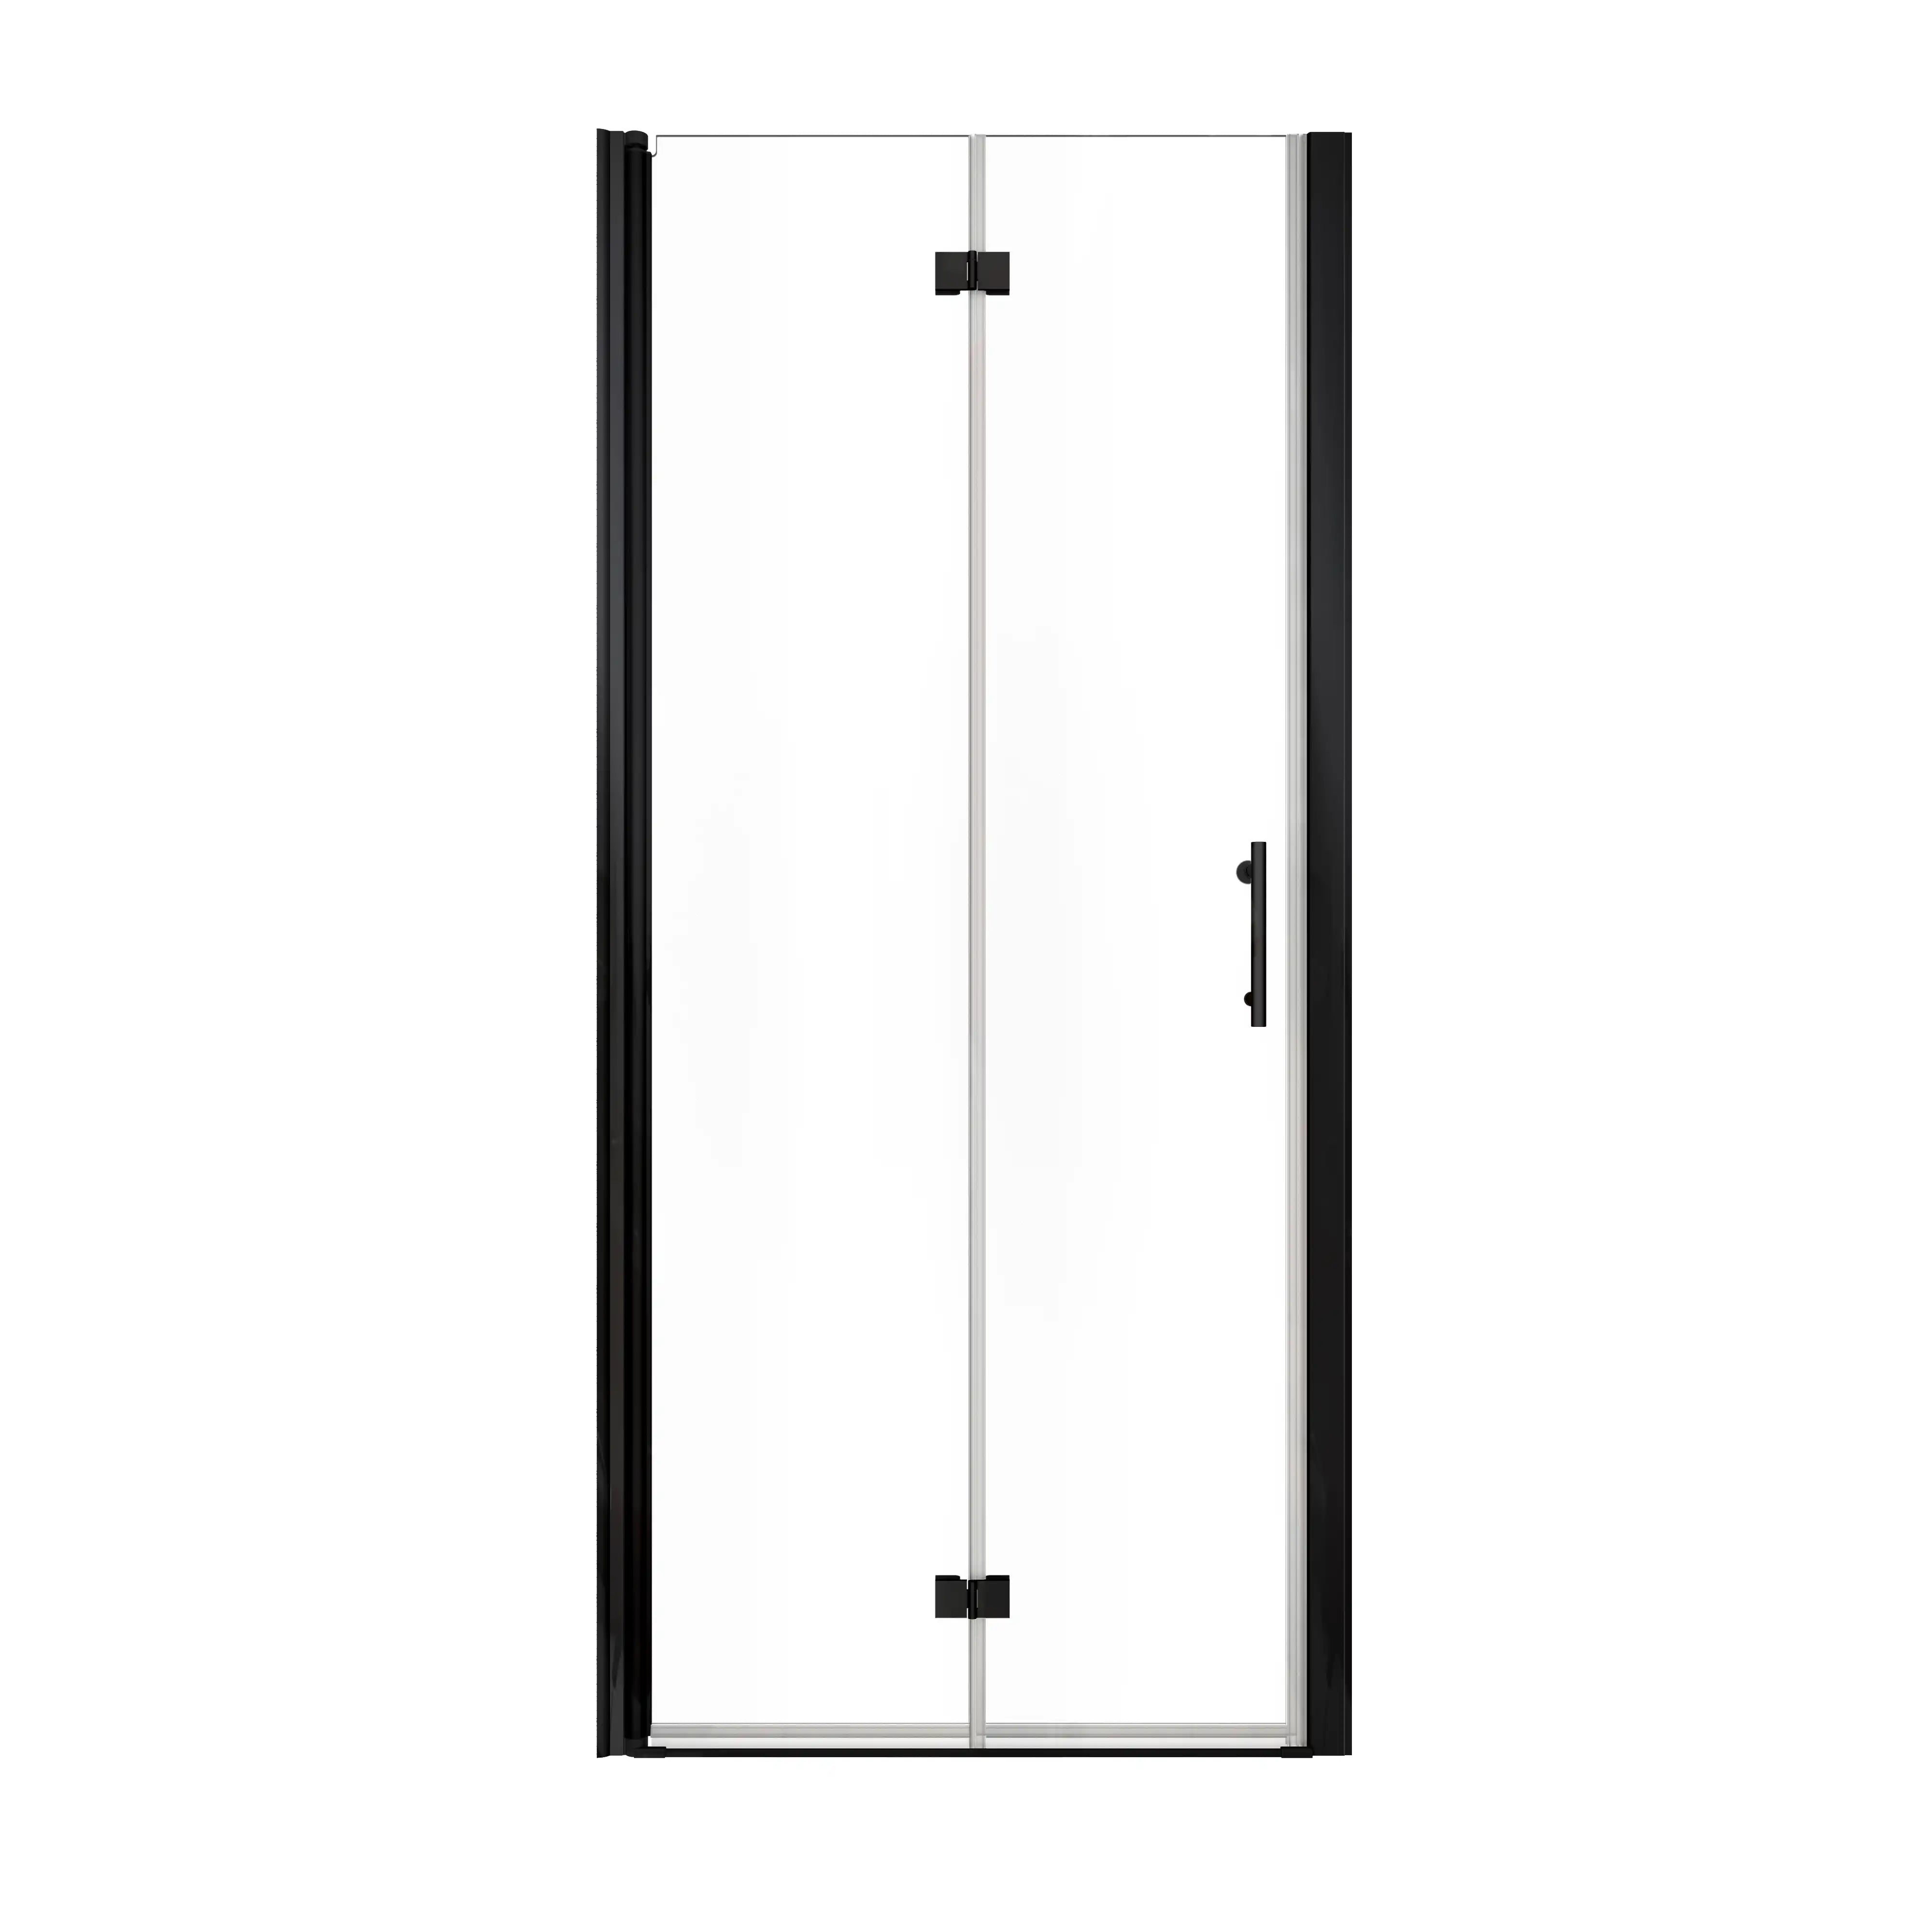
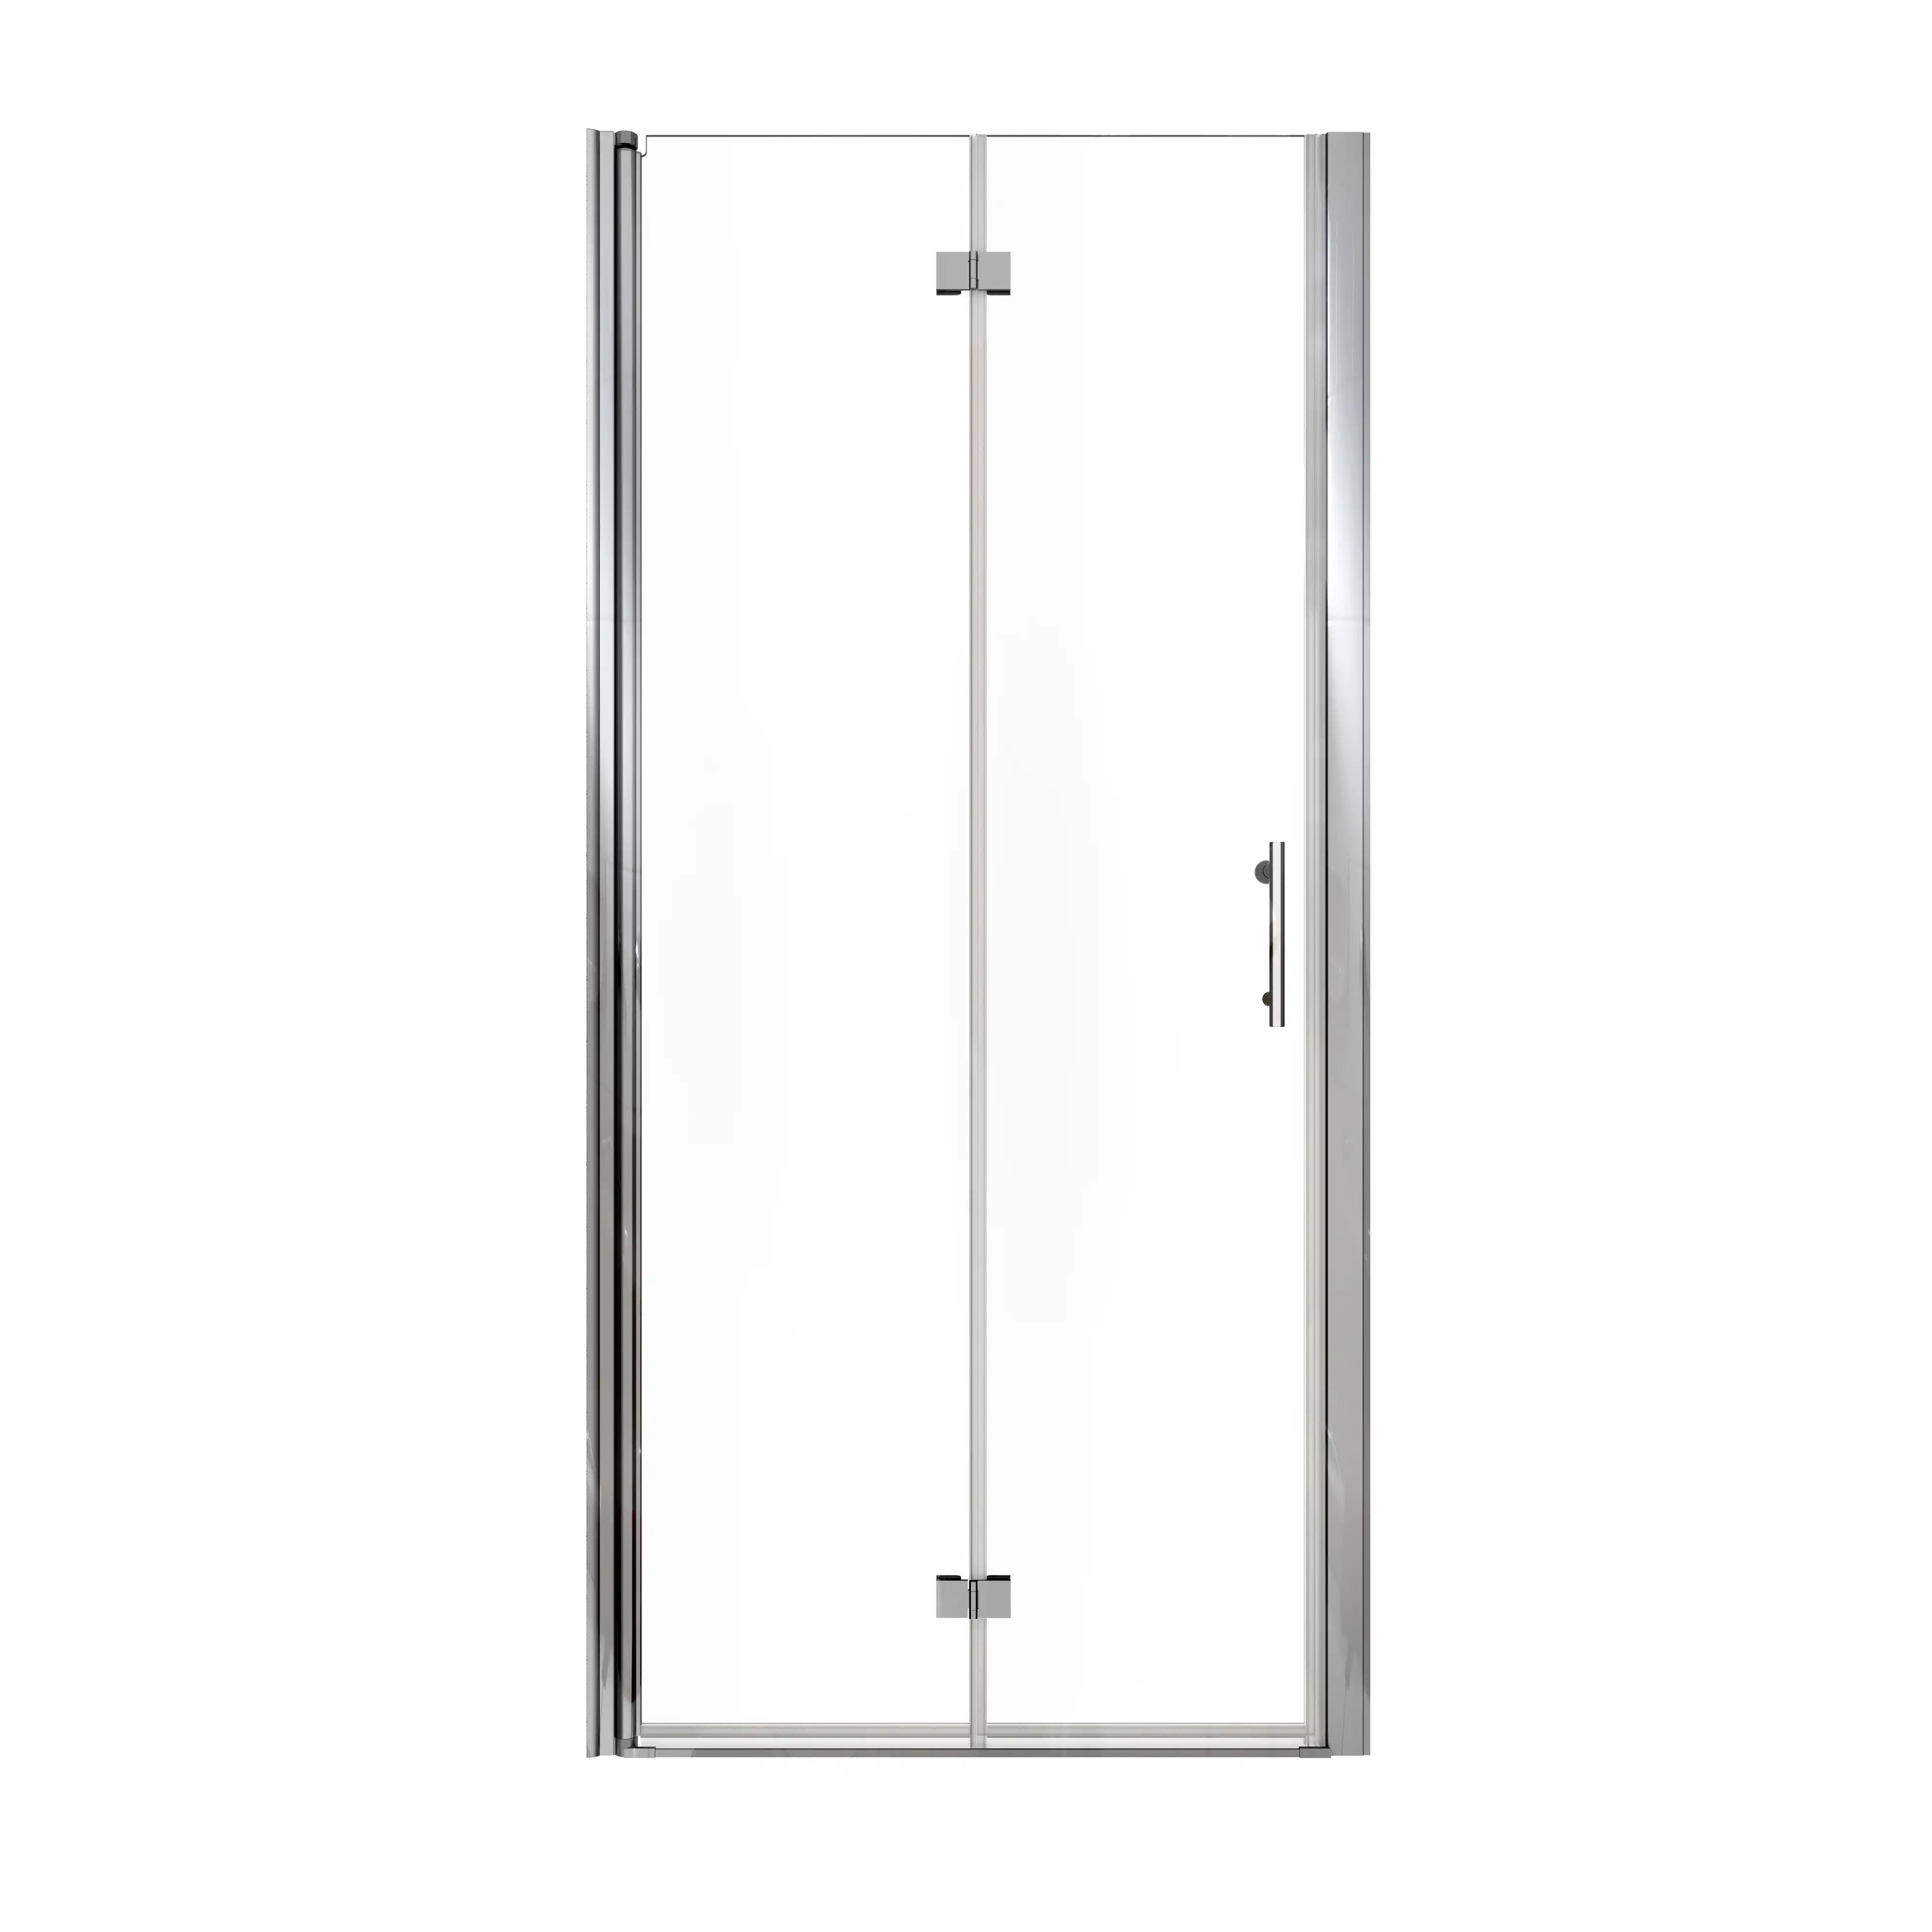
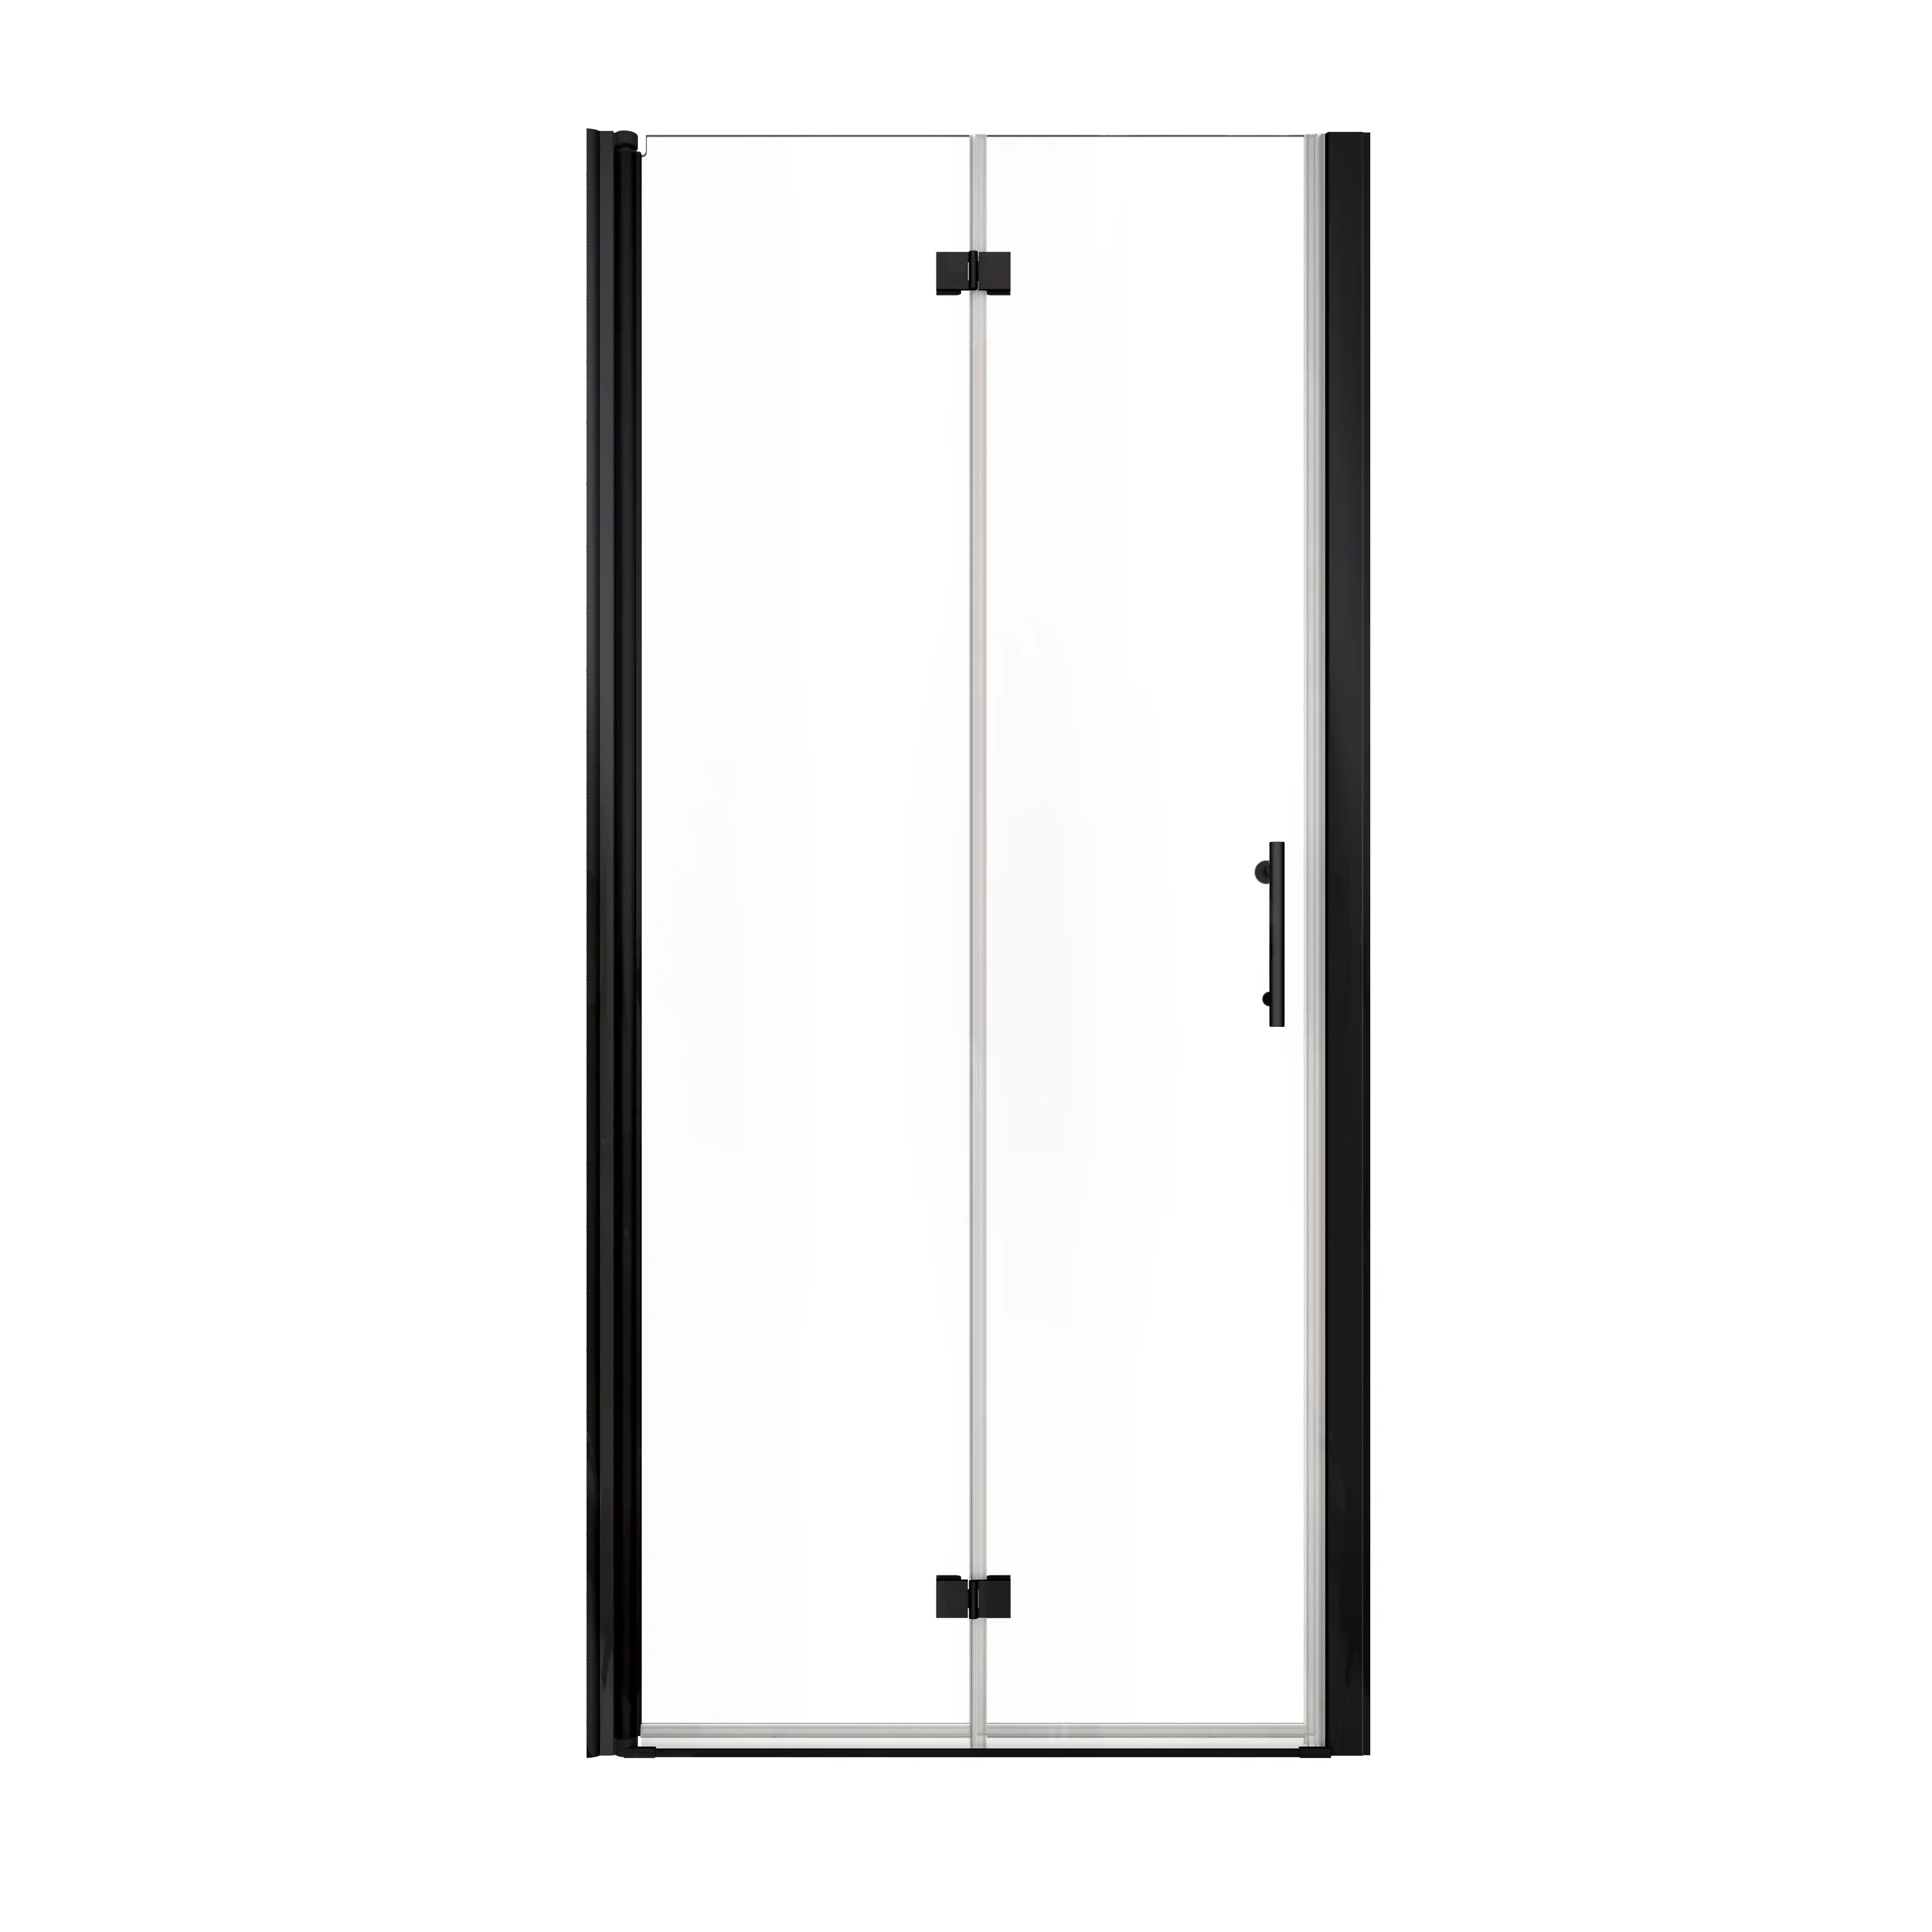
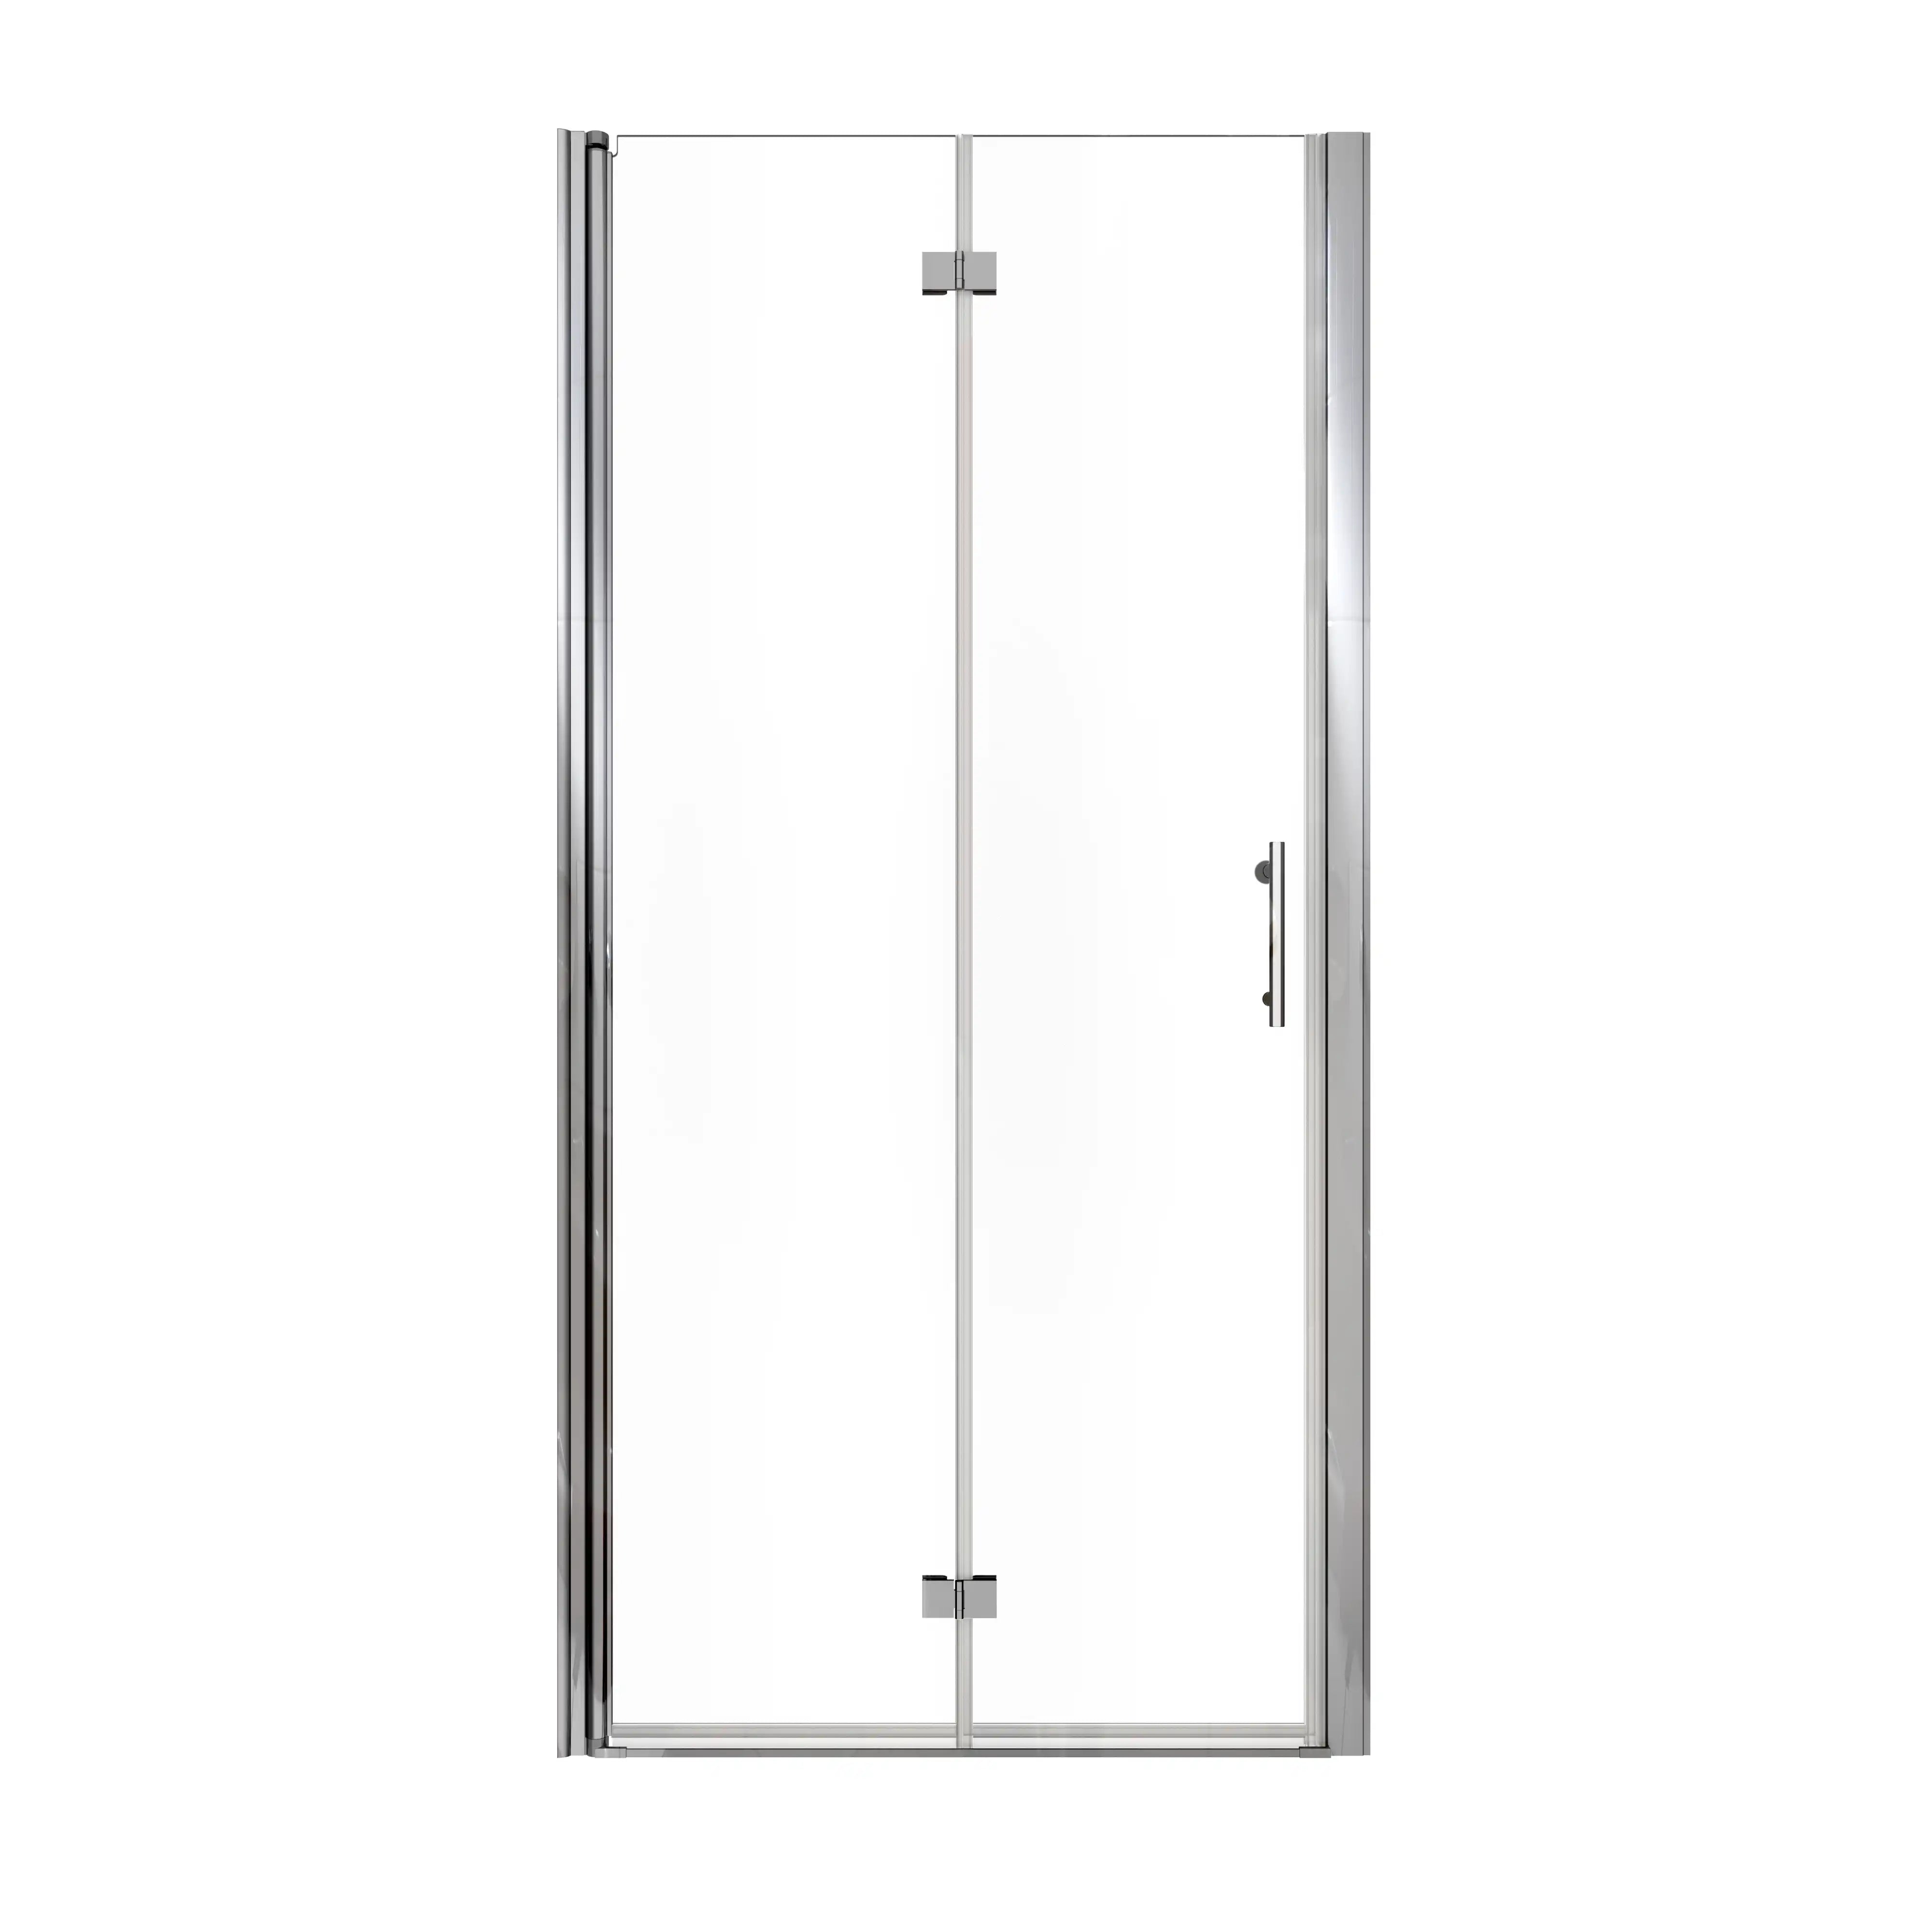
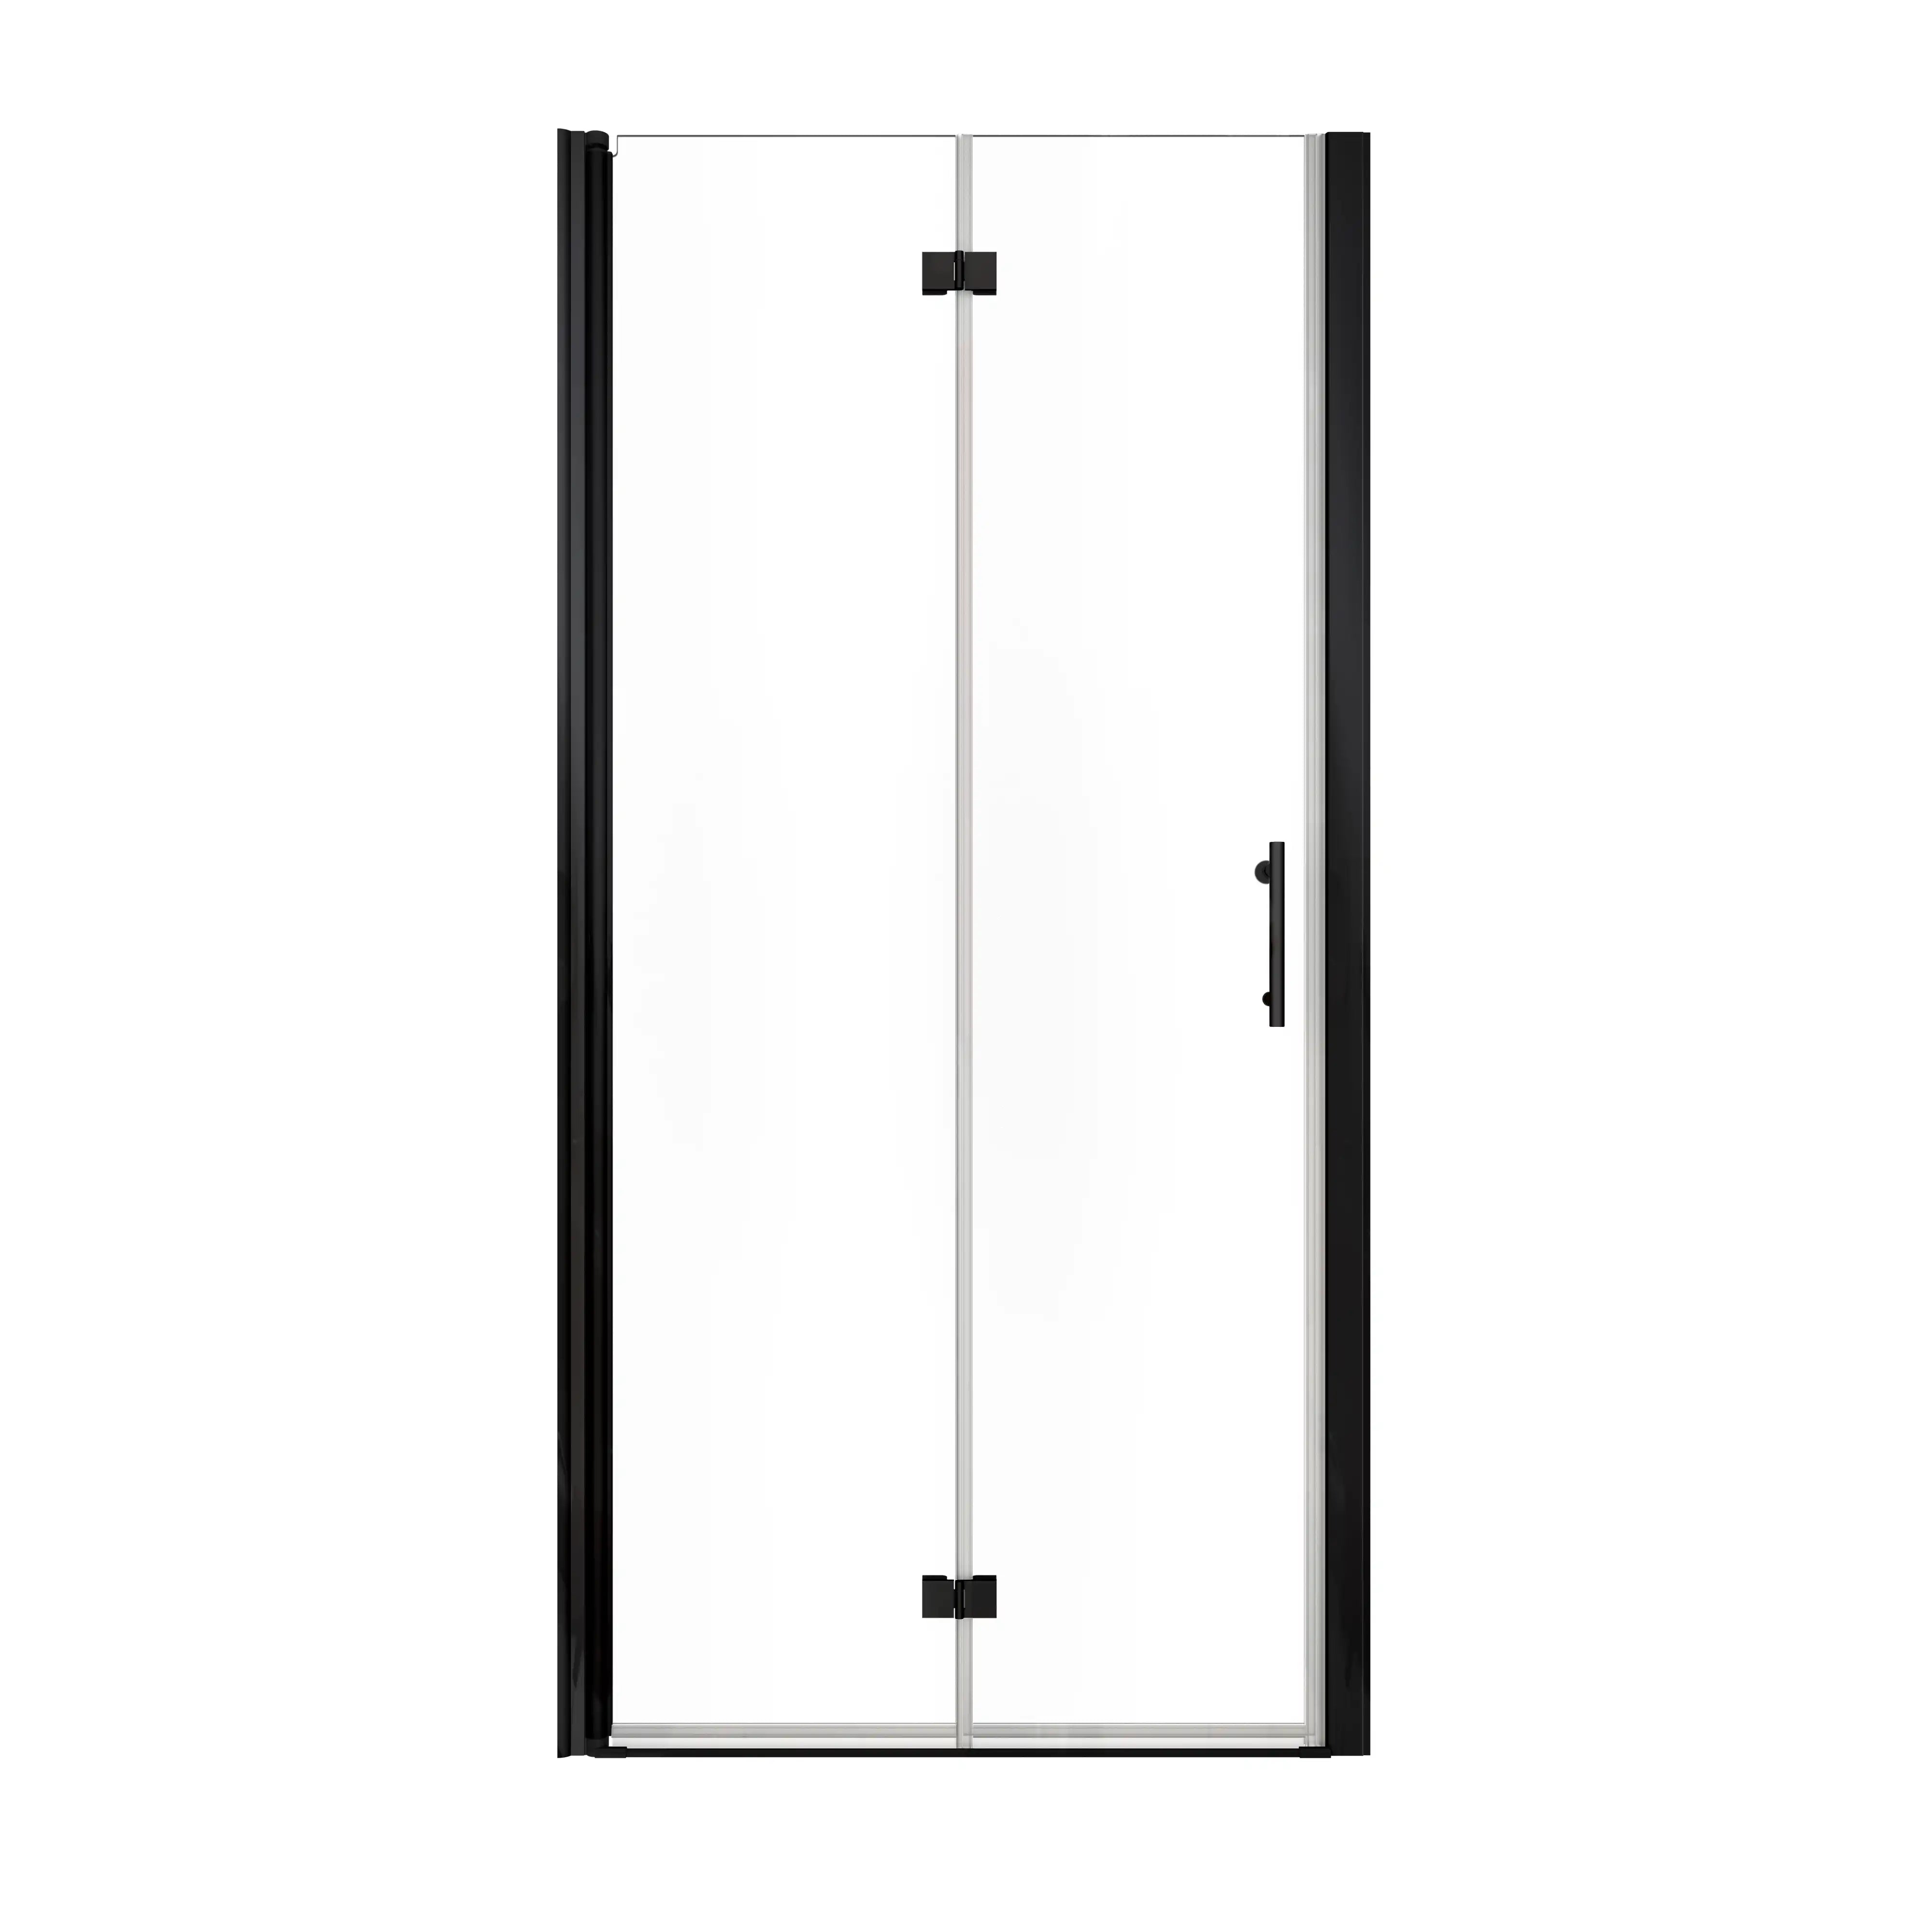
If You Have Hinged Doors:
- Attach the Hinges First – Your shower door kit should come with hinges that either screw into pre-drilled holes in the glass or clamp onto the edges. Secure them onto the door before mounting it.
- Line It Up – Hold the door in position and screw the hinges into place.
- Test It Out – Gently open and close the door a few times to check the movement. If it feels stiff or uneven, loosen the hinge screws just a bit and adjust the door until it swings smoothly.
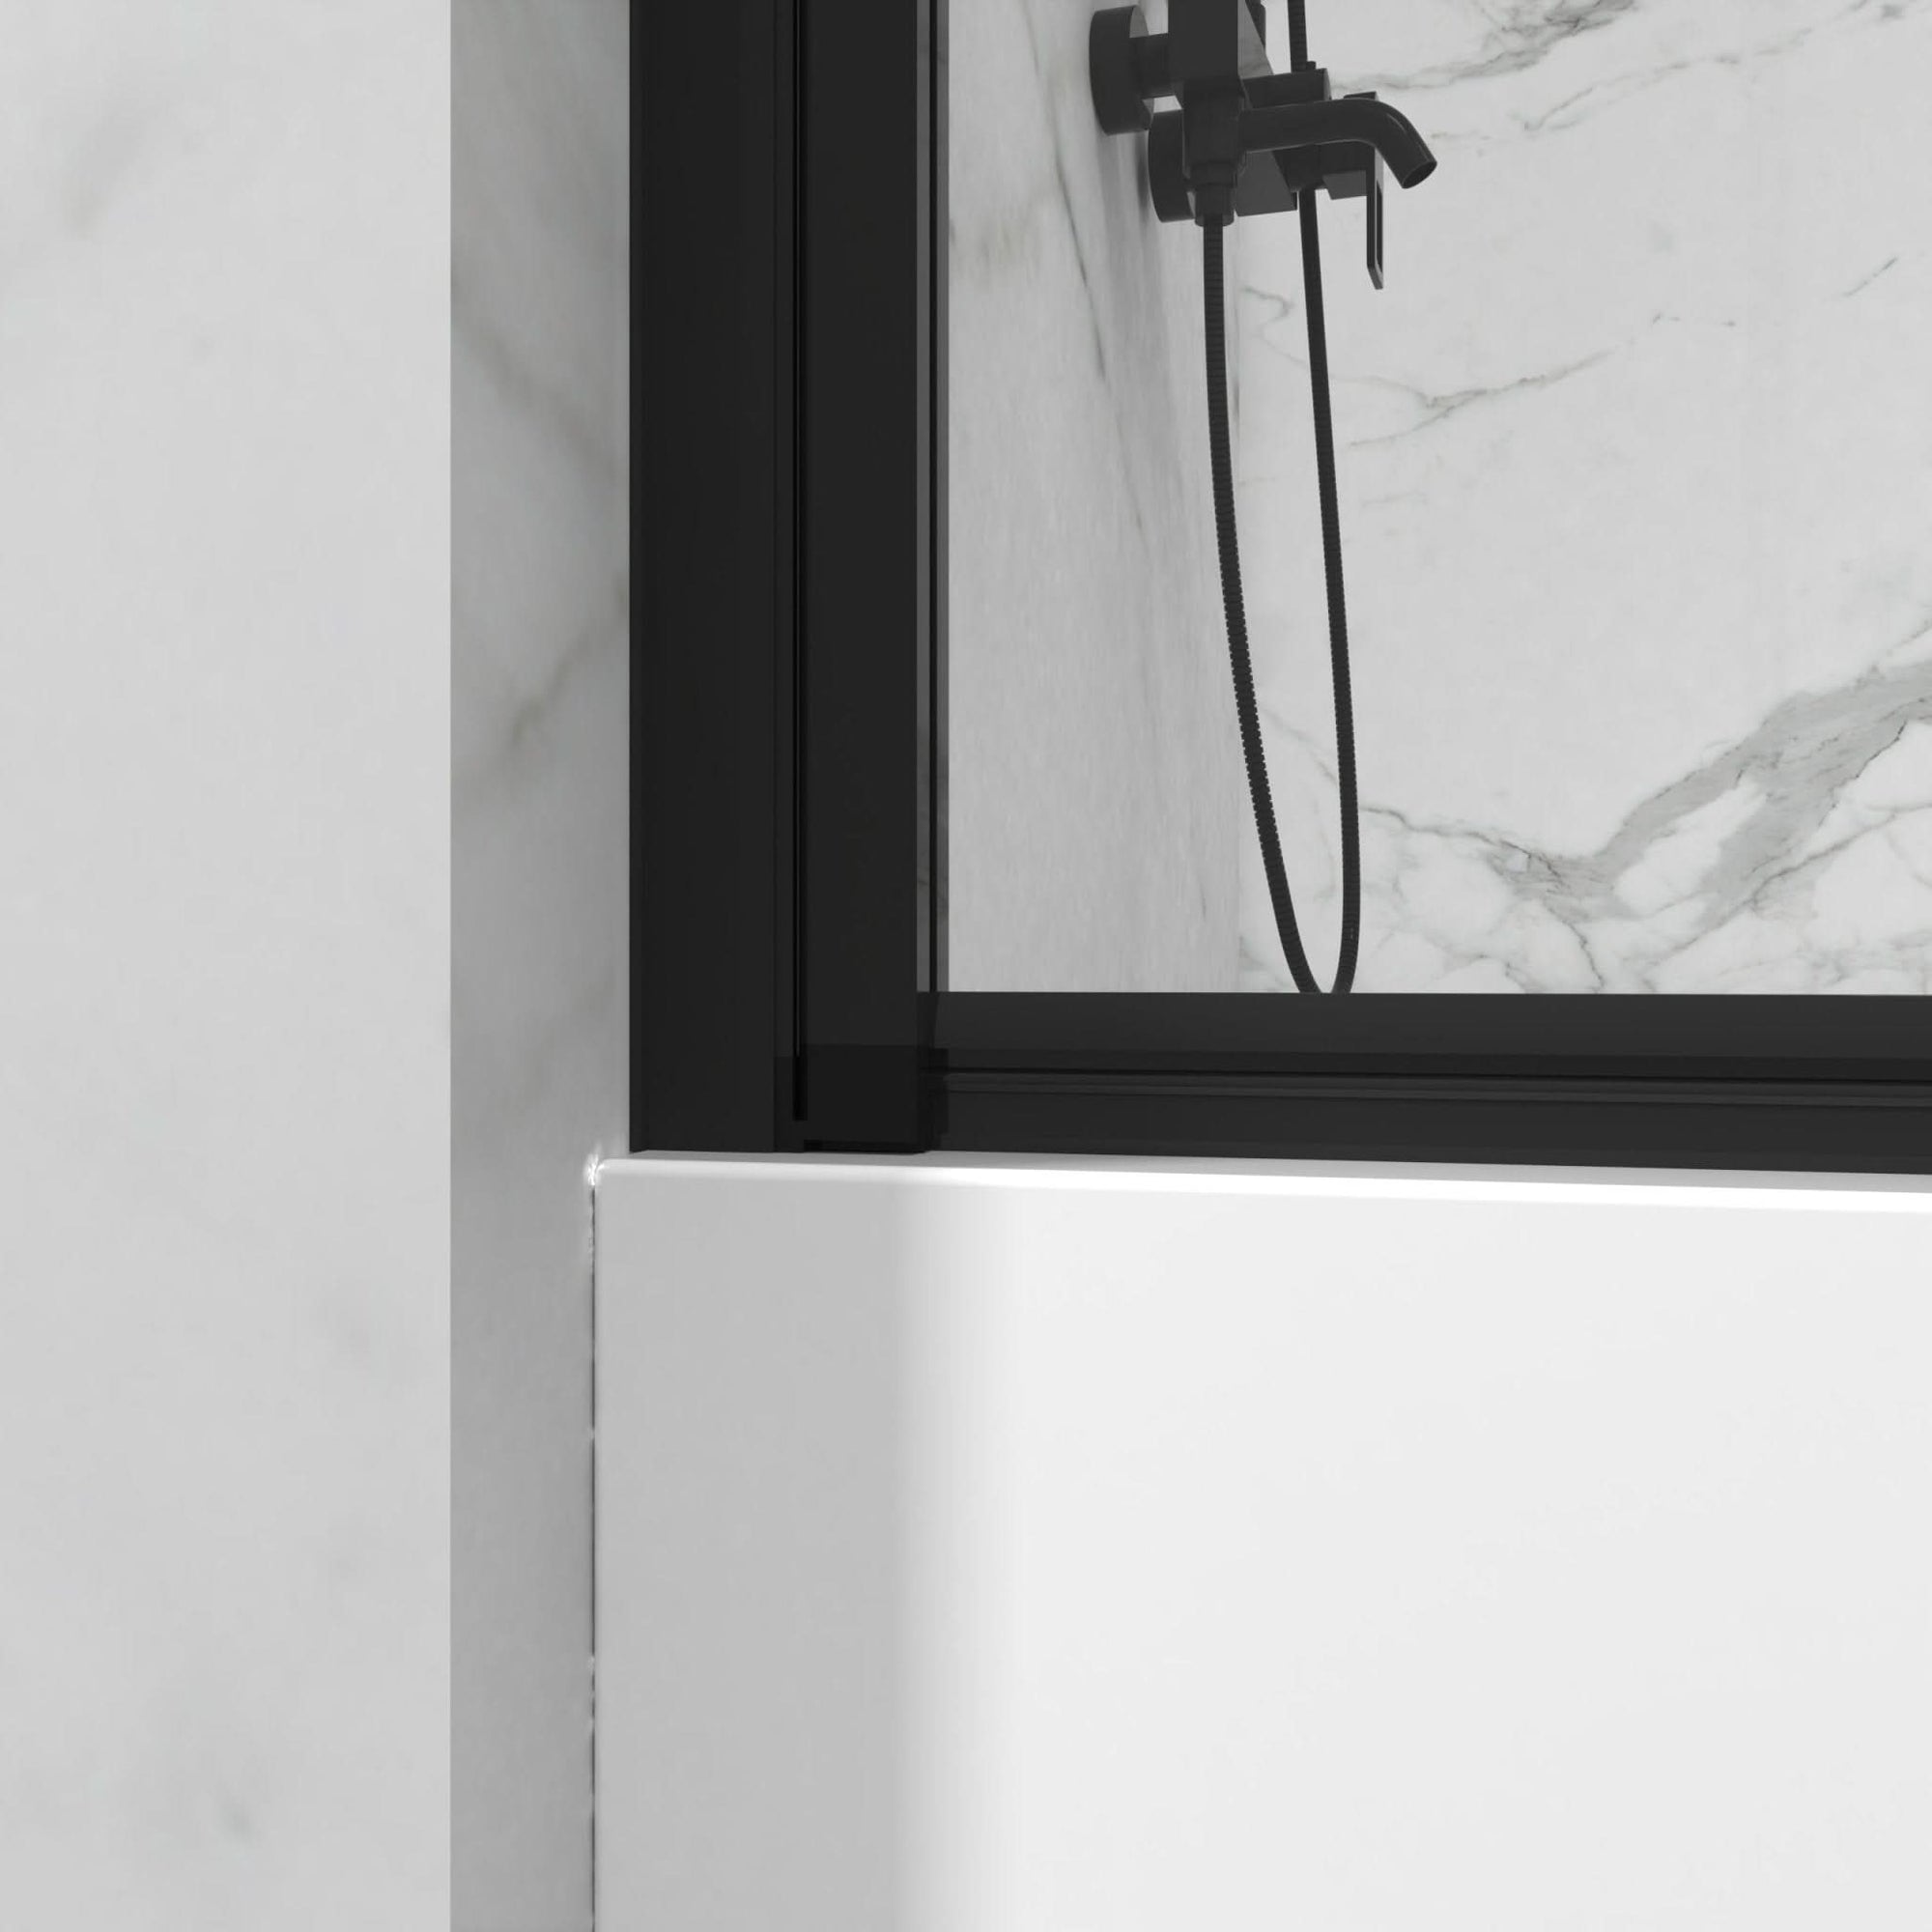
Step 6: Secure and Seal Everything Up

Next, you have to secure and seal everything nicely.
- Apply a good layer of sealing to all the edges appropriately to prevent leaks.
- Run silicone caulk along the edges of the side rails and bottom track.
- If you want a clean finish, wet your finger and smooth it out, or use a caulking tool.
- Let it dry for a minimum of 24 hours before you use the shower.
PRO TIP: Do NOT be in a hurry to dry! Not sealing and using the shower too early will ruin the seal and can lead to leaks and water damage in the long term.
Step 7: Final Checks
- Open and close the doors multiple times to ensure smooth operation.
- Wipe down any excess caulk or smudges.
- Admire your work—because you just installed a shower door like a pro!
Troubleshooting: Common Issues & Fixes

- Doors Won't Slide? Check for debris in the tracks and make sure the rollers are aligned properly.
- Water Leaking? Ensure the caulk is properly sealed and the bottom track is fully secured.
- Doors Rattle? Tighten the screws slightly, but don't overdo it or you might crack the glass.
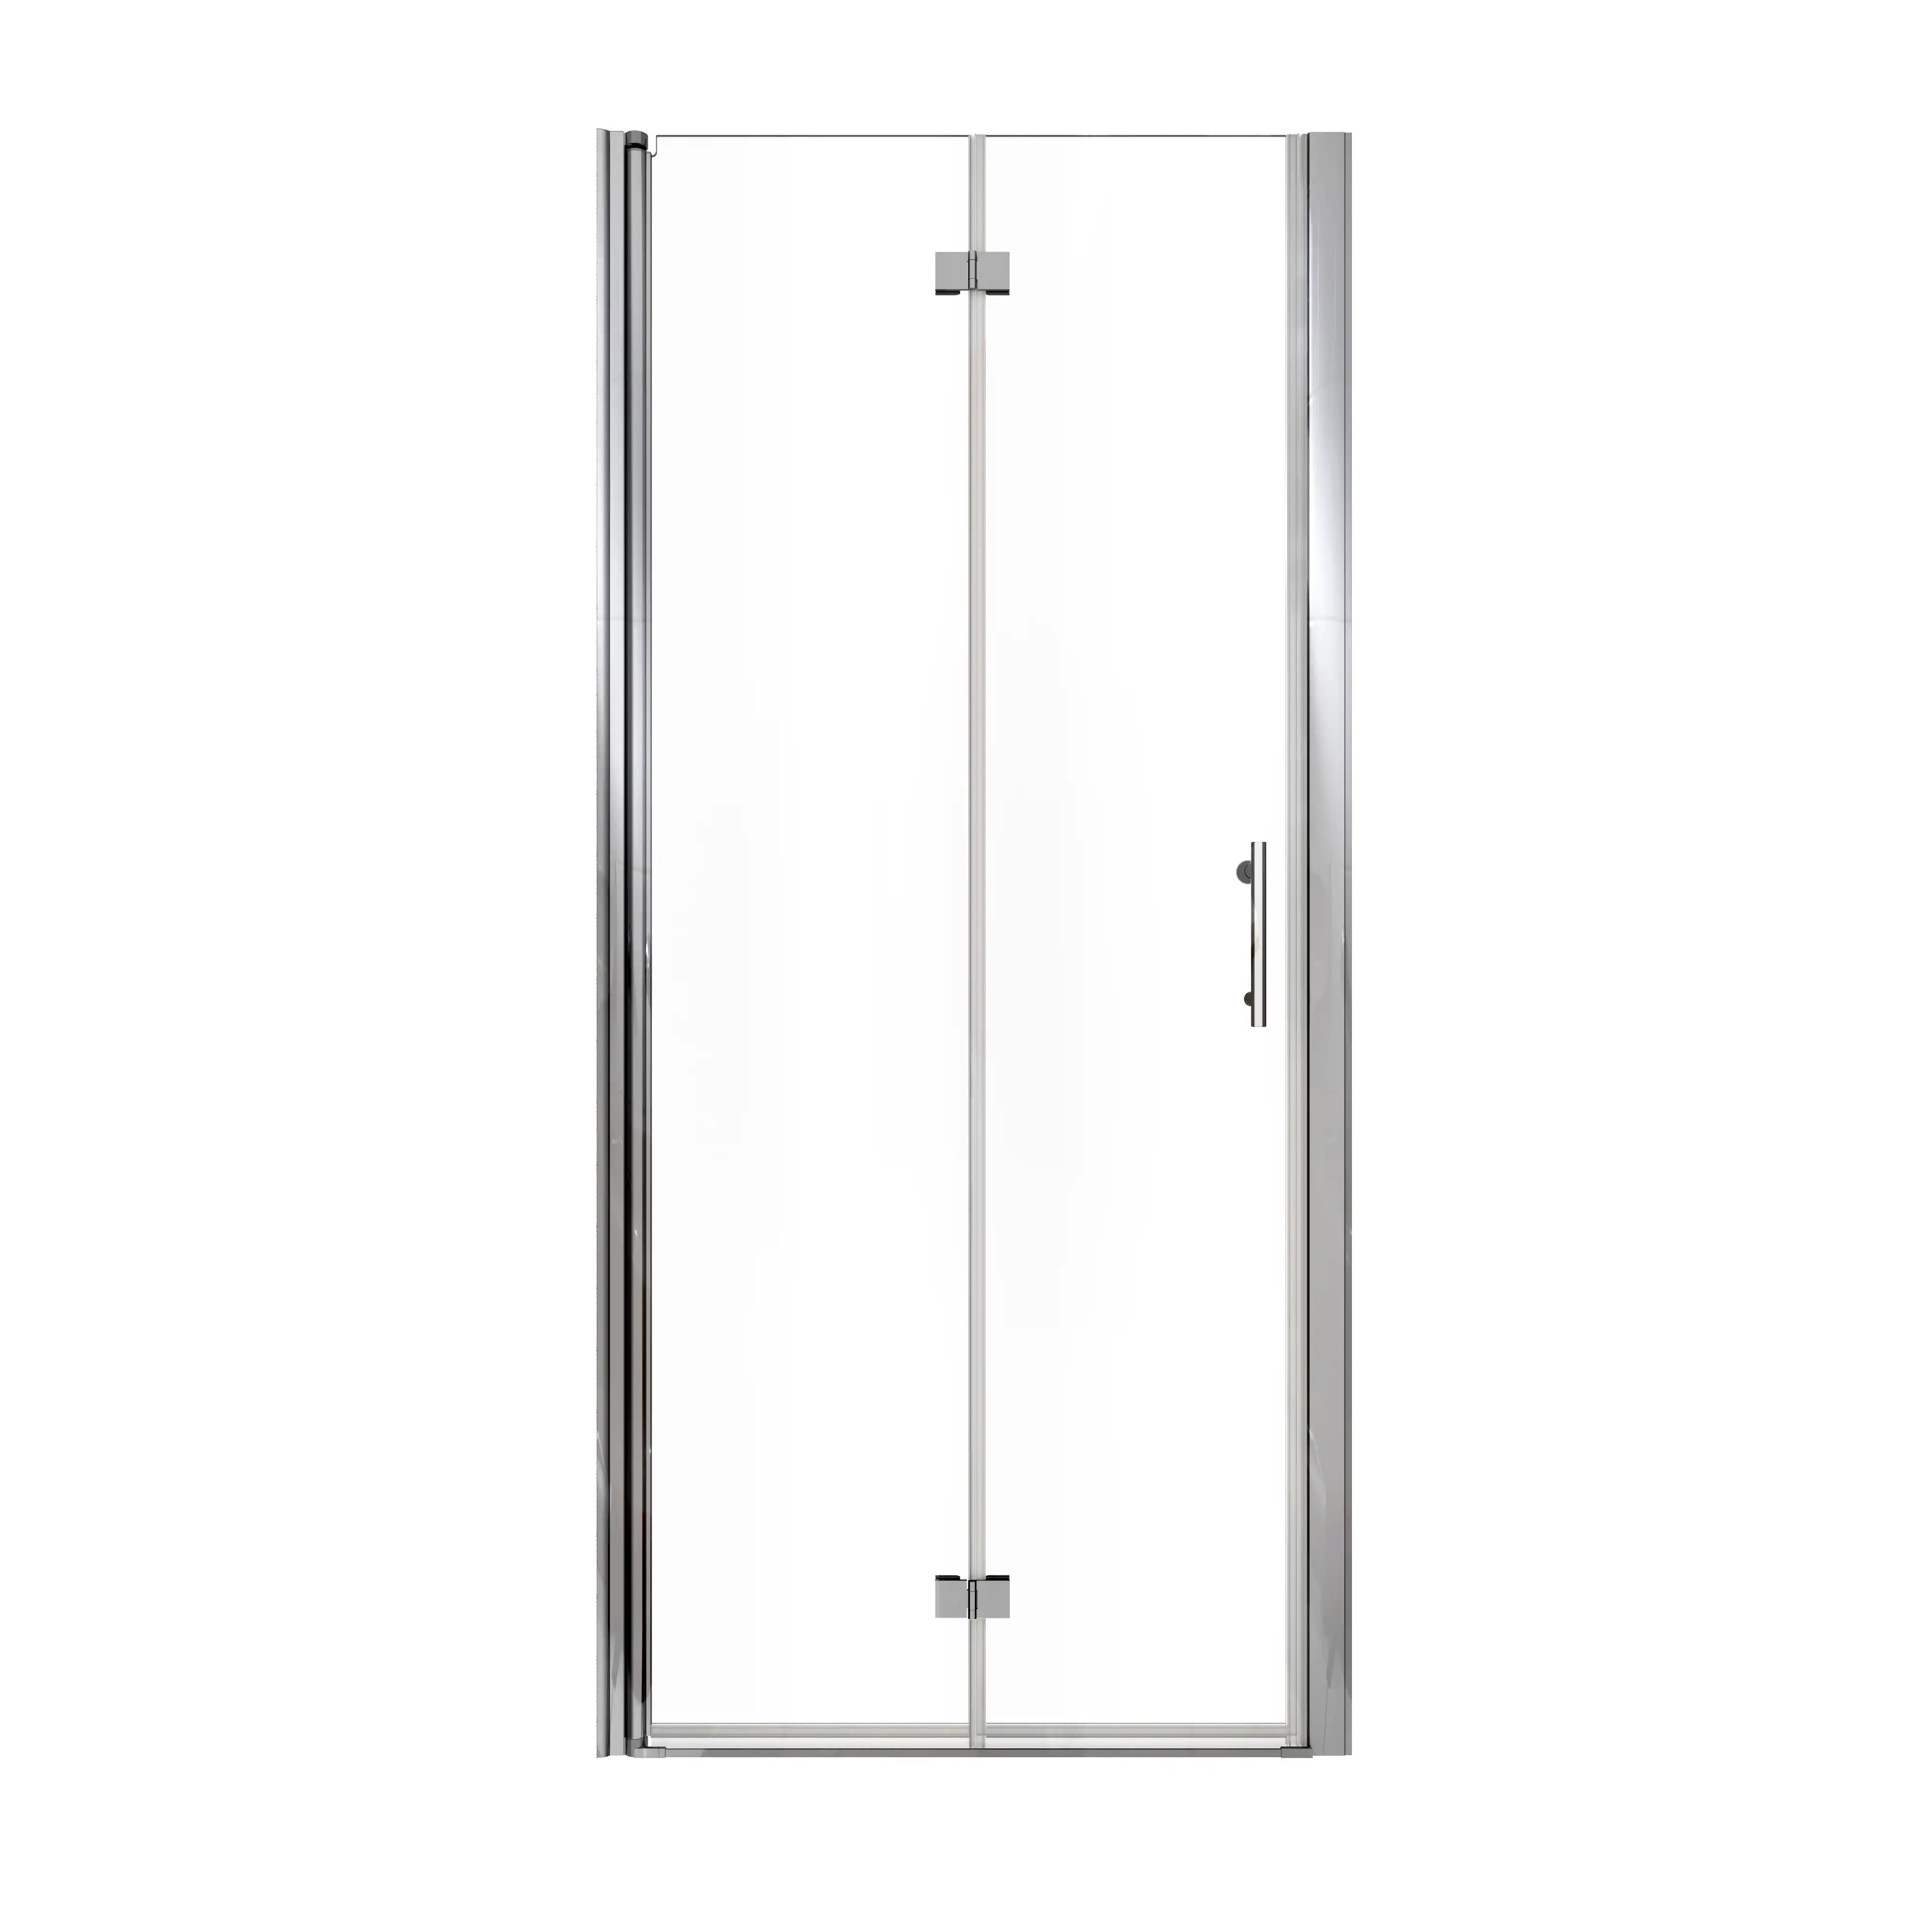
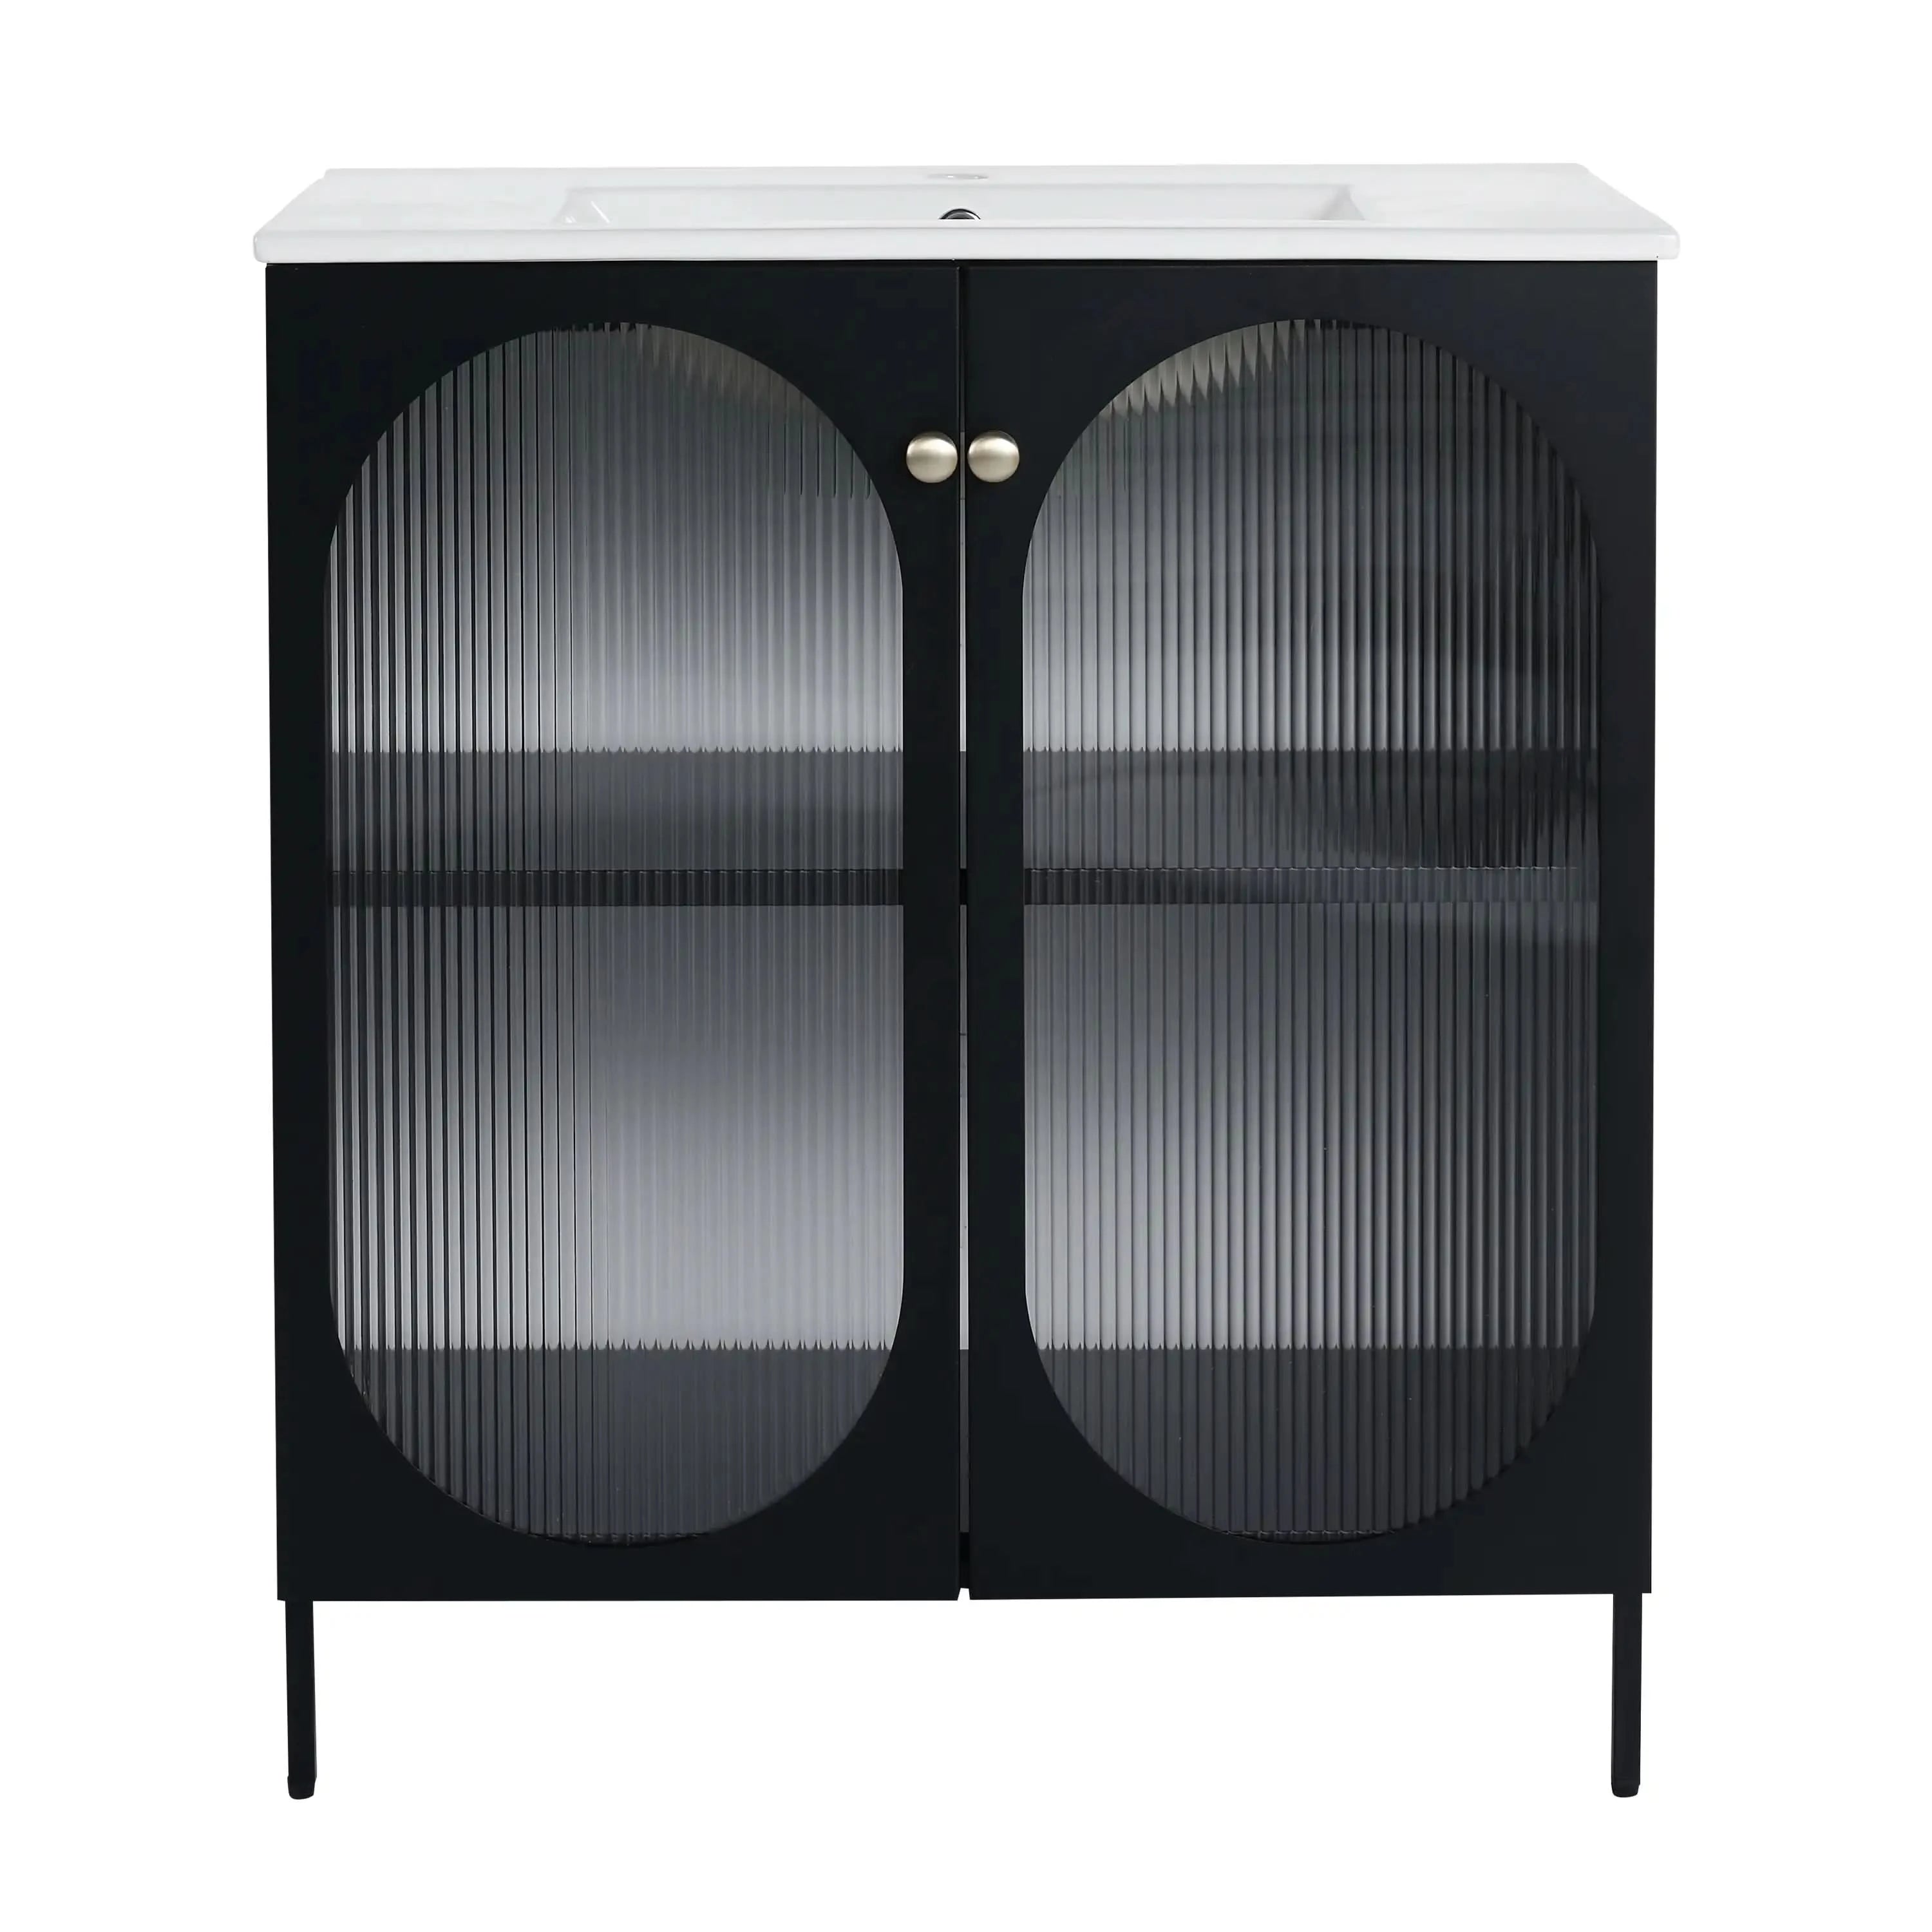
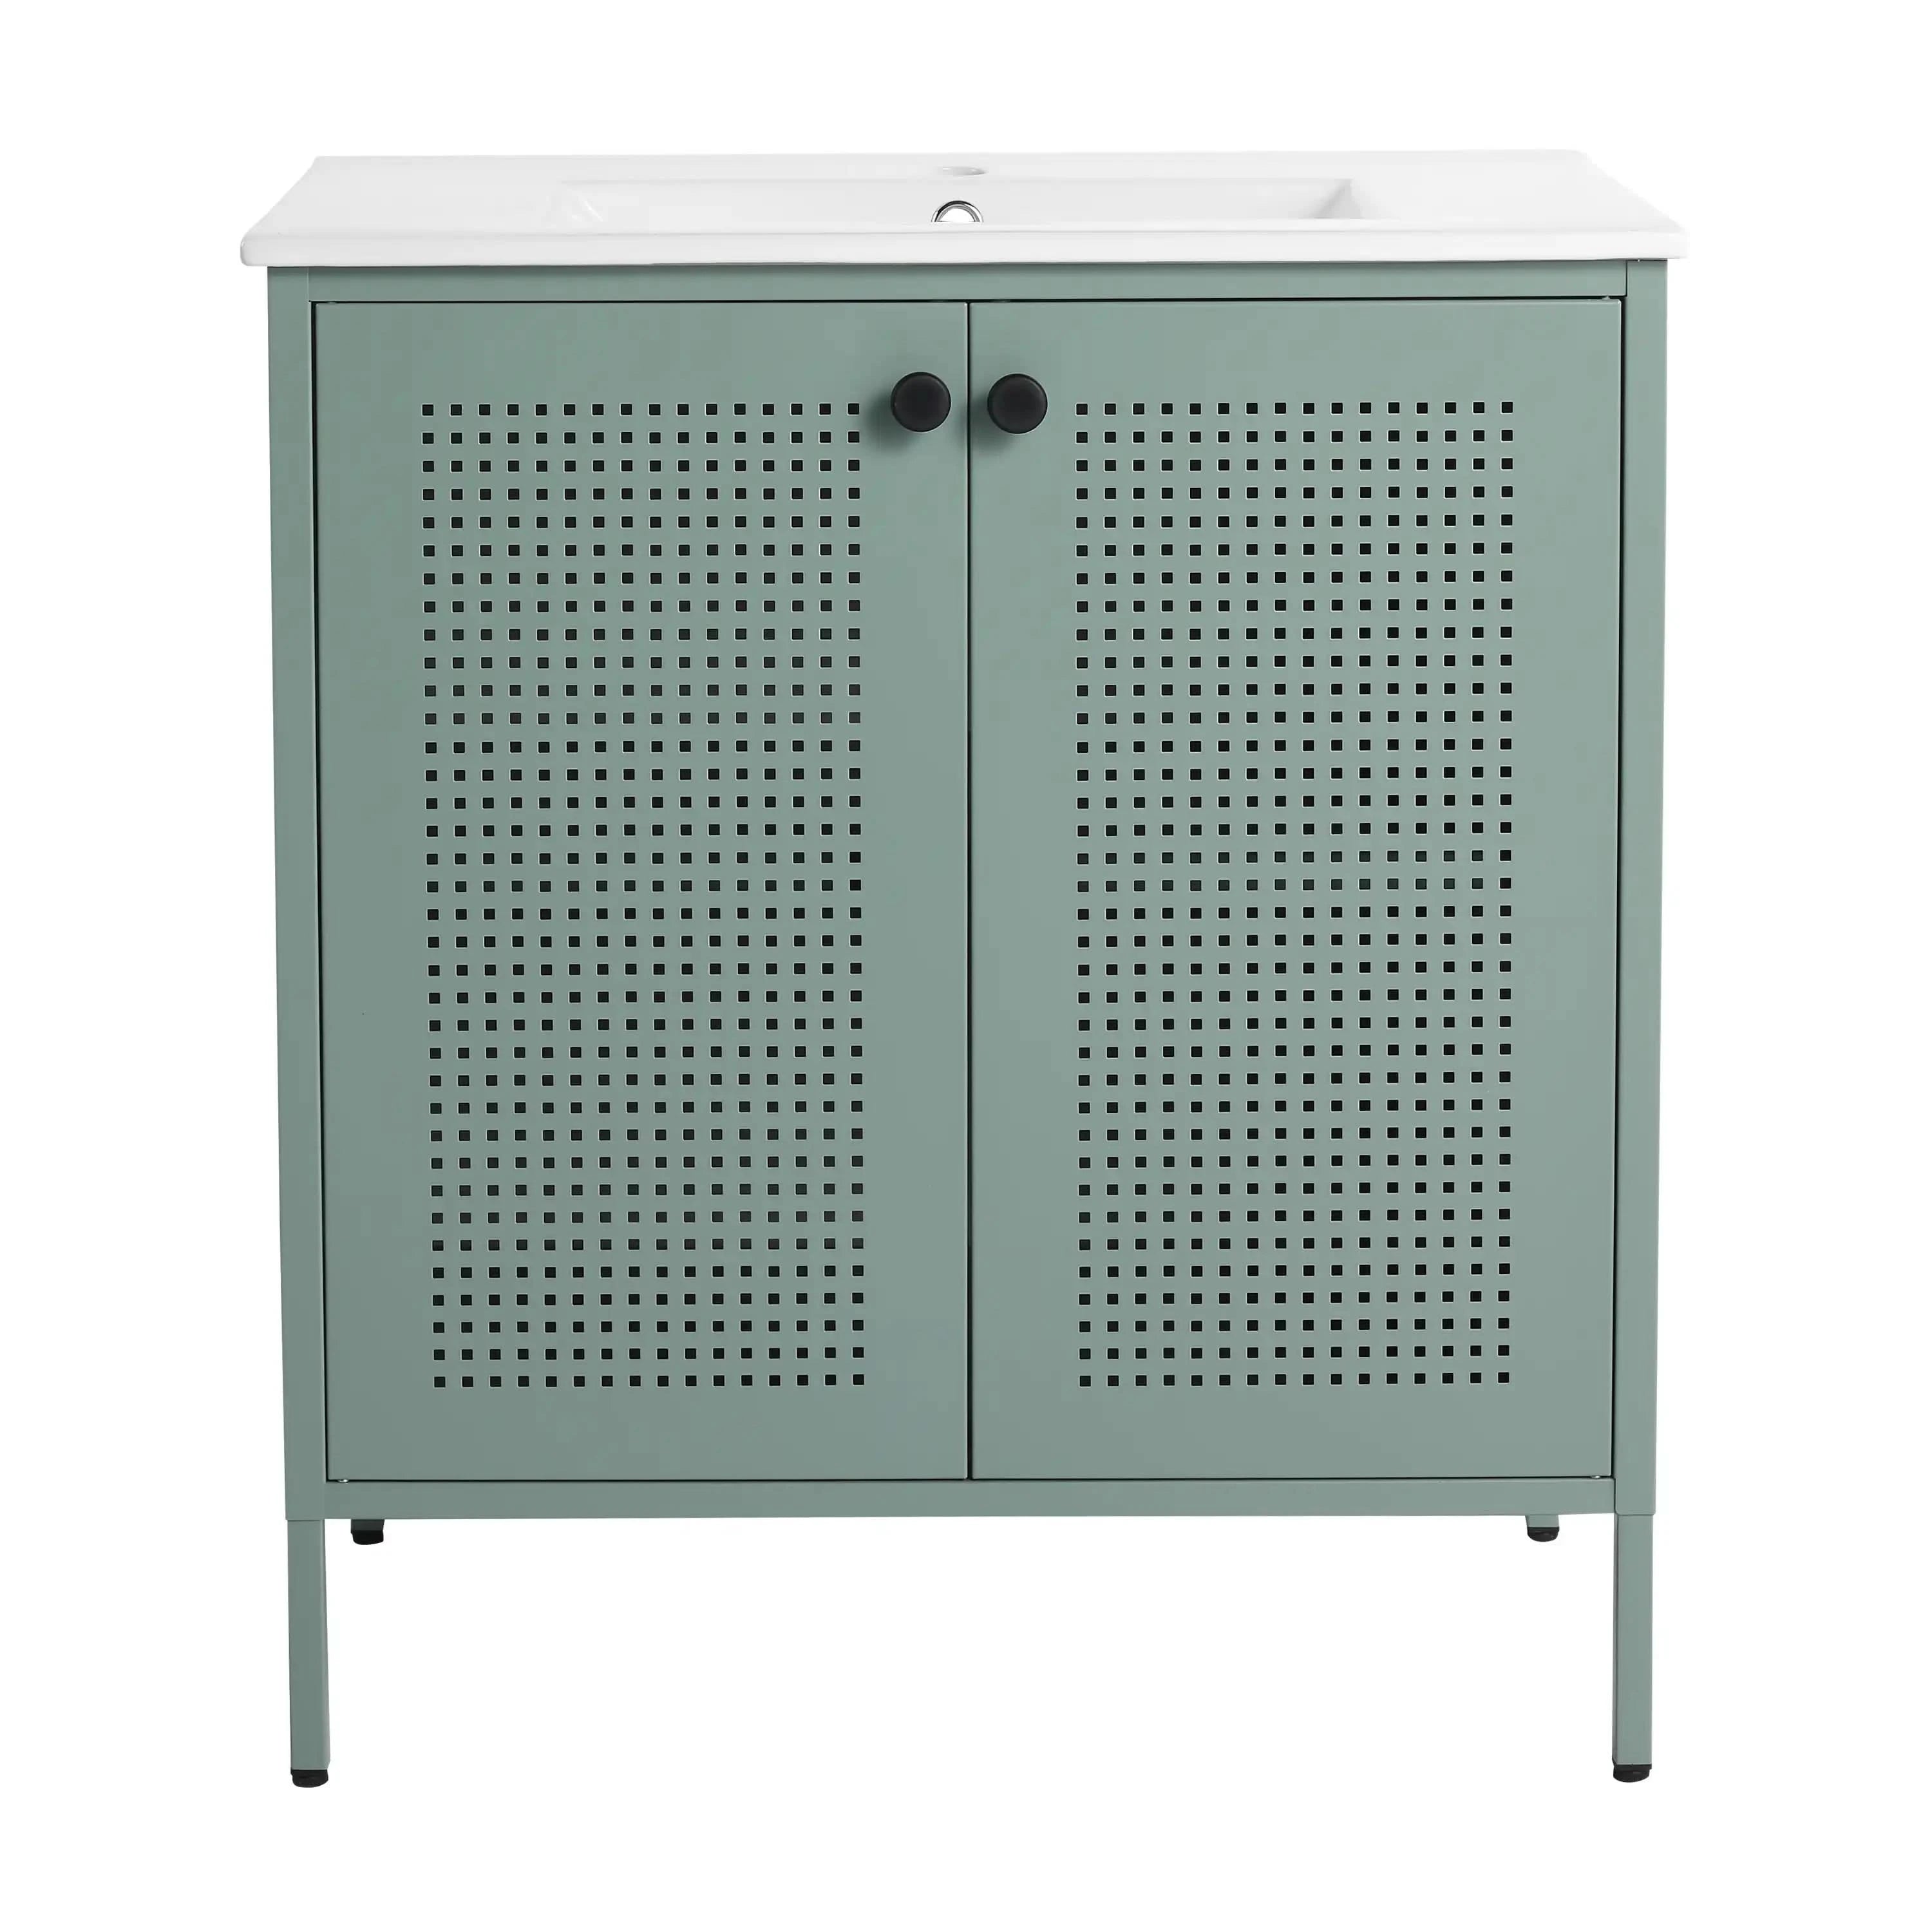
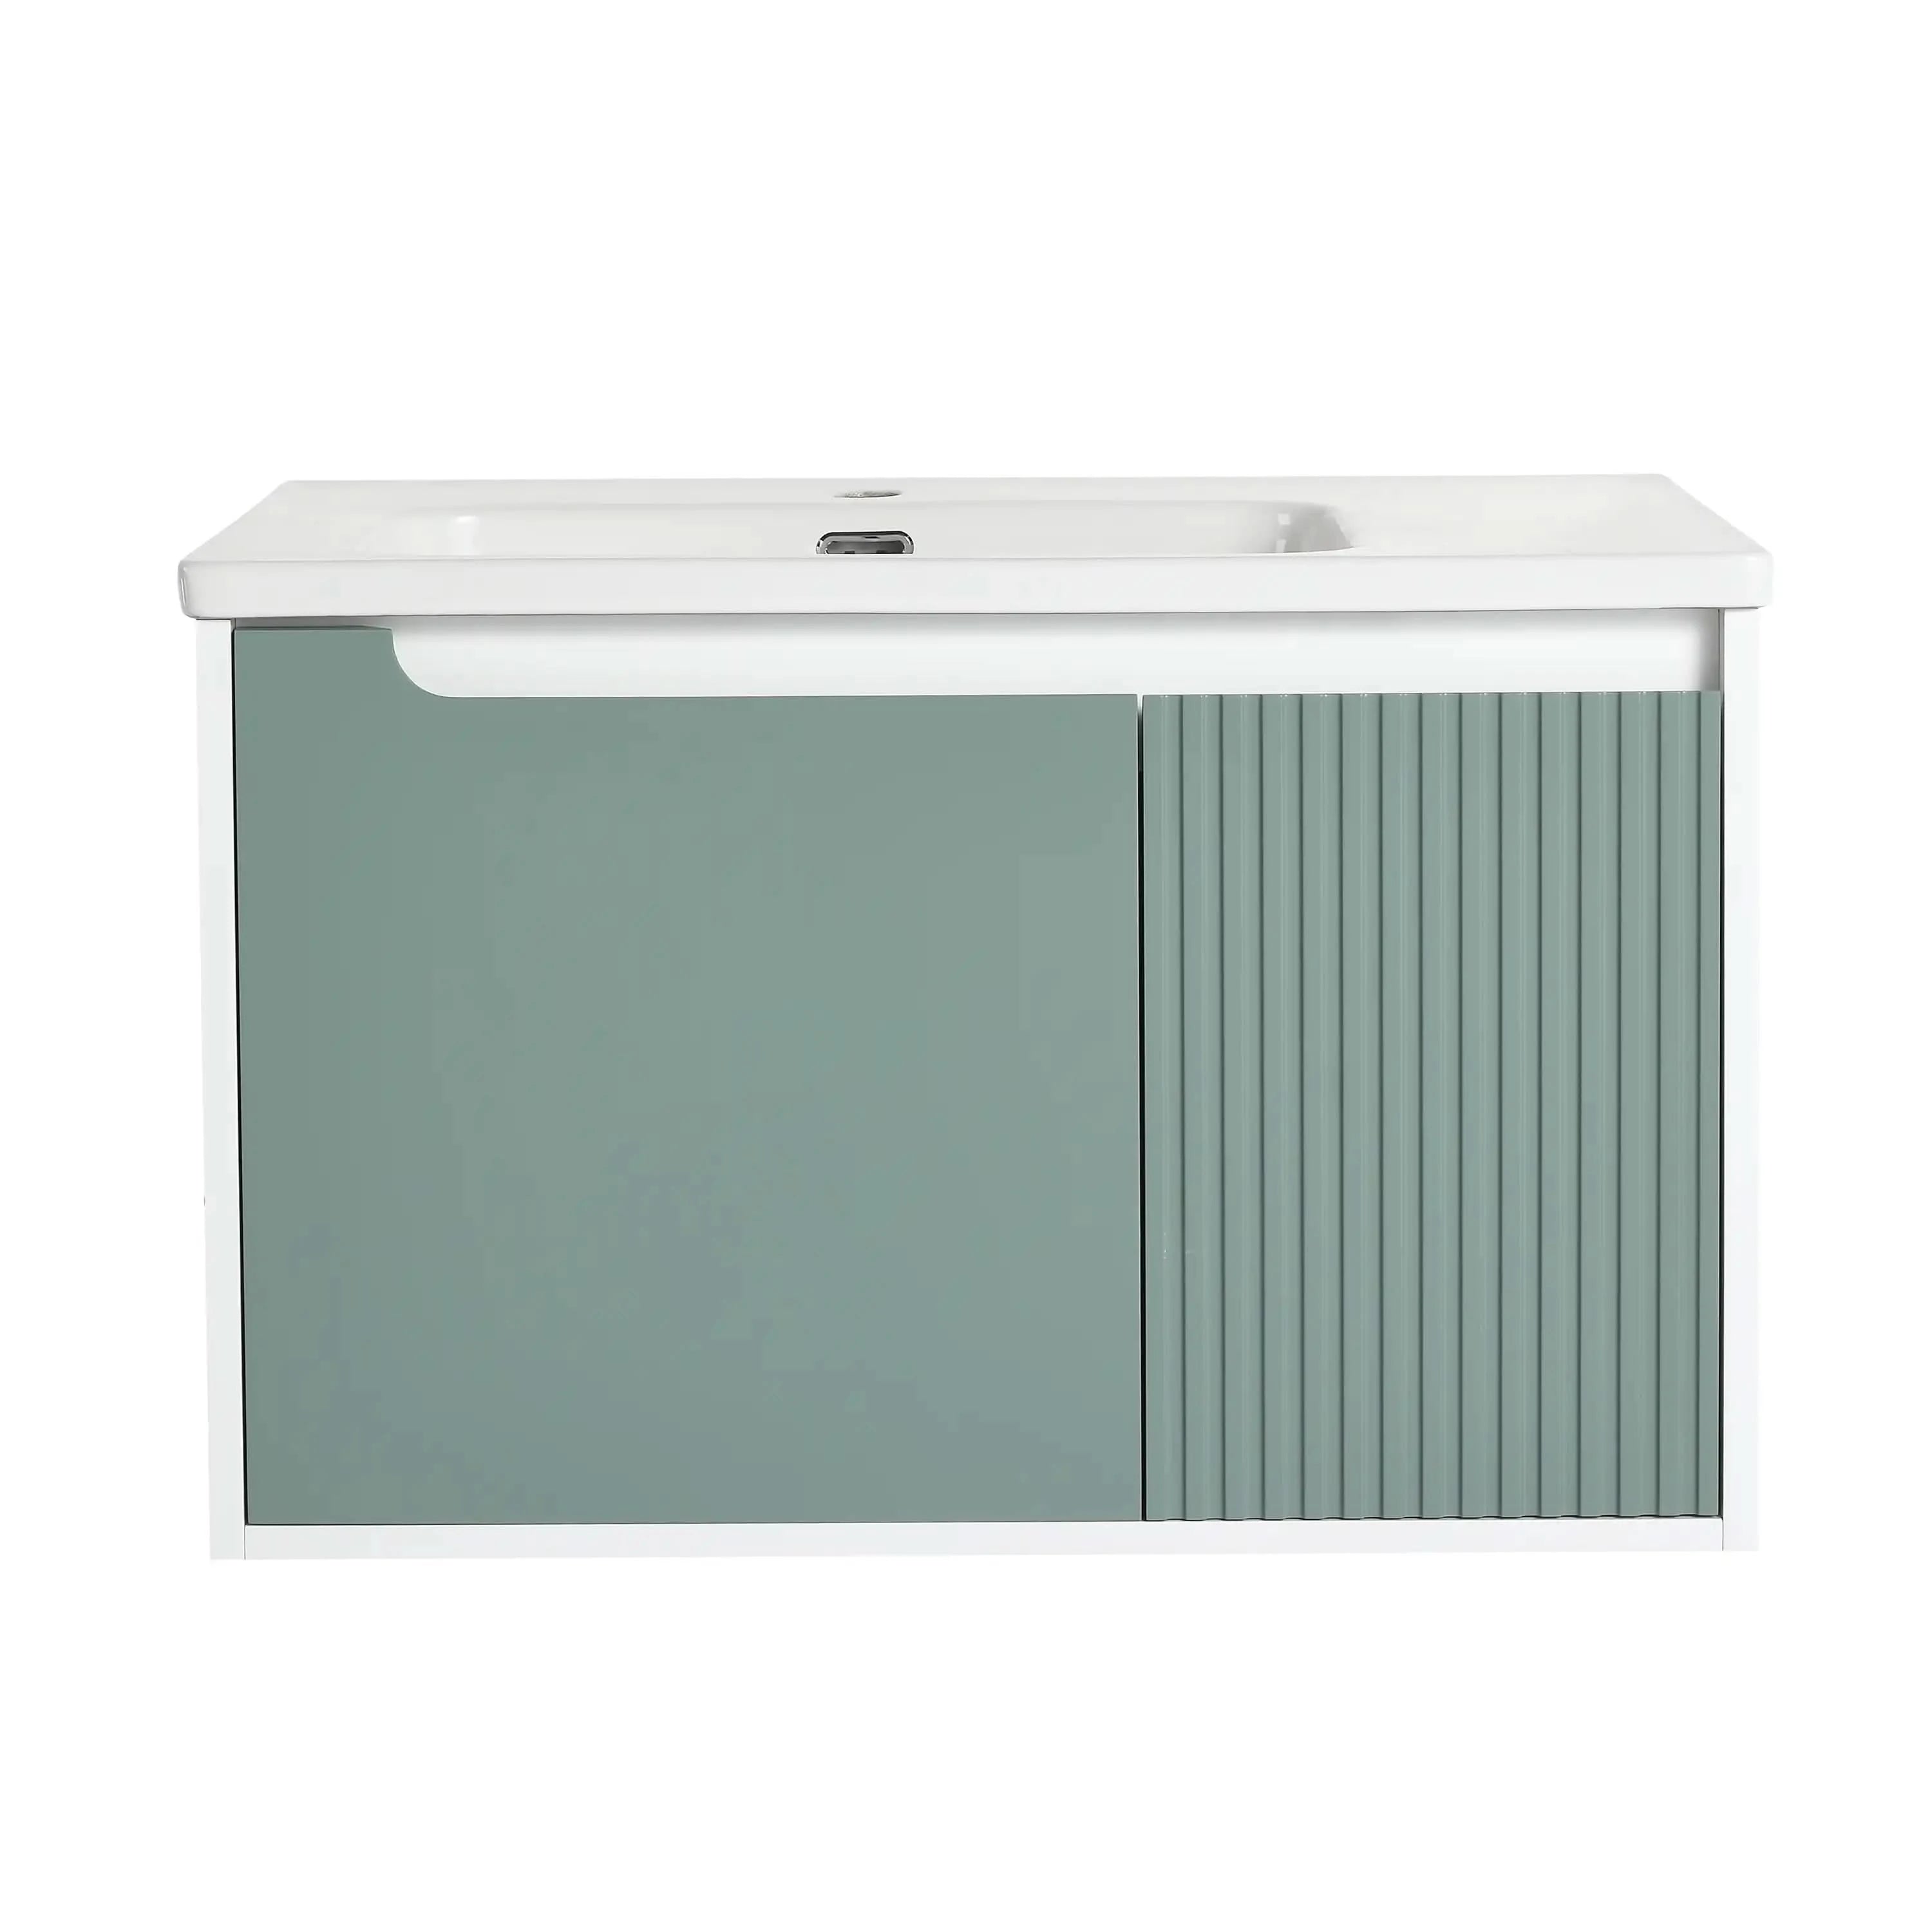
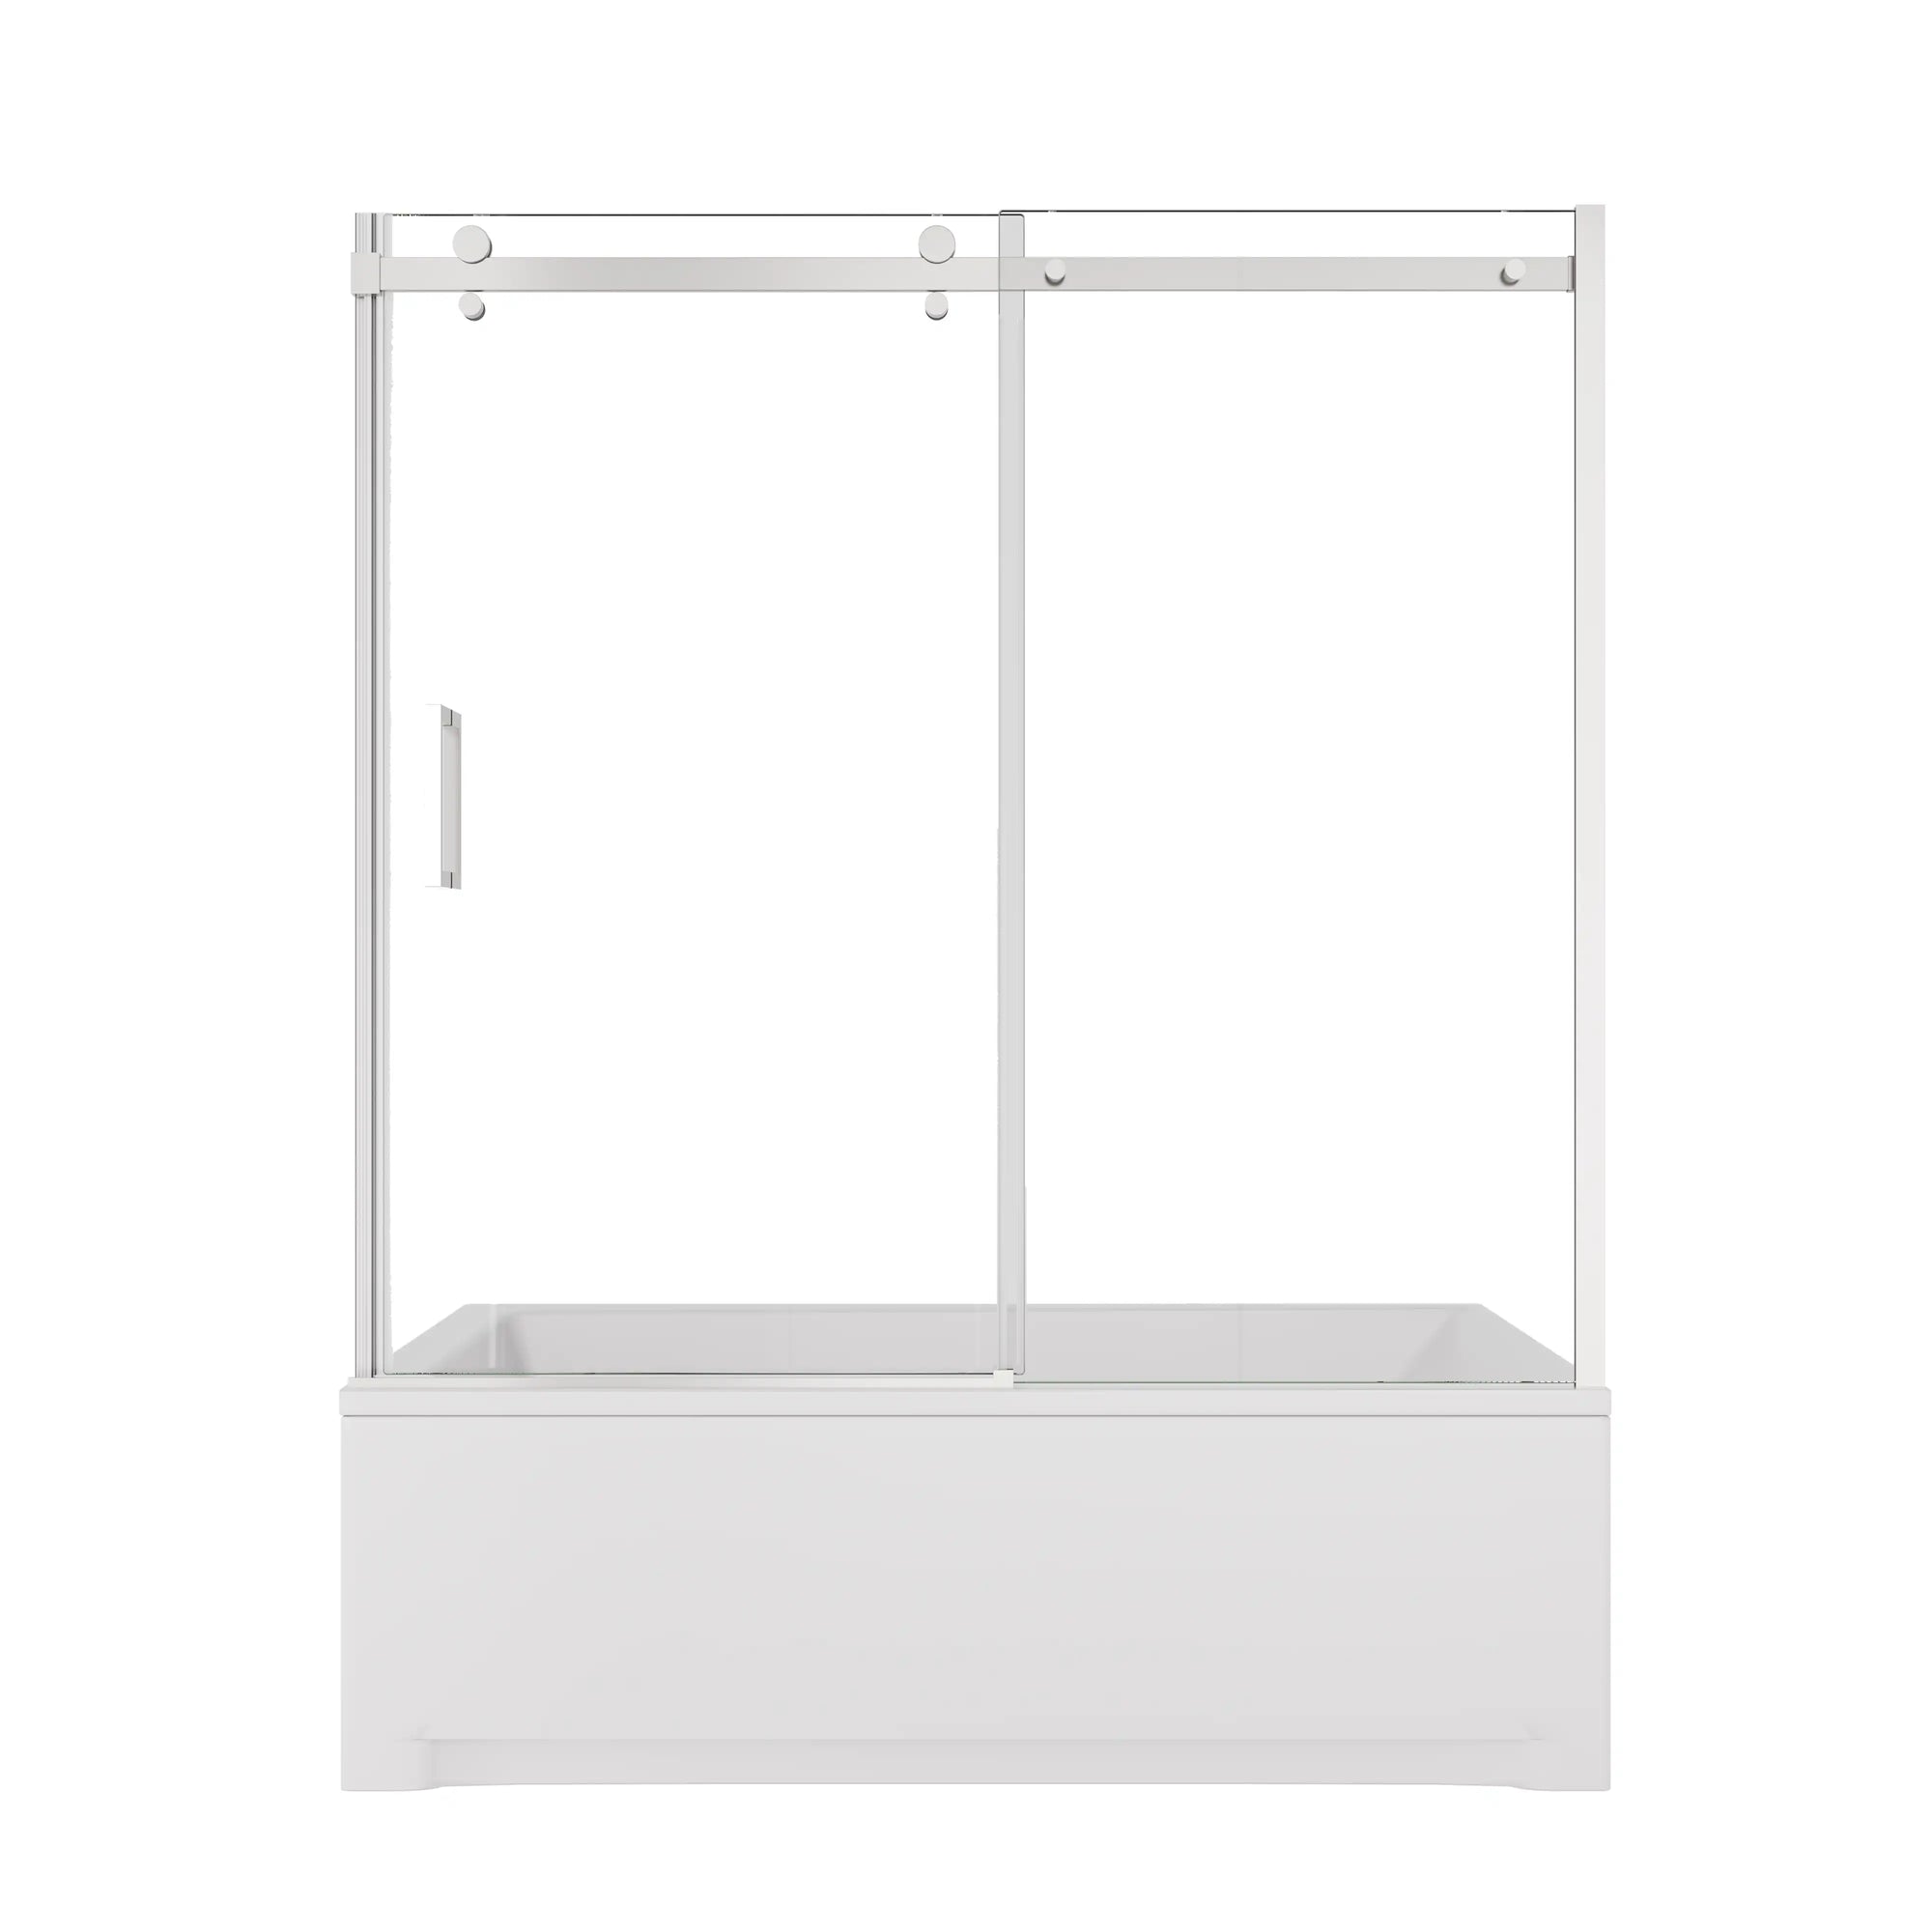
Upgrade Your Bathroom with Acedecor Bath
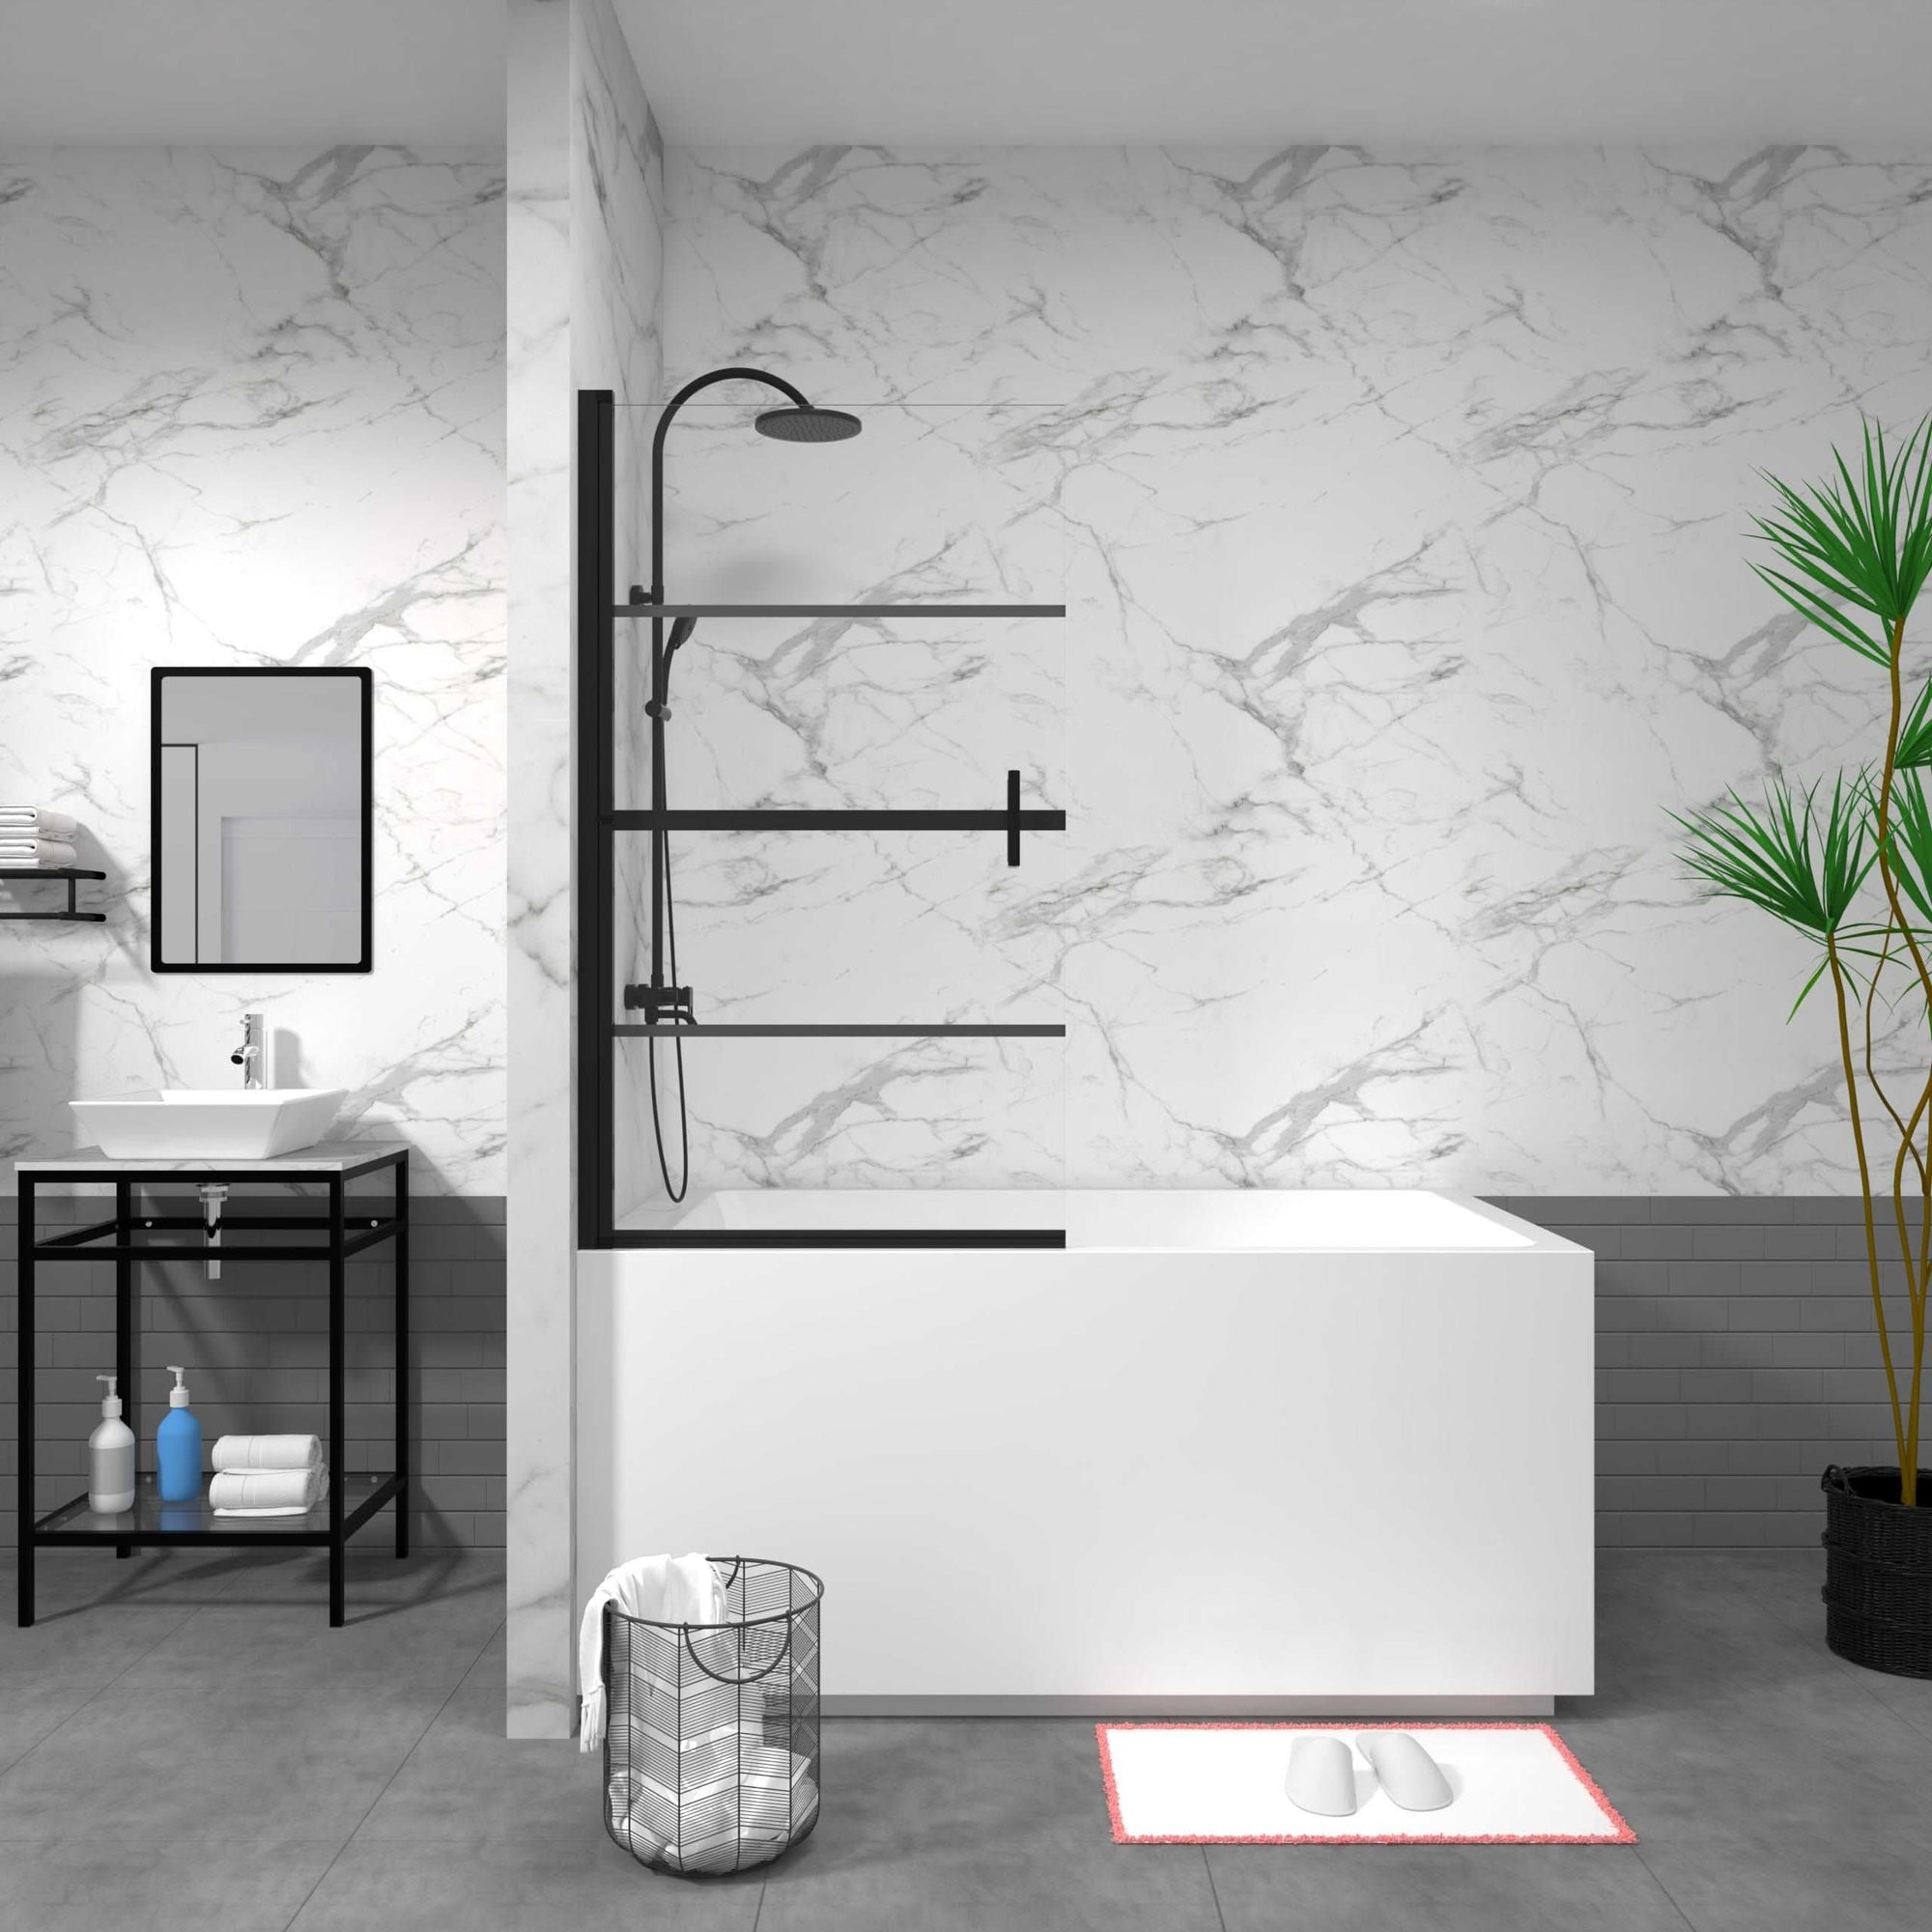
Sick of water splashing everywhere and dealing with that clingy old shower curtain? It's time for an upgrade that actually works.
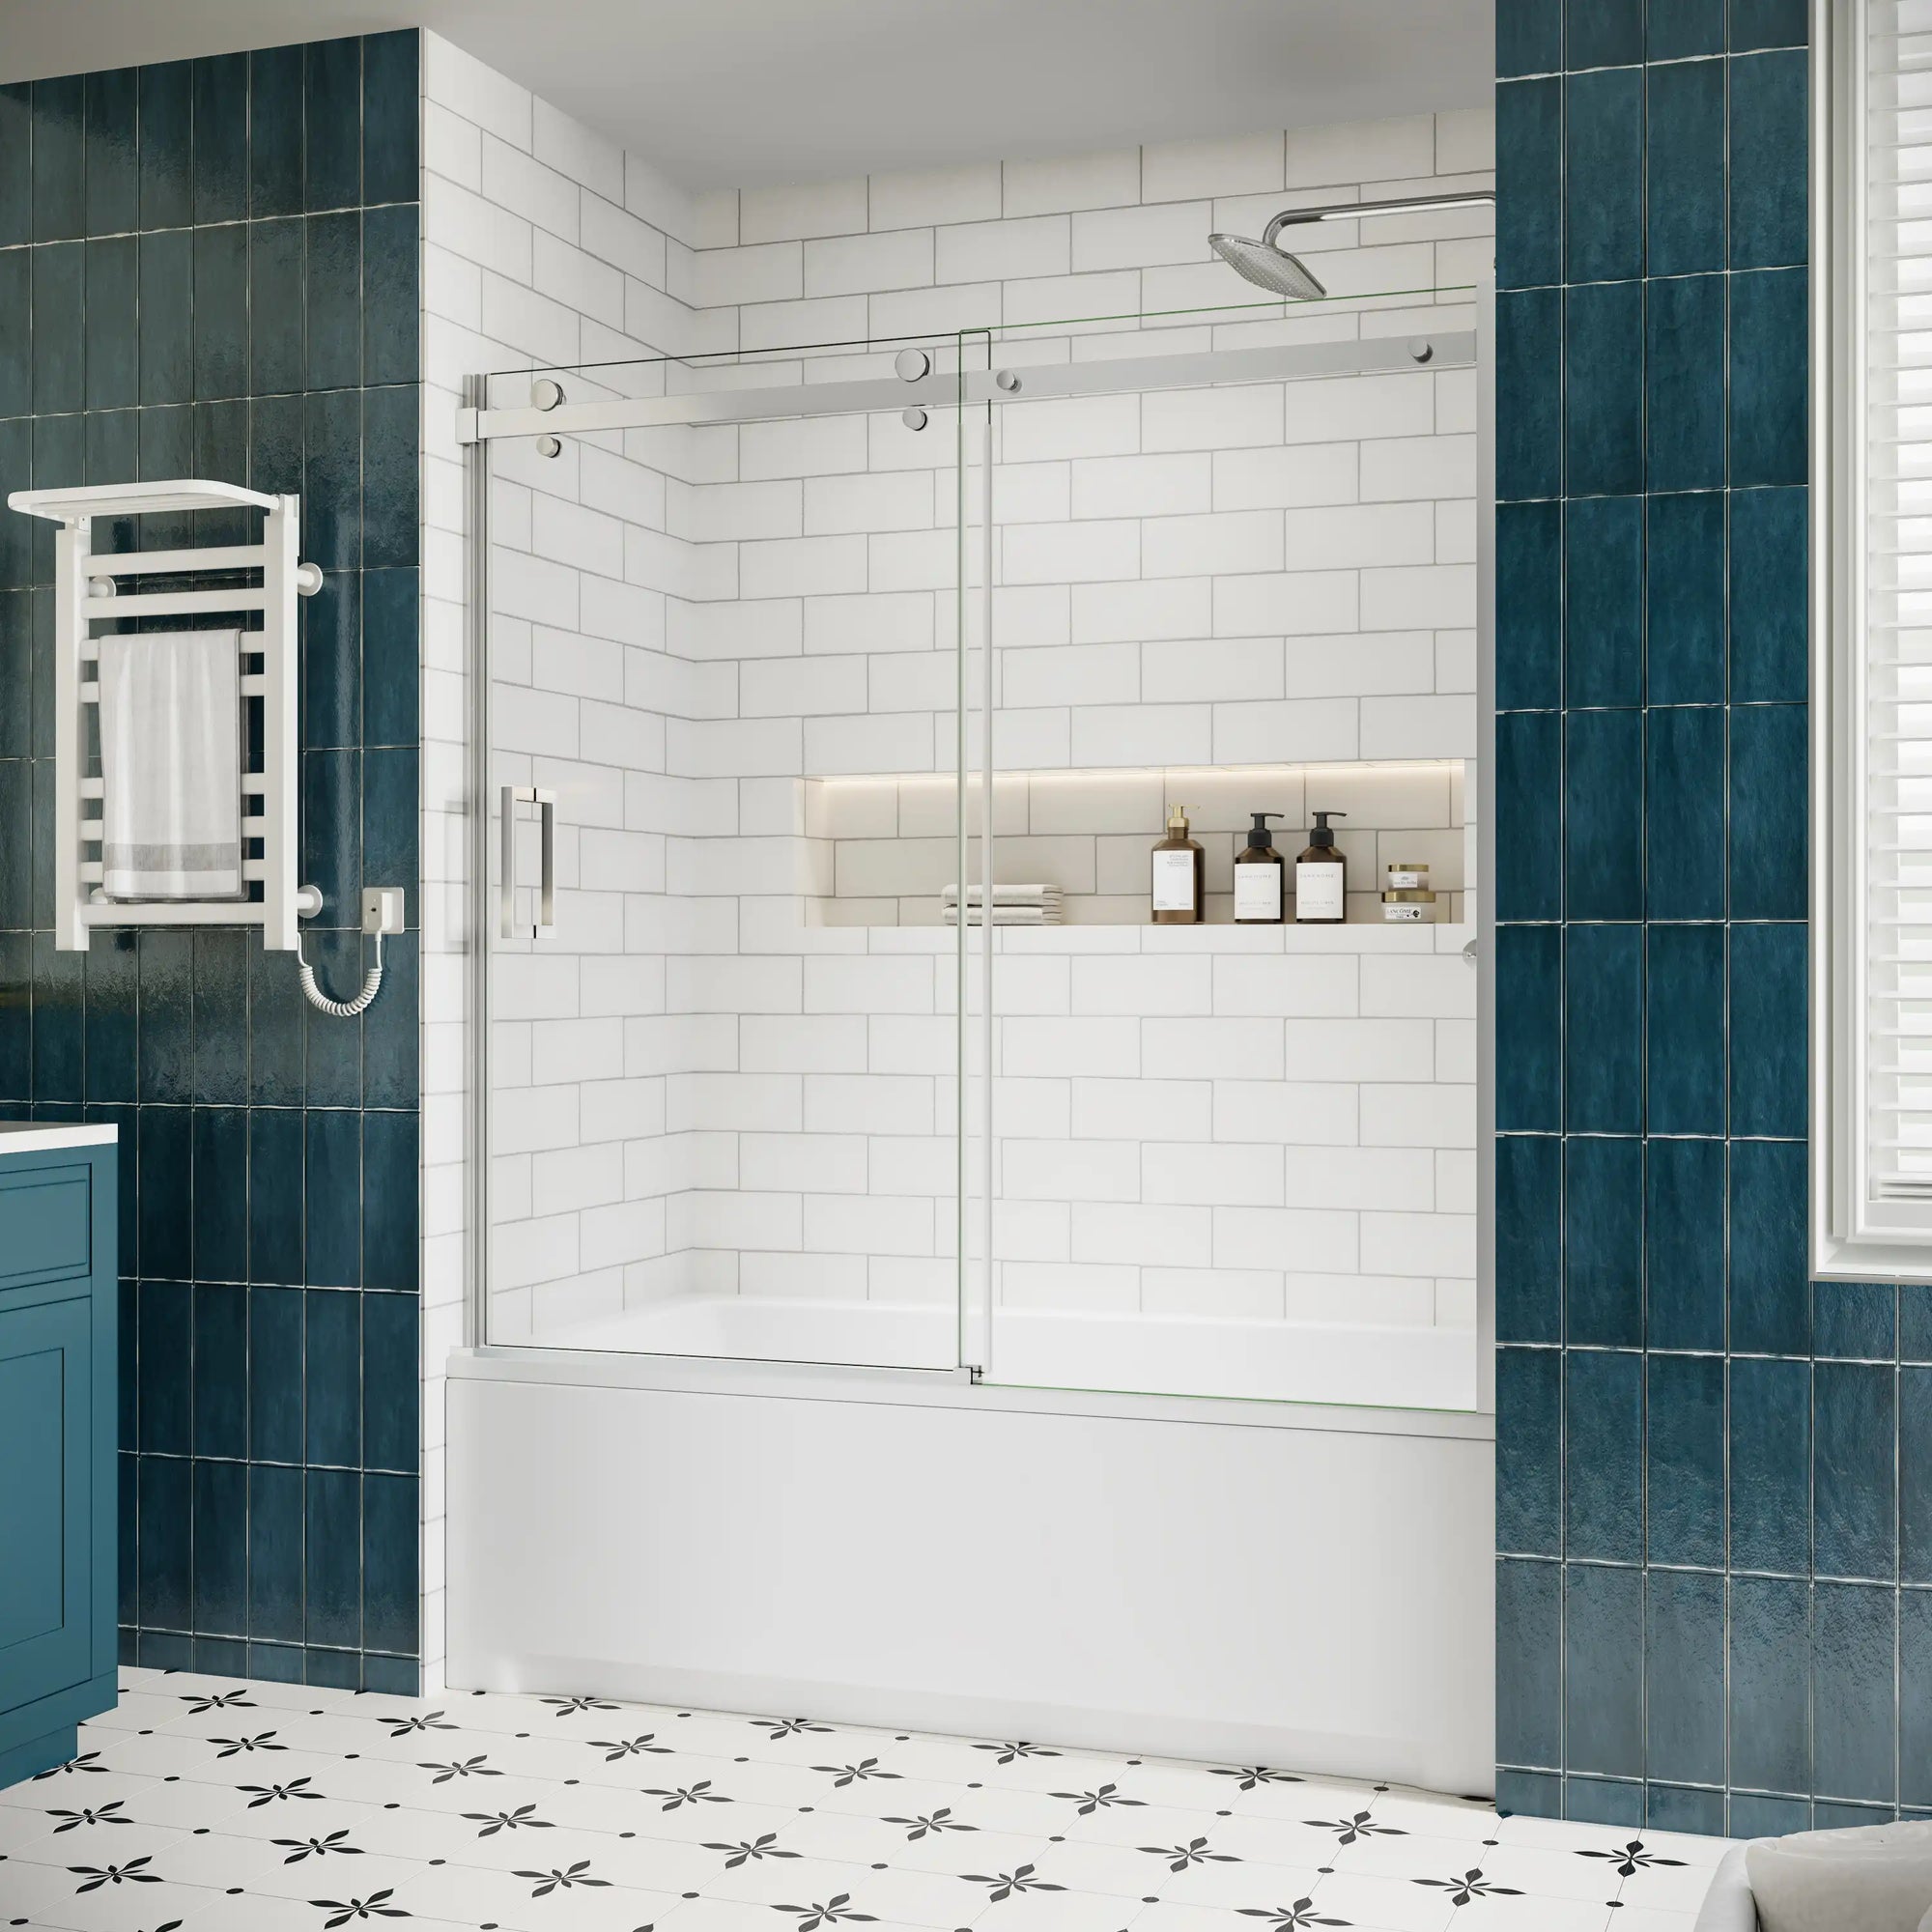
At Acedecor Bath, we bring you premium shower doors that don't just look sleek—they keep your bathroom dry and effortlessly stylish. Our premium-quality shower doors are designed to keep the water where it belongs while adding a touch of elegance to your bathroom.
Shop now and experience the Acedecor difference – Browse our collection