Introduction
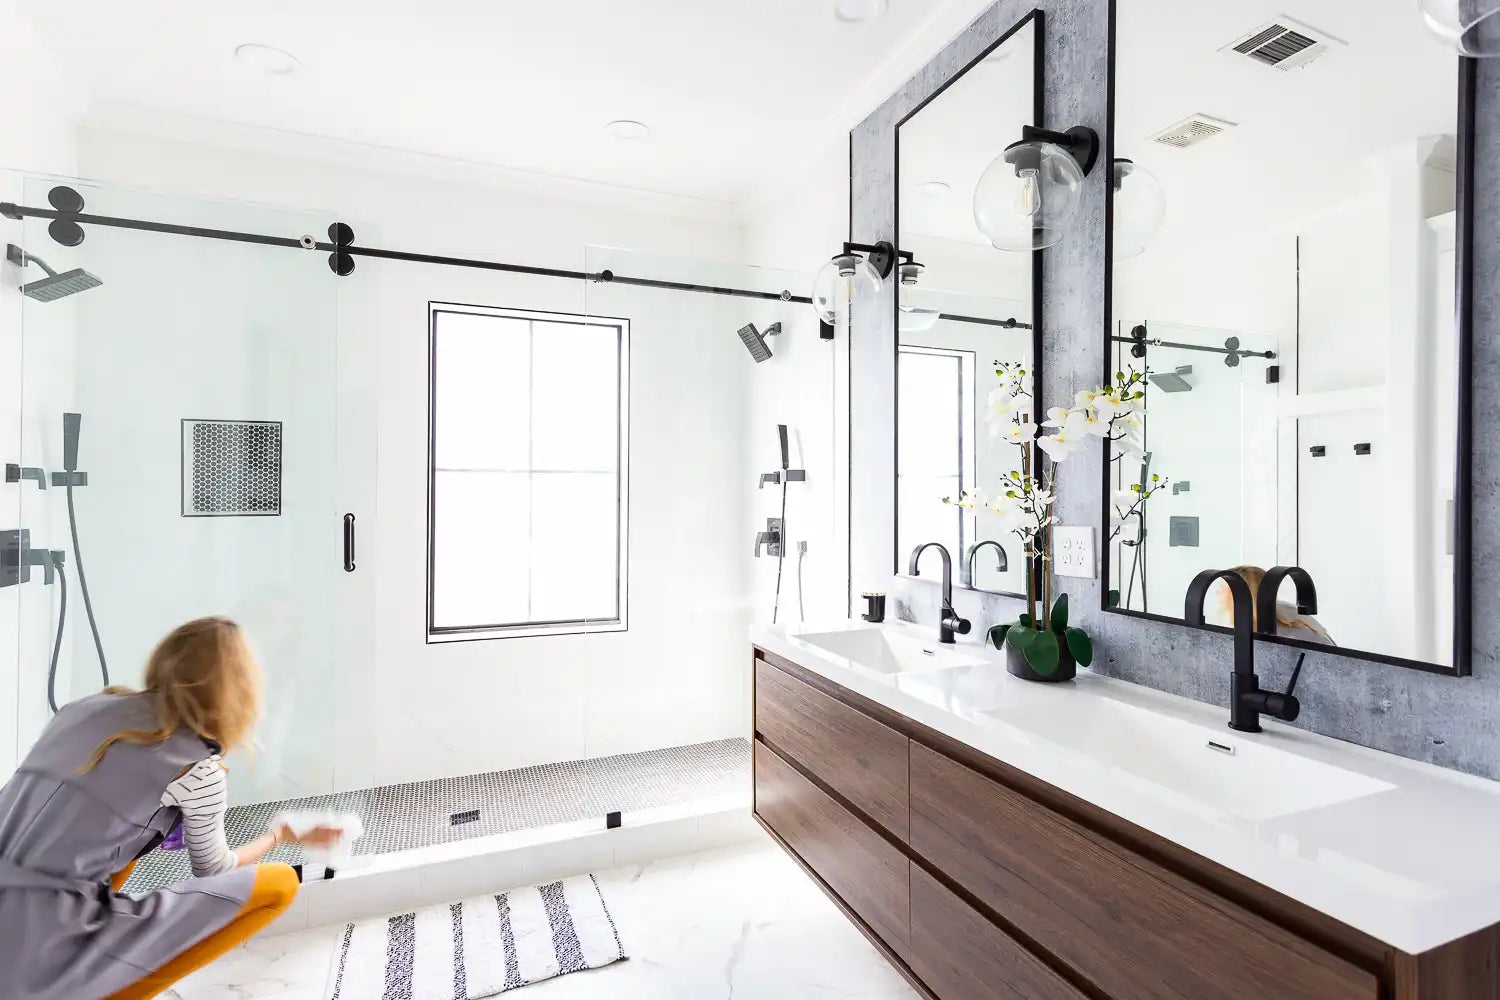
When it comes to bathroom remodeling, few projects are as satisfying as installing a new shower door. It’s a simple upgrade that can completely transform the look and feel of your bathroom. However, while a DIY shower door installation might seem like a straightforward task, it can quickly turn into a frustrating nightmare if you make the wrong choices.
Installing a shower door doesn’t have to be a hassle—if done right. By understanding common pitfalls, you can avoid mistakes that lead to wasted time, money, and effort. Whether you’re installing a frameless shower door, a sliding shower door, or a bypass shower door, these tips are essential for making your project a success.
In this guide, we’ll walk you through the top 5 mistakes to avoid during a DIY shower door installation. From inaccurate measurements to neglecting safety precautions, we’ll show you how to get it right and ensure a hassle-free installation experience.
Mistake #1: Incorrect Measurements
Let’s start with the most crucial step: measuring. It might sound simple, but incorrect measurements are one of the leading causes of DIY shower door failures. Imagine getting a beautiful, custom shower door, only to find it doesn’t fit into your shower space—either it’s too large, too small, or uneven. Not only does this lead to frustration, but it can also result in additional costs for returns, exchanges, or reordering.
Here’s why proper measurement matters:
1. Shower Dimensions Aren’t Always Standardized
Every bathroom is unique. While some shower openings may seem like they fit the “standard” size, many have custom dimensions. This is especially true for older homes or non-traditional layouts. A standard shower door may not align with your space, especially if you have an unconventional opening, like a curved or angled shower wall.
2. Misjudging Height and Width
The width of the shower door is usually the first measurement we think of, but height can be just as critical. If your shower door is too tall or too short, it will look out of place, or worse, fail to seal correctly.
The Solution:
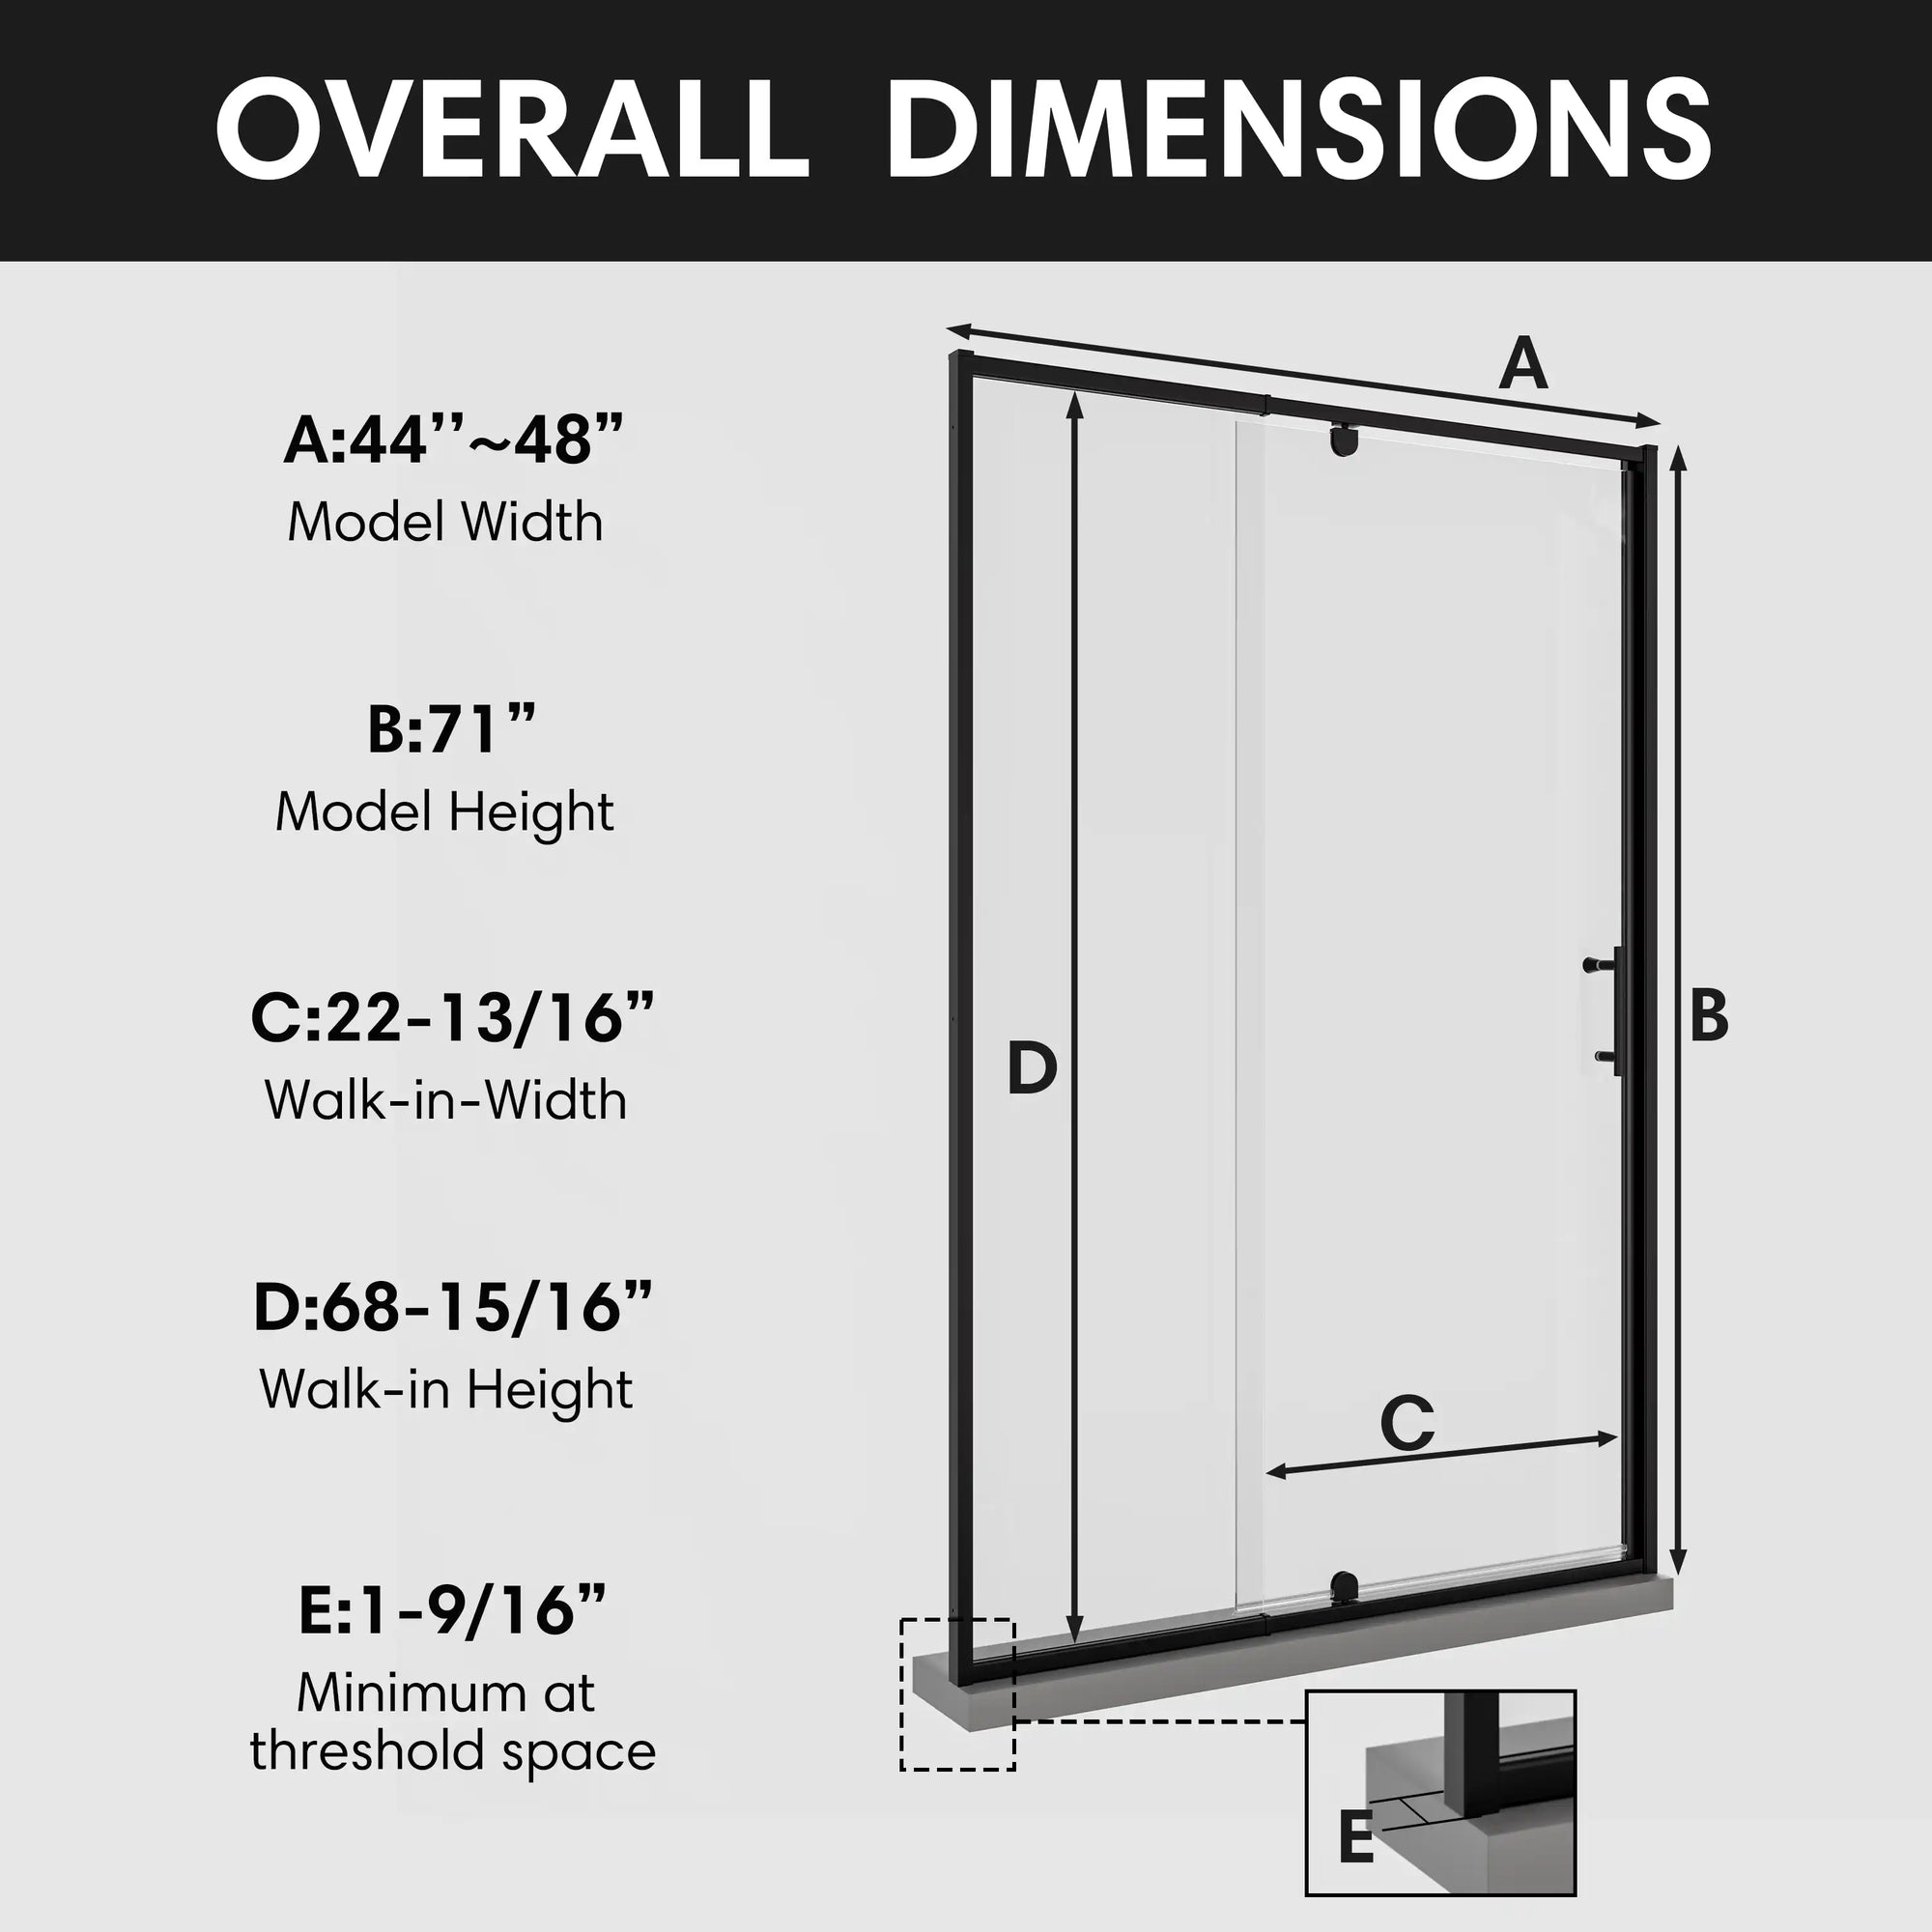
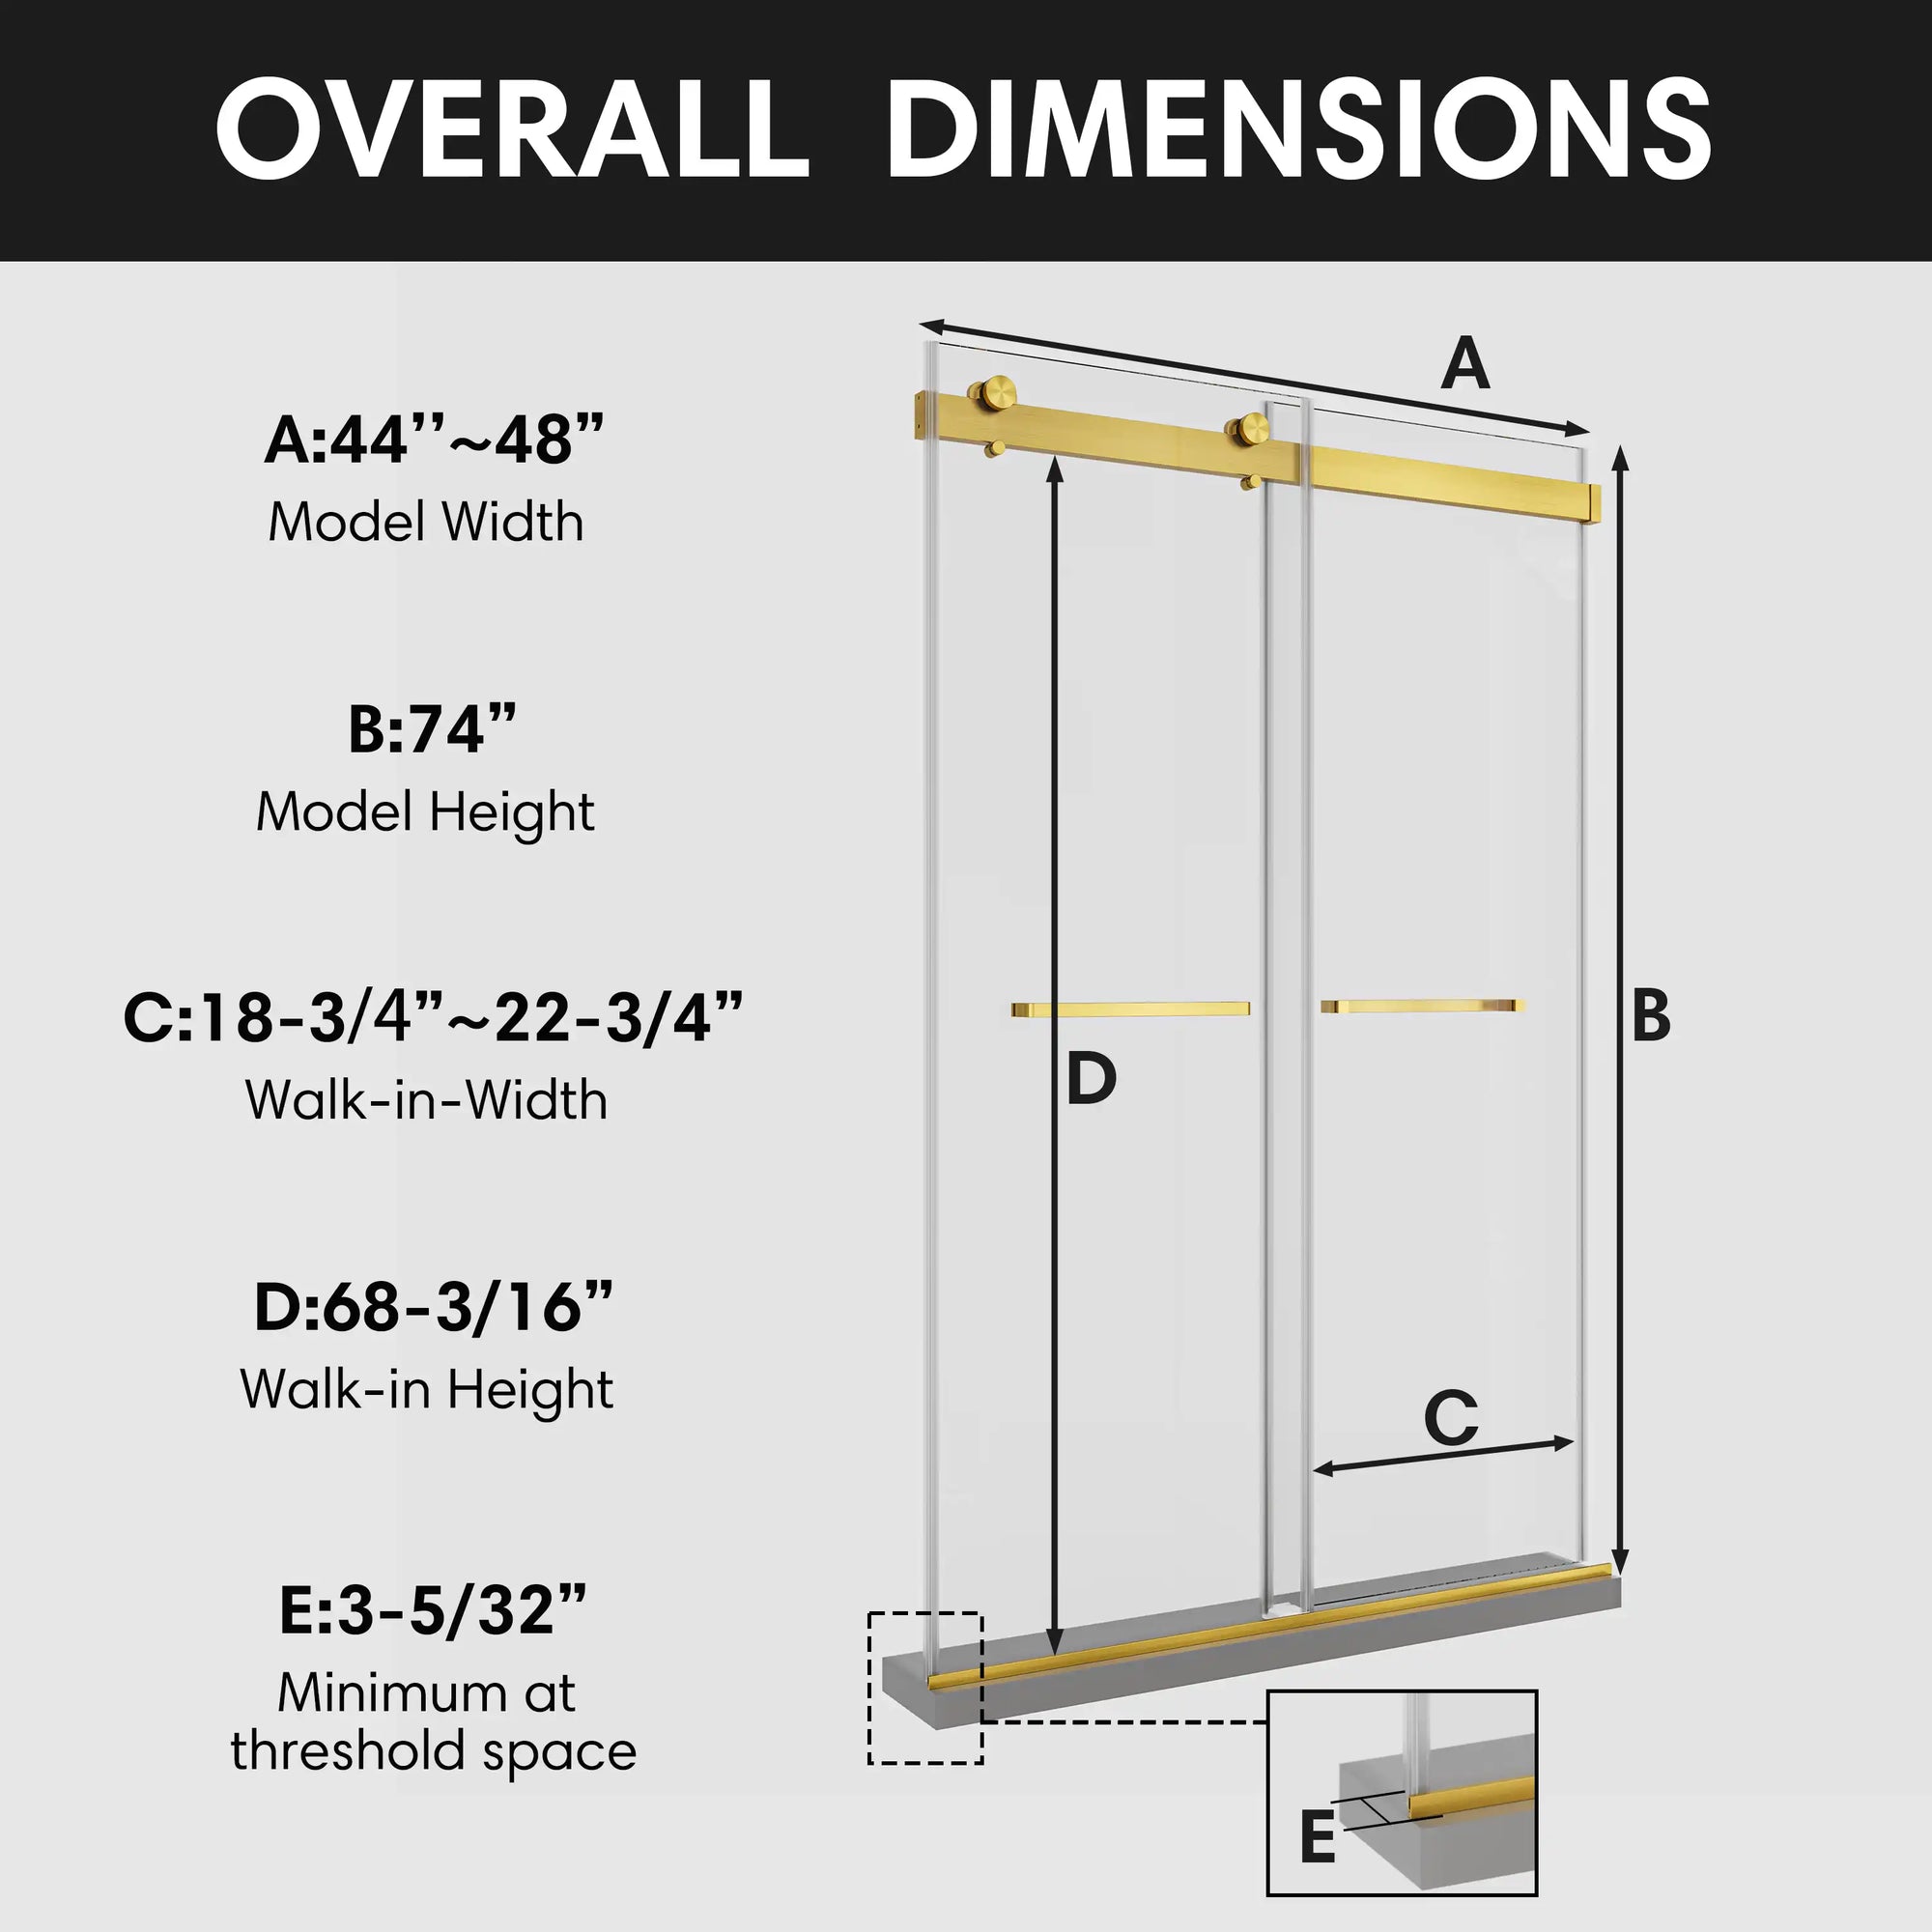
Double-check your measurements. Measure the width at three points: the top, middle, and bottom of the shower opening. This accounts for any irregularities. Also, measure the height from the base of your shower curb to the top of the opening. Don’t rush the process—take your time to measure twice, and even triple-check if you need to.
Why It Matters:
Ensuring you have the right fit not only prevents costly mistakes but also avoids the stress of dealing with returns or exchanges. An accurate fit also ensures the door seals properly, preventing leaks and improving the door’s longevity.
Pro Tip:
If you’re unsure about your measurements, many online stores (including ACE DECOR) offer detailed guides on how to measure for specific types of shower doors. Additionally, some products offer adjustable features to accommodate slightly off measurements.
Recommended Product:
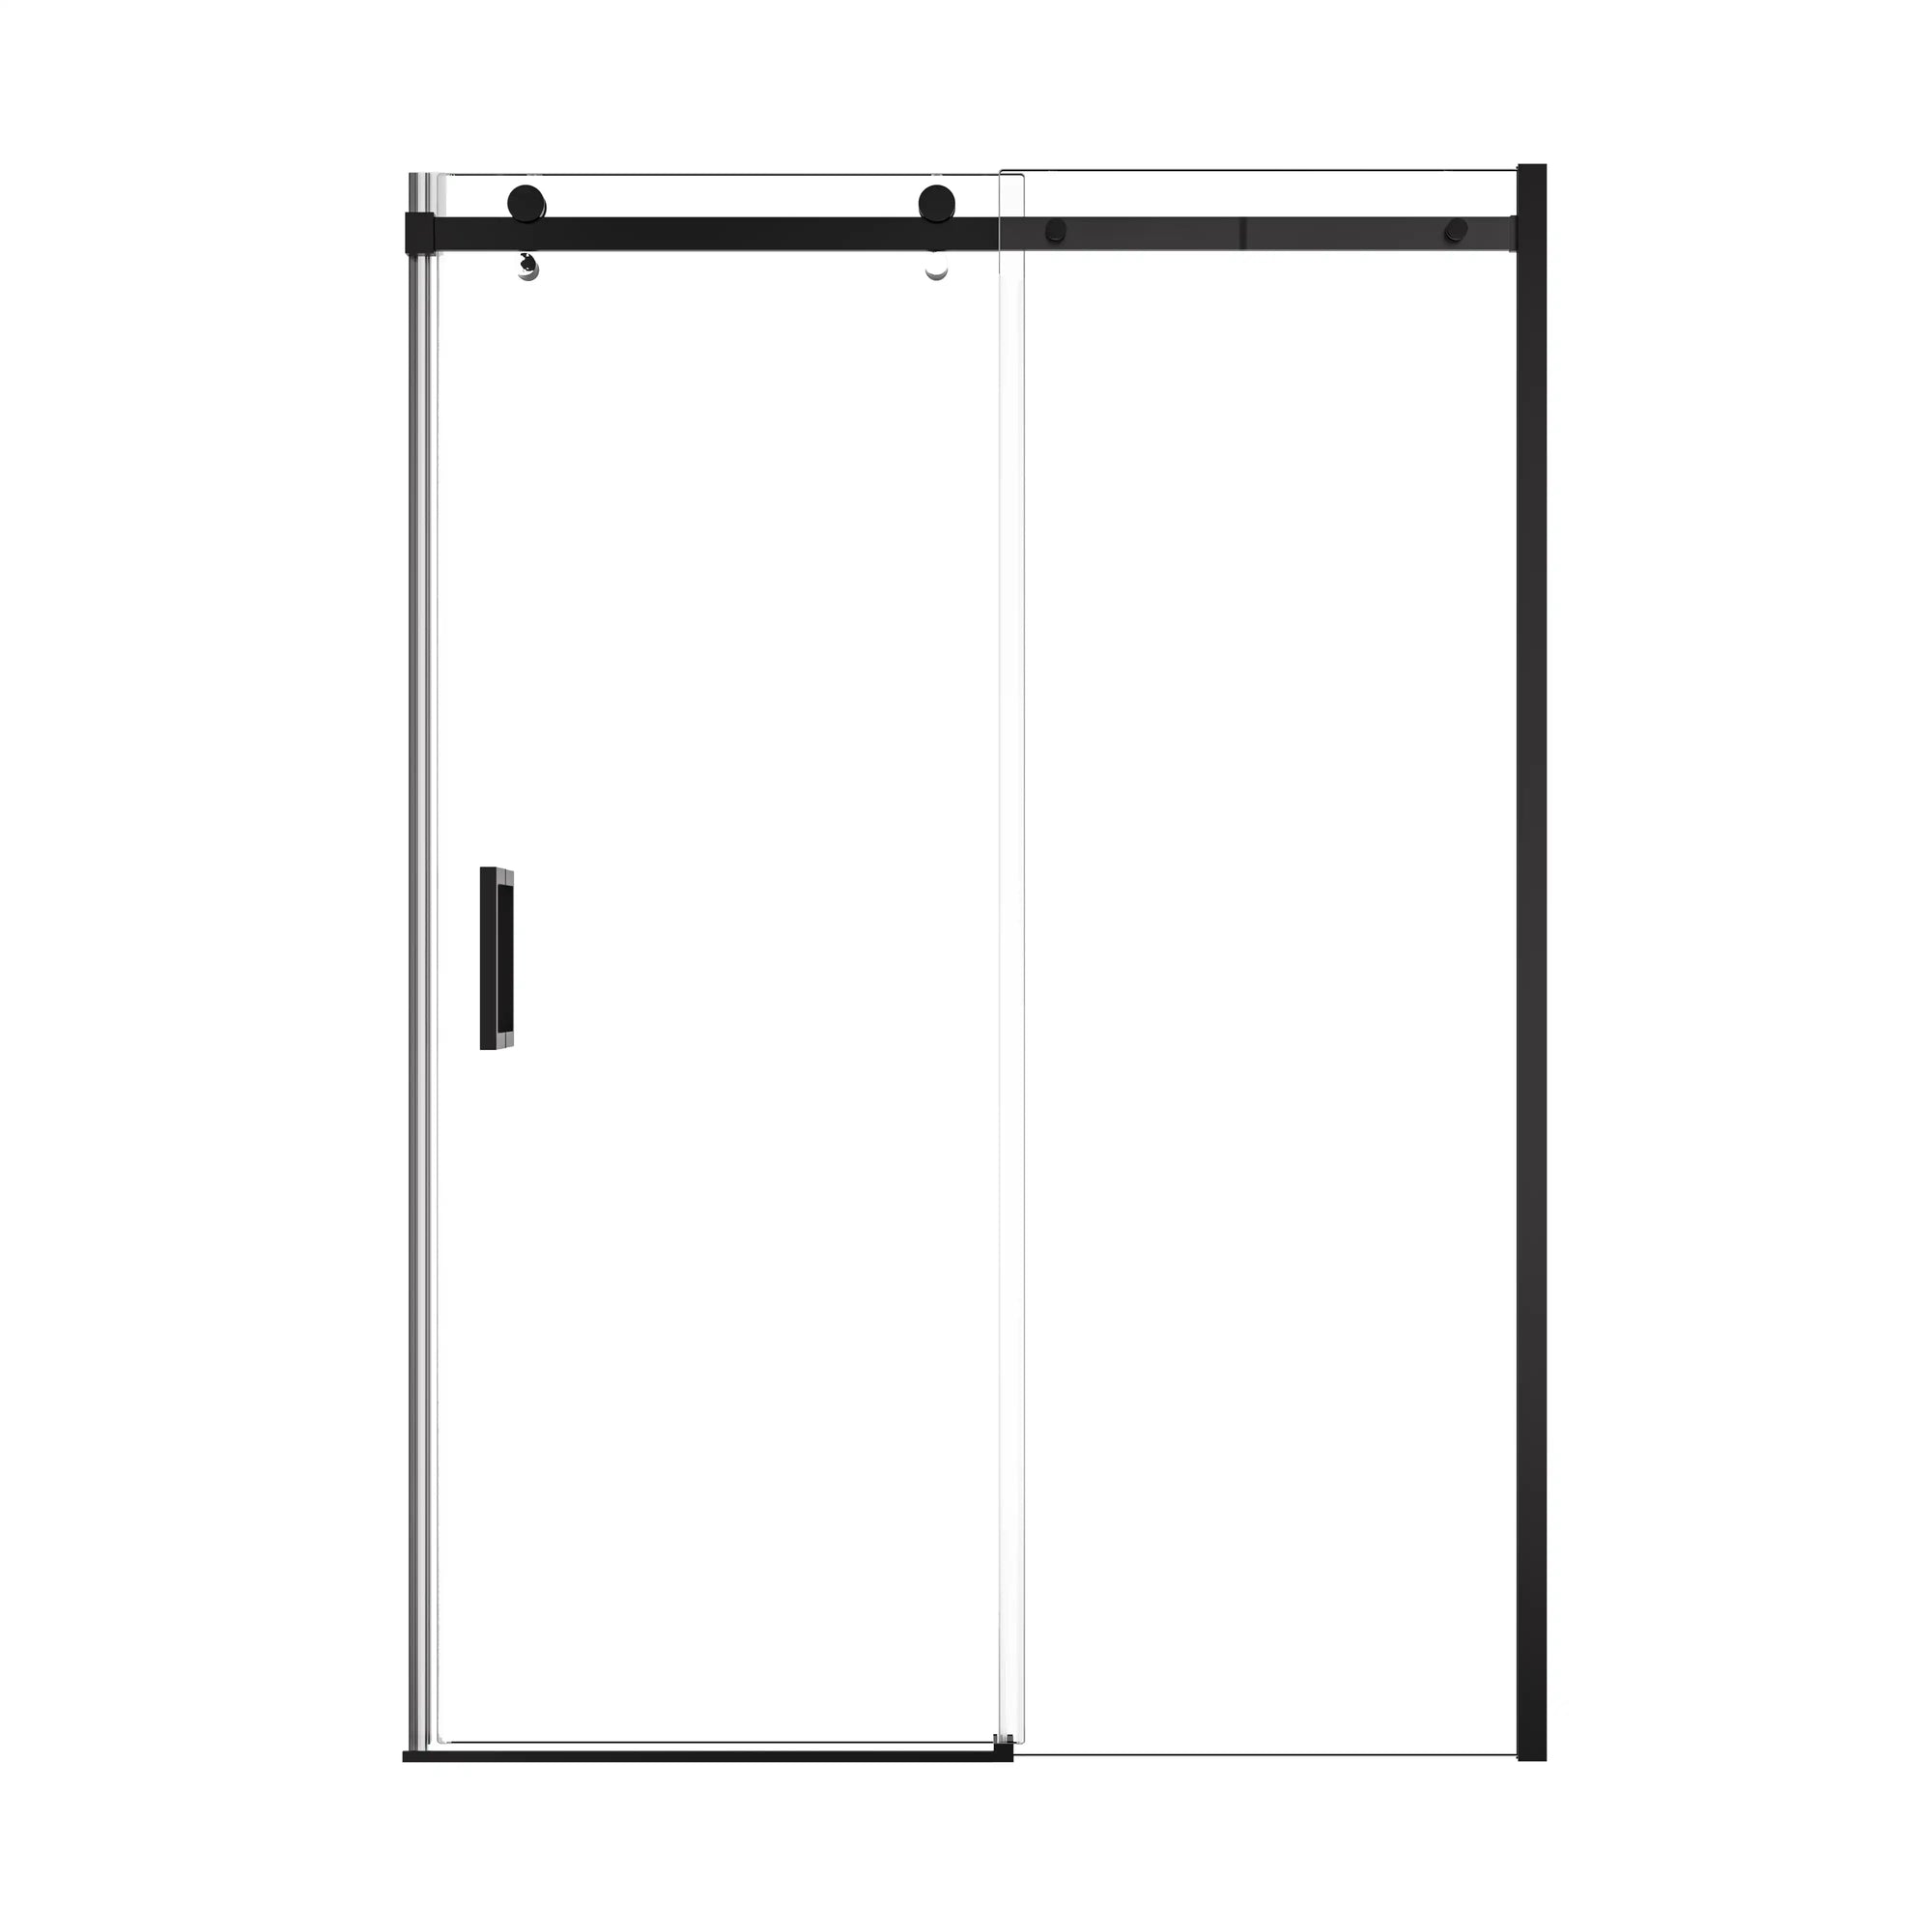
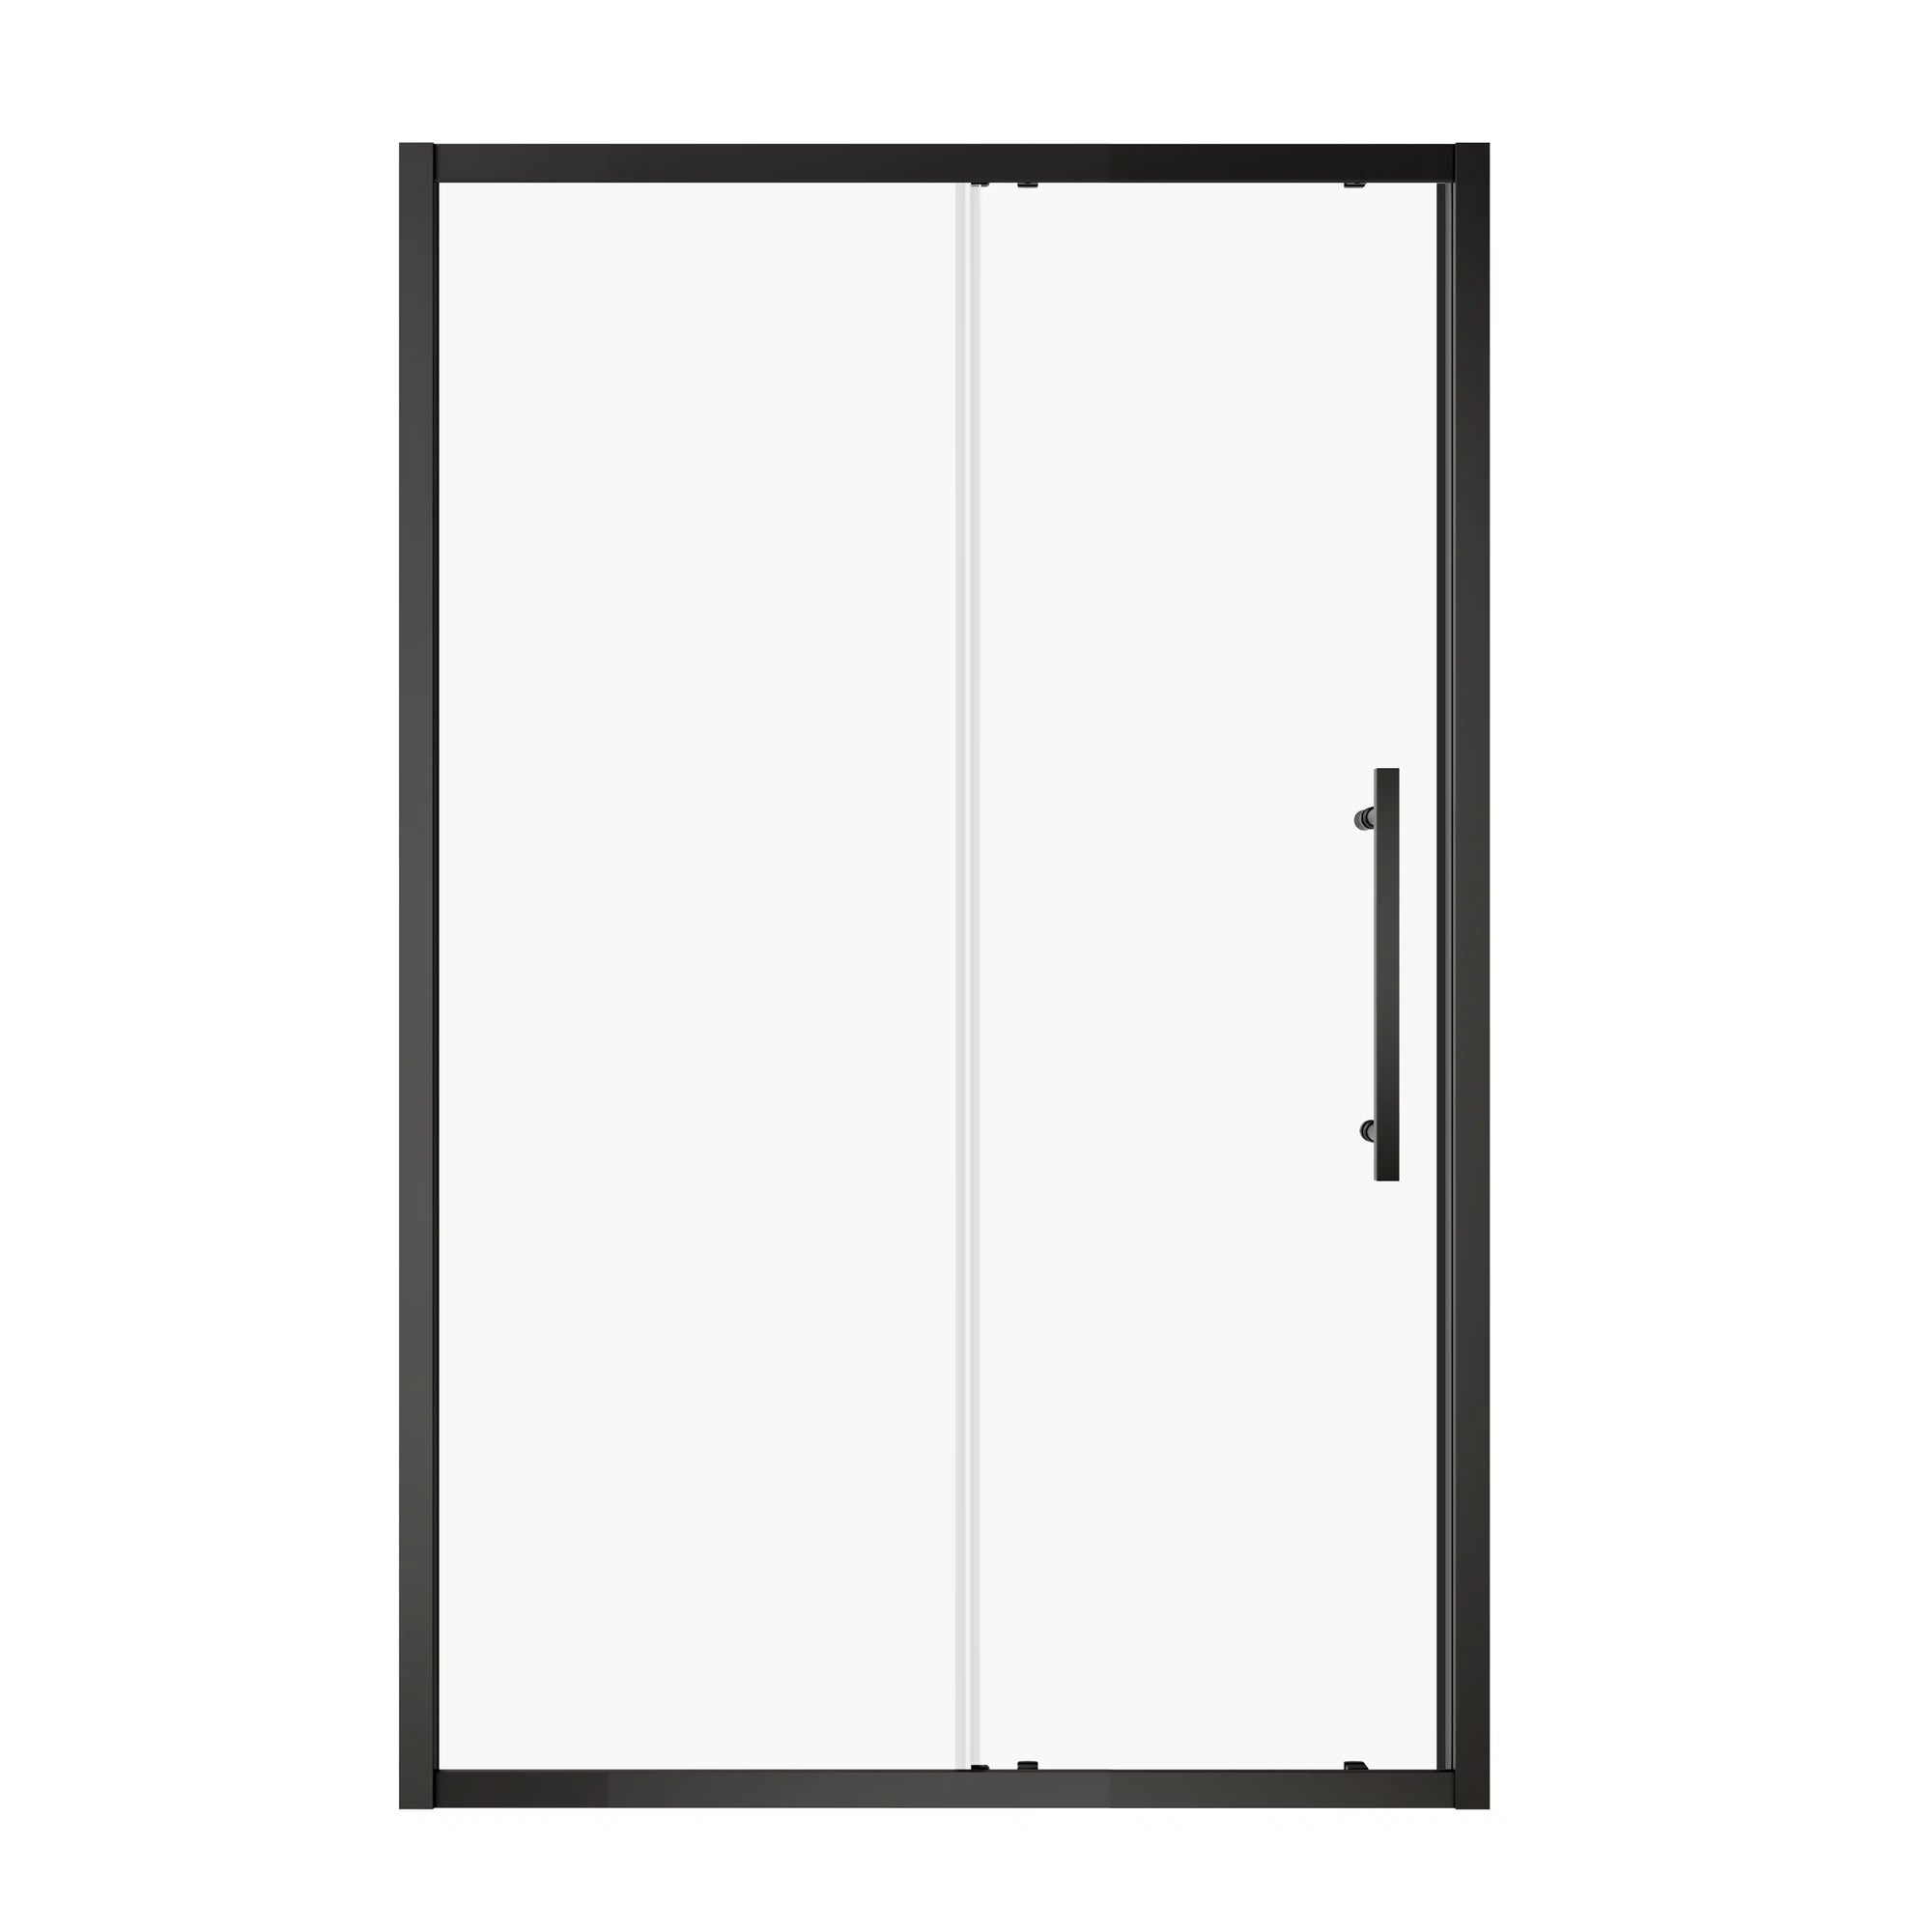
For ease and accuracy, check out ACE DECOR's Bypass Shower Door (Matte Black/Chrome Framed). These doors are designed with precise dimensions in mind to fit most shower openings perfectly.
Mistake #2: Failing to Level the Shower Door Track
Once your measurements are correct, the next critical step is leveling your shower door track. Many DIYers overlook this step, thinking that as long as the door is straight, it will work. However, a misaligned track can lead to sliding issues, improper door alignment, and even the door becoming completely unhinged.
Here’s the issue:
1. Uneven Track Leads to Misalignment
If the track isn’t level, the door won’t slide correctly. You might notice your door binding at one end, not closing fully, or having a noticeable gap at the top or bottom. Over time, a misaligned door track will cause the door to become difficult to open or close, and it could even lead to hardware failure.
2. Uneven Tracks Can Lead to Water Leaks
When the track isn’t level, it can also create gaps between the door and the wall or floor. Water can leak through these gaps, eventually damaging your bathroom floor and surrounding areas. That’s a huge problem, especially when you’ve invested time and money into creating your dream bathroom.
The Solution:
Before attaching the track, always use a leveling tool to ensure it’s perfectly horizontal. If necessary, shim under the track to adjust its height. Even a fractional tilt can lead to significant issues down the line.
Why It Matters:
Properly leveling the track is critical for smooth door operation and to prevent water leaks. A well-installed track ensures that the door moves freely and seals tightly, keeping your bathroom dry and free of water damage.
Pro Tip:
If you're installing a sliding shower door, make sure the bottom track is also level. An uneven bottom track can cause the door to drag on the floor, creating friction that leads to wear and tear.
Recommended Product:
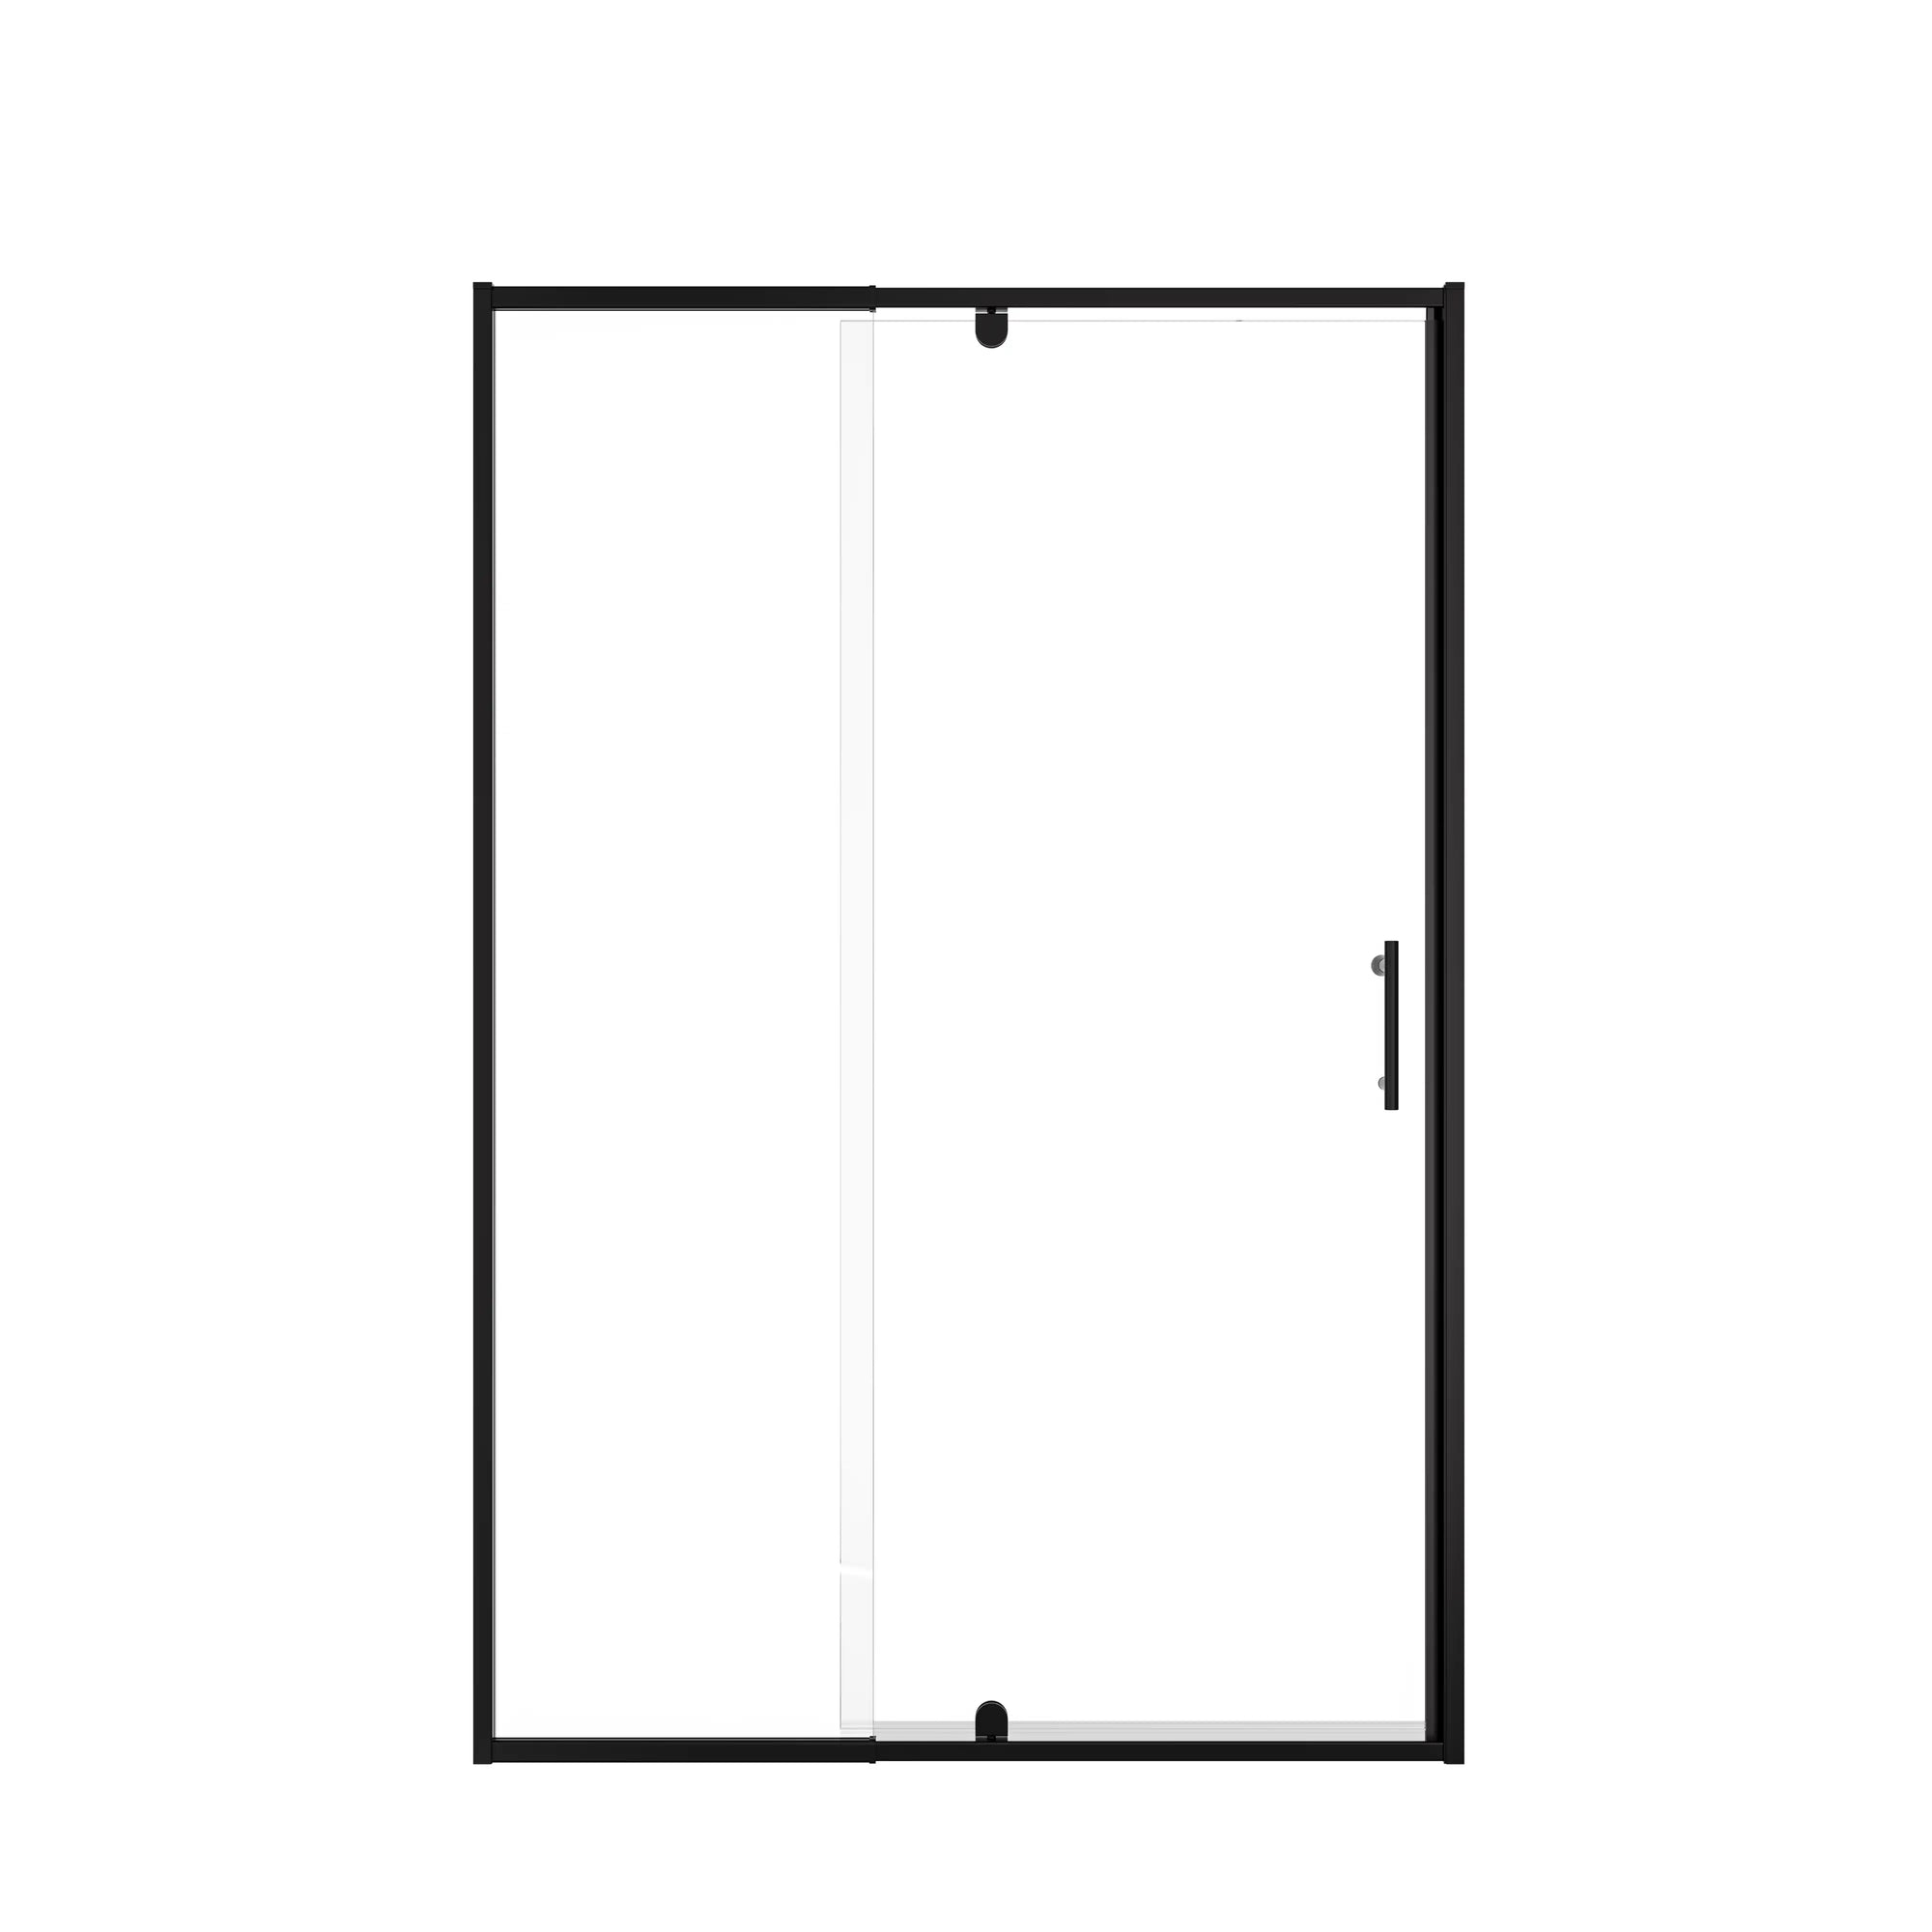
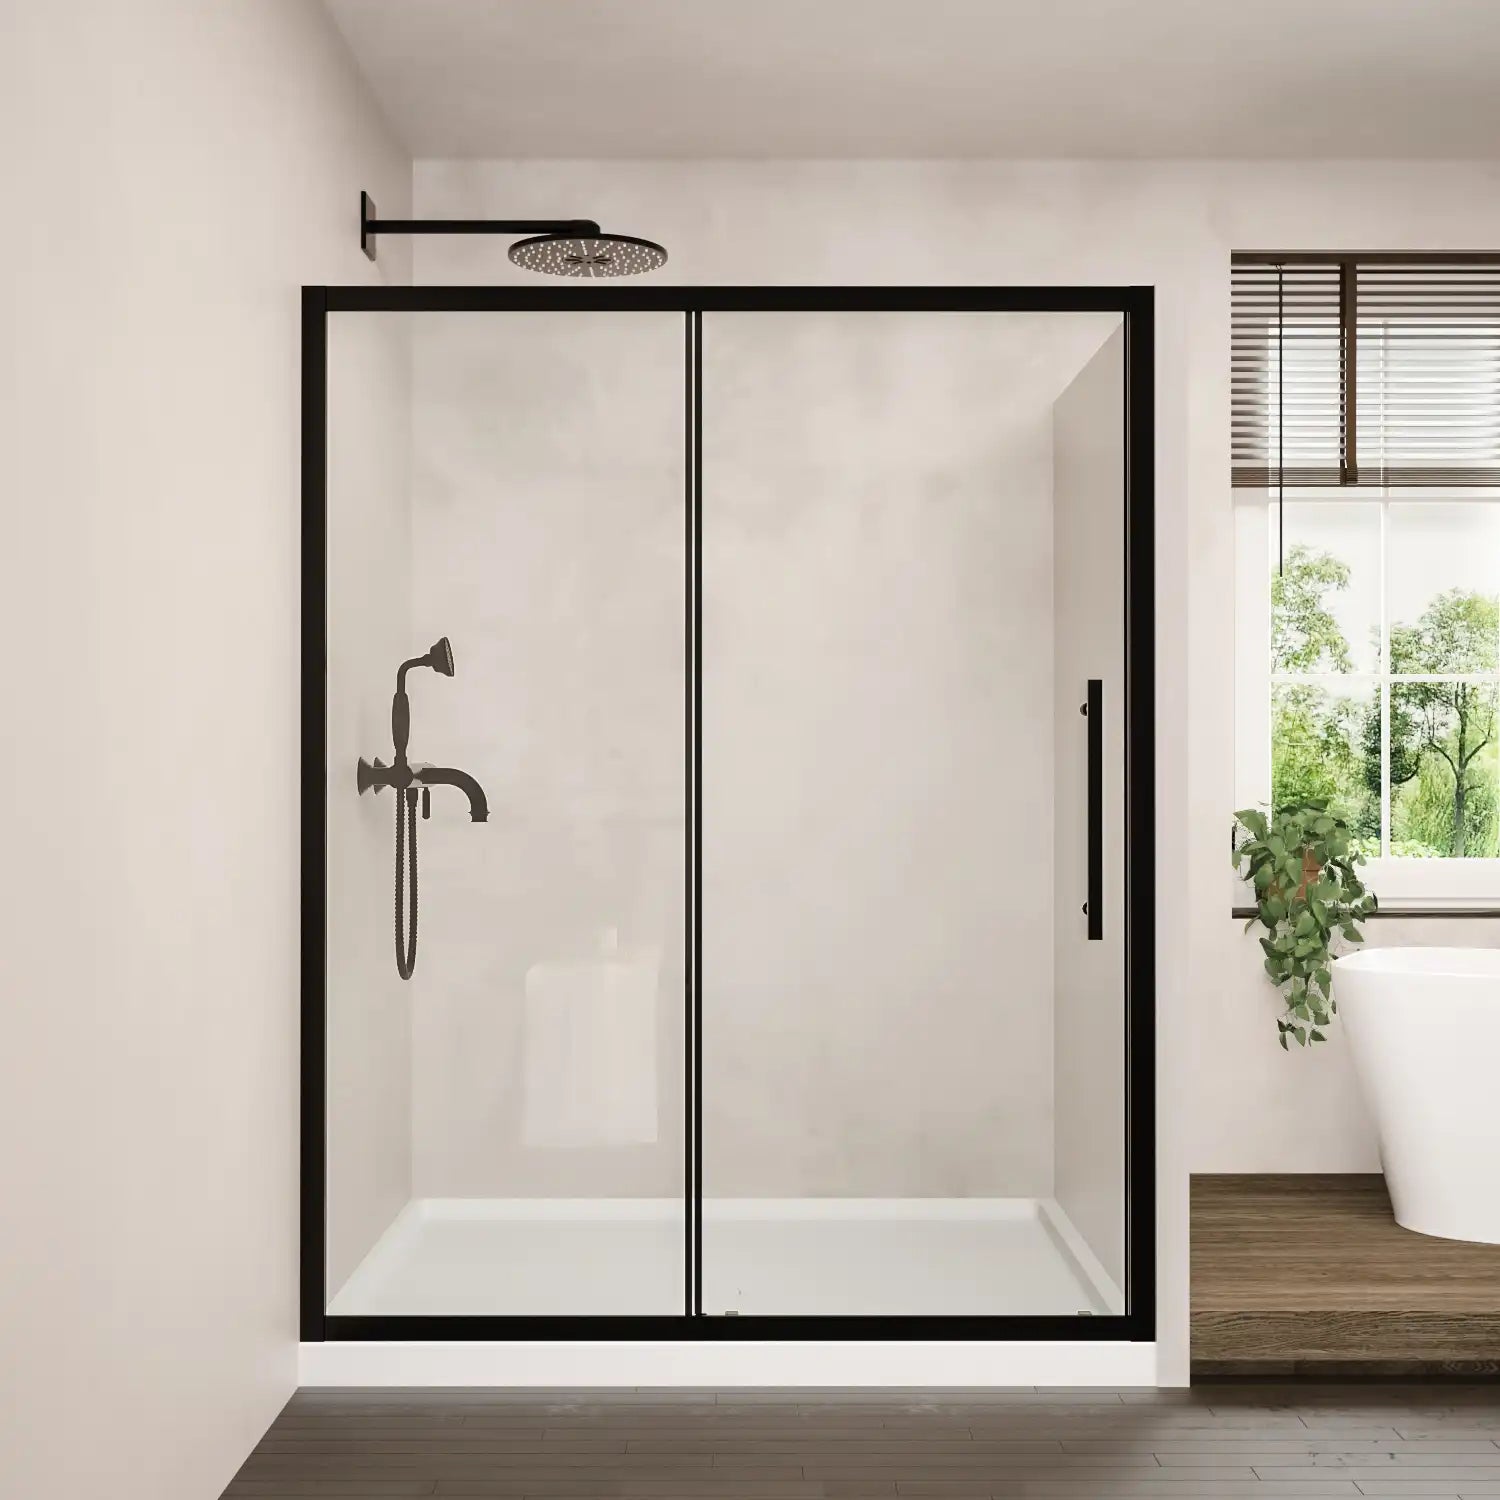
ACE DECOR’s Tempered Glass Sliding Shower Door offers a smooth, high-quality sliding mechanism designed to glide effortlessly when installed with a level track.
Mistake #3: Skipping Proper Sealing
Water leakage is one of the most frustrating issues you can encounter with shower doors. Even a small gap can allow water to escape, damaging your bathroom floor and walls. Unfortunately, many DIYers skip proper sealing or think a small amount of silicone will do the trick.
Here’s the deal:
1. Gaps Lead to Leaks
After installation, it's easy to overlook areas where water can seep through. The bottom of the door, the sides, and the corners are the most vulnerable areas for leaks. Skipping these areas or rushing the sealing process can lead to disastrous results—leaks that can cause mold, mildew, and even damage to the surrounding walls and floors.
2. Poor Sealant Application
Applying sealant is an art. You need to be thorough, but not excessive. Too much silicone can create a messy appearance, and insufficient application will leave gaps for water to escape.
The Solution:
Take your time when applying sealant. Start by applying a thin bead of silicone sealant to the edges where the door meets the wall, and along the base where the door meets the threshold. Use a caulk smoothing tool or your finger (dipped in water) to smooth the sealant and ensure an even application.
Why It Matters:
Proper sealing is crucial in ensuring a leak-free bathroom. It not only keeps water in but also prevents the build-up of mildew, mold, and stains.
Pro Tip:
For a cleaner, neater seal, apply painter’s tape along the edges before applying silicone. This helps create a straight line and prevents excess sealant from smearing.
Recommended Product:
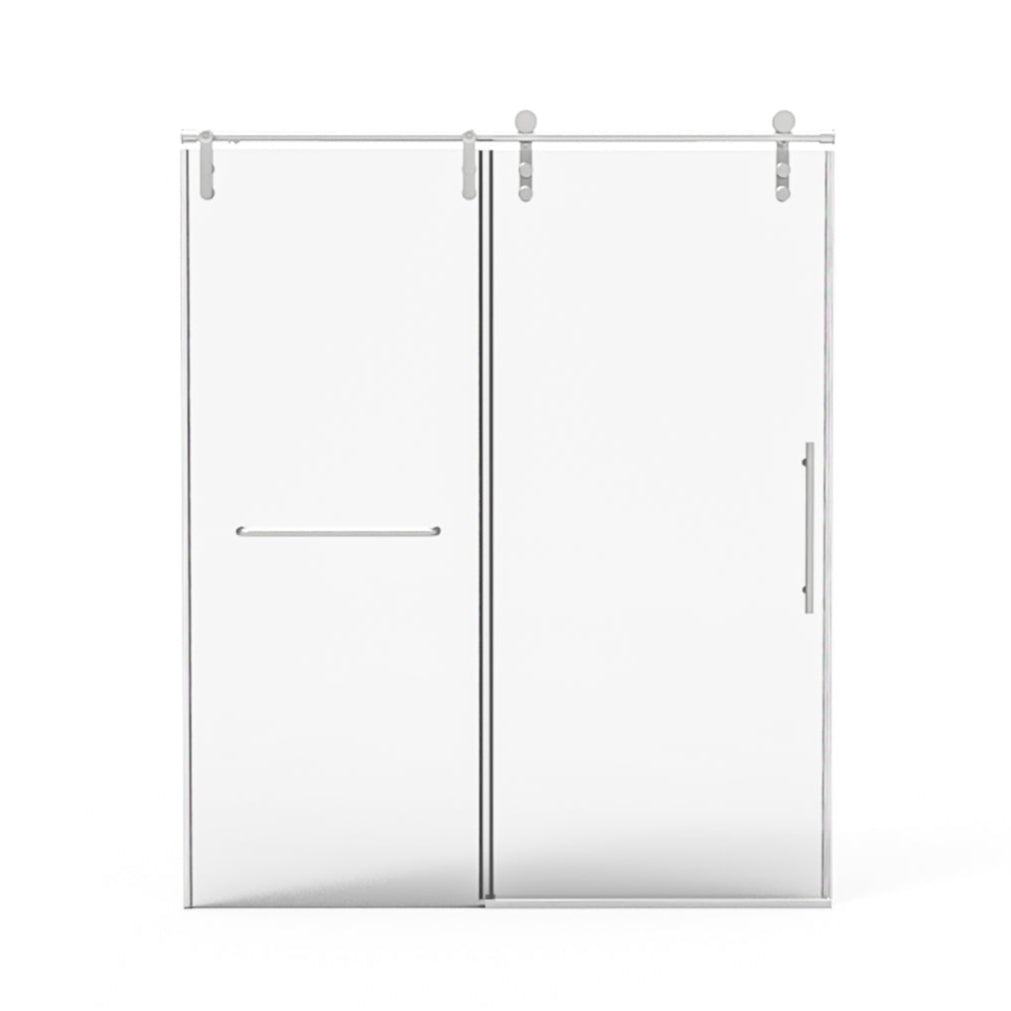
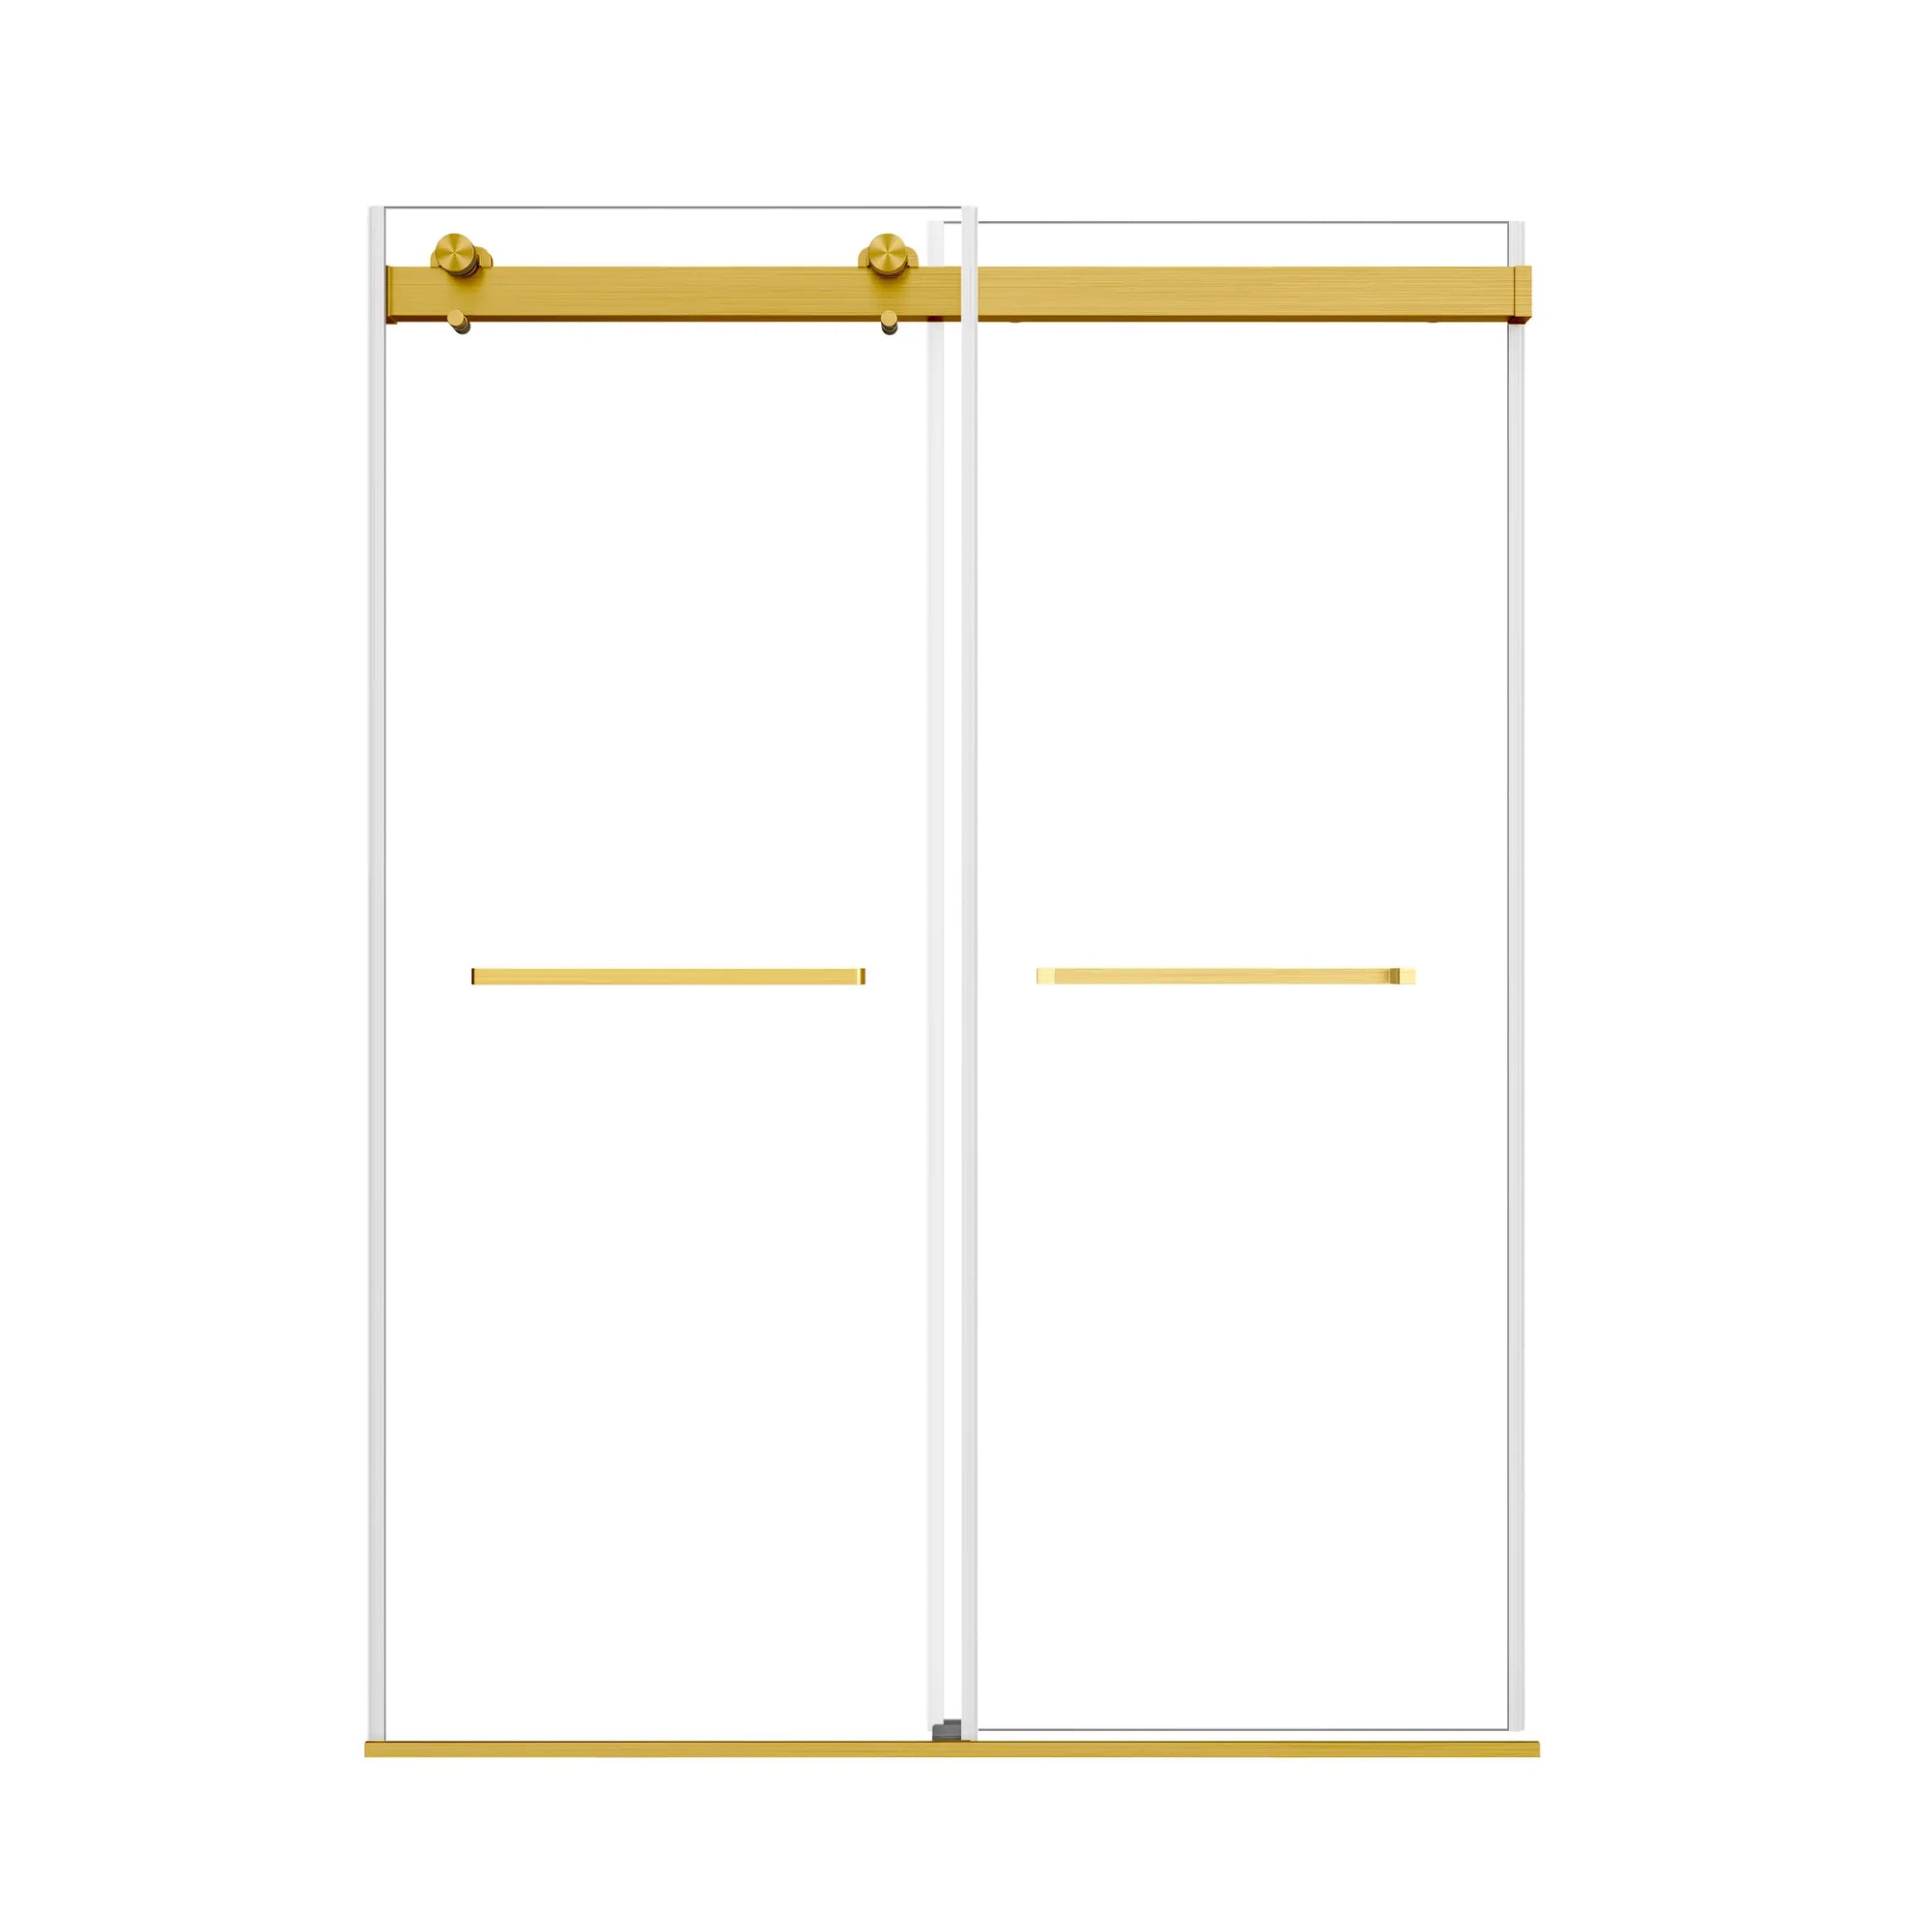
ACE DECOR's Ace Double Sliding Shower Door comes with clear instructions on how to apply sealant effectively, ensuring a professional-looking and durable seal.
Mistake #4: Using Incorrect Tools or Materials
This one is simple: using the wrong tools or cheap materials can make your job exponentially harder. Low-quality tools can cause delays, create unnecessary damage, or result in a poor final installation. In contrast, high-quality tools and materials can make installation go smoothly and ensure the longevity of your shower door.
Here’s why this mistake is so critical:
1. Low-Quality Tools Lead to Mistakes
For instance, using the wrong drill bit can result in imprecise holes, and a poor-quality leveling tool might cause you to misalign the track. Not only does this slow you down, but it also means you’re more likely to make a mistake that costs you more time and money.
2. Using Cheap Materials Can Cause Problems Down the Line
Cheap hardware, like rusty screws or low-grade sealant, may not hold up well over time. This could lead to corrosion, leaks, or parts falling apart.
The Solution:
Use the right tools: a cordless drill, leveling tool, rubber mallet, and measuring tape are all essential. Always go for quality materials, especially when it comes to screws, anchors, and sealants. These items are inexpensive but essential for the installation’s success.
Why It Matters:
Quality materials and tools not only ensure that the installation process is smooth, but they also guarantee that your shower door functions properly and lasts for years.
Pro Tip:
When purchasing your shower door, check that it comes with high-quality hardware and detailed installation instructions. This saves you from having to source extra materials and ensures a hassle-free experience.
Mistake #5: Ignoring Safety Precautions
DIY projects always come with risks. Installing a shower door involves handling heavy glass, sharp edges, and sometimes power tools—which can be dangerous if not used correctly. Many DIYers forget to prioritize safety, leading to unnecessary injuries.
Here’s why safety is so important:
1. Handling Glass Can Be Dangerous
Shower doors, especially tempered glass, are heavy. Dropping or mishandling them could lead to shattered glass and serious injury.
2. Power Tools Pose Risks
If you’re using a drill, saw, or other power tools, you must ensure you're following proper safety procedures to avoid cuts or other injuries.
The Solution:
Wear protective gloves, safety goggles, and sturdy shoes. Always ensure that the work area is clear of obstacles, and be mindful of any tools you’re using. If handling large glass panels, ask for help. It's always better to have an extra pair of hands when you’re working with heavy items.
Why It Matters:
Safety precautions are crucial to prevent injuries. Plus, ensuring proper handling of materials will reduce the risk of damaging the door or your bathroom.
Conclusion
Installing a DIY shower door can be a rewarding project, but it requires attention to detail. By avoiding these common mistakes—incorrect measurements, failing to level the track, skipping sealing, using wrong tools, and ignoring safety—you’ll ensure that your installation is smooth, efficient, and long-lasting.
At ACE DECOR, we understand the importance of quality craftsmanship, which is why our shower doors come with easy-to-follow instructions and premium materials to help you achieve a flawless result. Explore our shower door collection and discover the perfect fit for your bathroom today.
FAQ
FAQ 1: How do I measure my shower space for a DIY shower door installation?
Answer:
To measure your shower space accurately, start by measuring the width at three points: the top, middle, and bottom of the shower opening. This ensures the shower door will fit, even if the walls are not perfectly straight. Then, measure the height from the threshold (the shower base) to the top of the opening. Always measure twice and check that the shower walls are square for a perfect fit.
FAQ 2: Can I install a frameless shower door myself?
Answer:
Yes, it is possible to install a frameless shower door yourself, but it requires careful planning and the right tools. Frameless doors are heavier than framed doors and require precise measurements, proper leveling, and a sturdy installation surface. If you don’t have experience with glass installation, it’s a good idea to seek professional help or ensure that you have an assistant when handling the glass panels to avoid accidents.
FAQ 3: Why is my shower door leaking, and how can I prevent it?
Answer:
Shower doors can leak if the sealant is improperly applied or if there are gaps between the door and the walls. Make sure to apply silicone sealant around the edges where the door meets the walls and the floor. Additionally, ensure that the door is properly aligned and that the track is level. A poor fit or improper sealing can cause water to escape, leading to leaks and water damage.
FAQ 4: Do I need a professional to install a sliding shower door?
Answer:
While it’s possible to install a sliding shower door on your own if you have basic DIY skills, having a professional installer can help avoid potential mistakes, especially with aligning the sliding track. Sliding doors require accurate leveling and precise measurements to function smoothly. If you’re confident in your abilities and have the right tools, it can be a manageable DIY project, but professional help ensures a hassle-free installation.
FAQ 5: What tools do I need to install a shower door myself?
Answer:
To install a shower door, you'll need a few essential tools, including:
- Measuring tape for accurate dimensions
- Level to ensure the track and door are properly aligned
- Drill with the appropriate drill bits for securing hardware
- Screwdriver for fastening screws
- Rubber mallet to tap pieces into place without damaging the glass
- Caulk or silicone sealant for waterproofing gaps
- Safety gloves and goggles to protect from sharp edges and debris
FAQ 6: How can I ensure my DIY shower door installation lasts long?
Answer:
To ensure a long-lasting shower door installation, follow these steps:
- Proper sealing: Apply a high-quality silicone sealant around the edges to prevent leaks and water damage.
- Regular maintenance: Clean the tracks and glass regularly to prevent mold, mildew, or soap scum buildup.
- Check for alignment: Periodically check the door’s alignment to ensure the track is still level and the door is functioning smoothly.
- Use high-quality materials: Invest in durable materials like tempered glass and rust-resistant hardware to ensure longevity.

