Table of Contents
- How should I plan for my floating vanity install?
- What tools and materials do I need?
- What are the step-by-step instructions?
- How do I hang a floating vanity like a design diva?
- Is a floating vanity really worth it?
- Any final tips before I wrap up?
- Got questions? We've got answers.
- Want more bathroom inspo?
Elevating your bathroom starts with one bold decision: ditch the floor-standing vanity. Floating vanities are sleek, space-saving, and oh-so-modern—but learning how to hang a floating vanity can feel intimidating at first glance. Whether you're tackling your first solo reno or you're a seasoned DIYer ready to add serious style points to your space, this guide walks you through every detail.
Here at Ace Decor, we know a thing or two about the best bathroom furniture, and we also know that confidence in your install comes from doing the right prep. So go ahead and hang that floating vanity, queen of real design.
The Pro Style On How To Plan For Your Vanity Installation
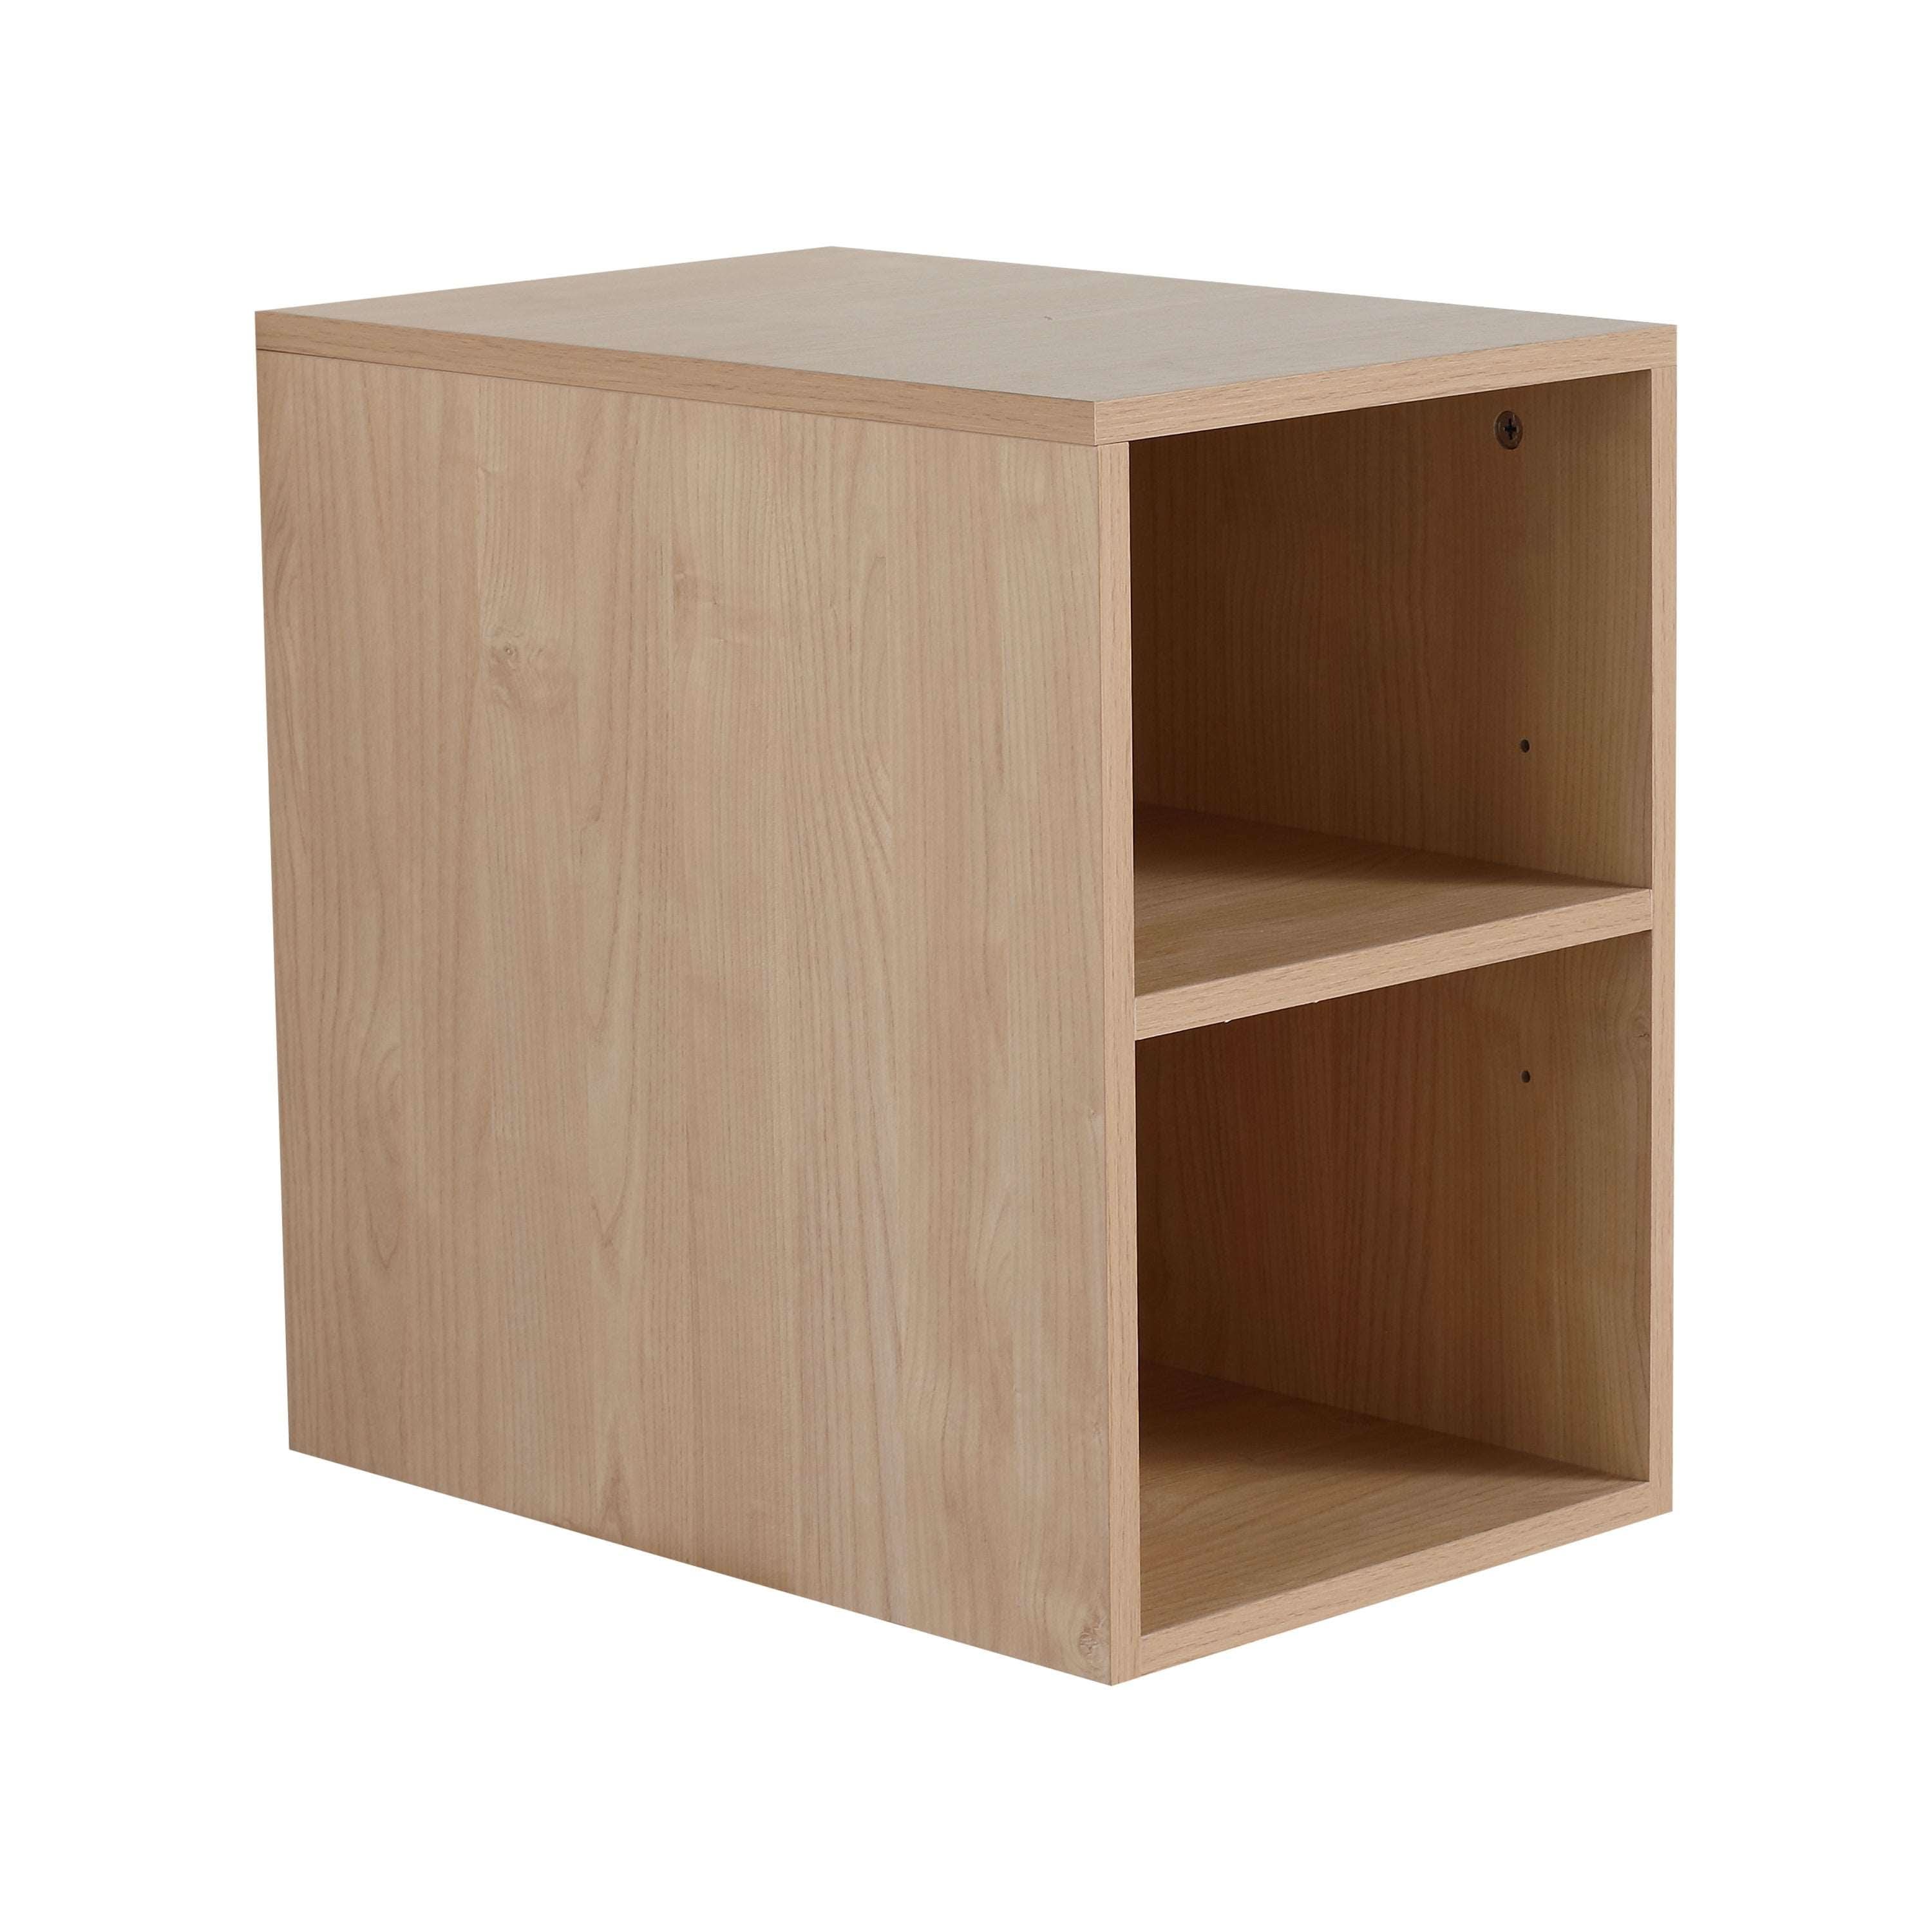
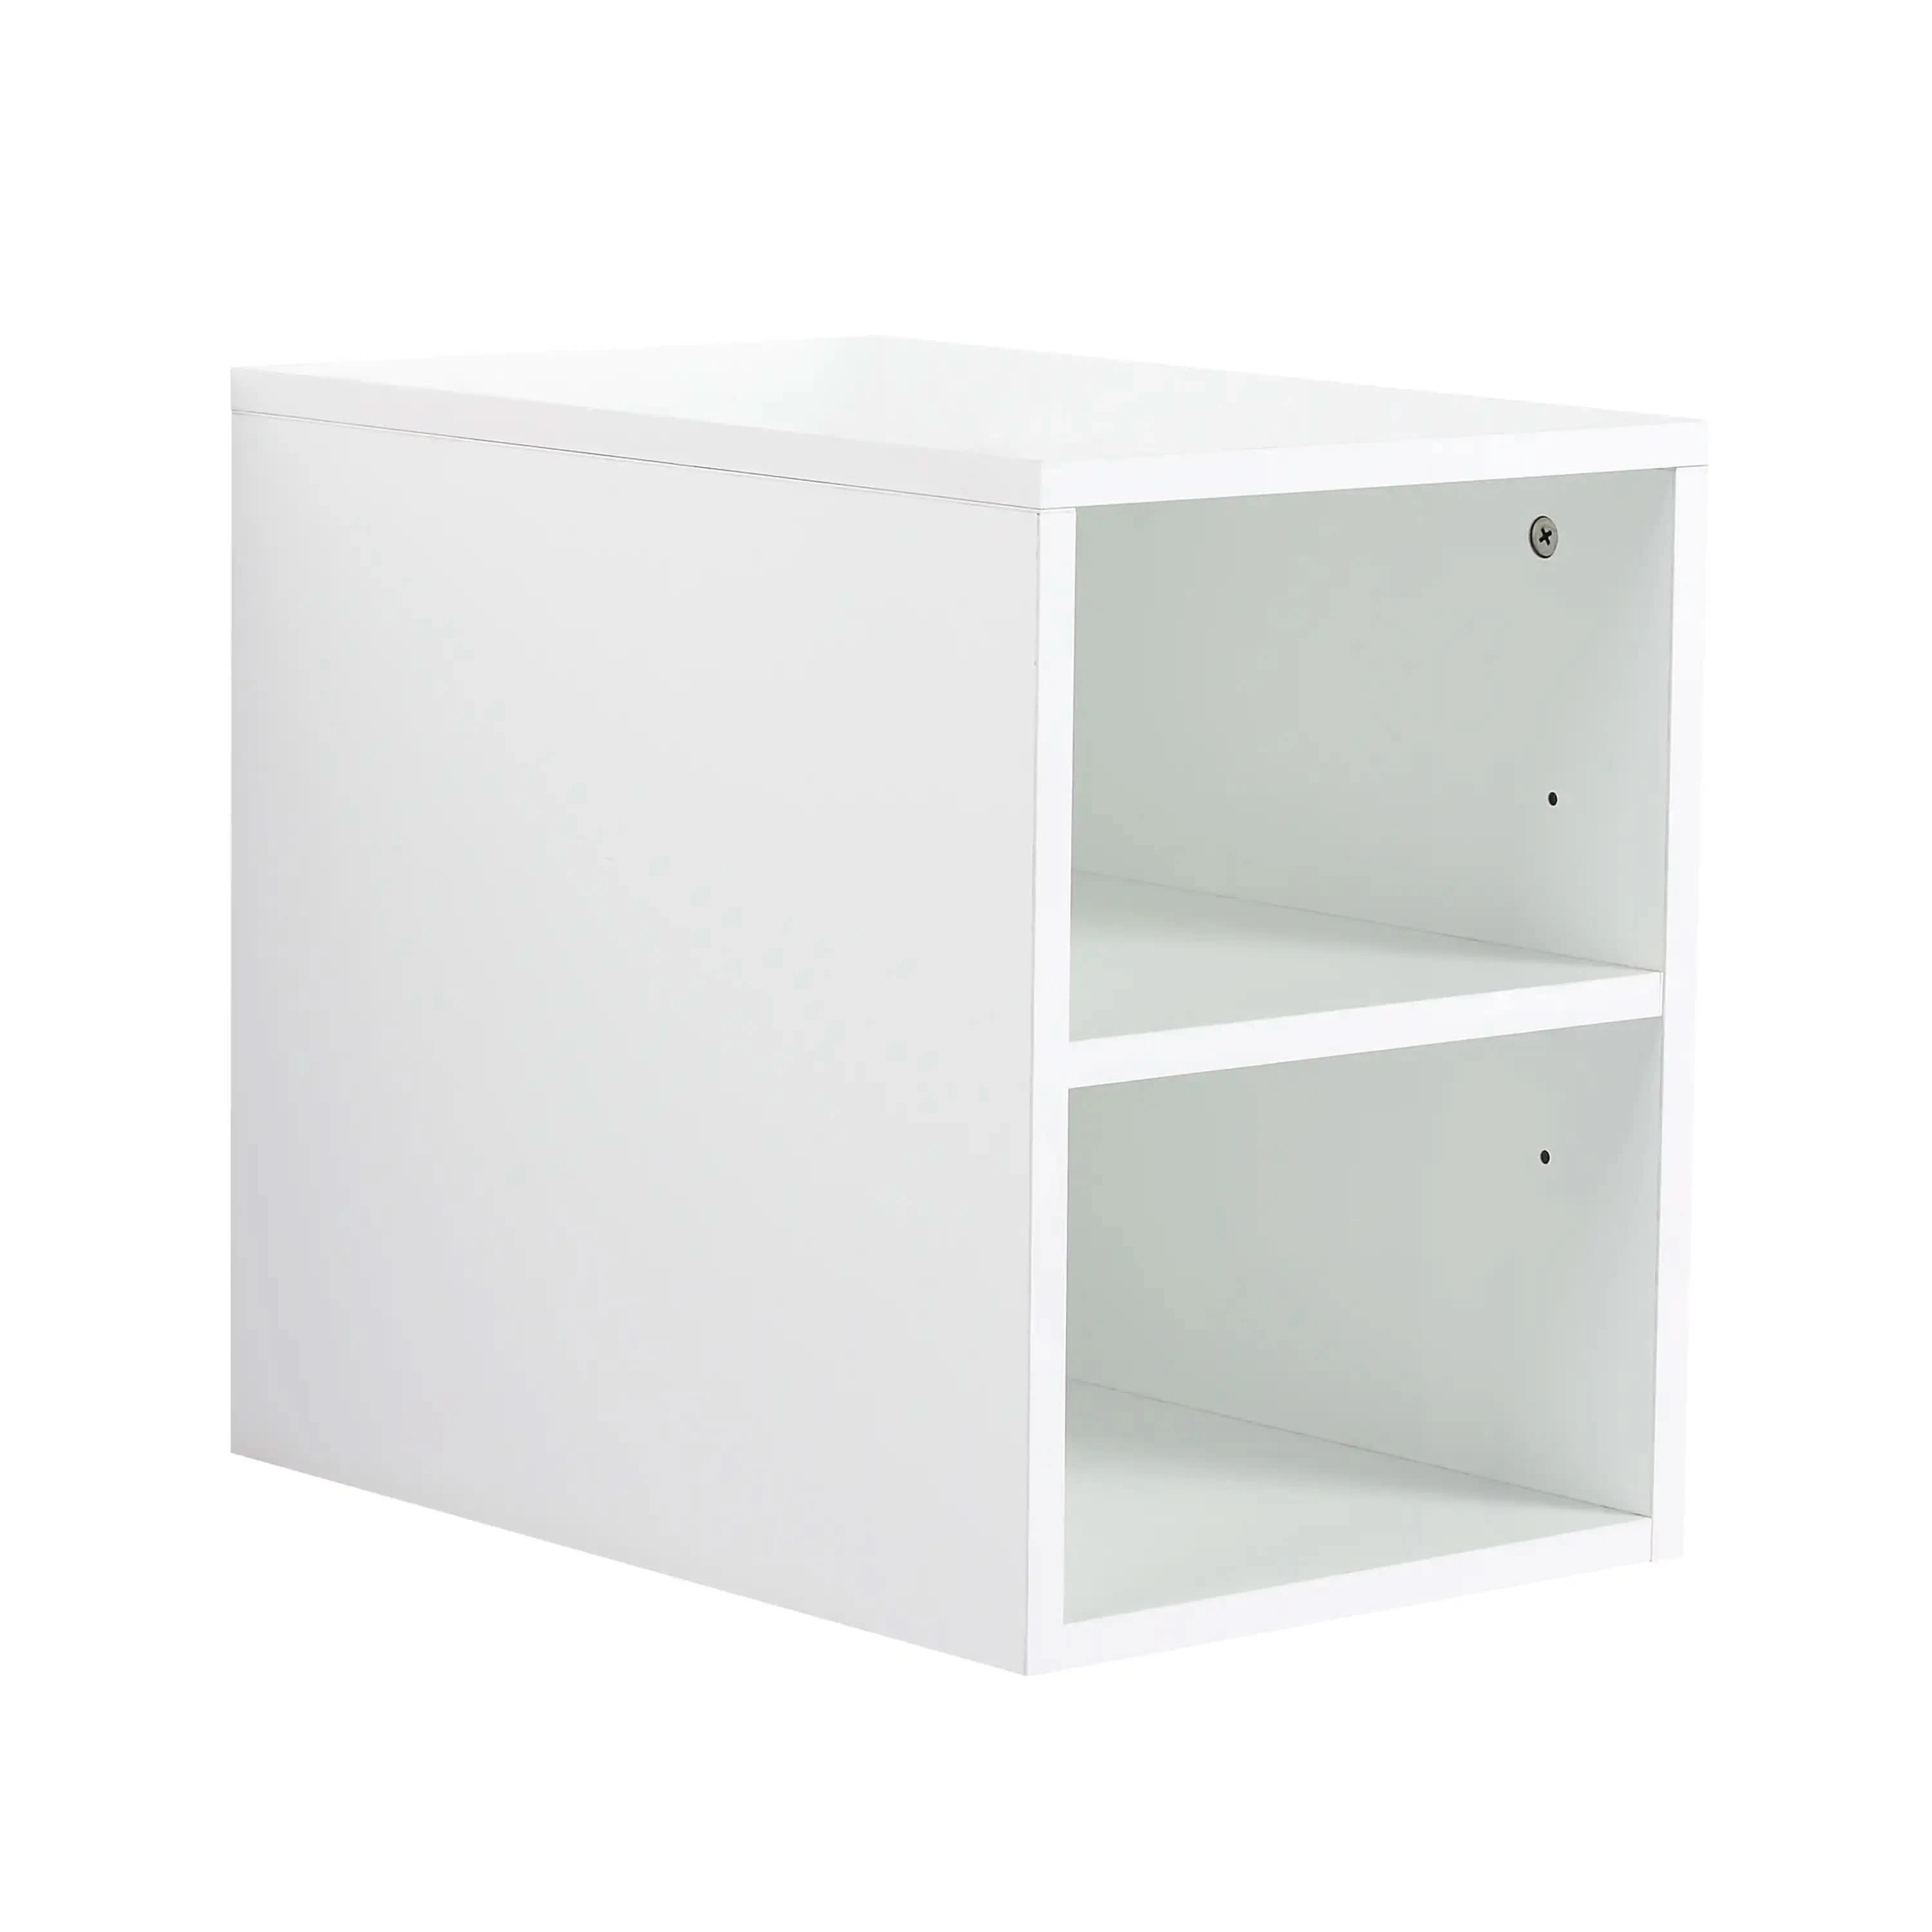
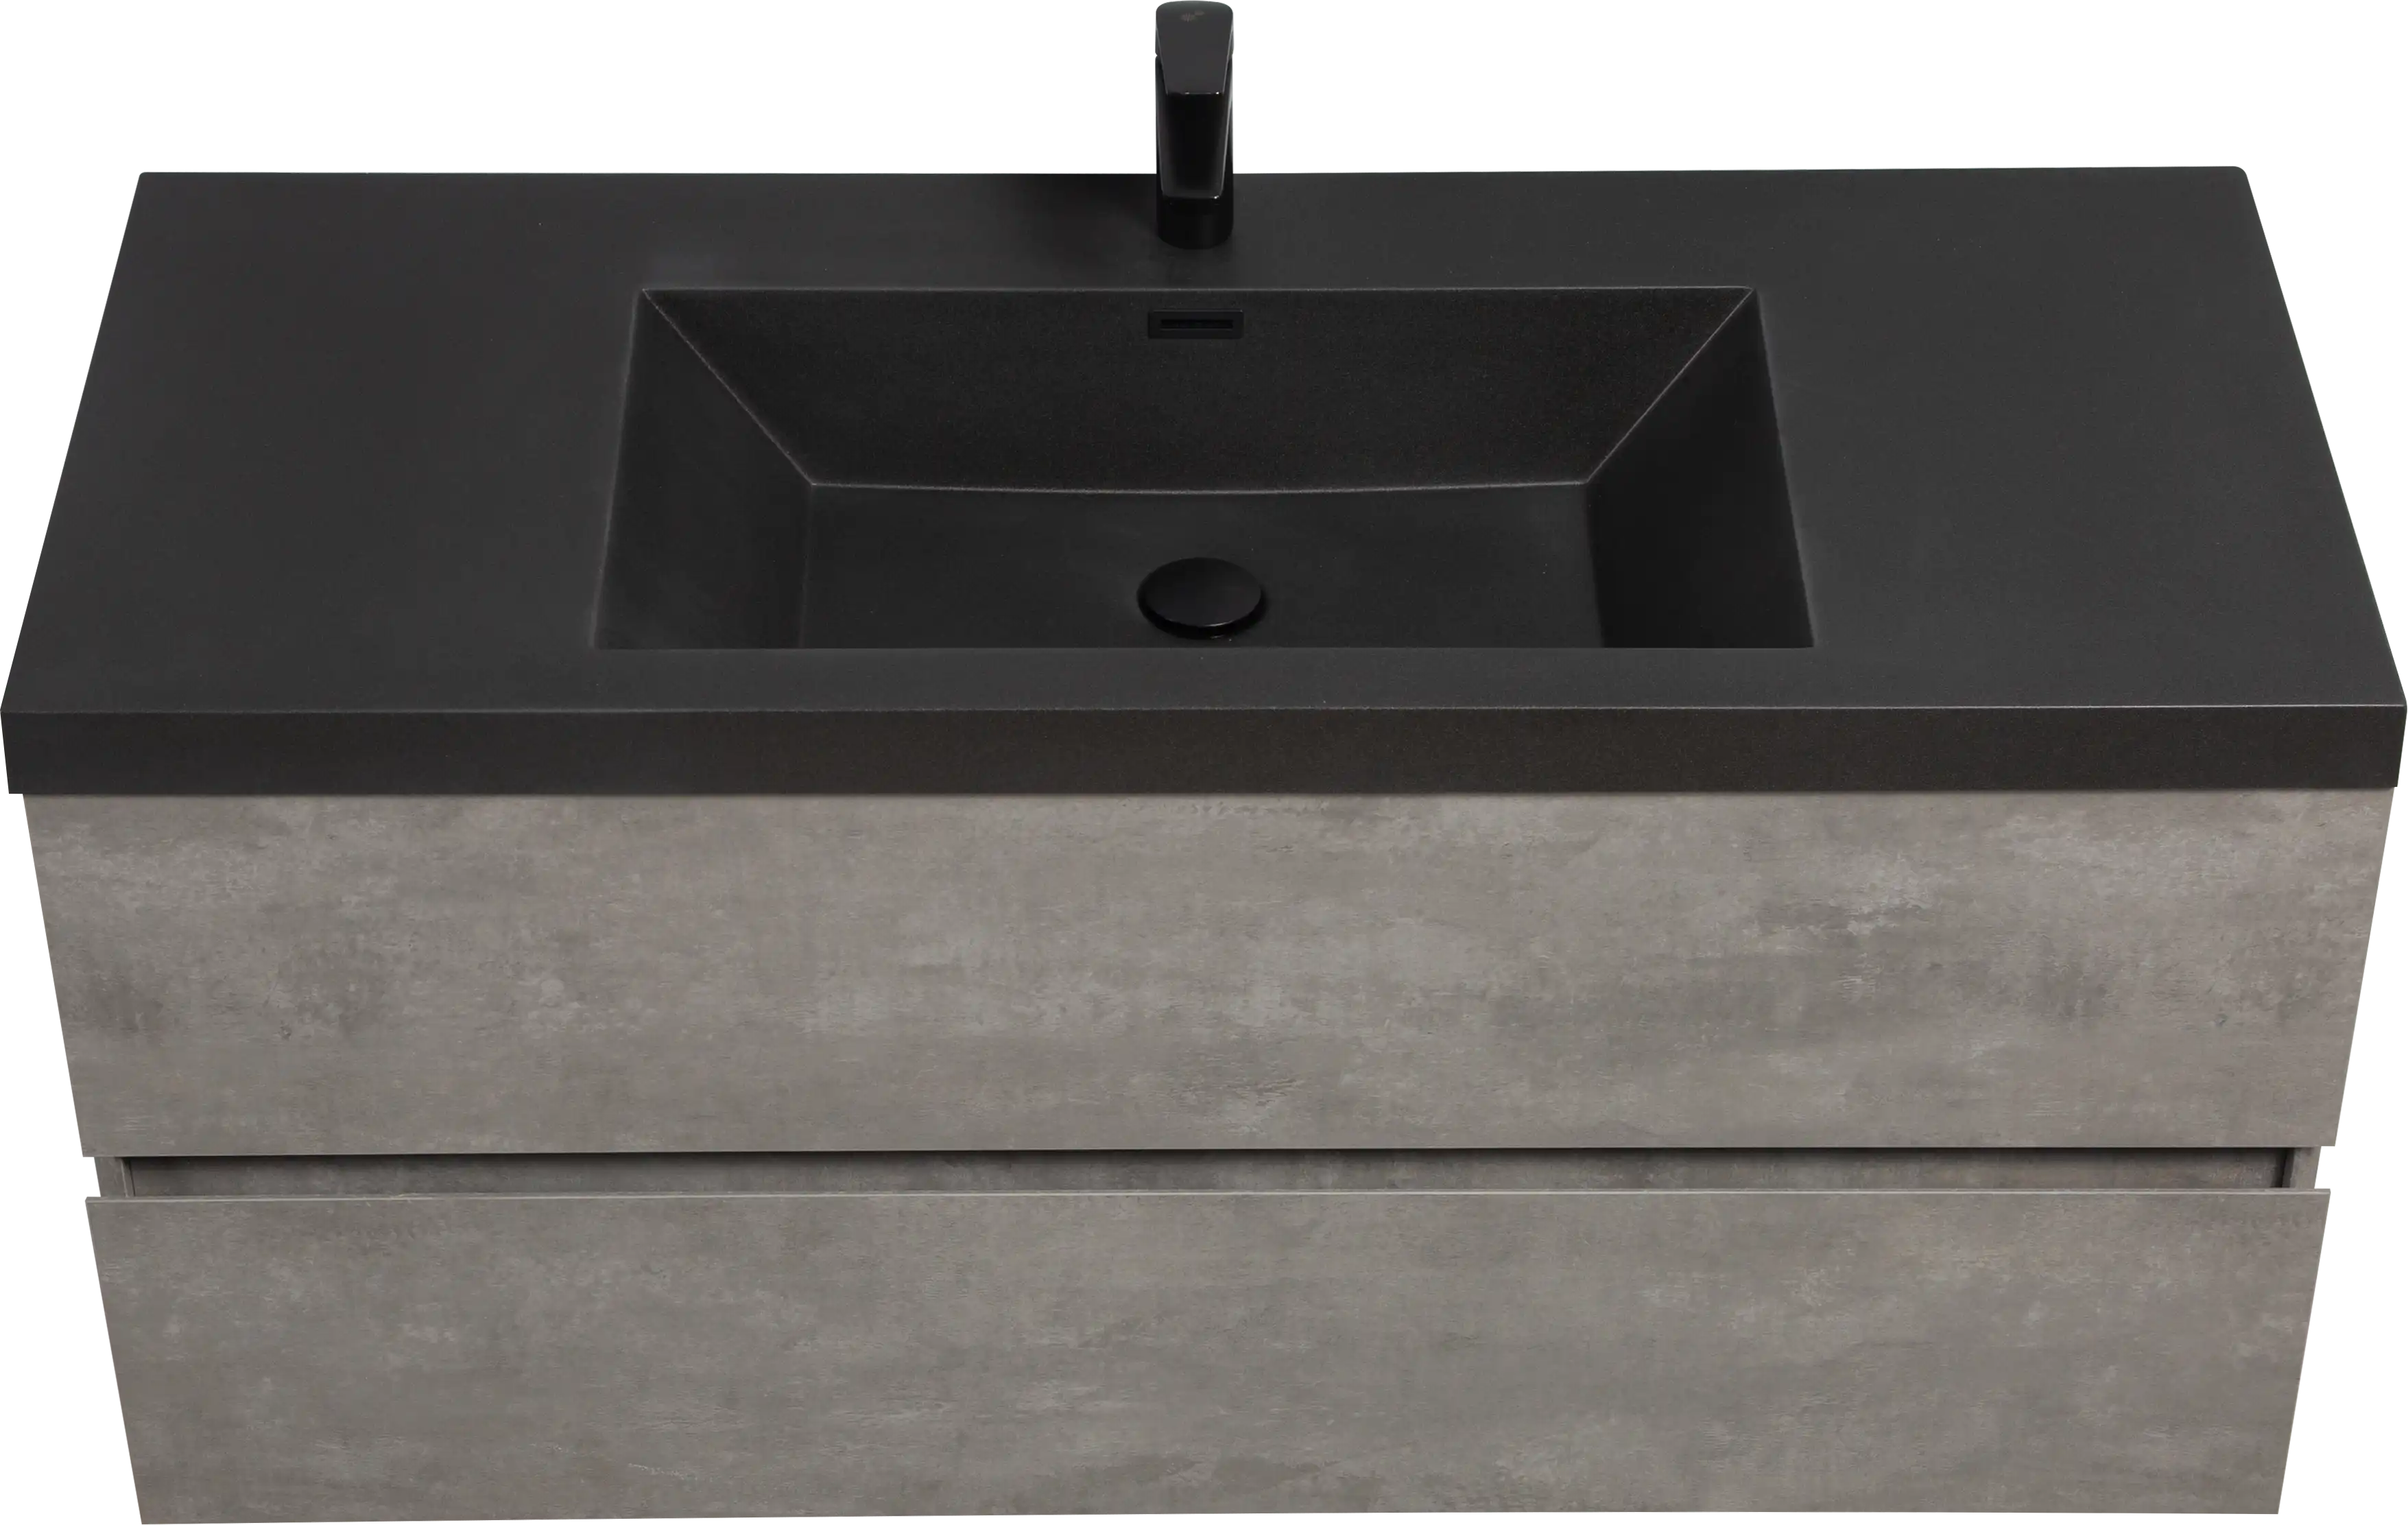
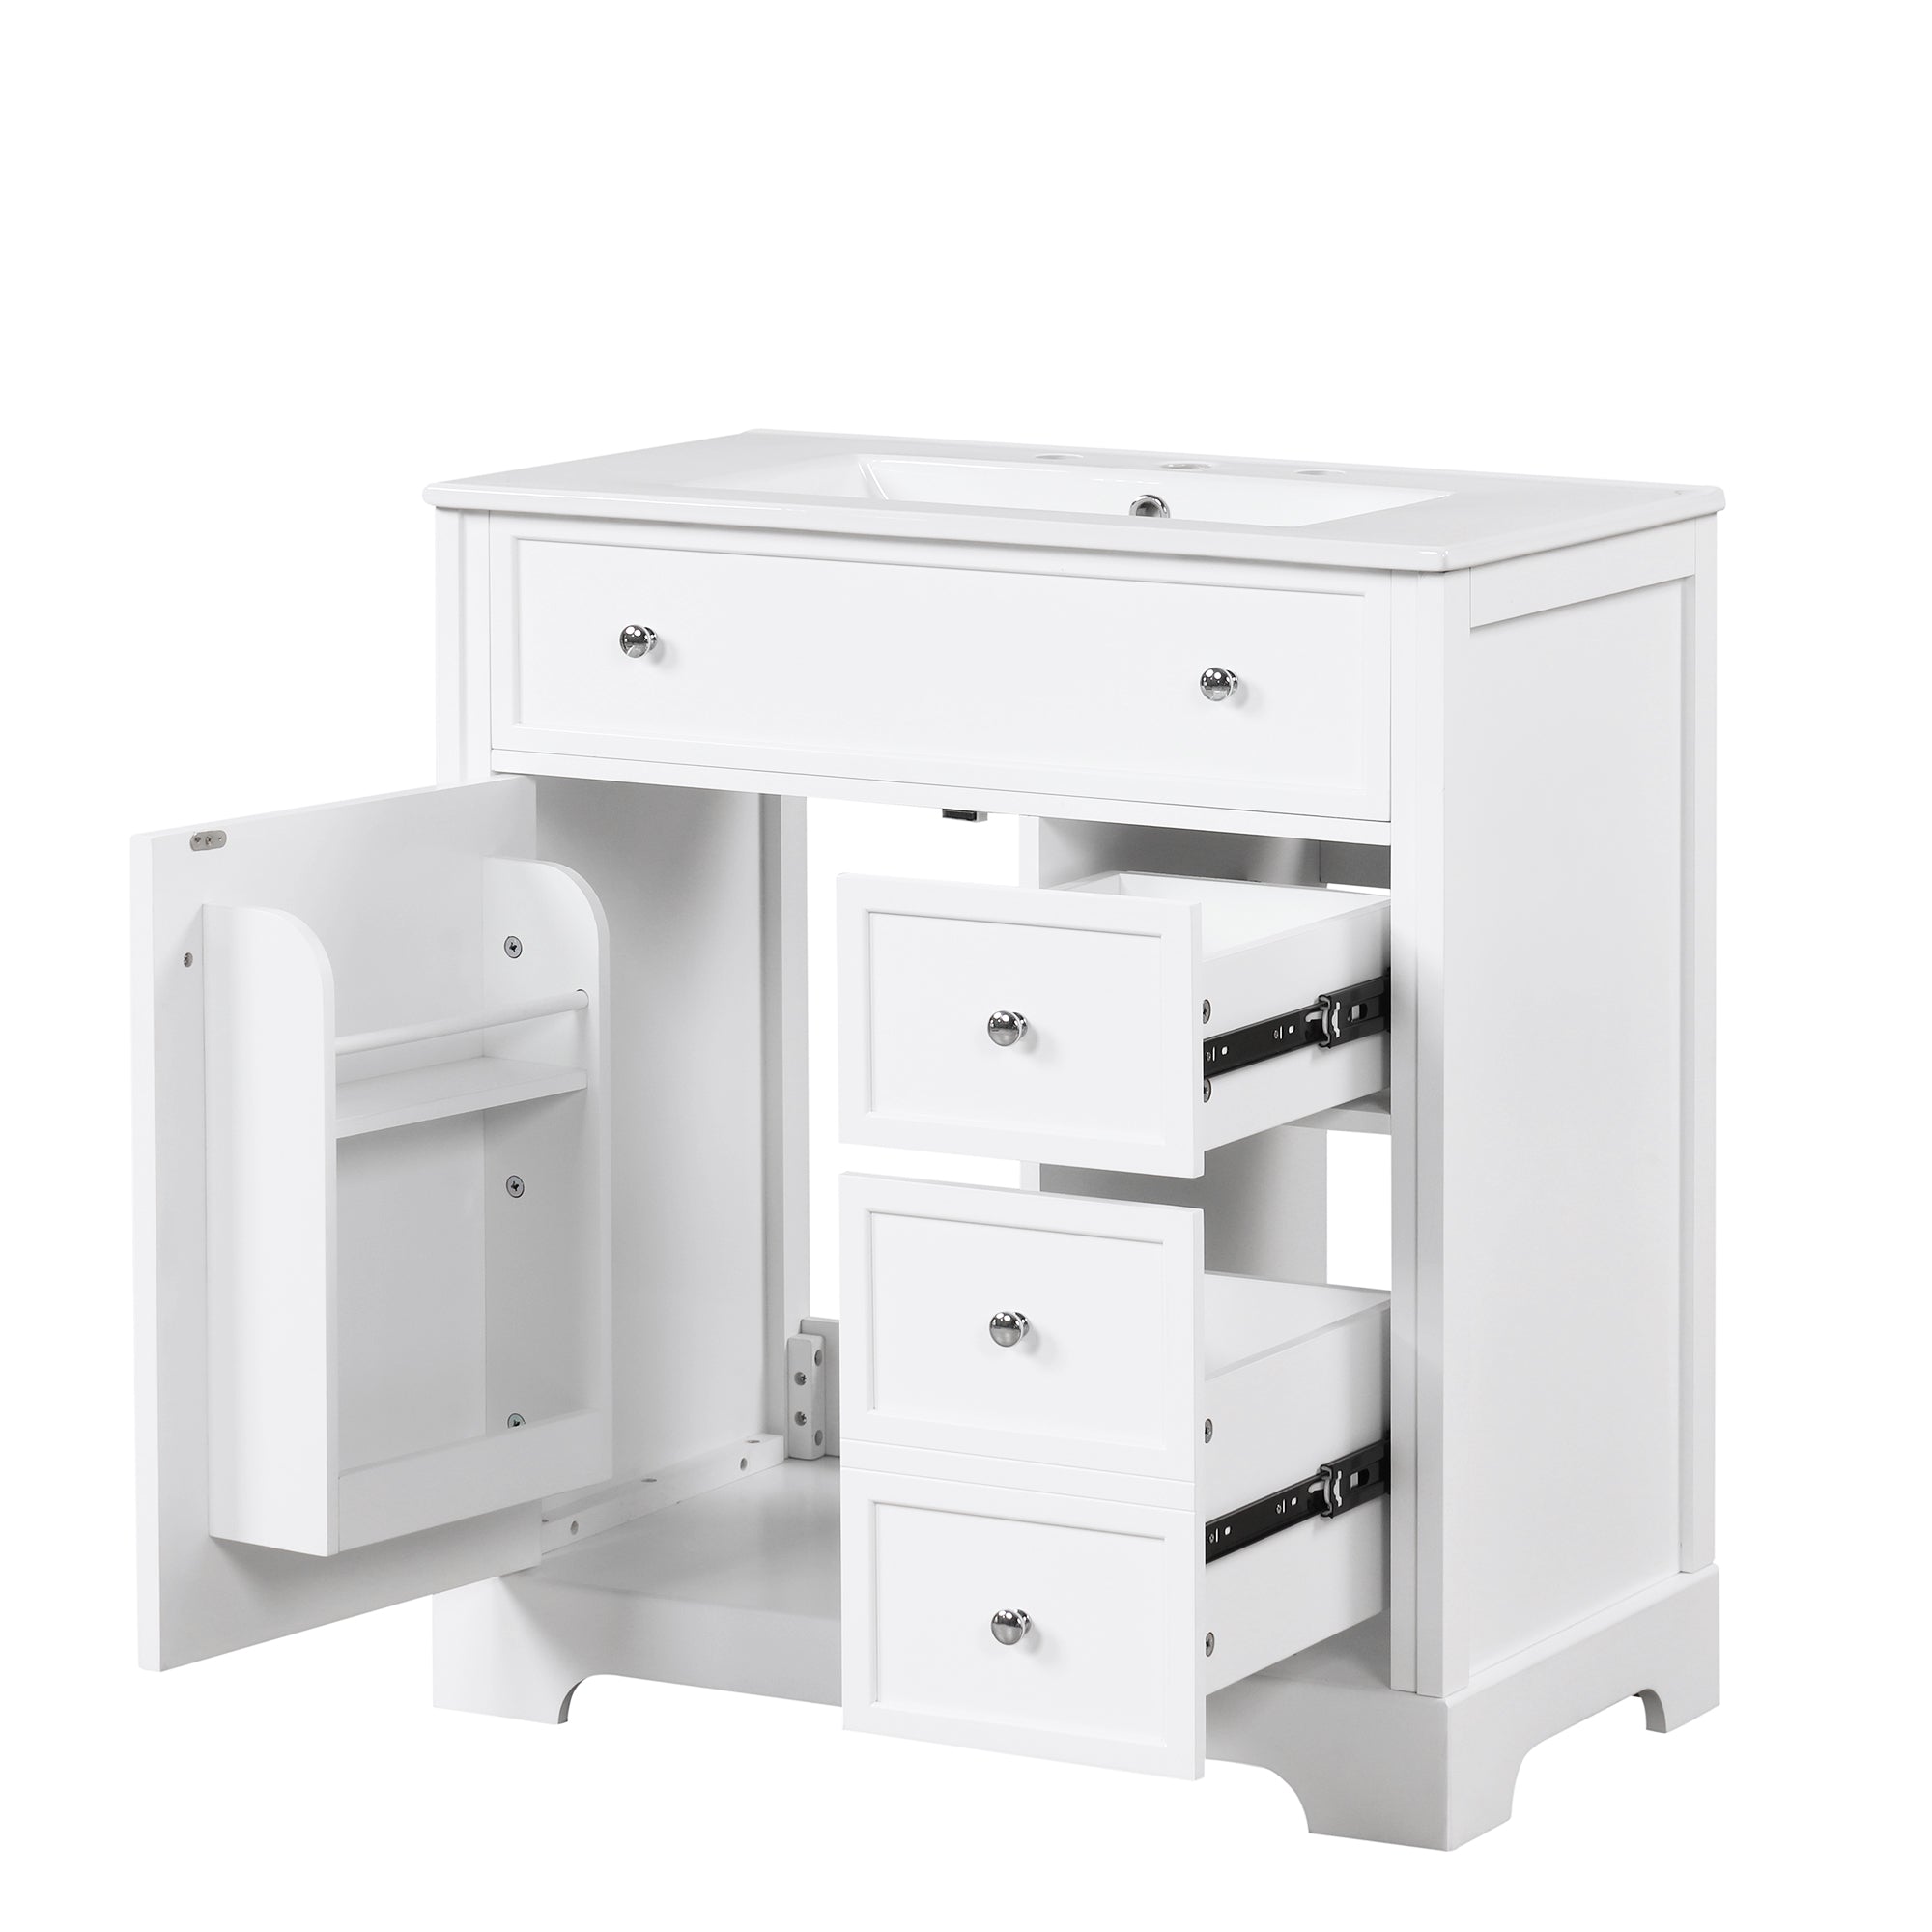
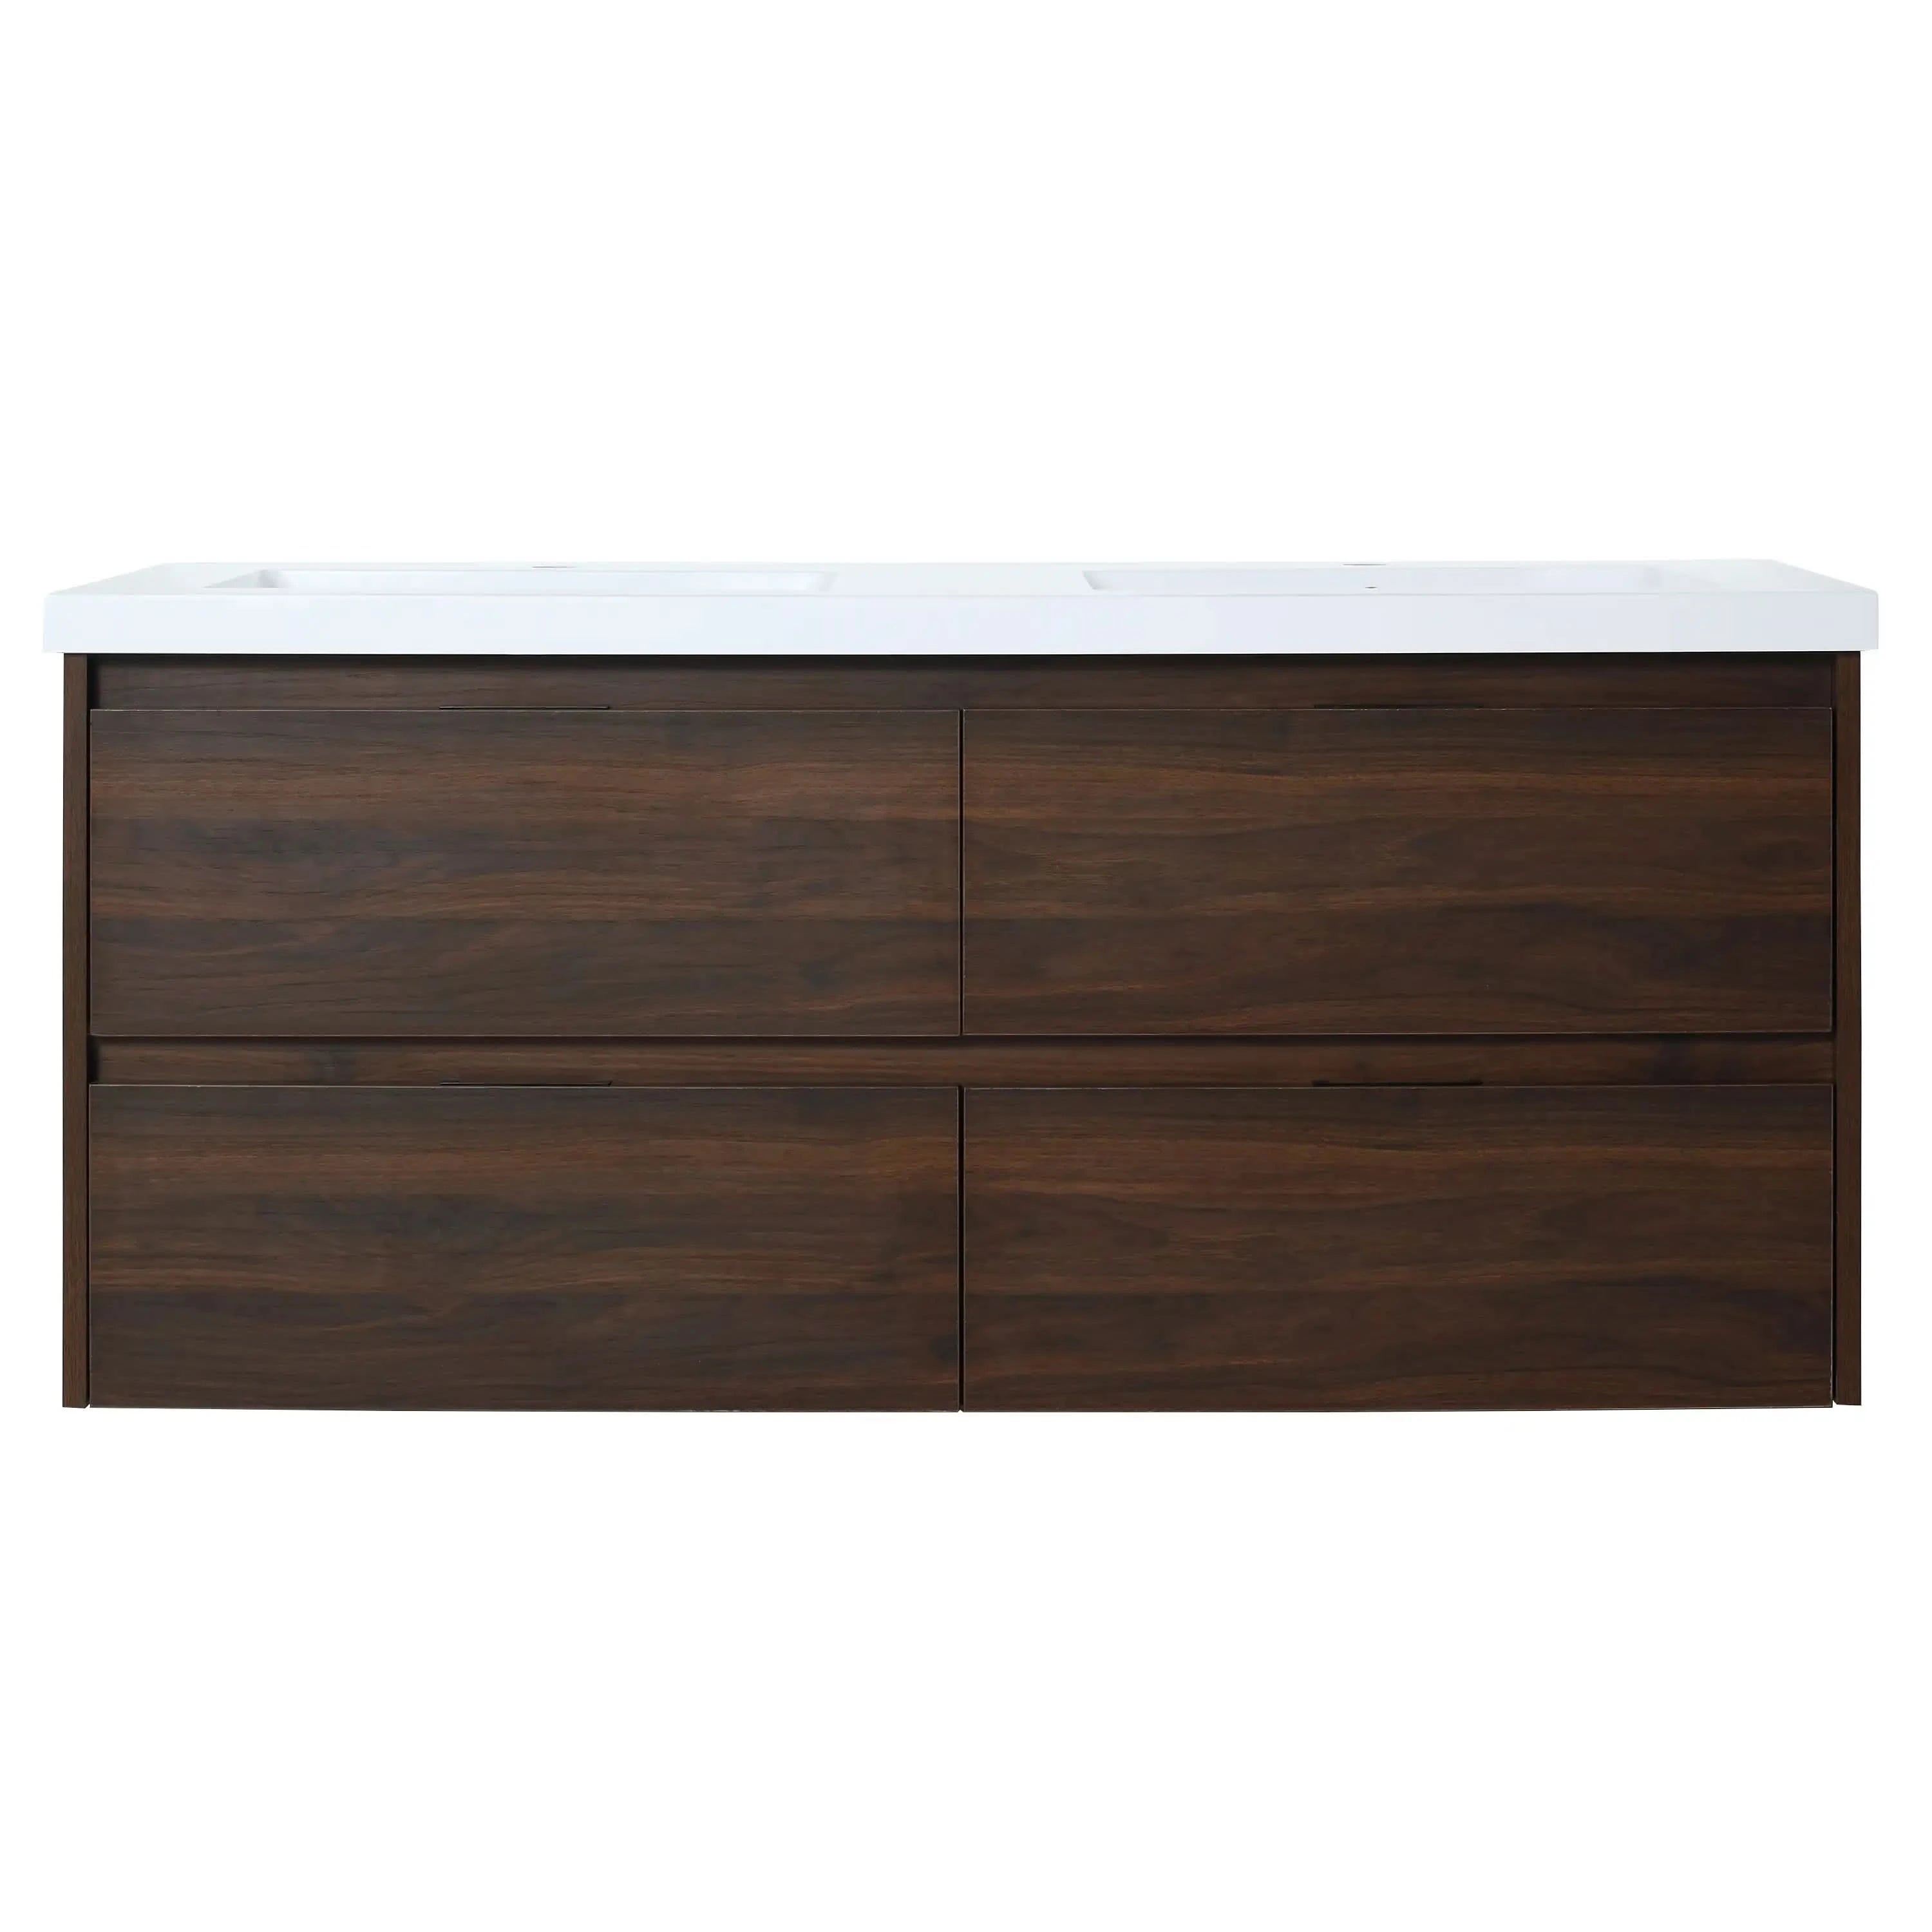
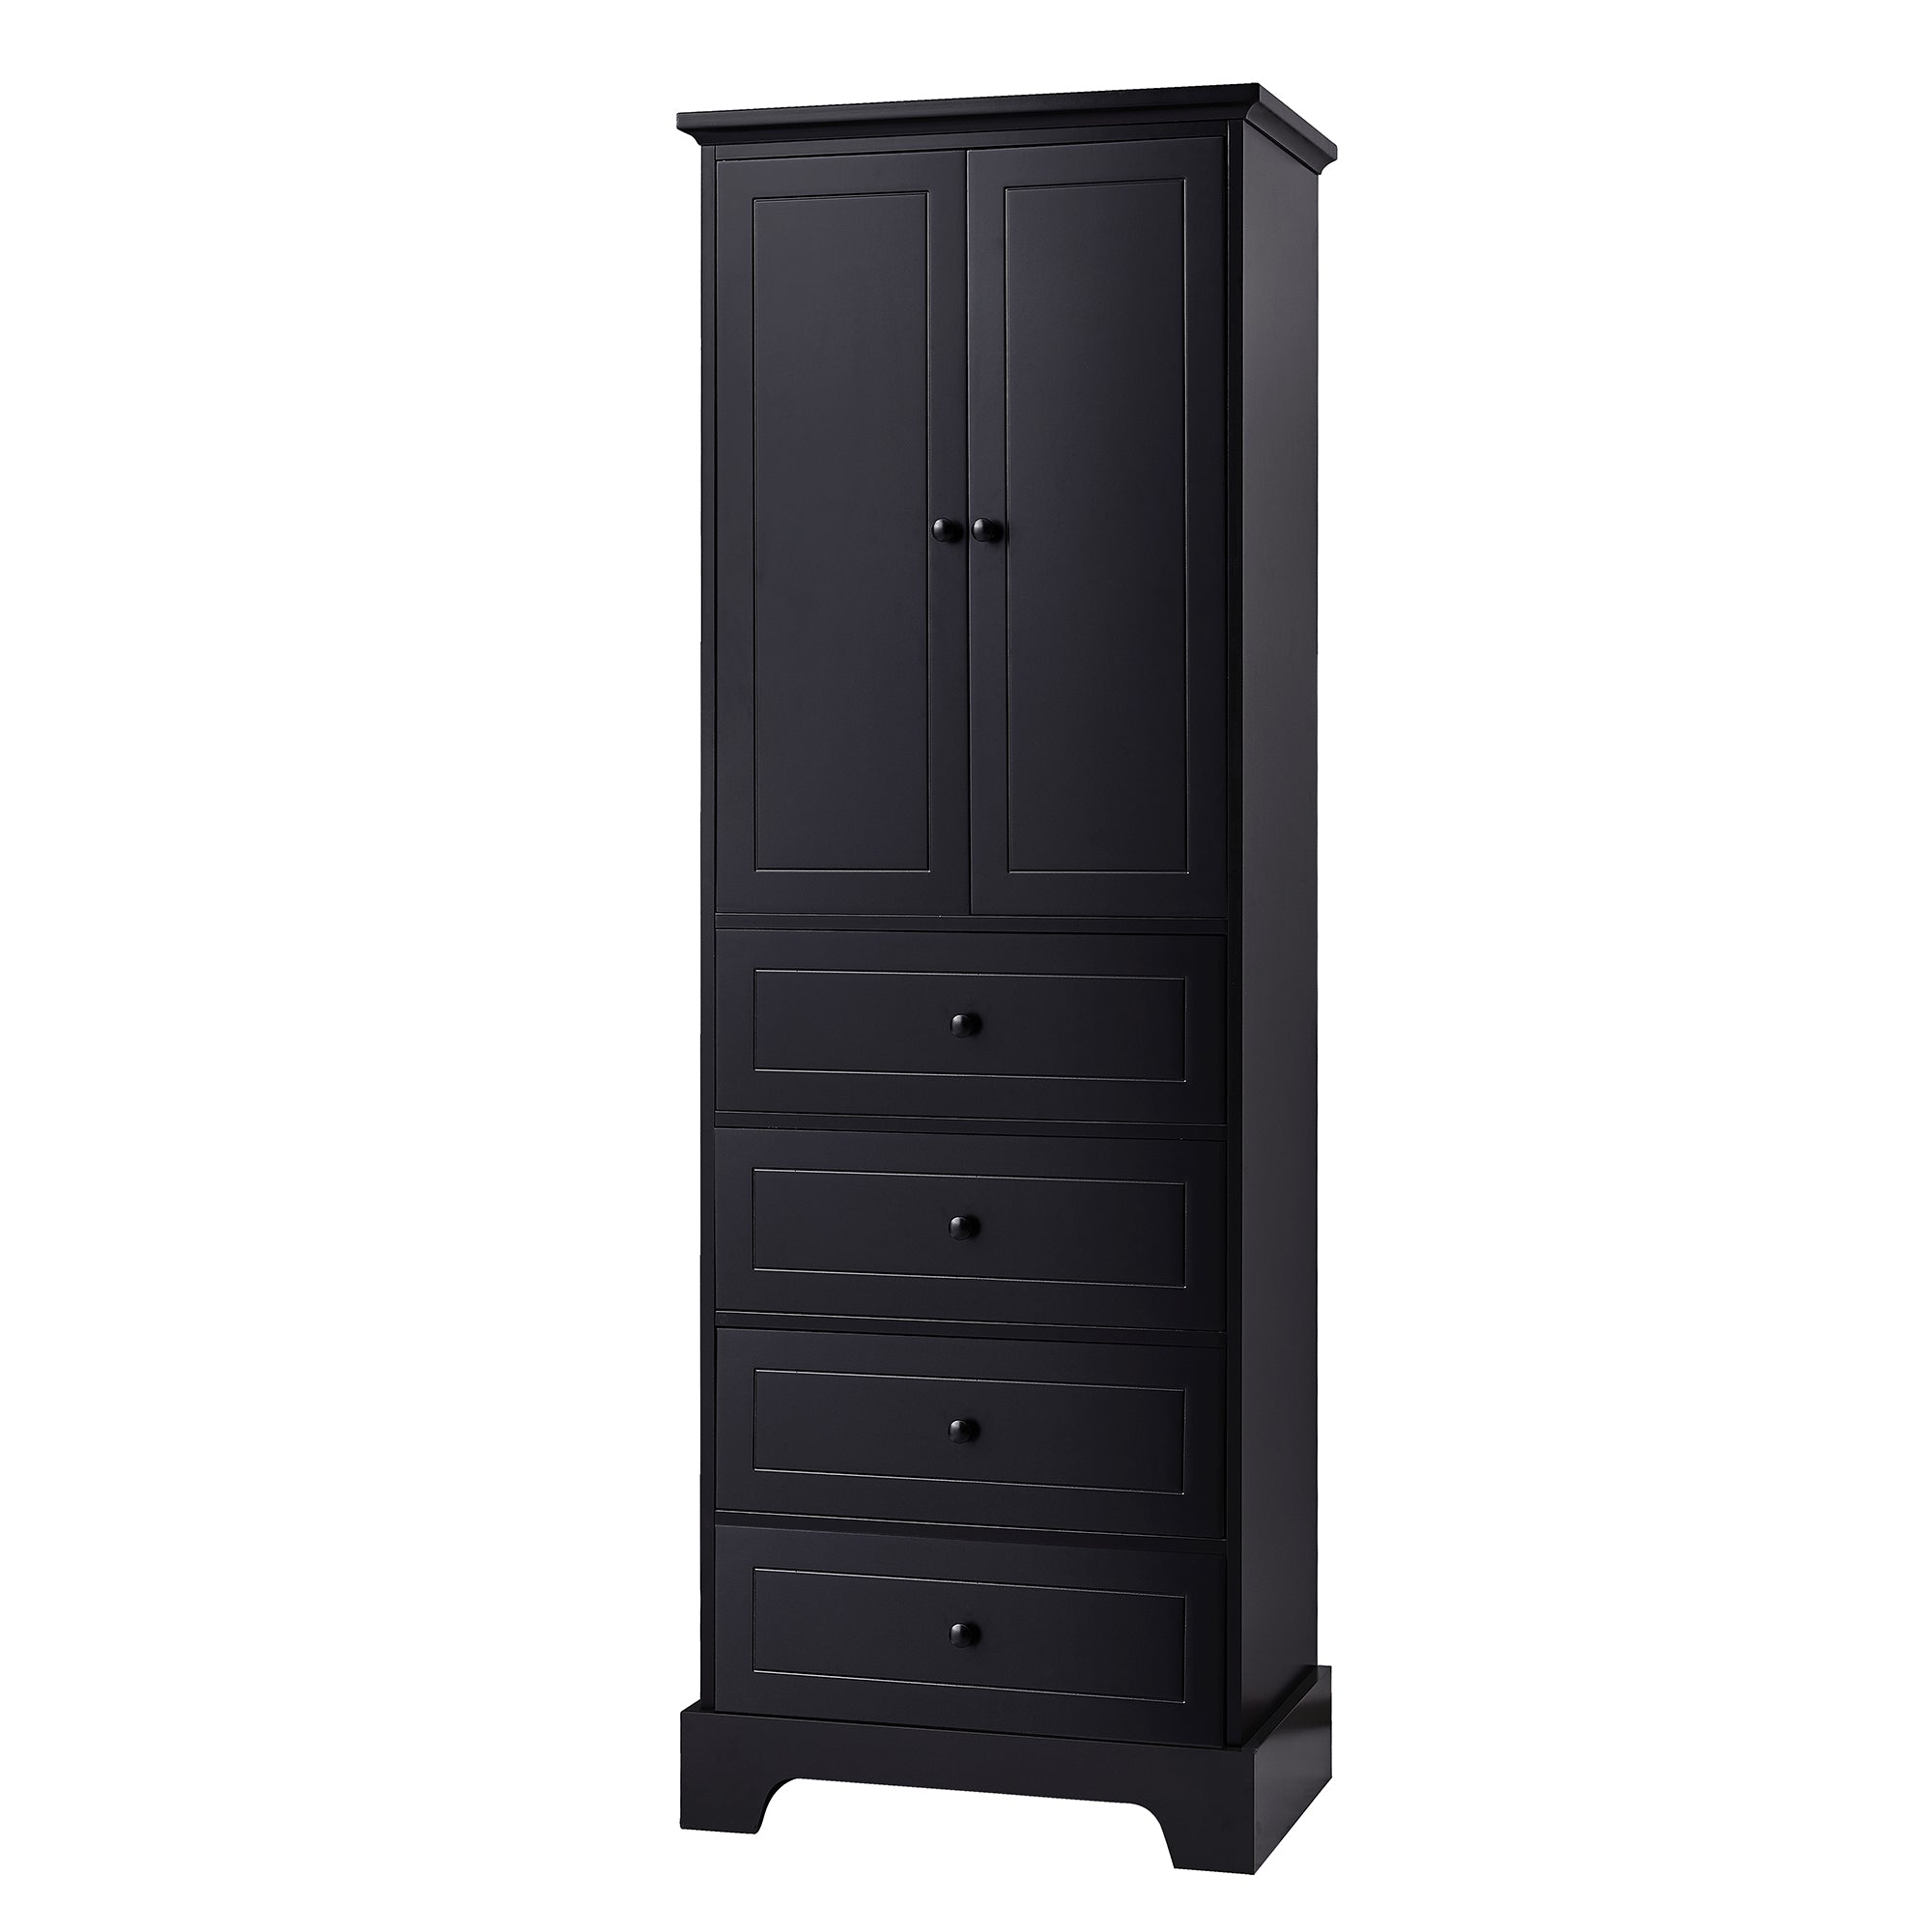
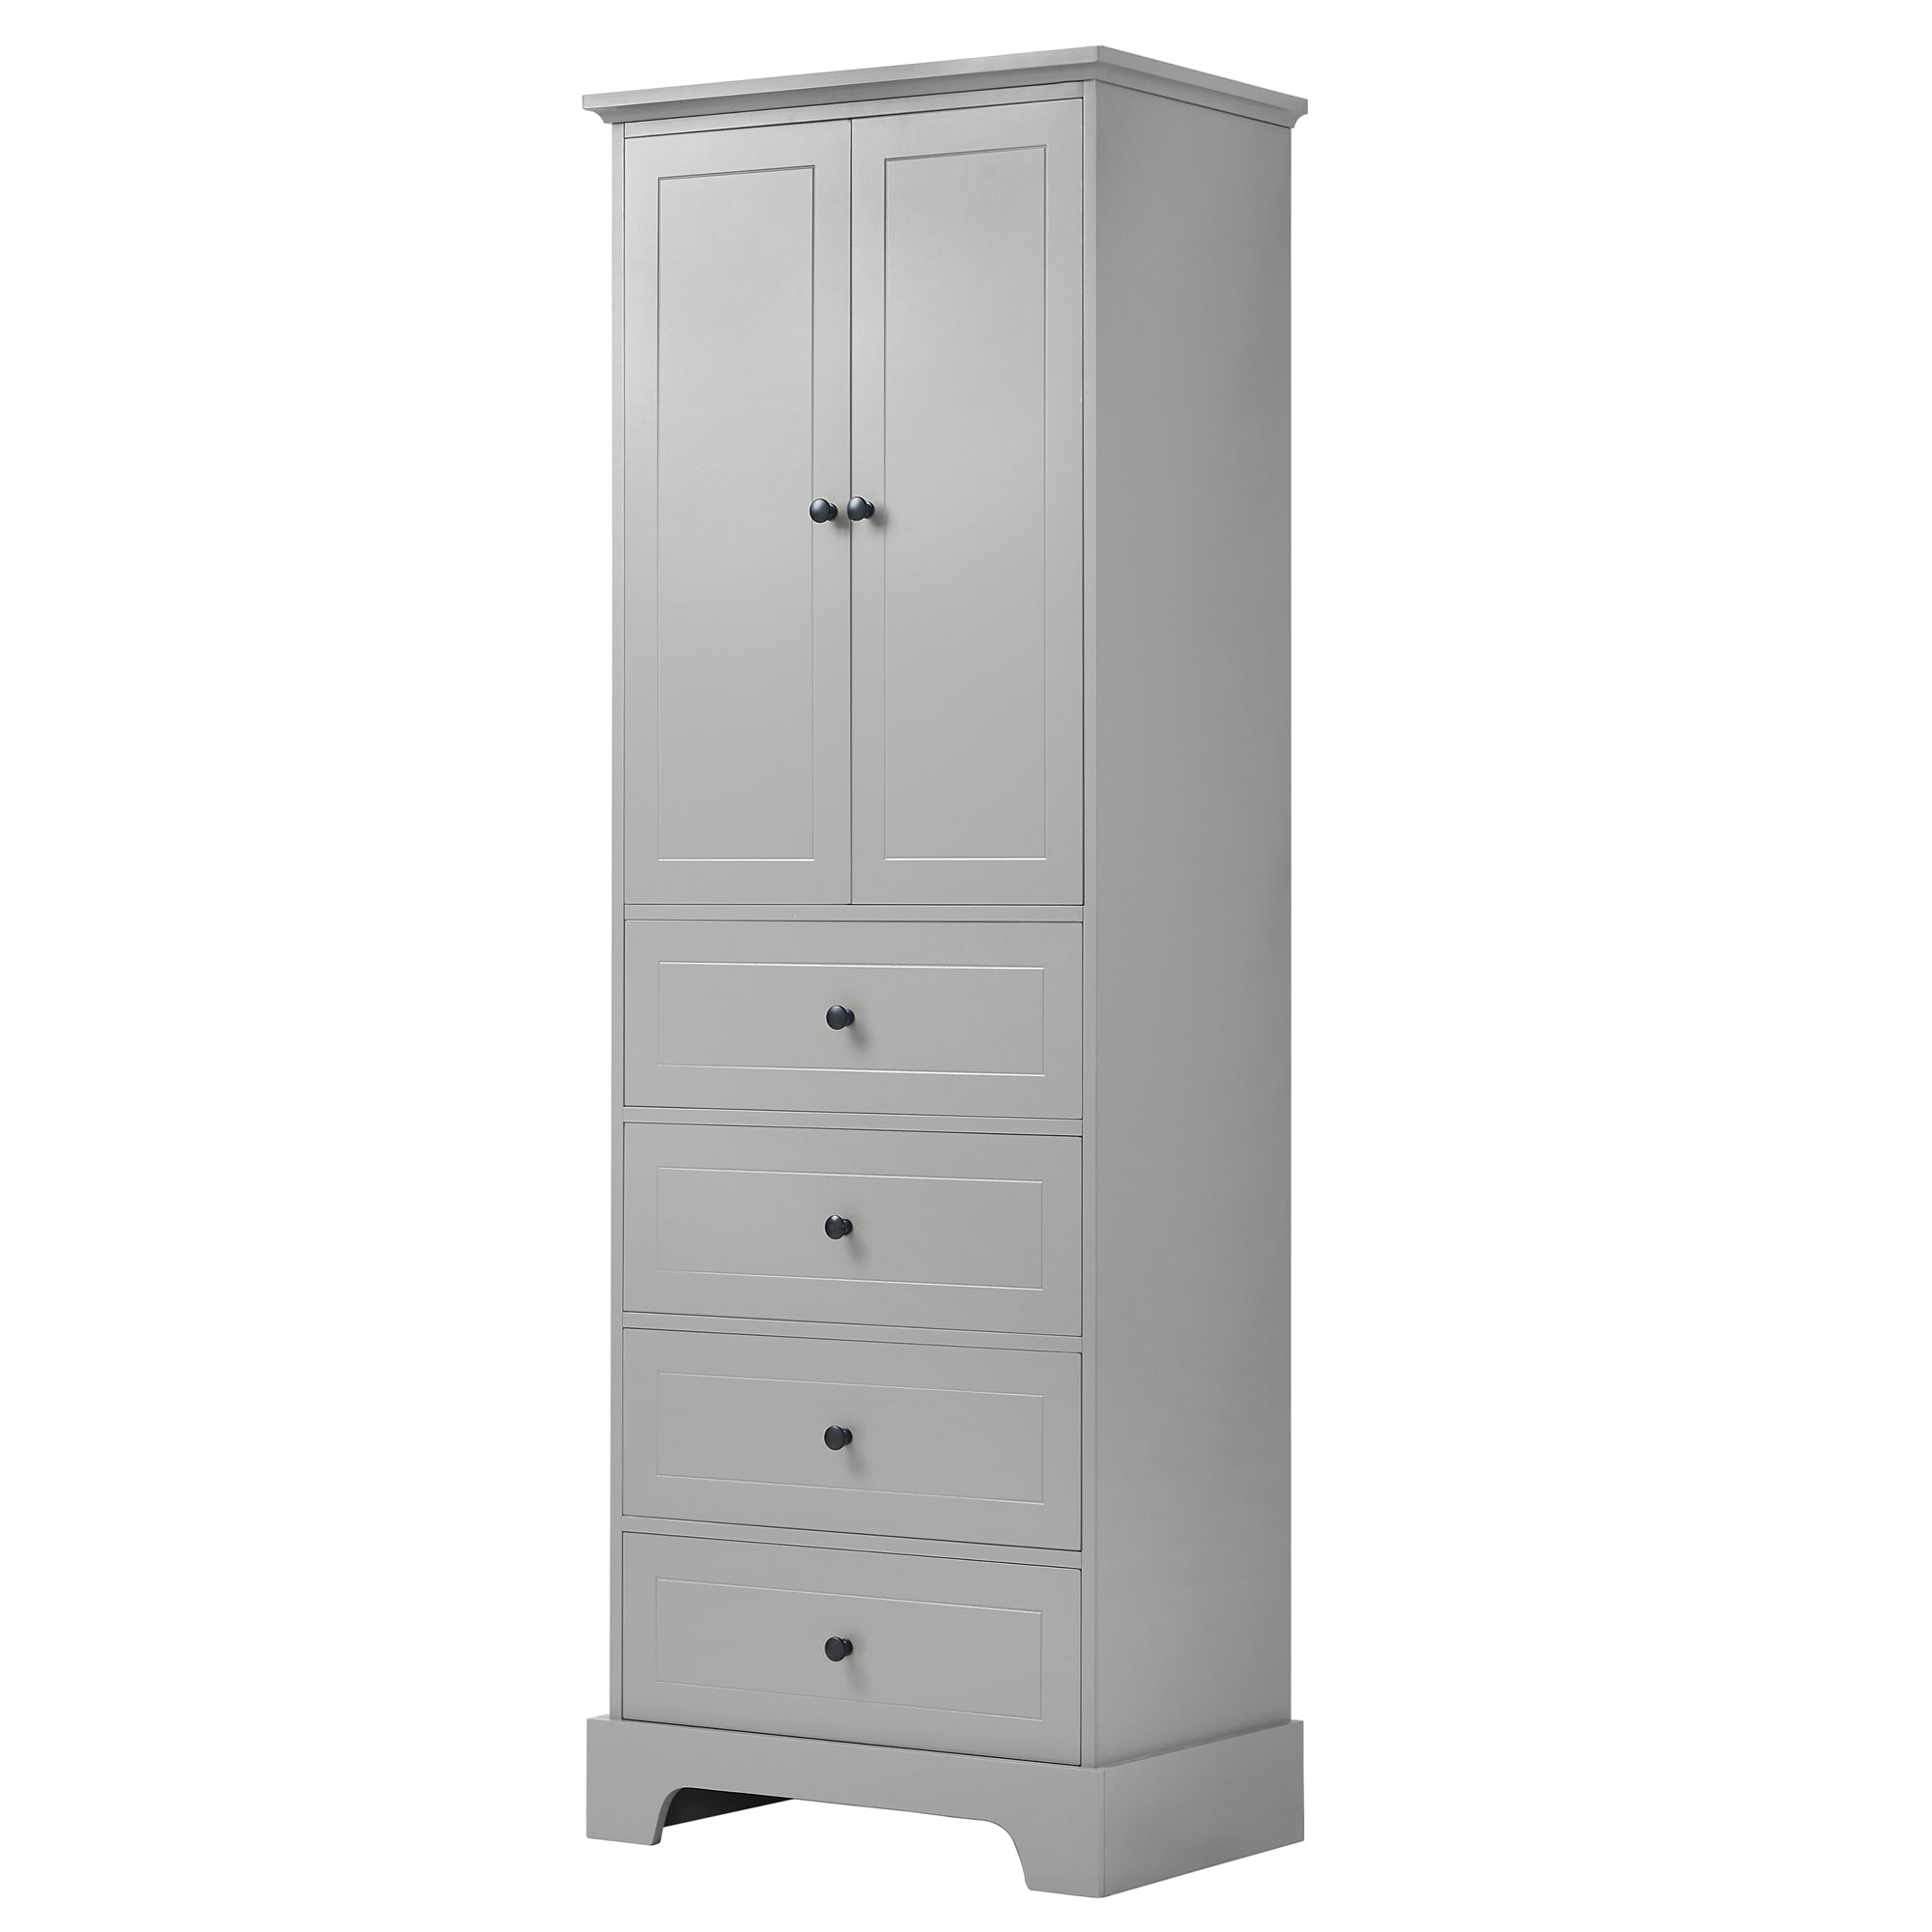
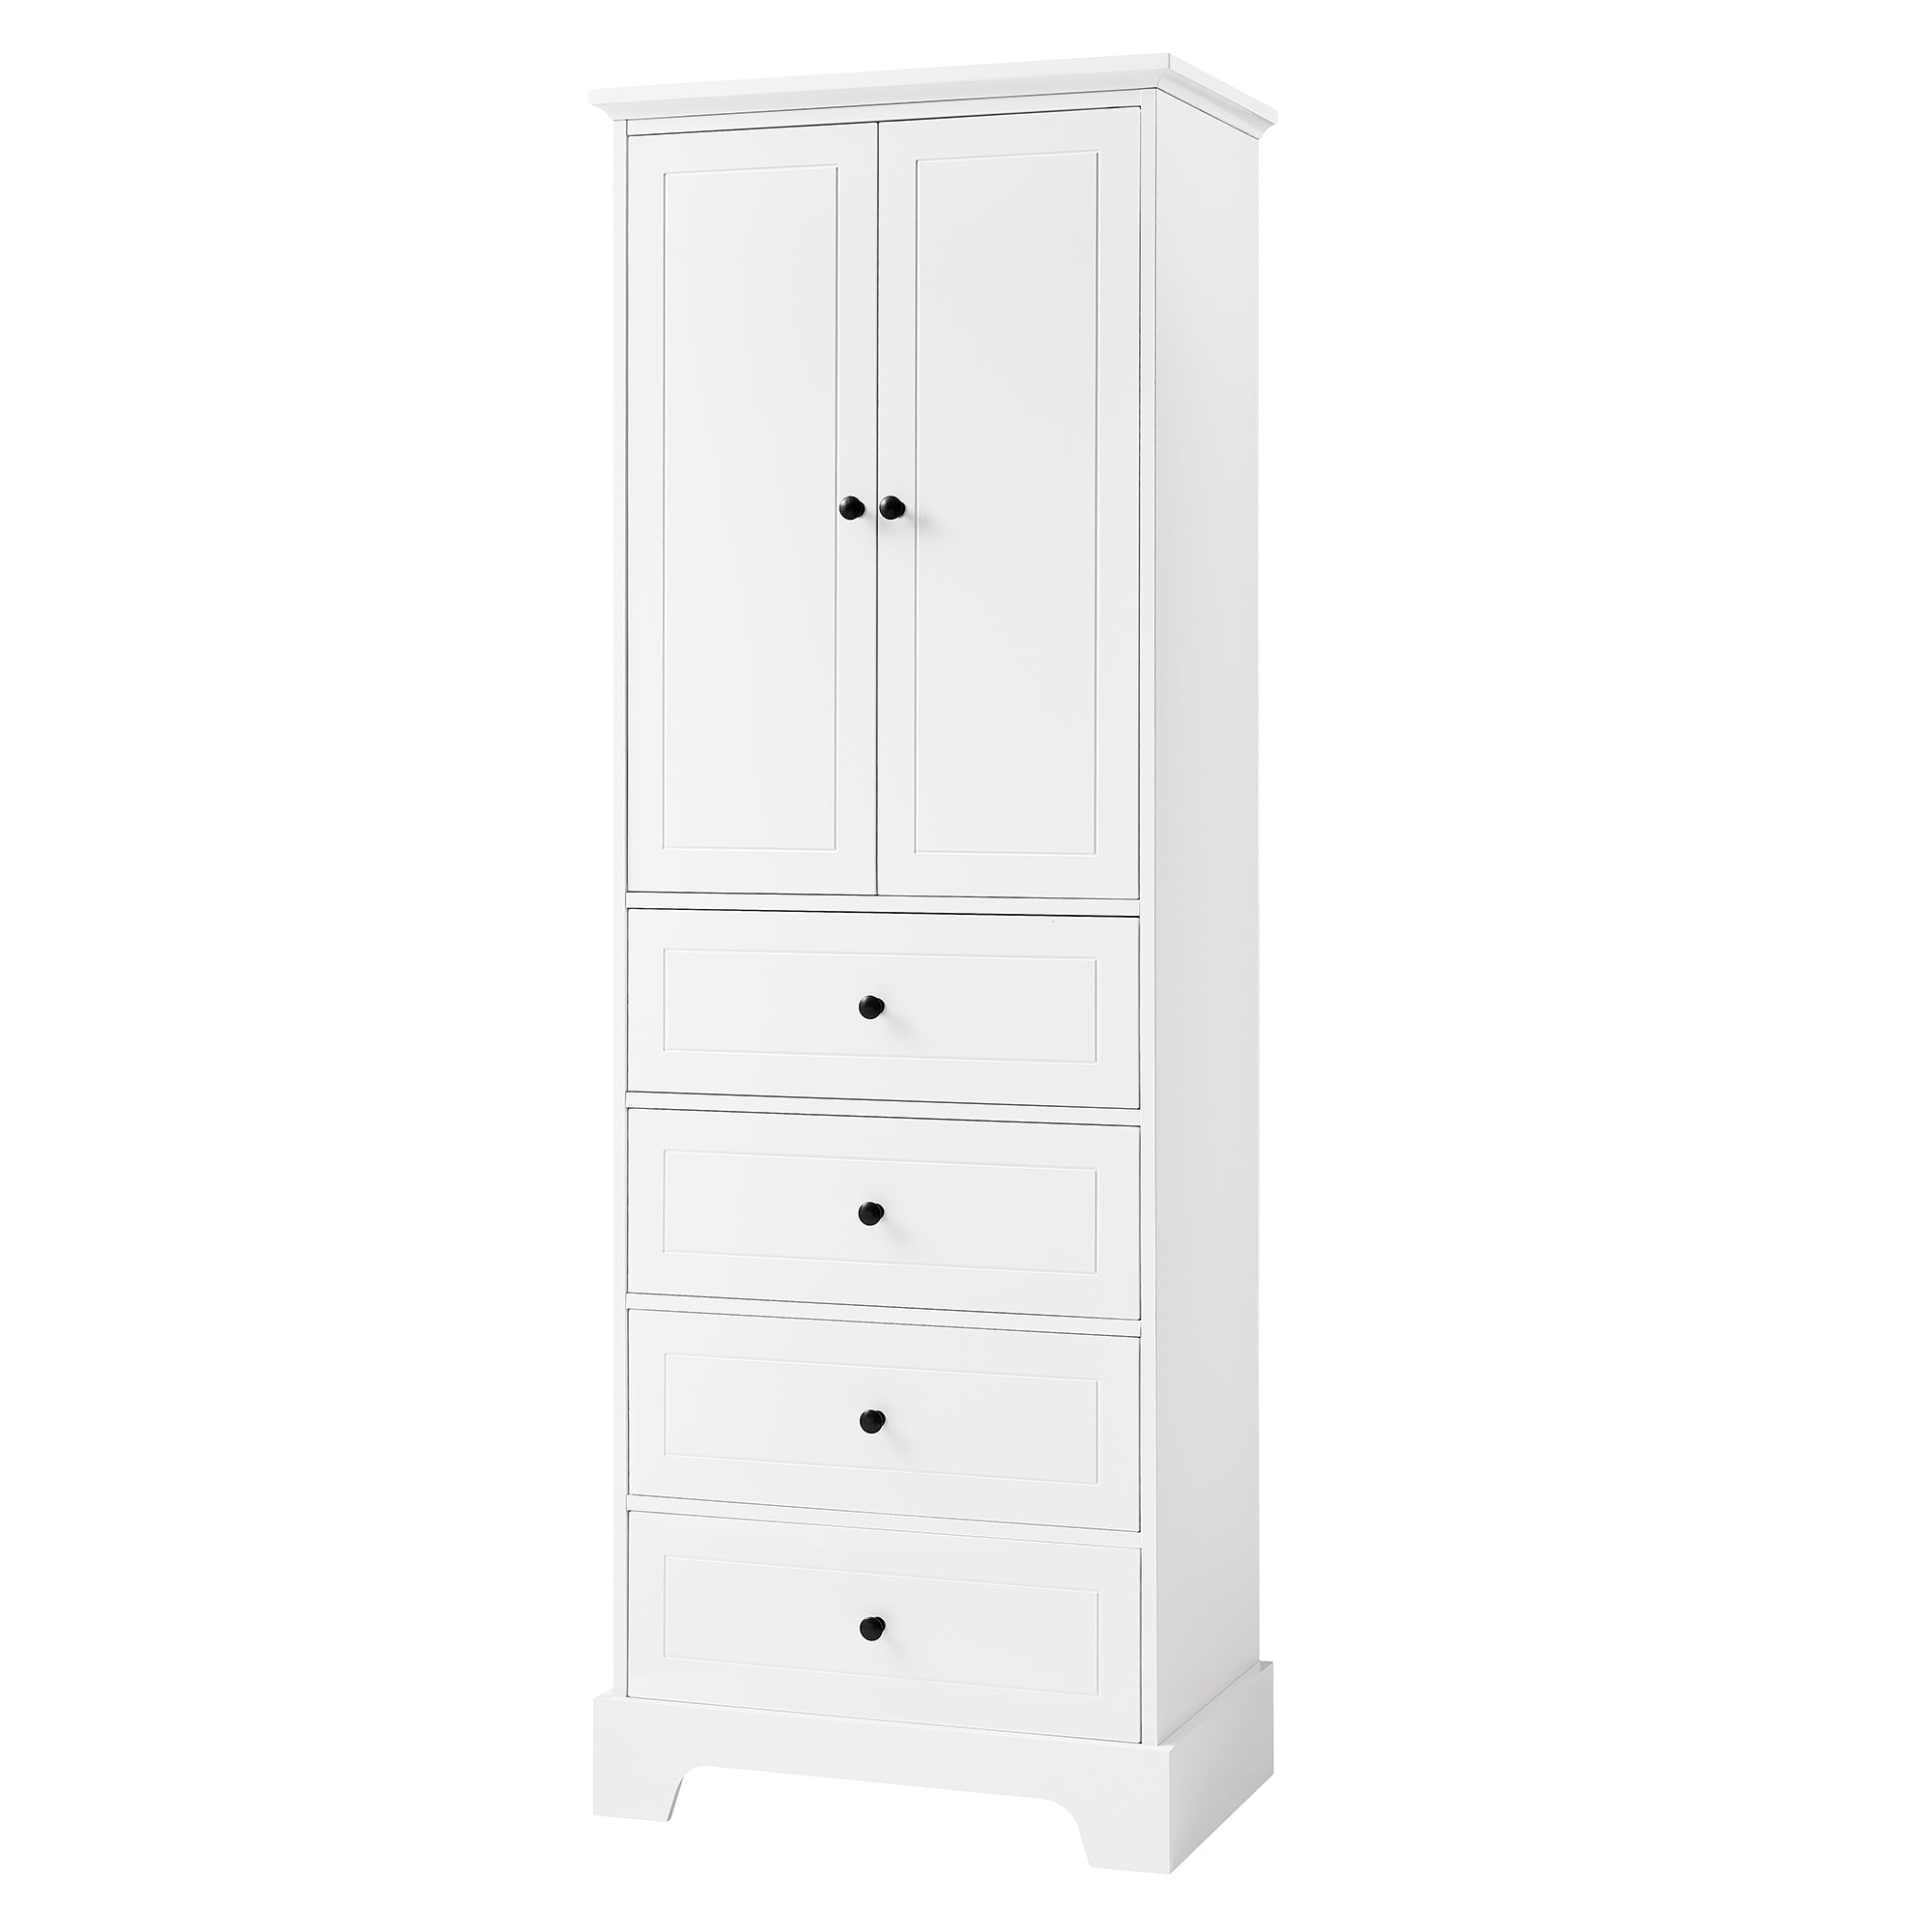
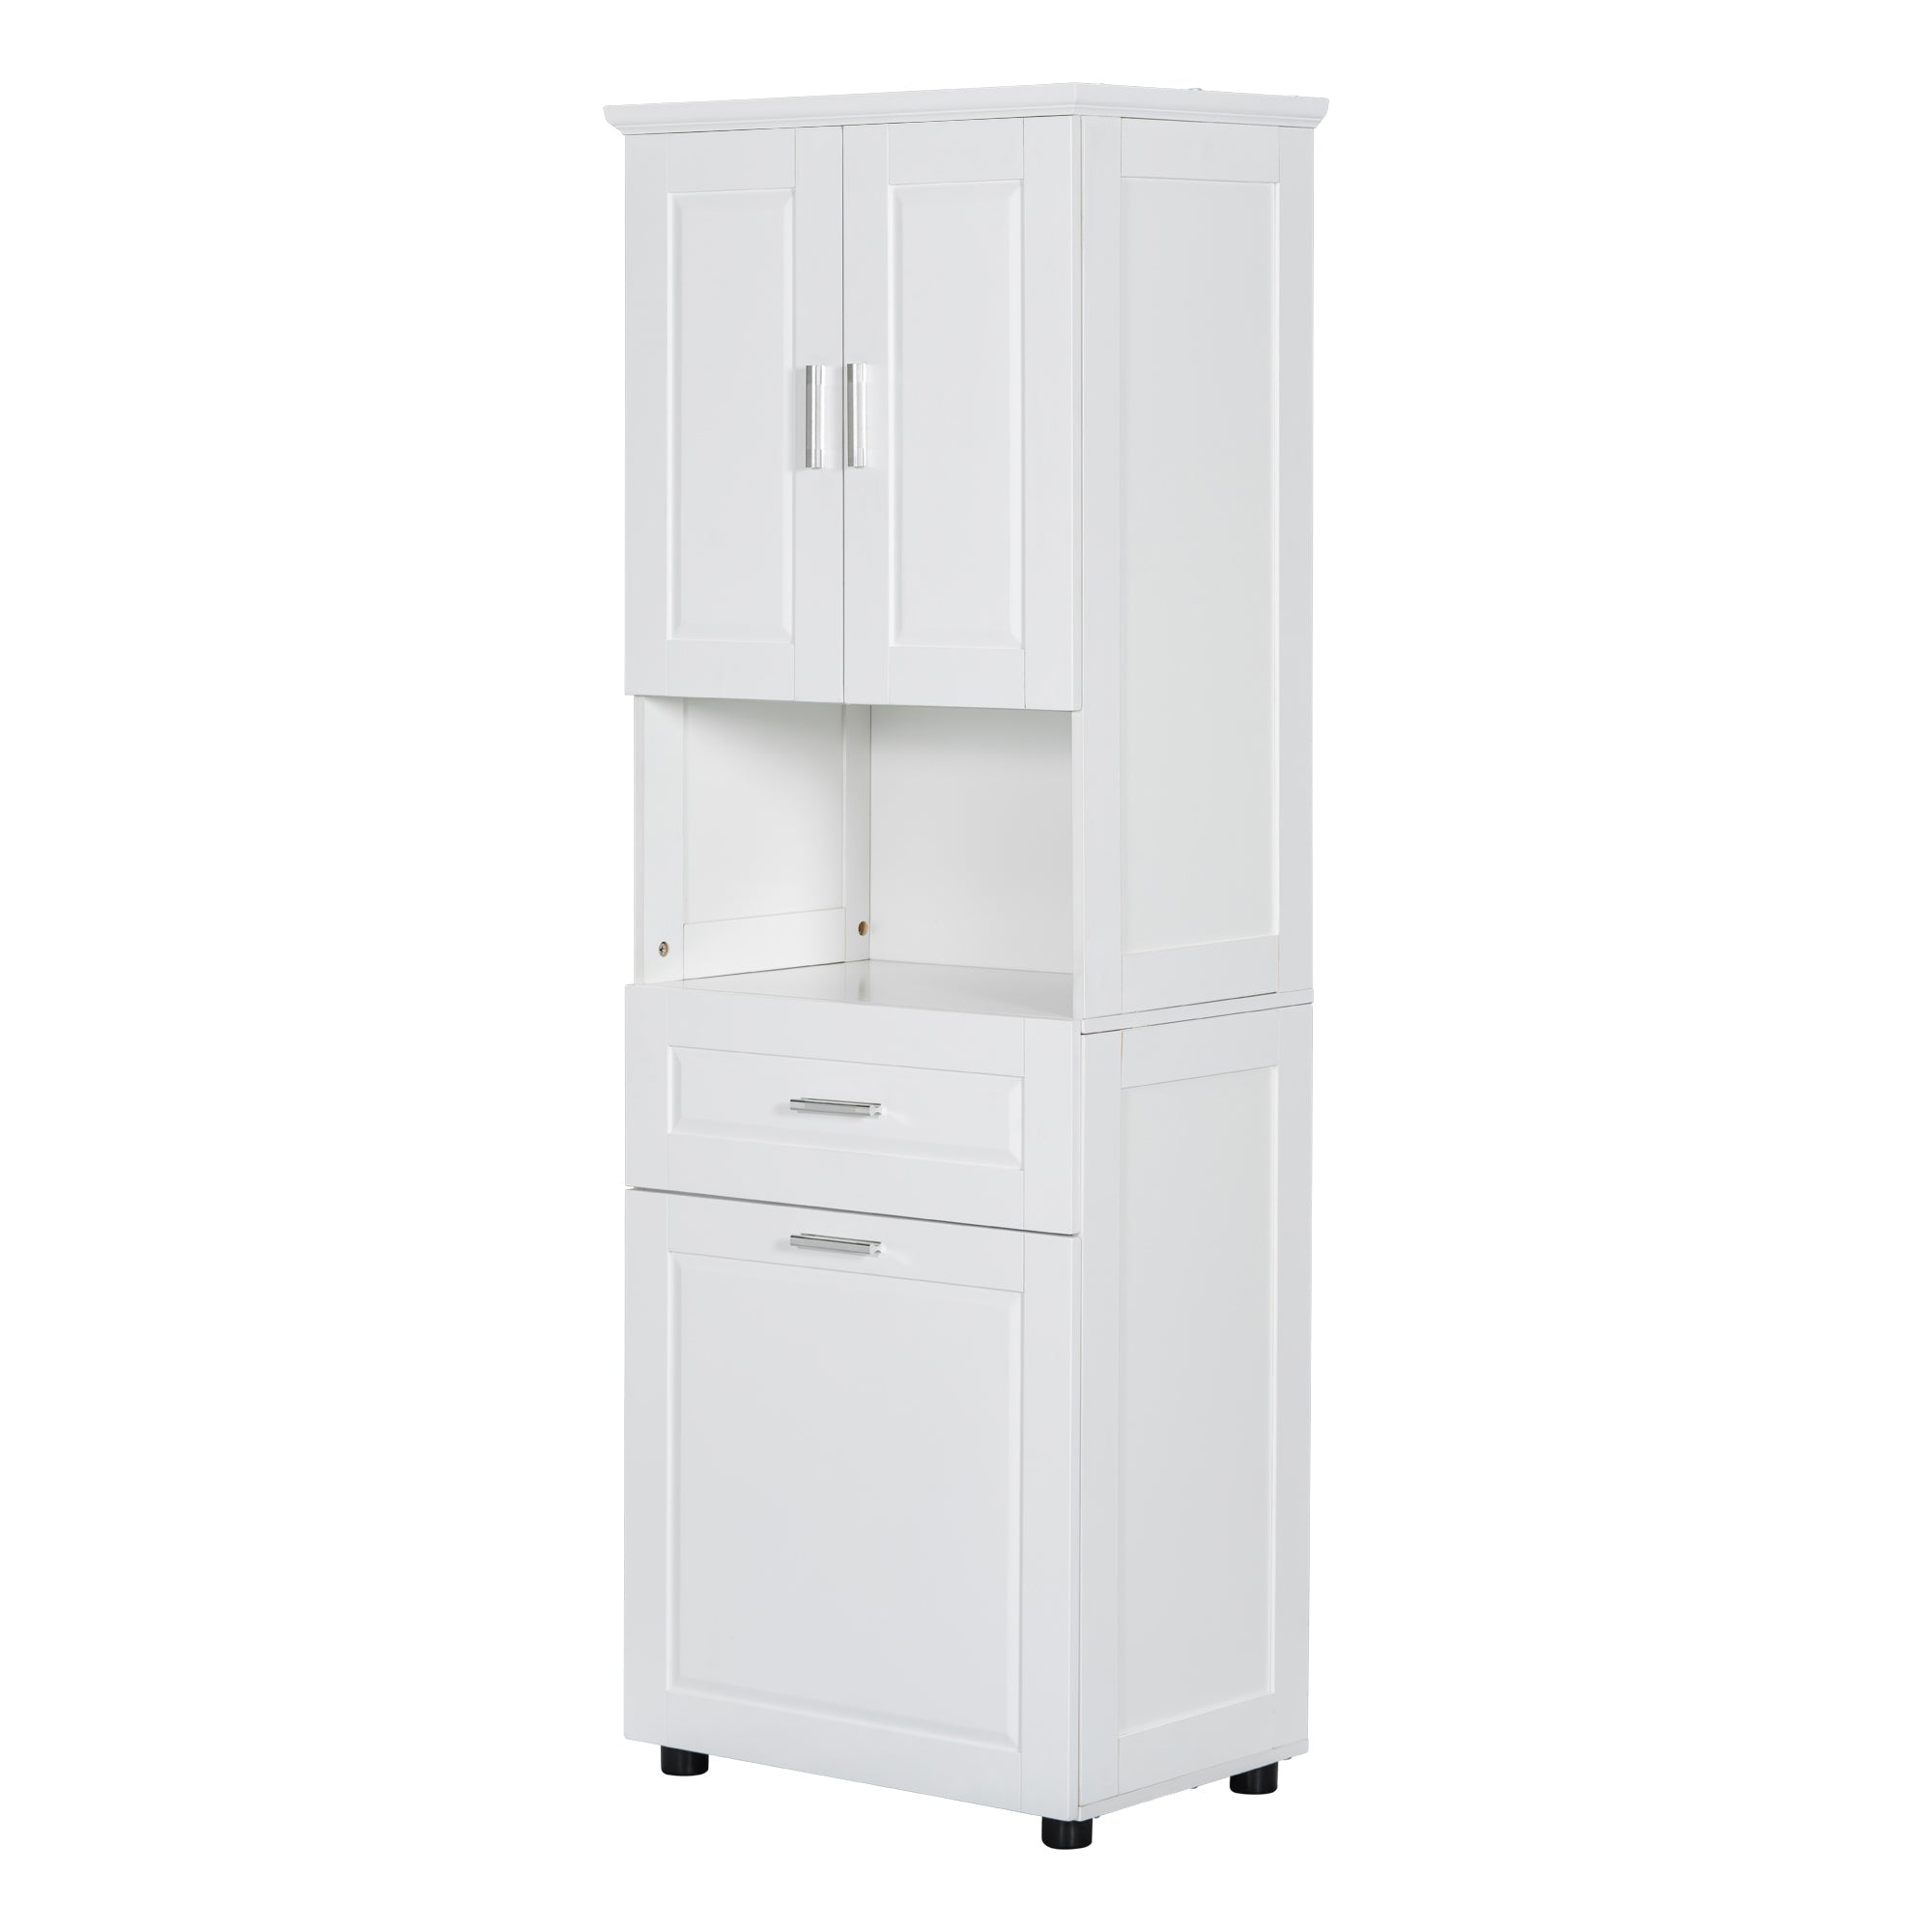
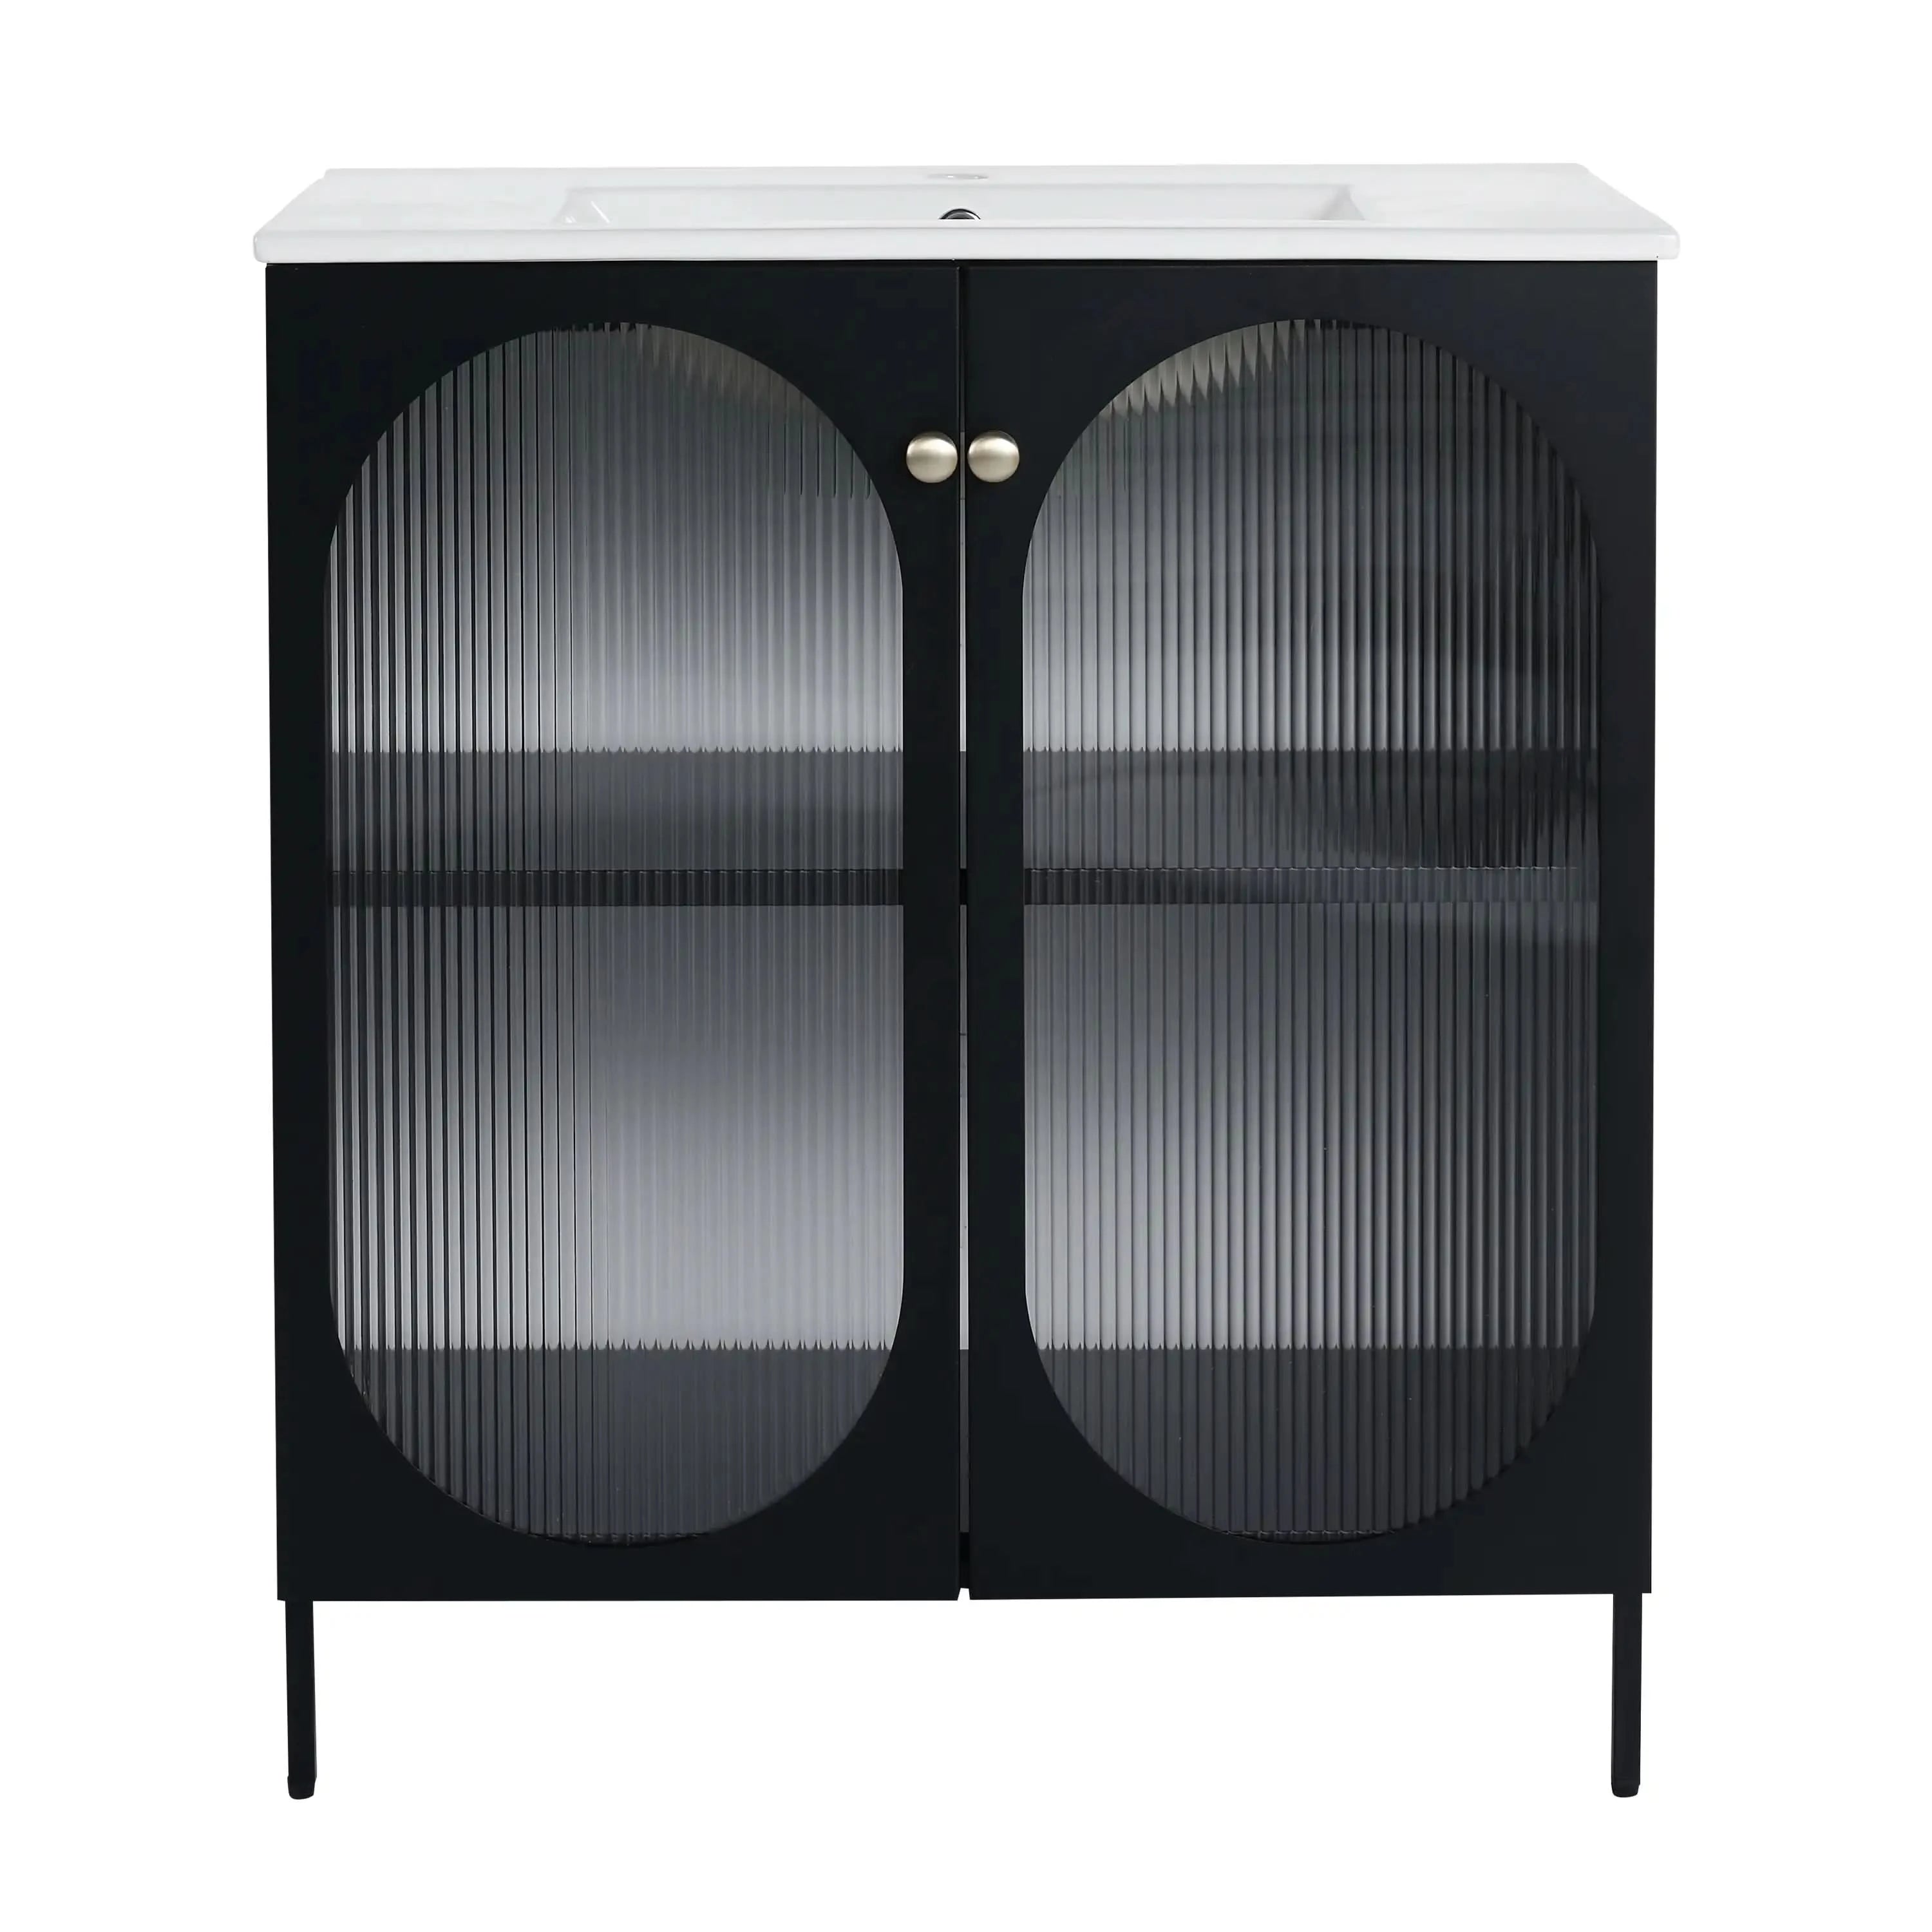
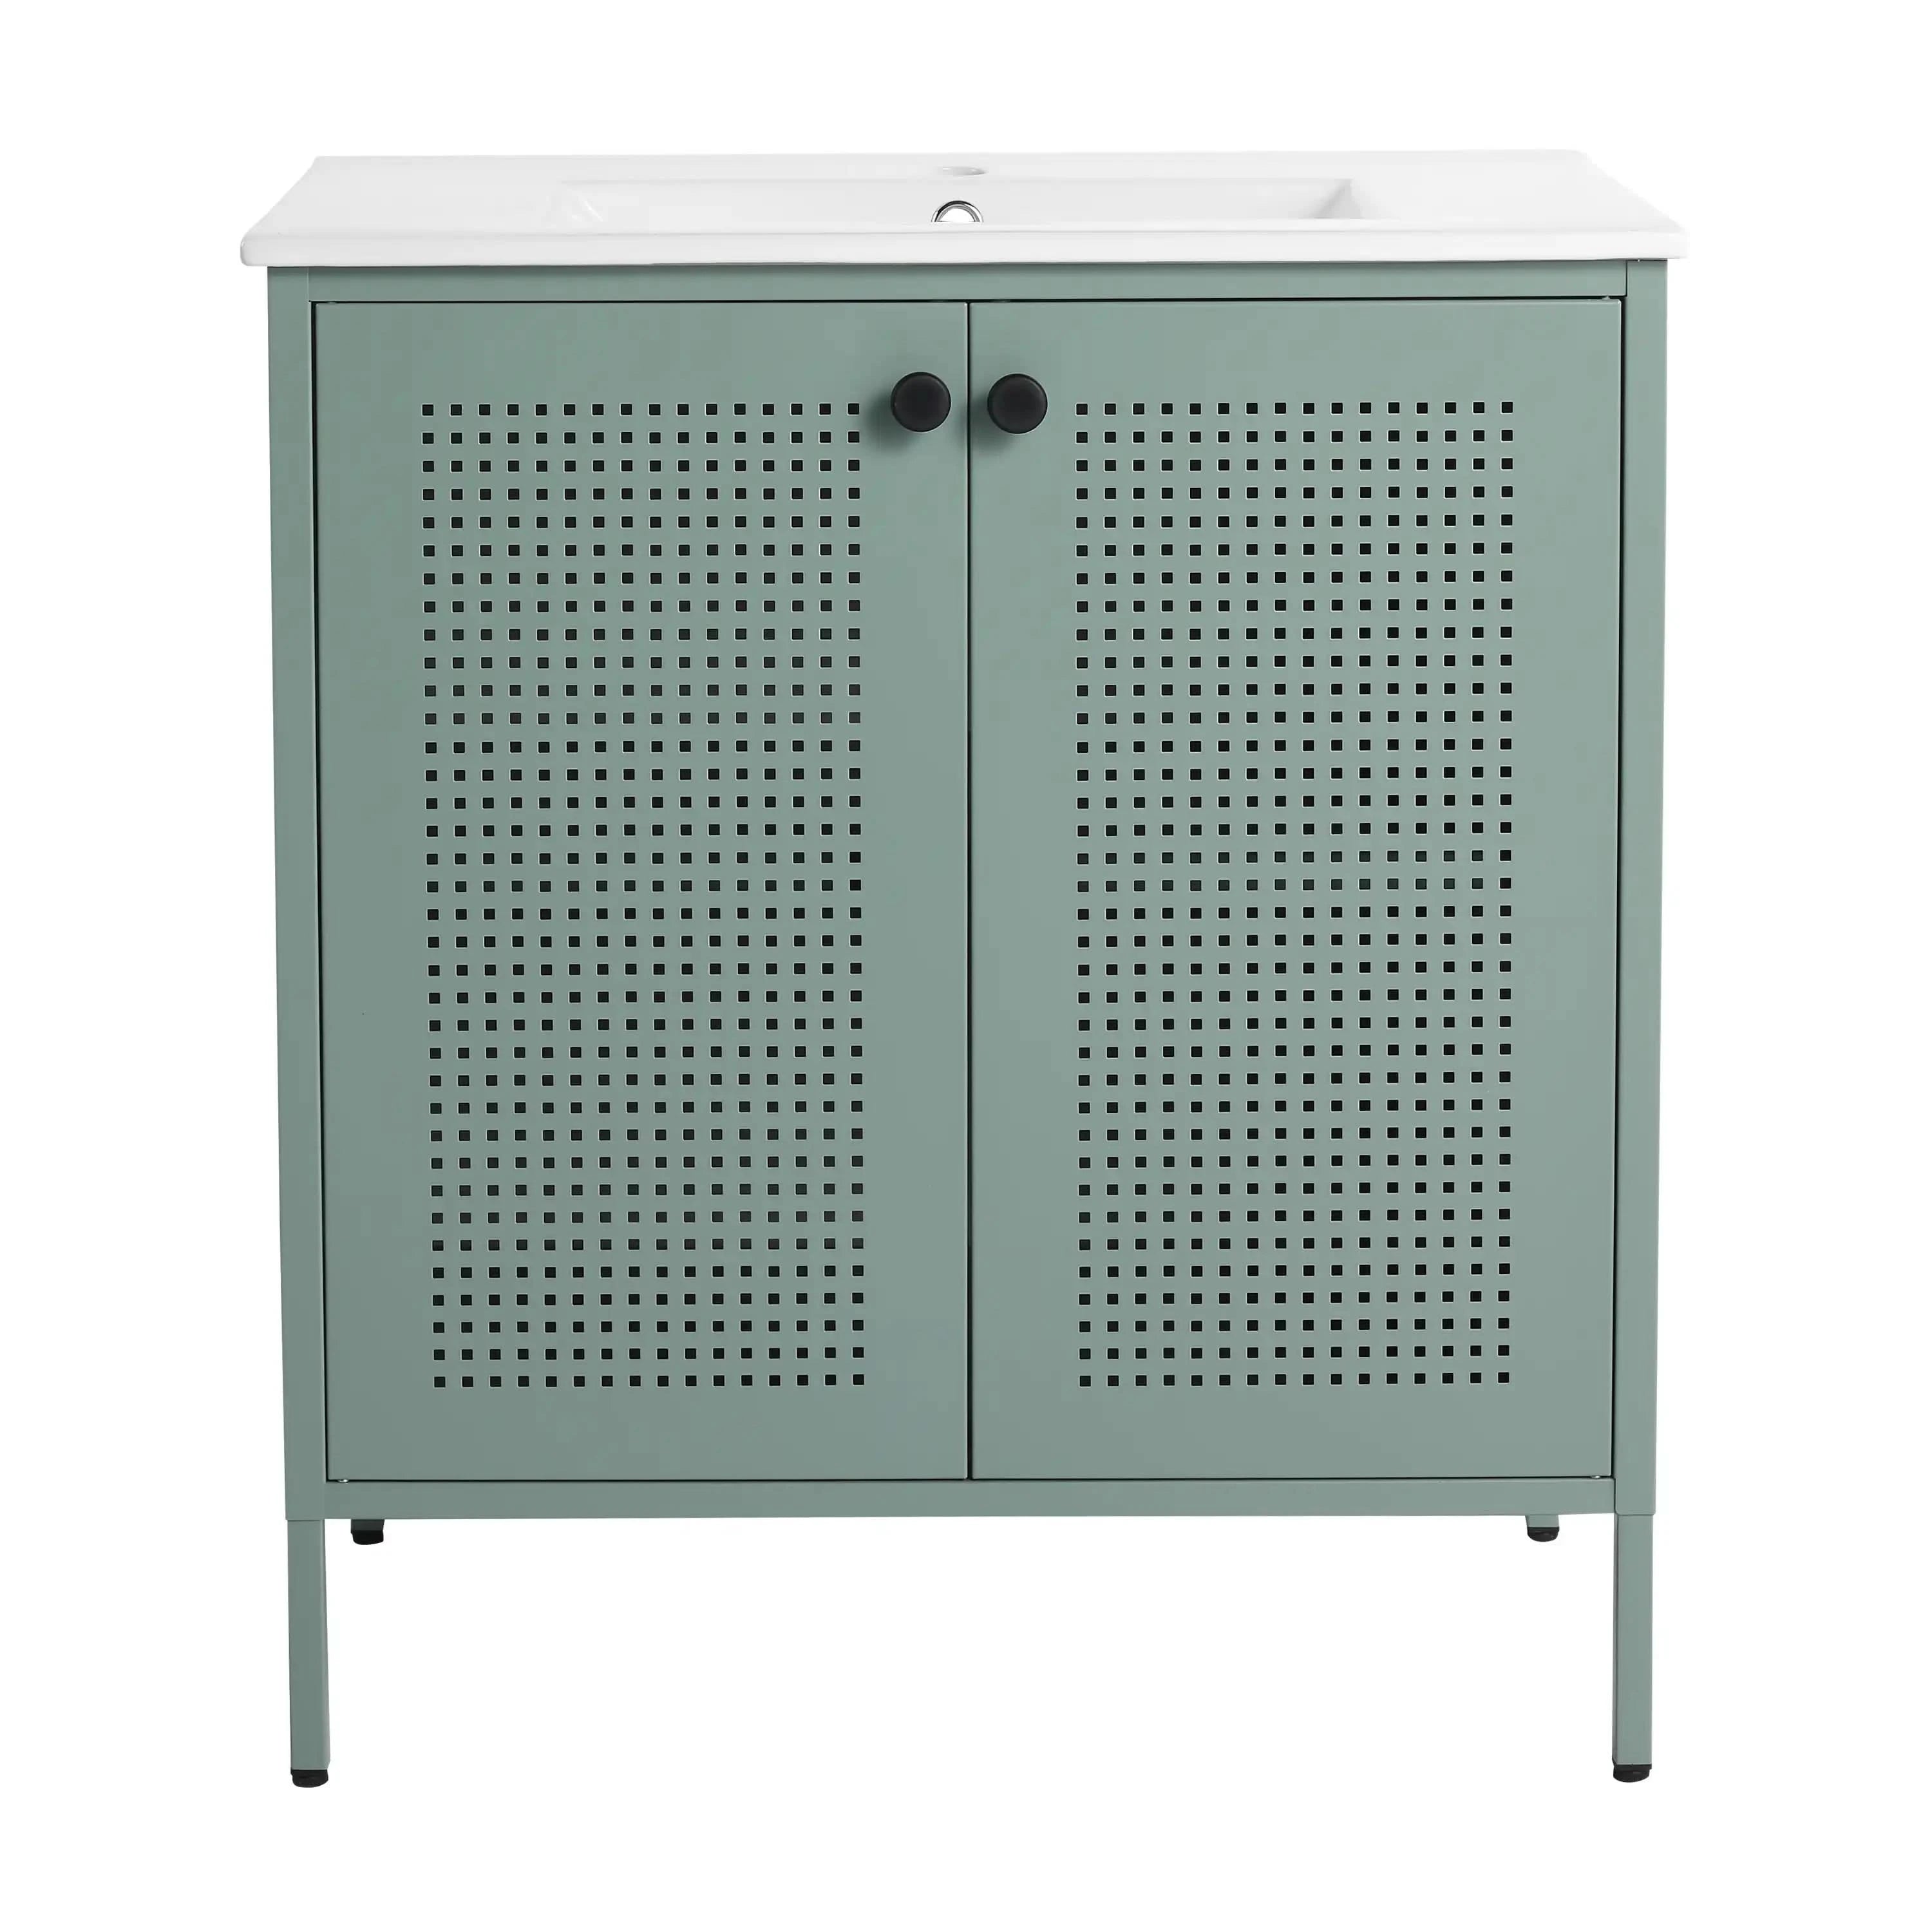
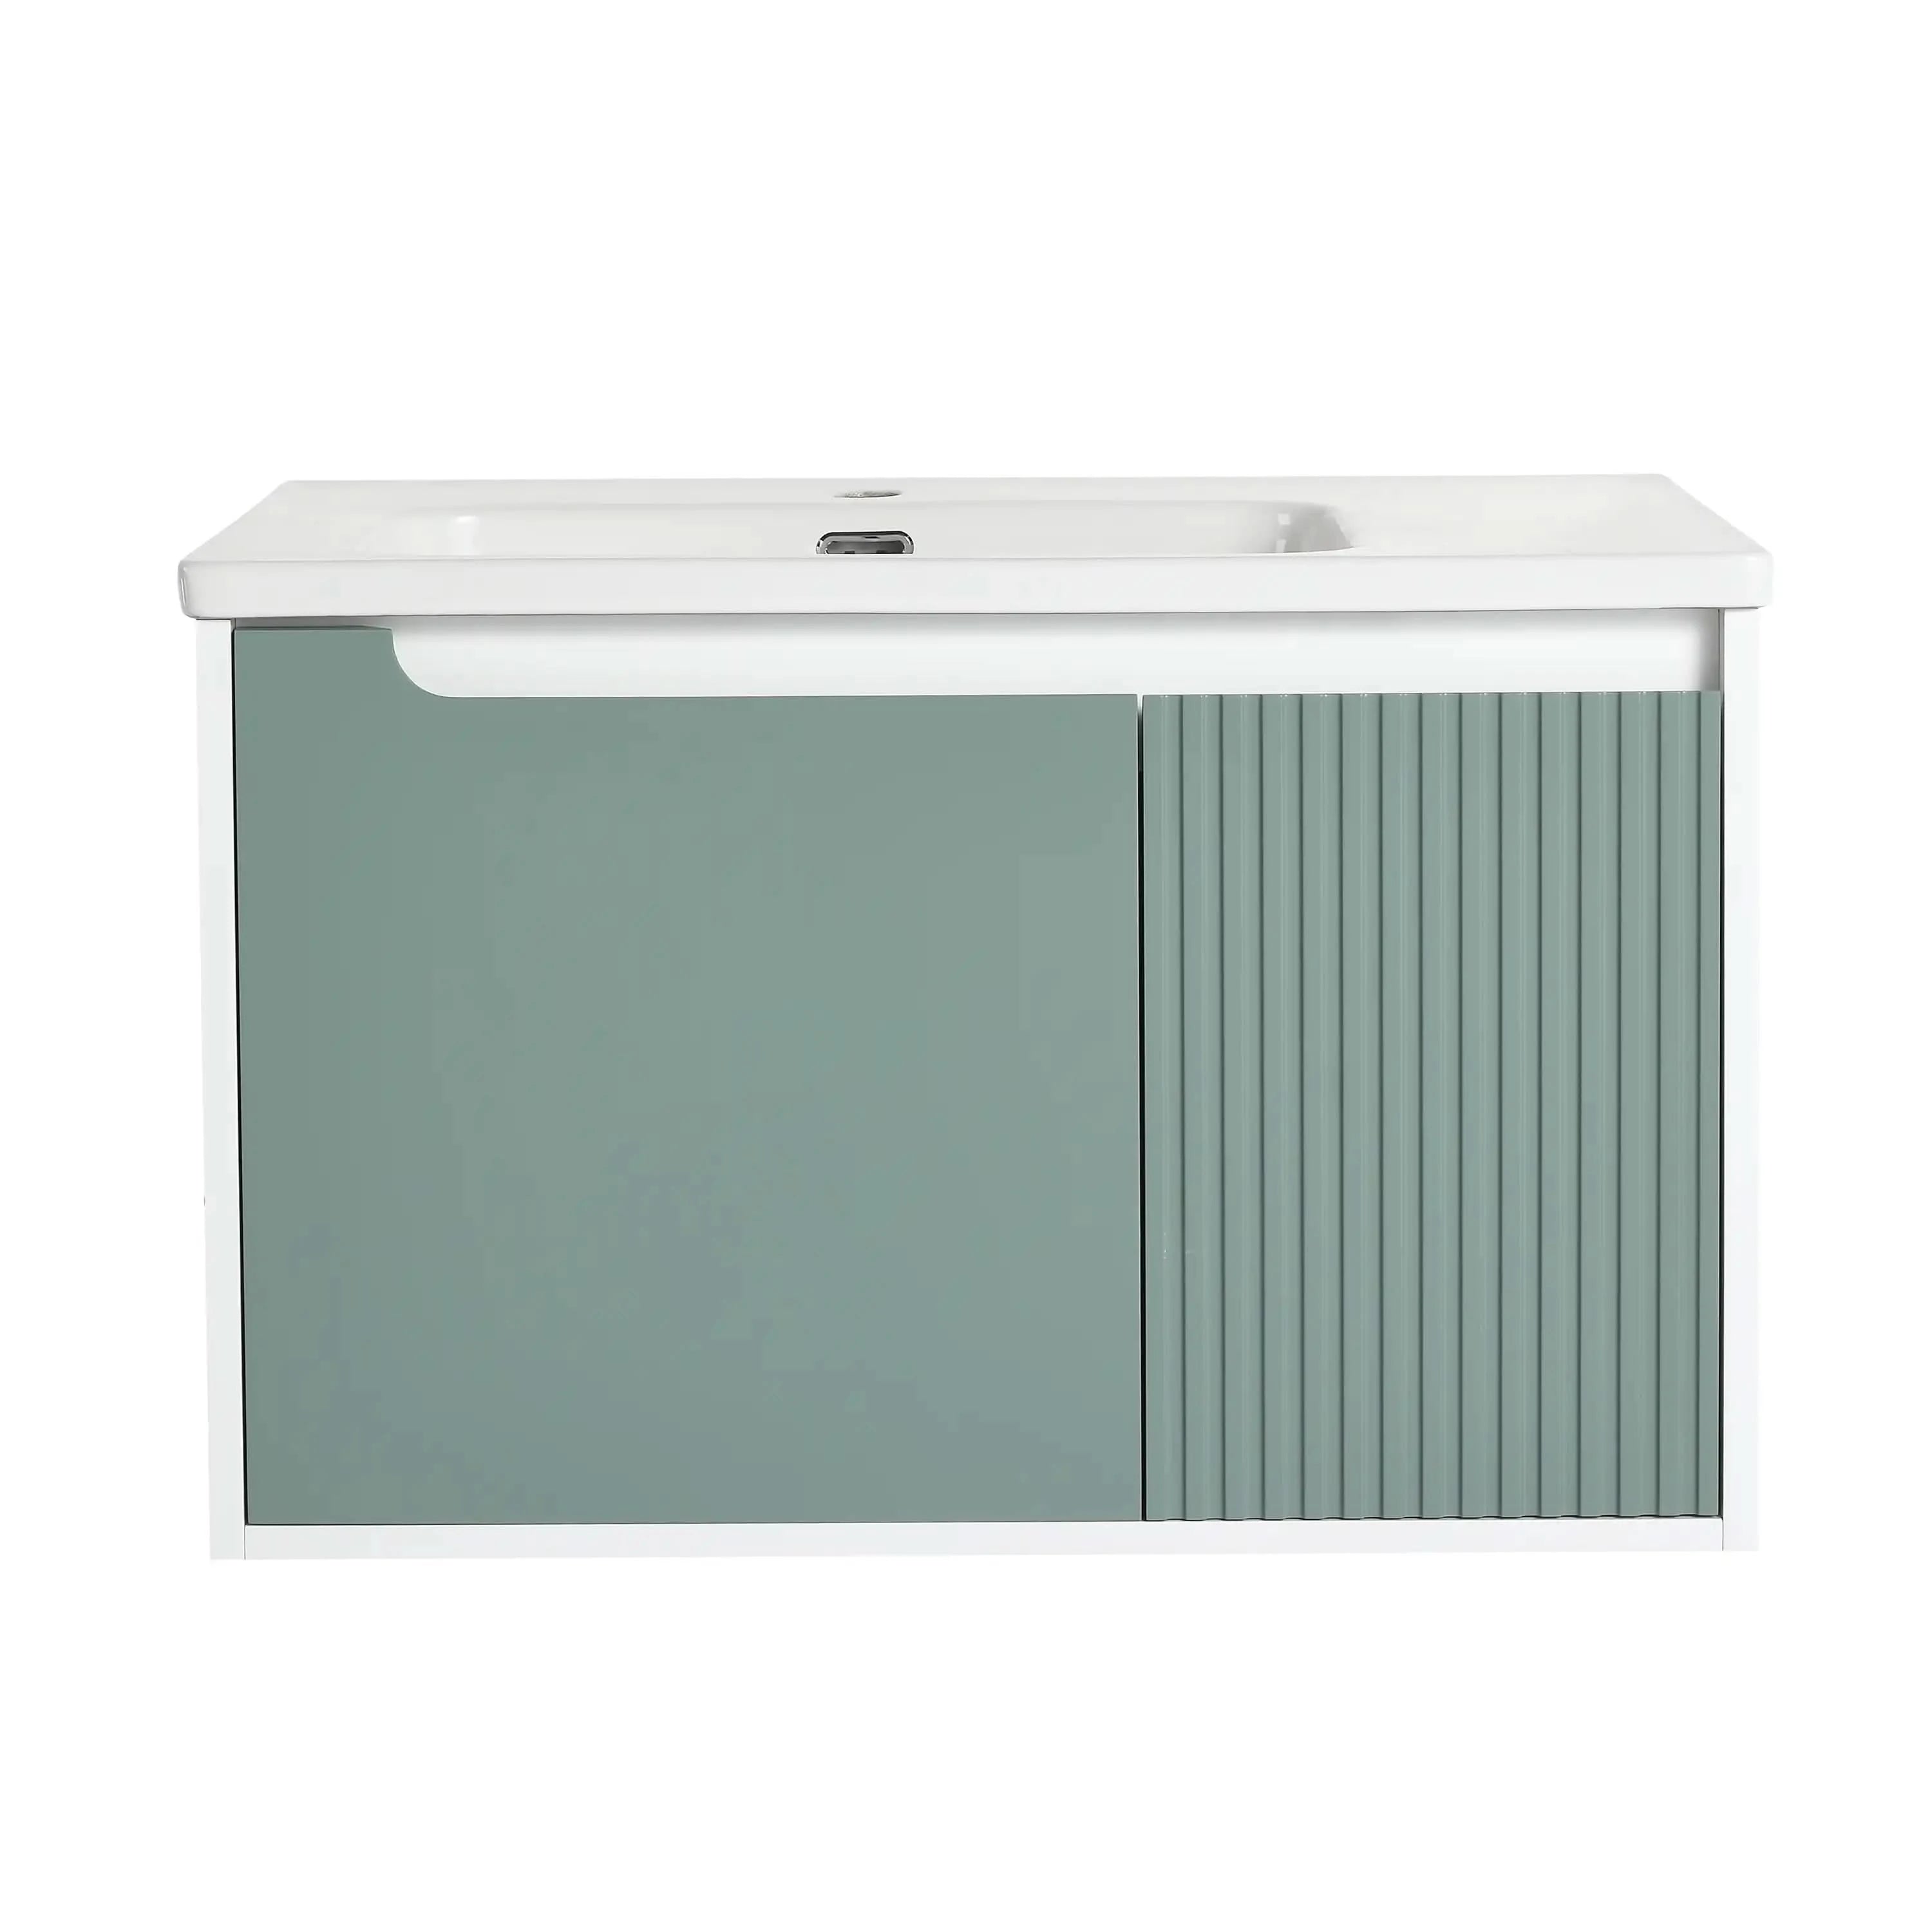
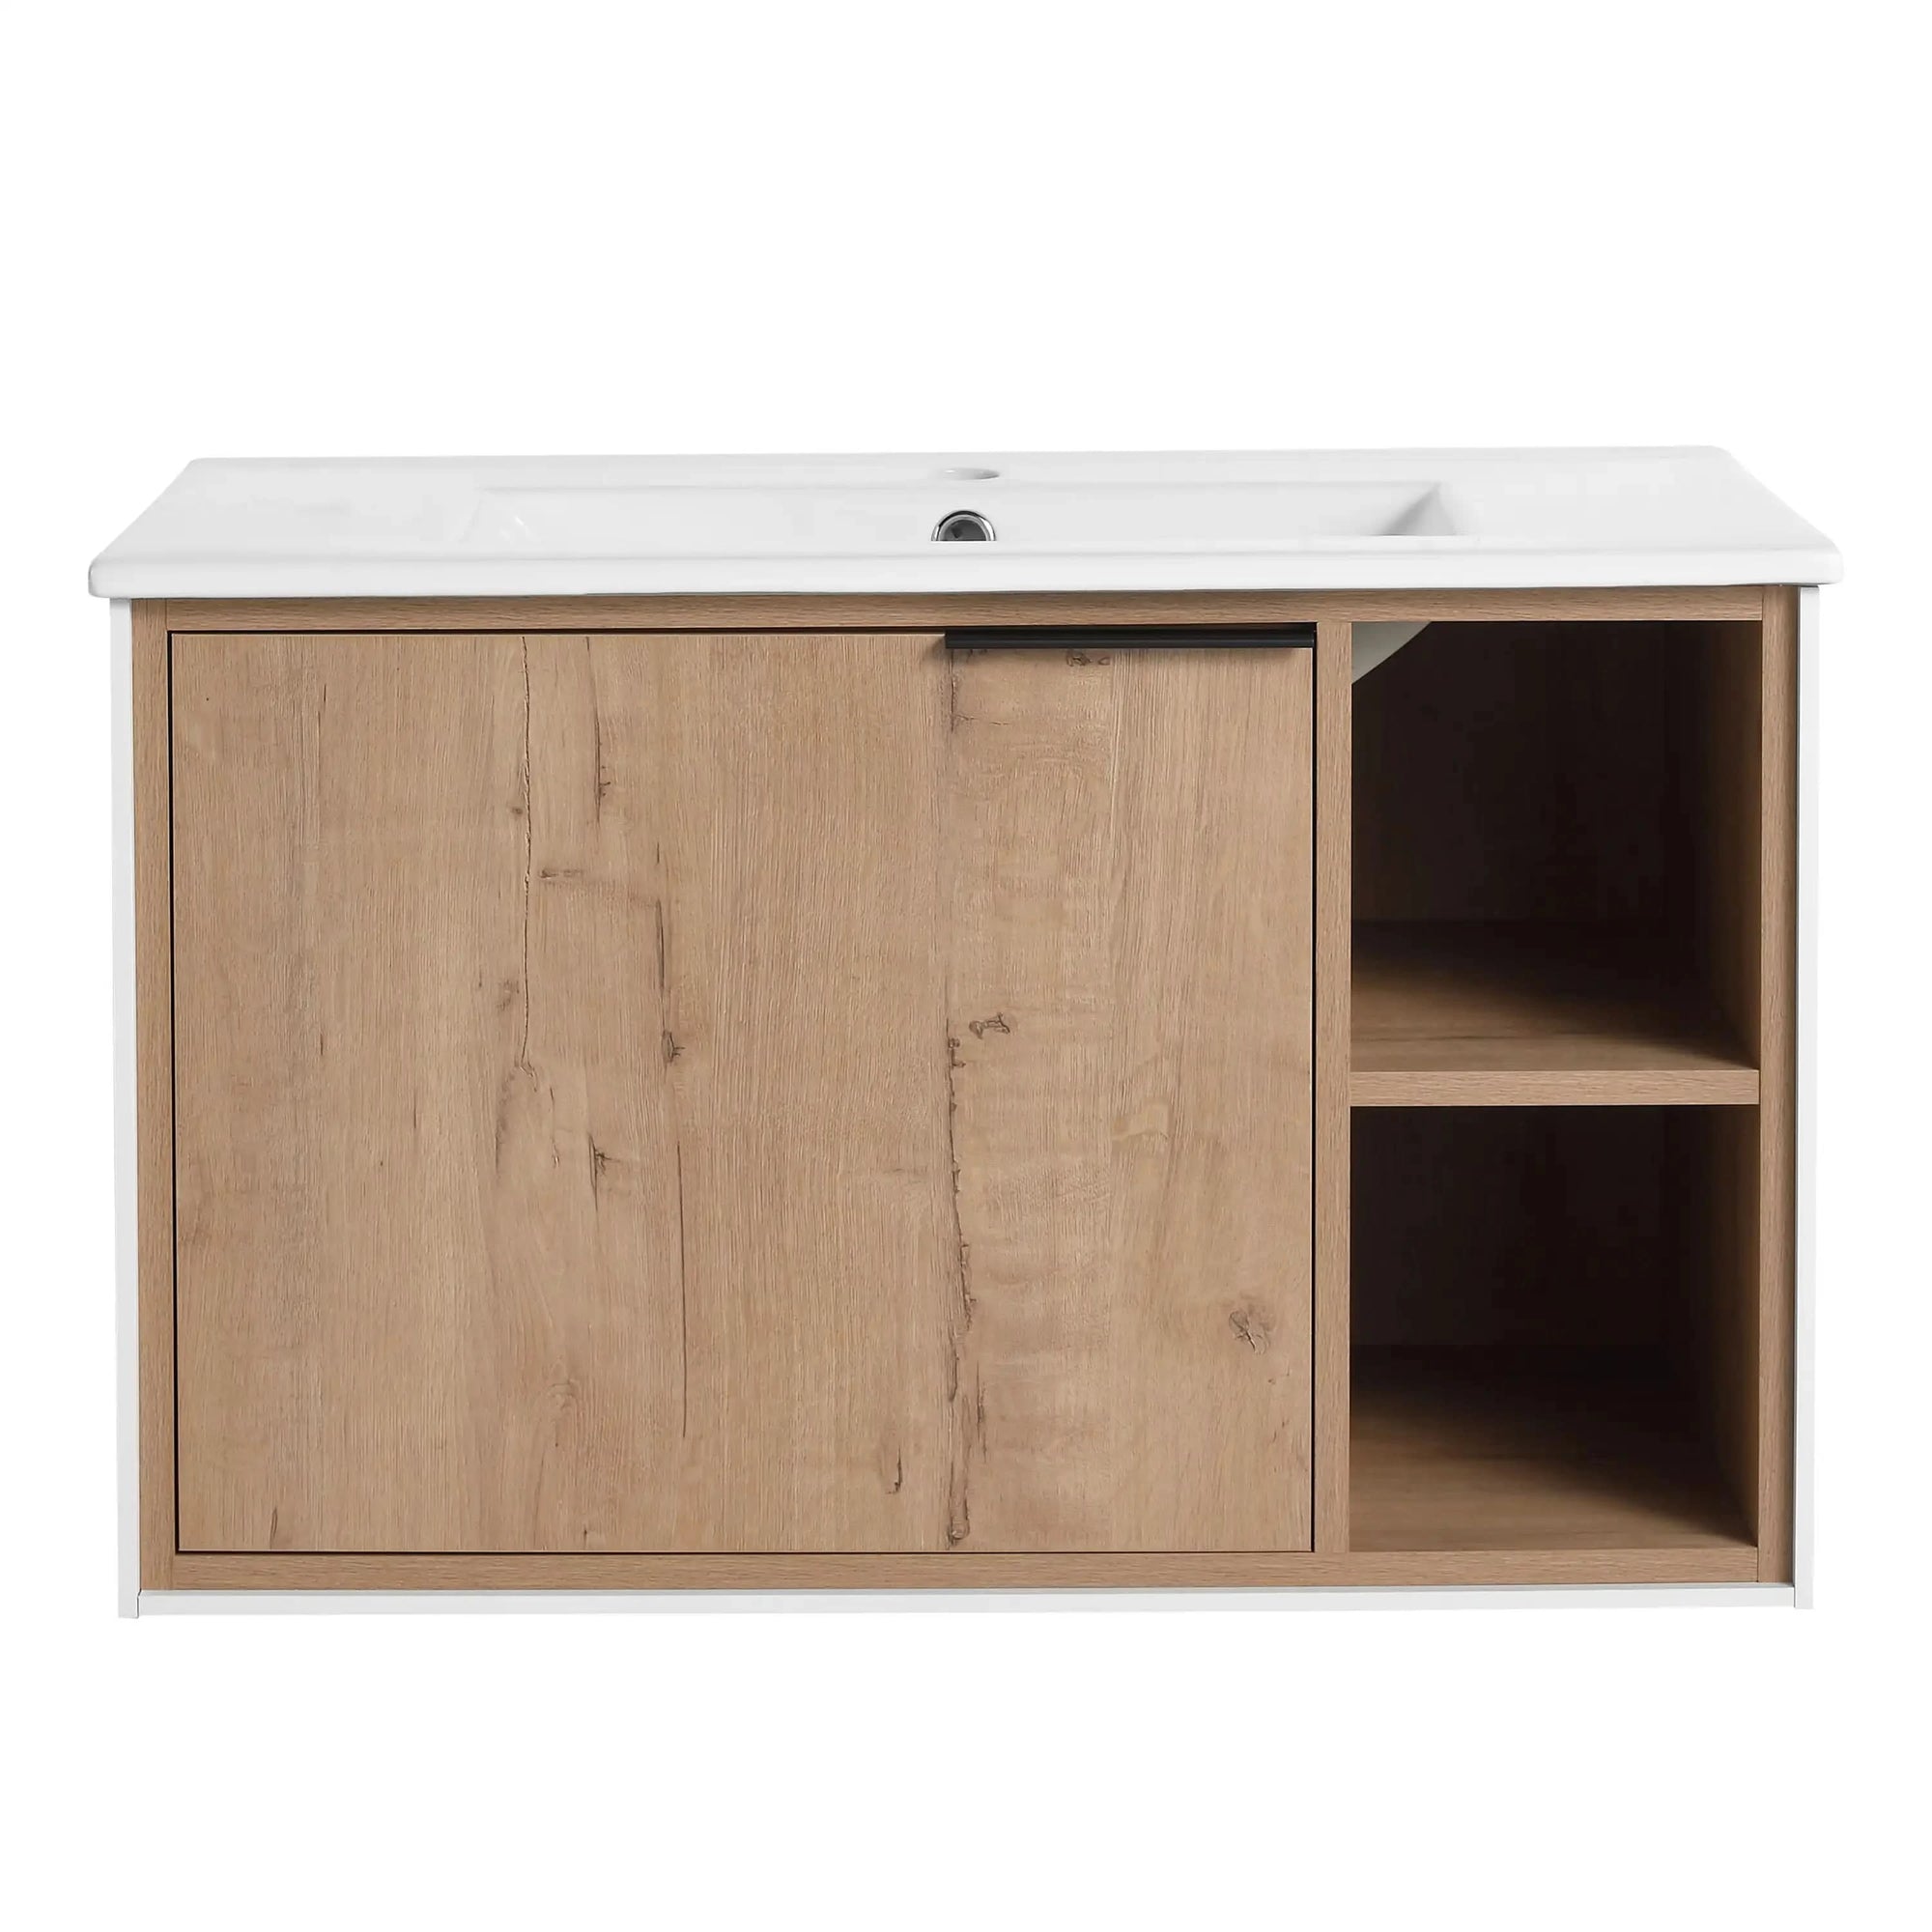
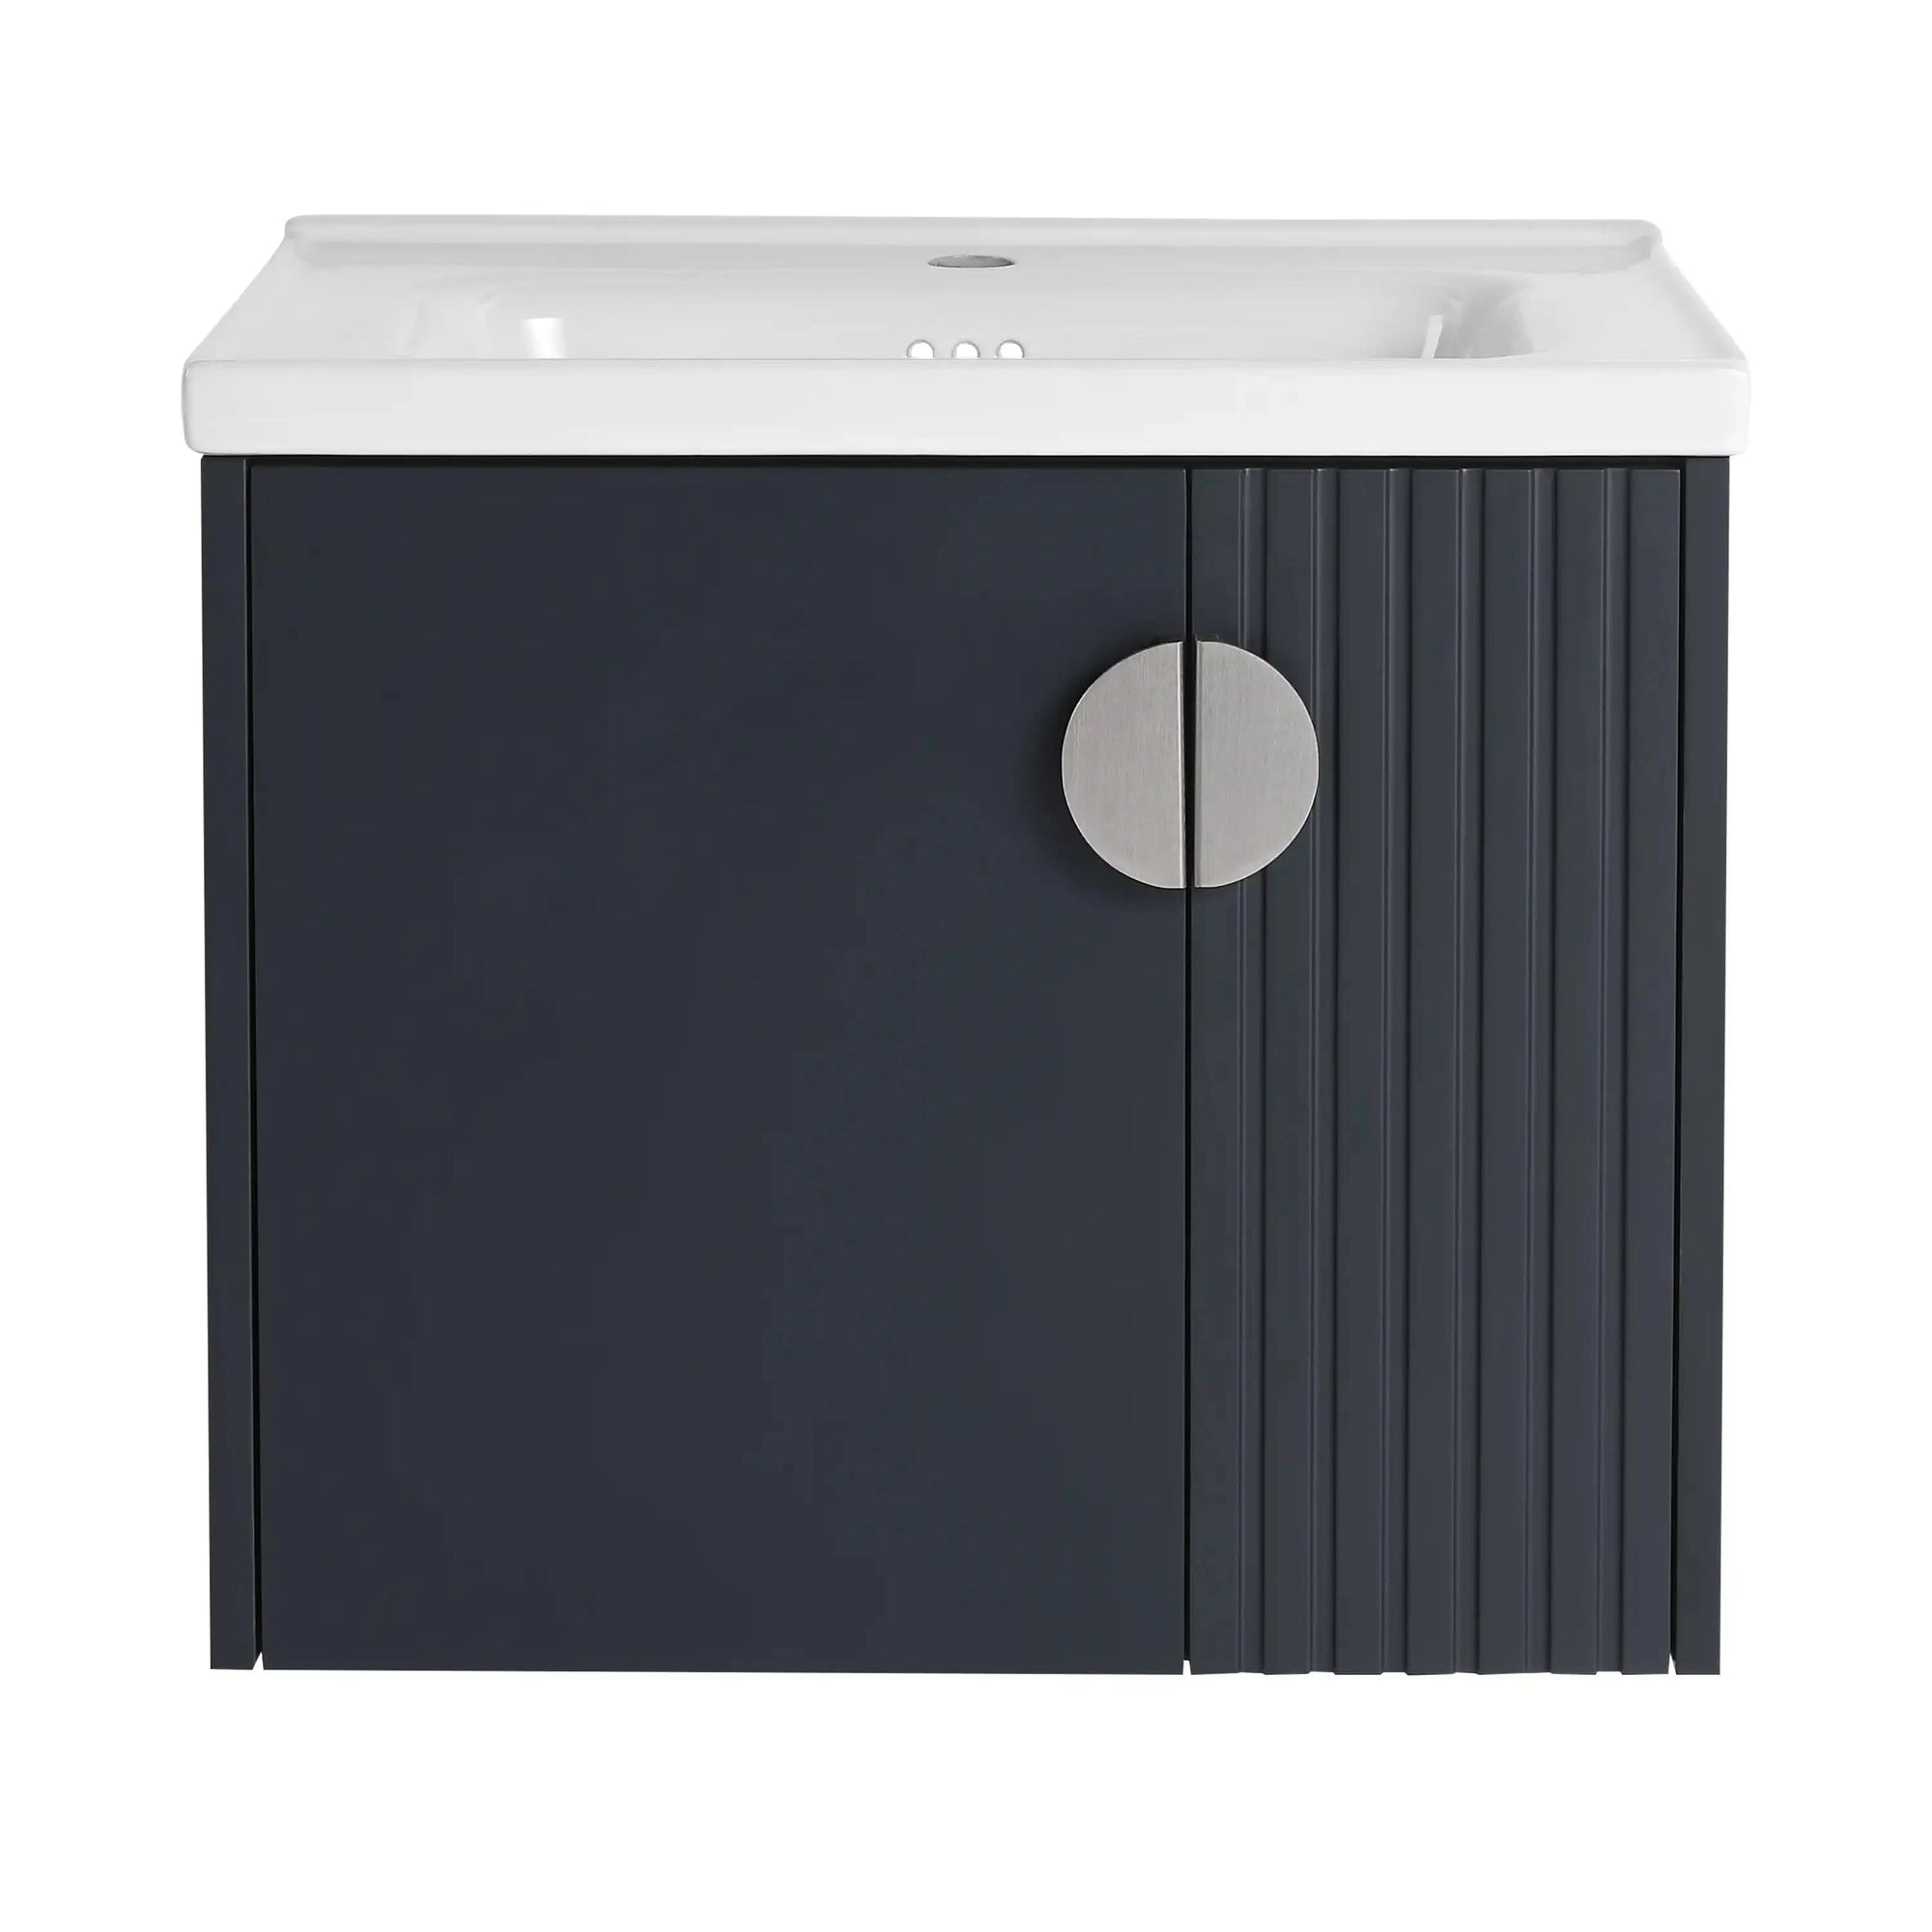
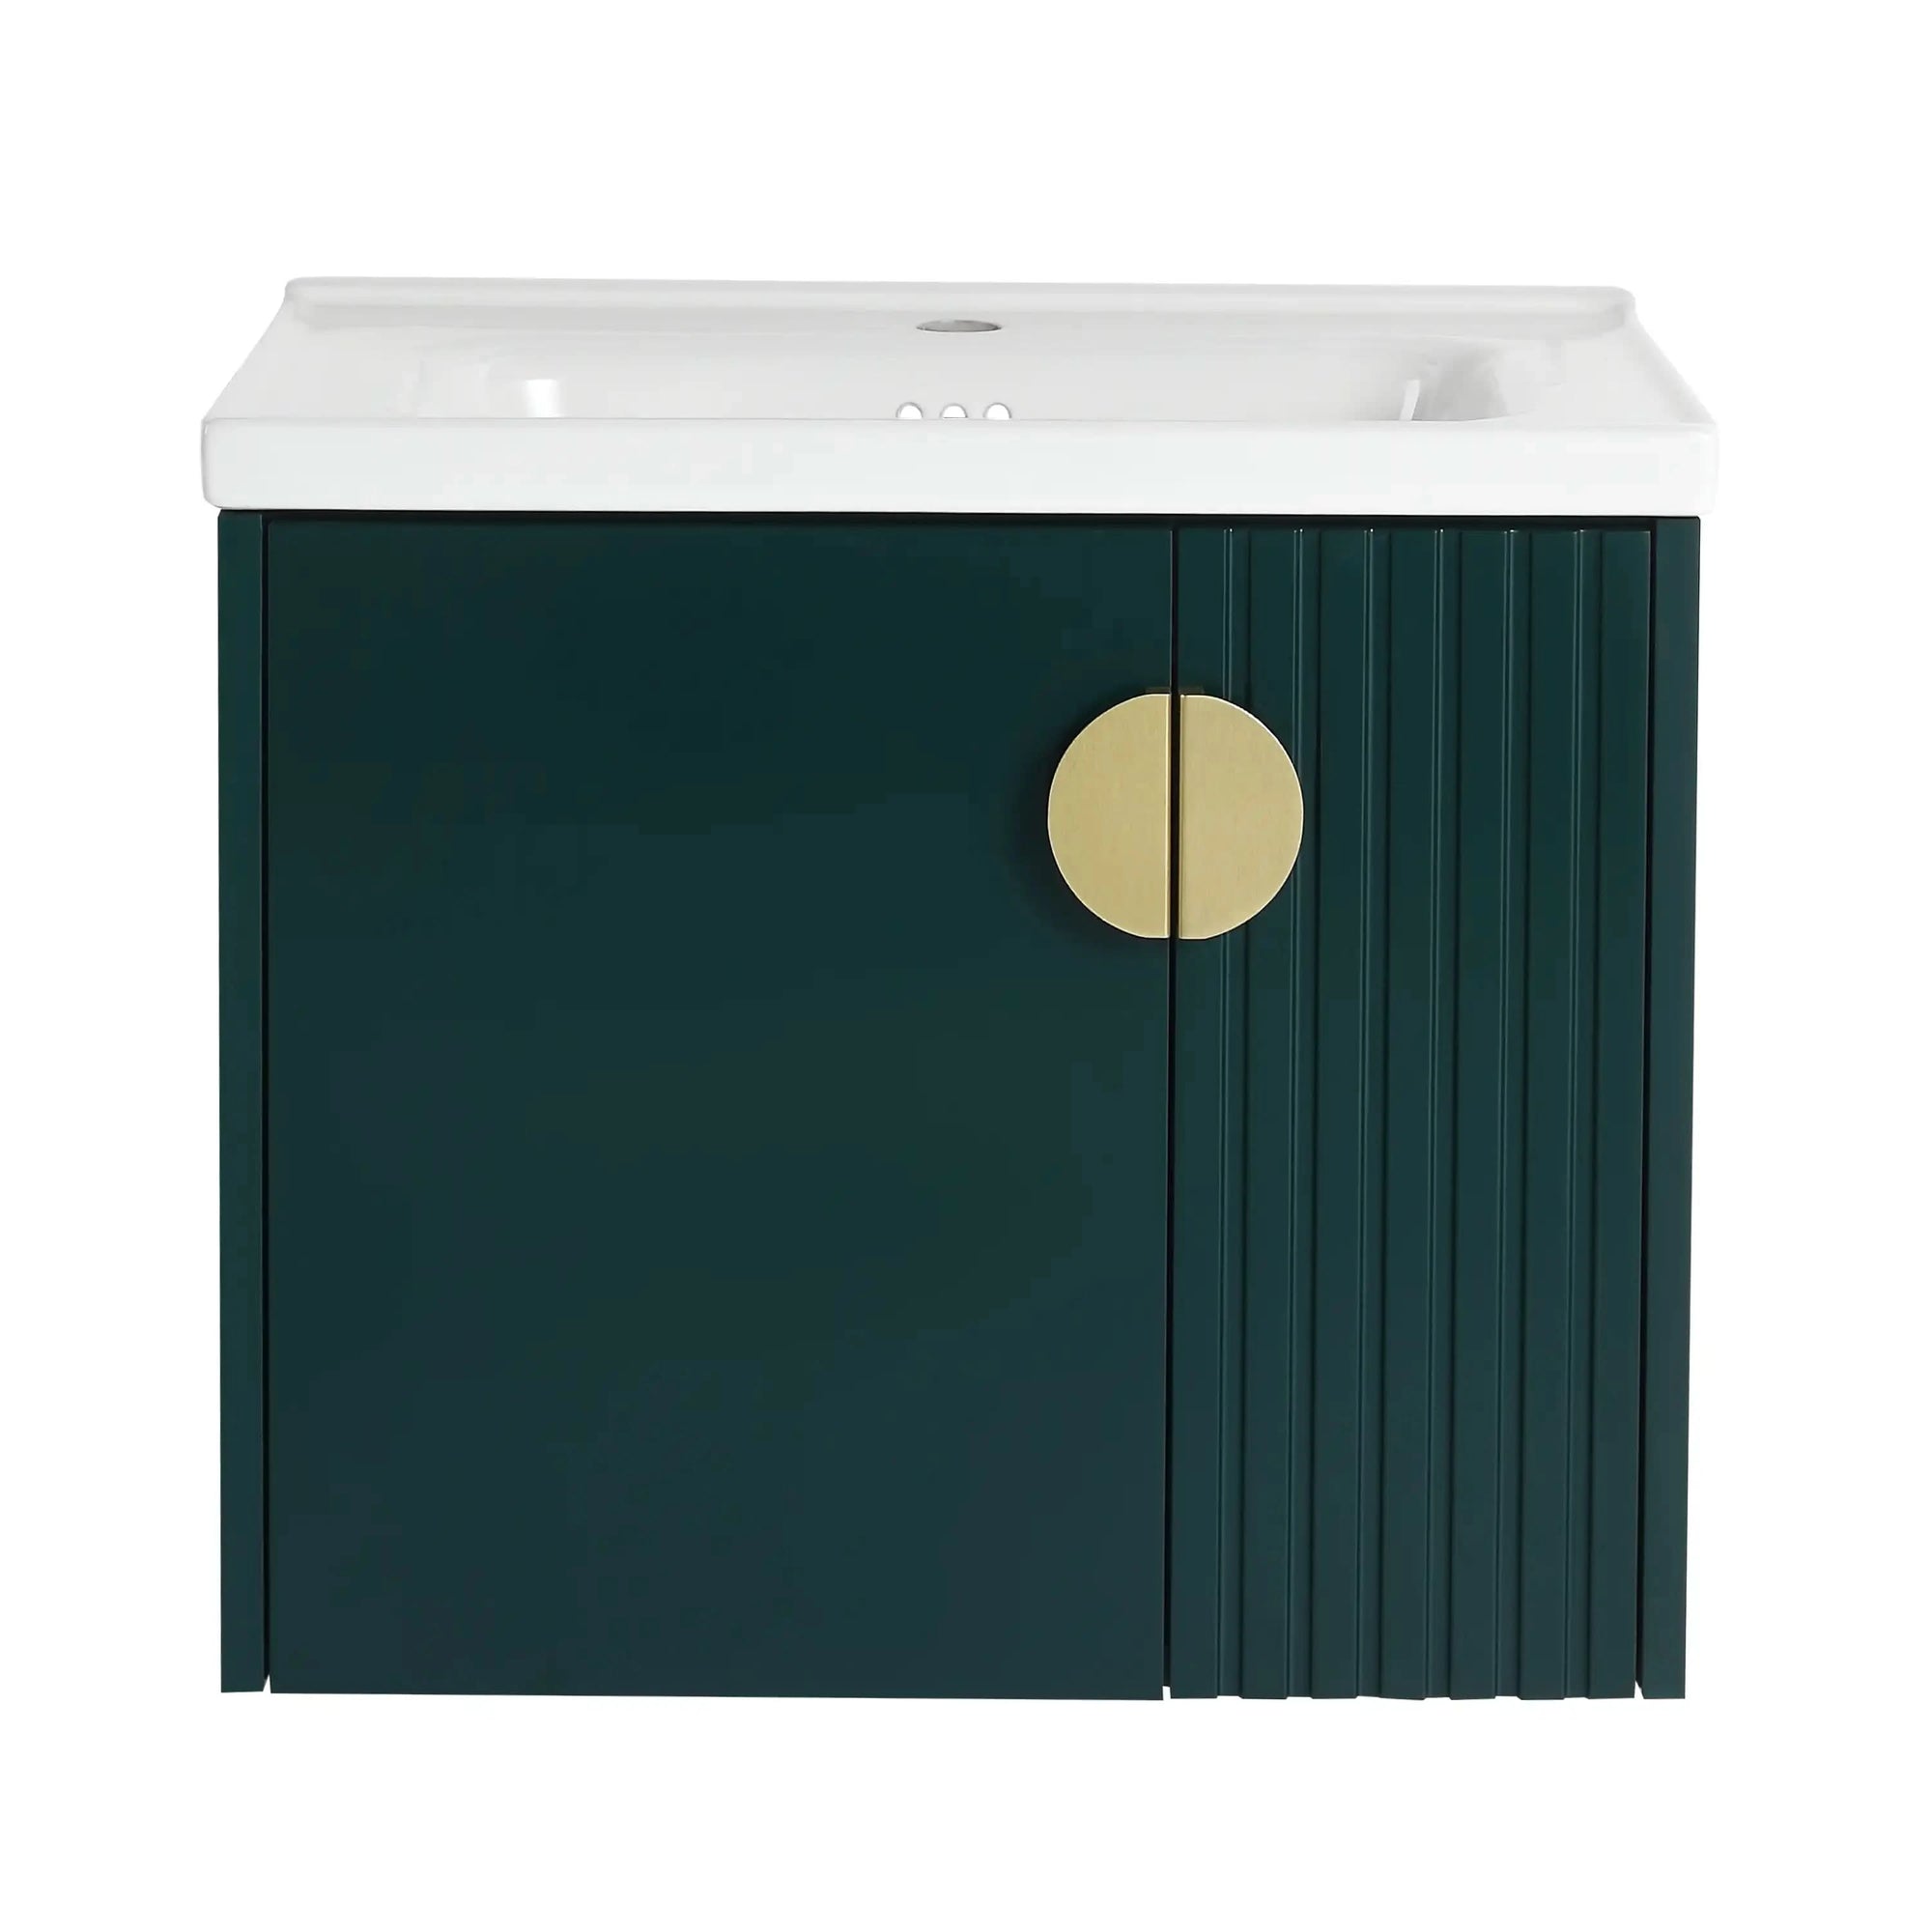
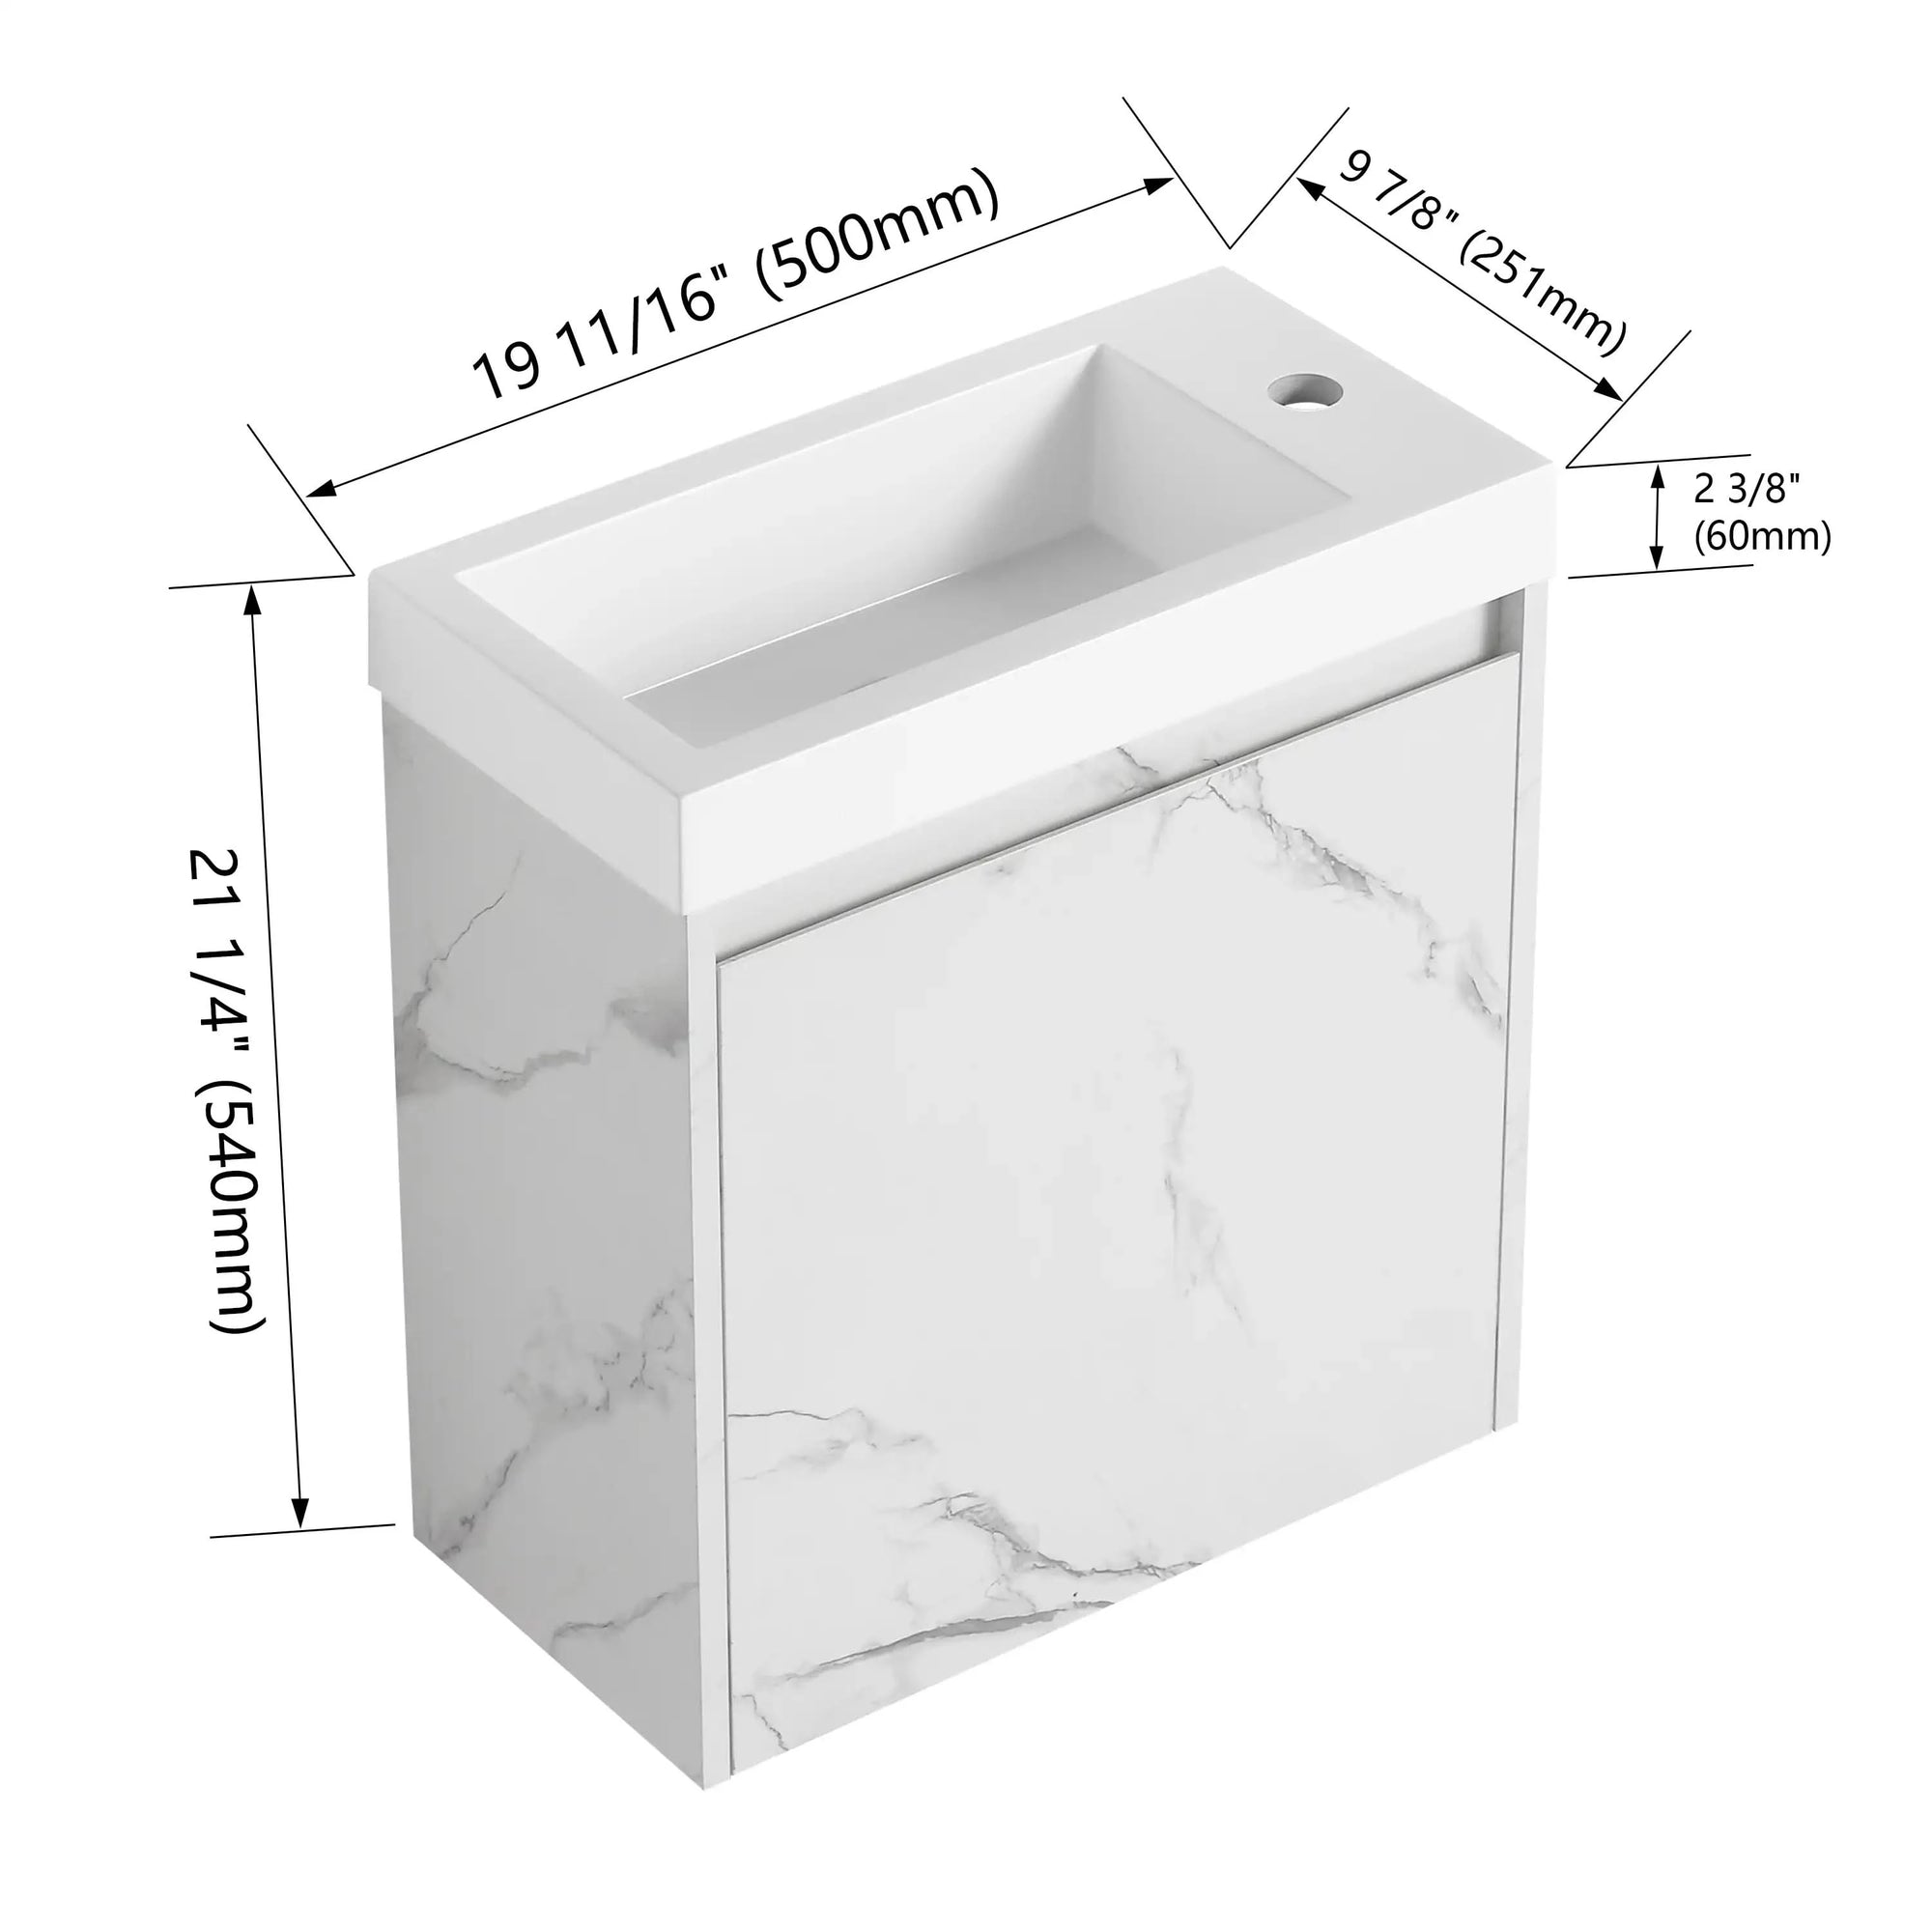
So, just before we get into the tools and torque, take time to plan out your floating vanity install properly. Begin with selecting the type of vanity according to the size of the bathroom and your personal style. There are floating vanities of all widths, finishes, and depths—from dramatic double-sinks to simple one-basin beauties.
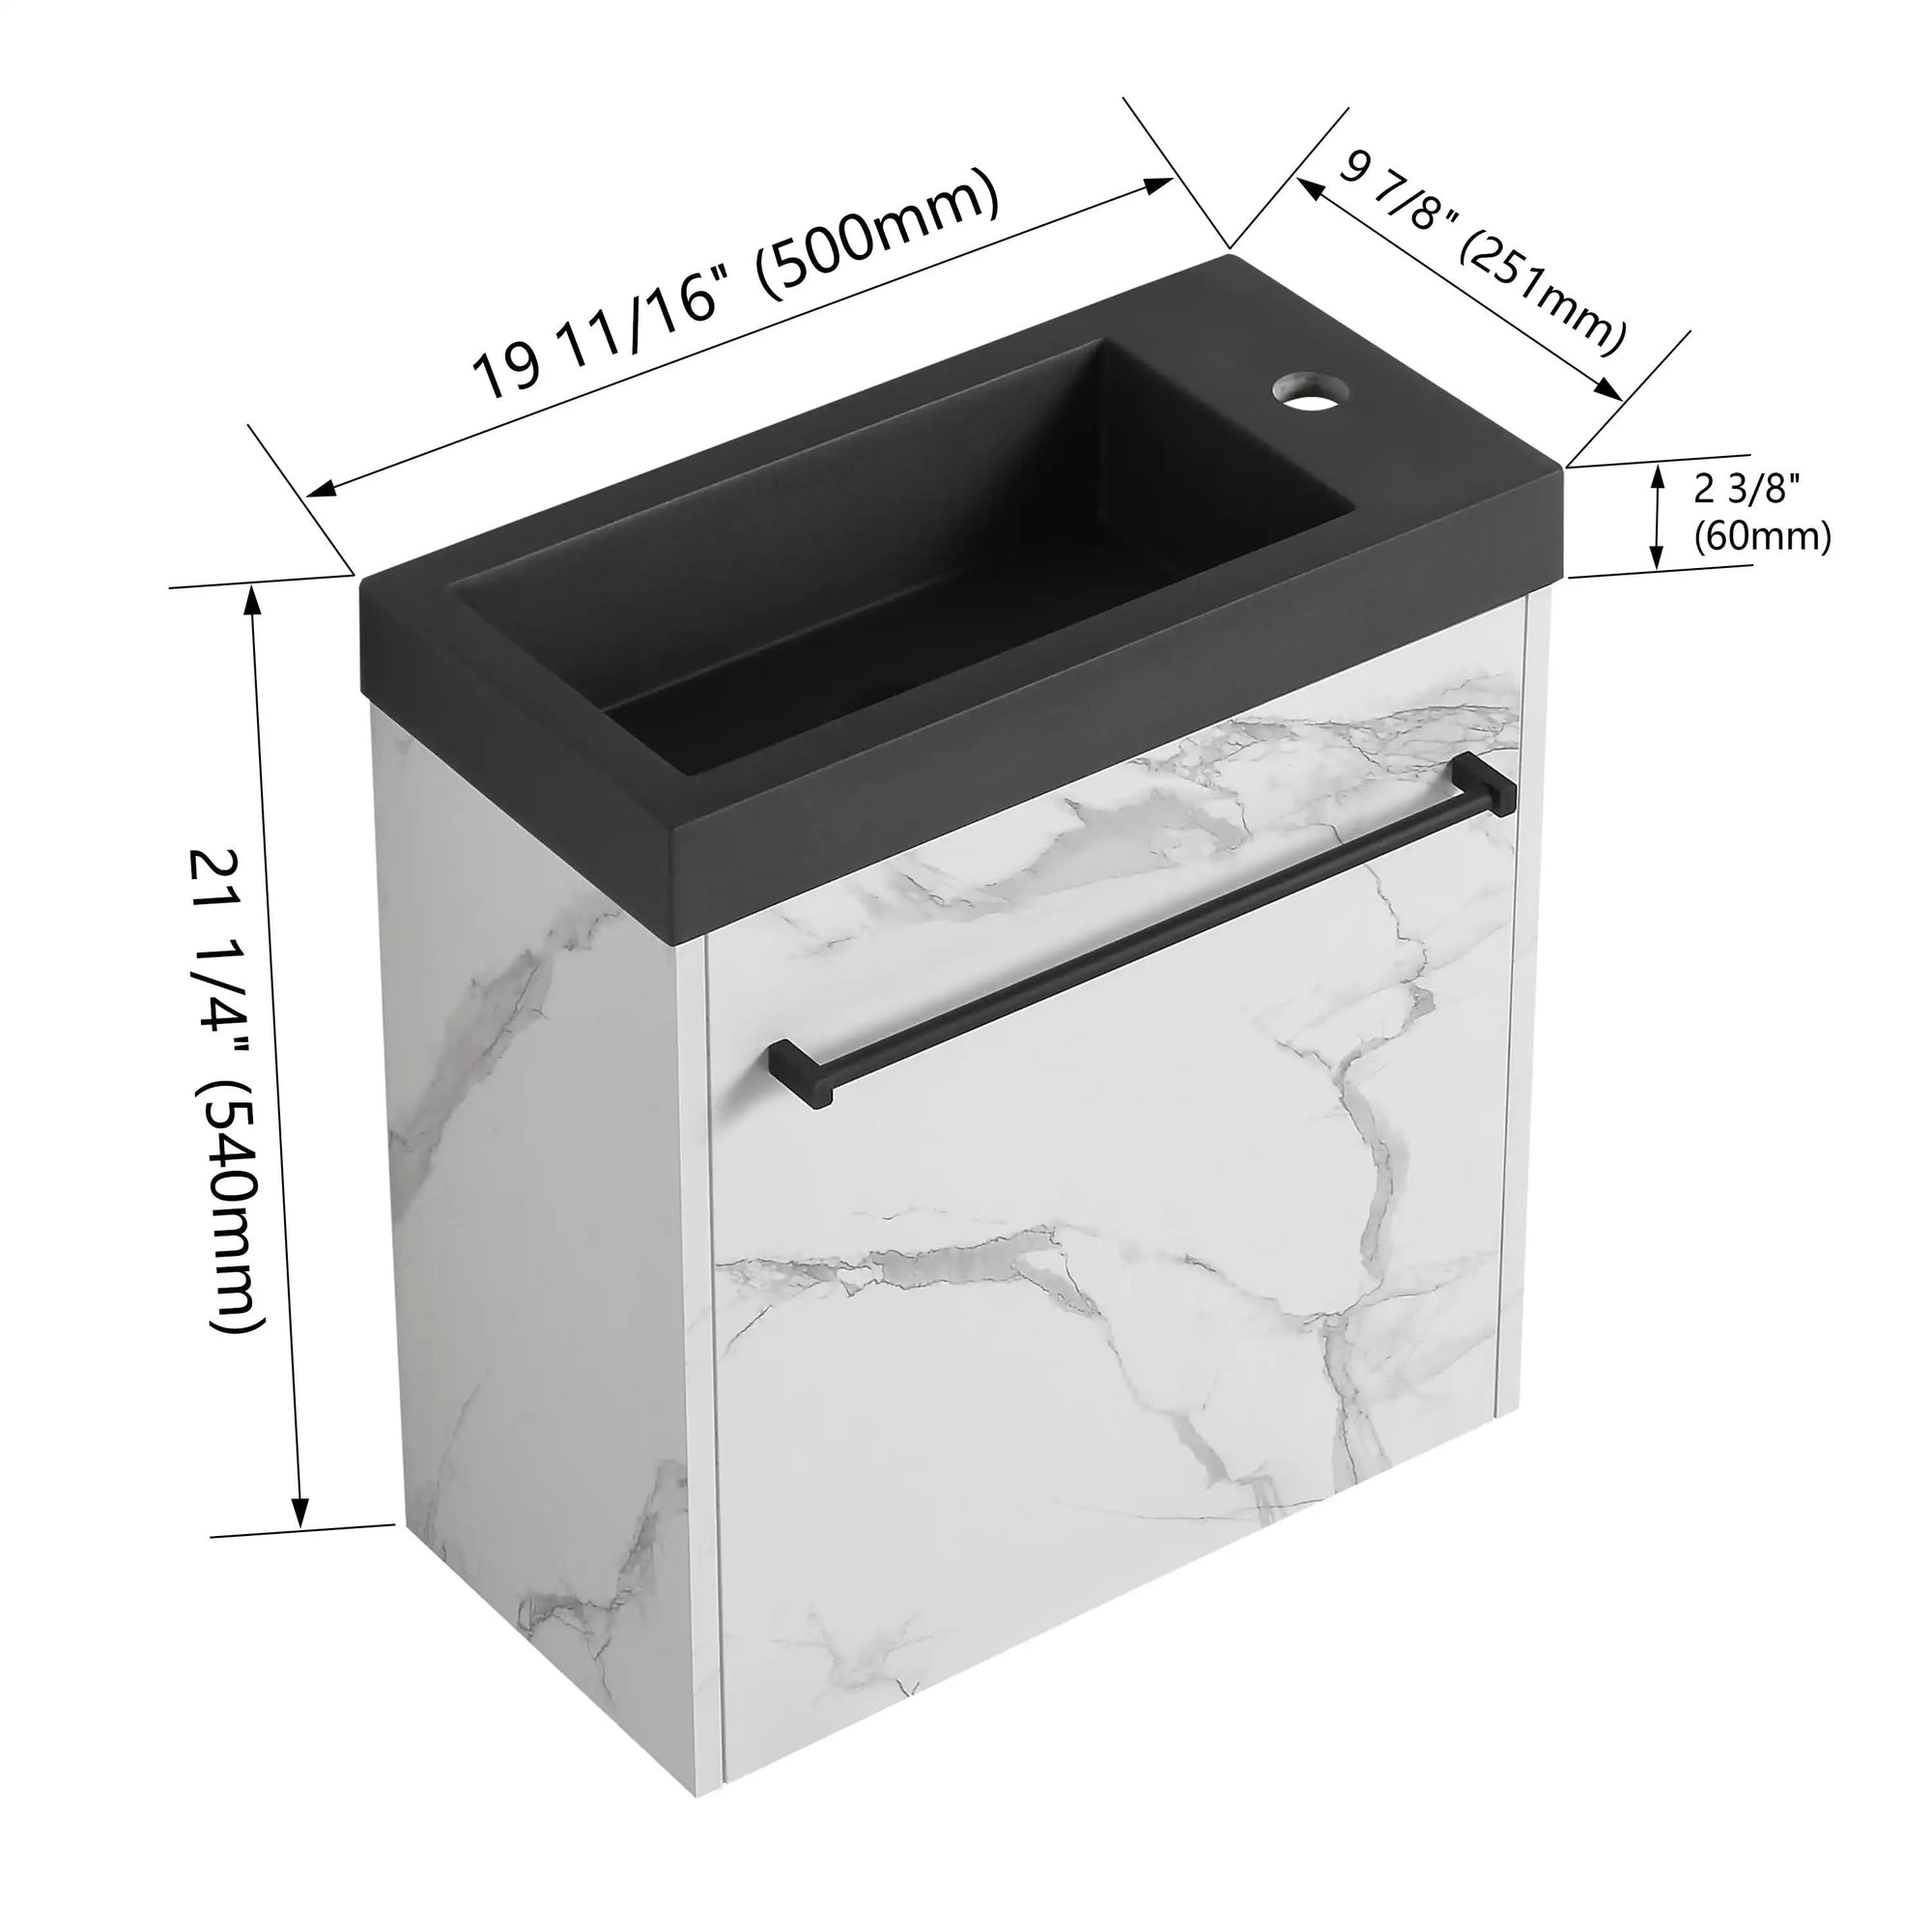
Be sure to measure your area carefully, particularly if you are swapping out an existing vanity. You'll need to confirm:
- Where the wall studs are
- Where plumbing lines exit the wall
- The height of your vanity (standard is 32–36 inches off of the ground and is up to your preference)
It is also a good time to make your decision on whether you will be going for a true wall-mount installation or if you are going to use a bracket-based system that appears to float.
What You'll Need
Equipment / Tools
- Stud finder
- Tape measure
- Level
- Drill
- Impact driver
- Pencil
- Wrench set
- Wood shims
- Drywall anchors (if applicable)
- Caulk gun
- Safety glasses
Materials
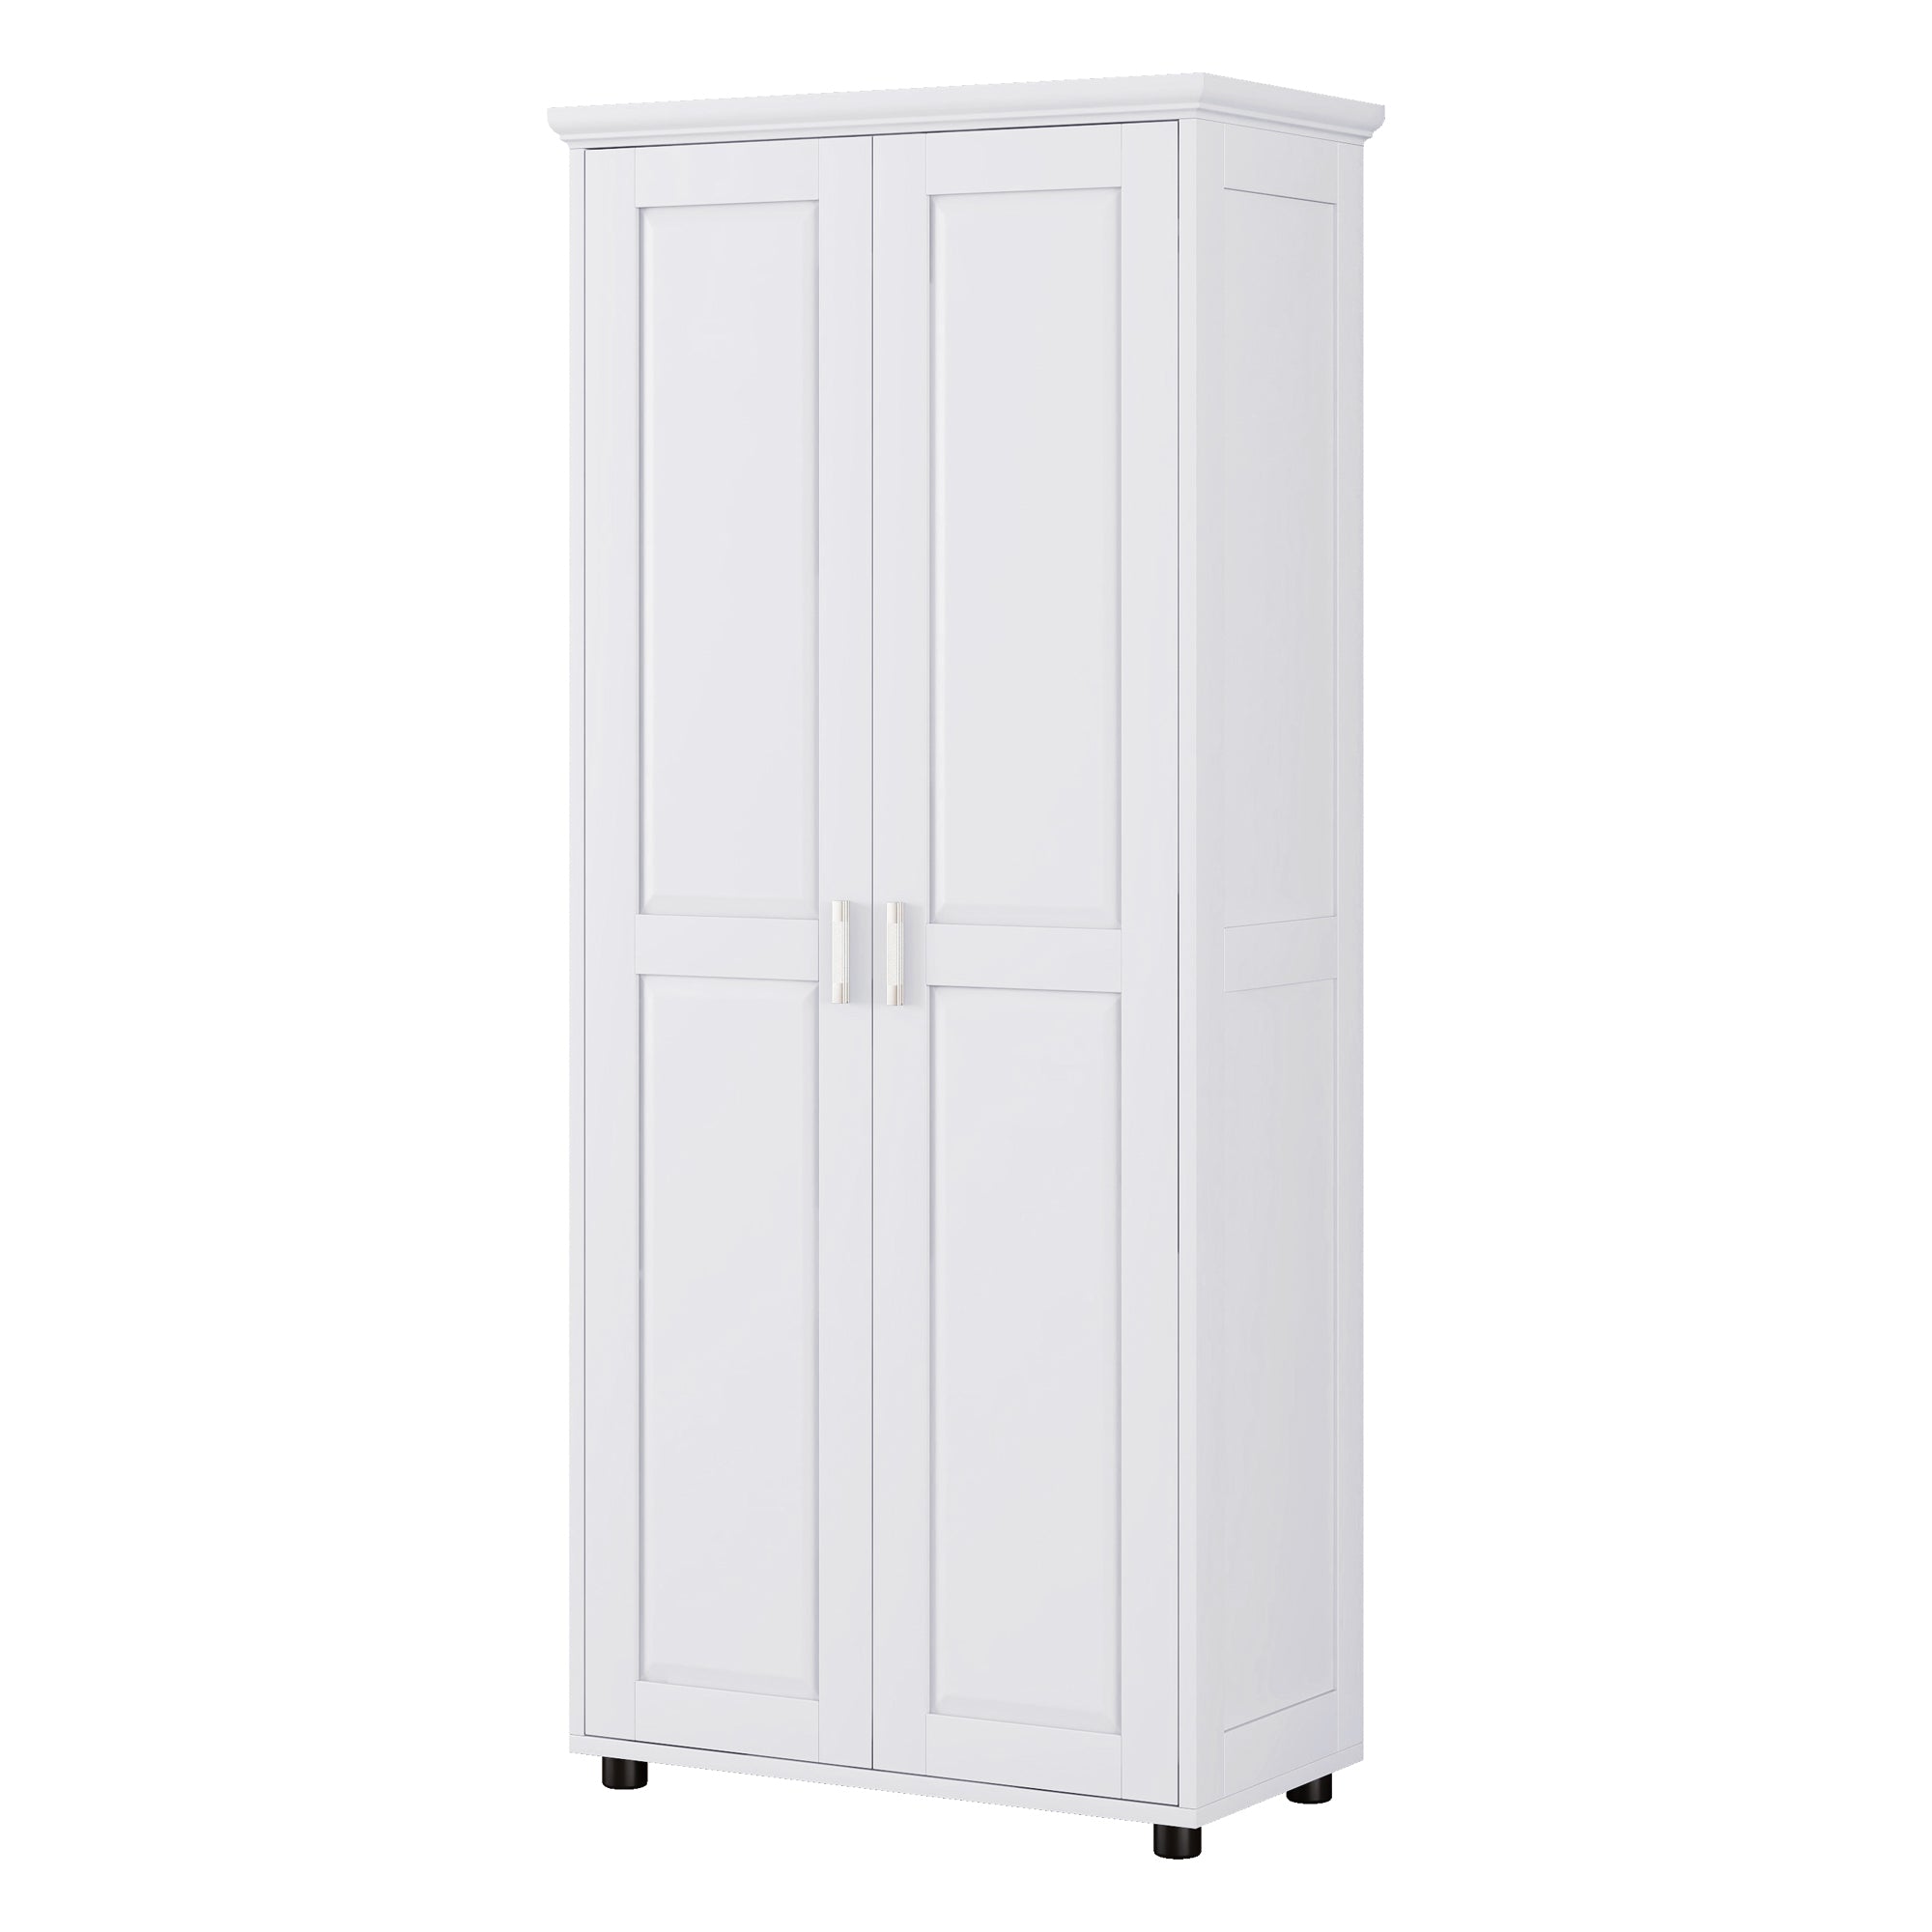
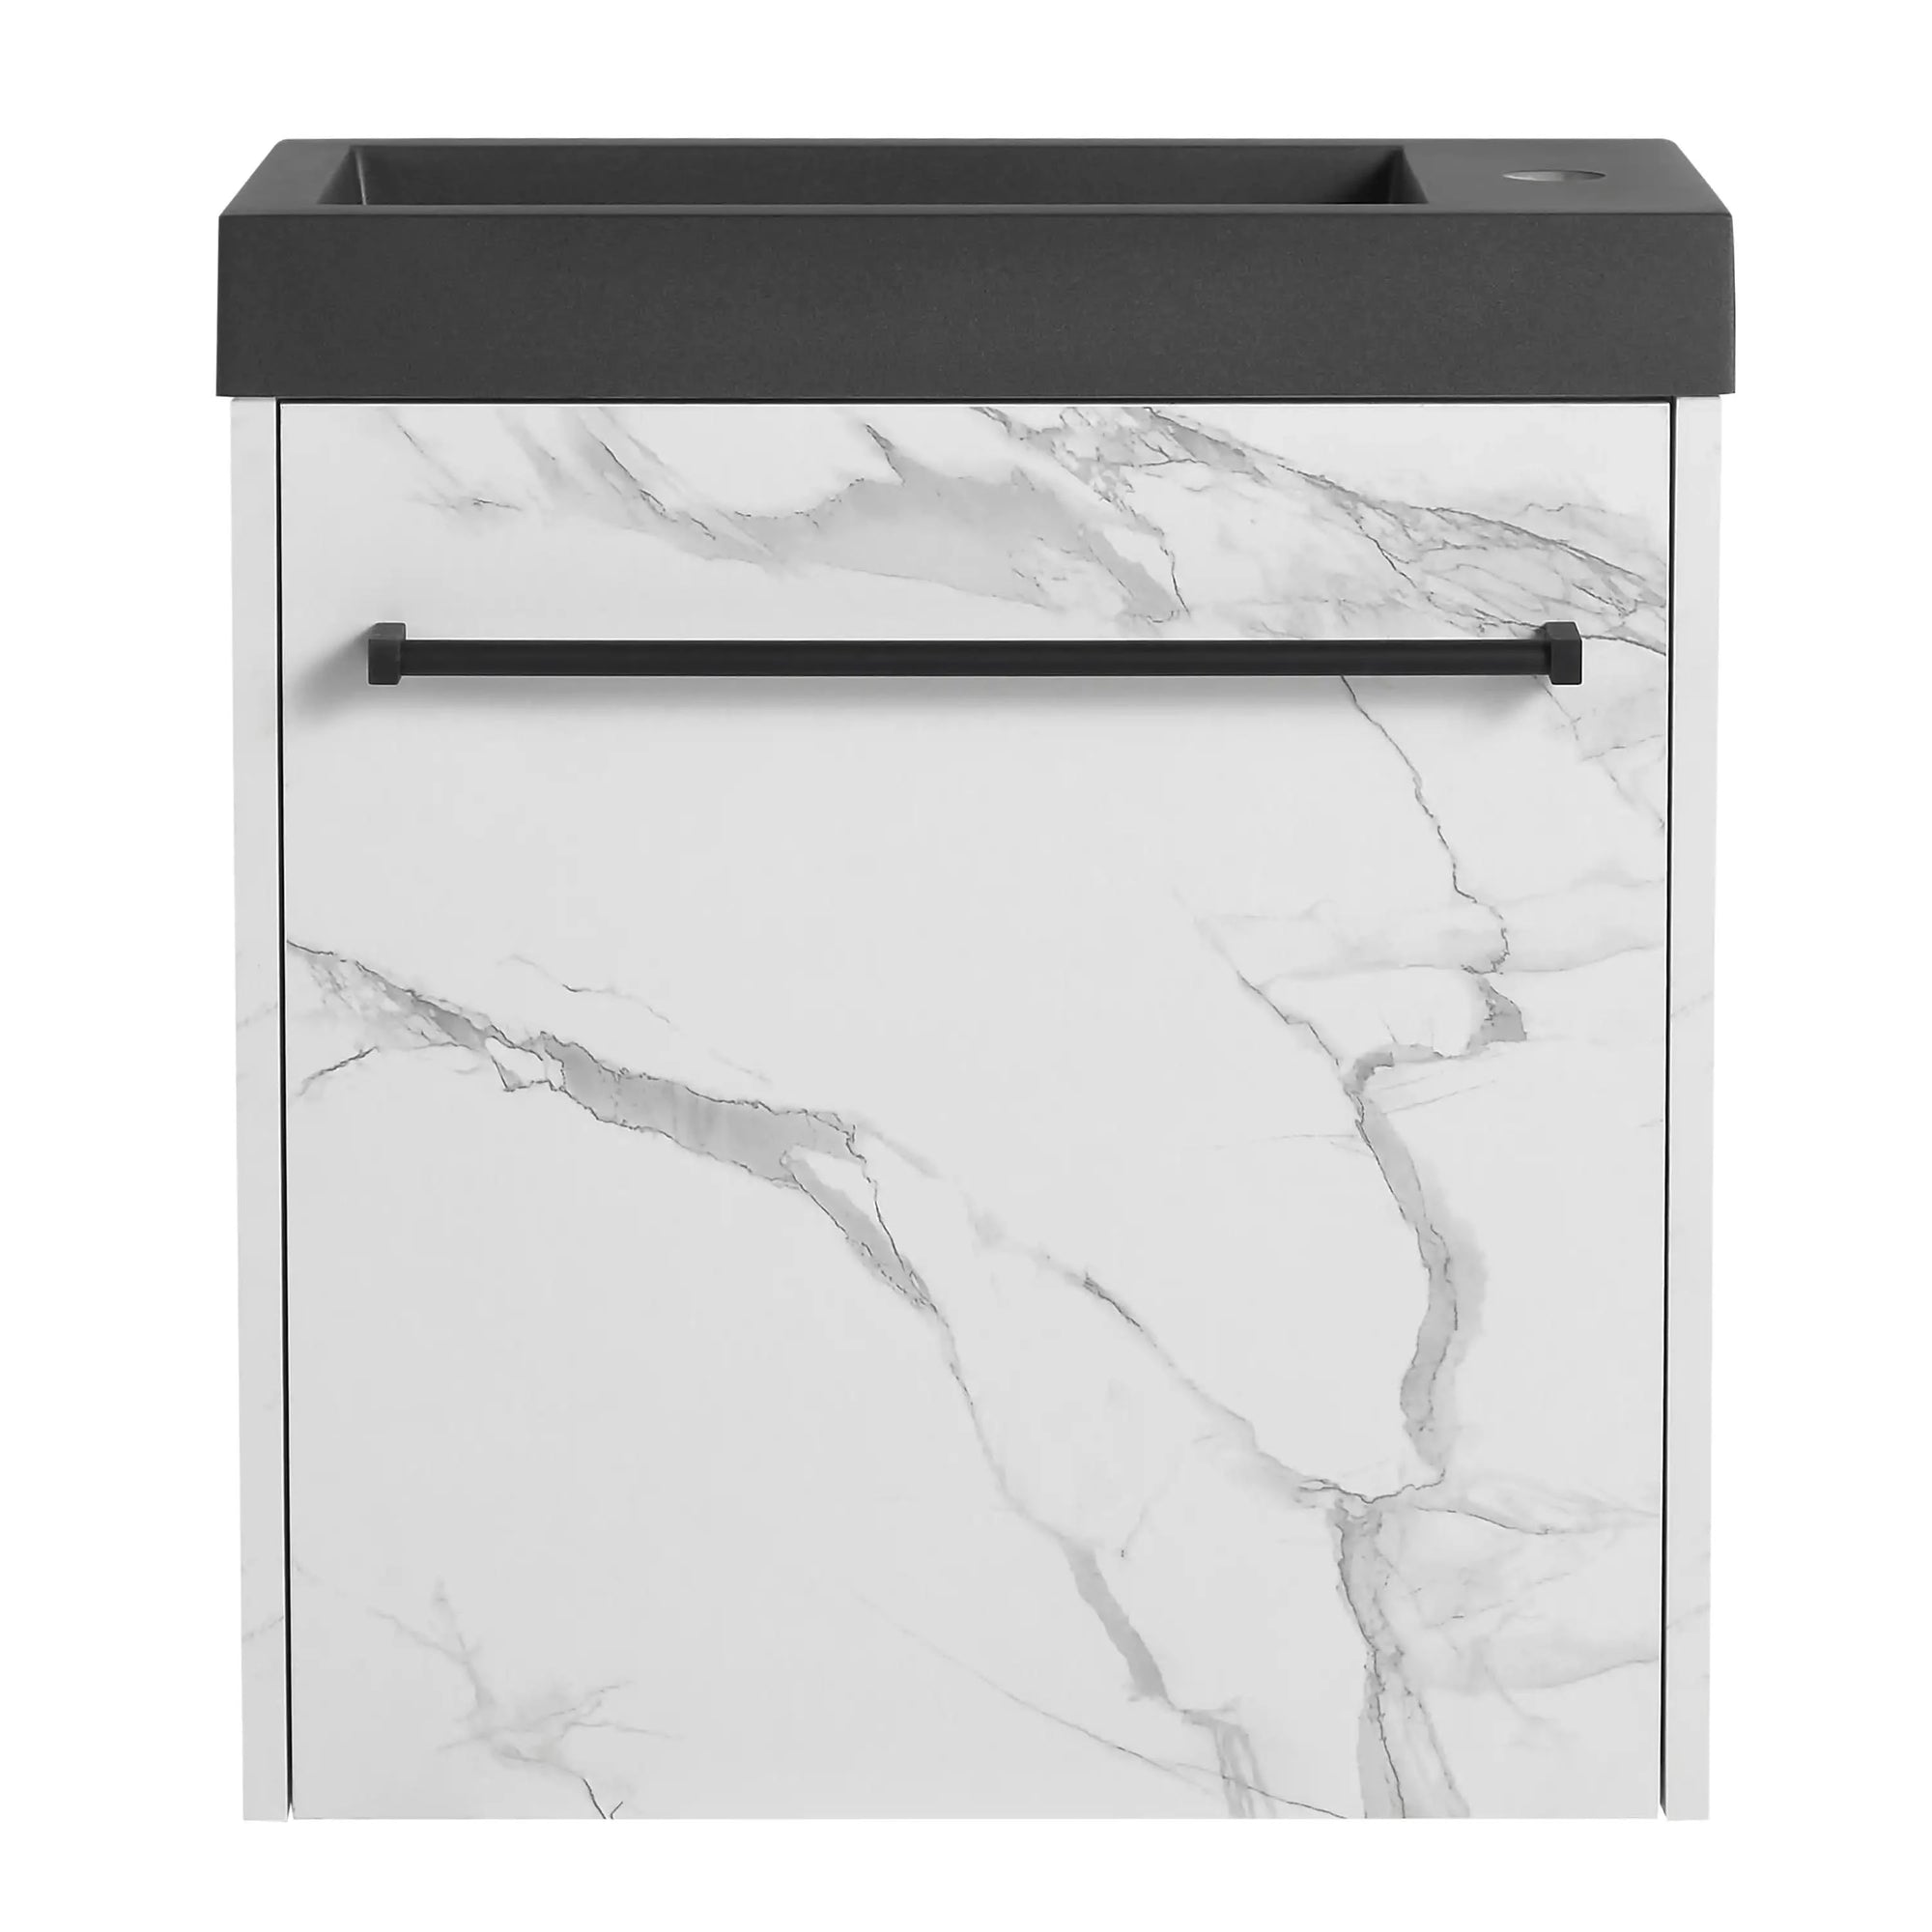
- Floating vanity (Ace Decor's wall-mount models recommended)
- Mounting bracket (included with most Ace Decor vanities)
- Heavy-duty lag bolts or toggle bolts
- Silicone caulk
- Optional: Backing board (¾” plywood cut to size)
- Touch-up paint
Instructions
Step 1: Mark the Vanity Placement

Grab a tape measure and a pencil and mark out where your floating vanity will actually live. First, find the center of the wall to center your vanity with your mirror or light fixture.
Determine the top and bottom edges of the vanity and mark it. Draw a line parallel to the top using a level. It does this to make sure your vanity stays flat and gives you a guide line when drilling into the wall.
Quick Tip: For tiled walls, you might want to tape the area with painter tape first, then pencil it out. It helps to keep the finishing intact and also helps to give more grip while drilling.
Step 2: Check The Wall Studs (And Find Their Mark)
How to hang a floating vanity: Rule number one, studs are your bestie. Find the wall studs that are distributed through the area where your vanity will be attached to the wall using a stud finders. Even when empty, floating vanities are heavy, given the addition of the sink, countertop, and daily items you may store inside.
Mark the center of each stud in your install zone. Your vanity-ideally, should be mounted into two studs for stability.
No studs where you need them? Don't panic. Before you hang your vanity, you can install plywood backing board between the wall studs. This provides you with a solid anchor point to fasten the vanity too even in those studless situations.
Step 3: Prepare for Plumbing
If you are swapping out a vanity, ensure the floating vanity lines up with the plumbing rough-ins. Standard-type drain lines (1.25/3 inch) and water supply lines (3/8 inch) will fit to most vanities, but measure two times before you drill.
You might have to raise or lower the drain and supply lines if the new vanity does not align with the height of the existing plumbing. That could involve cutting into a wall, so be prepared for that.
Always turn off the water supply and plug your drain before plumbing anything; here is the pro tip. A small mistake can create a big disaster.
Step 4: Stick on a Backing Board (if necessary)

This step is not required, however advised—especially for plaster or drywall walls. The vanity is secured to the wall via a 3/4-inch plywood board that mounted between the studs.
To install:
- You will need to measure the plywood so that it fits the wall cavity that you have behind the vanity.
- You screw the board to each stud with wood screws.
- If necessary, patch the drywall over it or install your vanity directly over the board.
This just adds more support and assists in doing a considerable distribution.
Step 5: Hang The Vanity Bracket

Ace Decor floating vanities come with a wall-mount bracket most of the time. This is the steel rail that carries the weight of the vanity and keeps everything level and true.
Here's how to install it:
- Hold the bracket up at your marked top line against the wall.
- Make sure to level it so it is straight as well.
- Use the drill to drill pilot holes into the wall studs.
- Mount the bracket on the wall — with lag bolts for heavy-duty use (or toggle bolts if not into studs).
Once you have it secured, check with the level again. No checked mounting = crooked vanity down the road – do not skip this check!
Step 6: Hang the Vanity
The moment of truth has arrived: I mean it's time to hang the floating vanity.
Usually, the models just drop in and hook up above the mounting plate. Ensure that there is a slide in and a lock for it. If there are side clamps or bolts that help attach the vanity body to the bracket, tighten those too with a wrench.
Give it a little tug: Make sure that the vanity is tight and level. This is where you want to be perfectly stable, no wobbles, no creaks.
Step 7: Secure the Plumbing
Reattach the water lines to your plumbing connections that go to the vanity and the drainpipe. Ensure all joints are tight and turn the water back on to test for any leaks.
Silicone caulk – Use a little silicone caulk and run it around the edges where the vanity touched the wall. This protects it against water damage and gives it an aesthetic appearance.
Step 8: Touch Up and Style

Use wood filler or painter's putty to fill any screw holes that may be seen. If your vanity is pre-finished, you can apply a touch up paint after everything is dry.
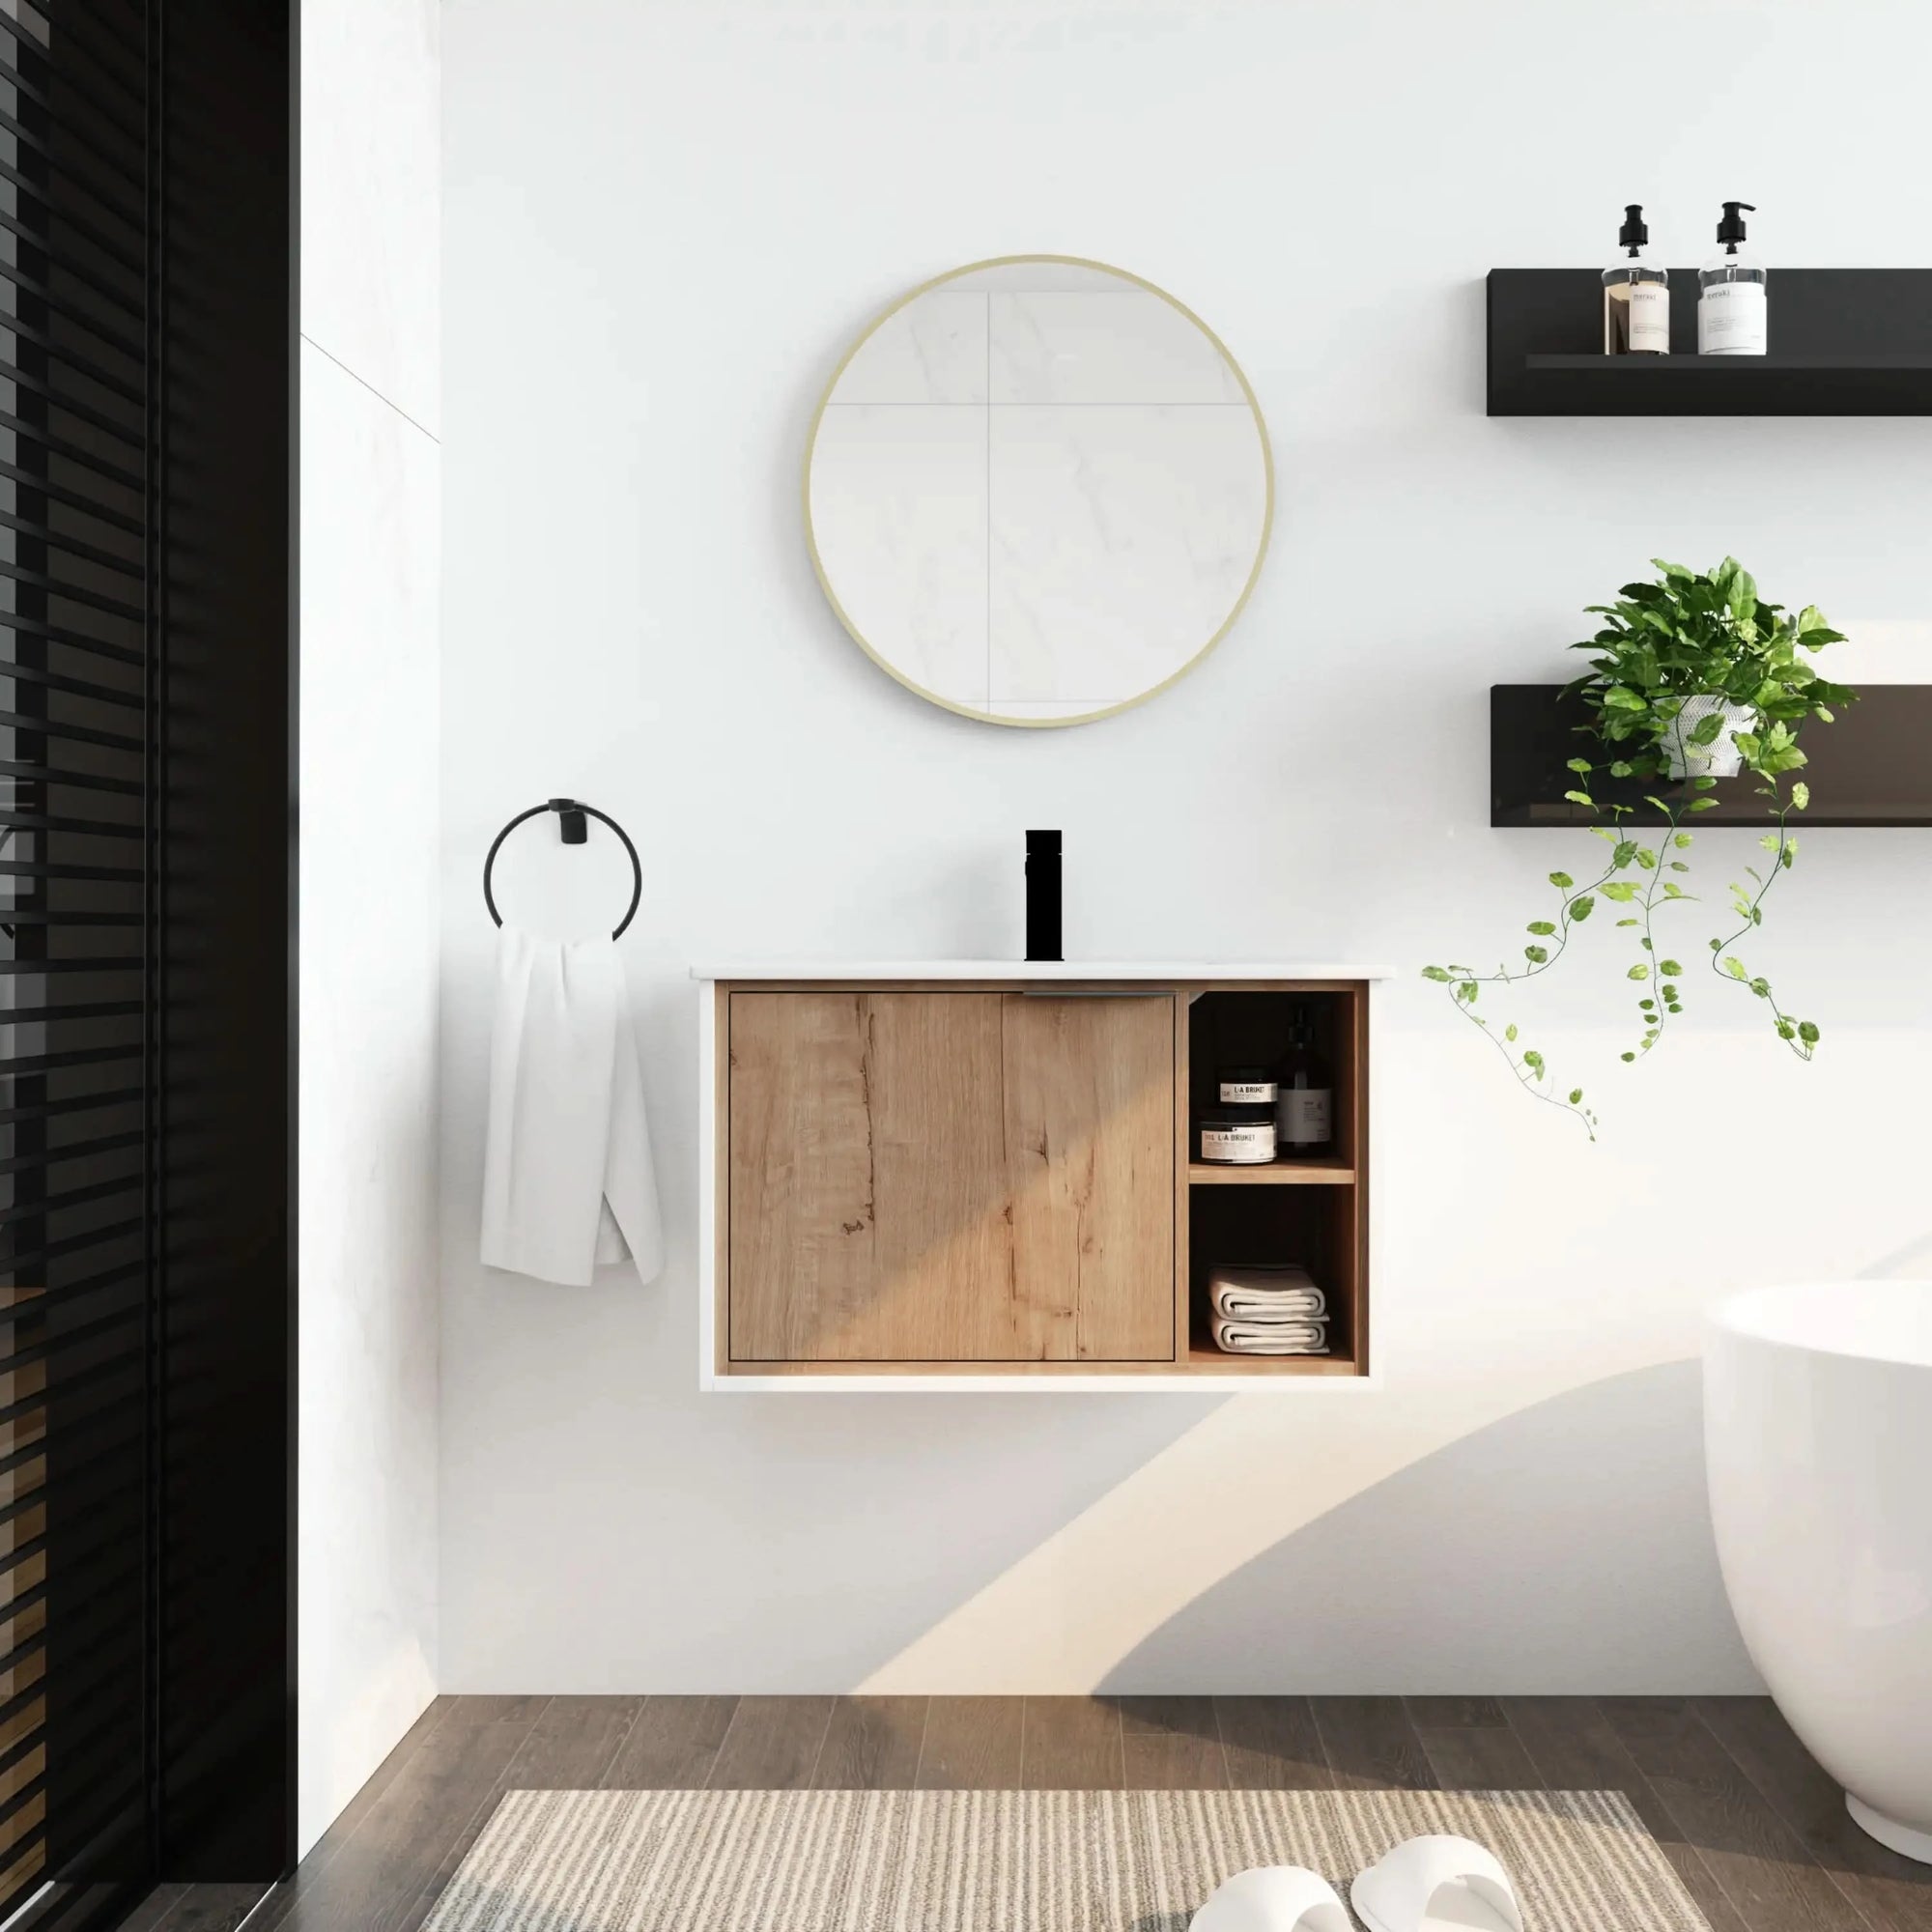
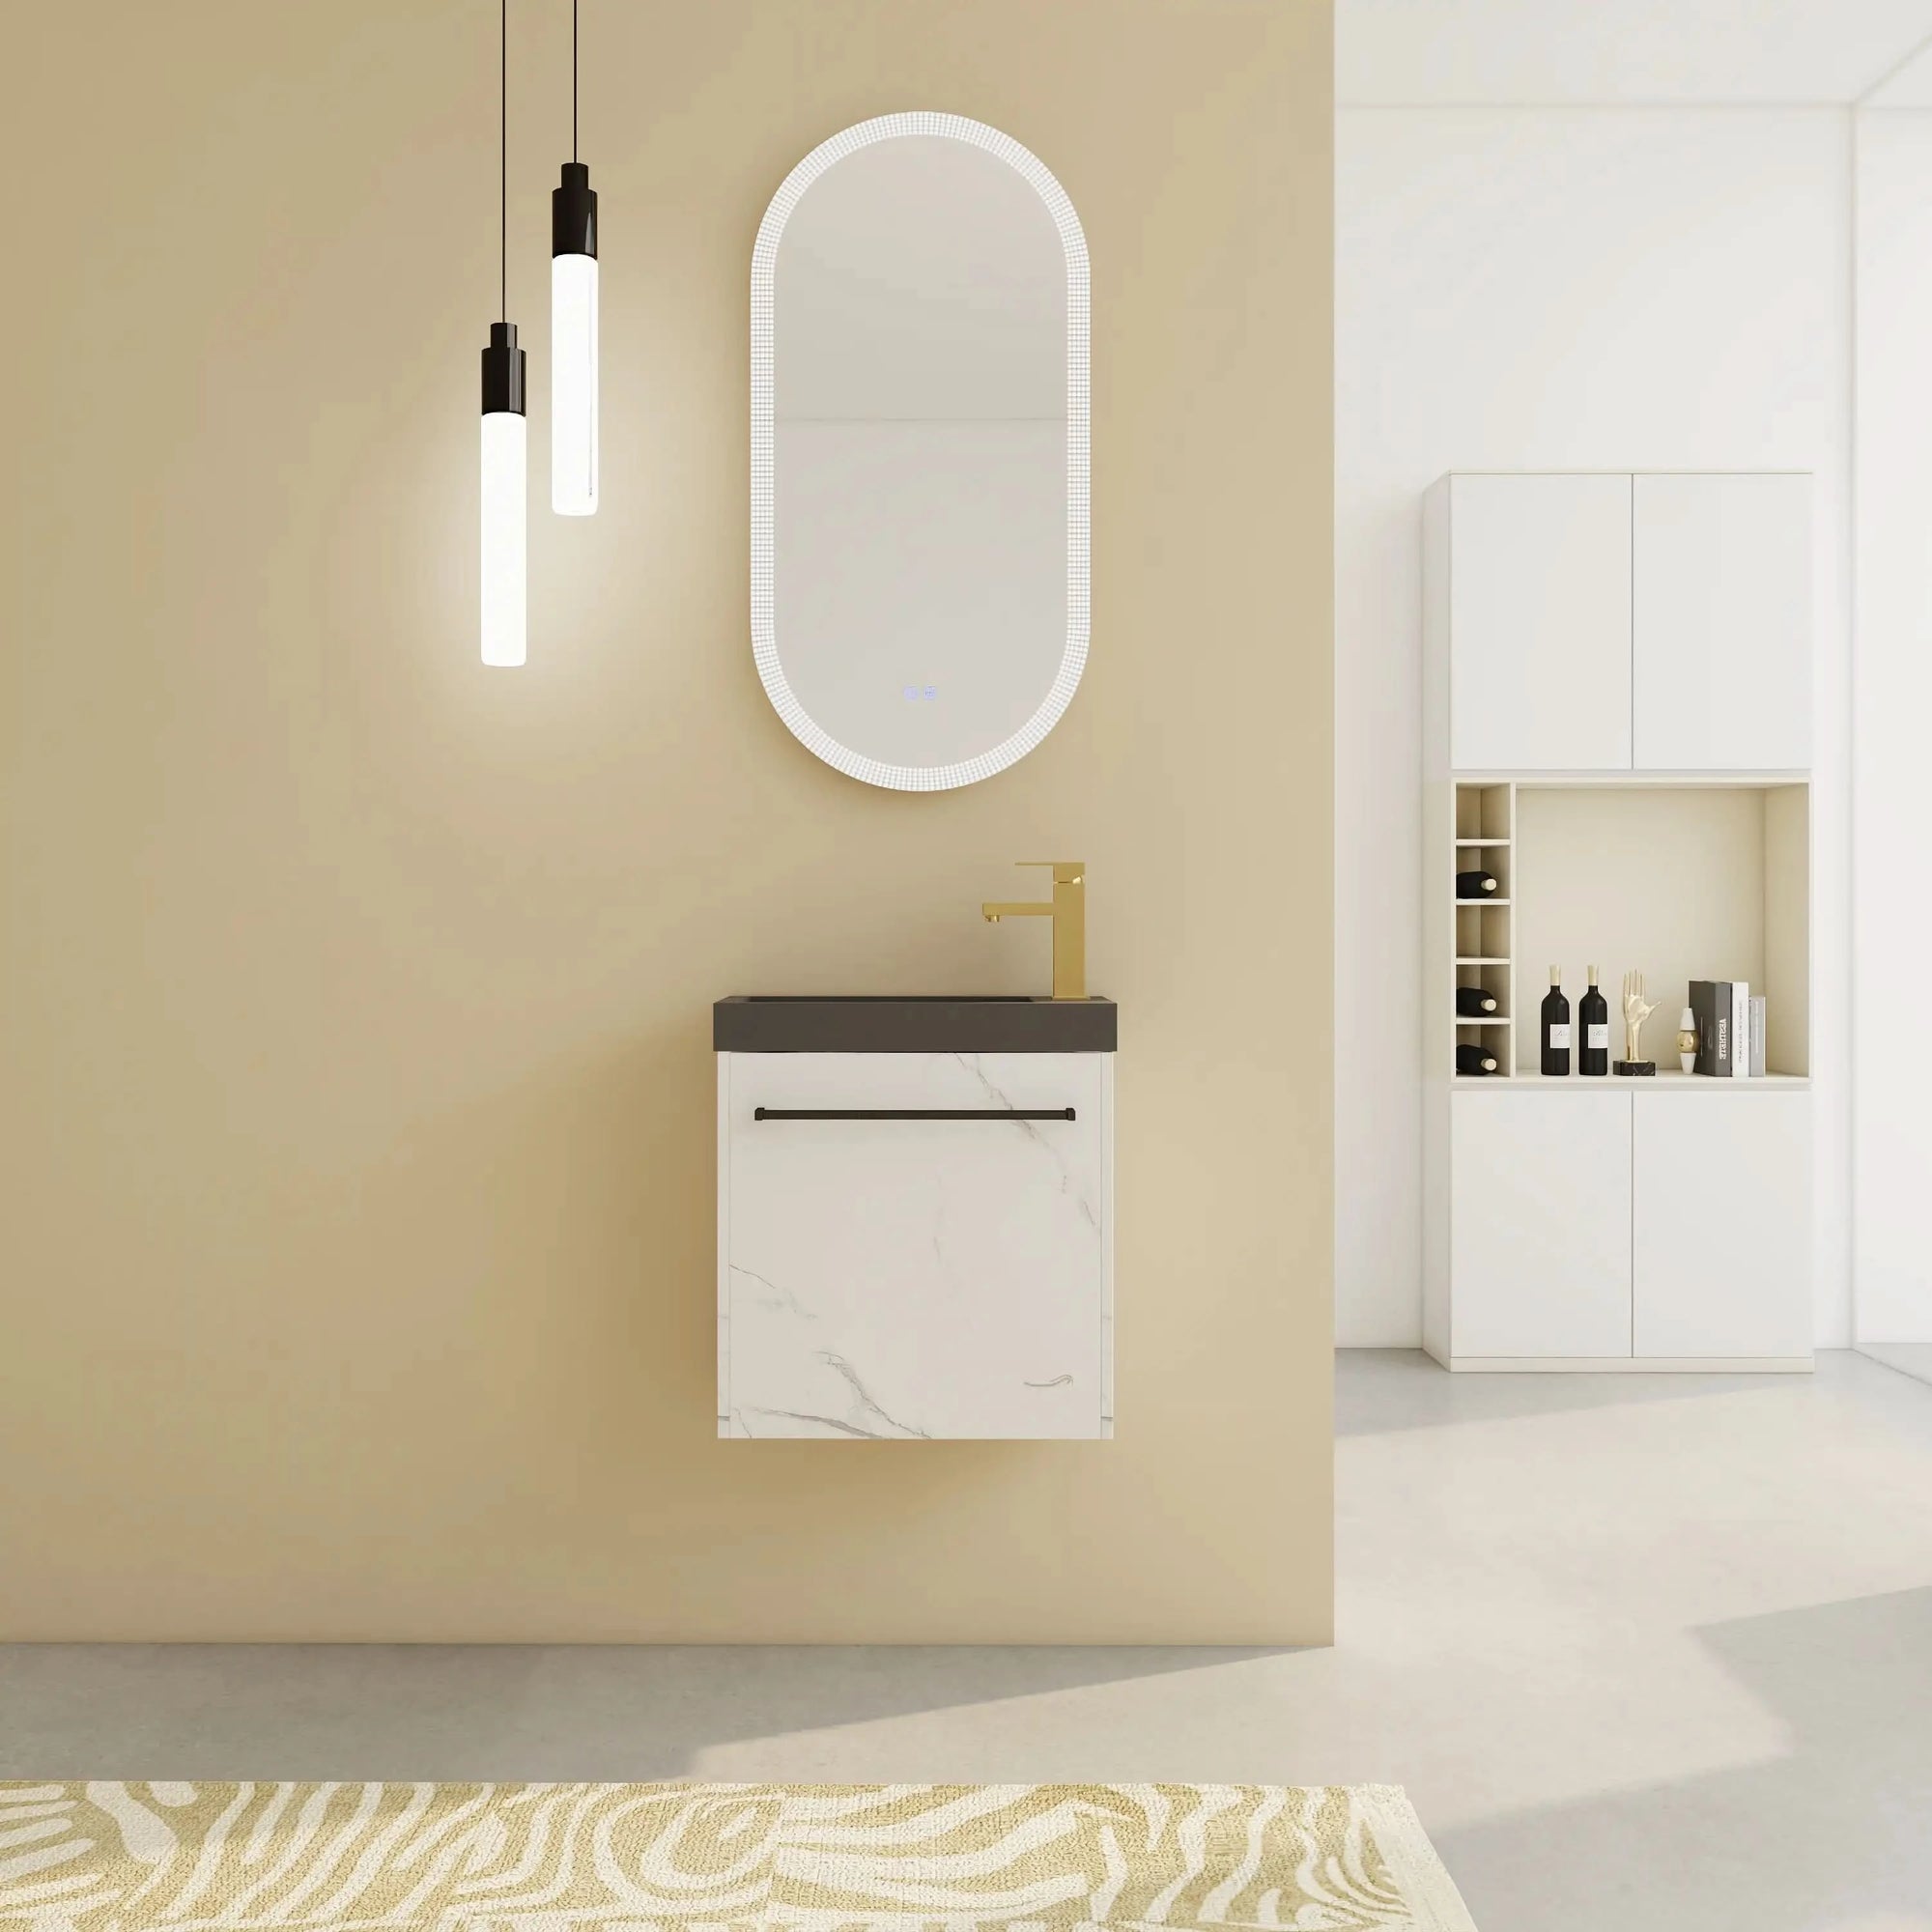
This is the fun part—artfully style your new floating vanity. Pair your statement faucet with minimal countertop accessories and a well-propped mirror (bonus points if it's a part of the Ace Decor exclusives) to nail that high-end, editorial look.
How to Hang a Floating Vanity Like a Design Diva
- Don't skip the level. With such a small slope, it becomes apparent as soon as you put the sink and countertop.
- Know your wall type. And as for drywall, tile and plaster: they each require their own anchors and drill bits.
- Always over-secure. Over anchoring is better than under anchoring!
- Team lift when possible. Tilting vanities are a real pain to move single-handedly.
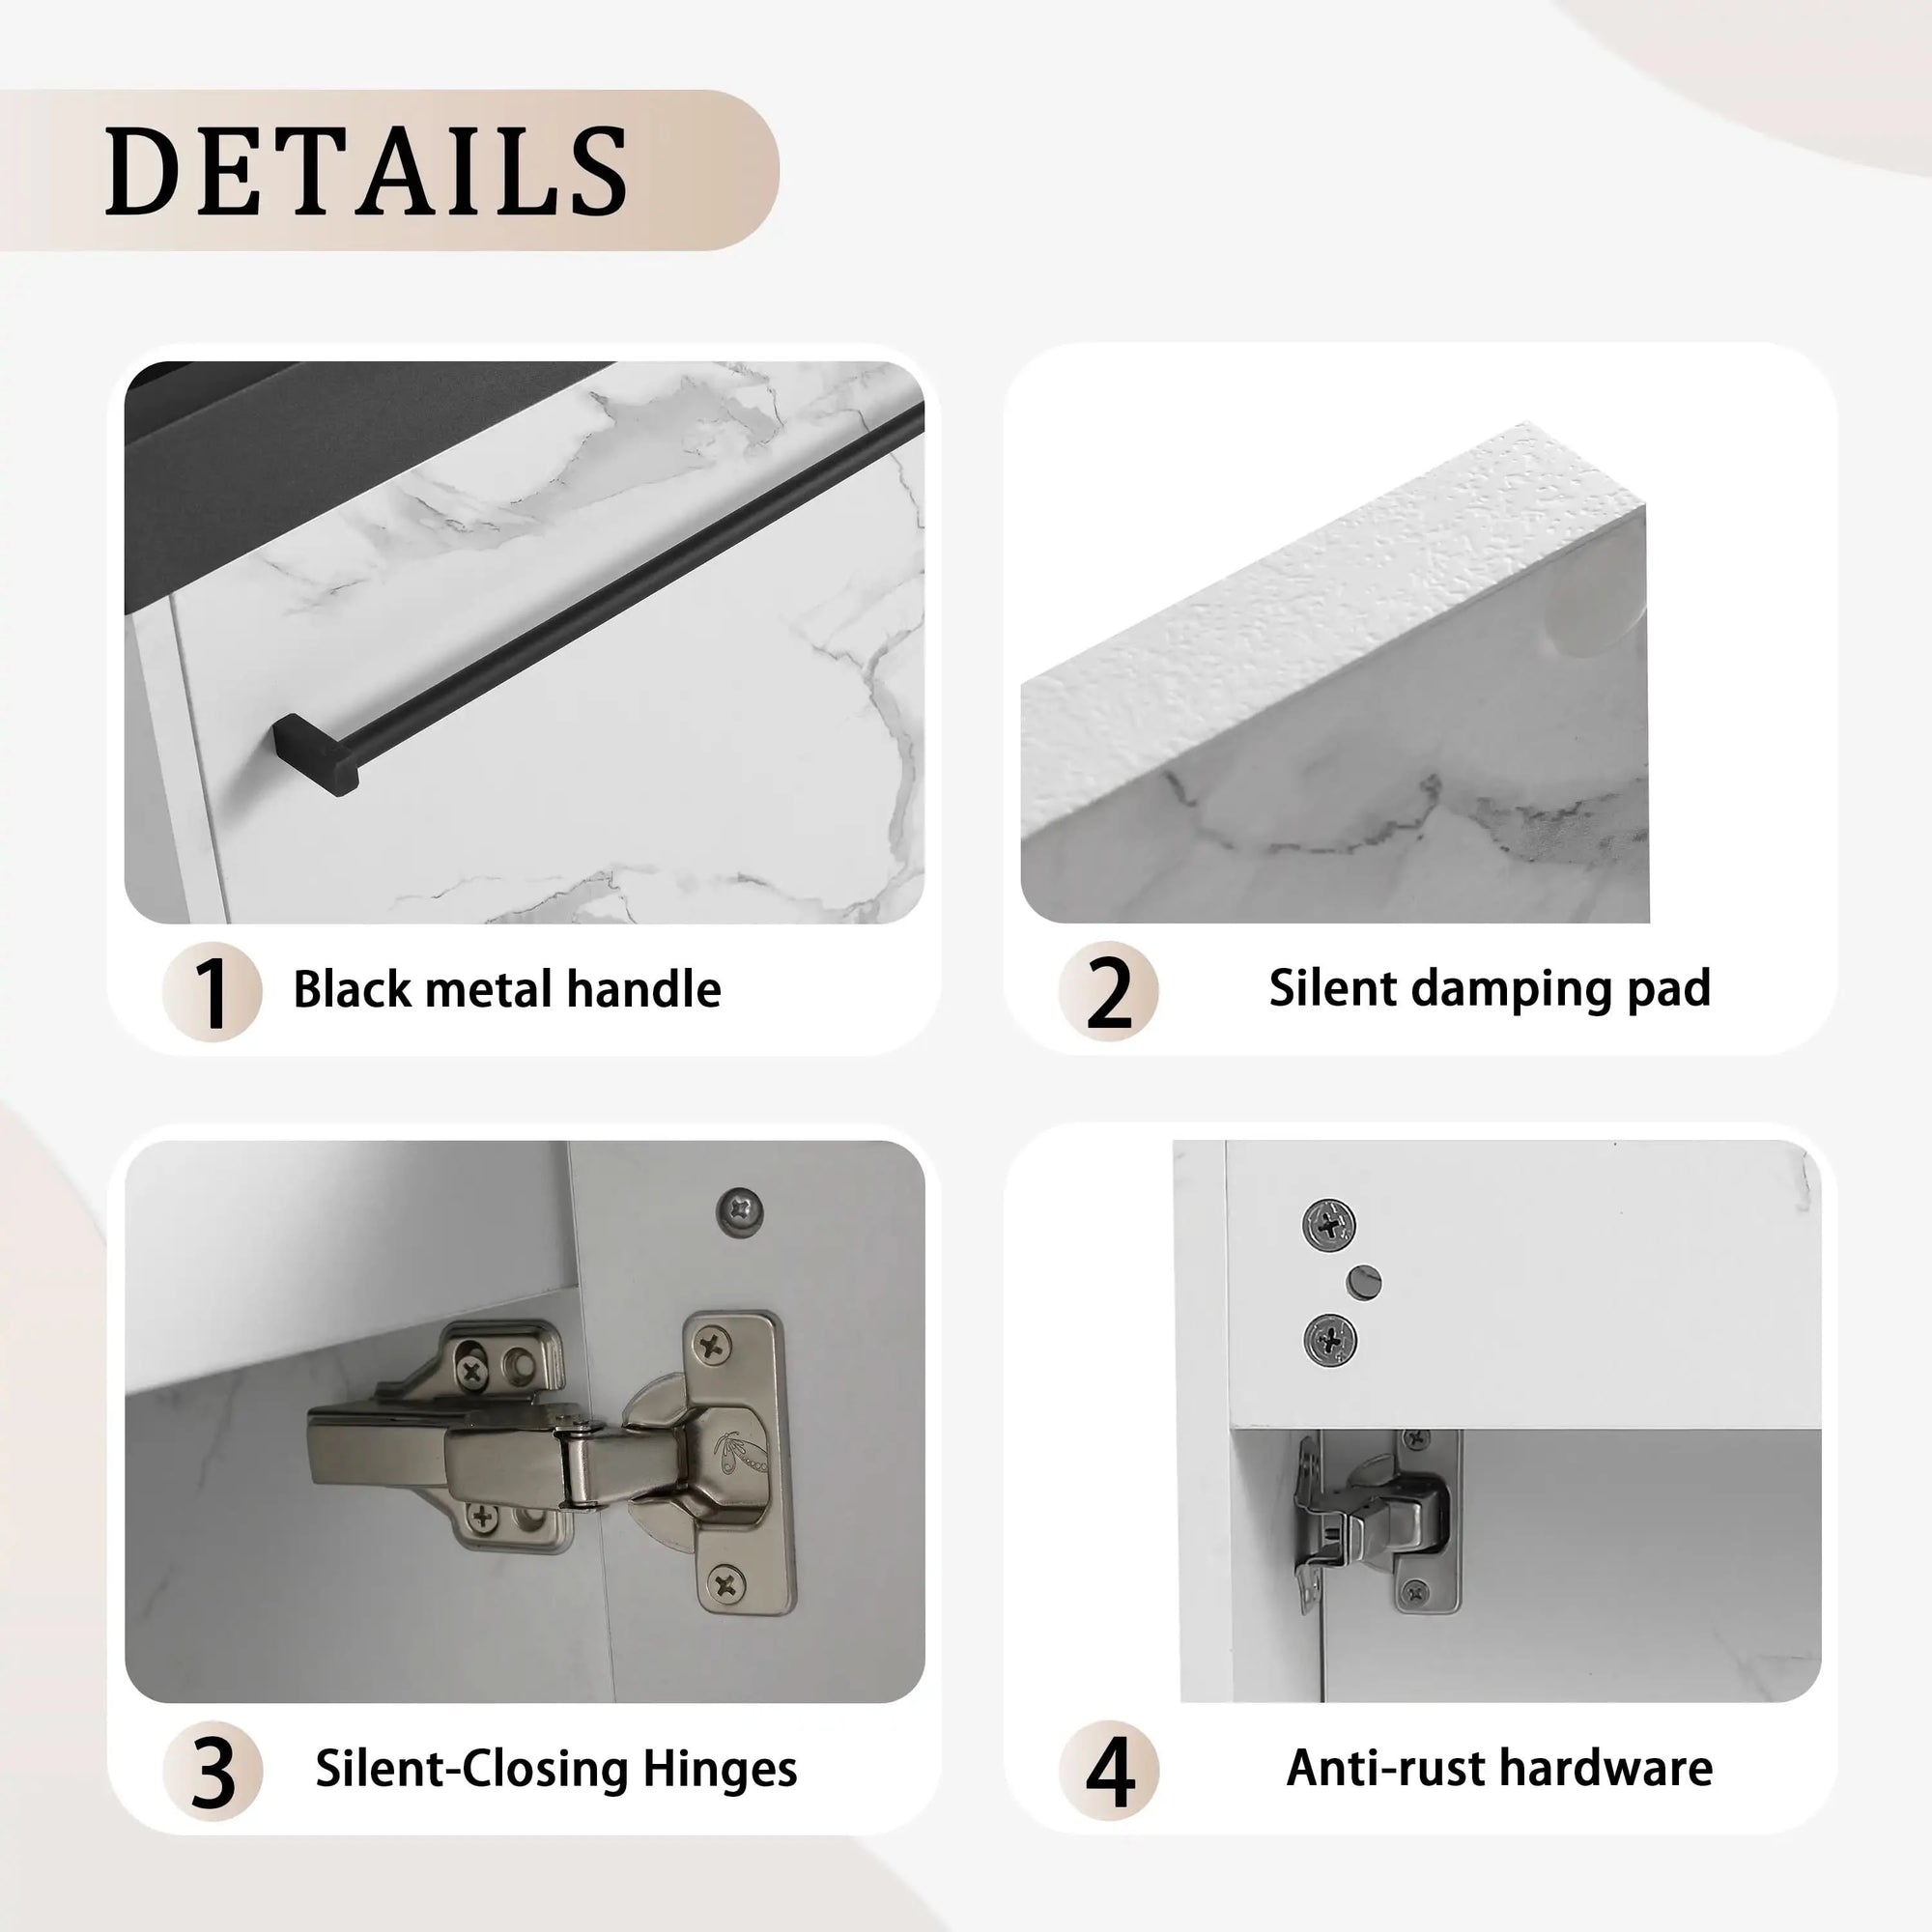
- The trick to a designer finish: Match metals and finishes across your hardware, faucet and handles!
So, Are Floating Vanities Worth The Work?

Hanging a floating vanity is an initial investment of effort, but the payoff is worth it. Floating vanities give the impression of extra floor space, make it simpler for cleaning up, and inspire modern elegance in bathrooms of every size.
By selecting a quality model such as those from Ace Decor, you aren't merely setting up a vanity, you're establishing a state of mind. We merge design, utility, and perfect engineering in our collections that guarantee the décor on it looks elegant and stays safe for years to come.
Final Thoughts
It can be a little intimidating to hang a floating vanity, but it doesn't have to be. A well laid out plan, the right tools, and a little patience, and you can ensure your bathroom goes from builder-basic to magazine-worthy. And when its up and running, tell why the hell you didn't float your vanity first.
Looking for more Ace Decor step-by-step tutorials and style inspiration? Join our newsletter for weekly tips, product previews, and luxury bathroom inspiration delivered directly to your inbox.
FAQ Time
1. Is it possible for a floating vanity to hold up a stone countertop such as quartz or marble?
Yes — but that has to be installed correctly, right? Due to the vastly increased weight of stone tops such as quartz, granite, or marble over standard tops (due to their composite, laminated, or solid wood construction), it's imperative to have your floating vanity mounted directly into studs (or a reinforced backing board) and be supported with heavy-duty mounting hardware. And if you're going luxe on the top be sure to verify the weight capacity of the vanity in the spec sheet too, and discuss with a contractor to ensure that your wall setup can support the weight. We don't want the vanity cave-in to steal the thunder of the down-low reveal.
2. How can I conceal plumbing underneath a floating vanity for a tidier appearance?
Obvious question—and also one any design diva would ask. Thus is why the pipes can be floating, in the sense that they don't steal the thunder when the pipes are. You have a few options:
- Opt for a floating vanity design that features a backsplash that hides plumbing.
- Make your exposed plumbing the same color as the wall to hide it.
- Fully hide the area beneath the vanity with decorative pipe covers or a faux drawer face.
And Ace Decor has even done the heavy lifting for this task with models that have plumbing cutouts already integrated into the design—because beauty and brains, right?
3. Can I put a floating vanity on a tiled wall without cracking the tile?
Yes, you can install on tile—as long as you proceed slowly with the proper tools. Drill through the tile using a masonry or diamond-tipped drill bit, allowing water to keep the surface cool and applying even pressure to avoid cracks. When able, drill through the grout lines because they are less brittle, and be sure to use painter's tape over your drill marks so they don't skate around. And of course, make sure your mounting screws go deep enough to hit studs behind the tile, not just into the tile surface. Drama-free tile drilling? Yes, please.
Related Articles
Want more inspiration or a step-by-step guide to giving your bathroom a glow-up? These curated reads prepare you on how to plan, prepare and execute your next design move.