In today’s post, we lift the curtain on bathtub floor molding. What is it? What types are out there? Do you install it yourself? And what’s your trick for not looking greasy and tired? Settle in — whether you’re a DIY do-it-yourselfer, a weekend renovator or aching to transform that ugly eye sore of a bathroom into the elegant oasis you’ve dreamed of, we’ve got you covered.
Table of Contents:
- What Is Bathtub Floor Molding and Why Should You Care?
- Types of Bathtub Floor Molding: Which One Fits Your Style and Space?
- Installation Tips: How to Apply Bathtub Floor Molding Without Losing Your Mind
- Maintenance Matters: Keeping Your Molding Clean and Mold-Free
- When to Replace Your Bathtub Floor Molding (and Why It’s Not Just Cosmetic)
- Conclusion
- FAQ – Expert Answers to Common Questions
What Is Bathtub Floor Molding and Why Should You Care?
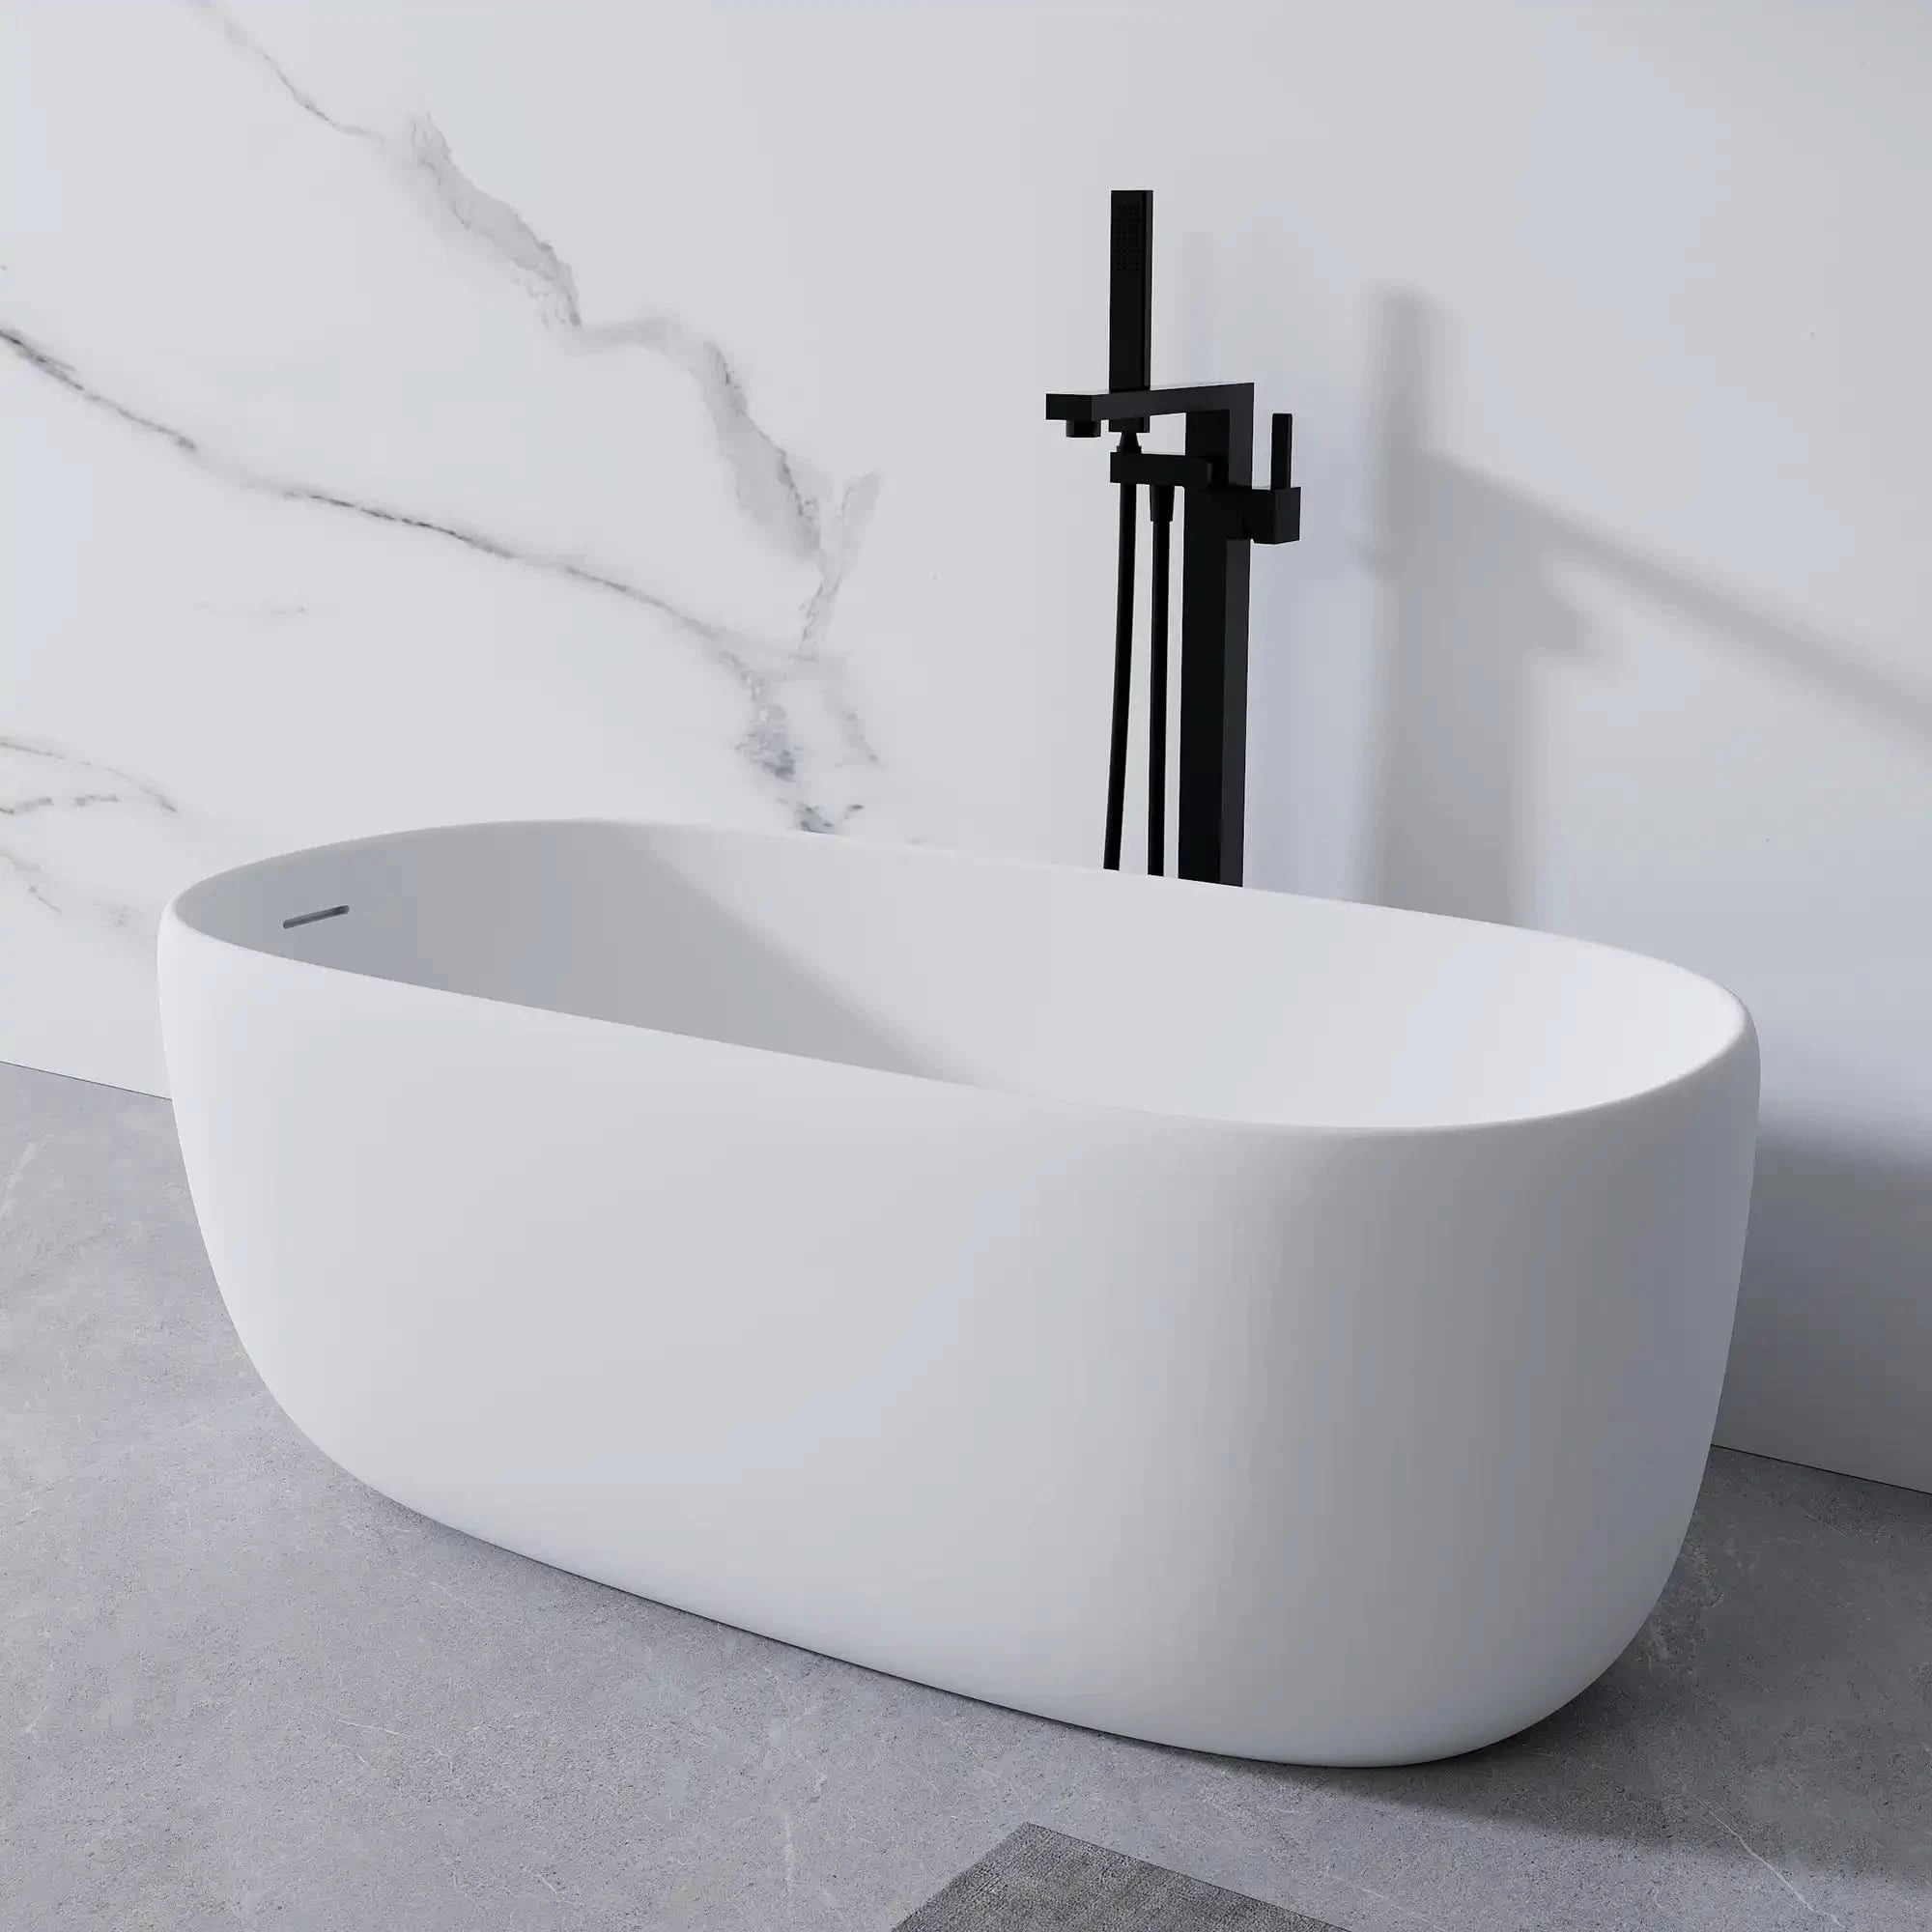
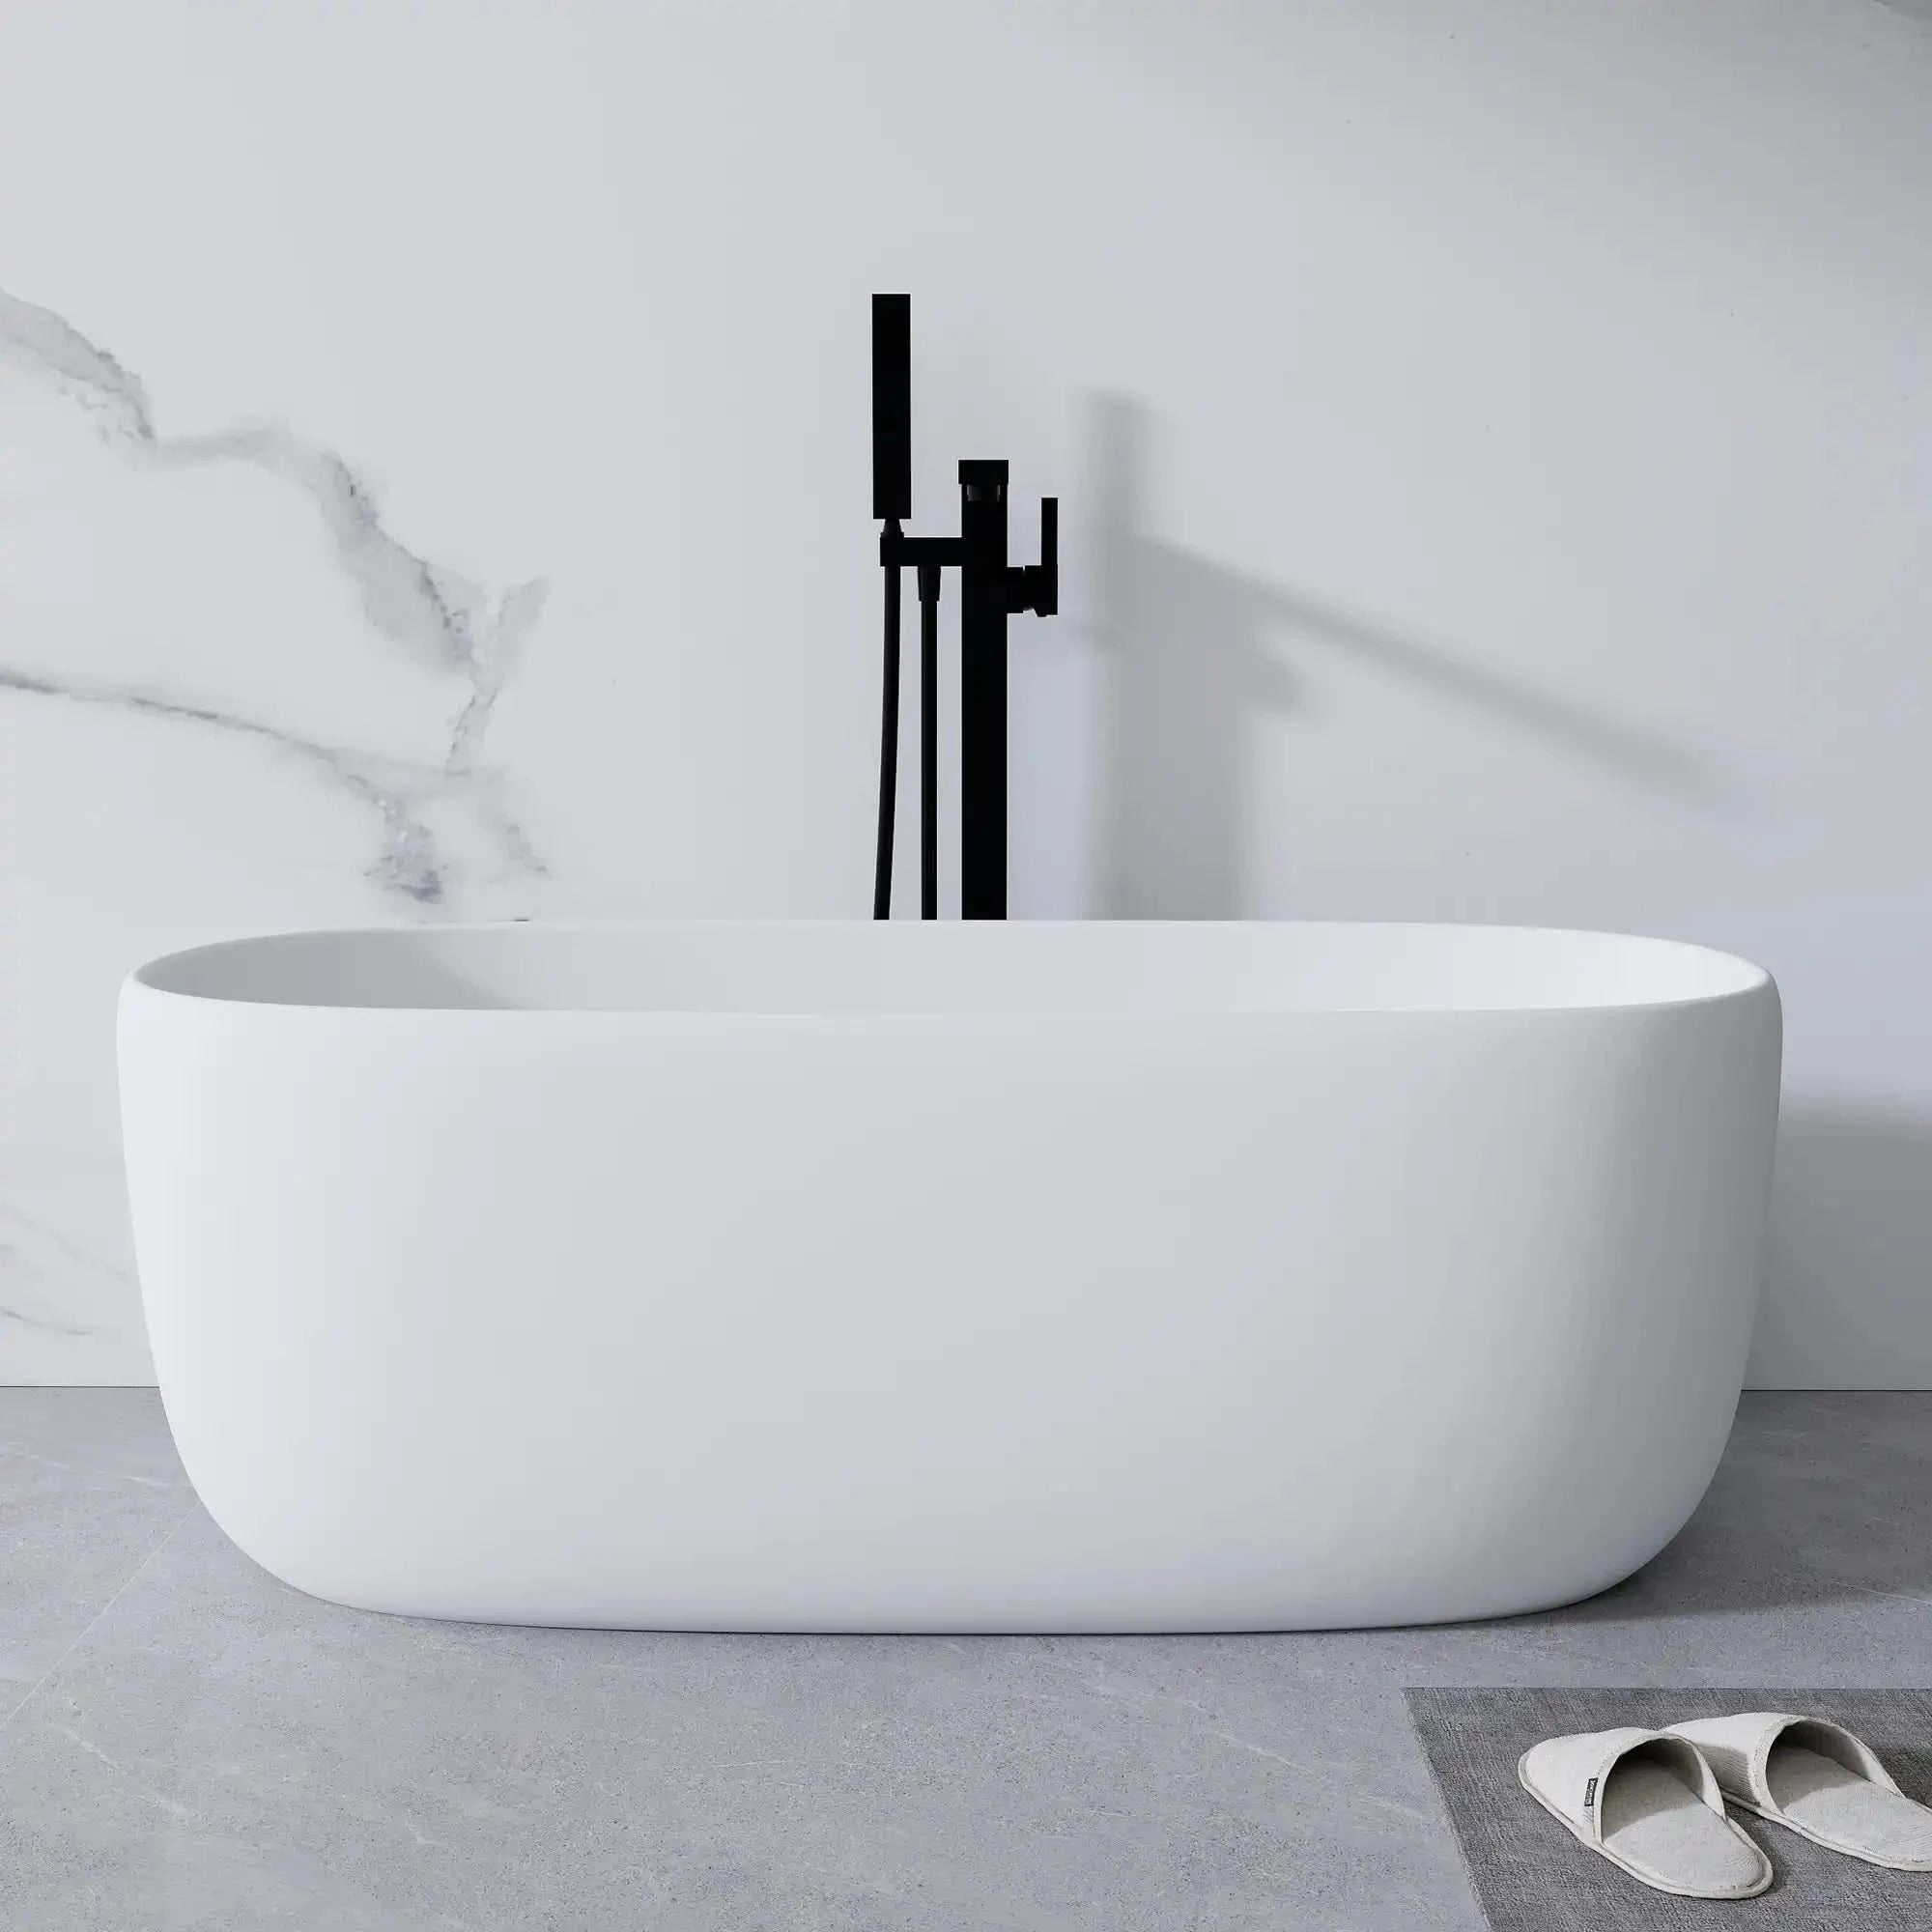
Picture this: You have a shiny, trendy bathtub. But where it meets the floor? There’s a precarious thin line — just waiting for spills, dirt and worse … mold. And that’s where bathtub floor molding comes in.) Think of it as your tub’s bodyguard (or perhaps, the bathroom’s seatbelt equivalent) — doing its job quietly every day and, in the process, saving time, backache and money while preventing disasters.
At its most basic, bathtub floor molding is a piece of trim that closes the space between your bathtub and the floor. It blocks water from getting under your tub and into the subflooring (yikes), it helps prevent mold and mildew growth, and and gives your bathroom that polished, “I-know-what-I’m-doing” look.
A good molding is about more than simply looks — it’s about hygiene and safety, too.” And no more mysterious puddles or slippery soap slime in the far corners. Whether you are living in a sleek apartment or a rustic cottage, bathtub floor molding will make your space look better and work better.

Types of Bathtub Floor Molding: Which One Fits Your Style and Space?
Choosing a bathtub floor molding isn’t a one-size-fits-all situation. It’s more like picking the right shoes—form, function, and flair all matter.
Let’s break it down. First up: materials.
-
PVC molding is inexpensive, waterproof, easy to work with and simple to install. It’s sort of the “white sneakers” of molding — dependable and relatively clean looking.
-
Silicone molding is very flexible and seals very well. It also bends nicely around curves, which you’ll appreciate if your bathtub isn’t just a straight-line affair.
-
ABS plastic is the tough guy in the bunch — rigid, durable, best for applications where strength counts more than extensibility.
| Material | Flexibility | Durability | Water Resistance | Ease of Installation | Best For |
|---|---|---|---|---|---|
| PVC | Low | High | High | Easy | Straight edges, budget projects |
| Silicone | High | Medium | Excellent | Moderate | Curved tubs, waterproof sealing |
| ABS Plastic | Medium | Very High | High | Moderate | Heavy-use areas, modern designs |
You’ll also hear about rigid vs. flexible molding.
Rigid moldings snap into place and stay put like a charm—ideal for straight, even edges. Flexible versions can be cut, bent, and smoothed into all kinds of corners, so if your tub likes to do its own thing, these are your best bet.
Minimalist bathroom with clean lines the thing? Opt for a low-profile, clean white trim. Want rustic or bold design? You’ll see moldings in multiple finishes that meet your vibe. The trick is to match your molding to your lifestyle. Trust us, that little detail will make a big difference.
Installation Tips: How to Apply Bathtub Floor Molding Without Losing Your Mind
So you’ve picked your molding, all right. Now what? Don’t worry: It doesn’t take a complete toolbox or a PhD in engineering to install bathtub floor molding. You just have to have a plan (plus maybe some good music in the background).
Here’s the simple version:
-
Clean the area. — I mean, really clean it. Dust, damp and soap scum are three things that the mold likes least.
-
Measure twice, cut once. — Being precision has its benefits — particularly when working with hard molding.
-
Use adhesive or peel-and-stick backing, depending on the molding you’ve picked. Press it firmly into place.
-
Seal the edges with waterproof caulk to prevent water seeping in.
-
Let it dry for the recommended time. — No jumping in for a bubble bath just yet!
Common mistakes? Skipping the prep. If your surface isn’t clean and dry, the fanciest molding is going to peel up faster than you can say “bath bomb.” And take your time to let it dry — yes, we’re all excited to test our work, but patience is a virtue.
Pro tip: Grab a buddy. Installation goes way faster with someone to hold things in place or hand you tools while you’re kneeling on your bath mat.

Maintenance Matters: Keeping Your Molding Clean and Mold-Free
Now that your bathtub floor molding is laid down, you’ll want it to keep looking fresh. This is where maintenance comes in.
Aim to clean it weekly. A little mild bathroom cleaner and a soft brush or sponge and it’s a breeze. Don’t go full power-blast mode with hard-core chemicals — gentle wins the race here.
To keep mold away, dry the area after each shower. If that’s too much effort, at least give it a quick towel swipe or set up a fan to improve ventilation. Ignoring your molding can lead to some pretty gross stuff. Let’s avoid that. A one-minute wipe-down now and then saves you from having to replace it in years.
Think of your molding like your bathroom's dental hygiene. Flossing isn’t fun, but it beats the dentist, right?

When to Replace Your Bathtub Floor Molding (and Why It’s Not Just Cosmetic)
There is a shelf life to bathtub floor molding no matter how well you take care of it. It may be a bastion, but it is not invincible.
Signs it’s time for a change:
-
Cracks or peeling edges
-
Persistent mold that laughs in the face of bleach
-
Discoloration or warping
-
Water seeping underneath
Why bother replacing it? Because the dangers are about more than appearances. If the molding is damaged, water can sneak under your tub, rot your floors, and eventually cause structural damage.
If your molding starts to look sad, don't wait. Replacing it is inexpensive and relatively painless, and a lot easier to fix than a water-soaked floor. It’s like replacing a worn-out pair of shoes—you feel better, your space looks better, and you’re less likely to slip on something gross.
So listen to your bathroom. If it’s whispering, “Help me,” it might be your molding begging for a makeover.

Conclusion
Let’s face it: bathtub floor molding might not be the sexiest part of your bathroom, but it’s certainly one of the most vital. It keeps your space clean, dry, safe and stylish — all in one little strip. It’s affordable, manageable, and totally DIY-friendly.
So the next time you catch a glimpse at the bottom of your tub, take note: that trim isn’t just for show. It’s your bathroom’s quiet hero — and it’s due a bit of credit.
You deserve a cleaner, safer, and frankly better-looking bathroom. Let’s make it happen.
FAQ – Expert Answers to Common Questions
Q1. What’s the difference between bathtub floor molding and caulking?
A: Great question! Caulking is a sealant—usually a bead of silicone or acrylic—to close gaps and prevent water leaks. Bathtub floor molding, on the other hand, is a physical trim that often covers caulking or works alongside it for added protection and a polished look.
Q2. Is it possible to install bathtub floor molding without removing the tub?
A: Absolutely! In fact, most molding is designed to be added after the tub is in place. It’s a finishing touch, not a construction project. Just make sure the floor is clean and dry before you begin.
Q3. How long does bathtub floor molding typically last?
A: With proper care, it can last 3–5 years or even longer. The material you choose makes a big difference—flexible silicone might need earlier replacement, while rigid PVC or ABS can go the distance.
Q4. Can I use molding in a curved or uneven bathroom?
A: Yes! Flexible molding is made for this. It bends and adapts to your bathroom’s quirks like a champ. Just be sure to measure carefully and press it firmly into every curve.
Q5. What tools do I need for a simple DIY molding job?
A: You’ll need a measuring tape, knife or scissors (for flexible molding), adhesive or caulk, and maybe a smoothing tool or gloves. That’s it! A beginner-friendly project with big impact.
Related Articles
What Does Valve Trim Do In Bathtub Shower?