Introduction
Mounting a mirror might sound like a job for the pros, but the truth is many folks can handle the project right at home with confidence. Whether you’re refreshing a bathroom, upgrading a vanity area, or adding visual depth to a hallway, mirror installation can significantly transform a space. With the right tools, proper preparation, and a clear understanding of available mounting methods, even beginners can achieve a clean, secure, and long-lasting result.
This guide walks you through everything you need to know, from essential tools and installation techniques to safety considerations. By the end, you’ll have the knowledge you need to complete your own mirror installation with confidence and precision.
Table of Contents:
- Pre-Installation Preparation: Tools, Safety Gear, and Workspace Setup
- Common Mirror Installation Methods and When to Use Each
- Step-by-Step Guide: Two Reliable Methods for Secure Mirror Installation
- Key Safety and Quality Tips for a Secure Installation
- Modern Mirror Options: Easy-to-Install LED Mirrors from Ace Decor
- Conclusion
- FAQ
- Related Articles
Pre-Installation Preparation: Tools, Safety Gear, and Workspace Setup

Preparation is key before you start any mirror installation. First, get the right safety equipment. Eyewear will keep your eyes protected from broken glass or debris, gloves will help you keep your grip and keep from being cut, and closed-toe shoes will ensure that your feet are kept safe. For large or heavy mirrors, a second person is not just recommended, it’s a vital safety measure.
Next, assemble the necessary tools. To ensure you are in the right place, you will need a measuring tape, level (bubble or laser), stud finder, and pencil. Depending on your installation method, you may also need an electric drill, wall anchors, mirror-specific adhesive, mounting clips or brackets, and glass suction cups. Suction cups are particularly useful for handling heavier mirrors, greatly reducing the risk of accidental drops.
Before mounting anything, assess your wall type. Drywall requires different anchors than tile or concrete. For tiled walls, specialized glass-and-tile drill bits prevent cracking. Finally, clear the workspace by removing clutter and cleaning the wall surface to ensure proper adhesion or hardware alignment.
Being well prepared makes your mirror installation process safer and will go faster, helping you achieve a clean job the first time.
Common Mirror Installation Methods and When to Use Each

No matter what type of mirror you have, installation varies based on its dimension, weight, and the conditions of the room. Here are five approaches that are considered fairly standard:
1. Adhesive Installation
This is one of the simplest mirror installation methods and works best for small to medium-sized mirrors. High-strength mirror adhesive is applied directly to the wall or the back of the mirror. This approach works well on tile and concrete surfaces where drilling can be challenging. However, adhesive installations create a permanent bond, making removal difficult without damage.
2. Bracket or Clip Mounting
Mounting clips or brackets provide reliable support and are ideal for medium to large mirrors. These systems also let air flow behind the mirror, minimizing moisture accumulation, which is a valuable feature for bathrooms. In addition, they also simplify the future adjustment or replacement of the mirror.
3. Screw-in Wall Anchors and Direct Mounting
This method secures the mirror by hanging it on screws that are fixed into wall anchors. The screws connect to the mirror’s built-in backing or keyhole-style mounting points. It’s a straightforward and reliable option for medium to heavier mirrors. The only challenge is accuracy—your screw positions must be level and correctly spaced for the mirror to hang evenly.
4. Channel Mount (Bottom Rail)
Large frameless mirrors often use a bottom rail or channel that supports the mirror’s weight, paired with upper clips to hold it in place. This method is highly stable and ideal for oversized vanity mirrors often found in hotel-style bathrooms.
5. French Cleat (Z-Bar) Mounting
The French cleat, also known as a Z-bar mounting system, is one of the most stable and user-friendly methods for installing medium to large mirrors. This method uses two interlocking metal bars: one is securely fastened to the wall, and the other is pre-attached to the back of the mirror. Once aligned, the mirror simply hooks onto the wall-mounted bar, creating a strong and evenly distributed support structure.
Step-by-Step Guide: Two Reliable Methods for Secure Mirror Installation

Below are two clear, practical installation procedures suitable for most homeowners.
Method 1: Installing a Mirror Using Mounting Clips (Recommended for Most Sizes)
Step 1: Measure and Mark
Determine the height and width on the wall that you want to install the molding. Take a level and mark a light horizontal line to represent where the bottom clips will sit.
Step 2: Locate Studs or Install Wall Anchors
Run a stud finder to find any backings In the absence of studs, use a heavy duty type of wall anchor that is suitable to the type of wall you have.
Step 3: Pre-Drill Holes
Use a drill bit appropriate for your surface. For tile installations, apply masking tape over the drill point to prevent slipping.
Step 4: Install Bottom Clips
Secure the bottom clips first. Ensure they are perfectly level since these clips will carry the weight of the mirror.
Step 5: Position the Mirror
Using suction cups, gently raise the mirror and insert it into the bottom clips.
Step 6: Install Top Clips
Secure the top clips to hold the mirror firmly in place. Double-check levelness before tightening fully.
Step 7: Final Adjustments
Make sure the mirror is secure, level, and free from wobble.
Method 2: Installing a Mirror Using Adhesive (Best for Small–Medium Mirrors)
Step 1: Clean the Surface
Clean the wall and back of the mirror to remove dust, oil, and residue.
Step 2: Apply Mirror Adhesive
Use a mirror-safe adhesive and apply vertical beads across the mirror’s backside. Avoid silicone products that can damage mirror coatings over time.
Step 3: Create Spacers
Install small, temporary bottom spacers to support the mirror while the adhesive cures.
Step 4: Mount the Mirror
Press the mirror gently but firmly against the wall following your guidelines.
Step 5: Tape and Support
Using painter's tape to keep mirror flush, and leaving spacers in place for minimum of 24 hours.
This method creates a clean, hardware-free look, but remember that adhesive is permanent and best suited for lightweight mirrors.
Key Safety and Quality Tips for a Secure Installation

A successful mirror installation depends as much on safety as on technique. Always check for level at multiple points, small discrepancies become very noticeable once the mirror is hung. For large mirrors, use glass suction cups to maintain safe handling and reduce strain.
If drilling into tile, use low speed and avoid applying excessive pressure. When mounting on drywall, ensure your anchors are rated for the mirror’s weight.
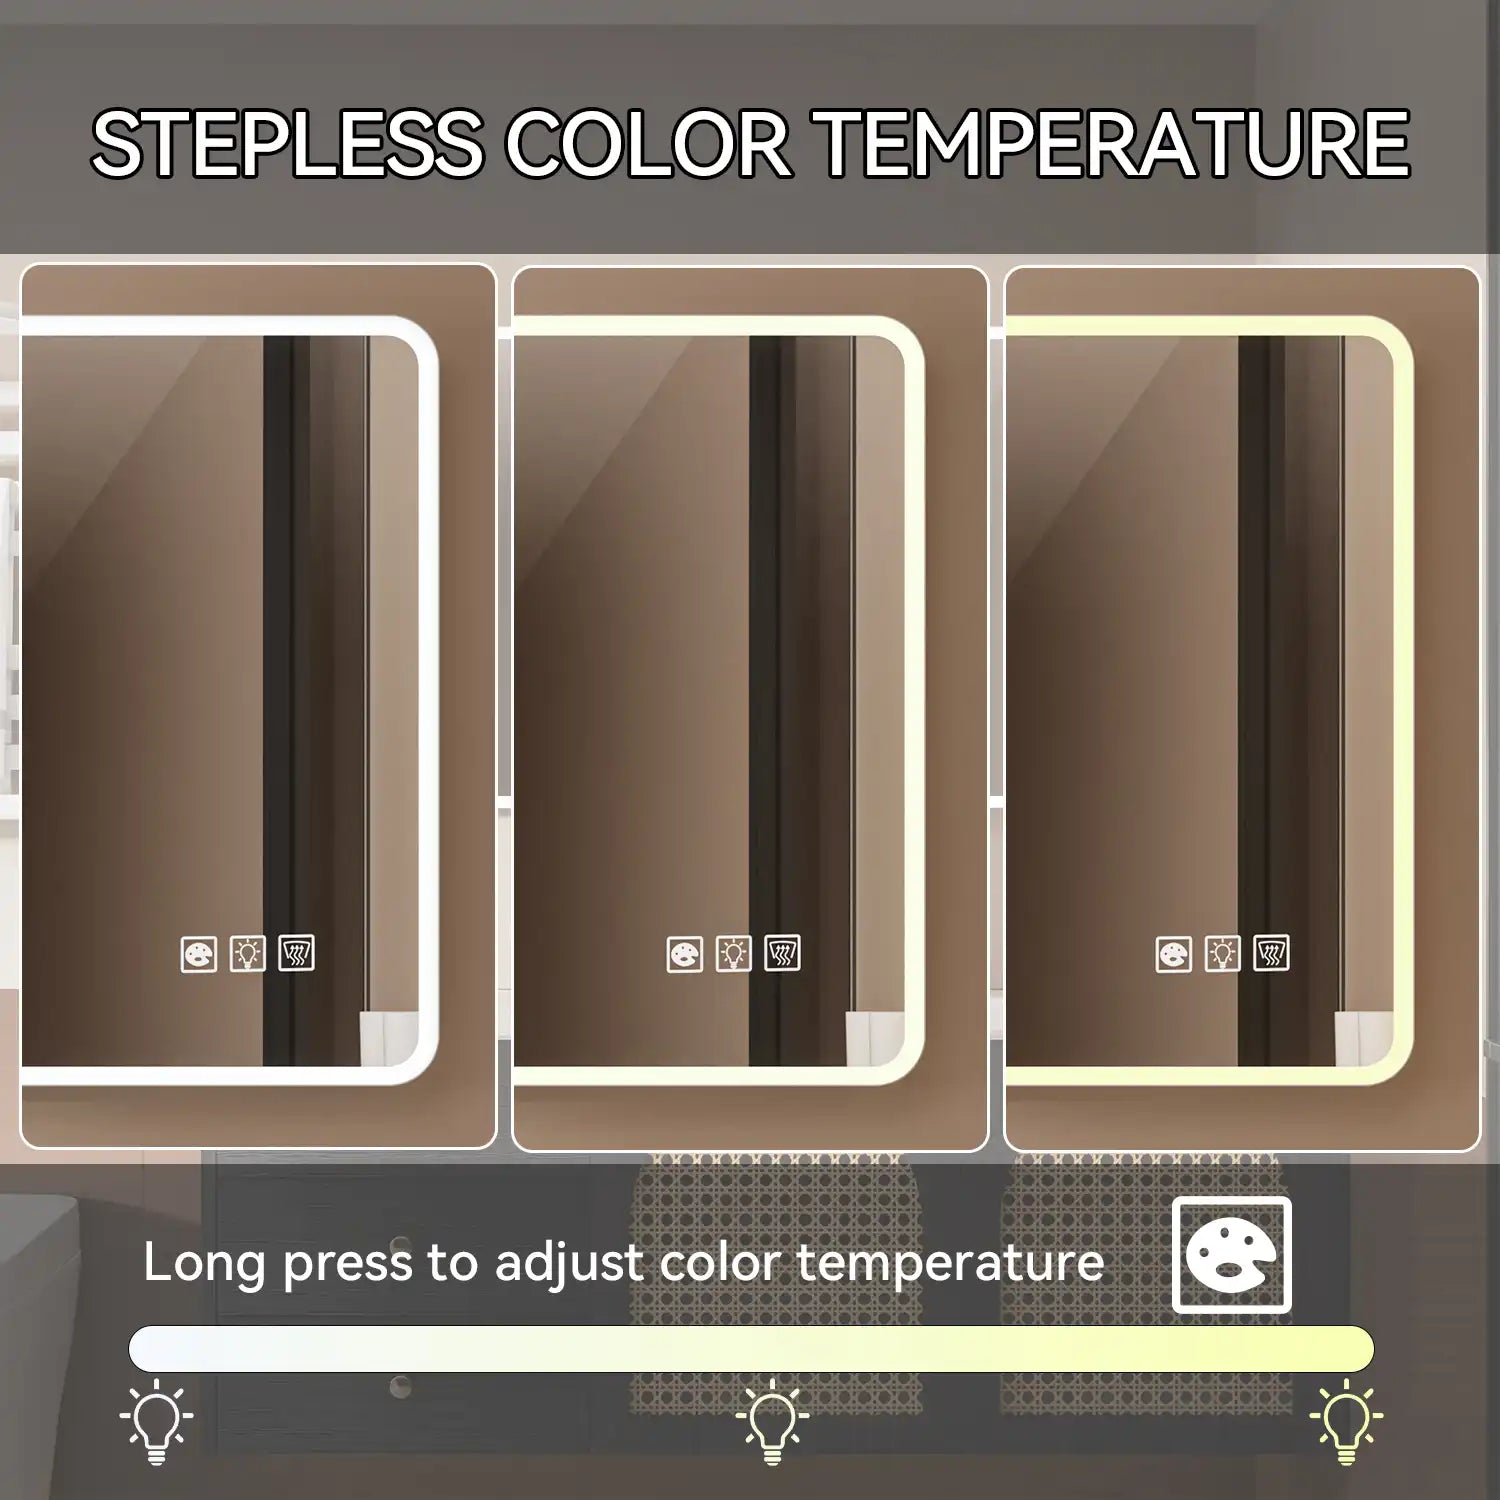
For LED mirrors, consider electrical requirements. Plug-in models offer flexibility and easy replacement, while hard-wired installation provides a cleaner, cable-free appearance. Ensure the power supply is moisture-protected and that any recessed driver has adequate ventilation to avoid overheating.
These precautions ensure durability, safety, and a professionally finished result.
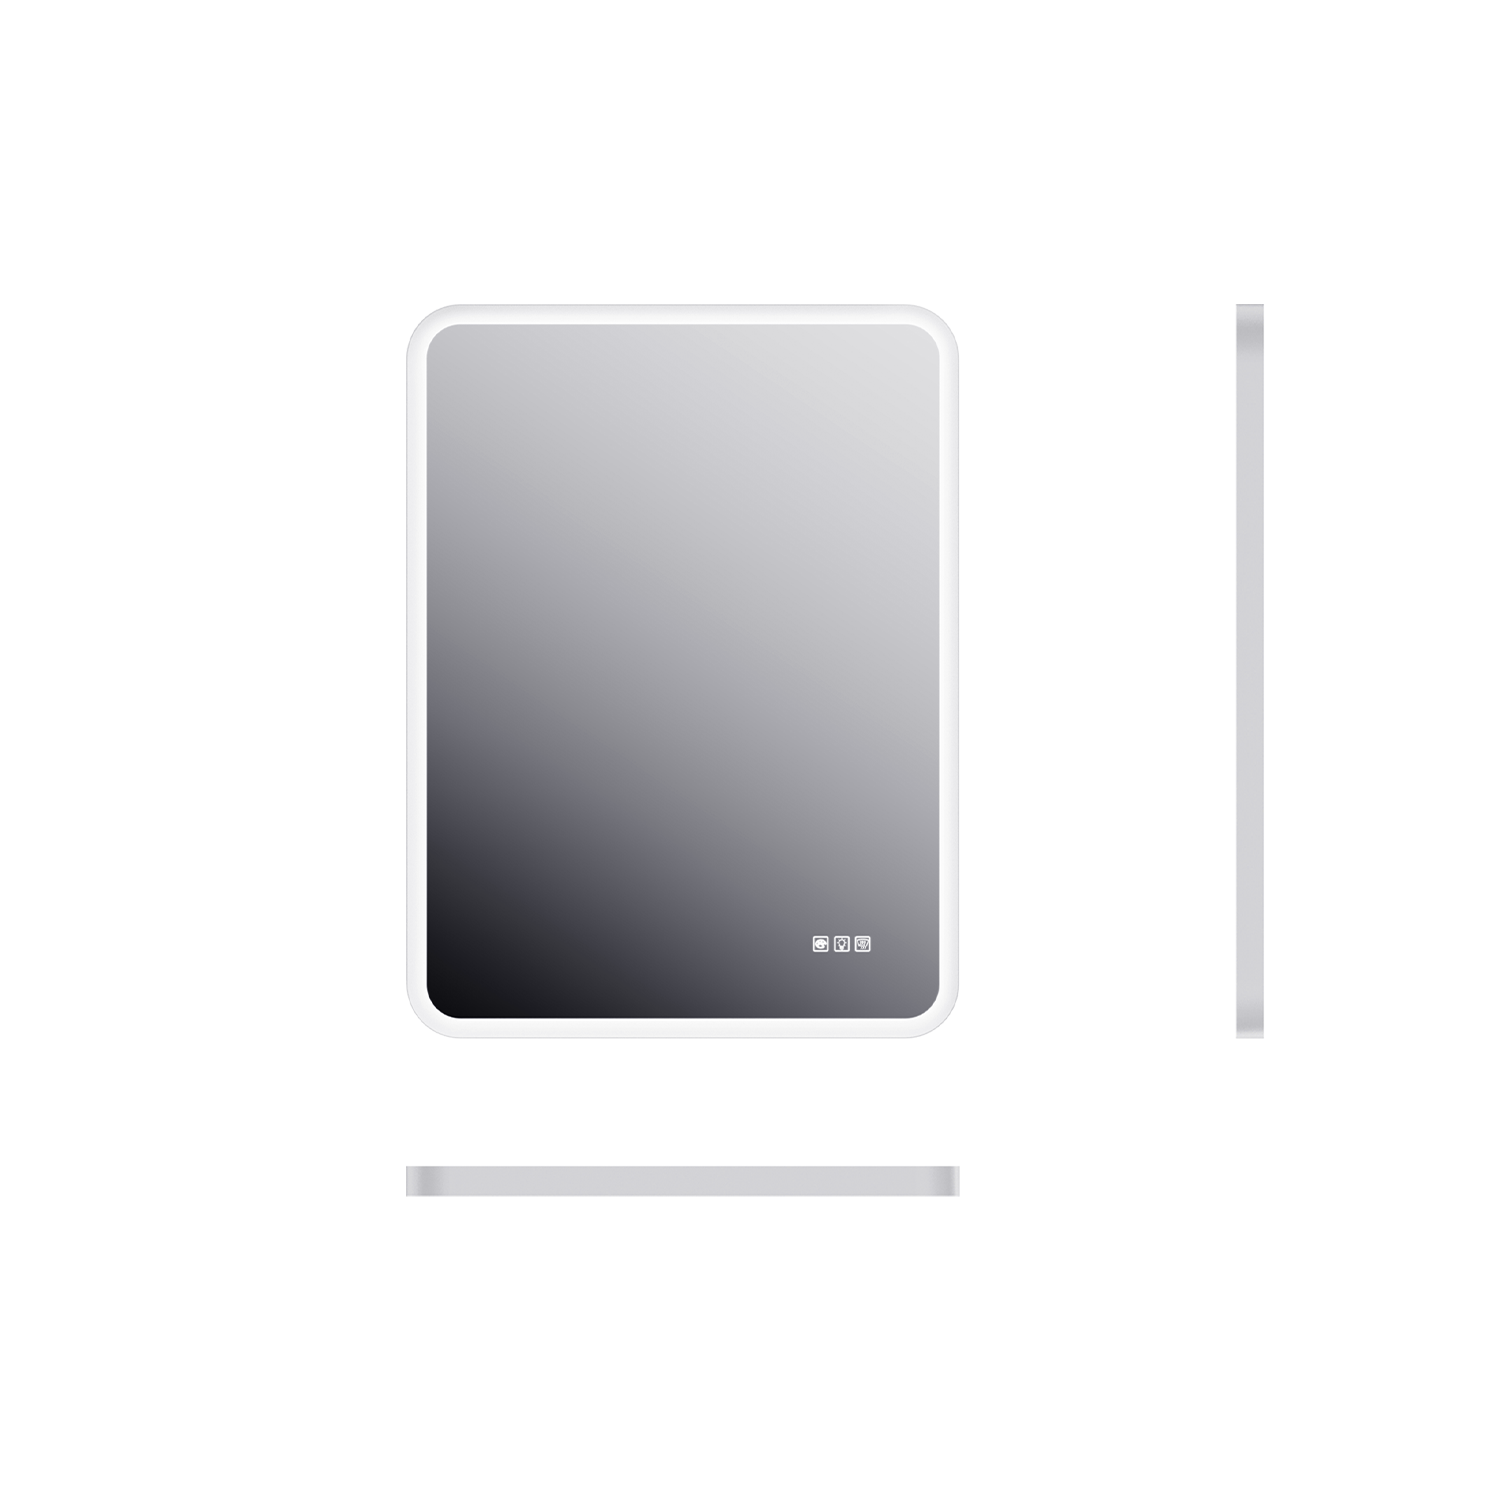
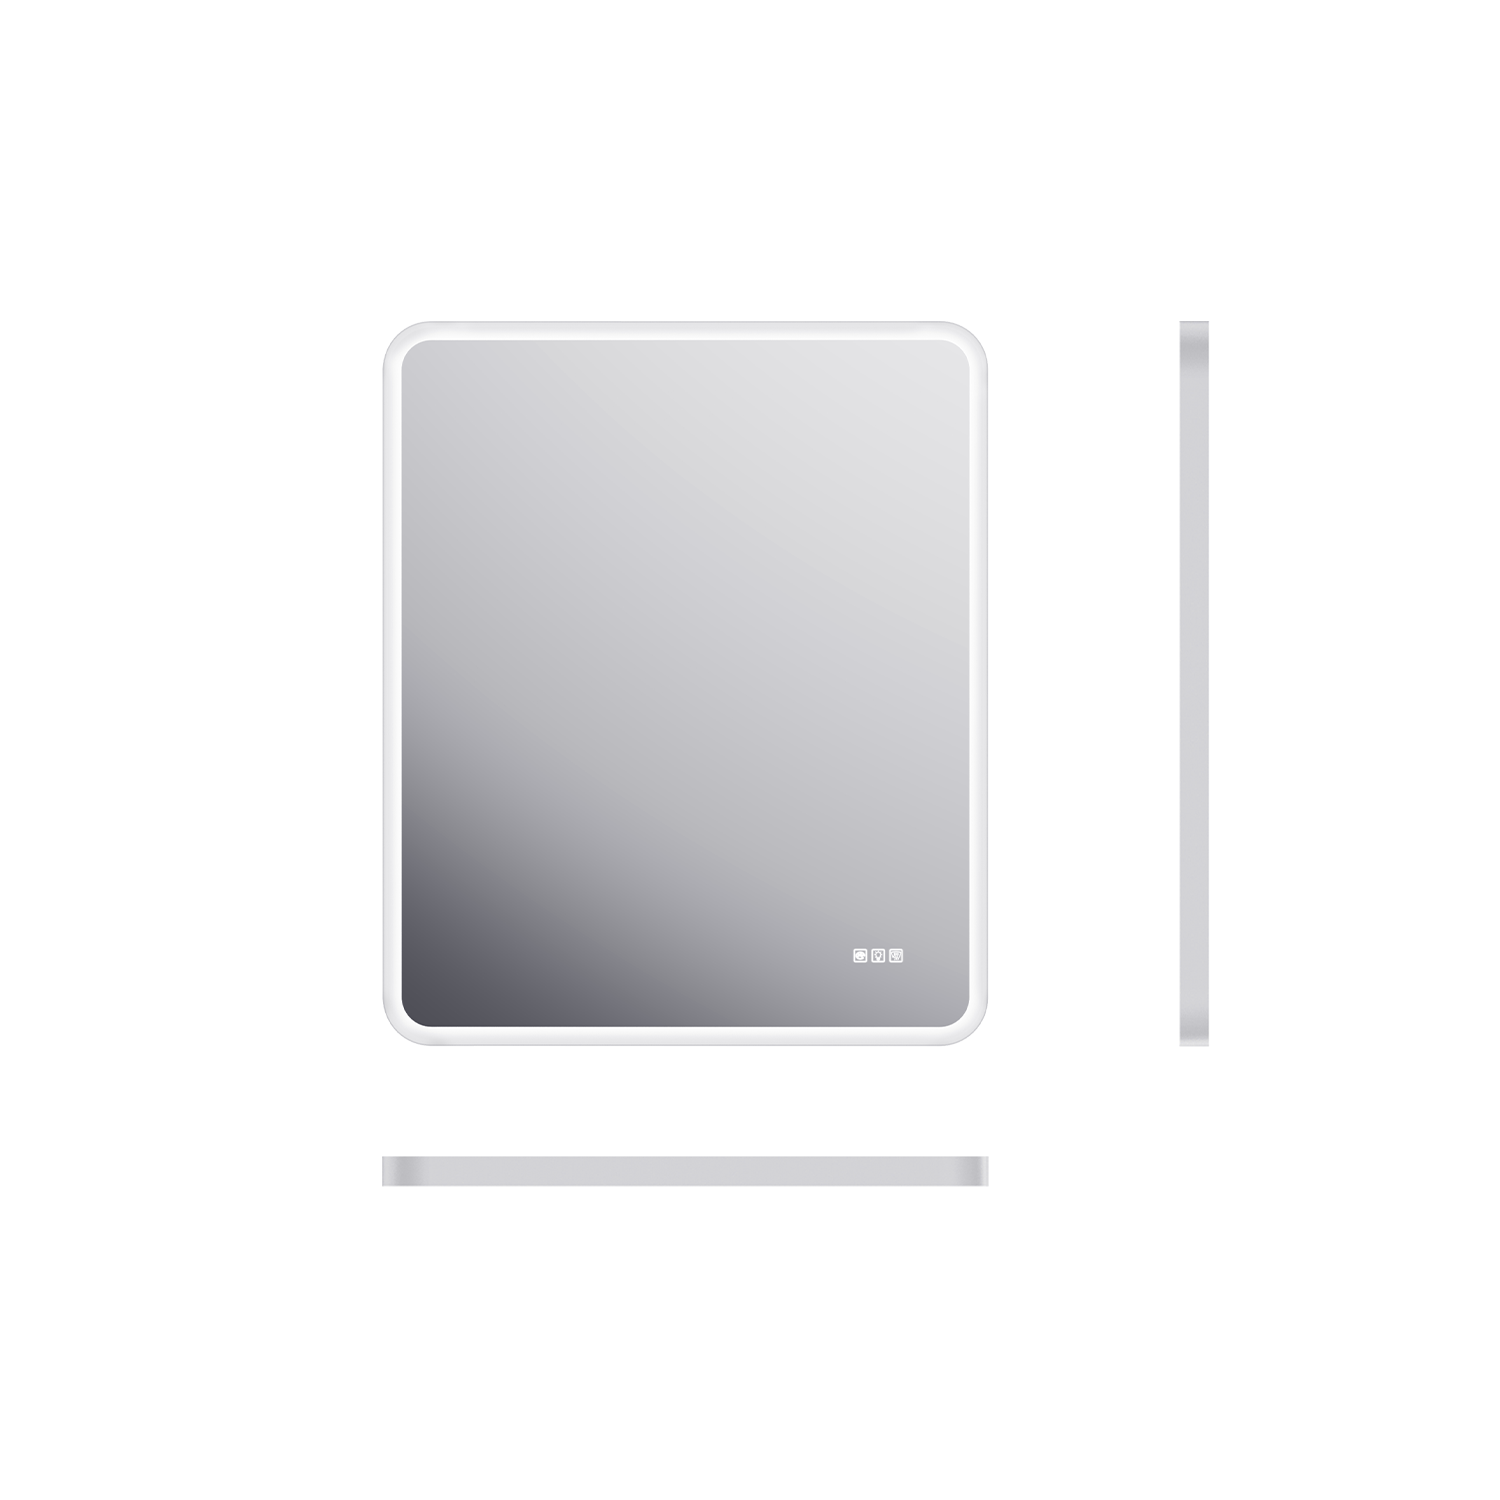
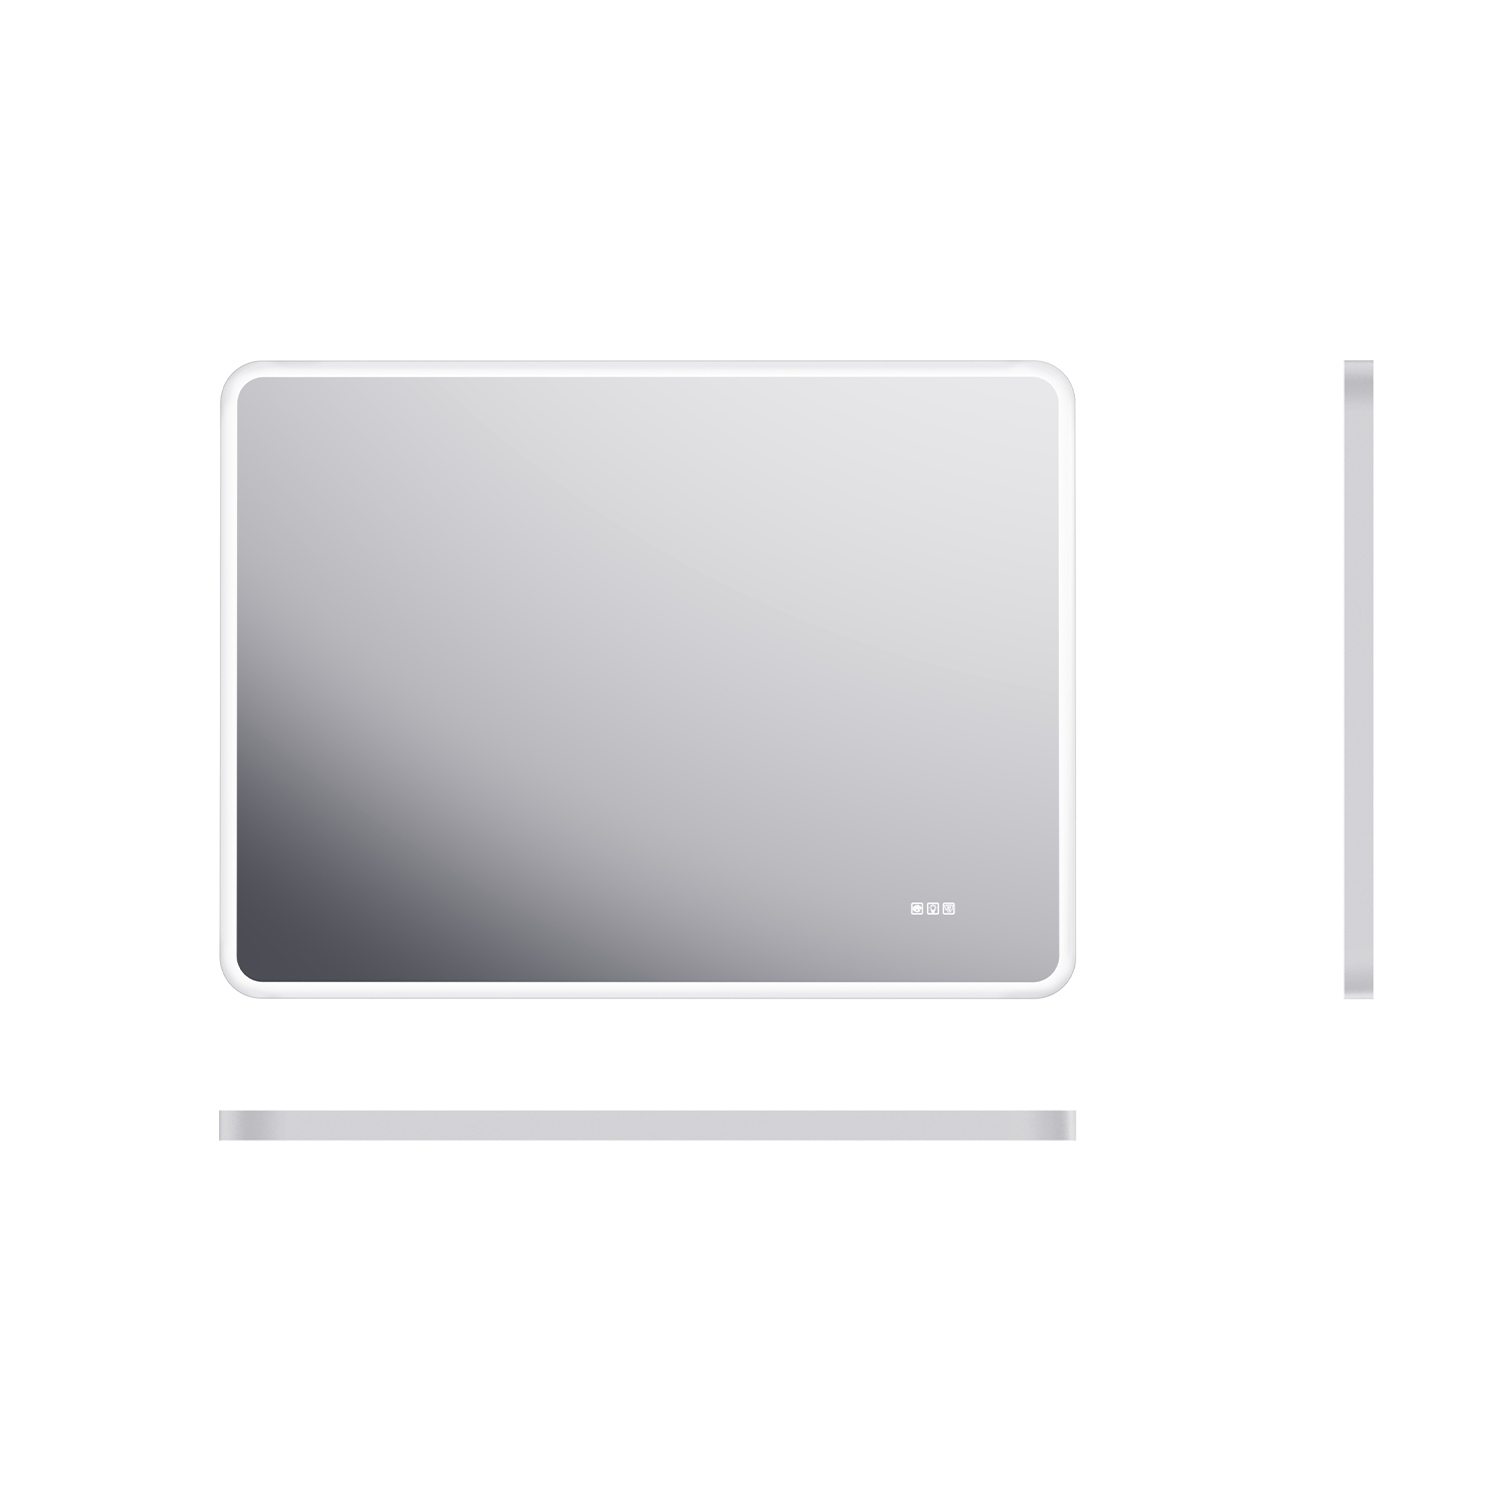
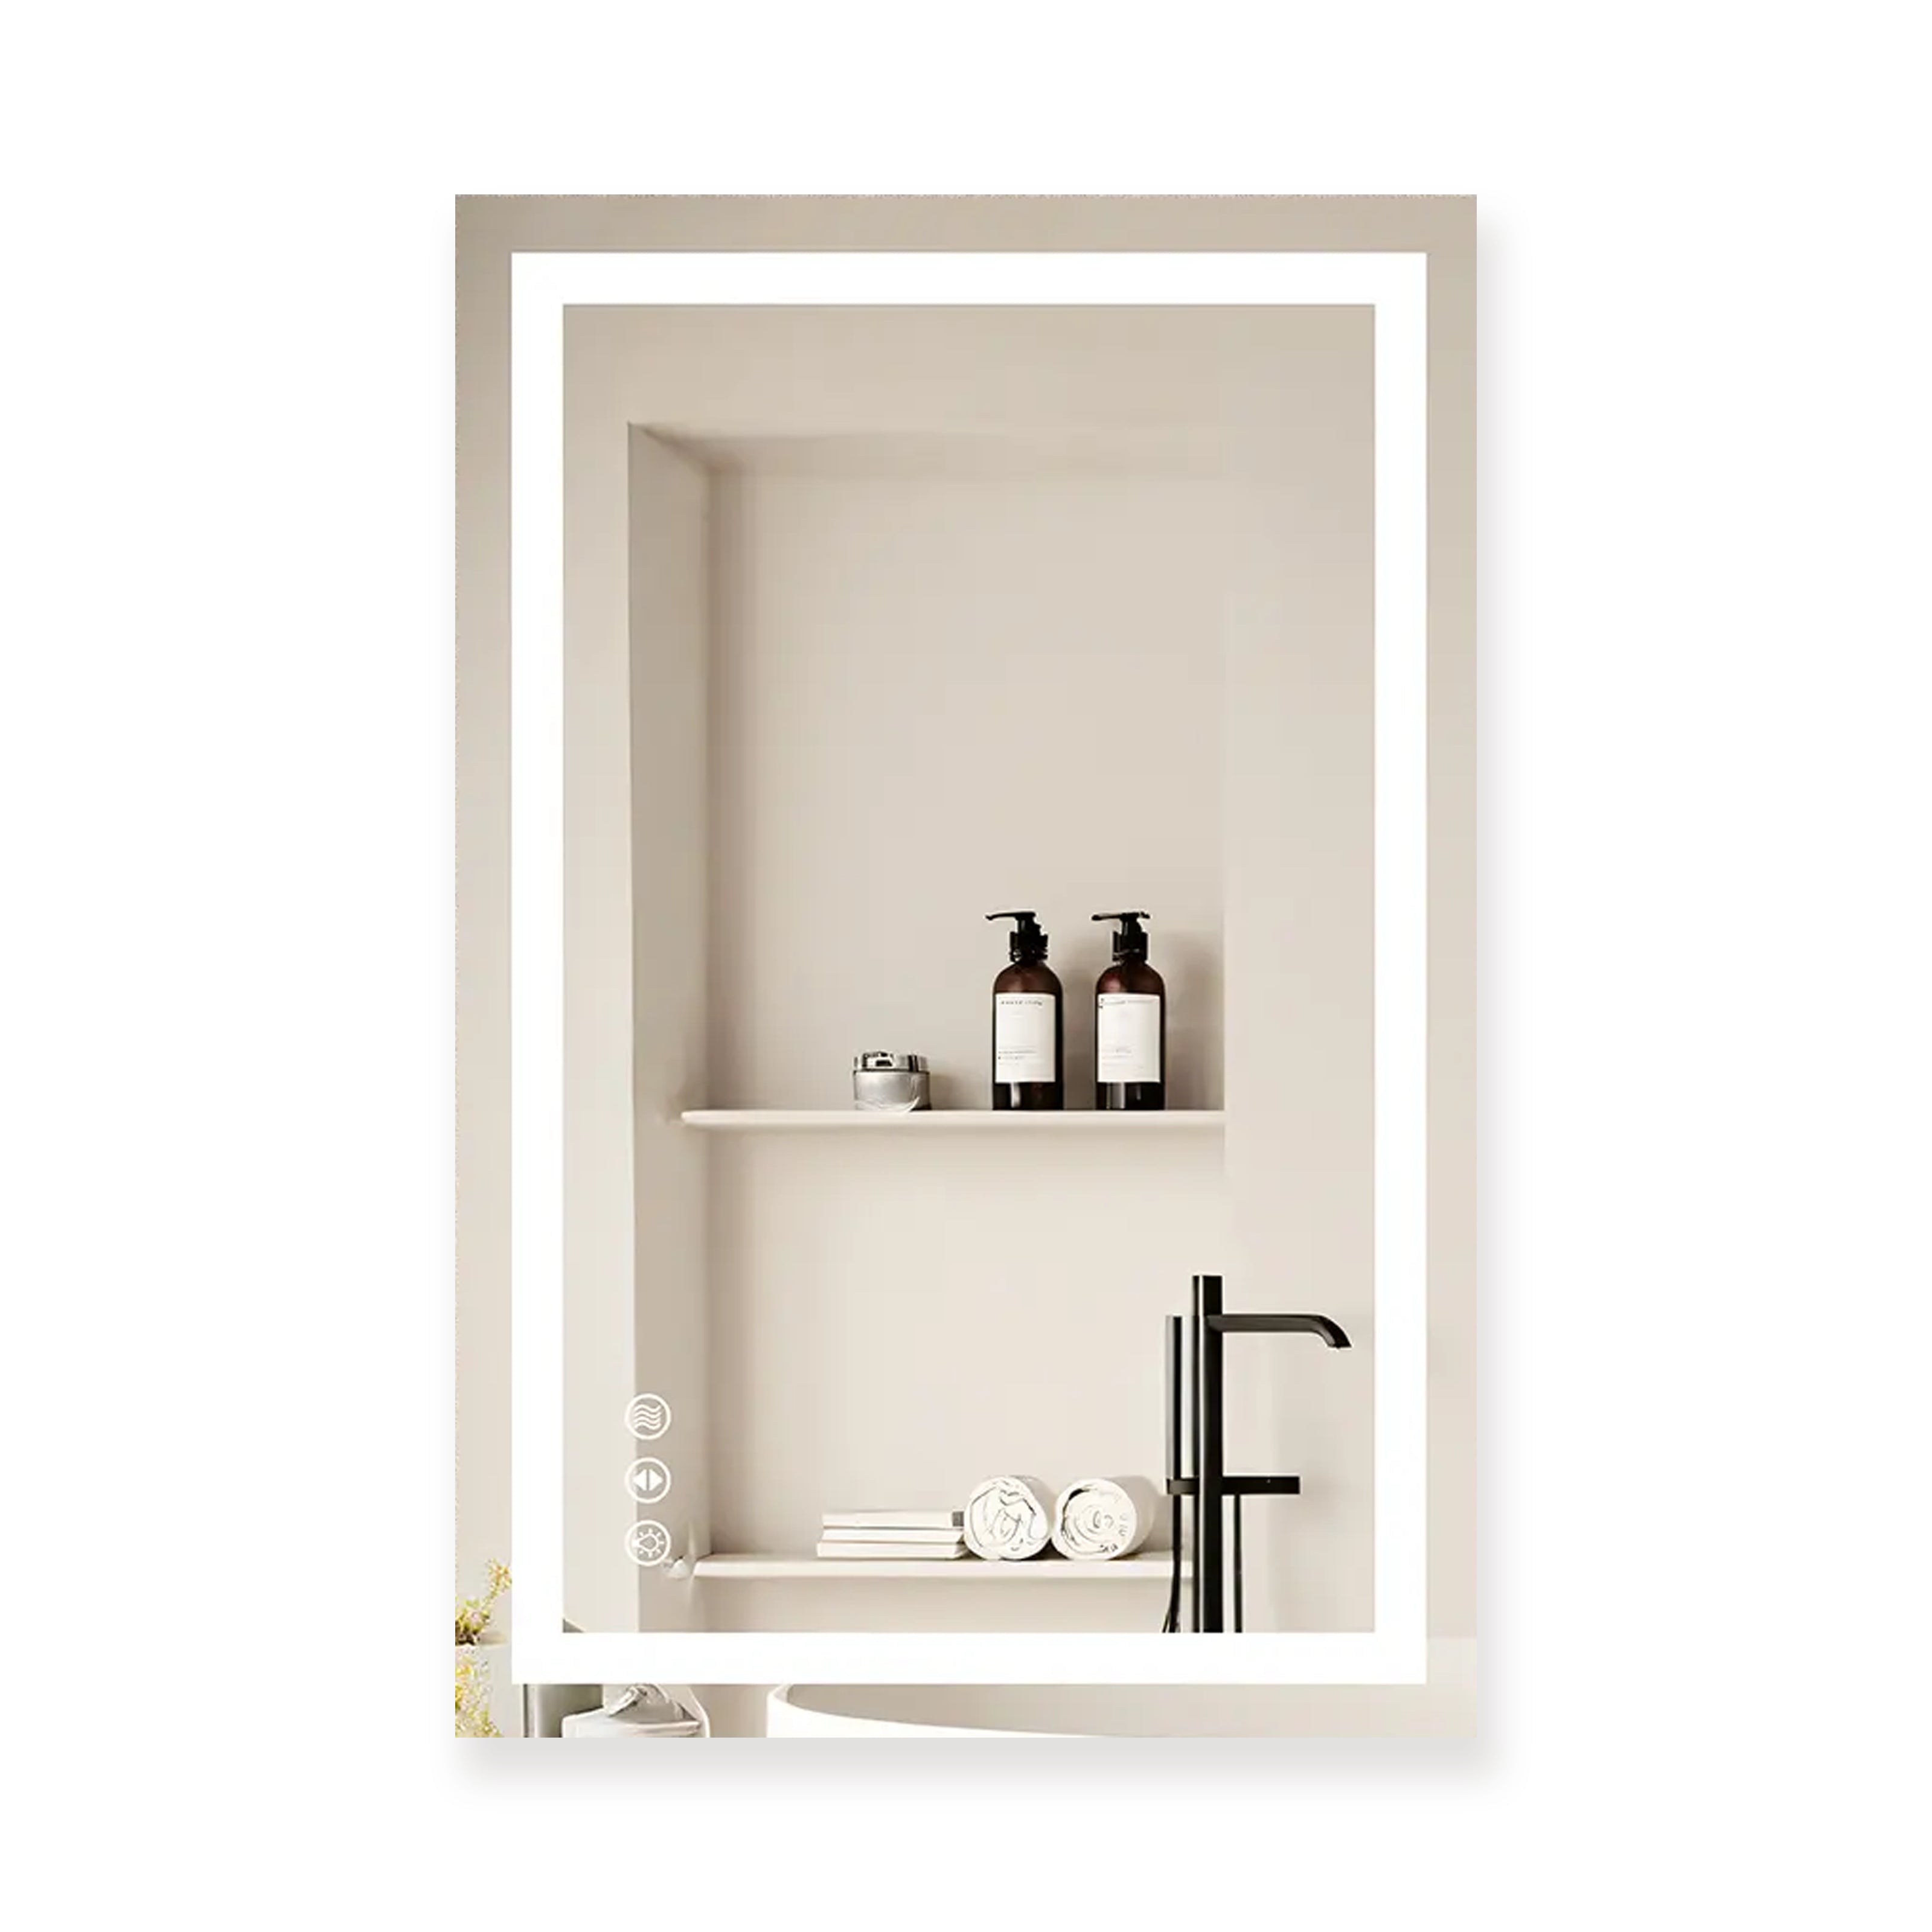
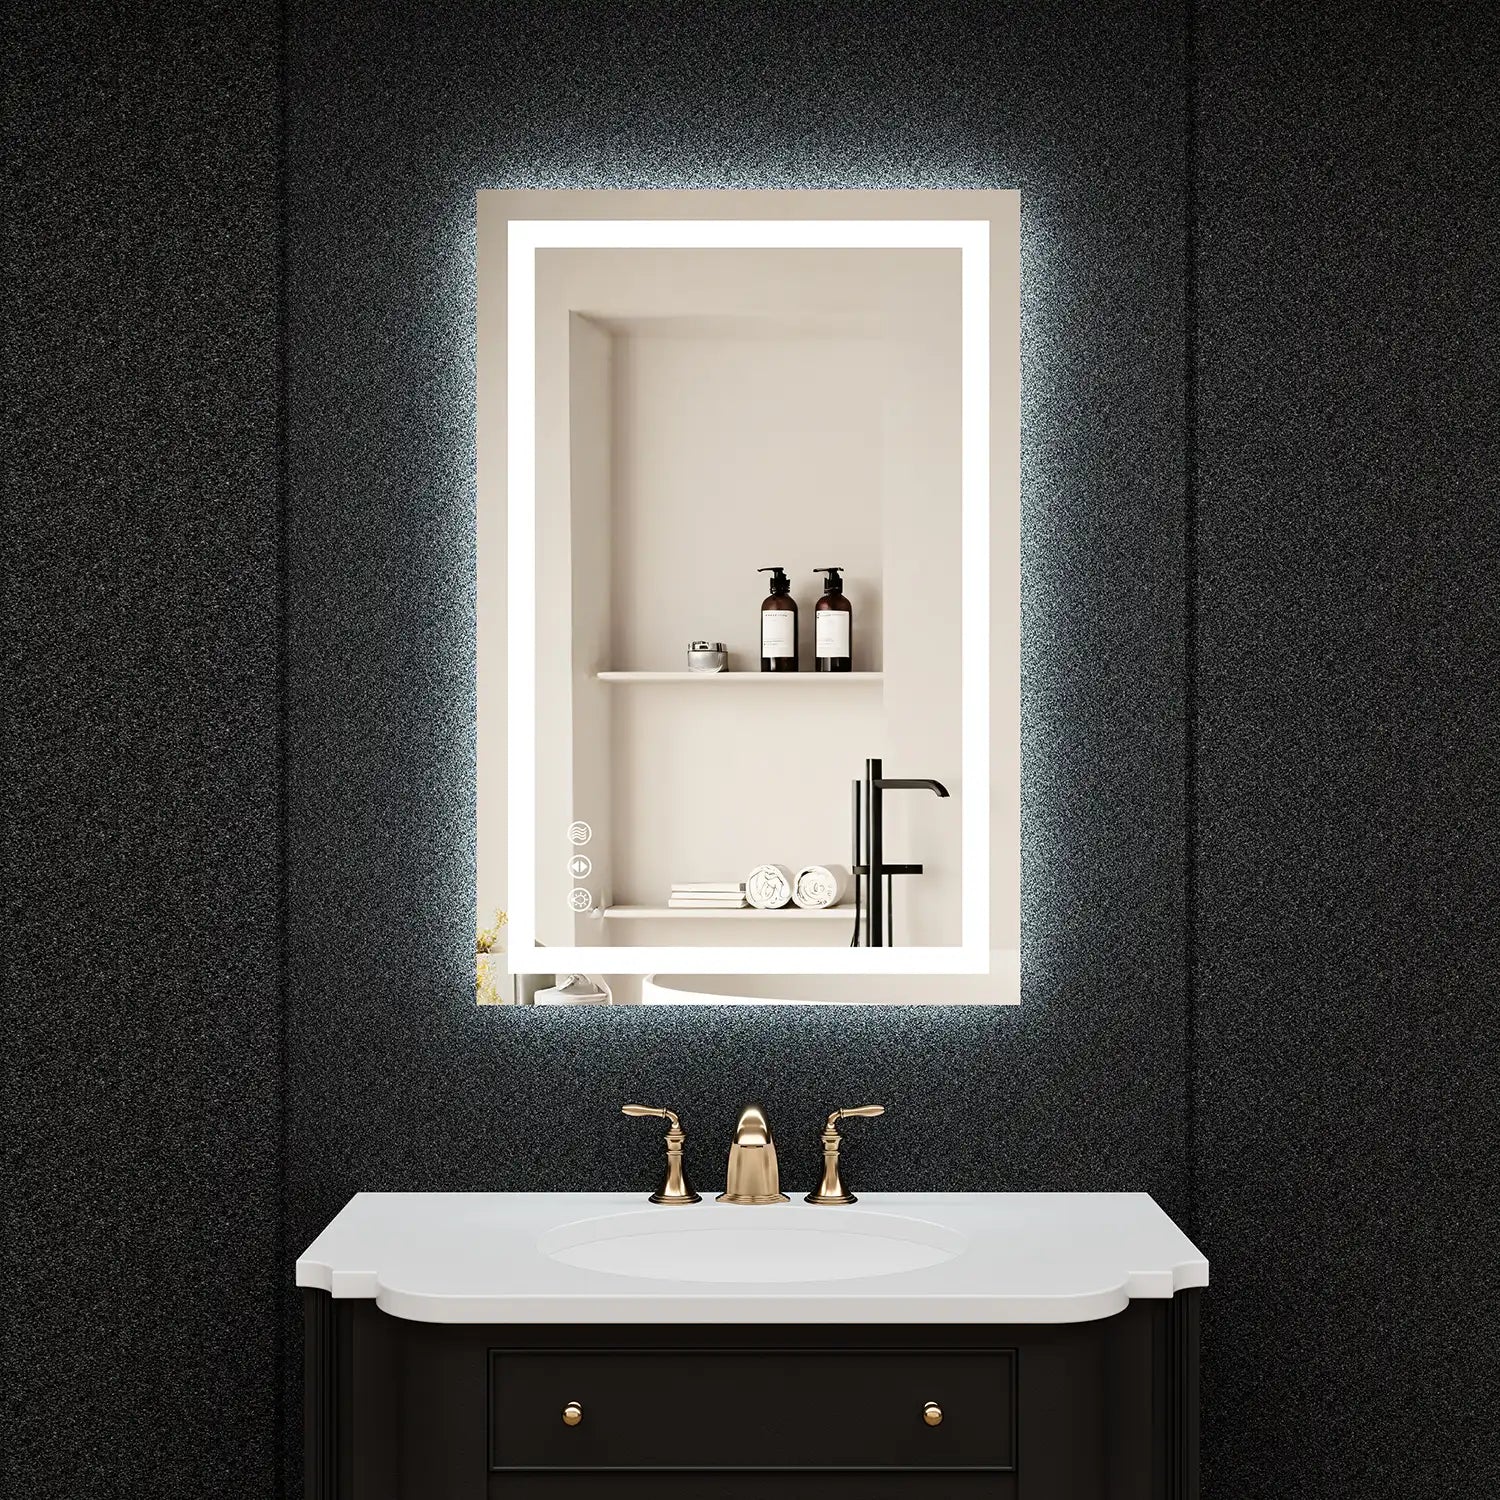
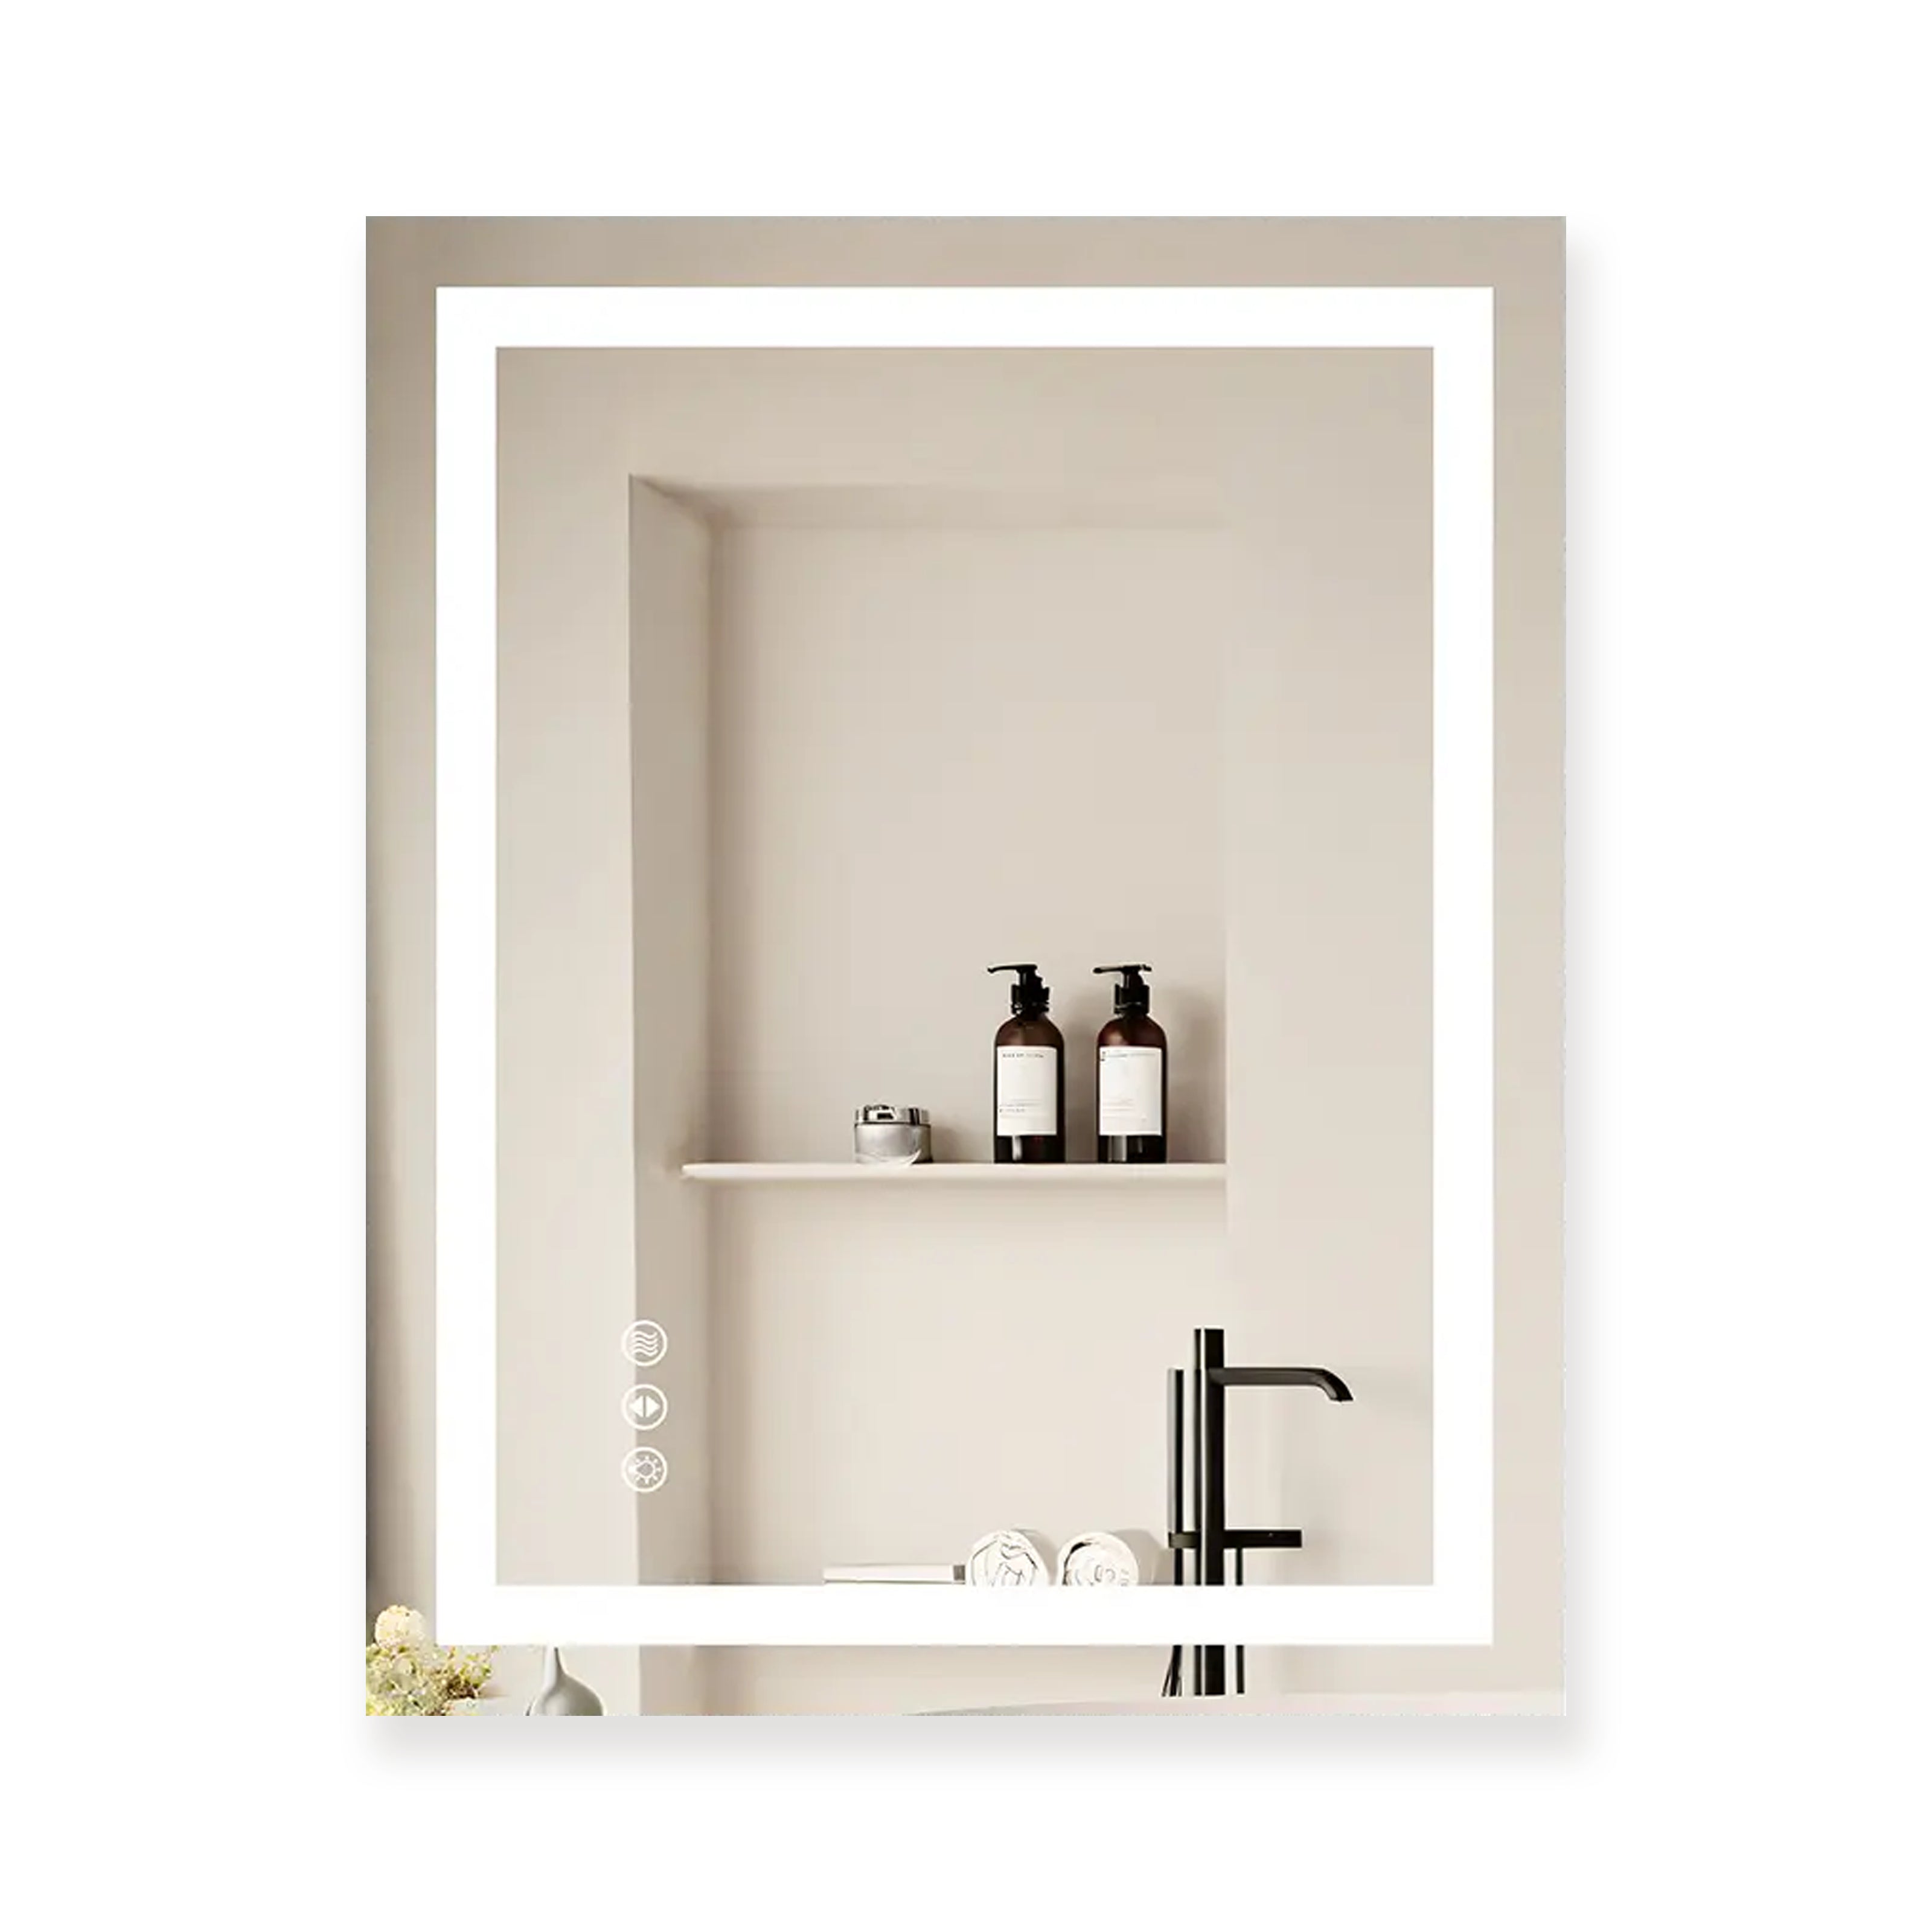
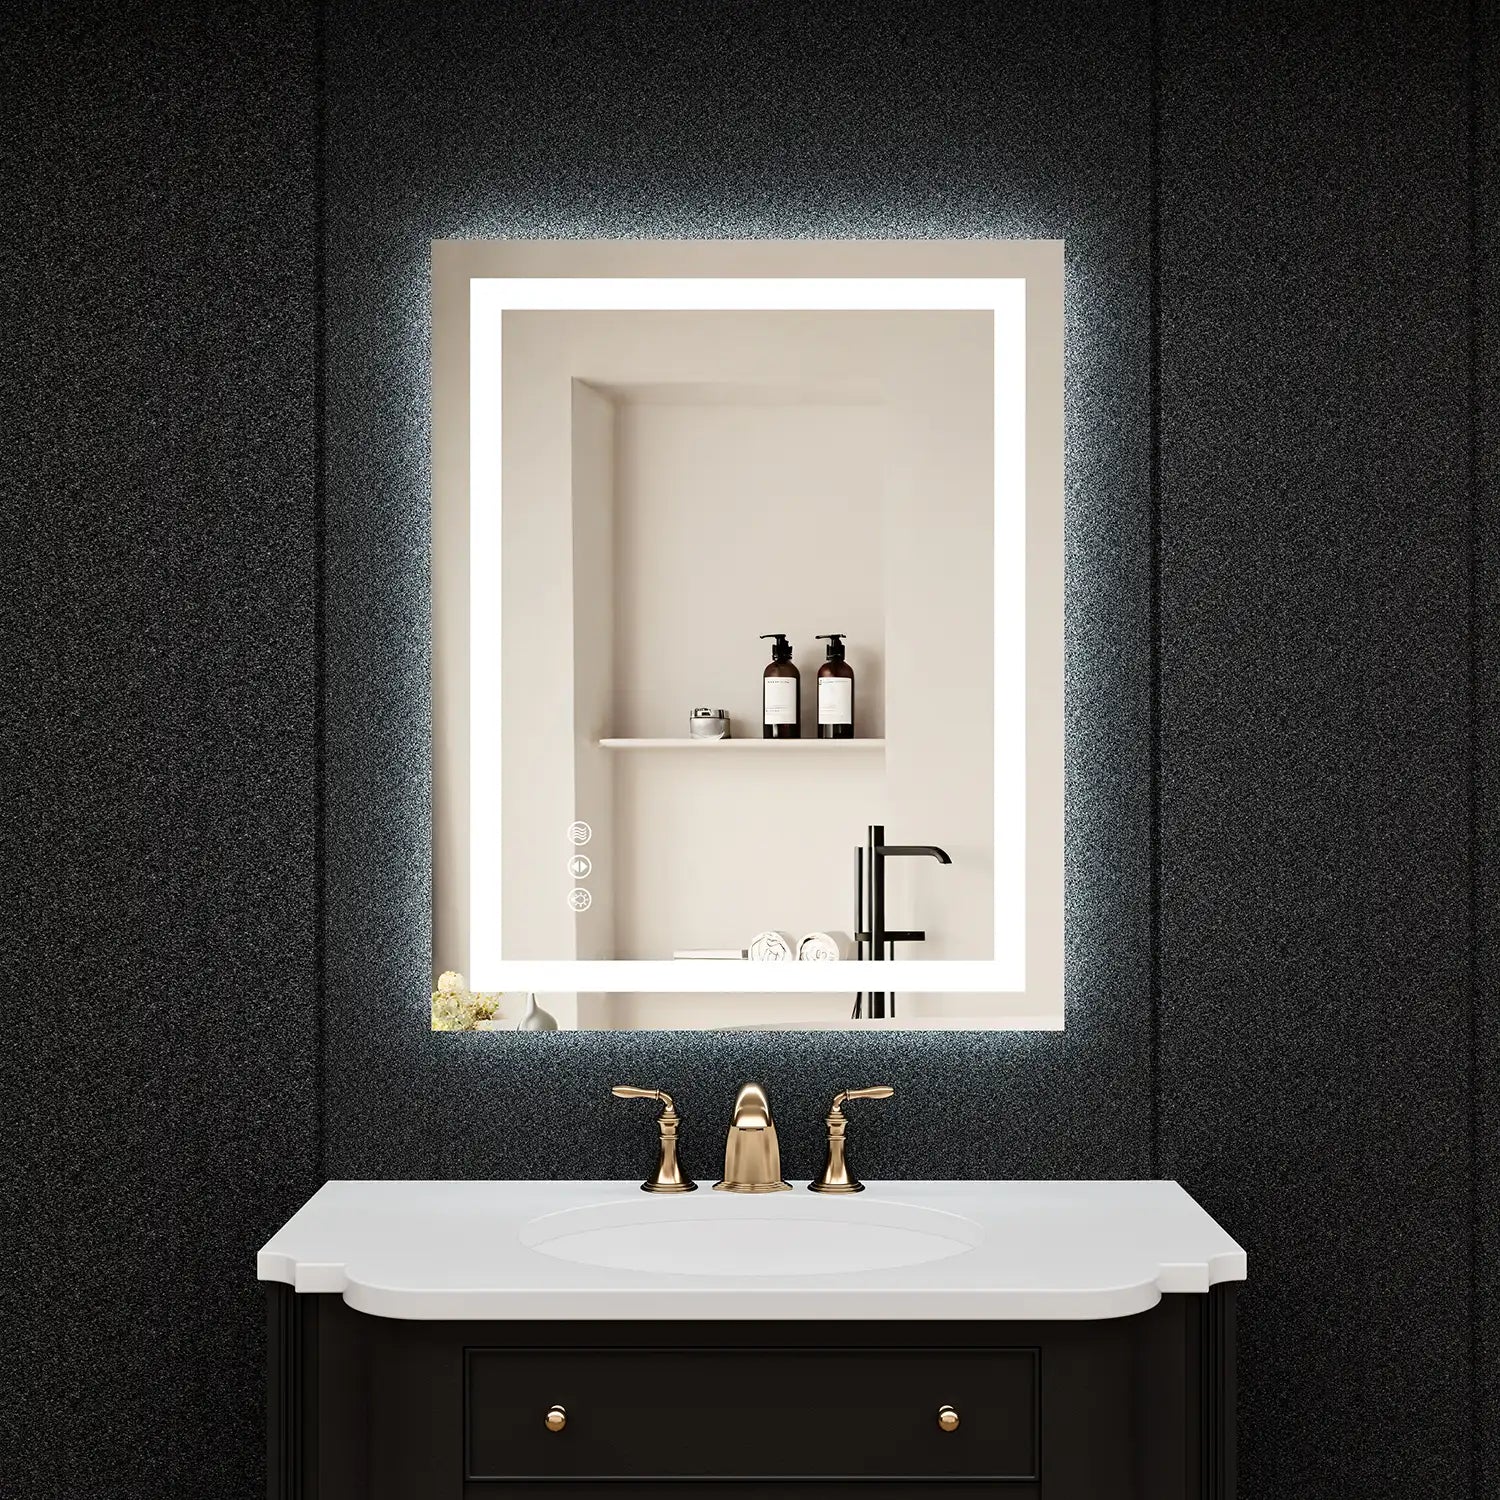
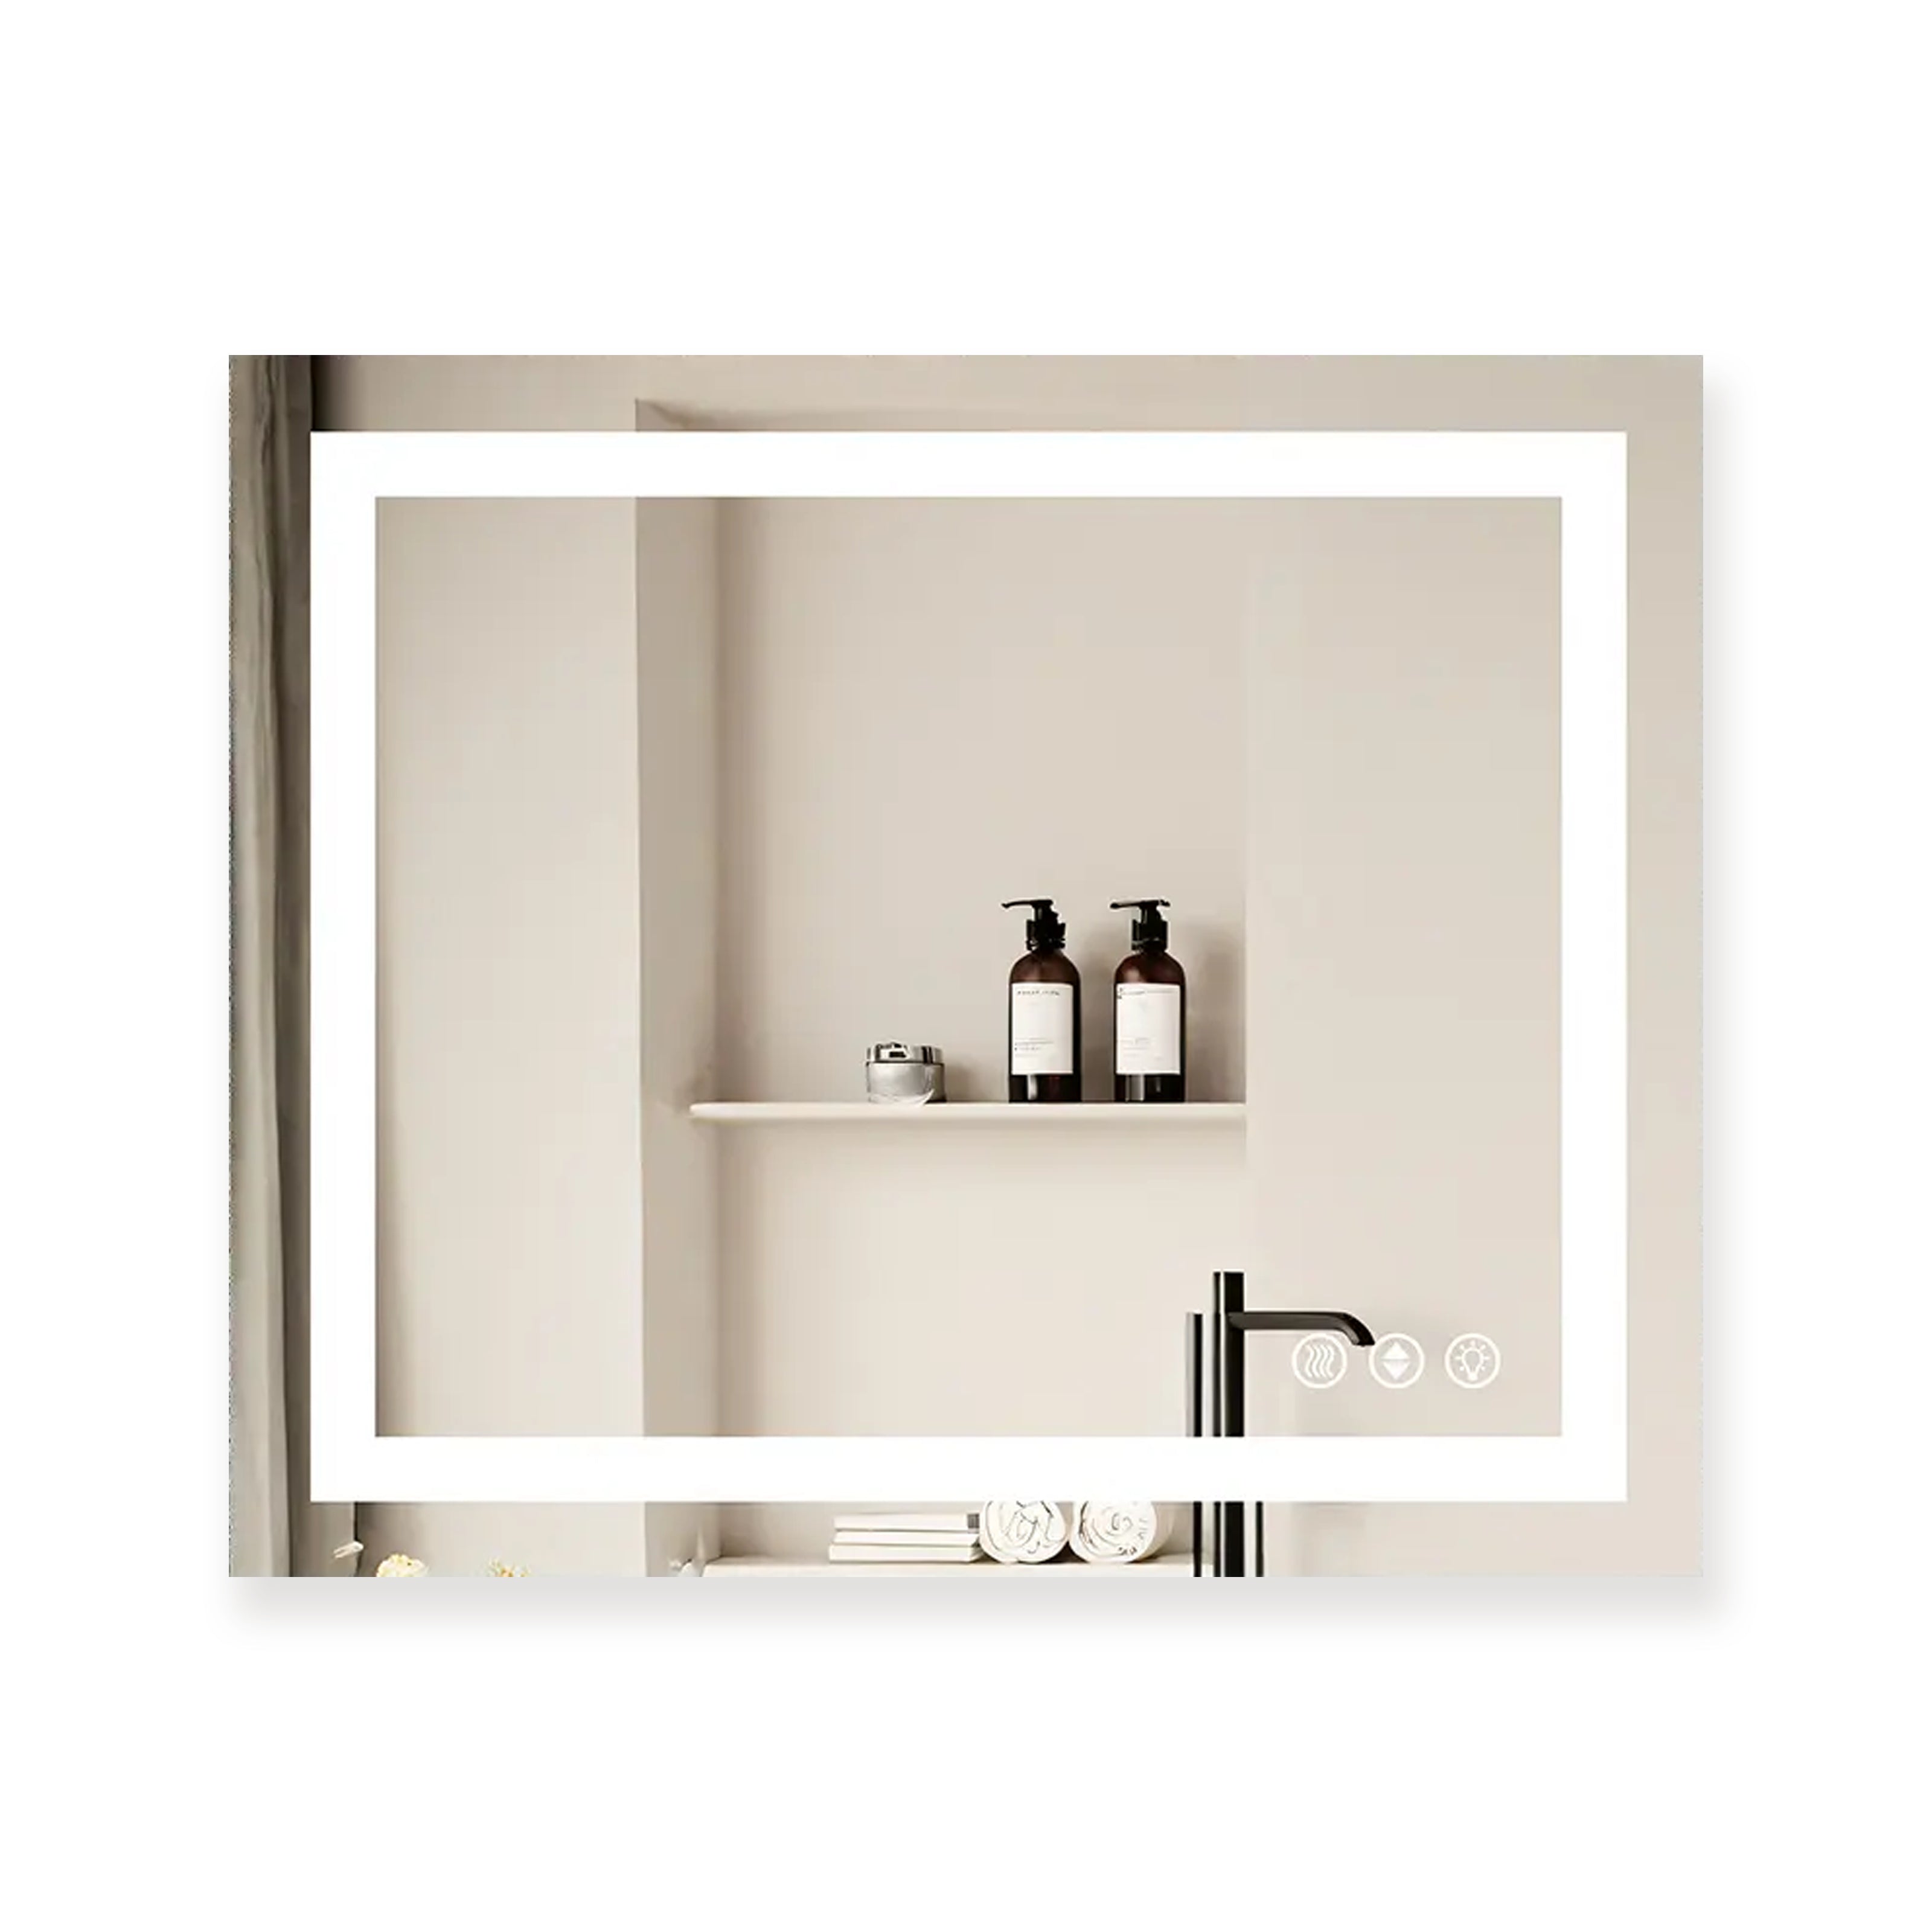
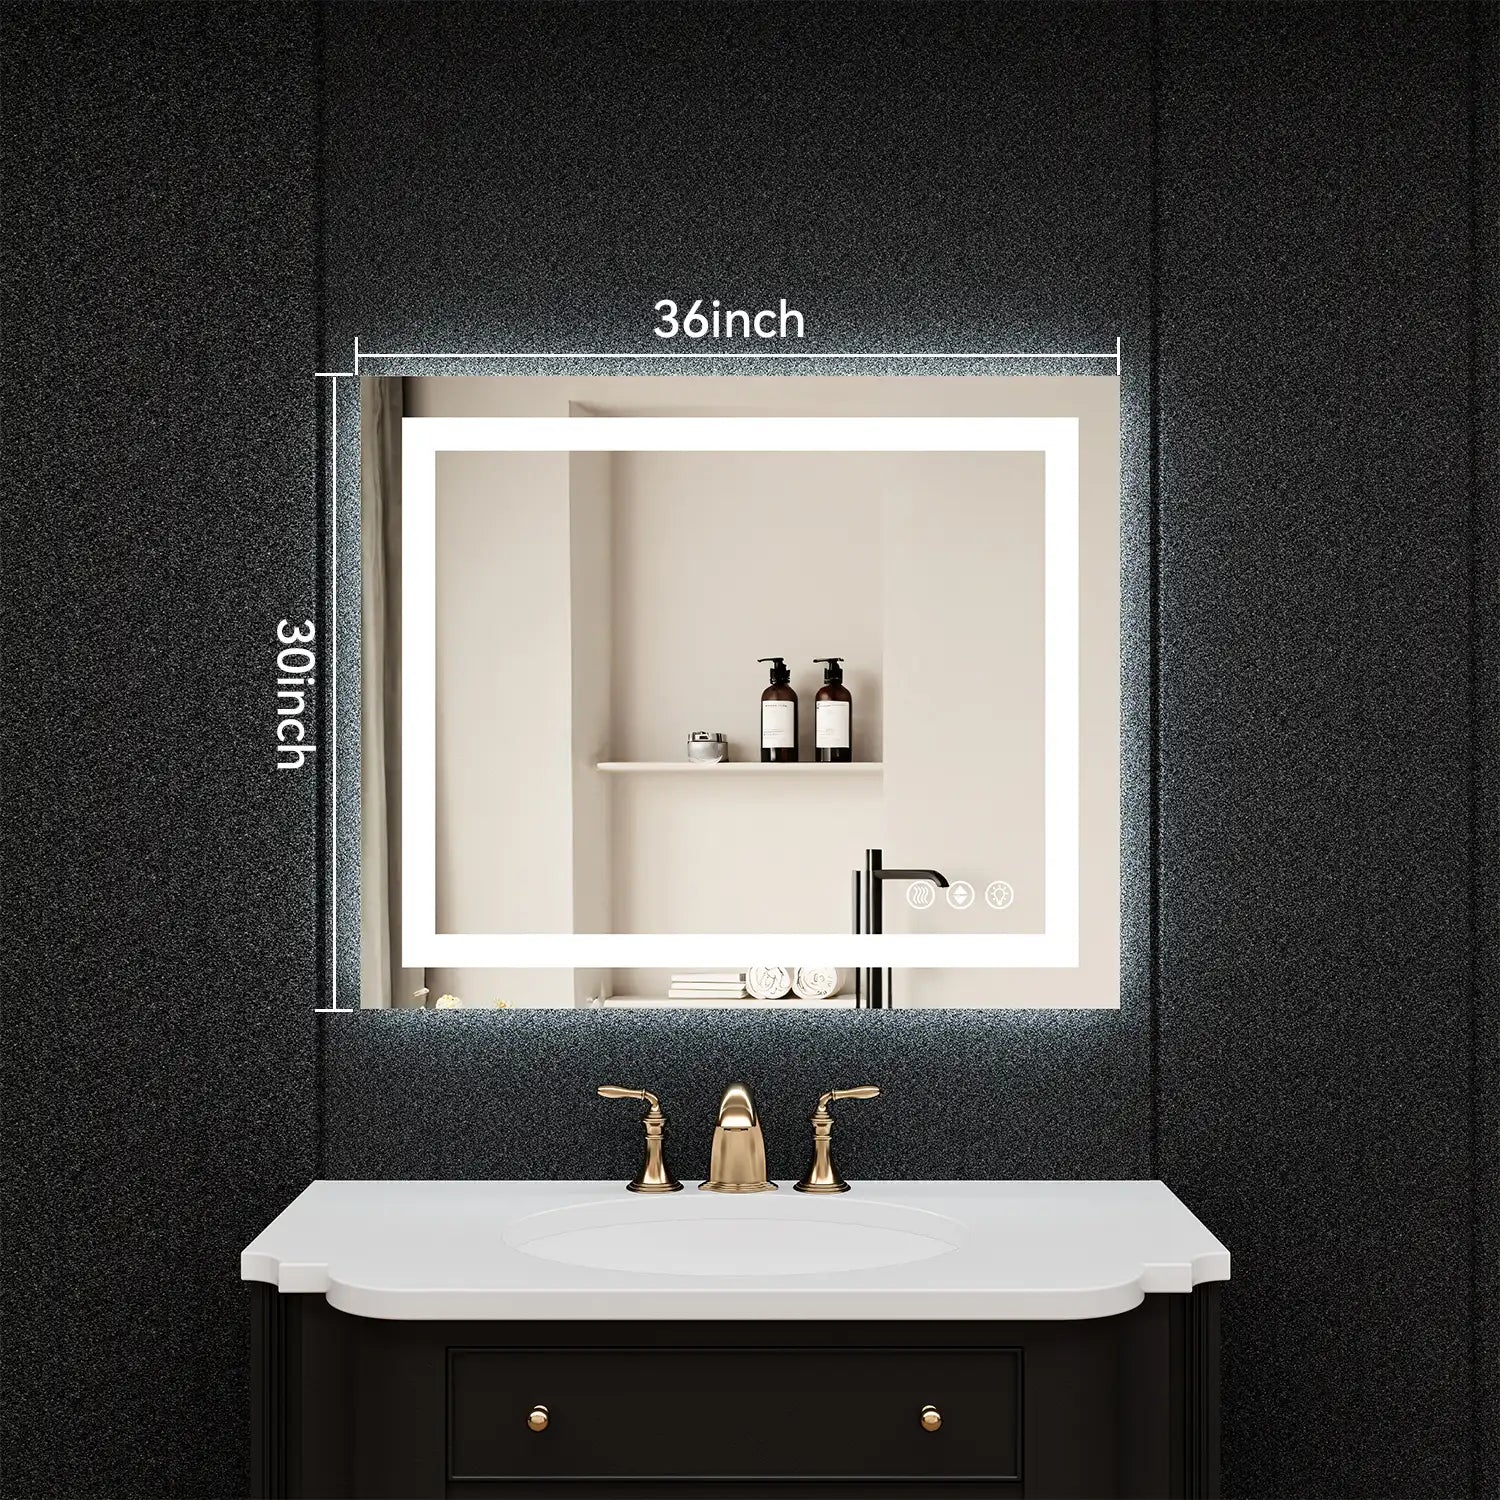
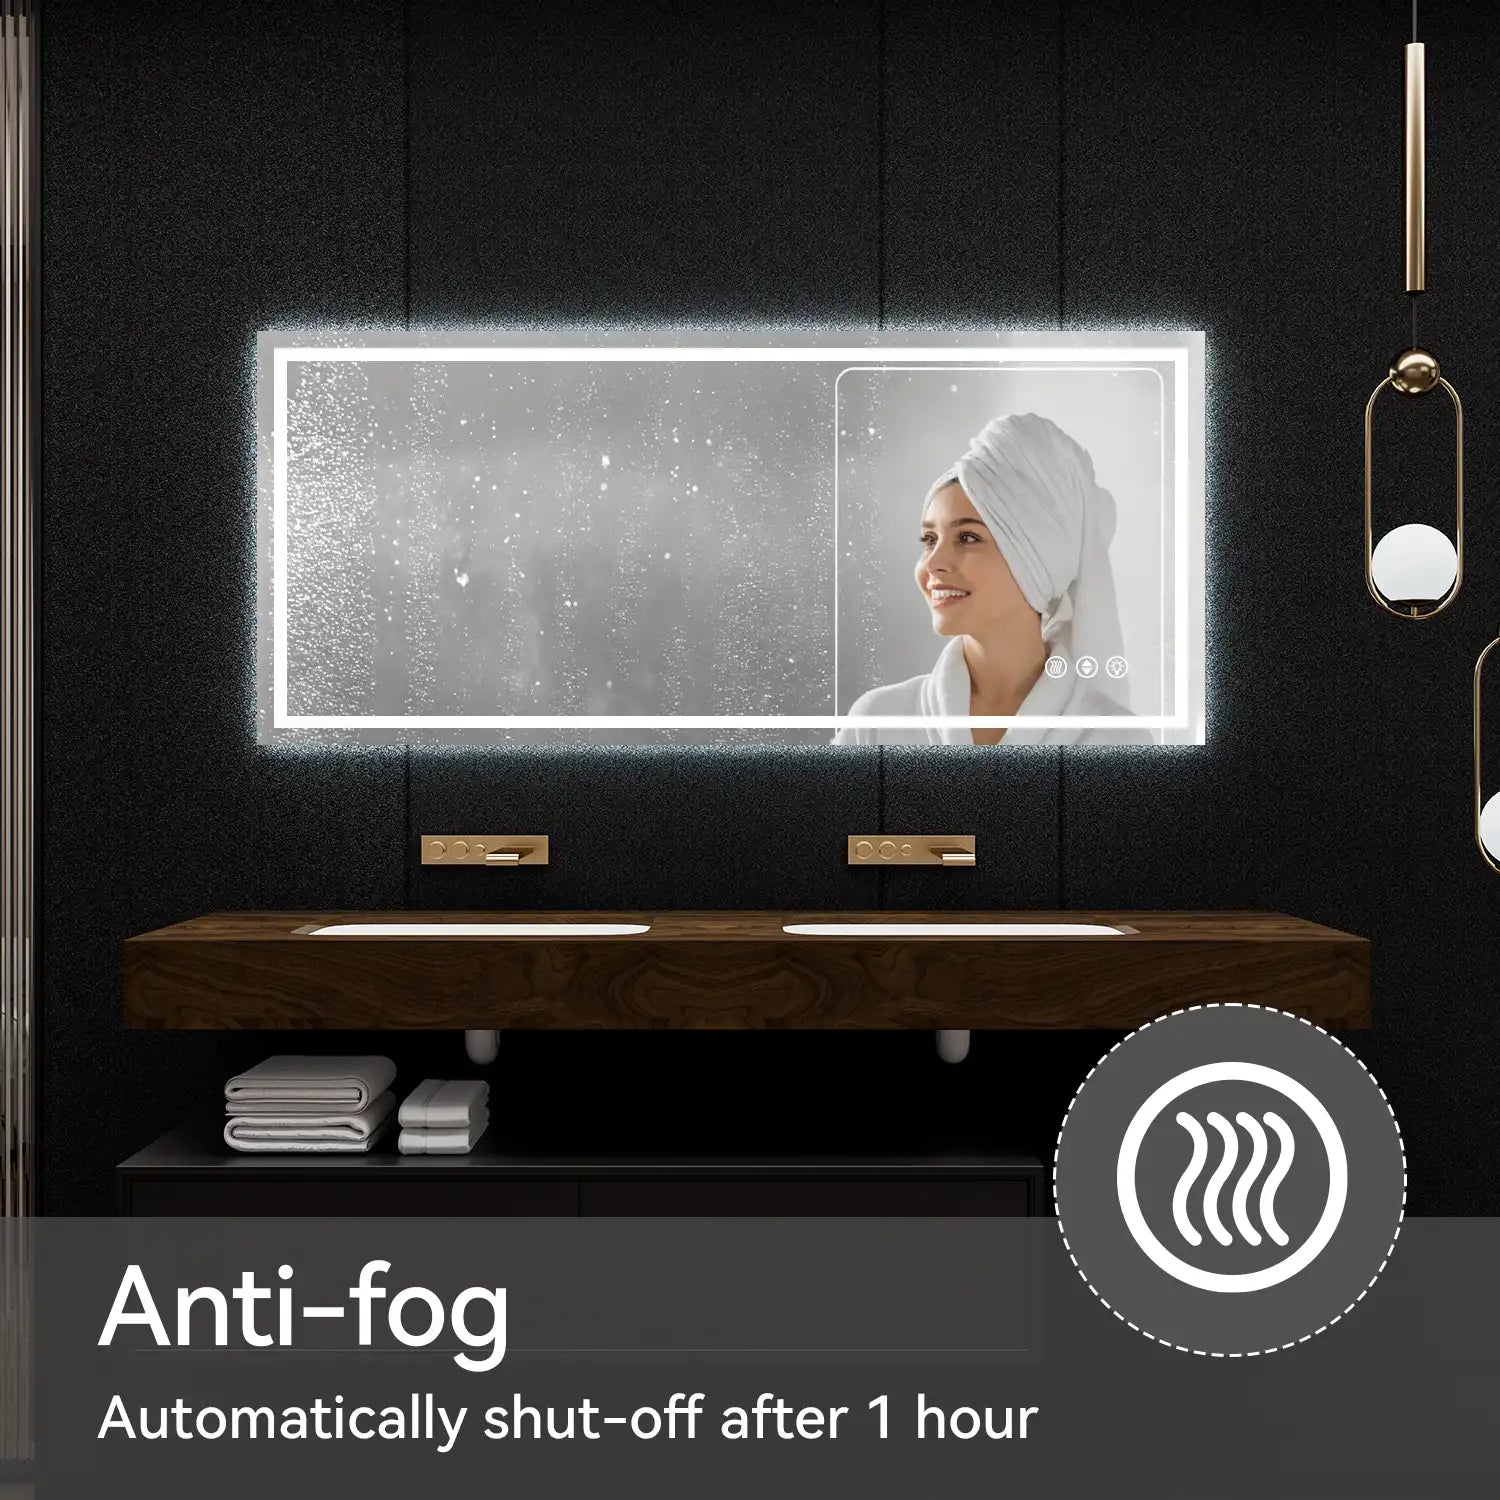
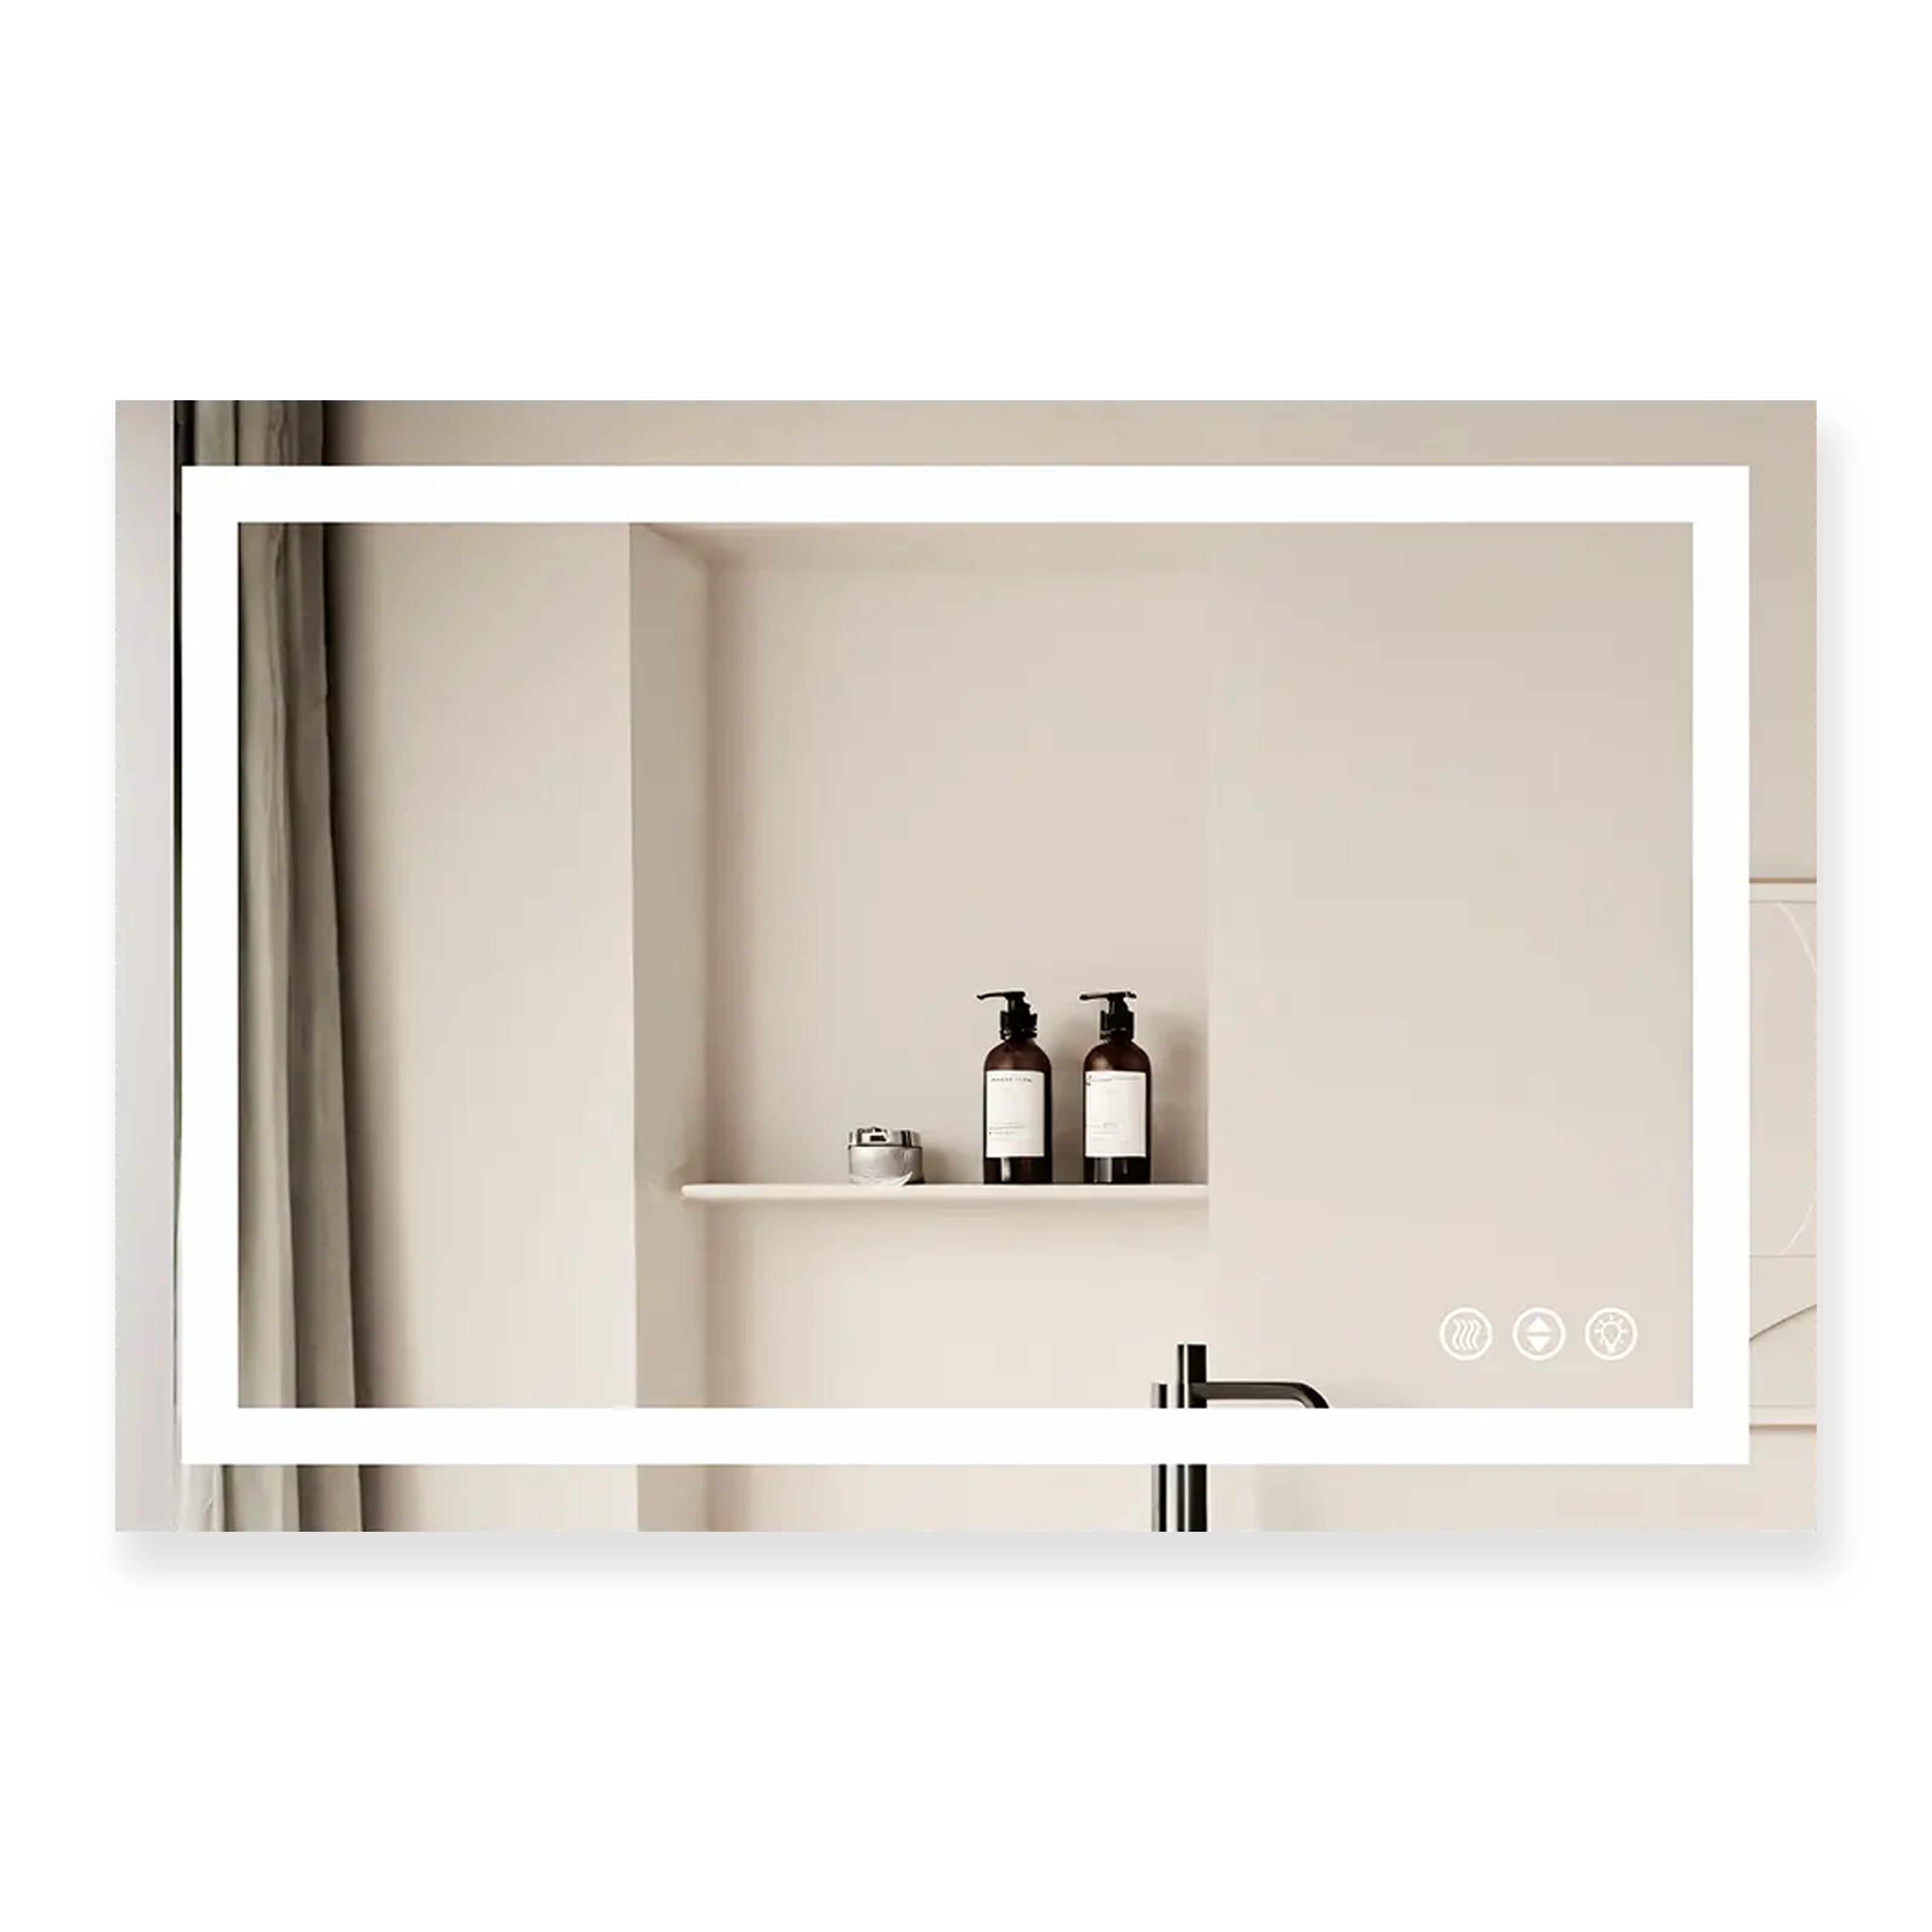
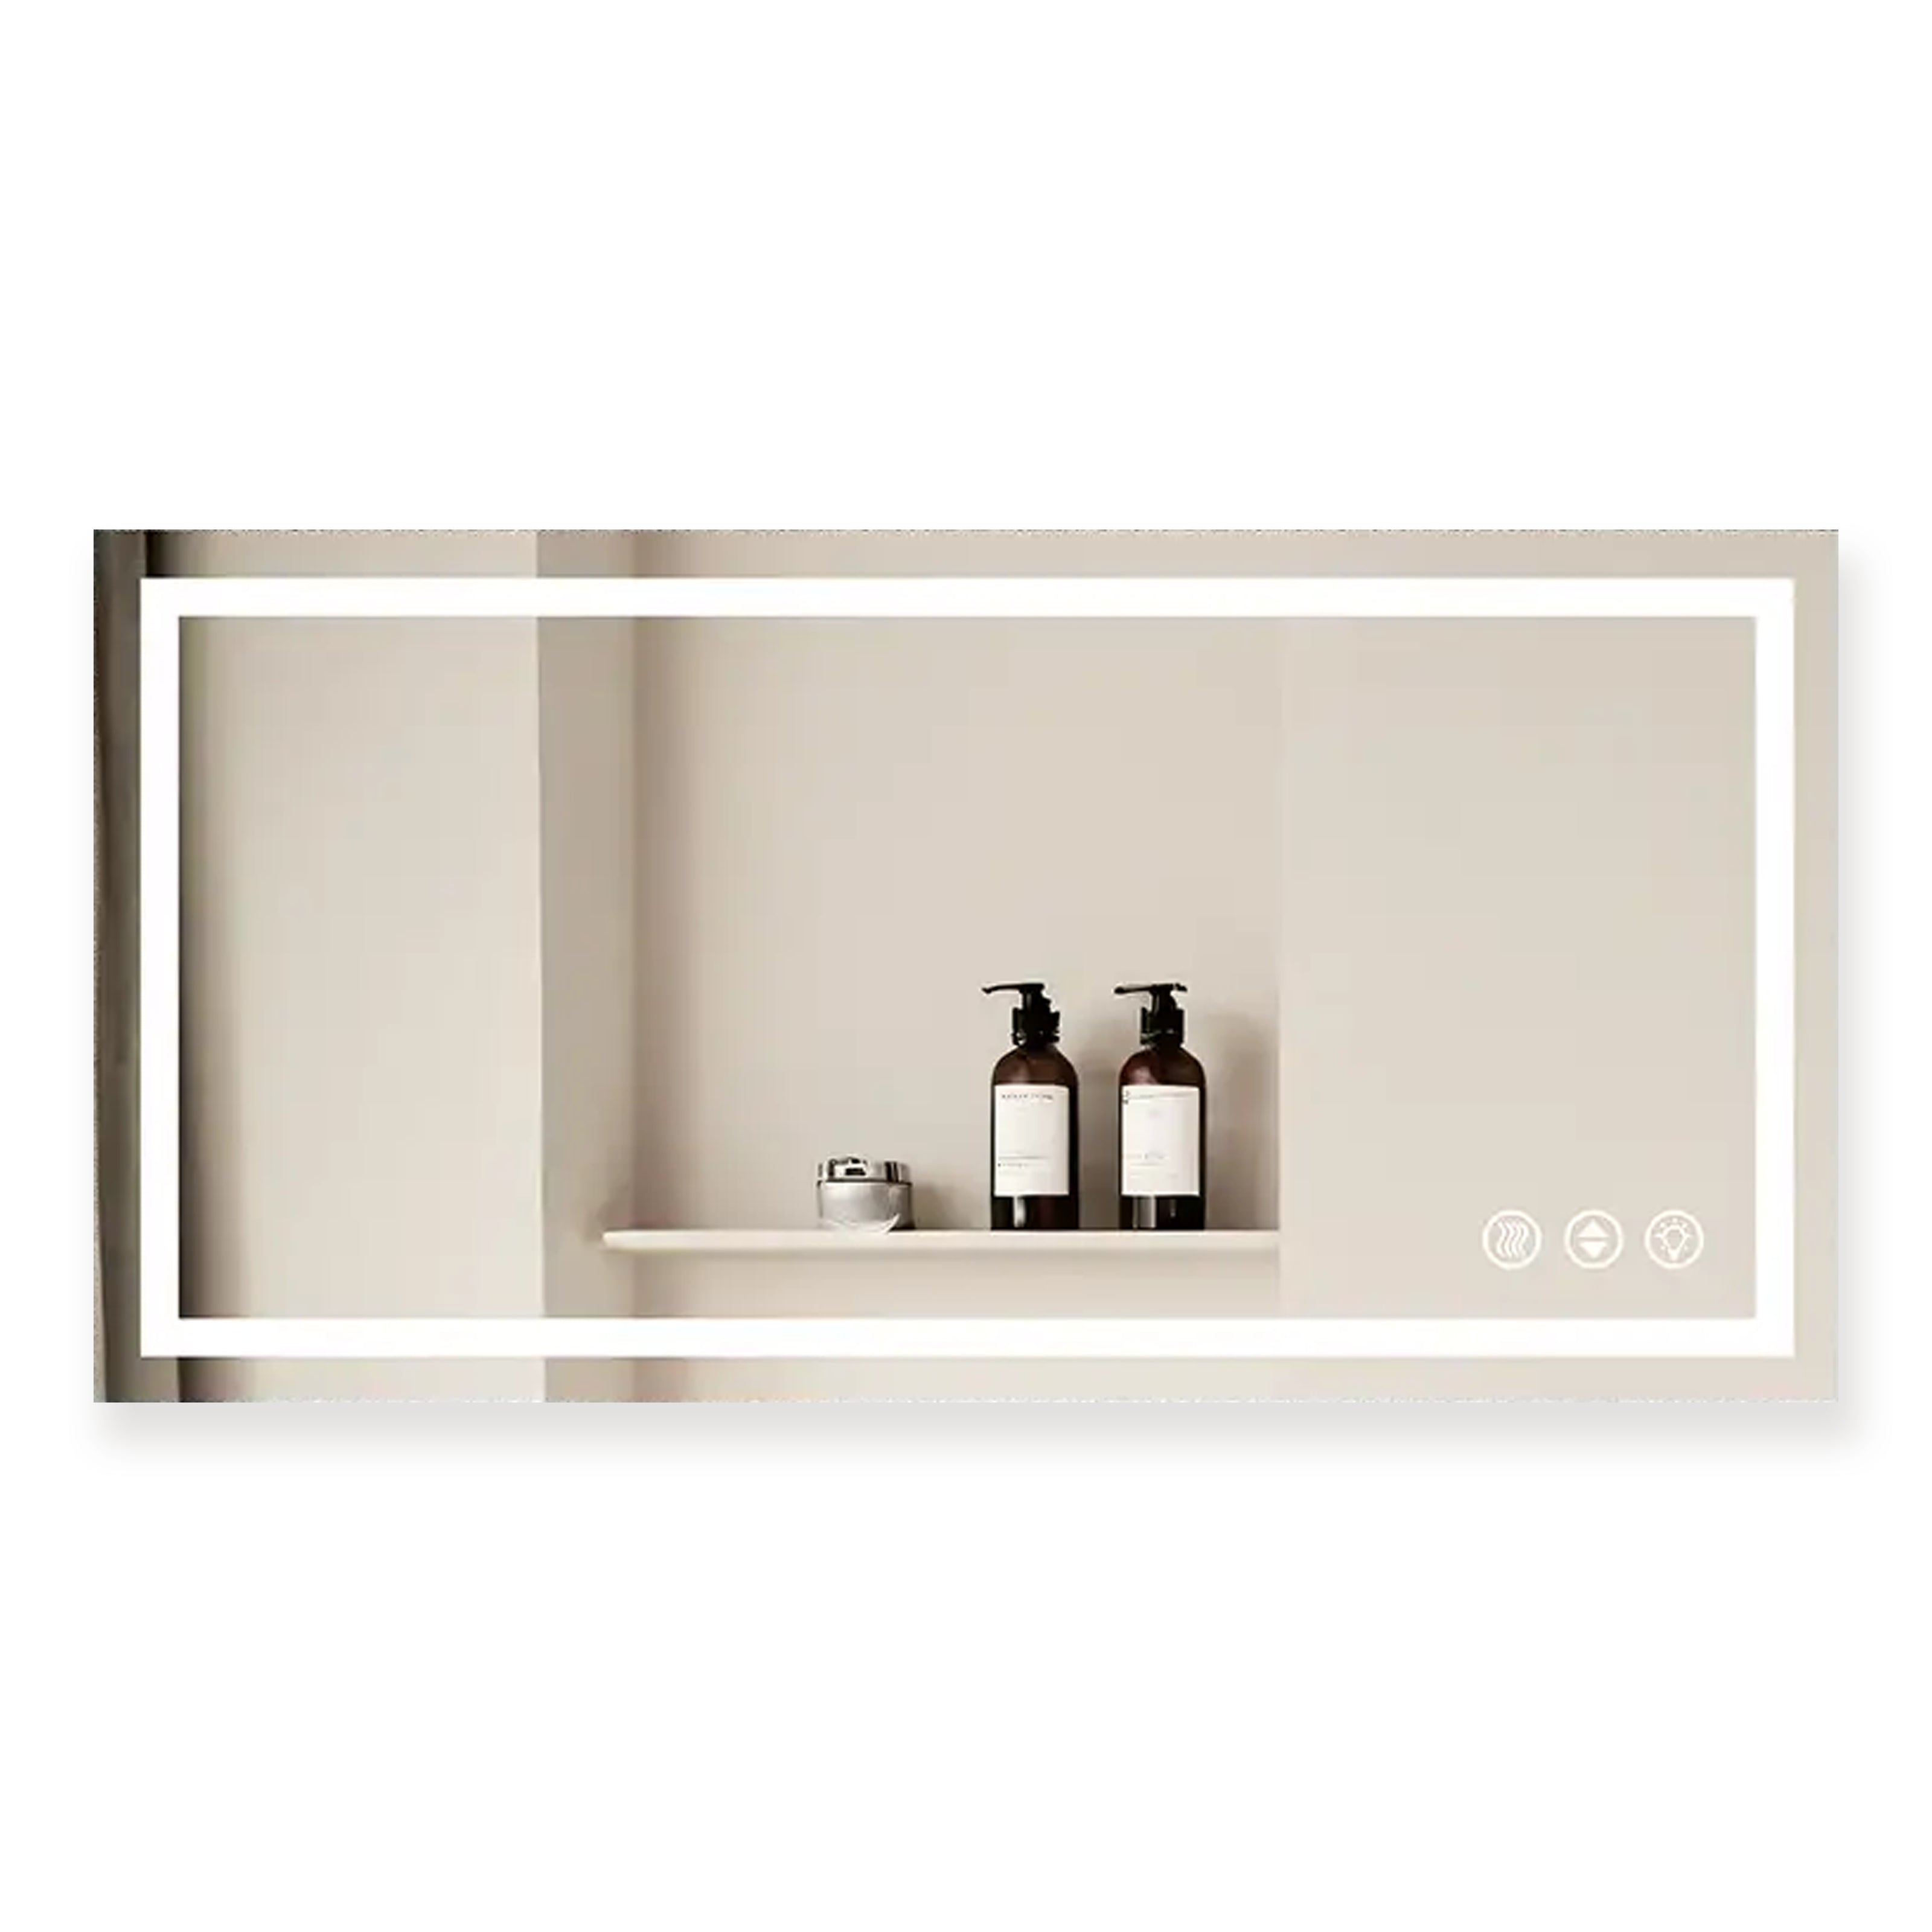
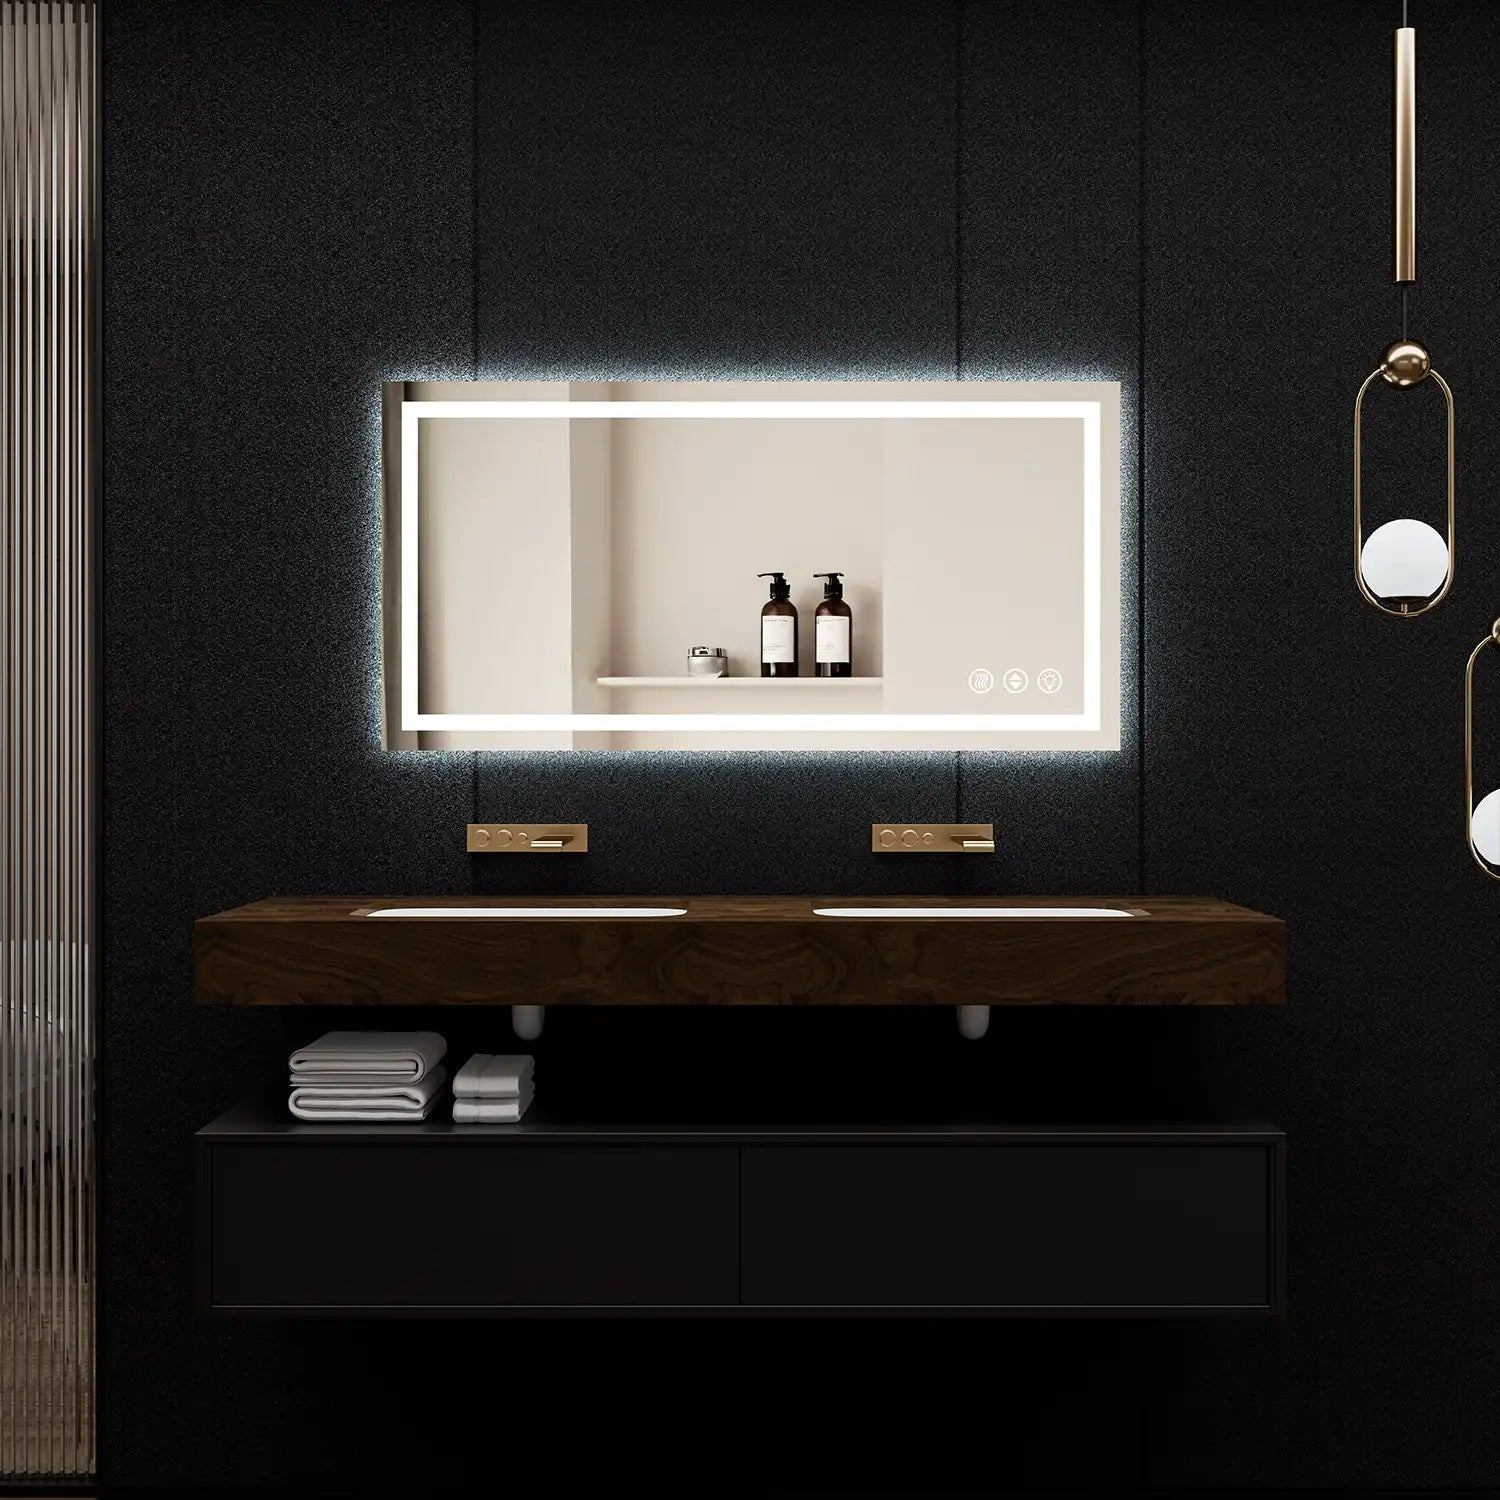
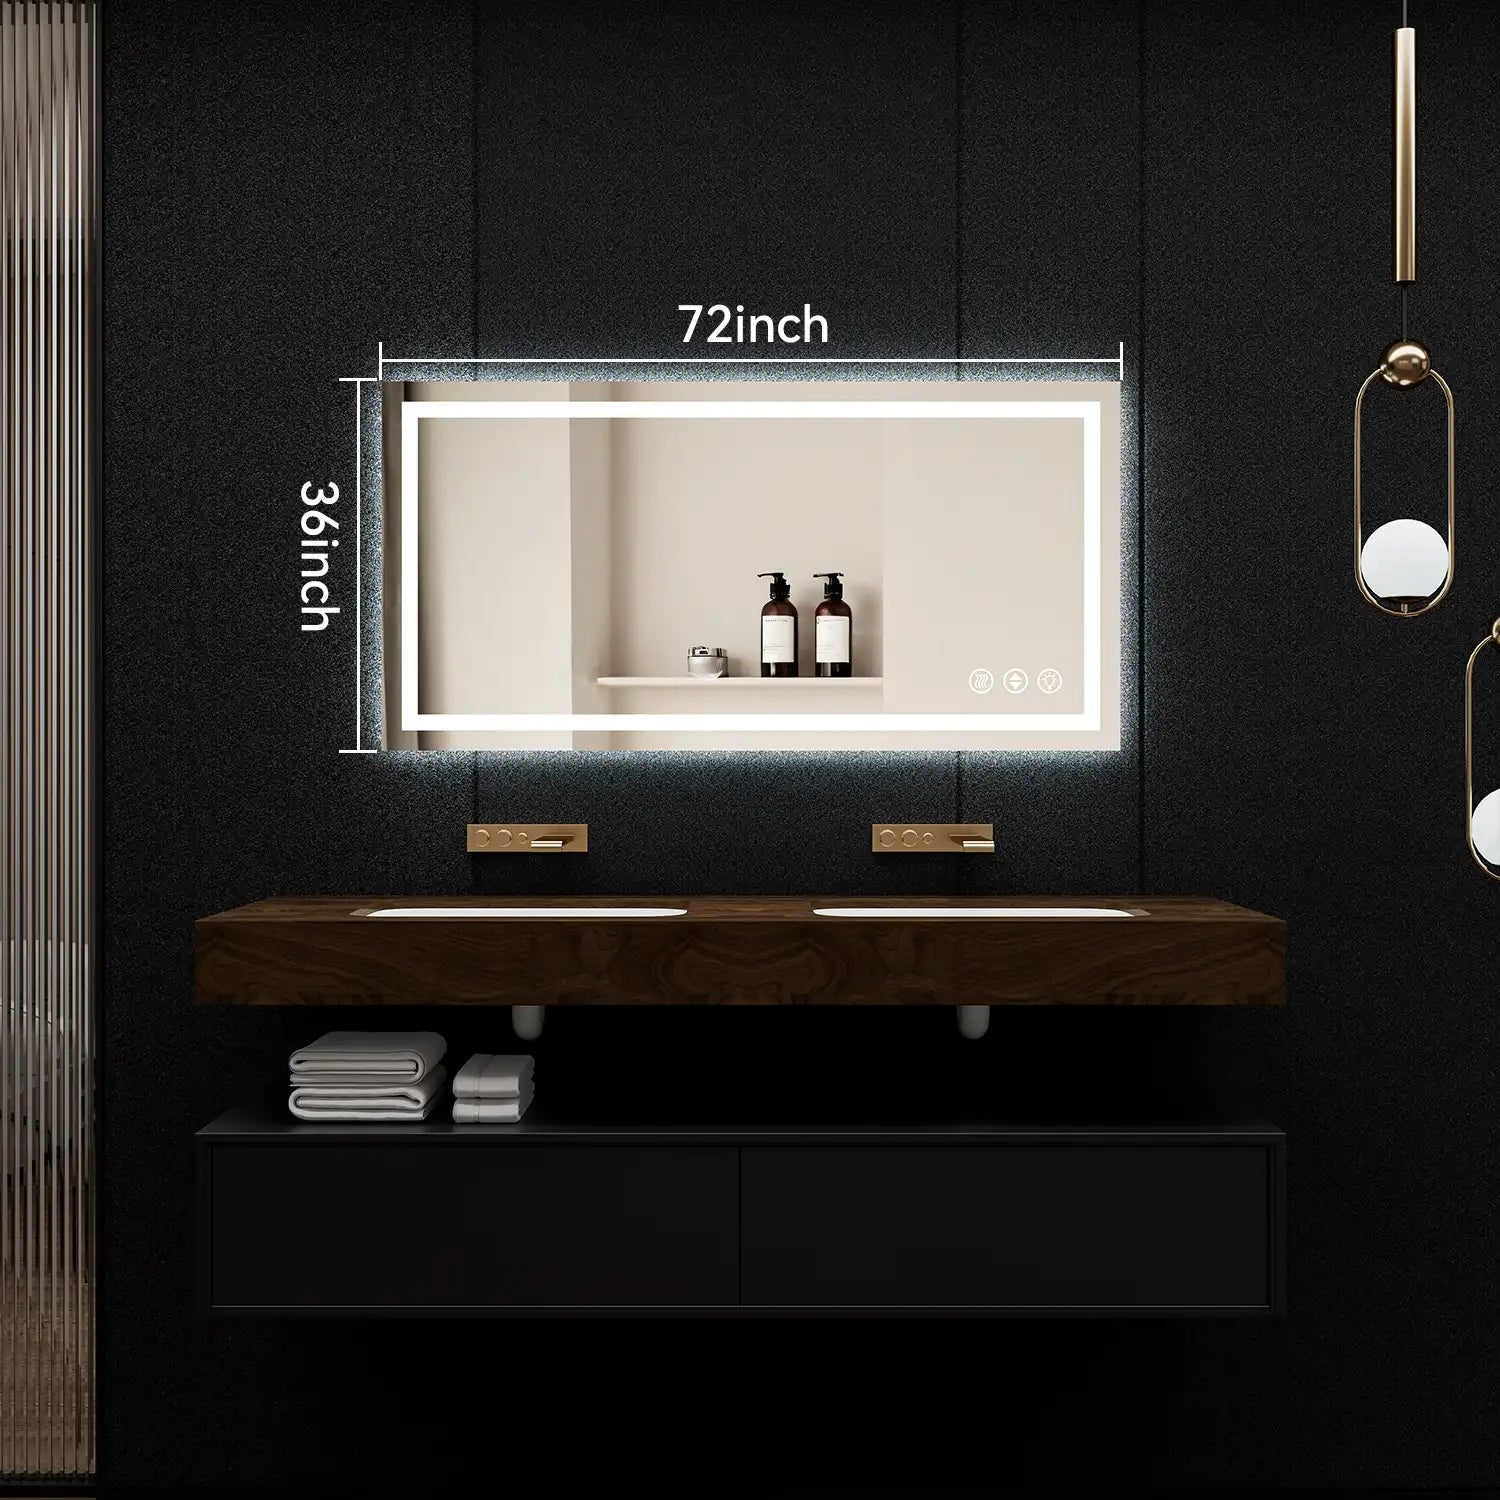
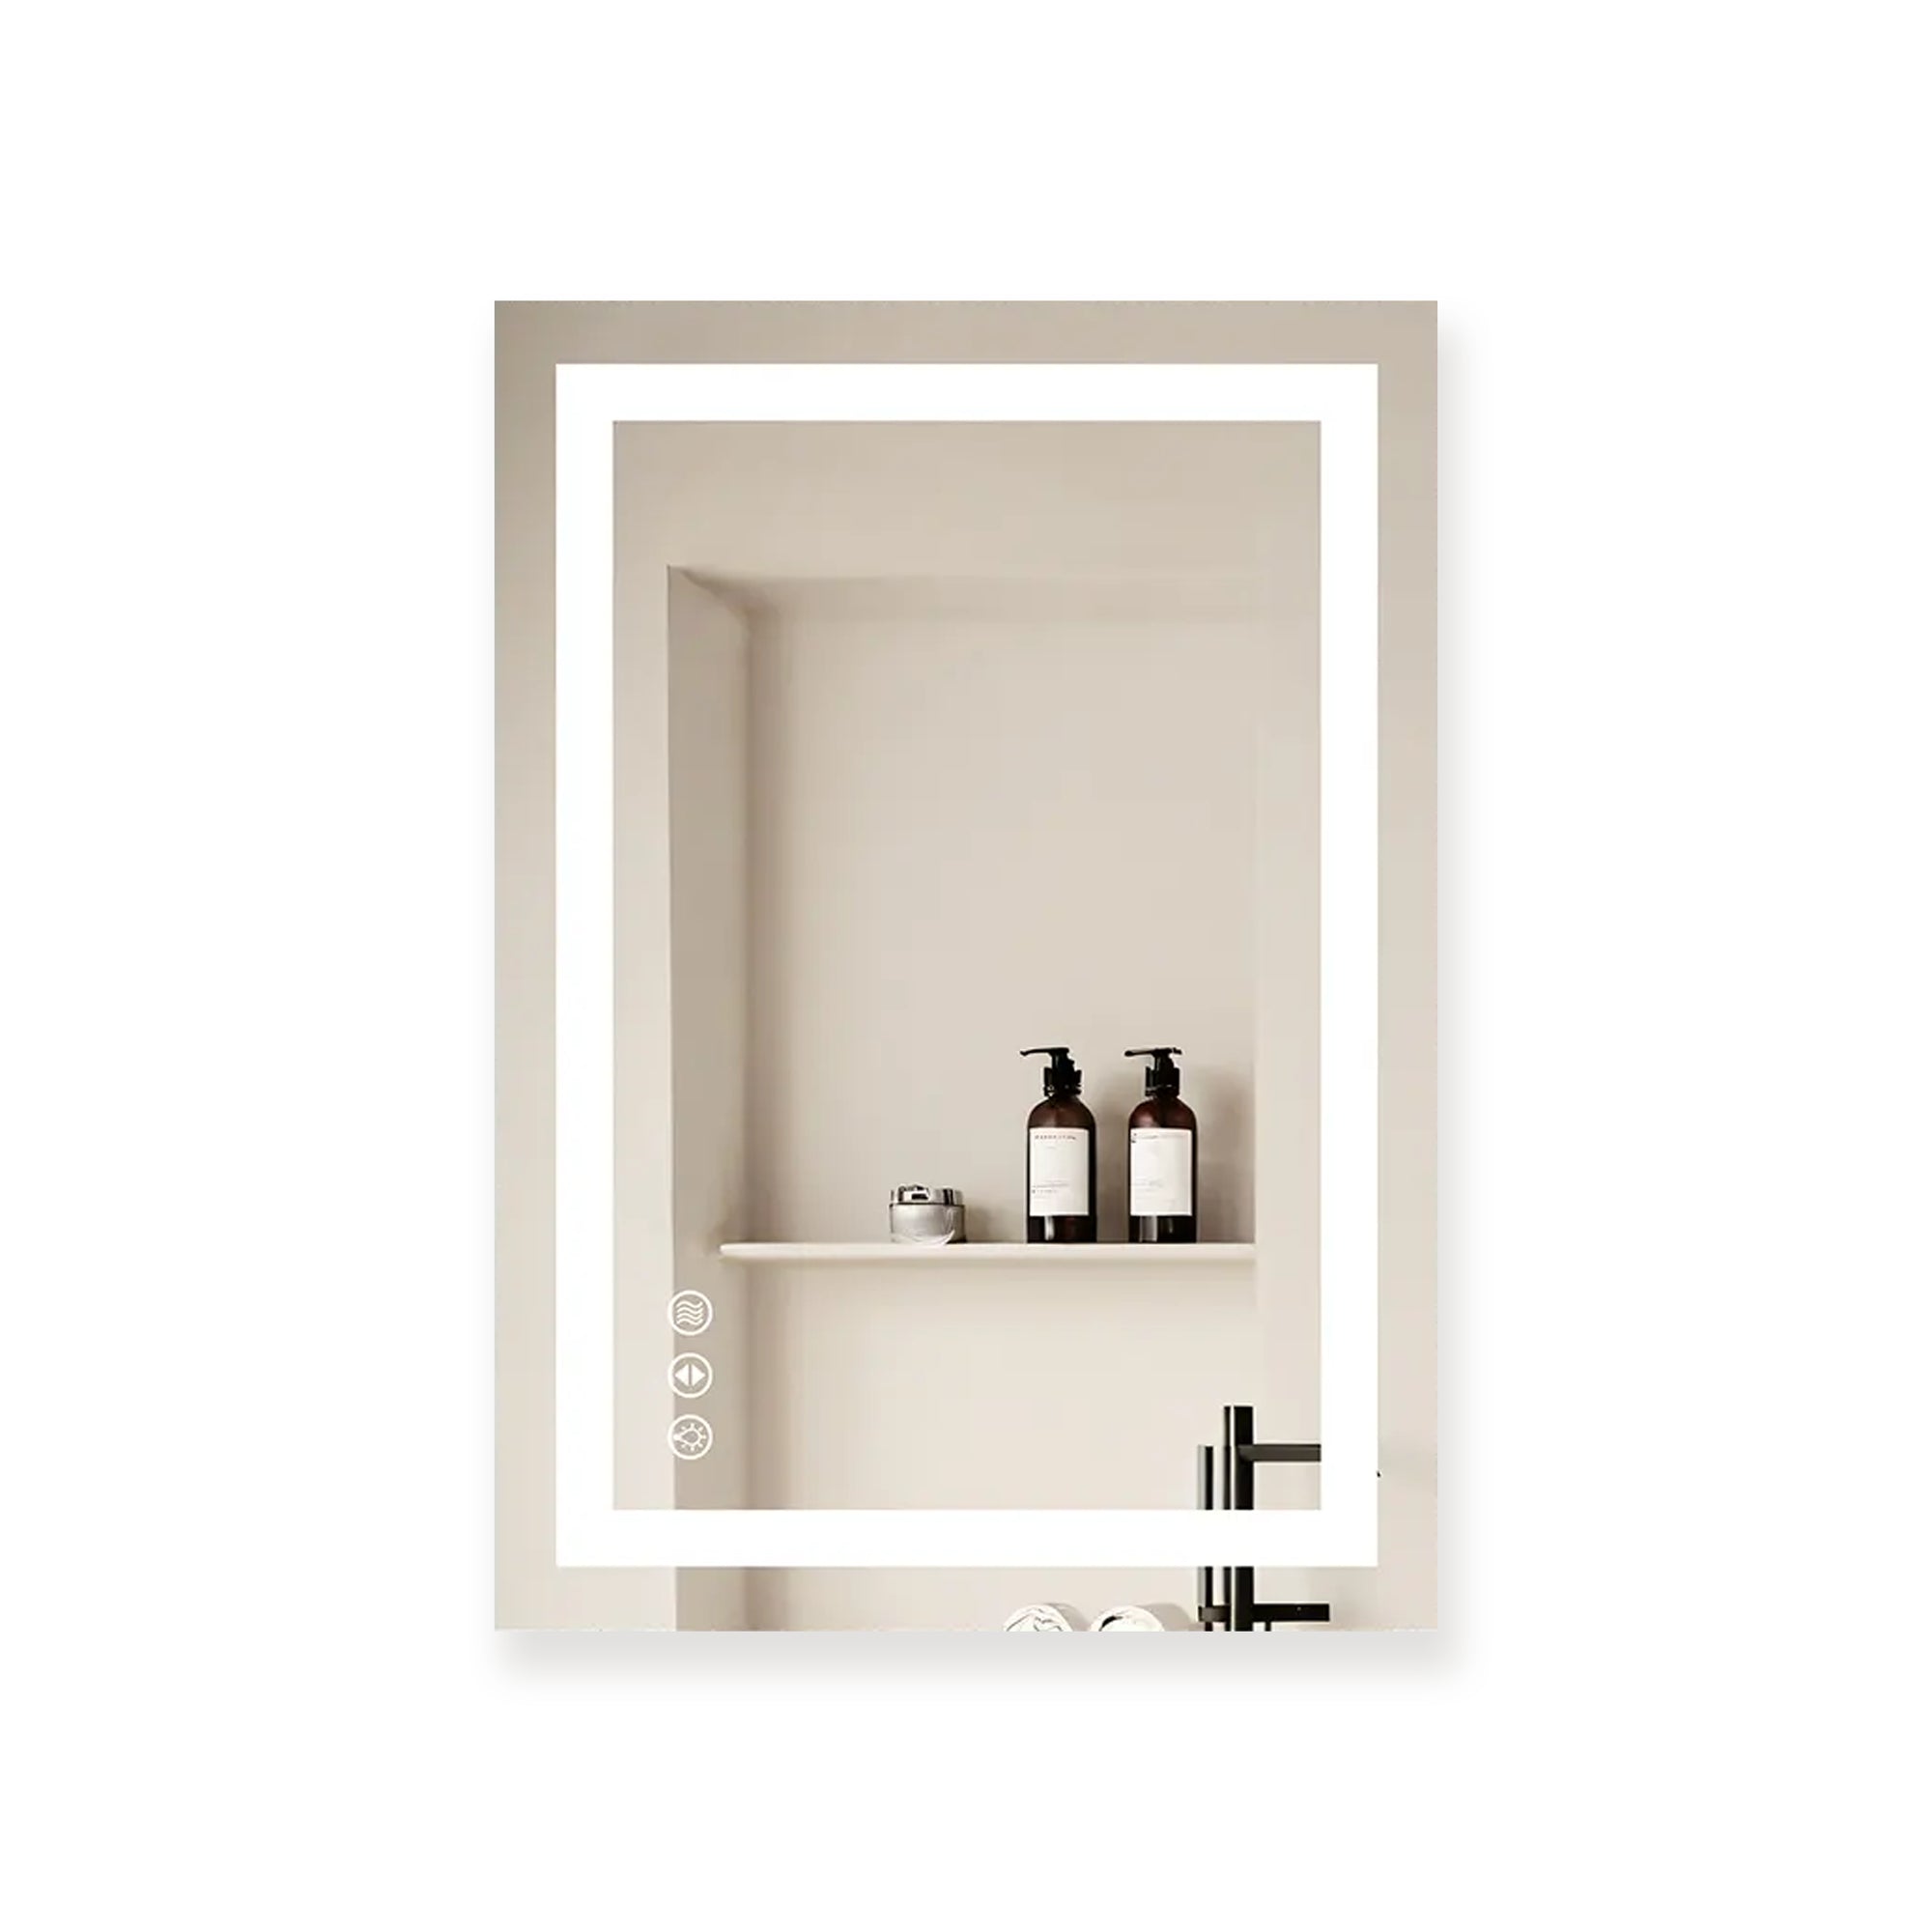
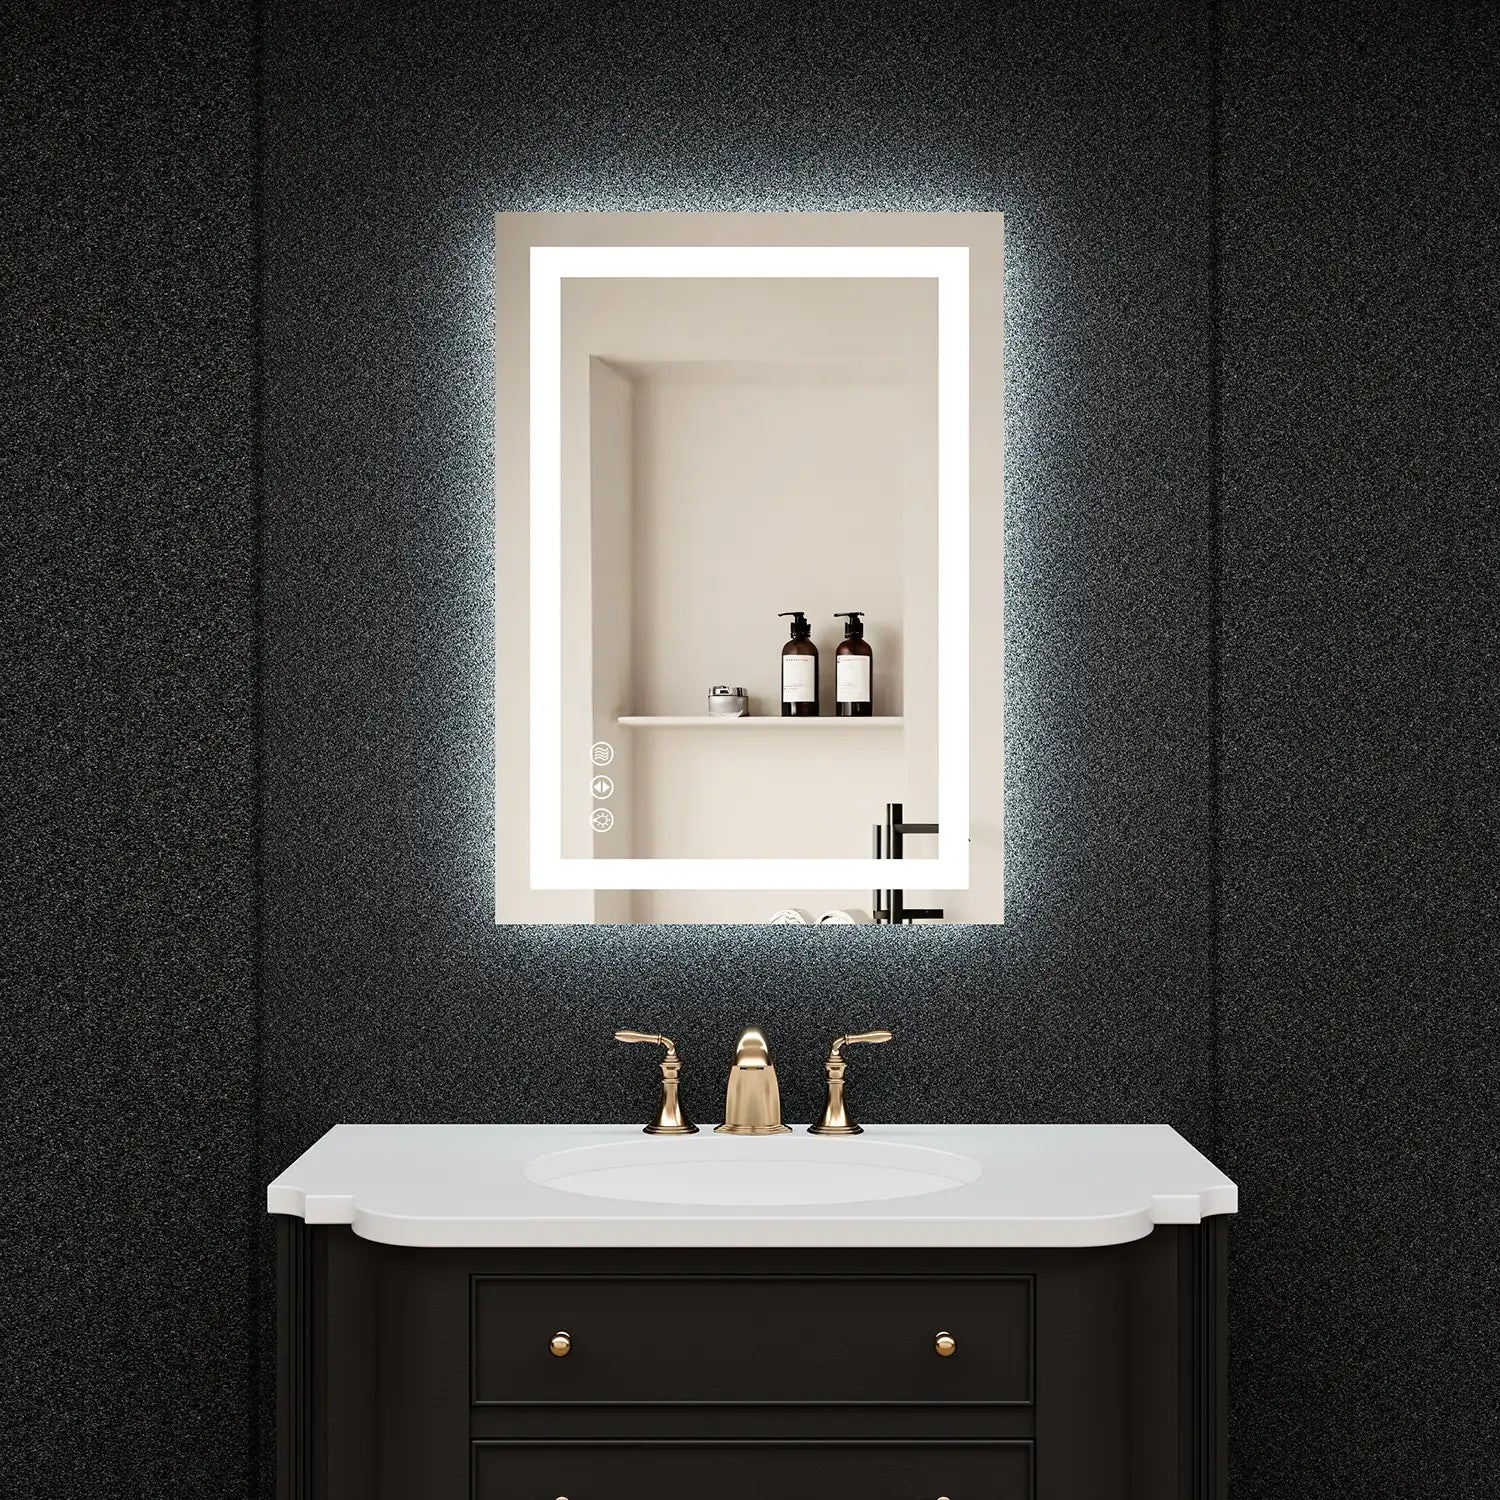
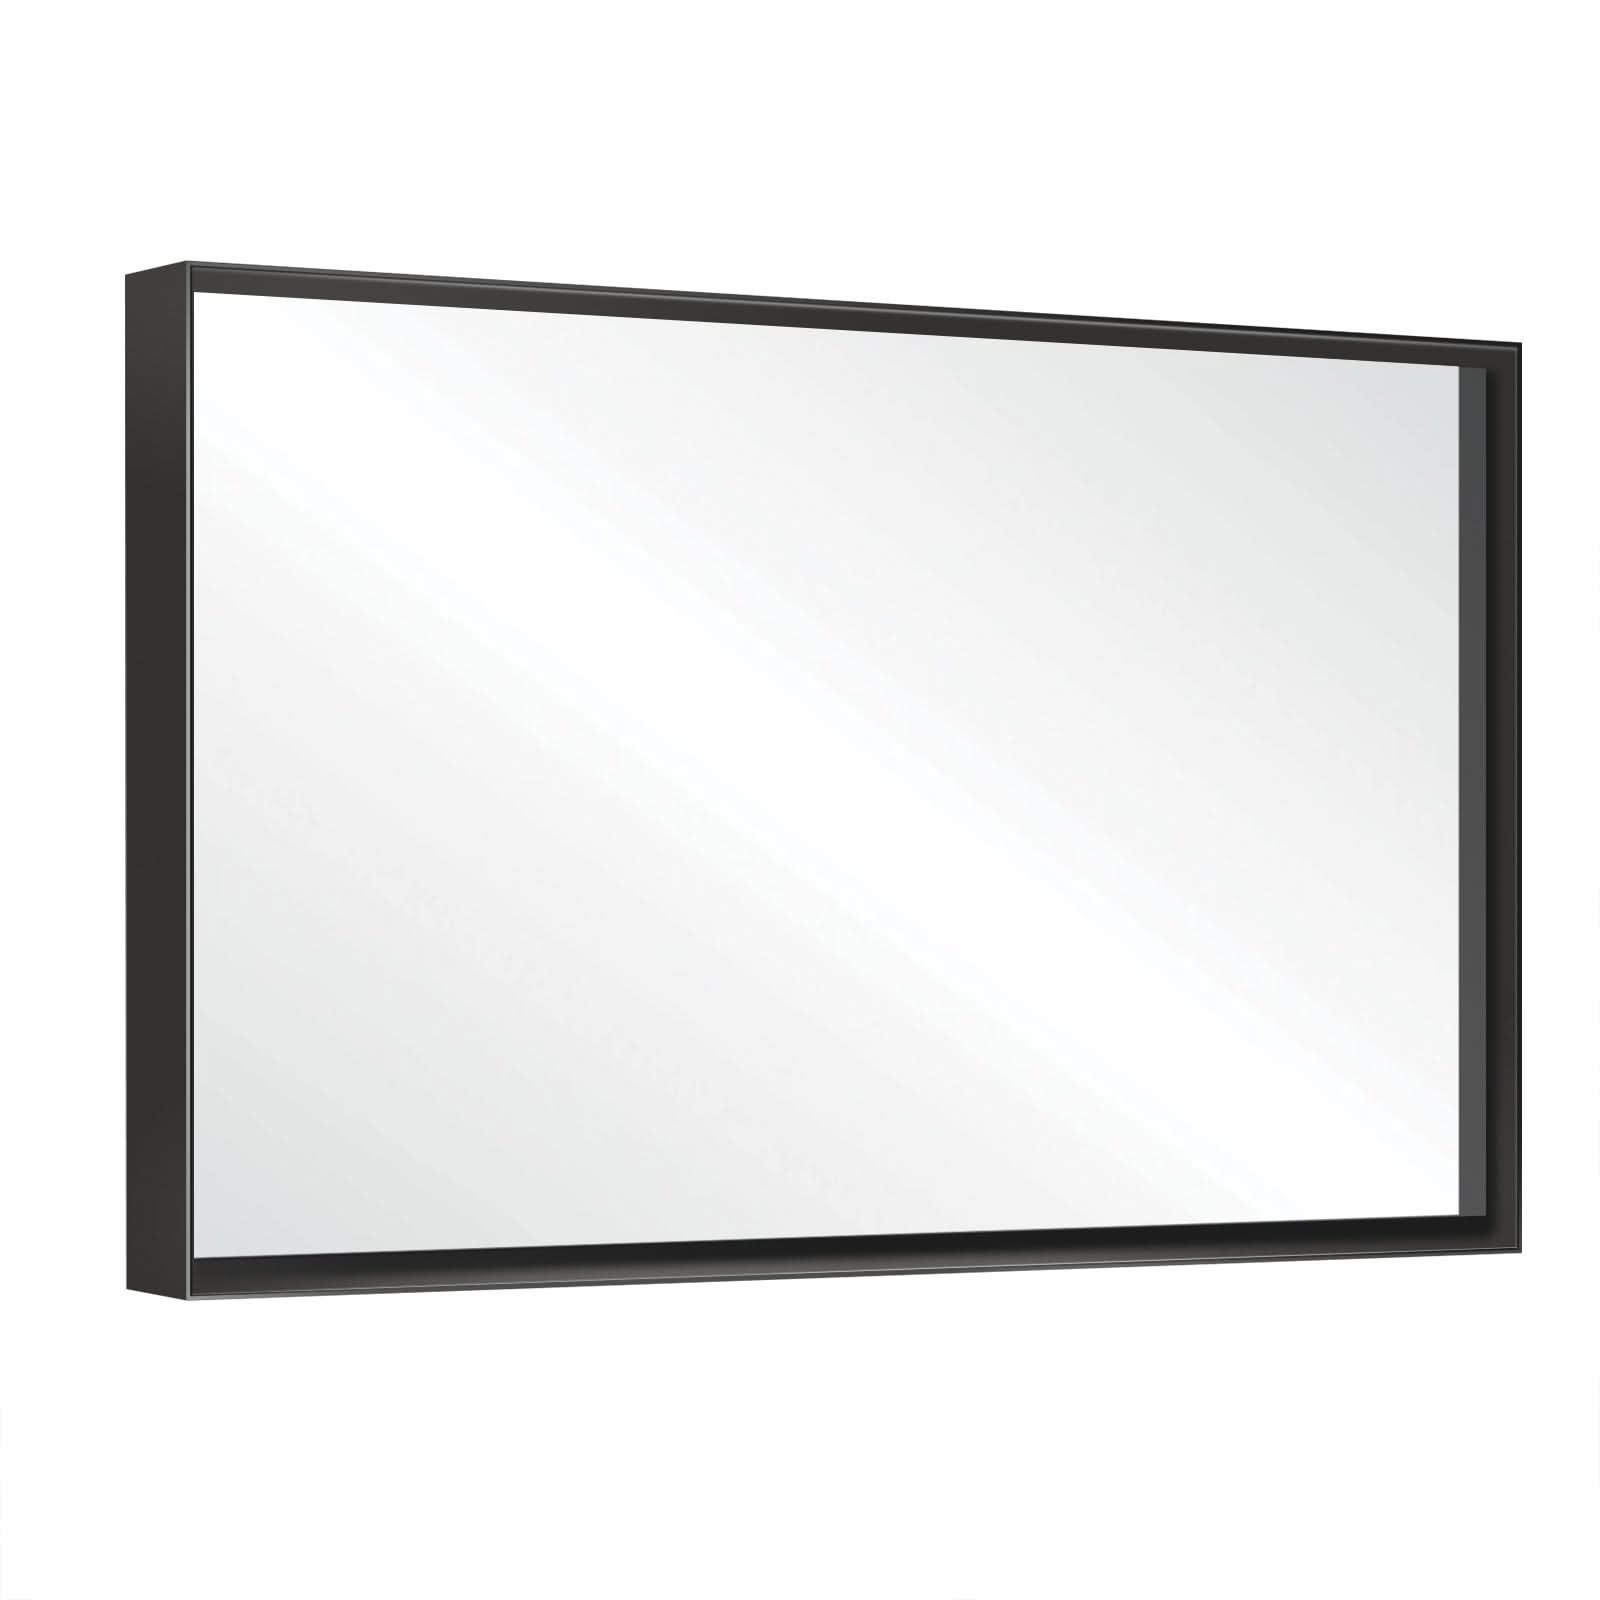
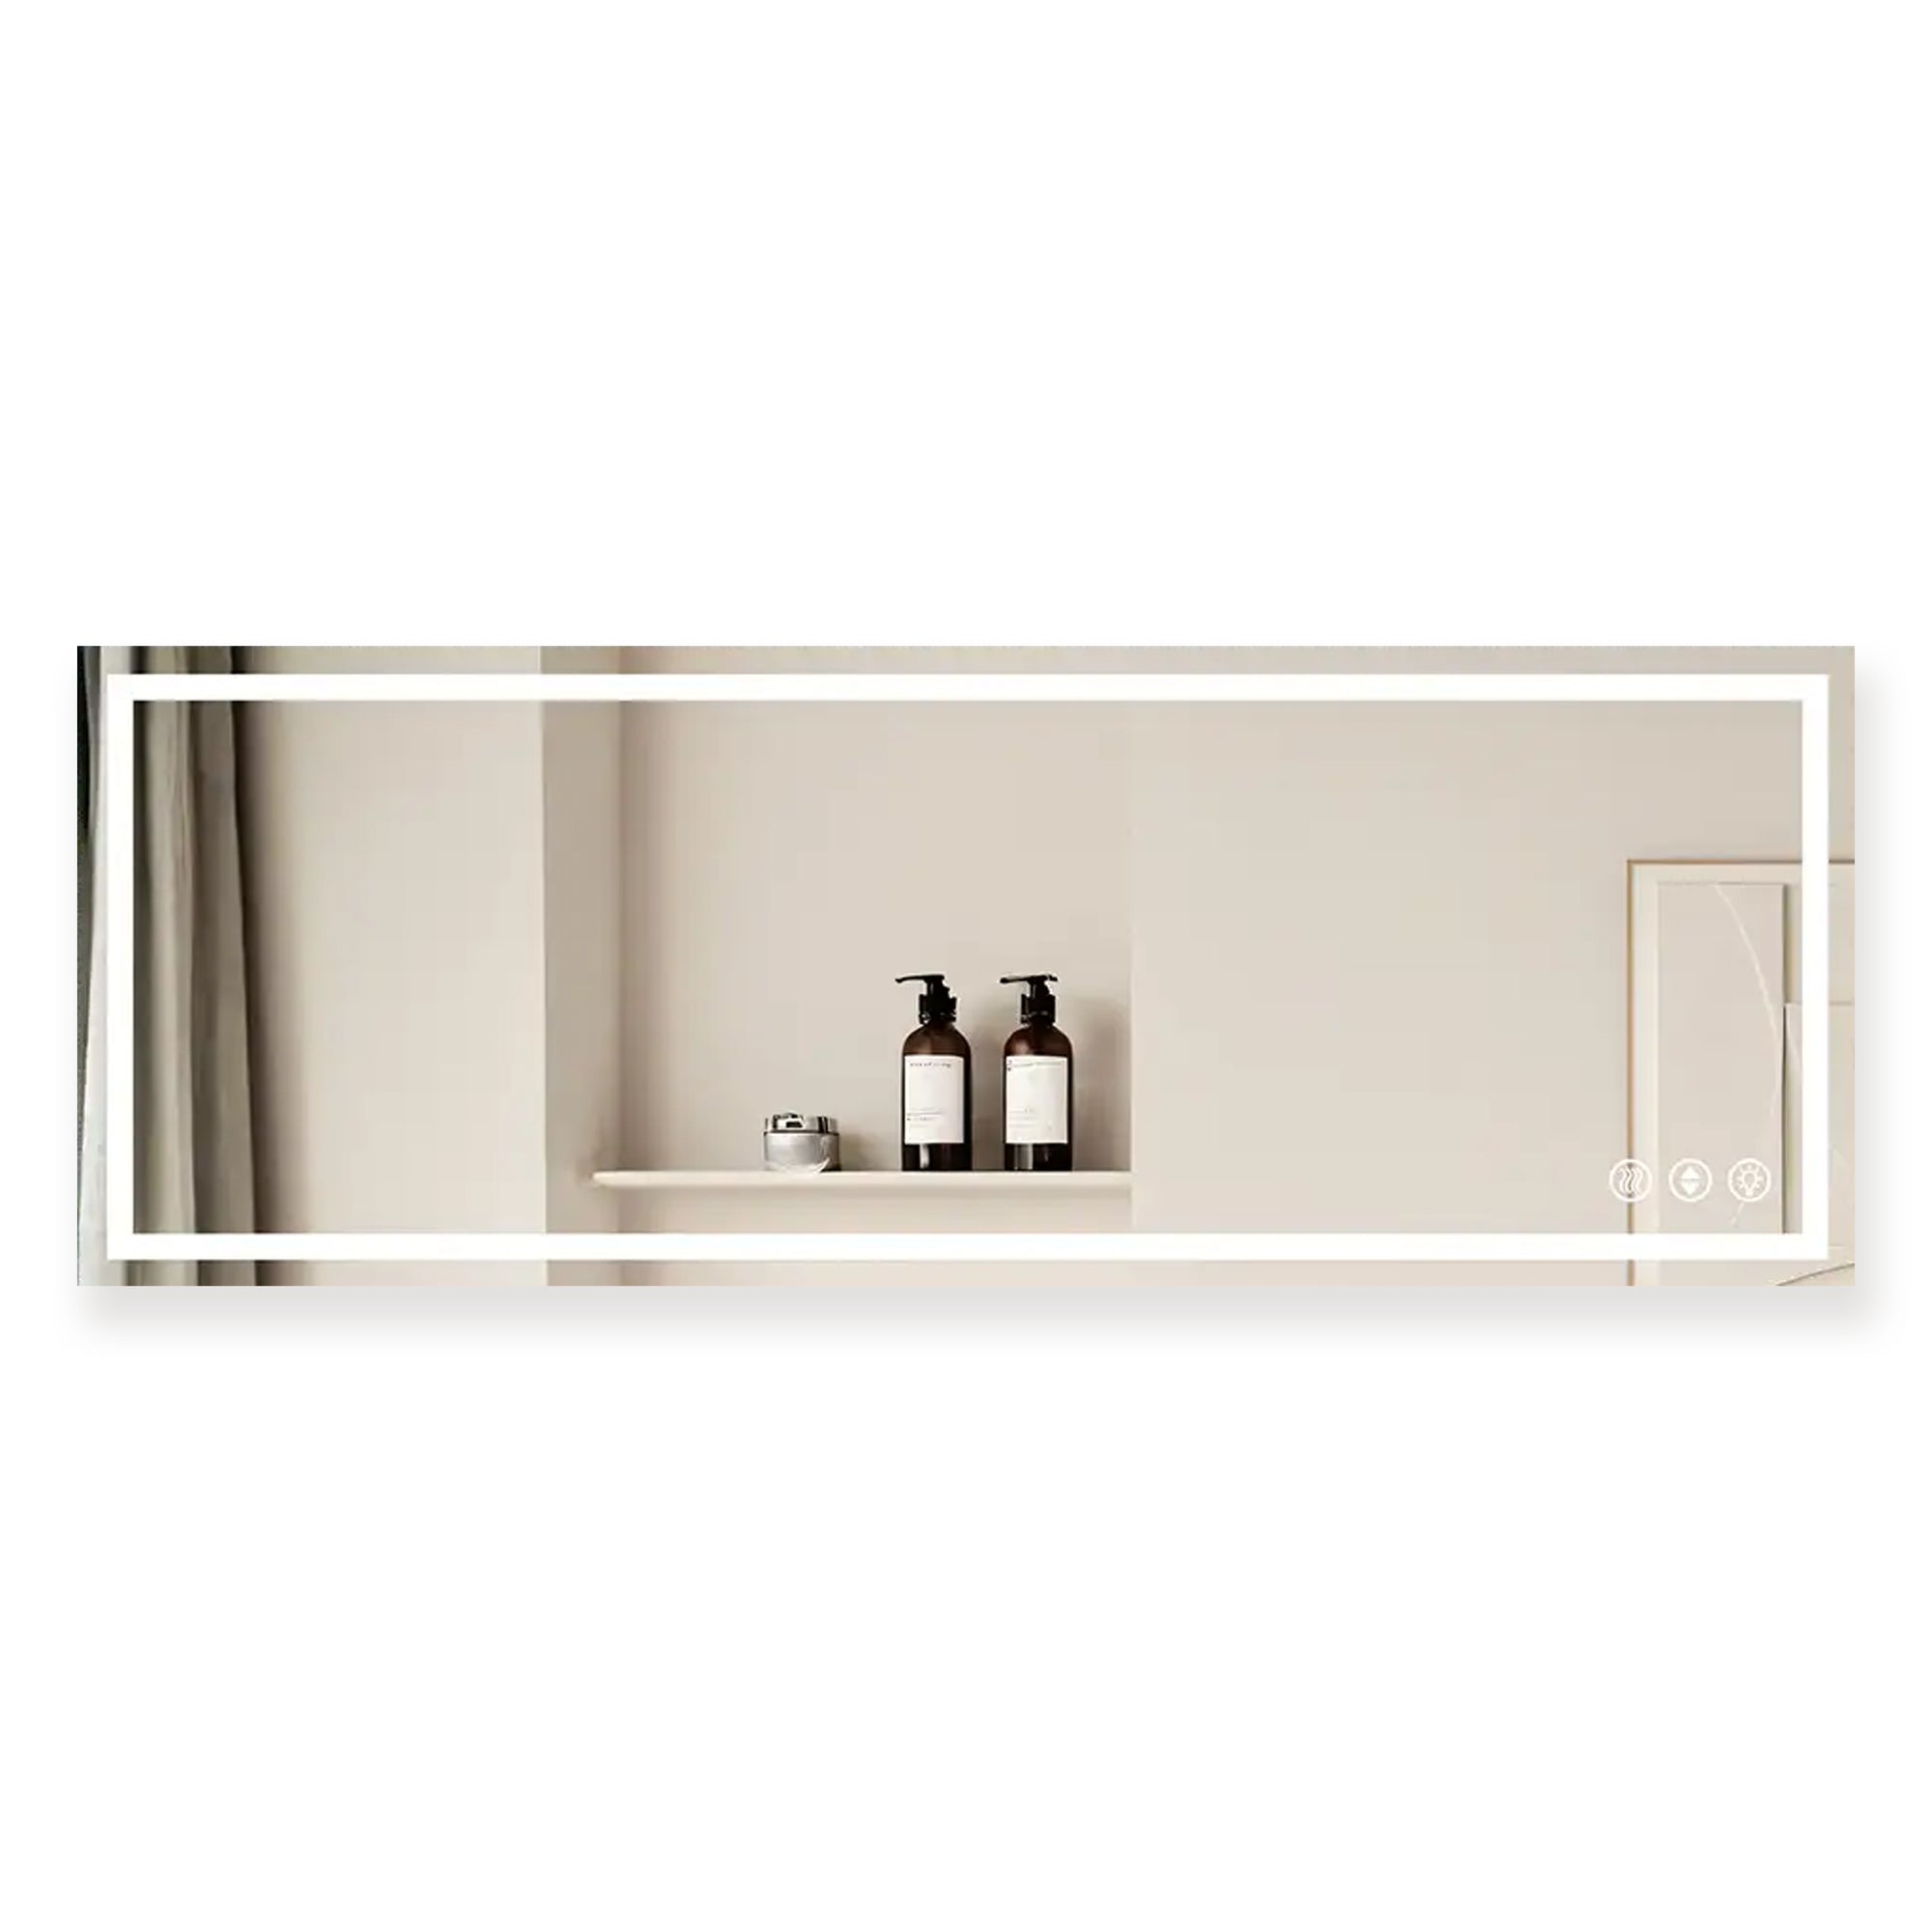
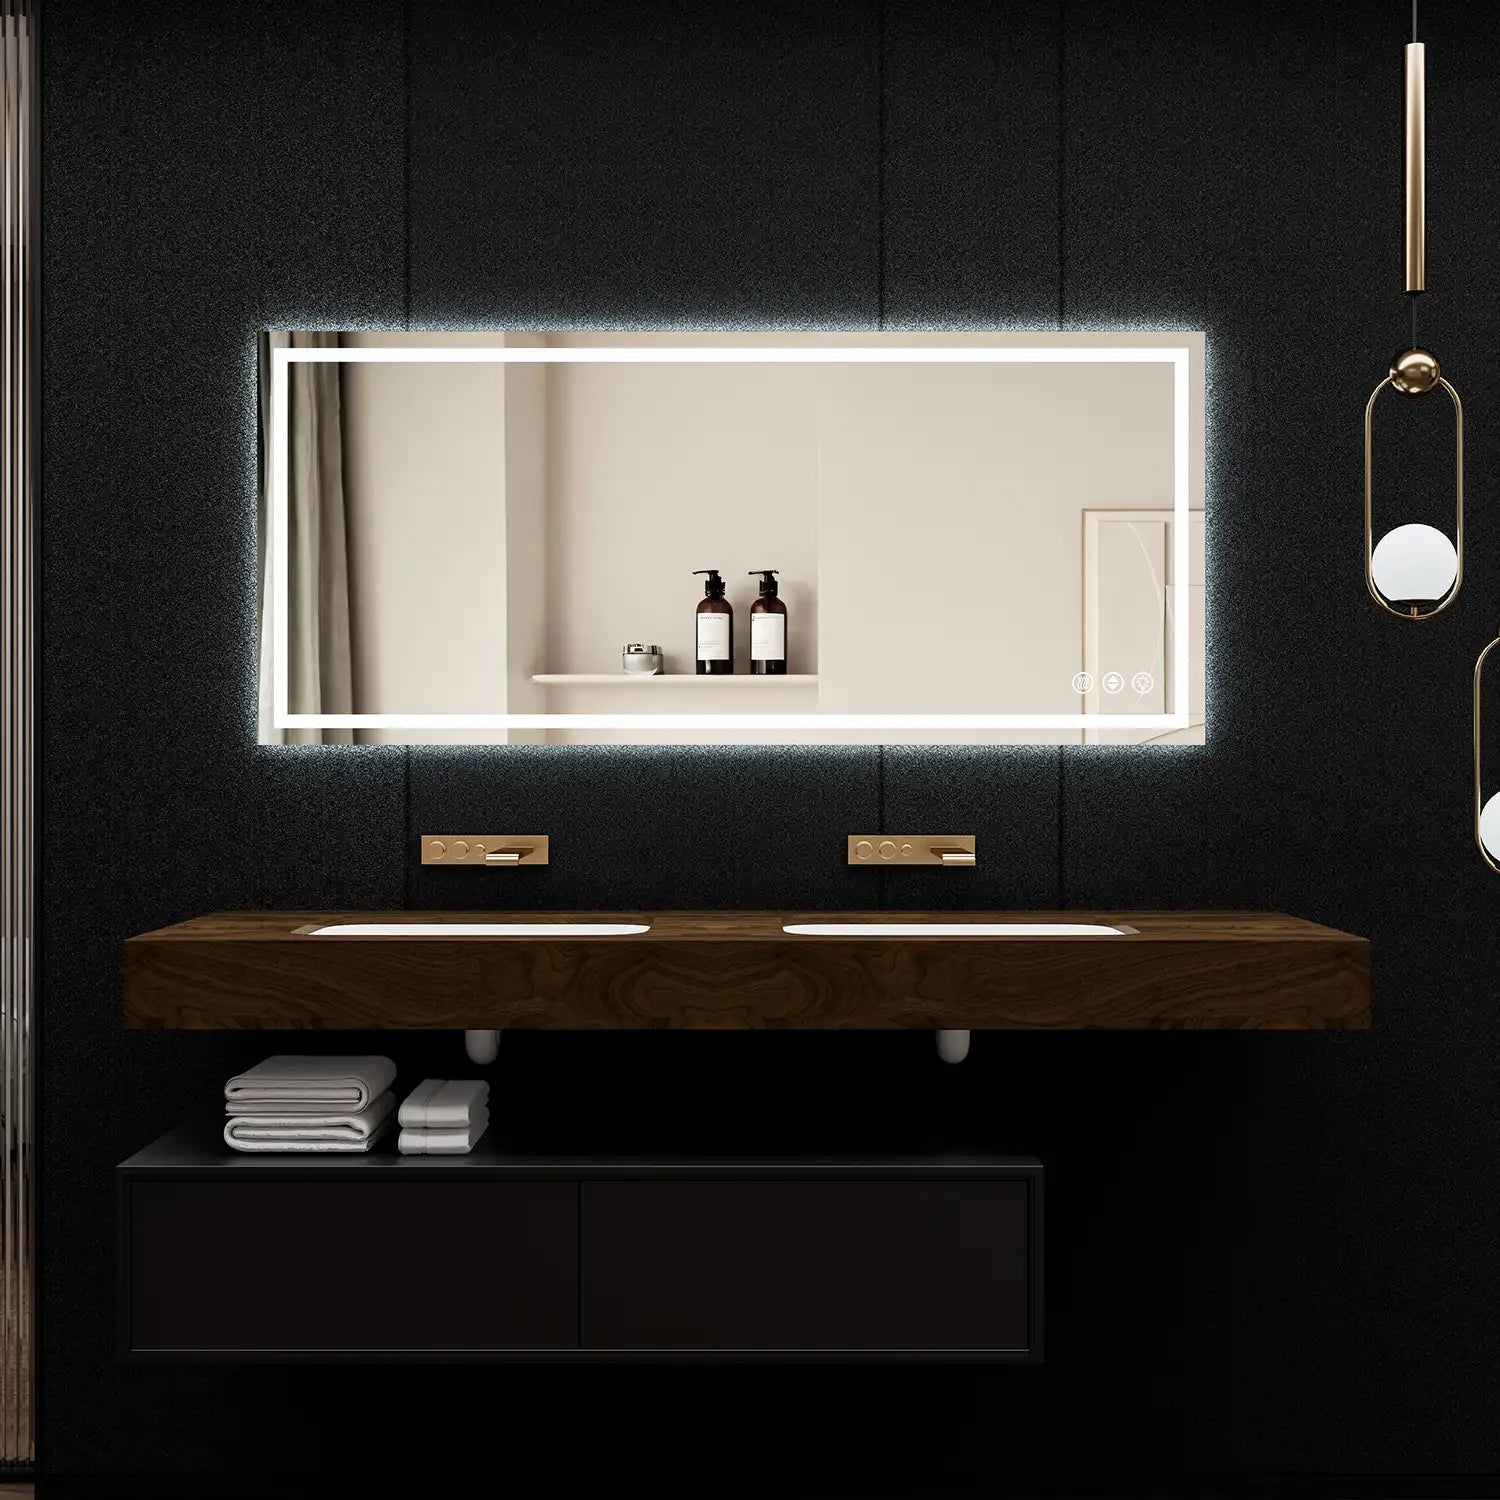
Modern Mirror Options: Easy-to-Install LED Mirrors from Ace Decor
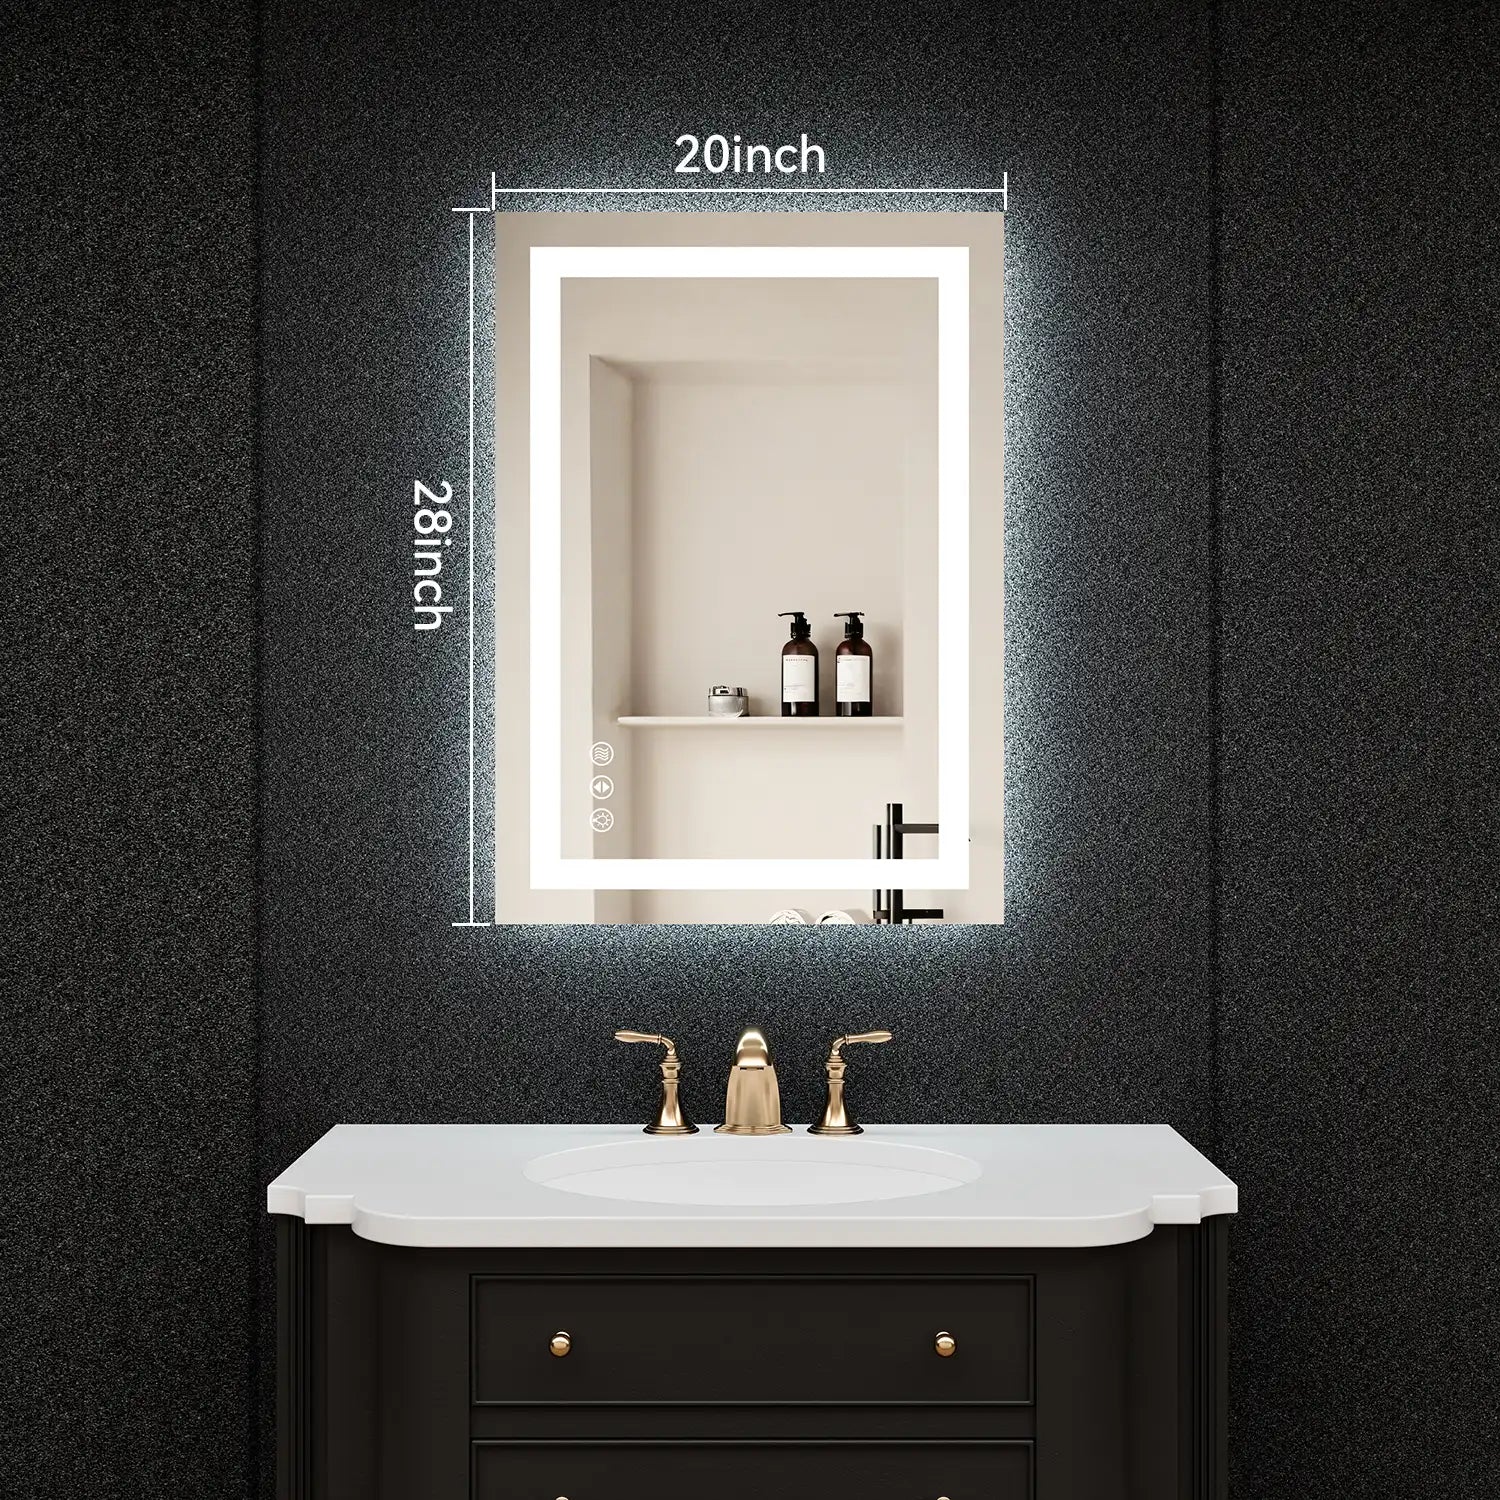
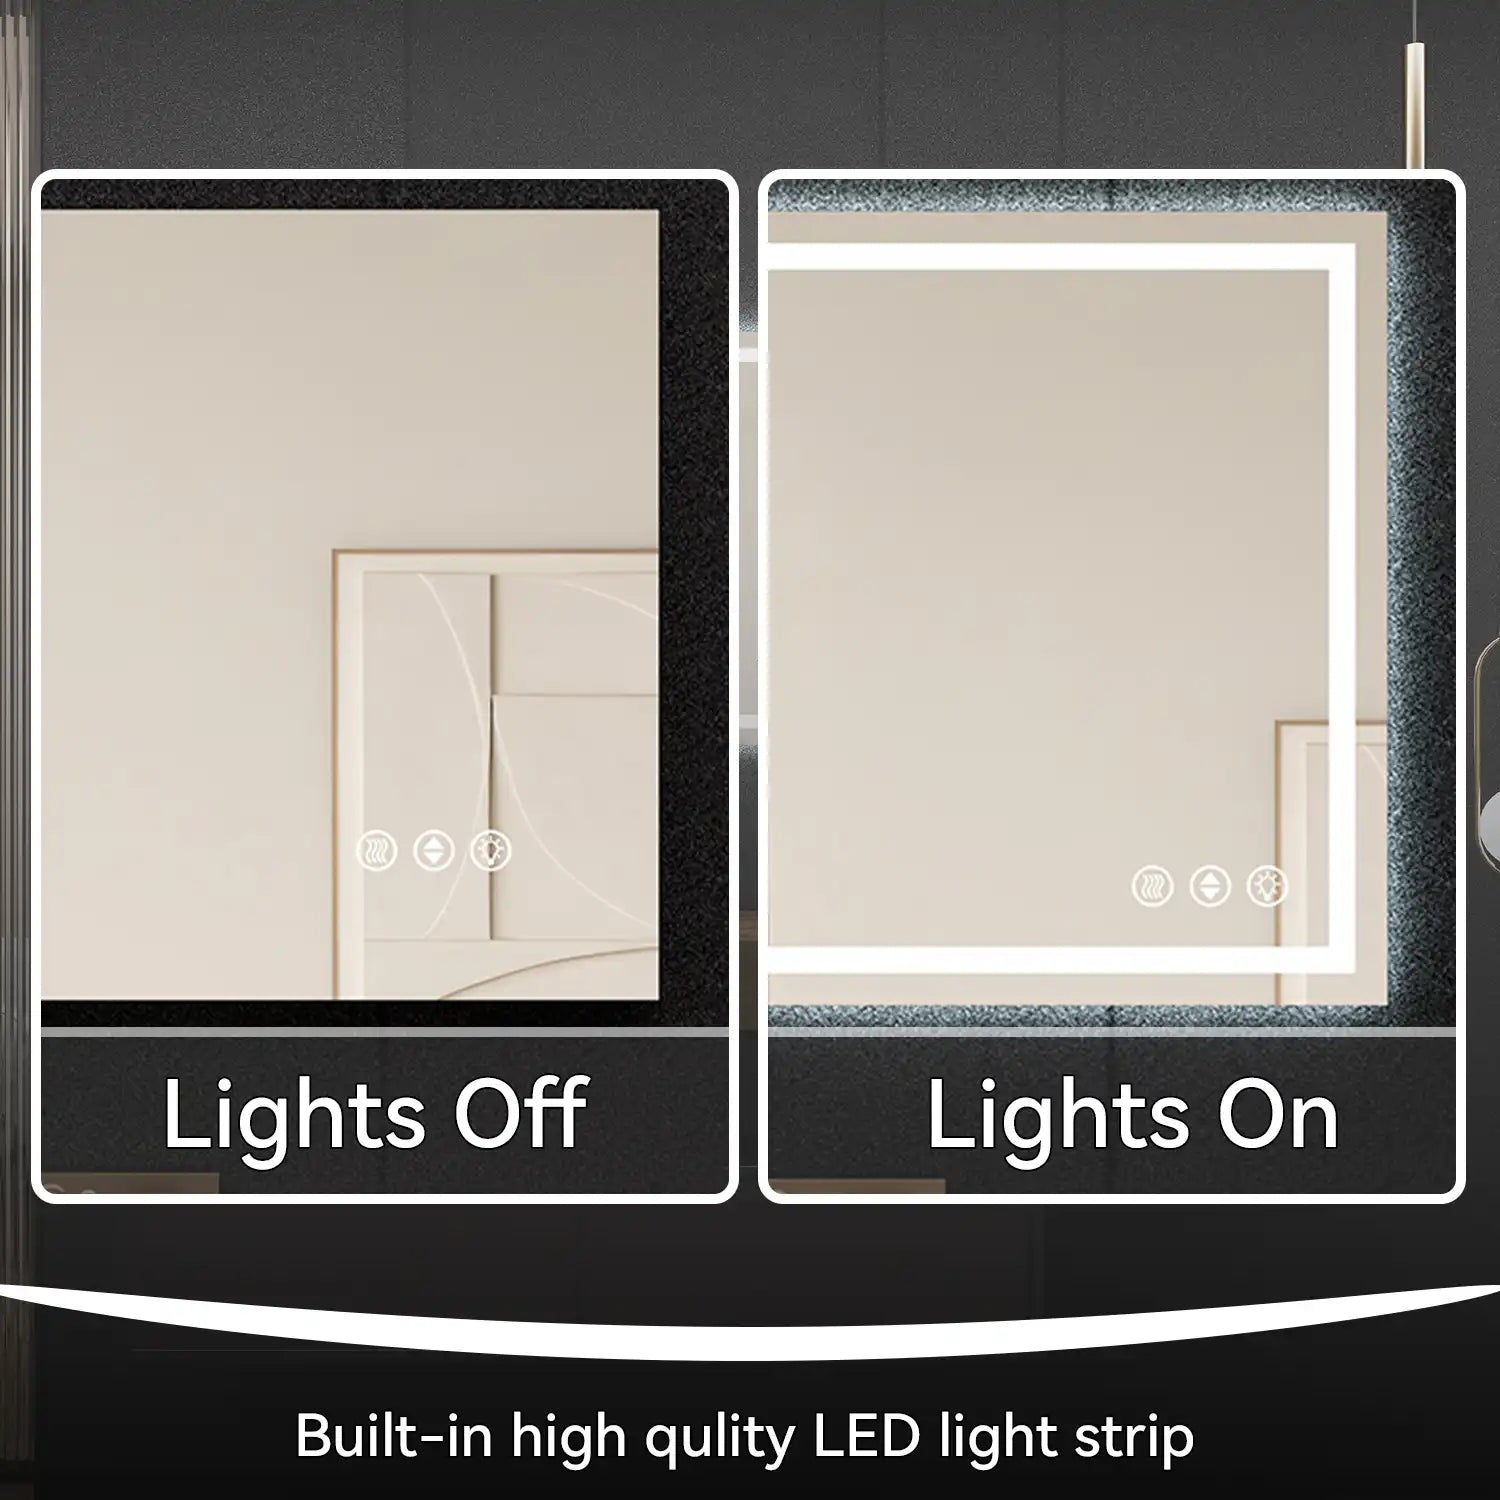
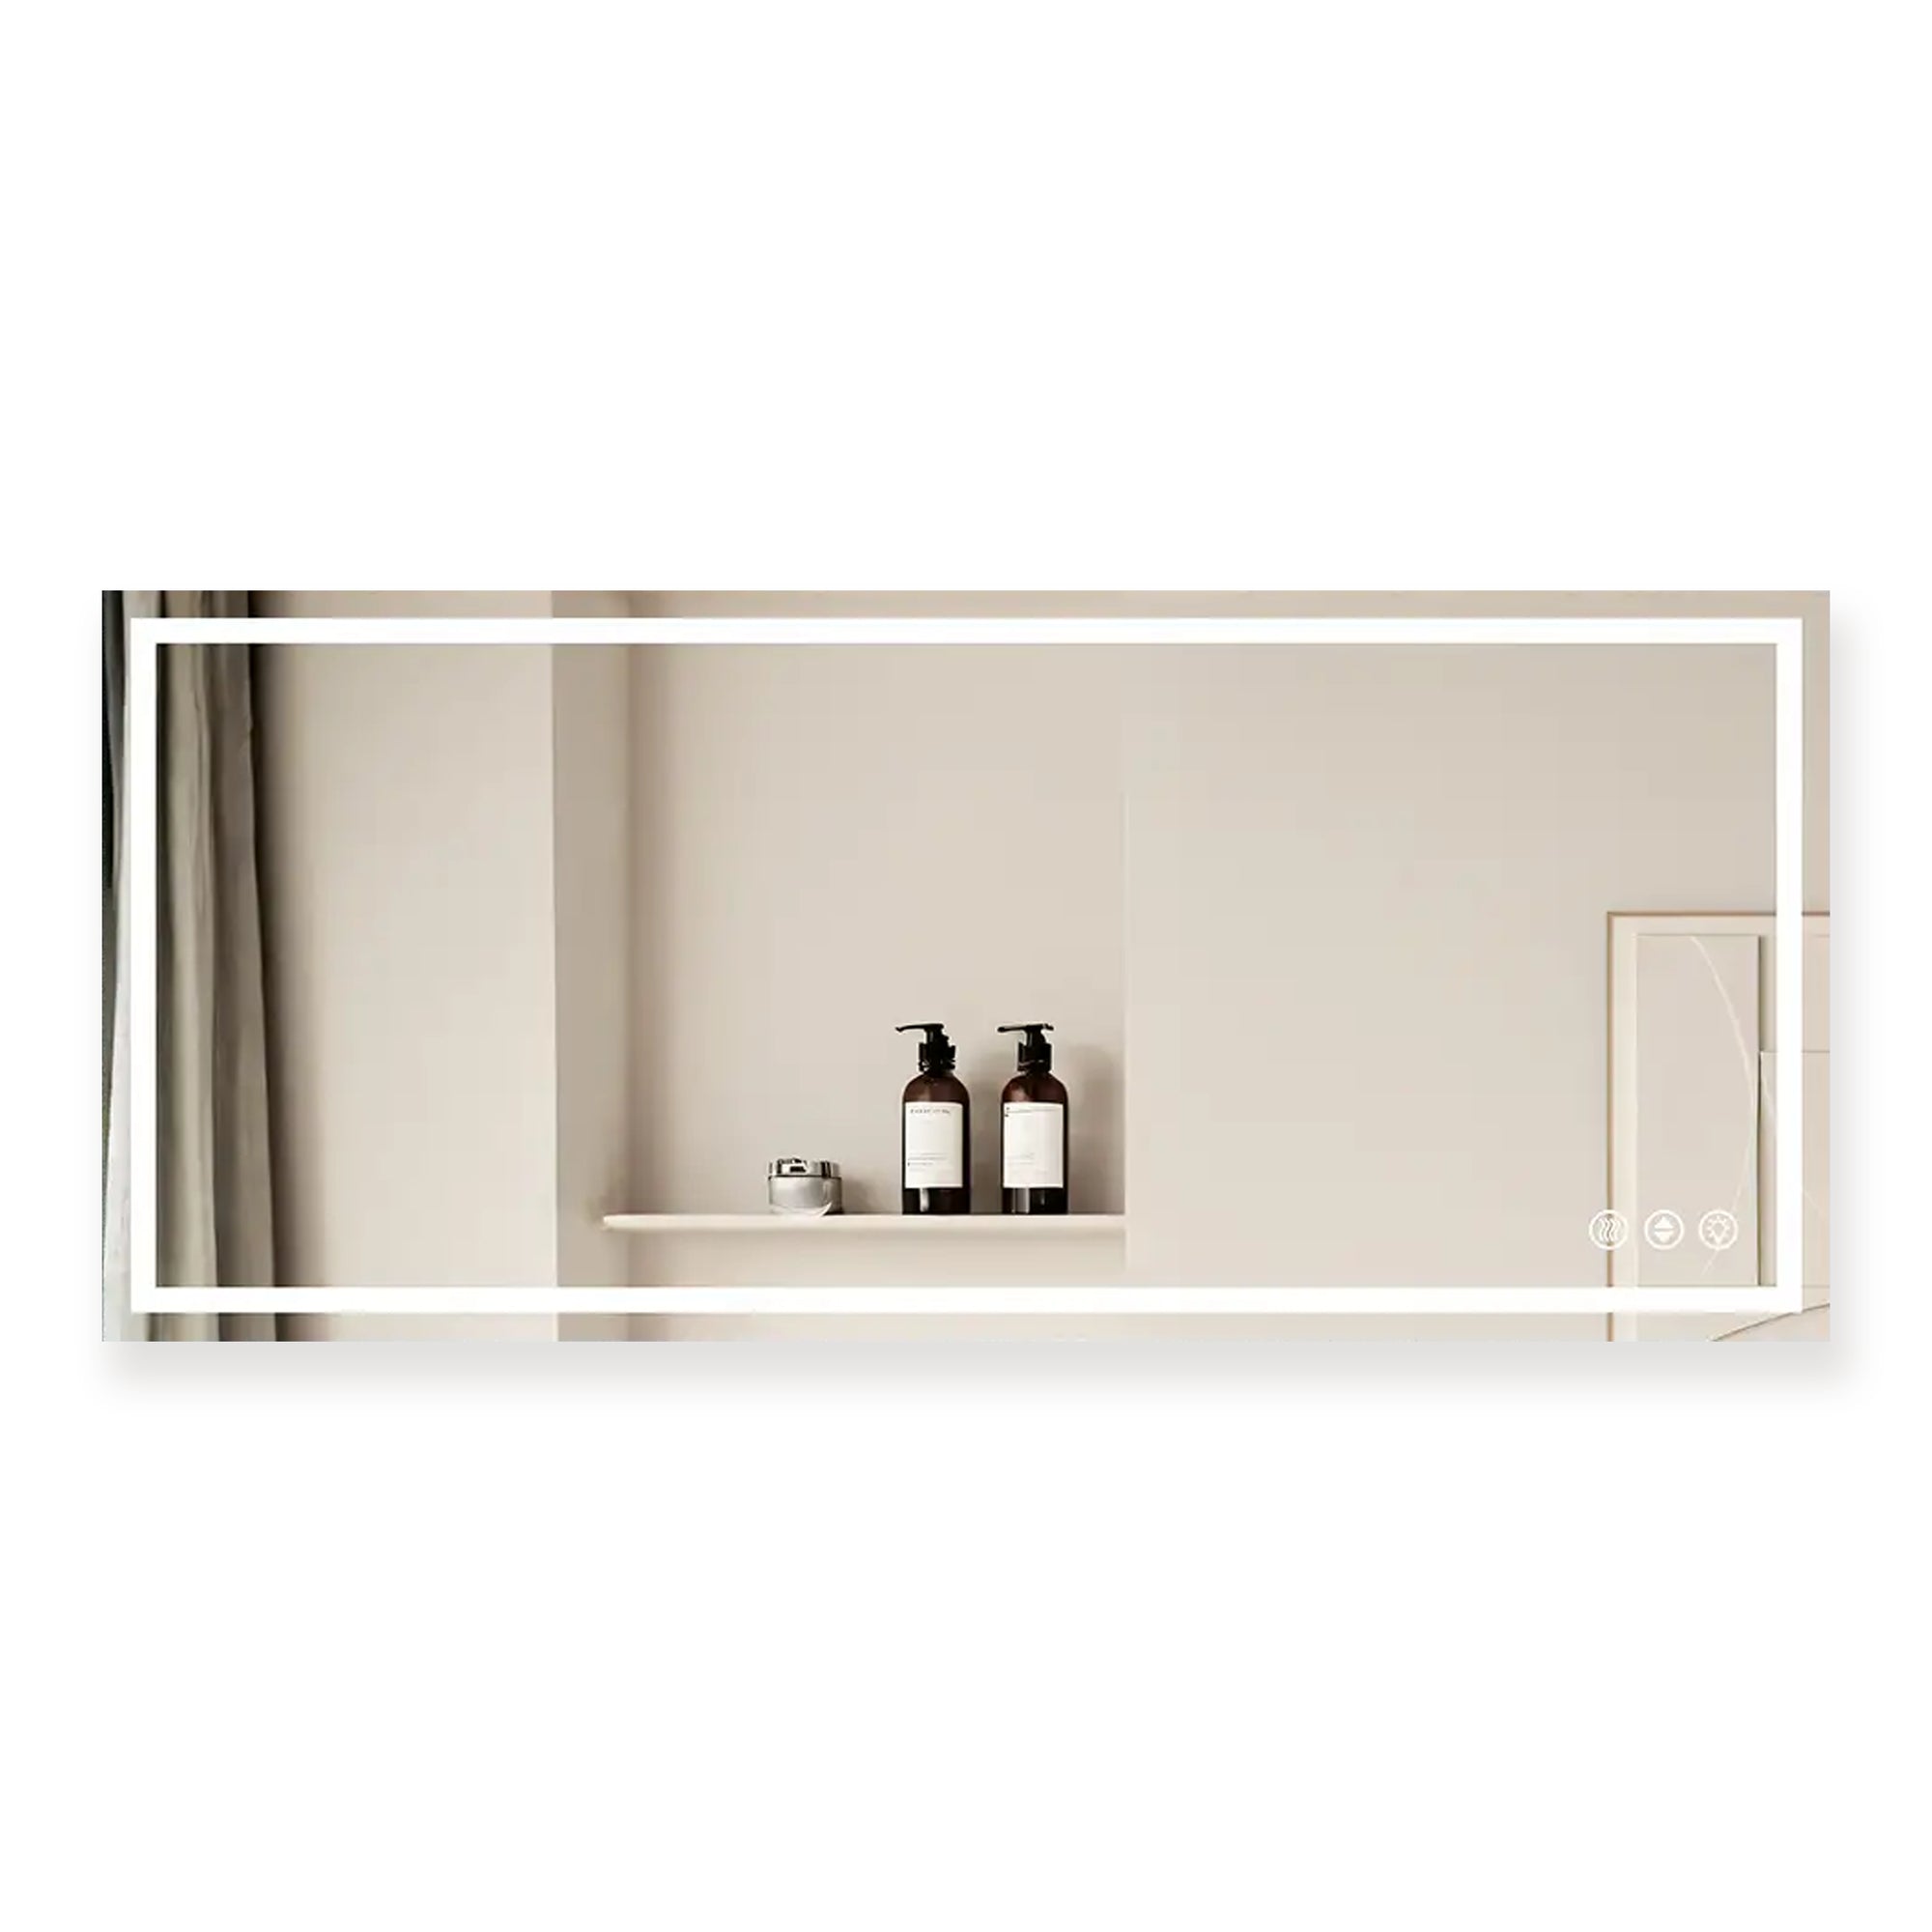
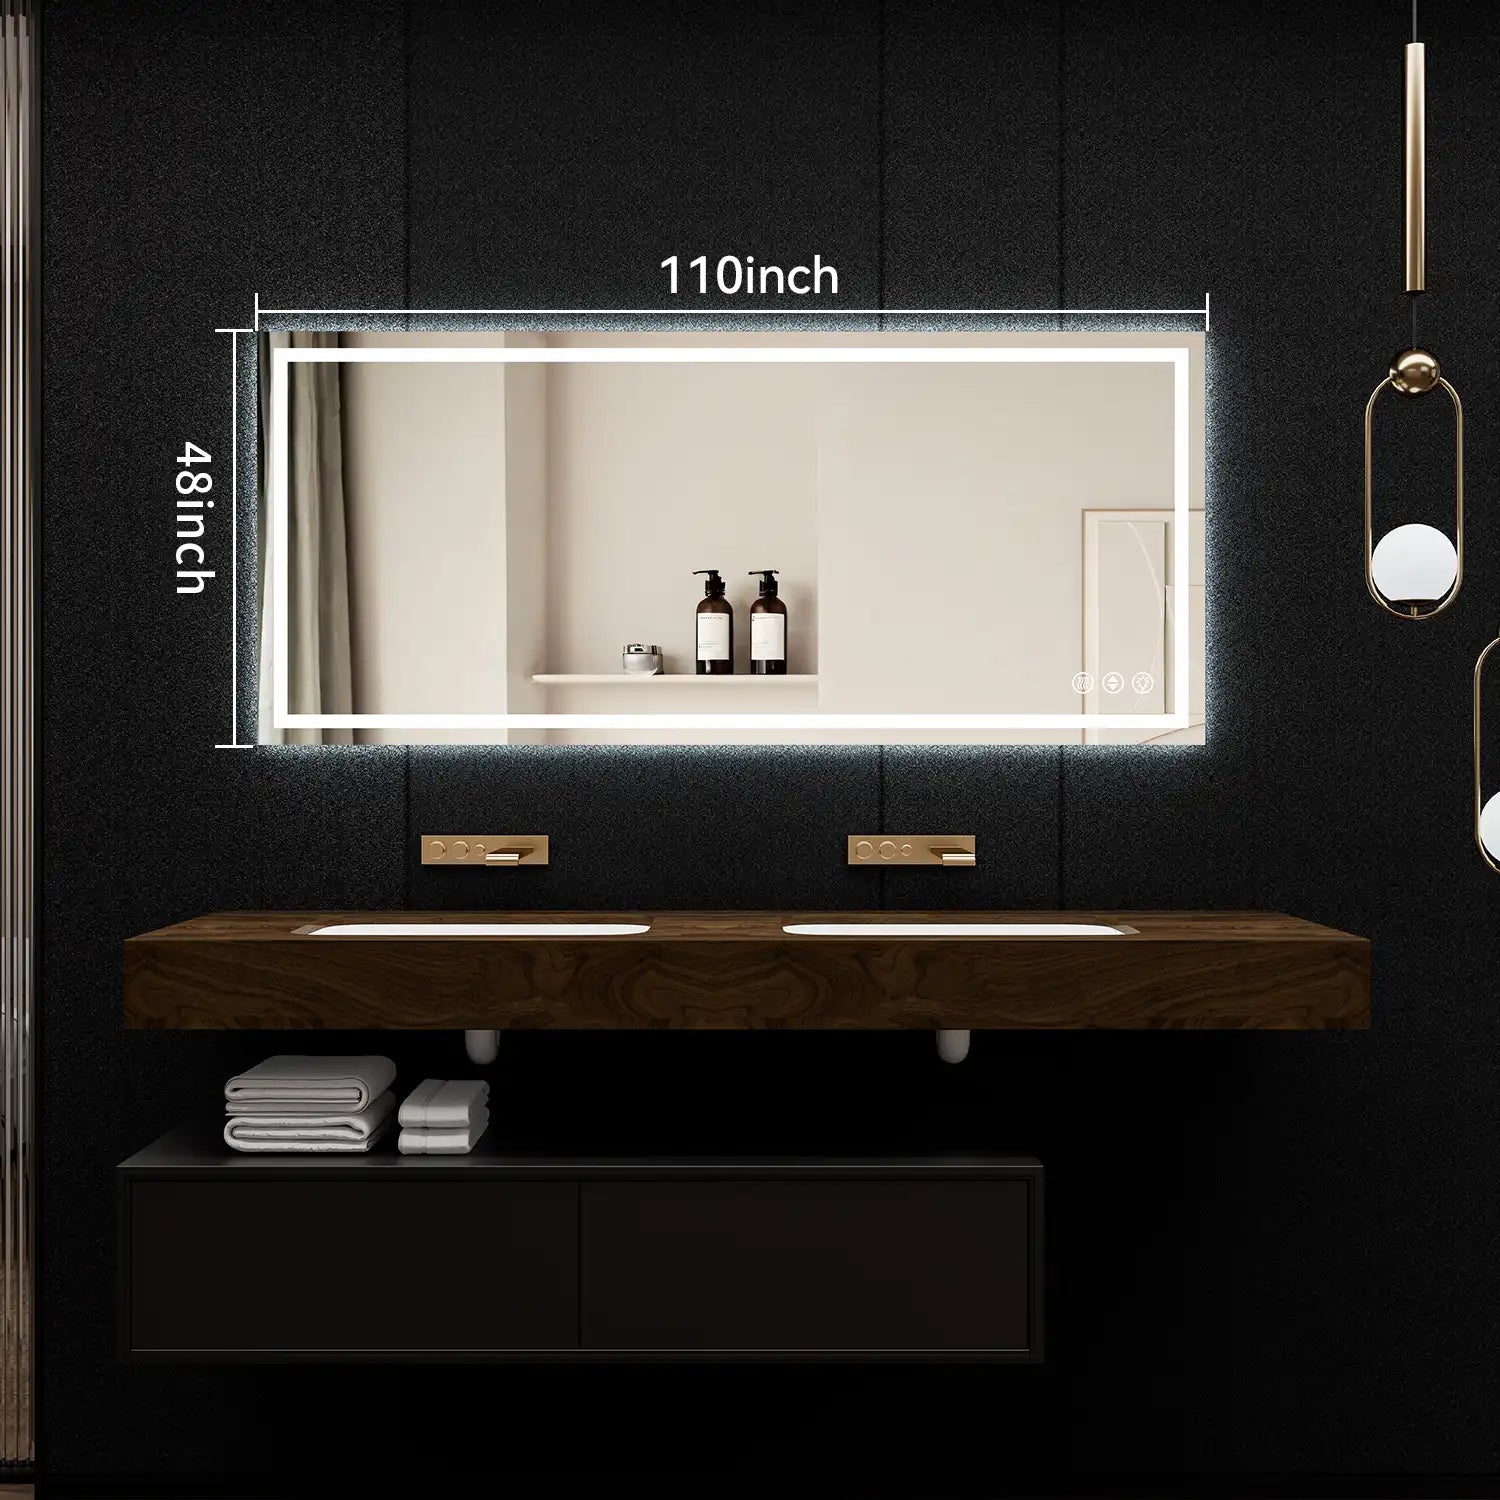
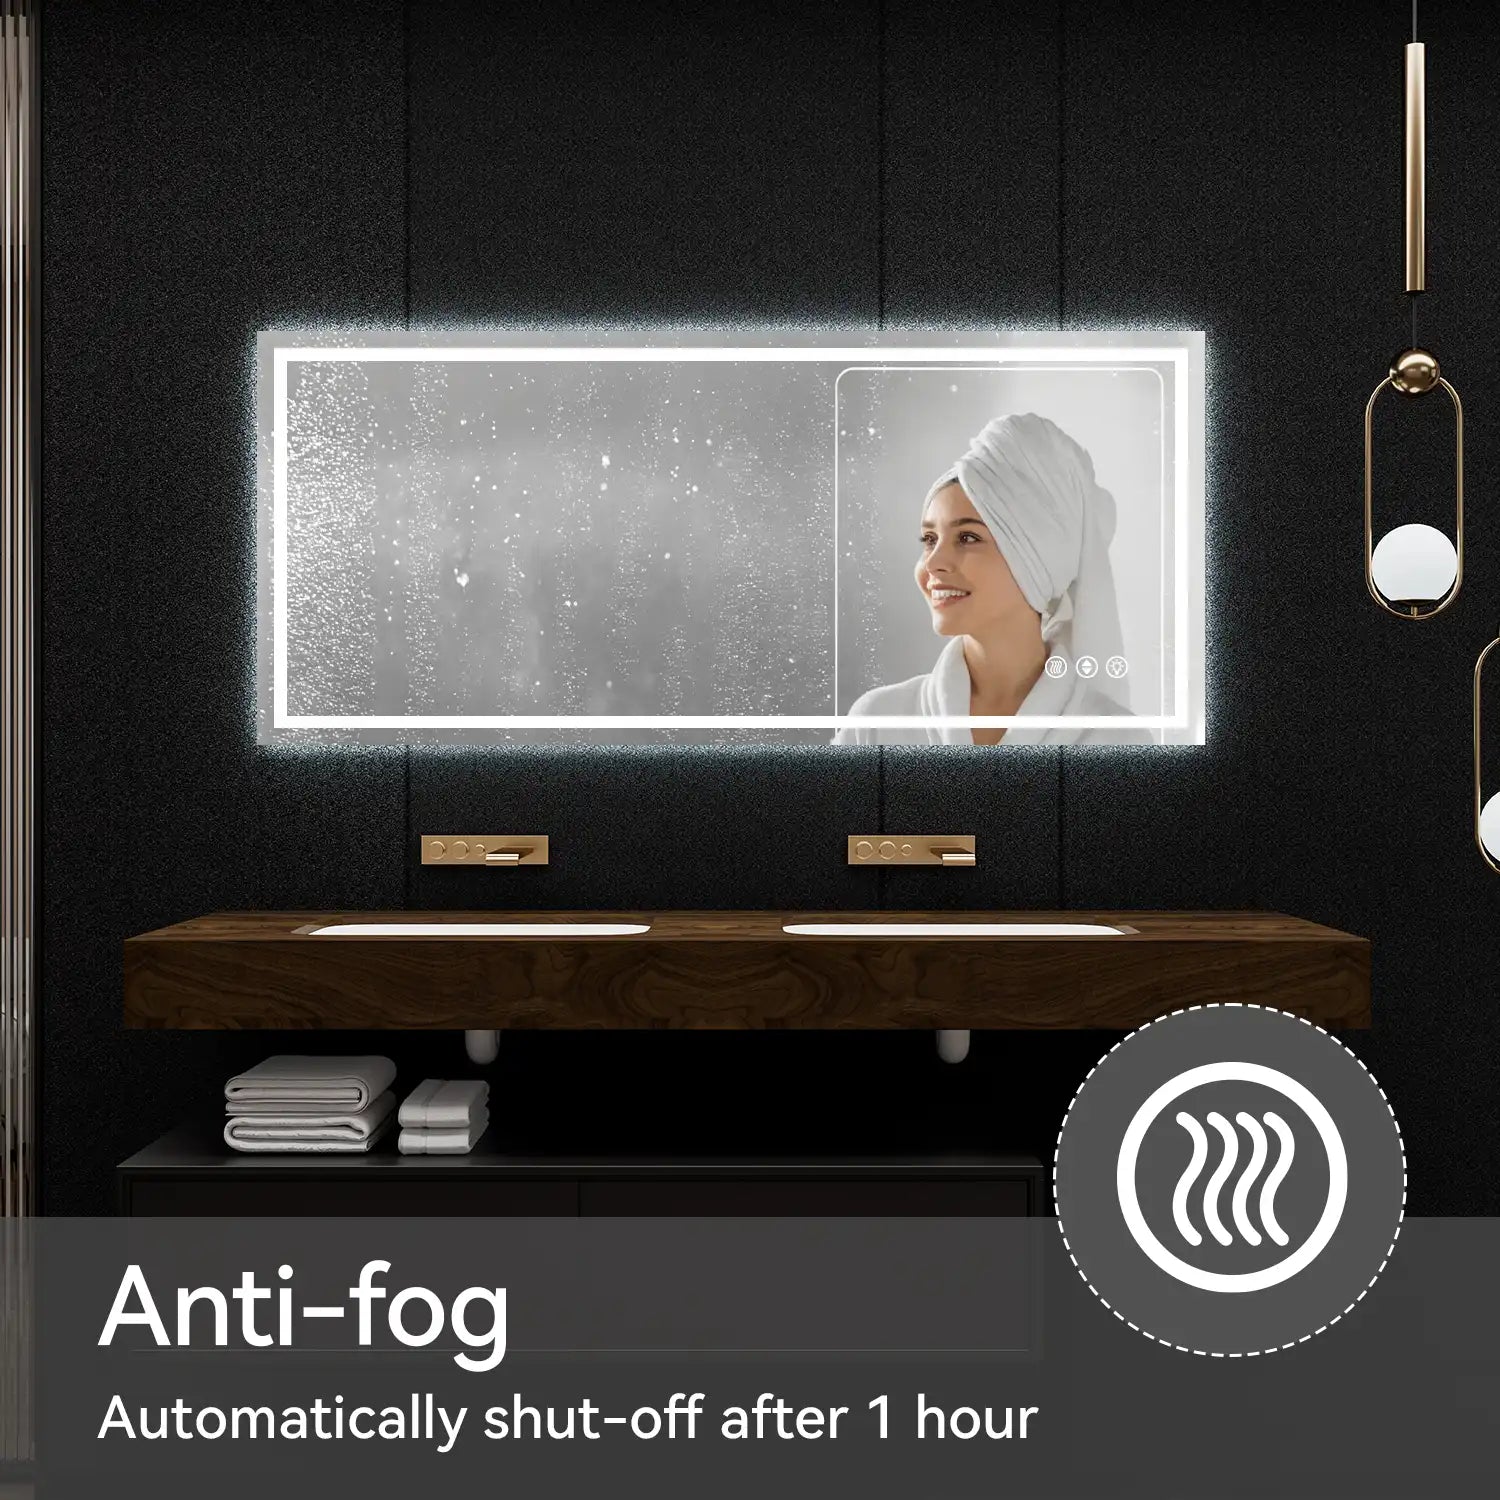
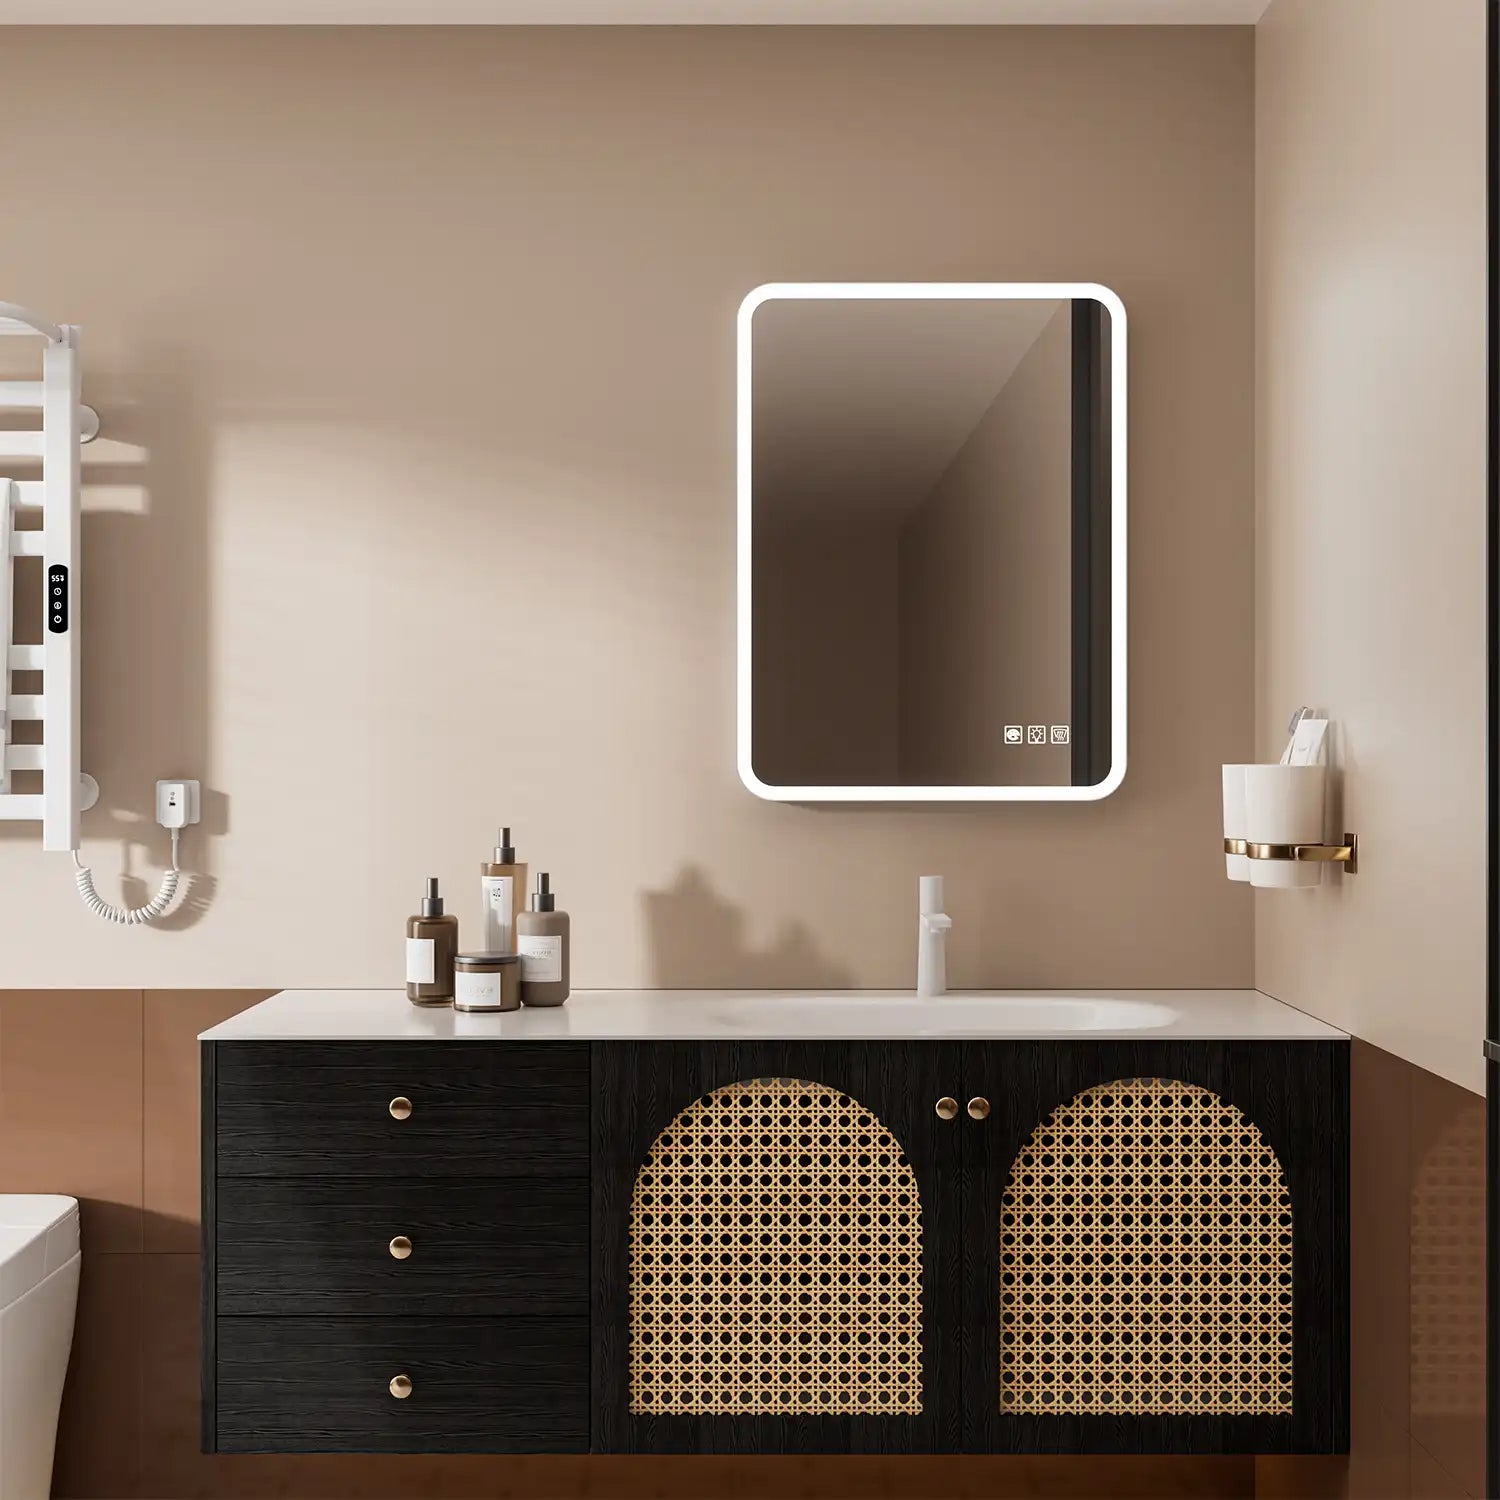
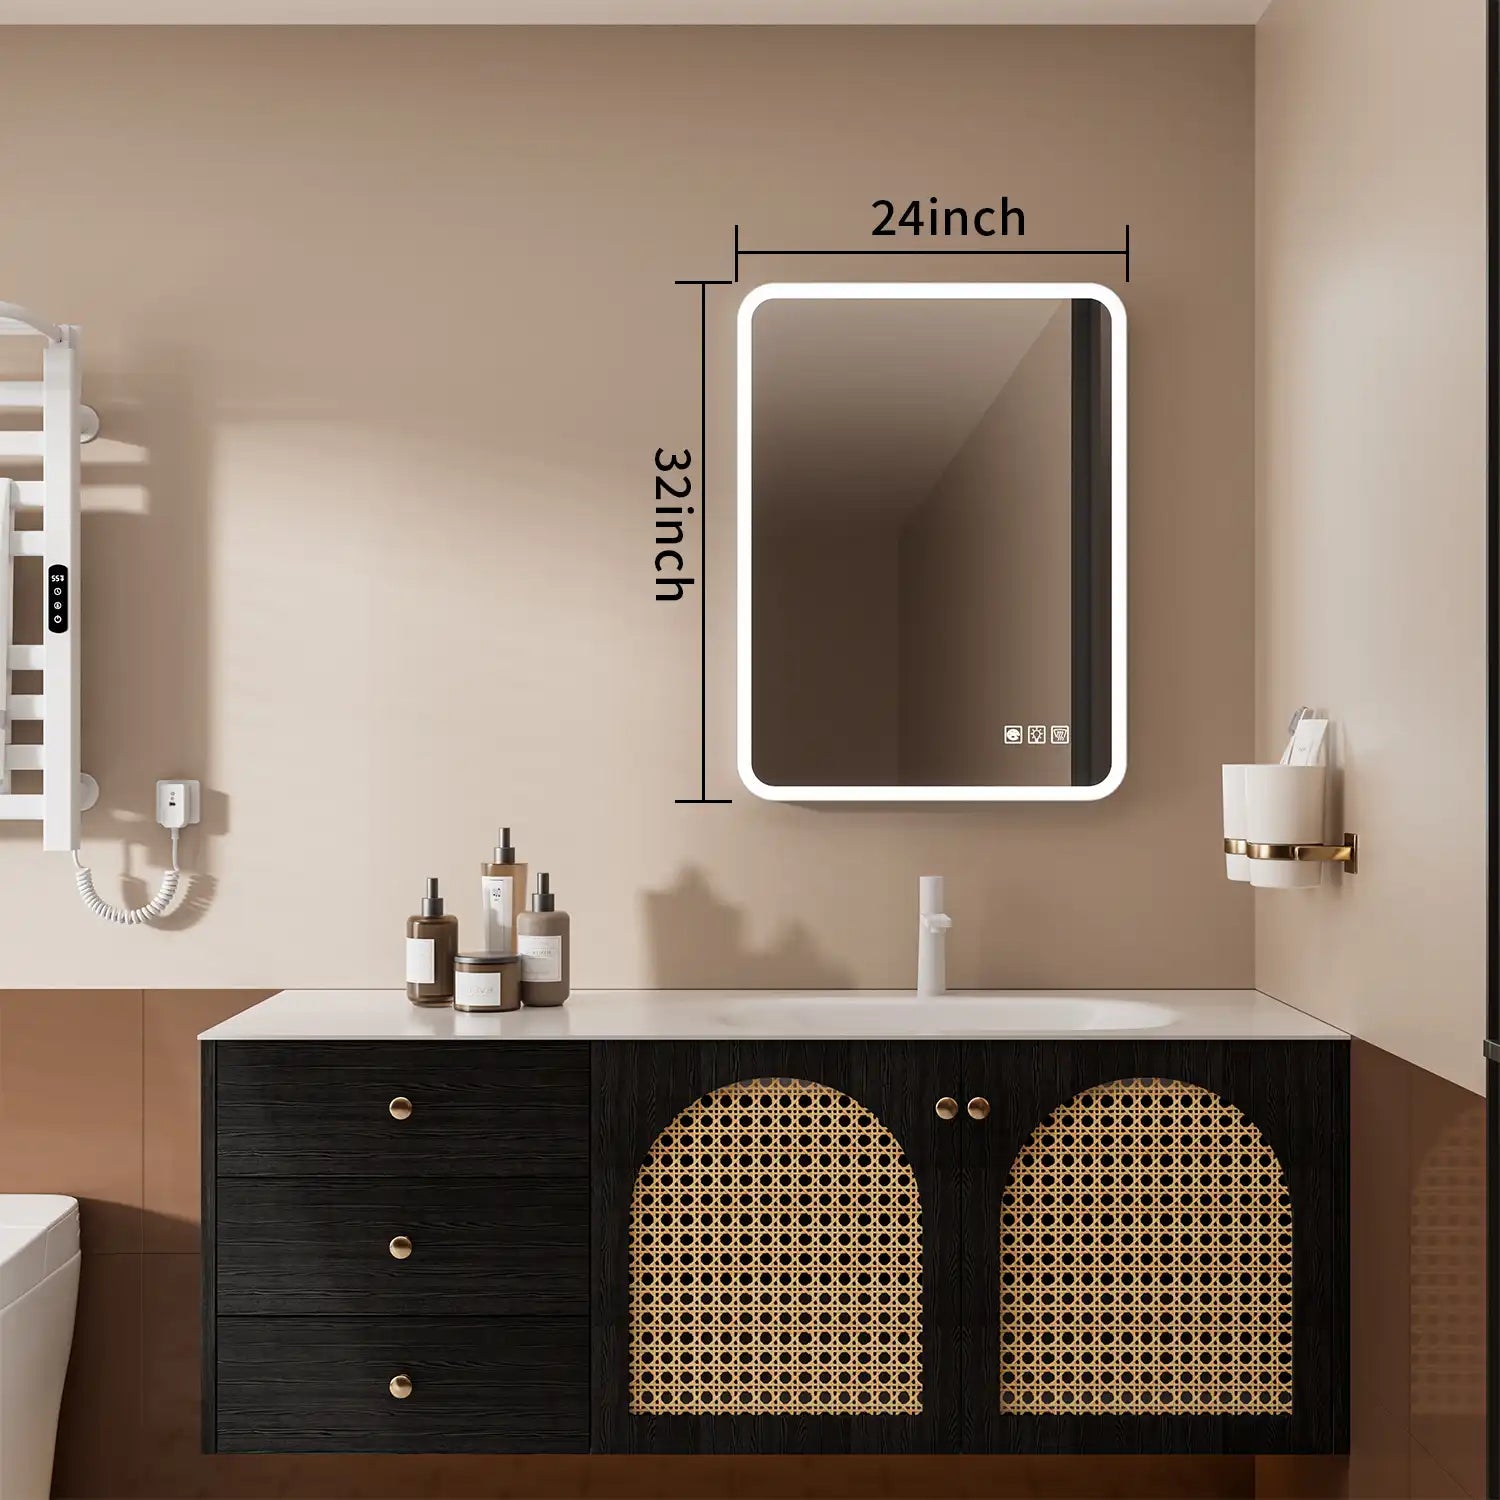
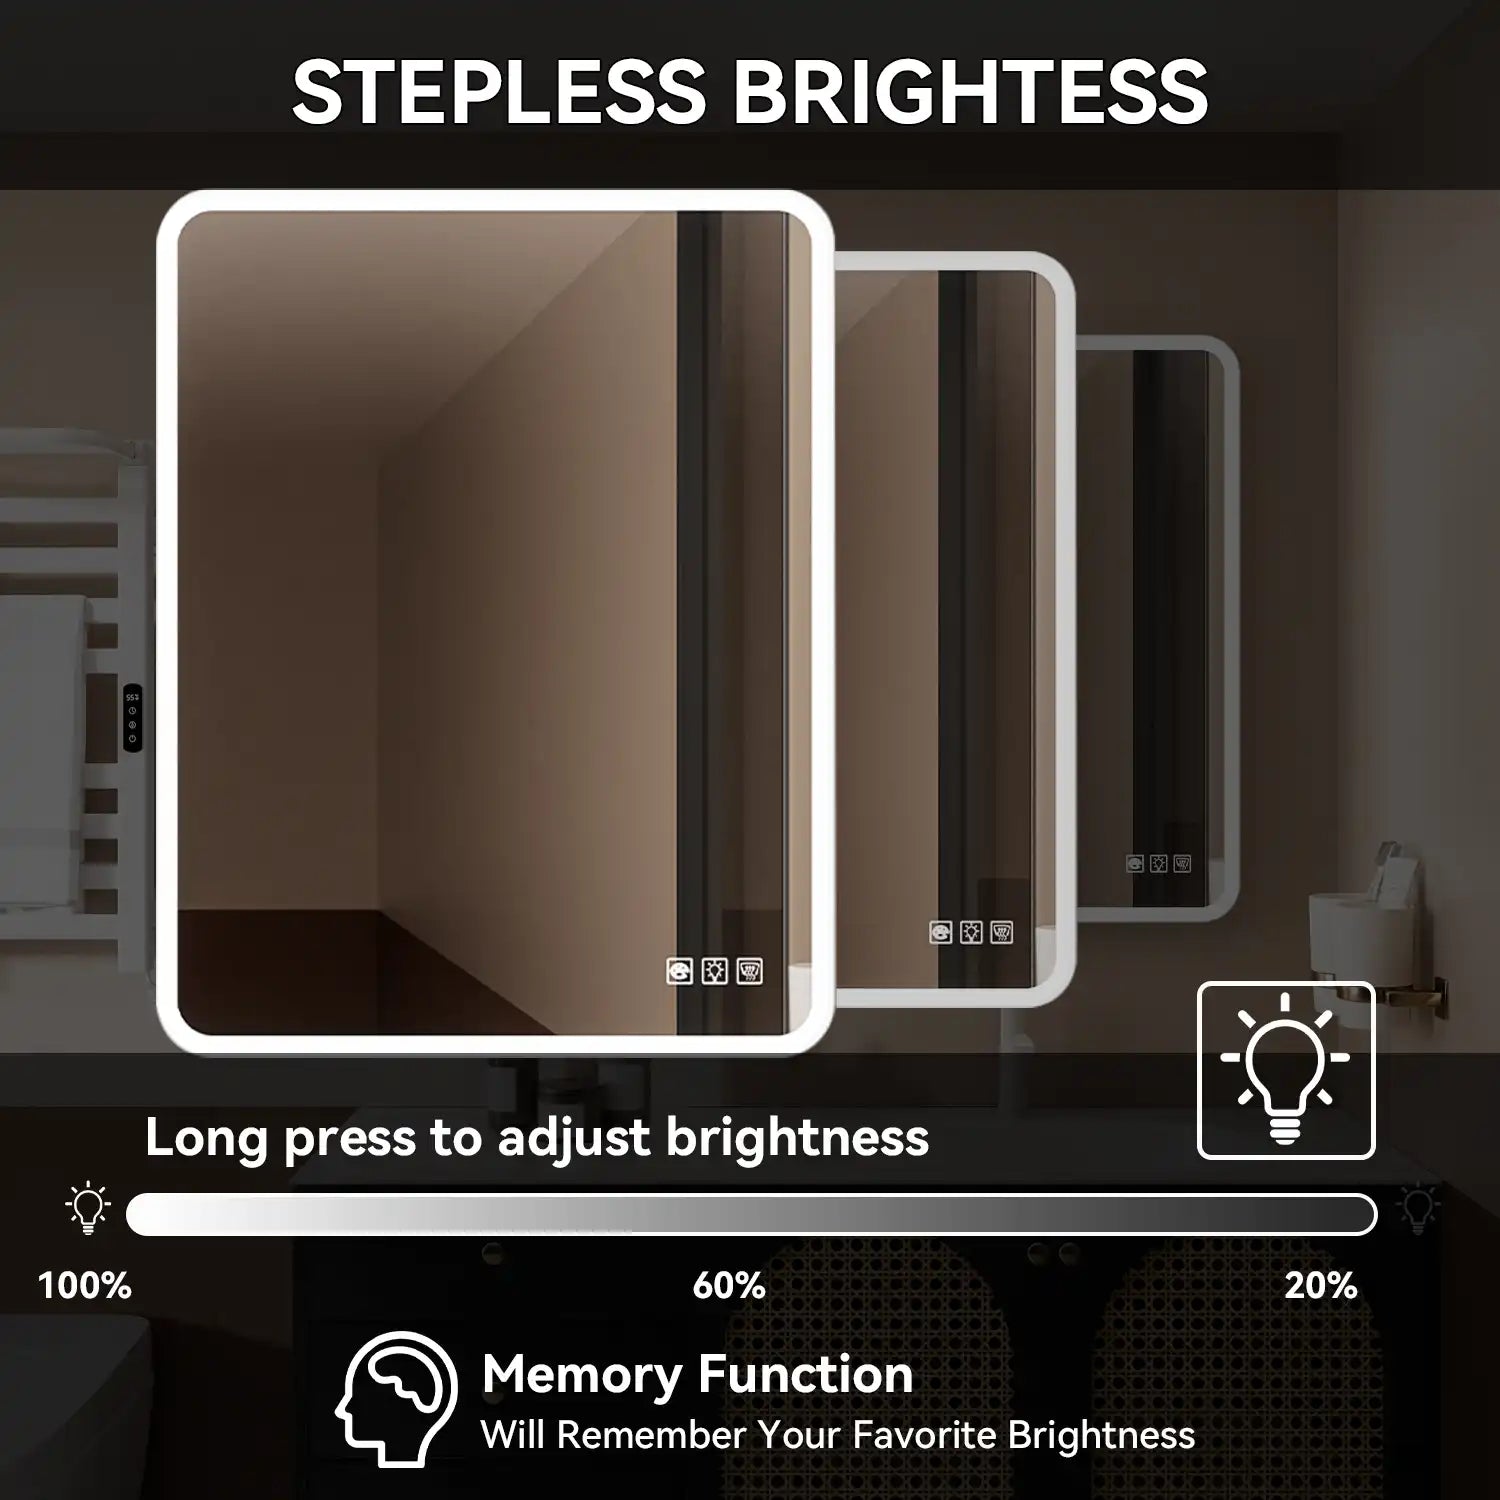
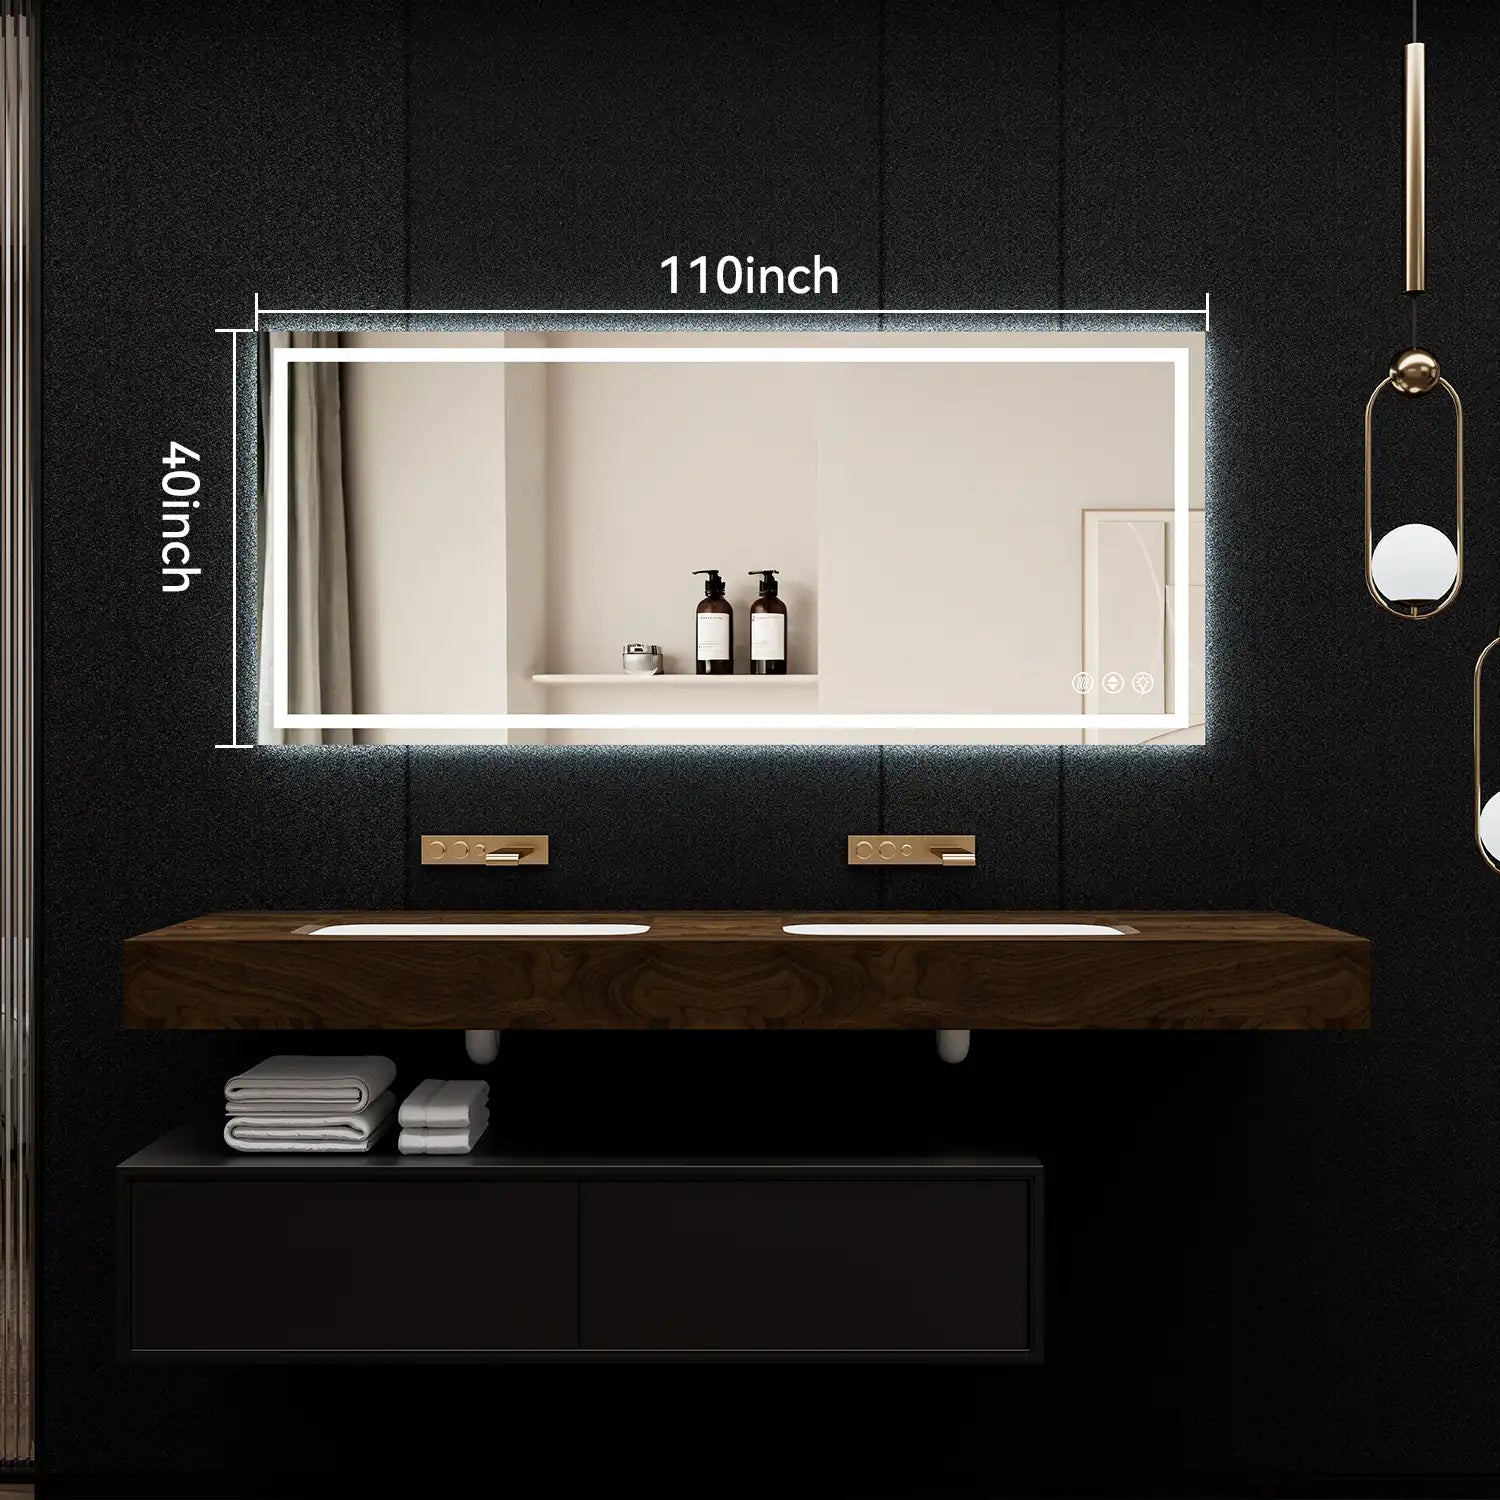
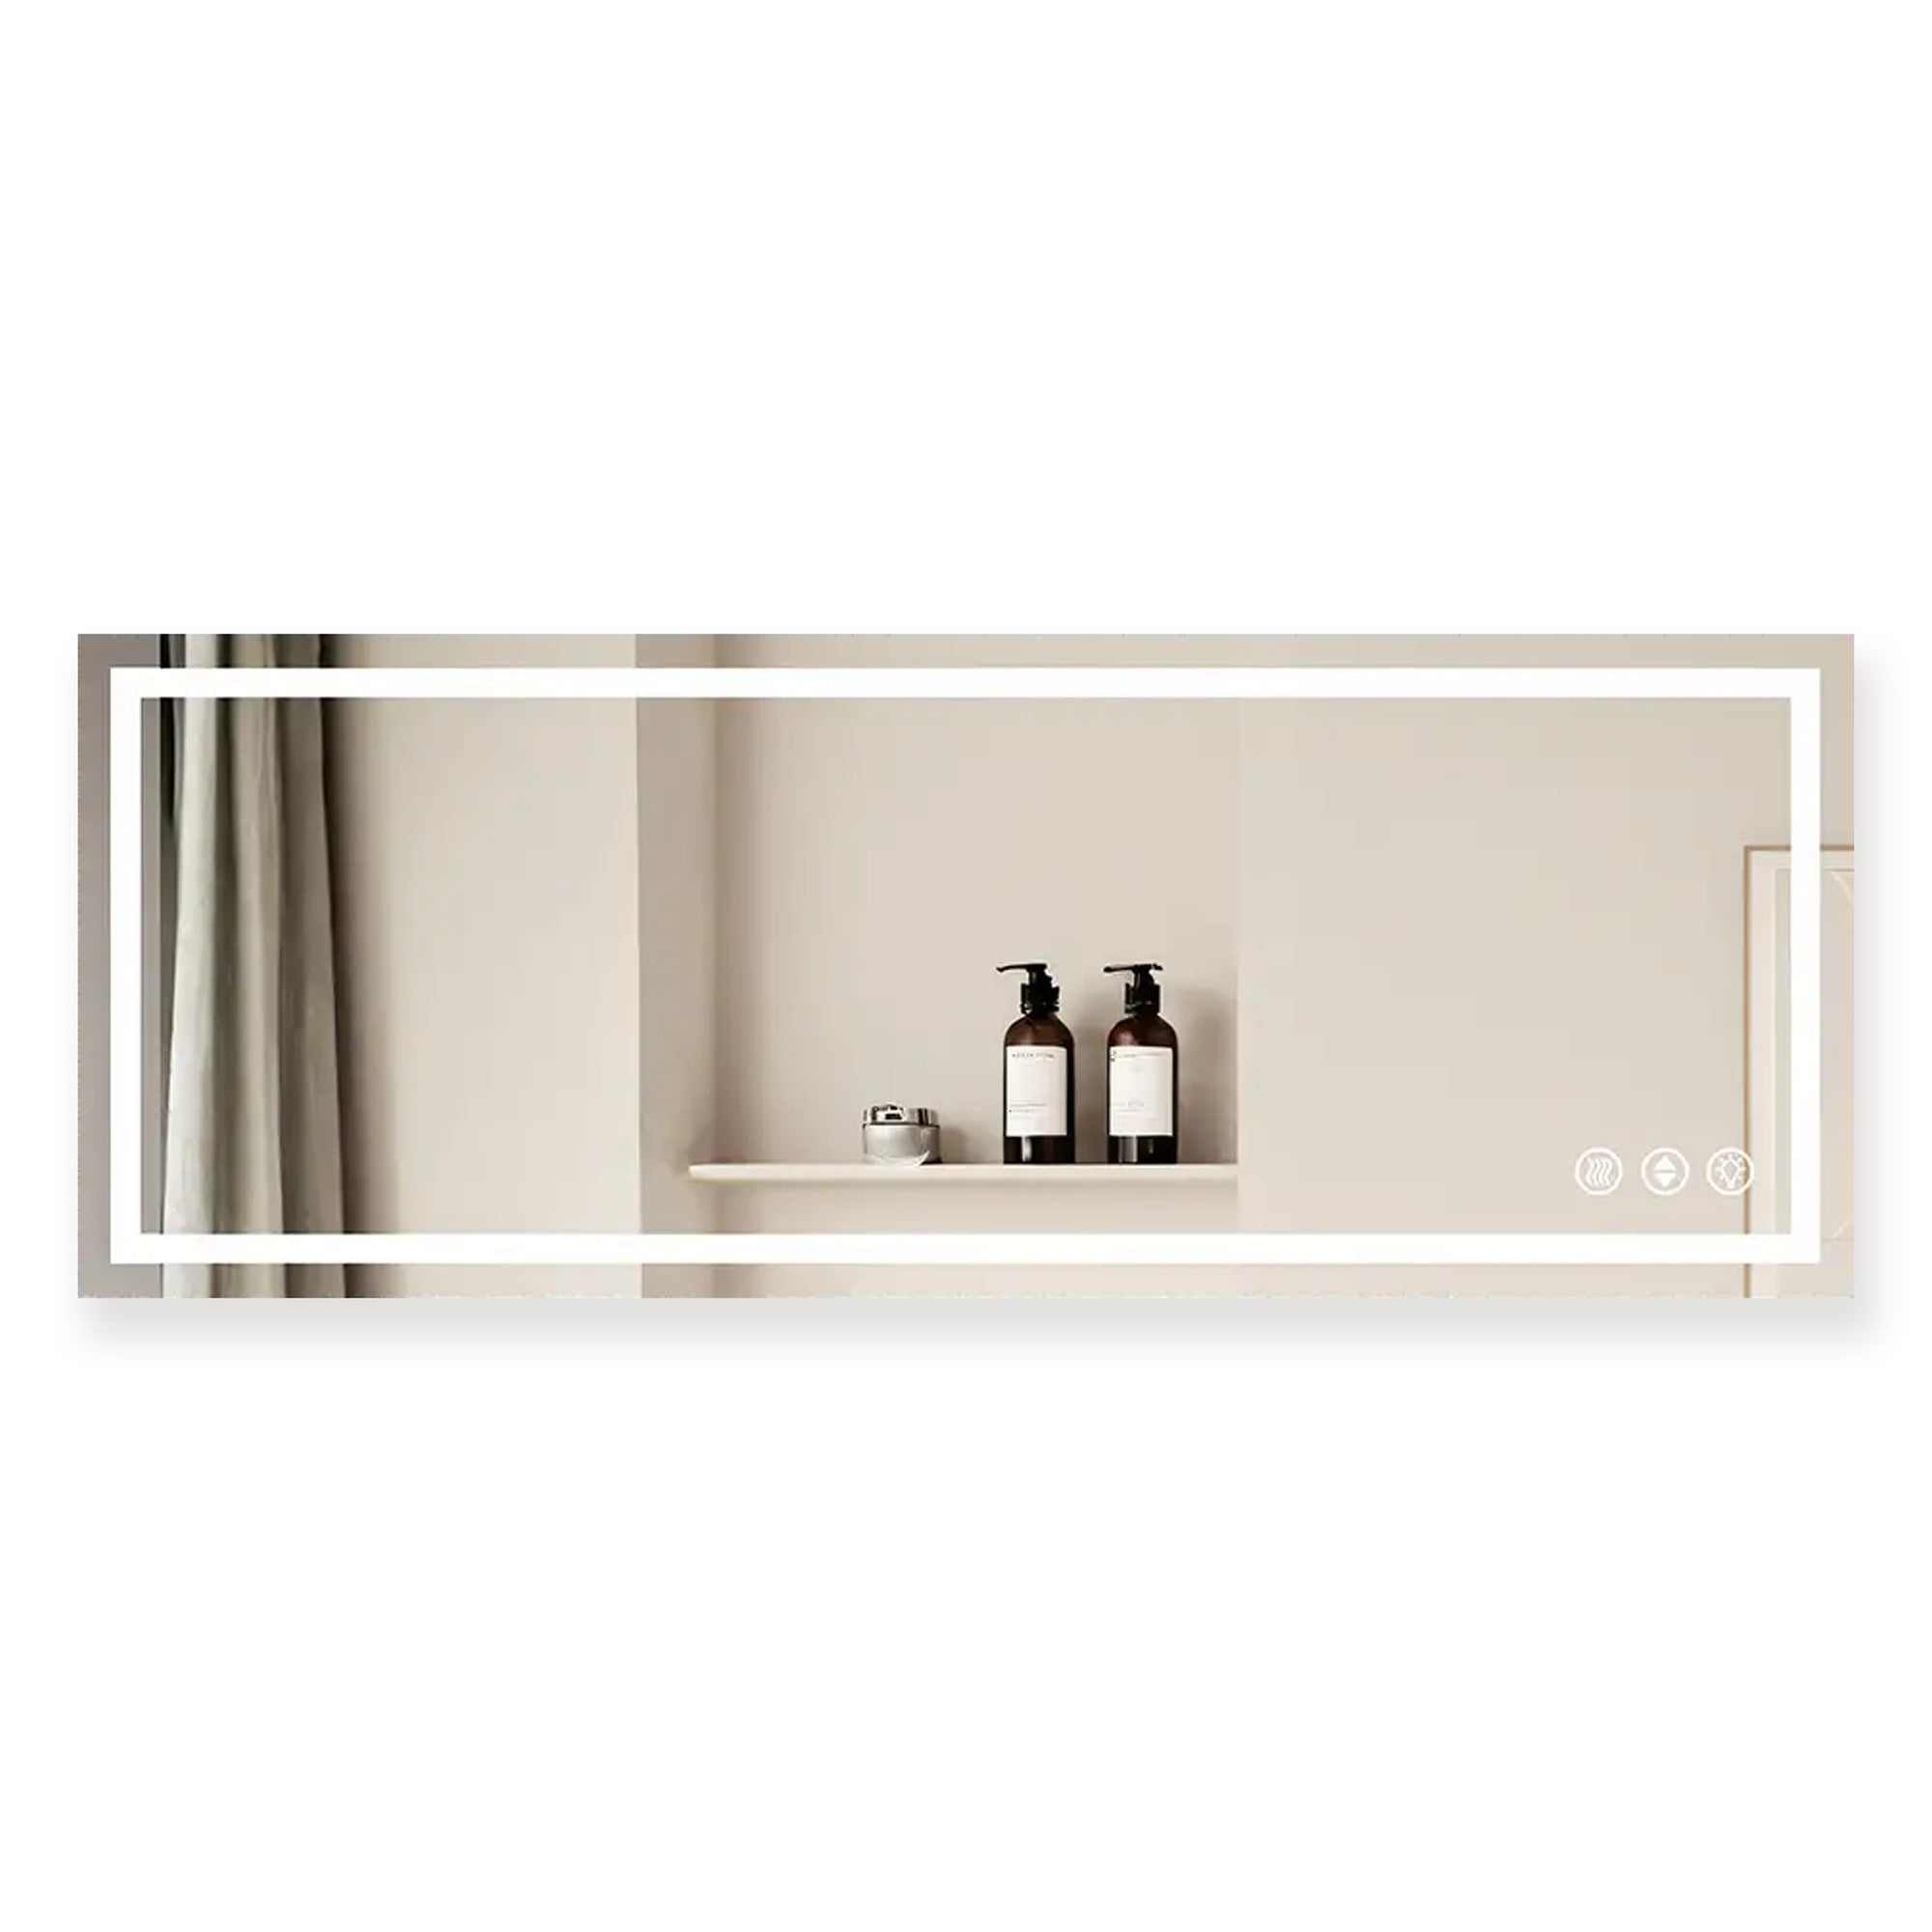
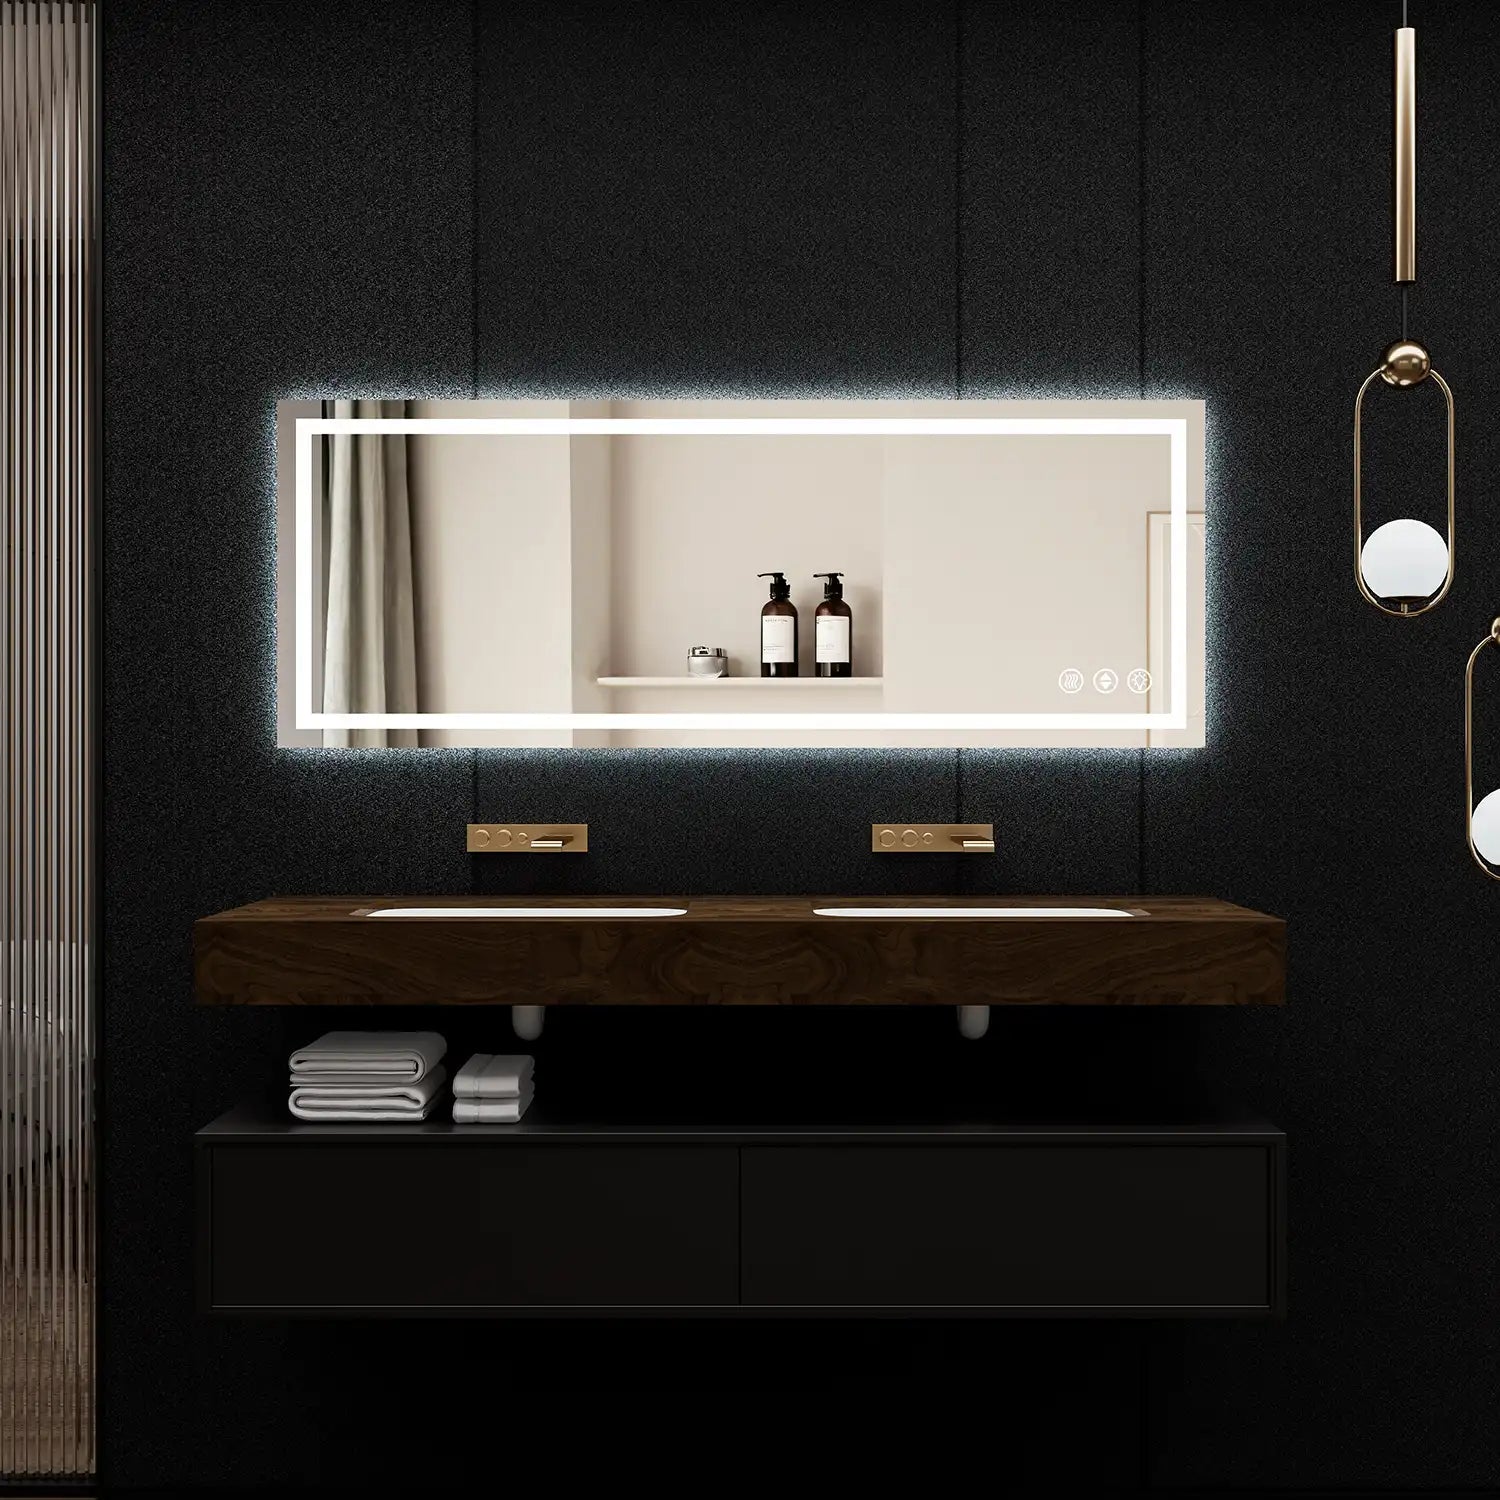
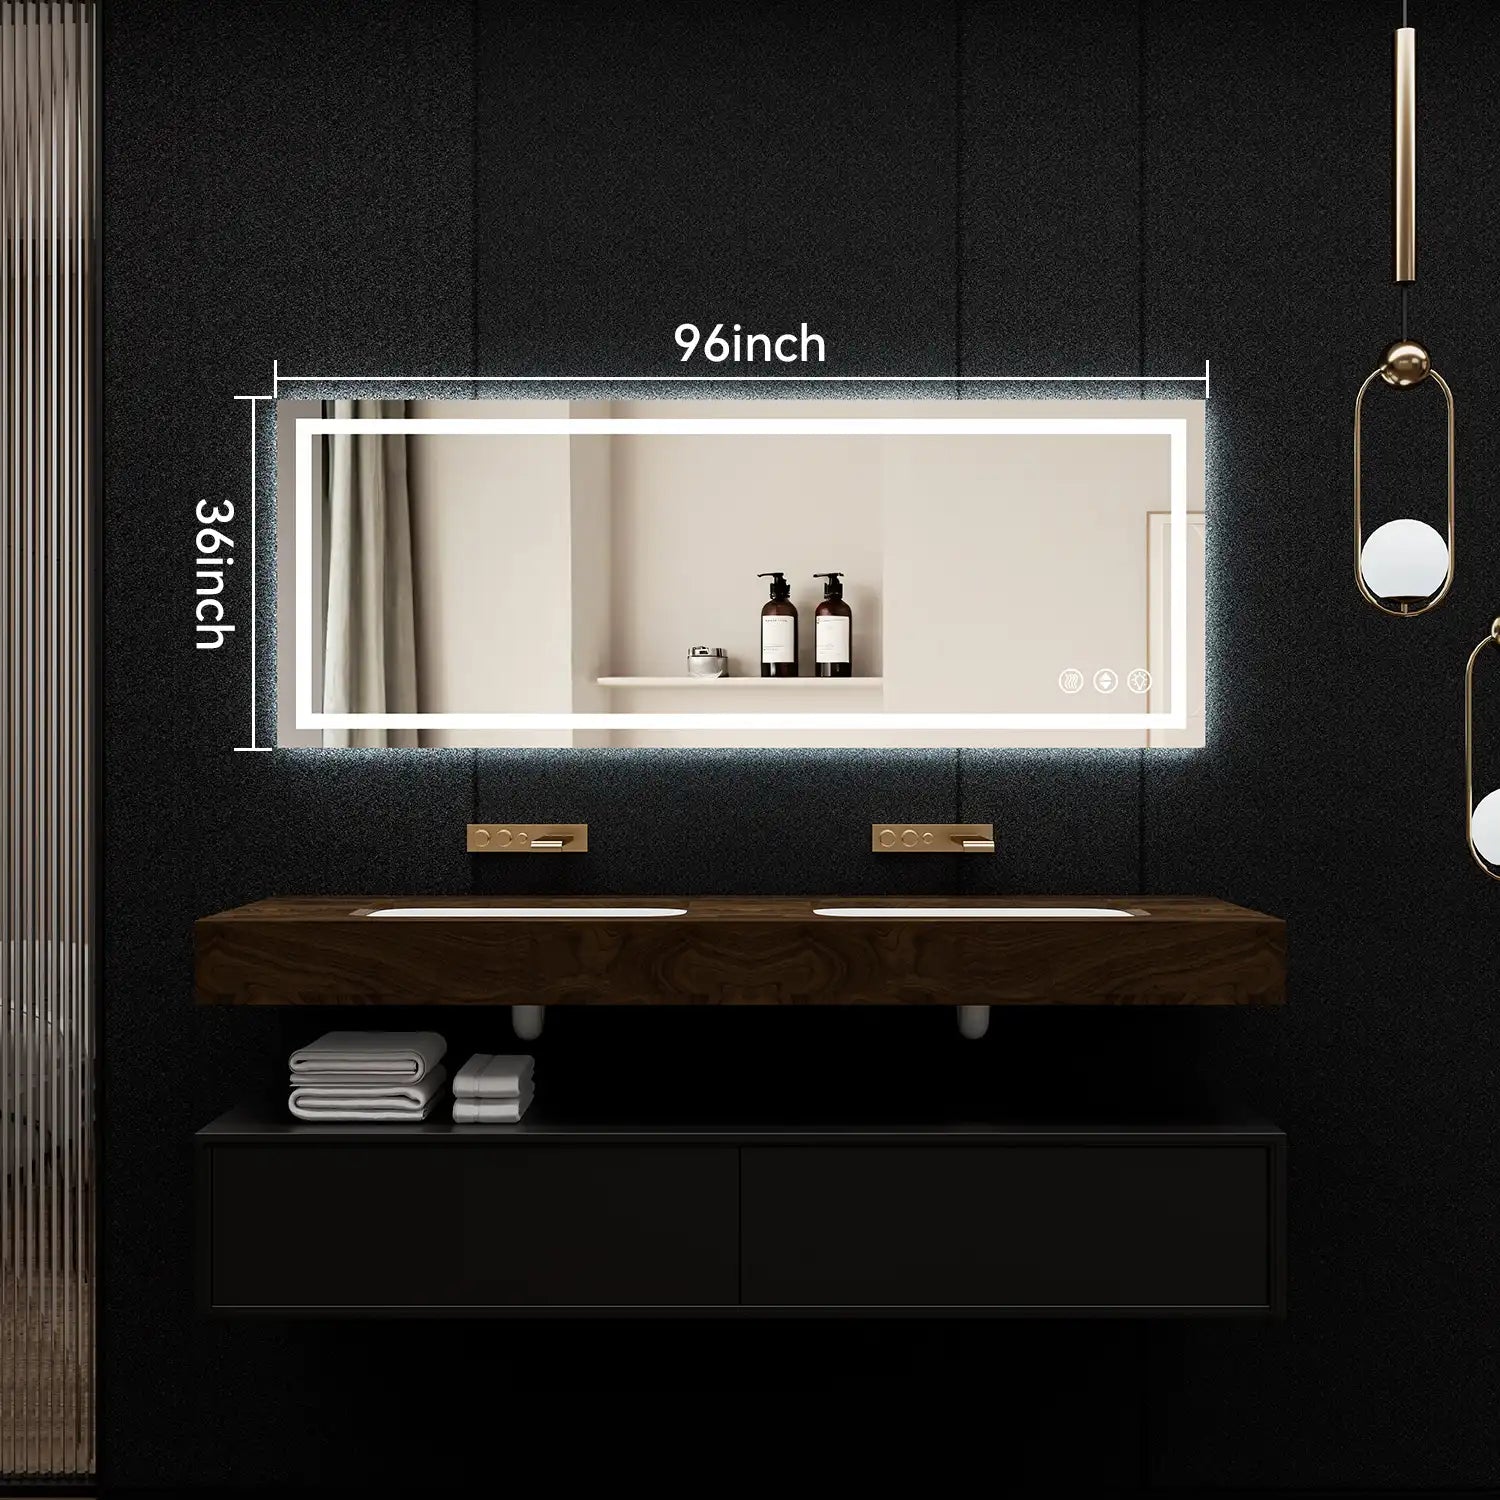
Ace Decor offers a range of modern LED mirrors designed with ease of installation in mind. Each model supports both plug-in and hard-wired configurations, allowing flexibility for different bathroom layouts and renovation stages. The mirrors include high-efficiency LED lighting, anti-fog functionality, and consistent color rendering that enhances grooming accuracy.
Conclusion
But with the proper knowledge and preparation, installing a mirror is an easy and satisfying home upgrade. By selecting an appropriate mounting method, assembling proper tools, and following safety best practices, most homeowners can achieve a clean and secure installation without professional assistance.
FAQ
Q1. Can I complete a mirror installation alone?
Q2. How do I choose the right installation method?
Q3. Can adhesive hold a mirror securely over time?
Q4. Is drilling into tile safe?
Q5. Should LED mirrors be hard-wired or plugged in?
Related Articles
Square Bathroom Mirrors Installation Guide: Size Ratio + Lighting Matching Suggestions
Frameless Vanity Mirror vs. Framed: Which Is Right for Your Bathroom?
Mirror Frame Kits for Bathroom Mirrors: How to Choose the Best One for Your Bathroom
The Art of Imperfection: How Irregular Bathroom Mirrors Create Stunning Focal Points