Table of Contents
- Why Replace a Medicine Cabinet Mirror?
- Choosing the Right Replacement Mirror
- Step-by-Step Guide: How to Replace a Medicine Cabinet Mirror
- How Much Does a Medicine Cabinet Mirror Replacement Cost?
- Should You DIY or Hire a Pro?
- FAQ — Medicine Cabinet Mirror Replacement
- Conclusion
- Related Articles
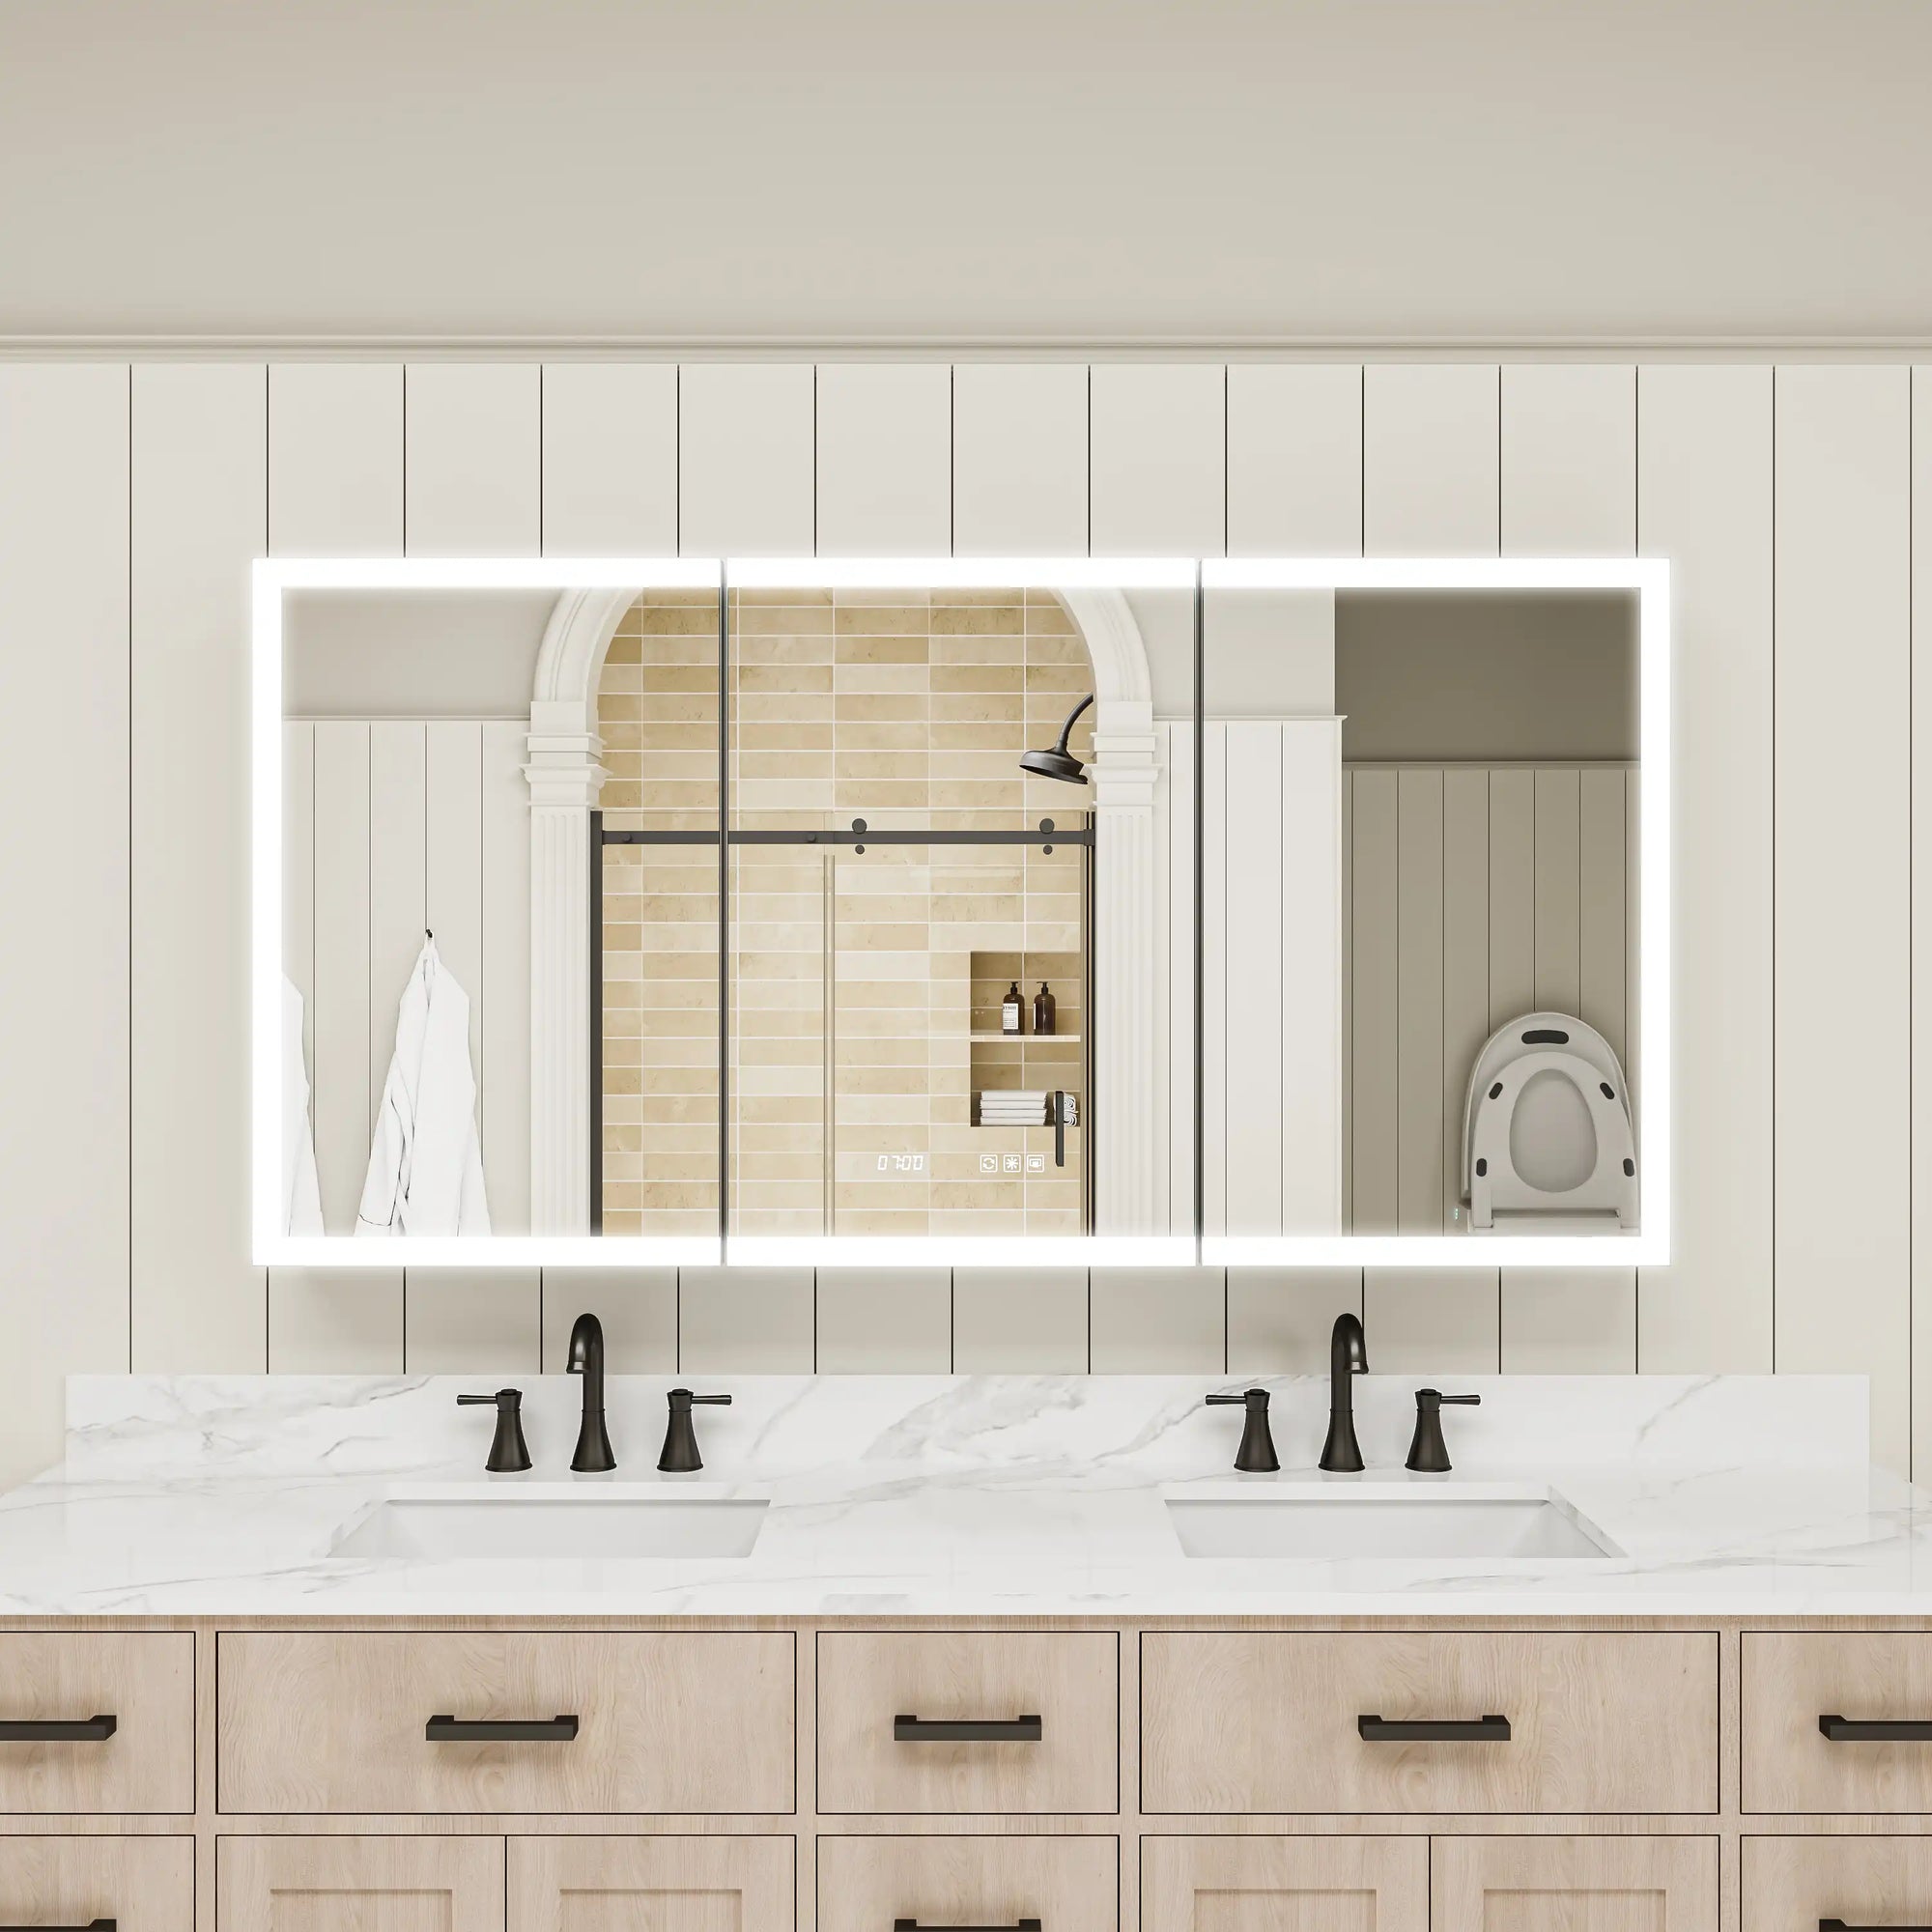
Upgrading a bathroom doesn't always require a full renovation—often, a simple medicine cabinet mirror replacement delivers one of the biggest visual improvements for the least cost. Many West Coast homeowners replace their mirror when the old one becomes dated, damaged, or no longer matches the clean, modern look they're going for. A new mirror instantly brightens the room, improves daily usability, and refreshes the overall style without removing the cabinet or hiring a contractor.
In this guide, I'll walk you through everything you need to know before starting: how to choose the right replacement mirror, how to measure accurately, what tools to prepare, installation steps, cost expectations, and a few practical tips based on what I've seen homeowners run into—especially in older suburban homes. If you're looking for a clear, straightforward, and confidence-building walkthrough of medicine cabinet mirror replacement, you're in the right place.
Why Replace a Medicine Cabinet Mirror?
A medicine cabinet mirror replacement is one of those projects that delivers immediate improvement with minimal disruption. Homeowners typically decide to replace the mirror for a mix of practical, aesthetic, and safety-related reasons—especially in older West Coast homes where bathrooms tend to show their age more quickly.
1. The mirror is damaged or beginning to fail
Bathroom mirrors are exposed to constant humidity and temperature changes, which eventually take a toll. Common signs that it's time for a replacement include:
- Cracks, chips, or surface scratches
- Black or cloudy edges caused by moisture damage (mirror desilvering)
- A wavy or warped reflection
- Persistent fogging, even after cleaning
These issues aren't just cosmetic. A failing mirror can loosen over time or develop sharp edges, becoming a safety concern for everyday use.
2. The mirror no longer fits the style of the bathroom
Many homes built in the ’80s–early 2000s still feature bulky or outdated mirrored doors that no longer match today's cleaner, more streamlined bathroom aesthetic. Replacing only the mirror allows you to:
- Update the space without removing the cabinet
- Match newer fixtures such as matte black or brushed nickel hardware
- Brighten the room with a cleaner, clearer surface
It's one of the fastest ways to give an older bathroom a more contemporary look—without committing to a full remodel.
3. You want better functionality or a more modern mirror design
A mirror isn't just for reflection—it influences lighting, storage usability, and how the bathroom feels overall. Many homeowners choose to replace their mirror because they want:
- A larger viewing area
- A thinner, minimalist frameless edge
- A beveled mirror that adds dimension and visual interest
- A mirror that aligns with new faucets, lighting, or finishes
Replacing just the mirror offers a practical middle ground: you upgrade the style and visibility while keeping your existing medicine cabinet structure intact.
4. The cabinet is still in good shape, but the mirror isn't
A very common scenario:
The cabinet box, hinges, and shelves are still sturdy—but the mirror is the part that shows age first. In this case, a mirror-only replacement preserves what's working and avoids unnecessary waste or cost.
5. You're preparing the home for resale
A fresh mirror immediately improves first impressions during showings. It signals that the bathroom has been maintained and updated, even if the remodeling budget is modest.

Choosing the Right Replacement Mirror
Selecting the right mirror is one of the most important decisions in the entire medicine cabinet mirror replacement process. The mirror you choose affects not only the look of your bathroom, but also how well the cabinet functions day to day. Before purchasing anything, it's worth taking a few minutes to understand your cabinet type, your bathroom style, and the practical features that will make a difference in the long run—especially in a bathroom that sees daily use.
1. Determine Whether Your Existing Mirror Is Removable
Before choosing a new mirror, it's important to understand how the existing one is attached to your medicine cabinet. Different fastening methods can change how easy the replacement process will be, and knowing what you're working with helps you avoid unnecessary damage or buying the wrong style of mirror.
In many West Coast homes—especially those with older recessed cabinets from the late ’80s to early 2000s—the mirror is often held in place with simple screws or clips. These are the easiest to handle, since you can remove them with a basic screwdriver and lift the mirror off the door with minimal effort. Some cabinets use a metal tab system instead, where small tabs grip the edges of the mirror. This setup holds the mirror firmly but usually requires gentle prying during removal to avoid bending the door or scratching the backing.
Another common attachment method is full-surface adhesive. In these cases, the mirror is glued directly onto the front of the cabinet door. Replacement is still possible, but it requires patience, slow loosening around the edges, and extra care to avoid cracking the door surface beneath. Finally, some medicine cabinets use integrated mirrored doors—meaning the mirror is built into the door as a single manufactured unit. When that's the case, replacing only the mirror isn't usually practical; it often makes more sense to replace the entire door or upgrade the cabinet altogether.
Understanding which type you have helps you anticipate the difficulty of the project and ensures you select a mirror that's compatible with your cabinet's design. It's a small step that prevents wasted purchases and keeps the entire medicine cabinet mirror replacement process running smoothly.
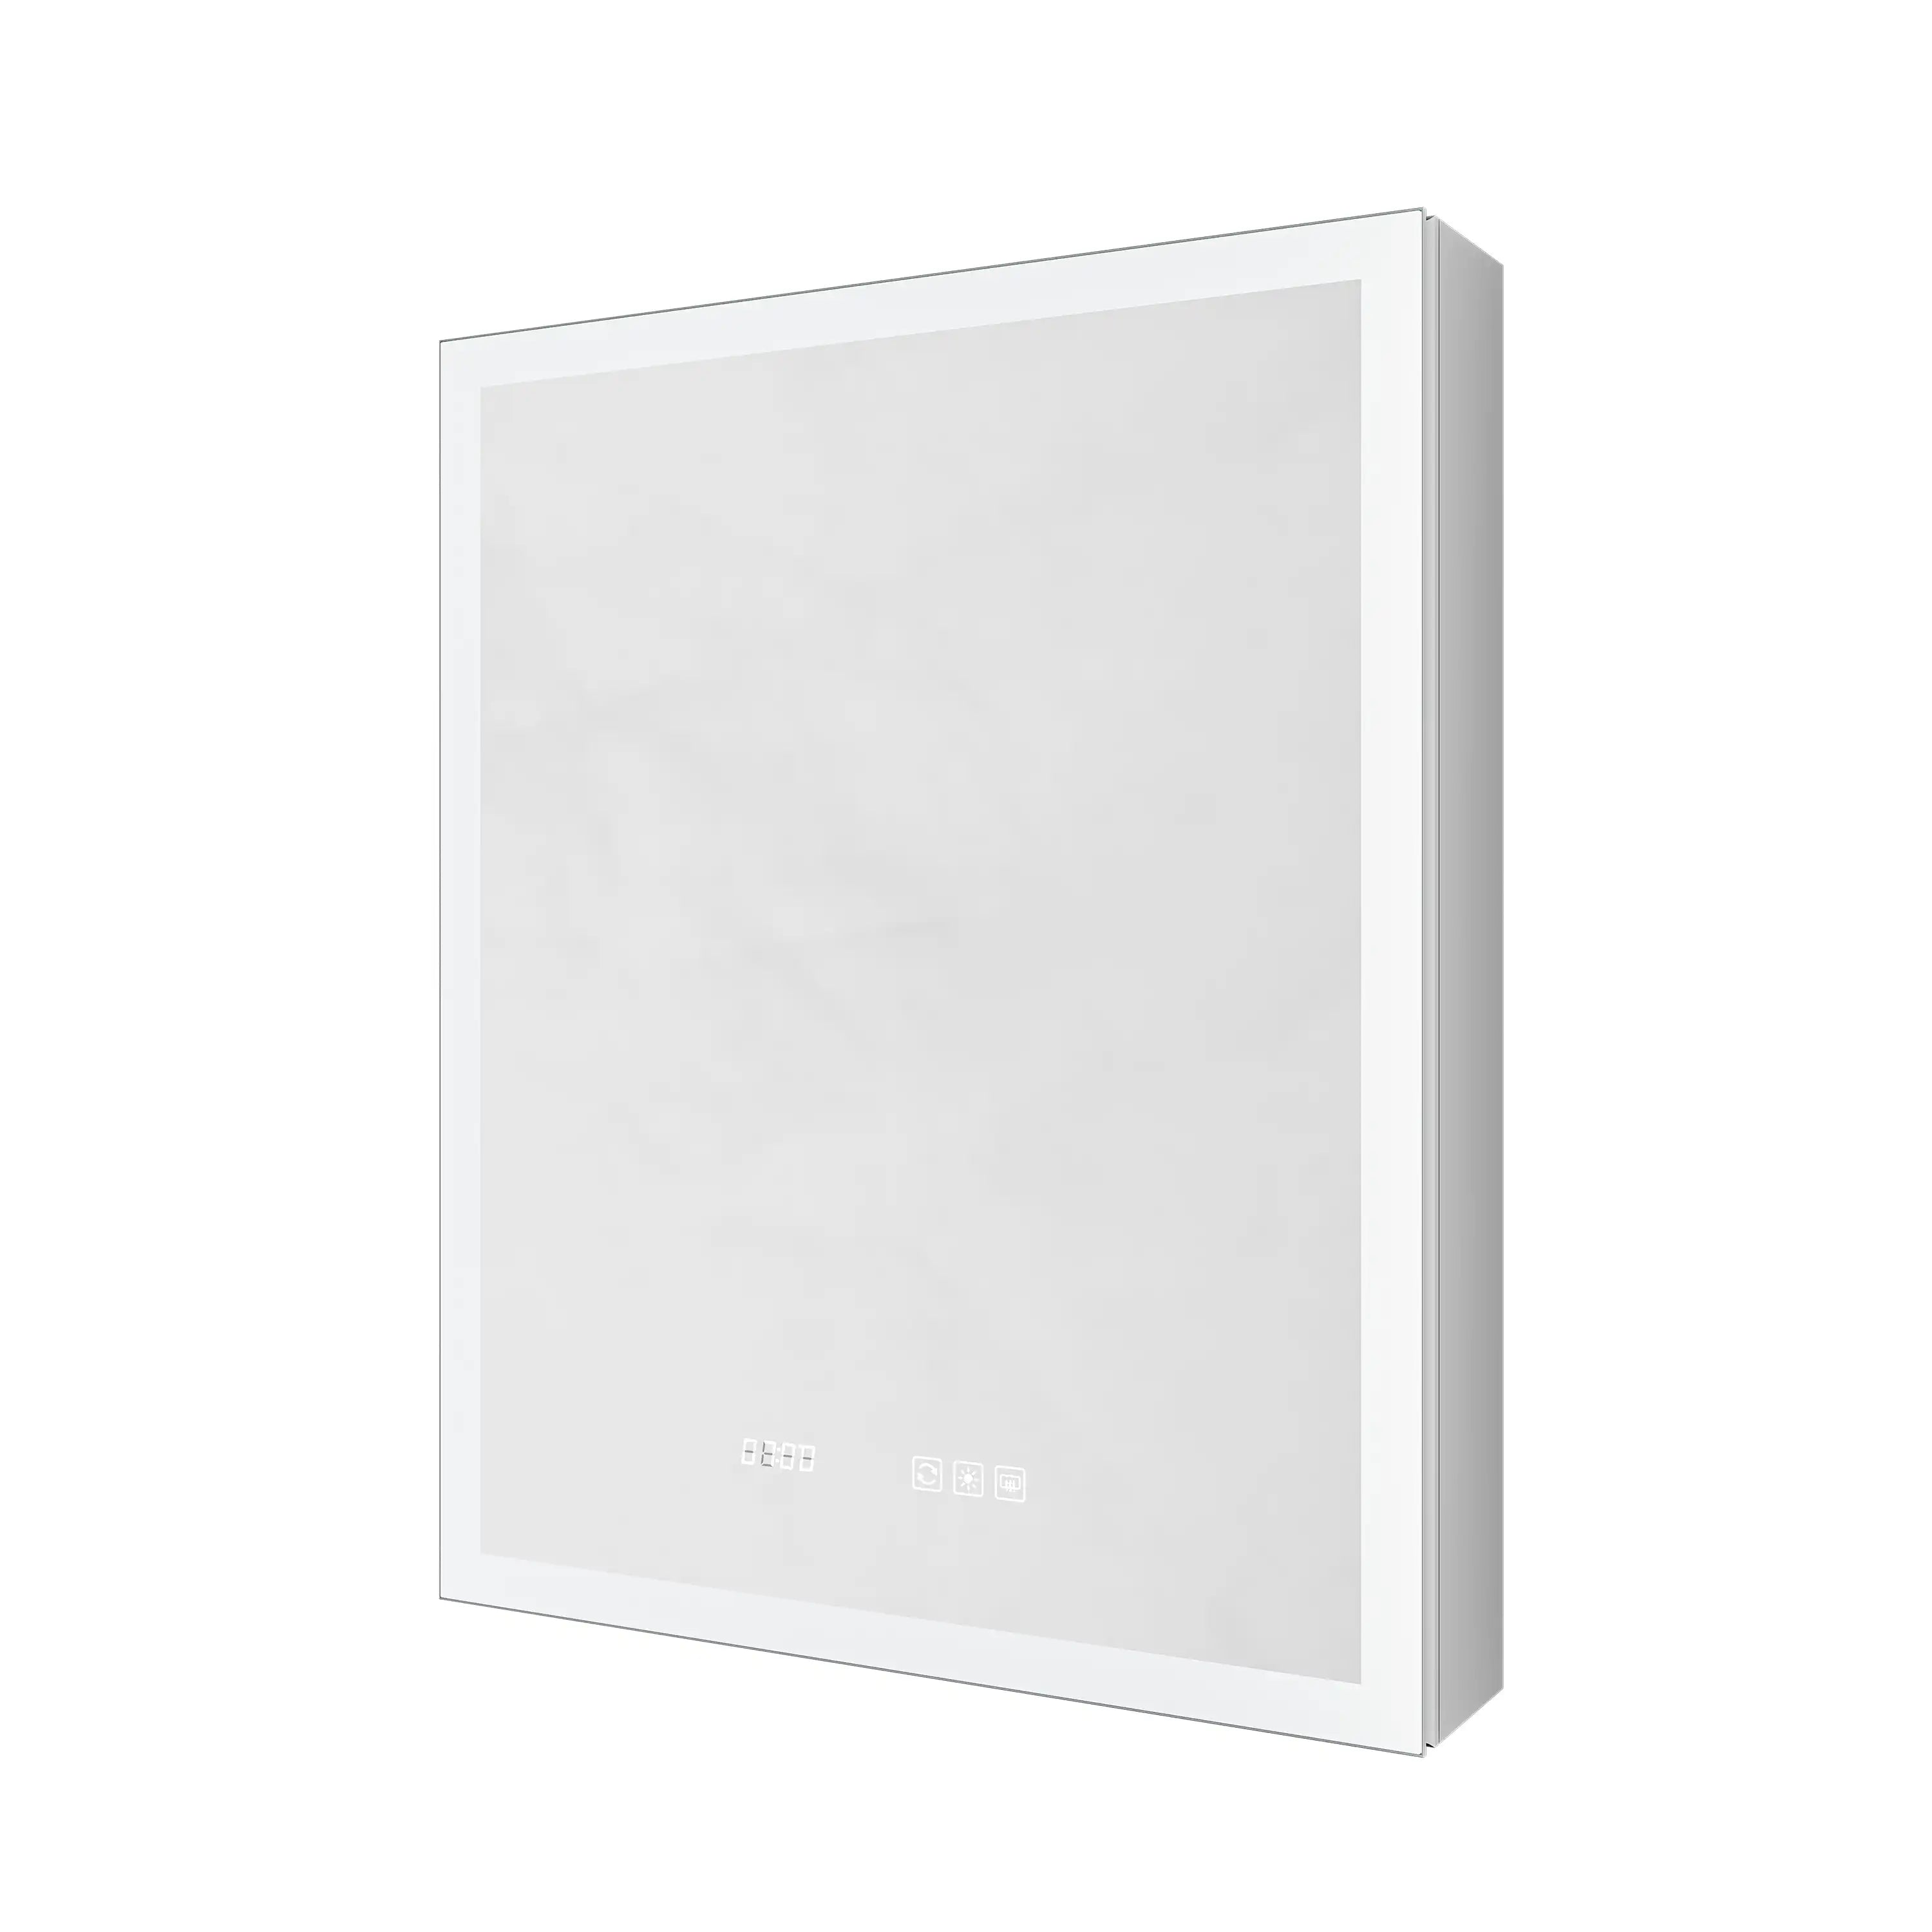
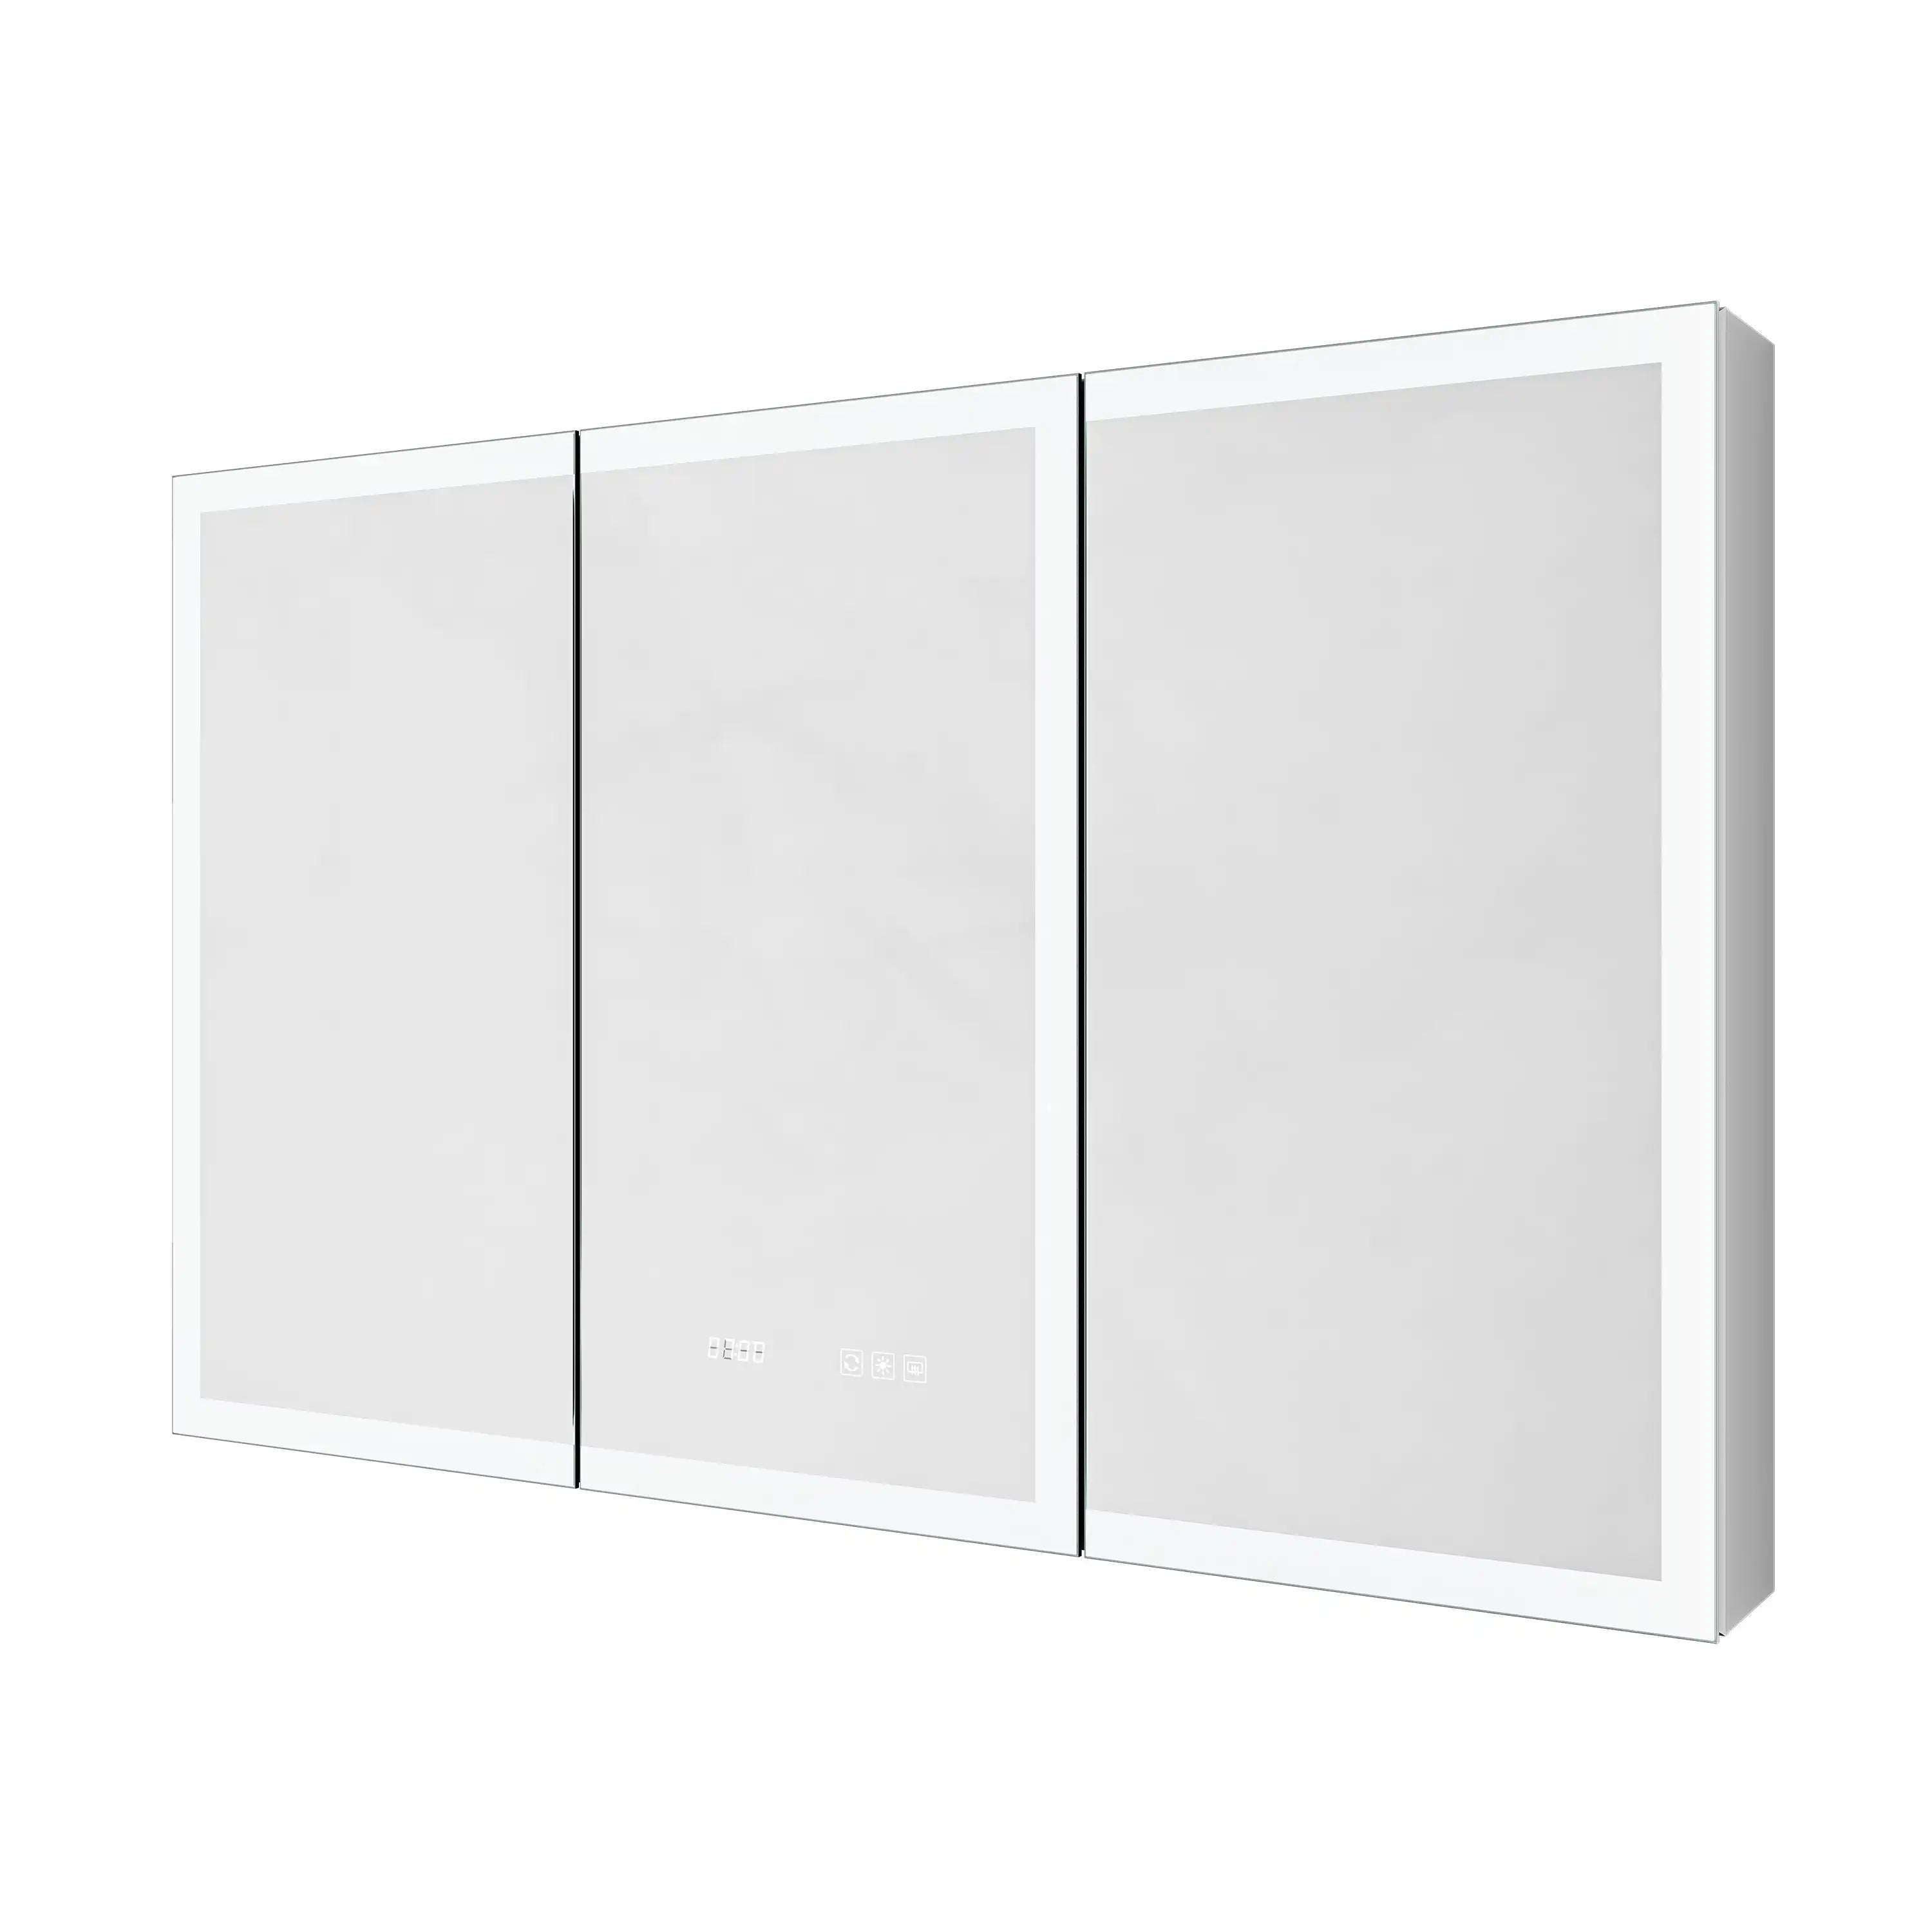
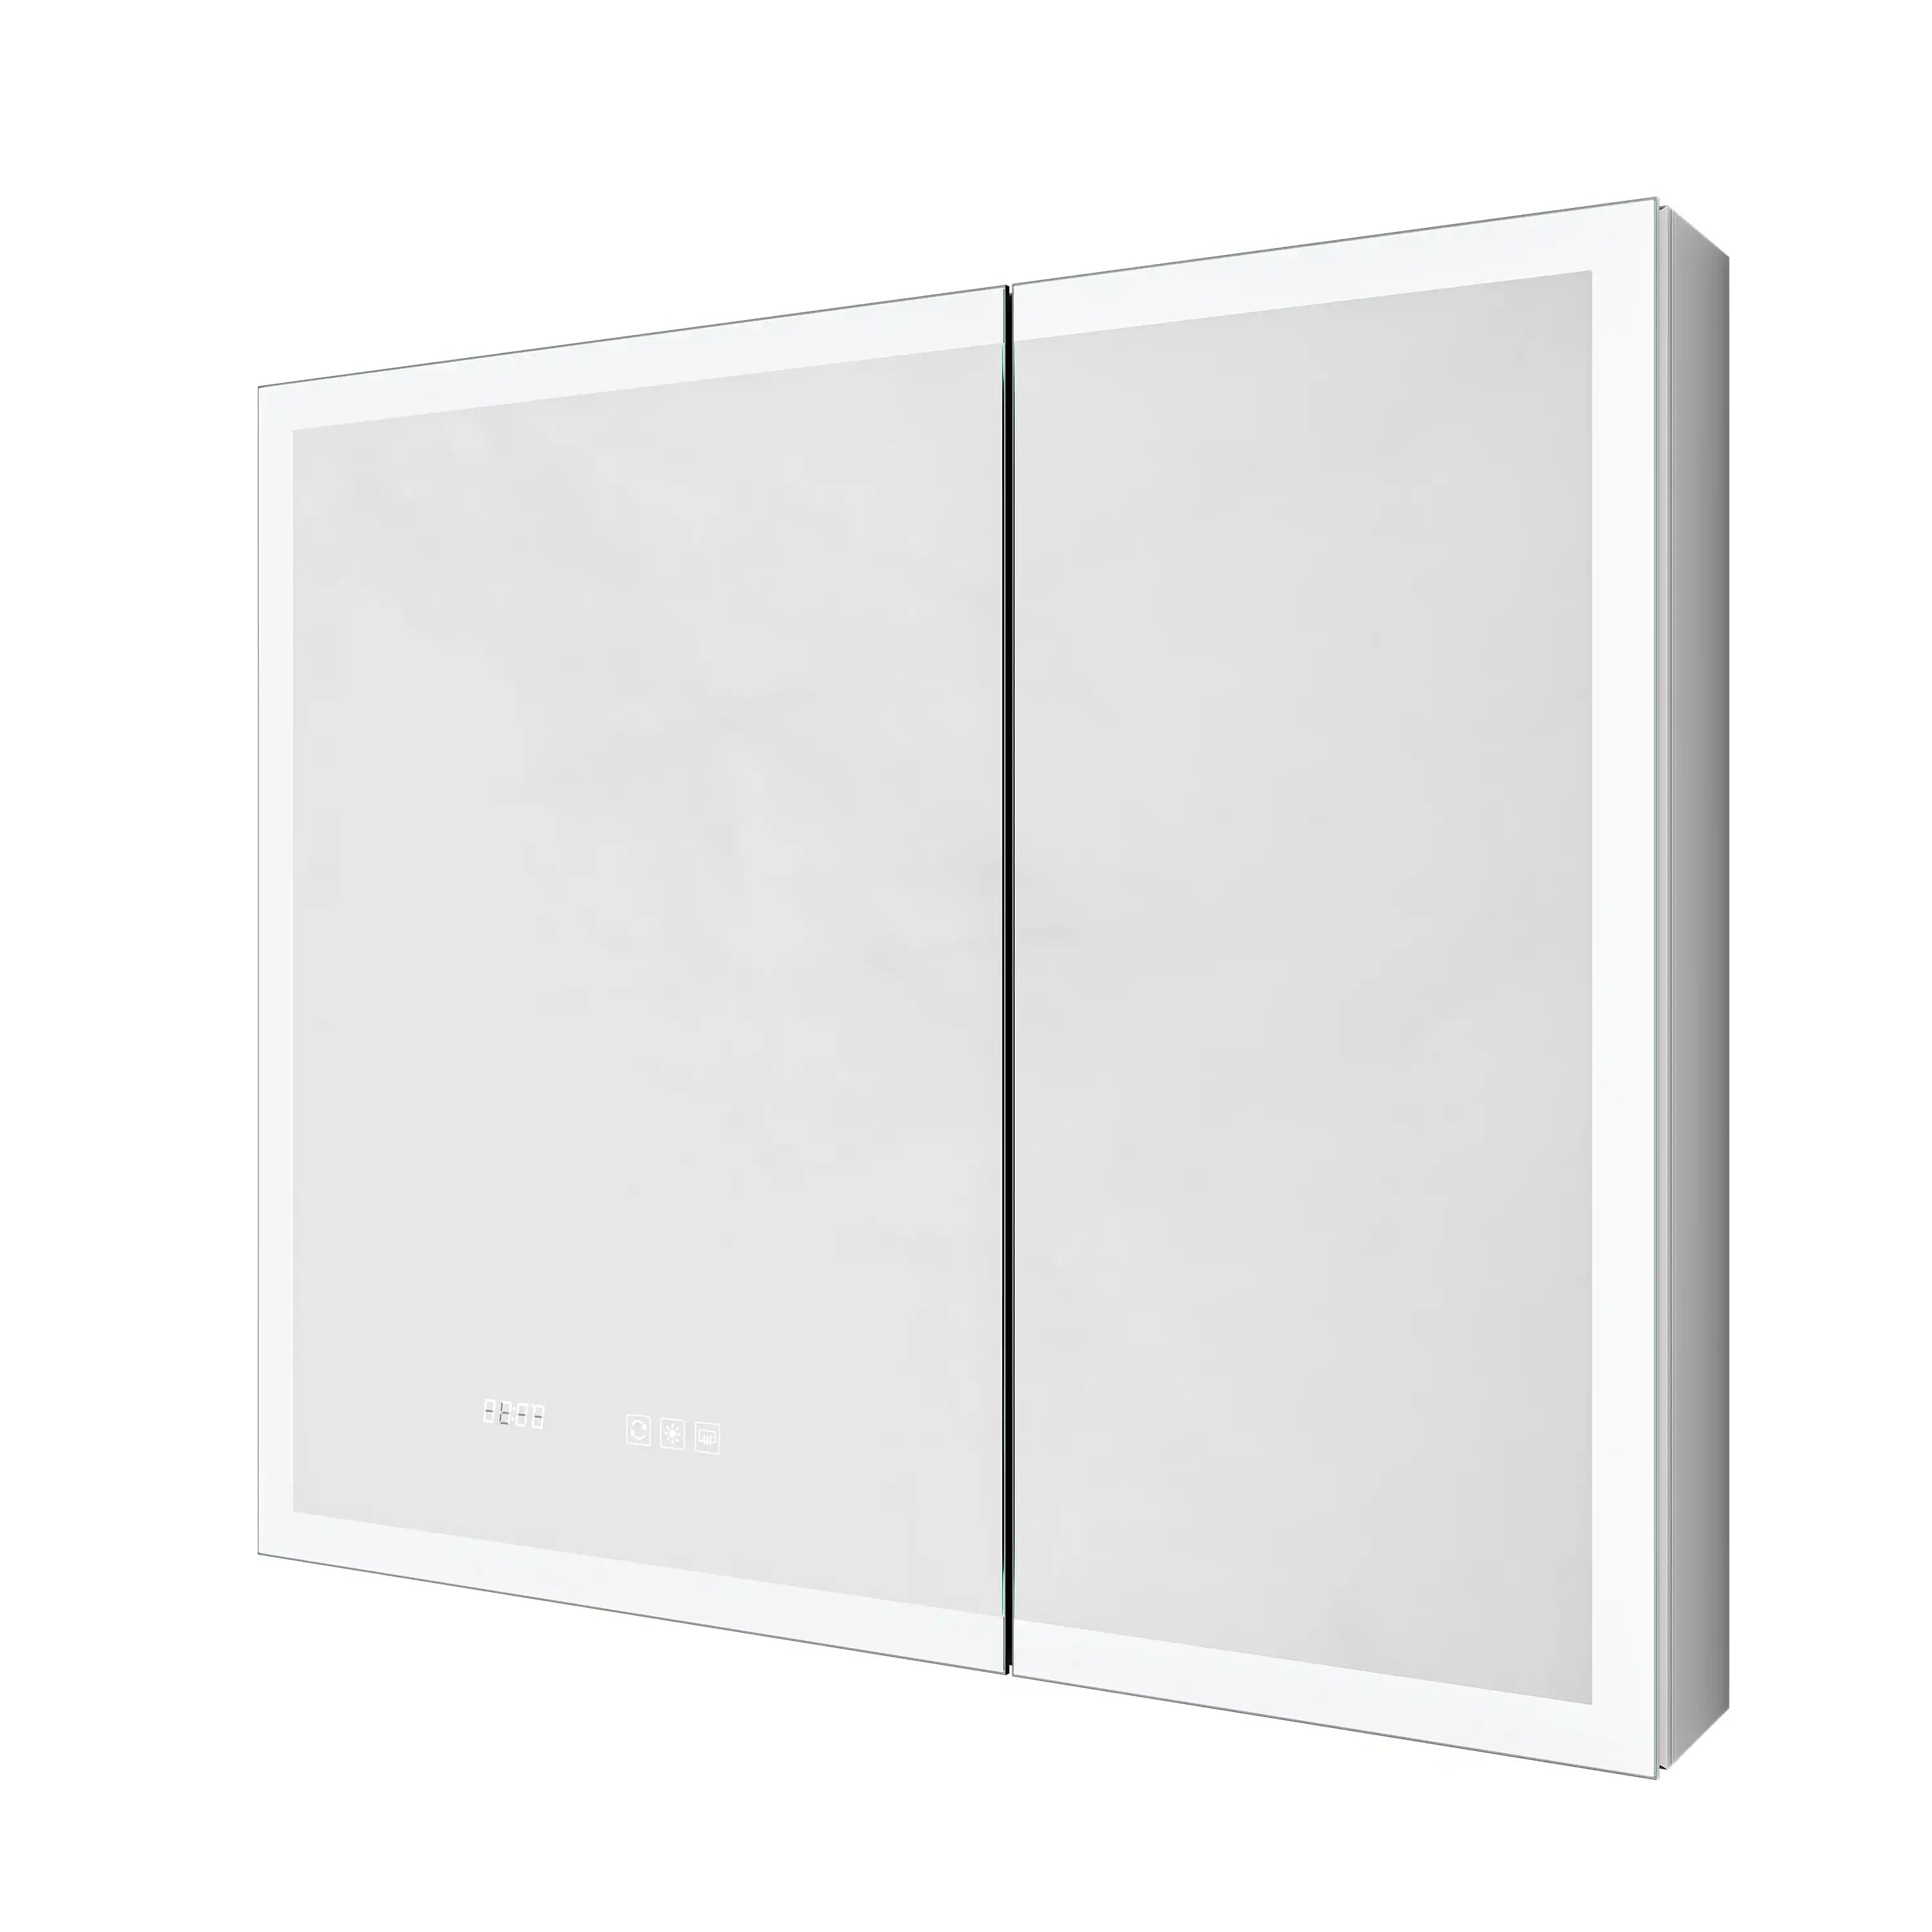
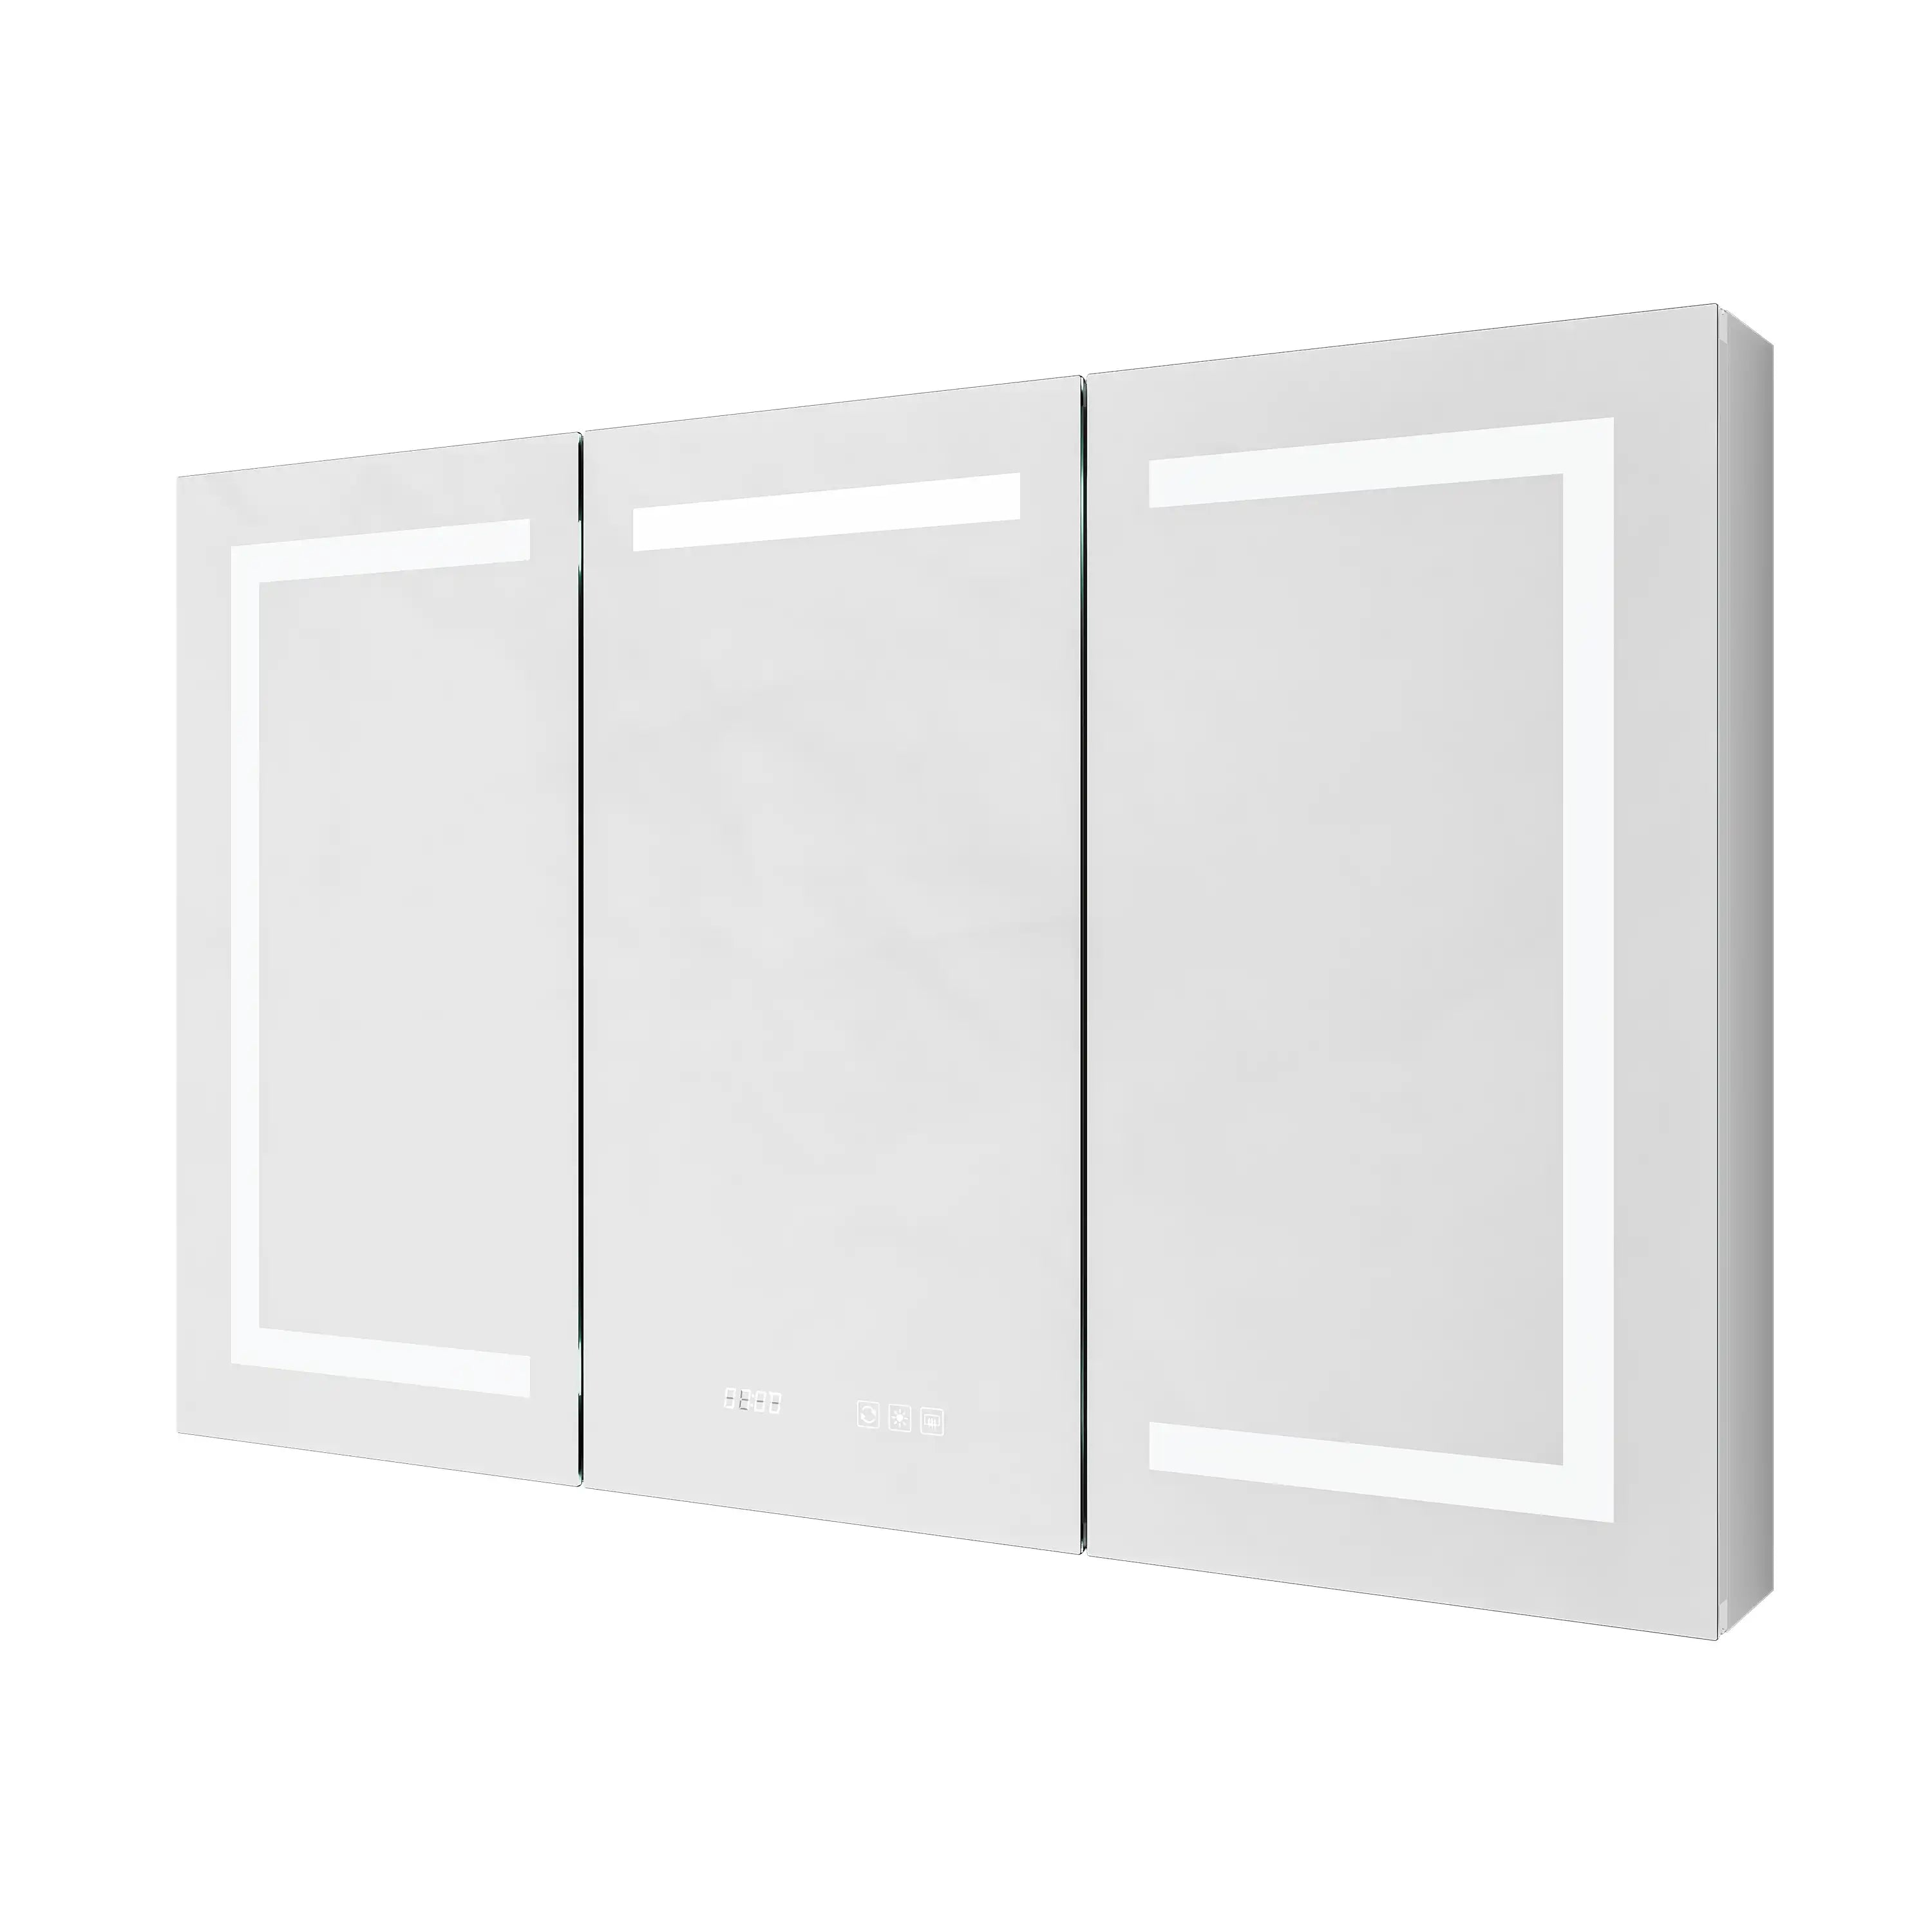
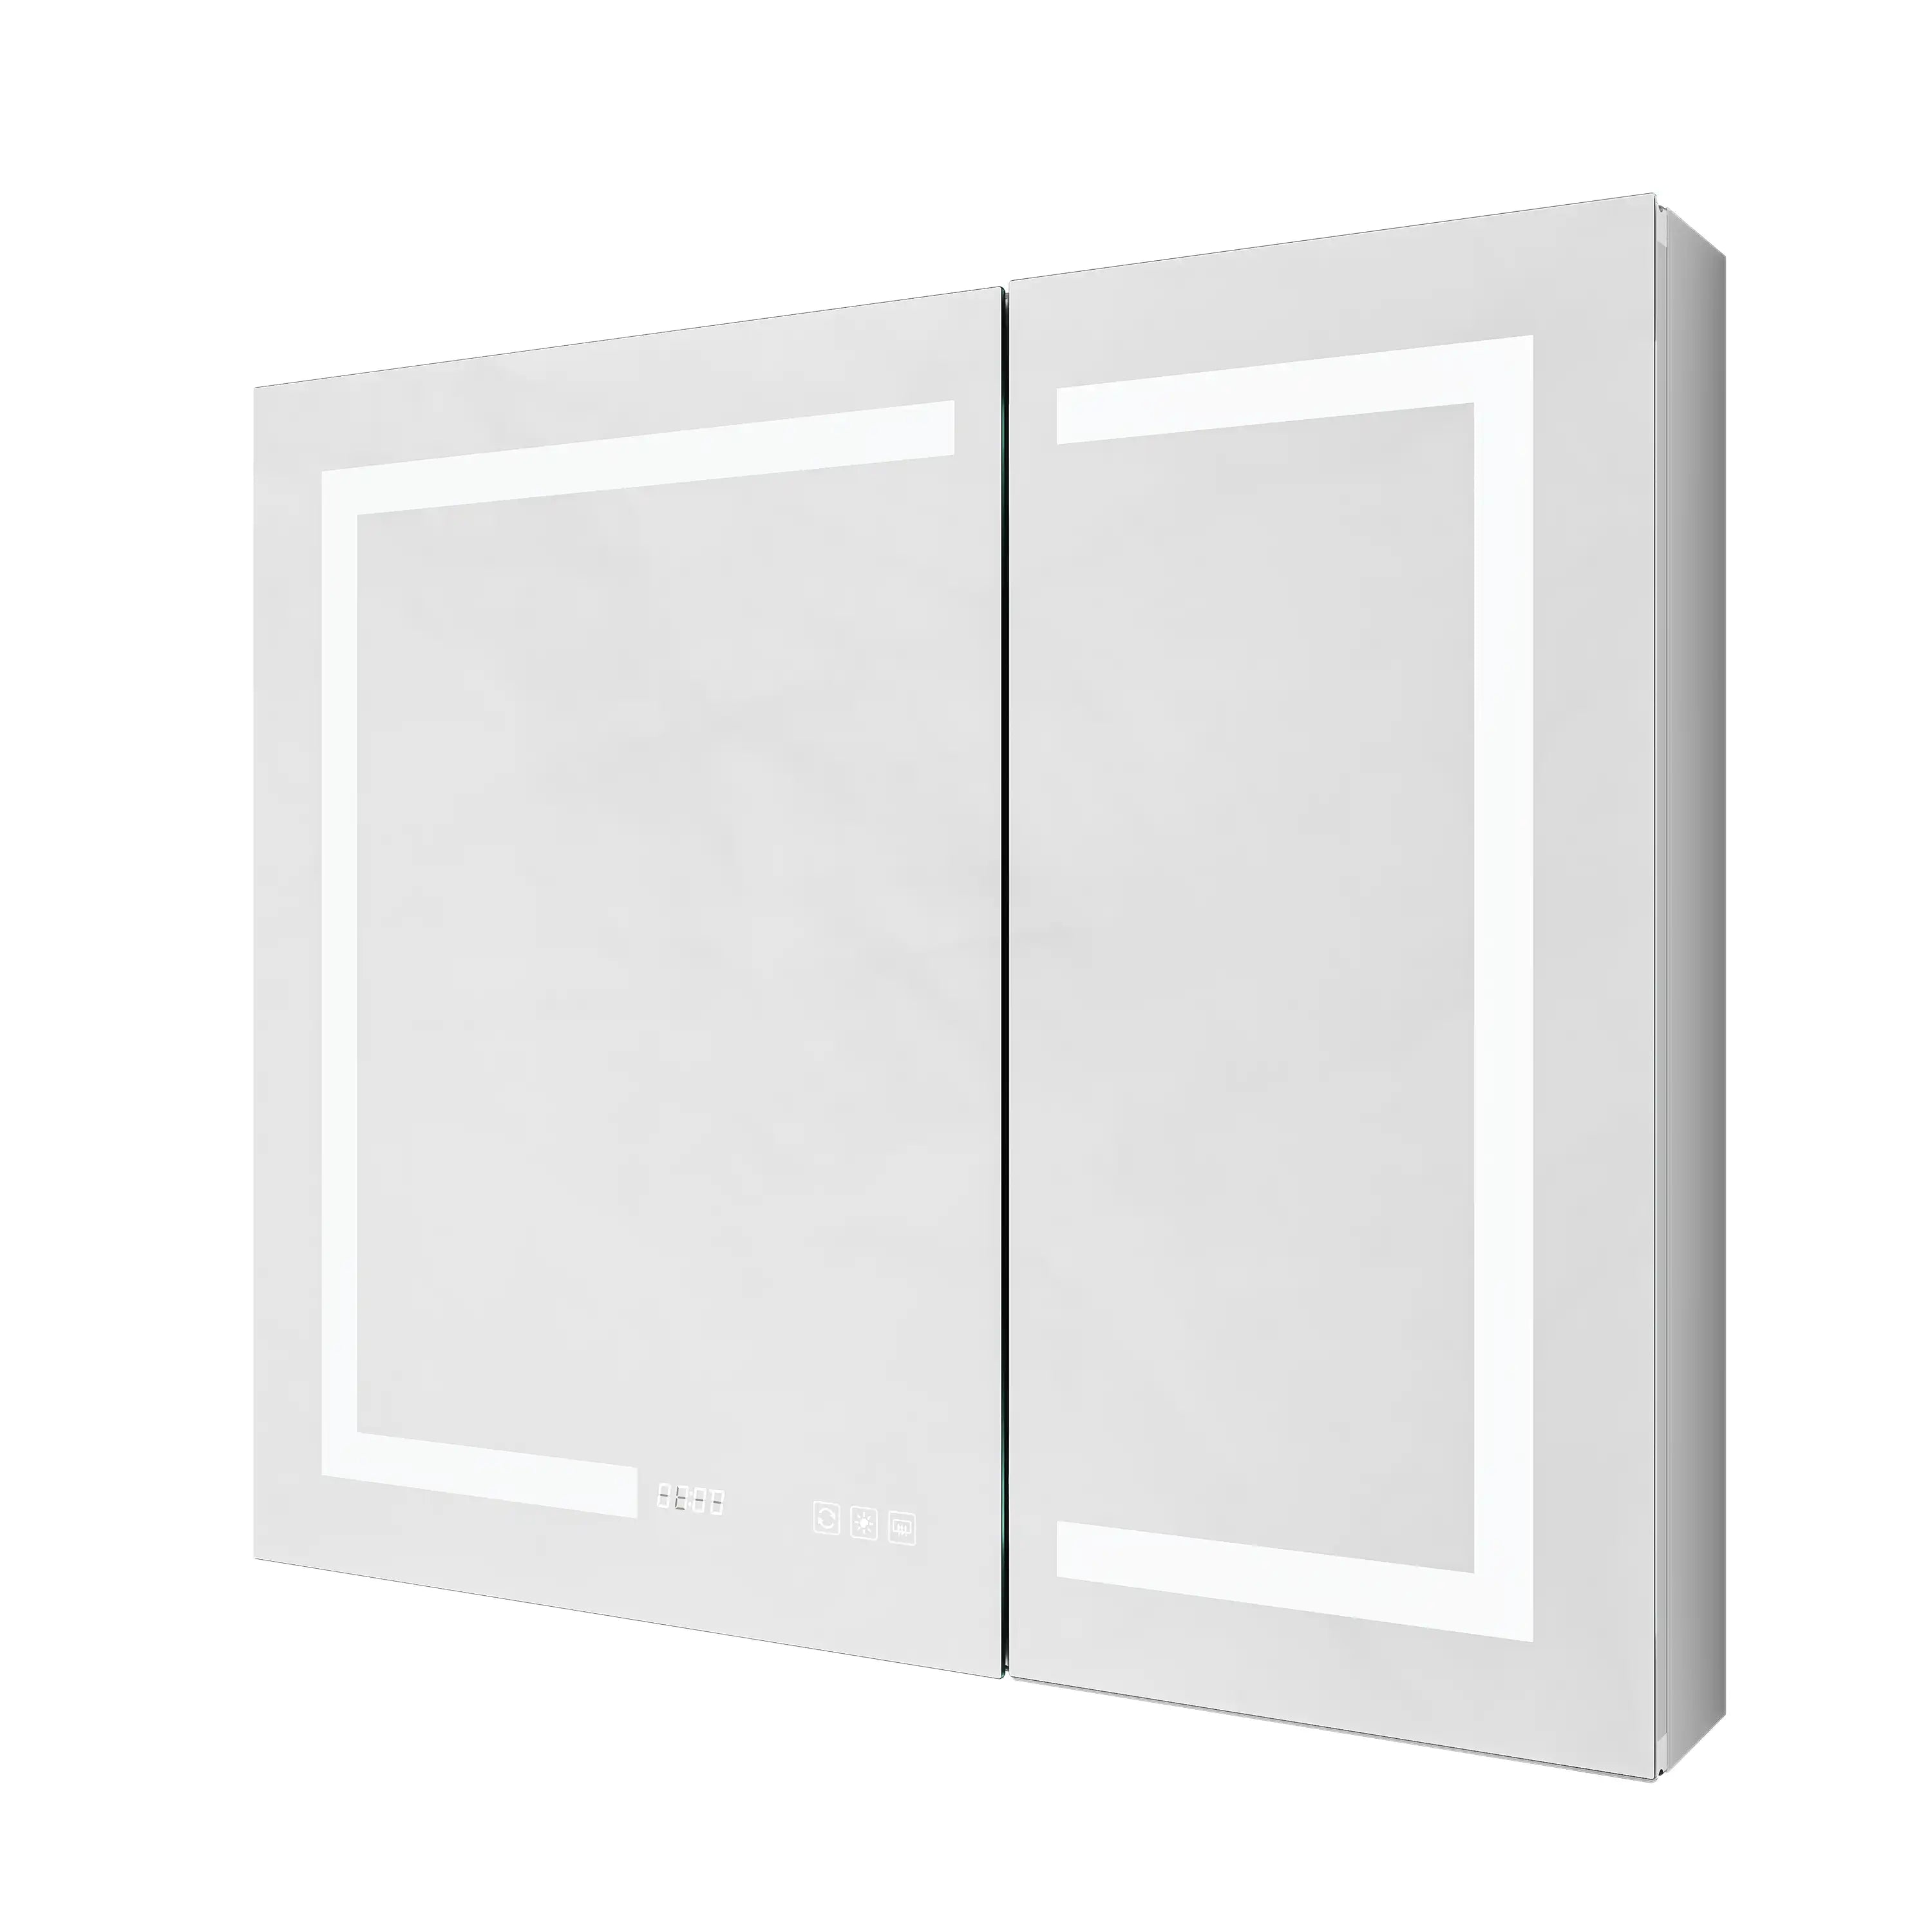
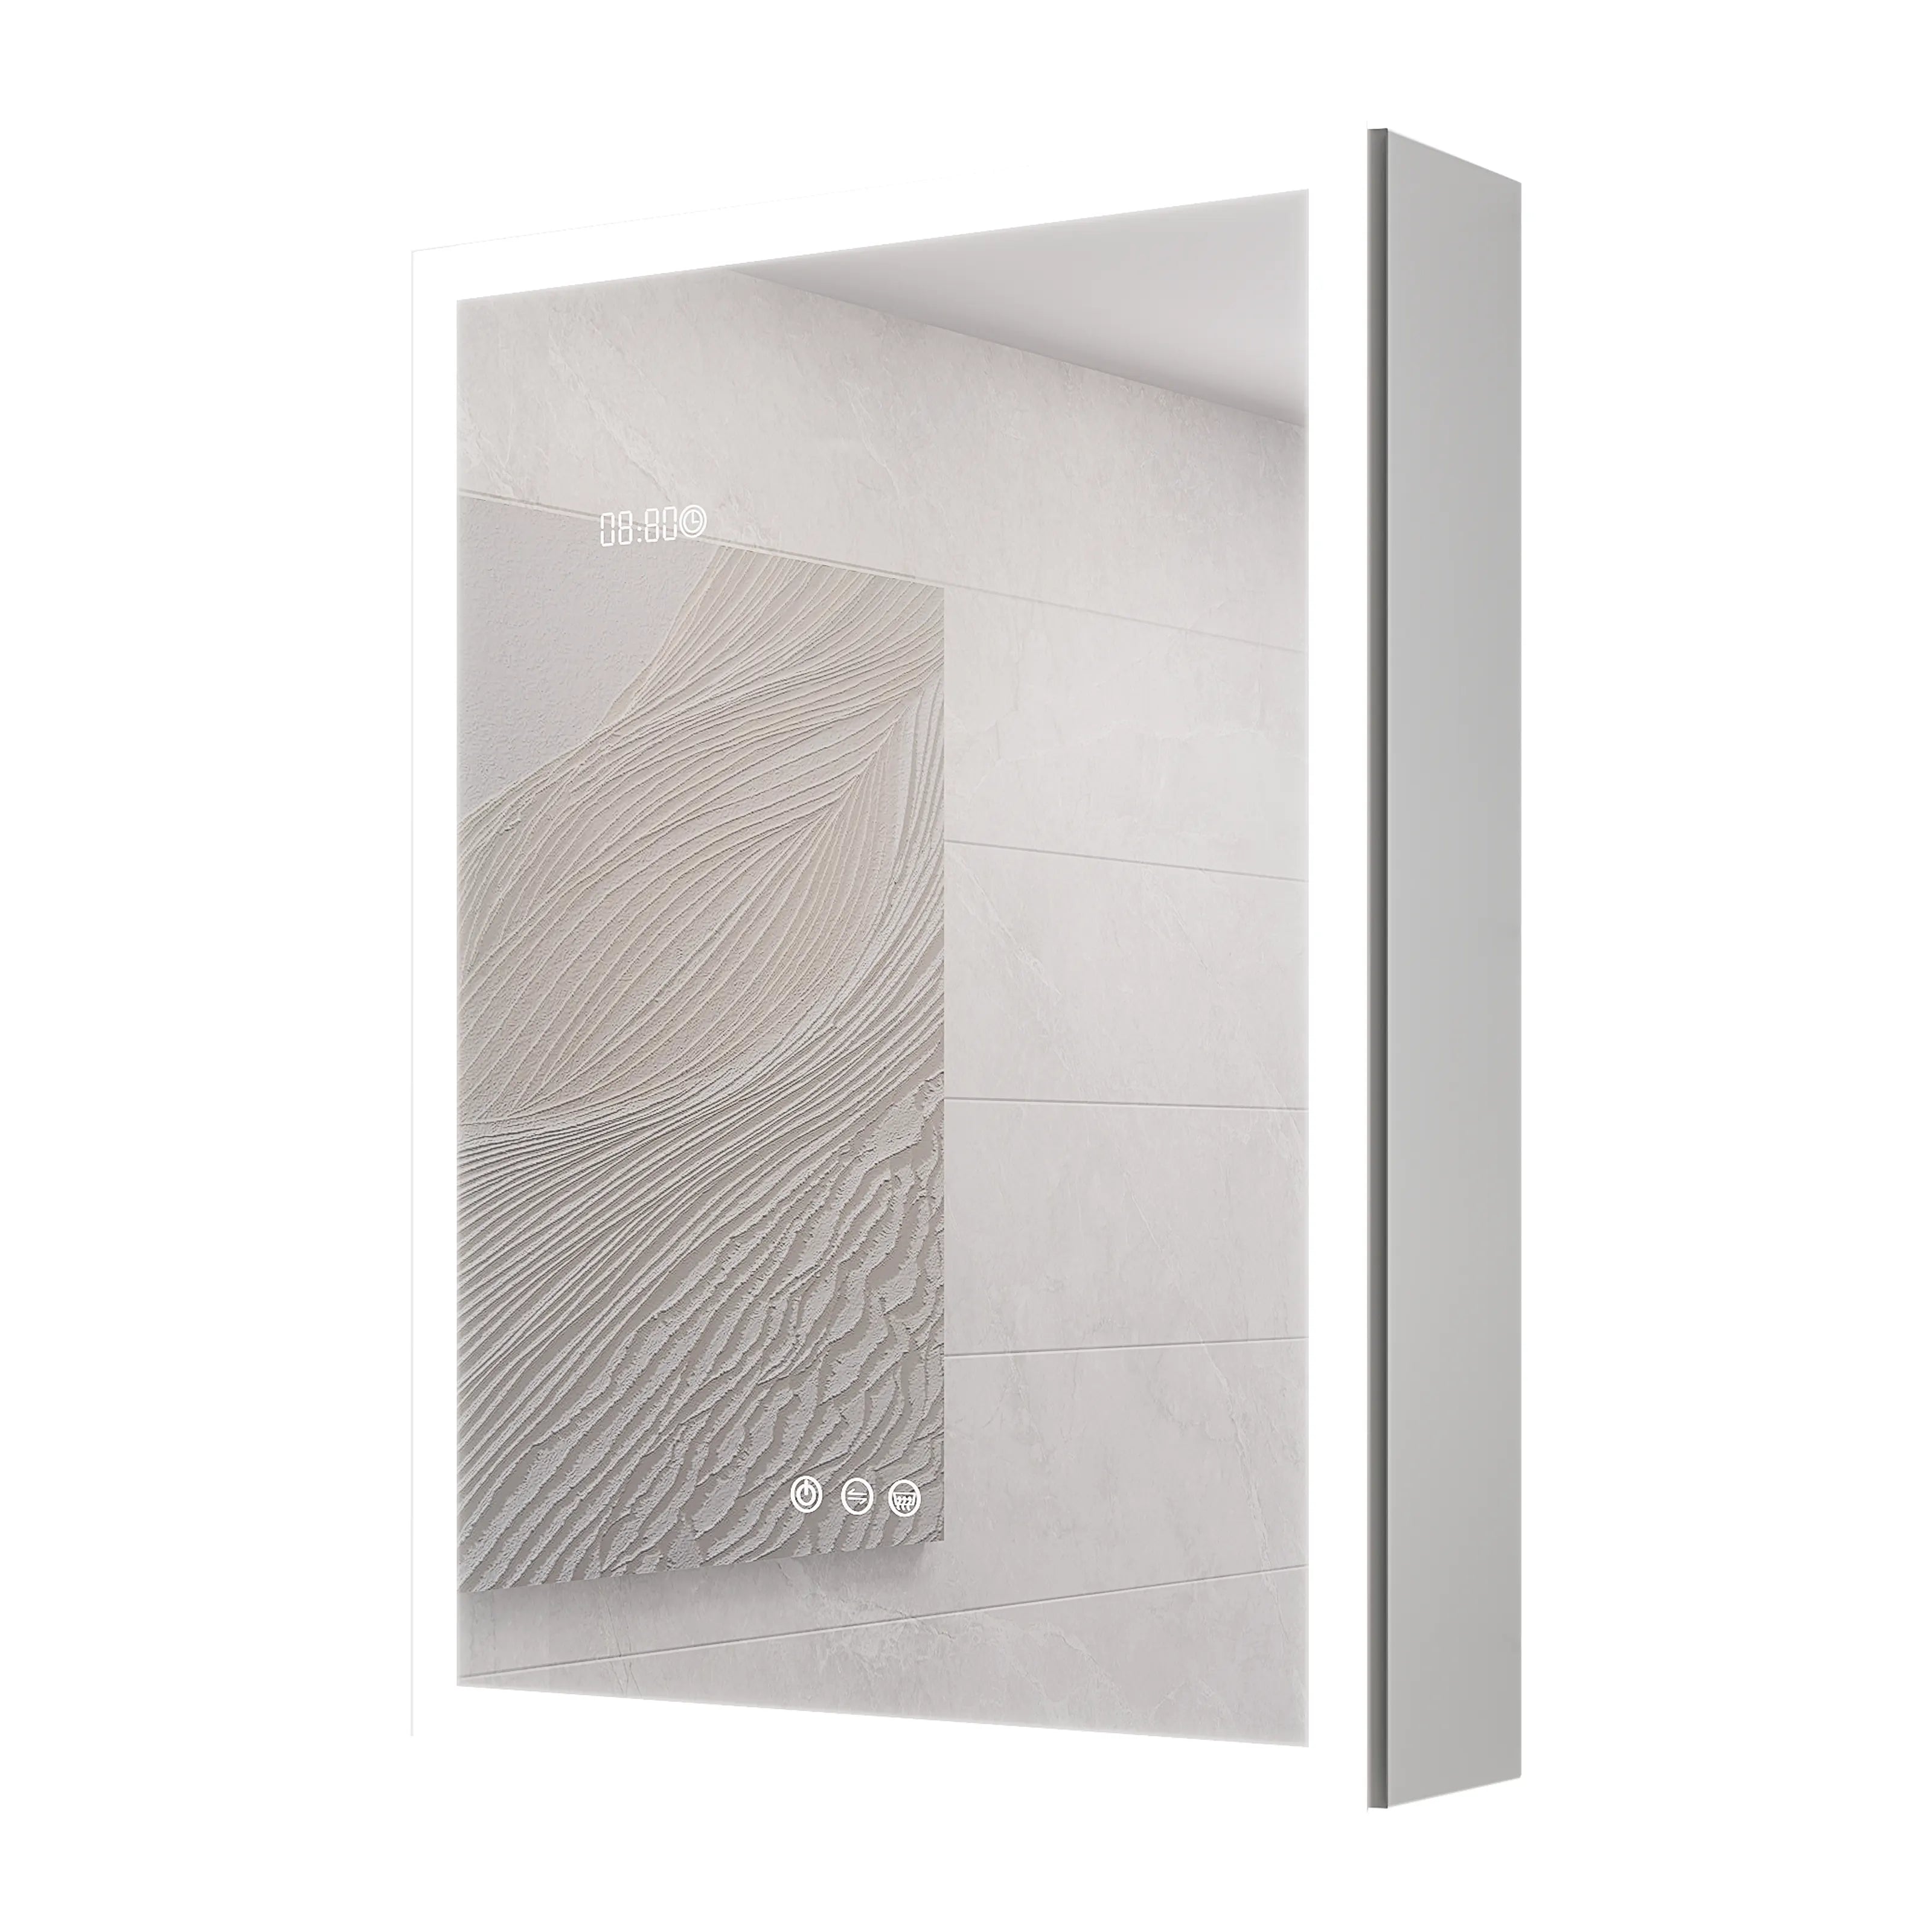
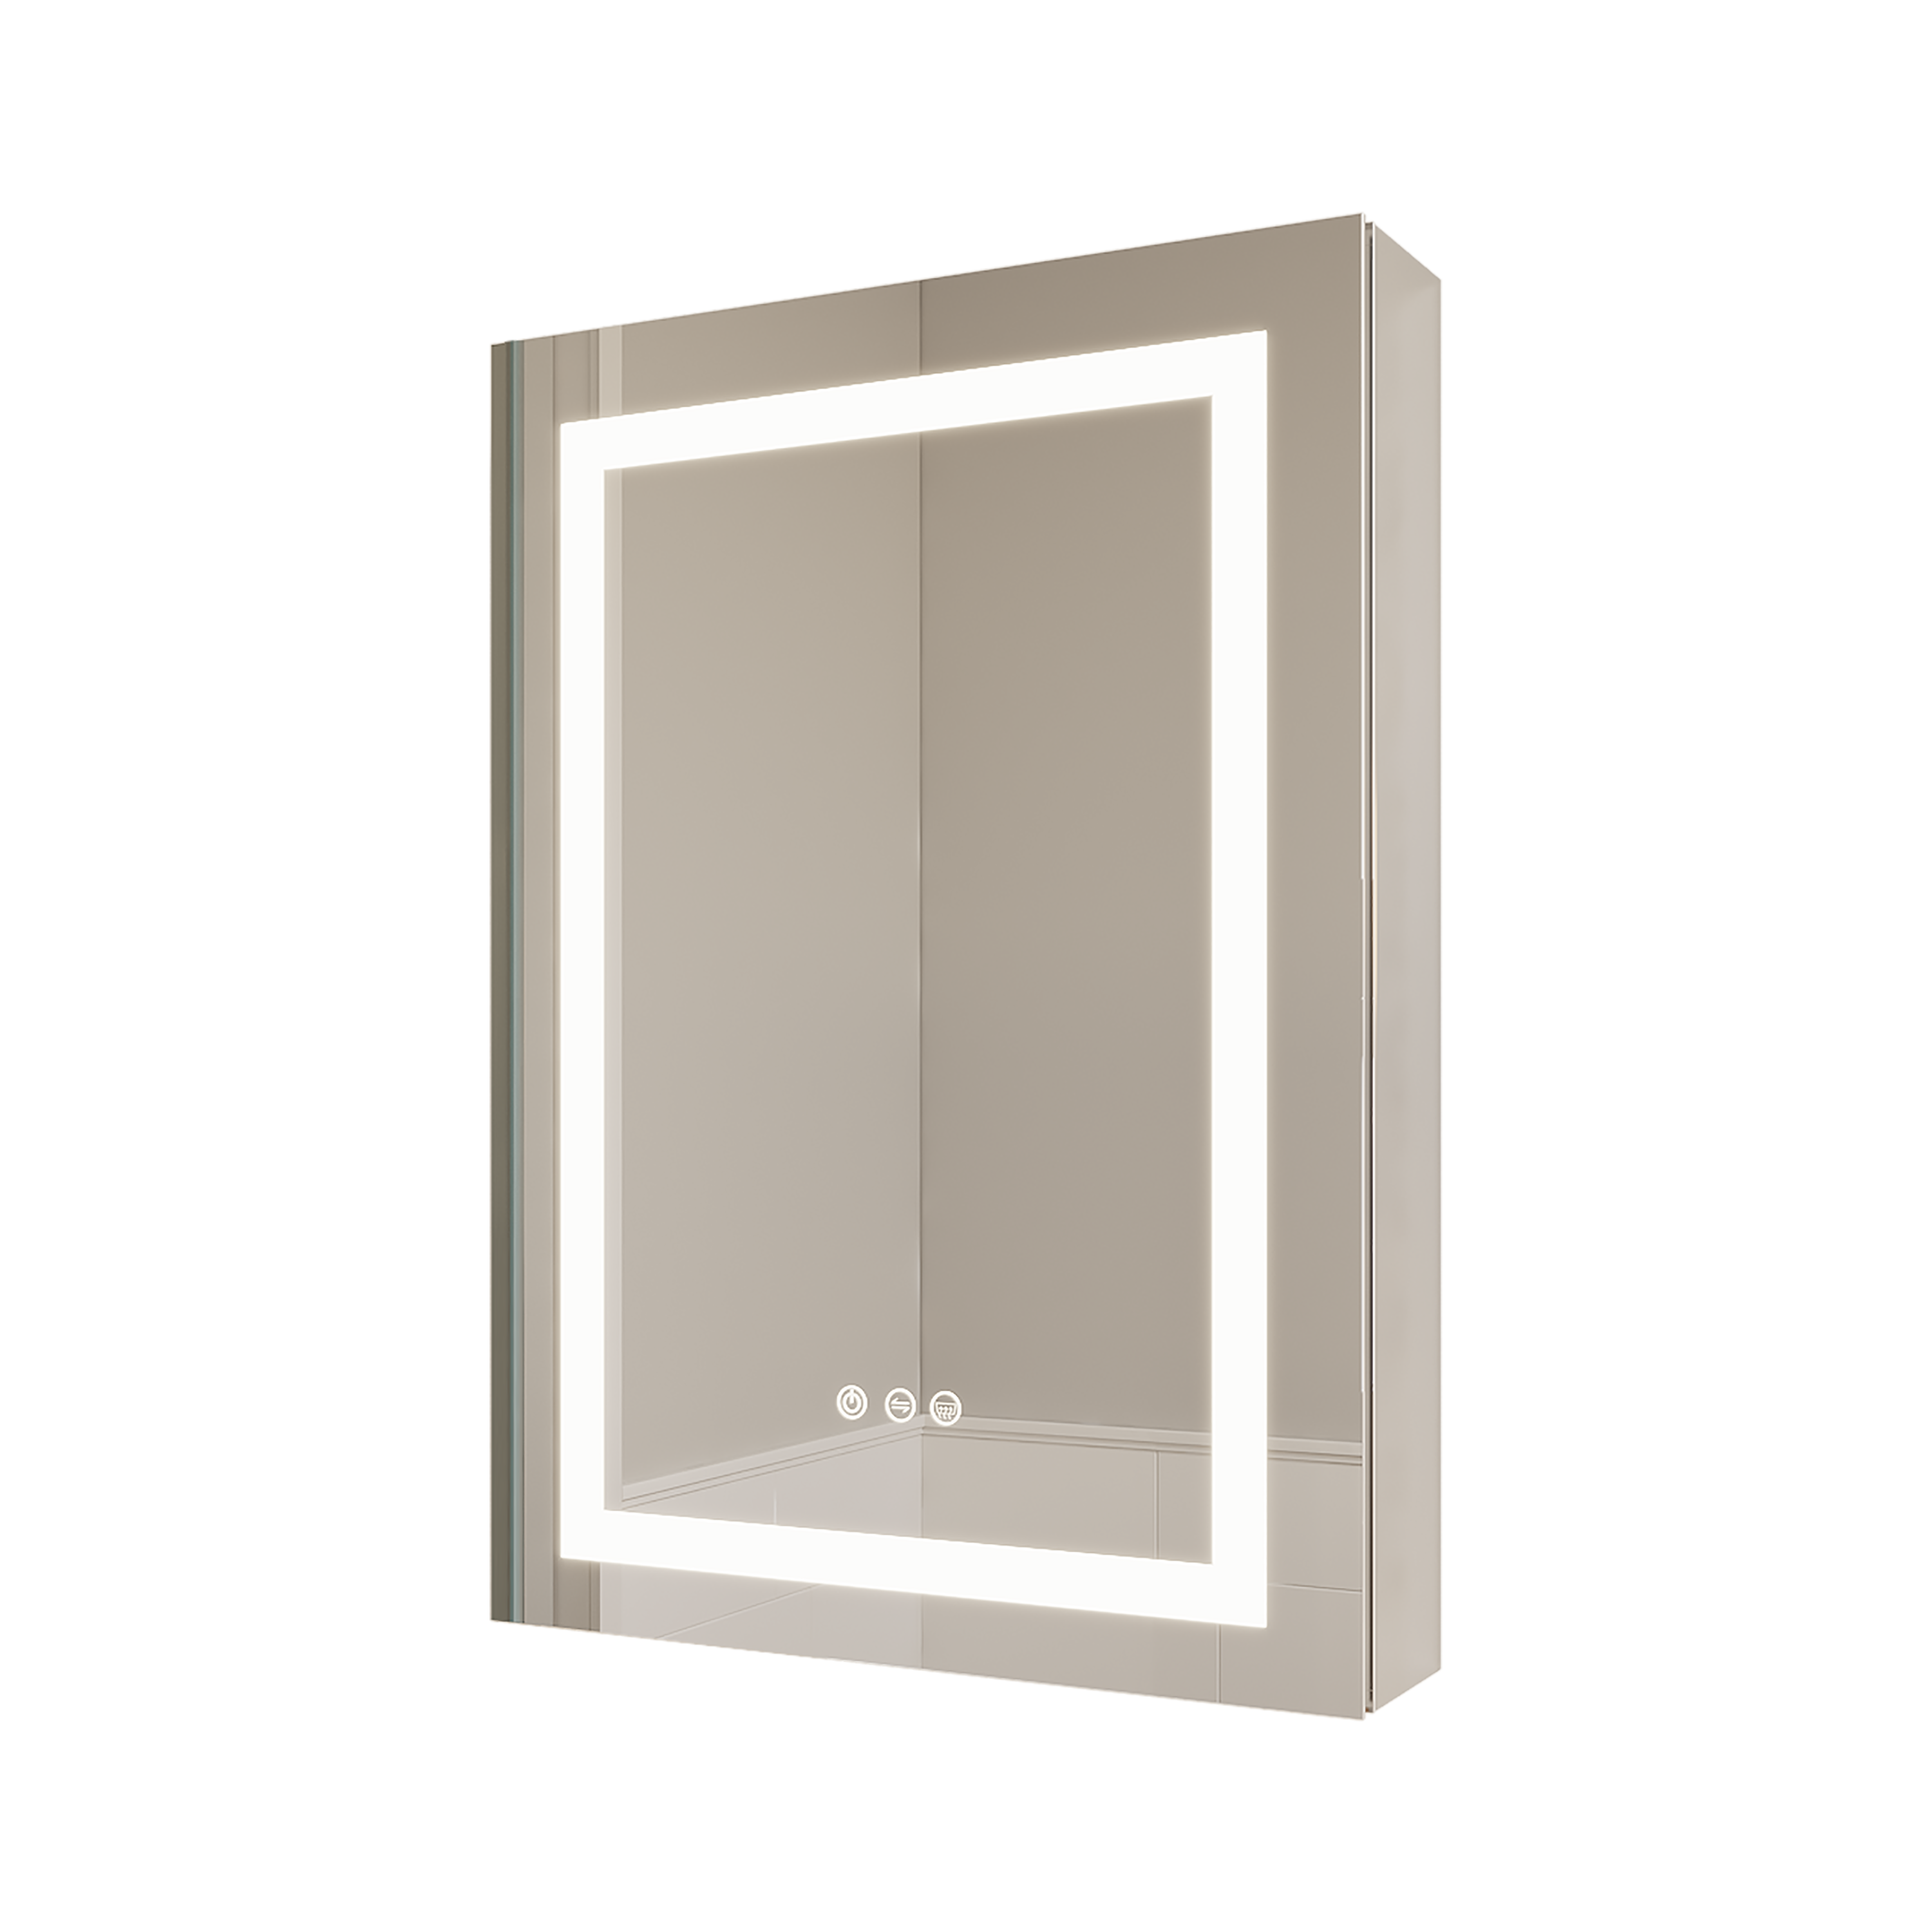
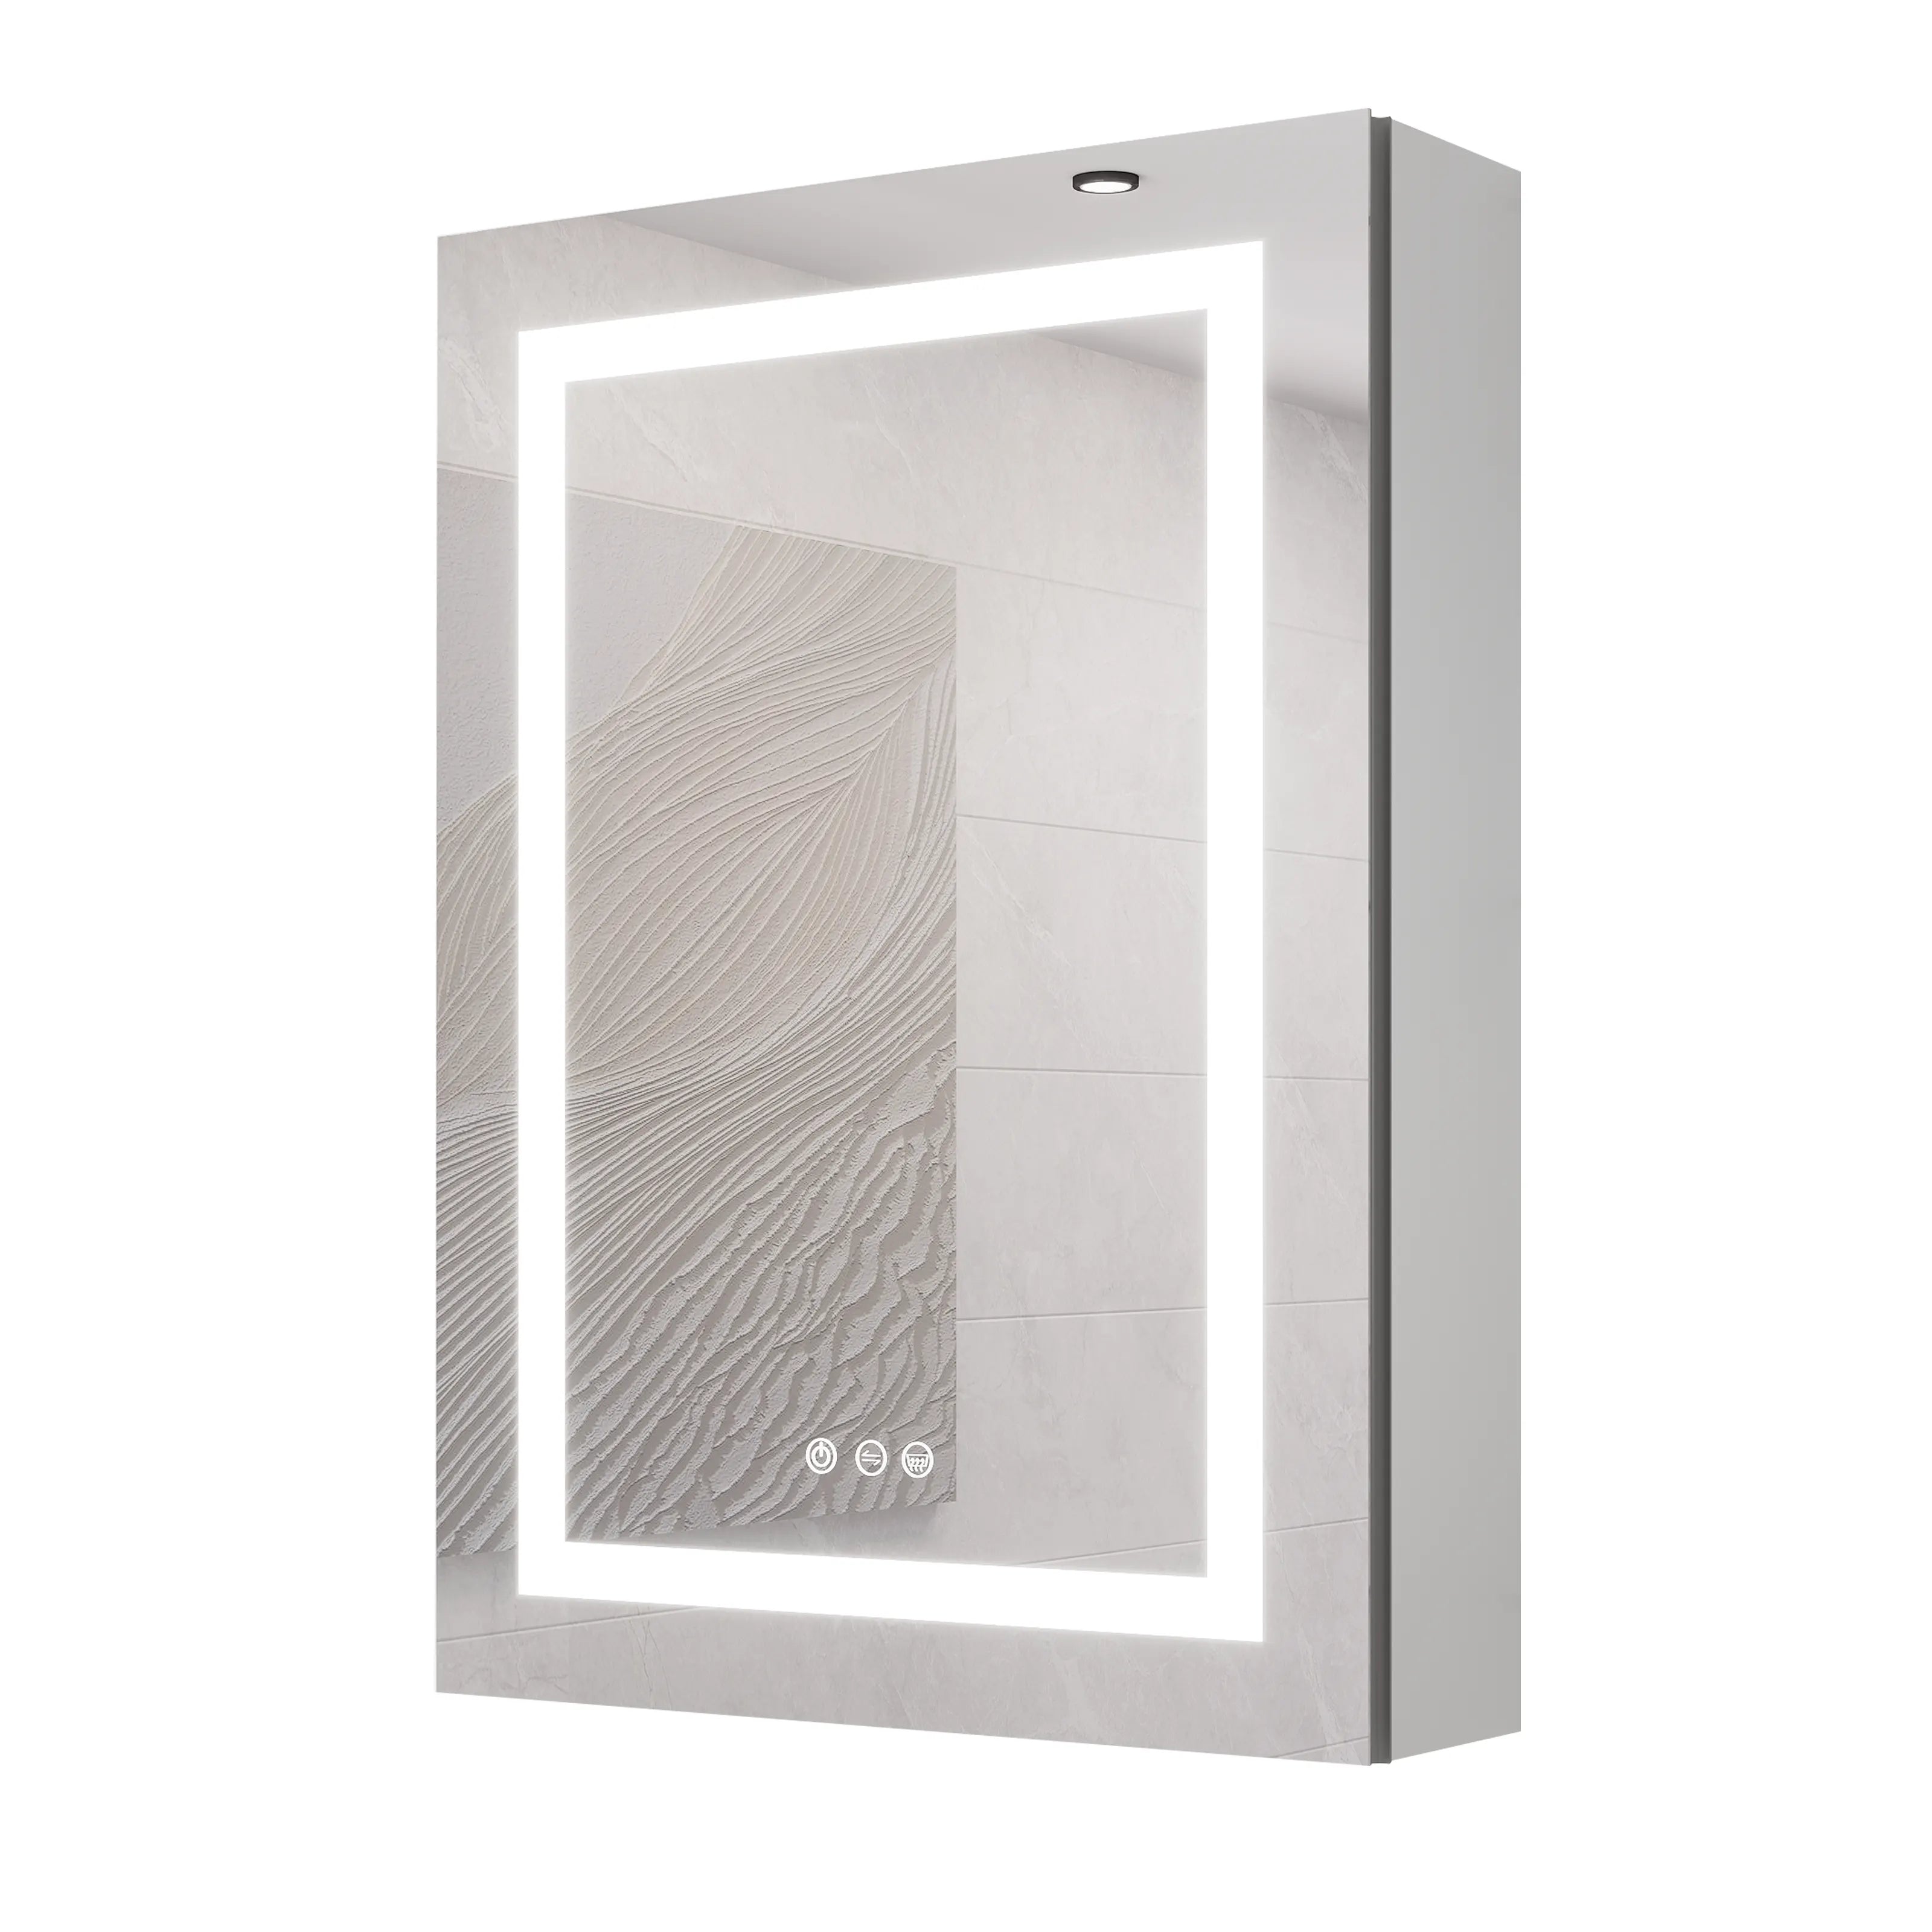
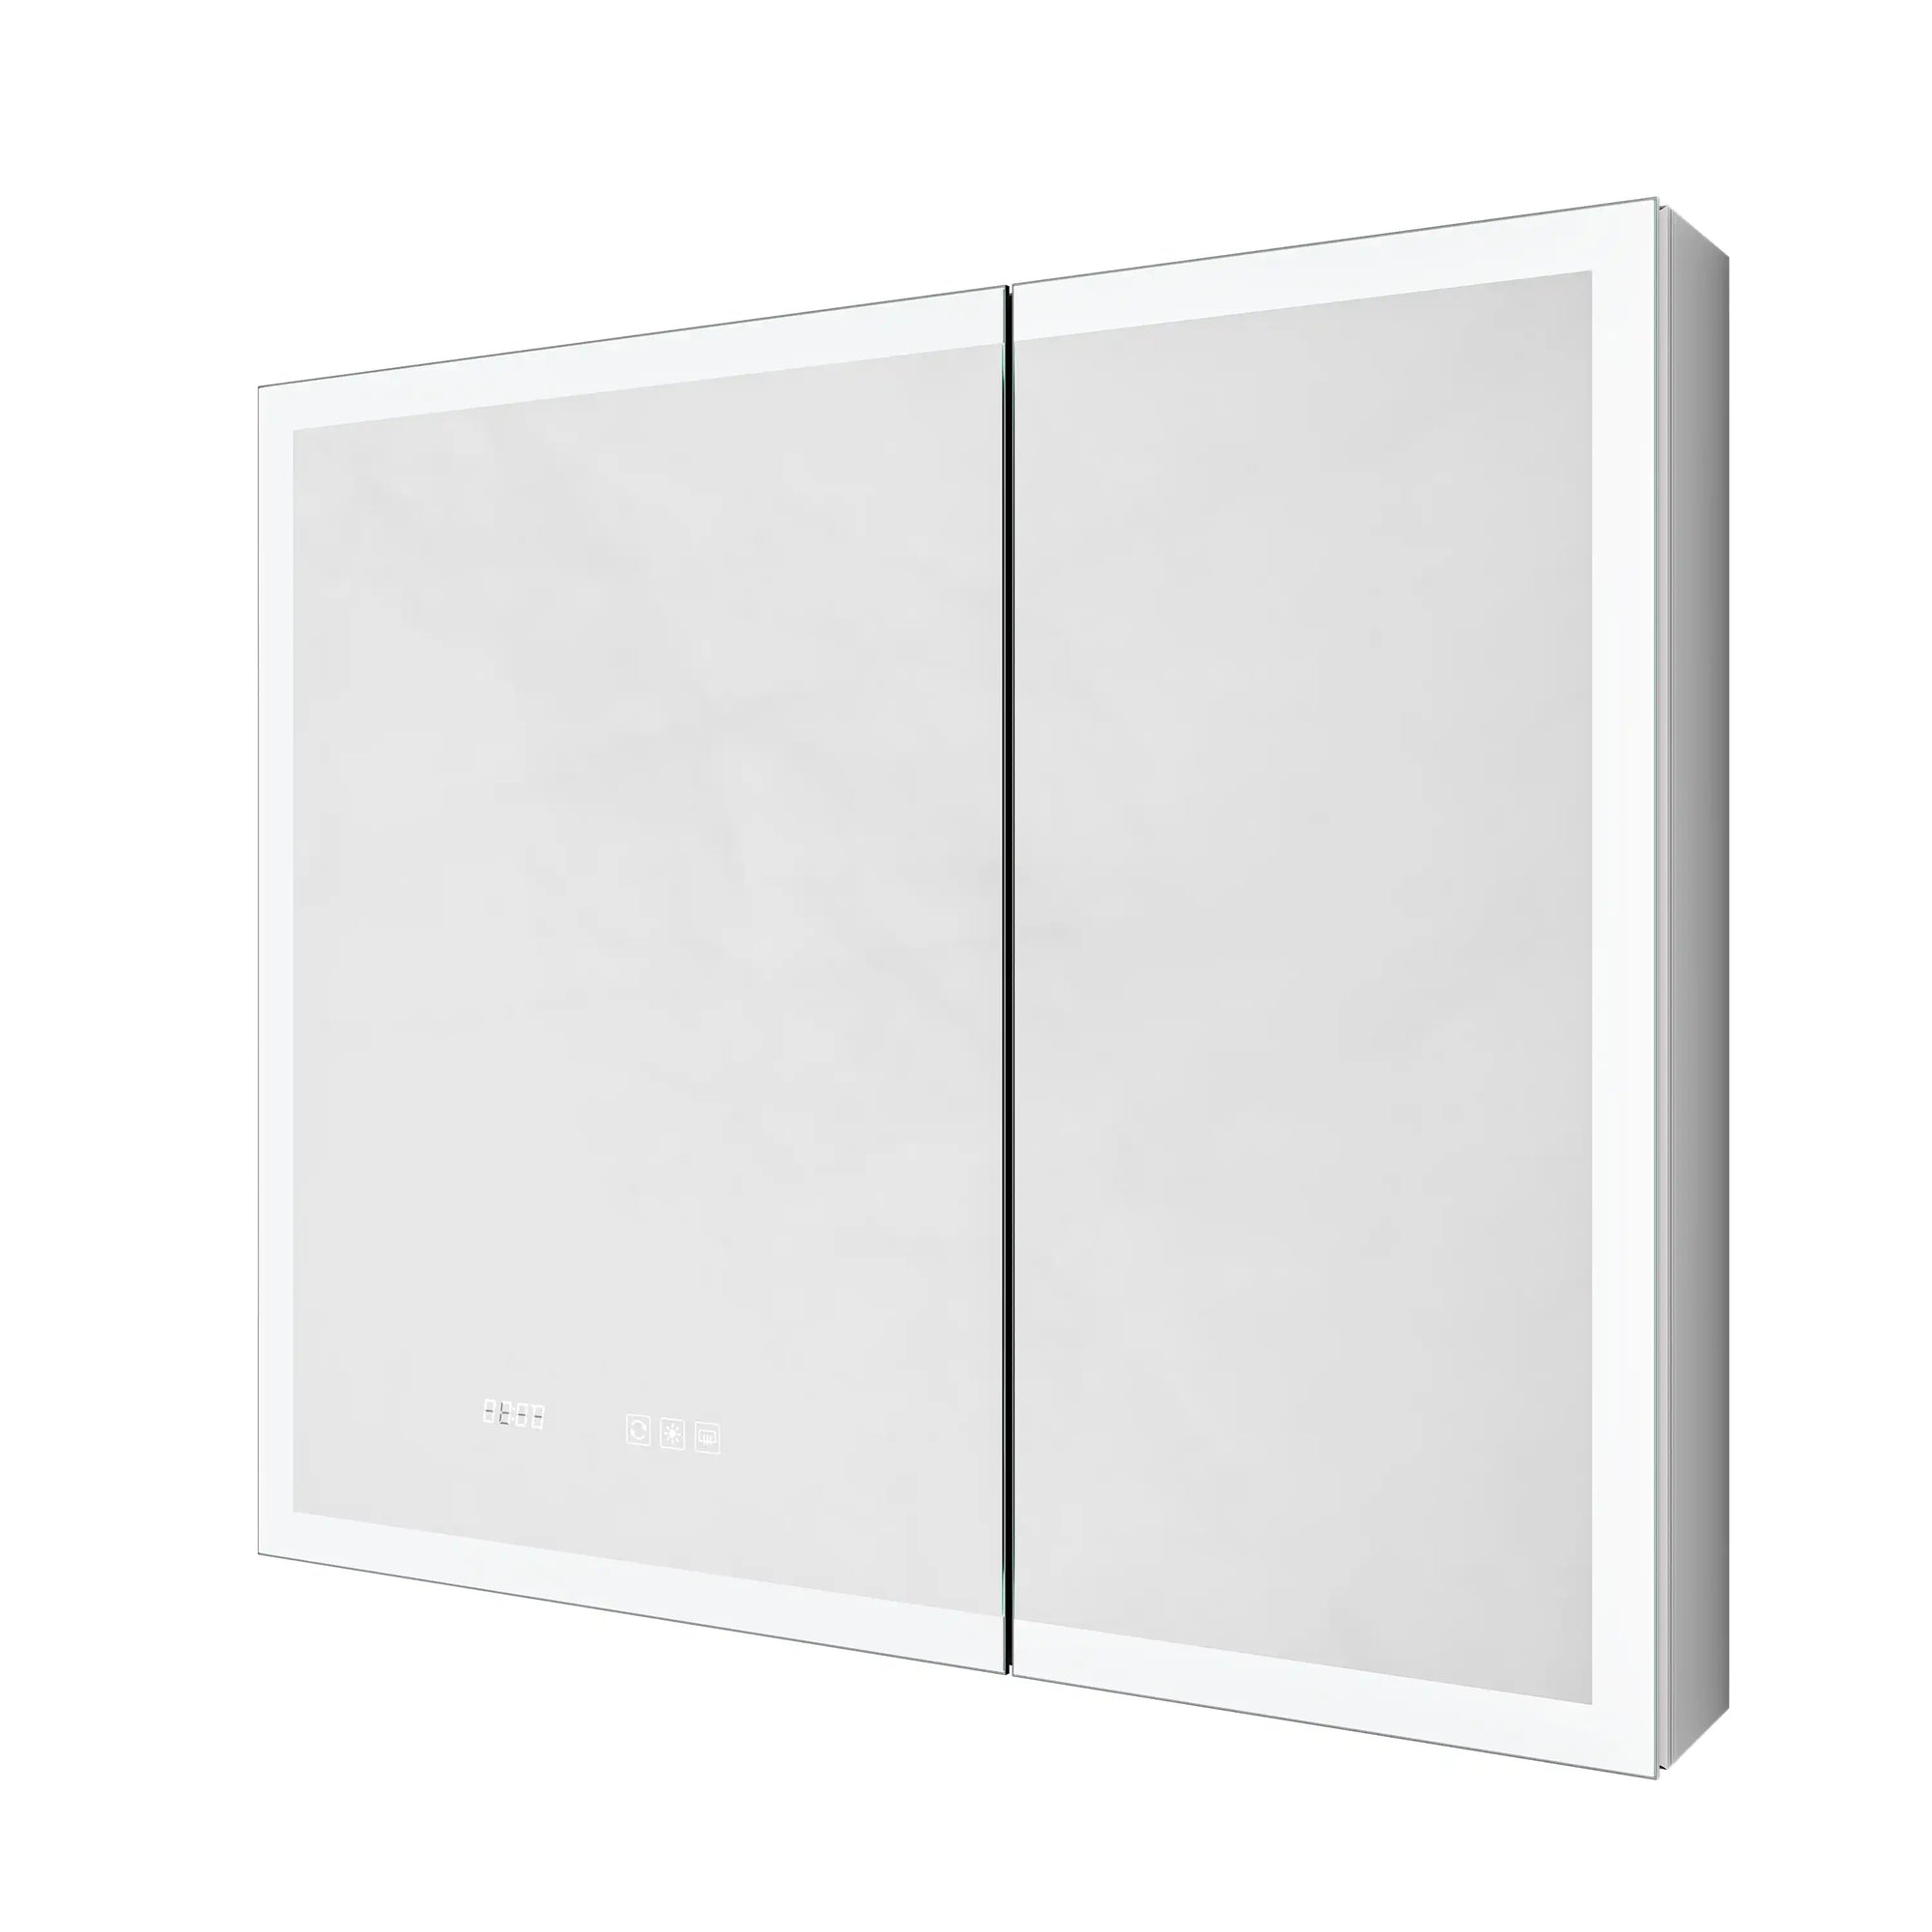
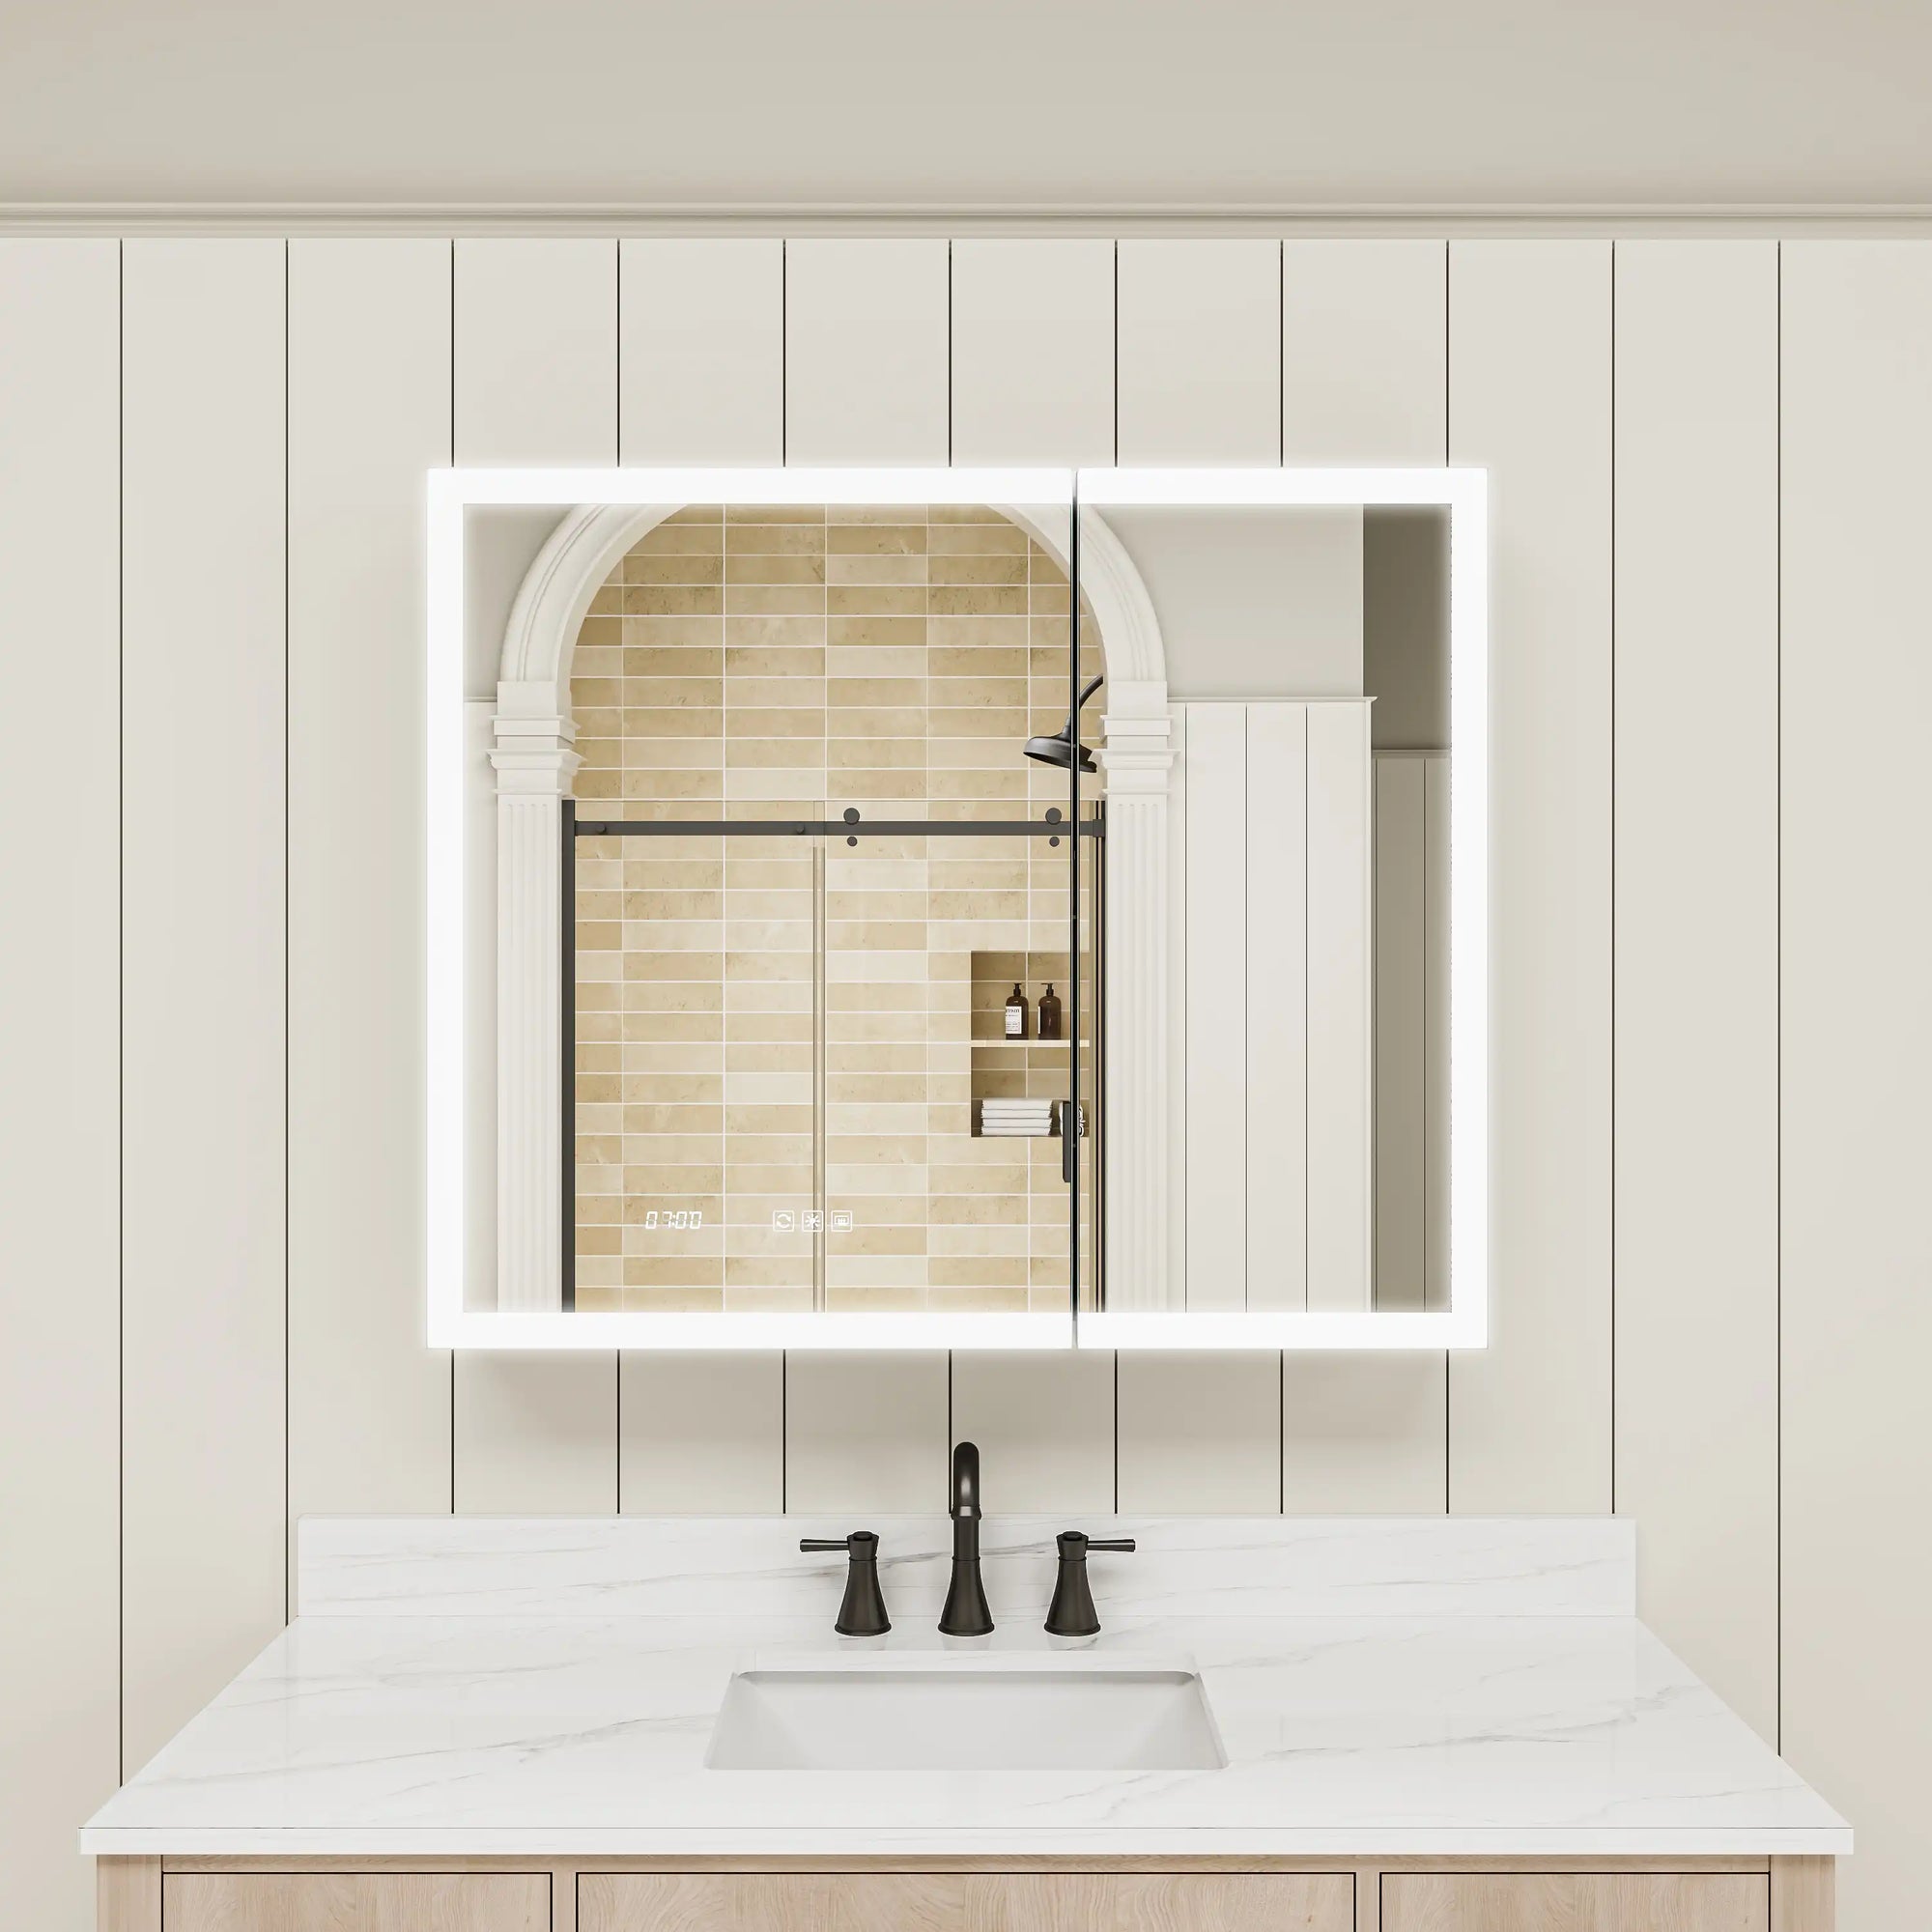
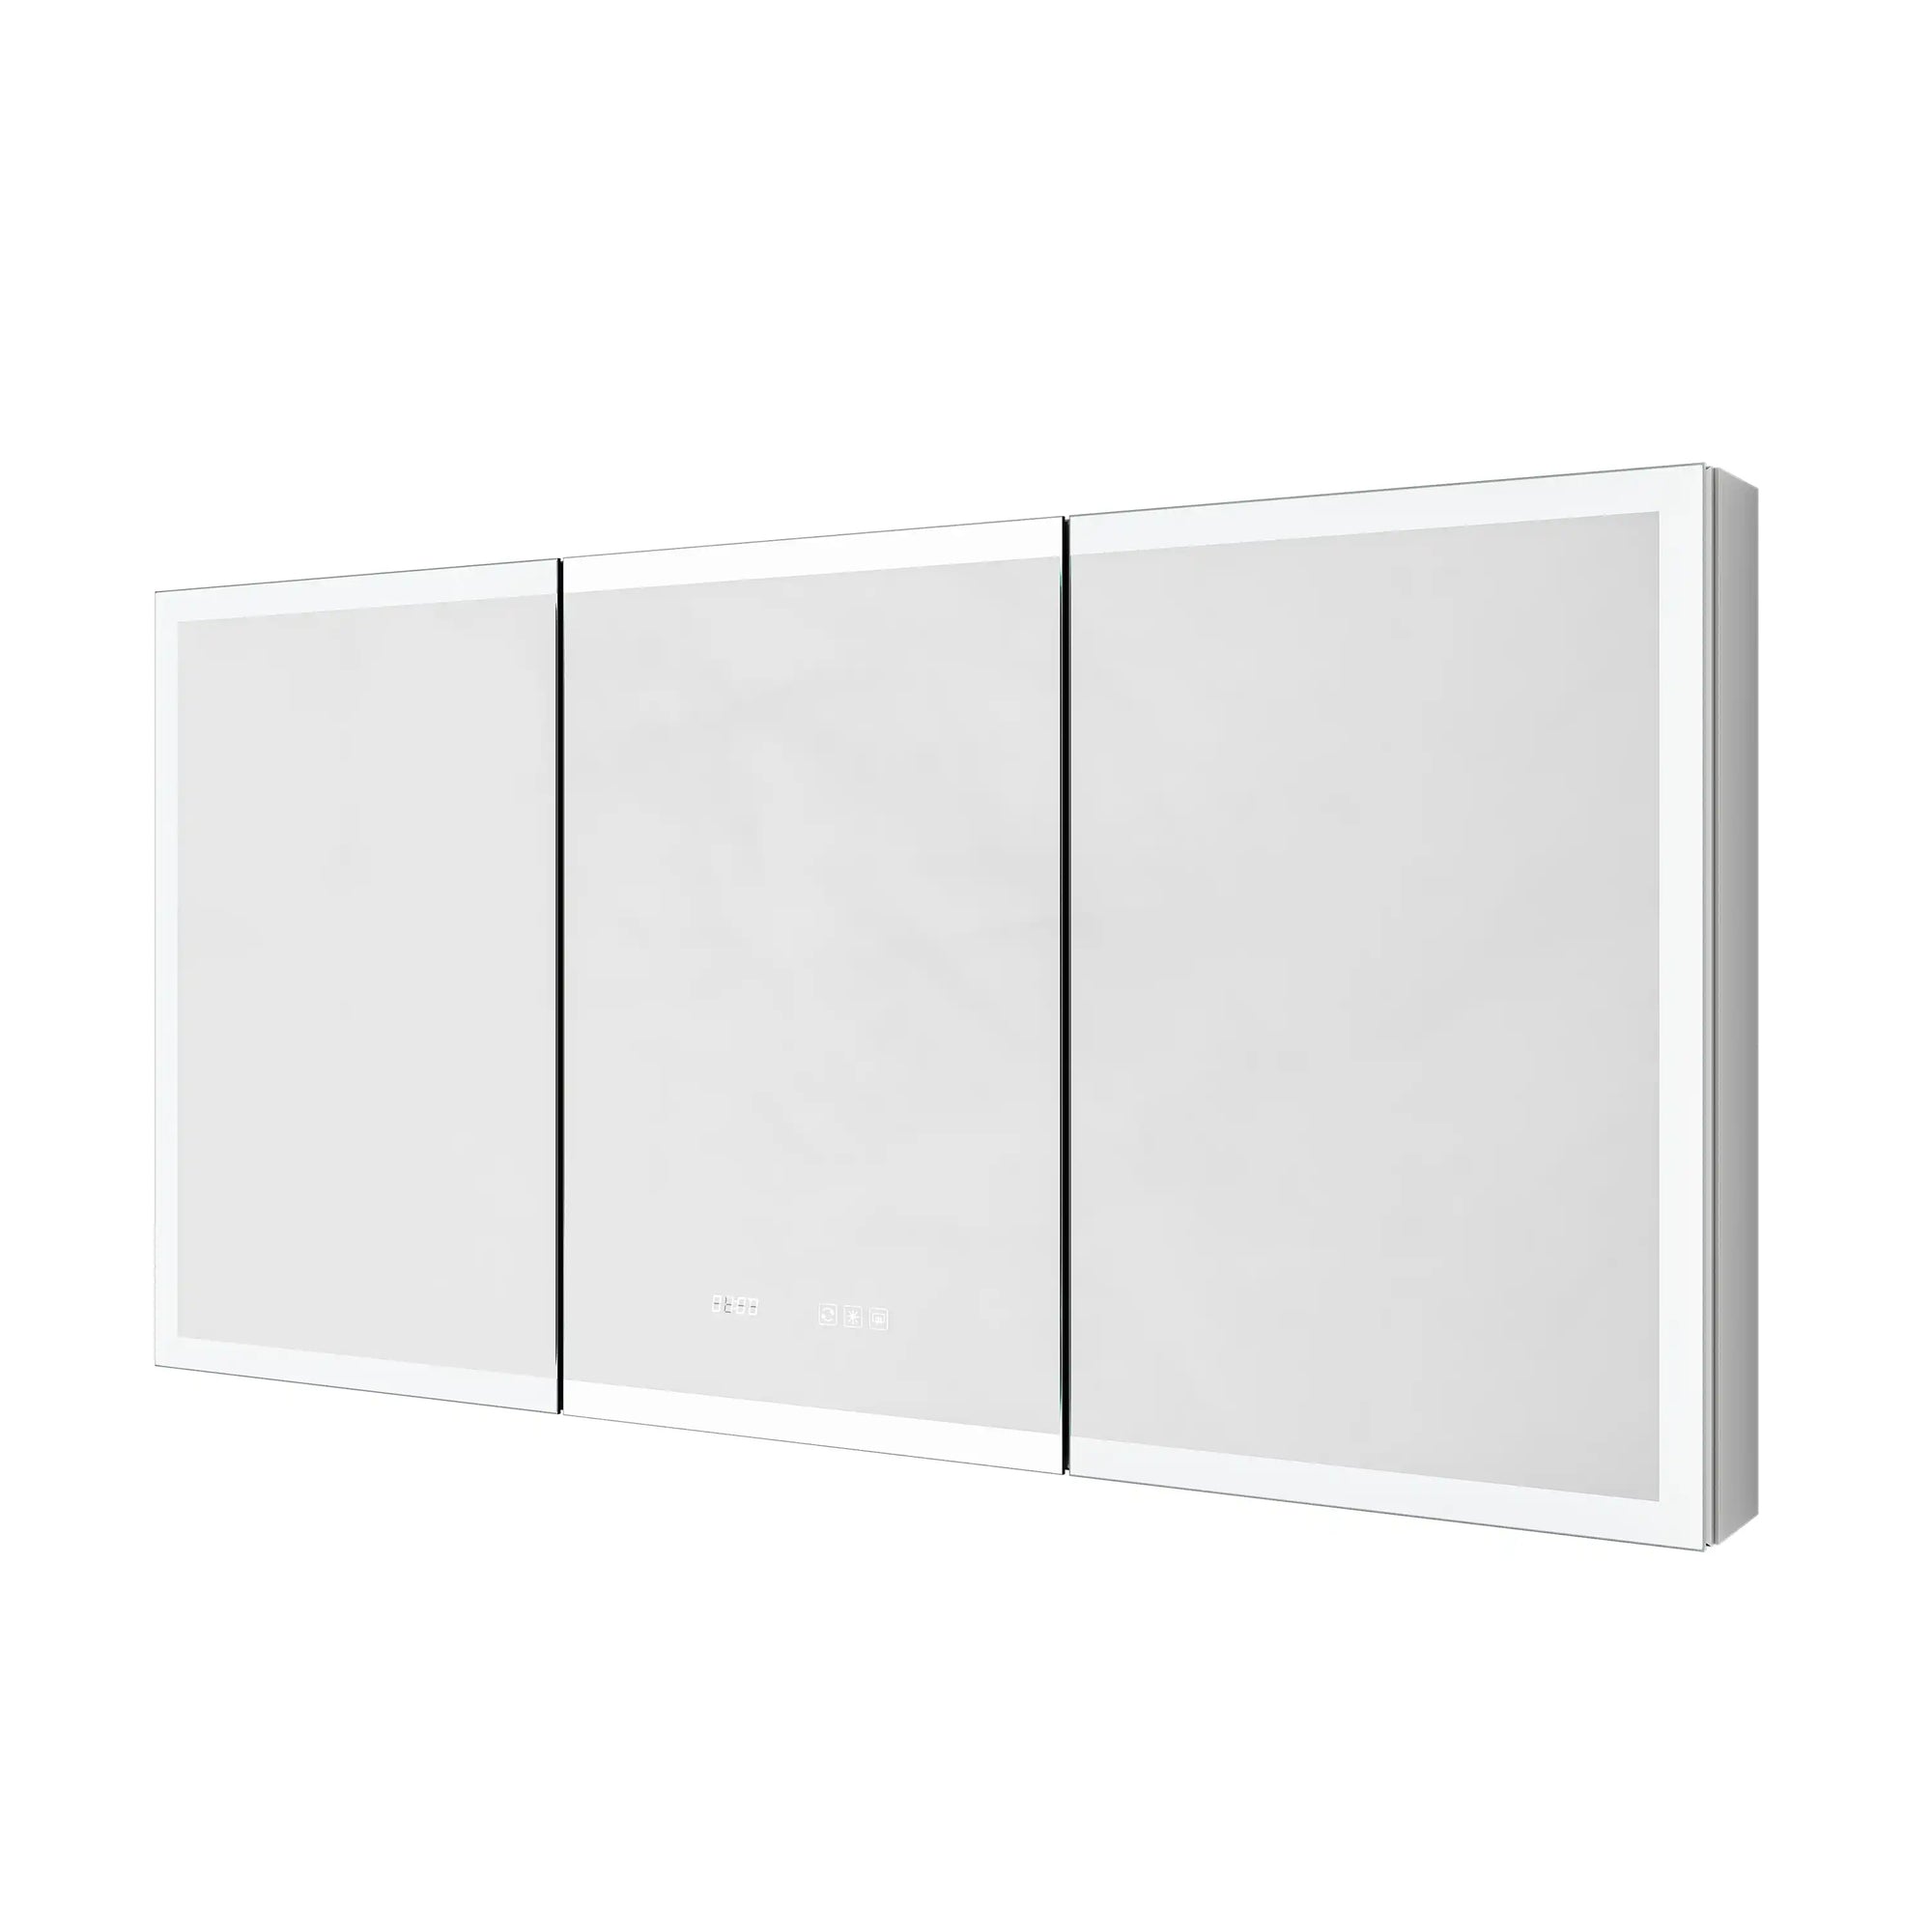
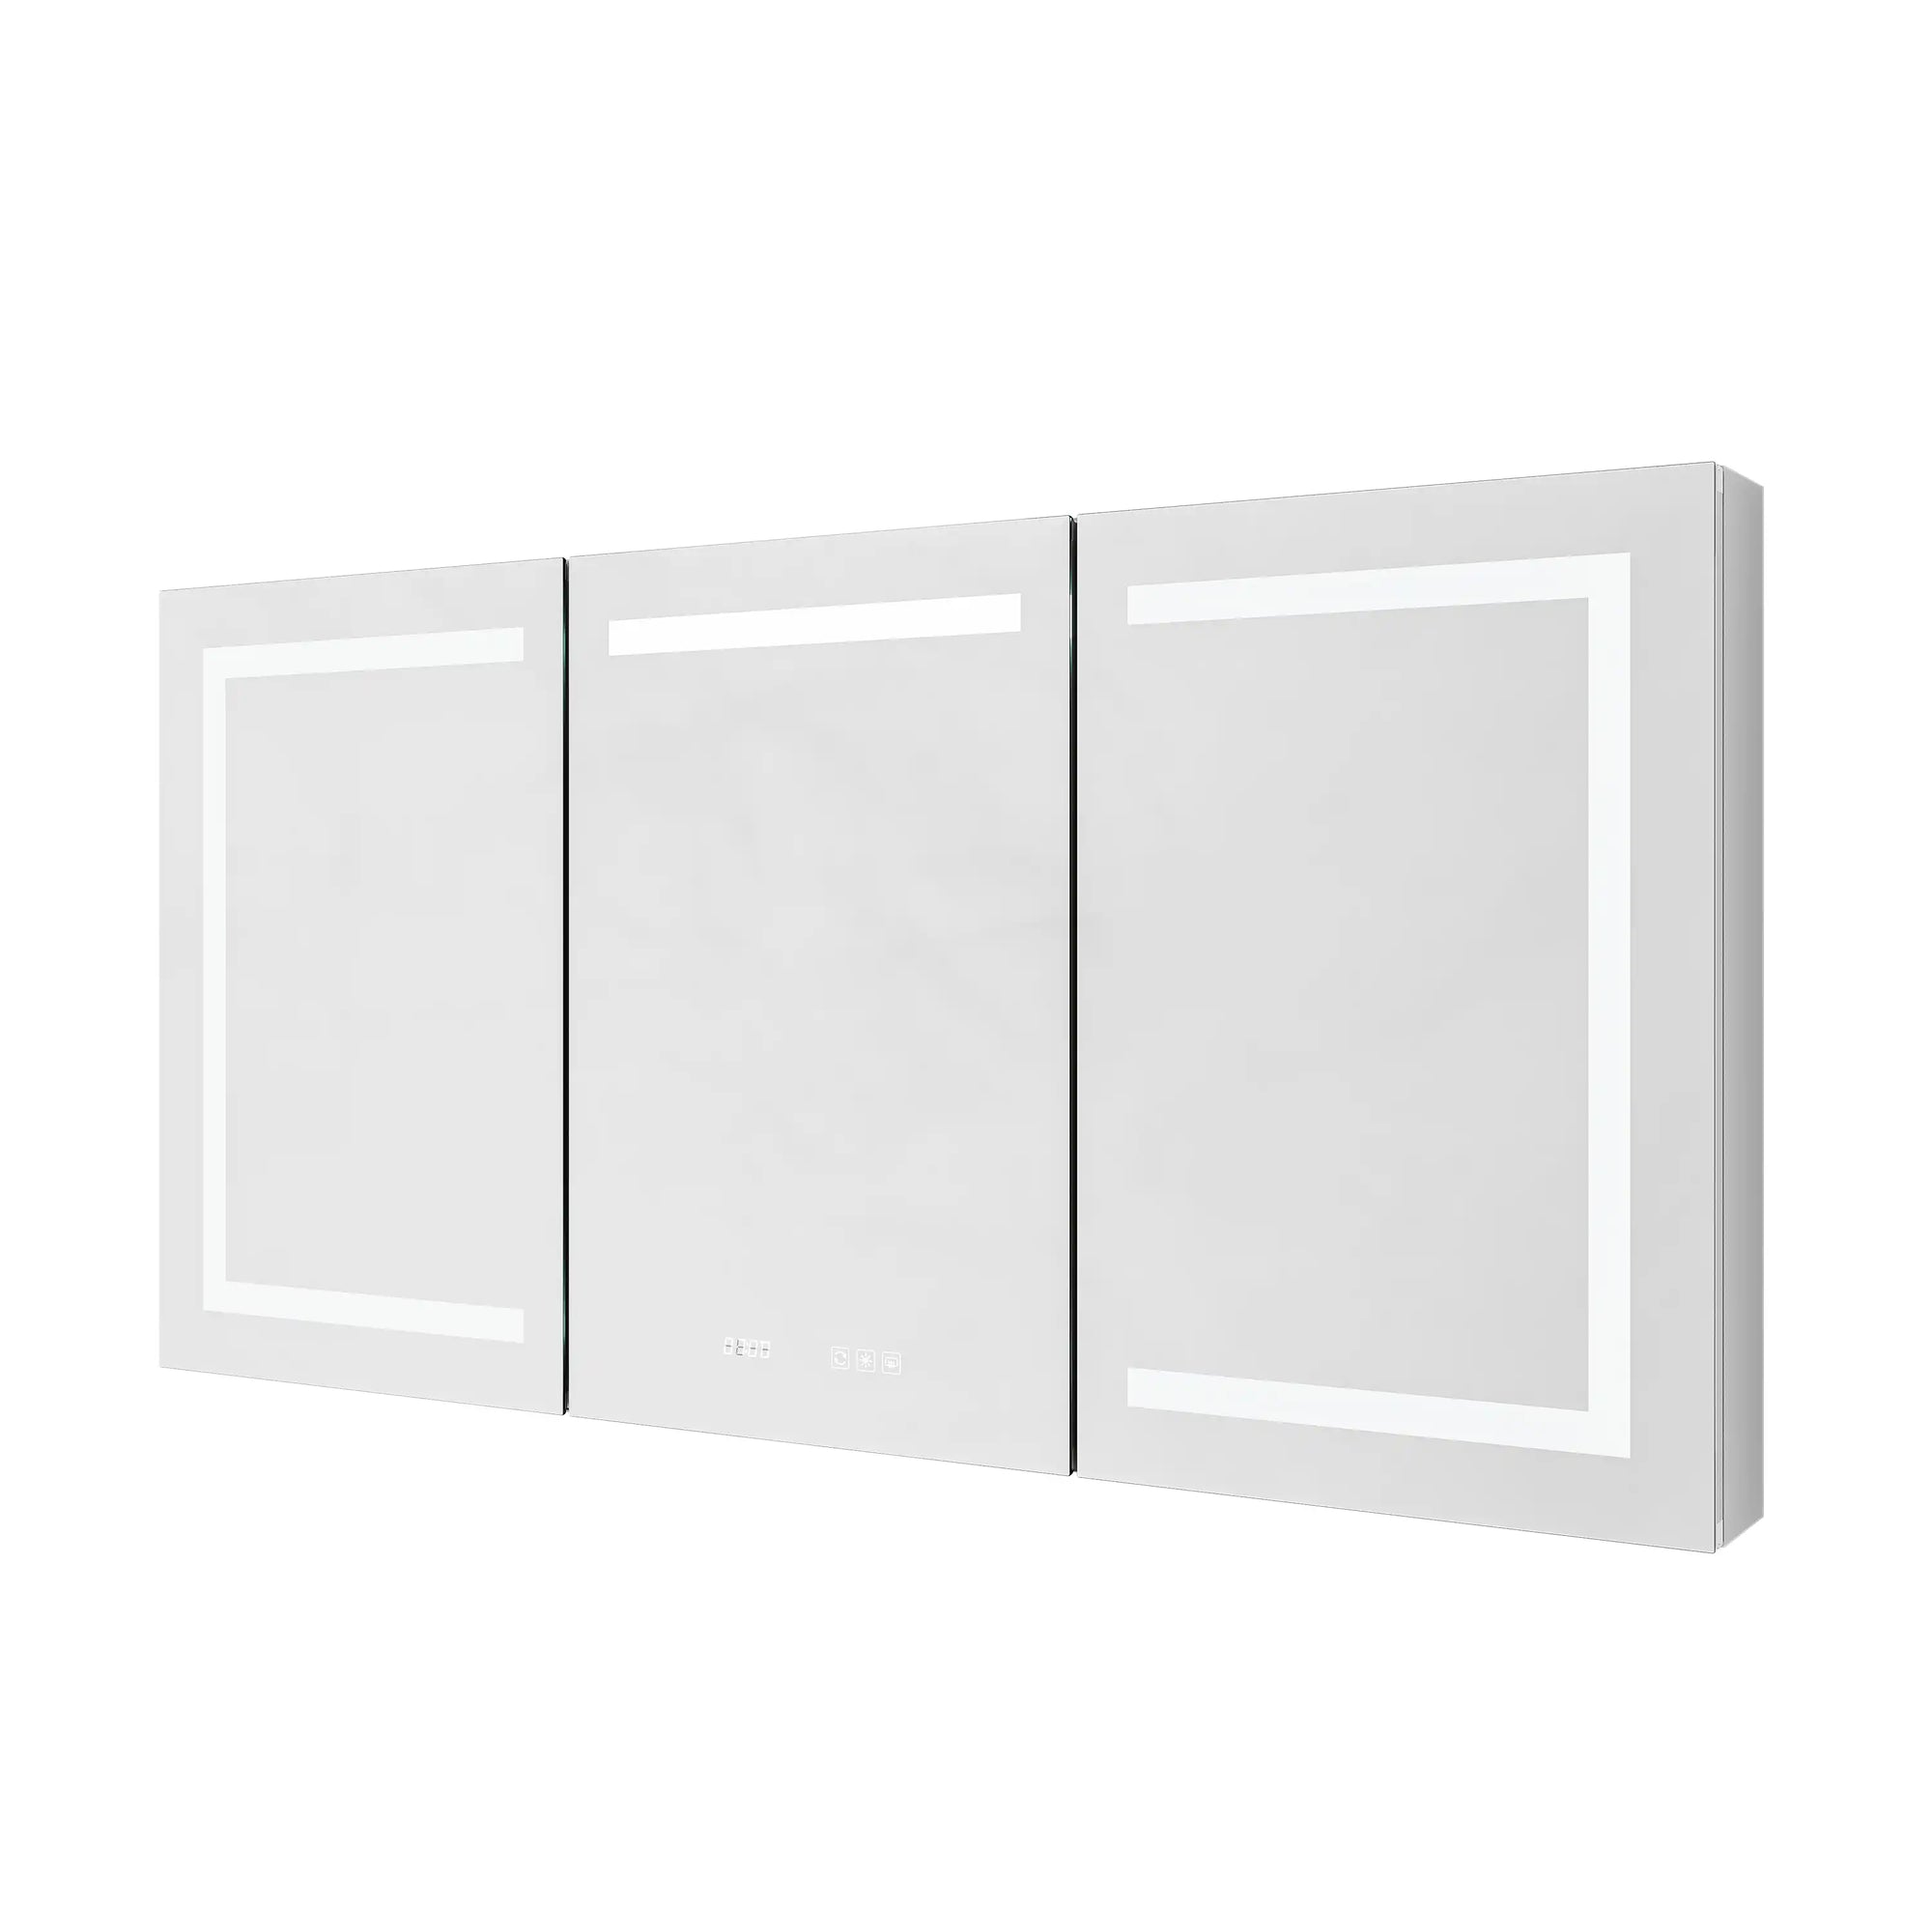
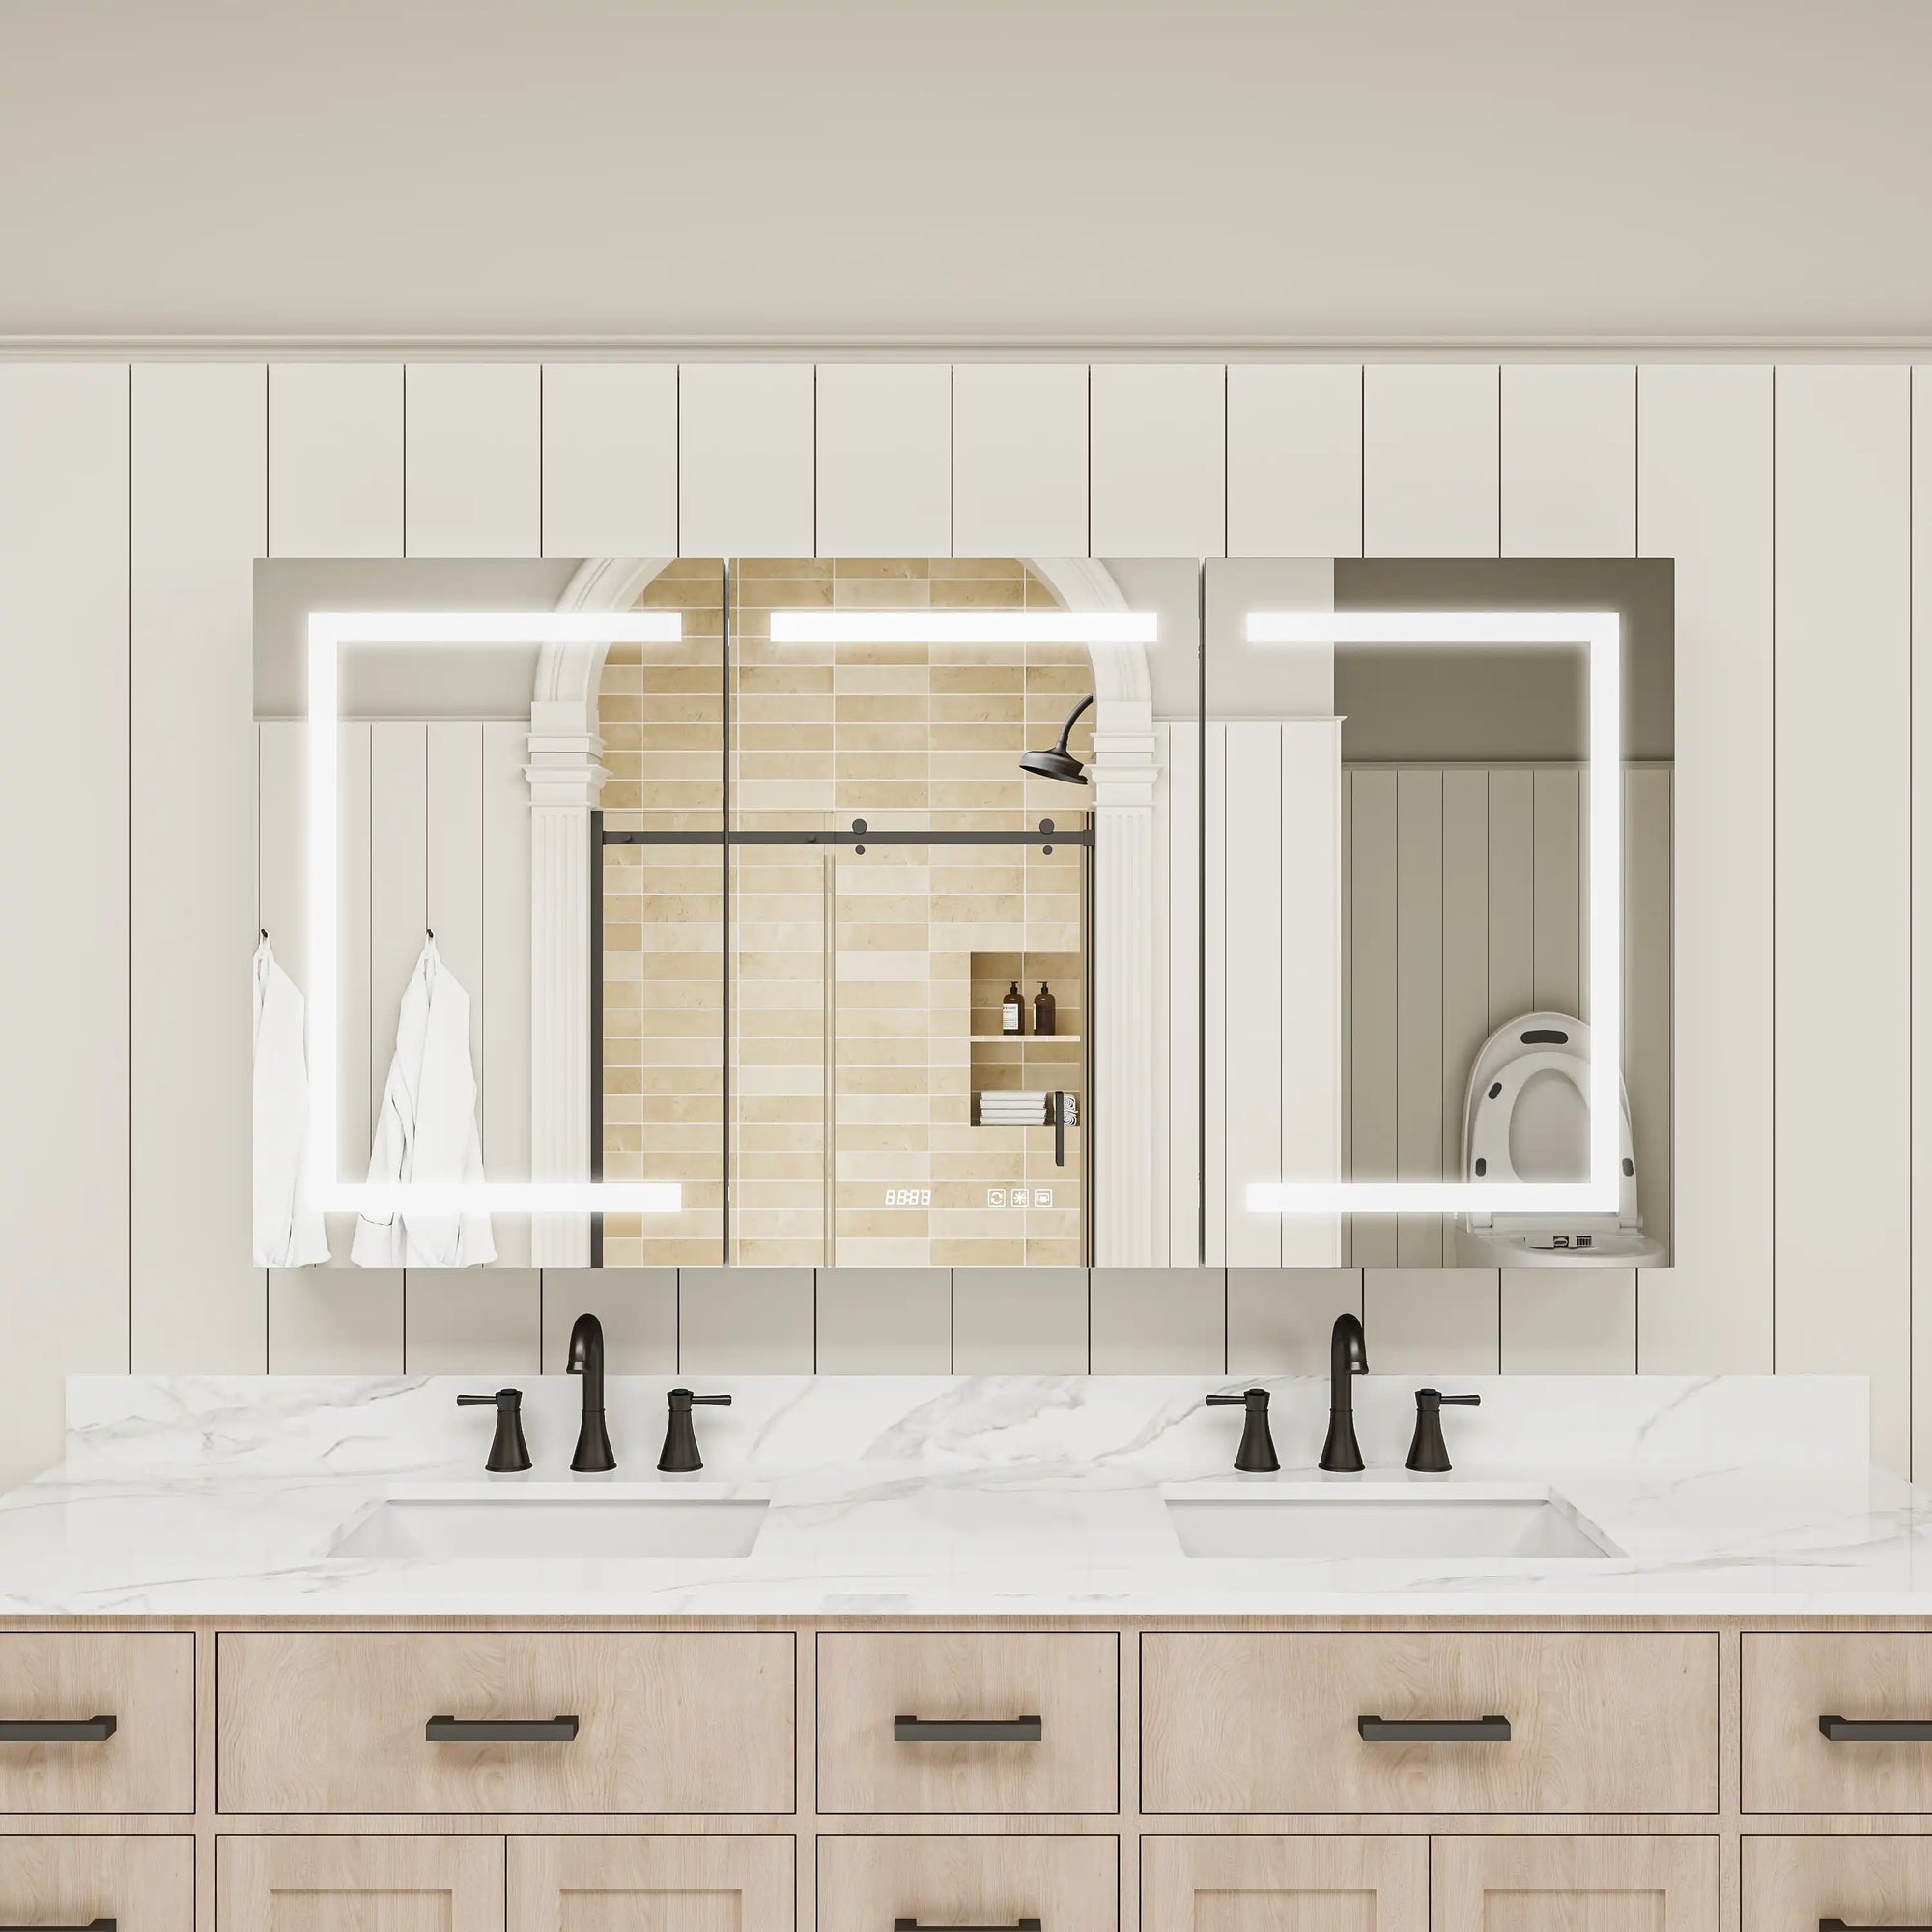
2. Choose a Mirror Style That Complements Both Your Cabinet and Your Bathroom
A medicine cabinet mirror isn't just a functional surface—it influences how bright and modern the bathroom feels. Choosing the right style makes a noticeable difference, especially if you're upgrading an older home.
Below are the most practical and popular options:
| Mirror Type | Best For | Benefits |
|---|---|---|
| Standard flat mirror | Straightforward replacements | Budget-friendly, blends into most bathrooms |
| Beveled mirror | Homeowners wanting a clean, modern upgrade | Adds subtle dimension and sophistication |
| Frameless mirror | Minimalist or contemporary designs | Sleek look, easy to match with modern fixtures |
| Framed mirror | Bathrooms with defined metal finishes | Helps tie together hardware like faucets, pulls, or shower doors |
| Custom-cut mirror | Non-standard or older cabinets | Ensures an exact fit with no gaps or alignment issues |
Additional style considerations homeowners often overlook:
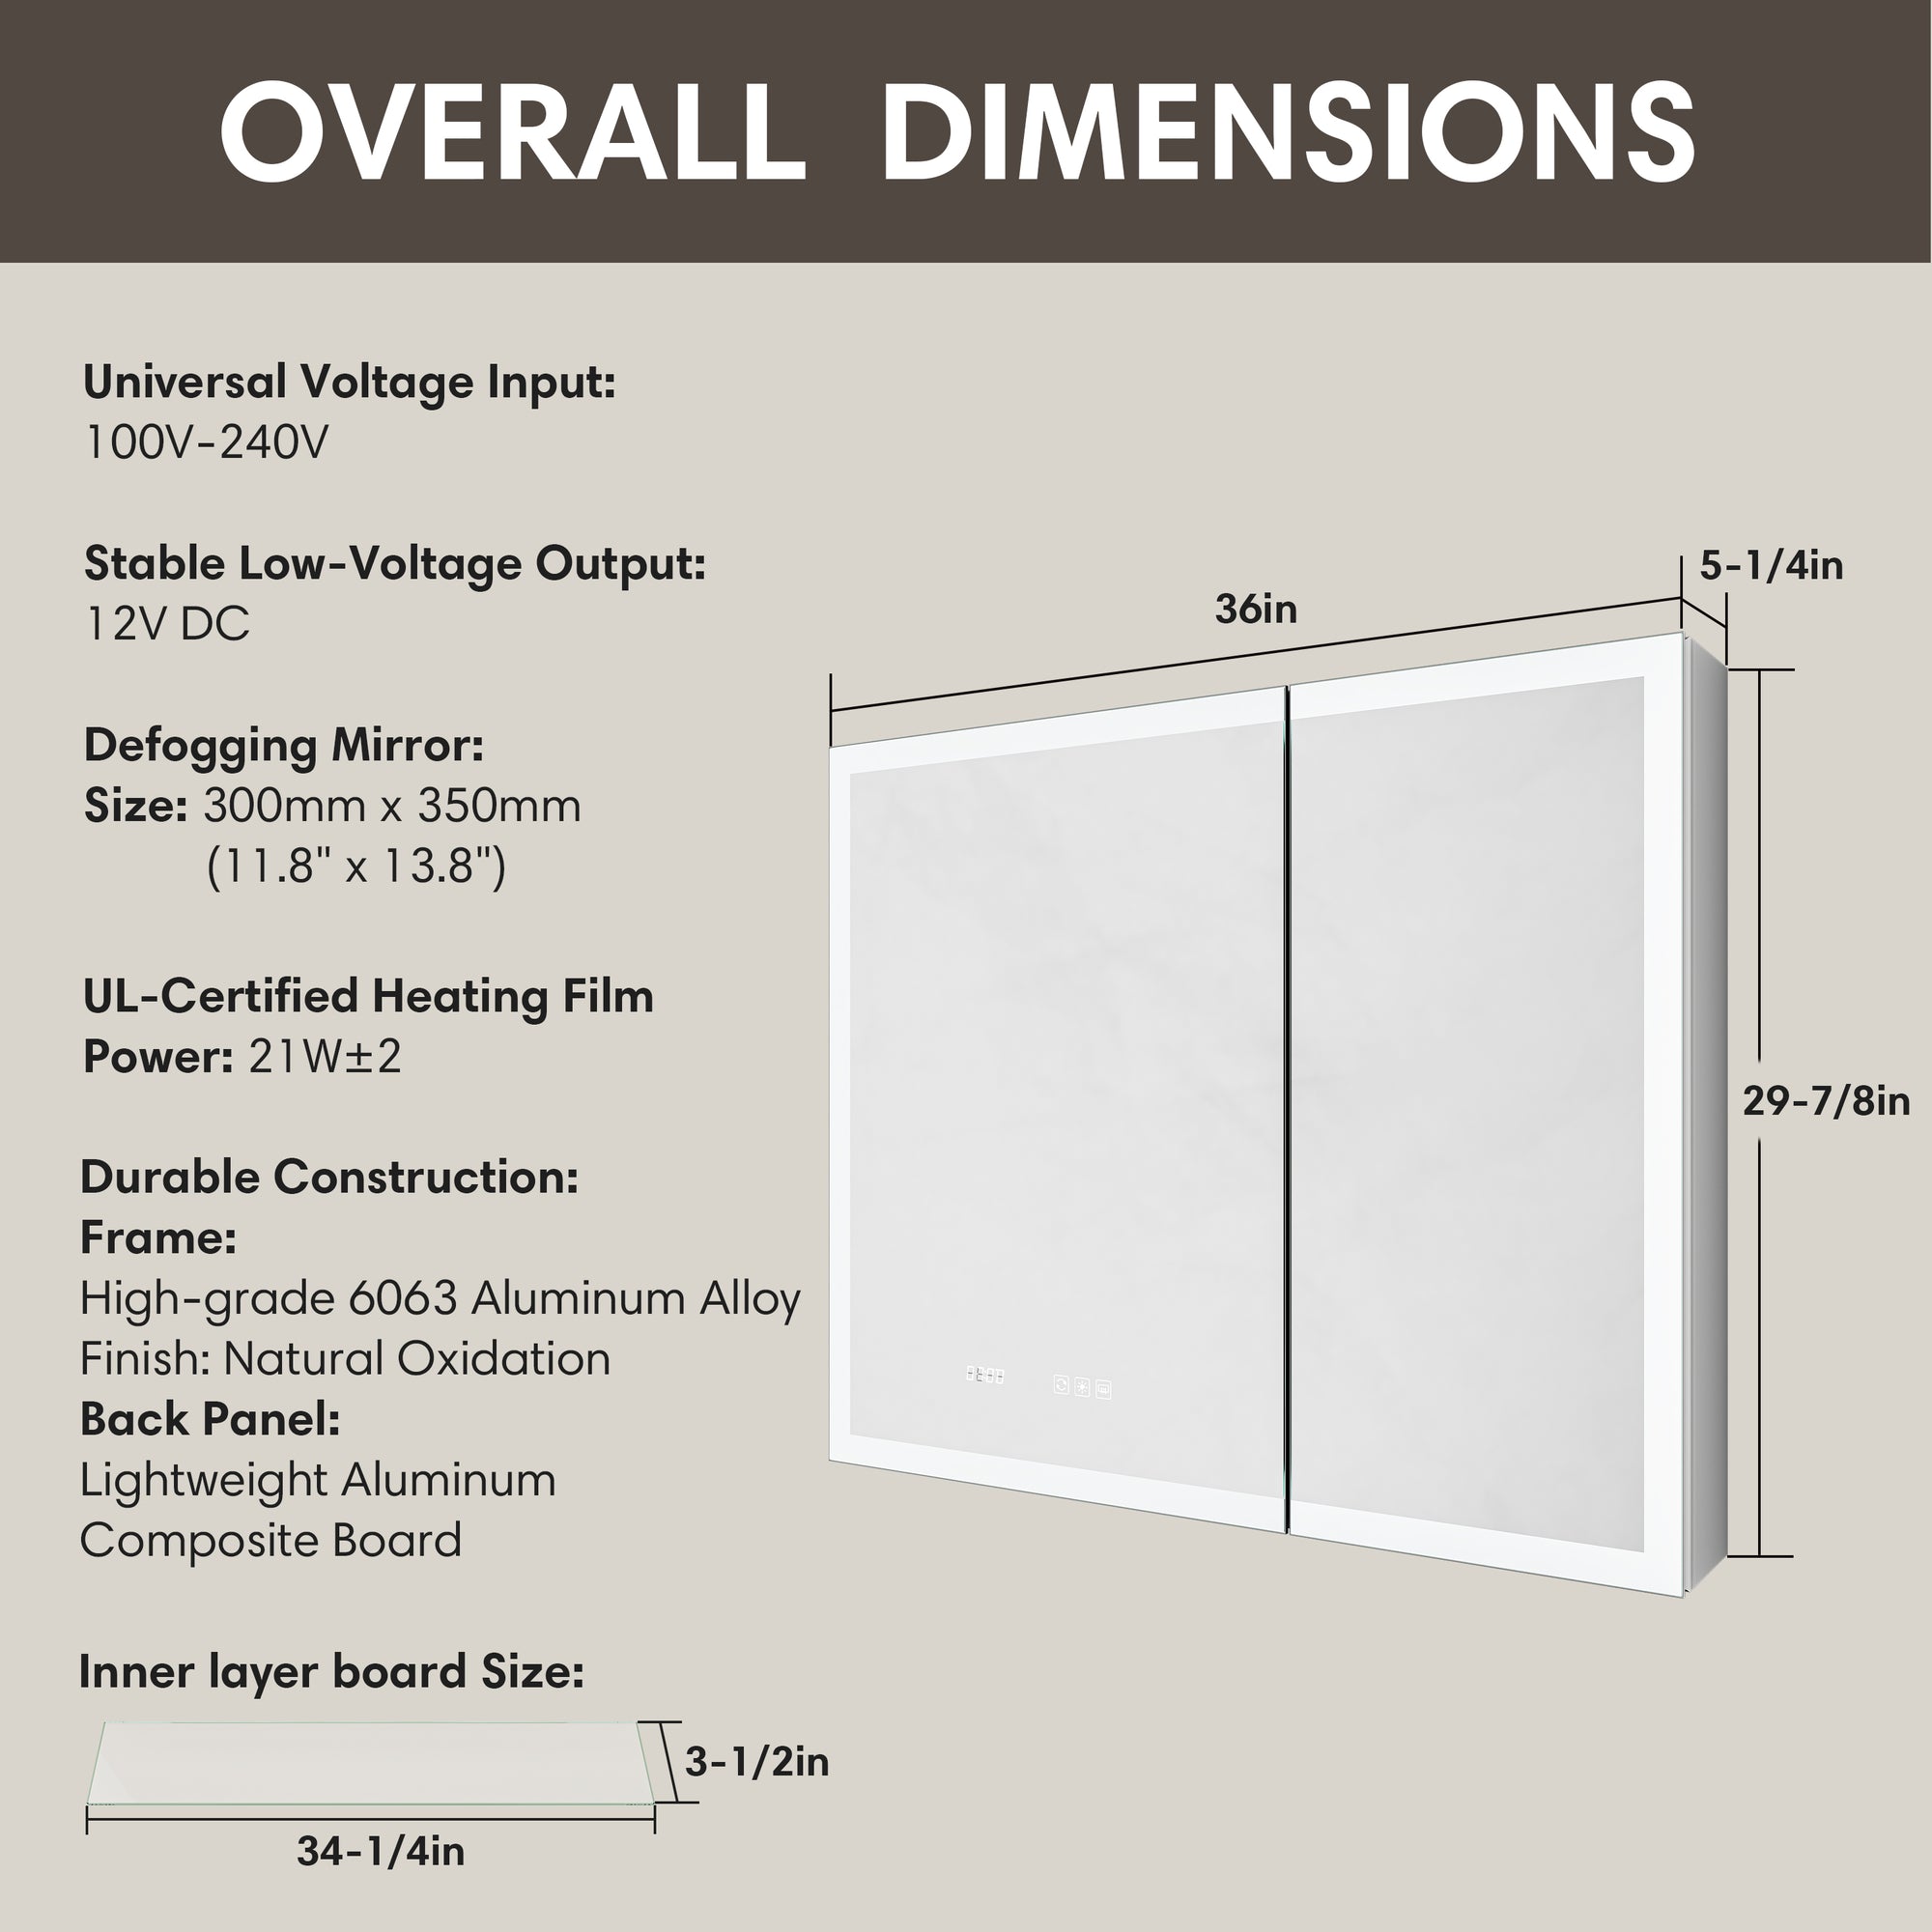
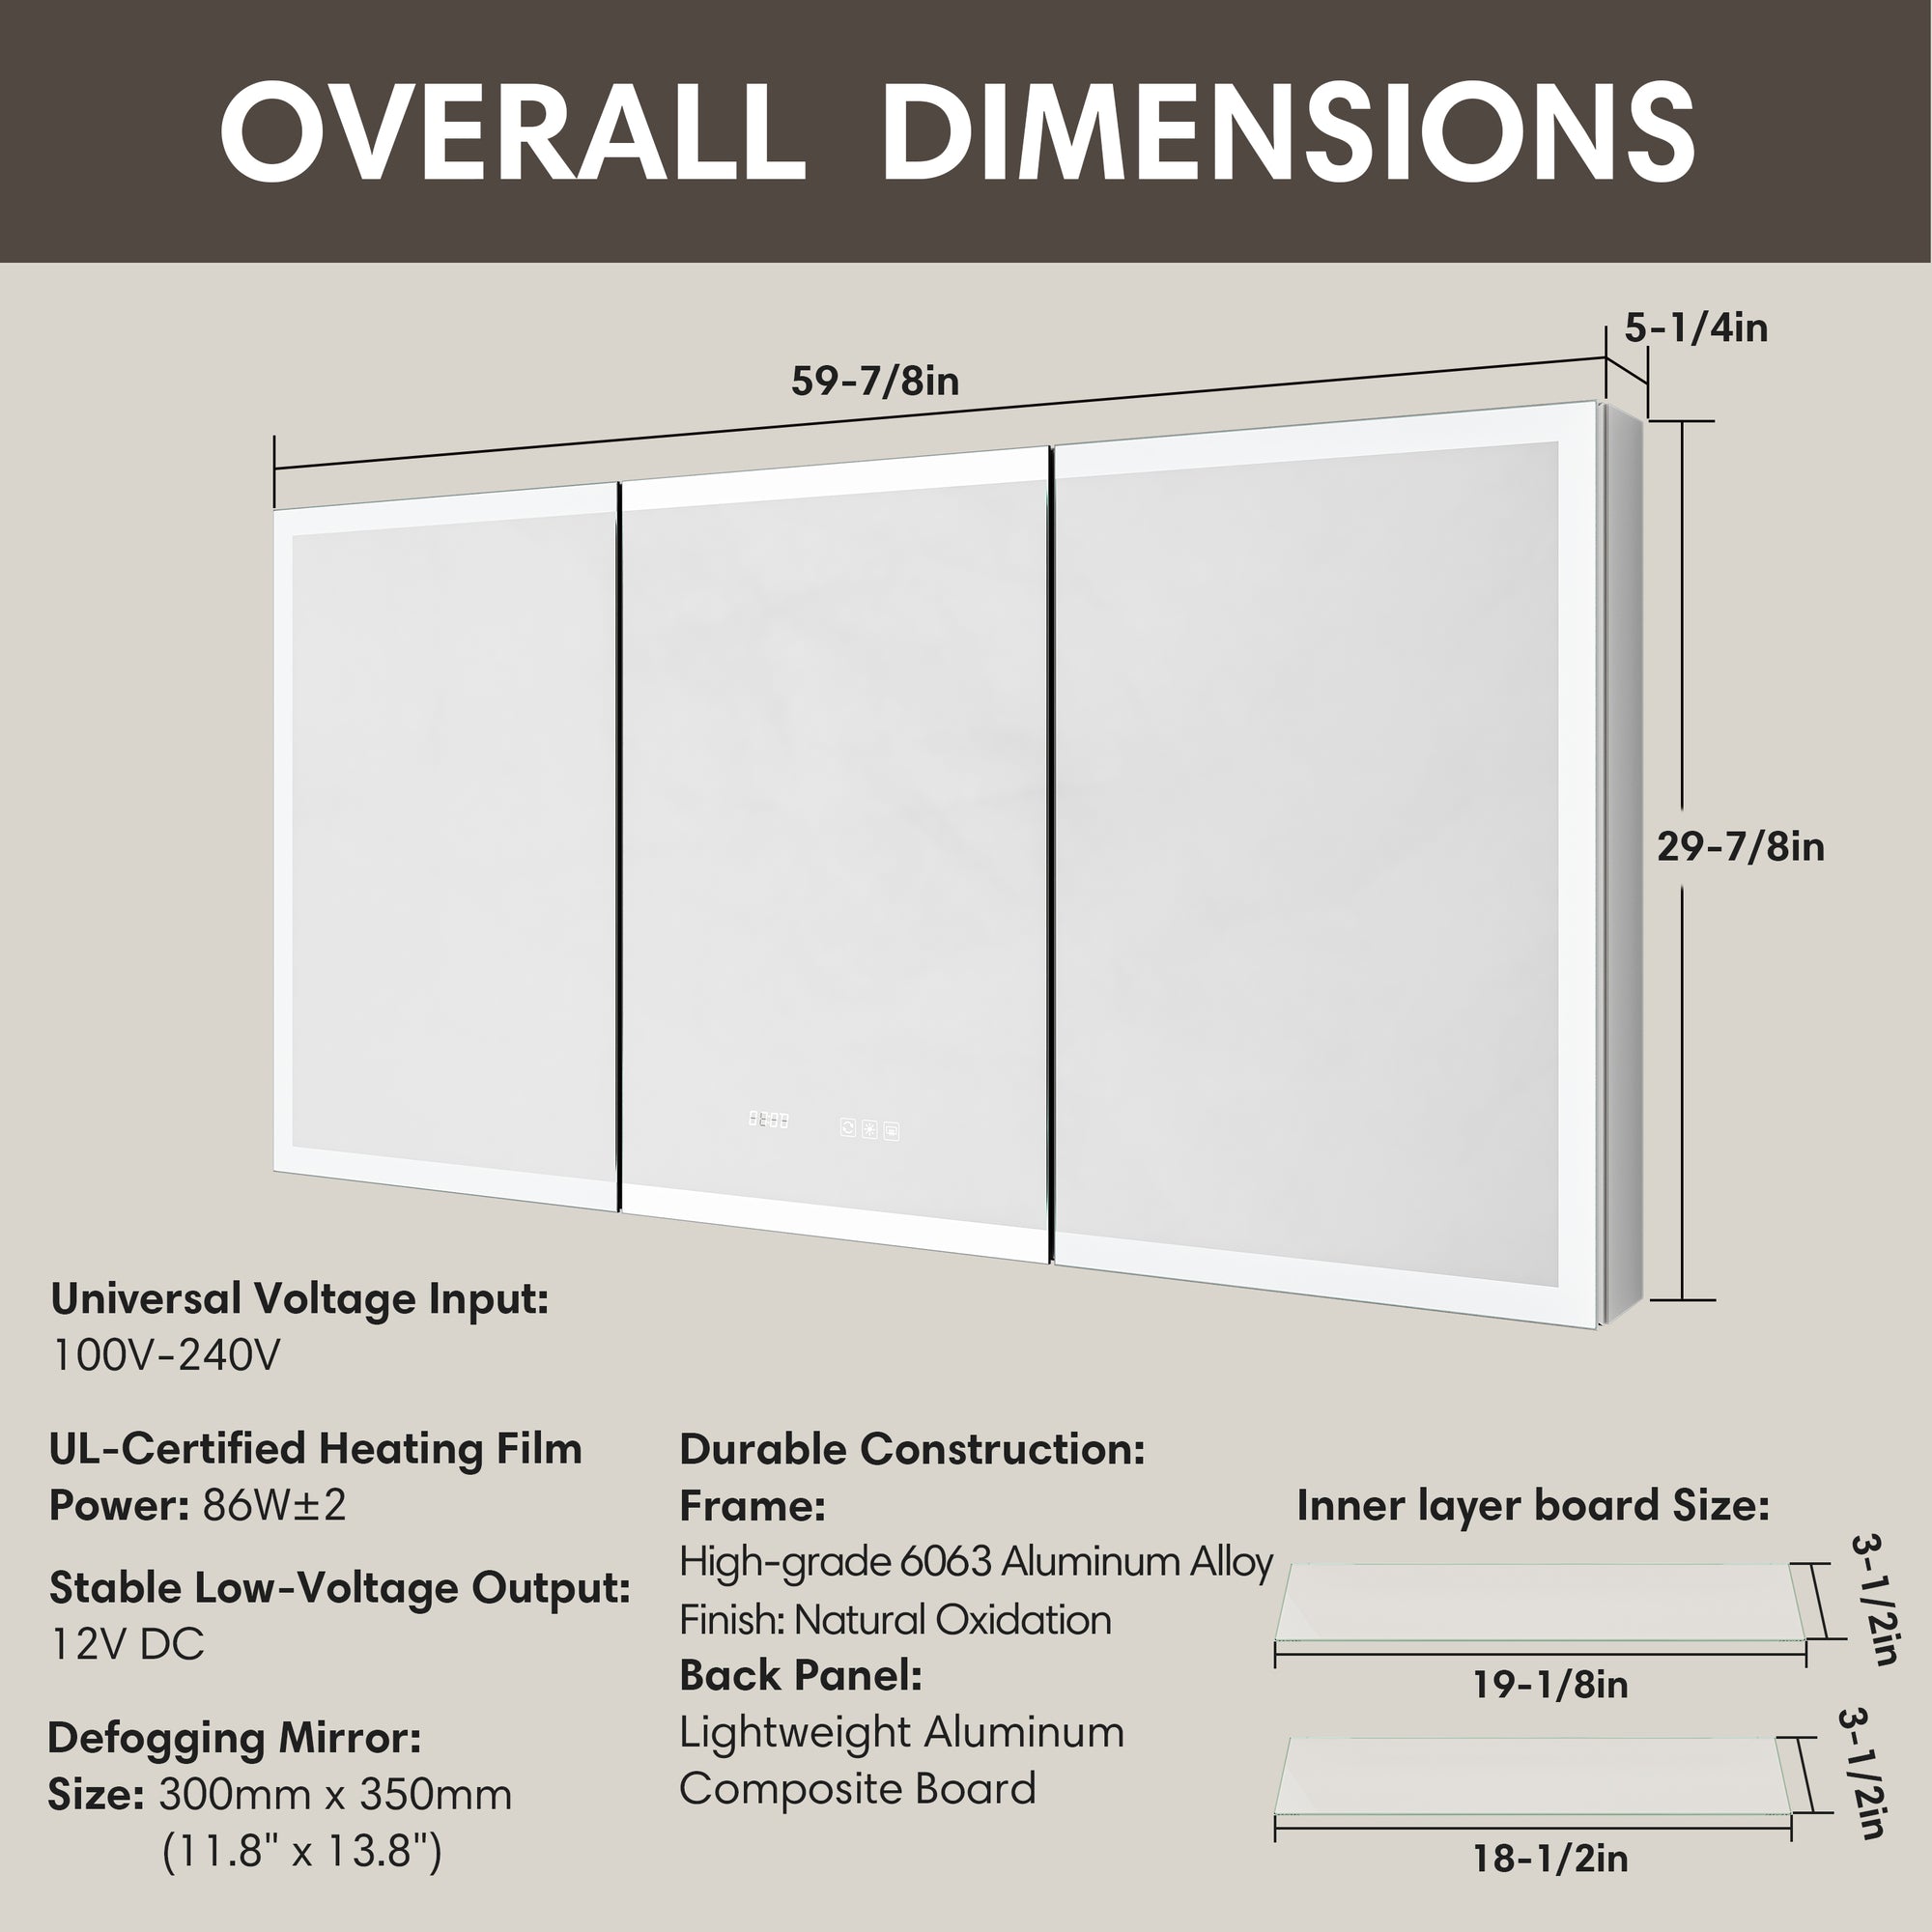
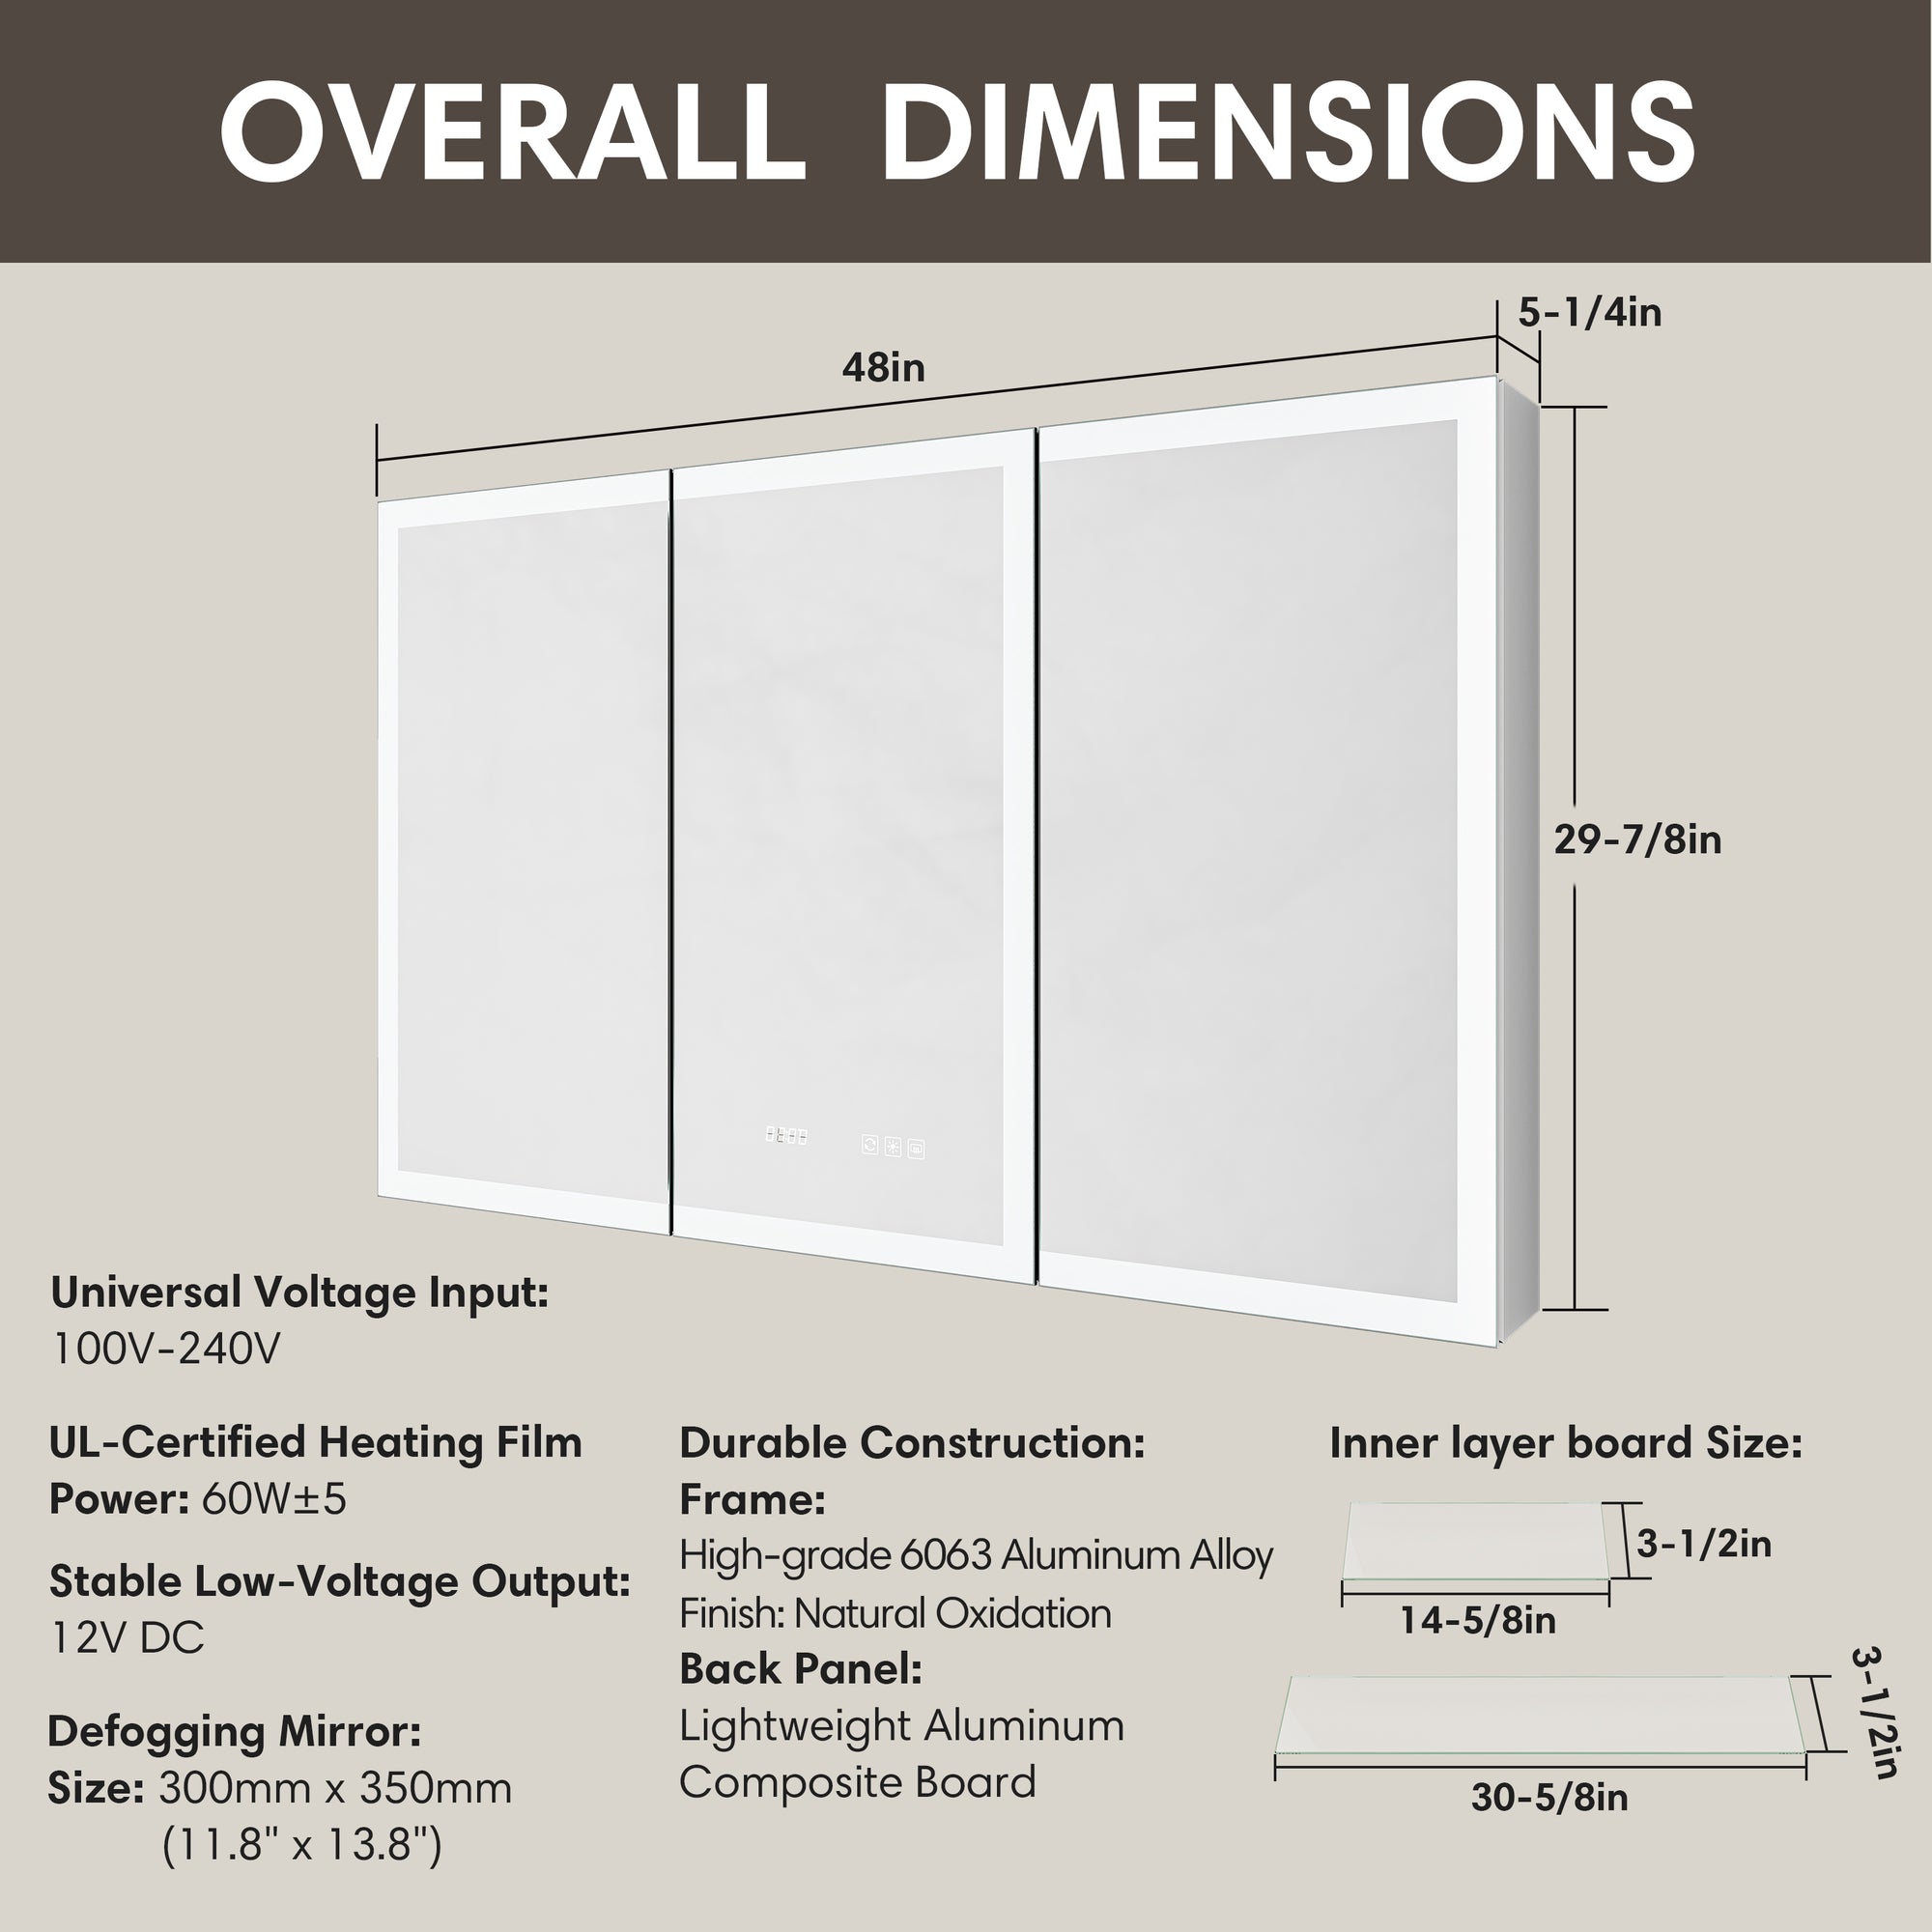
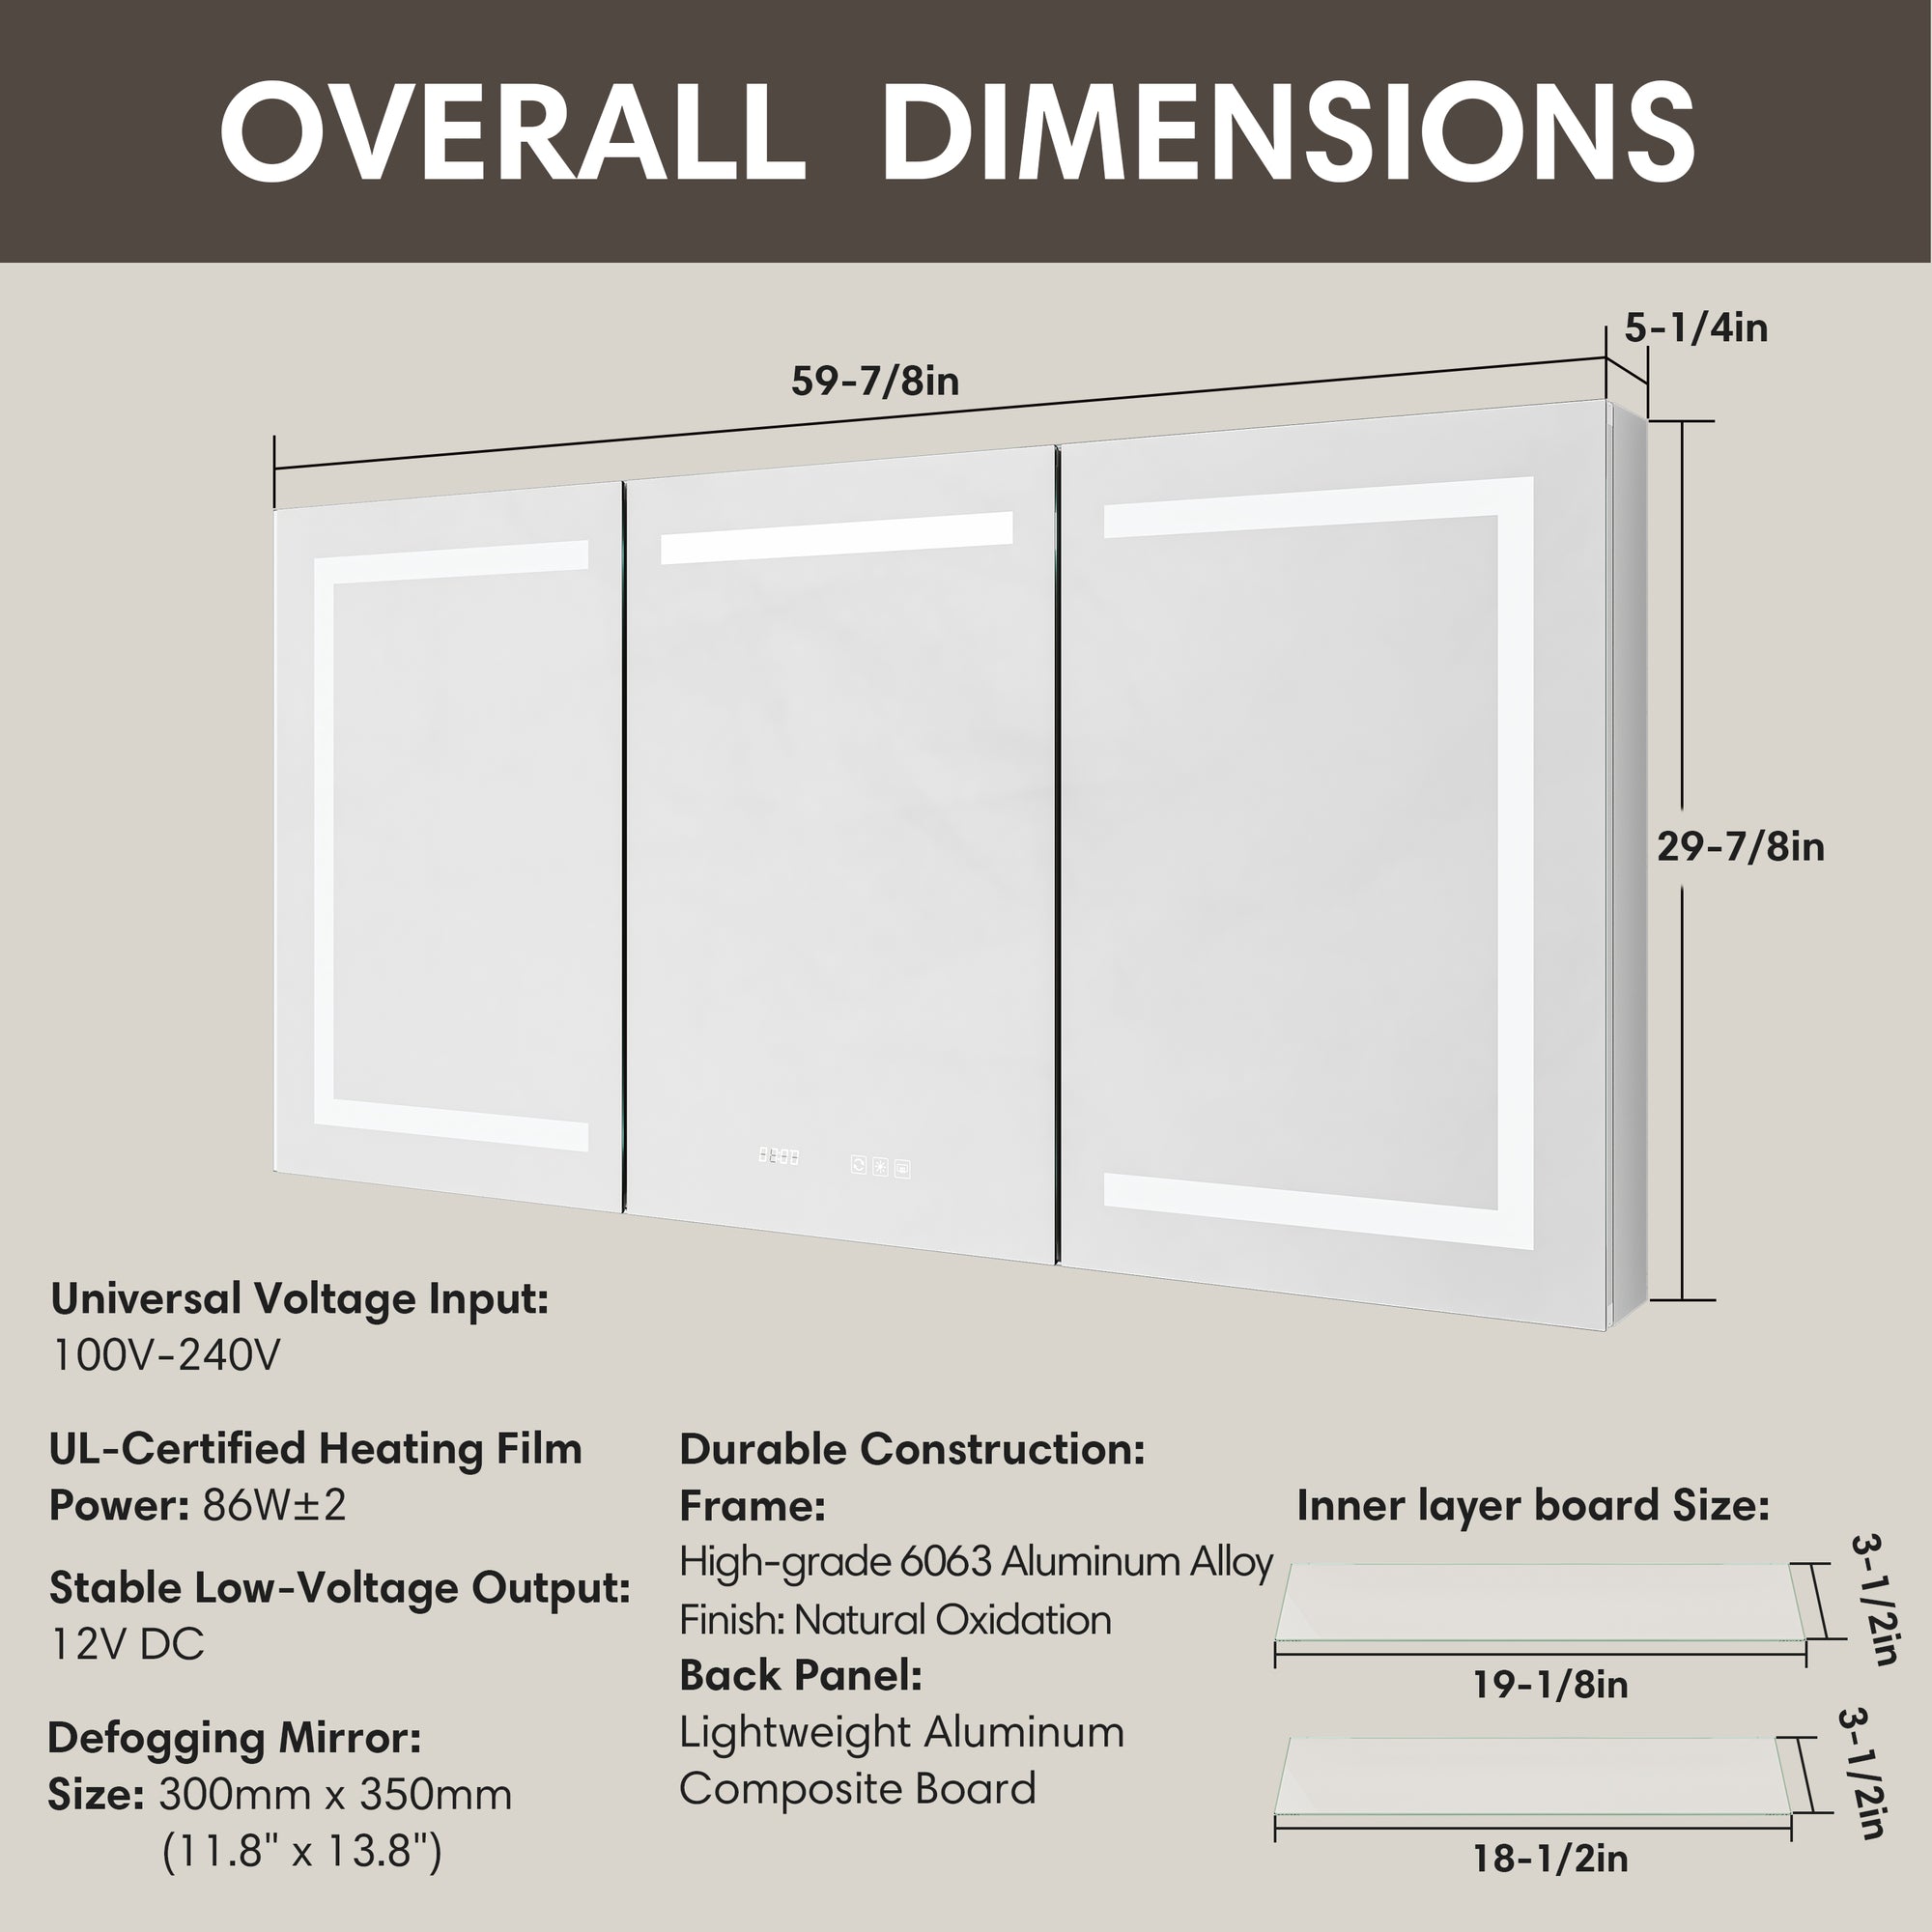
- Mirror thickness: Standard is 1/8" or 3/16". Thicker mirrors feel sturdier and resist humidity better, but must fit your door's depth.
- Edge finish: Polished edges prevent cuts and create a cleaner transition when the mirror sits proud of the frame.
- Moisture resistance: Especially important in bathrooms with weaker ventilation—look for corrosion-resistant backing.
- Compatibility with LED lighting: Frameless and beveled mirrors pair best with backlit lighting or modern sconces.
3. Consider Whether You Want to Match or Redesign the Bathroom's Look
This step helps prevent the "new mirror, old bathroom" mismatch that many homeowners unintentionally create.
Ask yourself:
- Do you want the mirror to match your existing hardware (chrome, matte black, brushed nickel, gold)?
- Are you planning to replace lights or faucets soon?
- Do you want a mirror that visually enlarges the space?
- Are you aiming for a spa-like, modern, or traditional look?
A medicine cabinet mirror is often the most visible element in the bathroom—choosing the right style keeps the whole space cohesive.
4. Measuring Correctly: A Crucial Step Before Buying
Accurate measurement prevents one of the most common mistakes during medicine cabinet mirror replacement: buying a mirror that doesn't fit the cabinet door.
You'll need to measure:
- Width and height of the cabinet door
- Mirror recess (if the mirror sits inside a lip)
- Mirror thickness allowance
- Hinge clearance to ensure doors open properly
Taking a few extra minutes here saves you from returns, misfits, and installation headaches.
5. When a Custom Mirror Is Worth the Investment
Custom-cut mirrors cost more, but they're a smart choice when:
- Your cabinet is older or a non-standard size
- There are slight variations in the door frame
- You want a perfect, edge-to-edge fit
- You're upgrading the overall look of the bathroom but keeping the existing cabinet
For many homeowners, a flawless custom fit instantly makes an older cabinet look newer and more intentional.
6. Budget, Durability, and Long-Term Value
While it's tempting to choose the cheapest option, bathrooms experience high humidity and temperature swings. A higher-quality mirror often lasts significantly longer and maintains its clarity better over time.
Look for:
- Copper-free or corrosion-resistant backing
- Tempered or safety glass options for families with kids
- Warranty information from sellers
These small details help ensure your replacement mirror holds up for years rather than just seasons.
Step-by-Step Guide: How to Replace a Medicine Cabinet Mirror
These steps work for both recessed and surface-mounted medicine cabinets and are written with a typical homeowner in mind. If at any point you feel unsure—especially when dealing with a glued mirror—it's completely reasonable to pause and reassess before moving forward.
Step 1 — Safely Remove the Old Mirror
Start by opening the medicine cabinet door fully and clearing out everything inside. This gives you room to work and prevents items from falling while you're handling the glass. Stand in a stable position and support the mirror with one hand or forearm as you locate and remove any visible screws, clips, or brackets that hold it in place. If the mirror is secured with clips, releasing them one at a time from the bottom up usually offers the most control.
If the mirror has been glued directly to the door, work slowly around the edges with a putty knife or thin, flat tool. The goal is to gradually separate the adhesive without forcing the glass to flex or crack. Once the mirror feels loose, carefully lift it away from the door and place it on a padded surface such as a folded towel, blanket, or piece of cardboard on the floor.
This is the stage where most accidents happen, so safety glasses and gloves are essential. Take your time—there's no benefit in rushing when you're working with glass at eye level.

Step 2 — Measure the Opening Accurately
With the old mirror removed, you can see the true size of the door or recessed area where the new mirror will sit. Use a measuring tape to record the width and height of the opening or door panel, measuring in at least two spots in each direction to catch any slight variations, which are common in older homes. If the door has a recessed lip or frame, measure the usable space inside that lip rather than the full outer size.
Just as important—but often overlooked—is mirror thickness. Check the depth of the recess or the way the old mirror sat on the door and note how thick it was. Choosing a replacement that is significantly thicker can cause the door to bind, scrape the frame, or not close properly. Accurate measurements at this stage will make the rest of your medicine cabinet mirror replacement much smoother and help you avoid returns or last-minute trimming.

Step 3 — Prepare the New Mirror
If you've ordered a standard or custom-cut mirror that already matches your measurements, preparation will mostly involve verifying the size and inspecting the edges for chips before you install it. Hold the new mirror up to the door or opening without fastening it to confirm that the fit looks right and that there's enough clearance for hinges and nearby walls.
For homeowners cutting a mirror themselves—something that's less common today but still possible—you'll want to double-check your layout lines before scoring the glass. Use a straight edge to mark the final size, then run a glass cutter steadily along the marked lines in a single pass. After scoring, position the glass over a flat edge and snap it with firm, even pressure. Any rough or sharp edges should be smoothed with a suitable glass tool. If you're not experienced with glass cutting, buying a pre-cut mirror is usually safer, faster, and more predictable.

Step 4 — Install the New Mirror
When you're ready to install, position the new mirror on the cabinet door or inside the frame, starting with a dry fit. This means placing it where it will sit permanently but without screws or adhesive at first, just to confirm alignment. Once you're satisfied with the position, use painter's tape to temporarily hold the mirror in place. This gives you two free hands to adjust hardware or apply adhesive.
If your cabinet uses clips or brackets, reinstall them gradually—top and bottom—without overtightening, as too much pressure can crack the glass. If the mirror will be glued on, apply mirror-safe adhesive in small, spaced-out beads or pads on the door surface, avoiding the very edges to prevent squeeze-out. Gently press the mirror into place, adjust it until it's square with the door, and then secure it with painter's tape while the adhesive cures. A level is very helpful here; a slightly crooked mirror will be noticeable every day.
Most adhesives require a curing time of at least 24 hours. During this period, avoid opening and closing the door excessively or storing items in the cabinet that might bump the back of the mirror.
Step 5 — Clean and Test the Installation
Once the mirror is securely in place and any adhesive has fully cured, remove the painter's tape and give the surface a thorough clean with a streak-free glass cleaner. Wipe gently around the edges so you don't disturb the seal or hardware. Step back and check your reflection from different angles to ensure the mirror sits flat and doesn't show any warping.
Open and close the medicine cabinet door several times to make sure there's no rubbing against the frame, nearby walls, or light fixtures. Verify that the hinges operate smoothly and that the mirror doesn't shift or rattle. Lightly press around the perimeter with your fingertips to confirm that all areas feel firmly supported. A successful medicine cabinet mirror replacement should feel solid, look level, and function just like a factory-installed mirror—only cleaner, clearer, and more in line with your updated bathroom.
How Much Does a Medicine Cabinet Mirror Replacement Cost?
Here's a realistic range for West Coast suburban markets:
Typical Cost Ranges for Medicine Cabinet Mirror Replacement
These estimates are based on typical pricing in West Coast suburban markets and cover the most common ways homeowners approach a medicine cabinet mirror replacement.
Basic Mirror Swap
This covers a standard flat replacement mirror when your existing medicine cabinet is in good shape and the door hardware is still solid.
- Standard mirror sized to fit your existing cabinet door
- Uses existing clips or screws with minimal extra hardware
- Best when the old mirror is damaged but the cabinet box is still sturdy
Best for: Homeowners comfortable with simple DIY who want the lowest-cost medicine cabinet mirror replacement without changing the overall cabinet.
Enhanced Mirror Upgrade
This range includes beveled, frameless, or custom-cut mirrors that improve both the look and performance of your existing medicine cabinet.
- Beveled or frameless designs for a cleaner, more modern appearance
- Custom sizing available for older or non-standard cabinet doors
- Often uses higher-quality backing for better moisture resistance
Best for: Homeowners updating an older bathroom’s style who want a more modern, design-forward medicine cabinet mirror replacement without replacing the entire cabinet.
Pro-Assisted Replacement
Hiring a local handyman or glass professional to handle removal and installation, especially for glued, oversized, or awkward mirrors.
- Professional removal of the old mirror with reduced risk of breakage
- Precise installation of the new mirror, including leveling and secure fastening
- Ideal when the mirror is heavy, fully glued, or difficult to access safely
Best for: Homeowners who prefer not to work with glass themselves or have a more complex medicine cabinet mirror replacement where safety and finish quality are top priorities.
Most homeowners spend under $200 for a complete DIY replacement.
Should You DIY or Hire a Pro?
When it comes to a medicine cabinet mirror replacement, there isn’t one “right” approach for every homeowner. Some projects are simple enough to handle on a Saturday morning, while others are better left to a local handyman or glass professional. Knowing where your project falls on that spectrum can save you both stress and money.
DIY is a good fit if:
A do-it-yourself approach works well for many straightforward mirror swaps, especially in newer or well-maintained bathrooms. If your cabinet is structurally sound and the mirror is easy to access, most homeowners with basic tools can complete the job safely.
- Your existing mirror is held in place with screws, clips, or brackets rather than full-surface adhesive.
- The mirror size is standard, and you can easily order a replacement that matches the original dimensions.
- The cabinet door opens and closes smoothly, with no sagging hinges or loose hardware.
- You’re comfortable using basic tools like a screwdriver, level, painter’s tape, and possibly a putty knife.
- You don’t mind taking your time to measure carefully and follow a step-by-step guide from start to finish.
In these situations, DIY can keep your total cost very low and give you the satisfaction of handling your own upgrade, especially if you’re already doing other small projects around the house.
Hire a professional if:
There are also cases where bringing in a professional is the safer and more efficient choice. This is especially true in older homes, where cabinets have shifted over time or the mirror was installed in a way that makes removal risky.
- The mirror is fully glued to the door or wall, and you’re concerned about cracking the glass or damaging the cabinet during removal.
- The mirror is oversized, heavy, or installed in a tight corner where it’s hard to get a secure grip while you work.
- You need cutting, trimming, or custom fitting to make the new mirror align properly with an older or non-standard cabinet.
- The cabinet structure, hinges, or frame already feel loose, and you don’t want to make the situation worse by prying on it yourself.
- You simply prefer a clean, “done-for-you” result with less risk and less time spent troubleshooting on your own.
In those scenarios, paying for a pro to handle your medicine cabinet mirror replacement is often a smart investment. You reduce the risk of broken glass, protect the cabinet you’re trying to preserve, and end up with a mirror that looks straight, secure, and professionally finished.
FAQ — Medicine Cabinet Mirror Replacement
How do I know if my medicine cabinet mirror can be replaced without changing the whole cabinet?
What type of mirror is best for a bathroom environment with humidity?
Should I choose a standard mirror or a custom-cut mirror?
How much does a medicine cabinet mirror replacement typically cost?
Is a medicine cabinet mirror replacement a realistic DIY project?
How do I measure correctly for a replacement mirror?
What mirror styles work best for updating an older bathroom?
How long does a mirror replacement take from start to finish?
Will replacing only the mirror improve the resale appeal of my bathroom?
What if my bathroom lighting is poor—will a new mirror make a difference?
Conclusion
A medicine cabinet mirror replacement is a small project on paper, but it can have an outsized impact on how your bathroom looks and feels every single day. By upgrading the mirror instead of tearing out the entire cabinet, you keep what still works, control your budget, and still get that "freshly updated" look every time you turn on the light.
For many West Coast suburban homeowners, the cabinet box, shelves, and hinges are still perfectly usable—the part that really shows the home's age is the mirror itself. Replacing it with a clearer, better-proportioned, and more modern style can brighten the room, make daily routines easier, and bring the space in line with the rest of your home improvements. In plenty of older homes, this one change is enough to make the bathroom feel like it finally caught up to the rest of the house.
As long as you measure carefully, choose a mirror that suits both your cabinet and your design style, and follow safe installation steps, a medicine cabinet mirror replacement is well within reach for most homeowners. And if your situation is more complex—an oversized glued mirror, a very old cabinet, or tight working space—bringing in a professional still costs far less than a full renovation while giving you a clean, finished result.
Whether you're refreshing a dated primary bath, making a guest bathroom more inviting, or preparing your home for resale, replacing the mirror is one of the smartest, most cost-effective upgrades you can make. It's a simple project, but for the way you use and see your bathroom every day, the difference is anything but small.
Related Articles
If you're looking to continue improving your bathroom, these related articles offer practical tips and ideas worth exploring.
- "How Wide Is a Sliding Glass Shower Door? A Complete Guide to Standard & Custom Sizes"
- "How to Improve Bathroom Drying Efficiency with the Shower Drying System"
- "How to Clean Jacuzzi Tubs: A Complete Guide to Safe, Effective Maintenance"
- "Replace Bathtub With Shower: What Homeowners Should Know Before Starting?"
- "Standard Shower Pan Sizes Comparison: Find the Best Fit for Your Bathroom"
- "The Complete Homeowner's Guide to Different Types of Showers"
- "Complete Guide to Updating Your 3 Handle Bathtub and Shower Faucet"
- "Exposed vs Concealed Shower System 2025 – Which One Fits Your Bathroom Better?"
- "Hinged Shower Door vs Pivot: The In-Depth Guide You Actually Need (2025)"
- "How to Choose the Best Towel Warmer for Your Home: Comfort, Efficiency, and Smart Living"