It takes more than dropping a tub in a bathroom and hooking up a drain to make a bathtub installation successful. This is a process that directly impacts safety, comfort, durability and the ability to perform over the long haul. A poorly installed bathtub may look fine on day one, but over time it can lead to leaks, structural stress, or costly repairs hidden beneath the floor.
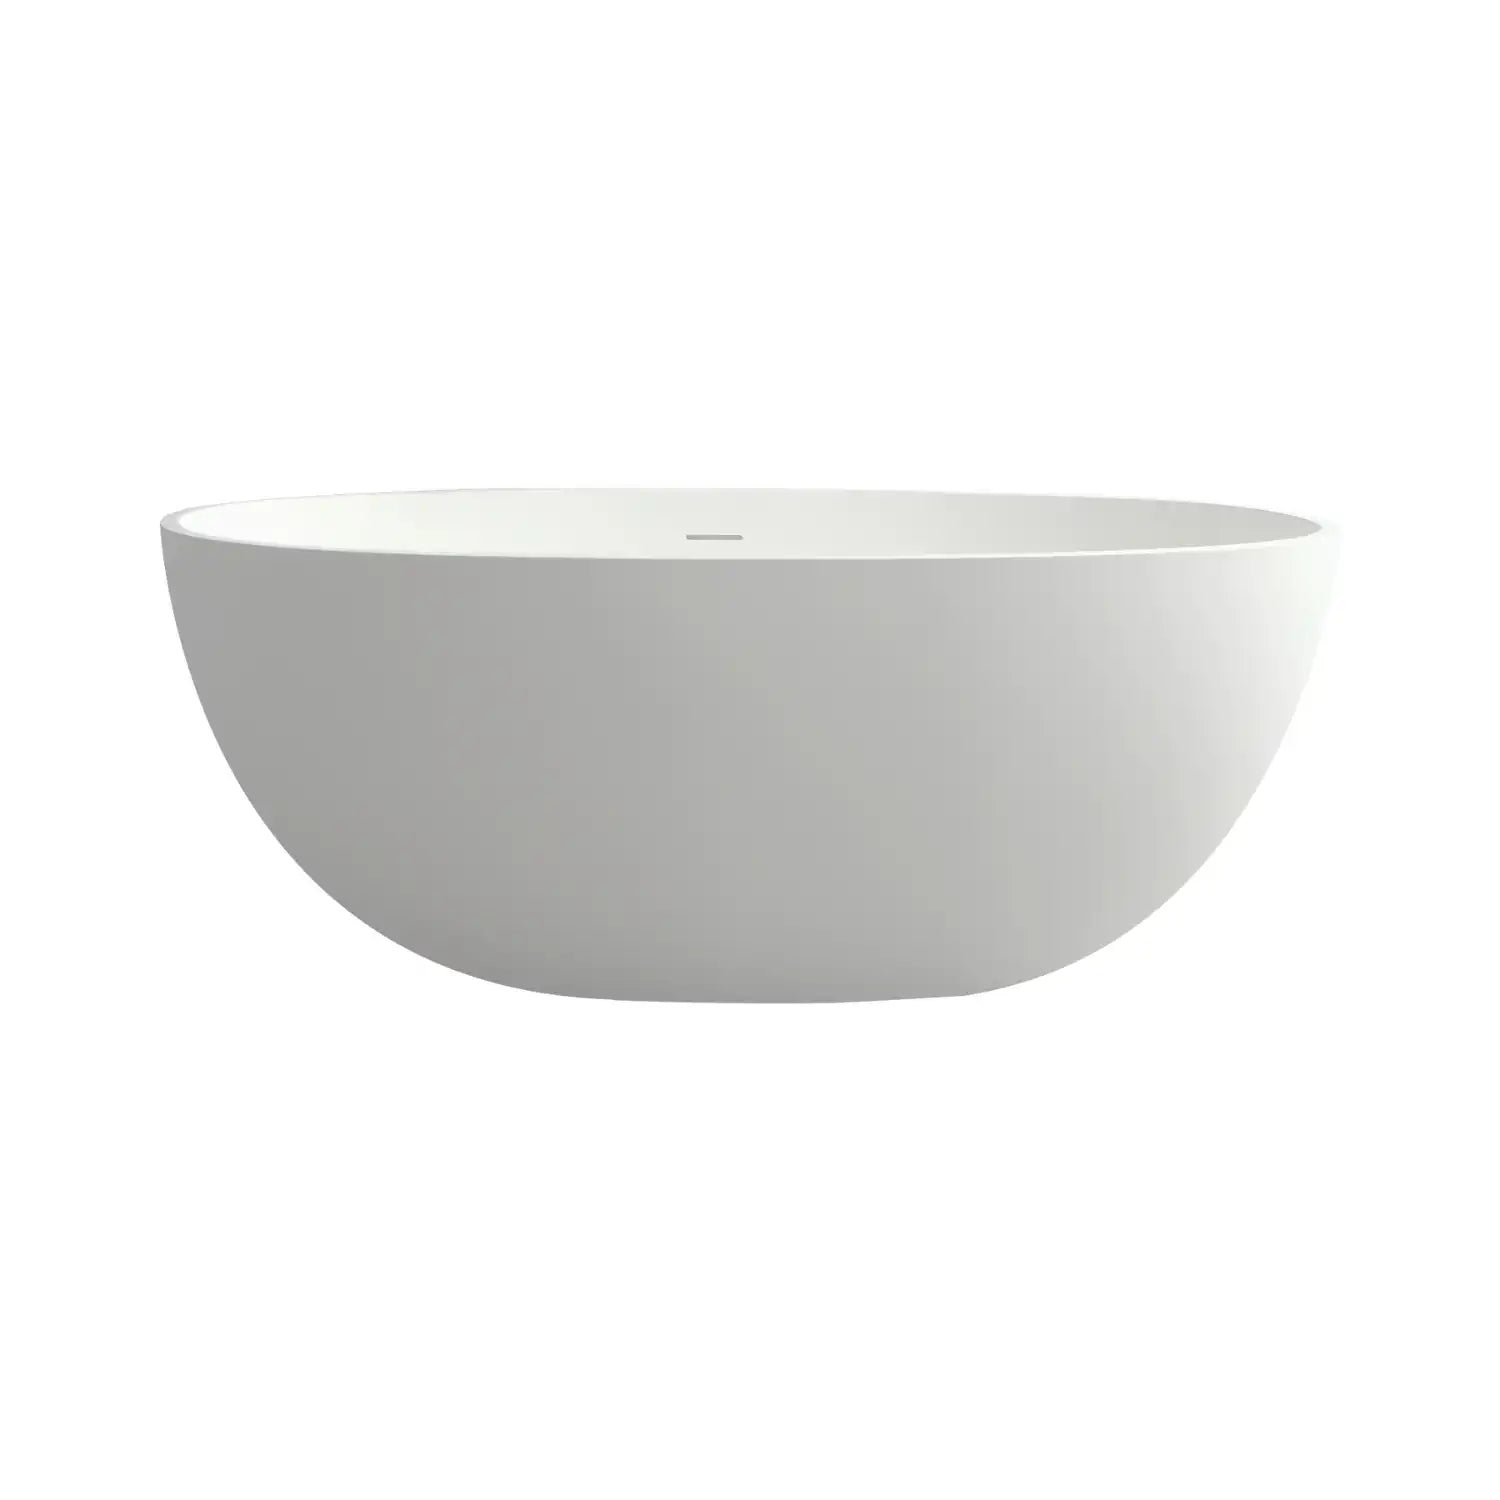
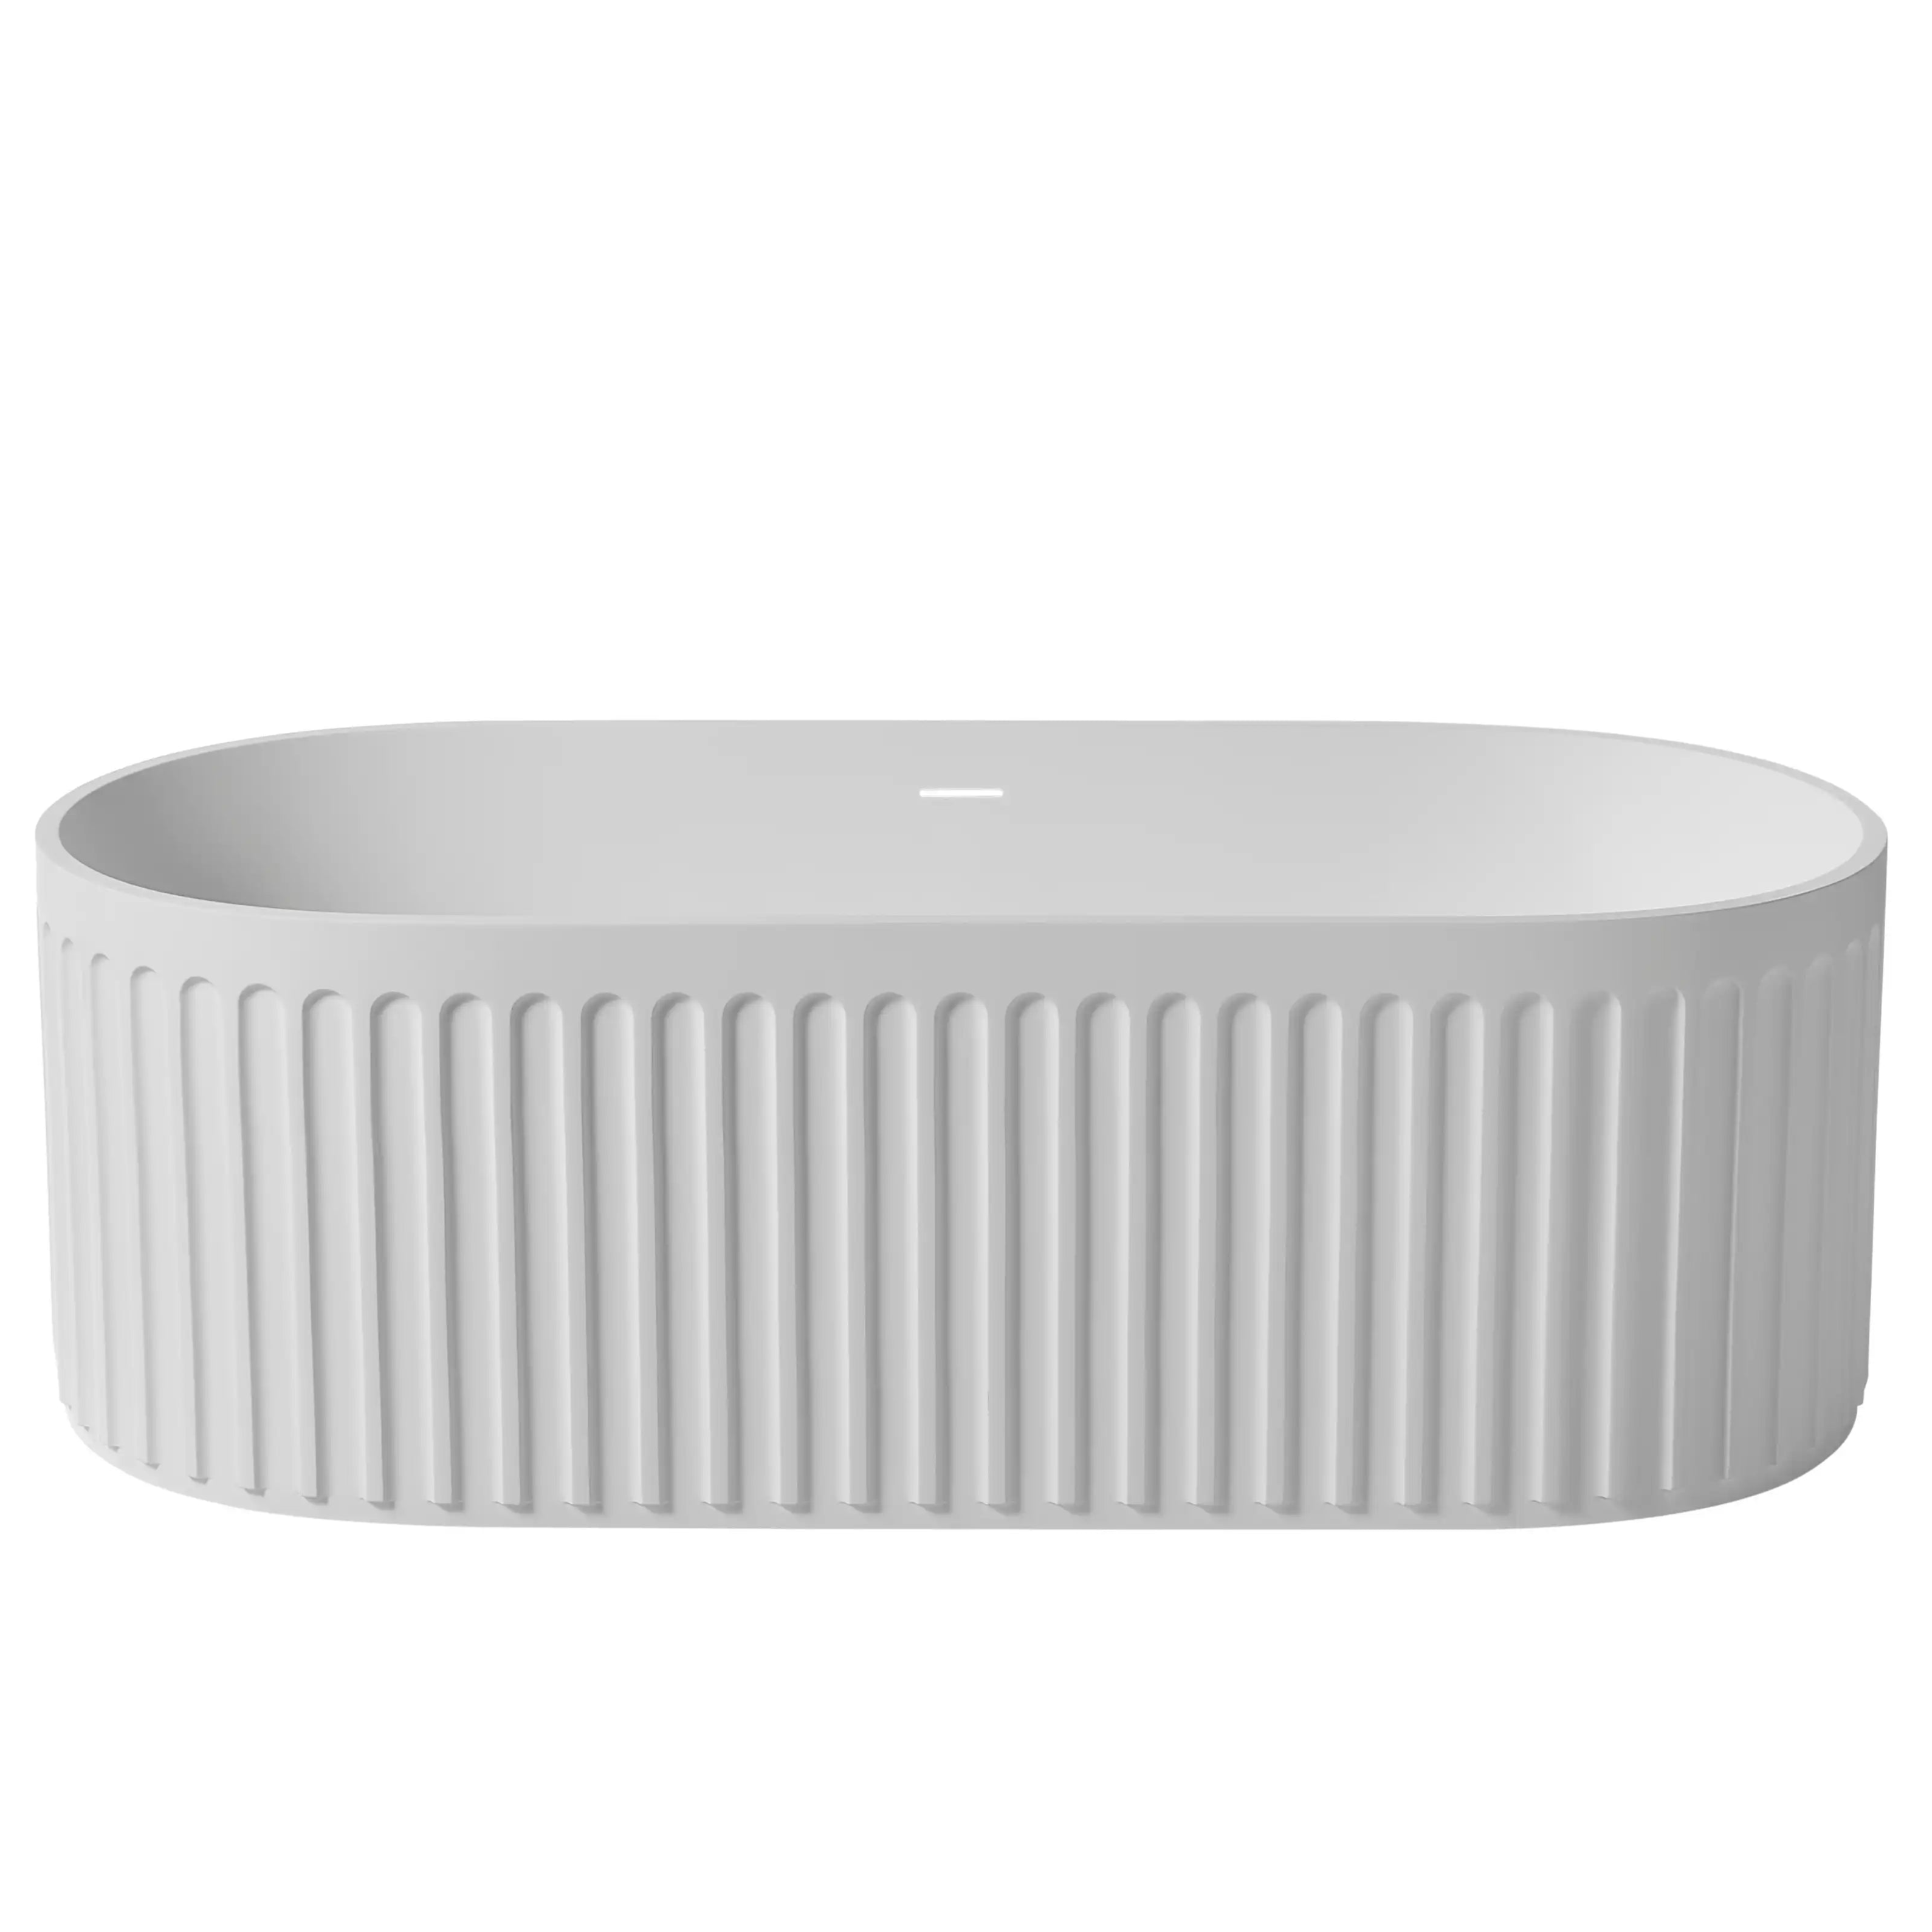
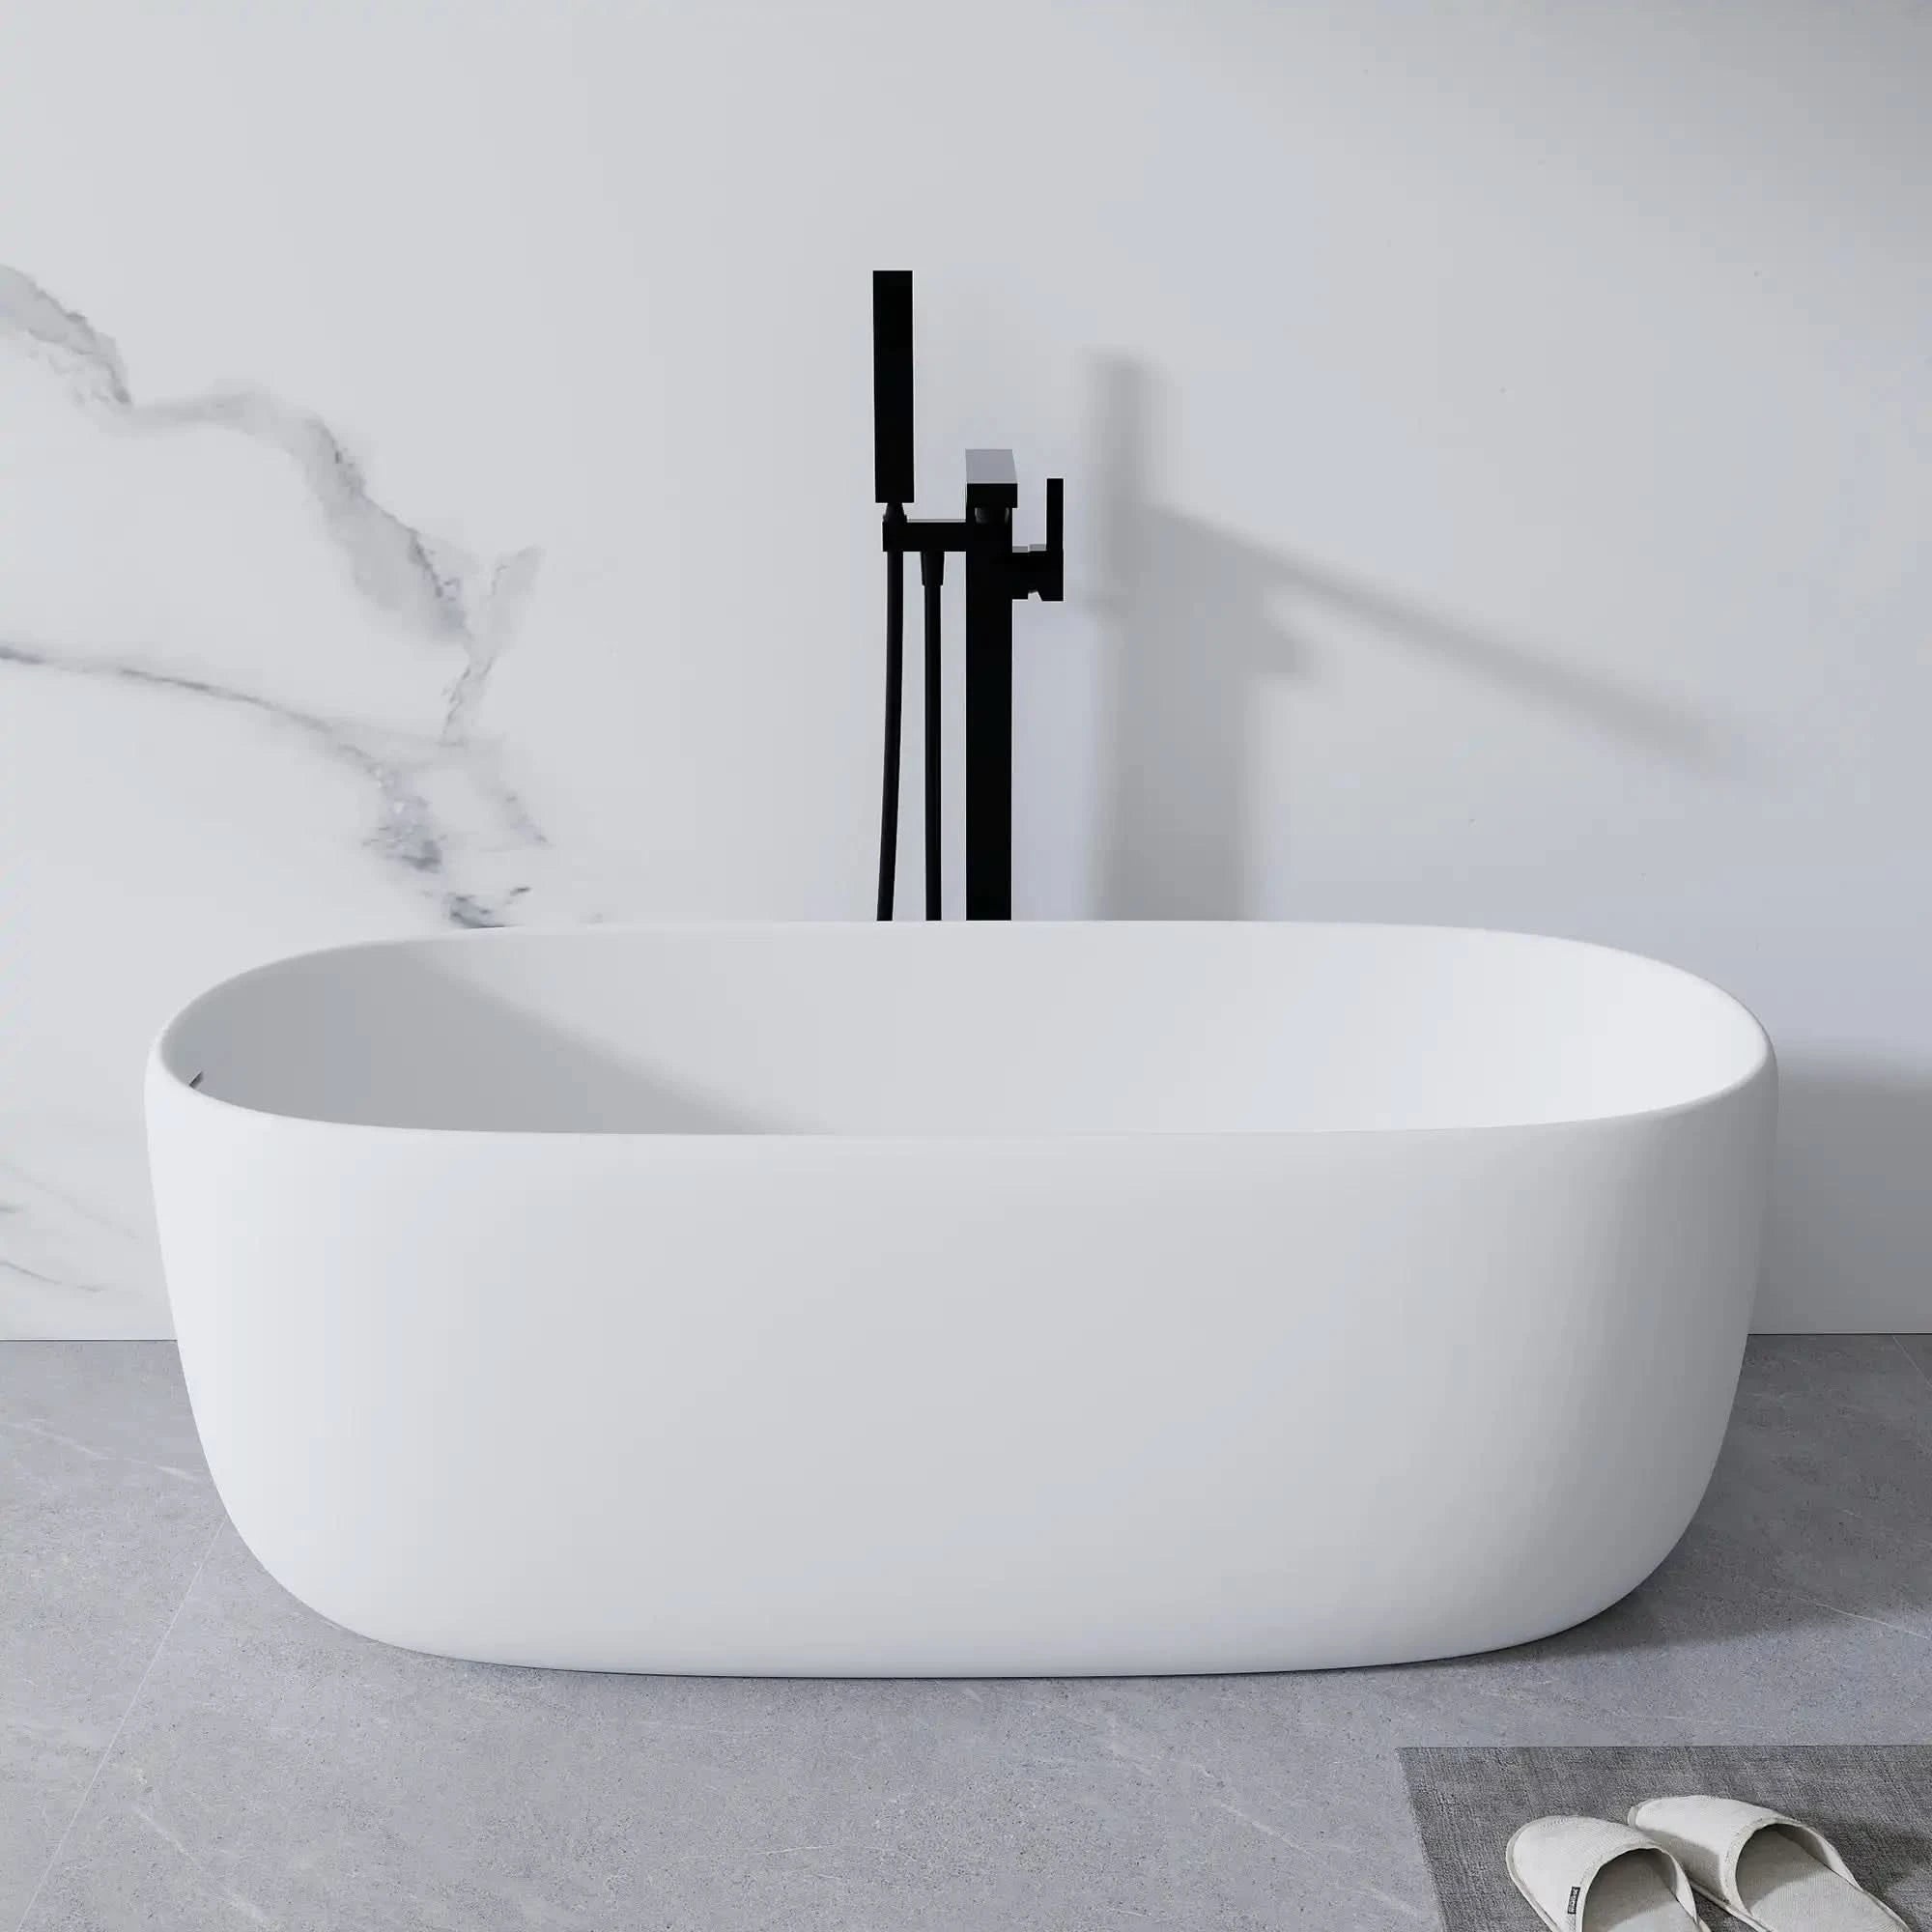
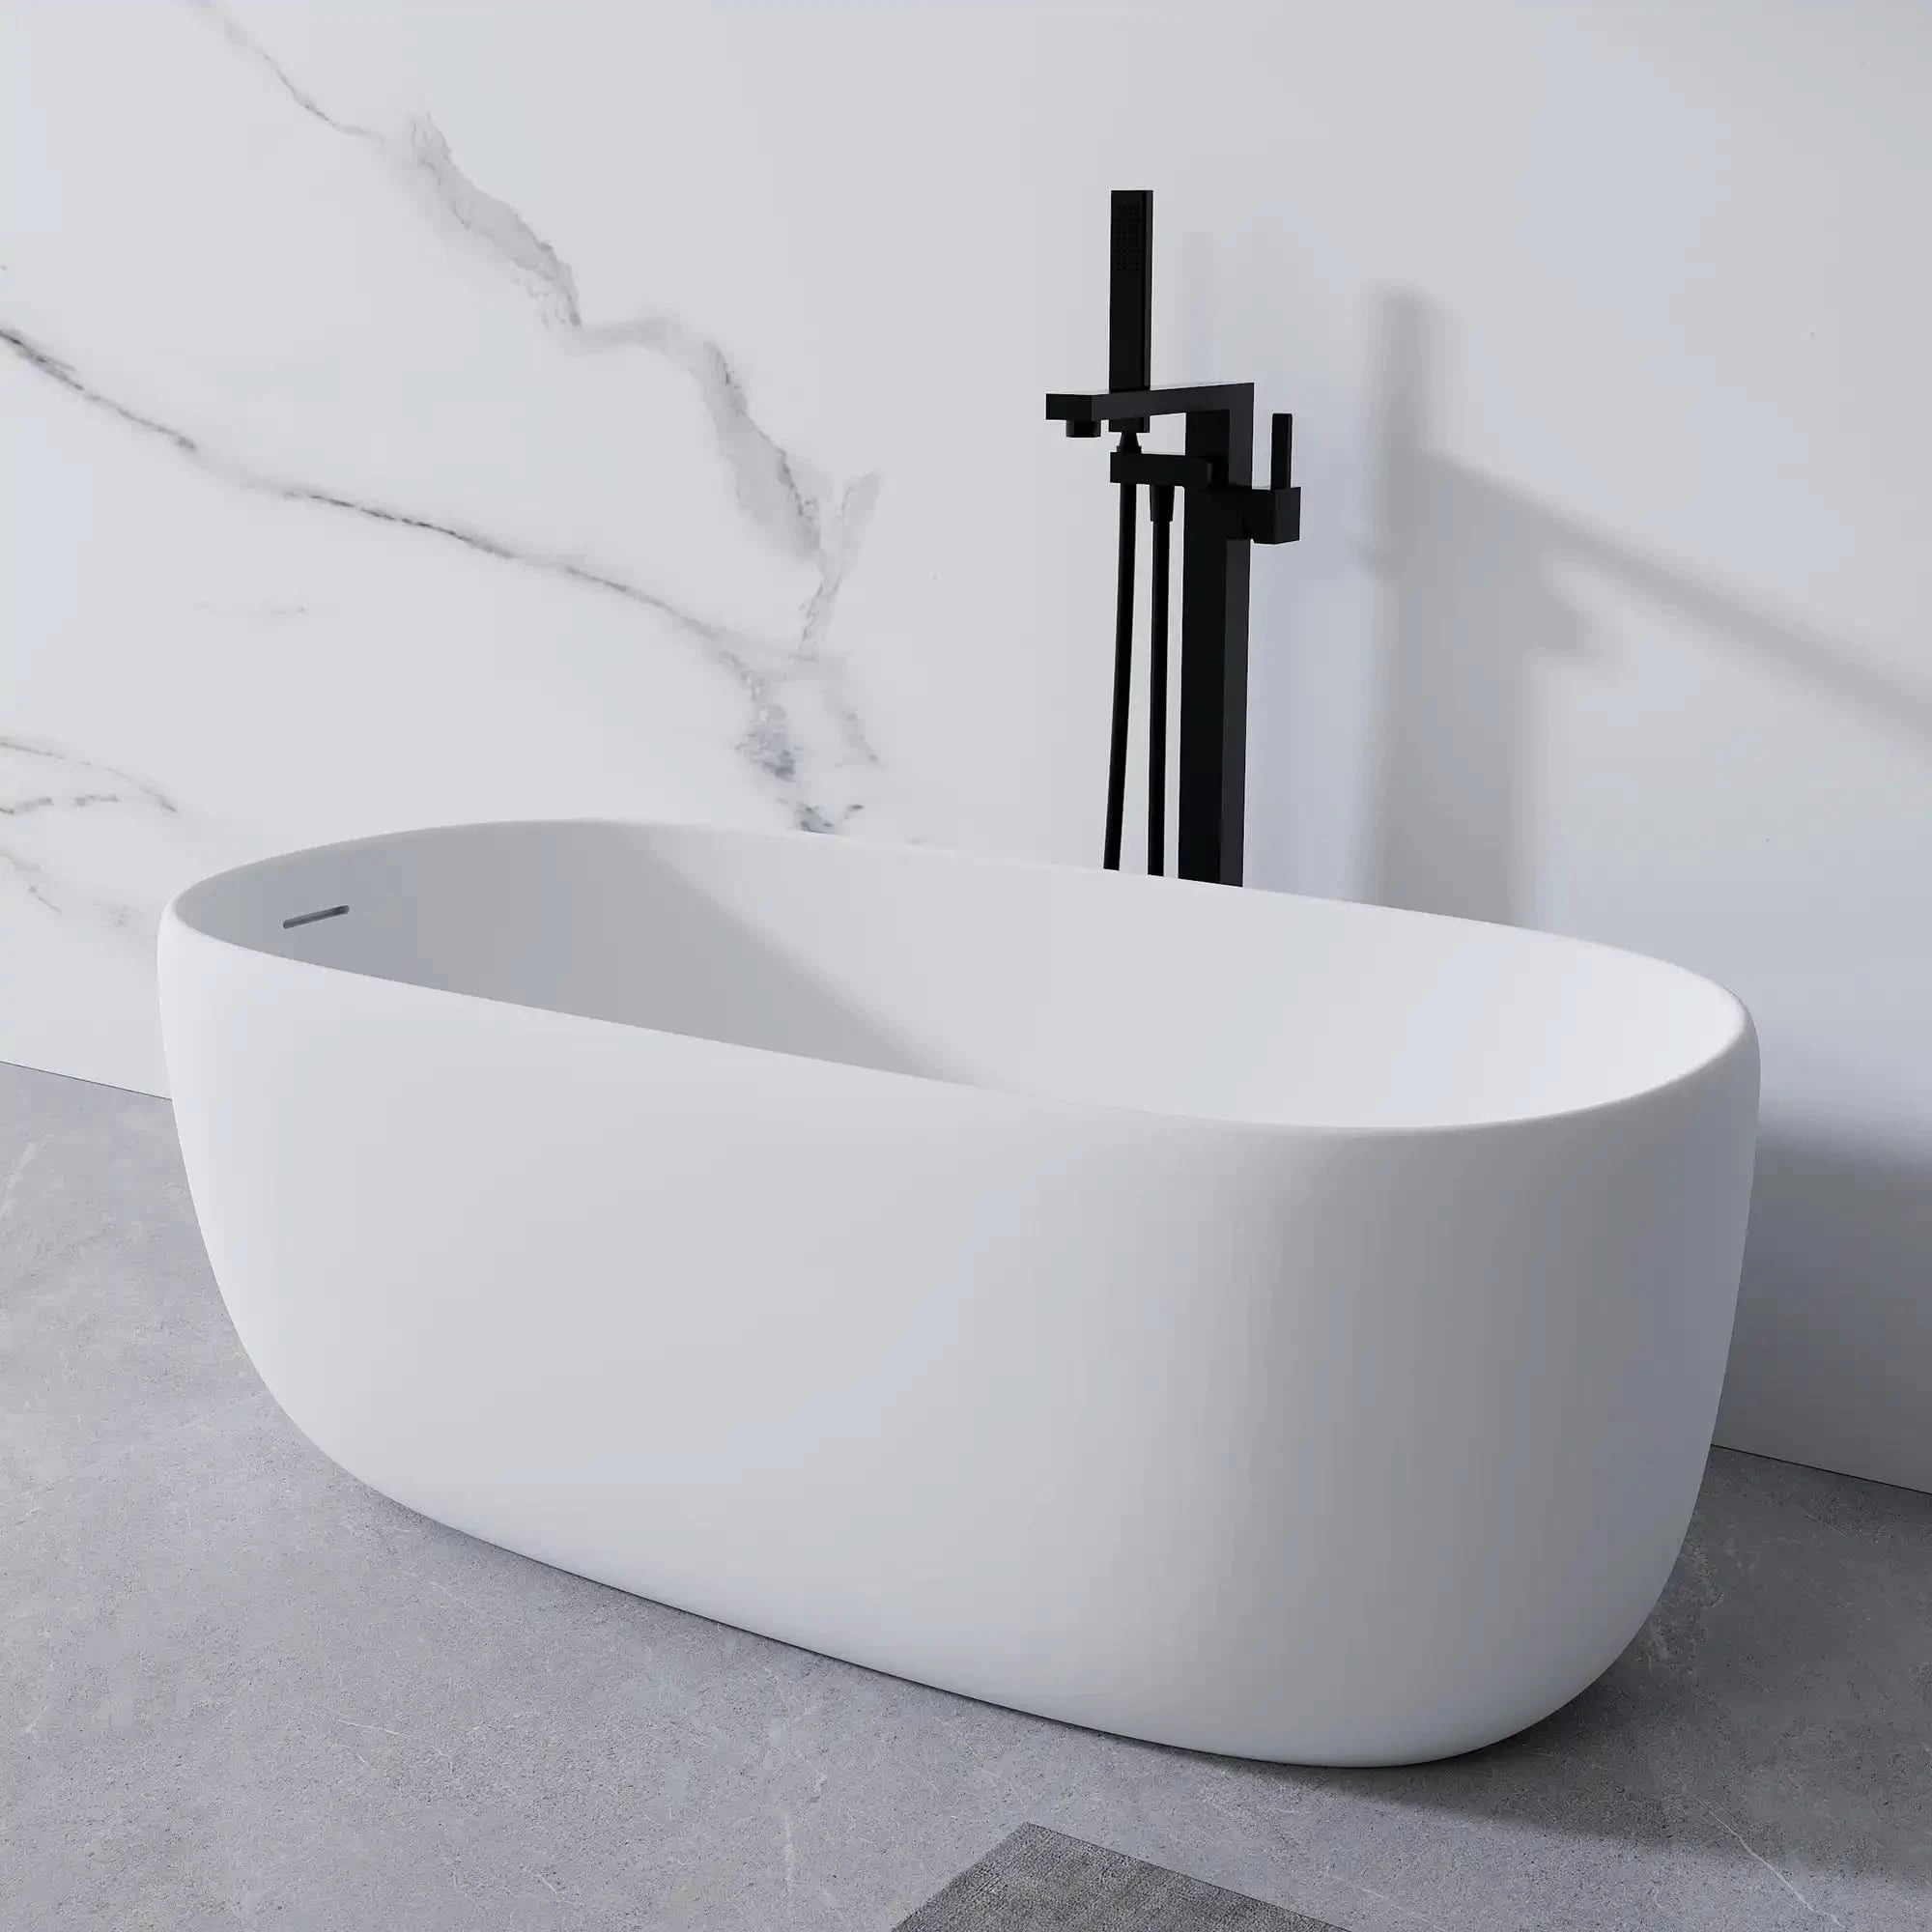
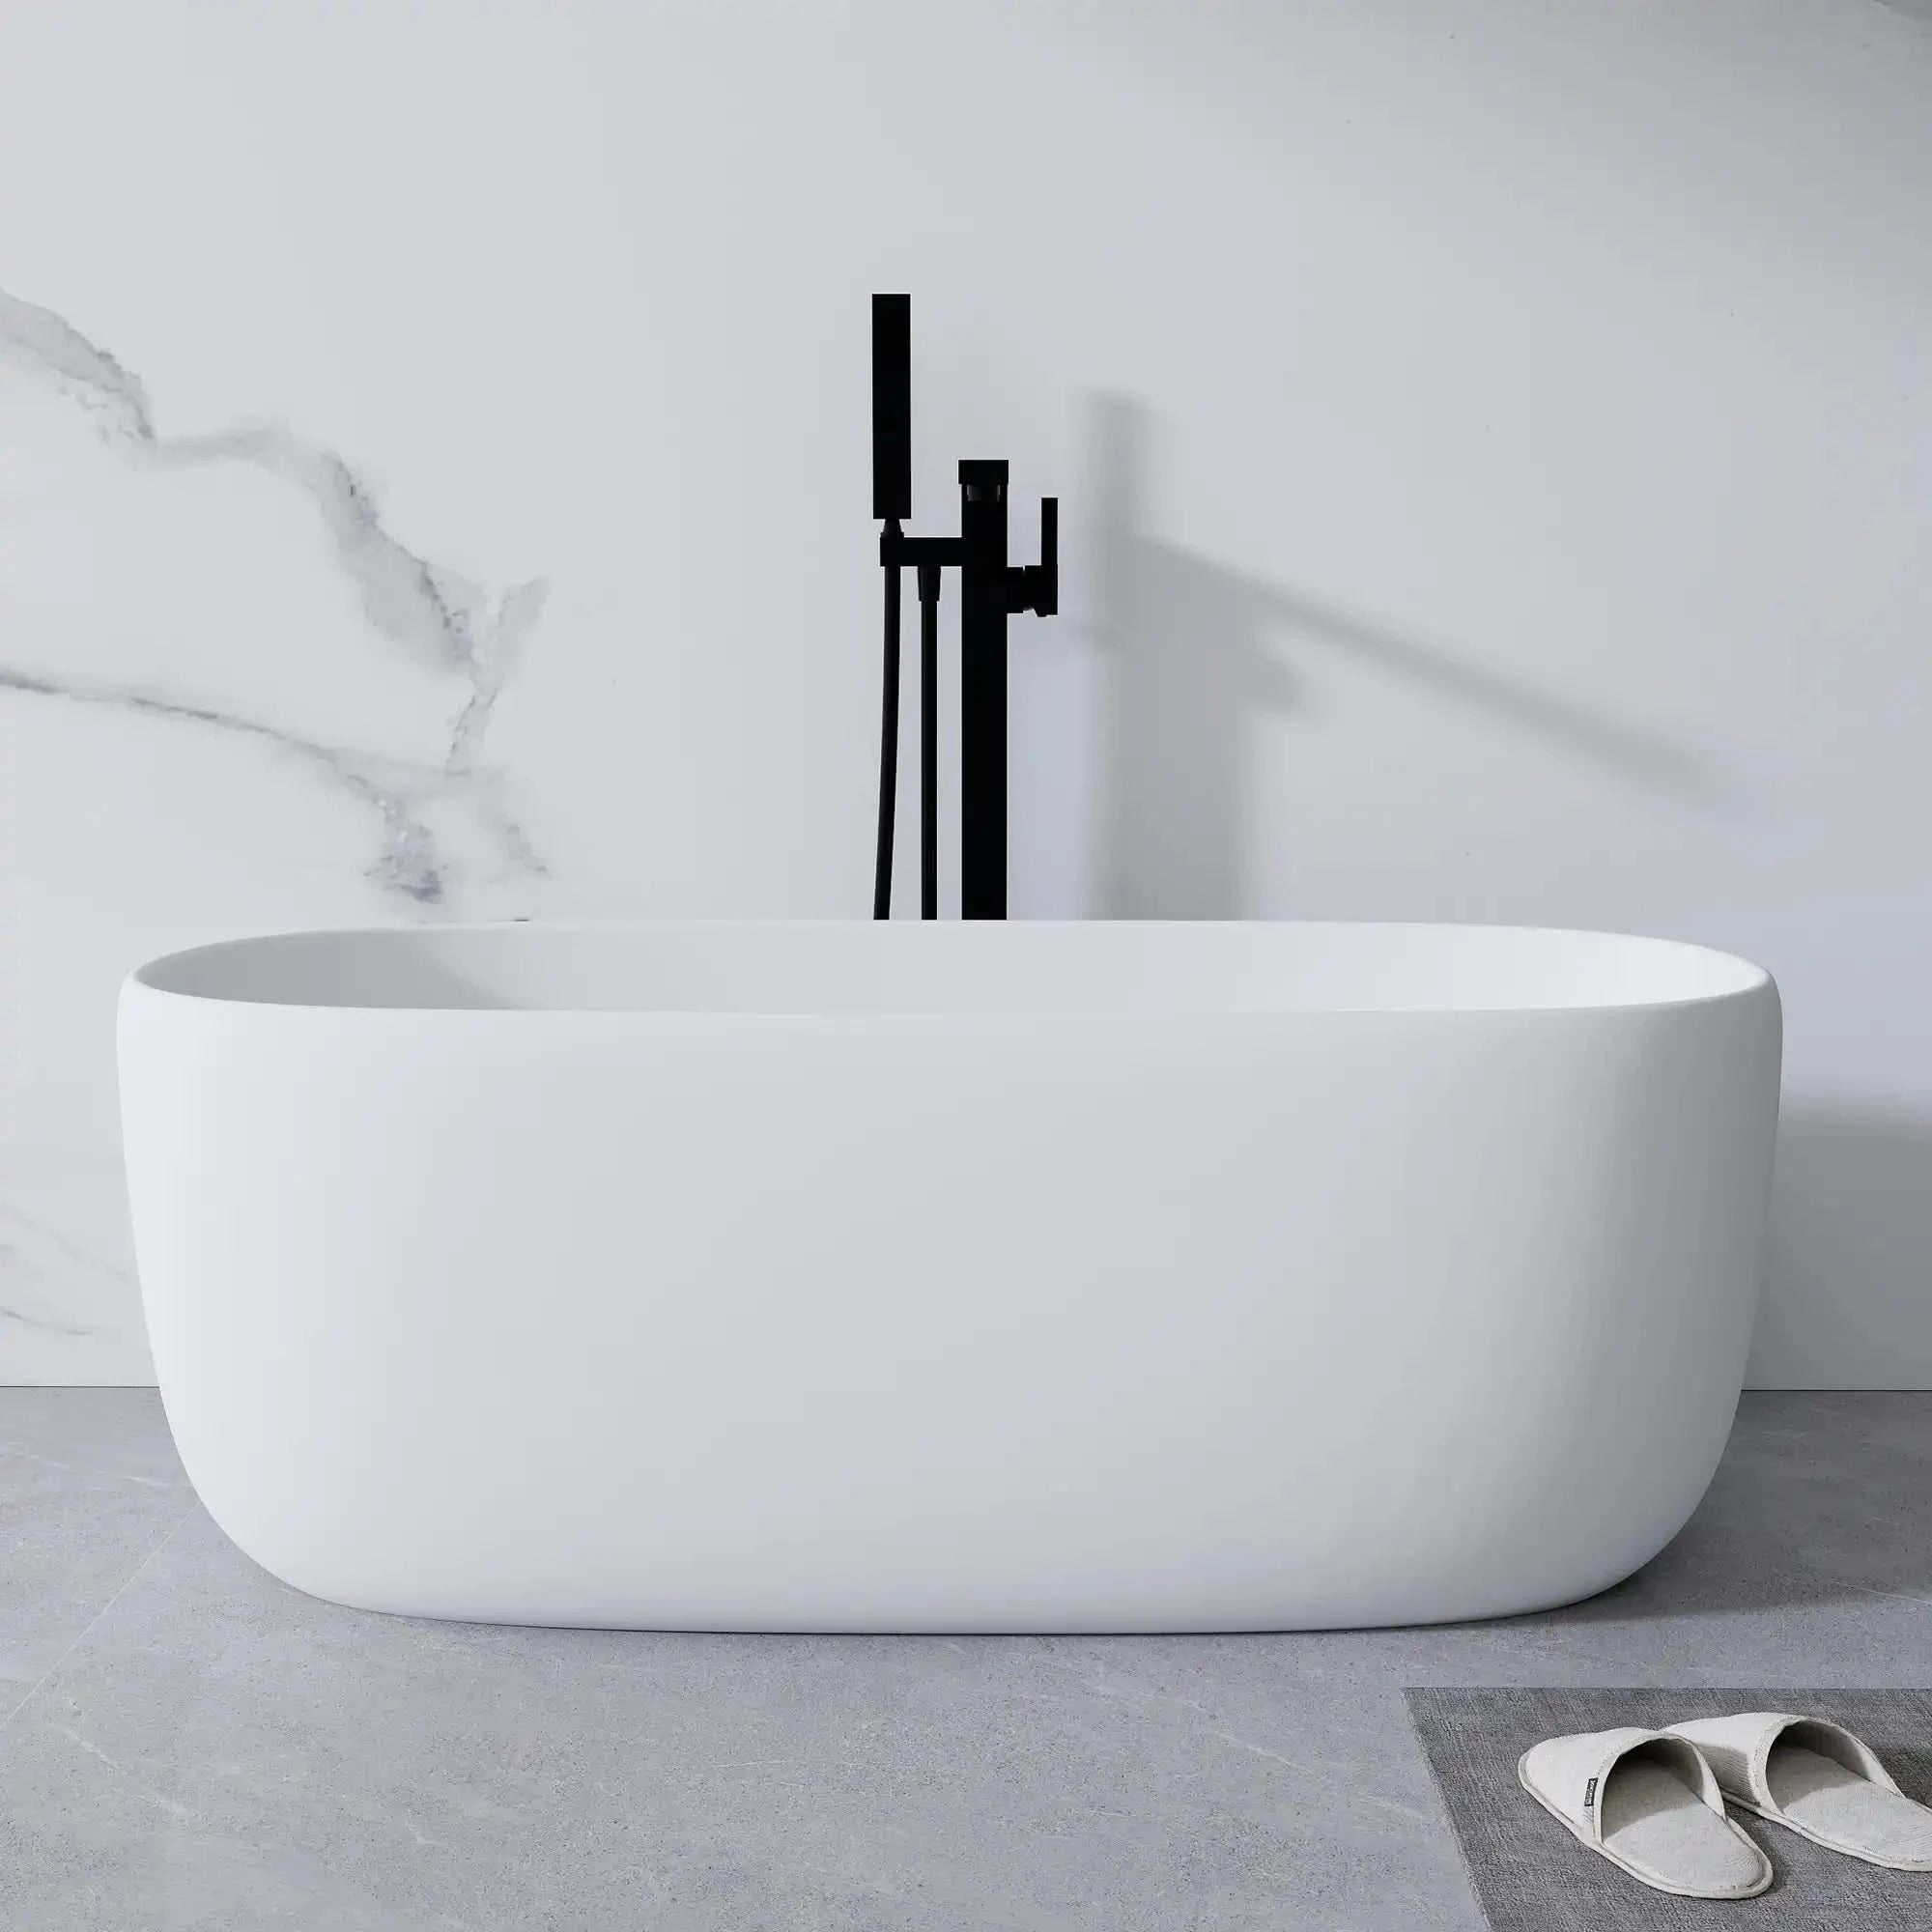
One of the most popular bathtub types in today’s many styles is the freestanding tub. With their sculptural quality and versatility for placement, freestanding tubs have become a staple in many modern bathrooms. However, their visual simplicity can be misleading. Installing a freestanding bathtub requires careful planning, precise alignment, and a solid understanding of basic plumbing principles.
This guide runs through full bathtub installation methods from start to finish using a freestanding tub. Whether you are a homeowner considering a DIY project or a professional installer refining your workflow, this step-by-step breakdown will help ensure a smooth, reliable installation from start to finish.
Table of Contents:
- Pre-Installation Assessment: Floor, Space, and Drain Alignment
- Tools and Materials You’ll Need Before Installing a Bathtub
- Step-by-Step Freestanding Bathtub Installation Process
- Common Installation Mistakes and How to Avoid Them
- Additional Components to Consider: Tub Faucets and Everyday Essentials
- Conclusion
- FAQ
- Related Articles
Pre-Installation Assessment: Floor, Space, and Drain Alignment
Before any tools come out of the box, the most important phase of bathtub installation is assessment. Skipping this step is one of the most common causes of installation failure.
Start with space evaluation
Measure the bathroom carefully, including the tub’s length, width, and the surrounding clearance. Freestanding tubs typically require open space around all sides, not only for aesthetics but also for cleaning and maintenance access. A minimum walking clearance should always be preserved to avoid a cramped or unsafe layout.
Next, evaluate floor strength
A freestanding bathtub, once filled with water and occupied, can weigh several hundred kilograms. This load is concentrated on a relatively small footprint. Concrete floors generally pose no issue, but wooden subfloors may require reinforcement. If the floor flexes or feels uneven, structural inspection should be done before proceeding.
Drain alignment is equally critical
Freestanding tubs rely on precise drain positioning, usually centered or offset according to the tub design. Measure the drain outlet location on the tub and confirm it matches the existing floor drain. Misalignment at this stage can result in extensive rework later.
Tools and Materials You’ll Need Before Installing a Bathtub

Preparing the right tools and materials in advance makes the bathtub installation process smoother and significantly reduces the risk of mistakes or interruptions. For freestanding bathtub installation, having everything on hand before you begin is especially important, as repositioning the tub multiple times can be difficult once plumbing work starts.
Essential Tools
-
Measuring tape – Used to confirm bathroom dimensions, tub placement, and drain alignment before installation.
-
Spirit level – Ensures the bathtub is perfectly level, which is critical for proper drainage and comfort.
-
Adjustable wrench – Needed to tighten drain connections and plumbing fittings without damaging components.
-
Screwdrivers – Useful for assembling drain parts or securing accessory components when required.
-
Utility knife – Helps trim sealant, gaskets, or protective packaging during installation.
Plumbing Materials
-
Bathtub drain kit – Includes the drain body, seals, and fittings required to connect the tub to the plumbing system.
- Flexible connectors – Make it easier to align the tub drain with existing floor plumbing.
-
Washers and gaskets – Create watertight seals at all connection points.
Sealing and Protection Materials
-
Waterproof silicone sealant – Used to seal floor penetrations and prevent moisture from leaking beneath the floor.
-
Plumber’s putty – Applied to certain drain components to enhance water resistance, depending on the drain design.
-
Protective floor covering – Prevents scratches or damage to finished floors while positioning the bathtub.
Step-by-Step Freestanding Bathtub Installation Process
A beginner-friendly, professional-grade walkthrough
Installing a freestanding bathtub is not technically complicated, but it does require precision, patience, and a clear understanding of each step. Unlike alcove or built-in tubs, freestanding models expose all sides, which means any mistake, especially related to leveling or drainage that will be immediately noticeable.
Below is a detailed, step-by-step breakdown of the freestanding bathtub installation process, written so that even first-time installers can follow it with confidence.
Step 1: Dry Fit the Bathtub (Test Placement Before Connecting Anything)

Before making any permanent connections, carefully place the bathtub in its intended position without attaching the drain or plumbing.
At this stage, focus on three things:
-
Spatial fit: Confirm that the tub fits comfortably within the bathroom layout, with adequate clearance on all sides.
-
Drain alignment: Look straight down through the drain opening to ensure it lines up with the floor drain location.
-
Visual orientation: Decide which direction the tub should face, especially if the design has a defined front and back.
Use a measuring tape to confirm consistent spacing from nearby walls. This is also the best time to check door swing clearance and walking paths around the tub.
Beginner tip Do not rush this step. Dry fitting costs nothing but time, and it can prevent major rework later.
Step 2: Assemble and Attach the Bathtub Drain

Once placement is confirmed, carefully move the tub aside or tilt it to access the underside. Install the drain assembly according to the provided instructions.
A typical freestanding tub drain assembly includes:
-
Drain body
-
Gaskets or rubber seals
-
Locking nut
-
Decorative drain cover
Ensure all sealing surfaces are clean and properly seated. Tighten connections firmly by hand first, then secure gently with a wrench if needed—avoid overtightening, which can damage seals.
Why this matters: The drain connection is one of the most common sources of hidden leaks. Correct installation here protects both the tub and the floor beneath it.
Step 3: Reposition and Level the Bathtub Precisely
Place the bathtub back into position with the drain assembly attached. Use a spirit level across multiple points—lengthwise, widthwise, and diagonally—to ensure the tub is perfectly level.
Most freestanding bathtubs feature adjustable feet underneath the base. Adjust these gradually until the level reads correctly in all directions.
Beginner tip: Do not rely on visual judgment alone. Even a slight tilt can affect drainage efficiency and cause water to pool.
A properly leveled tub improves:
-
Drain performance
-
User comfort
-
Long-term structural stability
Step 4: Align and Connect the Bathtub Drain to the Floor Plumbing
With the bathtub leveled and positioned, carefully align the drain outlet installed on the tub with the pre-installed floor drain opening. The floor drain is typically connected to a P-trap beneath the floor, which prevents sewer gases from entering the bathroom.
Lower the bathtub slowly so that the drain outlet inserts smoothly into the floor drain receiver. The connection should sit naturally without force. If resistance is felt, lift the tub slightly and recheck alignment before proceeding.
Once inserted, ensure the drain connection is properly seated and sealed according to the installation instructions. A correct connection at this stage allows water to flow freely into the P-trap while maintaining an effective seal.
Step 5: Seal the Bathtub Perimeter and Confirm Stability

Once the drain is properly aligned and inserted into the floor outlet, carefully lower the bathtub into its final position. Make sure the tub sits evenly on the finished floor and that the drain connection remains properly seated.
Apply a continuous bead of waterproof silicone sealant around the entire perimeter where the bathtub base meets the floor. This seal helps prevent water from seeping underneath the tub during use or cleaning, and also adds an extra layer of stability once cured.
Allow the silicone to cure according to the manufacturer’s recommended time before using the bathtub.
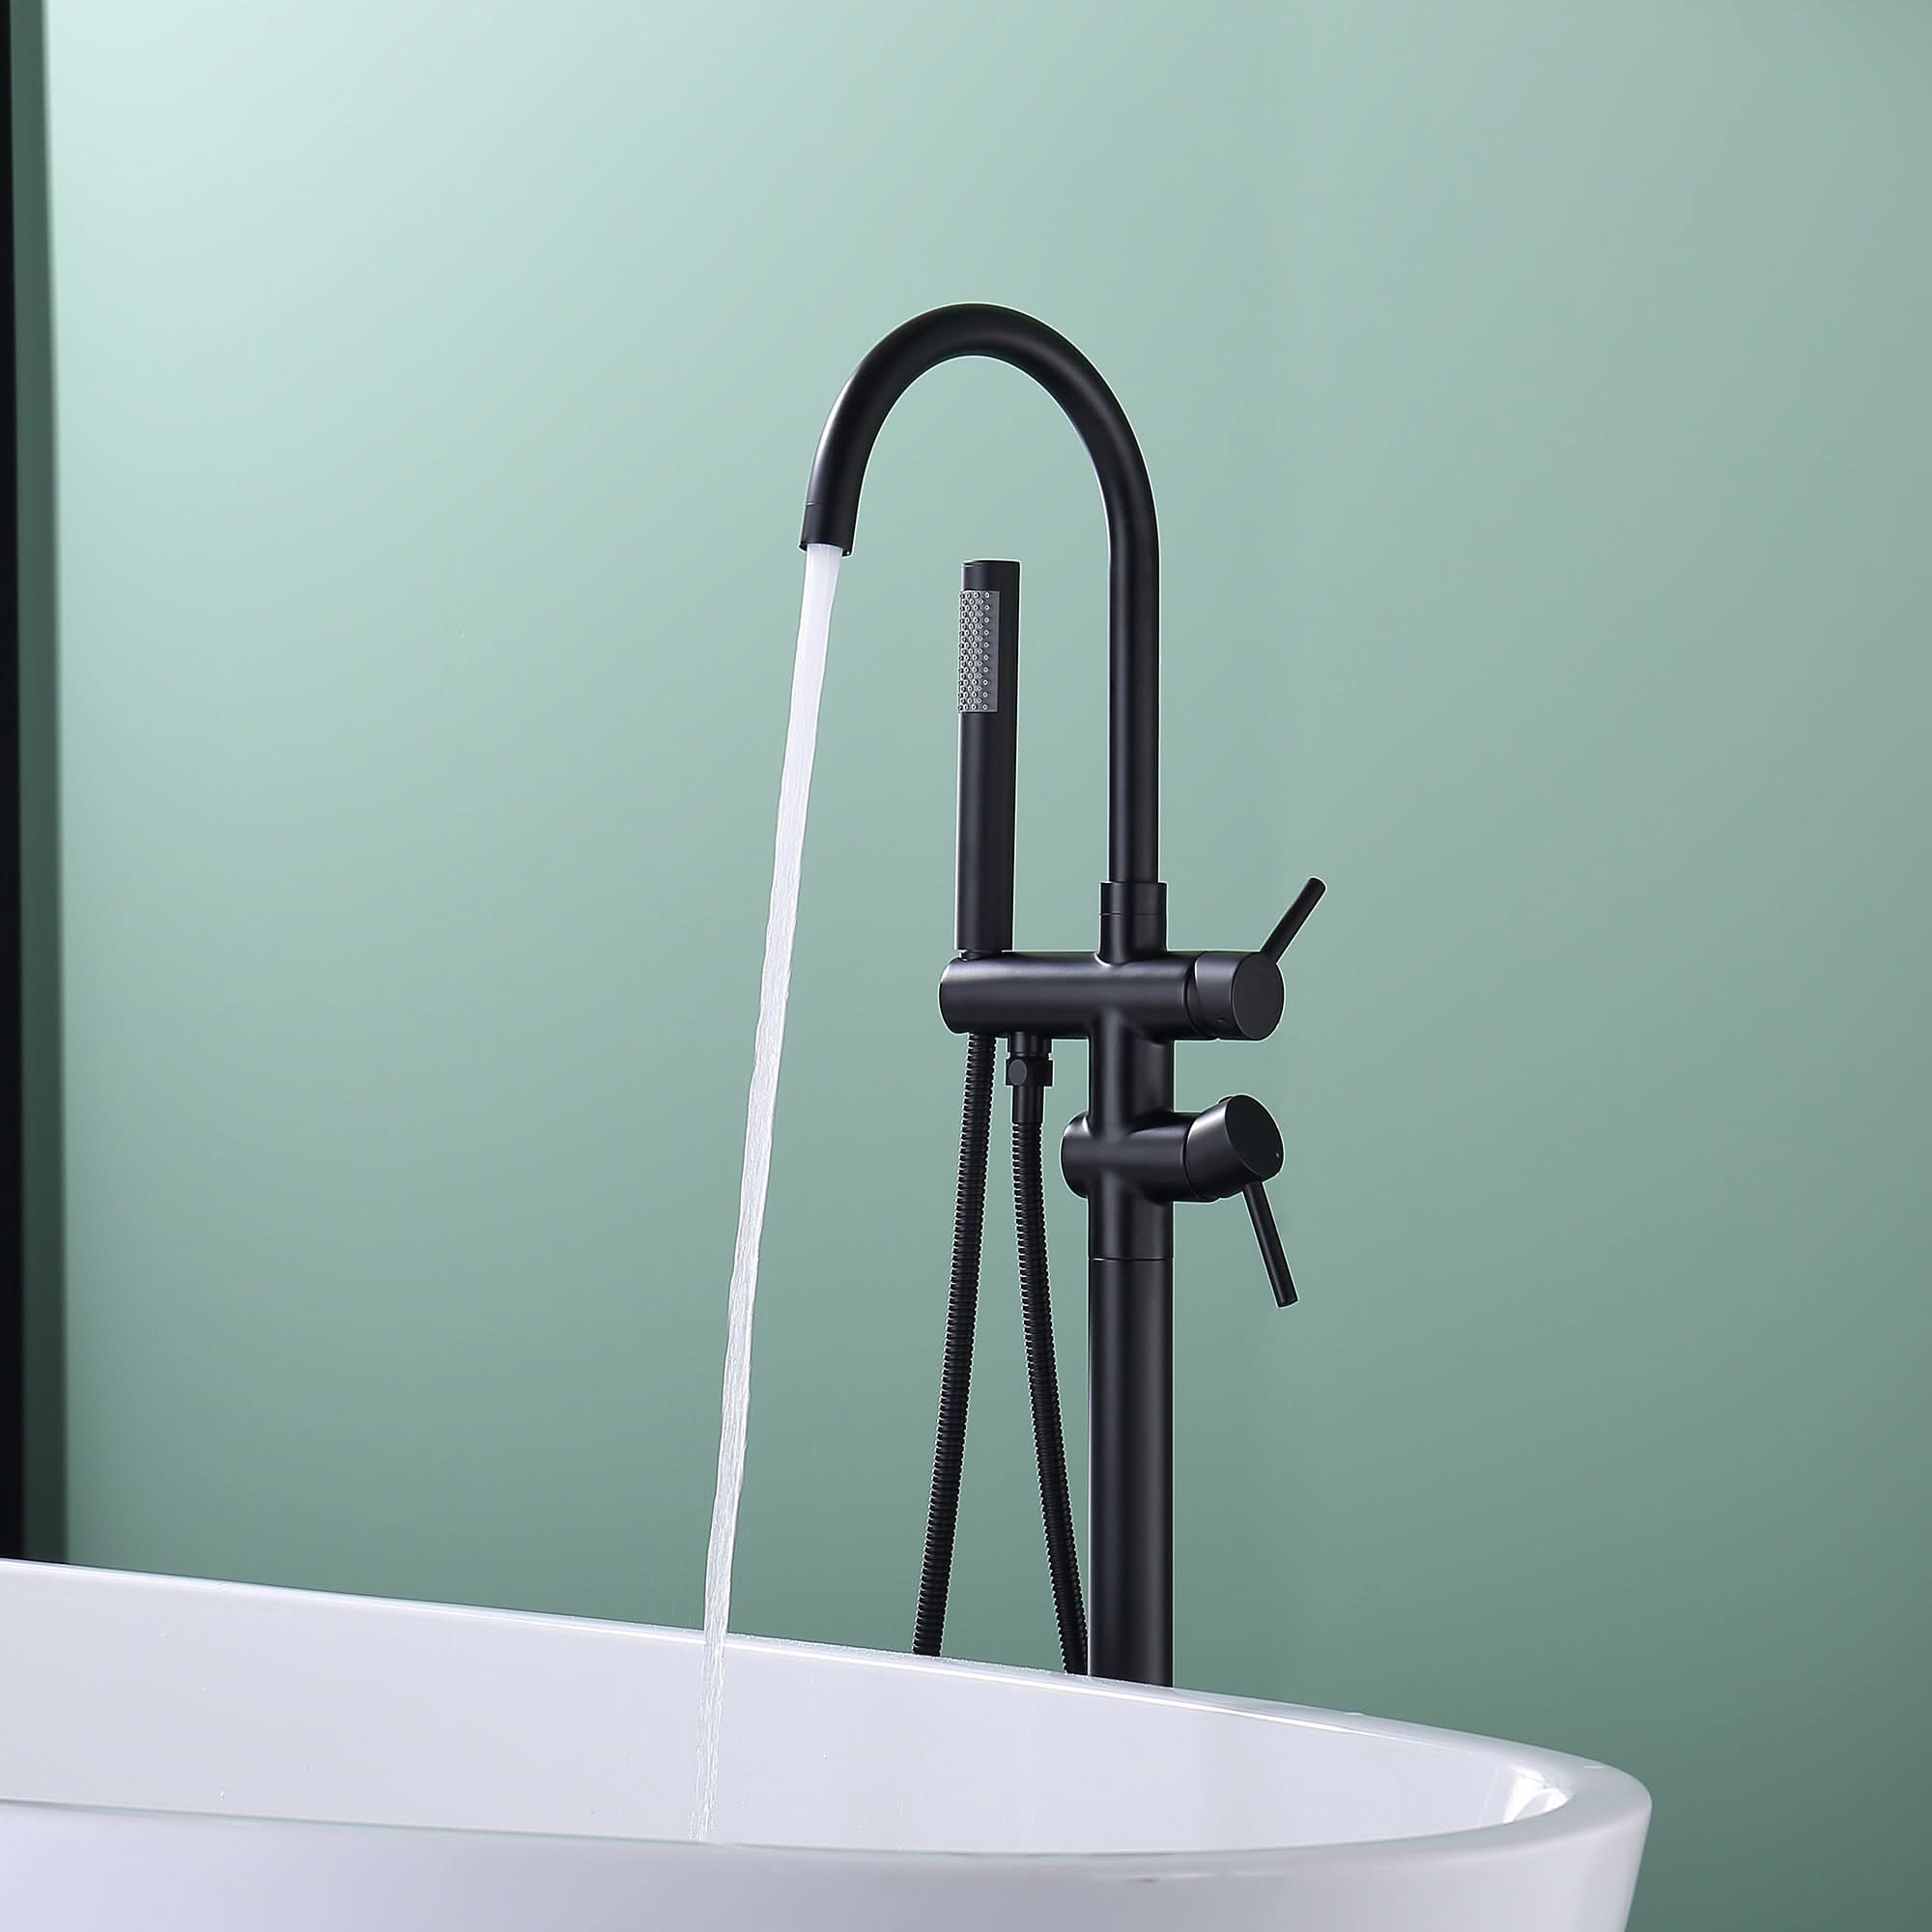
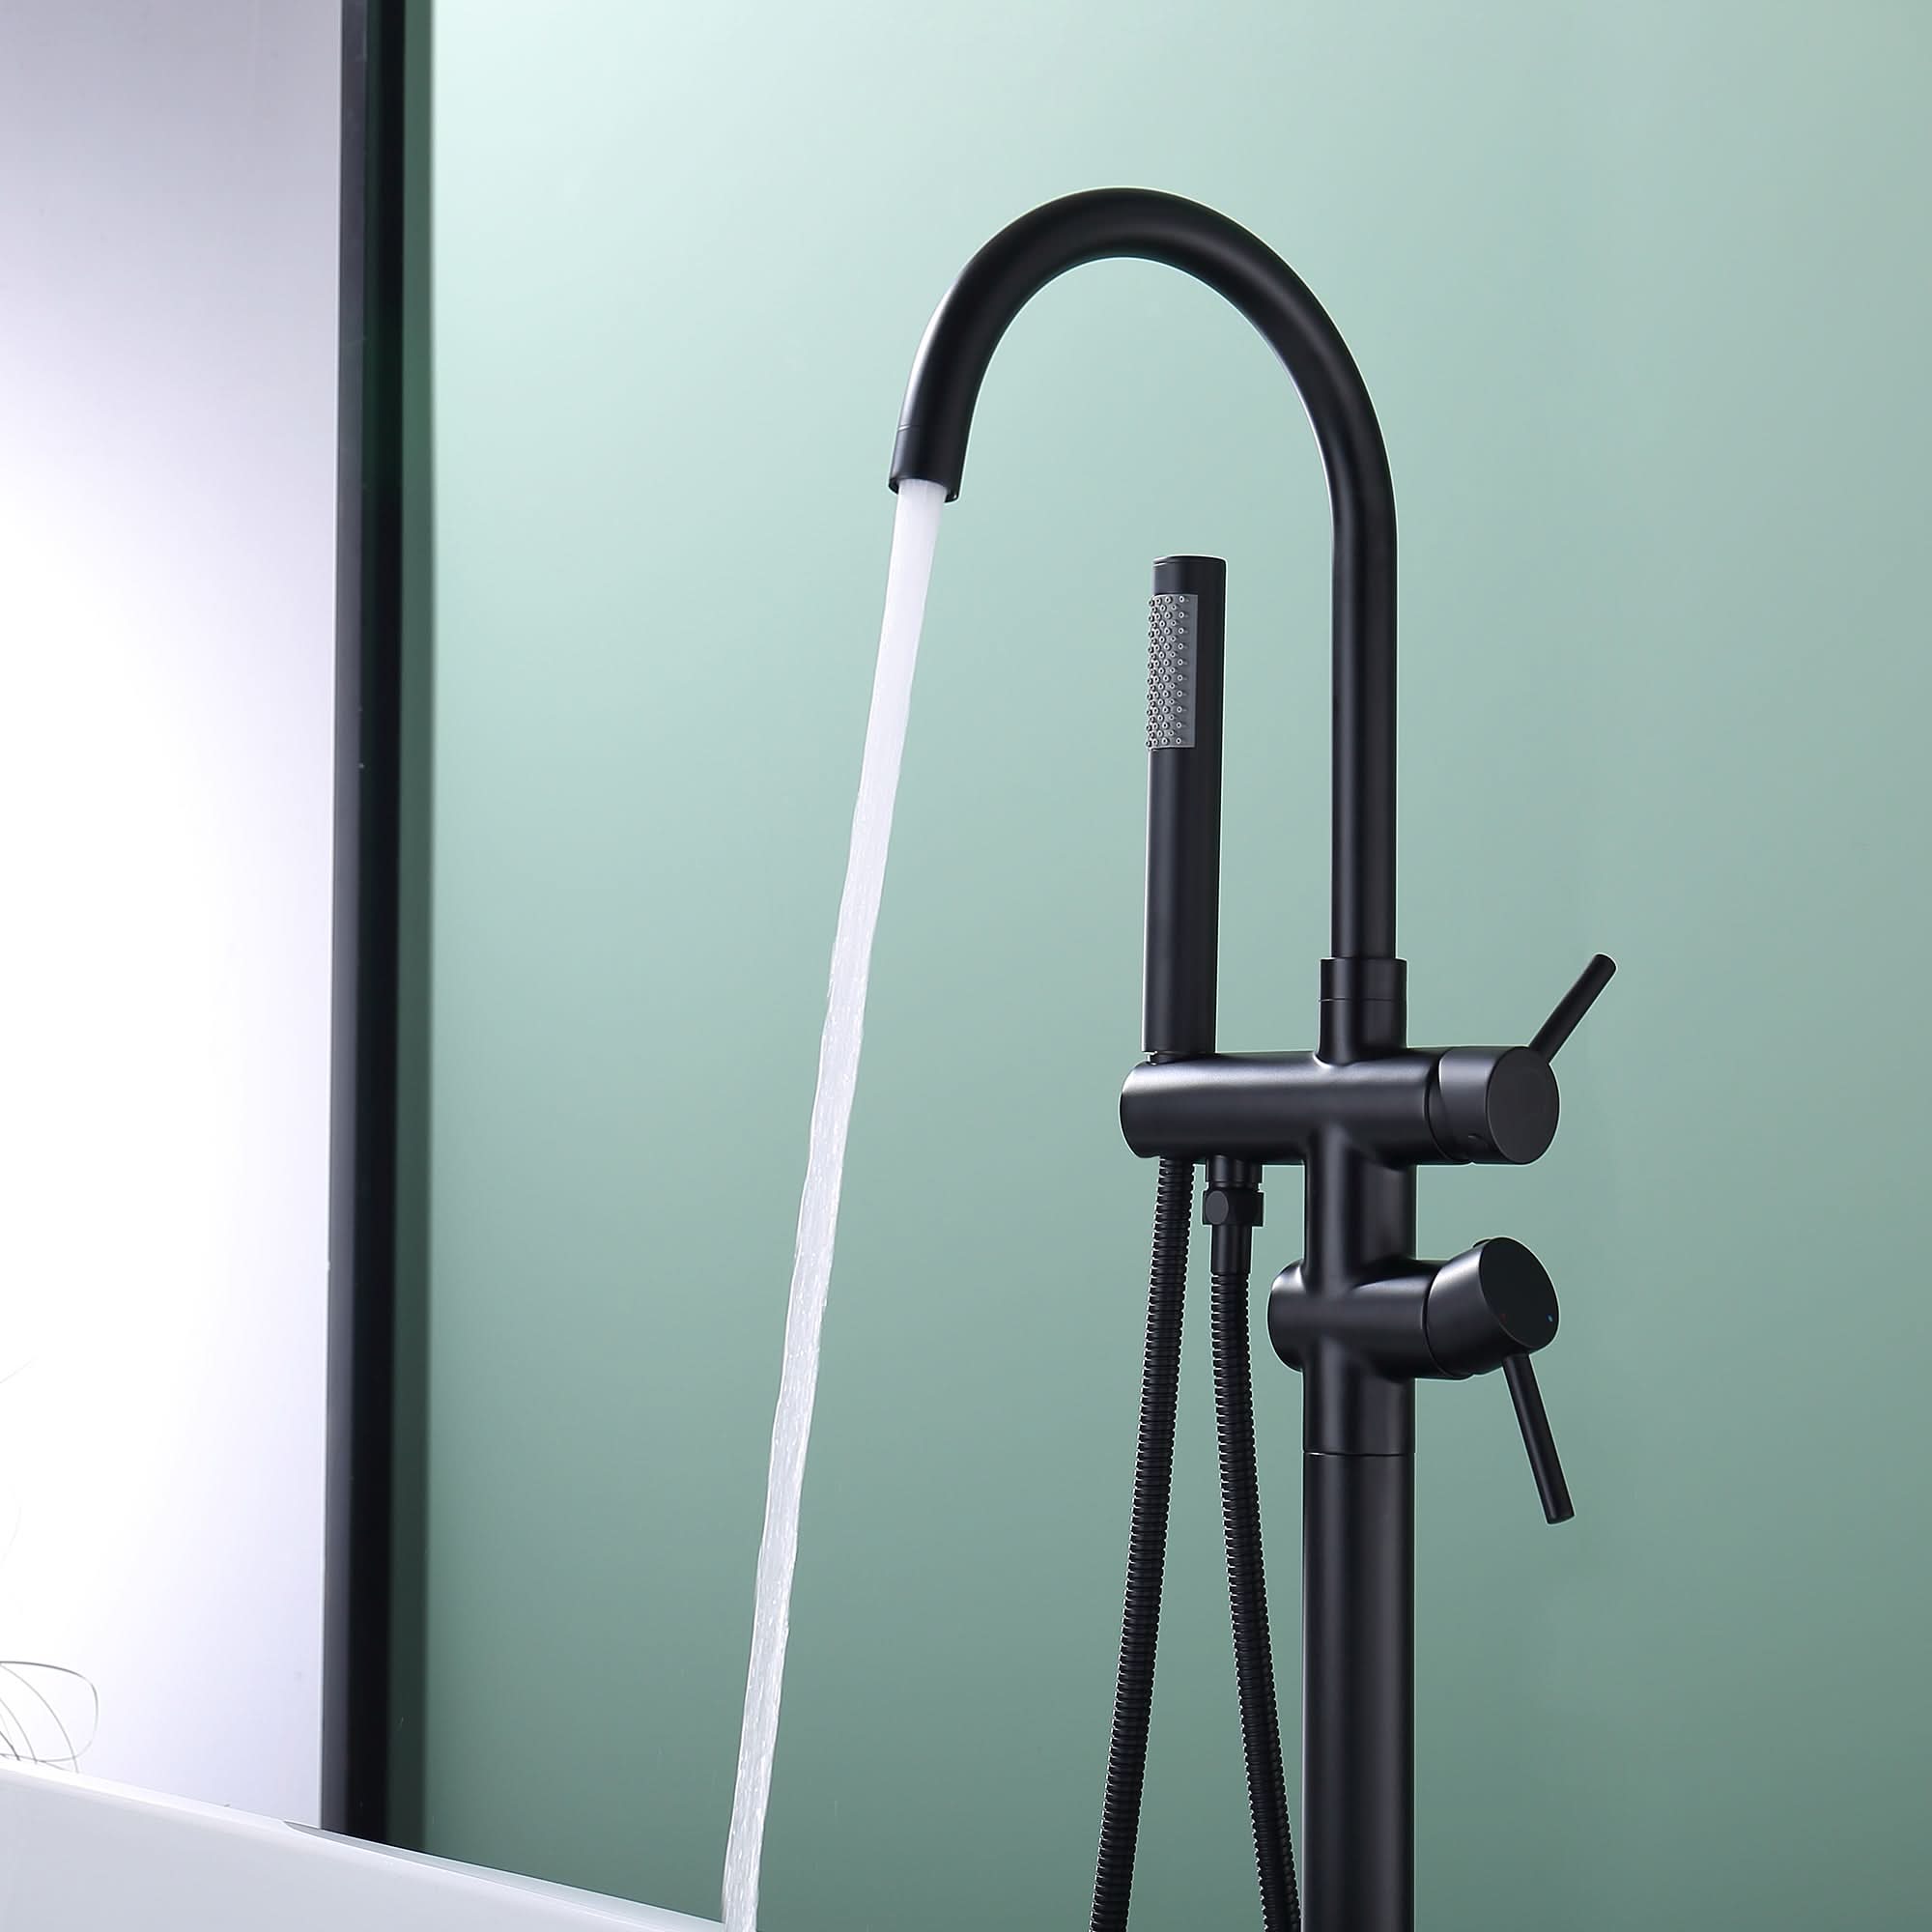
Step 6: Perform a Full Water Test and Leak Inspection

Fill the bathtub with water in stages—first a few inches, then halfway, and finally near full capacity. Observe all drain connections closely during and after draining.
Check for:
-
Drips or moisture at joints
-
Slow or uneven drainage
-
Unusual sounds from the plumbing
Allow the system to sit for several minutes after draining to confirm no delayed leaks appear.
Never skip this step. A successful water test is the final confirmation that the bathtub installation has been completed correctly.
Final Note on Installation Confidence
For beginners, the key to successful freestanding bathtub installation is not speed, but attention to detail. Every step builds on the previous one, and taking the time to do it right ensures a safe, comfortable, and long-lasting bathing experience.
If at any point the installation feels forced, unclear, or structurally uncertain, consulting a licensed professional is always the responsible choice.
Common Installation Mistakes and How to Avoid Them
Many bathtub installation issues stem from small oversights. Ignoring floor load capacity can result in long-term structural damage. Misaligned drains create stress on plumbing connections and increase leak risk.
Inadequate sealing is another frequent problem. Even minor gaps can allow water intrusion over time, leading to mold or floor damage.
Finally, skipping the final water test is a critical error. A bathtub installation should never be considered complete until it has been thoroughly tested under real-use conditions.
Knowing when to consult a professional is also a sign of expertise, not weakness.
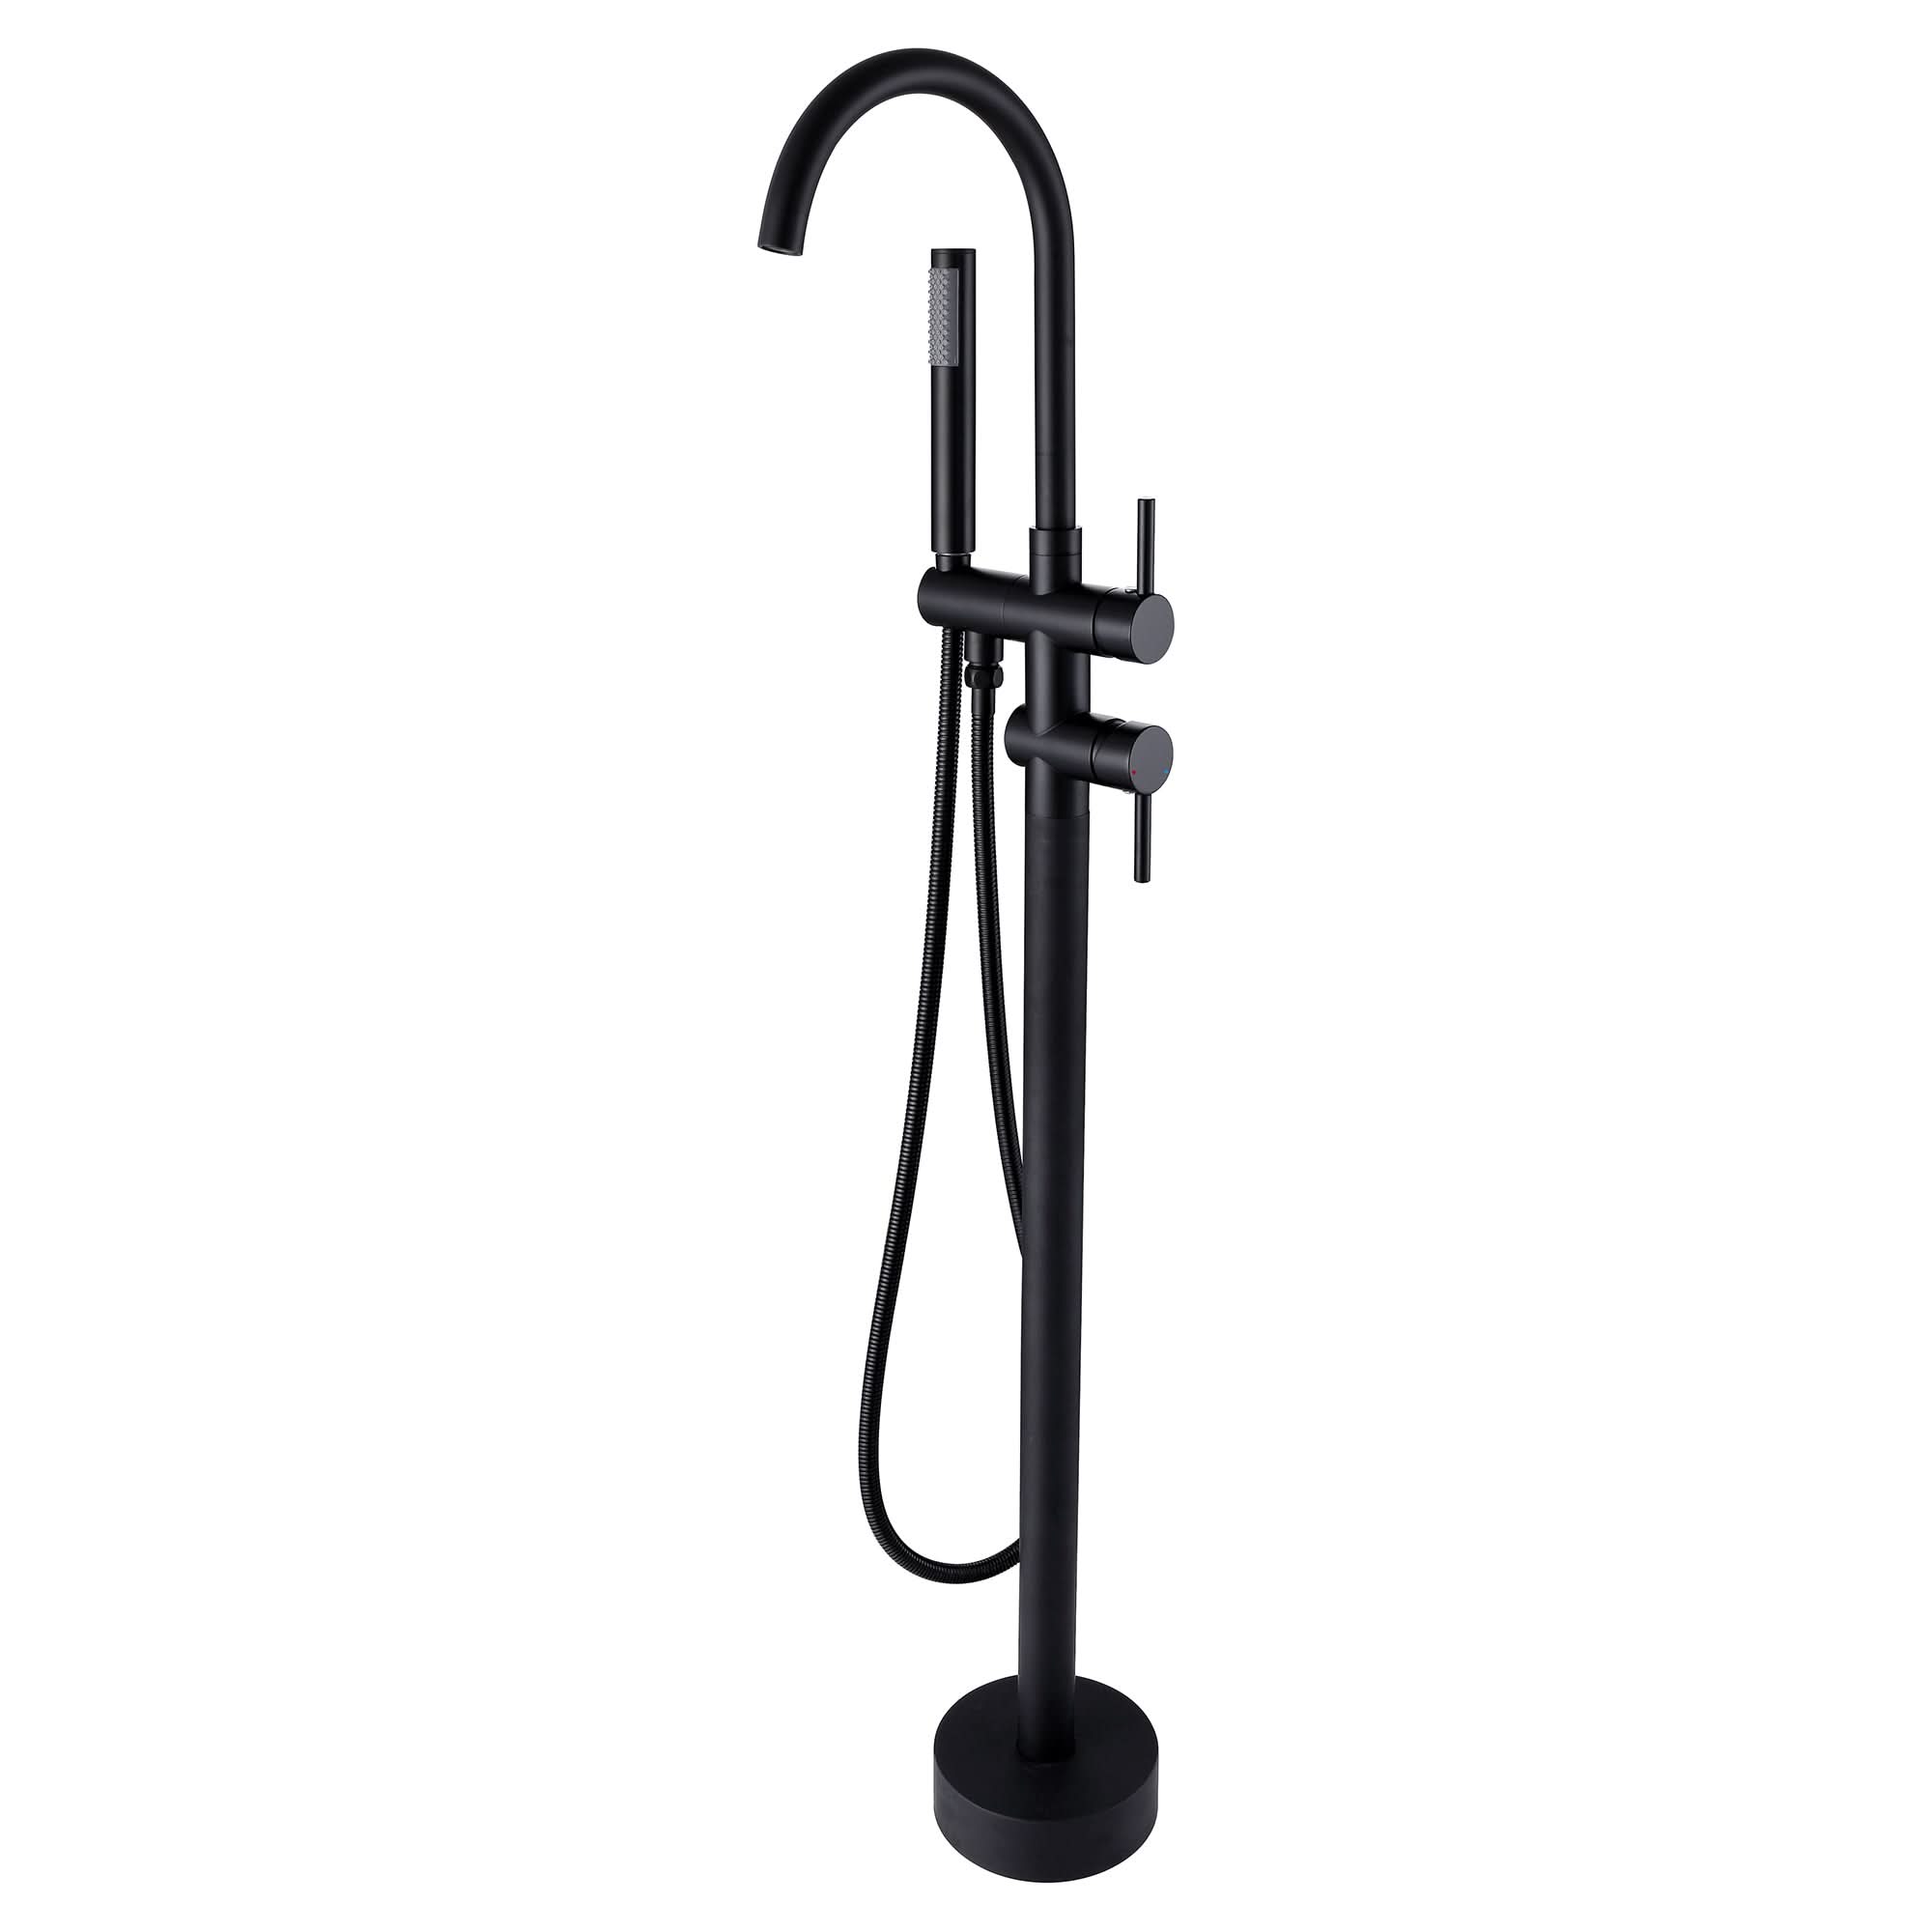
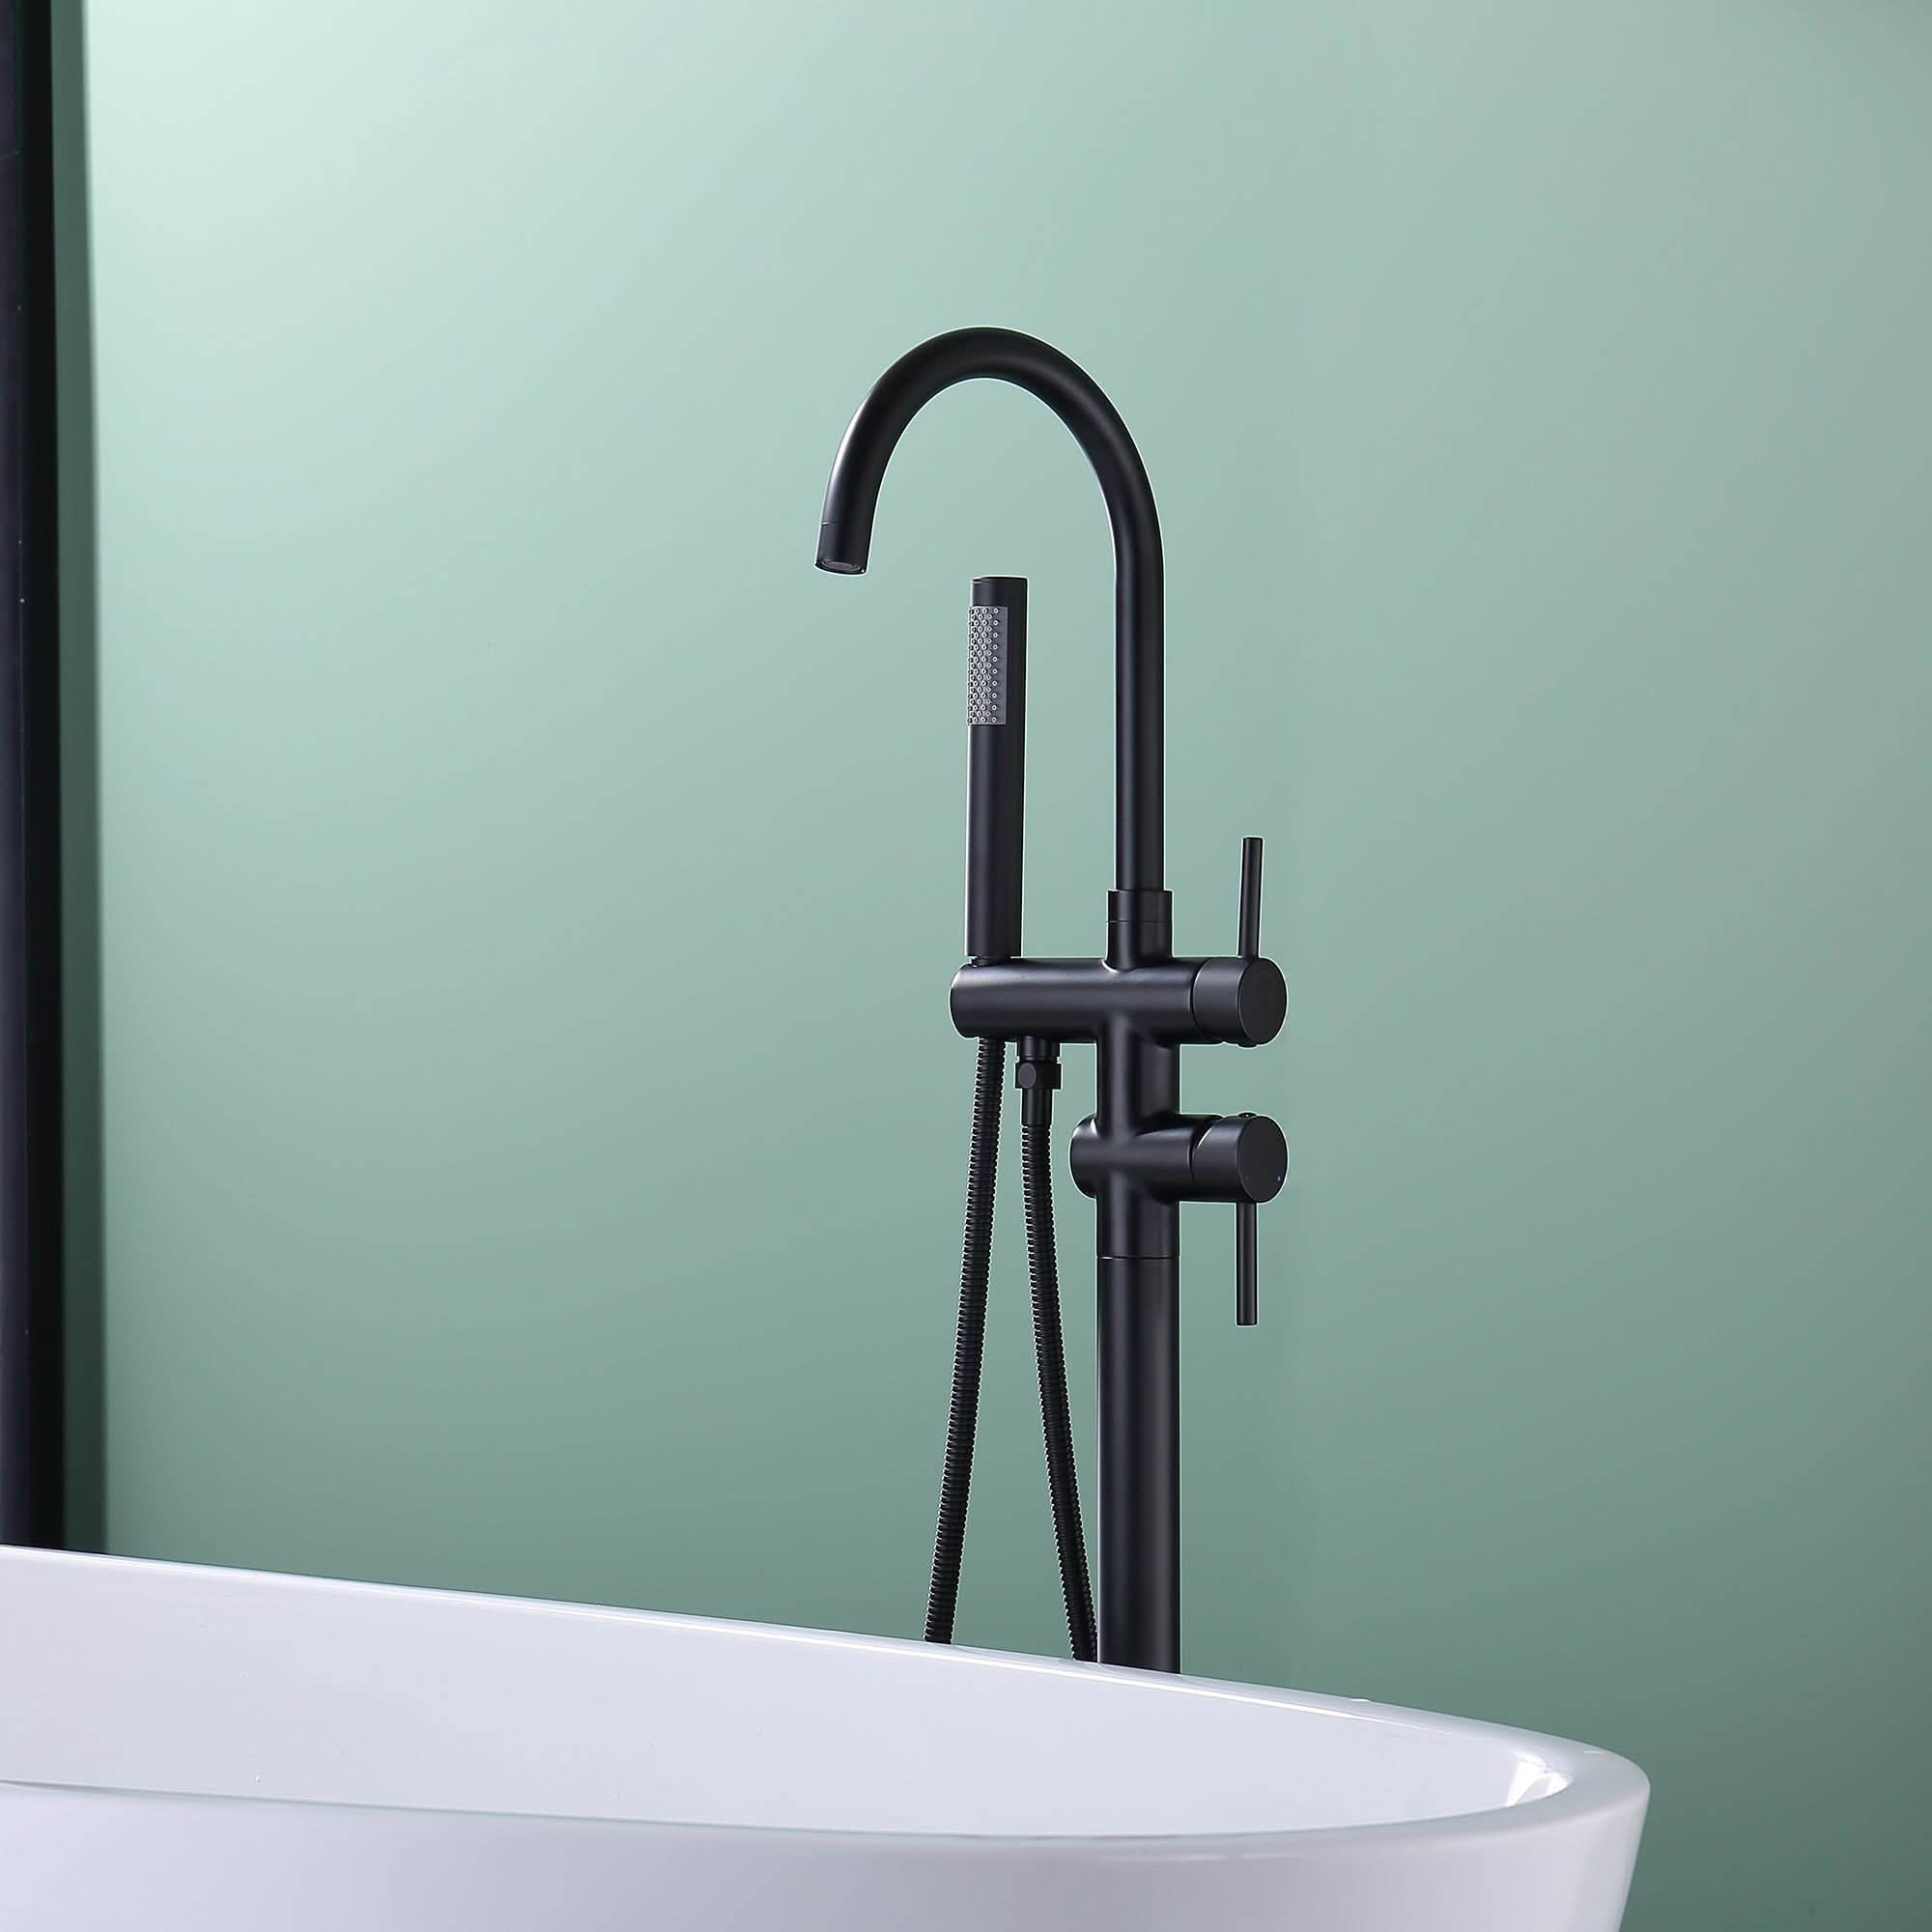
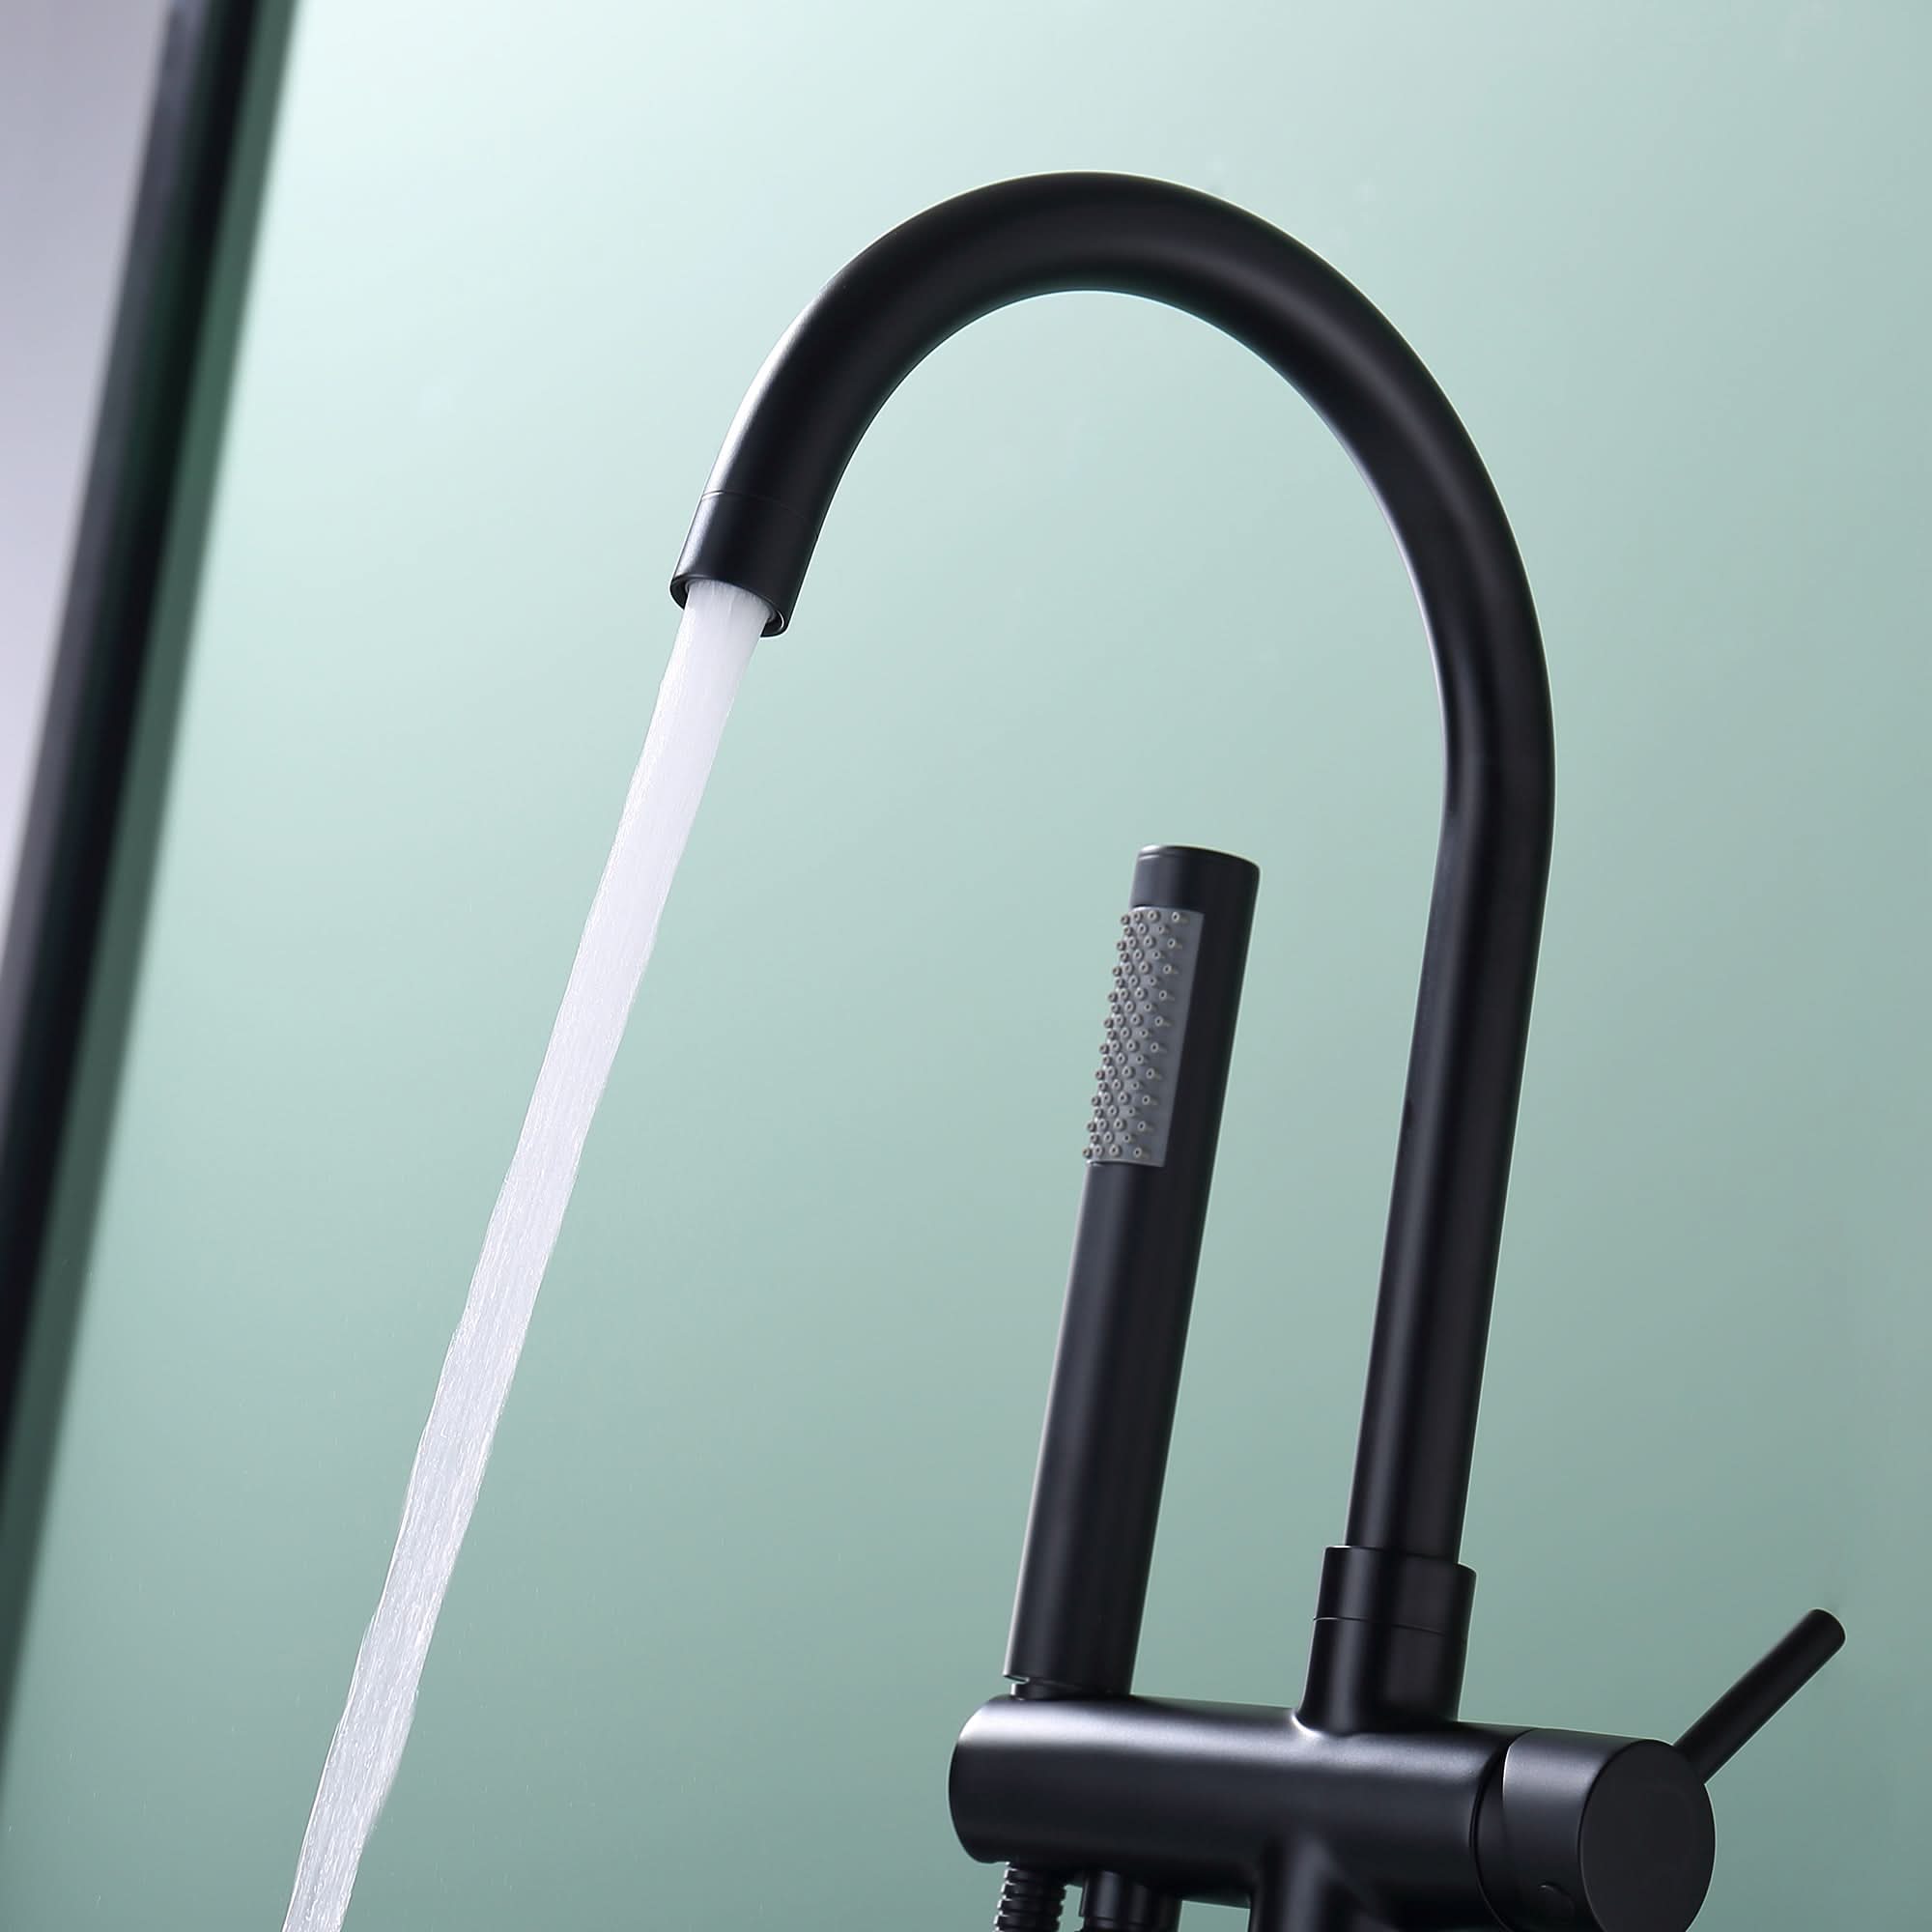
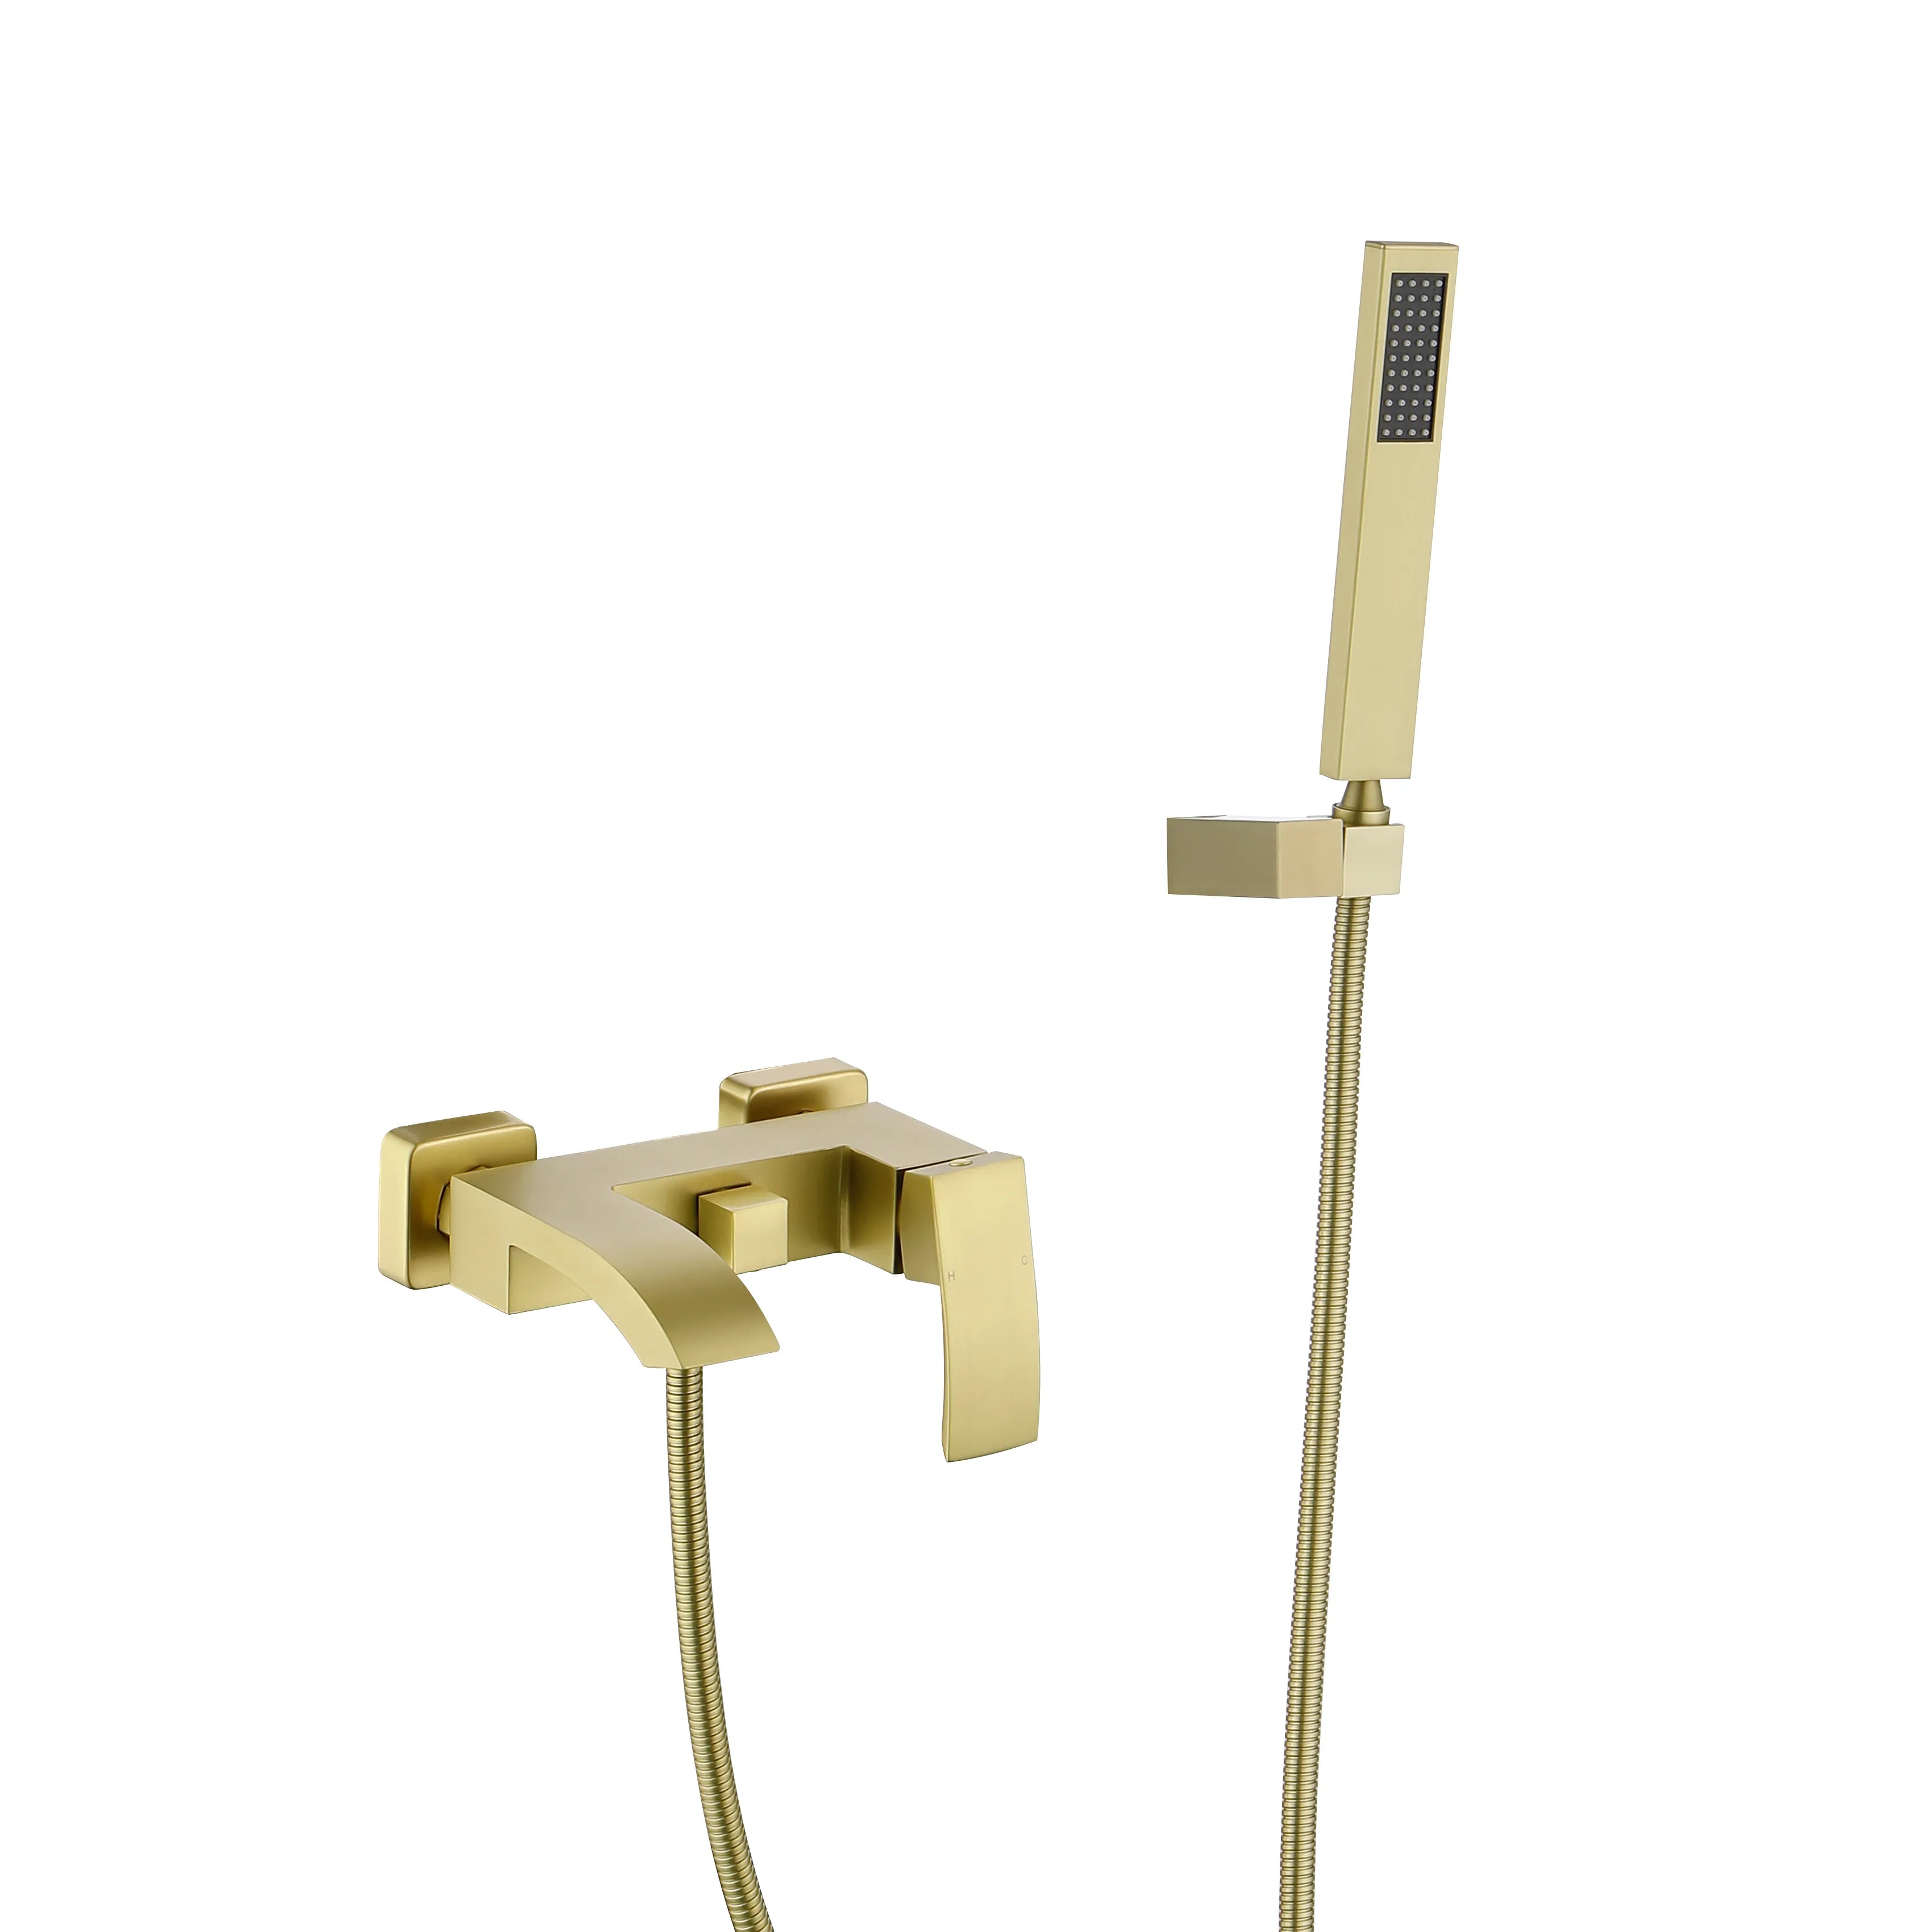
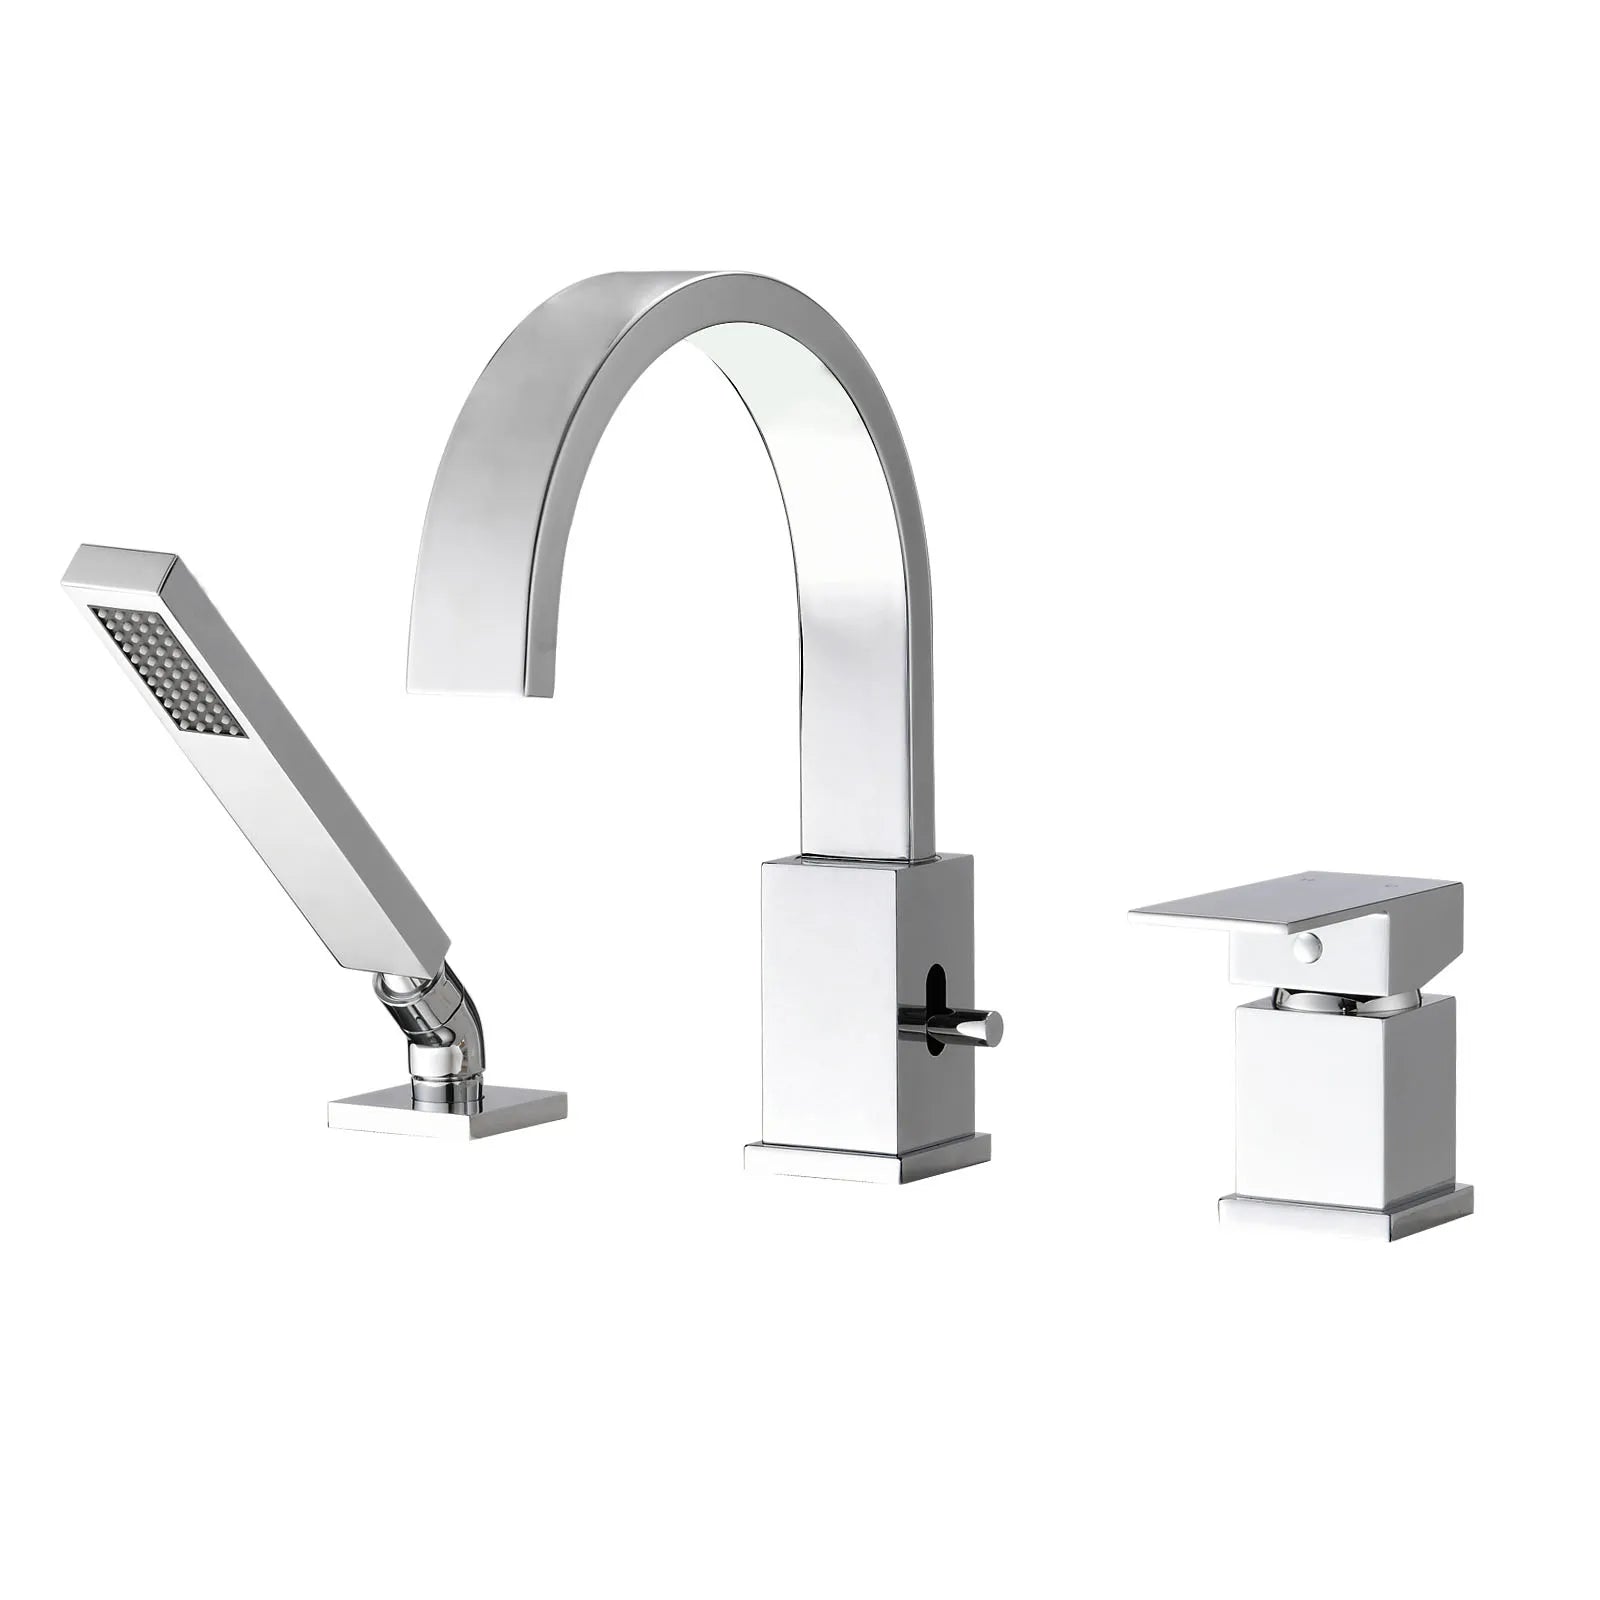
Additional Components to Consider: Tub Faucets and Everyday Essentials
After the bathtub itself is installed, choosing the right tub faucet is the next important step. For freestanding bathtubs, the faucet must be planned as a standalone fixture, with water supply and placement coordinated in advance to ensure proper reach, comfortable use, and long-term reliability.
When selecting a tub faucet, focus on compatibility with your bathroom layout and installation conditions. Some faucet styles require floor access, others depend on wall positioning, and certain designs can only be used if the bathtub structure allows it. Confirming these details early helps avoid installation limitations later.
In addition to the faucet, simple accessories such as freestanding-compatible shower curtains can greatly improve everyday practicality. They provide splash protection without enclosing the tub, preserving the open and modern look while making the bathtub suitable for both bathing and showering.
Conclusion
A well-executed bathtub installation combines planning, precision, and practical knowledge. While freestanding tubs offer unmatched visual appeal and design flexibility, they demand careful installation to perform as intended.
By assessing the space properly, preparing the right tools, following a structured installation process, and accounting for additional components, both beginners and professionals can achieve reliable results. The goal is not just to install a bathtub—but to create a bathing space that remains safe, comfortable, and durable for years to come.
Q1: Is freestanding bathtub installation suitable for beginners?
Q2: How do I know if my floor can support a freestanding tub?
Q3: Should the faucet be installed before or after the bathtub?
Q4: How long does a typical bathtub installation take?
Q5: What is the most important final check after installation?
Recommended Reading: Explore More Bathtub Guides and Buying Tips
If you’re interested in learning more about bathtubs beyond installation, our blog also covers a wide range of practical topics to help you make informed decisions with confidence. From choosing the right bathtub style to understanding long-term maintenance and daily use, these articles are designed to guide you at every stage of the process.
You may also find these topics helpful:
- Soaking Tub vs Regular Tub: How to Choose the Right Bathtub for Your Bathroom
- 15 Inspiring Bathroom with Tub Ideas for Every Style and Space
- How to Understand Tub Measurements: A Complete Guide to Choosing the Right Bathtub
- How to Clean a Dirty Bathtub Without Scrubbing in 15 Minutes
- Bathtub Materials Guide 2025: The Ultimate, No-Regrets Comparison
- What is an Ofuro? Discover the Japanese Tub for Deep Relaxation
Feel free to explore our other blog articles for more expert insights, installation guidance, and bathtub-related knowledge tailored to real-world use.