Table of Contents
- What Is a Vintage Wall Mount Sink?
- Tools & Preparation Checklist
- How to Install a Vintage Wall Mount Sink (Step-by-Step Guide)
- Common Mistakes & Safety Concerns
- Alternative Mounting Solutions (Beyond Traditional Brackets)
- Maintenance & Care After Installation
- Conclusion
- Related Articles
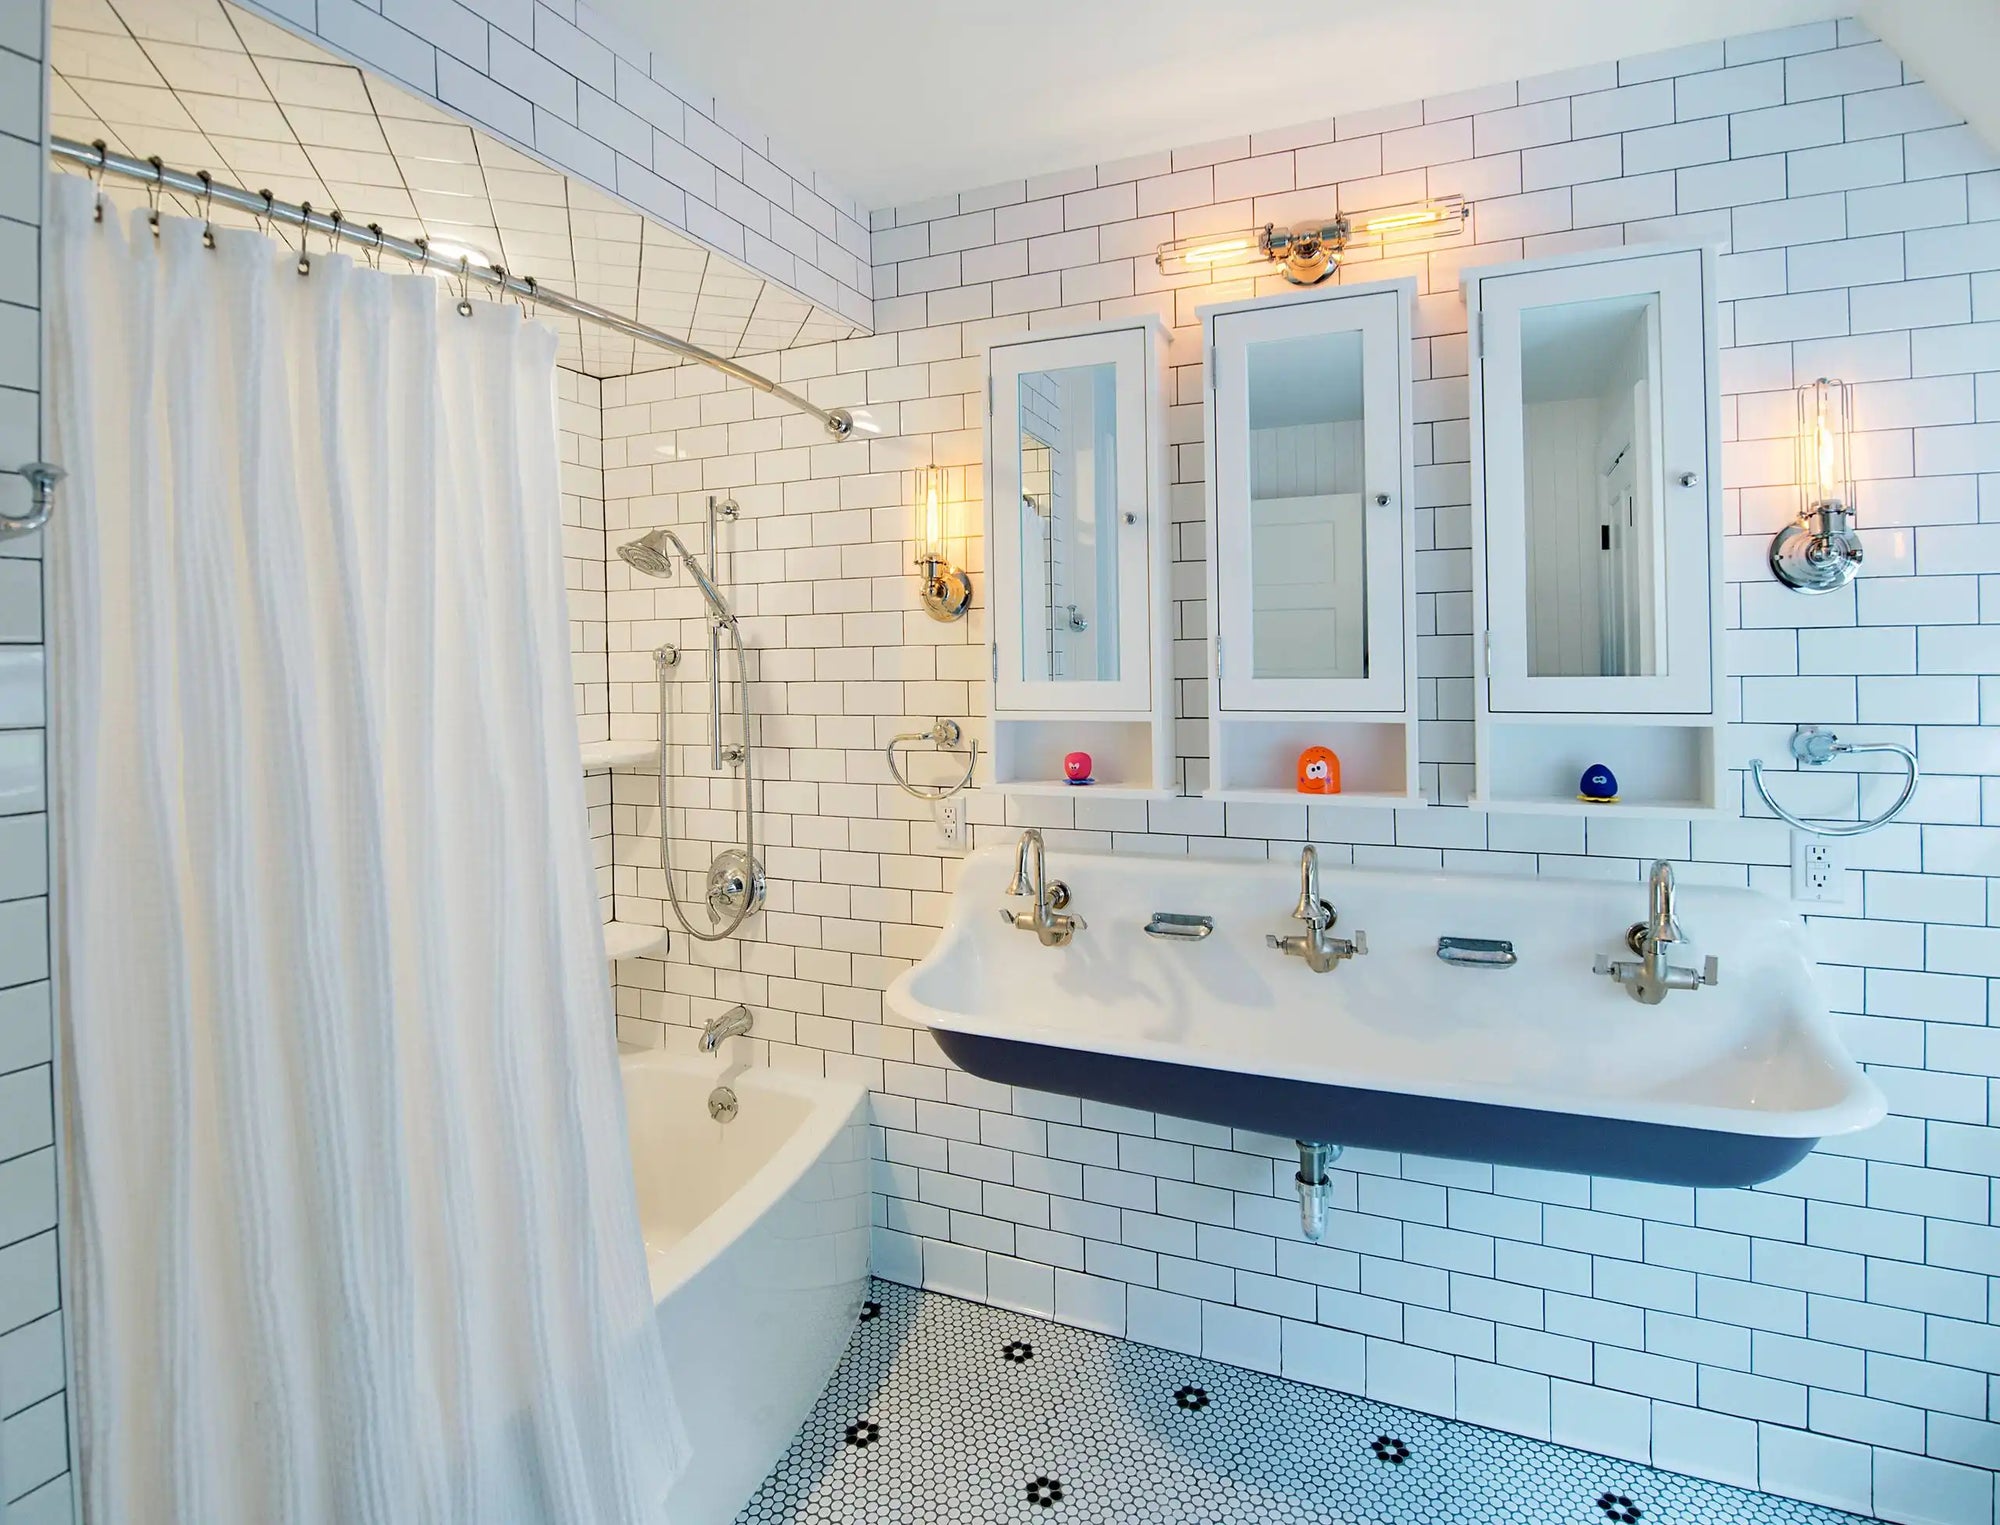
If you would like to complete your classic bathroom with a piece that is appropriate for the period, it'd be hard to find a more powerful statement than that of a vintage wall mount sink. Robust and gorgeous, with sleeker lines than common, vintage reproduction sinks of the same era. They also satisfy most home owners who painstakingly restore Victorian or mid-century homes to original style.
But if there is a downside to the unbeatable look, it's that having brick installed seems kind of… scary. Most vintage sinks came with outdated or uncommon mounts which are not supported by modern hardware. That leads to one of the homeowner's most common questions: how to safely and securely install a vintage wall mount sink?
Not only will this guide show you how to install step-by-step, it will also feature new solutions for troublesome mounting situations, so that you can enjoy your vintage sink both visually and functionally for years to come.
What Is a Vintage Wall Mount Sink?
Nothing quite says "vintage" like a wall mount sink, also known as a wall hung sink. In the early part of the 20th century, with smaller bathrooms came a demand for fixtures that took up less space but didn't skimp on sturdiness.
These sinks are frequently constructed using cast iron covered with a layer of porcelain enamel and they can be very heavy in comparison to models made from modern-day ceramic or acrylic material. They also tend to have custom mounting tabs or cleats that no longer line up with contemporary wall brackets, making installation a pain.
Open below like a pedestal, or closed in and limited on the floor like a vanity, they have nothing to rest upon but wall and fasteners. That's why proper installation is so important for safety.

Tools & Preparation Checklist
Before you break a sweat over the installation, gather all of the proper tools and materials. Keeping all supplies on hand saves time and money between stages.
Tools needed:
- Drill with masonry/wood bits
- Level
- Stud finder
- Heavy-duty lag screws & washers
- Screwdriver set
- Measuring tape
- Socket wrench
Materials recommended:
- 2x4 or hardwood plank (for backing board)
- Mounting brackets (original if available, or modern fabricated steel brackets)
- Decorative support brackets (optional, but nice for extra stability)
- Silicone sealant
How to Install a Vintage Wall Mount Sink (Step-by-Step Guide)
1. Locate Studs and Plan Support
Find vertical wall studs with a stud finder. Given that a vintage cast iron sink will typically weigh anywhere from 70–120 lbs., screwing directly into studs (or better yet, a continuous backing board) is an absolute must. If the studs are not optimally positioned, add horizontal bracing between them.

2. Prepare the Backing Board
One of the problems with old sinks is that they have a rear lip back there that moves it away from the wall. This can be corrected by anchoring a backing board (e.g. 2x4 or hardwood plank) to the studs. It is important that this board protrude down past the mounting tabs of the sink to transfer leverage.

3. Attach the Rear Mounting Tabs
Place the sink on the wall and mark hole locations. Through the mount tabs in the back and into the backing board or studs with a heavy duty lag screw and large washer. And the bigger the screws, the better spread out loading.

4. Install Front Brackets or Ornamental Supports
The most common neglected aspect to is the installation of front support brackets. Otherwise it's up to your sink to tilt forward or break the mounting tabs. Options include:
- Reproduction cast-iron brackets (if available)
- Steel angles custom made to fit the sink profile
- Ornamental wrought-iron brackets that serve as both support and decoration.

5. Final Leveling and Sealing
Look at your work this way to ensure everything is lined up properly and then screw the screws in tight. Run a small line of silicone sealant around the upper edge where sink and wall meet to keep water from passing through.

By following these directions you get two things, the answer to how to install a vintage wall mount sink and a safe long lasting installation.
Common Mistakes & Safety Concerns
- Depending on rear tabs only: This is often the point of failure, as cast iron tabs can break under pressure.
- Doing away with the backing board: Absent one, weight from the sink can bear down on little points and inflict harm on a wall.
- Under sizing screws: Ensure you use the largest bolts to fit in the holes and tighten correctly.
- Fore leverage is ignored: Without front base support, any nudge can result in a fall.
🔰 Tips
You would be surprised how much force you put on a sink when leaning on it. Although lag screws are strong, cast iron is brittle and reinforcement is a must.
Alternative Mounting Solutions (Beyond Traditional Brackets)
Given the rarity of antique brackets, here are some alternatives to consider:
- Bespoke Steel Brackets: A metalworker can create supports that fit your sink the way you'd like, offering invisible reinforcement.
- Concealed Wall Frame: Fit a hidden-in-the-wall steel frame behind your wall and fill it with crushed stone while leaving the sink support to fit that makes for an even, firm surface on top.
- Ornamental Brackets: Opt for antique-look cast iron or brass brackets that function as decorative facade and support.
These options not only solve structure problems, but provide a stylish design statement to your antique bathroom as well.

Maintenance & Care After Installation
Now that your vintage wall mount sink is safely on the wall, keep it in tip top condition with these helpful tips:
- Wash porcelain with gentle soap and soft non-abrasive cloths to prevent scratching.
- Do not lean on the front of your sink or sit in place heavy objects.
- Examine mounting screws once a year to verify that they are tight.
- Spray any exposed metal brackets with rust-preventive spray.
By preserving both the sink and the brackets, you keep your investment while adding a touch of classic decor to your home.

Conclusion
Fixing up an old sink like this vintage wall mount sink may take a bit more planning than modern fixtures, but the end results are well worth it. By using the right hardware, made strong supports and some clever installation tricks, you too can have beauty and function in an old fixture.
So, next time you ask yourself "how to install an old wall mount sink", keep in mind: it's all about finding the happy medium between staying true to history and maintaining integrity of your structure.
Related Articles
Scouting for more ways to elevate your bathroom in timeless fashion? Check out these related articles for the pro advice, installation how tos, and timeless design ideas.
- "How to Install a Medicine Cabinet"
- "How to Choose a Durable One Handle Bathtub Faucet: Practical Buying Tips"
- "L-shaped Bathroom Vanities: Top Tips to Avoid Design Errors and Save Space"
- "How to Choose the Right Size Round Mirror for Your Bathroom Vanity"
- "Small Bathtubs for Small Bathrooms: Space-Saving Ideas & Stylish Designs"