Table of Contents
- Tools and Materials You Will Need
- Step-by-Step Installation Process for Sliding Shower Doors
- Common Mistakes to Avoid During Sliding Shower Door Installation
- Why Choose Ace Decor for Your Sliding Shower Doors?
- FAQs
- Related Articles
Installing a sliding shower door is an excellent way to modernize your bathroom and maximize space. Whether you're upgrading an existing shower or embarking on a bathroom remodel, this step-by-step guide will help you install your sliding shower door with ease. We will walk you through each stage of the process, ensuring a smooth installation and long-lasting performance.
1. Tools and Materials You Will Need
Before we get into the installation side, lets rack up what kind of tools and material we need. You will find that having everything at hand will keep the show going without unnecessary breaks.
Essential Tools:
- Tape measure
- Level
- Drill and drill bits
- Screwdriver
- Hacksaw (if necessary)
- Rubber mallet
- Silicone sealant and dispenser
- Safety glasses and gloves
Materials:
- Sliding shower door kit (includes tracks, rollers, and glass panels)
- Wall anchors and screws (provided with the door kit)

2. Step-by-Step Installation Process for Sliding Shower Doors
Follow these steps to install your sliding shower door correctly.
Step 1: Size Your Shower Opening
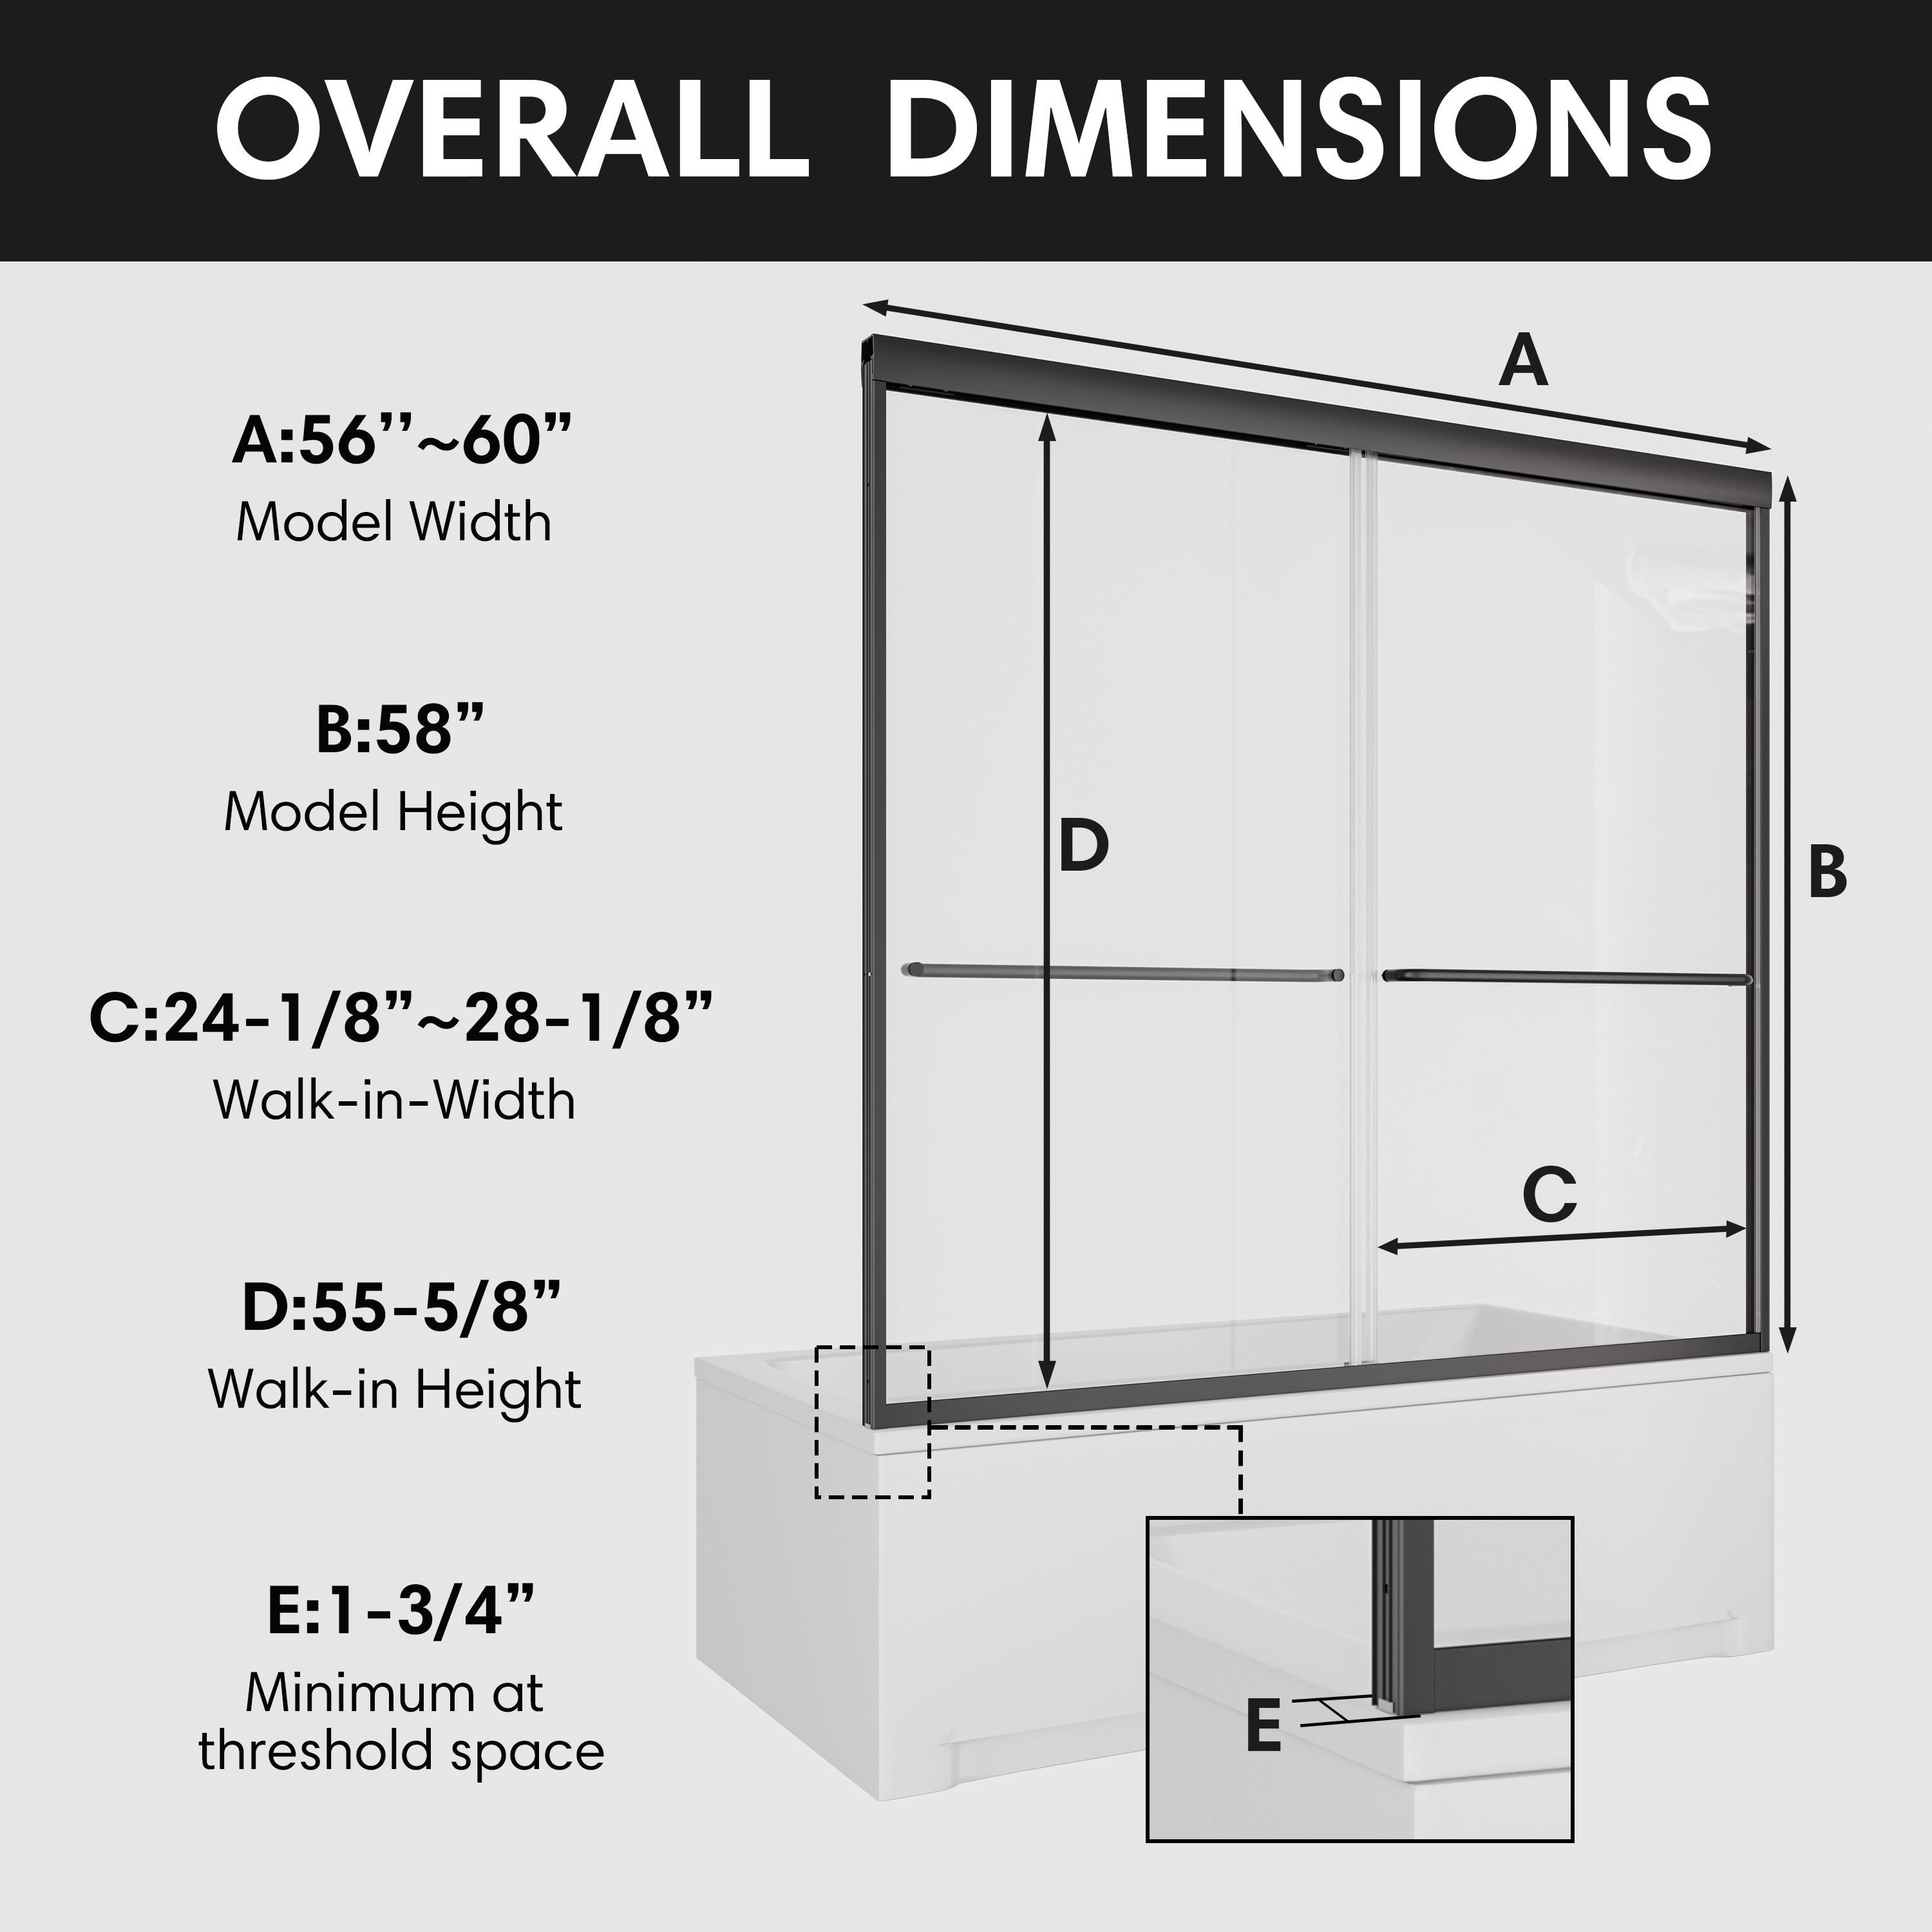
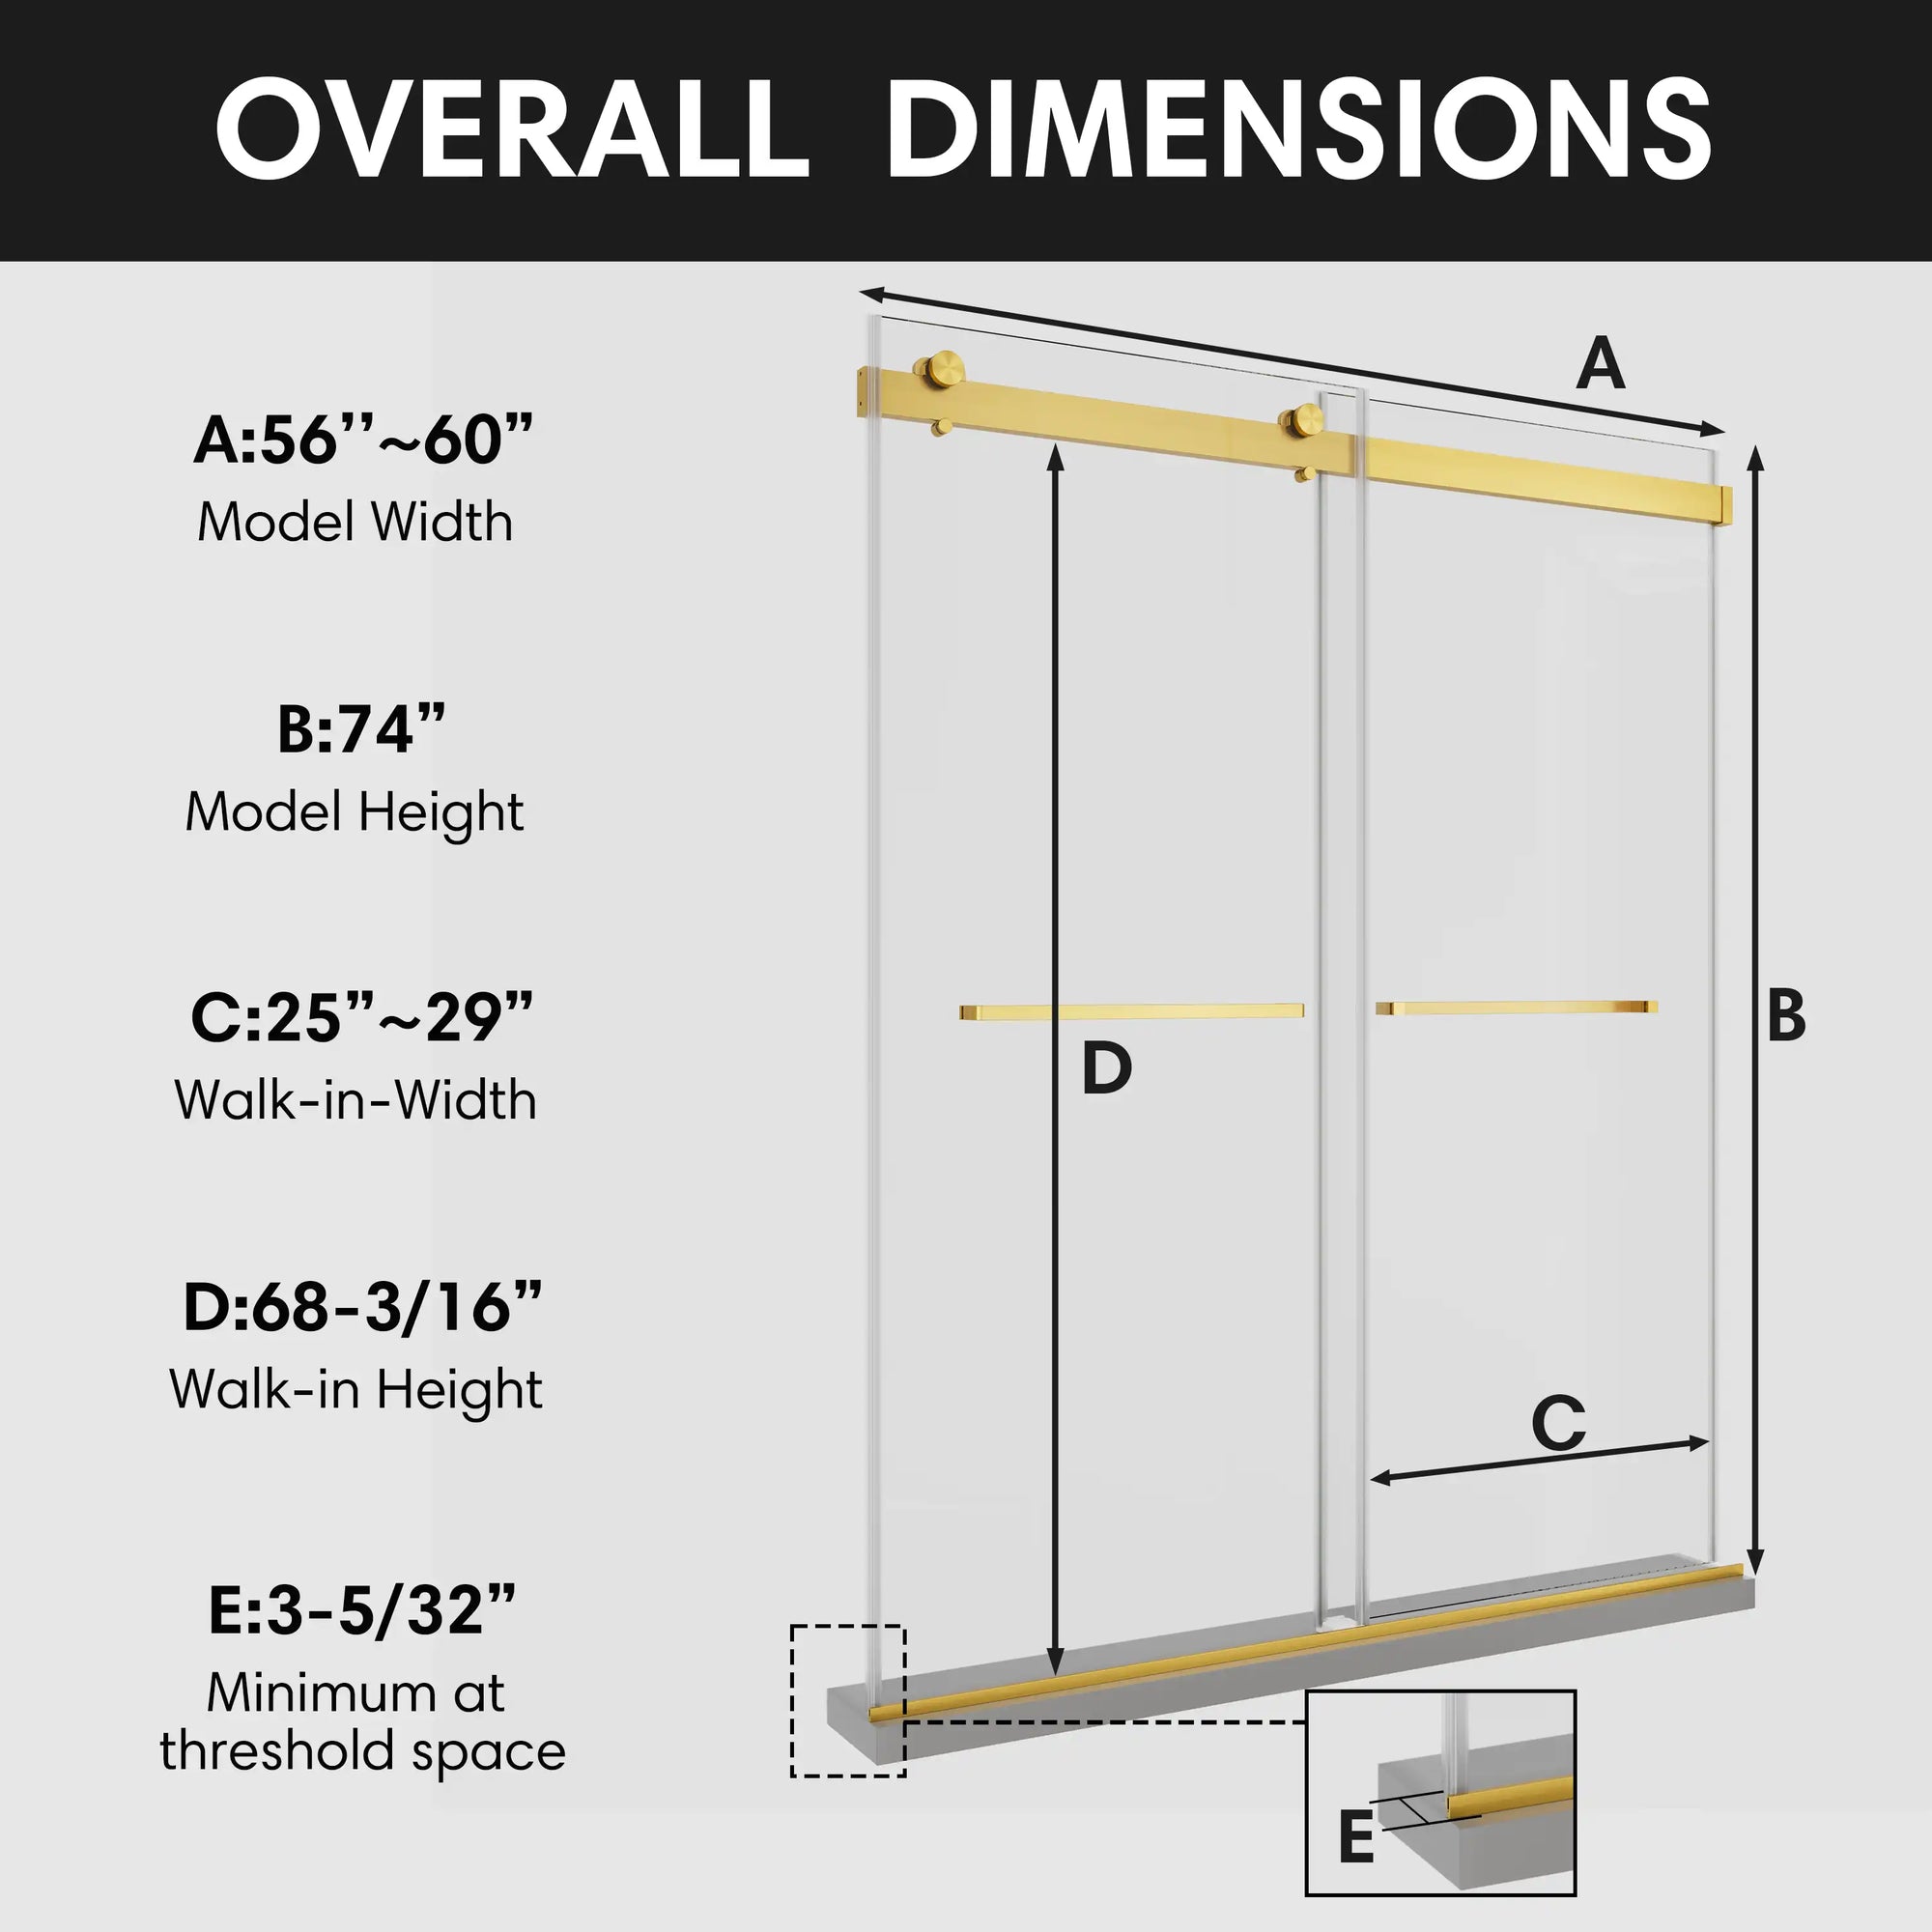
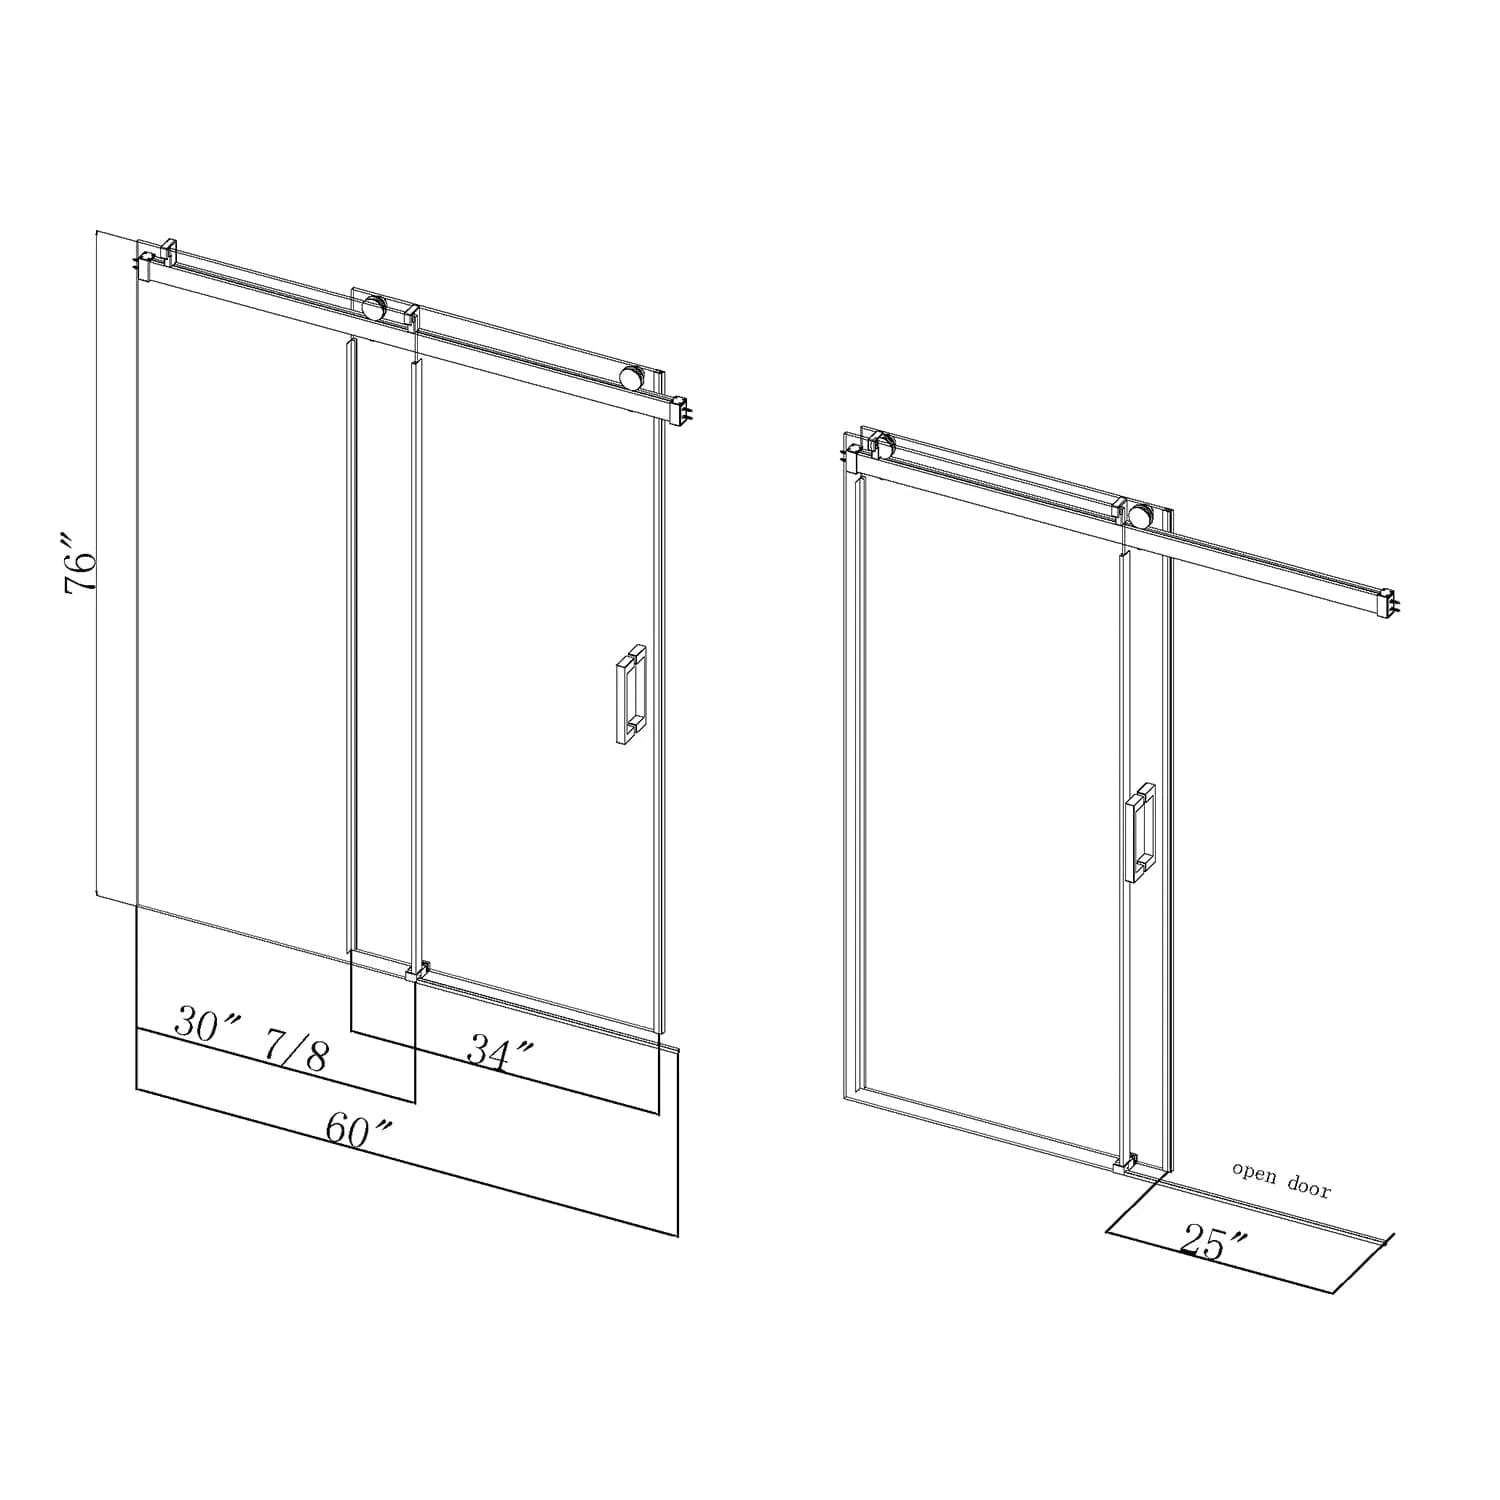
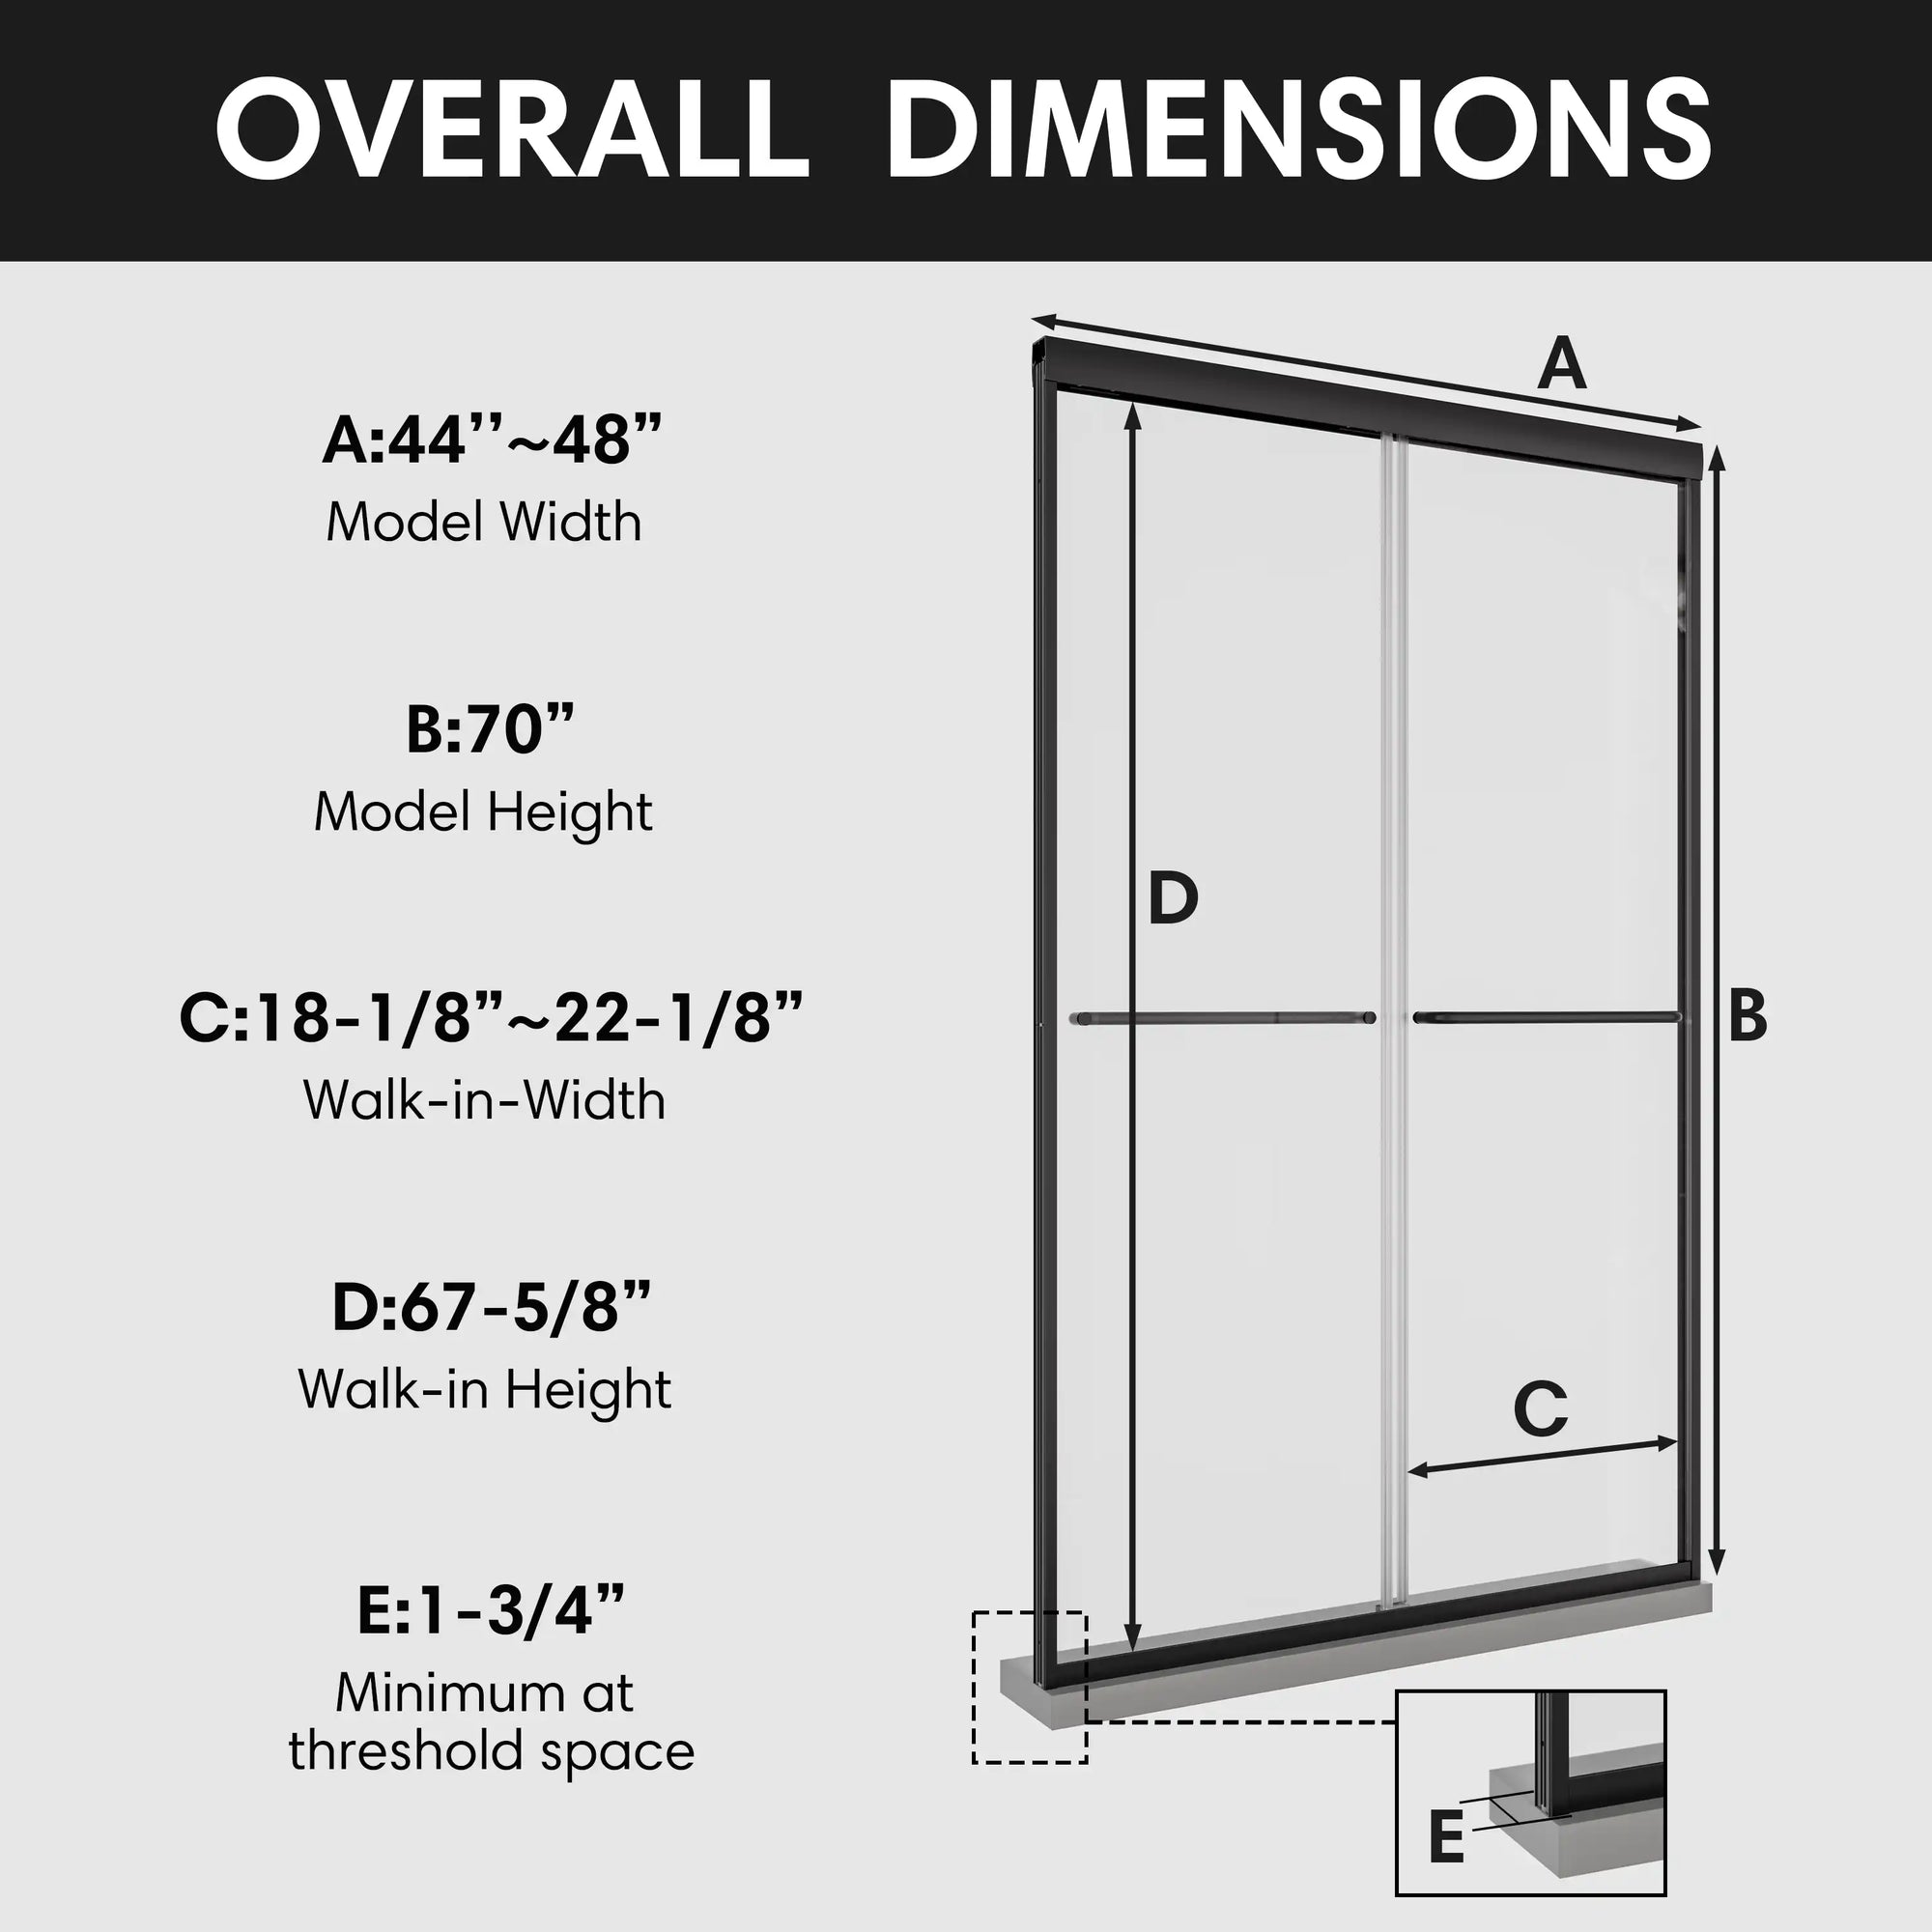
You need to measure it properly to ensure that it fits right. Take the width and height of the shower door opening. Measure the top and bottom of the opening so it won't be off center. Double-check the dimensions with the specifications provided in your sliding shower door kit.
Step 2: Ready the Shower Area
- Clear the Scene: Get rid of those old shower doors or obstructions.
- Clean Wall: Wall must be clean and free of construction debris for proper attachment of tracks and wall jambs.
Step 3: Install the Bottom Track
The bottom track is a key part to have your sliding door be running smooth. To install it, according to the following steps:
- Placement of track: Position the lower the track right in the middle of the shower threshold.
- Mark Positioning: Put a piece of masking tape to hold the track in place. Trace the track line on the ground for proper placement.
- Trim the Track: If necessary, cut the track to the proper length using a hacksaw. A tight fit will also prevent the liner from moving with wear and time.
- Install the Track: Run a small bead of silicone caulk along the under side of the track, install with screws. Ensure that the track is level on the inside by using a bubble level, so that the door rolls up and down inside the y-track easily later.

Step 4: Install the Side Rails (Jambs)
- Set the Wall Jambs: Place the jamb side rails on each side of the opening. Level them for perfect vertical alignment.
- Mark Where the Holes Will Be: Pencil in where your screws will be place. These marks will serve as a template for your drilling.
- Drill Holes: Drill into the holes of the screws.Press wall anchors in if neccessary. Attach jambs to the wall with screws.
Step 5: Install the Top Track
The upper track assists in retaining the rollers and to support the sliding door.
- Take Measurements of the Top Track: Measure the area at the top opening of the shower to make sure that the track will fit.
- If Necessary, Cut the Track: If the track is too long, cut it with a hacksaw to fit.
- Position Tracks: Mount the top track on the wall jambs and fasten with screws. Be certain that it is even and straight.
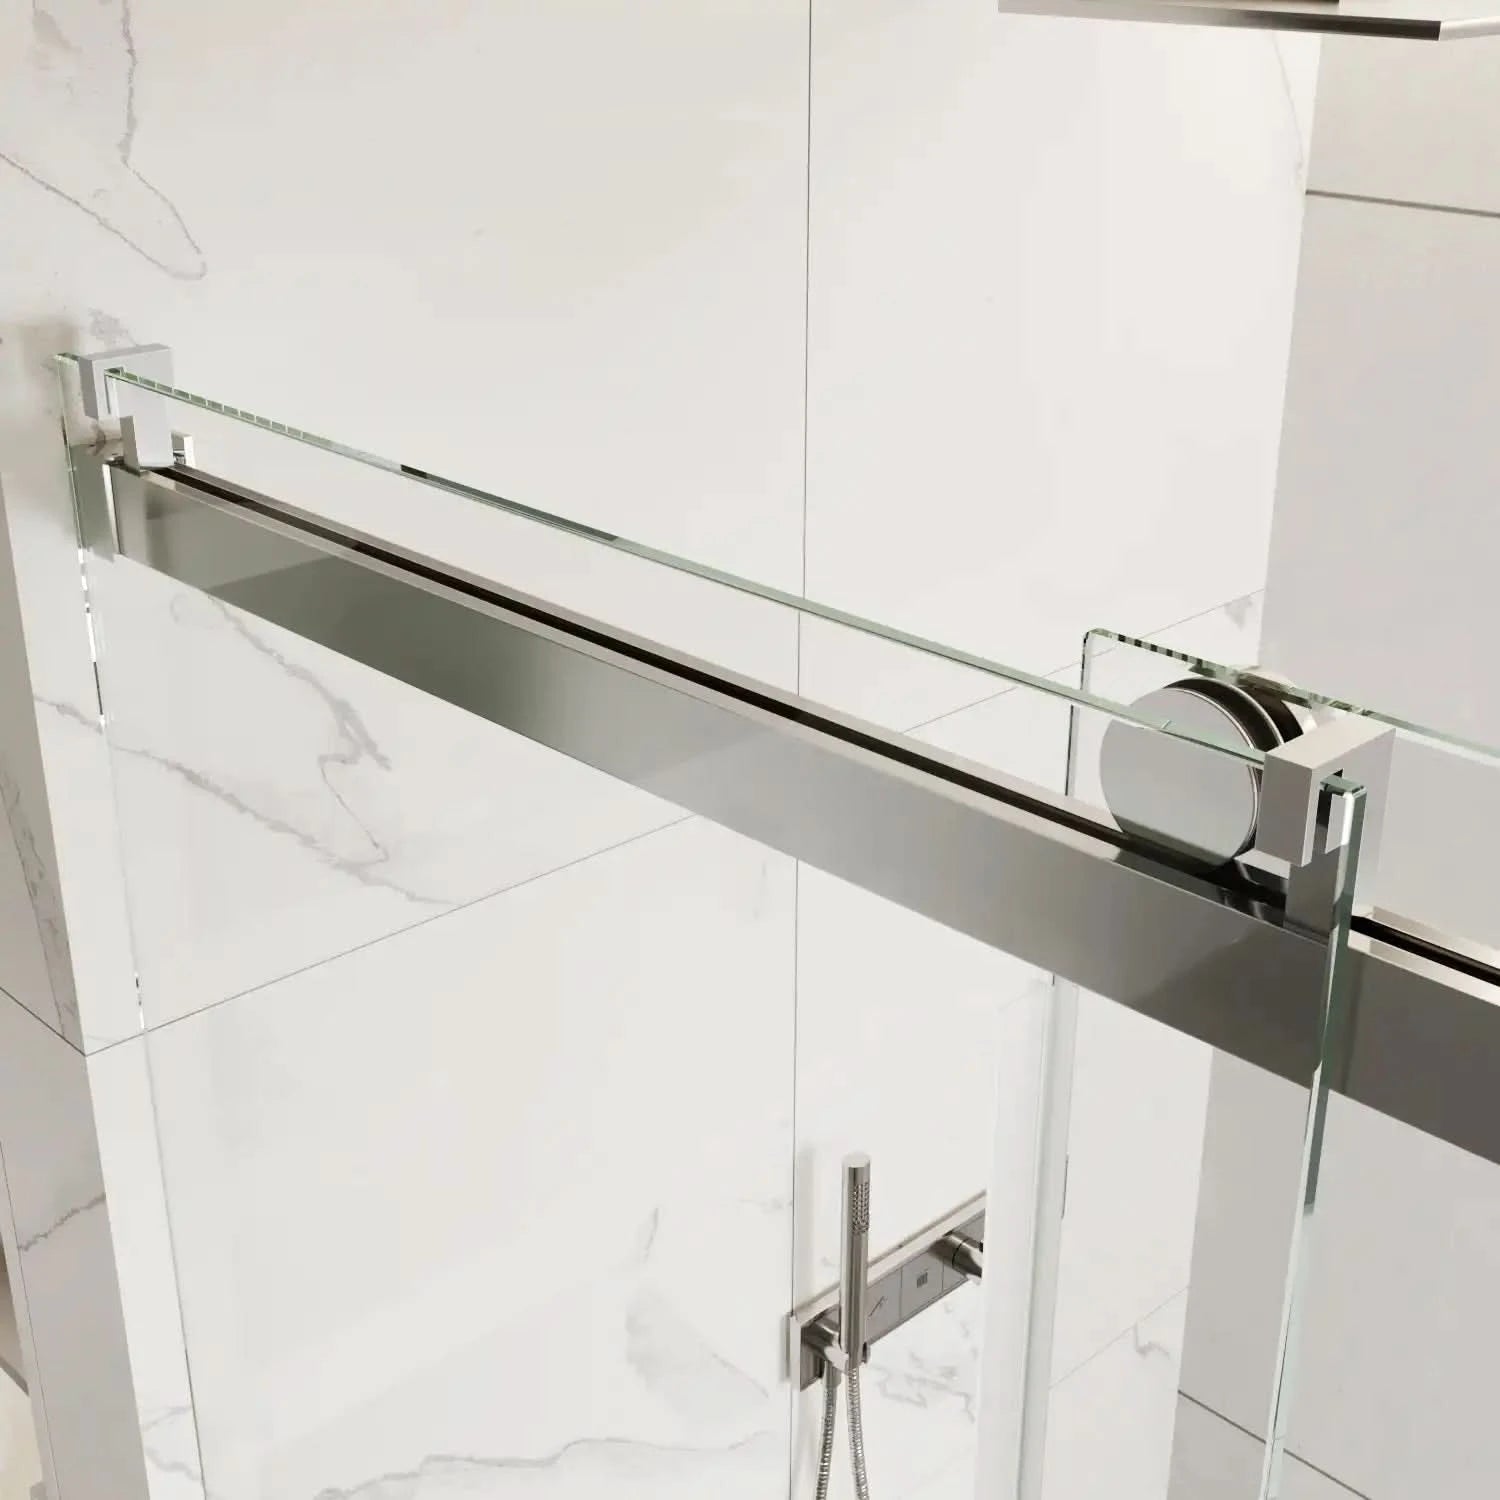
Step 6: Attach the Rollers to the Glass Doors
The sliding door can slide easily on the track because of the rollers.
- Install the Rollers: Follow the manufacturer's instructions to attach the rollers to the top of the glass door.
- Hang the Door: Once the rollers are installed, carefully lift the door and place it into the top track.
- Test the Movement: Slide the door to verify the movement. If the door is tugging, adjust the roller brackets.

Step 7: Seal the Edges
To keep the water from going out, apply silicone sealant at the door edges and the tracks. Run a small putty knife with a razor blade on the track where the door closes two times to verify it is free of any foreign material. This will keep your shower tight as a drum.
Step 8: Final Adjustments and Testing
- Ensure Alignment: After everything is set, then retest your door to make sure that it is sliding smoothly and the gaskets/seals are making a good seal.
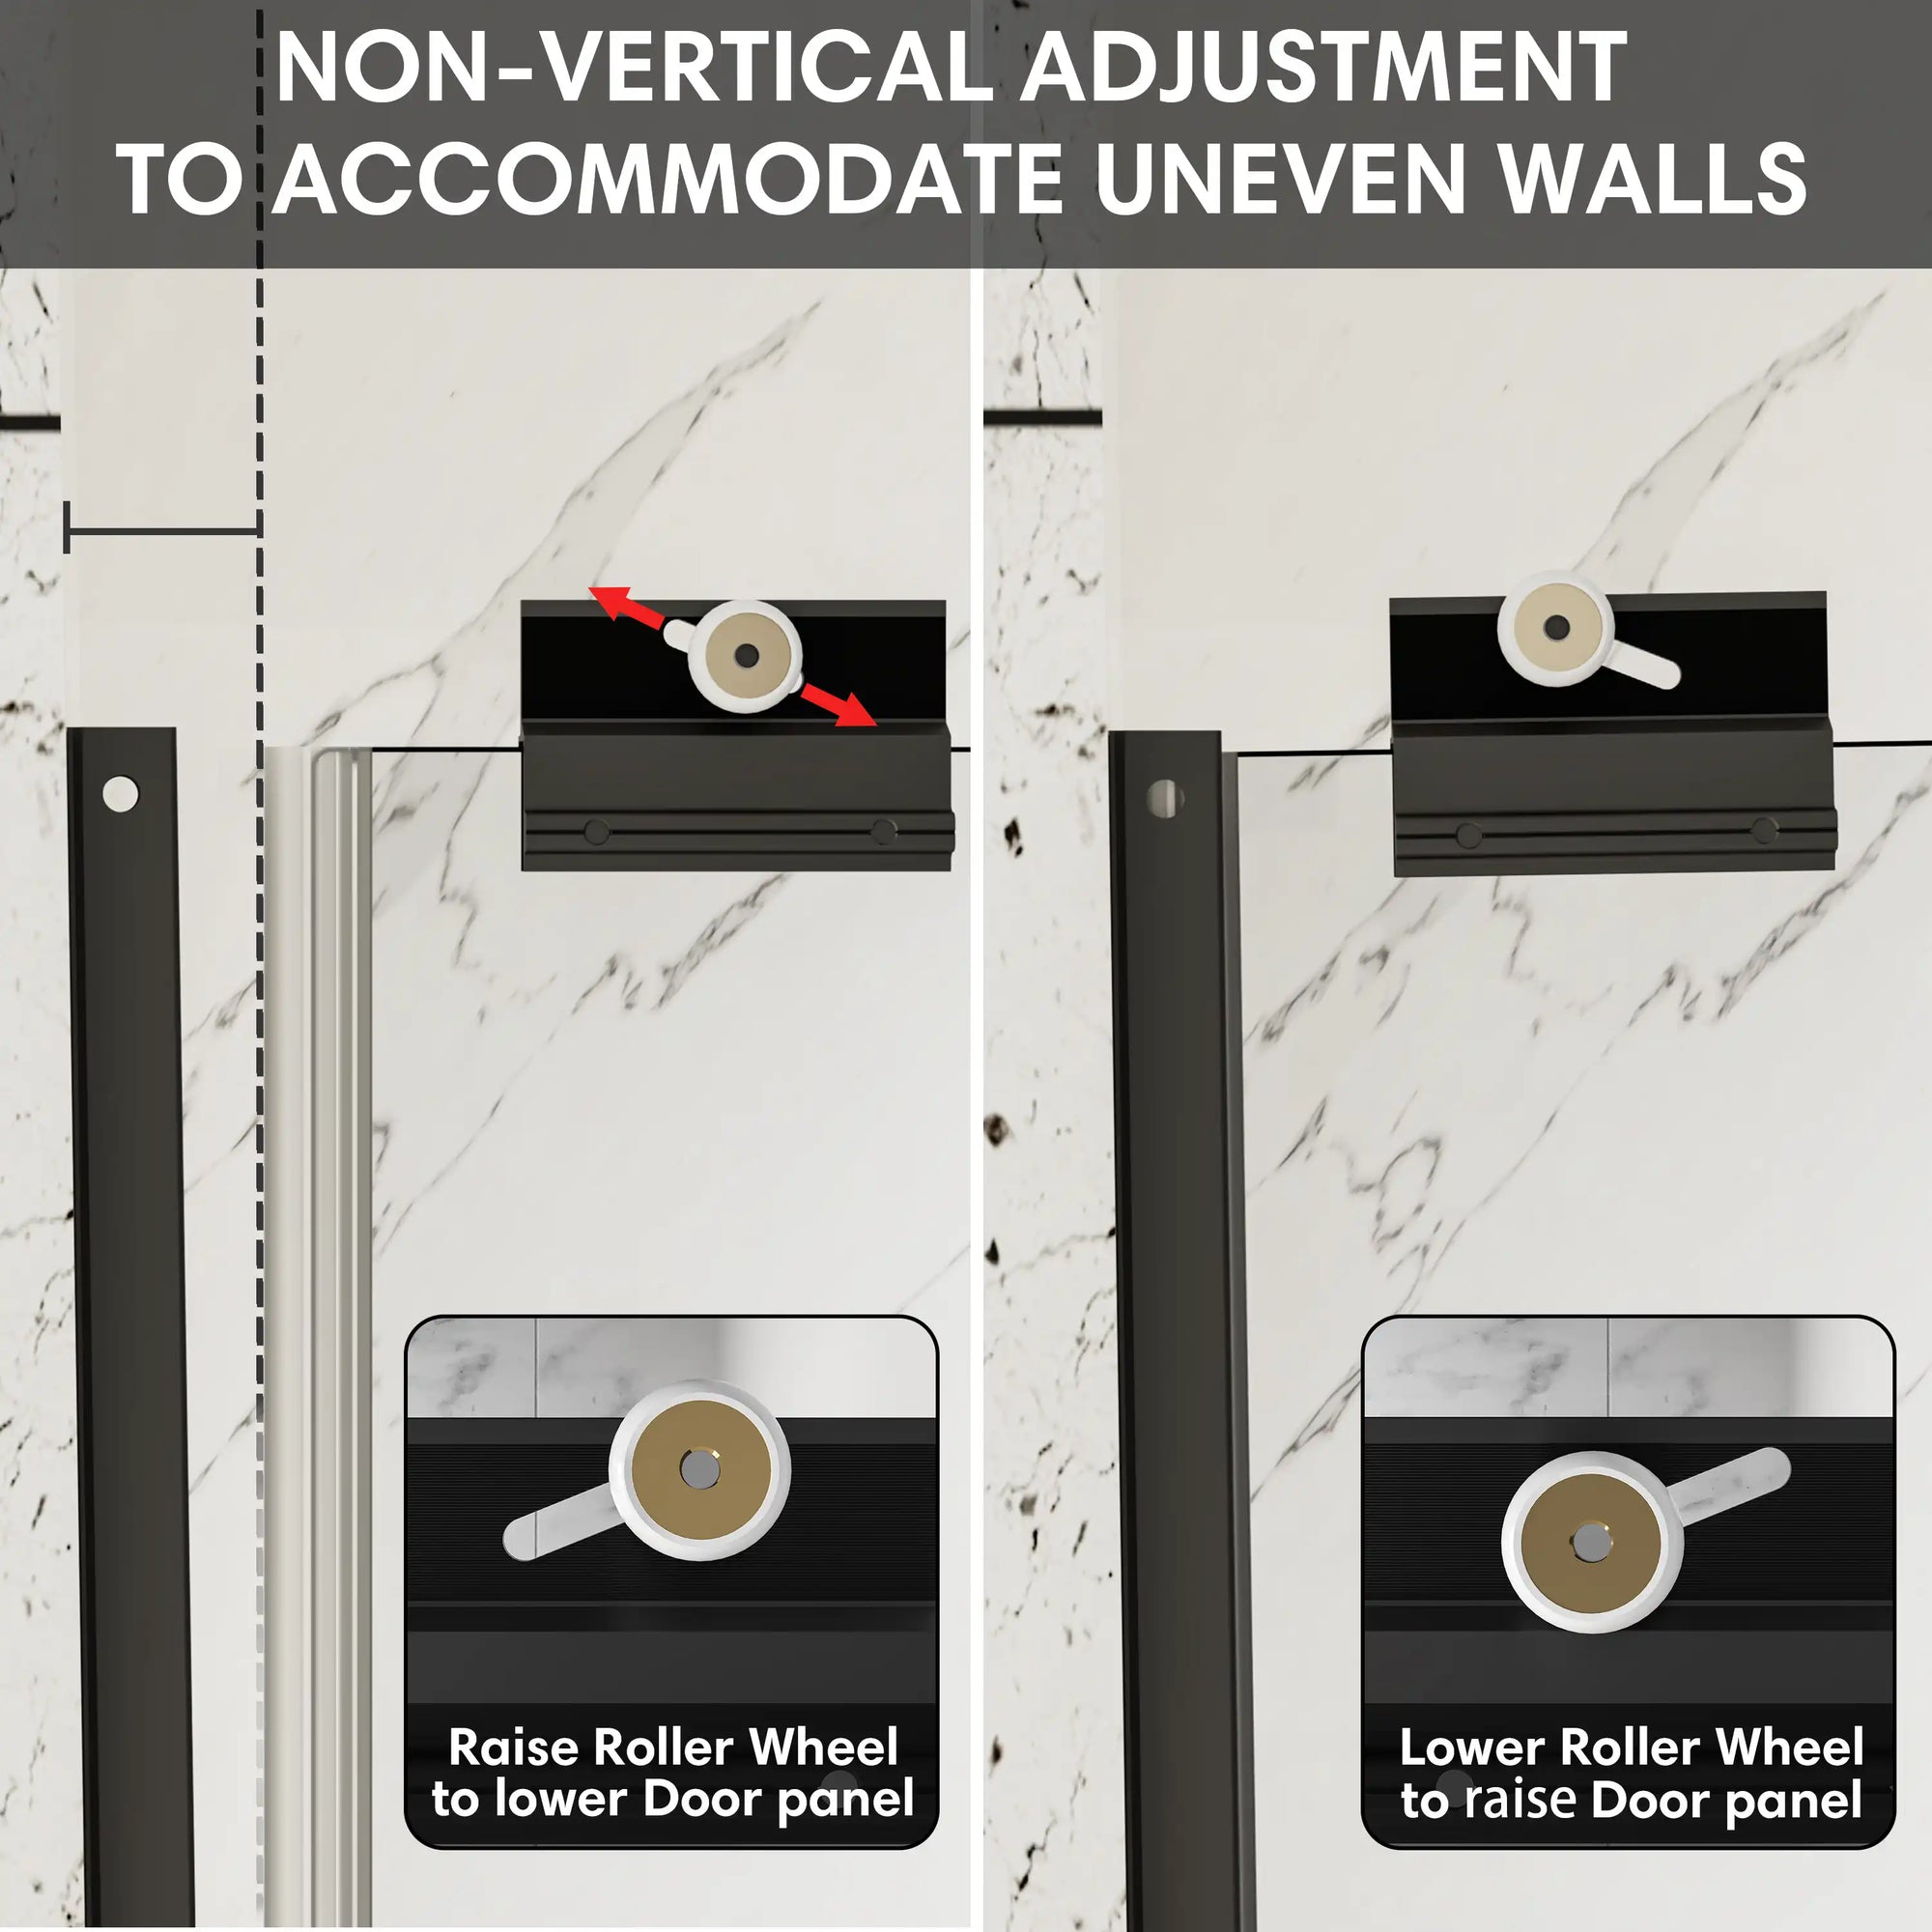
- Fine Tune: If needed, roll the rollers or correct the track position if it's too loose/tight to keep the door opening and closing without obstruction.
3. Common Mistakes to Avoid During Sliding Shower Door Installation
When it comes to how to install a sliding shower door, the simpler the better. Even a small error can compromise your sliding shower door's performance and lifespan. Here are some common mistakes to avoid:
- Wrong Measurements: Measure twice before you order or cut any of the pieces. Even a small mistake and the door may not line-up when you close the door.
- Crooked Tracks: If the tracks are crooked, the doors will not slide. Keep them level and use the level to level each in channel.
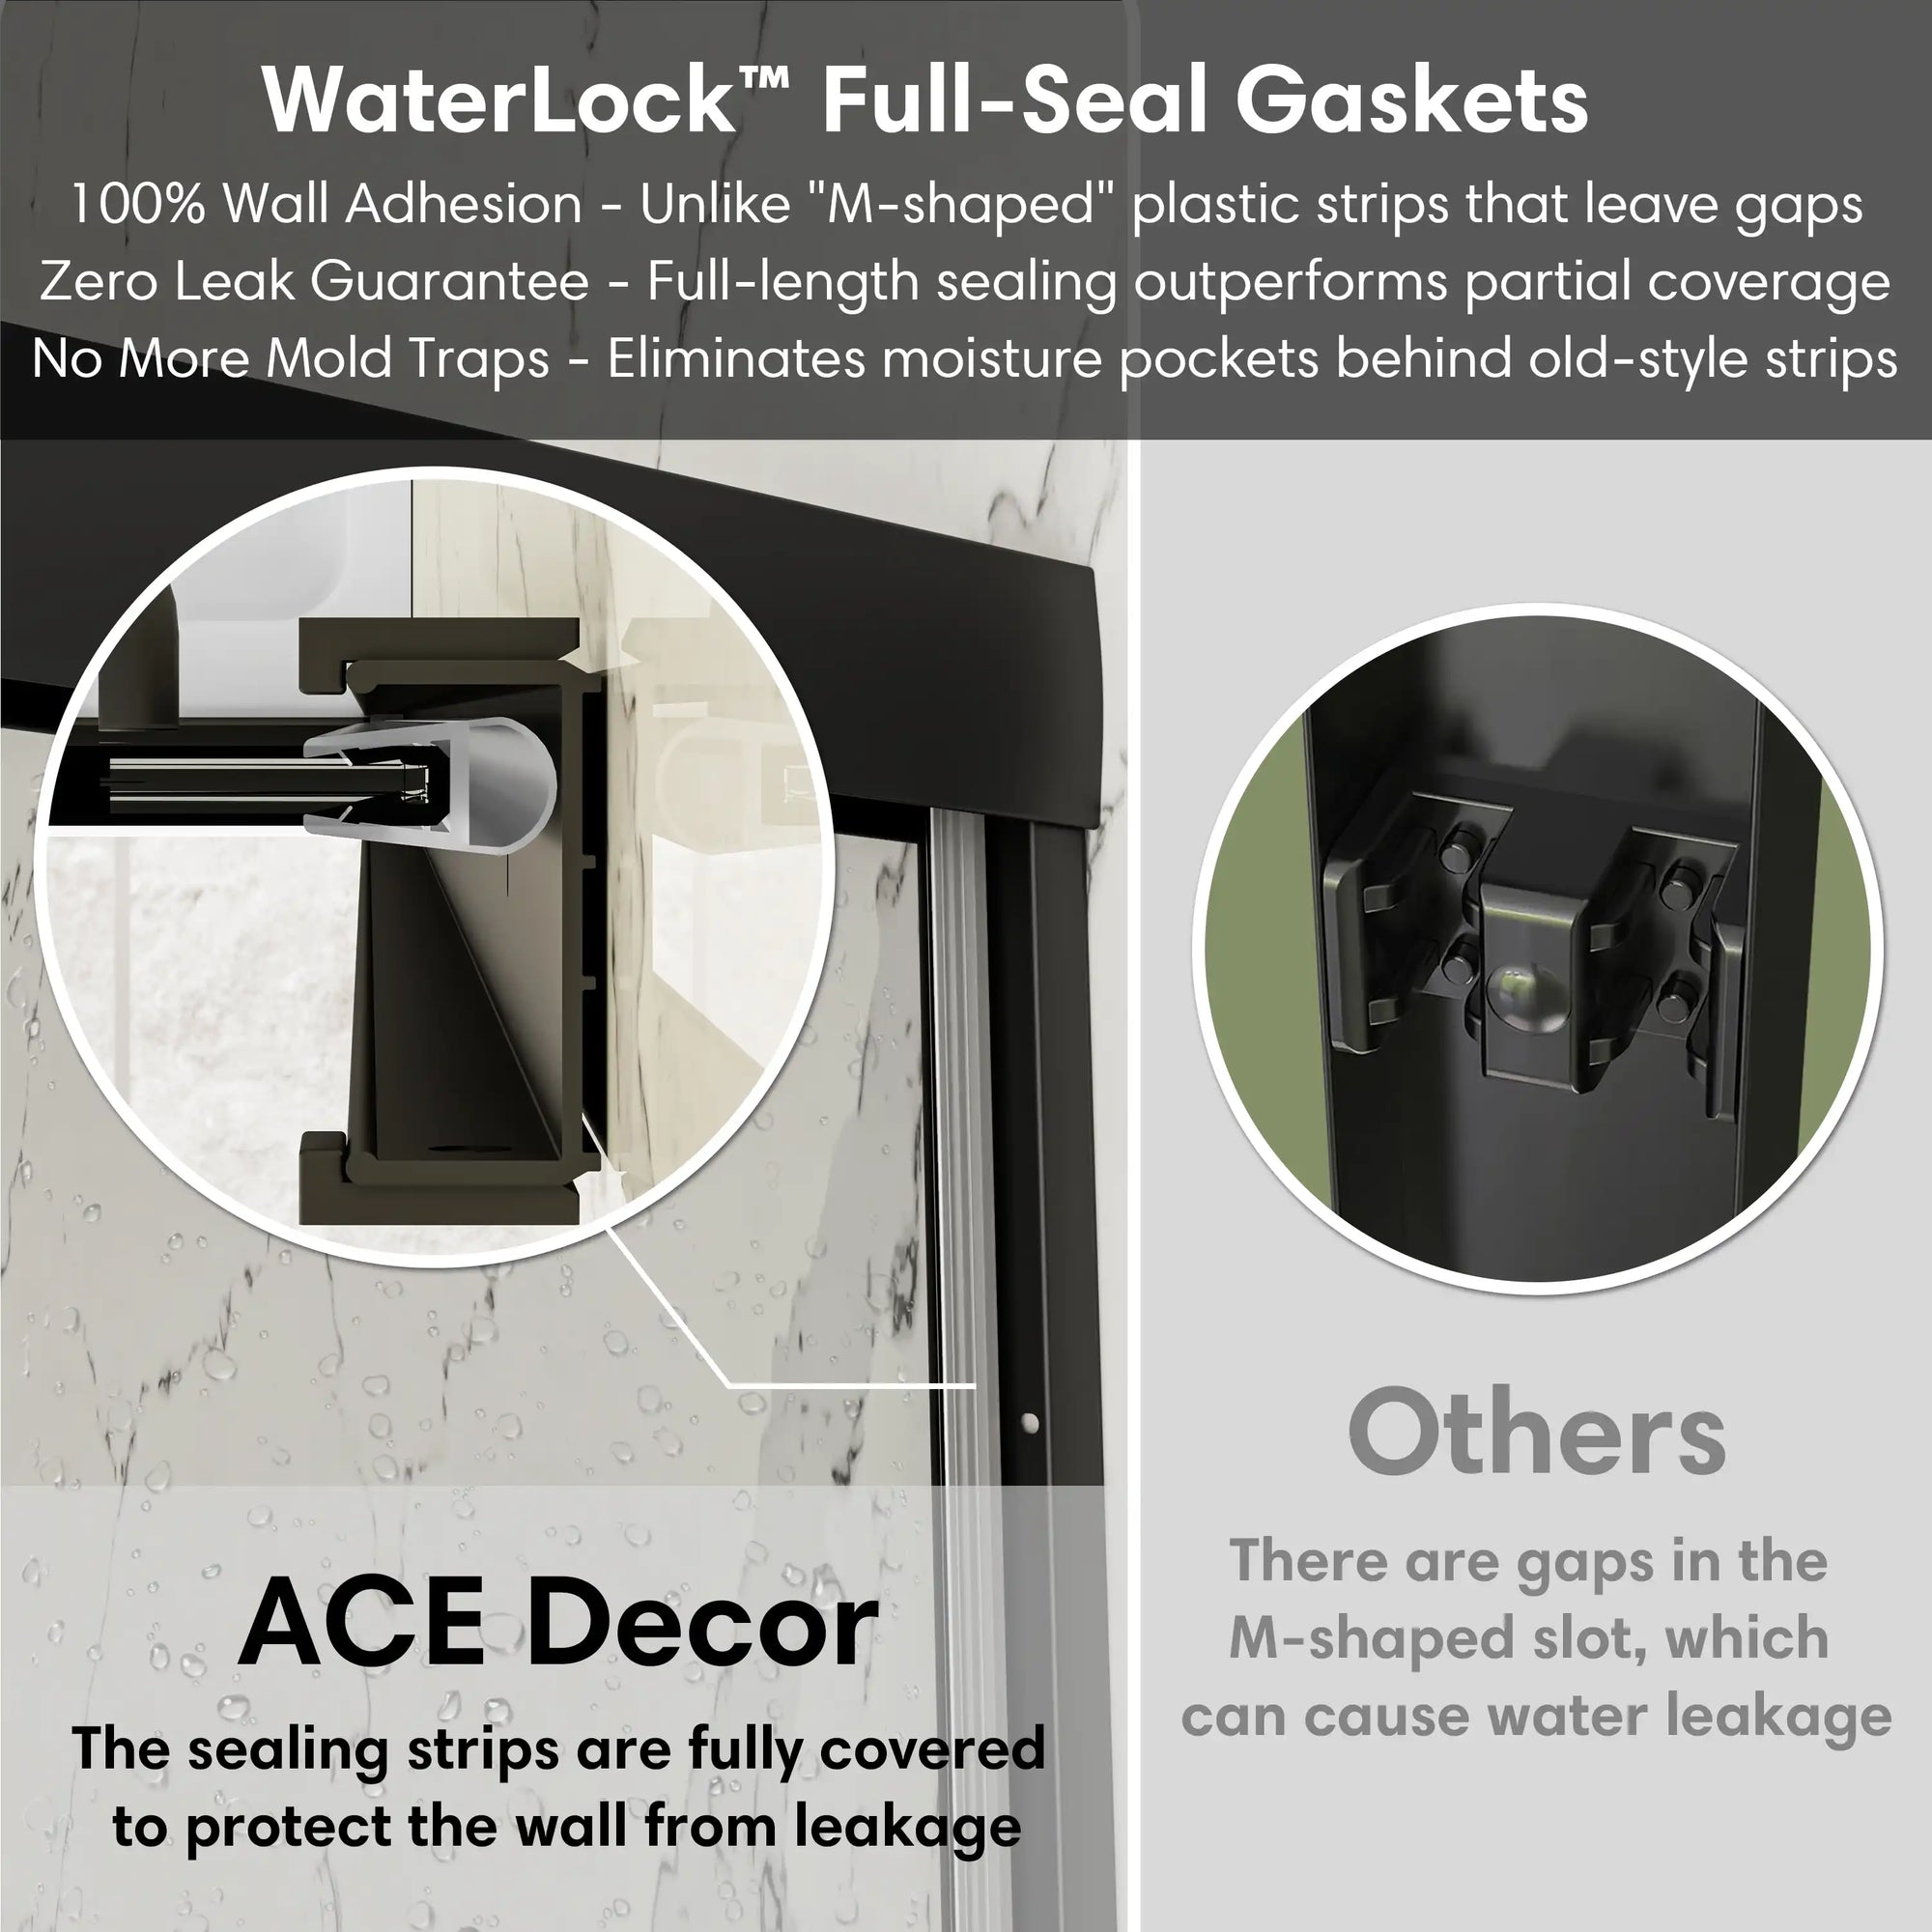
- Improper Sealing: If the edges are not sealed correctly, water could leak in. Apply the silicone sealant carefully and thoroughly around the door and on the track.
- Screws are Over Tightened: You want to lock the parts in place, but the glass door or track can be broken by over tightening screws.
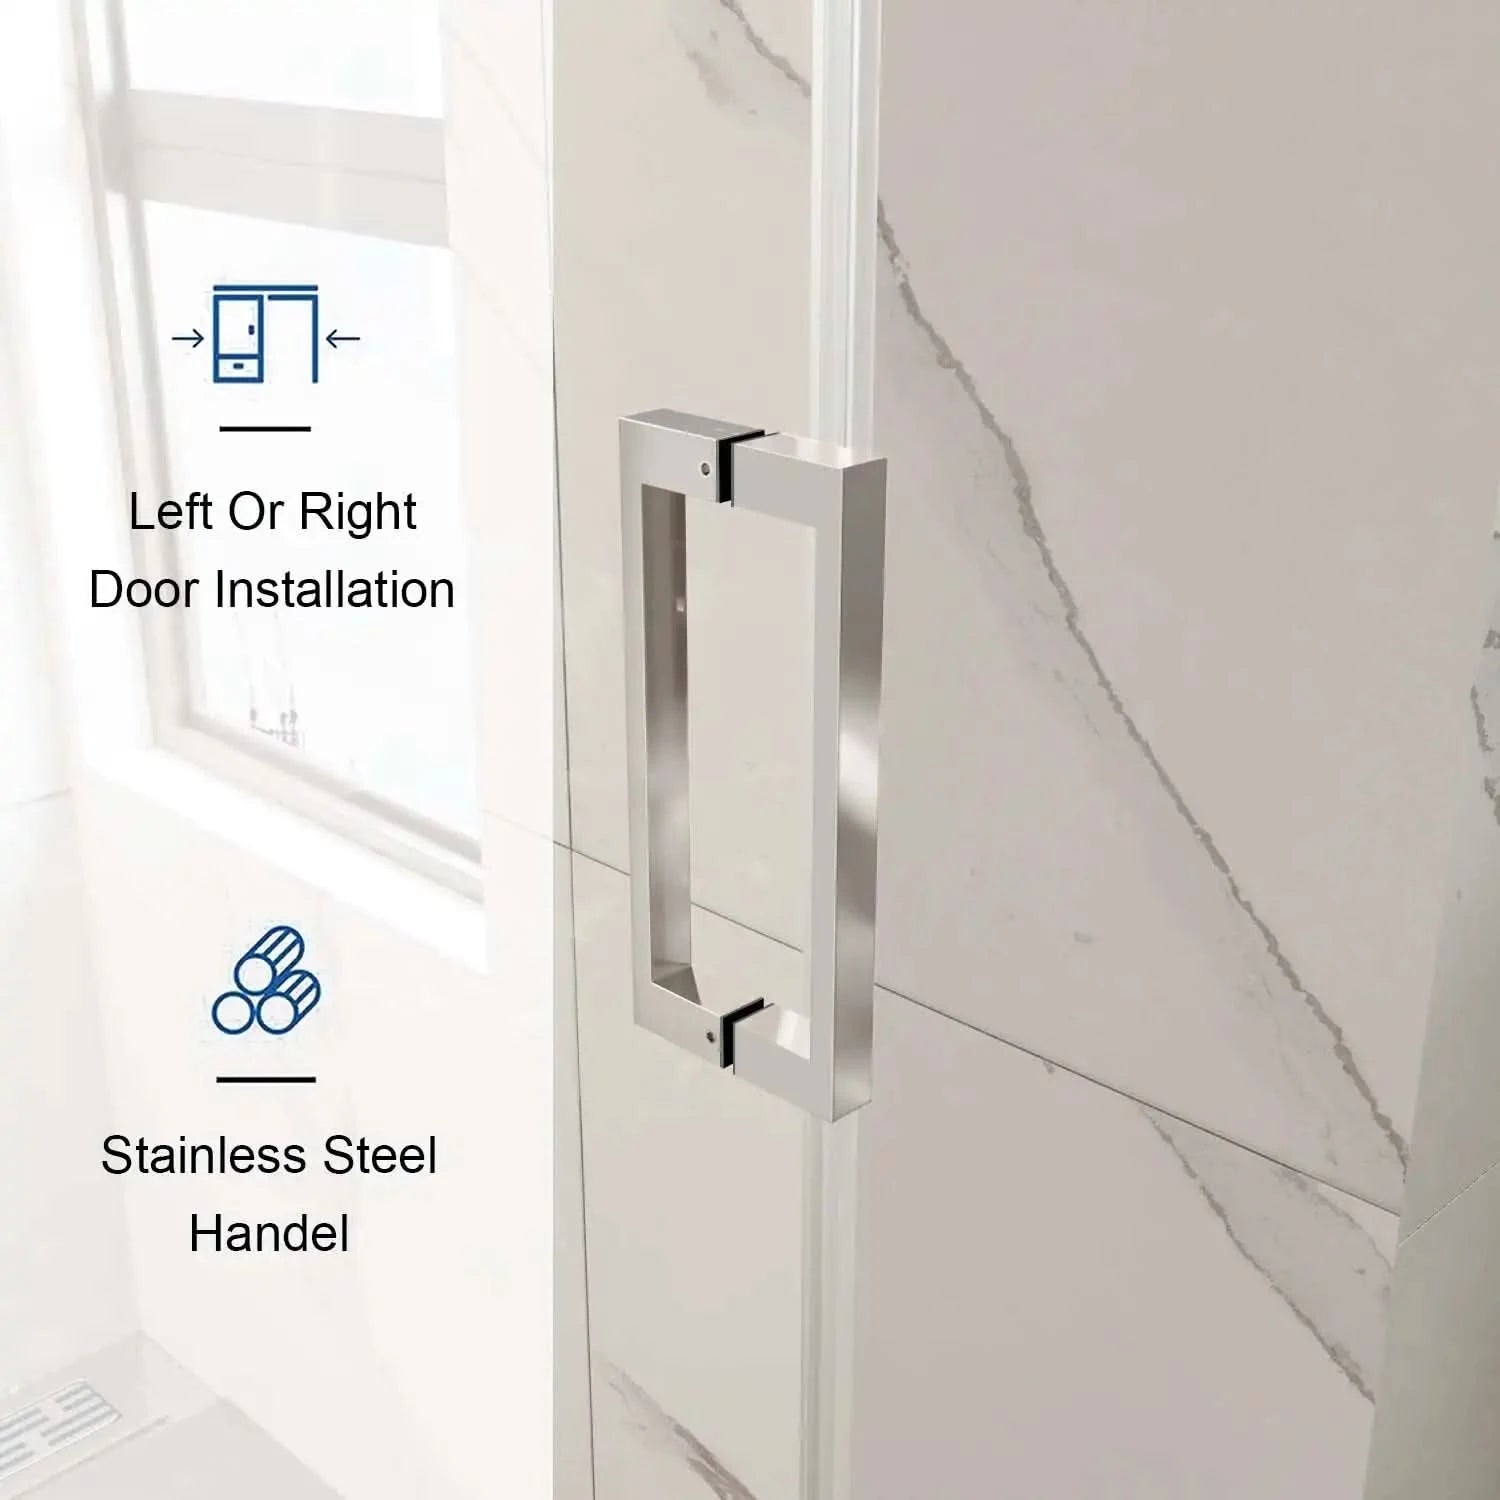
- Not Following Manufacturer's Instructions: Always refer to the manufacturer's instructions that come with your sliding shower door kit. Different doors may have specific requirements for installation.
This article is designed to help you navigate through the installation of a sliding shower door. Whether you're looking for step-by-step sliding shower door installation or information about sliding shower door installation for small bathrooms, this guide has you covered. We also touch on key aspects like choosing the right sliding shower door style and how to maintain your door for long-term use.
For more information, explore additional resources on selecting the perfect glass sliding shower door style for your bathroom.
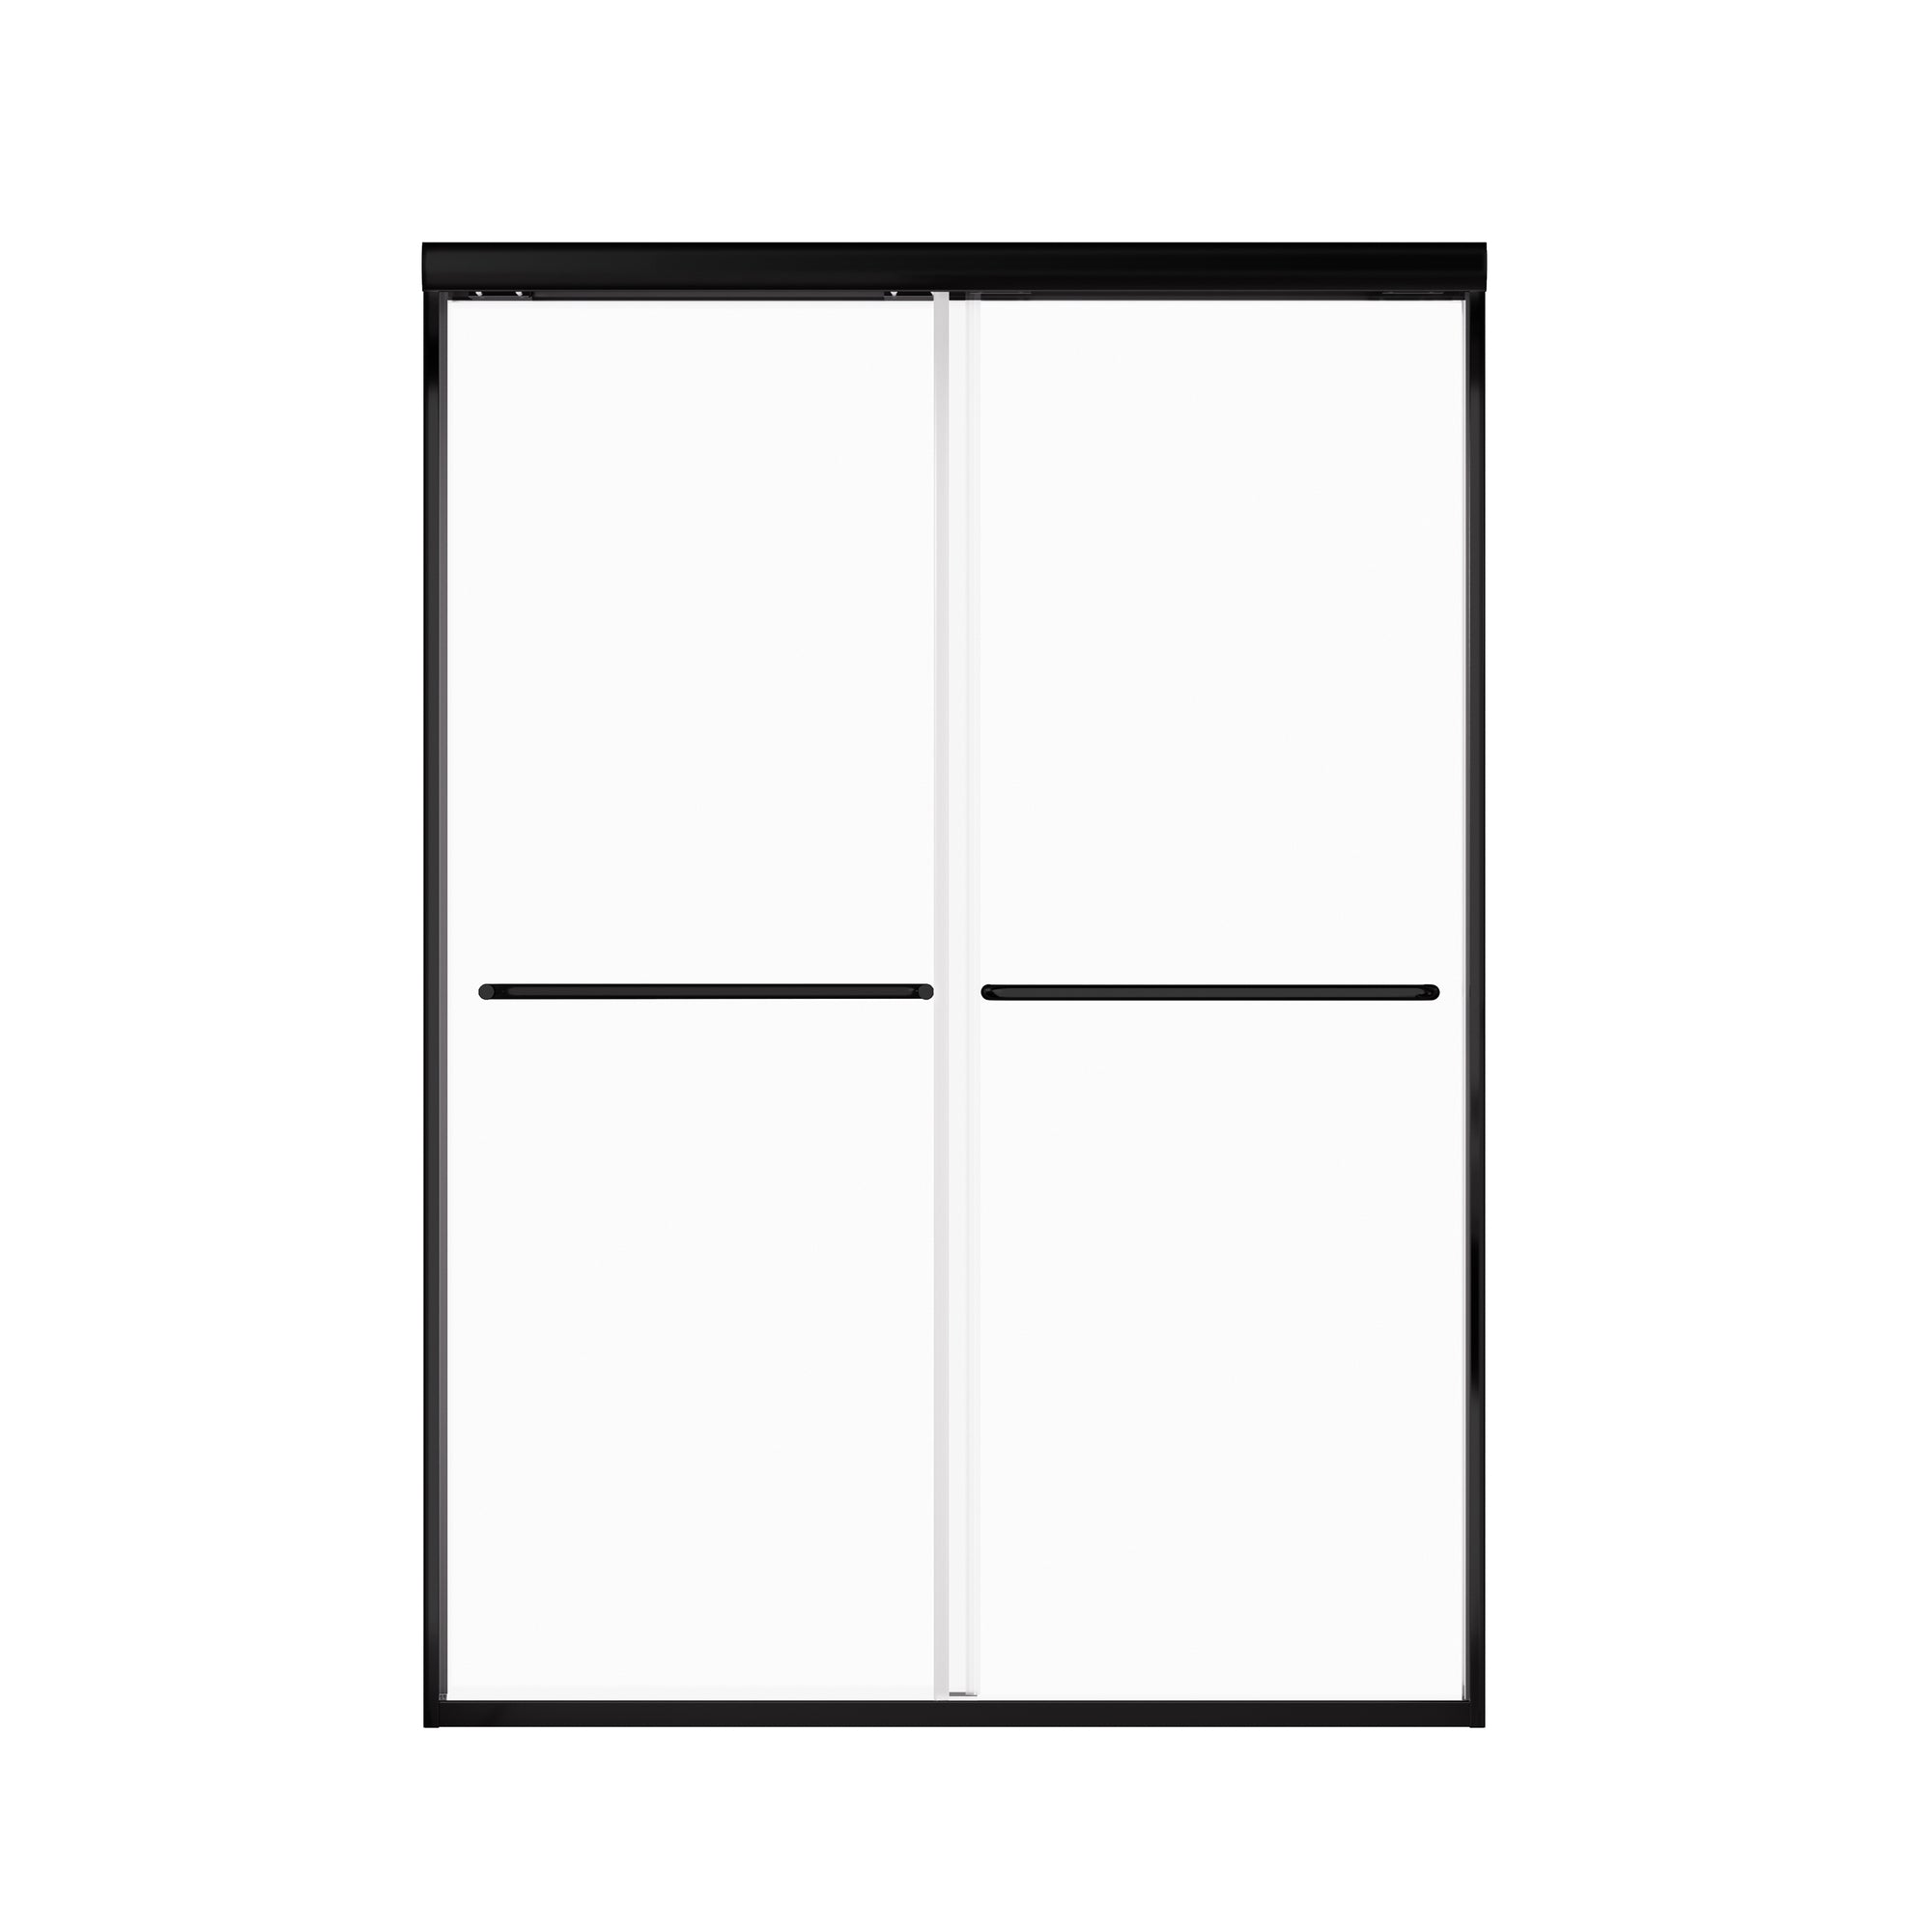
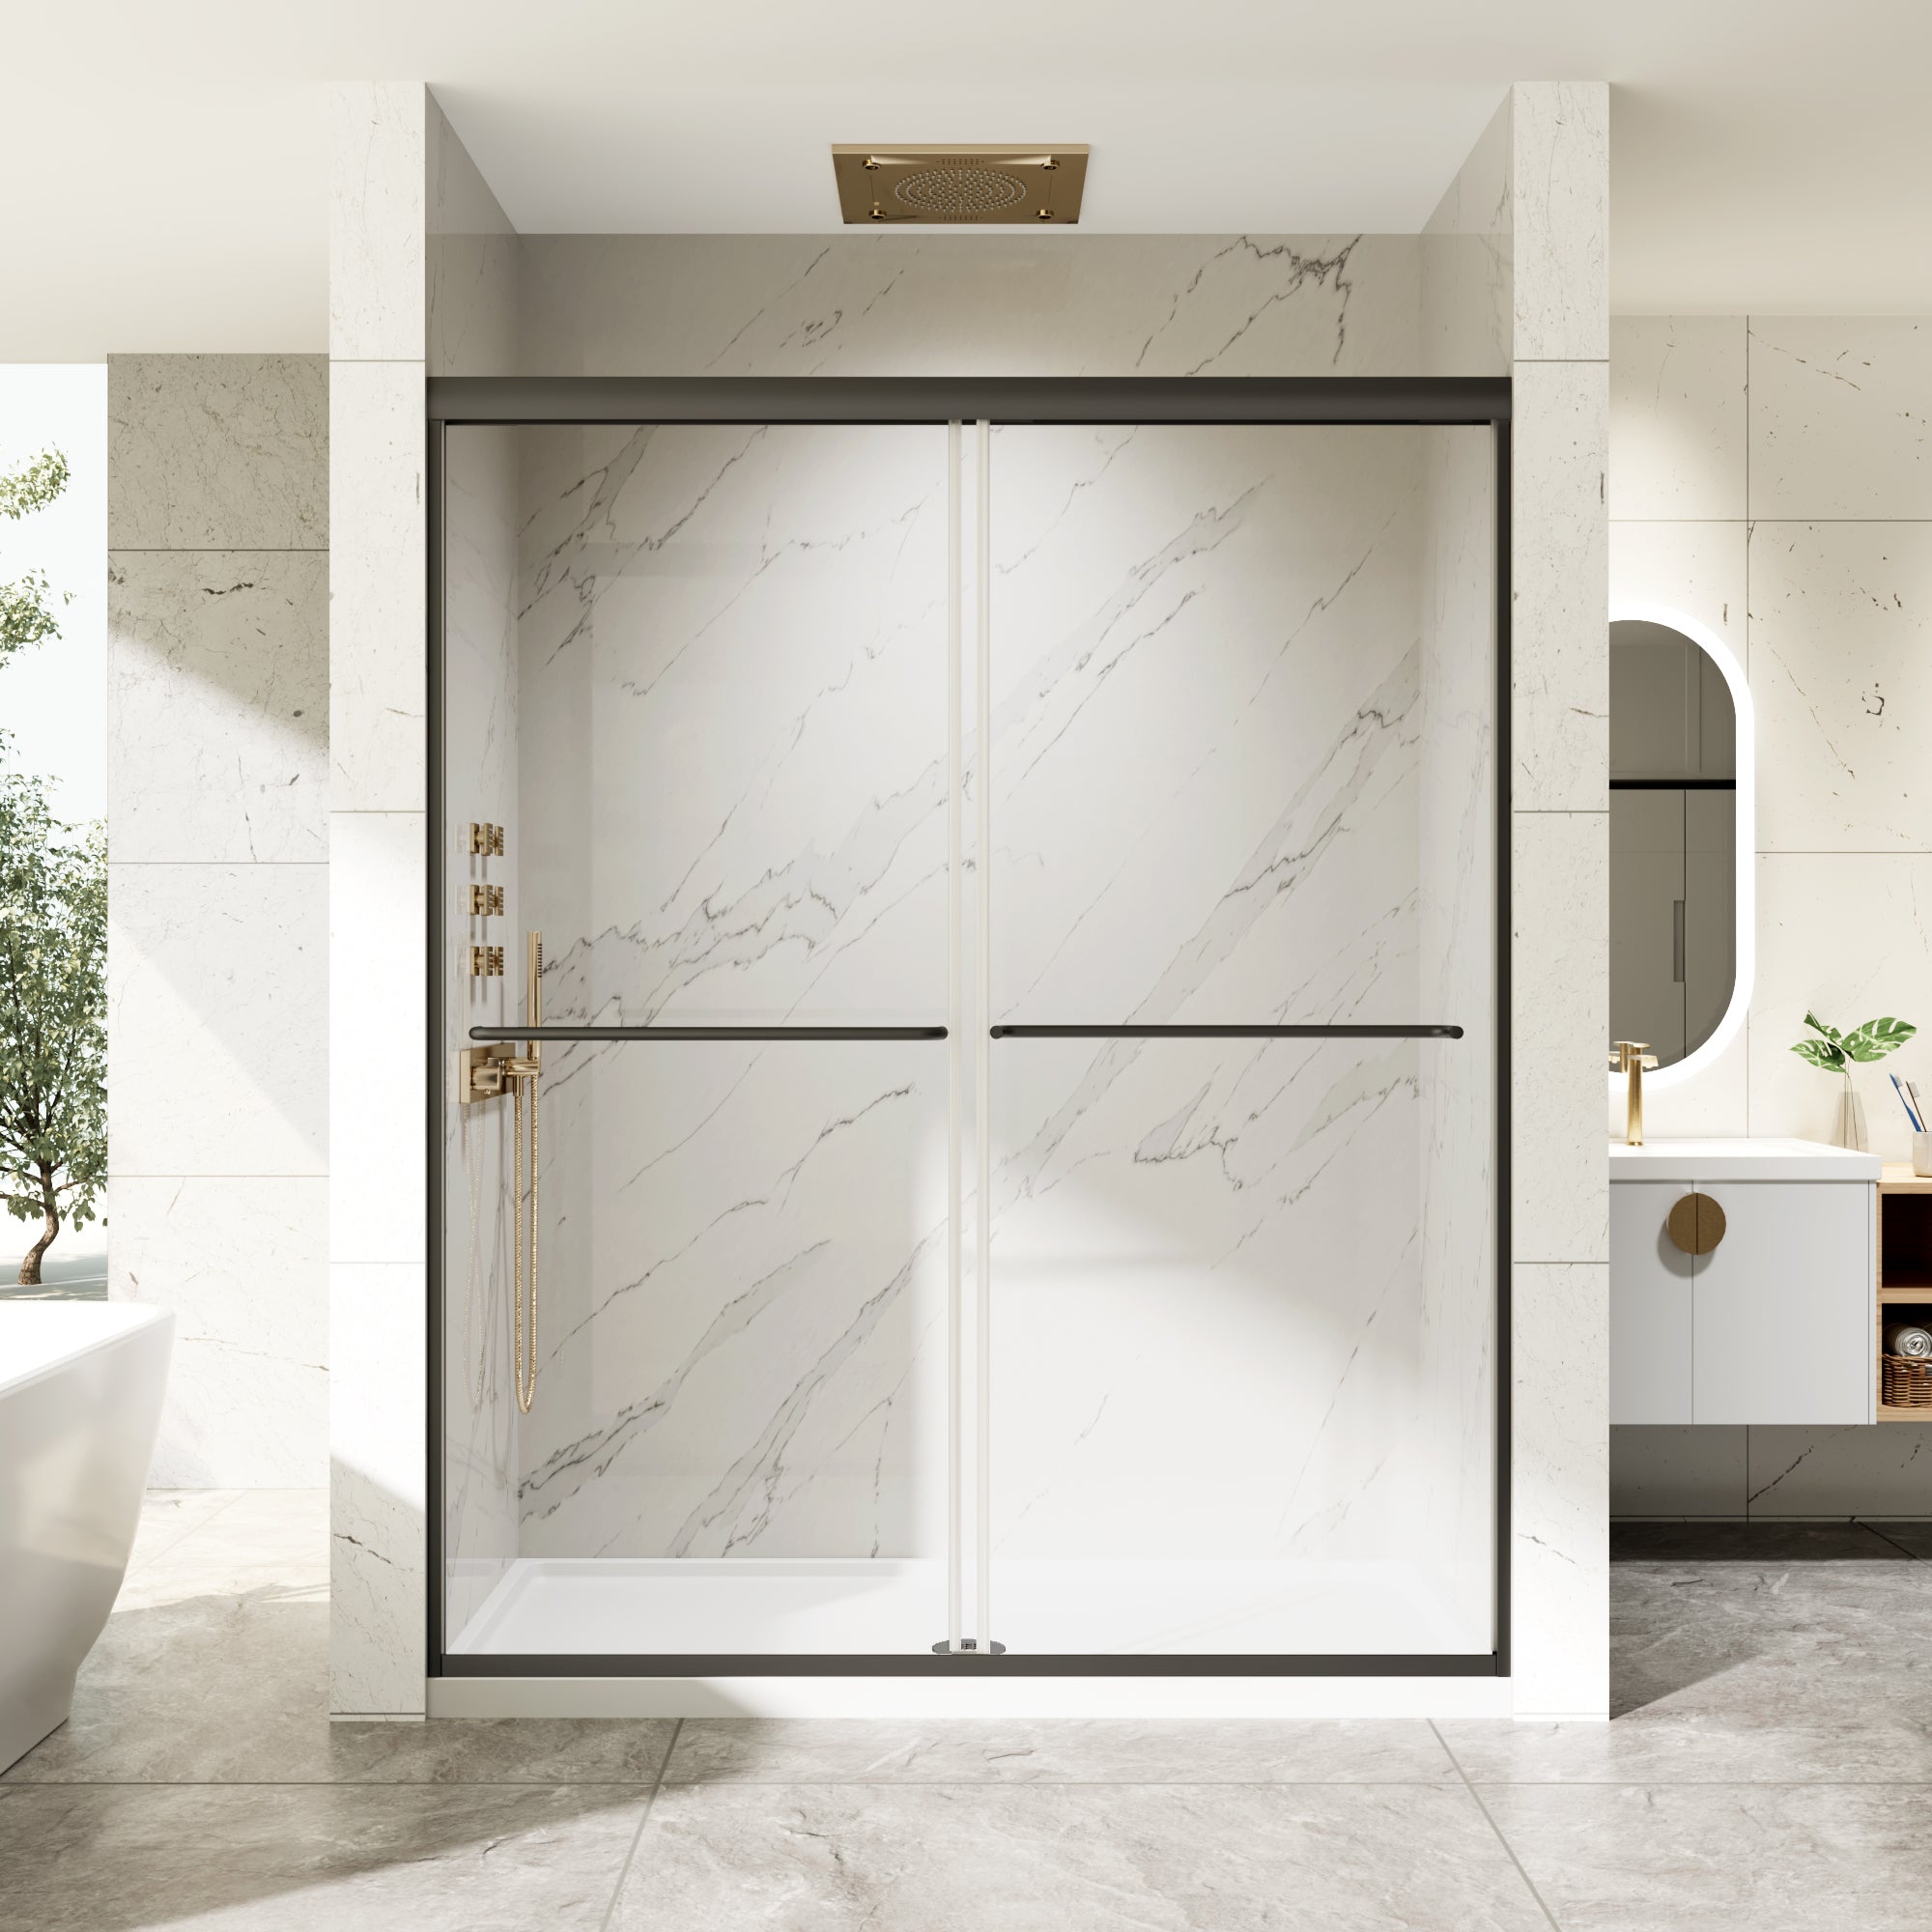
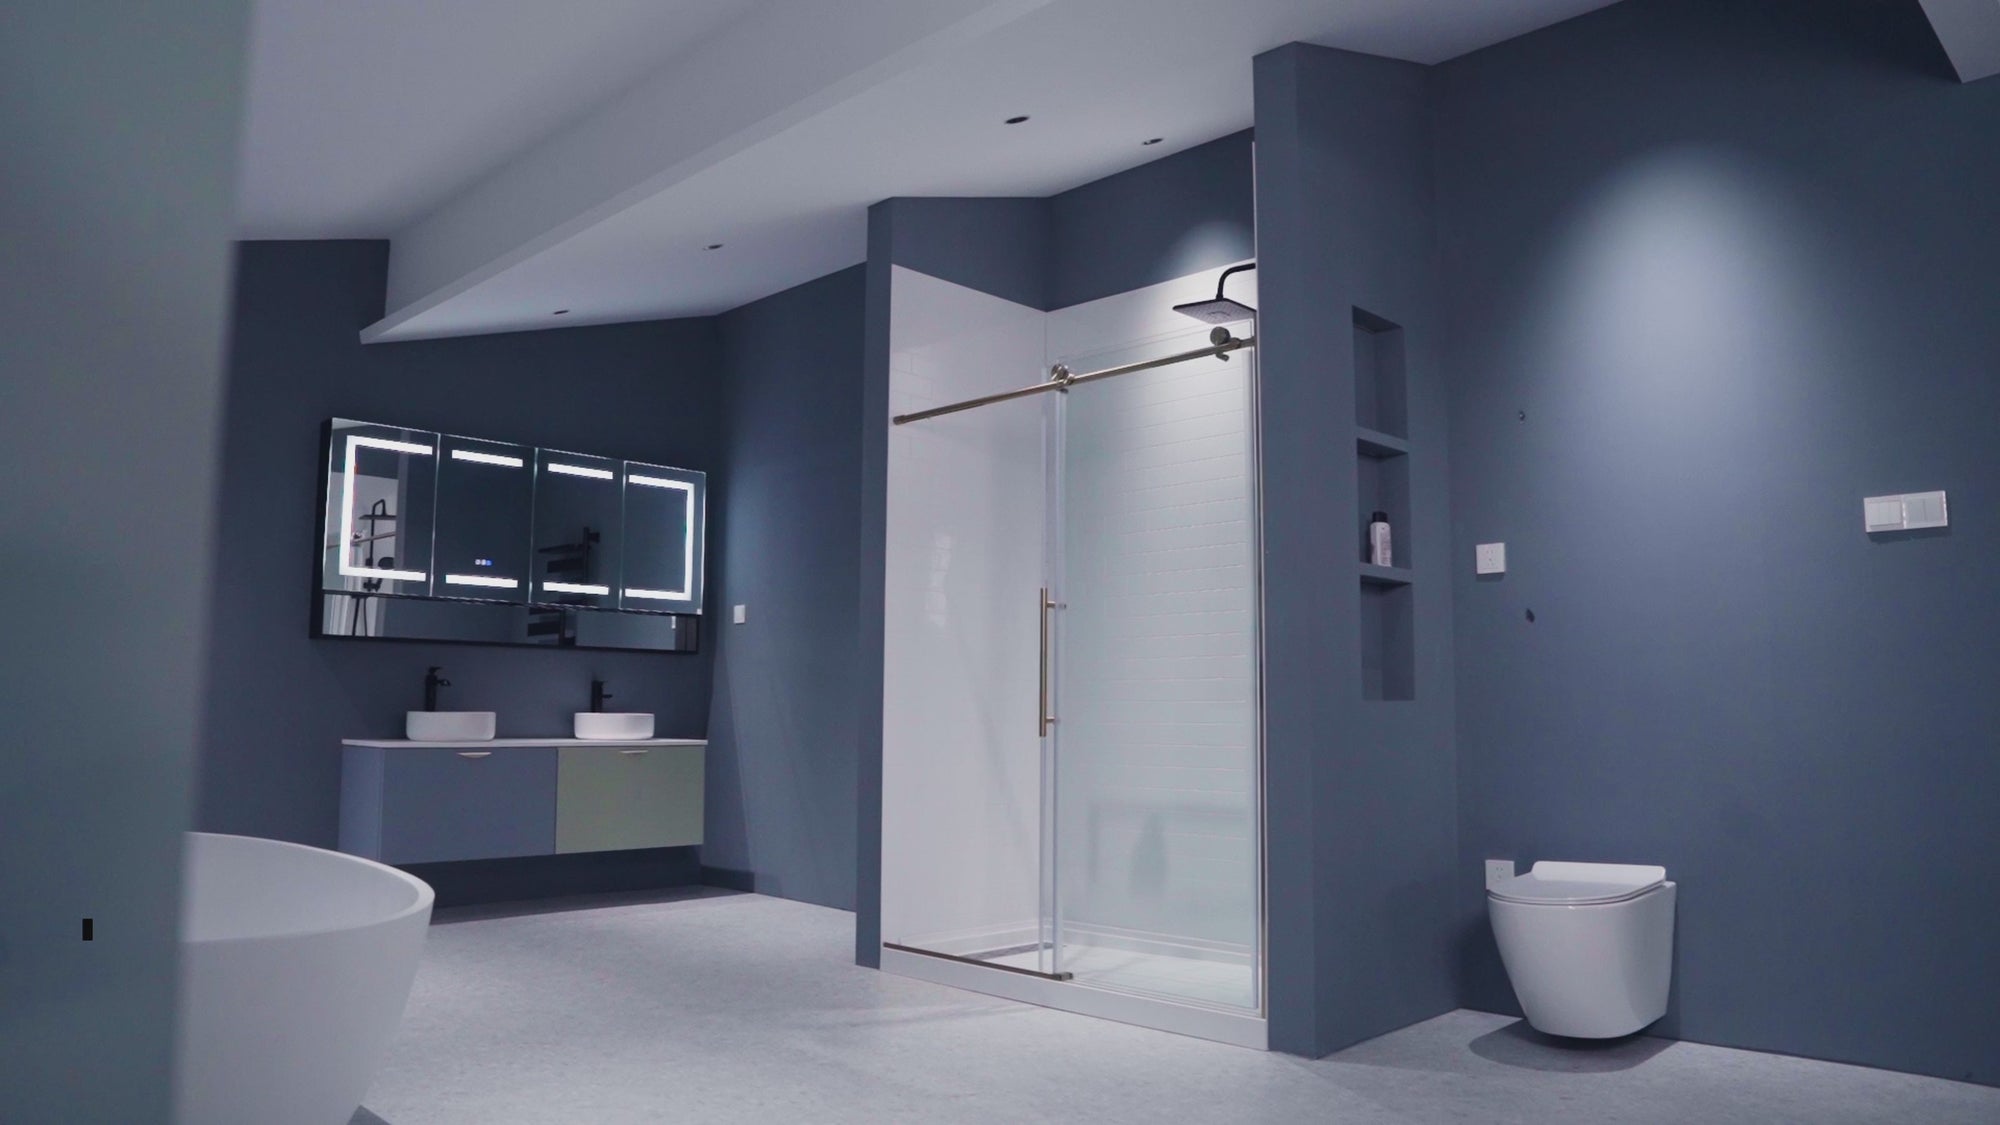
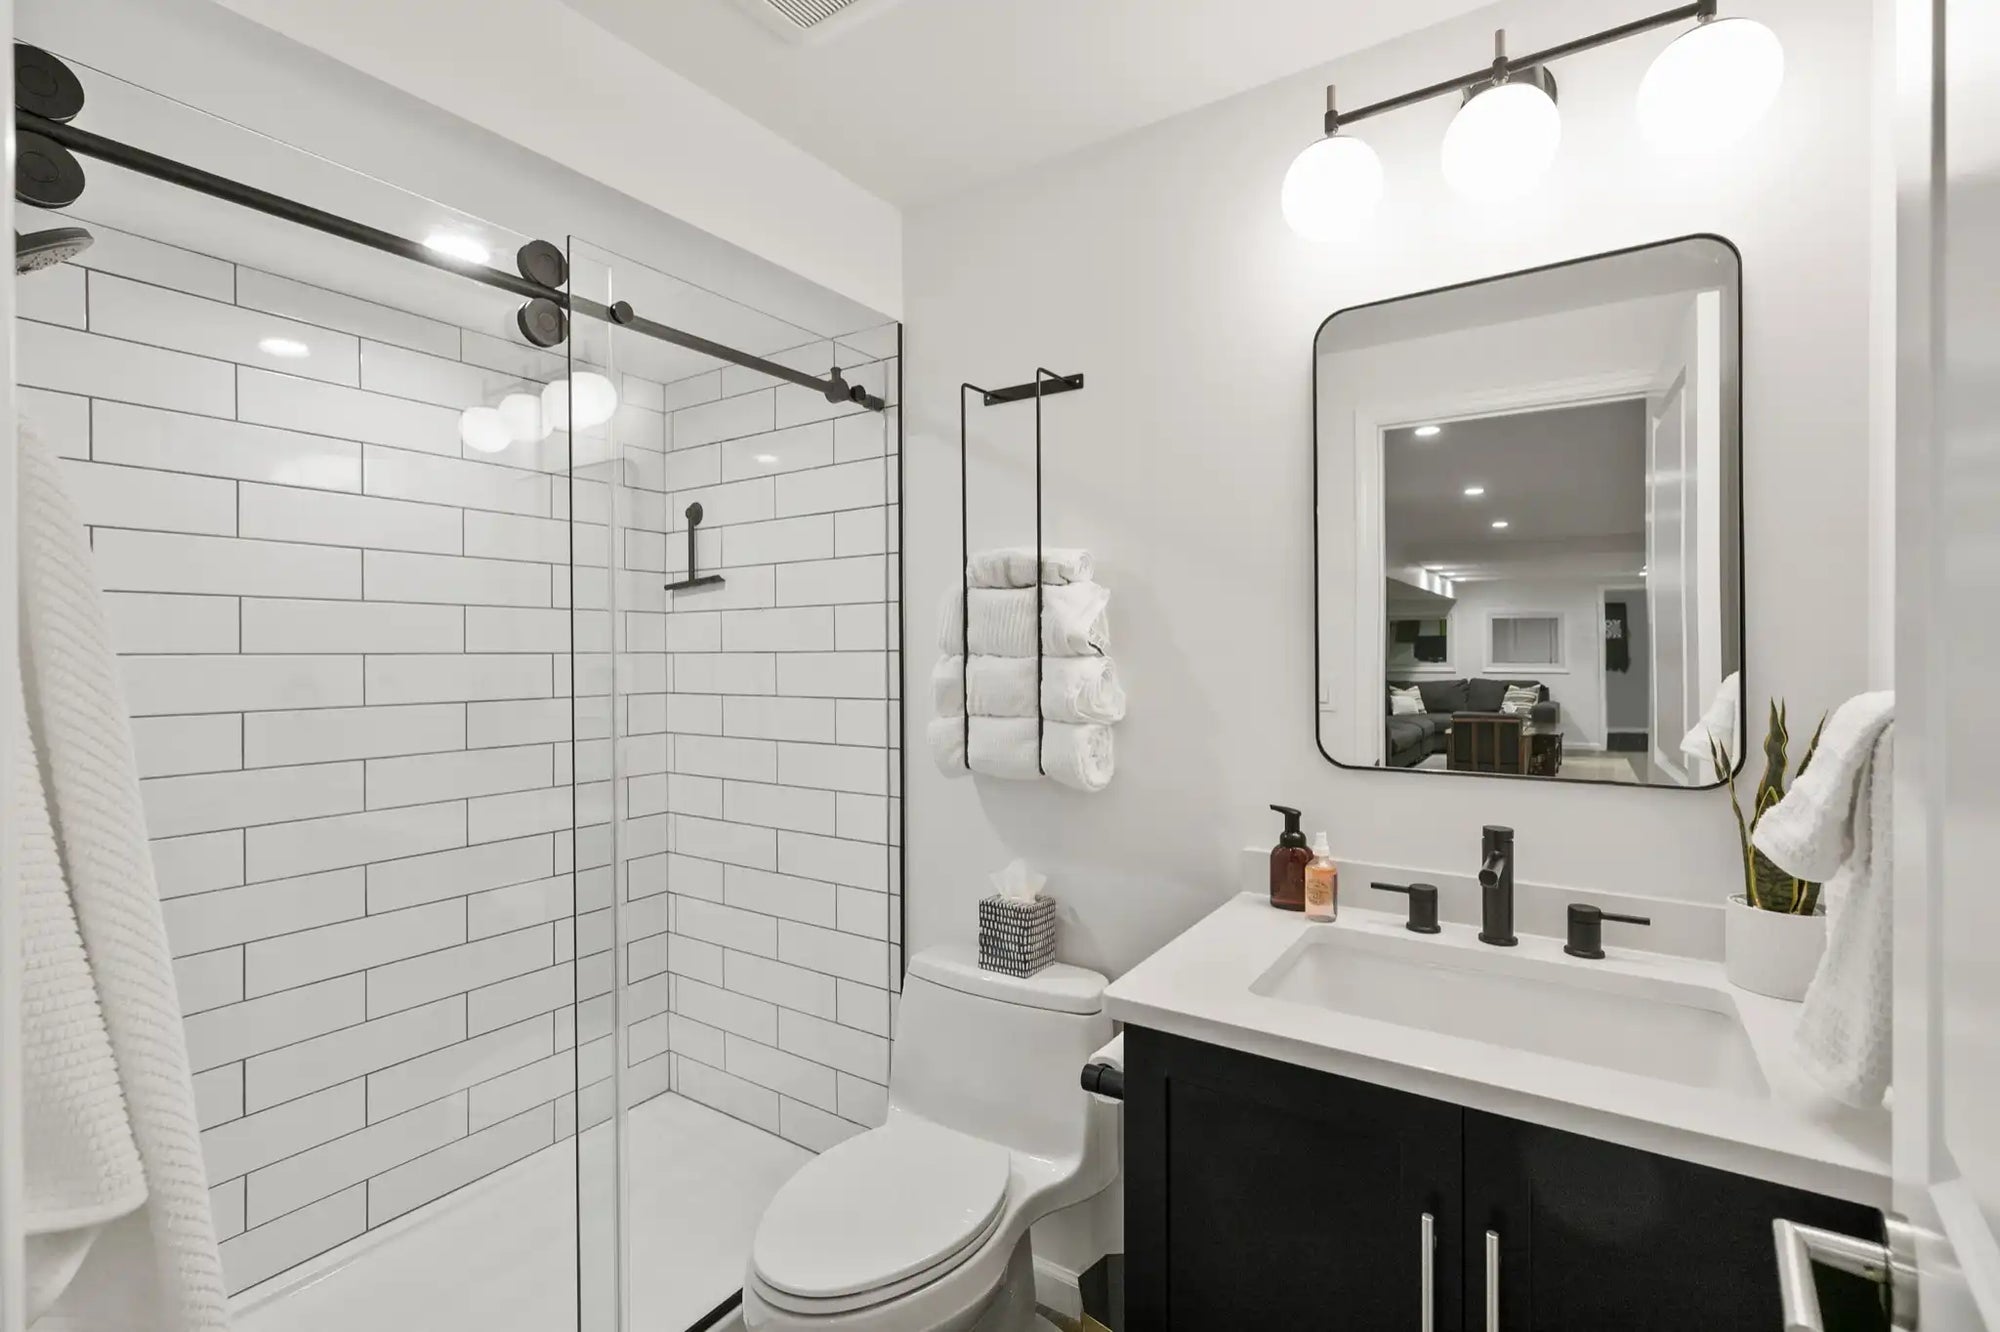
4. Why Choose Ace Decor for Your Sliding Shower Doors?
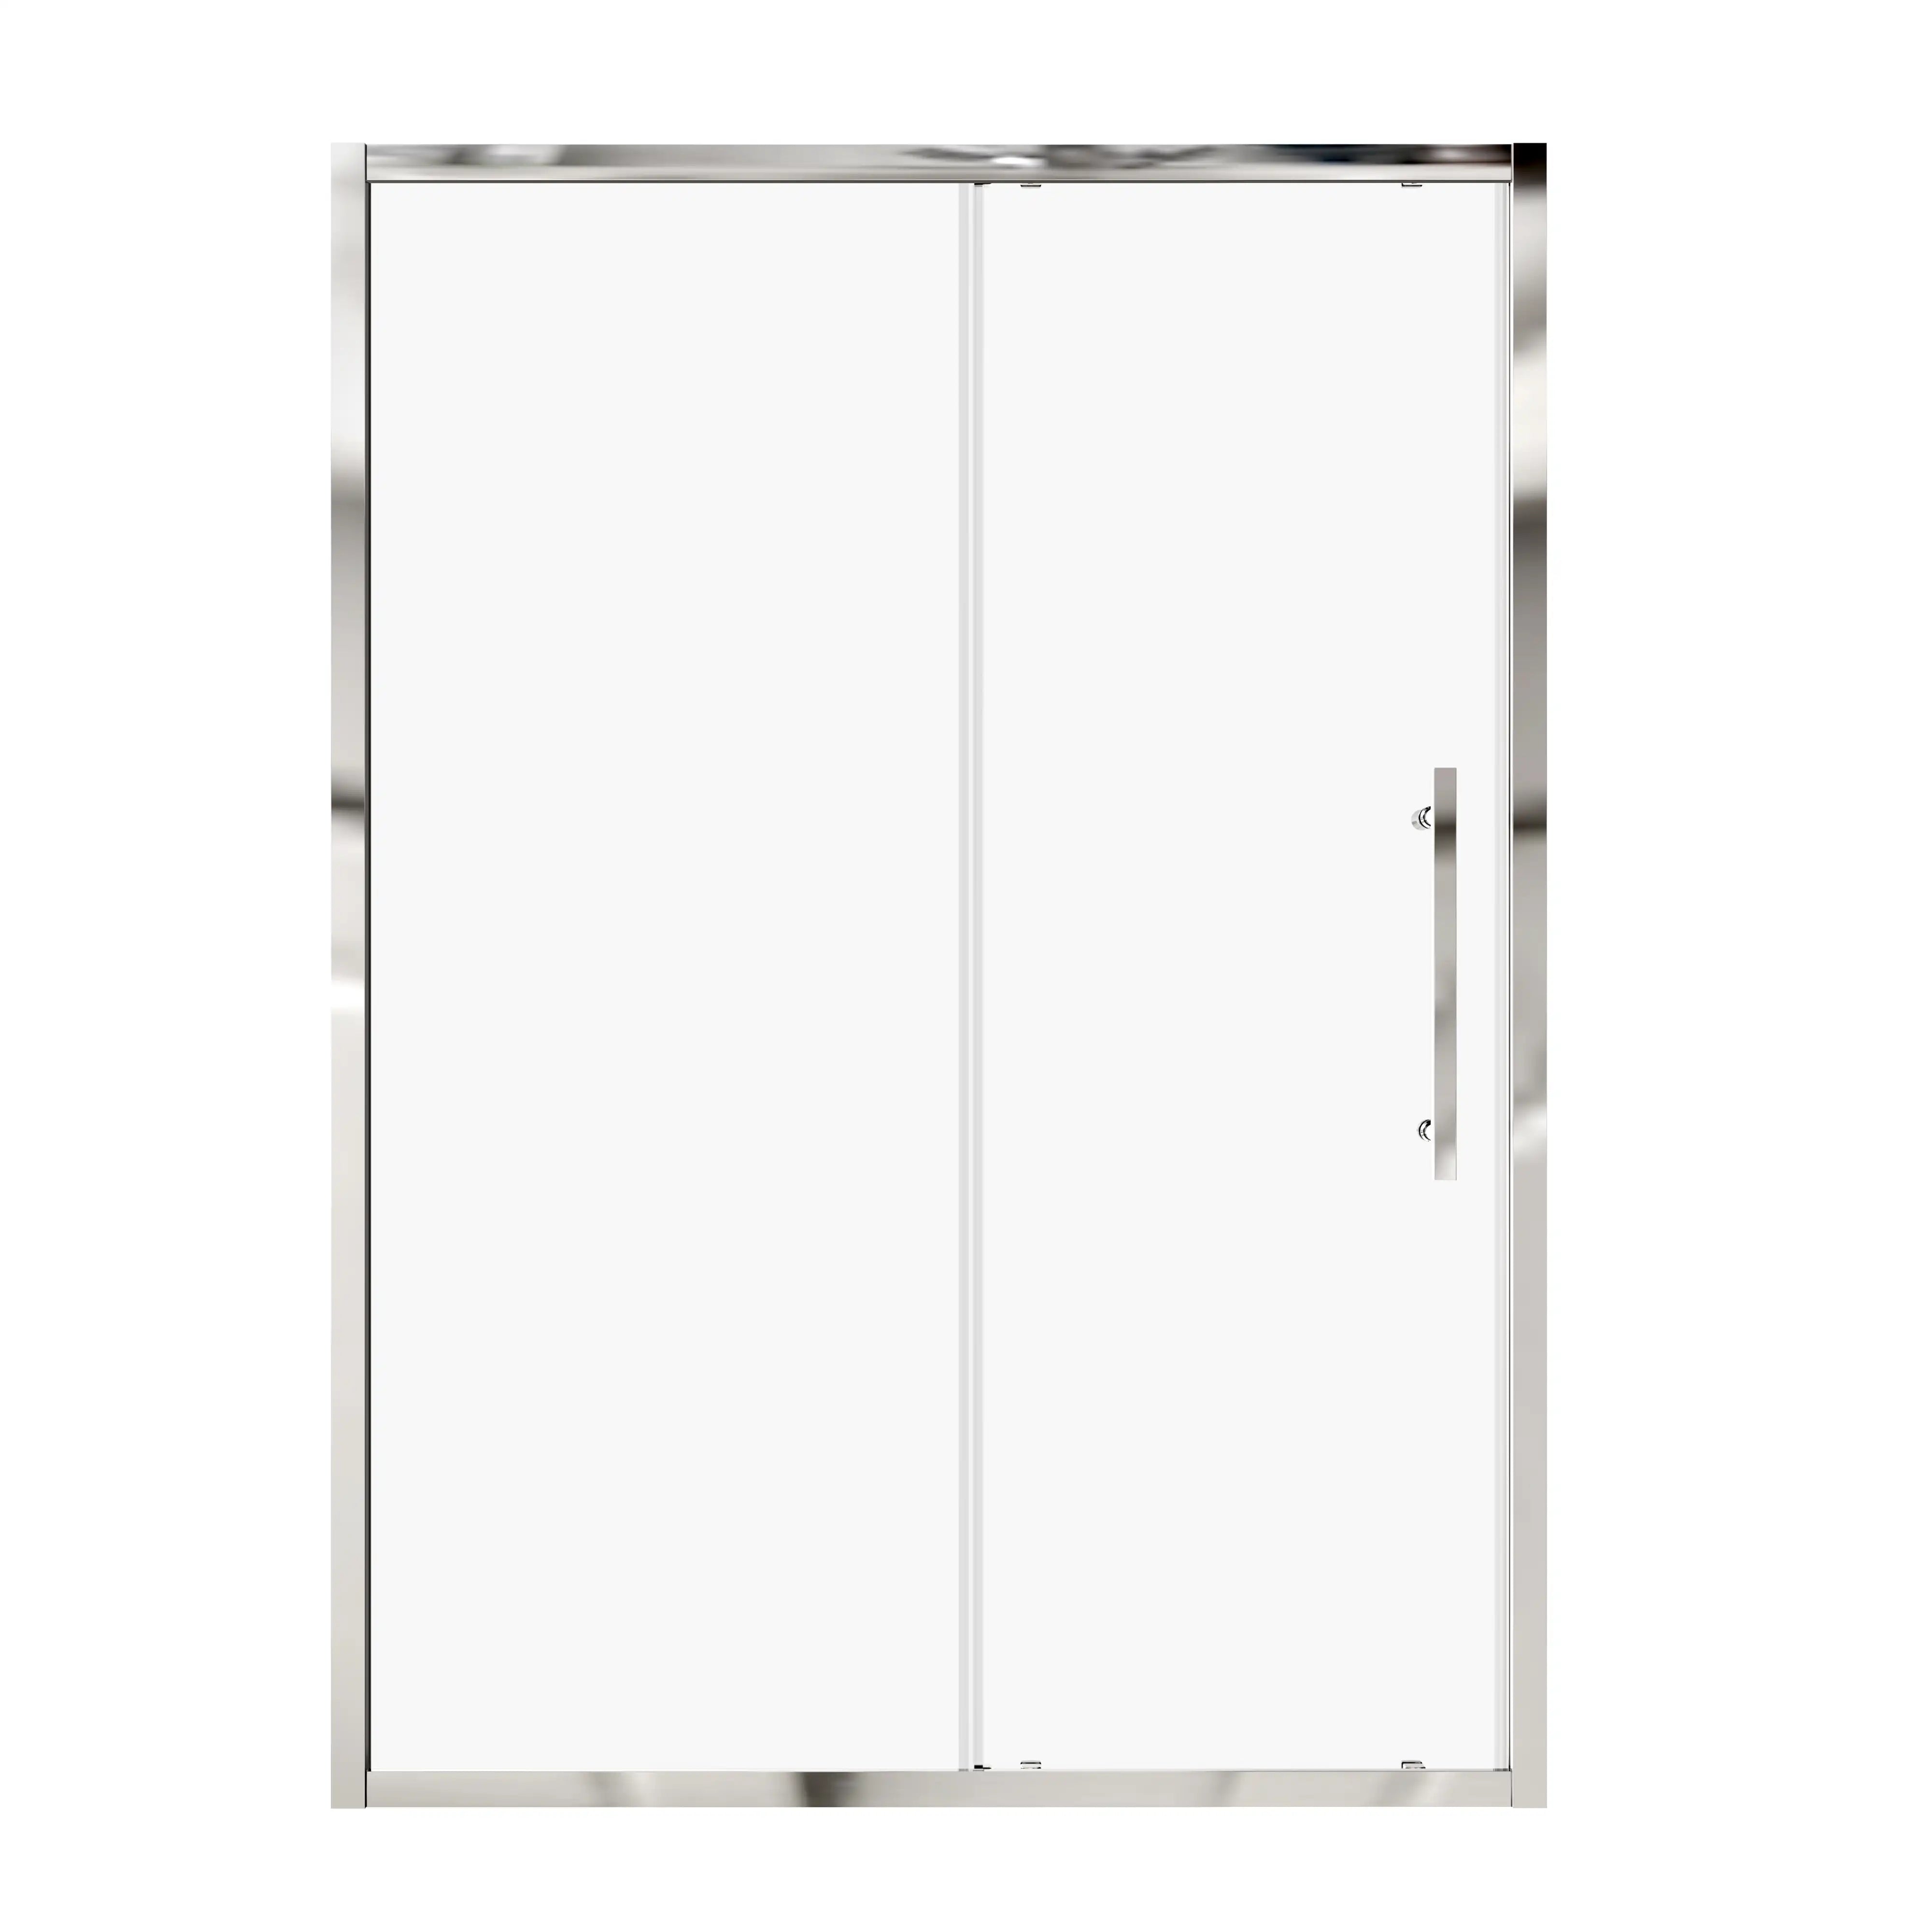
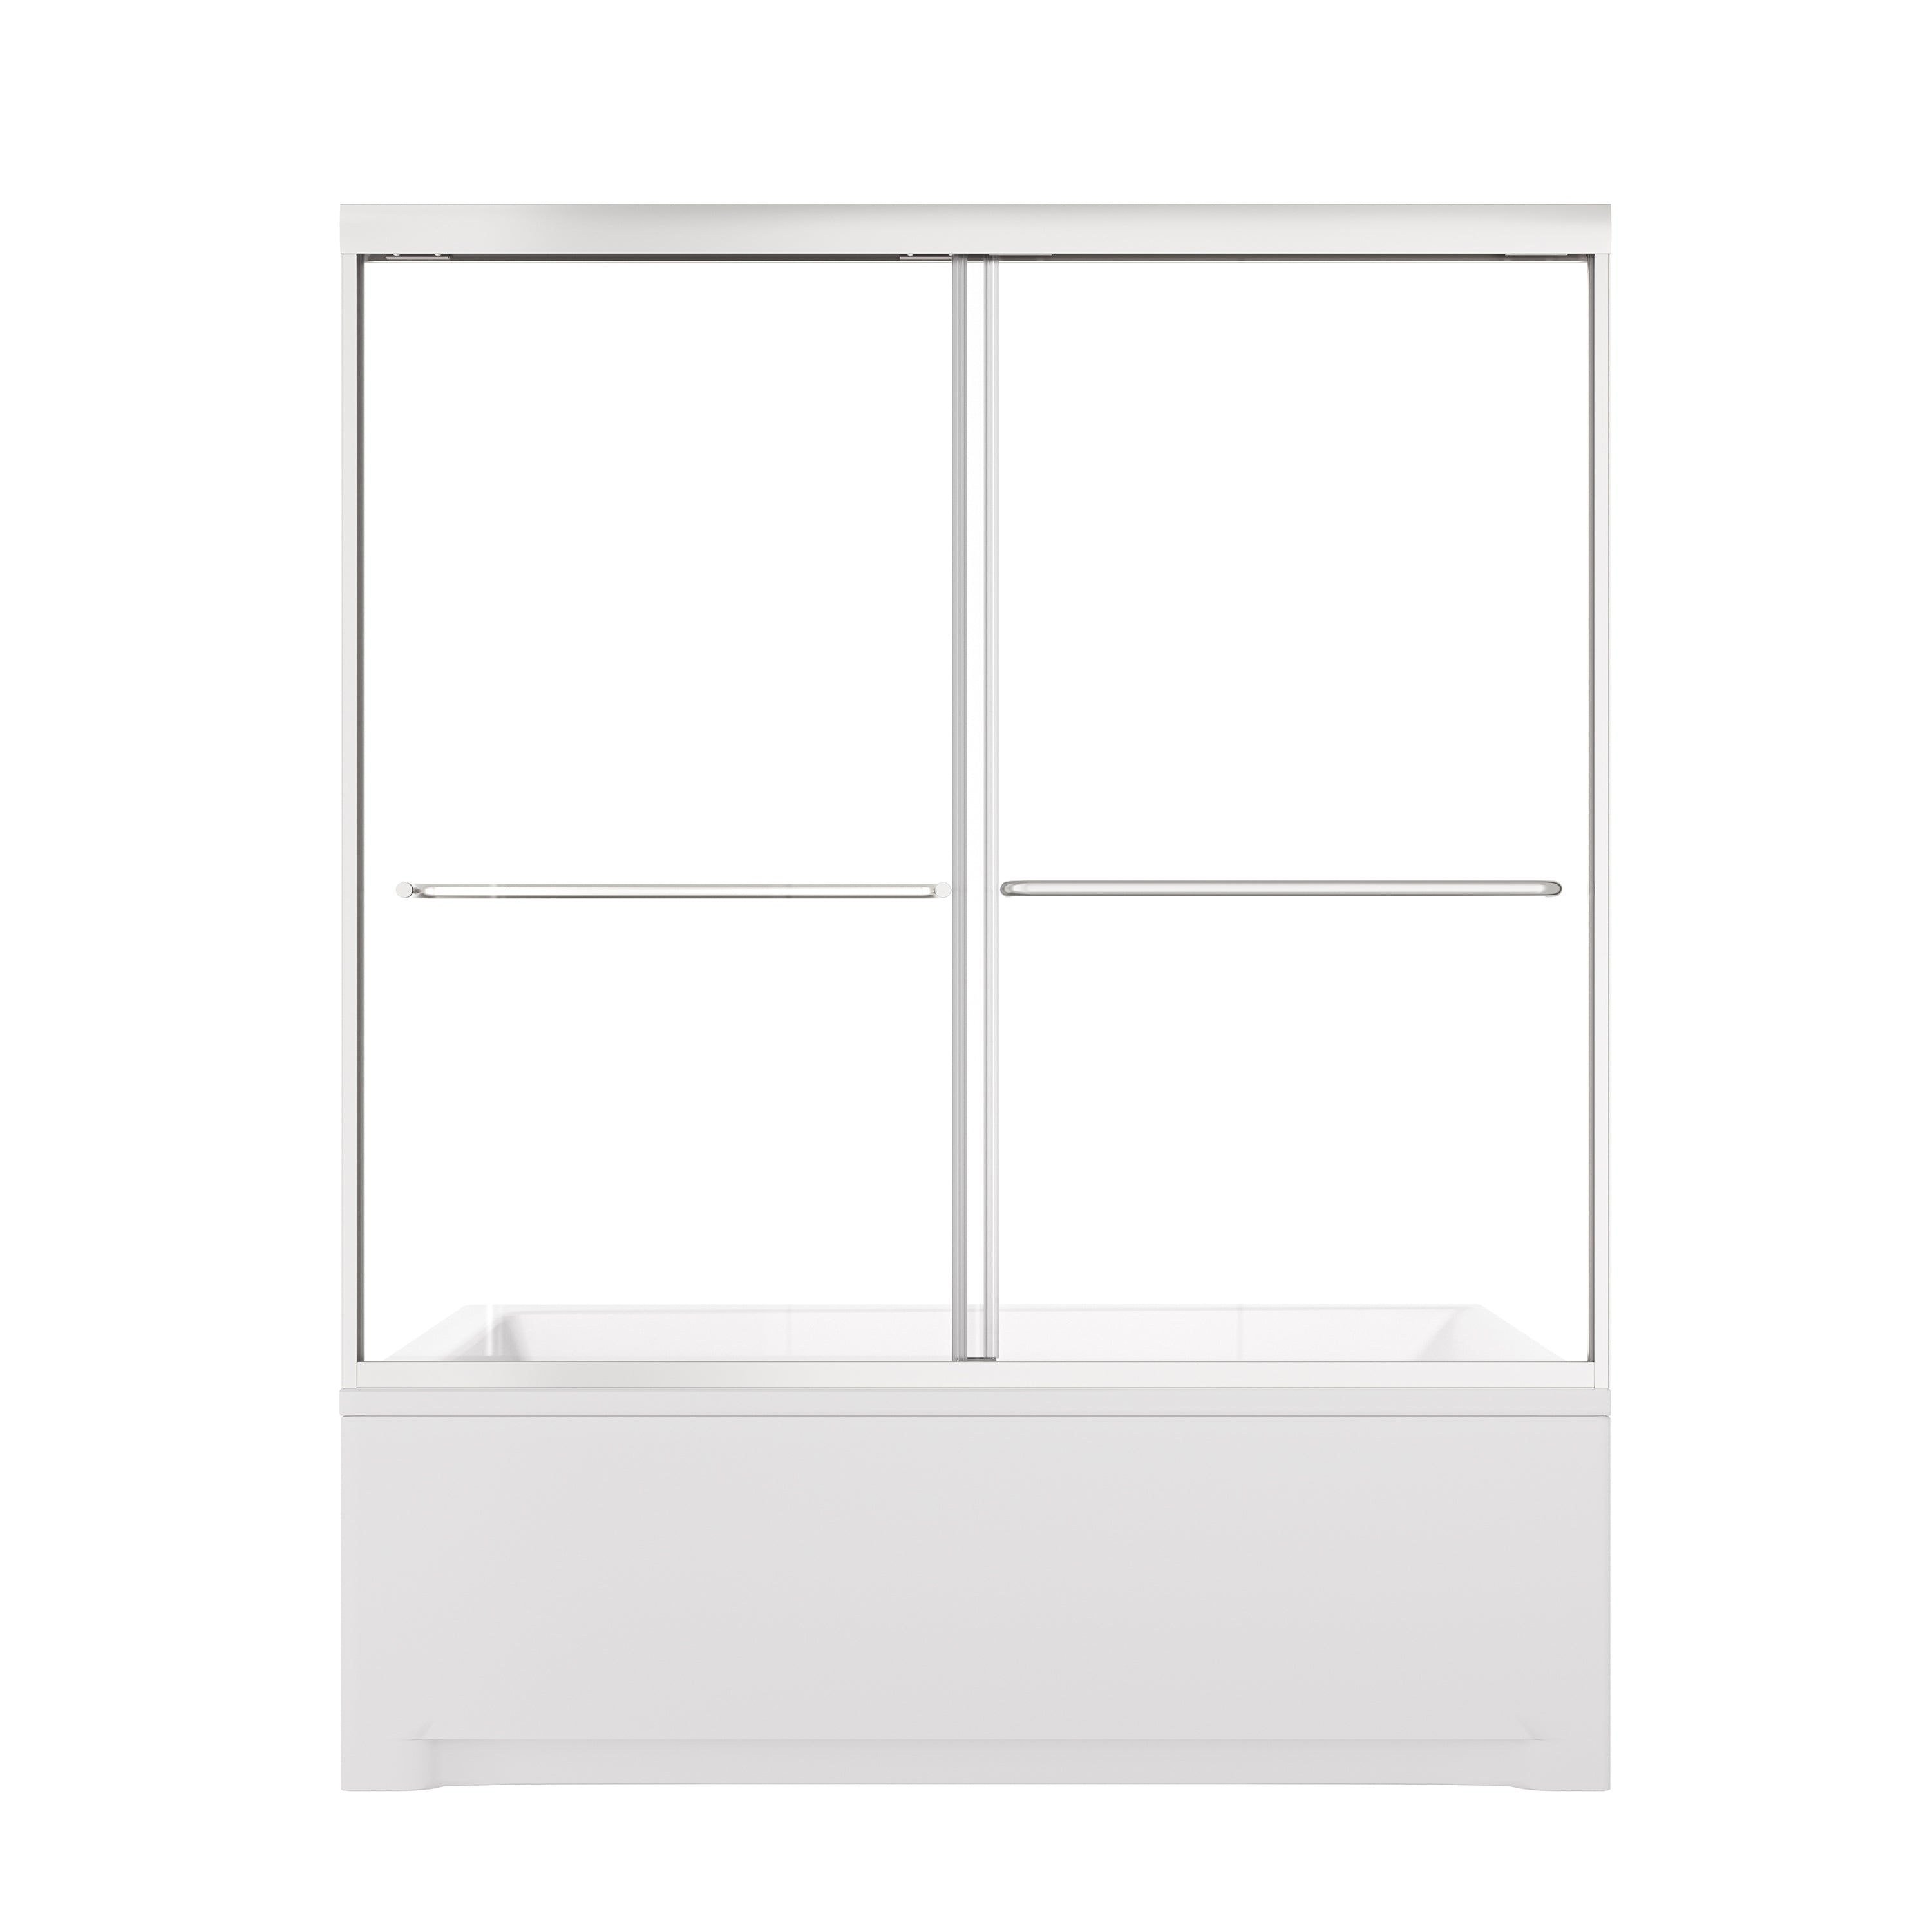
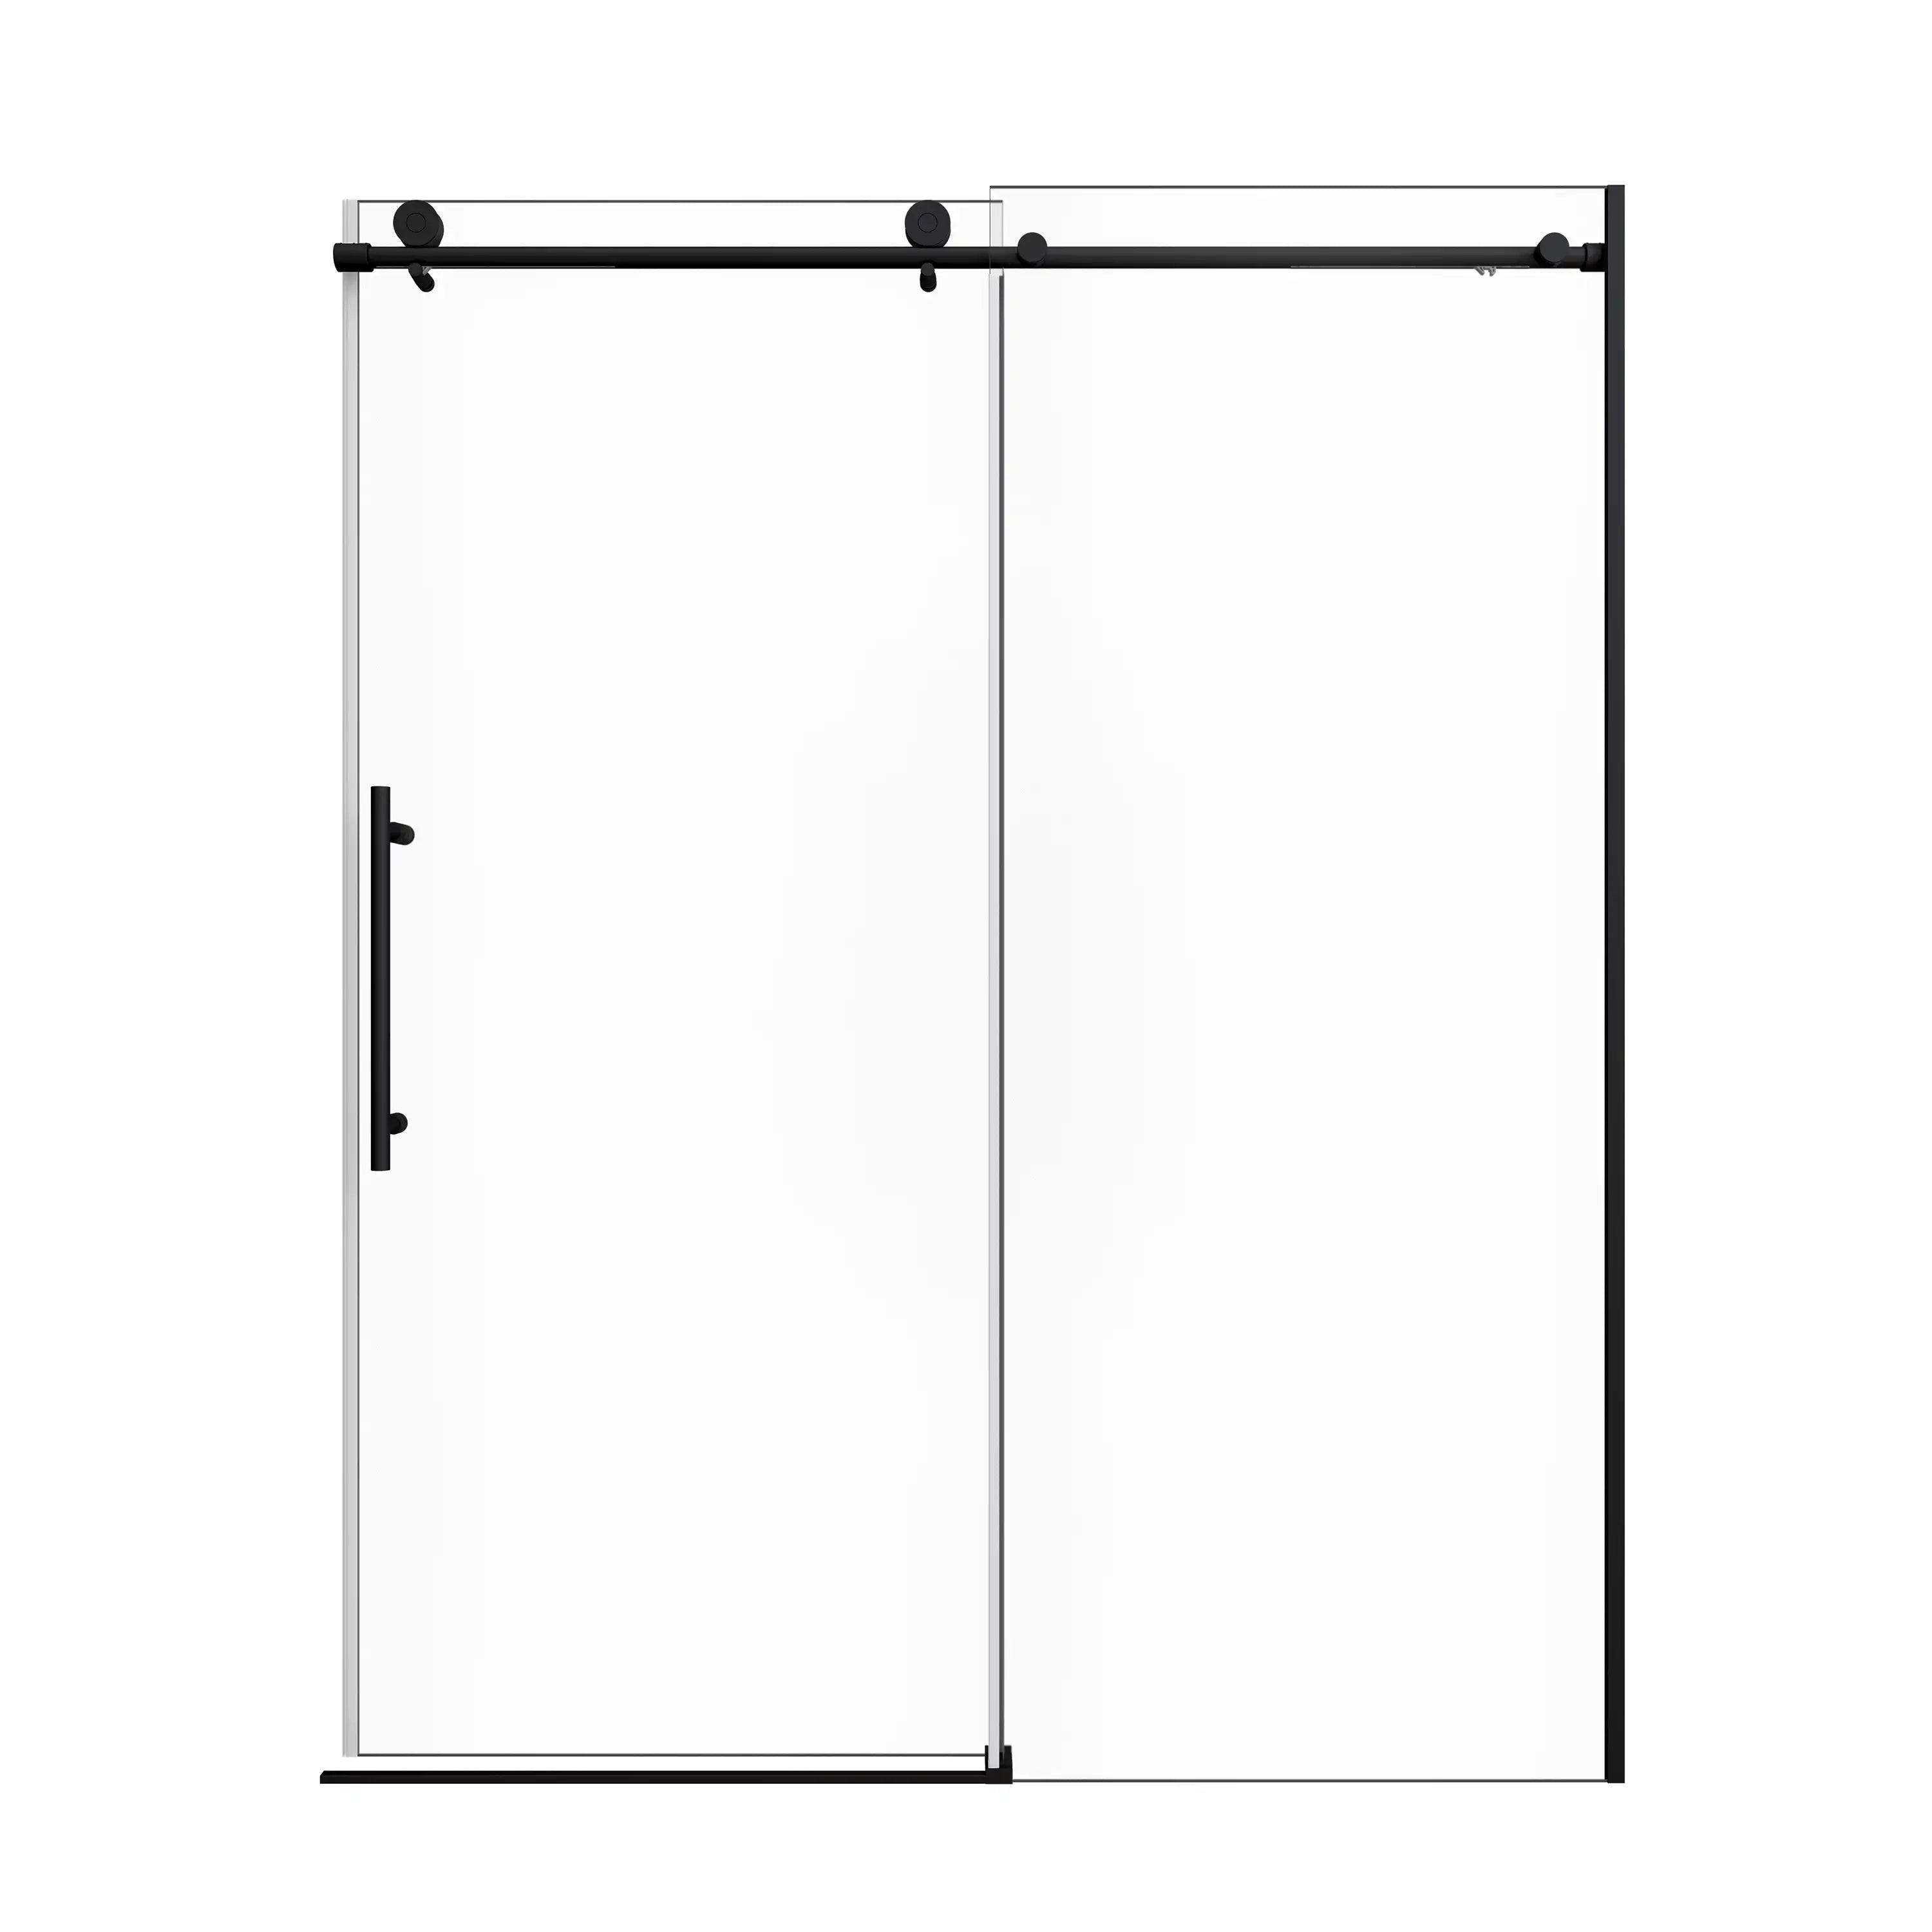
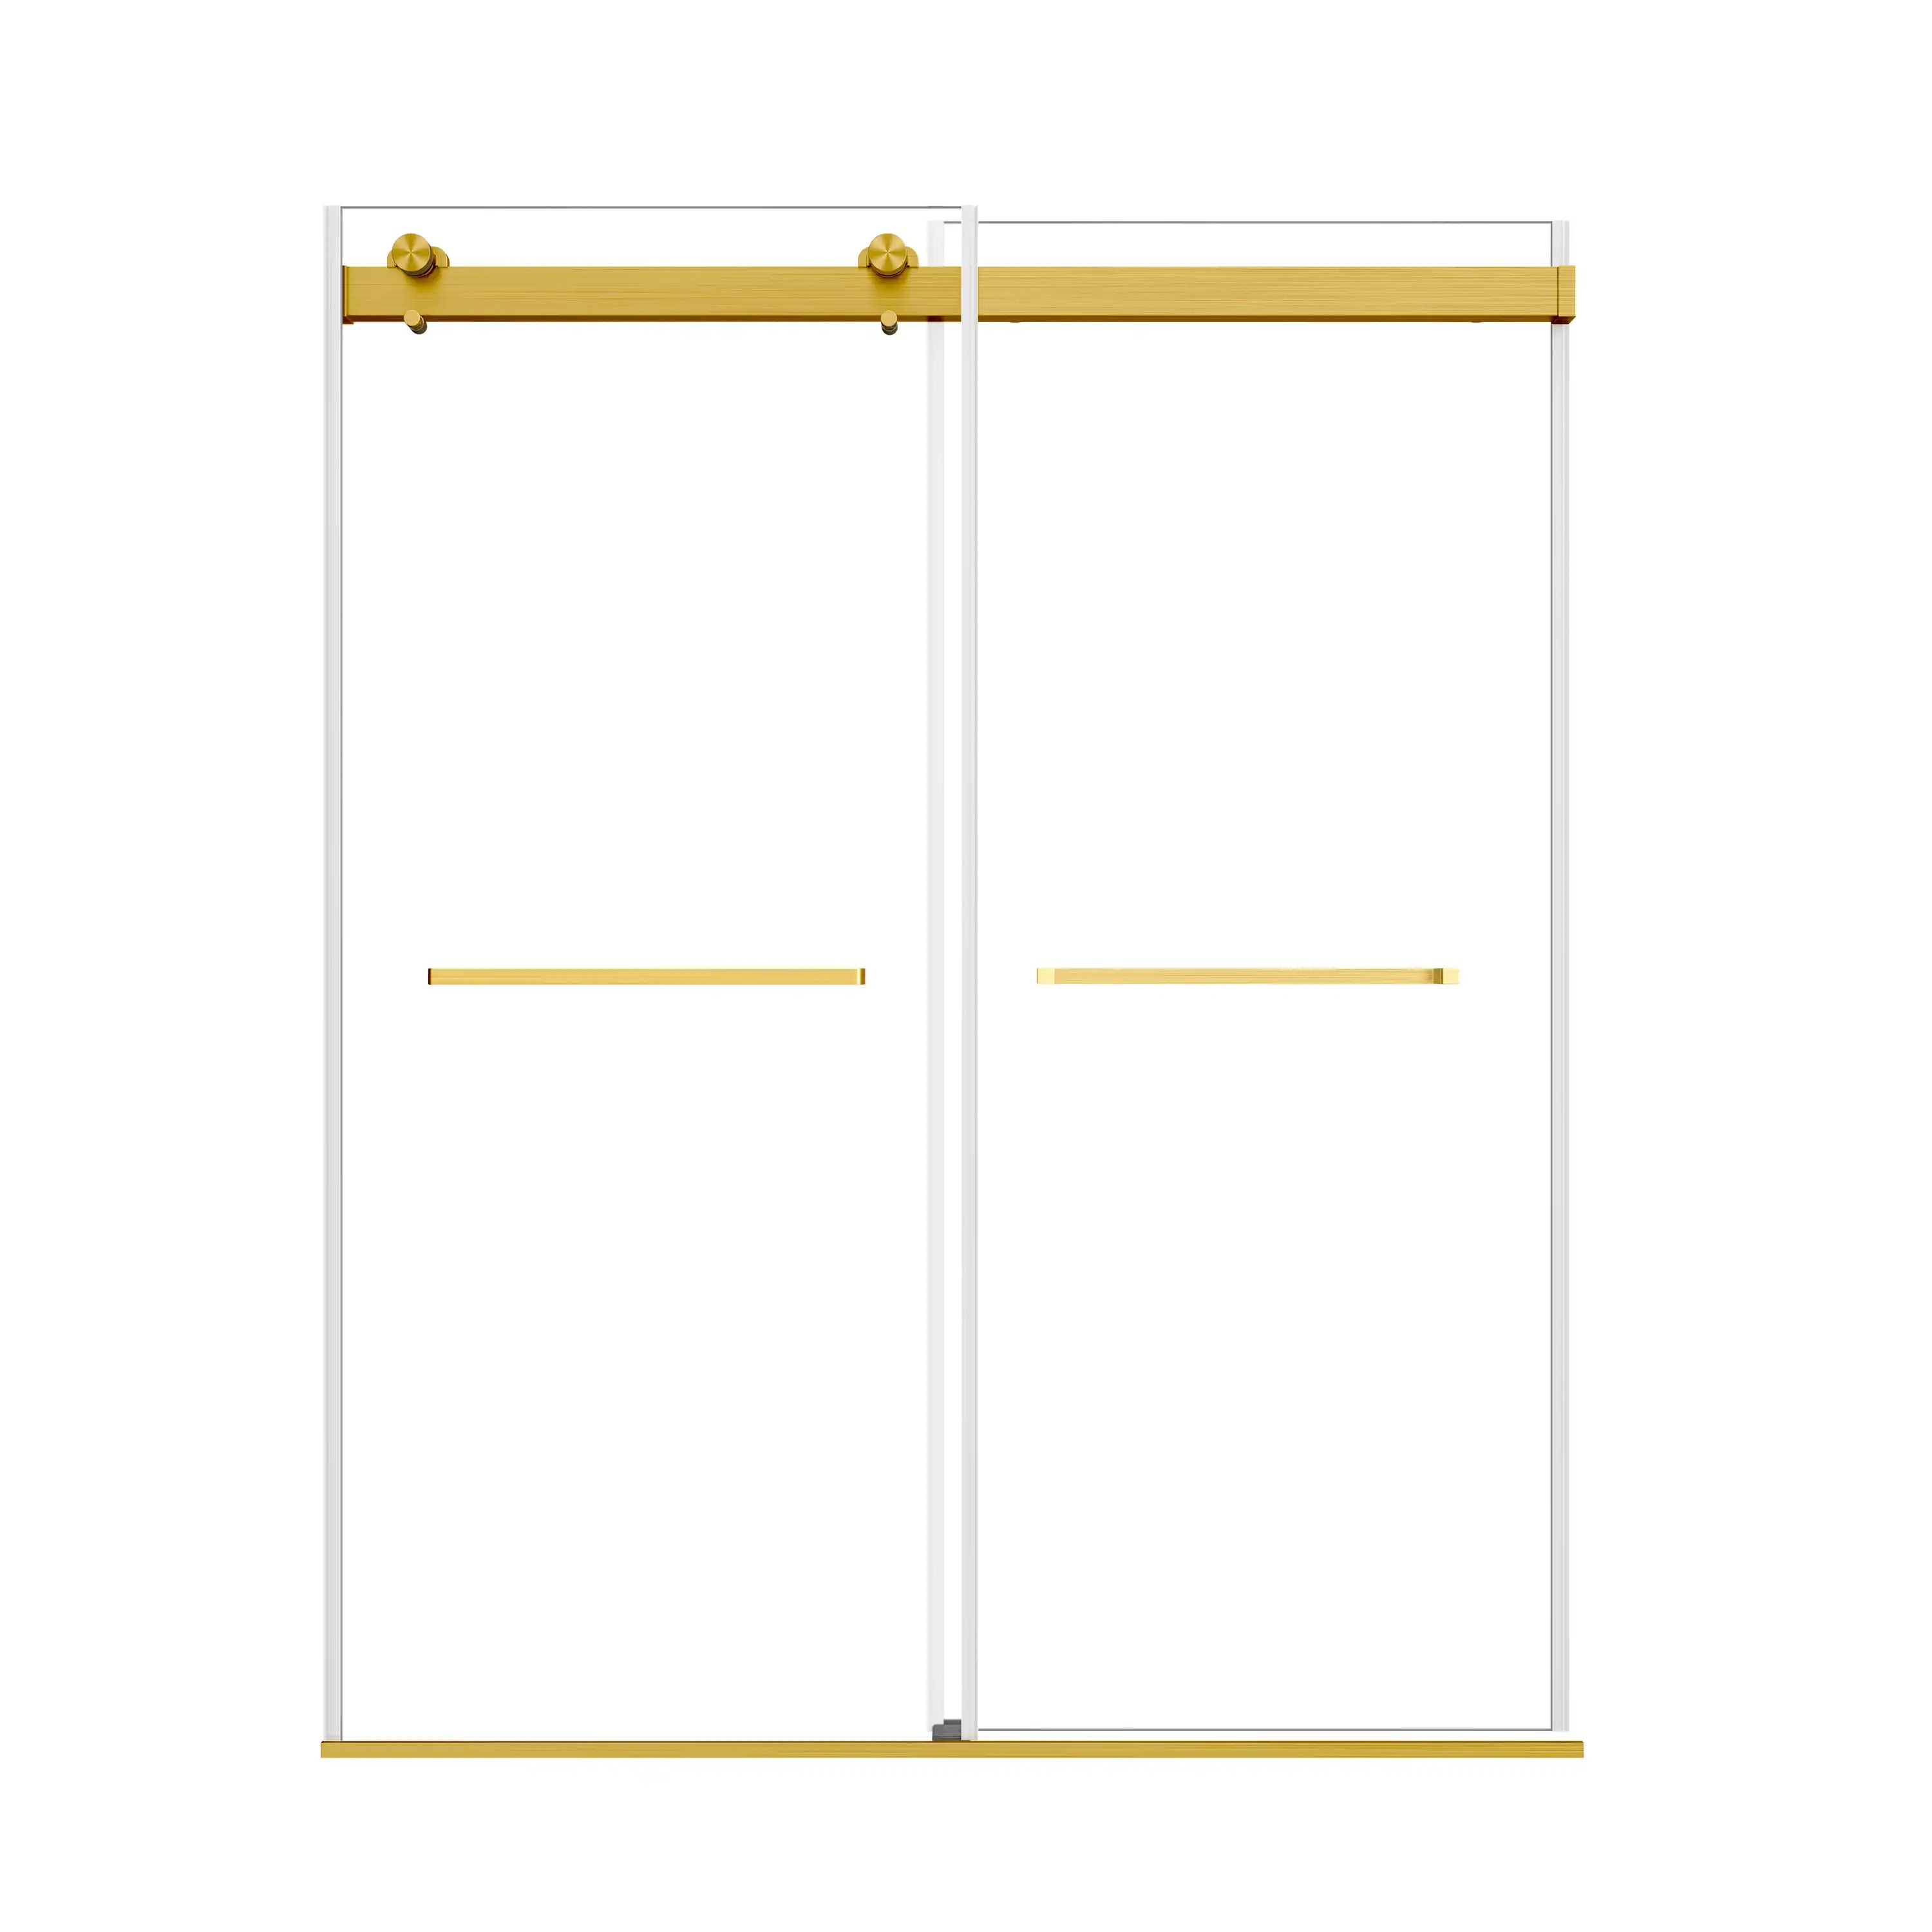
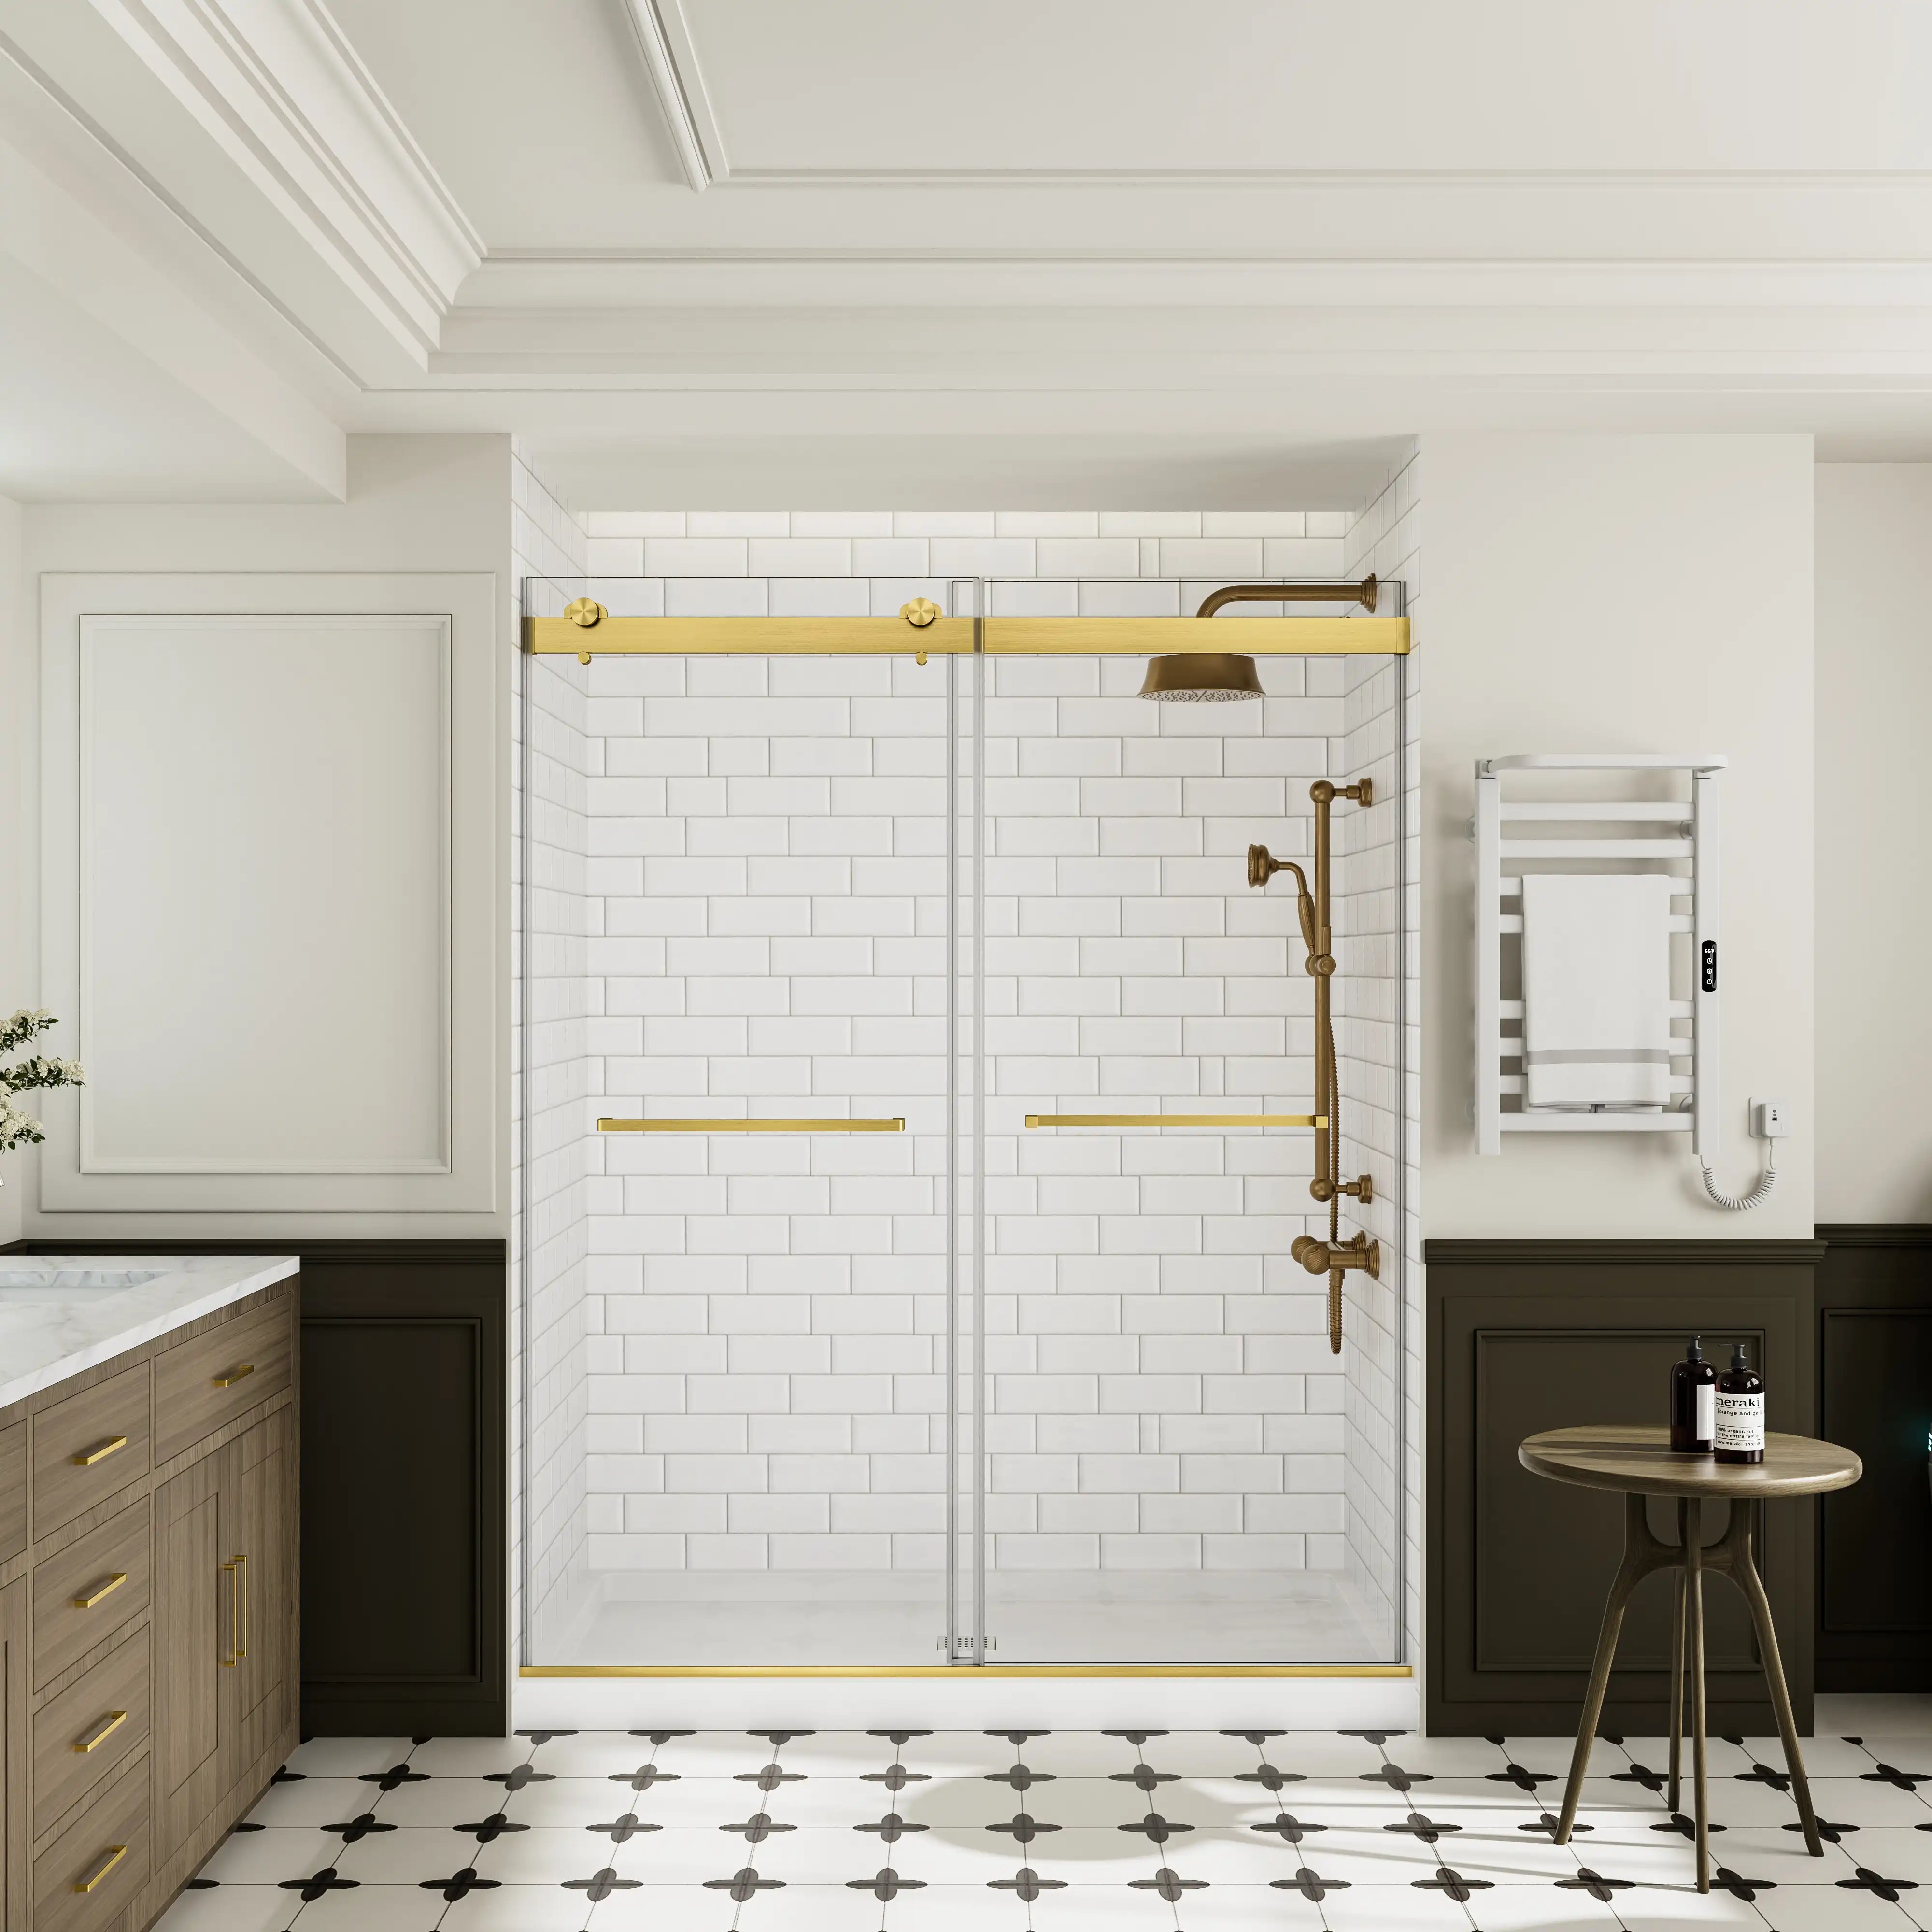
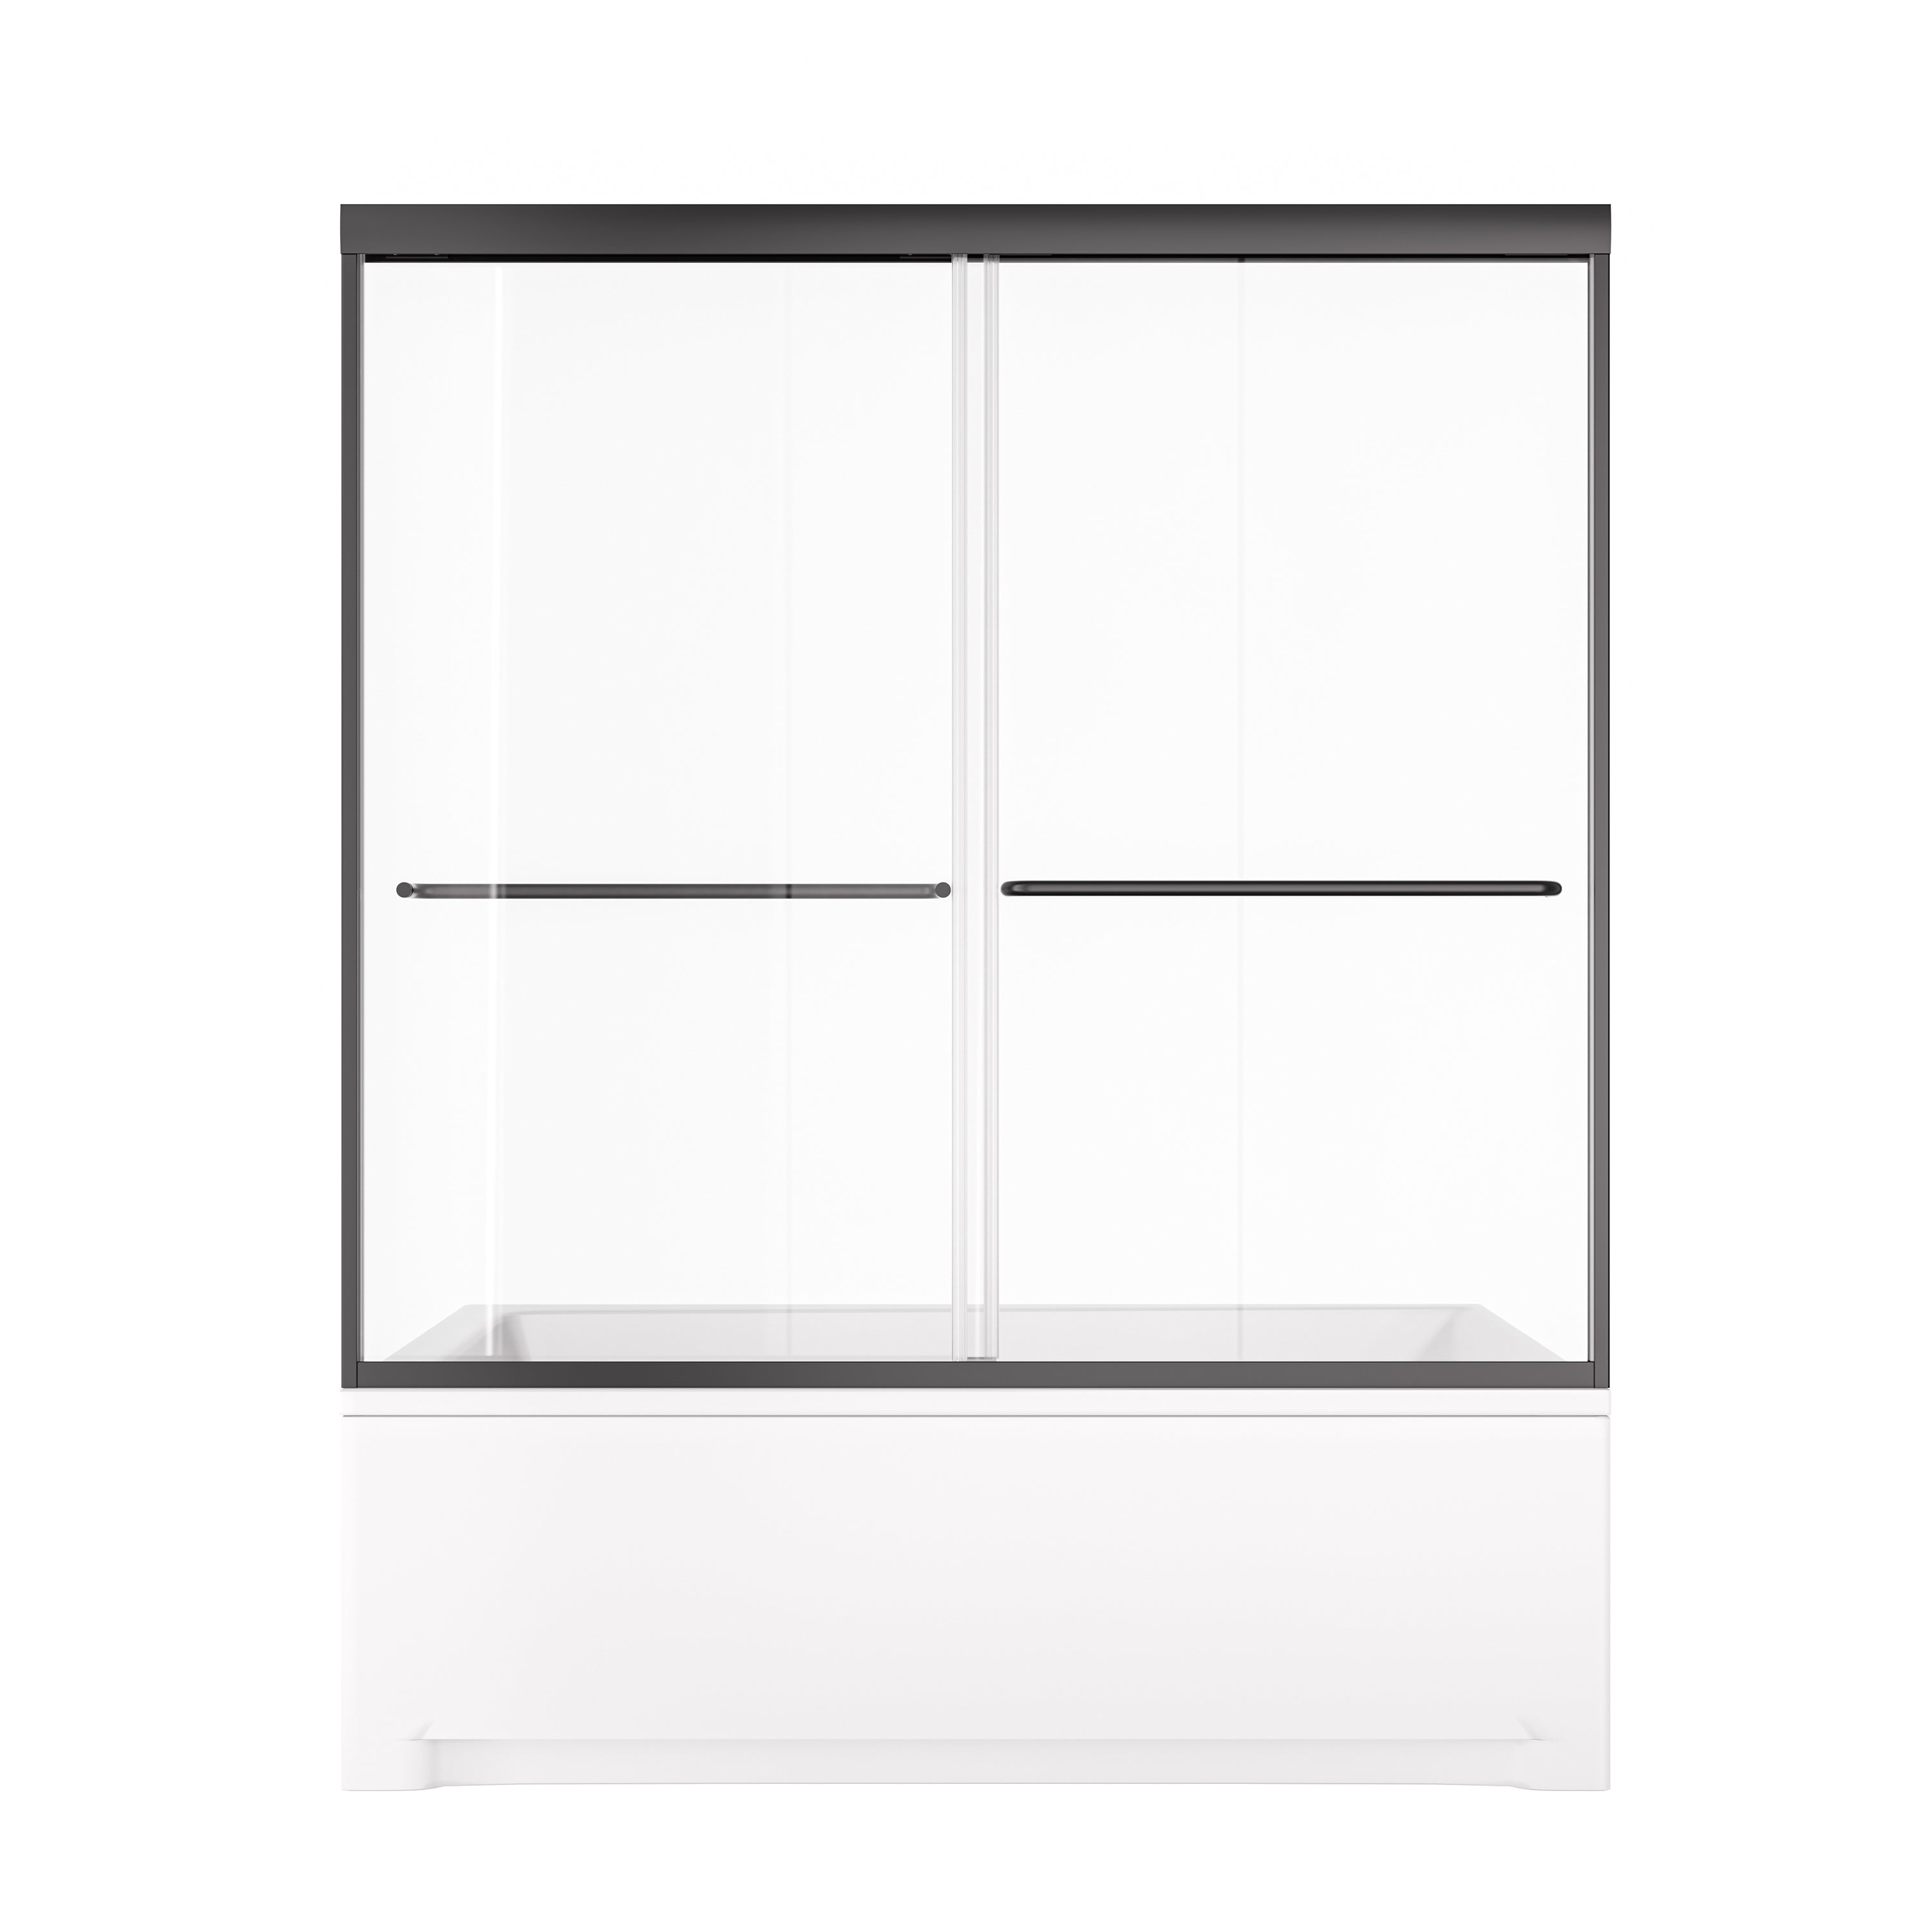
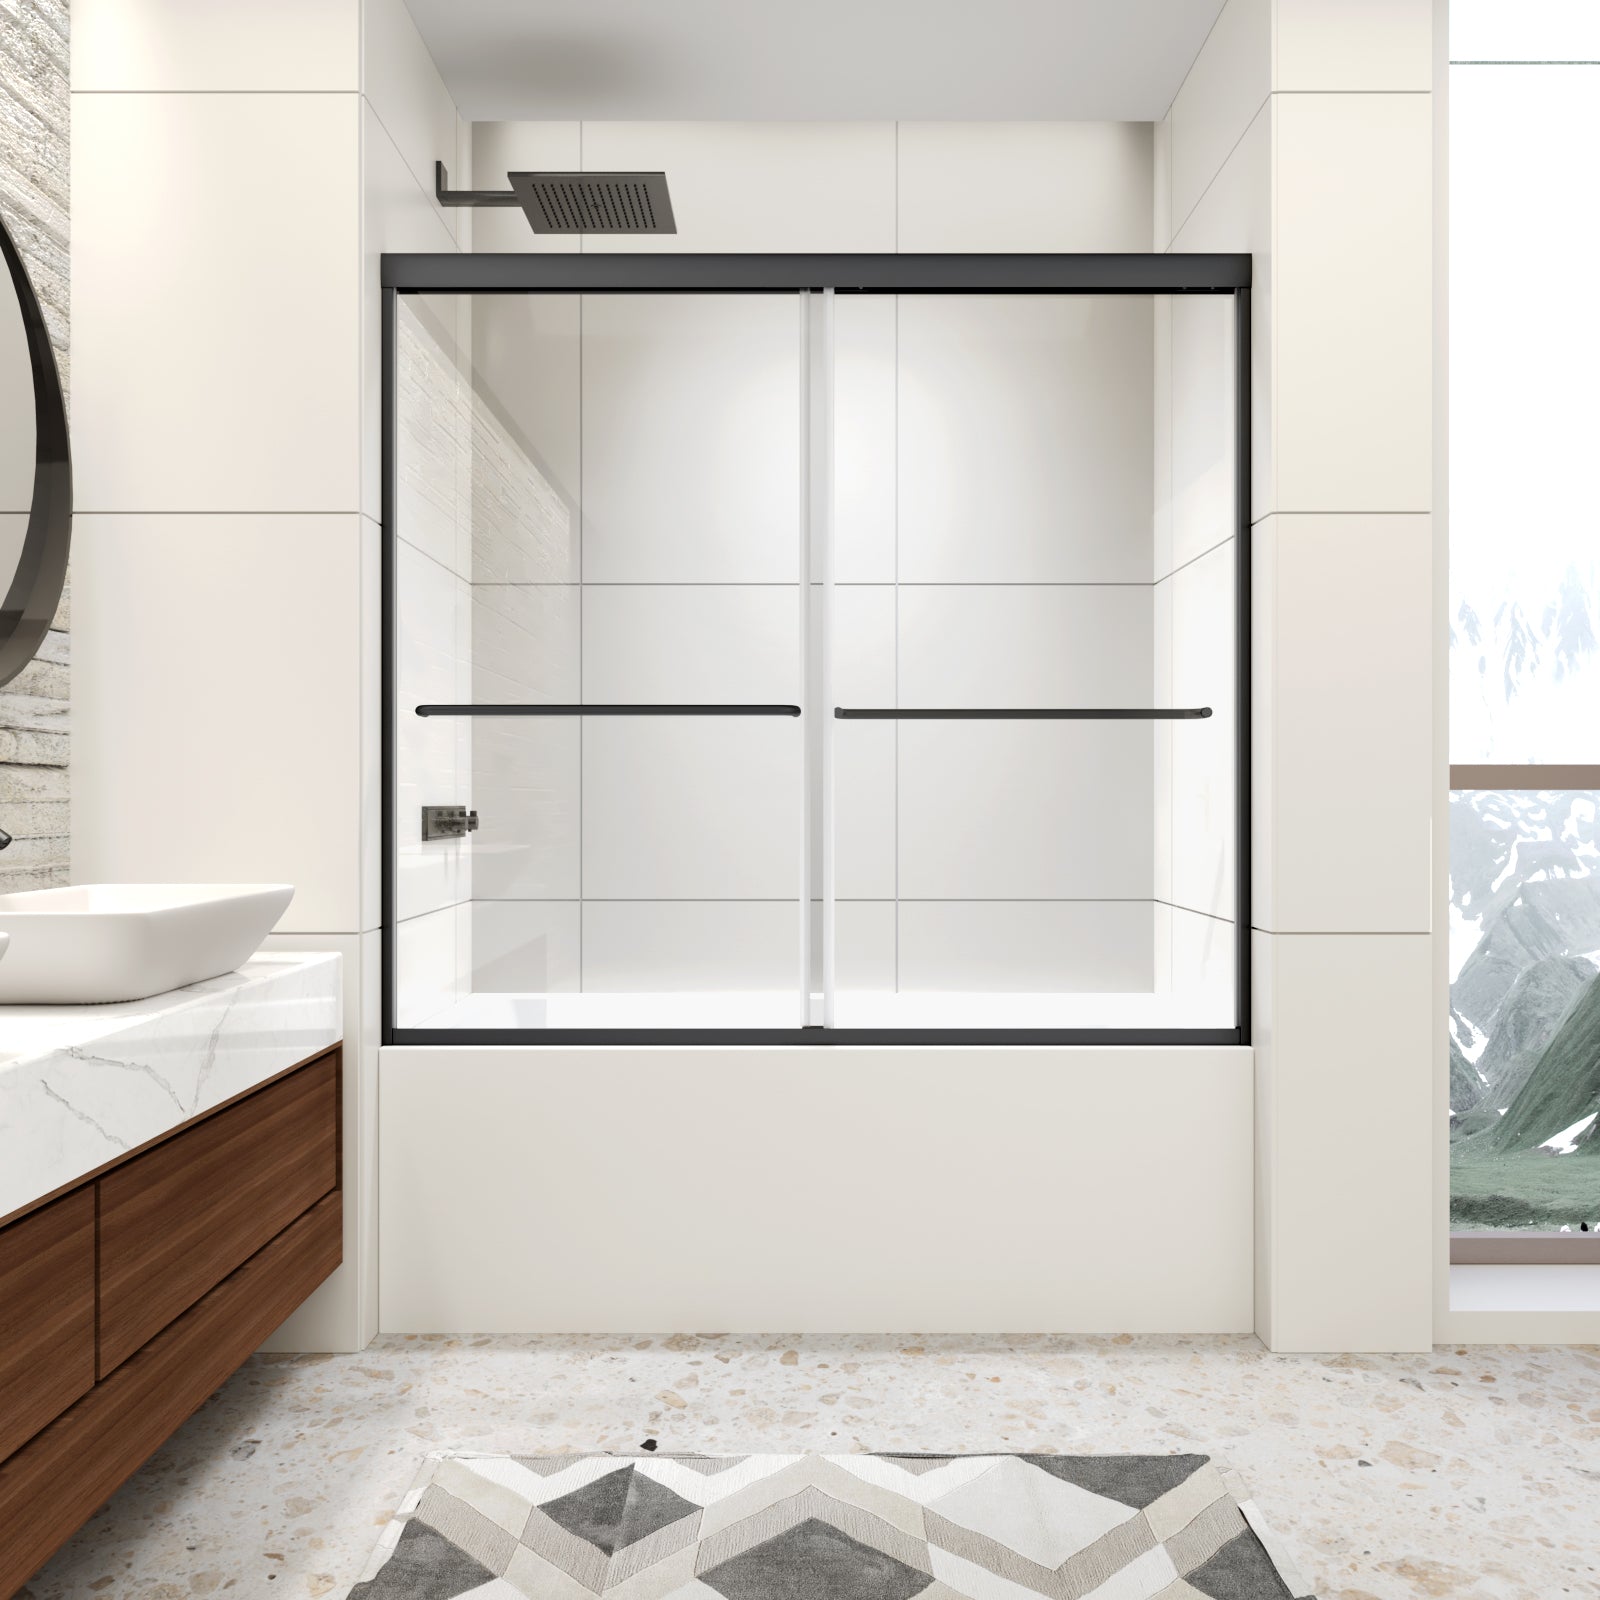
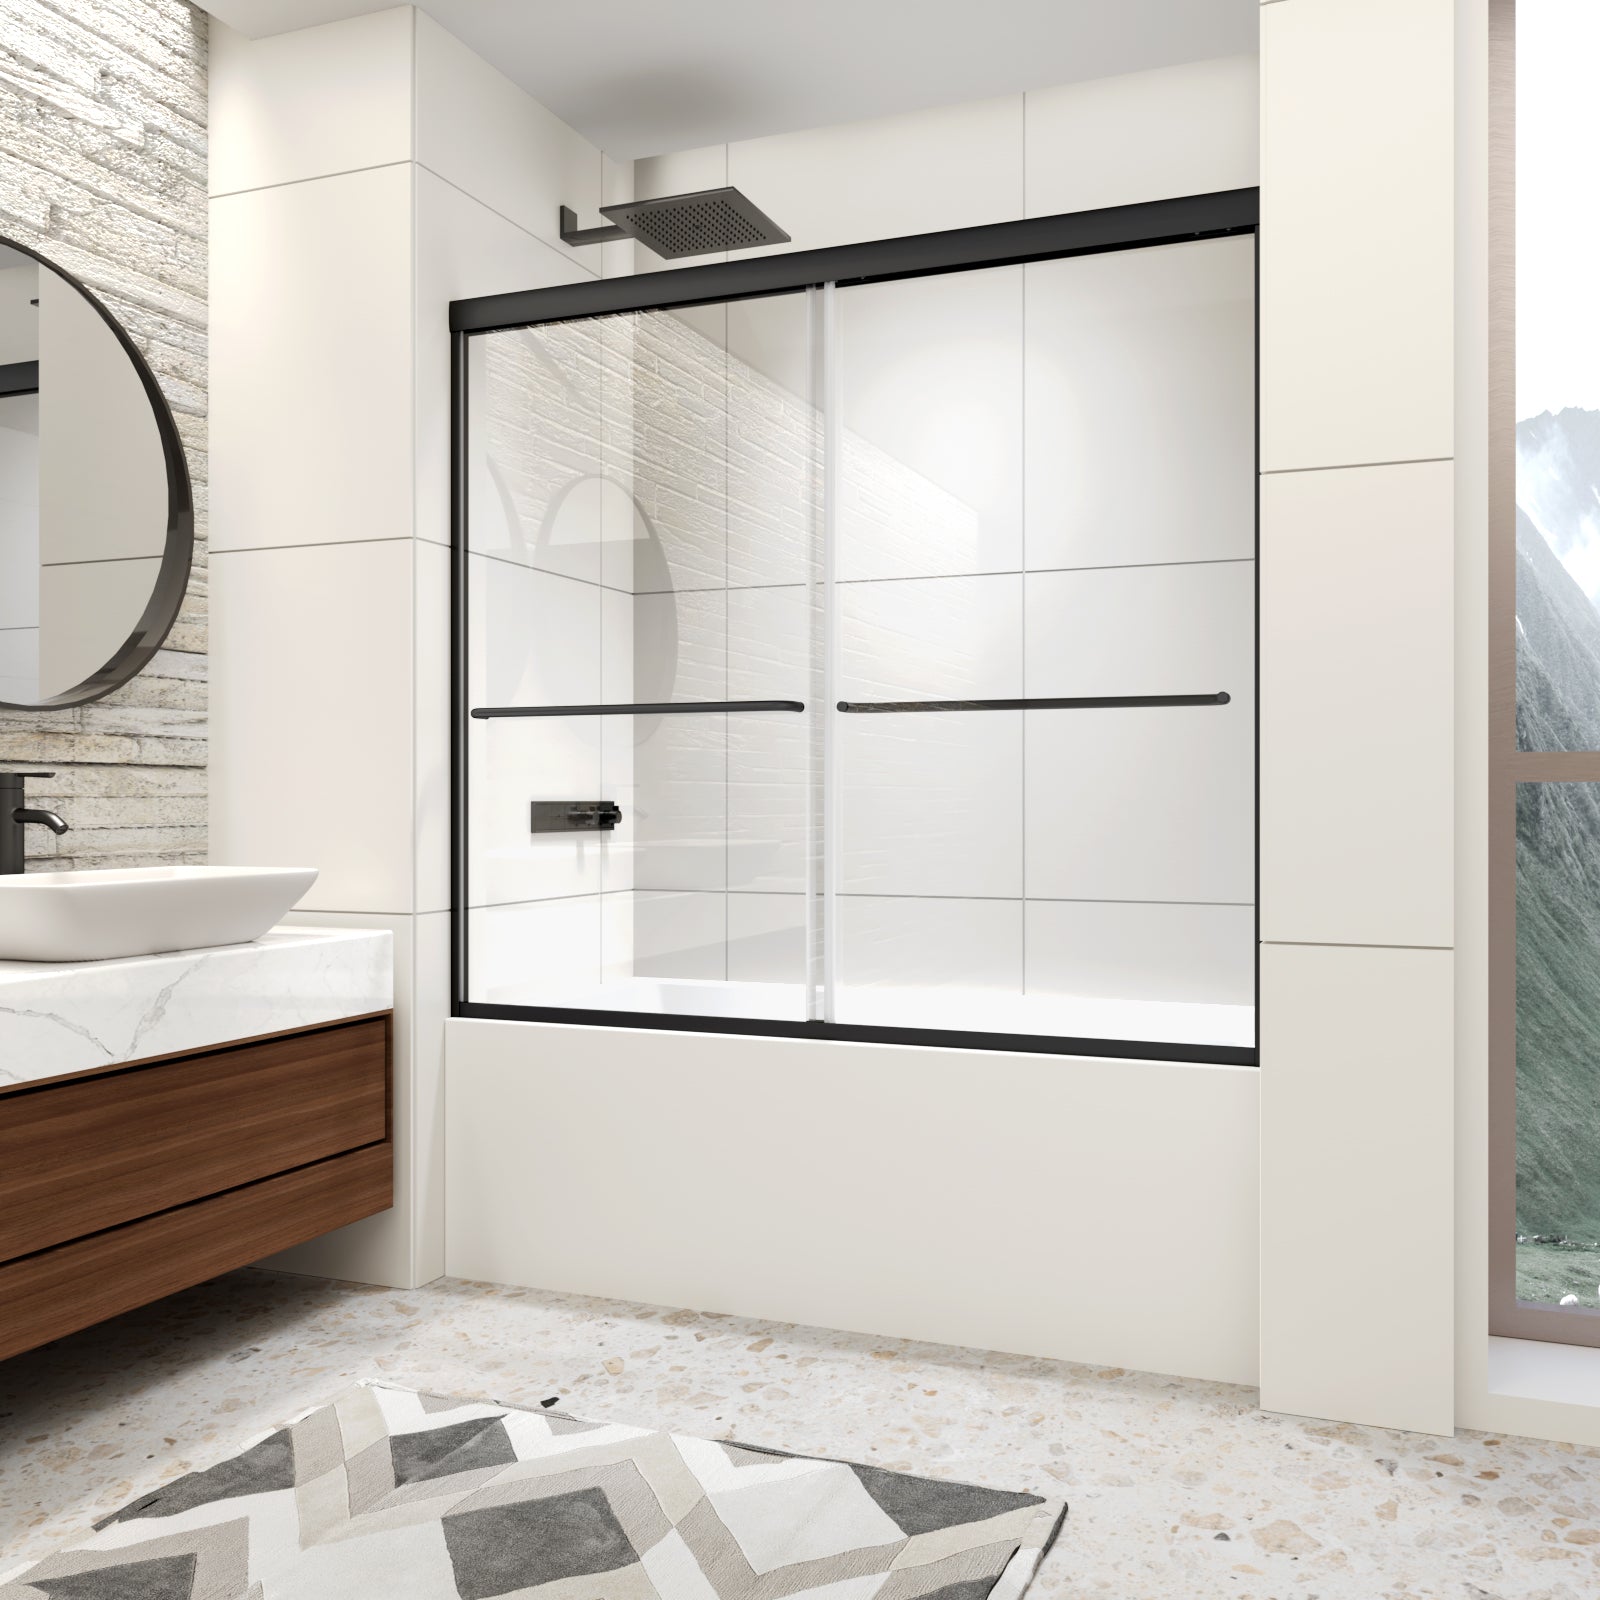
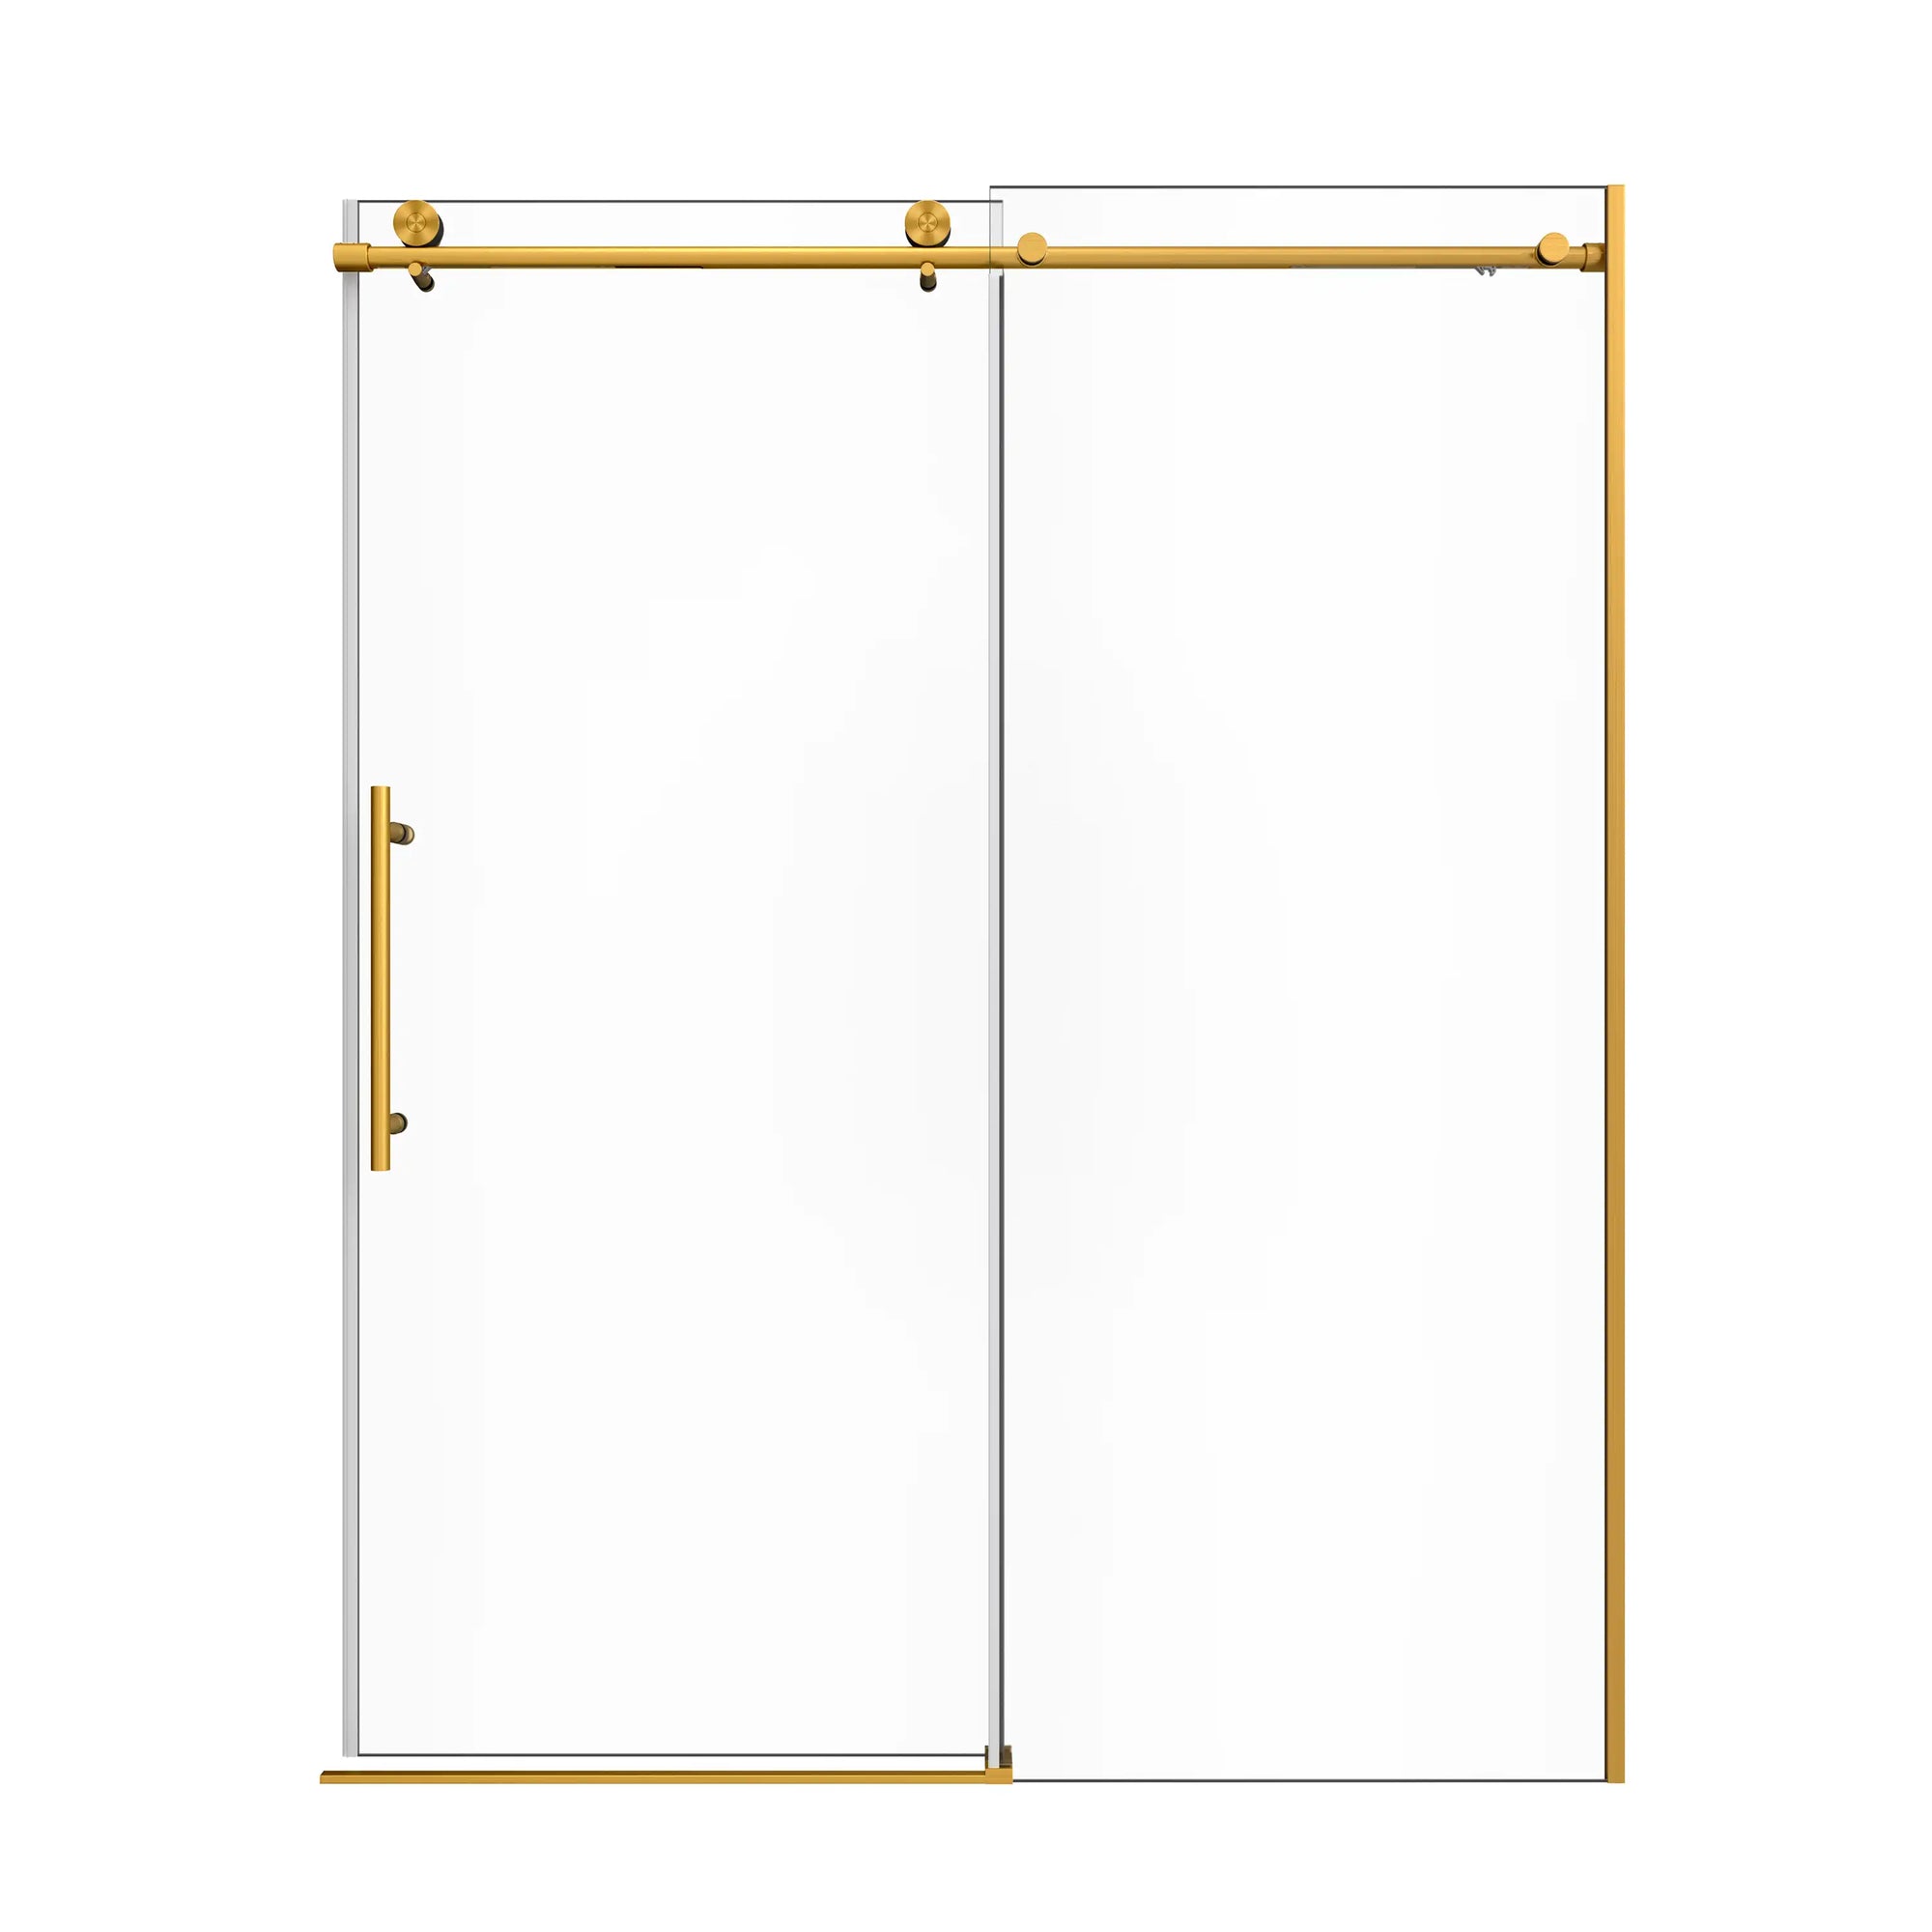
At Ace Decor, we provide high-quality, durable, and stylish sliding shower doors designed to fit a variety of bathroom styles. Our frameless single sliding shower doors are perfect for those looking for a minimalist design, while our 5/16" tempered glass sliding doors offer durability and ease of use.
Whether you are building a small bathroom or a spa like large one, Ace Decor has the perfect sliding shower door for you.
FAQs
Q: How do I select the right sliding shower doors for my bathroom?
Consider your bathroom's size, the door's style (framed, semi-frameless, or frameless), glass thickness, and design preferences. Ace Decor of course offers a variety of options for different spaces and styles.
Q: Can I install sliding shower doors myself?
Yes, with the right tools and steps, you can install your sliding shower doors. If you're purchasing Ace Decor's sliding shower doors, DIY installation is absolutely within your reach. We provide clear, easy-to-follow instructions and even include a helpful leveling tool to ensure perfect installation. Plus, in the unlikely event that any part gets damaged during installation, we guarantee to send you a replacement set for free—ensuring you have a stress-free installation and worry-free shopping experience.
Q: How can I maintain my sliding shower doors and keep them in good condition?
Clean the glass regularly, lubricate the tracks periodically, and inspect the hardware for wear. Always use a squeegee after showers to prevent soap scum build-up. If you purchase Ace Decor's sliding shower doors, you'll benefit from our special nano-coating self-cleaning technology, which makes maintenance even easier. The nano-coating helps reduce soap scum and water spots, keeping your doors cleaner for longer with minimal effort.
Follow this step-by-step sliding shower door installation guide to elevate your bathroom's style with a sleek and space-saving sliding door. If you follow these tips and avoid these common mistakes, your shower door will last for years. Discover our variety of sliding shower doors at Ace Decor to ensure a perfect fit for your shower room renovation.
Related Articles
Explore more helpful guides and tips to enhance your shower experience. Below, you'll find related articles that provide additional insights and solutions for your bathroom renovation needs.
- "How to Install Bathtub Door and Seal It Perfectly to Prevent Leaks"
- "How to Elegantly Fit a Bathtub in Shower Enclosure Without Compromise"
- "7 Stunning Bathrooms That Nailed Glass Shower Enclosures Frameless"
- "How to Fix Sliding Shower Door: Simple DIY Guide to Save Repair Costs"
- "Glass Shower Sliding Doors Too Noisy? 5 Silent Design Tips You Need"