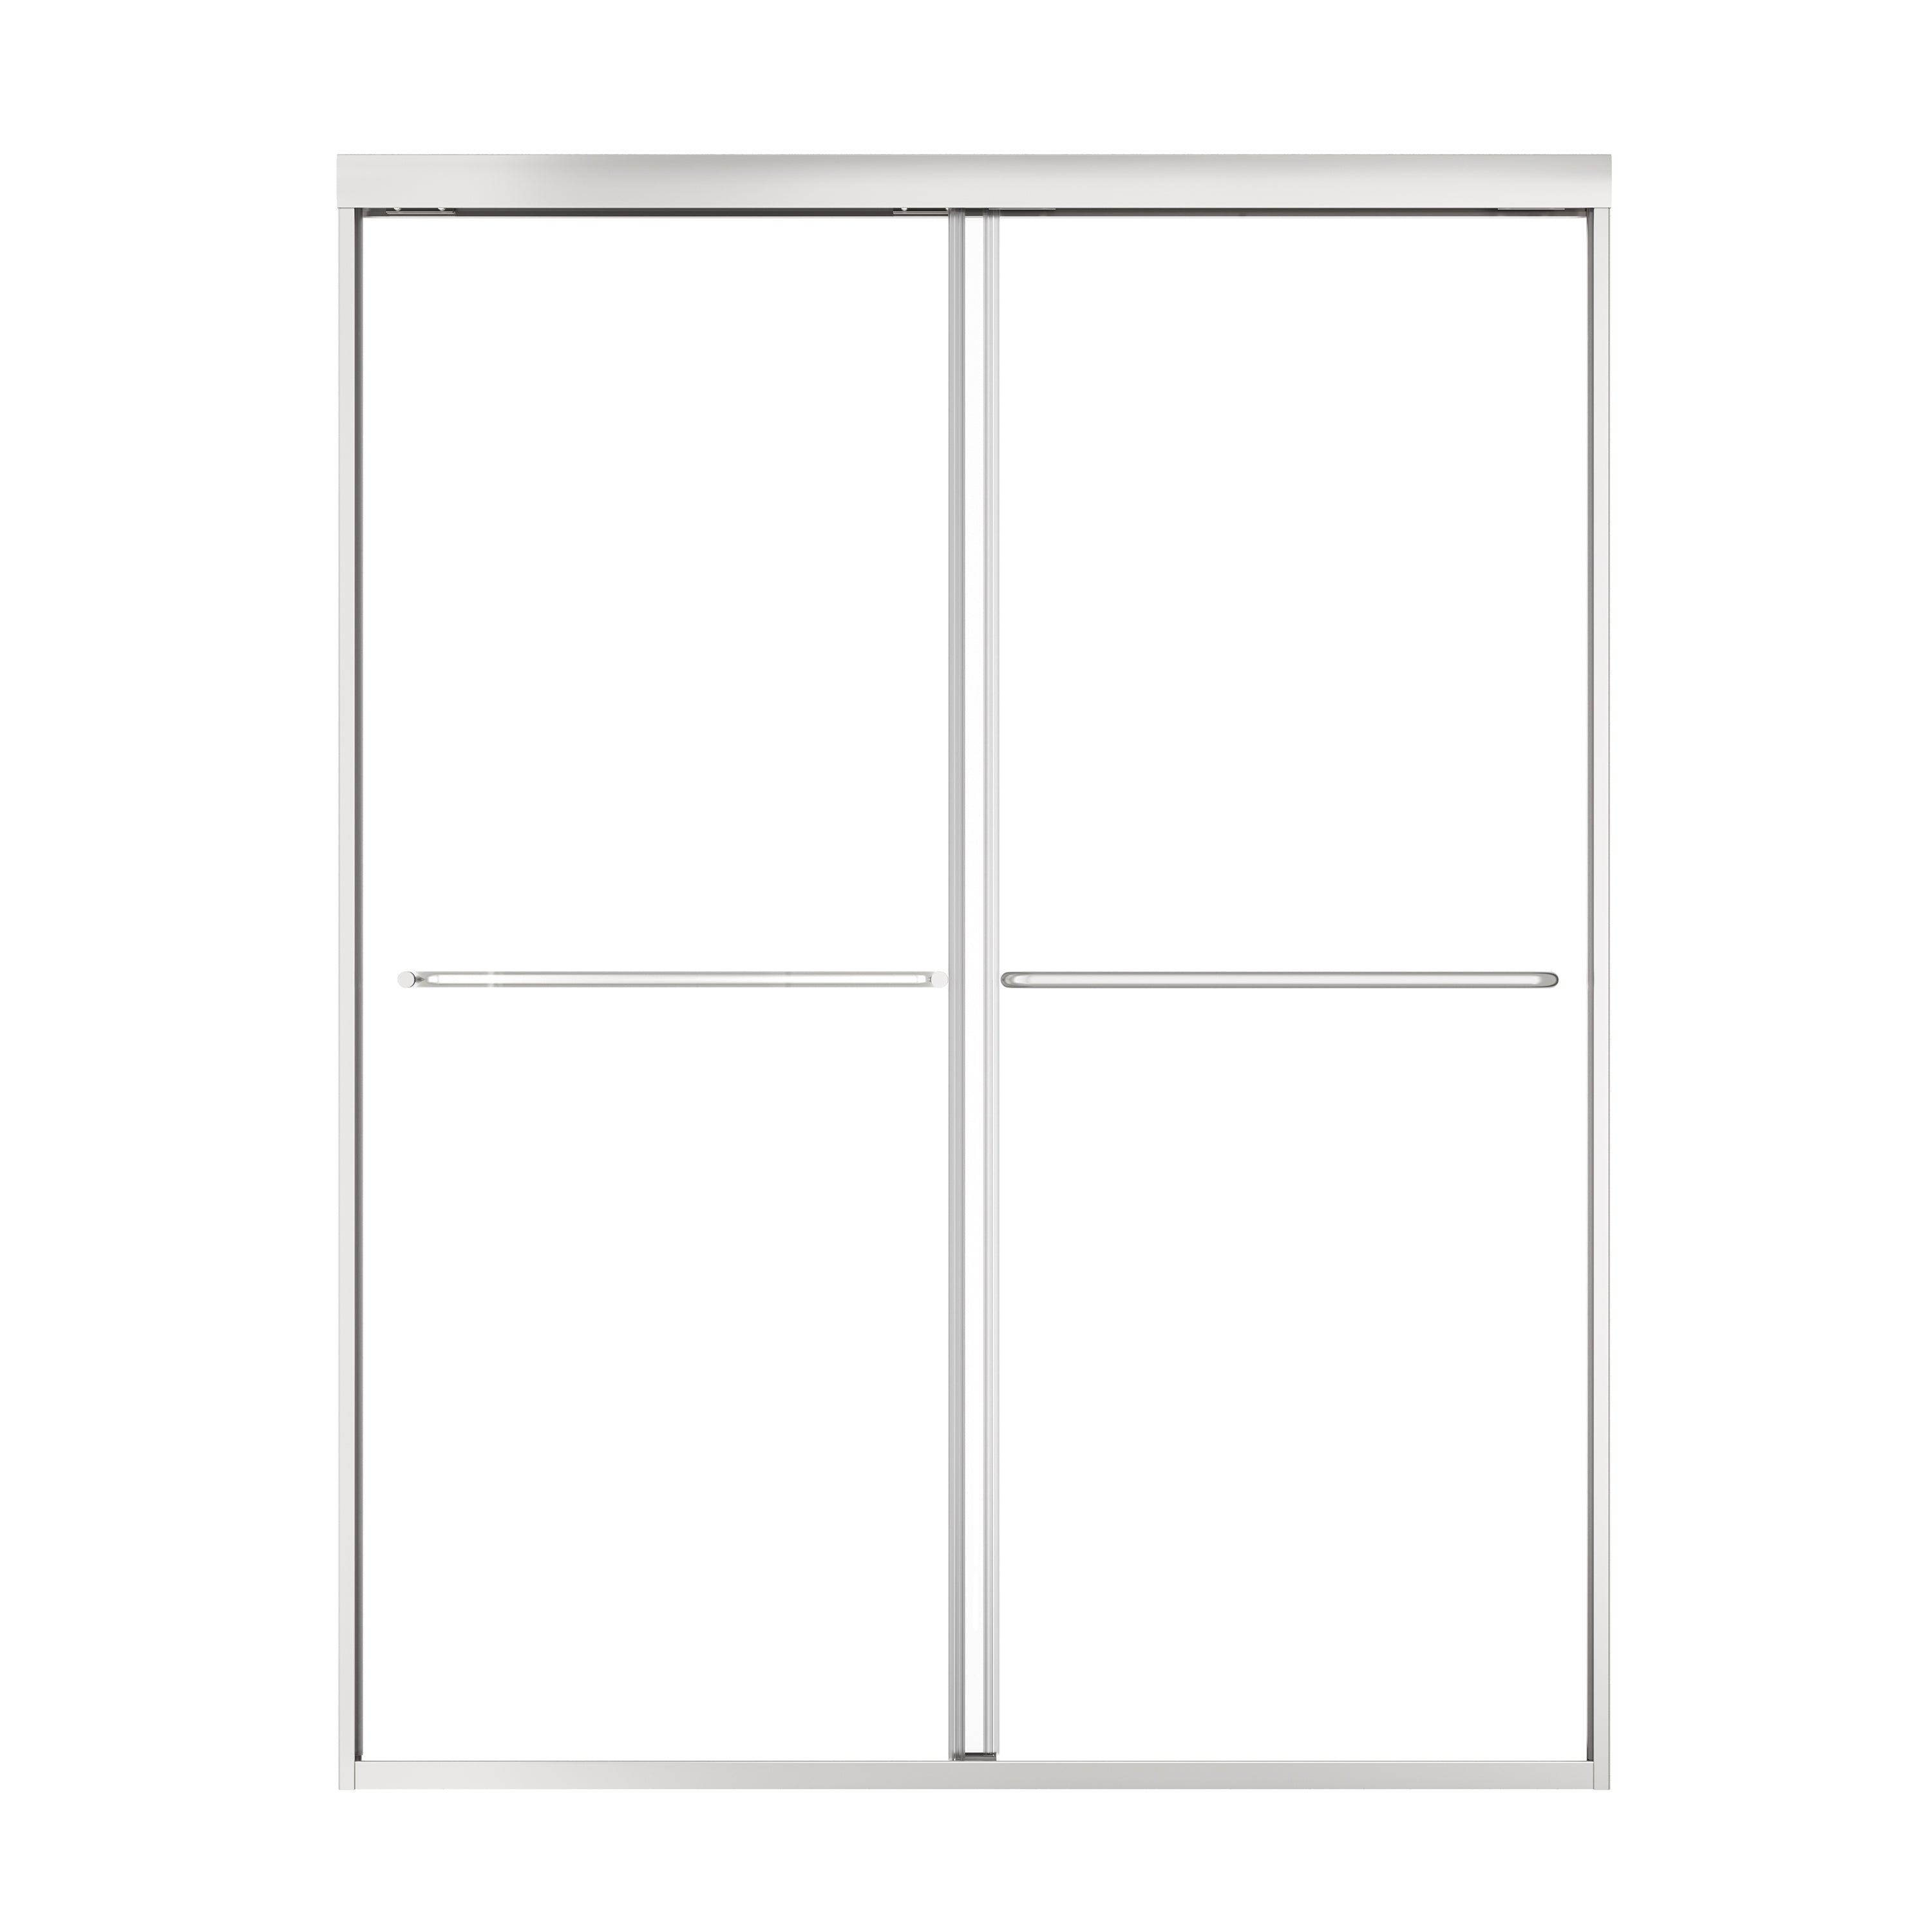
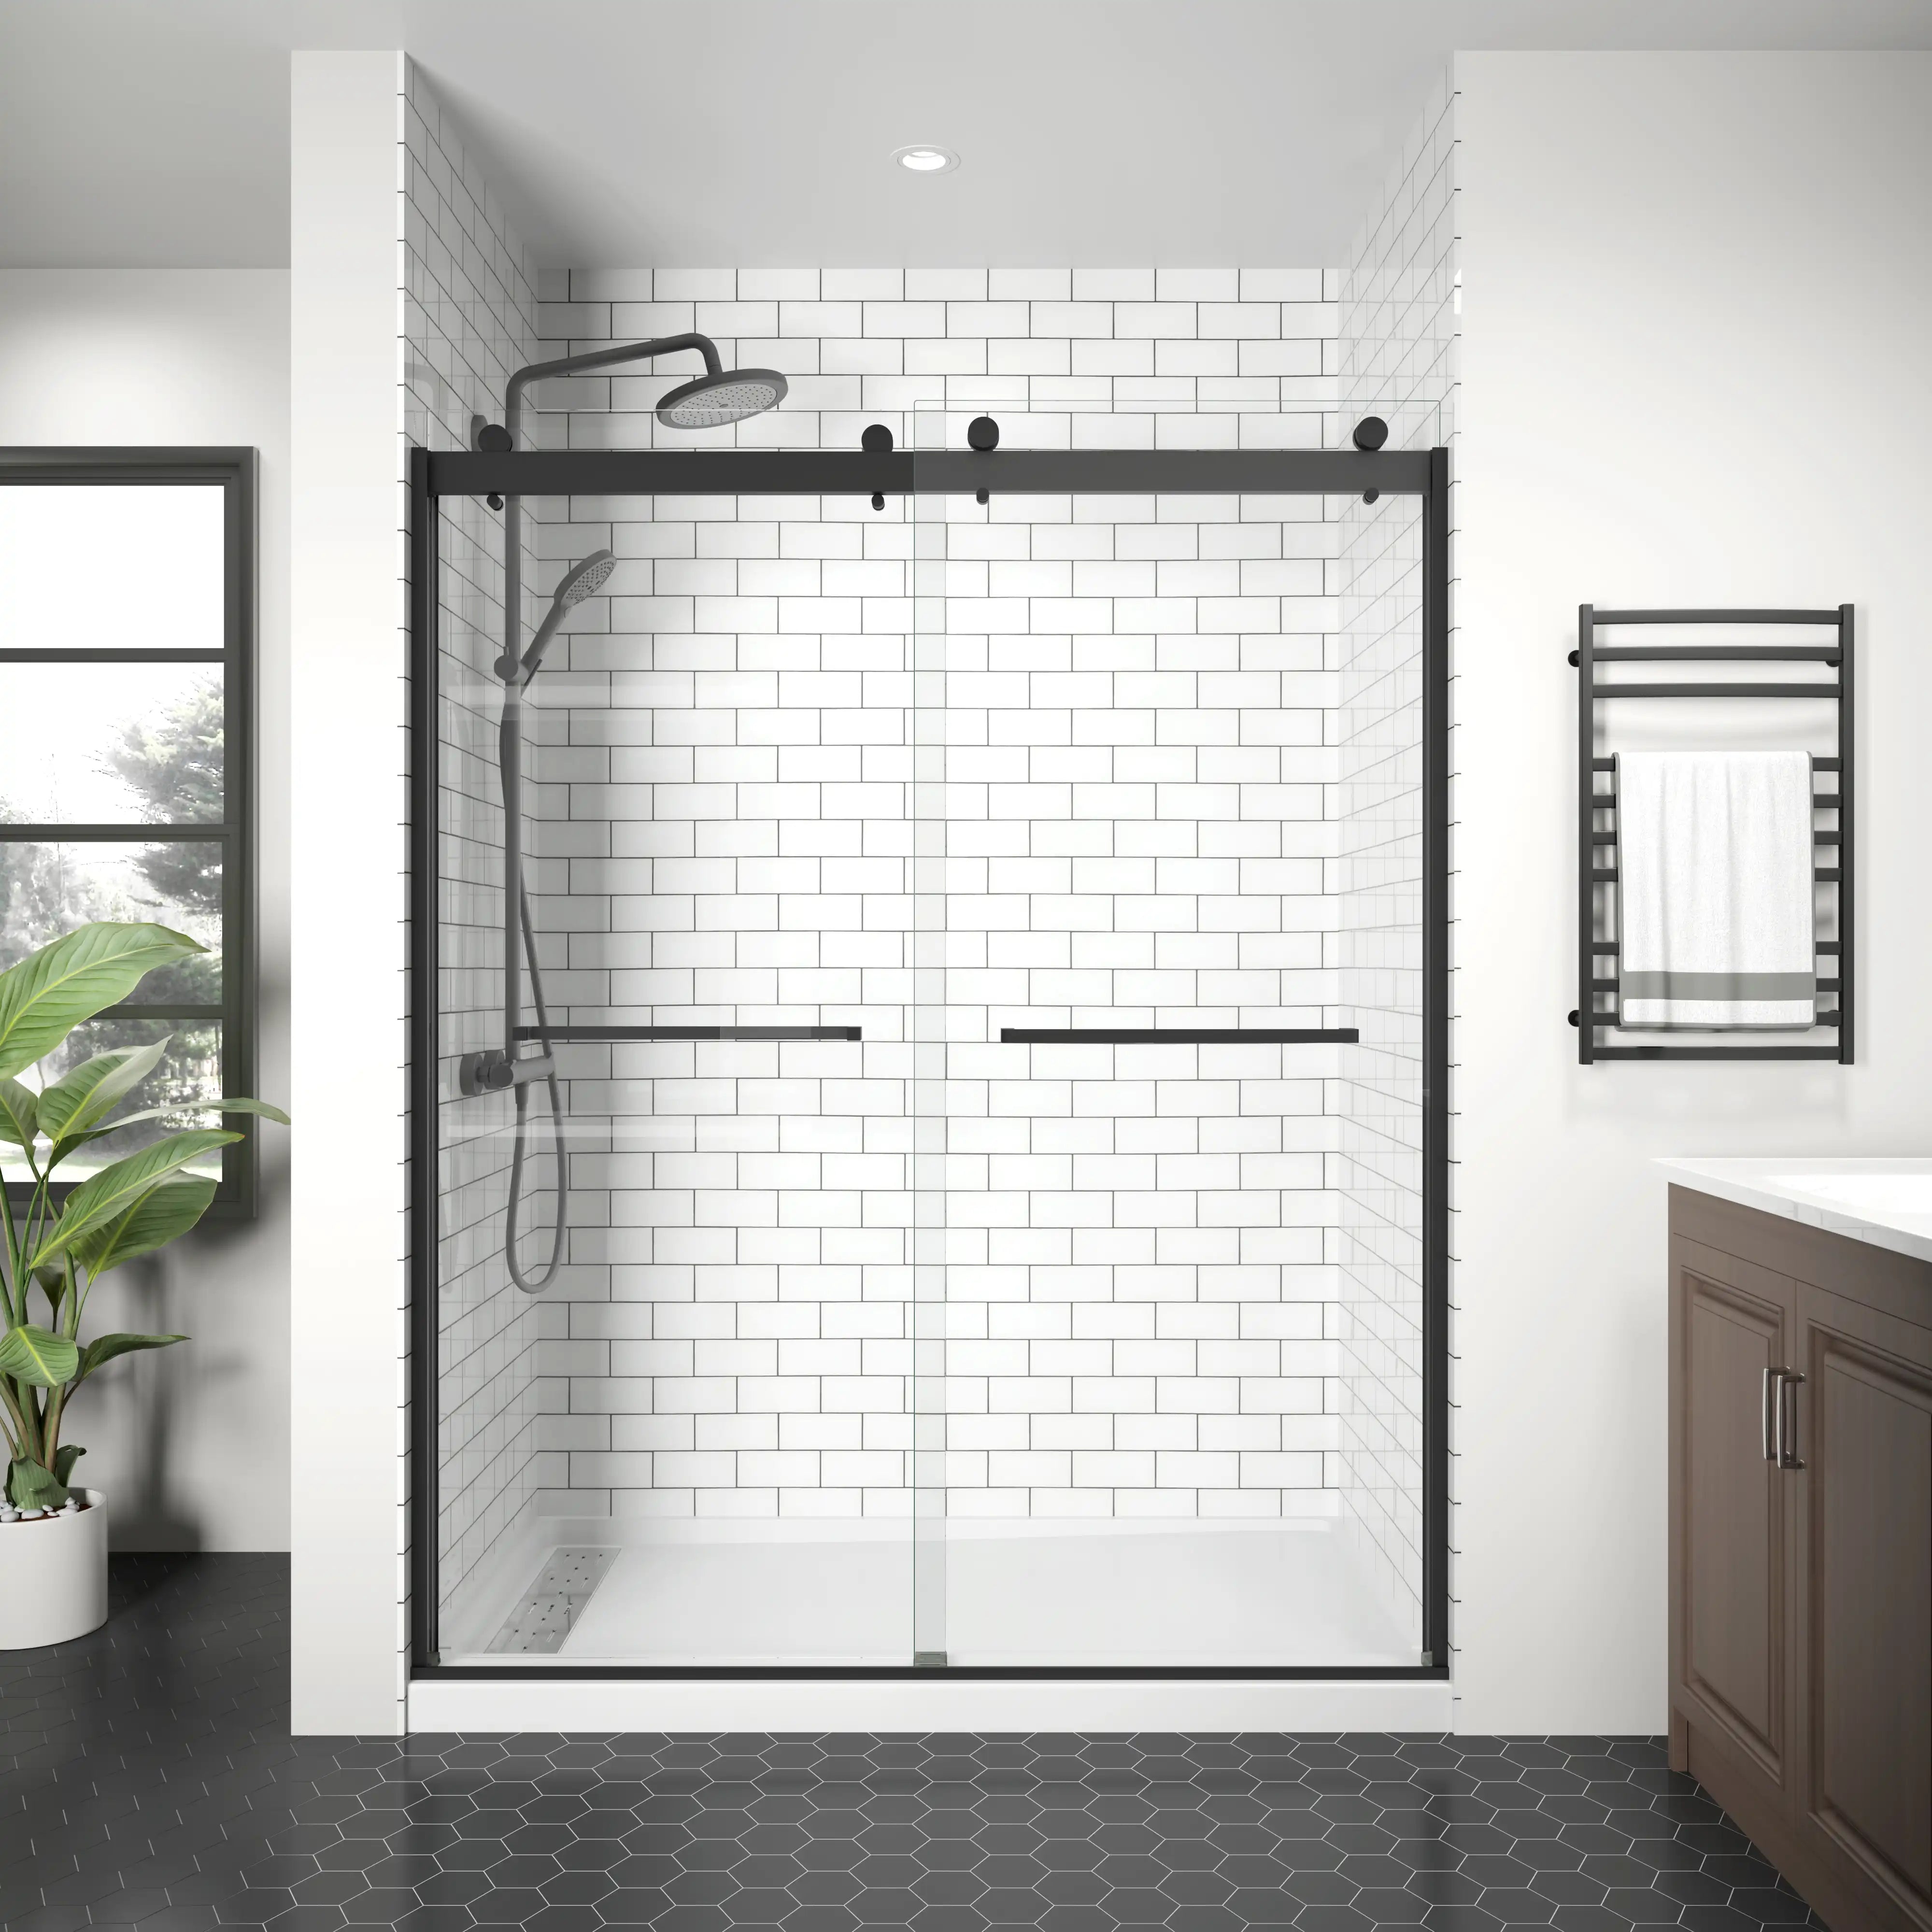
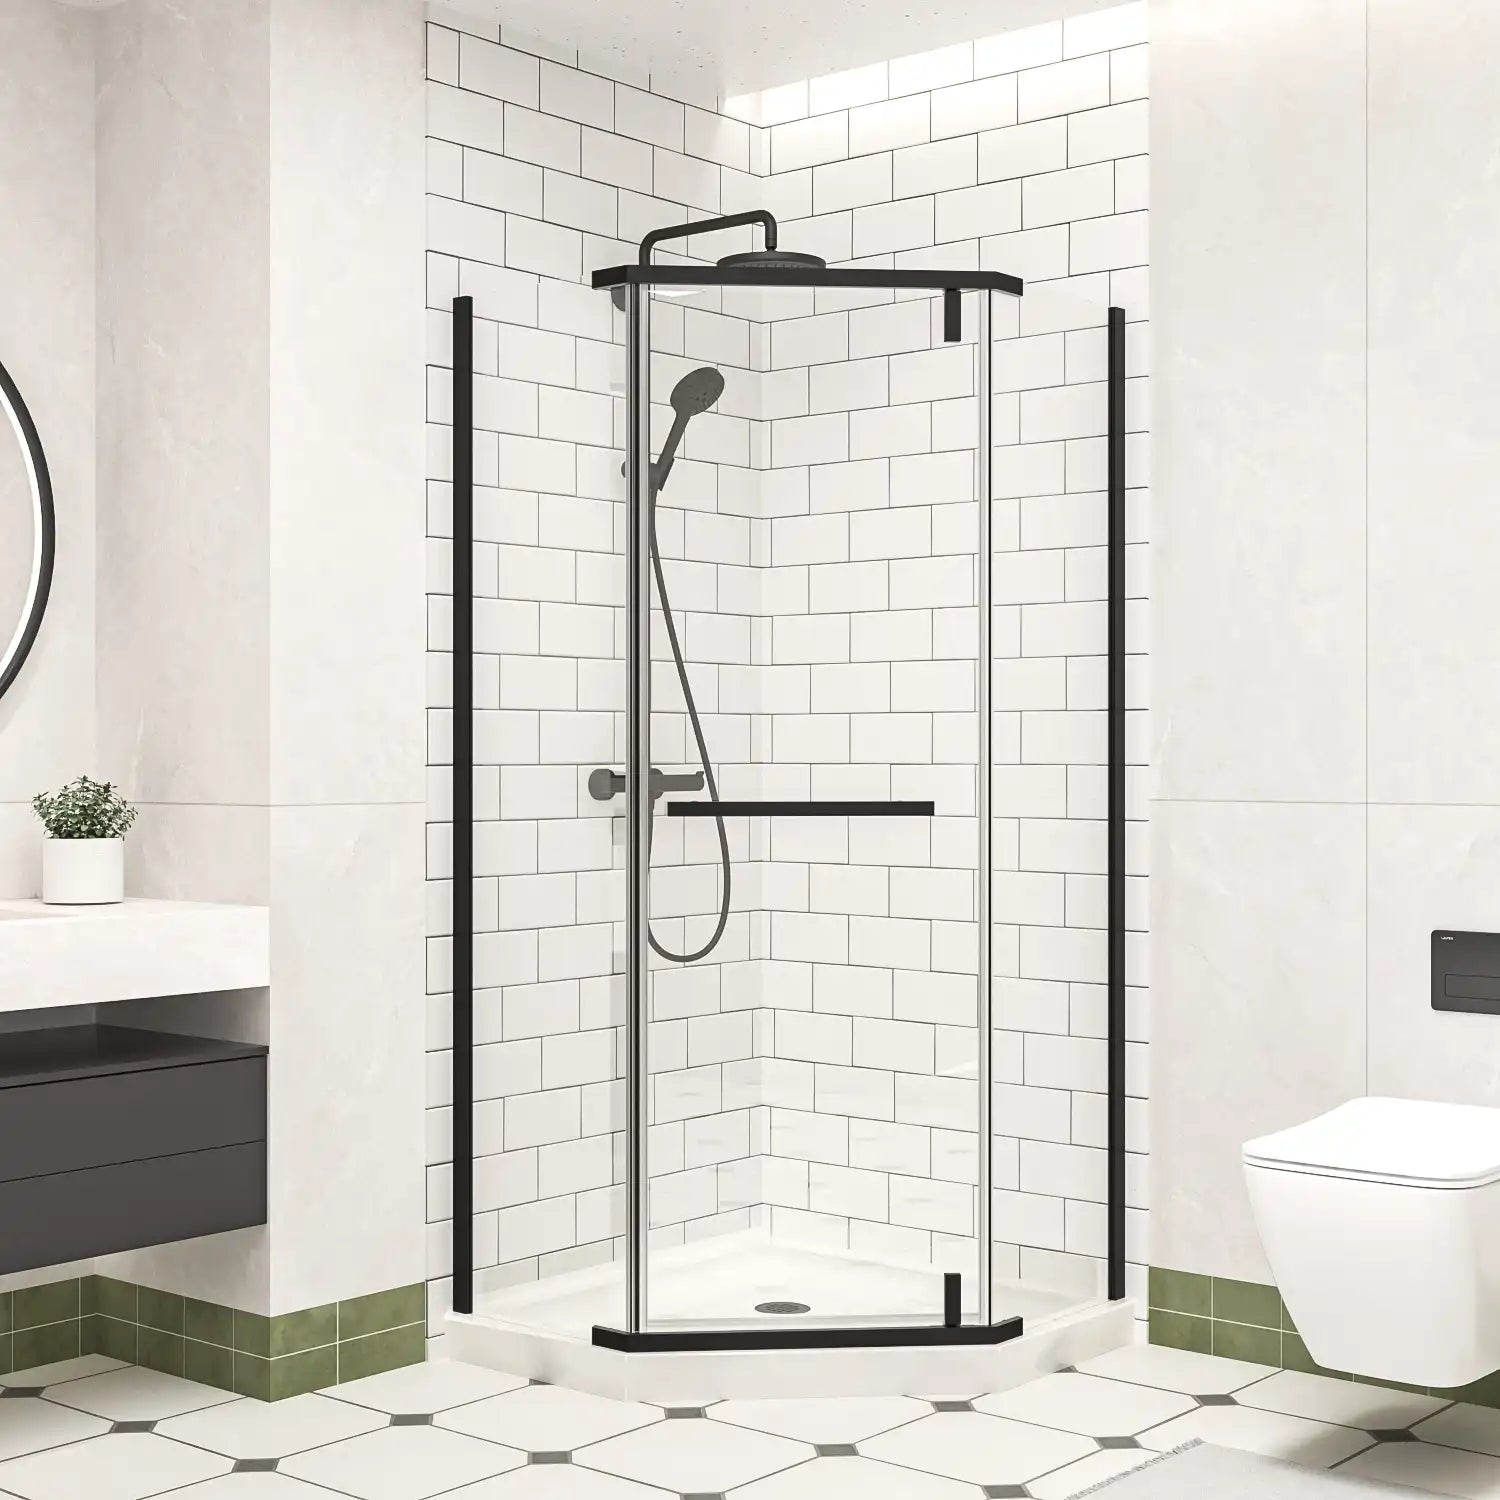
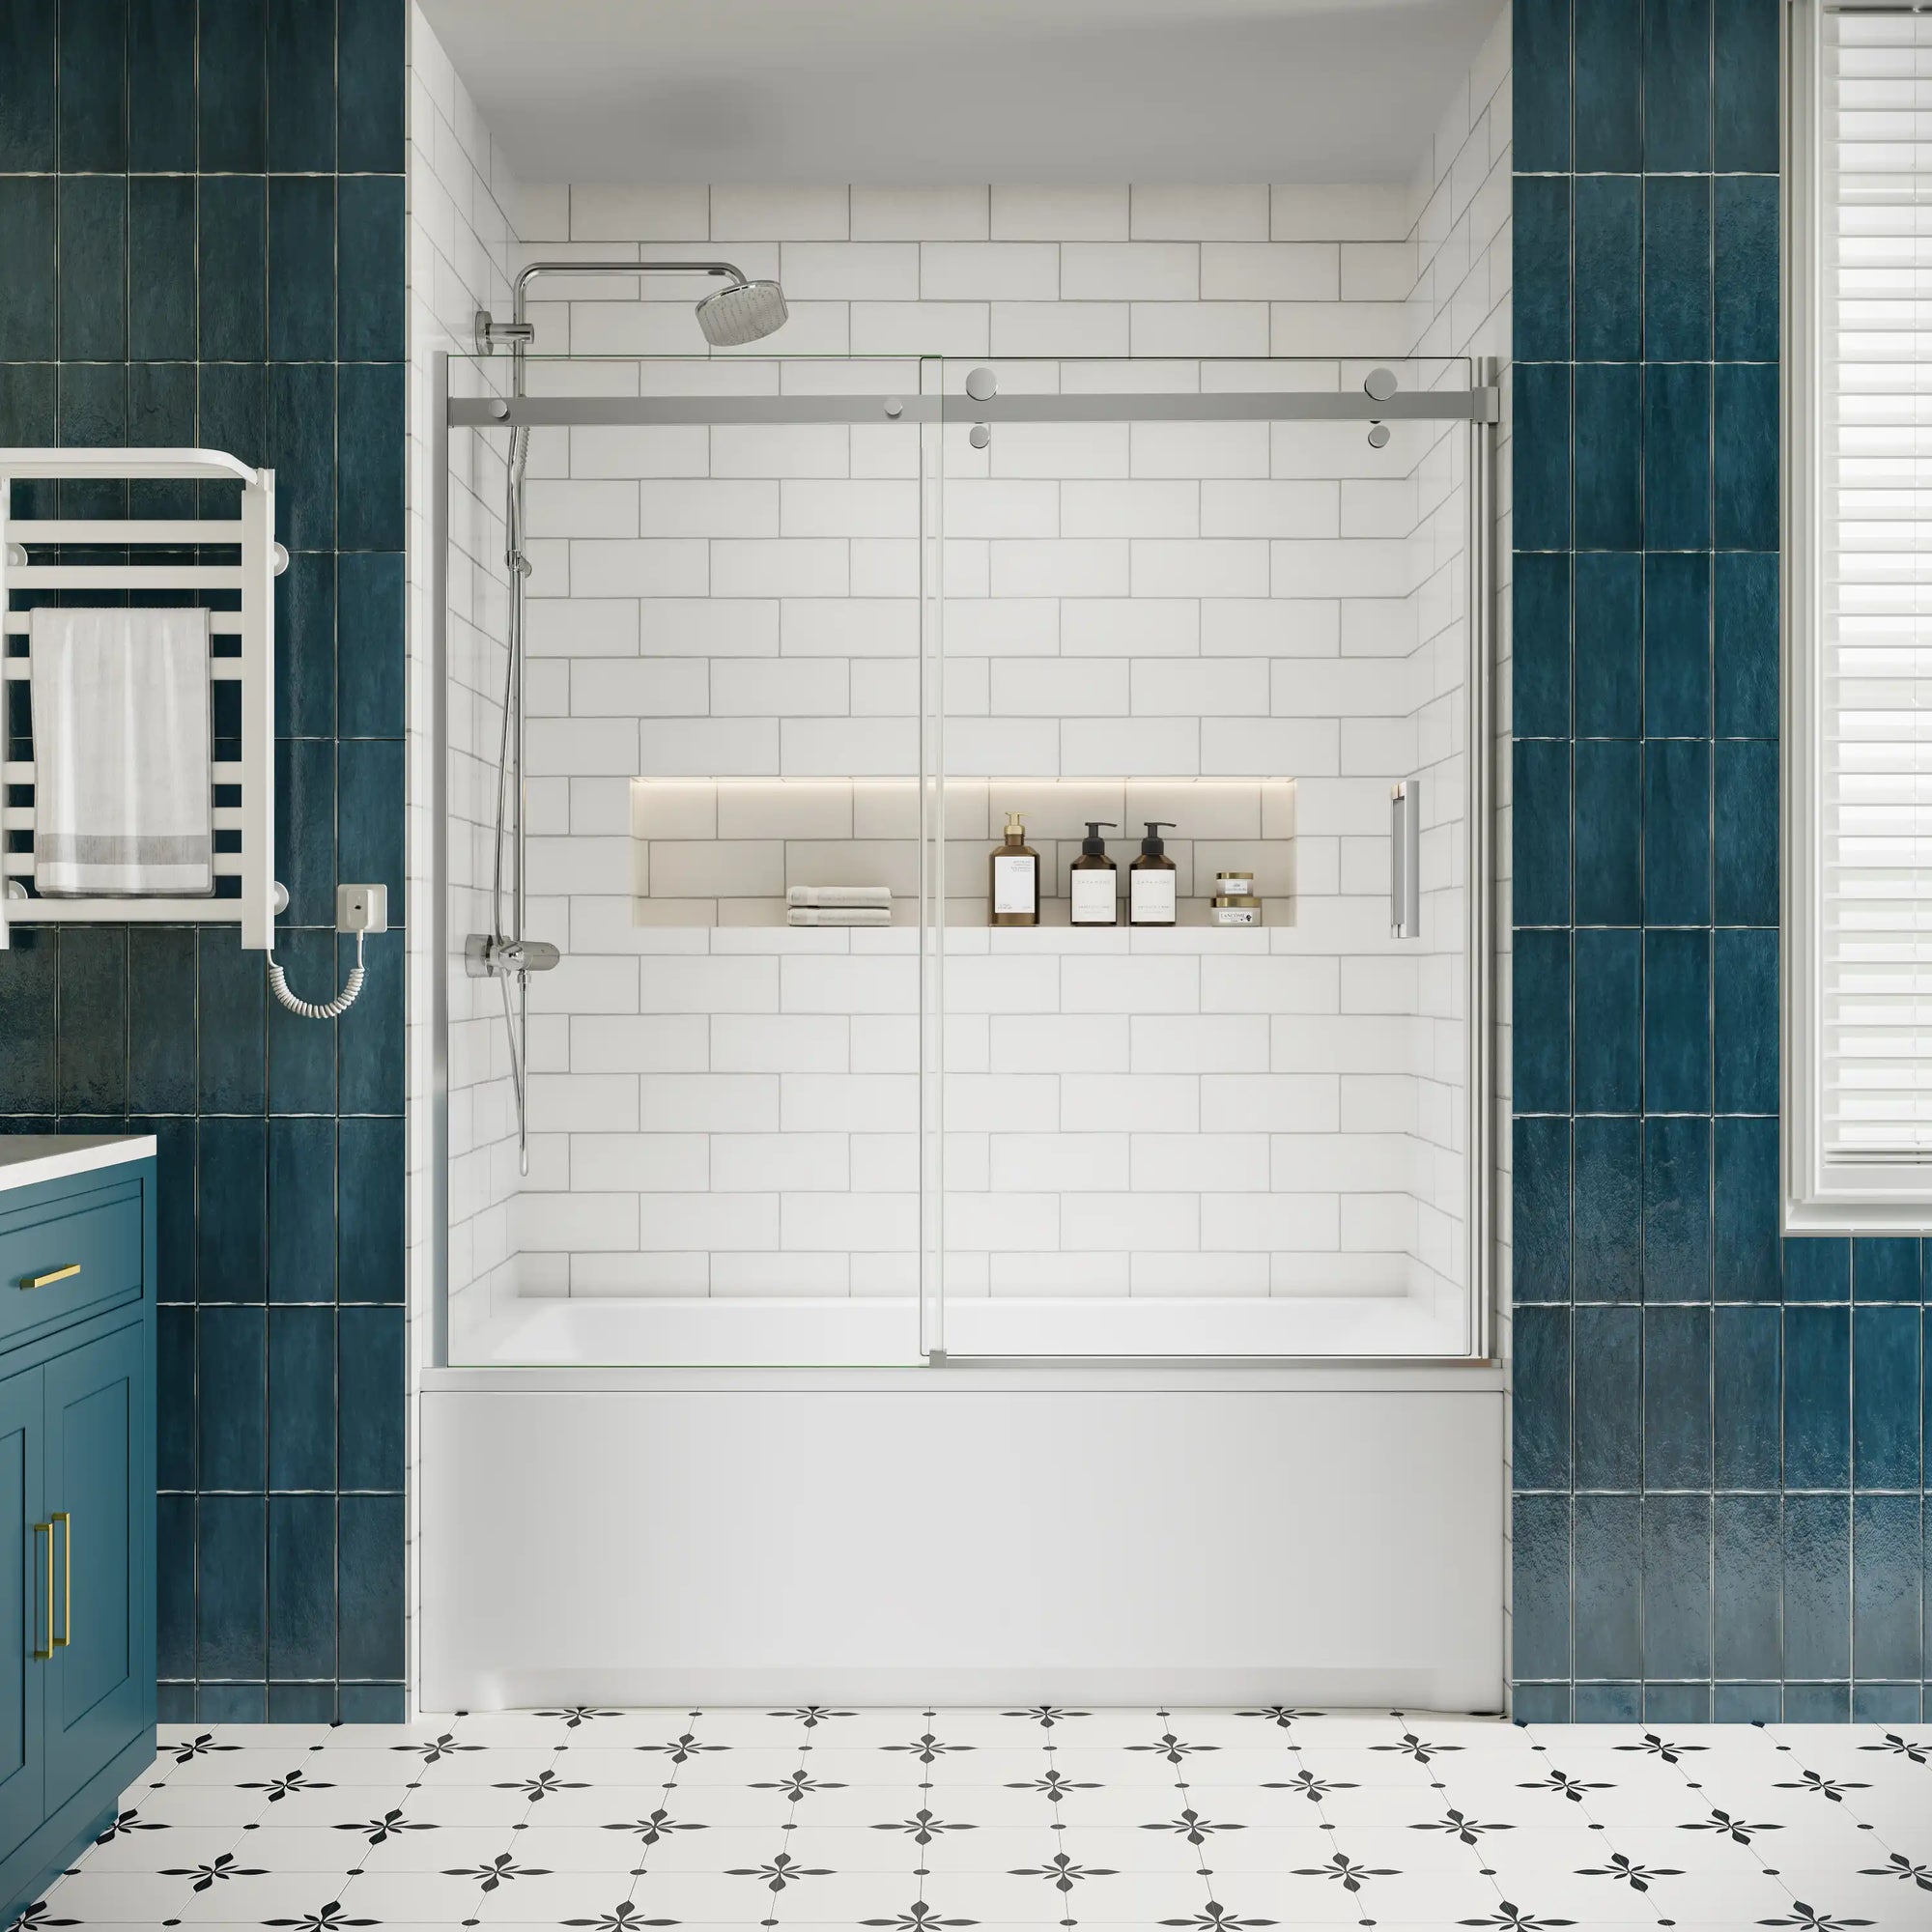
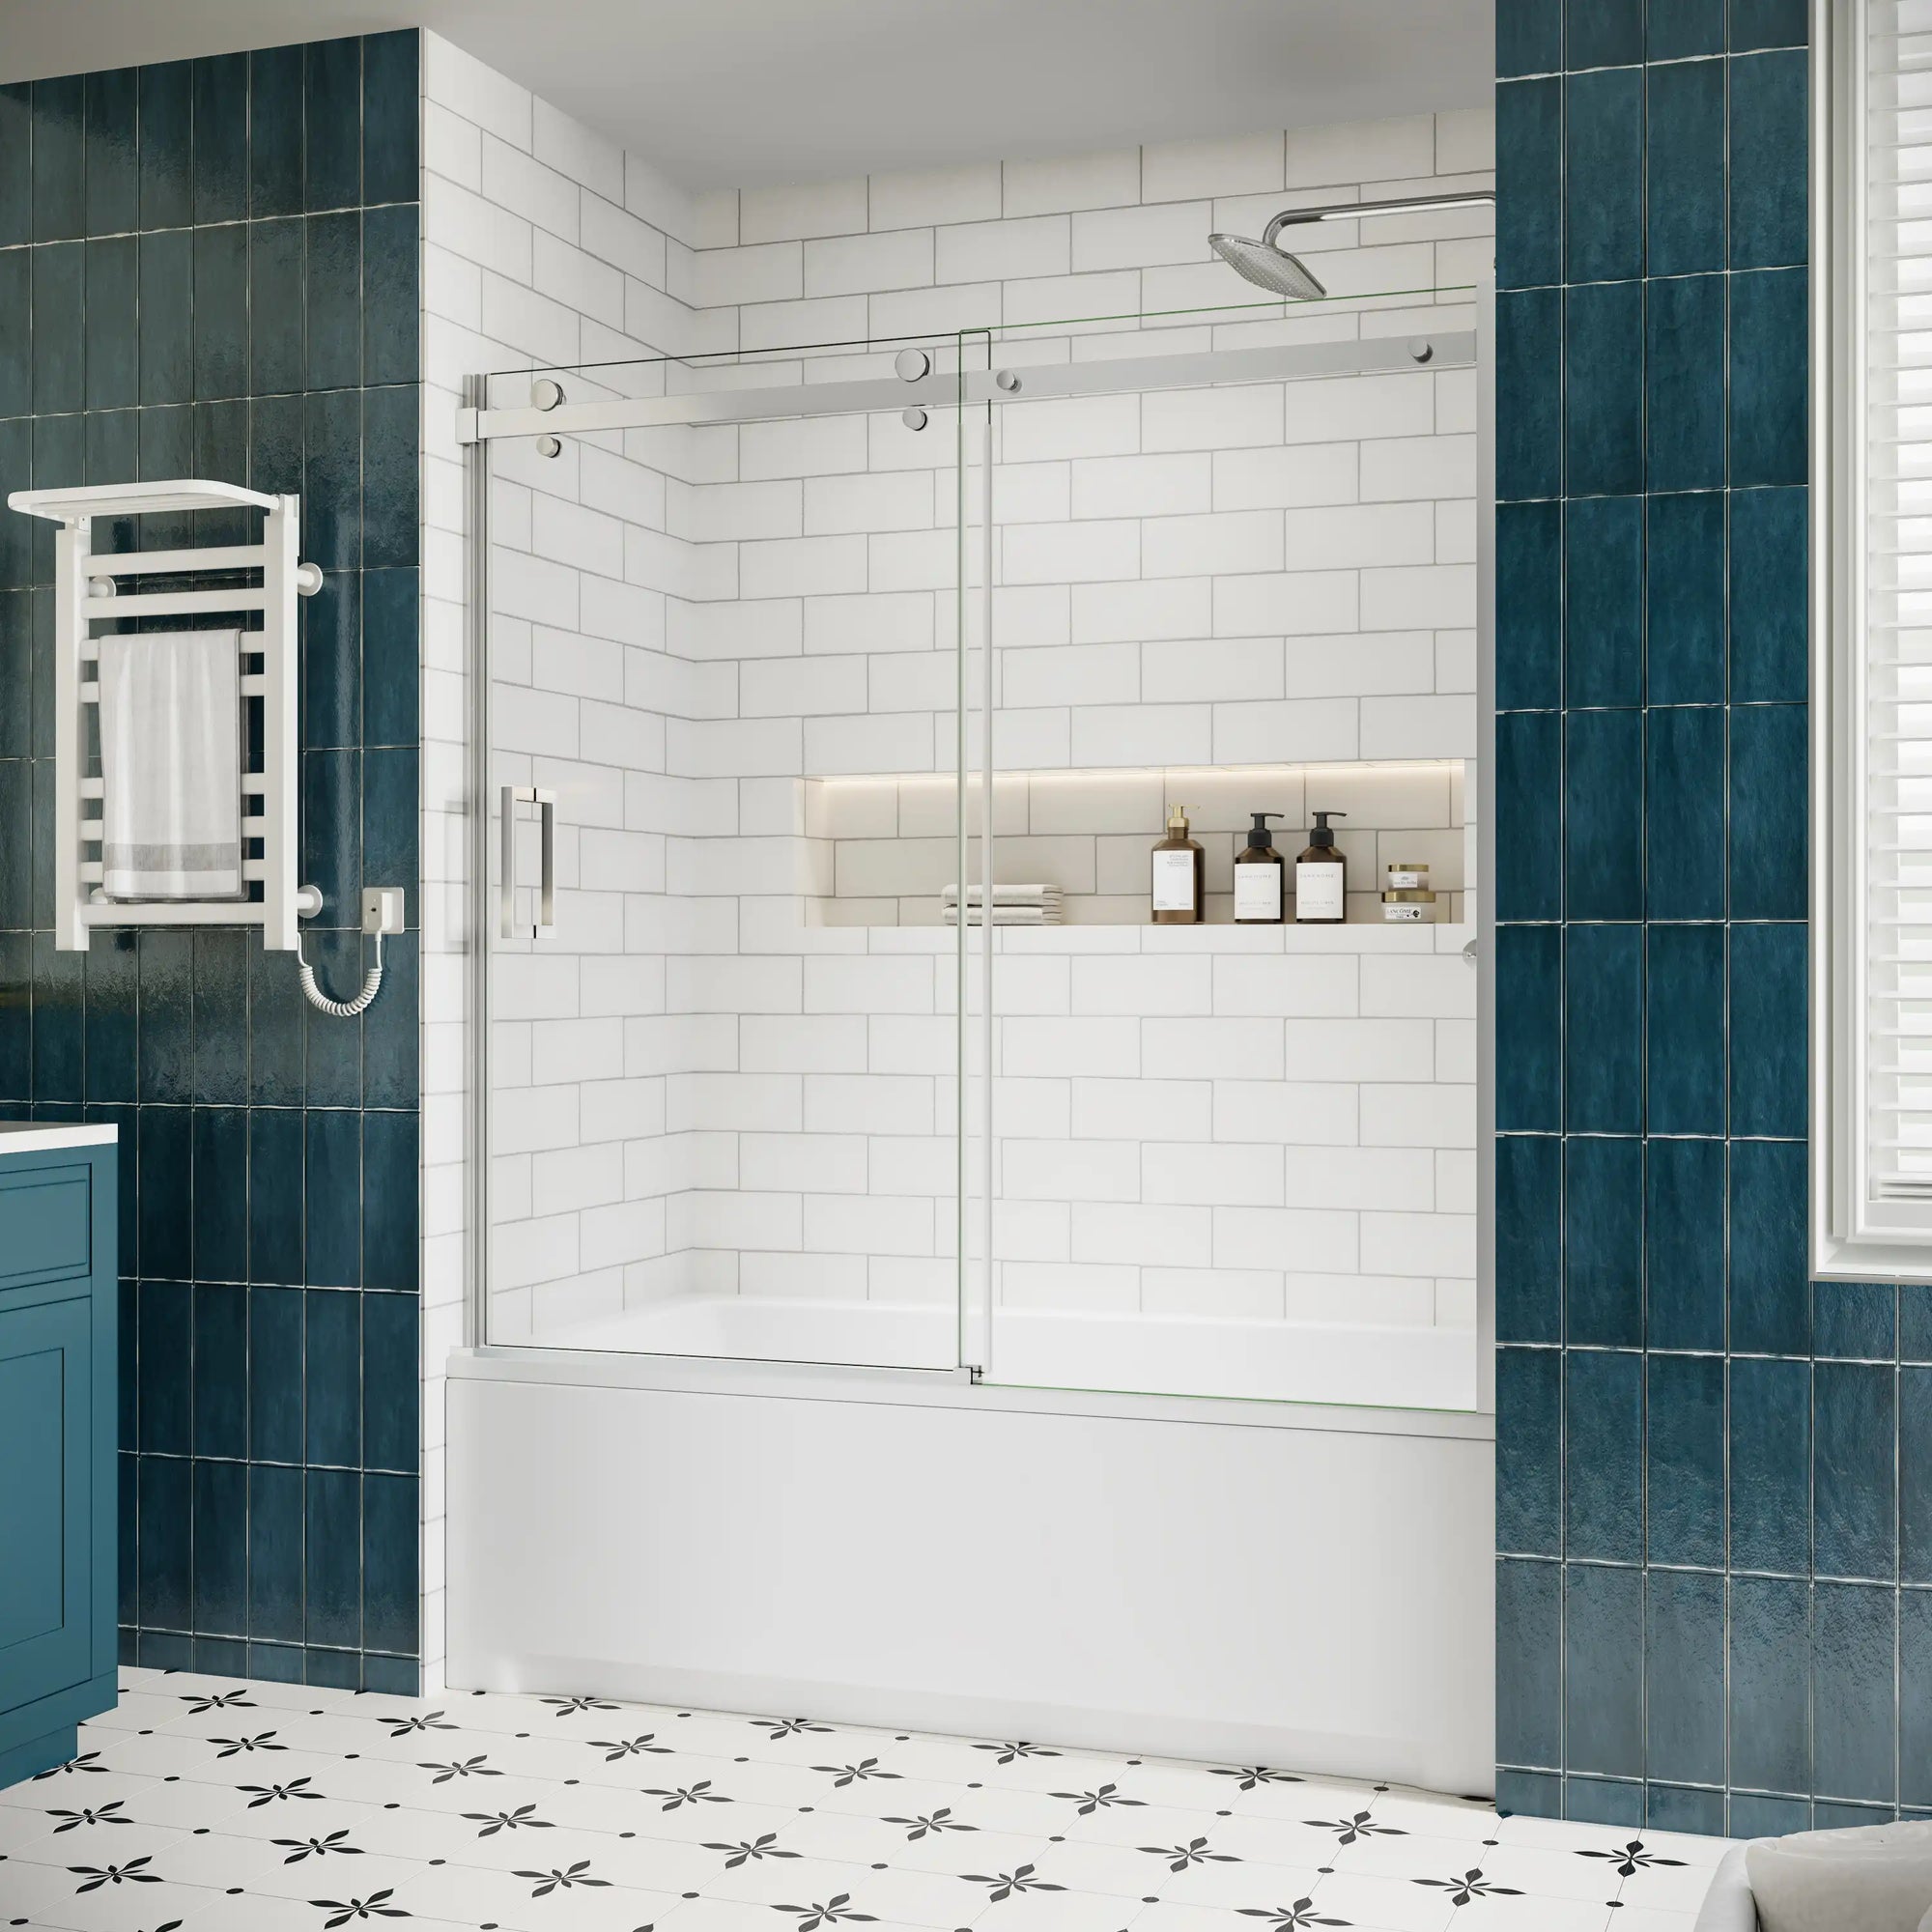
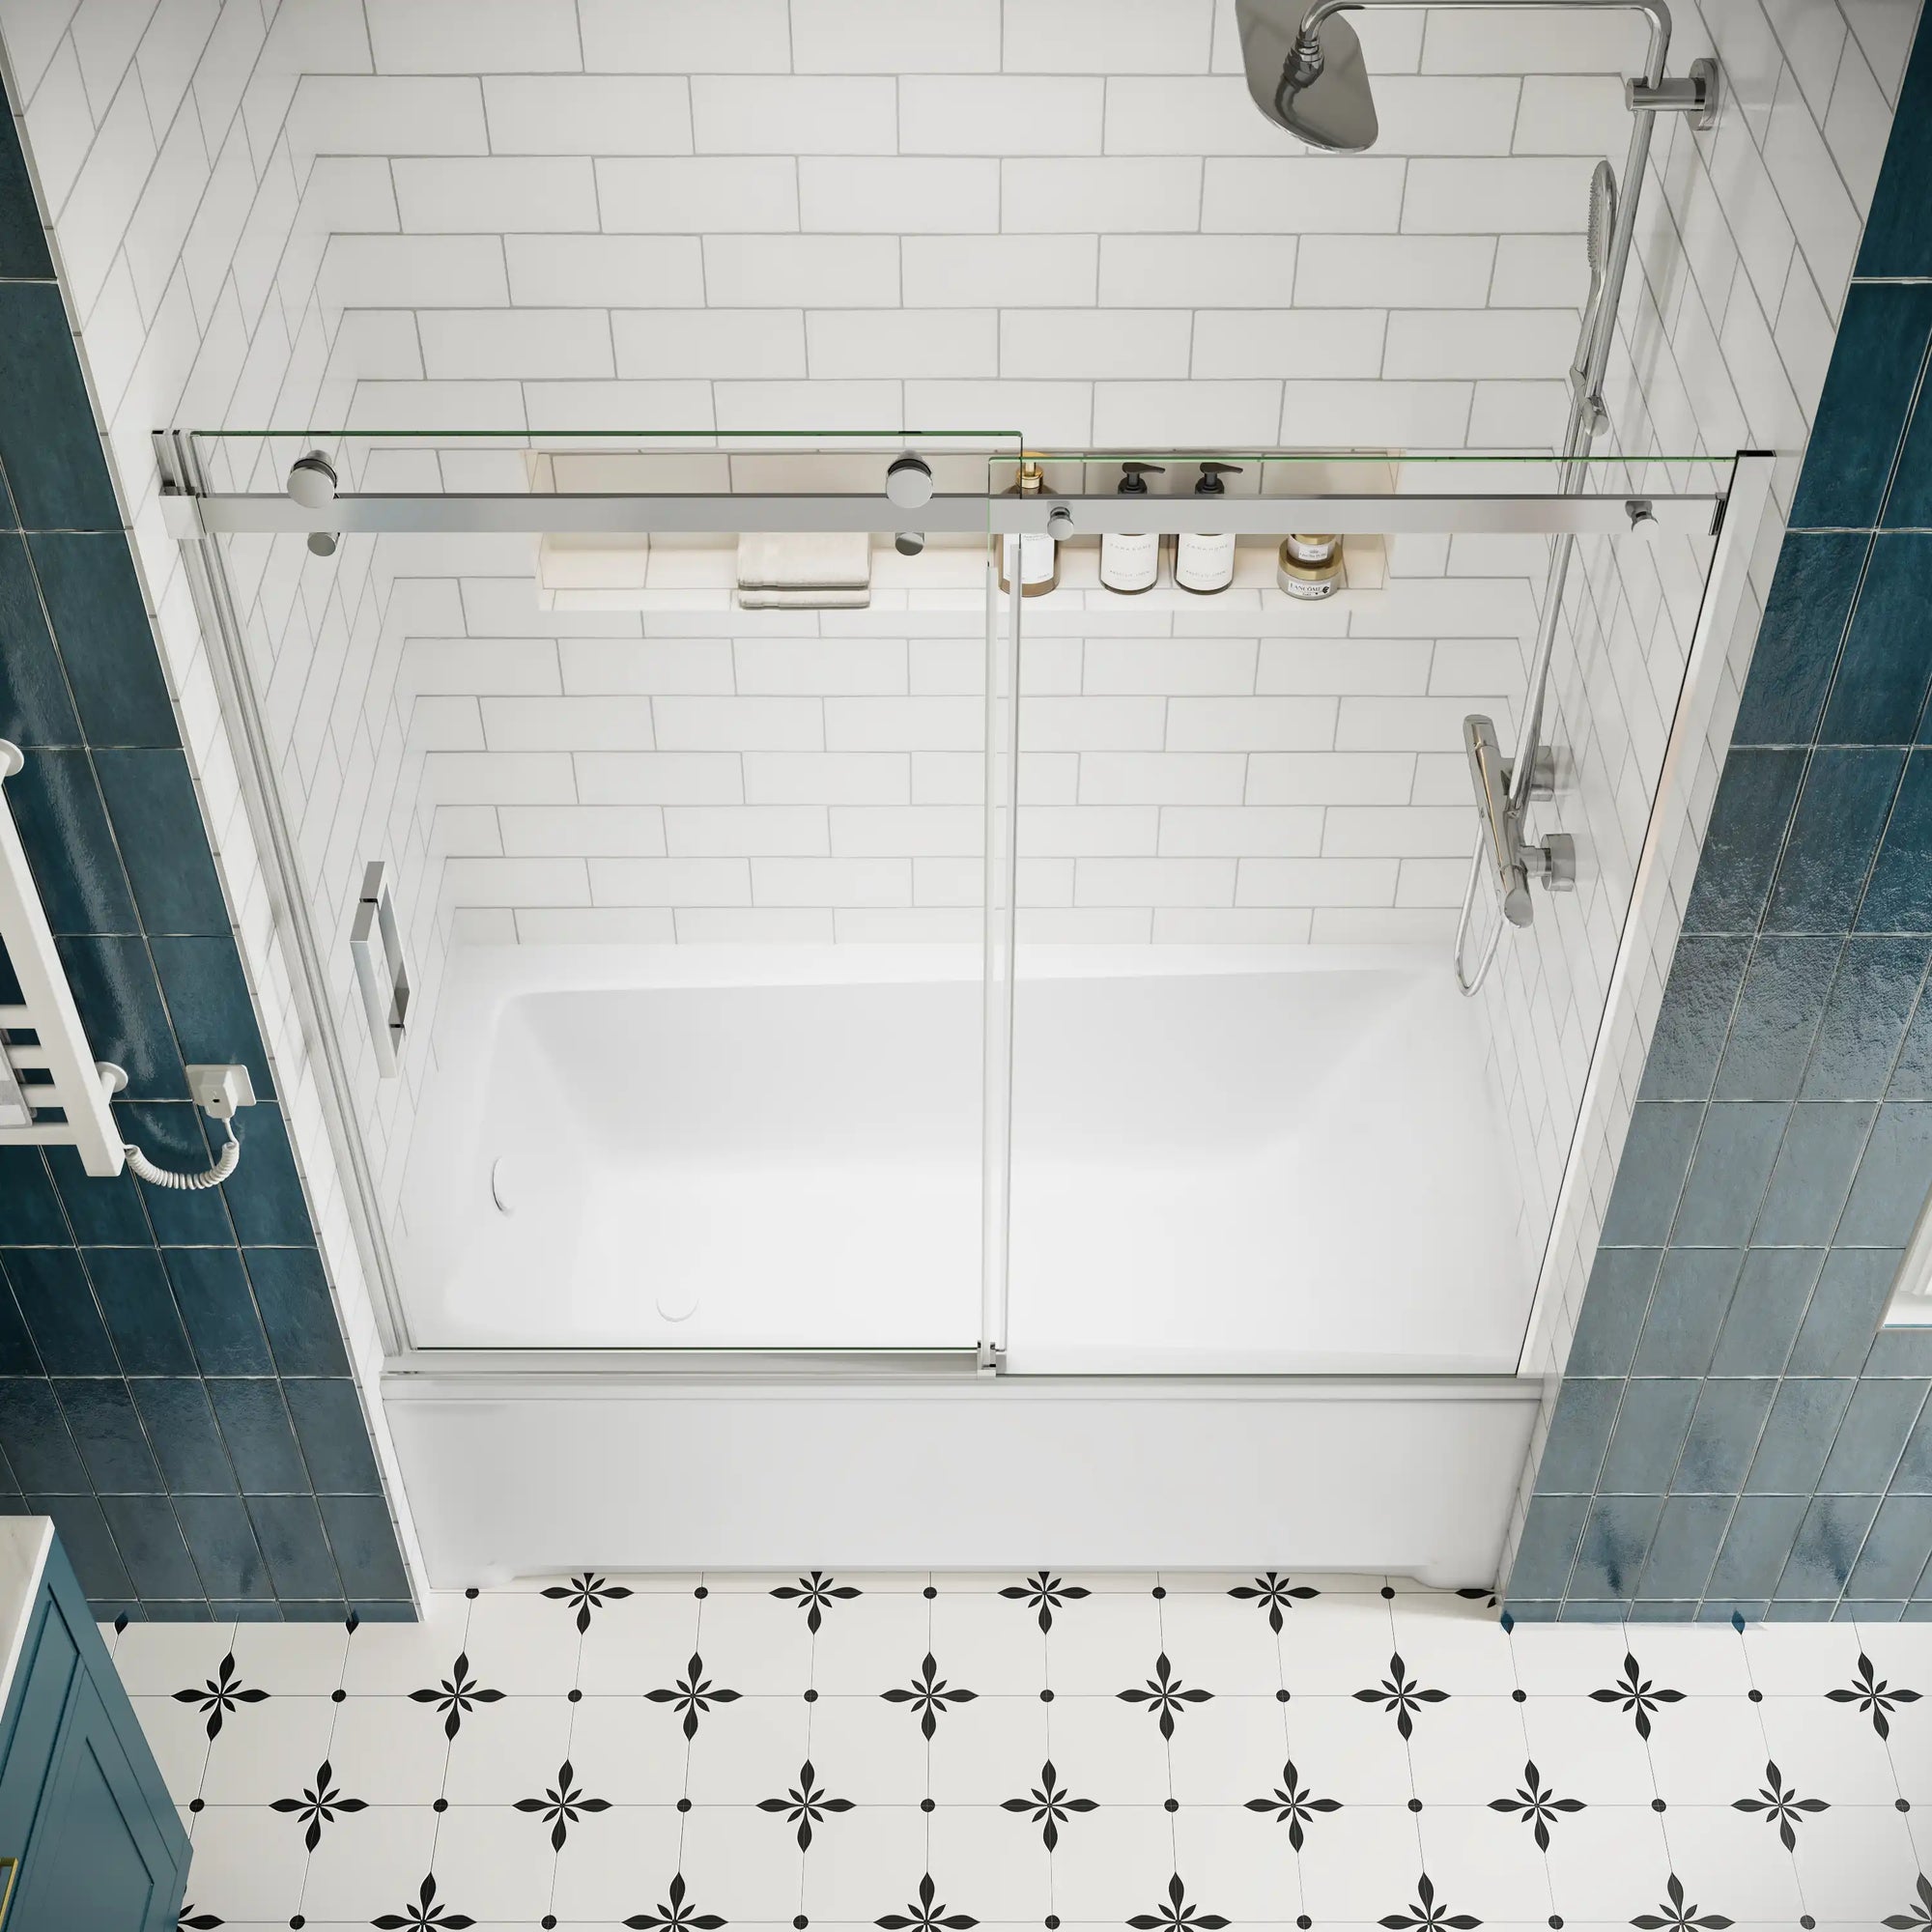
One of the best things you can do to improve the design and functionality of your bathroom is to upgrade your standing shower door. Whether your current shower door is outdated, damaged, or simply not performing as it should, replacing it can drastically improve your daily shower experience while increasing your bathroom’s value.
In this guide, we’ll explore the signs that indicate it’s time for a replacement, how to safely remove your old shower door, what tools you’ll need, and the basic steps for installing a new one. So, if you’ve been thinking about a weekend renovation project, this could be it.
Table of Contents:
- Why Replacing Your Standing Shower Door Is Worth It
- Signs It’s Time to Replace Your Standing Shower Door
- How to Remove an Old Standing Shower Door
- Tools Required for Installing a Standing Shower Door
- General Installation Guide for a Sliding Standing Shower Door
- Conclusion: A Simple Upgrade with Lasting Impact
- FAQ: Standing Shower Door Replacement
Why Replacing Your Standing Shower Door Is Worth It
A standing shower door does more than just separate the wet and dry areas of your bathroom — it impacts everything from water containment to style and ease of maintenance. Over time, even the most durable shower doors begin to show signs of wear and tear, making a replacement both a practical and aesthetic choice.
Below are a few of the primary advantages:
-
Improved water control: A well fitted new door can help create a better seal, avoiding the kind of dangerous leaks that can and cause mold or mildew to form around your bathroom floor.
-
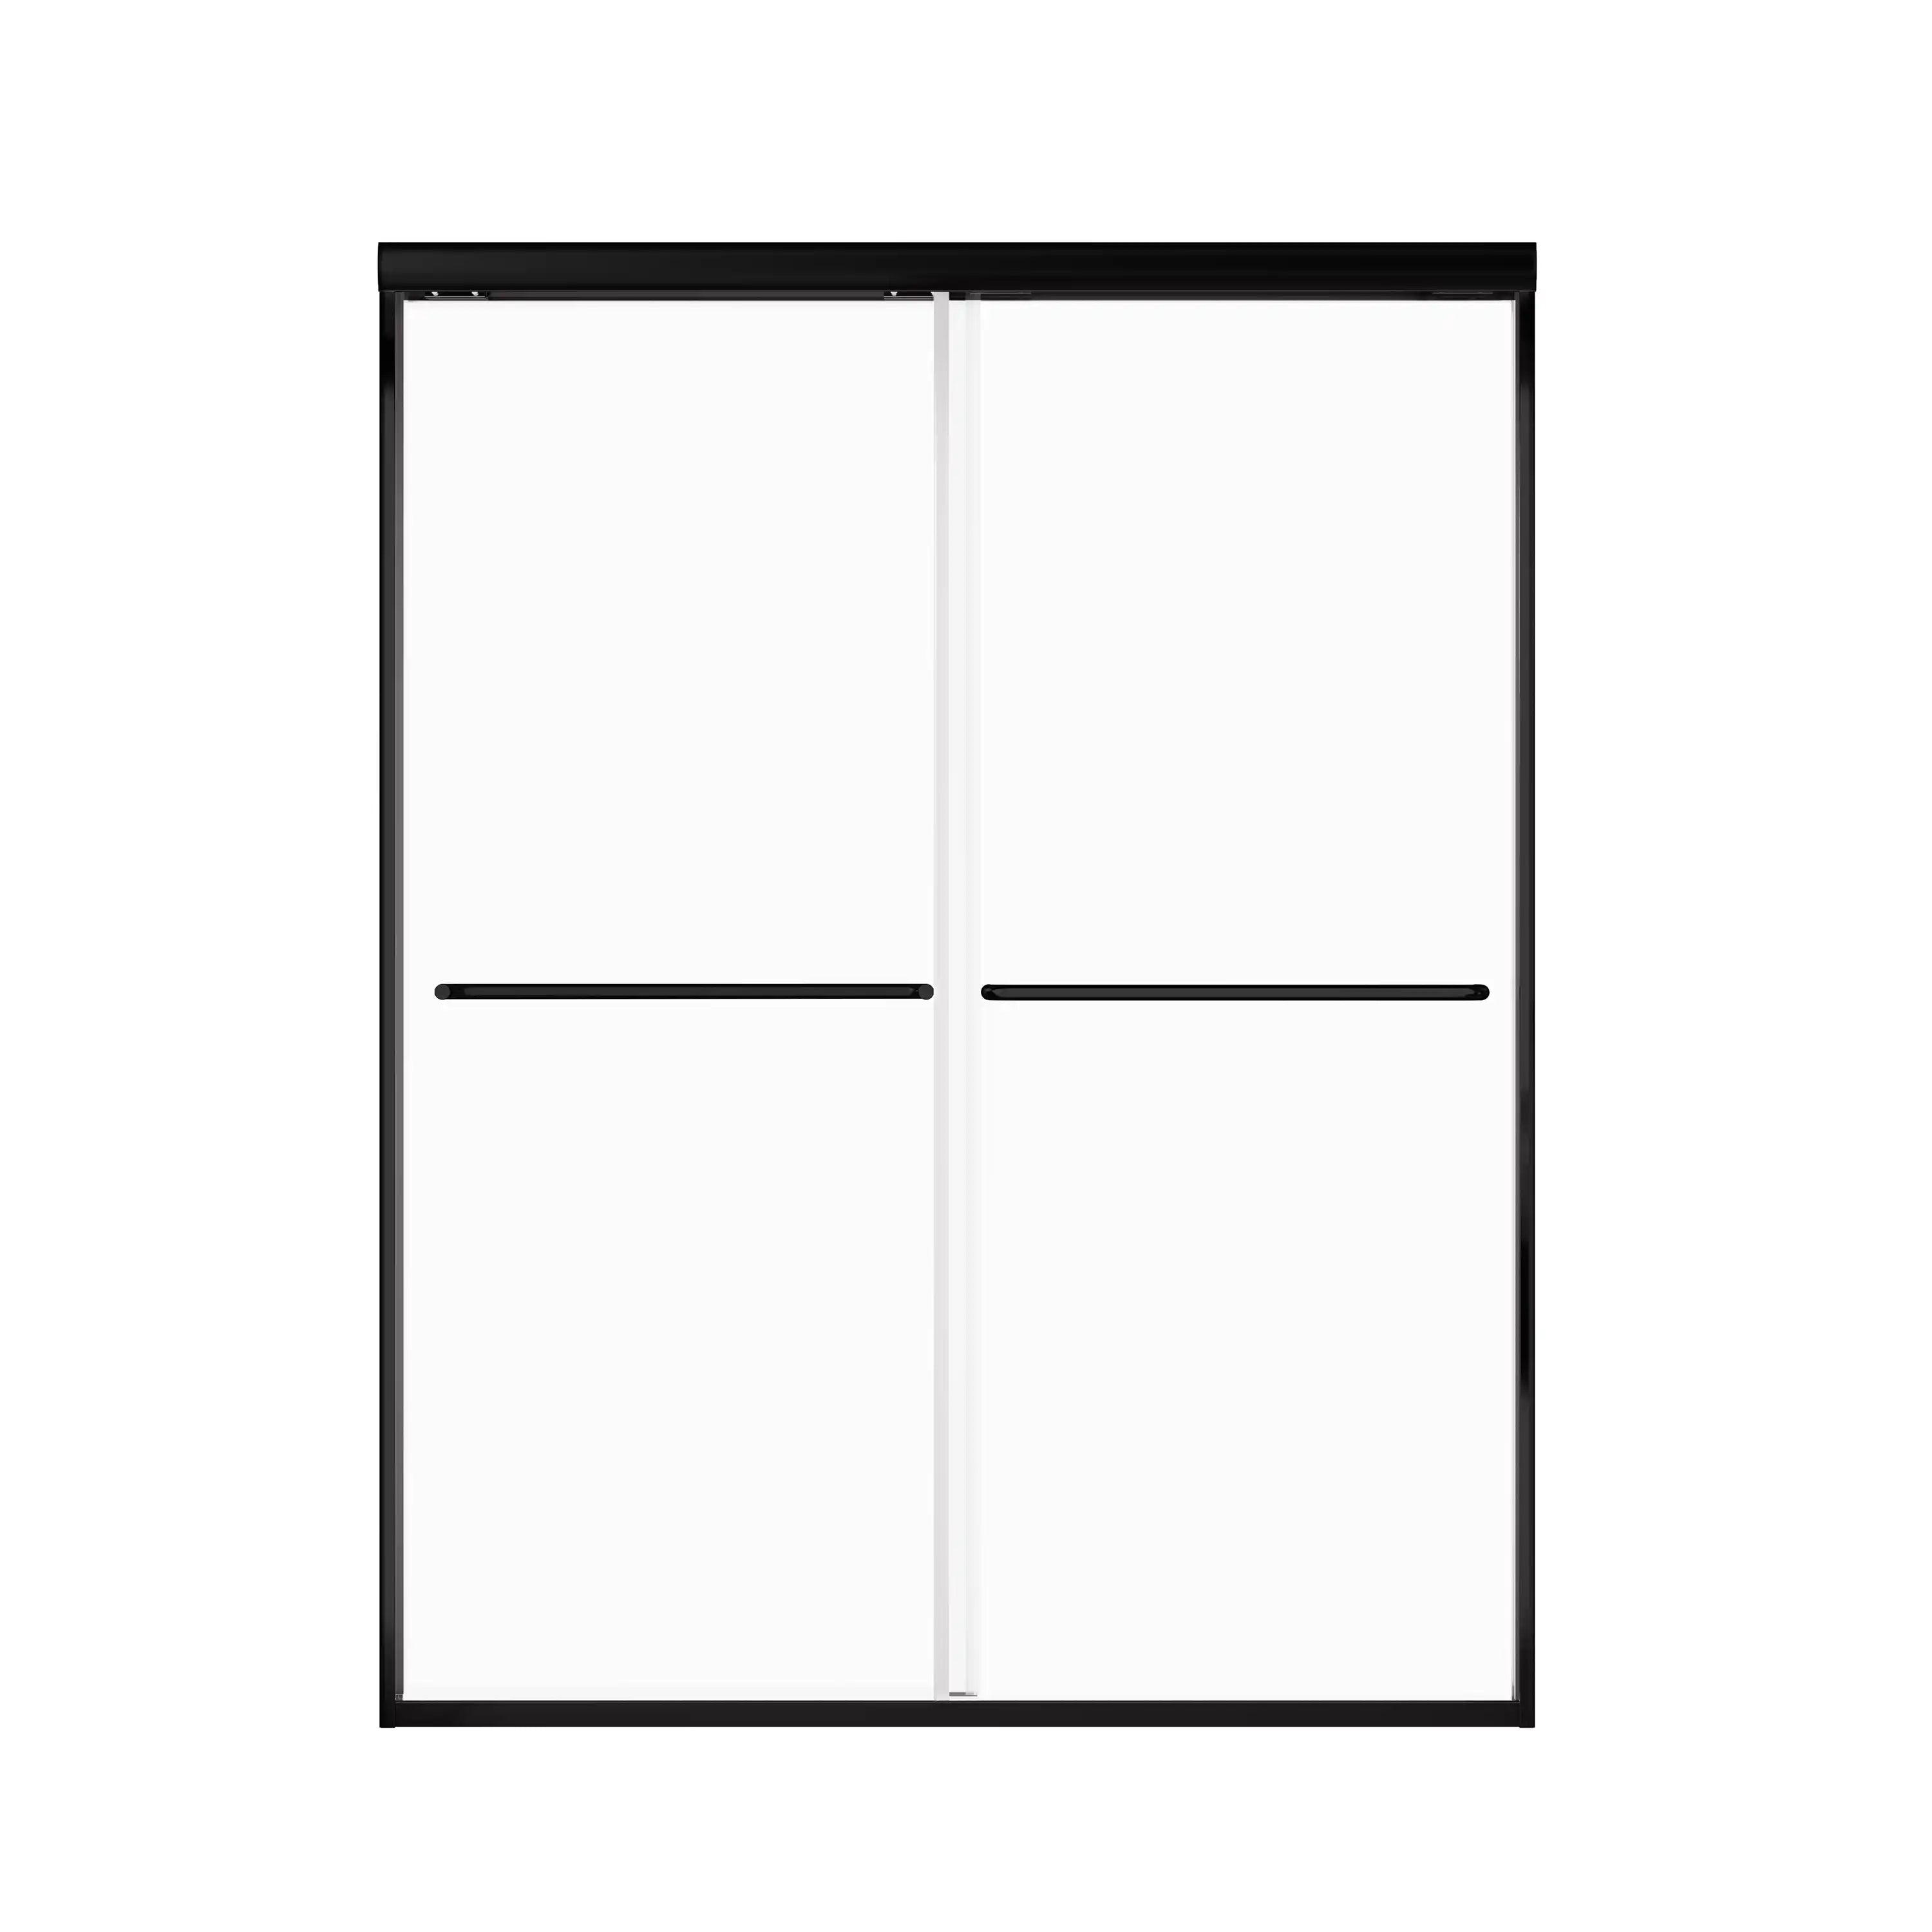
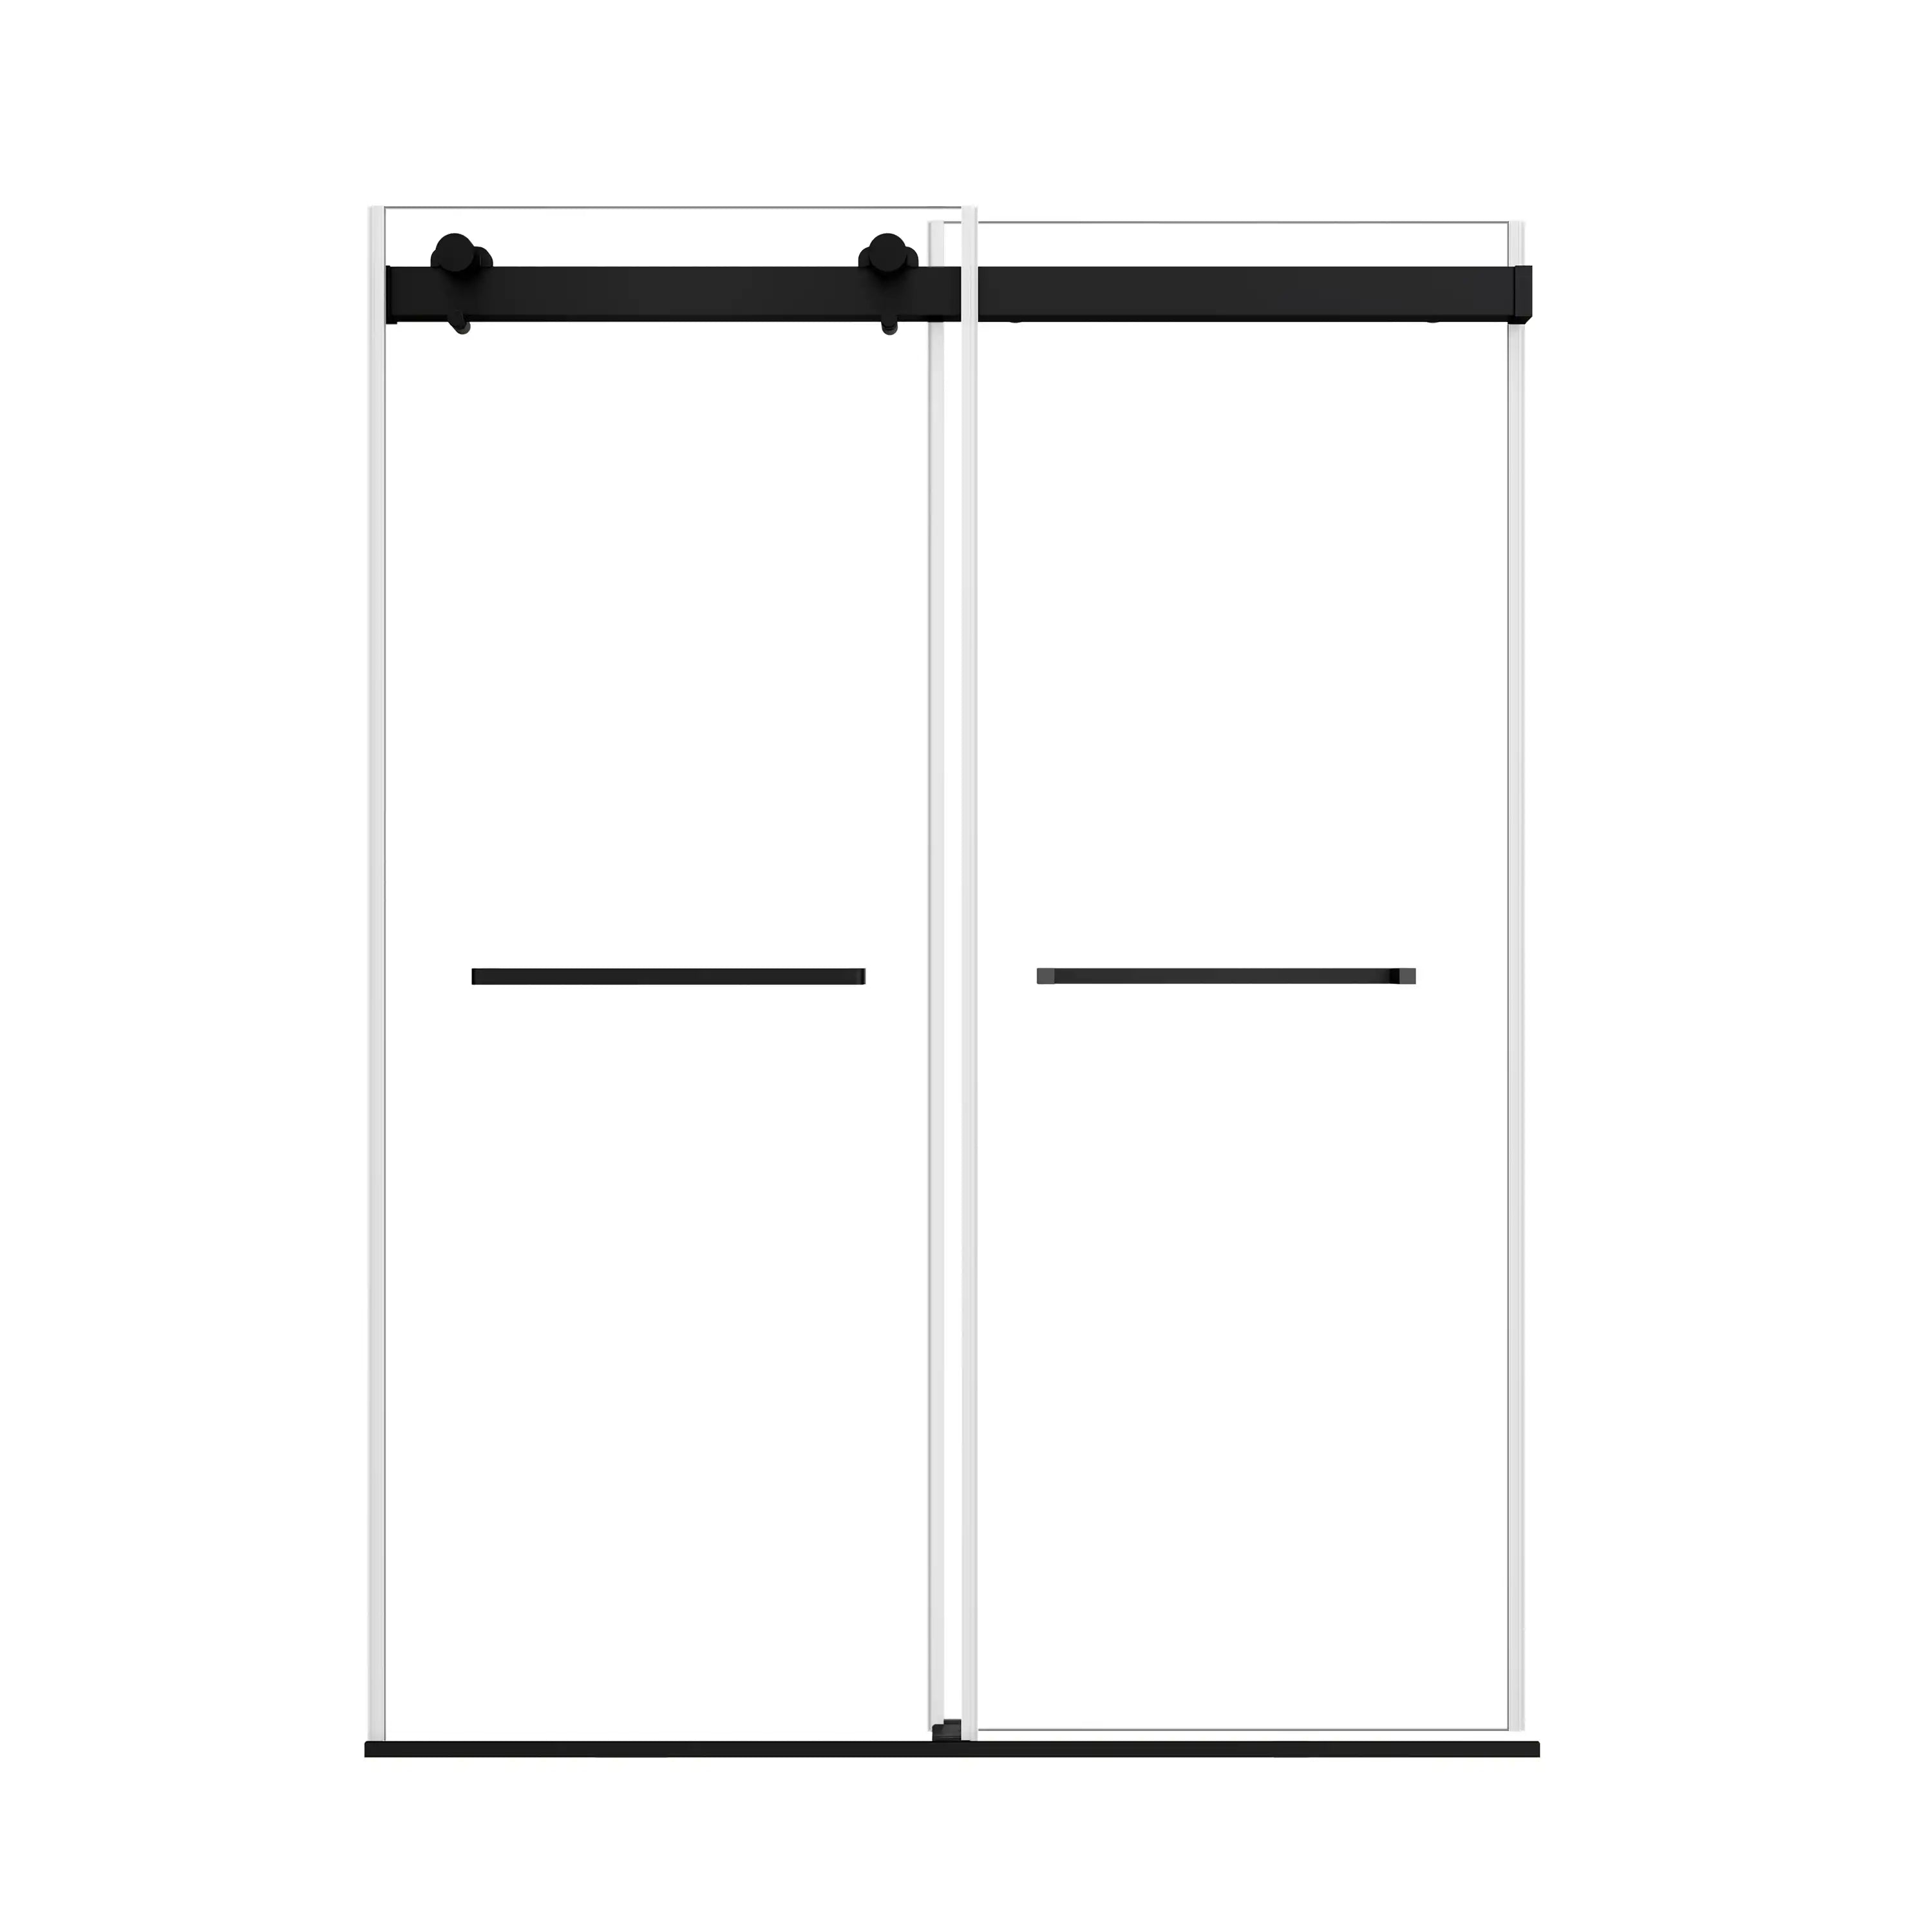
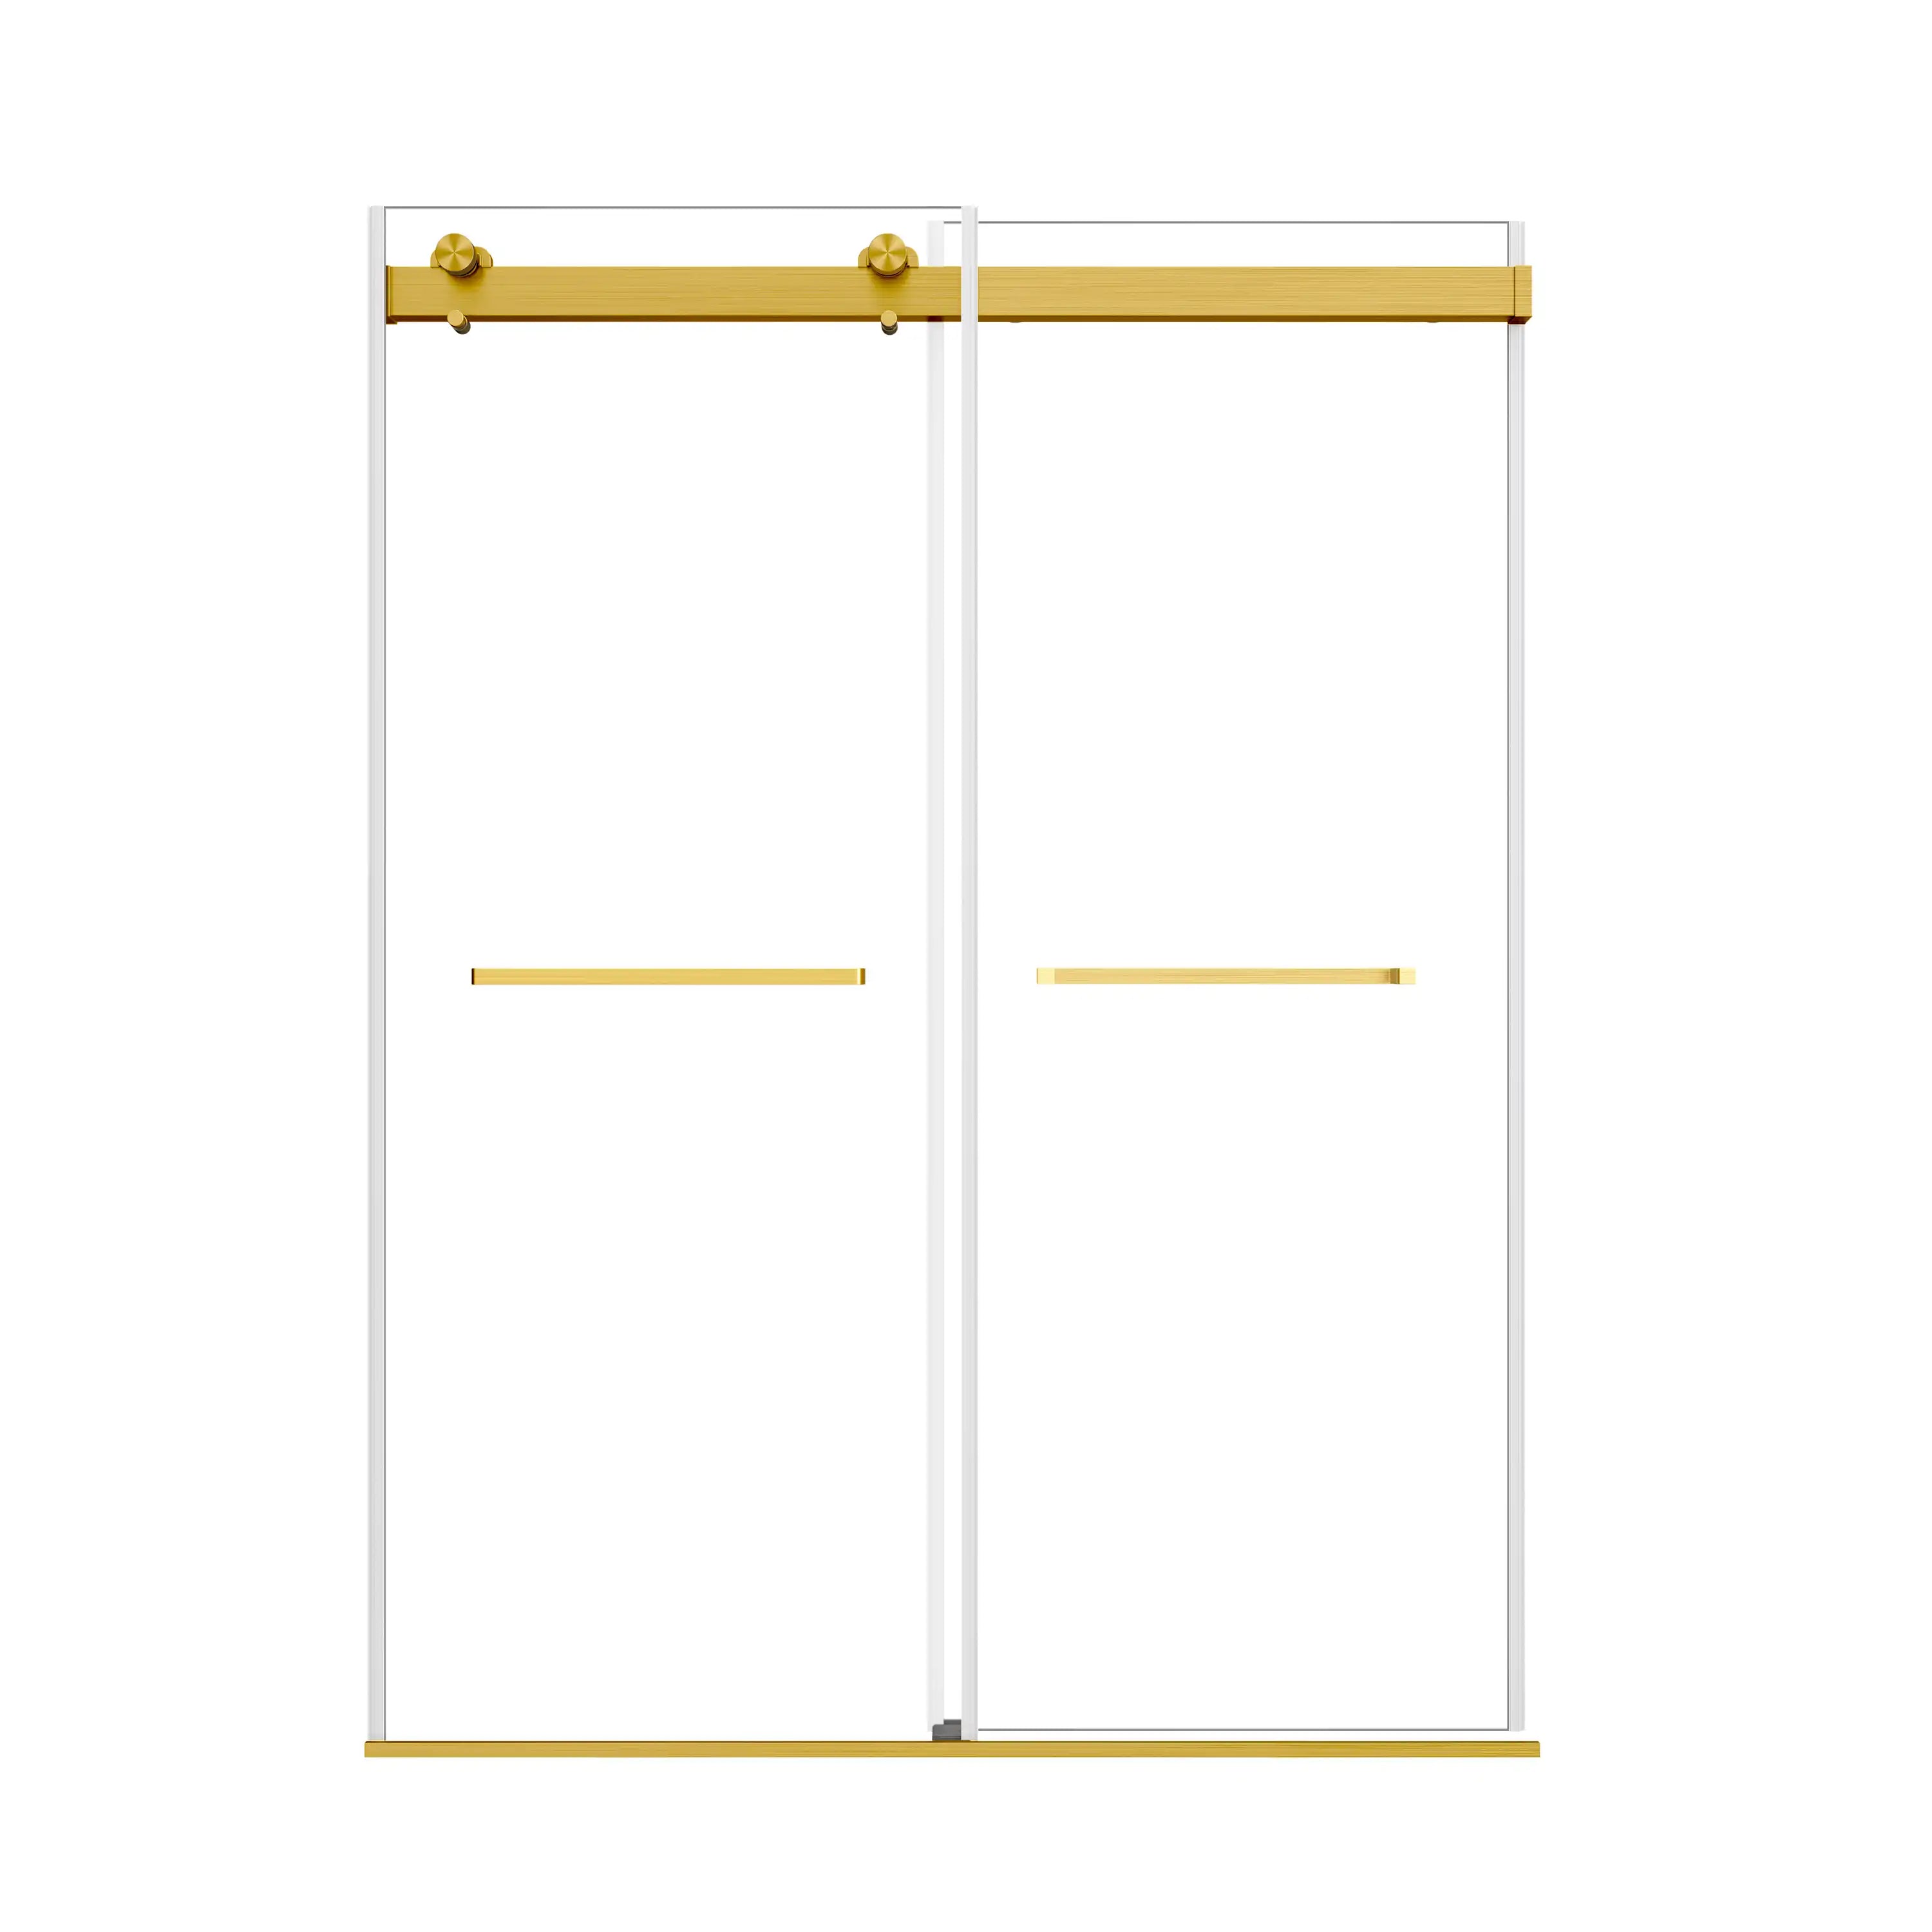
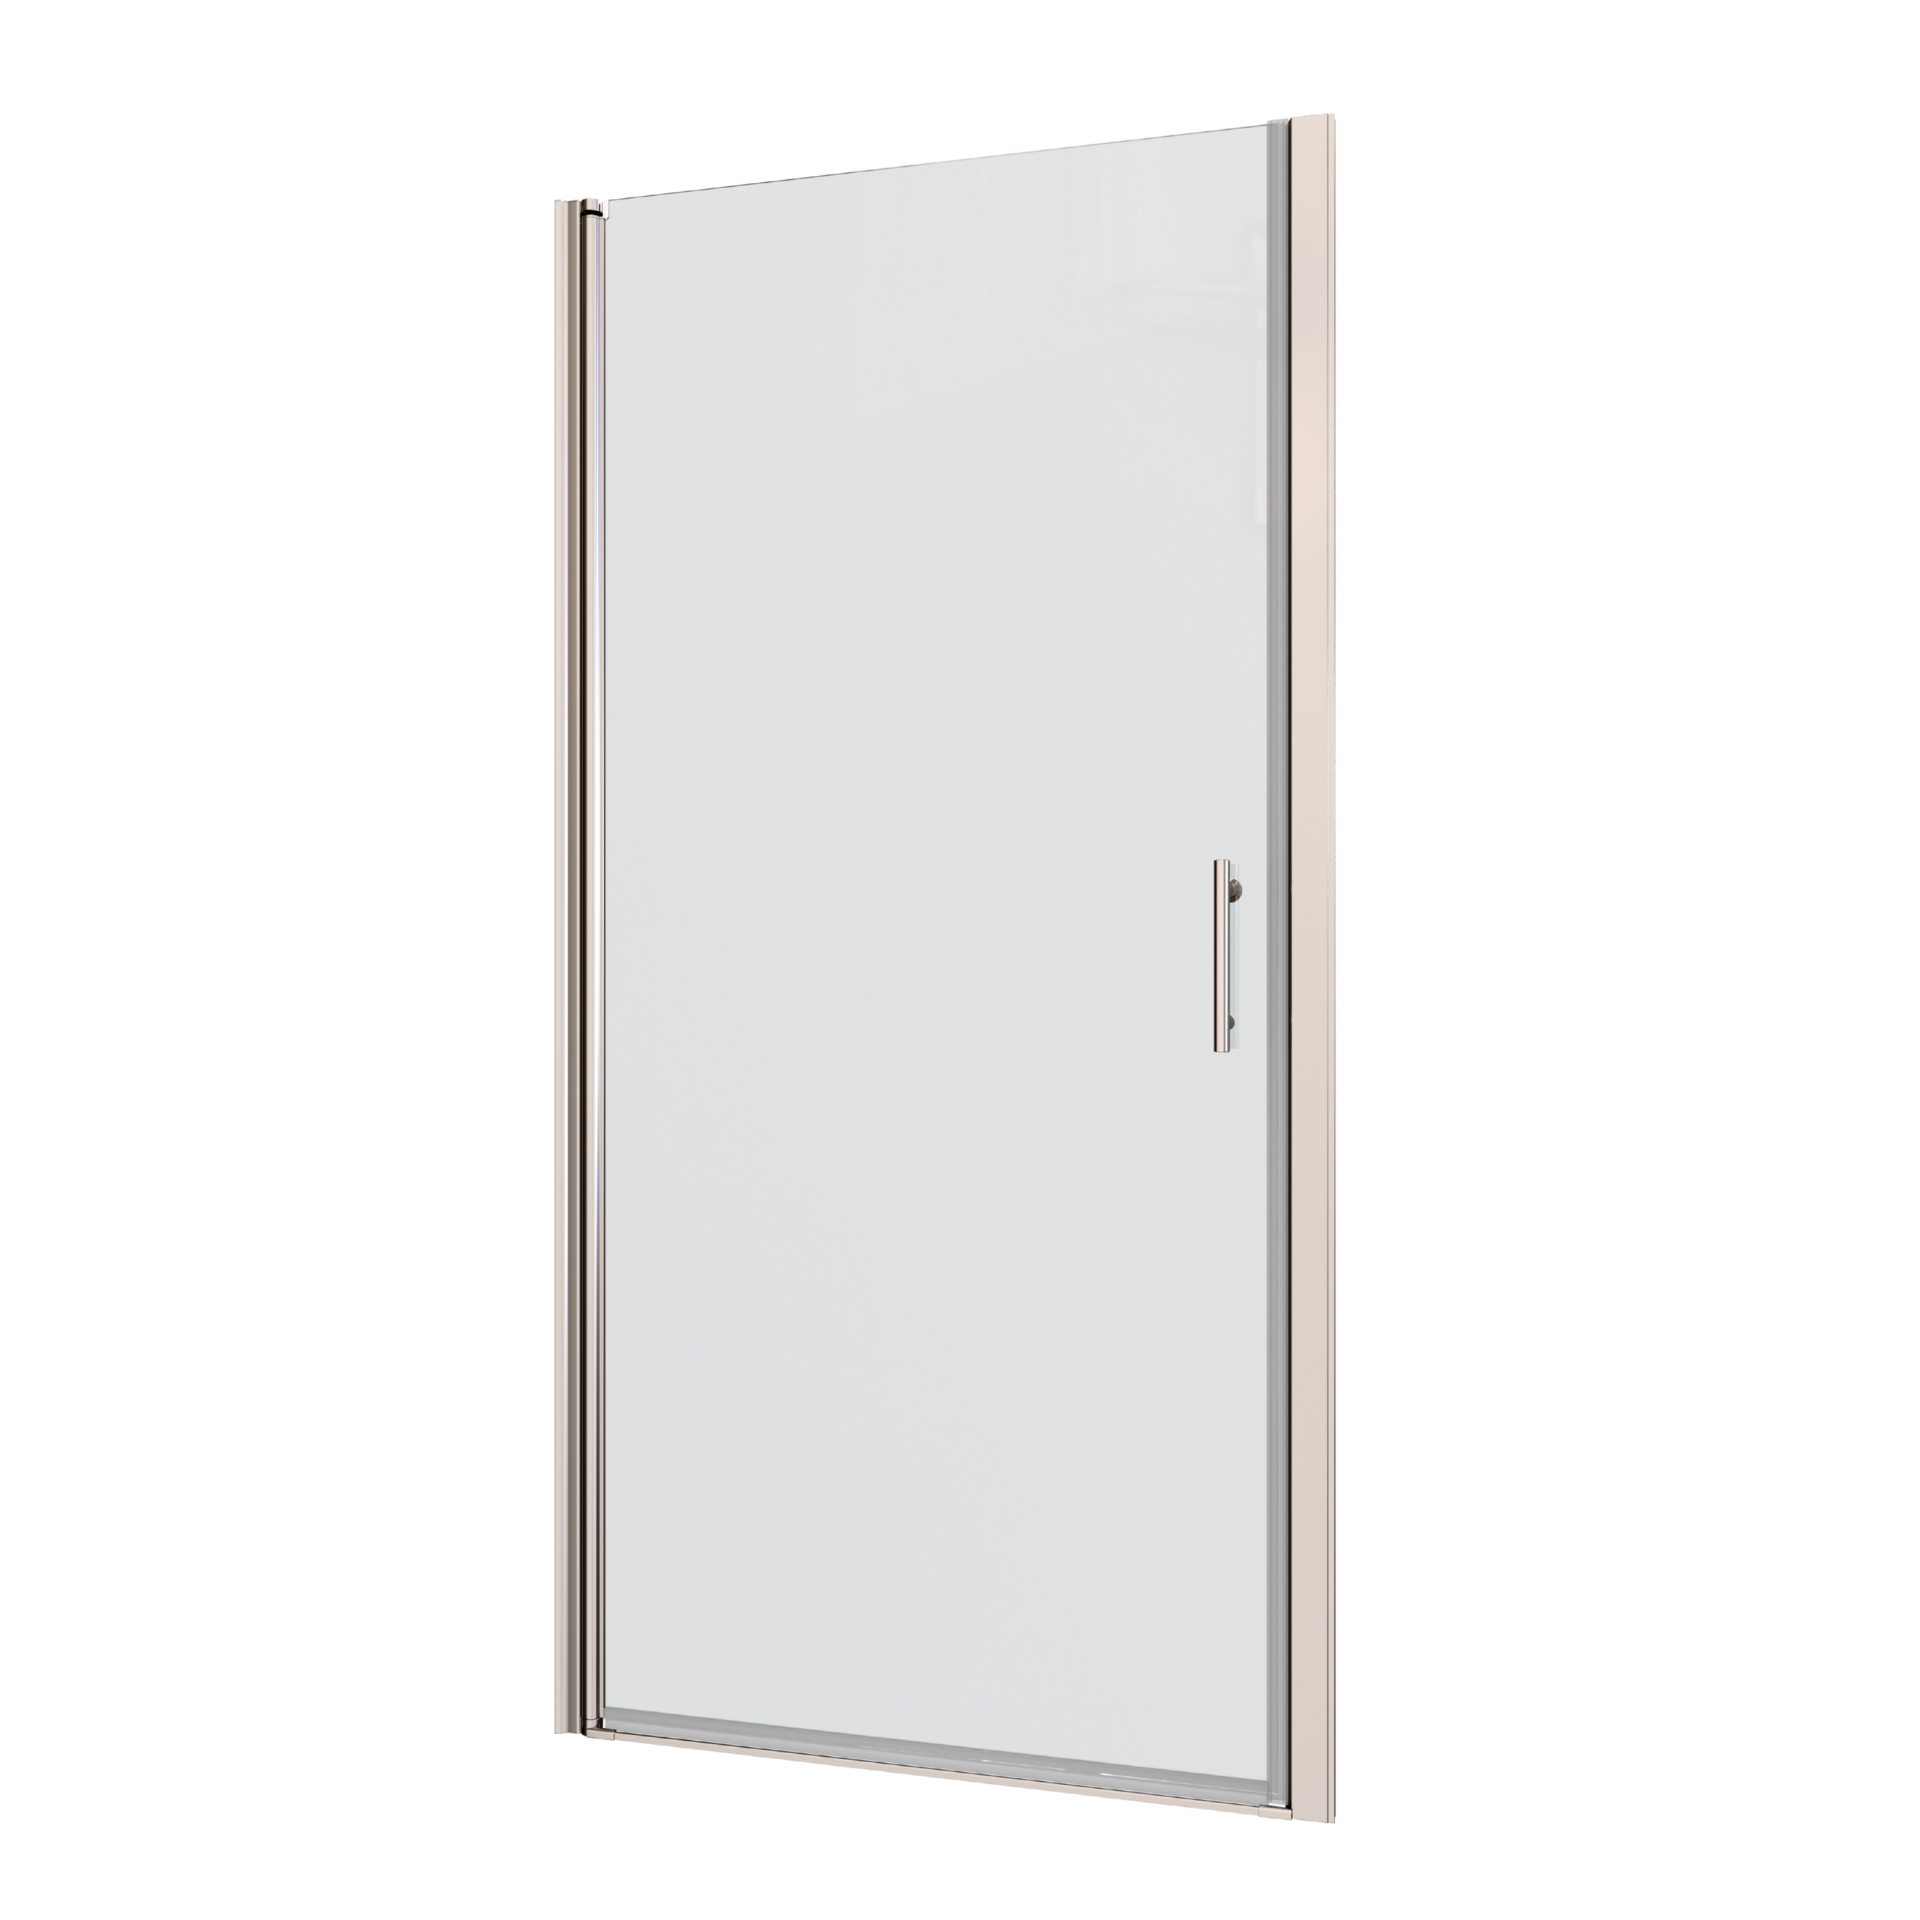
Modern aesthetic: New glass doors with updated hardware can instantly give your bathroom a fresh, sleek look.
-
Enhanced functionality: New sliding or pivot doors that open and close with ease up your daily experience.
-
Increased safety: Putting in a proper model to replace an unsteady or improperly fitted door enhances safety from possible injuries.
-
Easier maintenance: Modern designs often come with frameless or semi-frameless options that are easier to clean and less prone to mildew buildup.
From a sleeker appearance to better function or even water-tight performance, upgrading your standing shower door makes sense — and cents.

Signs It’s Time to Replace Your Standing Shower Door
Not all issues demand a replacement, but some red flags certainly indicate your sliding shower door is at the end of its lifetime:
-
Difficult sliding or sticking: When your sliding door no longer glides smoothly or needs some pushing to slide, the issue can be some worn rollers or misaligned tracks.
-
Wobbling or loose door panels: This could suggest damaged mounting brackets or a weakened frame, compromising safety.
-
Creaking or grinding noises: If your pivot door is making an odd noise, it is usually due to some degree of hinge wear.
-
Water leakage: Persistent leaks may signal gaps in the seals or a poor overall fit.
-
Corroded hardware: Rusting tracks, handles, or hinges are not only unattractive but also limit functionality.
-
Visible cracks or chipped glass: Even minor cracks compromise the integrity and safety of the door.
🔒 Summary
If you notice one or more of these symptoms, it's probably time to begin planning your replacement project.
How to Remove an Old Standing Shower Door
Before installing a new standing shower door, you must safely and thoroughly remove the existing one. This ensures a clean surface for installation and minimizes structural issues down the line.
Tools You’ll Need:
- Utility knife or long razor blade
- Screwdrivers (Phillips and flathead)
- Putty knife or scraper
- Drill
- Needle-nose pliers
- Heat gun or caulk softener (optional)
- Protective gloves and goggles
- Cleaning supplies and caulk
Step-by-Step Removal (Sliding Door Example):
1. Remove accessories: Unscrew and take off handles, bumpers, and anti-jump clips.
2. Take out glass panels: Slide each panel to the center, lift gently, and remove from the track. Set them aside on a soft surface.
3. Detach hardware: Unscrew and remove rollers or hinges from the glass.
4. Disassemble the frame:
- Start with the top rail, which usually lifts off once side screws are loosened.
- Next, remove the side jambs by unscrewing them from the wall.
- Finally, use a utility knife to score the caulk around the bottom track. Pry it off gently with a putty knife; apply heat if needed to loosen adhesive.
5. Extract wall anchors: Use pliers to remove any wall plugs or anchors left behind.
6. Clean and prep the area: Remove all silicone residue and patch screw holes with waterproof caulk. Let dry before proceeding.
Proper removal sets the foundation for a successful new installation, so take your time and proceed with caution.

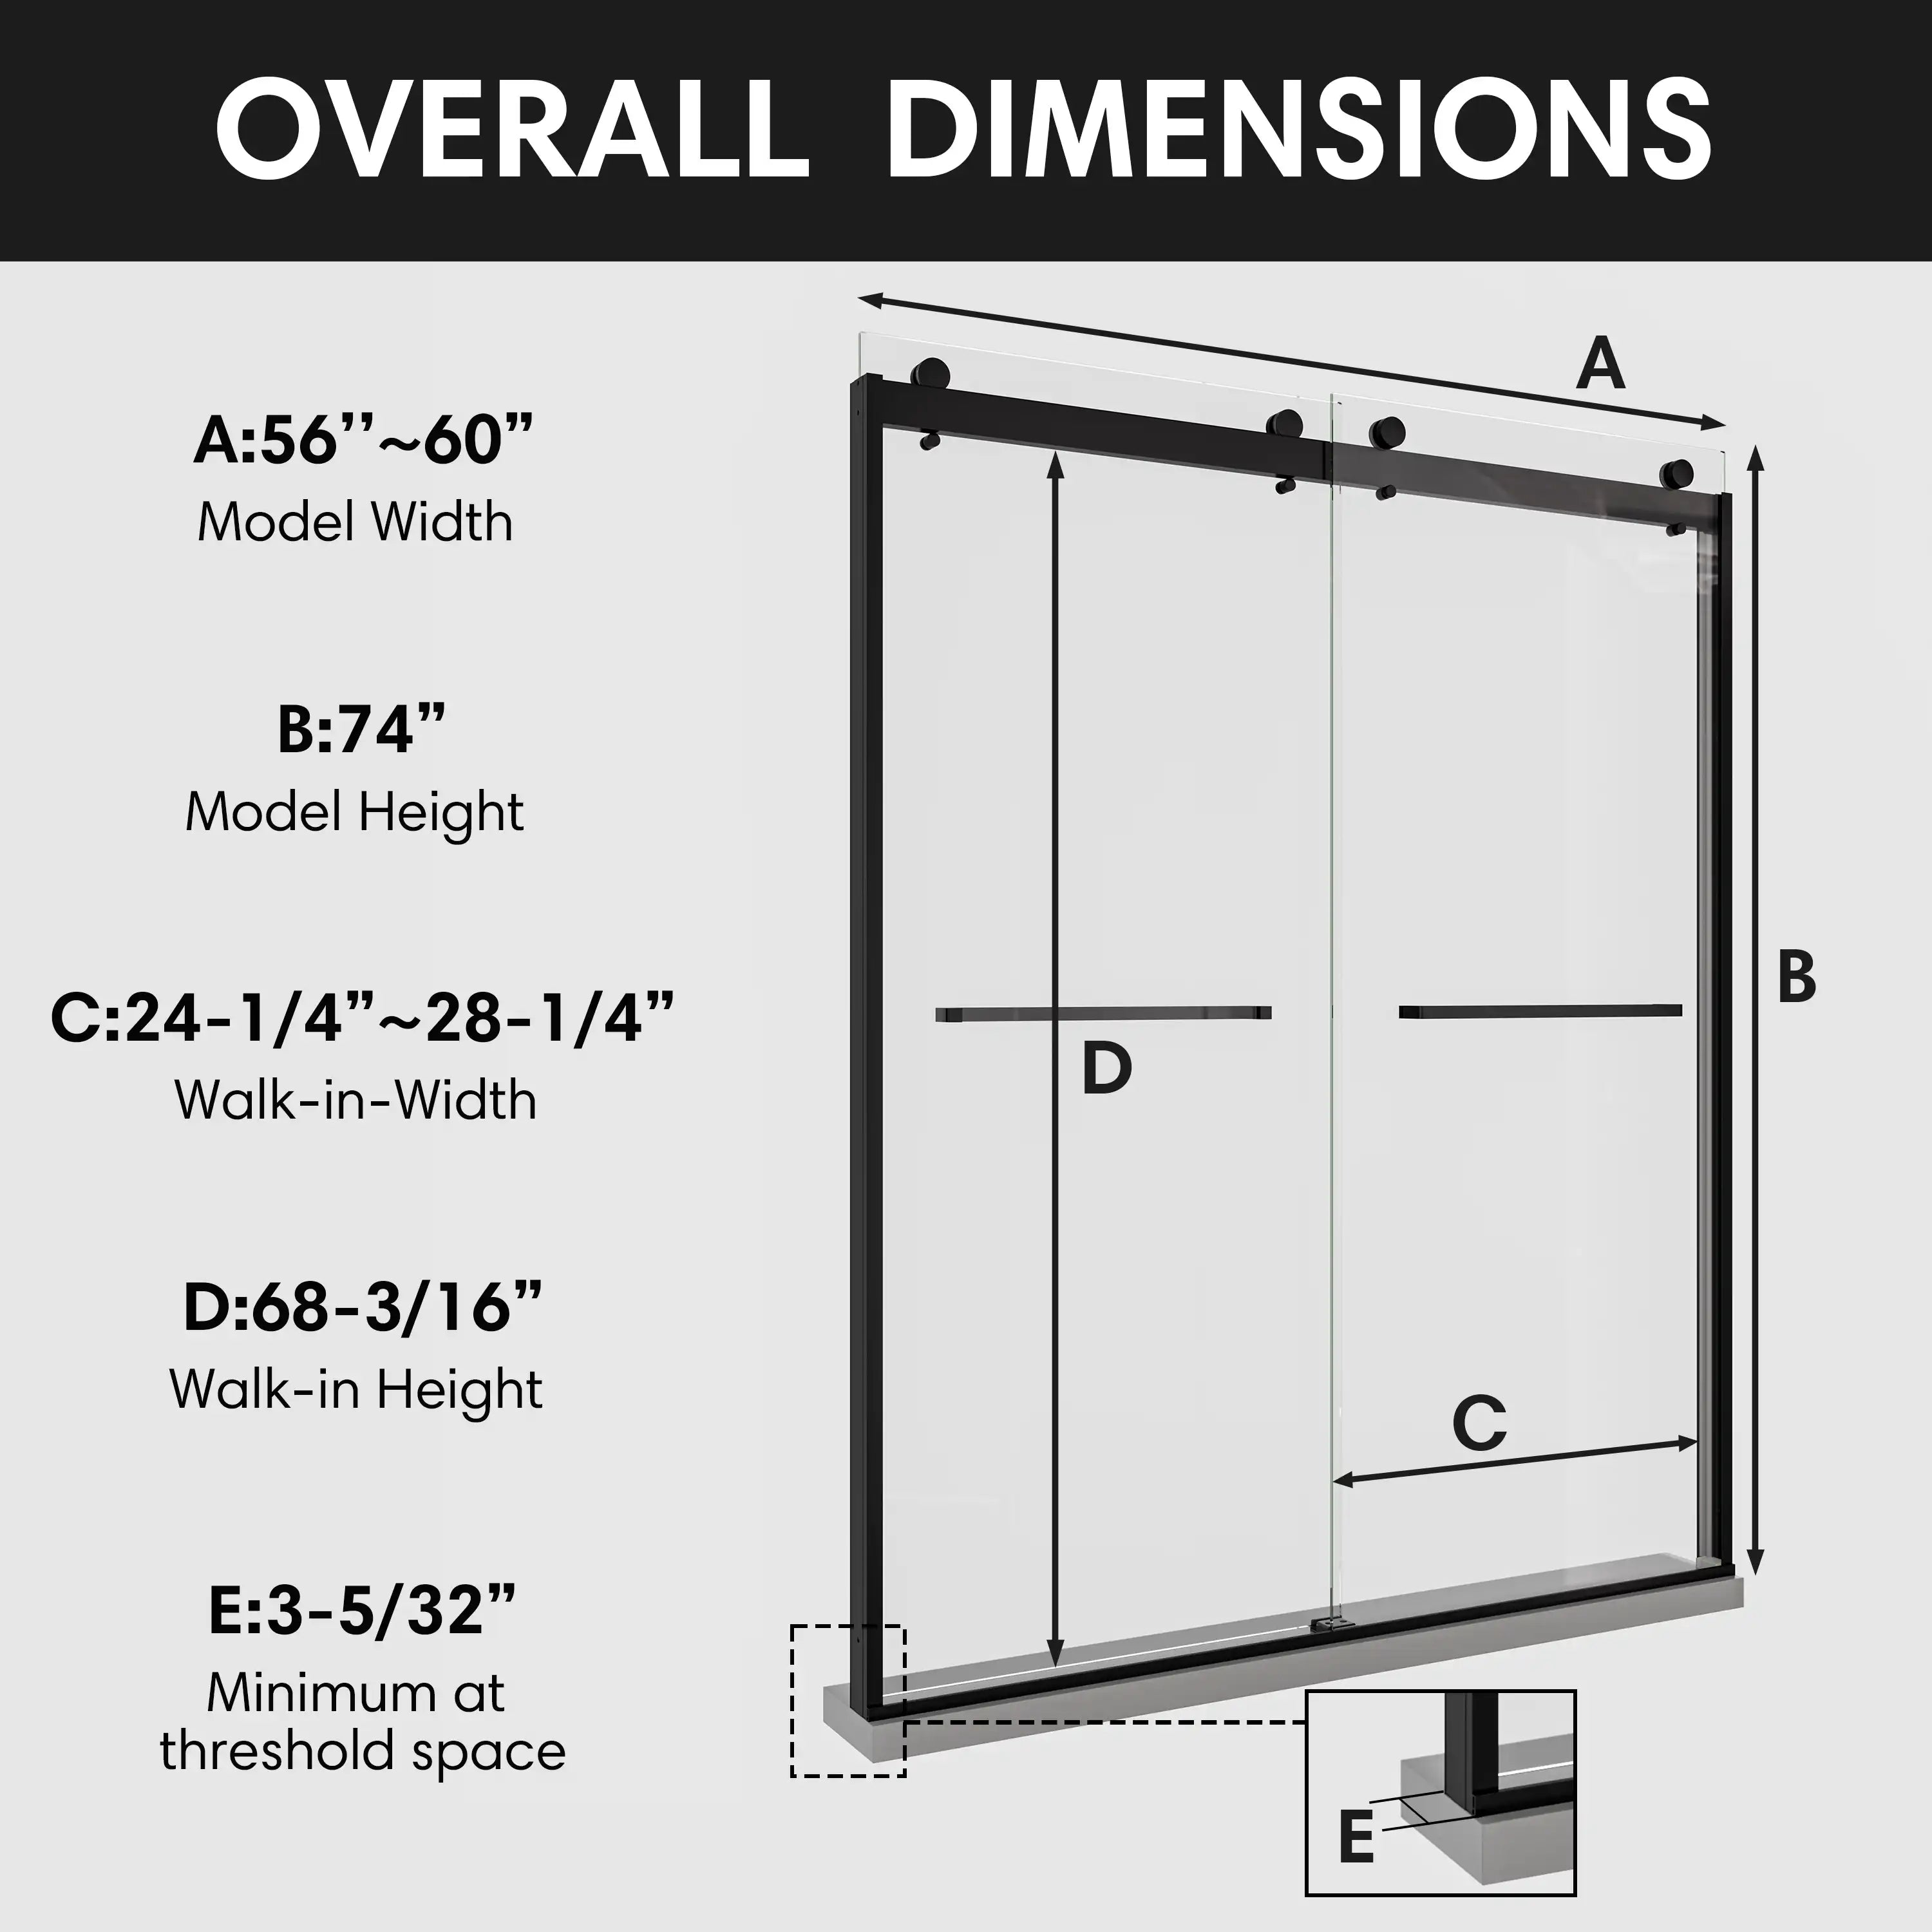
Tools Required for Installing a Standing Shower Door
Equipping yourself with the right tools is critical for a smooth installation process. Here's a handy table listing the essentials and their specific purposes for installing a new standing shower door:
| Tool | Purpose |
|---|---|
| Measuring tape | To ensure precise measurements before drilling |
| Level | To align rails and glass panels accurately |
| Drill and bits | To create mounting holes and secure hardware |
| Screwdriver set | For fastening brackets and handles |
| Silicone caulk & caulk gun | To seal edges and prevent water leakage |
| Rubber mallet | To gently adjust frame components into position |
| Safety gear | To protect eyes and hands from sharp glass or tools |
| Hack saw | To trim metal tracks or rails to the required length |
| Metal file | To smooth sharp edges after cutting metal components |
| Painter’s tape | To temporarily secure components during alignment |
Having these tools ready in advance will reduce delays and increase safety throughout the process.

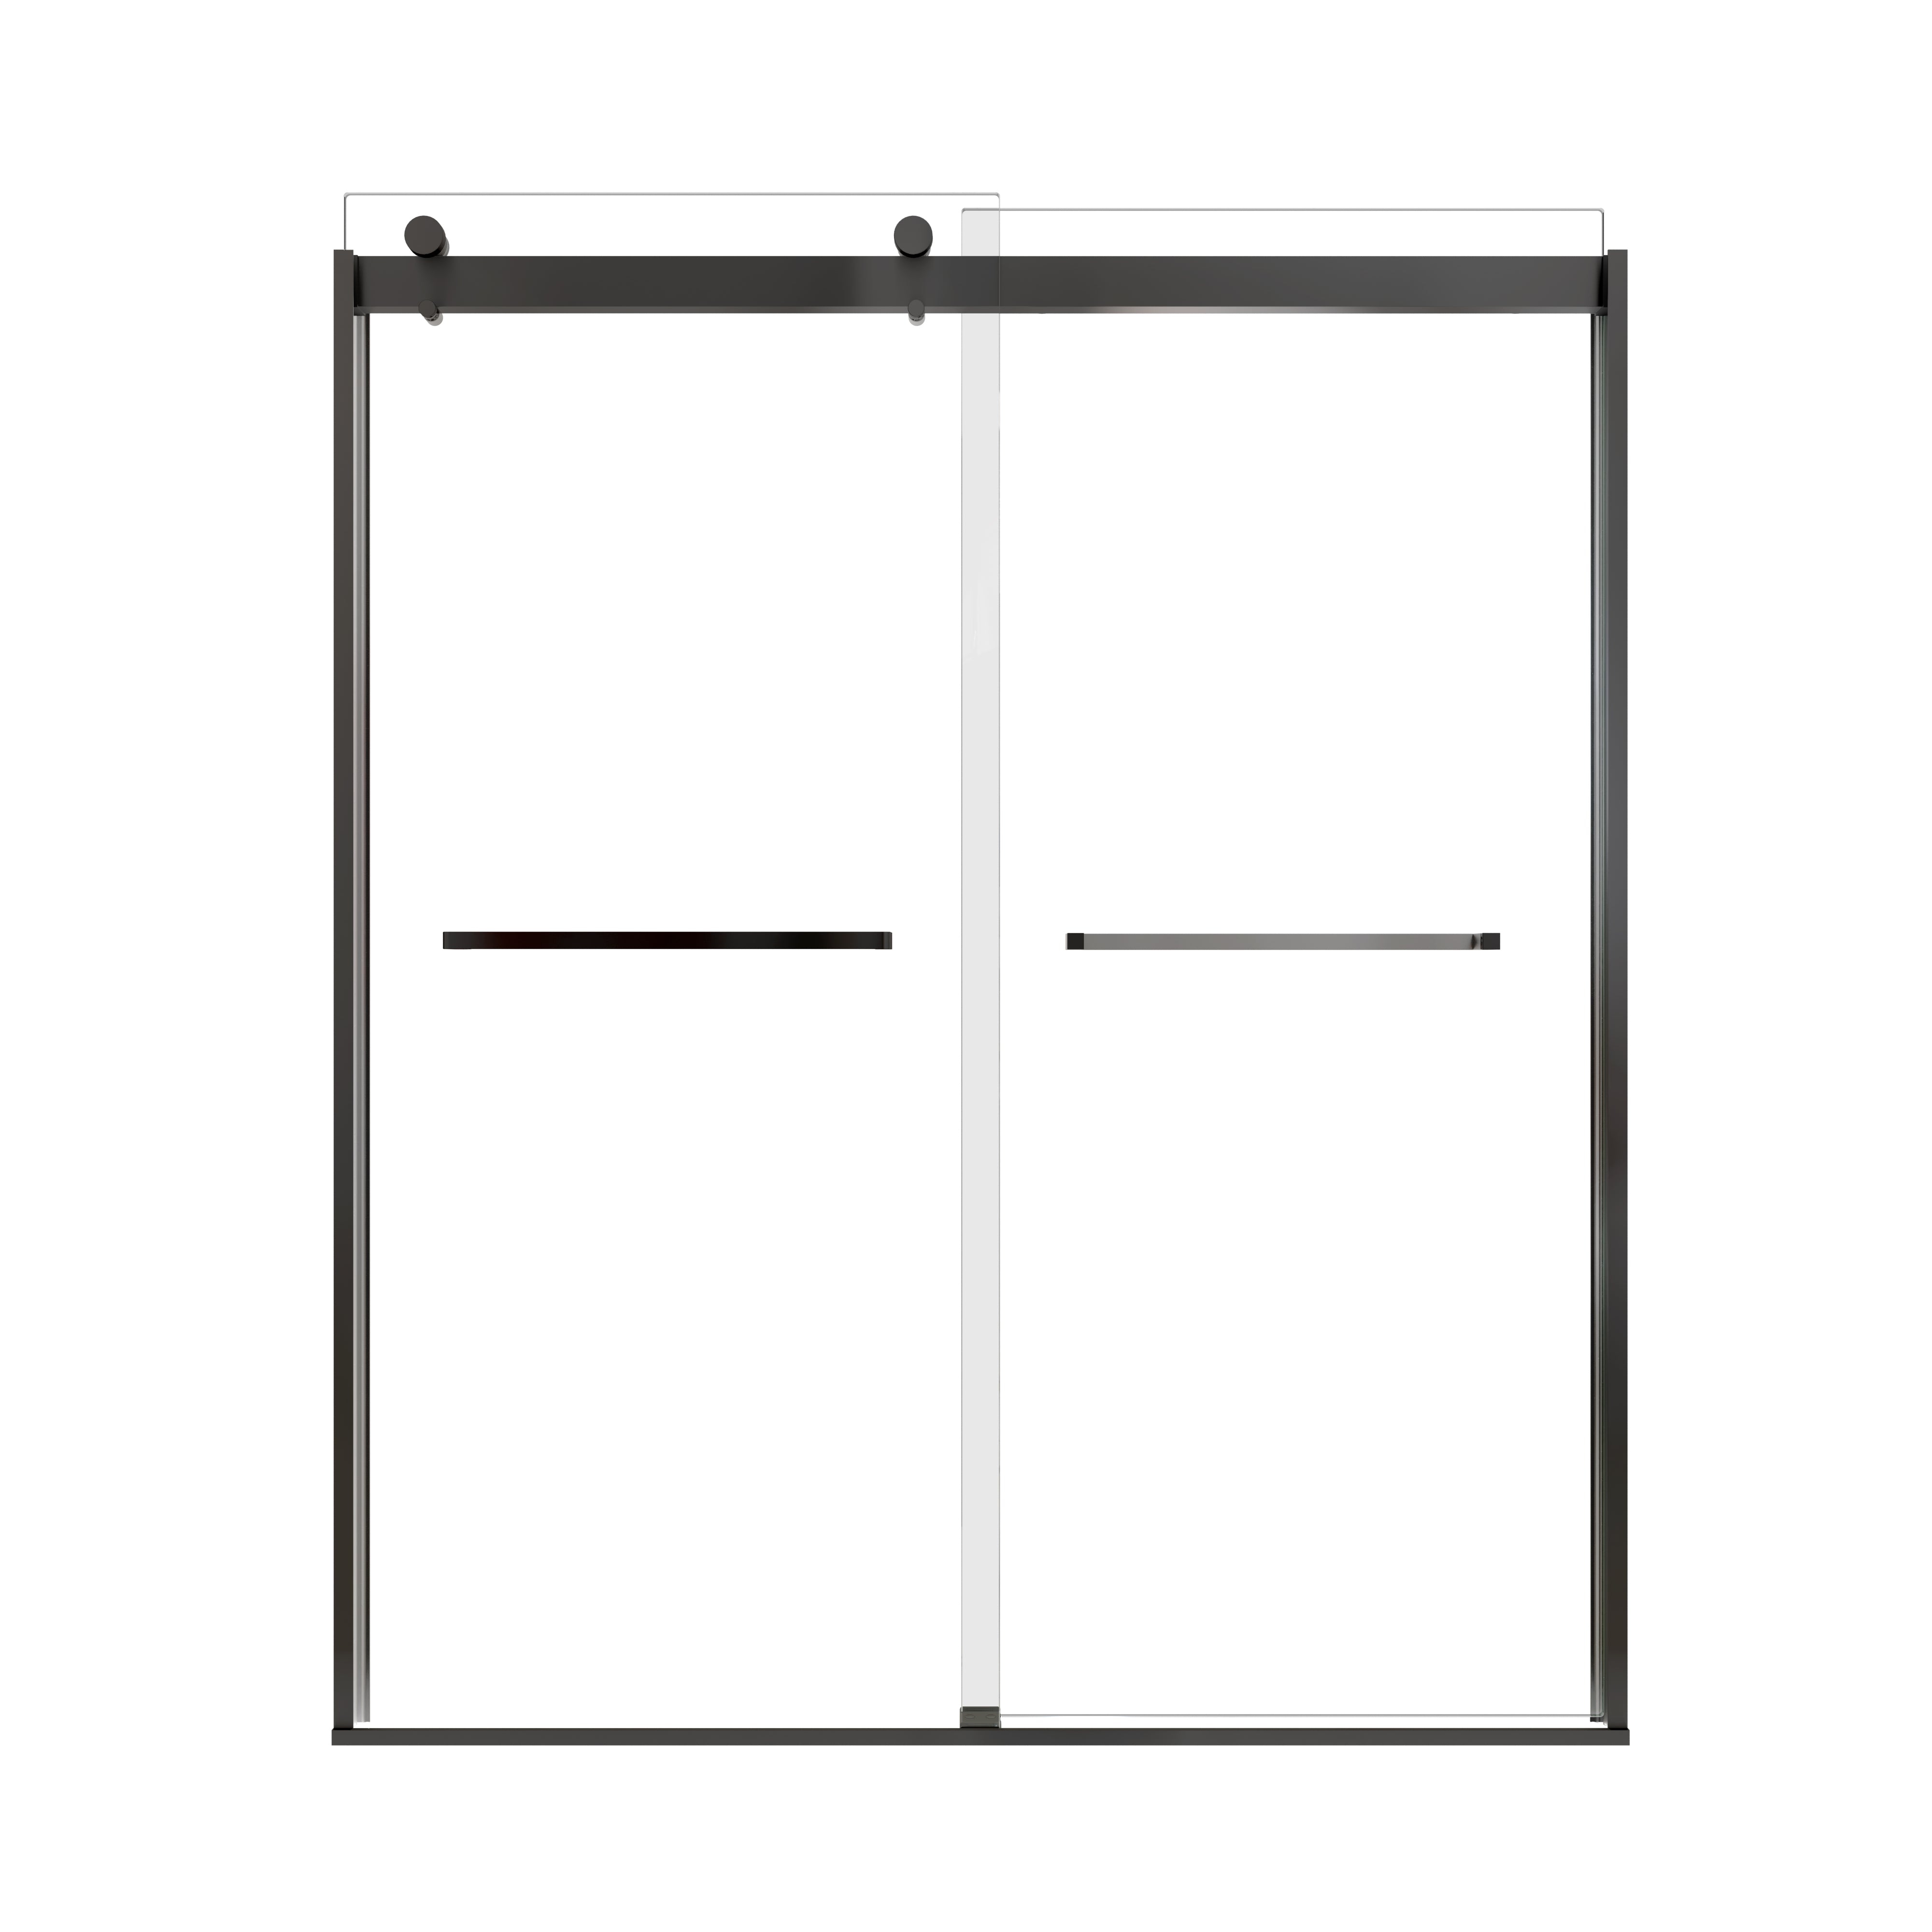
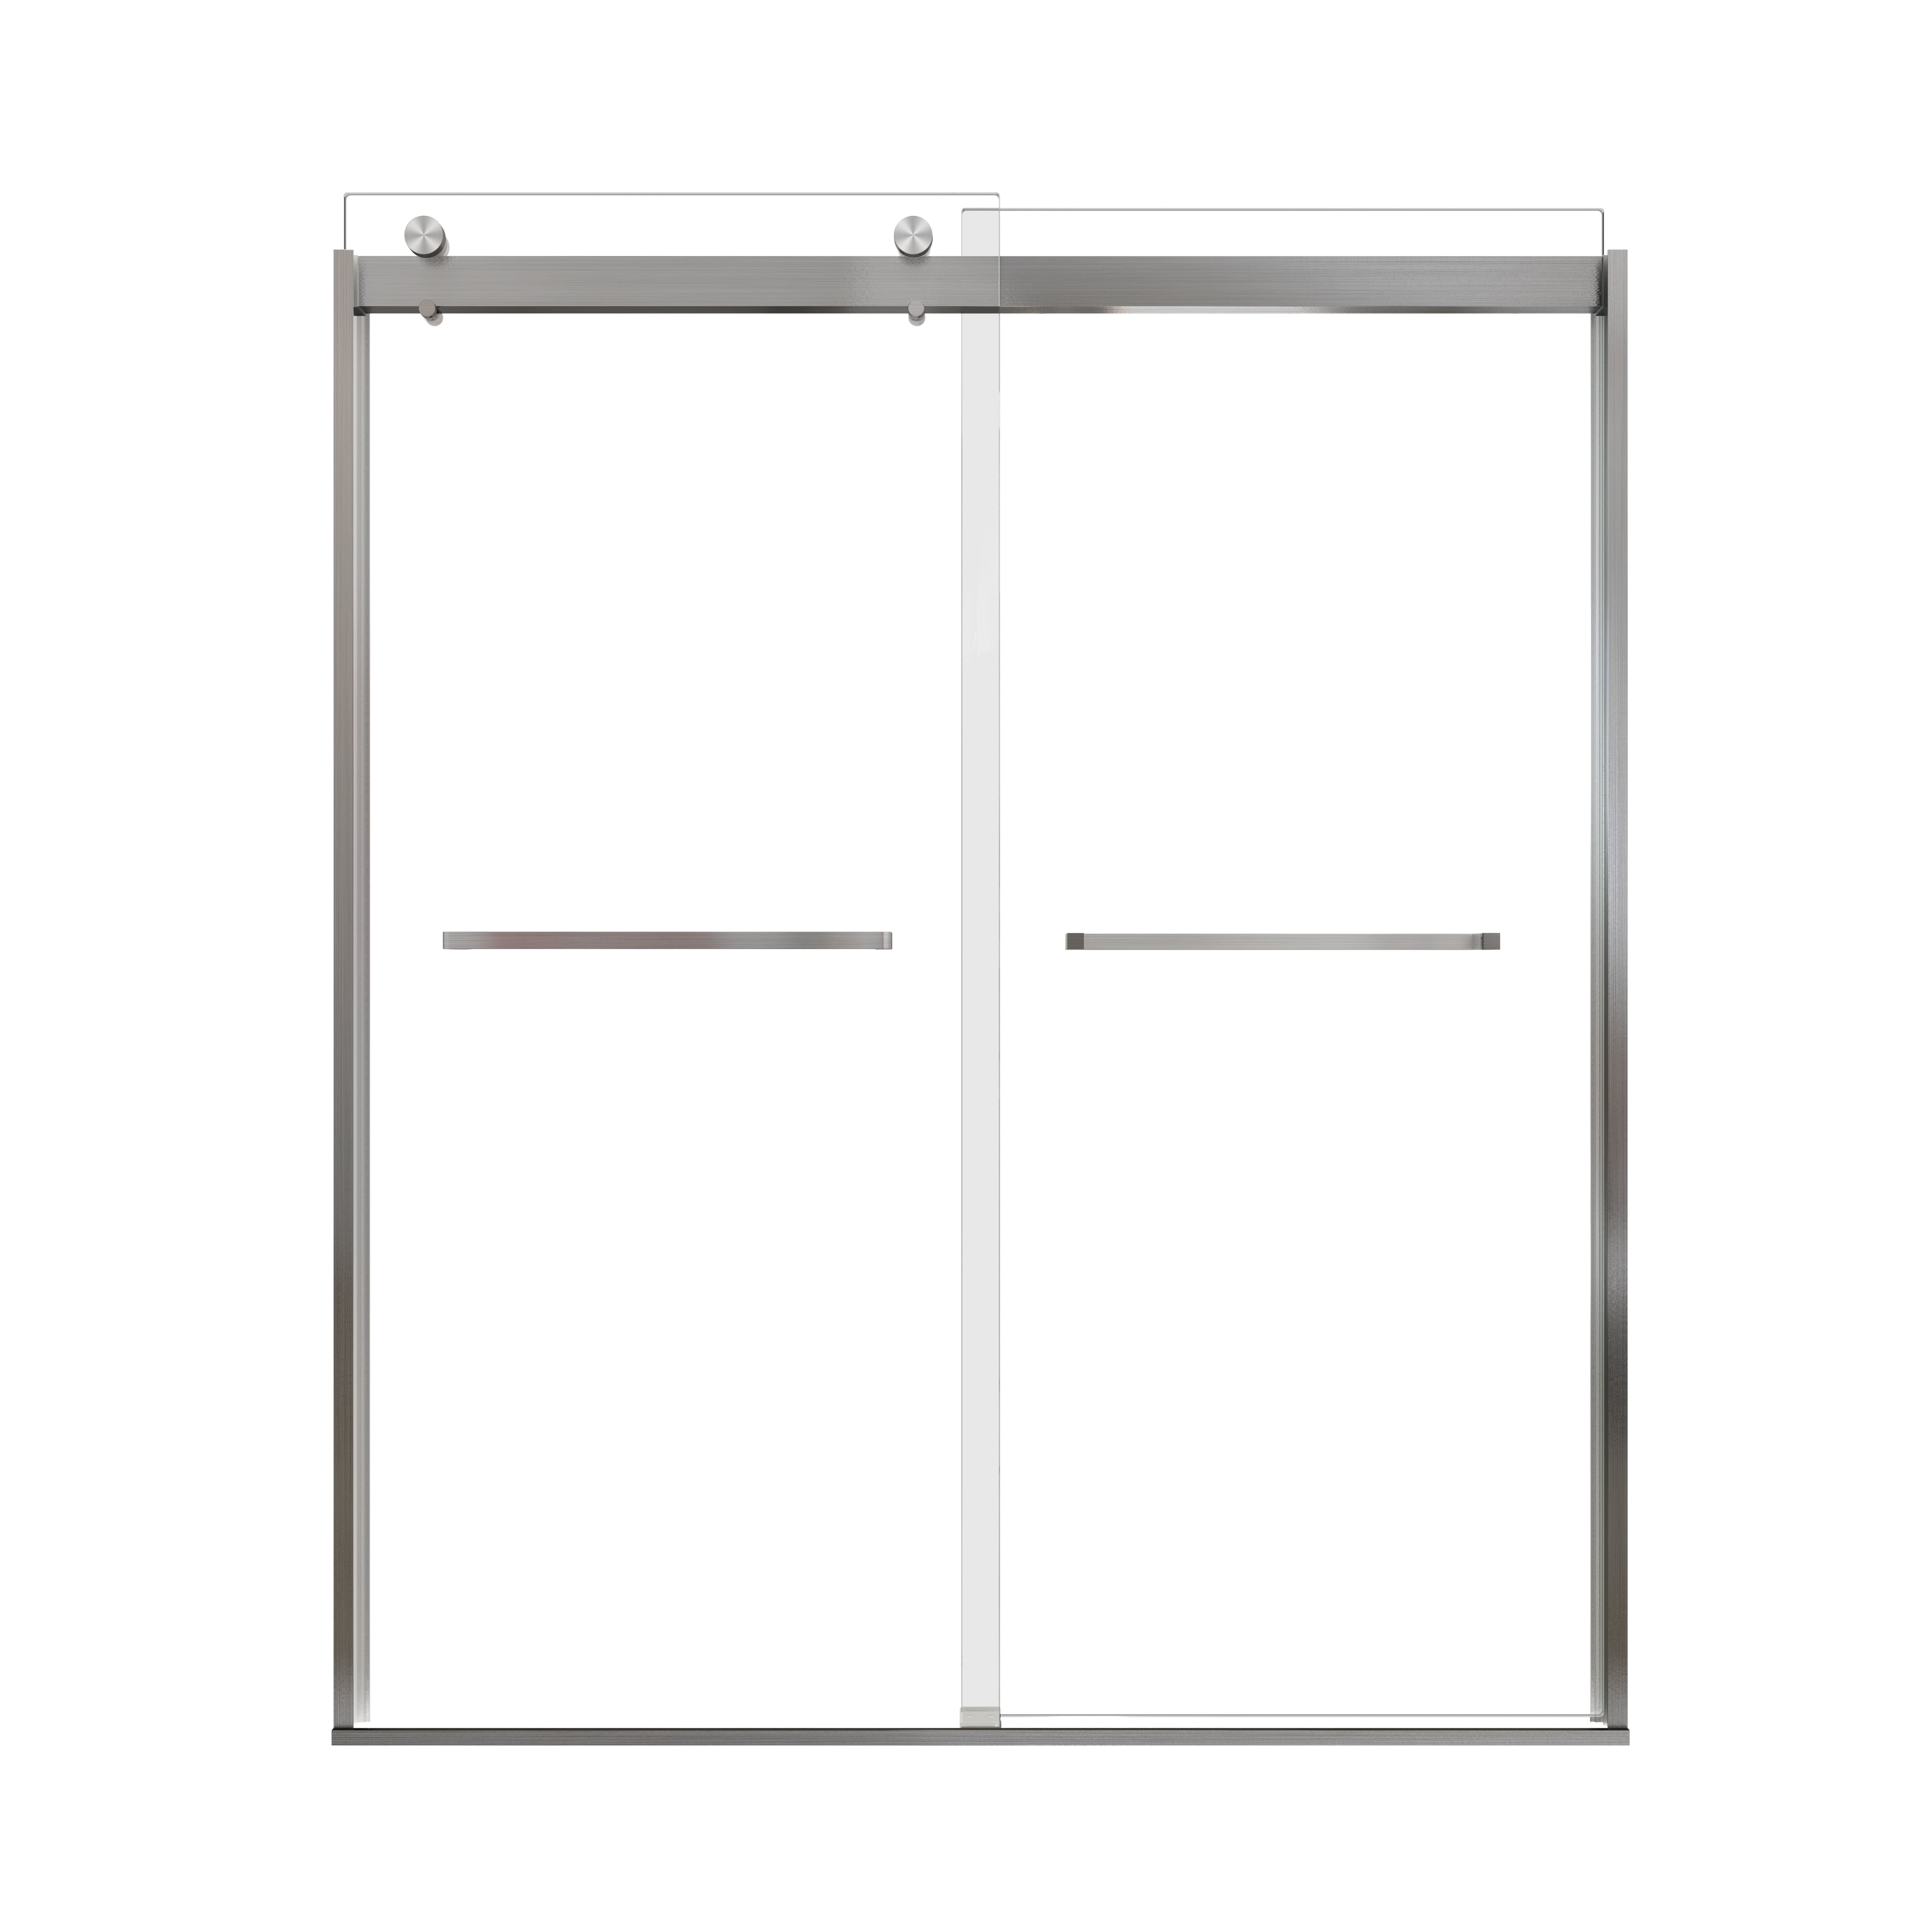
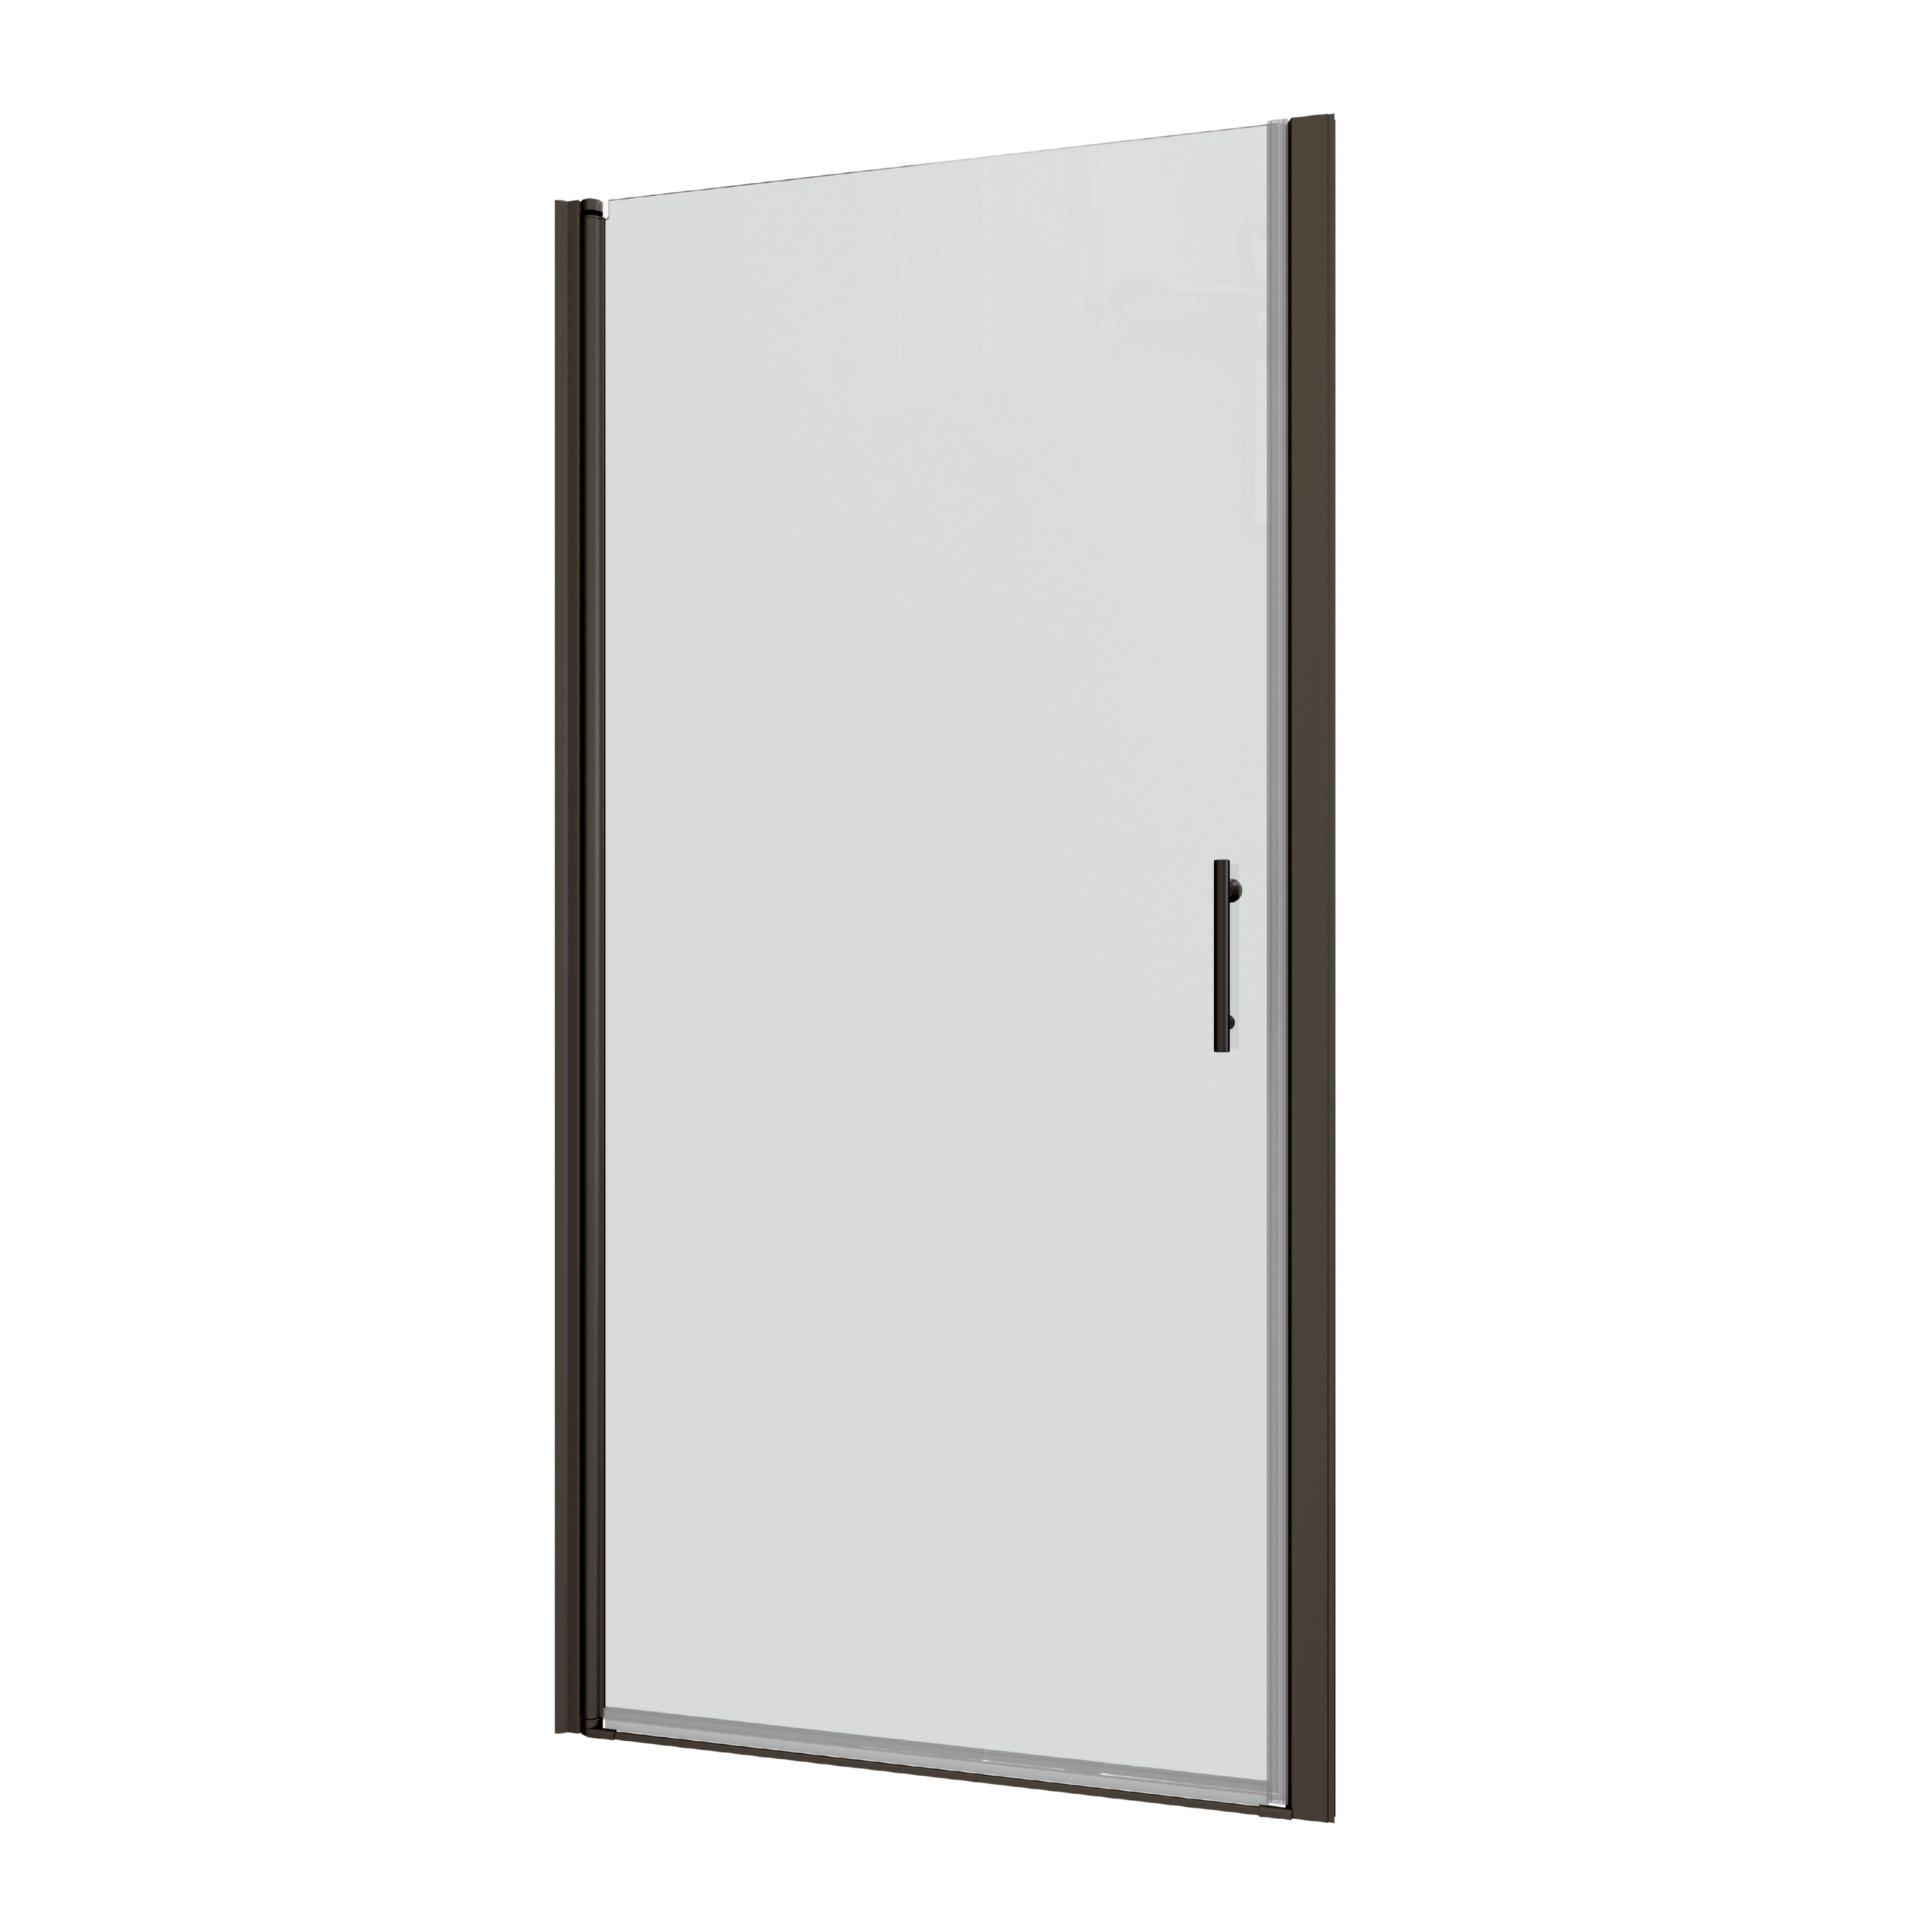
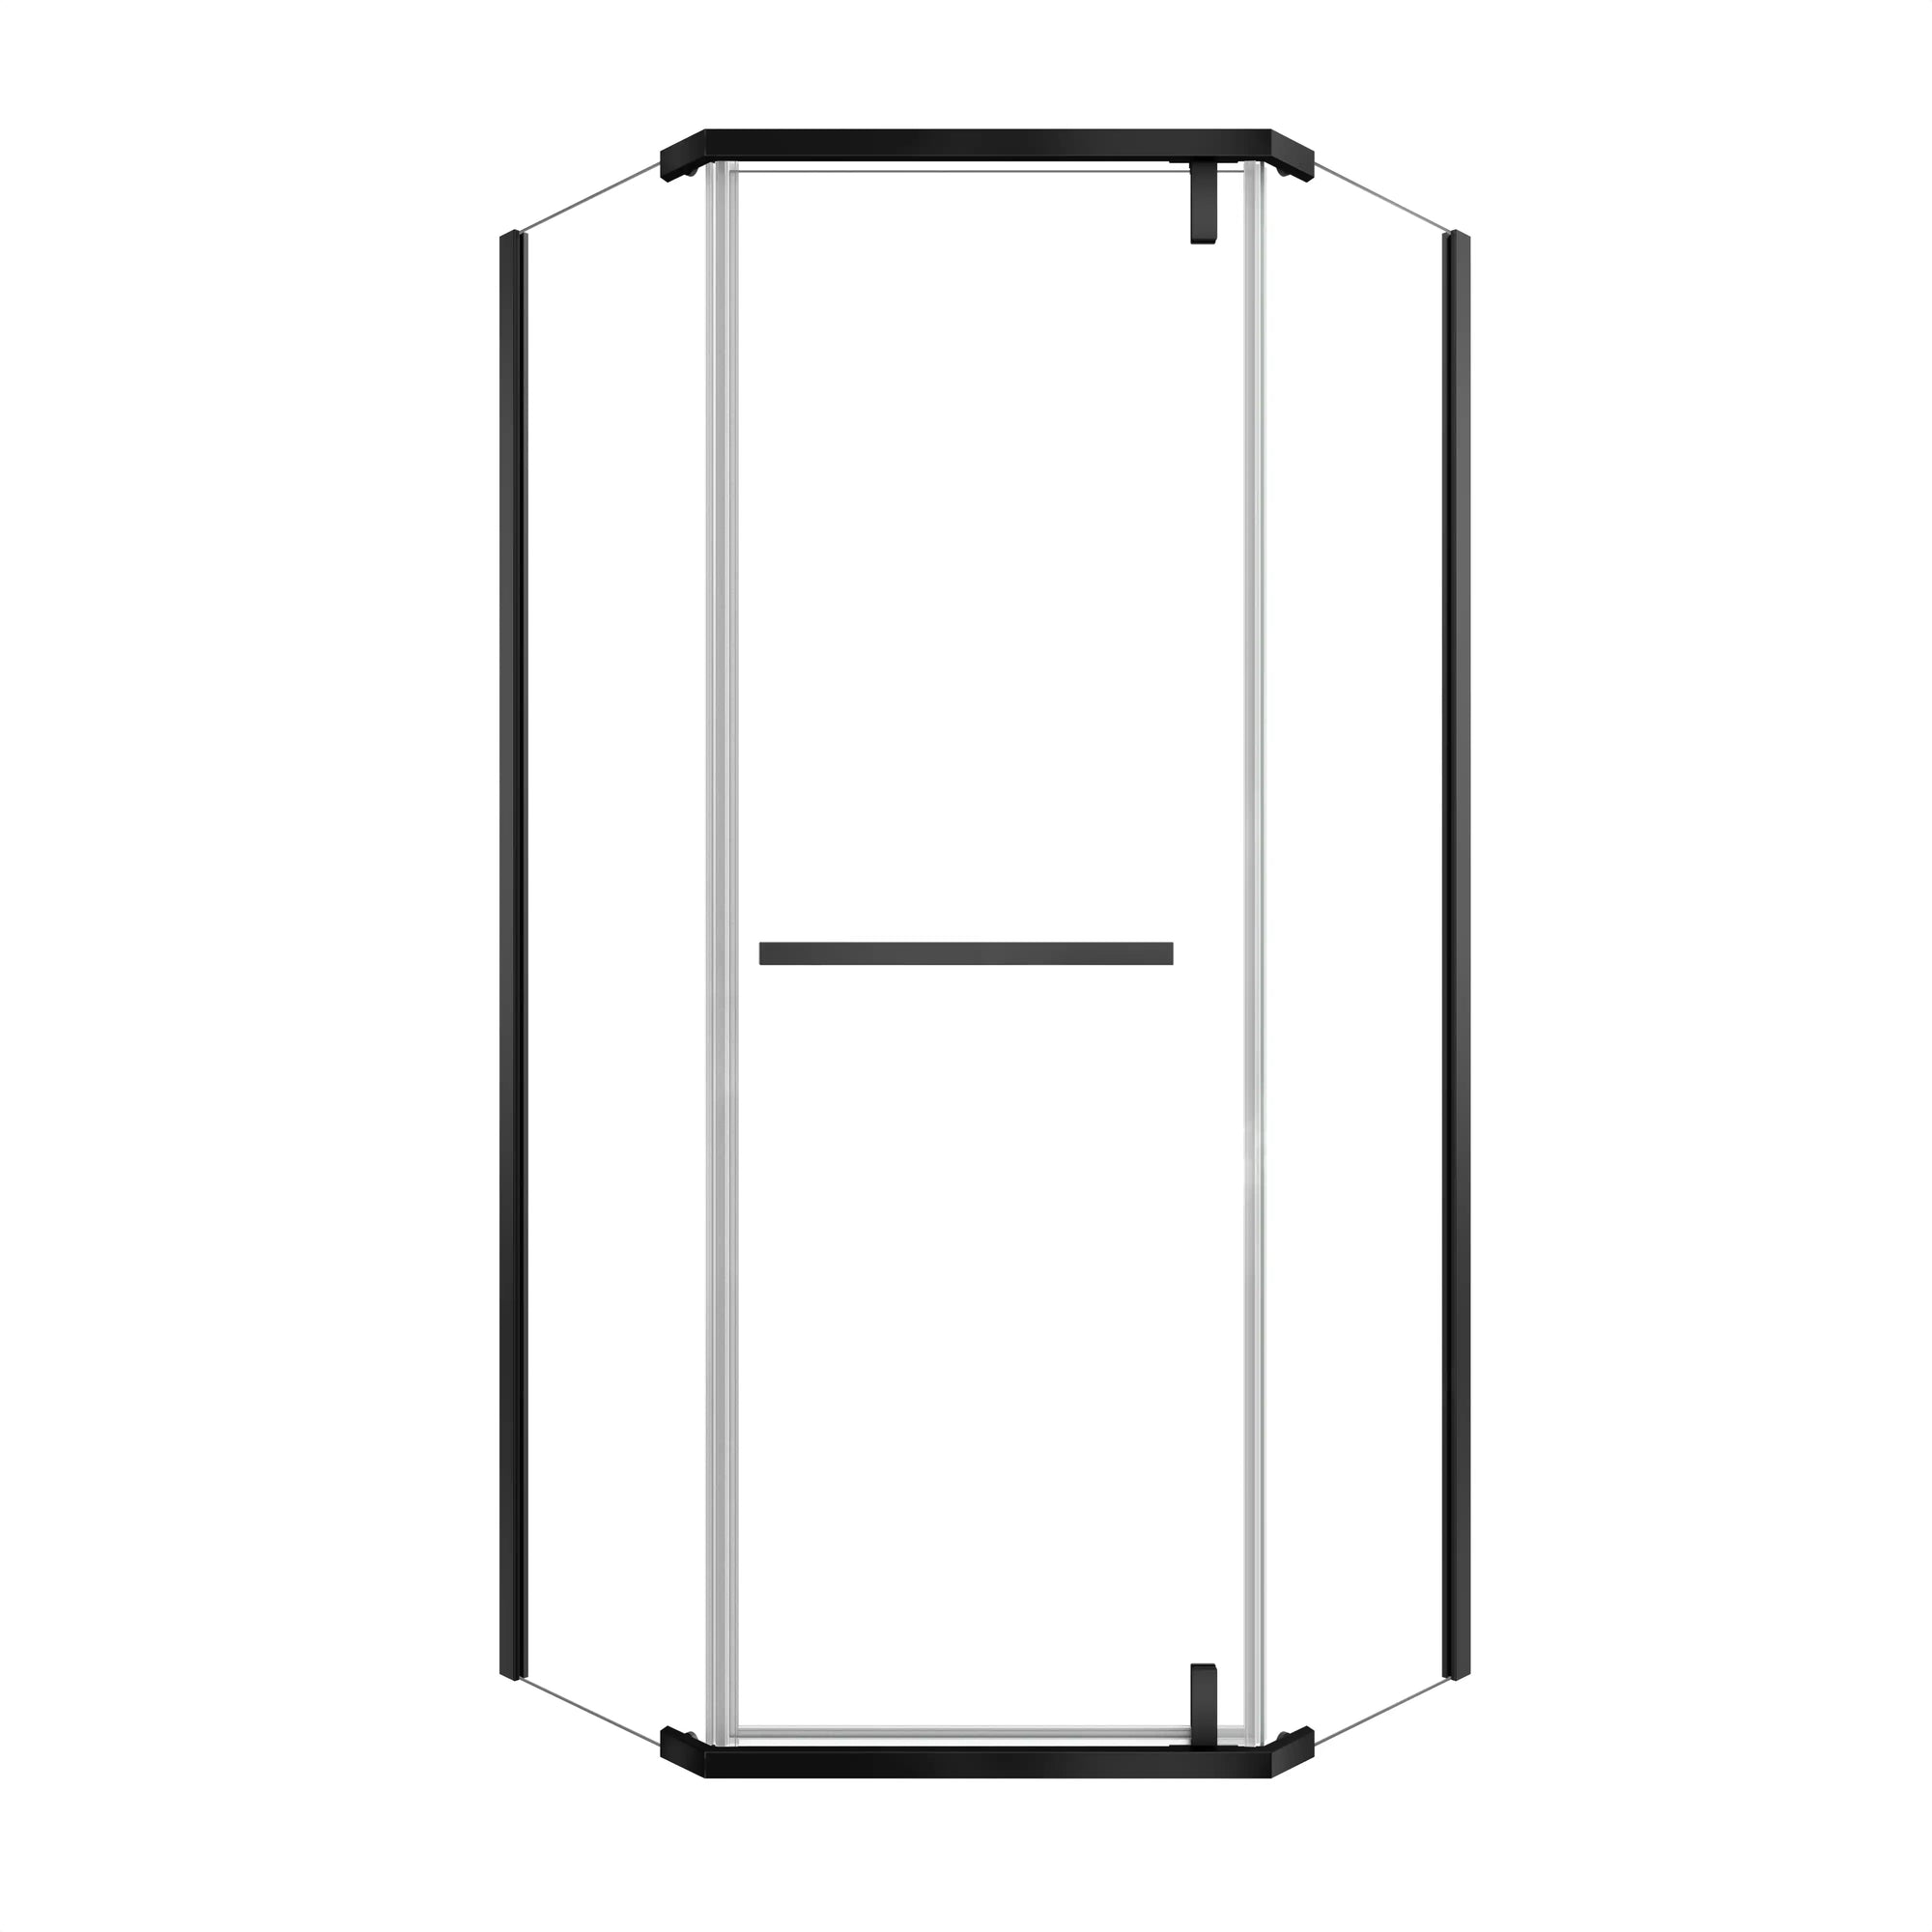
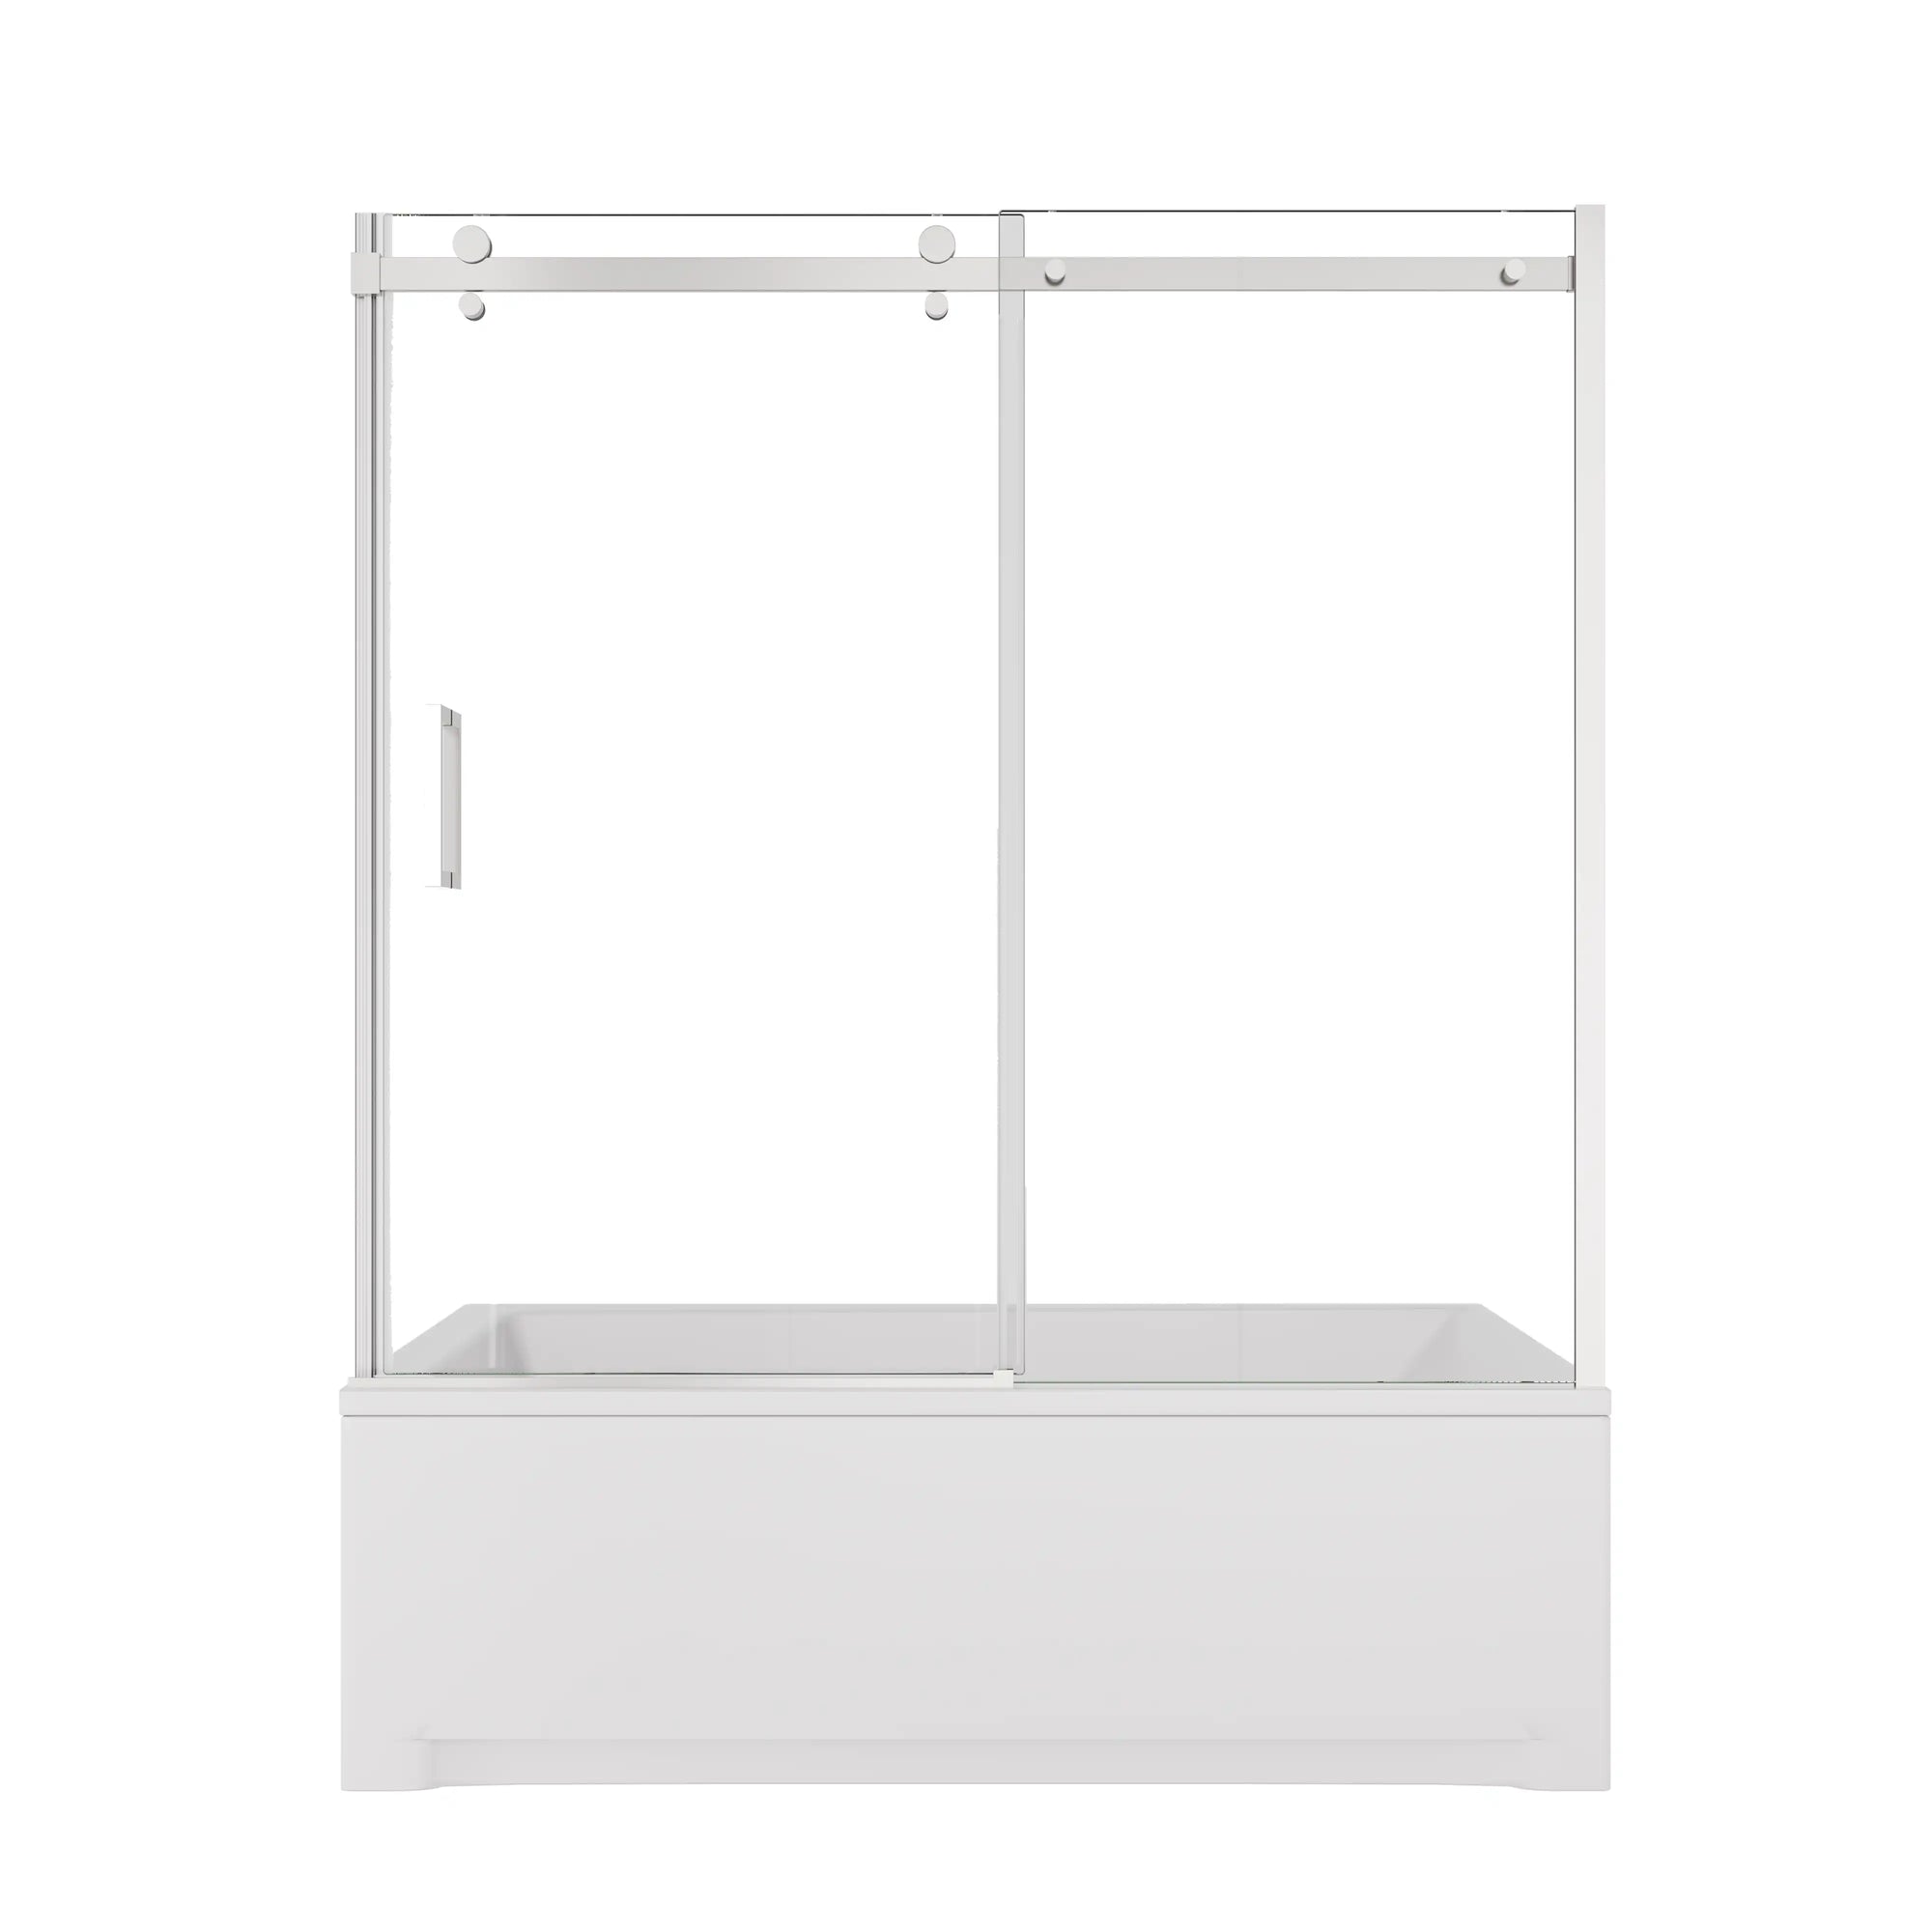
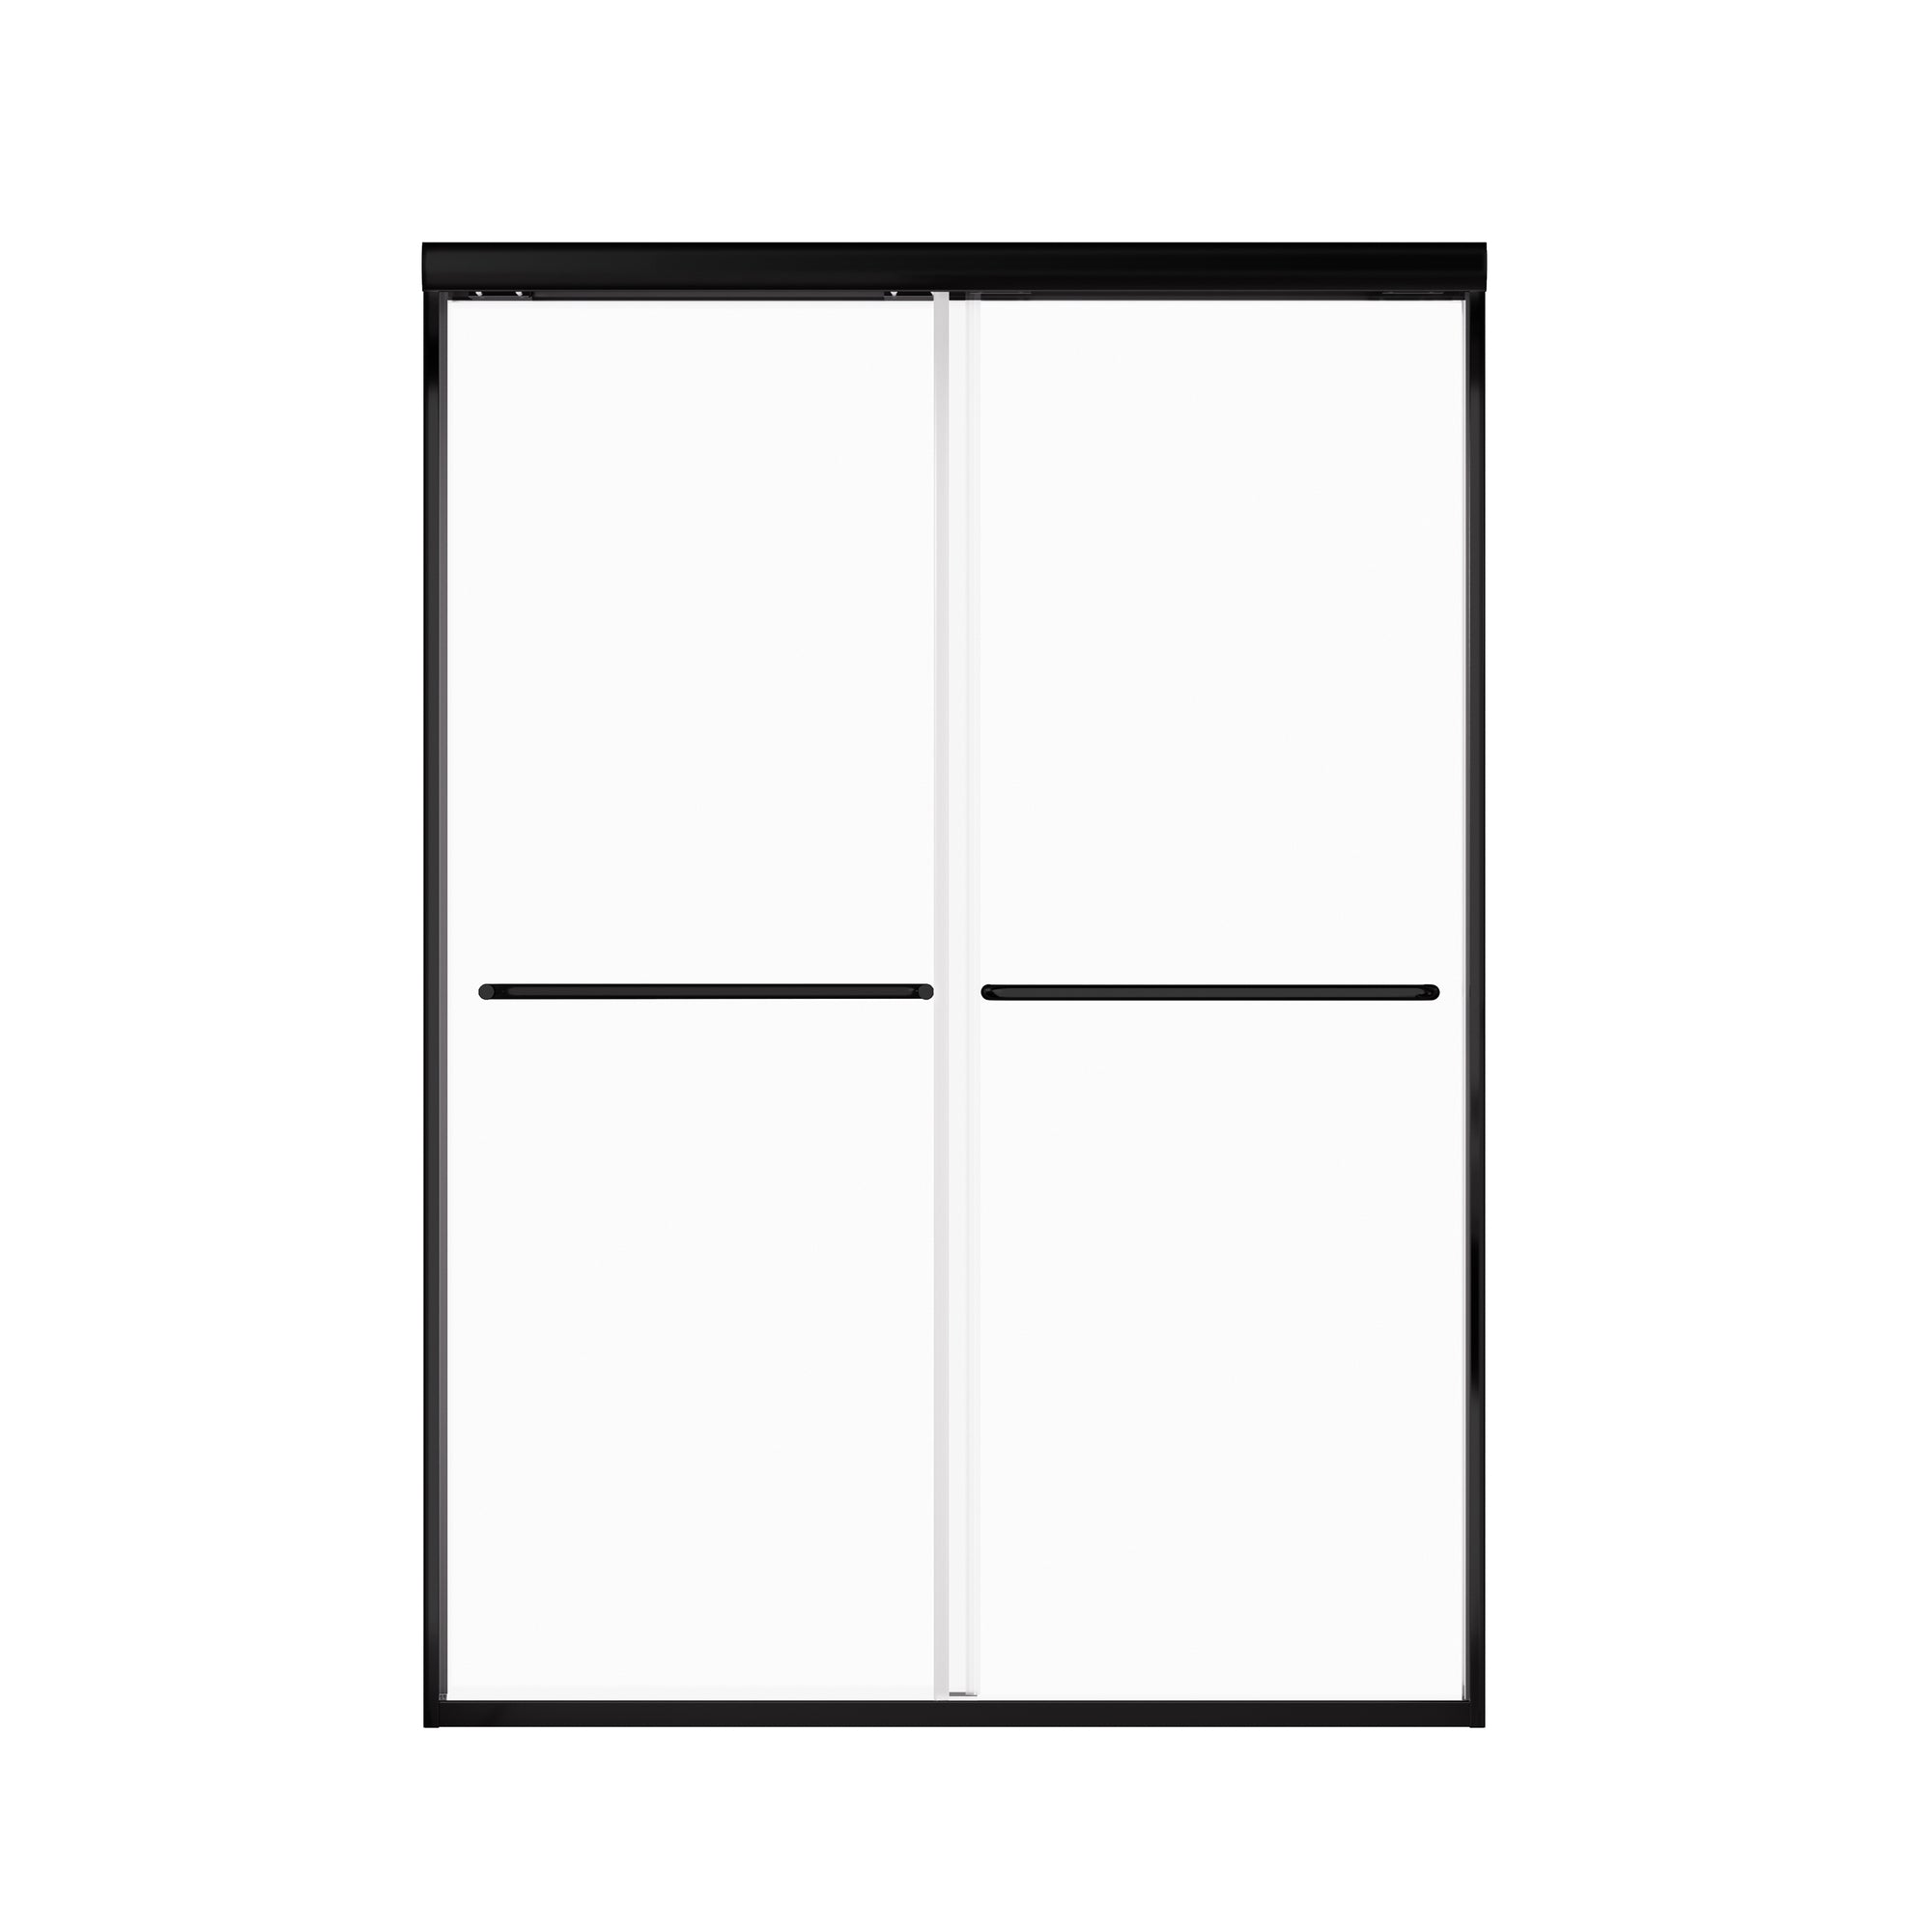
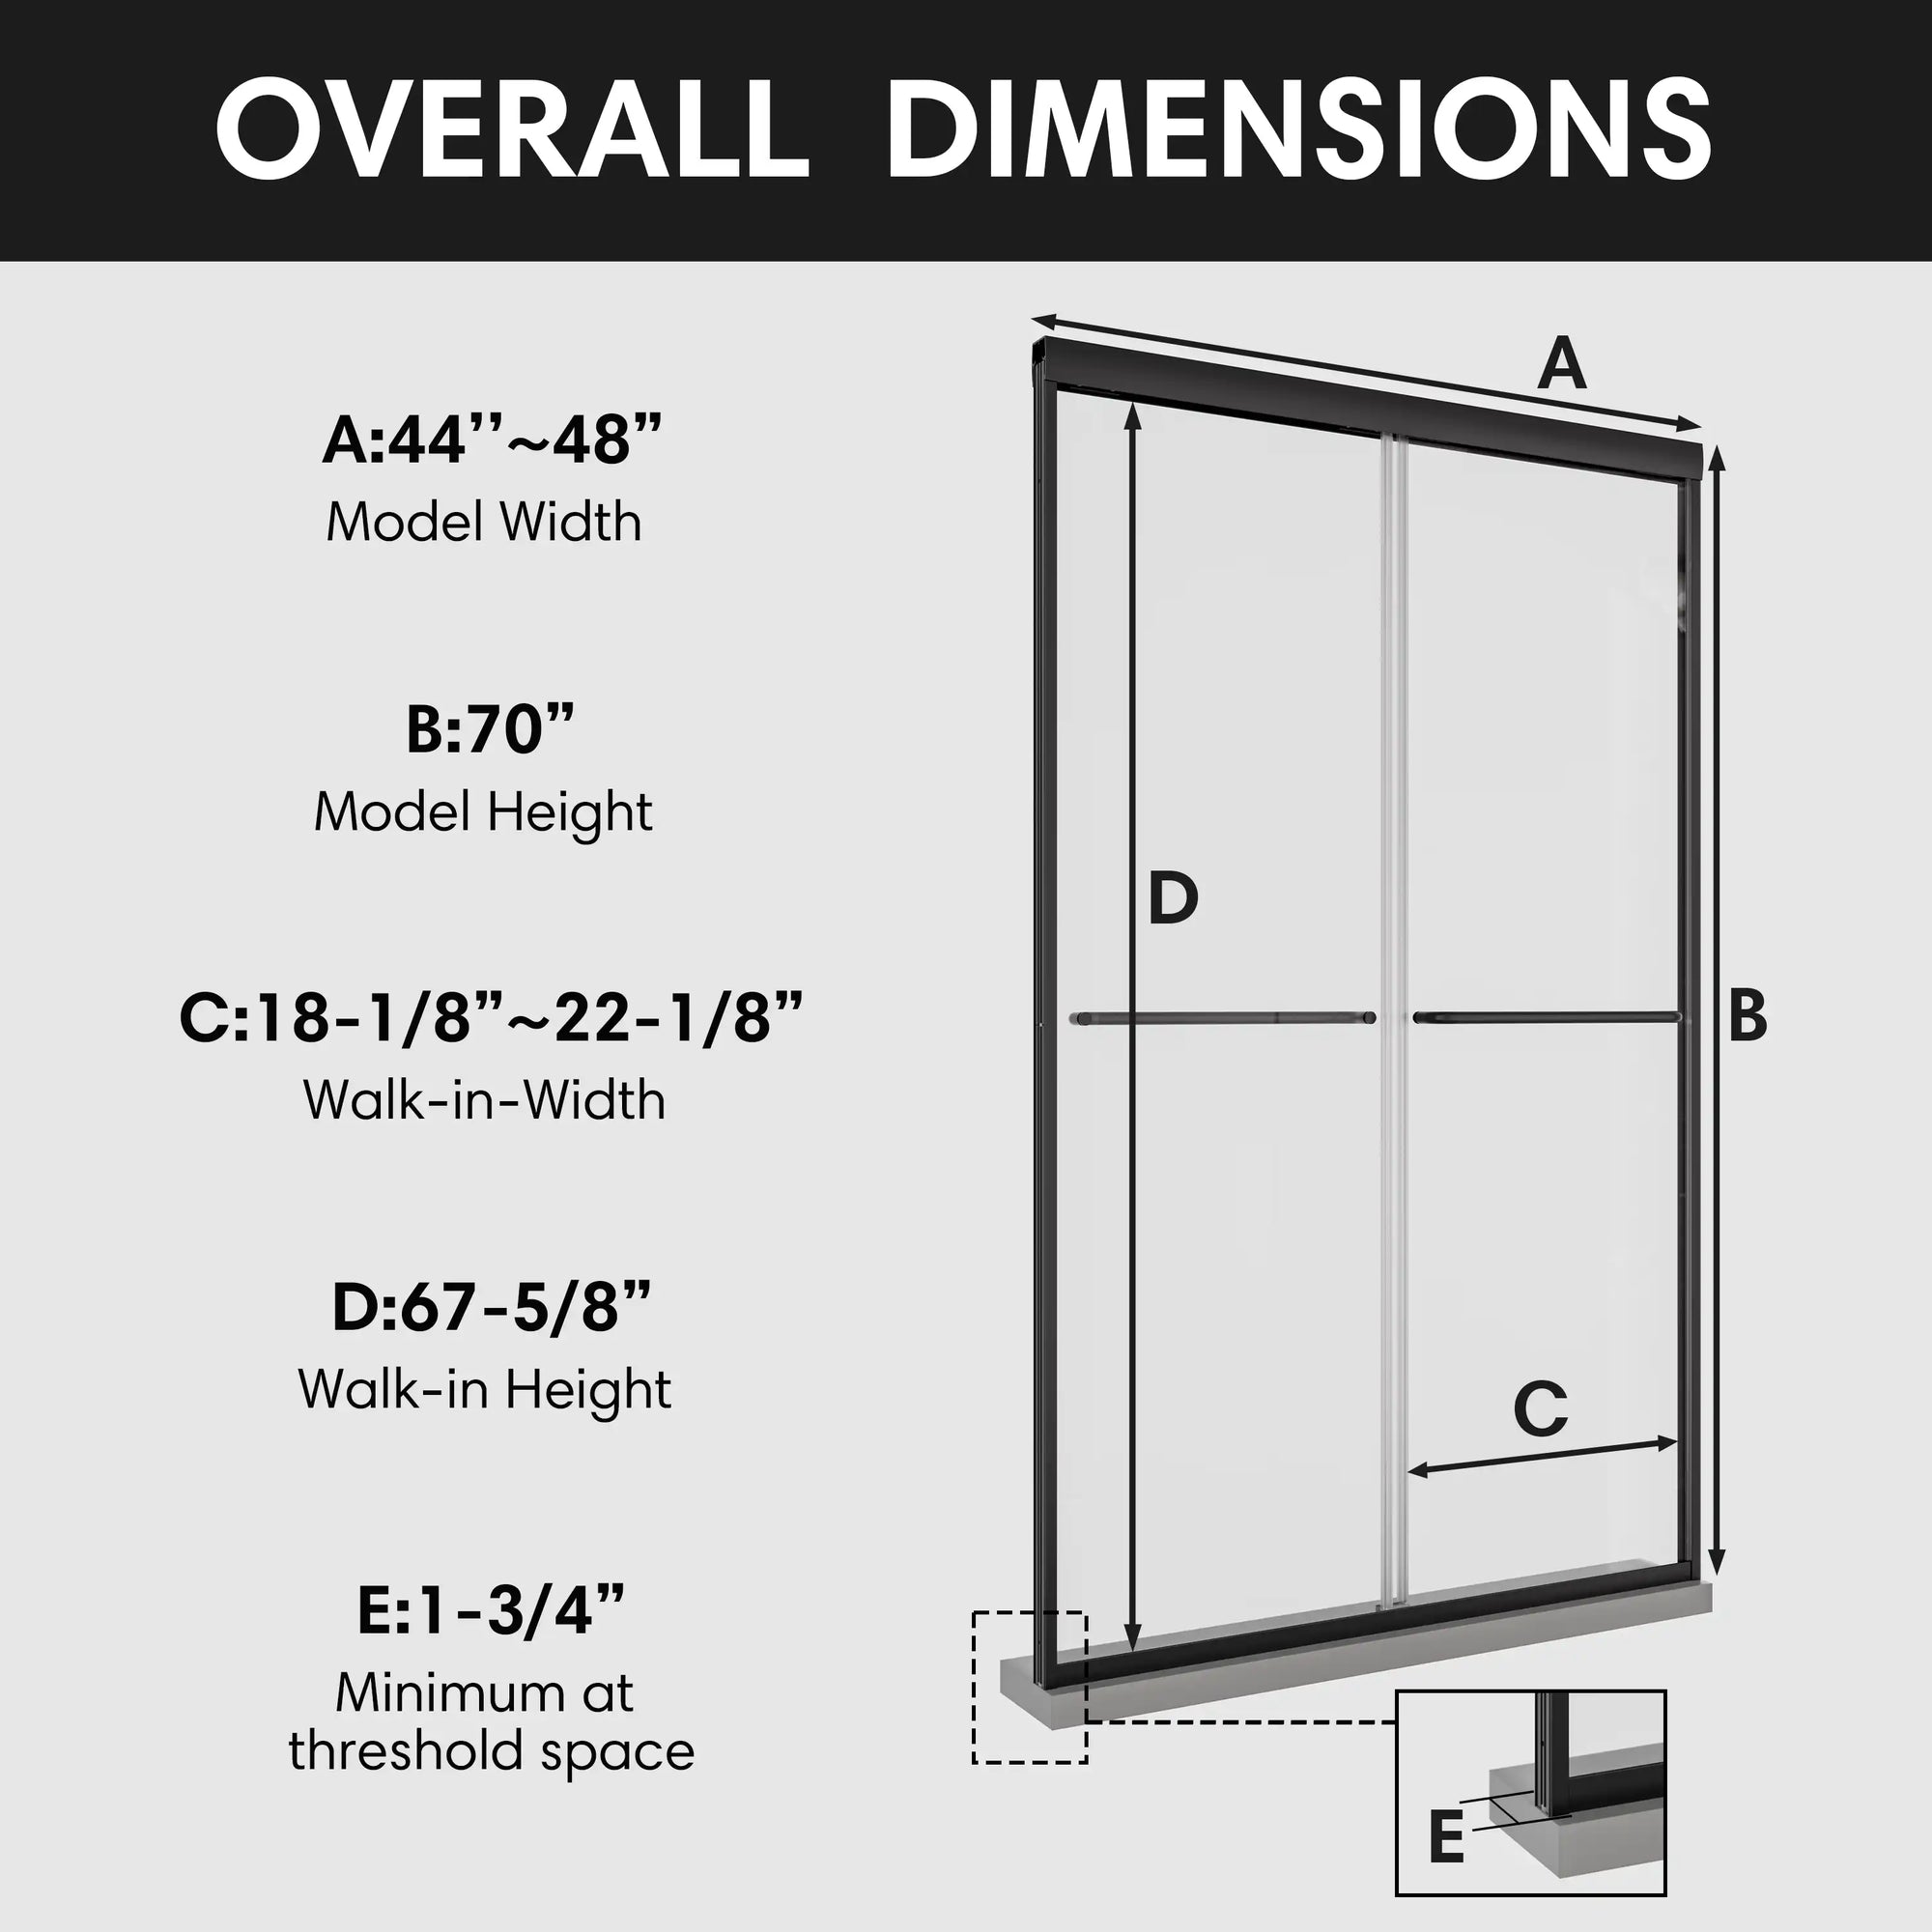
General Installation Guide for a Sliding Standing Shower Door
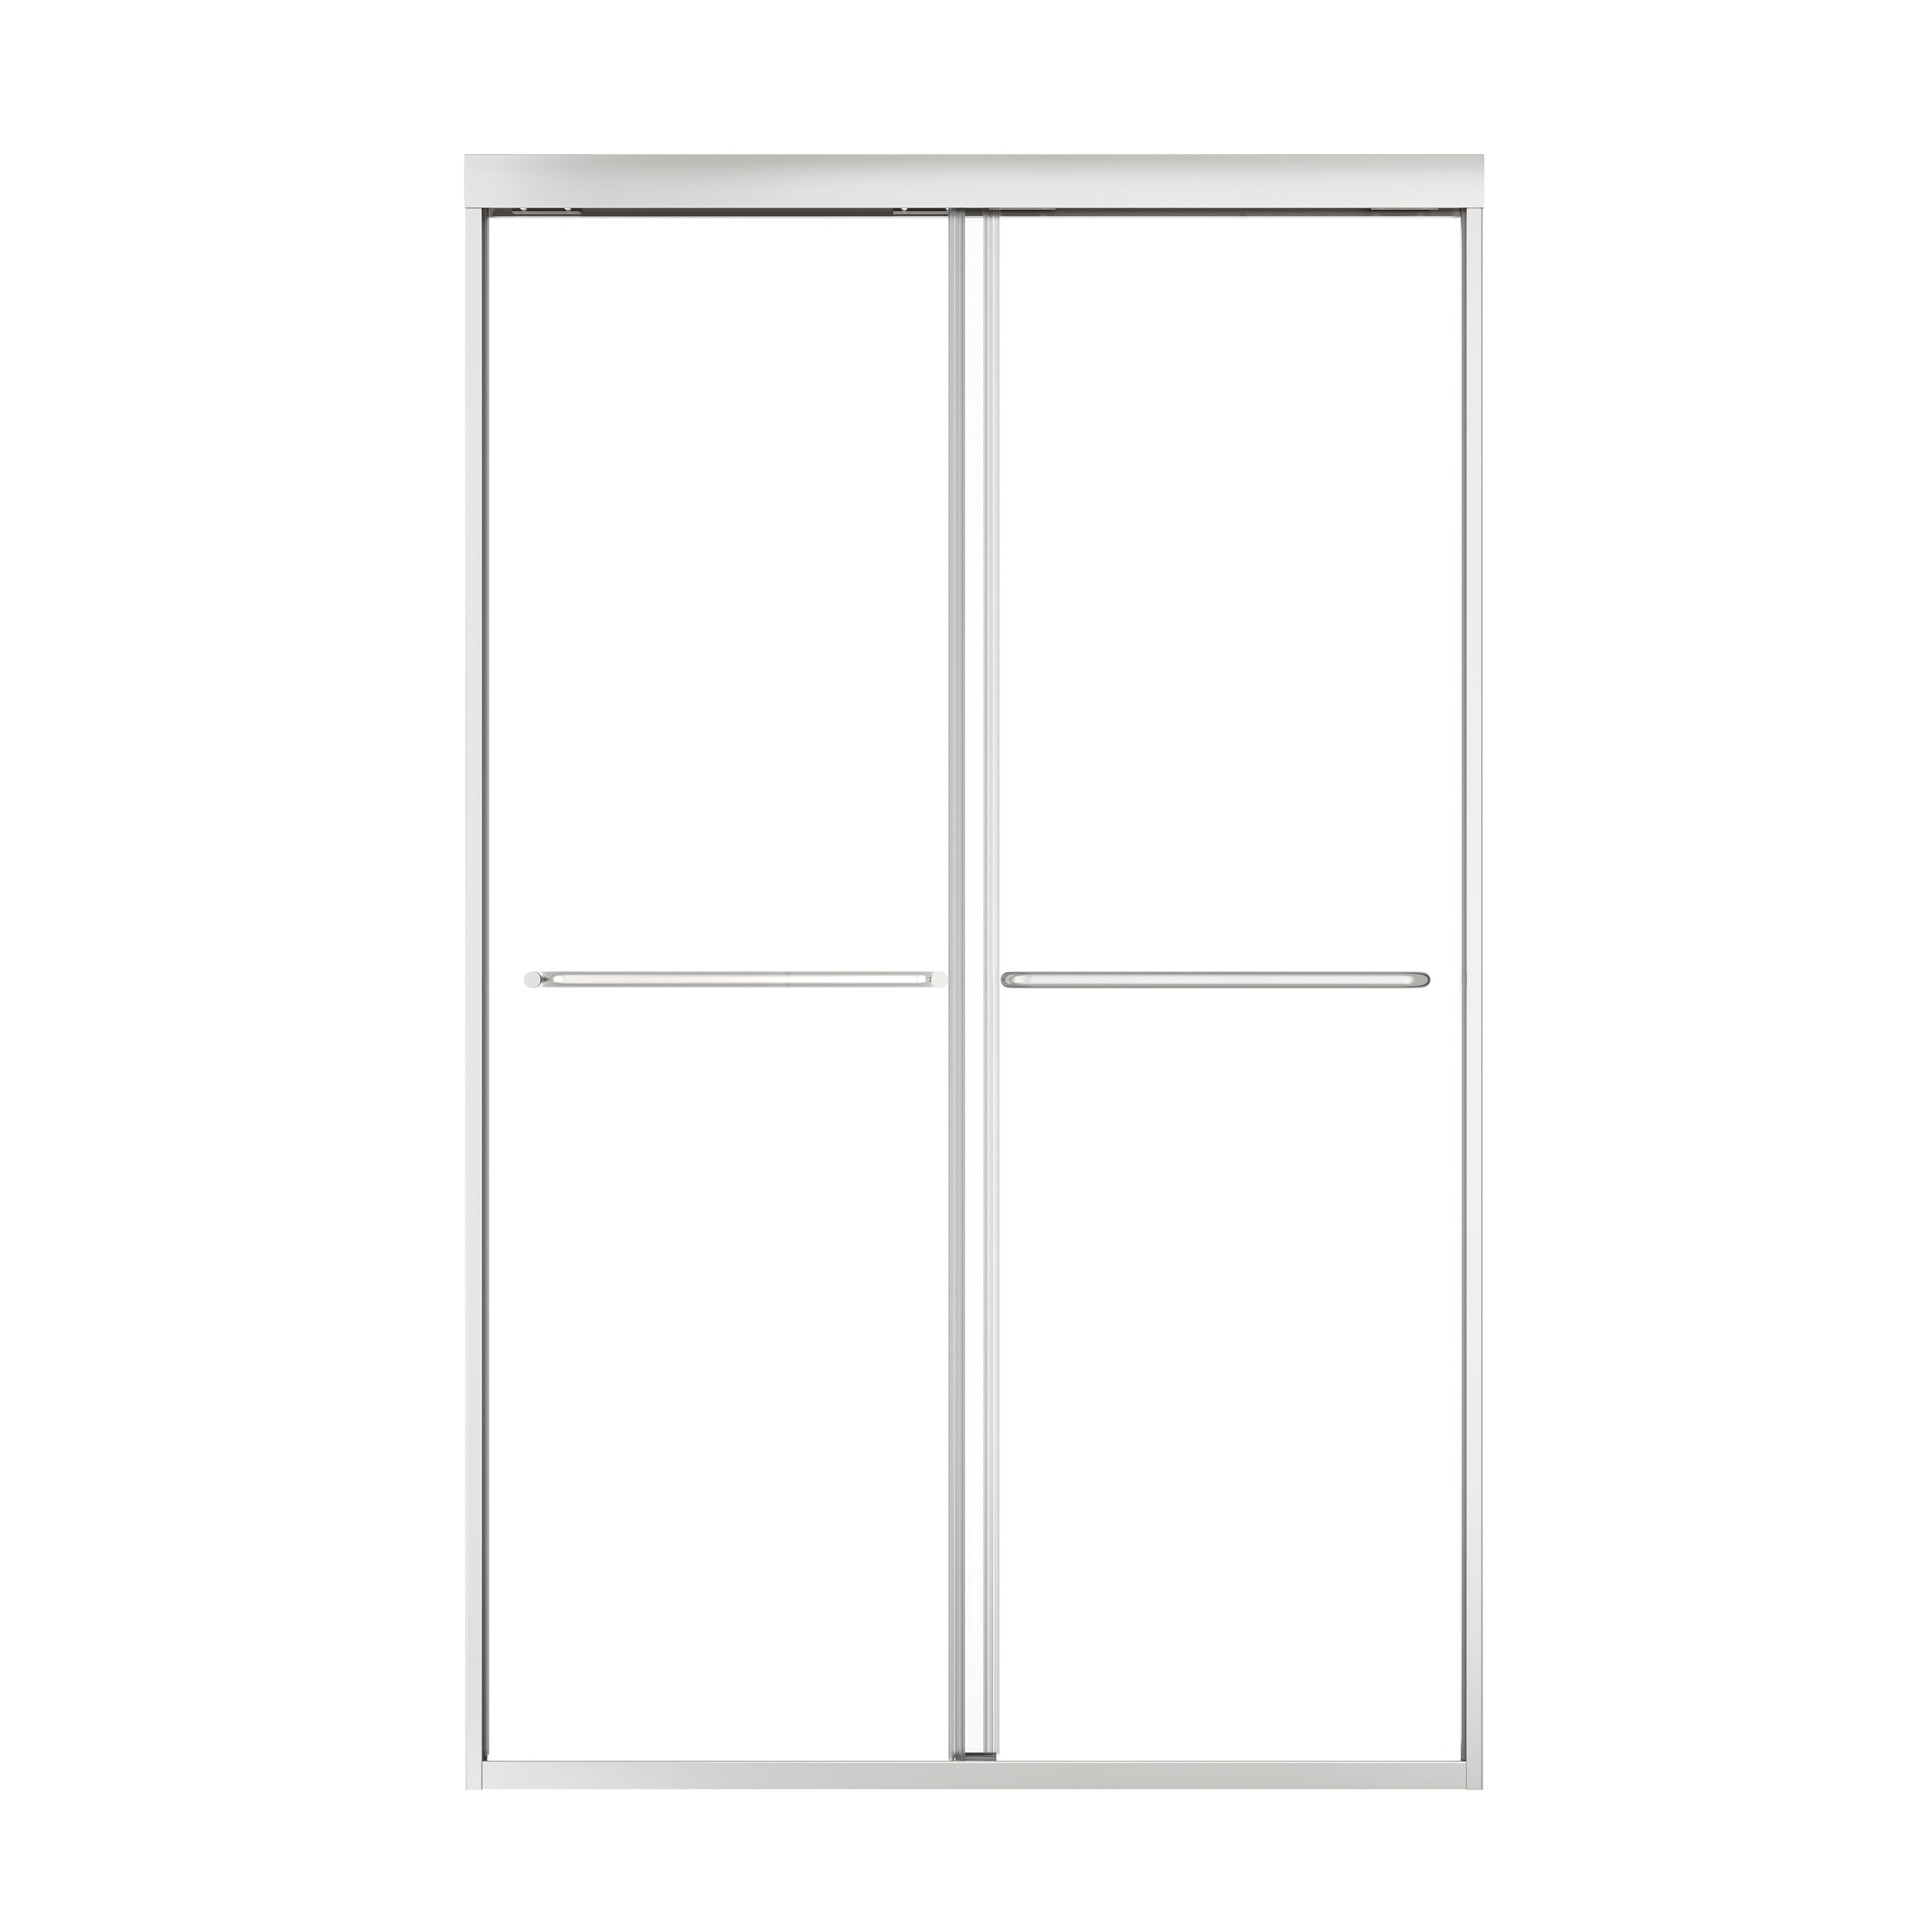
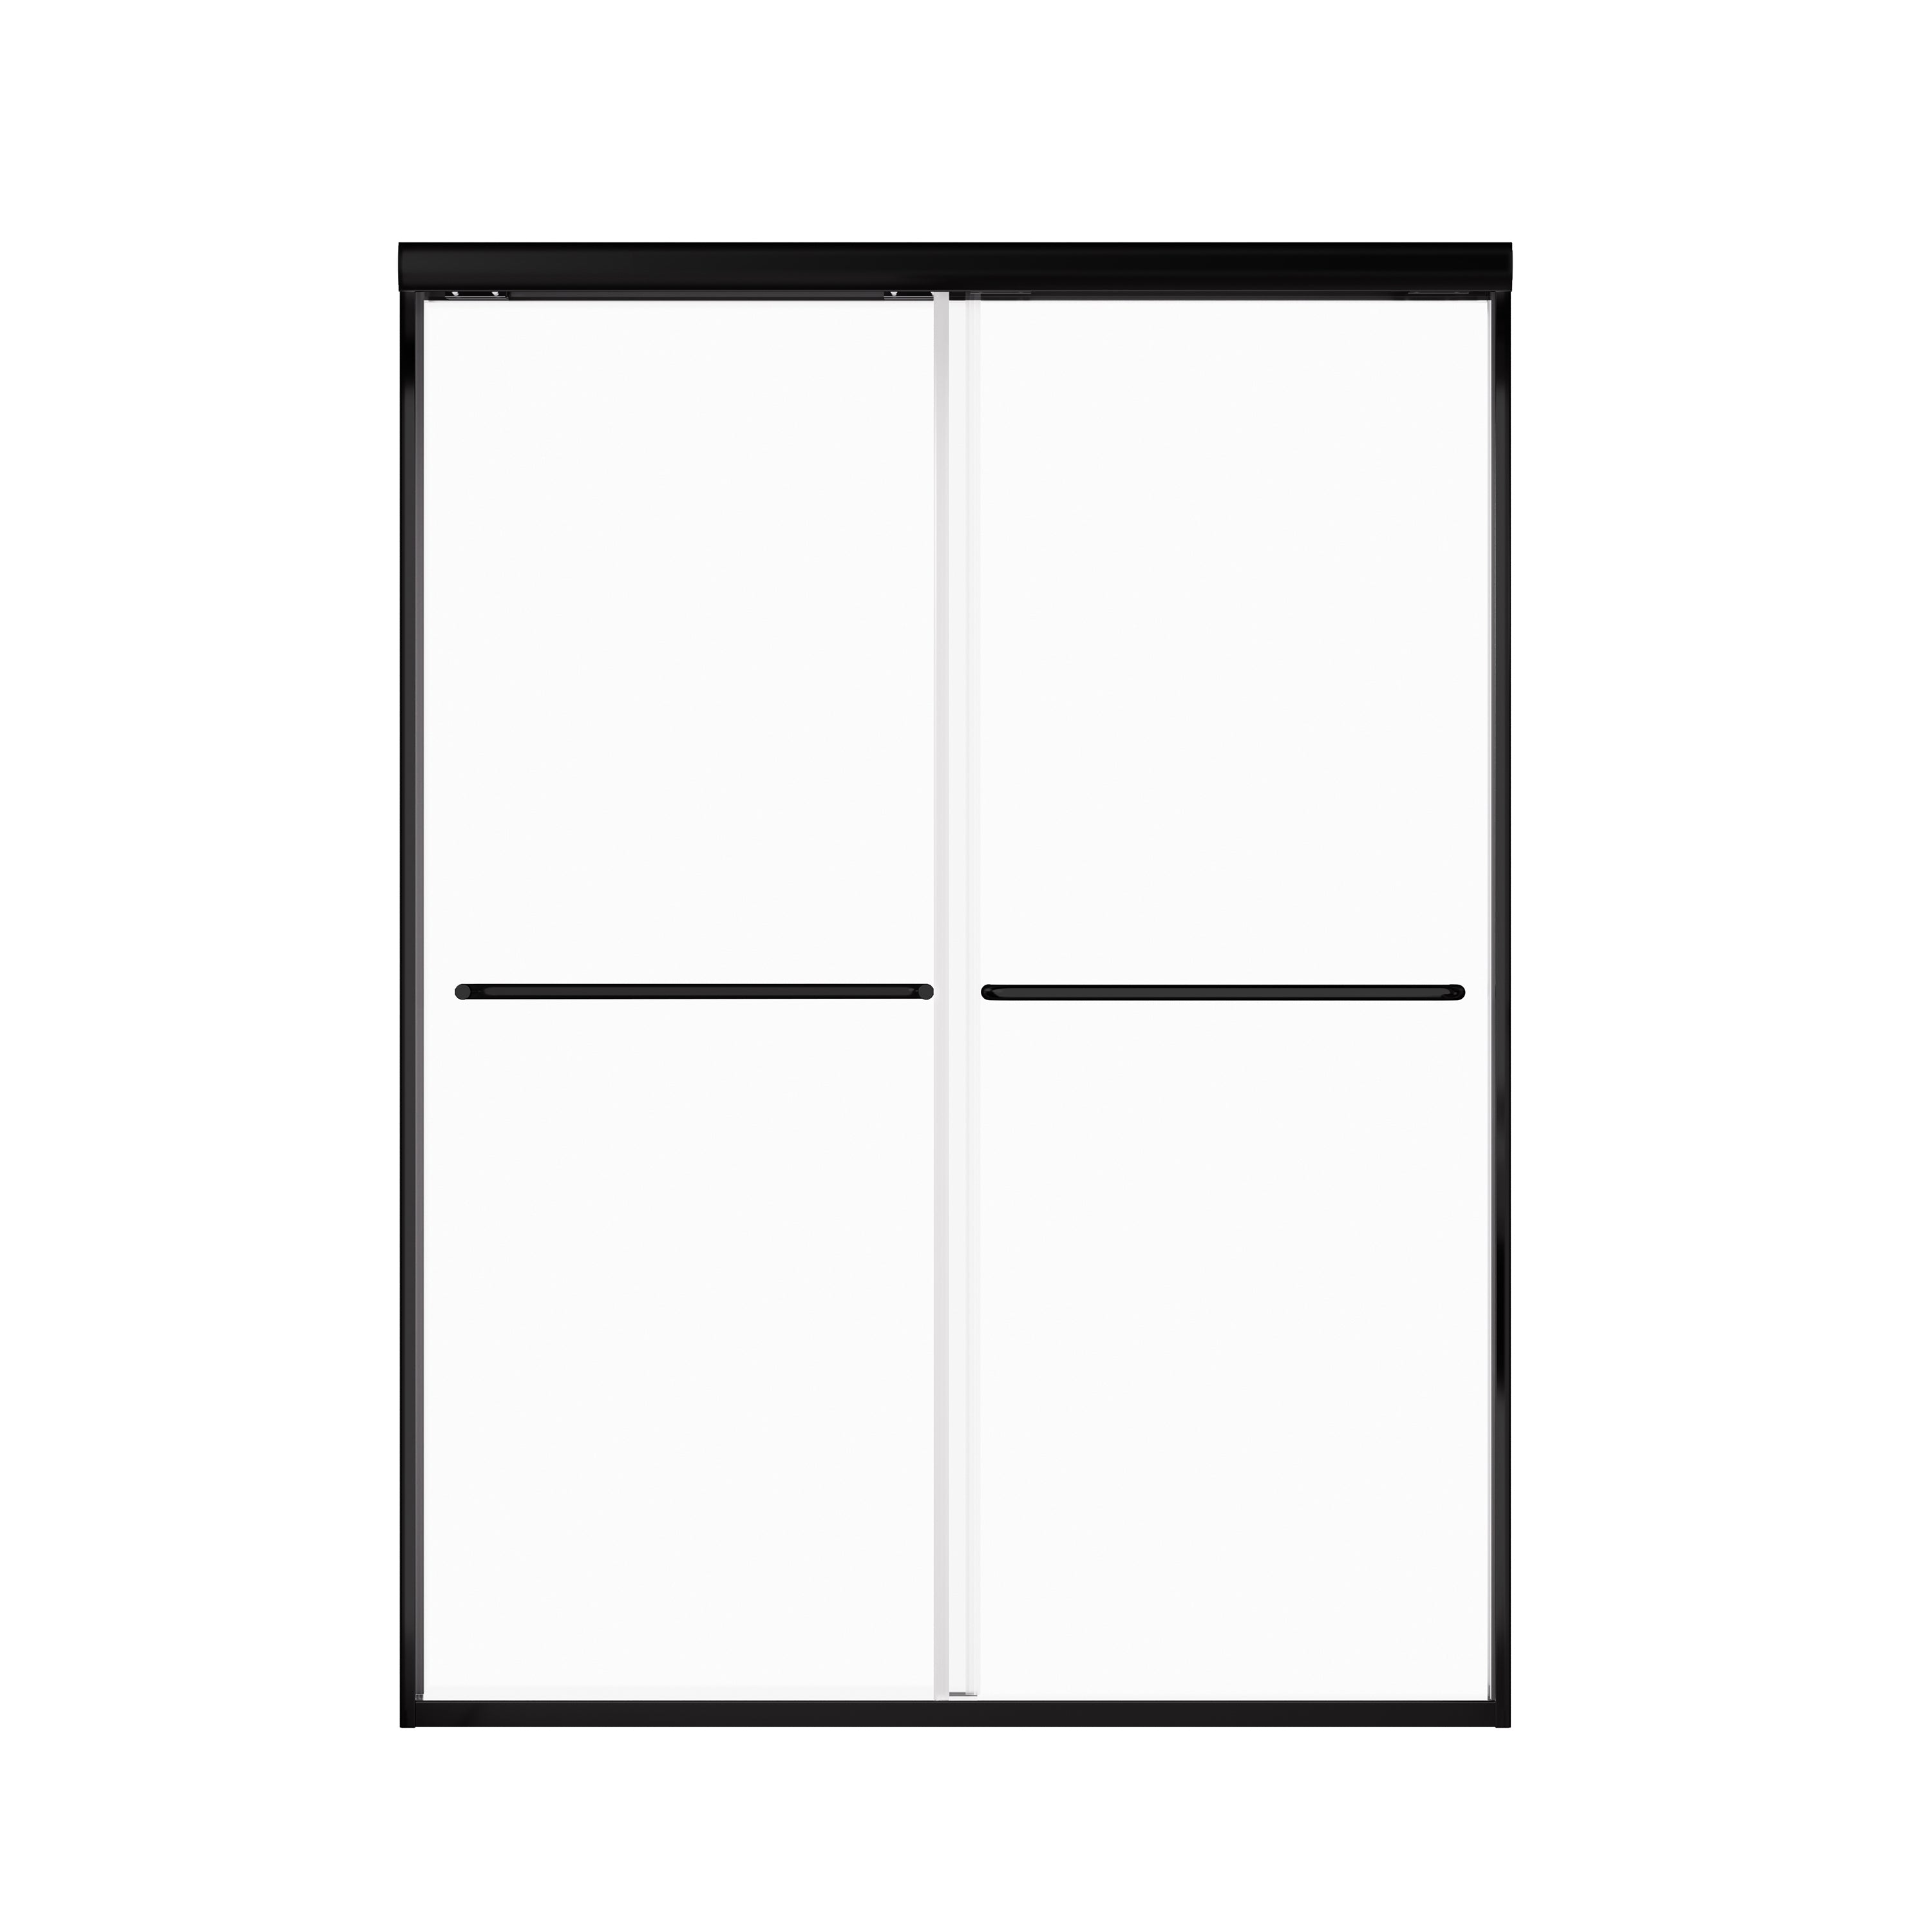
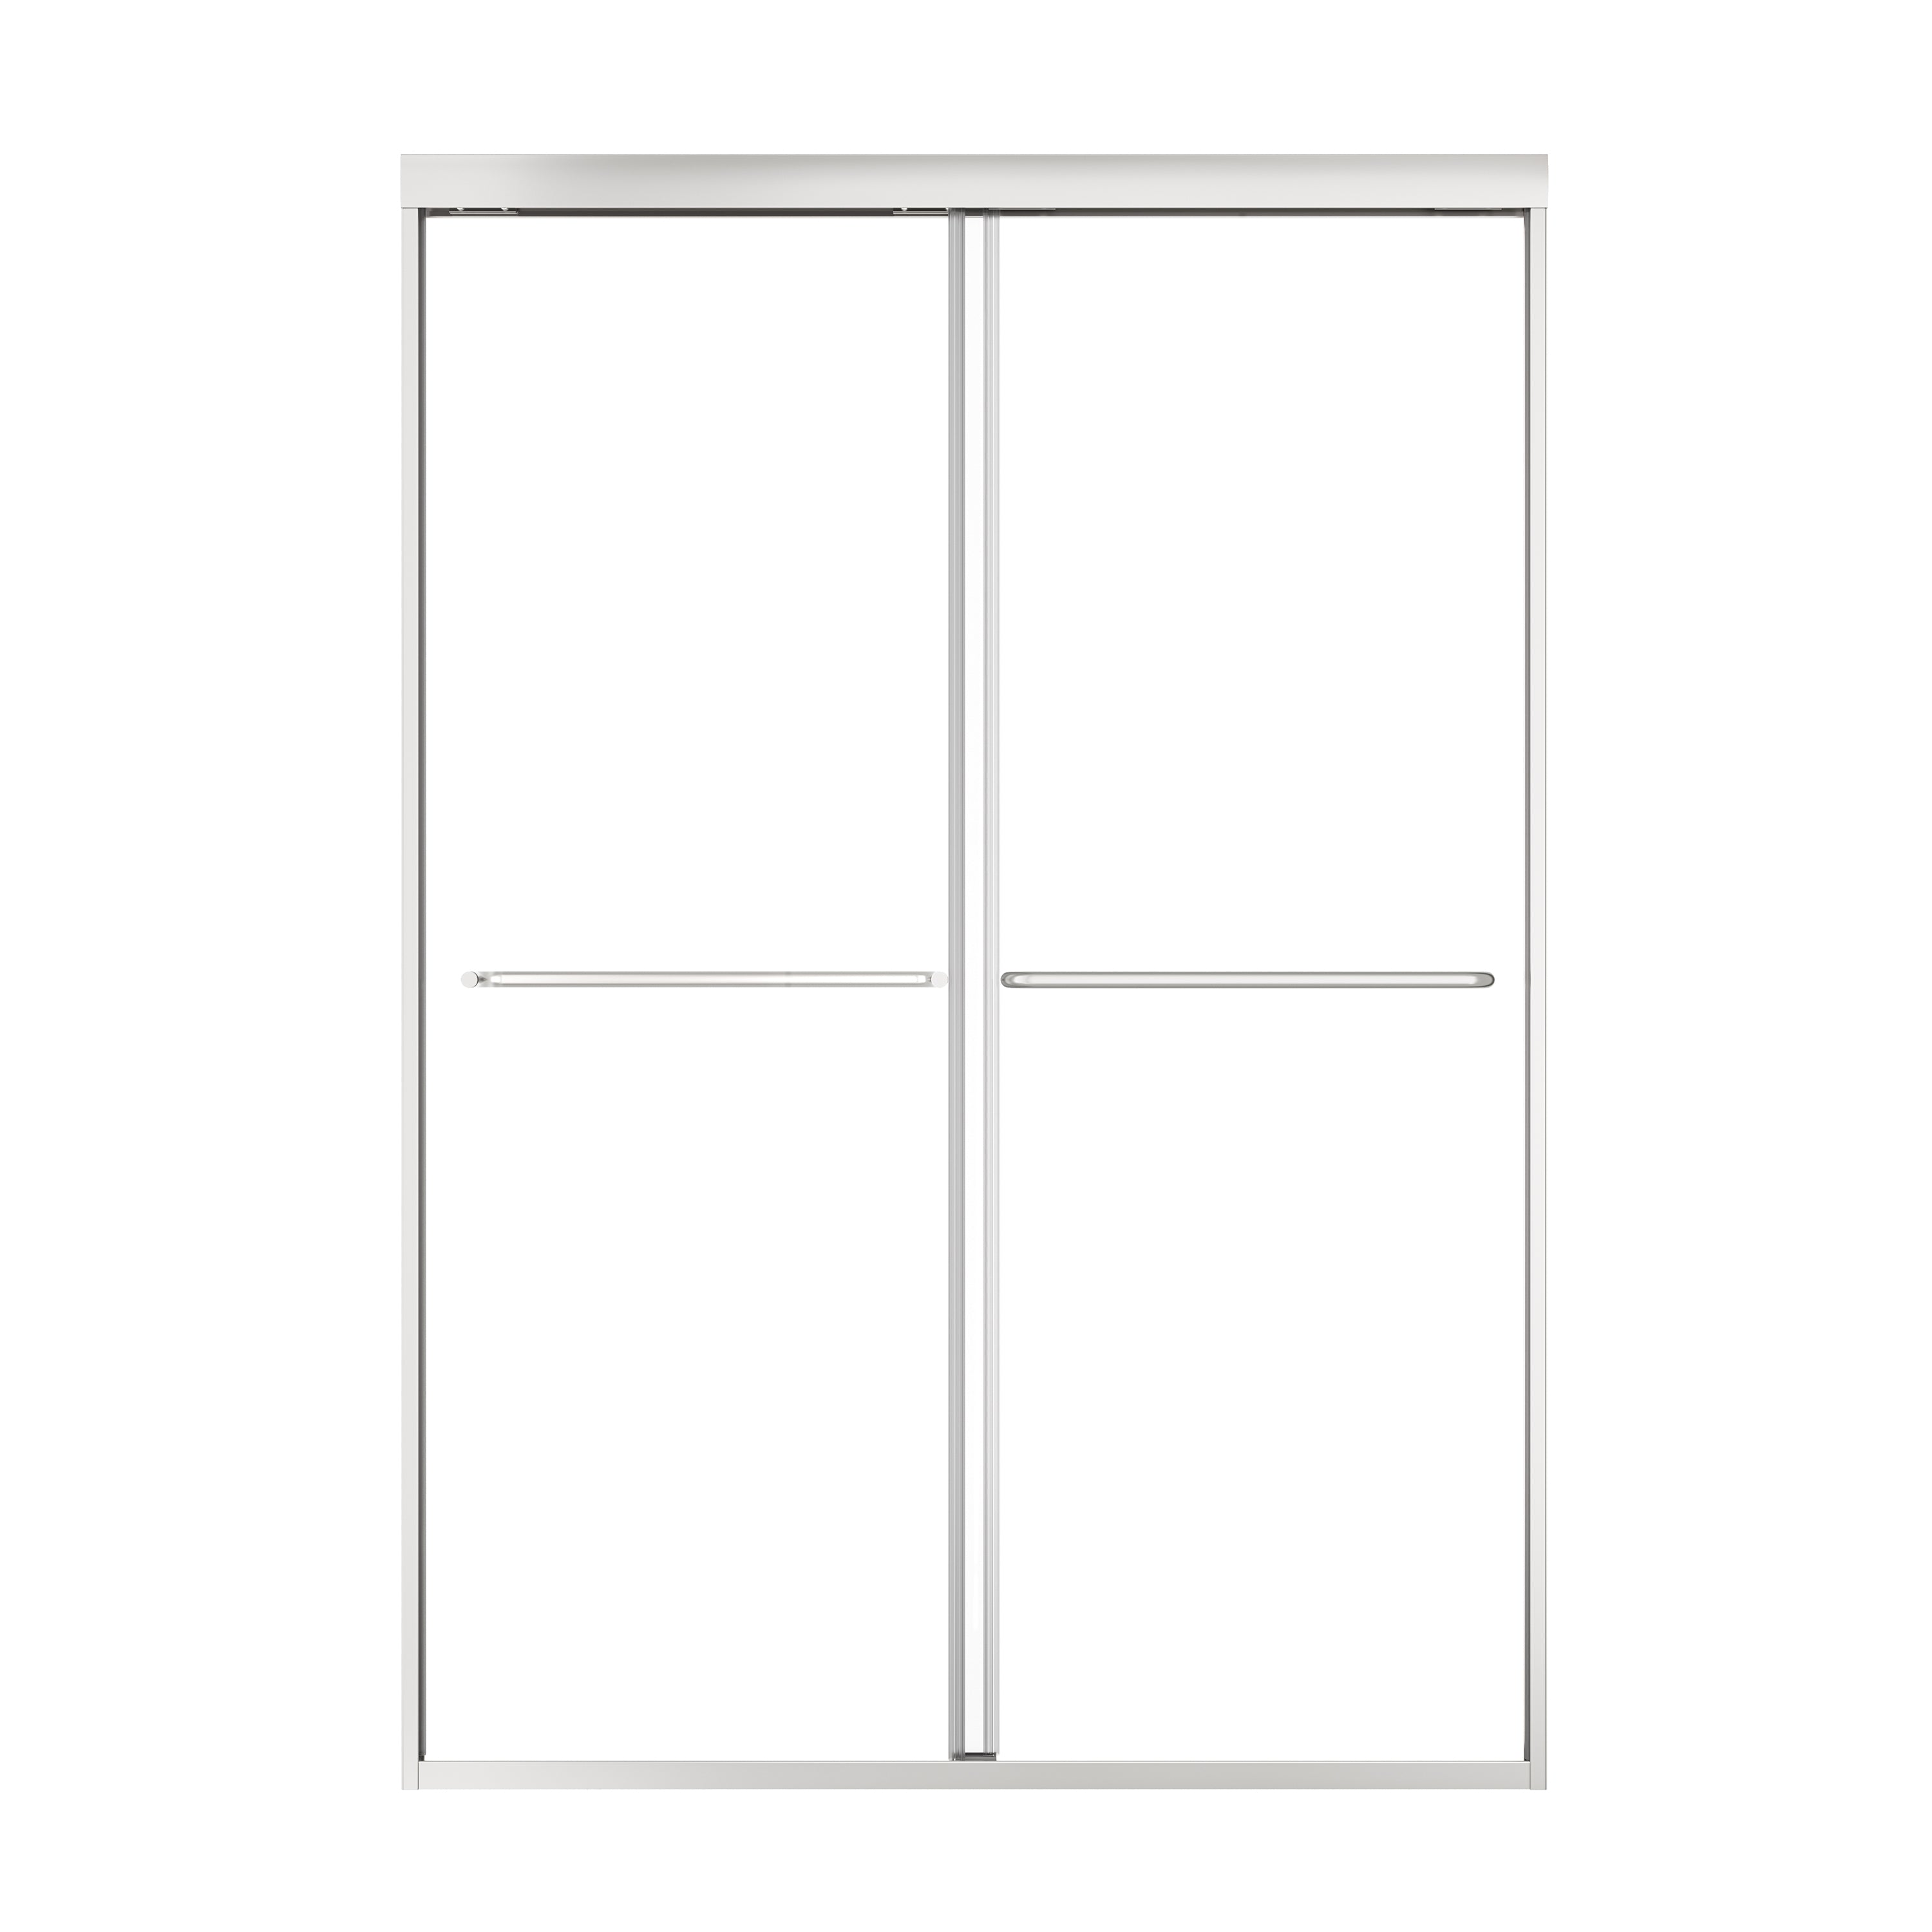
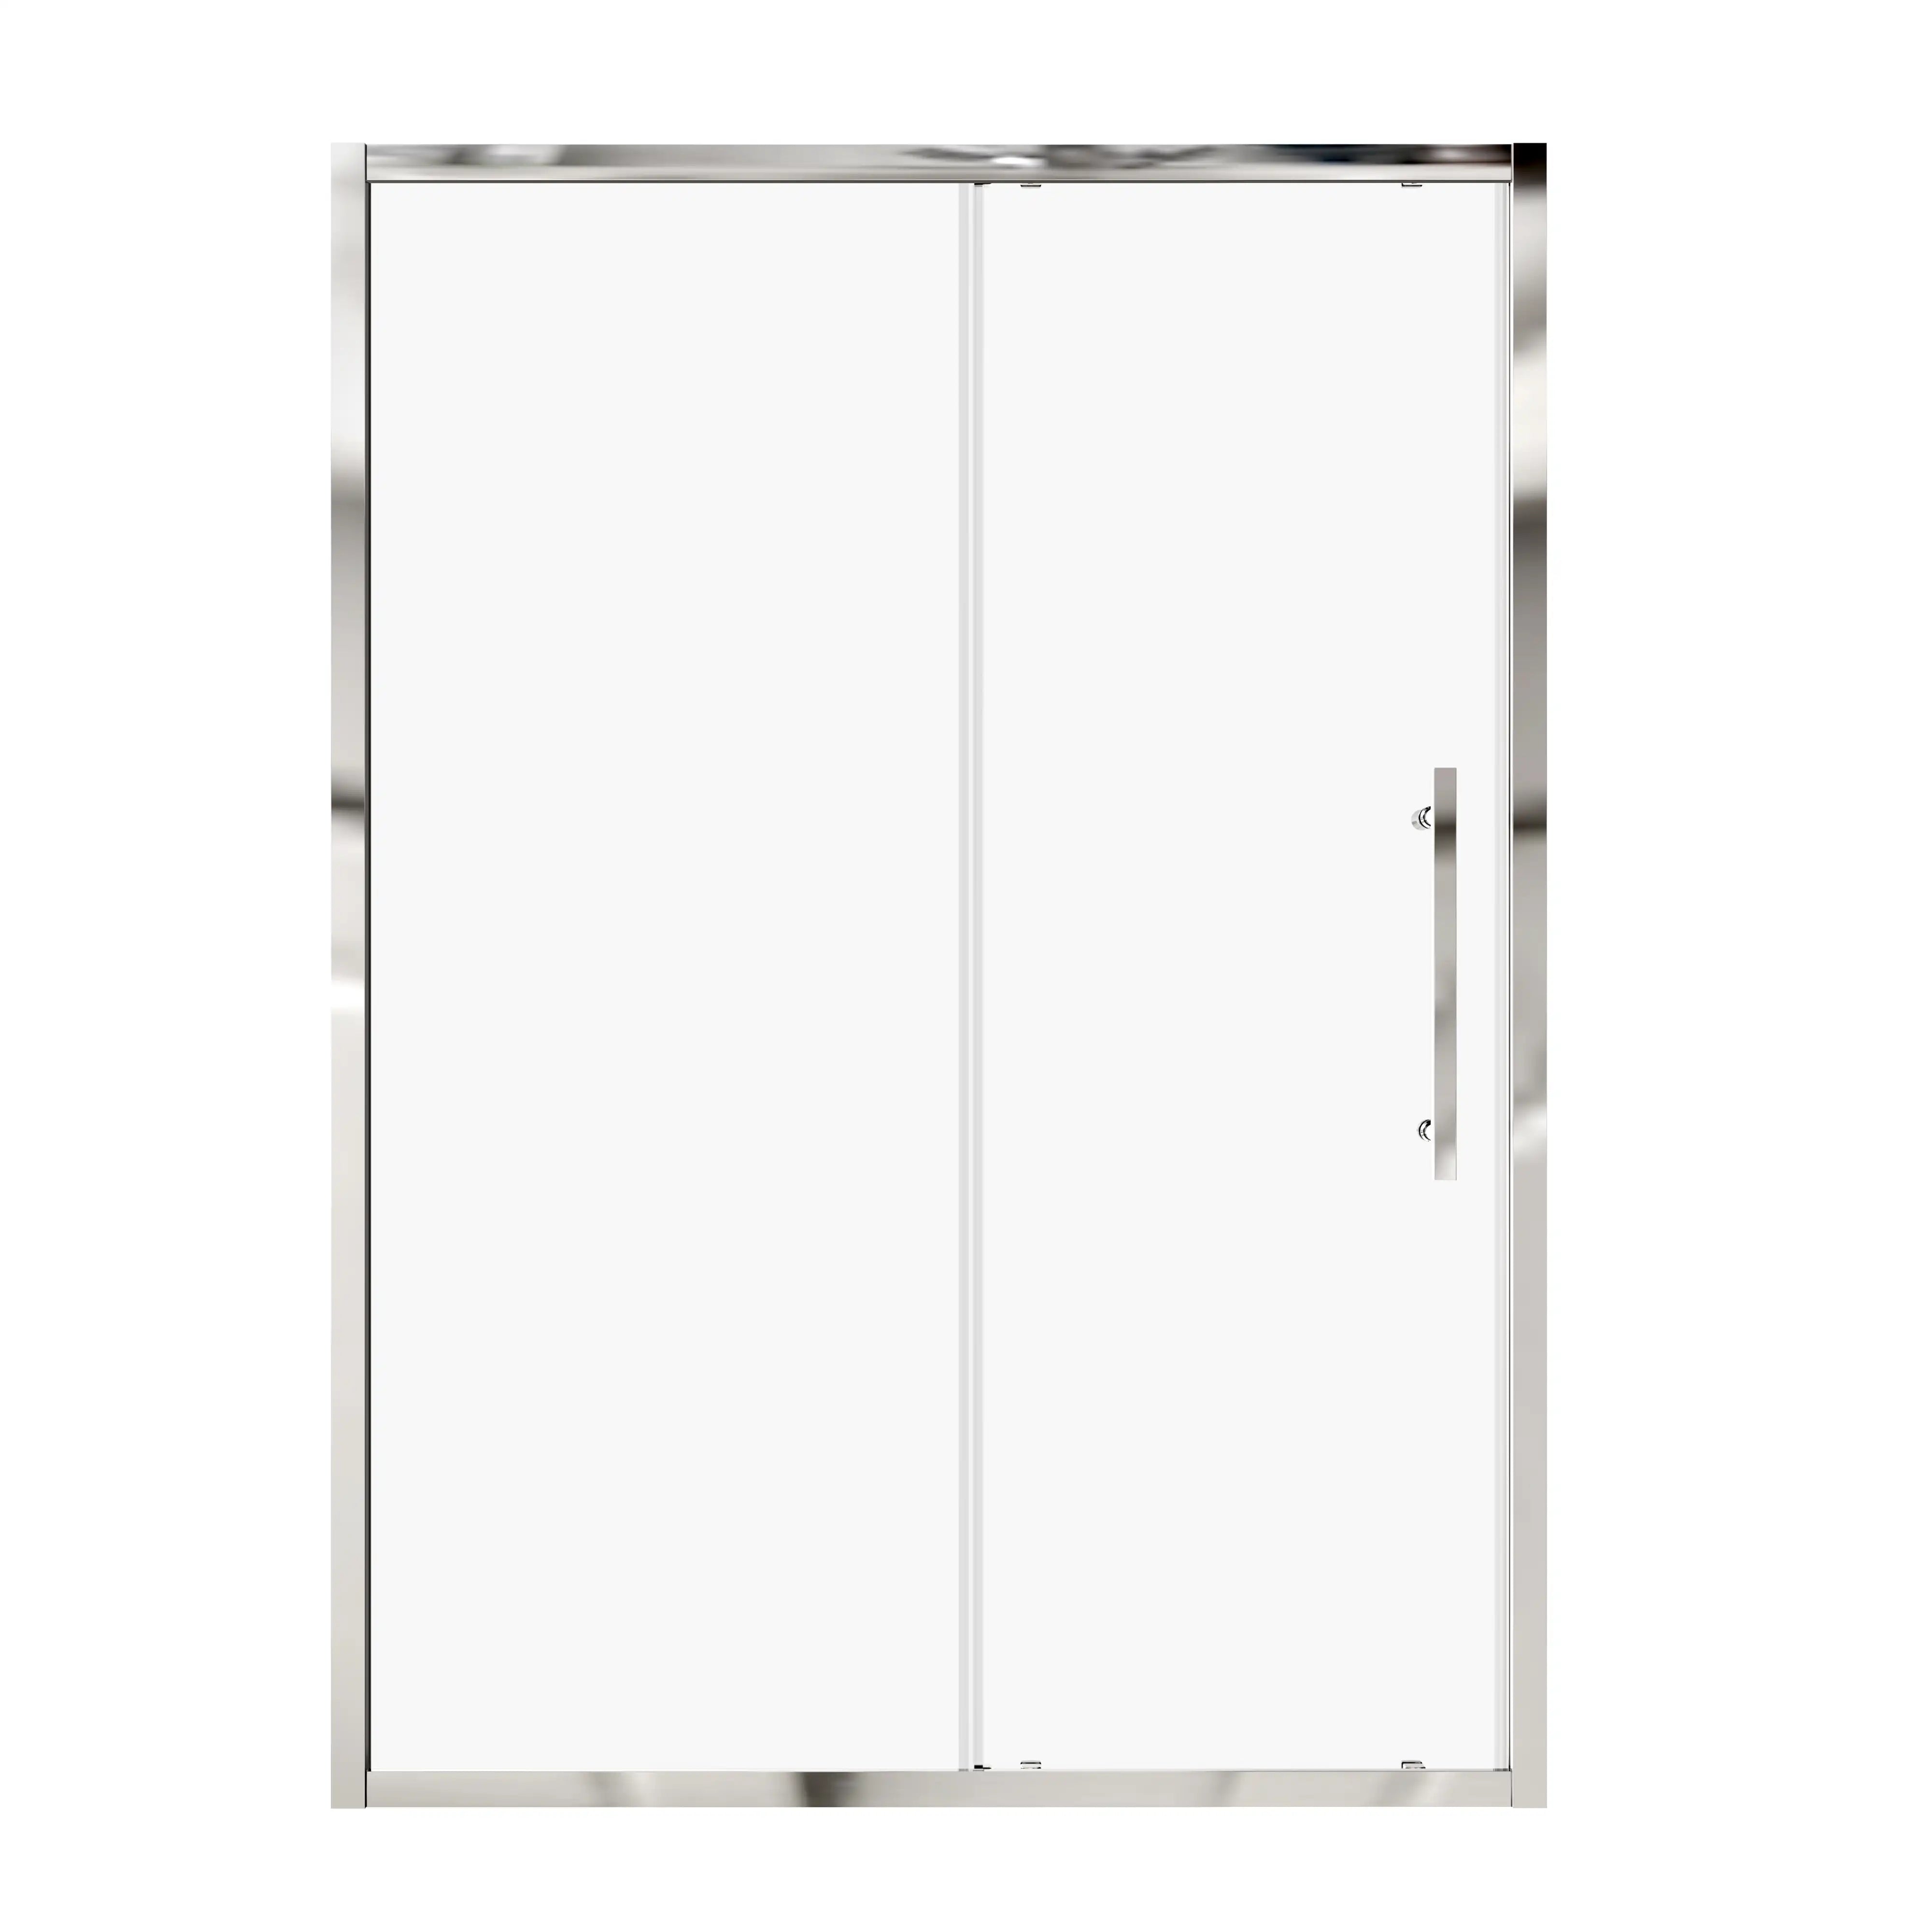
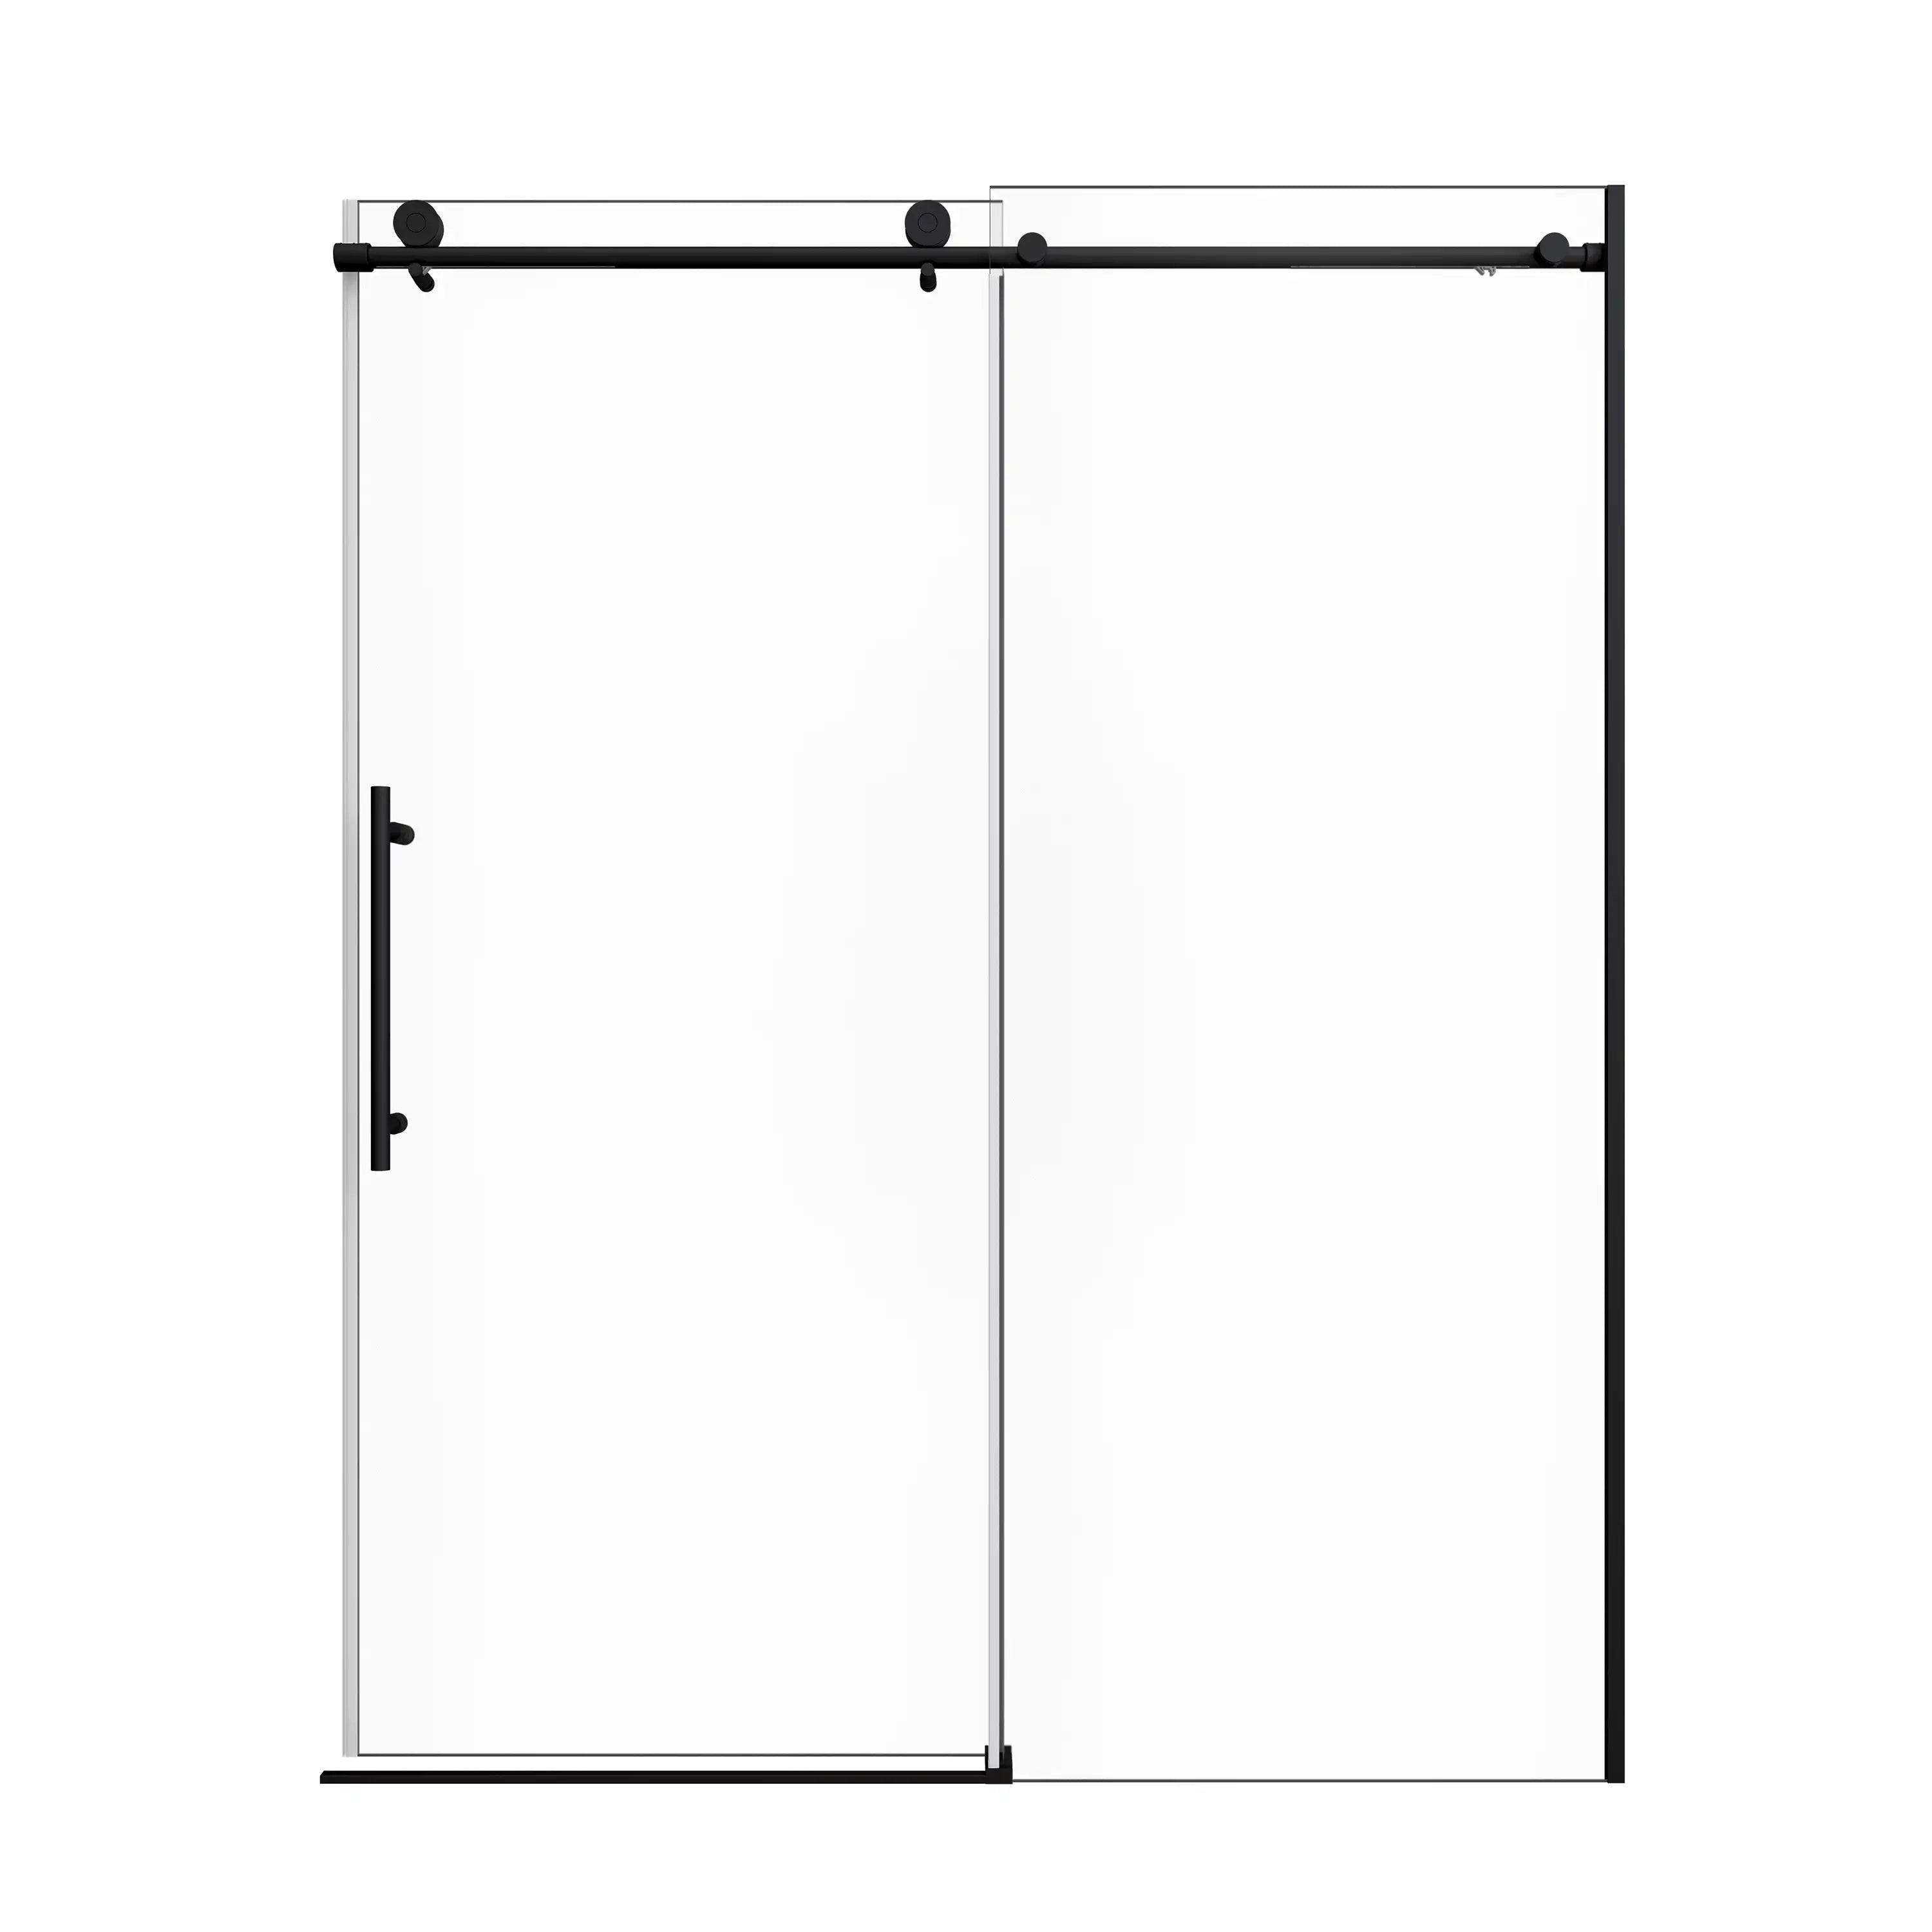
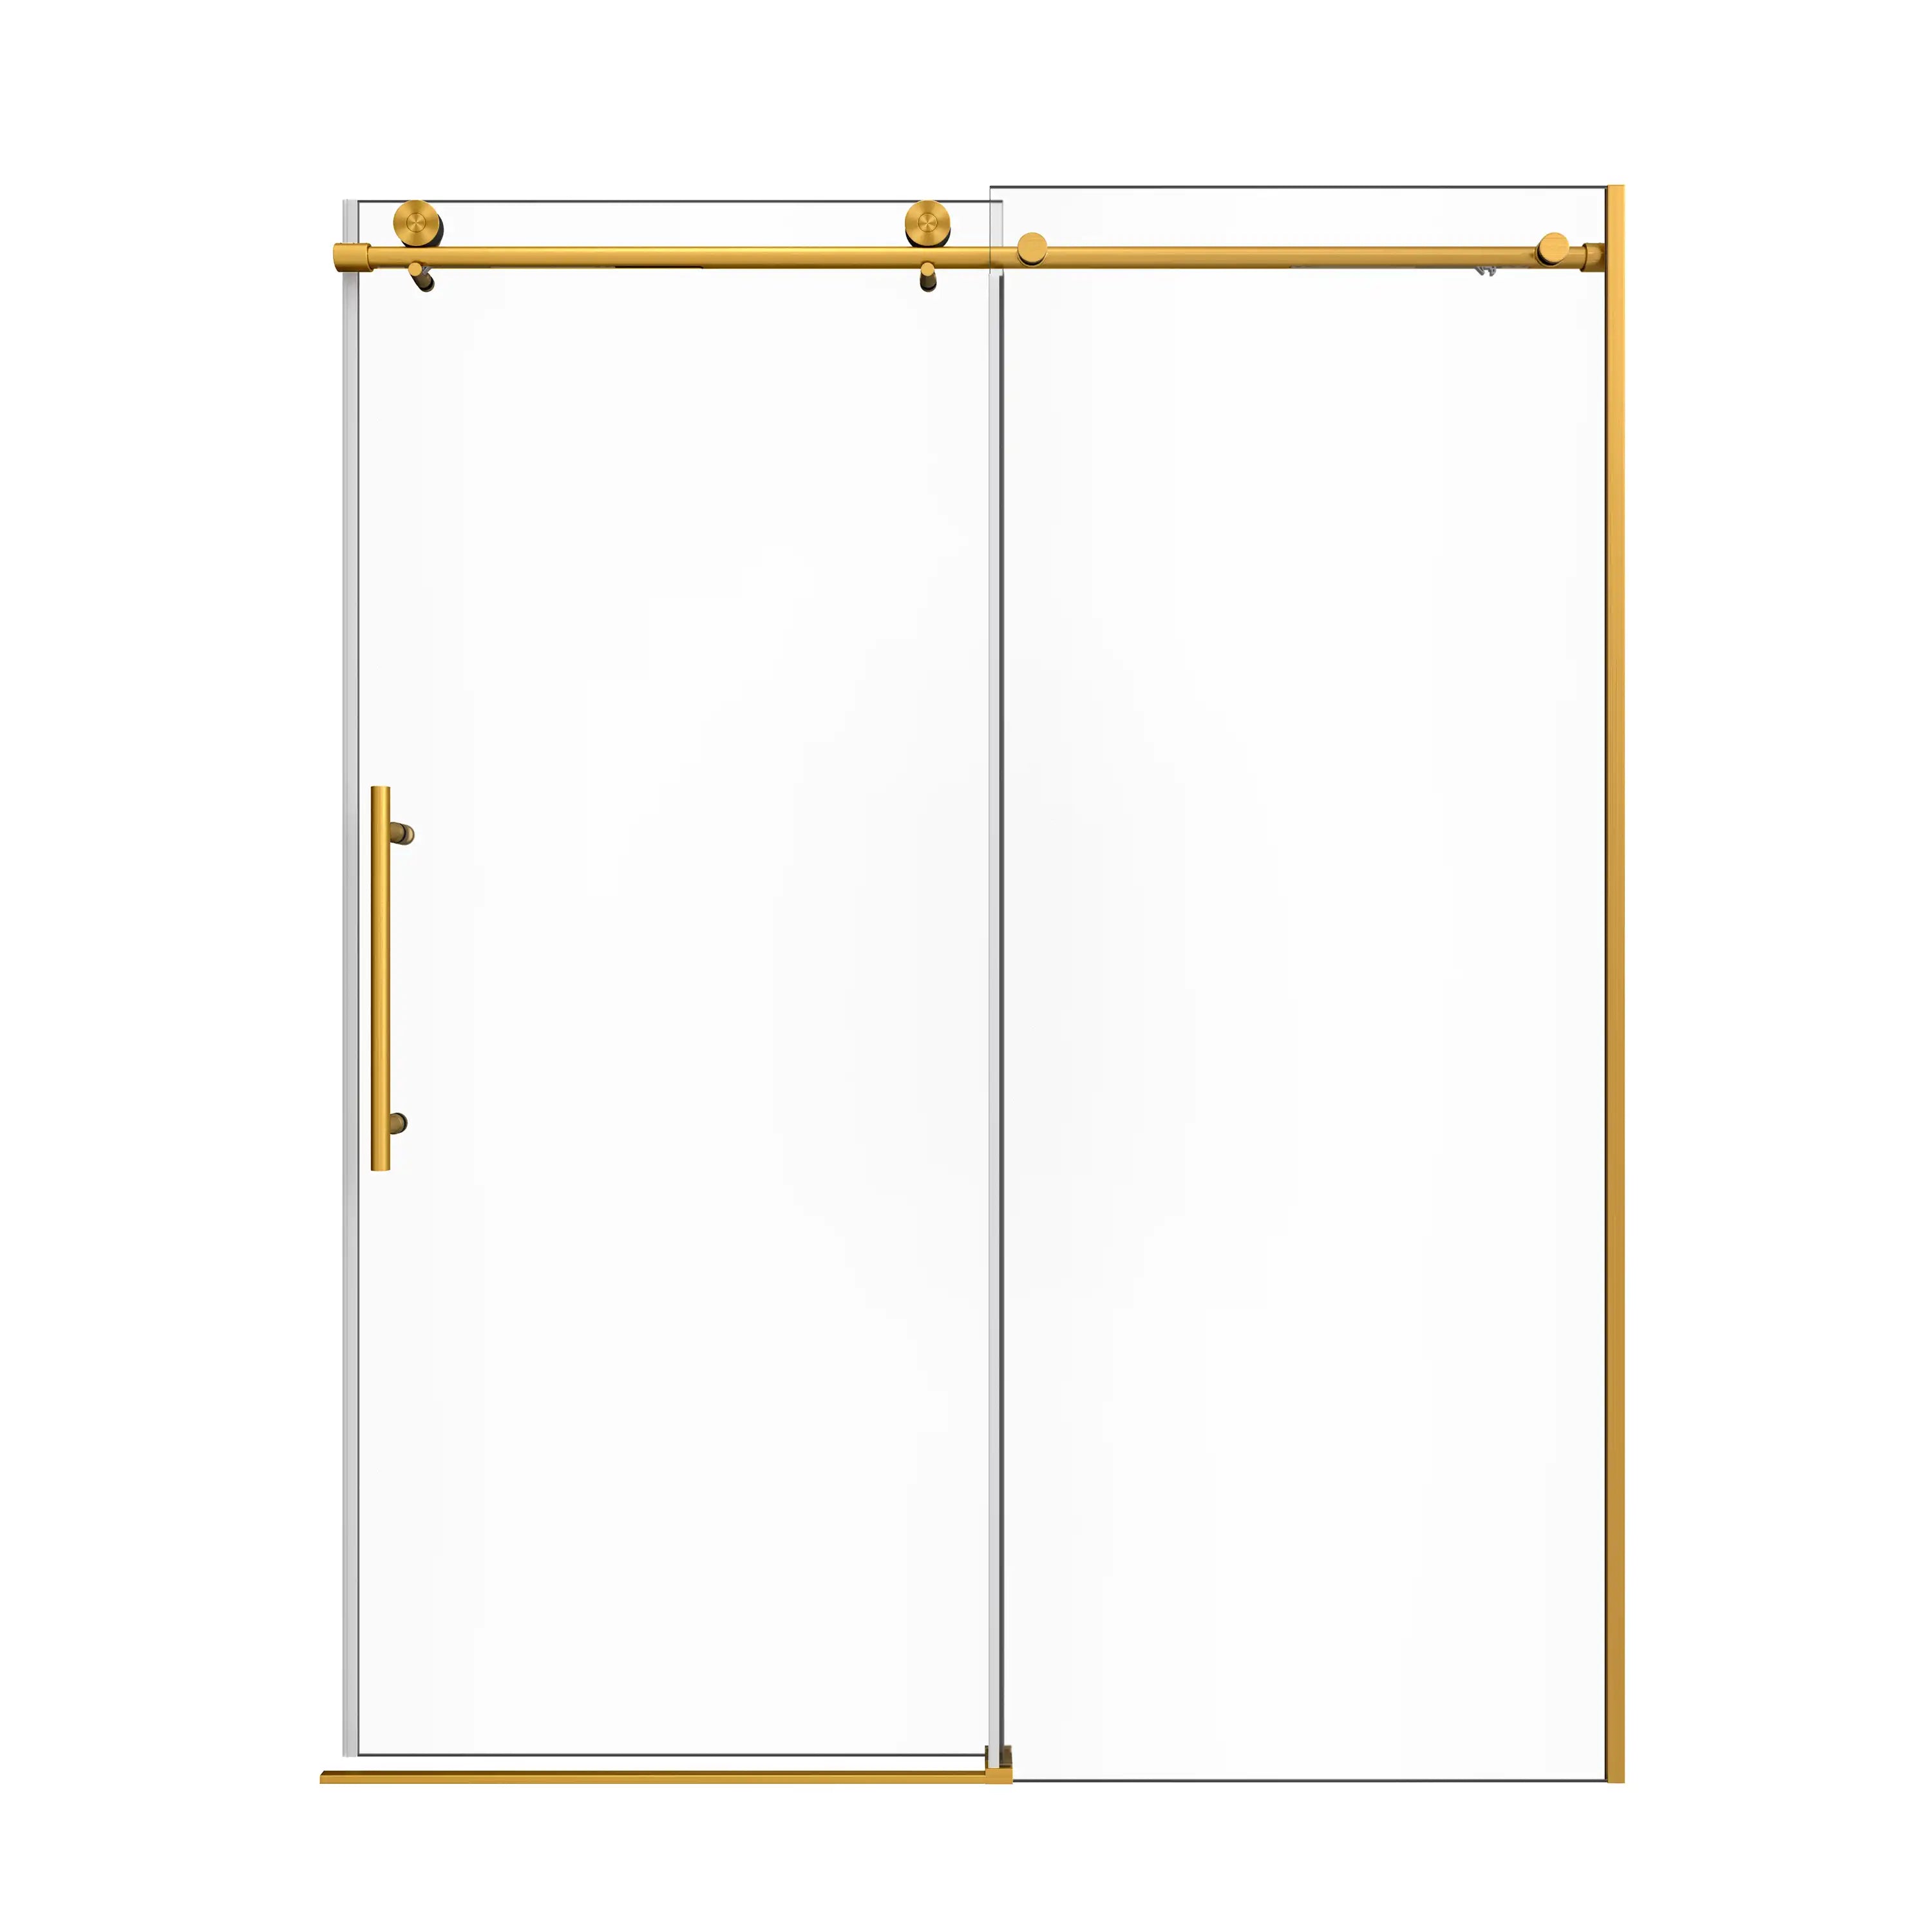
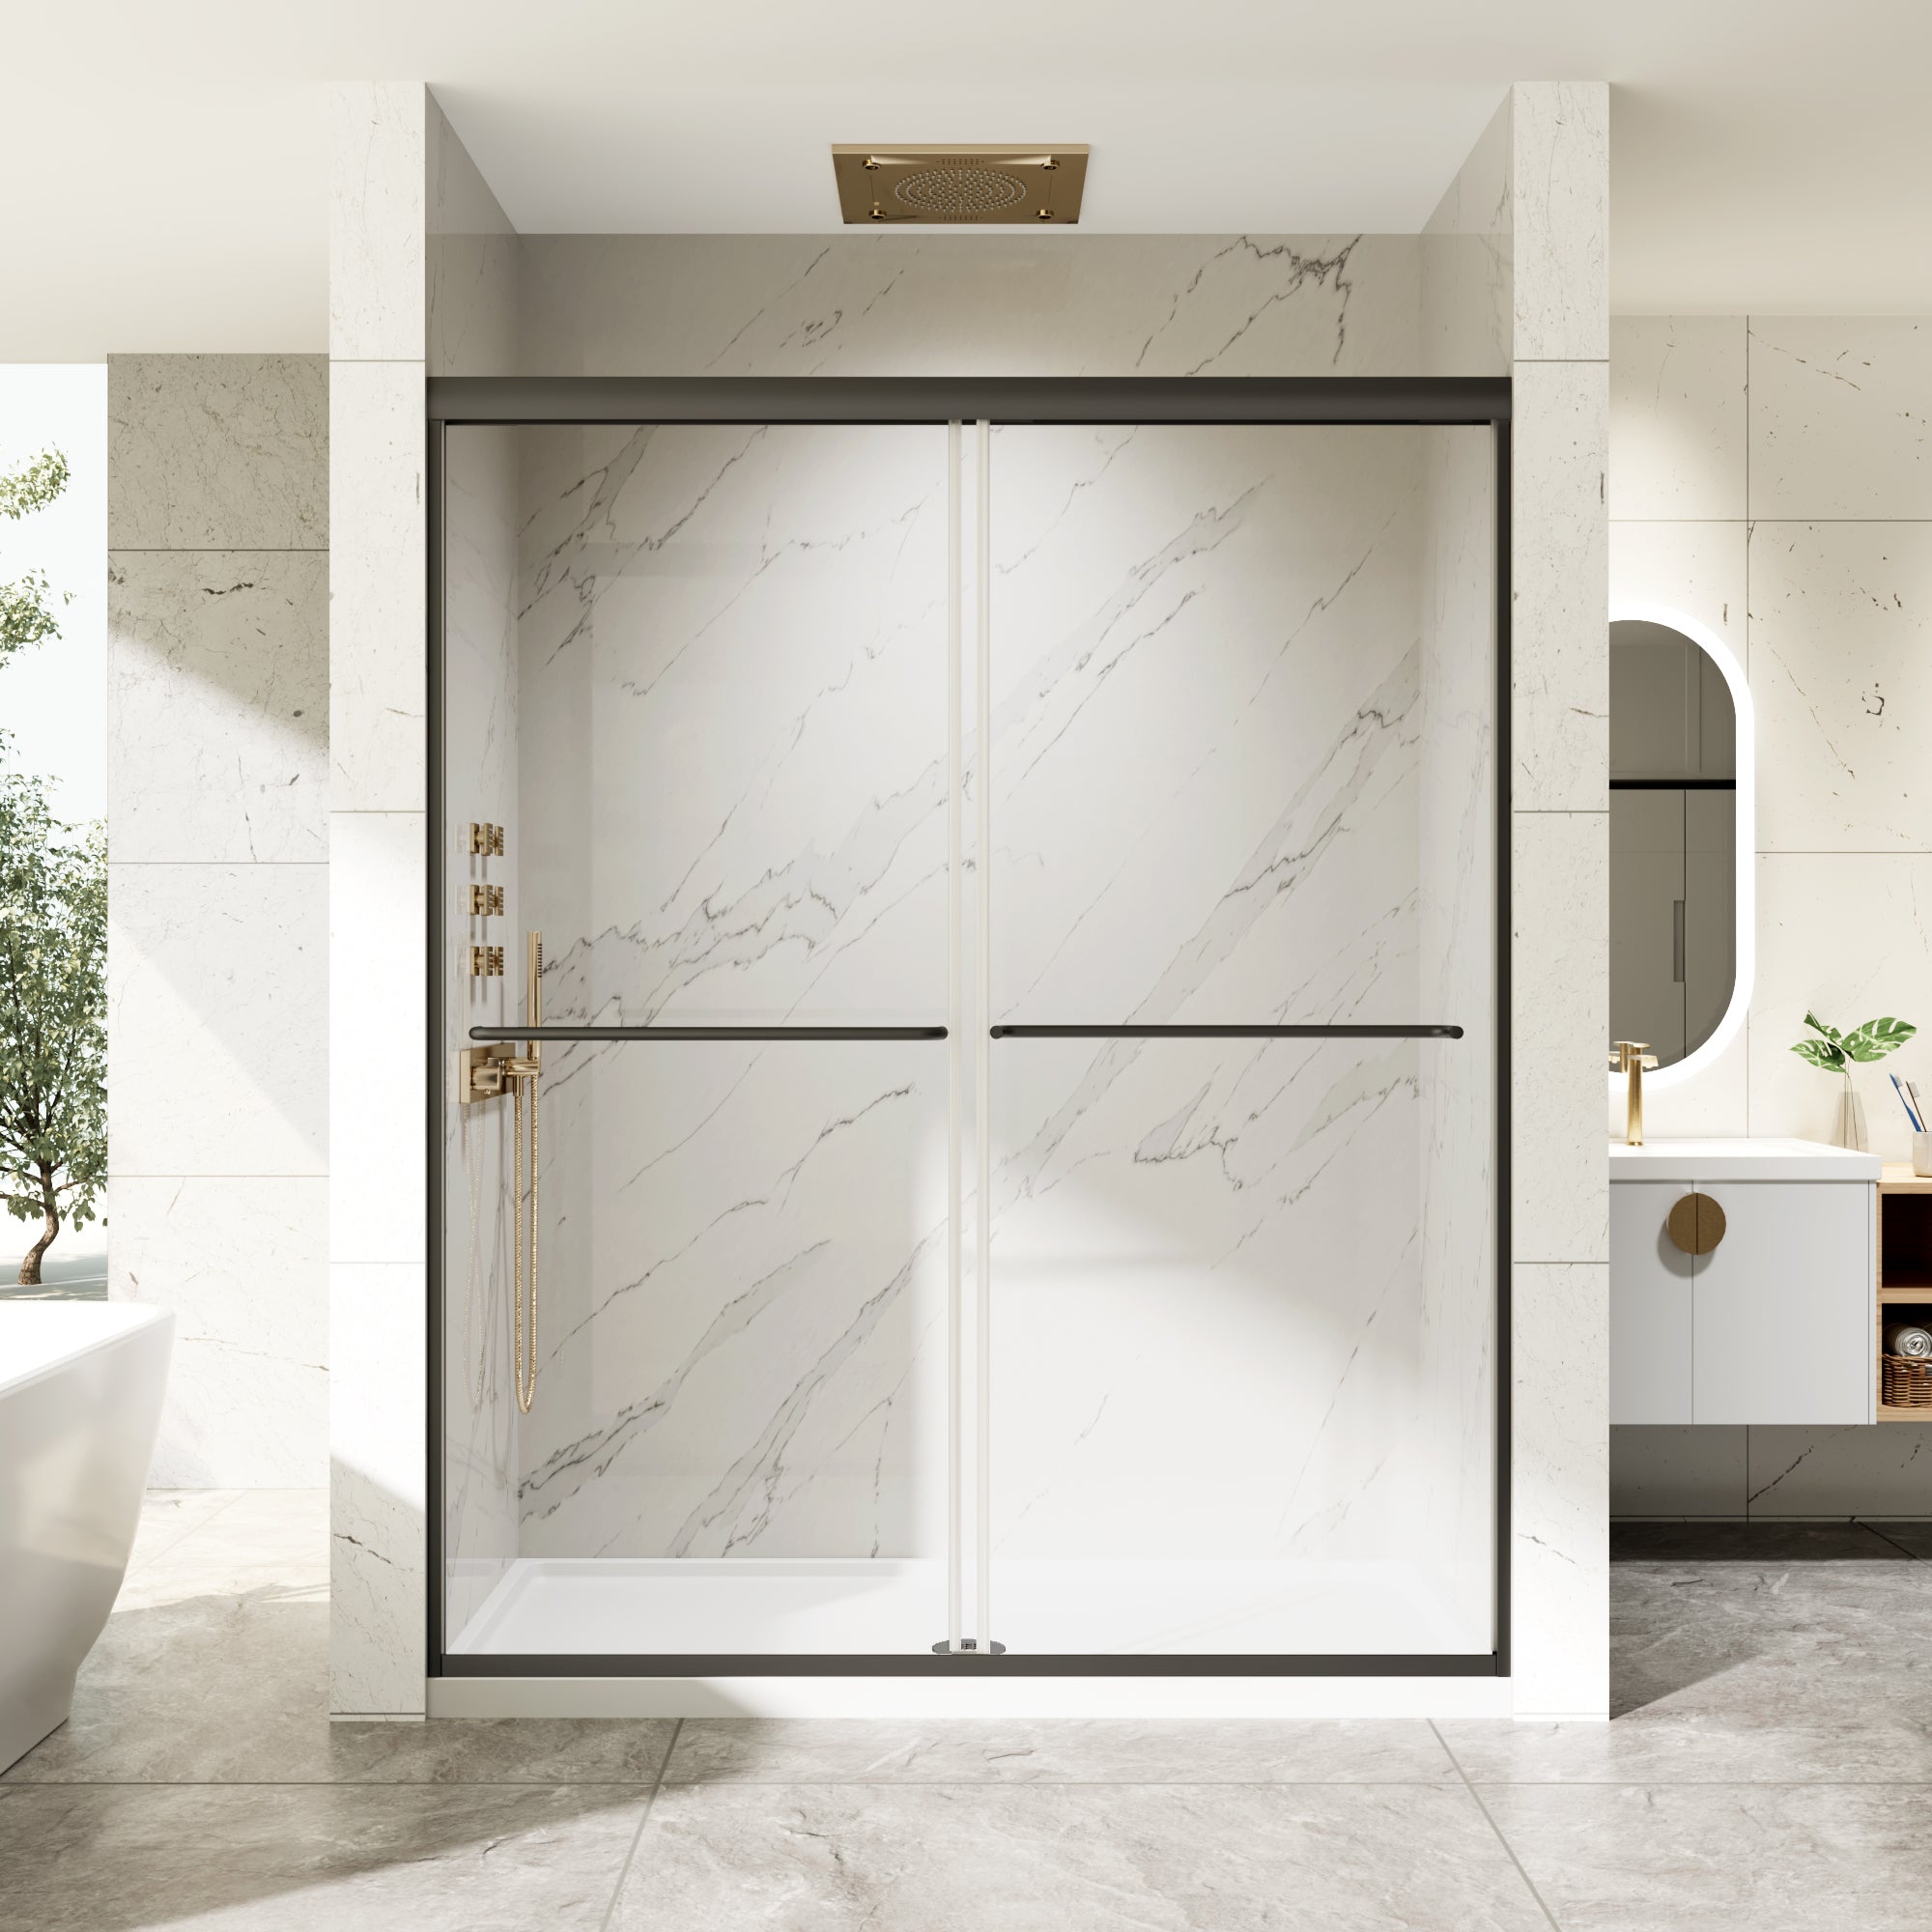
After you have taken out the old door and everything in the work area is prepared, setting up your new standing shower door is the subsequent stage. Here’s a general installation process using a ACE DECOR sliding door as an example.
-
Install the wall jambs or brackets: Use a level to ensure vertical alignment before drilling and securing them to the wall.
-
Attach the upper rail: Fit the top rail securely between the wall jambs. This supports the door and guides its movement.
-
Place the bottom guide block: Depending on the model, install a bottom rail or guide block that keeps the door aligned.
-
Prepare the glass panels: Attach rollers and other necessary hardware to the glass doors.
-
Hang the doors: Gently lift each glass panel to hang it on top of the sliding rail. Ensure that the rollers are properly installed.
-
Install handles: Screw the door handles to the door.
-
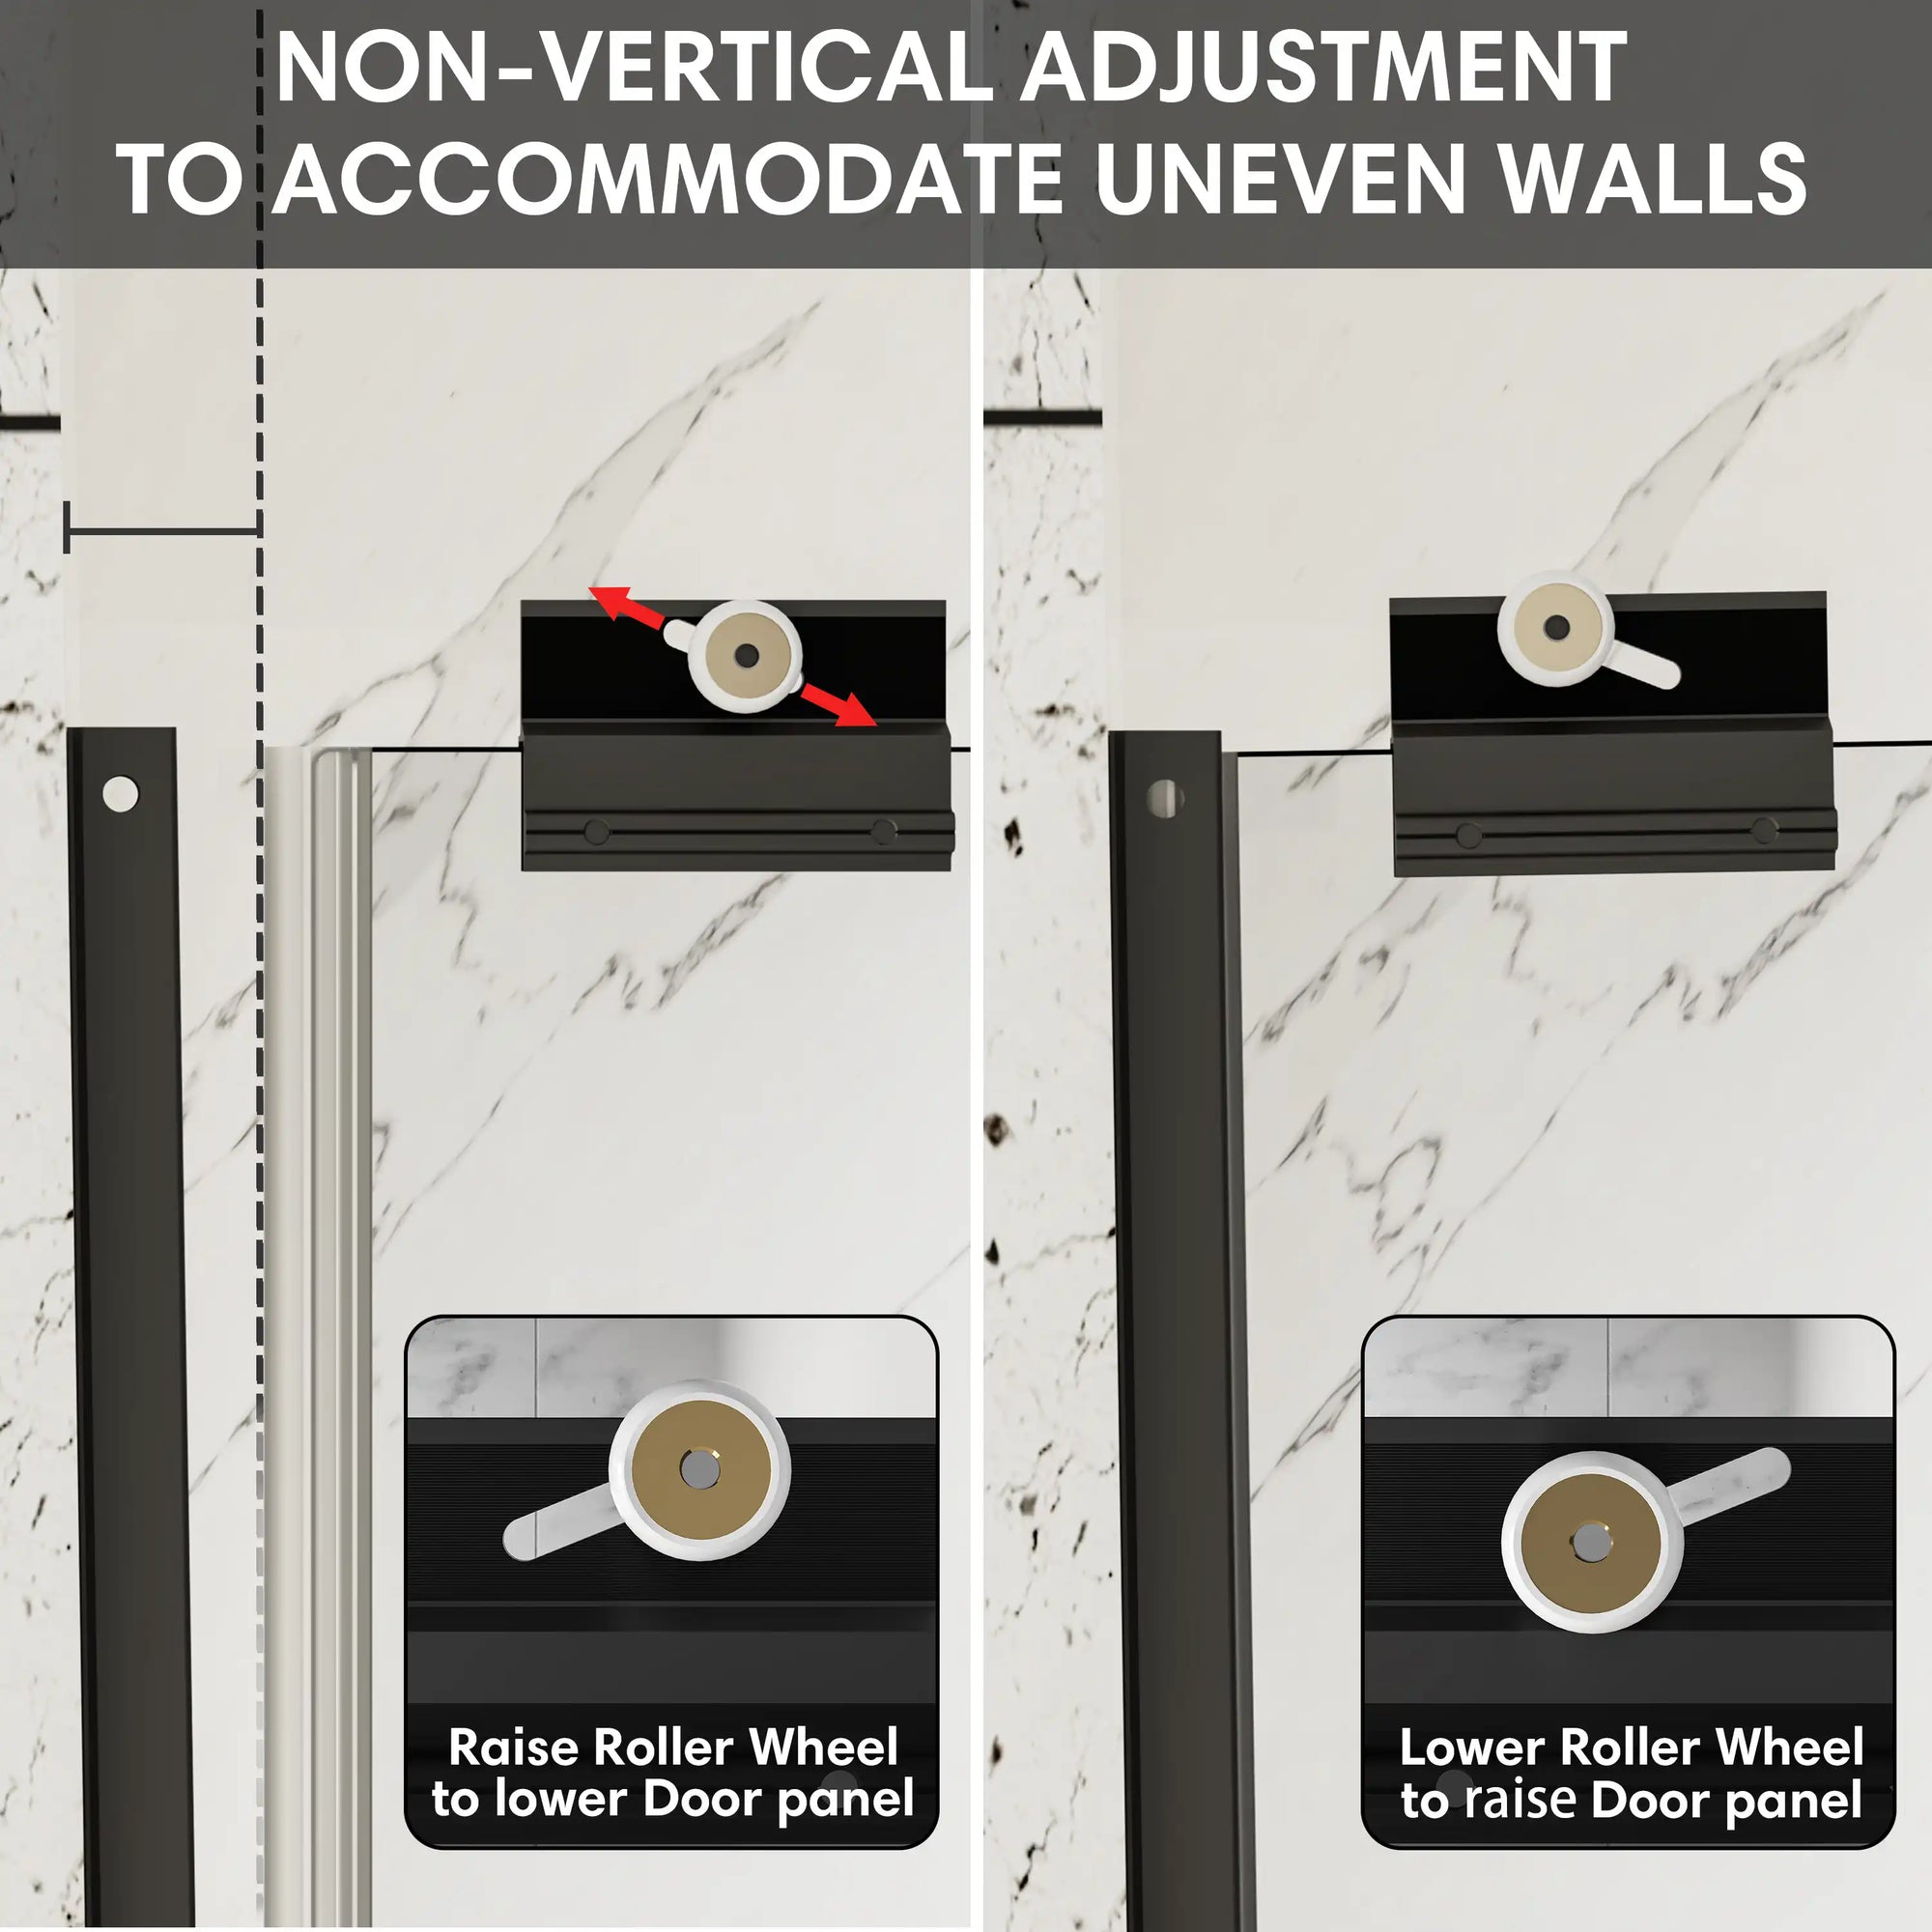
Make final adjustments: Check for smooth sliding and even spacing. Use a bubble level to check alignment.
-
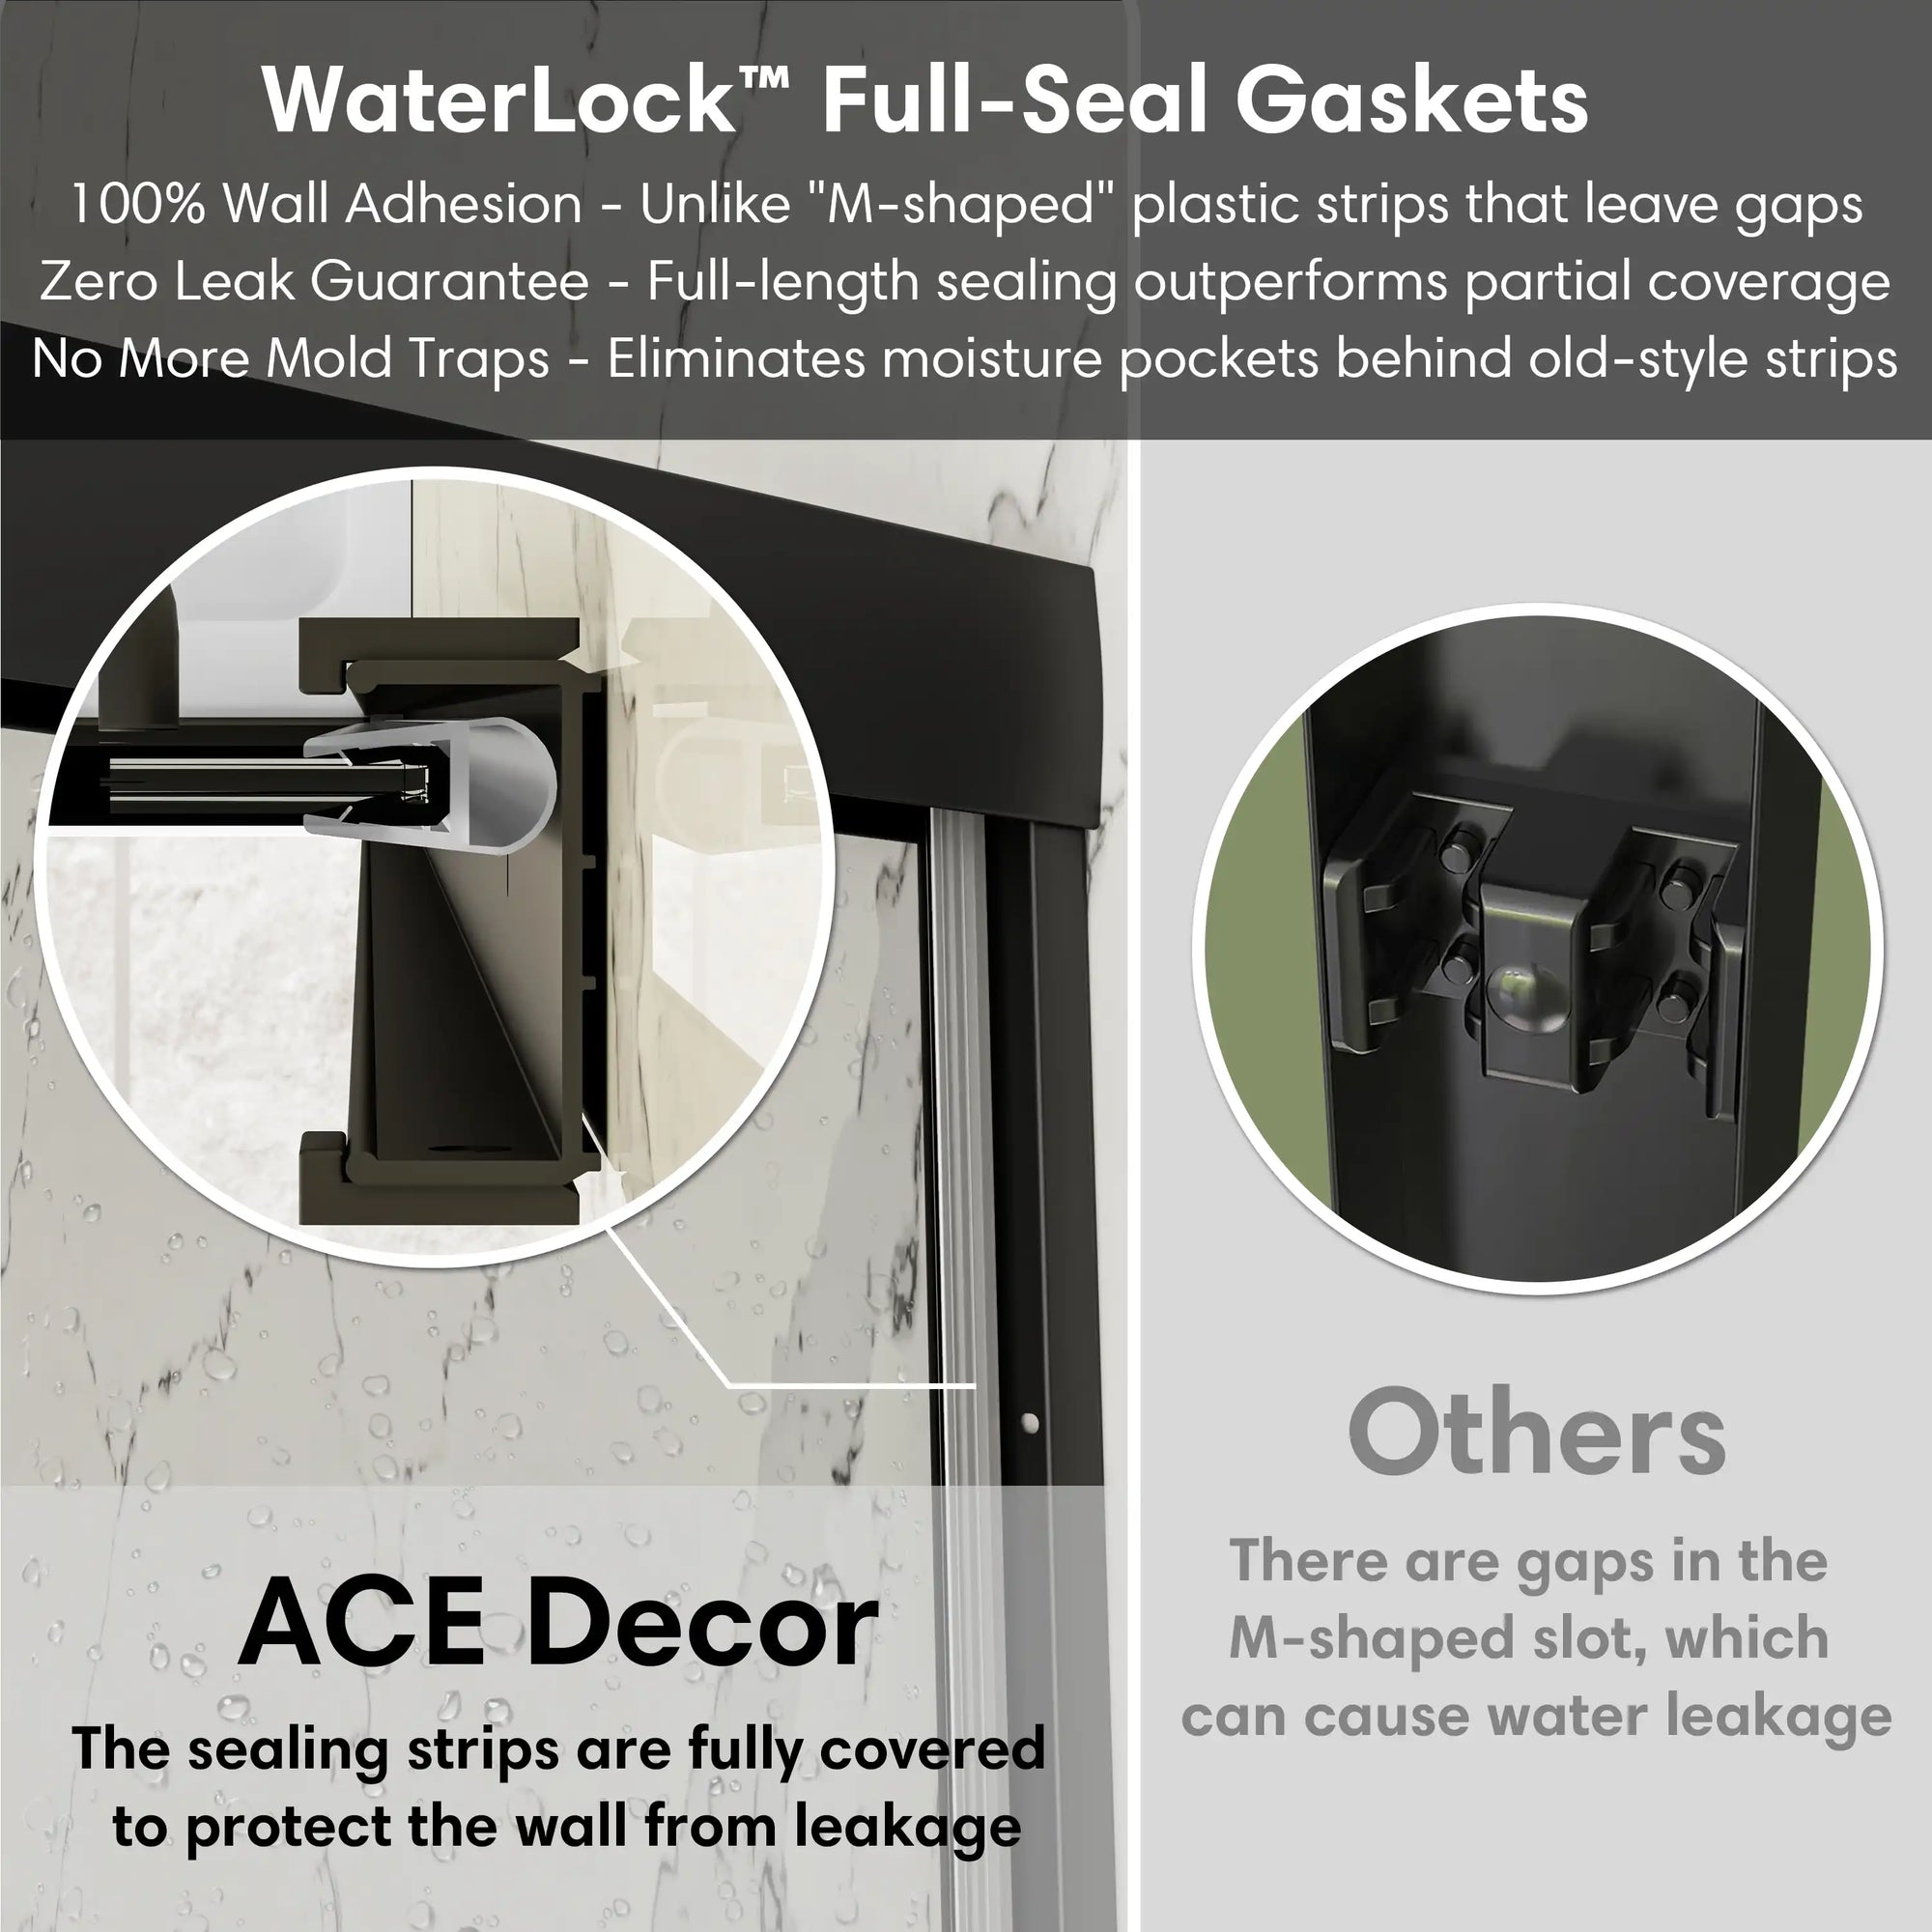
Seal with silicone: Apply silicone along the edges to ensure a watertight seal. Let it cure as directed — usually 24 hours.
🔰 Reminder
This following steps are illustrative only. Always consult the product's manual for accurate specifications and instructions.
Take exact measurements before purchase and consider professional assistance if unsure.
Always wear protective gear and work with a partner when handling heavy glass panels.
Conclusion: A Simple Upgrade with Lasting Impact
Replacing a standing shower door is a manageable home upgrade that offers a high return in terms of both aesthetics and usability. With the right tools, a clear plan, and some patience, this project is well within the reach of two people over a weekend. Changing it out can breathe new life into your bathroom, whether it's due to leaks or sticking or simply because it no longer fits in with your desired aesthetic!
Ready to start your transformation? Browse our online catalogue for high-quality, stylish shower door options that will make your DIY installation easier than ever.
FAQ: Standing Shower Door Replacement
Q1: How long does it take to replace a standing shower door?
A1: On average, a two-person team can complete the replacement in 3–5 hours, depending on complexity and experience.
Q2: Can I reuse the existing frame when replacing just the door panels?
A2: In most cases, it’s better to replace the entire assembly. Mixing old and new components may result in poor fit or functionality.
Q3: Do I need to hire a professional to install a standing shower door?
A3: While not mandatory, professional installation ensures optimal safety and performance. However, with proper tools and instructions, most DIYers can complete the job themselves.
Q4: What’s the most important factor to consider when buying a new shower door?
A4:
How to Install Shower Doors on a Walk-In Shower: A Step-by-Step Guide for a Seamless Upgrade
Shower Door Glass Options Demystified: What Every Home Renovator Should Know