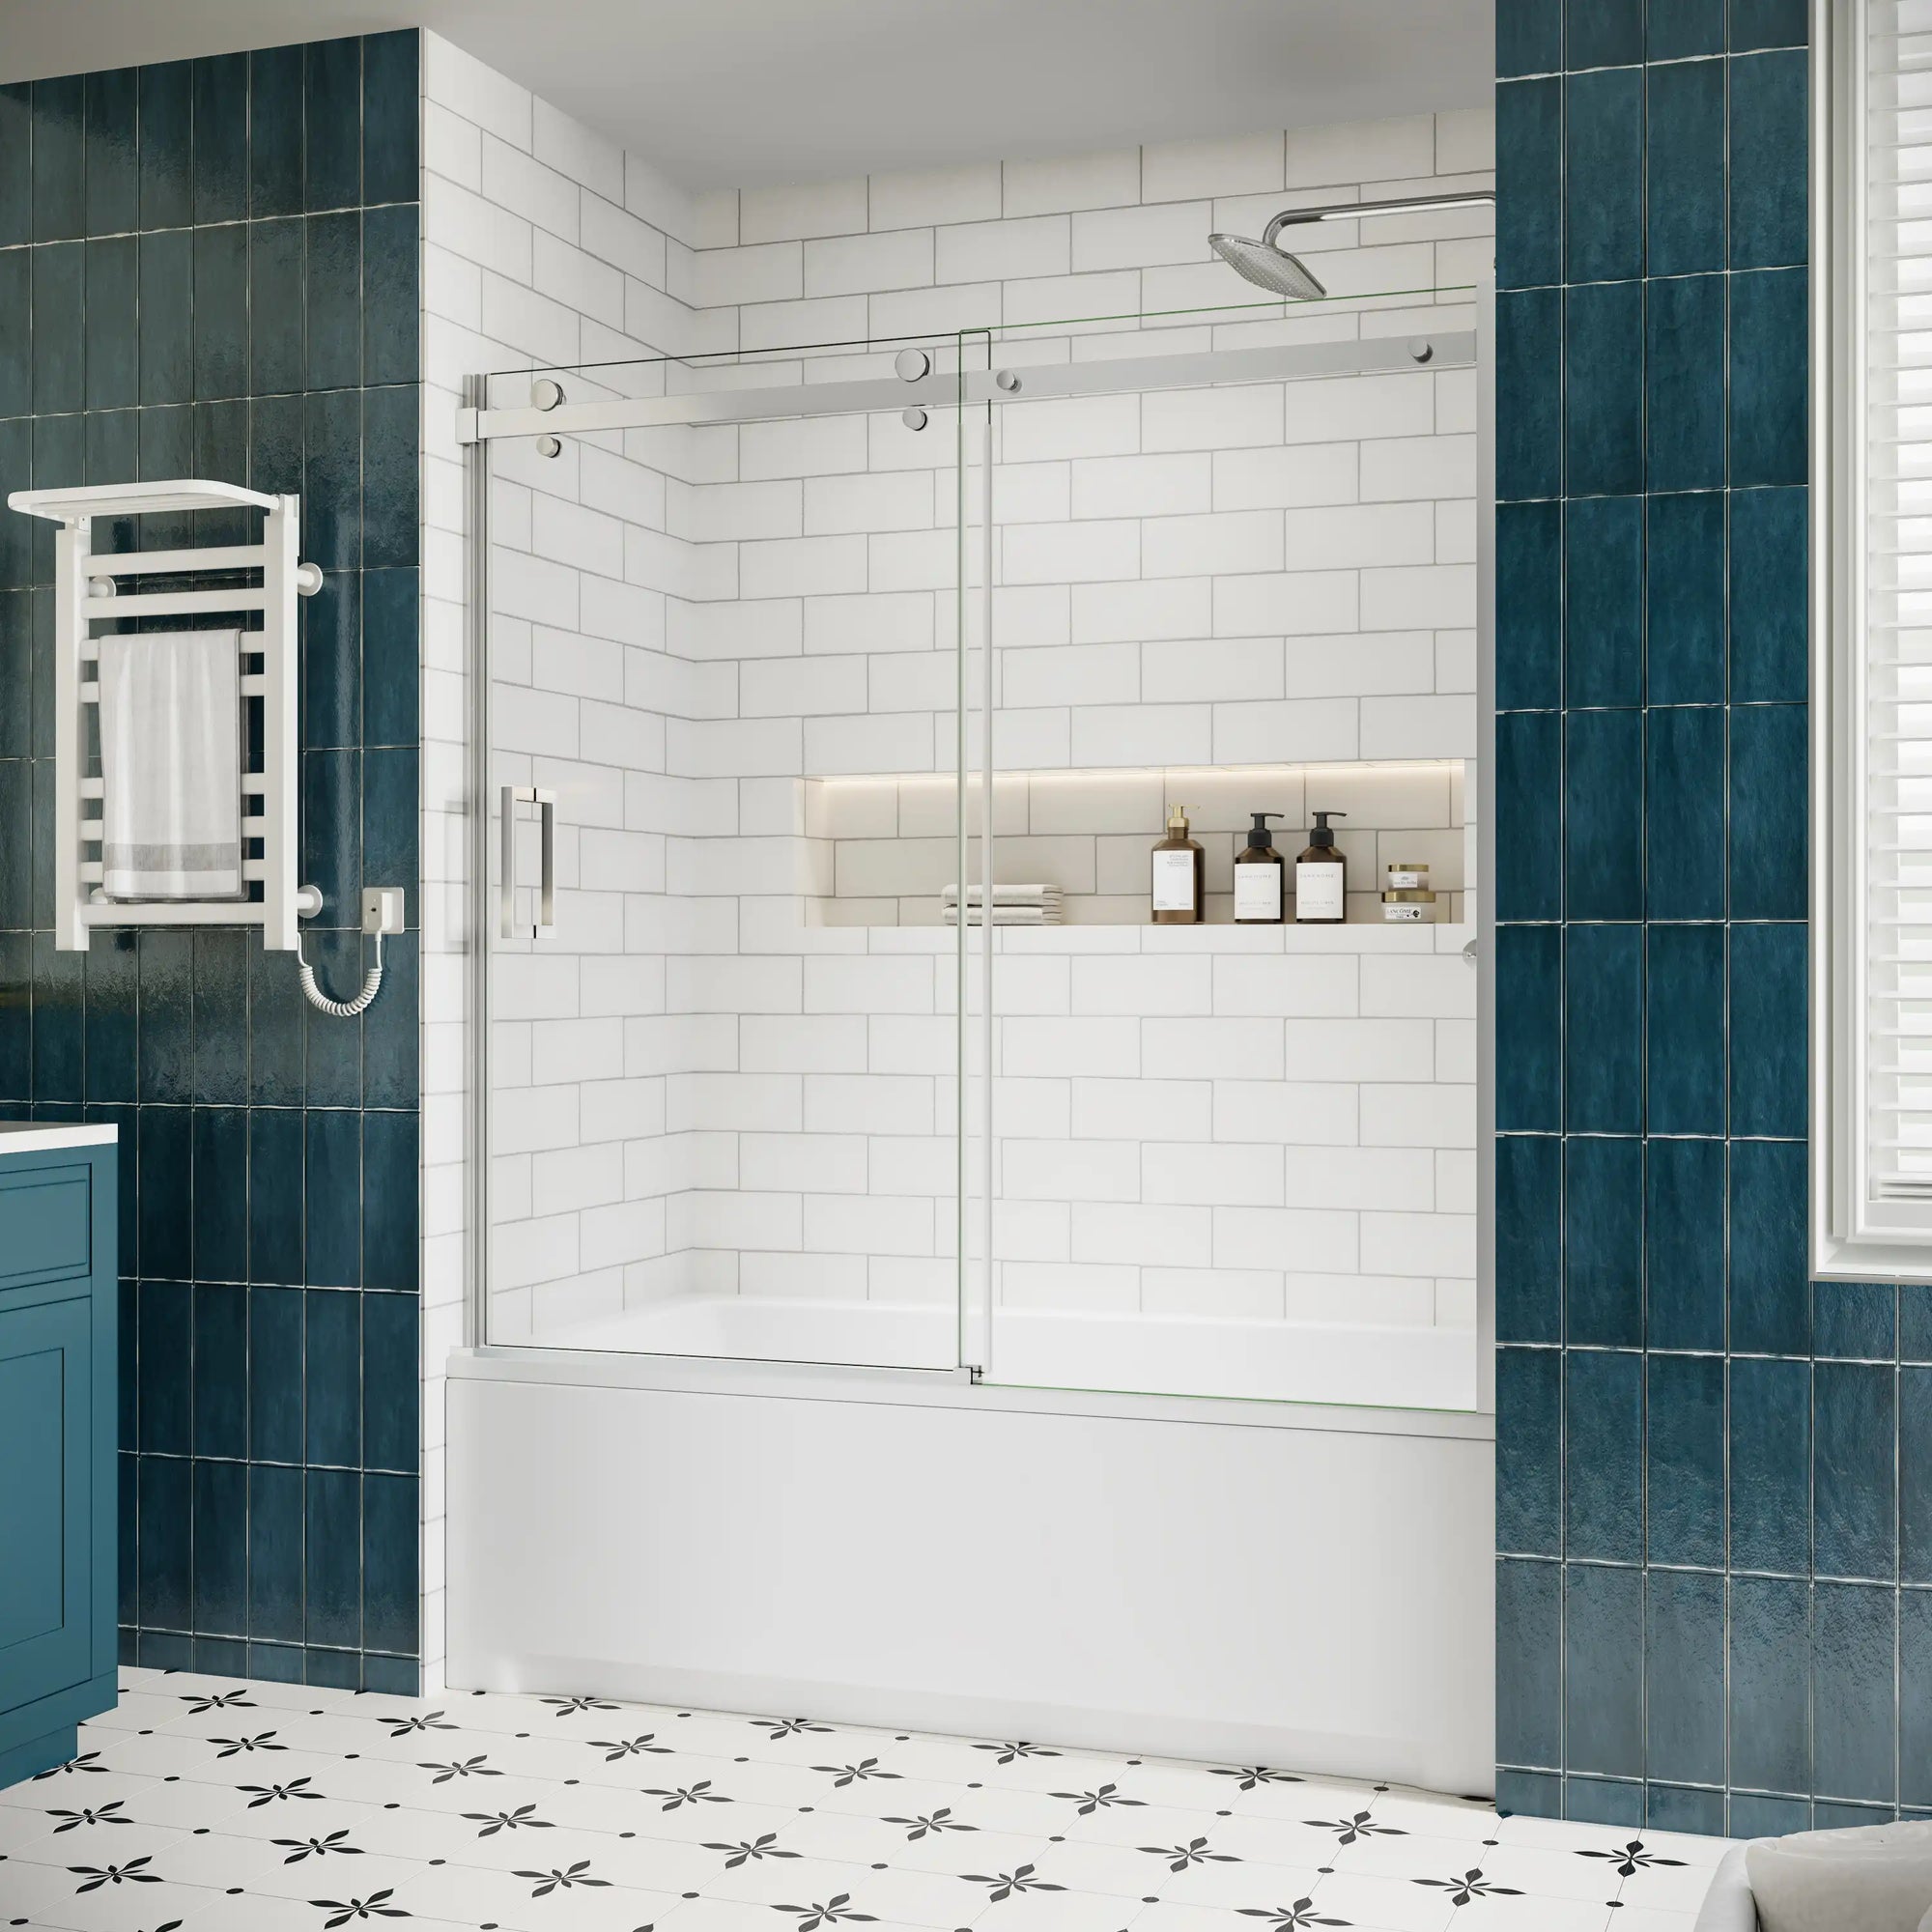
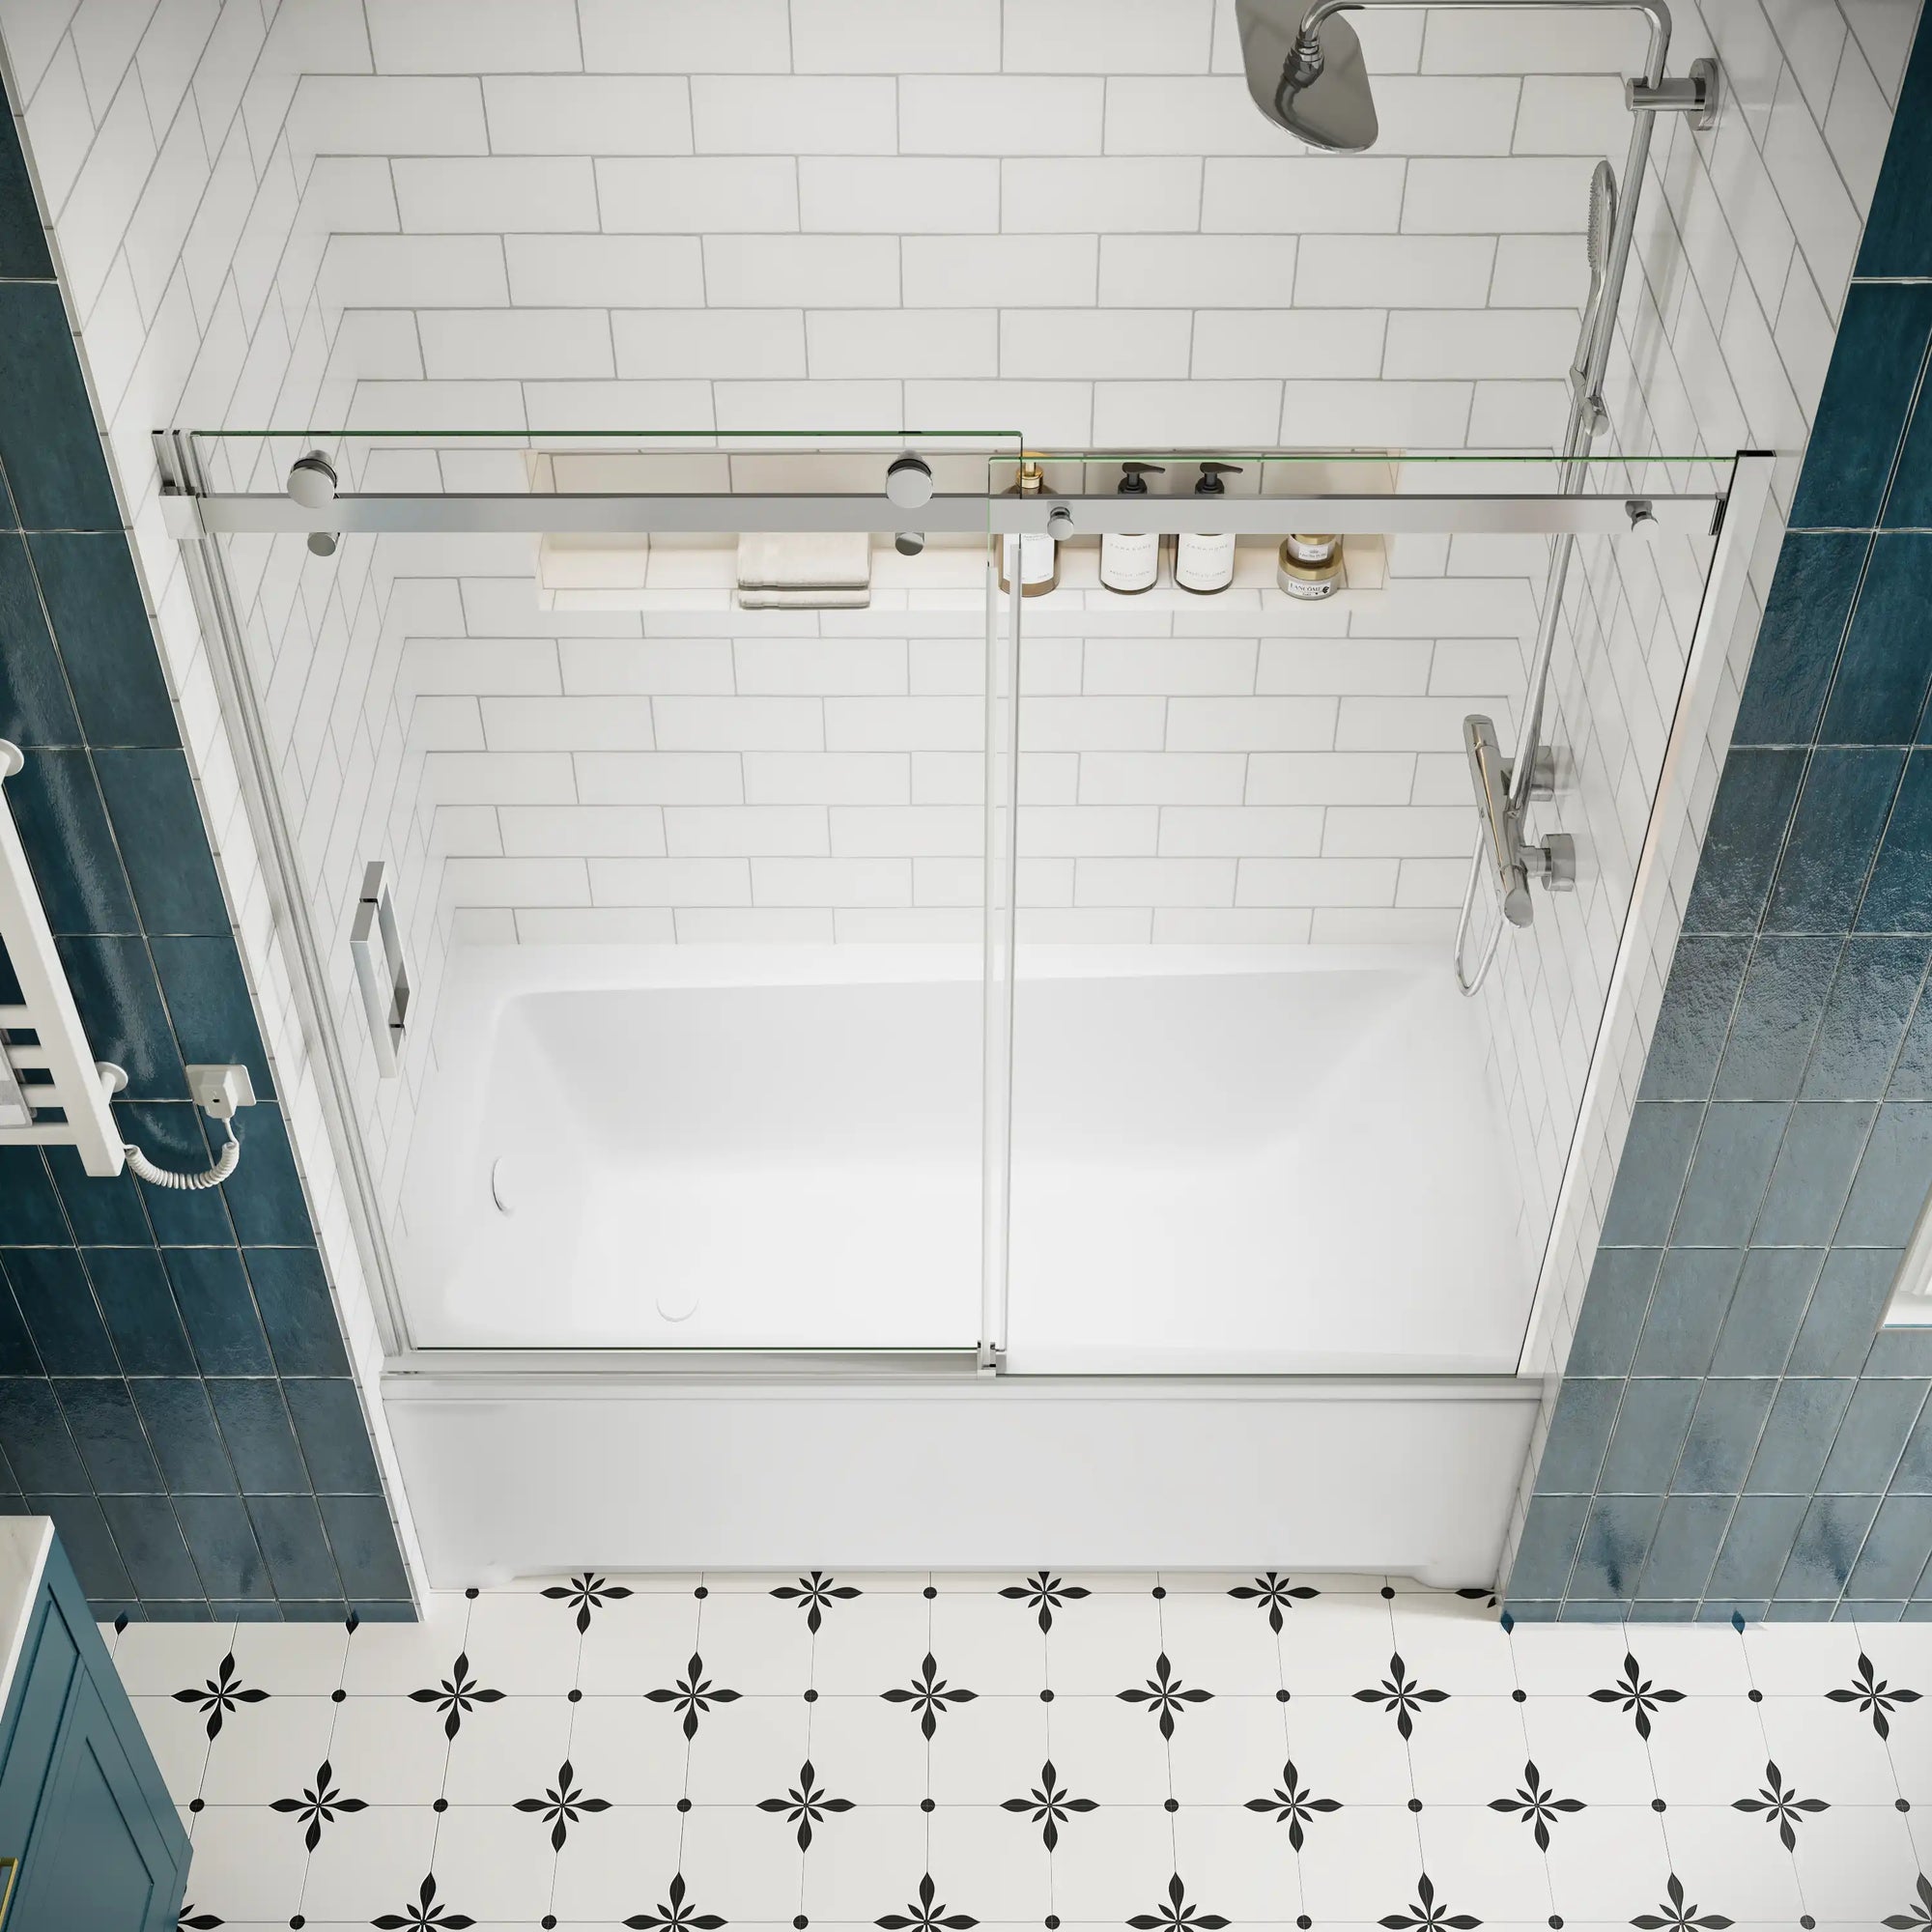
Walk-in showers are one of the standards of contemporaneous bath design — part accessibility, part open-concept look. Shower doors are one of the key parts of finishing off a walk-in shower and must be carefully selected and installed. Whether you're doing a bathroom renovation or starting with the new bathroom, installing walk-in shower doors is the key to functionality and longevity.
From measuring your space to choosing the right door, and the installation process itself, this guide will walk you through everything you need to get your walk-in shower doors looking good and standing strong.
Table of Contents:
- Measuring for Walk-In Shower Doors: Getting the Basics Right
- Choosing the Right Walk-In Shower Doors for Your Space
- Preparation Before Installation: What You Need to Do First
- Installing Walk-In Shower Doors: Step-by-Step Process
- Final Thoughts on Installing Walk-In Shower Doors
- FAQs: Expert Insights on Walk-In Shower Doors
Measuring for Walk-In Shower Doors: Getting the Basics Right
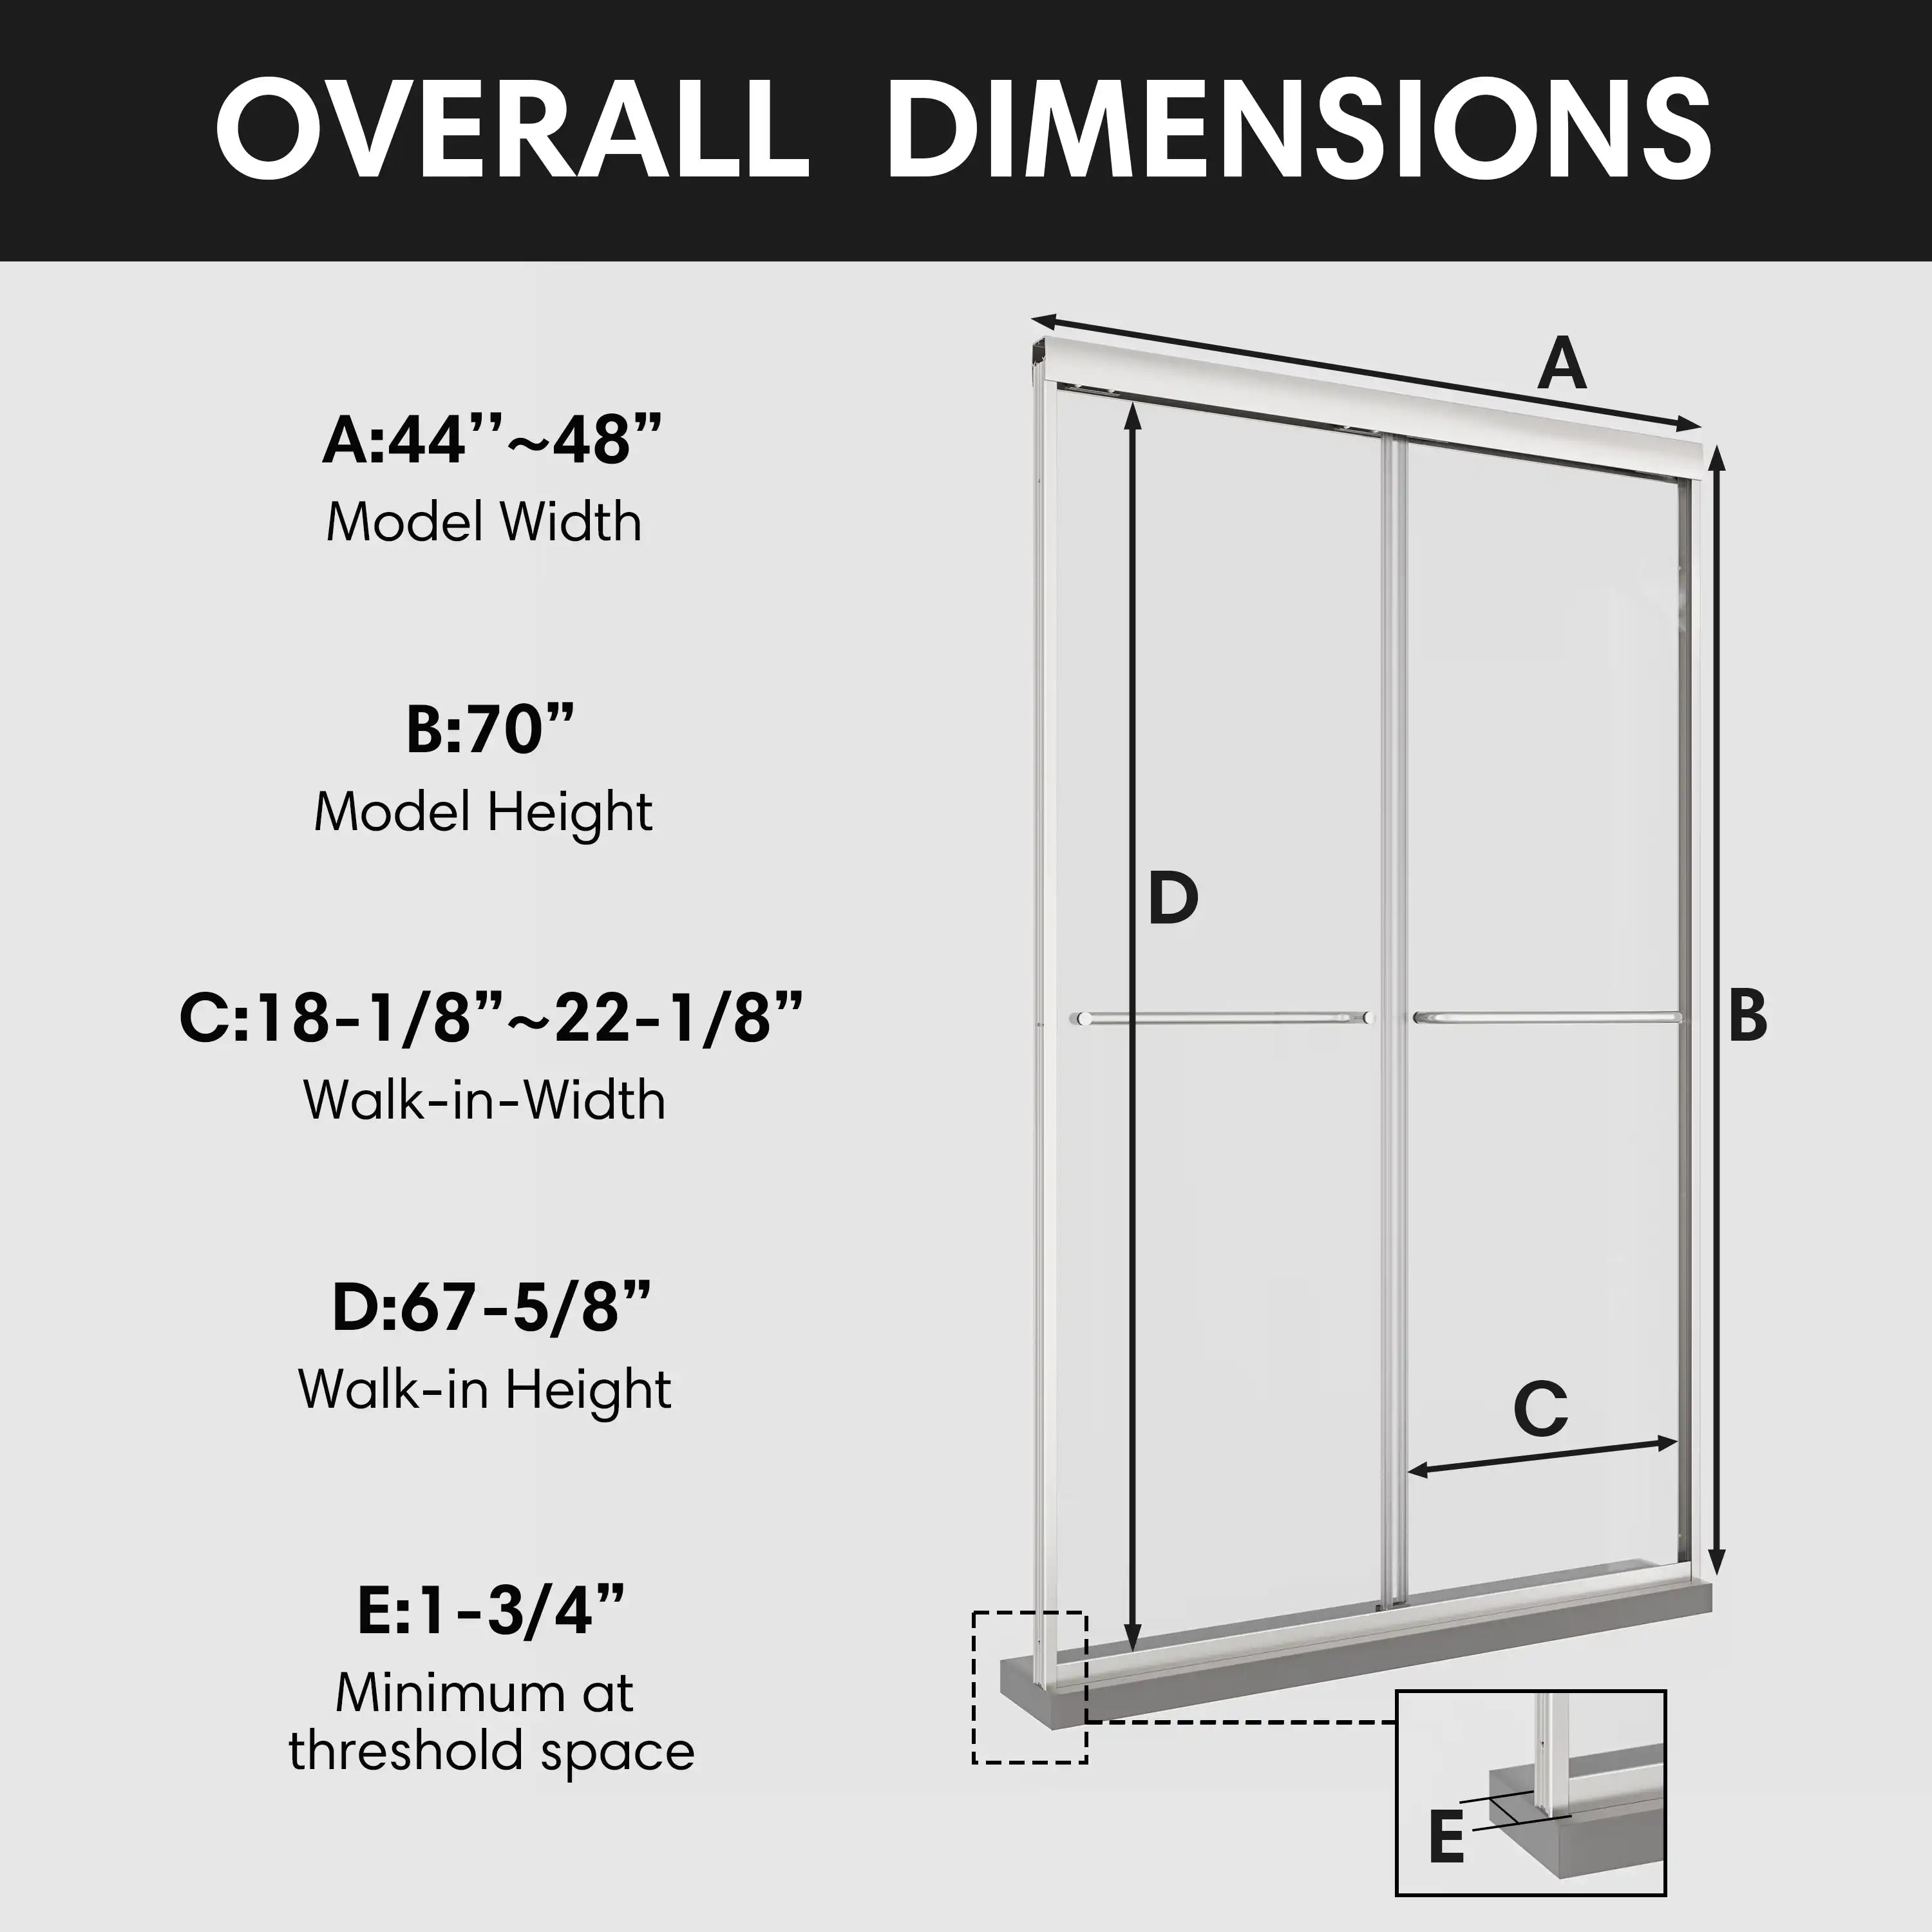
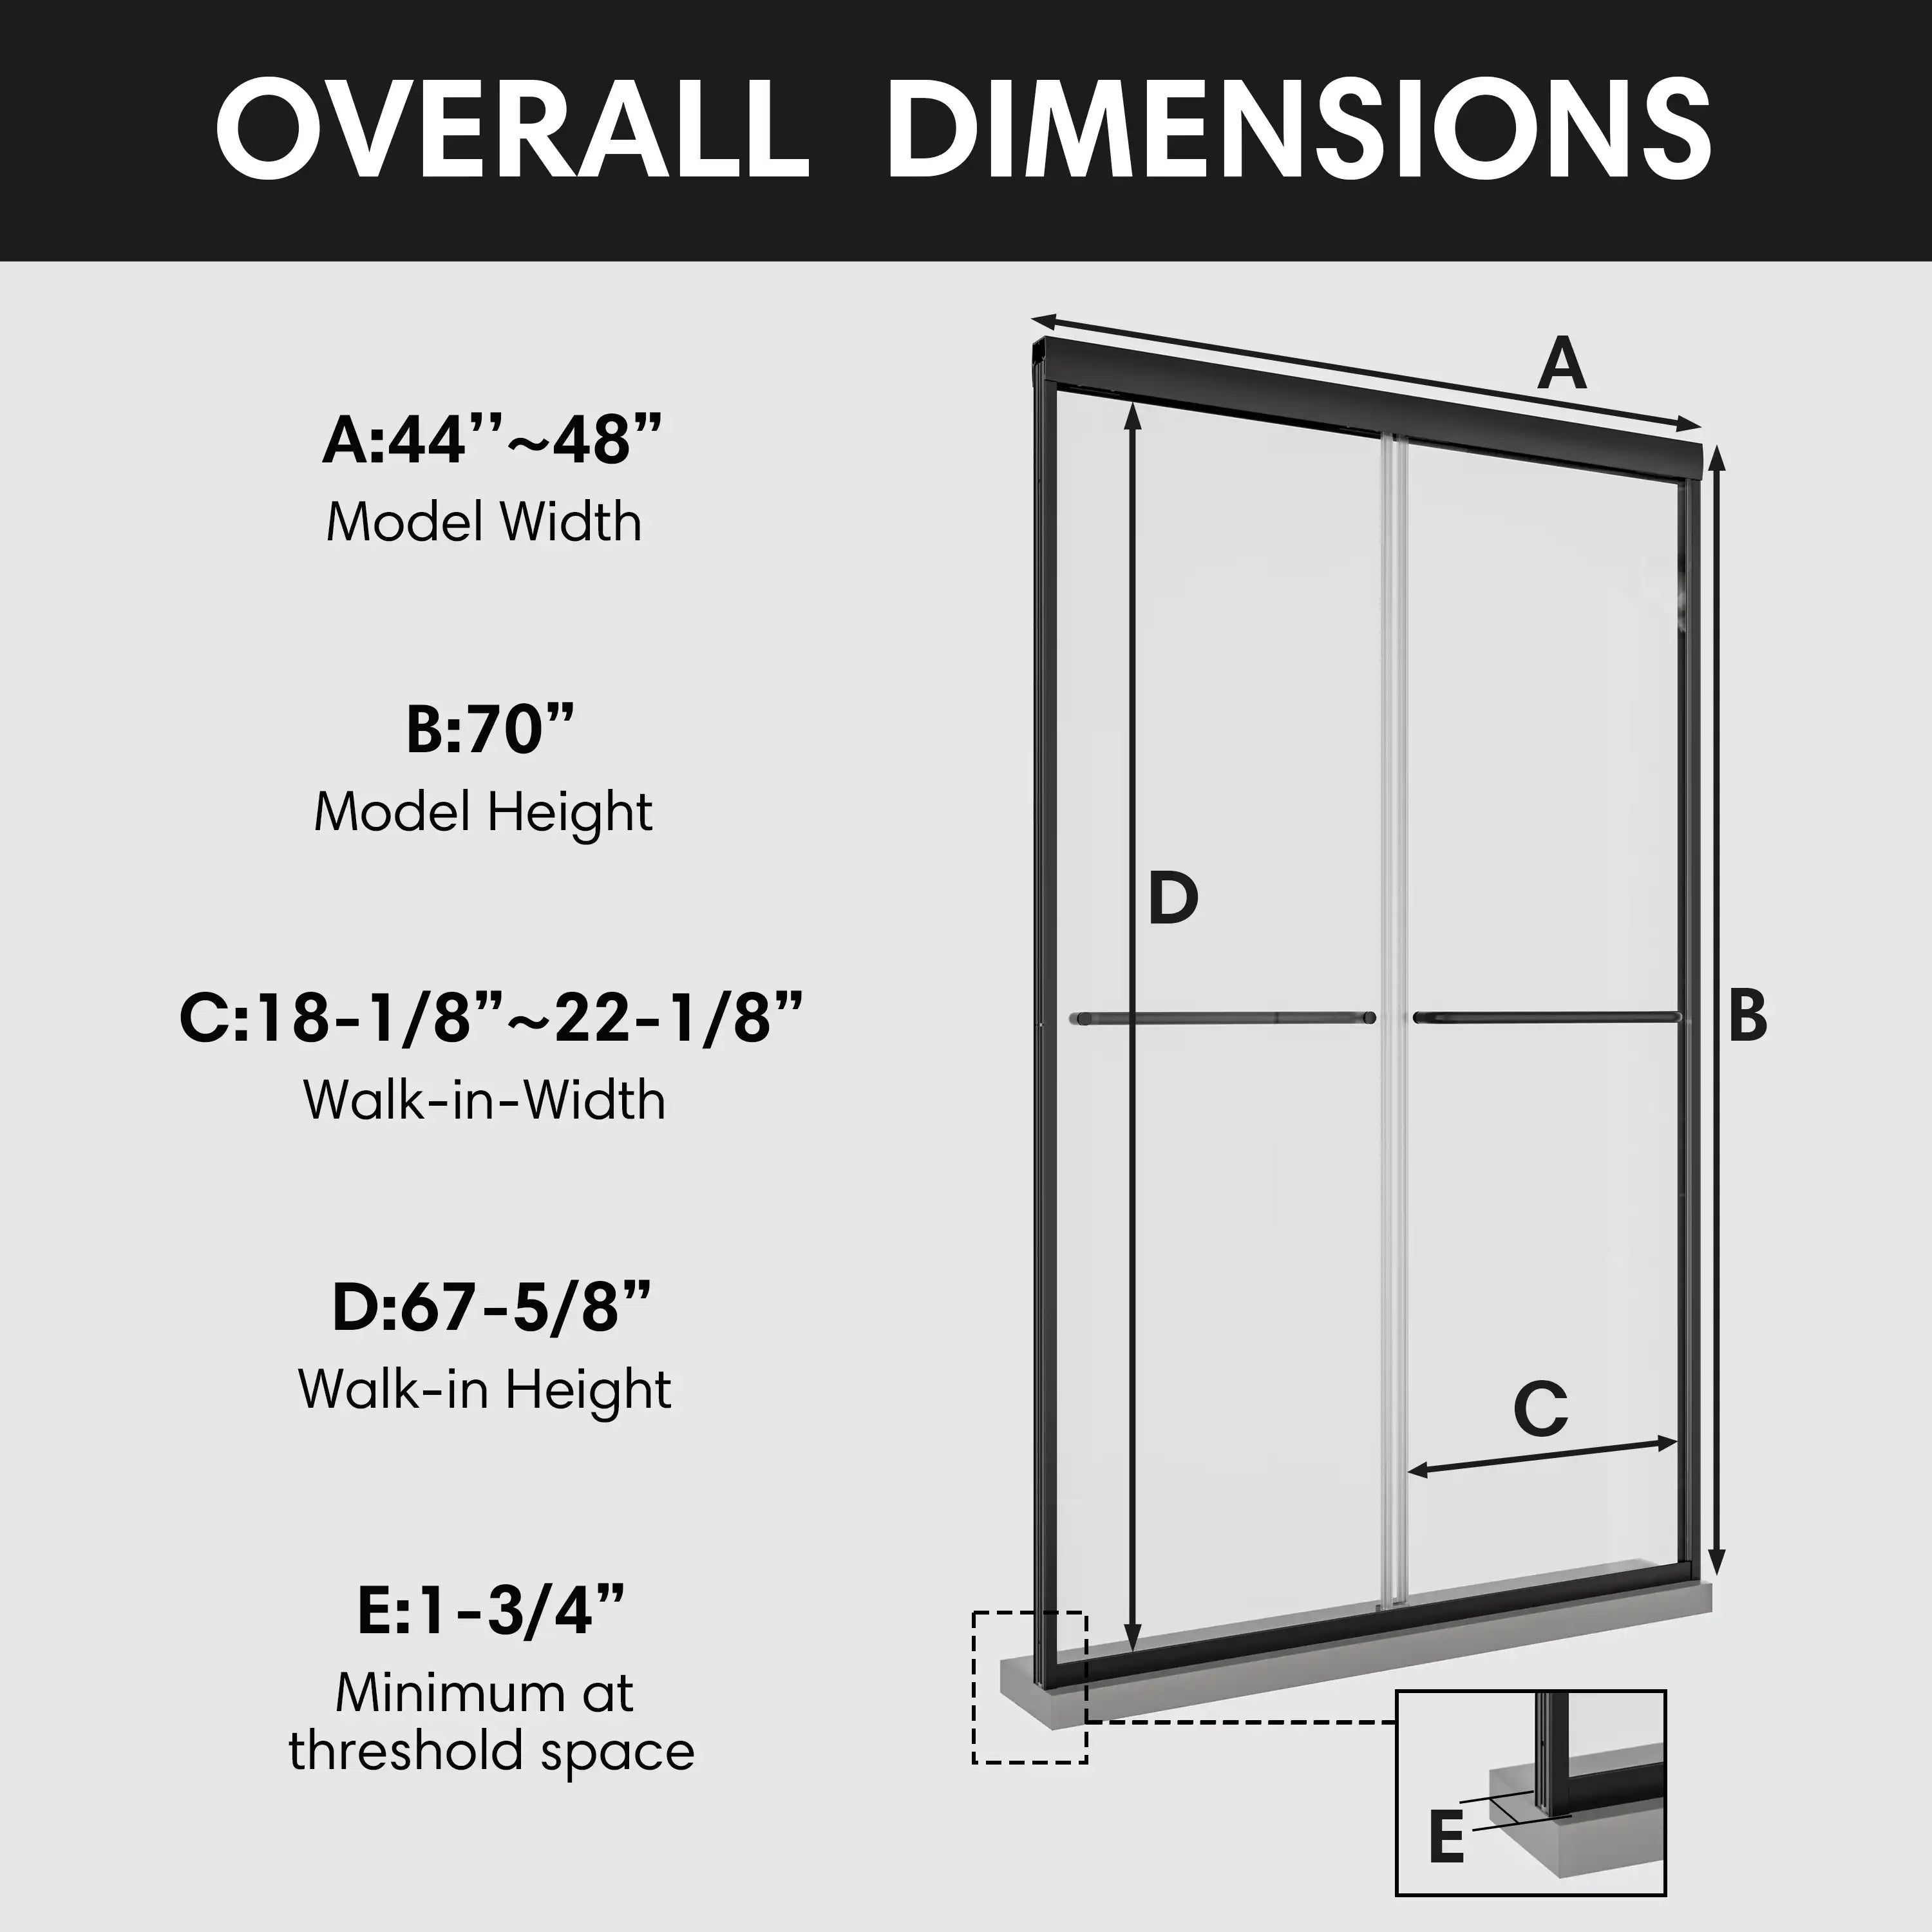
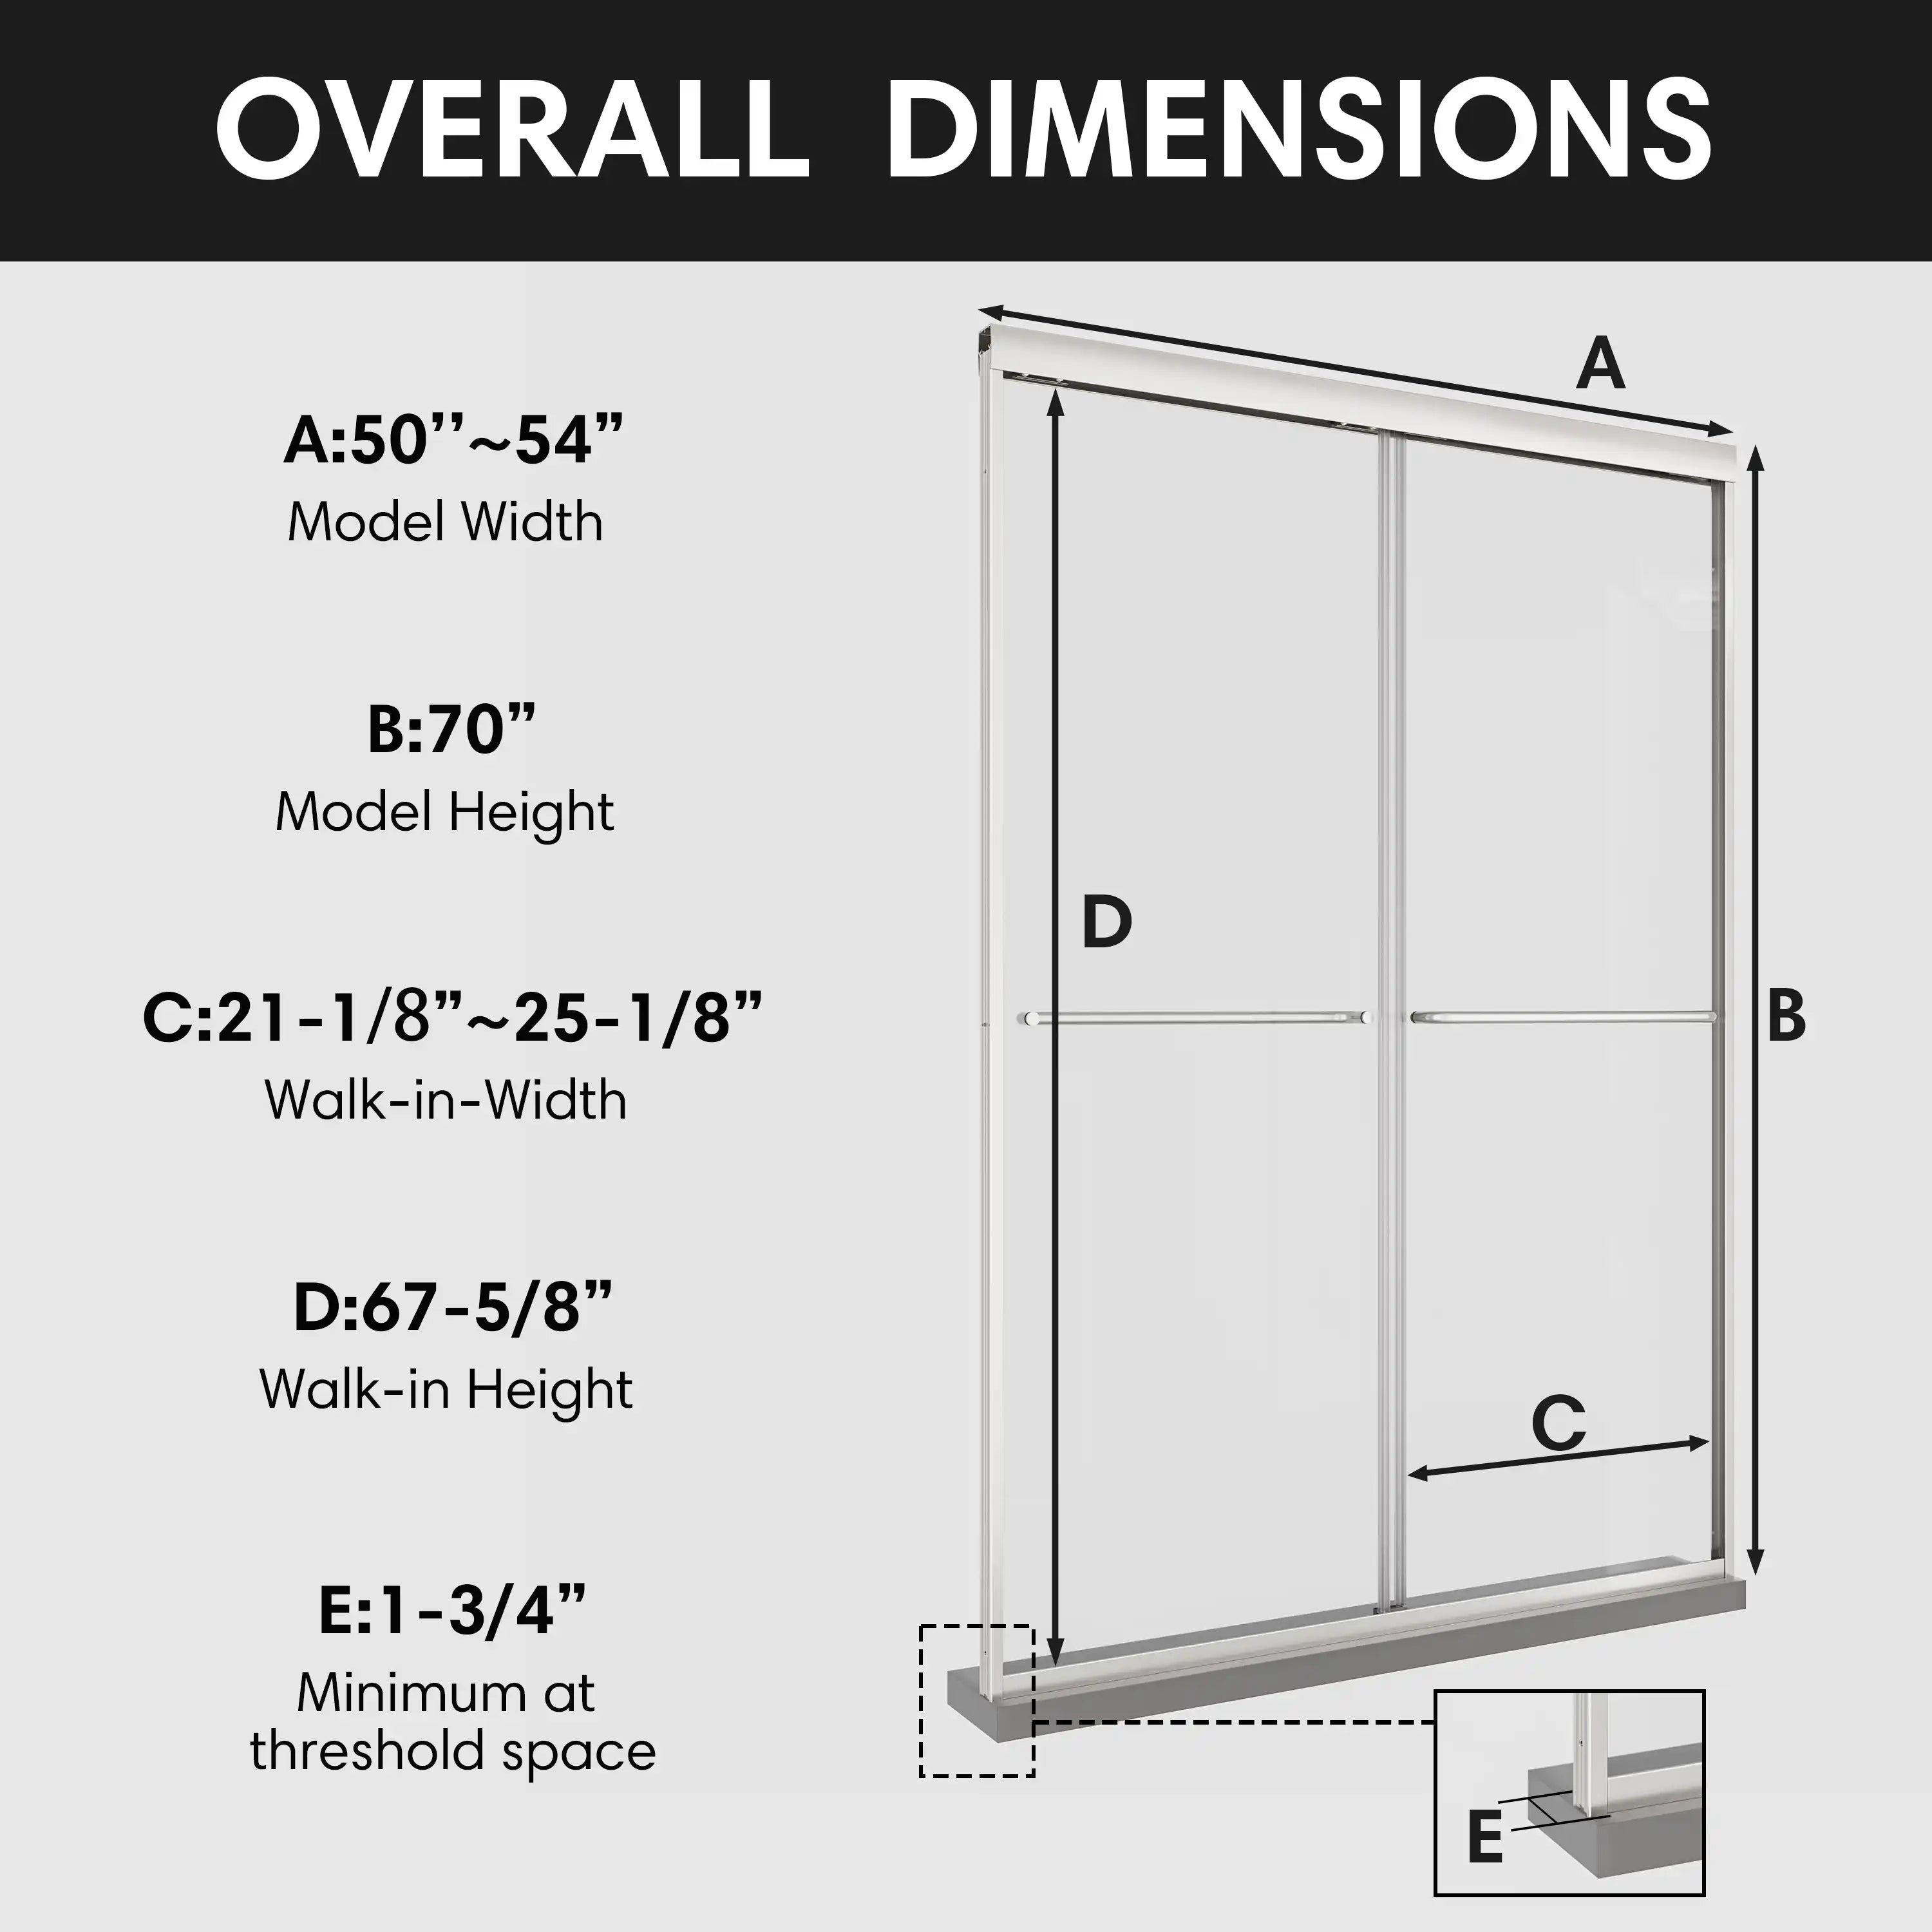
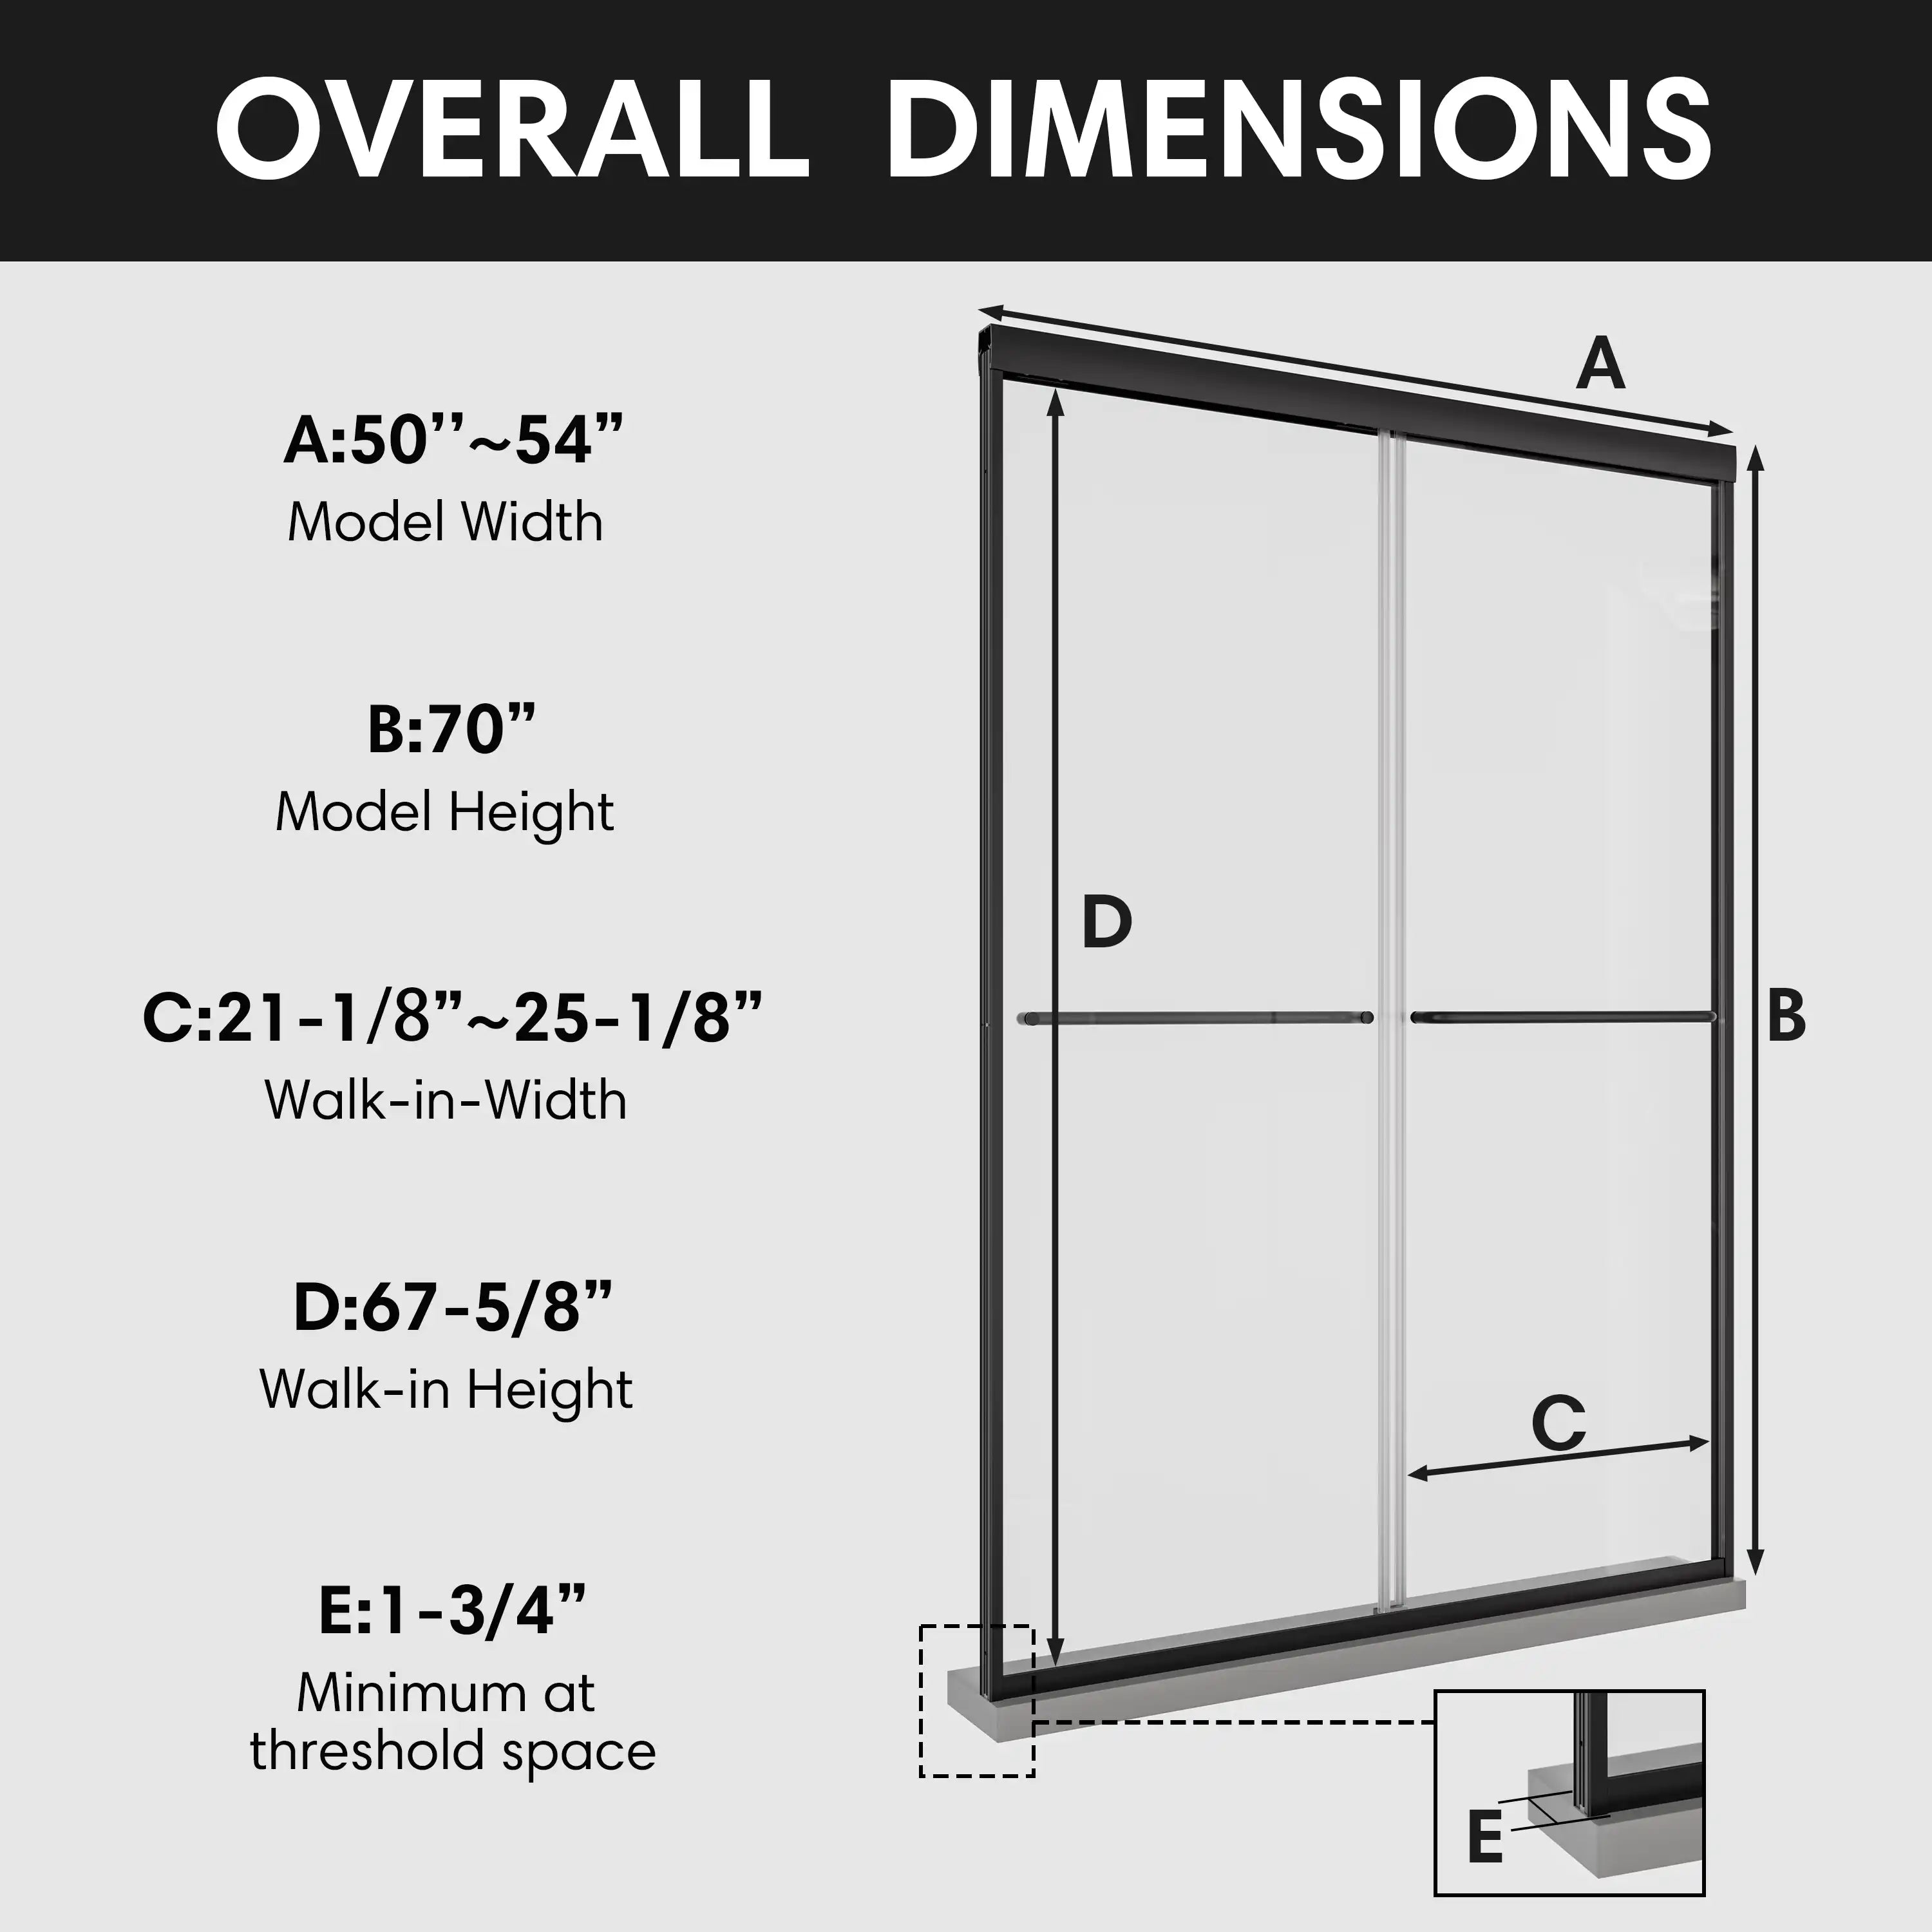
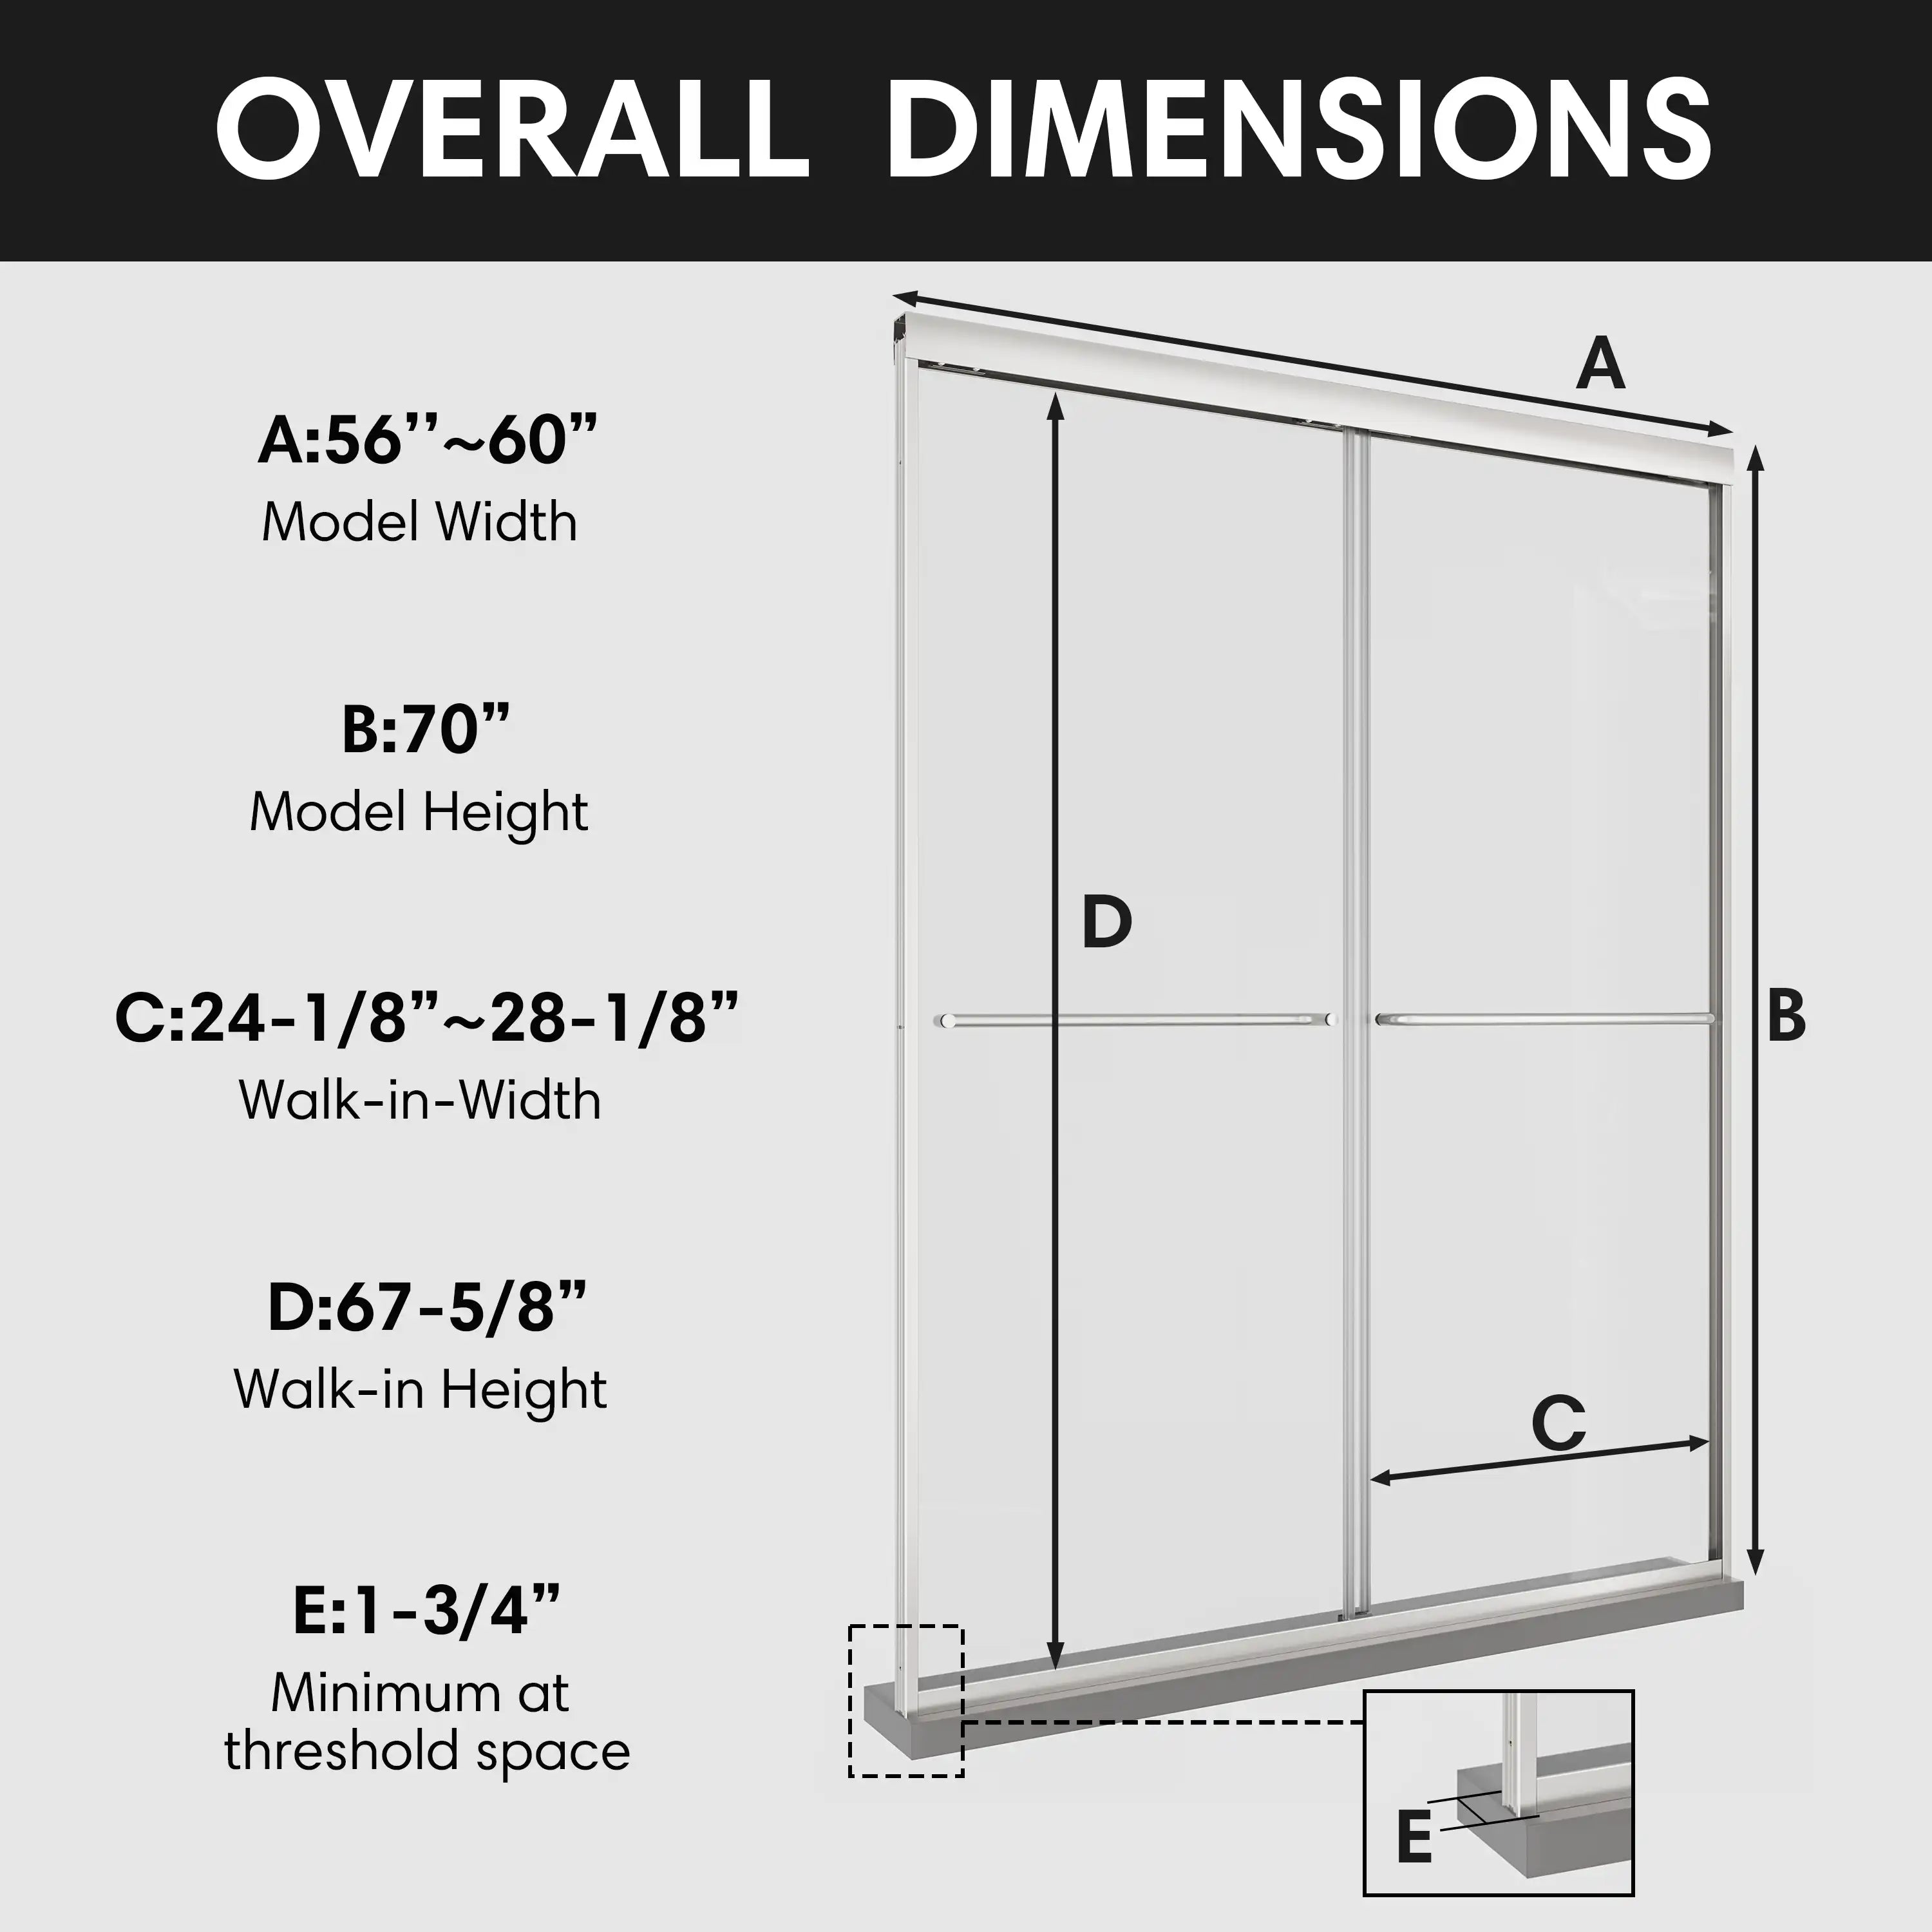
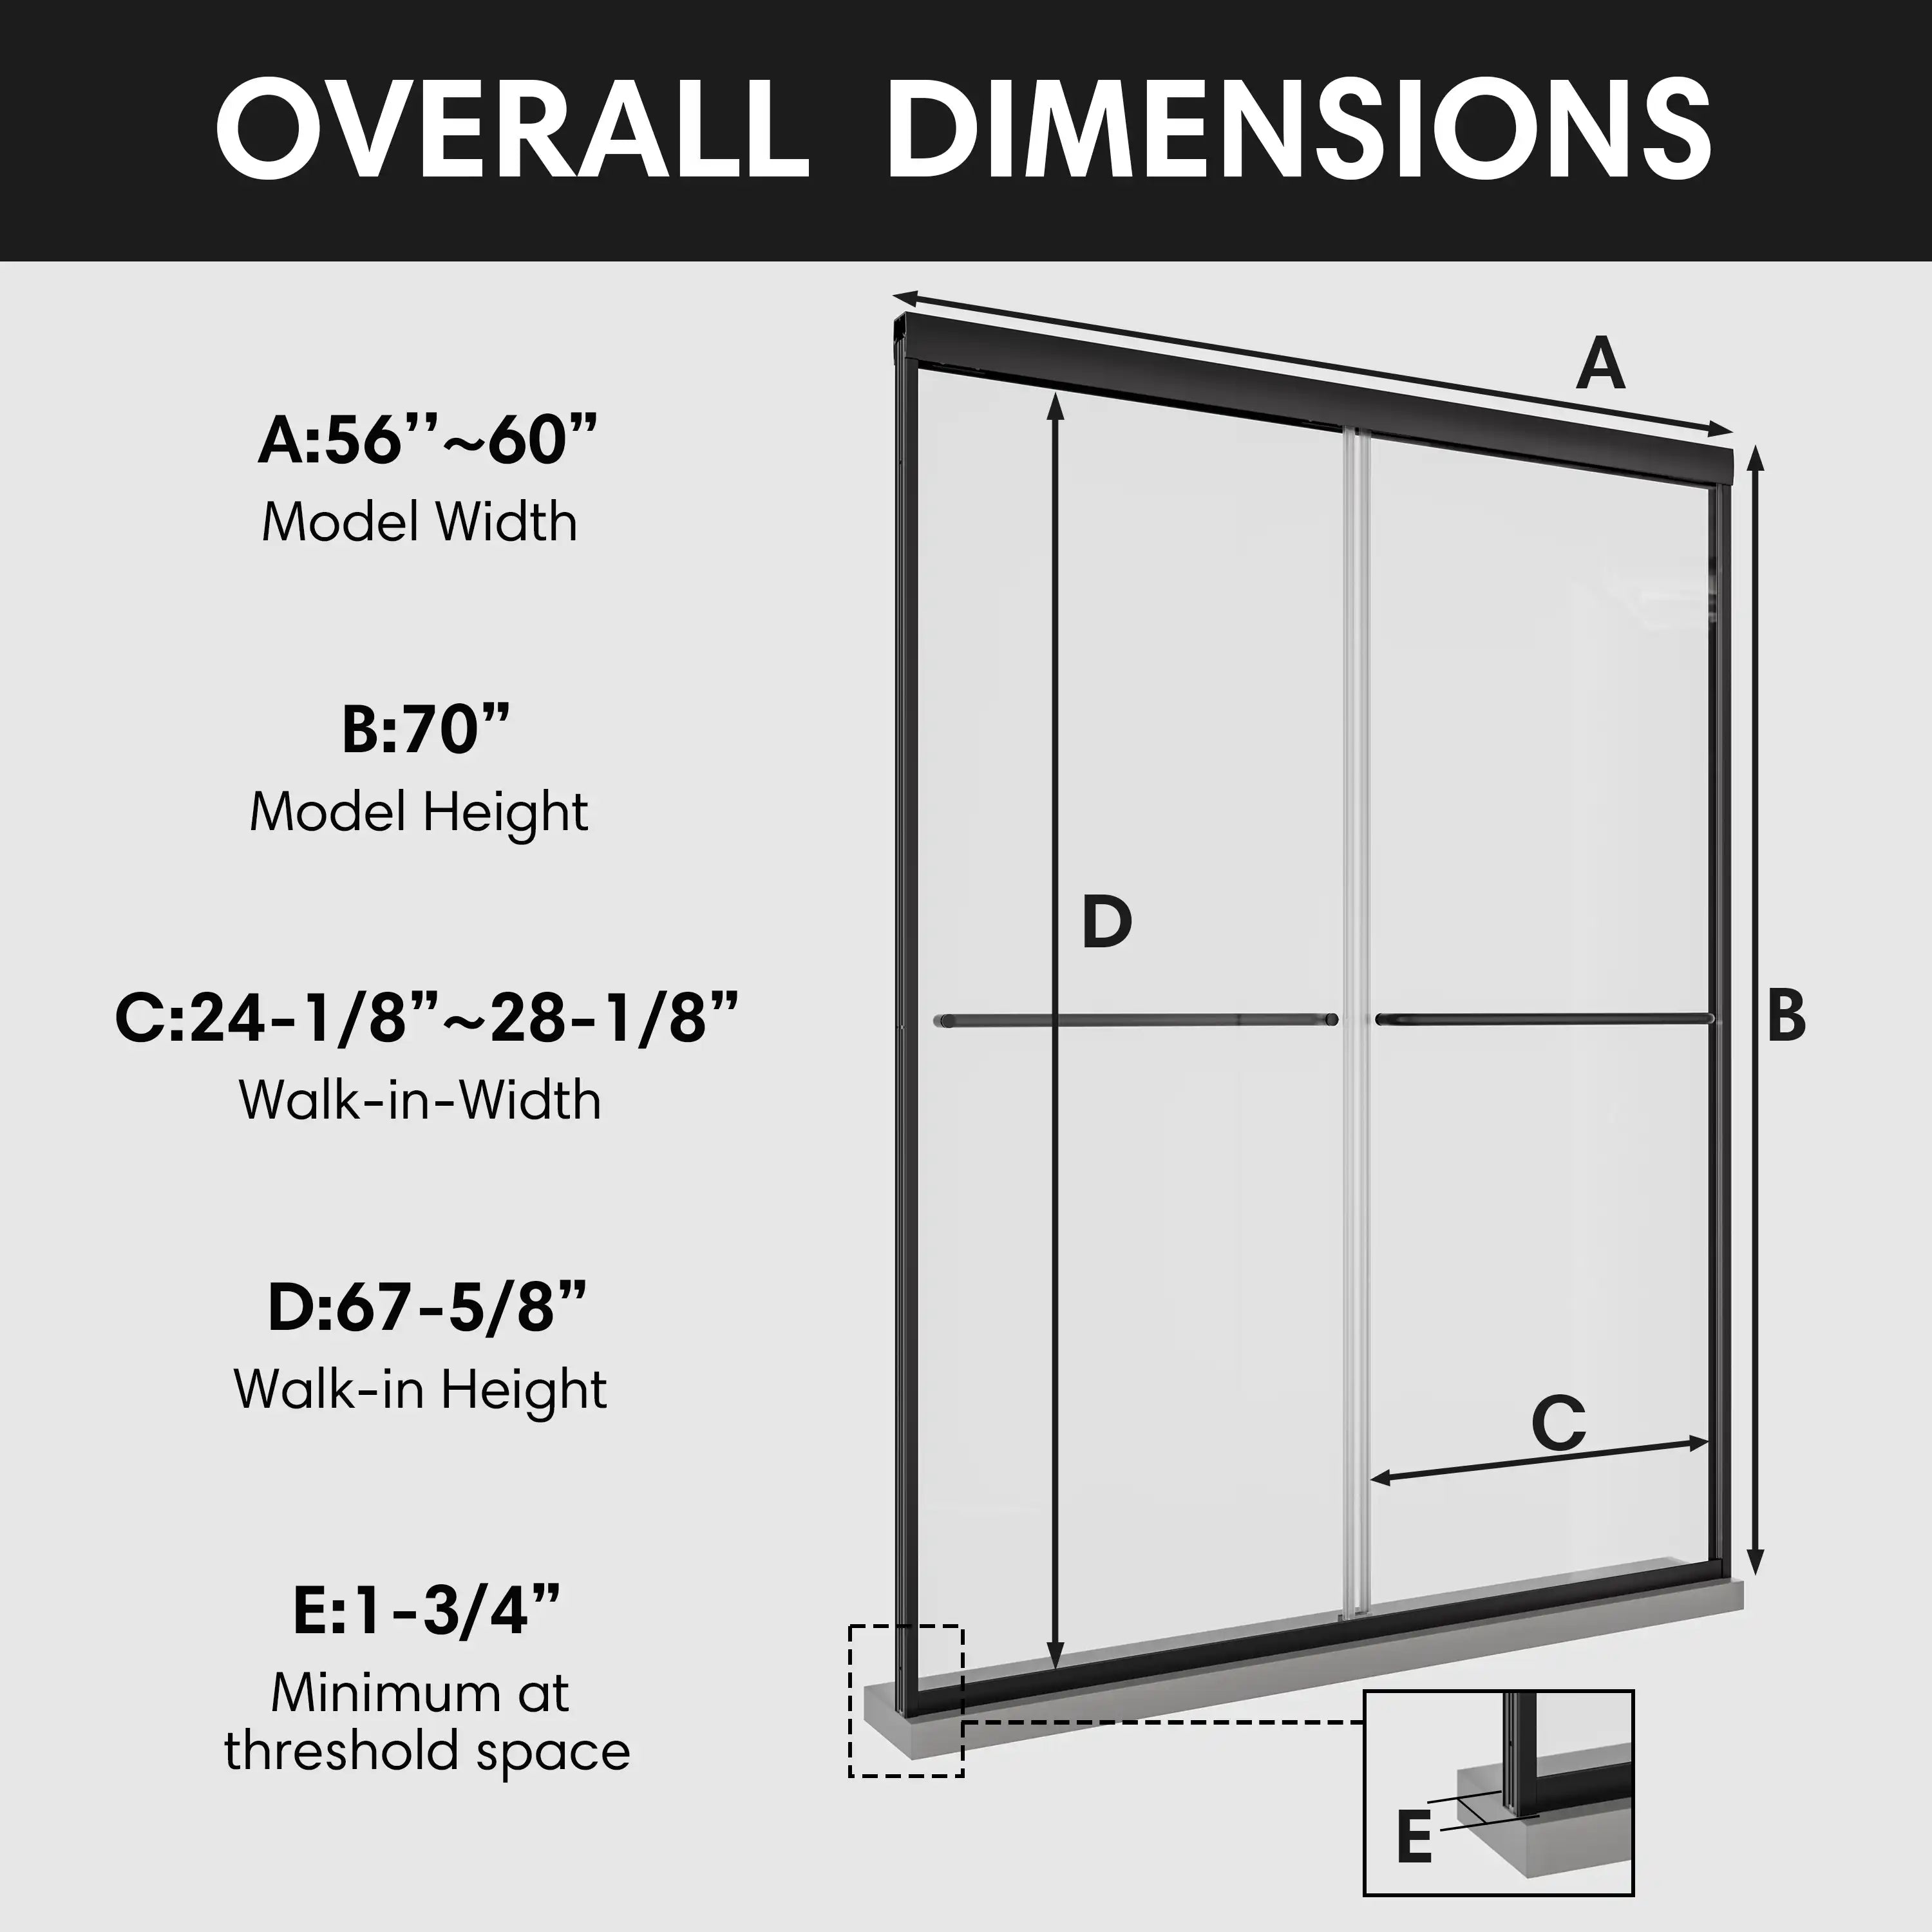
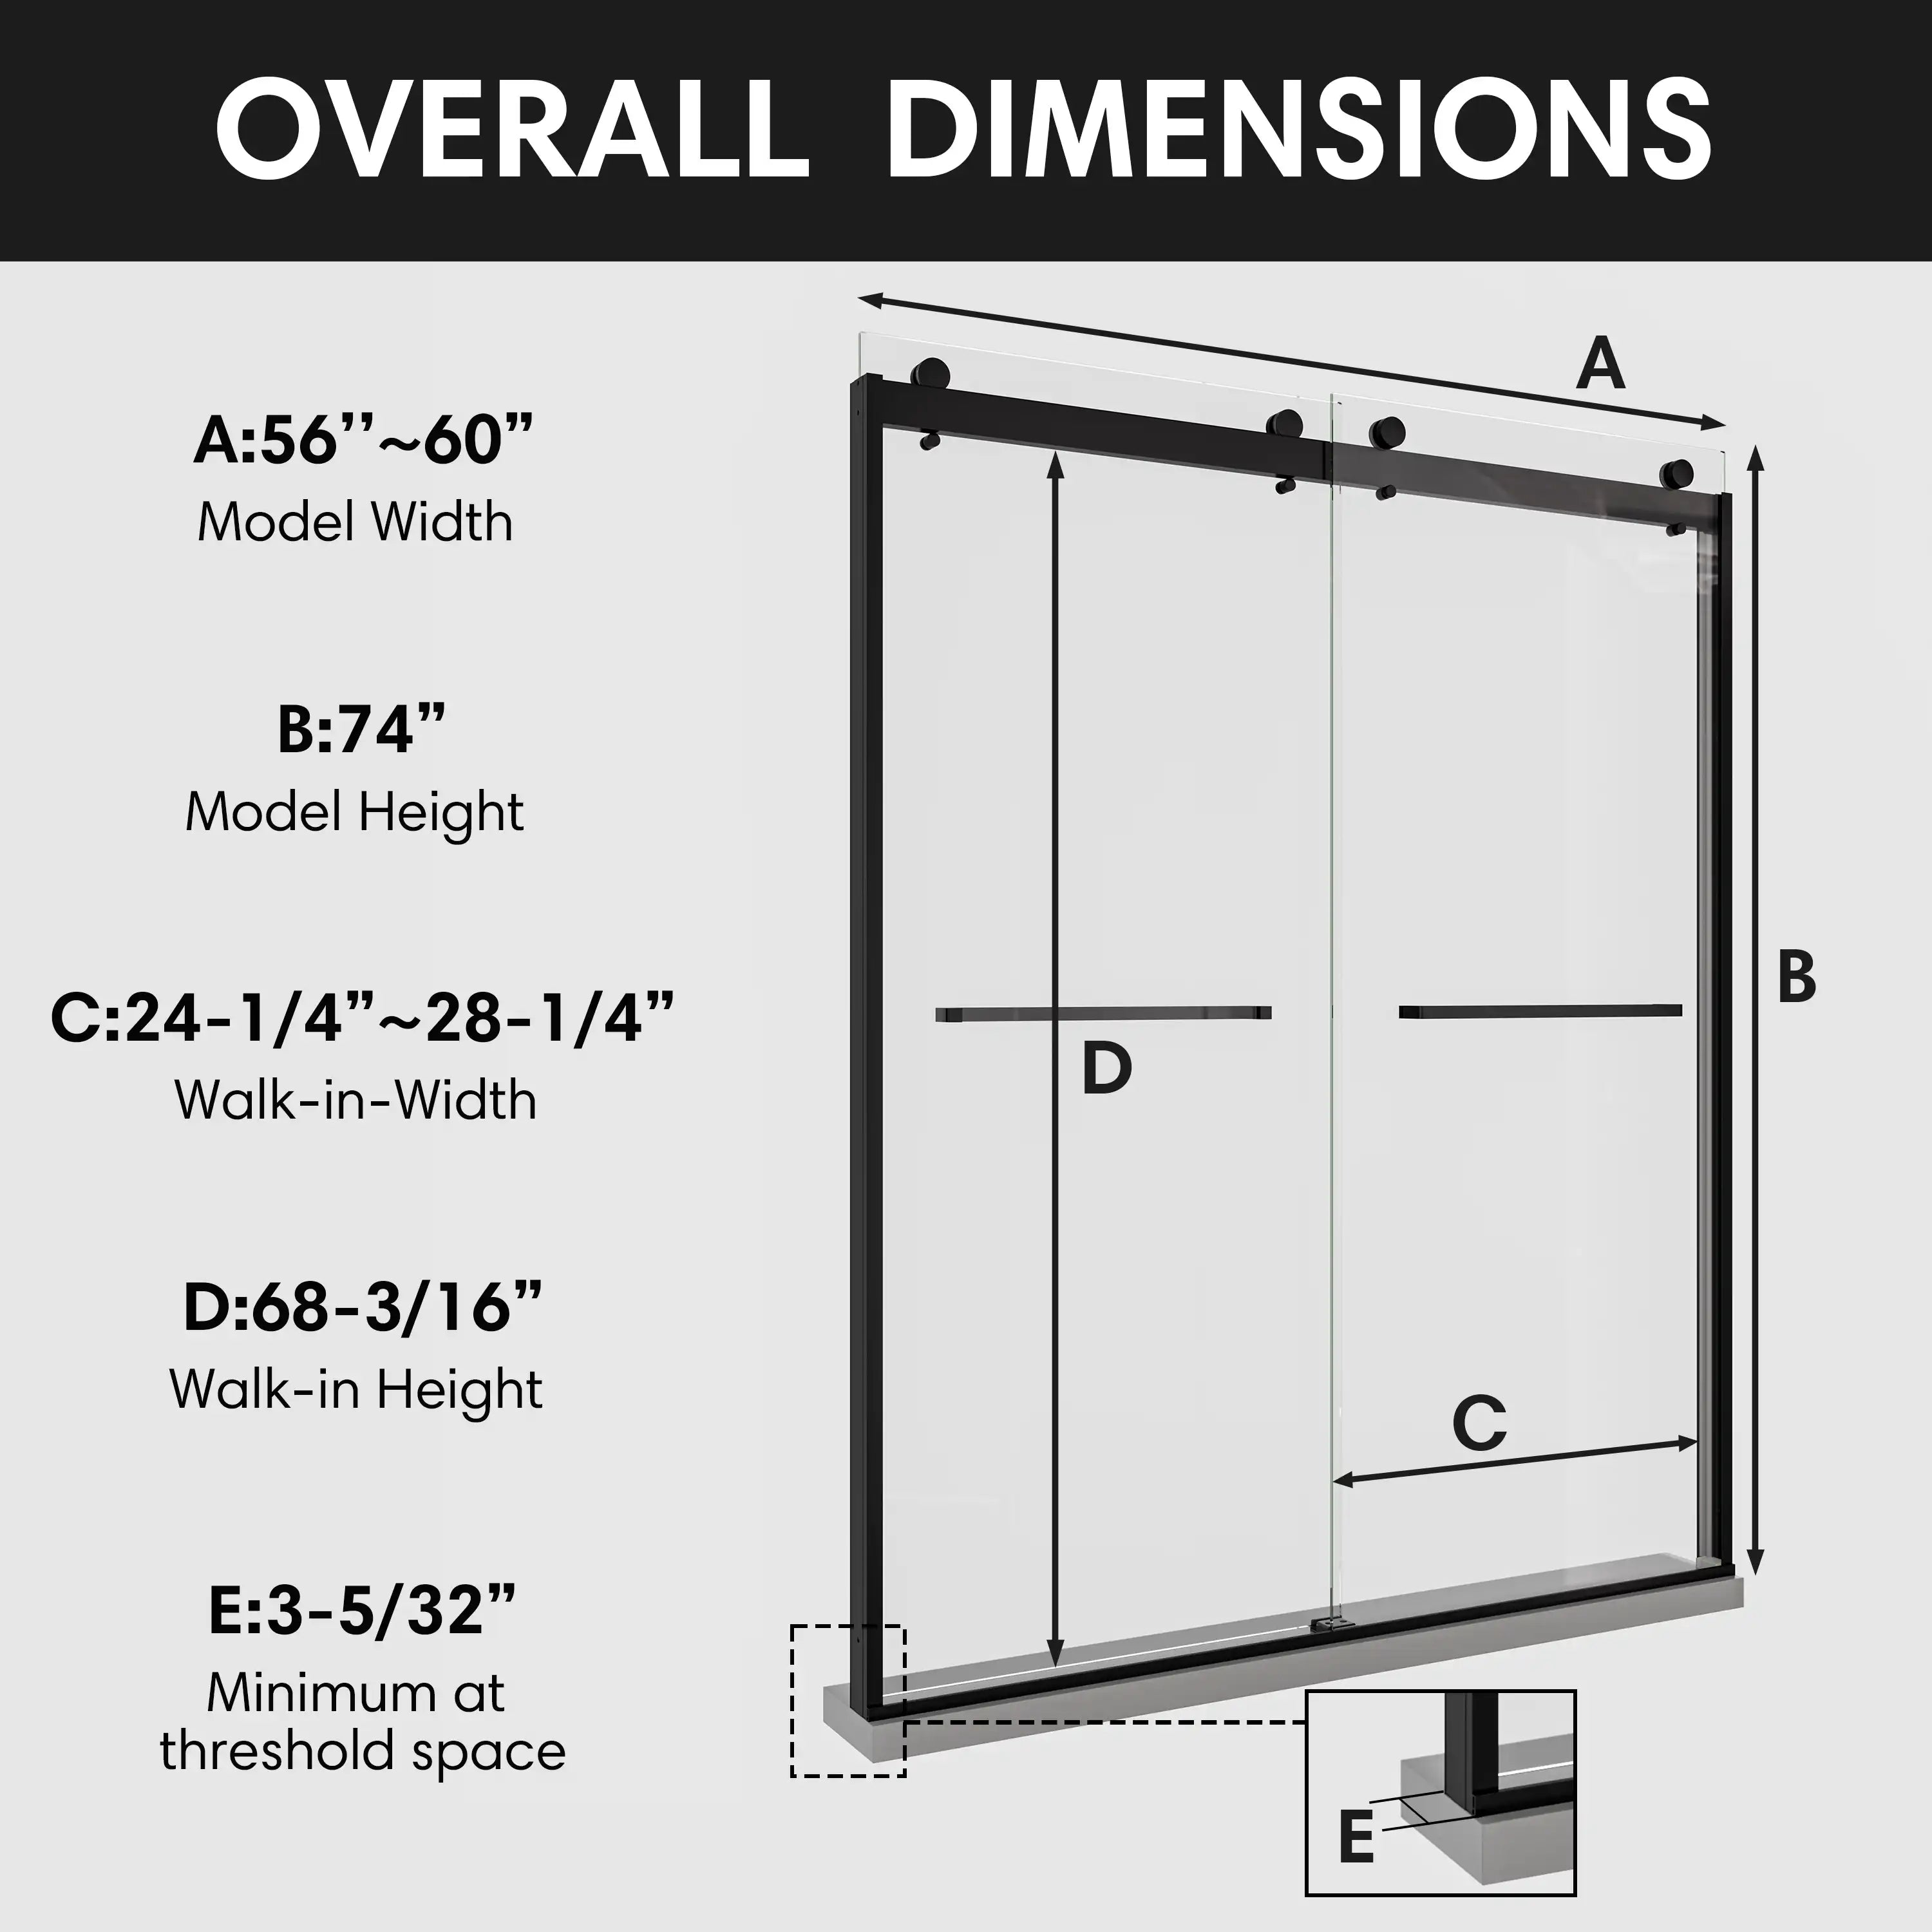
Before you even consider purchasing a shower door, precise measurements are essential. Walk-in shower doors come in various sizes and styles, and even a minor discrepancy in measurement can cause installation issues or water leakage.
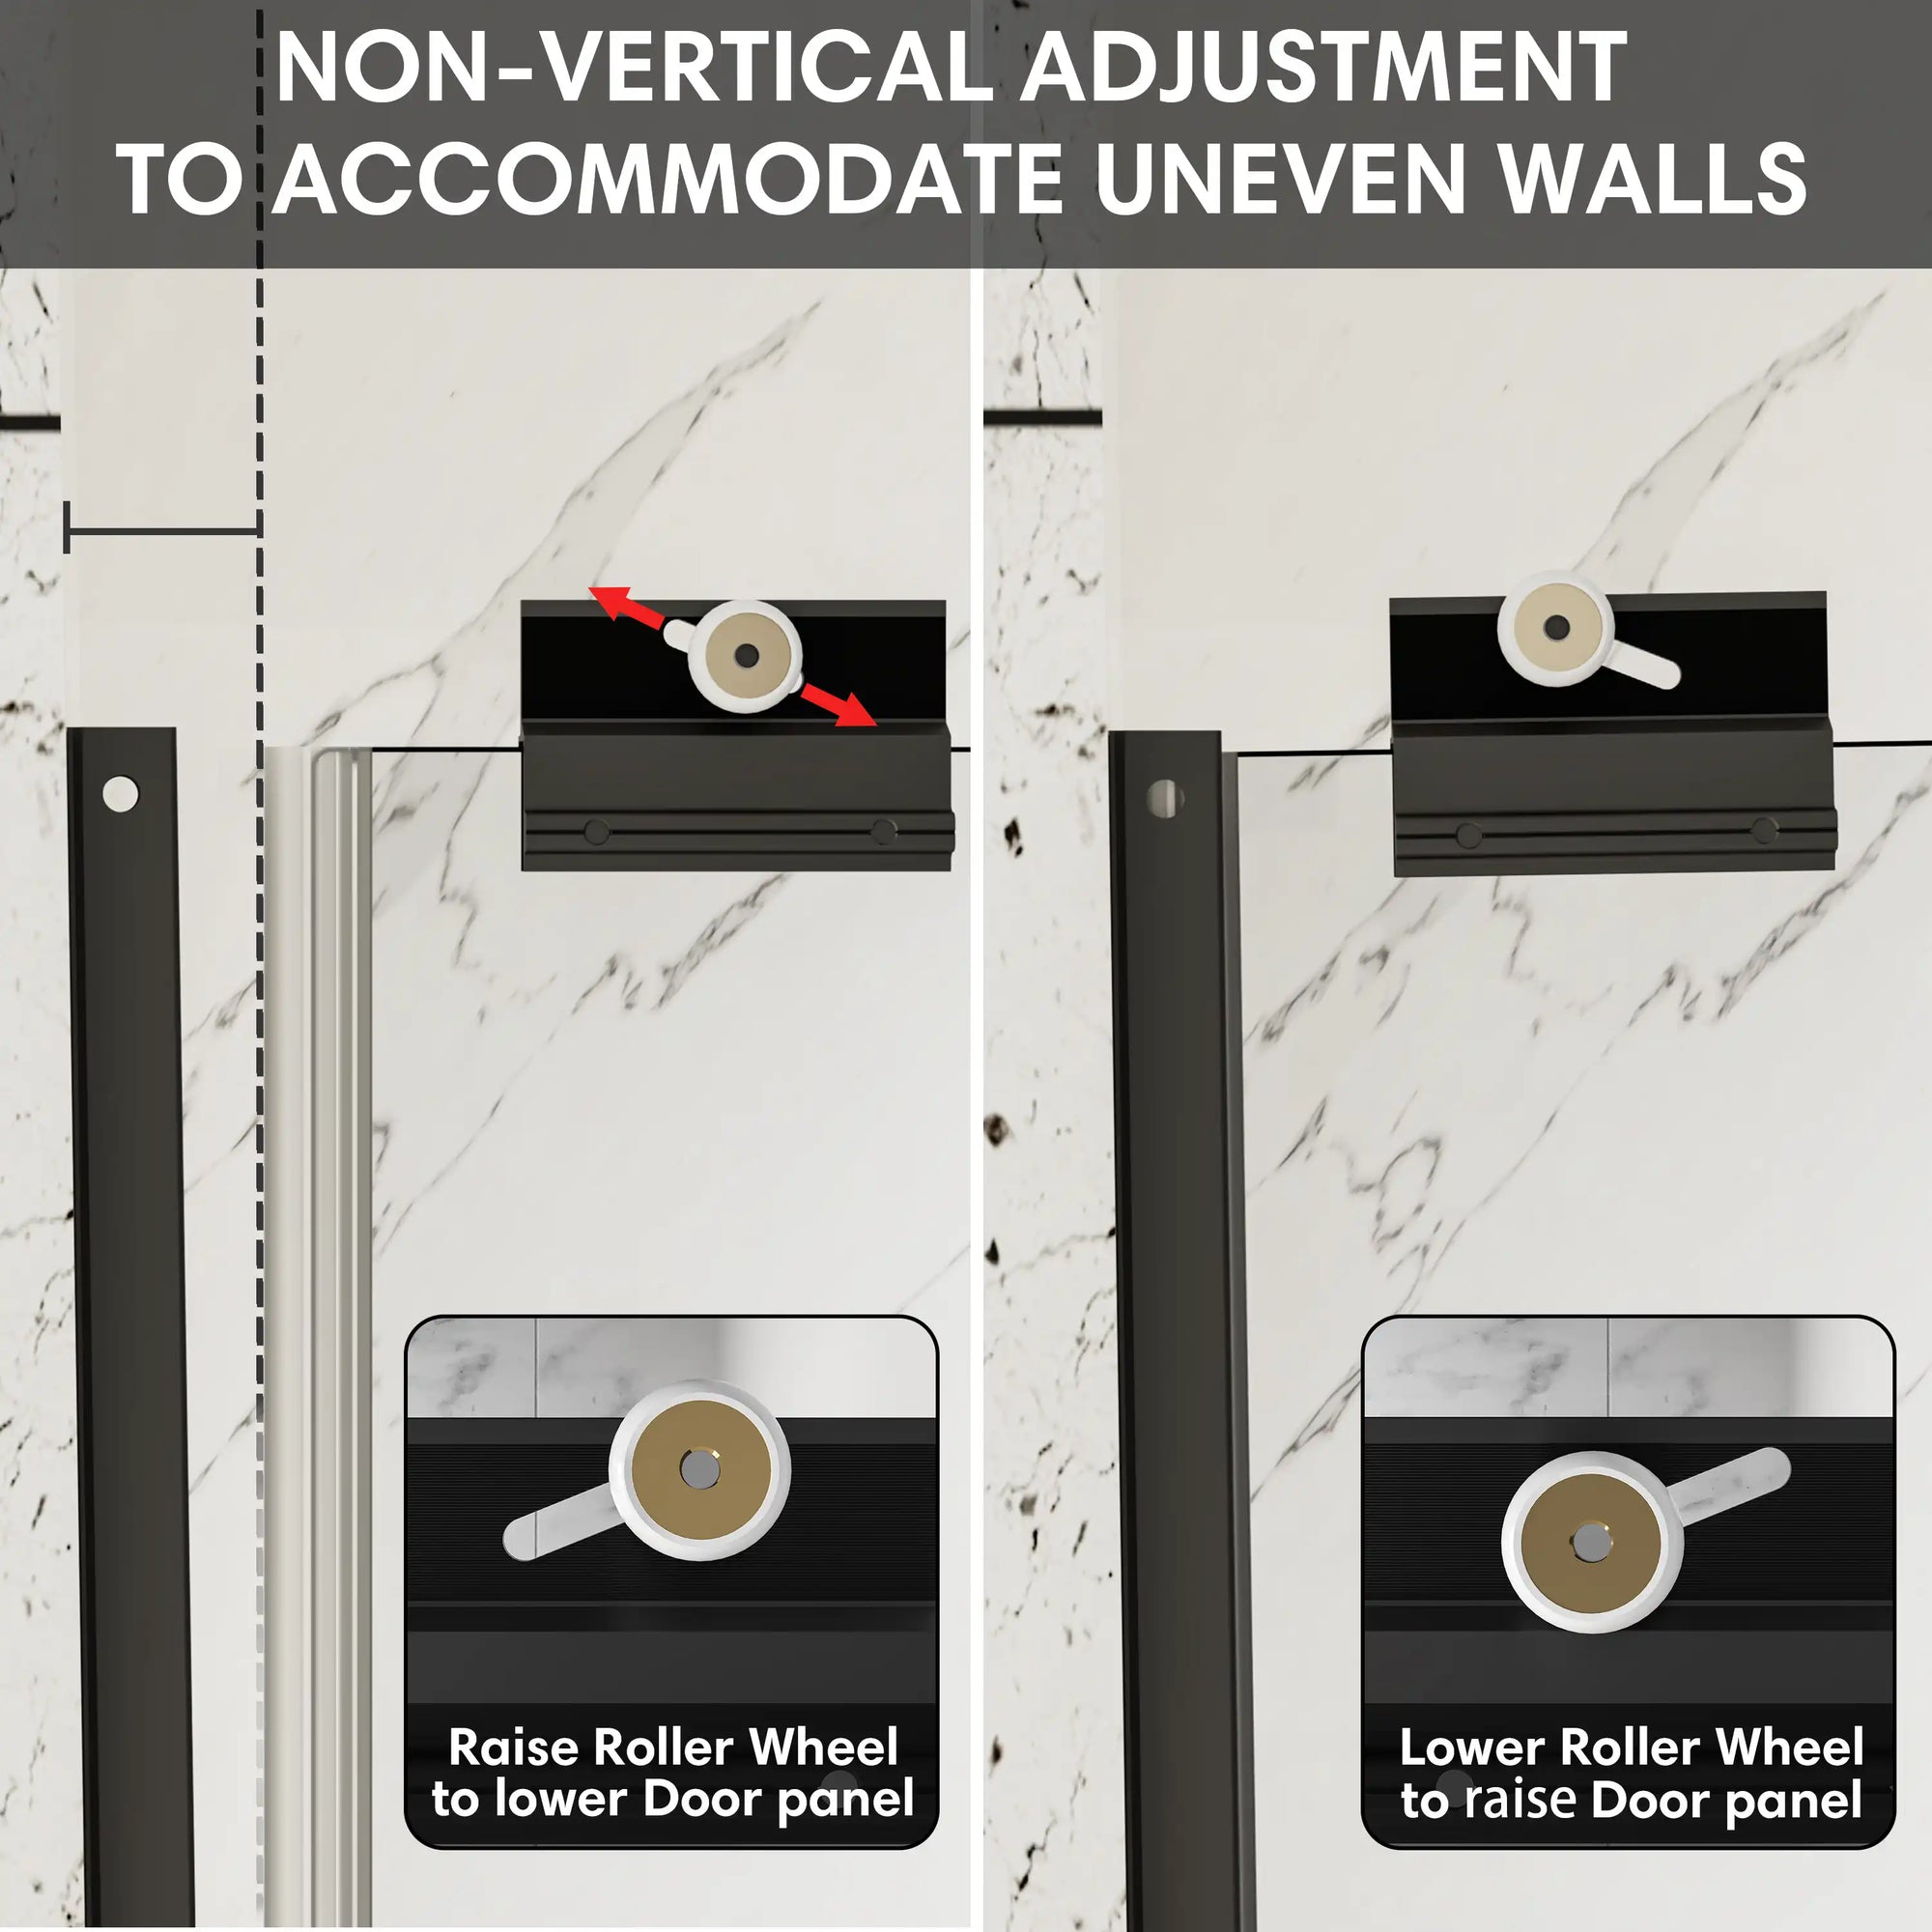
Start with width and height. Use a high-quality measuring tape to measure the opening at the top, middle, and bottom. Because walls are rarely perfectly plumb, measurements can vary slightly. Always go with the smallest width to ensure a proper fit.
Check for level and plumb. Use a level to confirm whether the walls are perfectly vertical and the base is horizontal. If not, this may influence the type of walk-in shower doors you can install or require shims or additional adjustments.
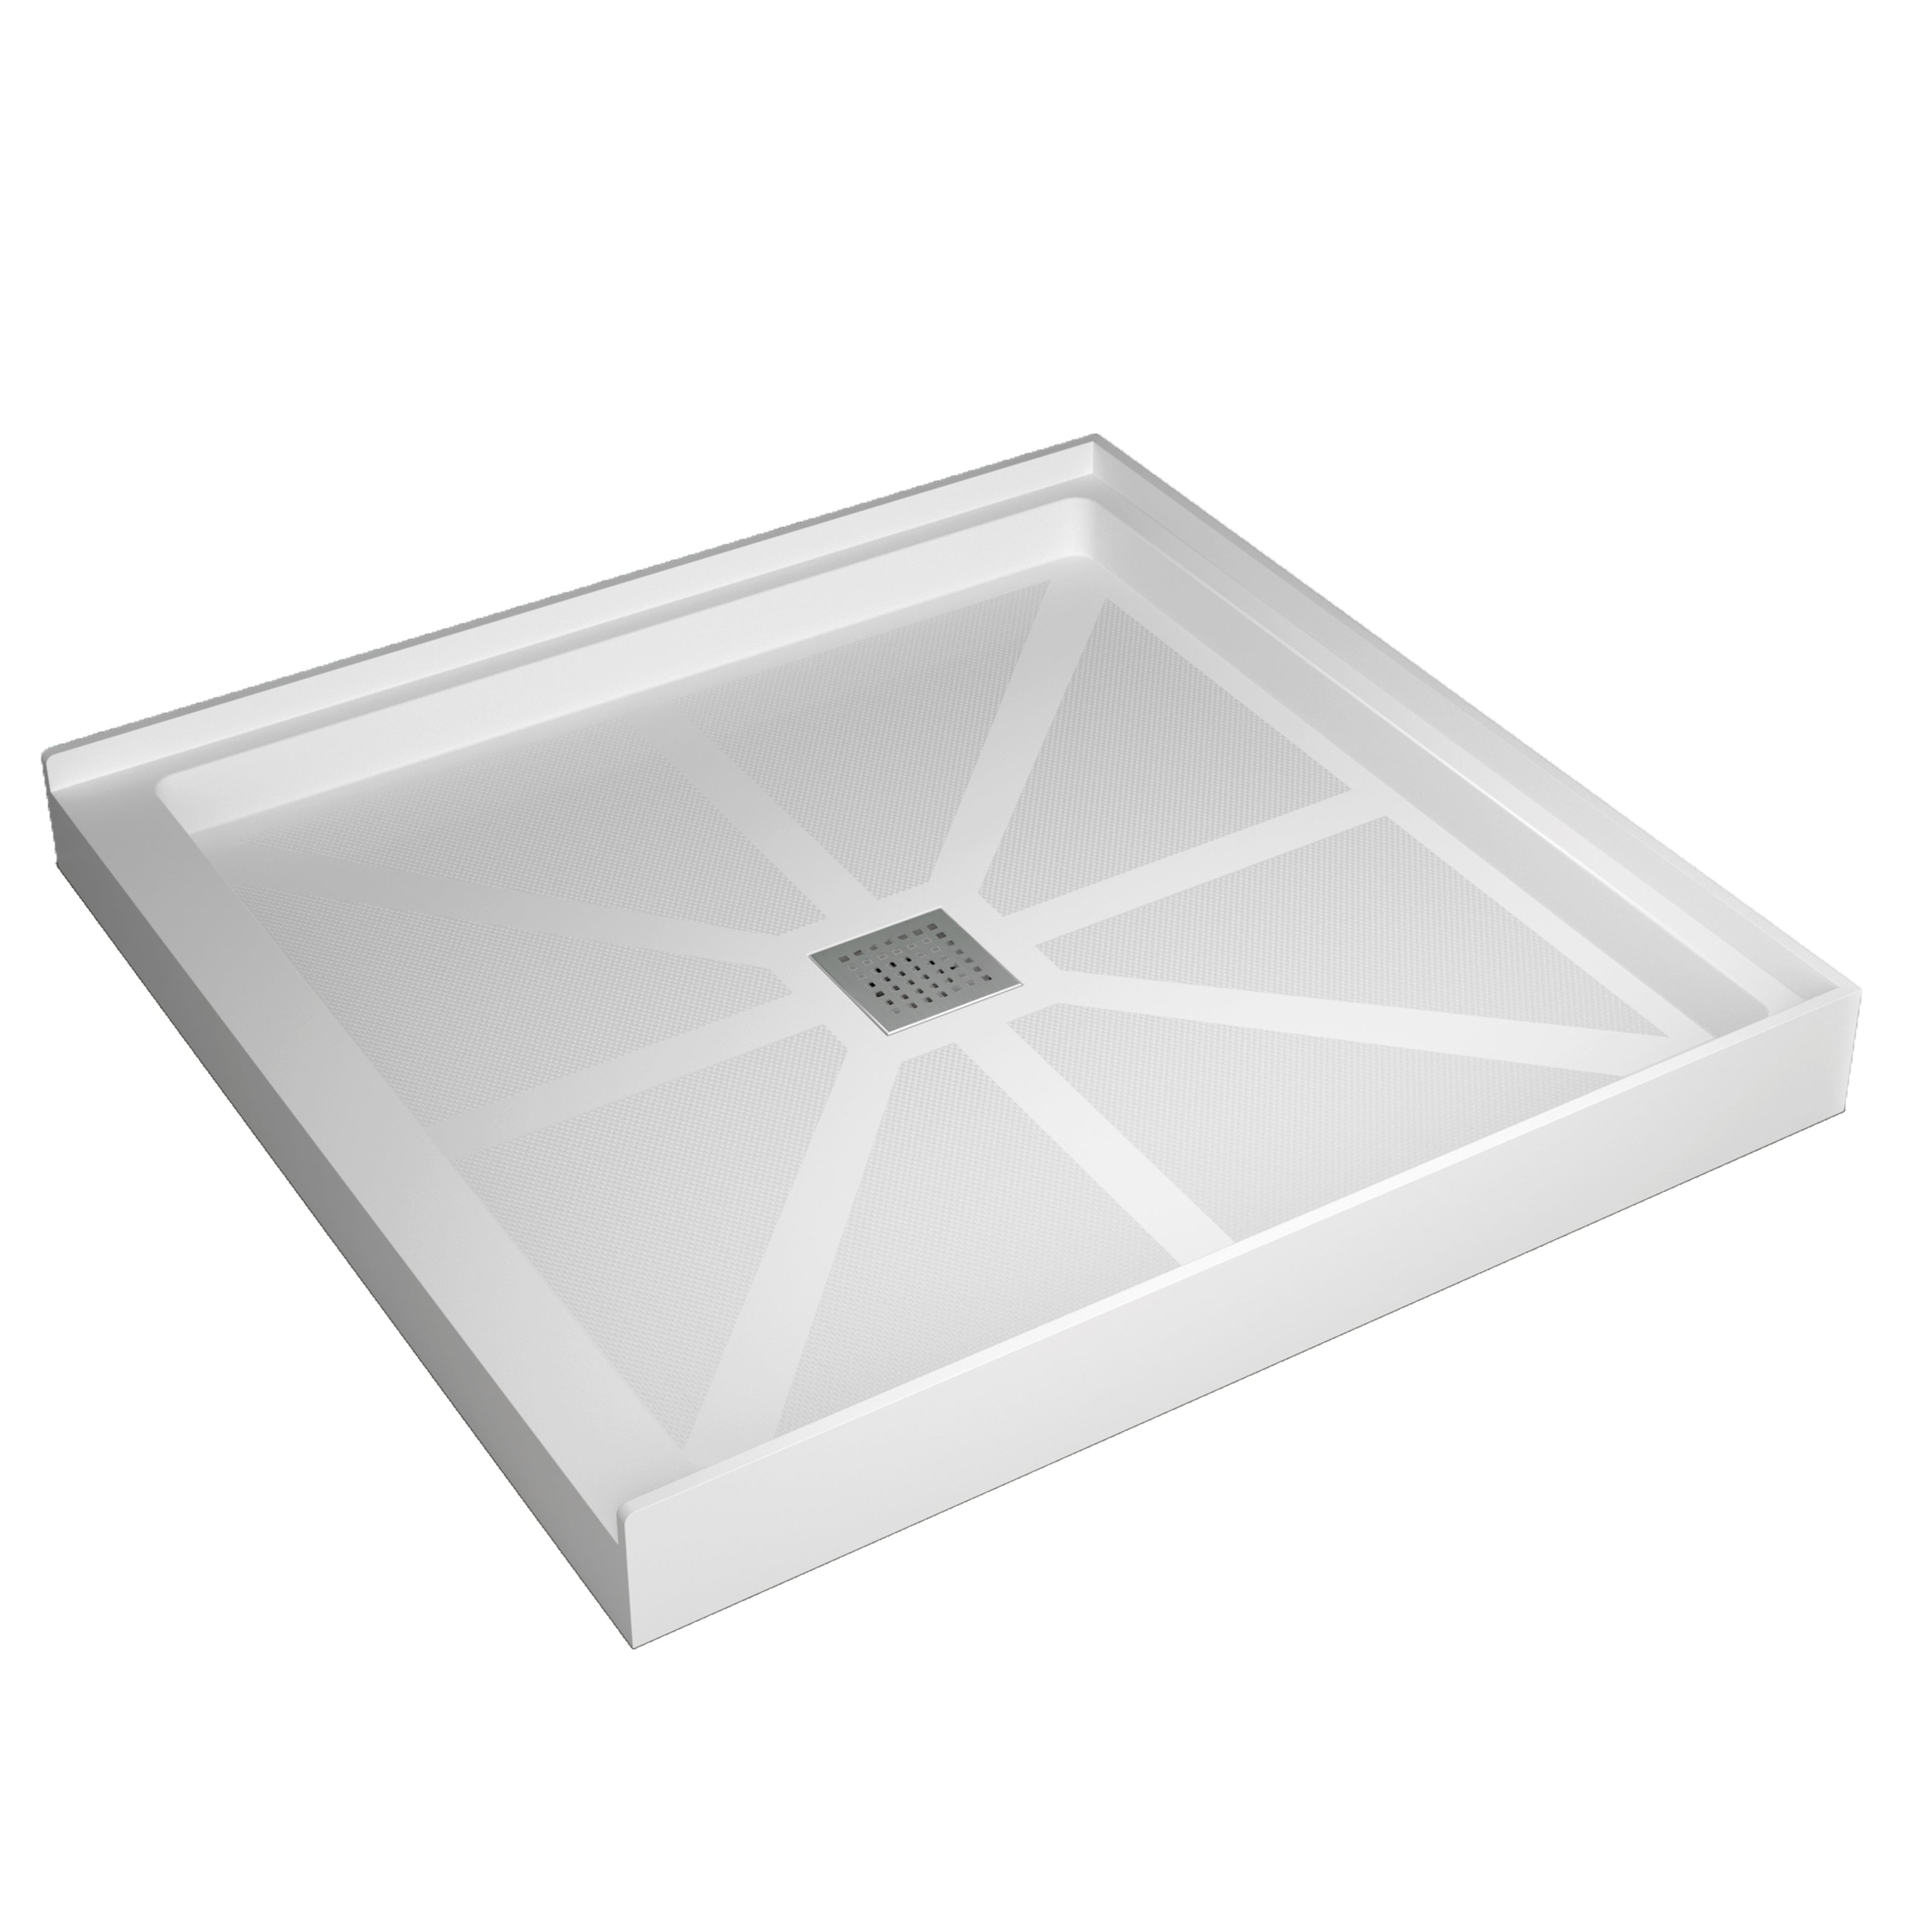
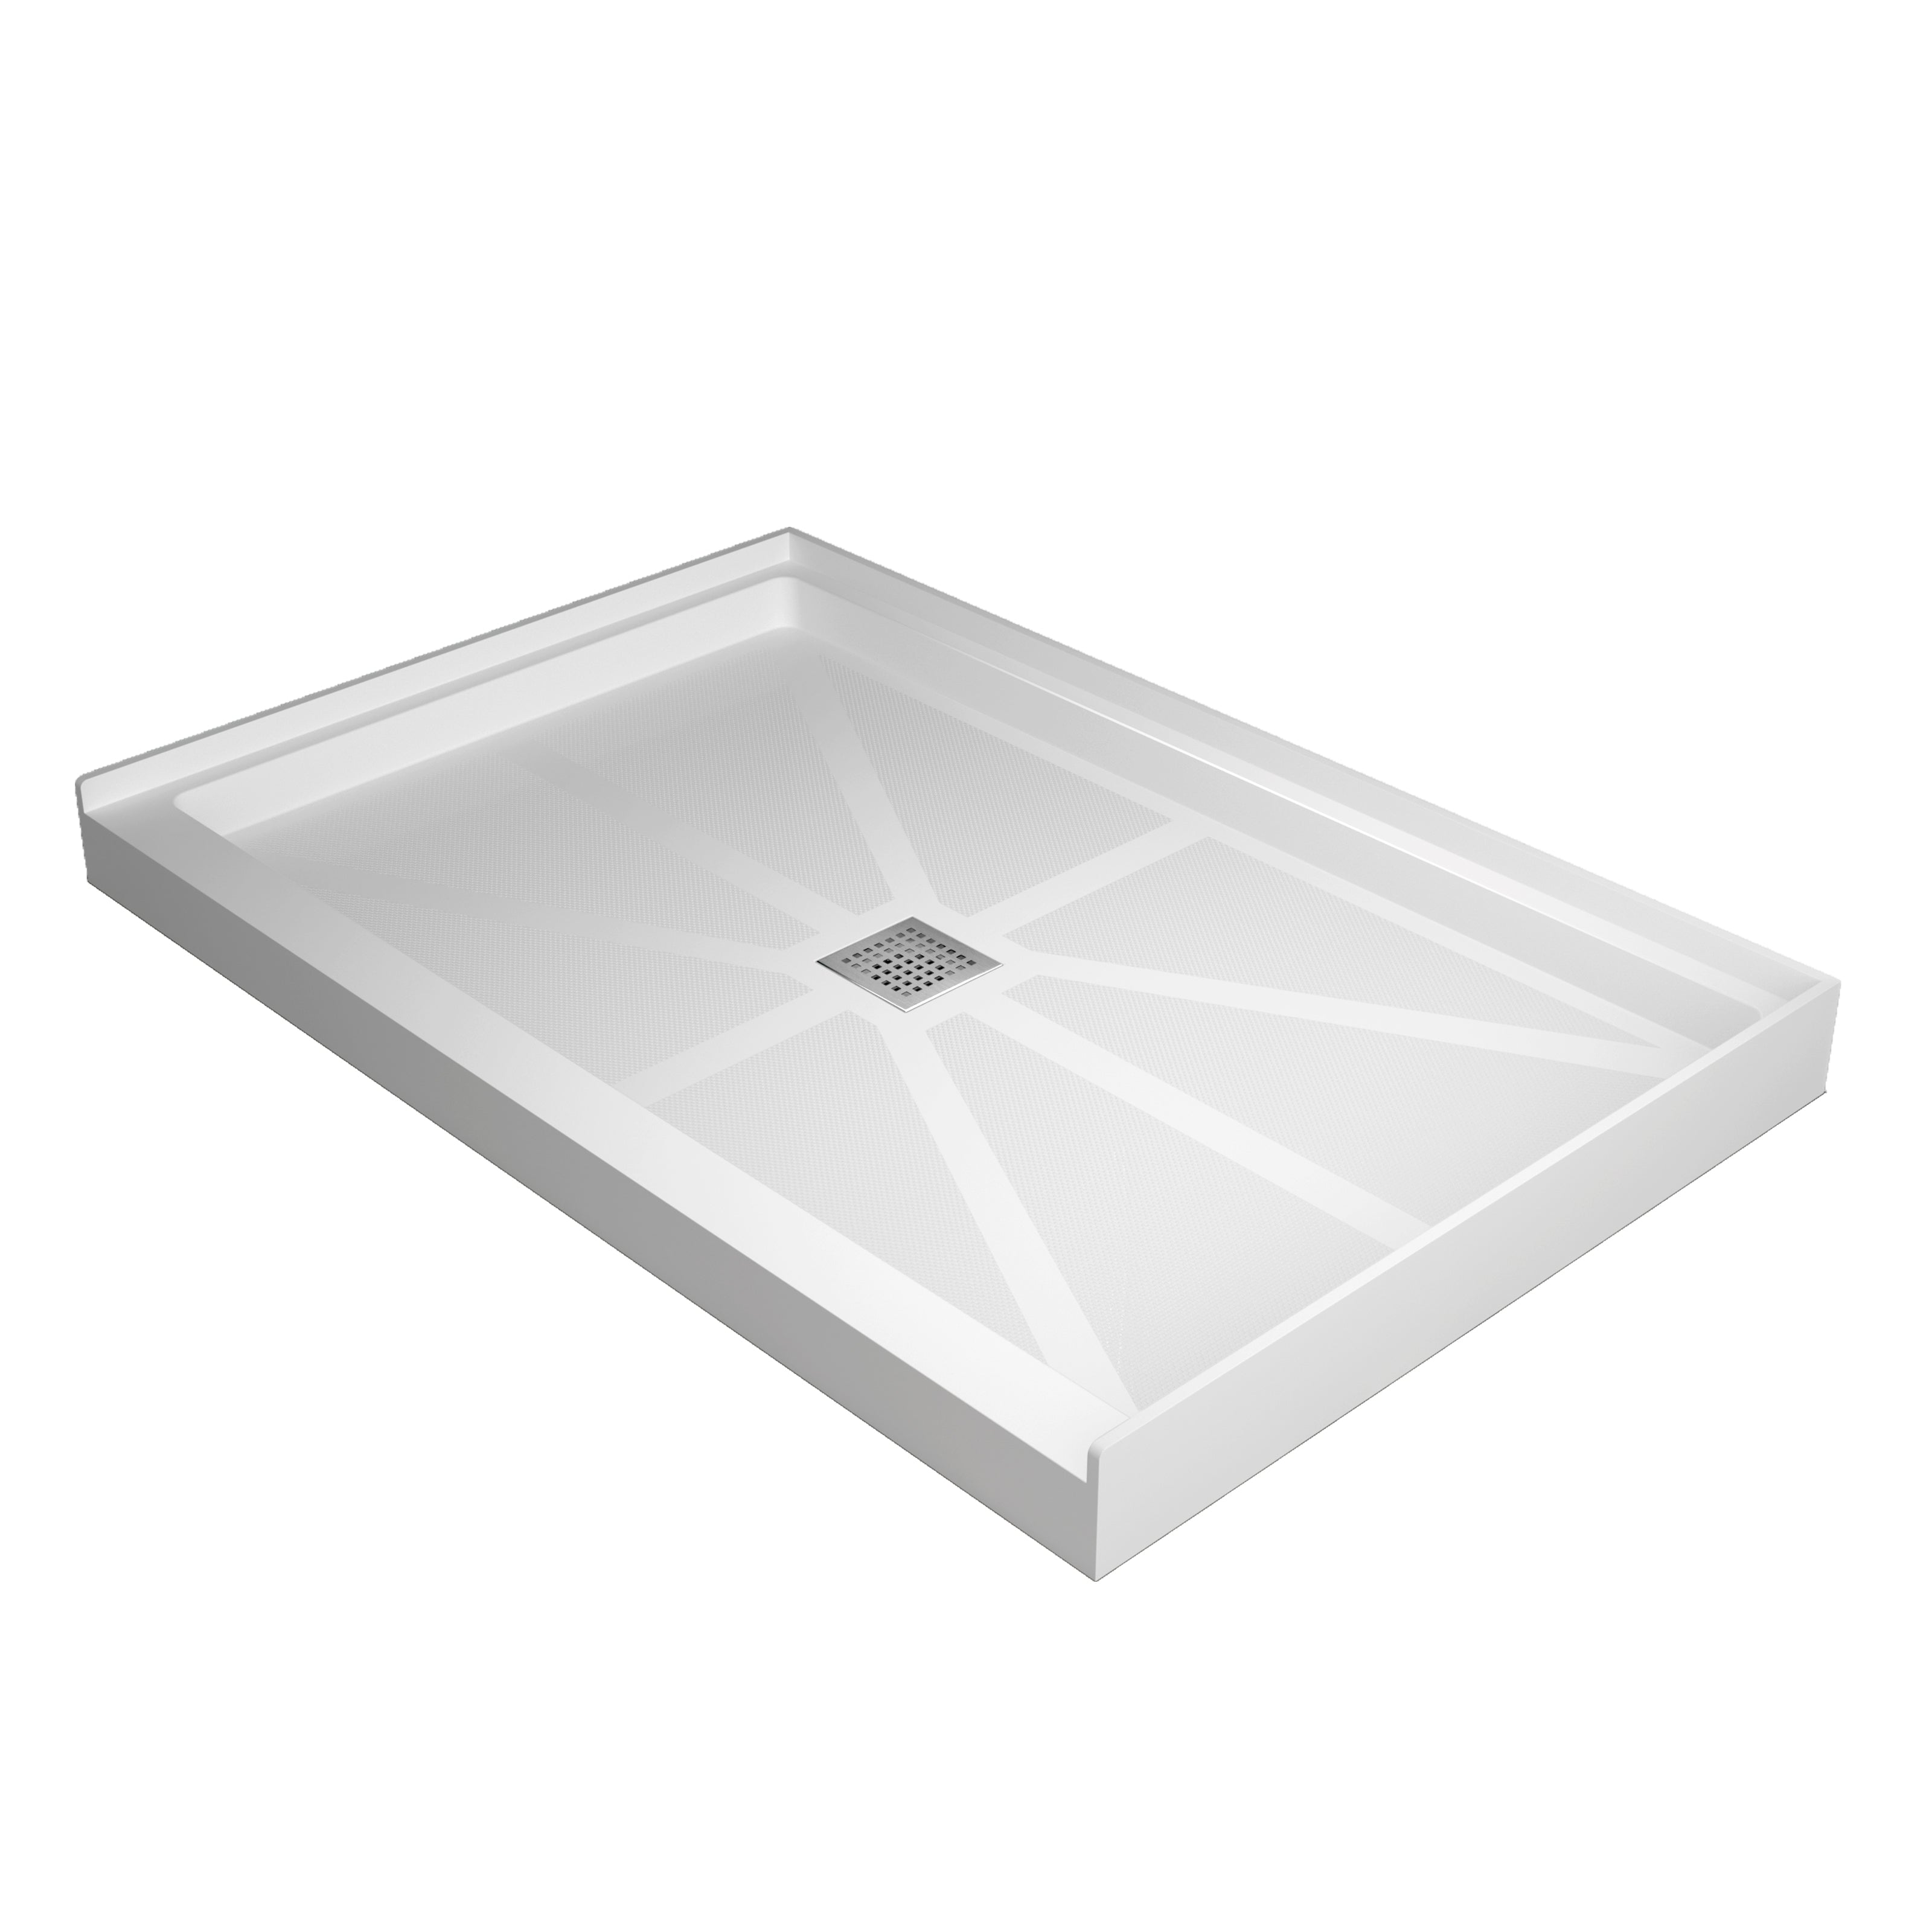
Account for tiles and trim. Measure tile-to-tile, not wall-to-wall, as tile thickness can affect fitting. Also, note any baseboard trim or protrusions that may obstruct the door frame. If your design includes a bottom track (as with sliding shower doors), be sure to measure the edge width of the shower base as well.
Accurate measurements not only streamline the buying process but also prevent installation errors, saving you time and unnecessary returns.

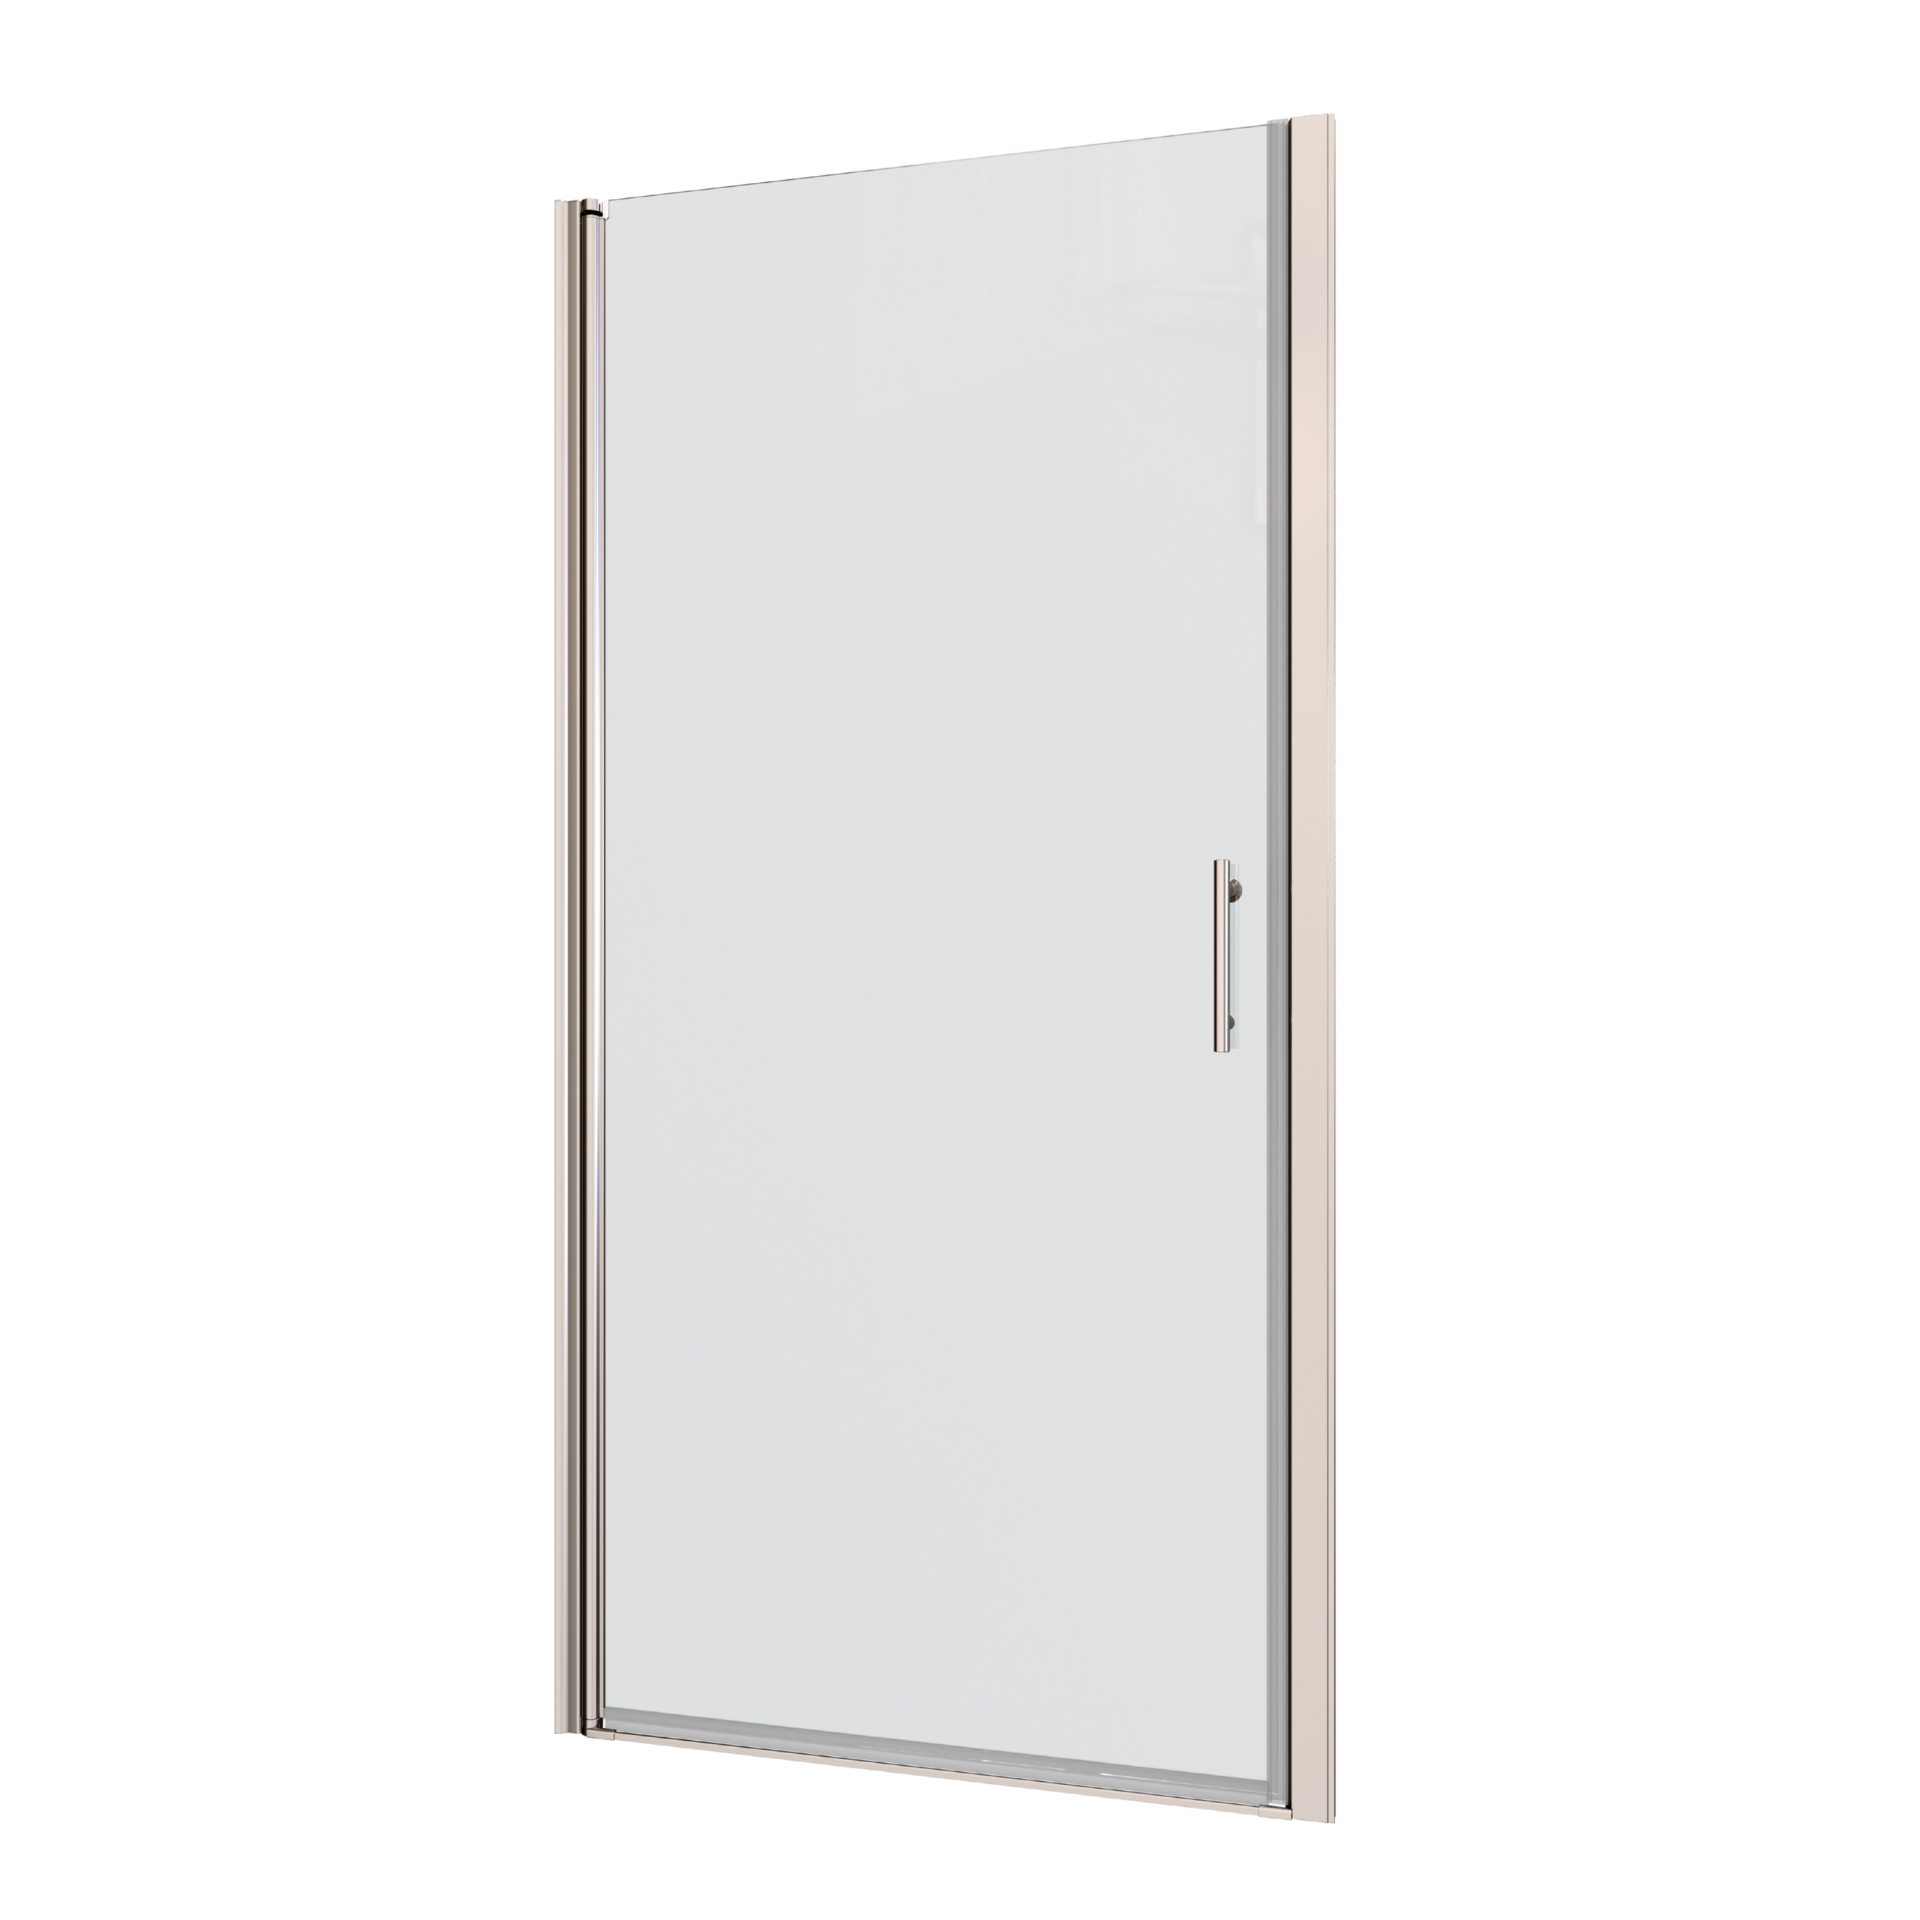
Choosing the Right Walk-In Shower Doors for Your Space
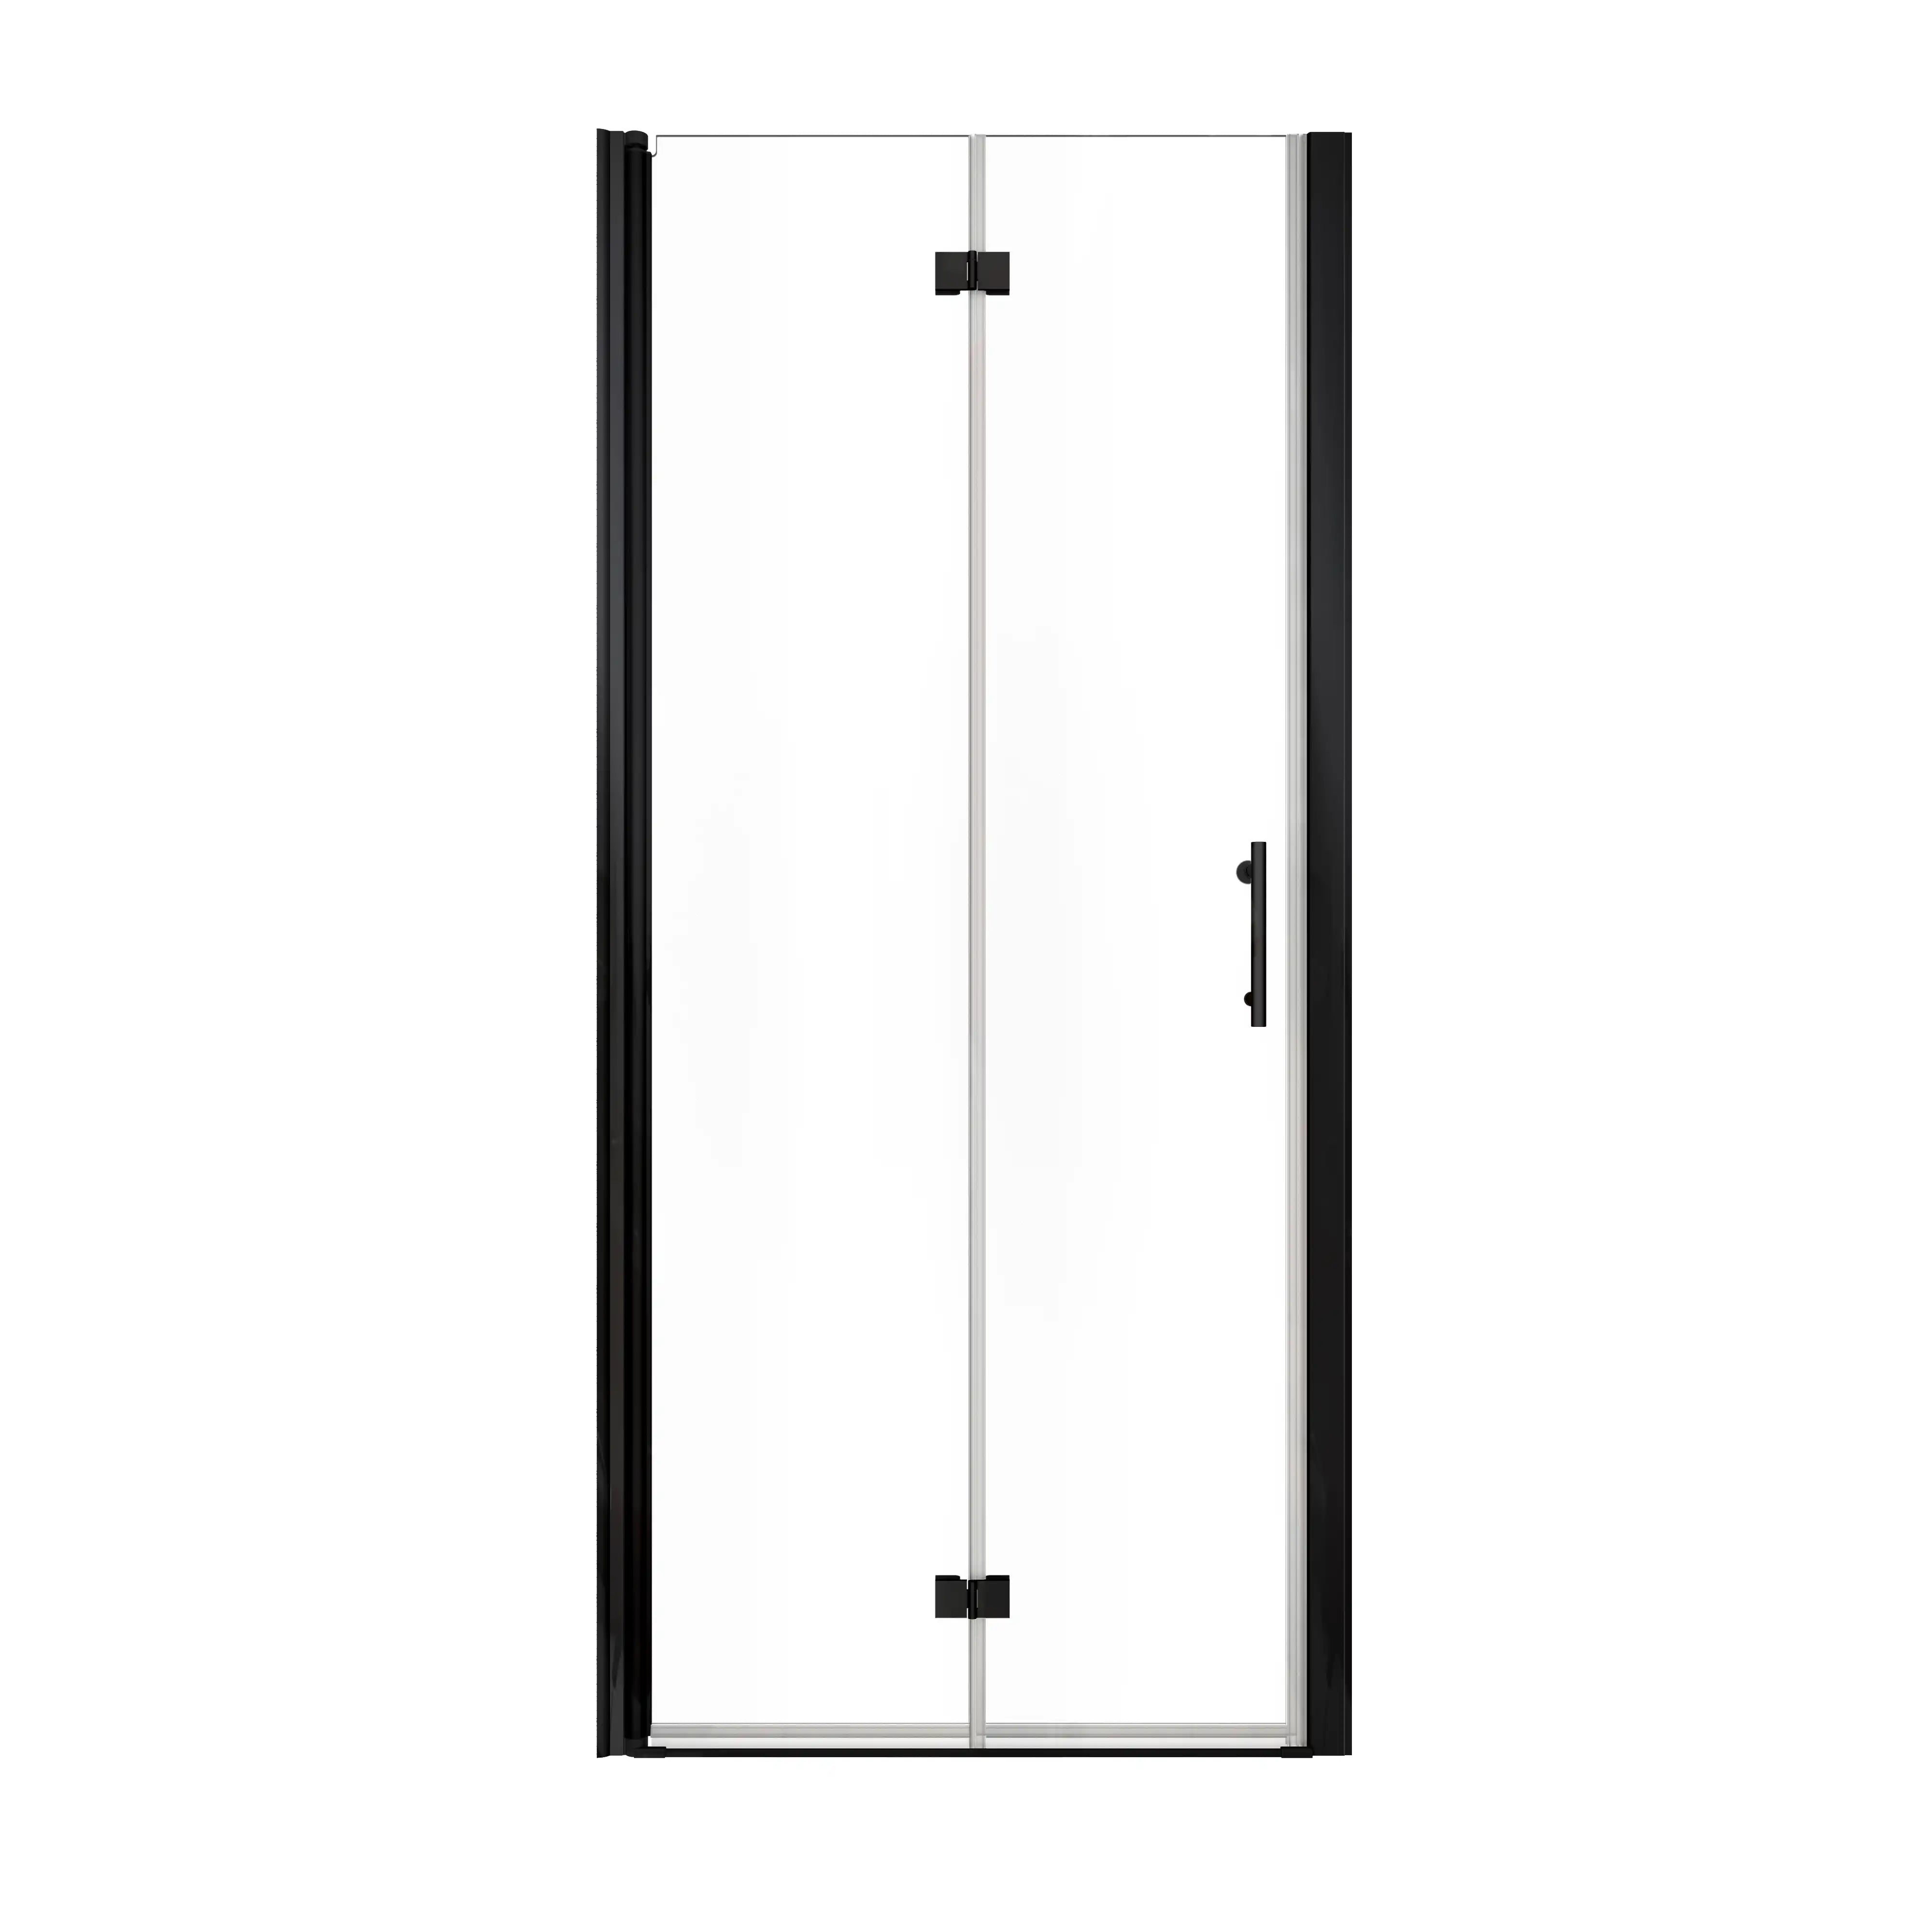
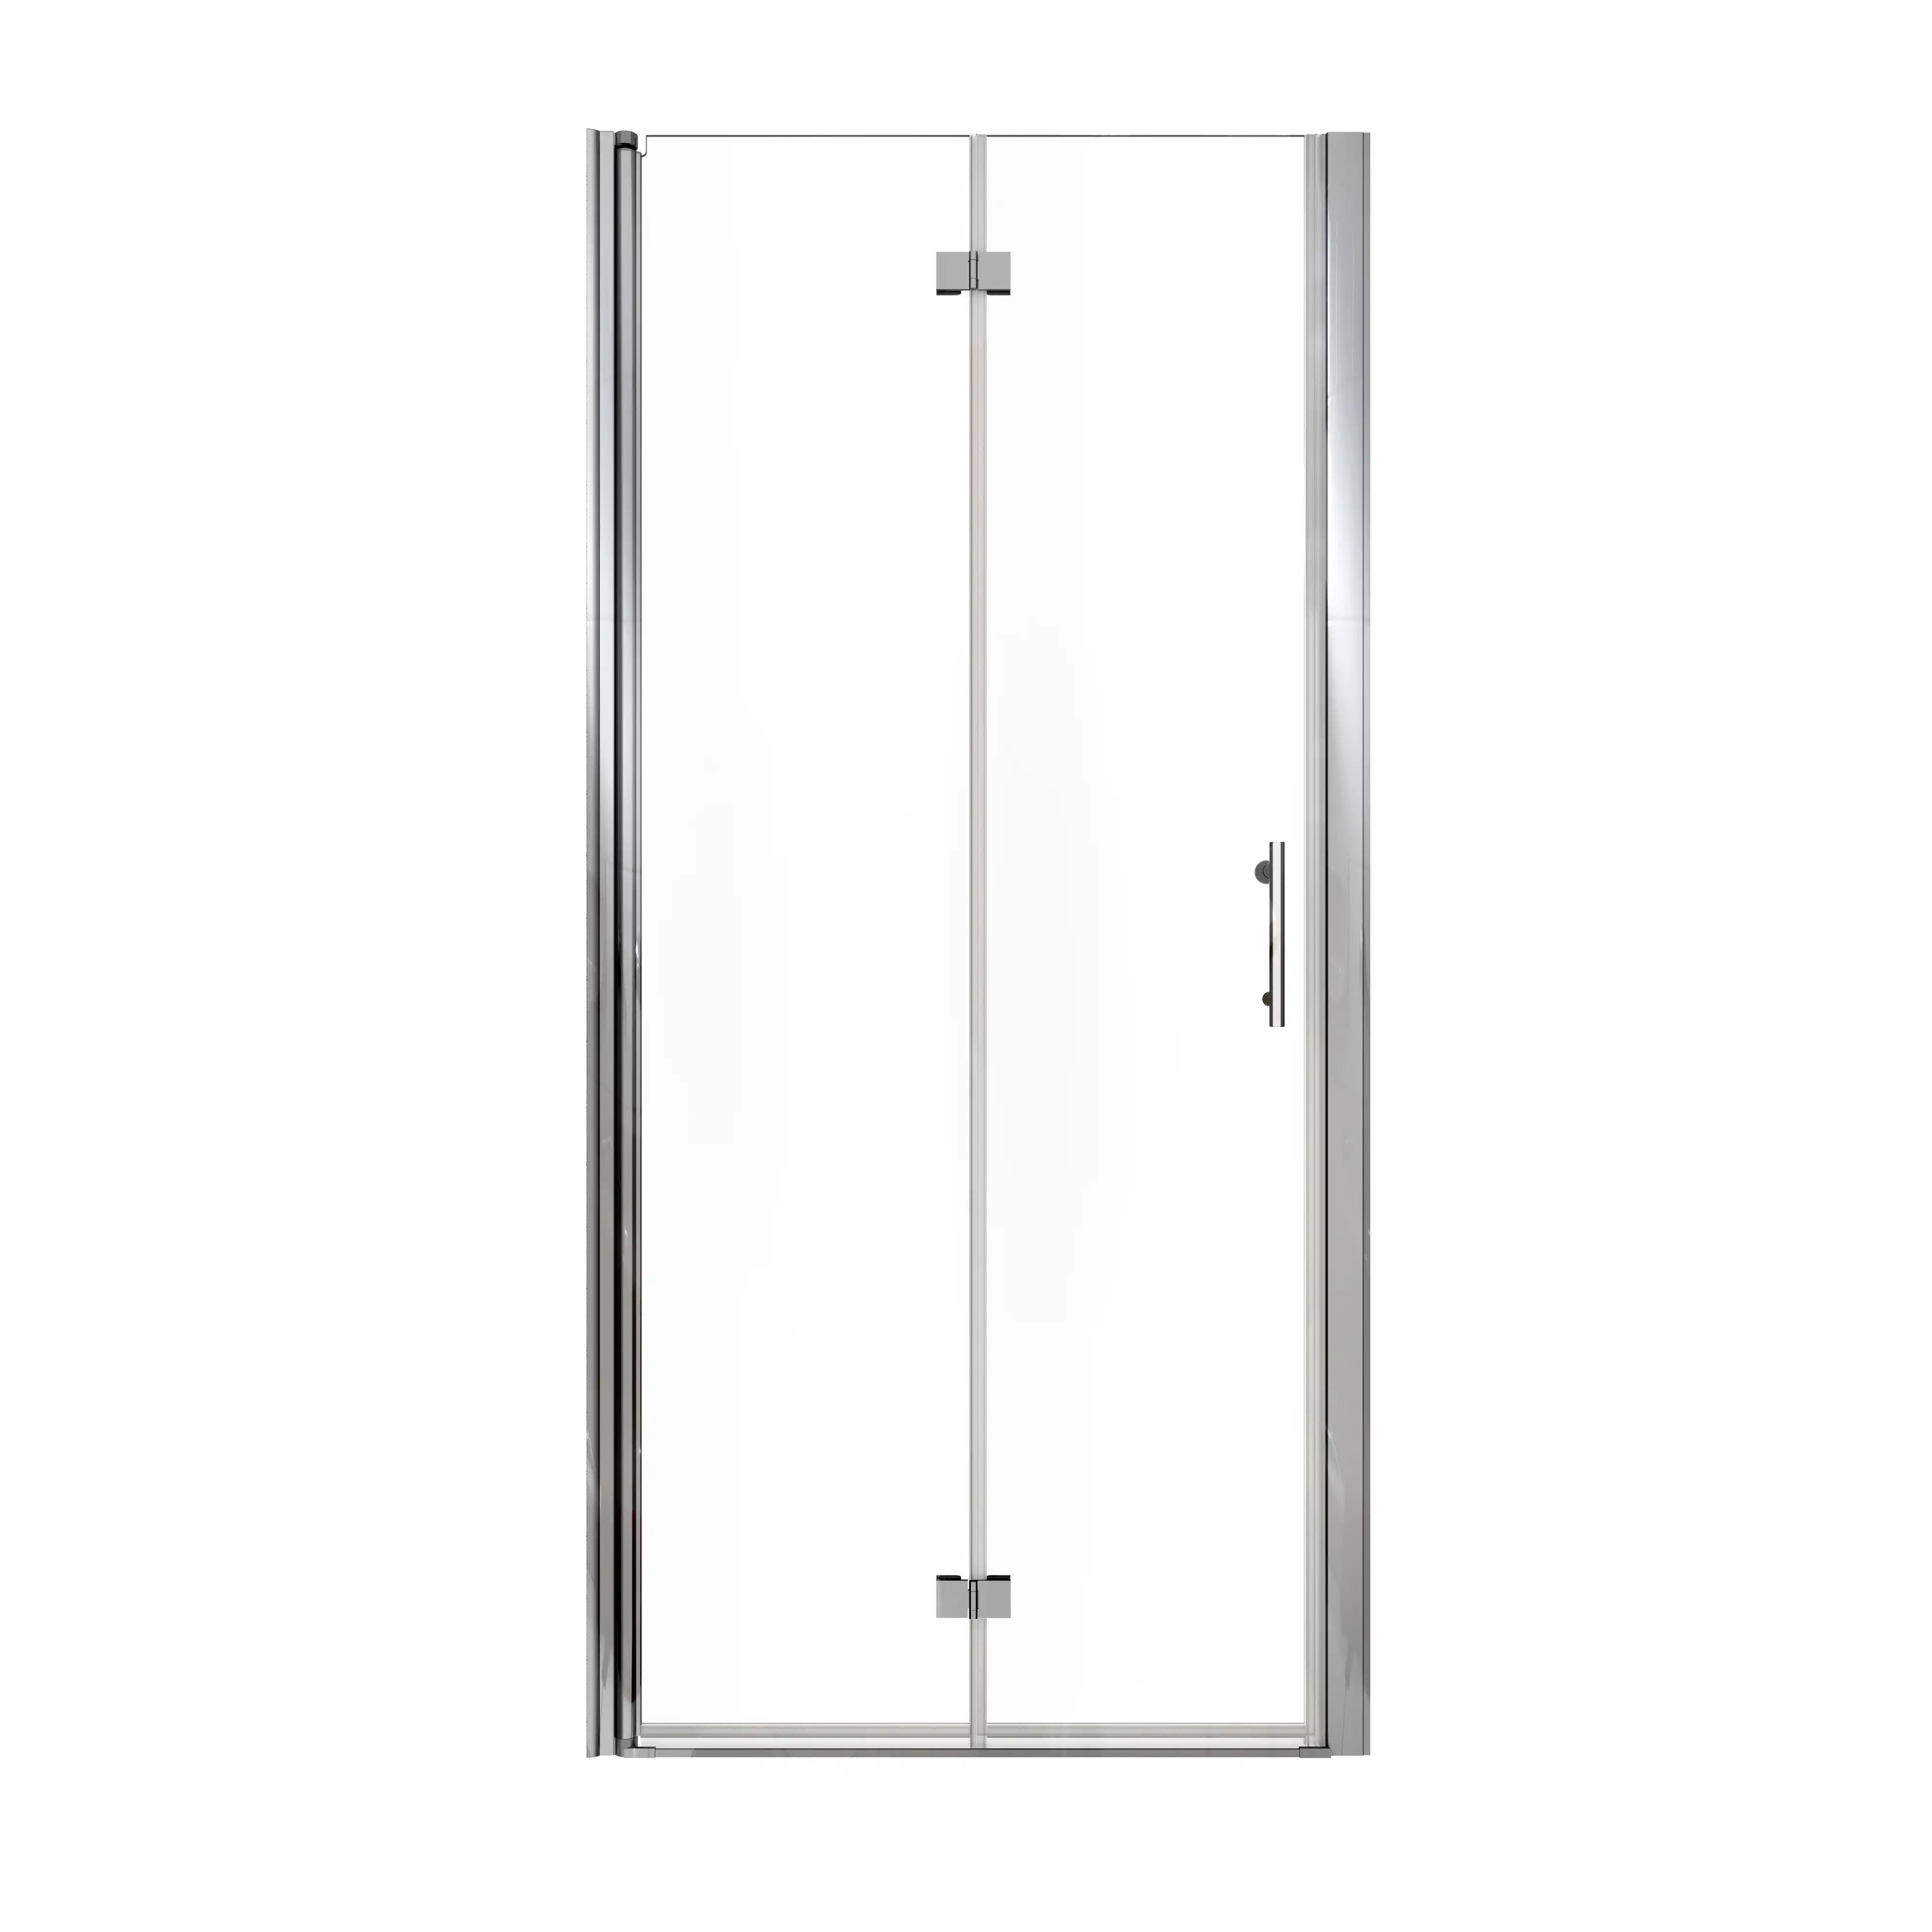
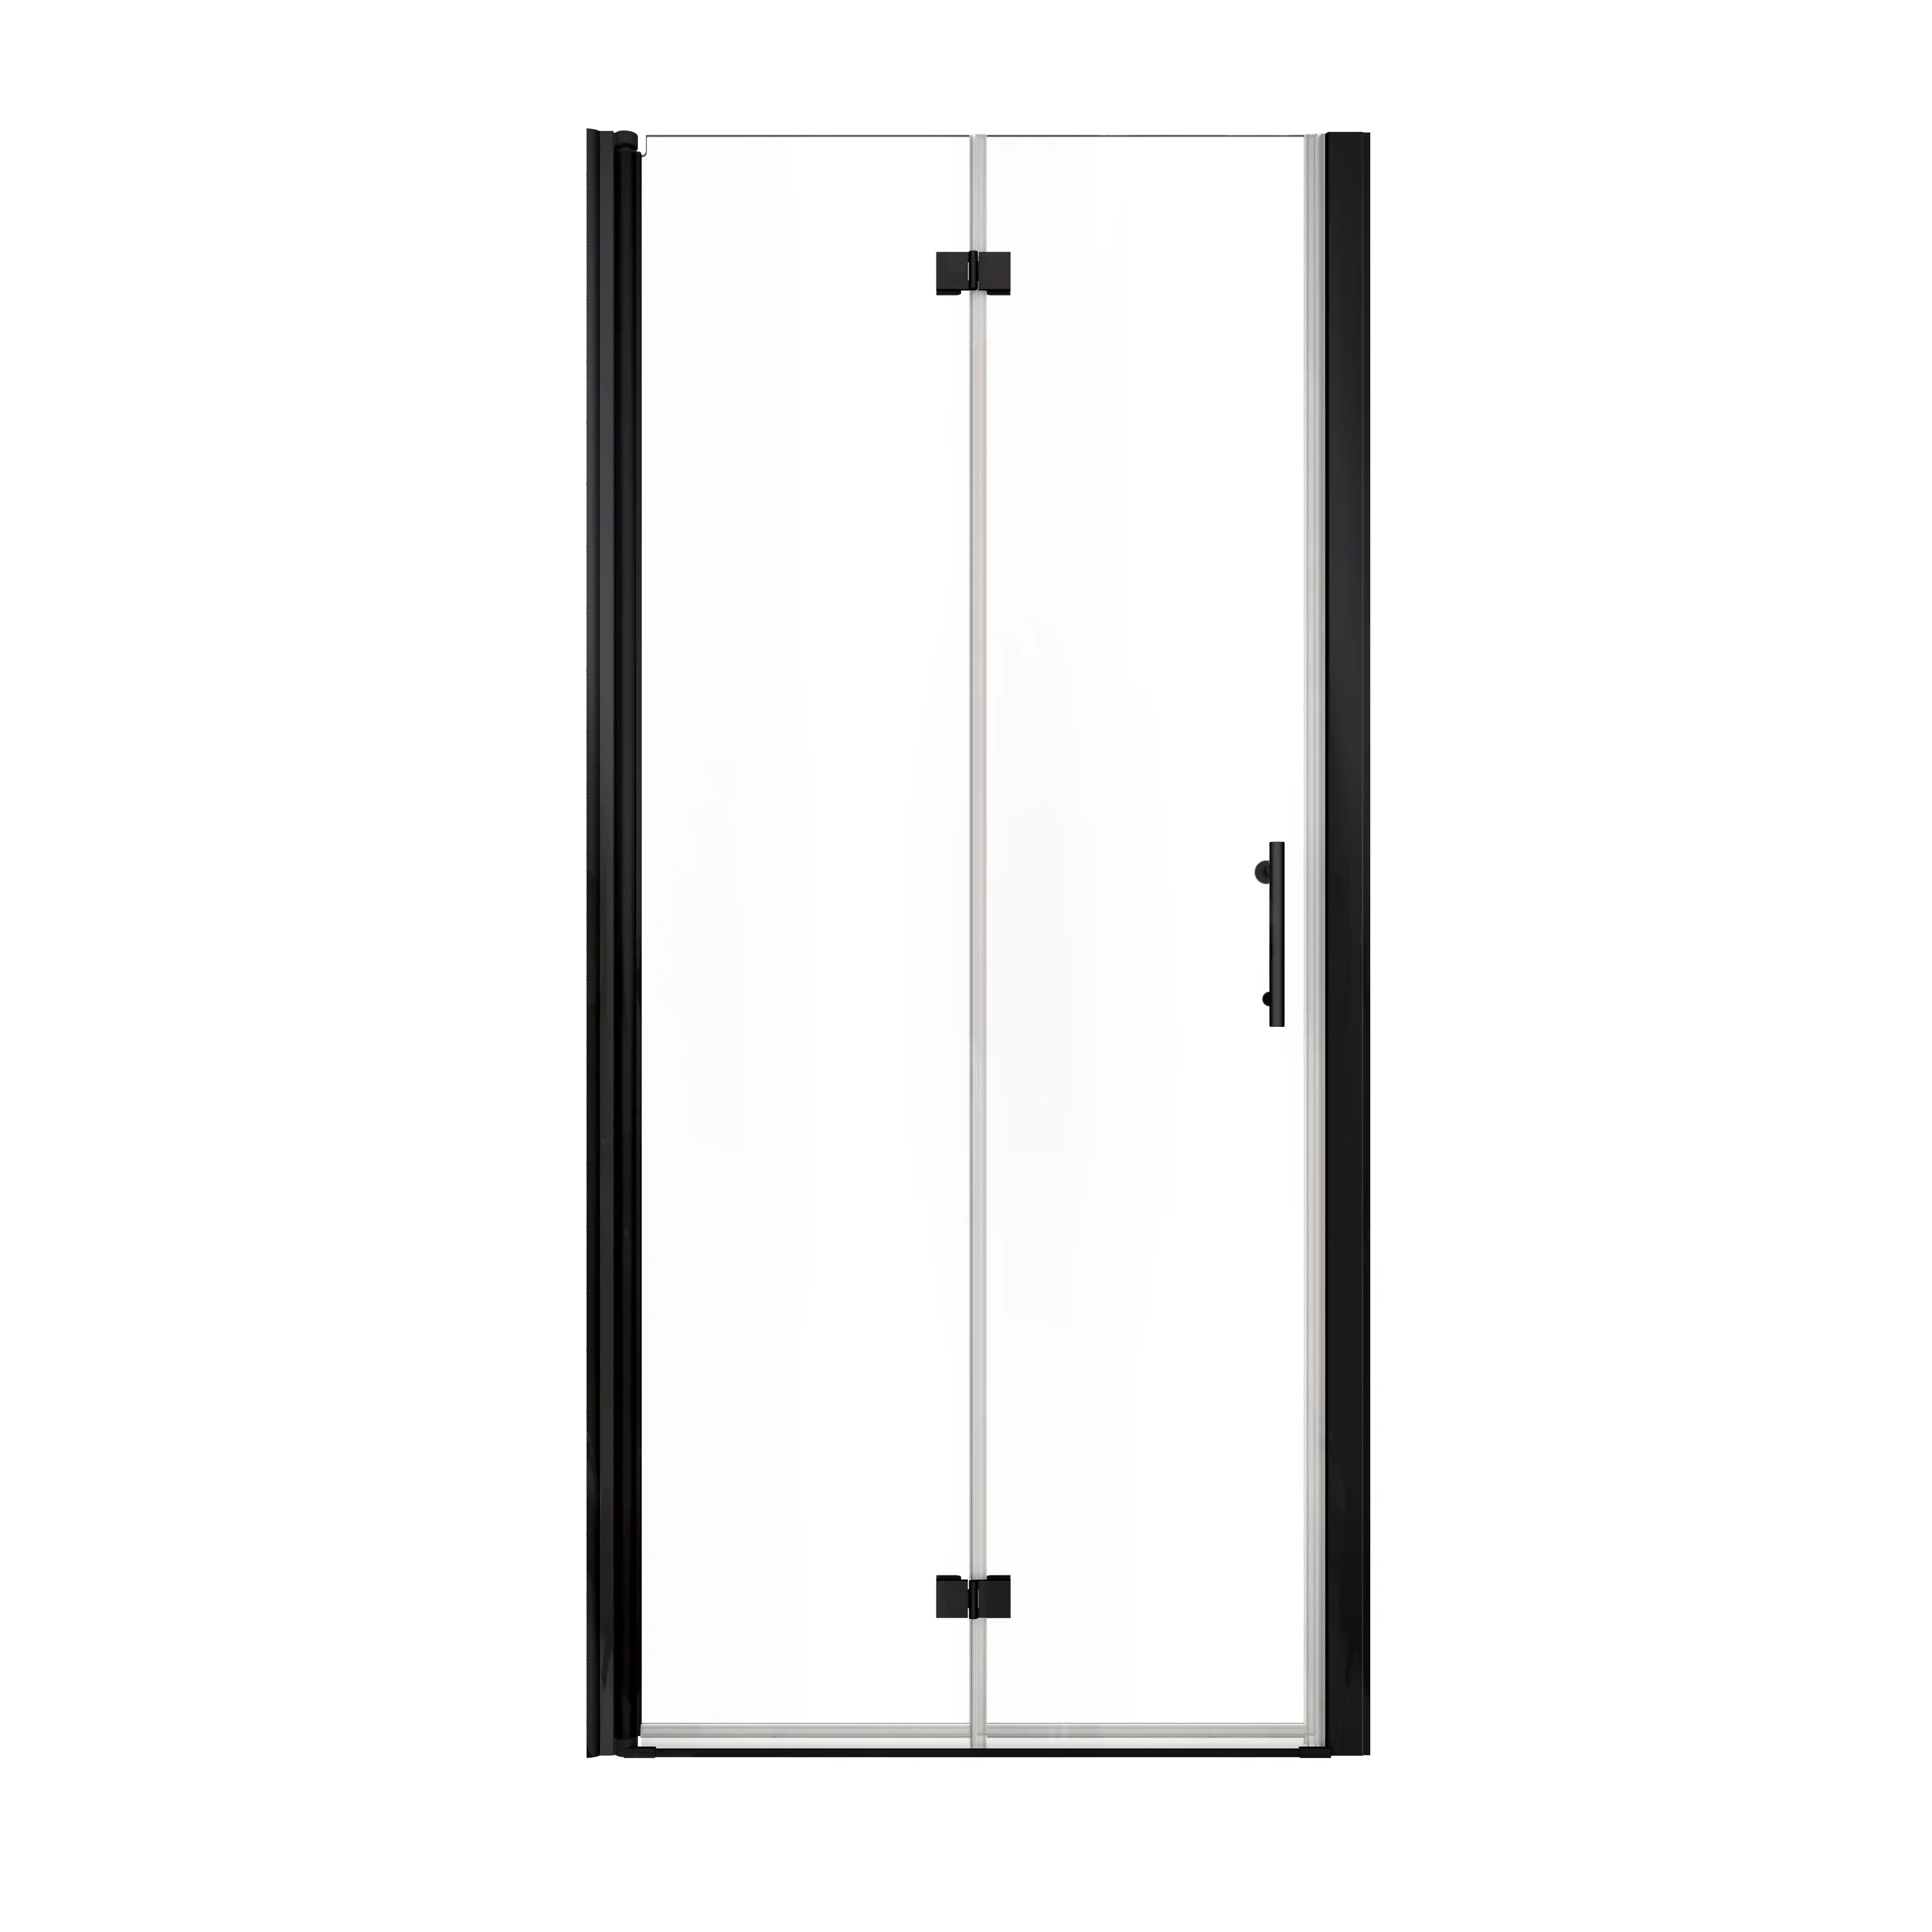
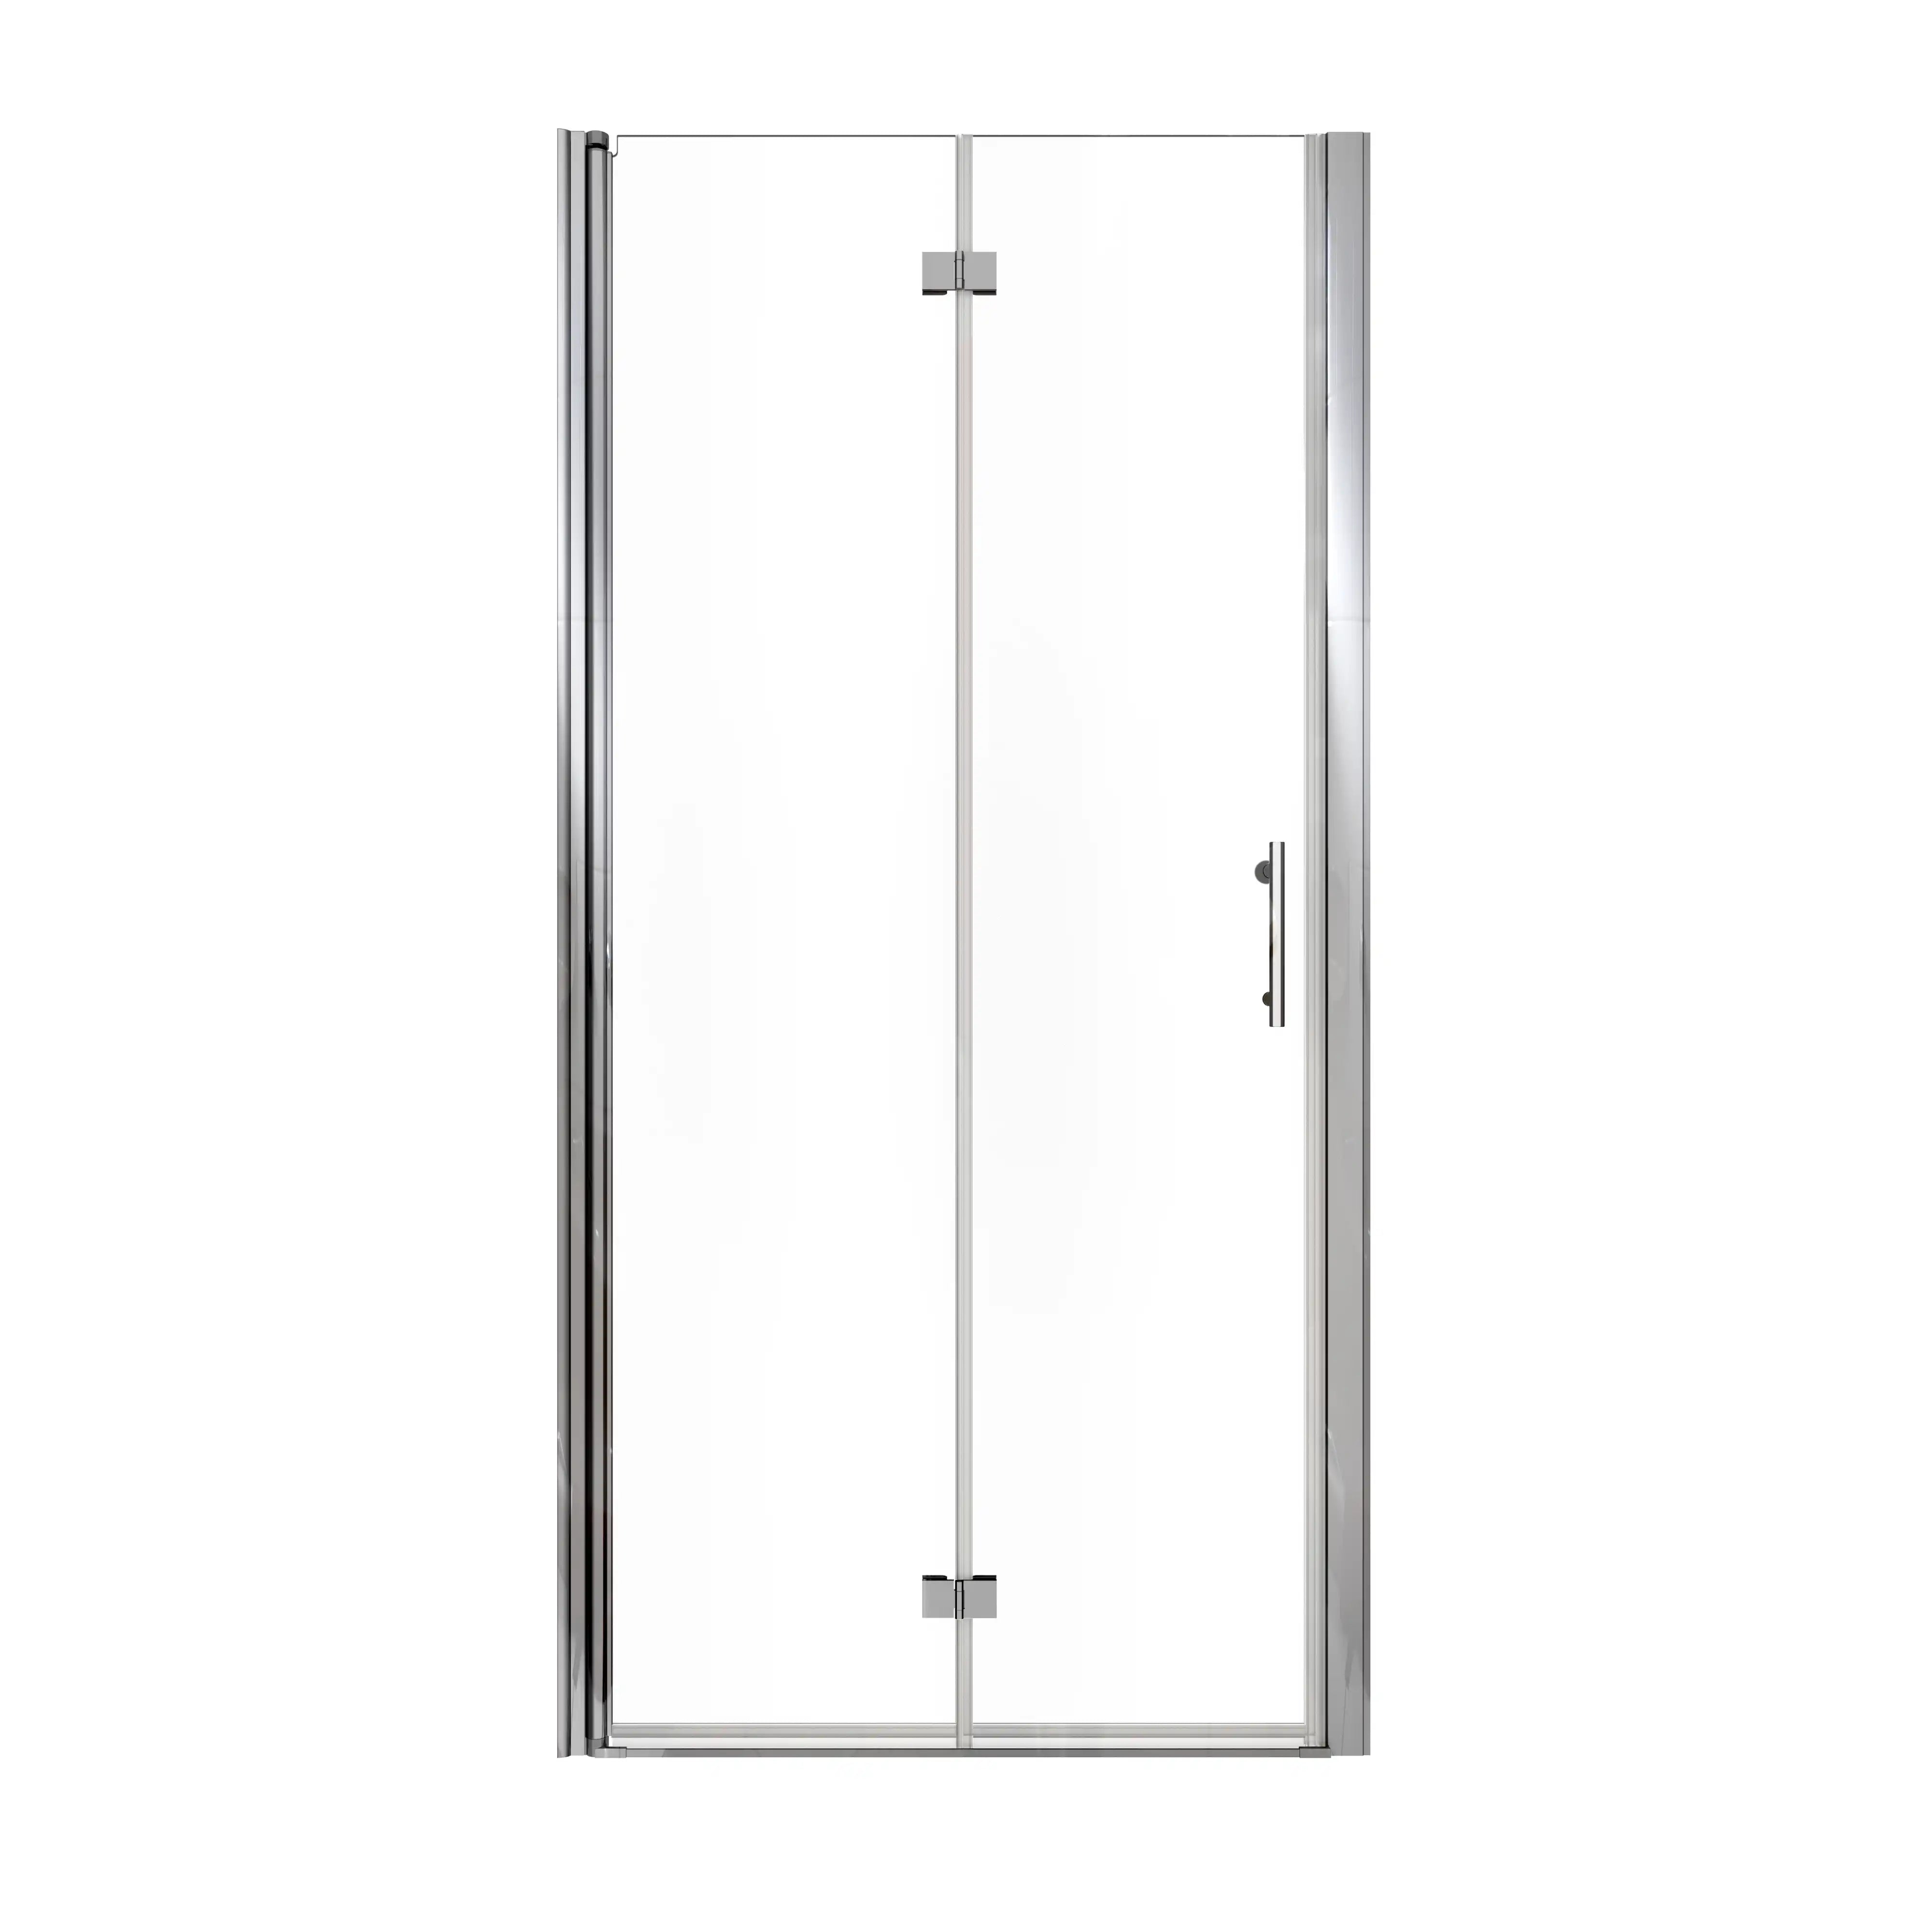
The next step after measuring your shower opening would be deciding what type of walk-in shower doors would be the most appropriate. The decision should be guided by space constraints, bathroom layout, personal preference, and budget.
Common types include:
-
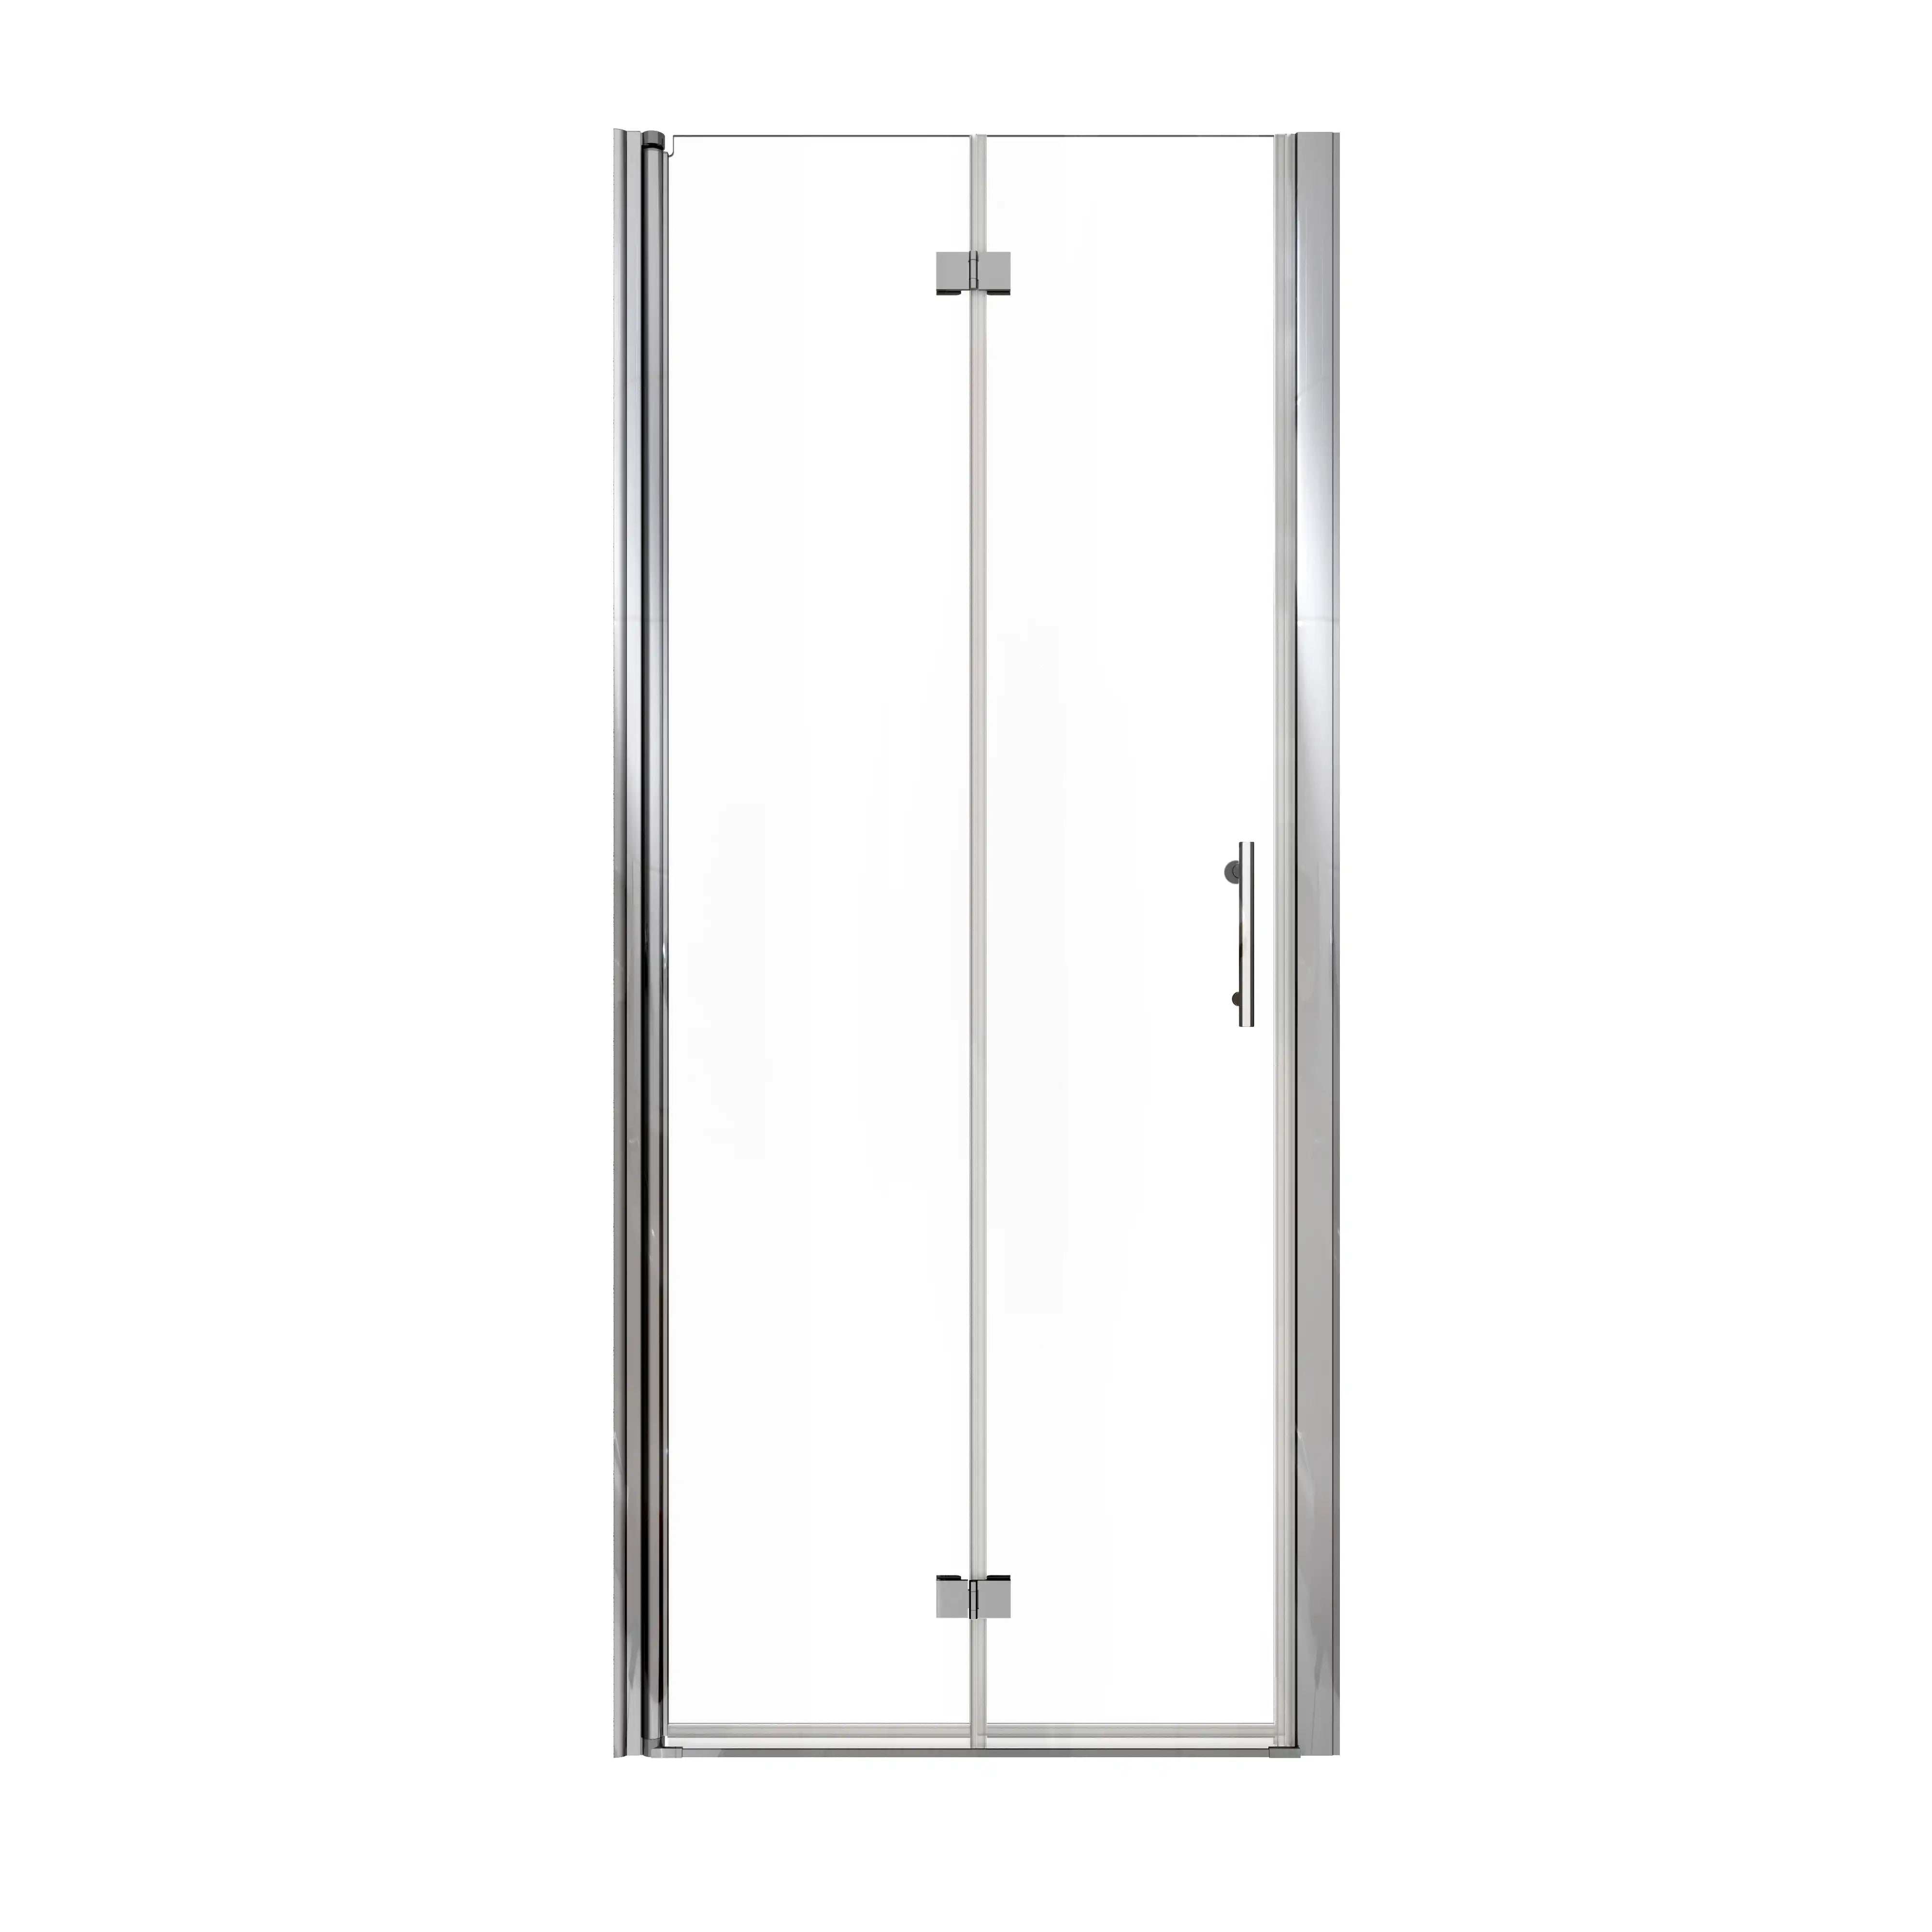
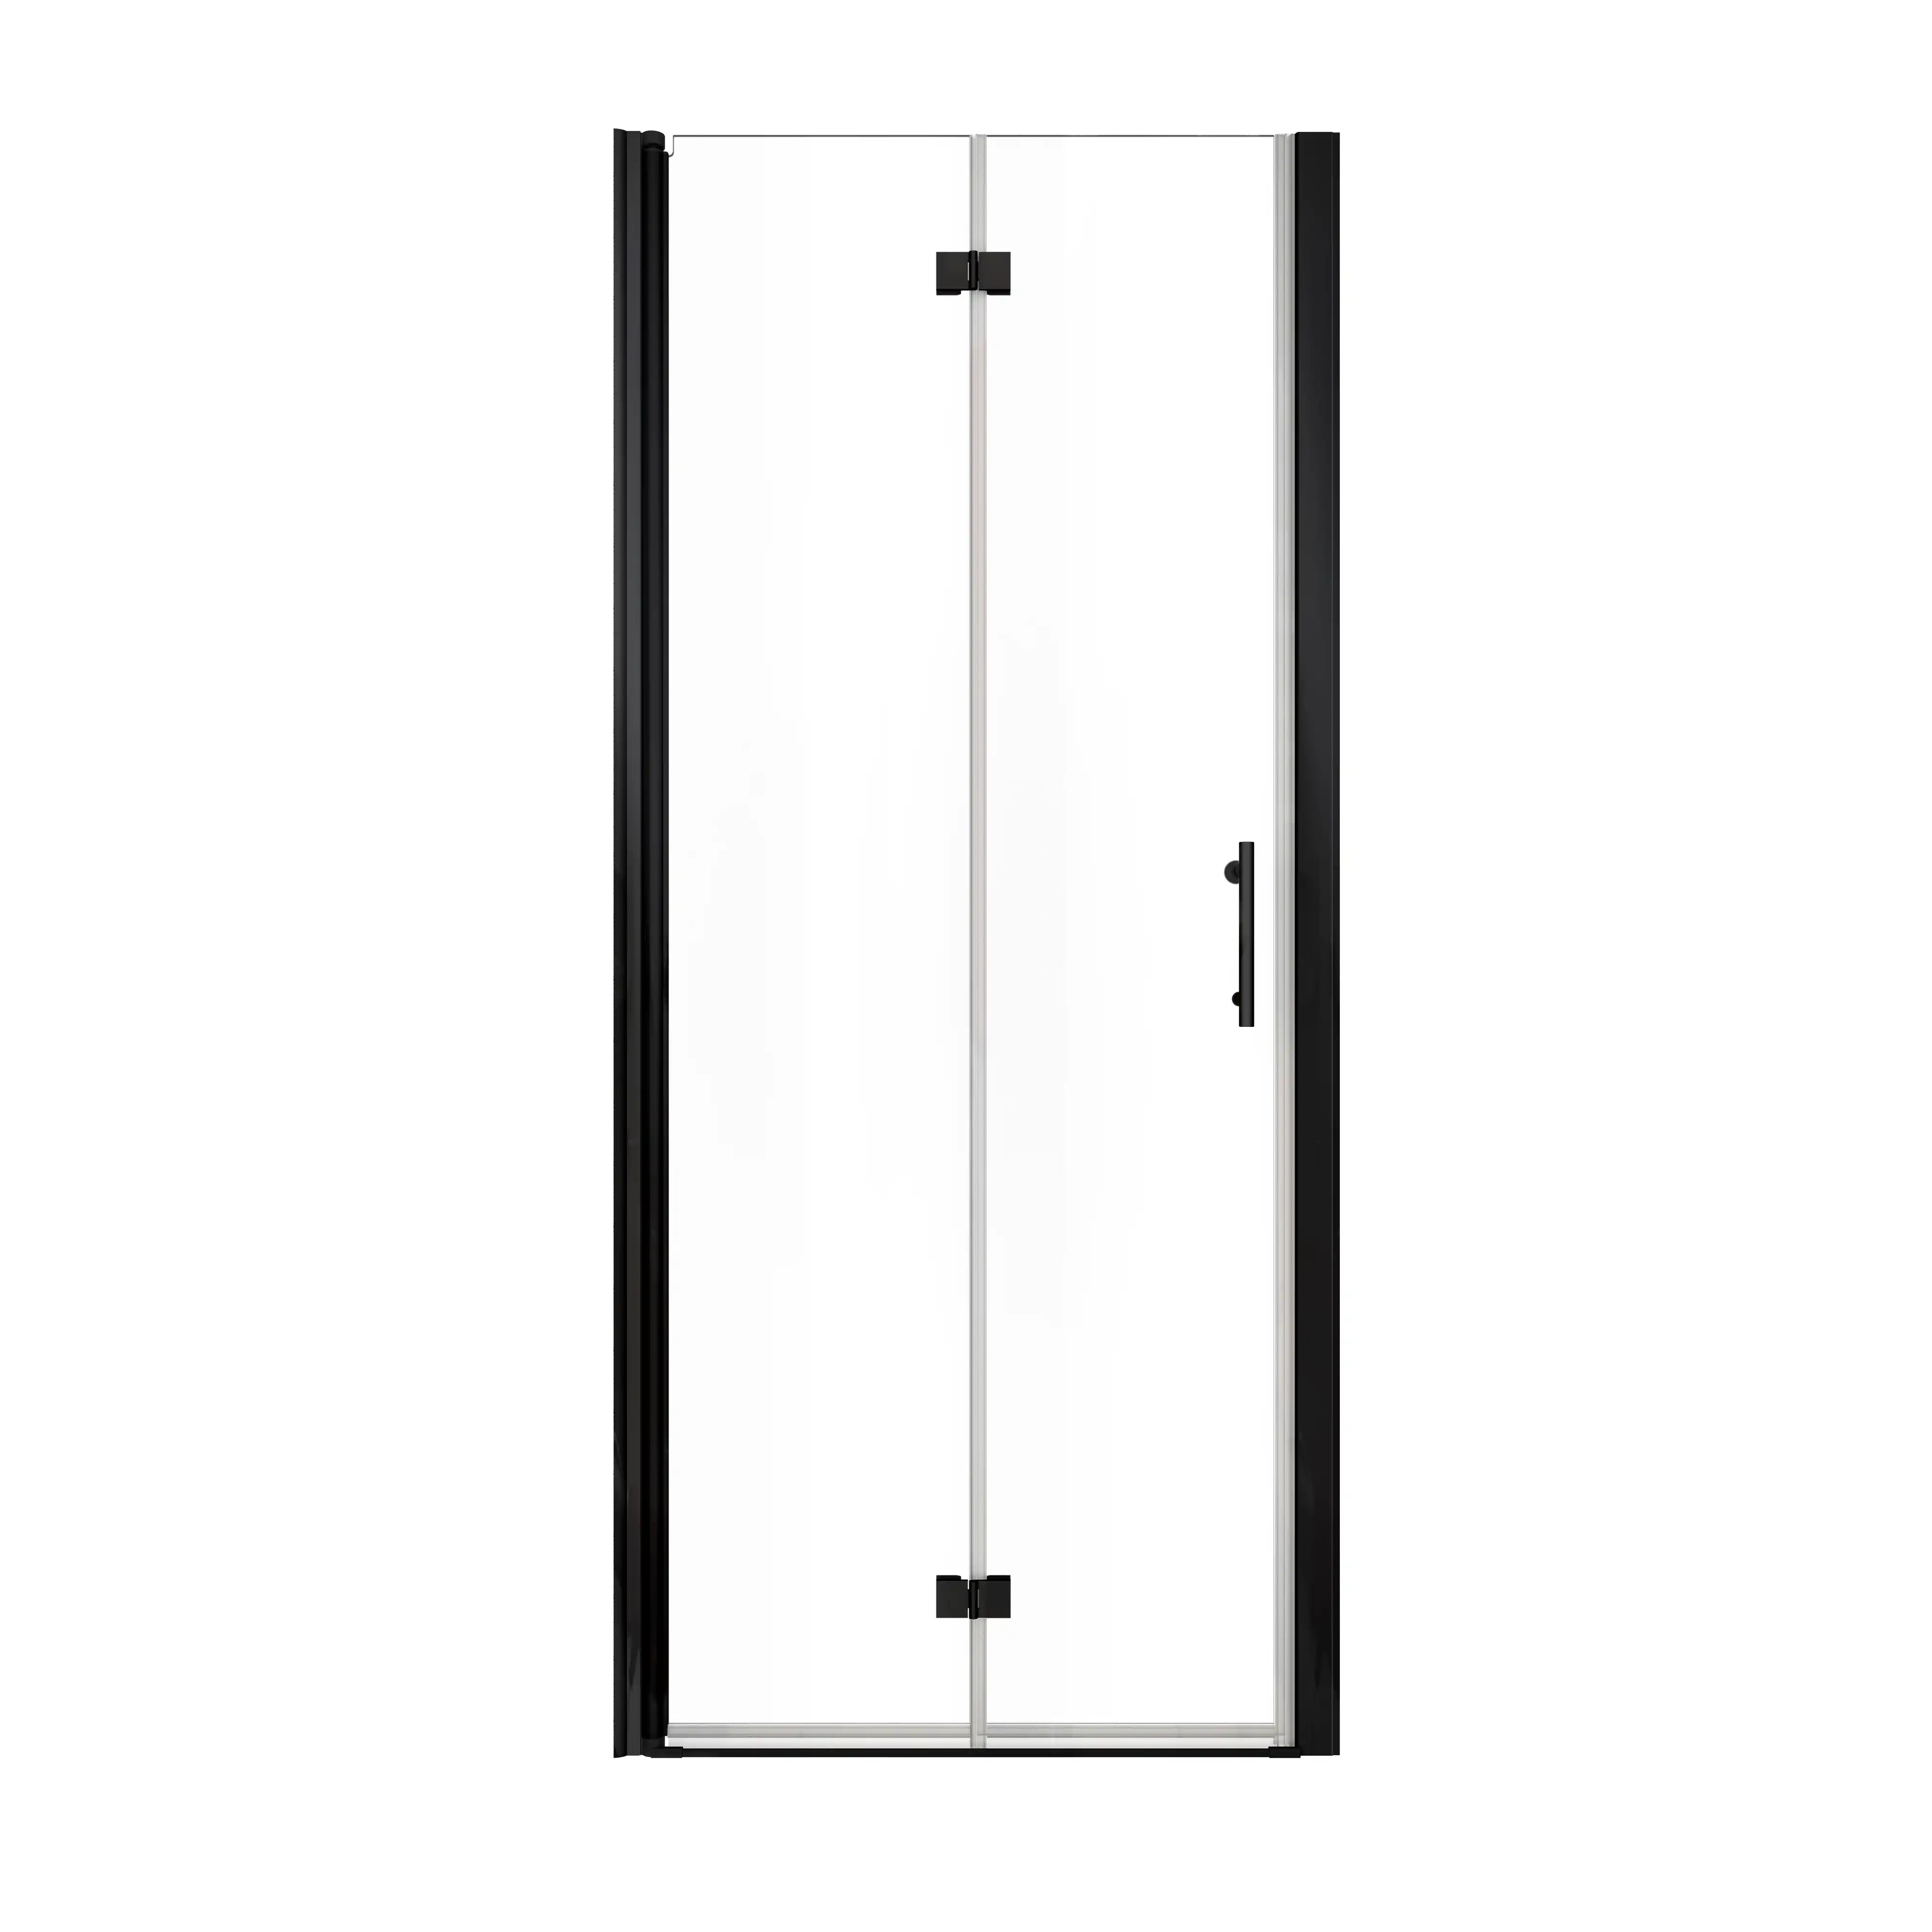
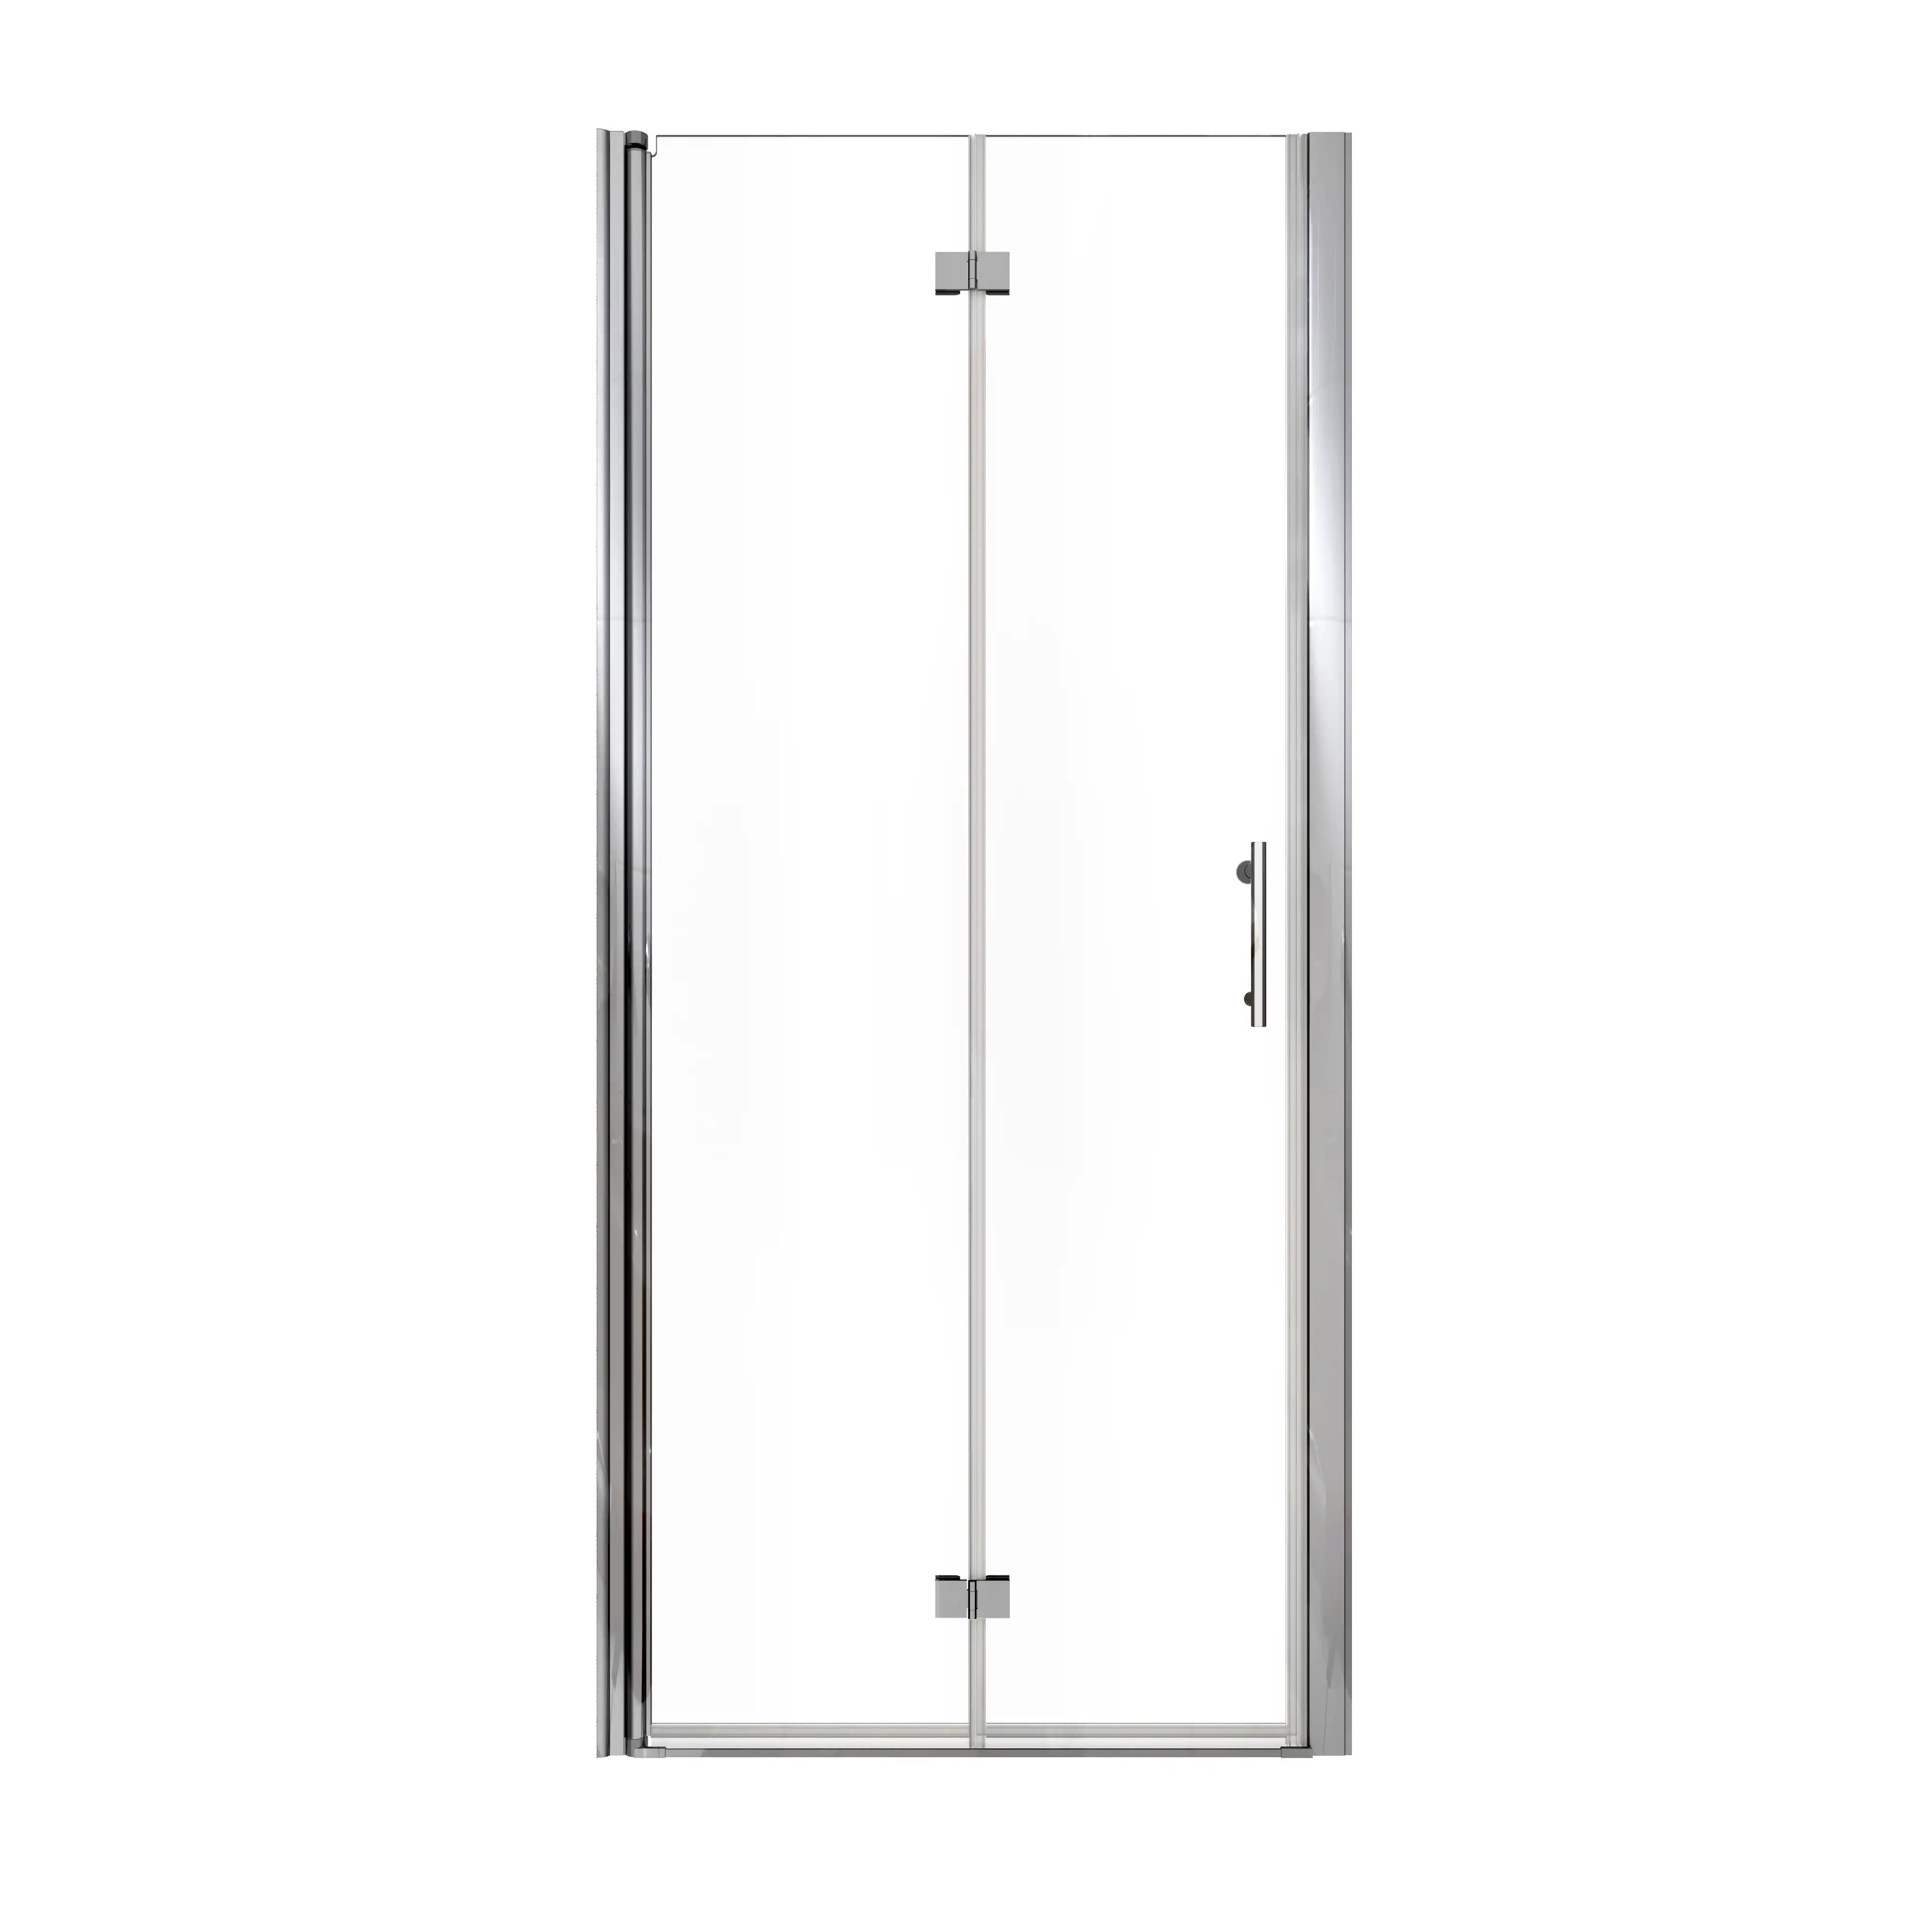
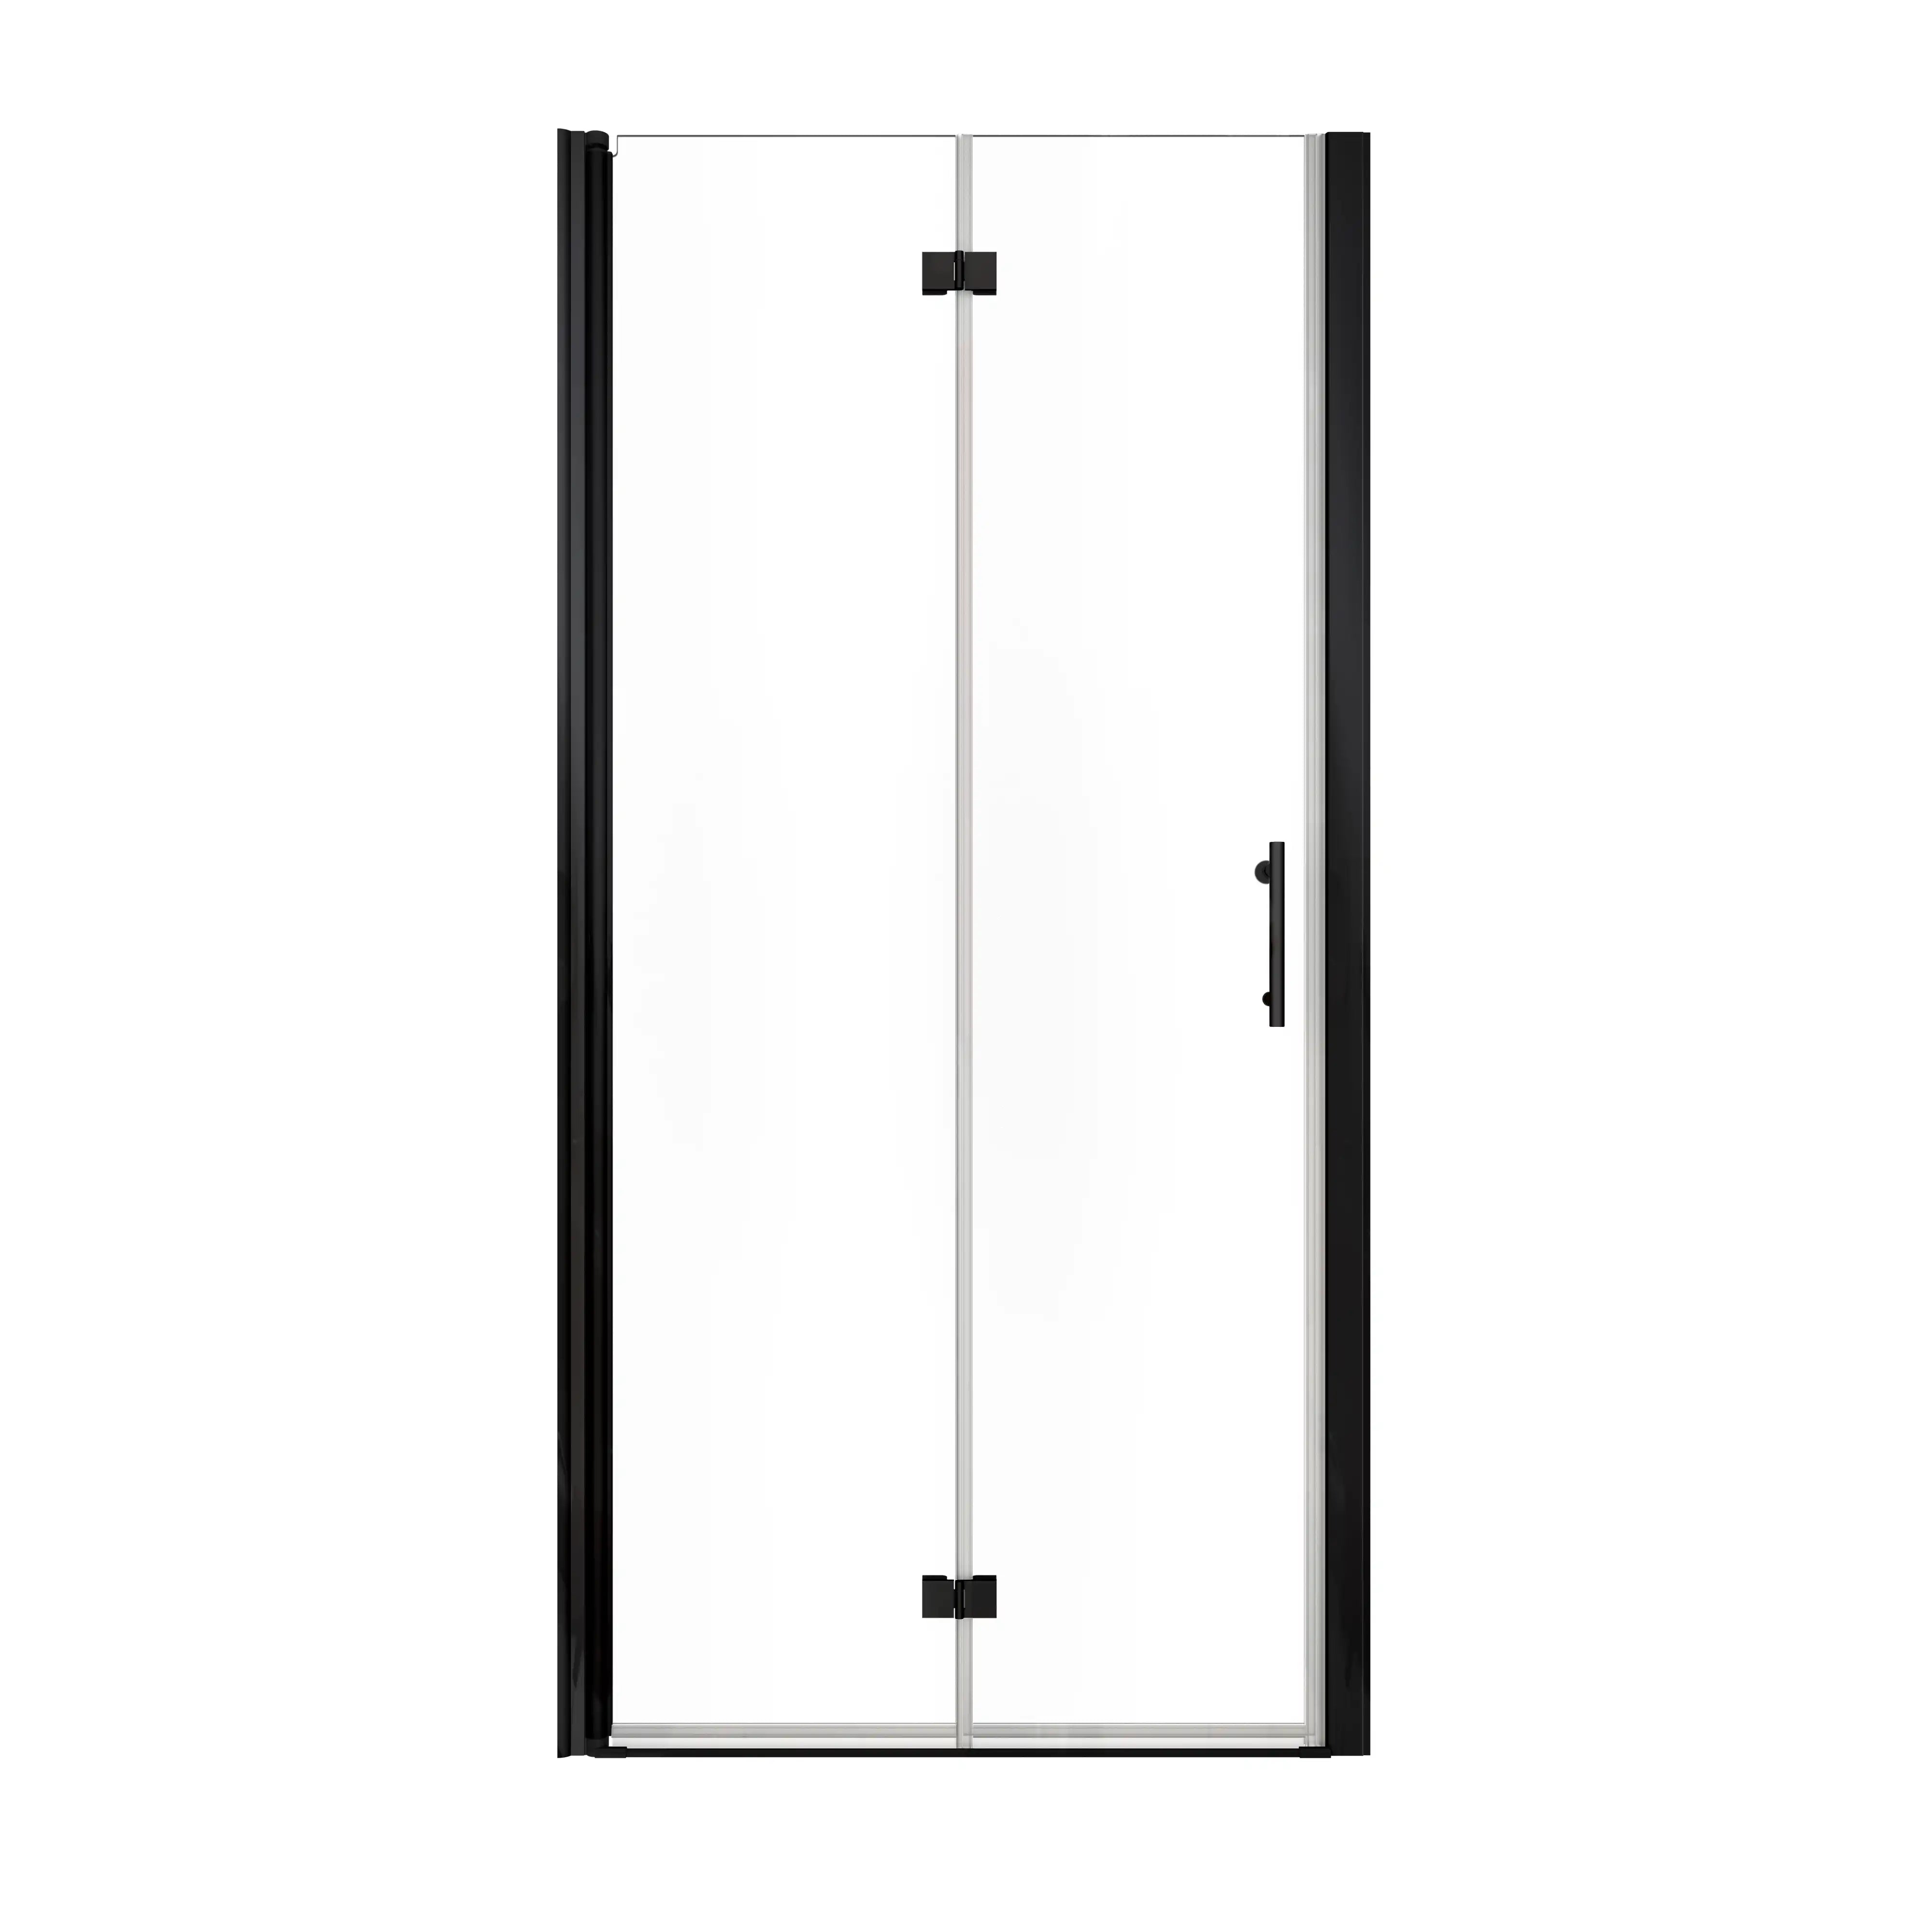
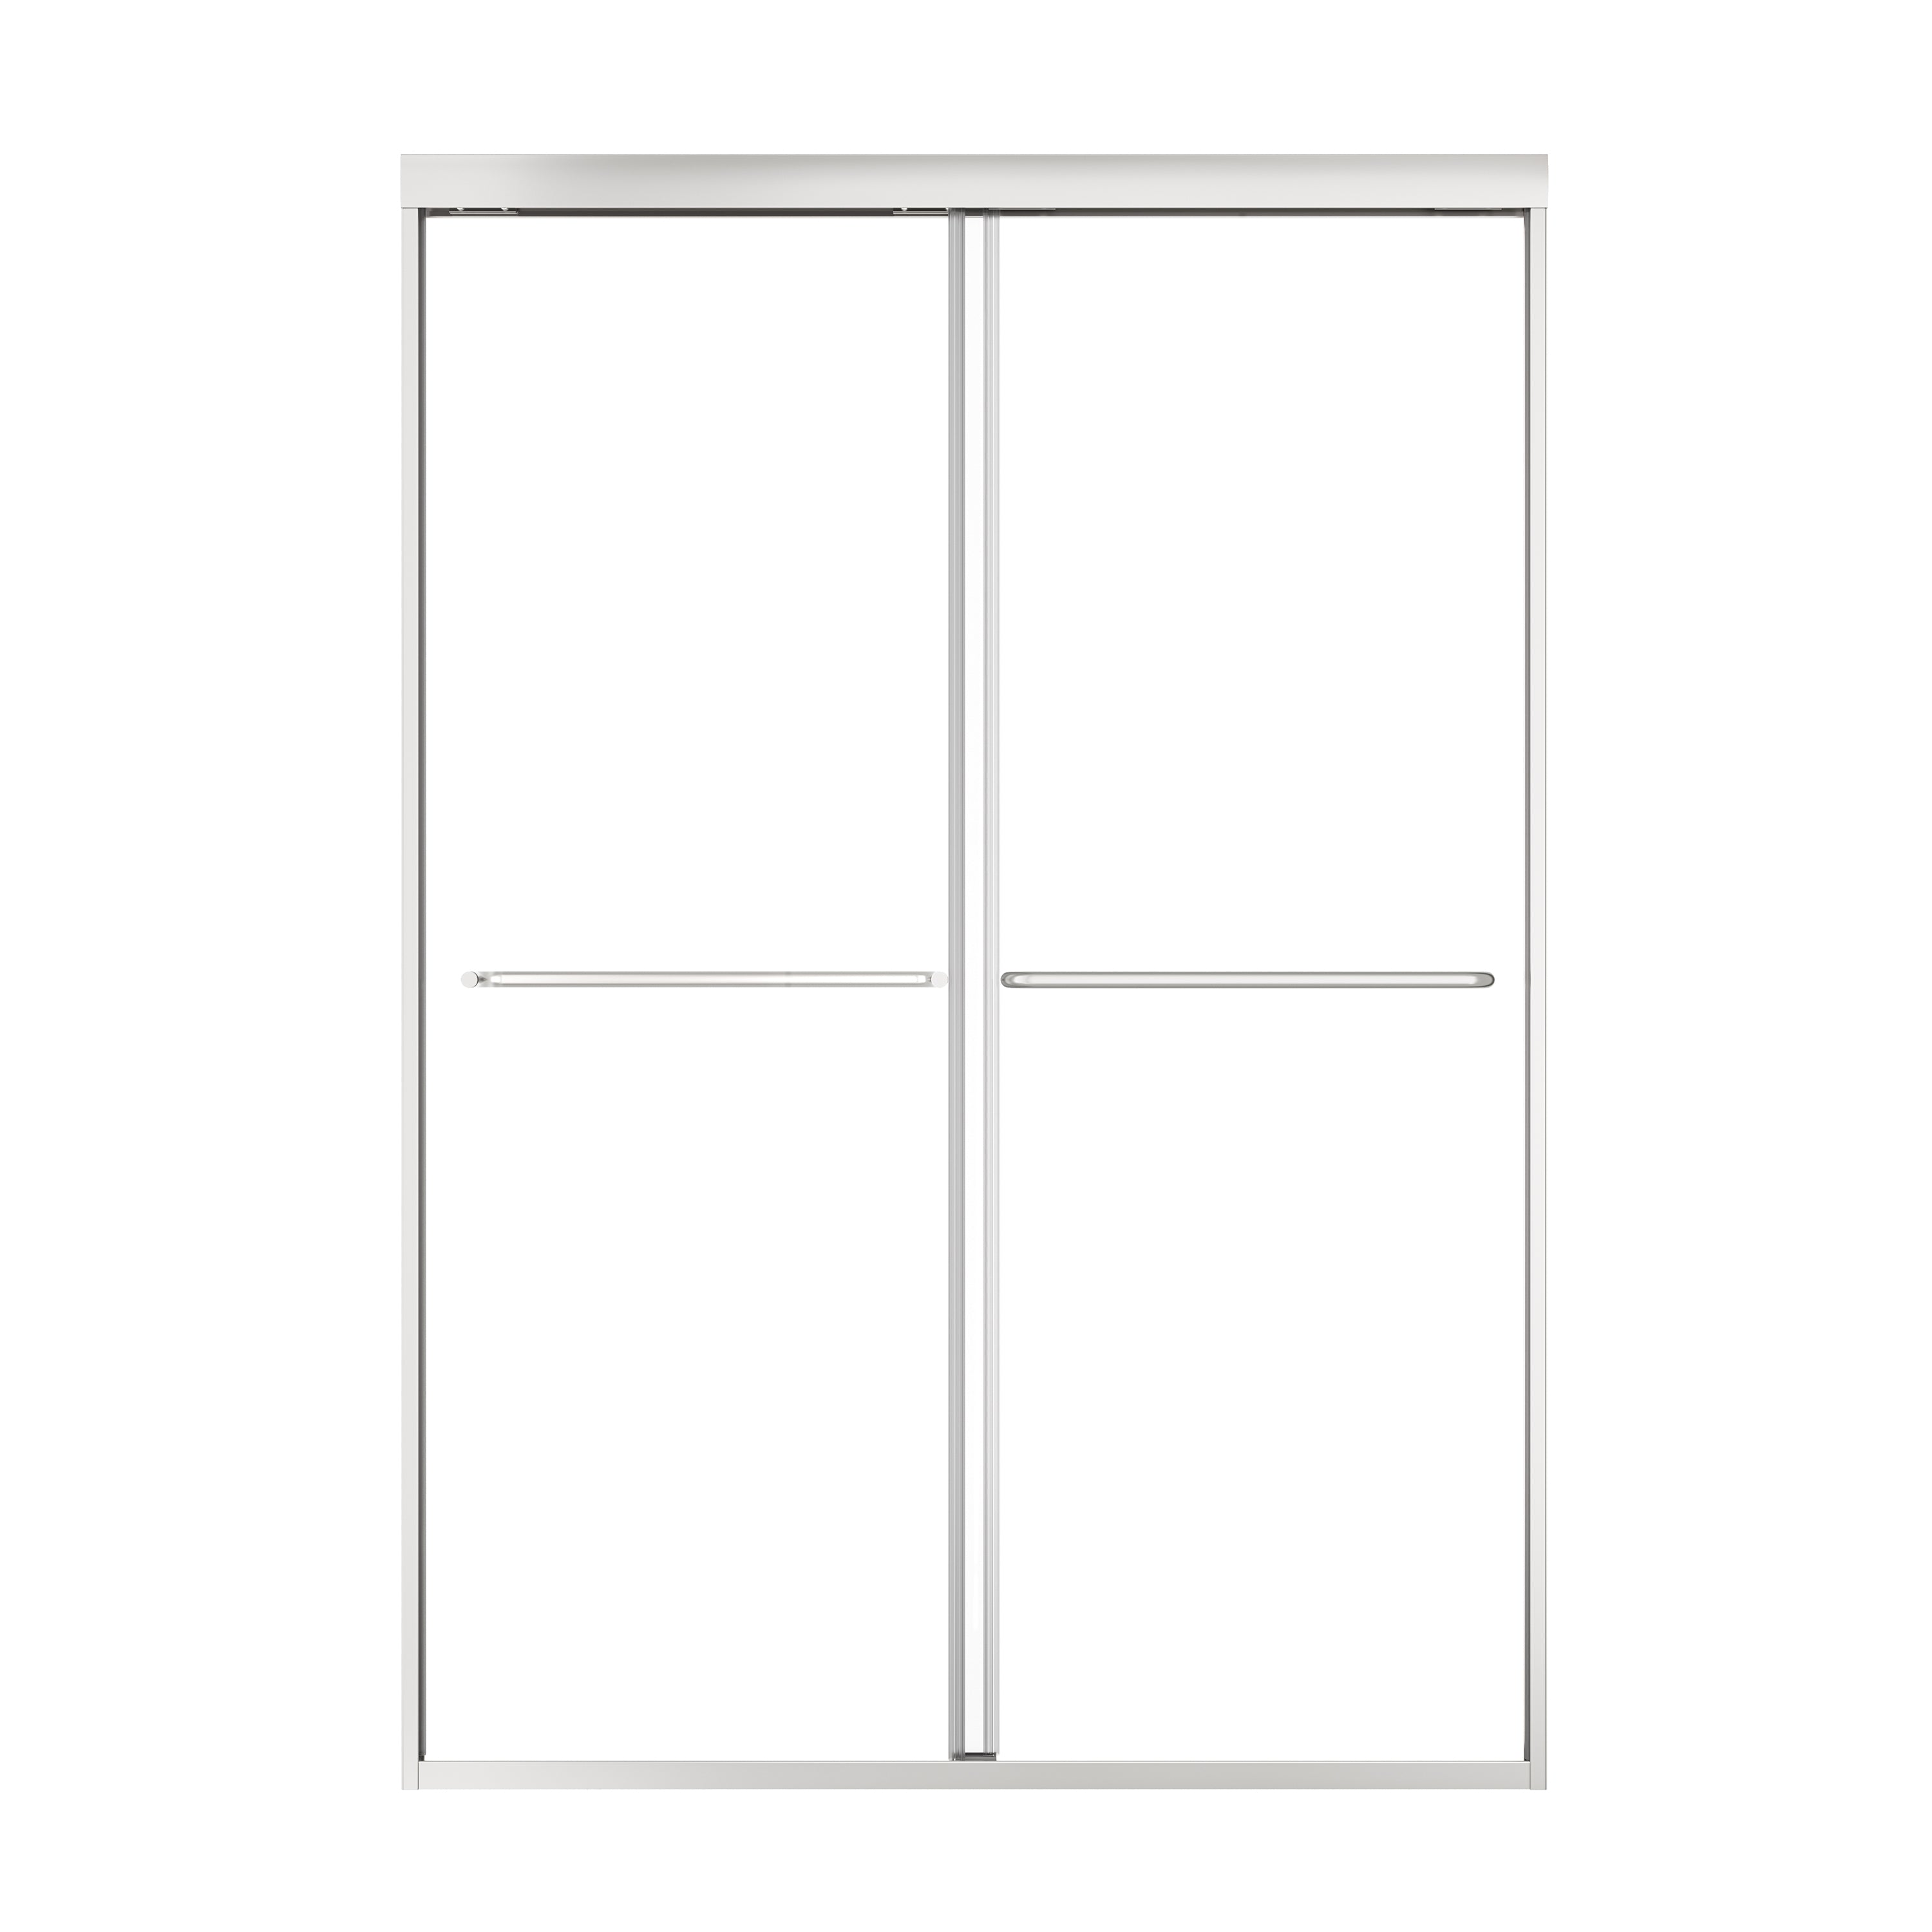
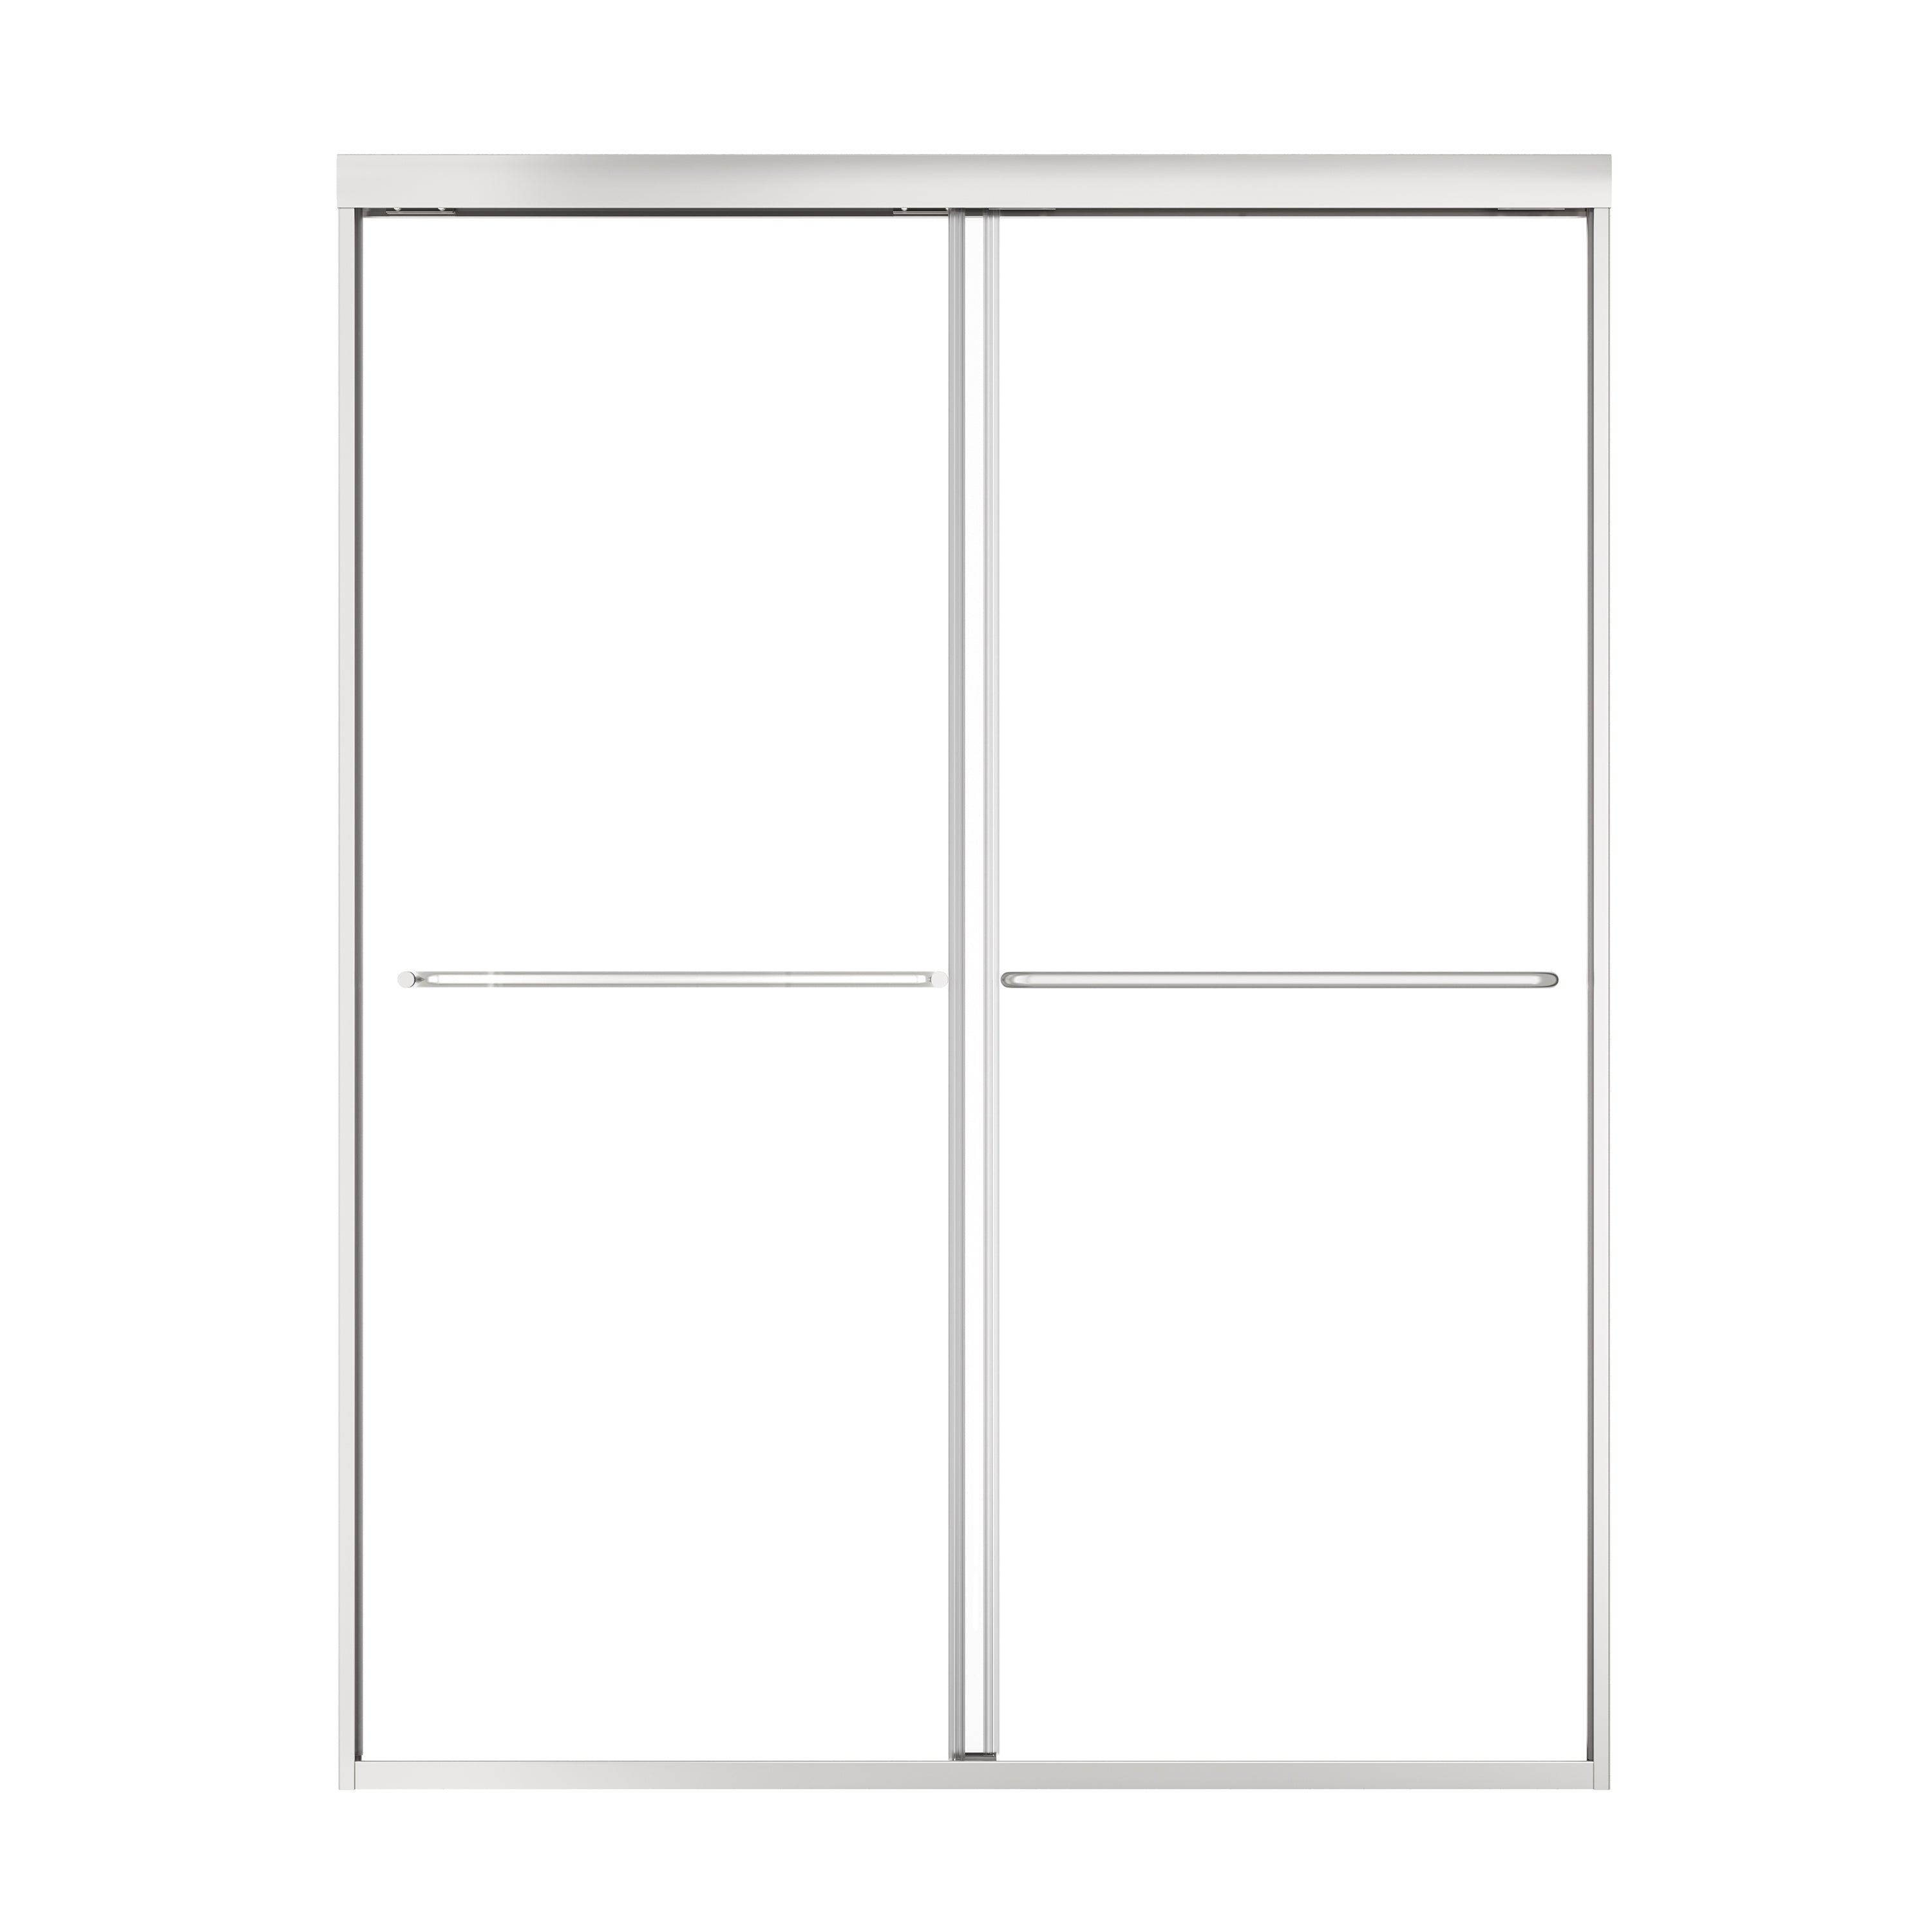
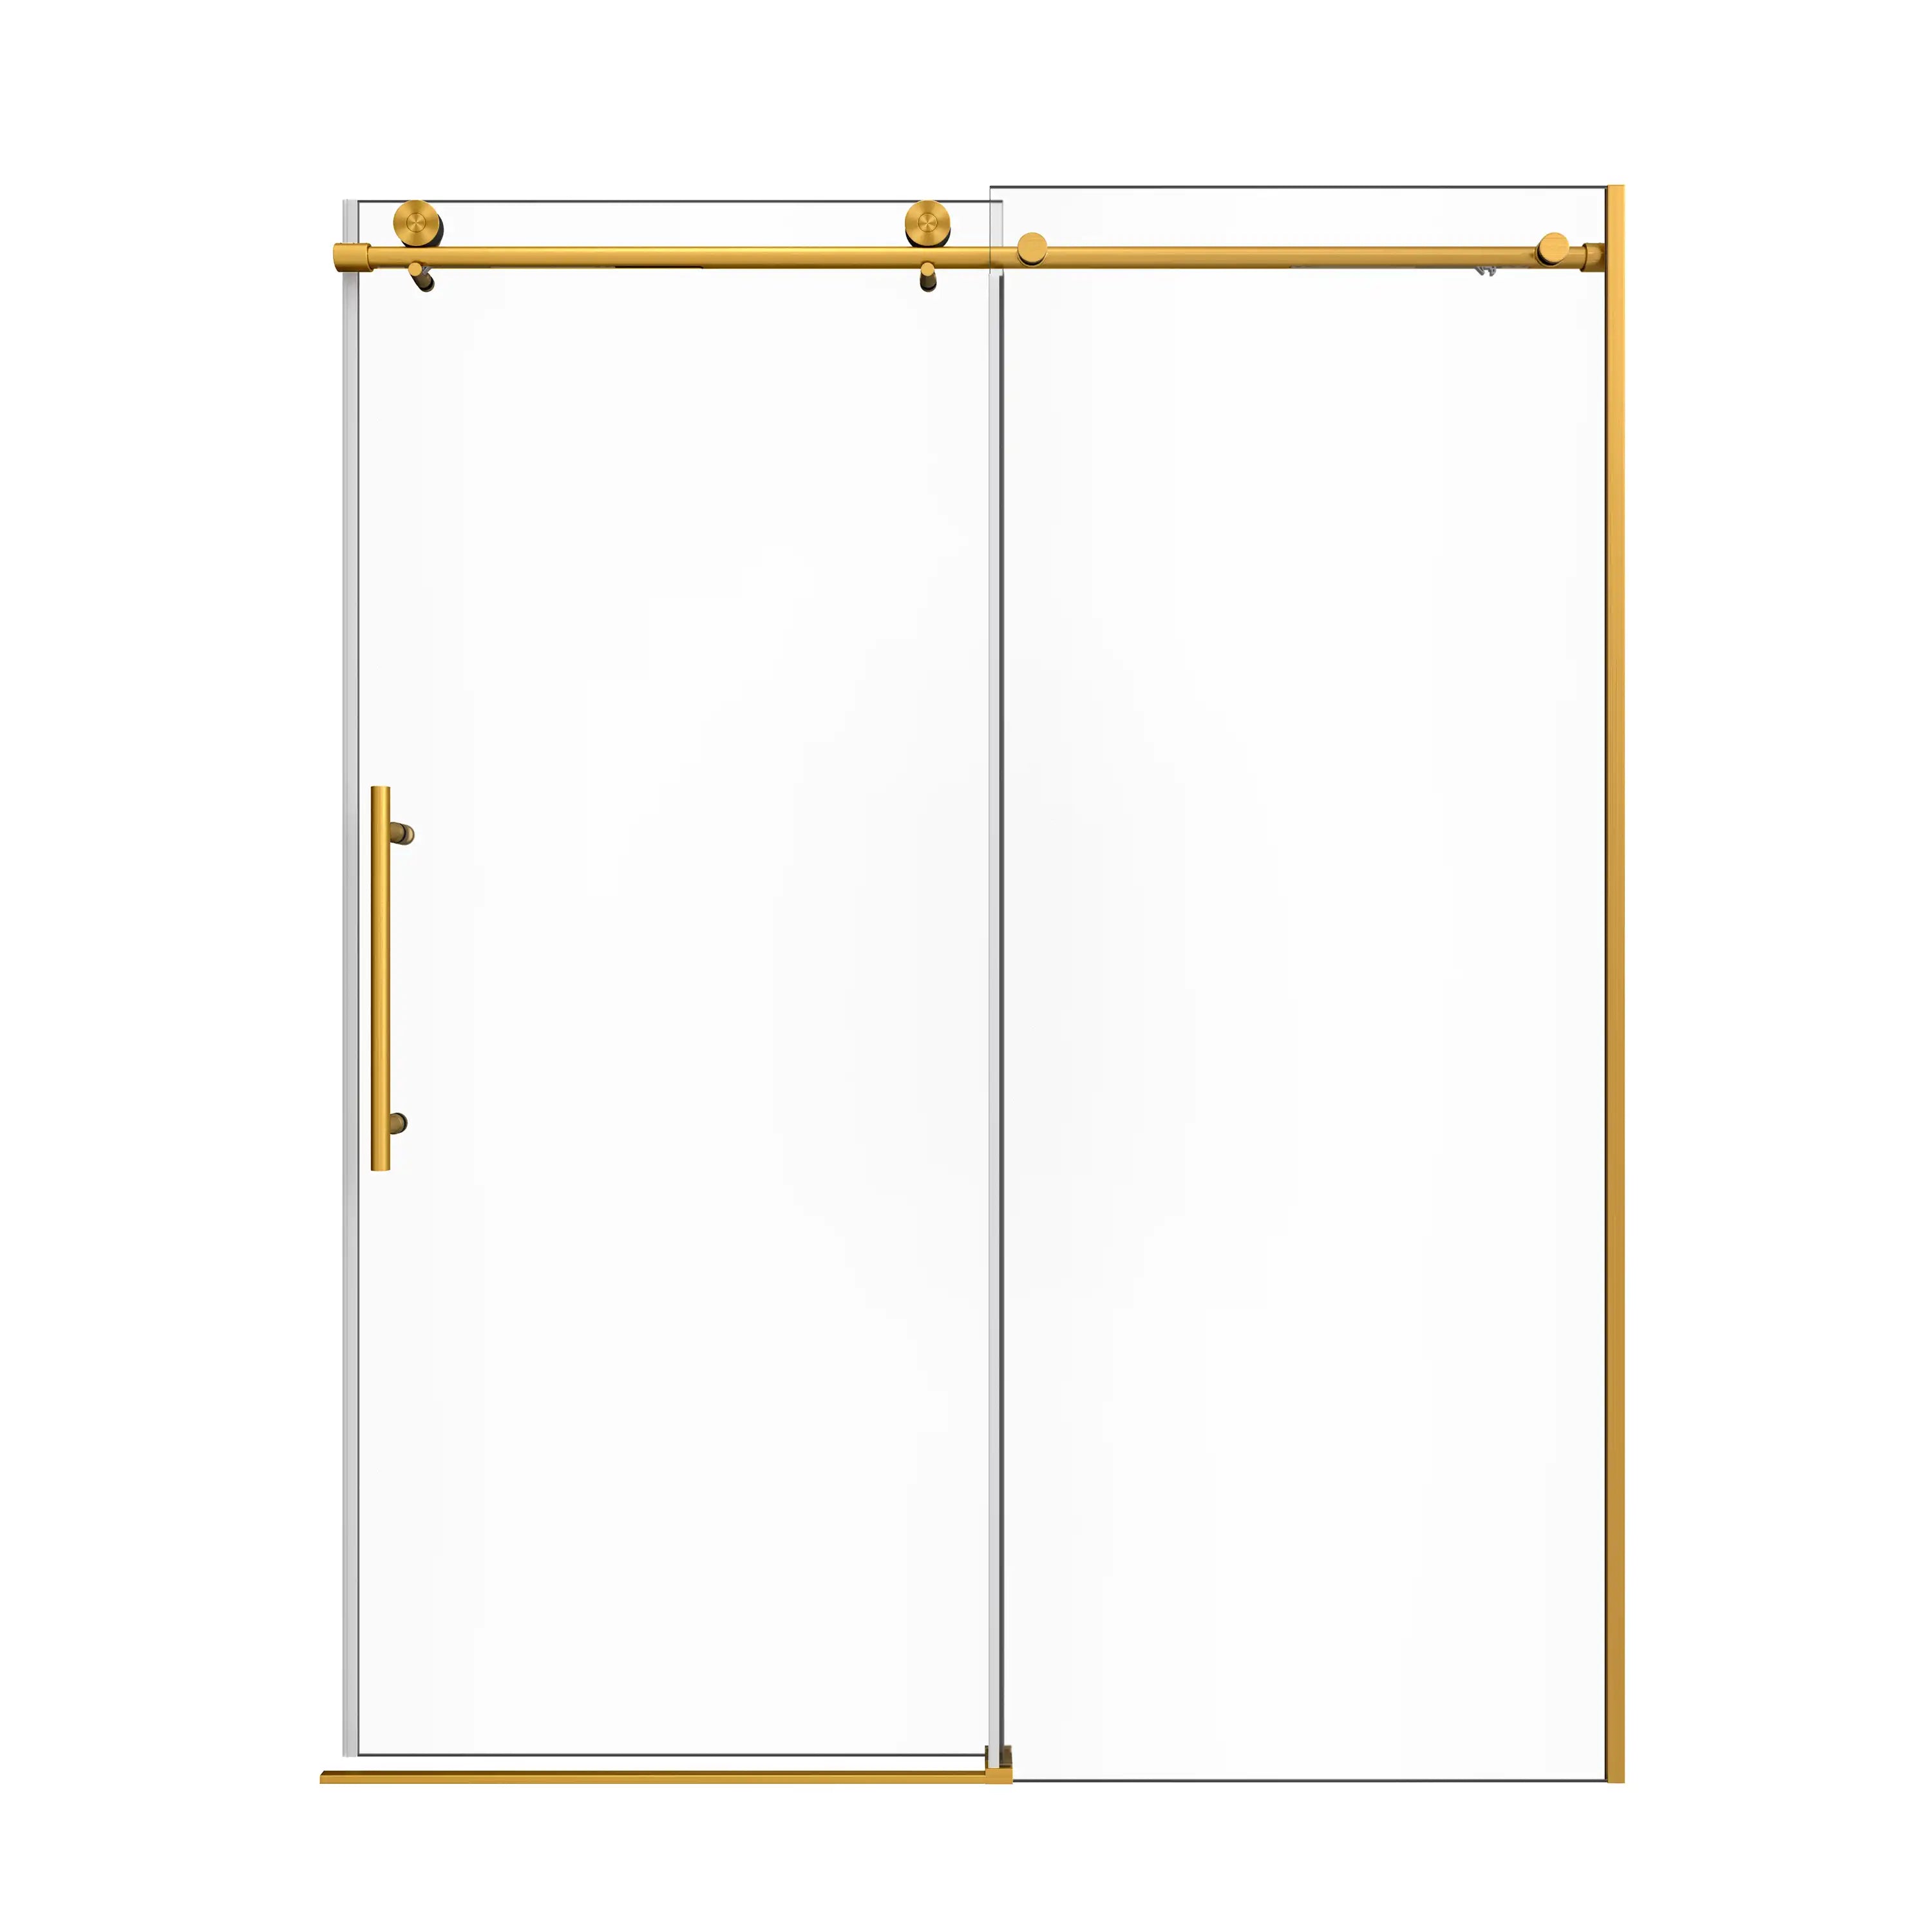
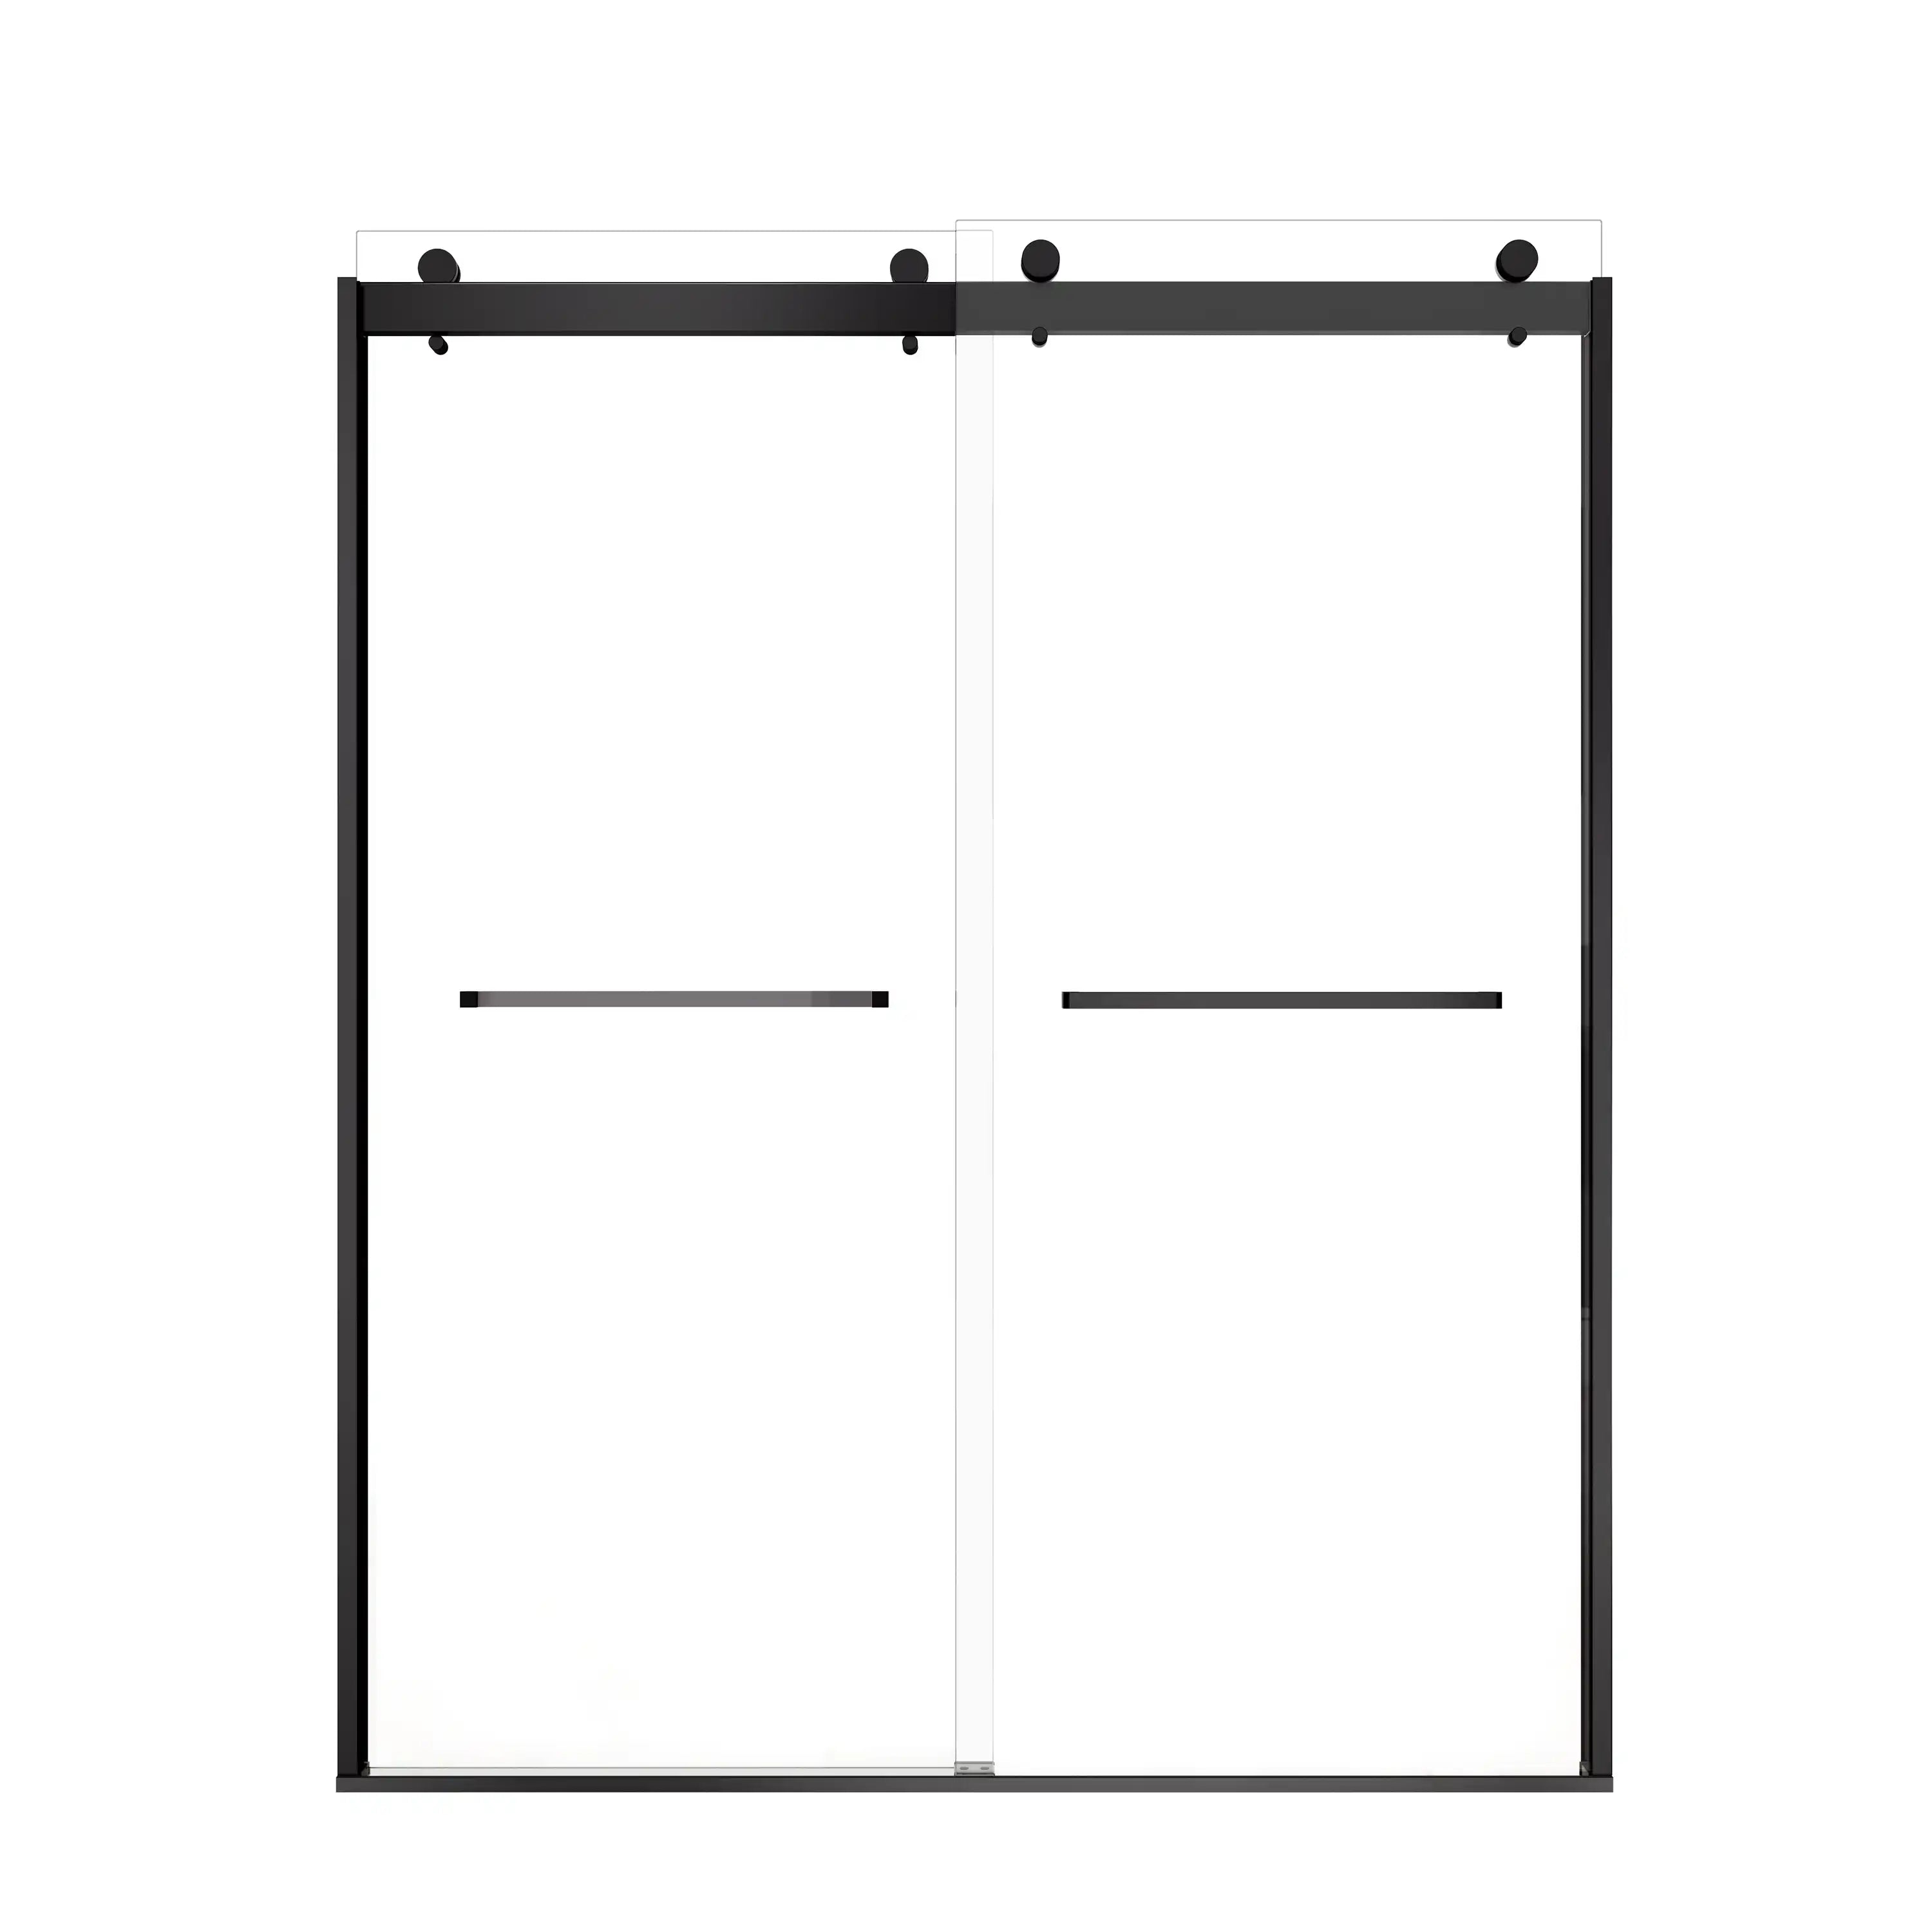
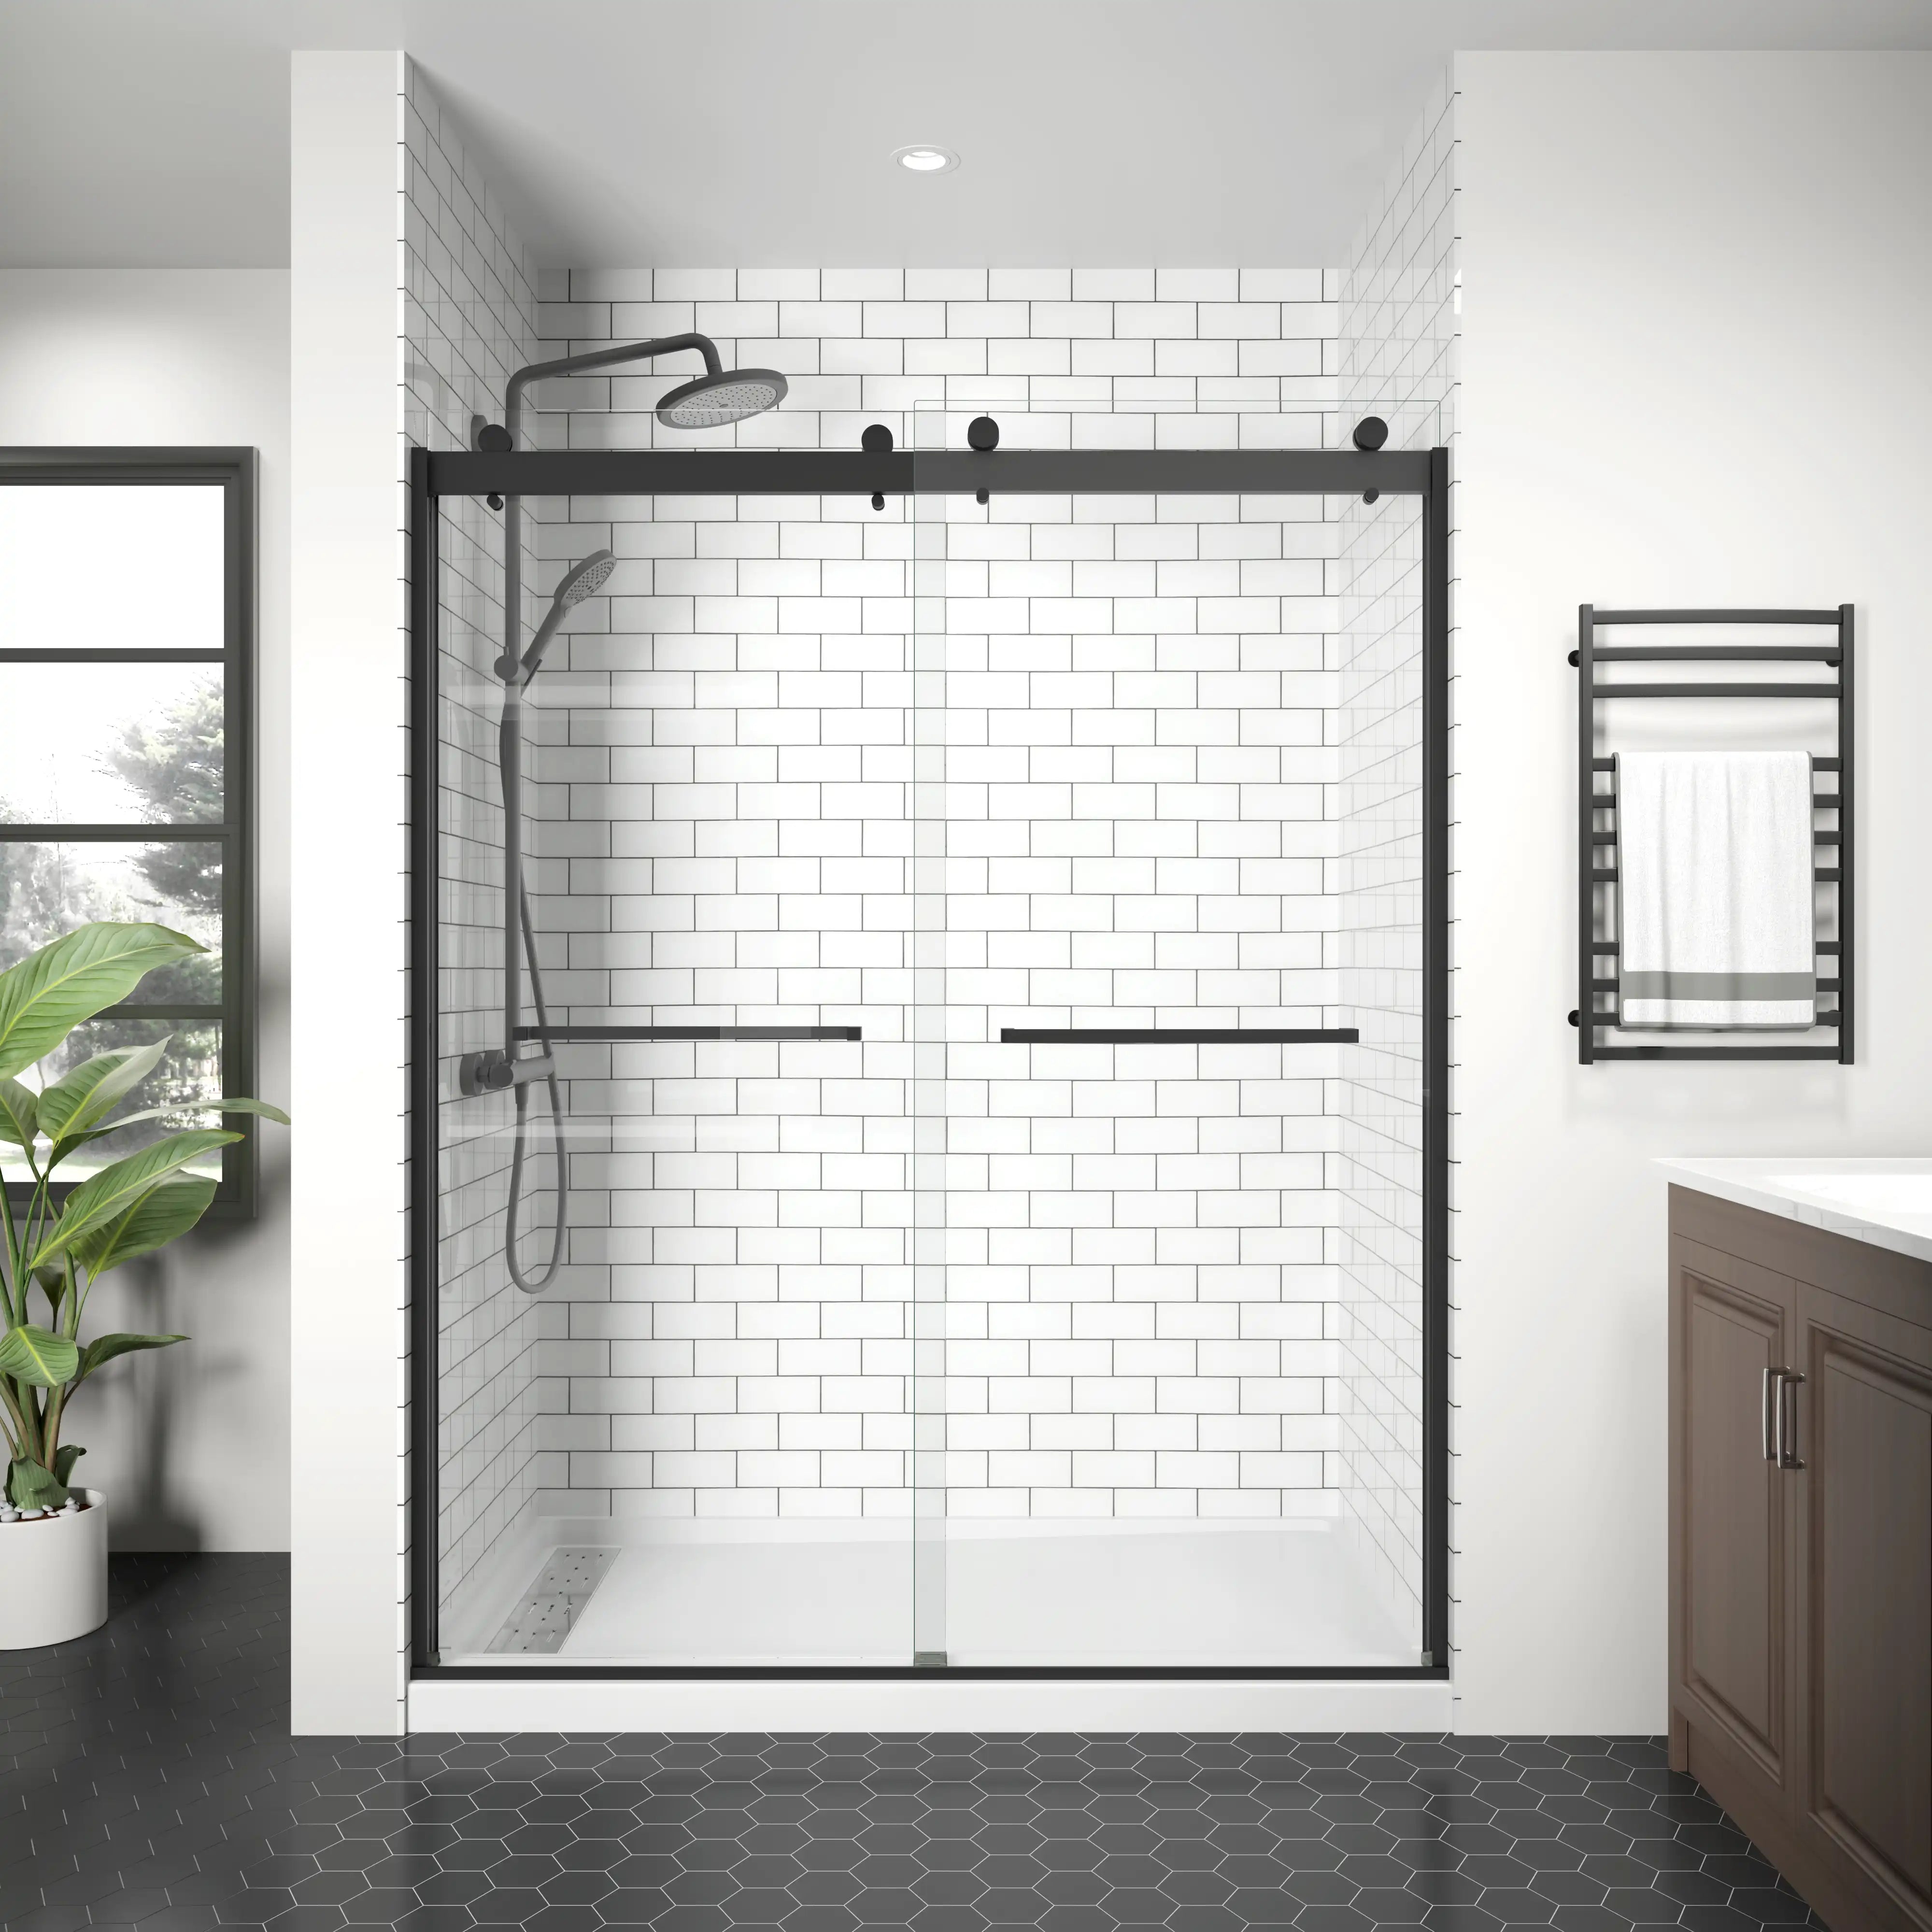
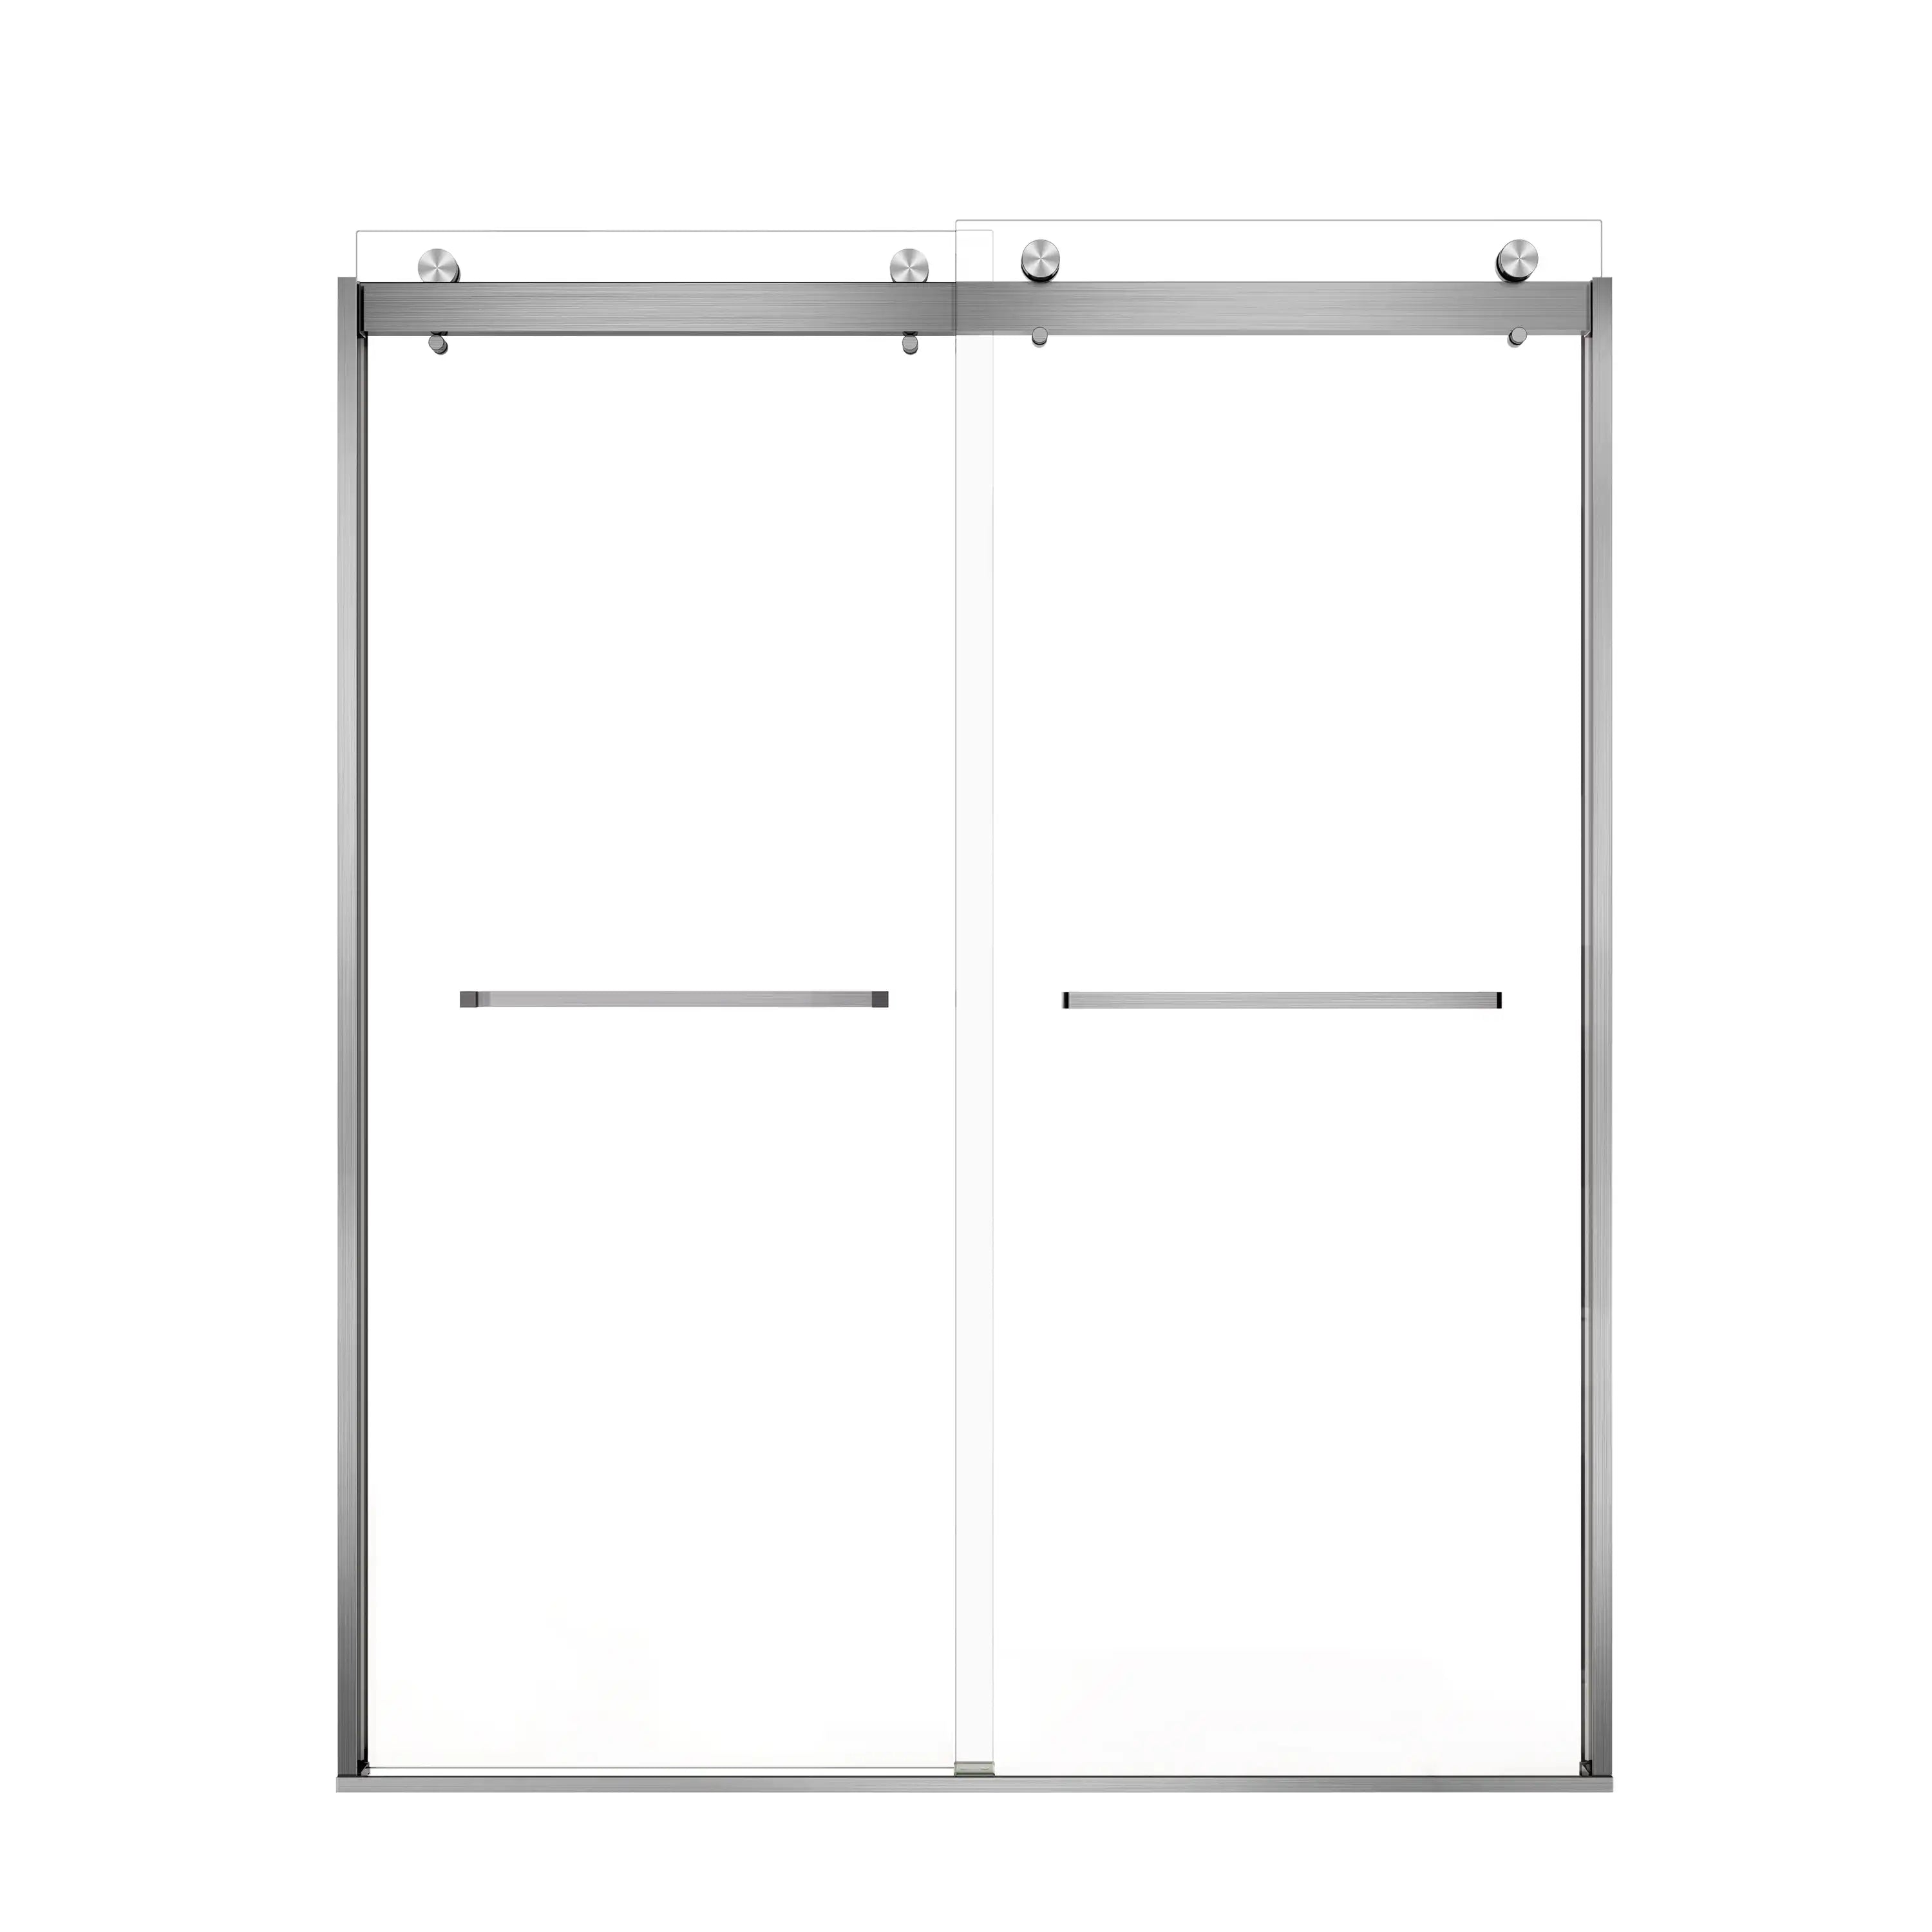
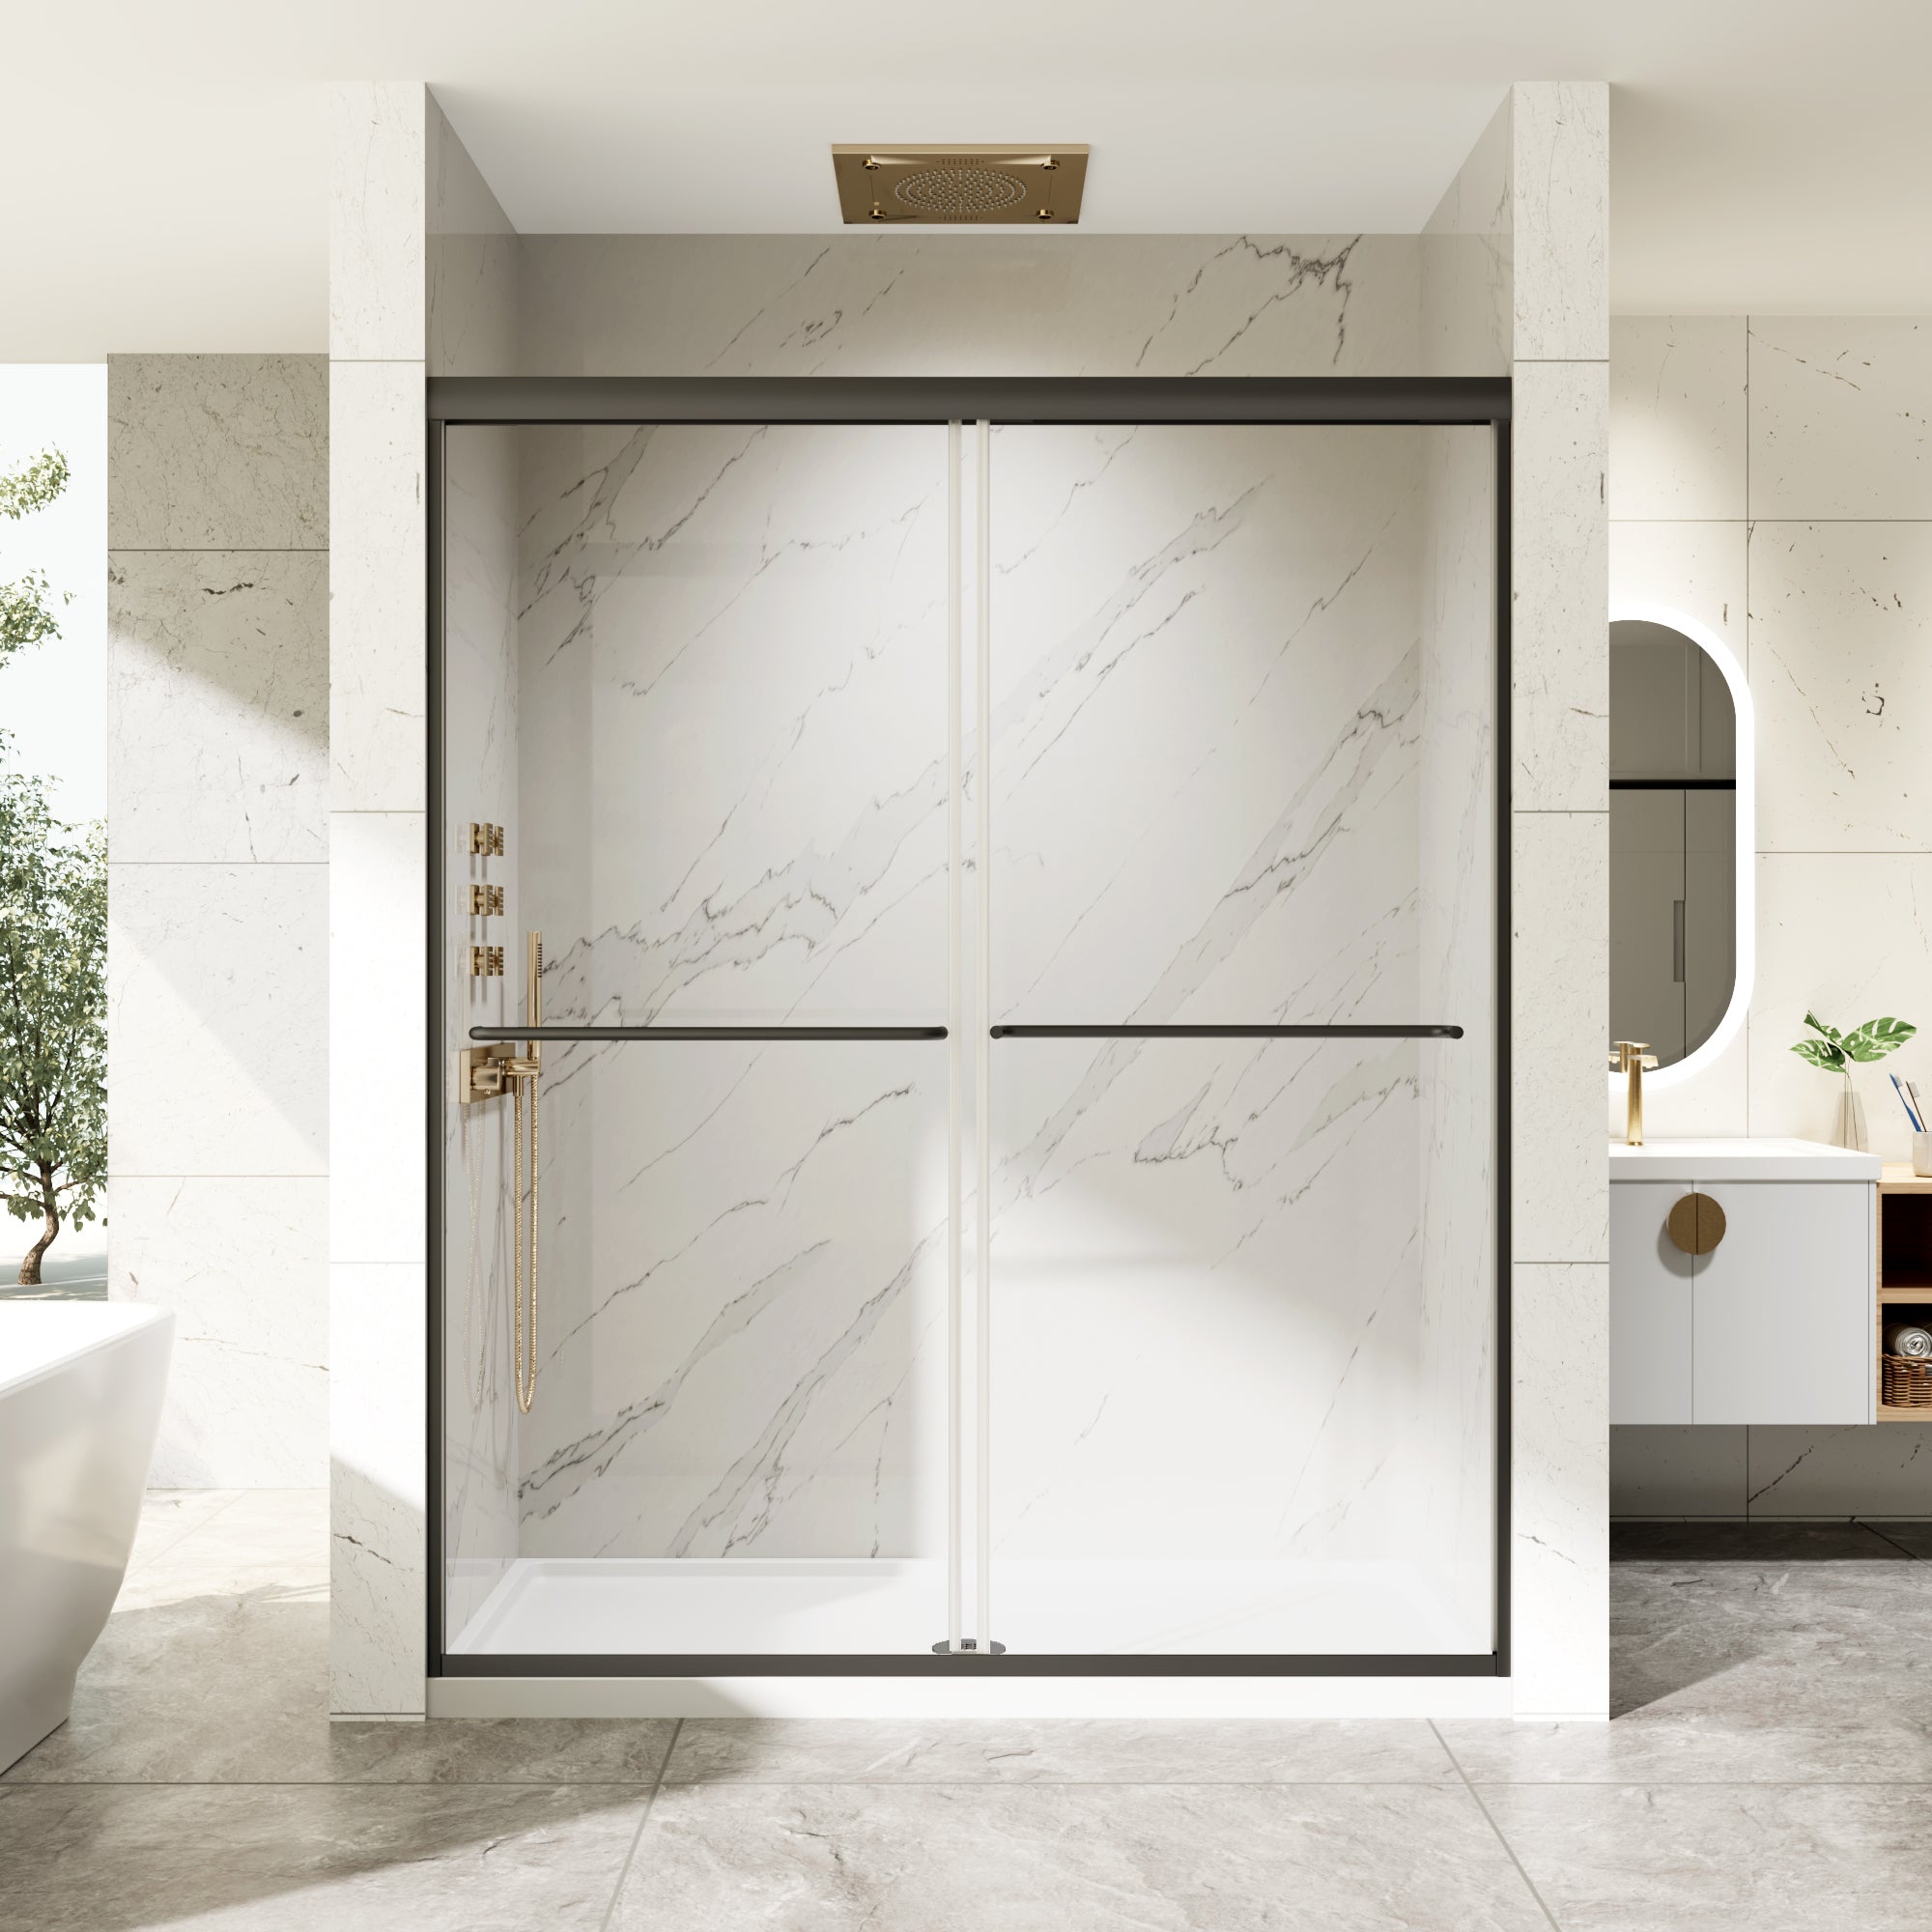
Sliding doors: Ideal for modern design bathroom or compact spaces as they require no outward clearance.
-
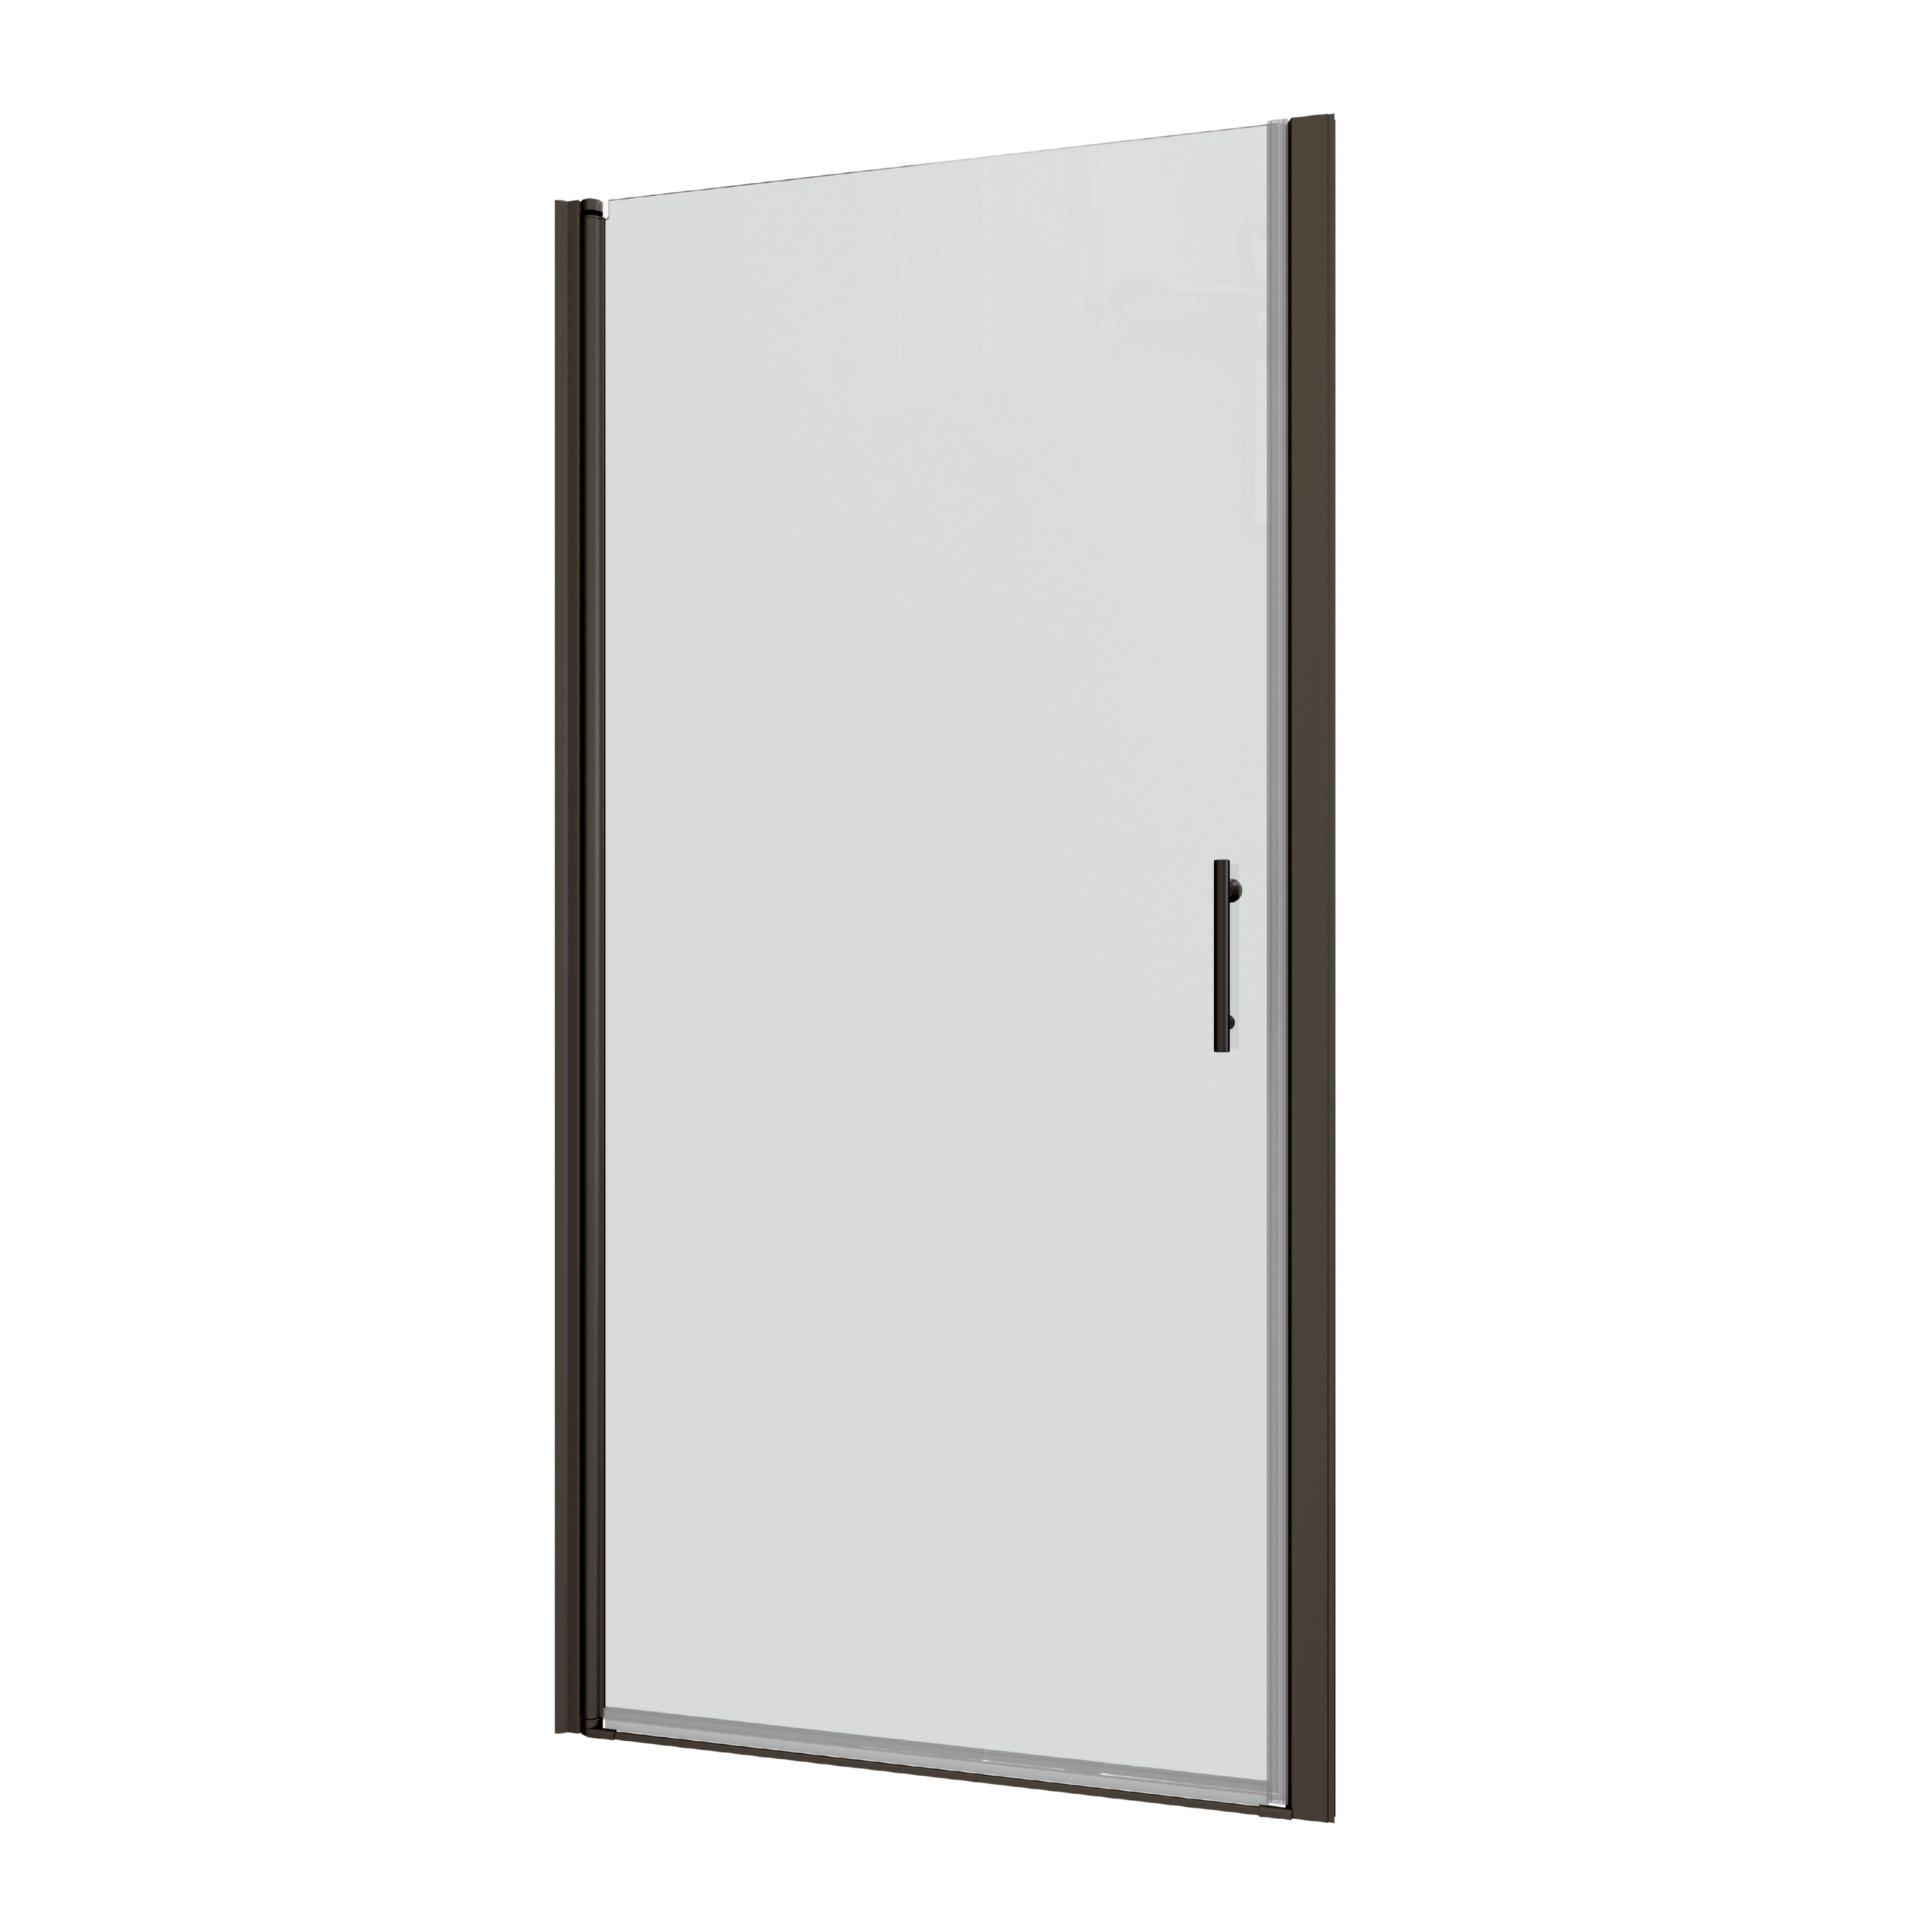
Hinged or pivot doors: Best for larger bathrooms, offering a clean and classic look.
-
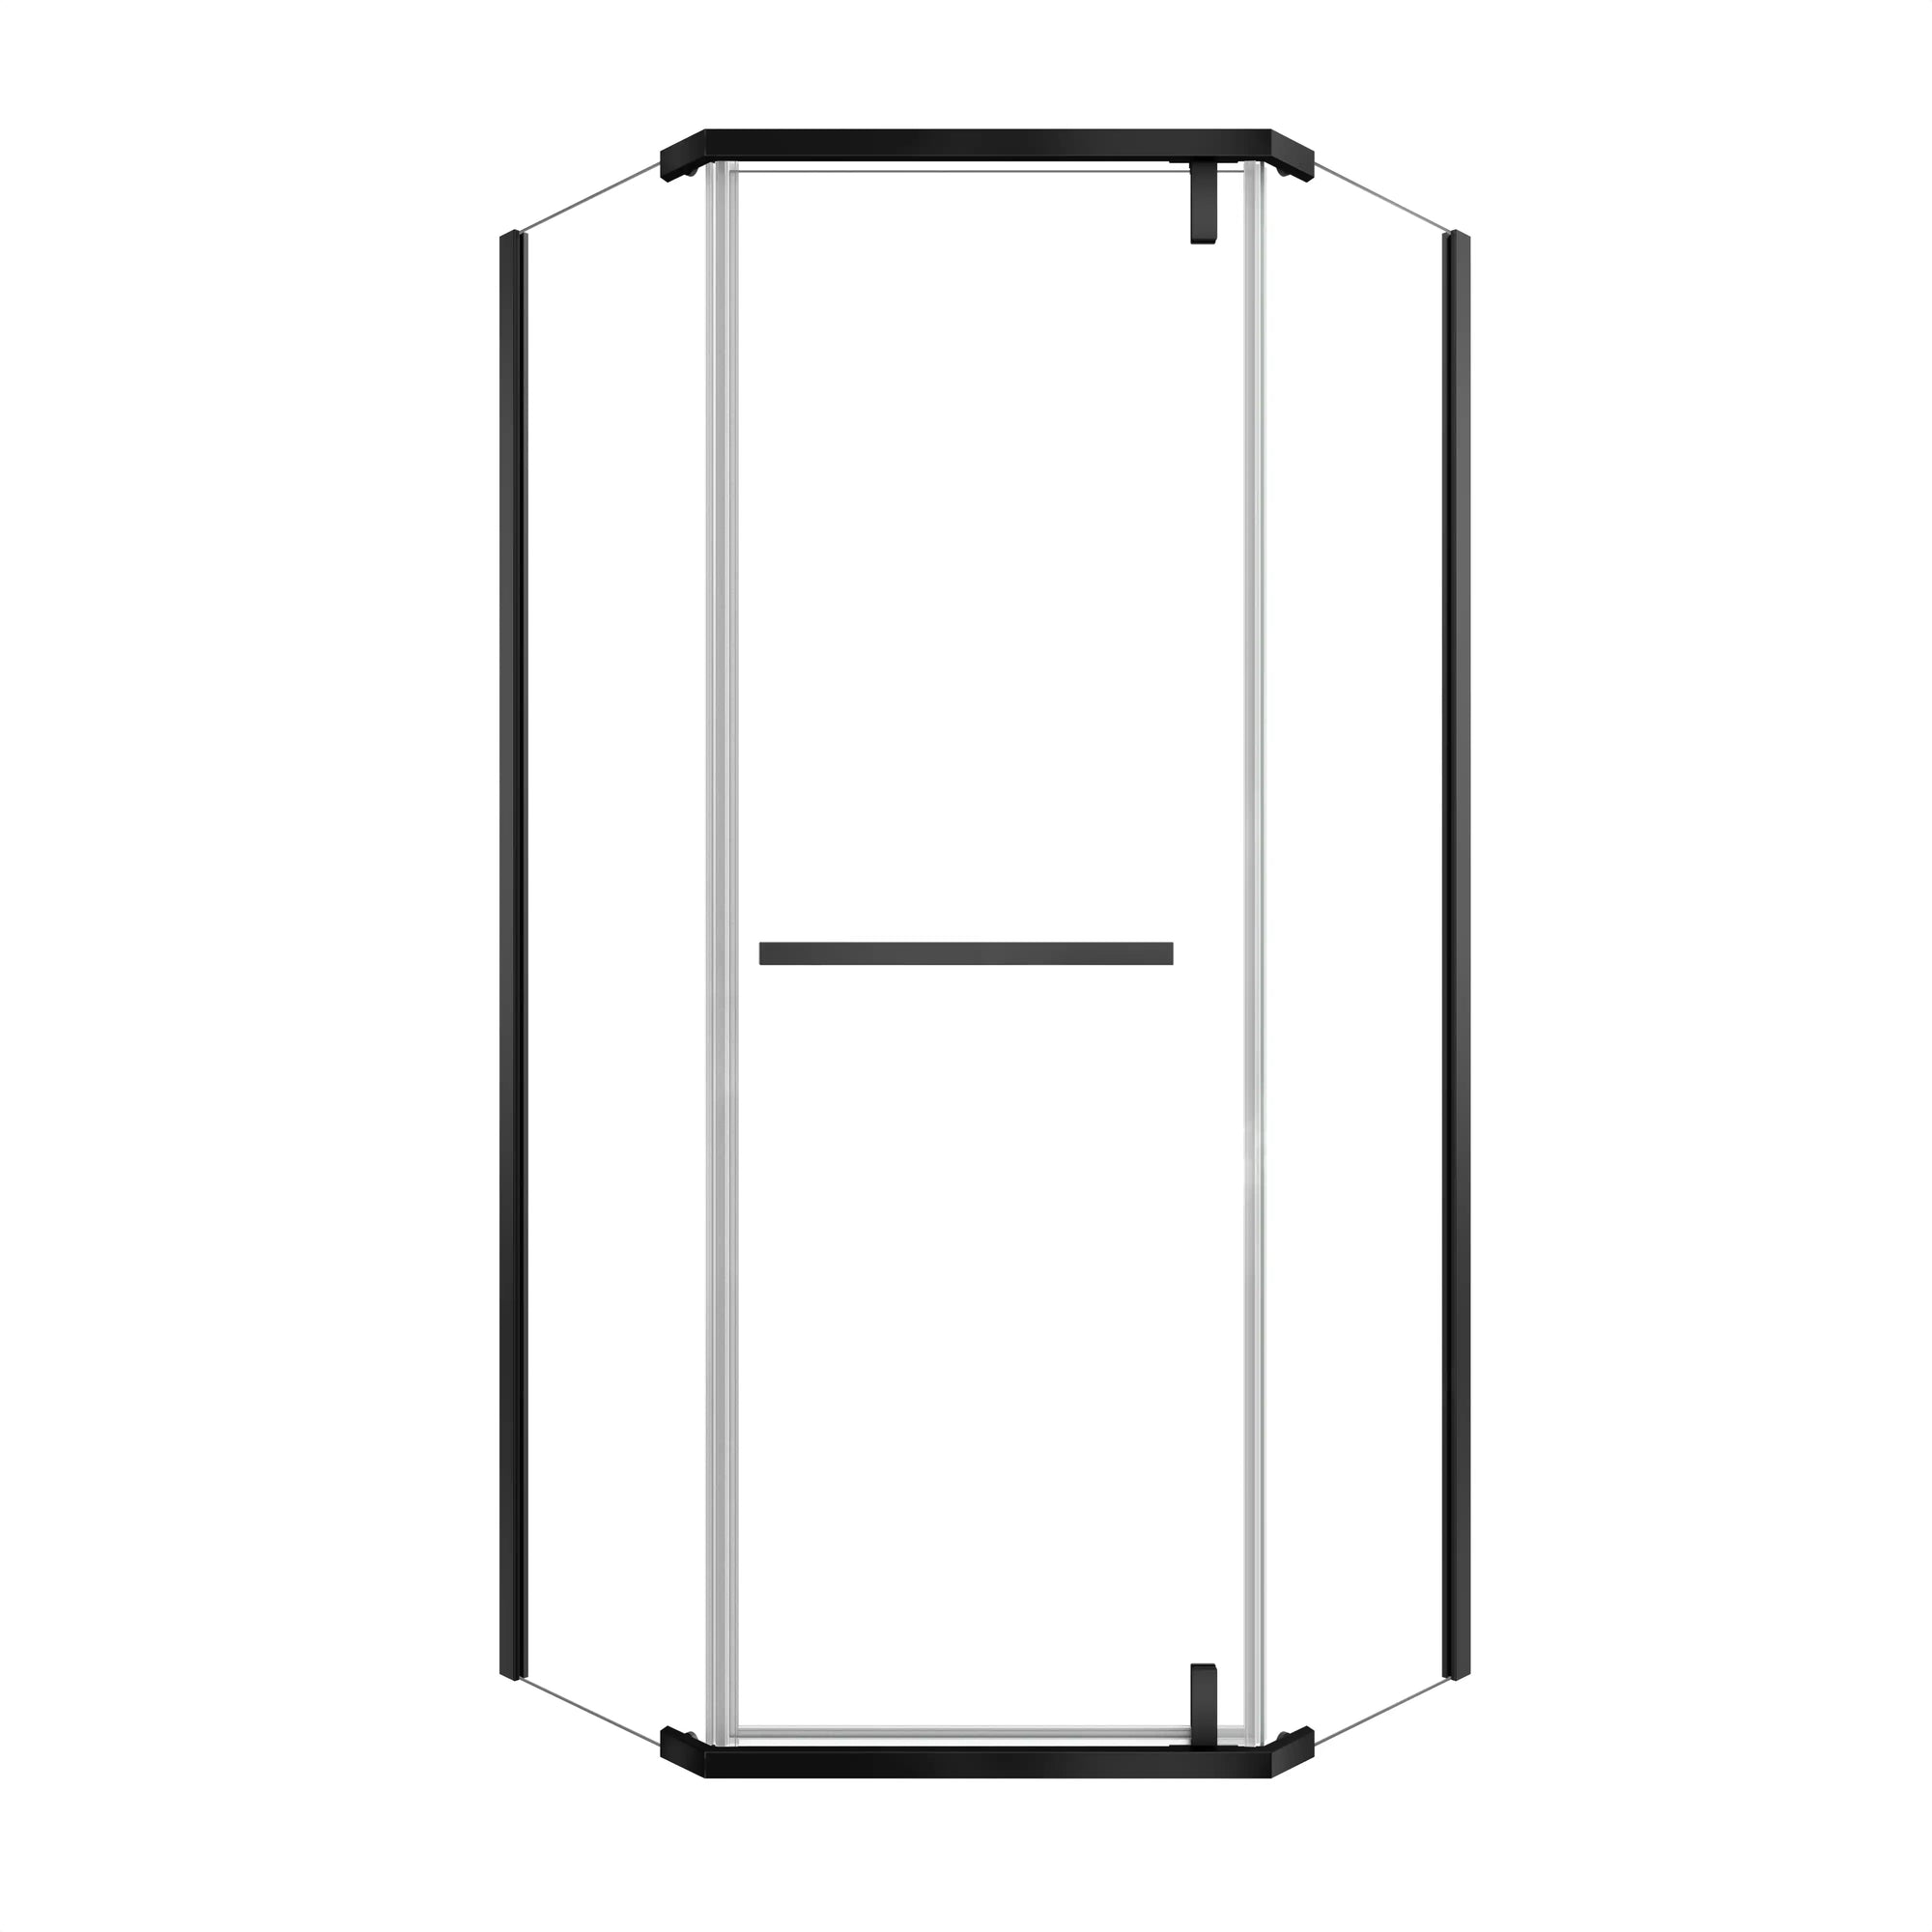
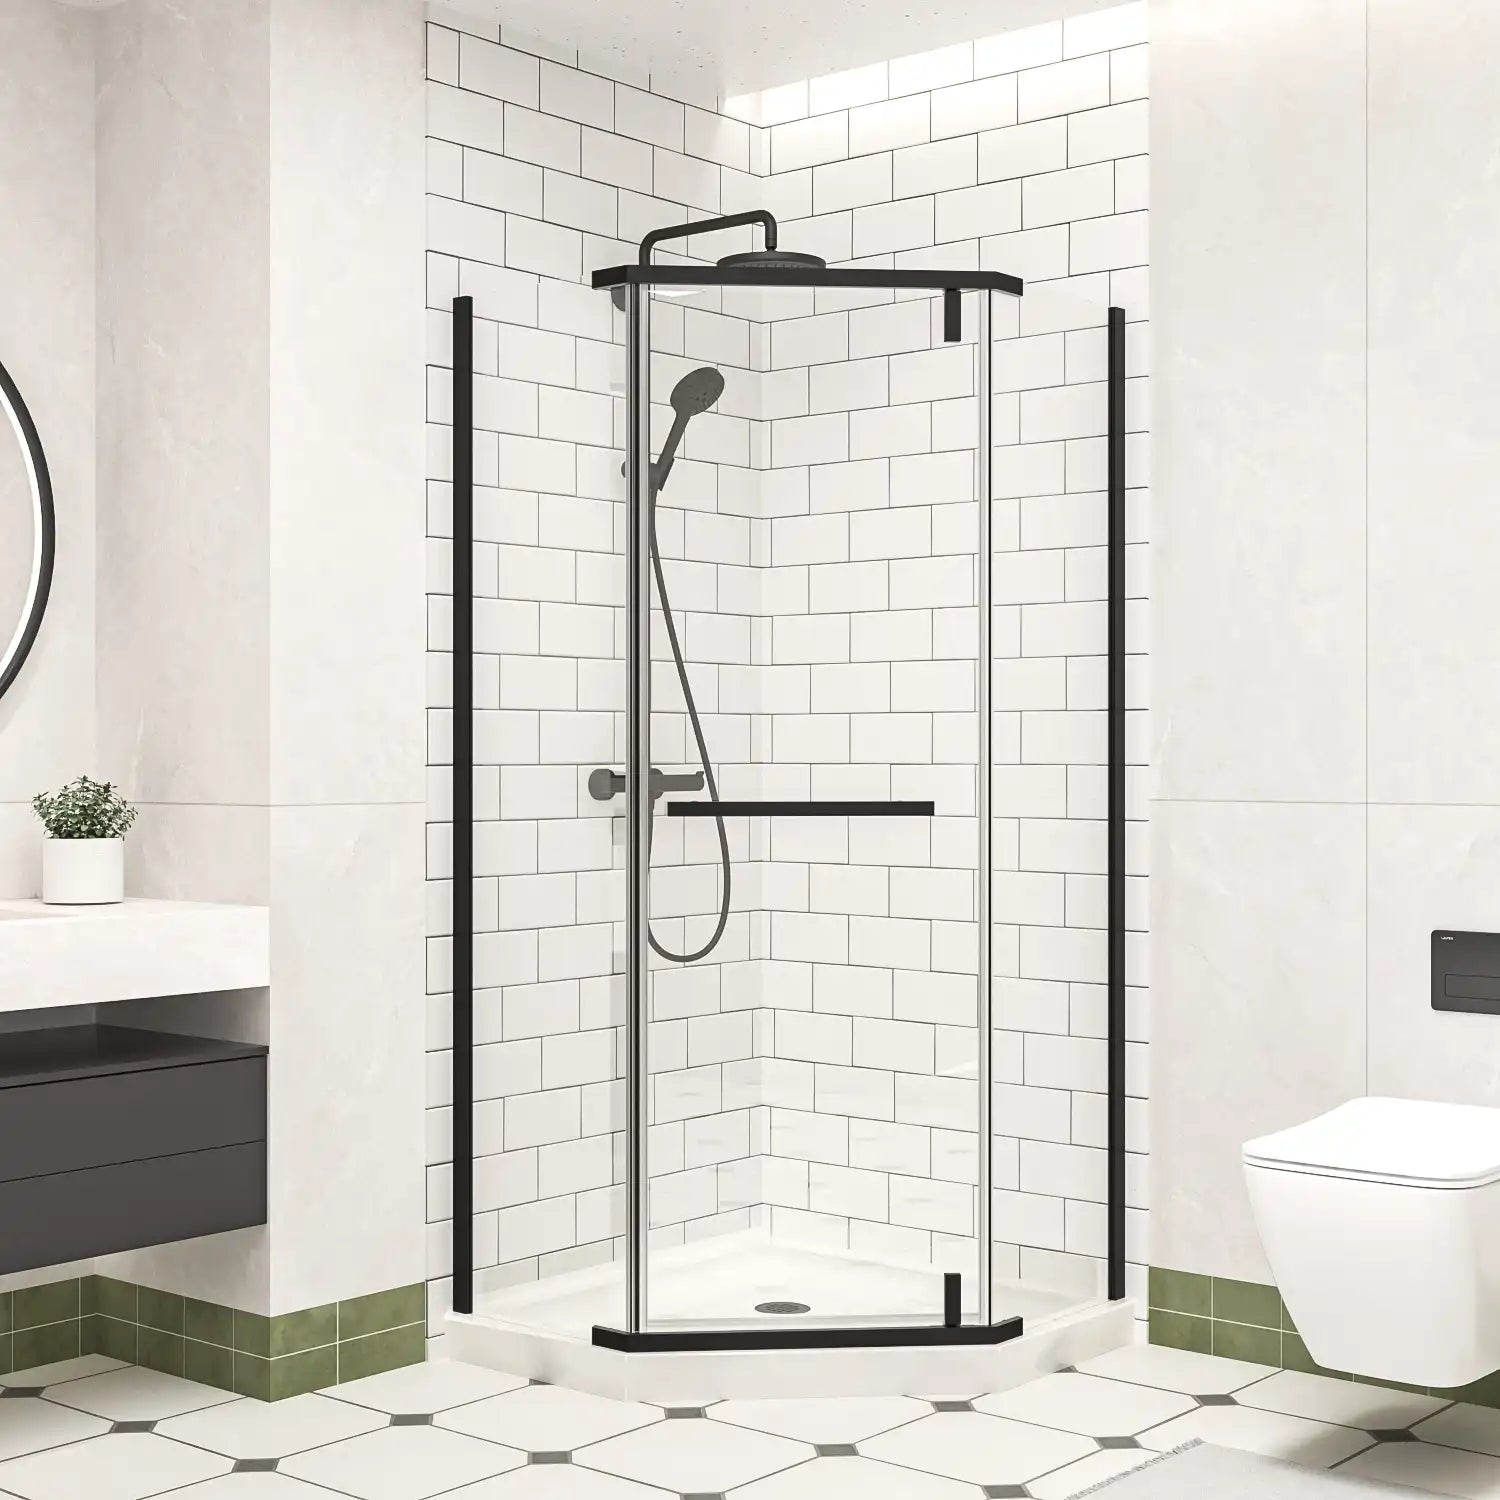
Fixed panels or glass screens: Perfect for minimalist, open designs.
Glass type is another important factor. Tempered glass is a safety standard and comes in various thicknesses (commonly 1/4", 5/16" or 3/8"). Thicker glass offers a sturdier feel but adds weight, which can affect installation complexity.
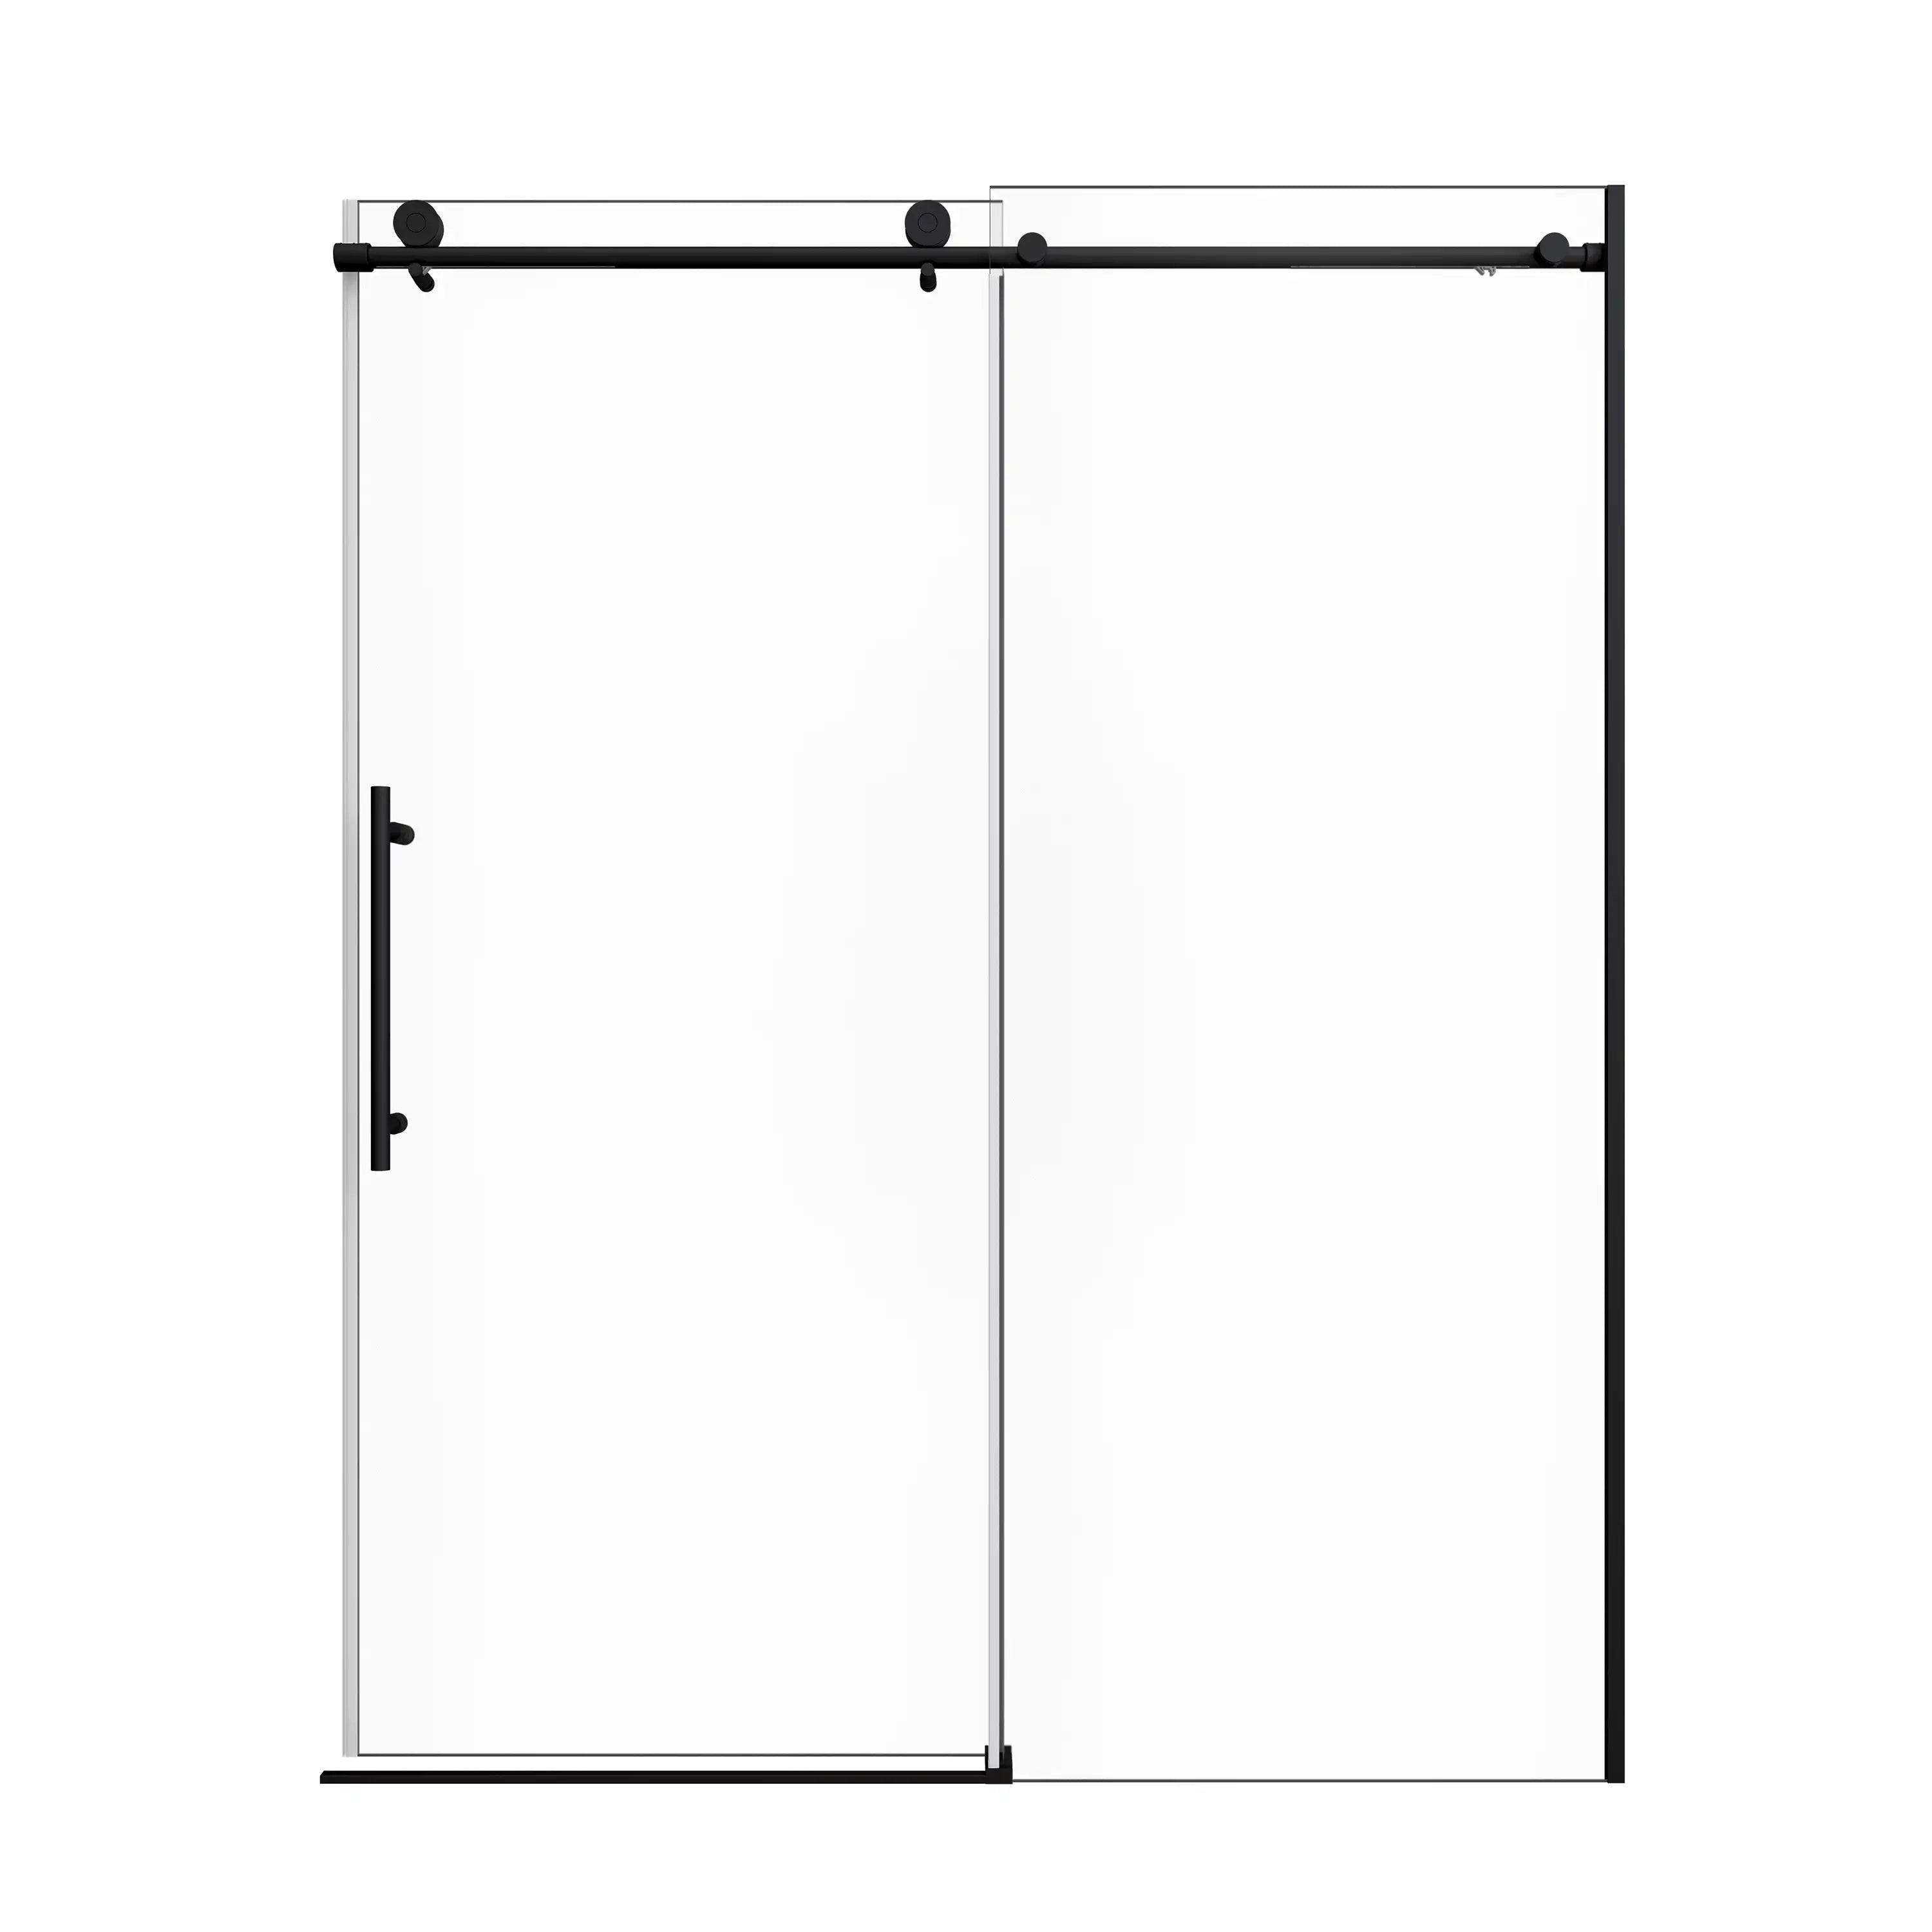
Finish and design also matter. Clear glass makes smaller bathrooms feel more spacious, while frosted or textured glass adds privacy. Hardware finishes like brushed nickel, matte black, or chrome should complement other bathroom fixtures for a cohesive look.

Preparation Before Installation: What You Need to Do First
Proper preparation can make or break your installation. It’s not just about having the right tools — it’s about setting the stage for a secure and precise fit.
Tools and materials checklist:
-
Measuring tape
-
Power drill with tile drill bits
-
Silicone sealant (mildew-resistant)
-
Level
-
Screwdrivers
-
Anchors and screws (usually included)
-
Safety gear (gloves, goggles)
-
Masking tape and pencil for marking
-
Hack Saw
Surface preparation is crucial. The installation area should be thoroughly cleaned and dried.
Check your door kit contents. Before beginning, lay out all components and review the manufacturer’s instructions carefully.
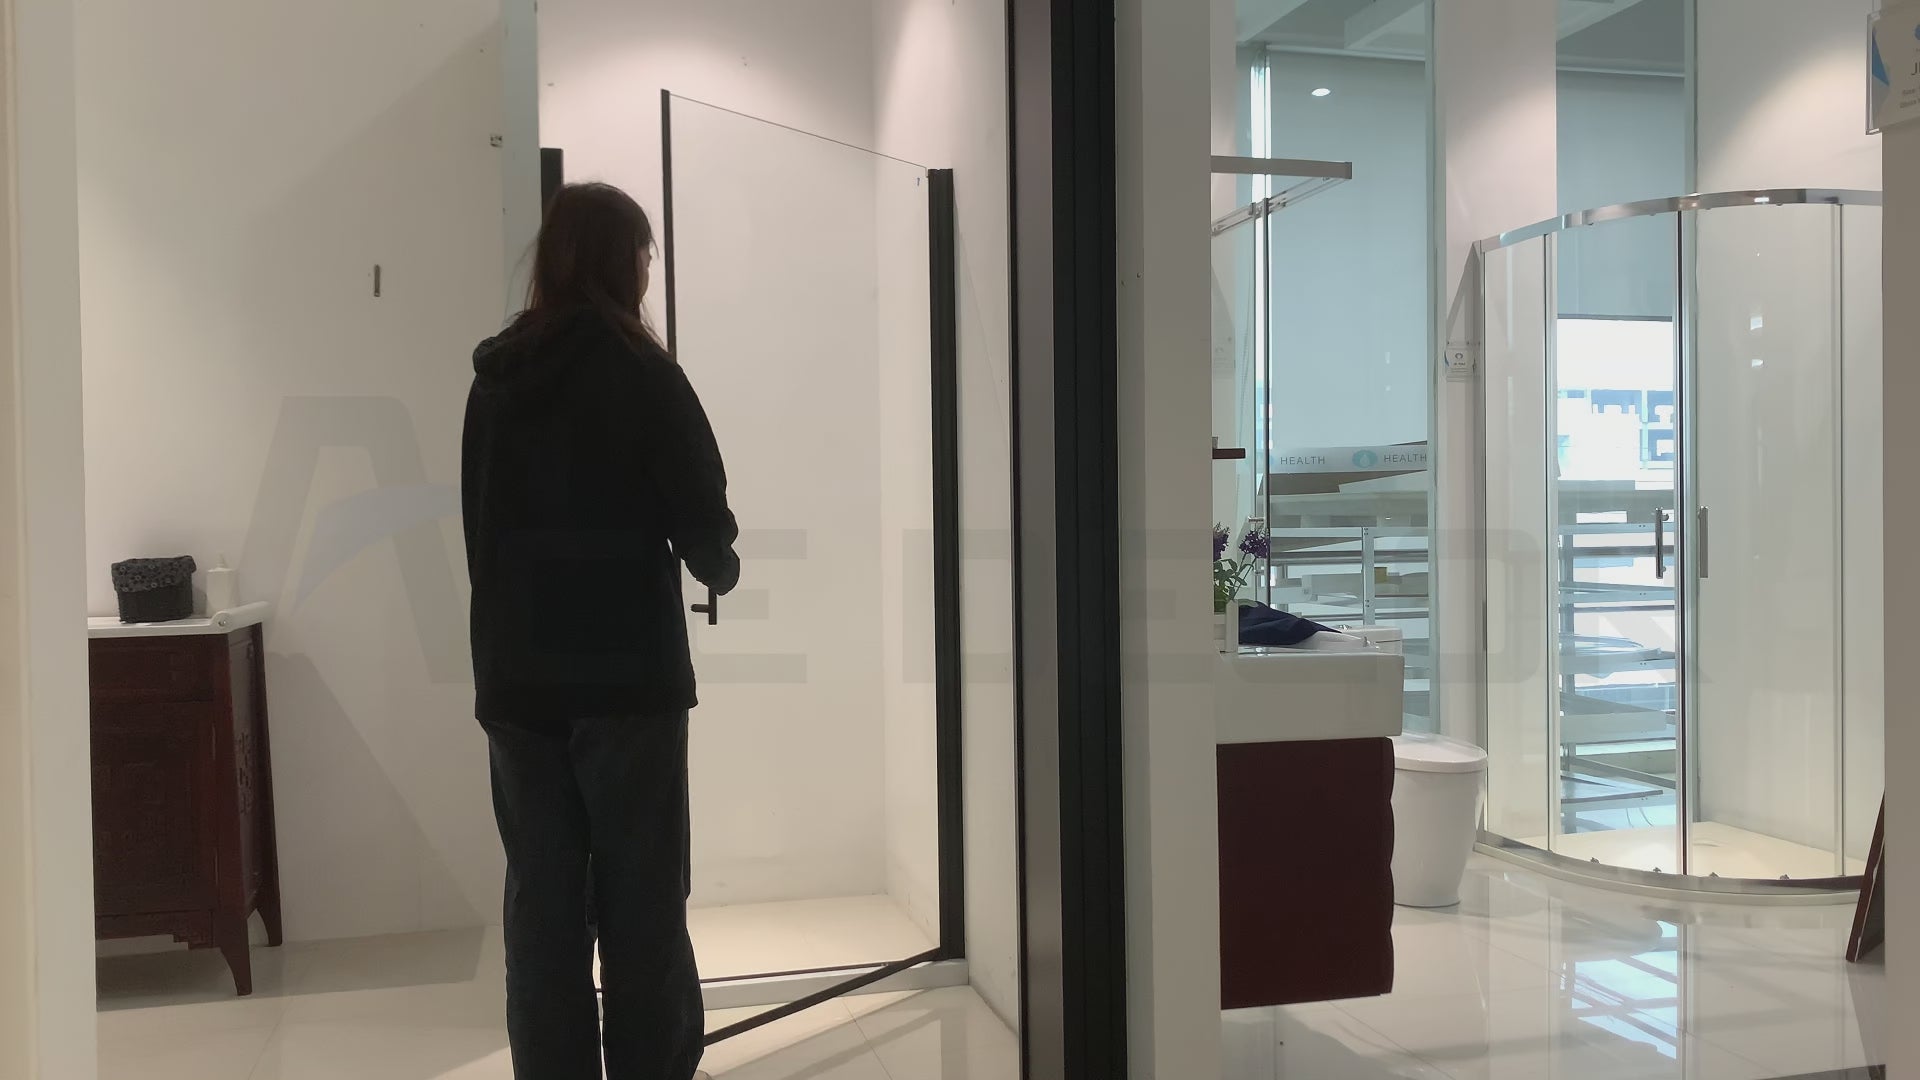
Work in pairs if possible. Glass panels can be heavy and fragile. Having a second person helps ensure safe handling and accurate positioning.
Proper planning decreases tension, promotes safety and enhances the accuracy of your walk-in shower door installation.

Installing Walk-In Shower Doors: Step-by-Step Process
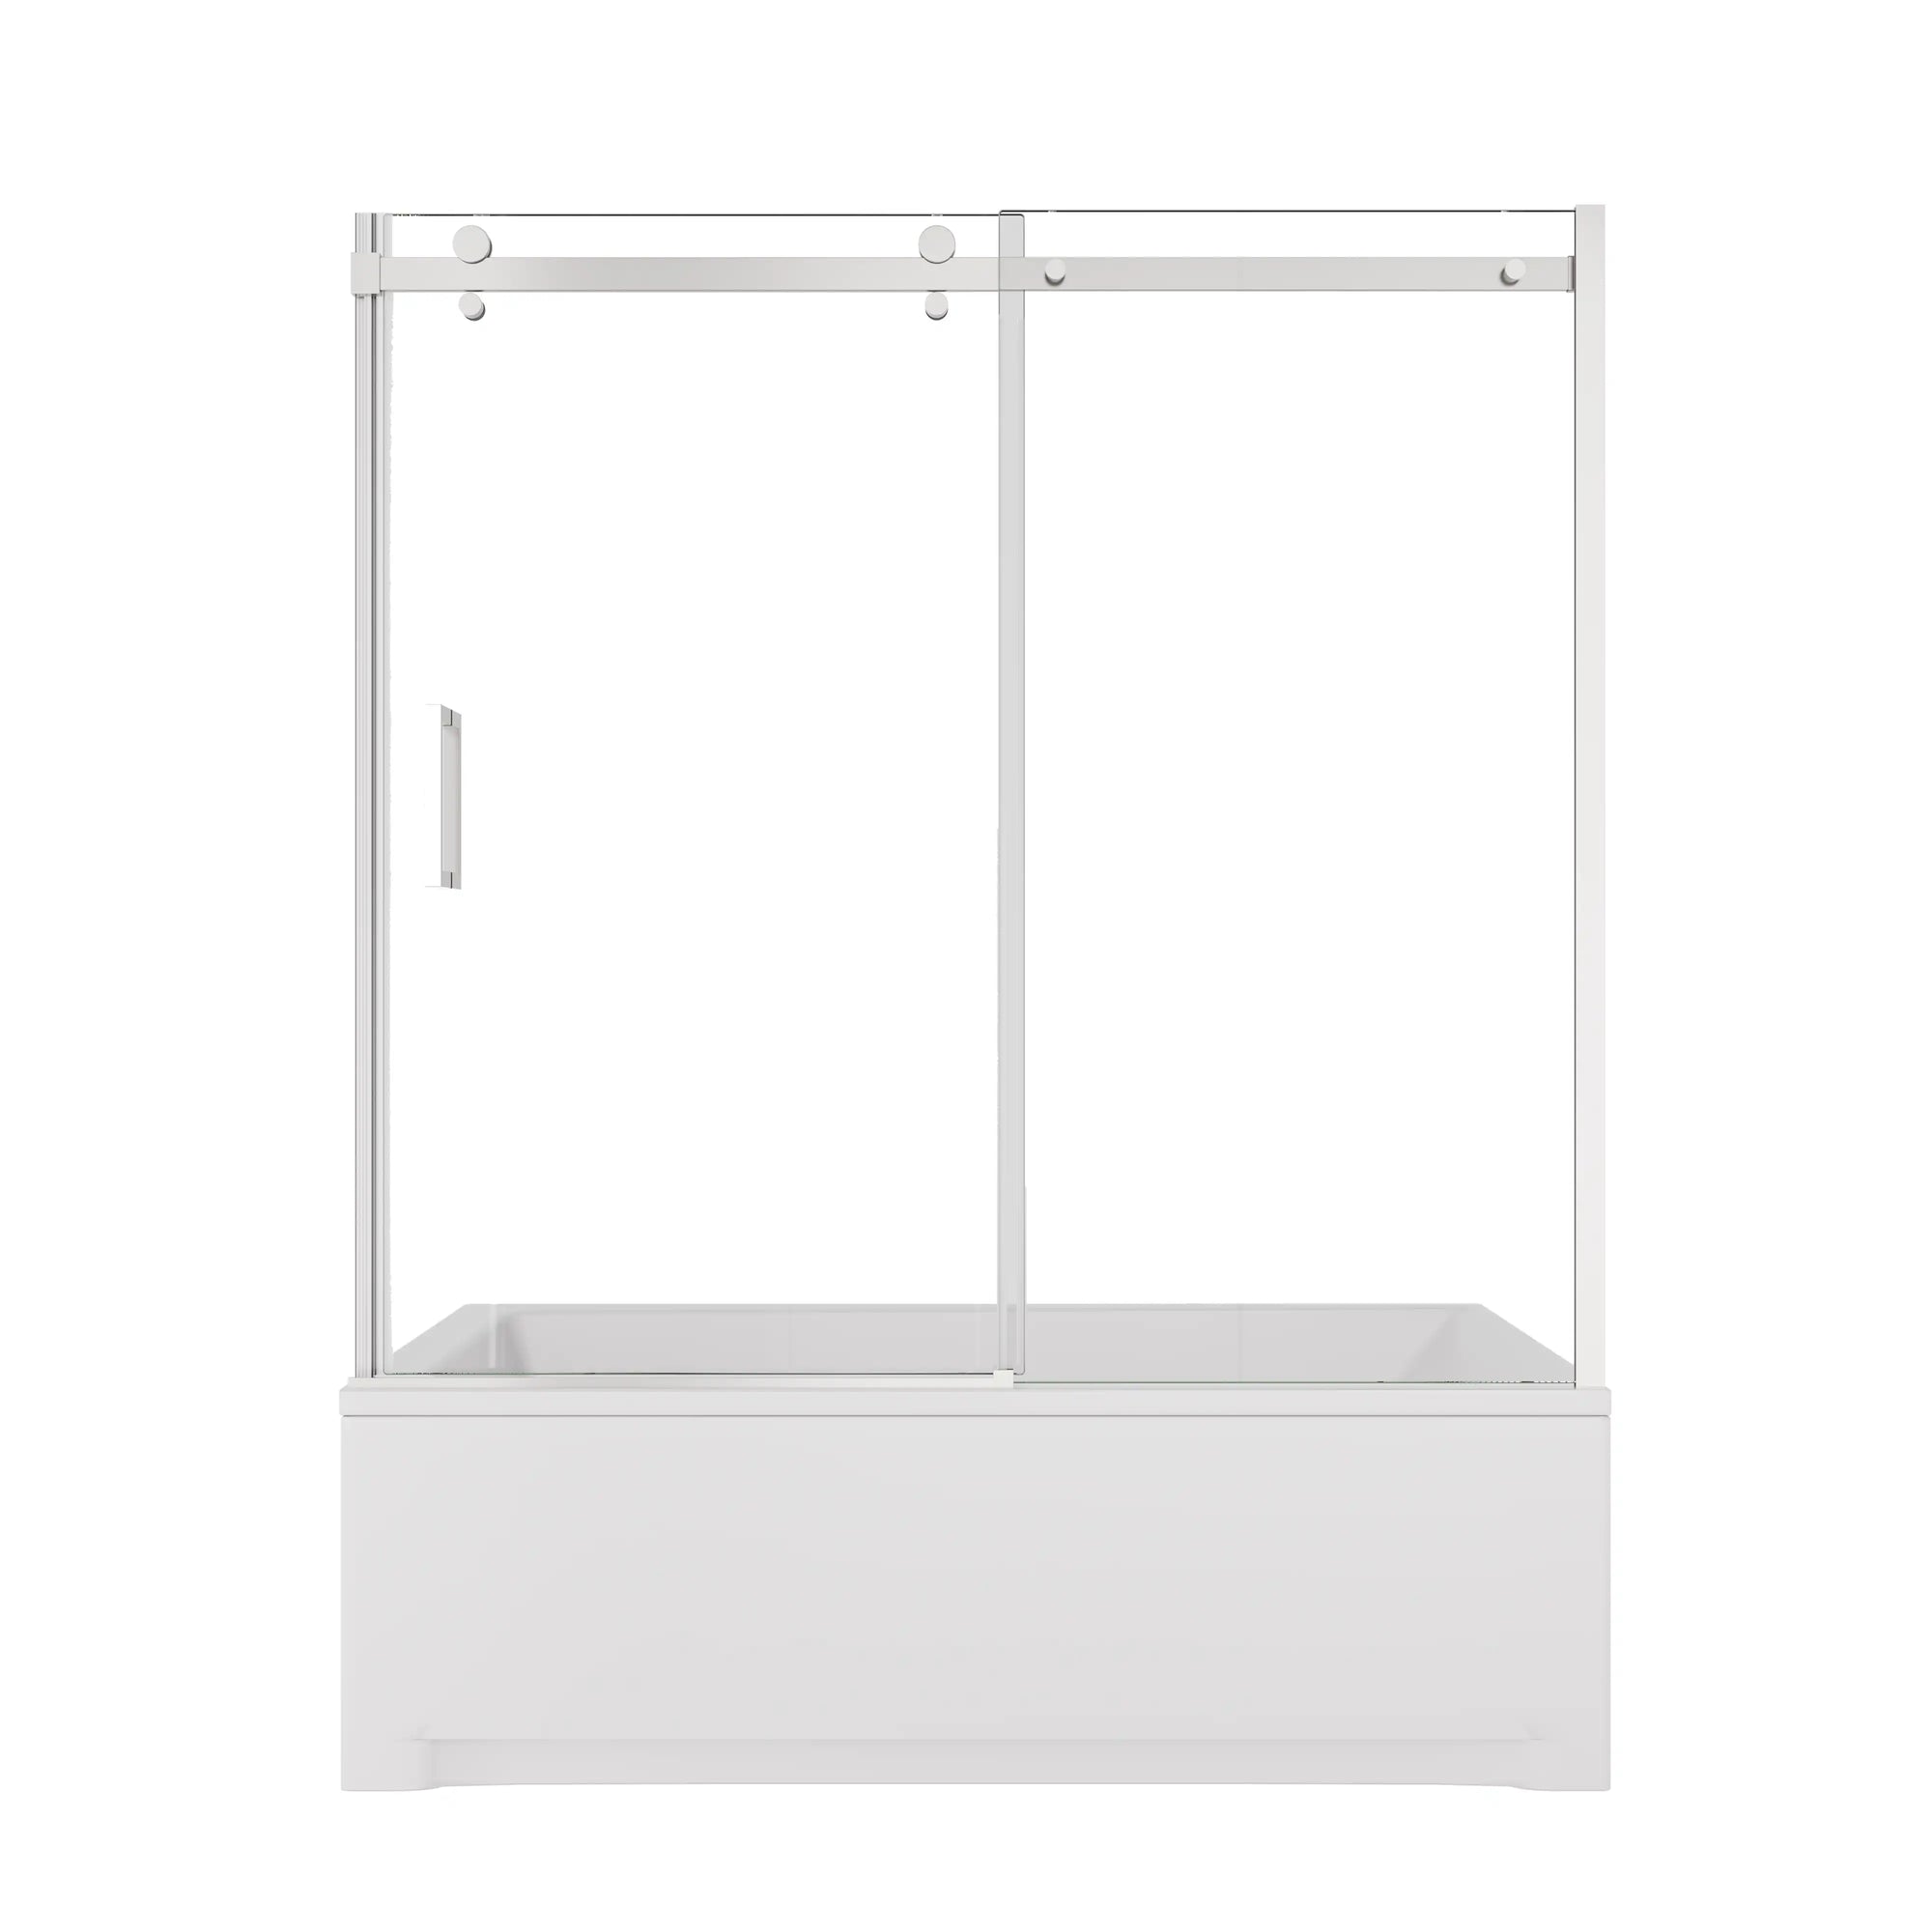
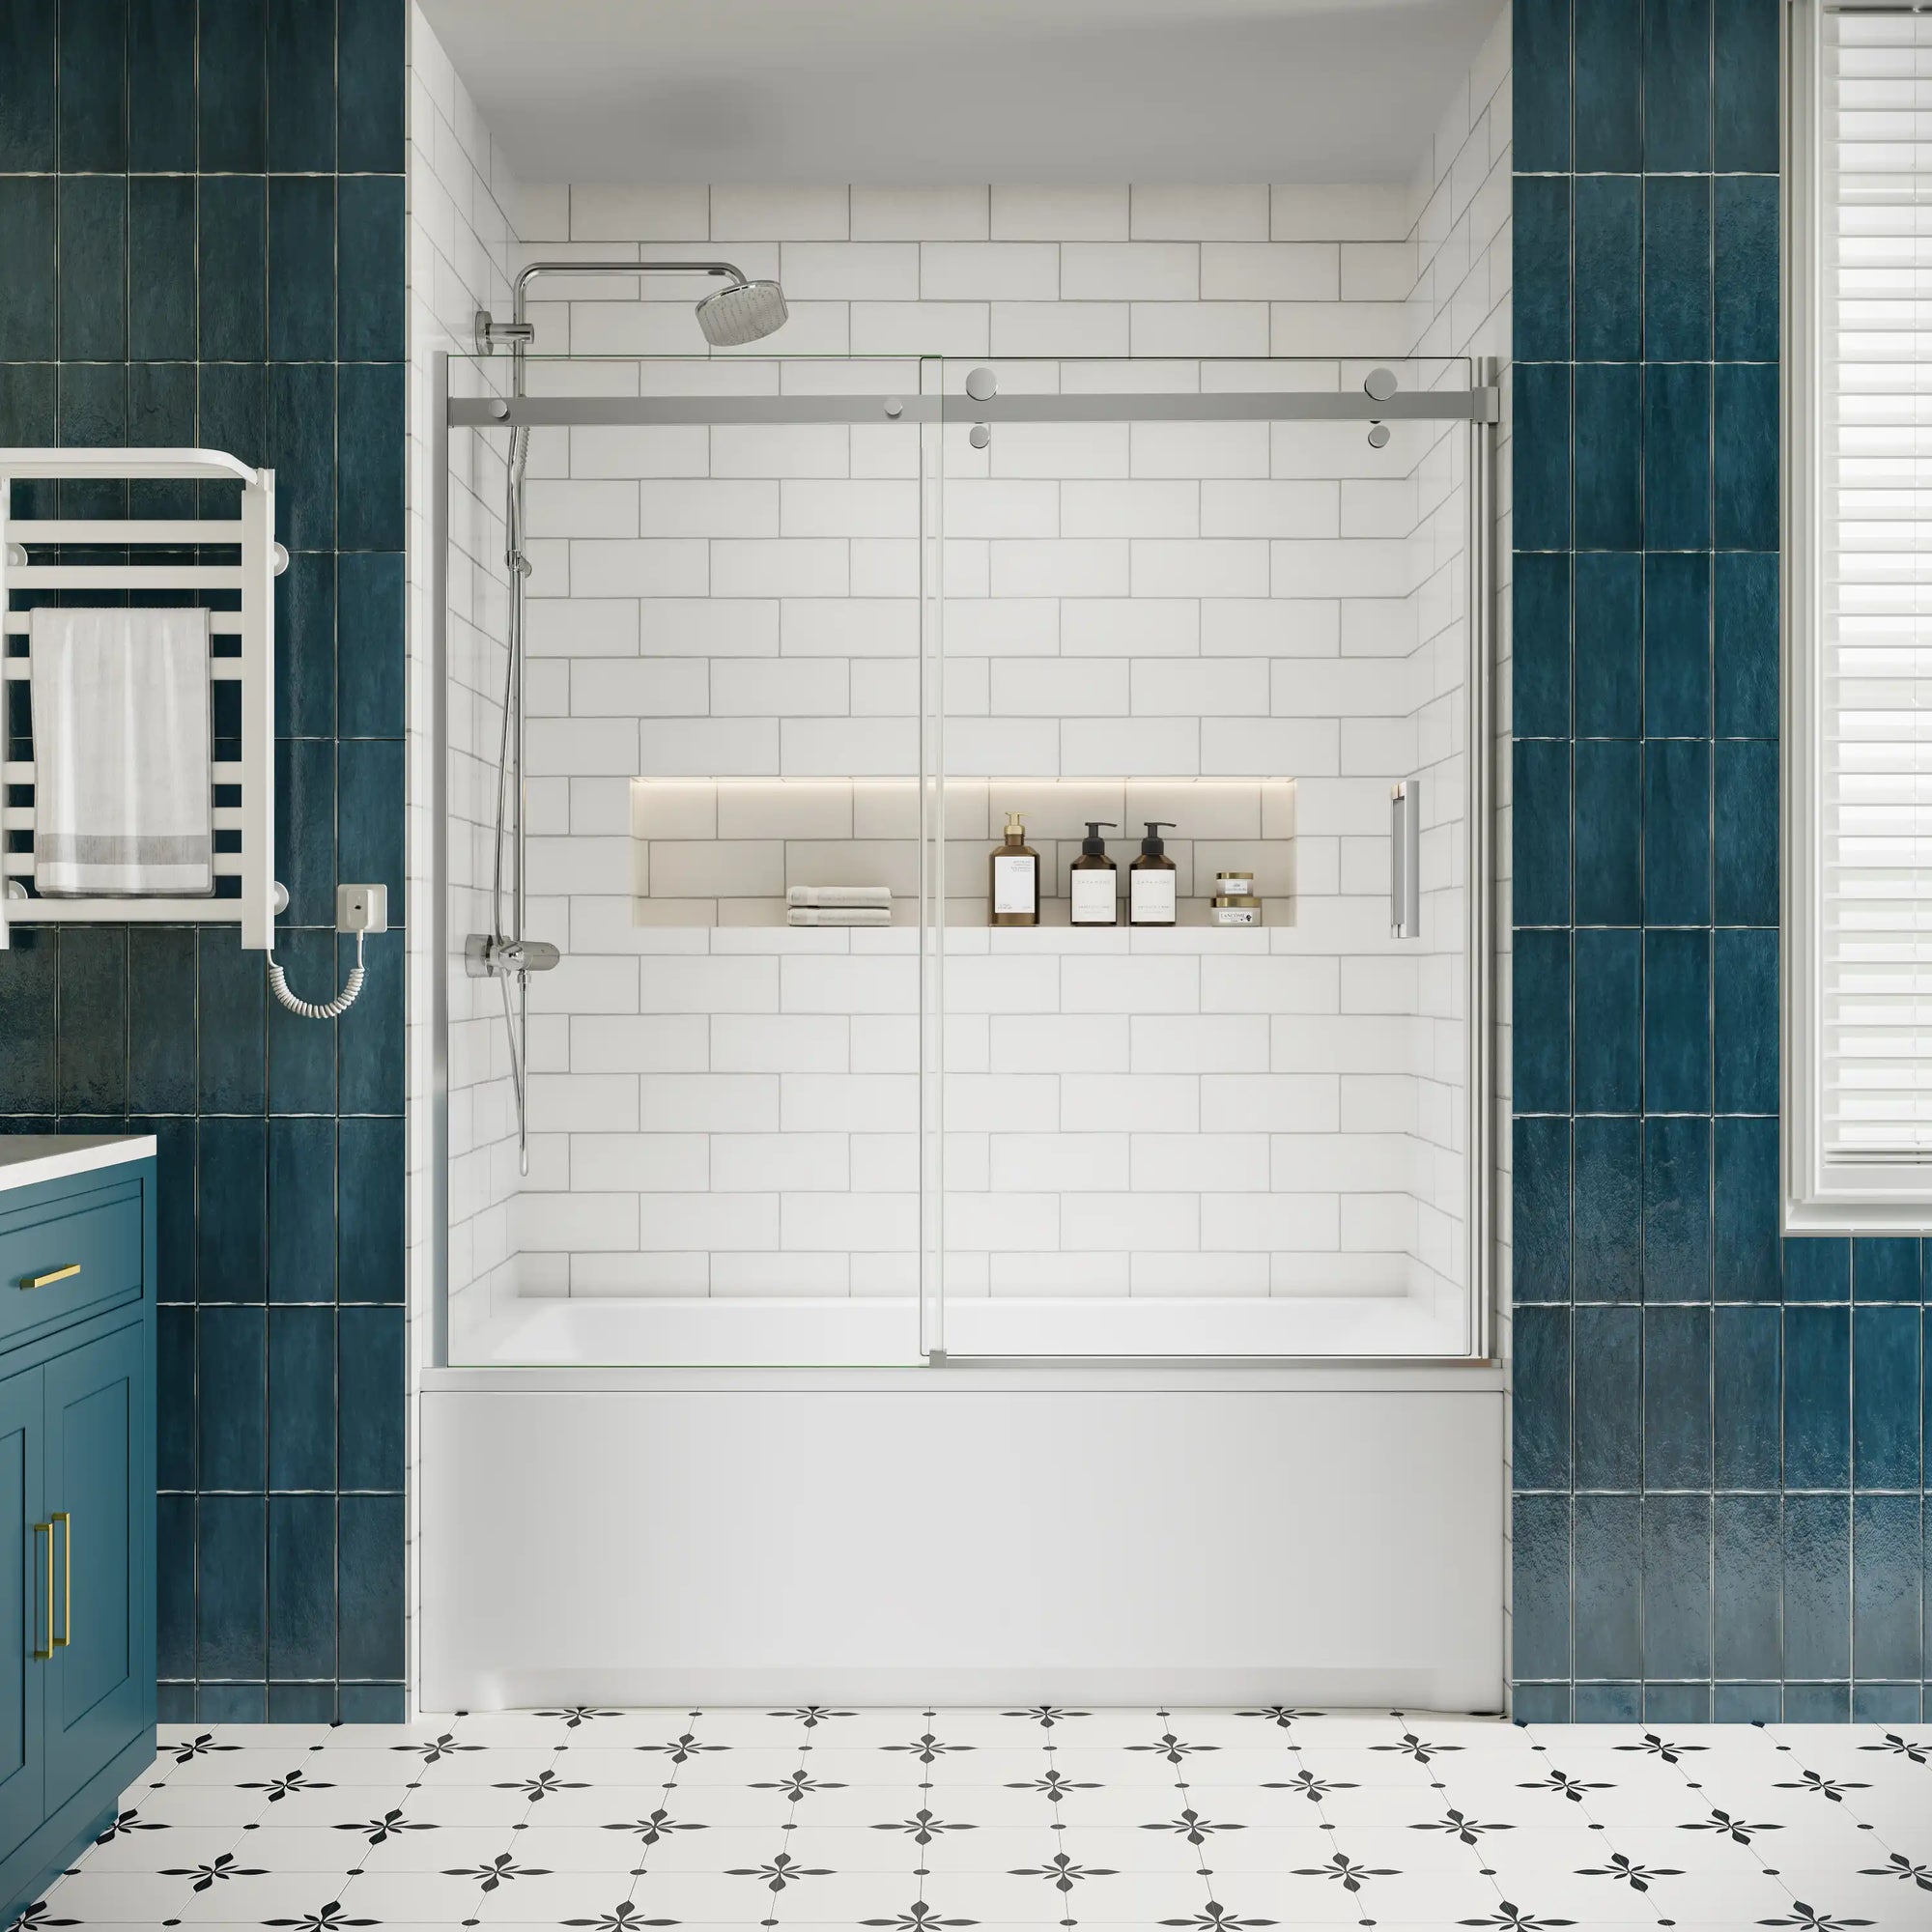
Here's a streamlined installation process using a typical ACE DECOR sliding shower door as an example:
Step 1: Trim the Rail to Fit
Begin with comparing your shower opening width with the top rail included in the kit. If the rail is a bit longer that the opening width, use a hack saw to cut it down to the appropriate length. If it already fits perfectly, trimming is not necessary. After cutting, always file down any sharp edges to prevent injury or issues while installing.
Step 2: Install Wall Jambs or Brackets
Position the wall jambs (or wall brackets, depending on your kit configuration) vertically along both sides of the shower opening. Use a level to ensure perfect alignment. Mark the drill hole locations through the pre-drilled holes in the jambs. Then, carefully drill into the tile or wall surface. Insert wall anchors and screw the jambs securely into place.
Step 3: Install the Top Rail and Bottom Guide
Once the glass panels are ready and placed safely inside the shower space, install the top guide rail by securing it onto the wall jambs or side brackets. Ensure the rail is level and firmly seated. Then, install the bottom guide (or guide block) on the shower threshold, which is used to keep the door in line when sliding.
Step 4: Attach Rollers and Hang the Sliding Door
Install the roller hardware onto the glass door panel, following the manufacturer’s torque and alignment recommendations. Carefully lift the door and hang it onto the guide rail, ensuring the rollers are securely seated and the door moves smoothly.
Step 5: Install Handles and Final Hardware Adjustments
Install the door handles on the glass panel as per instructions. Make the final adjustments of the rollers or position of the panel, ensuring the smooth and even sliding of the door. Verify that the door is sliding on the guide without resistance or misalignment.
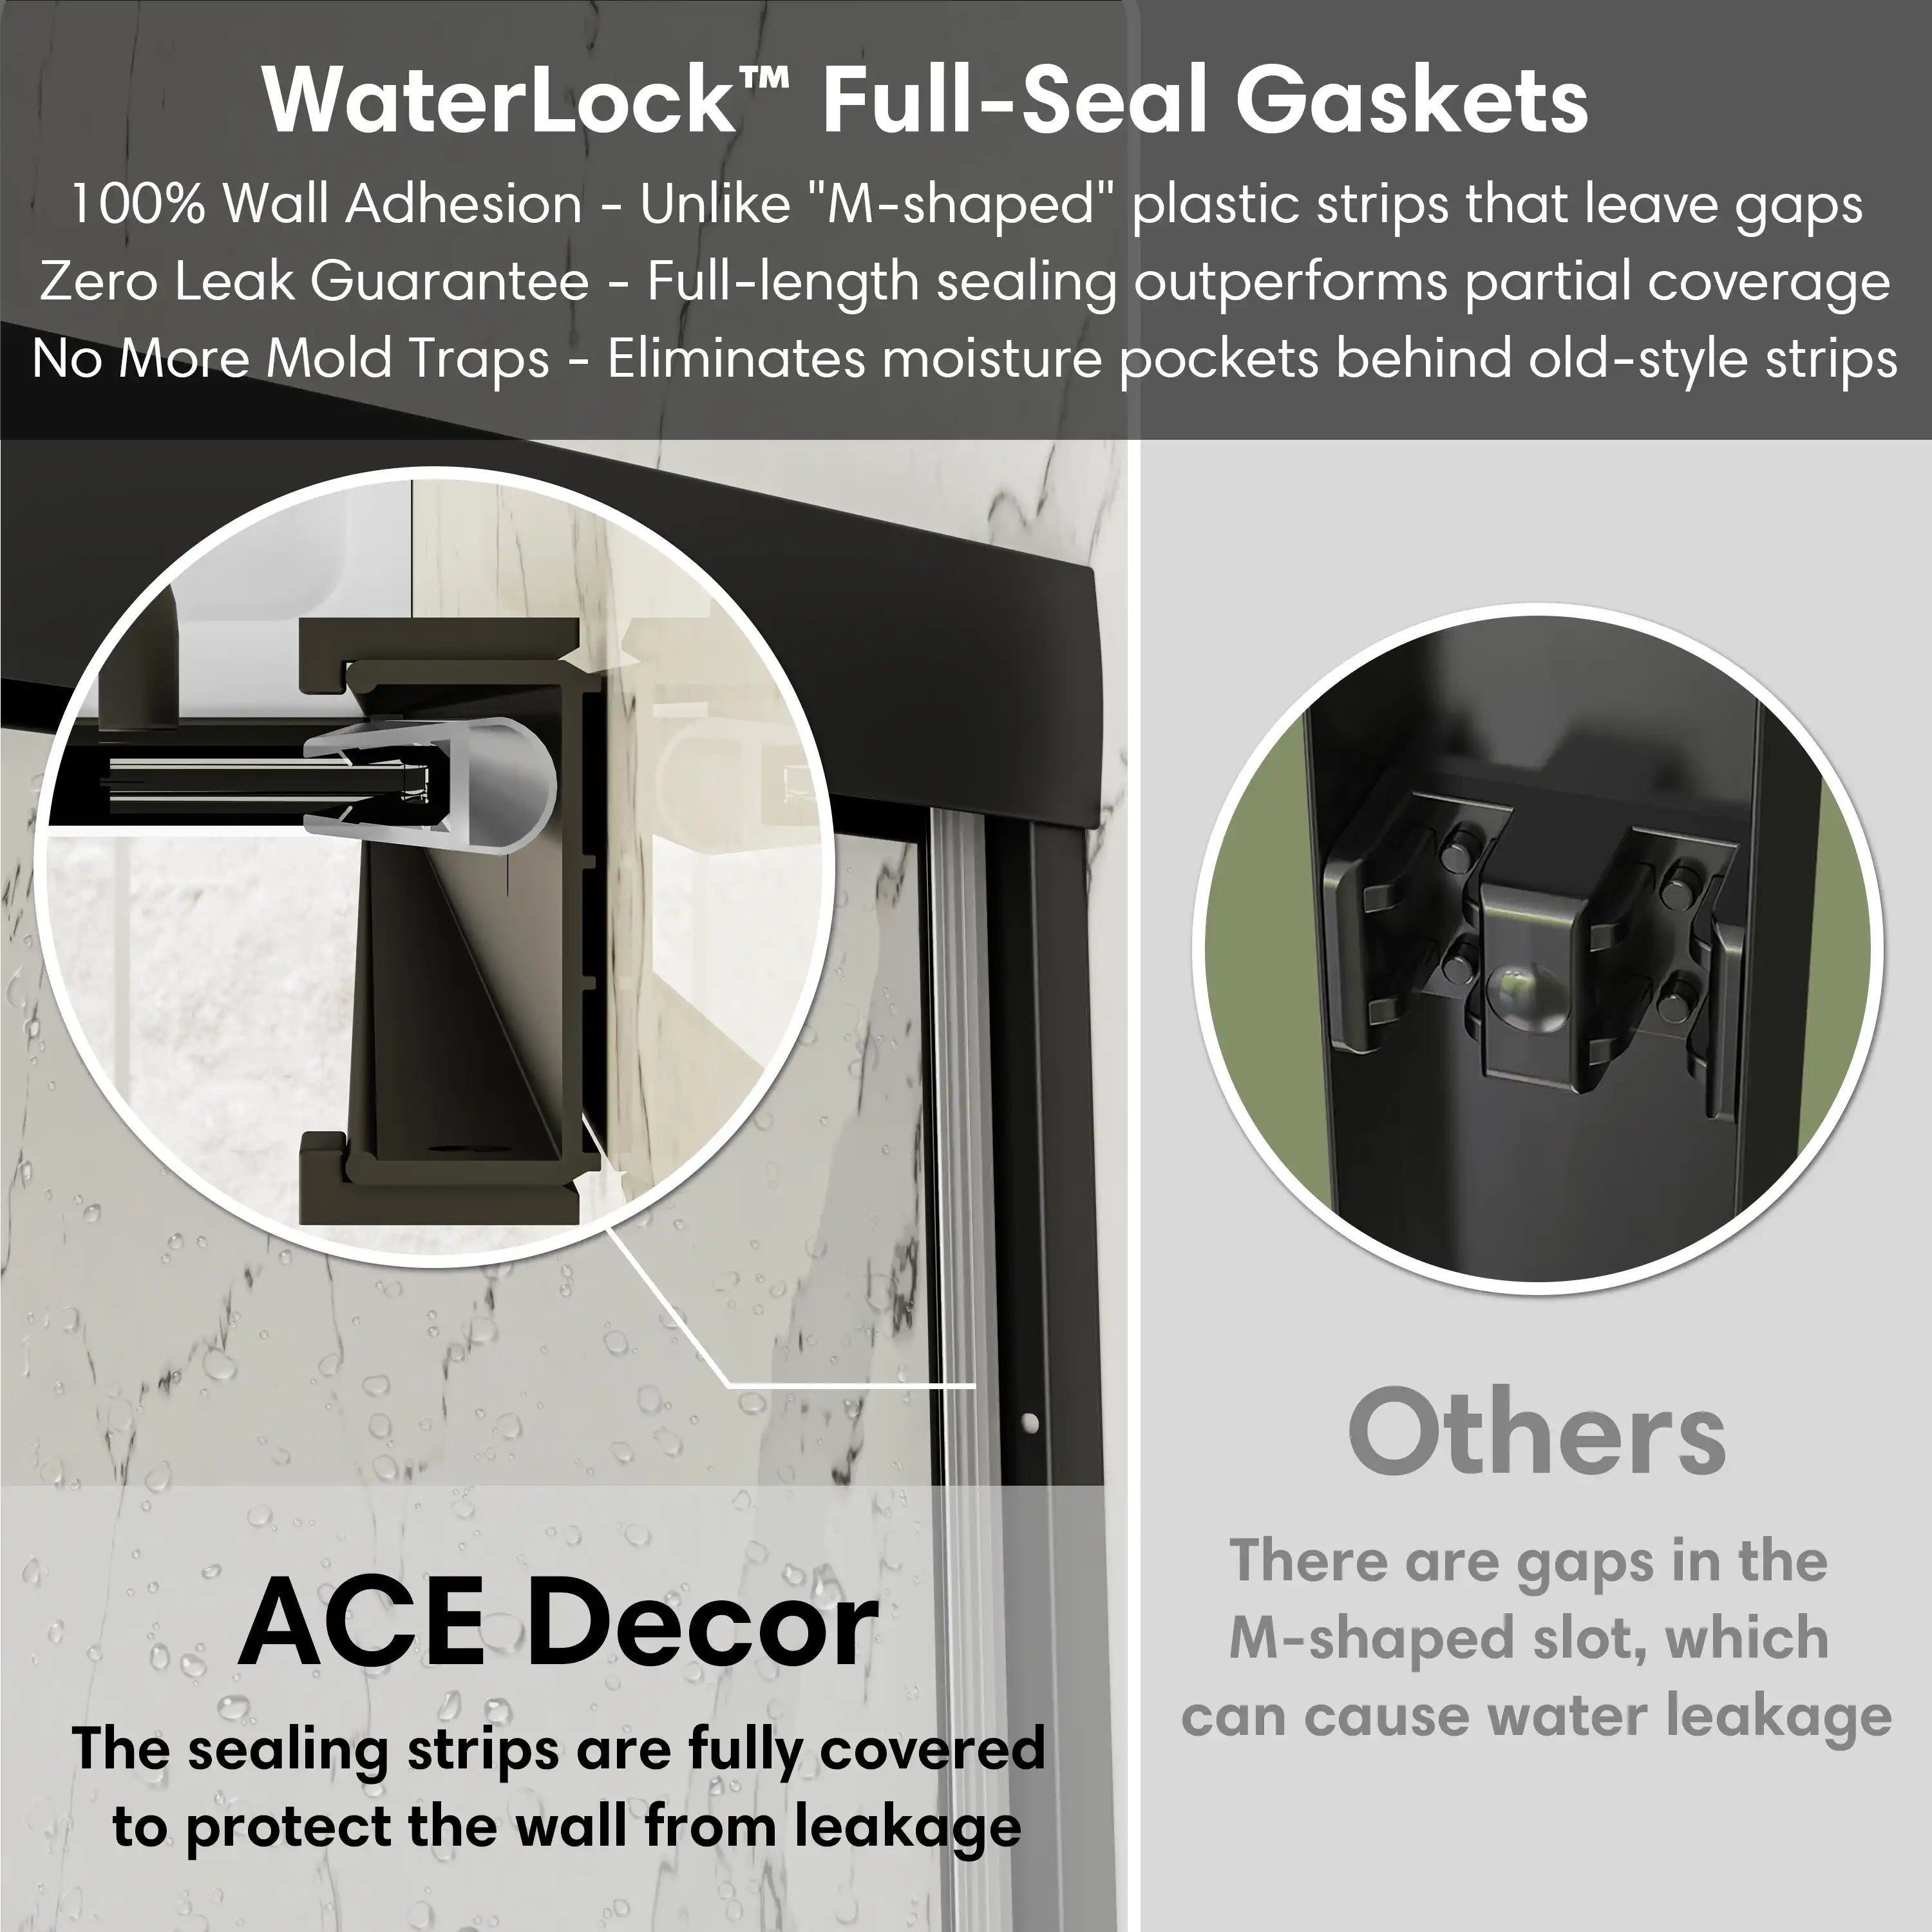
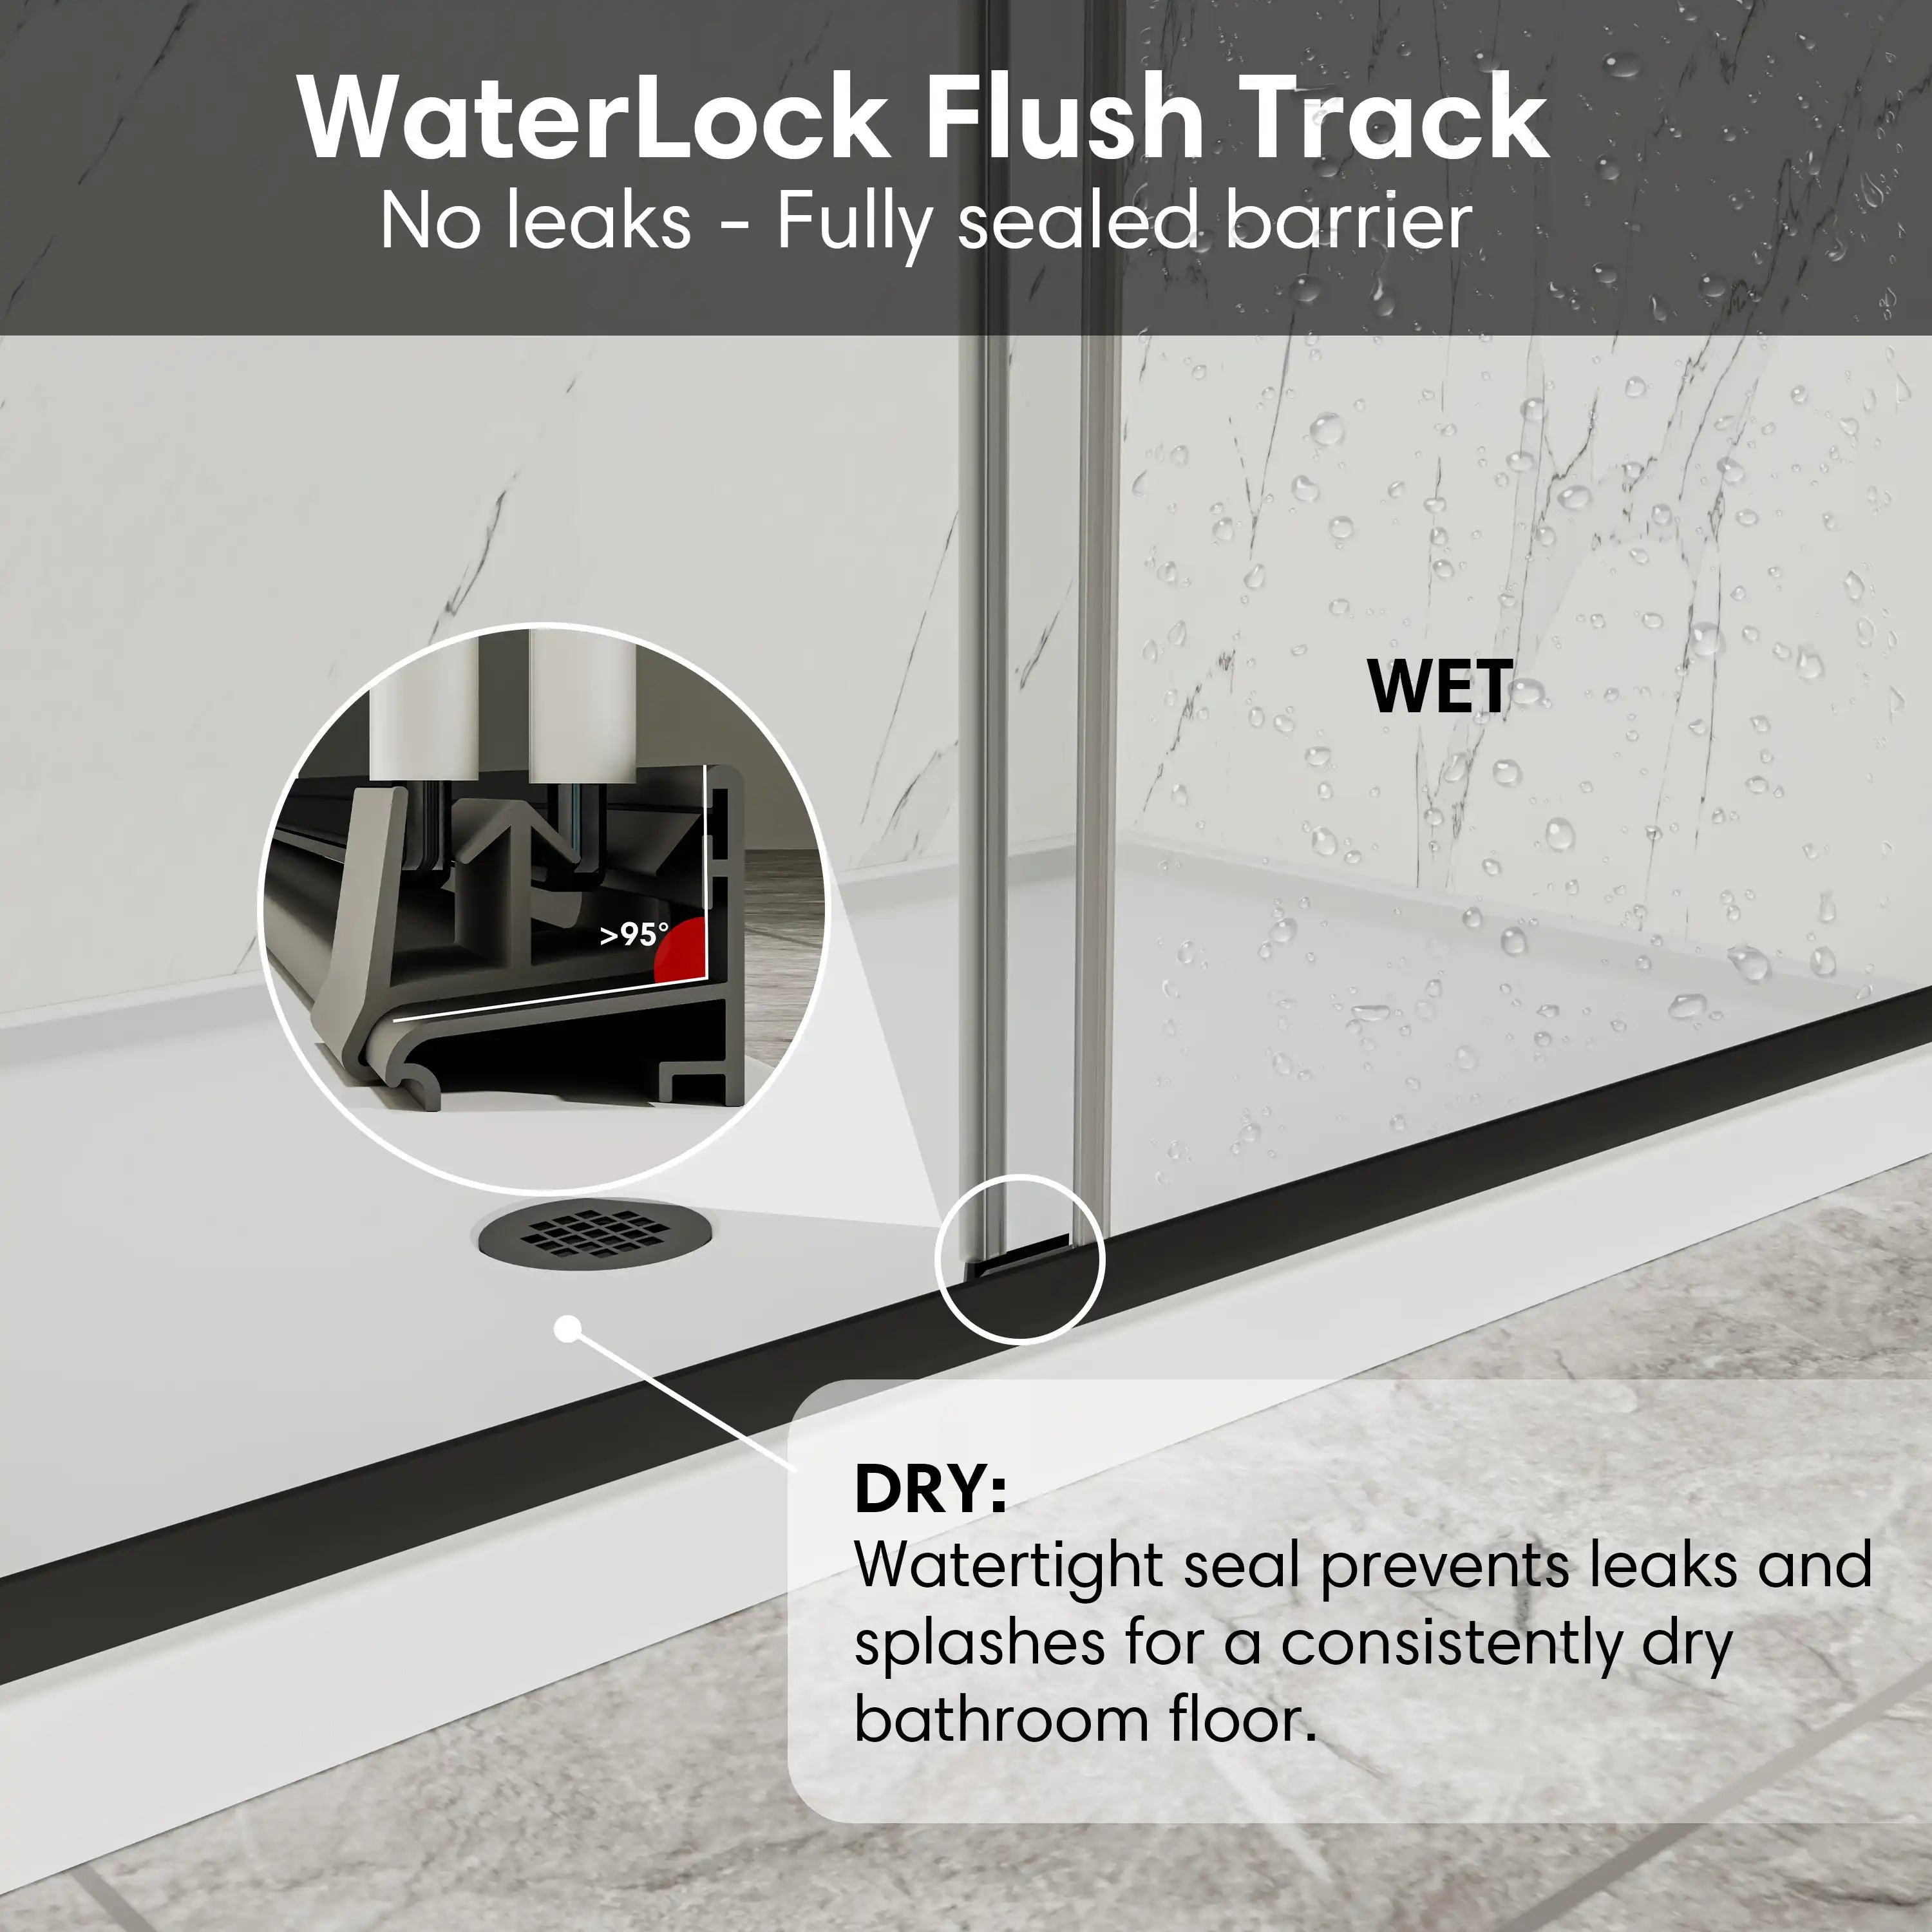
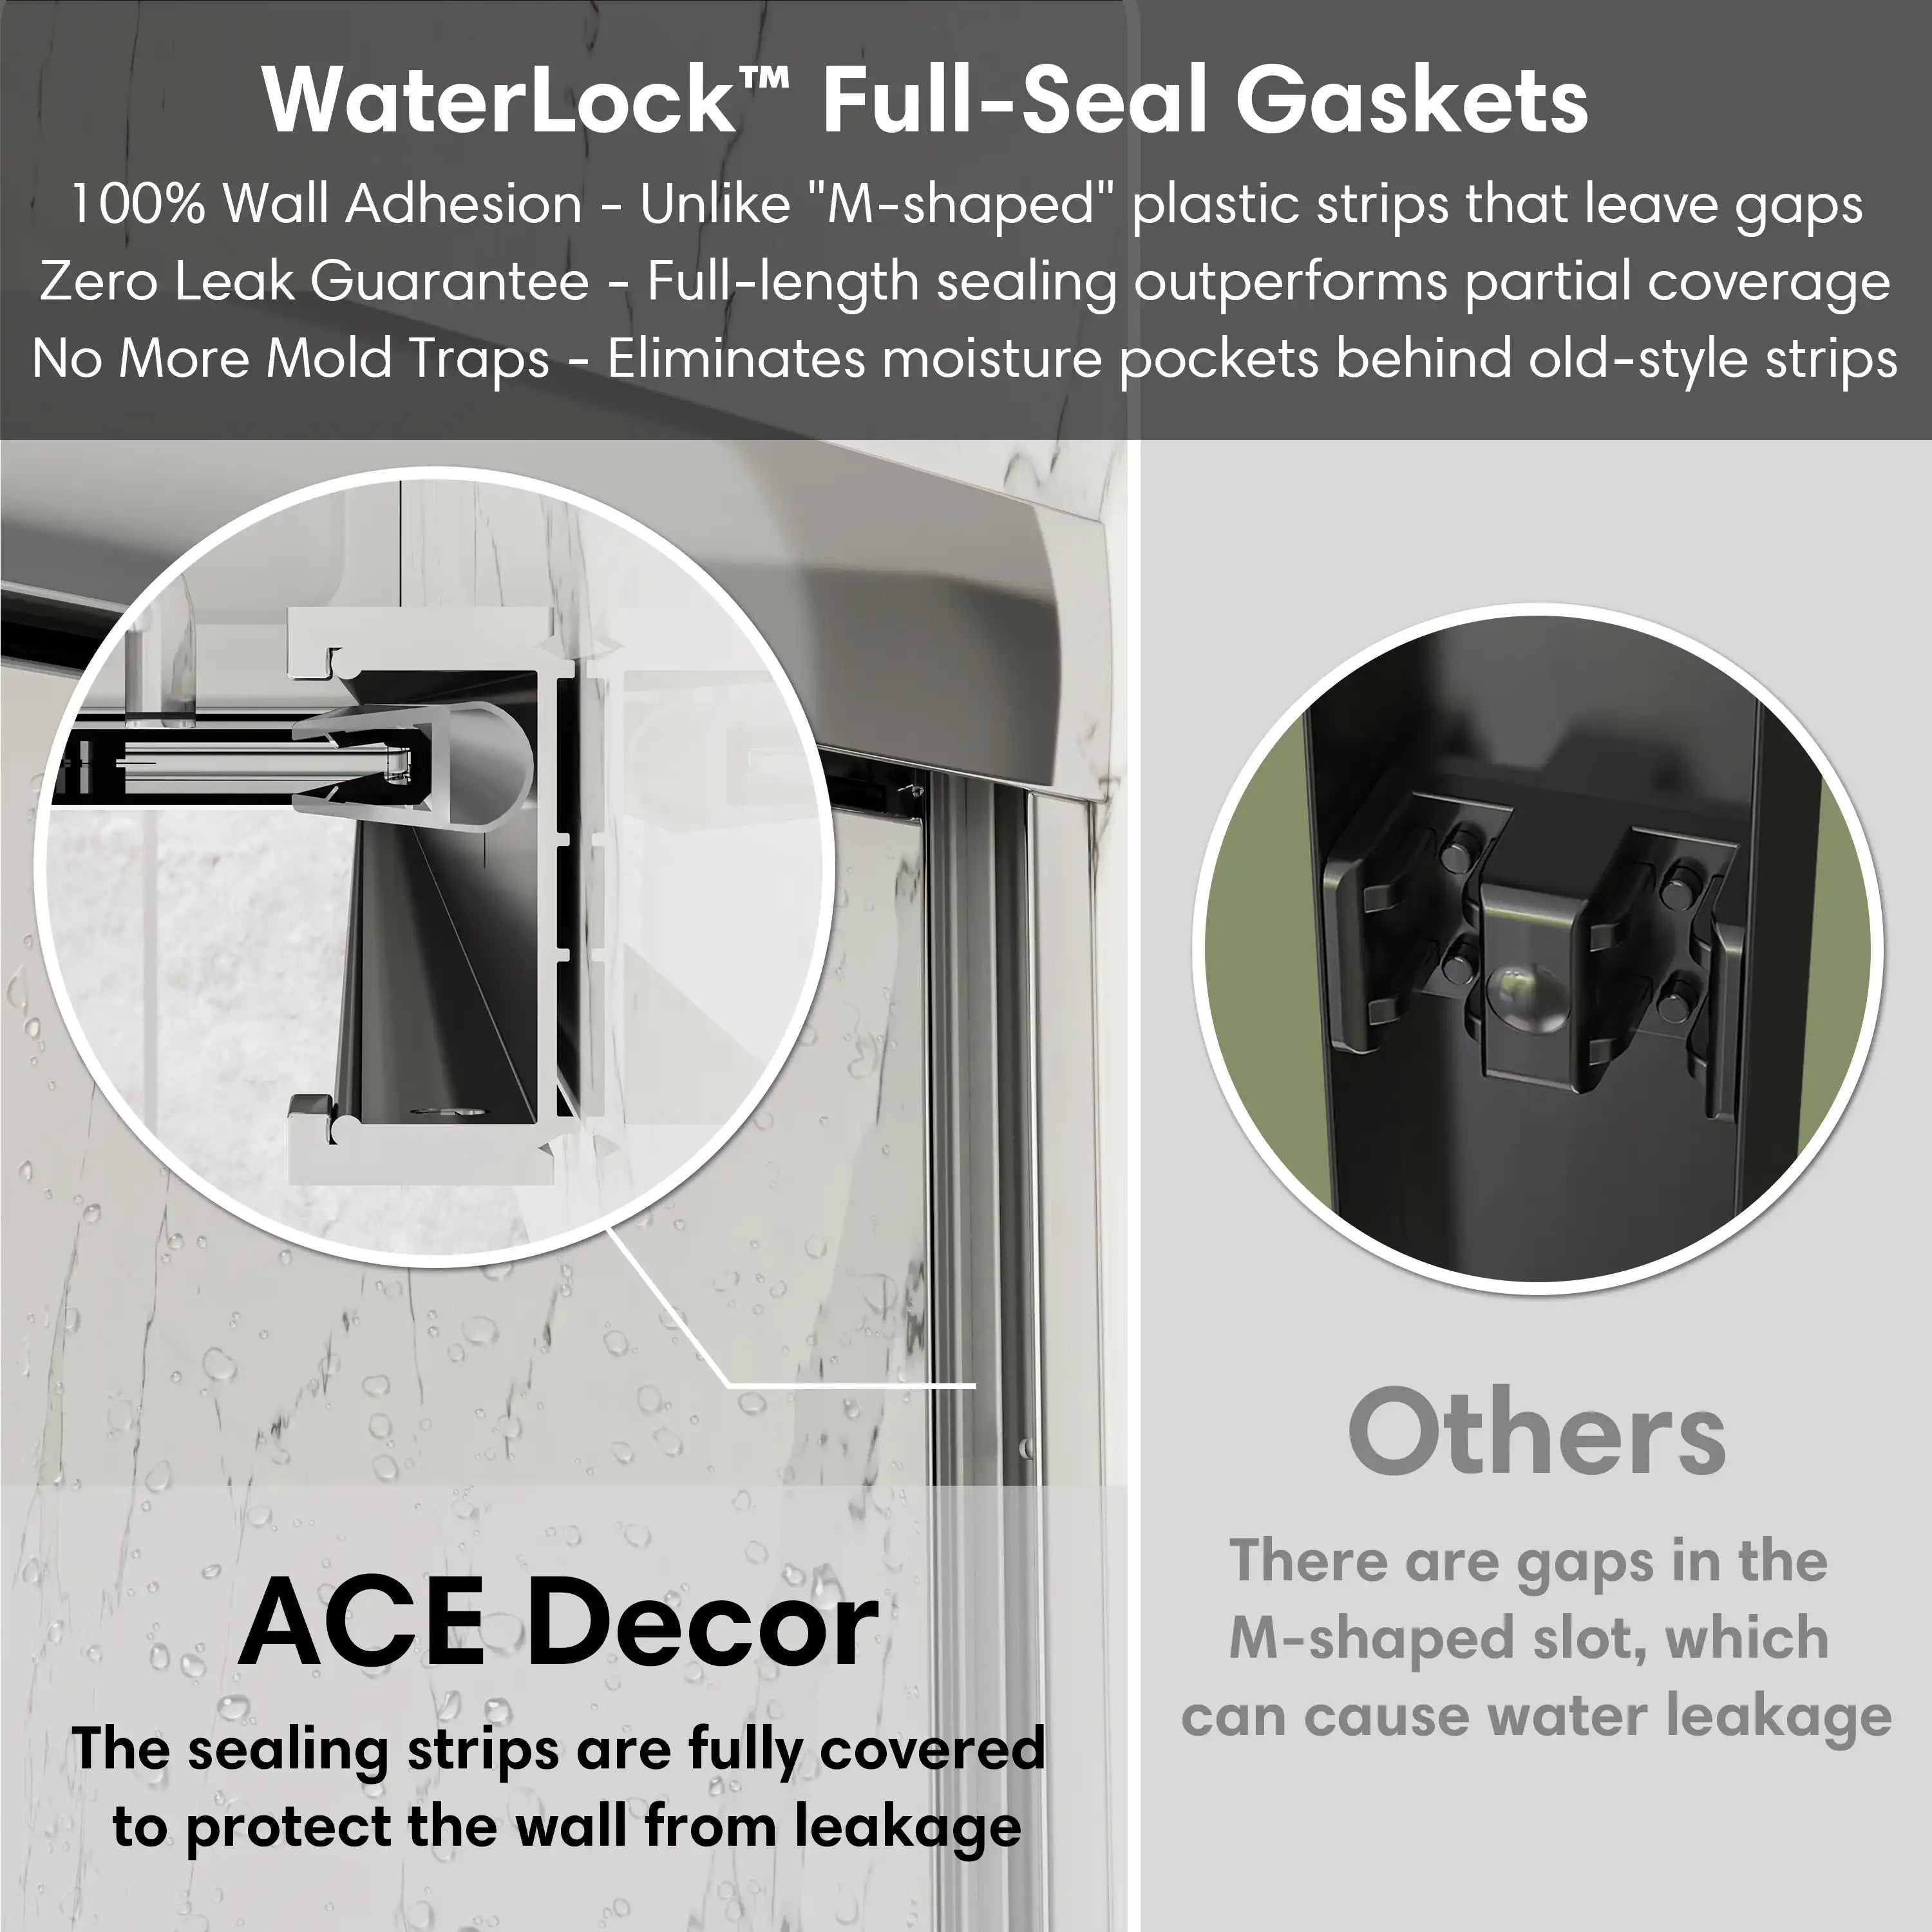
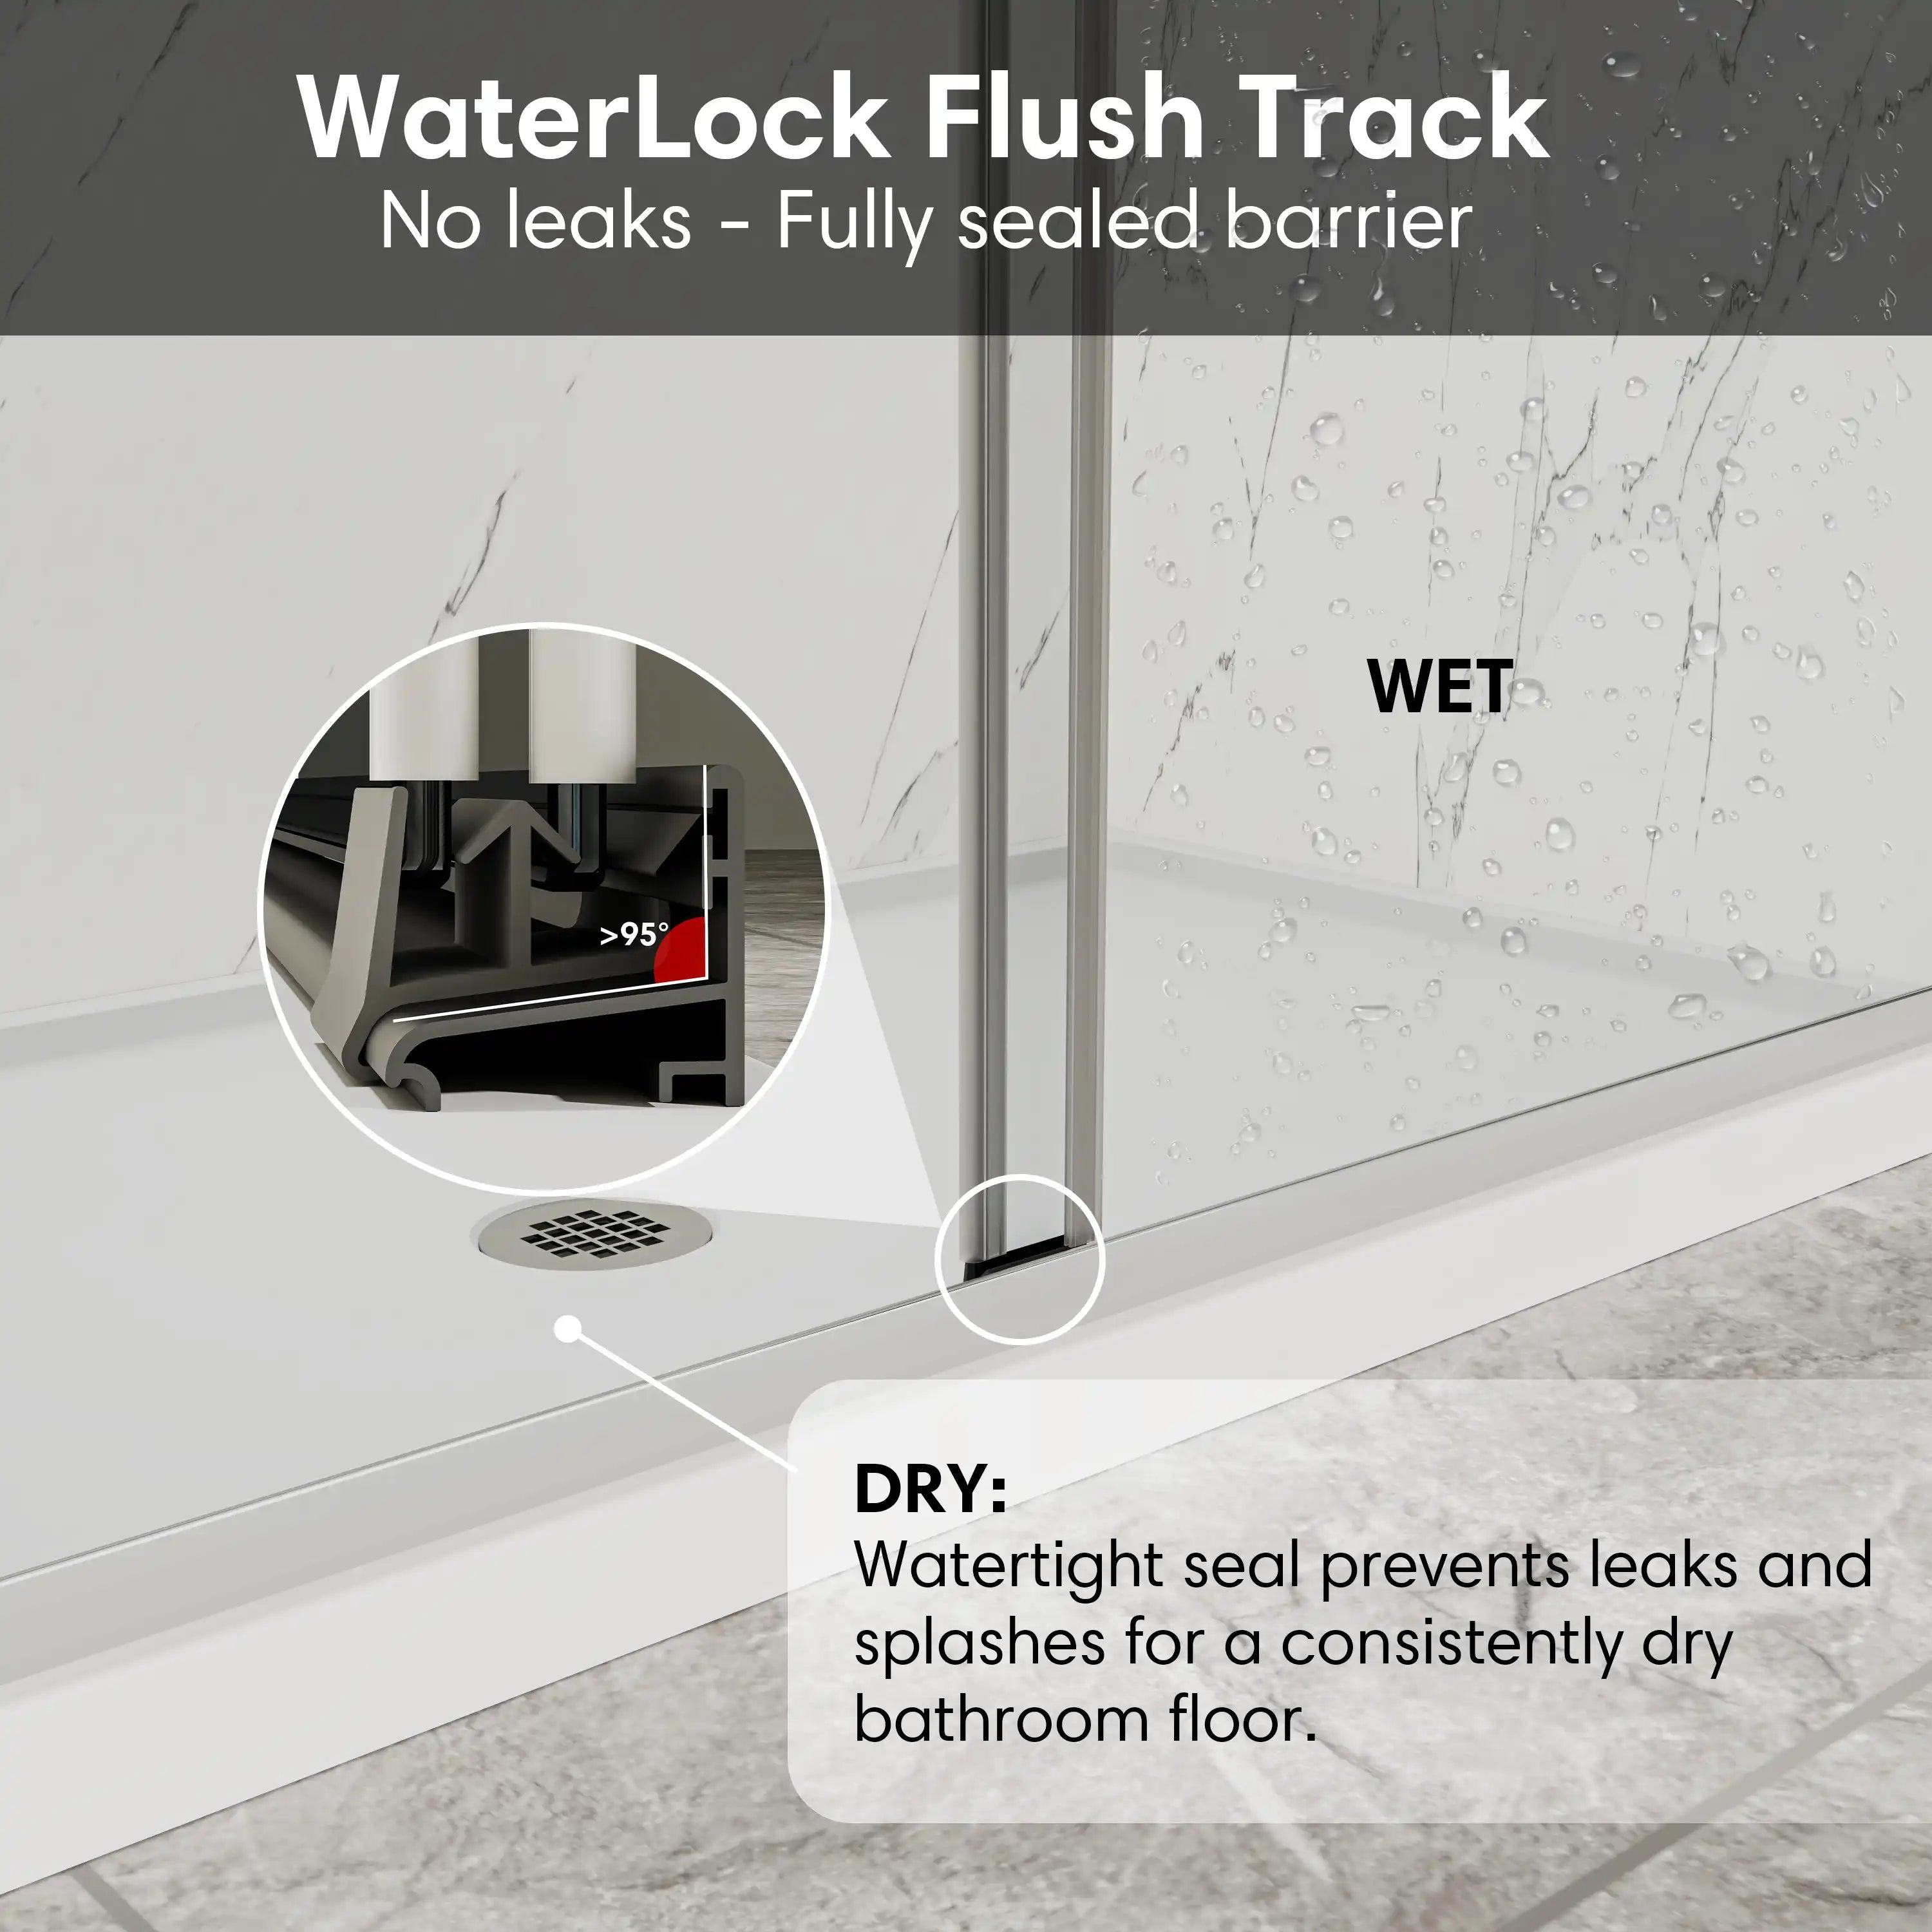
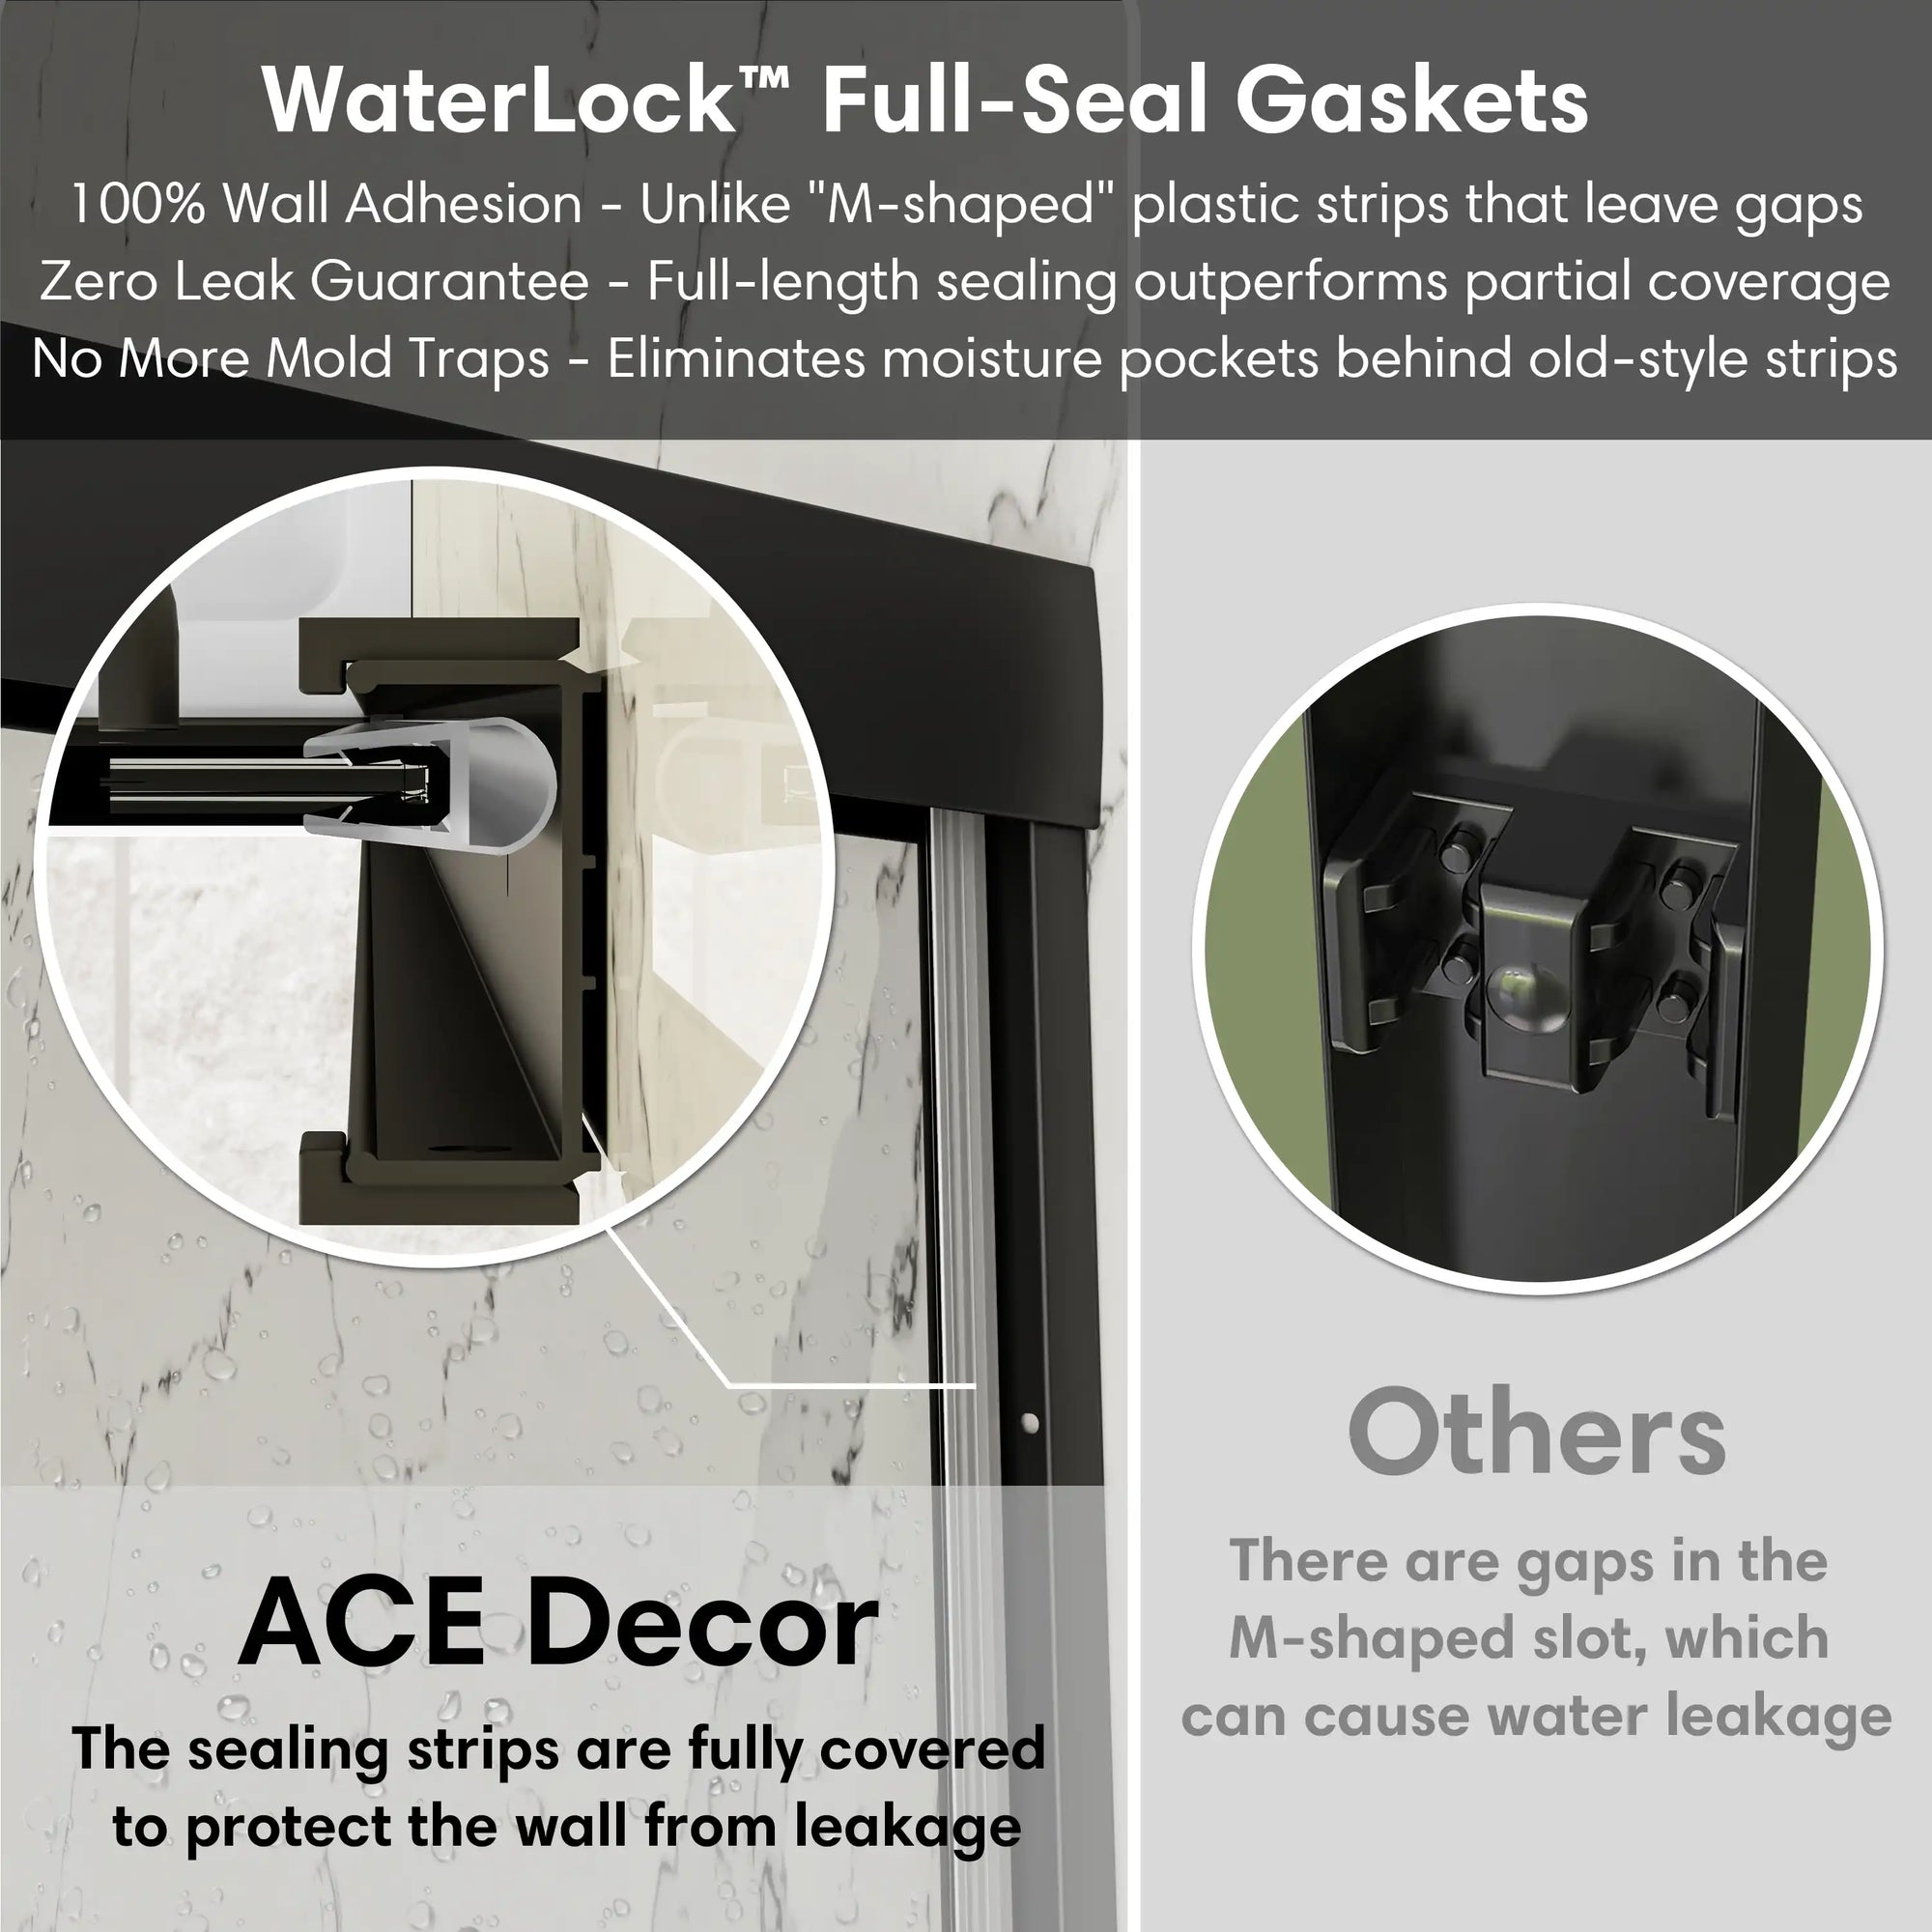
Step 6: Seal the Edges for Waterproofing
Before sealing, thoroughly clean all contact surfaces. apply a continuous bead of mildew-resistant silicone sealant along both the inside and outside edges.
Step 7: Final Inspection and Door Testing
Perform a thorough check to ensure all components are secure and aligned. Open and close the doors several times to confirm smooth operation. Look for any gaps or misalignment that may cause leaking. After sealing, avoid water exposure for at least 24 hours to ensure a full cure and watertight finish.
With patience and precision, installing walk-in shower doors can be a rewarding DIY project that significantly elevates your bathroom.
Final Thoughts on Installing Walk-In Shower Doors
Installing walk-in shower doors may seem complex, but with accurate measurements, the right tools, and a clear step-by-step approach, it becomes a manageable and rewarding project. Whether upgrading for function or style, a well-installed sliding door enhances both the usability and appearance of your bathroom.
FAQs: Expert Insights on Walk-In Shower Doors
Q1: Can I install walk-in shower doors on my own without professional help?
A1: Yes, many homeowners successfully install their own walk-in shower doors. However, ensure you have the necessary tools, follow safety precautions, and work with a second person for better accuracy and safety.
Q2: What’s the most common mistake when installing shower doors?
A2: Inaccurate measurement is the leading cause of issues. Always triple-check your dimensions and account for wall unevenness and tile thickness.
Q3: How long does it take to install walk-in shower doors?
A3: For an experienced DIYer, installation typically takes 3–5 hours. Add extra time for curing the silicone sealant (usually 24 hours) before using the shower.
Q4: How do I maintain the durability of my walk-in shower doors after installation?
A4: Regularly clean the glass with a pH-neutral cleaner and soft cloth, inspect seals for mold or wear, and avoid slamming the doors. Reapply silicone if any gaps or leaks appear.
Q5: Is there a standard size for walk-in shower doors or are they all custom-fit?
A5:
Related Articles
Shower Door Doesn’t Fit? Uneven Walls? This Adjustable Shower Door Has You Covered.
Why ACE DECOR's Warranty & Replacement Policy Earns Customers’ Trust